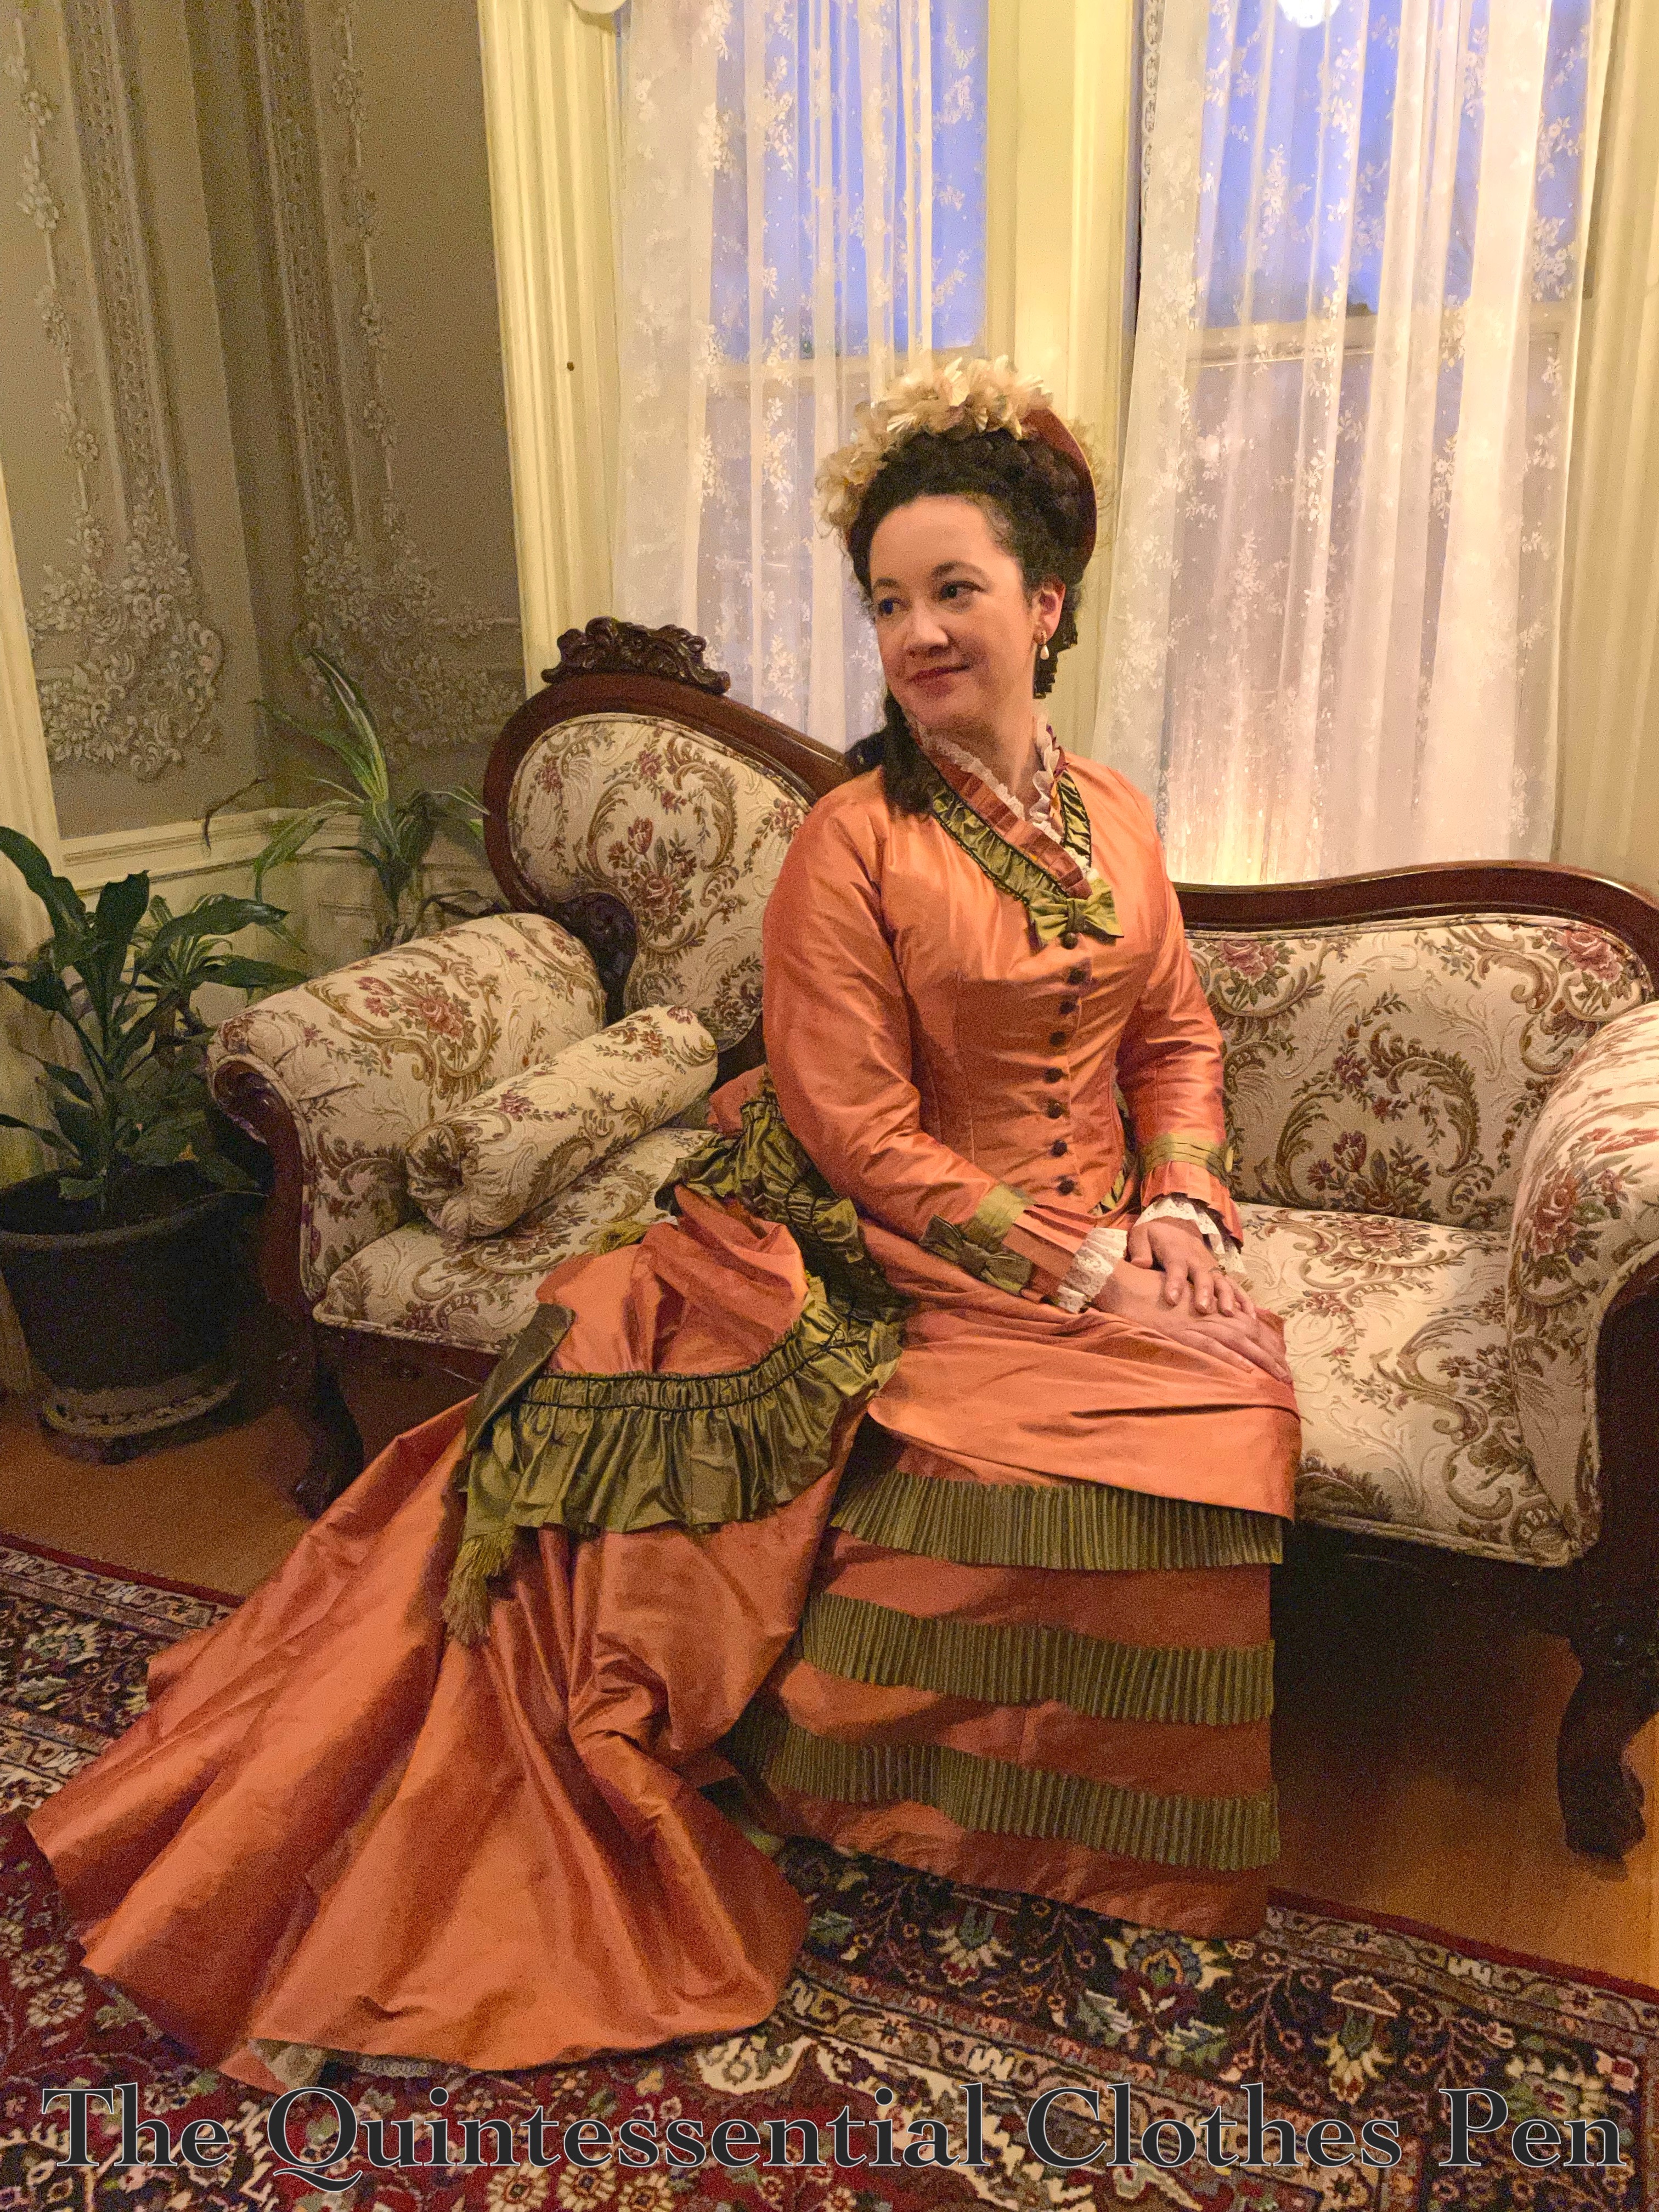
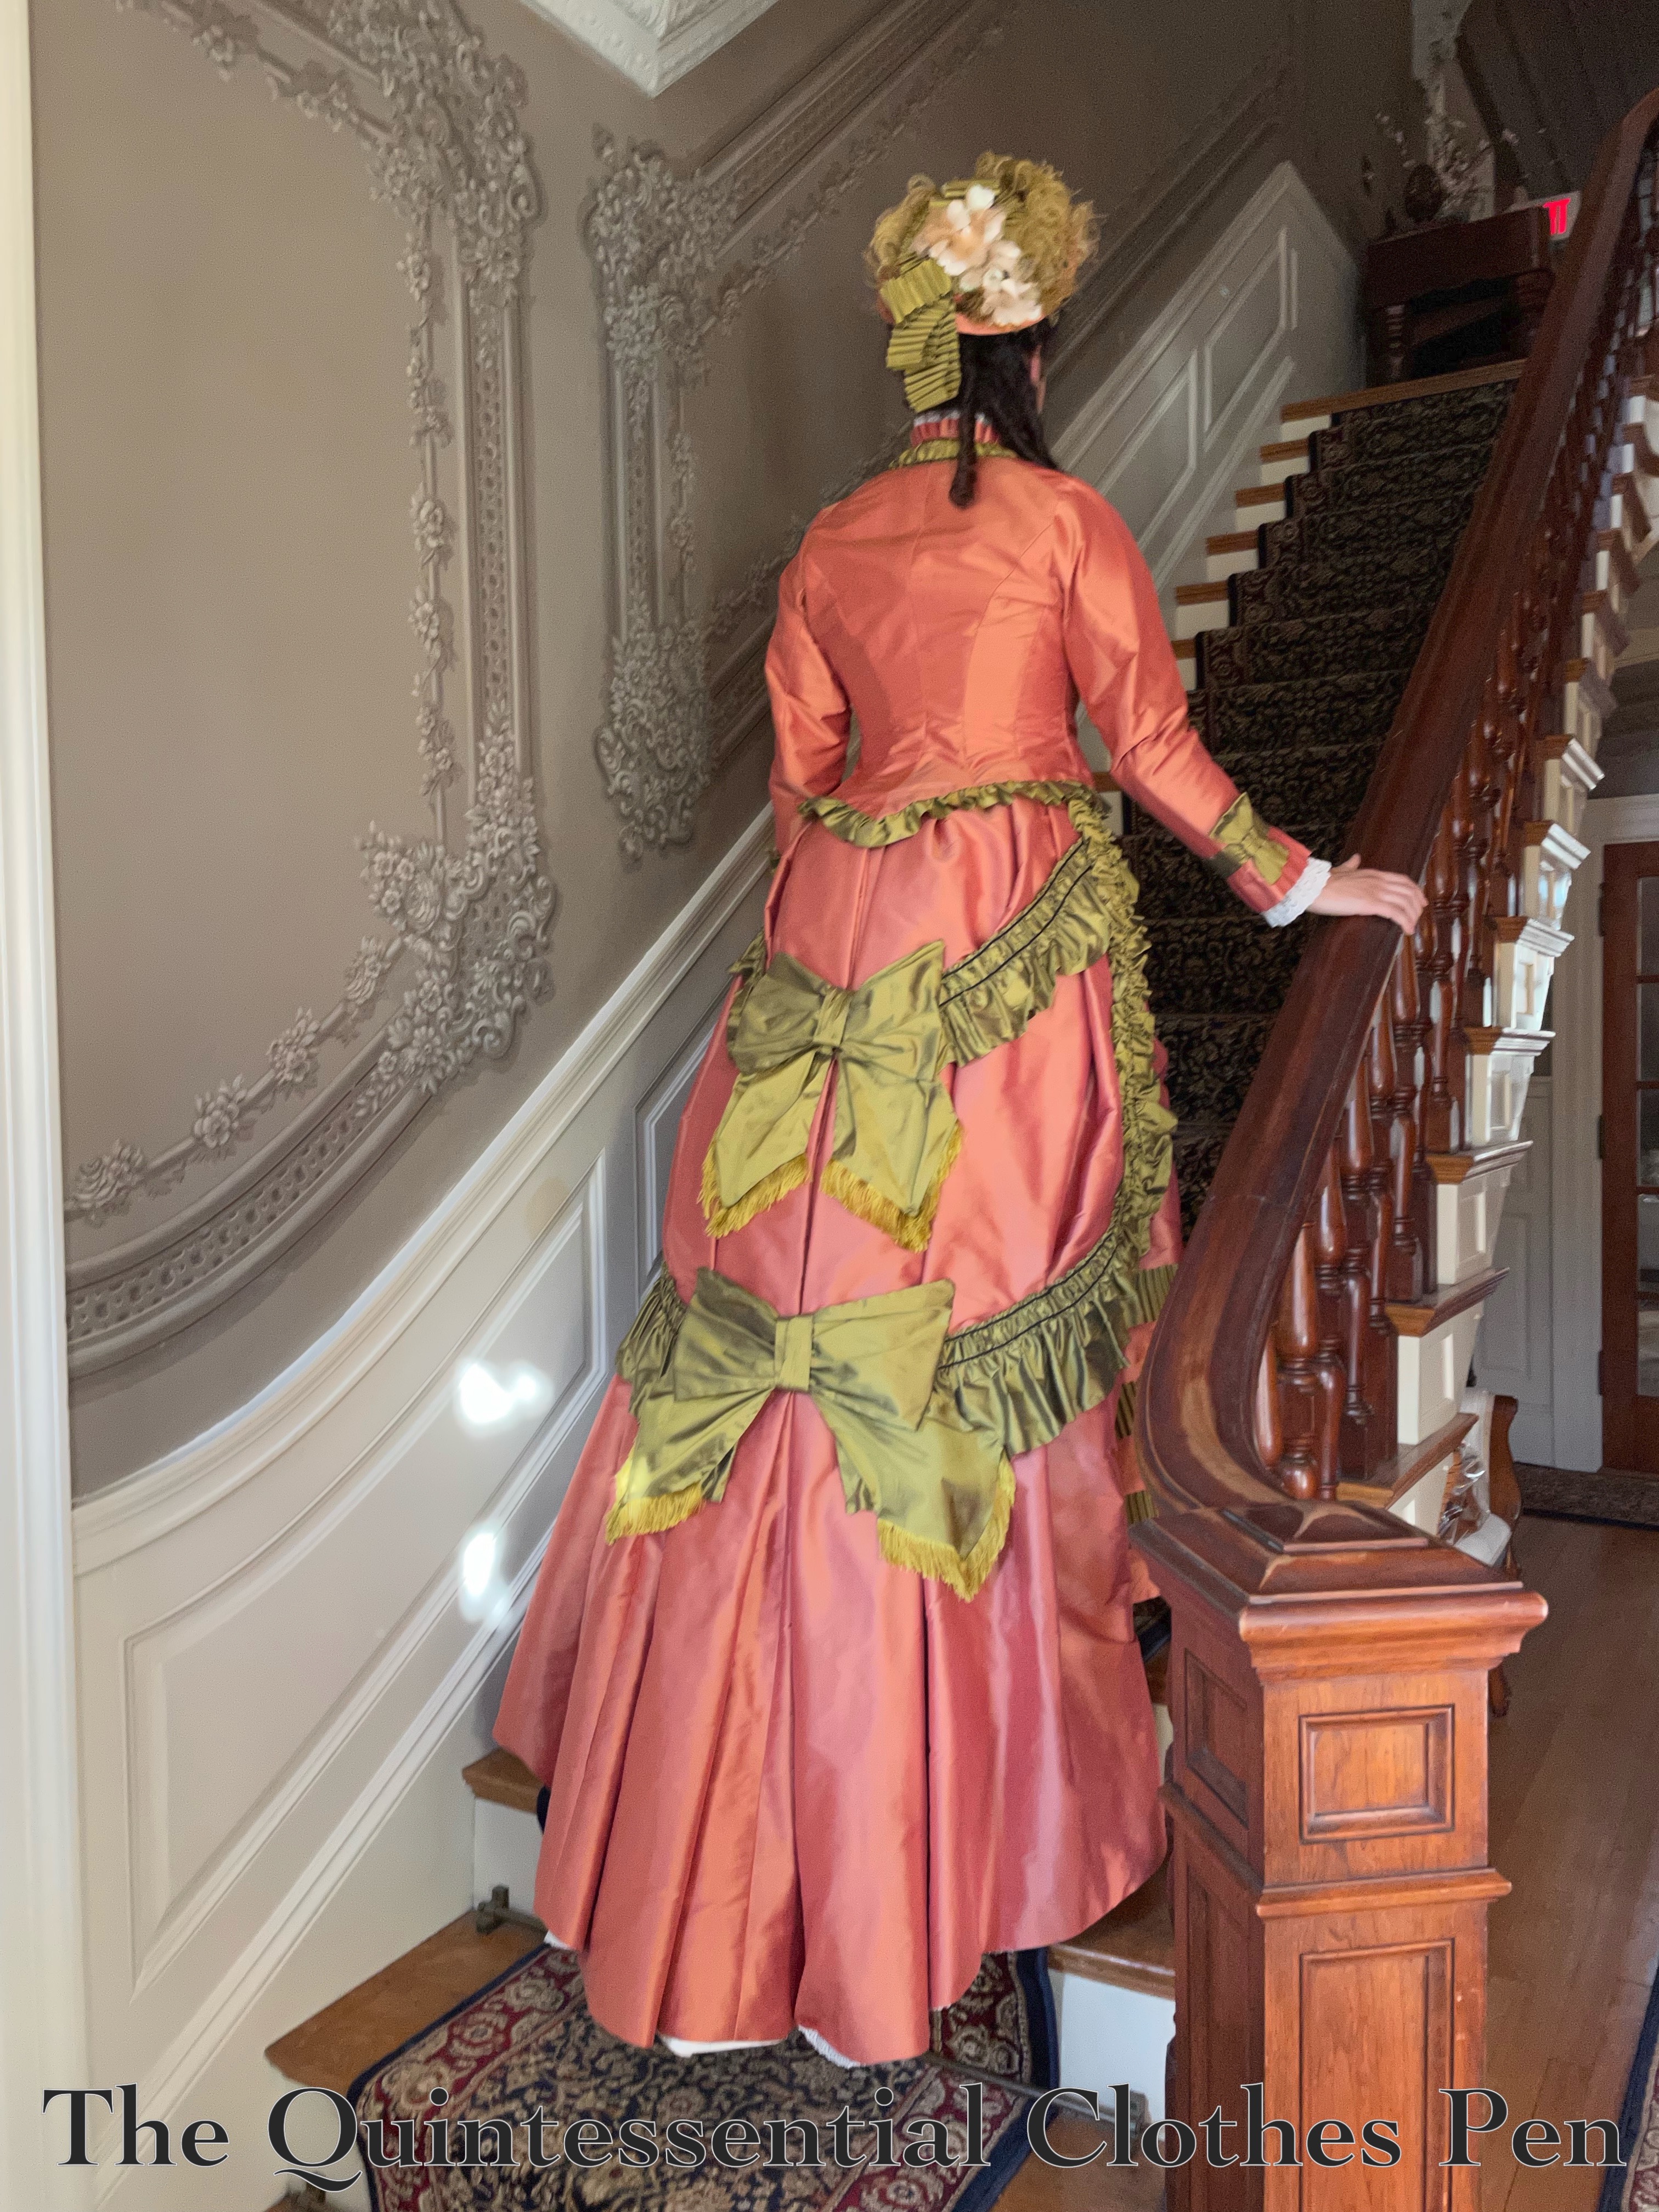
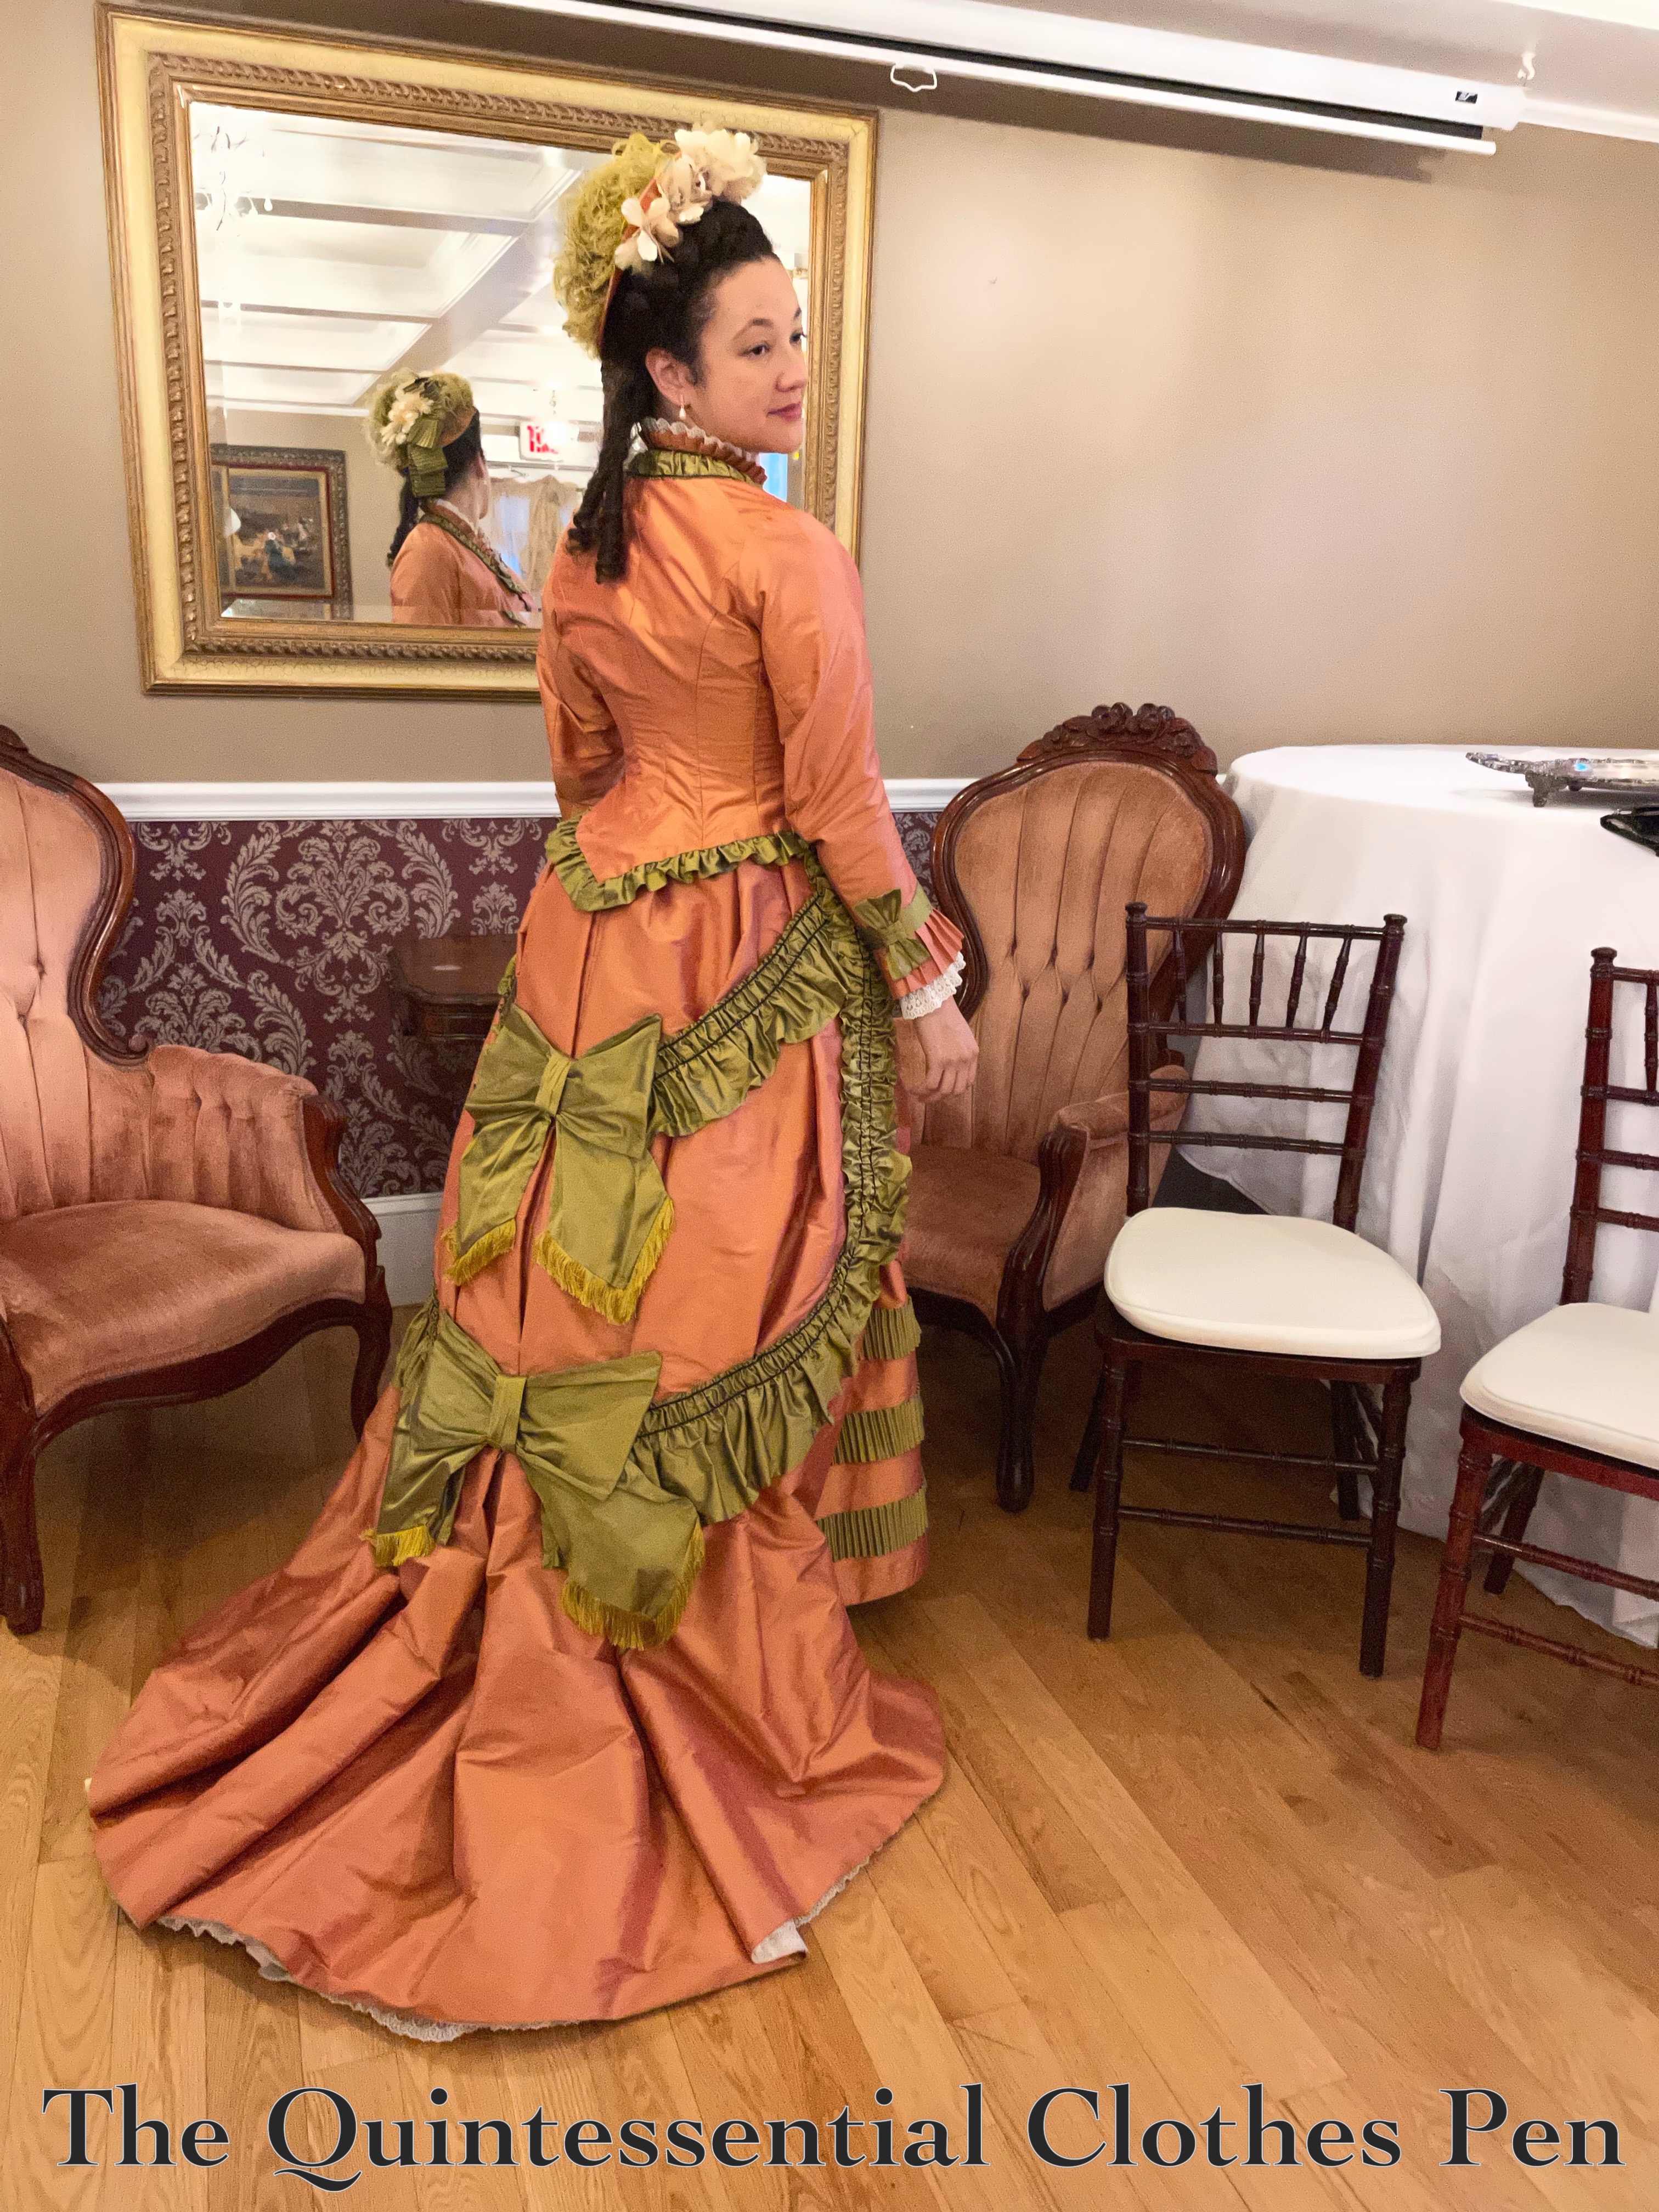
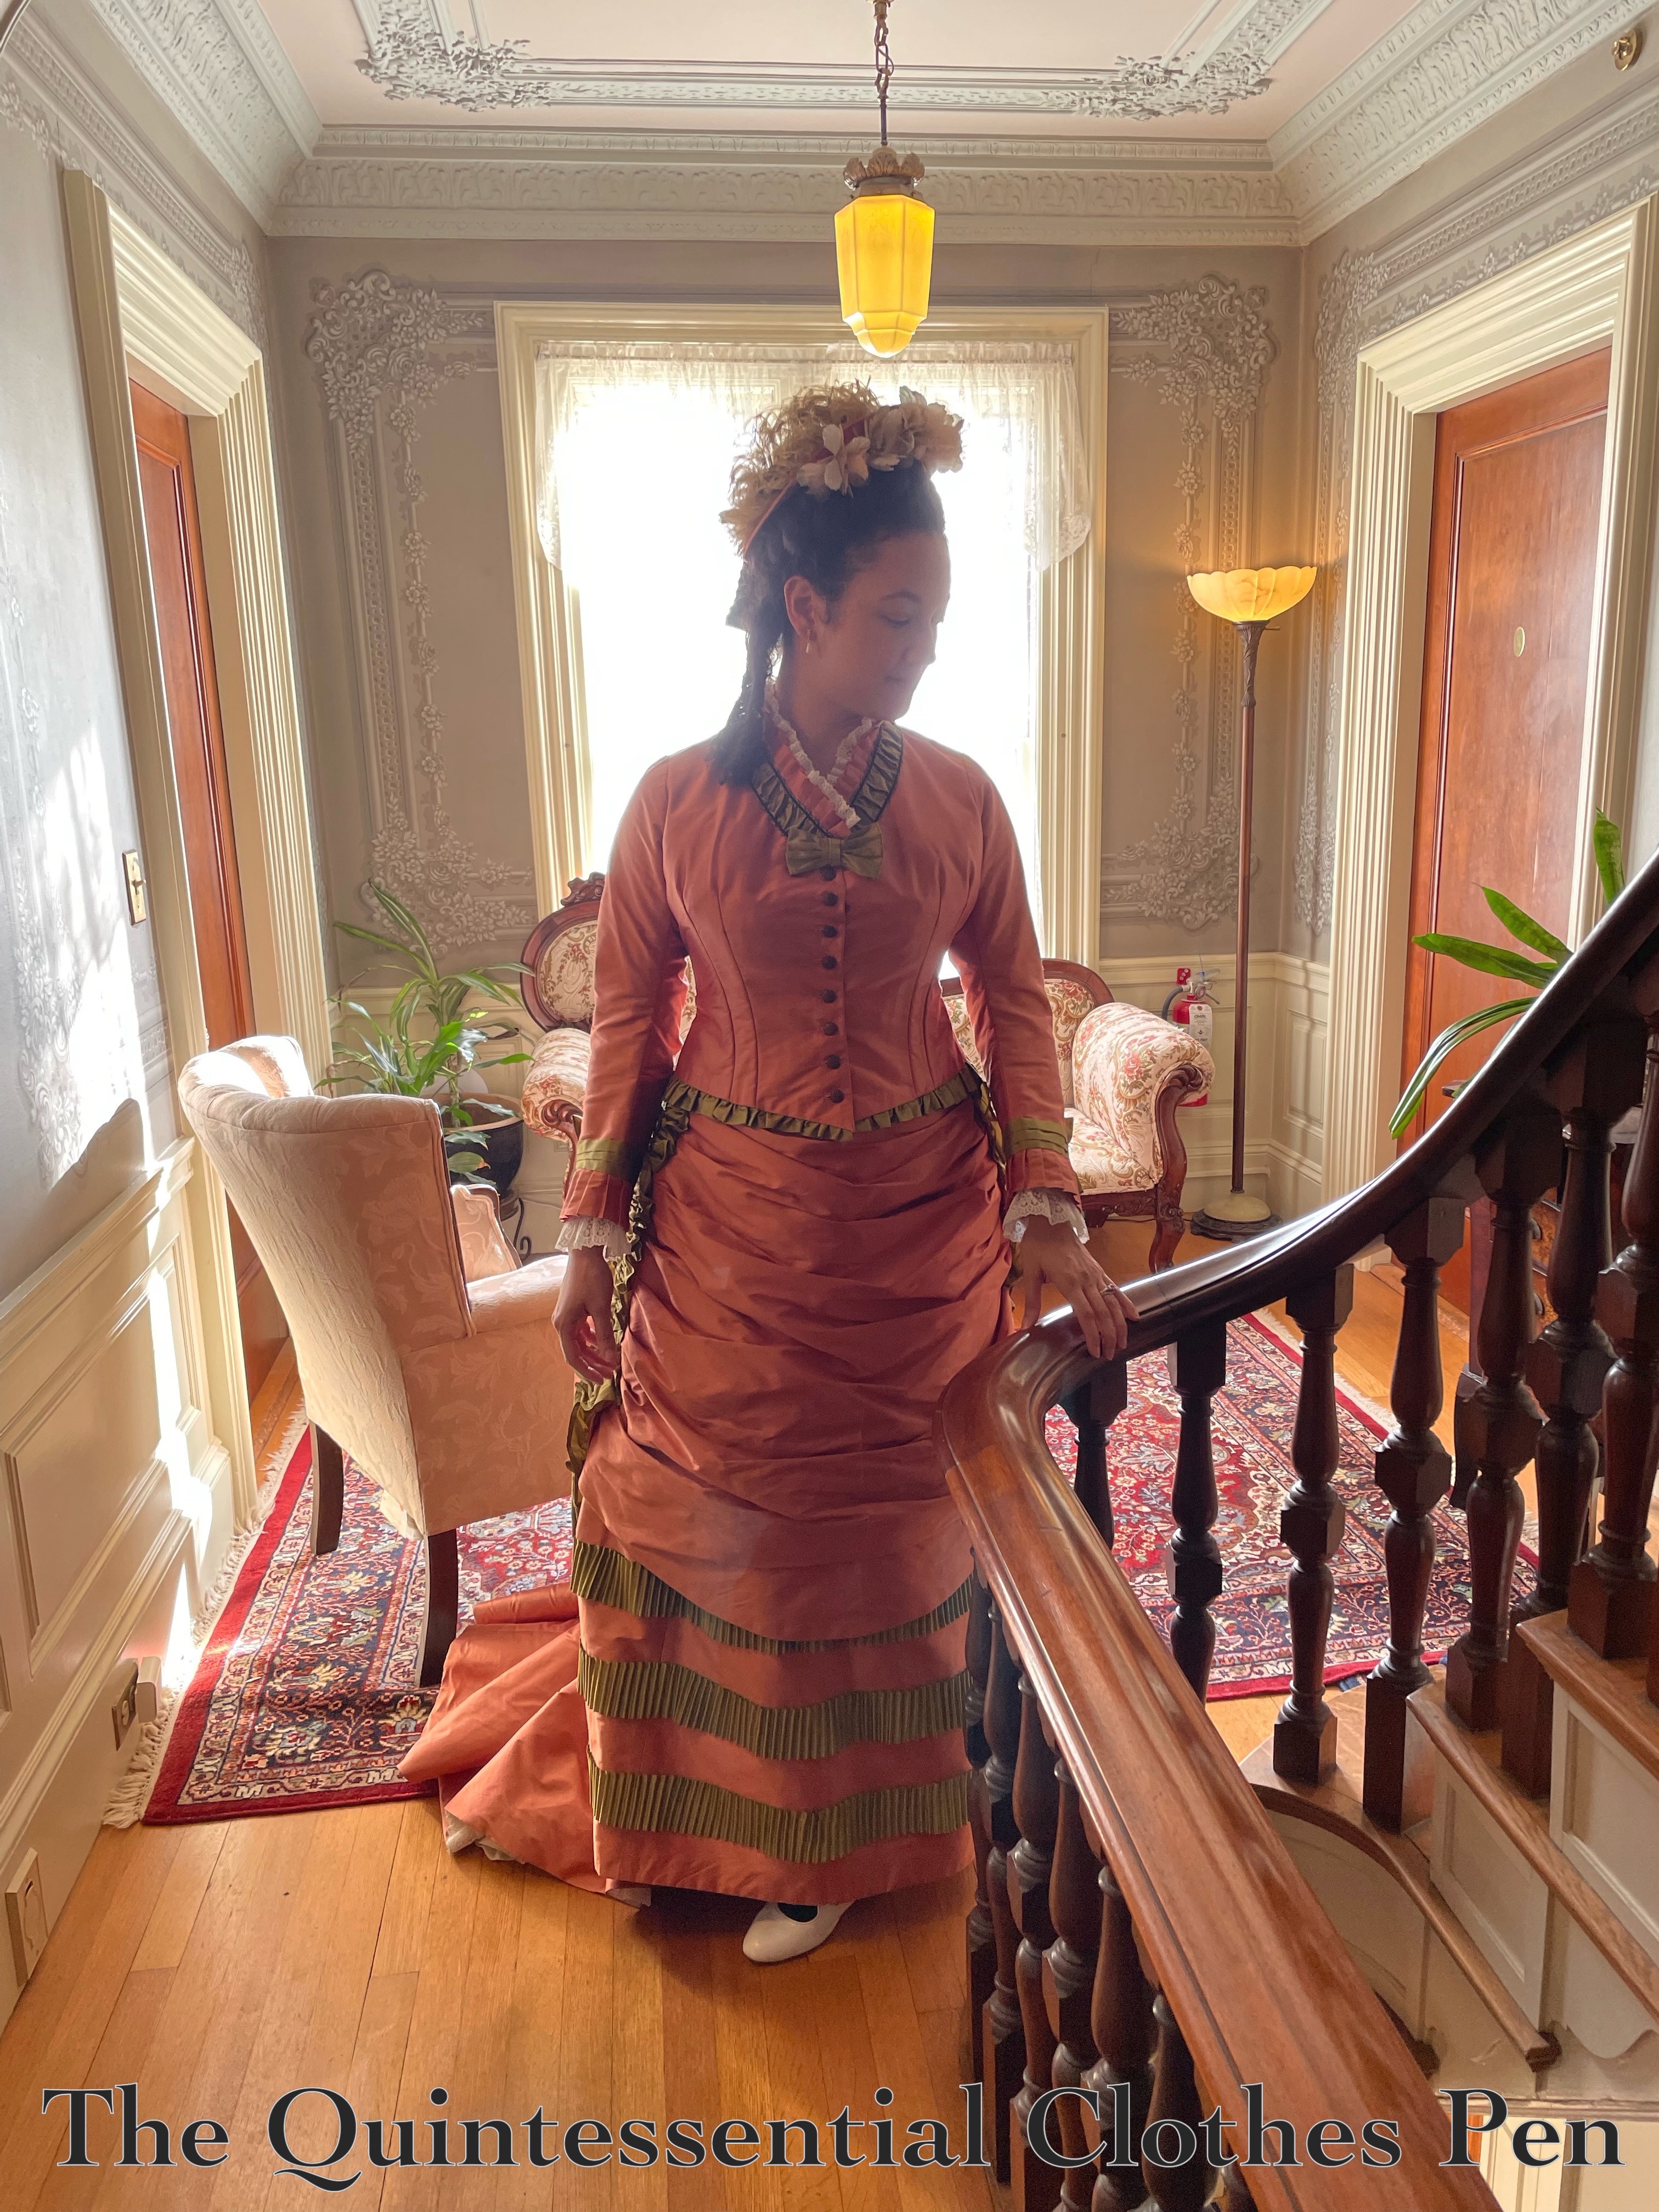
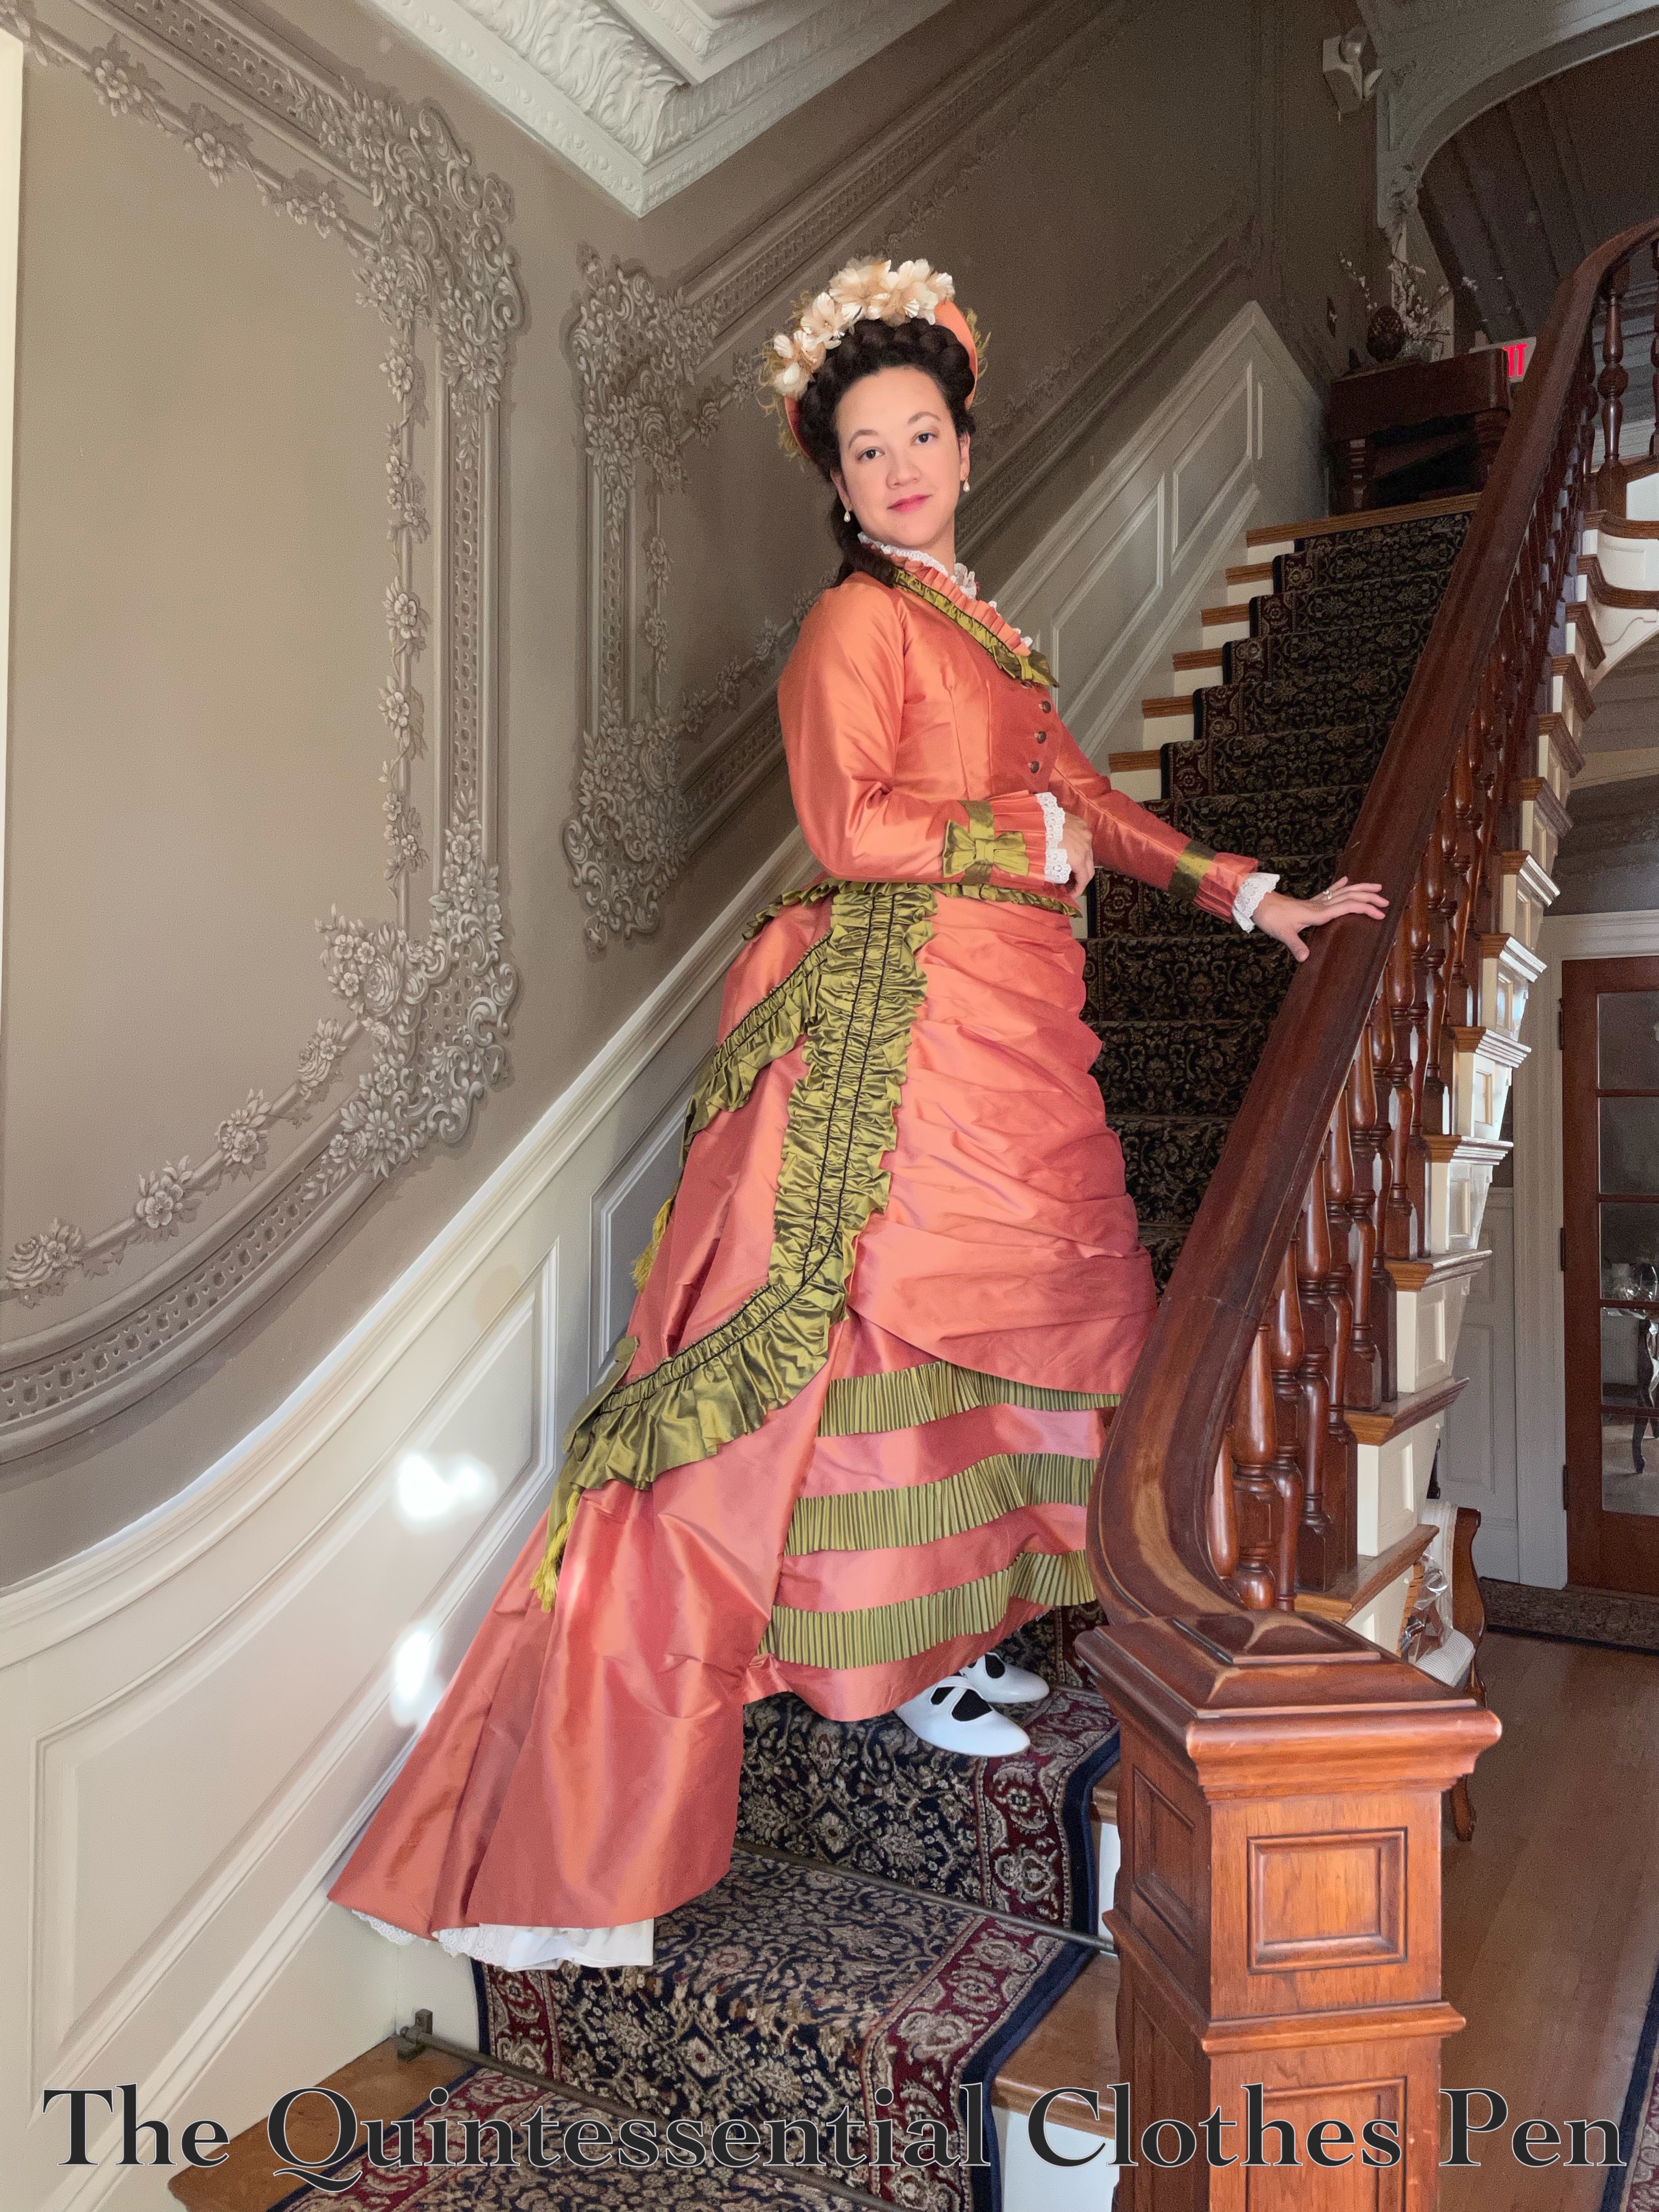
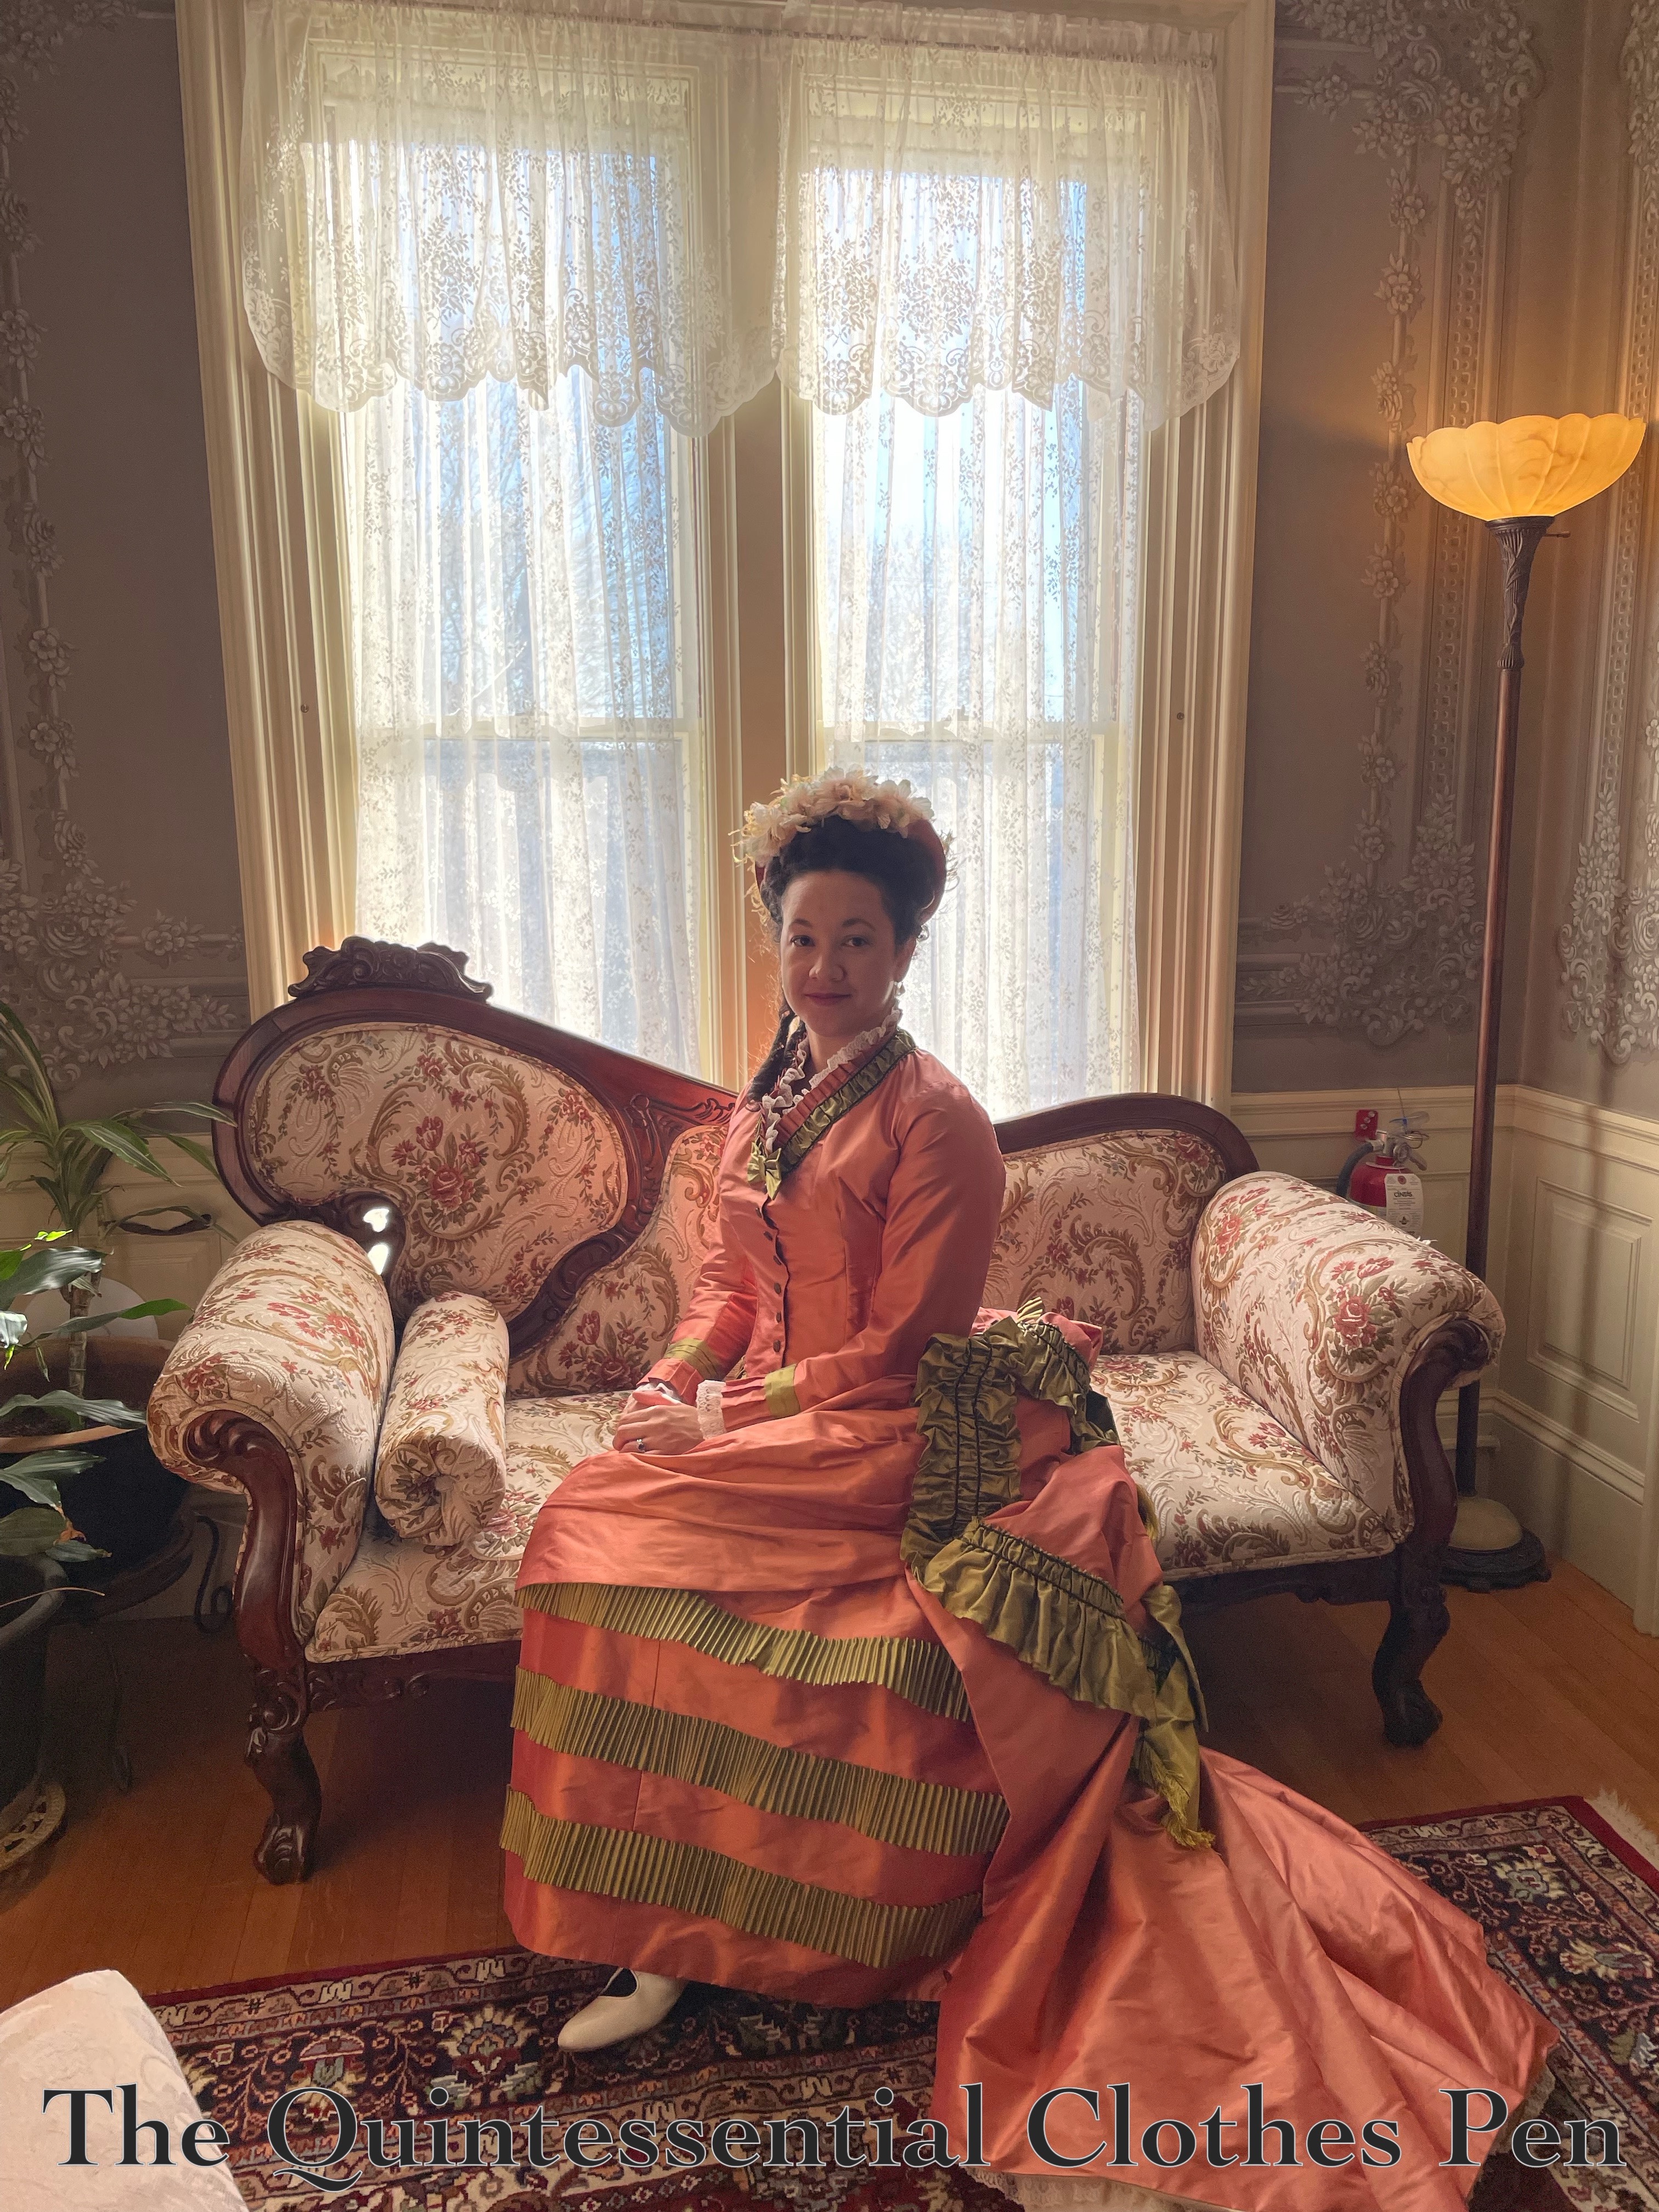
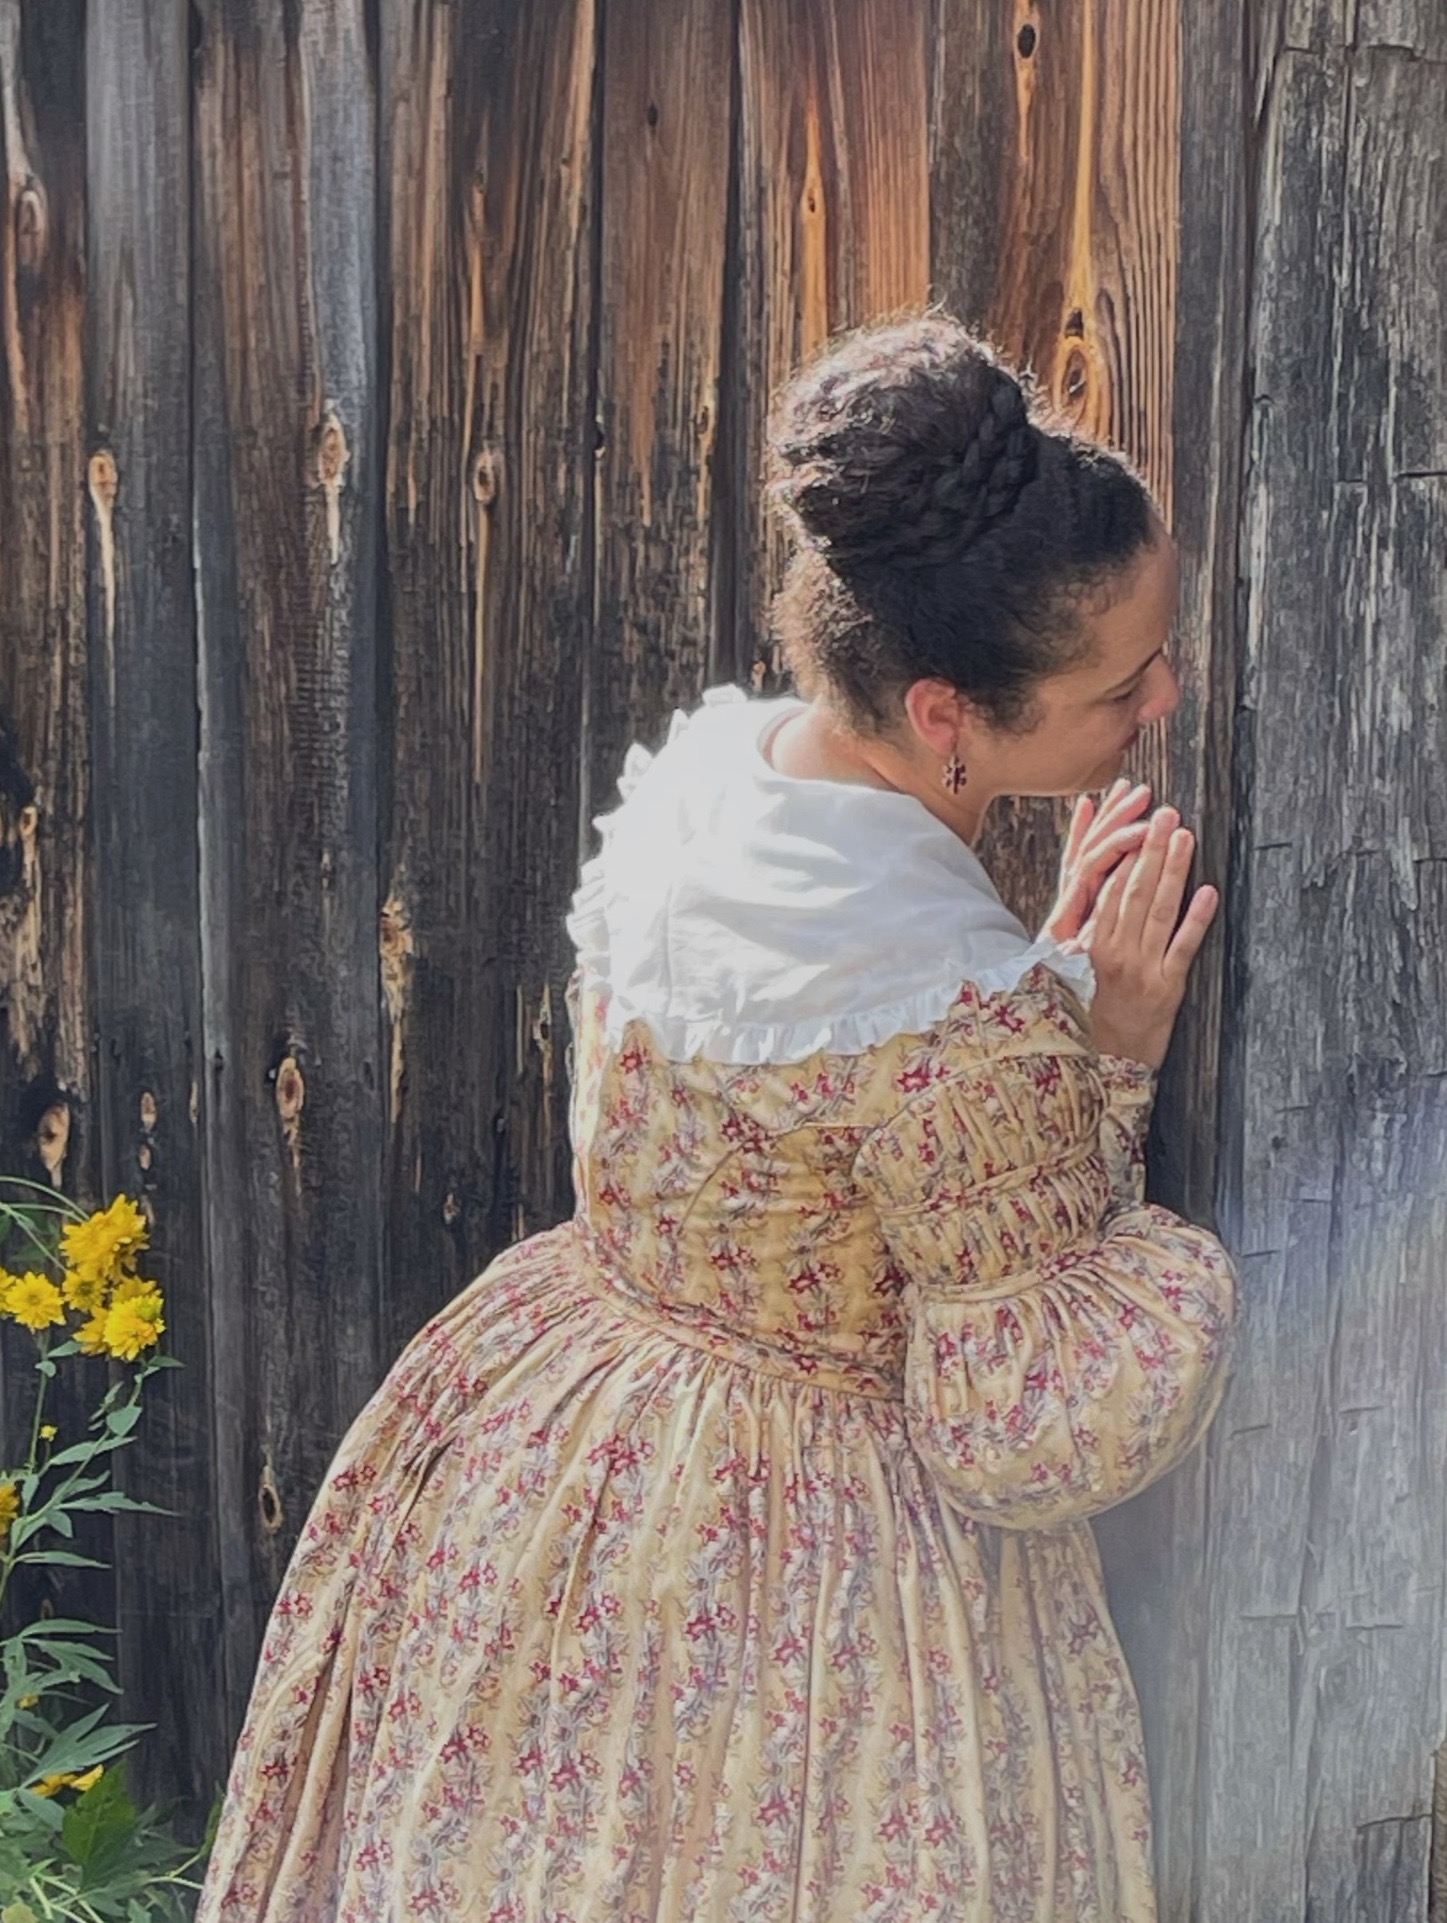
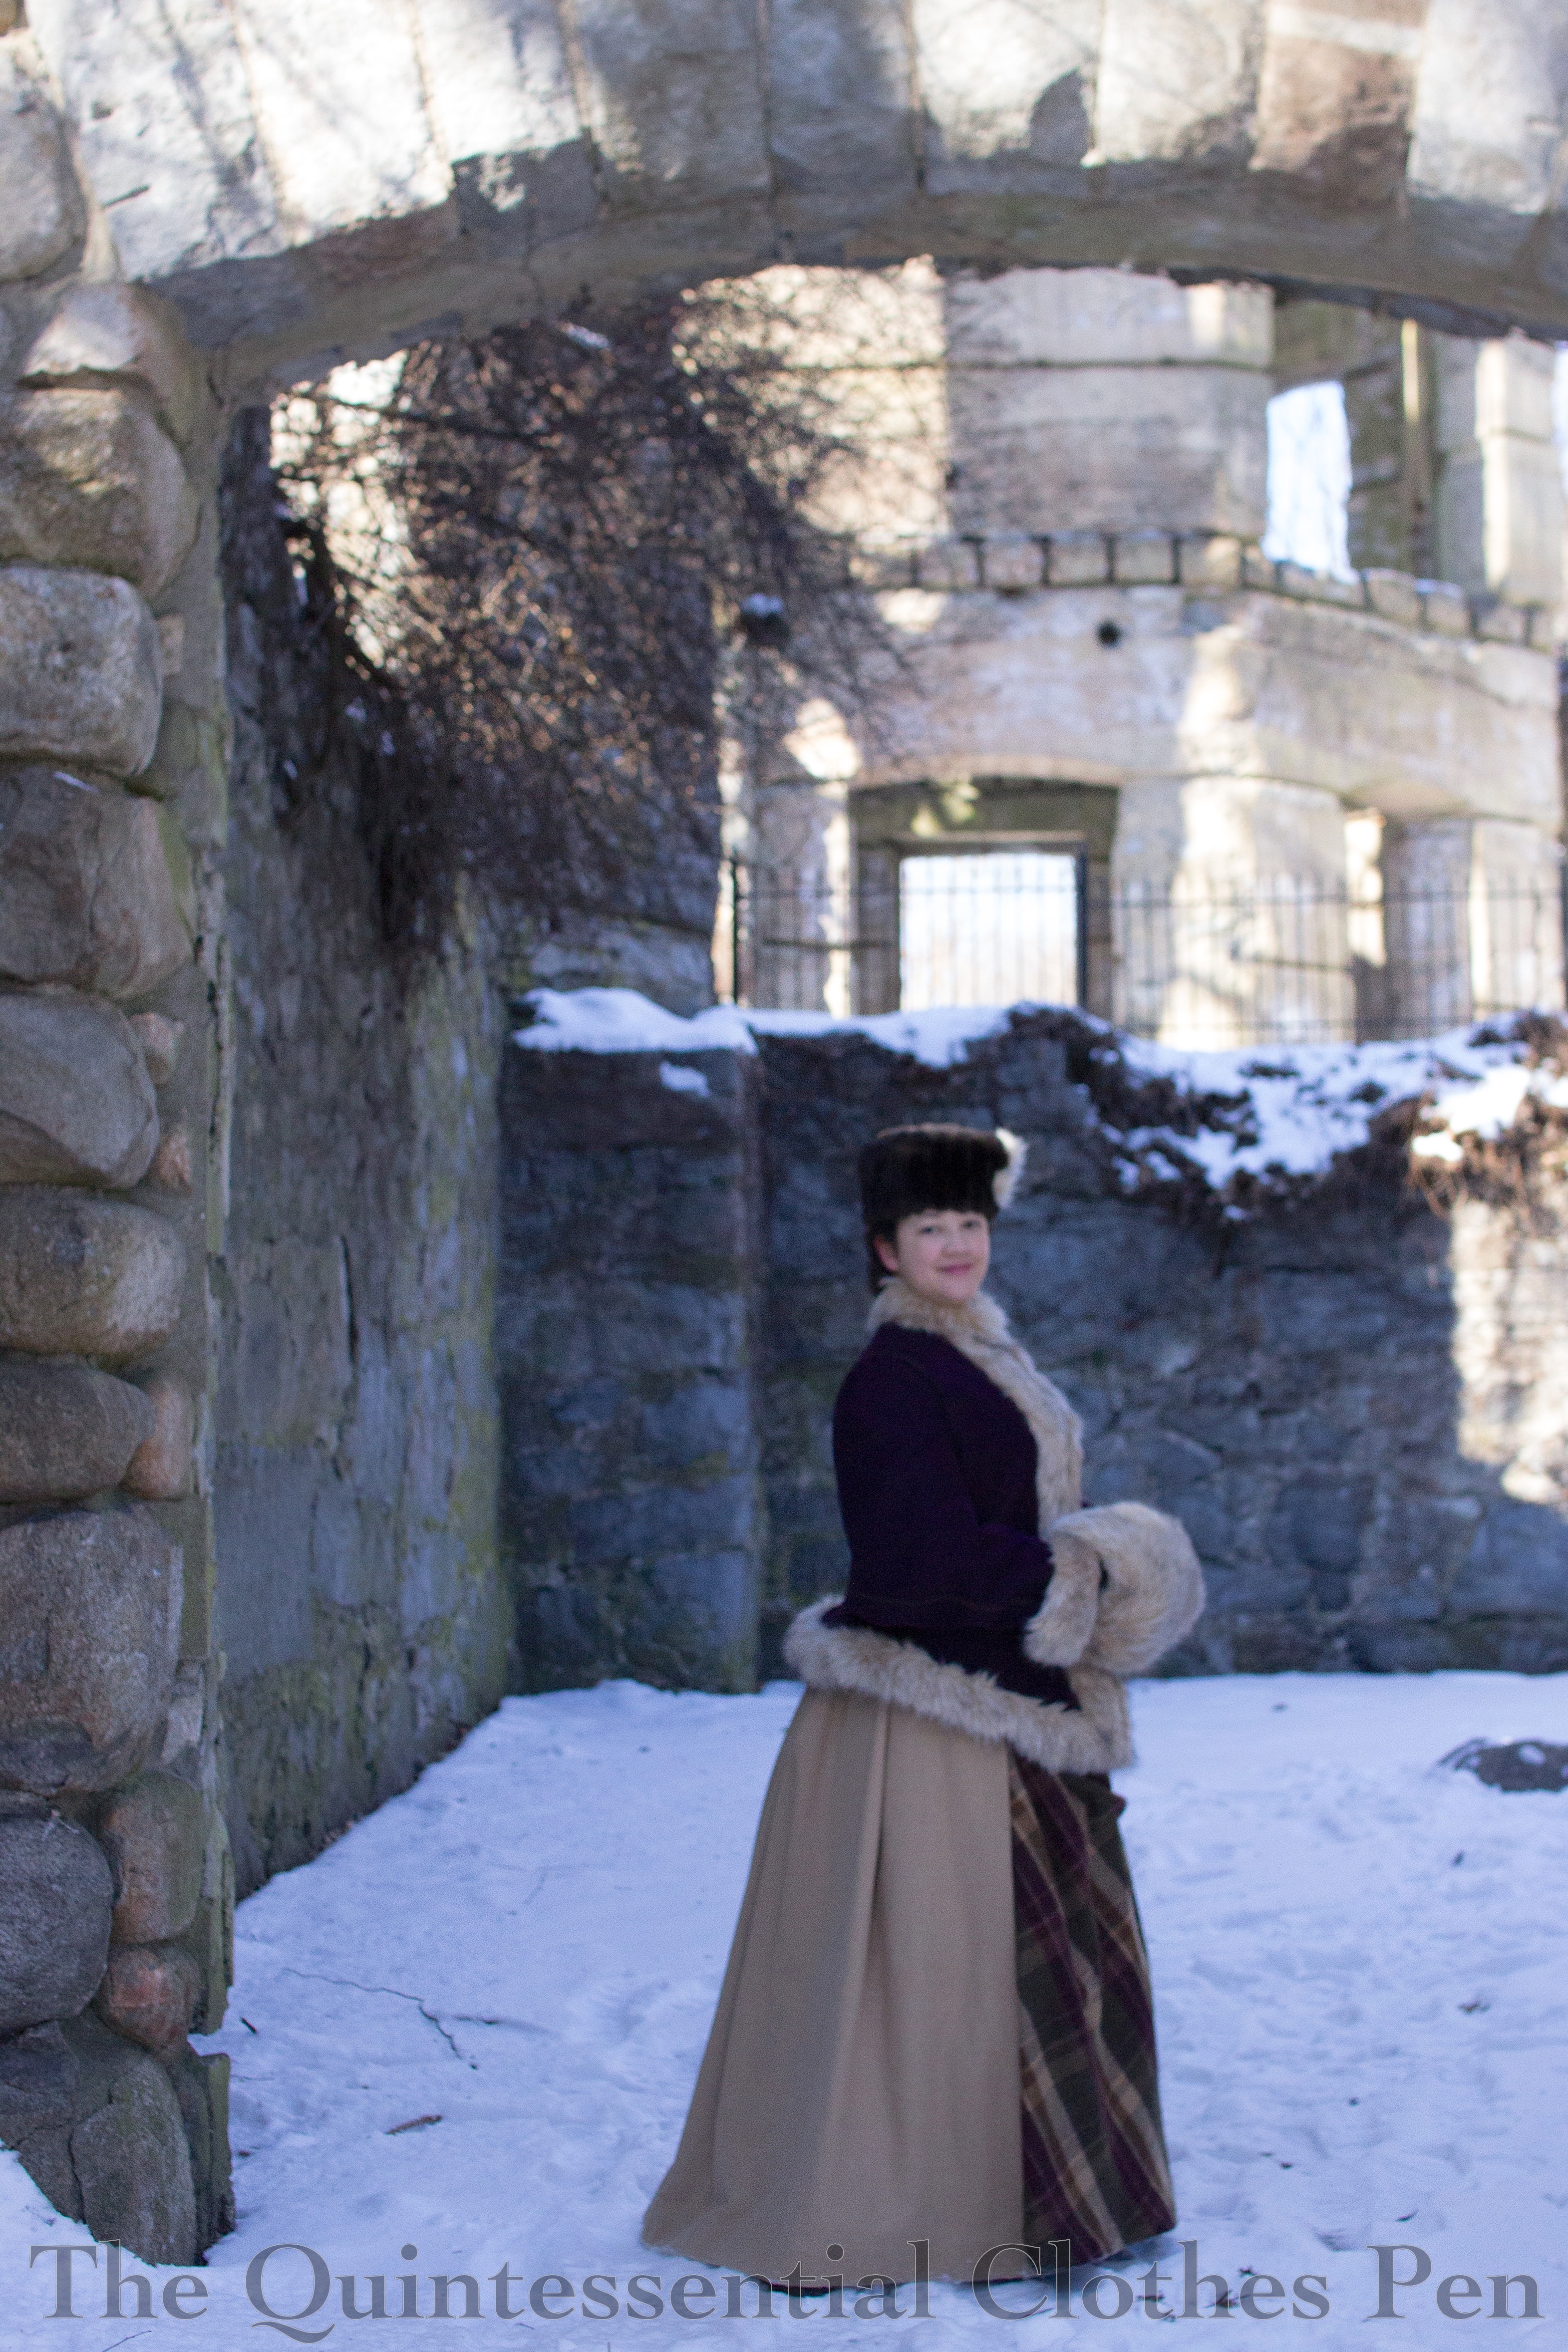
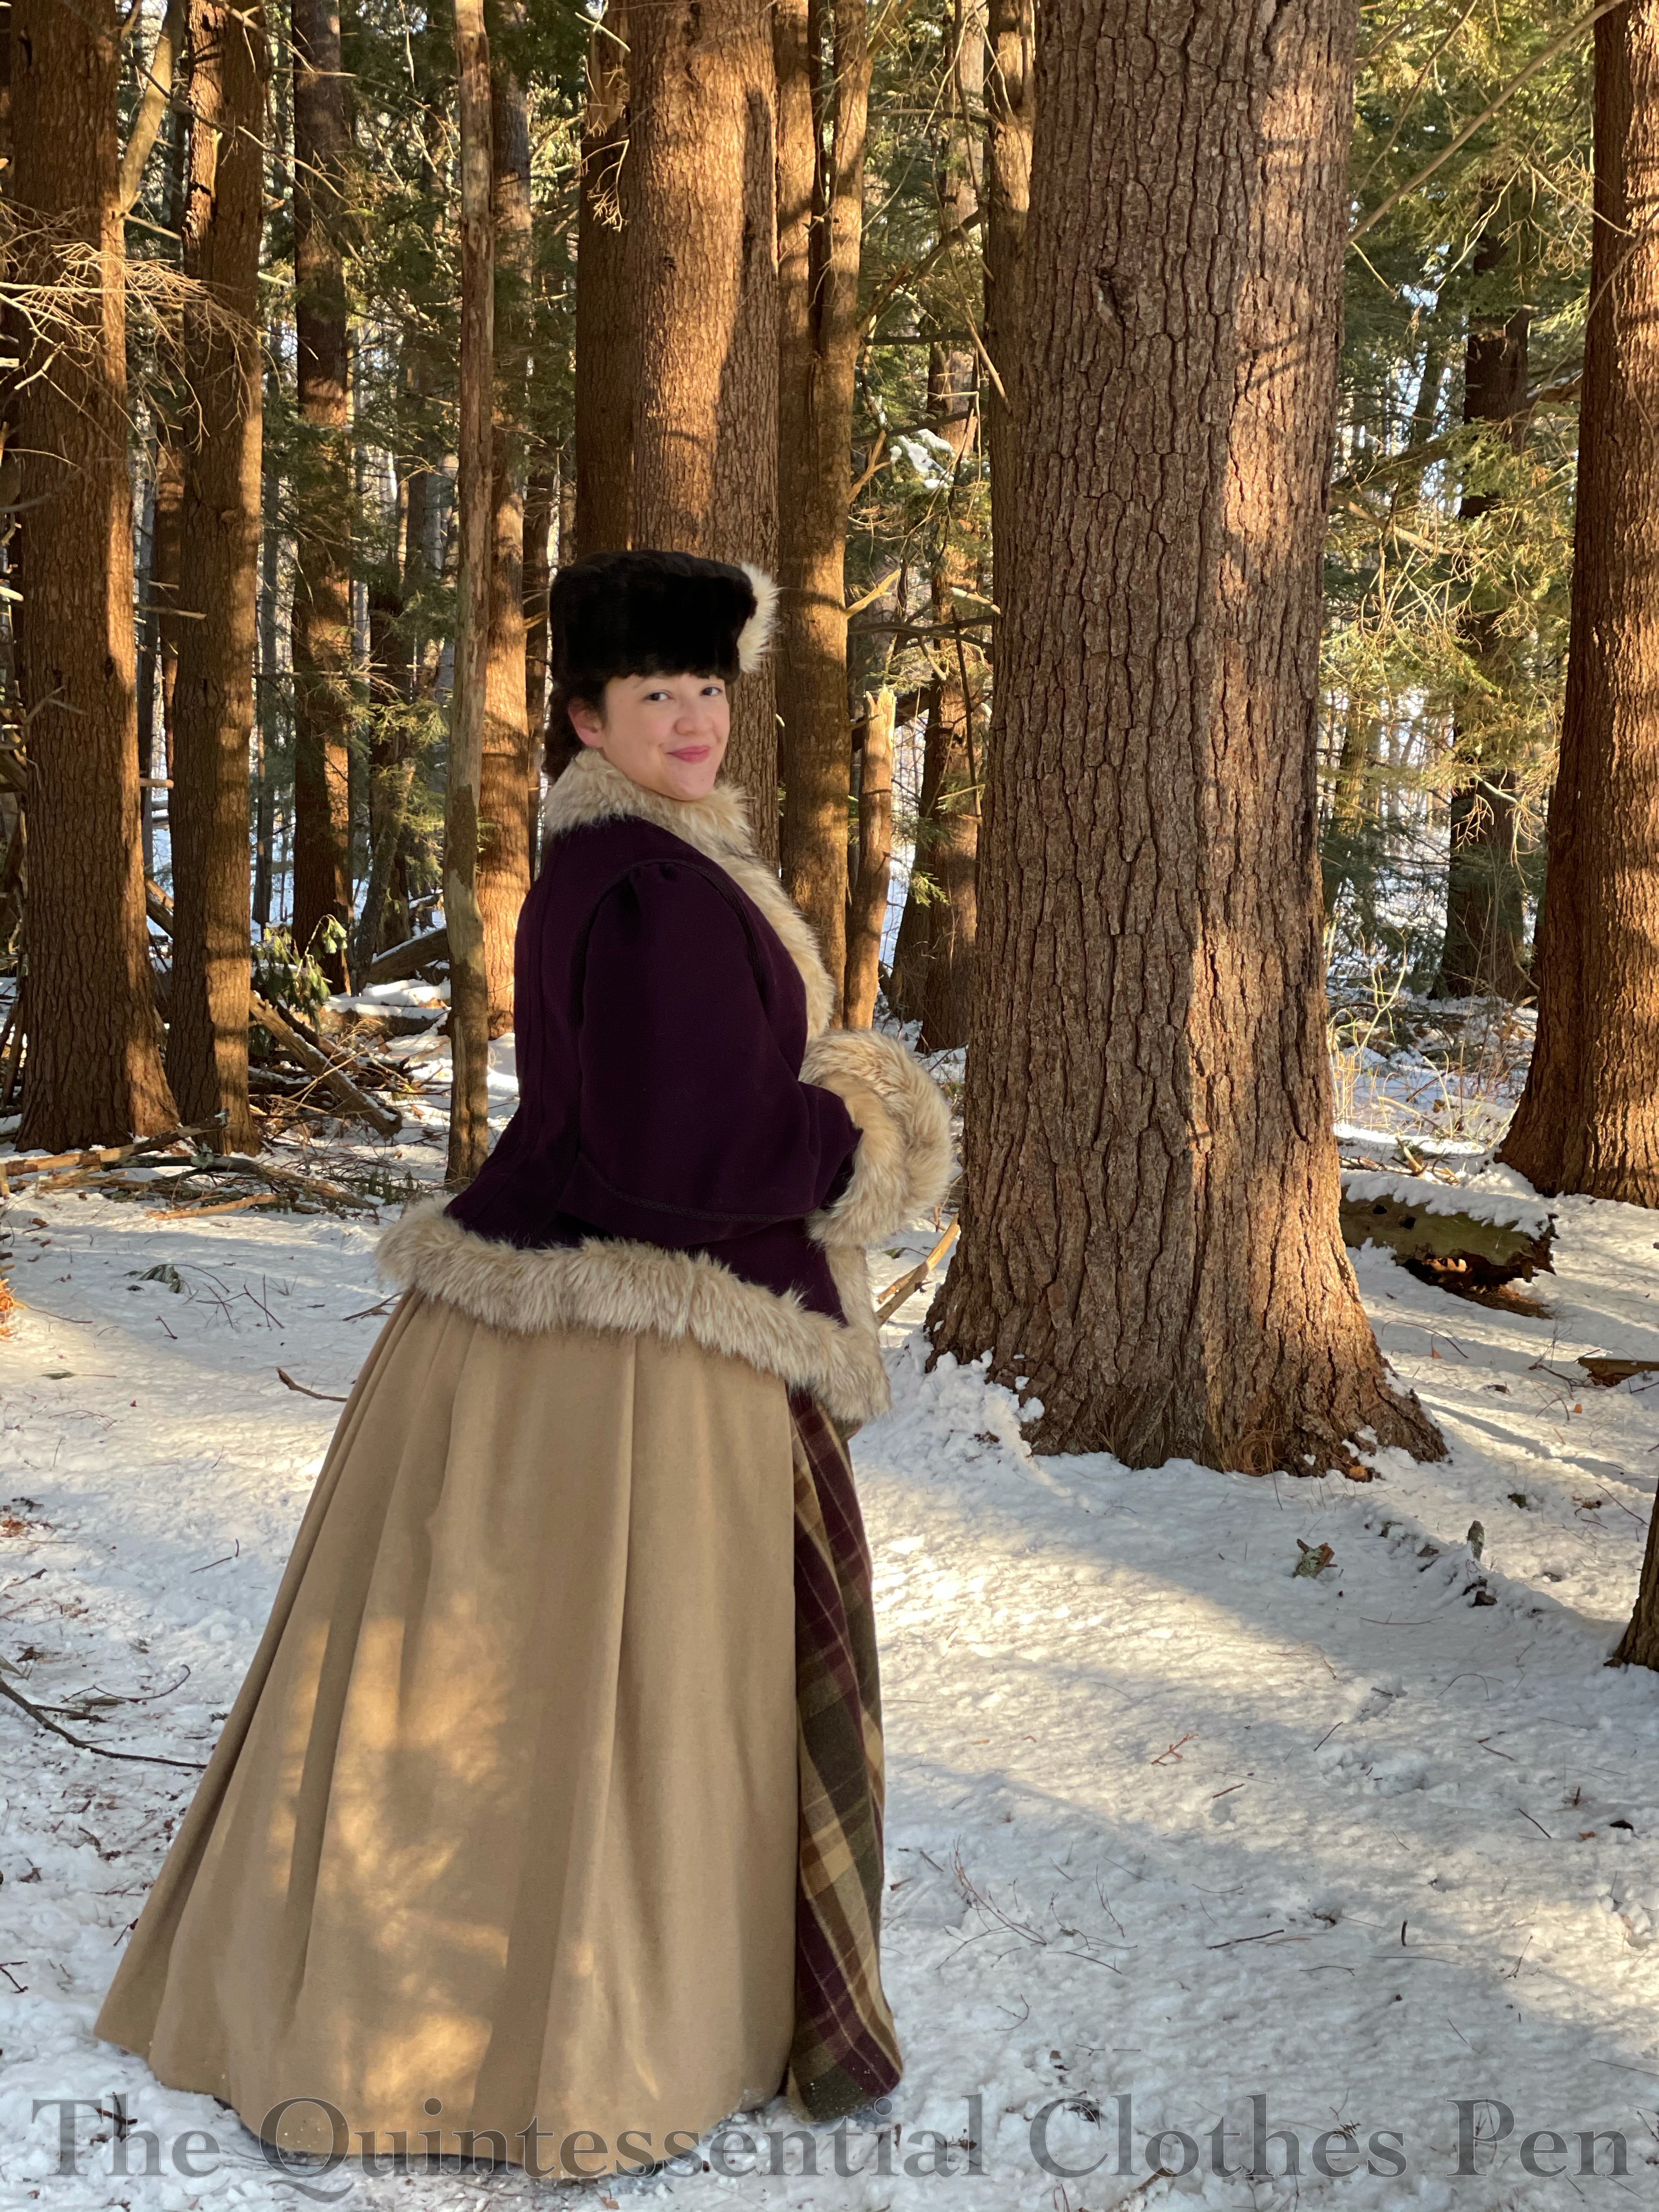
Last post was a detailed look at the 1884 Plaid Wool Bustle Dress that I completed last year. This post is going to look at the details of the accessories I made and wore to stay warm while taking photos of the 1884 dress: a mantle, a new muff cover, and a quick mention of the hat.

First, the mantle, which qualifies for the Historical Sew Monthly 2021 Challenge #5:
Purple: Make an item in any shade of purple.
Easier to see the color in the next photo! Purple!

Just the facts:
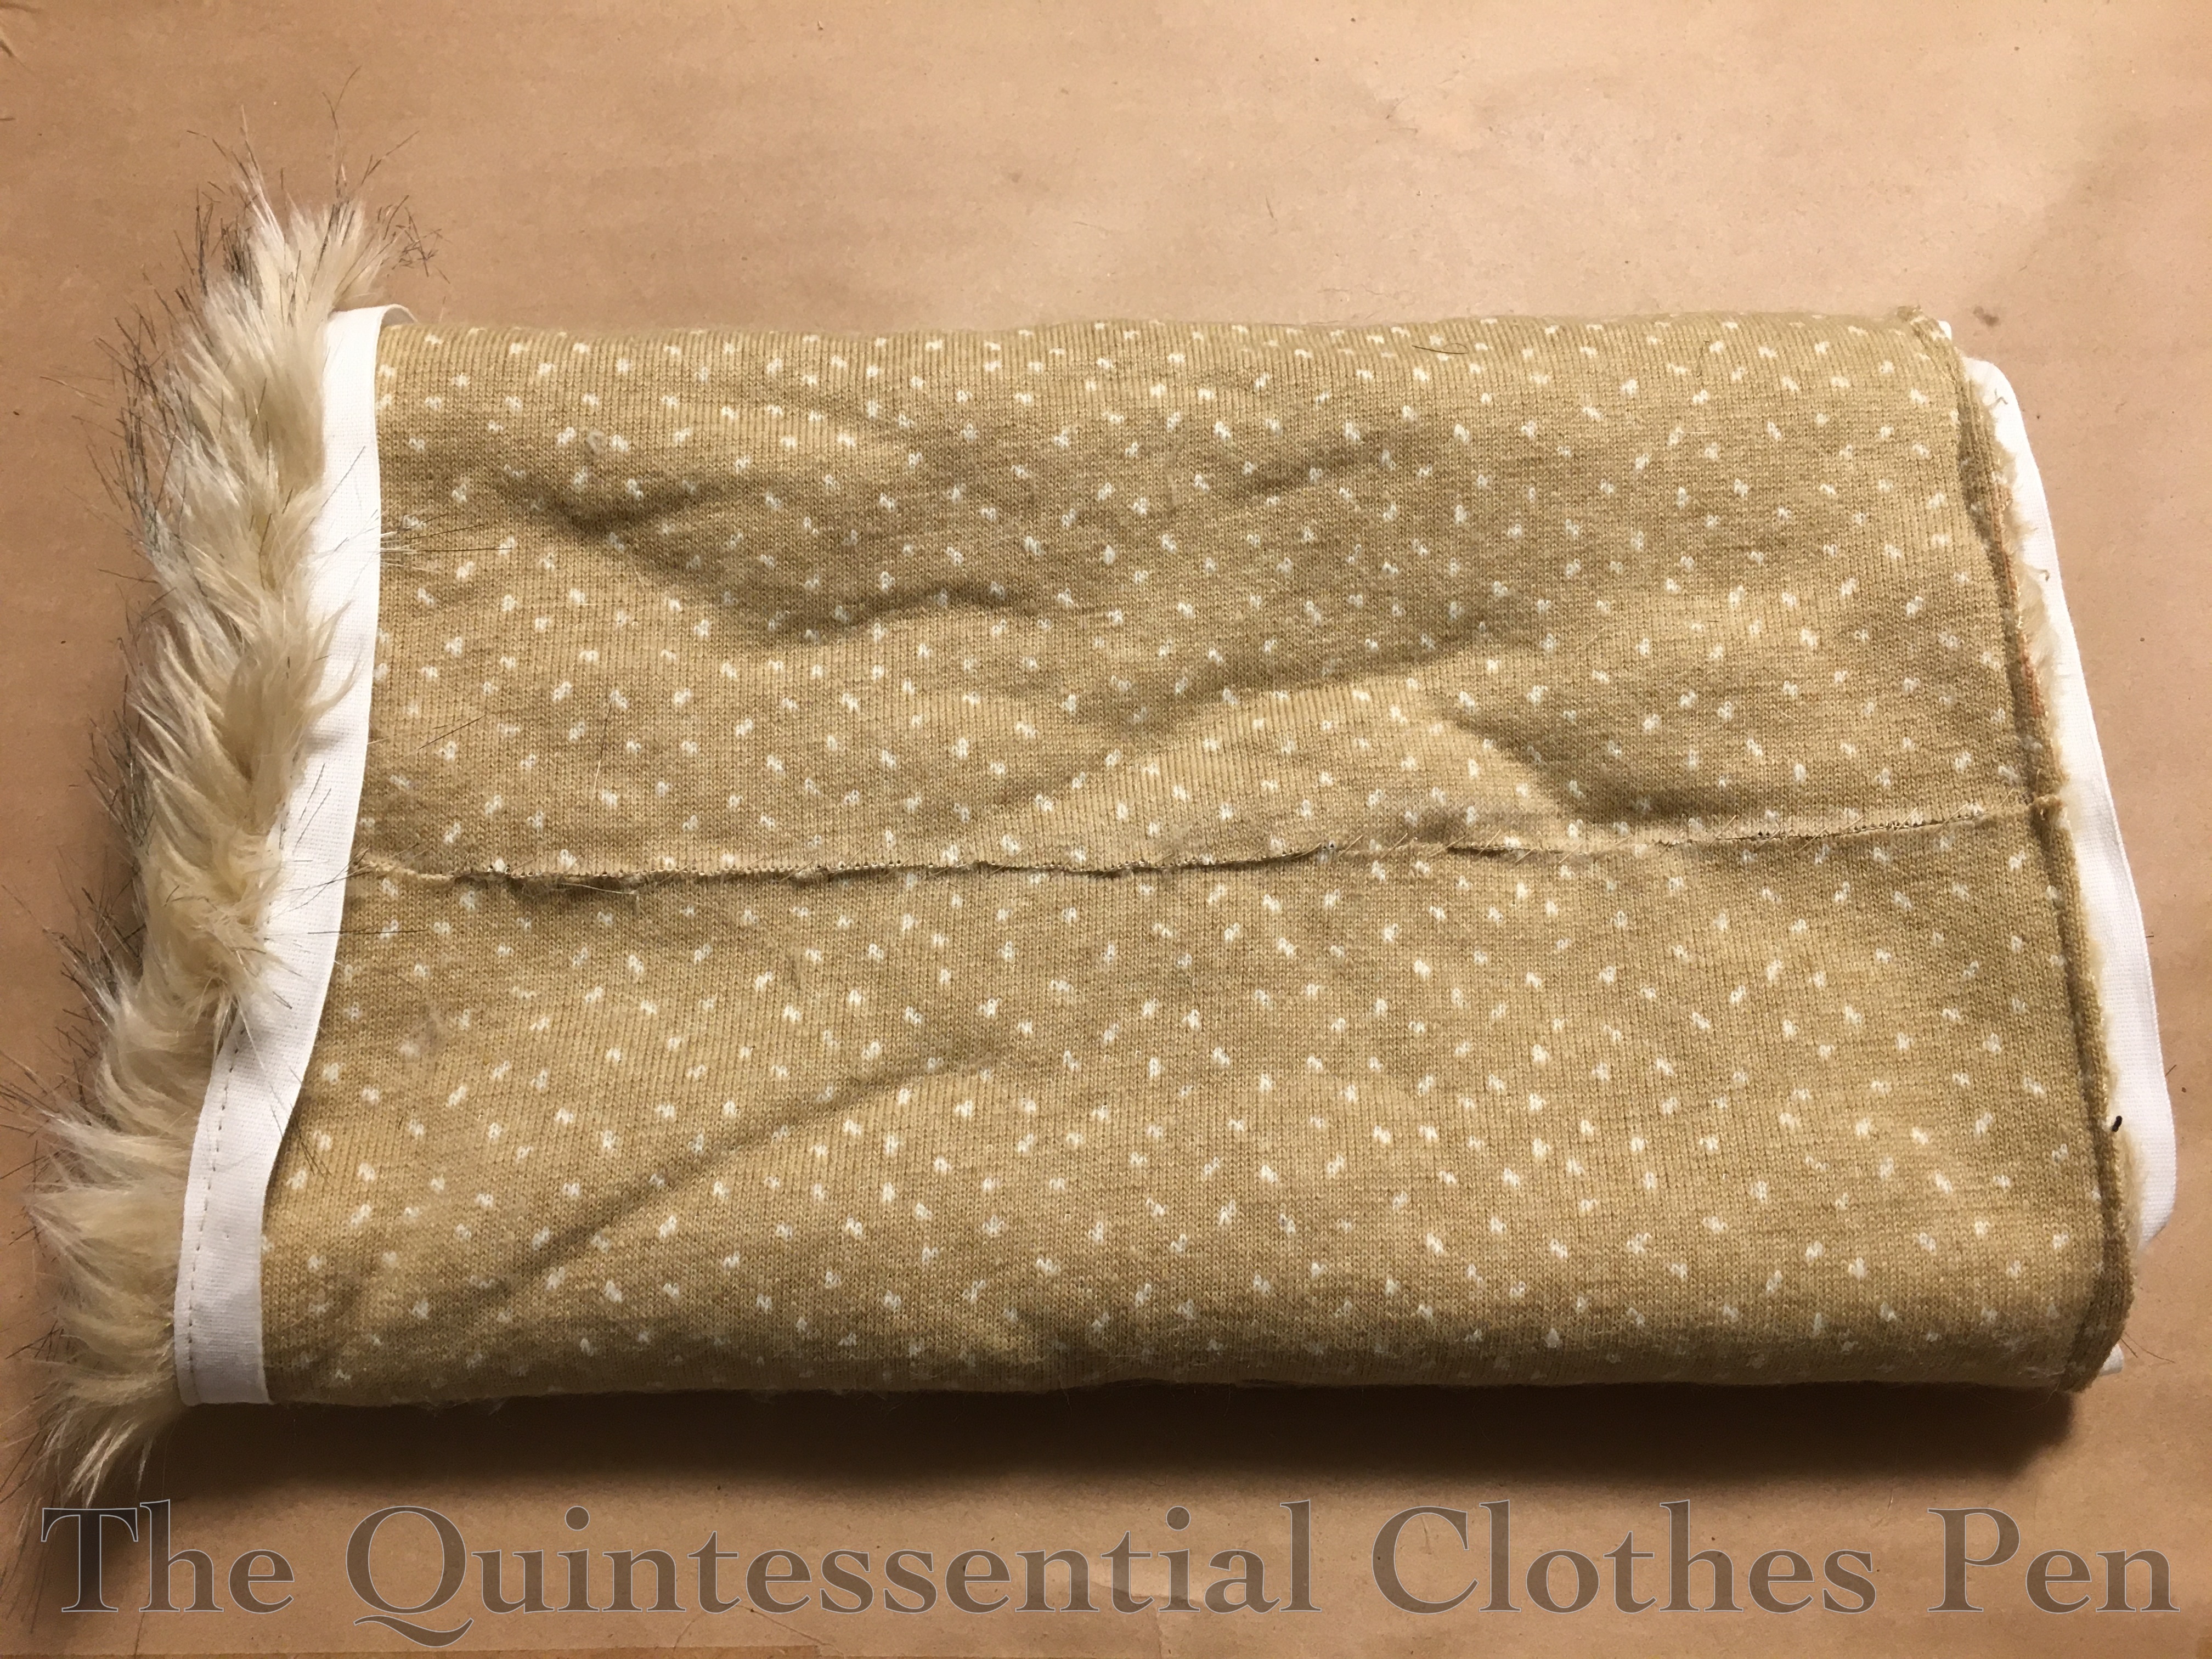
Fabric/Materials: 1 ½ yards purple wool, 2 ¾ yards drab polyester lining, and about 1 yard of faux fur.
Pattern: Adapted from a pattern on page 33 of The National Garment Cutter Book Of Diagrams.
Year: 1888.
Notions: 4 ¼ yards brown braid trim and 4 coat size hook and loops.
How historically accurate is it?: 85%. The pattern and silhouette are good, but the polyester lining and faux fur are not accurate. I’ve also never examined an extant 1880s mantle up close, so the construction methods are guesses that made sense to me.
Hours to complete: 18.5 hours.
First worn: In January, for a ramble and photos!
Total cost: Approximately $40.
Mantle: Beginnings
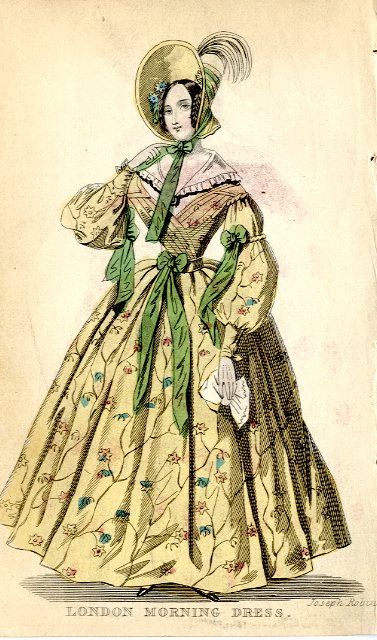
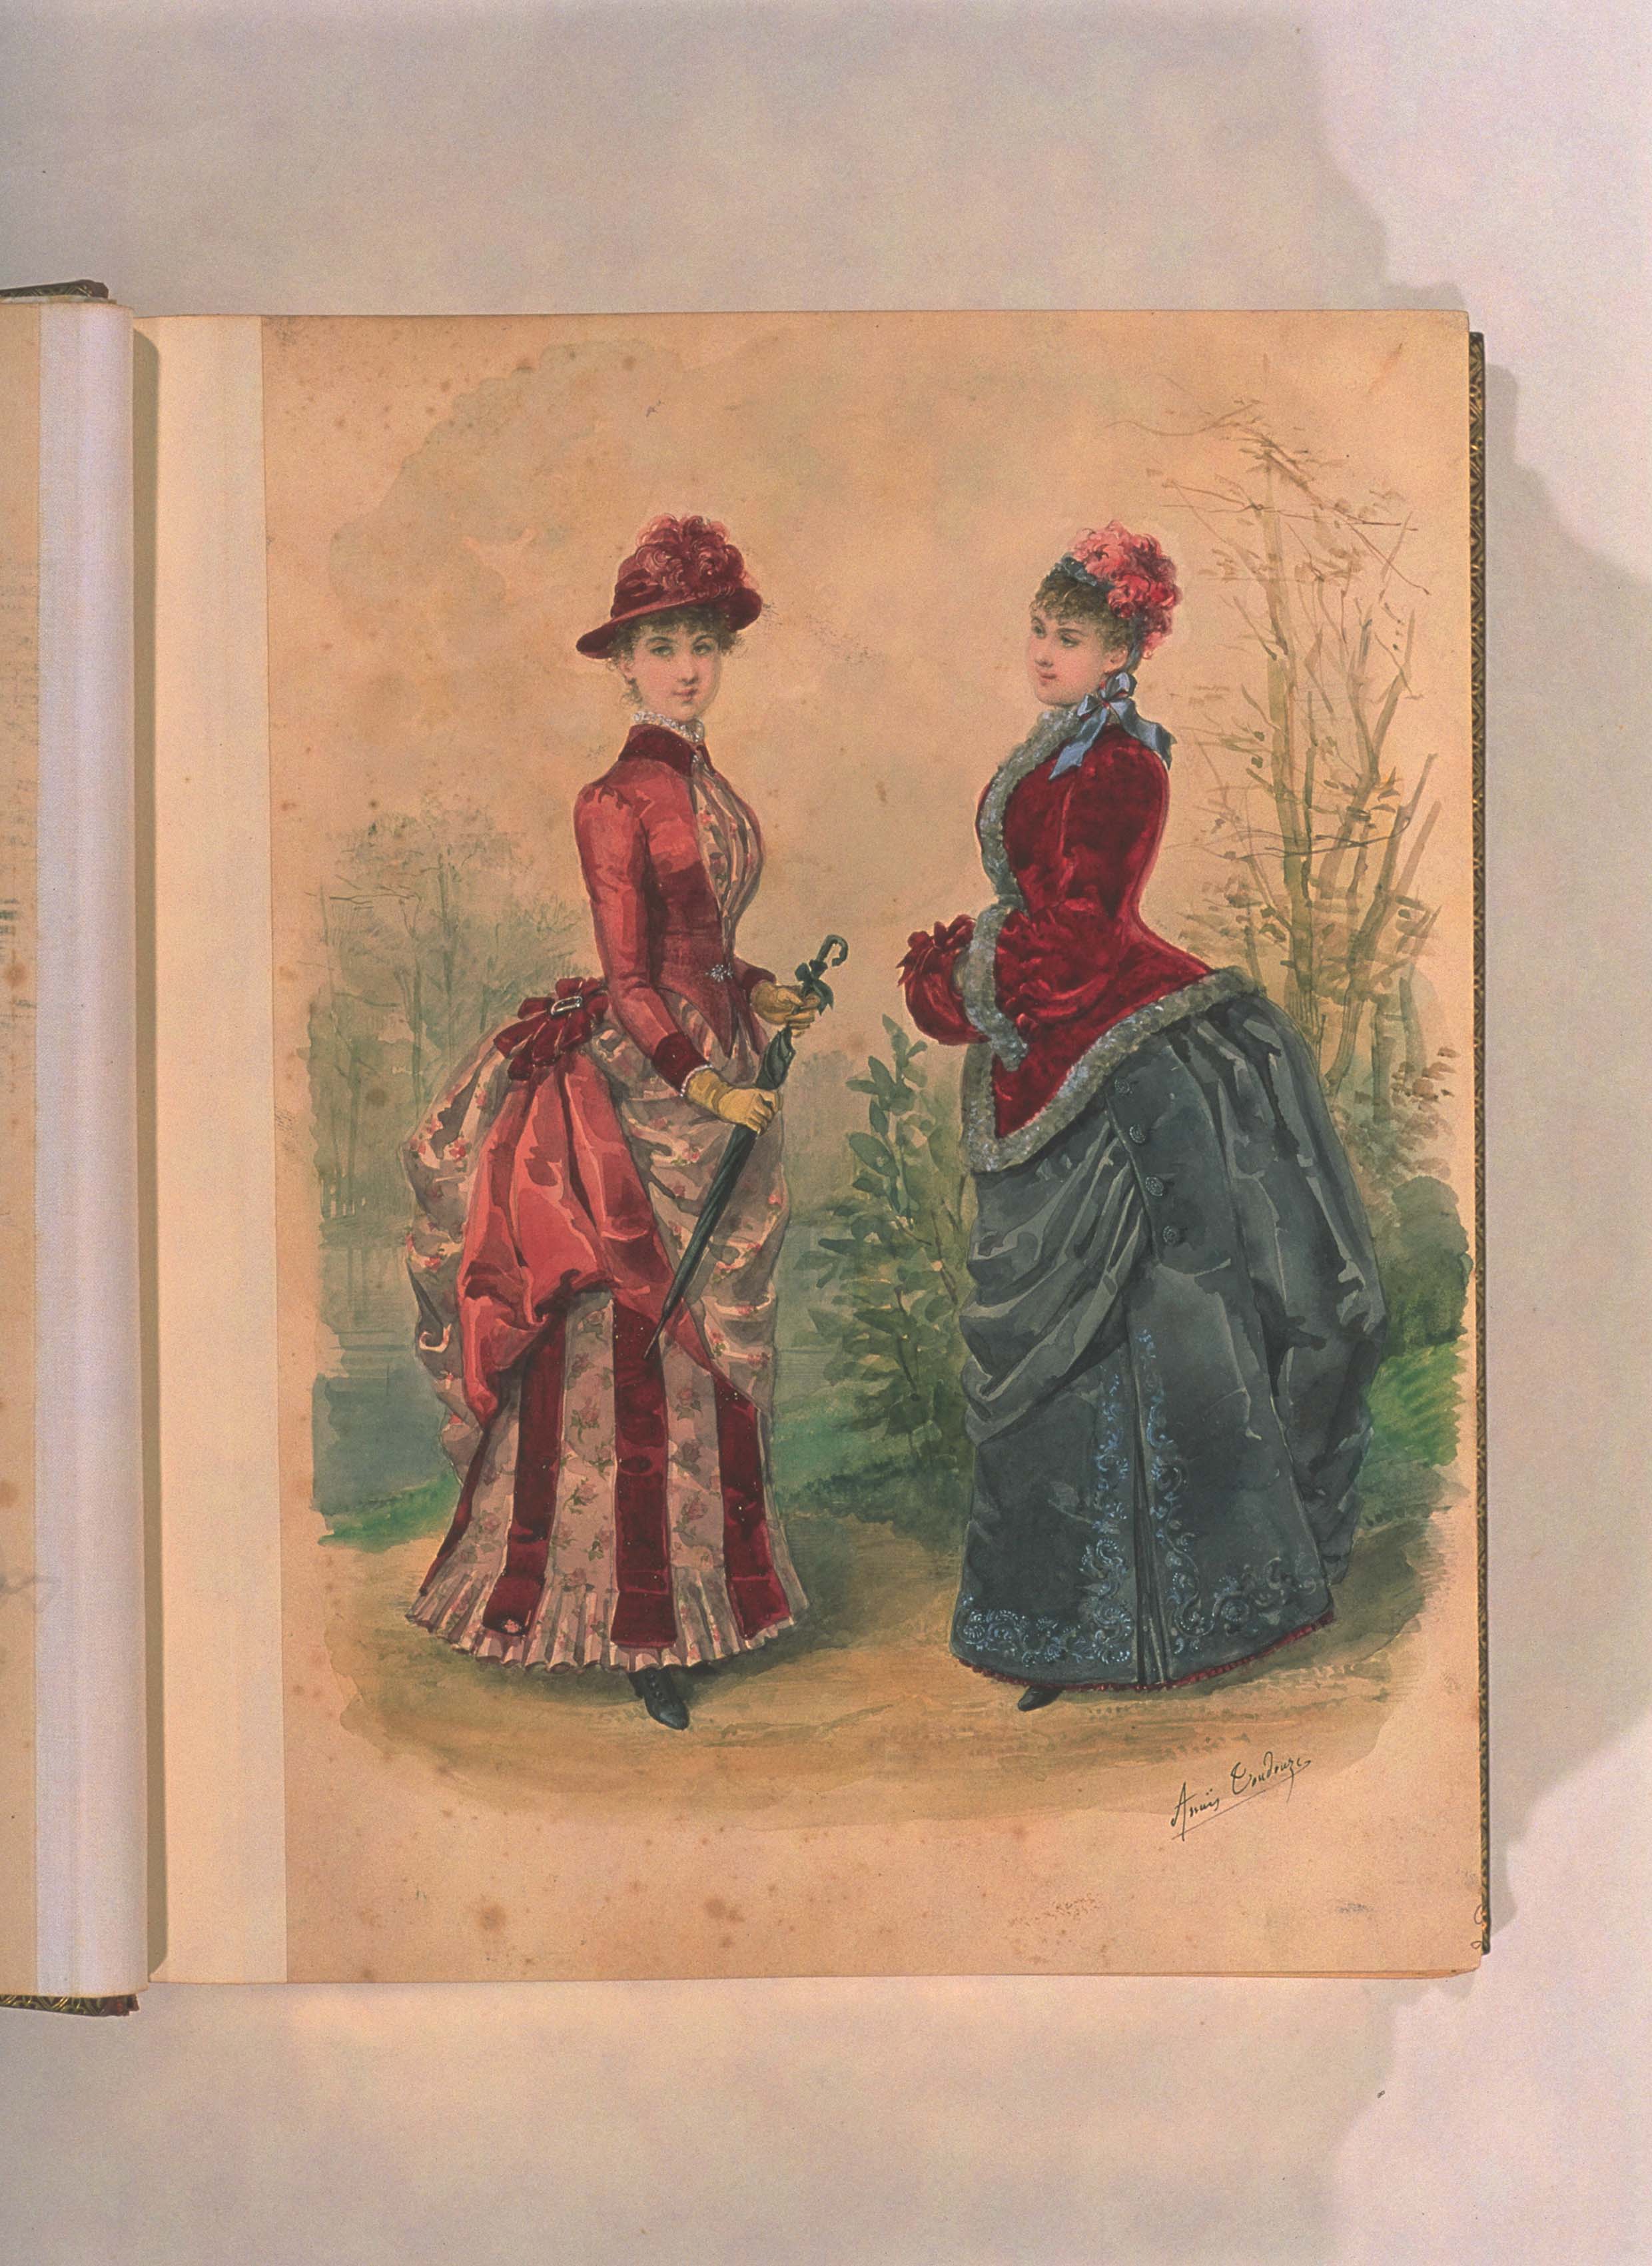
This accessory adventure started with a passionate desire to make a specifically 1880s shaped mantle to go with my new dress. I don’t remember the details exactly, but it’s possible that I fell in love with the red mantle on the right in the fashion plate below even before I fell in love with the shape of the bustle dress that I’m wearing underneath my mantle.
The shape! The fur! The matching muff! So cute! It seemed like it would go very well with my dress.

Mantle: Patterning
I started the mantle soon after finishing the 1884 dress last year, beginning with the pattern. The pattern is from The National Garment Cutter Book Of Diagrams published in 1888 (the entire book is digitized and available here).
The pattern I started with is on page 33: Ladies’ Wrap. It has the same general shape as my inspiration plate, including the very specific-to-the-1880s outerwear sleeve set into the side back seam. Figuring those out was an eagerly anticipated part of the challenge.
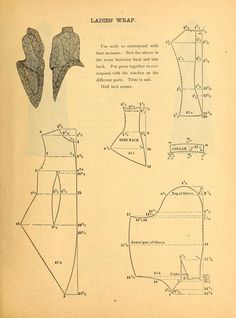
The brief instructions are to use the scale corresponding to the bust measure to enlarge the pattern. I didn’t feel like finding the right scale in the book, so instead I guessed at a scale that generated proportions that made sense for my size. I think it was somewhere in the realm of ⅛” to 1″.
After the pattern was enlarged, life became busy and I put this project on hold. Fast forward to the first days of 2021 and I decided to knock this project off the to-do list so it would be ready at the first sign of snow for photos!
I made a mockup from my pattern, adjusted a few things including the length of the front piece (it was much longer than my inspiration!), then altered the mockup to check the changes. At that point, I was satisfied and ready to move on to real fabric!
Mantle: Sleeve Puzzling
Along the way in this process I had to figure out the sleeves. Below is what the sleeve pattern piece looks like when cut out. It’s not your usual sleeve shape. The top looks mostly reasonable, but what’s with a dart on the bottom edge? And the point at the bottom? Odd! Folding this in half (as you would normally do for a sleeve) would produce a strange sleeve, indeed.

I pondered this… looked up extant garments (there are a number of mantles with sleeves like this on my general 1880s outerwear Pinterest board) and did some searching for other people who had made this type of garment before.
The thing that suddenly made the sleeve click for me was a series of posts from Caroline (who blogs at The Modern Mantua Maker) showing the construction of an 1880s dolman that she made. This post, in particular, contains a photo showing the sleeve before it was set into the body of the garment. Ah ha! I realized that the bottom of my sleeve folds up and the dart goes against the body. That creates the right shape!
This post from Caroline shows her finished dolman. It was also very helpful as I tried to wrap my brain around these unusual sleeves. And, Caroline has another dolman she made as well, which I also looked at as I was figuring out my pattern.
Mantle: Materials
I had the fashion plate to reference for the overall design of the mantle, but I needed a bit more detail to confirm my material choices. Many 1880s mantles are made from fancier fabrics: silks, velvets, brocades… I only had a heavy purple wool in my stash in a quantity I thought would be just the right amount for the mantle and I didn’t want to buy something new (especially something likely to be expensive, as many of those fancier fabrics would be).
After some searching, I found this c. 1880 opera cloak at the Metropolitan Museum of Art that seems to be made of a plain wool. I decided to use some of the details from it, like the braid trim, to upgrade my mantle from plain to more interesting.
I had the braid trim in my stash already, purchased a few years ago from Deb’s Lace and Trims because I liked the look of it and thought it would be useful someday (I love Deb’s Lace and Trims–you absolutely can’t beat the prices and the products are lovely–I’ve been using them for historical projects for the last ten years!). It was great to find a use for this braid. With just five yards on hand I had to reduce the amount used relative to the Met inspiration mantle, but I think the end result is in keeping with the simple style of the dress. The braid highlights the shape of the mantle but doesn’t distract or seem too gaudy for the plain wool base.

After creating my first mockup I did have a very justified fear that my purple wool would not be enough for the mantle. Thankfully, after altering the pattern to suit my taste and size I was just able to eke out all of the pieces. Whew!
I love the quilted lining of the Met opera cloak and I considered quilting silk myself to do it. My stash didn’t have any appropriately colored silk, though, so that idea was out if I was to stay on the stash busting course. I thought of buying pre-quilted silk (completely abandoning my stash busting idea), but the colors I could find were bland and the dark brown I eventually decided on after months of indecision was sold out.
In the end, I decided I just wanted the project to be finished, so I would go the low-cost route of purchasing a polyester lining from the $3 per yard store. It helped me use other stash materials, so it seemed a reasonable trade off.
Mantle: Construction
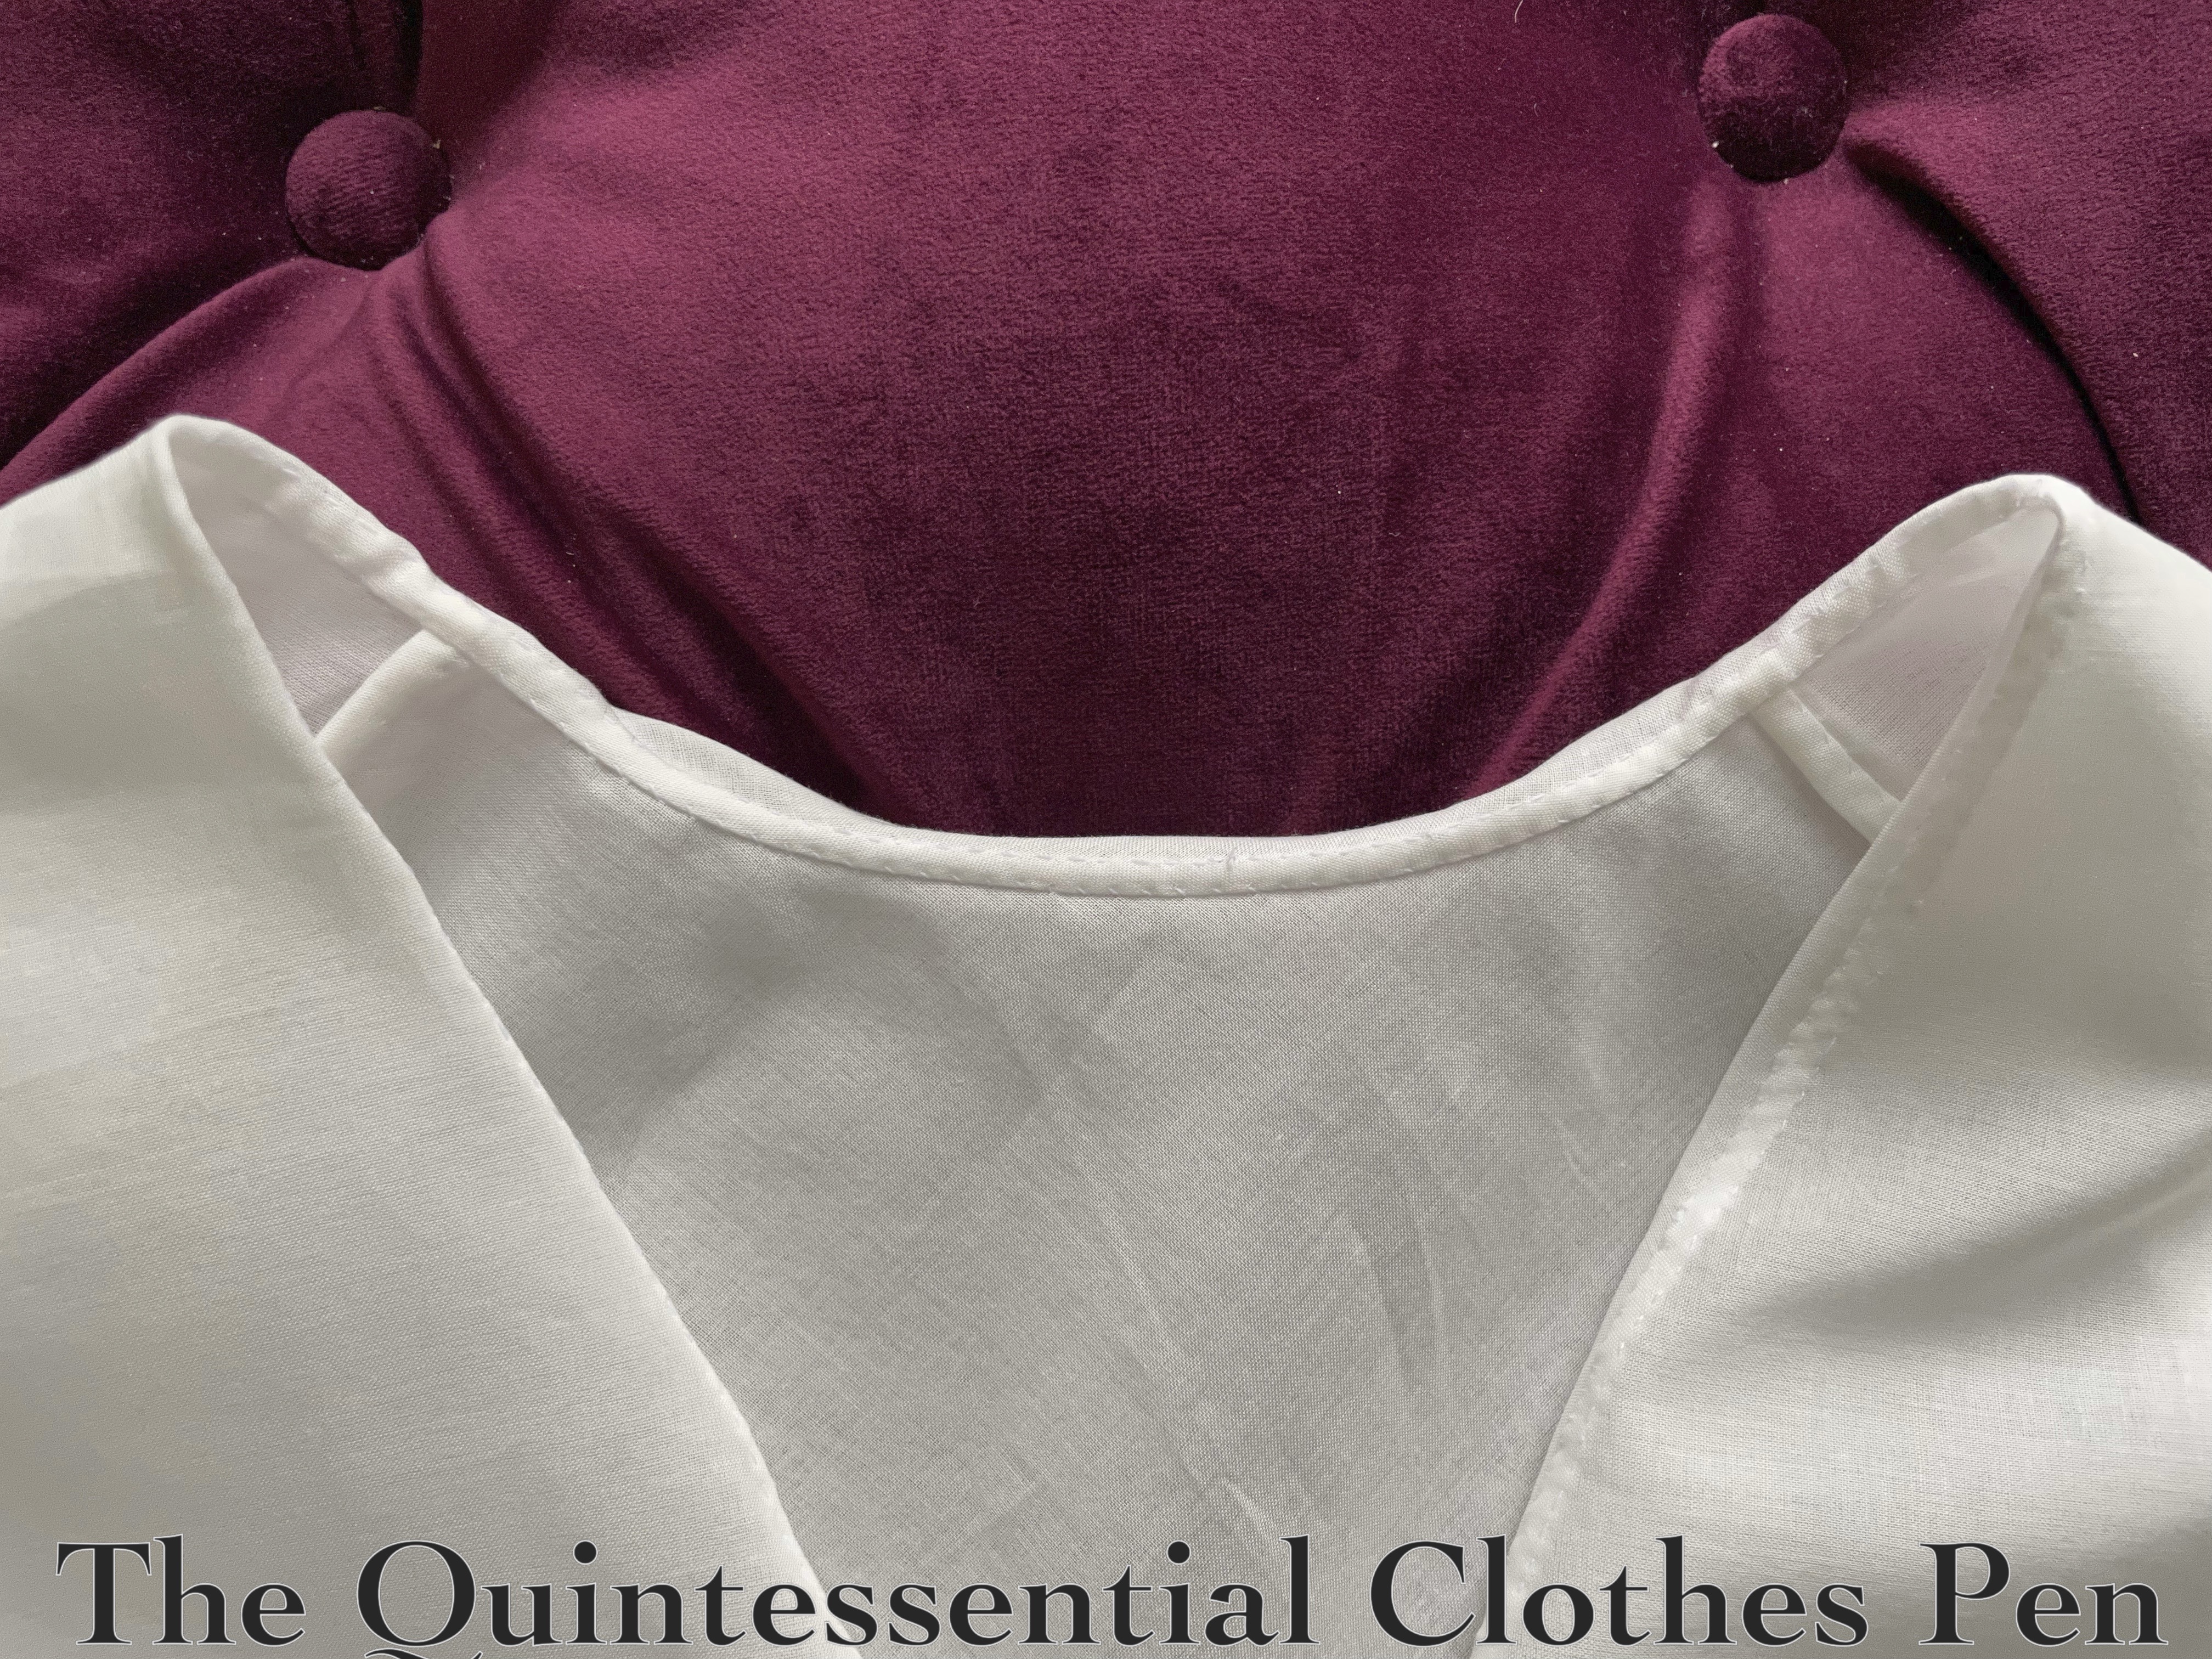
Here’s that polyester lining. It’s unintentionally the same greyish-brown drab color as the cotton lining of the 1884 bustle dress. The mantle is fully lined, as you can see.

In order to make the lining of my mantle tidy, the sleeves were fully lined before being set into the side back seams. Here is one sleeve assembled and ready to be set in.

The assembled/lined sleeves were set into the exterior wool side back seams while the lining side back seams were sewn plain. After attaching the sleeves around the armsceyes in the exterior wool, the lining was turned under and whip stitched to finish the edges.
All of the braid trim is machine sewn on using a zipper foot. I was able to sew it in place on the wool before setting in the lining, so none of the attaching sew lines are visible.
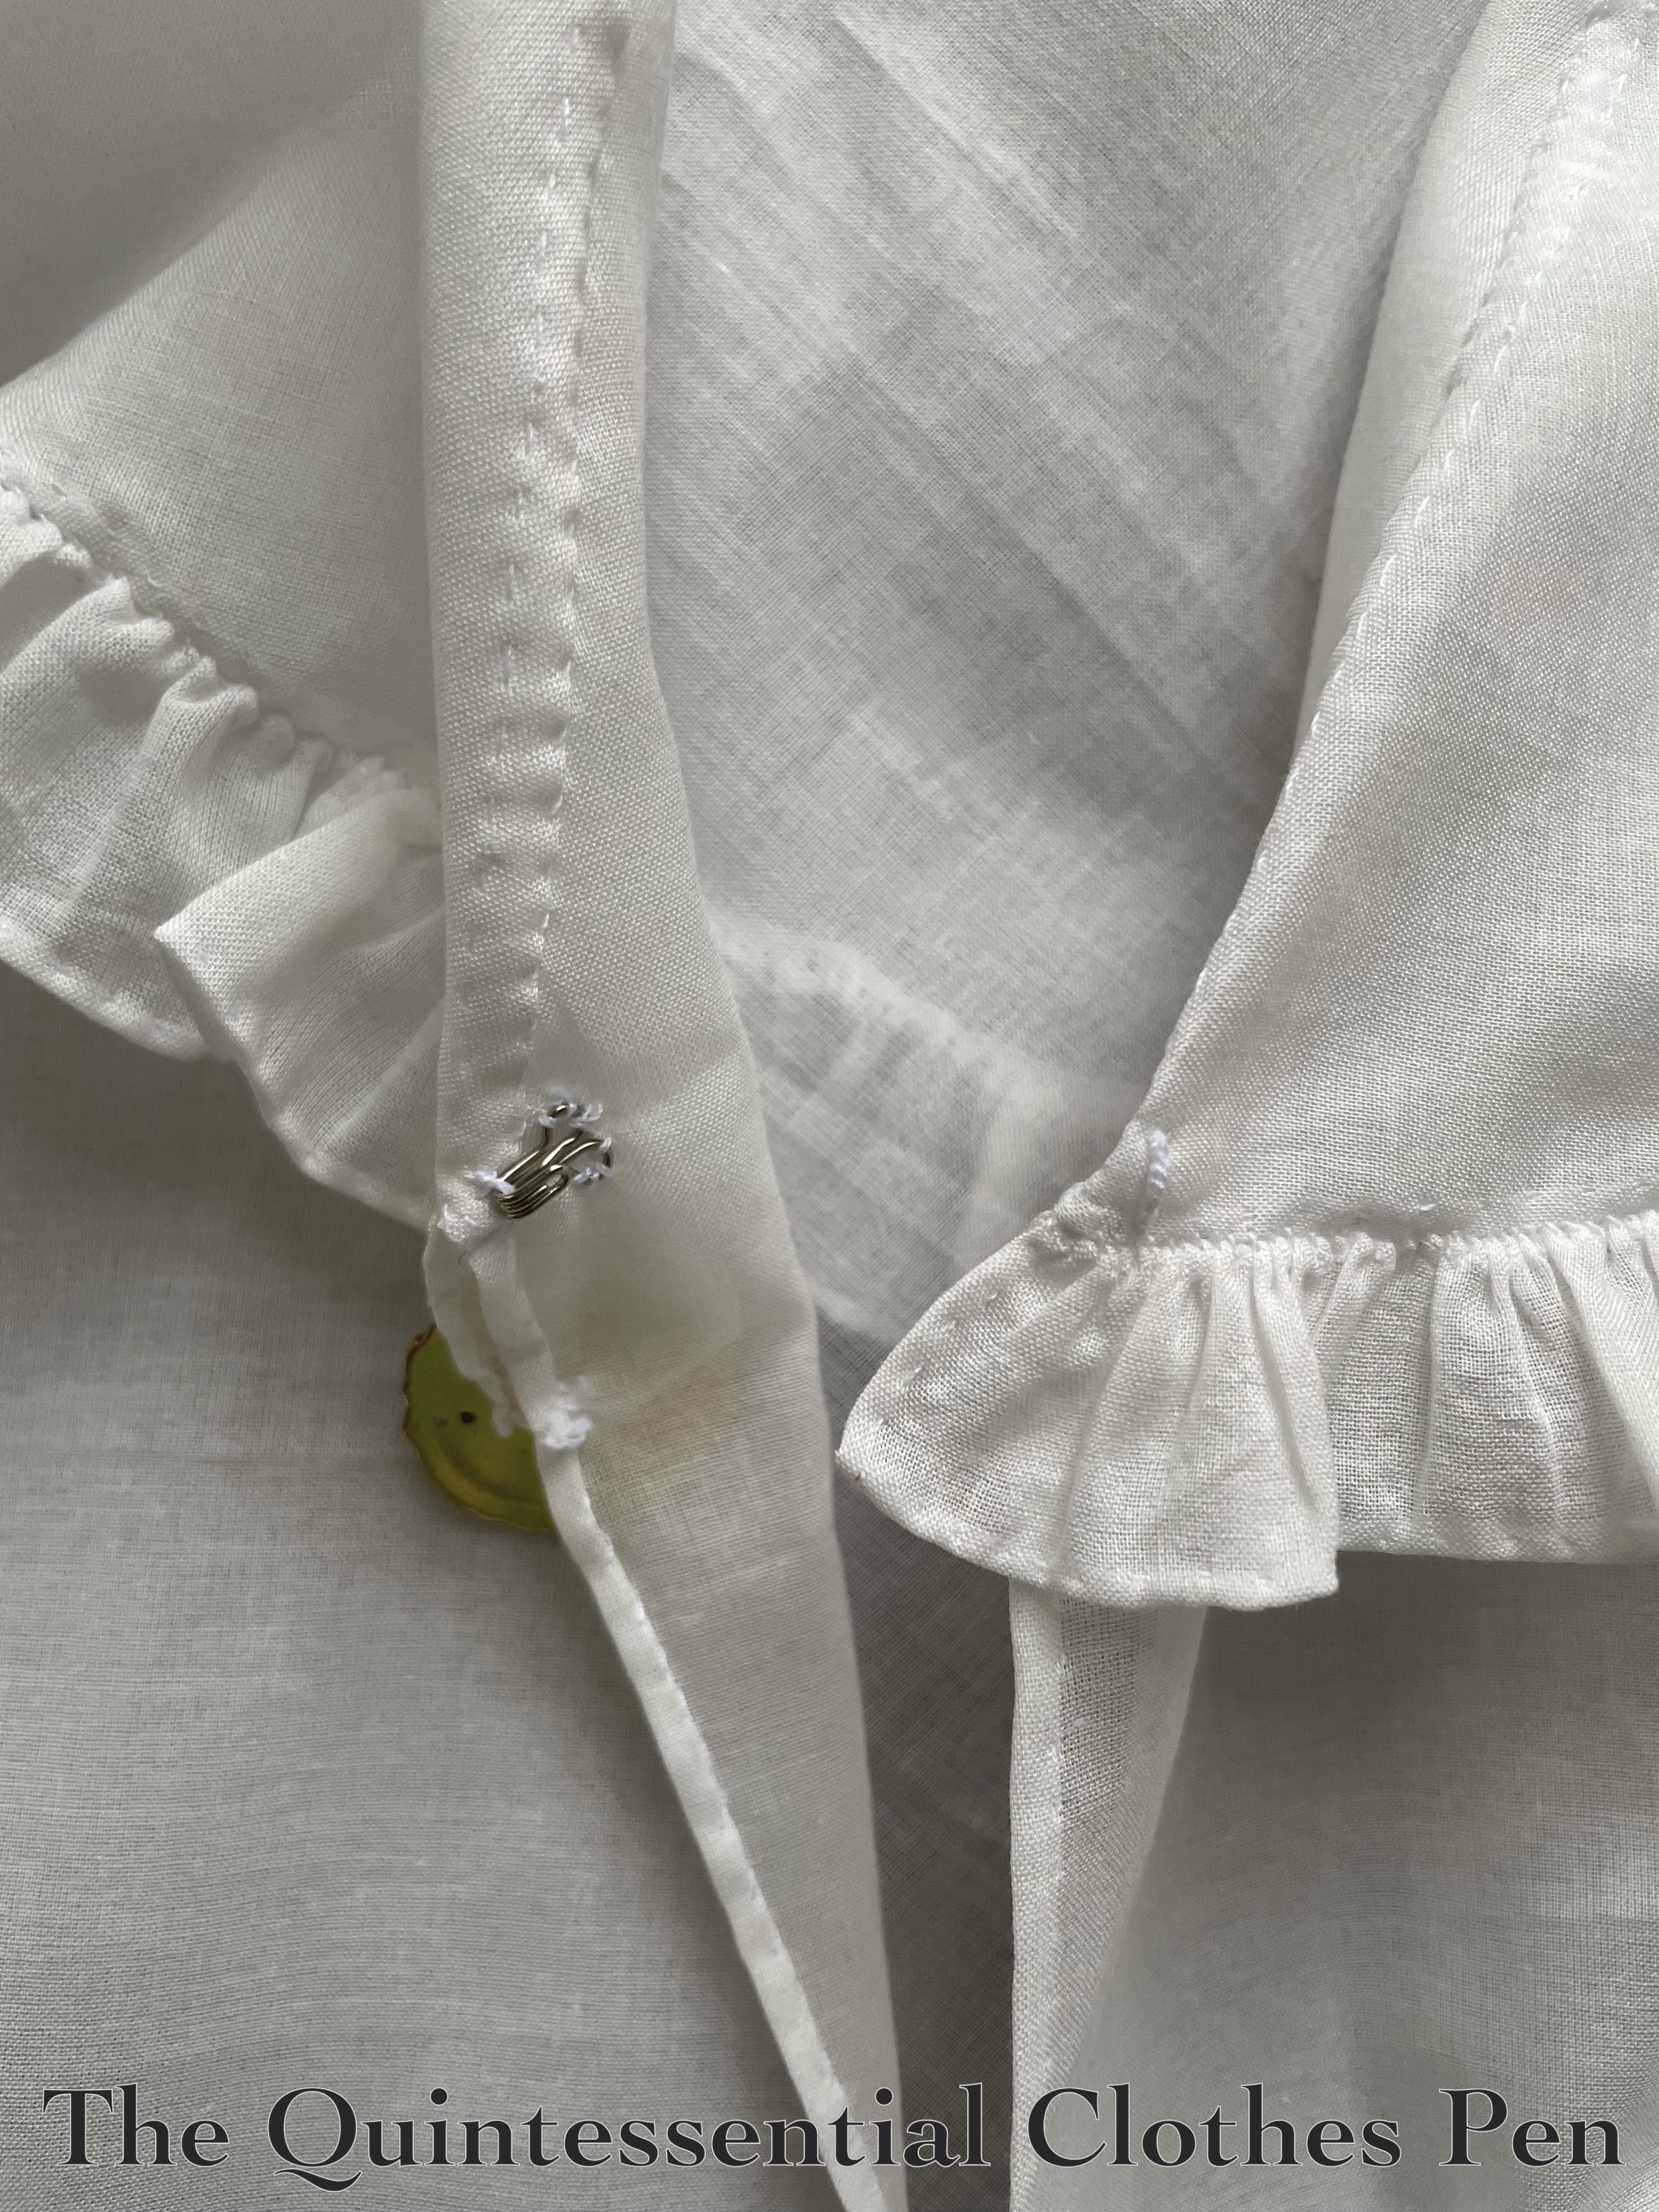
The lining was machine sewn around the edges with the neck left open to turn right sides out. After that was completed, I machine sewed the collar lining (interfaced with cotton) to the neck edge by machine. Then I sewed the exterior fur collar on the neck edge by hand (shown in the next photo).

After that I flipped the lining up, turned all of the seam allowances in, and whip stitched the lining to the fur edge. It seemed easier to do it this way rather than machine sewing the fur.

The faux fur trim around the bottom edge is pieced where there are seams in the wool. This allows the fur to have the exact same shape as the wool underneath. These edges have no seam allowance. The edges are just butted together and then (roughly) whip stitched, as in the photo below. From the right side of the fur the seams are completely invisible.

The top and bottom edges of the fur trim have seam allowances that are turned in and hand sewn along both edges. The outer (bottom) edges are sewn right sides together with the bottom of the purple wool. Then, the inner (top) edges are turned under and stitched. Here is that process in progress.

The mantle closes with 4 coat weight hook and loops spaced down the front edges. They kept popping open while being worn, so when I got home I pinched them with a pair of pliers to make the hooks grab onto the loops better. I haven’t been out wearing this again since then, but I’m confident this solves the problem, as I’ve used this trick in the past.
New Muff (Cover)
Next, I want to share a bit about the muff I have in these photos.

Despite having a number of muffs, none of them are the right size and material to match my new mantle. I have a dark muff that matches the hat I wound up wearing and I have a muff made from the same fur I used to trim the mantle, but the dark muff didn’t match my mantle and the one that does match is an intentionally oversized early 19th century muff. Neither would do!
But I didn’t want to make an entirely new muff. Instead, I decided to make a new cover for a muff I’ve had since 2012 (you can see it in this post from 2019, when I used it with an early 19th century outfit). The muff is from a workshop I took with LadyDetalle. (She has an Etsy shop that often stocks muffs like this as well as many other beautiful and historically inclined goodies.)
The base is essentially a pillow (stuffed with real down–quite luxurious!) that can be rolled into a tube and have a cover put on. The idea is that the muff cover can be changed out so that you can have all sorts of beautiful muffs and only need to store the one base. The muff is sized for the 18th century, but I thought it just might work for my 1880s look, too.
Accordingly, I measured my existing muff cover and cut a rectangle of faux fur that size. I butted my edge to make a tube and whip stitched it, in the same way as I whip stitched the mantle trim. Next, I machine sewed twill tape on the tube ends. (I had no worries about the fur getting caught in the machine sewing because that whole edge turns into the muff in the end anyway, so none of that will show.)

Once whip stitched in place the twill tape covers the raw edge of the fur and also provides a casing for the ribbons at each end. I used tobacco brown polyester ribbon that was gifted to me. By way of justification for the polyester ribbon, I’d already used polyester for the mantle lining and this seemed like a good use for this particular ribbon.
Below is the muff cover after those steps were completed.

And here is a closeup of the twill tape with machine stitching on one side and whip stitching on the other. The ends of the twill tape are just turned under and butted together, leaving an opening for the ribbon ends to come through.

And ta da! A muff that is the right size and perfectly matched to the mantle! The additional muff cover takes up hardly any storage space and now I have more versatility in my wardrobe.

Hat Baubles
While making my mantle and debating how to stay warm, I figured I would need something to keep my head warm. I’d already made the dress and the mantle and I didn’t feel like creating something all new for my head, as well. And I loved this image from the McCord Museum of 1880s ladies curling in the cold with their hats.
I thought I could repurpose my 1917 faux fur hat to suit the purpose, as it has a generally similar tall, straight shape. That hat is nice and warm, being lined in flannel and interlined with layers of batting to insulate the head.
The look of it was a little bland with this outfit, though, and not really coordinated with everything else. I liked the idea of bringing in some of the mantle fur to make the hat look like it belonged. After fussing with various ideas I decided on fur poms, or baubles.

The baubles are sort of like large-scale cloth stuffed buttons. They are a circle that is gathered, the edges turned into provide stuffing, and the backs sewn together to close up the opening. (This tutorial shows how to make these types of buttons, though I started with a circle of fabric rather than a square.)
I like that the finished baubles pull in the look of the tan fur, that they are silly and amusing, and that they are easily removable. In fact, they are attached with safety pins on the inside of the hat! You can’t get much more easily removable than that!

I’m very pleased with my stash-busting-and-using-things-I-have-on-hand winter bustle ensemble. It’s warm. It was a great patterning challenge. It’s really fun to wear (it feels super elegant!). And it (mostly) reduced my fabric stash.

Thanks for sticking with me through this second detailed (and rather long) post! Next post will be further photos of the bustle dress in action on a woodland adventure.