Well, it’s June now, and that means summer to me. I’ve been slow to post about my kite making adventures because I was busy posting about other things, but it seems fitting for this post to be the first one of June–summery, somehow.
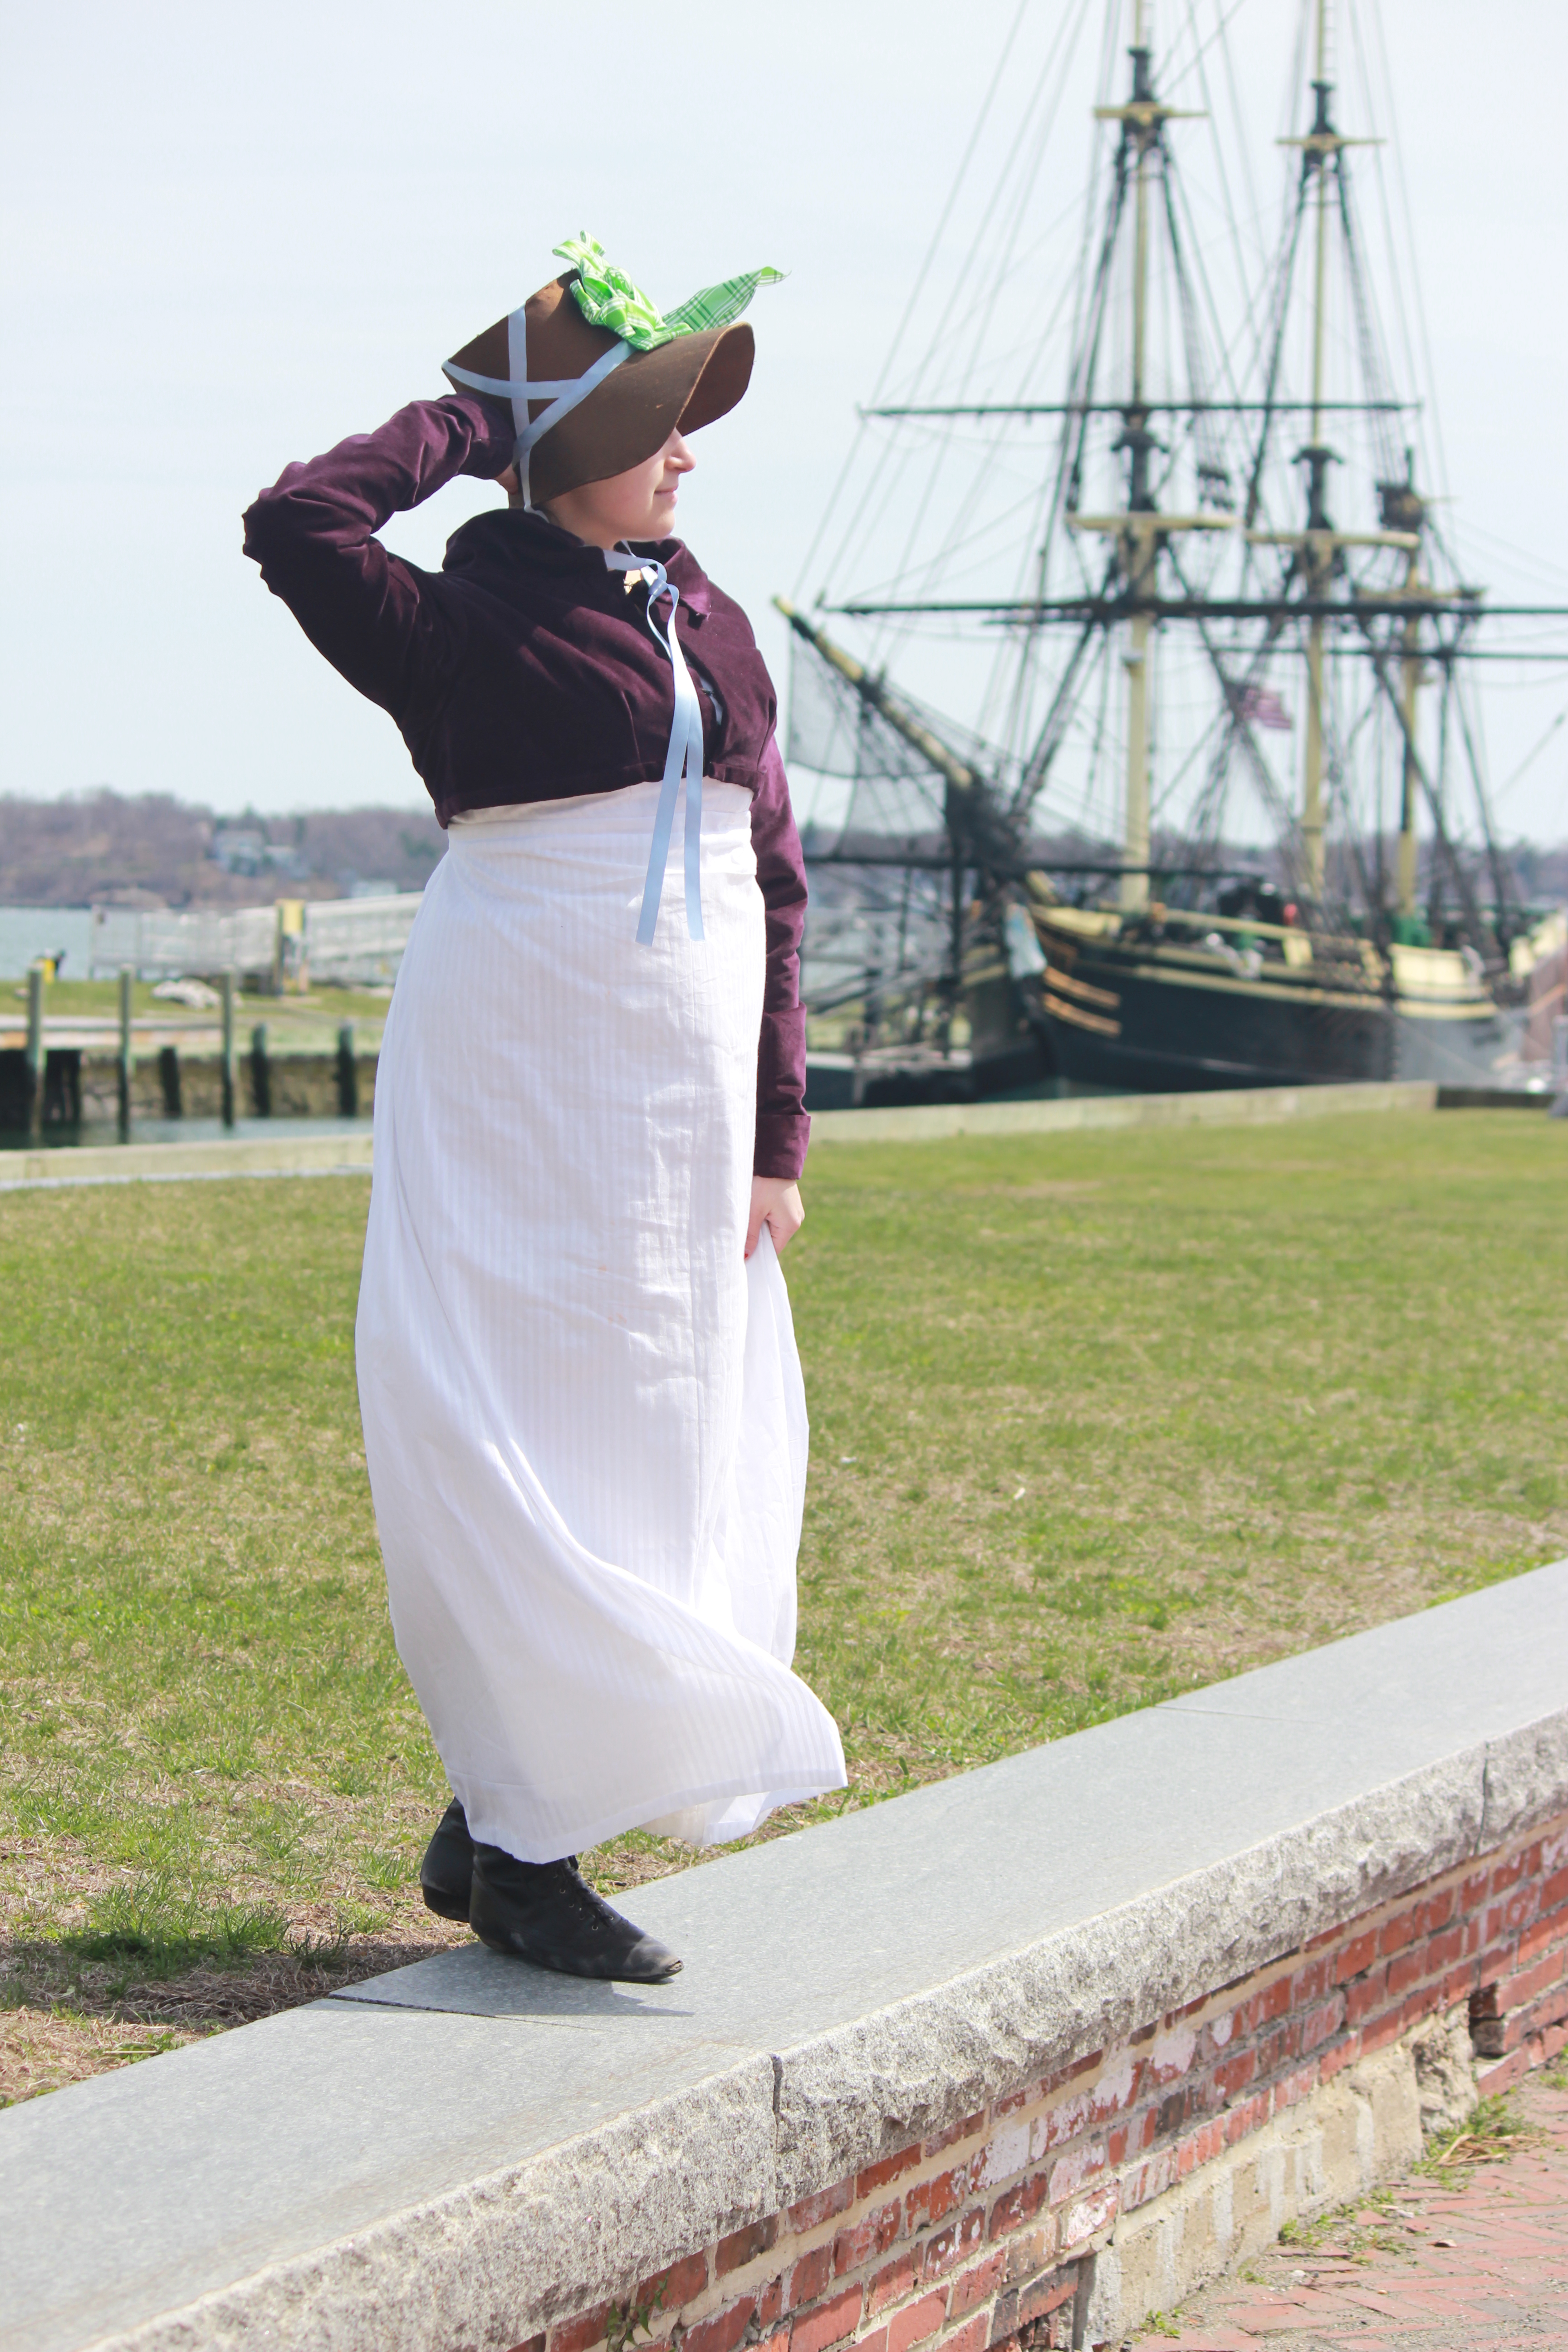
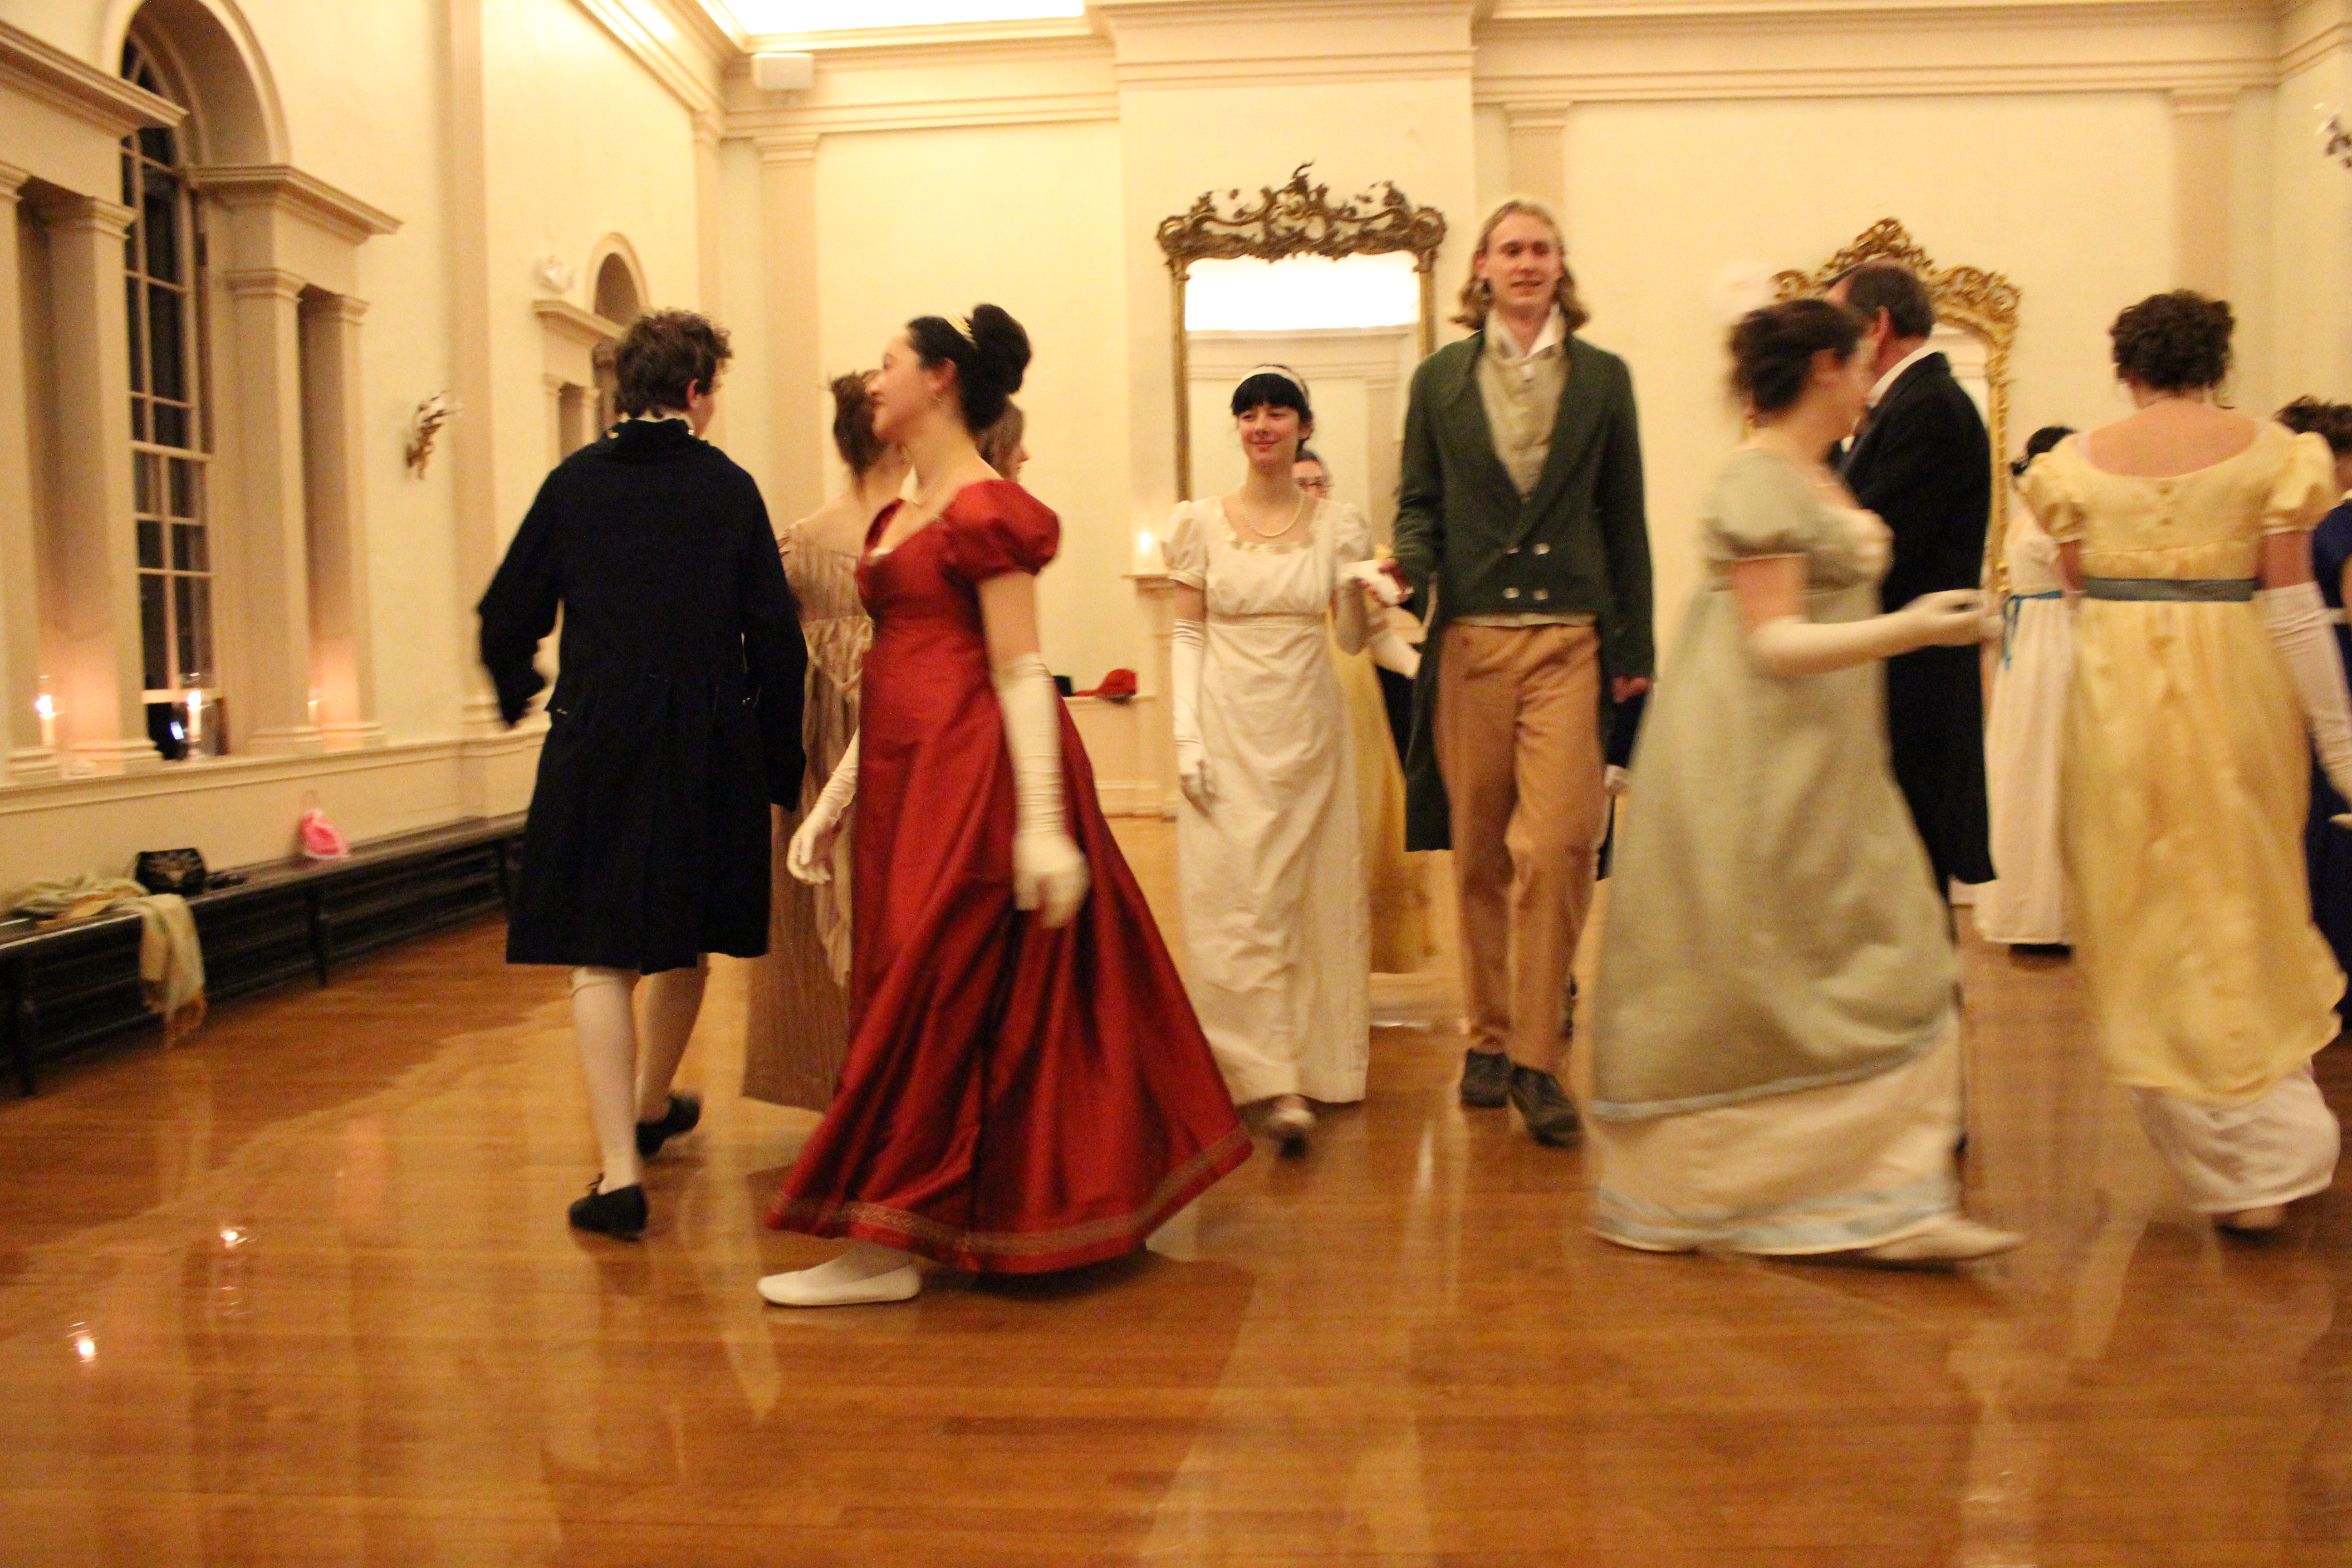
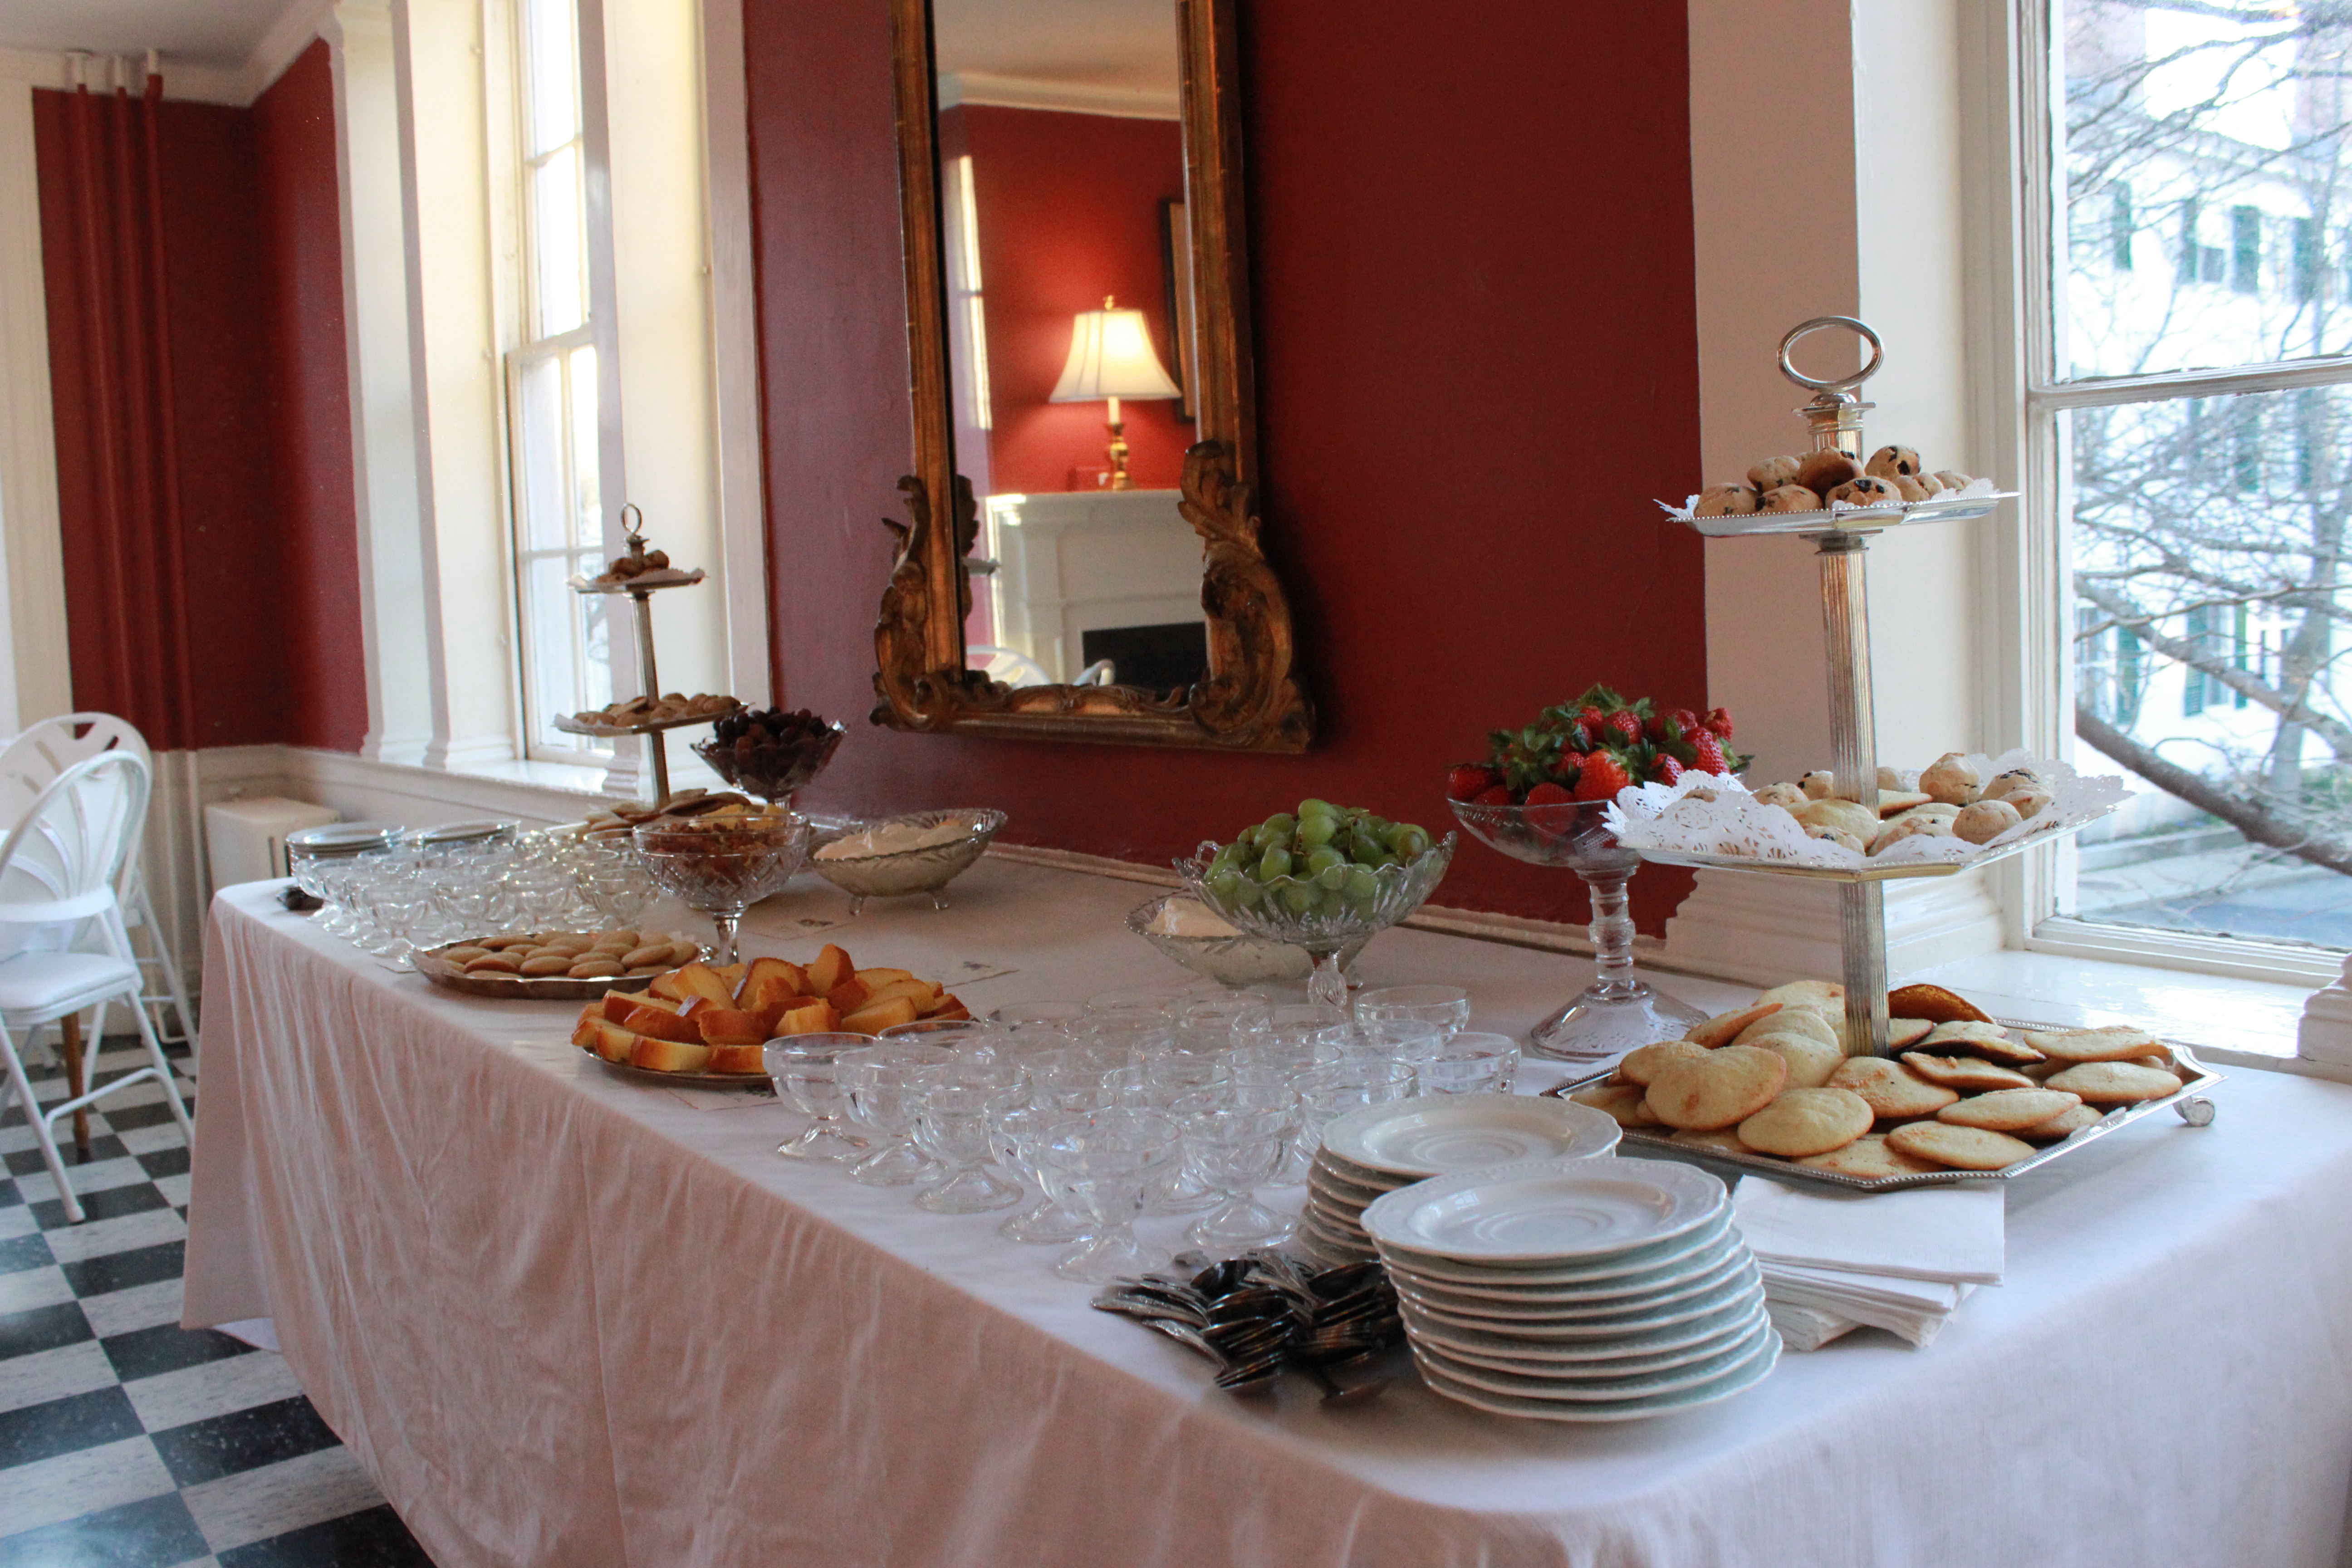
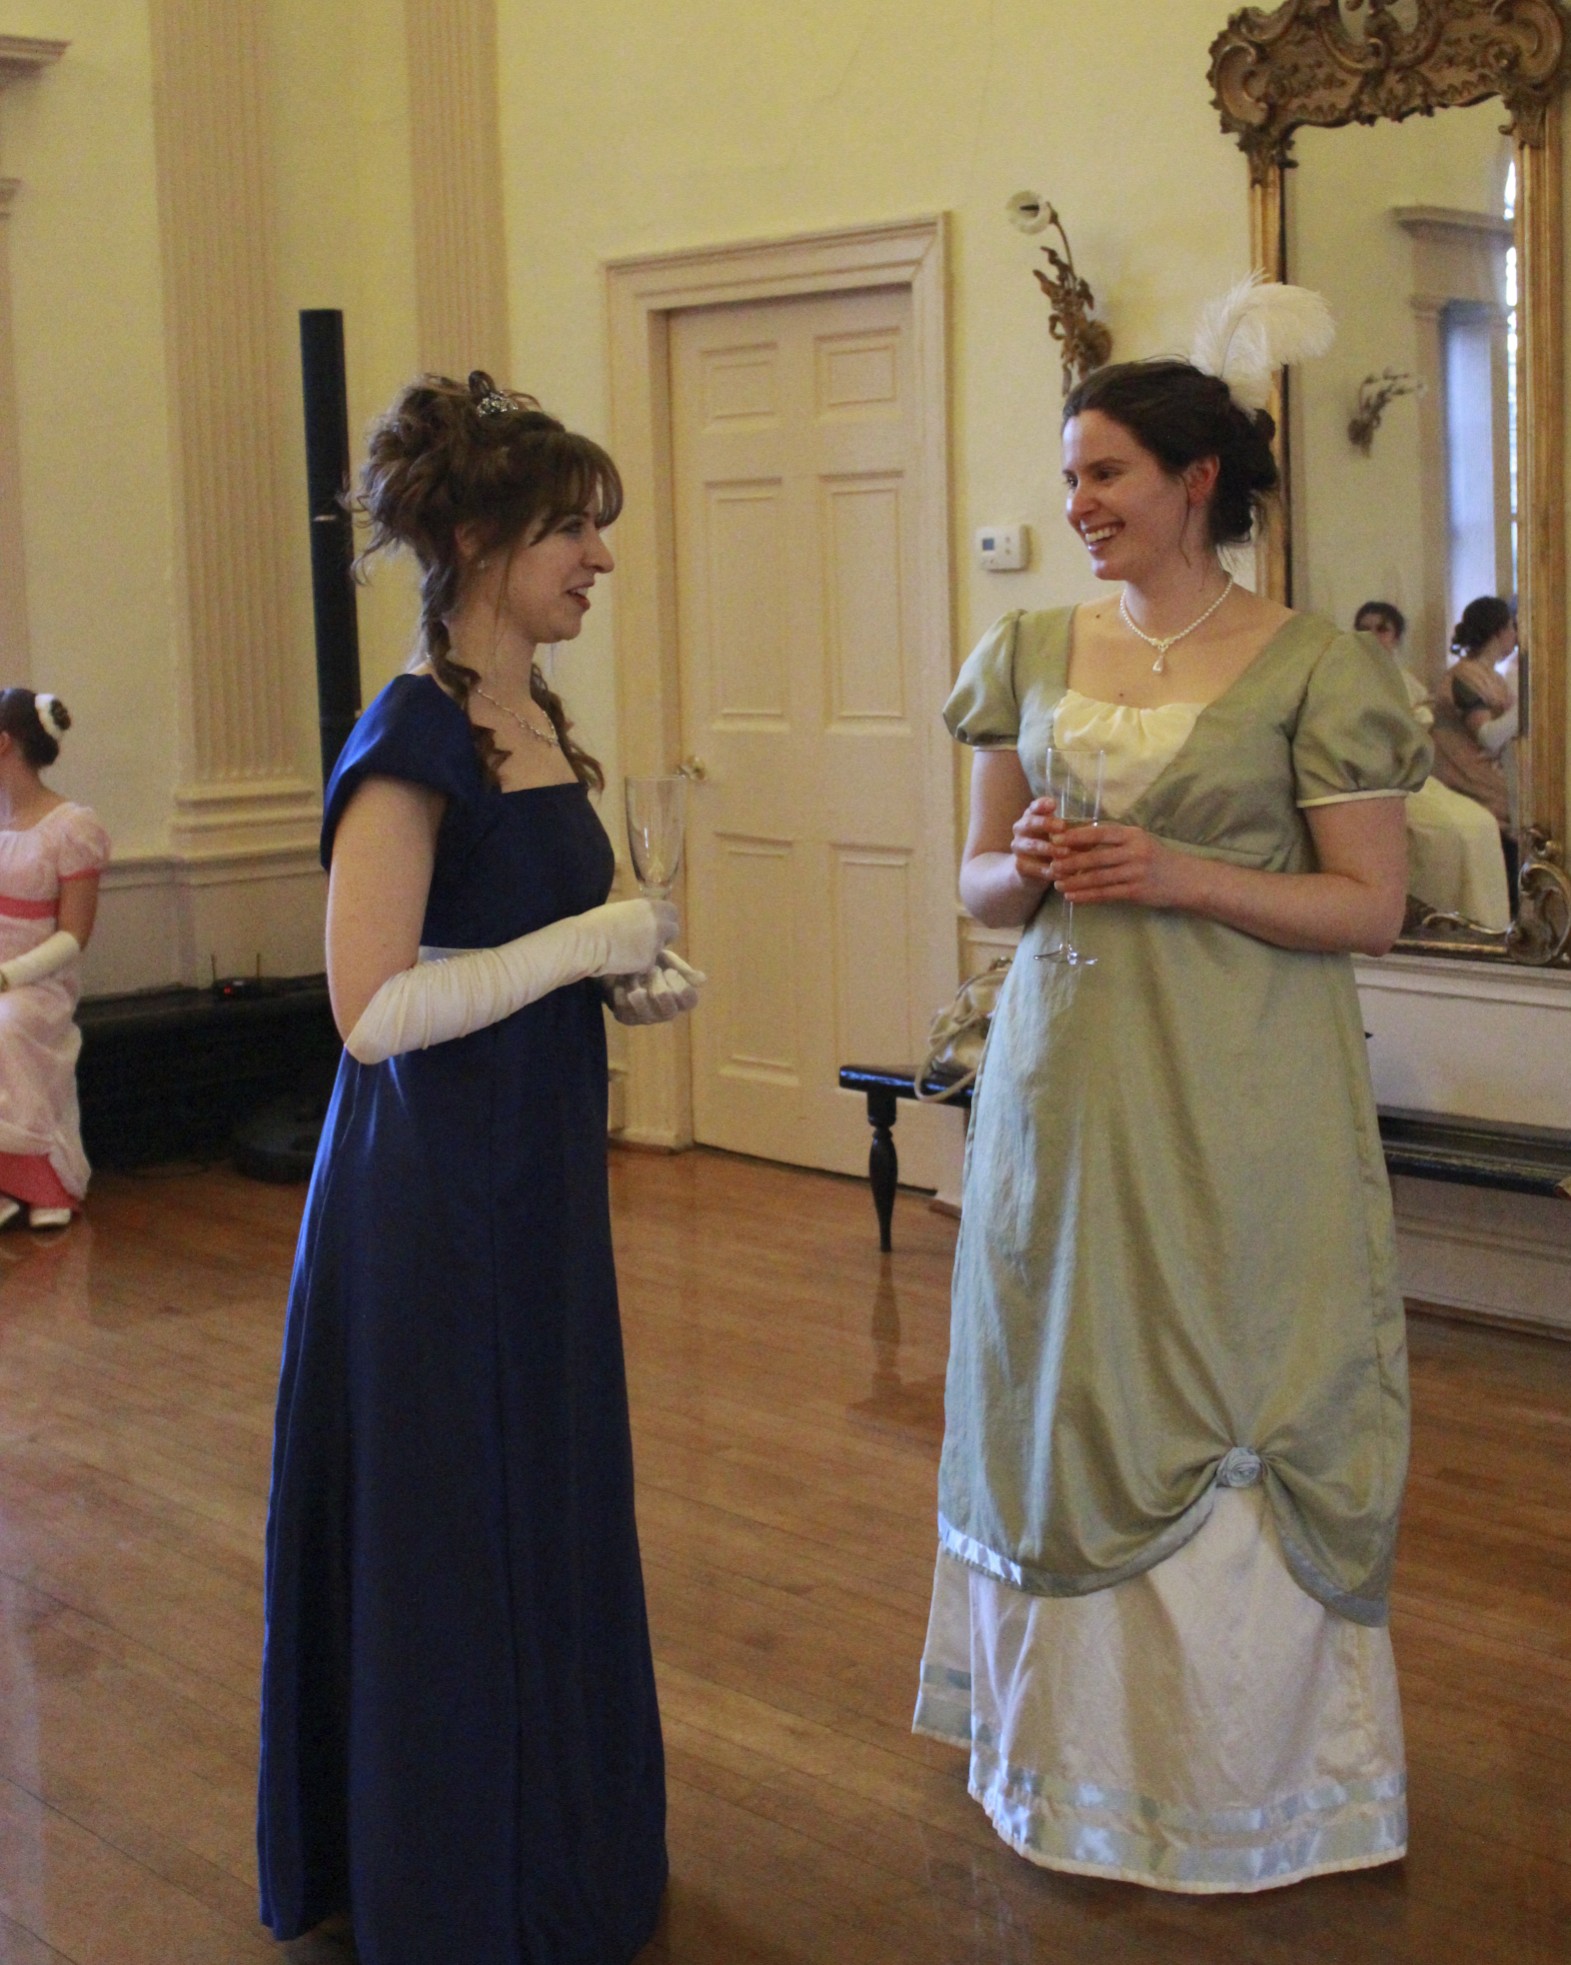
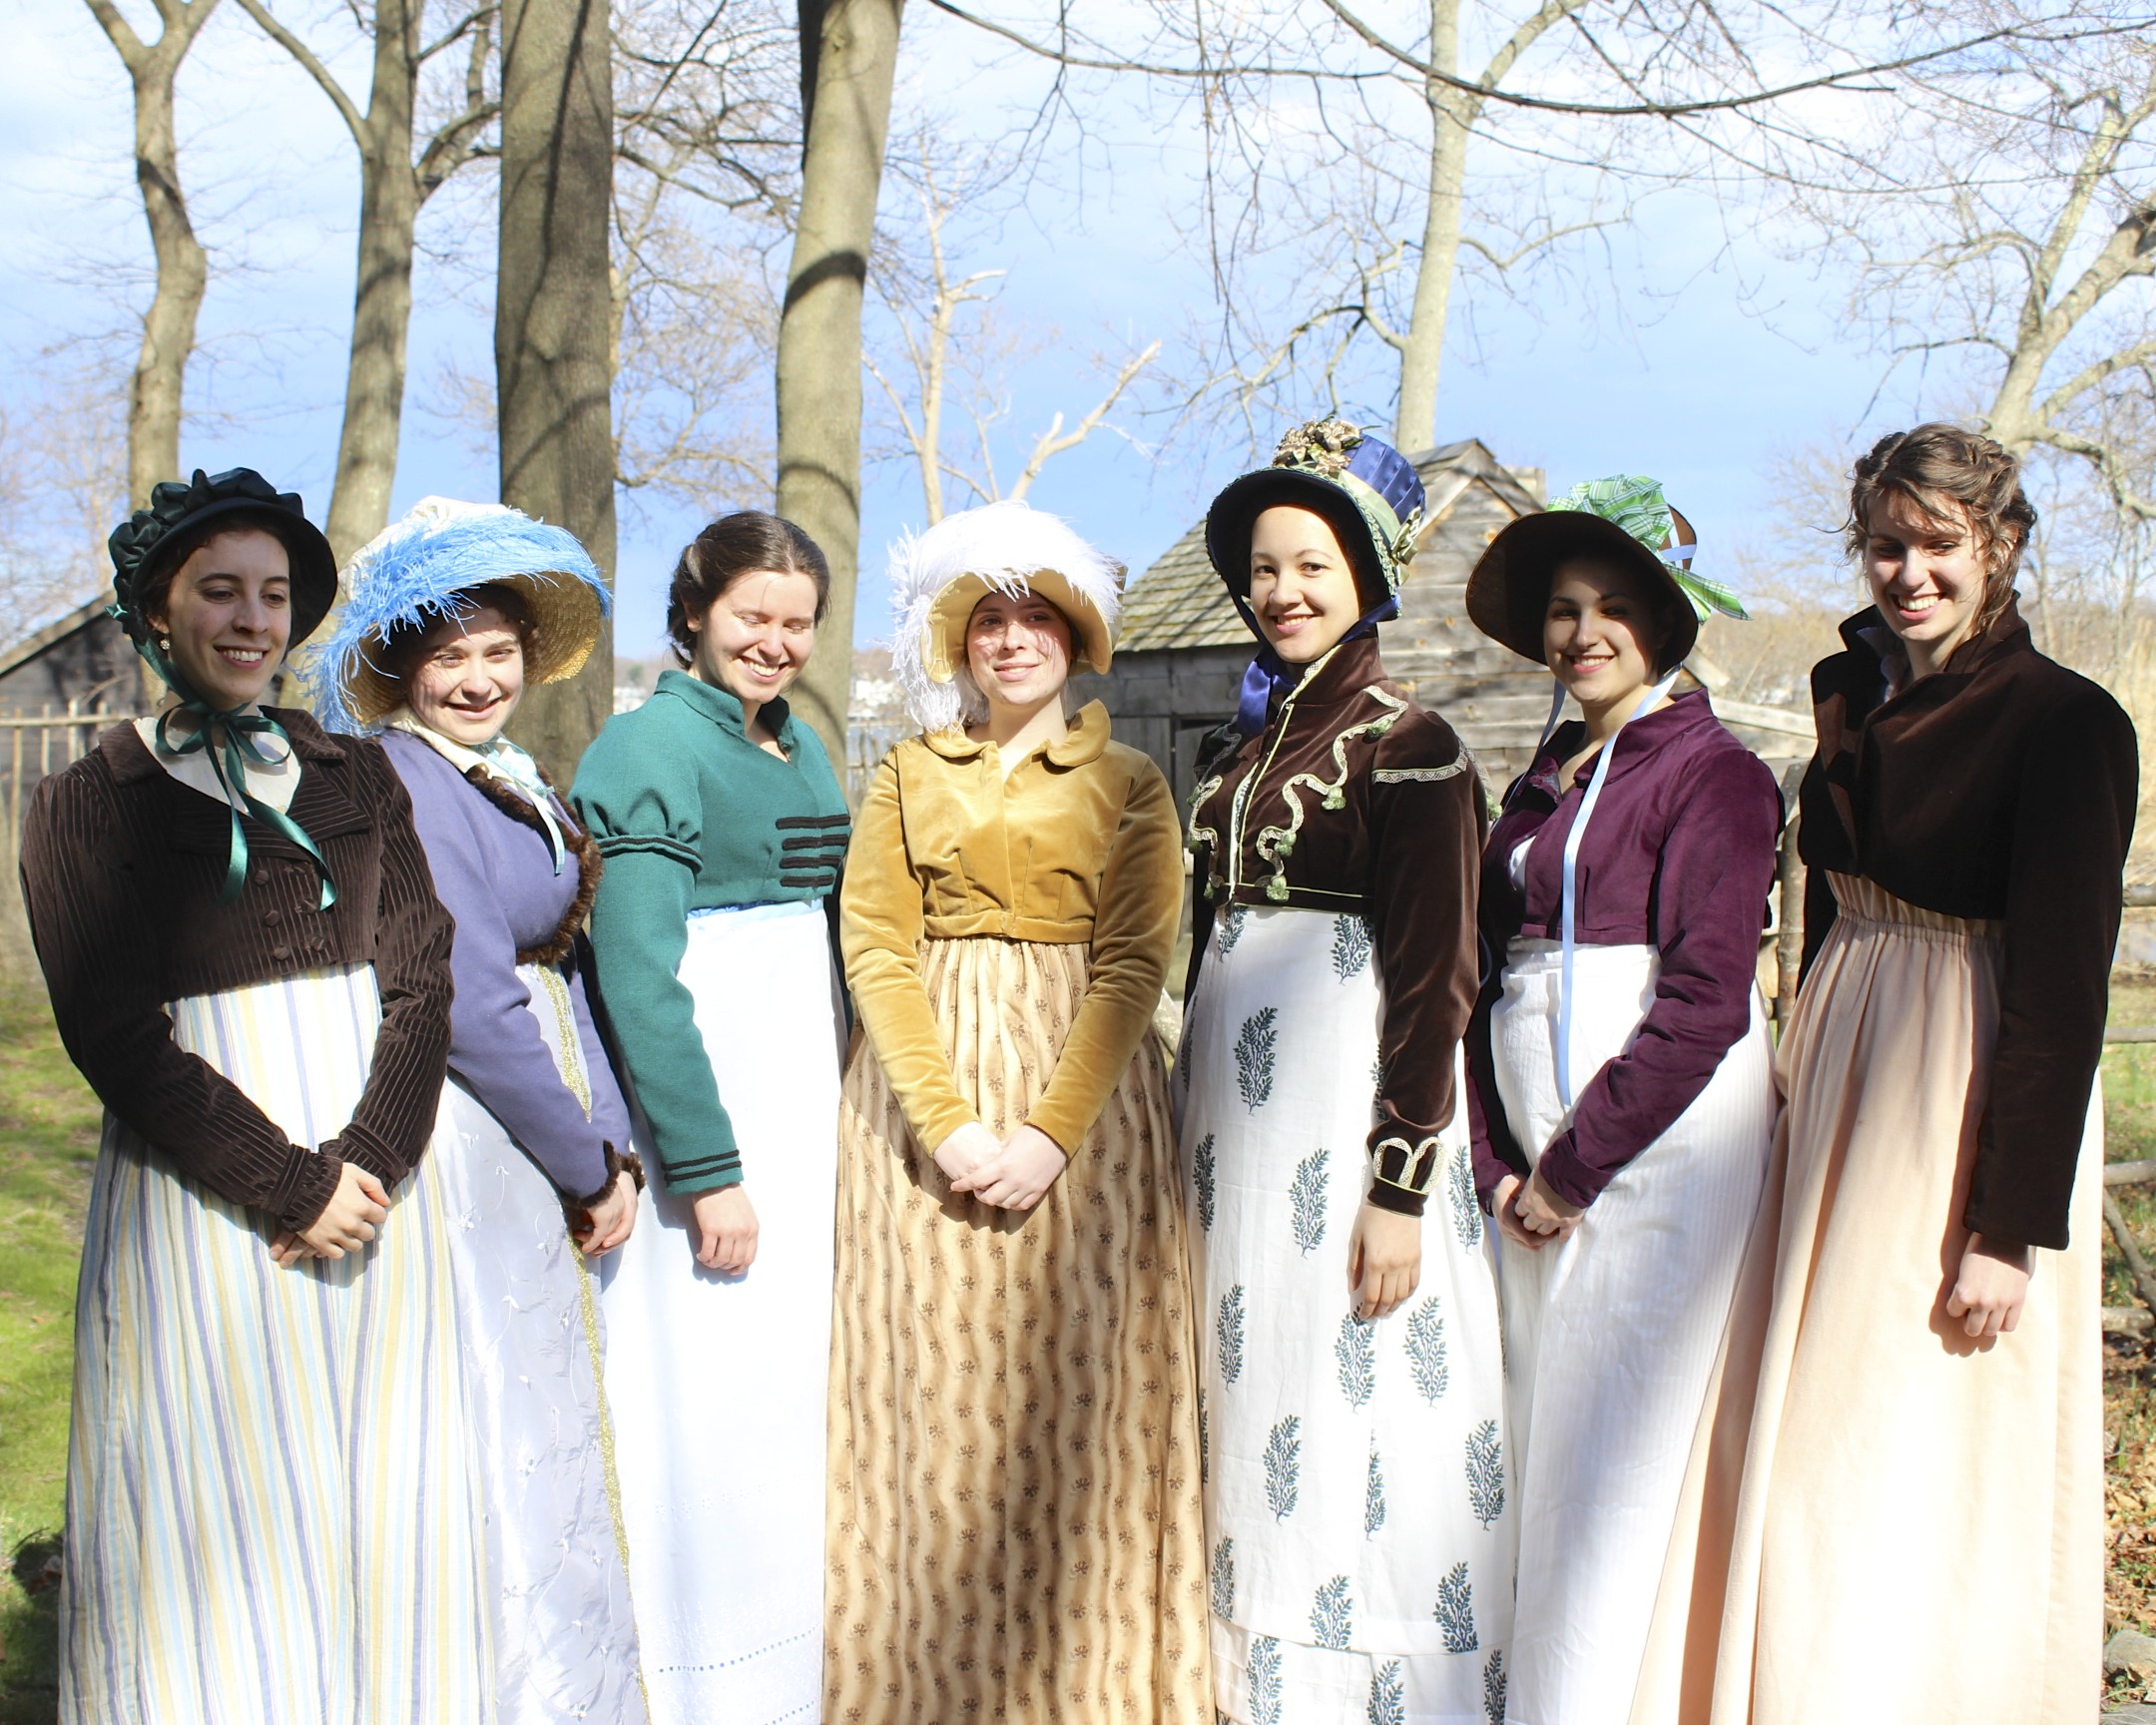
After the official end of the Regency Dance Weekend I’ve been posting about recently, my friends and I stayed in the Salem area to relax a bit and have some further Regency adventures. We had been brainstorming about what sort of activity we might engage in that was outside of our usual occupations and had settled on the idea of flying kites!
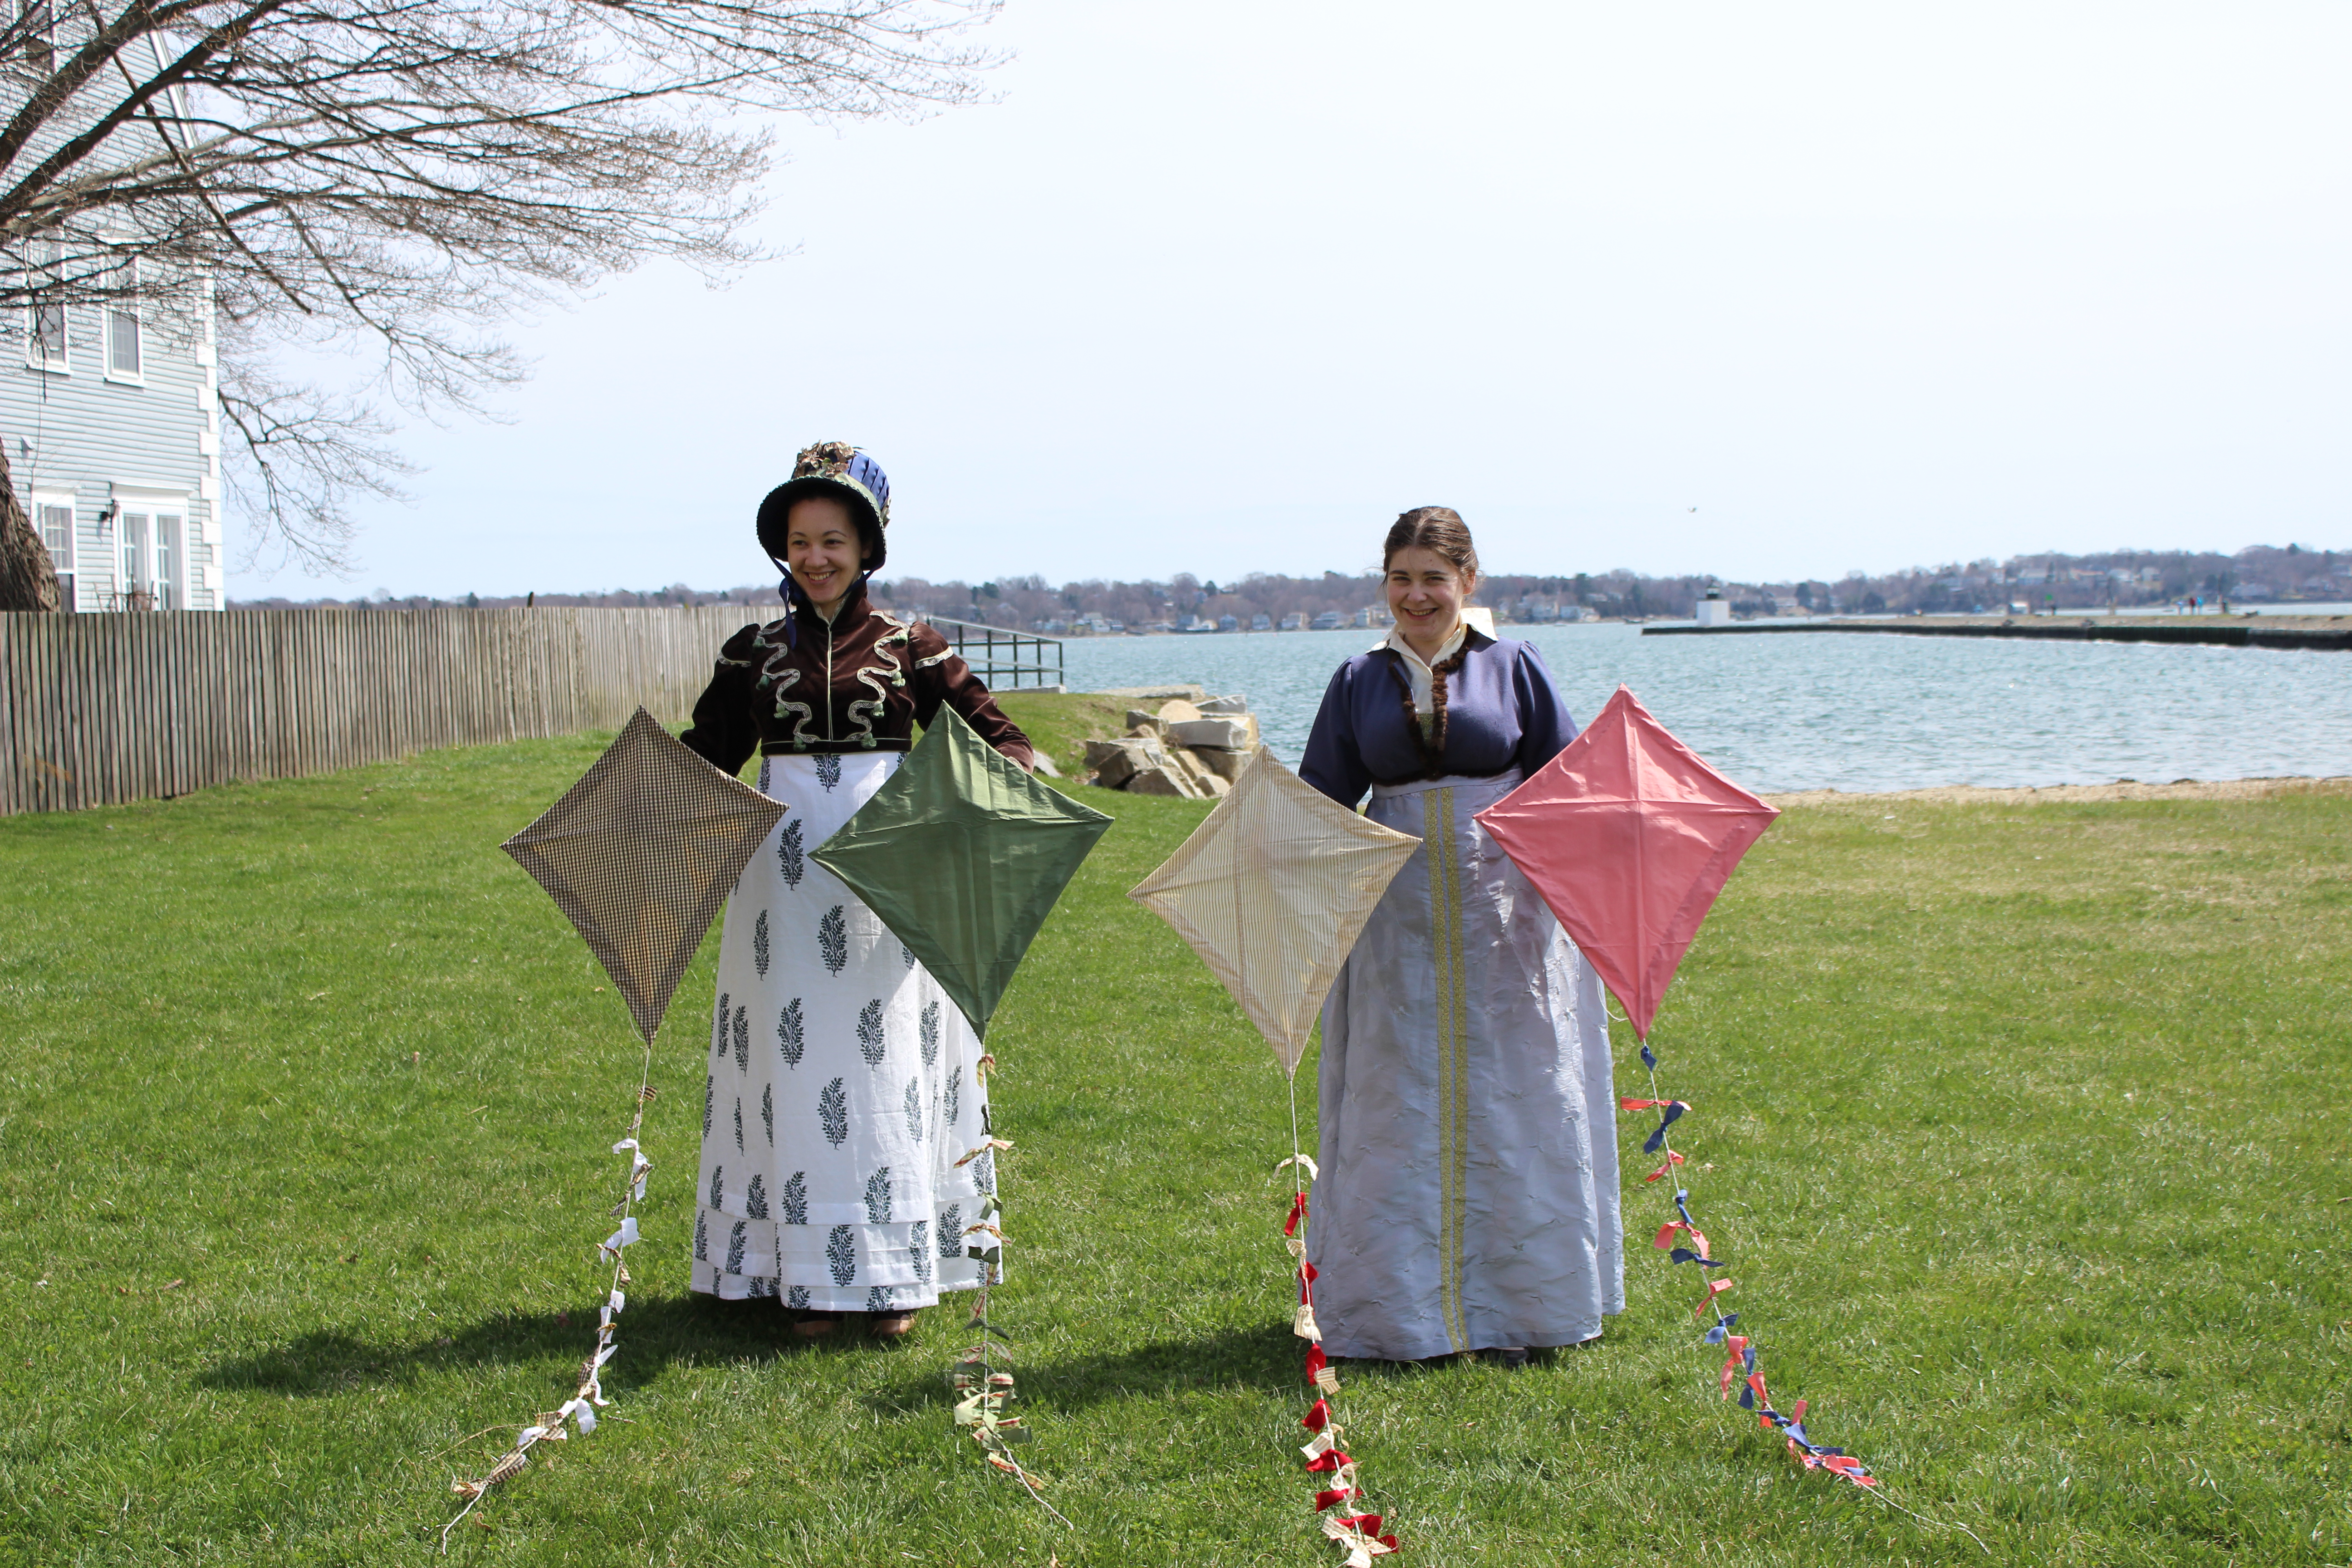
I did some research into Regency kites and spent some of my evening time during the weekend sewing these four silk kites with some help from friends.
I didn’t find much to go on with the kite making. The best source I found was Jen’s post about Georgian Toys on her blog Festive Attyre. The post includes a link to this kite making how-to as well as a link to this 18th century extant kite. Unfortunately, I couldn’t find more information on the extant kite than that which is on that one page. Jen’s post is great and includes fun information about other Georgian toys as well as kites. The how-to link is a good one as well, though I did sub out modern methods for more period ones. For example: there is no tape to be found, instead there are stitches.
Making the kites was fun. I went to Home Depot to buy the dowels for the kite frames. They were cheap and luckily you can saw the lengths to be what you need while you’re in the store (good for me since I don’t own a saw!). I also bought twine there. It’s a poly-cotton blend (boo), but it’s smooth on the hands, so that’s worth it! The kite tails are bits of the main fabric and a contrasting fabric just tied around the twine. Instead of notching the ends of the dowels after they were cut (I tried, and it failed, because the dowels just wanted to splinter) I just wrapped the twine around the ends enough times that it wouldn’t move. The method definitely worked and sometimes that’s all you need.
Despite the fact that it was super windy by the water, we had trouble getting the kites to stay in the air. I’ve surmised that my kite engineering skills are not super outstanding, because the kites did lots of circles near our head height and then dove into the ground… over and over and over again… It was a bit frustrating. These pictures capture the few times we got the kites up in the air. Trust me when I say they didn’t stay up very long!


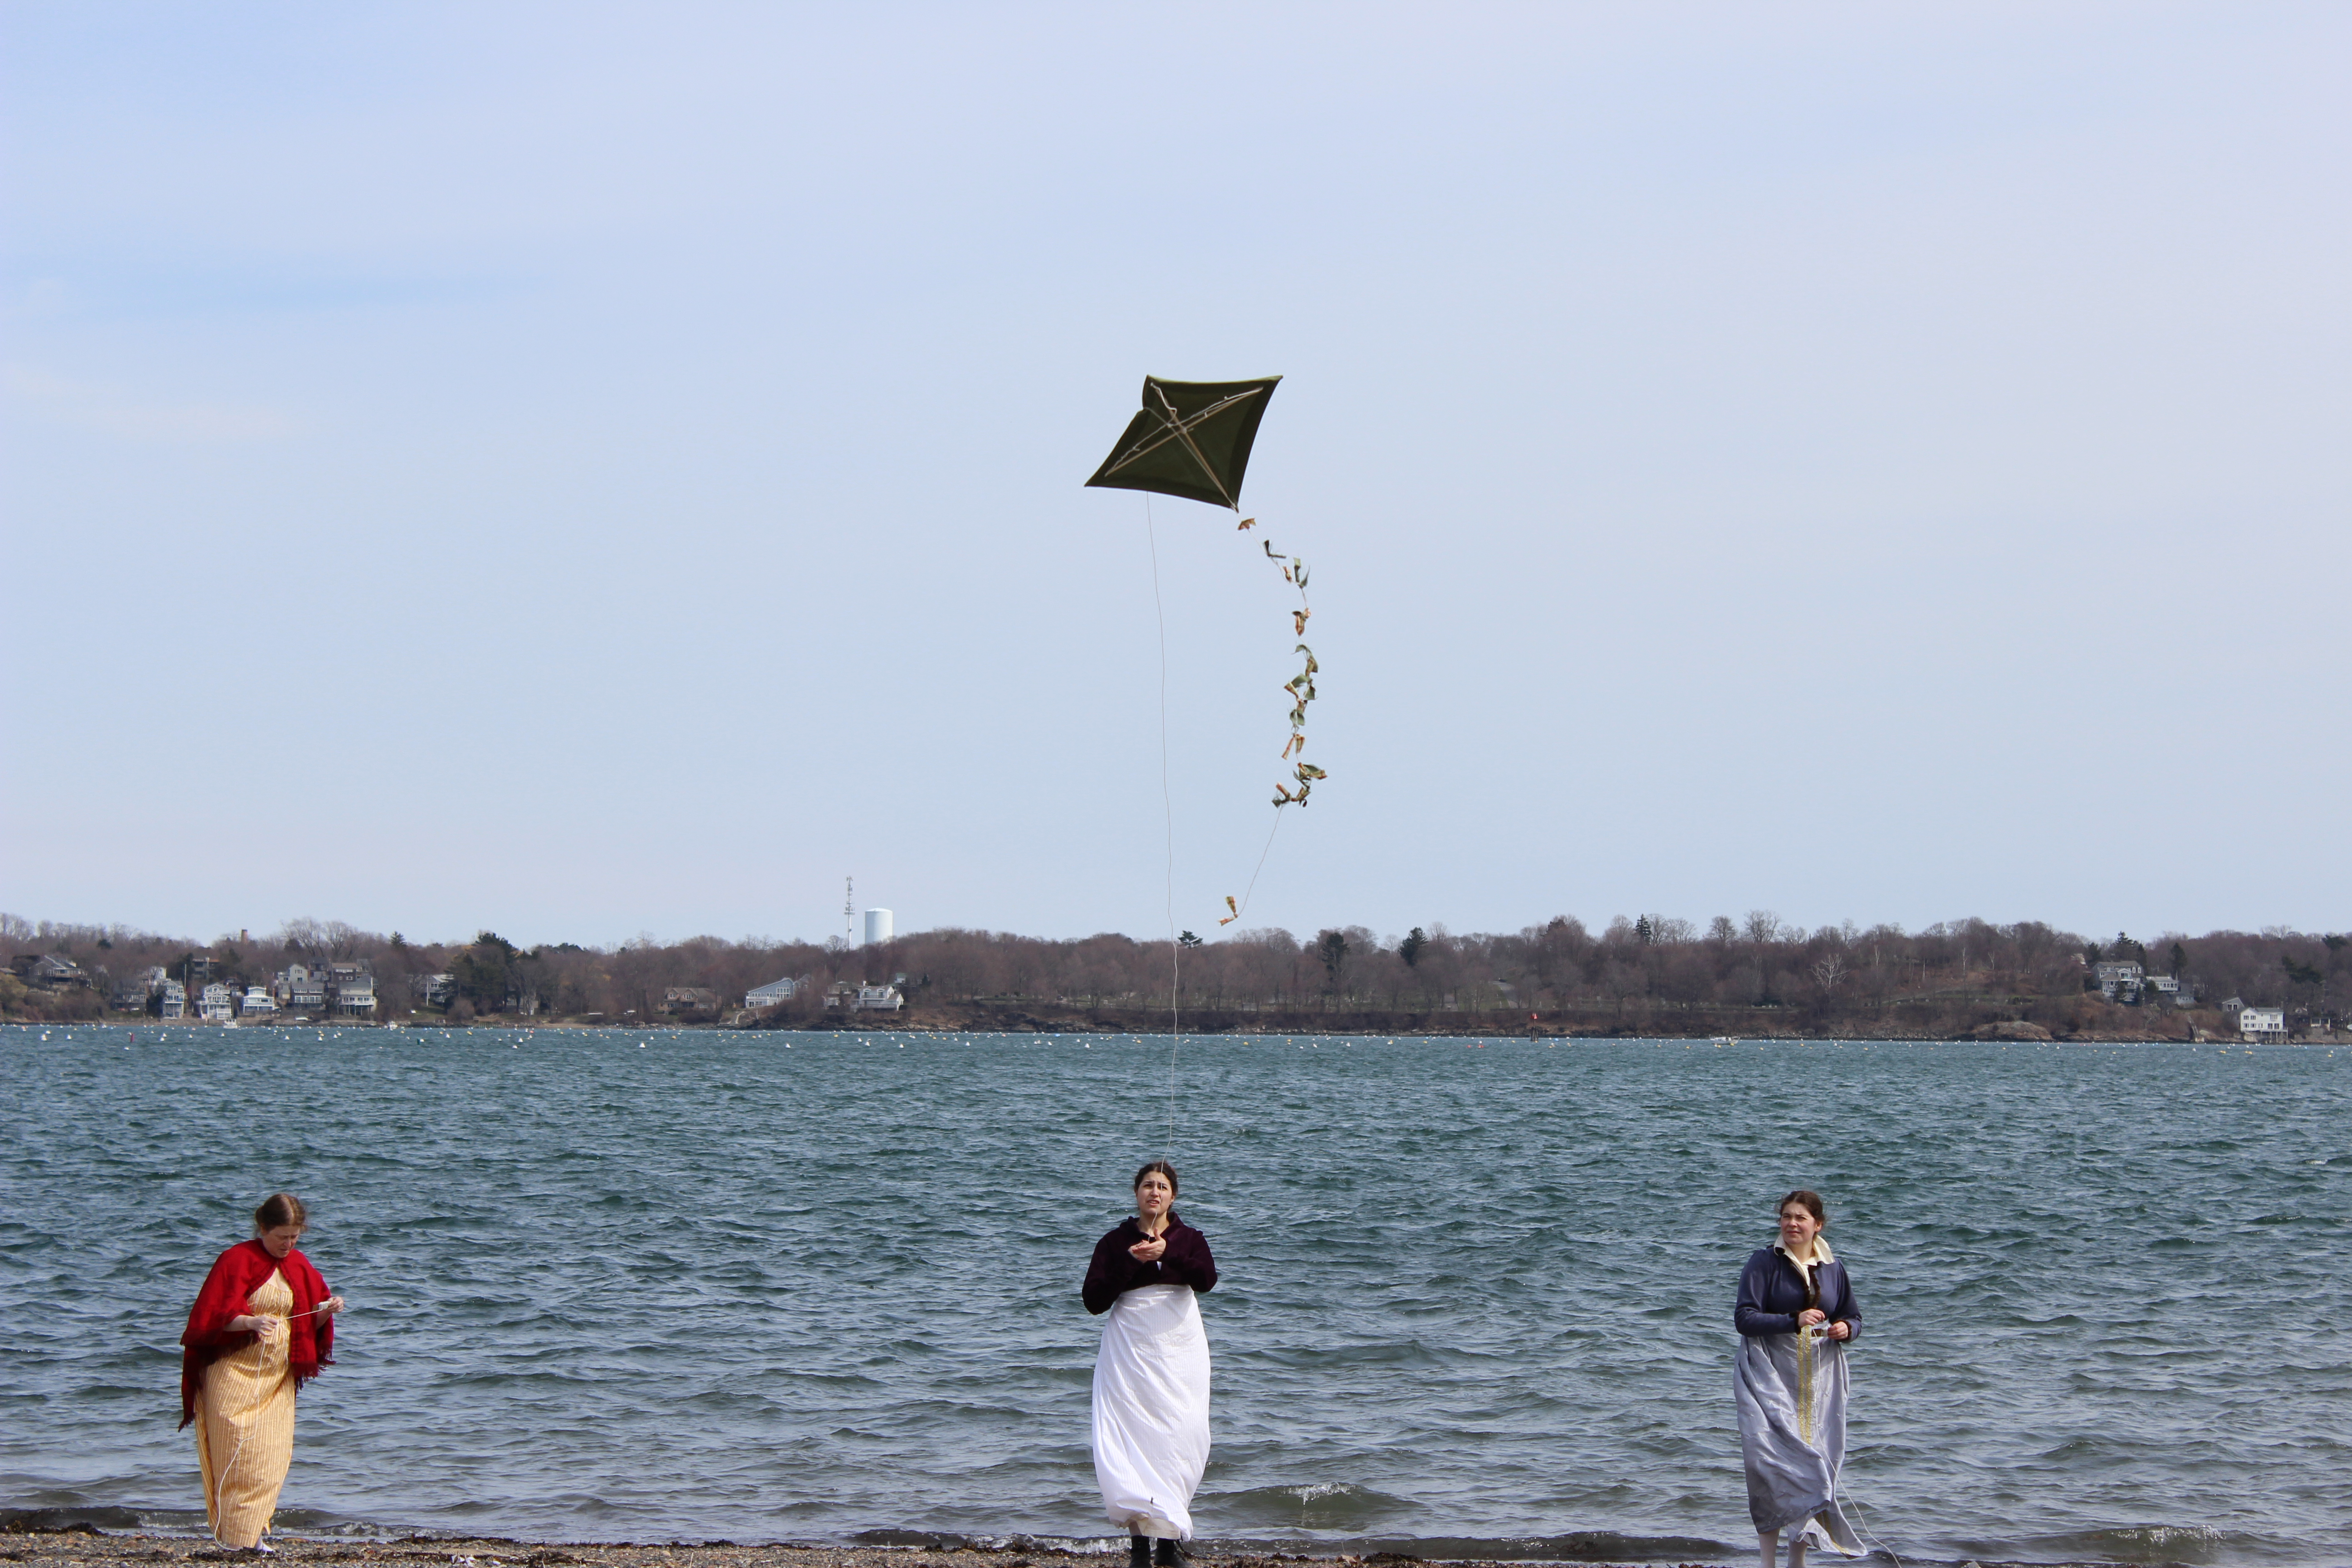
There were some adjustments and kite injuries along the way. One of the dowels in the pink kite broke, so I have to figure out how I’m going to fix that. The other kites had things like alternate bridles made and pennies sewn into the edges to try to add weight. Some of those things seemed to work. I guess I just need to do some research about what makes kites stay up. I’m not sure the tails worked very well, either. They tangled easily and were hard to sort out again. If you know anything about kite making and have tips, I’d love to hear them!
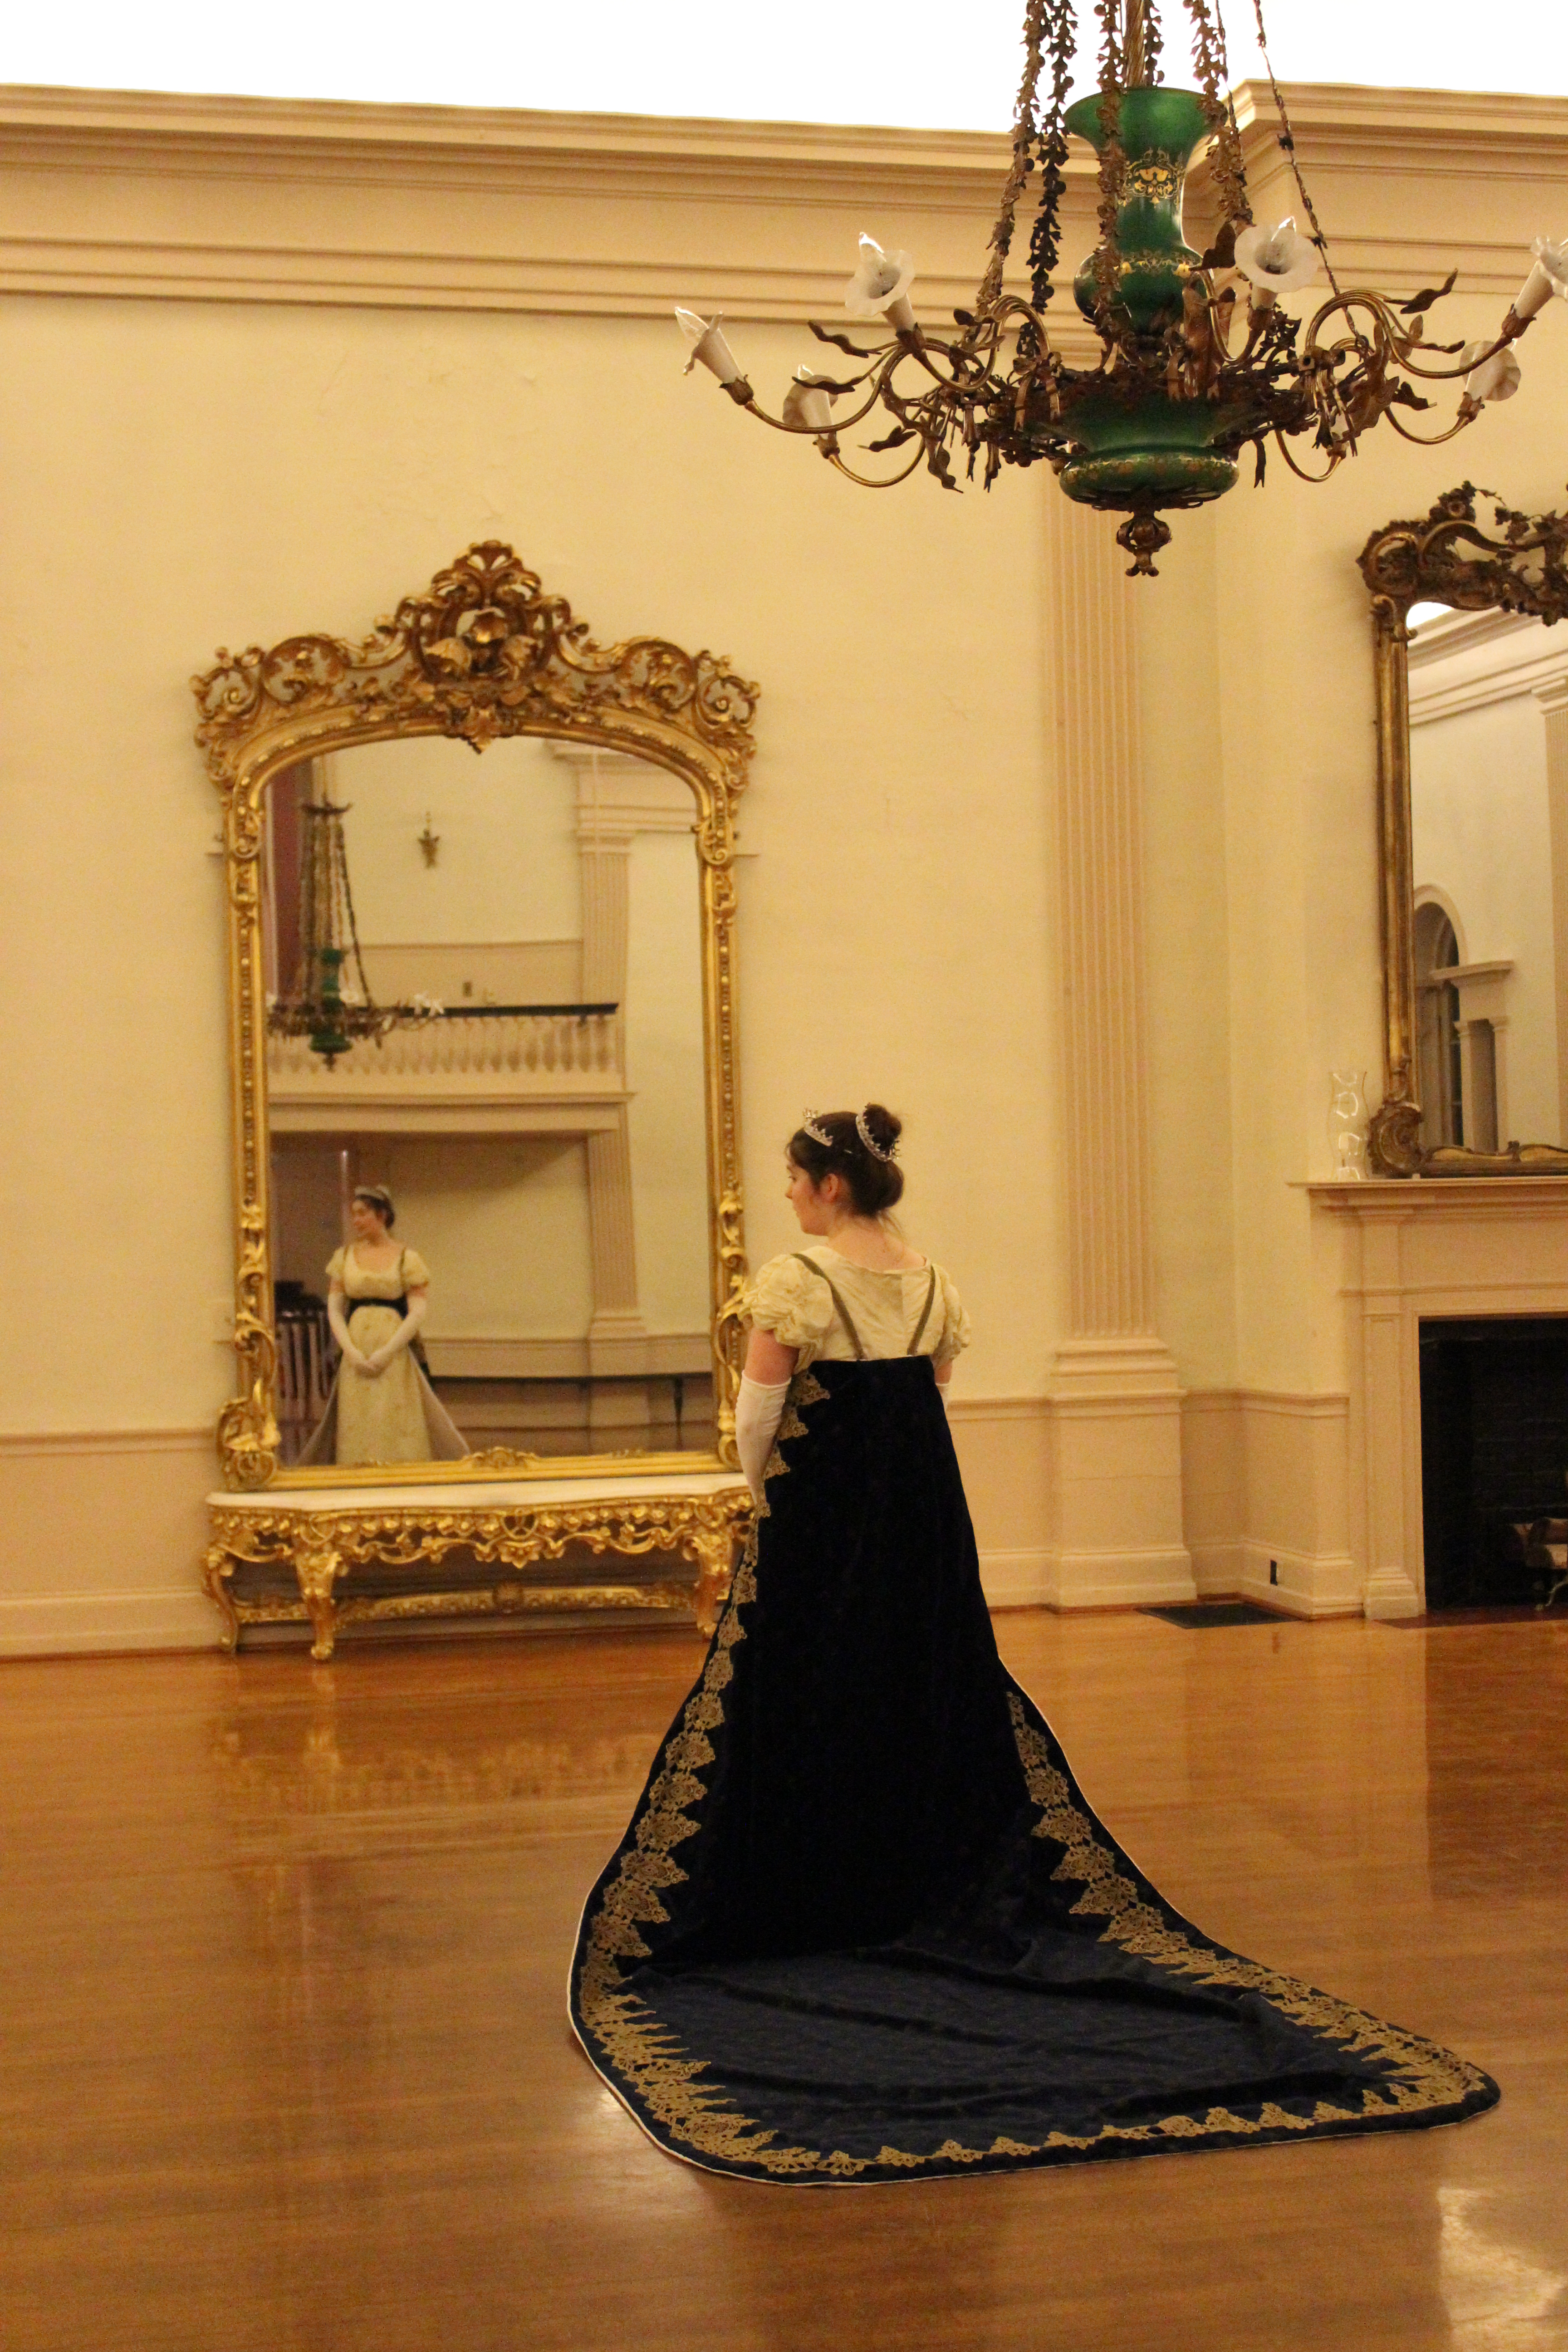
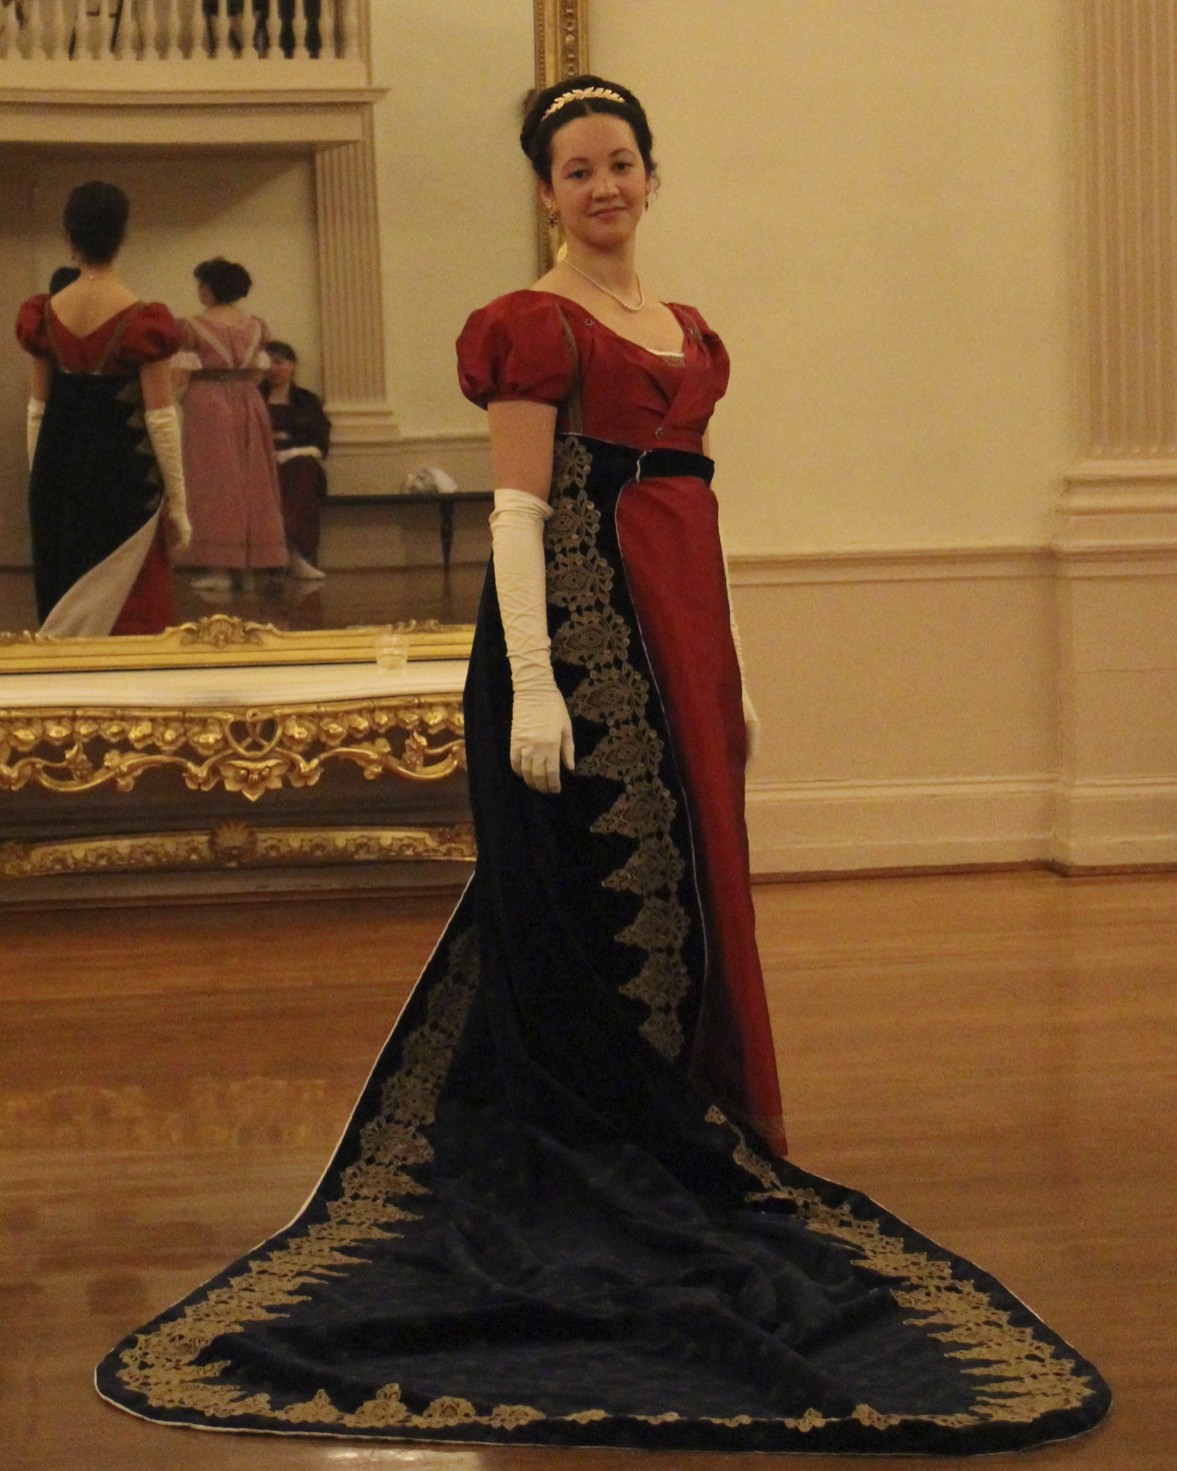
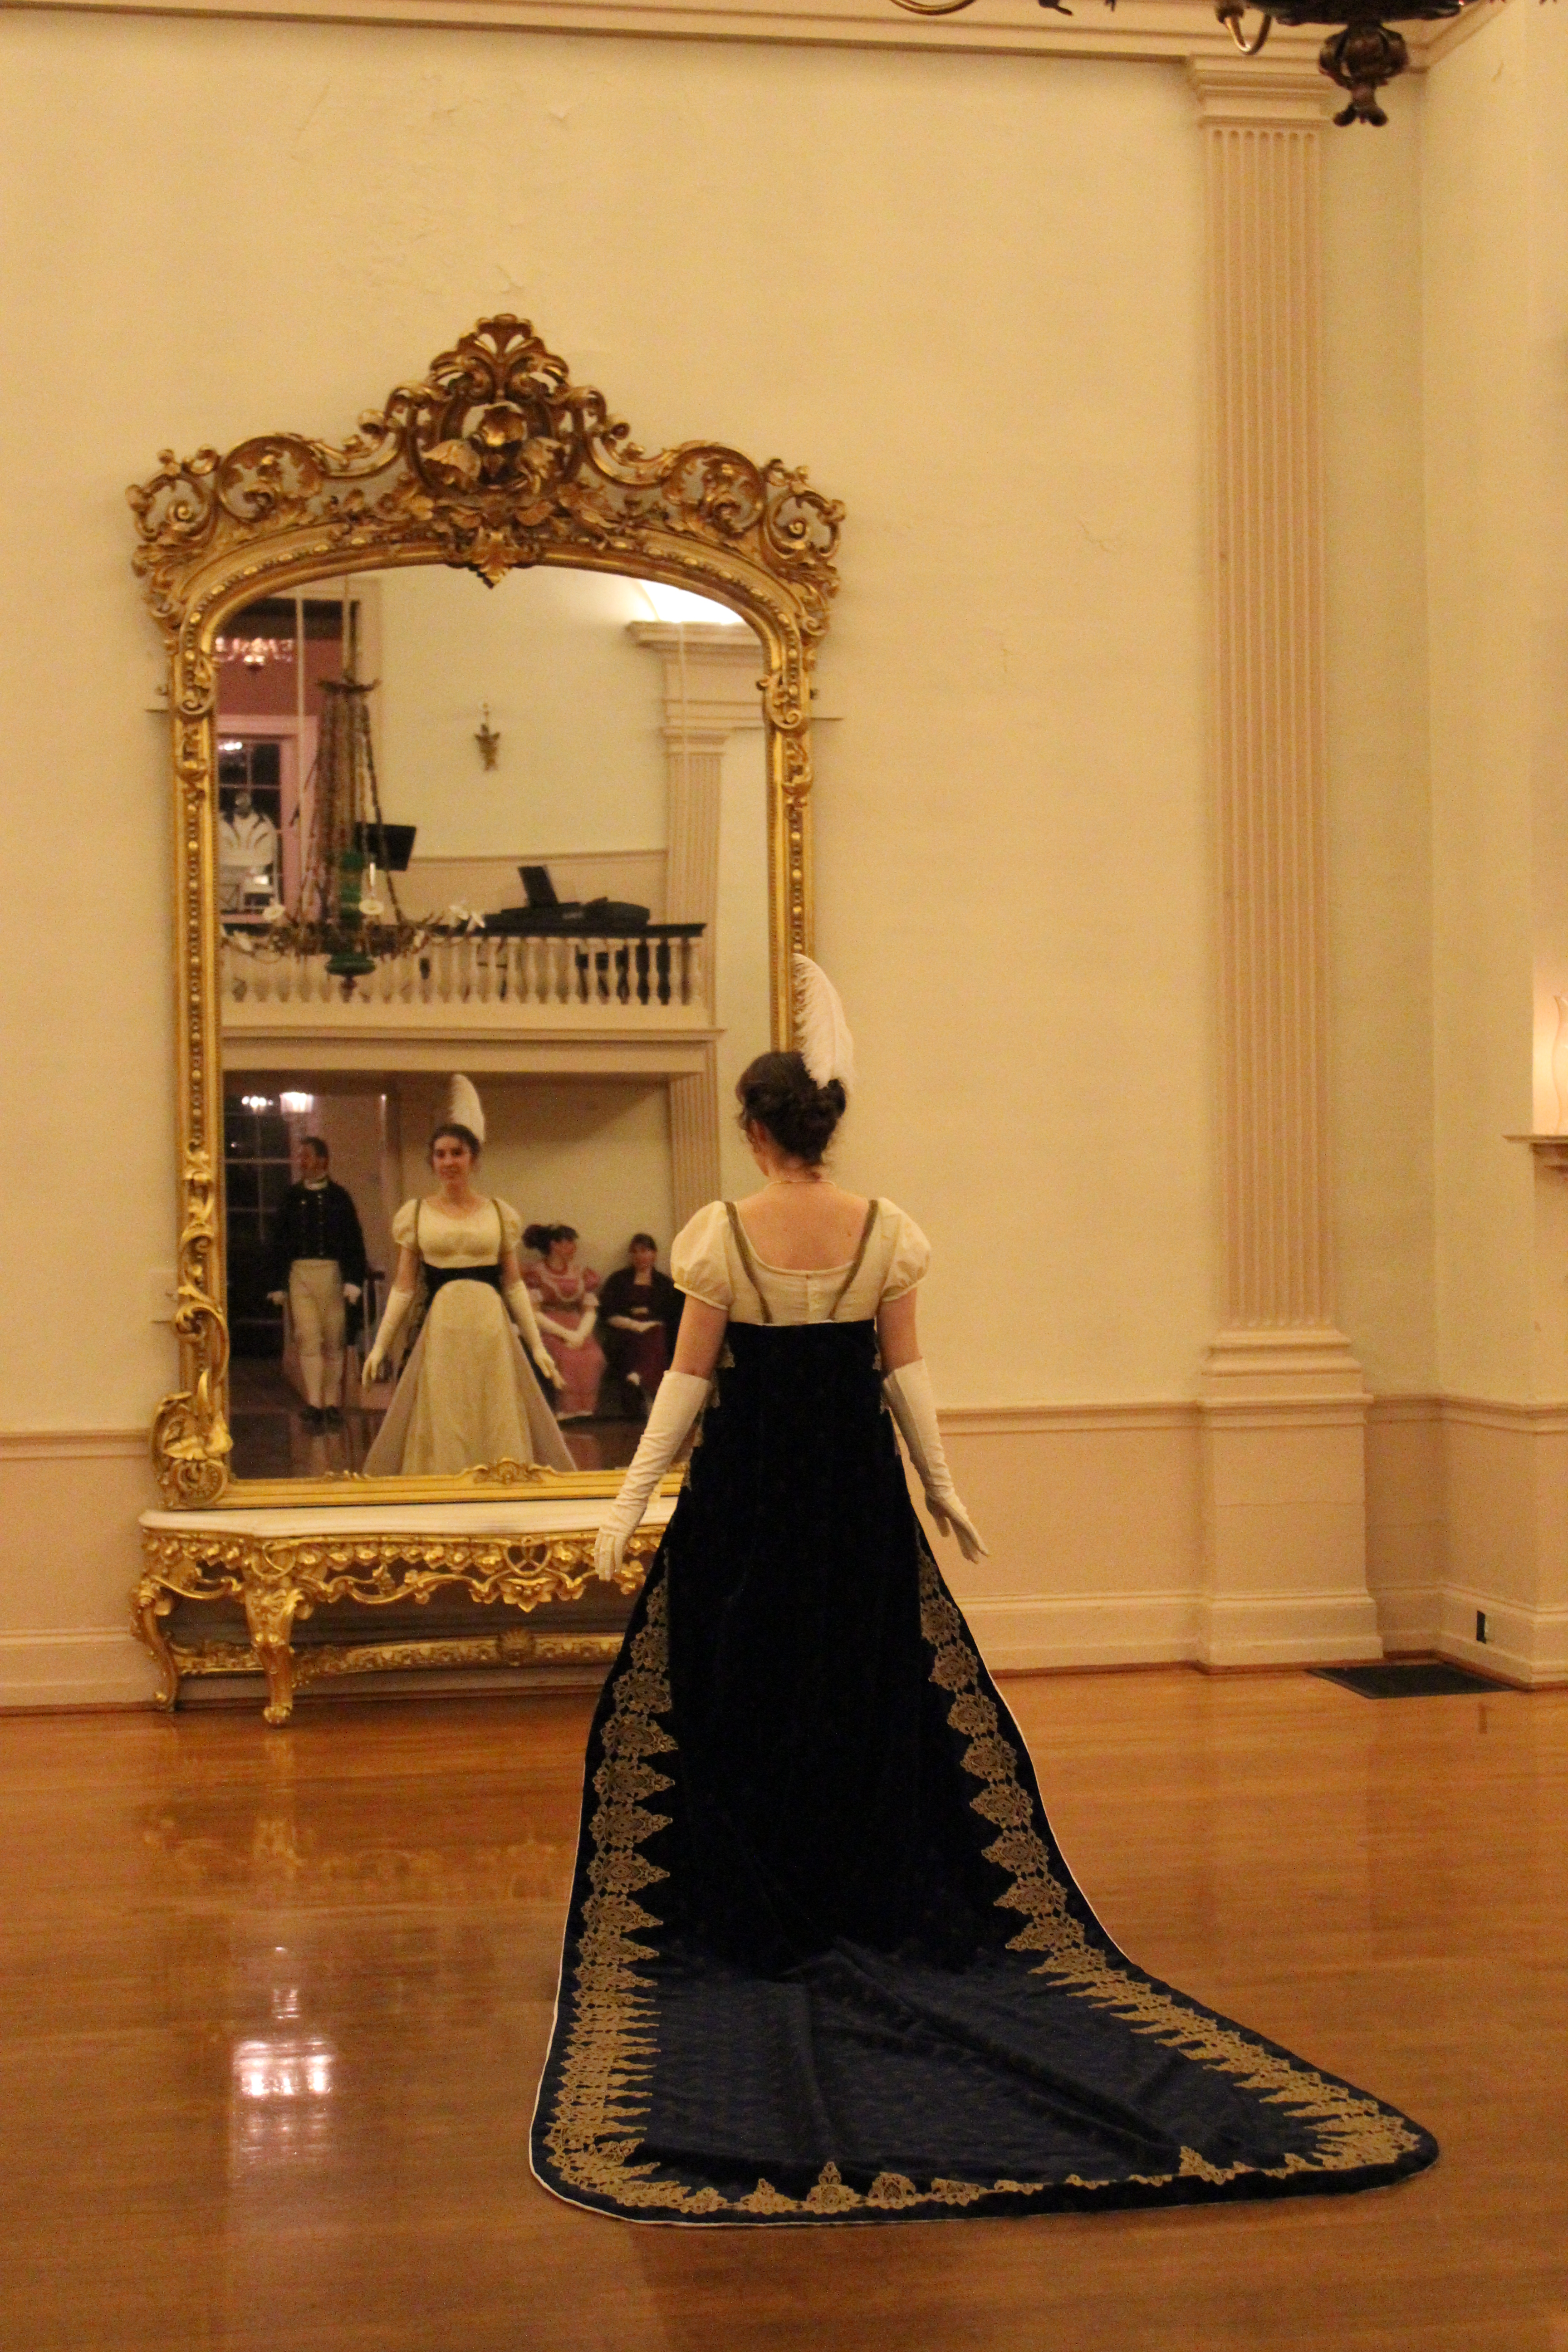
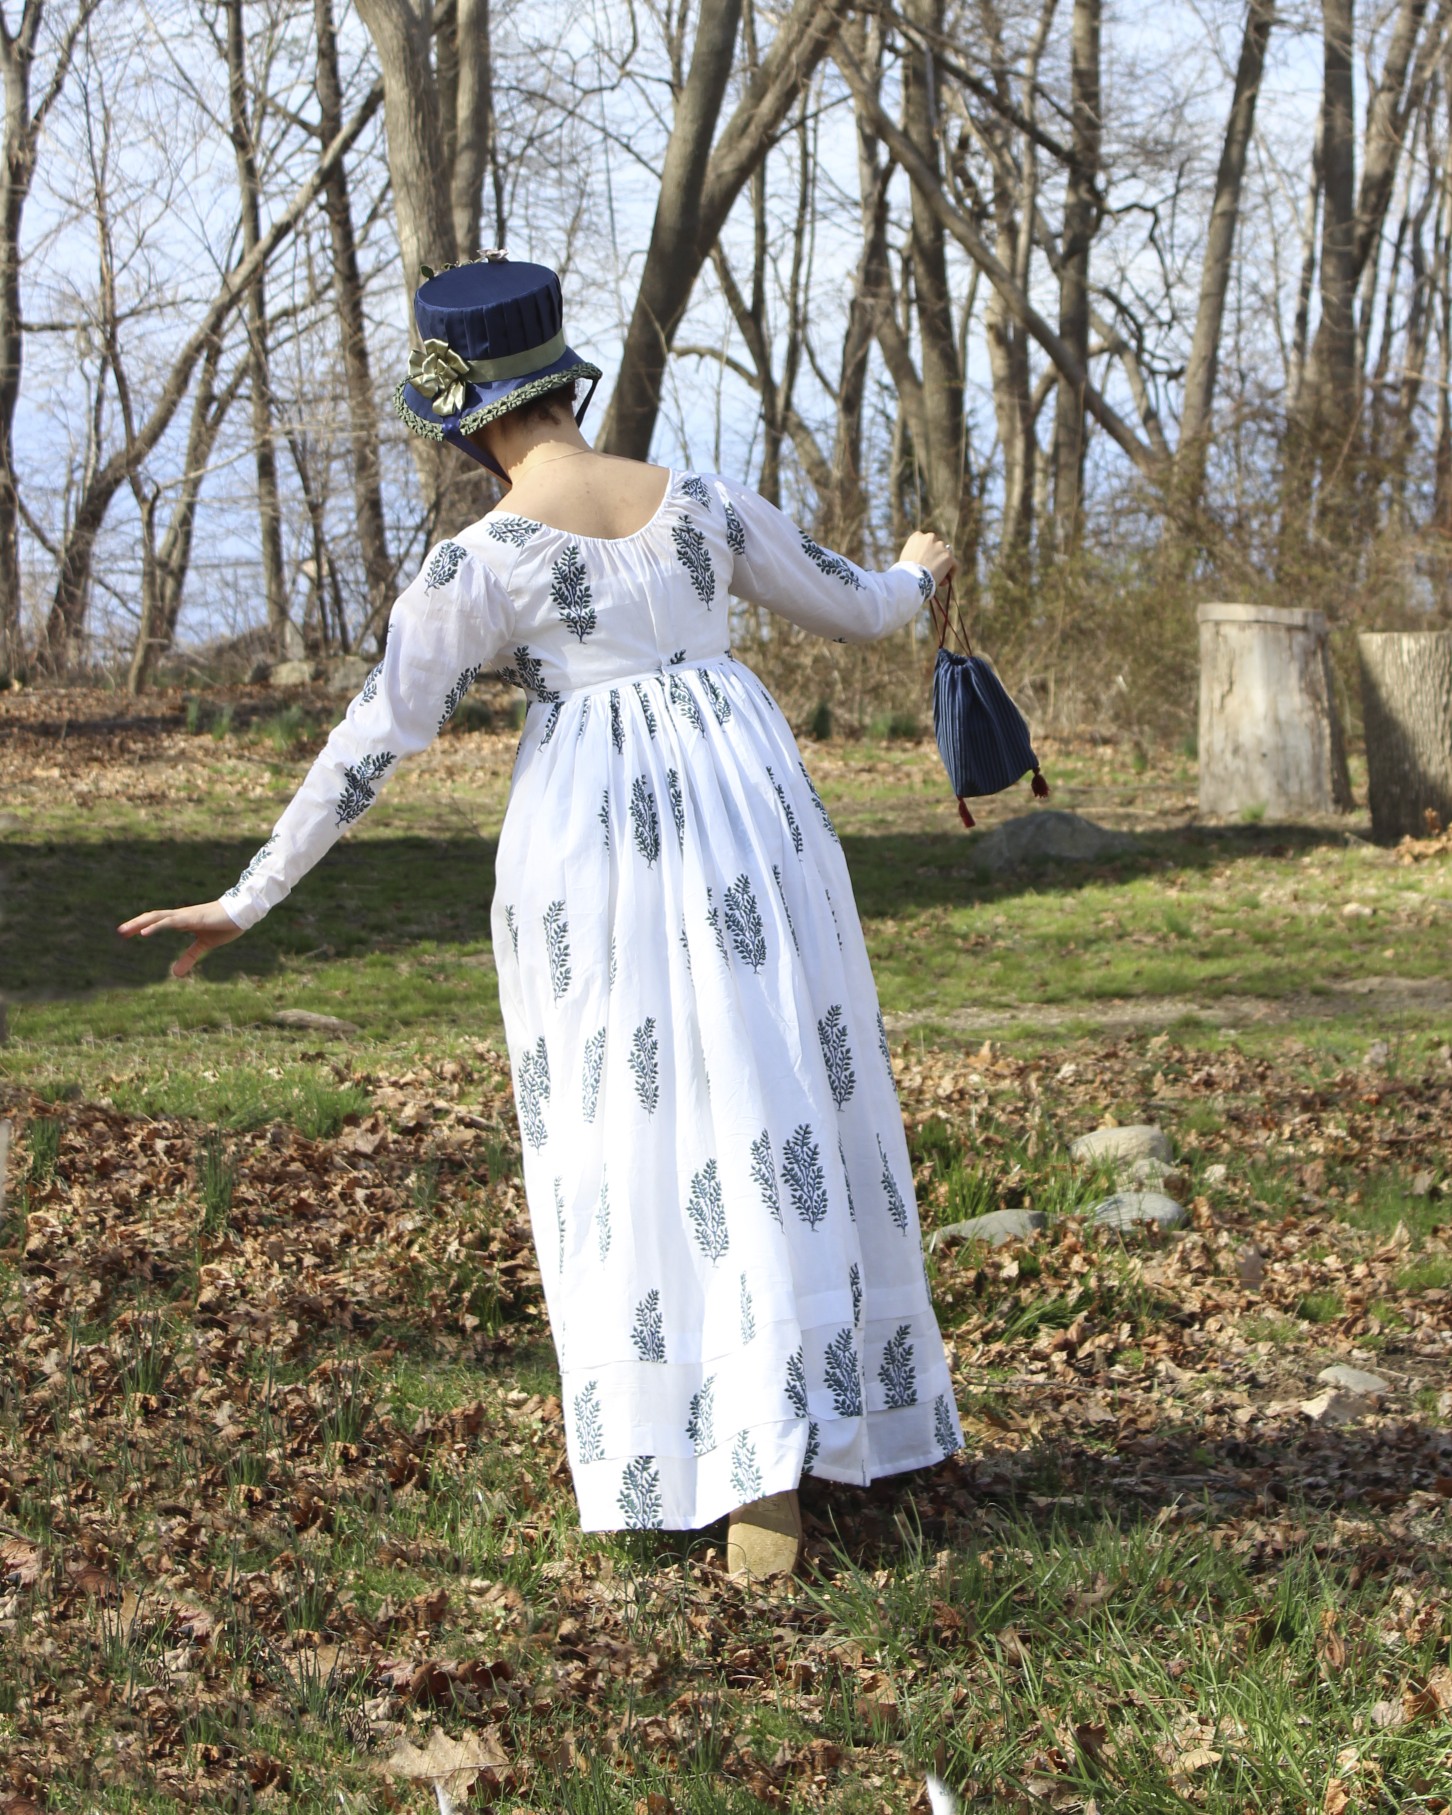
This is definitely something I plan to work on and try again. Perhaps at a summer picnic? We’ll see. It was a fun endeavor, despite the diving kites (and I had the opportunity to wear my new Tree Gown again!). Plus, there were pretty places nearby to take pictures!