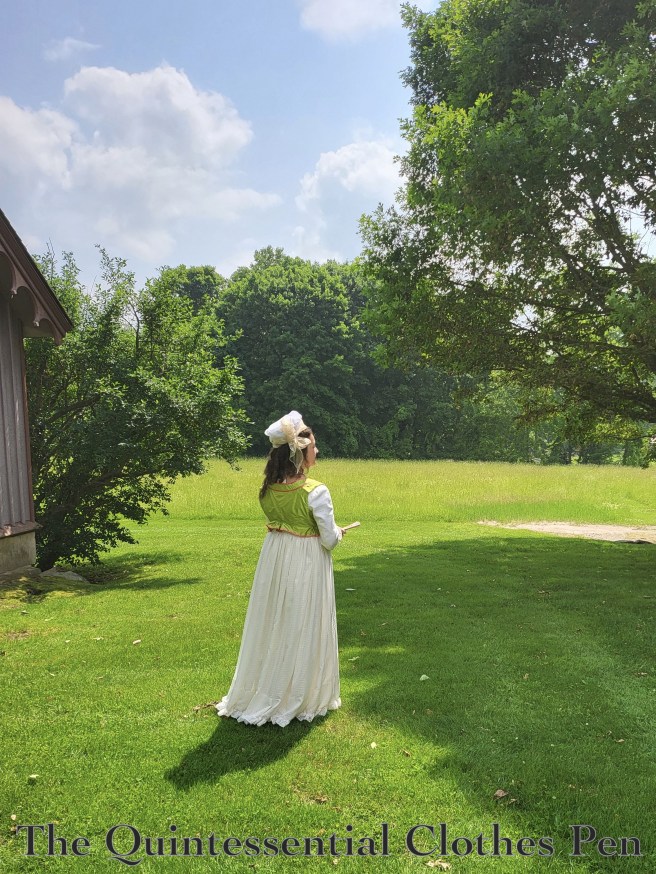
Sweeping views, a gold tinged sunset, lilacs in full bloom… and a re-work of an old dress!
Backstory
Back in 2014 I was on an 1820s kick, making undergarments and multiple outfits for dancing and staying warm while out in the winter. I shared about the design, construction process, and wearing of these garments in a Project Journal series of posts (hence the name of this blog post, which is installment VIII in this series). This link will take you to the full project journal. I wore these 1820s outfits over the next number of years, discovering different small details I wasn’t completely happy with and letting out this green dress in the sleeve circumference and back closure, in particular, to adapt to my size around 2015.
The small details that never quite made me happy included:
- The way the skirt hung in the front with an outward fold rather than flat with a more exaggerated A-line silhouette.
- The length, which was a little shorter than I liked the proportions of.
- The fact that the appliquéd organza trim didn’t have quite the impact I was hoping for. I was actually a little bored with it.
Re-Imagining
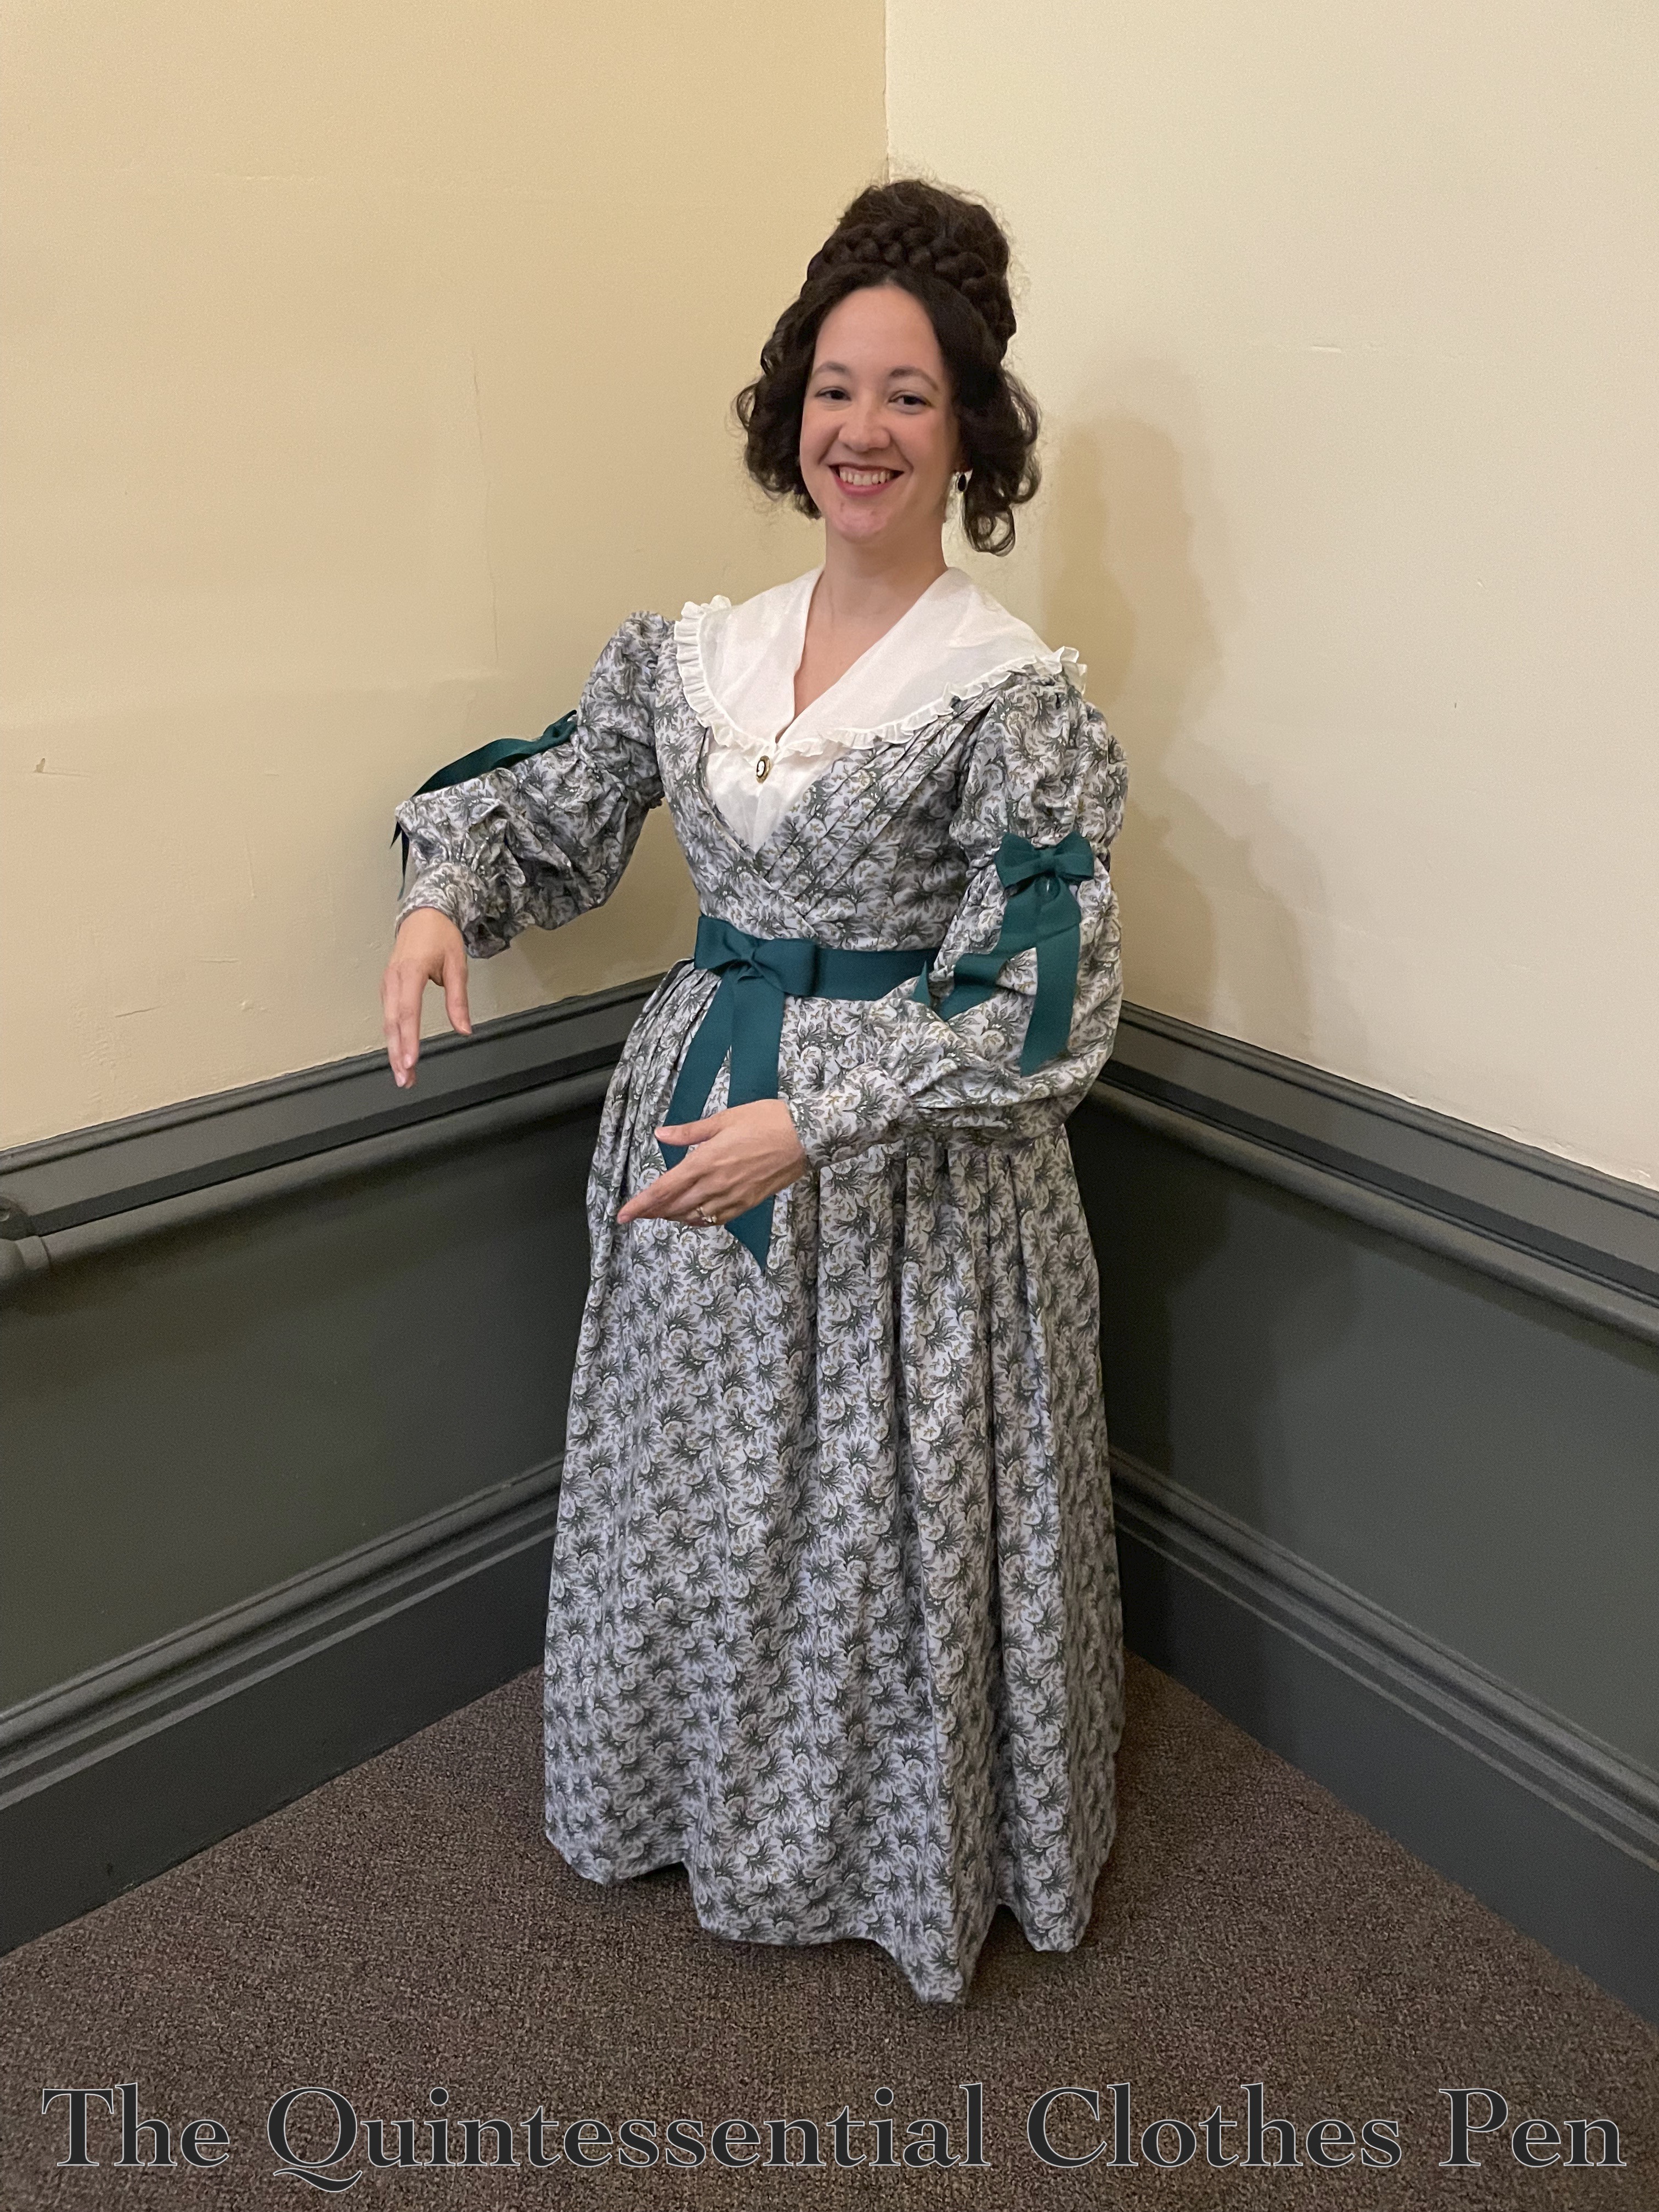
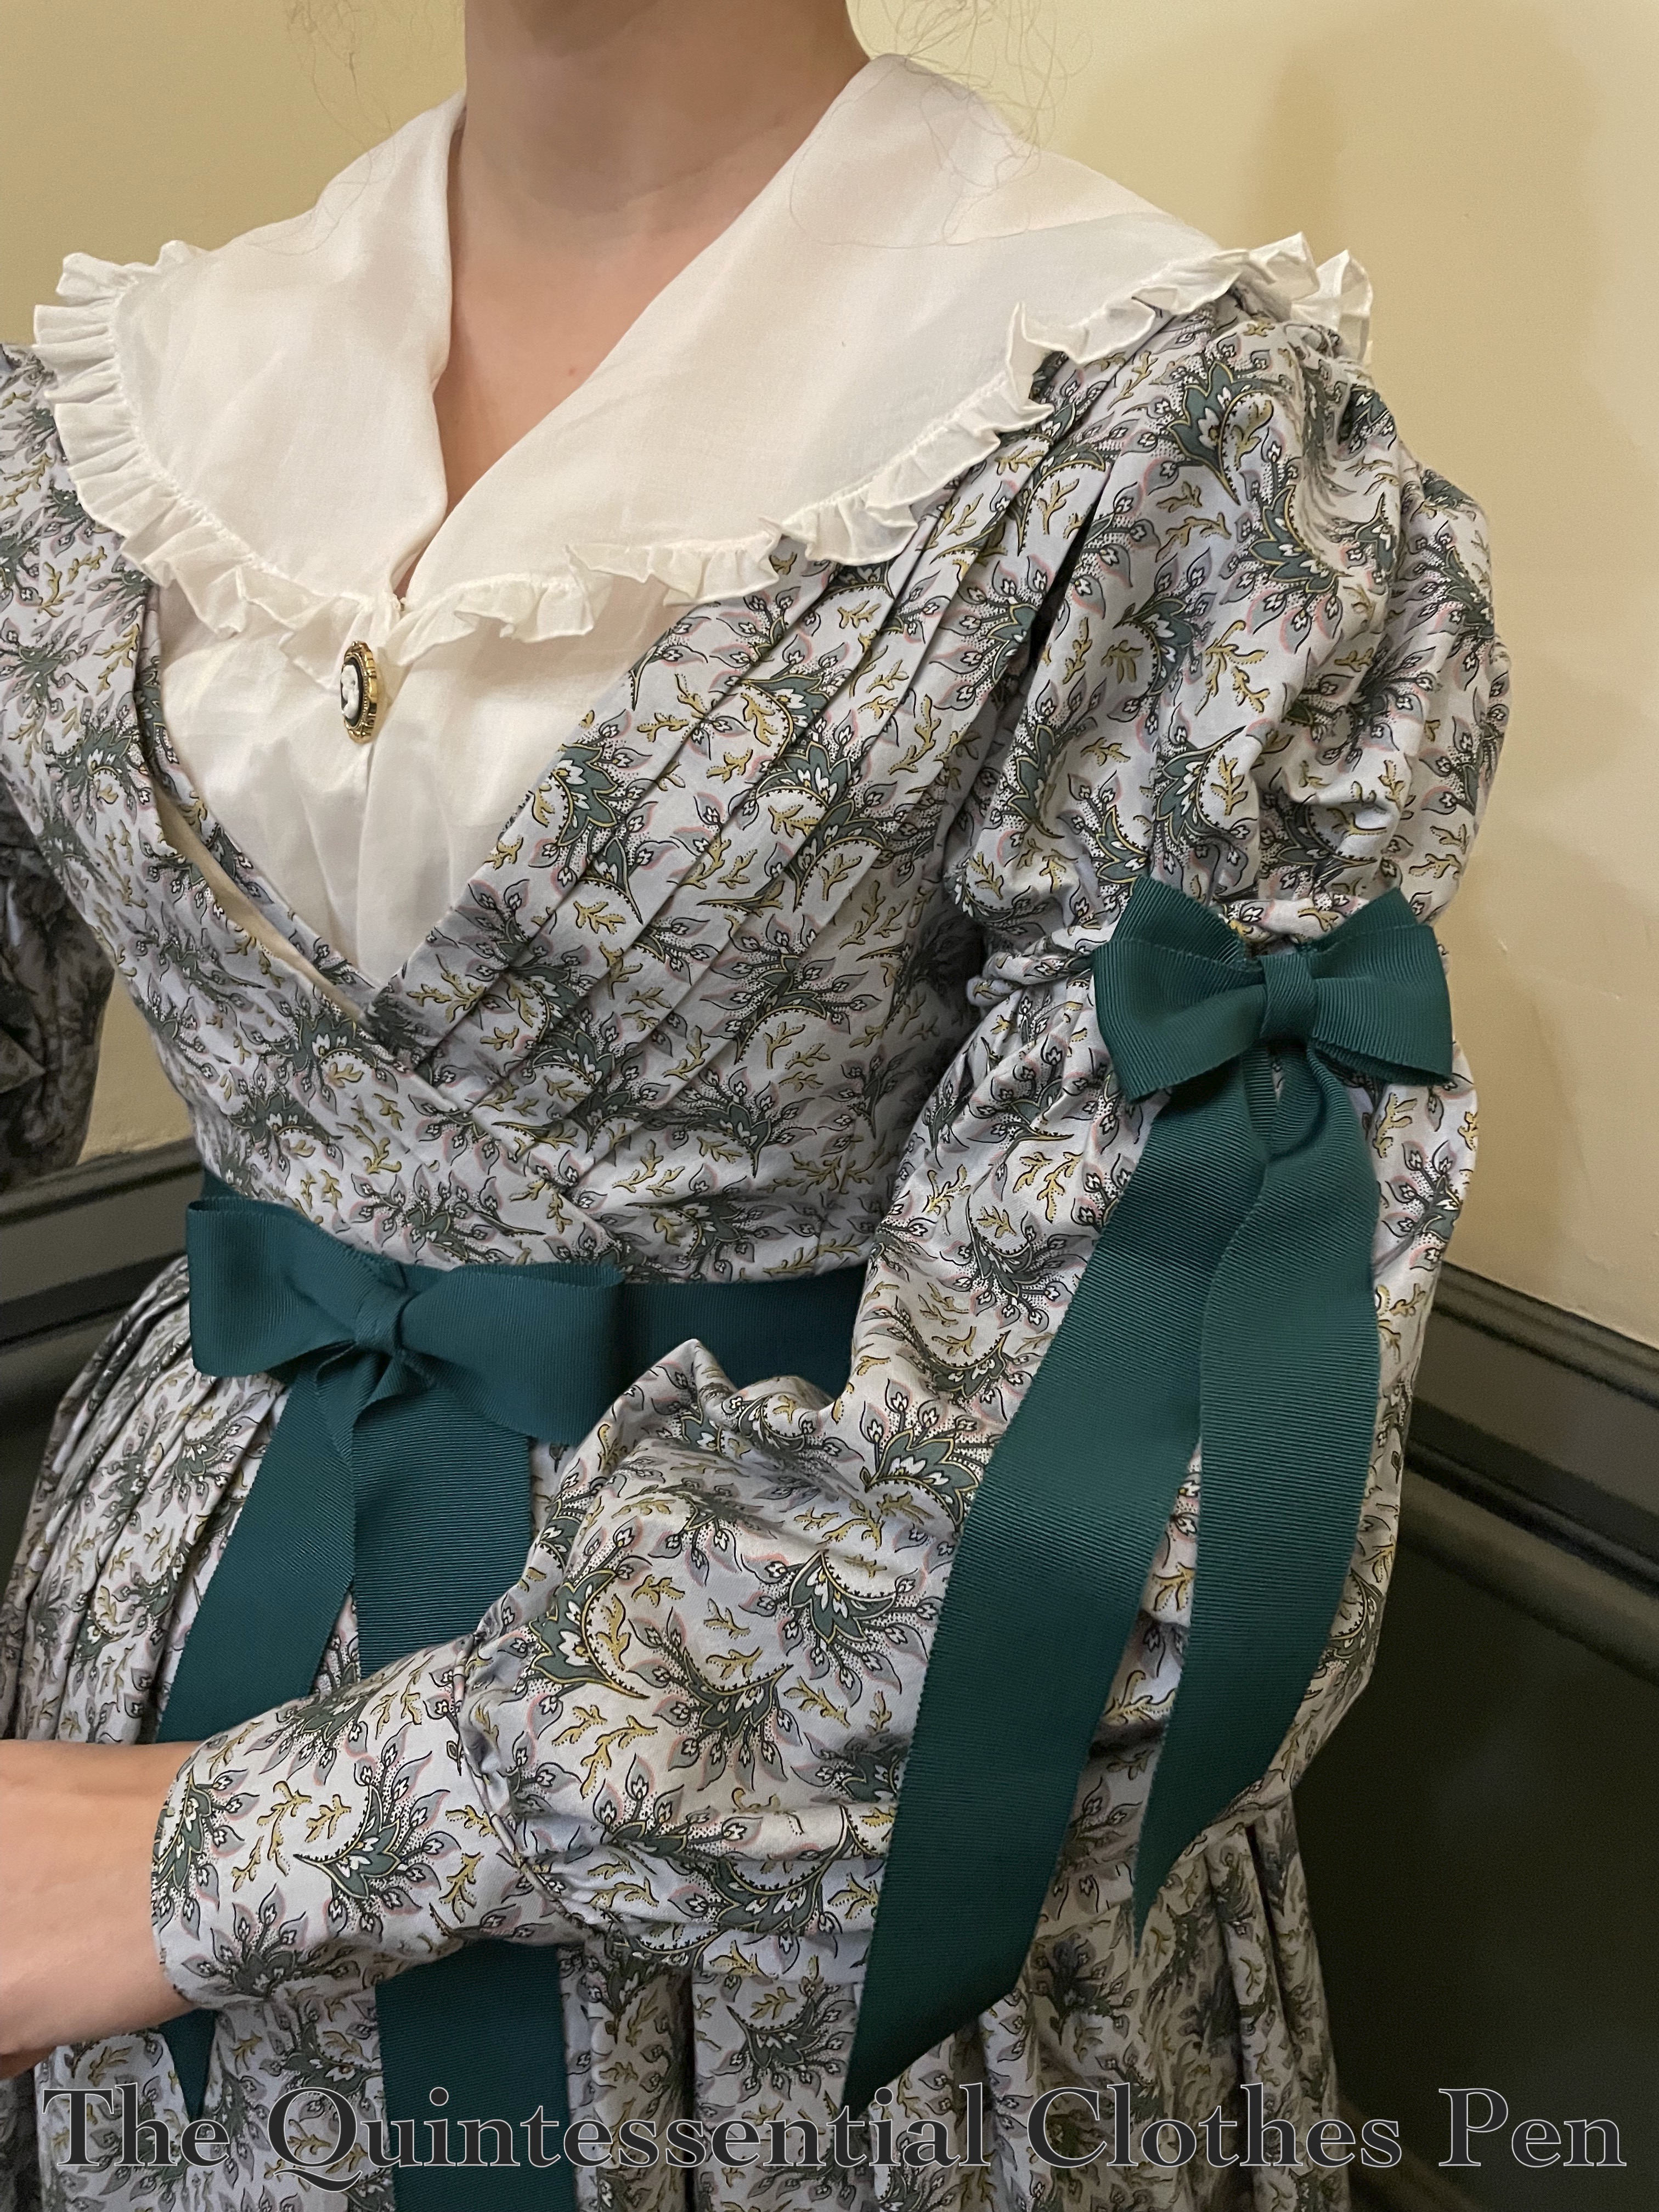
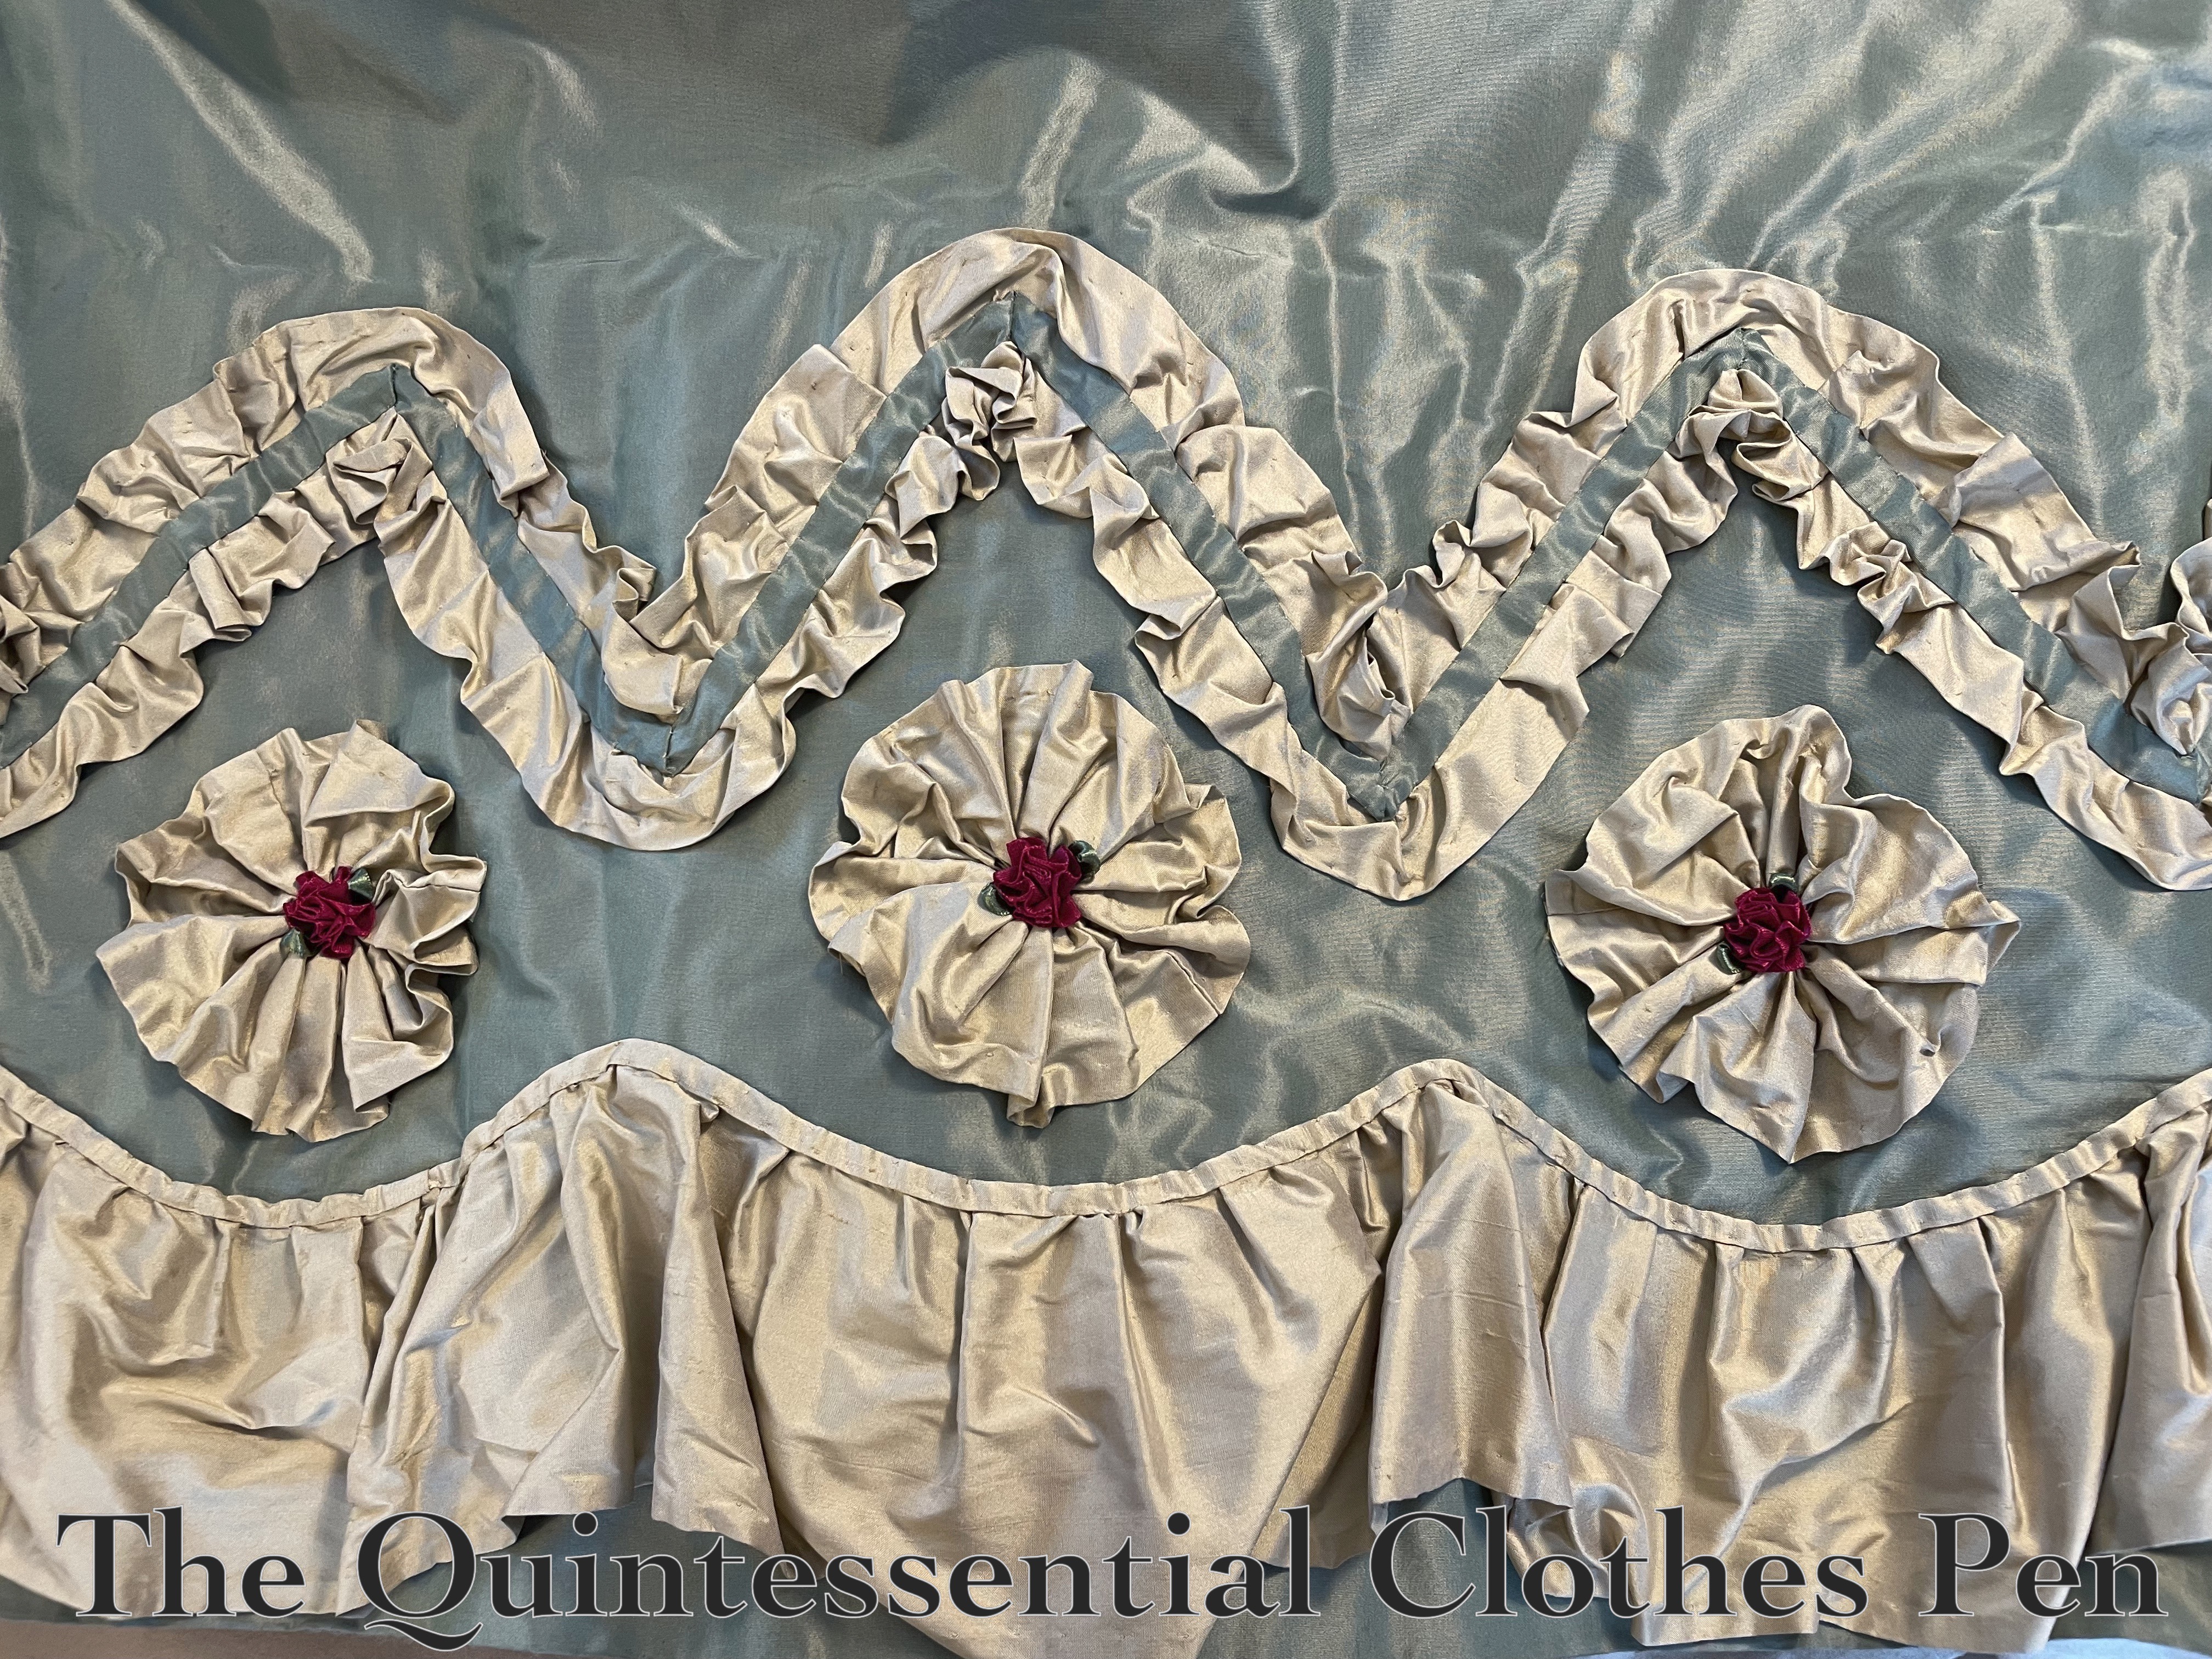
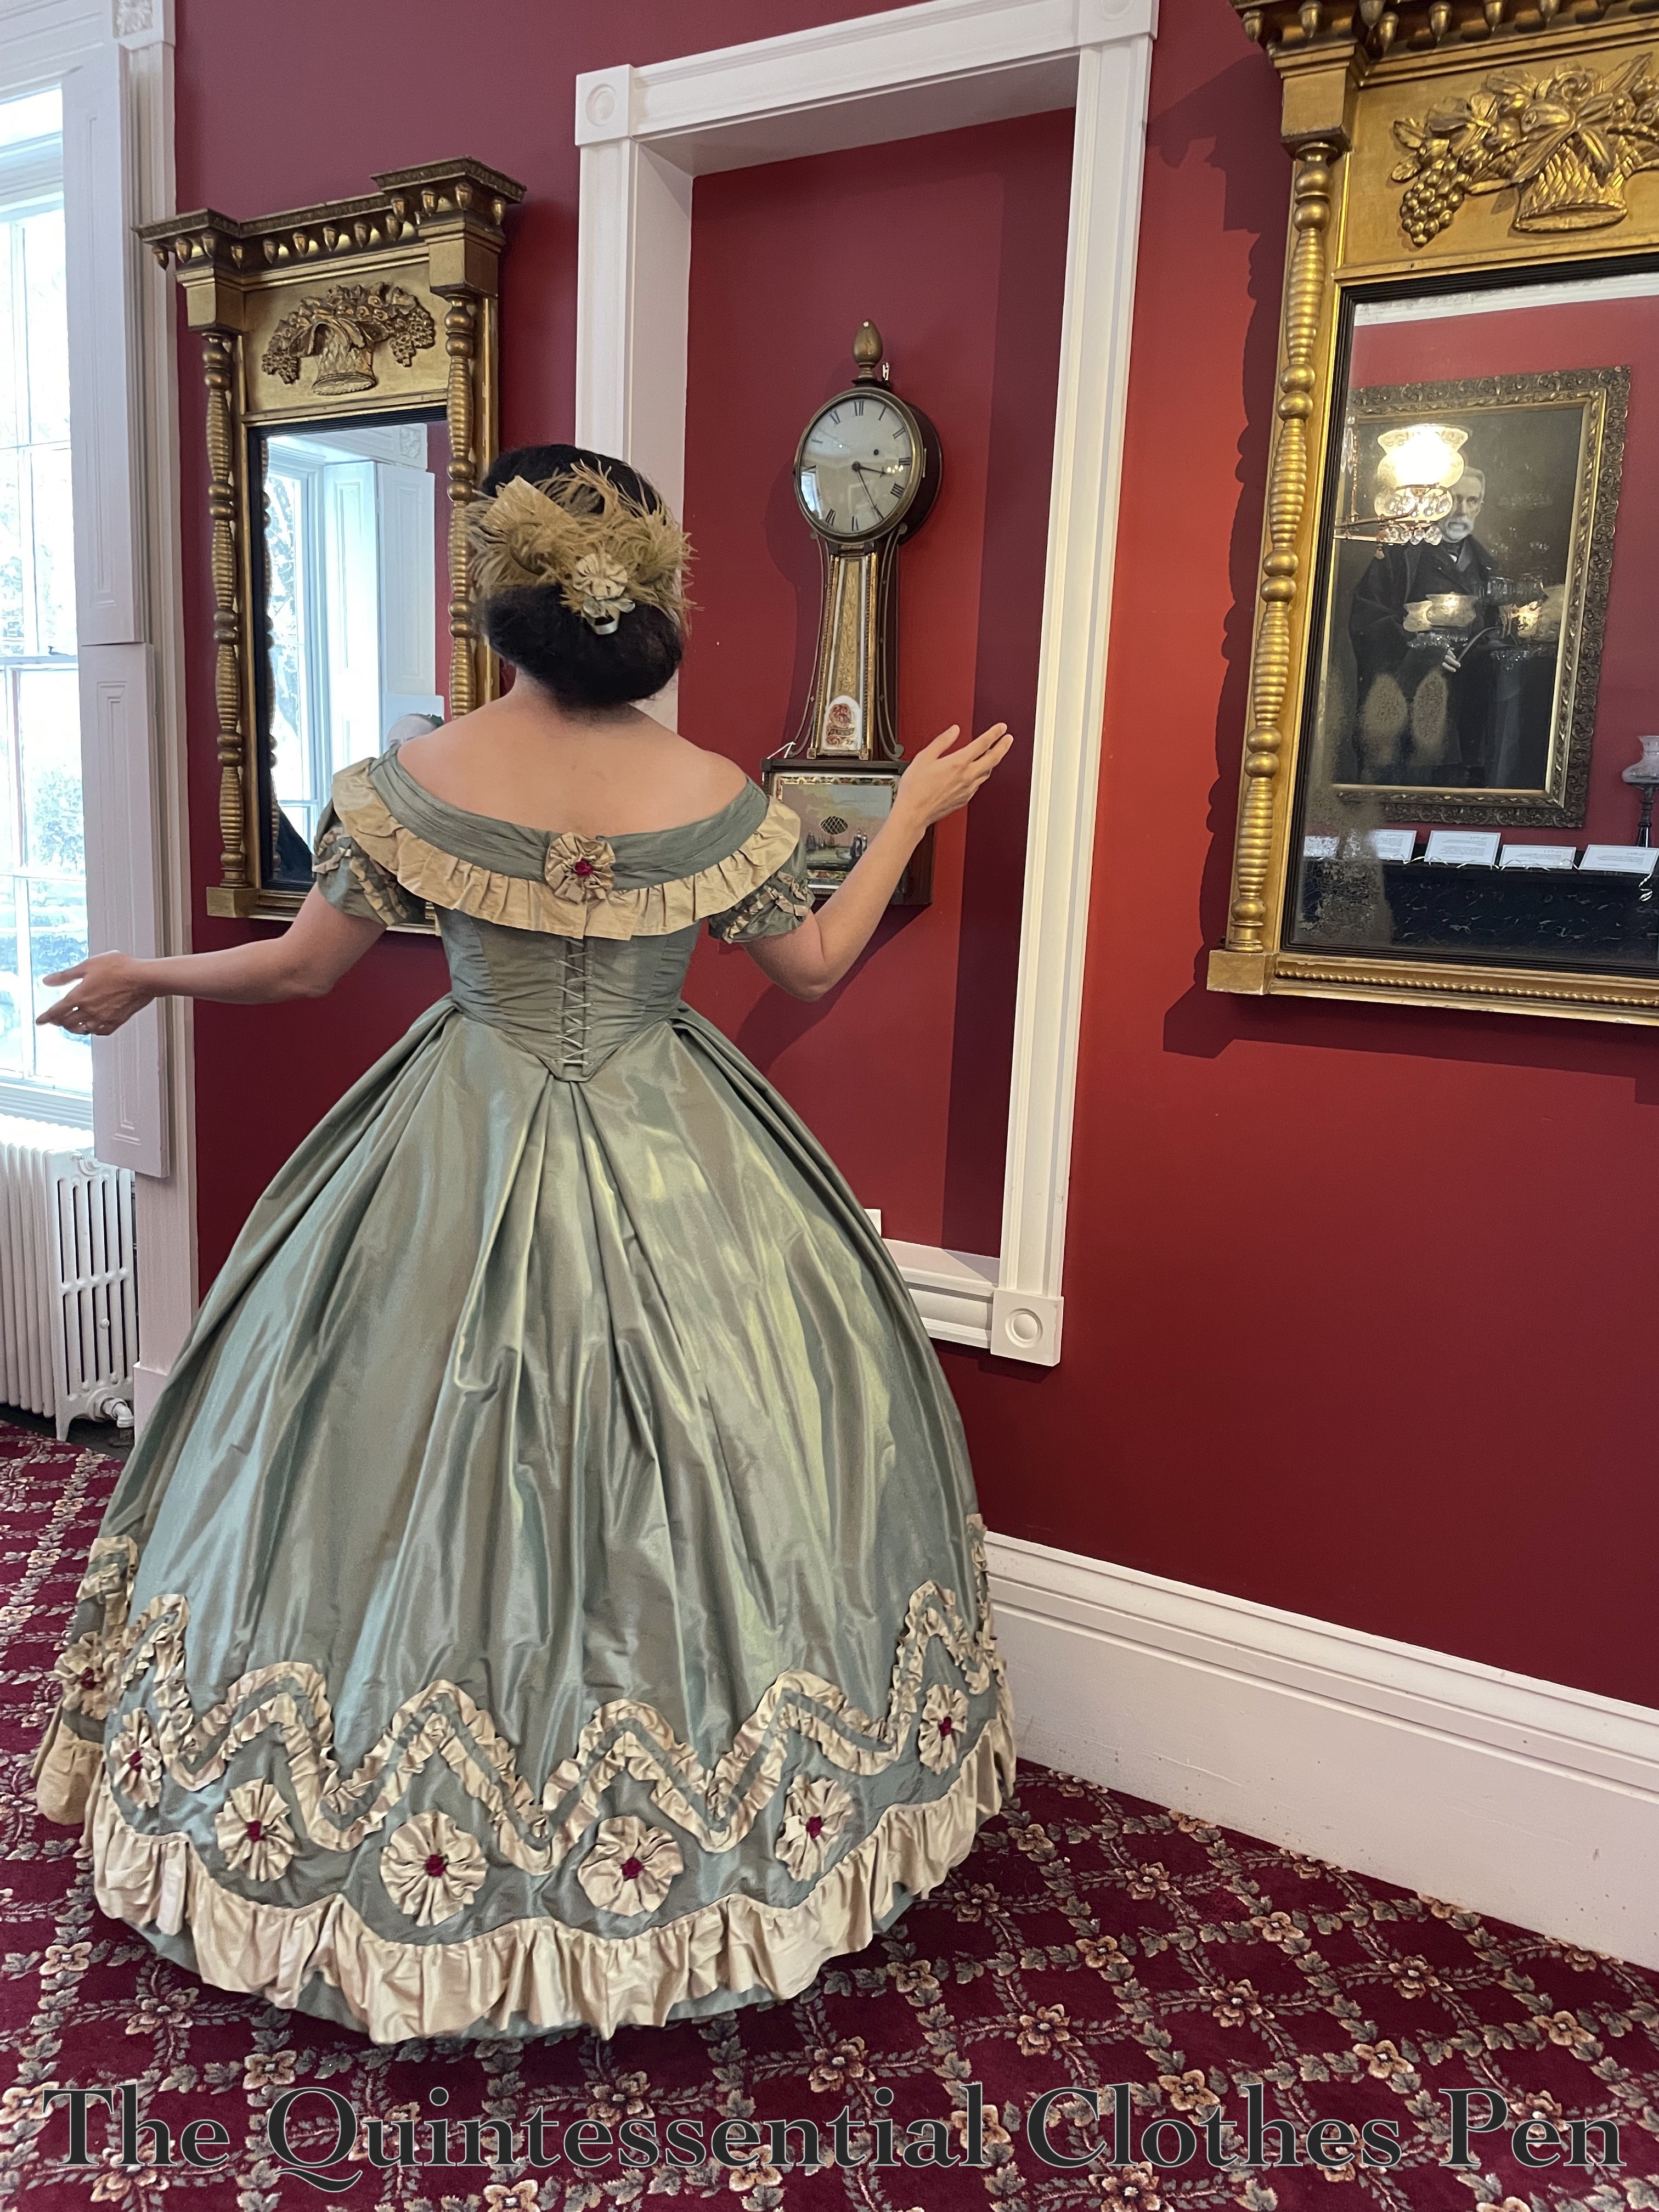
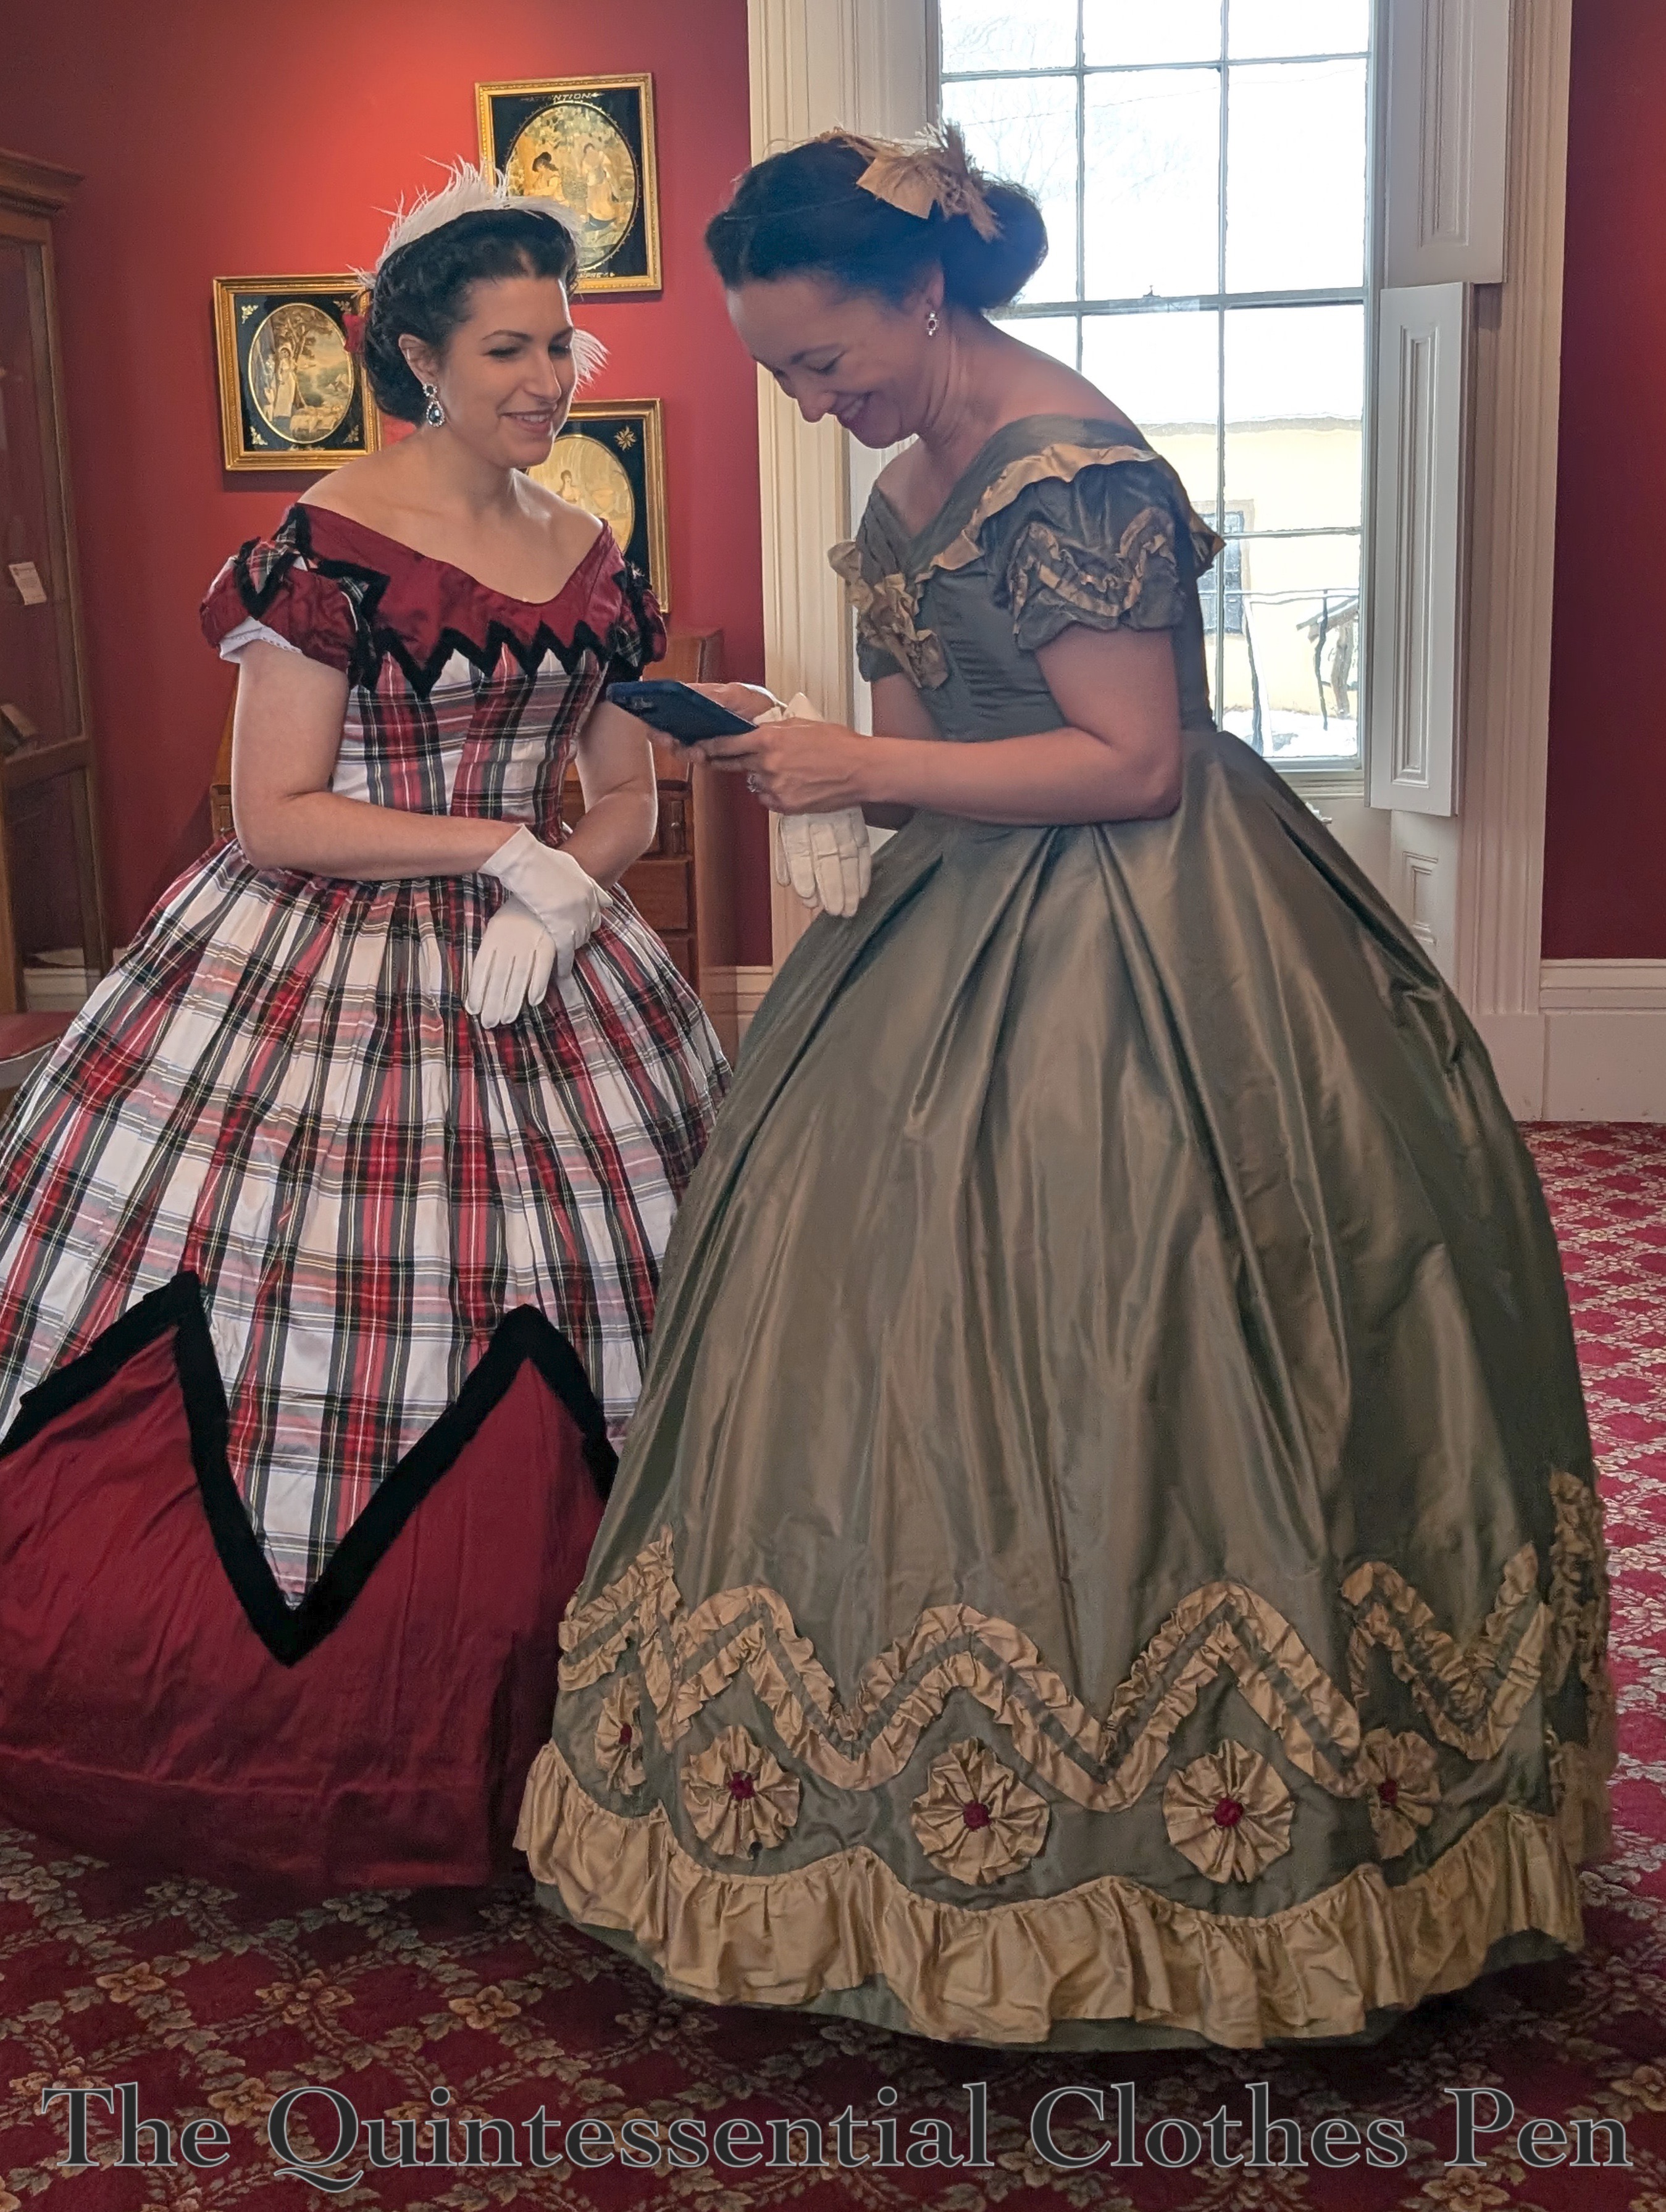
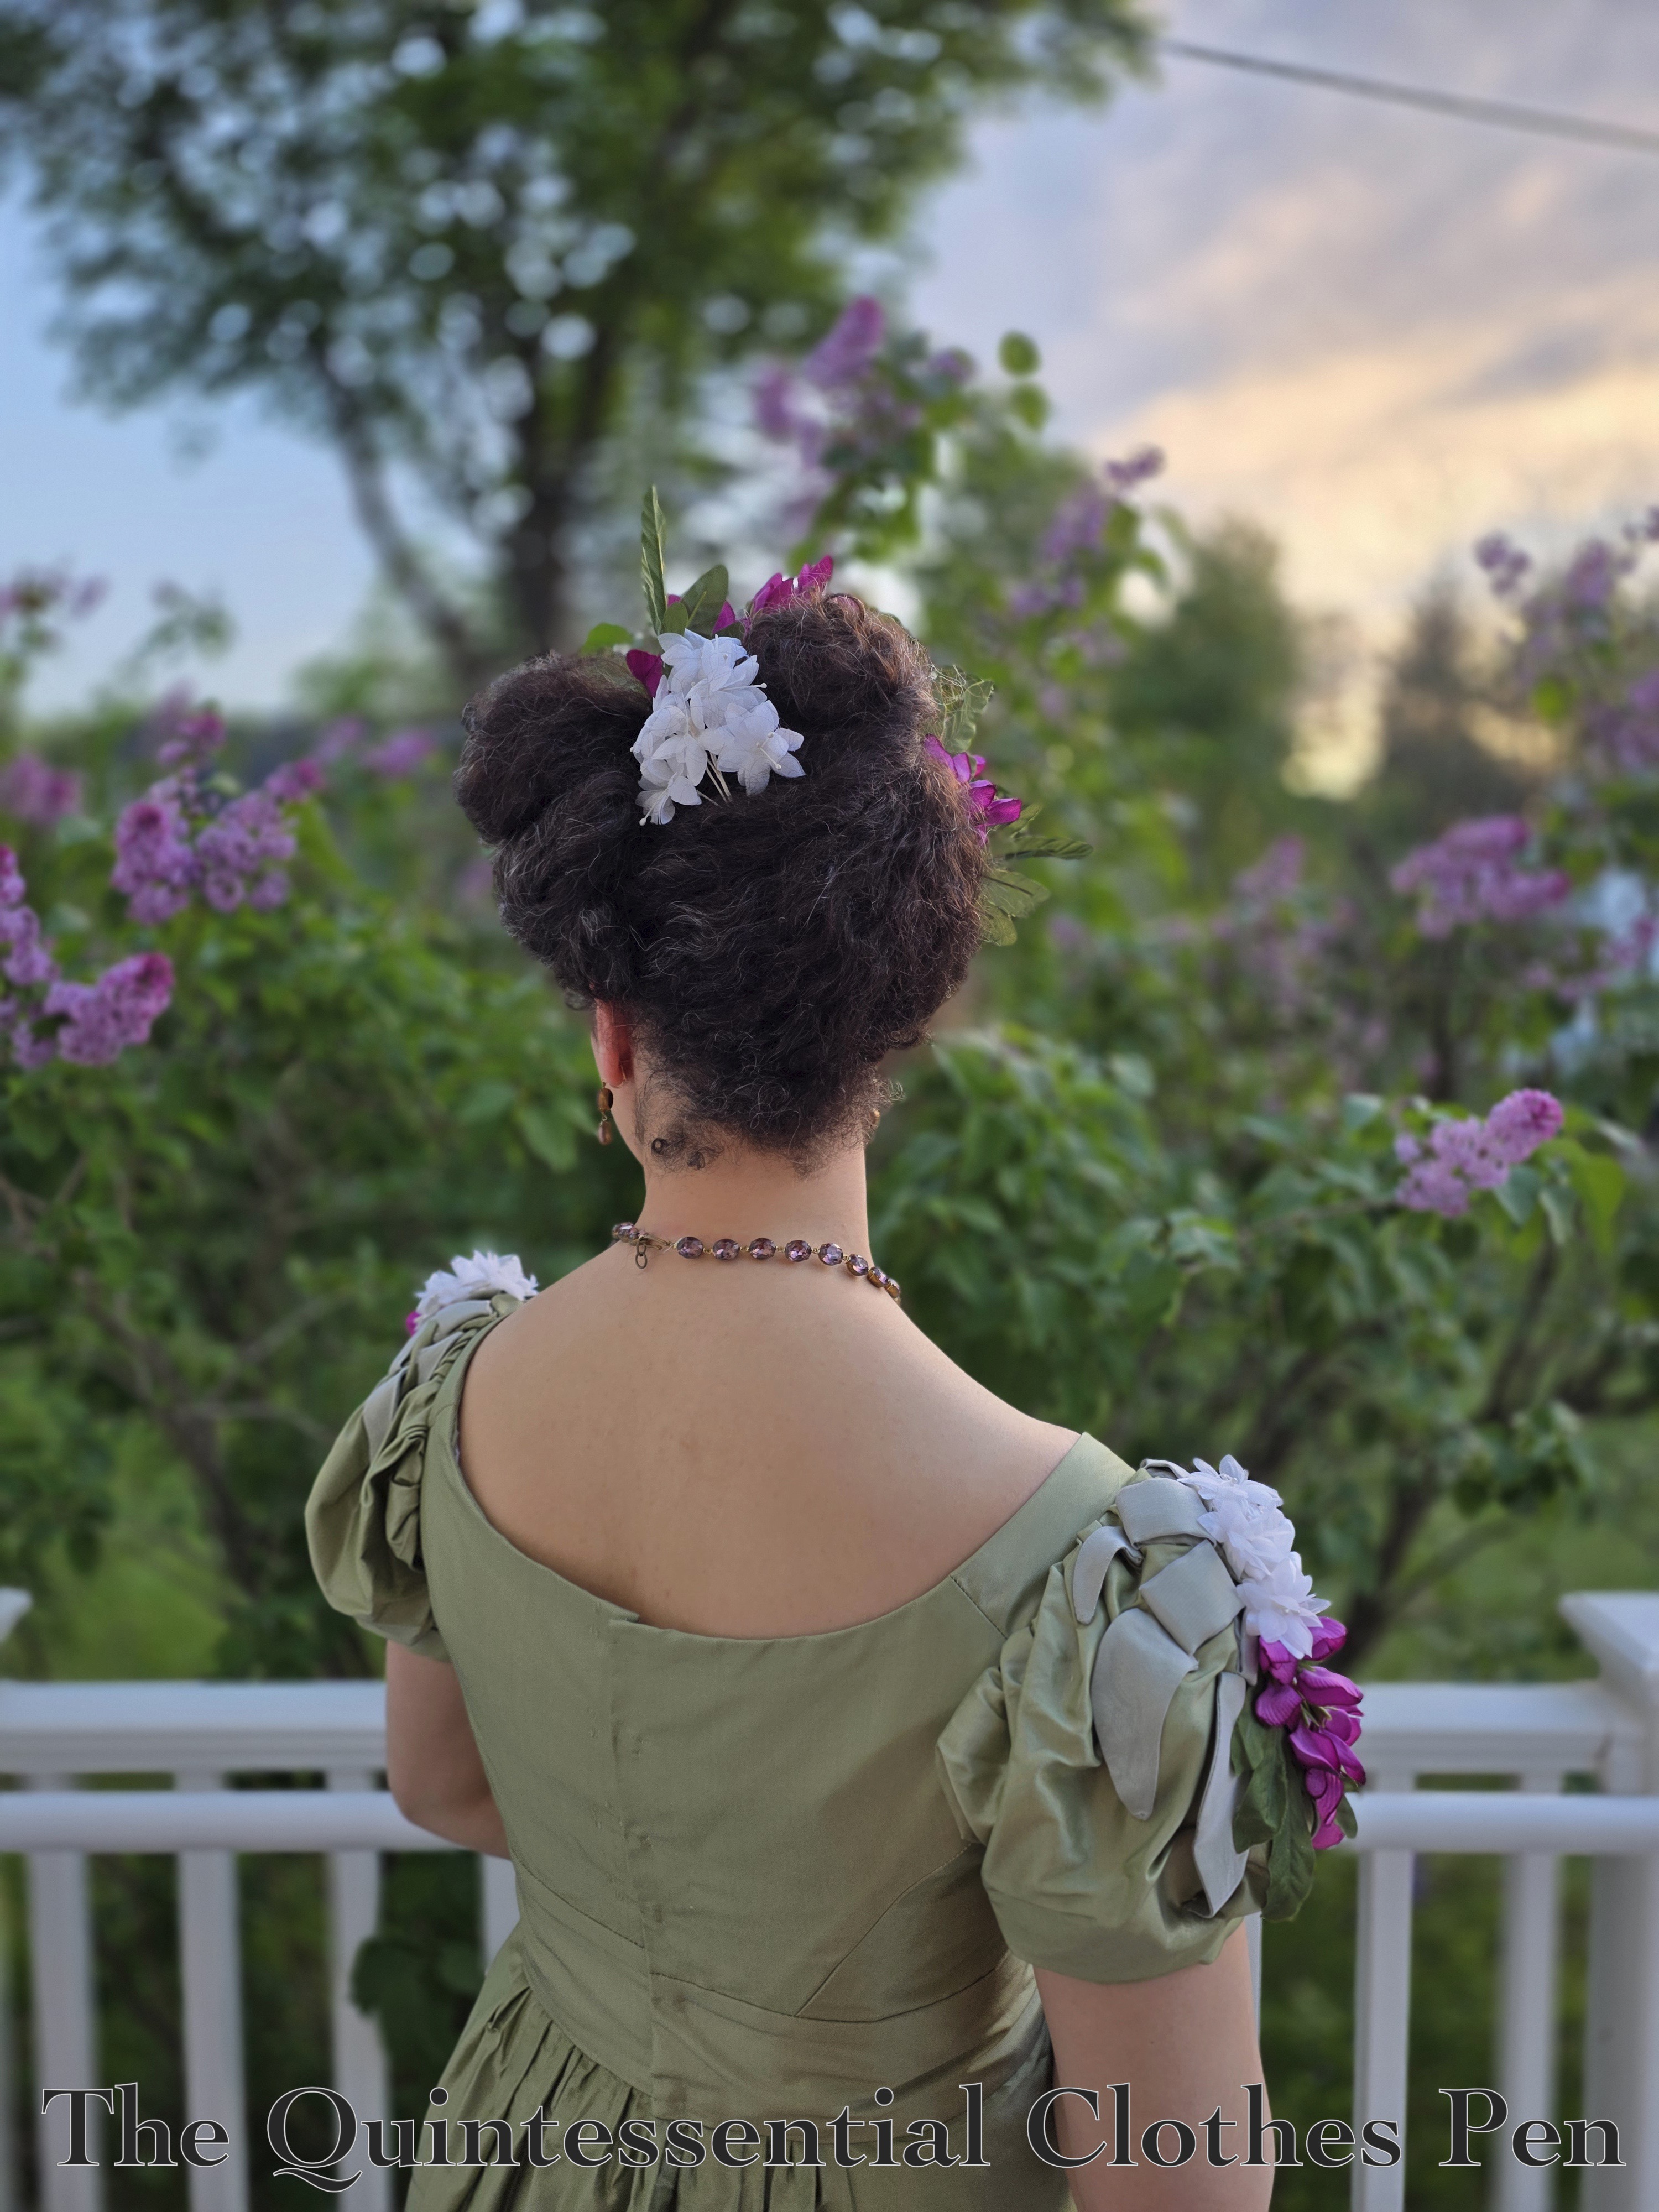
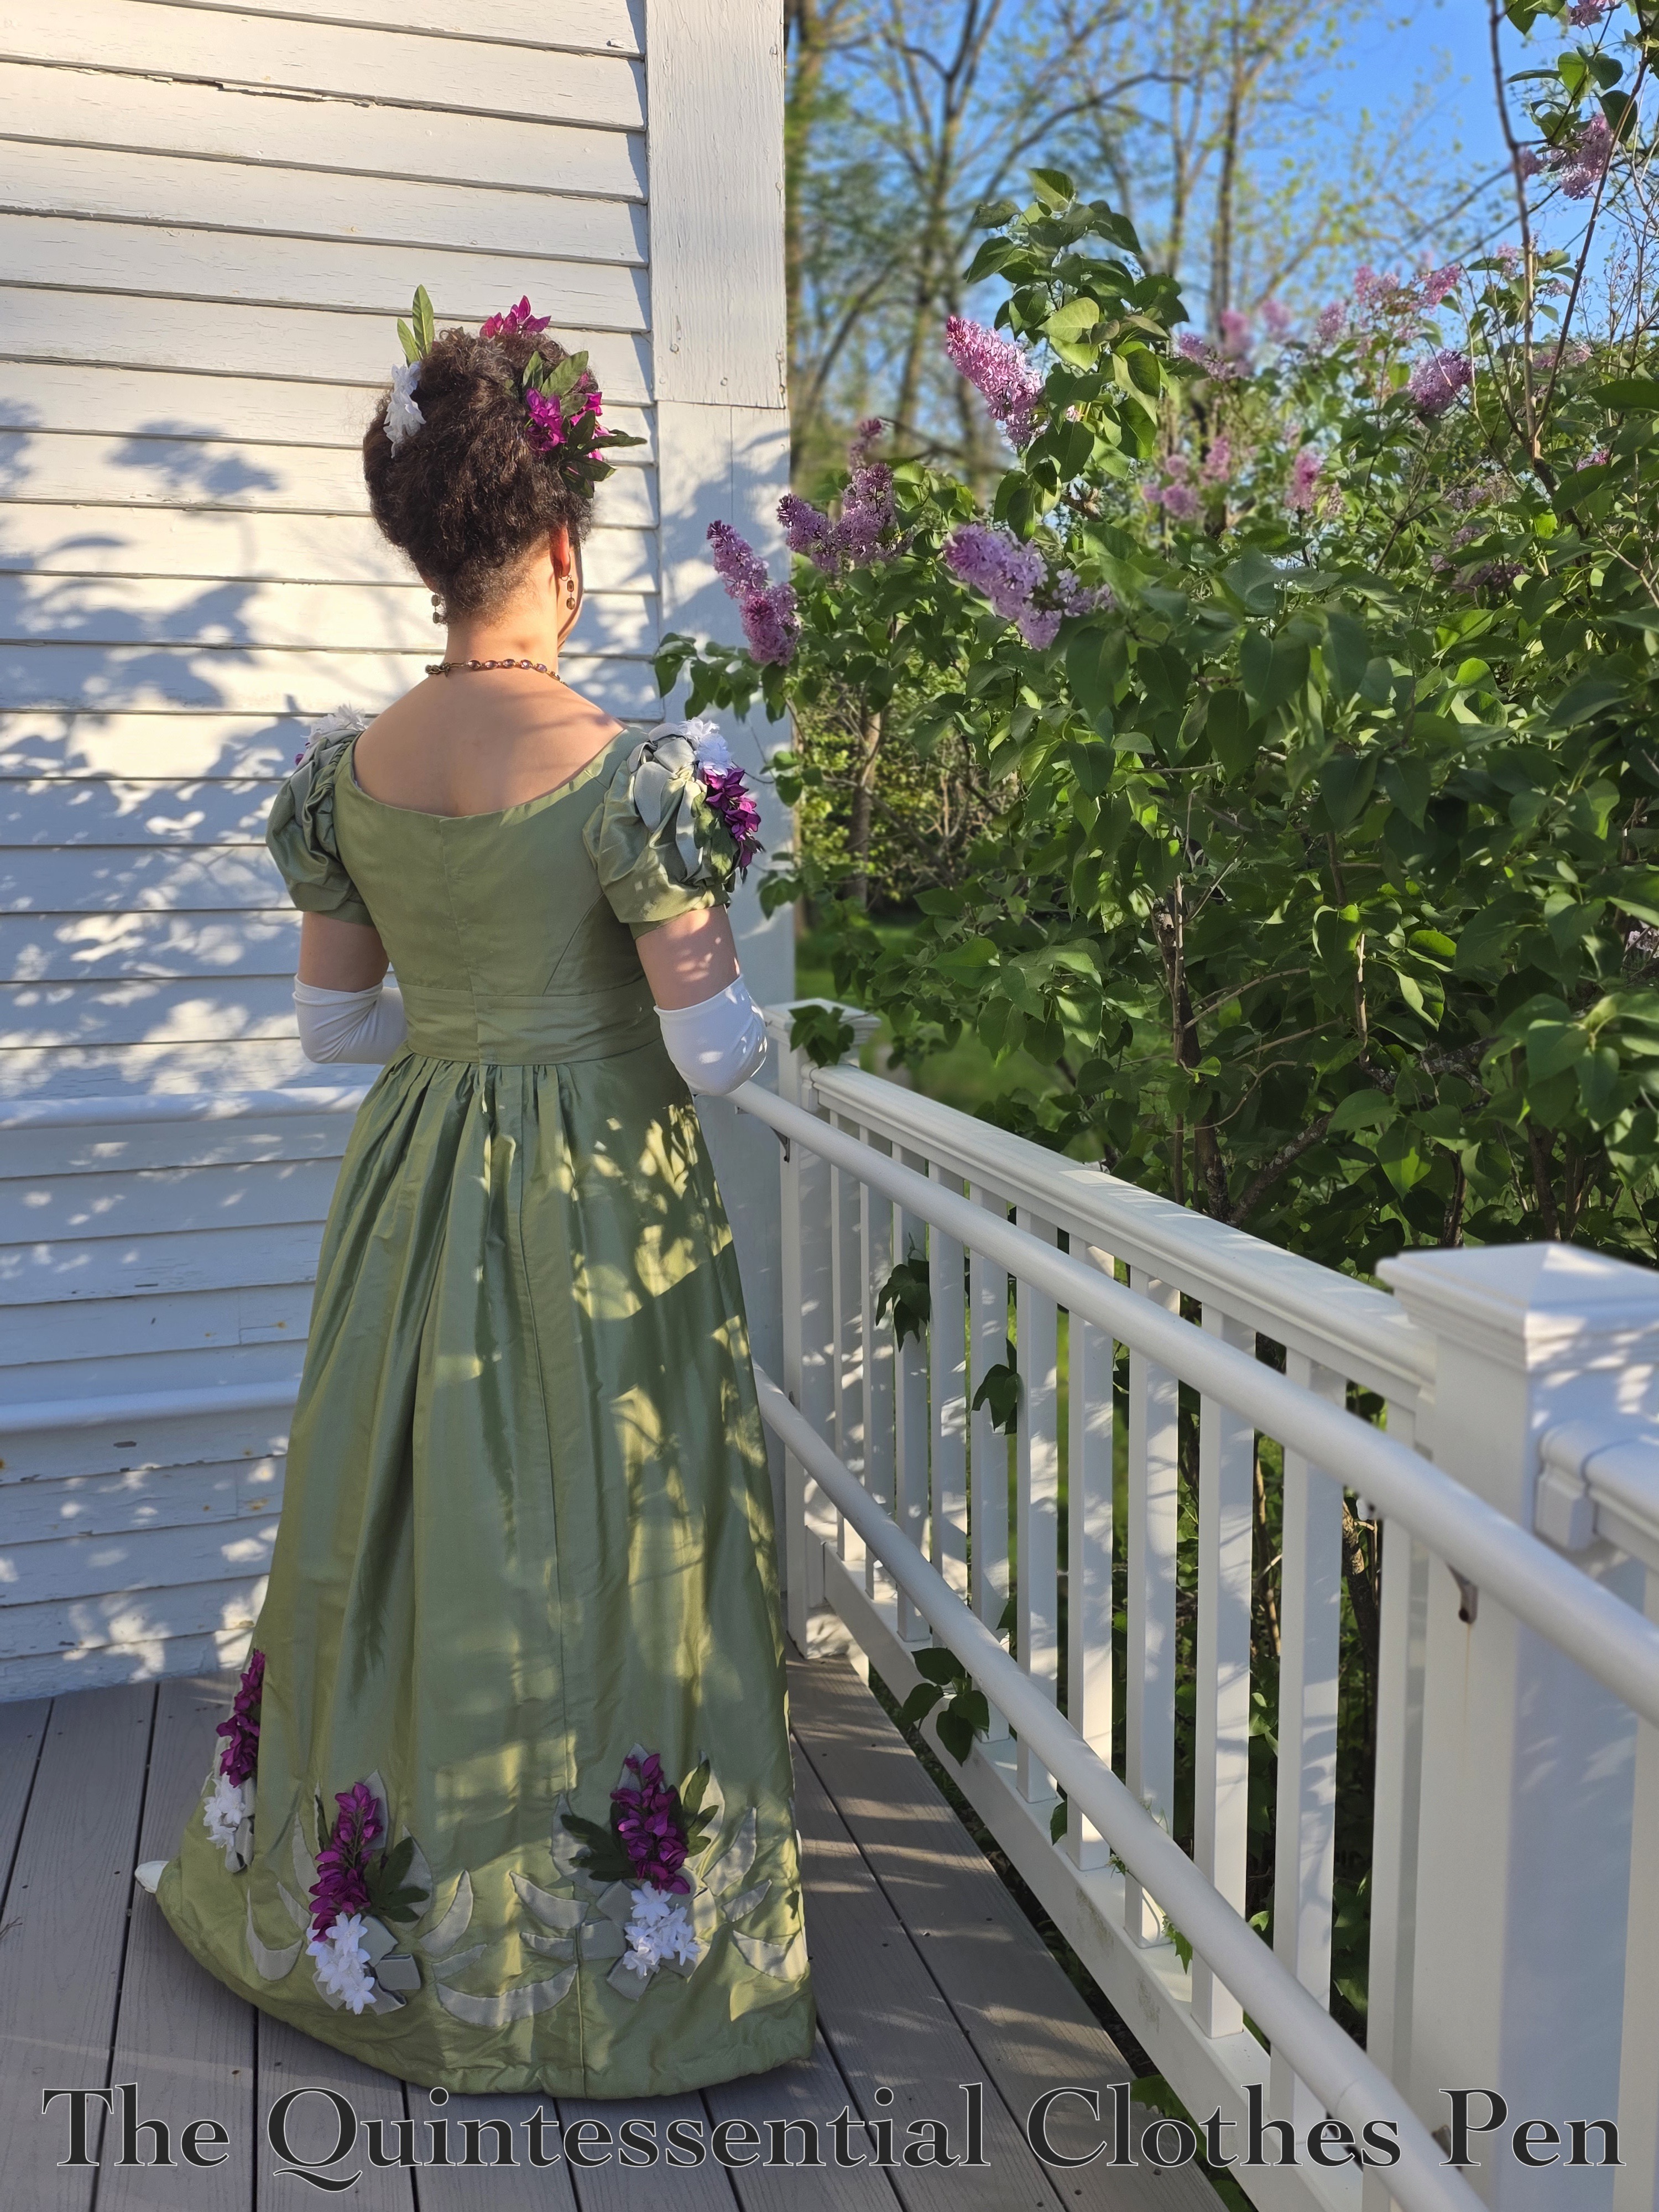
I had an upcoming event to wear the updated dress to and theme was a “blossoms ball!” So as I was brainstorming about the trim I thought “perhaps I need to add more flowers!” Here is the finished result.

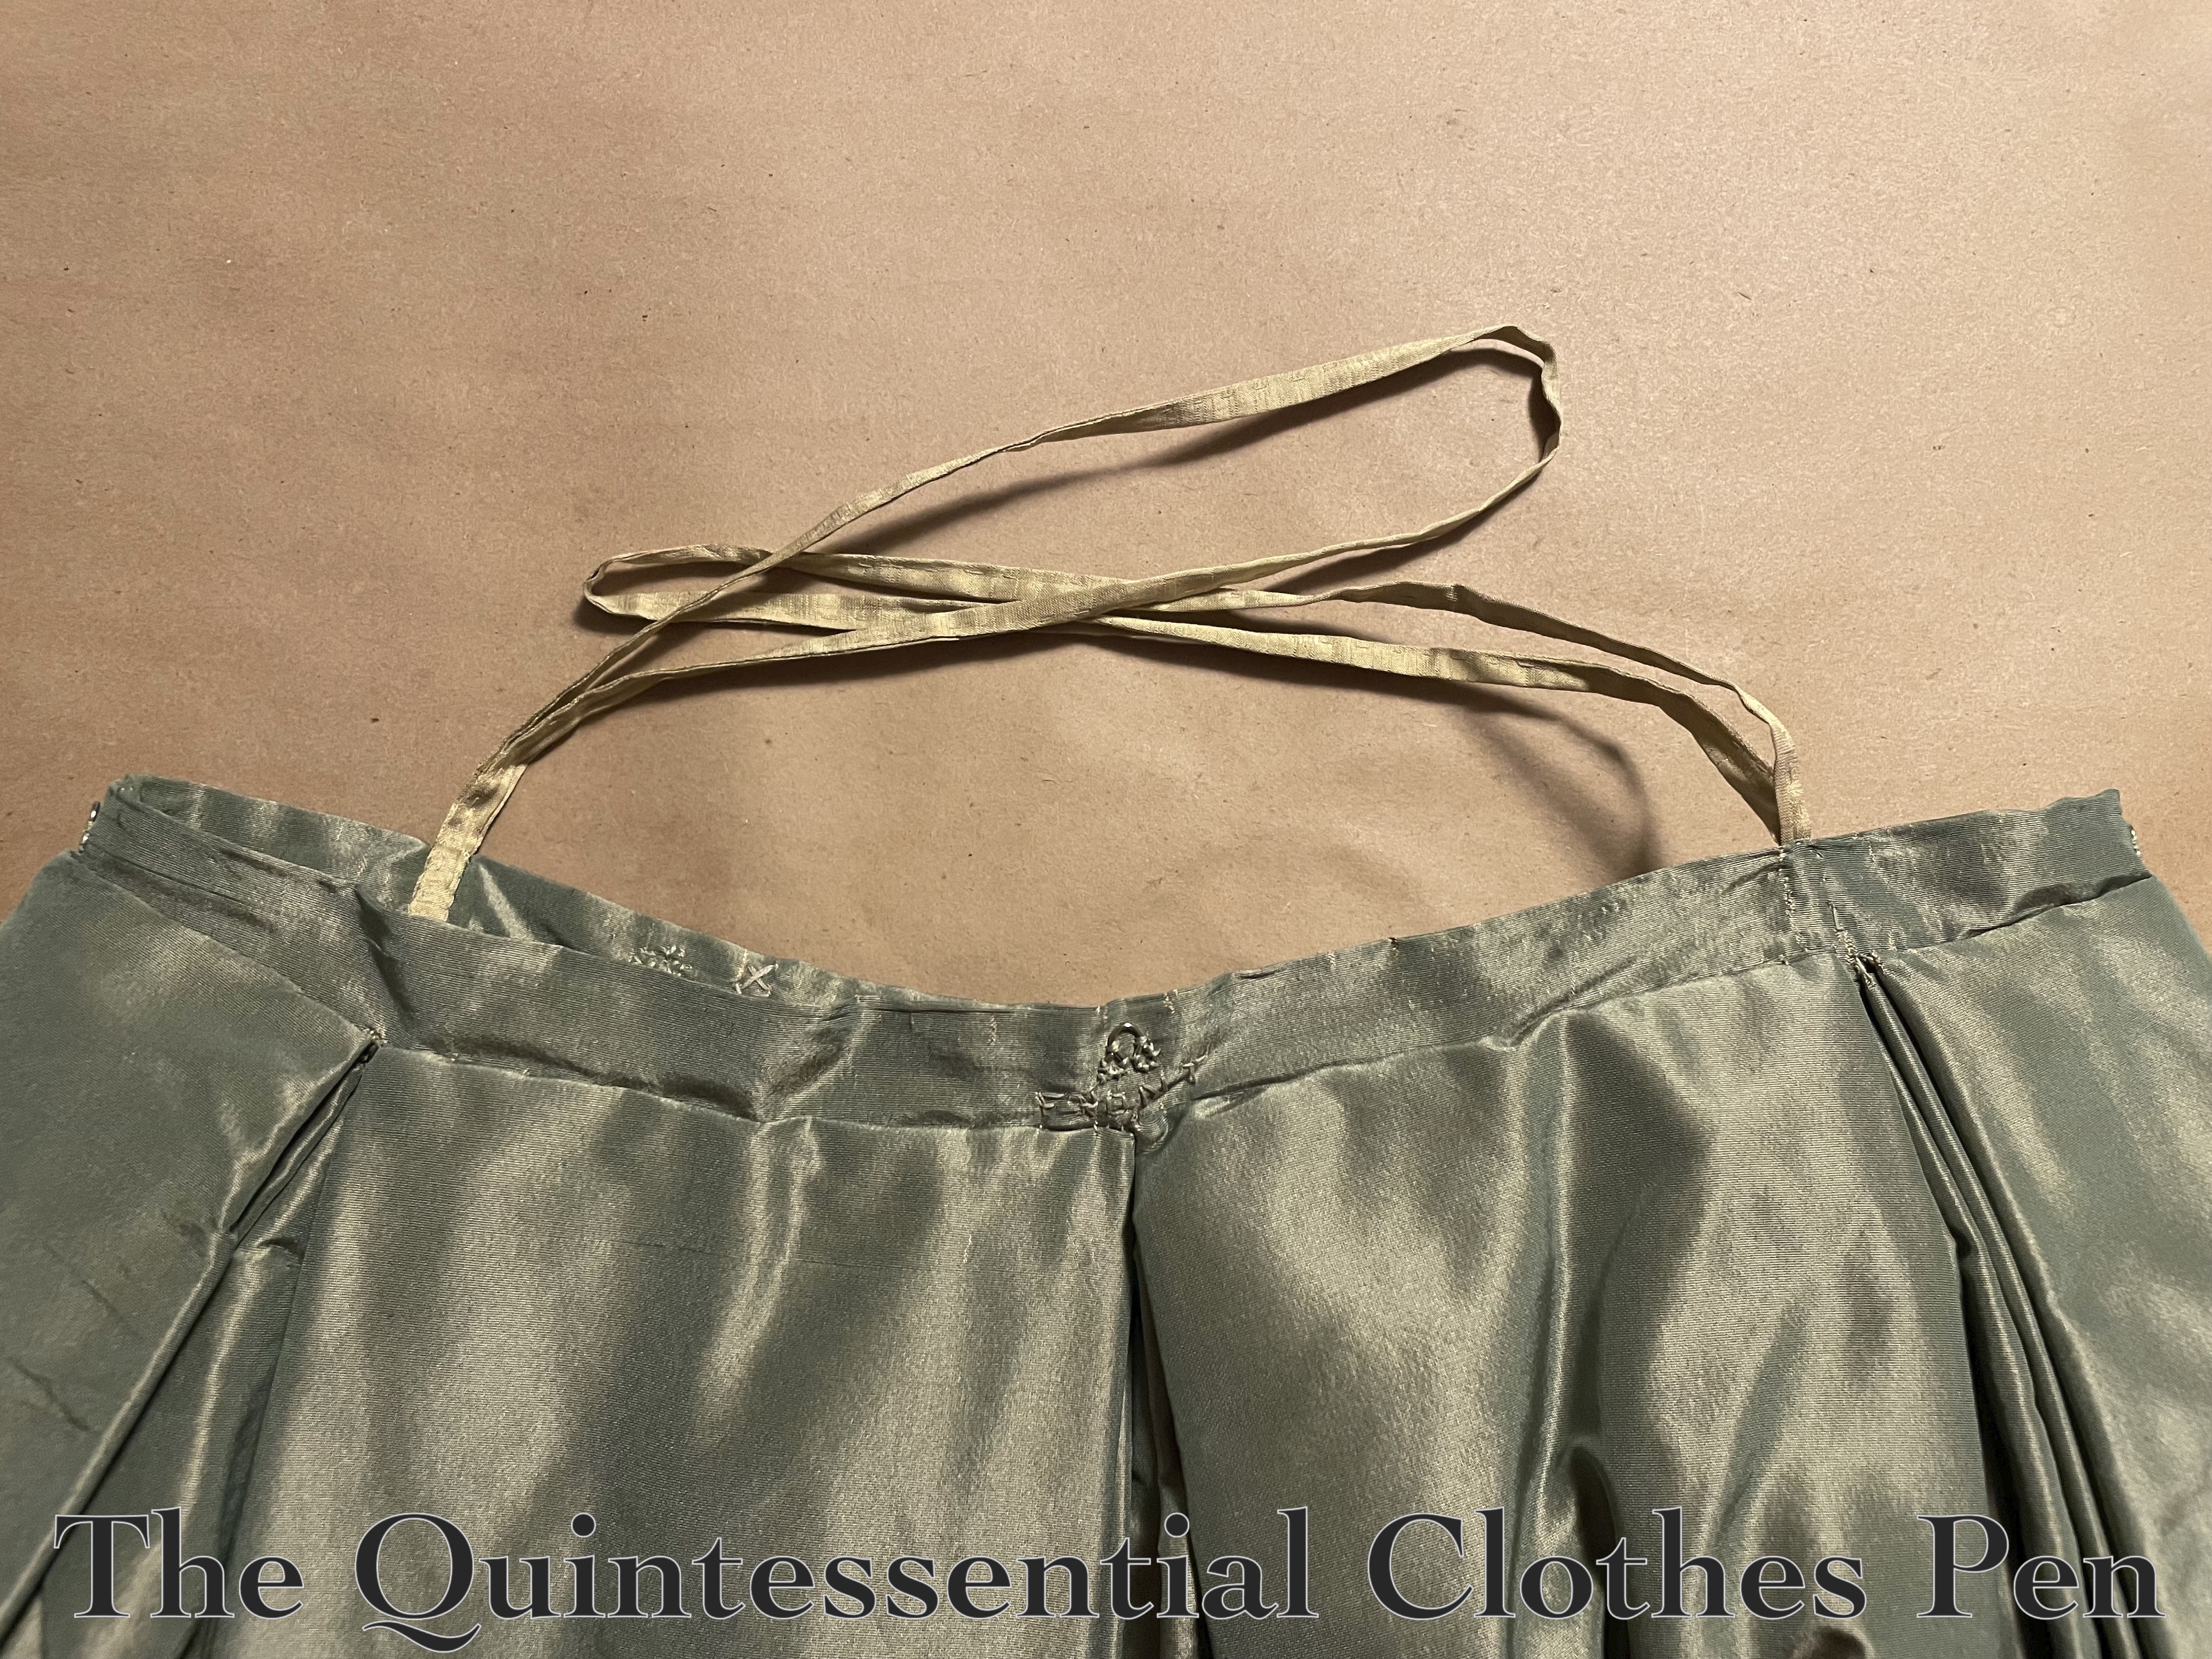
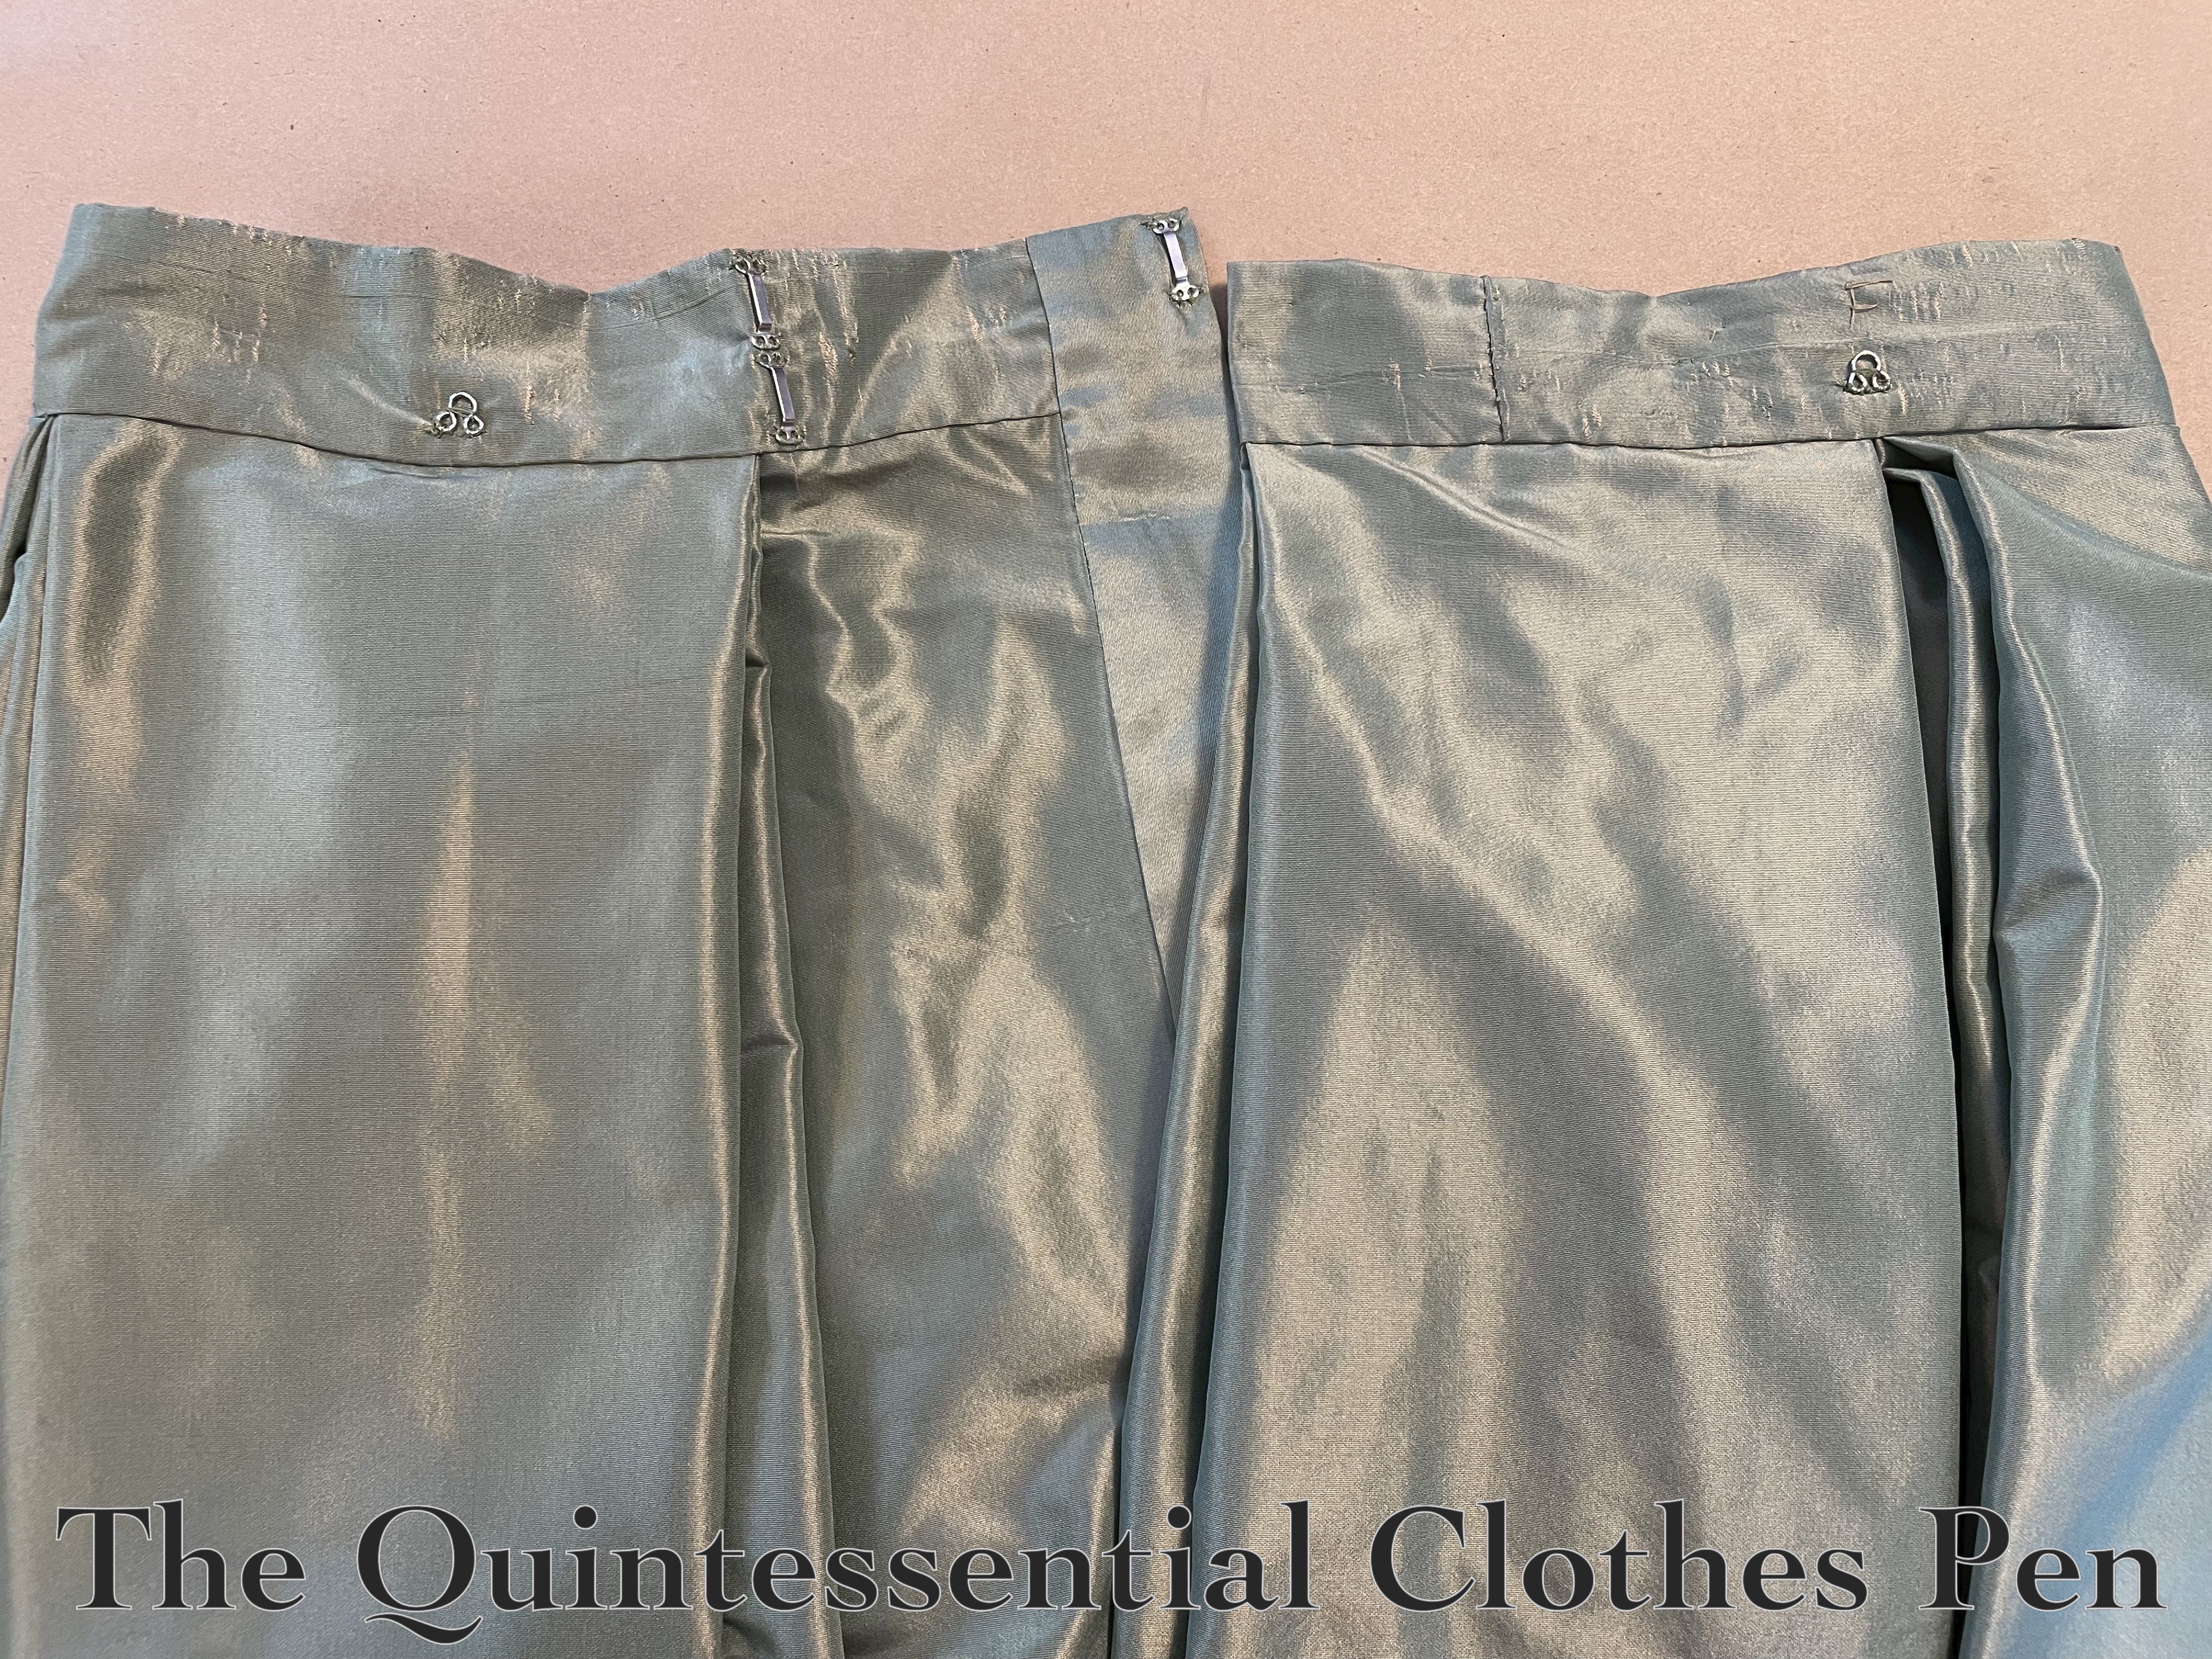
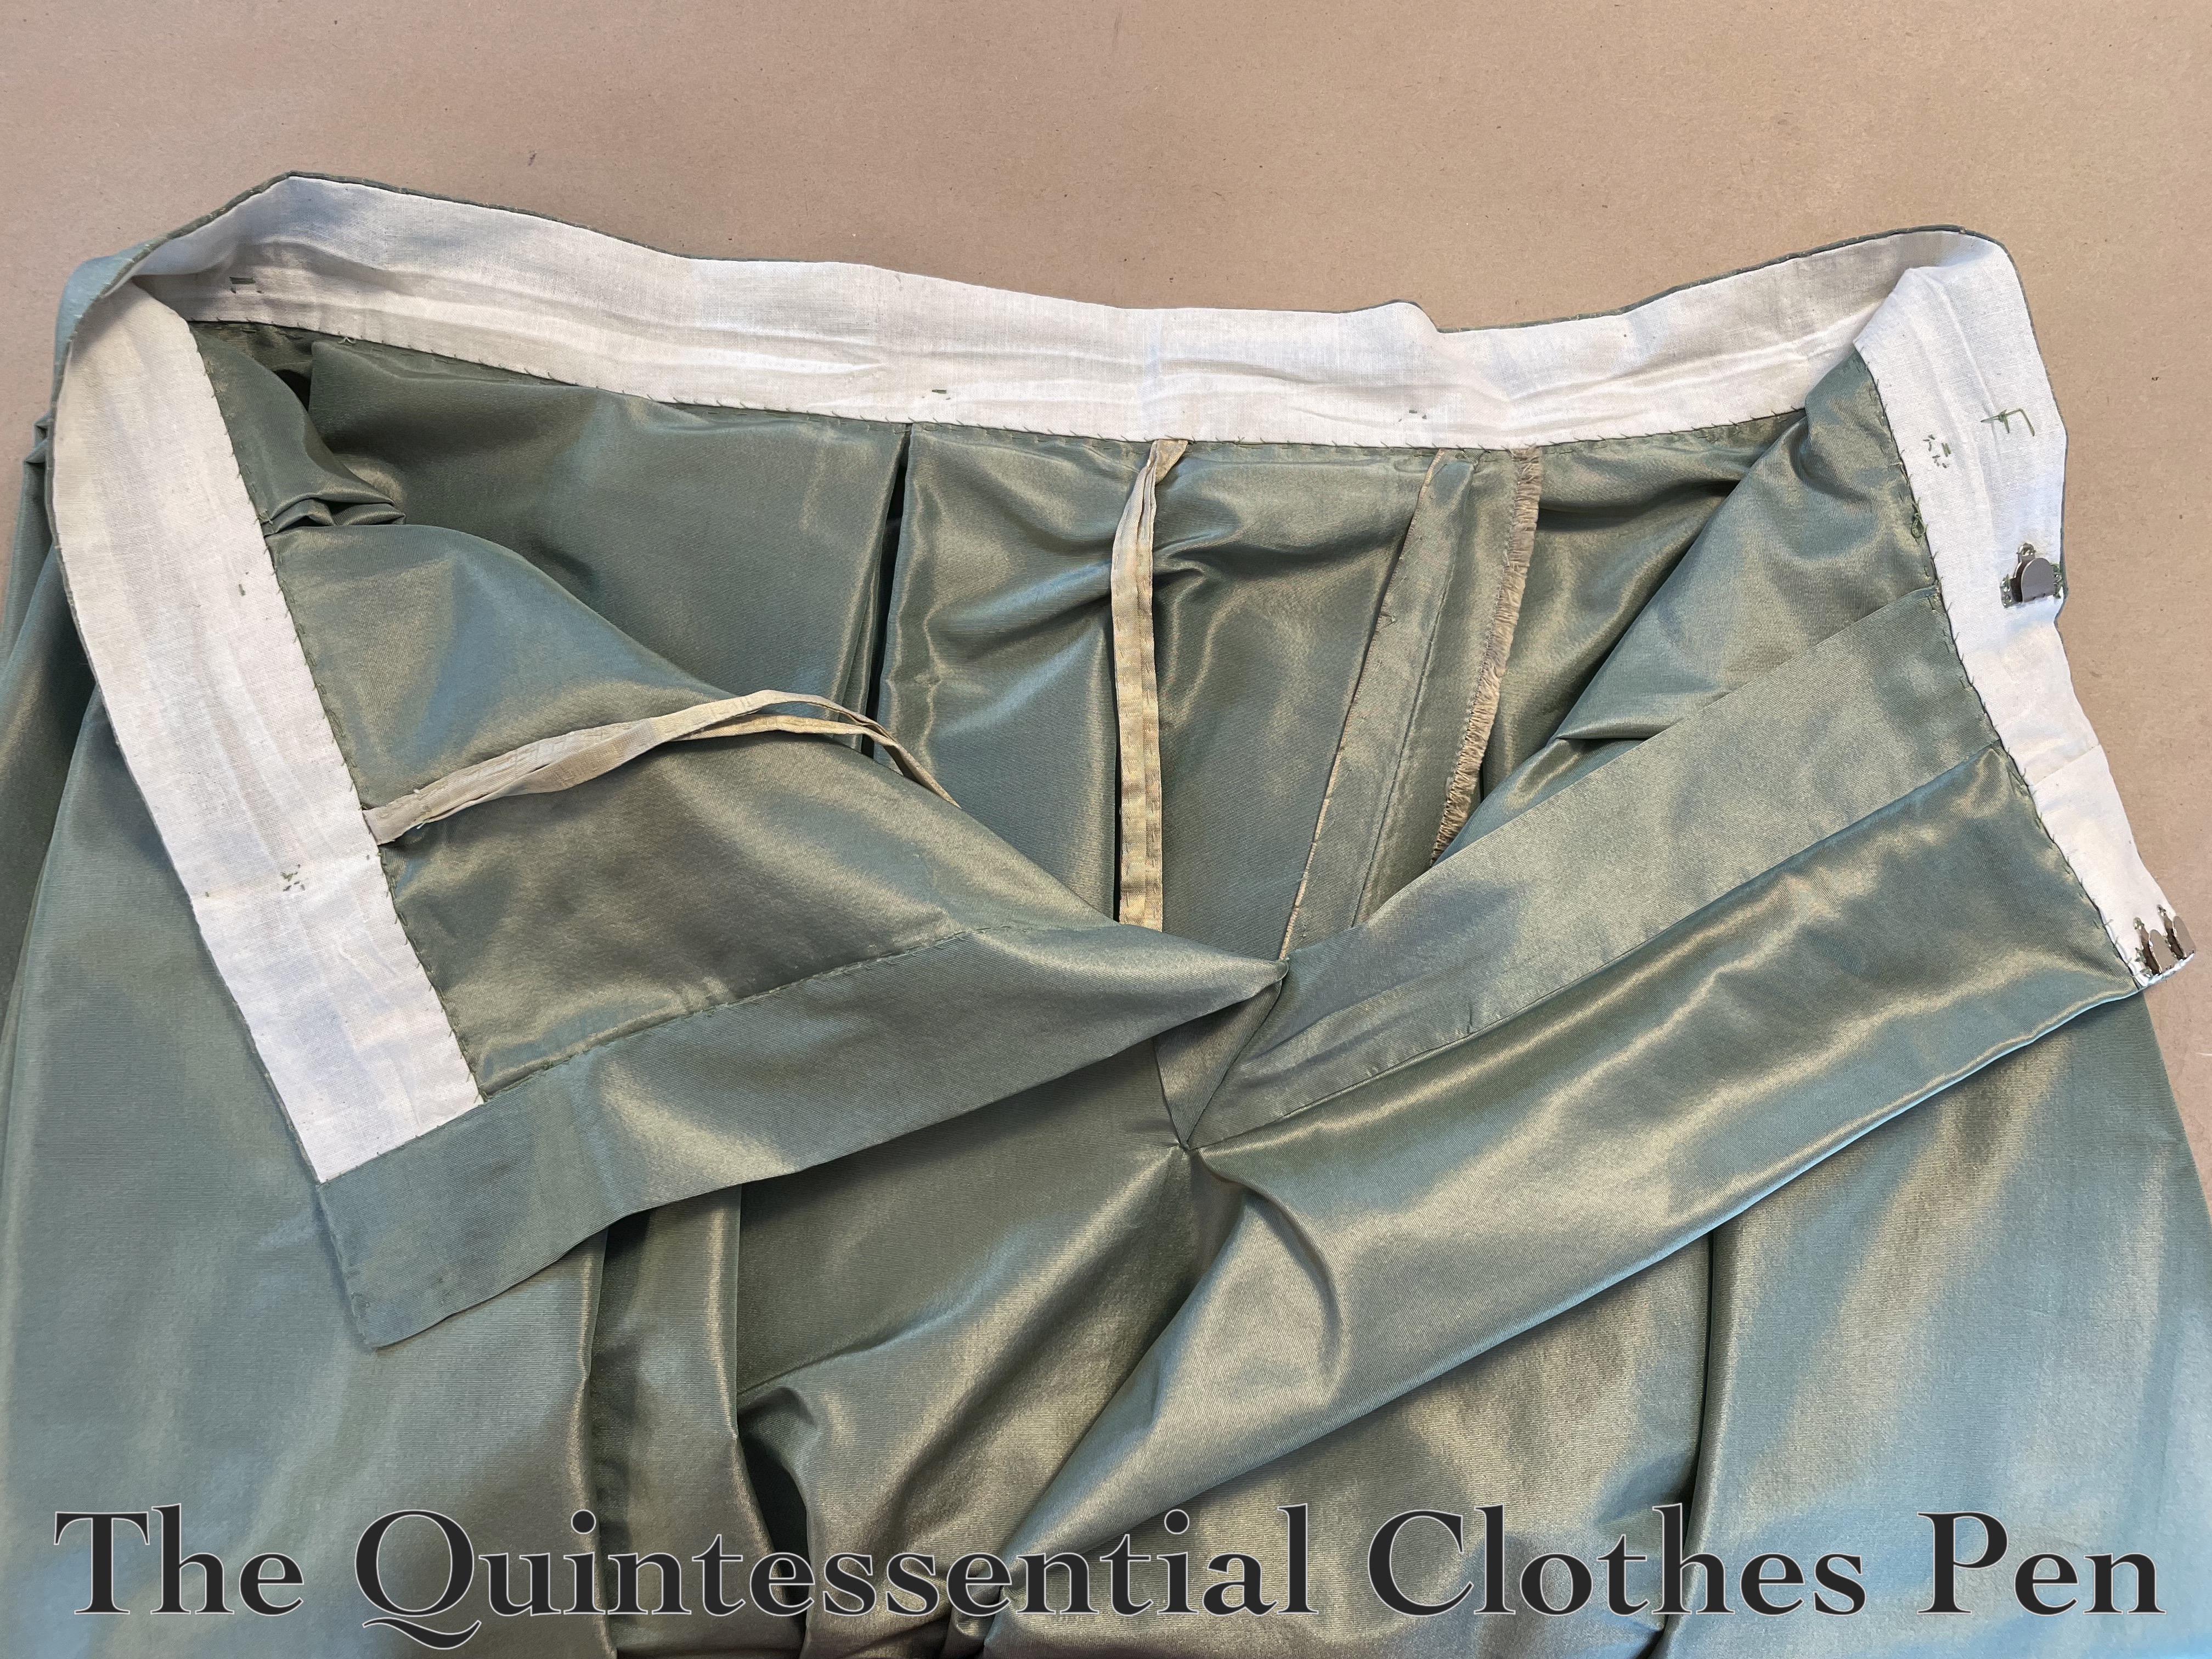
Let me explain the updates. The first goal was to lengthen the hem. I had actually left length on the bodice that could have been used to add overall length by resetting the waistband a lower position, but the silk fabric had permanent holes from the stitching that were quite visible, so this wasn’t a viable option. My solution was to make a new, wider waistband. This would drop the hem while also shifting the proportions just a bit to be more flattering. I still had a yard or so of this fabric carefully stashed away and cataloged (you can read about my stash system in this past post if you’re interested), so the materials part was easy.
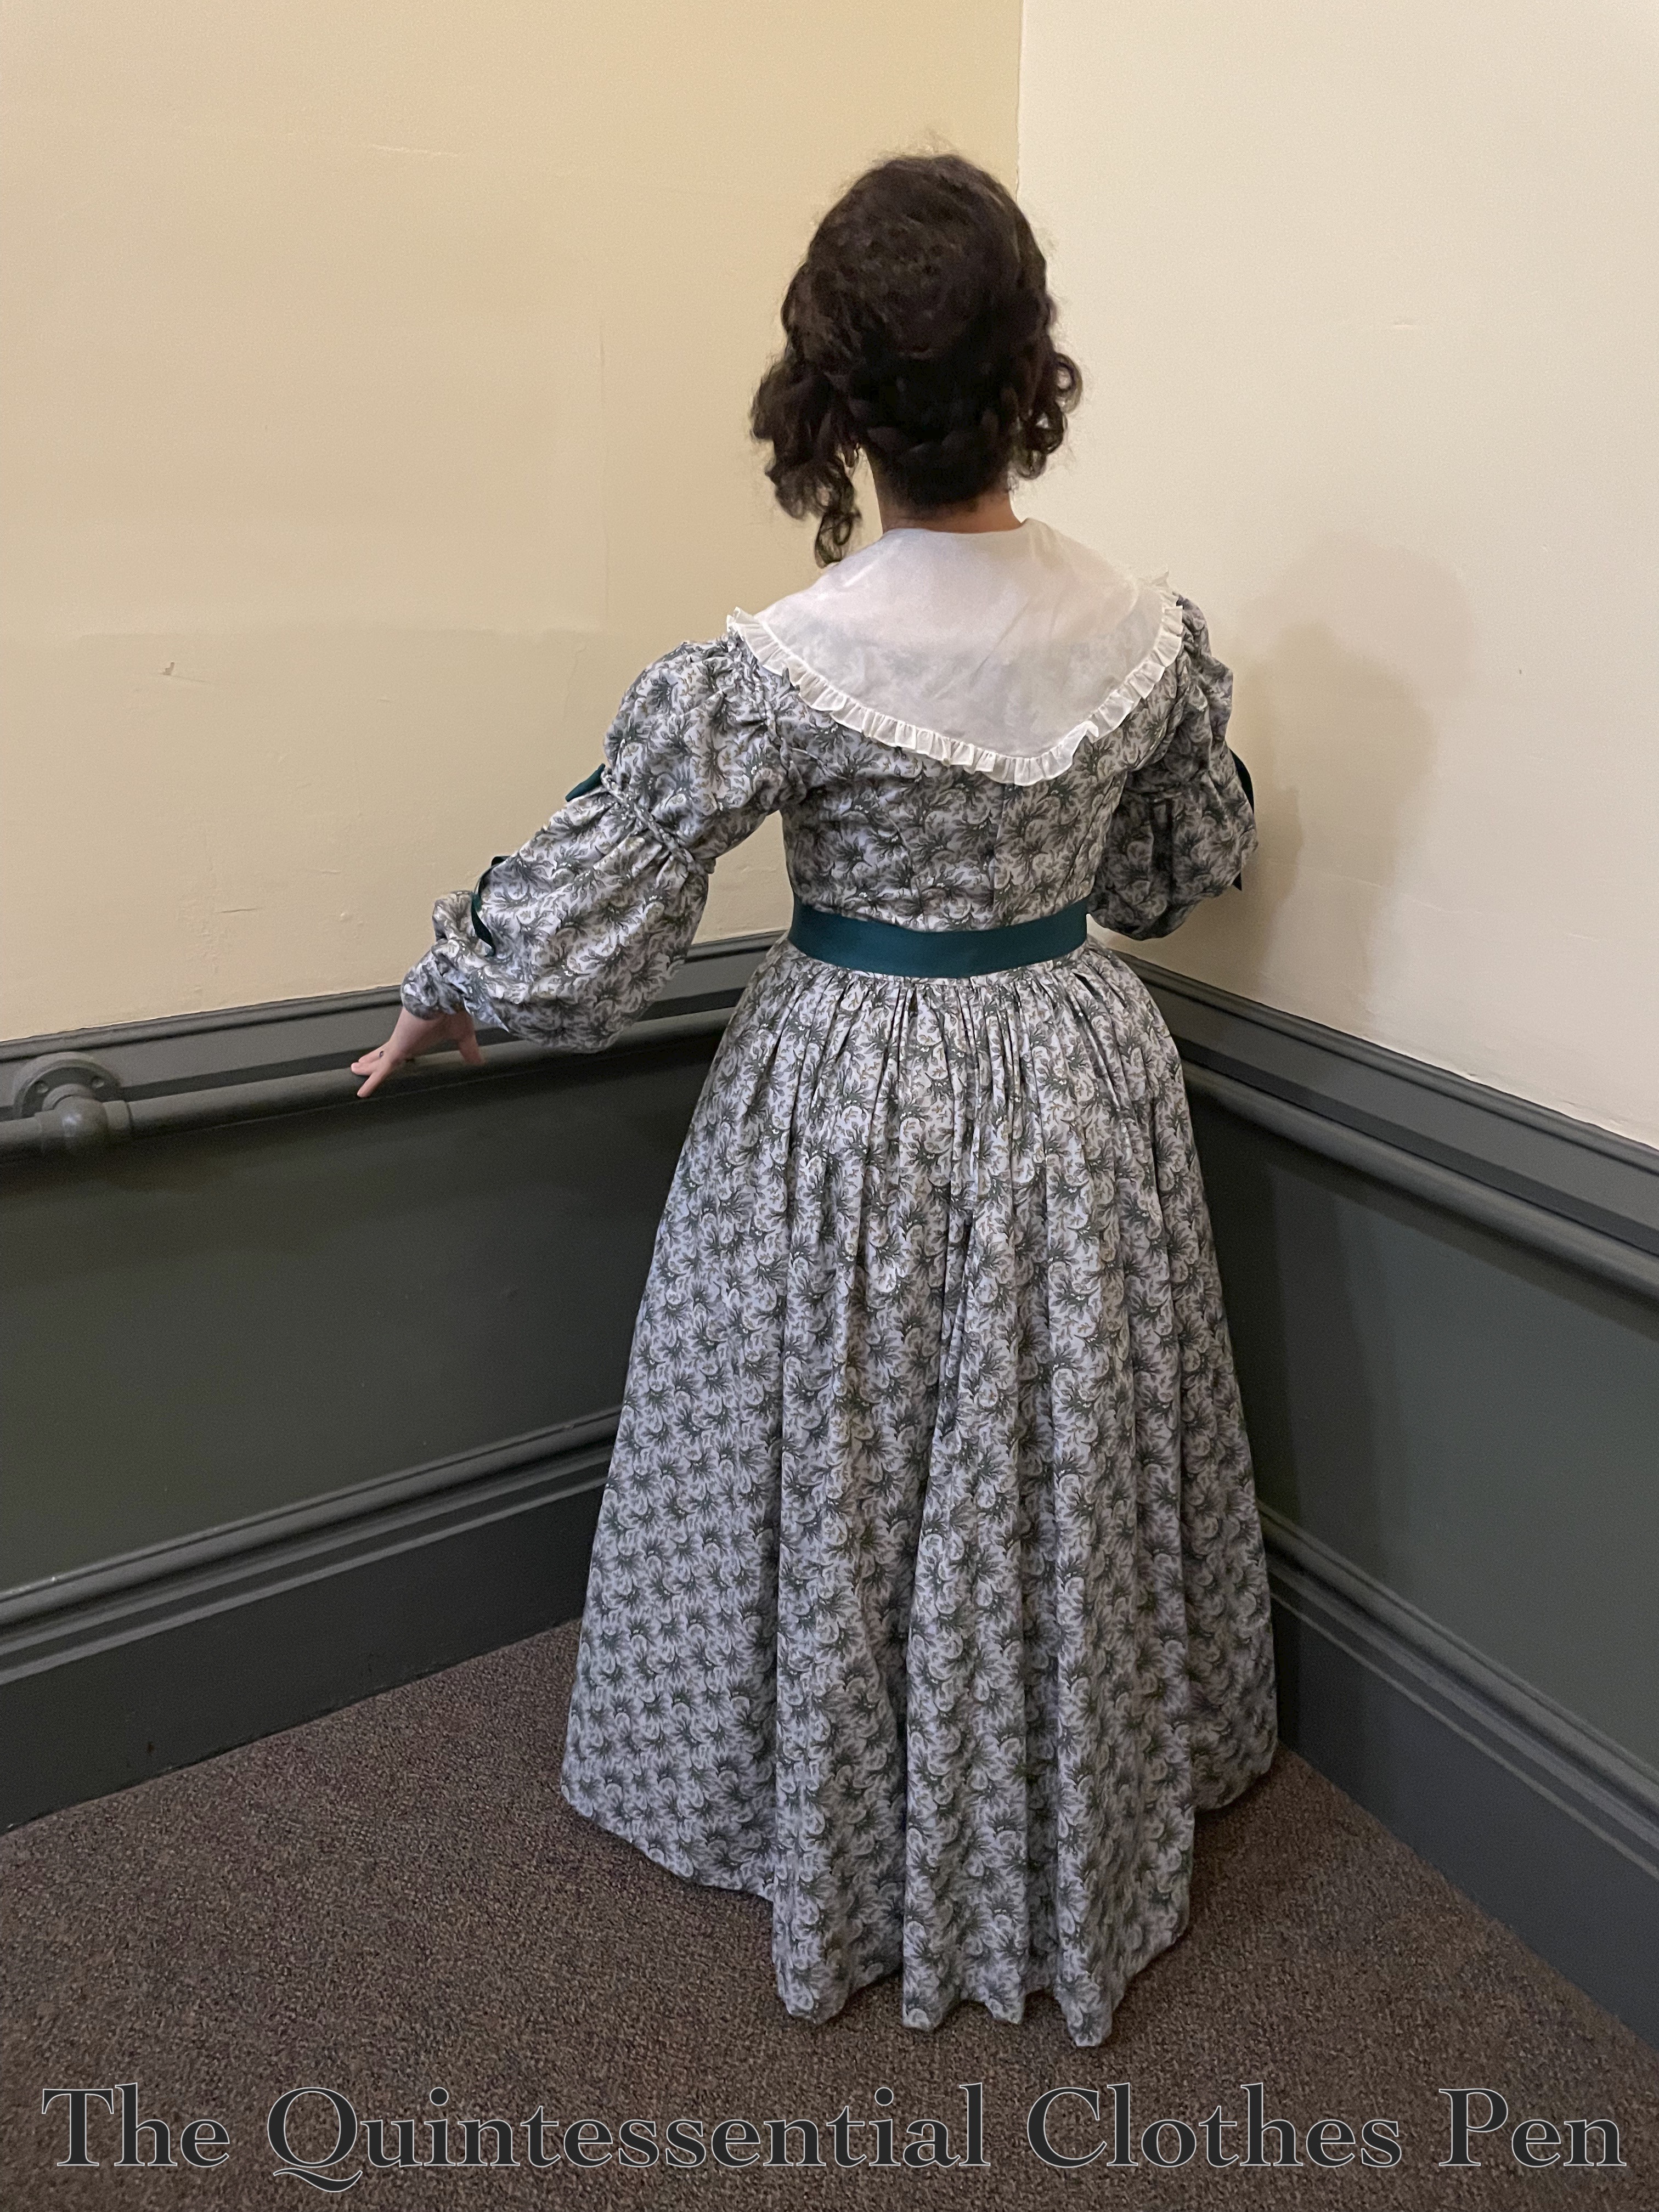
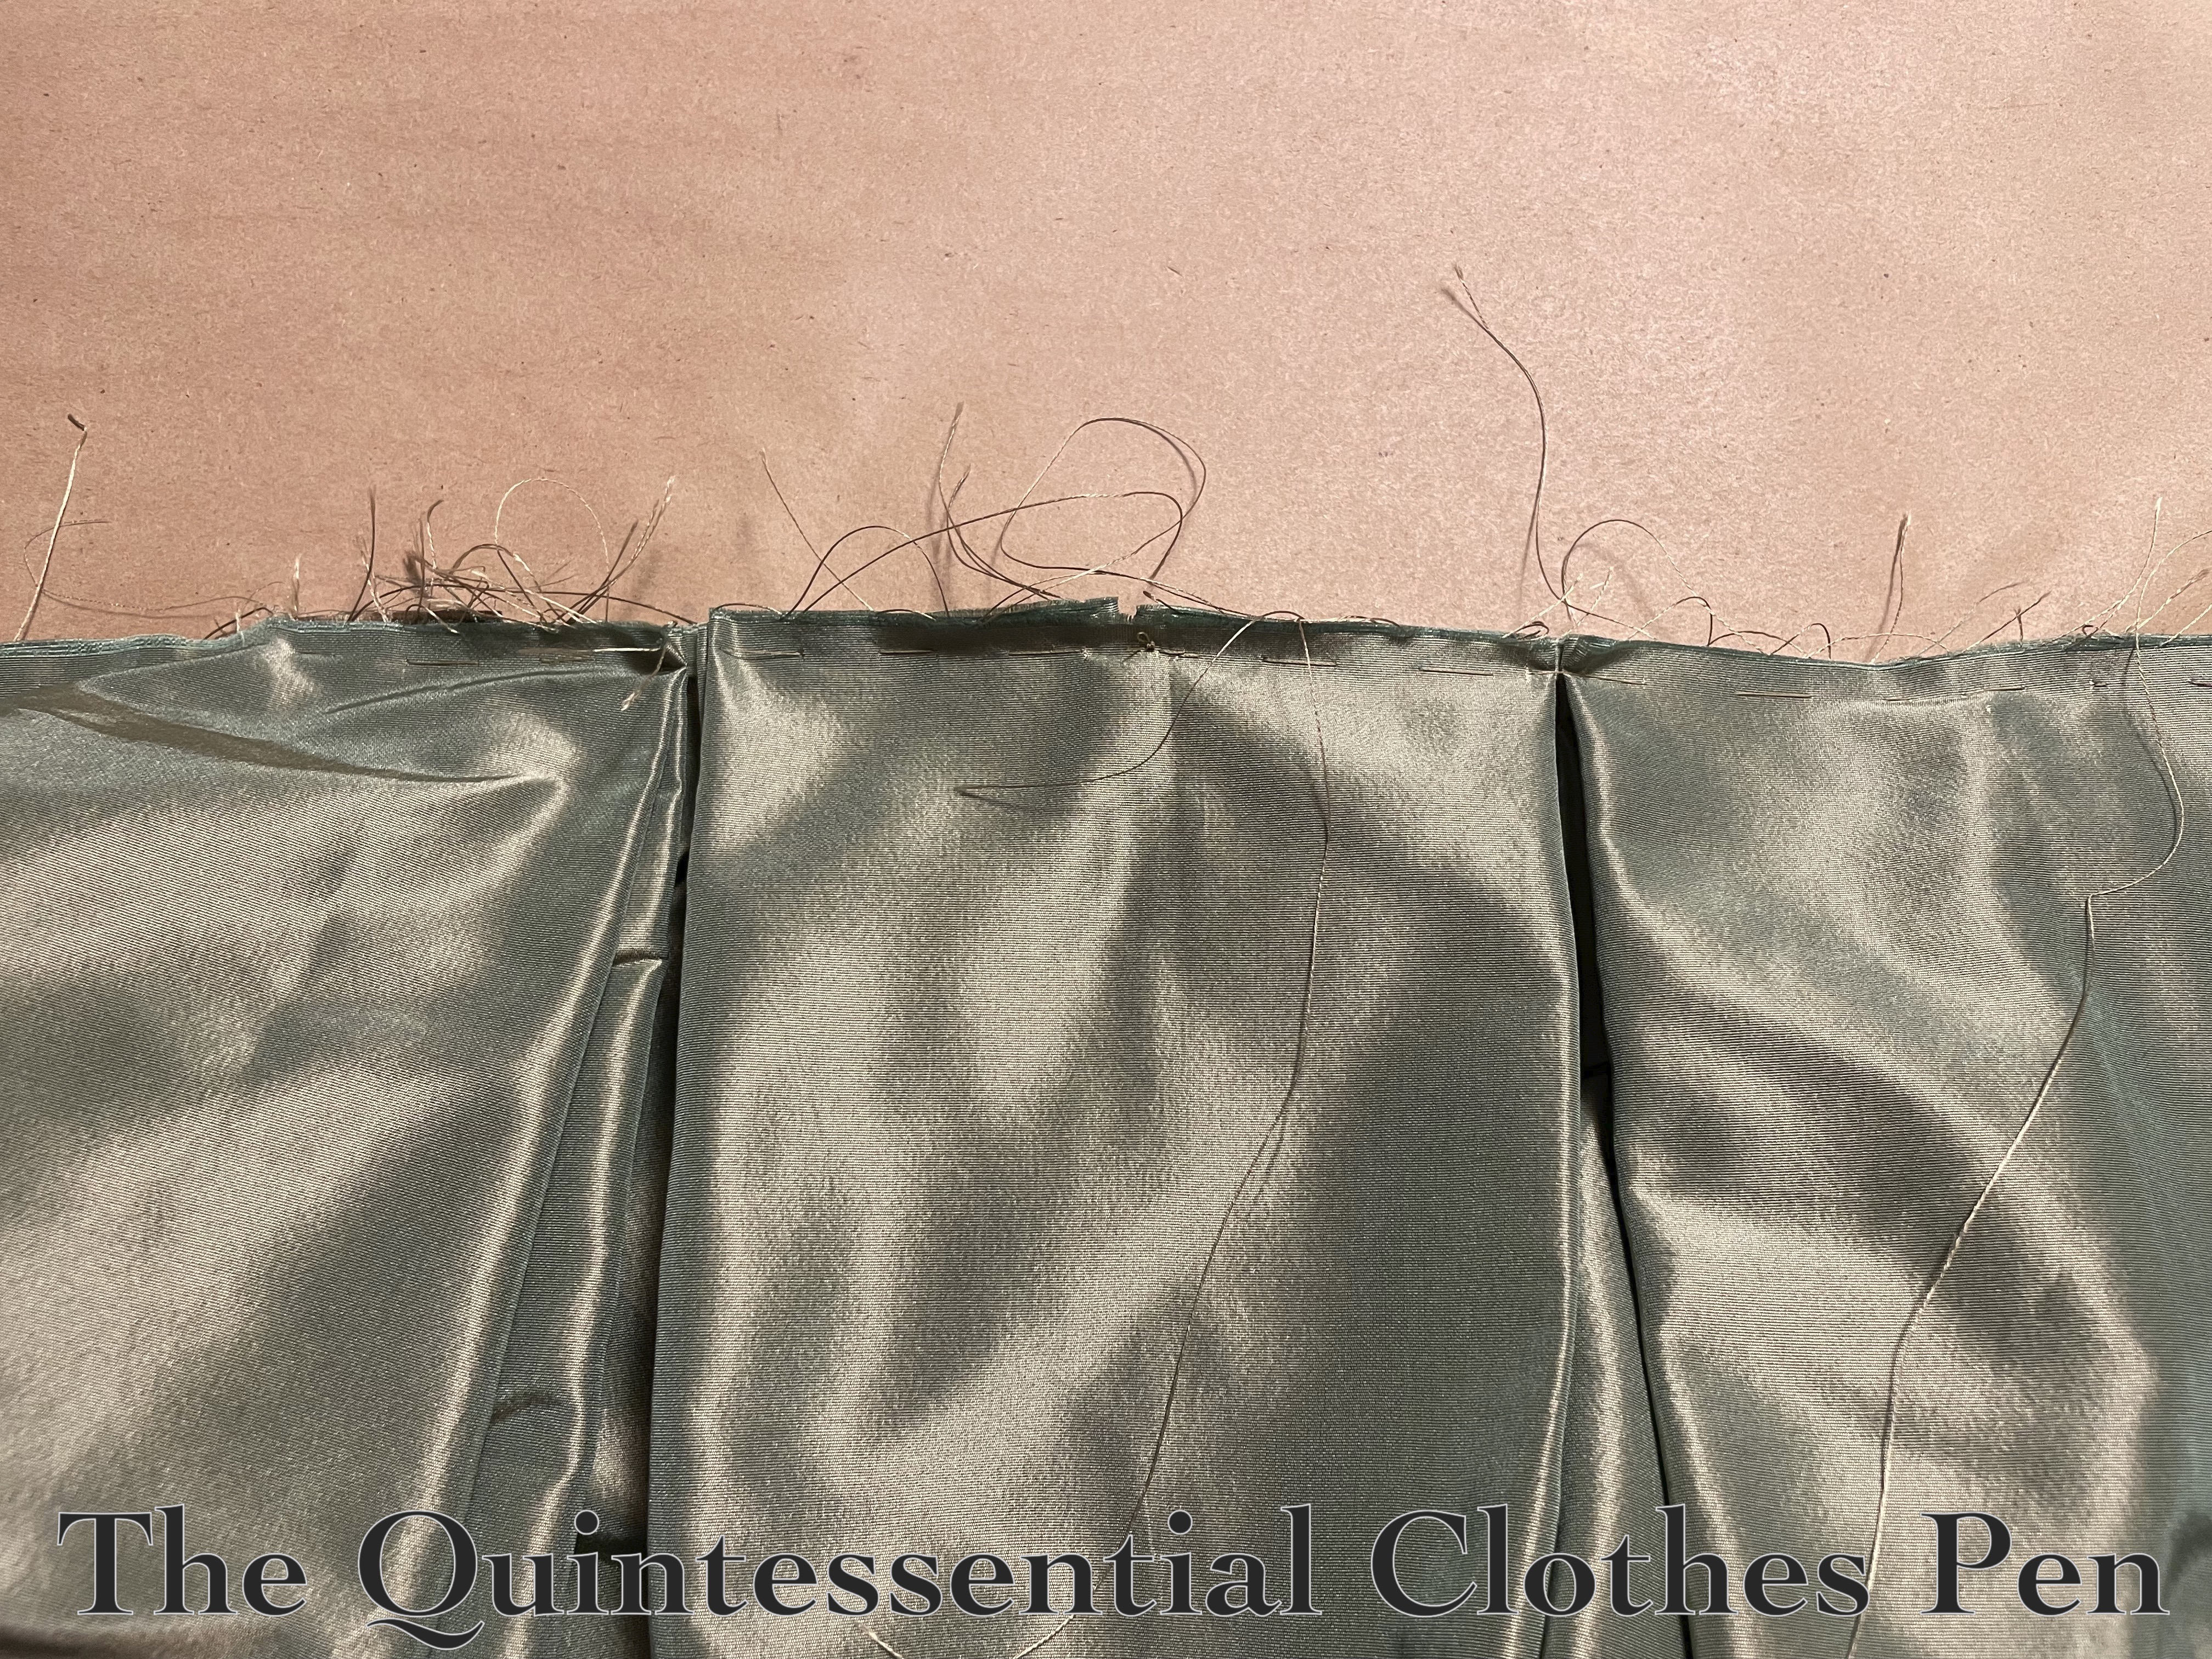
The second goal was addressed while the waistband was getting replaced. I shifted the skirt gathers to be a little wider across the back and better suit the overlap of the formerly-let-out back pieces. In the original iteration of this dress the gathers were concentrated in about half of the space that they are now, based on the historical pattern information I was using as a guide. But what I found while wearing the dress is that that placement of the gathers was eliminating some of the A-line shape that I was going for.
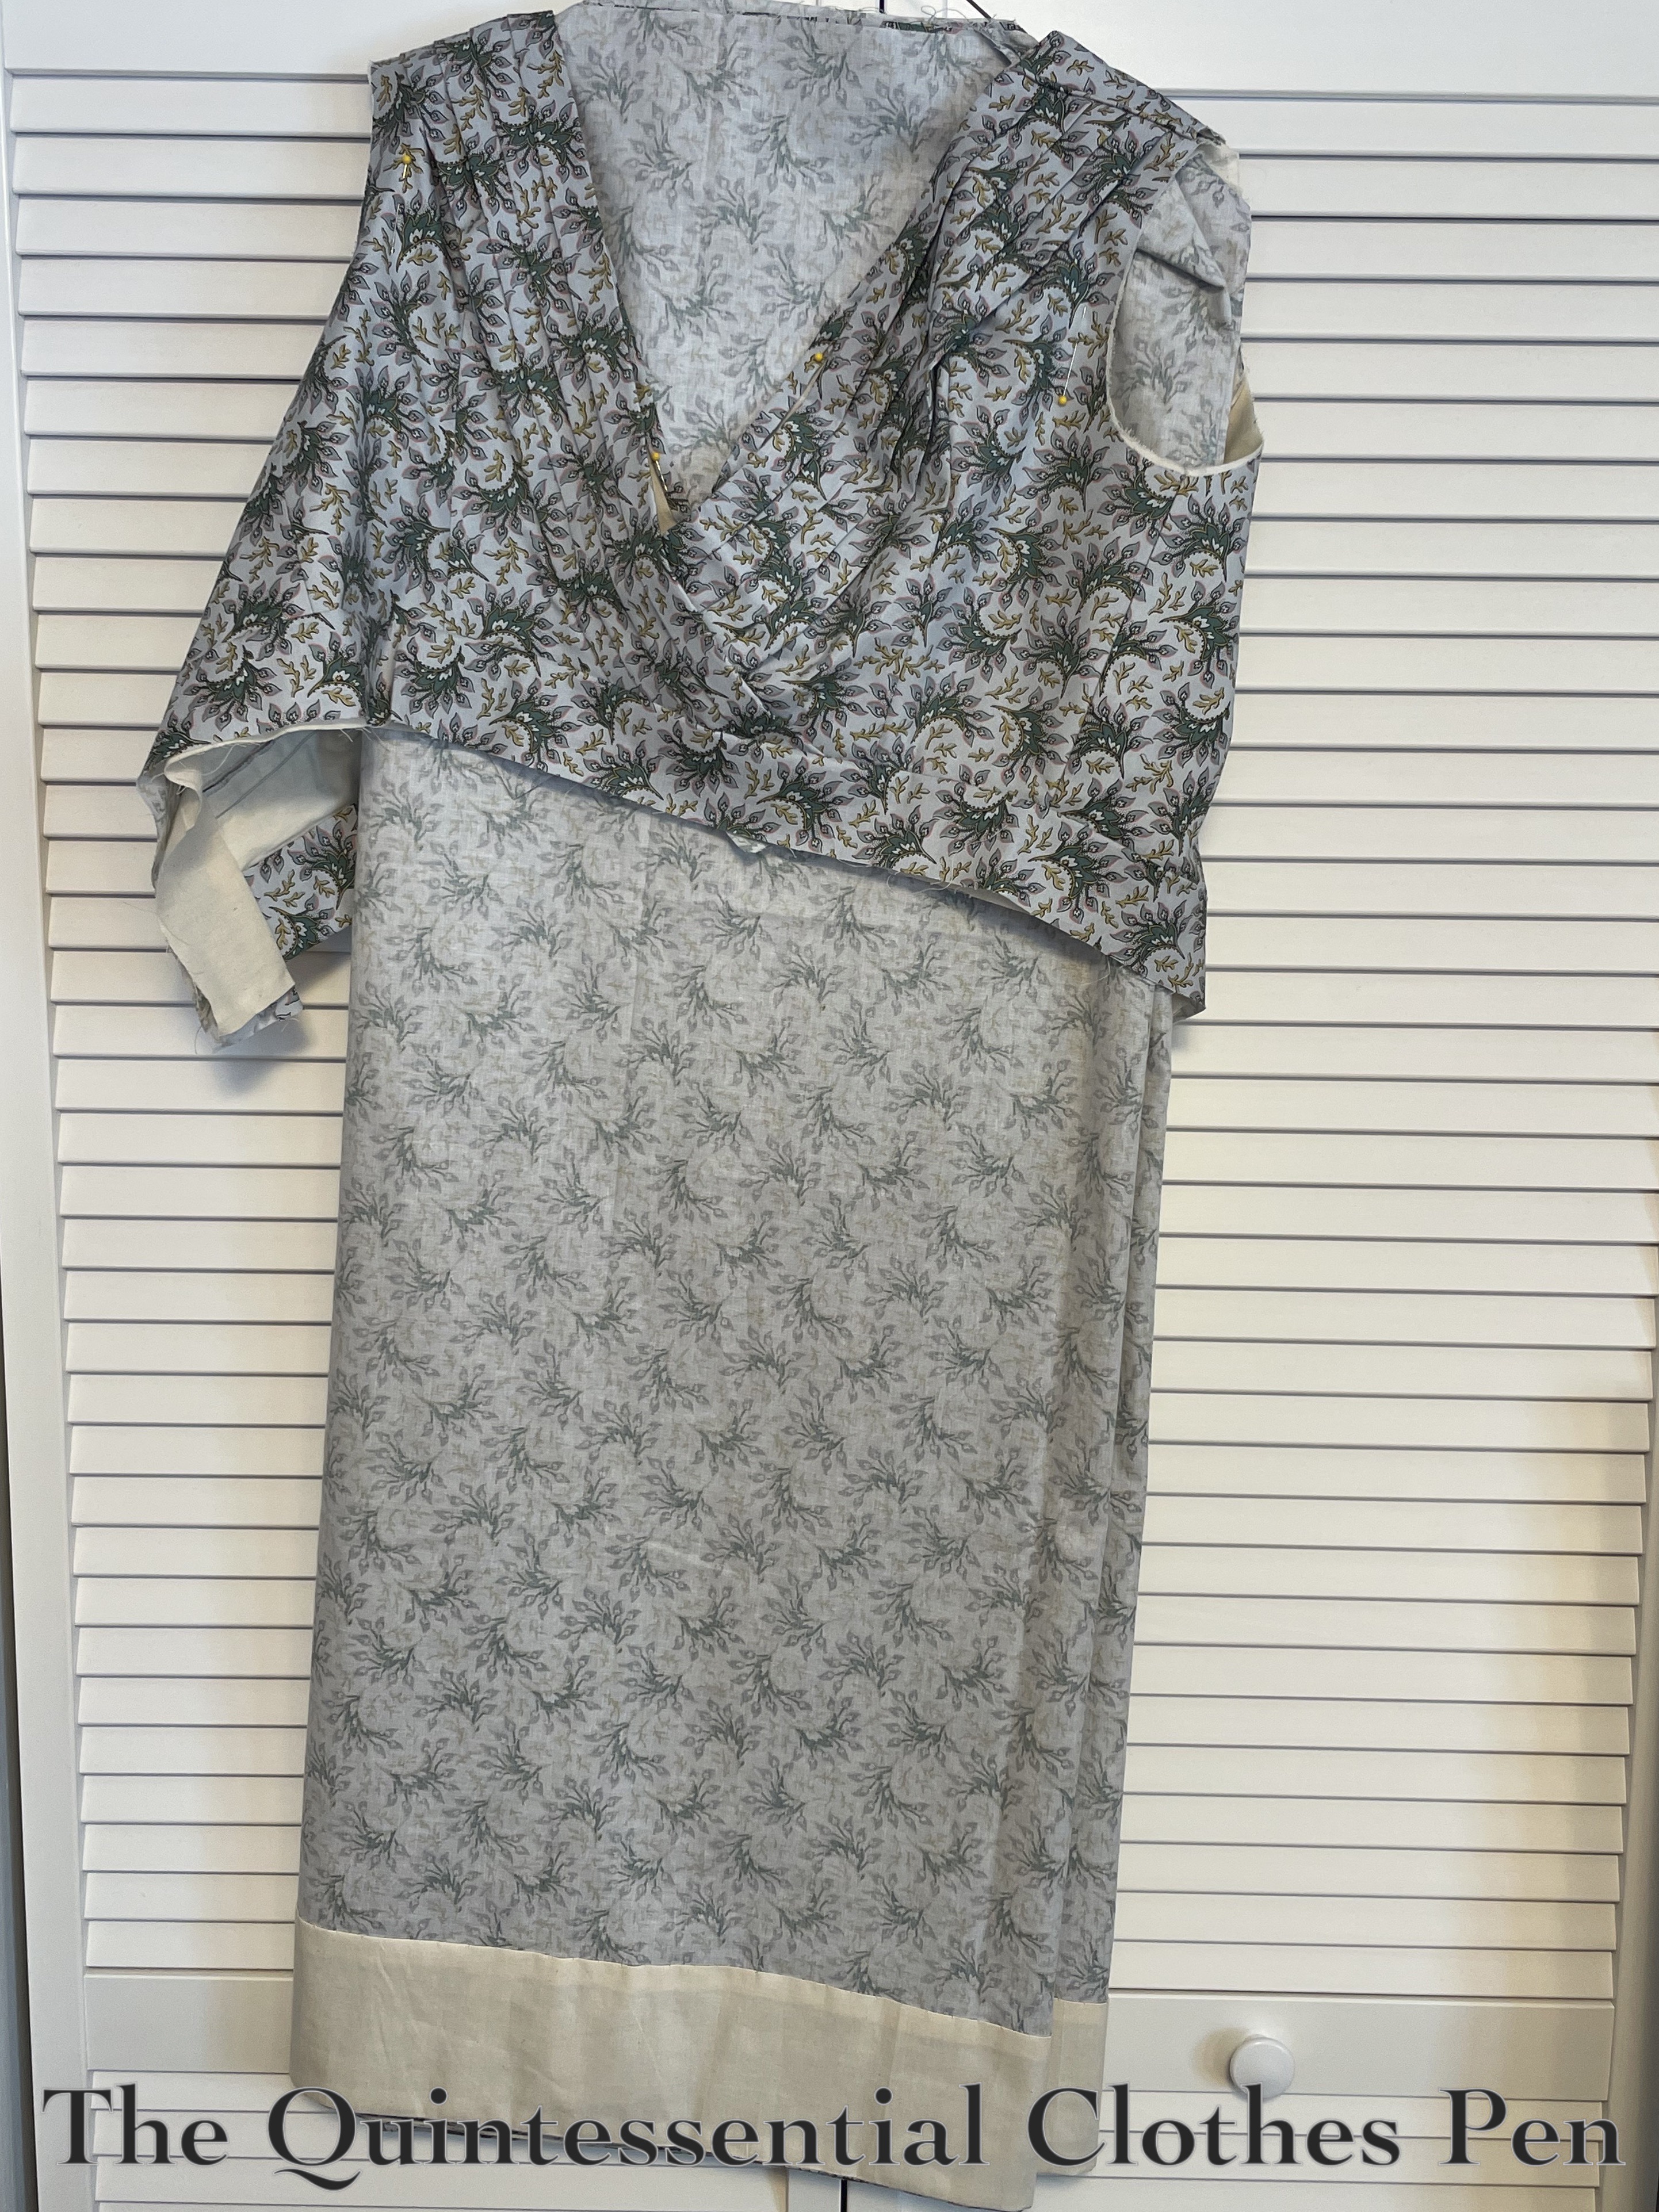
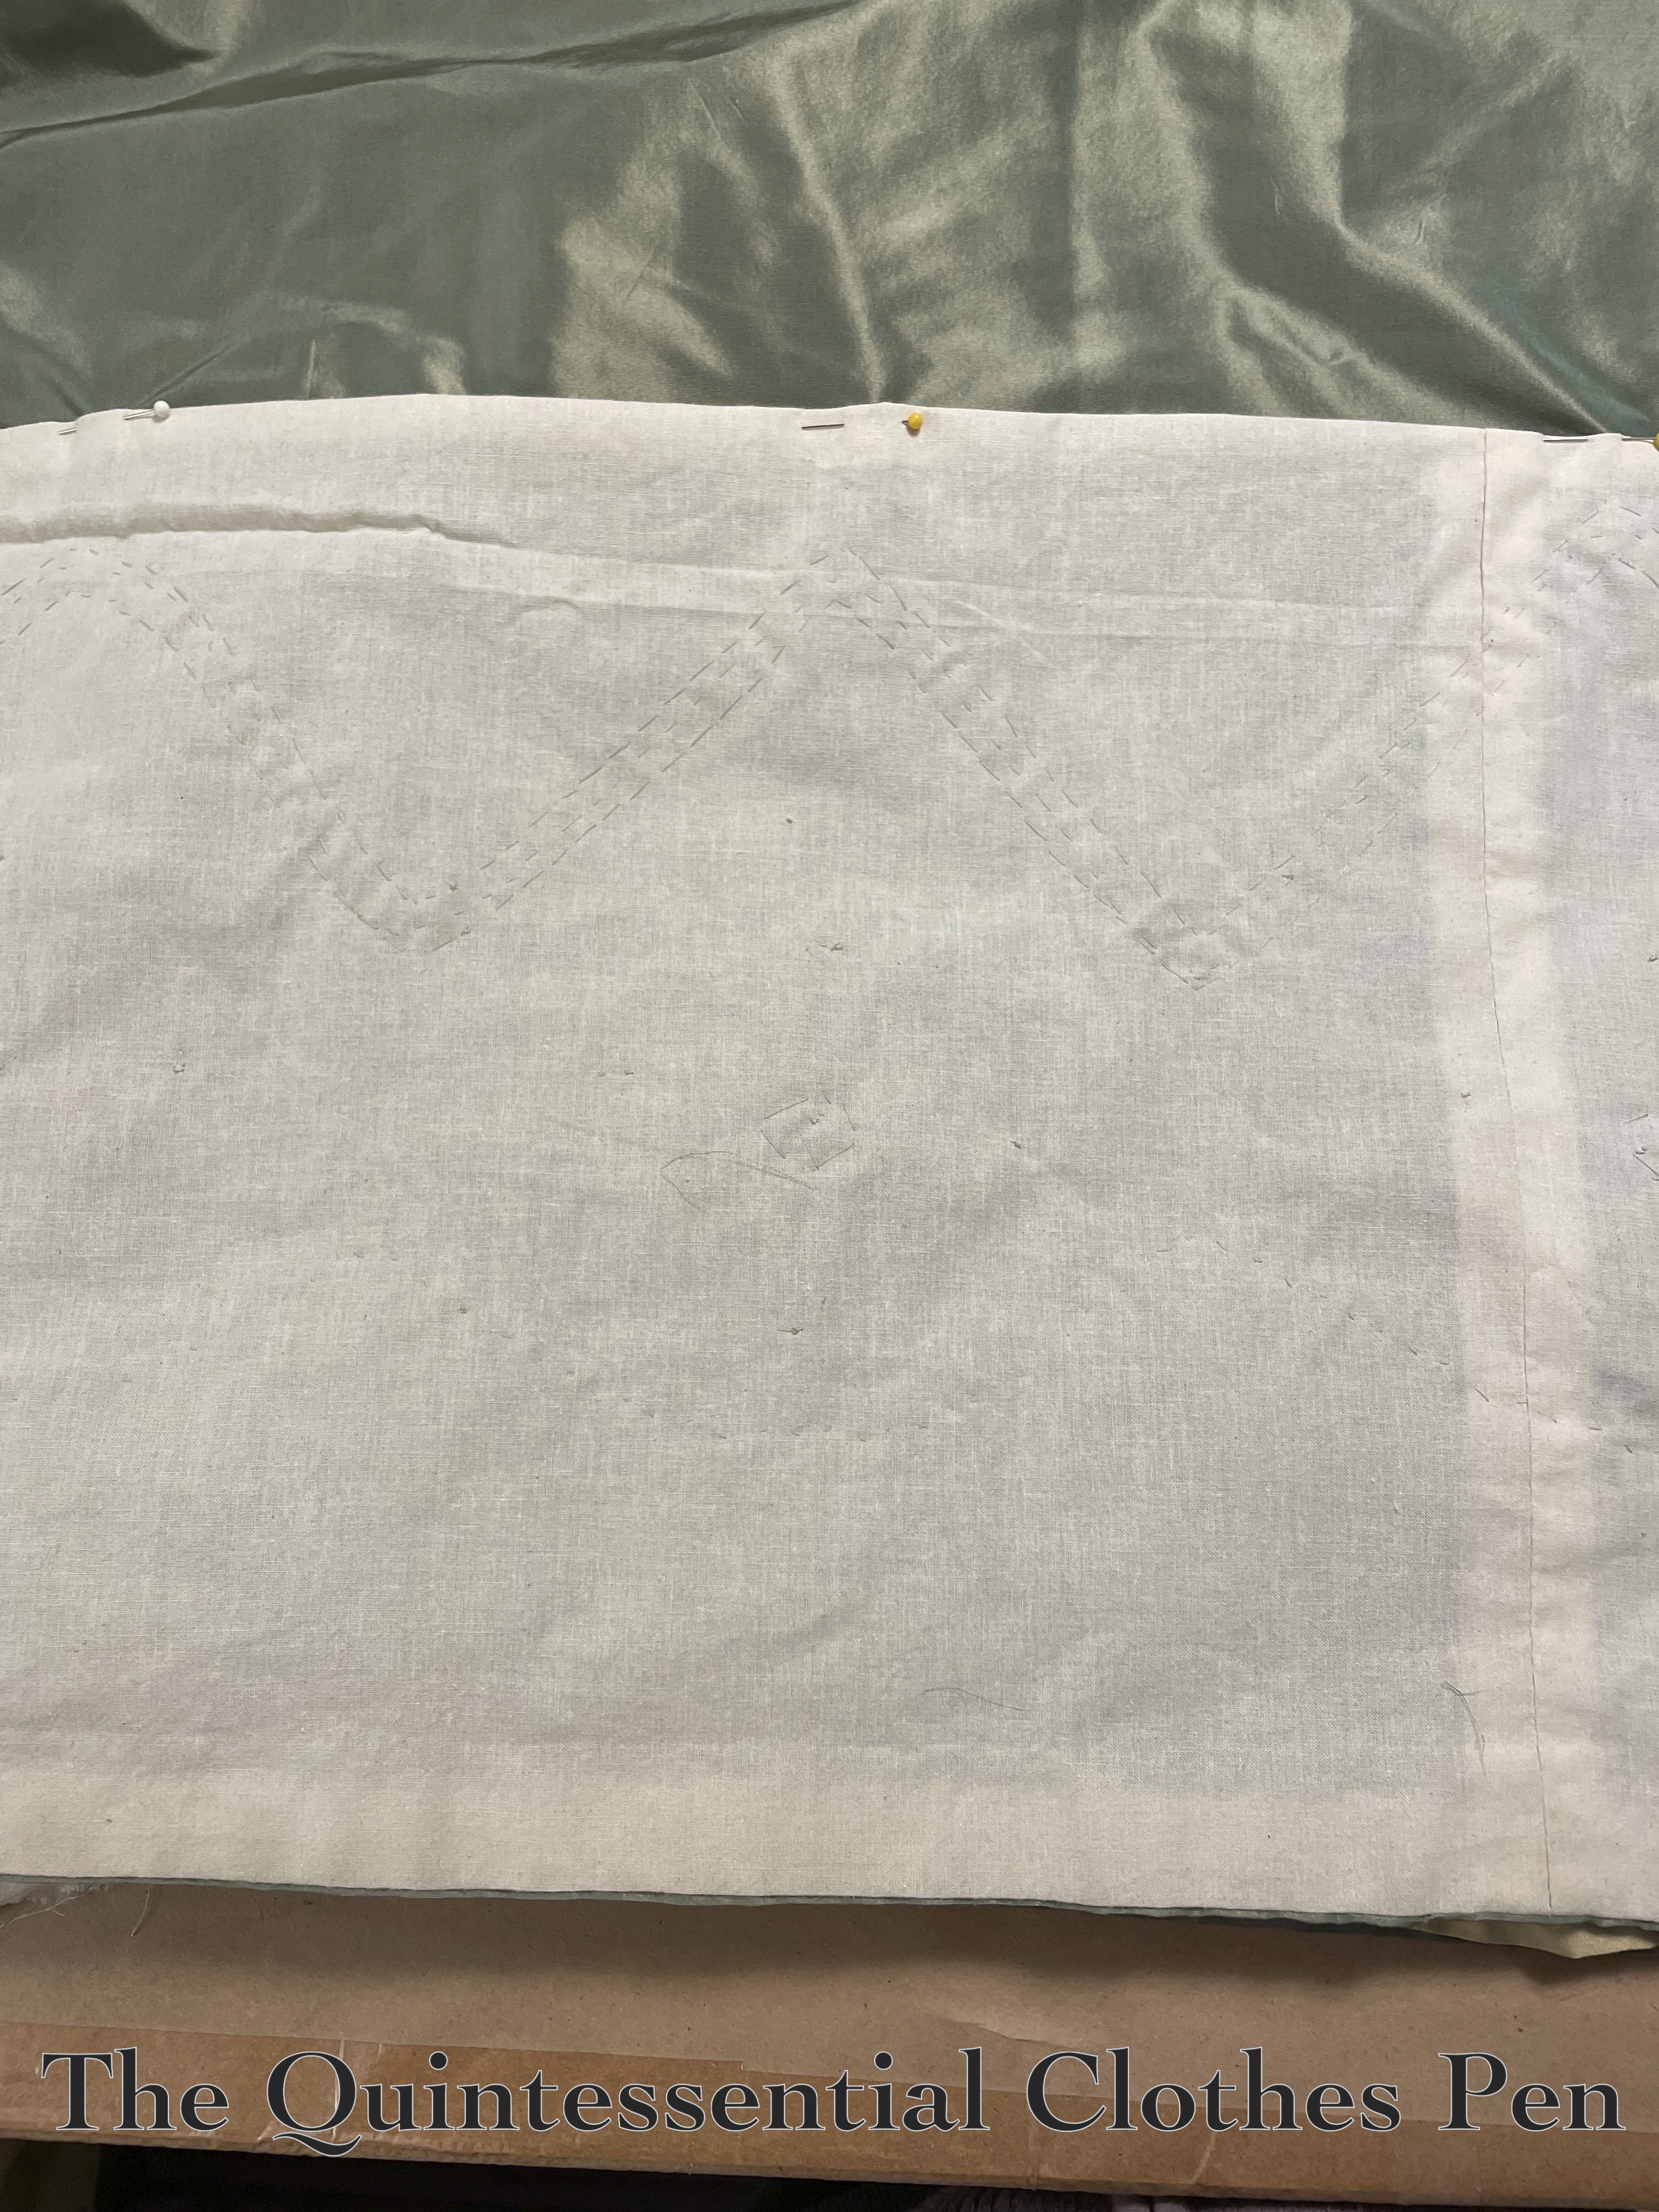
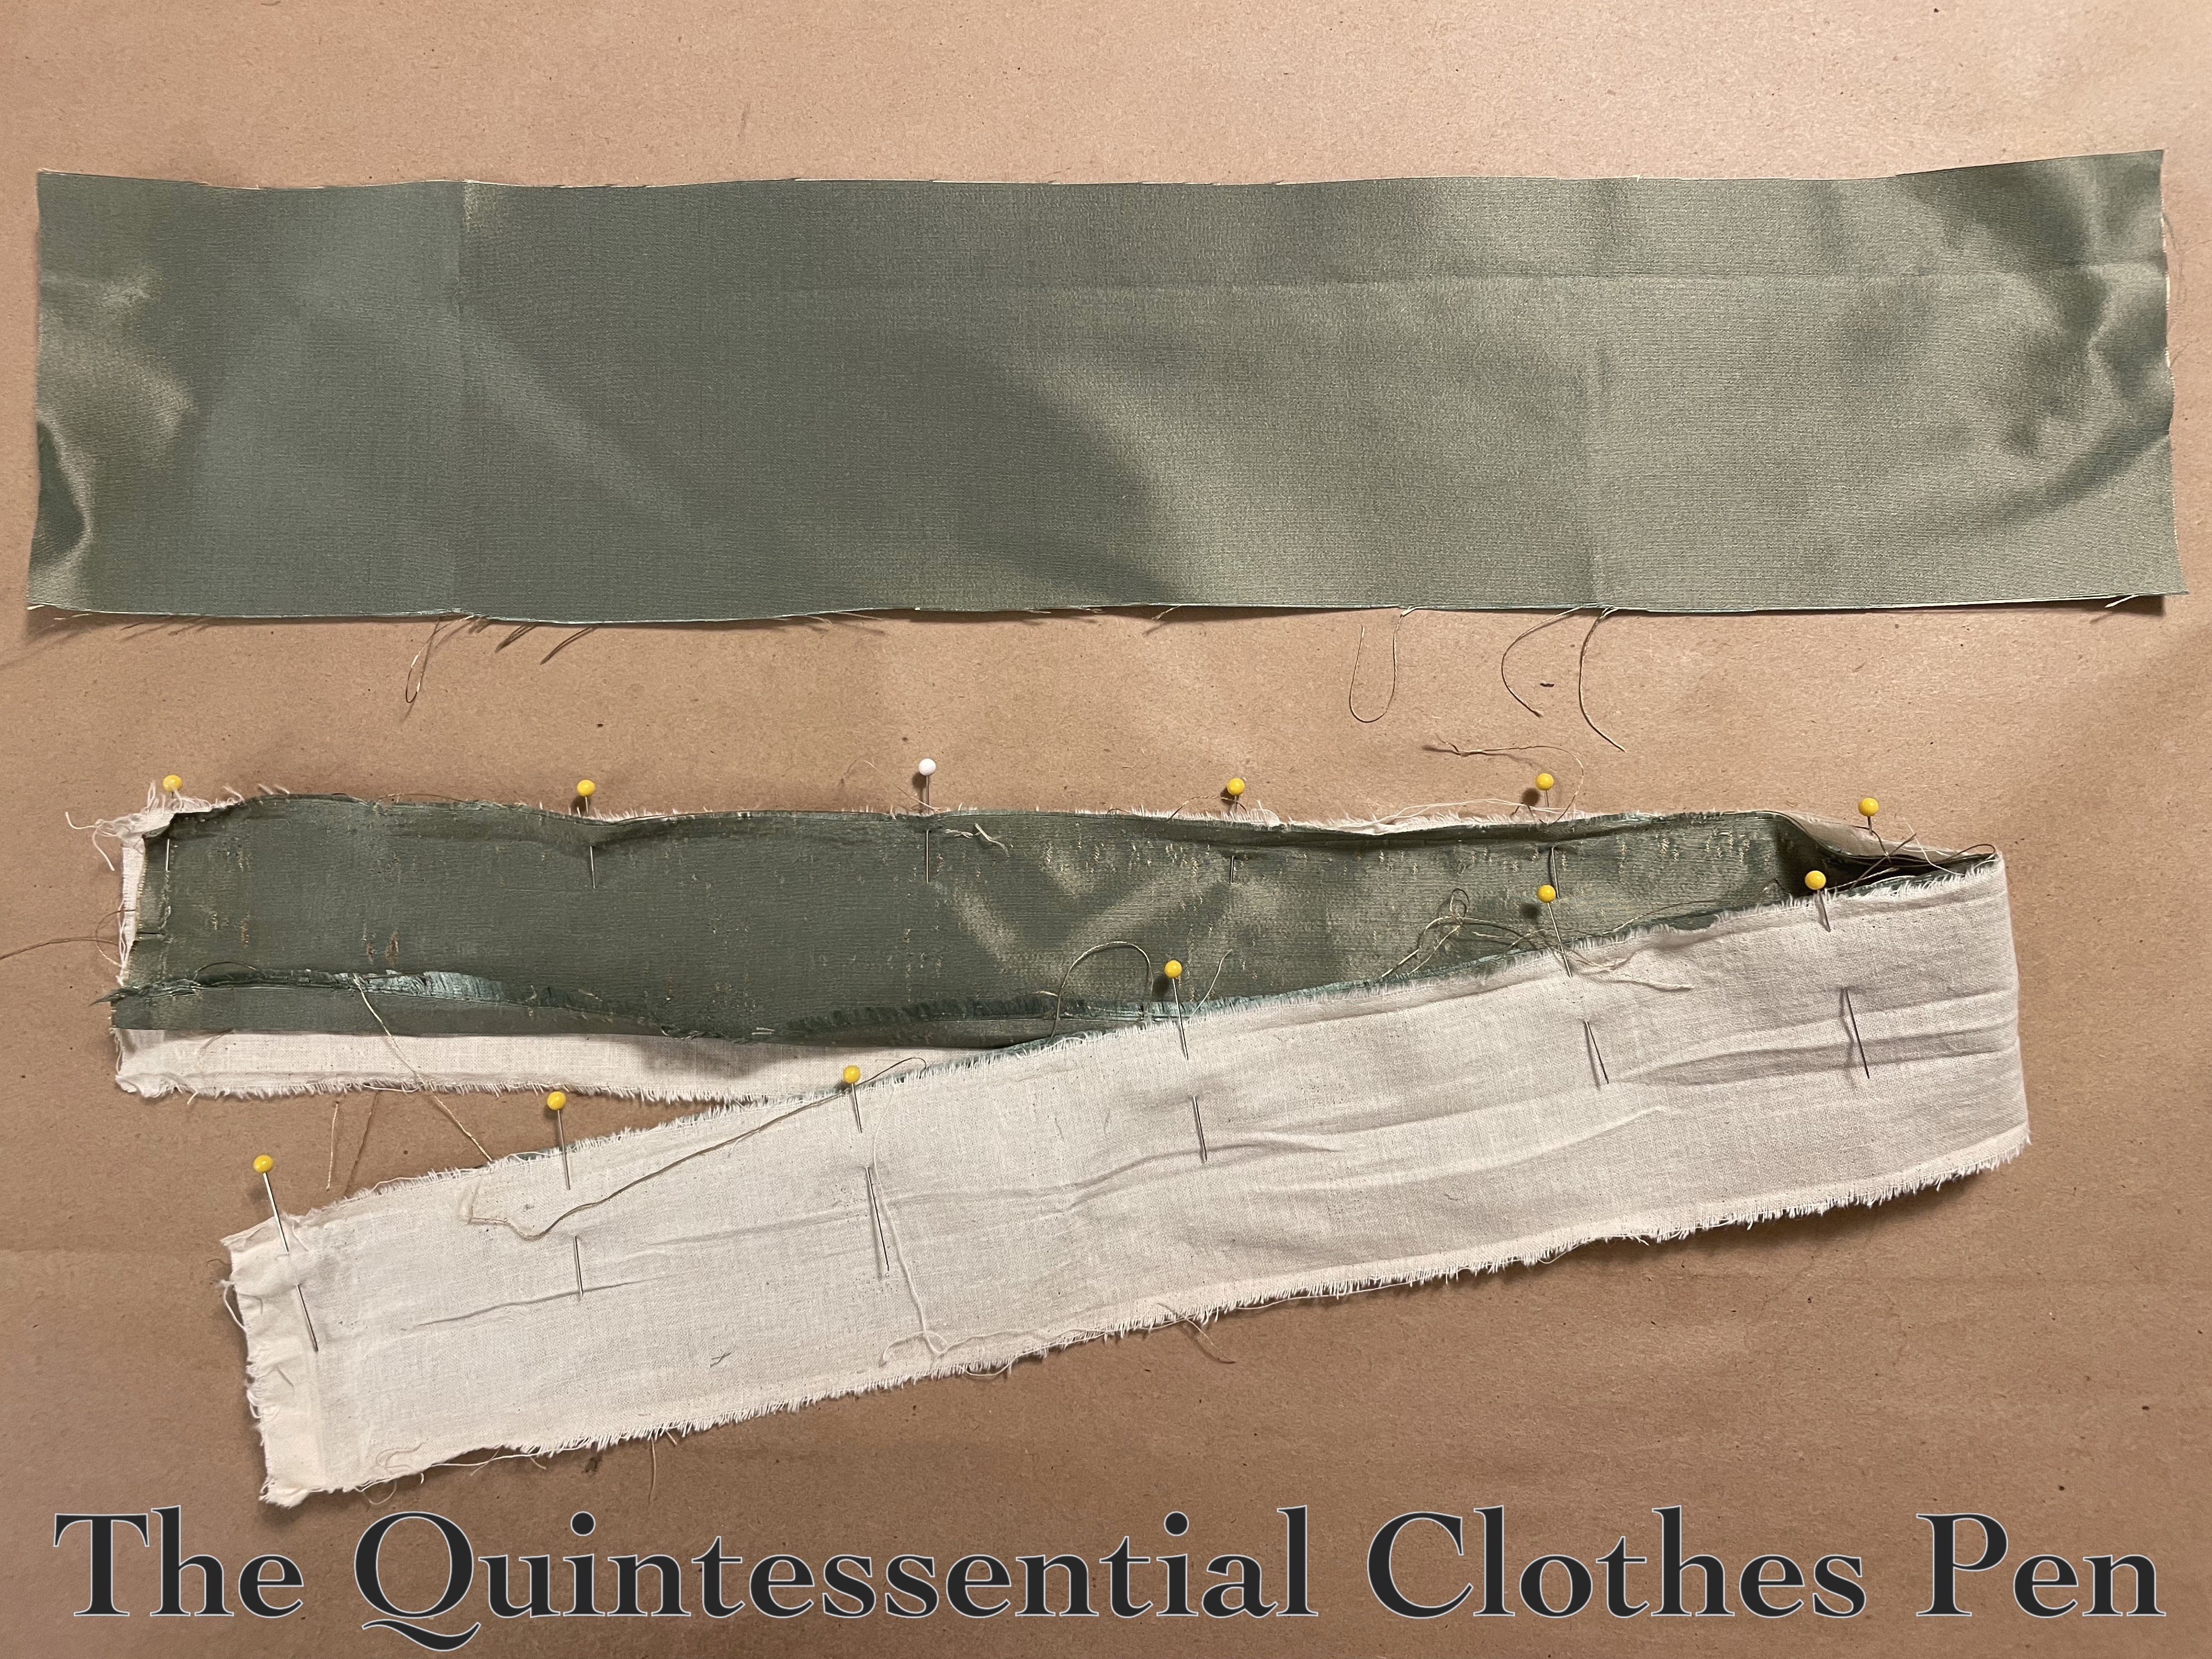
Additionally, I discovered that changing the waistline curve of the side skirt pieces would also help flatten the front of the skirt and kick out the sides to create the A-line shape I wanted. This makes sense from a patterning perspective, but was an update from the pattern pieces I had taken from Patterns of Fashion when I originally made the dress. I lowered the stitch line on the side skirt panel by about 1″ and tapered that towards center front and center. back. Below is a photo of the new waistband being attached, showing the old cut edge and stitch line very clearly above the new stitch line.
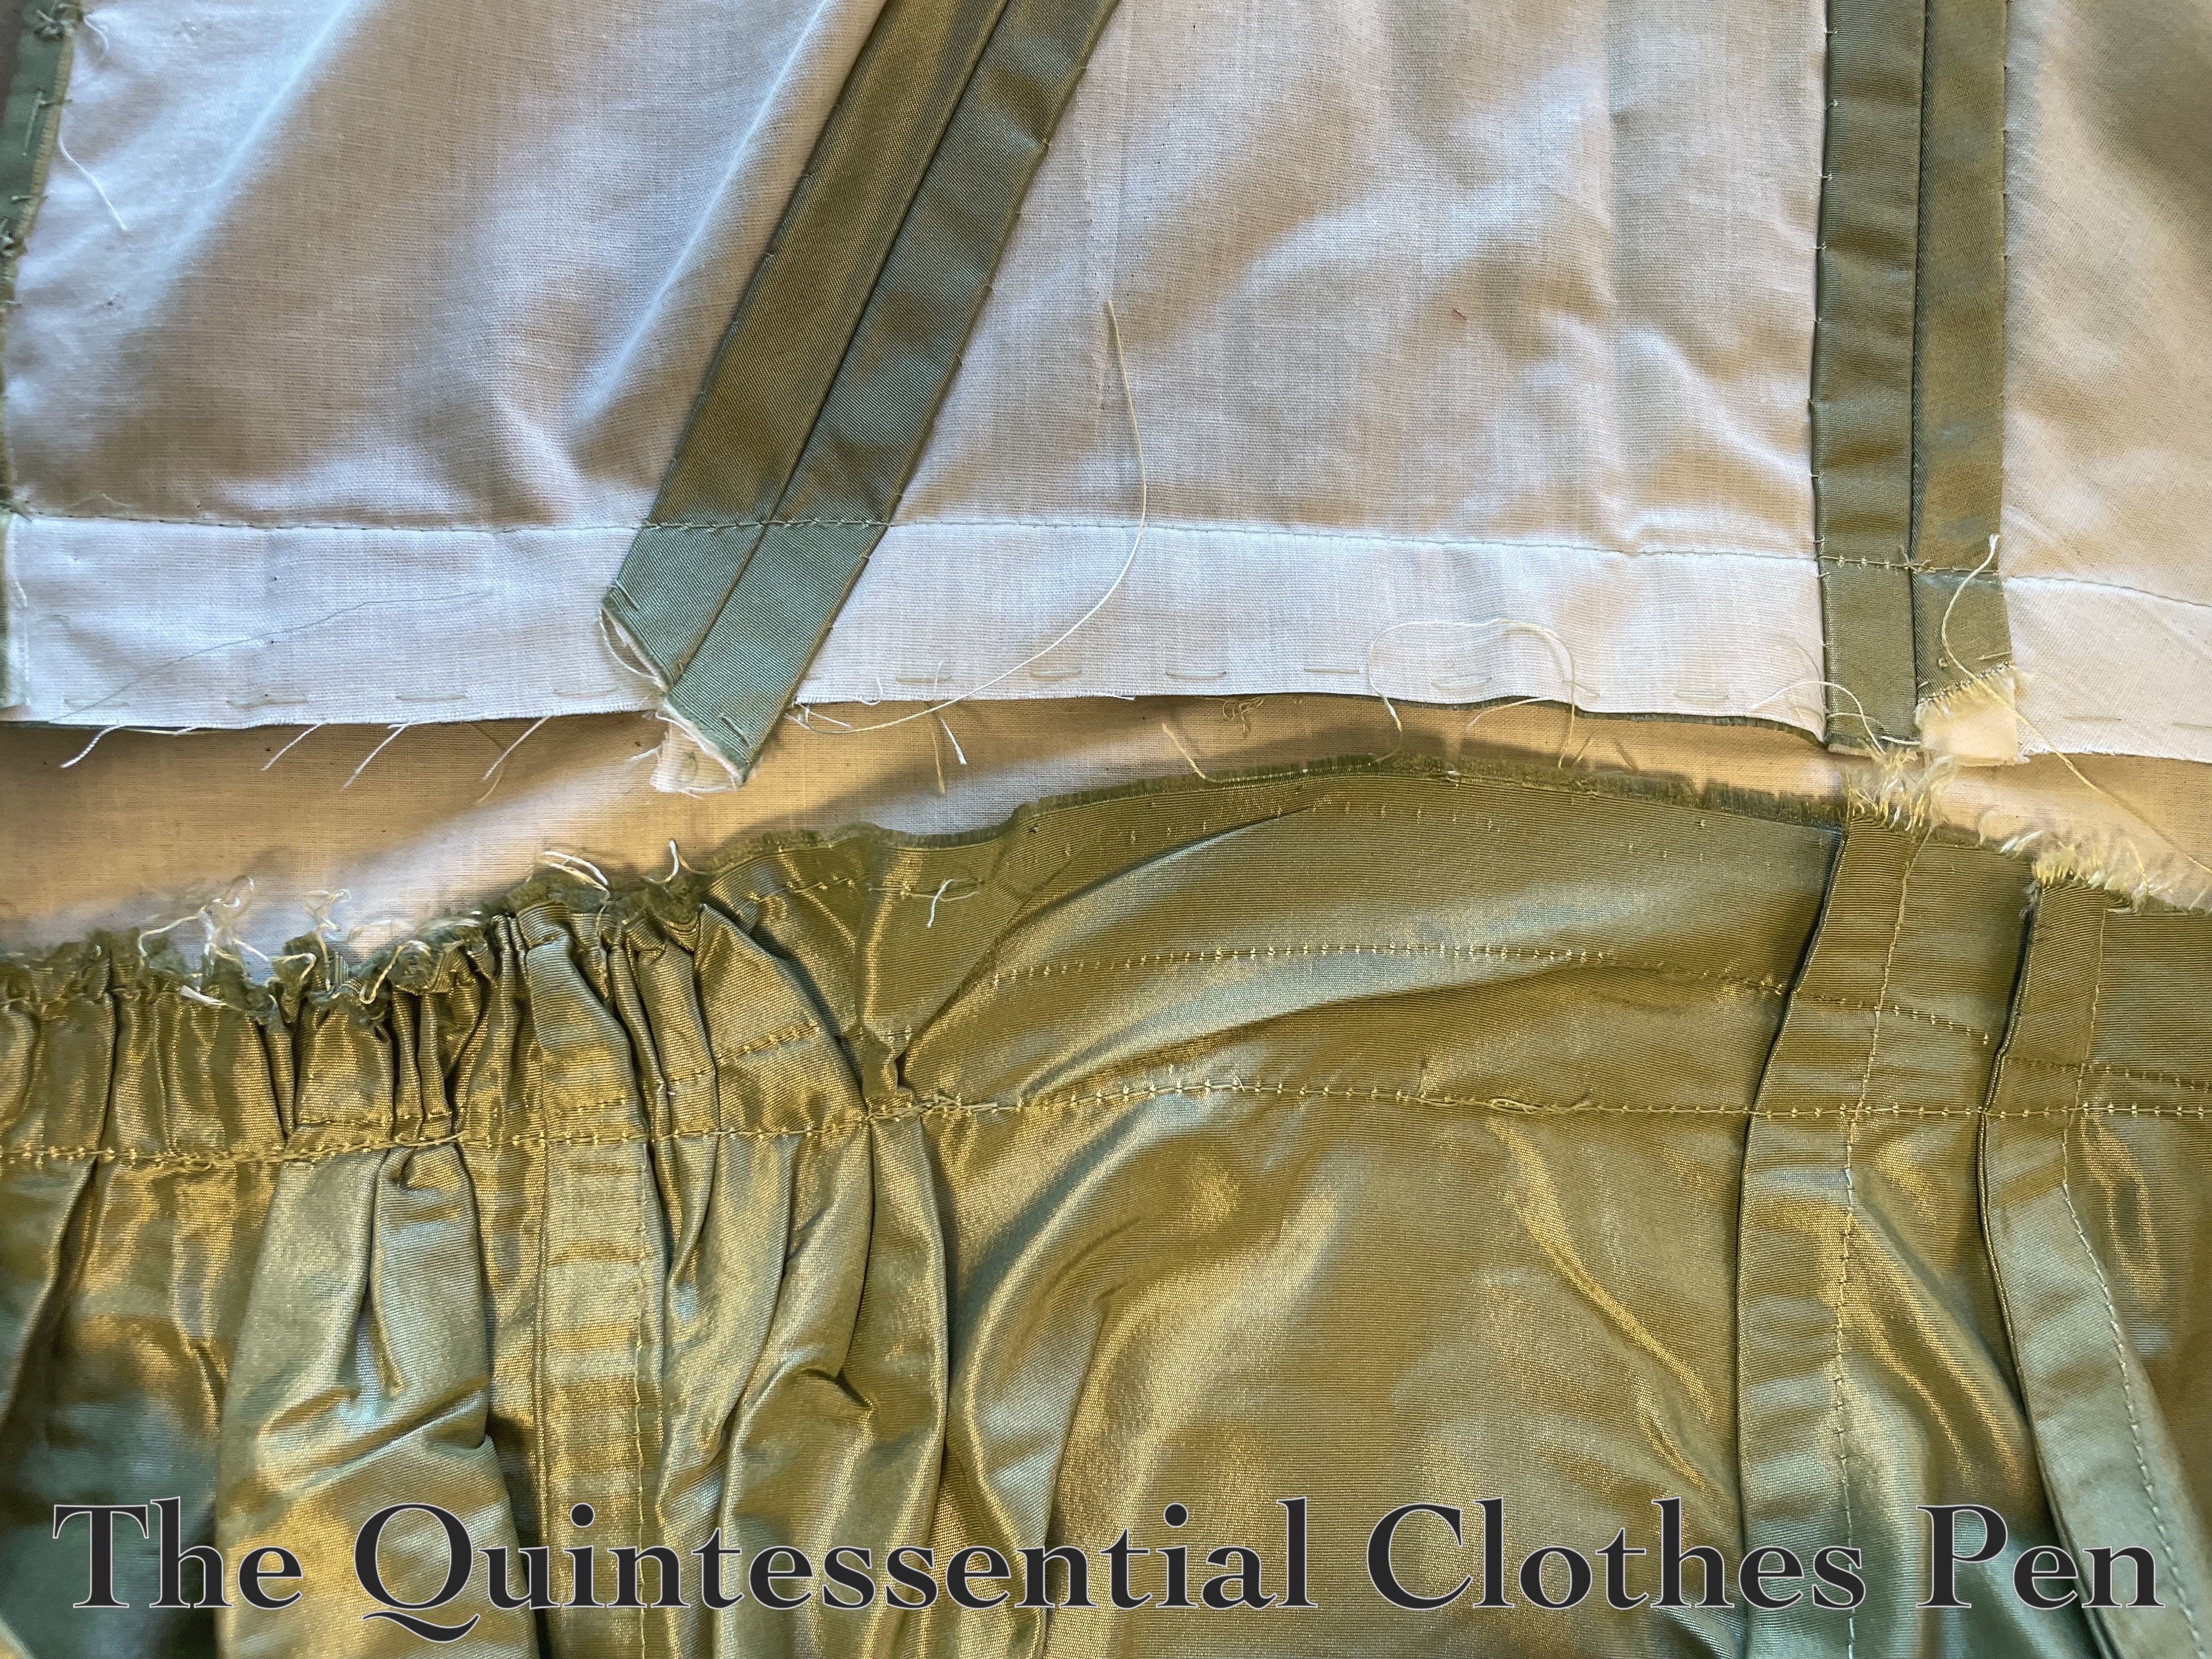
The bodice still fit in its let-out state (yay!), so it was easy to reattach it to the new waistband. I carefully followed the original stitch line to keep old stitch marks from showing! Those changes covered the first two goals of this re-imagining.
The last goal was to energize the trimming! I still remember the time consuming and finicky process of adding the appliqué silk organza motifs to the dress. I didn’t want to diminish that work! But it just doesn’t pop that much on its own… The fashion plate I was originally referencing can be seen here. It is partway down the page, labeled 1824 – Ackermann’s Repository Series 3 Vol 3 – May Issue.
When I looked at fashion plates from 1822-1824 again the 3D nature of the trimmings stood out to me and I thought “what if I add 3D flowers to the existing motifs?” There are multiple examples of evening gowns with this type of 3D trimming in this digitized volume of Ackerman’s The Repository of arts, literature, commerce, manufactures, fashions and politics. (The easiest way to find them is by looking at the thumbnails and quickly scrolling through all of the pages of text to look for the full page fashion plates scattered throughout.)
Off I went to my flower stash to see what I could find! I considered pink, yellow, and purple to complement the green of the dress. Given what I had available the purple was the winner. The color popped and brought energy to the whole dress without being garish and the flowers, which are silk but with plastic stems, didn’t appear too plastic-y to complement the silk dress. They needed a little bit of a transition, so I decided on adding some wired white silk millinery flowers as well. The fact that all of these flowers just exist in my stash in bulk was so helpful! And cost effective!
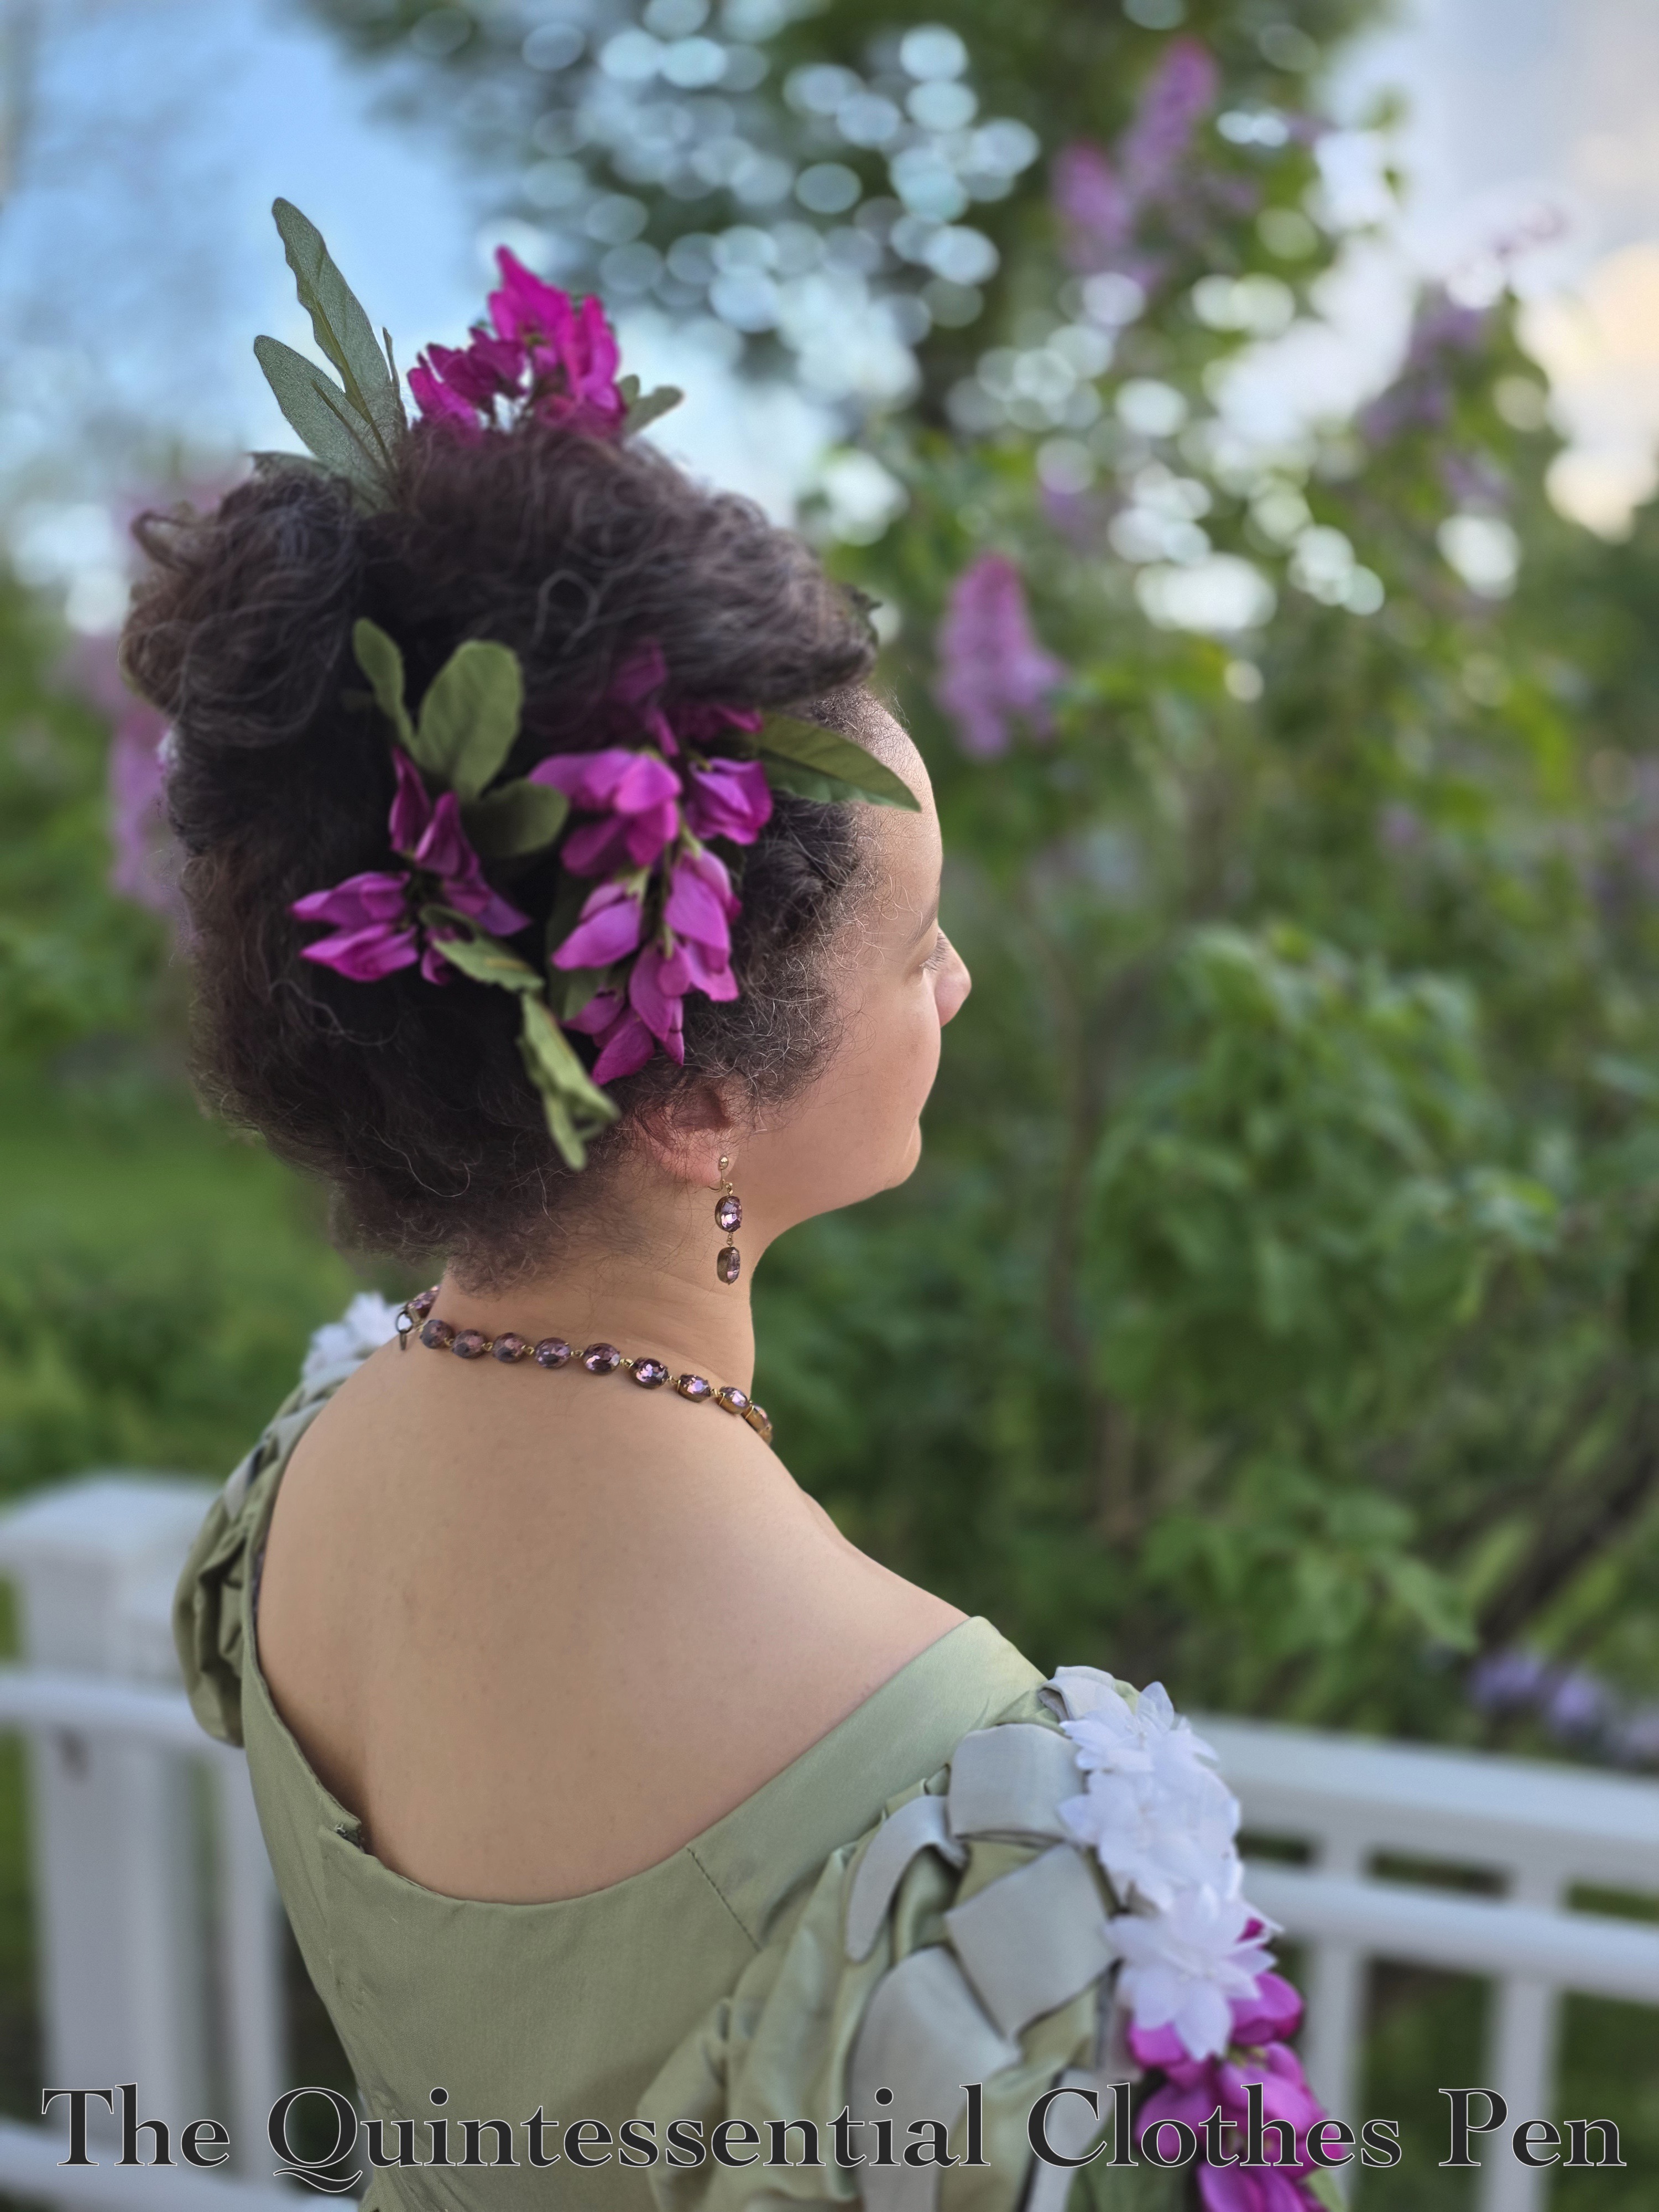
I had so much fun creating a hairstyle to go with this updated dress, too! More on that in my next post. For now, this re-make is my entry for the 2026 HSM Challenge #1 Joy For January:
Create an item that epitomises the joy you find in historical costuming – or simply something that would bring you joy at this time of year, whether it’s dark and cold, or sweltering hot where you are!
This dress fits the challenge because I find joy in:
- Re-making garments to fit better or have a more arresting design
- Re-wearing garments so I get more use out of my hard work
- Applying new knowledge to my projects
Just the facts:
Fabric/Materials: Leftover scraps of green silk.
Pattern: My own.
Year: 1824.
Notions: Thread and flowers.
How historically accurate is it?: 99%. Altering clothing to adjust for fit and shifting fashionable silhouettes is a documented historical method! A small bit off for not perfectly accurate flowers.
Hours to complete: I did not keep track. 6-8 is my guess. Most of that would have been hand sewing on the flowers.
First worn: May 16, 2026.
Total cost: $5. The fabric used was scraps from the original project. The flowers were purchased in bulk for a very low cost and stashed for years.