

A reception ensemble would not have been complete in the late 19th century without headwear. To that end, I needed a hat to complete my 1875 reception dress. Despite having a number of hats in my historic closet, I’ve never needed one for this particular section of history, so… not finding anything suitable, I decided to make a new one!
I started by carefully observing hat styles from the 1870s to decide what would be appropriate and pleasing for my 1875 reception look.
Hat Style Possibilities
There were a variety of styles a lady could choose for her headwear in the 1870s. Here are some of the large categories I identified. All of these images are from about 1875-1877.
- Forward perching hats: these sit upon masses of hair at the back and tilt down towards the face

- Hats crowning the back of the head: these sit upon masses of hair, but tilt up in the front and have trim starting to drip off the back, mimicking the look of the hairstyles and dresses from the middle part of the 1870s

- Bonnets: tiny little things with basically no brim, sitting upon the back of the head

And then there are a variety of hats and bonnets that fall in between these categories. Fashion doesn’t always fit firmly within categories!

My Hat Choice
I decided to make the type of hat that crowns the back of the head. This seemed like an appropriate choice for an 1875 reception dress while also providing some new challenges in terms of patterning and hairstyling (and I do have a soft spot for crown-like hairstyles, be it in the 1810s, mid-19th century, or, apparently, the 1870s).
Making My Hat
I decided that this hat would have a buckram base covered in silk. It’s pretty wonderful that I had all of the materials on hand, including remnants of my fluted trim, scraps of the silks used for my dress, greenish/brown ostrich feathers that just happened to perfectly match the unusual shades of my silks, millinery flowers, buckram, millinery wire, and flannel for mulling the pieces.
I started by spending a bit of time with paper, scissors, and scotch tape, creating my pattern. Getting the brim to be the right shape and proportion took a few tries.
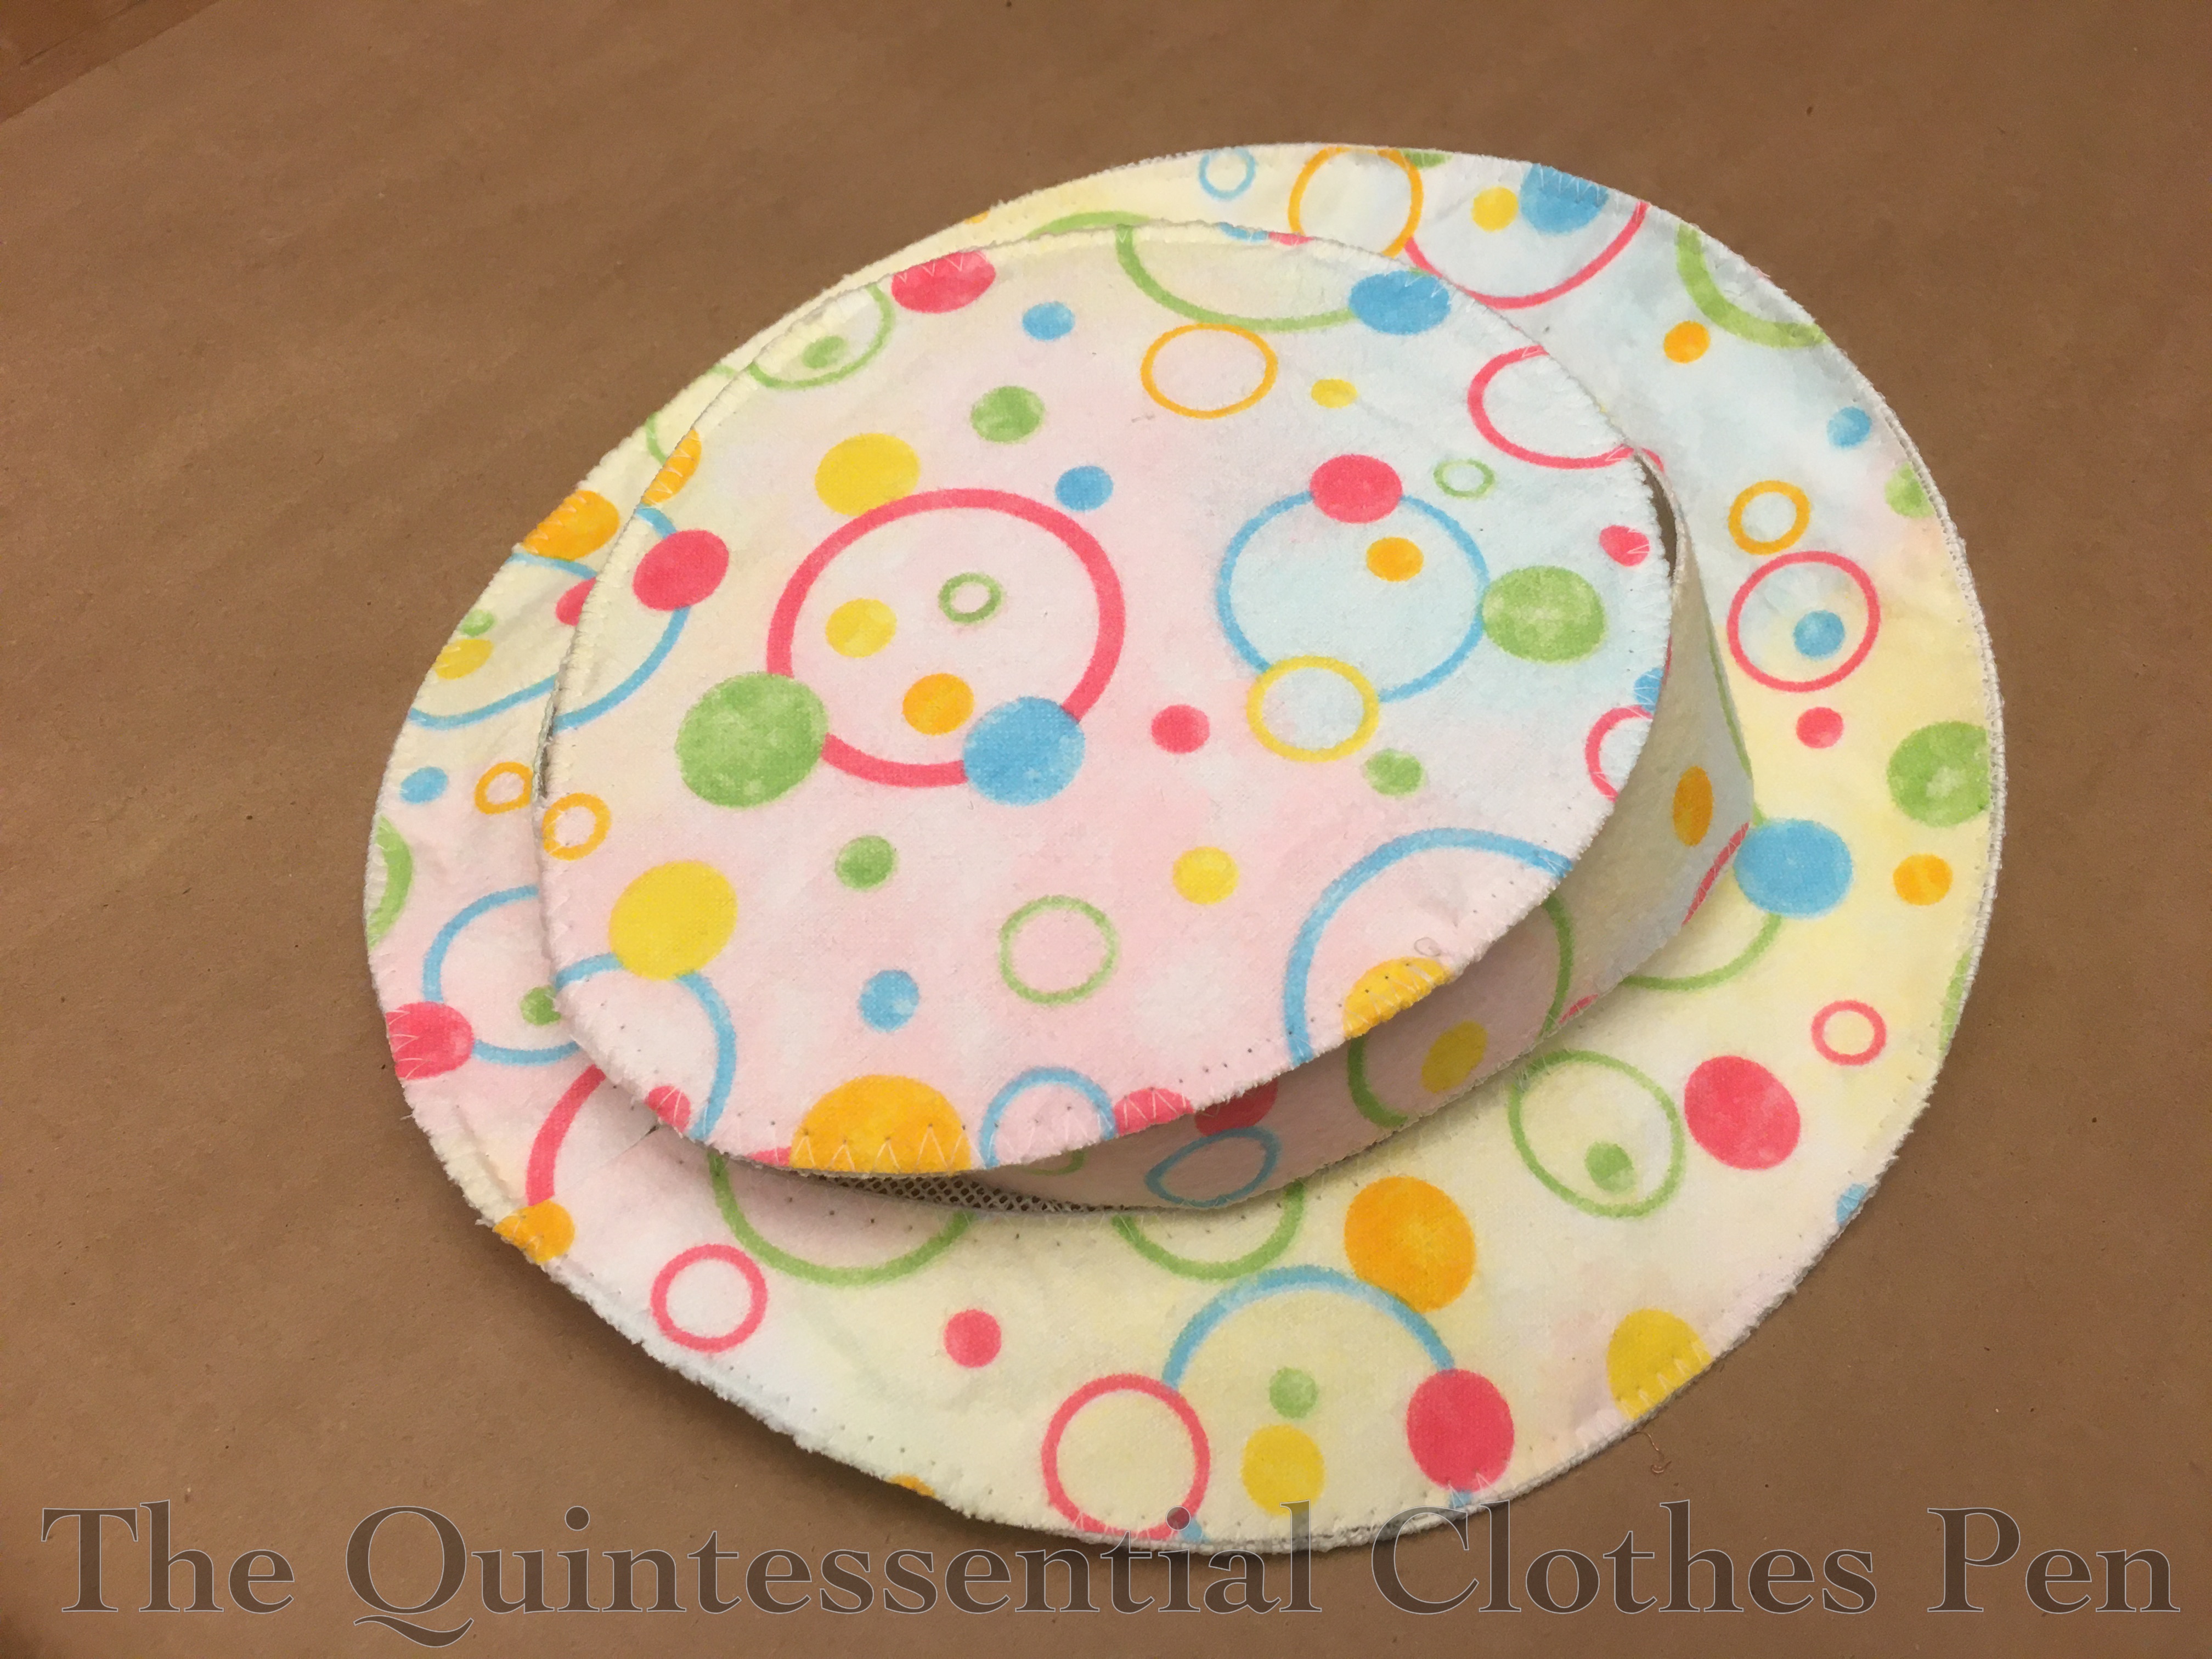
Once I had a pattern, I cut out my pieces from buckram and flannel (and was able to use up some scrap pieces, yay!). I used my machine to zig zag millinery wire around the inner and outer edges of the brim and the edge of the tip.
Then I used my machine (and a little bit of glue on the concave curves) to attach my flannel. Normally I would use a less brightly patterned flannel, but this is what was easily available and it doesn’t show through my silk. (I love that this fun patterned dot flannel is left over from a pair of pajama pants I made about 15 years ago! Yay for keeping things and eventually using them!)
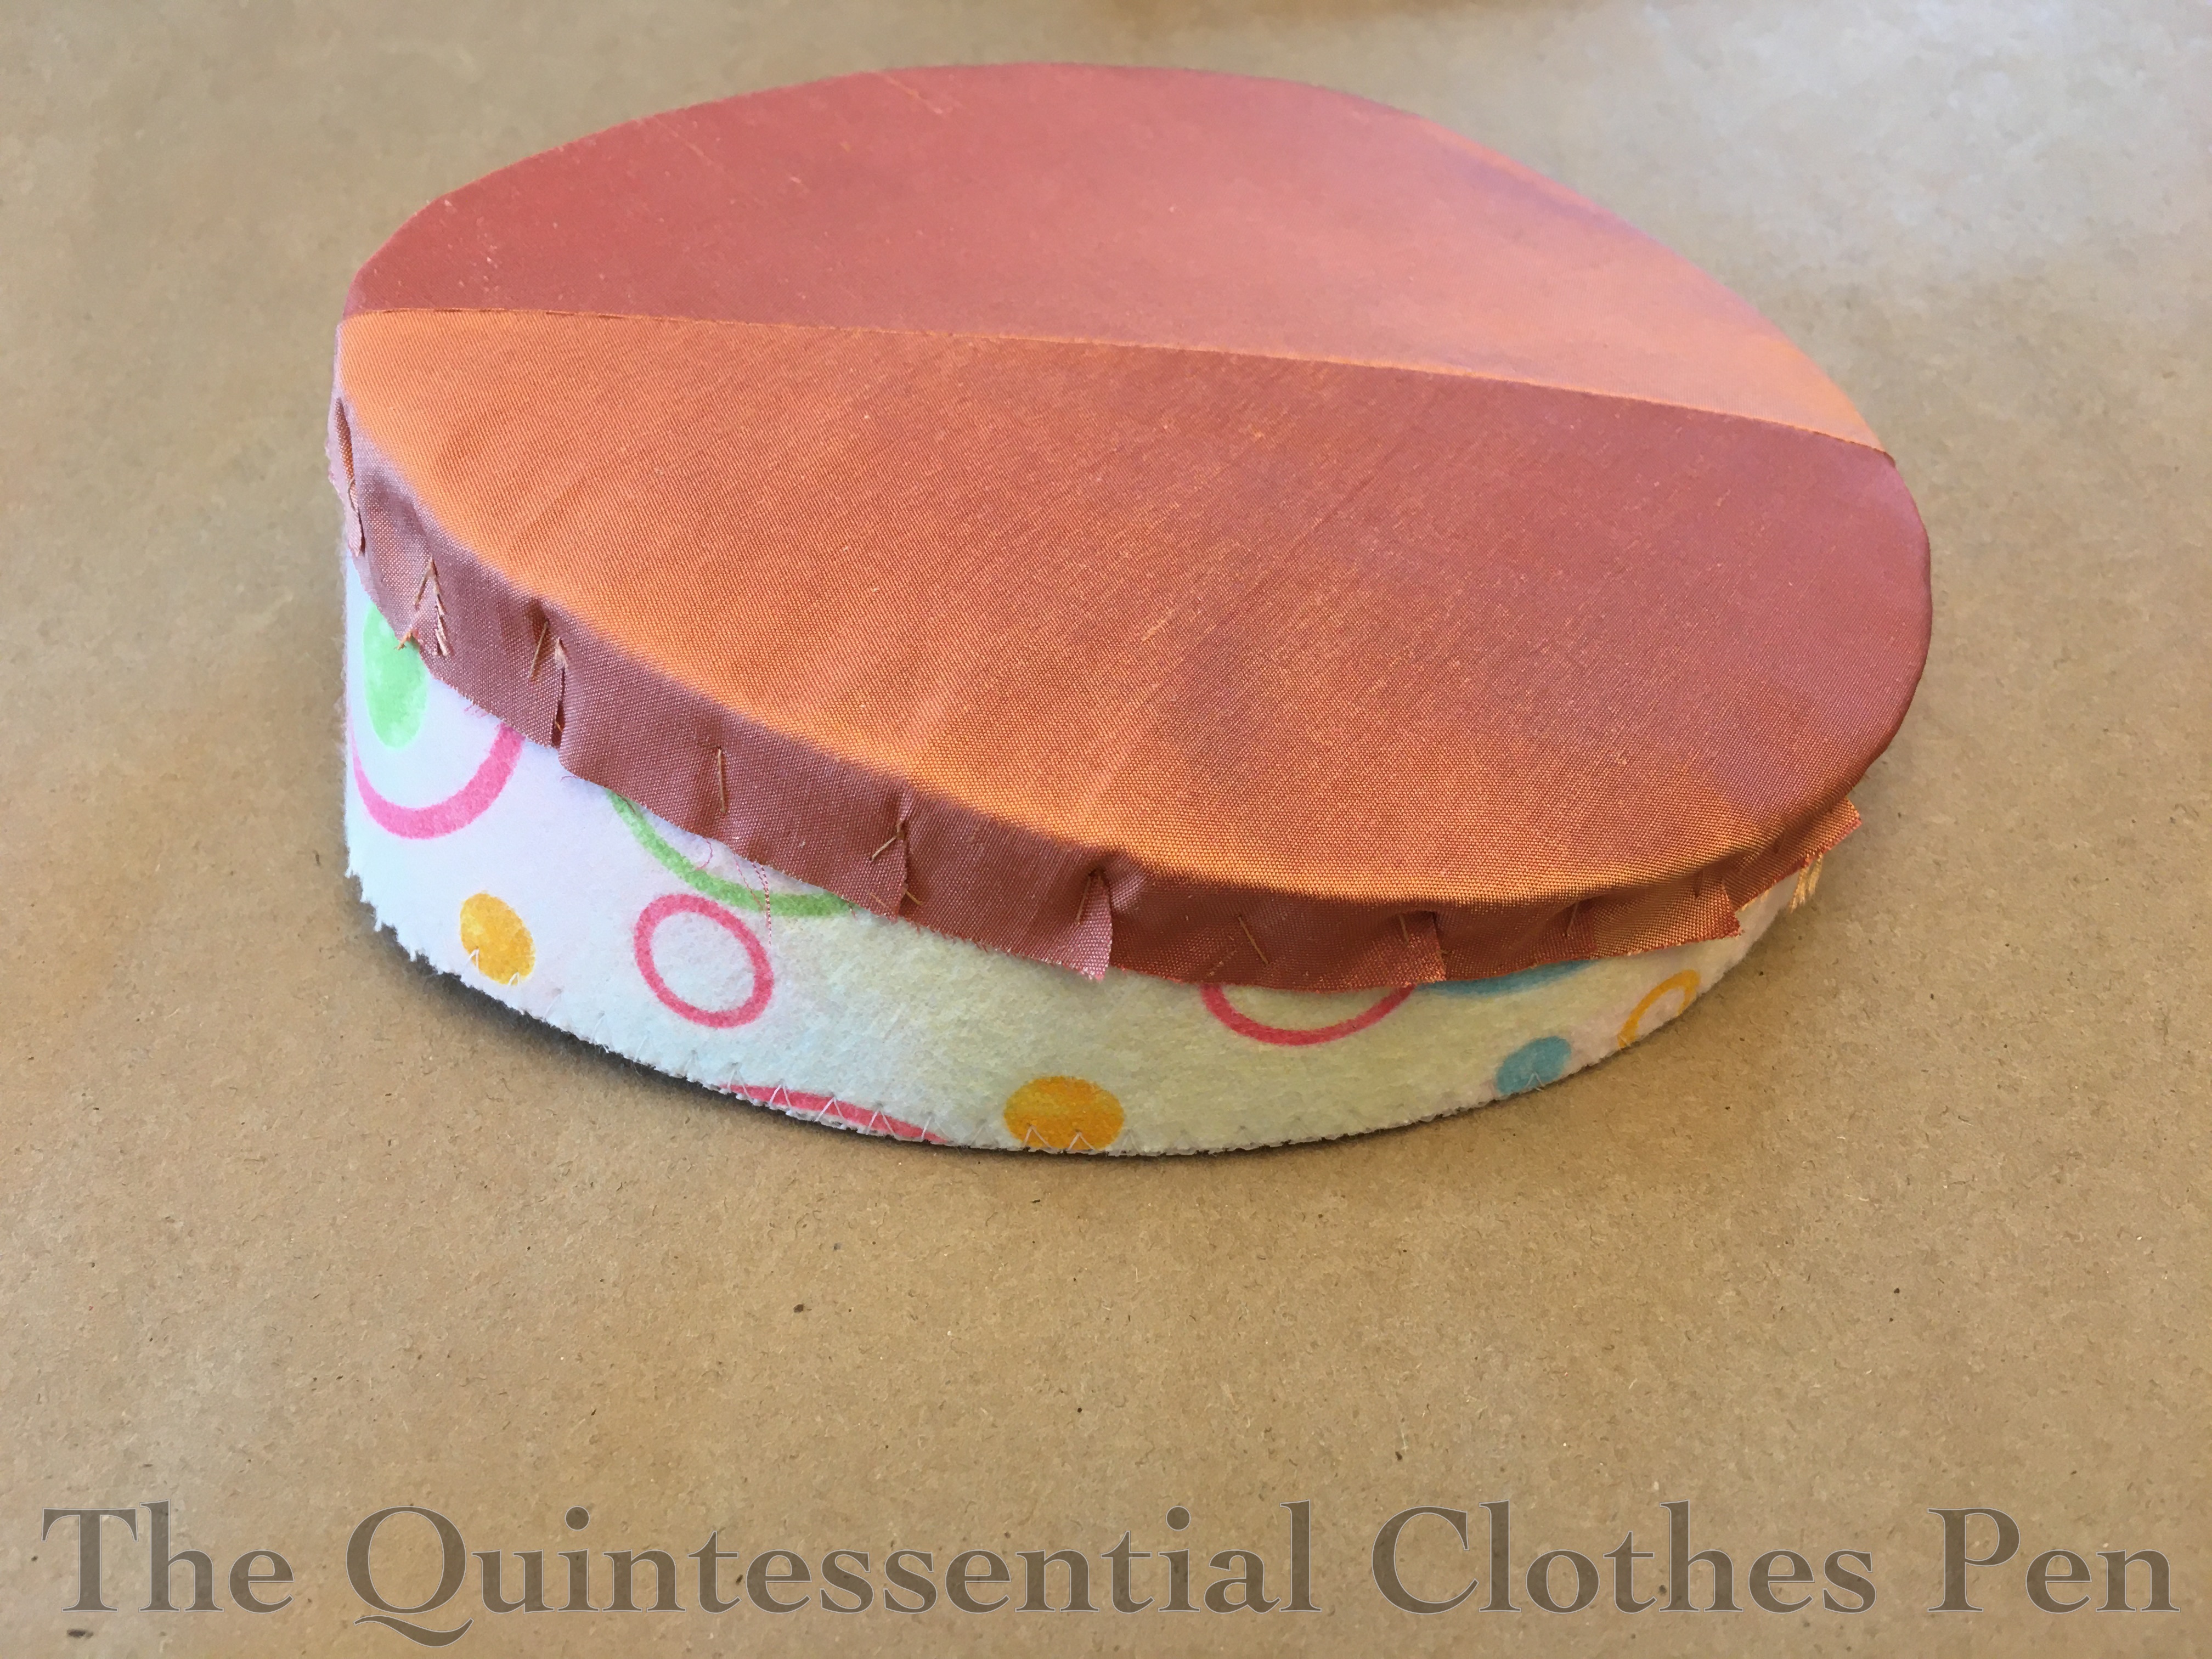
After being sufficiently amused by my colorful dot choice, I cut out my silk pieces. I had very little pink silk left after my dress was done, so I had to piece the tip and both of the brim covering pieces. Thankfully, there is enough trim on the finished hat that the seams are not noticeable!
Here you can see the silk seam allowance clipped, curved over the edges, and tacked to the flannel with hand sewing stitches.

And here is what the brim looked like flipped over at this stage. I also hand tacked the silk around the head opening, to keep the tension even across the curves of the brim.

This is the crown of the hat, showing off my center seam and those hand sewing stitches that hold the clipped seam allowance in place.
Next, I covered the top of the brim. To do this, I clipped and turned under the outer edge seam allowance, pinning it in place. The head opening was also pinned in place. Then both edges were carefully sewn by hand.

Once that was done, I attached the brim to the crown with sturdy hand sewn stitches through all the layers. These stitches were covered with a green silk band (that really can’t be seen after all the trim was added…).
Here, I am laying out trim options. I am amused at the feathers, which at this point have zero shaping and so are standing out like propellers.

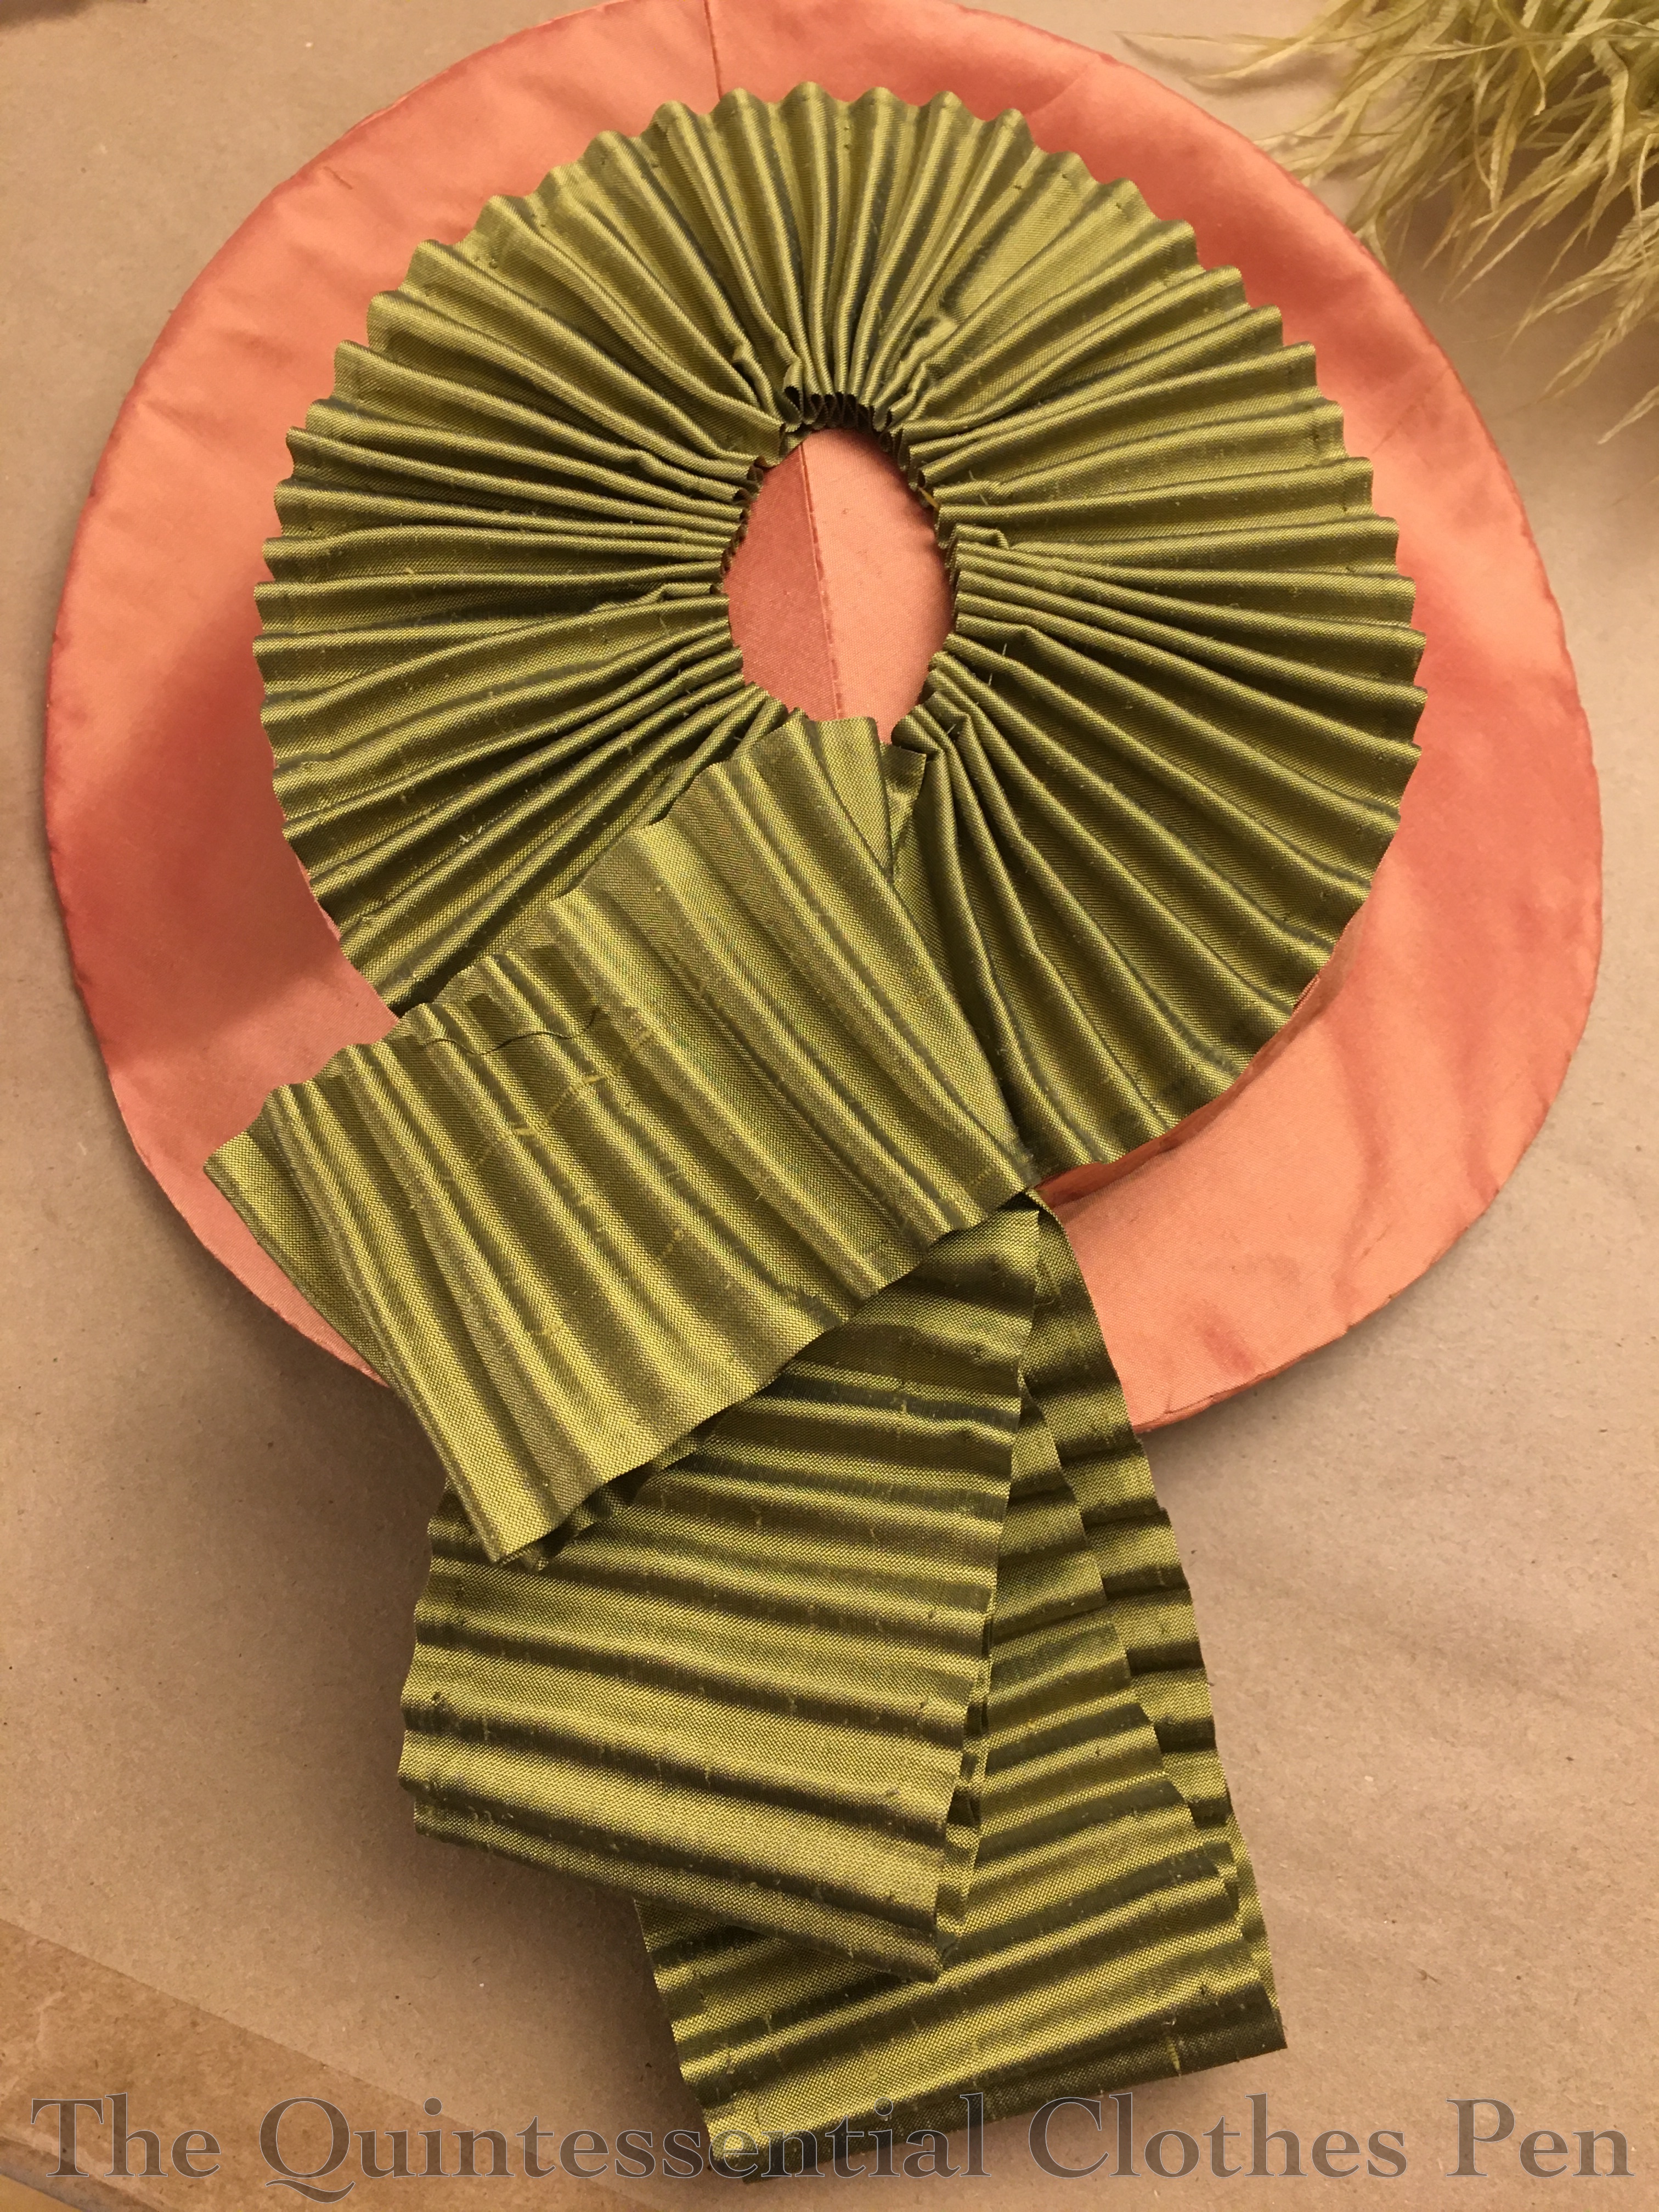
I thought it would be fun to use the remnants of my fluted trim on the hat (read all about how I made it here). I wanted it to resemble wide ribbon (and I wanted to hide the hems, partly because they are only pressed and not sewn in place).
To achieve this, I carefully tacked two layers with the wrong sides together before attaching the loops of fluted trim to the hat.

The tip of the hat is mostly covered by a radiating section of fluted trim with an opening in the middle that was eventually covered with flowers. There are loops of the fluted ‘ribbon’ trailing off the back of the hat as well as standing up in the front.
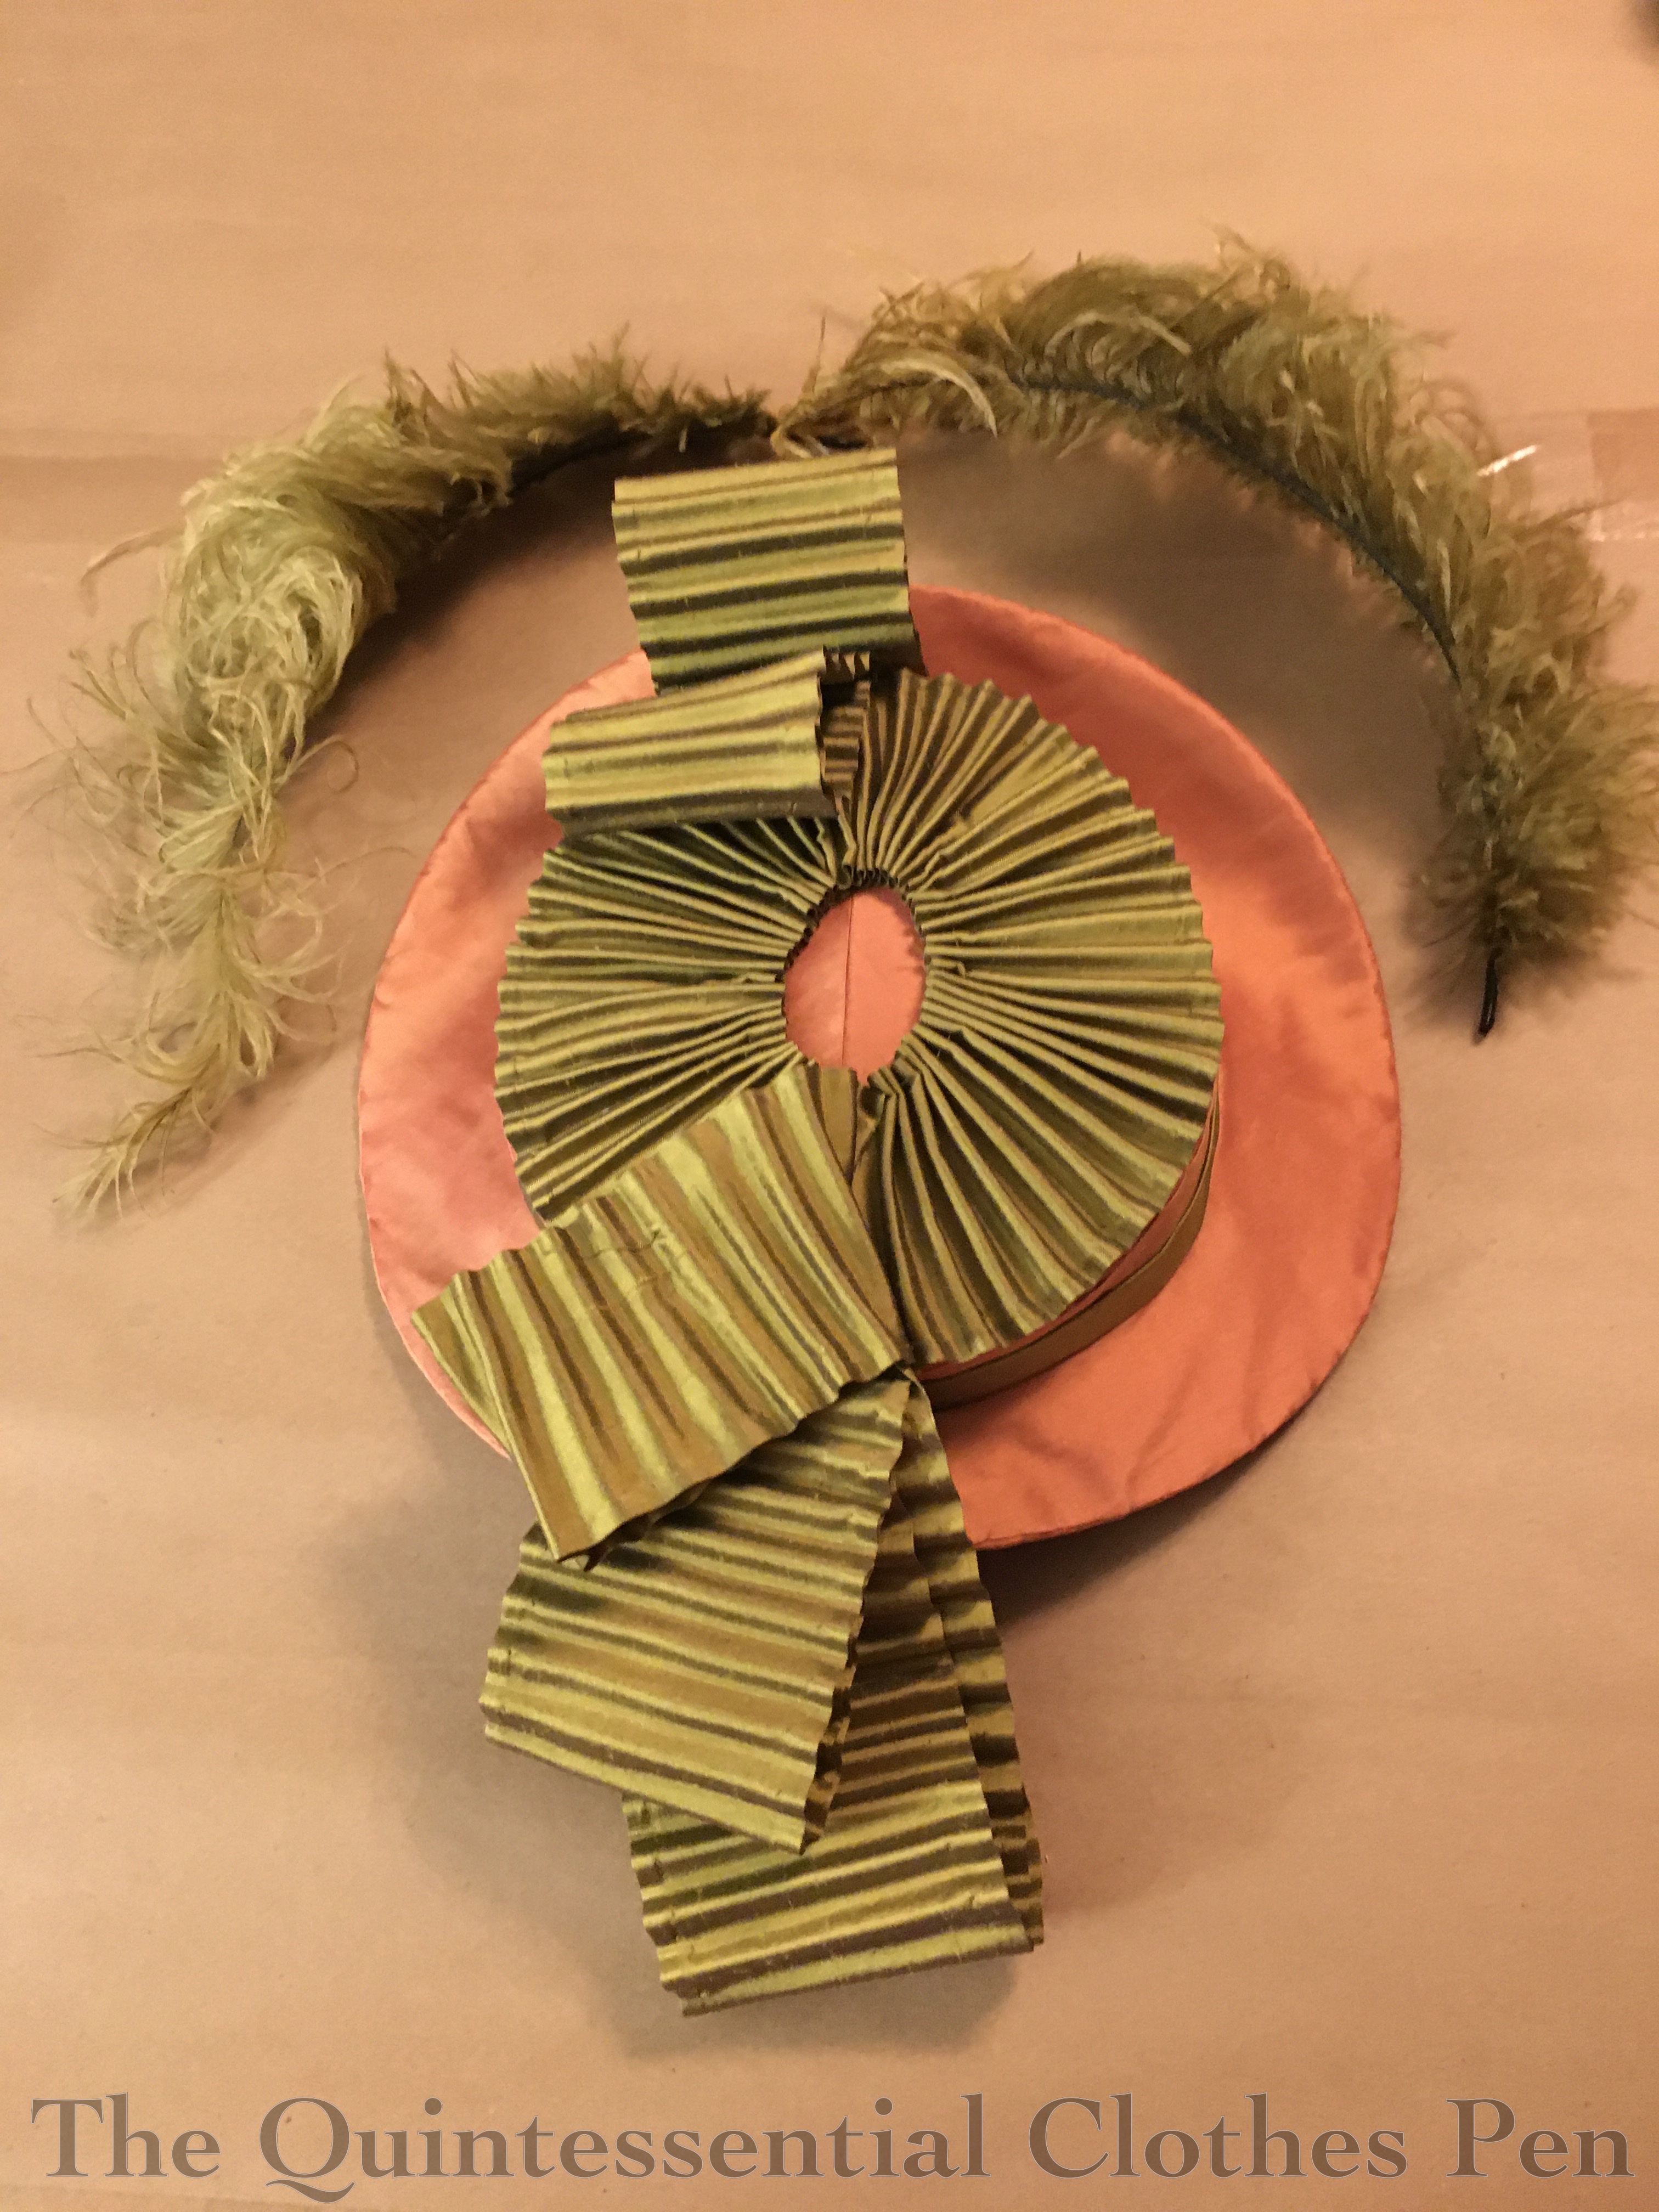
Then there were the feathers that needed taming.
I started by curling the feathers, as having them stand straight out around the brim of the hat looked a little mad rather than elegant. Curling was achieved using a butter knife. It’s a motion similar to curling ribbon, and requires just the right amount of pressure and firmness not to just rip the feather to shreds. It took awhile to get the hang of the motion and find the point on my knife that worked best.
It wasn’t the most fun… it rather hurt my wrists to twist the knife each time… but over the course of a few hours (yes, this took awhile), I was able to get softly curling feathers.

Here is a half curled feather (on the left) next to an uncurled feather (on the right). In addition to curling the feather fluff I also shaped the center shaft of the feather to curl around the brim of my hat. You can see that I’ve started that process with these feathers, as well.

At this stage the hat has the hat band and fluted trim attached. The curled feathers are prepped and ready to be placed.
After adding the feathers, I added the flowers on the top of the hat and underneath the brim. Trim under the brim of hats is pretty common in this period. It adds to the floating effect of these hats on top of the grand hairstyles.
Though it seems a bit abrupt to me looking at the underside of the hat, the transition from flowers to brim is more subtle when the hat is placed on the head. The flowers here also serve the purpose of hiding the center front seam I added due to my small pieces of silk!
This photo shows the stitches holding the brim to the crown as well as all of the tacking stitches that hold the trim in place.
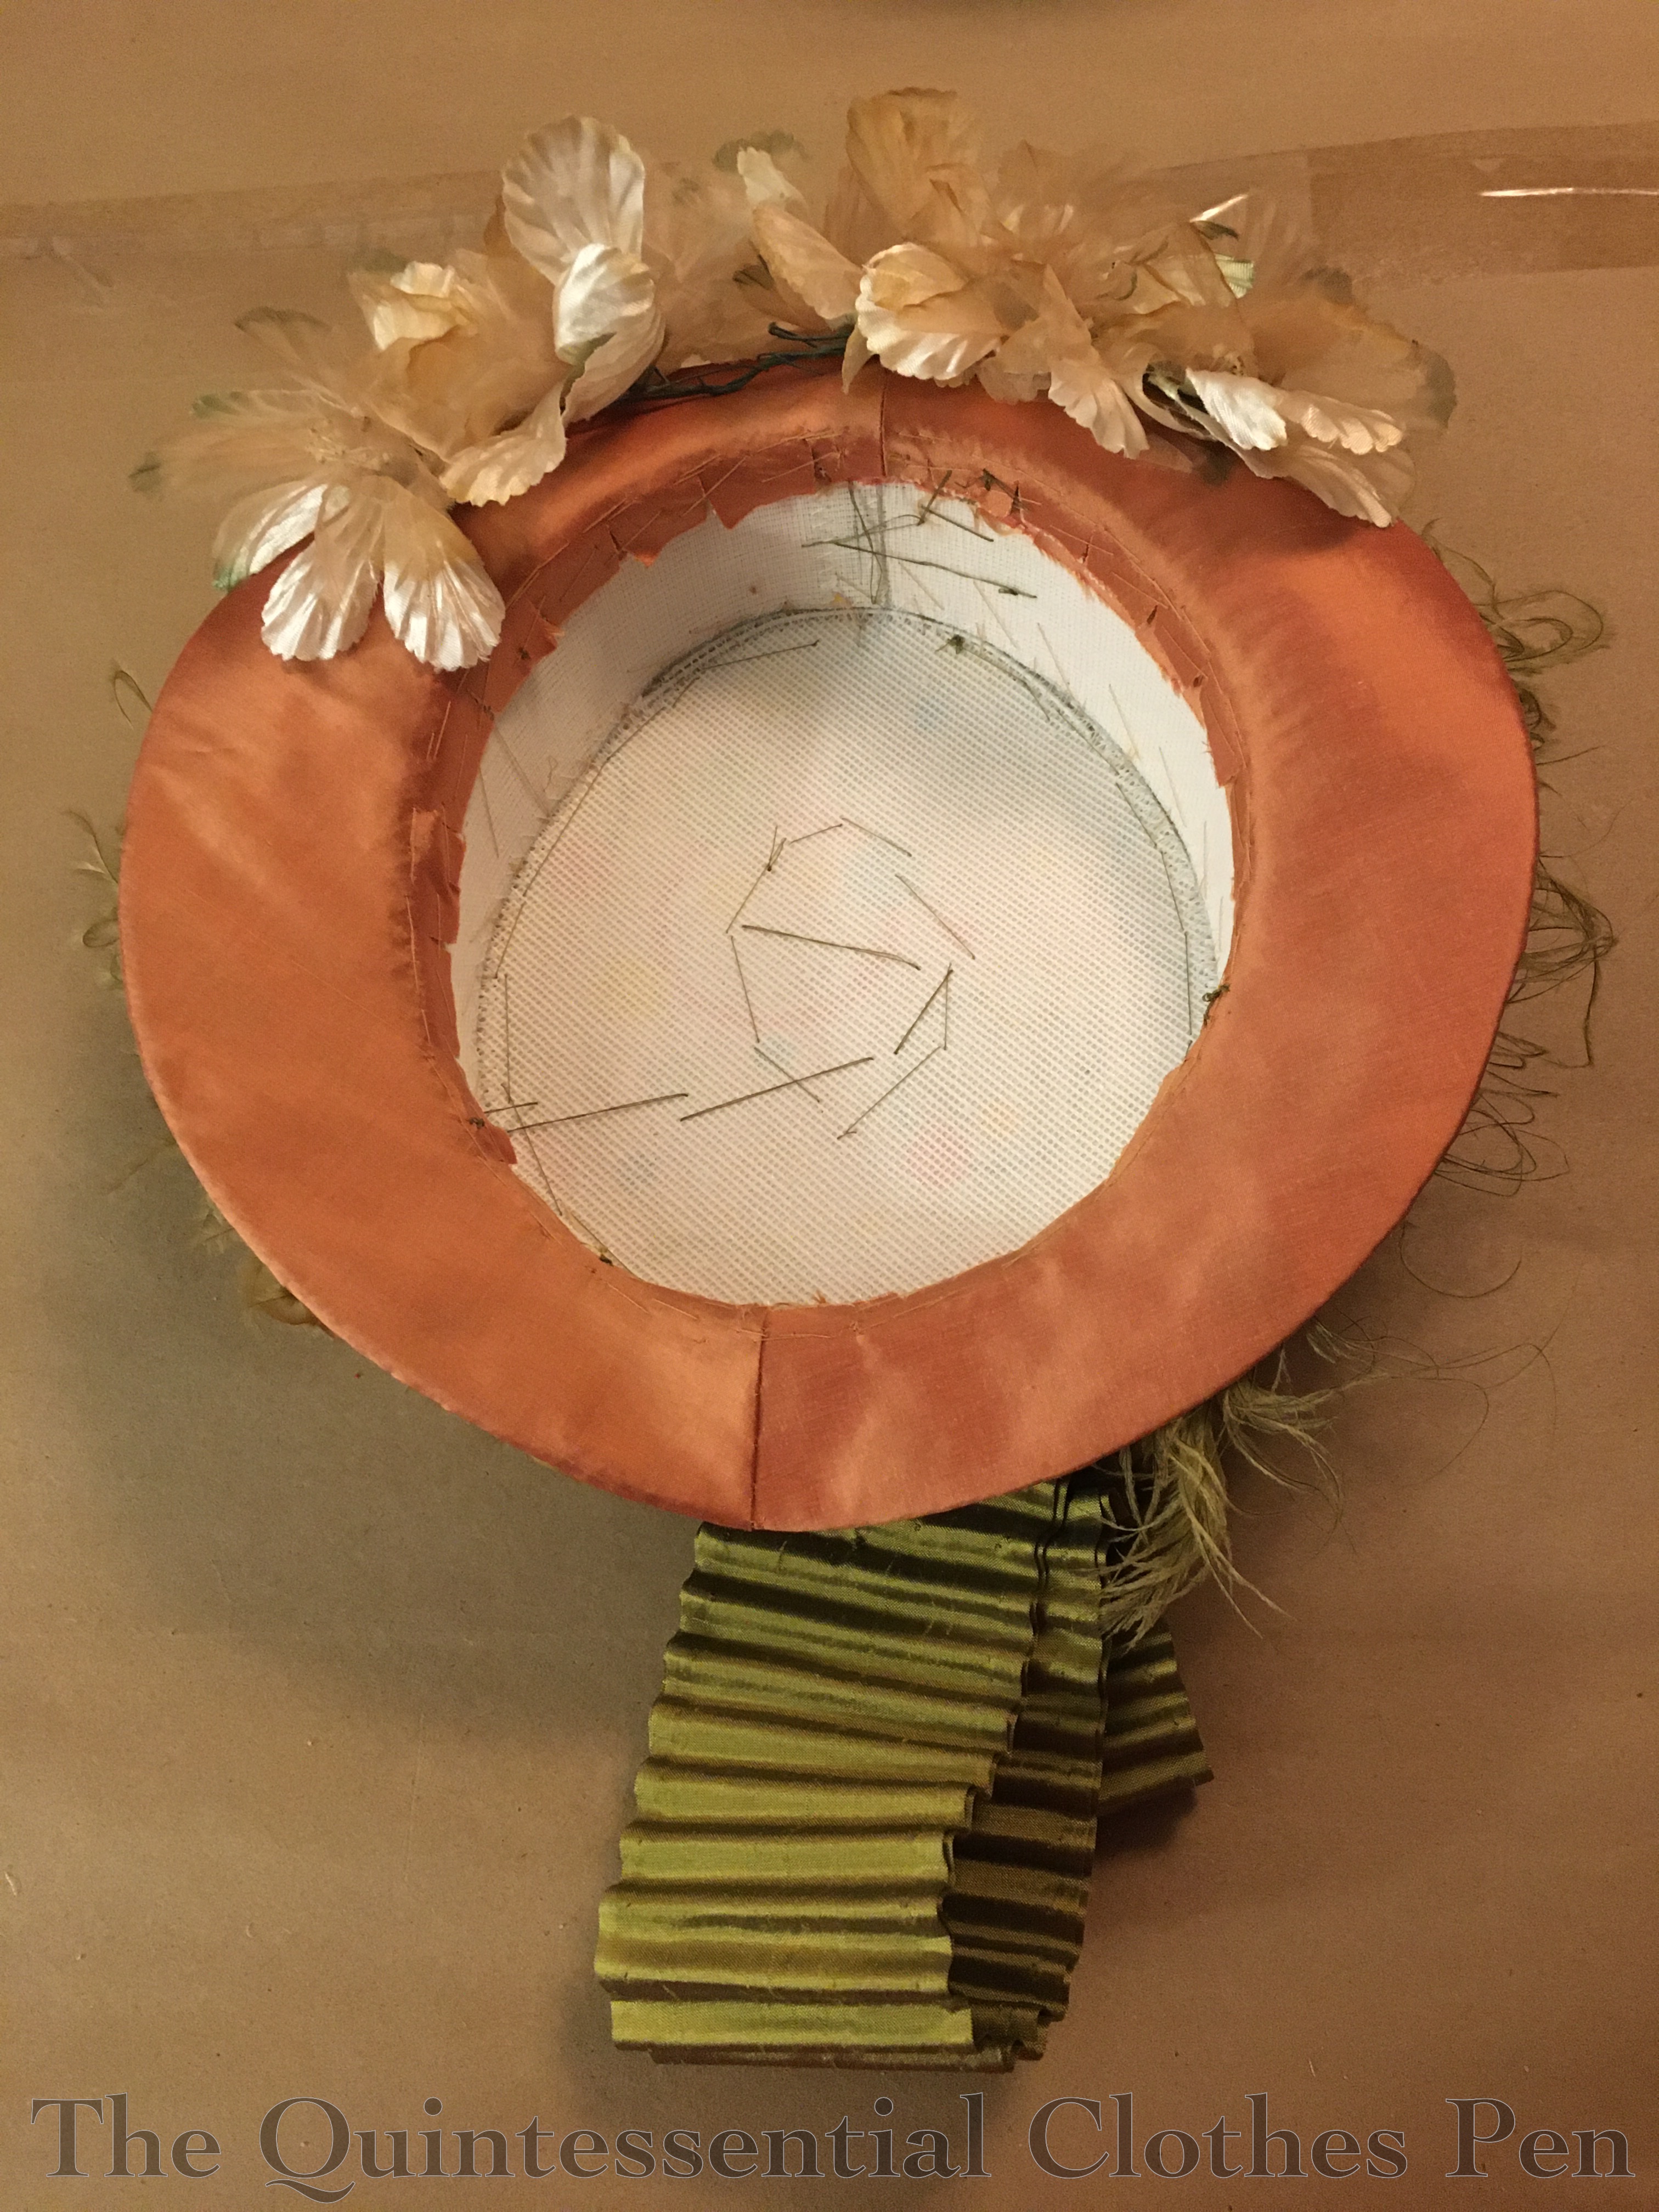
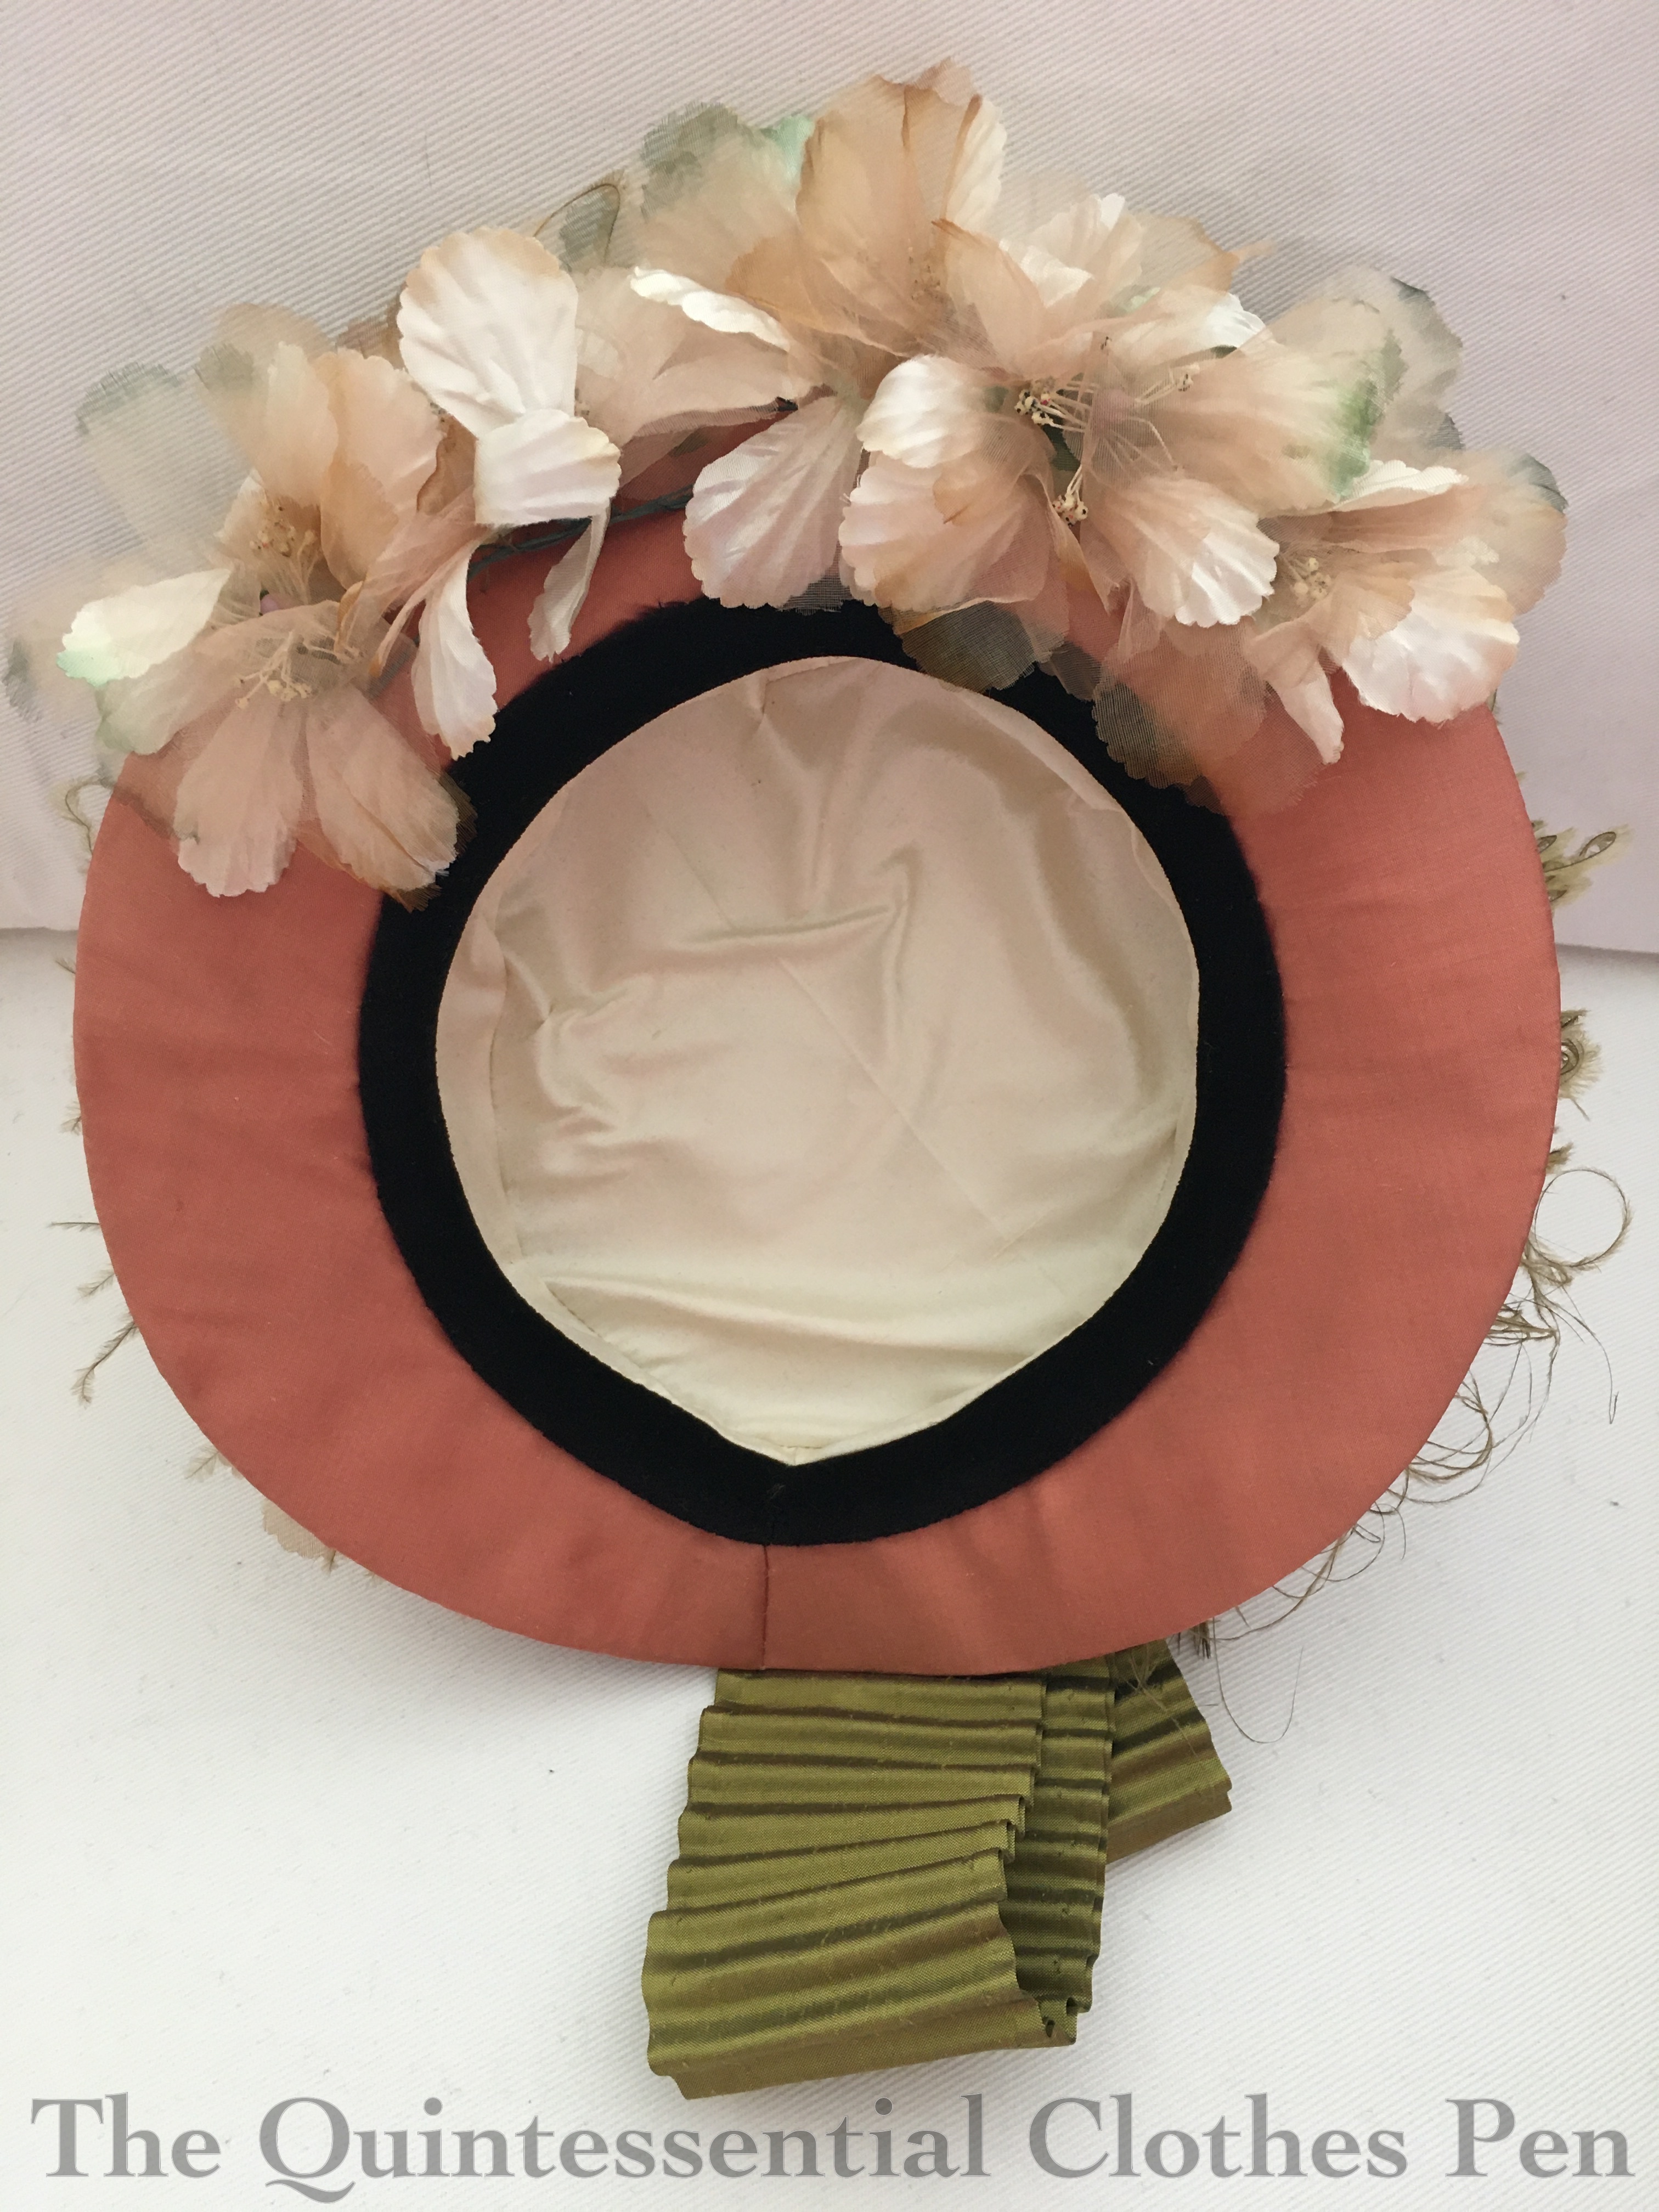
The final step was to add a lining to cover all of those tacking stitches!
The lining of this hat is silk shantung, leftover from my 1903 petticoat. The join between the pink silk and the lining is covered by a band of brown cotton velvet. The velvet helps grip the hair to keep the hat in place. I chose dark brown because that will camouflage against my hair. (And, both the silk lining scraps and the brown velvet are leftover from projects in 2011, so yay for using what is on hand!)
And that’s it! It takes a bit of time to hand sew all those sections of the hat (even longer if I don’t machine sew the first few steps), but it’s worth it to have a super sturdy, beautifully covered saucer of trim.
This post is getting long enough, so photos of the finished hat being worn are coming in a future post!

Such fun to read and see your pictures! Can’t wait to see the hat worn in your next post.
Thanks for reading, enjoying, and taking the time to comment! 🙂
I love your colours, and the detailed making steps. I can’t wait to see photos of this on with the whole ensemble!
Thanks!! It is quite the outfit, as you can imagine for 1875! 🙂