

Next post will be photos of my finished apricot dress… YAY! But first, I have the final finishing details to discuss. Most of the finishing left was on the bodice, so let’s start with that.
Bertha
Side note: have we ever talked about what a bertha is? A bertha is a collar of lace or other thin fabric, particularly popular during the 19th century. Check out this link to learn a little more about the history of the word.
In my last post, I included a photo showing the assembled front of the bertha for this dress before I attached it to the bodice. My goal was to make the bertha completely separate so that it would be easy to change if I decided to do that at a later time.
The foundation is a single layer of ivory tulle cut to the shape of the front (and one for the back) of the fully assembled bodice. A gathered piece of my lace trim was machine stitched to the bottom edge of the tulle, about ½” up from the cut edge.

On top of that foundation is a second layer of tulle that is gathered at both the top and bottom edges. The top edge is folded under by about ½” and the gathering stitch run through both layers so that the top edge is a fold rather than the cut edge of the tulle.
It took quite a few pins to secure the gathered tulle to the tulle underneath. It was finicky–tulle on tulle… not fun!

And I might have made a mistake while ironing my first foundation piece of tulle. Any guesses about what that was?

Oops! I like to iron with a hot iron but the nylon tulle was having none of that! I had to cut a new piece… and turn down my iron for a bit! The bottom gathered tulle in the above photo shows another failed experiment. That tulle is a full double width folded at the top and gathered top and bottom. I decided it was too bulky and not as elegant and decided to go with my previously explained method of only turning the top to create a fold.
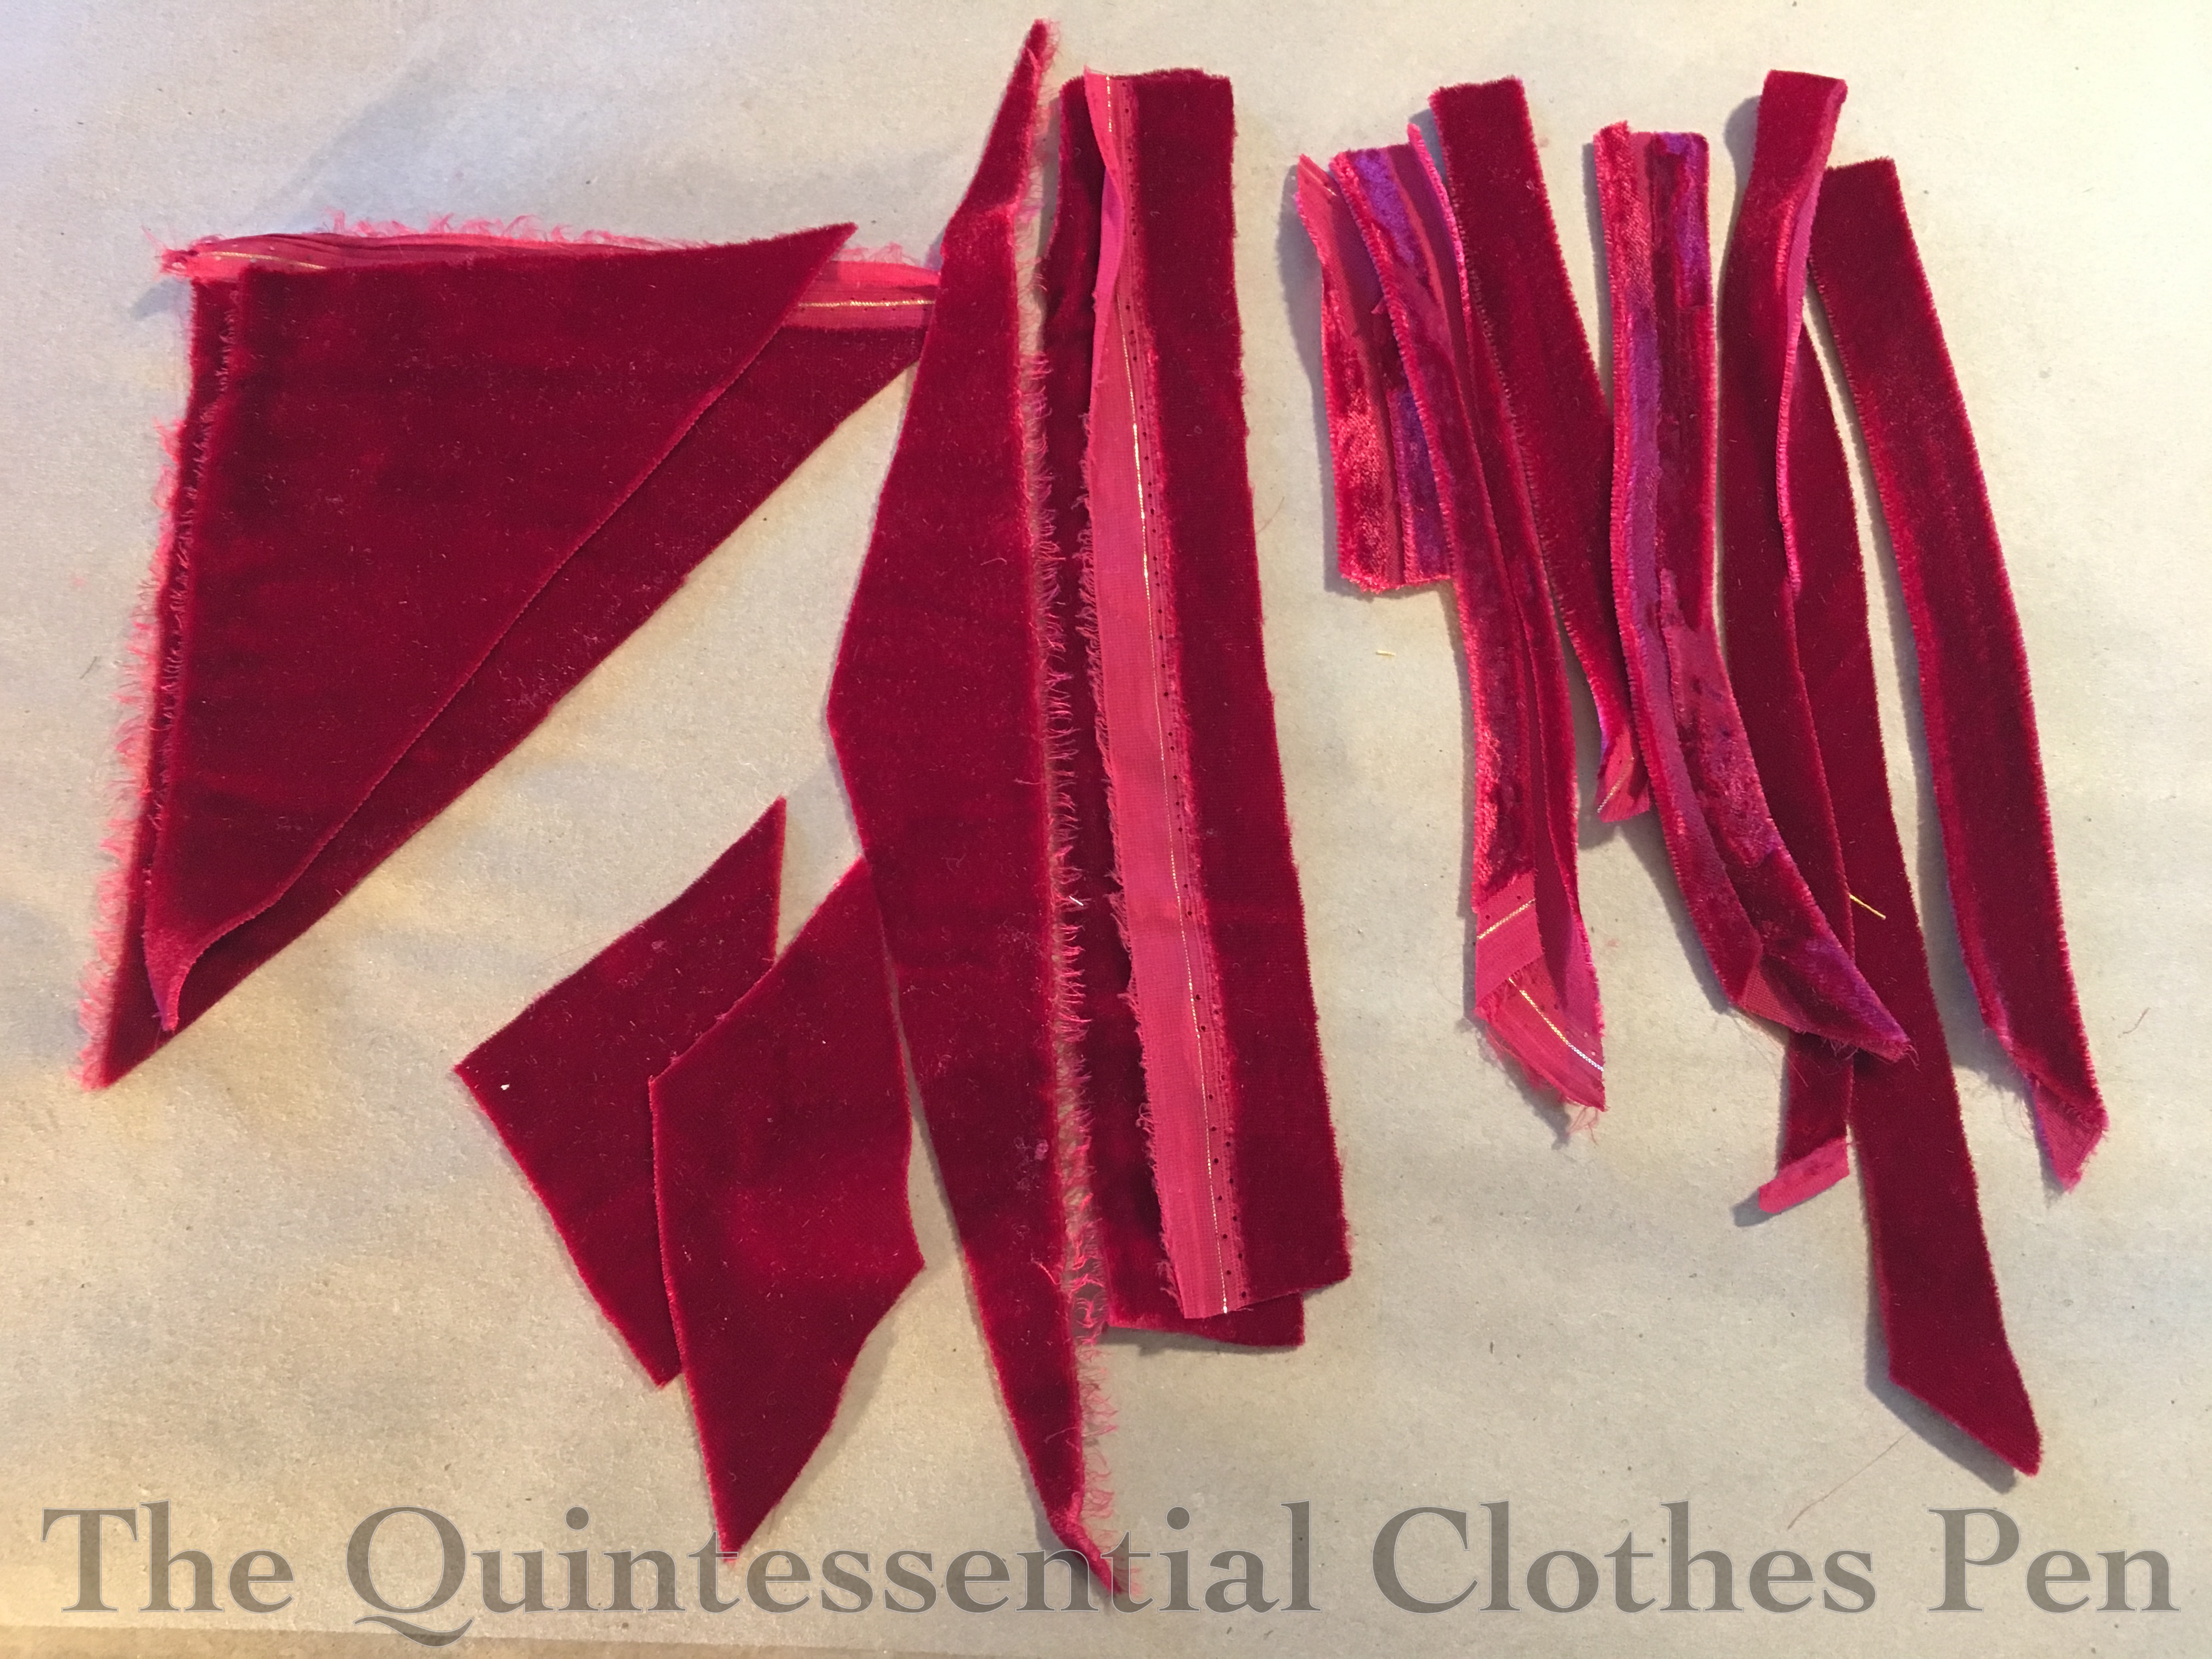
After machine sewing my successful gathered tulle to the base layer of tulle it was time to add velvet trim. The velvet was cut on the bias, both edges pressed under, and then it was slip stitched over the stitch lines in the tulle. I also created velvet bows, as I hinted about last time. This is one of the bows I created before I realized I needed more than I had cut out… oops again!
 After recutting my bows, this is the velvet I had left. I didn’t include anything for scale, but the longest piece in this photo is about 6″!
Remaking the bows (or rather, cutting new ones and disassembling ones I had already made) brings us back to where we were in the last post. The old velvet bows had top bow parts and dangling bow parts cut on the straight of grain, but due to my limited fabric I cut out the new bows with bias dangling parts. In the end I’m glad I did, because I think they hang more elegantly than the straight cut version.

Brooches
You might have noticed that the center velvet bow on the bertha has a gold filigree oval on it. In my inspiration it looks like these are buckles or brooches of some kind. I started by trying to use my stash, finding two matching football shaped buckles that I hoped could work. But the more I looked at them the more I didn’t like them.
So I spent a long time looking for something else low-cost that would work. Ideally, I wanted two sizes of the same style, but that quickly proved to be hard unless I wanted smallish very sparkly rhinestone buckles. But of course the scale of this dress is not small. Eventually I found the right search terms to find open centered brooches intended for creating your own cameos. I purchased these and painted them gold using acrylic paint. Despite being the same size for the bodice and skirt, I think they worked well!
Sleeves
I suppose I should also mention the sleeves. They made it onto the bodice but I haven’t talked about them at all. They are cut on the straight of grain and are basically a round-top trapezoid shape, with an outer layer of silk that is larger than an inner layer of my flat lining cotton. The silk was gathered around the bottom and around the armhole to fit. Due to the longer measurement of the silk it rolls up inside the sleeves by about 1″, which keeps the cotton from showing while being worn. Here you can see the poofy sleeves as well as the bertha before it had velvet added.

Oh, but those sleeves weren’t done yet! My inspiration had sleeves that appeared to be droopy continuations of the bertha. This is a detail that is different from all of my previous dresses from this period, so I felt it would be a neat detail to include. It took quite a bit of pondering to decide how to achieve the look and it was something I didn’t feel I could tackle until well into the process when I could see what the bertha and sleeves were doing without the extra layer.
My solution was to create sleeve caps of single layers of tulle with more of my lace and silk pleated trim on top. The tulle rather disappears when worn, giving the effect of floating trim. It’s pretty neat, actually.
Sewing the lace on was easy and relatively fast, as I did it by machine. But the silk… well, I thought I had enough left over from my crazy skirt trimming for the sleeves but those pleats eat silk so quickly! I only had about 75% of what I needed.
It was less than a week before the ball. I had returned the scalloped scissors to my friend so I couldn’t cut more silk. I tried spacing out what I had as much as possible without looking different from the skirt. And I was still short! UGH! Last minute challenges aren’t very fun. I pleated and re-pleated. Got a few more inches covered. Then I decided to harvest some pleated trim from my skirt, from underneath the big velvet bow where it wouldn’t be seen. Not terribly fun, to seam rip something you’ve just made. And the pieces I got were about 5″ in length. But I got them. And I put them on those sleeves. And even though they’re pieced you can’t tell at all and those sleeves got done!
This photo shows the first sleeve in progress, before I realized I didn’t have enough silk trim…

I sewed the sleeve caps on with small top stitches to the outside of the bodice at the armsceye seam. Again, this makes them easy to remove if I want. Also, I’d already set the sleeves… so I couldn’t easily put them into that seam (oops?). In the end, it doesn’t matter that they’re on the outside, because the bertha lace completely hides the armsceye along the top of the sleeve.
Bodice Finishing Details
In addition to sewing on the sleeve caps, I also attached both the front and back bertha layers to the bodice.
I finished my eyelets and ran the lacing ribbon through the top half. I find that 3 yards of ribbon allows me to leave the ribbon laced through the top eyelets and still get in and out, which makes getting dressed faster as the person helping me then only has to lace the bottom half of the bodice and tighten the ribbon at the top.
I also made and whipped in a placket. That’s the rectangular piece that’s rather wrinkly in the center of the photo below. While this bodice fits perfectly now, you never know what the future will bring and this will allow for a slight gap (if needed) that will still look like dress fabric and not like underwear.
I added hooks and thread bars to the bertha at the right shoulder, as well as two along the right back neckline to hold it in place along that edge. There is also a hook on the lace to secure it to the lace on the front of the bertha. Once hooked it looks seamless!
The final step was to sew hooks on the front and sides inside the bodice to allow it hook to the skirt. You can see the hook on the boning at the center front in the photo below.

Skirt Finishing Details
The skirt was basically done once I added my giant velvet bow except for a few things.
I added two hooks and bars to the waistband to close the skirt. The narrow hemmed opening is hidden under a pleat and will allow for future changes in waist size if needed.
I added loops to hook the bodice to. You can see one of those on the left. Turns out I didn’t line the side ones up very well (I think this was the very last task late one night on the last night I was stitching), so we added a safety pin at the ball and hooked the bodice to that. The safety pin is visible just to the right of the loop. At some point I need to move the loop to the location of the safety pin. Boo! There’s always something to fix or repair or change once you wear a garment!
And finally, when I added the waistband I also added hanging loops for the skirt. There’s one poking up on the right. These allow me to easily hang the skirt to keep it from getting wrinkled in storage.

And finally… after many, many hours of sewing, this dress is done. I like big projects but I confess to getting a bit sick of this one after sewing on it every day for about a month at the end of the process. Next post will be photos of the finished dress. (And I can report that I was happy with it in the end! Yay!)

Omg I’m so excited to see you wearing it!! The colors are super fun. Perhaps you posted about this at some point somewhere in your blog, but do you have a good method for getting the correct placement for hooks and eyes on the back when no one can help (either because they are not there or they have no idea how to help)?
I hope you had an amazing time at the ball.
Thank you! I love the unusual, autumnal mix of colors. 🙂
Thanks for your question–it’s a good one I think lots of people struggle with! The way I deal with fitting the back is by temporarily putting in a long separating zipper where I want the back edges to meet. I do this at the mockup stage, but if I was worried that I had made changes during the process that would need a second look I would baste the zipper into the final garment as well. If the back didn’t fit I would then be able to move the zipper in or out to try again and eventually establish where the back edges should be. You can see the zipper I put into my mockup of this dress in Part II of the dressmaking process, here: https://thequintessentialclothespen.com/2019/06/24/project-journal-1863-apricot-evening-gown-part-ii-the-pattern/
Sometimes it’s still a guess, so I’ve been known to sew on the hooks and use safety pins for bars–that way someone at the event can move them for me if needed and I can sew the actual bars where the safety pins actually wound up.
So pretty! I cant wait to see your final product!!!
Jennie from theuglydame.blogspot.com
Thank you! 🙂
Dear Quinn,
What a glory this dress is. My favorite part is the “floating” sleeve caps; even in progress you can tell they will be pretty as well as unusual. I wonder if they will float some when you dance?
Good tip on using a safety pin for initial hook and eye setting — second the recommendation. It works well and saves frustration 🙂
Ah yes, I’m glad other people use the safety pin trick as well! Thank you for the lovely comments about the dress. I think the sleeve caps were held in place pretty well by the bertha on top of them, so I don’t think they floated too much while dancing, though I could be remembering incorrectly. But they do just sort of float while being still… which is why I made up the term. I’ve never come across an actual name for this style (but what a rabbit hole to consider!). 😉
Fascinating to see all of these details. The bertha and sleeves are remarkable!
Thanks! I’m glad that others are enjoying my adventure in all the details with me.