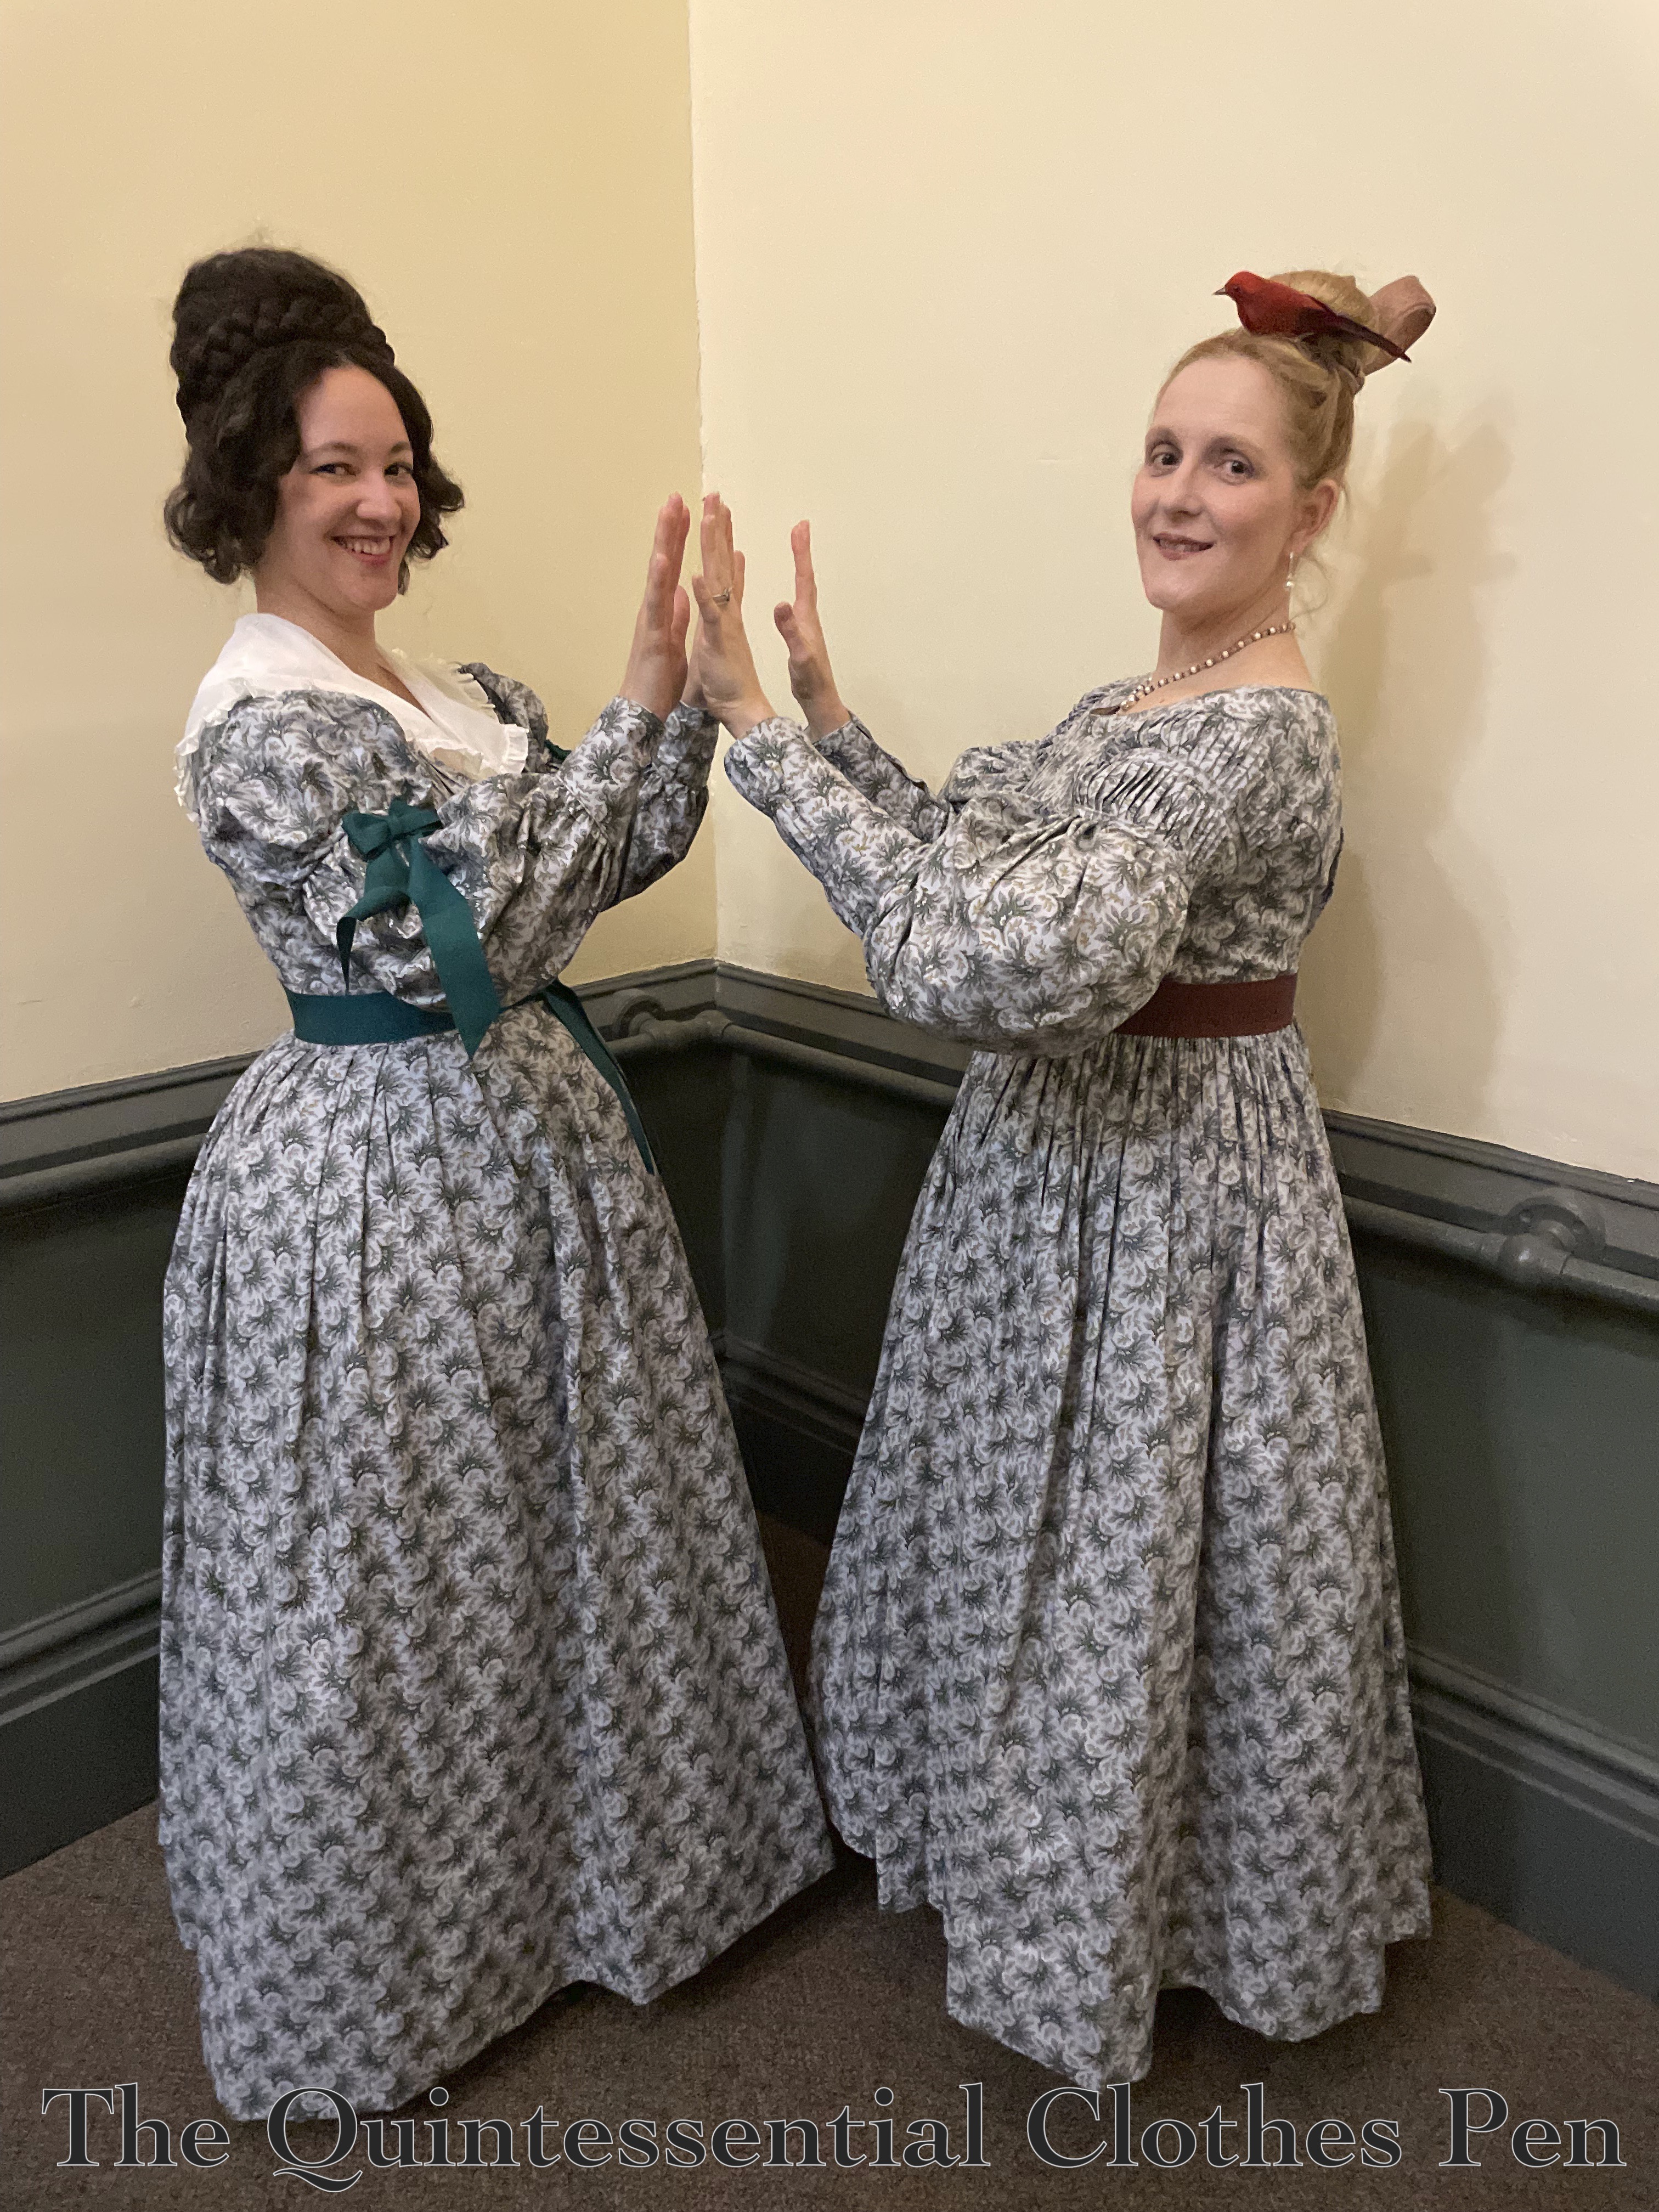
1836 Blue Cotton Print Dress

I finished a large UFO! (That’s an Un-Finished Object.)

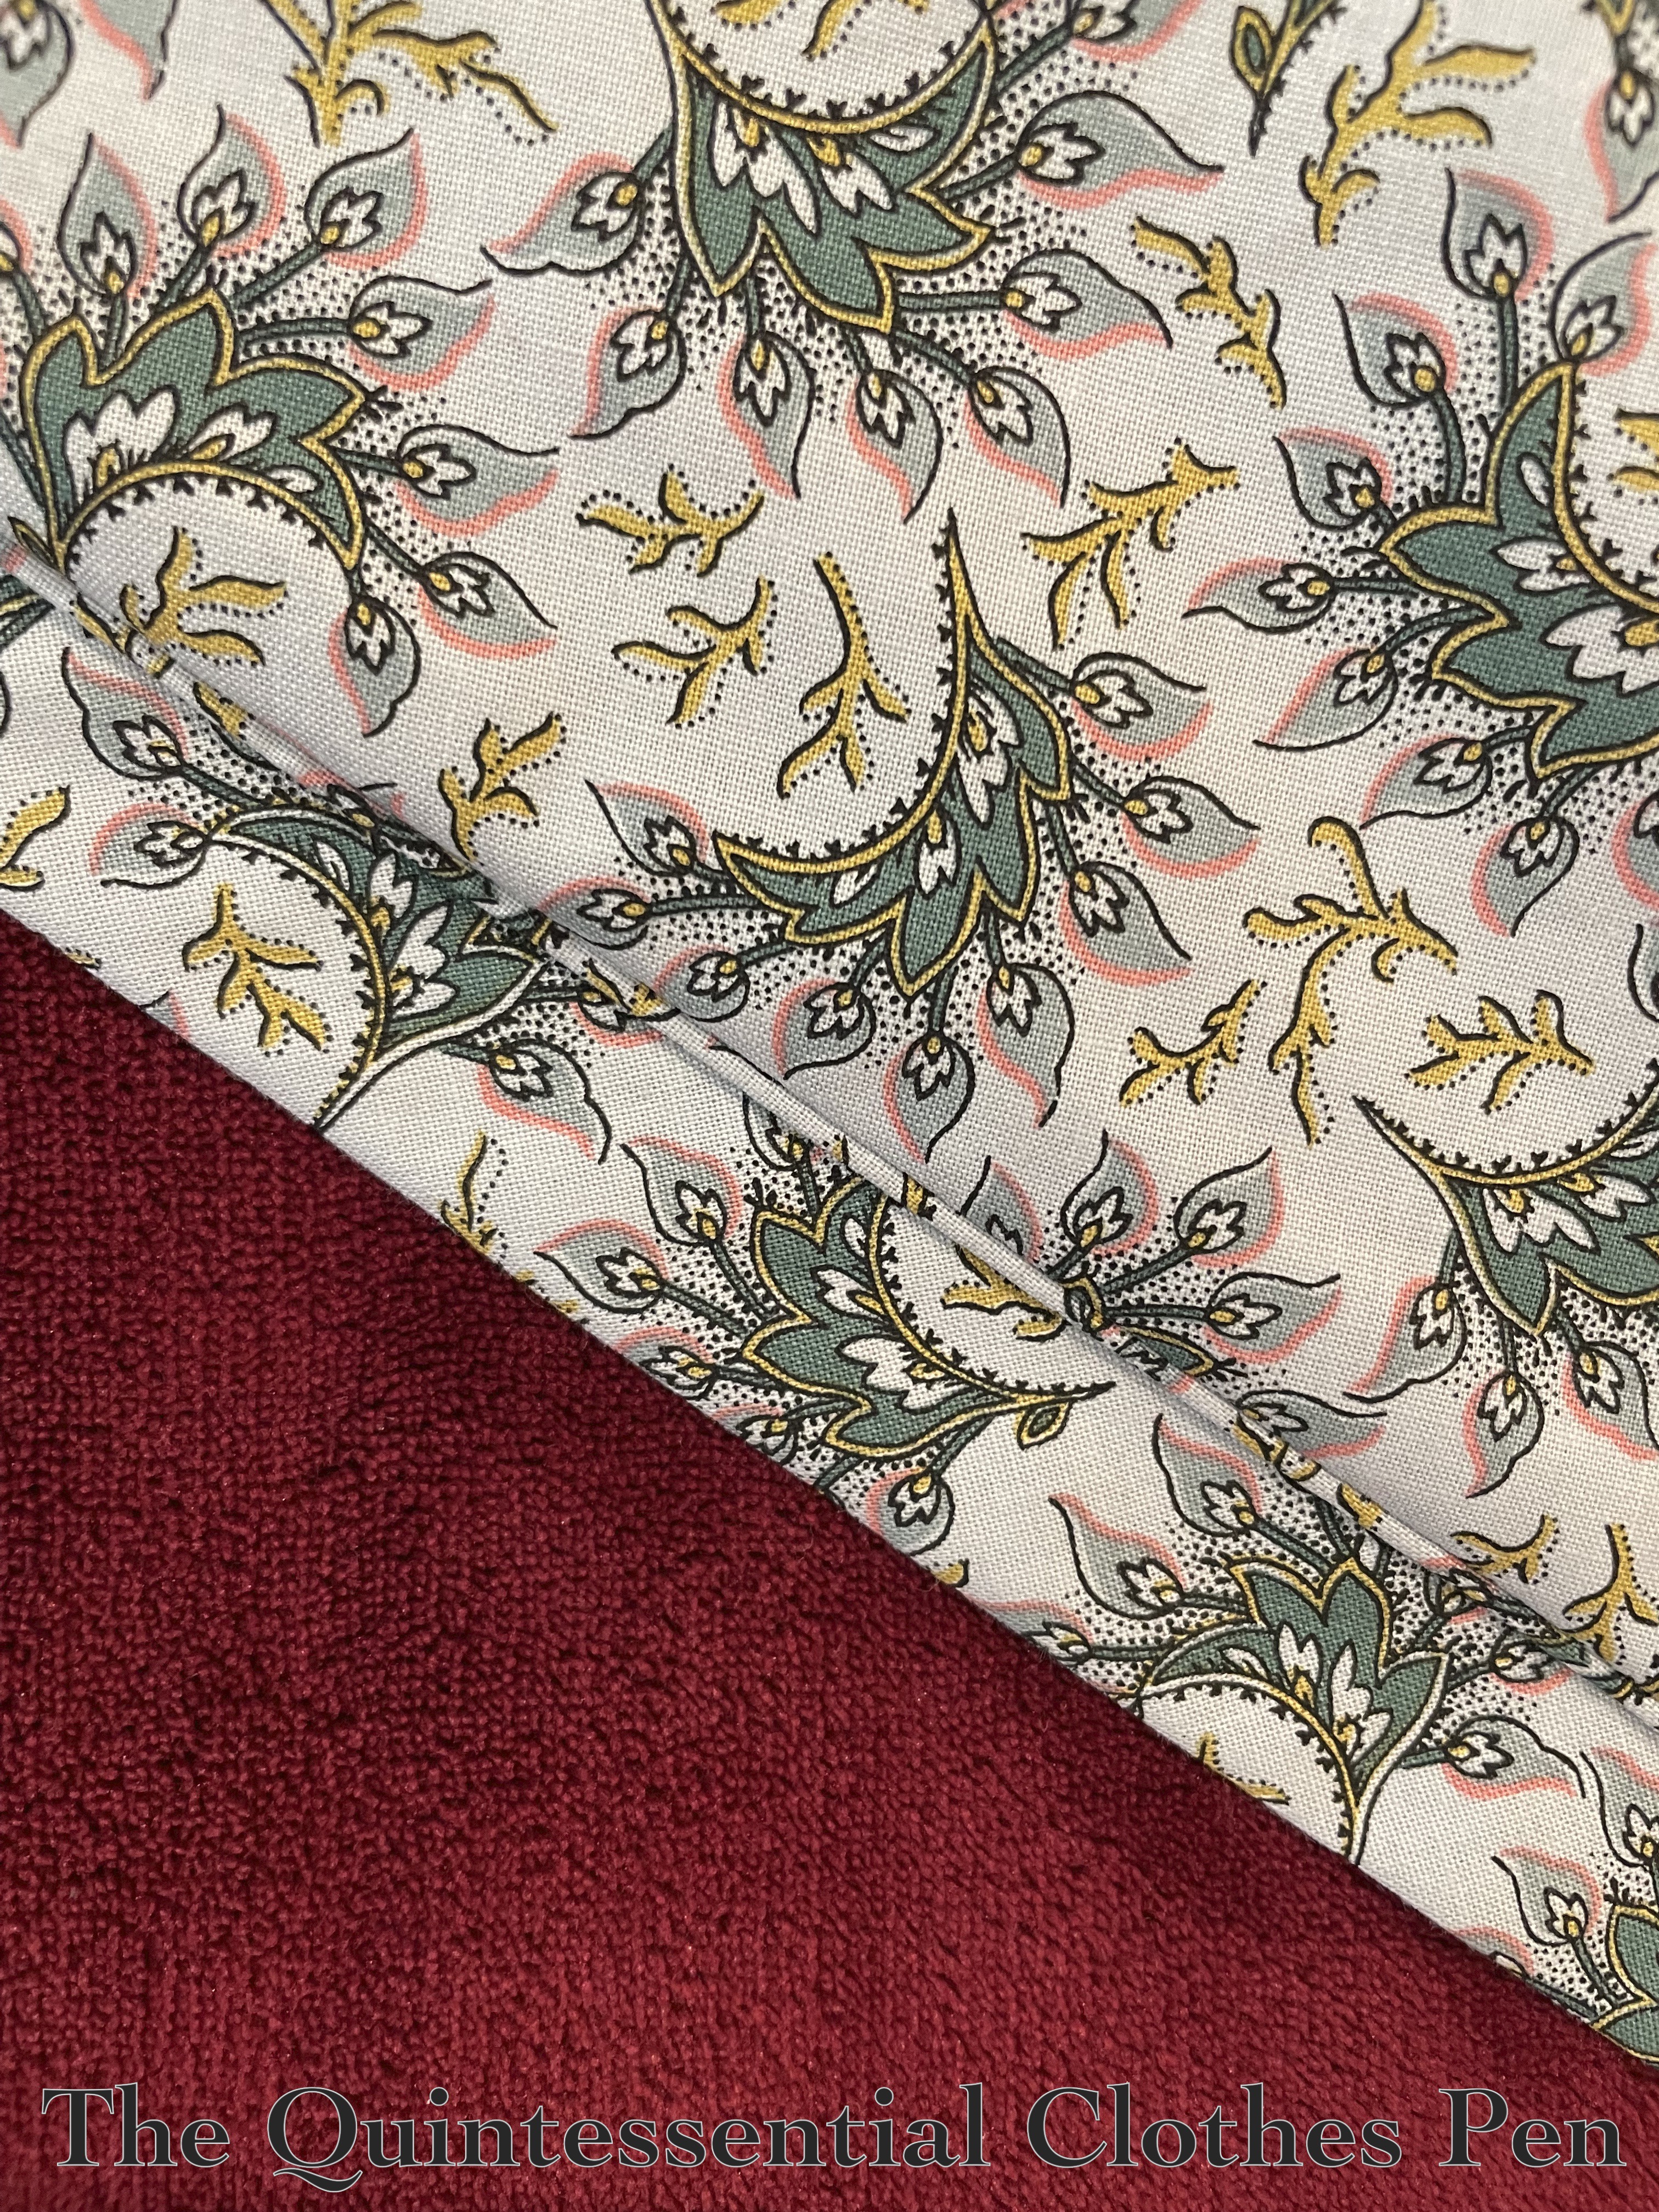
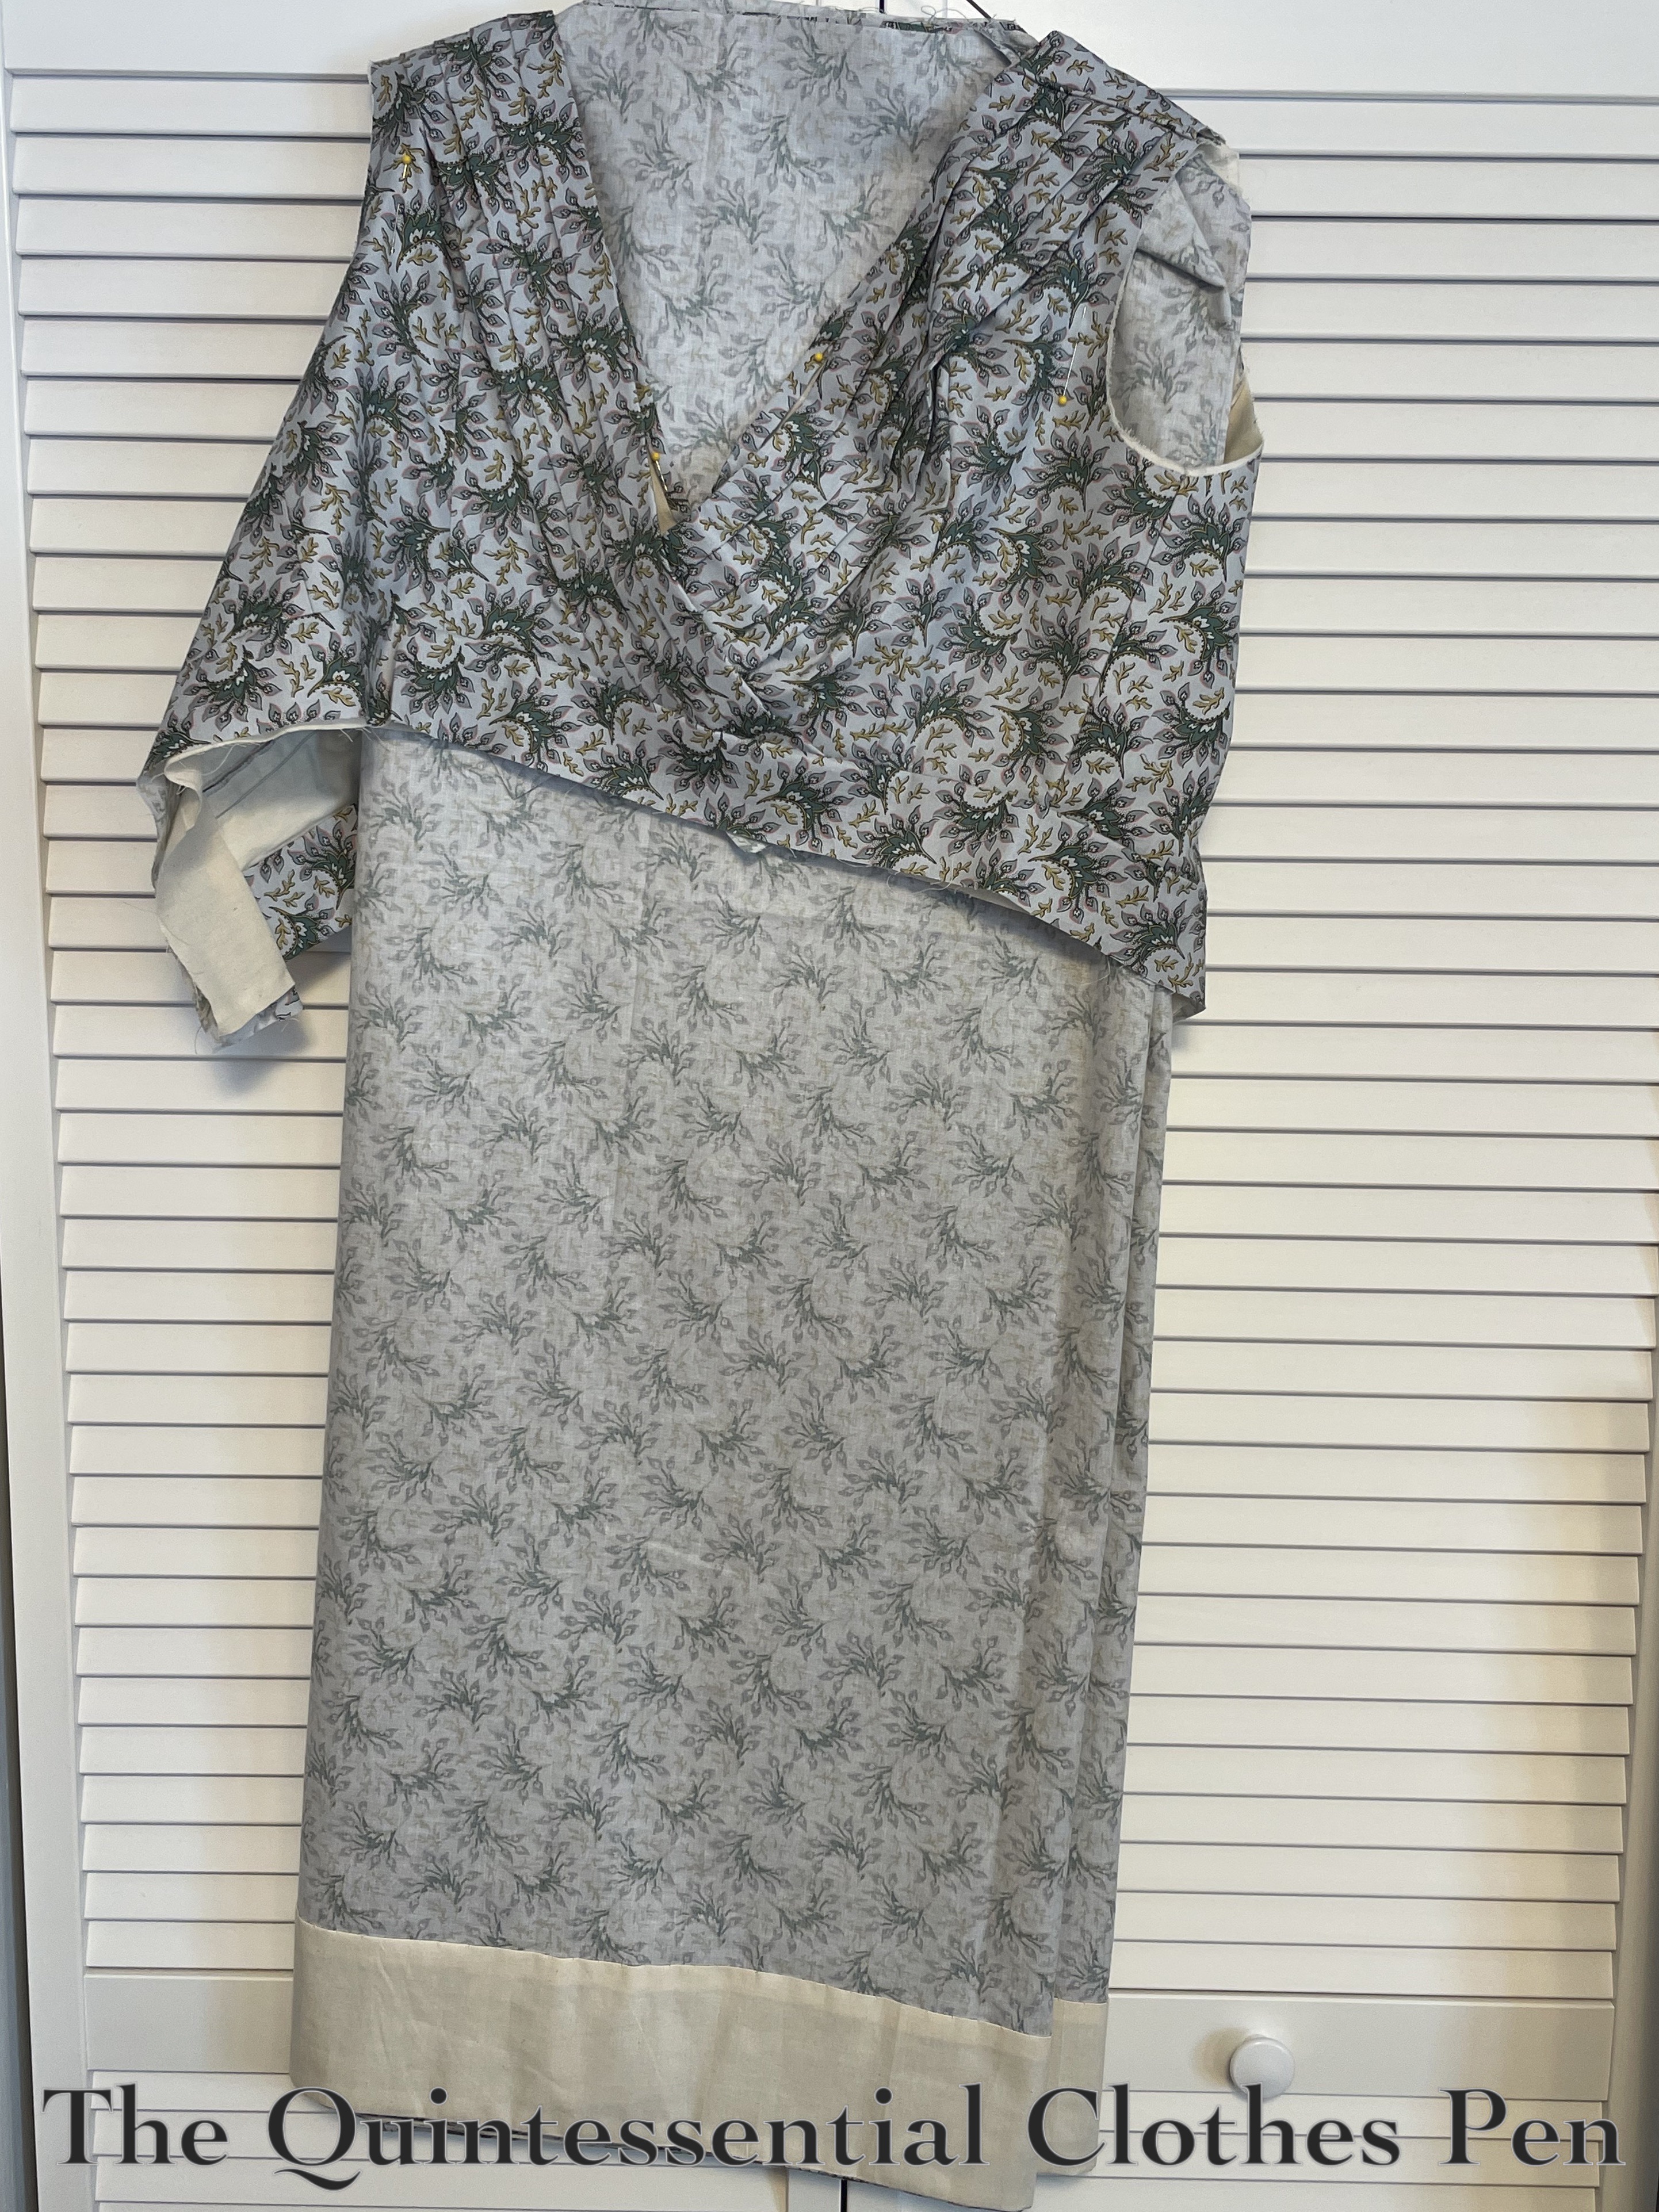
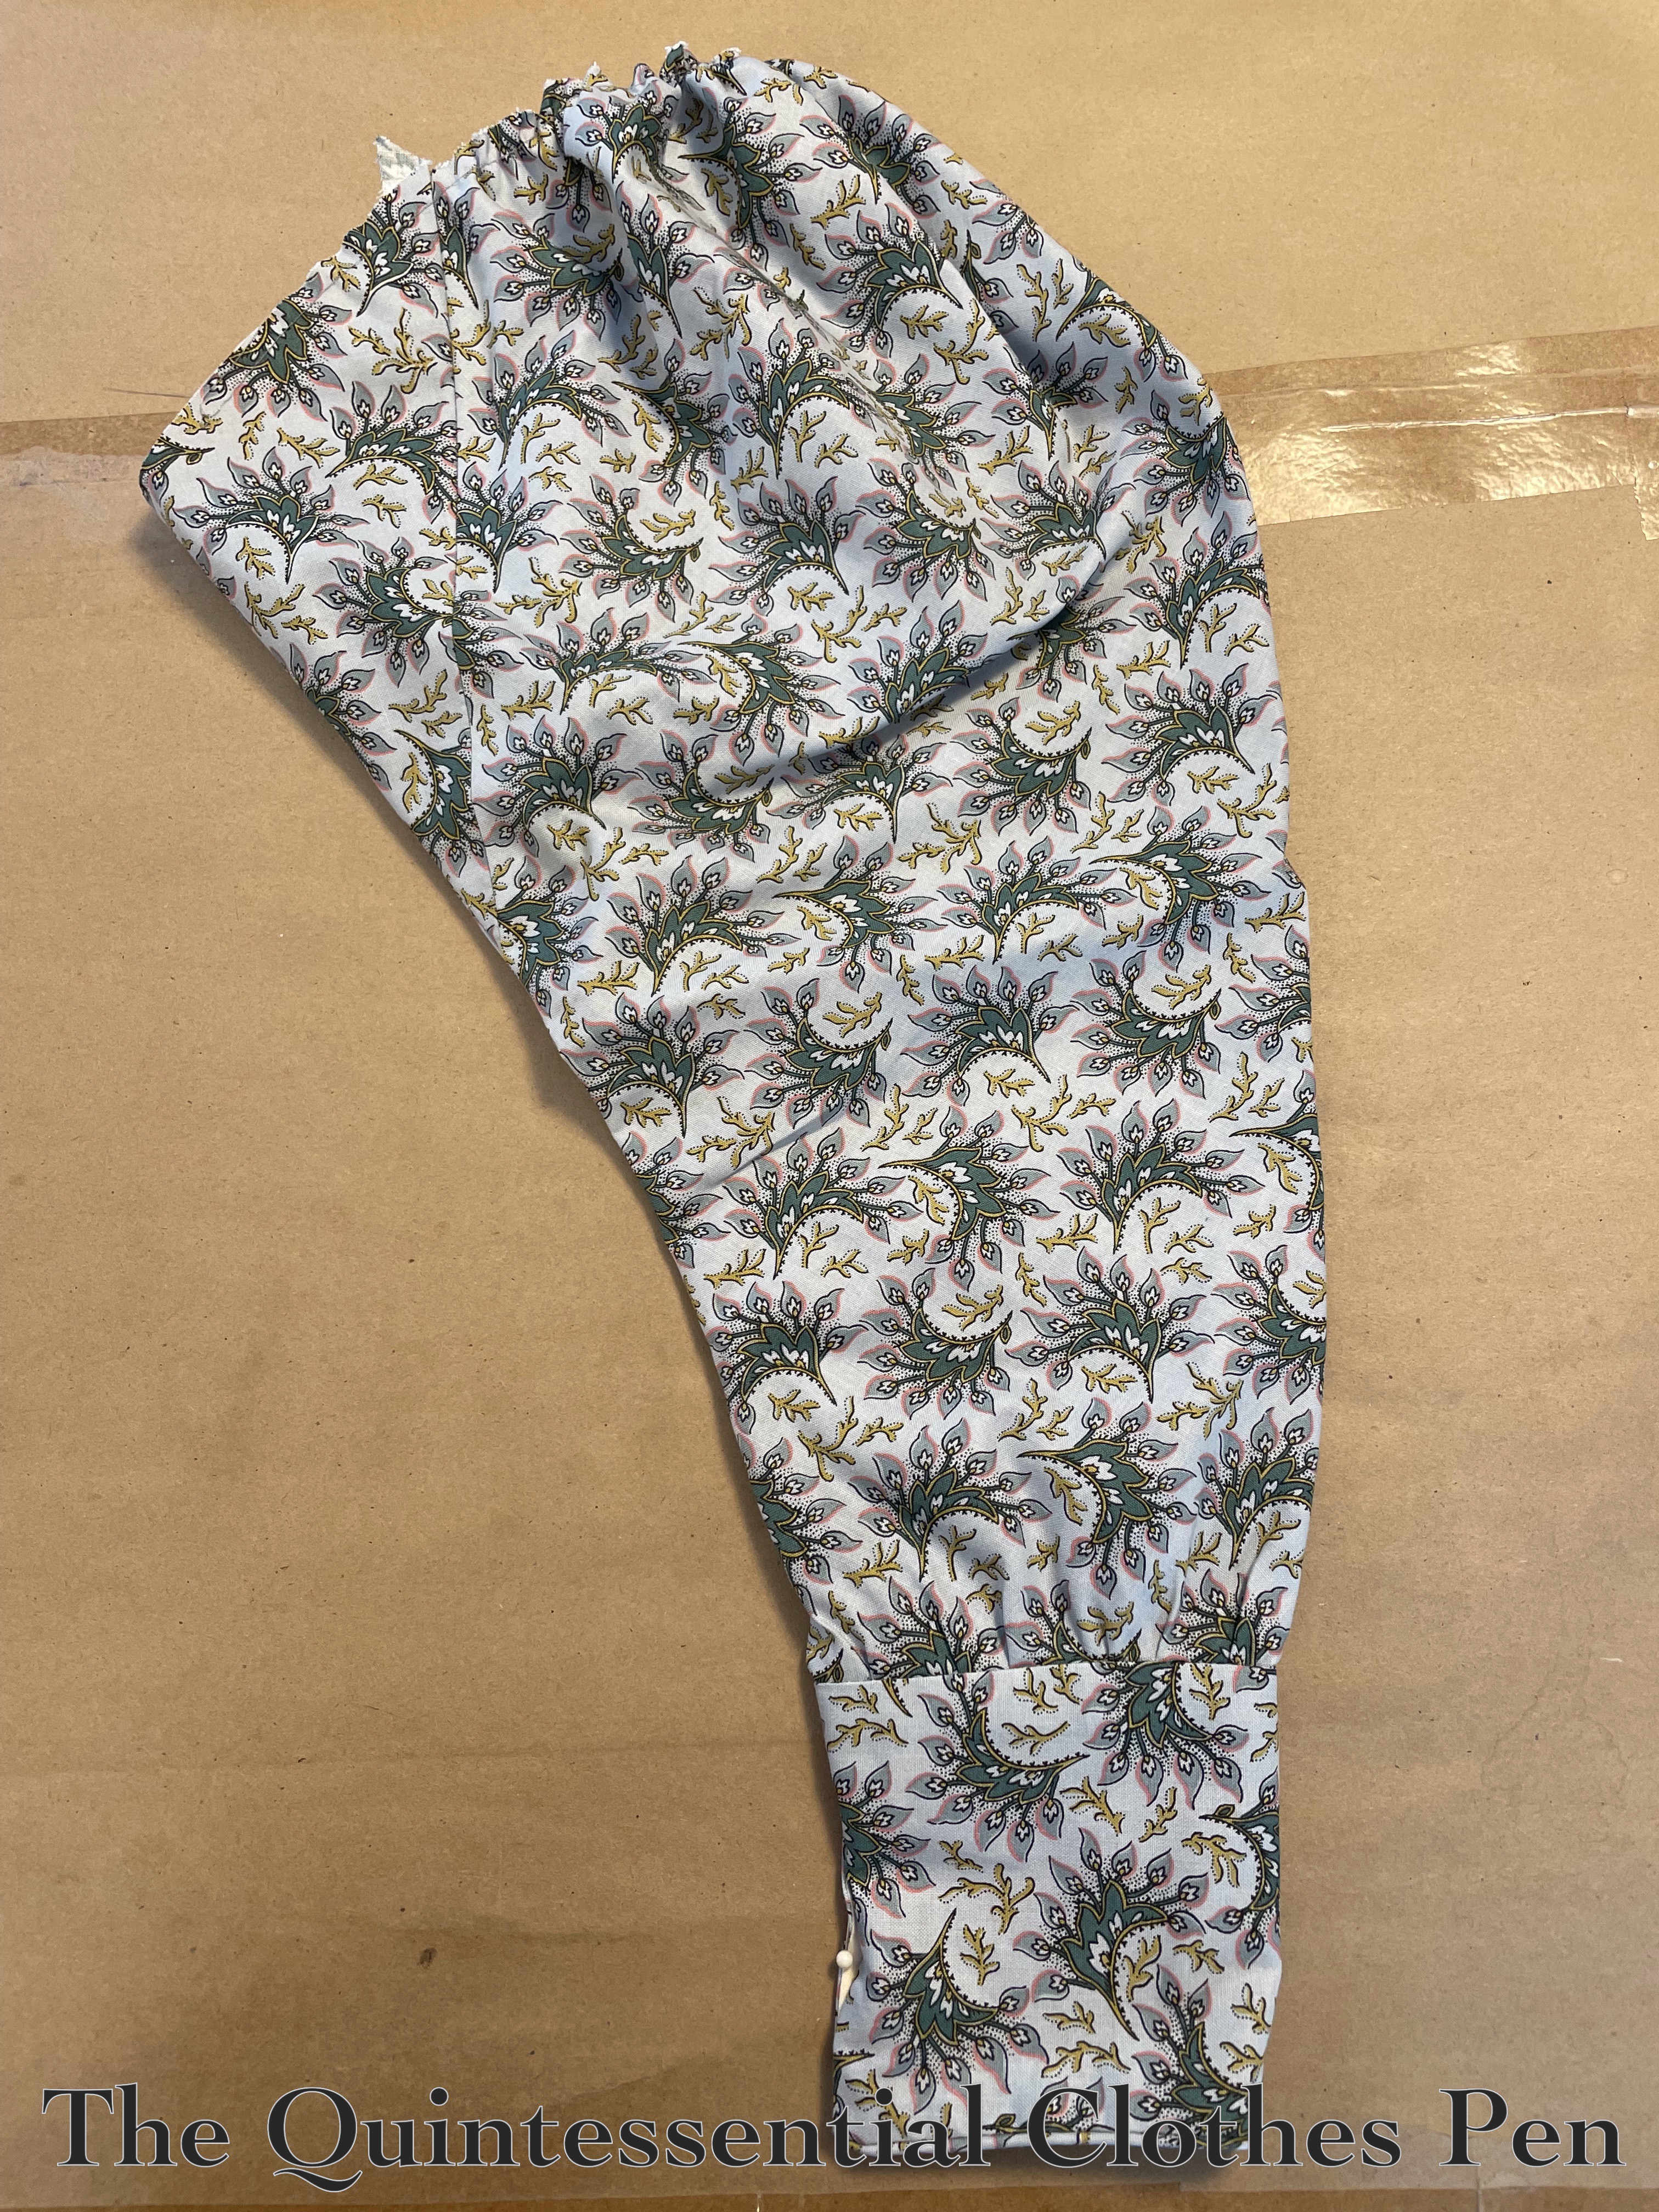
This is exciting because it’s been a few years in the making. You see, in 2020 I started a blue 1830s dress using the same fabric that I used for a friend’s dress. (You can see that dress in this past post. I even mention my in-progress blue dress at the end of the post!). In 2021, my dress was cut out but not assembled and by 2022, I’d started assembling the dress. I got as far as the bodice, skirt, and sleeves. But I was SO unhappy with the sleeves! They were not doing what I wanted at all. So the dress sat in the state in the image below for the next three years. From a sewing perspective, it remained on my “hopefully complete” to do list, but I didn’t have the heart to go back to the frustrating sleeves.

In 2025, however, I attached the skirt to the bodice. And, I looked at the sleeves again. I was still so sad… Finally, in early 2026 I found the energy needed to tackle the sleeves once again. I made an entirely new sleeve pattern and was finally able to move forward. My last blog post shares all the details about these new sleeves. It can be read here.

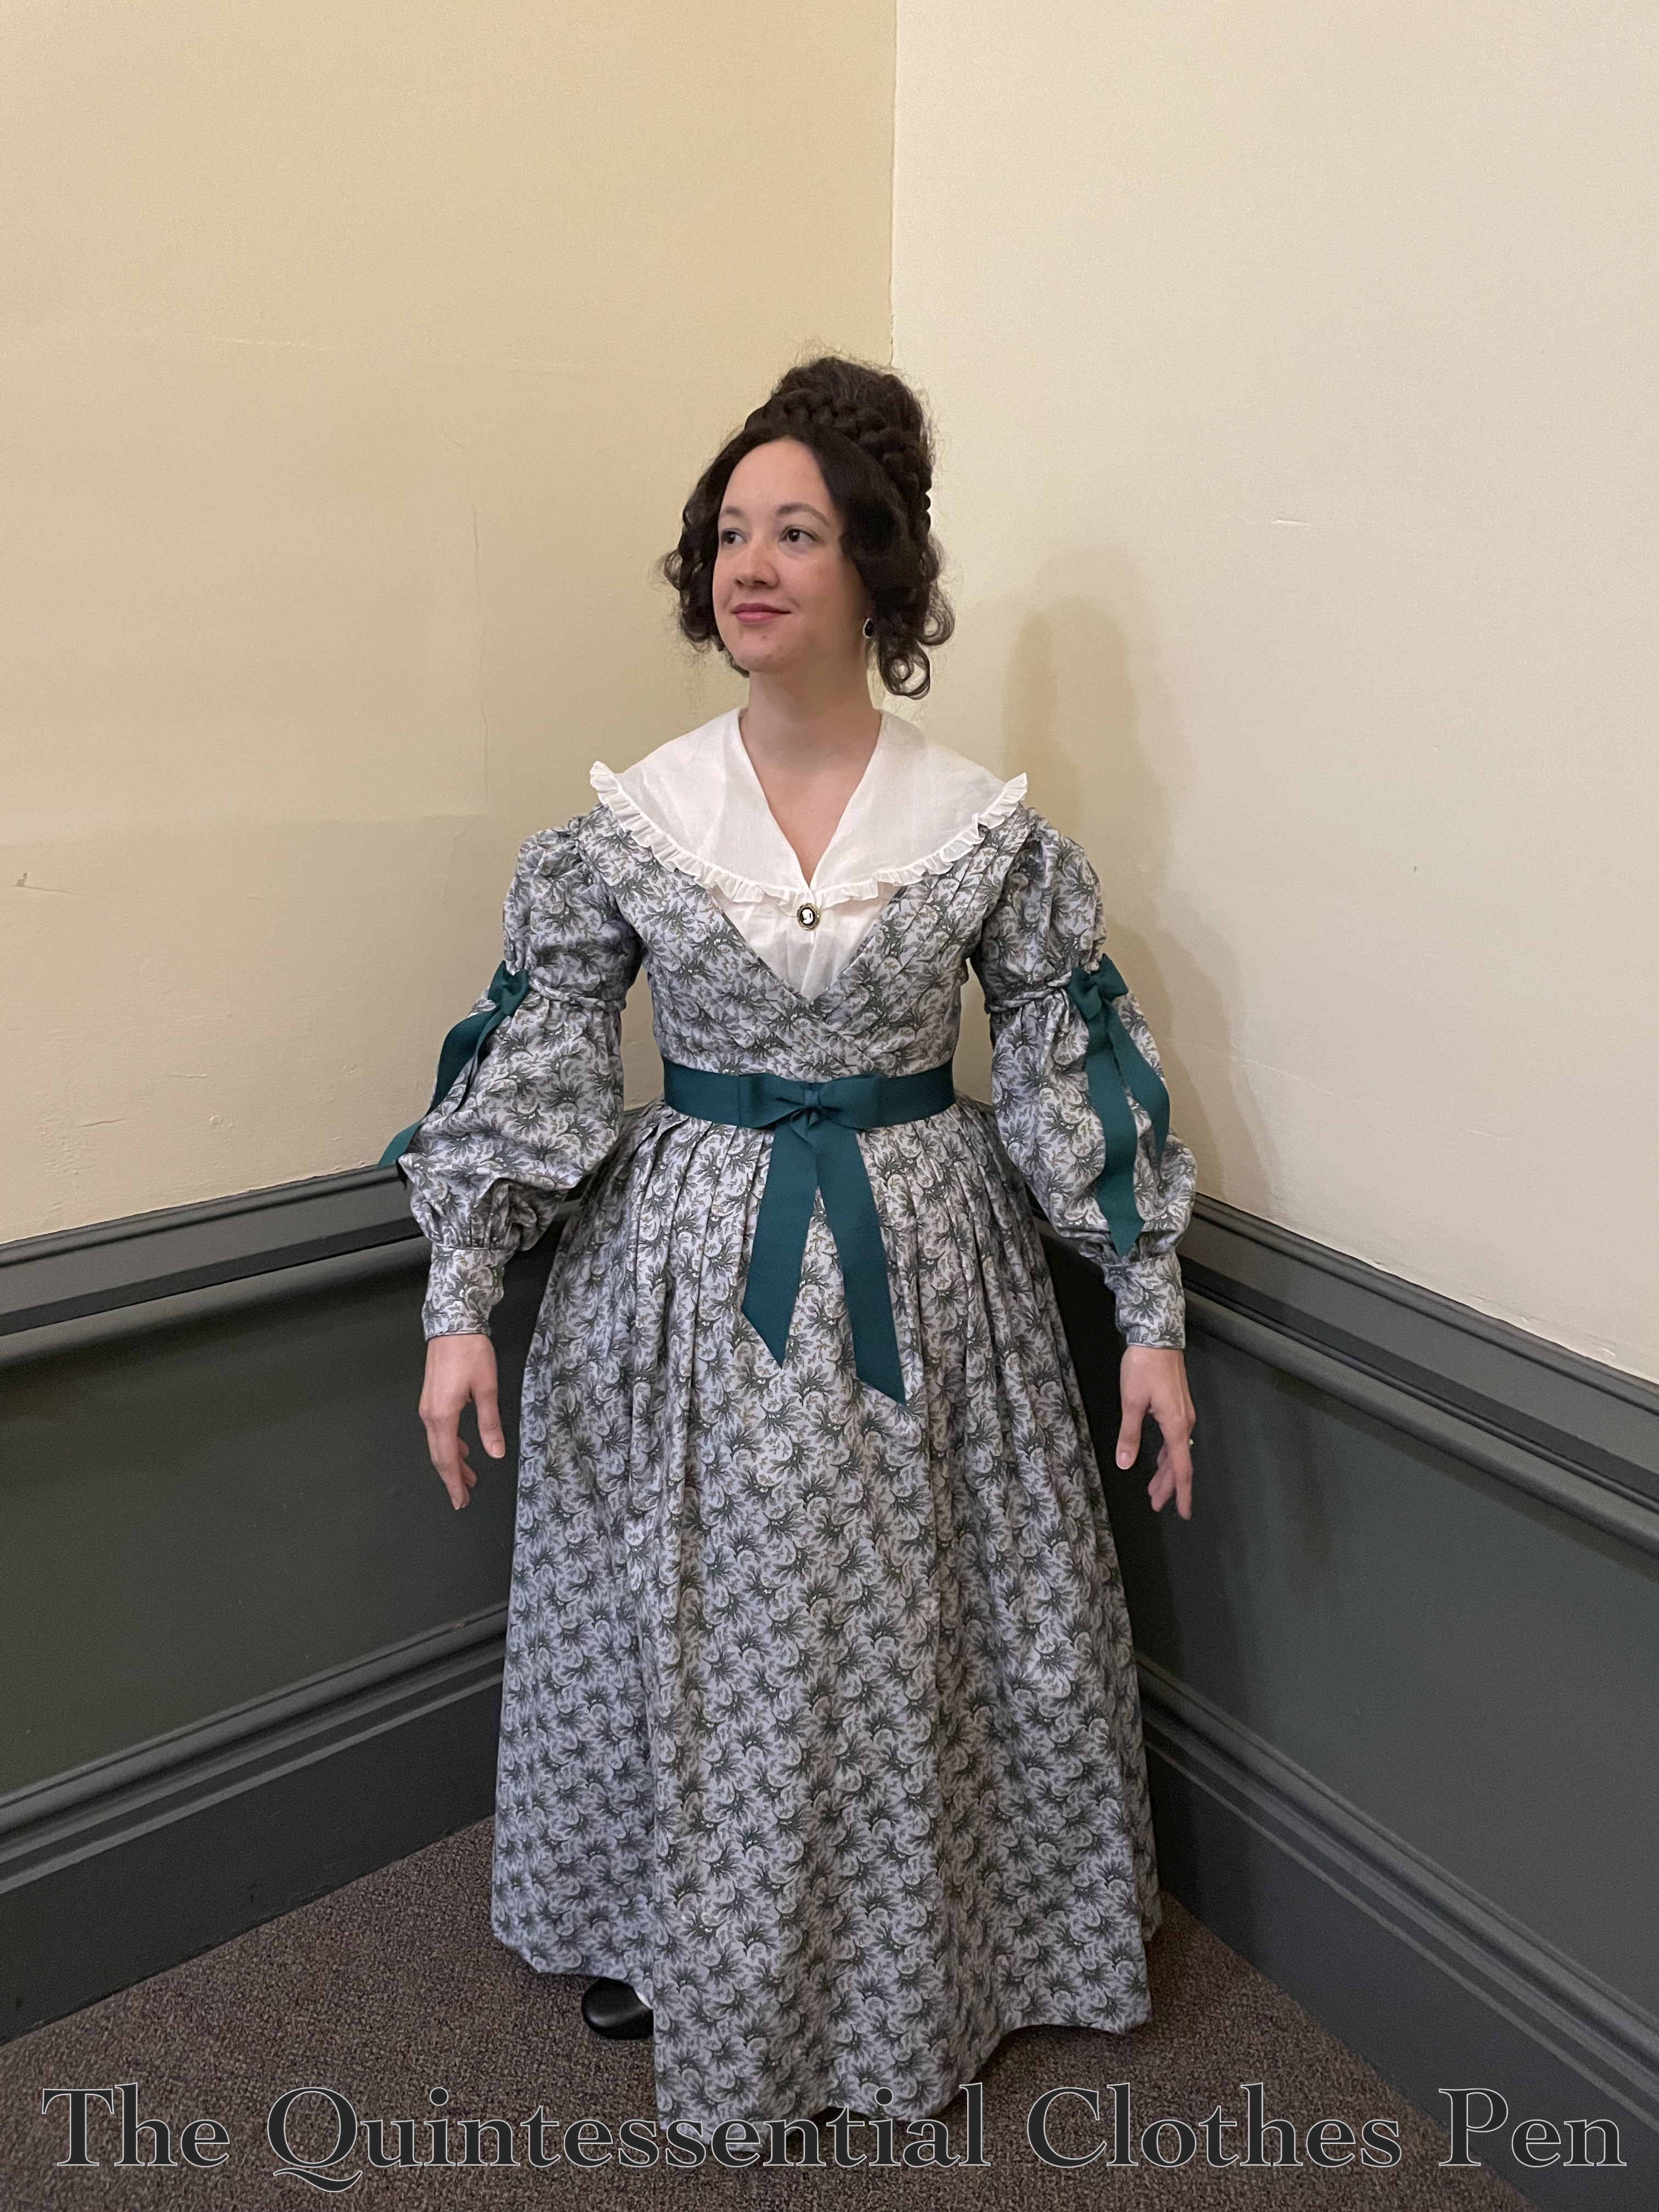
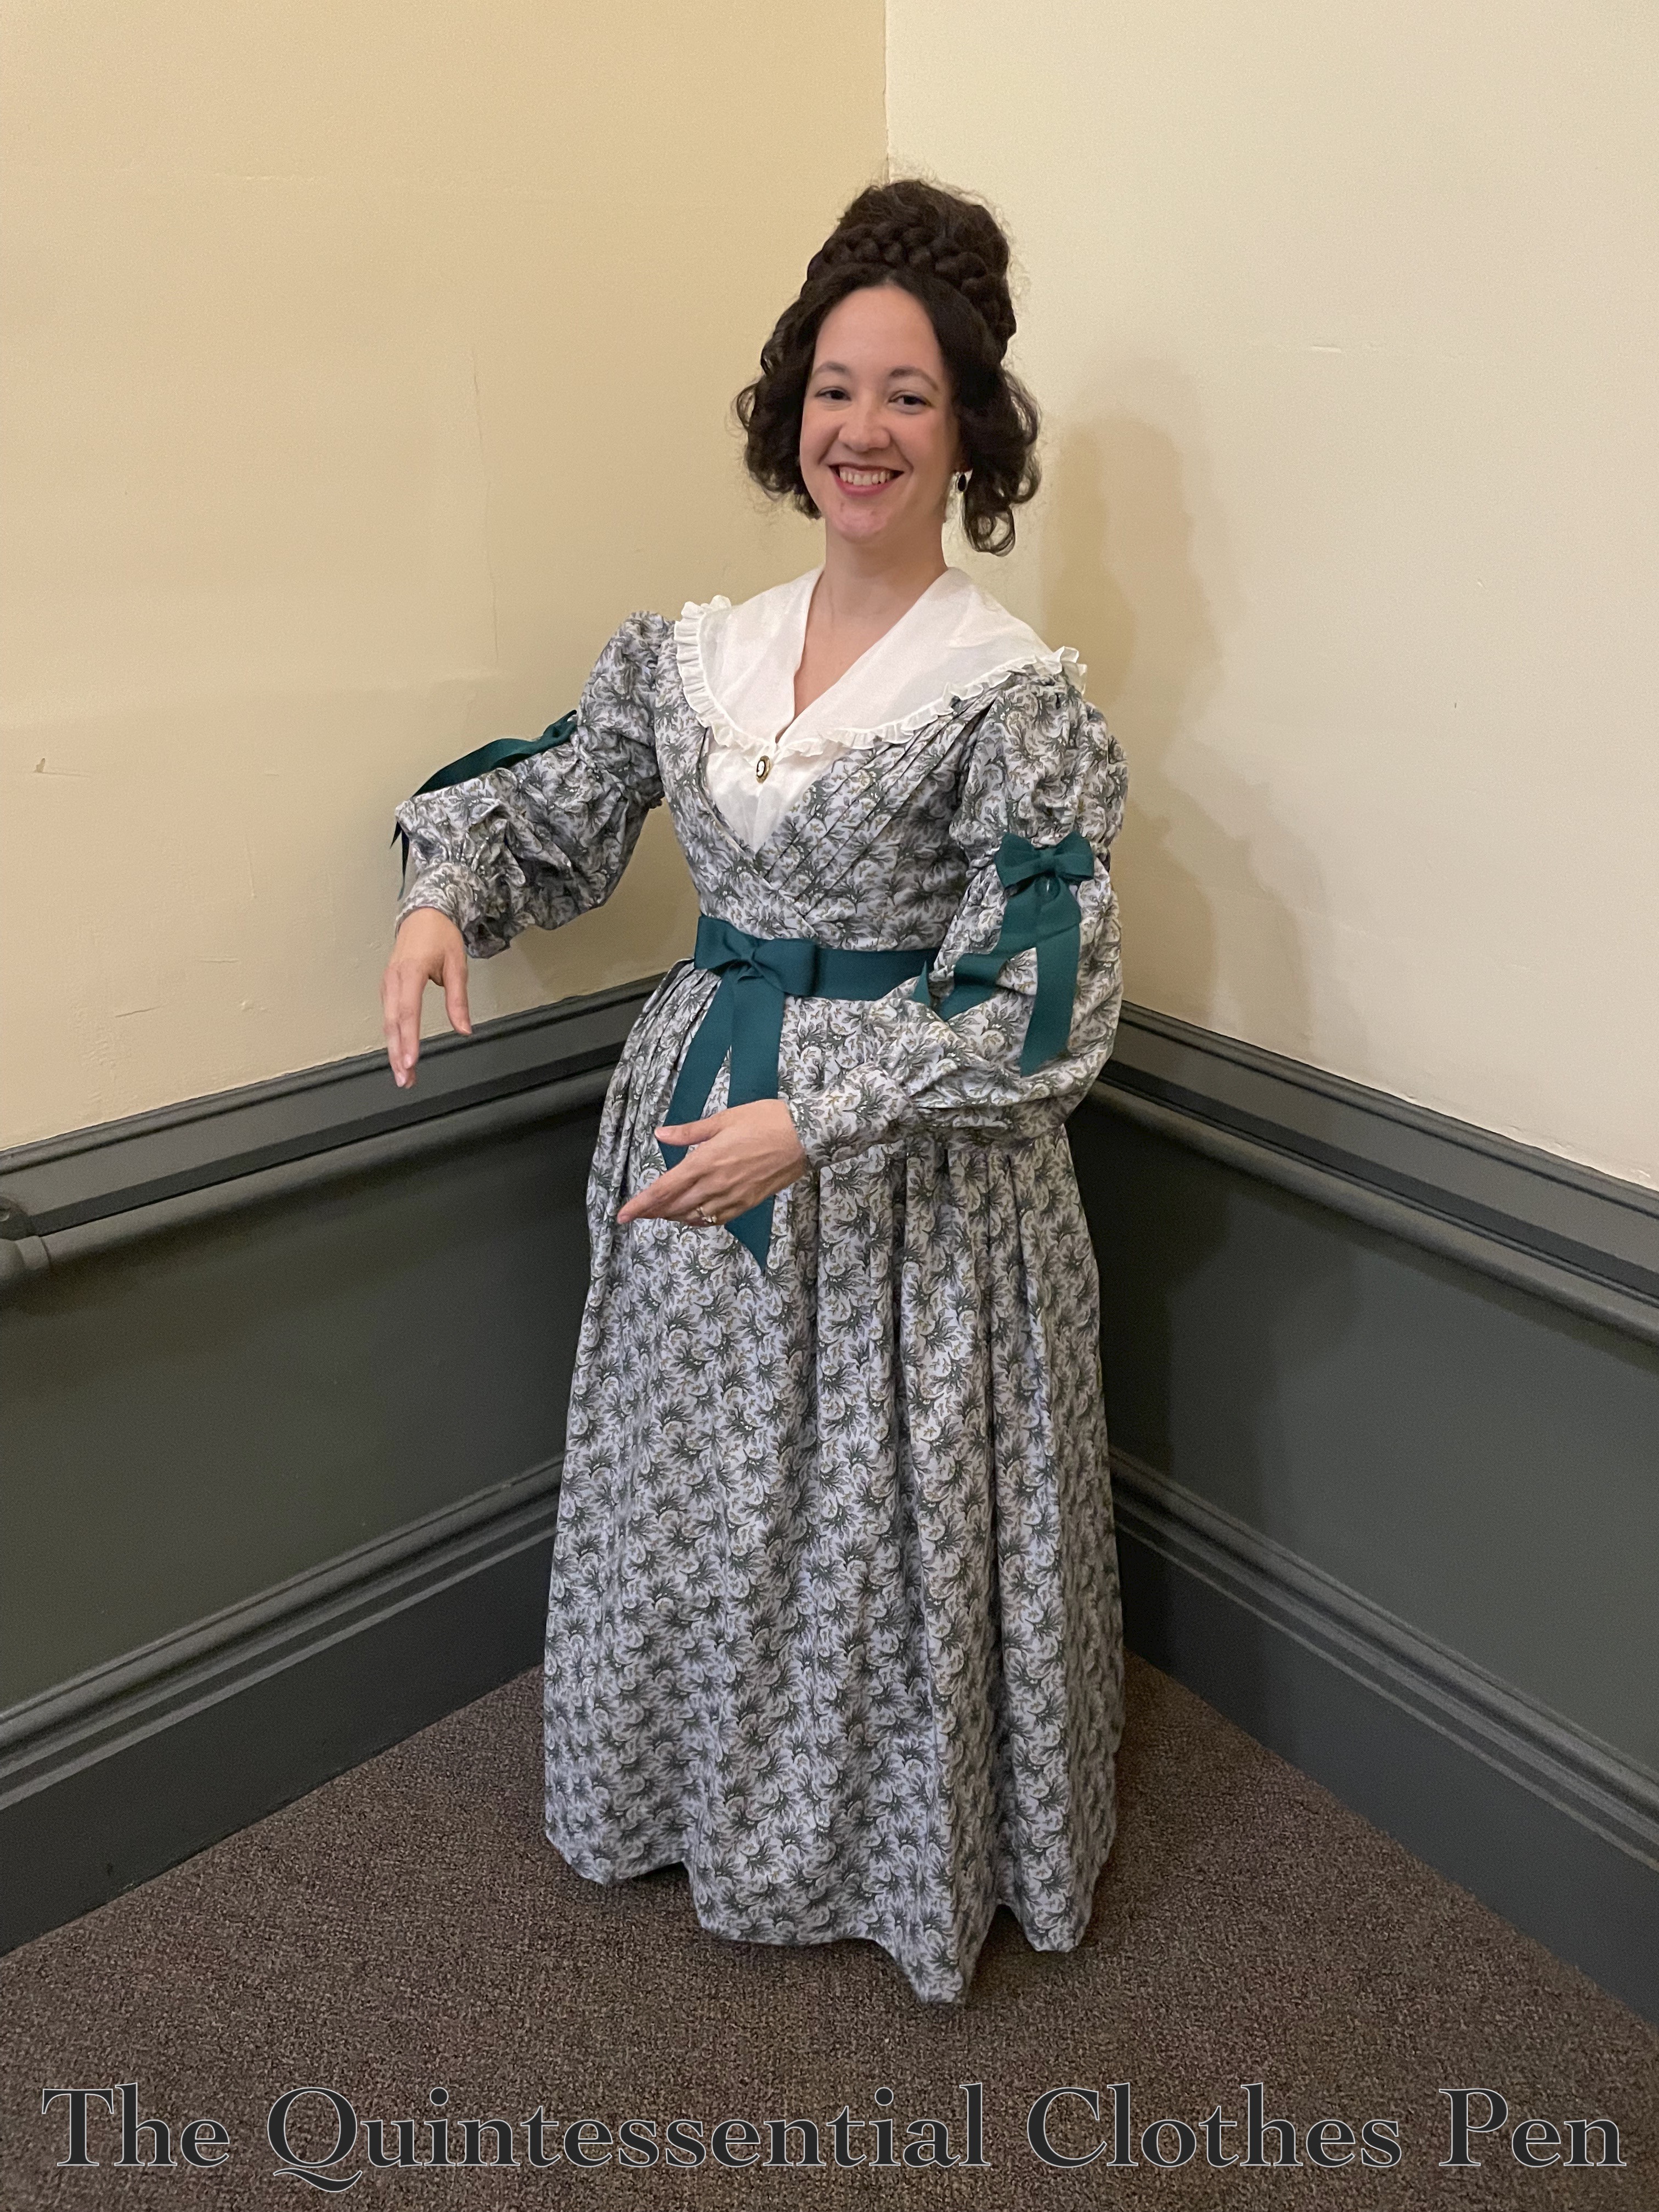
Below, showing off these new sleeves!

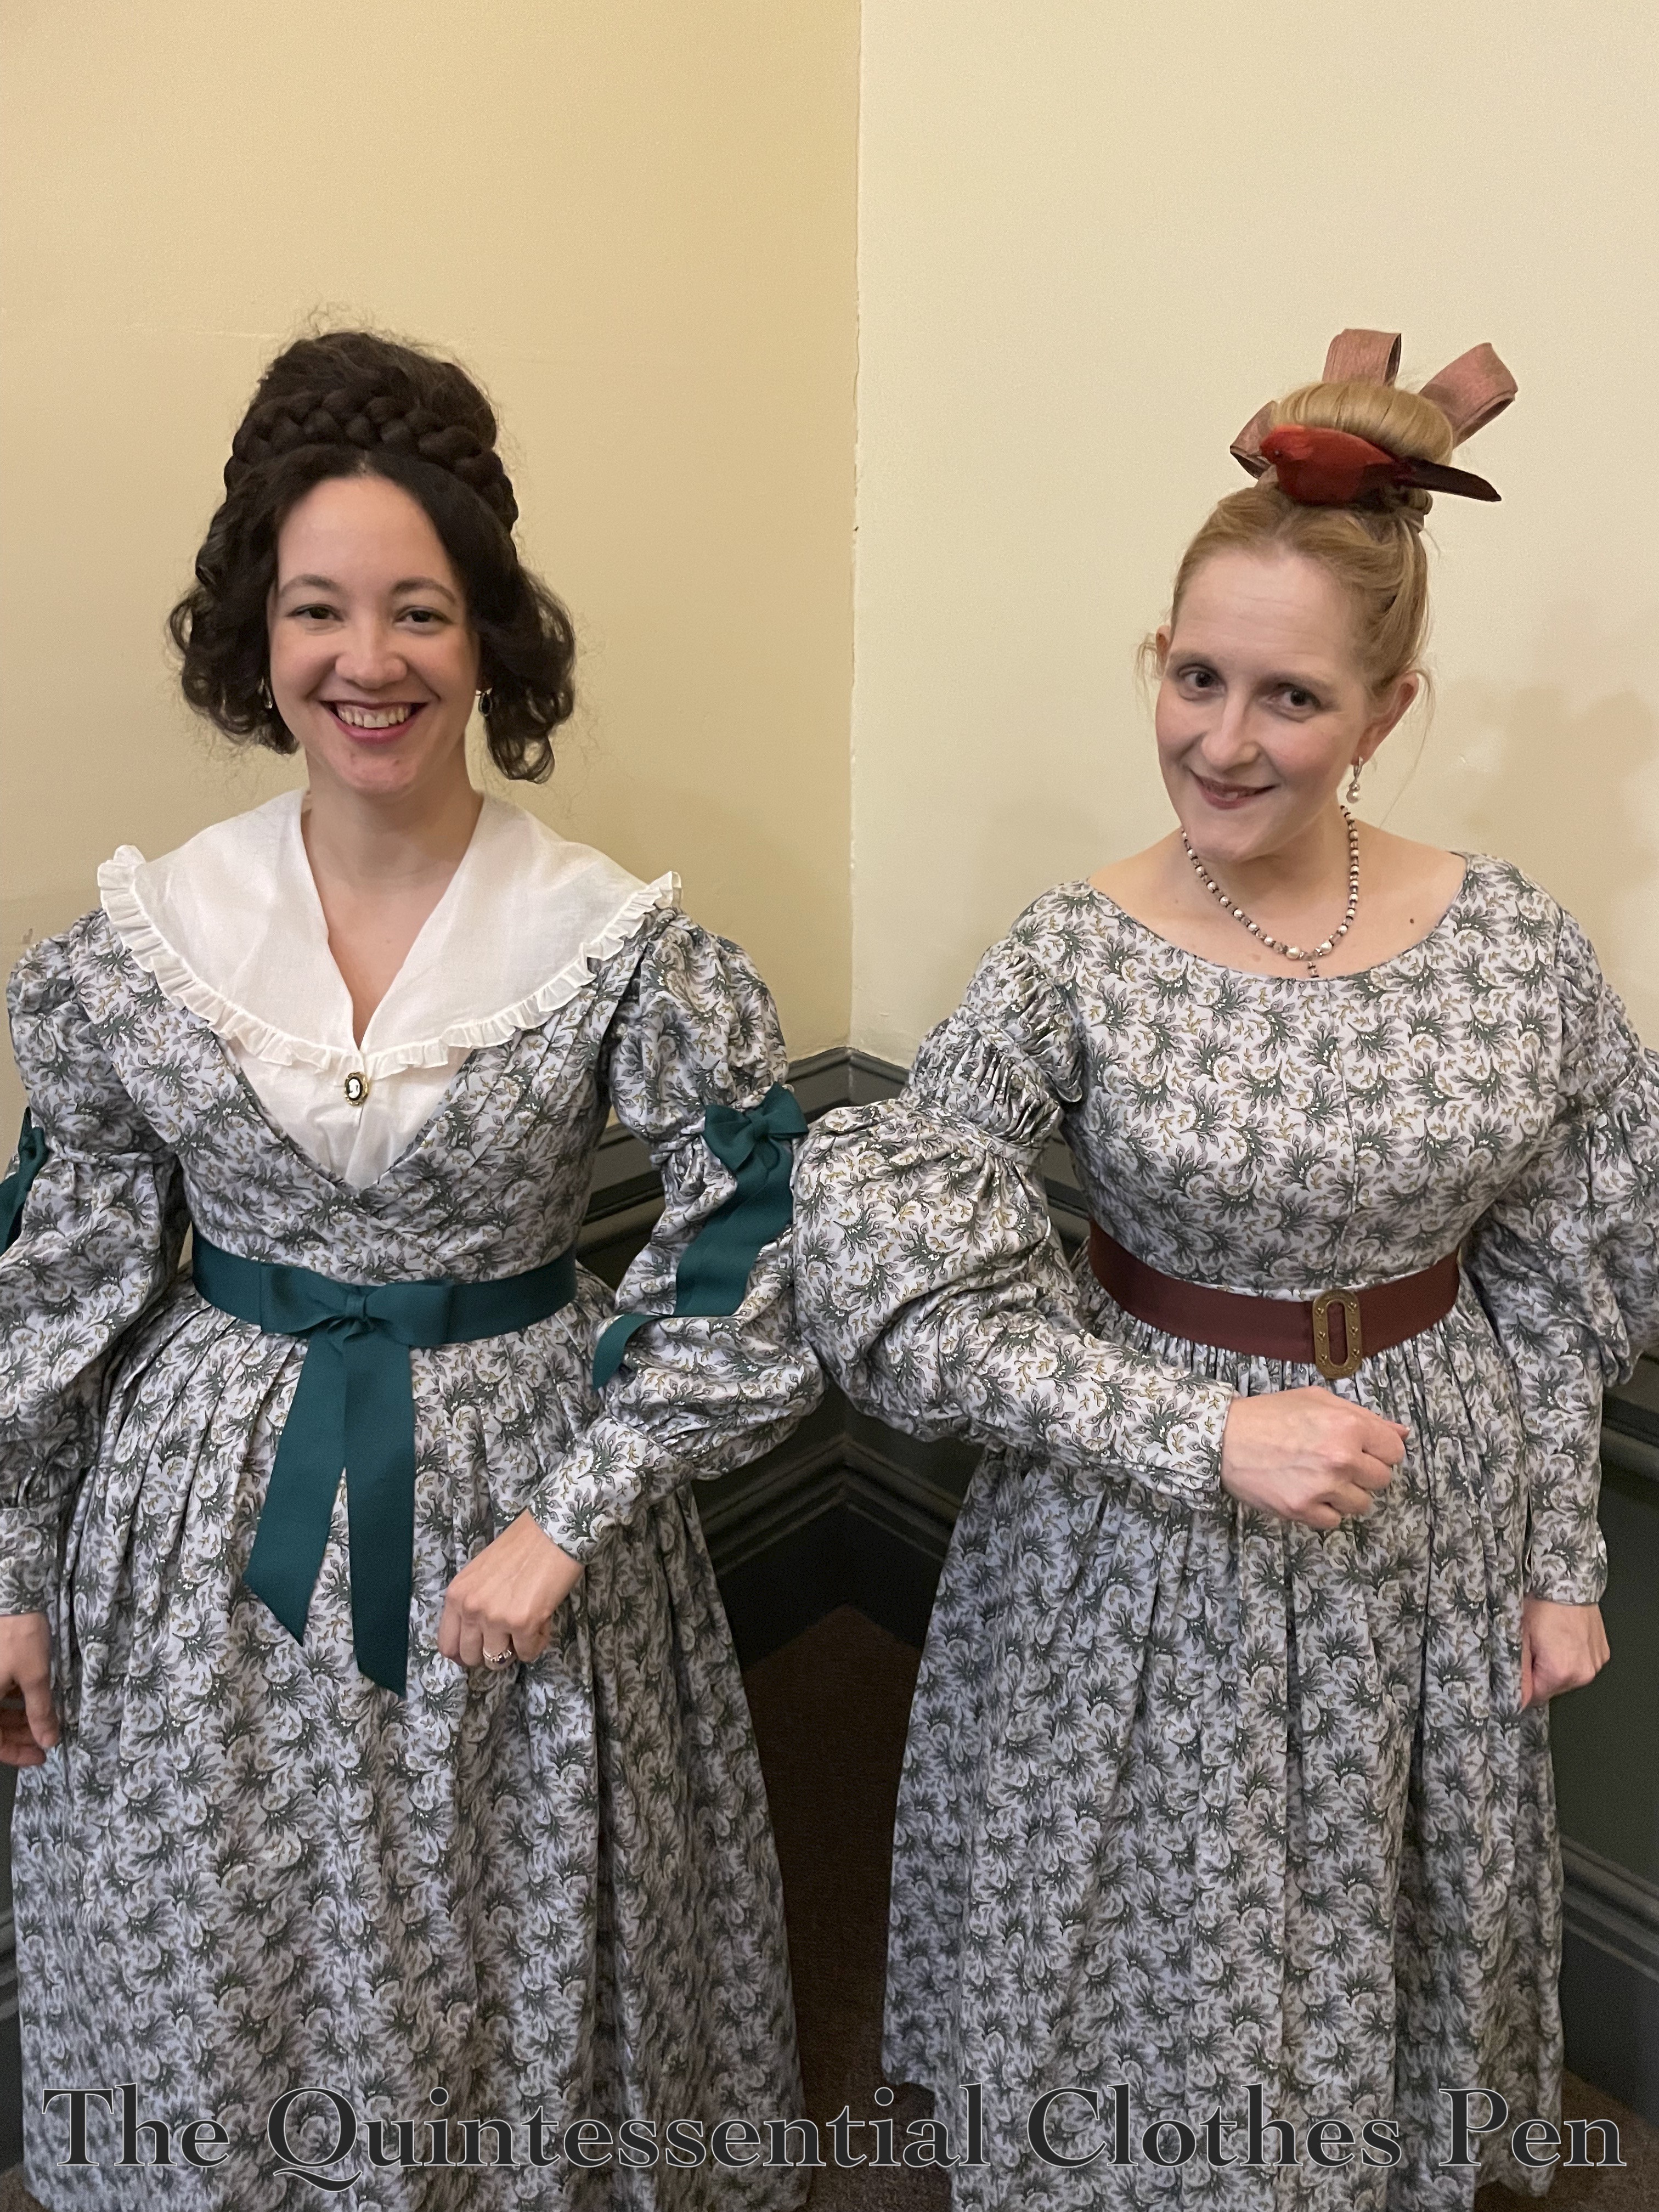
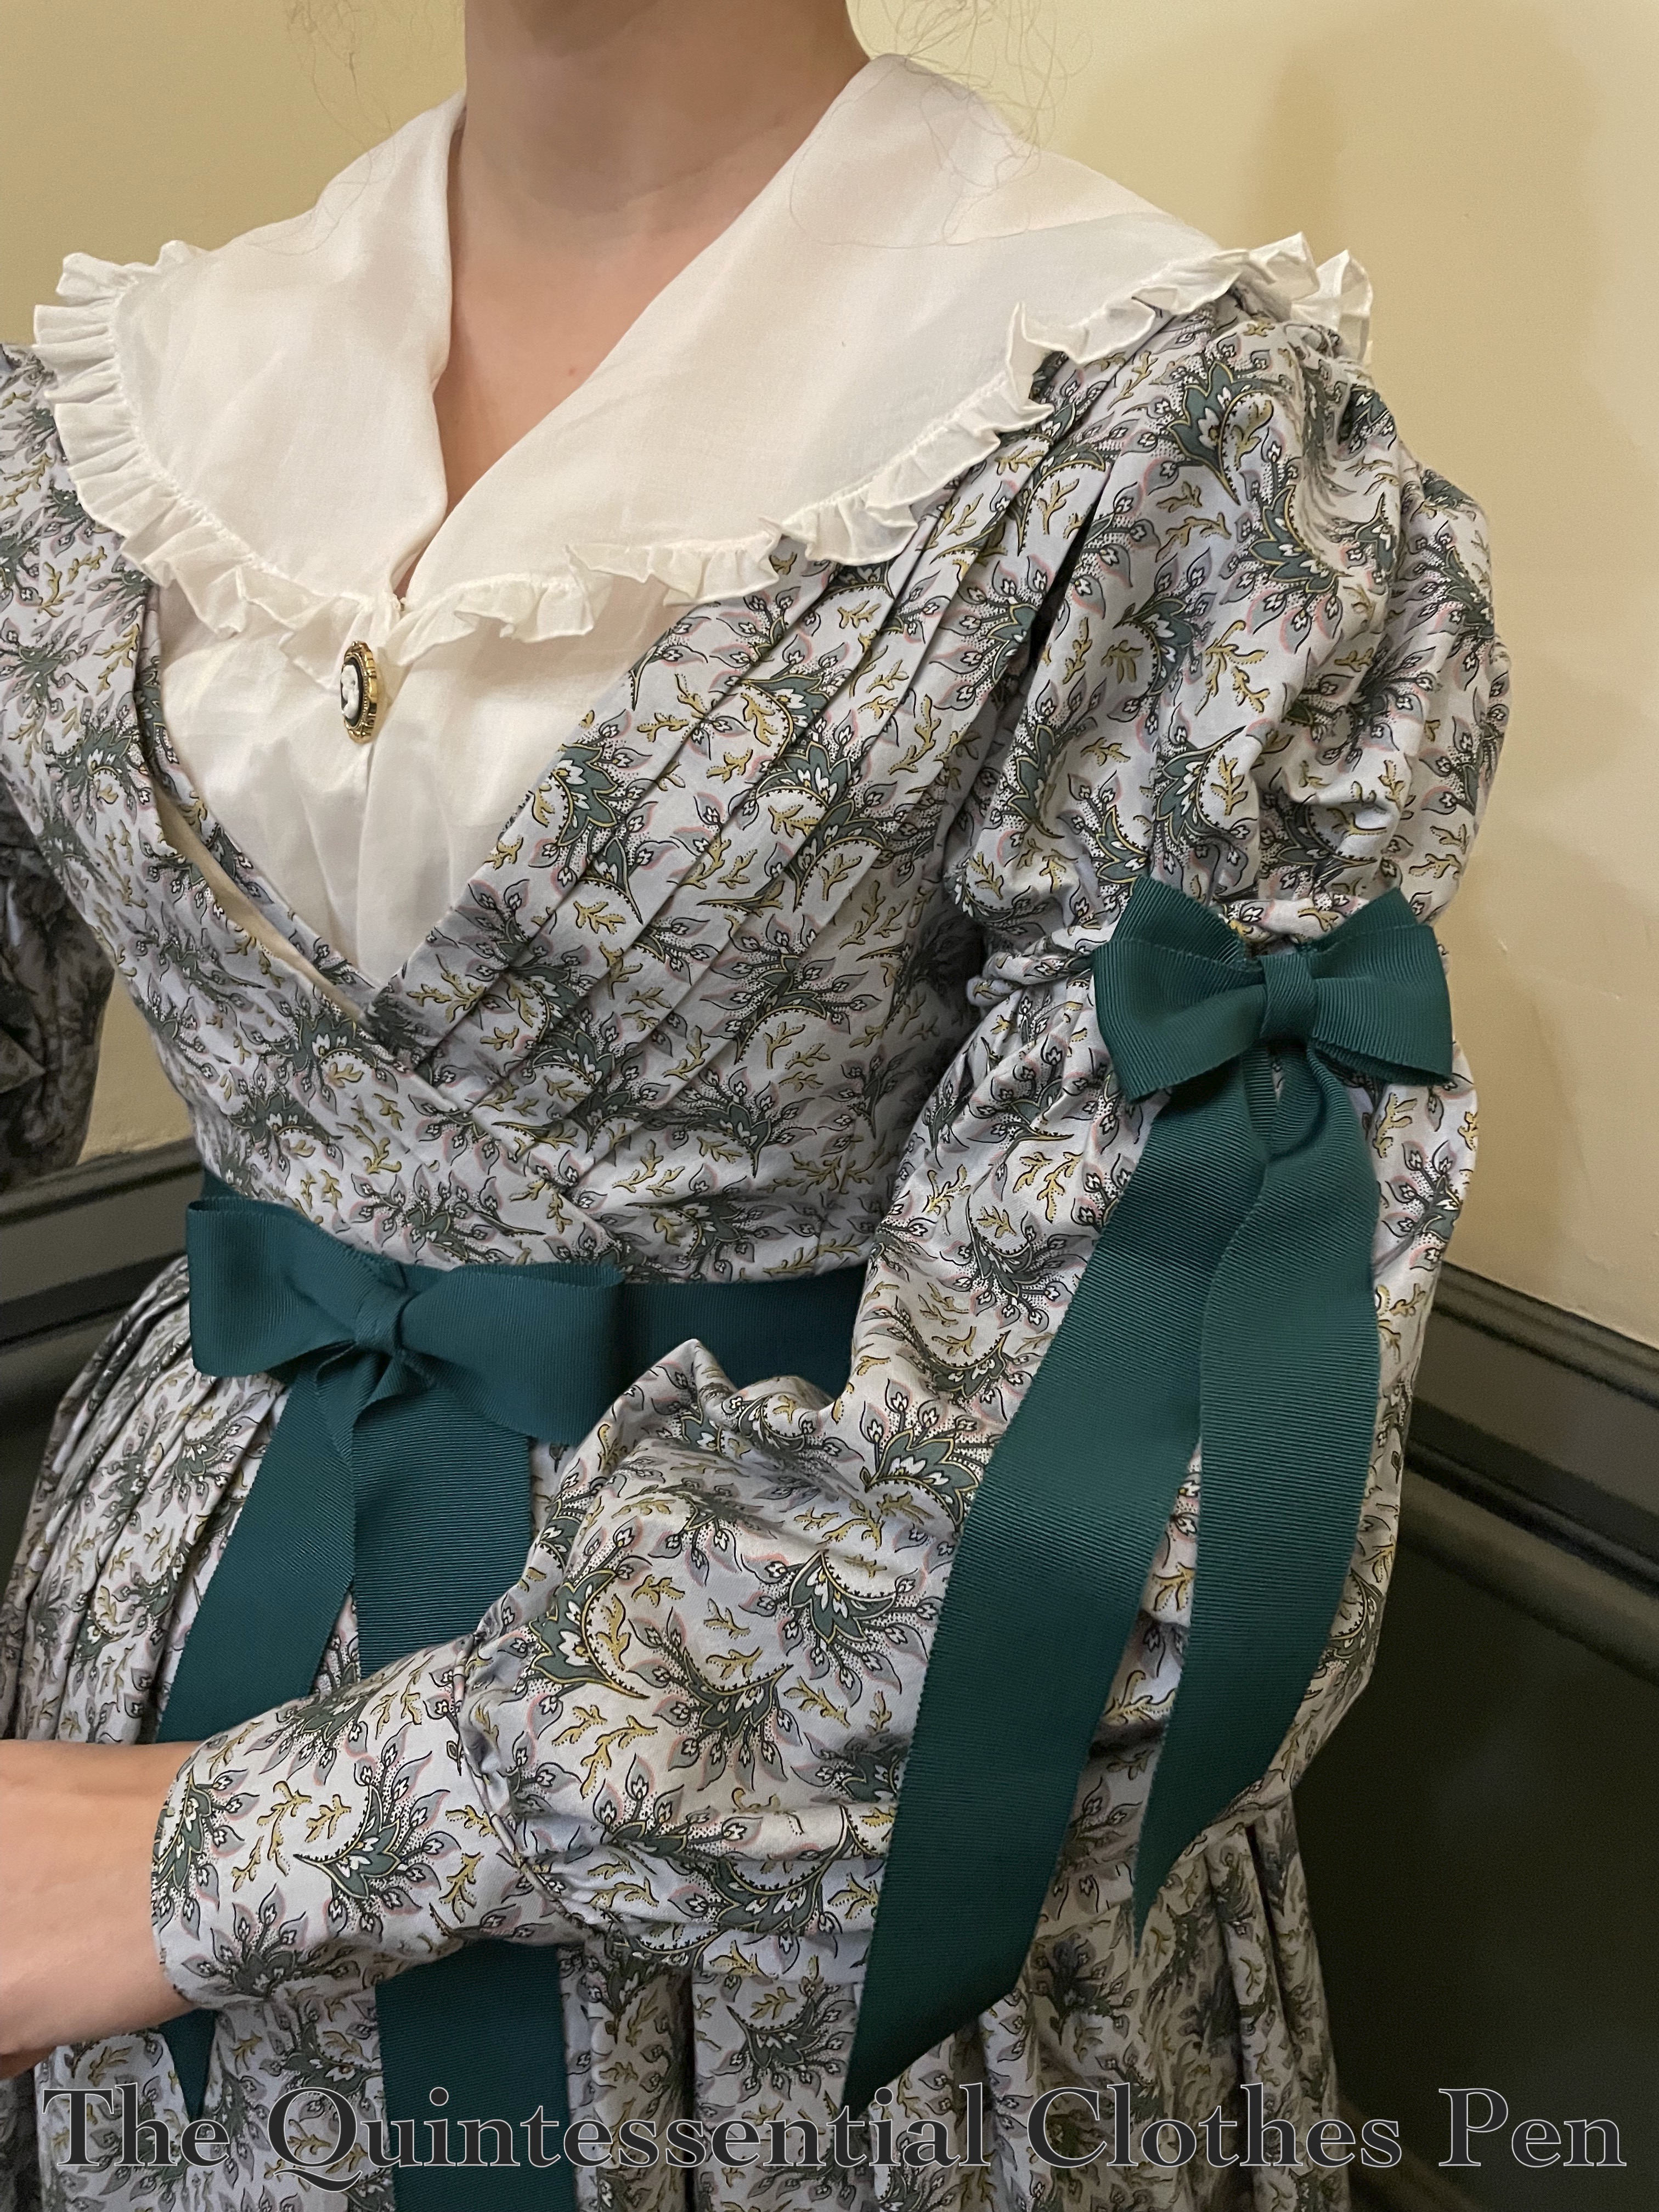
Next, a closeup showing the sleeves and other bodice details. The busy print on the cotton fabric hides some of the details, so its easy to appreciate them in a closer view.

Aside from the sleeves, the construction details for this dress are very similar to those for my 1838 yellow print cotton dress, which I detailed in this past post.

The white garment with the large collar is my 1836 chemisette, which I made to go with my 1838 dress bodice, as well as this dress. It’s great to have accessories that can be used for multiple outfits! You can read all about it in this past blog post.

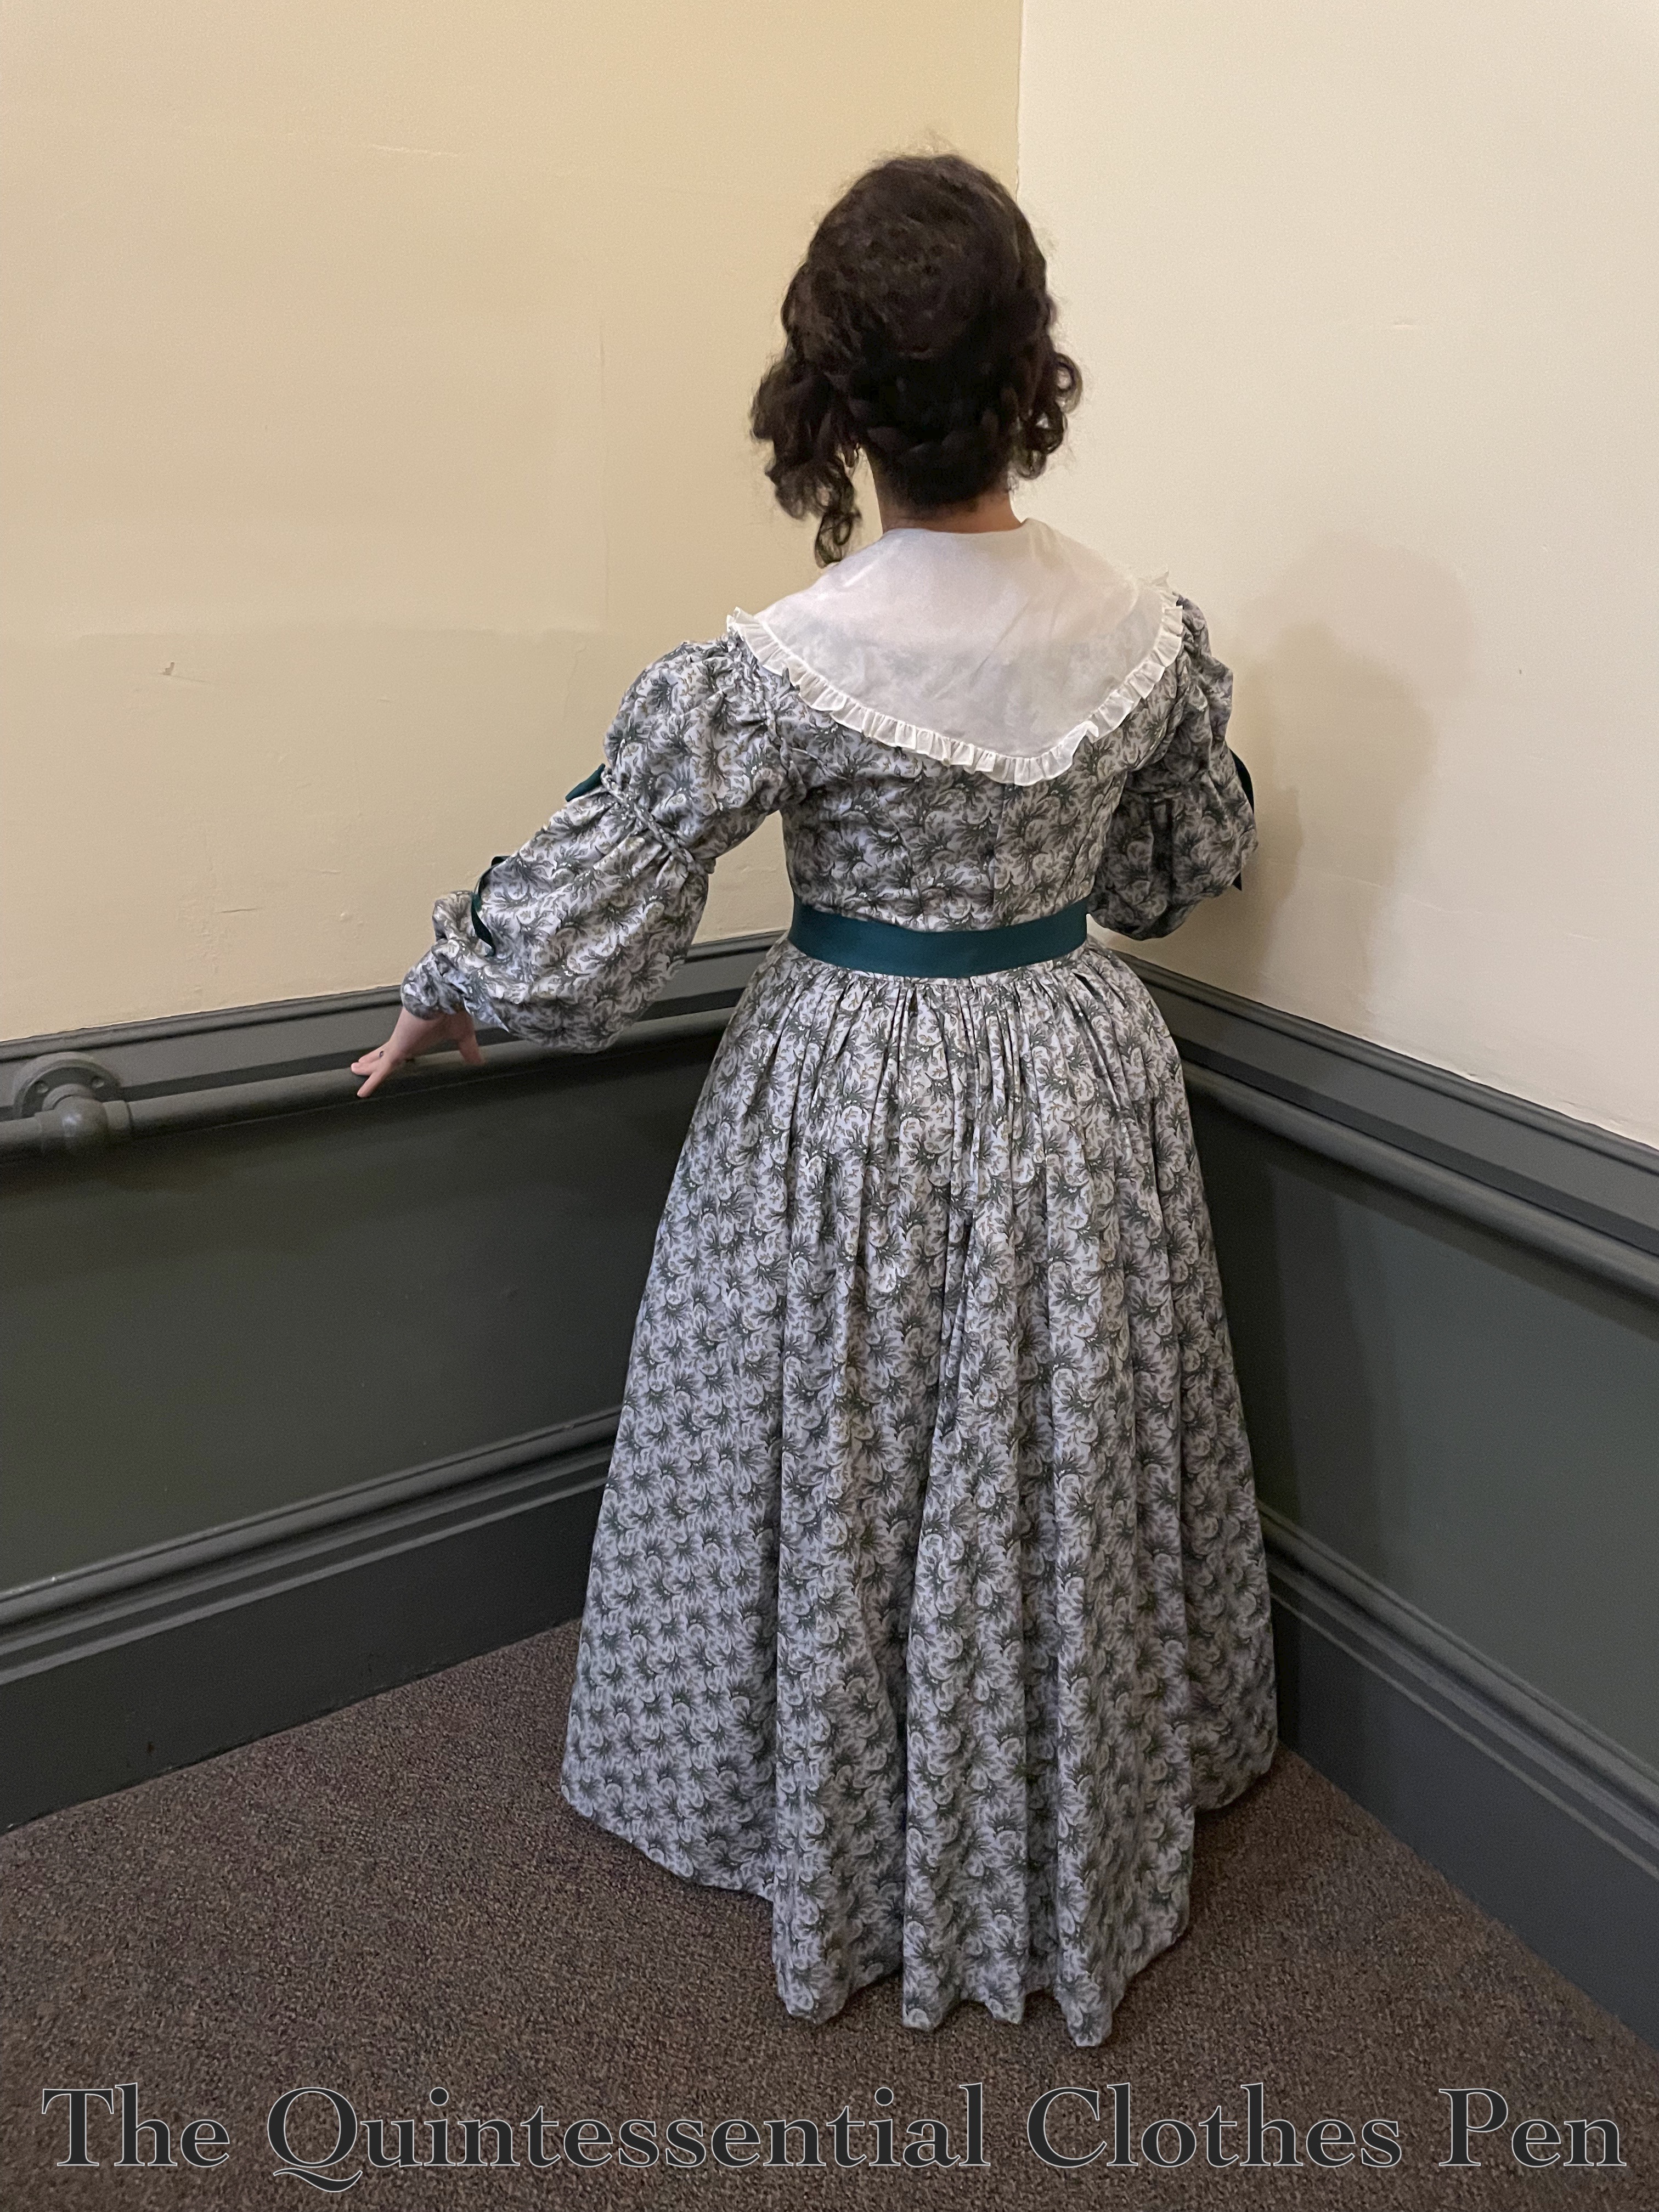
Here’s a back view. The back of this dress is lovely, but plain.

This is my entry for the 2026 HSM Challenge #7 Artistic Inspiration:

Create something using inspiration from paintings, sketches, fashion plates, and even written references like books, diaries or newspapers, etc.

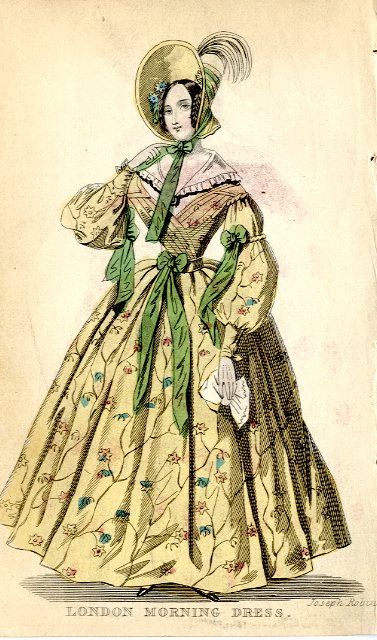
This dress is directly inspired by this fashion plate!

Just the facts:

Fabric/Materials: 7.5 yards of blue cotton print and 1 yard of recycled (from other projects) cotton muslin.

Pattern: My own, adapted from Patterns of Fashion, The Cut of Women’s Clothes, and The Workwoman’s Guide.

Year: 1836.

Notions: 11 metal hooks and 5 metal loops, 4 yards of narrow cording, 5 yards of 5/32″ cording, 2 yards of 2″ wide dark green petersham ribbon, and 3 yards of 1 ½” wide dark green petersham ribbon.

How historically accurate is it?: 99%. Materials that are pretty darn good for 2026, the pattern is adapted from originals, and it uses historical sewing processes.

Hours to complete: 25 ¾.

First worn: March 7, 2026.

Total cost: Approximately $40. The fabric was a score at only $3 per yard from the local discount store, the ribbons were a few dollars each per yard, and the rest of the materials were either purchased in bulk, leftover from other projects, or recycled.

And that’s it! I’ve now finished 1830s bodice/dress combinations for 1834, 1836, and 1838! It’s been fun to play with silly 1830s sleeve shapes and I now have so many variations of 1830s daywear to wear!

Successful Sleeves For An 1836 Blue Cotton Print Dress

I started a blue cotton print dress six years ago that had been on hold for a long time to due frustrations in getting the sleeves to look the way I wanted. I’ll share more about the story of the dress as a whole in my next post, but for now I want to focus on the story of the sleeves.

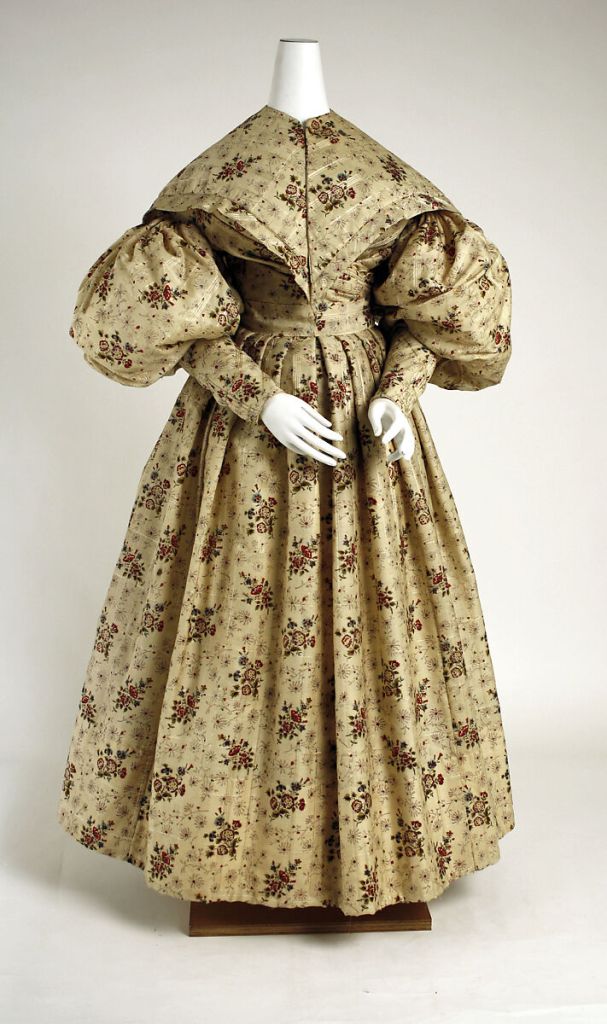
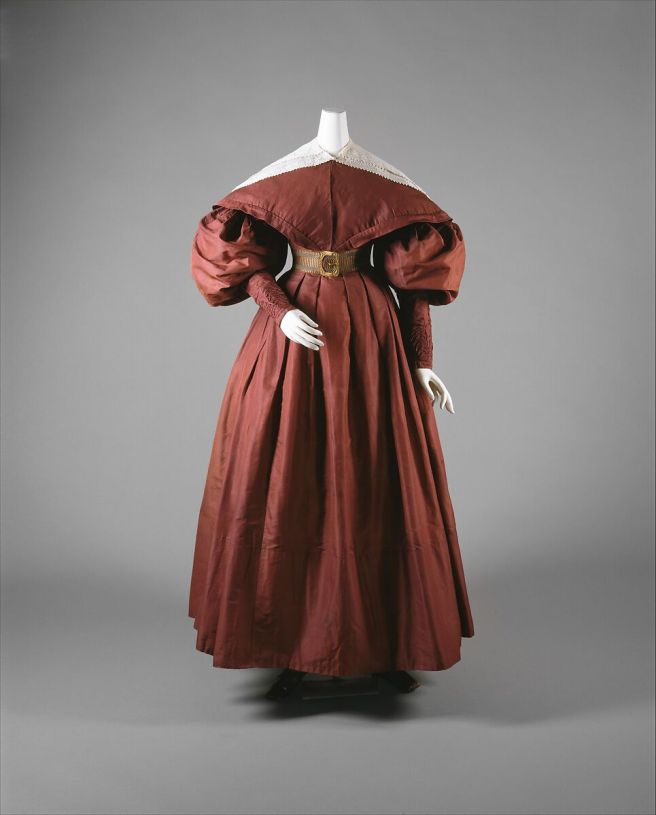
My goal was to create something with the silhouette of the Morning Dress below, which was published by Joseph Robins in The Ladies’ Pocket Magazine in October 1836 (National Portrait Gallery NPG D47686).

I started with a sleeve pattern from The Workwoman’s Guide (published in 1838 and available in full online here). This had worked for other 1830s sleeves I’d been making around the same time, but I was SO unhappy with what I came up with for this sleeve. It just was not the correct pattern to achieve the look of the fashion plate at all!

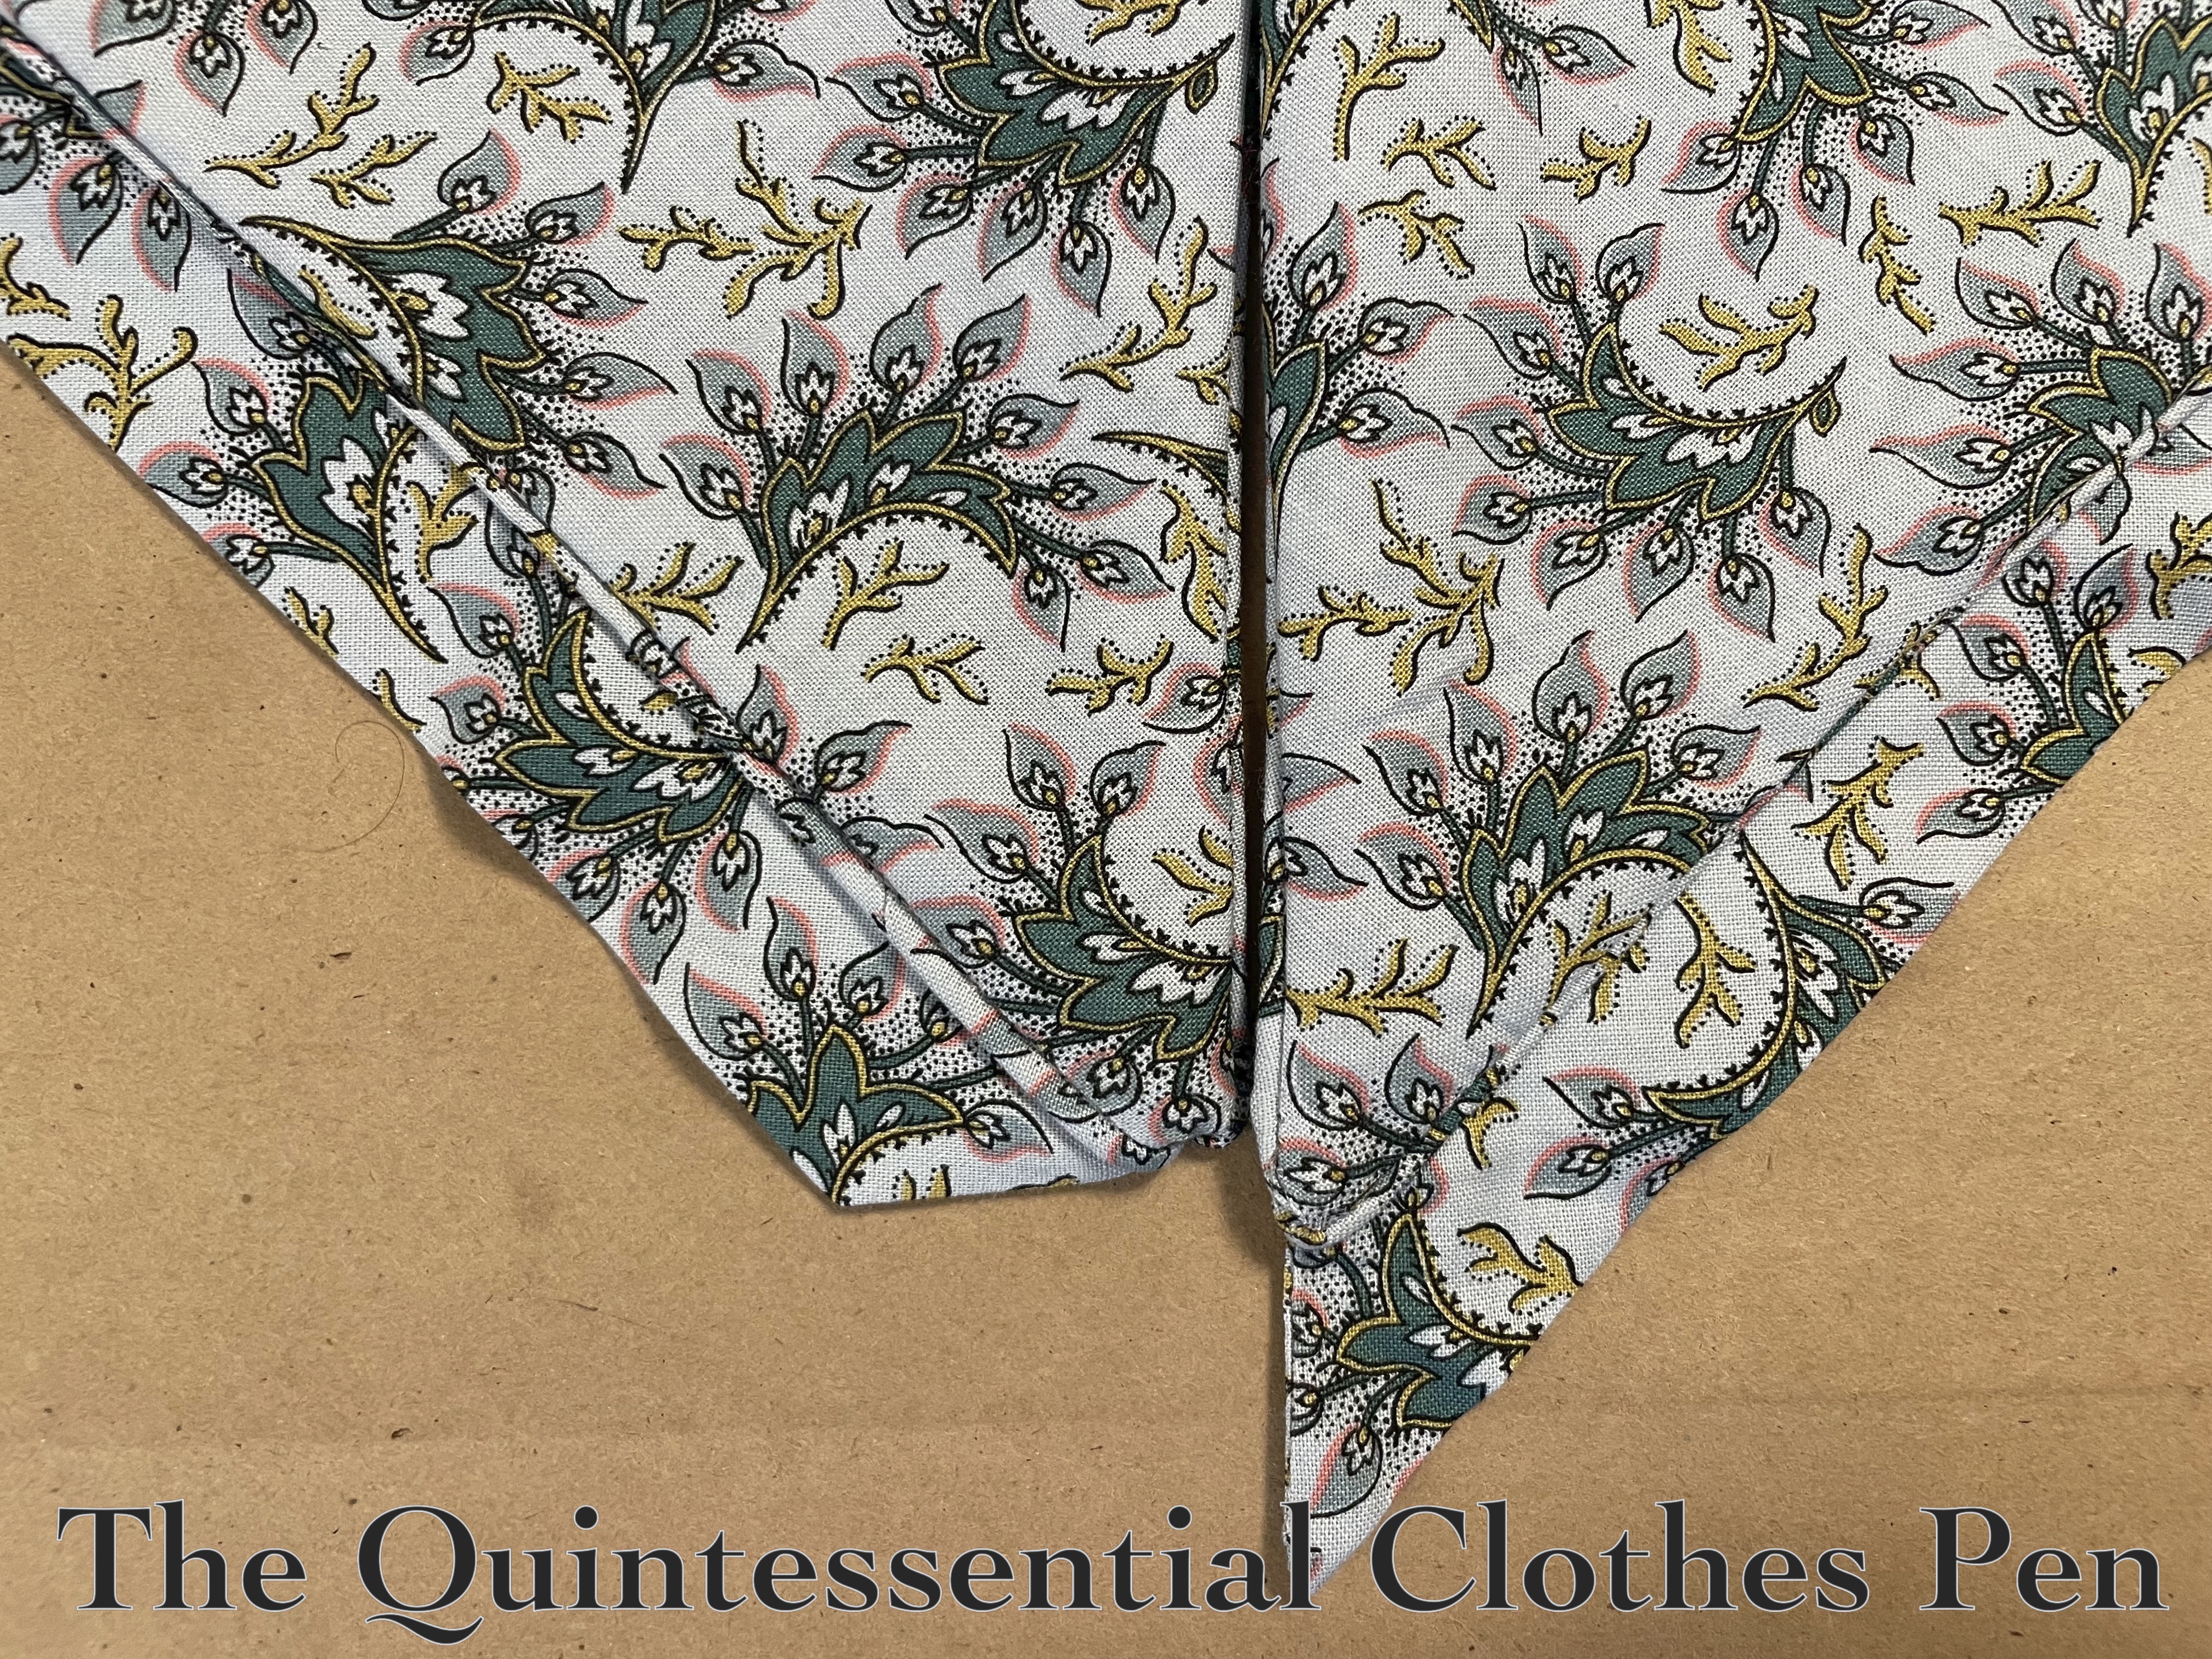
Below is a photo of part of that first sleeve iteration. There was a puff at the top, as well. But the top puff was too tall, the sleeve had the wrong shape, not enough fullness at the wrist, the cuffs were too small (they barely closed), and they were without a substantial enough point to mimic the fashion plate.

So many issues! I was so upset and annoyed that the whole project went into the “in trouble” pile to languish. I didn’t put the rest of the dress away, because I wanted to put it away as a finished project, so in the interim I just had a half finished dress hanging in plain sight for literally years…

This year, I was finally inspired to try again. I decided I just had to start over from scratch and make a pattern that was based on my knowledge of how to achieve a silhouette rather than what was in The Workwoman’s Guide. After creating a pattern that looked good in a mockup, I took apart the old sleeve to see what I would have to work with as well as looking at the remainder of the fabric that had been leftover after cutting out the dress. It wasn’t much, nor were any pieces big enough for the new pattern I’d created. Eek! Would I have to do lots of piecing?

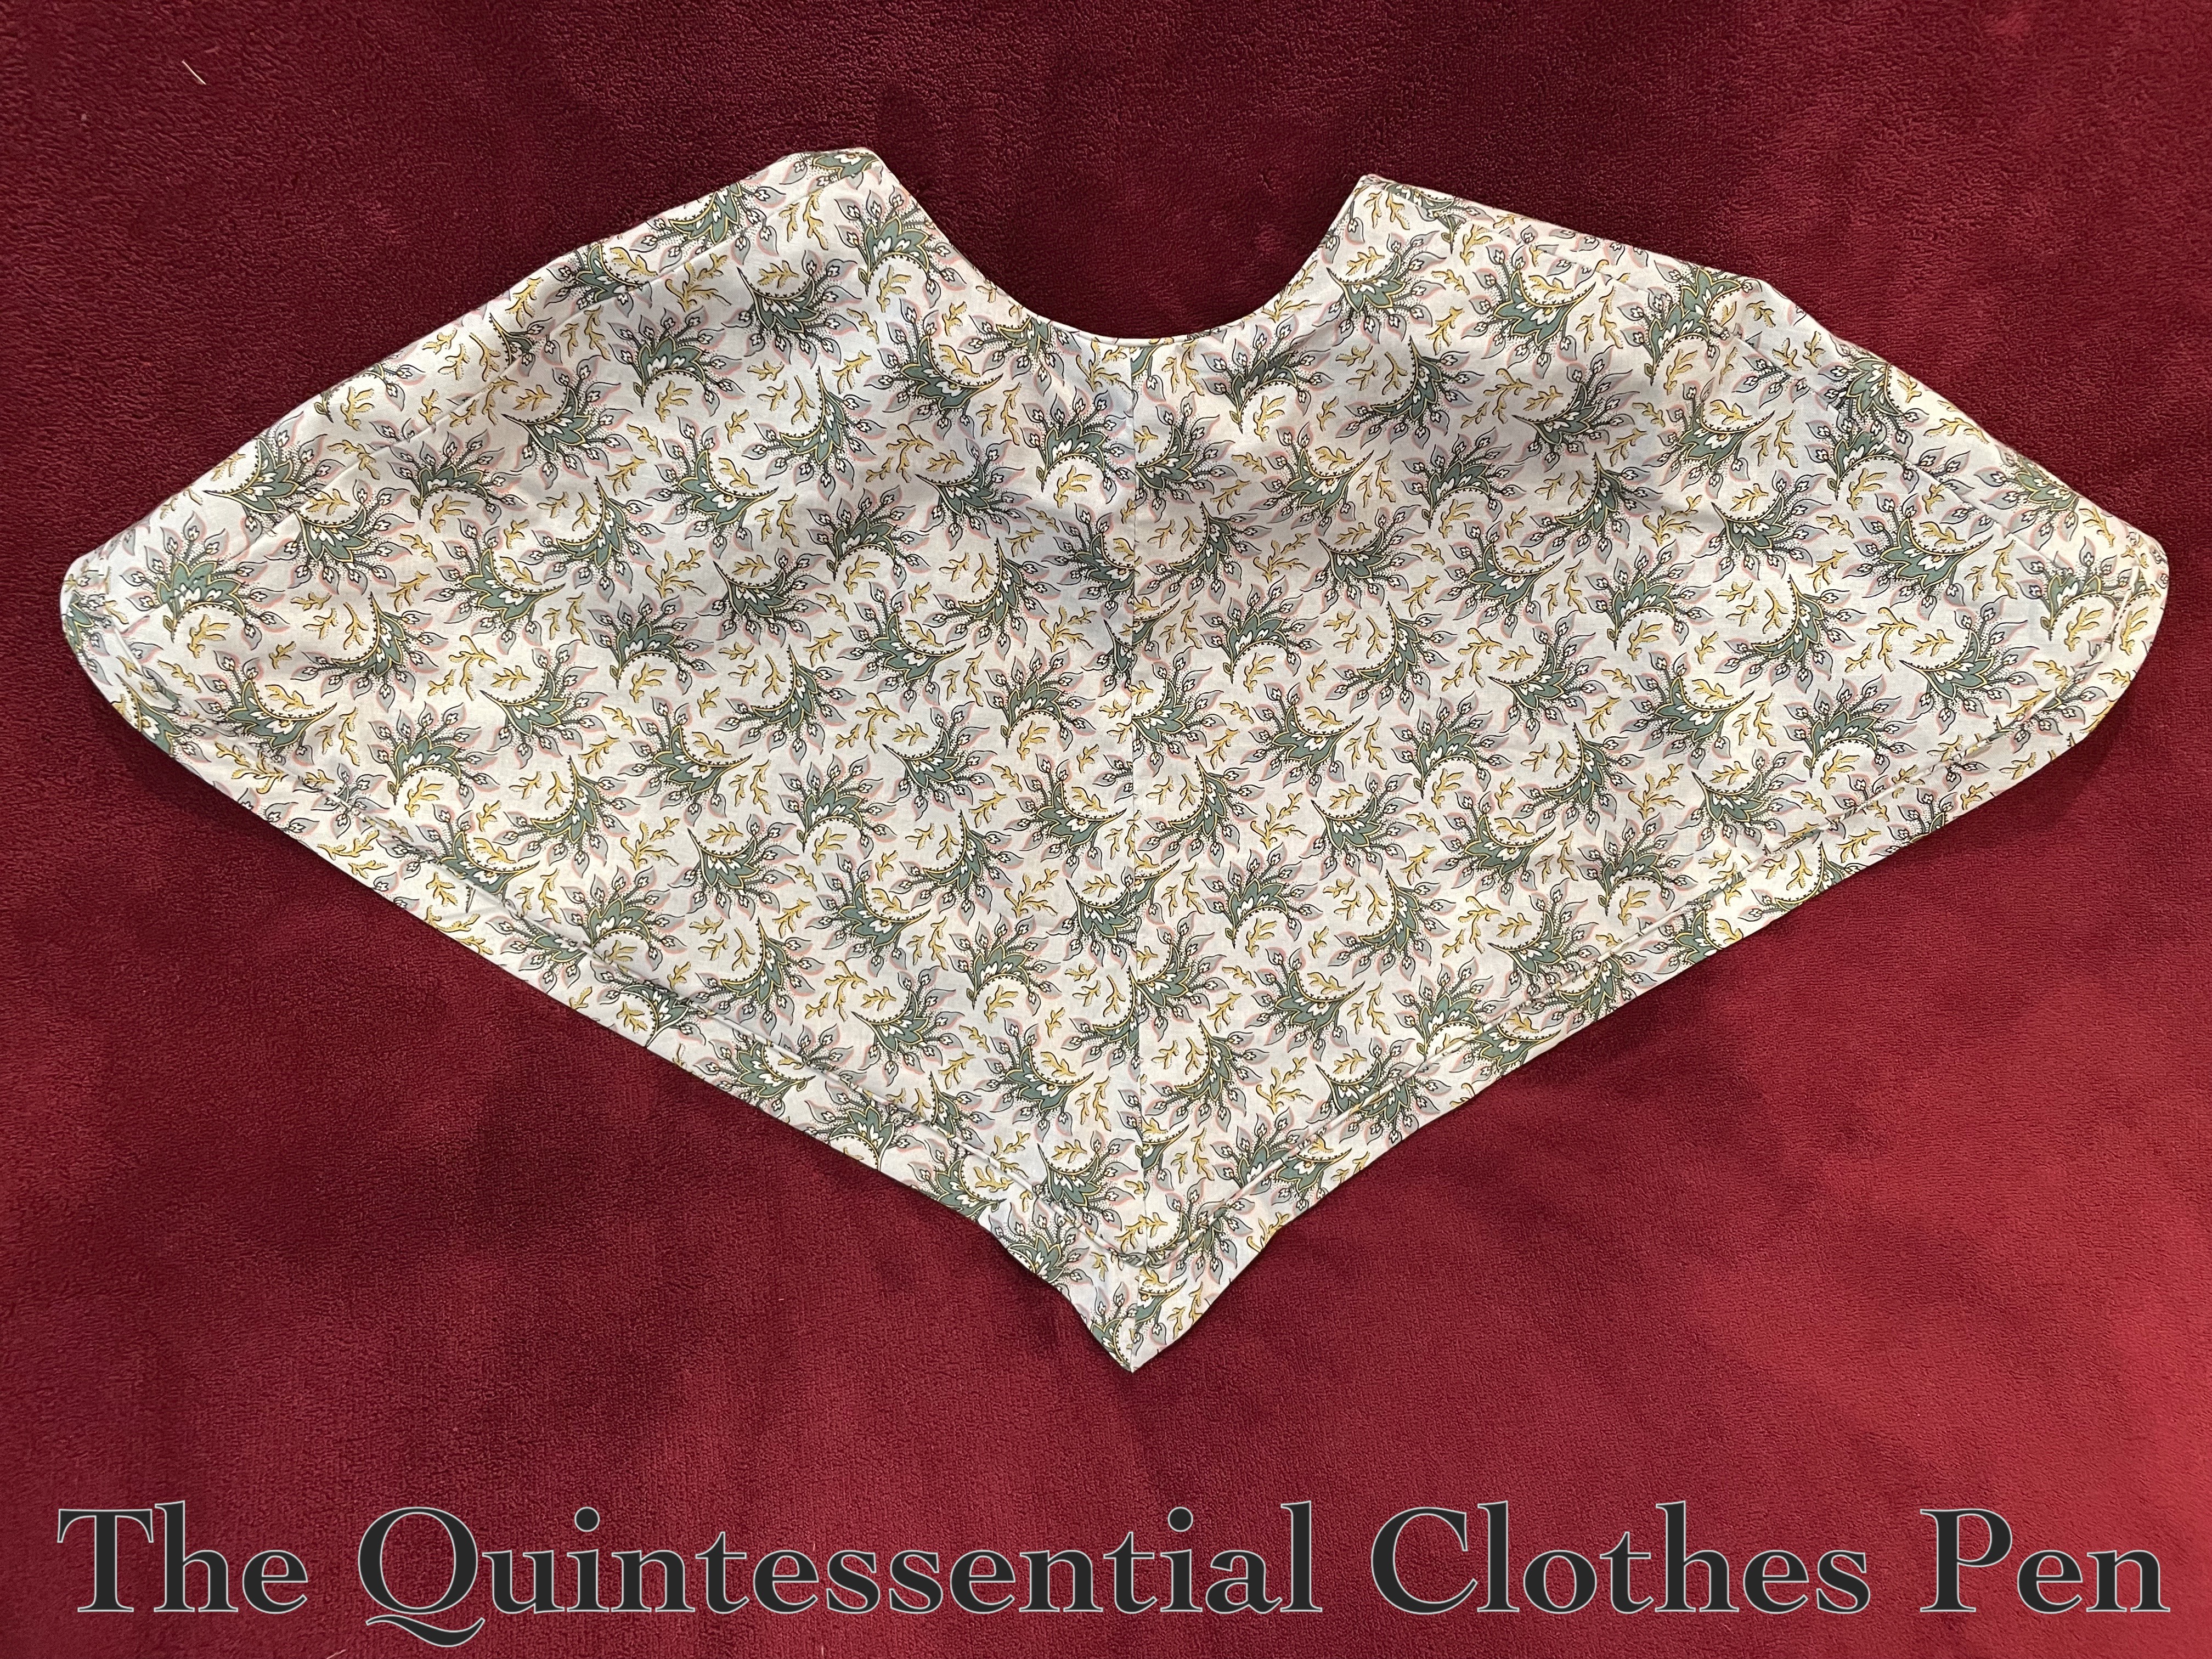
But I had a saving grace, which is that I’d saved the leftovers from my friend’s matching fabric dress with the hope of making a pelerine for myself someday. I decided sleeves were more important than a pelerine and asked if I could use the fabric for that purpose. Luckily, I was well supported with a strongly worded “Yes, make sleeves!”

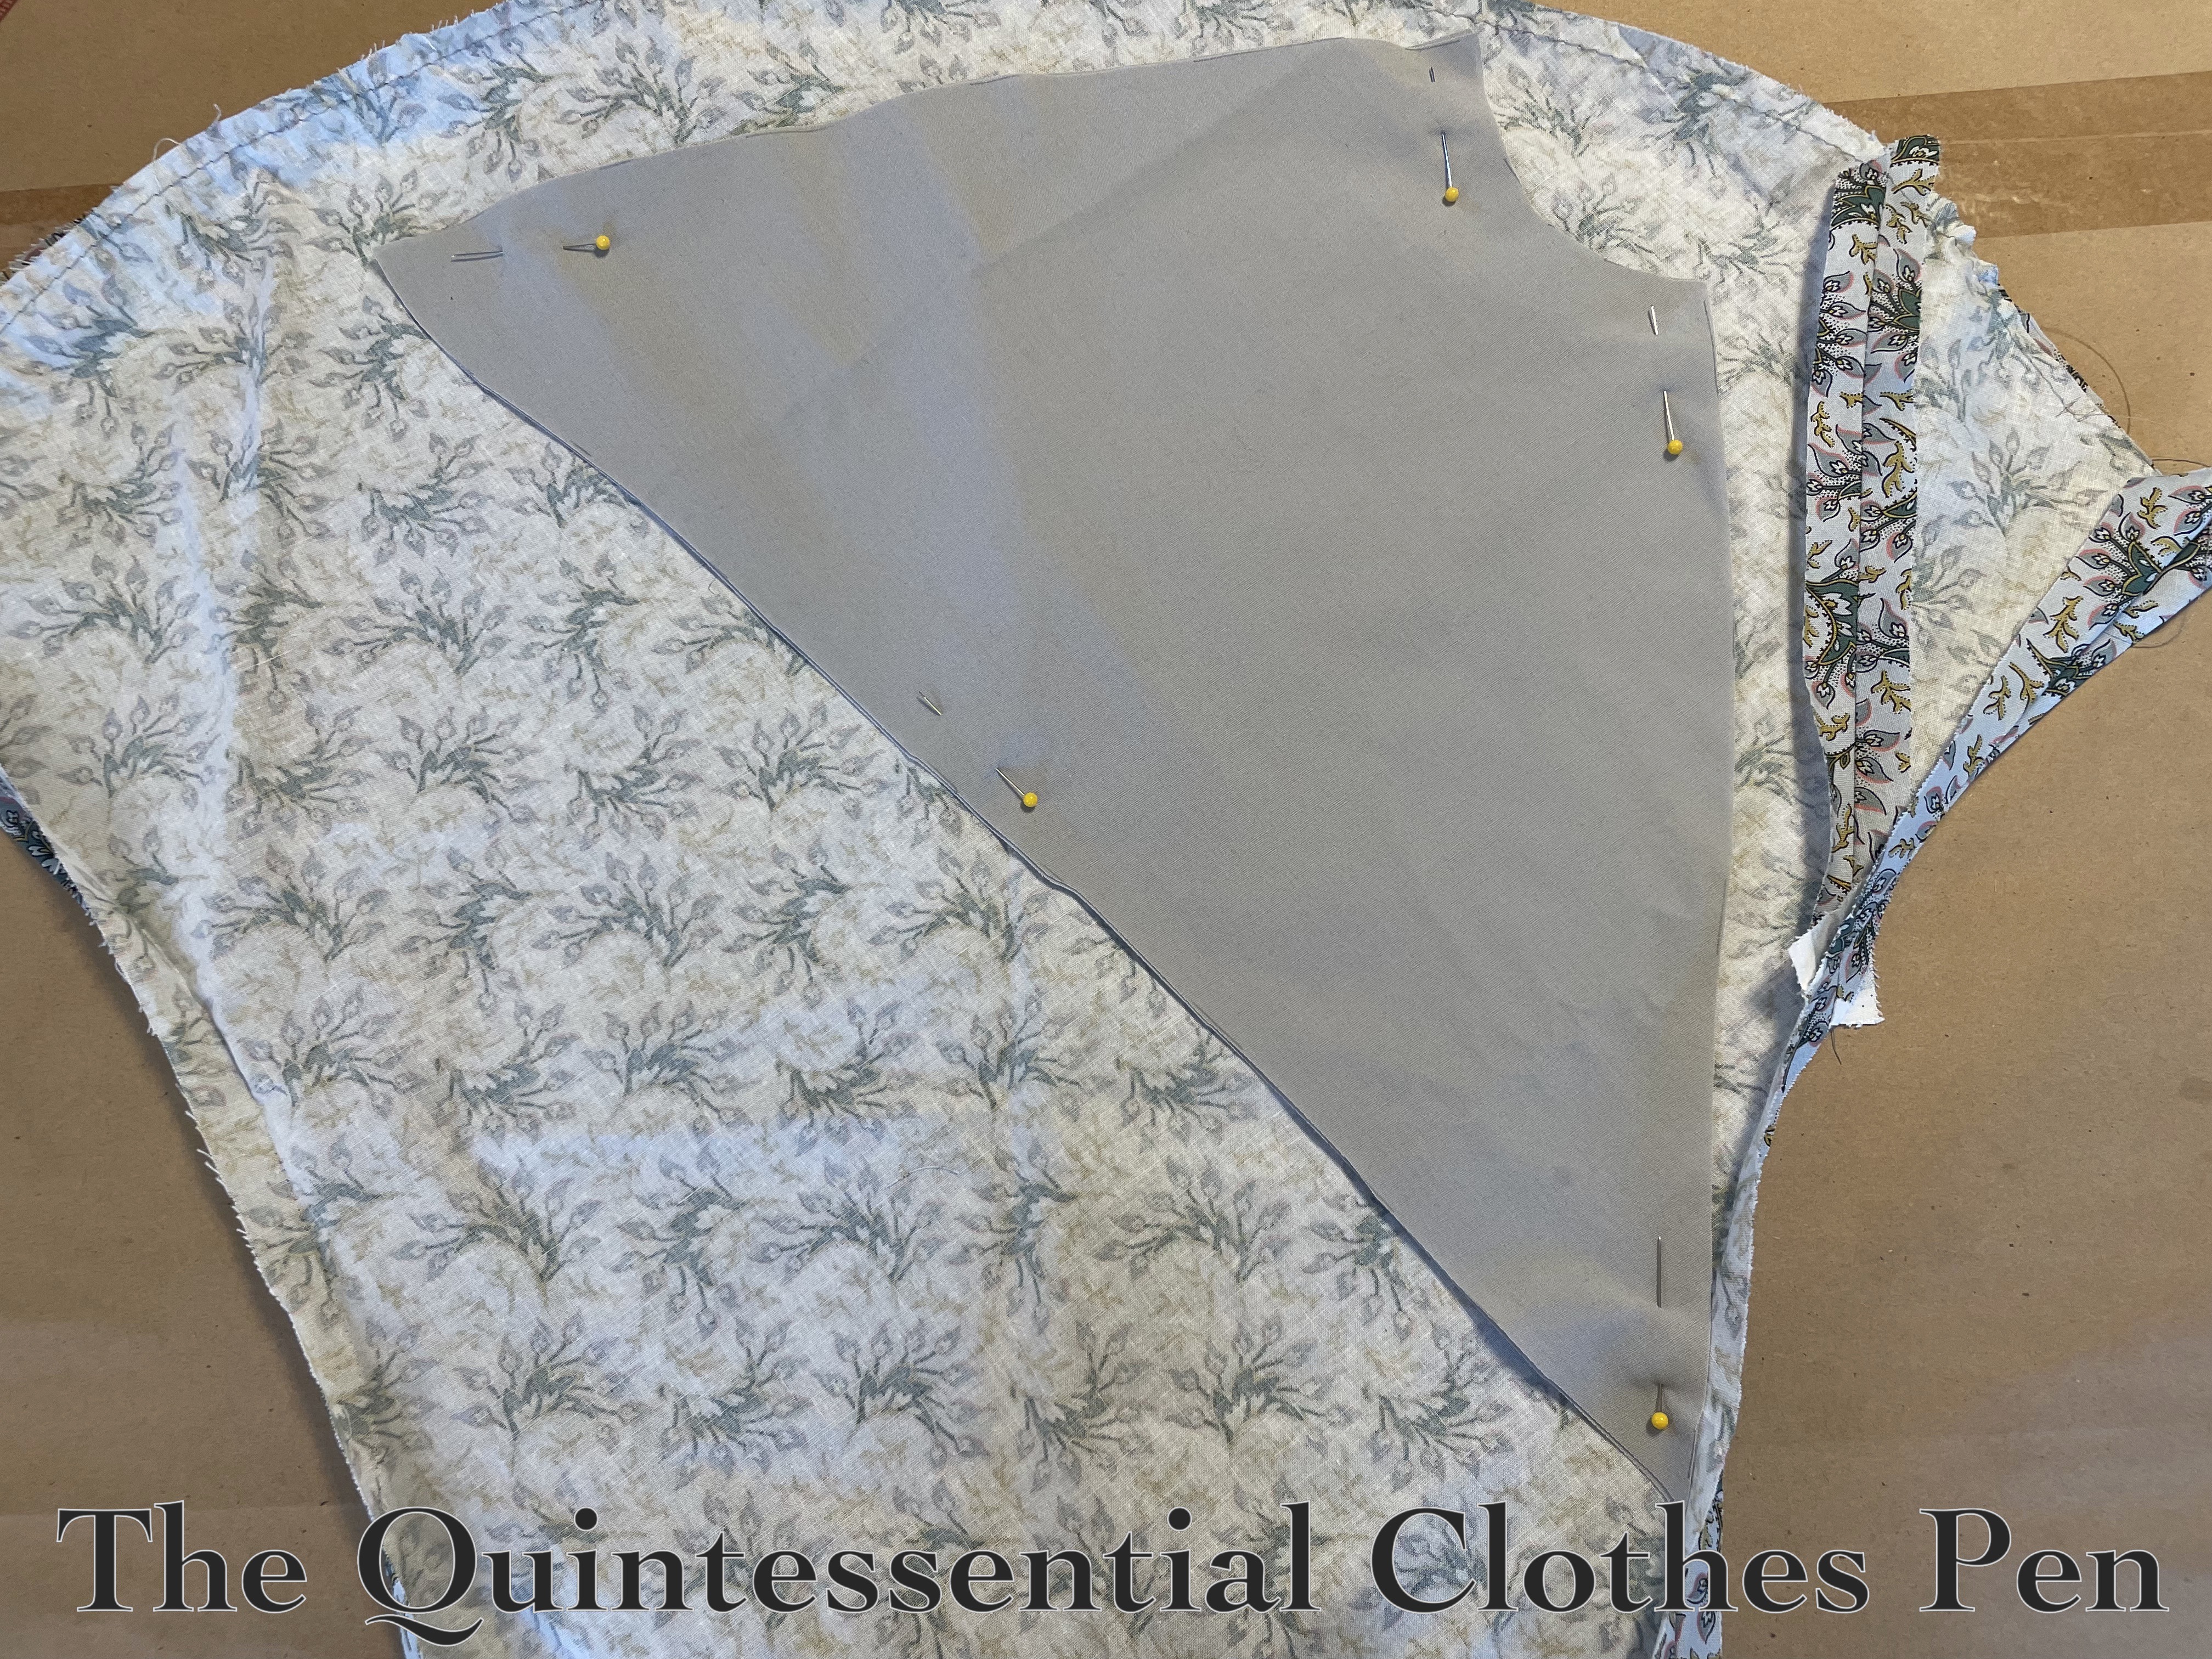
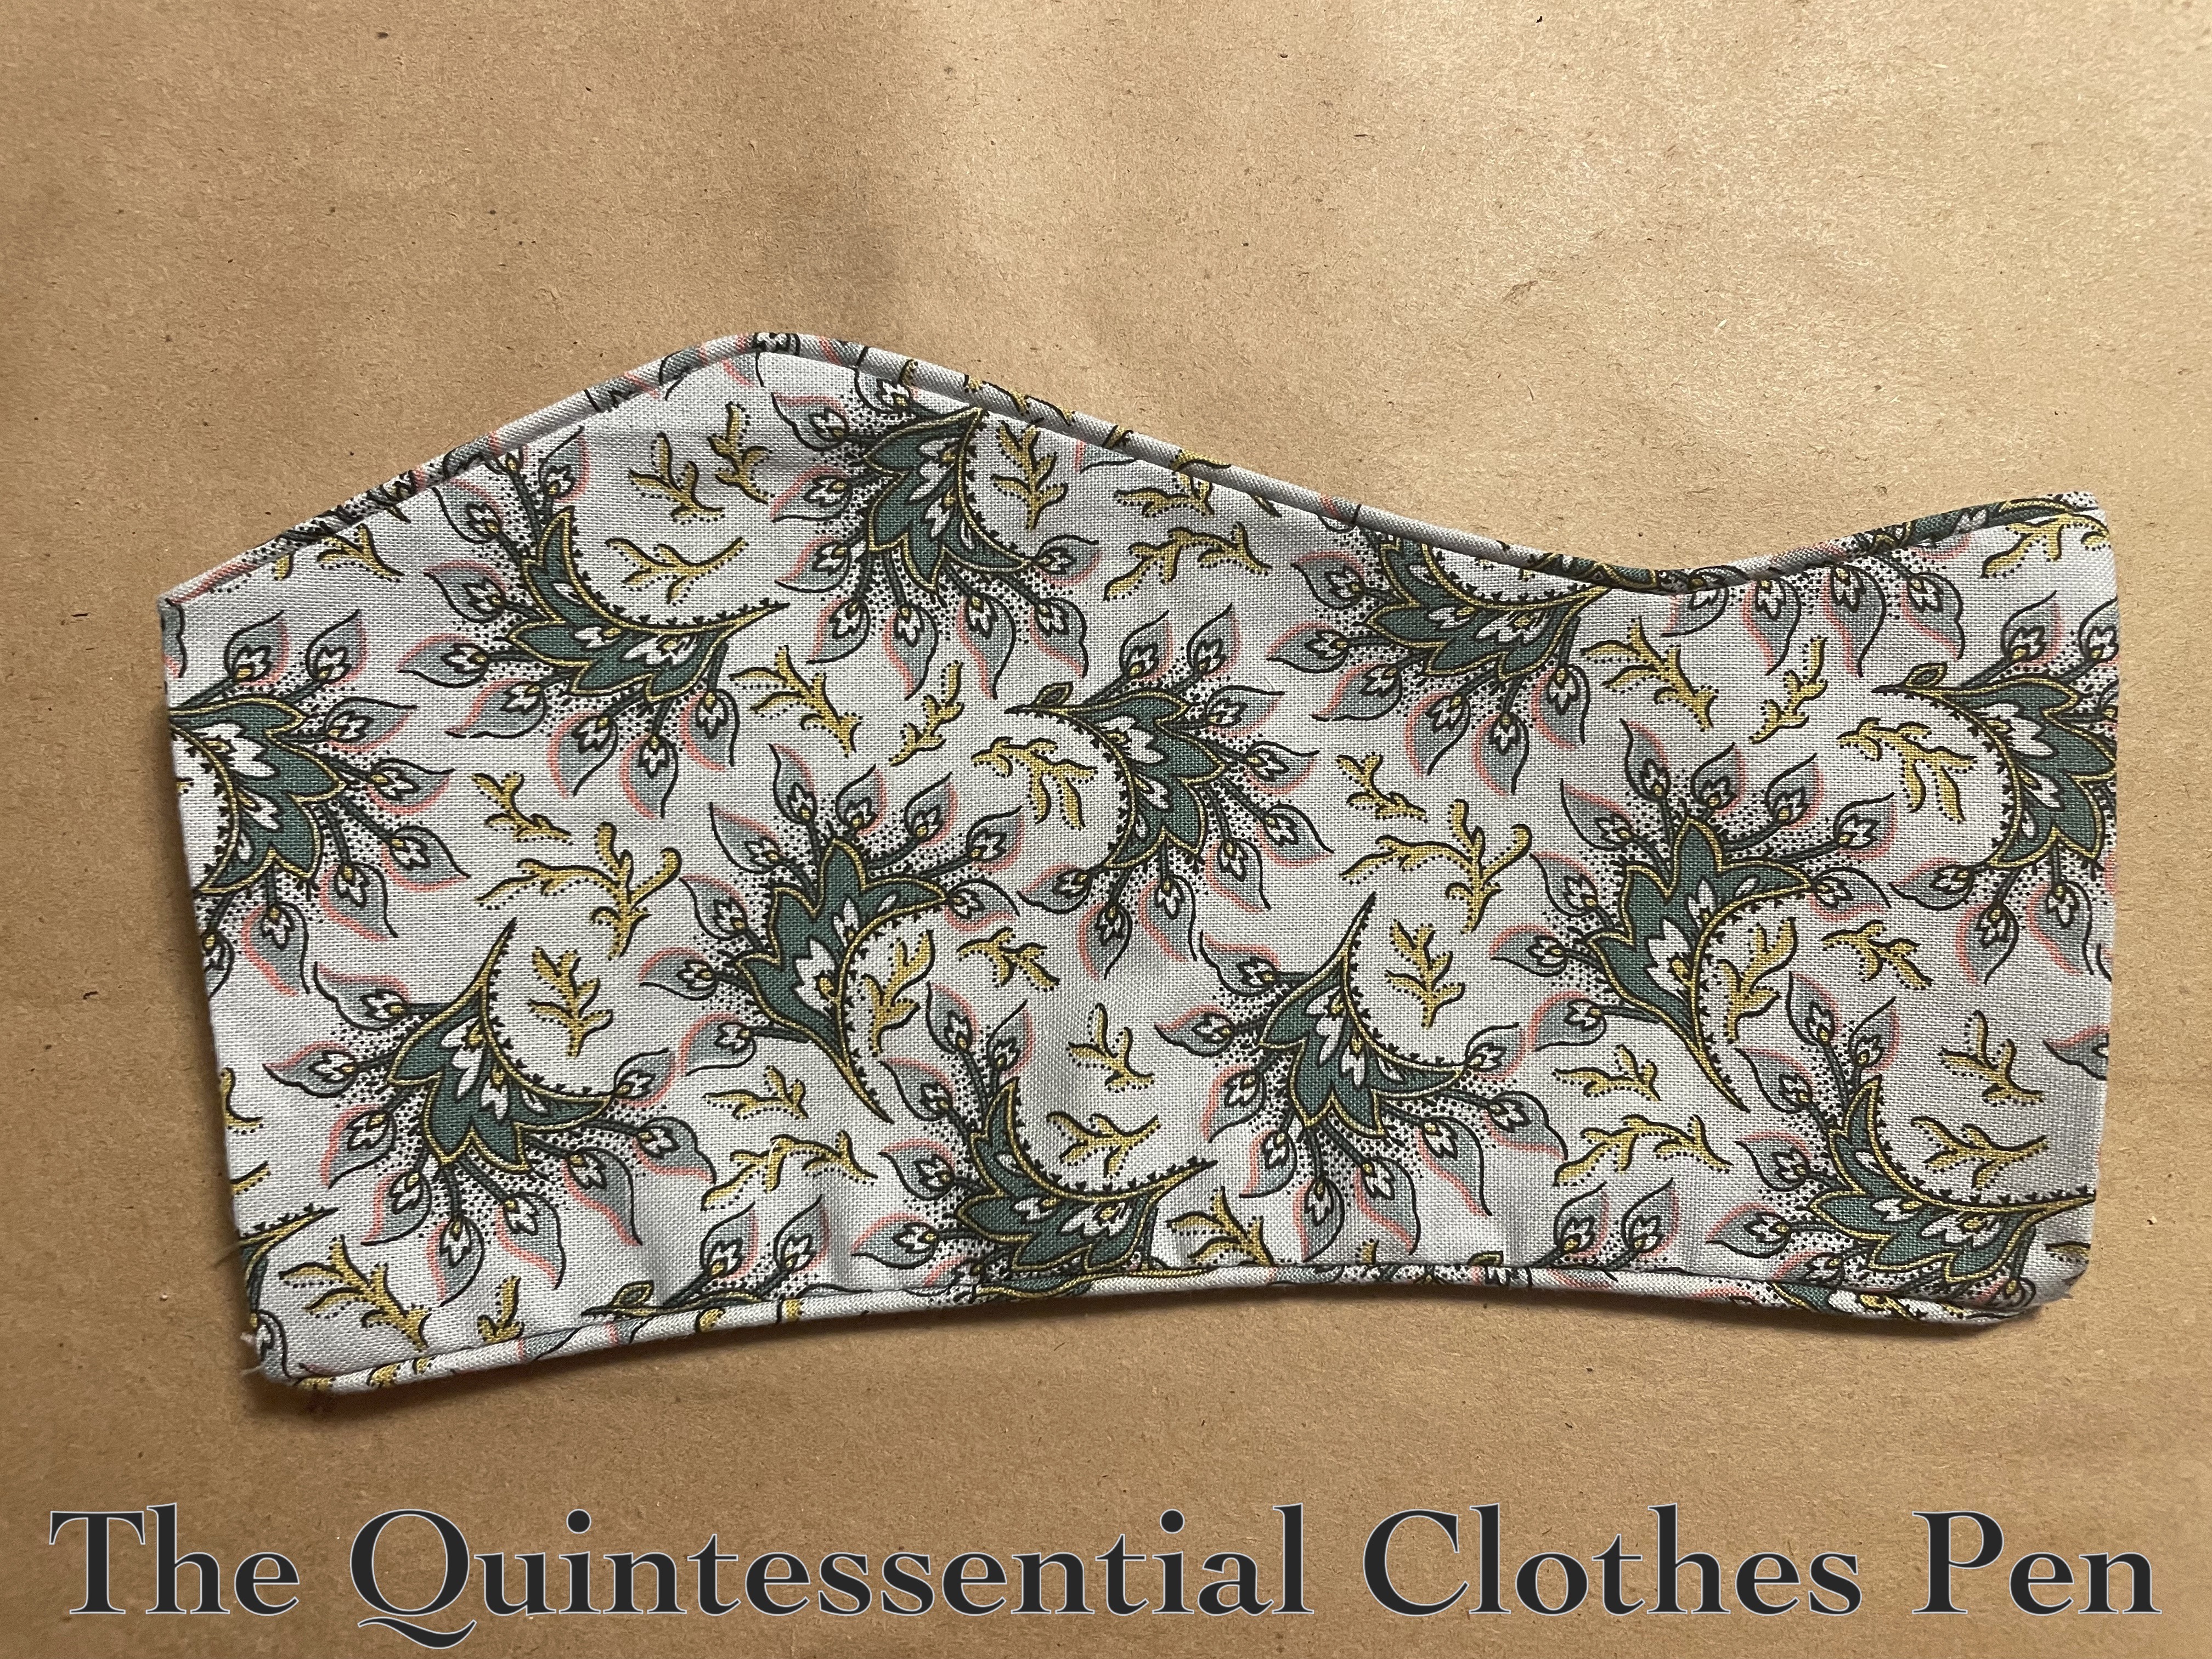
Fabric sorted out, I proceed to cut and assemble the new sleeves. I mostly used the extra yardage for the new pieces, but by maxing out the seam allowance, the new cuffs were able to be cut from the old ones. They already had piping along the bottom edge and I added it to the tops at this point, as well.

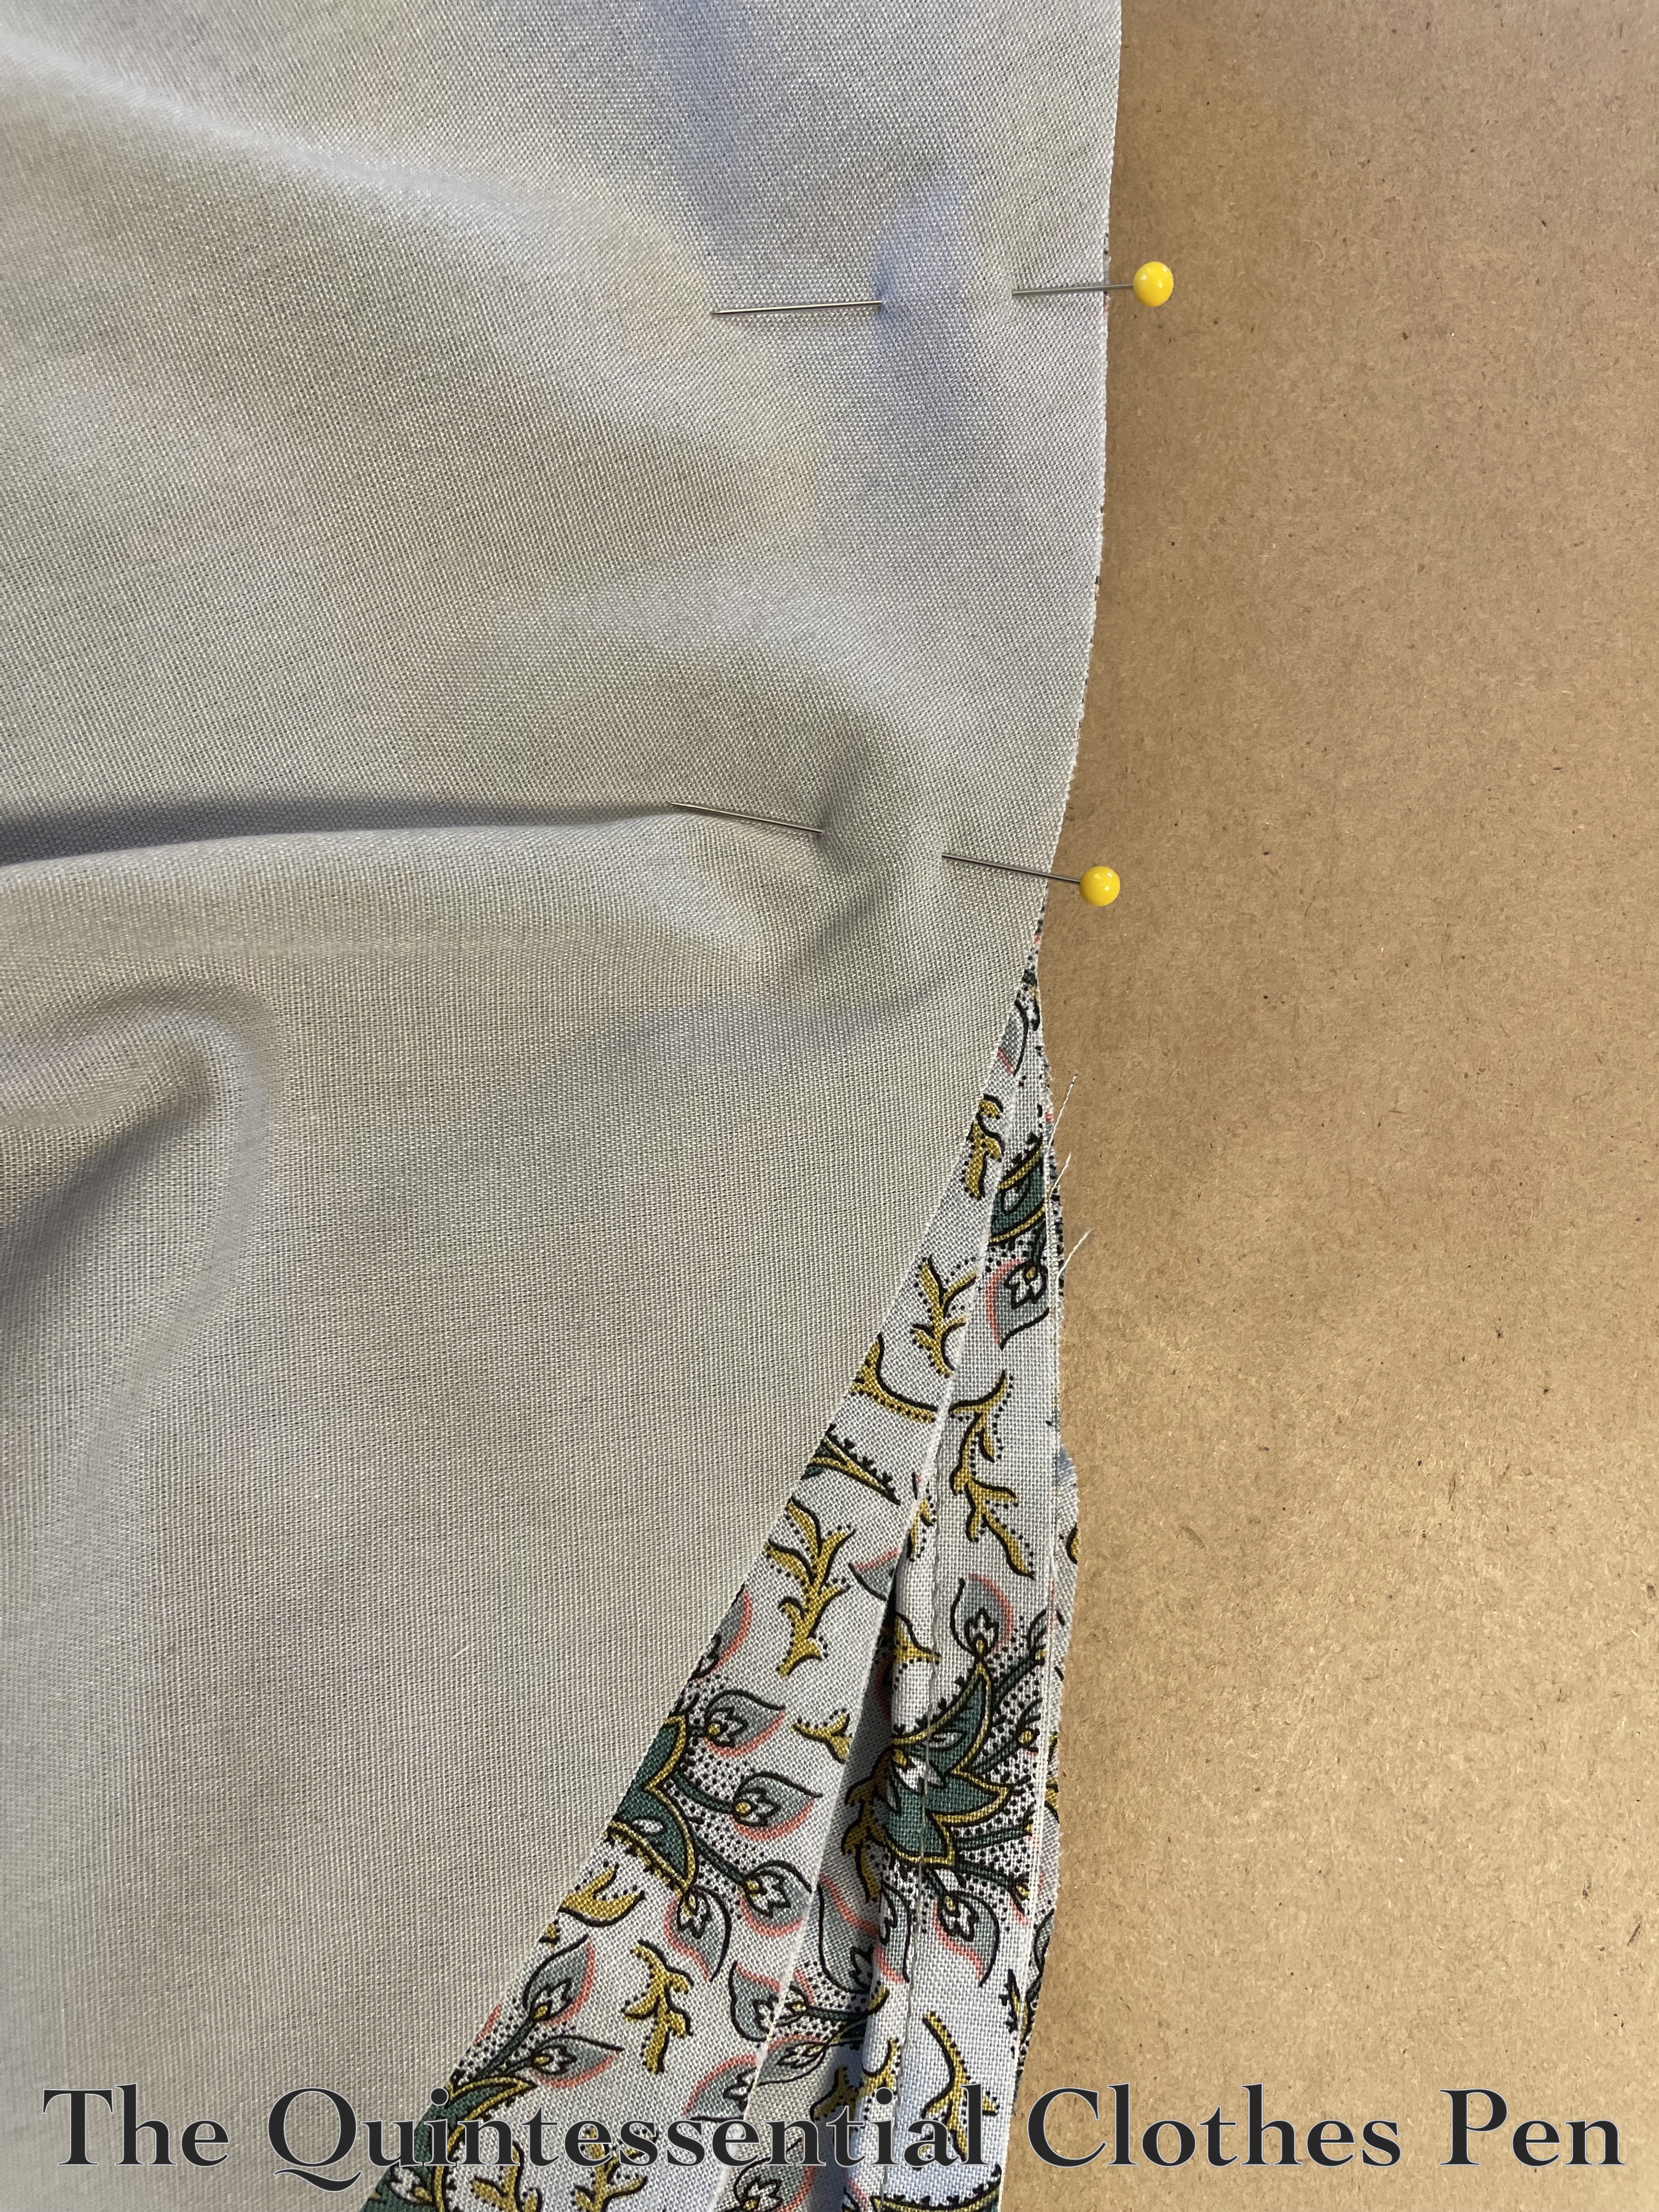
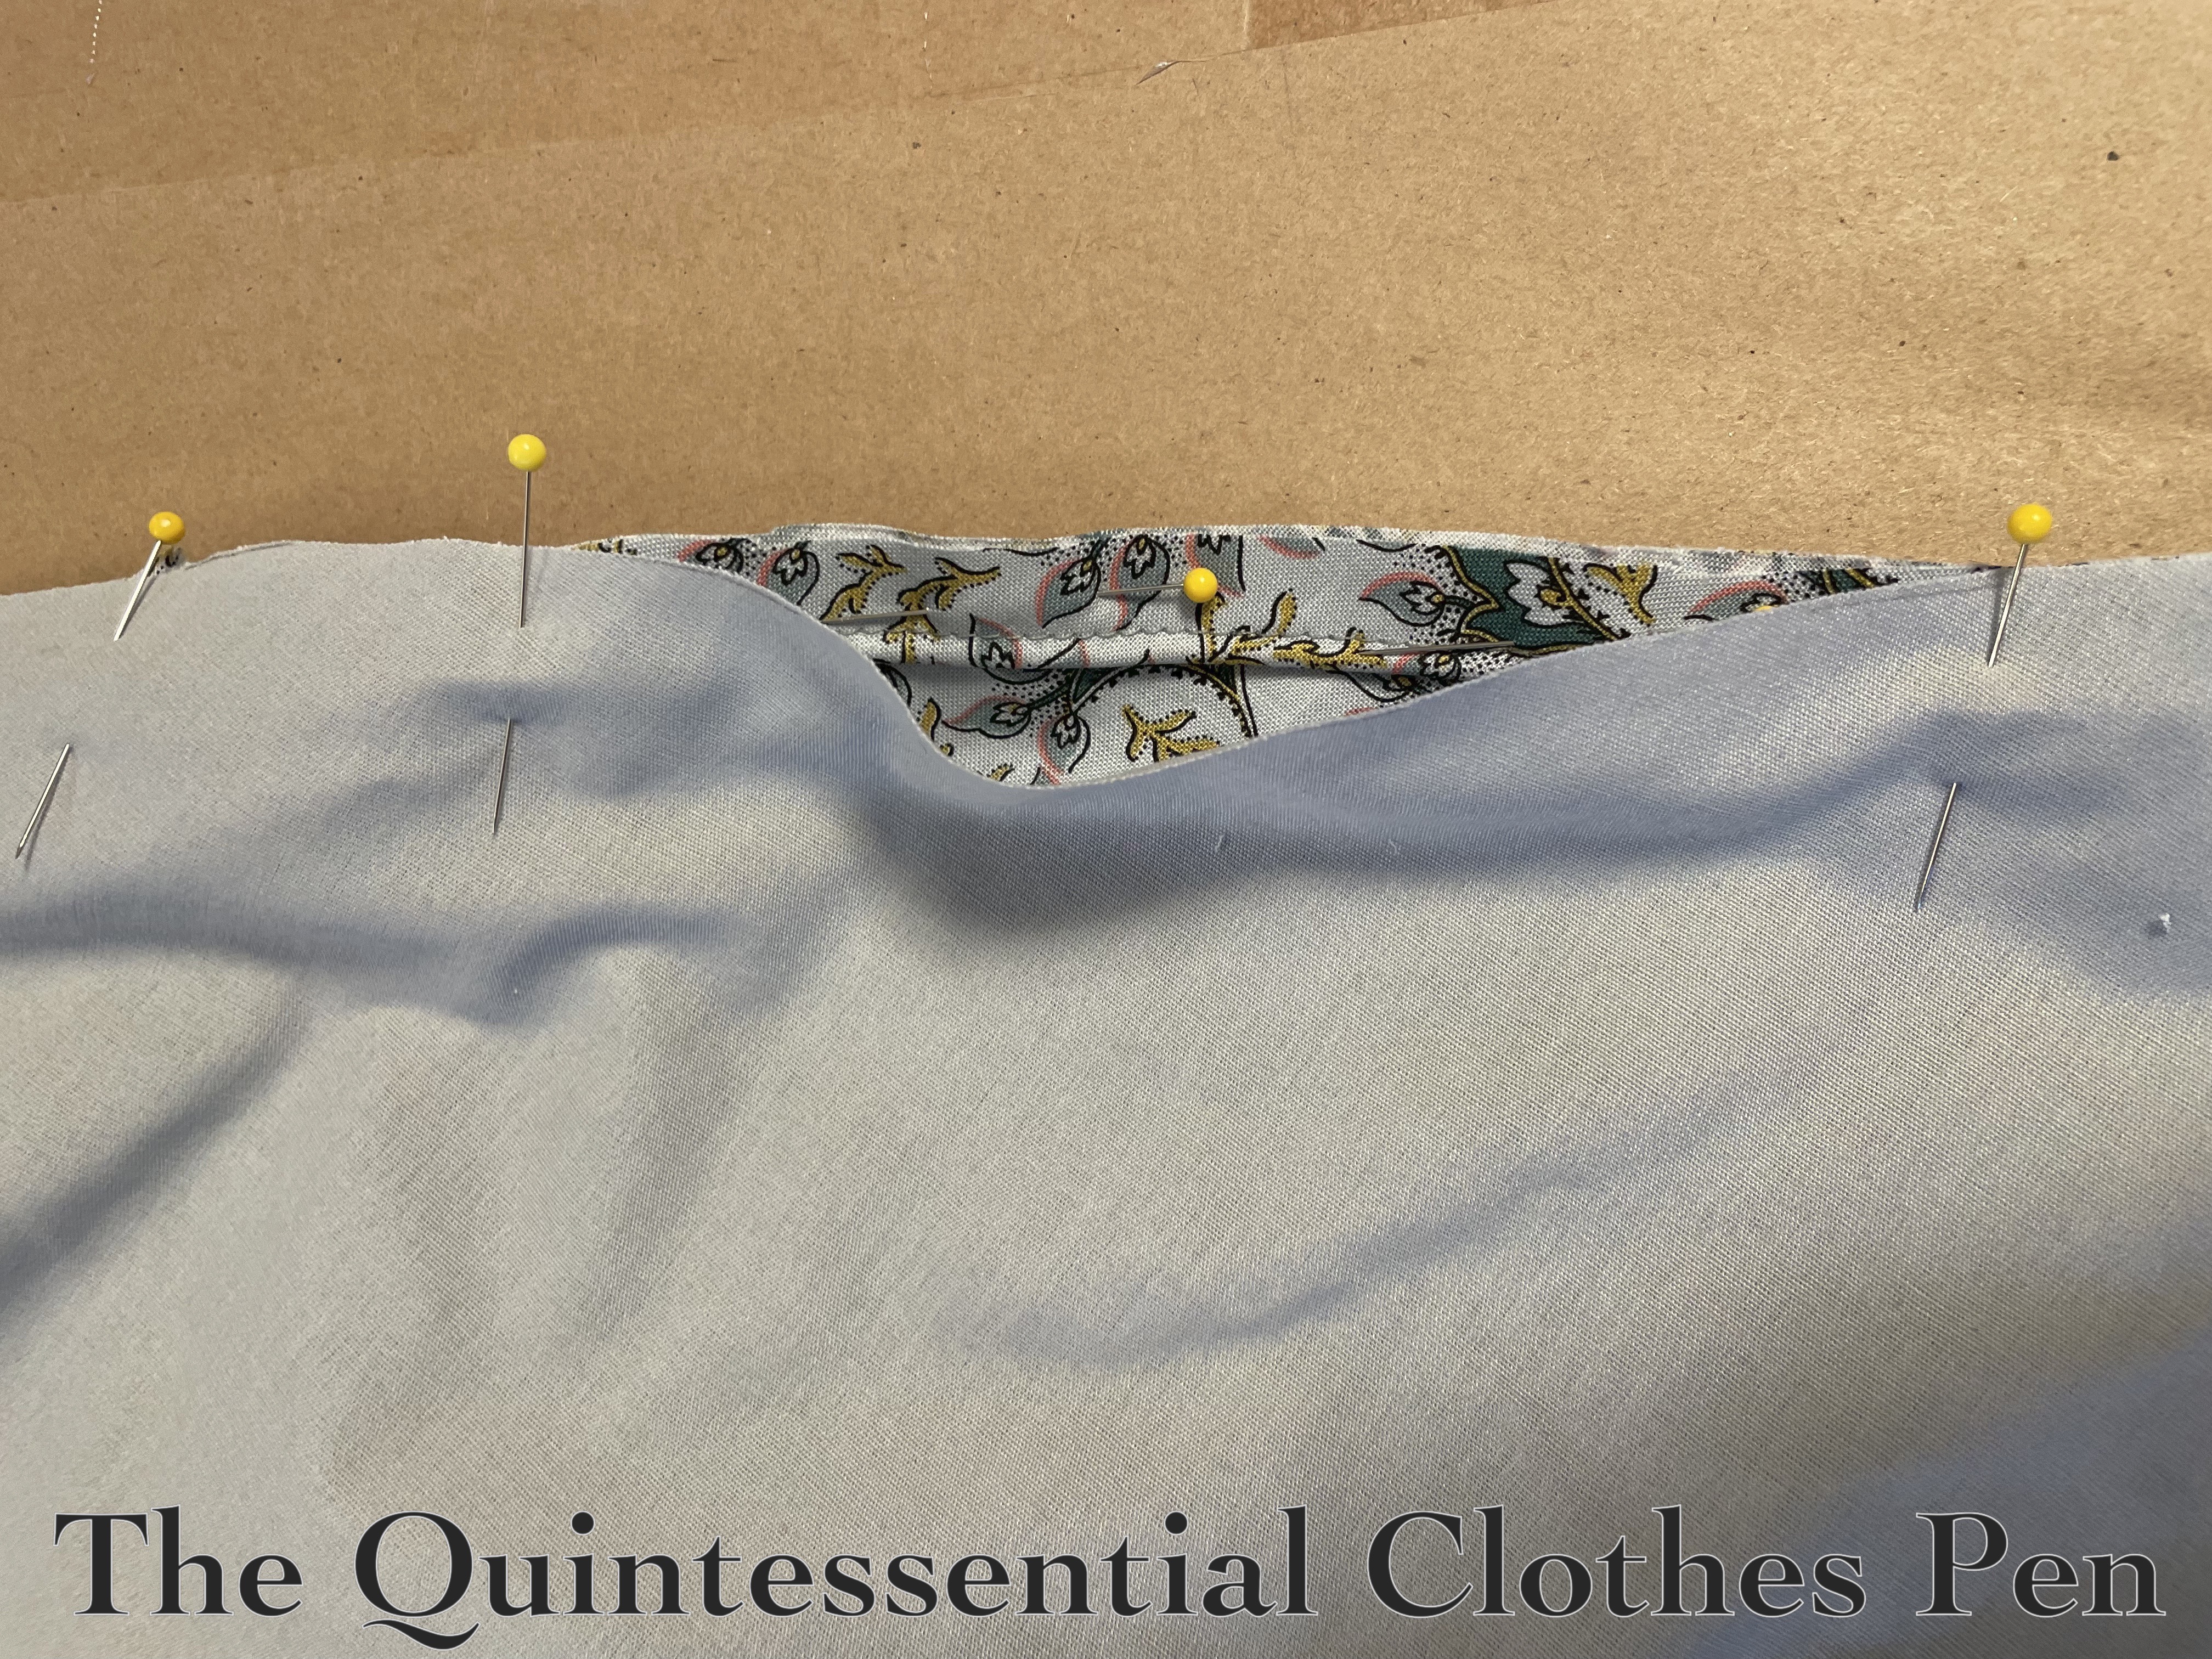
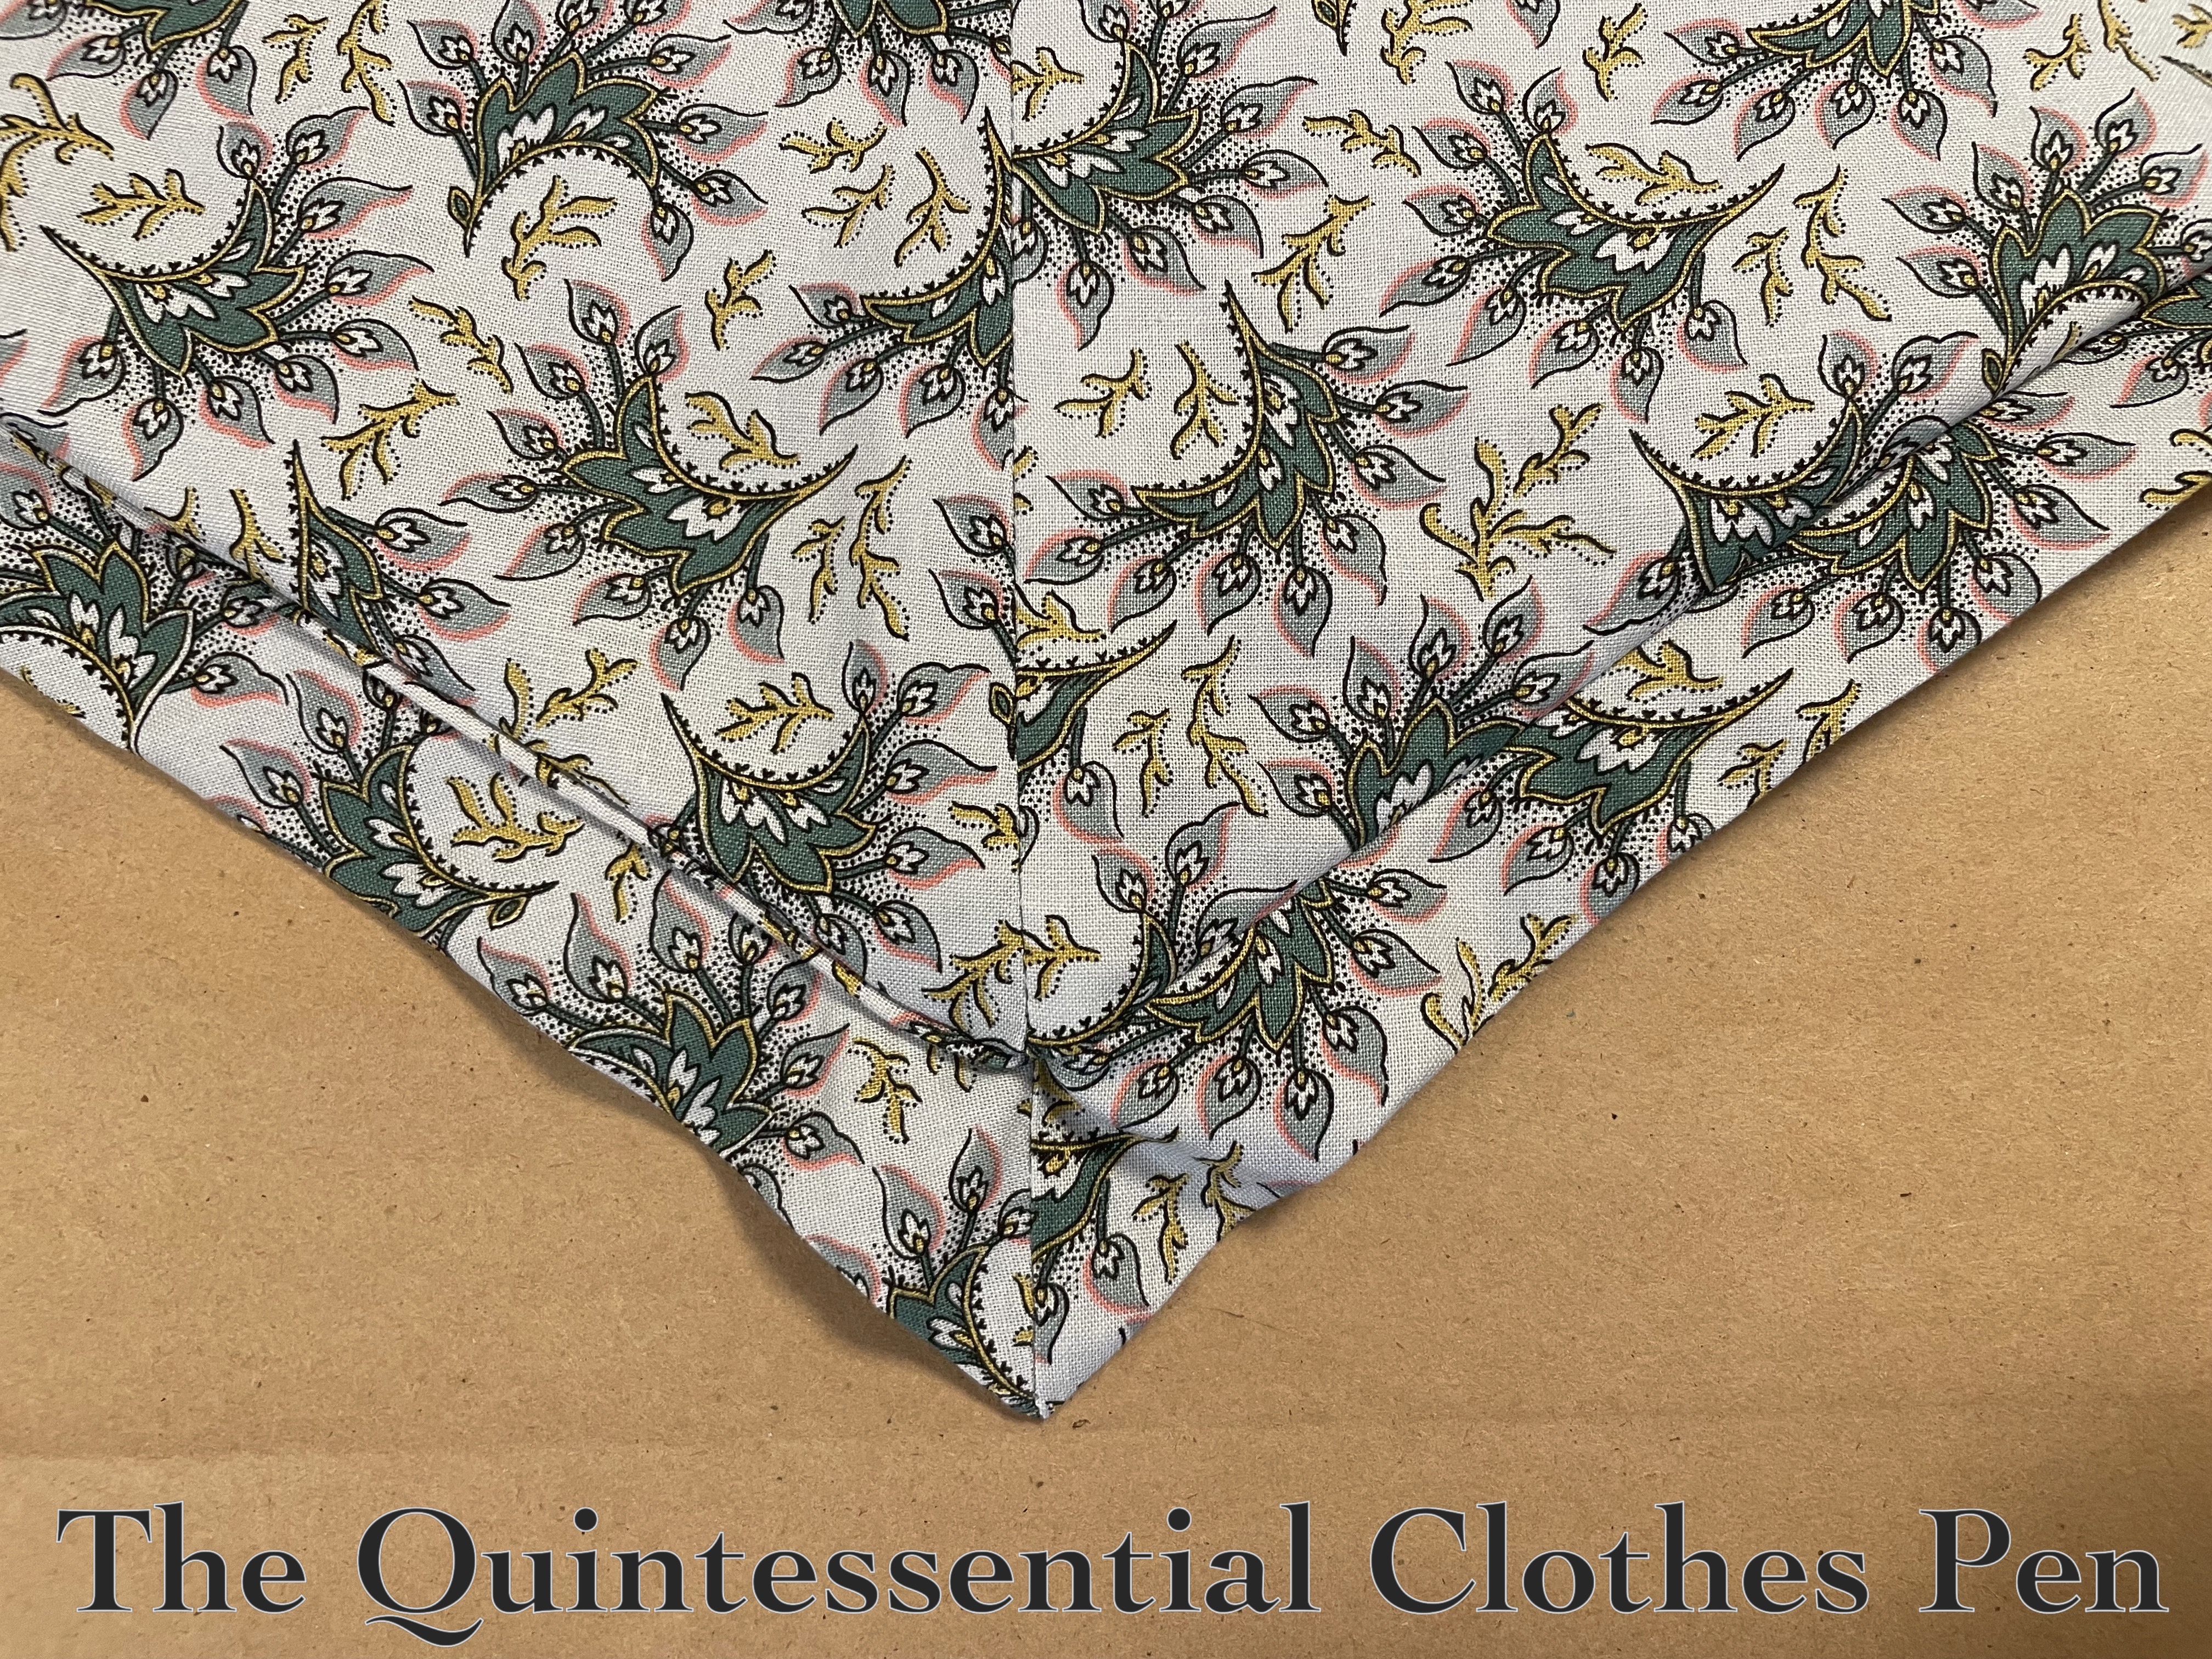
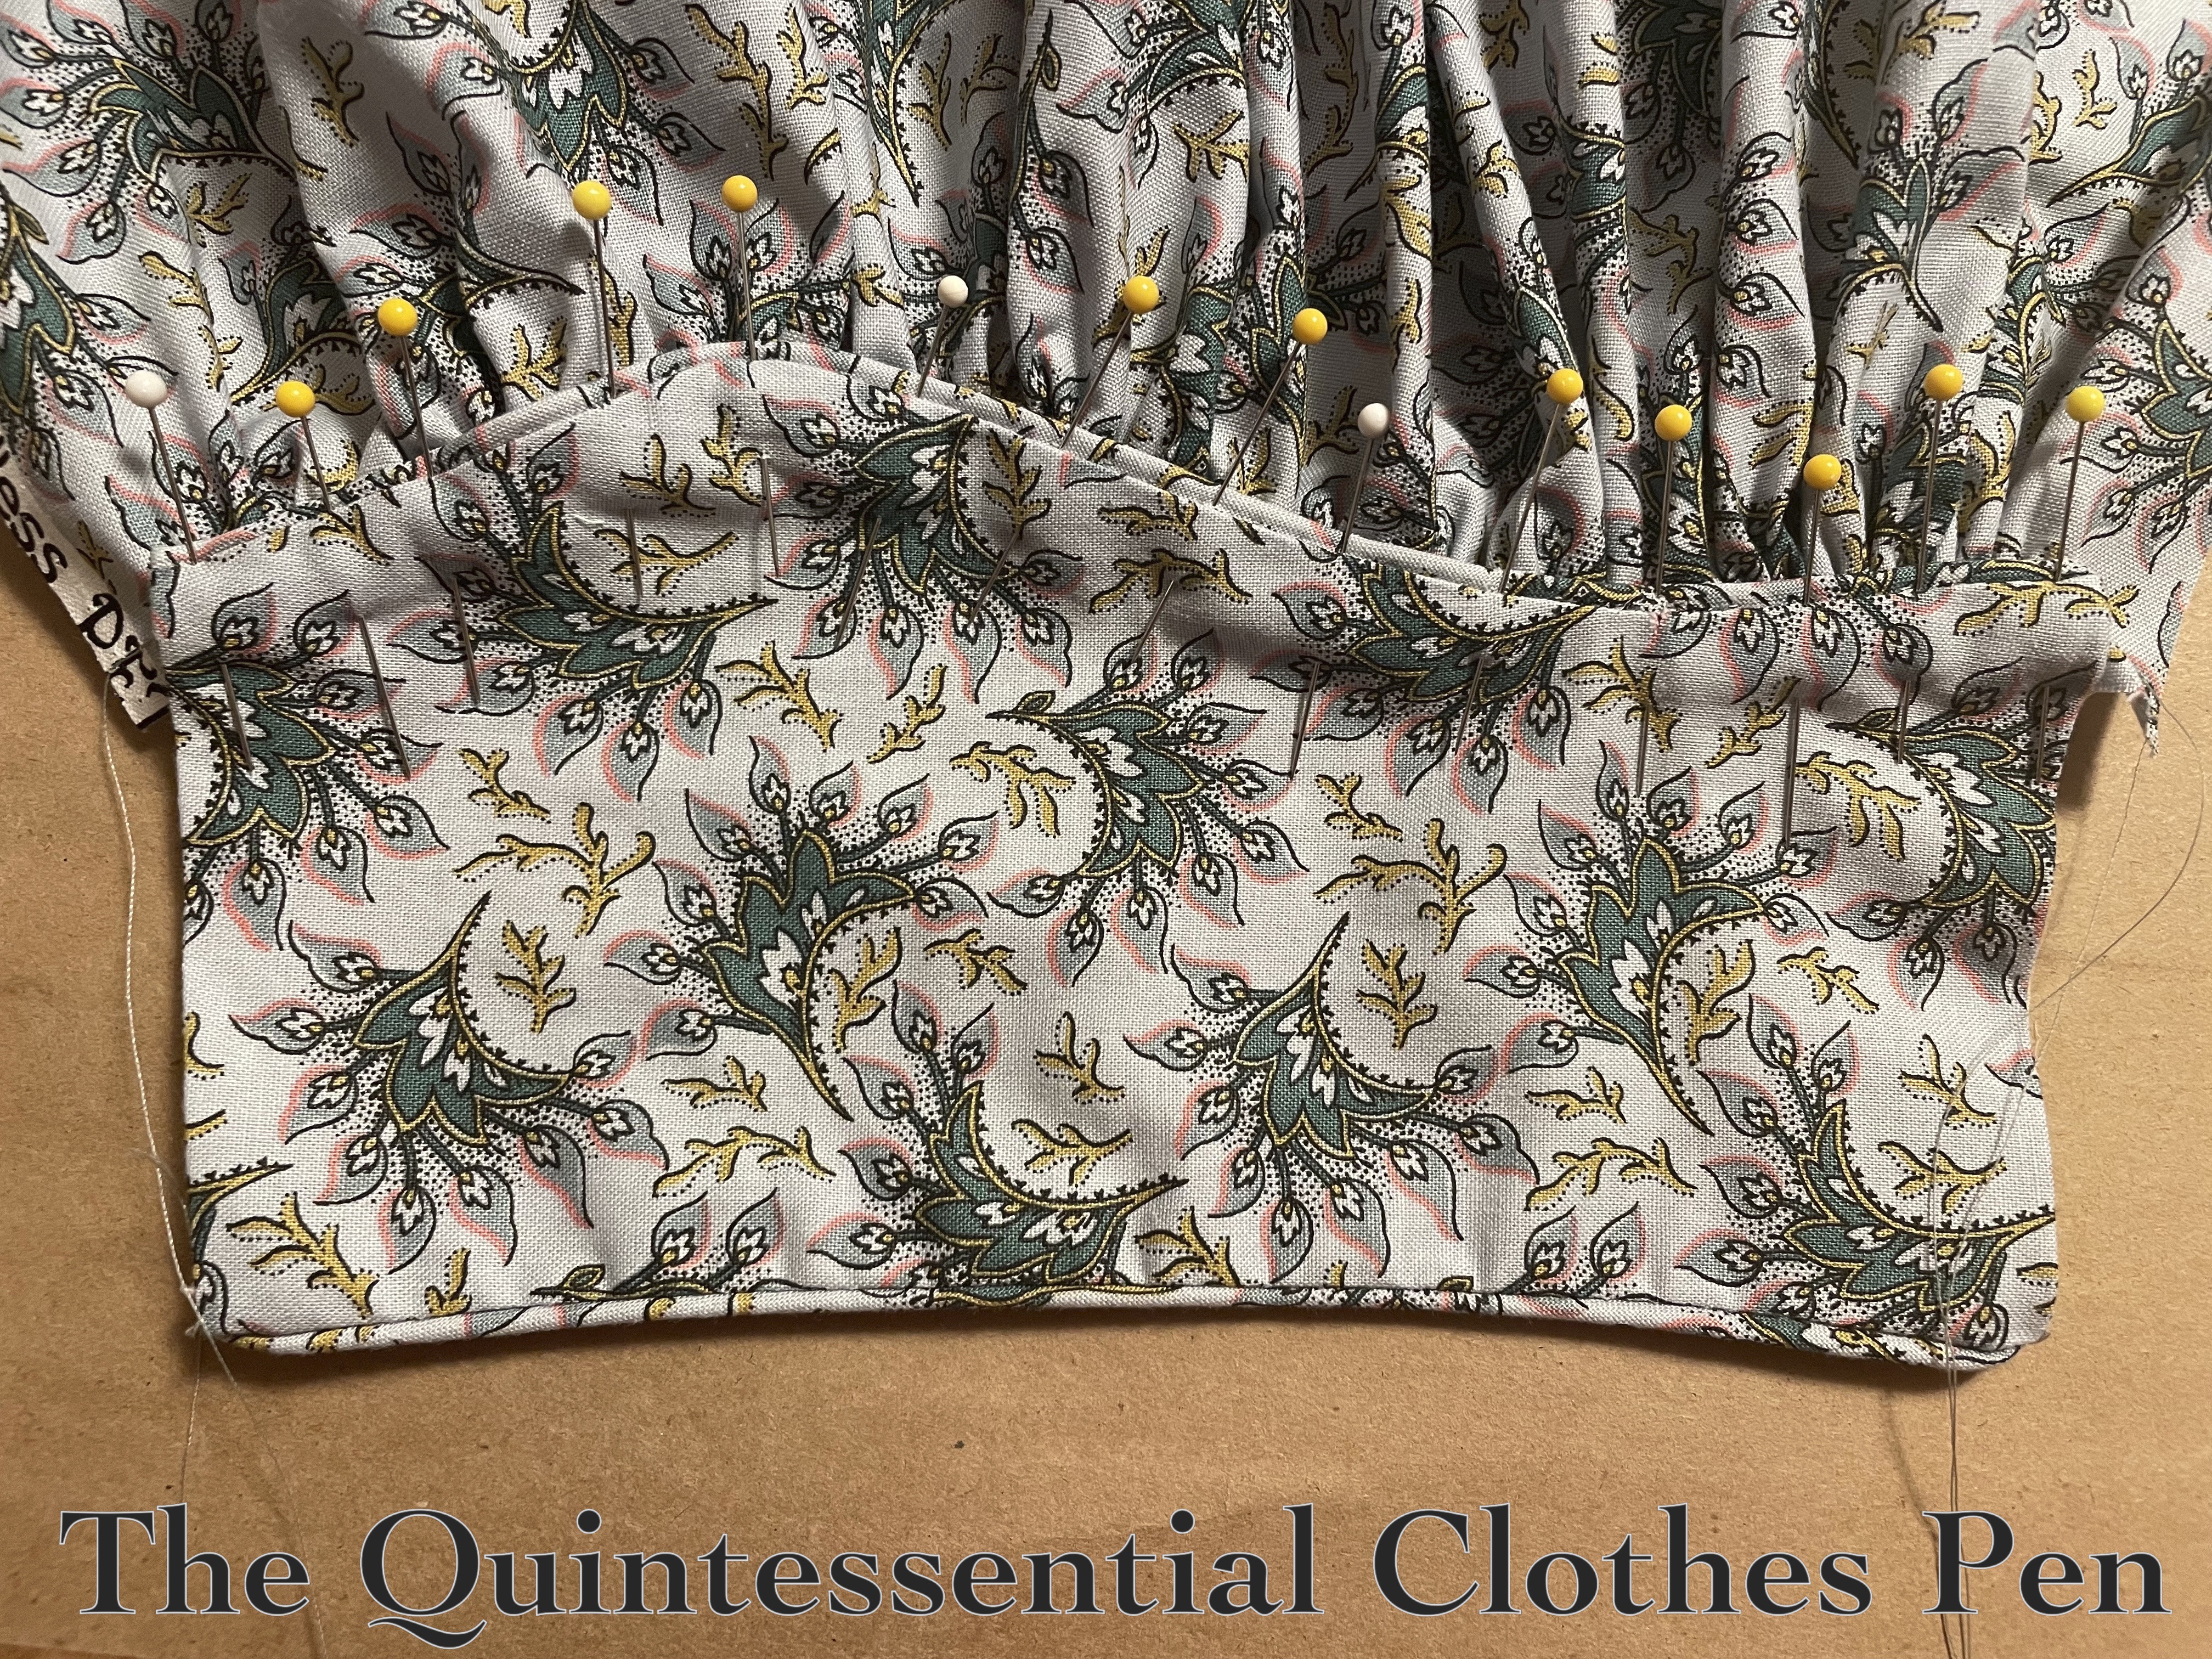
Then the bottoms of the new sleeves were gathered and pinned. I decided to topstitch these by hand in order to keep the nice points and the gathers evenly distributed. I’d realized when I made a mockup sleeve that these details would be way too fiddly to do well on a machine!

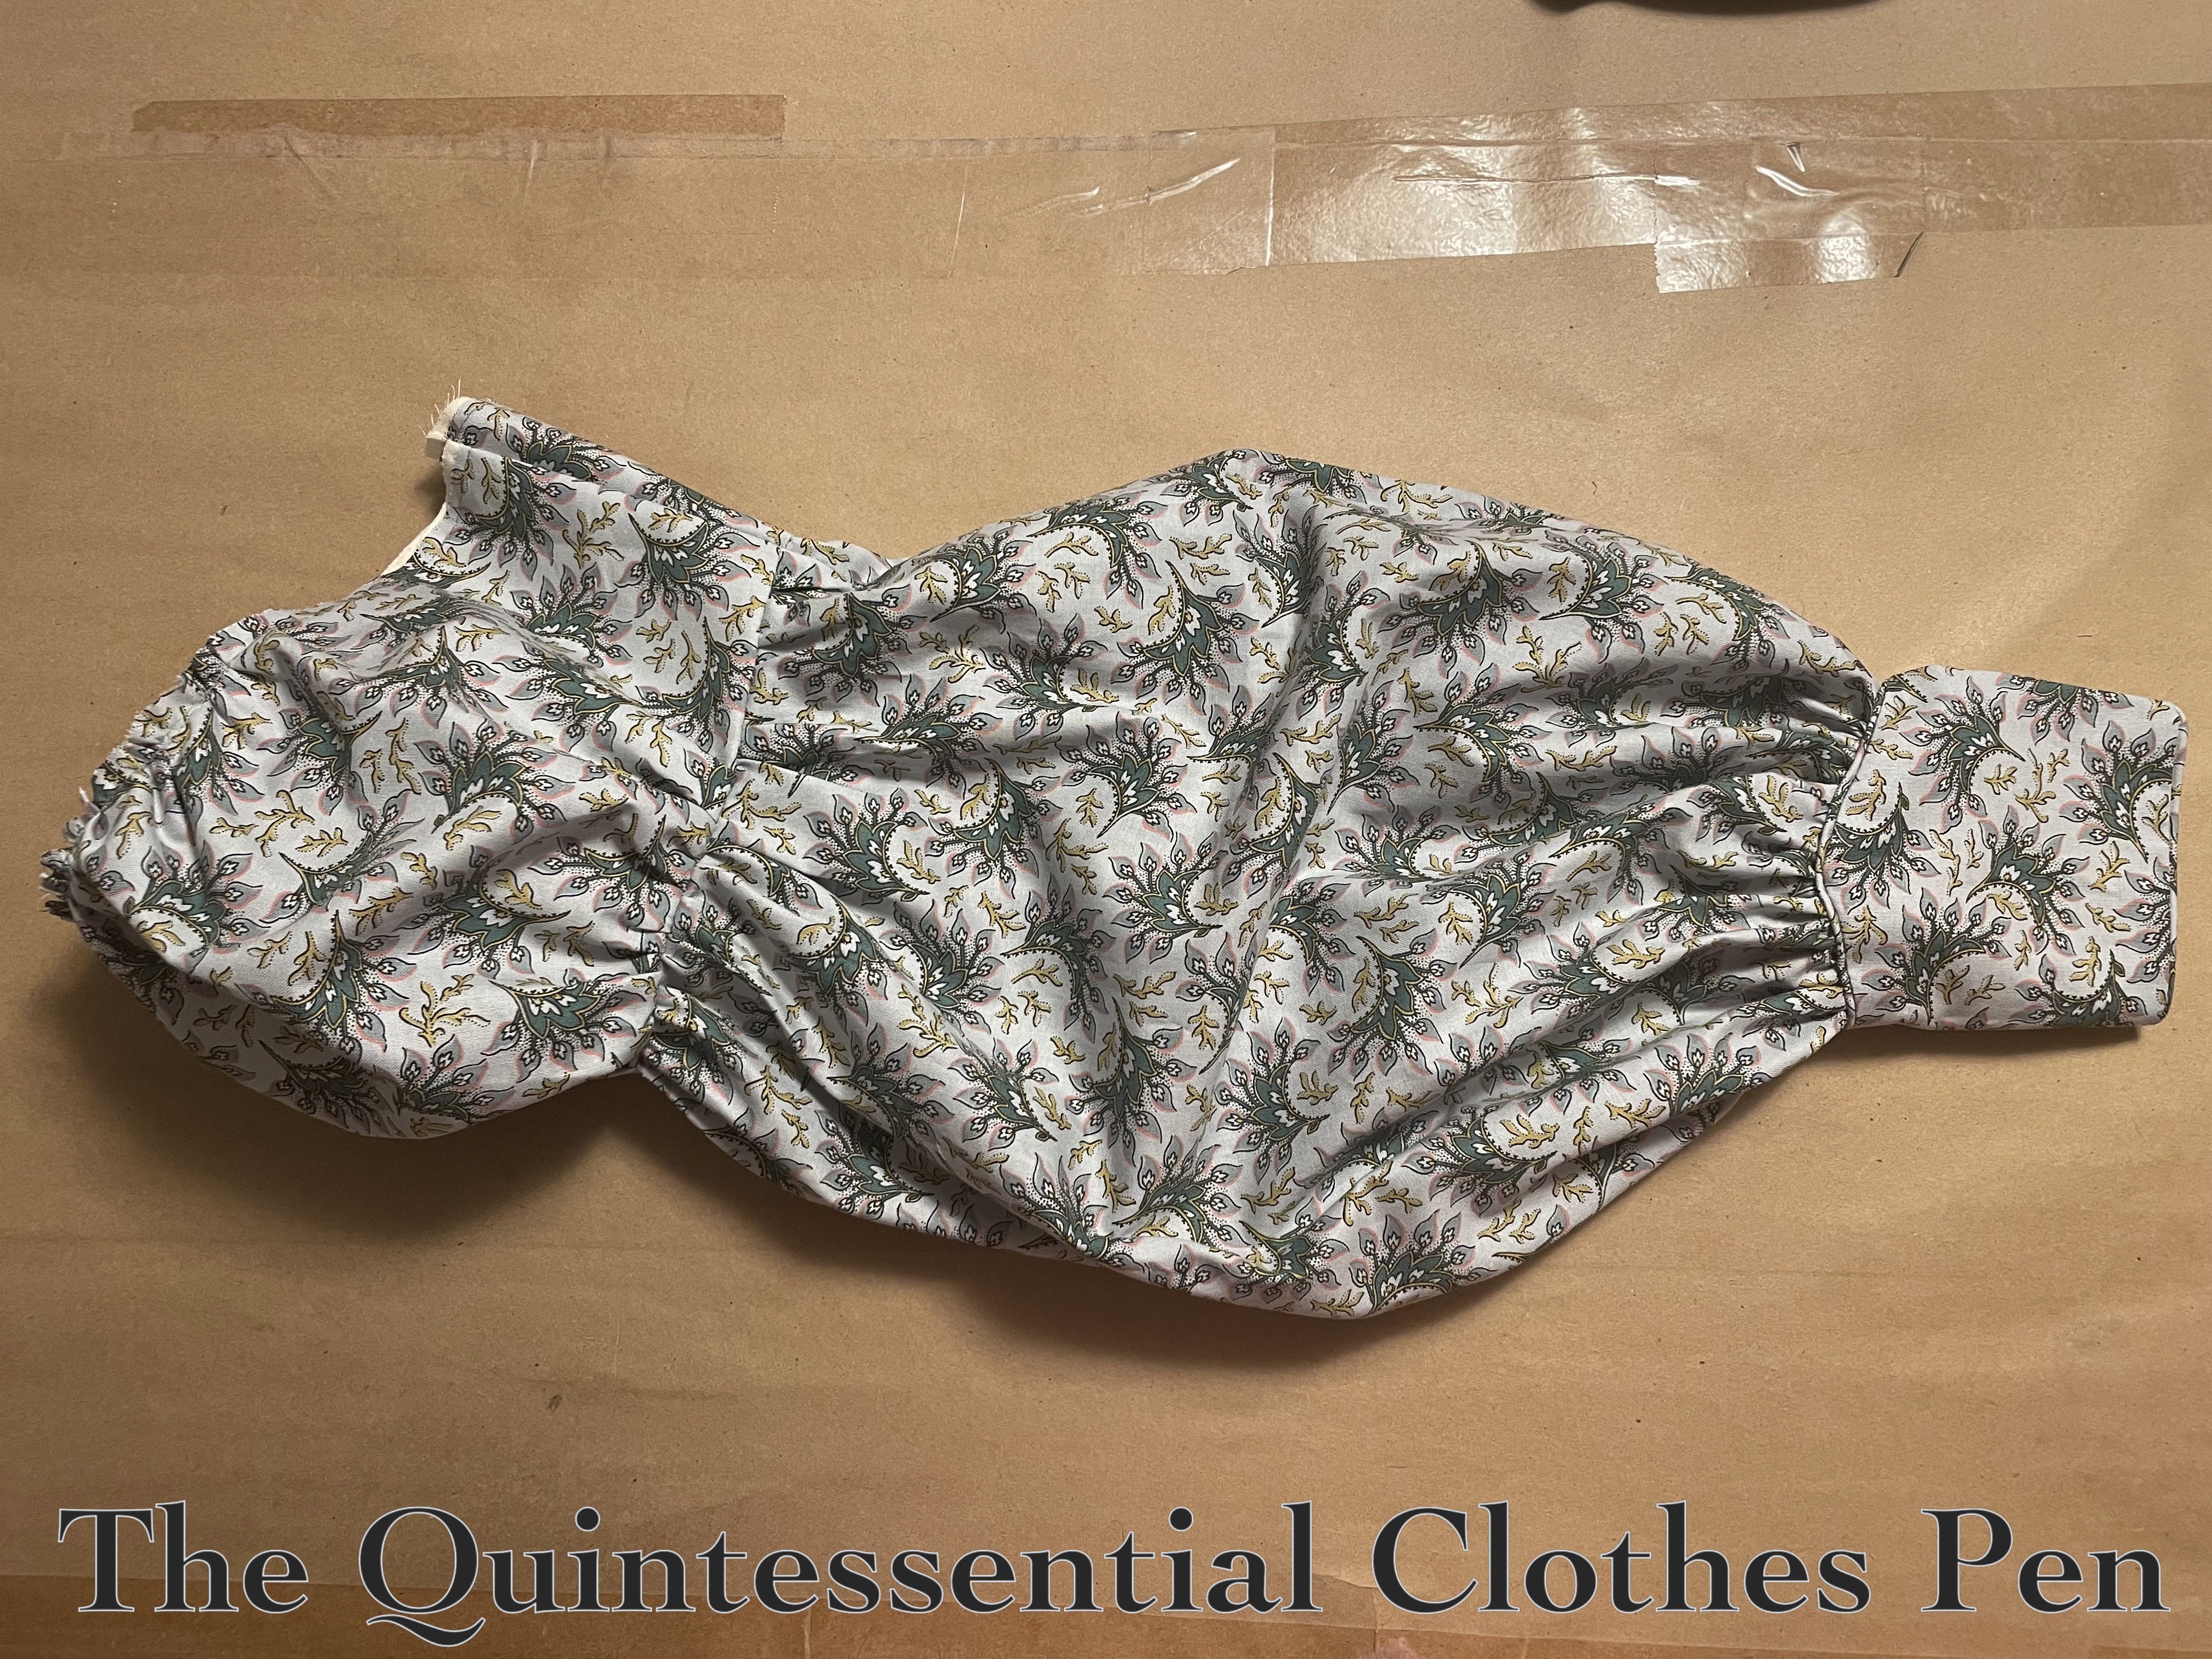
Below is an assembled new sleeve. It looks a bit silly laid flat on a table, but it actually does make sense on an arm!

I had just a few steps left. First, attaching the sleeves to the bodice. Second, adding decorative elements below the top puff. Third, putting closures on the cuffs.

Looking at the fashion plate, it’s unclear exactly what the trim below the top puff of the sleeve is. My eyes perceive it as being the same color as the dress and some form of twist. I thought about this for awhile and decided to go with bulky piping. Instead of the tiny stuff used for bodices, cuffs, etc. I used leftover 5/16″  cotton upholstery cord from decorating projects.

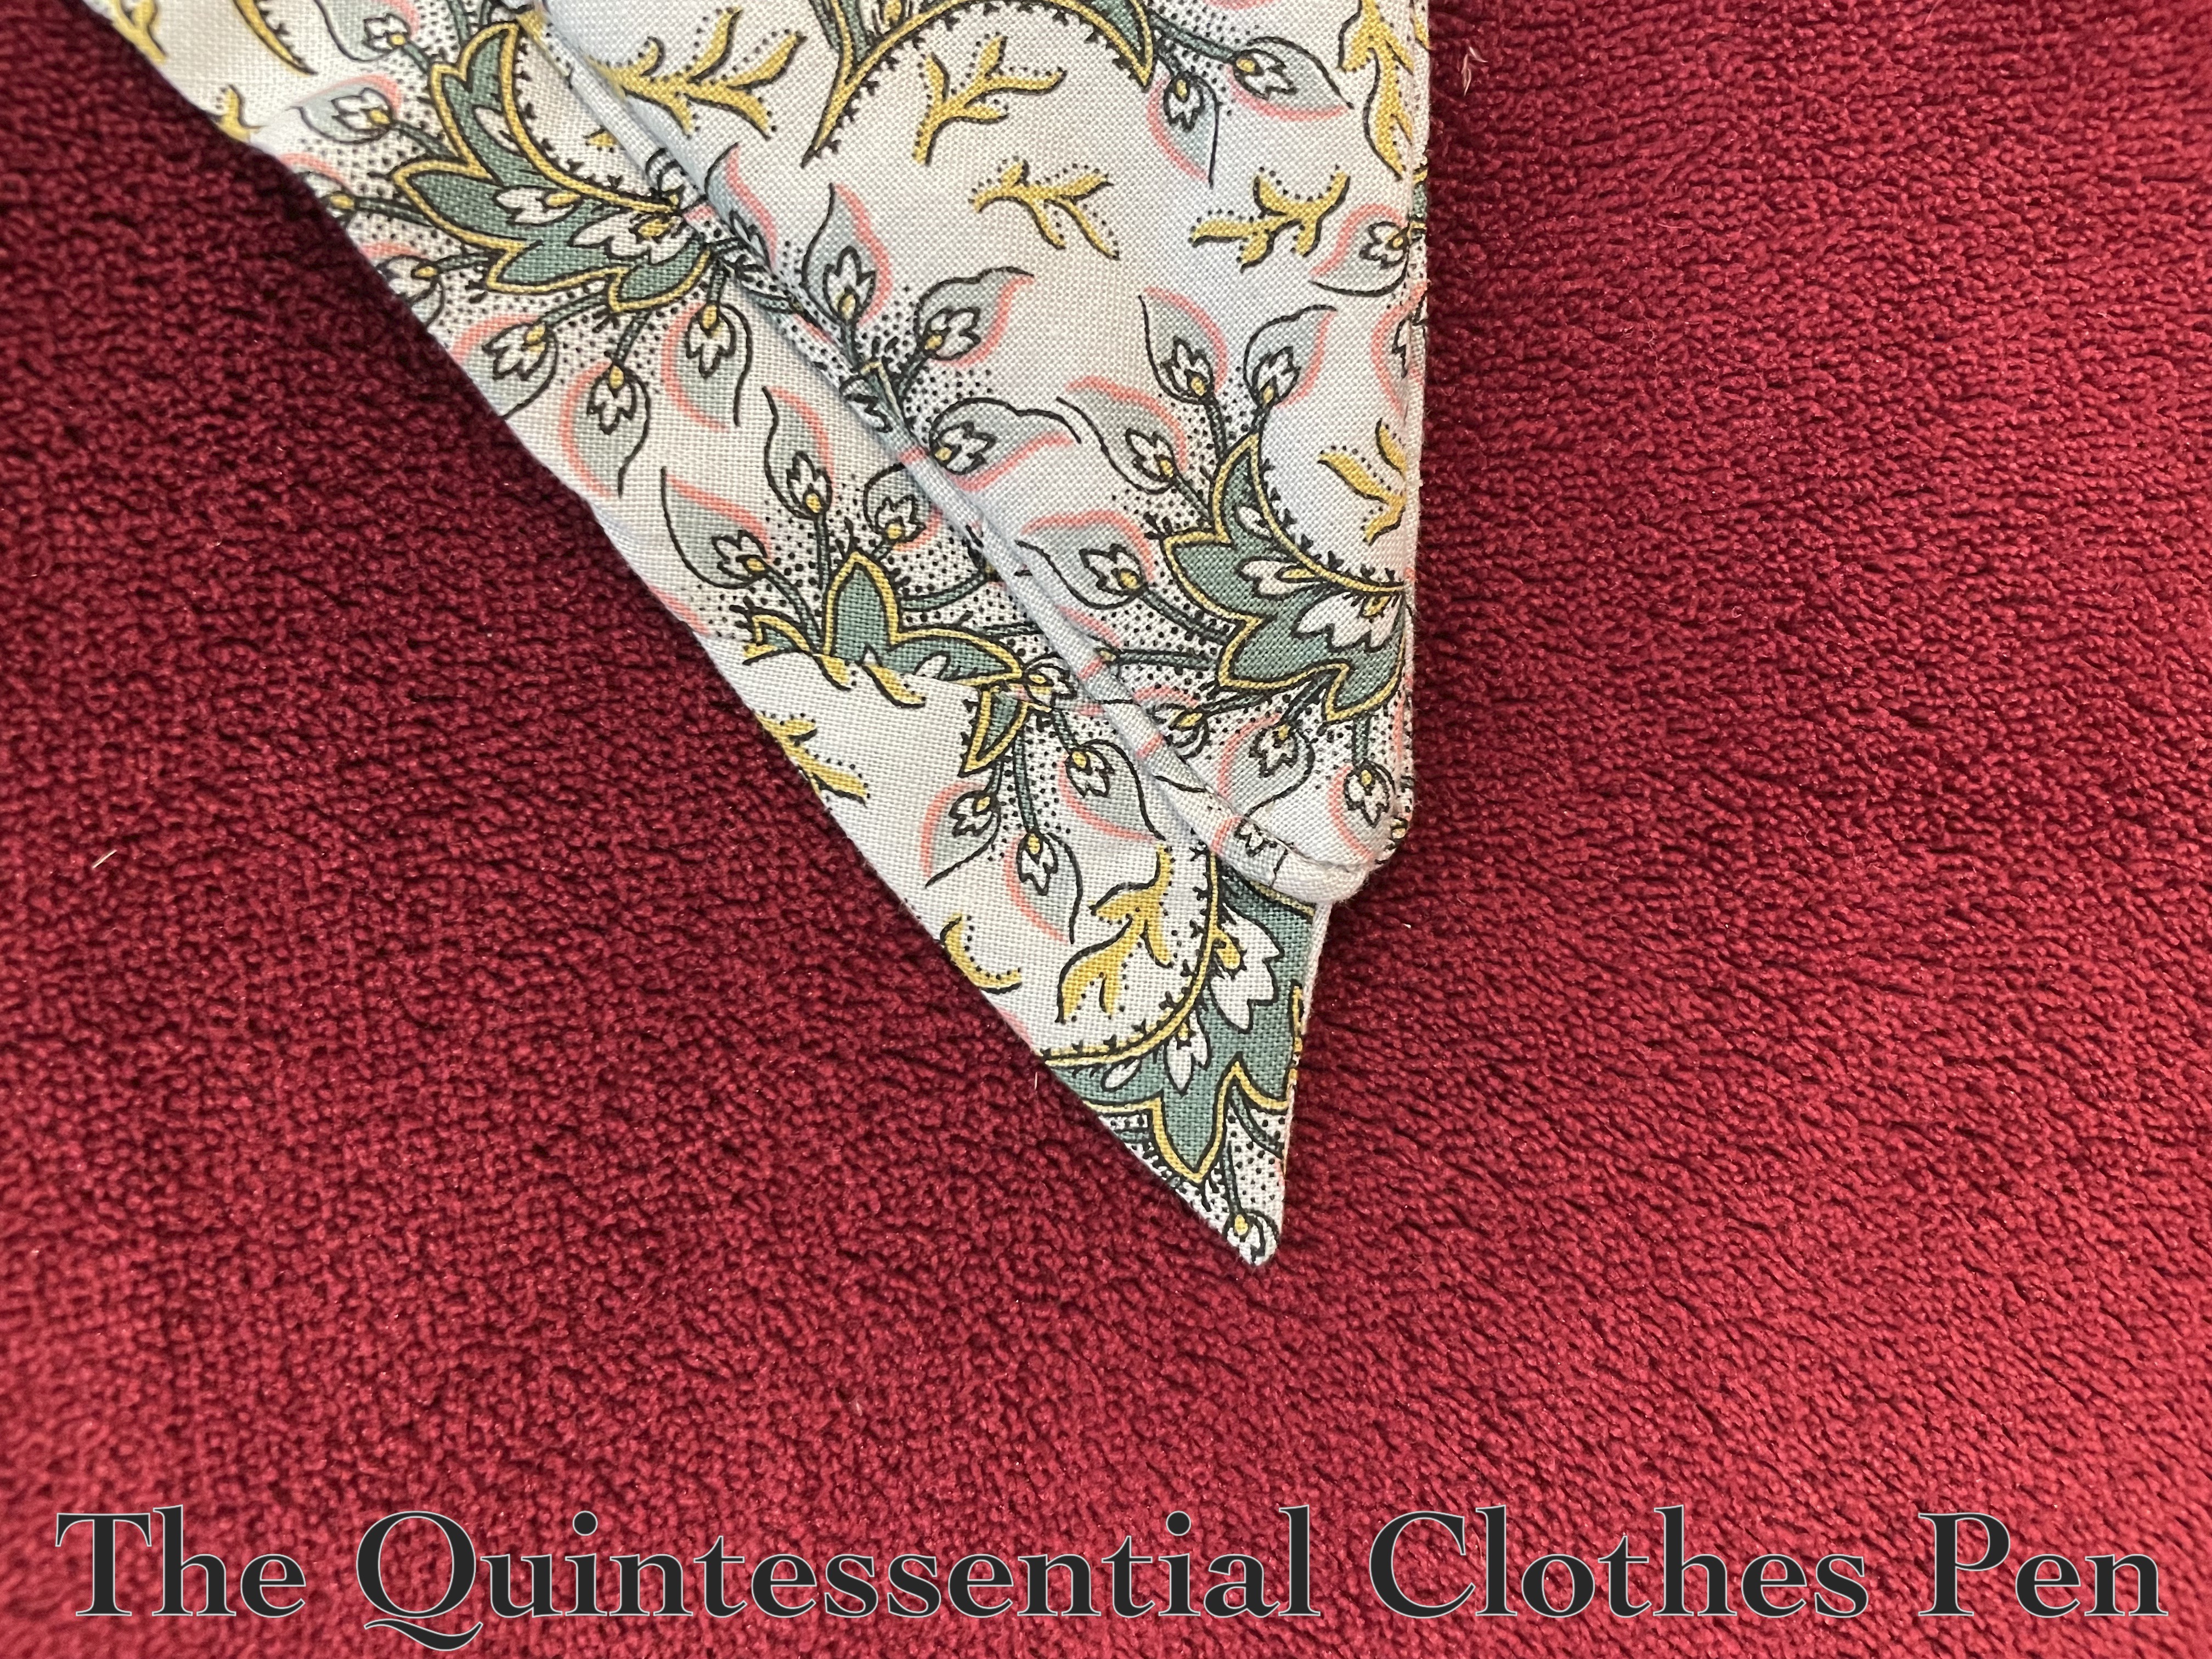
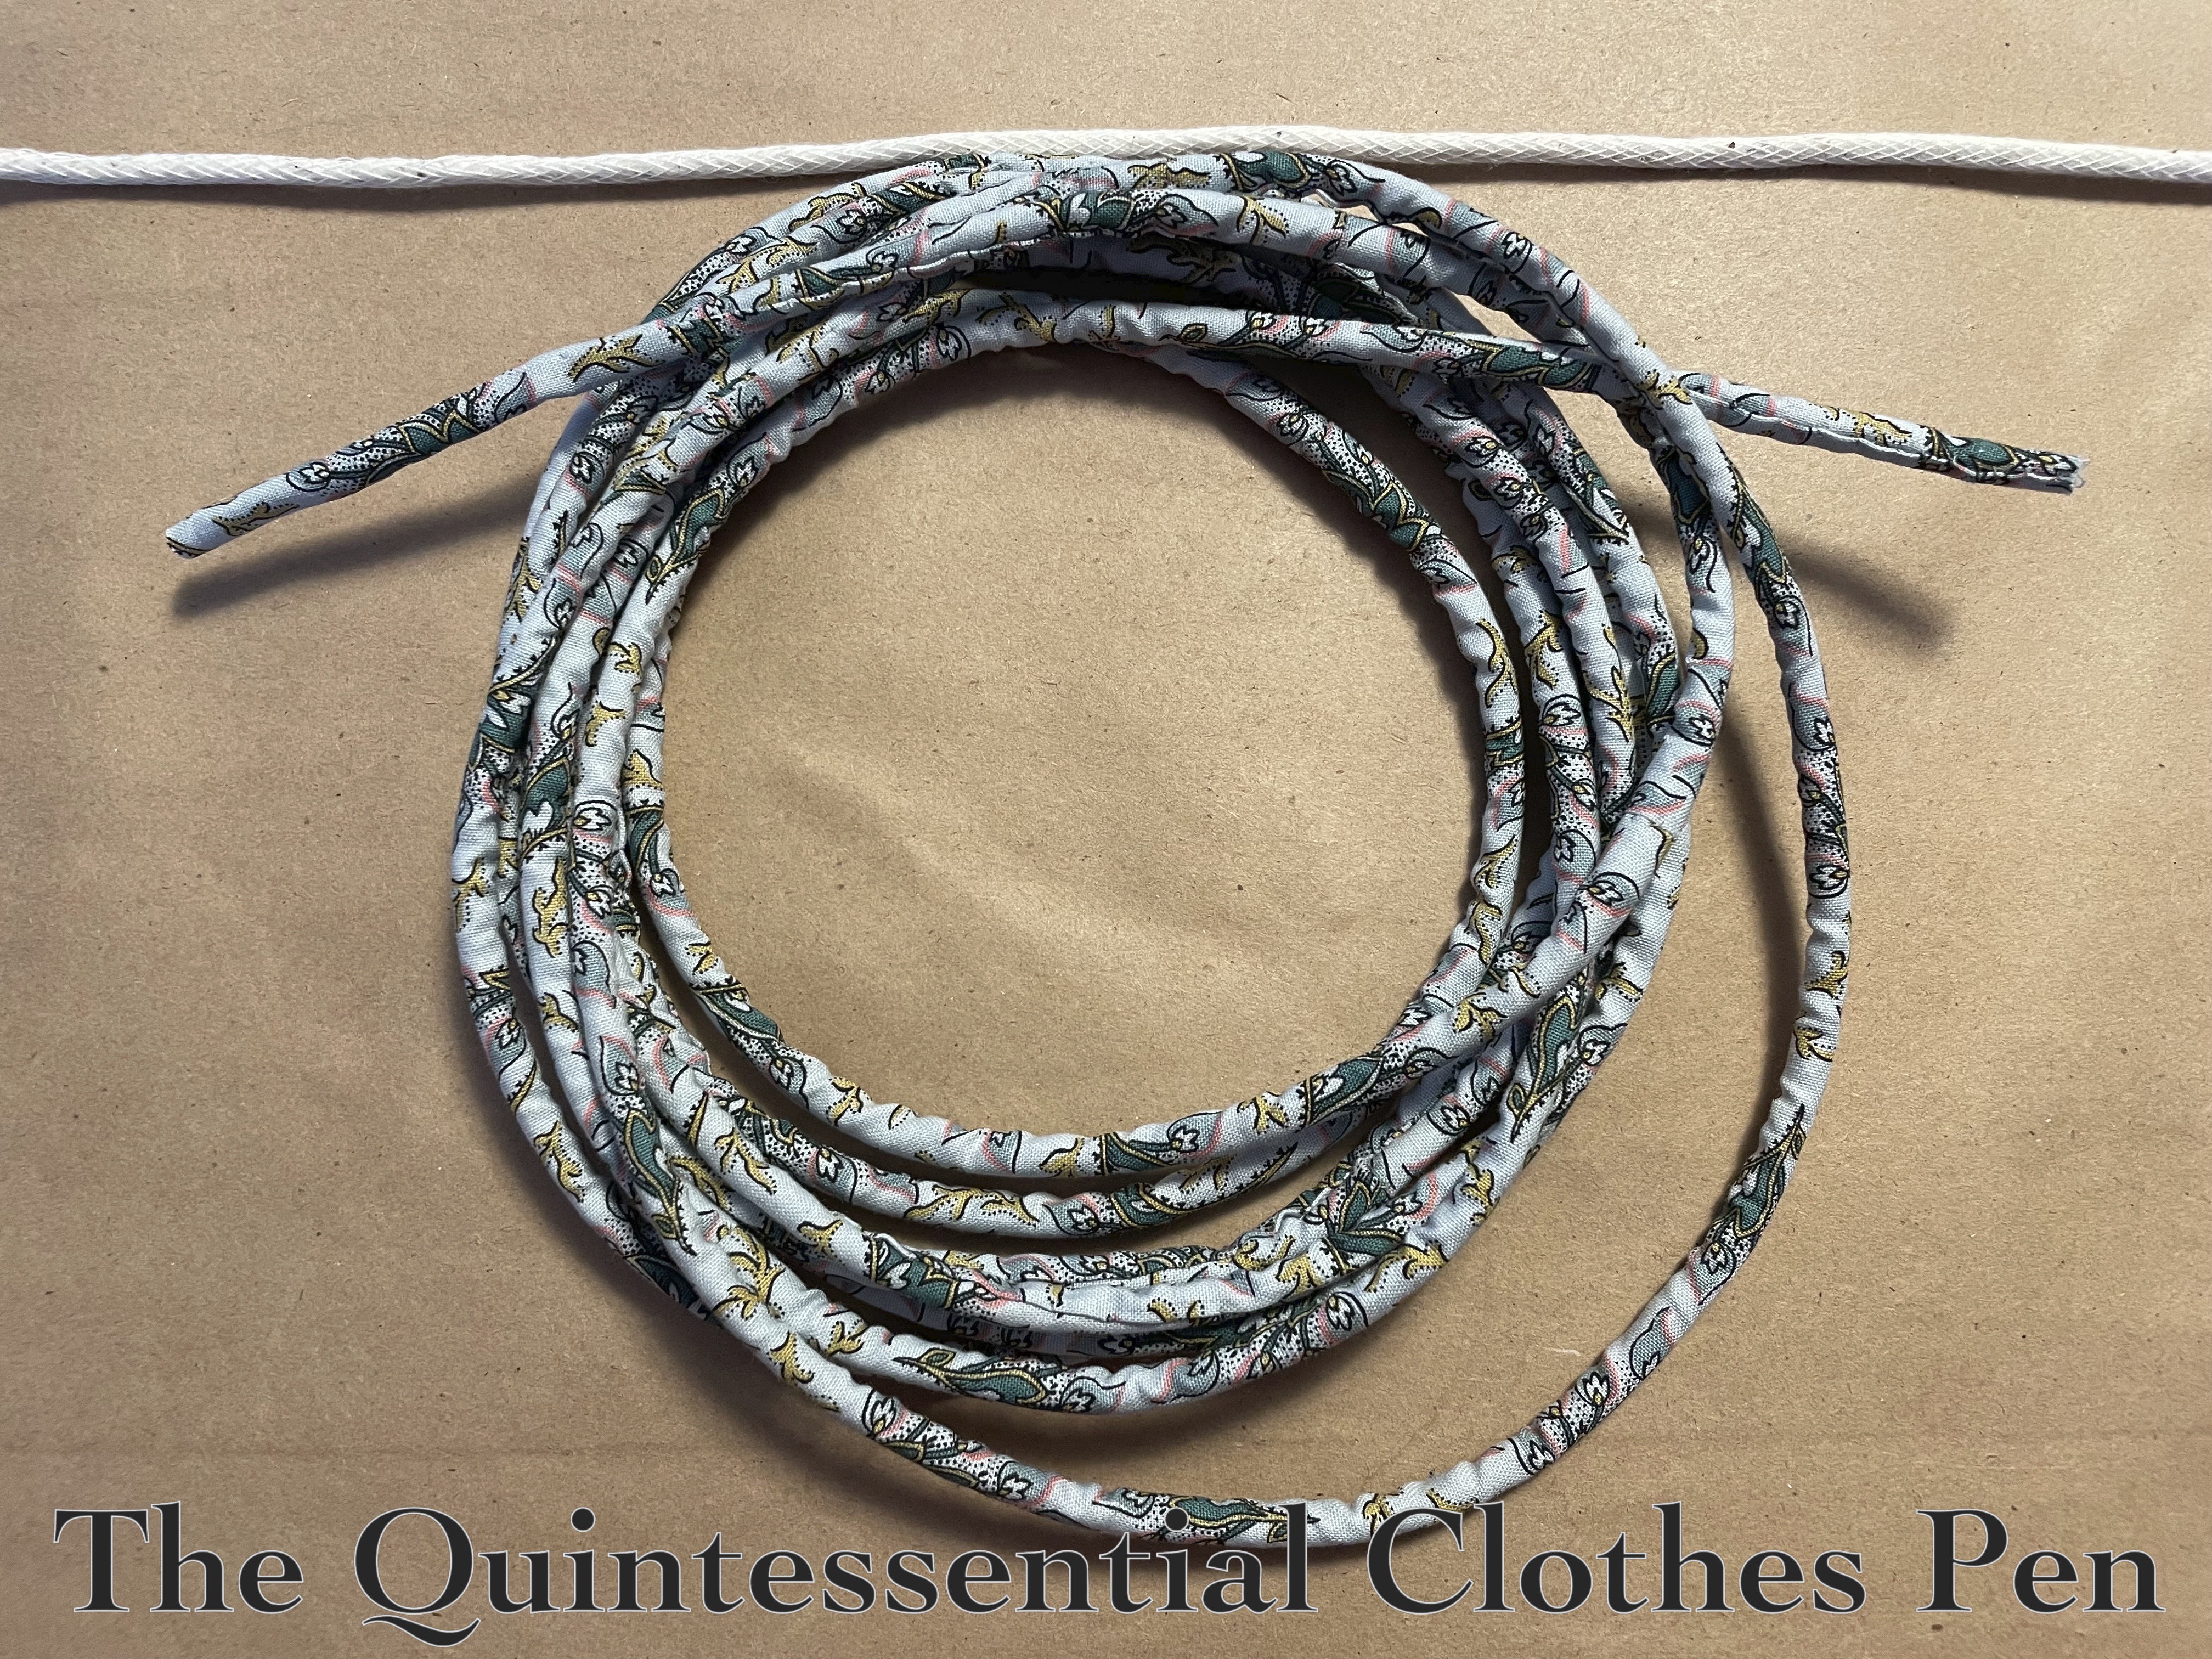
I pieced together some rectangular scraps of the blue cotton, pressed one long edge under, and then wrapped it around the cord and whip stitched it in place. A bit tedious, but sometimes a good repetitive project with no thinking is just the thing. Below is a photo of the finished covered cord, as well as the uncovered cord across the top of the image, to show what is inside.

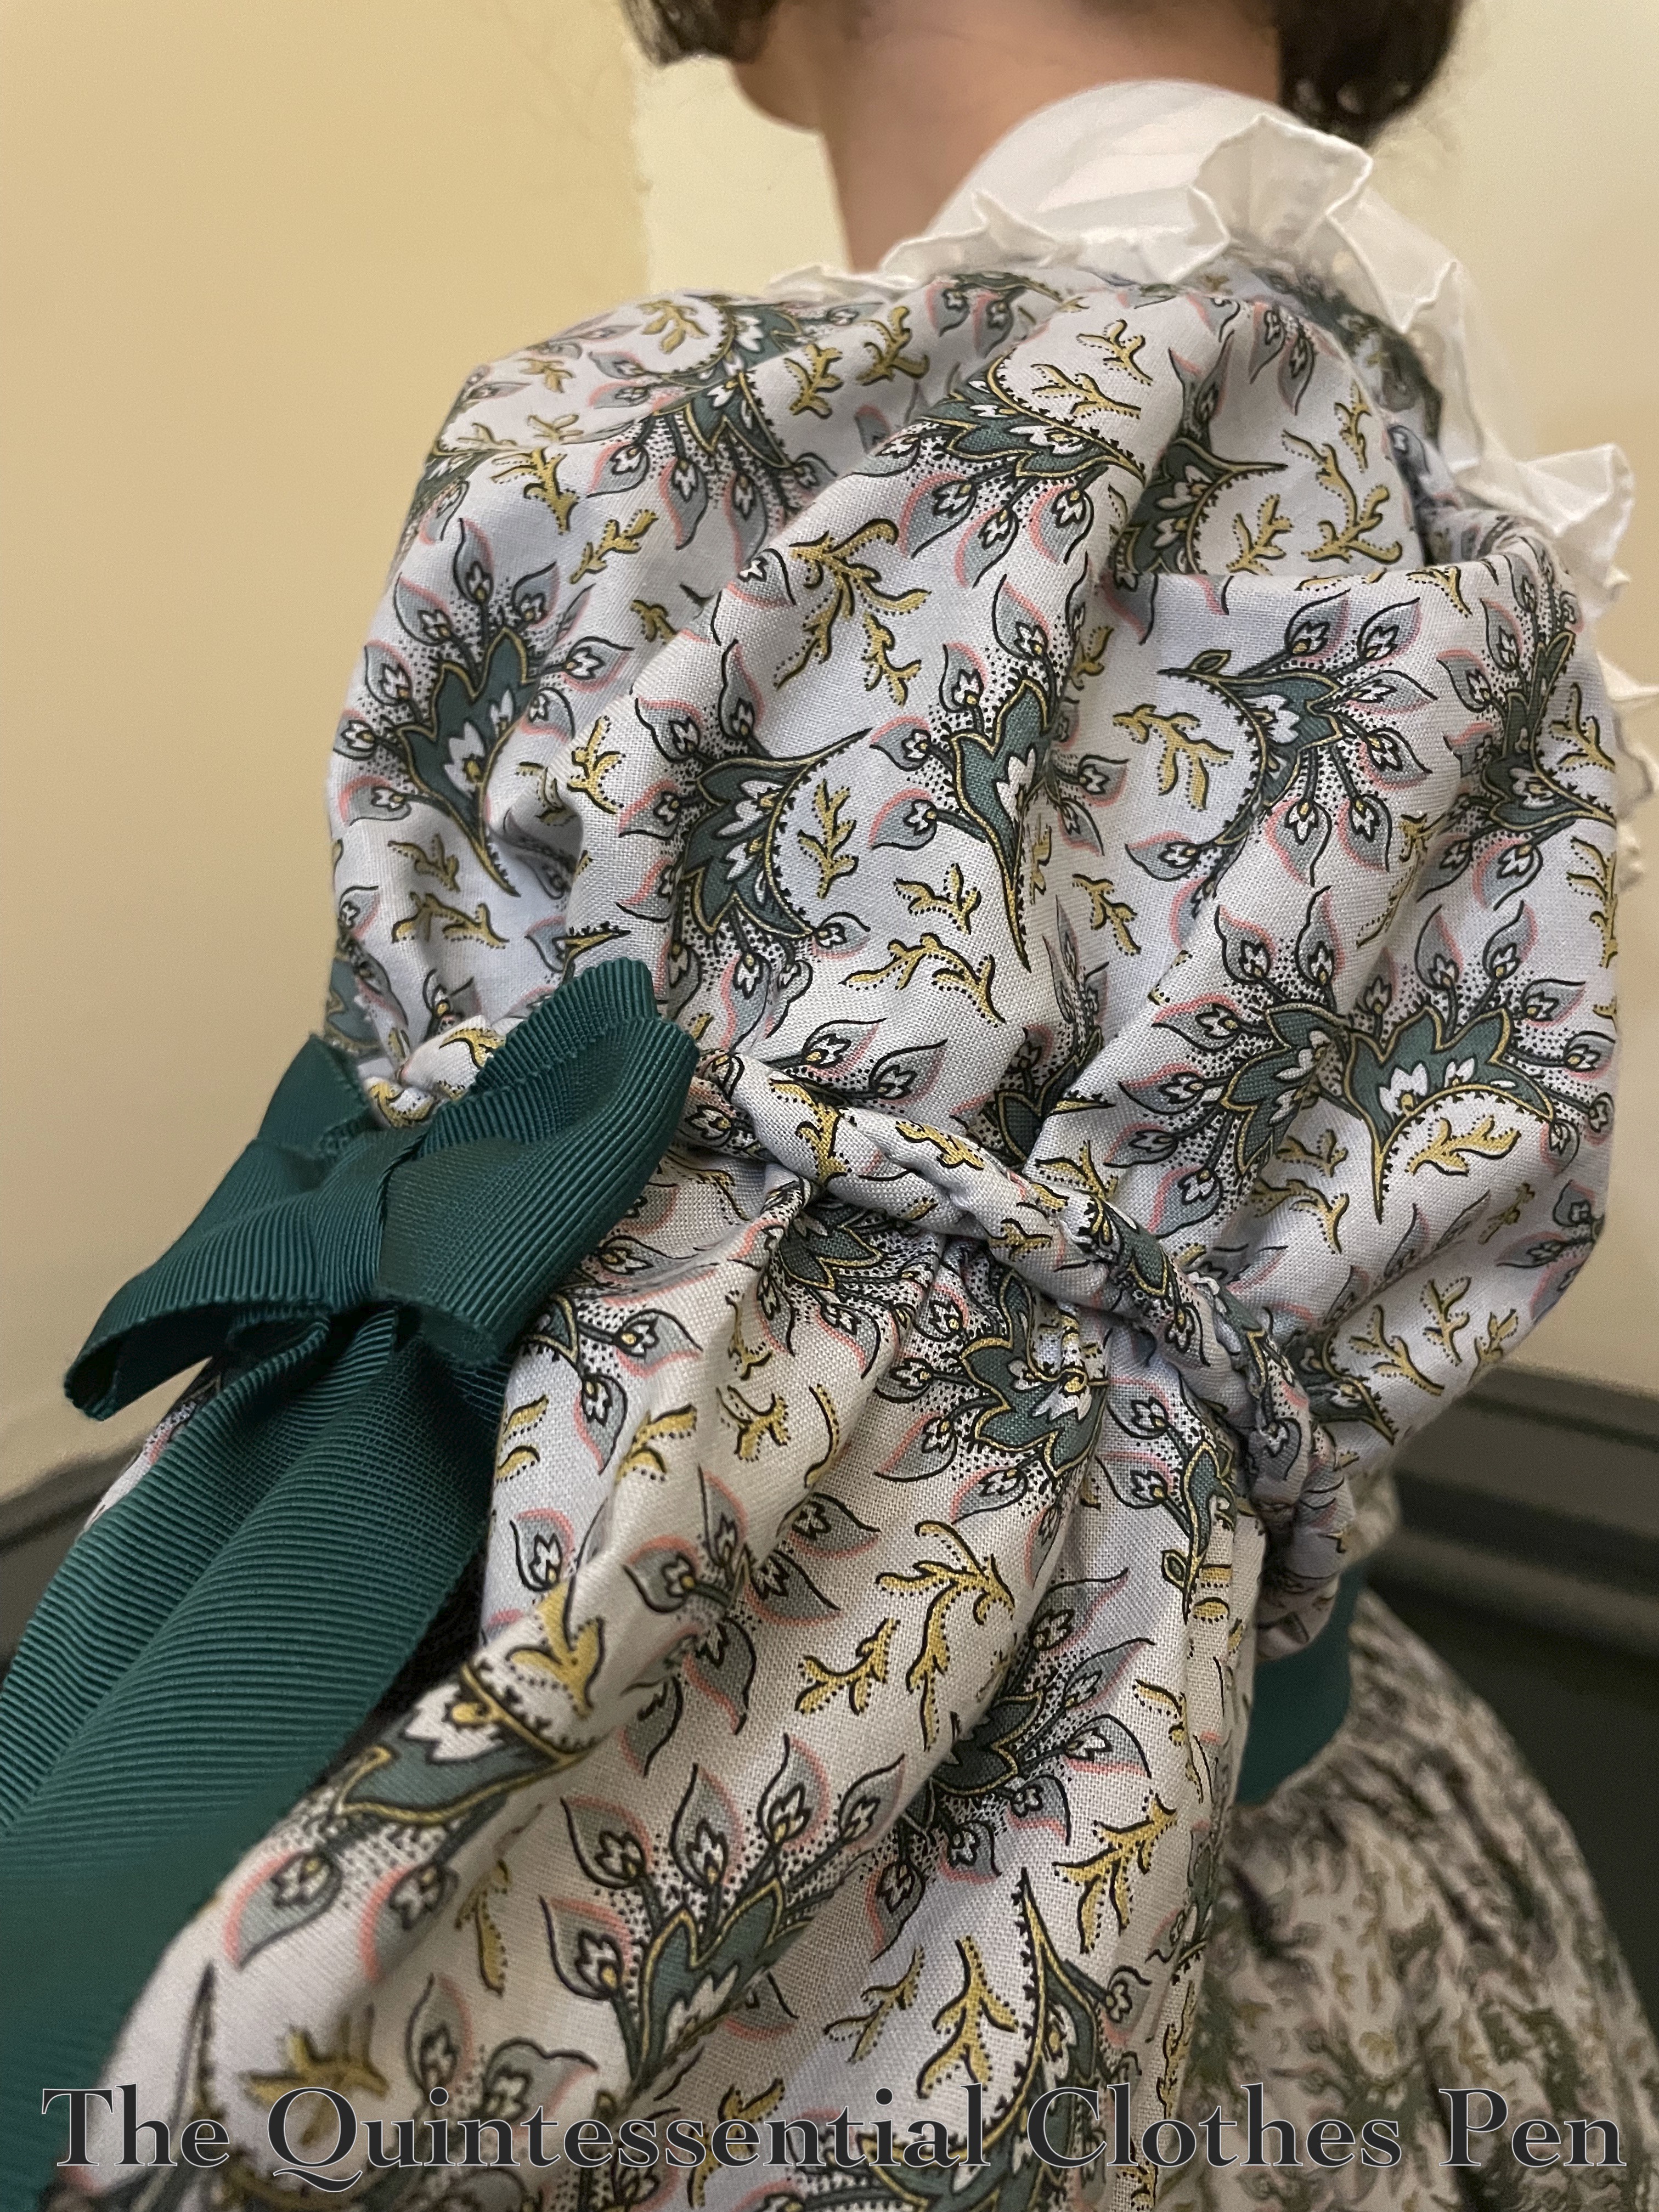
After finishing the cord, I started from both ends to make a twist that would wrap around the sleeve. I just eyeballed it while pinning the cord in place and then hand stitched it to the dress from the underside, creating a floating twist effect.

Being matching fabric to the dress, it is a detail that blends from a distance, but up close adds a subtle level of detail to the dress.

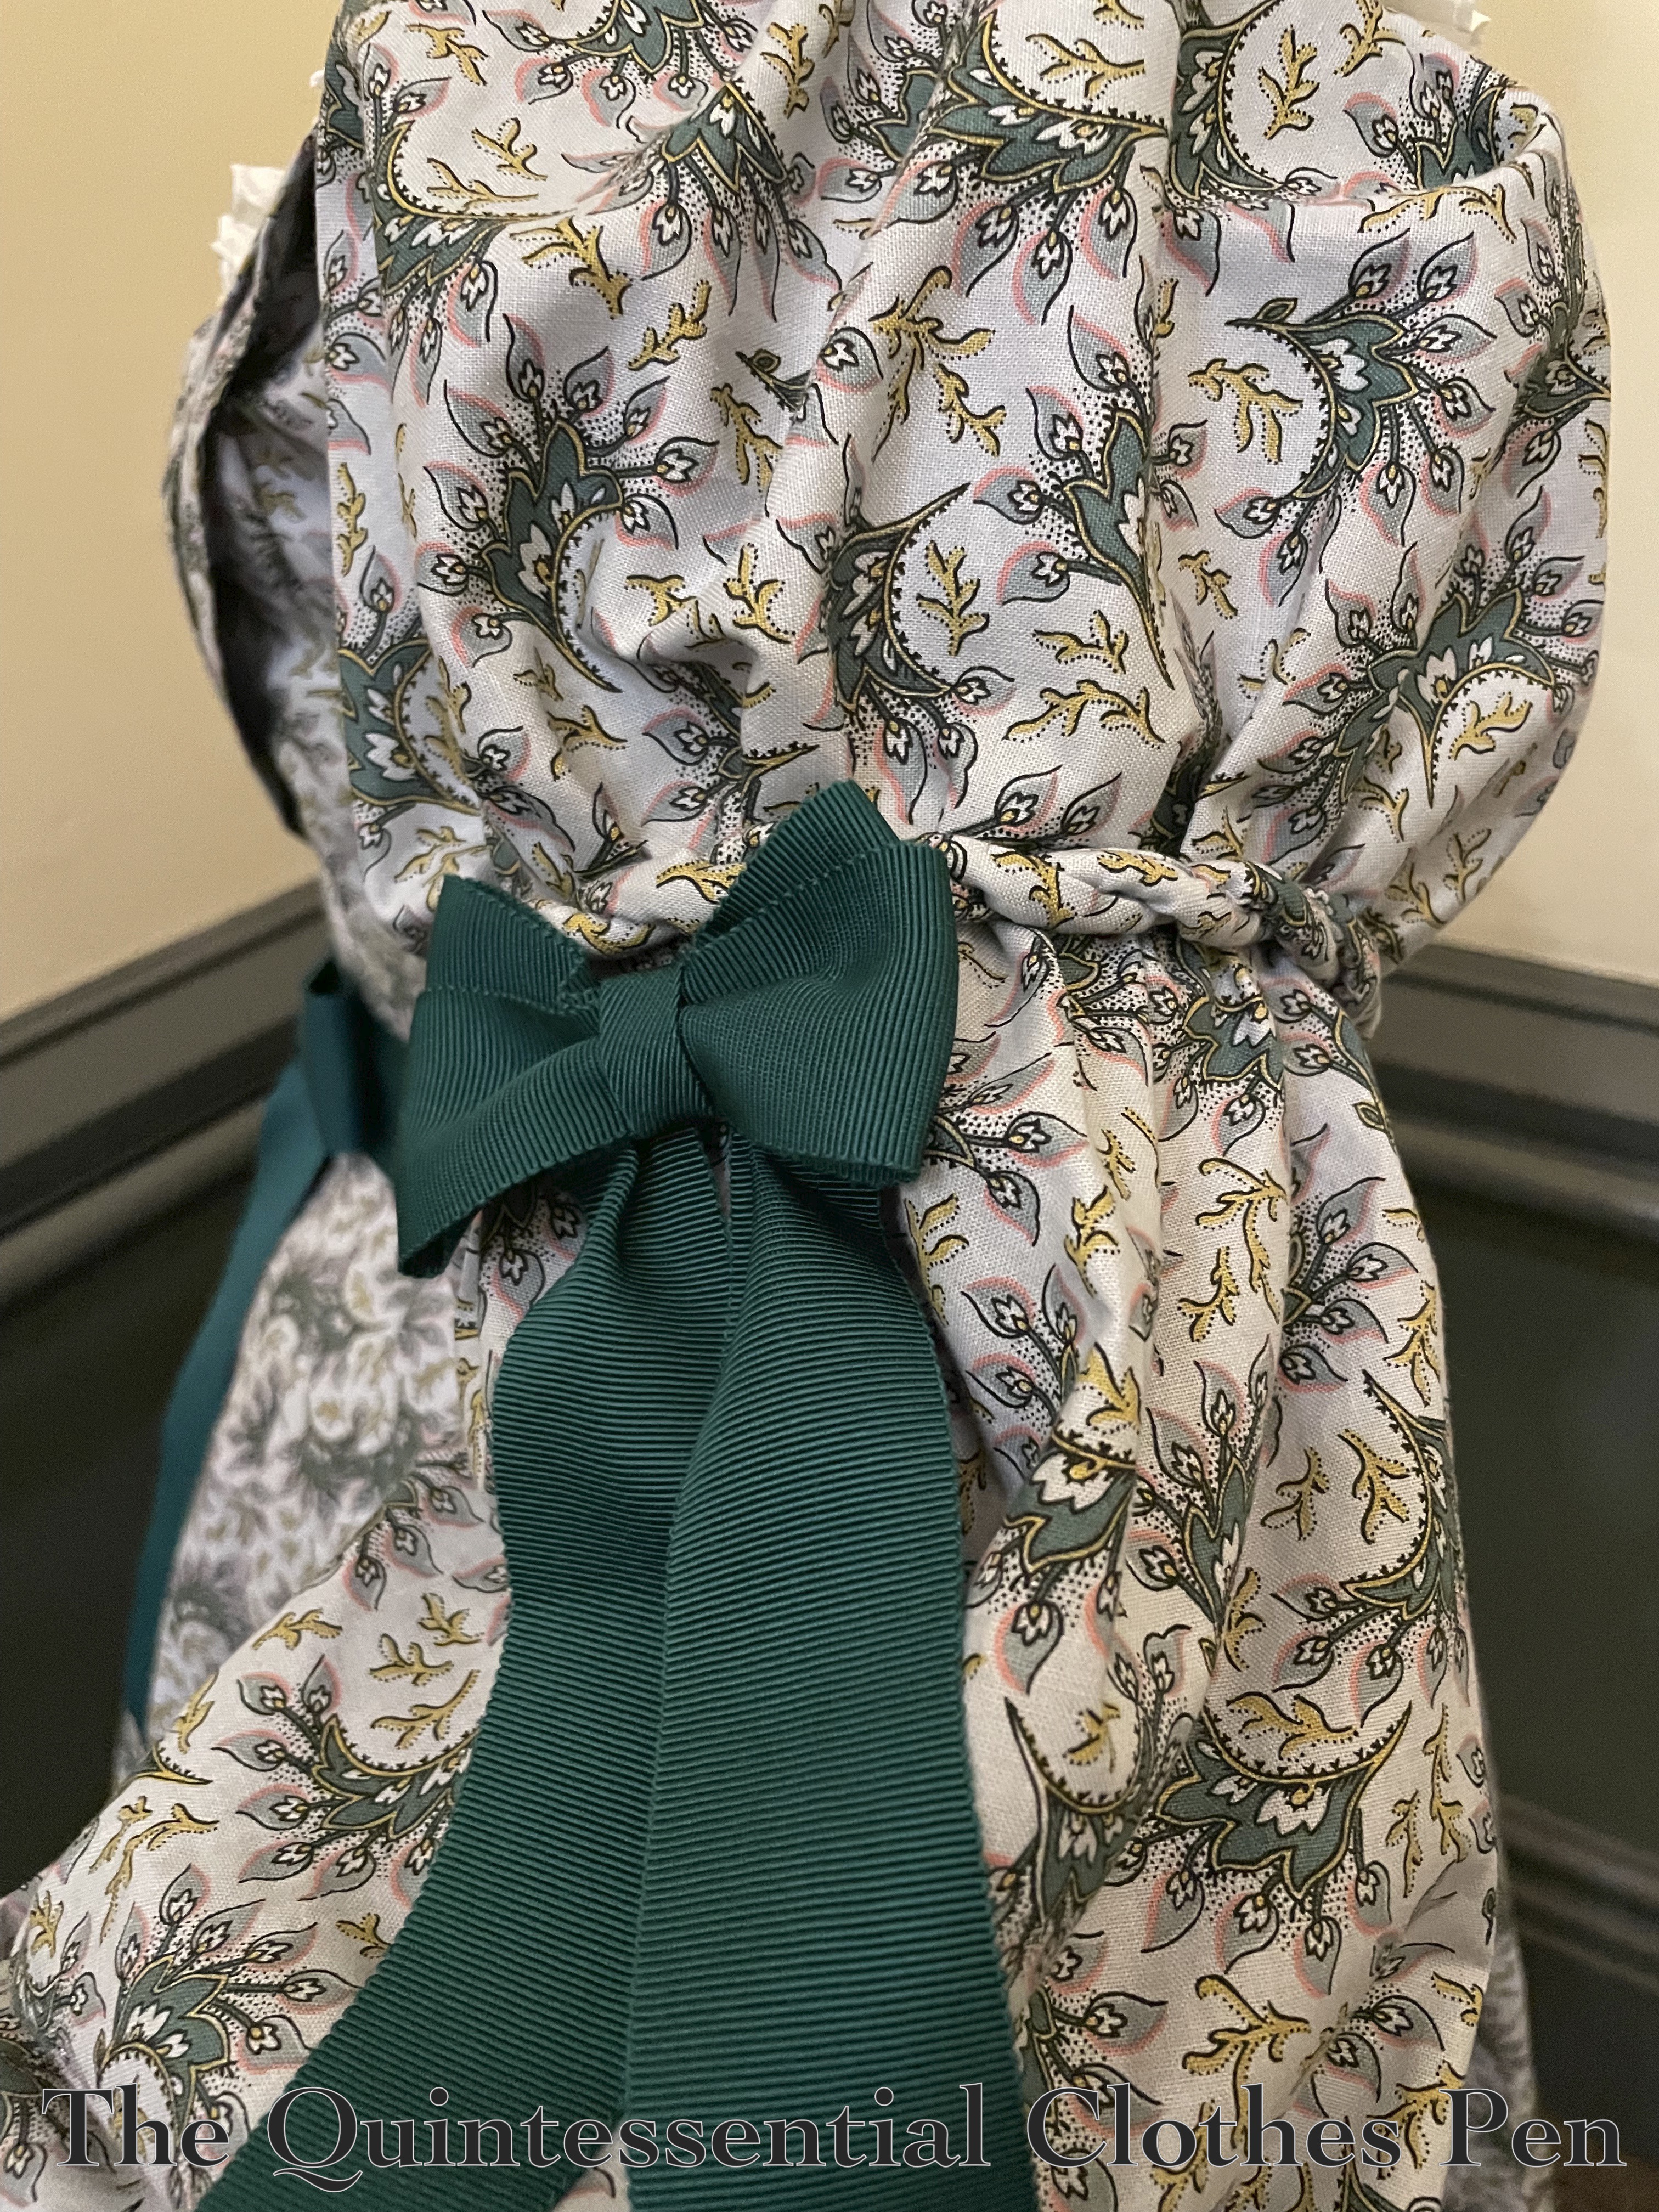
You’ll also notice that I added green grosgrain ribbon bows to the sleeves, as well! This is something that was directly inspired by the fashion plate. I’d bought this ribbon in 2021 when the first of my 1830s cotton print dress adventures began and it had been sitting and patiently waiting for me to finally get around to finishing this dress ever since!

One bow puff didn’t quite look like what I wanted for the sleeves, though I liked the single width of ribbon for the hanging ties. So I added another puff to the horizontal section of the bow to make it appear a little more robust. Scraps of ribbon were used to make the bow centers, as I used up every single inch of ribbon I’d purchased!

After so many years of low level annoyance at this unfinished dress, it is extra exciting to finally have it finished, actually feel pleased with the results, and have been able to wear it! I’ll share more photos of the entire dress in its finished state next time.

A Windy Summer Adventure

I am super belated in posting about this event, but the one benefit of being so slow is that we’ve come full circle back to the appropriate season for these photos! I hope you enjoy recalling this lovely walk with me.

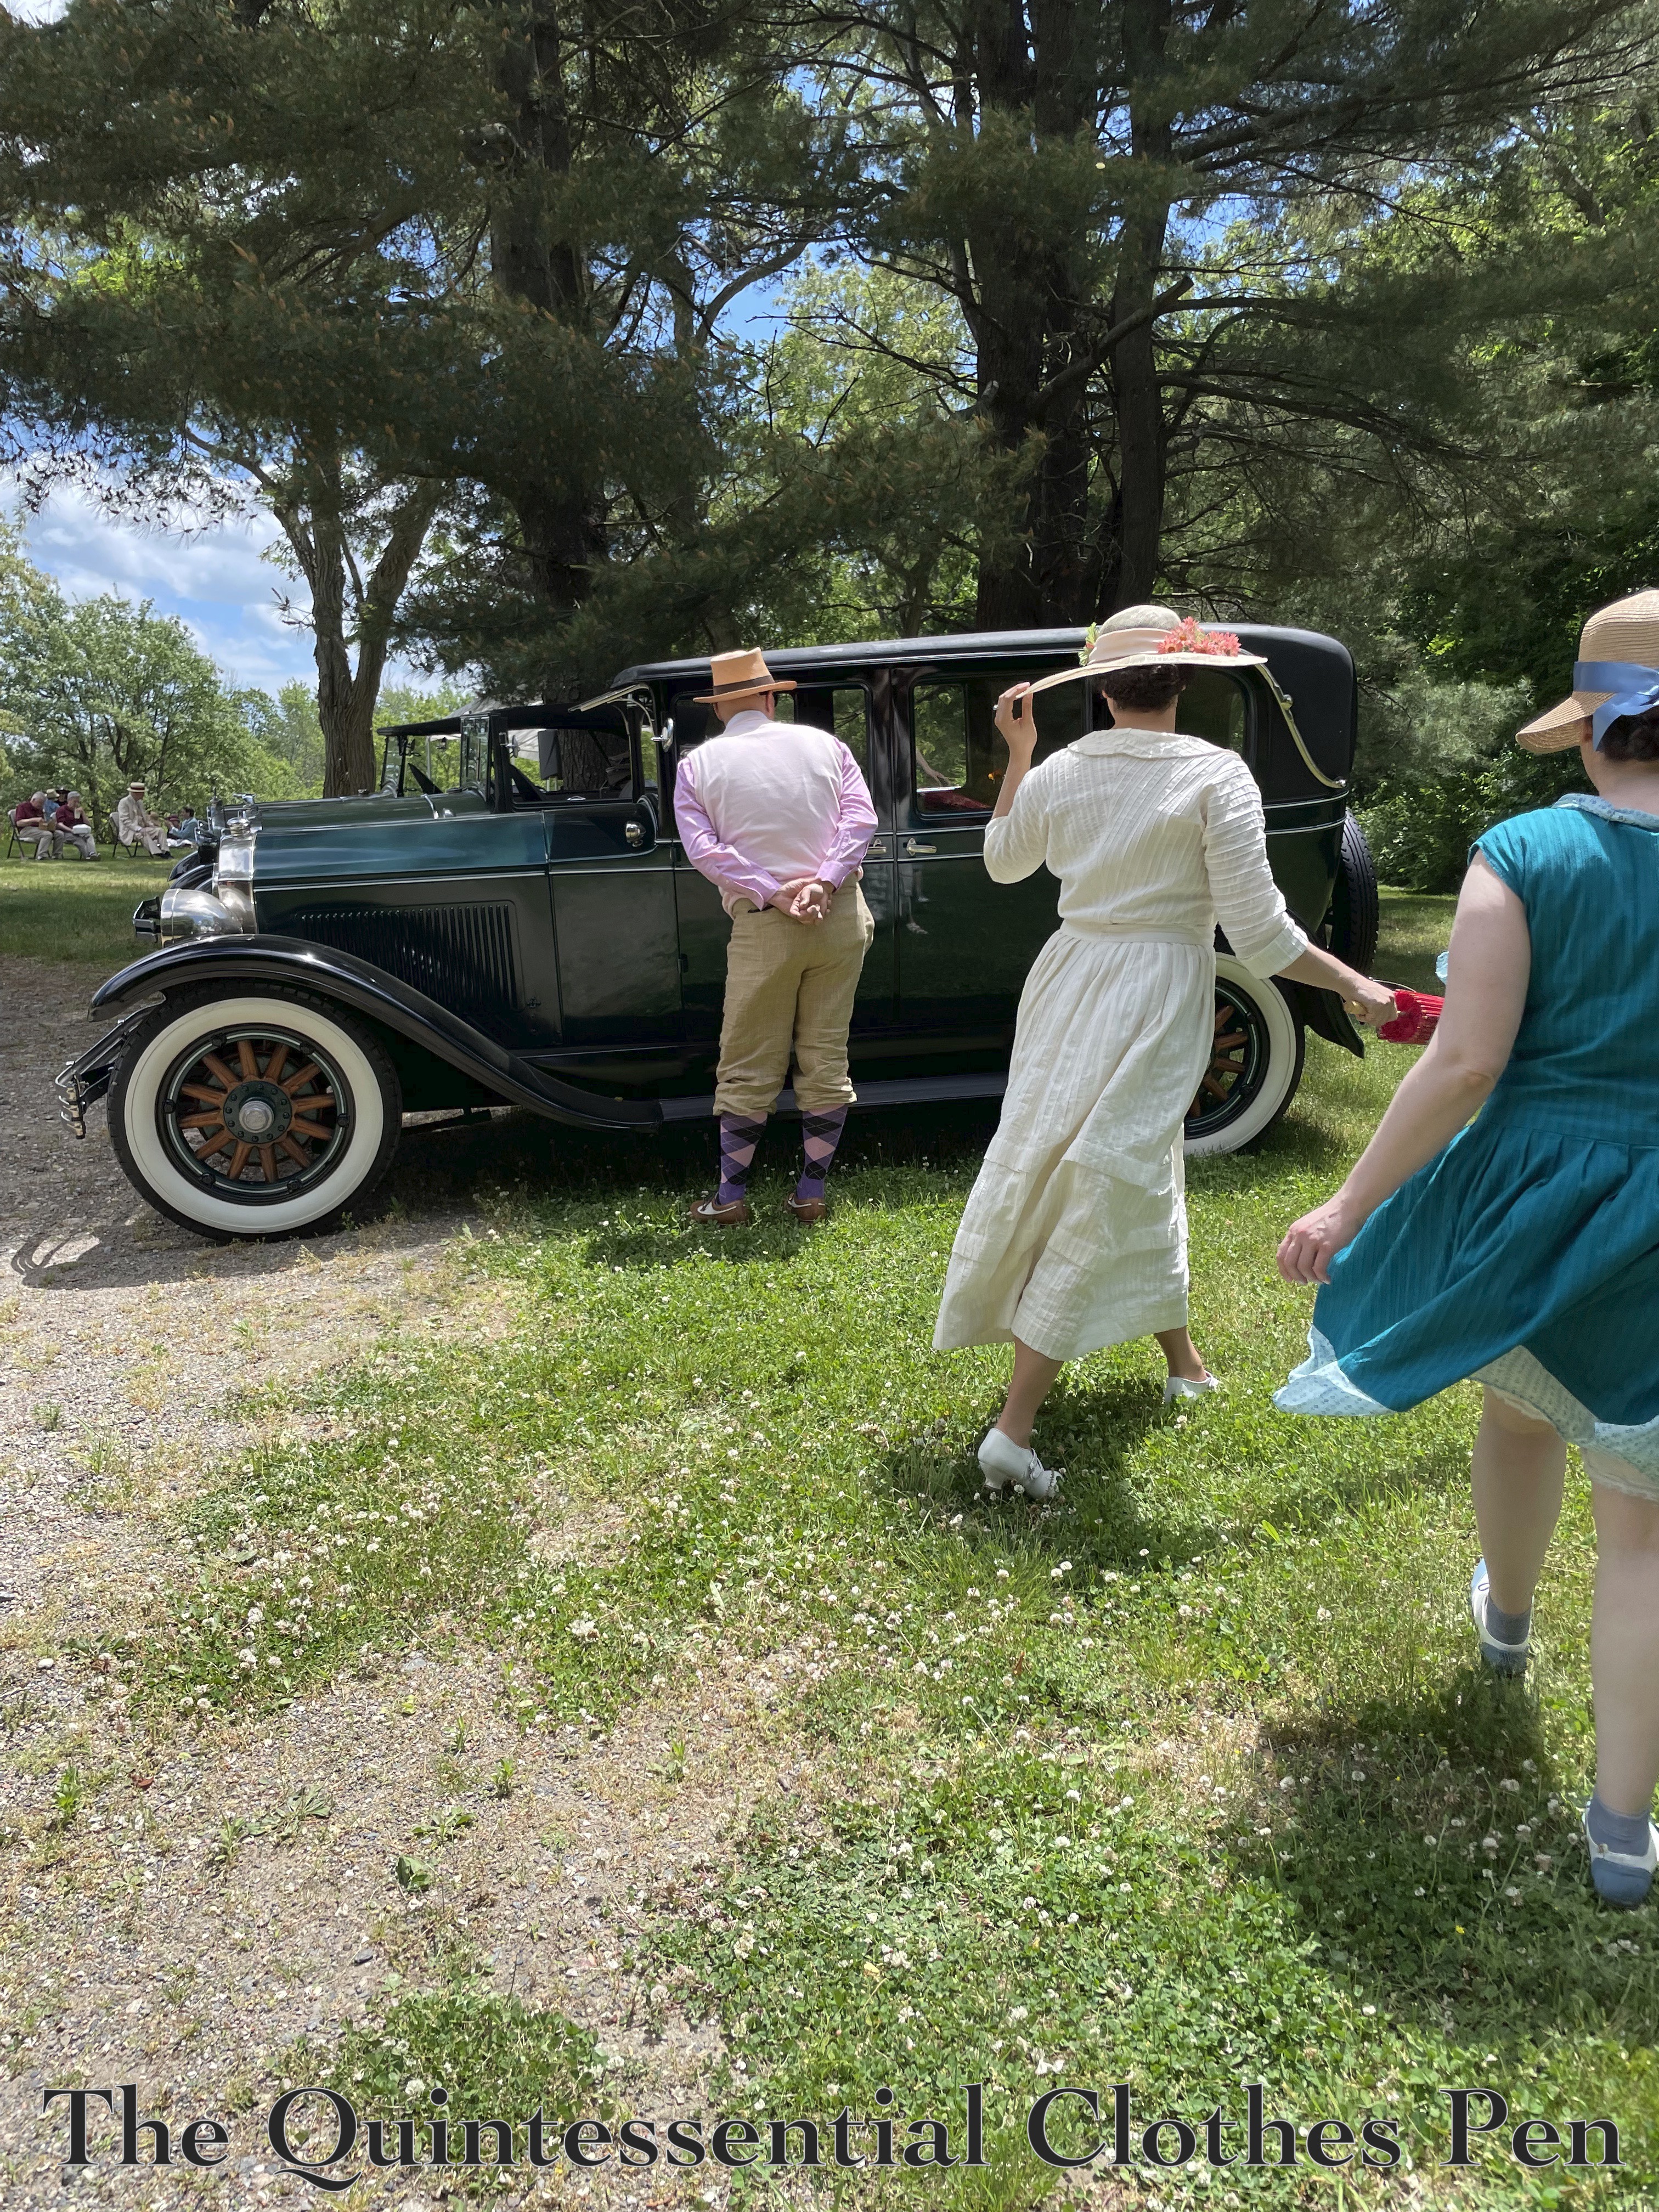
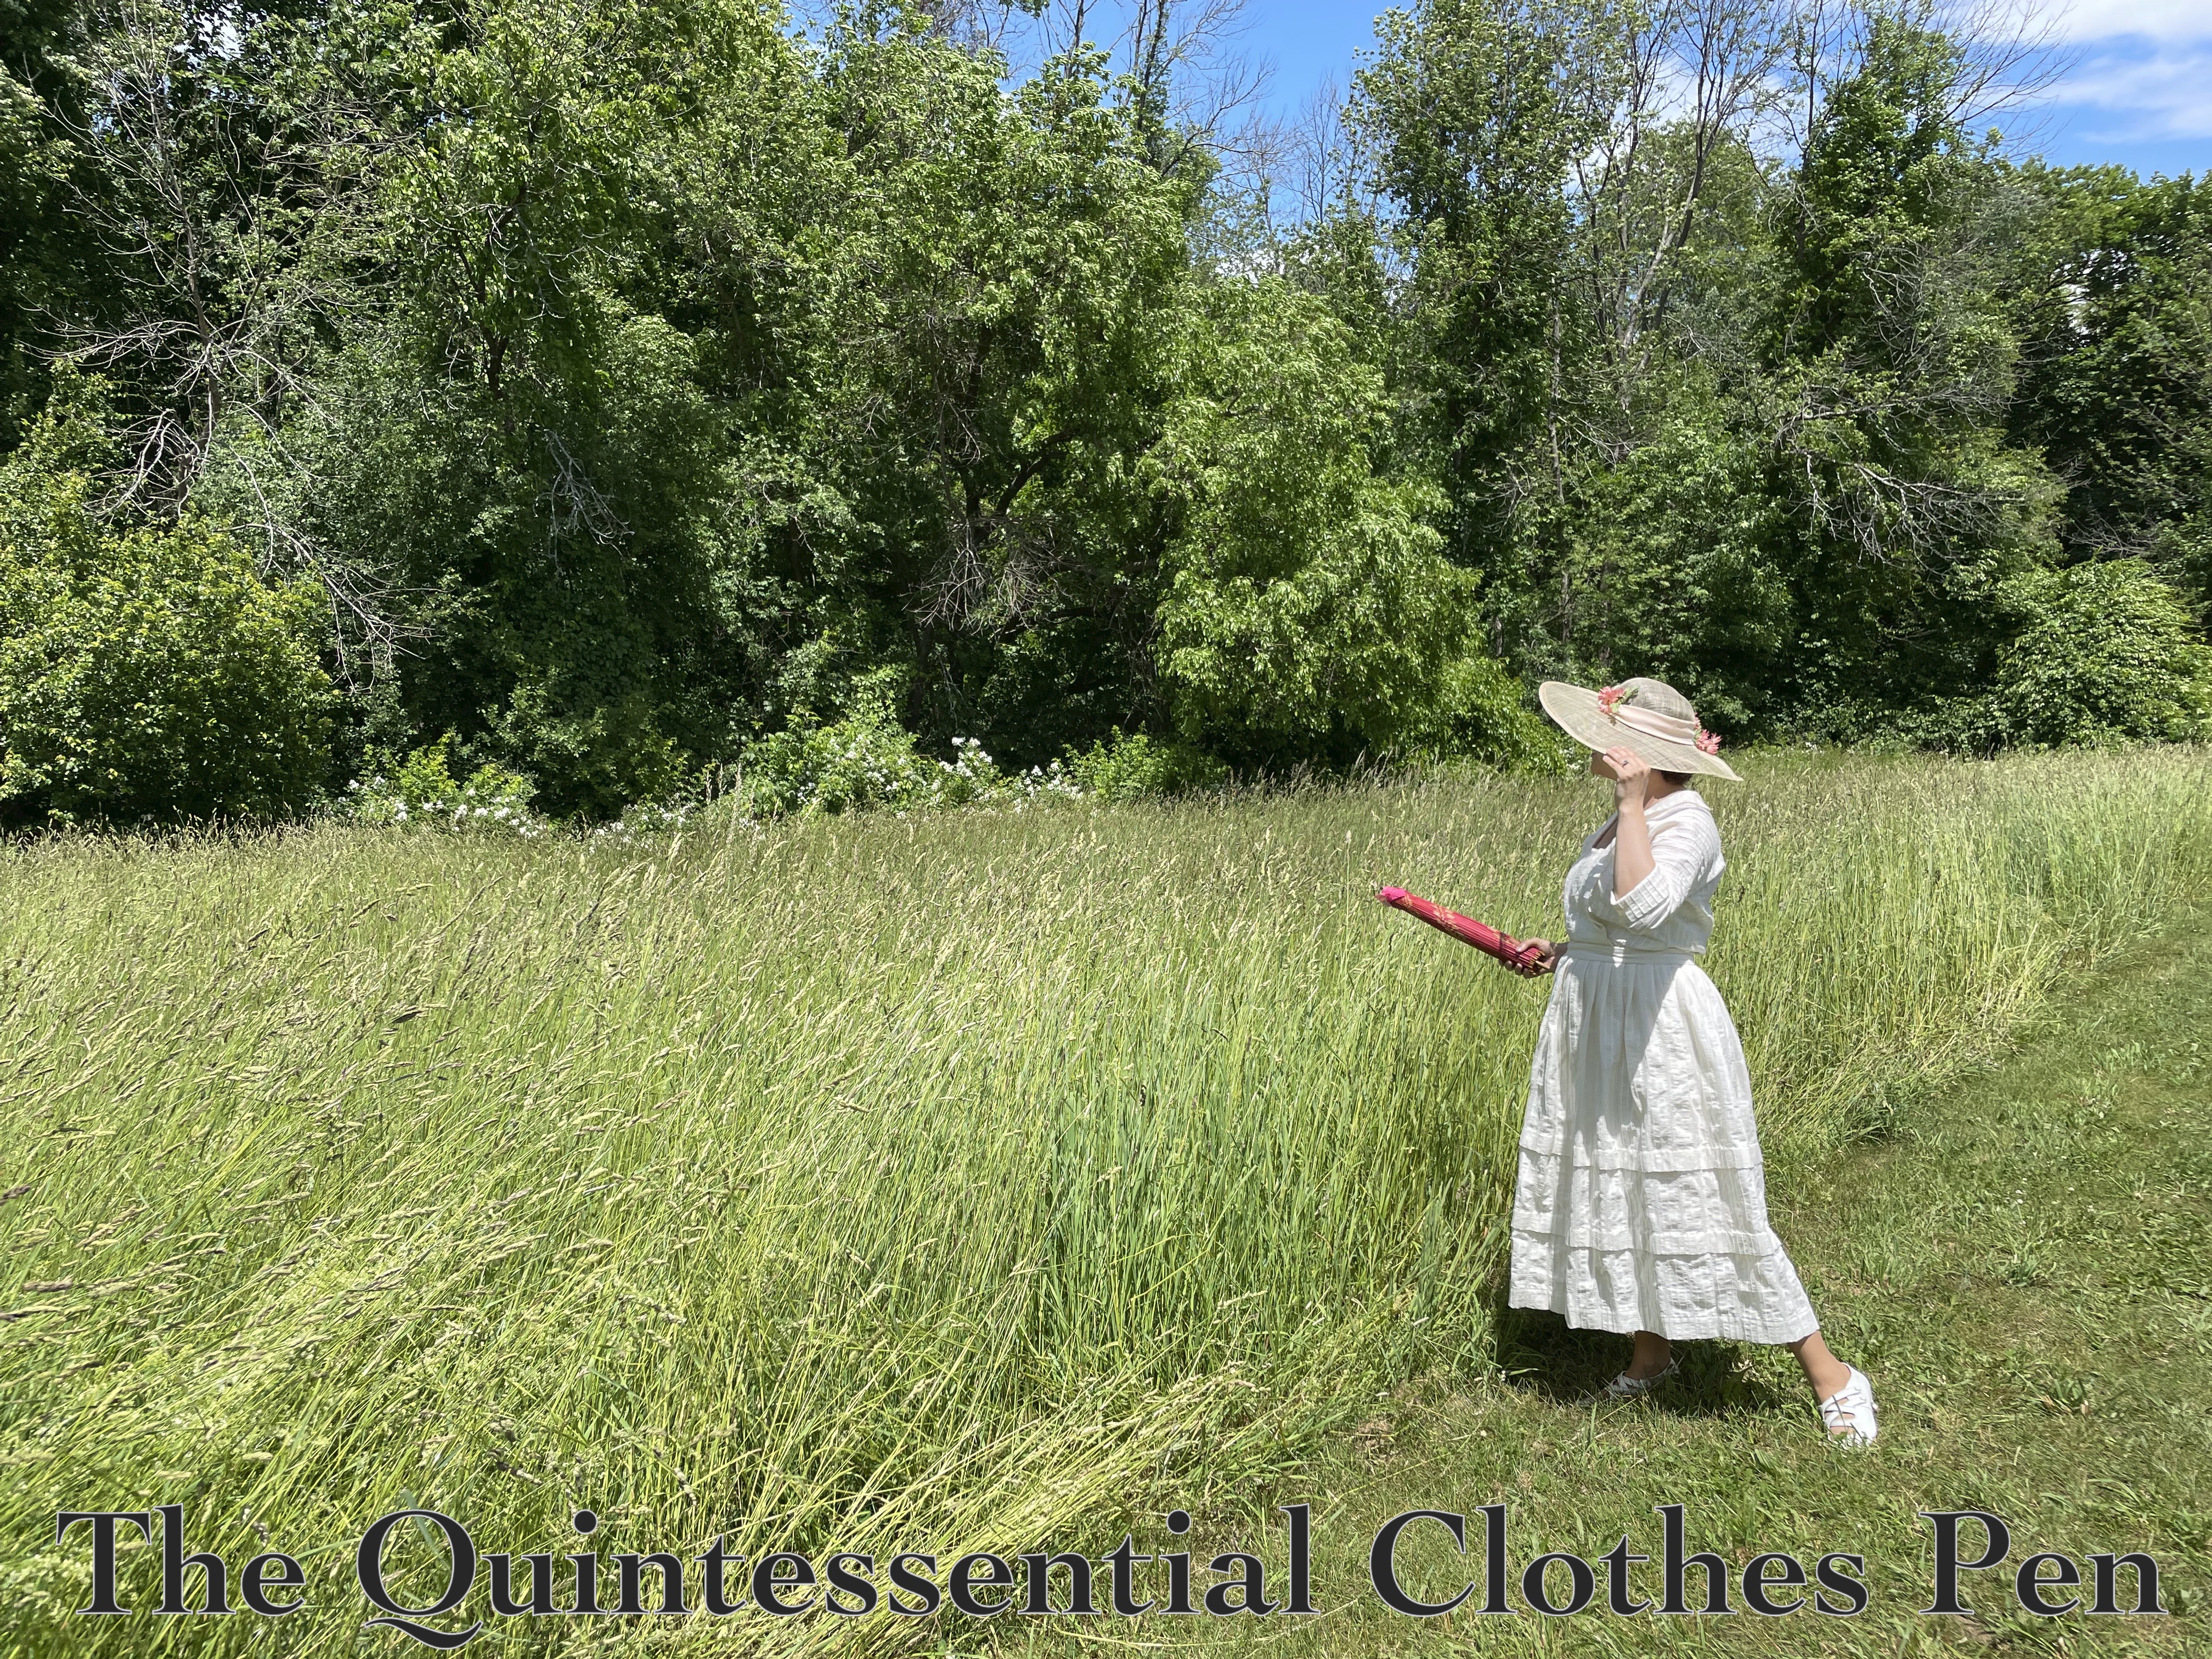
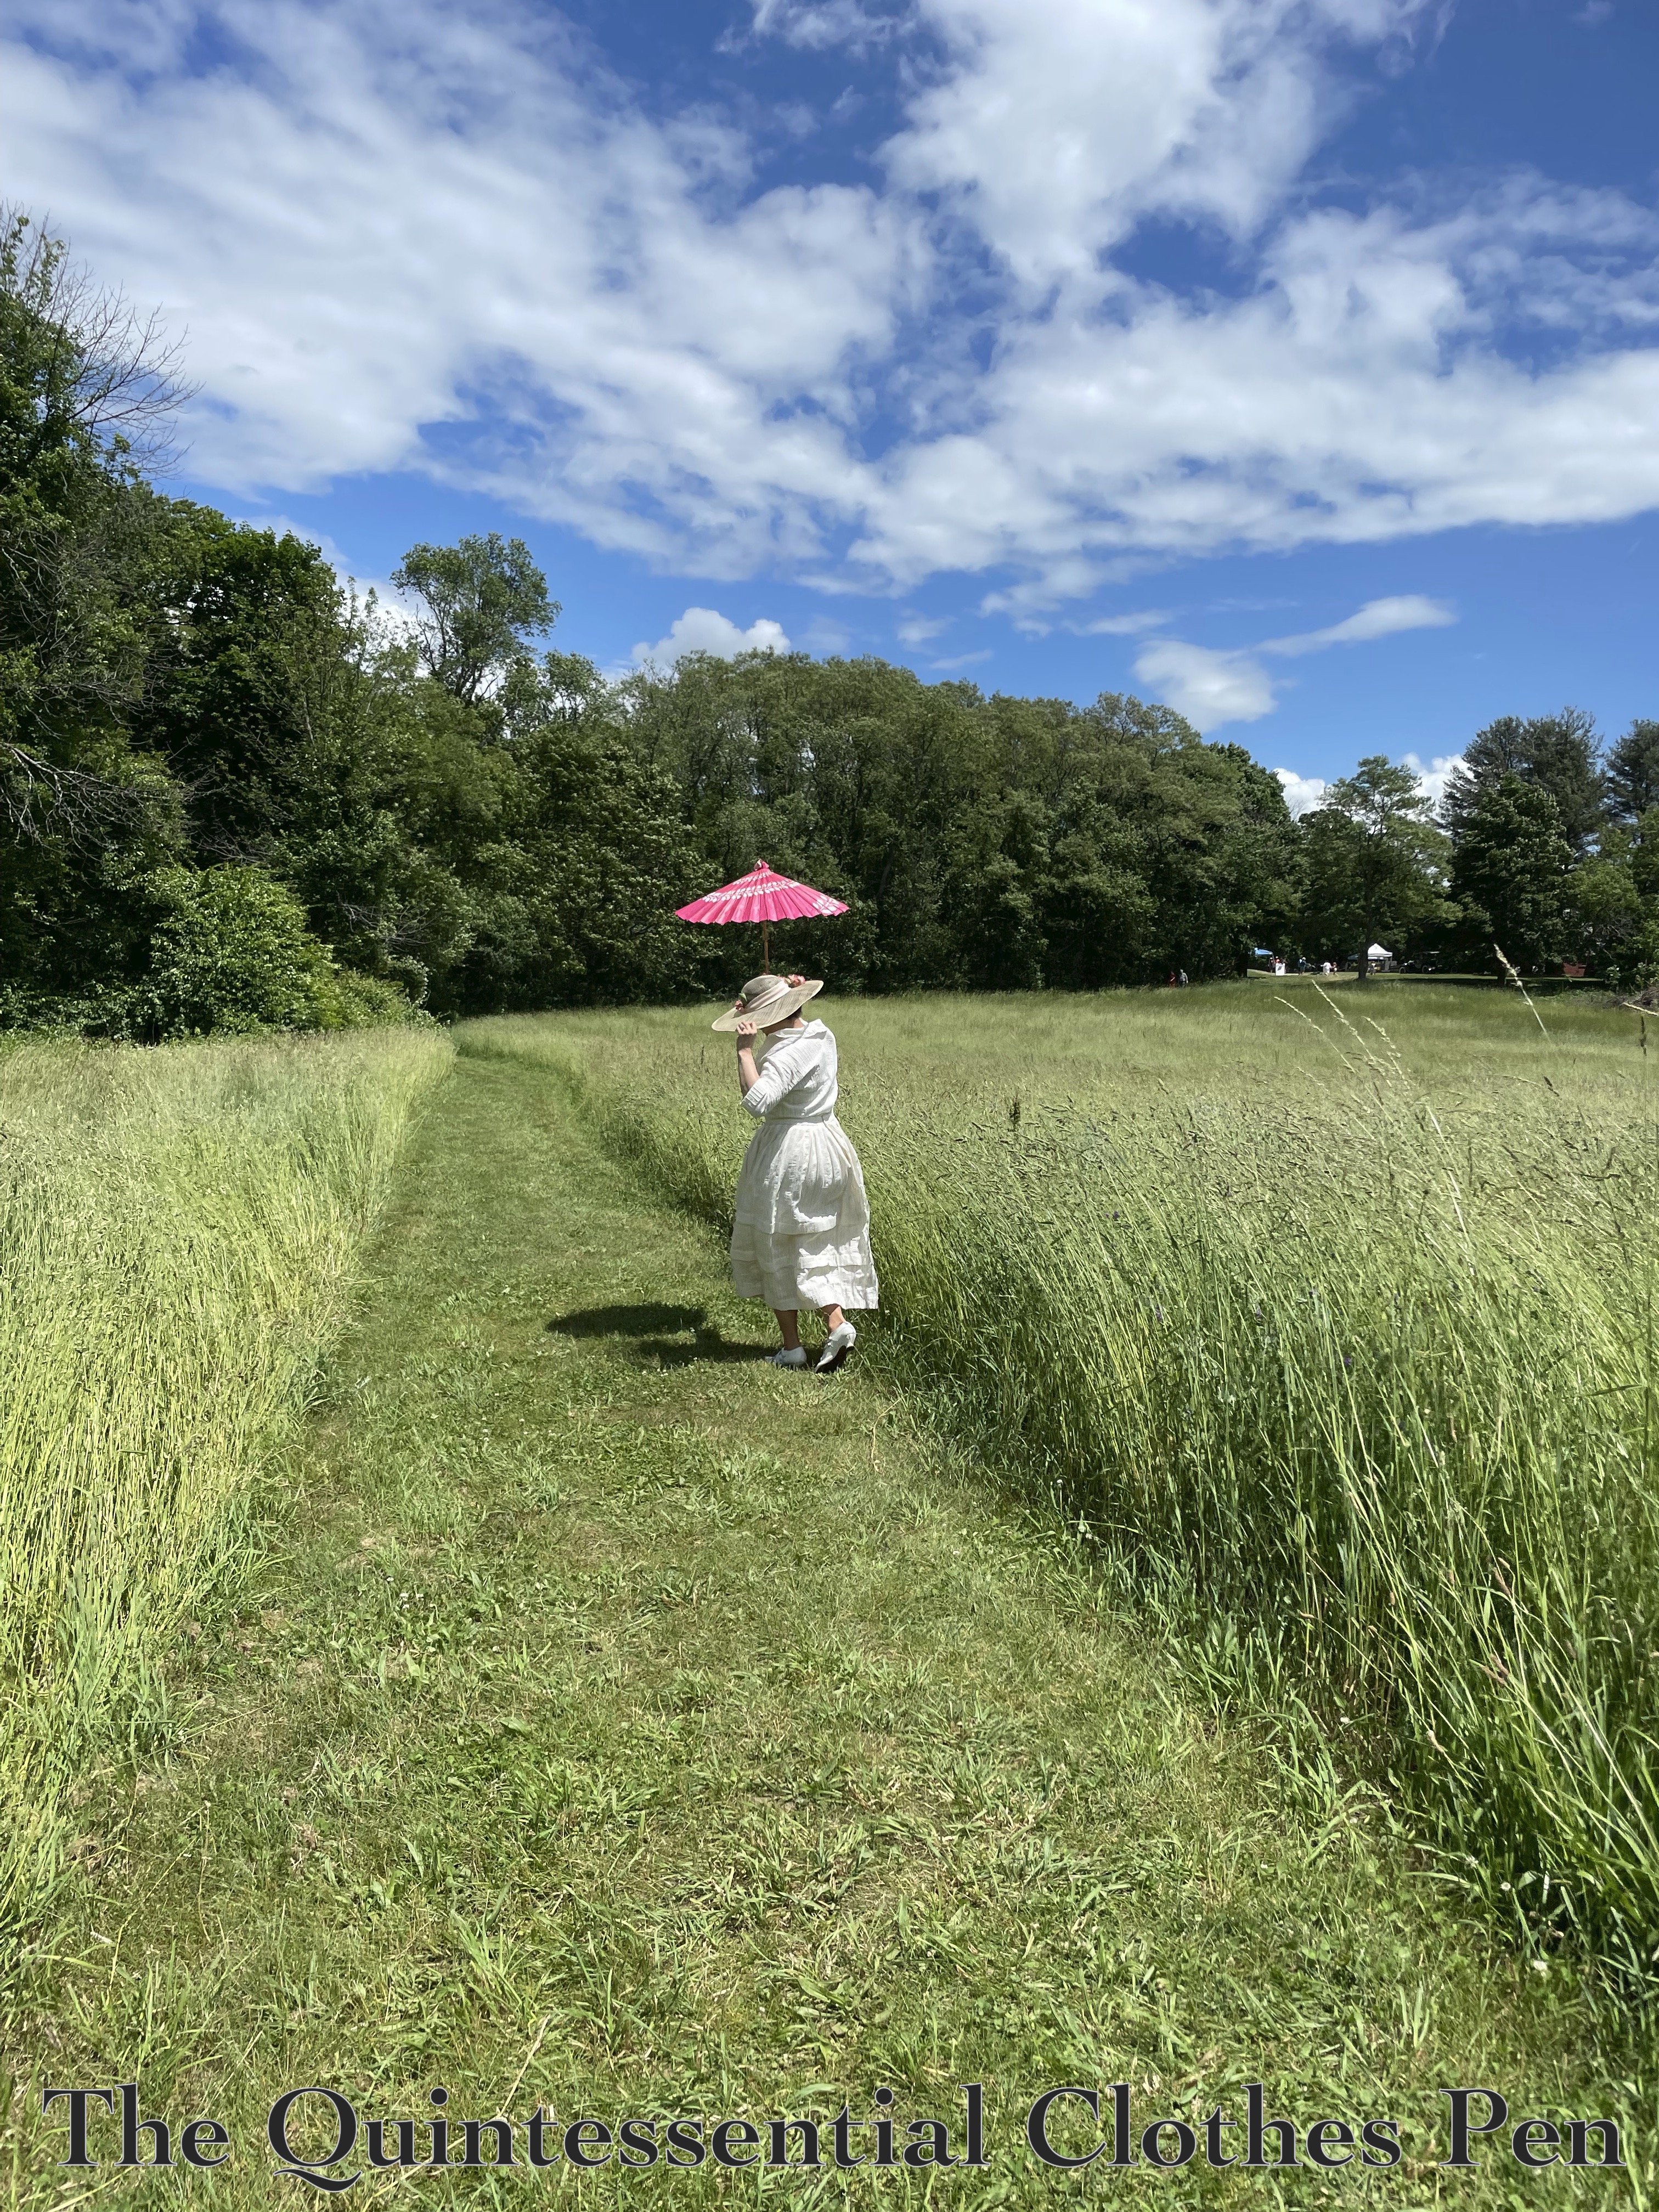
In June of 2024, I attended a 1920s themed Gala Day celebration at the Rebecca Nurse Homestead in Danvers, MA. (More about Gala Day can be read here, on the Rebecca Nurse Homestead site.) It was a beautiful day with sun and blue skies. Not hot, but pleasantly comfortable. And windy!

Hang on to your hats!

One of the parts of the event I enjoyed most was exploring the grounds, which afforded a number of lovely vistas for photos.

I wore my 1919 Ivory Dress, due to its incredibly comfortable nature and a 1920s wide brim hat that I made back in 2014.

And I had a bright pink paper parasol as an accessory! I love the pop of color against the blue and green enveloping swathe of nature.

I also enjoyed looking at the details of the cars on display. The paint choices for this one, with the grass green wheels, really caught my eye!

All that was left was to imagine was rolling away in a car like this. What fun!
1838 Yellow Print Dress At Tea

One of the fun features of The Footwork & Frolick Society’s annual fundraiser tea event is that F&F members and volunteers wear clothing representing the span of the Victorian period. (I recently posted a behind the scenes look at the tea that you can read here, if you are interested.) If you read this blog often, you likely know that I love pulling different historical outfits out of my closet for things like this!

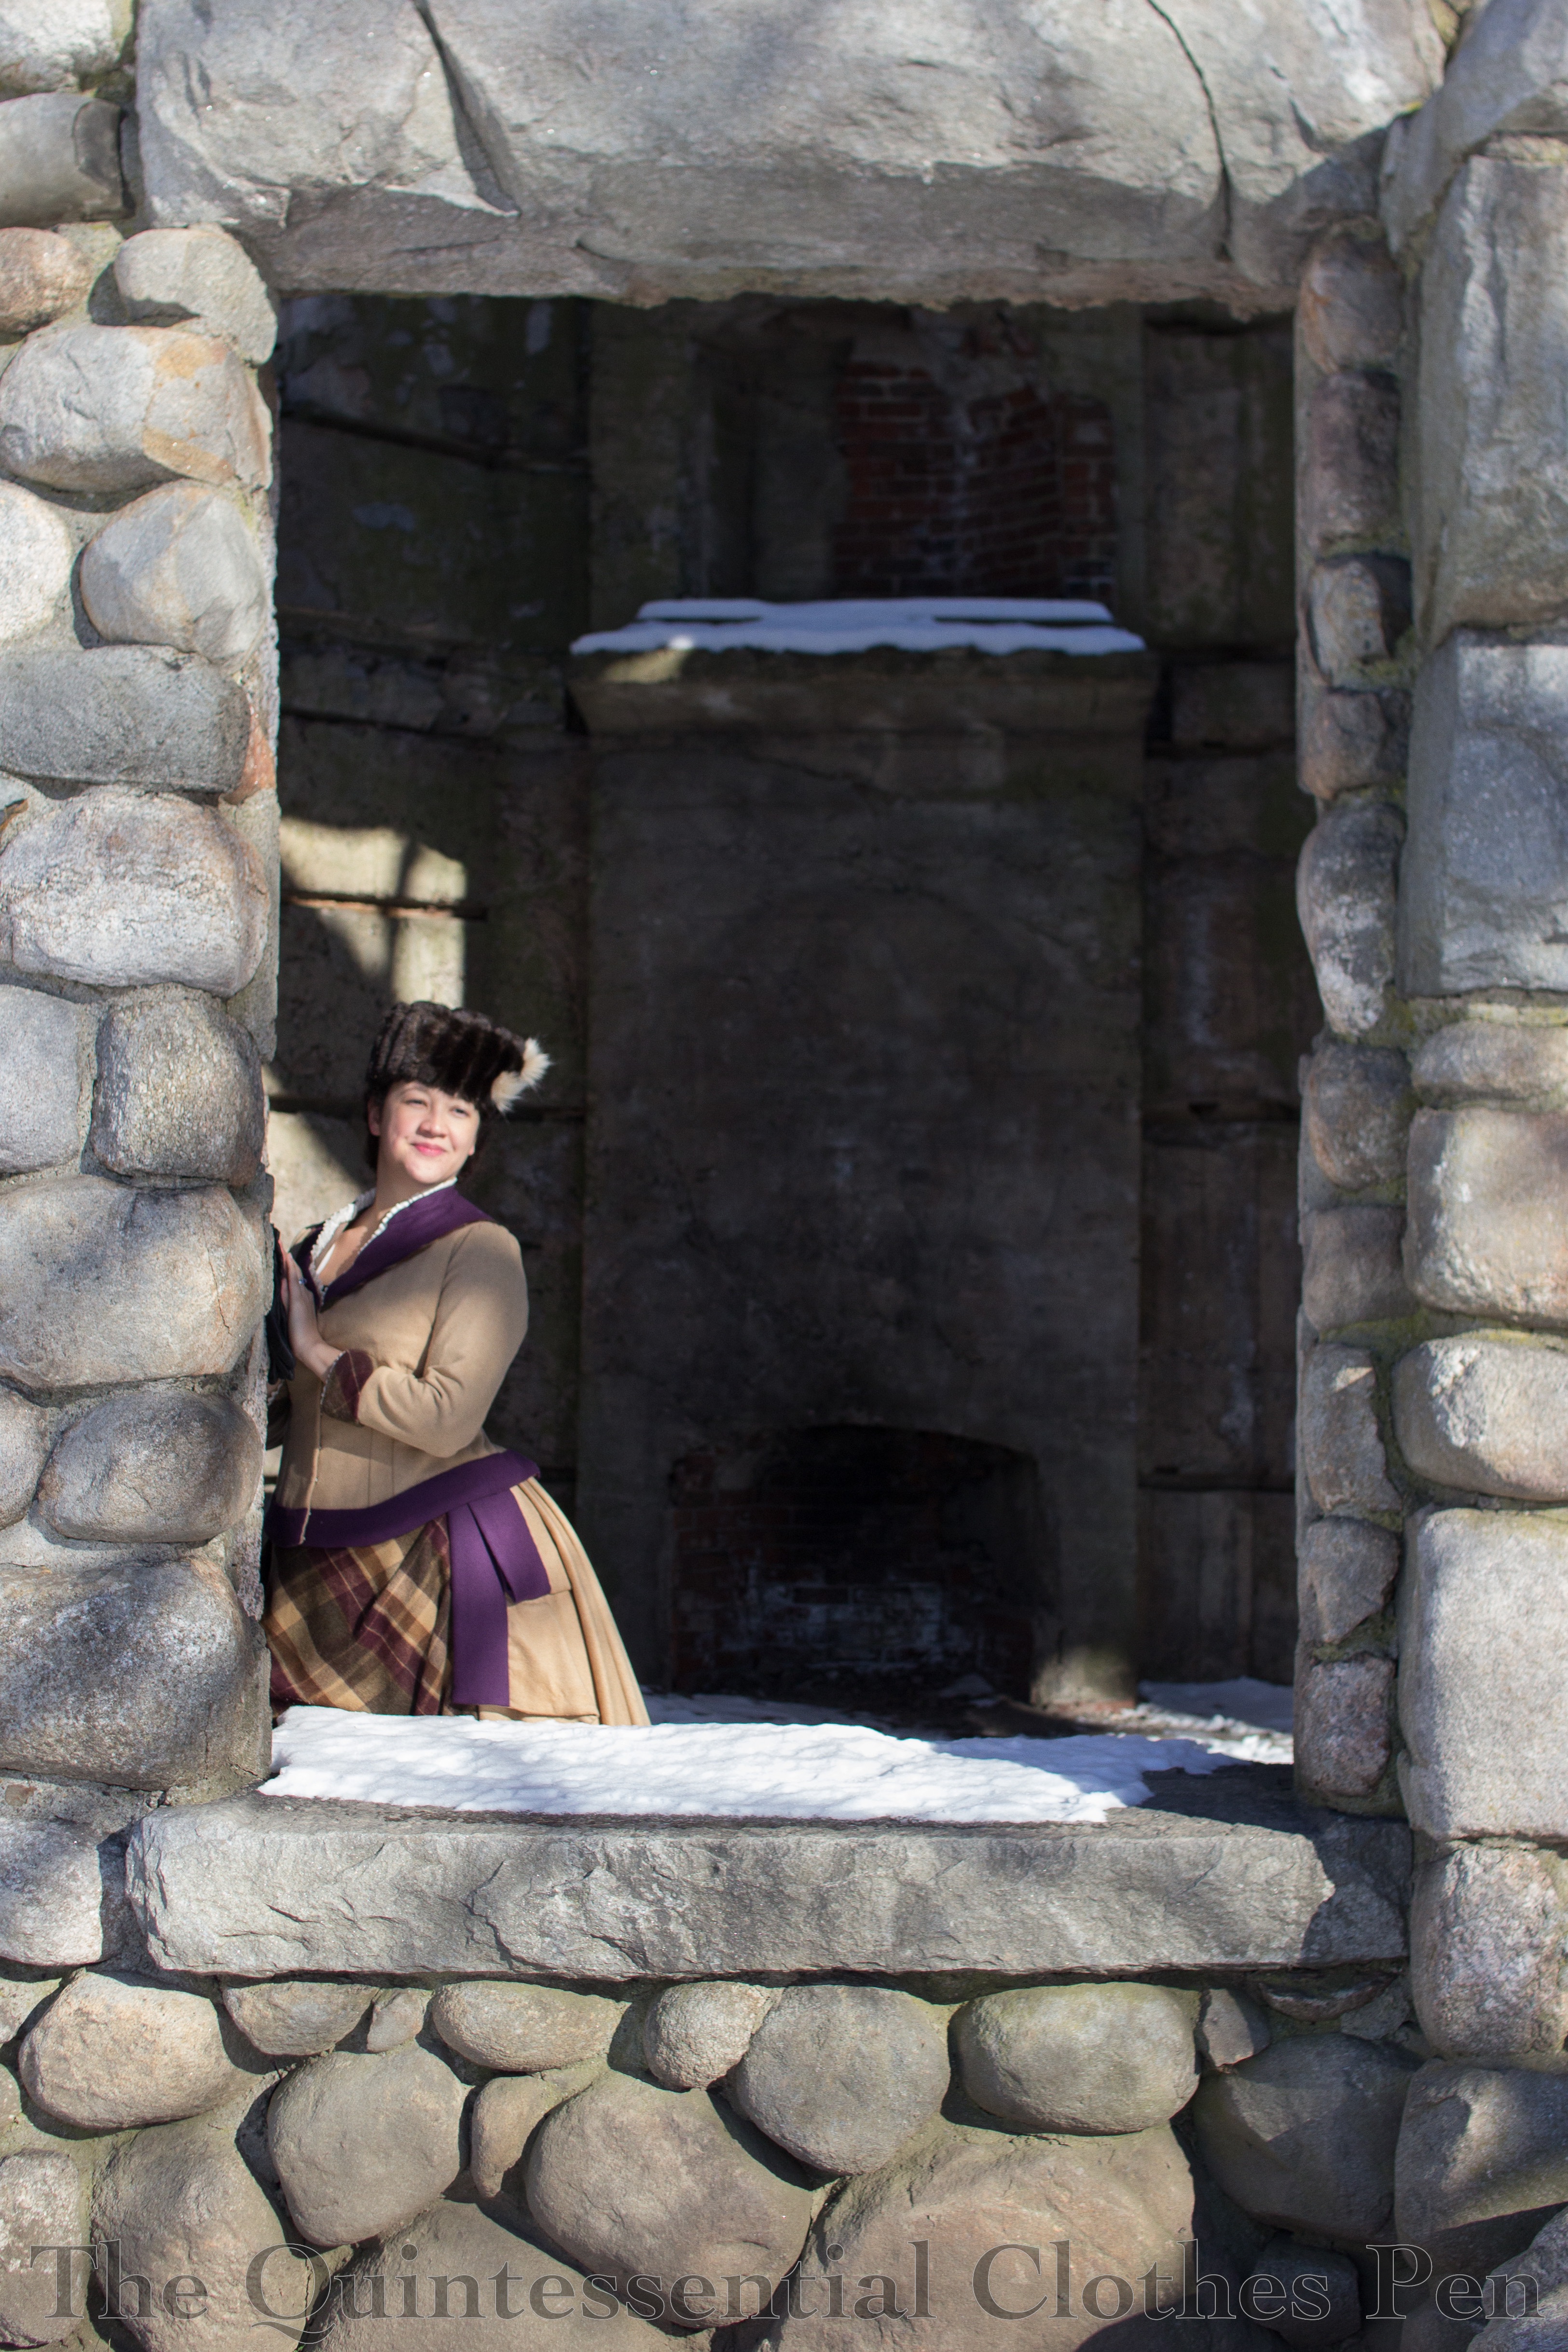
Last year, I wore the 1884 Plaid Wool Dress in the photo below (which you can read more about here, in a detailed post about this garment). This made sense as Boutwell House, where we host the tea, starts out at a pretty cool temperature. I hadn’t worn this outfit in awhile, so that was fun, too! However, after brewing tea for hours and the warmth of everyone’s body heat (and the fact that the heating system finally kicked in), I was pretty warm in my wool outfit by the end of the day!

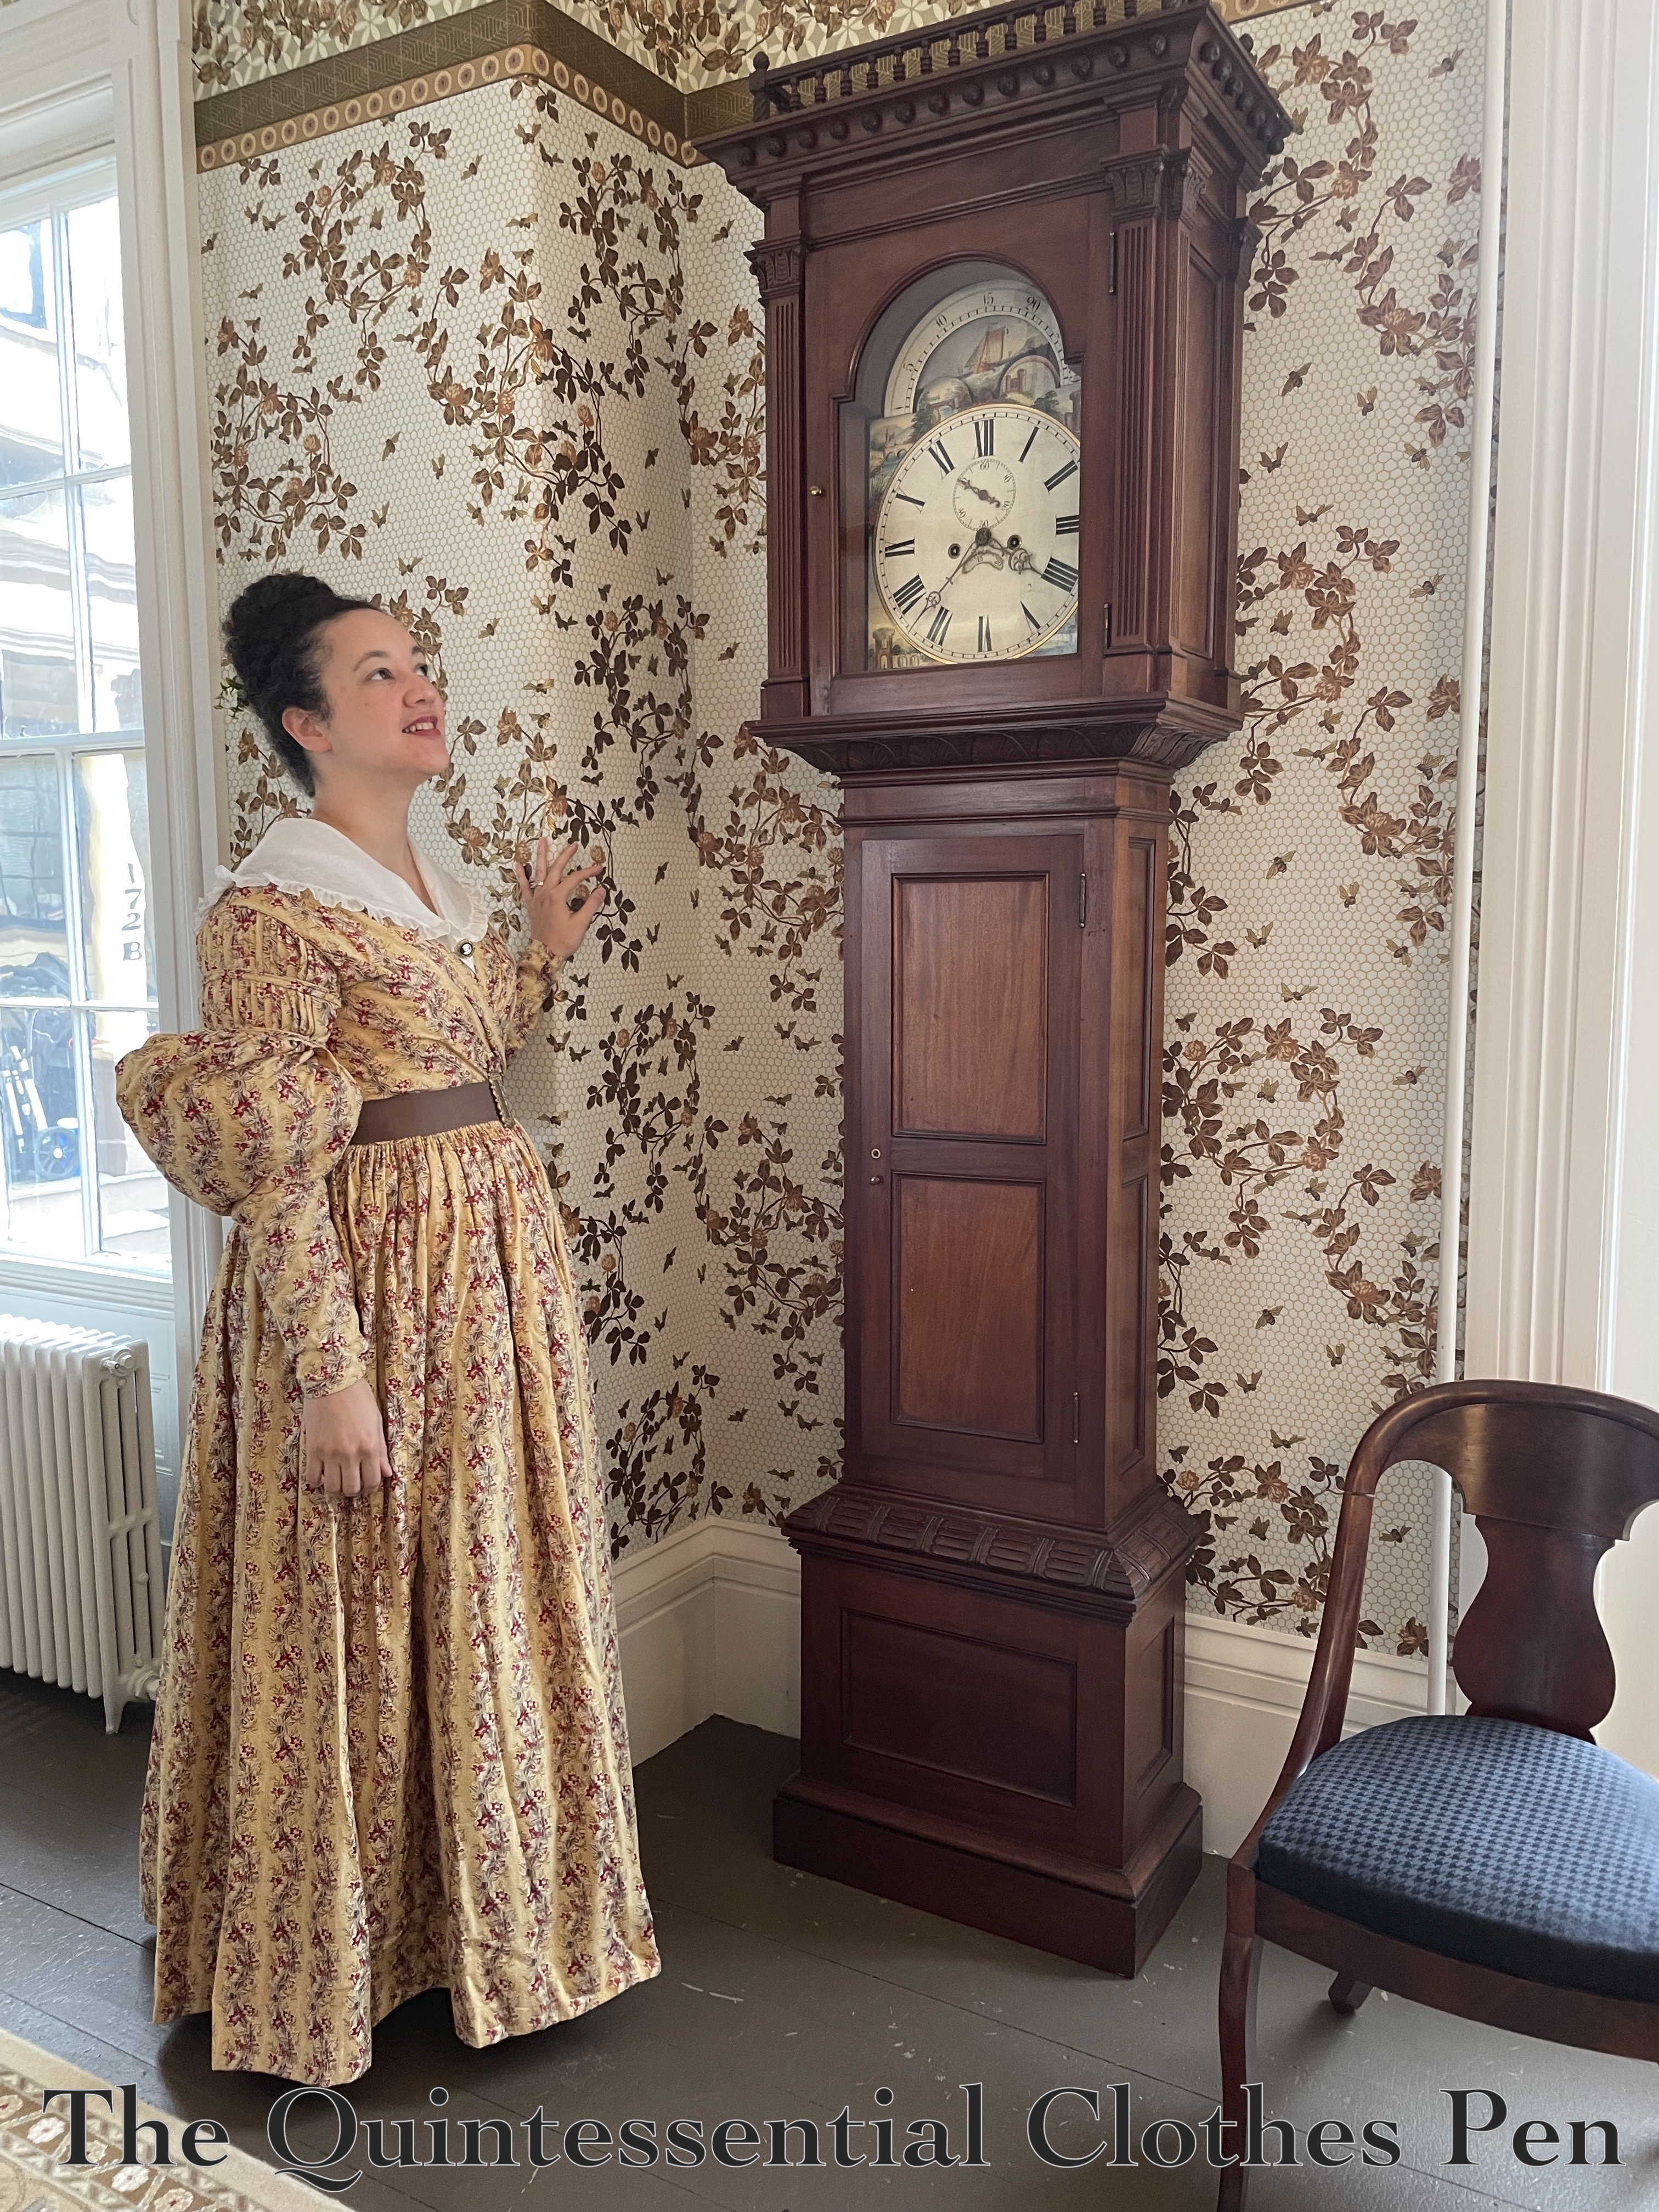
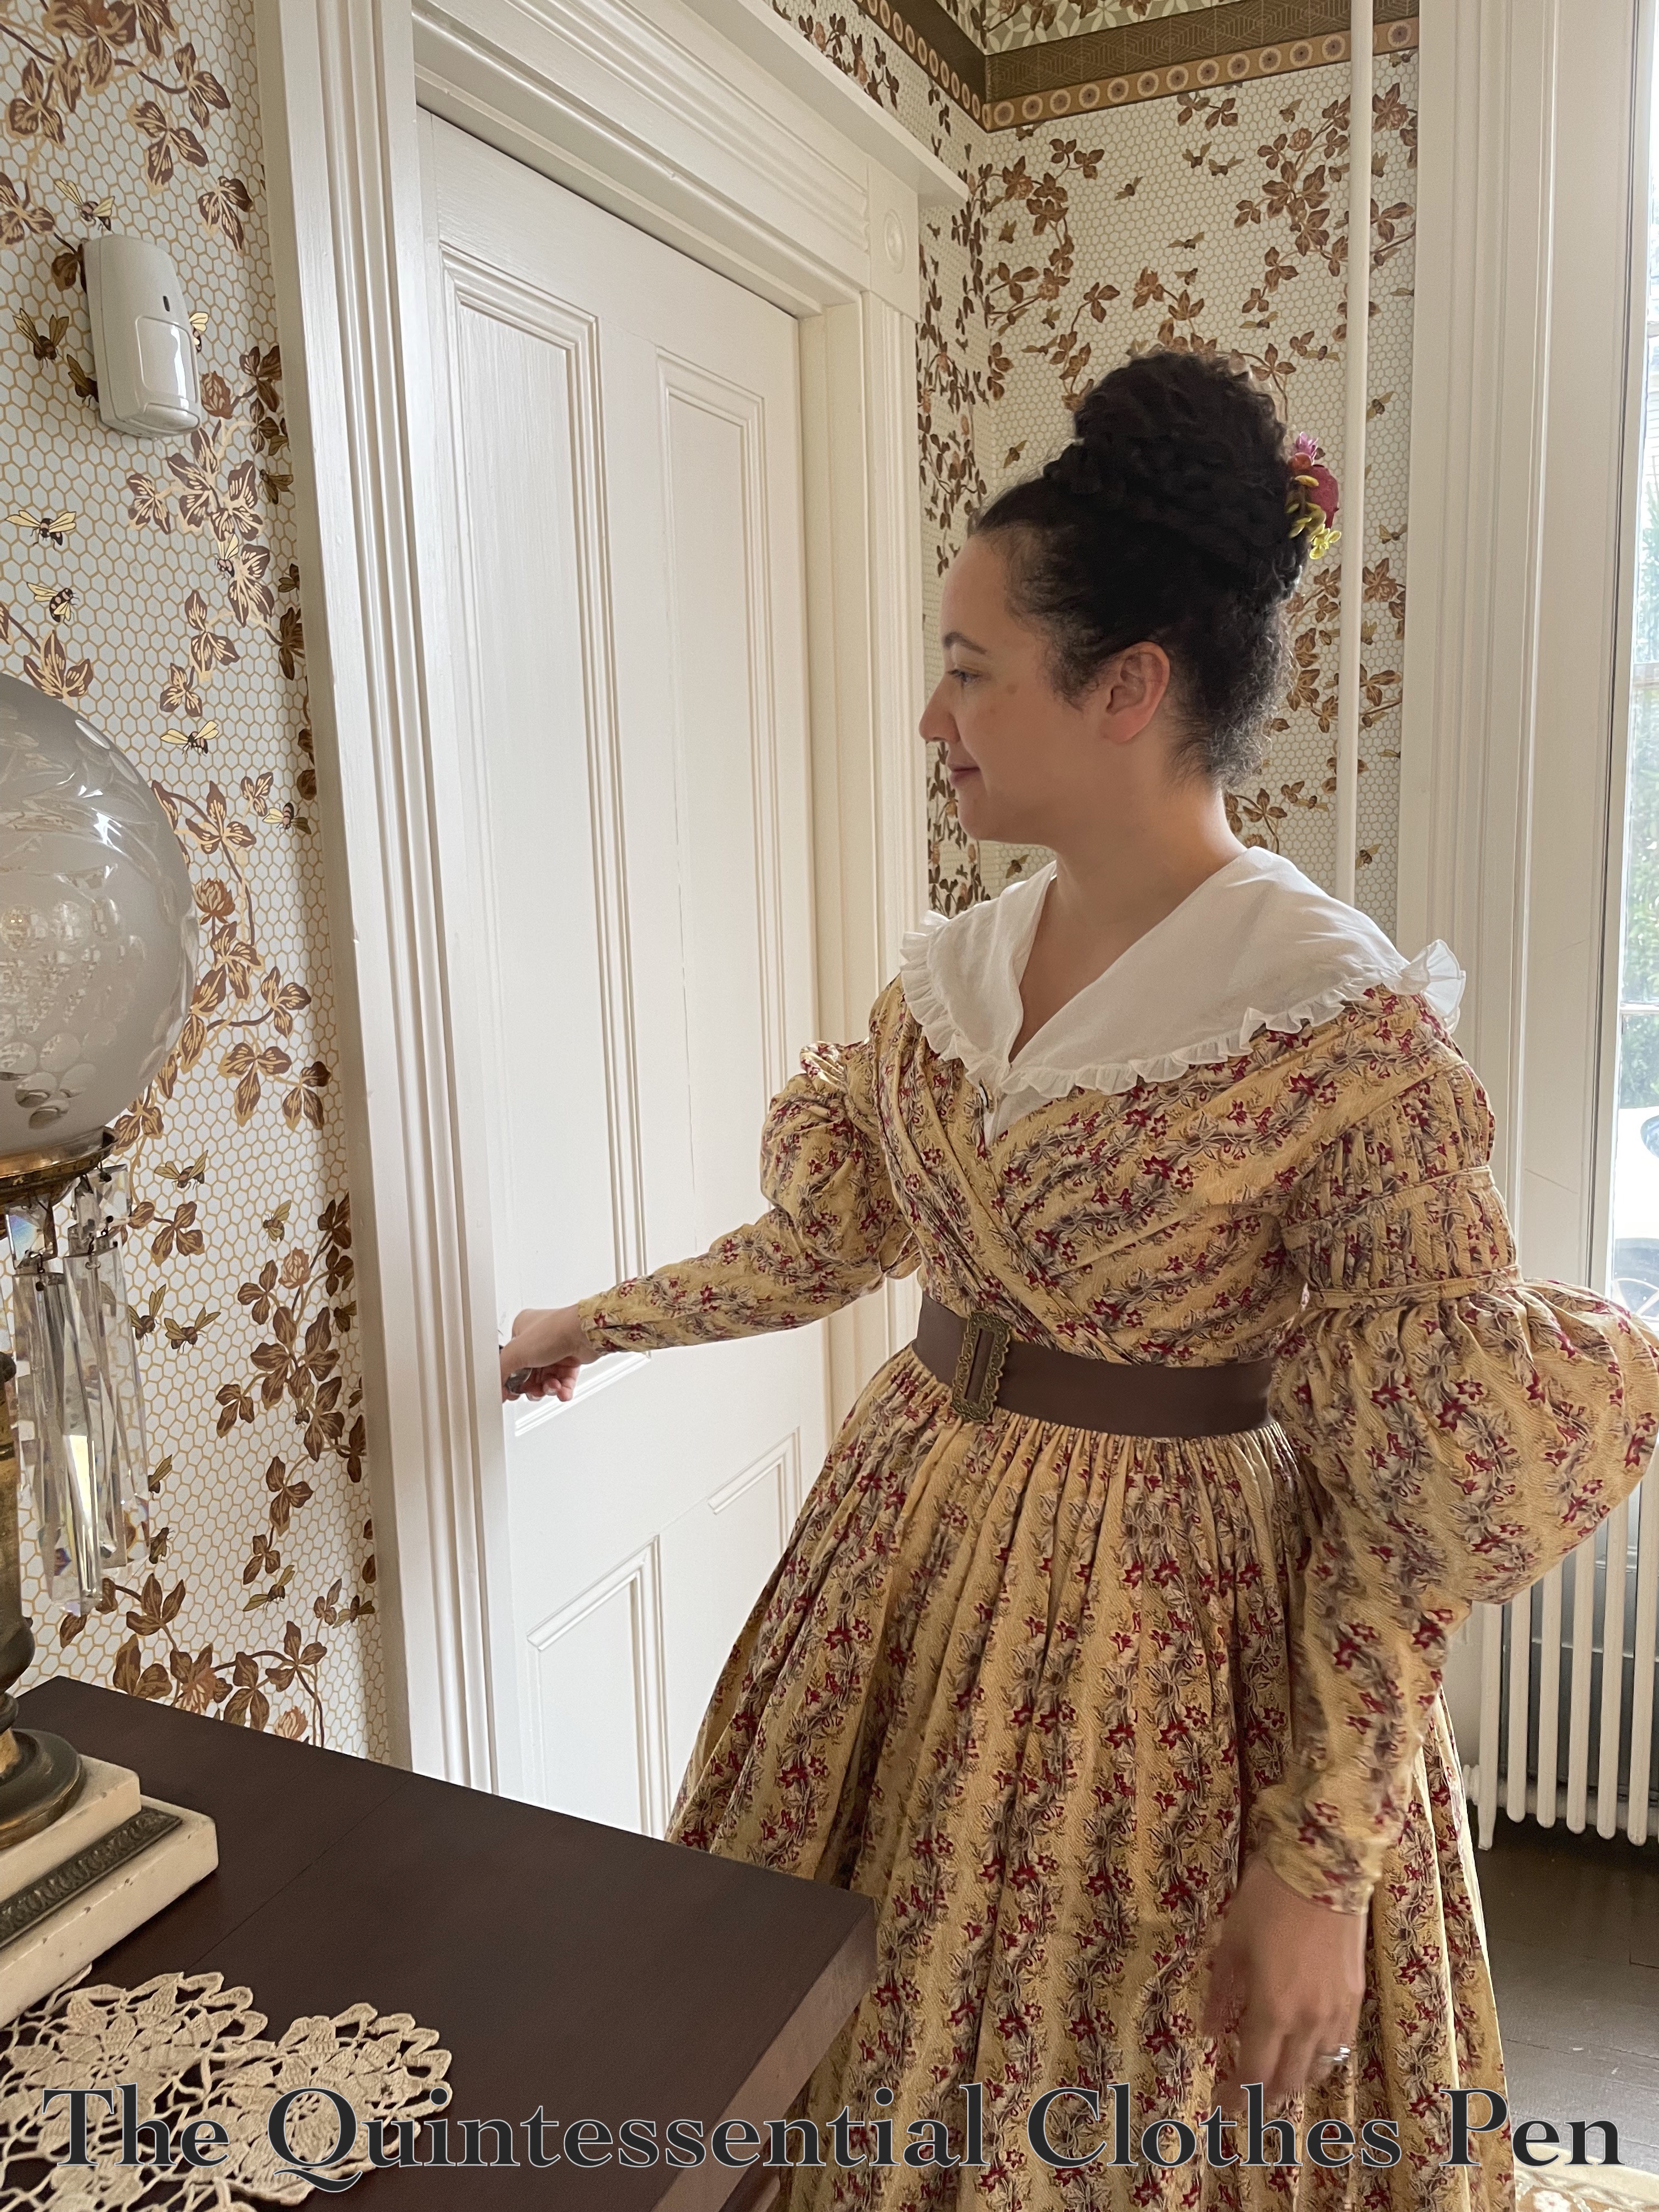
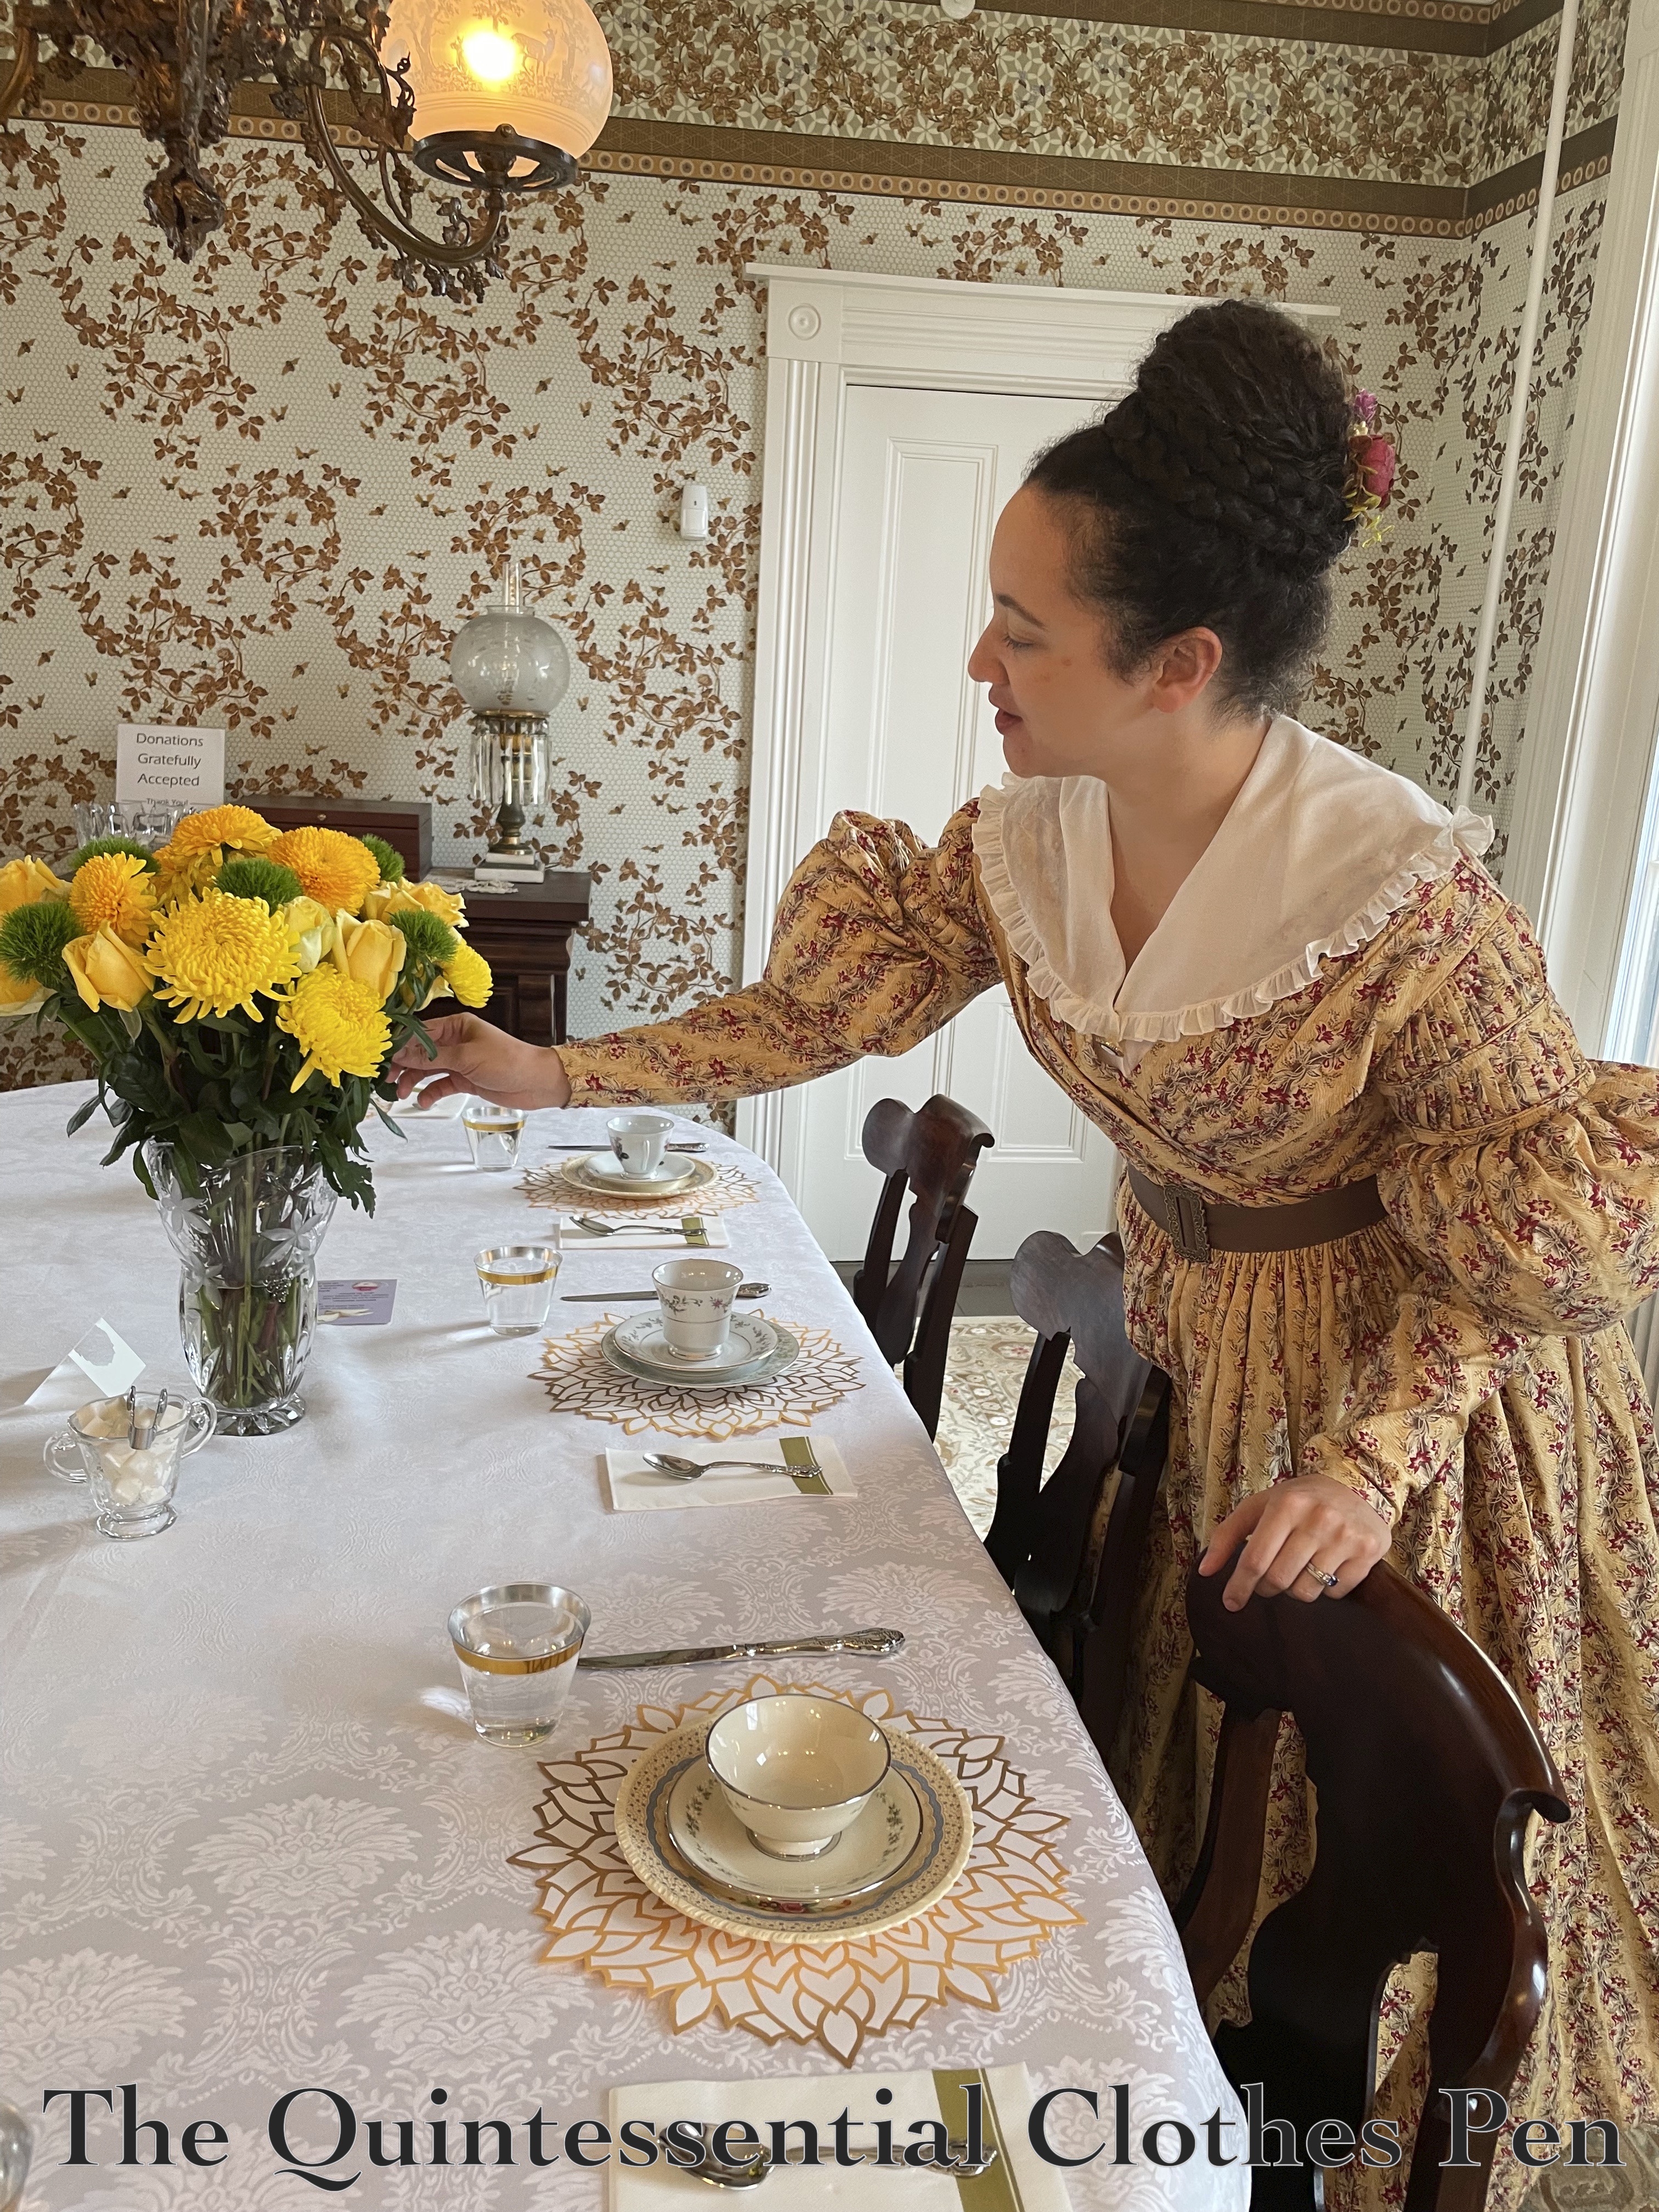
So this year, I decided to wear cotton! I landed on my 1838 yellow print dress because I hadn’t worn it in awhile, I wasn’t worried about it being in the kitchen (in terms of space and fabric type), and the sleeves are just plain silly! Below, this year’s 1838 yellow print dress in the dining room with the fabulous honeycomb wallpaper!

Looking at the photos, I realized I forgot to put on (or didn’t think I’d need, perhaps) my 1830s skirt puffer. You can read more about what that is in this past post, but essentially it’s a stiff ruffle that helps hold out the skirt at the top. This works in tandem with a corded petticoat to help hold the skirt out throughout the rest of the length. You can read all about the corded petticoat I made in this past post. What I’ve realized is that I DO need the skirt puffer! Always!

Despite this oversight, I was excited to try out a new ribbon belt color for this wearing. The last time I wore this bodice, in 2021, I chose not to wear a belt at all. Details about that wearing are in this past post and below is a photo of what this dressed looked like in that iteration.

I’m not sure which version I like better! I think no belt helps make the pleats on the bodice stand out more, but I also like that the belt helps break up the print. What do you think?

In case anyone is curious, I’ll share my sources for these accessories. I share because I think the items are great, not because I earn a commission or anything of that sort.

The yellow fabric of the dress is a Marcus Brothers Old Sturbridge Village Print that I acquired in 2013. I remember that detail because I posted about the fabric back then! You can read that past post here. In addition to my yellow fabric, reproduction floral stripes were a theme in other outfits at this year’s tea, as well, as you can see below!

Below, floral stripes consulting about… who knows!?! But it was a lovely opportunity to catch a photo.

Not only did I really enjoy the shapes of the flowers in this bouquet (rounded flowers always appeal to me!), but I also enjoy the yellow flowers and yellow dress in the whimsical atmosphere created by the wallpaper in this room.

In the midst of the busyness of hosting, F&F members did take a few moments to gather and have a brief sit. I love how the outfits in this photo complement each other and the room! And I always appreciate good company and hearty laughter. This was a wonderful start to spring!

A White 1780s Petticoat (HSF #7)

The plan for the yellow sacque ensemble I’ve been working on was to provide an under petticoat that would help the yellow silk petticoat (that I posted about in November 2024) hang nicely and be opaque. I thought I’d completed this goal in December 2023, when I re-used fabric from an old Regency style dress to make a base petticoat (you can read the details about that here).

As I started working on the yellow petticoat, though, I realized that the silk was very thin, and that the blue under petticoat (made from the dress) was distorting the yellow color, making it look washed out and less vibrant. Ugh! What to do??

I determined that a light, neutral color under petticoat was needed and looked through my stash to see what I has in enough quantity for a new petticoat. The goal was to make this from the stash!

I found that I still had yardage of the mystery $1 per yard fabric I’d purchased two ten yard rolls of about ten or twelve years ago. I’ve used it for many projects, including all sorts of historical underwear and other projects (my recent 1790s petticoat and bum pad, a recently updated 1810s petticoat, lining a sheer 1895 blouse, lining a 1953 dress… and probably more things that aren’t coming to mind right now!). It’s very versatile!

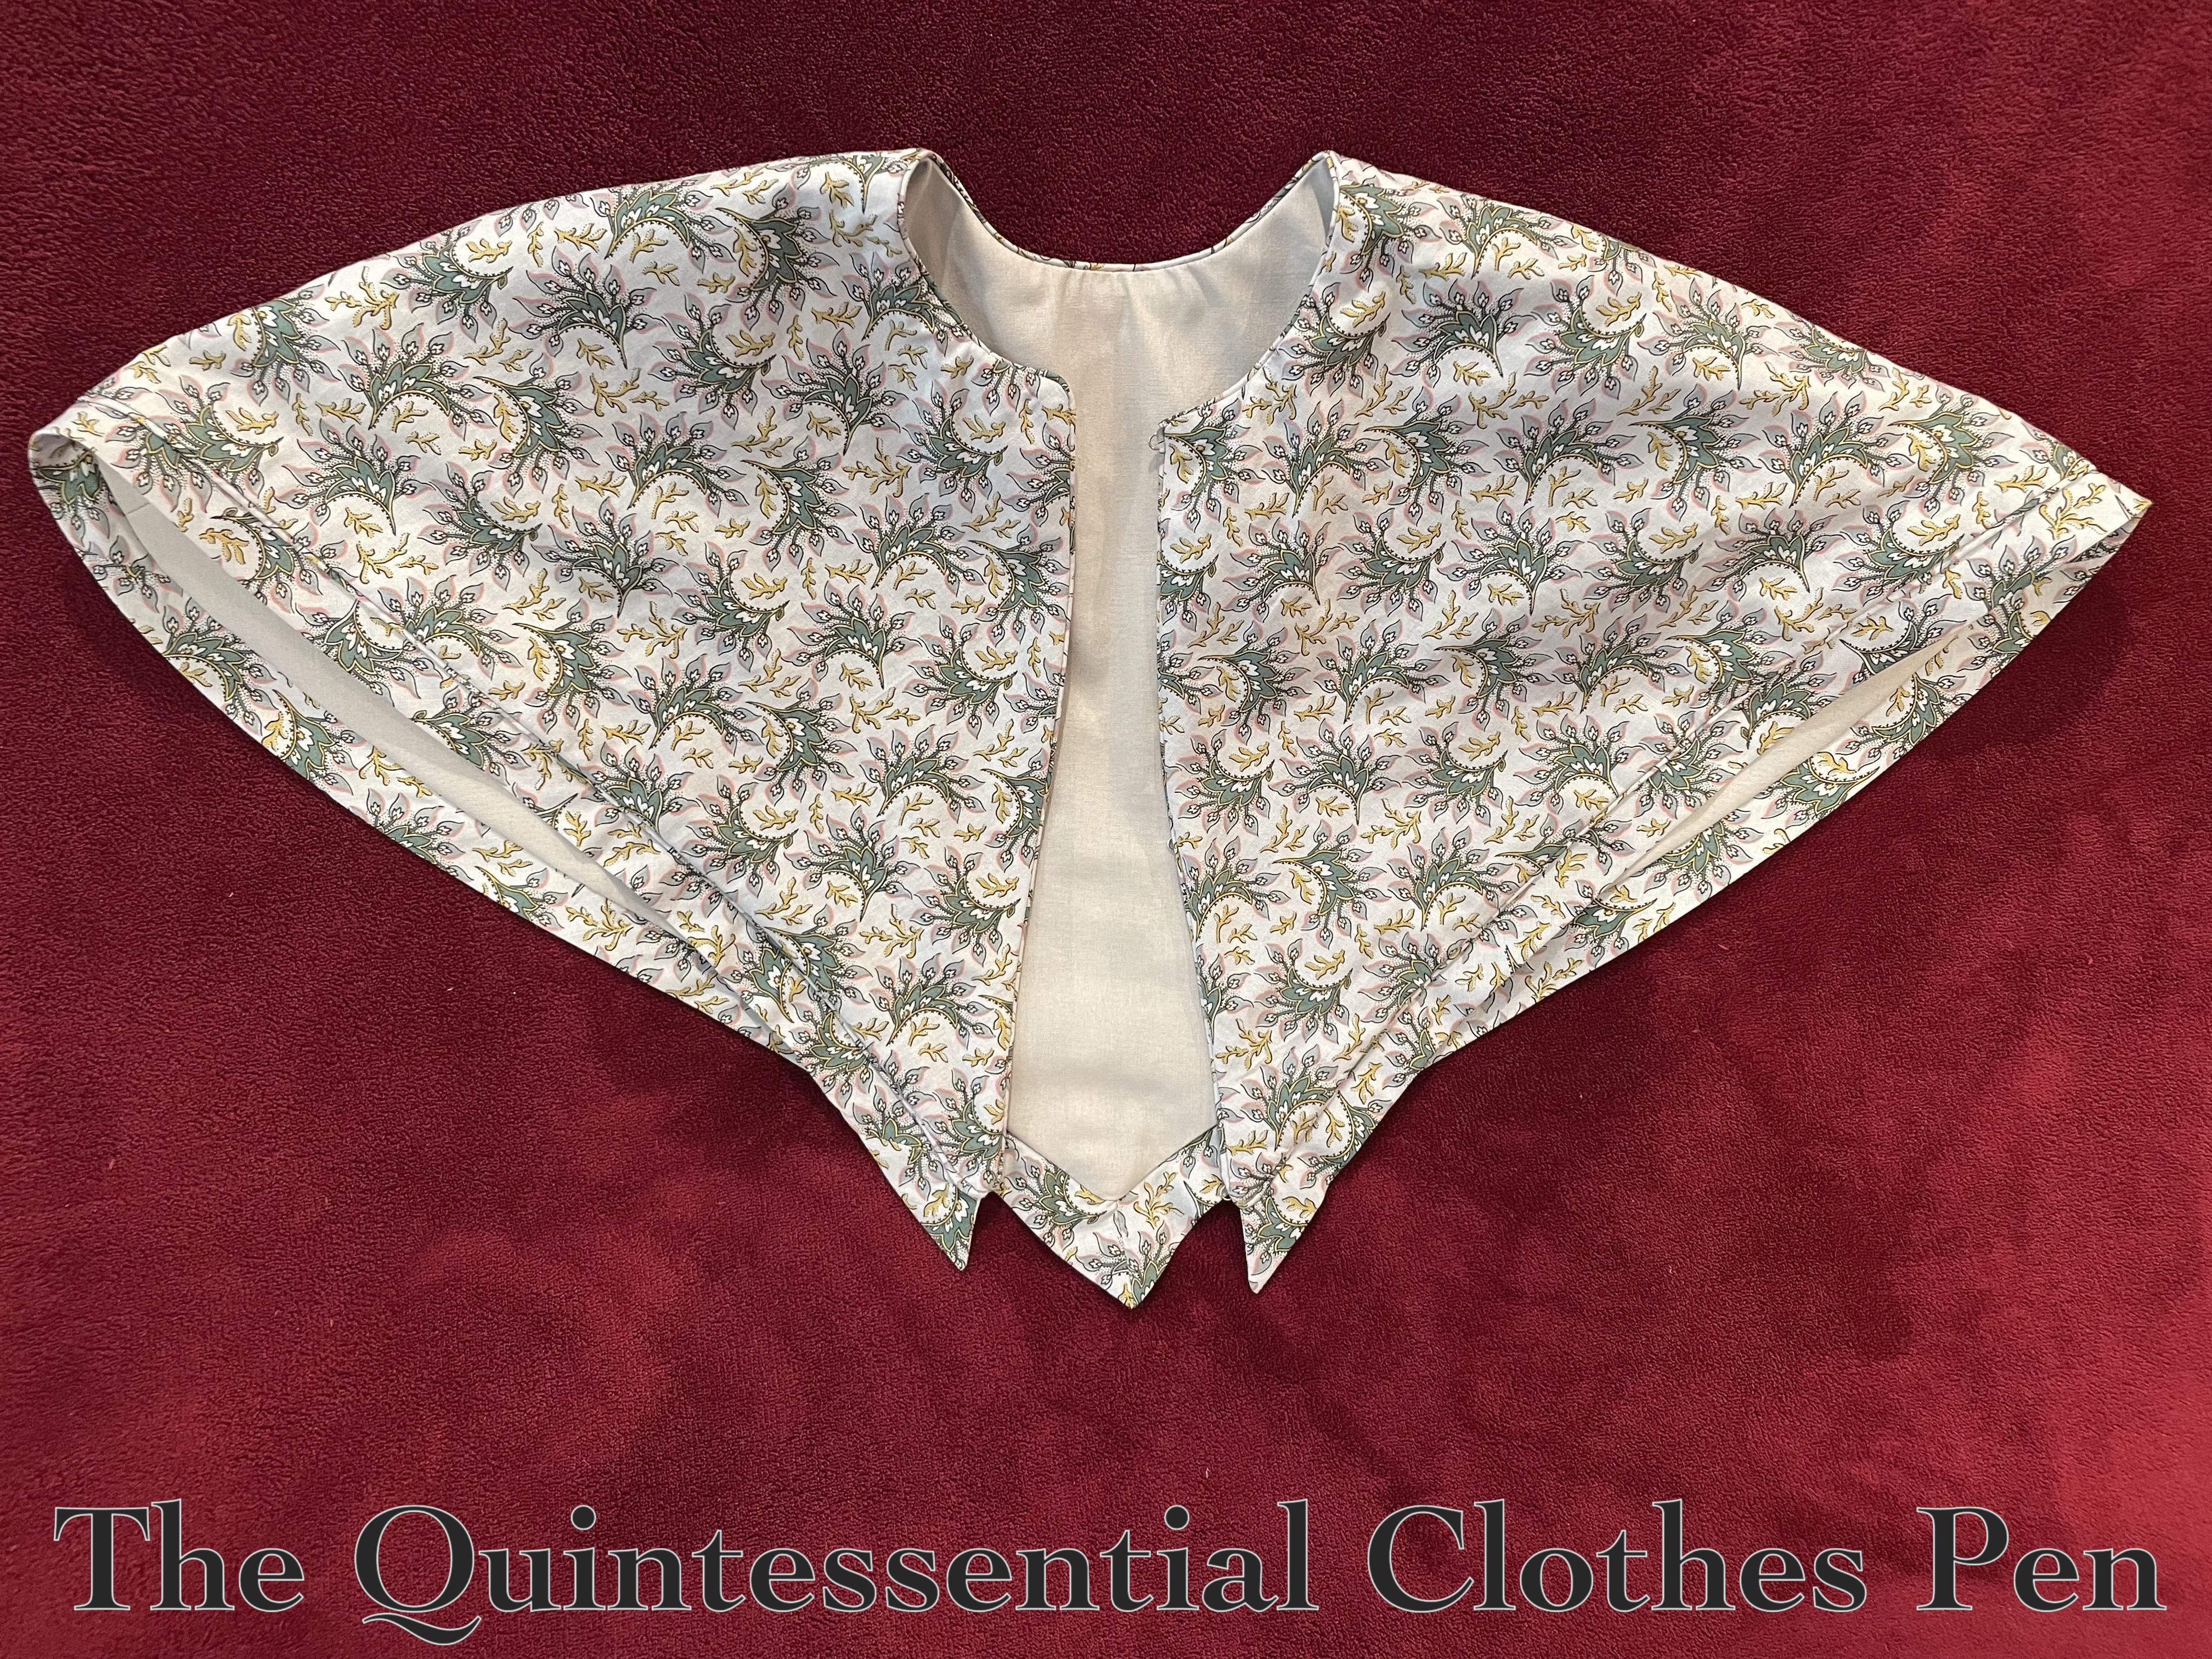
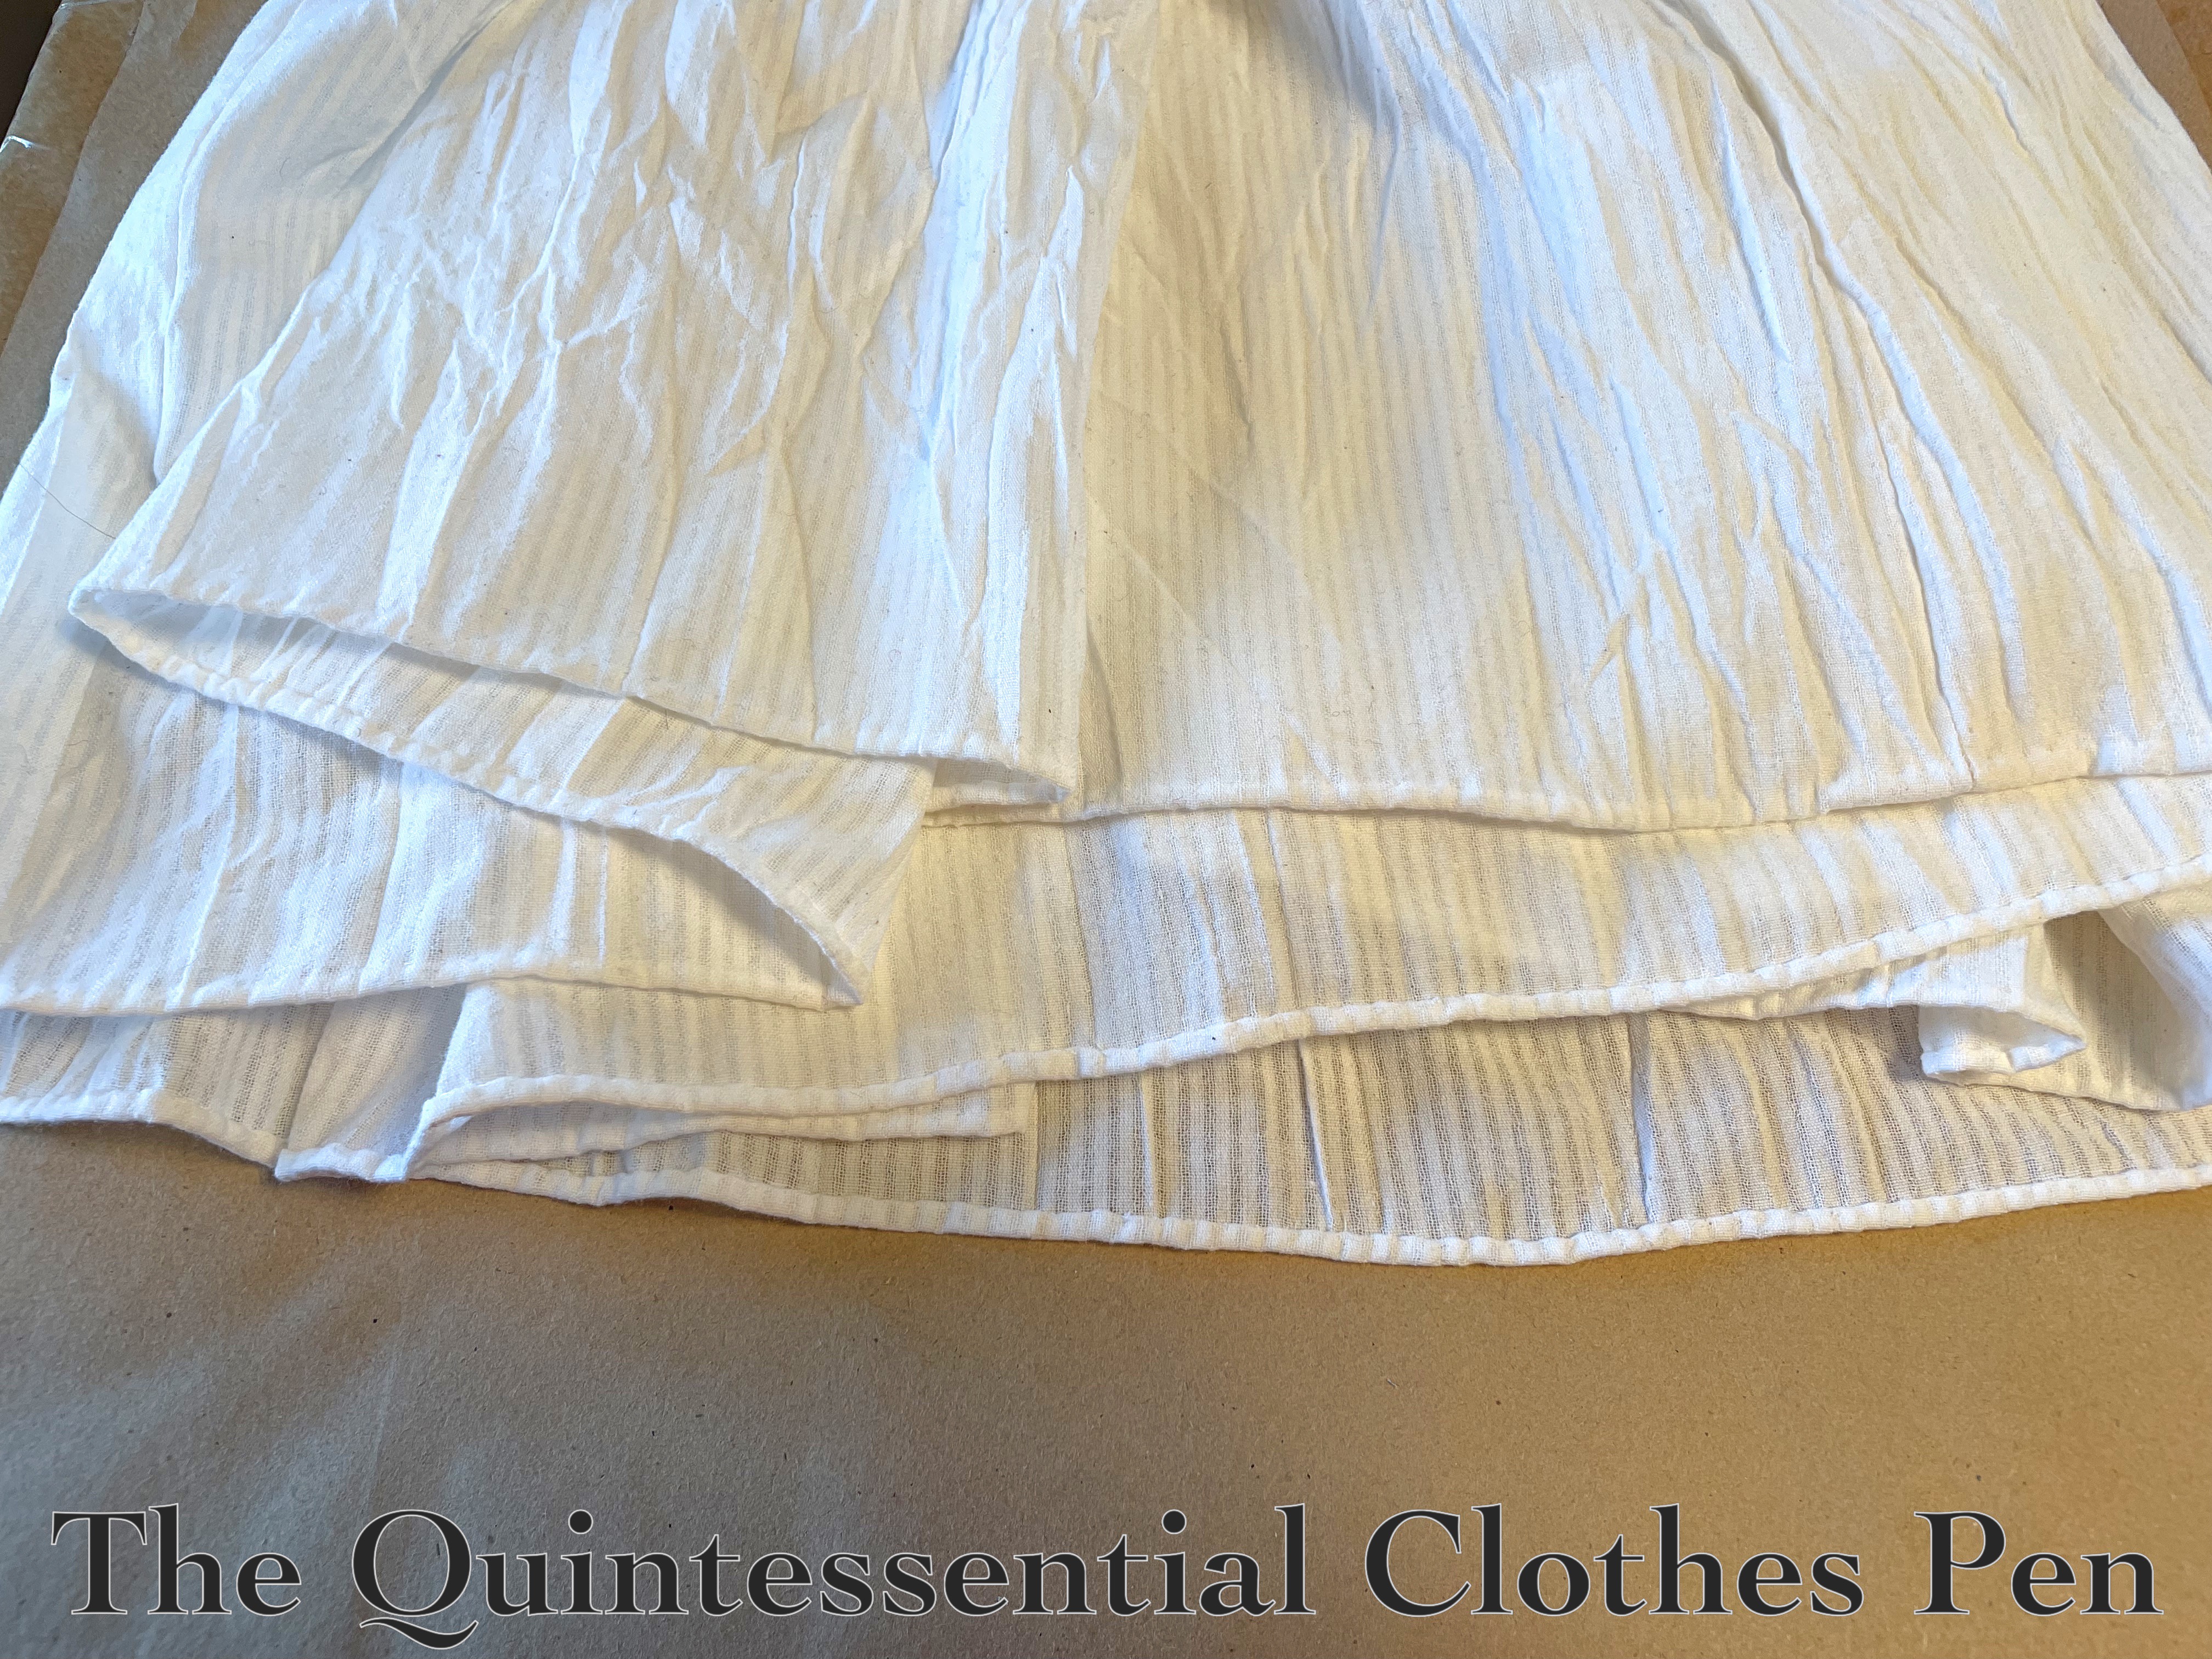
Above is a front view of the new petticoat. I made this in exactly the same way as the blue petticoat, referencing the same tutorials, etc. Essentially this is a tube that is pleated at the waist, with ties to hold it on the body.

The front has an outward box pleat at center front, while the center back (pictured above) has an inverted box pleat. The pleats are finished off by on the grain strips that form the ½” waistbands. Ivory satin ribbon ties are set into these waistbands.

Given that I had to make a whole new petticoat, it was my goal to make one that I could reuse for other purposes. Namely, I have 1780s ensembles in my sights and I wanted this petticoat to be able to be used for those. So it was important to me to level the petticoat in a way that would make sense for that purpose, but I also needed to make sure the petticoat to be long enough in the front to fully back the yellow silk for the sacque project.

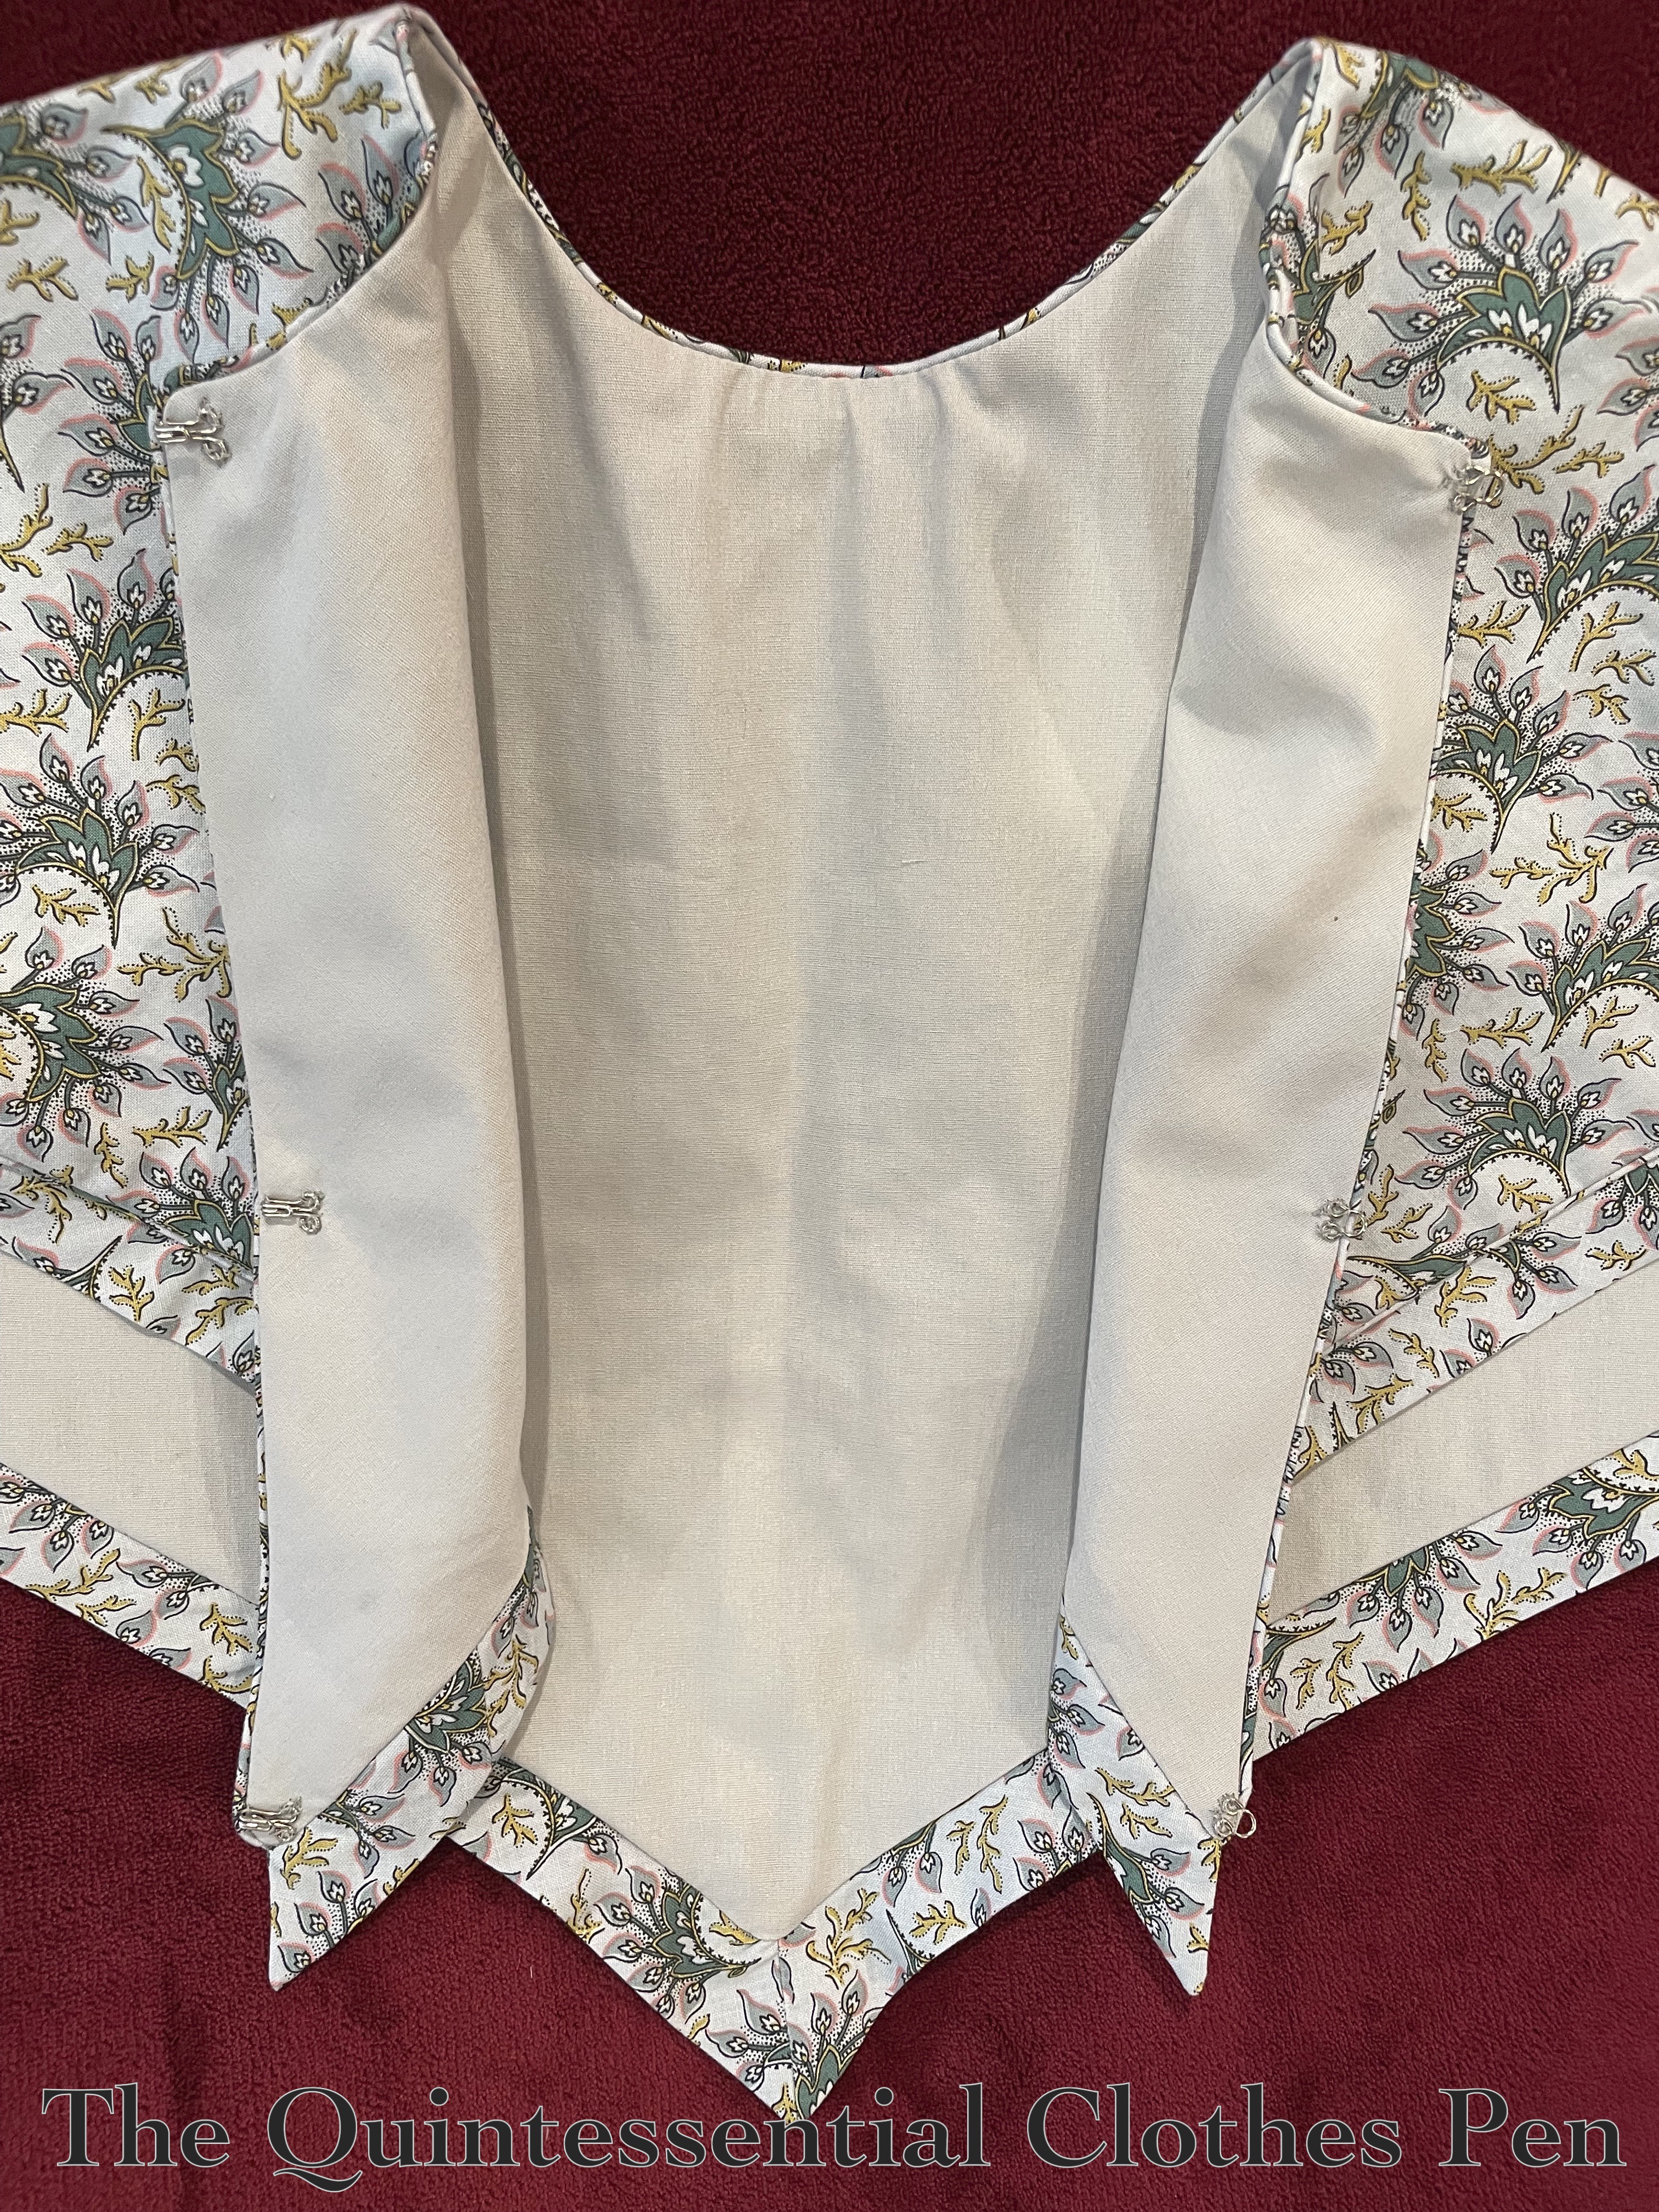
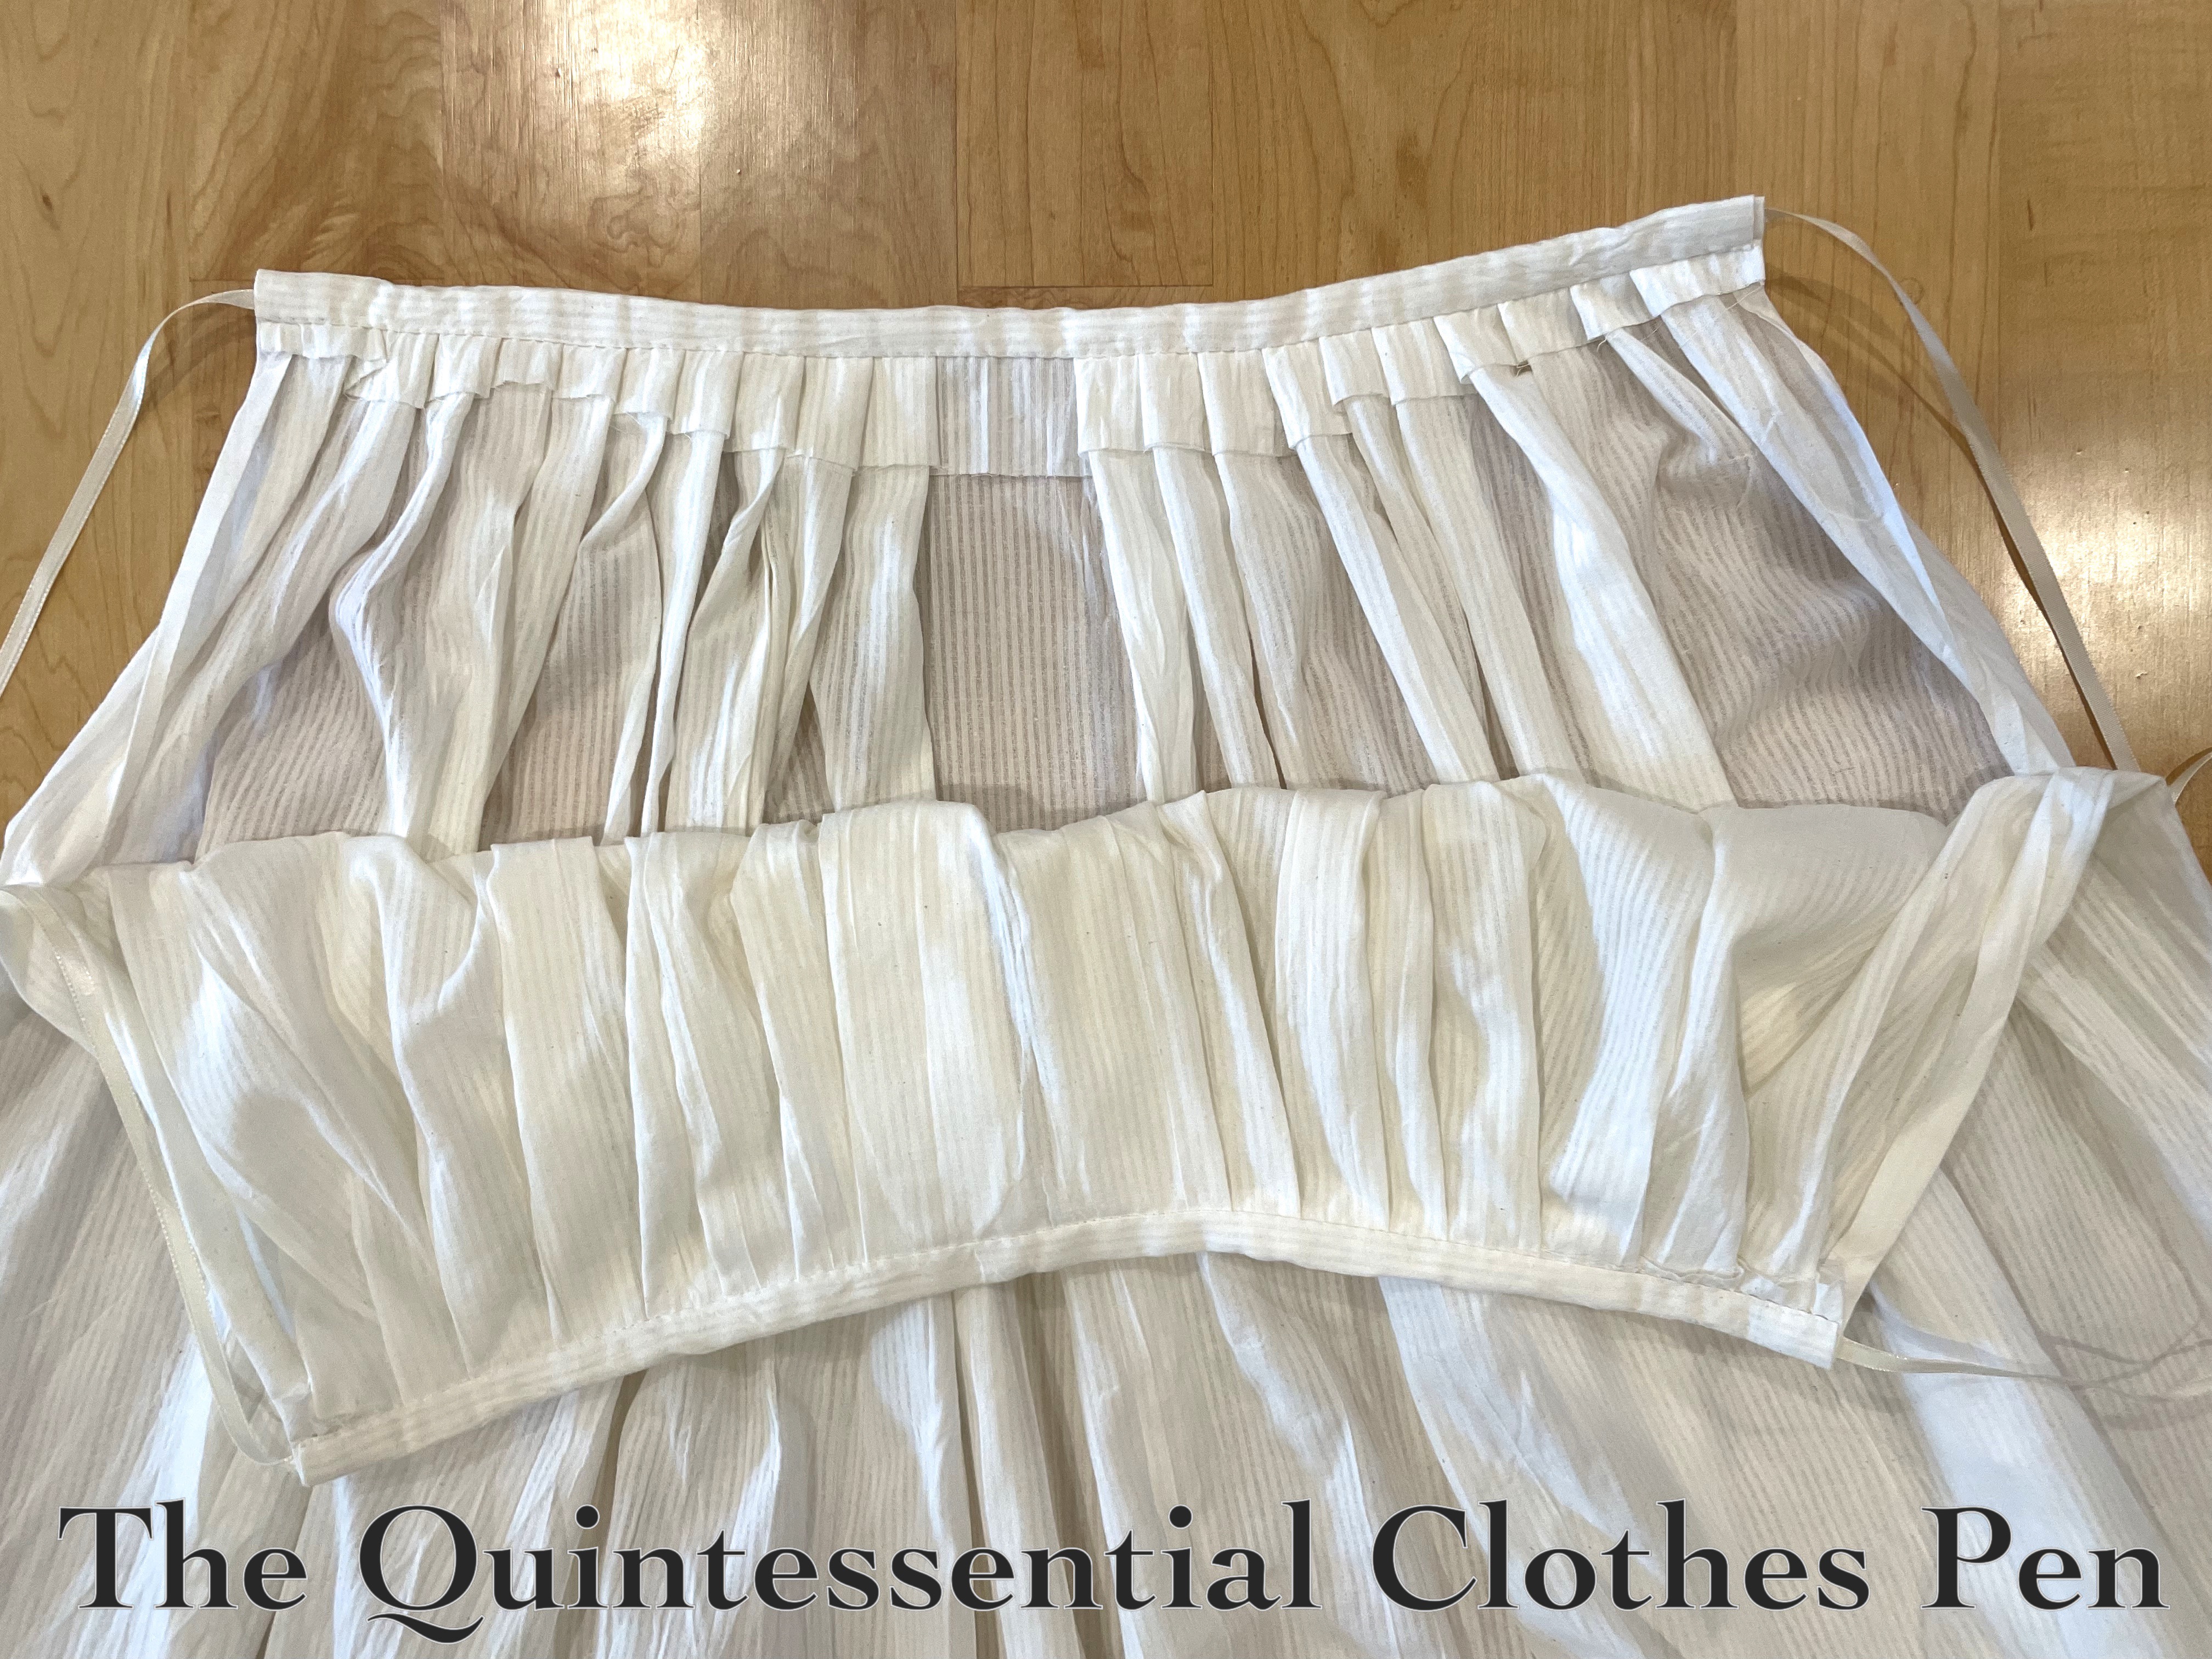
I’m pleased that with some careful figuring I was able to accomplish both goals! This petticoat doesn’t sit evenly over the pink panniers for the yellow sacque, but it does sit evenly over a not-quite-finished Scroop Patterns Frances Rump for a 1780s style! In order to know this would work, it meant I also had to make the Frances Rump and get it far enough along to be put on so I could figure out the leveling. More on the Frances Rump later! For now, a photo (below) of the insides of the white petticoat.

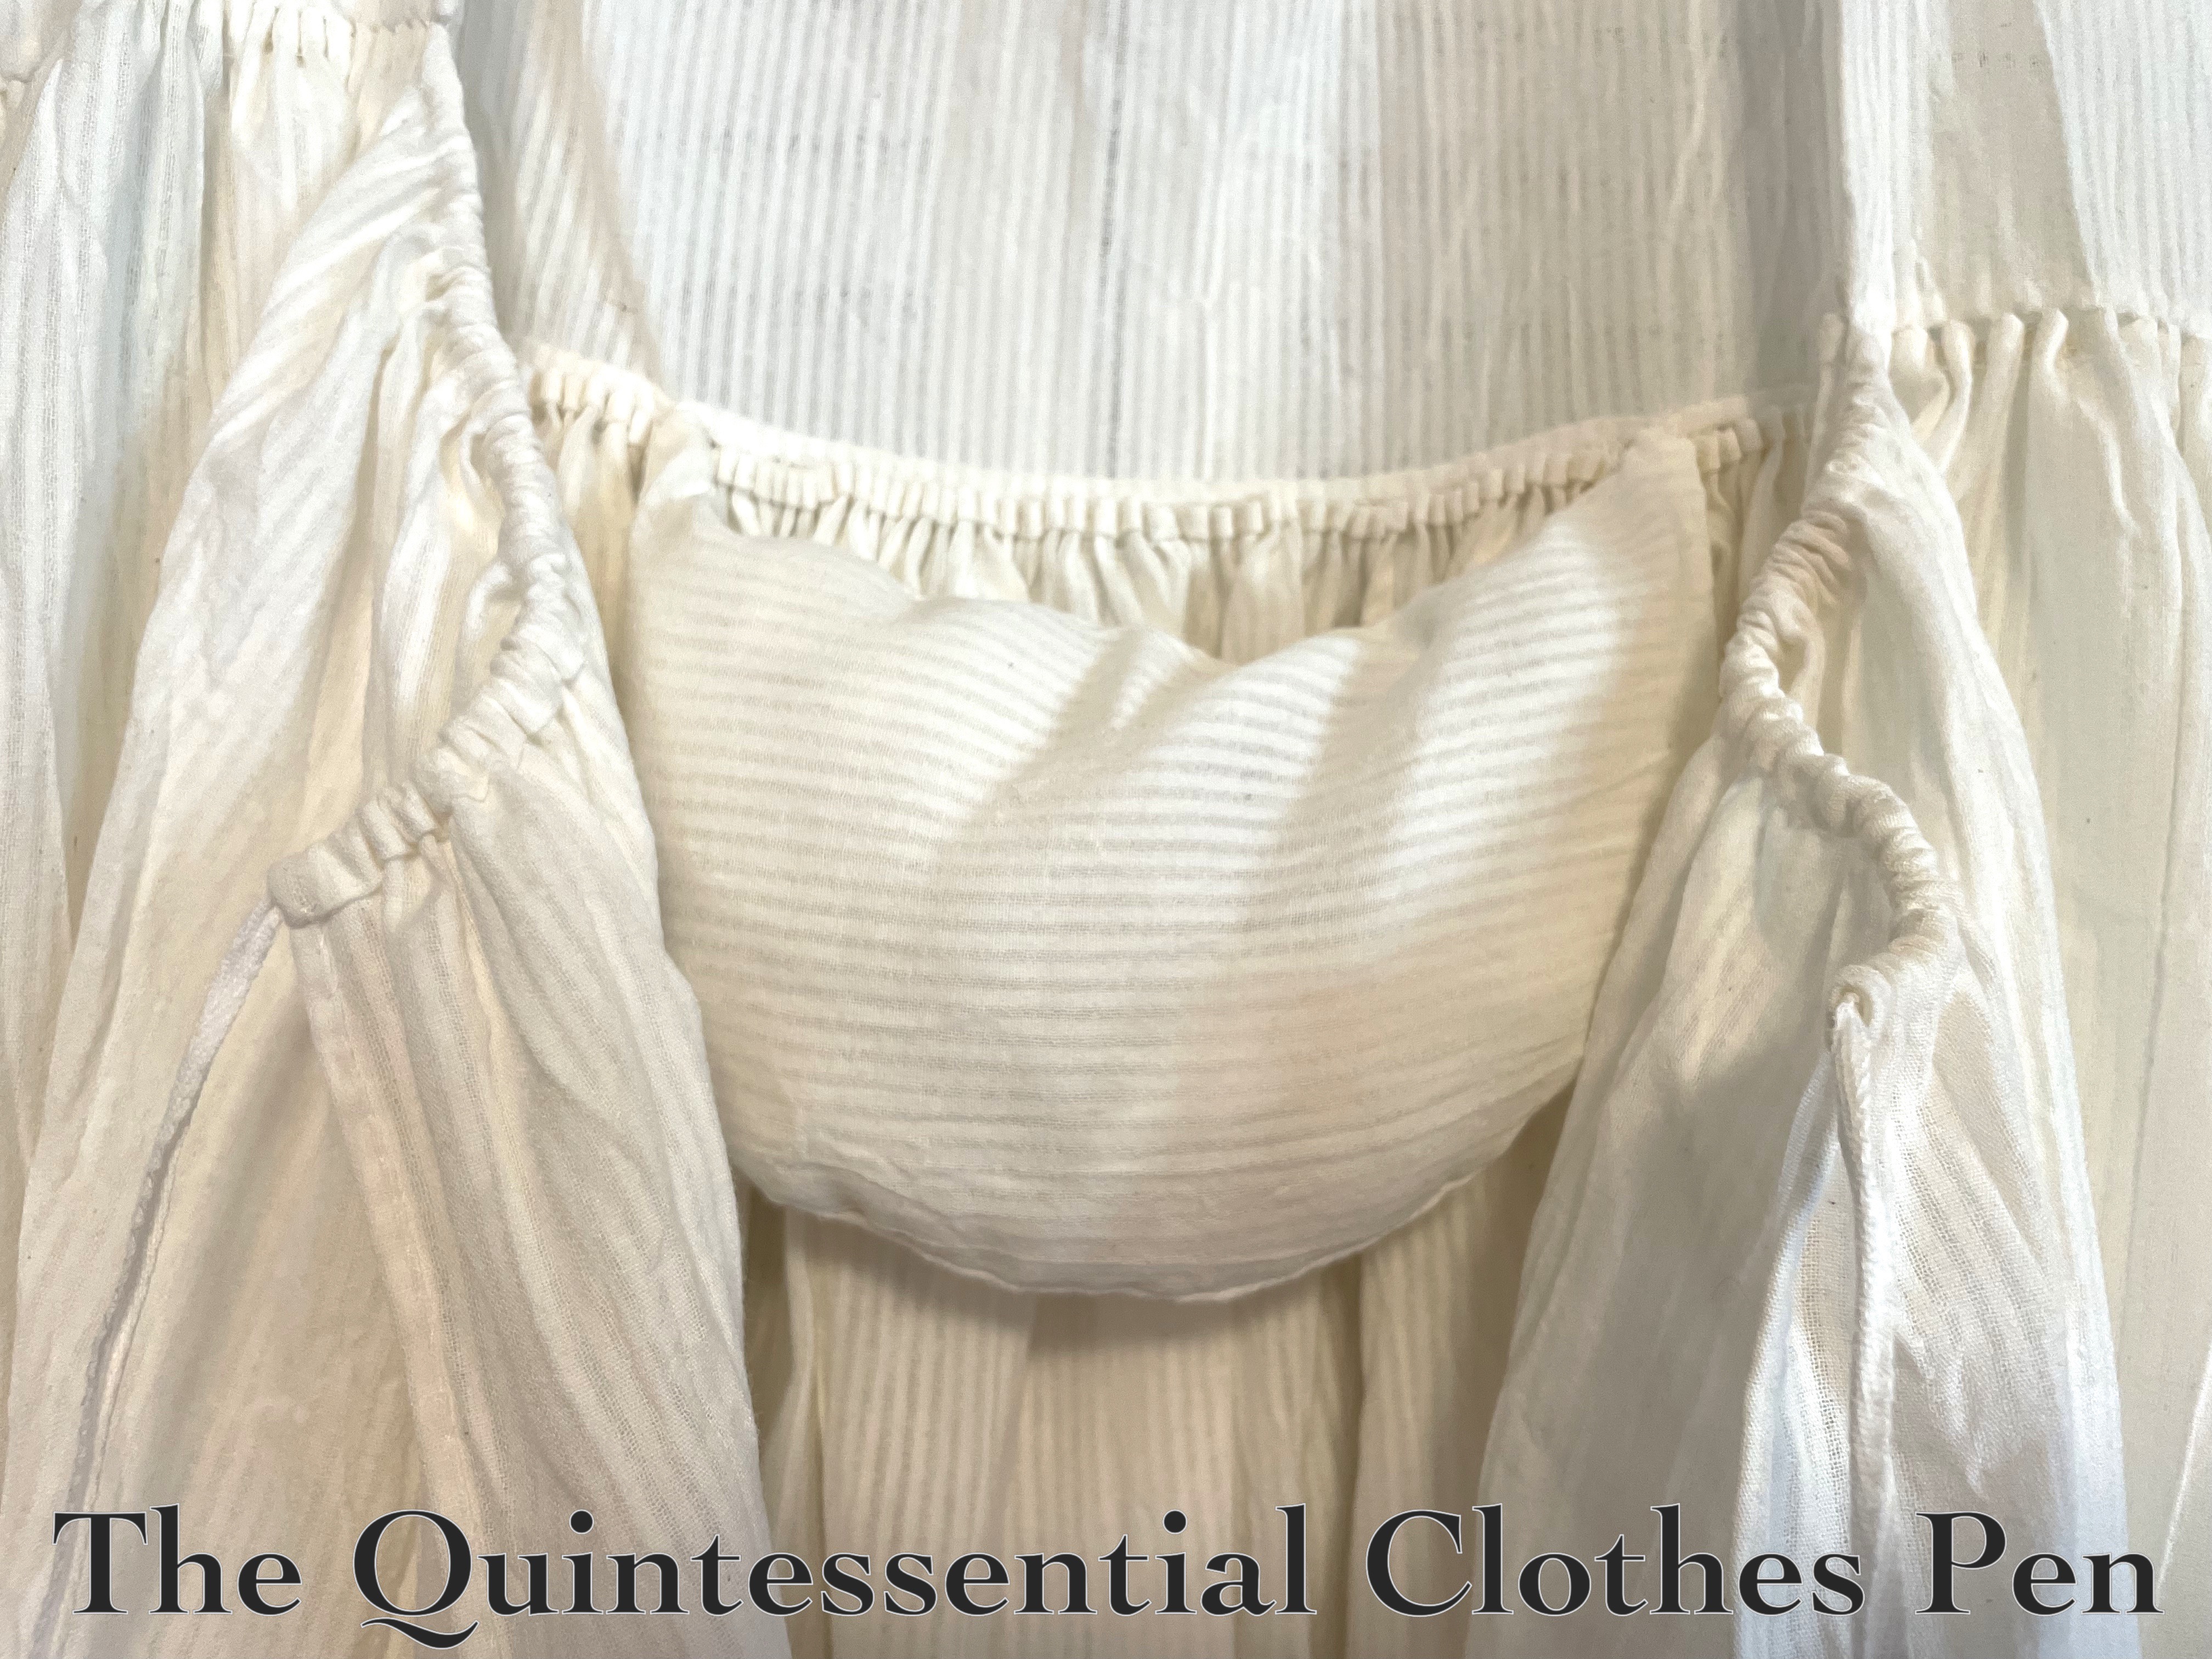
In the photo, the back is flipped down, showing that the skirt is leveled in a way that is pretty straight across. You can just see a little extra fabric length poking out of the waistband on the right side. The front of the petticoat is facing the top of the image. You can see how it needed to be a little bit shorter (therefore more fabric turned down to the inside) to accommodate the lack of bum pad on the front of the body.

The petticoat is finished with a whipstitched 1″ hem. It’s just the right length for me (and luckily also for the person who wore it in October), but might need to be whacked up with a basting stitch if I loan it to a friend with shorter legs. That’s easy, though!

And that’s it!

This garment qualifies for the HSM Challenge # 7, Always In Style:

Make a garment or accessory that is appropriate for more than one historical period…or even a historical piece that can be worn with modern clothing! (Note that the piece should still be ‘historical’, not just ‘historically-inspired’.)

Just the facts:

Fabric/Materials: Approximately 3-4 yards white striped cotton.

Pattern: None, but I referenced both of these tutorials on constructing 18th century petticoats. Katherine’s tutorial is for a petticoat with an uneven length (to go over panniers, or a bum roll, for example). Rebecca’s tutorial is for a petticoat with an even length (the same length all the way around, to be worn without extra supports). Both tutorials have construction information, Rebecca’s includes a bit more detail in terms of which stitches and methods to use.

Year: Loosely 1700-1790, but leveled to be appropriate for c. 1785.

Notions: 3ish yards of ¼″ ivory polyester ribbon and thread.

How historically accurate is it?: 70%. Accuracy gets knocked down because: 1- all unseen seams are machine sewn, 2- I used polyester ribbon for ties, 3- I haven’t seen research that shows cotton being used at this time for a single plain petticoat of this sort.

Hours to complete: 5? I didn’t really keep track.

First worn: October 5, 2024.

Total cost: The fabric was $1 per yard. The ribbon was gifted to me. So approximately $4.

1790s Petticoat & Bum Pad (HSM #8)

This post is part of my ongoing and slow work on a 1790s ensemble.

Last year, I was working on a petticoat and bum pad to create a foundation for a dress. The petticoat was pretty much done by the end of the year. The bum pad needed just a final fitting for me to decide if I liked the plumpness before sewing it closed.

After a fitting when the dress was very close to done I determined that I did like the plump pad (stuffed with scraps of the white striped cotton the petticoat and bum pad are made of).

With the bum pad being good to go, I was finally able to finish up the petticoat!

This is my entry for the Historical Sew Monthly 2024 Challenge #8 Stripes and Dots:

Make something using striped or dotted material. The stripes or dots can be printed on the material, knitted/woven in to the material, or created with surface embellishment (ex: embroidery). Textural stripes or dots (i.e: those that are the same colour as the base fabric) are permitted!

This petticoat is made from fabric with a narrow woven in stripe.

Just the facts:

Fabric/Materials: Approximately 3 yards of white striped cotton.

Pattern: From The American Duchess Guide To 18th Century Dressmaking by Lauren Stowell and Abby Cox.

Year: c. 1795.

Notions: Approximately 1 yard of 1/4″ white cotton twill tape, 4 hooks and loops, and thread.

How historically accurate is it?: 100%. Entirely hand sewn, made from plausible fabric, using a pattern that is backed up by lots of research… I’d say this one is pretty accurate!

Hours to complete: About 2 ¼ hours.

First worn: Not yet worn.

Total cost: Approximately $4. The fabric was just $1 per yard when I purchased it years ago and the twill tape and hooks/loops were bought in super bulk and probably cost no more than $1 for all of the bits that I used.

More details:

The petticoat closes with a drawstring, as can be seen below. I love this, as it will make it easily adjustable (a common theme in my recent sewing projects!)

The front opening is finished on both sides with a narrow hem. It’s long enough that I didn’t feel the need to reinforce the bottom, as I don’t think I’m likely to rip it getting in and out.

The next photo shows that I left extra seam allowance at the sides and shoulder seams… again on the theme of garments being alter-able!

And finally, a hem! I needed to max out the length to accommodate the sheer dress that will be worn over this, so the hem is only about ¼”.

And that’s it! I’m excited to have another foundation piece for a new-to-me decade of clothing and I’m pleased that it is entirely hand sewn.

When The Dress No Longer Fits (1815 Tree Gown)

I’ve loved my 1815 Tree Gown ever since I made it in 2013 (here is the link to the original post about making the dress) and have worn it many times, most recently last summer for a Regency picnic which I posted about here. It was clear at that point that this dress needed to be updated to fit my current shape!

Making a plan

I finally had the brain space to deal with it this summer (and the added encouragement of wanting to be able to wear it in June). So, accordingly, I dug out the small bit of fabric I had leftover from originally making the dress.

Then, I took stock of what was needed. In a fitting, I realized that not only were the sleeves now a bit too tight, but the shoulders were also not quite wide enough for my now-broader shoulder width, which was also contributing to the dress wanting to fall off of my shoulders. Ugh!

There was no easy way to deal with that second problem except to make the back wider… So, I took a deep breath and decided to replace the back panels.

Making it happen: taking the dress apart

I had seam ripped the arm seams last year after realizing they needed to be let out, so the sleeves were already in that taken-apart state.

As I was taking apart the back, I remembered that I had taken a tuck in the finished dress to make the armsceye a little smaller. Alas, letting this out was not nearly enough to prevent me from needing to replace the back panels.

Making it happen: forming a new plan

Fast forward through a bit of seam ripping (French seams make for a lovely finish, but also mean double the seam ripping!), and I had a bunch of loose panels flopping around. I used the original back pieces and my desired new measurements to cut mockup pieces of what I thought the back should become. I safety pinned those in and tried the dress on to make sure I was on the right track.

Here is the old back piece laid over the mockup. It’s not a huge difference, but that 1″ or so on most edges made a huge difference in terms of fit.

I also made a pattern piece for the arm gusset I needed based on the measurements I wanted the new sleeve size to be. In the end, I decided to extend the gusset all the way down to the cuff opening, as I figured a little extra room for my hand to get through was a reasonable idea (it was a tight squeeze otherwise!).

Then, I used my minimal scraps to cut out the new pieces. I’m super pleased that even with small scraps I was able to match up the block printed areas!

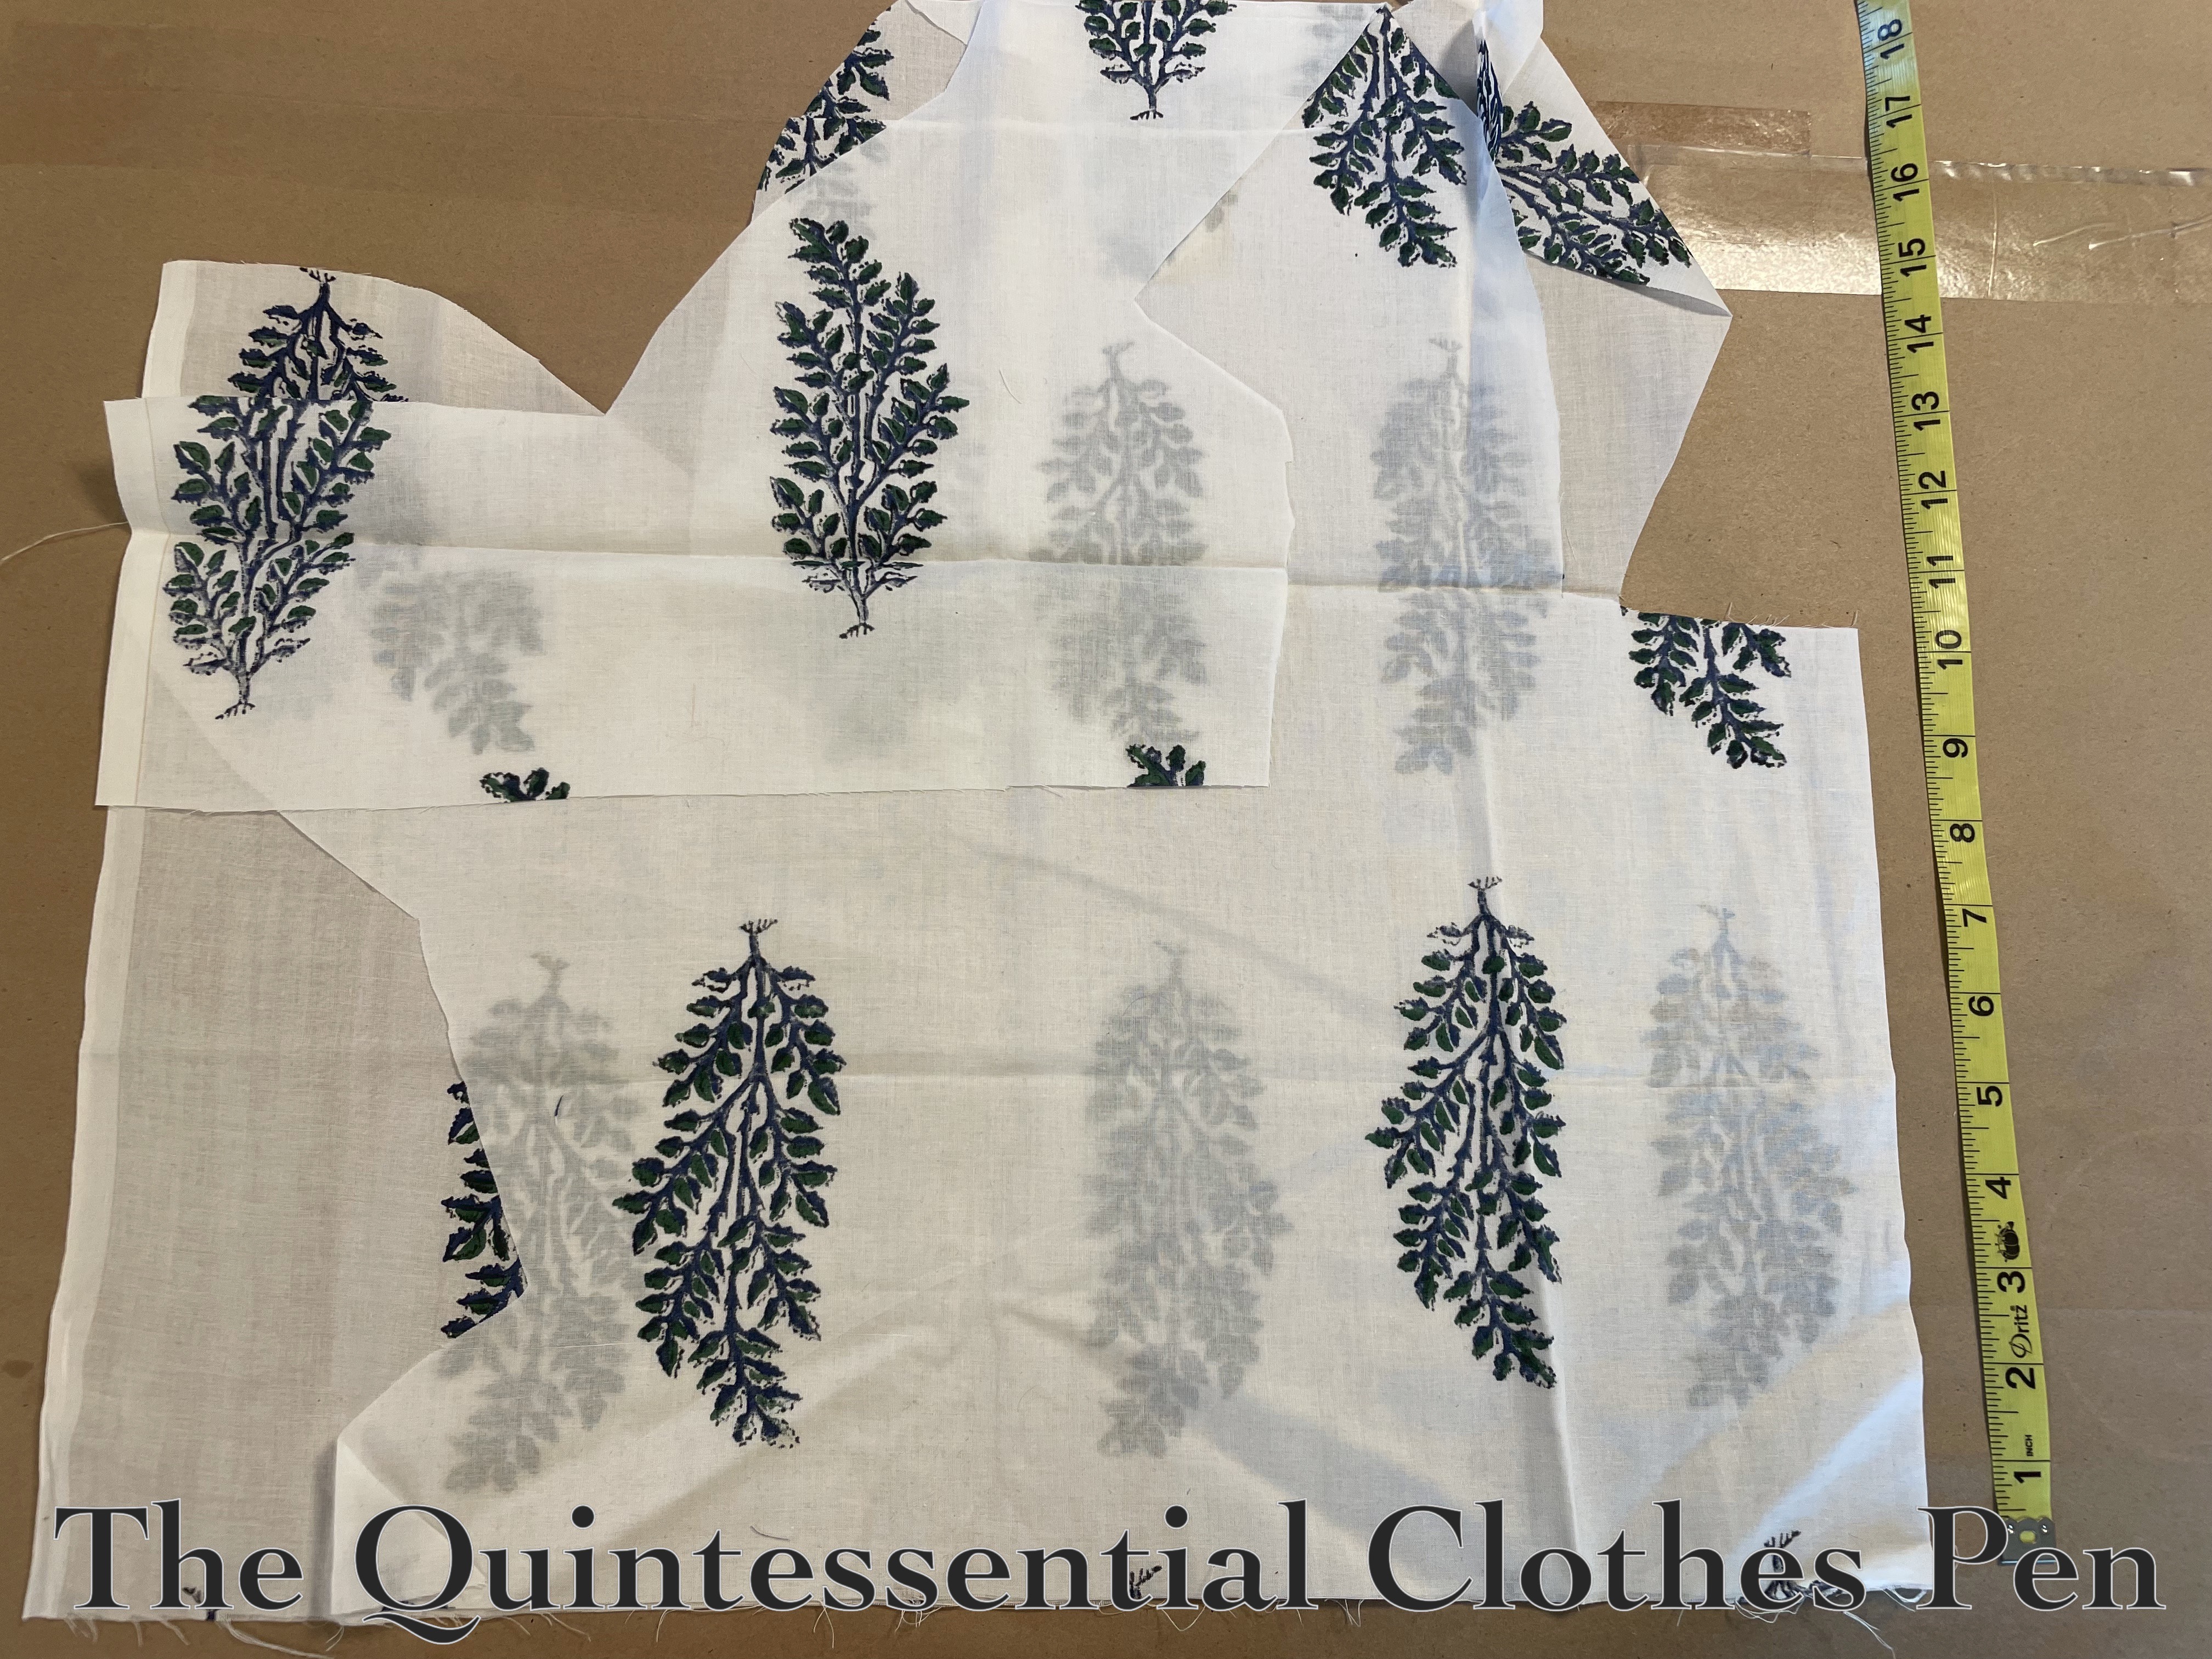
For the back pieces, the image below shows what I had to work with. Not much! I could fit both pieces if I didn’t maintain symmetry in the block print, but… I did such a nice job matching it up when the dress was made! I just couldn’t bring myself not to make the re-do match, too! But I couldn’t get two pieces with matched patterns out of what was left.

It was too much to think about late at night and I knew I only had one chance at cutting to get it right…

So I took a break and came back to it another day. And I had a brainstorm! The way to make my goal happen was to piece one of the pieces somewhere. I could have placed an extra seam in a shoulder area, but that seemed more obvious than my second option given the sheer fabric of the dress. The second option that I decided on is a vertical seam in the white space near the center back opening. There was just enough fabric to make it happen!

Making it happen: putting the dress back together

With my new back pieces cut, it was just a matter of putting them back into all of the seams (including the armsceyes, shoulders, side back, and waist). I was able to reset the sleeves without any of the original gathers, which allowed for the extra circumference my new back pattern had created. Then, I created a new drawstring channel along the neckline and re-applied my closures… and the update was complete!

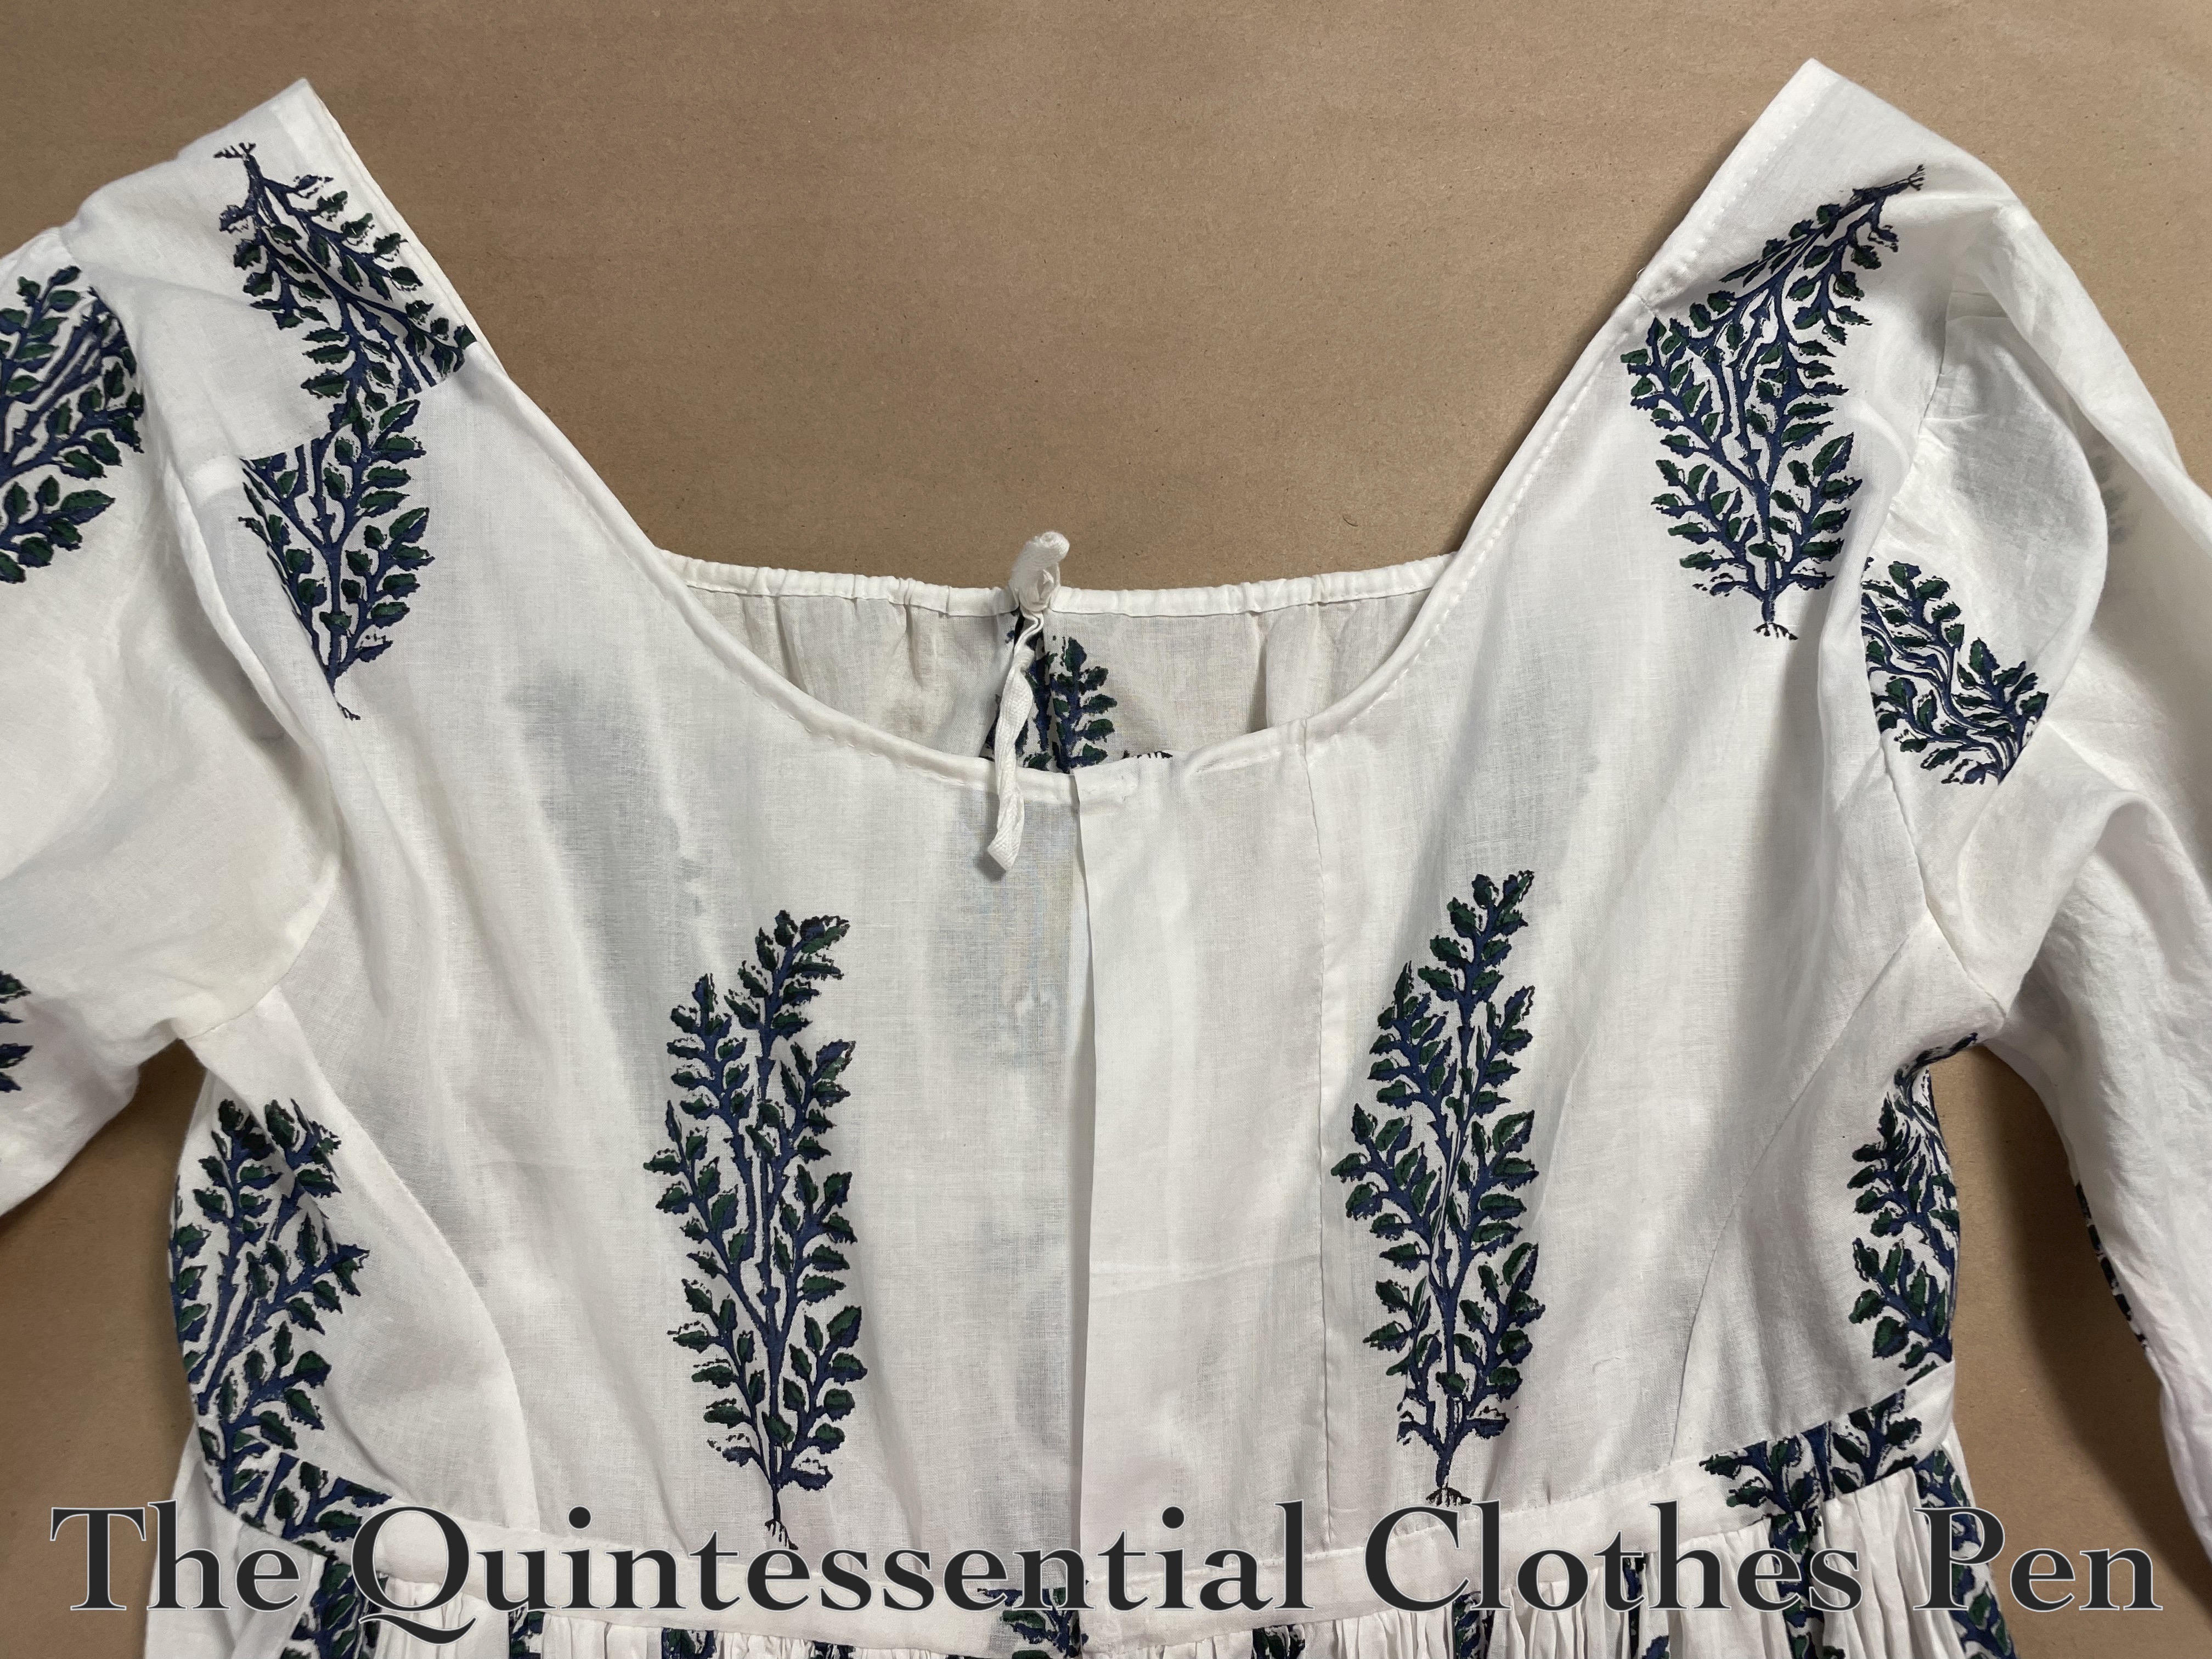
Here is the new back view of this dress, with the pieced seam on right (but with symmetrical block printing!).

I used a French seam to attach the pieced bit, so that it would match all of the other seams in the dress and stay nice and tidy with no fraying edges.

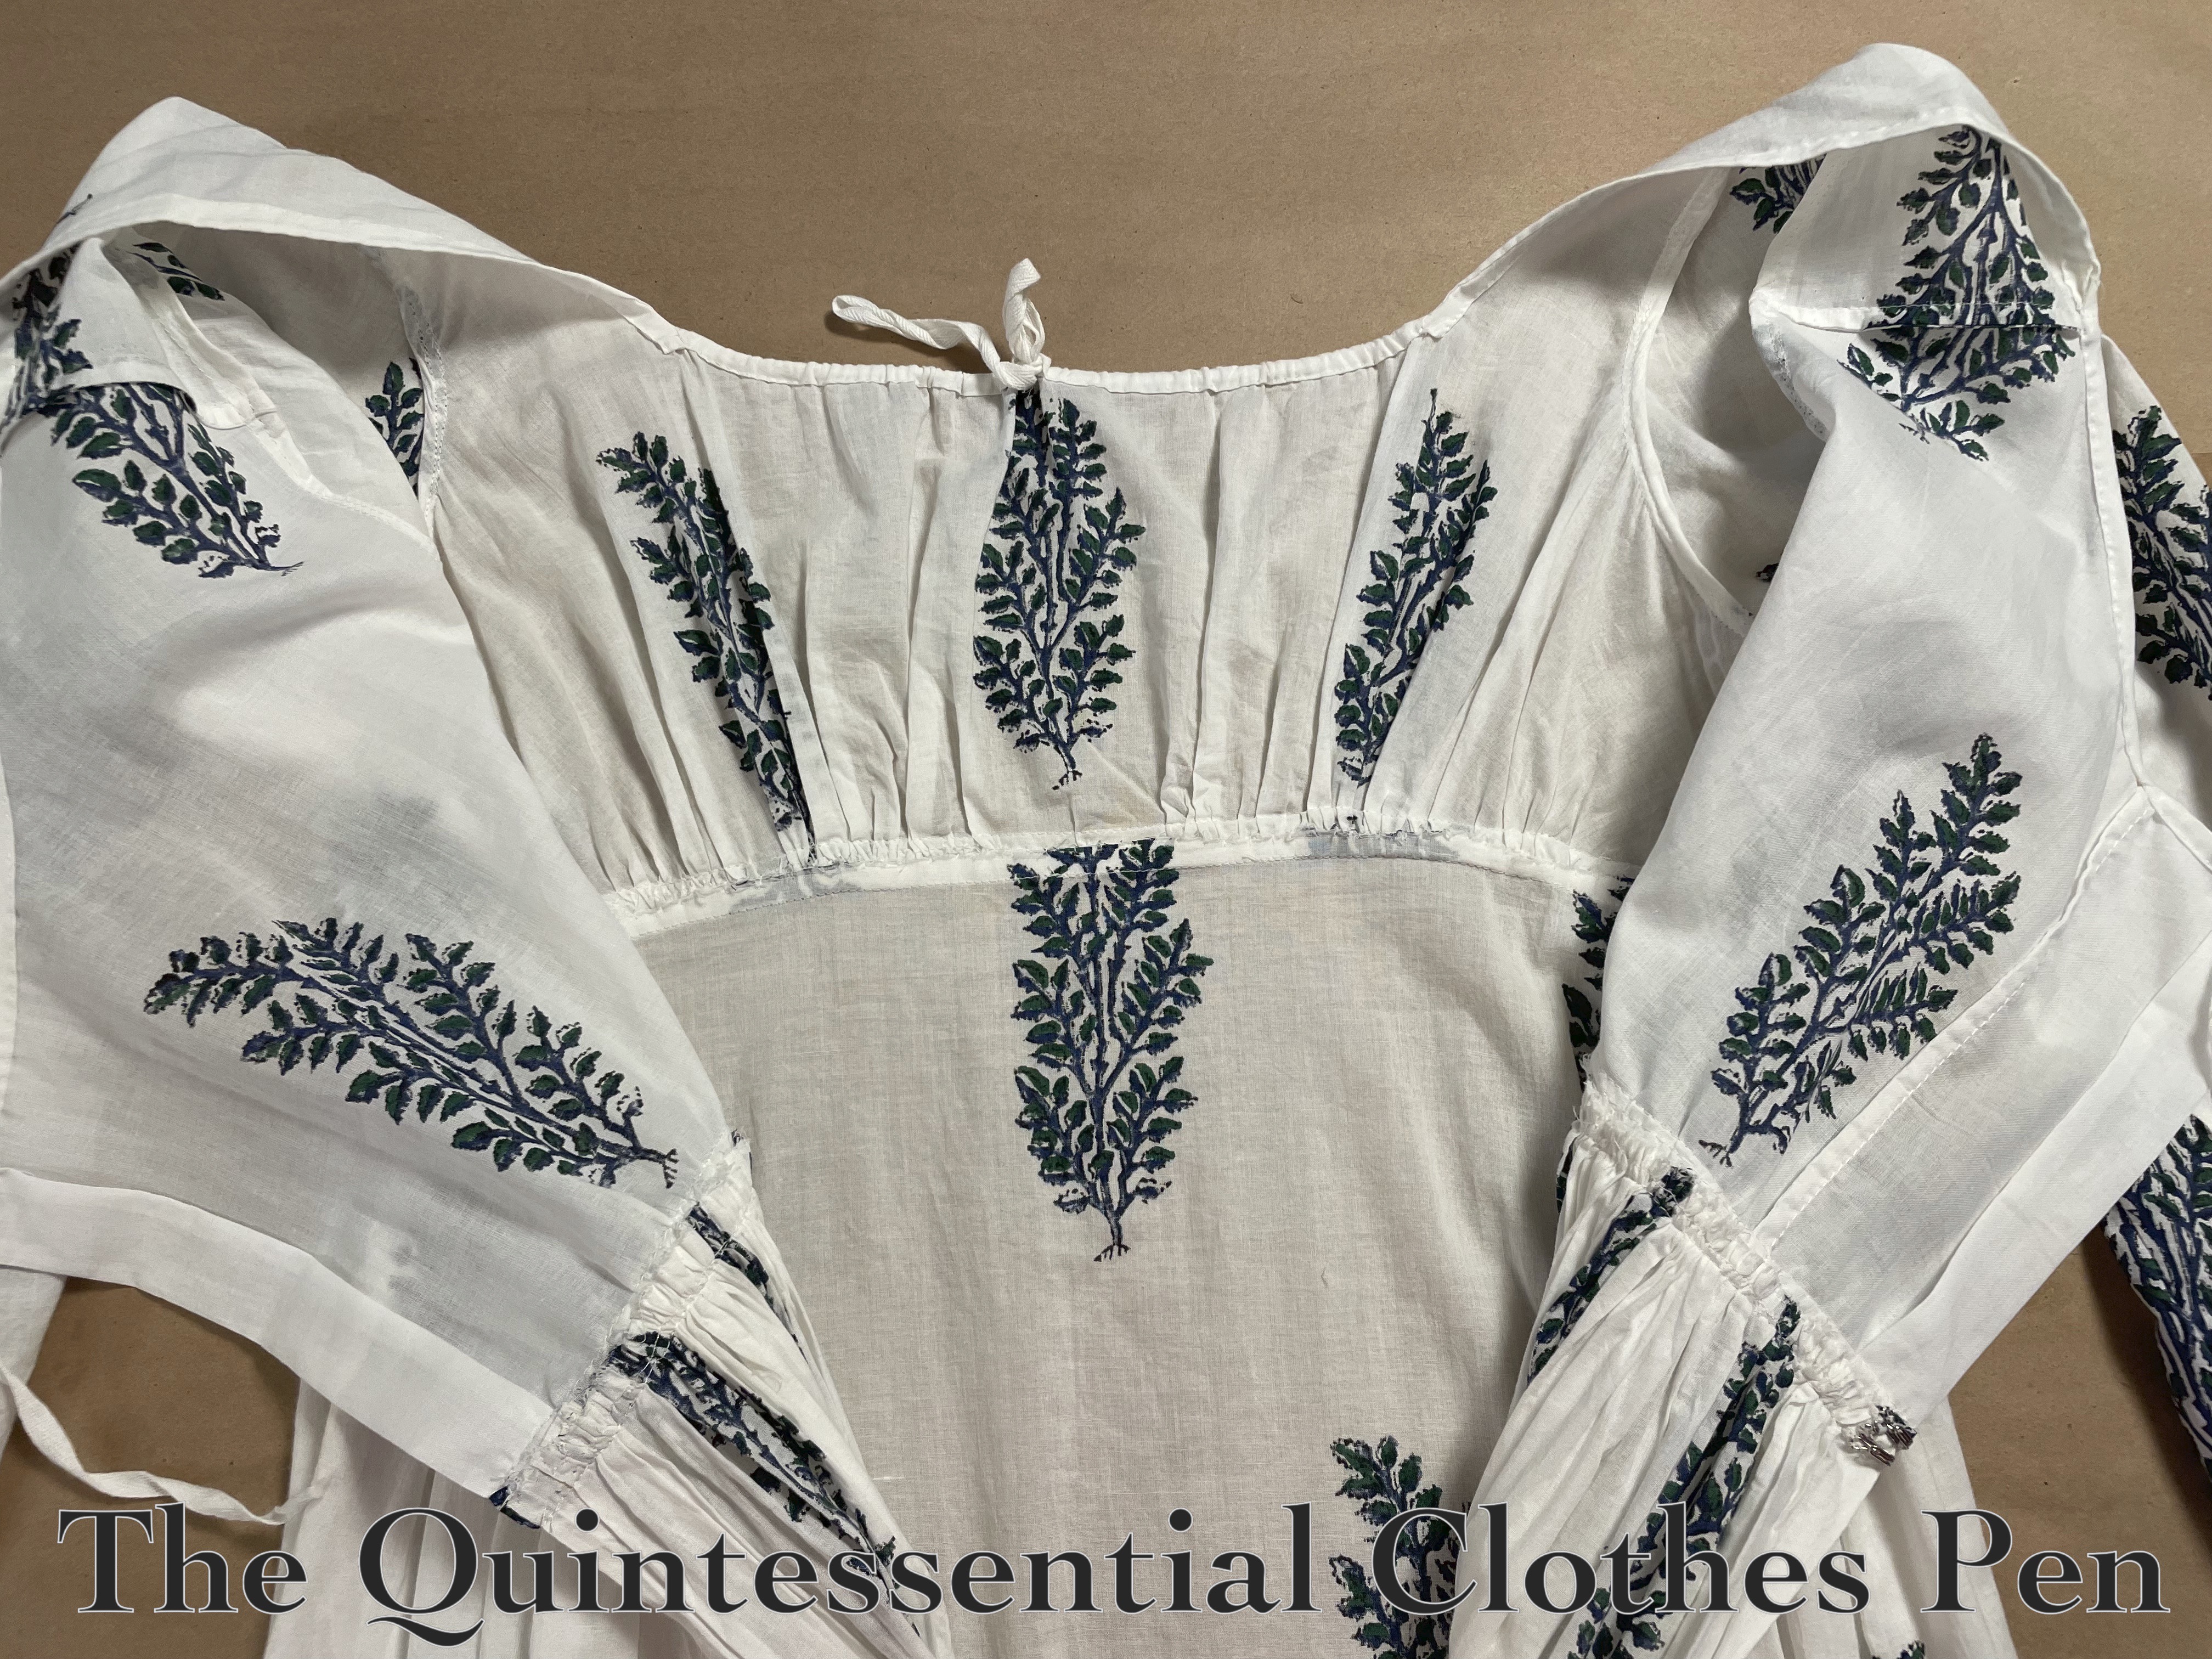
I also made the right side of the drawstring come out before the center back edge, so that the overlap with the hook can still function properly while the drawstring pulls up the excess width across my shoulders that I included. (There was extra in the original version, too… but I maxed that out years ago!)

Here’s another view of the lovely, tidy interior of the dress with the updated back.

And finally, here is a photo of the finished sleeves with the added gussets. Where the block printing is located the seams blend so well you can’t even see them! It makes my heart pitter-patter with glee!

The final step after putting in the gussets was to re-hem the cuff openings.

And then… this dress was updated! Now it’s a story of ‘when the dress fits again!’

Sophie In Springtime

The lilacs were blooming in May, joyfully spreading their scent to all who passed by.

Photo credit for this photo: Steve Lieman

I was grateful to be able admire their beauty and celebrate spring with an outing in Sophie, my trusty 1861 twisted stripe cotton print dress. I made this dress in 2016 and posted about the construction in this past post.

The overcast sky didn’t dampen my spirits!

The diffused light was actually quite lovely and I enjoyed whirling around in the fresh air.

I hope your springtime held unexpected joy, as well!

When The (Regency) Petticoat No Longer Fits (HSM #5: New Clothes From Old)

While we’re on the subject of updating clothing that no longer fits quite right (this is continued from my last post about updating a pair of 1860s drawers, which you can read here), I have another post about updating a layer of historical underwear for fit.

A few background thoughts

In the past 15 years or so that I’ve been making historical clothing, I’ve also changed sizes and some of the clothes I made early on just no longer fit. The usual culprits are the waist, bust, and shoulder width. (It’s not necessarily all for the worst. My shoulders and arms are bigger because I’m gaining strength and being active, so that’s a healthy change!)

I’ve been able to wear more of my historical clothes recently and the more I wear the older ones, the more I realize just how much my shape has changed.  Because I have some lovely garments that I still want to be able to wear, I’ve been updating these garments to better fit my current shape.

Background on this particular garment

I made an early 19th century bodiced petticoat in 2012 (here is my post from back then sharing research about this type of garment). Since then, I’ve gained inches in the bust, ribcage circumference, and in the width of my shoulders. So despite wearing this petticoat and making do, I finally reached a point where it became important to make this fit better.

Here is the bodice portion of the petticoat before my alterations, from the front and back.

I determined that I needed a whole new front piece–one that would be wider across the bust and with more gathers to condense to the ribcage size. I also realized that it would be helpful to make the side back pieces a little more substantial, with a taller side seam to match the new front.

Update details

Thankfully, I keep lots of fabric scraps! And in this case, I actually still have yardage of the fabric I made the petticoat from. So no problems there — I was able to easily cut out a new front with updated dimensions as well as bits to add to the side pieces to extend them (I didn’t feel like replacing them entirely — this petticoat already is a bit pieced at the center back, where I had previously added fabric in order to help make it a little larger a few years ago).

After cutting new pieces came the boring part of unpicking the original front. Ugh! I don’t enjoy taking apart things that I’ve made! But I did it.

I thought I might machine sew the new pieces on, but I was more inclined to complete this project while not near my sewing machine, so I did it by hand instead. I replicated all of the same seam finishes from the original bodice front (because I like consistency, but not because they are historically accurate, in this case).

Here are the results!

And here are closeups of my very pieced method of creating larger side back pieces (you can also see the extendo I added to the back at some point about 6 years ago).

Unfortunately, when I tried on the adjusted petticoat I realized that the armsceyes were uncomfortably small. I was not going to be able to deal with that! “Get it off!” was my exact though. To fix that problem, I added strap extender bits to the front of the straps.

This worked great! And now, I have a petticoat that fits again! It covers my current bust size AND fits across the back (in fact, I made it even a little too wide across the back because I figured that might be helpful).

Here is a photo of the inside of the new front bodice piece. Both the old bodice front and the new one have a drawstring along the top edge. And you can see that I left additional strap length for theotrical future of letting-out.

I’m calling this my entry for the Historical Sew Monthly 2024 Challenge #5 New Clothes from Old:

Make something new out of a worn-out garment or accessory. Or make something using recycled materials.

I believe I’ve recycled a worn-out garment into something new and ready to use again!

Just the facts:

Fabric/Materials: Scraps of white cotton.

Pattern: My own.

Year: c. 1812.

Notions: Thread.

How historically accurate is it?: 100%. It’s completely reasonable to extend the life of a garment like this by altering it.

Hours to complete: 4? It took some time to seam rip and then I was meticulous about stitching the new pieces on. I didn’t really keep track.

First worn: On May 4.

Total cost: Free! Materials were scraps left over from the original project.

It took a bit longer than expected to hand sew all of the updates I needed to make, especially with the late-to-the-party addition of the strap update. I was pleased to finish this the day before it was needed! (More on that later!)

The Happy Clover Dress Gets A New Zipper

As I was getting dressed in my Happy Clover Dress one day last summer, I was pulling up the zipper… and it broke! I don’t remember exactly how it broke, now that I stop and think about it months later… I think that the pull came off of the teeth, or the pulling part came off of the part that grips the teeth… I don’t remember precisely, but needless to say, it was broken.

Below: the Happy Clover dress with its original zipper.

The original zipper was repurposed from a 1980s dress I took apart to make a 1920s beaded dress back in 2013 (a post about making that 1920s dress, including photos of the 1980s dress before I took it apart, can be seen here).

With the broken zipper, the dress wasn’t wearable! So on the day that is broke, I changed my outfit and put the Happy Clover Dress in the to-be-mended pile. Not long after that I bought a new YKK zipper in matching shade of teal. And then… the dress and zipper sat there for about 9 months…

Fast forward to May of this year and I was really tired of looking at my large mending-and-alterations-to-do pile (is that sounding familiar yet?)! I want to get back to sewing some of my larger projects and am craving both the physical space and mental release of completing the mends and alterations in order to do that.

So… that led me to finally put the new zipper into the dress!

Yes, the zipper is in! Just as before, it is centered and topstitched. This is due mostly to the fact that the zipper nestles under pleats in the back skirt, which means that it has to be sewn in two sections–the bodice section and the skirt section–to keep the pleats form being sewn down with the zipper.

You can see that in the photo above and you can also barely make out my extra backstitching where those two sections of stitching meet in the photo below.

Here’s a closer photo of the fun teal color of the new zipper!

And that’s it! Just in time for warm weather, the Happy Clover Dress is back in action! Yay!