

My sewing has taken a sharp turn into the 1830s in the last two months or so. It’s an exciting detour that has been on the horizon for a long time–ever since I purchased this yellow block print cotton back in 2013, in fact.

I wanted to up my silhouette game for the 1830s and achieve a fuller looking skirt than I’ve been able to do with my 1832 velvet gown in the past. To that end, I decided to make a corded petticoat.

I followed the directions from American Duchess in this video and only changed the cording pattern to suit my materials. If you’re interested in making a corded petticoat yourself I definitely recommend the American Duchess video. I found it easy to follow along with the steps and appreciated the mentions of pitfalls and tips along the way.
I was super excited to get started and maintained my enthusiasm for the first 4 sections of cording, but by the top 2 sections I was definitely feeling ready to be done! By that point the petticoat was unruly and difficult to turn as I sewed around each channel. Despite being less fun than when I started, I pushed on, and I was quite grateful when I finished the last section of cording!
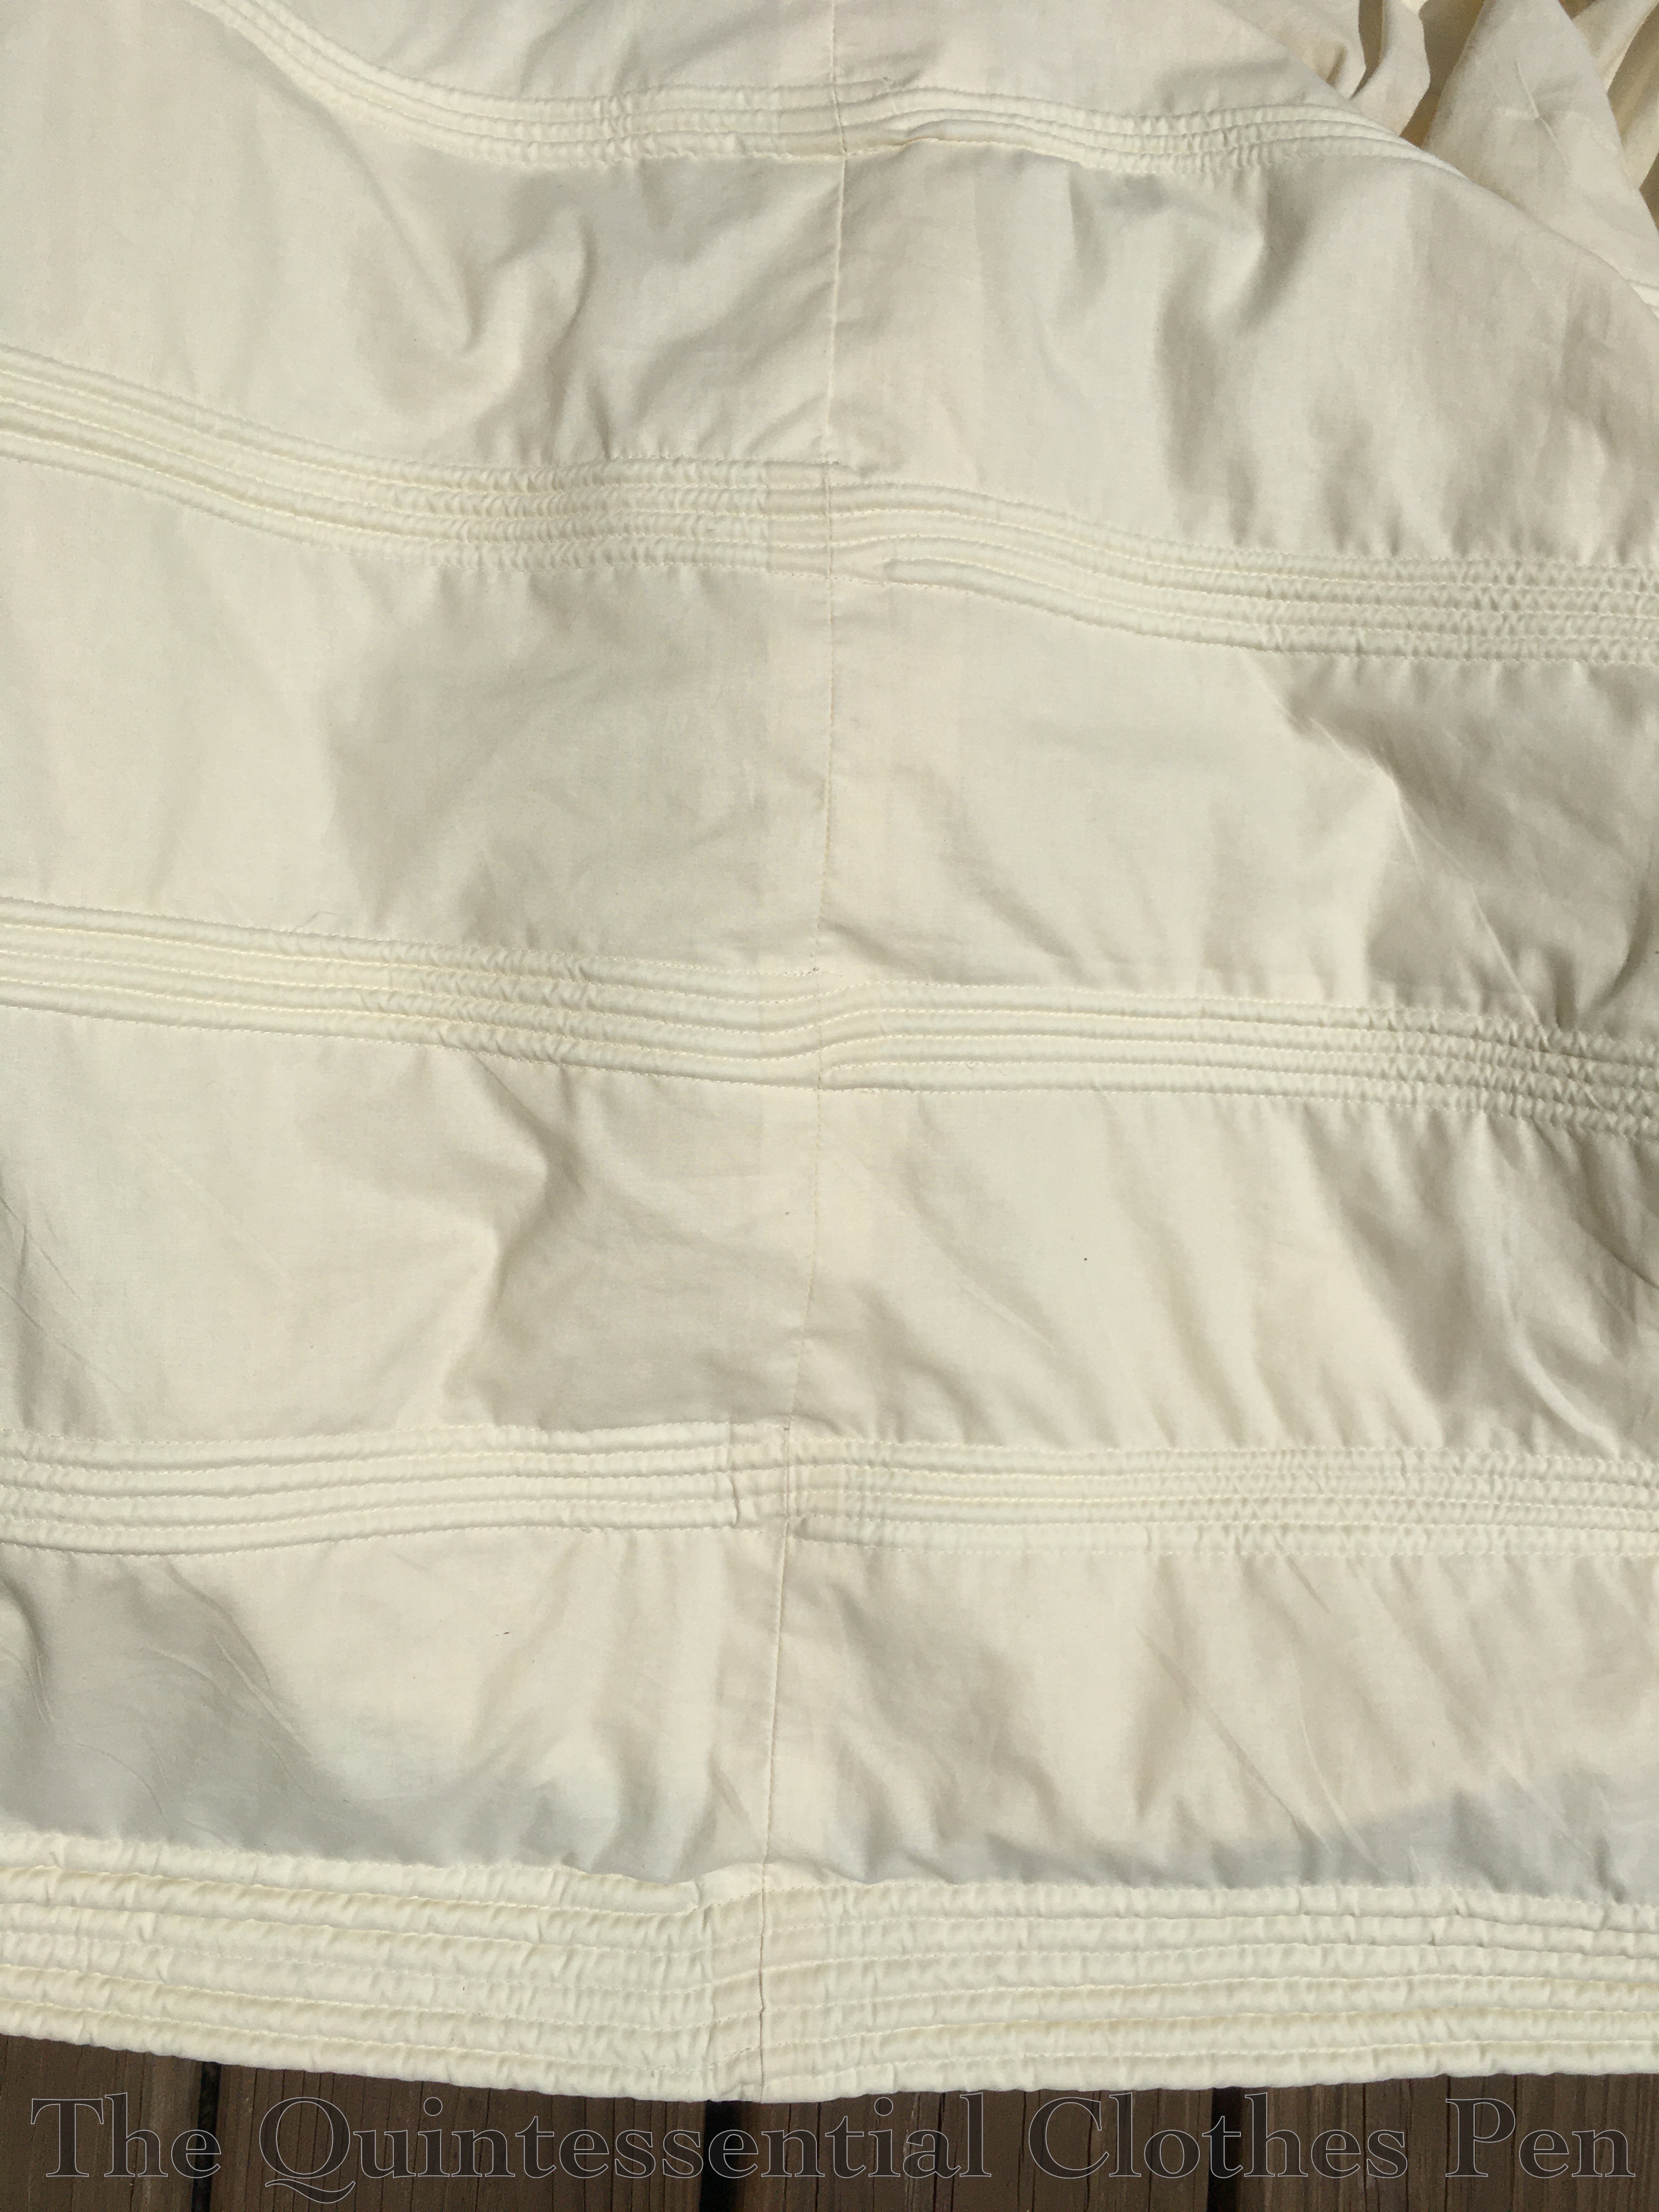
Here’s a closeup photo of the cording sections. I used a continuous piece of cord for each section, as suggested in the American Duchess video.
My opening is just a portion of one seam left open just above the top section of cording. This is what it looks like from the outside. I made the waistband extra long to allow for future adjustment (just in case!), which is why the button is set over so far from the edge of the waistband.

On the inside, that opening looks like this. The second layer of fabric is just turned back from the edge and top stitched in place. The other seam allowance edges are selvedges, so they didn’t require finishing. Easy and tidy!

The ivory cotton waistband is whip stitched on the inside finish it all off nicely. Hidden underneath is a layer of cotton canvas that helps to stiffen the waistband a bit.

This petticoat is almost entirely machine sewn and took 8.5 hours to make. I used 4 ¼ yards of ivory cotton, 13 ¼ yards of 5/16″ cording from Wawak, 39 ¼ yards of 7/32″ cording also from Wawak, the canvas scrap for the waistband, and a lone ivory button from the stash. The materials cost about $33.
When I started this petticoat, I thought that it would only be worn with the 1832 velvet gown I mentioned earlier, but since then 1830s daywear using the yellow print cotton has made it onto my sewing table… and this will definitely get worn with the new dress. I also hope to be able to wear it with 1840s dresses that will someday make it onto my sewing table. It’s a great step towards improving my silhouette!

That’s really a nice petticoat and it is easily seen how much work went into it. I look forward to seeing the yellow dress. What a nice fabric!
Thank you! I’m excited to finally make the yellow fabric into a dress. It will be fun to share photos here. The dress will be worn in just a few weeks! 🙂
I also thought the American Duchess video for making a corded petticoat was very easy to follow. It did seem like it took forever to sew the cording round & round!
Oh that’s good, I’m glad I’m not the only one who got tired of sewing cording… 🙂
Dear Quinn,
The petticoat is likely to become a workhorse in your wardrobe. How good to have it in a reasonable period of time. Those were a long 8 hours, but they finally did end, hopefully sans dizziness.
How the cording affects the type of curves at the bottom of the petticoat reminds me of how brush braid or a large cord would affect 1890s skirts…some methods had long lives…
Very best,
Natalie
I enjoy the thought of the petticoat causing dizziness! All that going around in circles! 😉 I found the most difficult thing was hauling the layers of stiffened fabric around over and over again. But as you say, we made it!
Yes, I see the correlation between the cording and the 1890s skirt stiffening methods you mentioned! Nothing new under the sun, or something! Thanks for the thought!