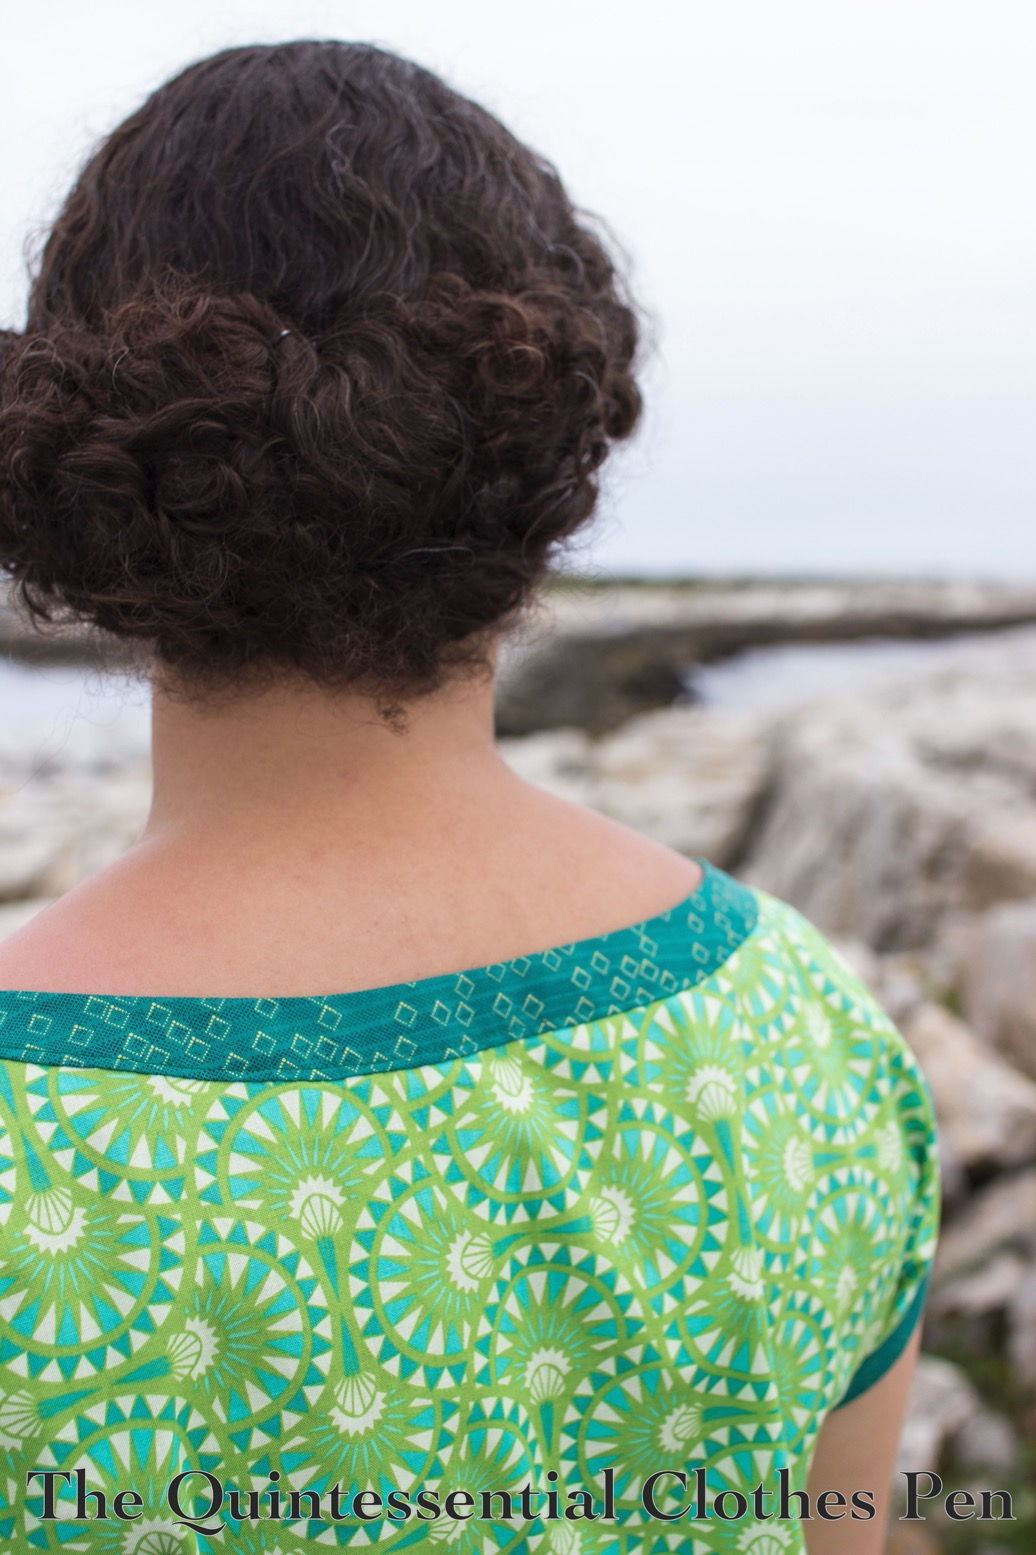
Another Round Of Dotty Tap Pants

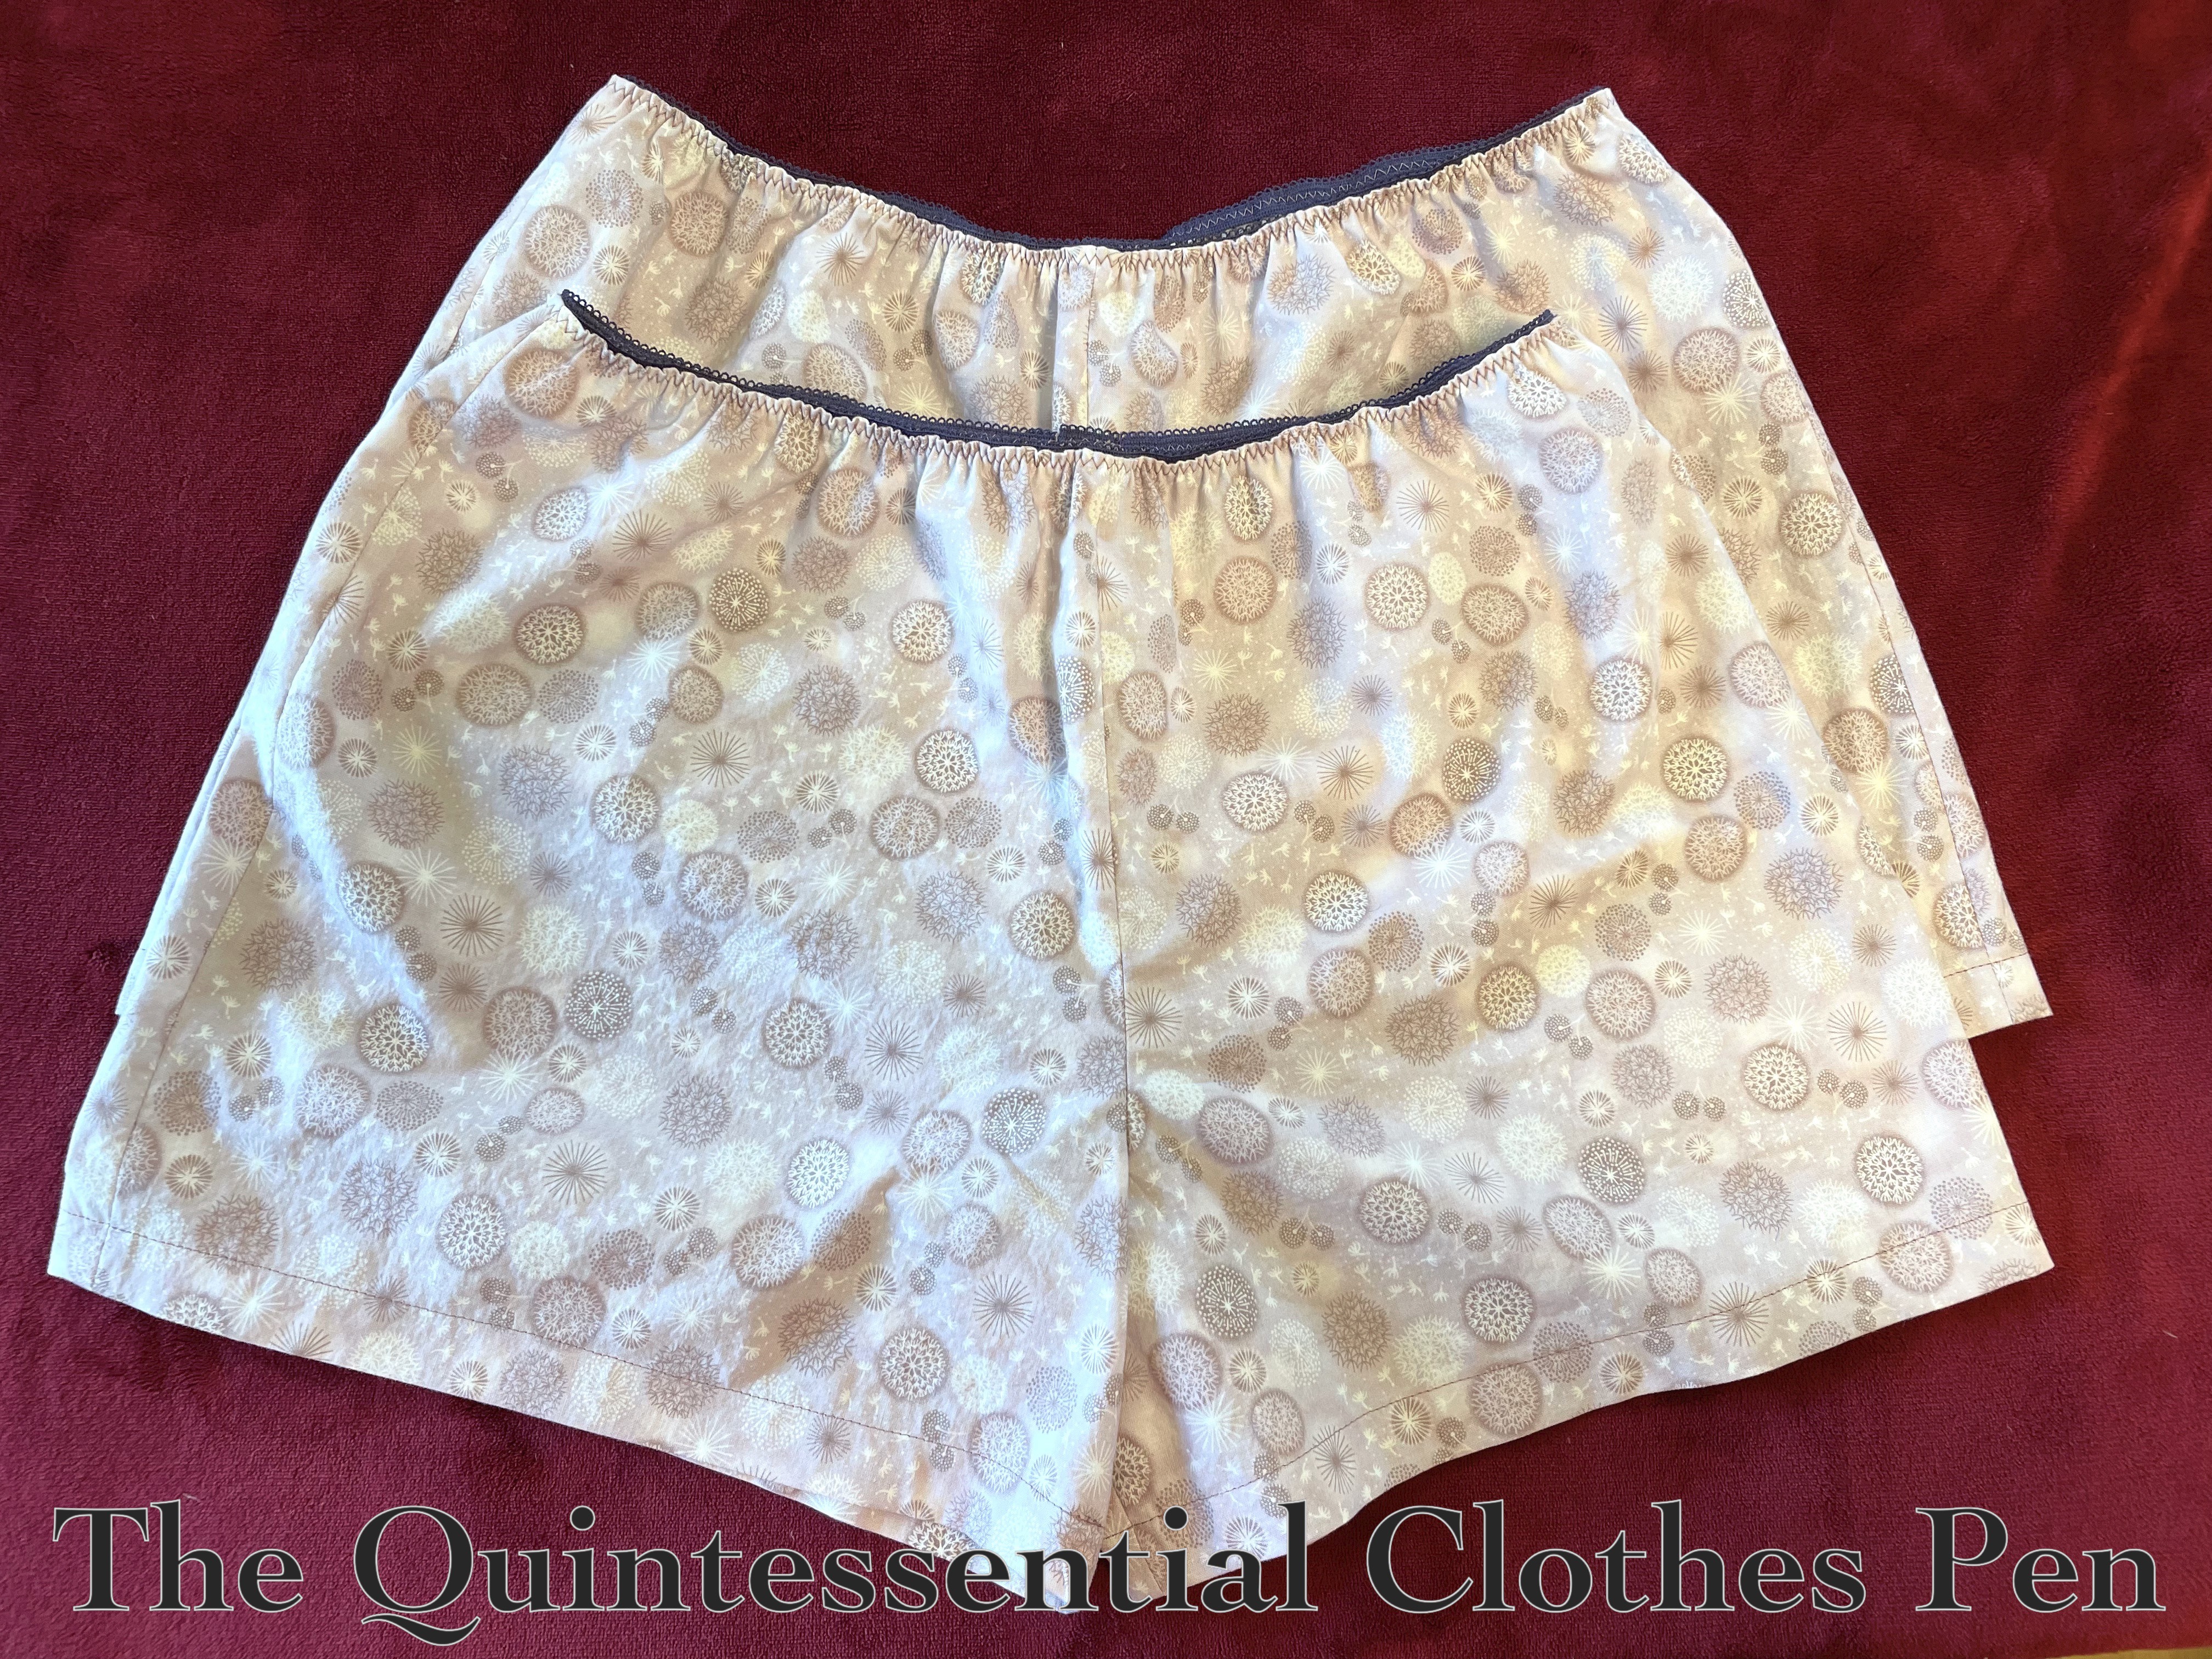
The last batch of cotton print shorts I made to wear during hot summer weather was completed in 2020 (I wrote about them in this past post). I get lots of use out of these garments and some old ones are starting to wear out, so it seemed it was time to create some more!

All of the shorts I’ve made along these lines have had circular or dot motifs and when I went fabric searching for this batch I kept that theme in mind. It’s also important for the shorts to be light-ish in color, so that I can wear them under dresses of any color! Those two goals are both met with the light purple allium (or dandelion, if you like) print fabric I used.

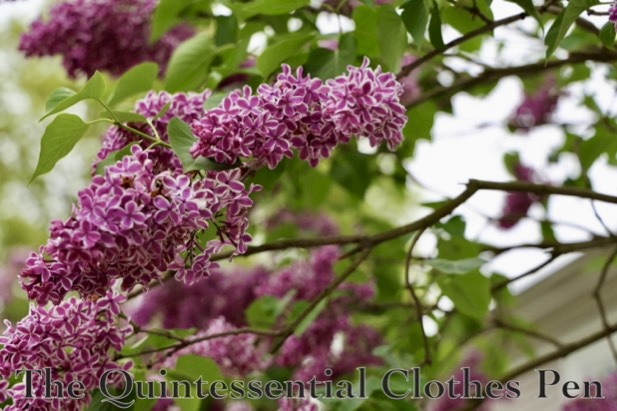
For comparison, here are purple allium flowers! I love the round shape the little blossoms create. It brings me joy. (Striking and unique allium exist in a variety of sizes and colors, including some that grow to be about 3 feet high with 6 inch diameter flower clusters!)

As with the previous batch of shorts, the fabric for these was purchased and washed months ago, in September. Then, the fabric sat on my pile of small-things-to-do near my sewing machine. I recently found the oomph needed to tackle the pile-of-small-things and completed the new shorts, along with a host of other small mends and alterations!

These are entirely machine sewn with the the seam allowances finished with an overlock machine. The waist is zig zagged to a bit of loop edged elastic. And really, that’s all there is to them! Two pairs!

I’m super pleased to have them off my to-do pile and ready to wear for the summer. I’m also super pleased to have completed a task that was on my official maybe-to-do list for this year!

Proof Of A Regency Picnic

Historically clothed events continue to be somewhat sparse on my calendar, but I have photographic evidence of having gathered with friends last summer to partake in a Regency themed picnic. We were rained out of the original date and the alternate date was very hot, so we decided to mostly stay indoors. But we did go outside for a few fun documentation-of-our-gathering photos.

Did I mention it was hot? I was kind of melting. But I did really enjoy getting my 1815 Tree Gown out of the closet and giving it a wear. This continues to be one of my favorite early 19th century dresses! I still love the patterning, which creates a comfortable and elegantly shaped dress, as well as the lightweight block print cotton fabric. At least I had a cool fabric to wear in the heat!

Made in 2013, this dress has held up to 11 years of wear very well; however, I did notice that the forearms are very tight these days… so tight that they don’t let the armsceye seams sit where they should, causing the shoulders to constantly be pulling down my arm! And sadly, even with the 1/4″ French seams I originally made, they don’t have enough circumference to be let out.

On the bright side, though, I keep everything and I have scraps of this fabric in my stash. So for now, the forearms have been seam ripped and the dress is, metaphorically in the pile of things-that-need-alterations, awaiting my action of actually digging out the fabric scraps so that I can adjust the fit (it’s metaphorical because it’s actually hanging in the closet not in a pile!). This will assuredly become a When-The-Dress-No-Longer-Fits post… someday!

c. 1770 Pink Panniers (HSM #12)

I have a longer-term goal to make a another sacque (similar the one I made for Versailles in 2016–documented in these many past posts). I specifically want this new one to be loan-able to a few friends, so I’m adjusting the size a bit from the one I made for myself.

I know that foundations make the garment on top look good, so it’s important to me to also be able to provide the foundation pieces that might be needed to go with the sacque. Stays are covered, as I now have the c. 1785 Green Linen Stays that can be loaned and/or some friends have their own, but panniers and an additional foundation petticoat felt like items that I don’t already have and therefore should make in addition to the sacque itself.

This post is going to document the panniers I made for this new ensemble. I’m pleased that they qualify for the Historical Sew Monthly Challenge #12, Paired to Perfection:

Make something that comes in a pair (mittens, stockings, garters, braces etc.) Or make something in which the trim or construction prominently features sets of two.

Just the facts:

Fabric/Materials: 1 yd (or probably a little less) pink cotton twill.

Pattern: The Dreamstress’s pattern from the Pannier Along in (oh my, has it been this long…???) 2013! All the steps, information, etc. is available on Leimomi’s blog, here.

Year: c. 1770.

Notions: Thread, 3 24″ x 3/8″ zip ties, and approximately 2 yds grosgrain ribbon.

How historically accurate is it?: 70%. Machine sewing and materials are generally not historically accurate, but the overall pattern and shapes are.

Hours to complete: I didn’t really keep track. Let’s say 5.

First worn: Has not been worn yet.

Total cost: All of the materials are from the stash (leftovers from other projects), so let’s say free!

A view of the top of the stays, with them collapsed down on themselves.

I made these following all of the steps in The Dreamstress’s tutorial, as mentioned above. I decided to mostly machine sew them, in the spirit of speed and because I knew the fabric I chose was not accurate to start with.

I made my boning channels out of the same fabric as the exteriors (pink cotton twill leftover from making early 19th century stays over ten years ago).

There are only two hand sewn bits. One is the slit on top (to be able to use these as pockets and store things in them), pictured below. Each slit is reinforced at the bottom to keep the fabric from ripping during use.

The other hand sewn bit is the band at the top, which is whipped down after being machine sewn on.

And that’s it! Pink panniers! It has a bit of a ring to it, I think!

Mid-Century Birthday Croquet At Roseland Cottage

Finally, a break from stay-related blog posts! (Slow sewing progress is being made, but not enough to post about…)

In the meantime, I have an armchair peep into a lovely birthday outing with friends on a gorgeous autumn afternoon.

The location of the outing is Roseland Cottage, in Woodstock, Connecticut.

Built in 1846 in the newly fashionable Gothic Revival style, Roseland Cottage was the summer home of Henry and Lucy Bowen and their young family. While the house is instantly recognizable for its pink exterior, Roseland Cottage has an equally colorful interior, featuring elaborate wall coverings, heavily patterned carpets, and stained glass, much of which survives unchanged from the Victorian era. The house is a National Historic Landmark.
(from the Historic New England website)

We made special arrangements with the staff to picnic and croquet on the lawn in mid-19th century clothing, followed by a house tour. Some of us had seen the house before, but the details never cease to amaze and hold our interest. If you’re ever in the area, I highly recommend a visit!

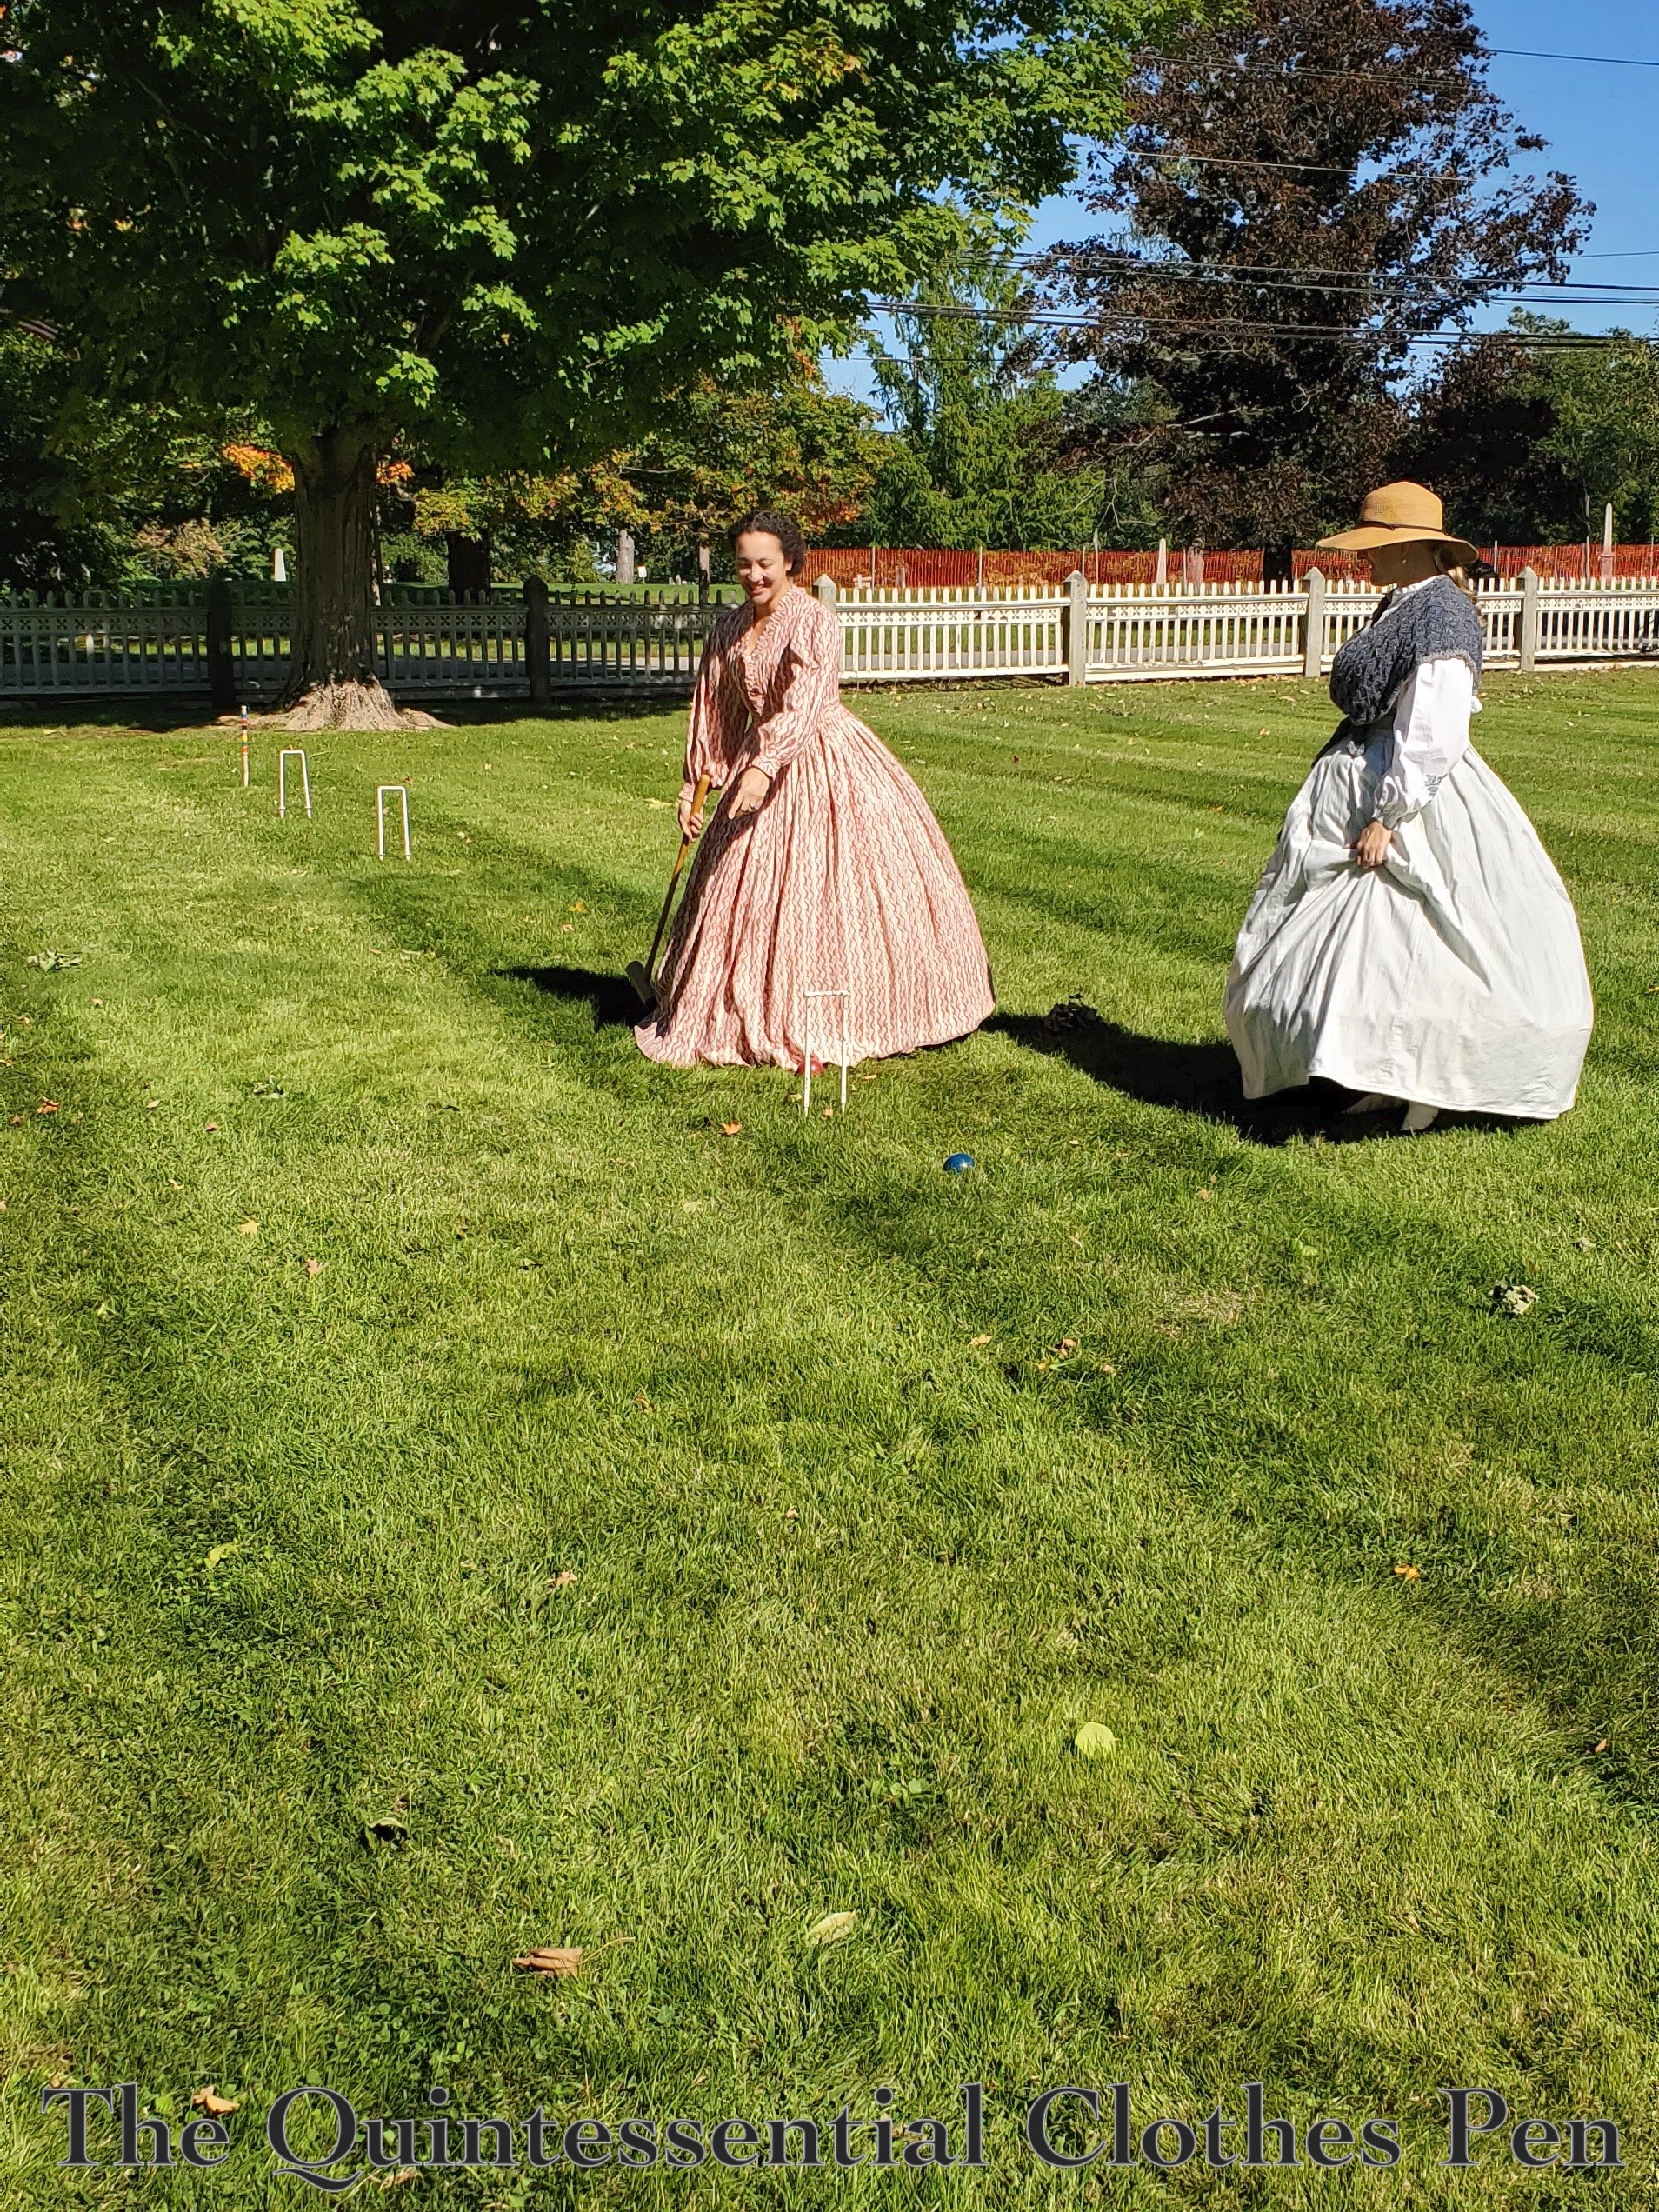
The grounds of the house are well maintained and provided an excellent area to set up croquet.

We enjoyed serious croquet as well as a few silly rounds of our own invention. The shadows made for fun photos, too!

The day was sunny and beautiful. There was a slight bit of chill to the air, but it was quite comfortable in full length sleeves and long dresses.

One zealous croquet ball whacked me in the ankle and caused a small scene. Thankfully, it wasn’t too bad after the initial pain wore off (no bruises or anything worse!)

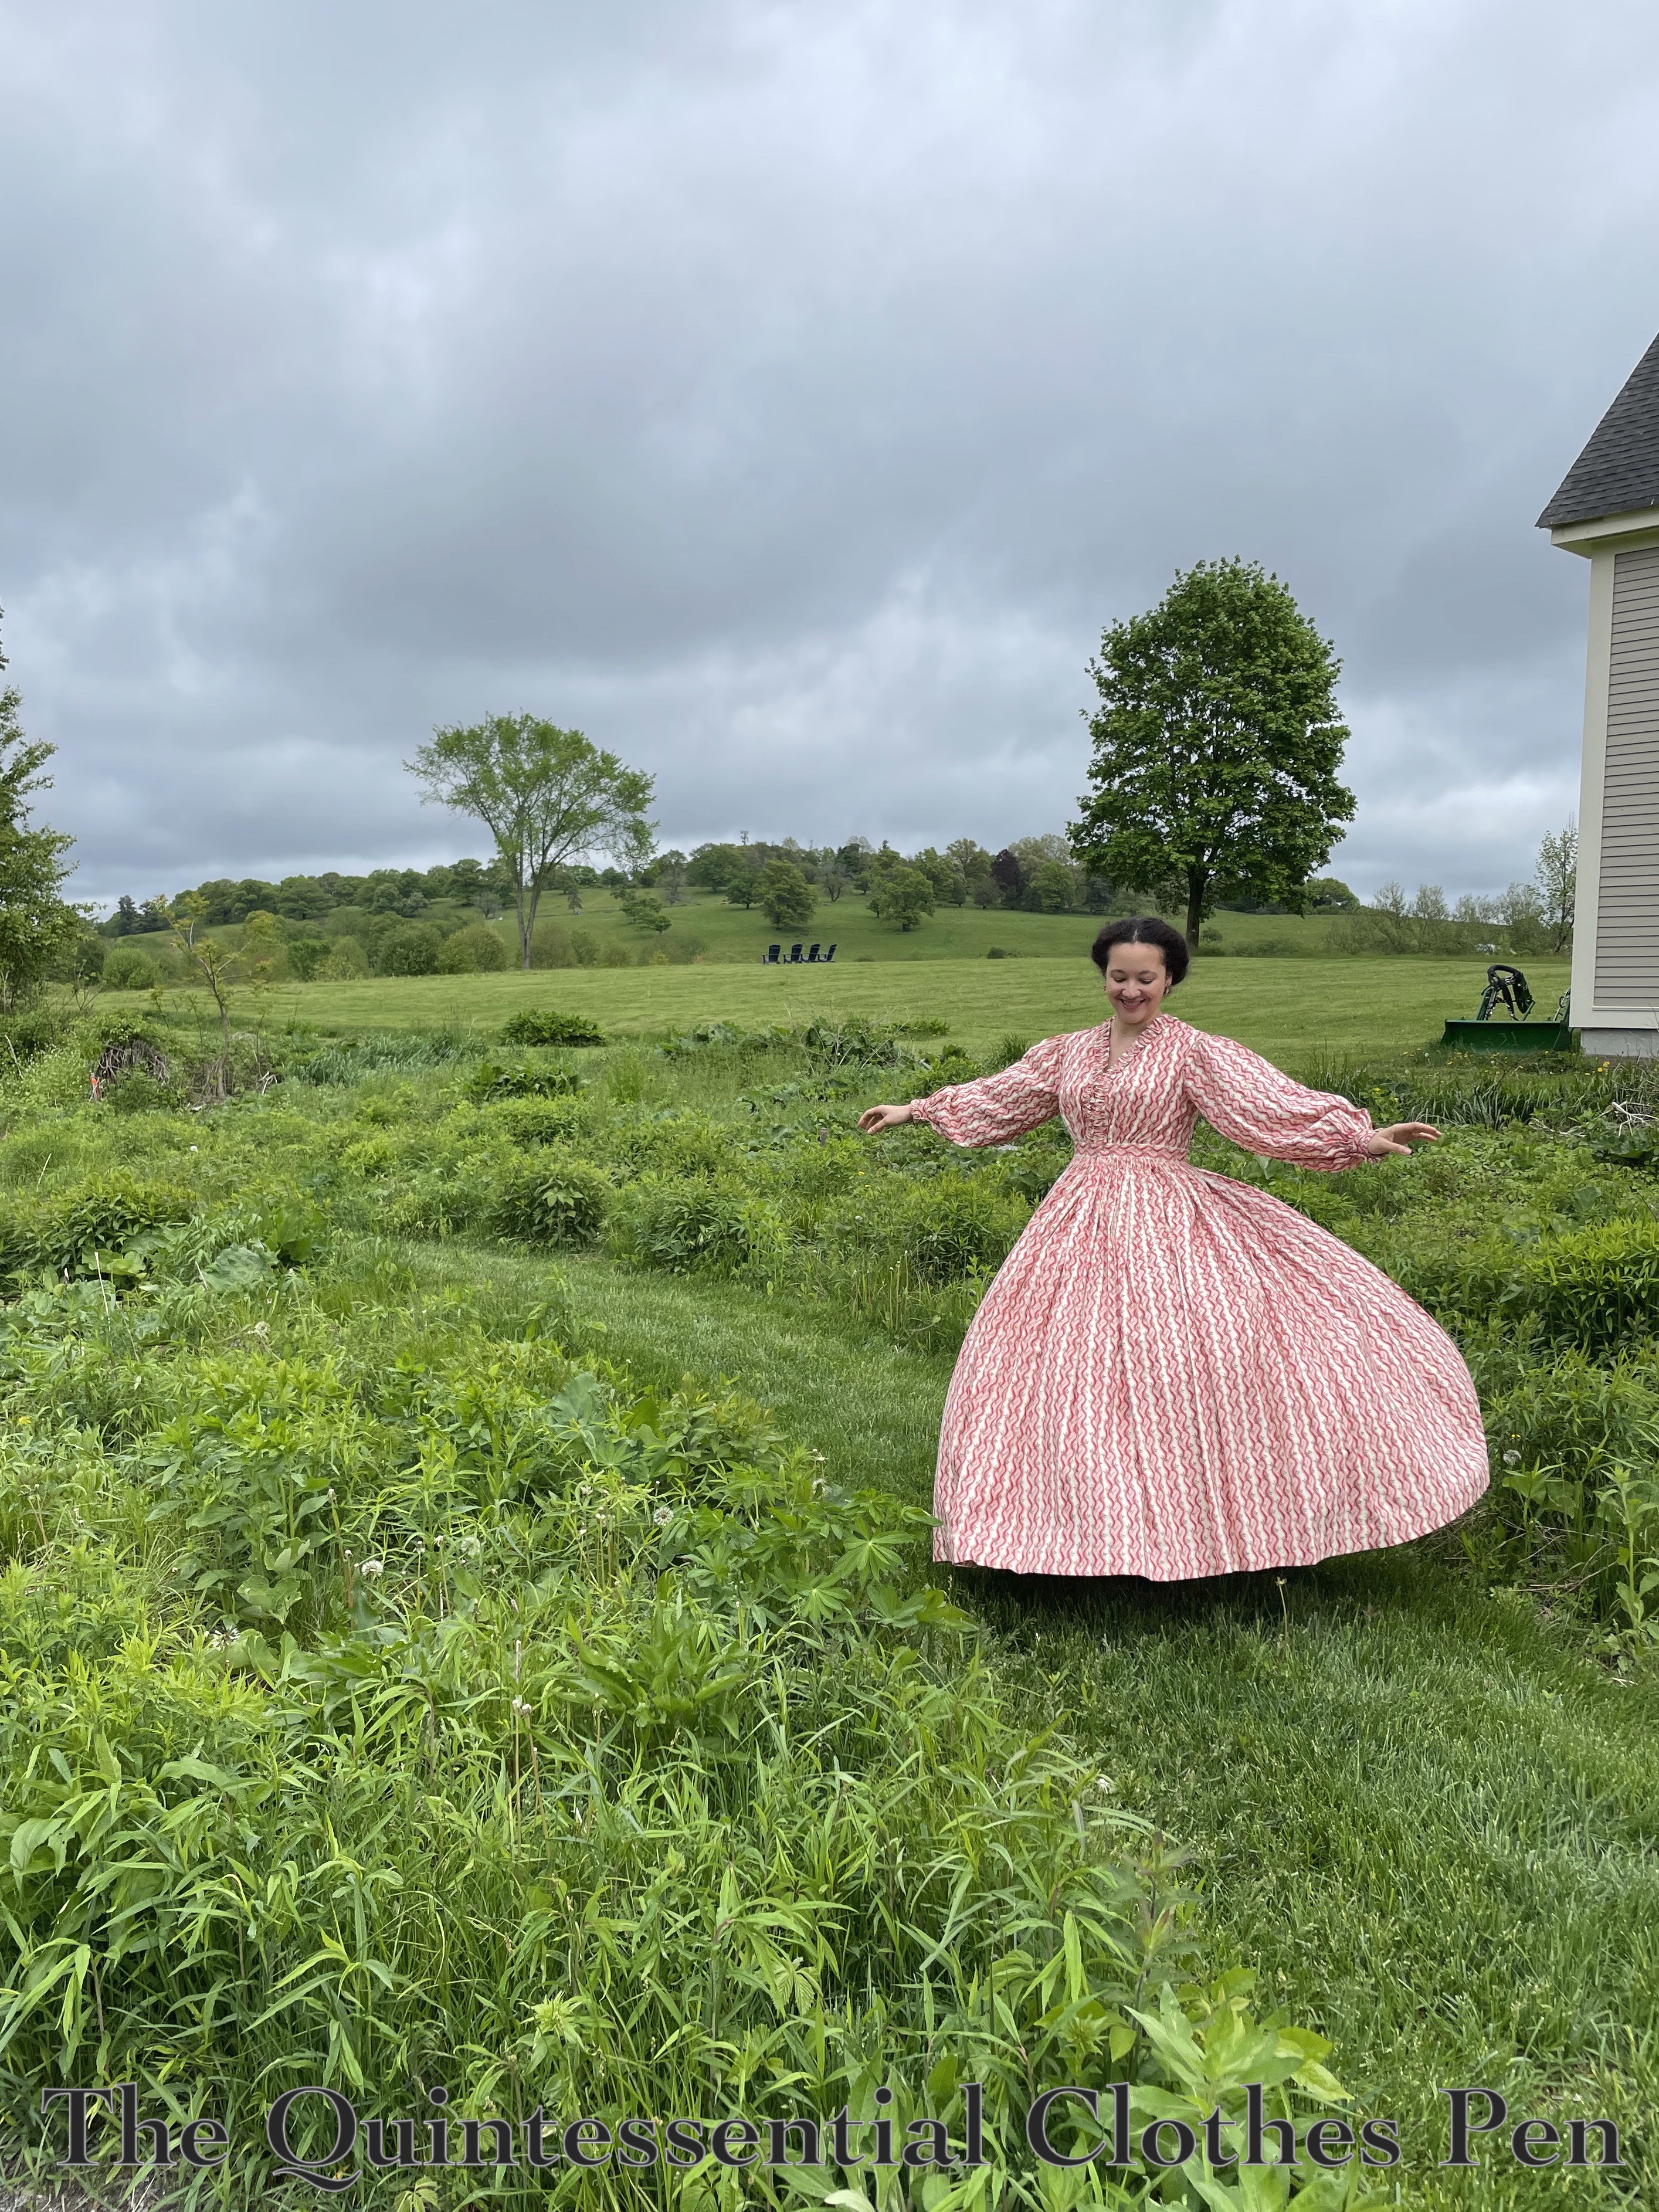
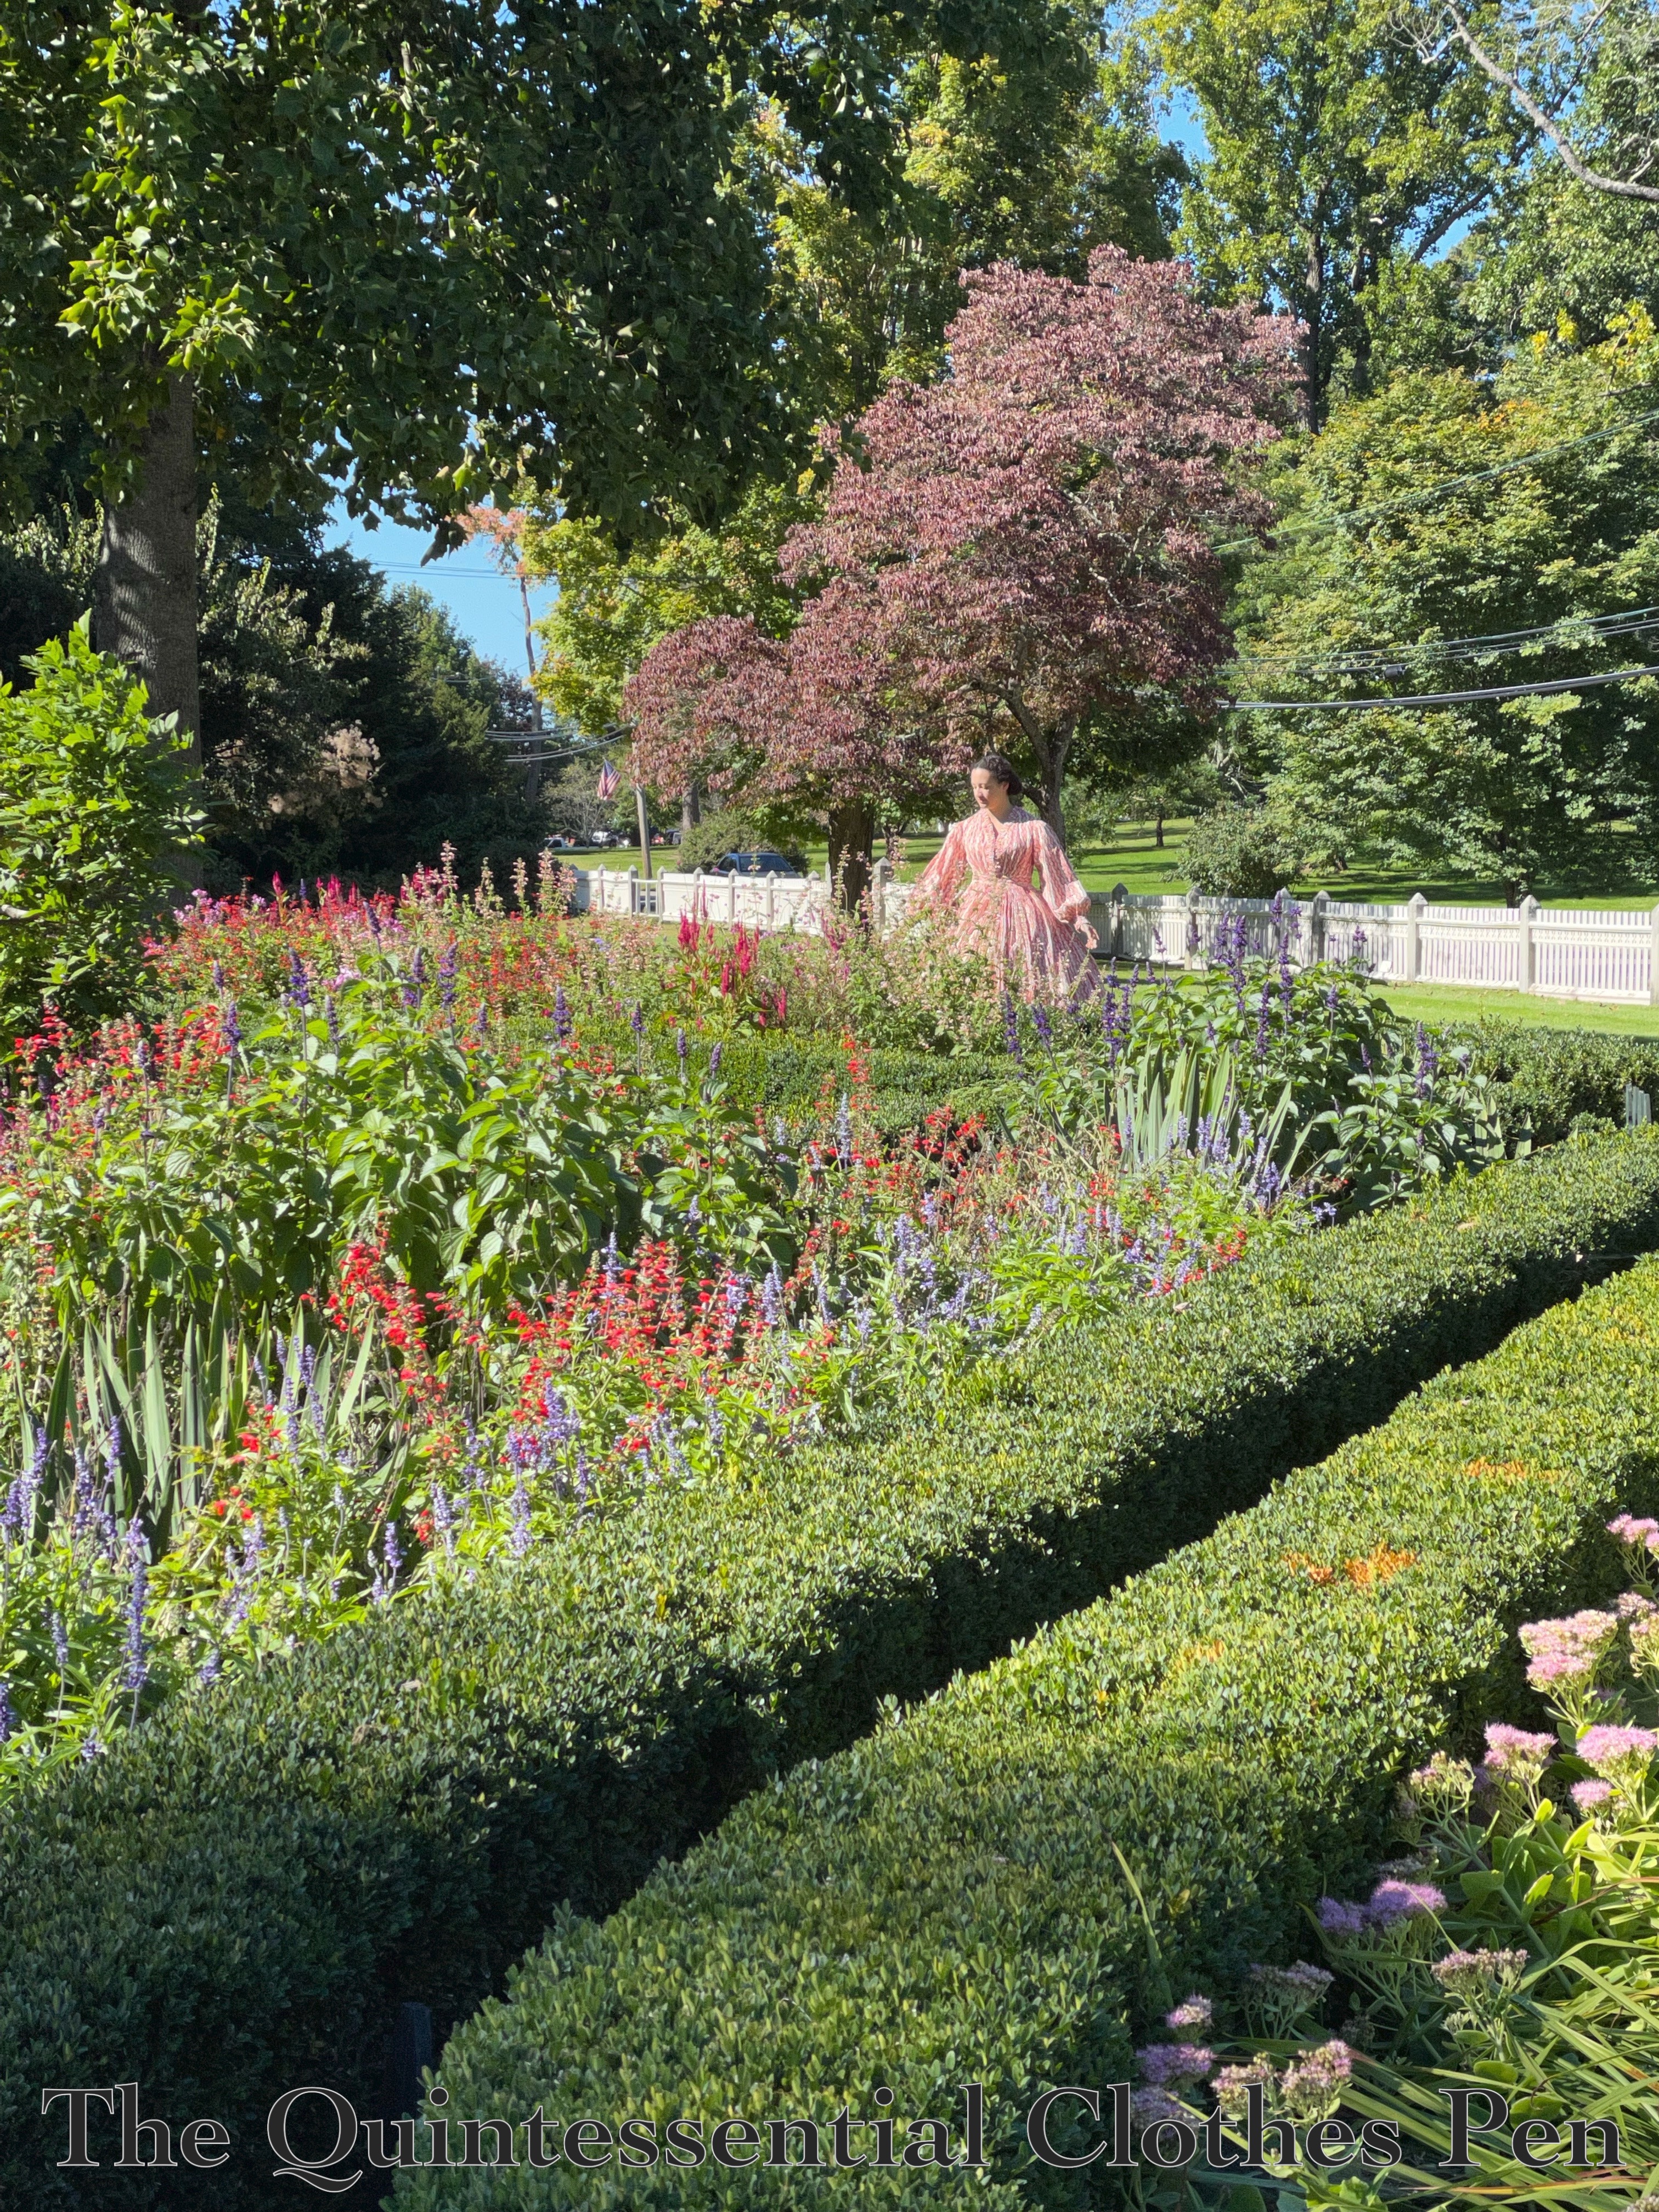
In fact, the croquet ball whack didn’t stop me from enjoying the gardens in Sophie, my 1861 reproduction cotton print dress.

The gardens are maintained with the same plan and variety of plants that would have been evident in the 19th century. They were in full color during our visit!

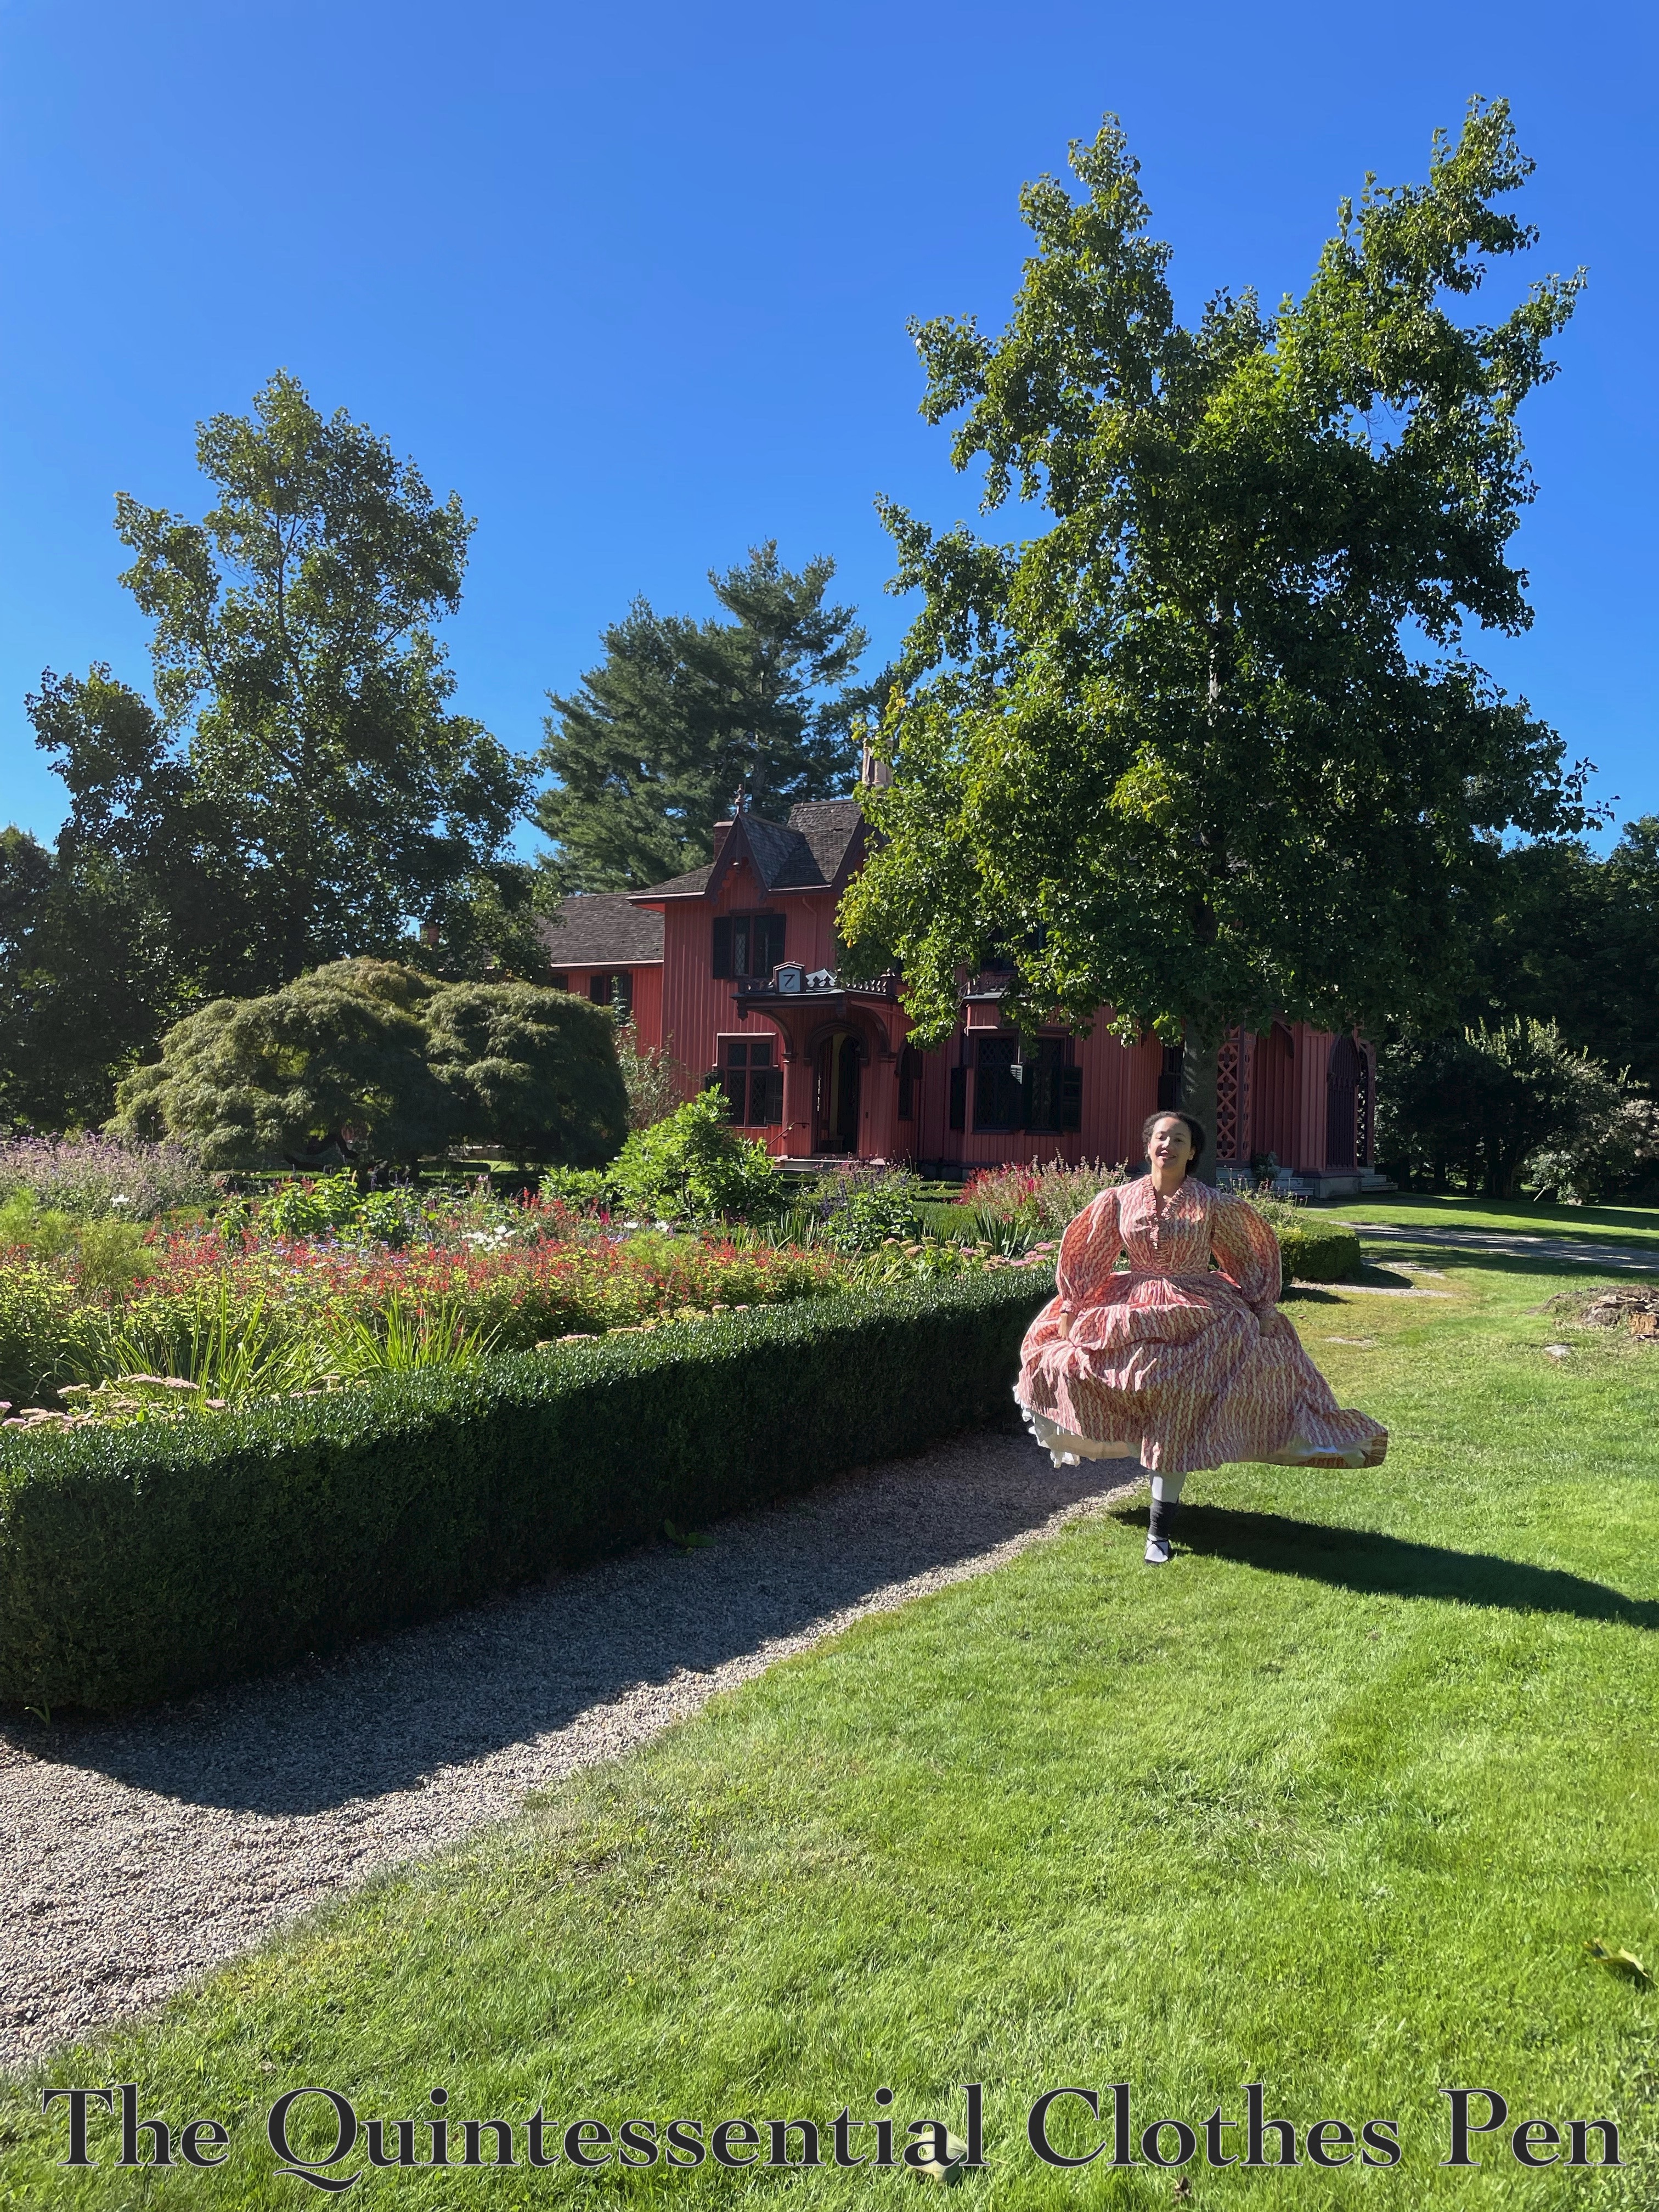
I greatly enjoy this photo, which was completely unintentional. I just started running around because it was fun, and then was told to go back and do it again because the photo opportunity was so exciting. So I suppose in a way it was intentional?

Croquet was followed by a house tour, during which the staff invited us to remain in historical clothes and take photos. This was my favorite! There’s a little built-in seat with a bay window in one room. It was well suited to sitting in hoops. Looking for friends arriving, perhaps?

An exciting, beautiful day! Thanks for enjoying it with me!

1953 Dot Dress Summer Outing

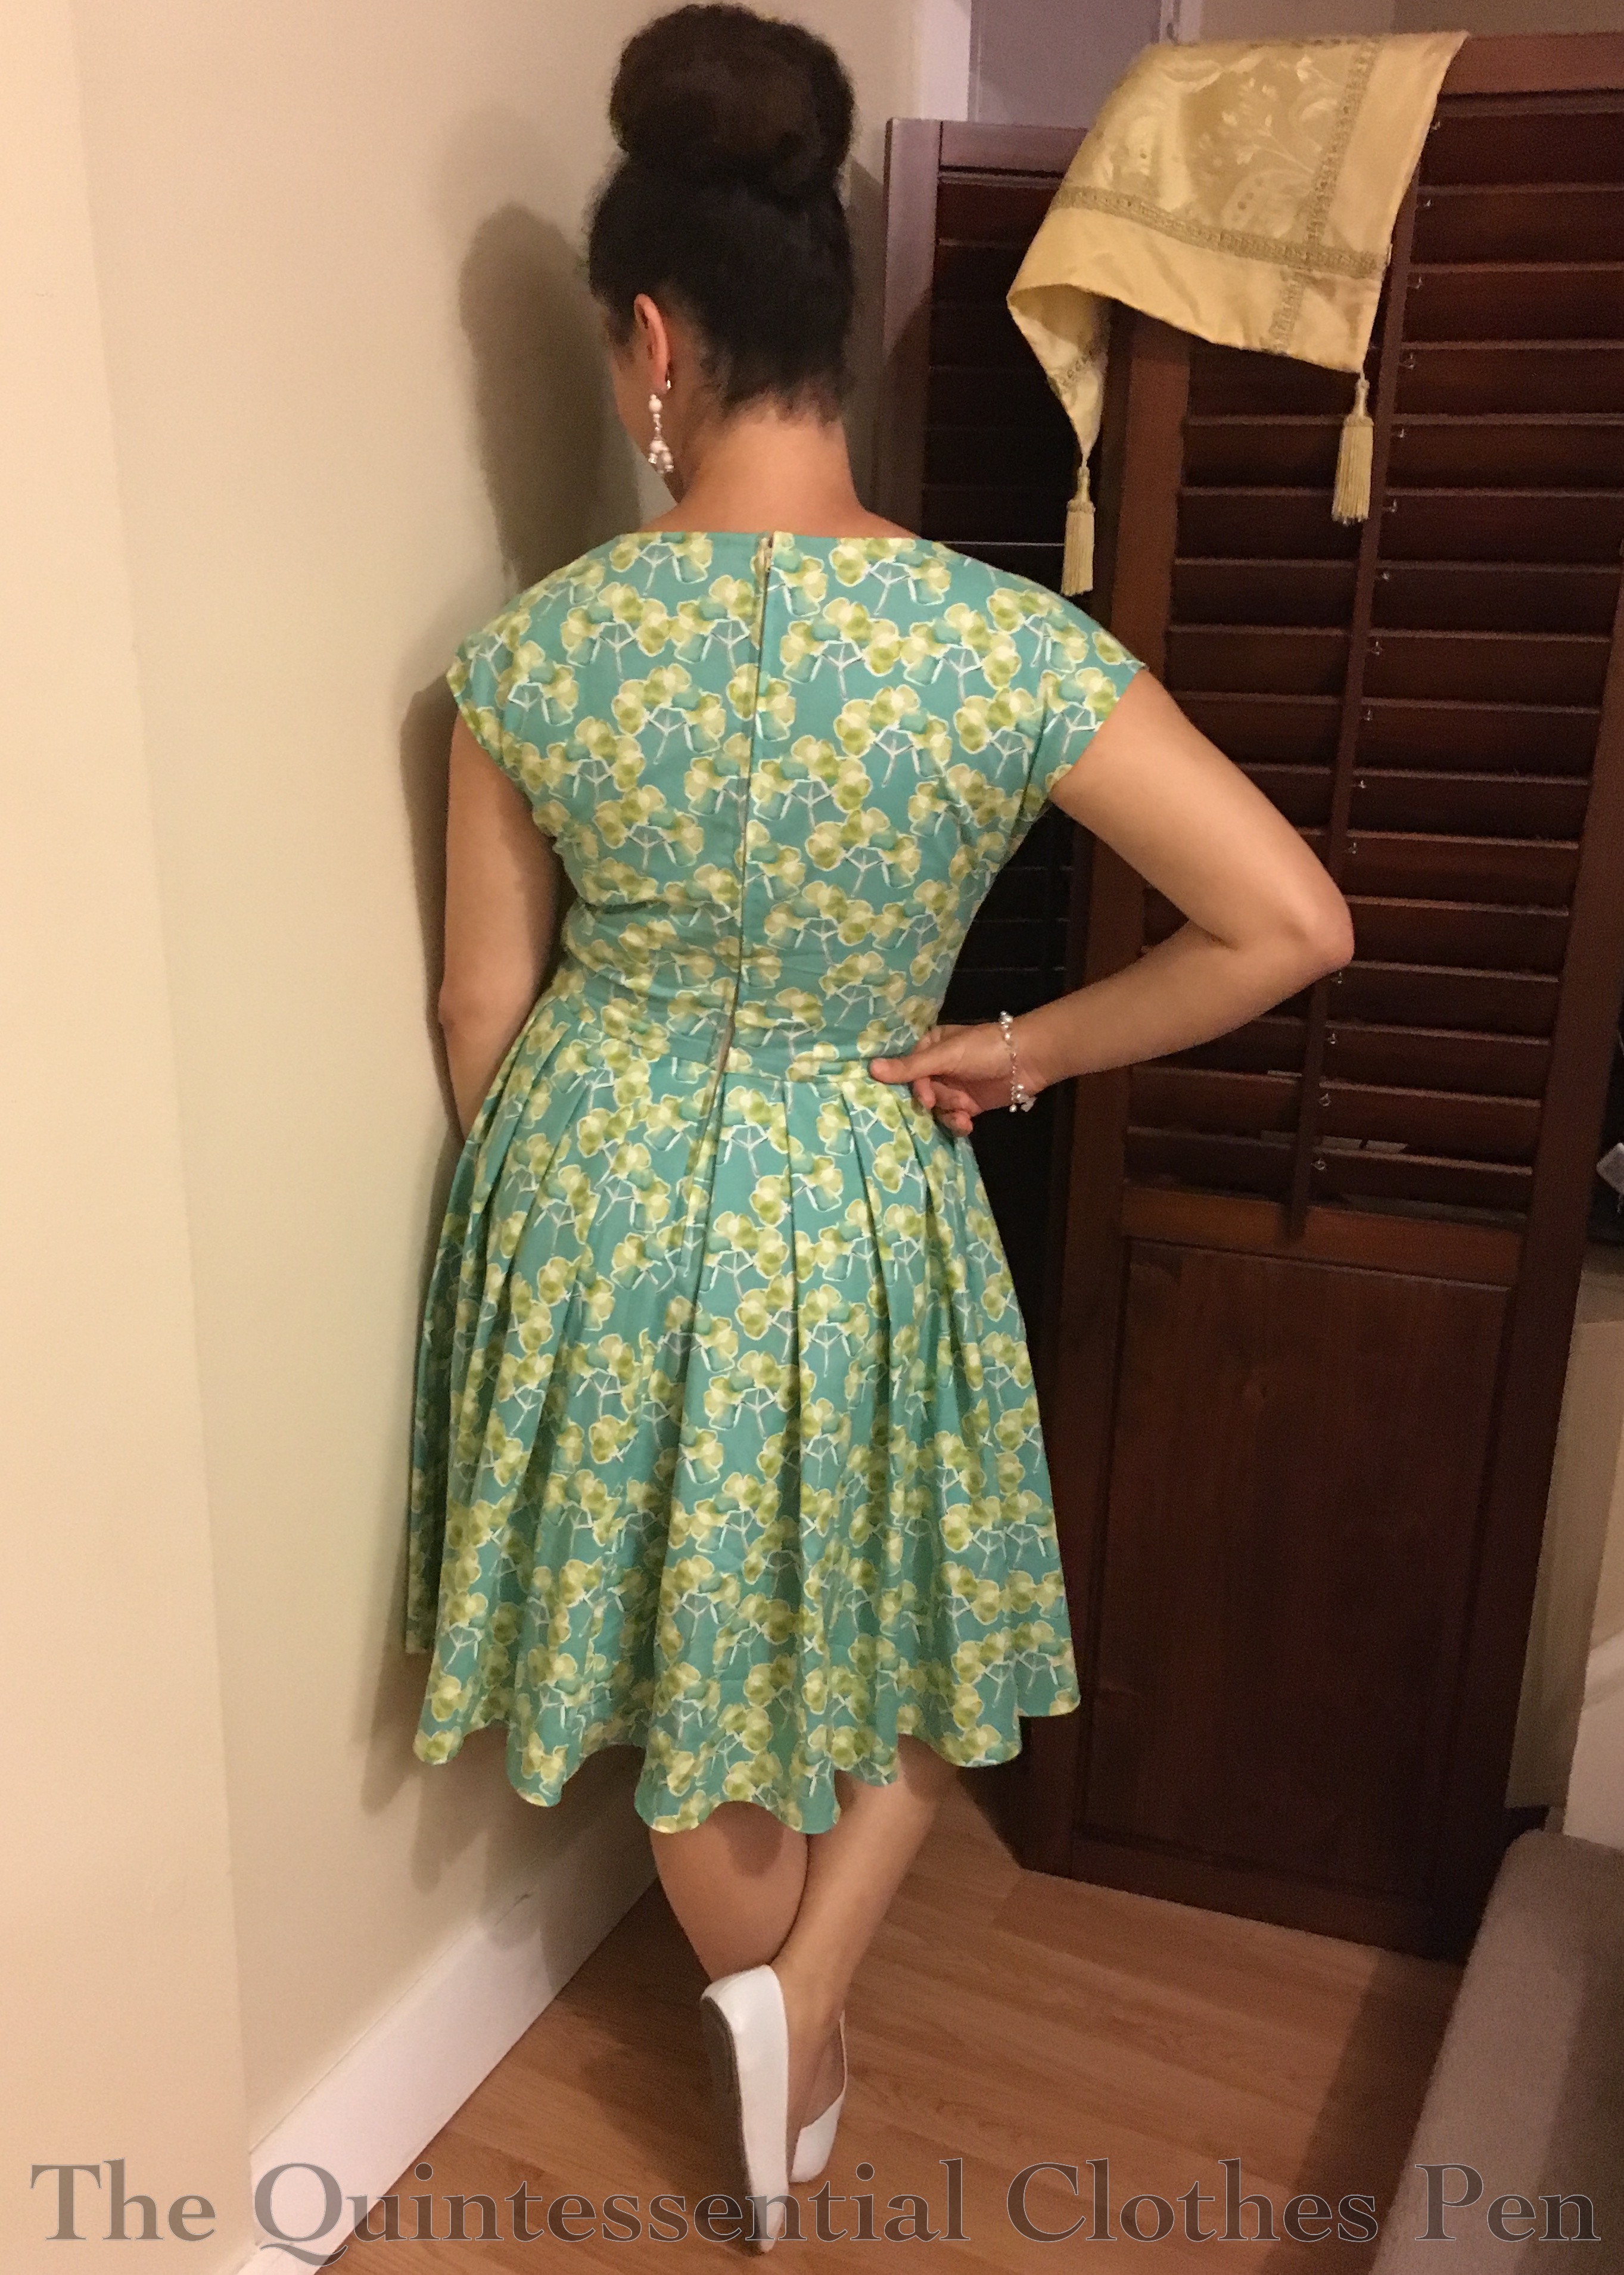
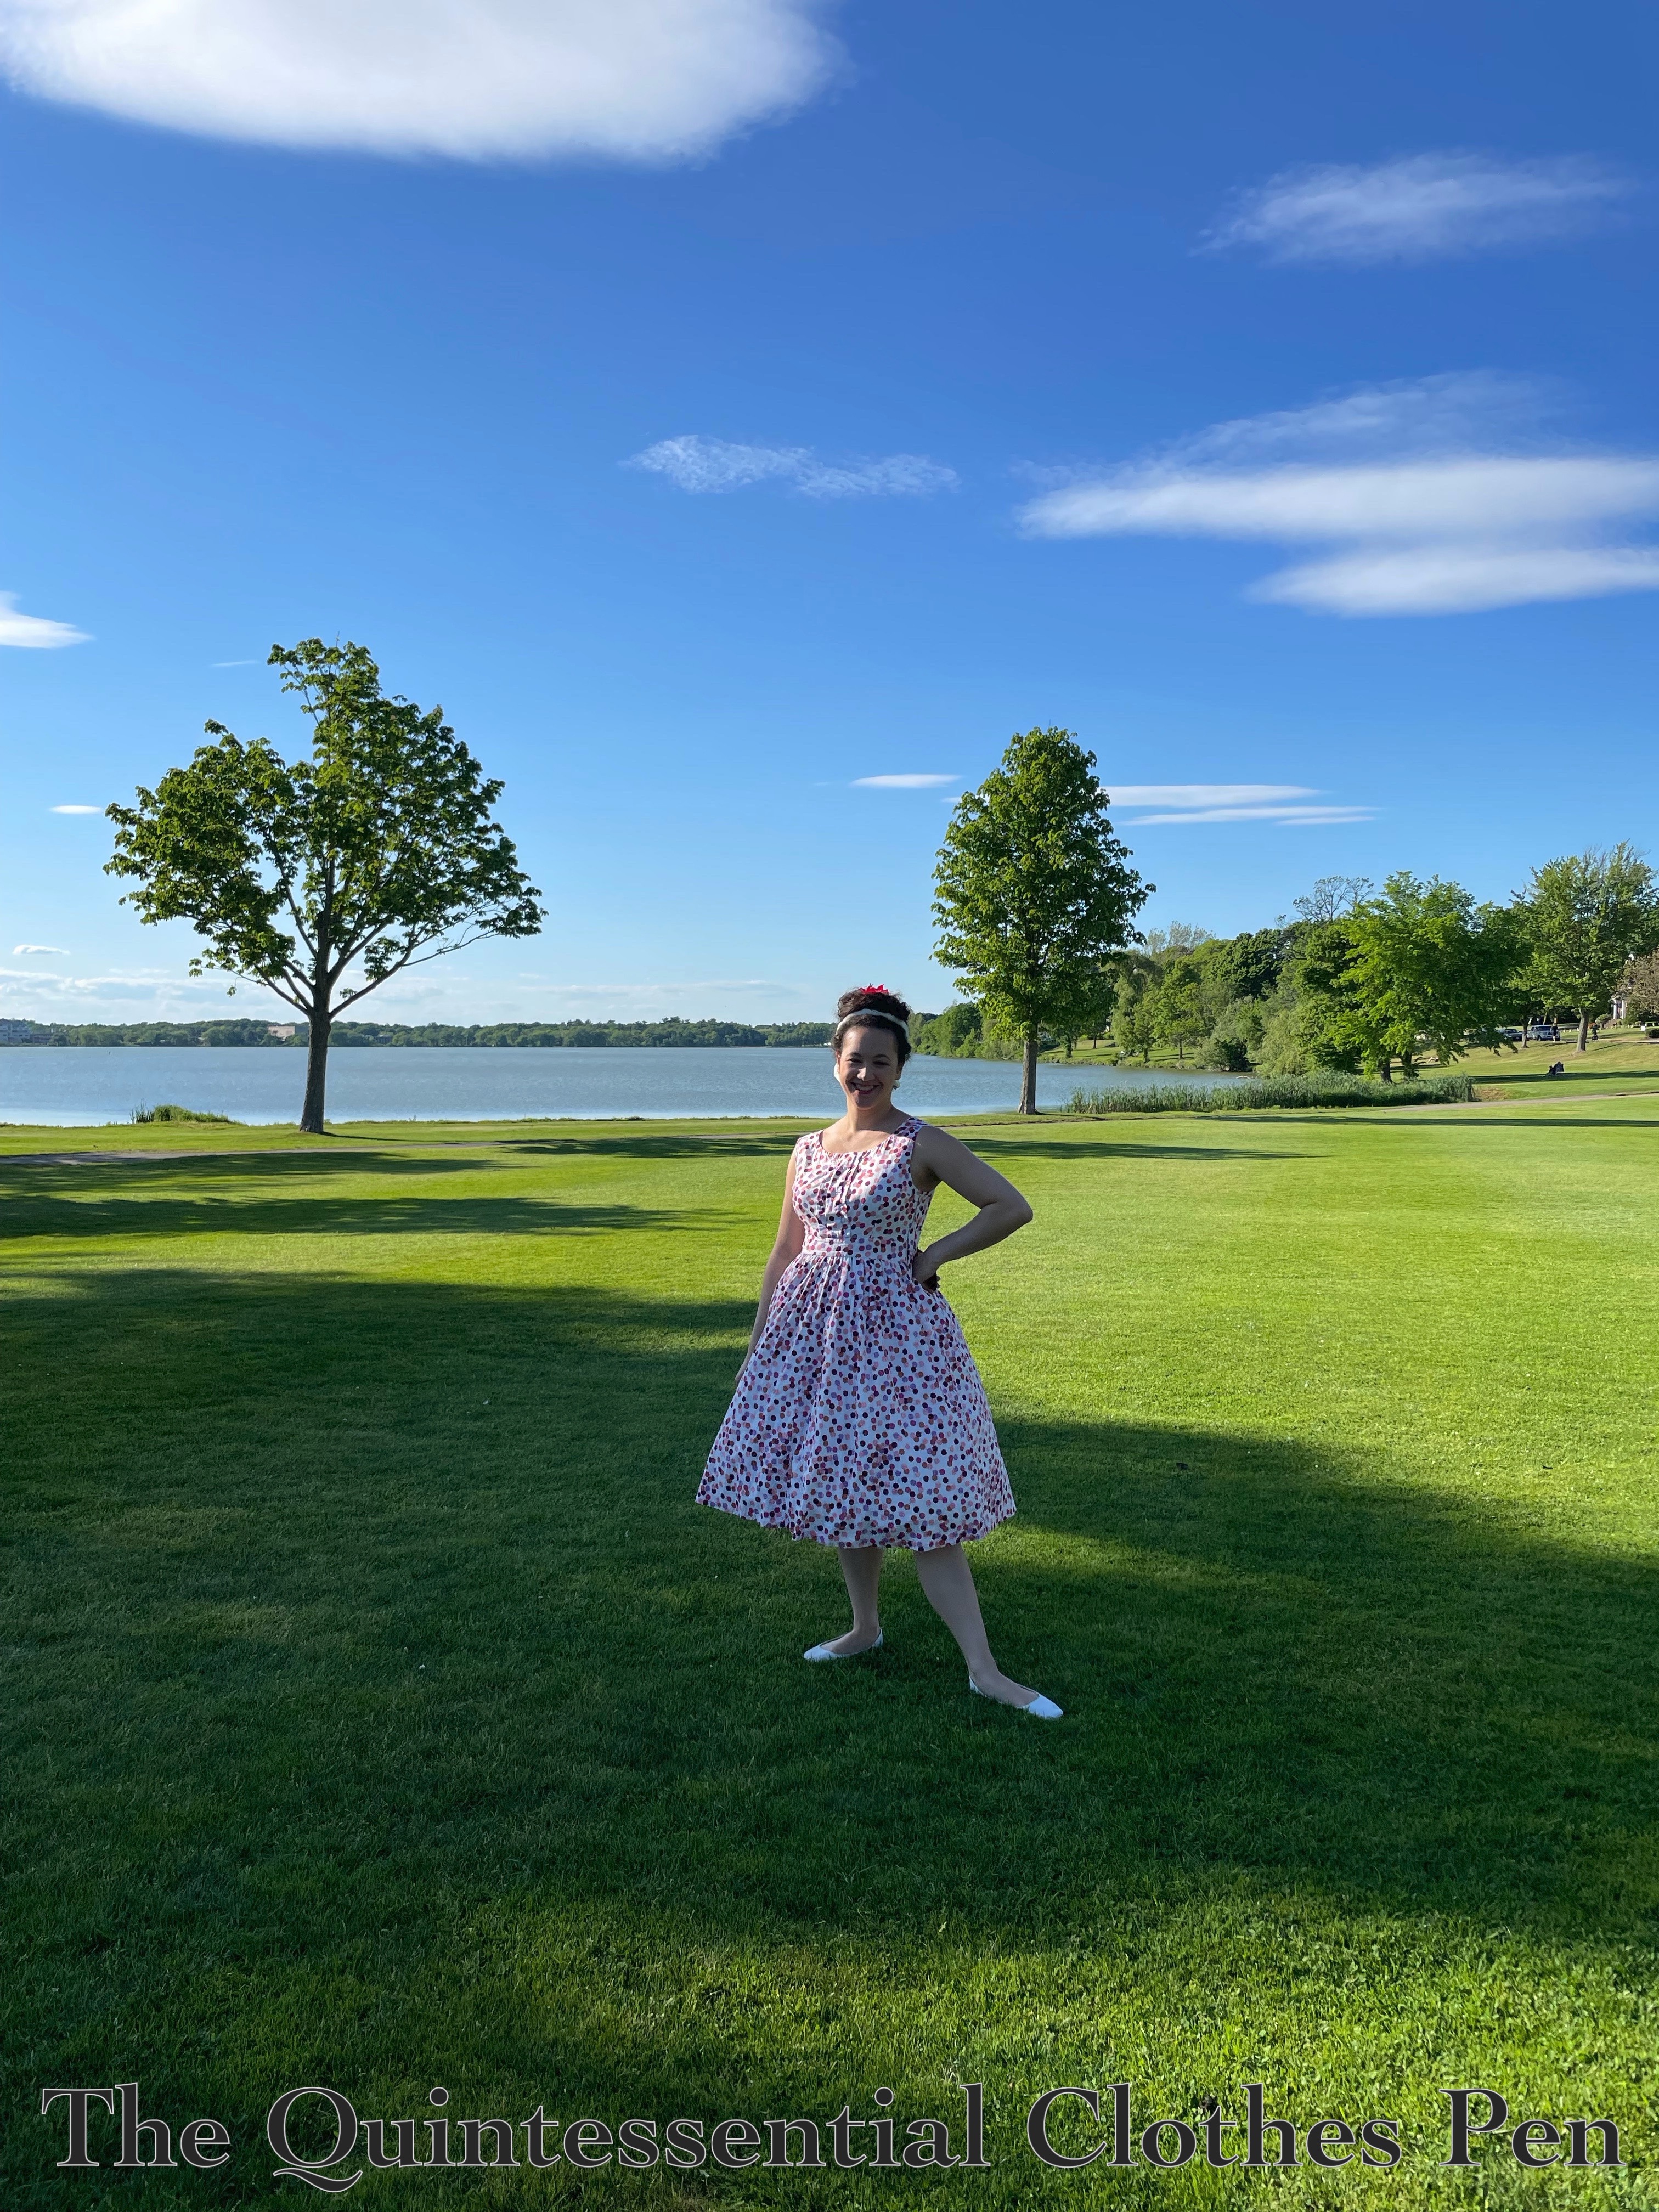
I recently attended a casual picnic with friends that we decided would be vintage-inspired in terms of dress code. I thought it would be a great opportunity to bring out my 1953 Dot Dress!

This dress has a story… being made in 2013 and worn for a few years, then retired in 2016 due to closet shrinkage, and altered in 2020 so I could wear it again. You can read all about these stages of the dress here, in a past blog post from when I altered the dress in 2020.

For this wearing, I chose to do my hair in a similar fashion to what I did in 2016, the last wearing of this dress before its hiatus in the closet. I enjoy the hair scarf with this dress for vintage looks.

I like this dress, so I’m pleased that my alterations mean I can wear it again! Not only for vintage things, but also in real life (without the big petticoat). The unusual color combination in the dots is fun to match with various cardigans… cinnamon/rust, pale peach, and plum… Turns out all the colors of the dots are food related!

The day of the picnic proved to be glorious… bright blue sky, skidding clouds, and a comfortable temperature. Our picnic featured catching up, an elegant game of croquet, and a  round of ‘speed croquet’ in which everyone starts at the same time and no one takes turns!

All in all, a lovely summer day!

1837 Blue Cotton Print Dress #1

I was on a bit of a 1830s tear back in 2020, when I made my 1834 yellow print dress followed up with a coordinating 1838 yellow print bodice and 1836 chemisette. But in fact there was even more than that, because I also made an 1835-1840 (let’s just call is 1837) blue cotton print dress for friend at the same time!

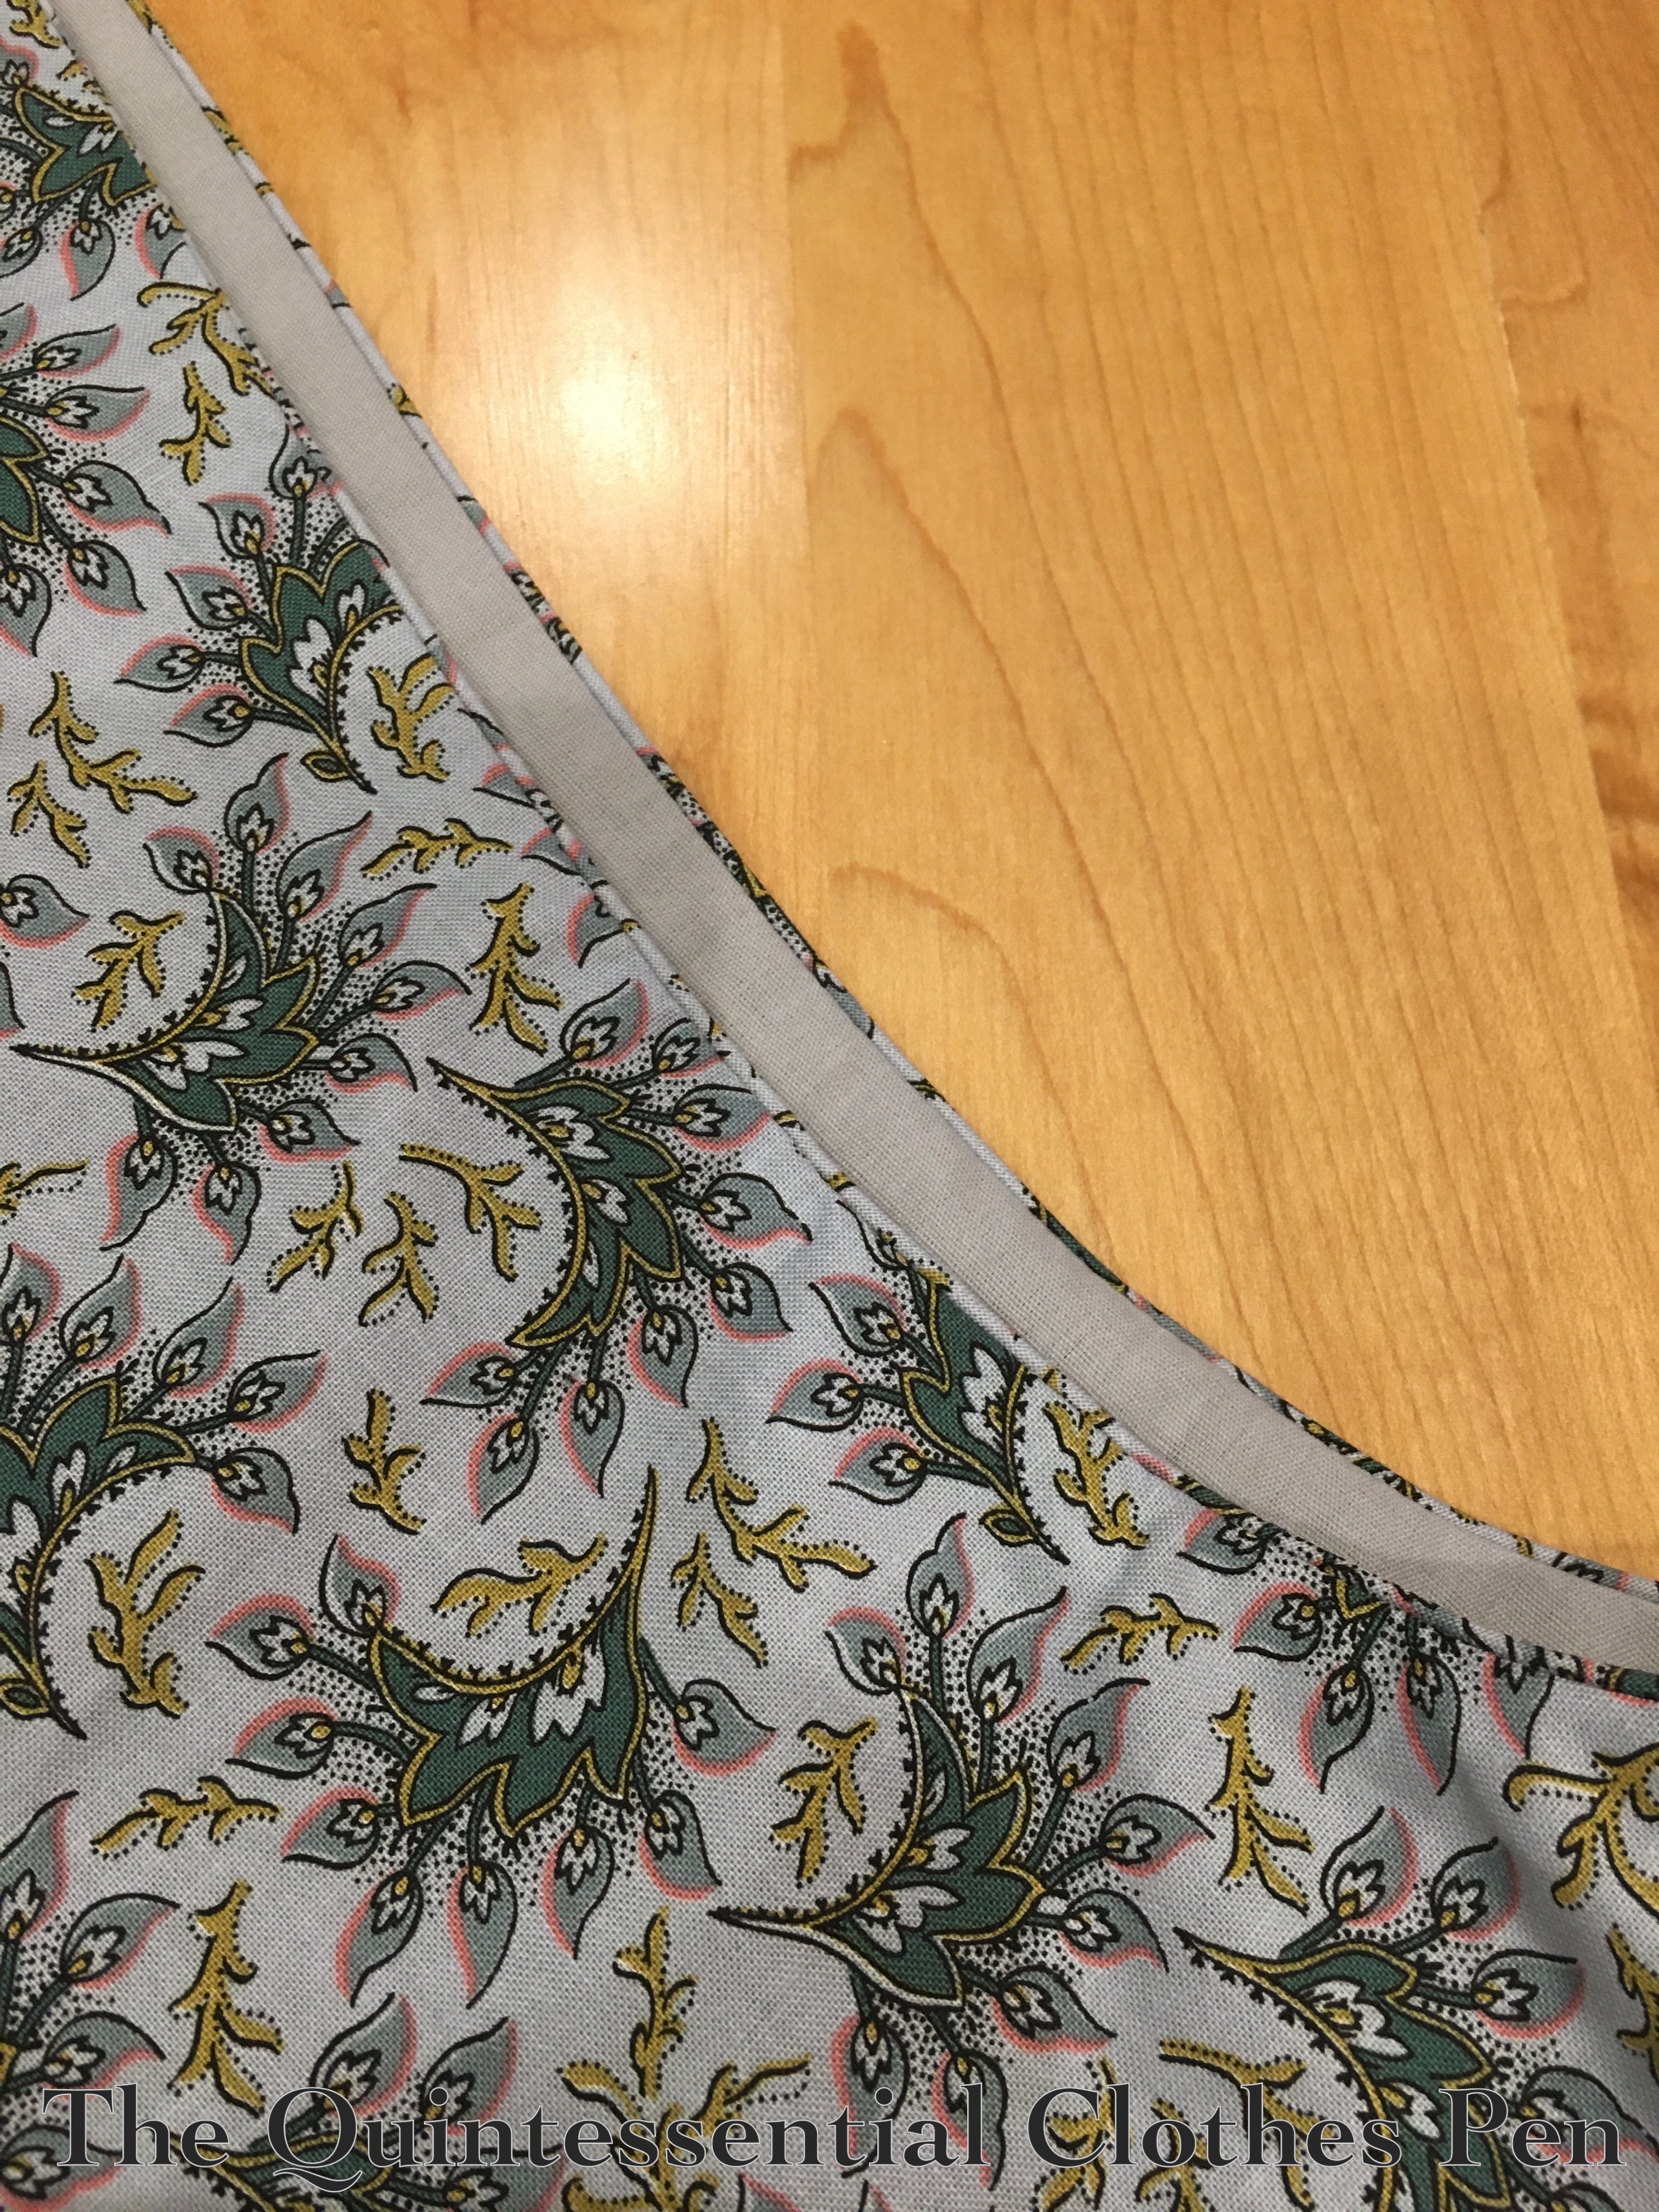
You can spot this dress in the photos from my 1830s Woods Walk blog post from 2021. The fabric for was a bargain at the the local discount fabric shop–only $3 per yard! It’s not technically a reproduction historical print, but the colors, motifs, and details (such as little dots for texture in the design) have the right look to me.

In terms of a pattern, I used my 1834 yellow print bodice as a starting point for this new blue dress, so the two bodices are very similar aside from size. The skirt of the blue dress is made in exactly the same way as the yellow dress (I blogged about that construction process in detail here).

The big different is the sleeves!

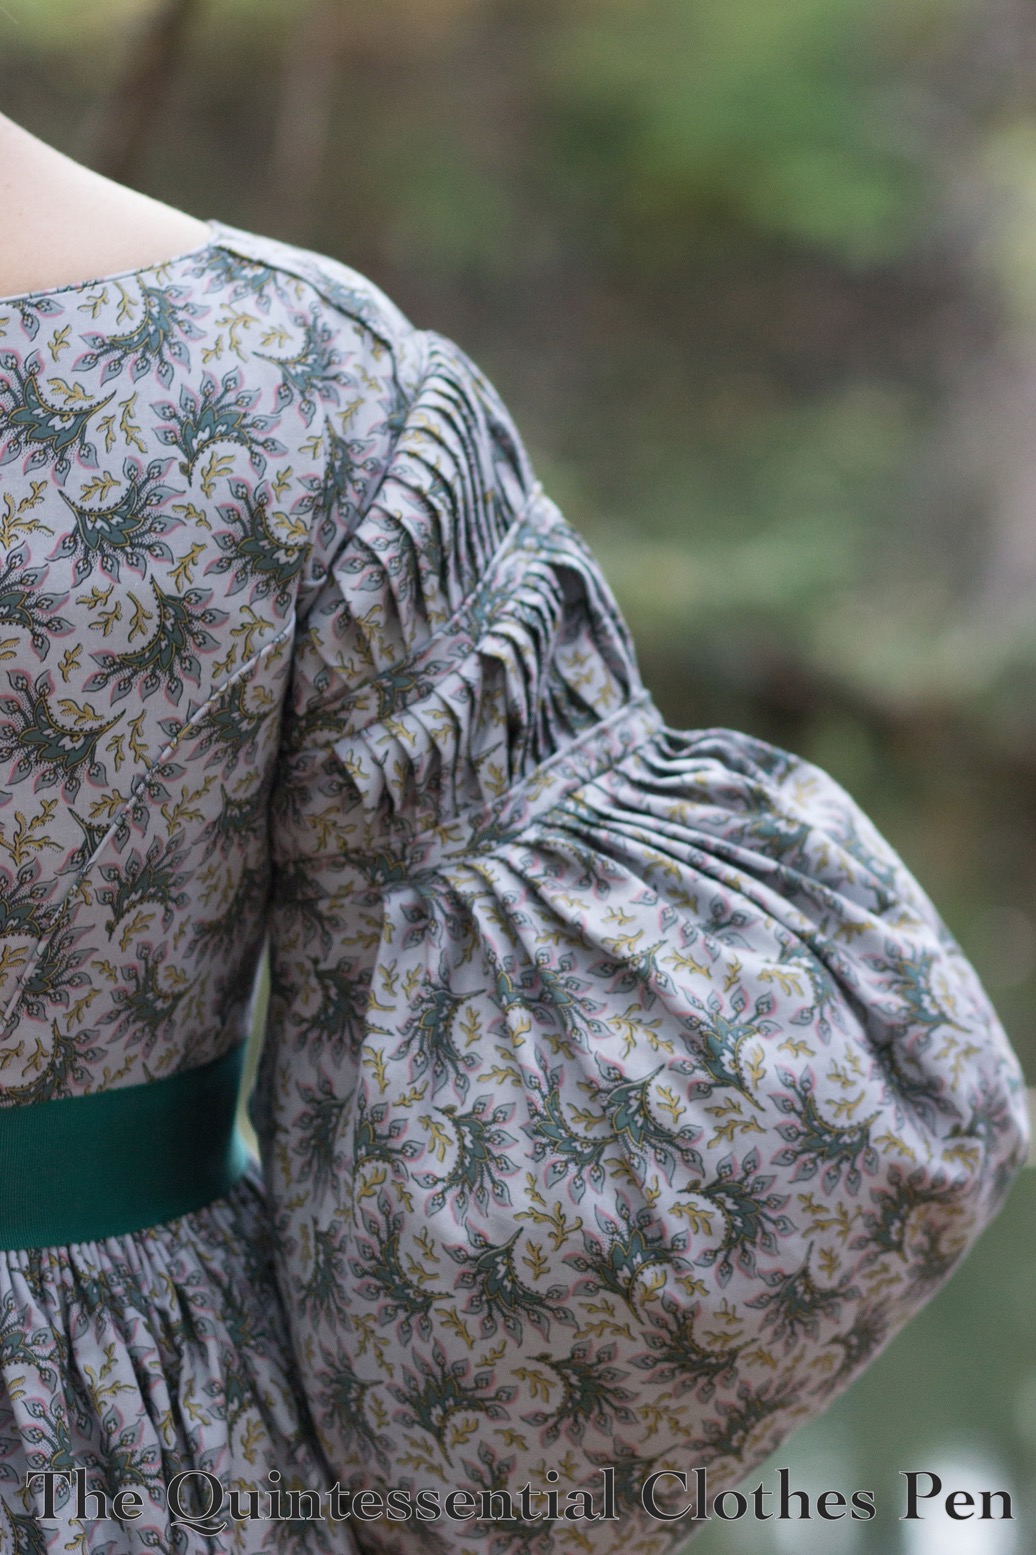
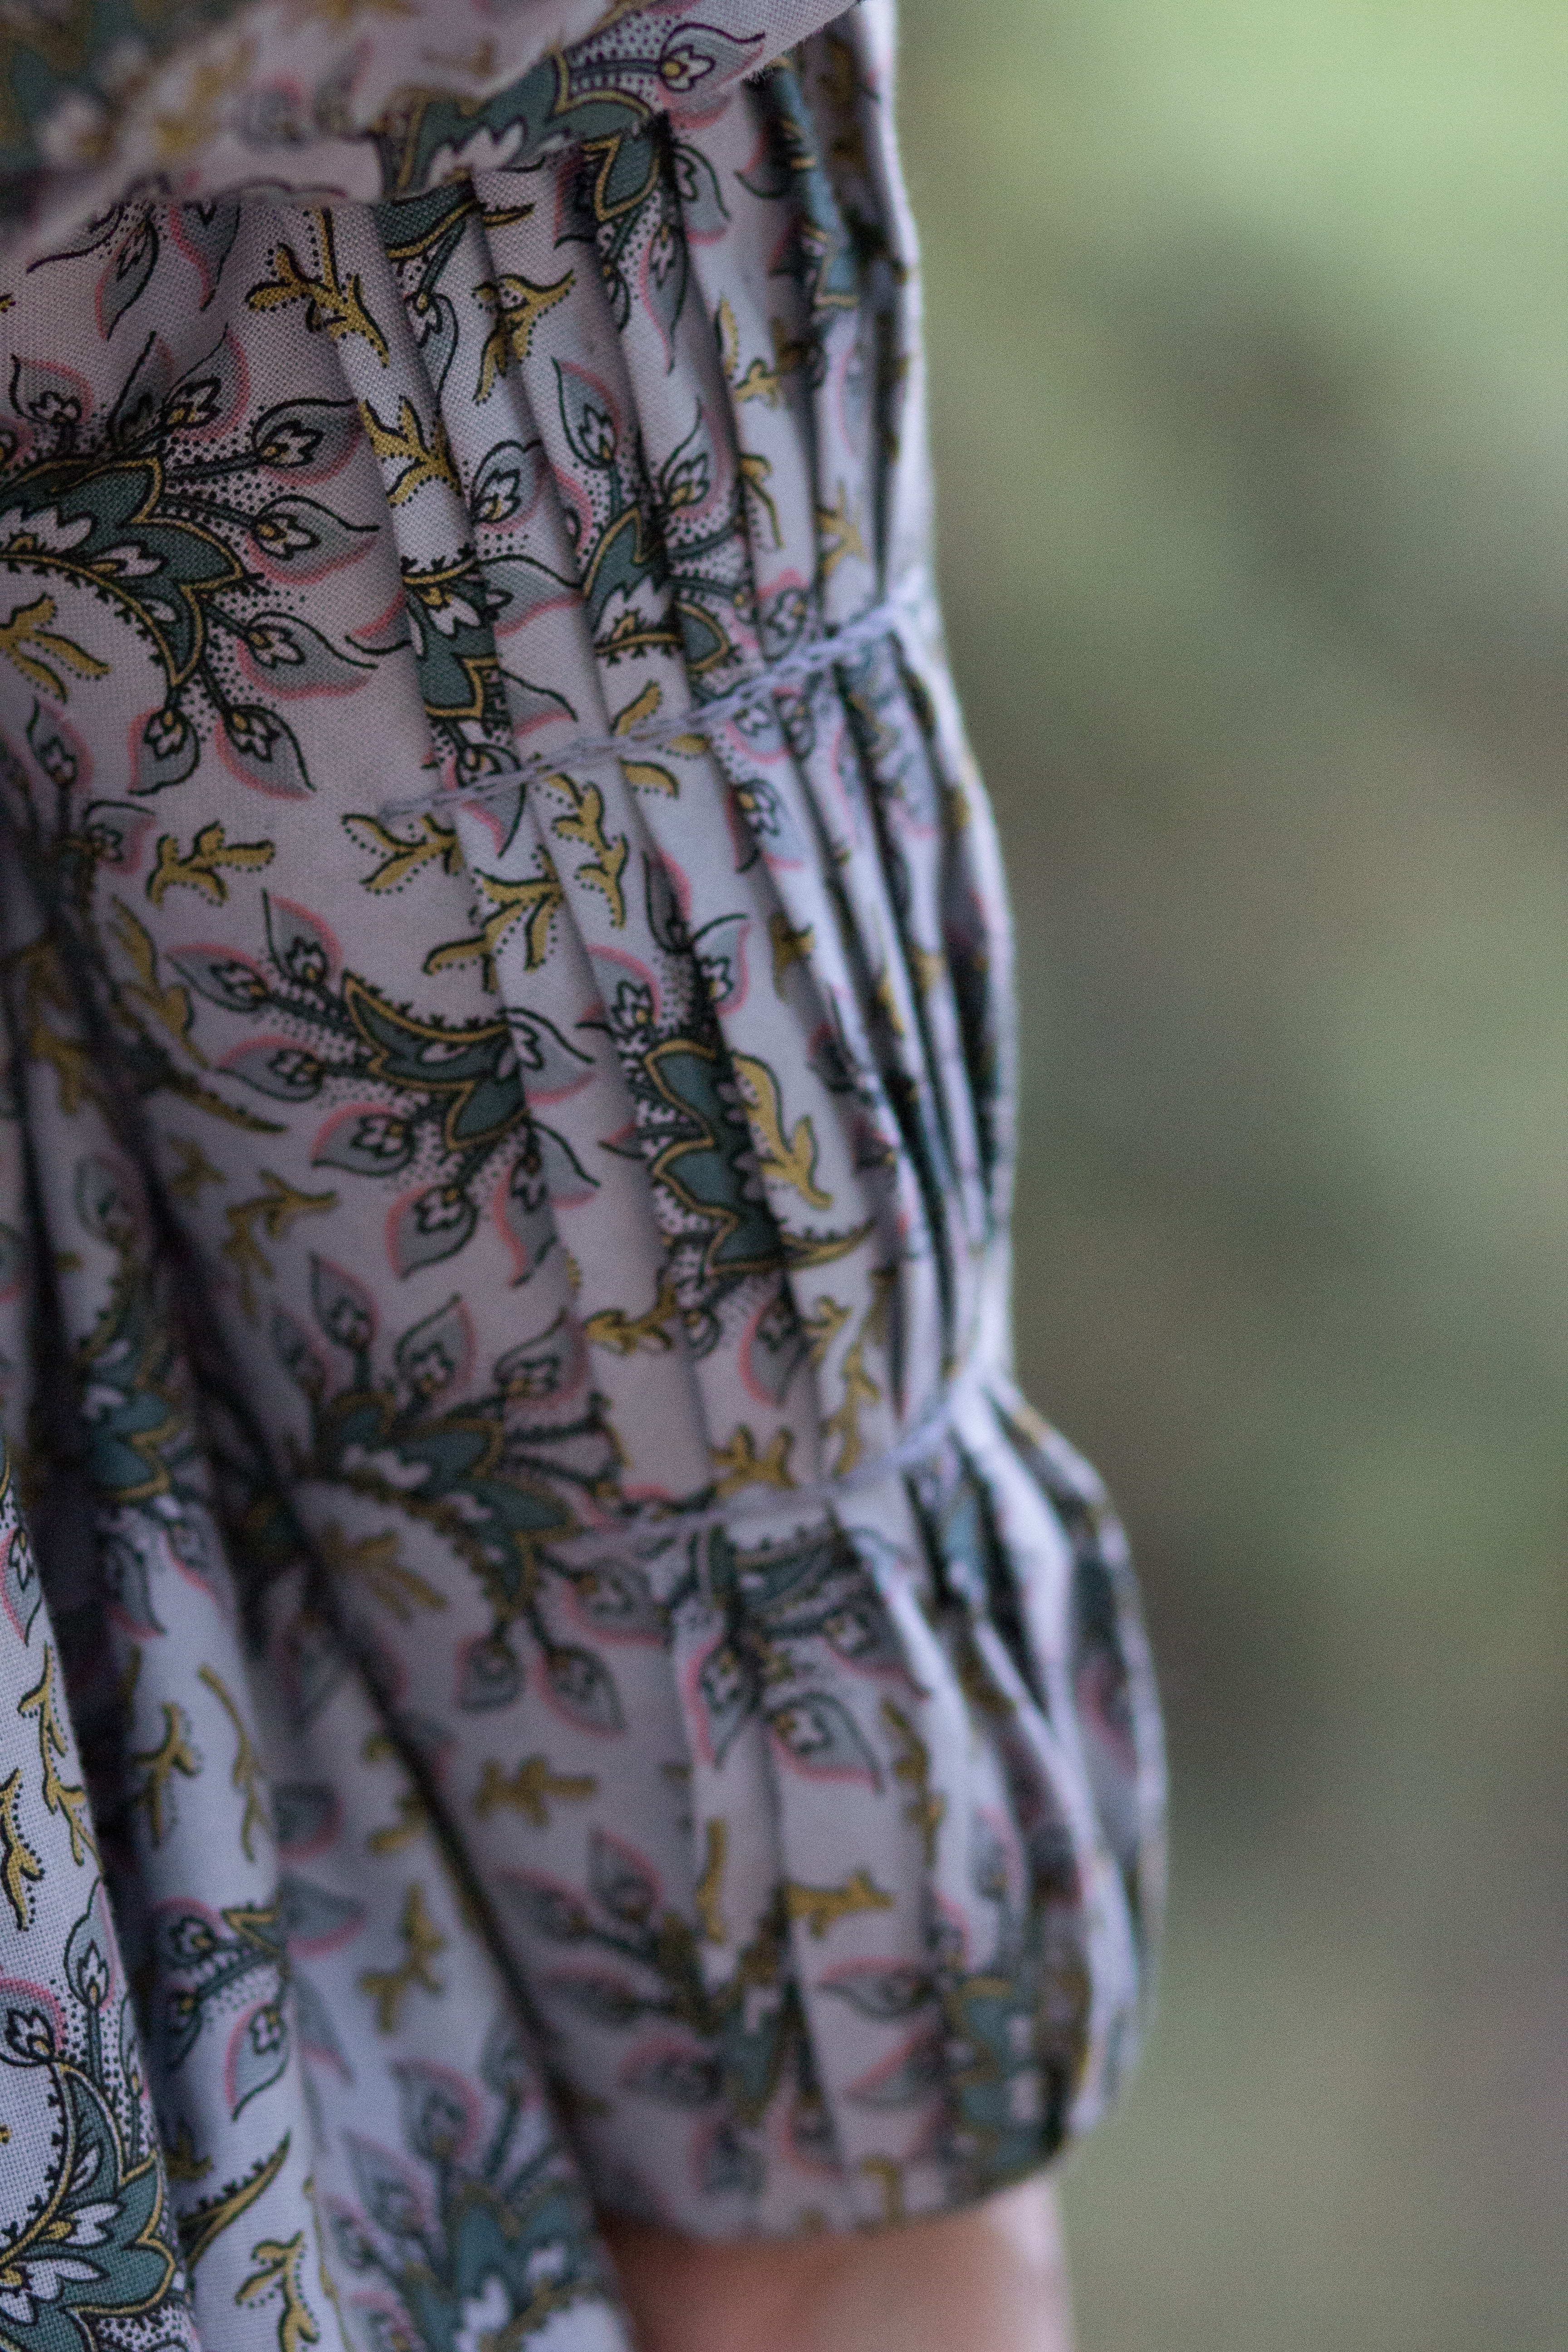
After trying a few silly sleeve shapes, we settled on giant elbow height puffs that are set off at the top and bottom with pleats and feature a bit of embroidery and corded bands to hold the pleats in place.

Here’s a view of the pleats and corded bands at the top of the sleeve. This dress has similar pleats.

And here are the pleats at the sleeve cuffs. These are held in place with a subtle bit of embroidery. This extant dress has a similar treatment, as does this one (and it has a matching pelerine!).

The sleeve puffs are supported by separate interior puffs that tie in. I used the method outlined in my 1830s Sleeve Puff Tutorial to make them.

In addition to the base dress, we decided to go all in on the 1830s aesthetic and create a matching fabric pelerine for this ensemble.

I looked at images of pelerines to determine what the shape and edges should be. We decided on a simple but flattering shape (as much as a matching fabric piece can be!) without extra difficulty in the form of scalloped or dagged edges, ruffles, etc. This is the finished shape we decided on.

Cording helps to define the edge and a similarly colored grey/blue cotton lining finishes off all of the raw edges. This was great, as the pelerine could be almost entirely made by machine!

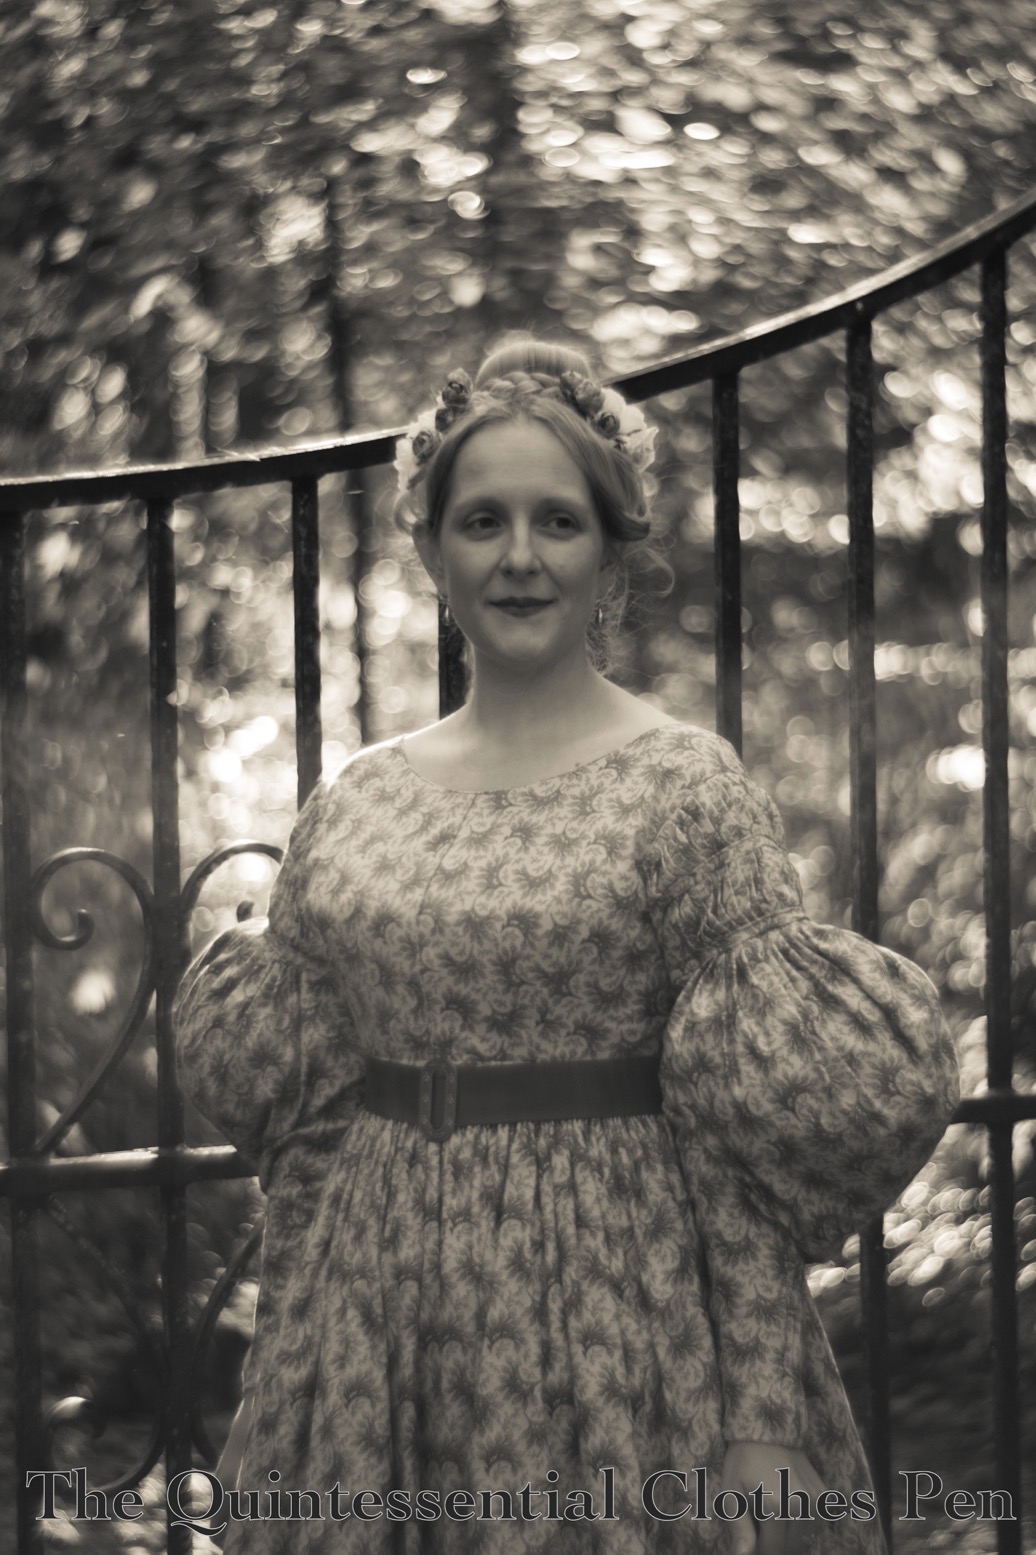
On our woods walk, my usual photographer friend (who blogs at Plaid Petticoats) enjoyed taking a few photos with her Petzval camera lens, which creates the swirled background in the next two photos (you can read more about the Petzval lens in this Plaid Petticoats blog post). I can’t decide whether I like the color or black and white version better, so I’m including both!

So why is the title of this post include the #1? Well… because I enjoyed the effect of the fabric so much that I purchased additional yardage for myself and started making an additional dress for myself, too! What an excellent excuse to try out further 1830s sleeve variations!

Blue dress #2 has been cut out for quite awhile (a year, I think?). However, I’ve been busy and other things have been a priority, so the dress is 0% done in terms of being assembled. Someday…!


1928 Egyptomania Inspired Green & Teal Dress (HSM #2)

I was inspired to make a dress! That seems like quite an accomplishment these days as I’ve been so busy with other things that I haven’t made much for myself this year.

It was summer, you see, and I knew that Gatsby On The Isles was coming up. (I’ve attended in the past, check out the past posts from 2019, 2018, and 2016.)

I have plenty of dresses (and let’s be honest, not many of them have been worn in the last two years or so), but I also had fabric that was waiting to be turned into a dress… So it didn’t take too much self-convincing to decide that the fabric ought to be turned into a dress, right now!

My first idea was to create something like the dress on the bottom right (#2346) in next image, but after making a mockup I realized that I didn’t have enough yardage of my proposed fabric.

Needlework Magazine, March, 1925

I’d bought the fabric thinking I’d make a rather simple 1920s dress, but the dress I’d been pursuing wasn’t quite that–and the length was longer than I had yardage for. So it was back to Pinterest to find another idea. I settled on using the green dress below, another one I’d been eyeing for years, as my inspiration.

1928

I’d purchased the green and teal accent fabrics in 2021 and thought they would work well for this second design idea.

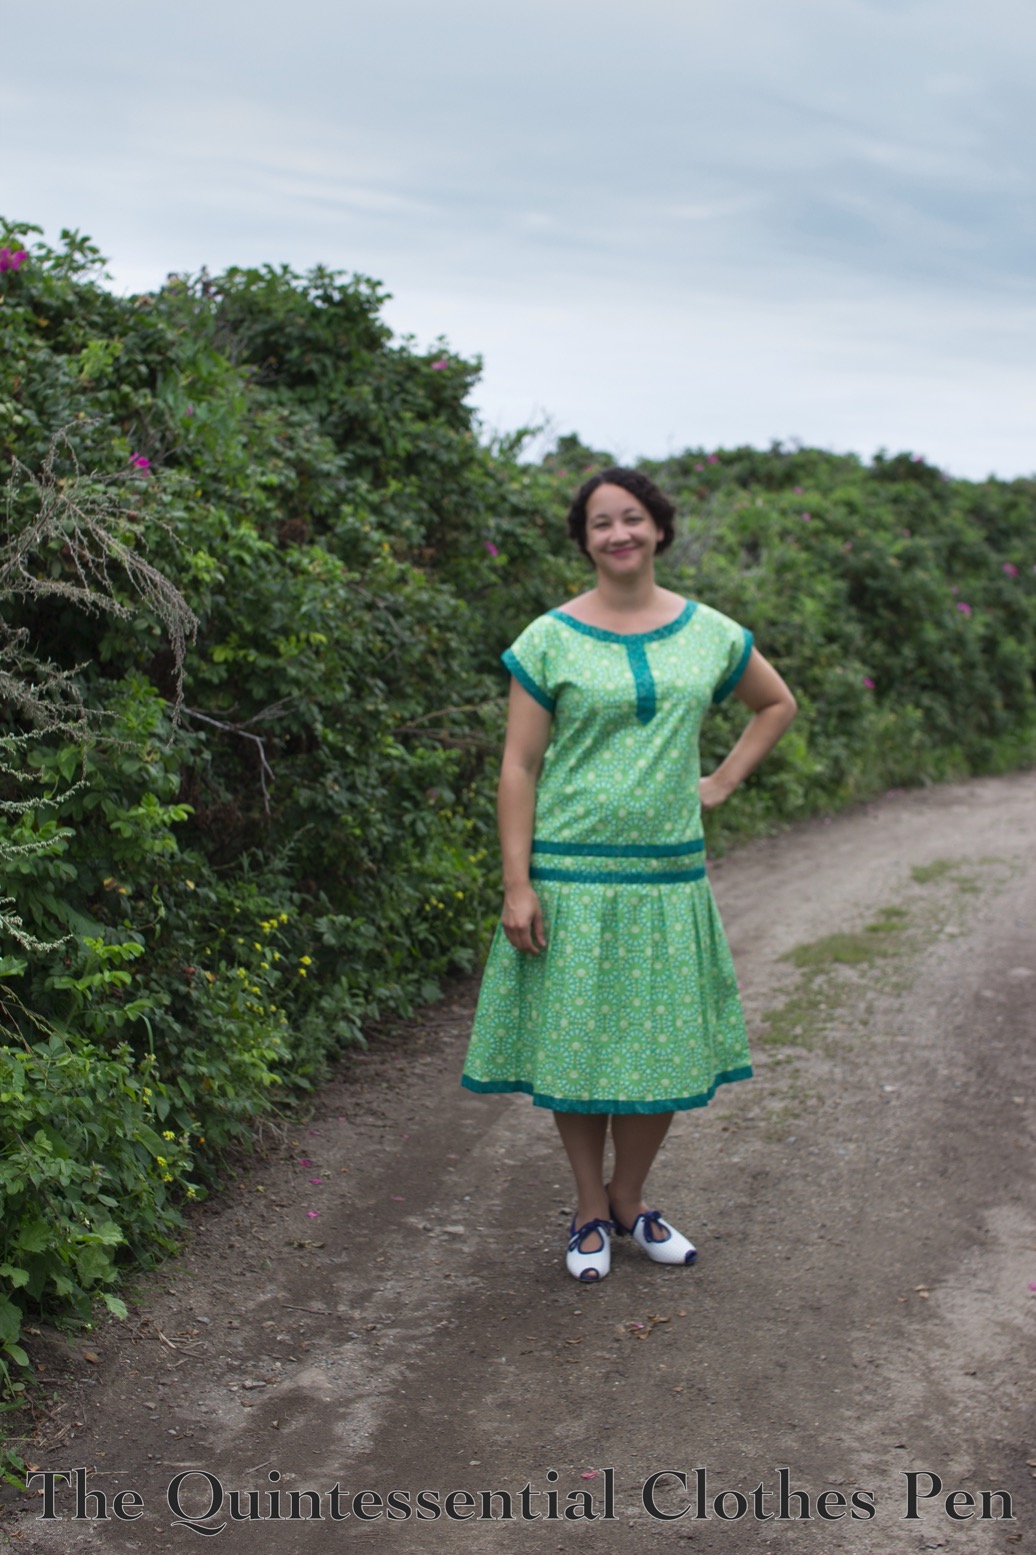
My bodice pattern was adapted from my 1925 Blue Coral Dress, to get the general size, in combination with my late 18th century shift, to get the cut on sleeves. The skirt is just a tube made from what was leftover after that. I wanted to get two full widths of 45″ but didn’t have enough, so the skirt is one full width and two additional sections.

I wanted to match the pattern perfectly at the seams, but that ate up too many inches of my circumference so I settled on not matching them–and frankly, you can’t tell! I spent a lot of time making perfect pleats (the print on the fabric makes that pretty easy, actually), but of course they smoothed out as soon as I wore the dress. Oh well!

The dress qualifies for the Historical Sew Monthly Challenge #2

The Roaring 20s: Make something from the 20s (any century) or that somehow incorporates a number in the 20s. .

Just the facts:

Fabric/Materials: 2 yds green cotton and 1 yd of teal cotton.

Pattern: Created by me.

Year: 1928.

Notions: Thread.

How historically accurate is it?: 95%. The pattern and construction methods are quite good. The fabrics are a bit stiffer than those that I think would have been used 90 years ago.

Hours to complete: Perhaps 12? I didn’t keep track.

First worn: August 2021.

Total cost: Approximately $9.

This dress is mostly machine sewn. The goal was to entirely machine sew the dress, including attaching and top stitching the trim, but then as I was reaching the end of the sewing process I realized there were a few things that would look nicer with a bit of hand sewing.

Why is this Egyptomaina inspired?

Well, ancient Egypt was all the rage in Europe and America in the 1920s, particularly after Howard Carter and Lord Carnarvon discovered the tomb of the Pharaoh Tutankhamun in 1922. Egyptian motifs were used in Art Deco design elements for furnishings, jewelry, and clothing. So, while not exactly Egyptian… the colors and patterns in my fabrics remind me of Egyptian things: the Nile river, lapis lazuli, the Egyptian lotus flower, and the tops of many ancient Egyptian columns, for example.

Obelisks were often erected in pairs at the entrances to ancient Egyptian temples, so given the Egyptian association of my dress, I wanted to try and get a photo of my dress with the obelisk on the island. The photo is not quite just me and the obelisk, but it will do. (The problem is that the obelisk is so tall that if you’re close to it you can’t tell what it is… but being far enough away to get the full height means that other elements make their way into the photo, too!)

There are lots of additional photos from tromping around looking for good photo opportunities for this dress, so you’ll be seeing more of it and my accompanying adventures in more posts soon!

1838 Yellow Bodice Construction Details (HSM #4)

Last year, I made a yellow cotton print 1834 dress (there are tons of details about it in this past post). The yardage leftover after that project wasn’t enough for another full dress, but it was enough for another bodice, and I’d been caught up in 1830s fever!

There are so many ridiculous sleeves to explore! Accordingly, I decided to make a second 1830s bodice with different sleeves. I finished the new 1838 bodice earlier this year and over the summer I was able to wear it with my recently finished chemisette.

The 1834 dress was made in two parts, a skirt and separate bodice, so that it was easy to make a second bodice and save yardage on the skirt.

Construction Overview

First, the construction details of the new 1838 bodice, starting with the HSM facts, because this bodice fits Challenge #4:

The Costumer’s New LookGive an old costume a new look, either by creating a new accessory or piece which expands or changes the aesthetic and use of an outfit, re-fashioning something into a costume item, or re-making an old costume.

Fabric/Materials:Approximately 2.5 yds reproduction print cotton and 1 yd of muslin.

Pattern: The pattern for this bodice is based on patterns contained in Janet Arnold’s Patterns of Fashion 1 and Norah Waugh’s The Cut of Women’s Clothes, as well as sleeve information fromThe Workwoman’s Guide.

Year: 1838.

Notions: 2 ½ yds narrow cotton yarn for cording, about 10 hooks and loops, and thread..

How historically accurate is it?: 90%. The pattern, construction methods, and fabric are all quite good. Inside seams are sewn by machine.

Hours to complete: 22.

First worn: August 2021.

Total cost: Approximately $15.

Construction Details

The back of this bodice is made just like the 1834 bodice, with piping in the side back seams. The armsceyes and neck are also finished with piping.

The main difference in the bodice (aside from the sleeves, which we’ll get to shortly) is the front, which has a deep V shape.

I looked at extant garments to see how this style was constructed. There are a collection of pertinent ones on my Pinterest board for this sewing project. The main inspiration for my observations was this garment, featured on All The Pretty Dresses blog (and included on my Pinterest board).

What I saw is that instead of being flatlined (as with the yellow and muslin layers of the back pieces), the lining was stitched separately from the gathered front panels. The muslin provides a fitted shape for the yellow exterior layer. There is a photo of the inside of the bodice of the extant bodice that shows this very clearly.

For my dress, the piping that finishes the back neck continues around the muslin to finish the edge. The yellow exterior pieces of the V edges (which are cut on the straight of grain) are simply pressed under twice.

Here is a closeup of the armhole of my bodice from the inside. The muslin front edge and exterior yellow layer are on the right of the photo. You can also see the ties that hold the sleeve puffs in place.

In addition to those details, the photo below also shows the hooks that are used to attach this bodice to the skirt.

Ok, but the sleeves are the star of the show here, so let’s discuss them! Being from 1838, they still use a lot of fabric (a yard each), but the fullness is pleated to force the puff down to the elbow level.

Here’s a closeup of the completed sleeve. The pleats are held in place by two bands of double piping that are hand sewn in place.
To make the double piping I machine sewed the cord into one side of my bias and hand sewed it into the other, then pressed the bias in half and attached it through all the layers. In my sample below I didn’t bother to put the machine stitching on the under side, but on the dress the machine stitching is not visible.

Before the piping was added, the pleats were machine basted in place. My machine basting wasn’t exactly where the piping ended up, so I removed the basting anywhere it showed.

Backing up some more in the process, below is one of the sleeves with the pleats pinned in place. I did this while the sleeves were flat, before I sewed up the inseams.

There’s no pattern for the pleats… it was just a matter of knowing what dimensions I wanted to end up with for my top edge and bicep and then eyeballing it. The pleats vary in depth on the inside, even though the outside is pretty even at ¼”. Part of this is due to the fact that the pleats have to angle in order to create an armsceye that keeps a curve up in the middle. Figuring it out is a great mind puzzle!

Below is the sleve before being pleated, etc. Between being over a yard high and also being cut on the bias you can see why each sleeve takes a yard of fabric!

After pleating and sewing the inseam the sleeves had this shape (below is my mockup sleeve). I really wanted an exaggerated elbow puff, so this isn’t quite the shape I wanted to end up with. To get the shape I wanted, I took horizontal tucks about halfway down the sleeve. This keeps the forearm relatively unwrinkled while creating lots of elbow puff. The tucks are lost in the pattern of the finished dress.

Could I have altered my pattern to not have to take tucks? Sure! I’d probably change the curve of the sleeve inseam to do that. But… I’d already cut my pieces. And adapting sleeve shapes to adjust for changes in styles seemed very appropriate and in the spirit of what 1830s ladies might have done.

So for a bit more sleeve information… These sleeves have an opening at the cuff to allow for the tight fit of the forearm. The openings are finished with self fabric facings and then the hem is turned up.

Here’s what that looks like on the inside.

And that’s it for construction!

Here’s a bonus photo of the dress with a quince tree. I’ve heard of quinces but never encountered them before.

They sort of look like pears!

I’m very pleased with this cross front bodice and the sleeves that go with them. I appreciate their minute detail even though they were definitely the most time consuming part of this bodice!

An 1836 Chemisette (HSM #3)

The third challenge for the Historical Sew Monthly 2021 is ‘small is beautiful’. Little things can make a big difference to the finished look.  Make something small but perfect. My entry for this challenge is an 1830s chemisette to fill in the neckline of my 1838 bodice (the sister of the 1834 dress I posted details about last year).

Just the facts:

Fabric/Materials: Approximately ½ yd of silky cotton voile from Dharma Trading.

Pattern: Adapted from Janet Arnold’s Patterns of Fashion 1, with adjustments for fit and style.

Year: 1836.

Notions: 1 ½ yds ¼” white cotton twill tape, 1 metal hook, 1 cameo button and thread.

How historically accurate is it?: 90%. The pattern, construction methods, and fabric are all quite good. It is entirely hand sewn. The most modern element is the plastic cameo button.

Hours to complete: 19 ¾.

First worn: August 2021.

Total cost: Approximately $5 for the fabric/shipping (though it is leftover from another project), $1 for the twill tape, and $1 for the button = approximately $7.

The chemisette pattern shape was based on this fashion plate from 1836.

Without a body in it, the chemisette looks like this. It is entirely hand sewn, with small rolled hems and drawstring channels on the bottom edges.

The shoulder seams are sewn with French seams to encase the raw edges. The collar is attached with a flat felled seam for the same reason.

The gathered ruffle on the edge is hemmed on all sides with a tiny rolled hem and then whip gathered to the hemmed collar edge. I haven’t tried whip gathers before and this seemed like it would be a fun project to try them out.

On the underside of the ruffle the whip stitches are more visible.

The inspiration fashion plate doesn’t show the back of the chemisette, so I had to decide on what I wanted. After looking at extant collars and chemisettes, I settled on a rounded point that extends just under halfway down the back.

On a body, it looks like this.

The final touch is a hook and thread loop to close the collar, with the decorative cameo button on top. The plastic is obviously not correct for the 1830s, but it does have the benefit of being lightweight! I was worried that if I used a metal brooch (not that I have one, but if I did…) it would pull the collar down or out.

And that’s it! There was no rushing with this project. I took my time and enjoyed the hours of tiny hems and whip stitching.

1830s Woods Walk

My 1830s apple picking adventure last fall was followed by a ramble through the woods for exercise and to get more photos. I shared a bunch of the photos in the construction posts for my 1834 dress (here and here), but even after that there were still a bunch of lovely photos I wanted to share. At that point, I decided to take a break and post about other topics since I’d posted a few blog posts in a row about 1830s things and so the photos from the woods have been patiently waiting to have their moment to shine. Today is the day! I bring you an 1830s armchair ramble through the woods!

On our way to the wooded area, we stopped to take advantage of this stone wall and gate.

The main gate to the wooded area is similar, though with bricks instead of stones and with animal sculptures to delight visitors. My usual photographer friend (who blogs at Plaid Petticoats) enjoyed taking a few photos with her Petzval camera lens, which creates the swirled background in the next two photos (you can read more about the Petzval lens in this Plaid Petticoats blog post).

Just past the main entrance to the wooded area is a little bridge spanning a lovely bit of water. It looks like a pond, but I think it might actually be connected to the nearby river.

Around the bend is one of my favorite vistas, a grand line of pine trees bordered on one side by a small meadow. It’s a magnificent and playful place to stop for photos.

Continuing towards the river is a path along one side of the meadow. Thankfully, the grass on the path is maintained and easy to walk through.

This group photo uses the Petzval lens to make a glorious twinkling arch of greenery out of the dwindling afternoon sunlight.

Along the way to the river are small bits of interest. Enterprising greenery in unique shapes and more watchful animal statues.

Near the river we stopped for more photos. The drooping trees made dramatic backgrounds for us.

I love the next photo. It captures the reflection of the golden leaves in a way that almost looks like a painting, in juxtaposition with the oak leaves and branches on the far side.

Thanks for joining me on this autumnal walk through the woods. I find outings like this are wonderful moments for reflection and appreciating the natural beauty of the seasons.