At Long Last, A Happy Clover Dress

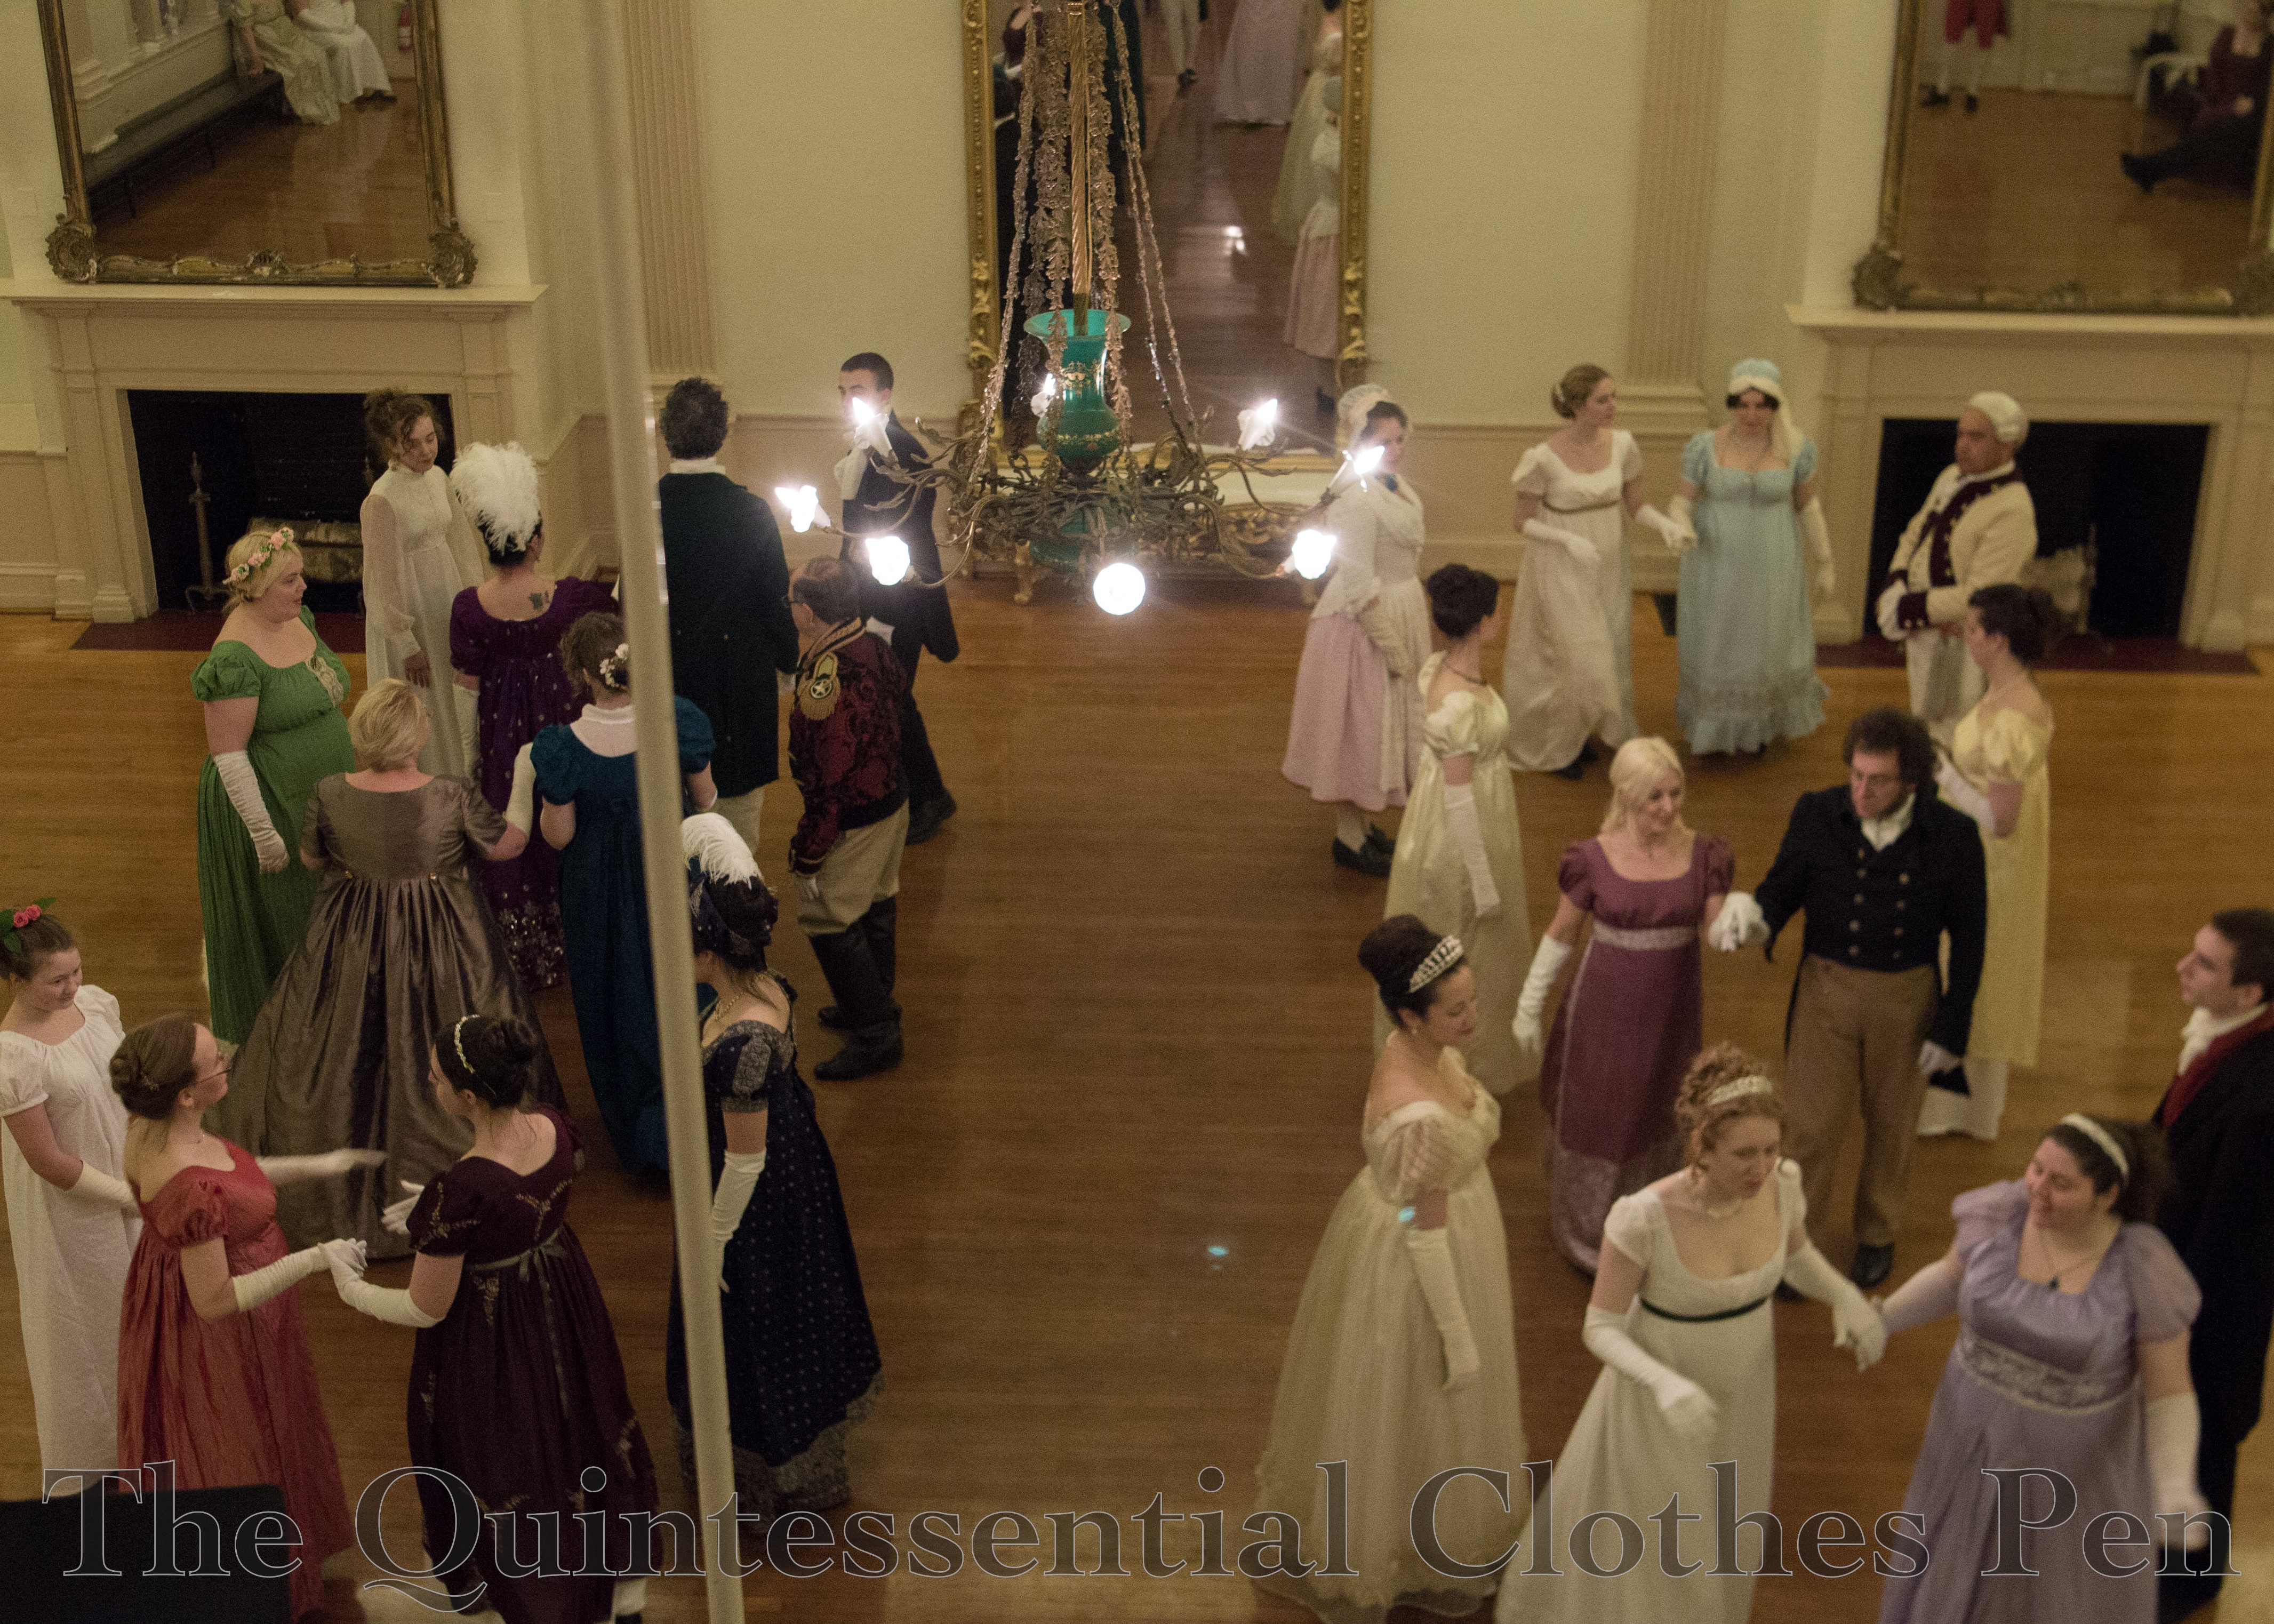
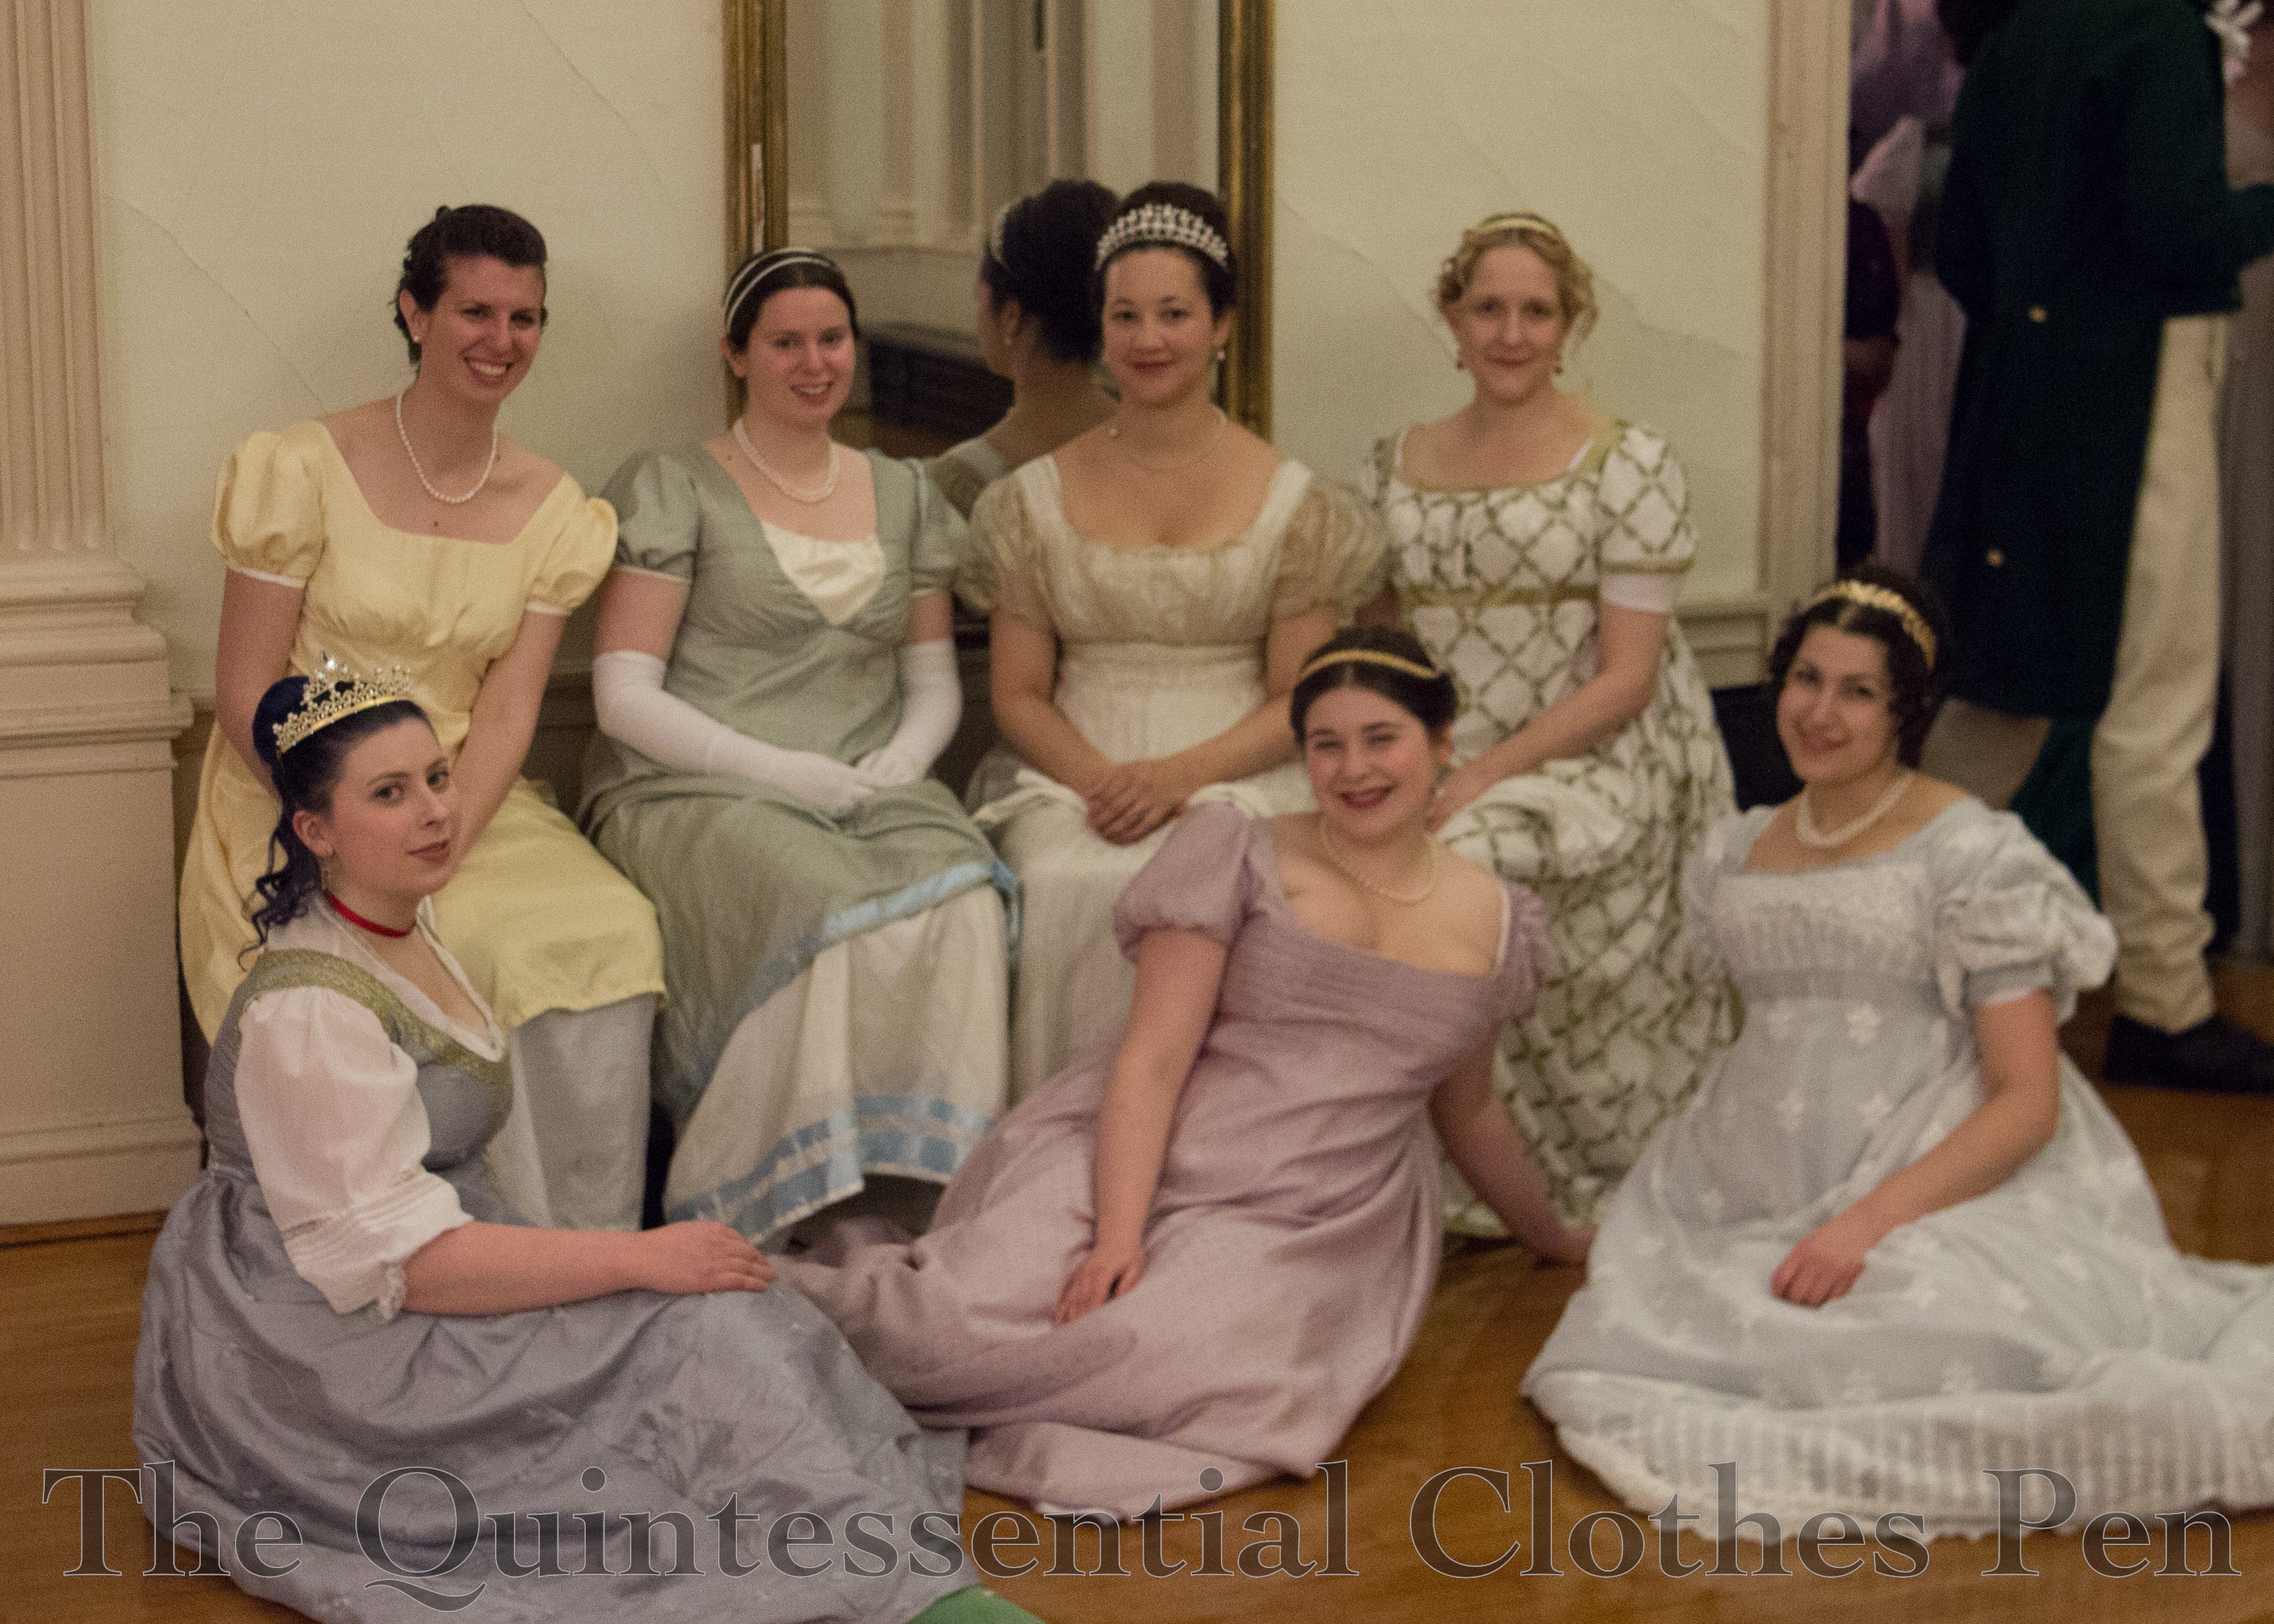
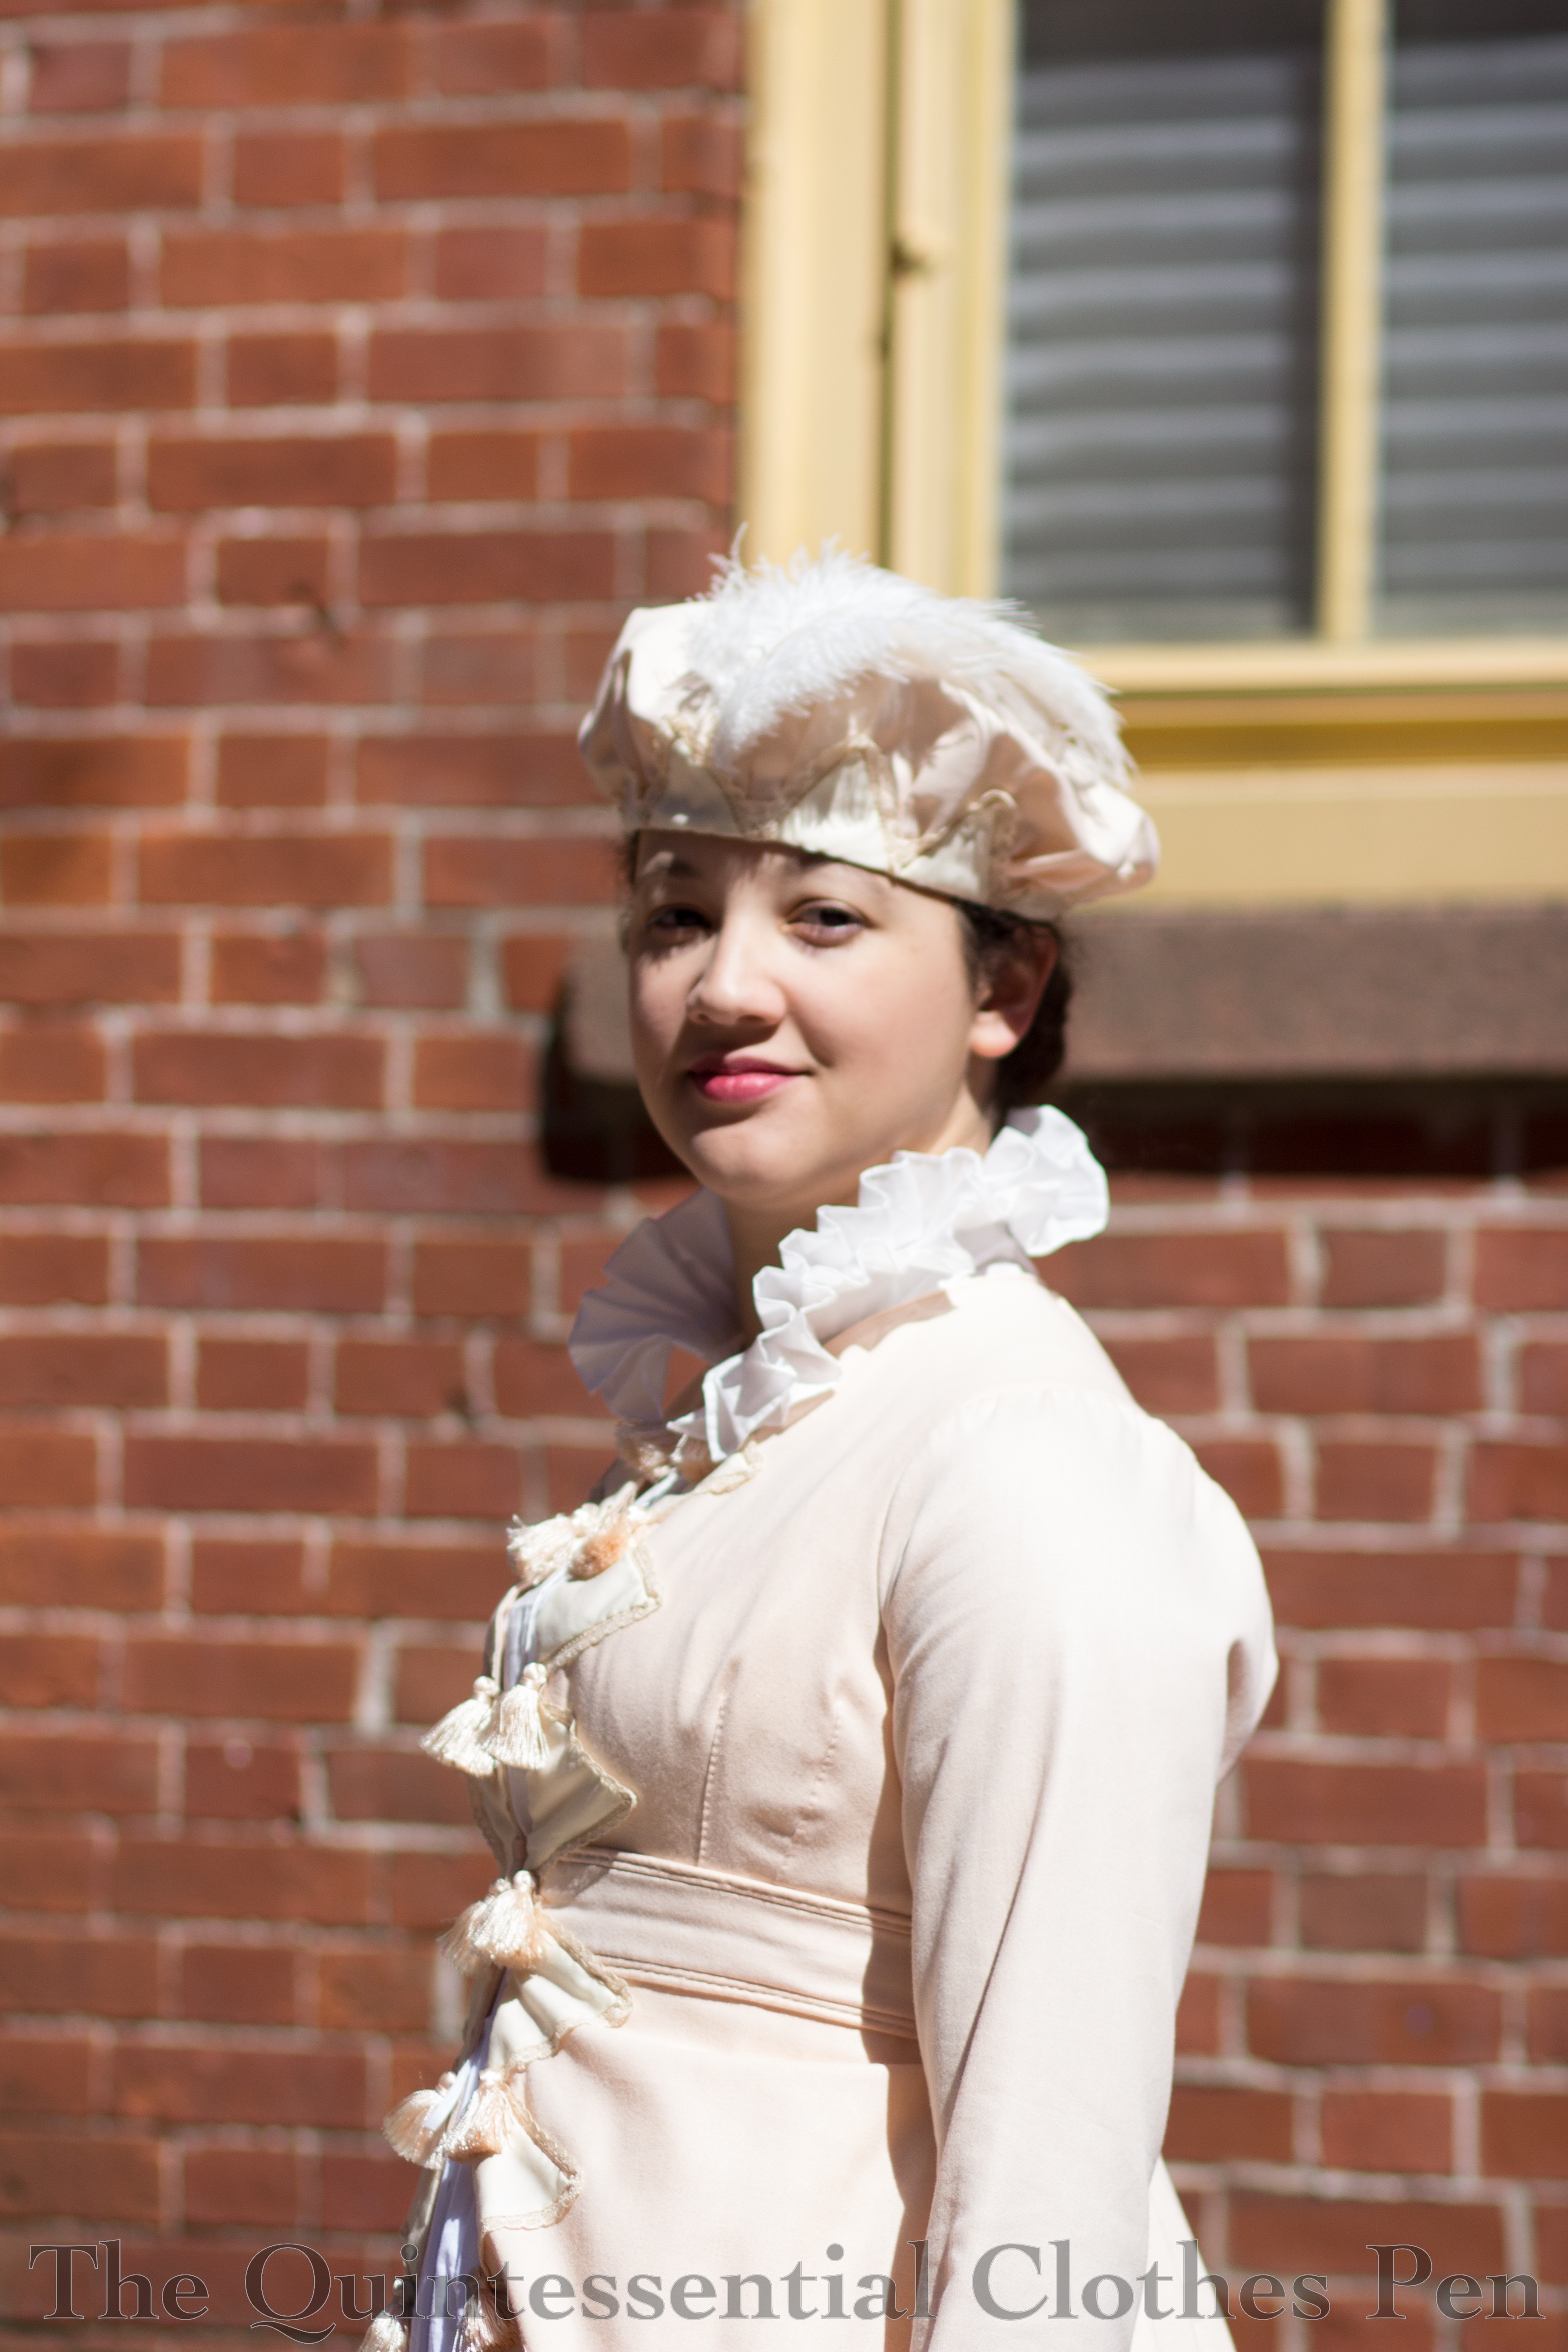
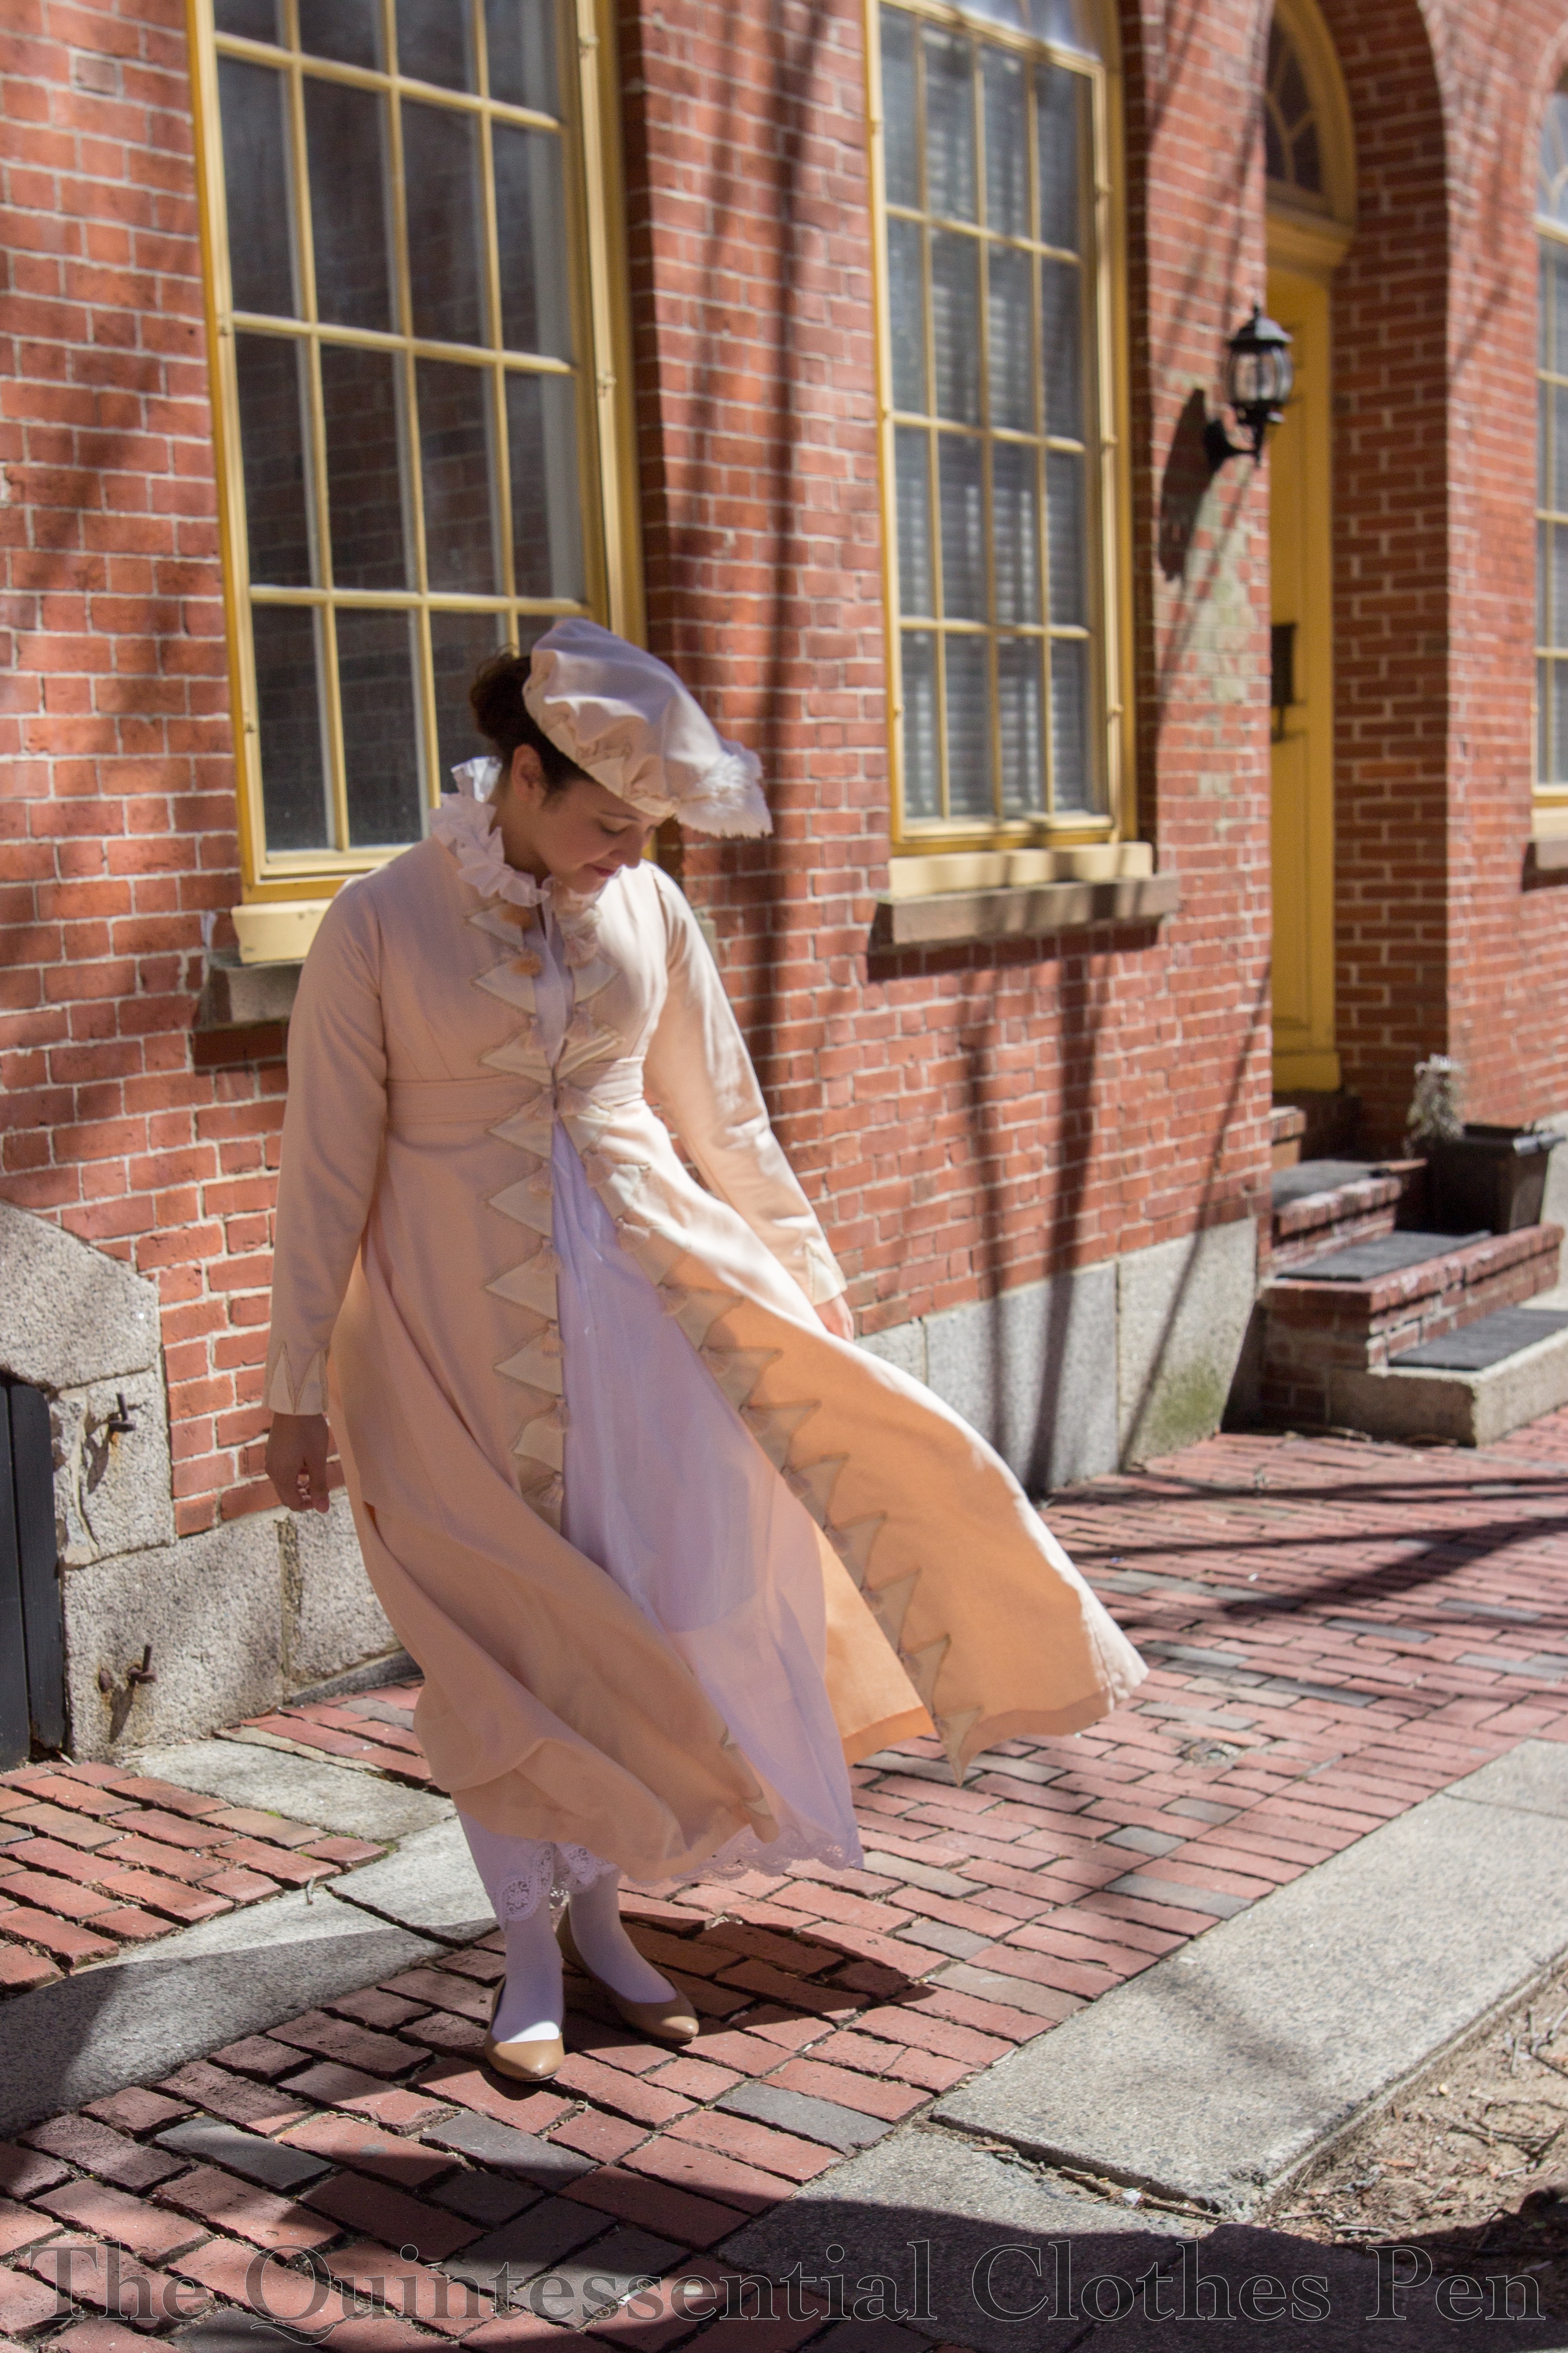
Life has been so busy for last month and a half or so that posting about my sewing and adventures had no choice but to be put on hold. However, things have calmed down now and I have plenty of blog content that just needs time and inspiration to be crafted into posts. To that end, I present a new dress!

This dress was years in the making. It’s story started four years ago when I was on a mission to add prints to my wardrobe and found this cotton print. It’s a nice weight for a dress: mid-weight and opaque. It’s a bit hard to remember, but I’m pretty sure I started work on it pretty quickly. My plan was to use the bodice from Butterick 5880 with a vintage-inspired skirt of my own creation.

The skirt shape I started with was slightly A-line and gathered into the waist. I’d cut it nice and long, I think in case I wanted a deep hem or tucks. It was decidedly calf length. I knew I didn’t want the notches in the neckline of the bodice and I was thinking of a boat neck shape, so the original bodice was also very high on my collarbones.

When I tried it on… it was so dowdy! I was horrified! It was also a little large. (No pictures, I was too horrified!) All together, I couldn’t even begin to see how I would make it wearable. I stuck it in my UFO pile and let it sit there for years. Every summer I would tell myself I would make it better, but it took four years to feel mentally ready to tackle it.

This year, I started by removing the offensive skirt then fitting the bodice, which turned out to just be taking in the side seams a bit. I took apart the skirt pieces and took stock of what I had to work with. I hadn’t used all of the 3.5 yards I’d purchased, so I had a yard or so uncut to work with as well as the pieces I’d taken apart. In the end, all I did was to shorten the skirt pieces to a flattering length and pleat them to the bodice instead of gathering them. Originally, the skirt was just two panels, but that didn’t have enough oomph for me, so I set out to cut as many more as I could. Unfortunately, due to the fact that I’d cut the original skirt pieces so long, I could only cut one more skirt panel from my extra fabric. Boo!

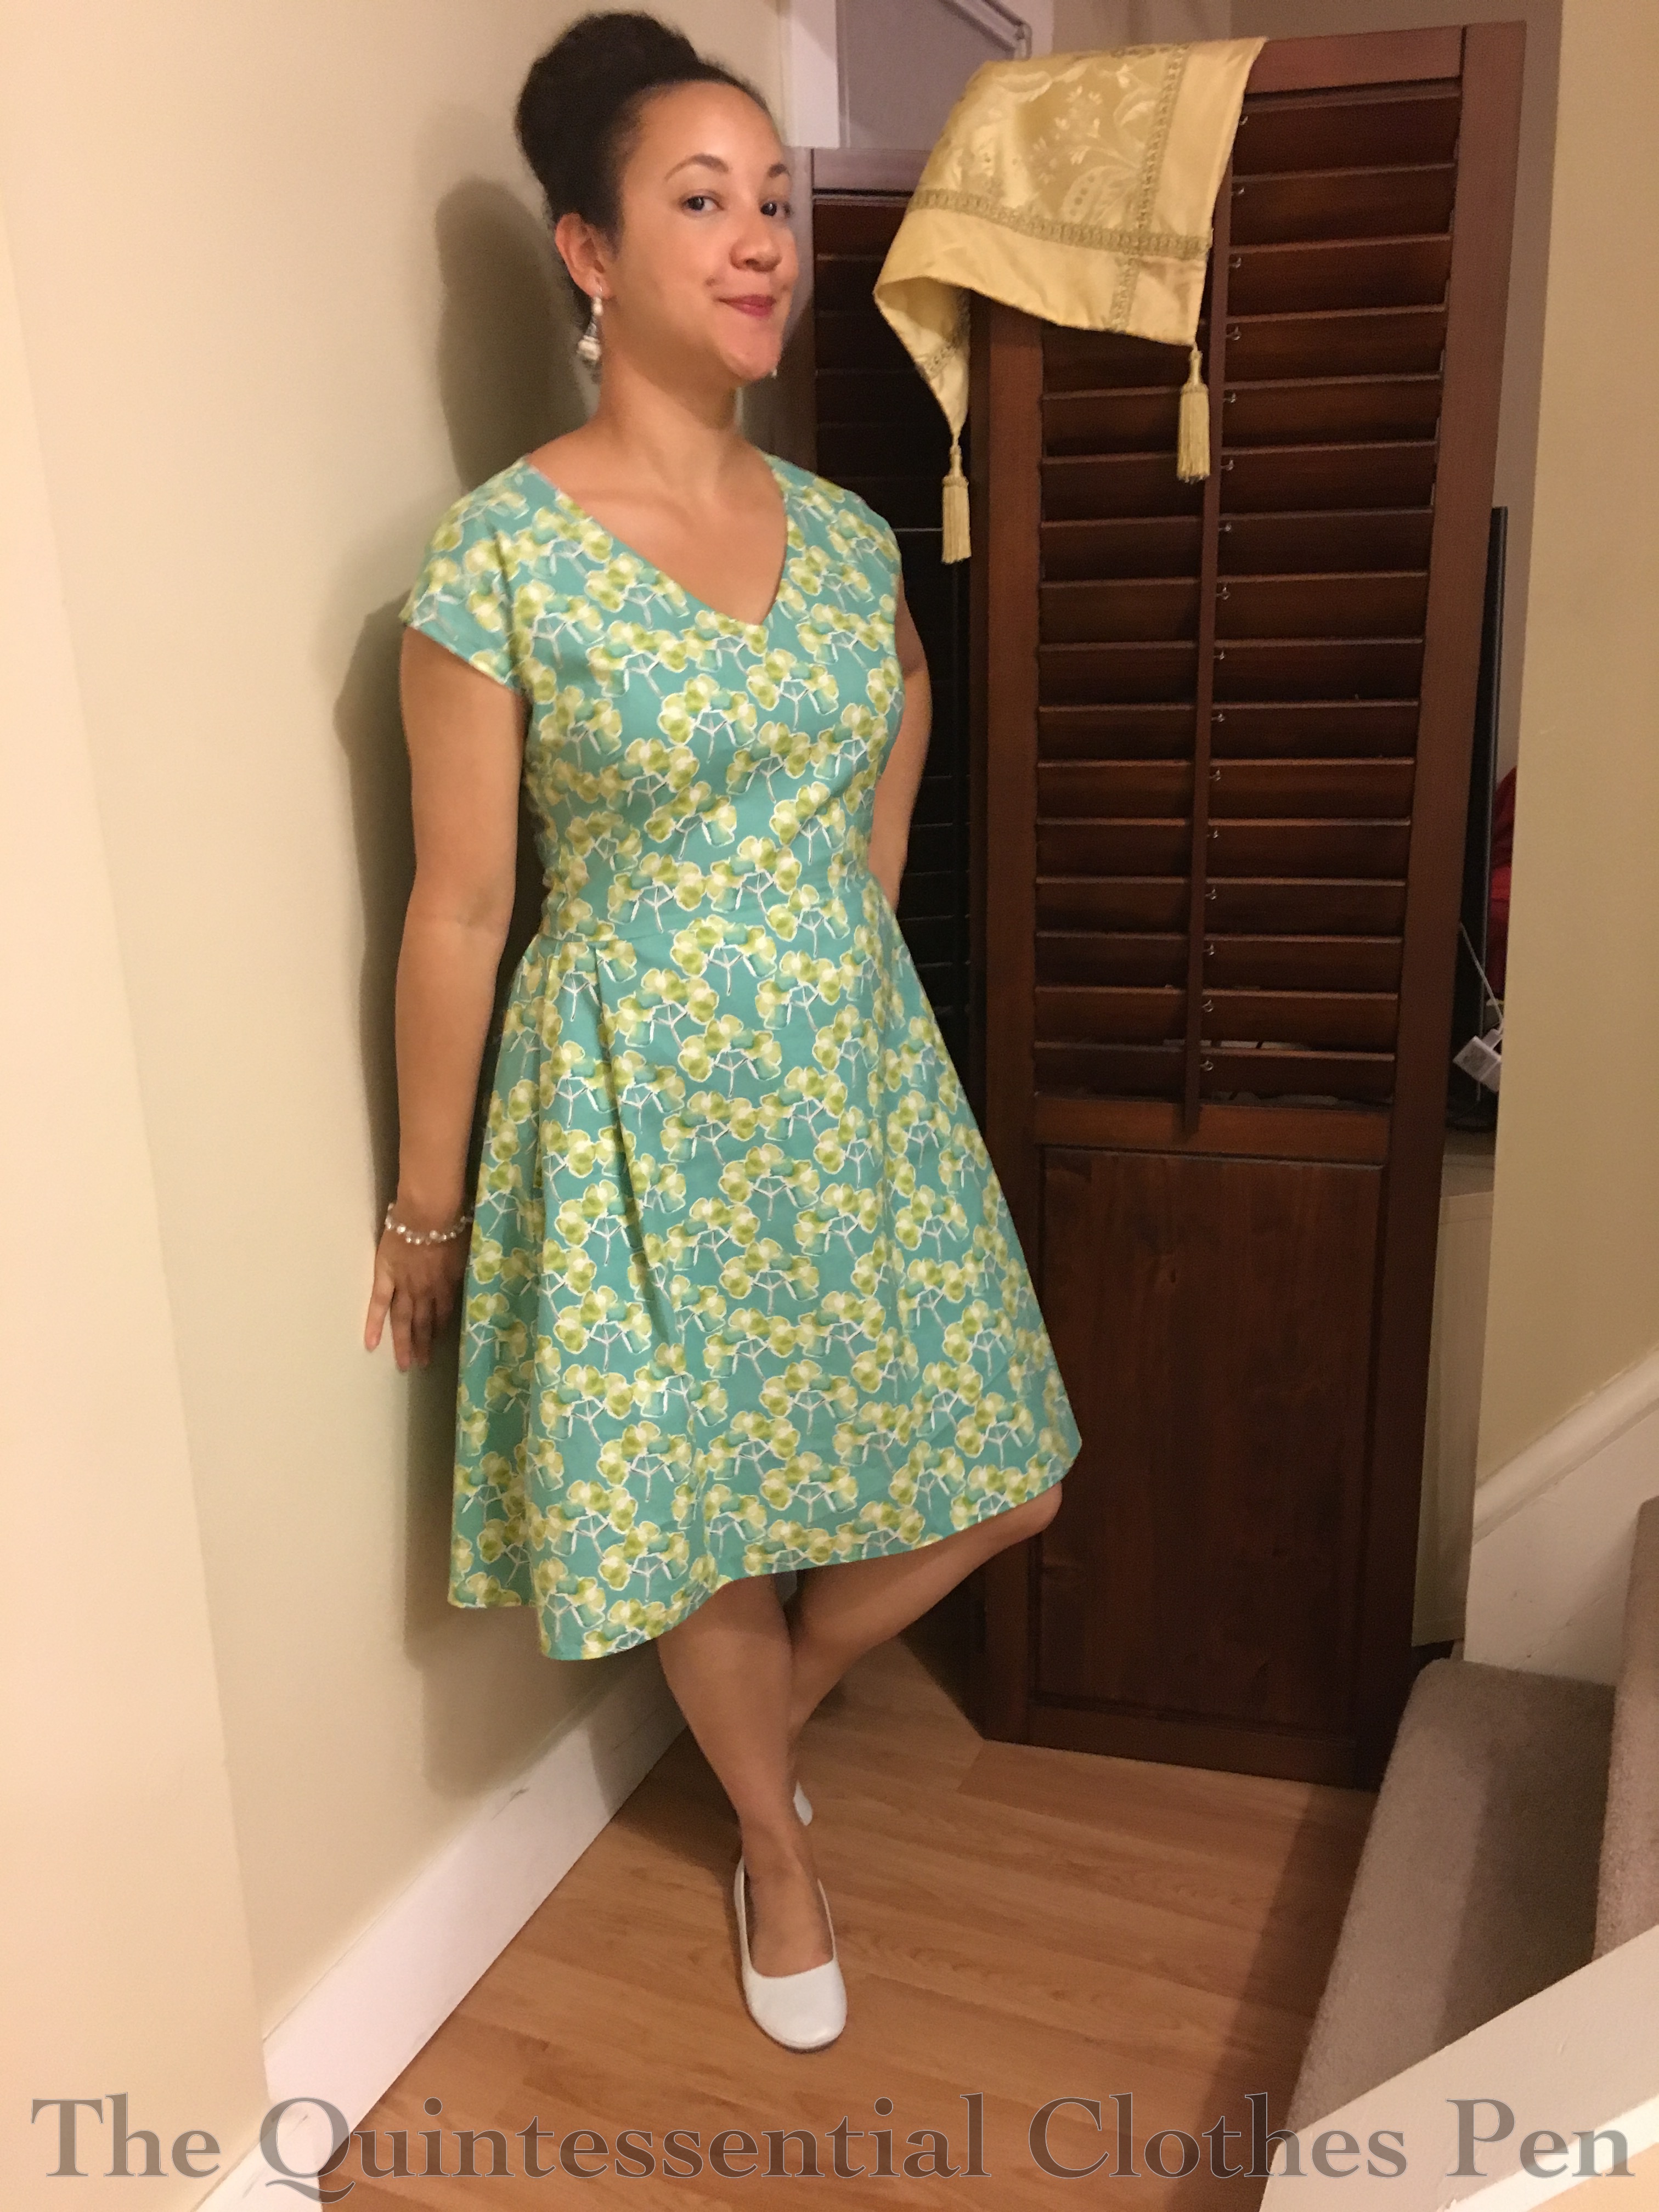
I was thinking of pleats all around the waist, but I couldn’t find a way to make it symmetrical and pleasing to me with only three panels. It put seams in odd places and just wasn’t working. In the end, I decided to make the front mostly flat and keep the pleated oomph in the back. It looks smooth and A-line shaped from the front…

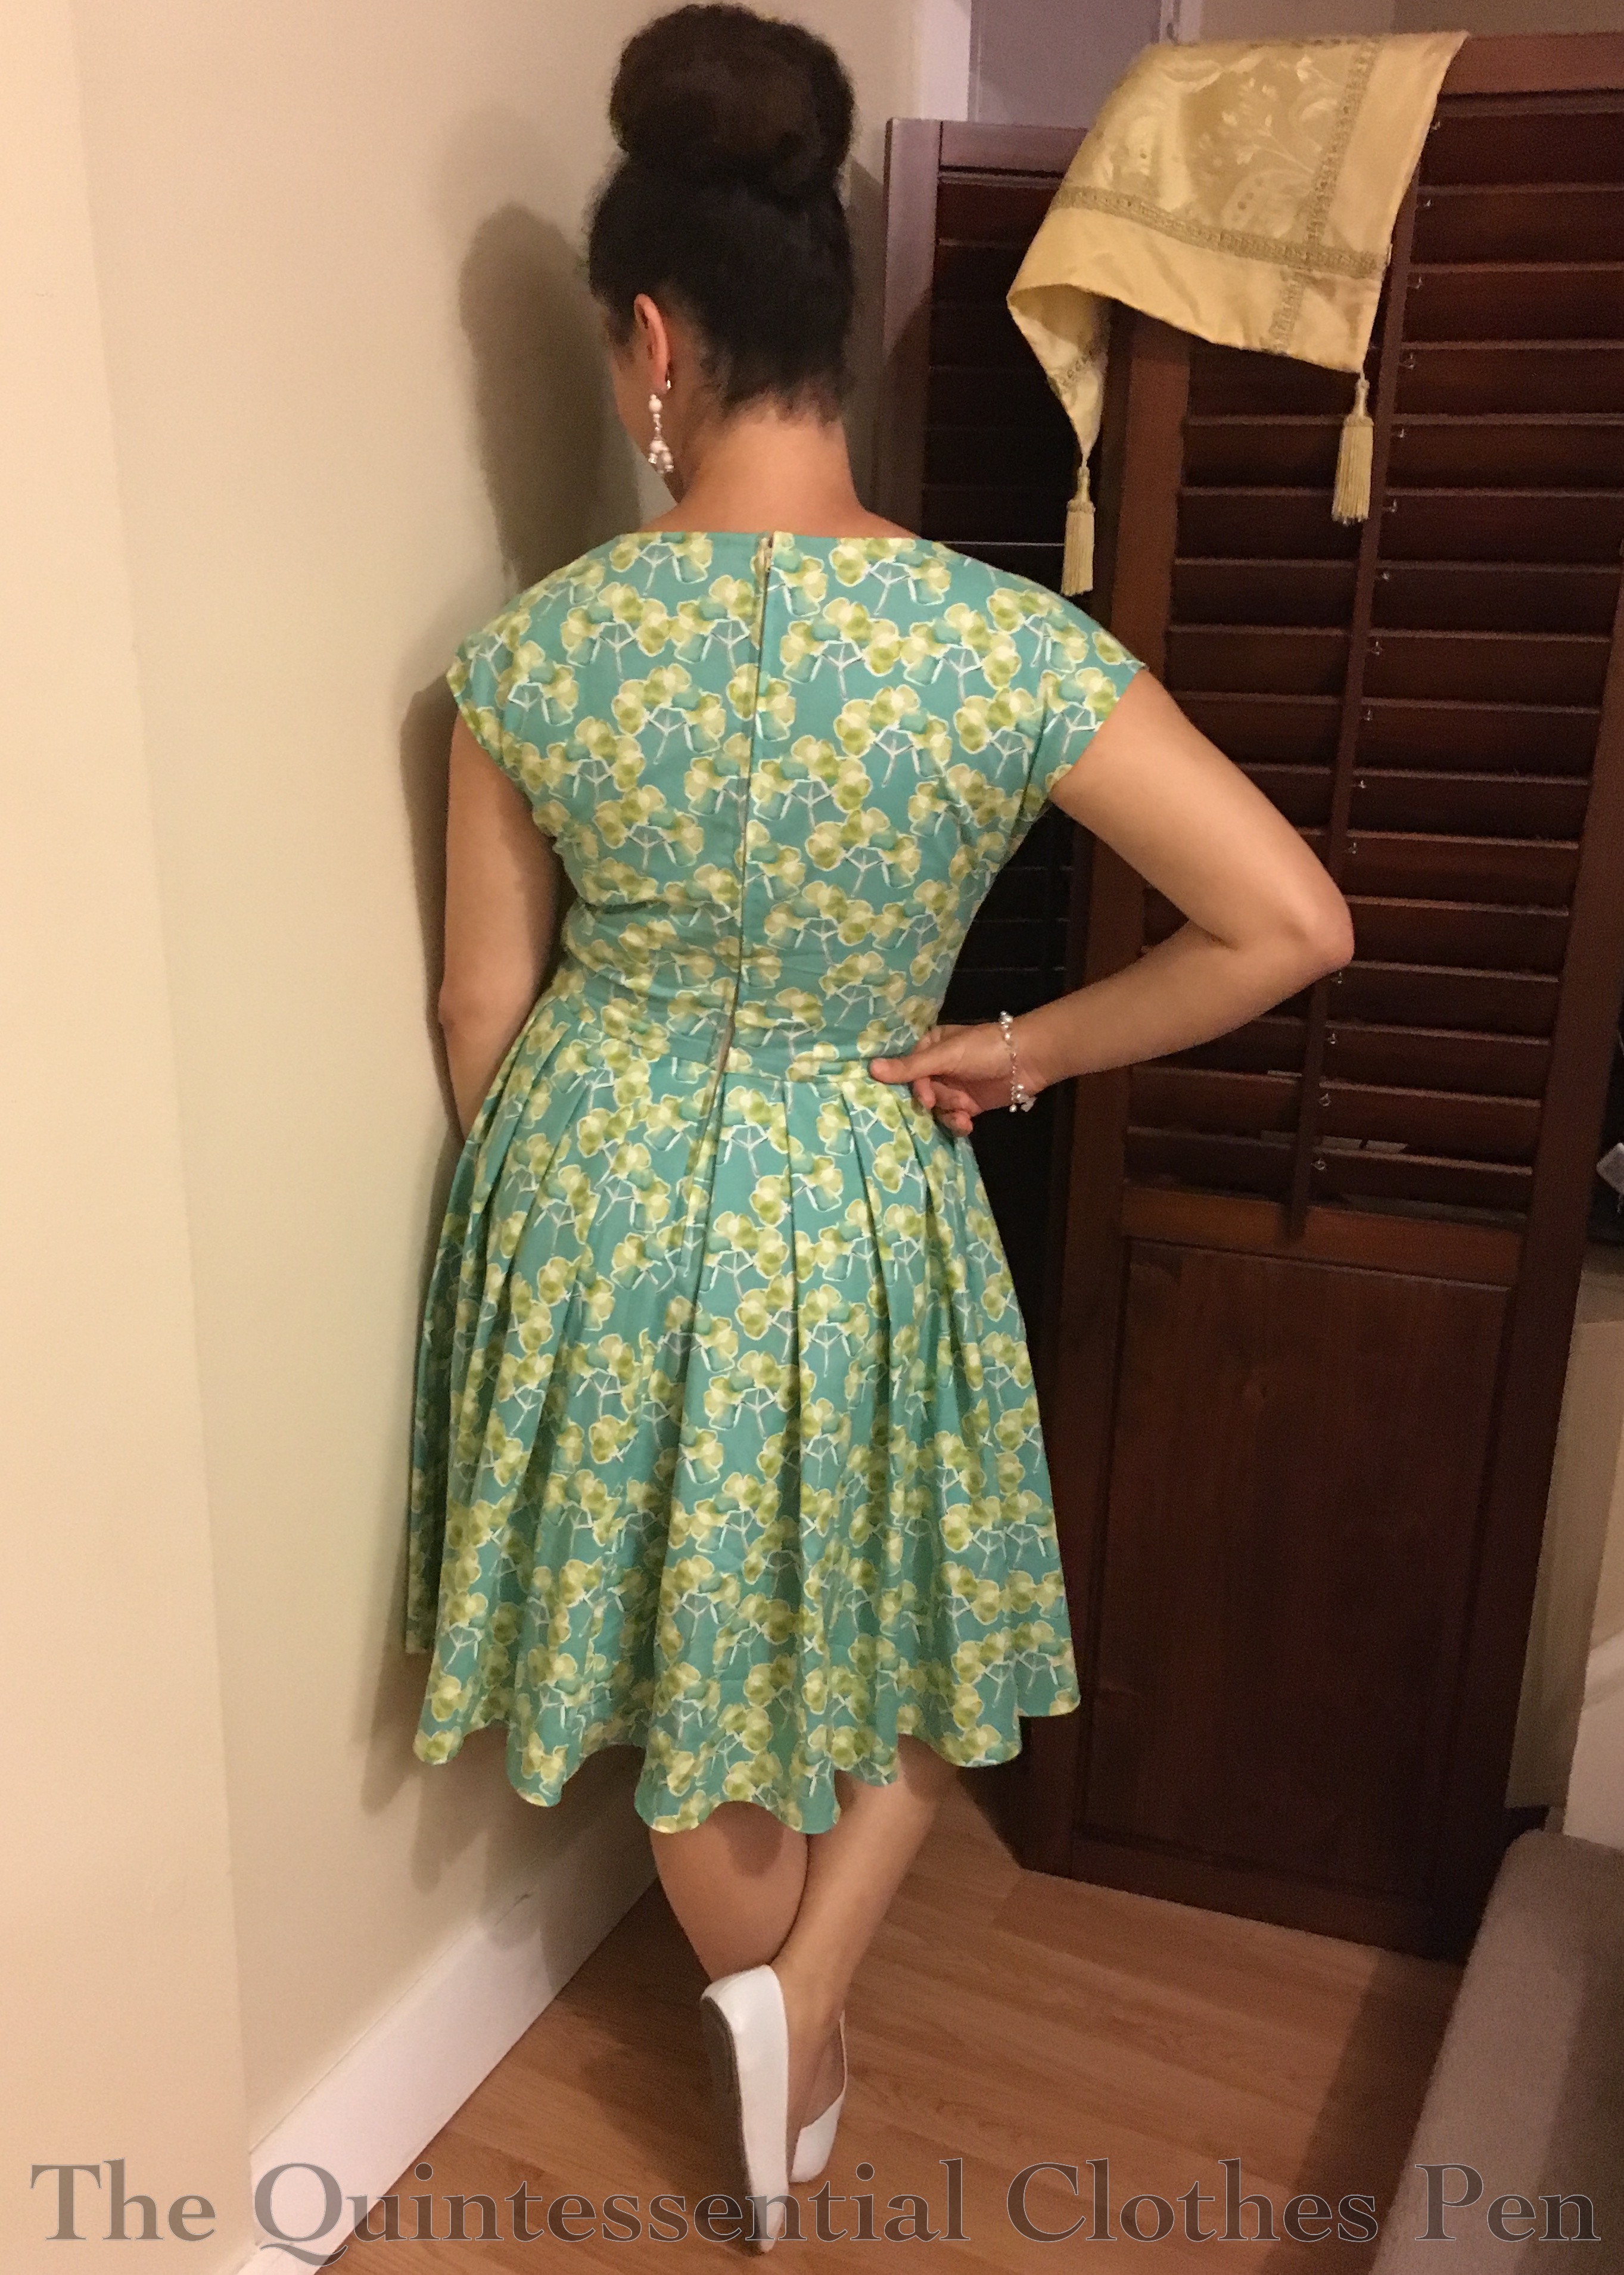
But the back has lots of pleats! I love the fullness! Too bad it couldn’t be that way in front, too. Oh well. Next time!

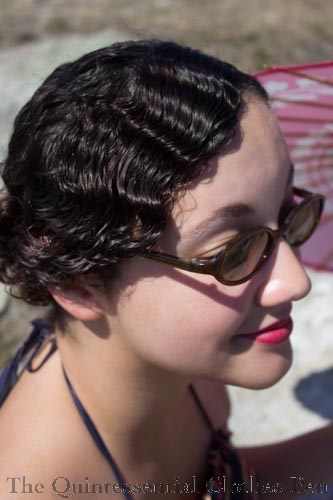
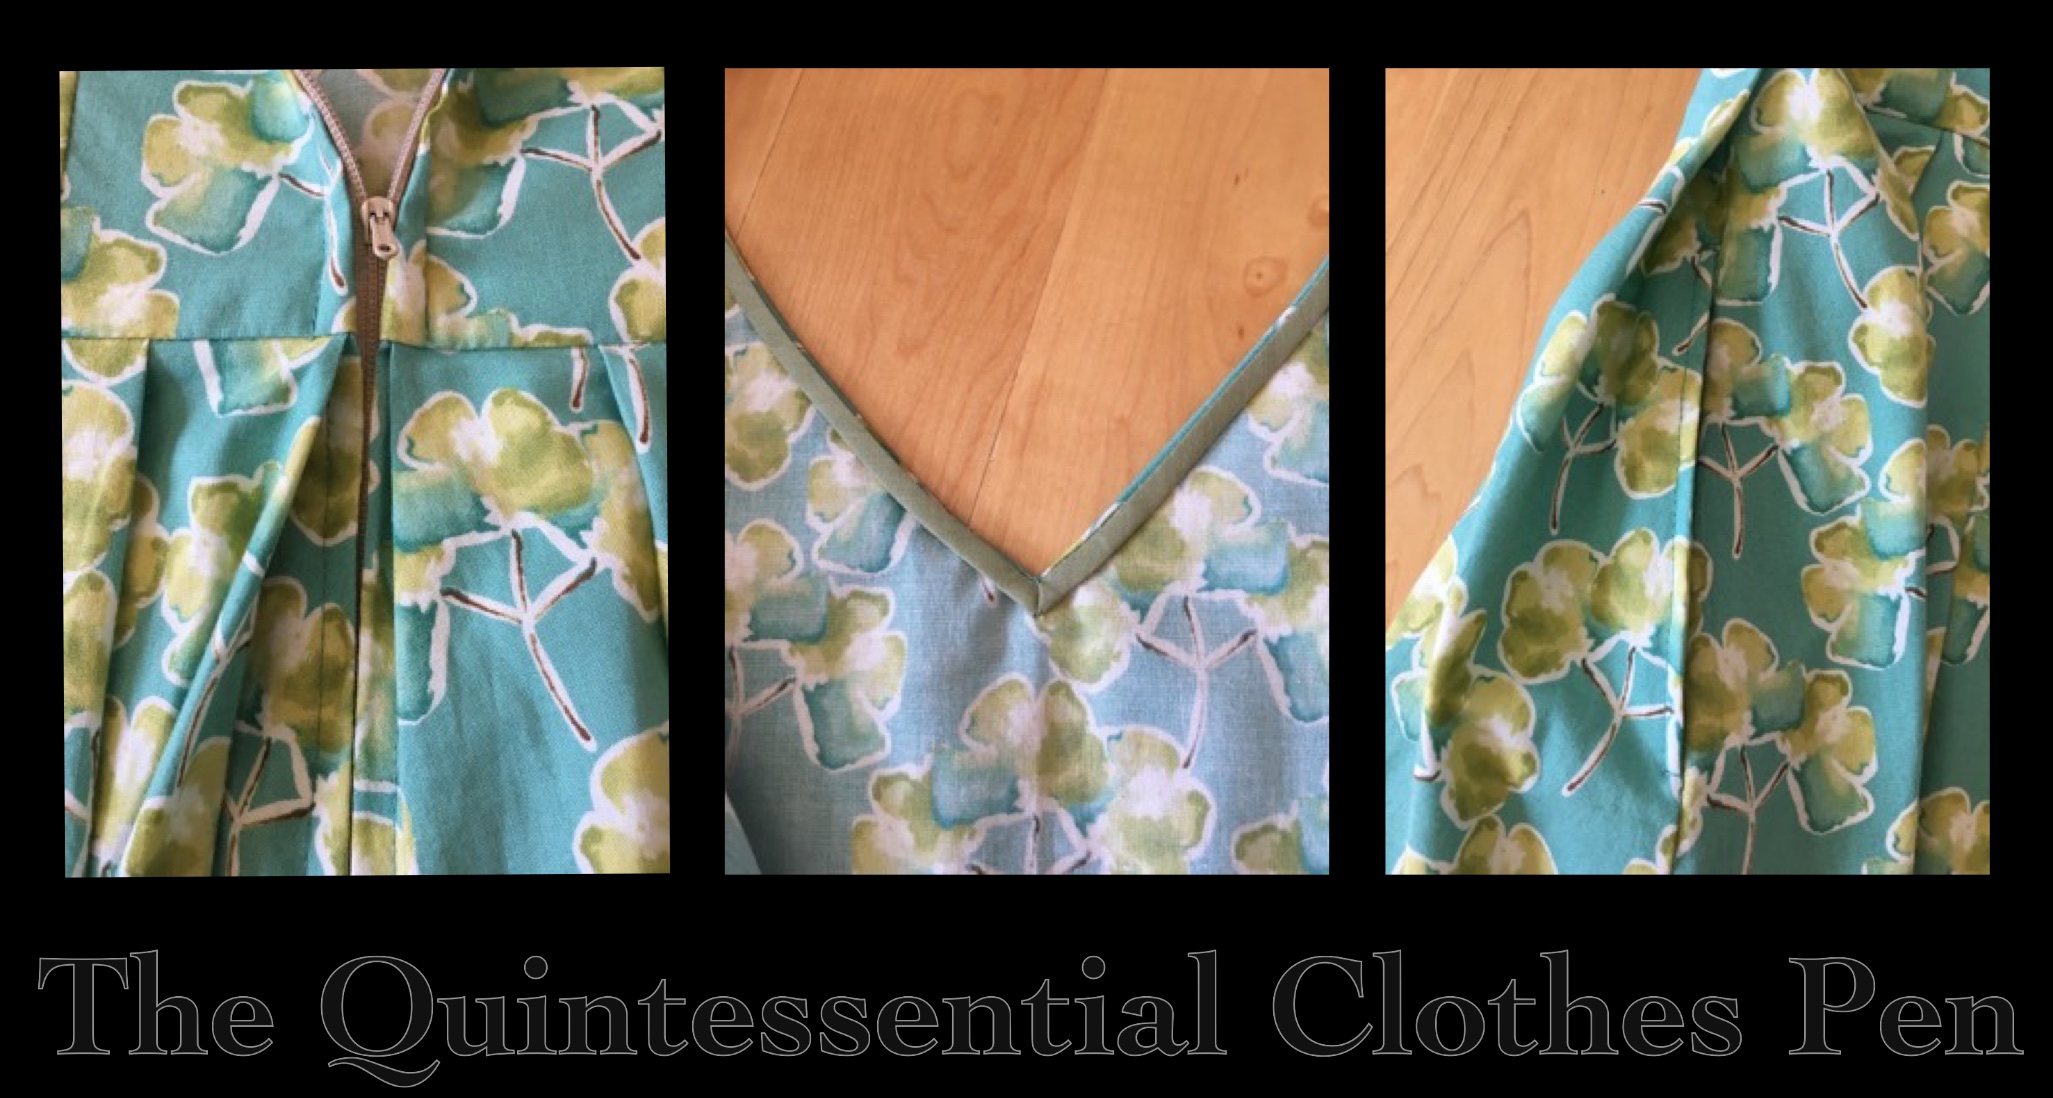
I also changed the neckline. I abandoned the idea of a boat neck (save that for another dress, I think) and changed the neckline to be a wide V shape, a style which I really like. Opening up the neckline helped balance the overall look.

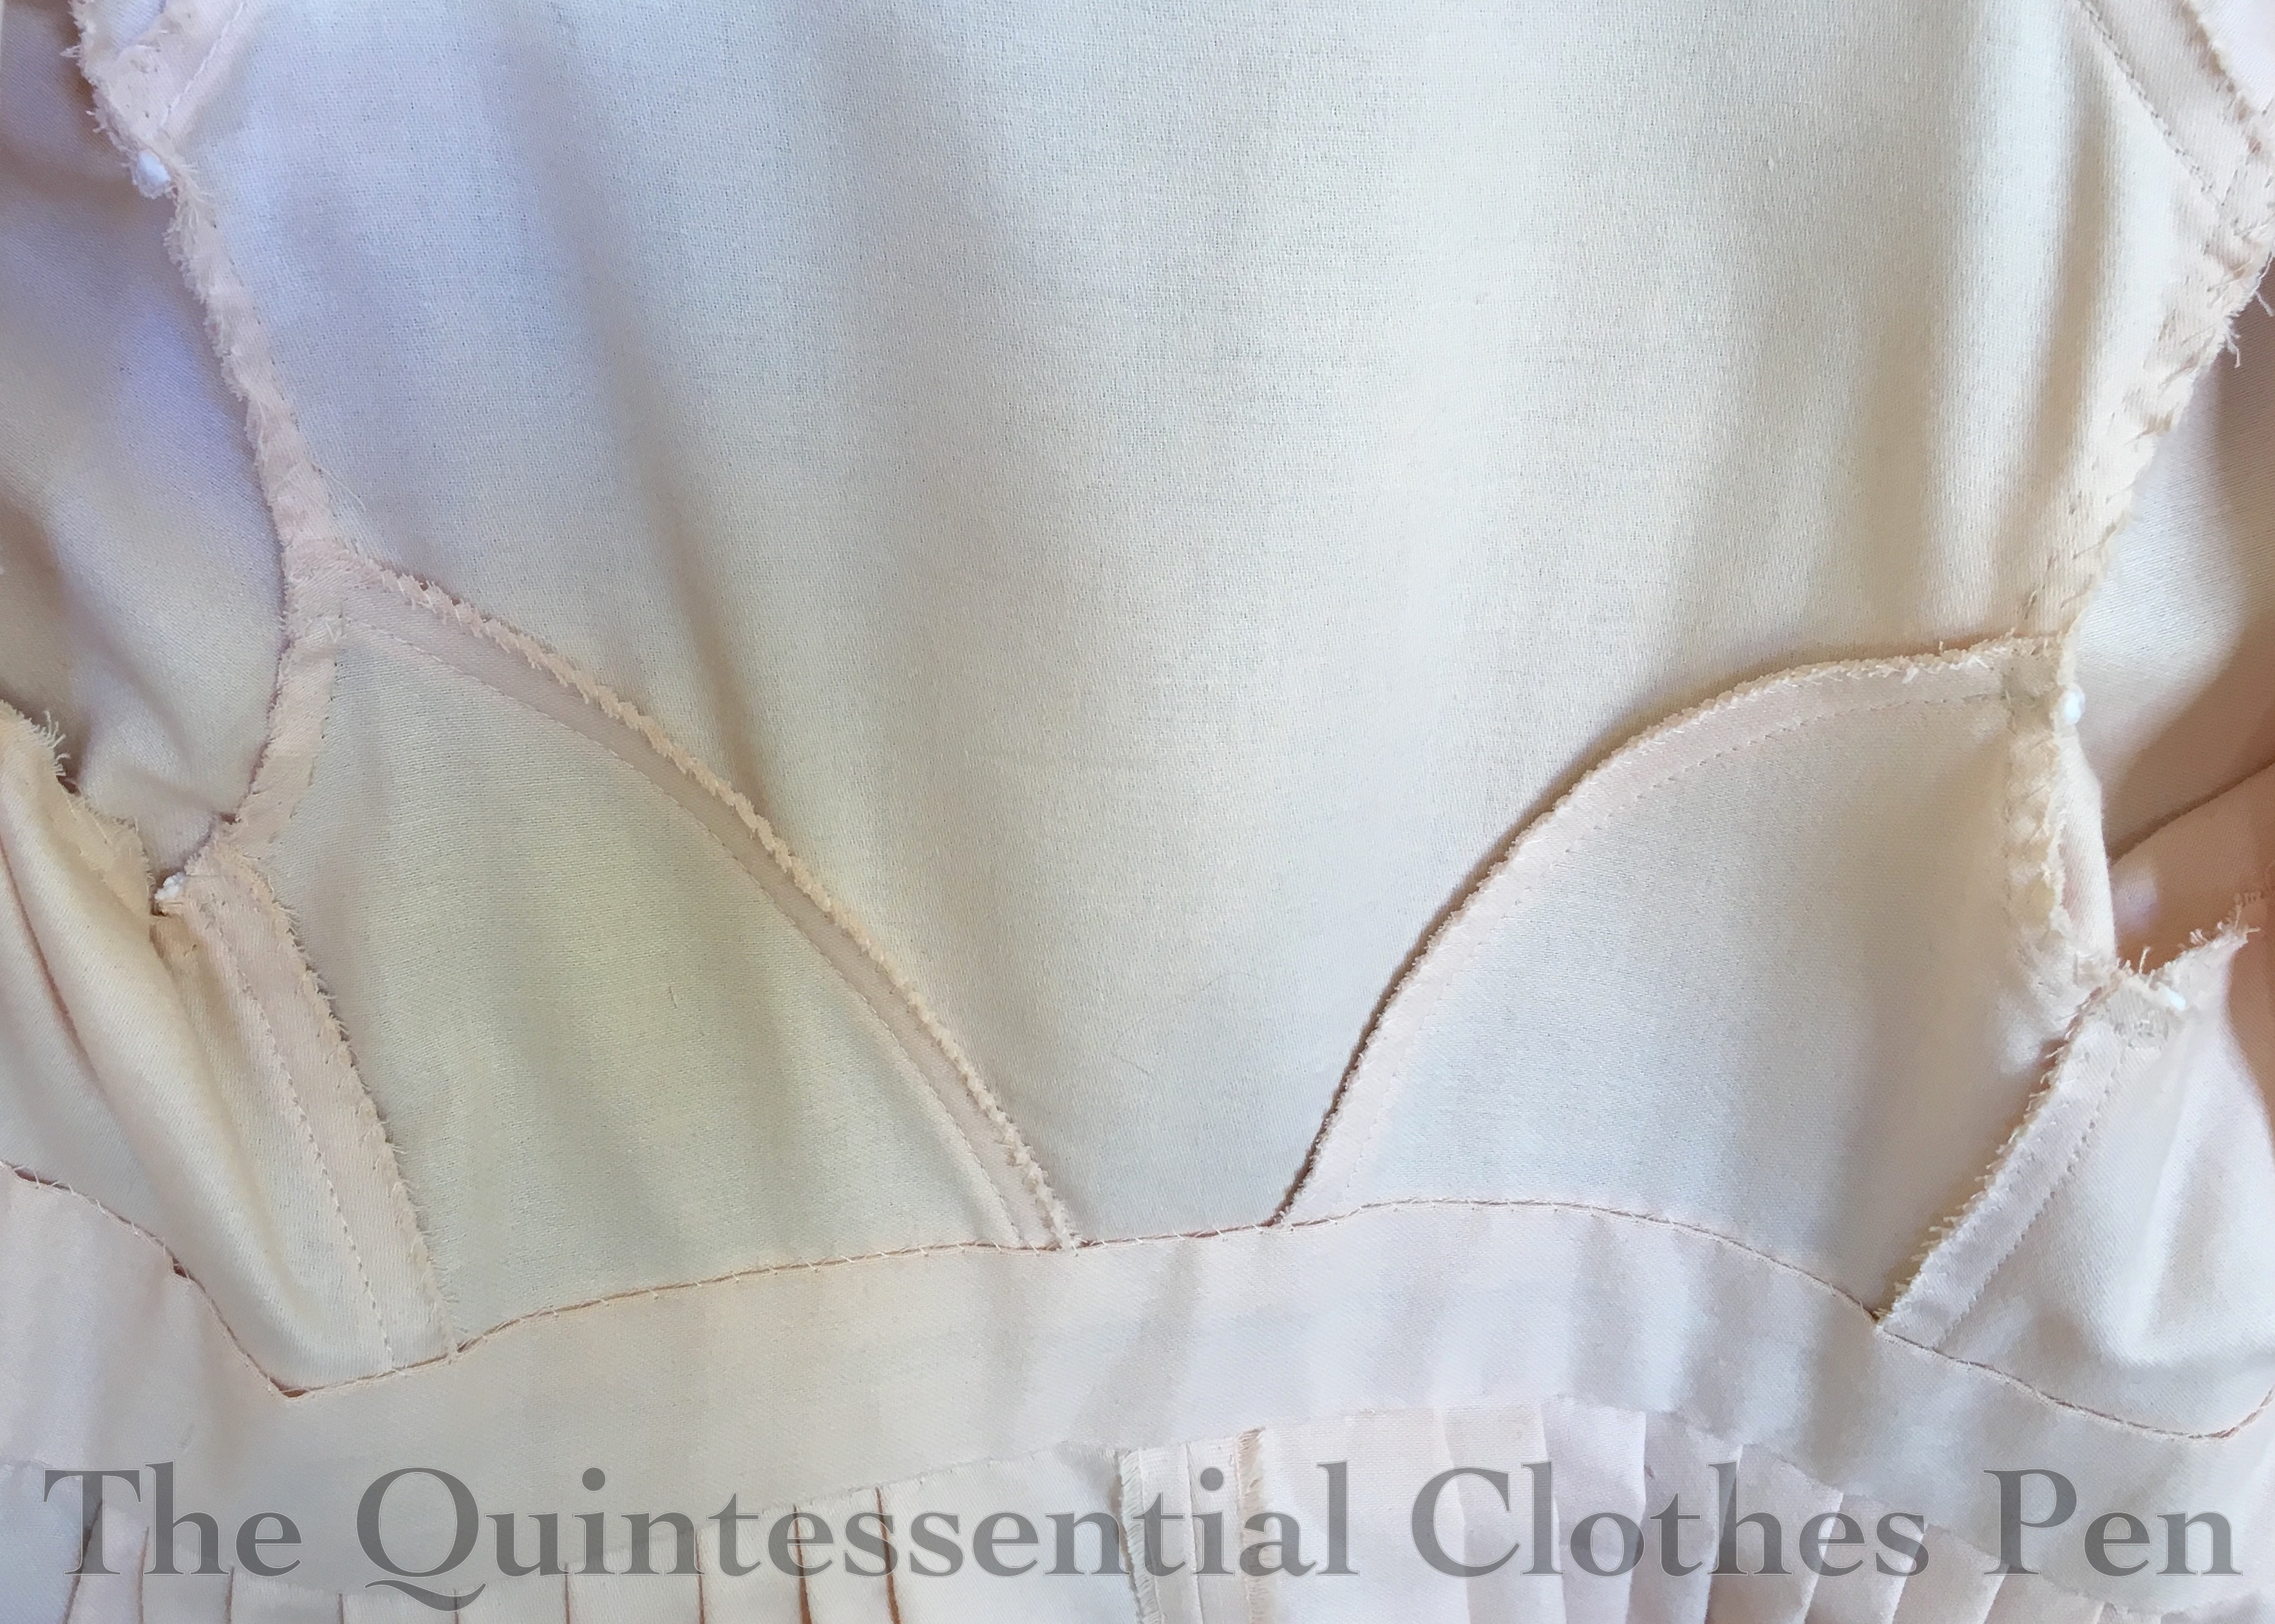
The dress is almost entirely machine sewn. Since it’s a casual cotton dress, I machine sewed the hem and the arm openings with a narrow hem and put a centered zipper up the back (and I’m pleased with myself that the pleats extend all the way to center back despite the zipper and it’s all nicely stitched!). The neckline is finished with bias tape that is invisibly stitched by hand after being turned. All of the interior seams are serged. Also, the dress has the bonus of pockets! Keeping the seams at the sides allowed me to easily put in side seam pockets, which I topstitched in keeping with the other visible machine sewing.

And at long last, a happy clover dress that brings a smile to my face instead of frown! It was glorious to get it off the UFO pile and even better to wear it!

SaveSave

SaveSave

SaveSaveSaveSave

SaveSave

SaveSave

SaveSave

1904 Anne Of Green Gables Inspired Ensemble

The Background Story

In 2012, I made and wore a c.1900 green skirt and straw hat at Newport Vintage Dance Week. I had plans to make a blouse as well with it but ran out of time and wore a 1913 blouse I already had instead. I wasn’t terribly pleased with the whole look, so I didn’t ever focus on it in a blog post, though I did include it in my overview of the dance week.

At Newport Vintage Dance Week in 2012.

Since then I’ve worn the skirt a few times, but haven’t been able to for the last few years because (and this shouldn’t be surprising given the subject of my last post) the waist was too small!

Thankfully, I had two things going for me that made changing the waist size quite simple. First, I had extra fabric. Second, when I’d originally made the skirt the waist circumference was a few inches too big for the waistband, so I took a tuck on each side of center back. Now all I had to do was let out the tucks and extend the waistband with my extra fabric!

Updated ensemble in 2017.

It took me years to finally get around to doing it, but I’m glad I did, because I really like this skirt and it’s fun to remember the lovely wading adventure we had back in 2012 while I was wearing it! What gave me the final push to do the change was the opportunity for an early summer picnic, for which I had clothes but really wanted to have something new. Who hasn’t experienced that desire?

More About The New/Updated Ensemble

Ducks (and baby ducks) at the picnic!

The picnic provided some lovely backgrounds to take documentation pictures of all the new and updated pieces that form my Anne-inspired ensemble! I ironed out all the wrinkles in the skirt ahead of time… and then sat on picnic blanket before taking pictures, so the back pictures have a rather wrinkly bum.

The Blouse Inspiration

In addition to wanting to update the skirt, I’ve also had that blouse to go with it on my to-do list for years. Instead of going back to the blouse plan from 2012, I started over with new inspiration. (Never fear, the unfinished blouse from 2012 is still in a box waiting for me to go back to it… someday.)

The new inspiration came directly from the scene in Anne of Green Gables when she’s walking down the lane with Gilbert and his horse (just before she gets mad and whacks him with her basket!). I’ve always love her silhouette and decided a blouse with a similar shape would suit the green skirt nicely.

Anne and Gilbert! (And the horse.)

I researched blouses from this period and decided on the year 1904 for my blouse. I was particularly inspired by this ivory c. 1905 blouse, this black c. 1905 blouse, and this blouse that The Met dates to 1899-1902. The idea to play with the direction of the stripes and to have curling lace trim (mimicking embroidery) was taken directly from this page from The Ladies’ Home Journal for April 1904 that Lauren of Wearing History kindly shared on her blog. Other views of some of these blouses as well as other inspiration are gathered on my Pinterest board for this project, here.

The Blouse Construction

My blouse is made of an ivory cotton that is woven with narrow stripes. In the center front panel the stripes are horizontal, while on the rest of the blouse they are vertical. The blouse is trimmed with lace appliqués in the same pattern as the Ladies’ Home Journal blouse from 1904. Unfortunately, all of the subtle ivory on ivory details are hard to photograph.

The blouse is mostly machine sewn and uses French seams except at the armholes, which are left raw. It is finished by hand and closes up the front with concealed hooks and thread bars. There is a twill tape channel for a drawstring at the waist to help control the fullness and the pigeon front.

The silhouette was looking a little deflated for a 1904 pigeon breast look, so I tacked ruffles down the front seams to help fill out the blouse. It’s subtle-but-useful method and was easy since I already had the circular ruffles in my stash.

The Hat Inspiration

The most direct inspiration for my hat was this image from 1903. While I decided against feathers, the general trim placement as well as the poofs under the back of the brim are present in my hat.

There are more inspirational hats here, on my Pinterest board for this project.

The Hat Construction

The hat in the 2012 version of this ensemble was an admirable idea in theory, but not execution. (I was displeased enough that it was remade into my 1885 Flower Pot Hat in 2015.) However, I had another of the same straw base that I decided to remake for the new Anne ensemble.

In 2012, I had used the second straw base to make a Regency bonnet, another project I wasn’t entirely happy with (this is not the right type of straw to get a good bonnet shape). All that needed to be done was removing the trimmings from the hat and taking out the stitching holding the wire around the edge… and I had a straw hat blank ready to be remade into a new hat!

For a hat block, I used a shallow glass bowl covered in tin foil and plastic wrap. I wet the straw base in the bathtub, then used a paintbrush to cover the straw with a layer of my sizing (a bit of elmer’s glue dissolved in water–no formula, I just winged it). I set the hat out in the hot sun to let it dry, holding the edges down with spice jars to keep it from blowing away. (Can you tell I just wandered into my kitchen to see what I had that would work to help me with this hat?)

Reshaped straw hat base next to my improvised hat block.

I tidied up the edges of the hat with scissors, bound the edge of the straw with narrow strips of tulle to keep the straw from fraying, and then reshaped my wire and resewed it around the edge of the hat. I covered these edge treatments with a binding of ivory silk satin, trimmed the hat, and I was done!

The tulle was sewn with a straight stitch. The wire was then stitched with a zig zag.

Sundries

In order to achieve my desired pigeon breast silhouette of 1904, I needed some omph in the back in addition to the ruffles inside the blouse in the front. I tried wearing a small bum pad (about 10″ wide), but then my hips looked sunken by comparison. I determined I needed a new bum pad that would fill in both my hips and backside to help create the illusion I was aiming for.

I also made a new belt to go with this ensemble. I wanted something a little more V shaped in front and a little less dramatic in terms of color. I actually reused the lining from the previous iteration of my new hat to make a new belt. The two shades of green don’t quite match, but they also don’t offend, so I’m pleased.

Instead of a traditional Gibson Girl hair style, I tried a style more like this, with a center part and poofs on each side. It was a bit squashed by my hat, but I was quite pleased with it overall. Unfortunately, I didn’t get any perfect shots of just my hair style. I’ll have to try it again someday and get hair pictures.

SaveSave

SaveSave

SaveSave

SaveSaveSaveSave

SaveSave

SaveSave

SaveSave

When The Dress No Longer Fits (Regency Edition)

Whether you sew historical clothing or not, I think it’s likely you’ve experienced the following phenomenon: You buy or make a lovely dress or other garment and wear it once (or maybe you wear it a lot). The season changes and you put said lovely garment away in the closet to await the next year’s season. When you next go to wear it, you realize that the garment no longer fits. It has obviously shrunk in the closet! I find that circumferences are the worst culprits for closet shrinking: waists, ribcage, arms… How dare they?!?

This has happened to me with both modern ready-made clothes and historical ones. Unlike modern ones, which usually hang around for a few years until I feel emotionally ready to donate them to someone else who might actually fit into them, my historical clothing has the benefit of being able to be resized with relatively little effort (certainly much less than making a new garment!). Depending on how I’ve constructed the garment, seams might be able to be let out or, being the pack rat that I am, I have more of the fabric hanging around and I can cut new pieces or add to what is there to expand at the necessary areas.

The more often I come across this problem in my wardrobe, the more I realize the benefit of making my clothing more adjustable from the start, with things like drawstrings and lots of overlap on opaque garments. (Did you notice that most of the closures on my recent 1817 Duchess Regency Gown were drawstrings? There might be an intentional rationale there… My 1811 Elusive Blue Gown also closes with ties and drawstrings, another intentional decision.)

1817 gown with mostly drawstring closures.

In the past year or two, I realized that two of my older and oft-worn Regency dresses had experienced closet shrinkage. I wanted to continue to be able to wear them and so I started thinking of the best ways to alter the size to make them wearable again. Luckily, both of these dresses fall into the category of ‘I kept the extra fabric and have plenty to play with to resize them.’

I used a different method on each dress. The first is my 1813 Red Dress, which I made in 2013. It’s seen lots of wear since I made it (yay for actually making good use of something I’ve made!) as well as a pretty major revamp when I accidentally tore a hole in the skirt.

It’s always closed with hooks and eyes, but when I went to wear it last year it wouldn’t close! With some safety pins, we got it to this point, but I was afraid for the integrity of the fabric because it was stretched so tightly.

I was able to use someone’s small scissors to take out the stitches along the back edge with the loops on it to get a bit more fabric across and we used the safety pins for bars with a piece of ribbon folded behind to stabilize the now-only-one-layer of fabric. But I wasn’t willing to let people see it looking like this!

Thankfully, I had a shawl with me and I wore it the entire evening to cover the back. I was apparently nonchalant enough that no one realized I was wearing a shawl to cover the fact that my dress wouldn’t close, but I was awfully warm while dancing! Something had to be done before I would wear the dress again.

I pondered multiple ideas, but the one I settled on was to cut new center back pieces with more width to them and sew them over the current, too-small pieces. I also had to piece the waistband to extend it as well as re-pleating the skirt to fit the larger size waistband, but it looks pretty good, I’d say.

The inside of the dress now looks like this. Previously, it was unlined (I did a post about the original inside finishing of this dress, which you can see here). Now, the center back panel has a lining to help stabilize it and encase the original back panels and waistband extension. Still tidy, yay!

In addition, the armhole openings had become quite tight. I wanted a little more space to be comfortable, so I also added underarm gussets (the upside down triangle). I simply opened up the seam and added a diamond shaped piece. It’s diamond shaped and folded in the center to hide the raw edges inside and out. I didn’t bother to add a band at the bottom, as I figured this gusset was in a place no one was likely to see such detail.

The other dress is my 1812 white square neck Ikea gown. I made this in 2012and have also worn it many times. Before the recent changes, I had made no other alterations to the dress since I first made it.

This dress also had a panel added to center back, but I had to more carefully follow the details of the dress, including the small seams (because of the sheer fabric) and the tucked waistband. This dress has spent a lot of time in the sun, and between that and being gently washed a few times, the fabric has become a much brighter white than it started out. It’s not noticeable, until I add a piece of the same fabric that has been sitting in my stash and the light hits it just right. (It’s convenient for pointing out the new fabric though, because it’s pretty obvious in the picture below!)

Sometimes, this would bother me. But it’s only noticeable in some light and I hope that eventually the pieces will also brighten. Plus, it’s entirely historically reasonable to piece a gown using more of the fabric that hasn’t faded in the same way as the rest of the garment to adjust the size. It’s much more practical than making an all new garment!

I had to regather the skirt on this dress (like I had to repleat the red one) to accommodate the new waistband size. I also added an underarm gusset on this dress to help the arm openings be more comfortable.

While the red dress fit pretty perfectly after the alterations, the white dress alterations proved to be too much (it’s hard to fit these things on yourself when the closures are in the back!) and I now need to move my eyes over and add a drawstring to the top of the back neckline to keep my undergarments from showing. Sometimes it seems like some garments will never leave the to-do list. Oh well! Does that happen to you? You think a garment is done until you wear it and realize it needs something changed or added? (I’m proud to report that between the time I started writing this post and the time I finished writing this post I completed those final two notes–drawstring and bars–and now the dress is done and ready to get put away! Hooray for getting rid of UFOs!)

Do you ever resize your modern or historical clothing after closet shrinkage? What methods have you used?

SaveSave

SaveSave

SaveSave

SaveSave

SaveSave

SaveSave

SaveSave

Regency Dance Weekend 2017

My last few posts have been about the new Regency clothes I made earlier this year: Orange Boven Pelisse and Hat from 1814 as well as a look at the history behind the description Orange Boven and 1817 Gold Stripe Duchess Evening Gown. Now that I’ve got all the details about the construction and history of these garments recorded, it’s time for a look at the Regency Dance Weekend that provided an opportunity to wear these clothes in the company of other fabulously dressed people and in historical halls built in the early 19th century.

This annual Regency Dance Weekend is organized and run by the Commonwealth Vintage Dancers. If you want to see more pictures and read more about the amazing Regency moments I’ve had in past years, I have posts about them here: 2013, 2014, and 2016.

Saturday always begins with dance classes in modern clothes. The hard work we all put in during the day pays off at the evening ball, when we are able to dance with quick reminders of the figures but without full teaching. It’s a very special experience every year!

After a final class on Sunday morning, we take the afternoon off from dancing for a bit of leisure. Often it has been tea, though in some years we’ve had promenades, or even archery! This year we focused on tea, games, and chatting.

This venue, Old Town Hall, has lovely windows that make perfect frames for picture taking!

After tea, those of us running the weekend calmly (well, probably with a lot of scurrying) switch venues to the more elegant Hamilton Hall, where we have a formal ball with a lavish reception. Hamilton Hall is special, with a gleaming sprung floor, musicians balcony, and gorgeous gilt framed mirrors.

Sometimes, though, silliness ensues! I couldn’t resist making a face in the picture below… After that is a face that often happens after I run out of pose ideas…

There is lovely dancing on that evening. The things we’ve all learned have had time to sink in and people dance marvelously, again without teaching.

There are lots of yummy and beautiful foods to tempt everyone away from the ballroom, as well. This year we had some successful fruit filled jellies, a popular dessert in the 19th century.

After lots of dancing (and dish washing–lovely spreads like this with real dishes don’t appear without a fair bit of work behind the scenes) a much needed sitting break provided a nice opportunity for a group photo.

As usual, it was a lovely weekend full of great dancing and meeting lots of lovely new people from around the country, the more local New England area, and even Canada! Maybe some year I’ll get to meet you, too!

SaveSave

SaveSave

SaveSave

SaveSave

A Gown Worthy Of A Duchess

On the same January shopping trip that I unexpectedly found the blush sparkle fabric I made a 1920s dress out of I also unexpectedly found an excellent fabric for a new Regency evening dress. I hadn’t made one in awhile, but I had a Regency weekend coming up and I was wanting something new for the fancier ball (and of course nothing in my stash was inspiring me). In my wanderings around the store, I discovered an organza curtain sheer that brought to mind this particular fashion plate that has been on my ‘to-sew’ list for years.

1819 – Ackermann’s Repository Series 2 Vol 7 – March Issue

I’d been on the look-out for a sheer with black stripes but hadn’t found anything suitable. Once I found the curtain fabric, I debated whether to use it for a dress in this style or to hold out for the black stripe. As you’ll see, I decided to call this inspiration fulfilled by the gold striped fabric that I found. It’s polyester, but that means it was a good price. Occasionally, a polyester can be just the thing.

In addition to the Ackerman’s fashion plate, I also borrowed design ideas from two other striped evening gowns: this earlier Costume Parisien fashion plate from 1809 and this image of the Duchess d’Angoulême c. 1815. My dress is a conglomeration of these and the 1819 fashion plate. I borrowed the sheer overdress idea from 1819, the single row of scalloped trim from 1809, and the bias cut sleeves from 1815. I date my dress to 1817, as the fluffy nature of the organza pushes the silhouette towards 1820, but the single row of trim pulls it back from 1819 just a bit.

I have a full compliment of nicely finished underthings that are perfect for making the sheer dress opaque. It was never my intention to be a scandalous Regency lady with minimal underthings! In fact, to make the ensemble sufficiently opaque, I wore my chemise plus two petticoats under the sheer dress. Without the second petticoat it was clear where my chemise ended (at my knees, in case you’re curious), but I didn’t want to have the illusion of scandal with this, I really wanted opacity all the way down.

Like the new pelisse, the sheer dress provided another perfect opportunity to make further use of my Vernet petticoat, which has a lovely eyelet border at the hem. Here’s another view that shows off the lace on the petticoat.

It’s usual for me to meticulously finish the insides of my garments, but in the case of a sheer dress, that desire became a necessity. Accordingly, all of the inside seams are nicely finished with a mix of French, flat felled, and folding seam allowances to hide raw edges and whipping them together. I kept the finished seam allowances small, so that they wouldn’t detract from the stripes.

The bottoms of the sleeves and the front and back necklines are all adjustable with tiny drawstrings made from champagne colored embroidery floss. The goal was to have ties that would blend and not be noticeable through the sheer fabric.

The pattern for this dress was adapted from other Regency dresses I have made. I think I most closely referenced the patterns for my tree gown and square neck gown, but adjusted the fullness to give this dress a little more oomph.

This dress is machine sewn and hand finished. All of the French seaming was done on machine, as was the assembly of the bodice, waistband, and skirt to make a dress, but all of the other stitching (casings, hems, trim, finishing seam allowances in non-French ways, etc.) was done by hand.

The dress has a scalloped trim band around the bottom, set up high enough to show off the lace on the Vernet petticoat. It’s hand hemmed and it seems like miles… though I think it was only about 9 yards. Hemming, gathering, and attaching this was one of the last tasks and it was going right up until about 2am on the morning of the ball. By the time it was being sewn on there was no measuring or sectioning, just eyeballing, so it’s a little wavier than I would normally allow, but one has to make accommodations (sometimes). I was envisioning the scallops would be spaced out more and therefore be more defined, but as I was furiously sewing the trim on I was not about to cut it up and resew it, so all 9 yards made it onto the dress. It’s fine. I’m happy. I do not plan to re-do the fullness of the trim or the placement!

I decided that such a dress needed grand hair and hair ornamentation, and so I justified my desire to wear a tiara by scouring my Pinterest boards for documentation. The Duchess d’Angouleme sports a pretty grand tiara in 1818. And here she is in 1817 wearing what I think is the same tiara.This is Victoria, Duchess of Kent, sporting a fabulous tiara and giant hair poof/bun. Empress Josephine and Caroline Murat (Queen of Naples) have some pretty fabulous tiaras, too. To match the tiara, I accessorized with a pearl necklace and pearl earrings. Worthy of a duchess? I think so!

SaveSave

SaveSave

1814 Orange Boven Pelisse

At least three years ago I was inspired by a fashion plate, as one often is, and started working on a Regency pelisse following the design in the image. I got really far along, finishing the construction and even part of the trimming, but then stalled and let the ensemble languish for years before determining to pick it up and finish it off this year or else! I’m excited to have finally reached a ‘done’ point in this project so I can remove it from the UFO list!

The pelisse (and hat) are directly inspired by the following fashion plate, which can be seen here with slightly different coloring and here in black and white. In the first of those two links, the garment is labeled as a dinner dress, but I thought the design would make excellent pelisse trimming and so I adapted it.

You’ll notice, perhaps, that the finished pelisse does not have as much trim on it as the inspiration image. Early in this project, before it languished, I cut out all of the appliqués for the neck, sleeves, and hem as well as the front edges. I pressed under a 1/4″ on each side of each piece, too. And then, as I was finishing all that triangle trim on the front earlier this year, two things happened:

#1- I lost steam and really just needed to be done with this project.

#2- I decided I liked the simplicity of the pelisse without the extra trim. It’s so easy to draw lots of details, but then in a real garment the details don’t always translate. For example, the triangles around the neck just looked bad and awkward (plus, I wonder if that is a chemisette collar and not trim on the dress itself?) and the sleeves just looked too crowded. I was also afraid that putting all that work into triangles around the hem would just get dirty and not be a good use of many more yards of the vintage lace I used to edge the triangles.

In fact, despite the somewhat-simplified trim, there are actually a lot of details in the construction of the pelisse. Each back seam is piped and the belt has double piping above and below it. The neck is bound with piping, which is sewn with small, invisible stitches around the neck to hold the seam allowance to the inside. Also, the skirt is knife pleated into the back, allowing for a nice silhouette from all sides.

The pelisse is made entirely from peach colored cotton. It is unlined, except on the belt, where it is lined in order to hide the raw edges. The other seam allowances are whip stitched to keep them tidy. Here is an inside view of the bodice section. I do like my insides to be tidy!

The trim fabric is a cream colored poly/cotton blend. Each triangle is edged in very light tan vintage lace. Then, to top it all off, there are peach tassels on each triangle down the front as well. The peach tassels were removed from a length of upholstery trim that happened to be a perfect color match!

The pelisse is machine sewn on the interior seams and hand finished, including the hem, neckline, seam allowances, and all that trim. The darts are also sewn by hand with a small running stitch, a detail I picked up from looking at extant pelisses, though of course it’s been so many years now that I can’t find a specific example. I like how the top stitched darts at a little extra interest.

The pattern for this pelisse is of my own design. I’m pretty sure it was based on my 1819 spencer, but adapted slightly for a different fit. It’s hard to remember since it’s been so many years since I made the pattern! The skirt is a large rectangle–two panels of fabric seamed at center back.

I’m wearing the pelisse with the following garments: a chemise and my short stays, my Vernet petticoat , my recently finished chemisette, and the hat that matches the whole ensemble. I’m excited to have found a use for the Vernet petticoat that shows off the trim at the hem! I did take out the tucks that made it the right length for my Witzchoura so that it would be the right length for the pelisse, but that’s what tucks are for, right? On picture day there was a nice breeze blowing everything around and showing off all the layers nicely.

I was lucky to take these photos in and around some of the Regency period buildings in Salem, MA. You can’t beat buildings from the right period for a suitable backdrop for a garment like this!

Now I have my first pelisse. More outings will hopefully arise in the future so I can wear it again. I’m so glad I’ve decided it’s finished and that it was a comfortable garment to wear, though I maintain that the hat is a bit silly.


1920s Island Escapade In Black And White

Here are a few more photos from my 1920s island weekend last August. These first few were taken with the same modern camera as all the photos in my previous post about the weekend.

This last photo shows other photographs taken with a friend’s vintage film camera. I don’t think the camera is as old as the 1920s, but I think it’s a least from the mid-20th century. Though I do remember the days of film cameras, I’m so used to digital cameras these days that a film camera is quite the novelty.

A 1920s Island Escapade

I’m terribly delayed in writing about a lovely event I attended last summer… Gatsby On The Isles was a 1920s weekend getaway to a coastal island, including a ferry ride, picnic, clambering on the rocks and in the water, lawn games, dancing, card games, and napping in rocking chairs on the large porch of the grand hotel. A fabulous live jazz band played great music throughout the weekend. It was very much like having a soundtrack to my own personal movie!

It was quite hot last August, so the strong breeze on the ferry and some parts of the island was quite welcome, as was wading and hiding under my parasol. (Had I not had a sturdy grip, my parasol would surely have been blown away during these pictures.)

I wore my 1930s beach ensemble for travel to the island and the afternoon picnic. I am always pleased with how the (polyester, ahem) pants don’t wrinkle, even with heat and sweat and sitting, and how gloriously cool and comfortable I am while wearing it.

Partway through the afternoon I changed into my 1925 bathing suit in order to go wading. Again, a very comfortable and fun item of clothing! I can now report that wearing a wool bathing suit in the heat is no different than wearing a modern suit. I certainly wasn’t any warmer than I would have been in a more modern style.

Getting to the water at this part of the island required some clambering over rocks, but also made a great backdrop for pictures!

Dinner was a casual affair, for which I changed into my 1926 sailor dress. An unplanned wardrobe similarity required picture documentation.

For the evening dance, I changed into my 1924 Golden Robe de Style. The parlor of the hotel had some fabulous couches that called for lounging and sultry faces. Despite being hot, it was fun to dance the night away to wonderful music, with breaks to sit out on the porch with a 1920s cocktail.

The next day was low-key. I explored the island, played cribbage, and took an unexpected nap in a rocking chair on the porch. I decided to be slightly old fashioned and wore my 1919 Ivory Eyelet Dress, another comfortable summer ensemble, with my 1920s Sinamay Hat.

I tried a forward thinking 1930s inspired hairstyle for the weekend. I did it early Saturday morning before hitting the road and then wore it all weekend without a change. It went from day to evening with no problem and stayed in place through wind, hats, and sleeping. (This is the same hairstyle I hinted about in the post about my 1927 Blush Sparkle Dress.)

In order to keep the frizz down, I did my hair while it was still wet, using Tigi Small Talk as setting lotion to help the waves and curls stay in place. The front and crown were shaped with wave clips while the rest of my hair was massed lower on my head in tight curls. There were TONS of bobby pins hidden in there and it was very secure. I was very pleased with the security of the style and with how well it lasted without frizzing!

It was a very fun escape to the past and I’m so pleased to have great pictures to document it all. What a different scene and temperature than these last four or five months of winter!

A Chemisette (HSM #3)

I’ve wanted a Regency chemisette to complete my daytime looks since 2012, even going so far as to purchase a specific tool with the intent on using it for a chemisette ruffle. (Unfortunately, my cast iron crinkle cutter has been a very useful doorstop for the last few years but hasn’t been used at all for its actual purpose! To be fair, it still hasn’t been used for its actual purpose, but at least I know now that I have a chemisette pattern that fits, which makes me more likely to try it out for a more finely pleated collar version in the future.)

I’m so happy with this chemisette! I had sized up a chemisette pattern from Janet Arnold years ago, but it didn’t fit me as is, so for this I used the pattern for a pelisse I’m working on as a starting point for fit and the Janet Arnold pattern as a reference for grain lines and overall shape.

The fabric is ‘silky cotton voile’ from Dharma Trading. I used it for Annabelle, one of my mid-19th century dresses and had the perfect long straight scraps left for cutting out a chemisette! The weight of the fabric is lovely and so comfortable to wear and it’s nice and sheer just like a chemisette should be. Plus, it behaved so well, finger pressing as I did the seams and the pleats on the two collar layers.

I decided to add this garment to the list of Regency things I’m trying to get together for an event in April rather at the last minute. I was going on vacation with a very long travel time ahead of me and decided that having a hand sewing project would suit me very well. I found the time to cut the pieces and then hand sewed most of it while I was away, using nail clippers as my scissors. (I didn’t want to get in an argument with TSA about how the length of the blade on my thread snipping scissors actually is within their regulations.)

The chemisette uses a combination of running, whip, and slip stitches for the seams and narrow hems. It ties below the bust using a 1/4″ cotton twill tape. I thought of putting a closure at the neck, but decided against it as there are images of chemisettes being worn open at the neck (like this) and I really like that look on me rather than the head-on-a-platter look of it closed (see a mix of styles including that here). If I had closures but decided to wear the chemisette open at the neck you would see them and I don’t love that idea.

March’s HSM challenge is The Great Outdoors and I’m calling this chemisette a fit for the challenge, as I intend to wear it with a pelisse for an outdoor promenade. Plus, chemisettes are useful for protecting the skin from the sun (which of course you are so much more likely to be exposed to while outdoors!).

So, here are just the facts.

Fabric: Leftover bits of silky cotton voile from another project.

Pattern: Based off of my own, but referencing those in Janet Arnold.

Year: c. 1810.

Notions: Thread and 1/4″ cotton twill tape.

How historically accurate is it?: I’m going to go with 100% on this one. The materials are good and so is the method.

Hours to complete: I didn’t pay attention because I was leisurely sewing this while on vacation. Maybe 8-10?

First worn: Will be worn in April.

Total cost: All from the stash! Free!

1950s Super-Petticoat

This is a follow-up to my previous post, in which I shared more about this dress and the masquerade event I wore it to last year. While that post was about the dress itself, this one is about the petticoat that I wore under the dress.

img_2060-1

In order to help my dress achieve such a perfect 1950s silhouette, I put together a super-petticoat. It started with an organza petticoat from eBay, which I had worn before but been disappointed in. It just wasn’t big enough! Also, the elastic waistband was a bit tight for comfort.

img_2114
Layers of the super-petti: tulle, organza, and lining.

To upgrade the petticoat, I took off the waistband, replacing it with a yoke of cotton (inspired by Lily, who has done similar things to her petticoats) finished at the top with bias tape. I cut off the tulle ruffles from a full length bridal-type petticoat that I’d purchased for $5 due to its sad condition (a few rips in the tulle, a broken zipper–easily cut off and discarded) and attached those to the yoke over the organza.

img_2116
The top of the yoke with tulle attached.

And ta da! Super-petticoat!

img_2113
The finished super-petti!

This is the same petticoat I wore to the Tiki Party I posted about last year as well. It’s funny how the shape and weight of the skirt over the petticoat produces different silhouettes: a cupcake shape with the bubble dot skirt on top at the Tiki Party and a more angled silhouette with this heavier 1950s dress. But of course the super fluffy-ness of the petticoat is what allows the 1950s dress to maintain a nice shape even with the heavier black dress on top of it. I’m very pleased!