


The Background Story
In 2012, I made and wore a c.1900 green skirt and straw hat at Newport Vintage Dance Week. I had plans to make a blouse as well with it but ran out of time and wore a 1913 blouse I already had instead. I wasn’t terribly pleased with the whole look, so I didn’t ever focus on it in a blog post, though I did include it in my overview of the dance week.

Since then I’ve worn the skirt a few times, but haven’t been able to for the last few years because (and this shouldn’t be surprising given the subject of my last post) the waist was too small!
Thankfully, I had two things going for me that made changing the waist size quite simple. First, I had extra fabric. Second, when I’d originally made the skirt the waist circumference was a few inches too big for the waistband, so I took a tuck on each side of center back. Now all I had to do was let out the tucks and extend the waistband with my extra fabric!

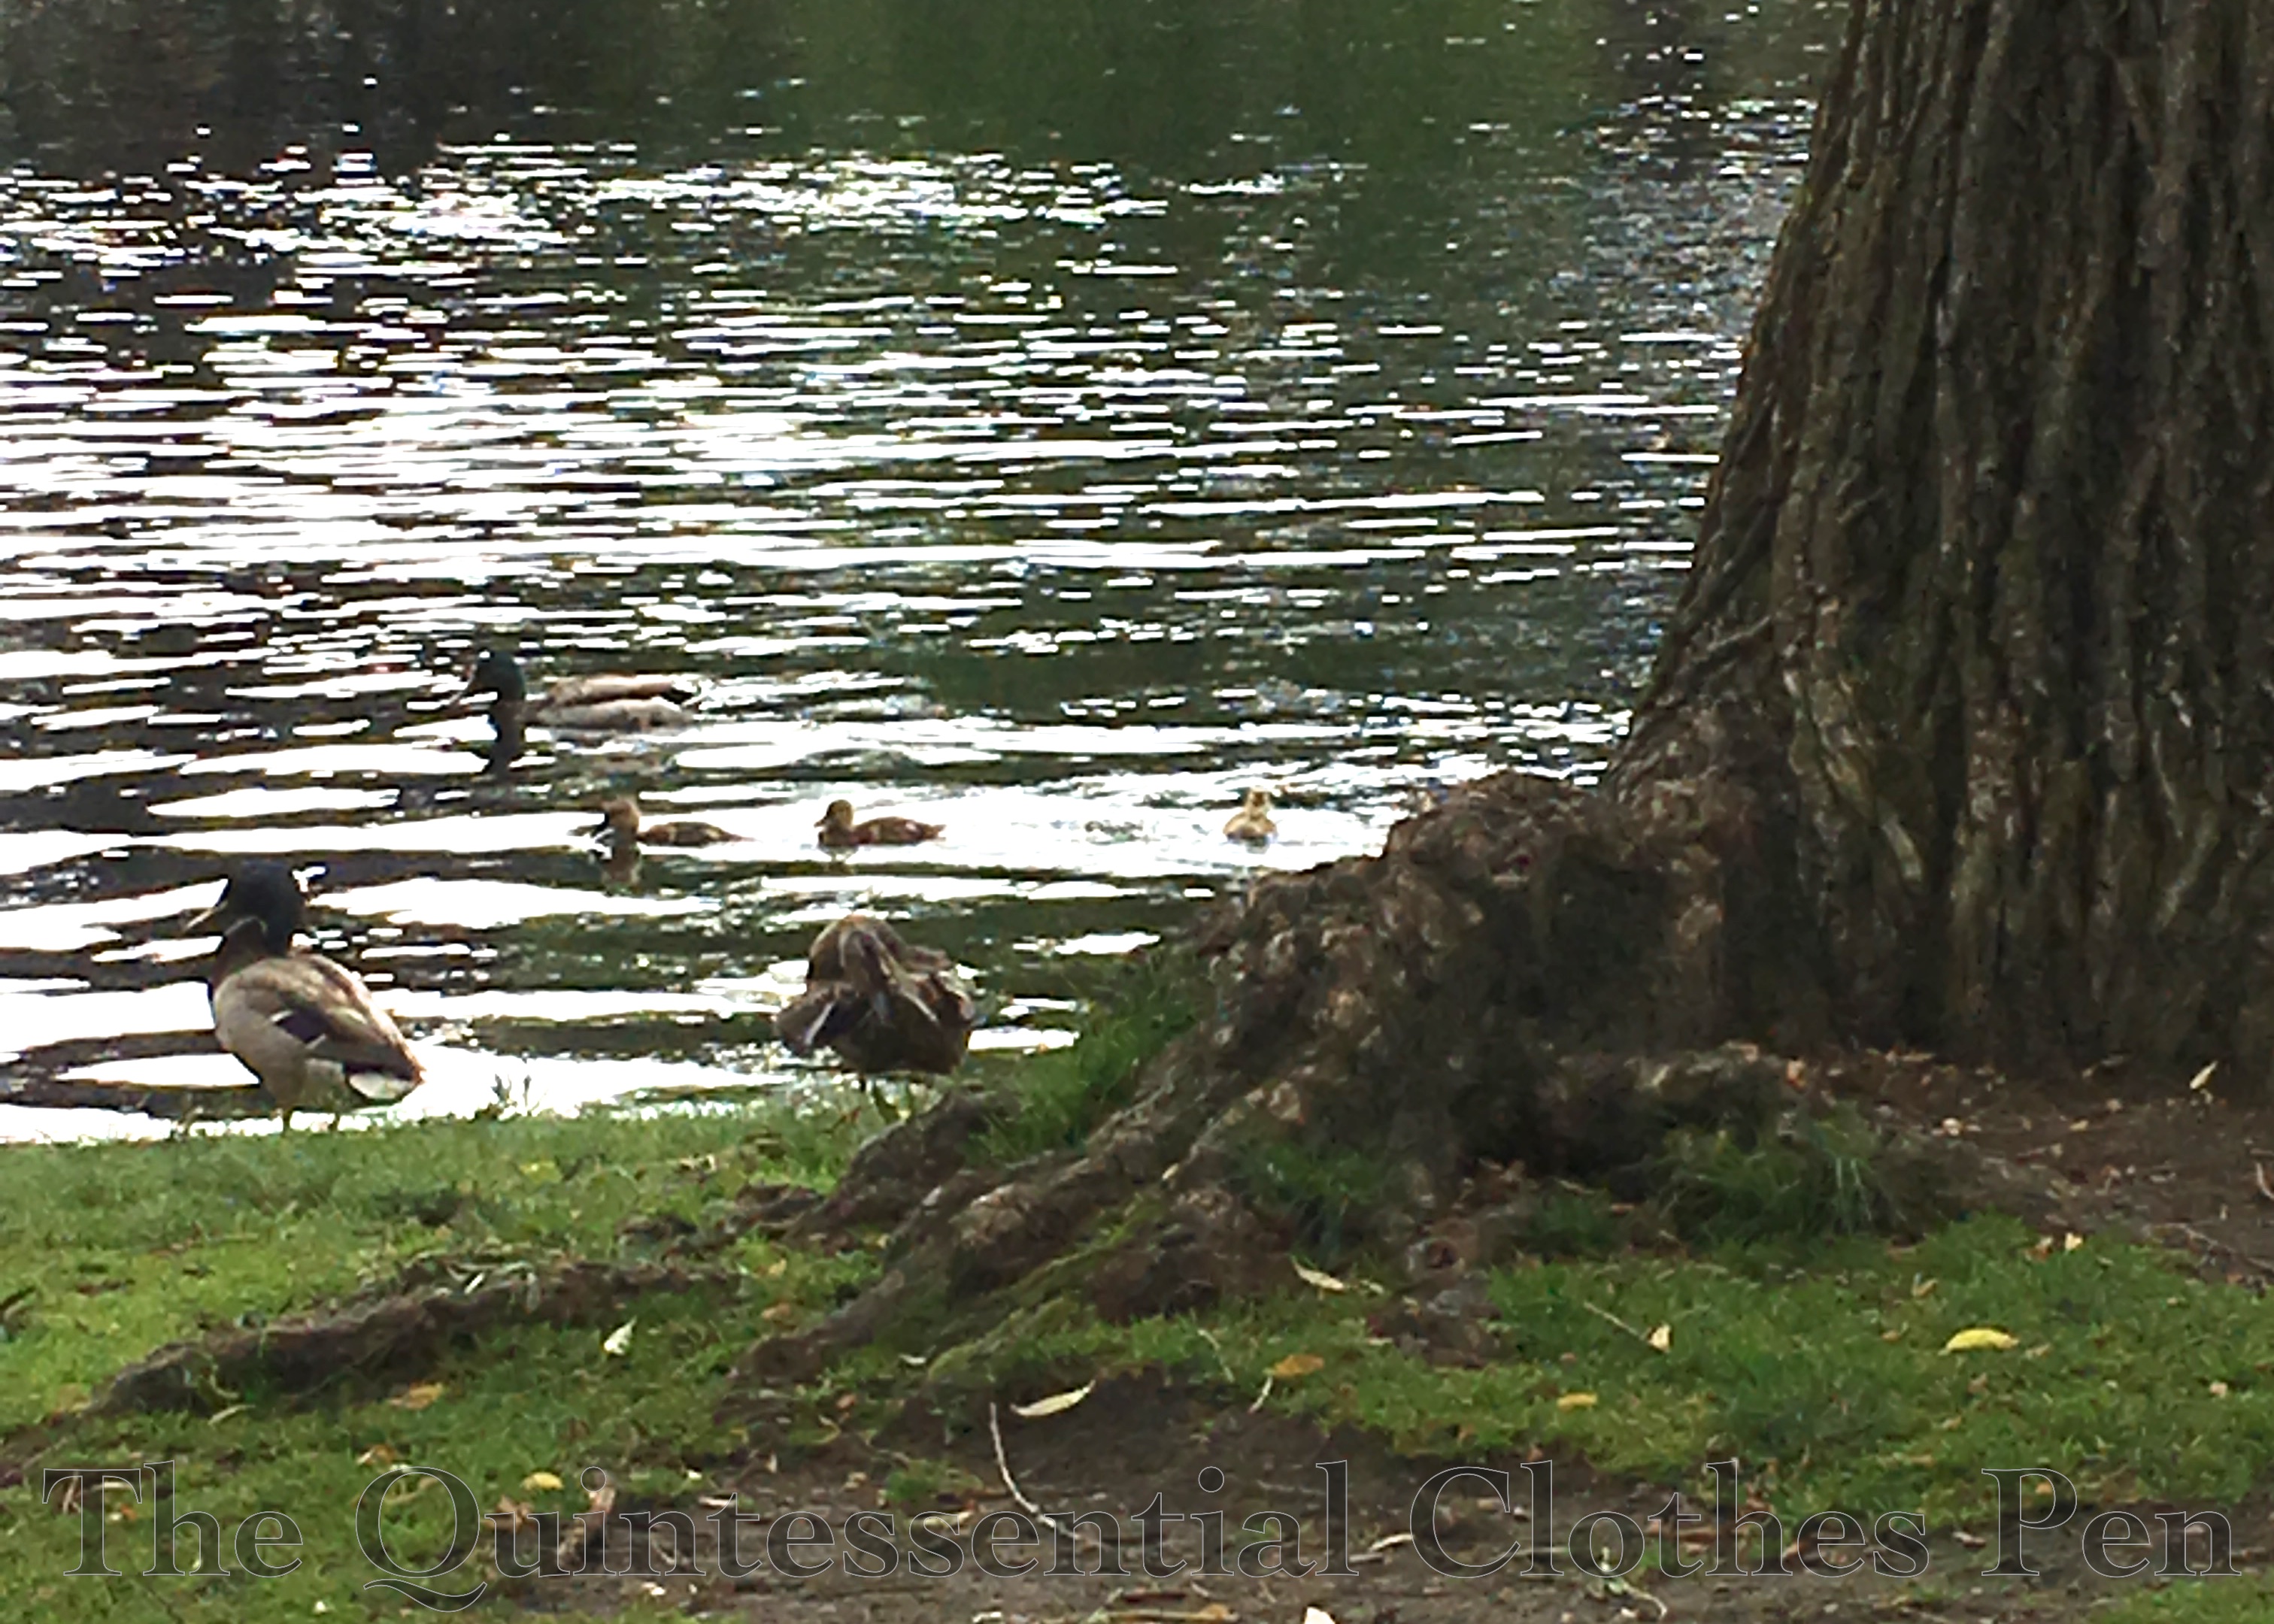
It took me years to finally get around to doing it, but I’m glad I did, because I really like this skirt and it’s fun to remember the lovely wading adventure we had back in 2012 while I was wearing it! What gave me the final push to do the change was the opportunity for an early summer picnic, for which I had clothes but really wanted to have something new. Who hasn’t experienced that desire?
More About The New/Updated Ensemble
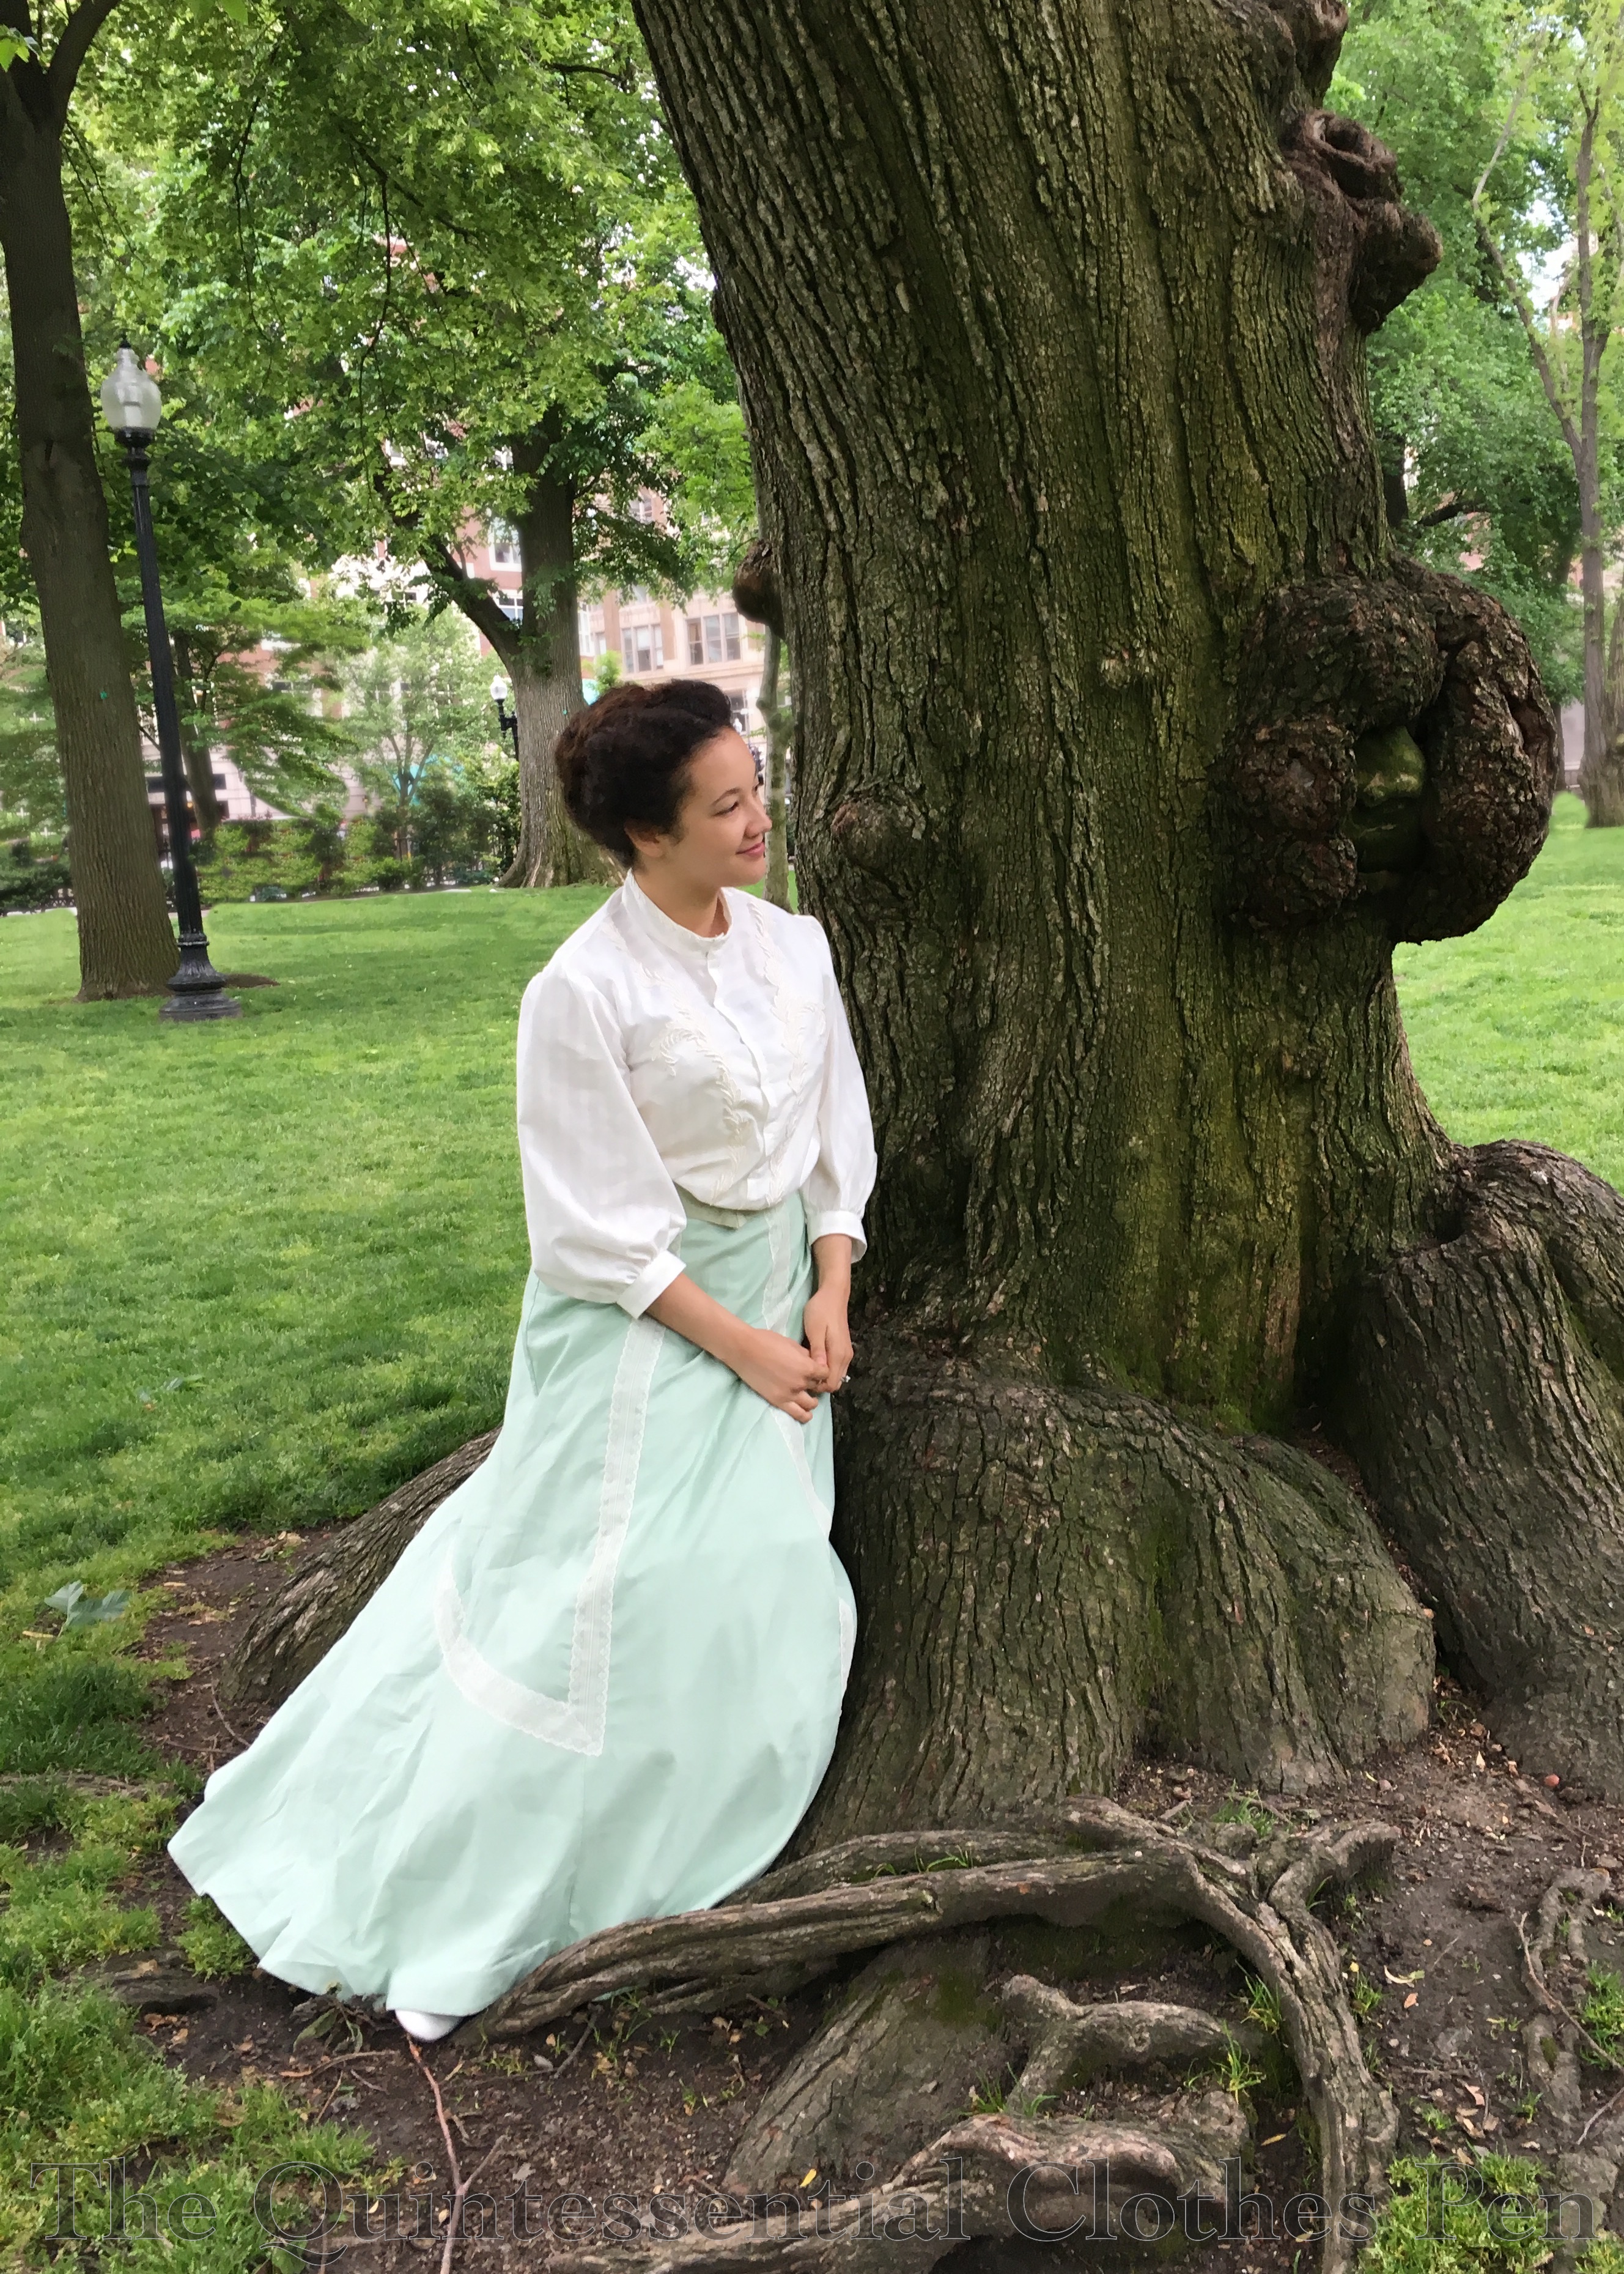
The picnic provided some lovely backgrounds to take documentation pictures of all the new and updated pieces that form my Anne-inspired ensemble! I ironed out all the wrinkles in the skirt ahead of time… and then sat on picnic blanket before taking pictures, so the back pictures have a rather wrinkly bum.

The Blouse Inspiration
In addition to wanting to update the skirt, I’ve also had that blouse to go with it on my to-do list for years. Instead of going back to the blouse plan from 2012, I started over with new inspiration. (Never fear, the unfinished blouse from 2012 is still in a box waiting for me to go back to it… someday.)
The new inspiration came directly from the scene in Anne of Green Gables when she’s walking down the lane with Gilbert and his horse (just before she gets mad and whacks him with her basket!). I’ve always love her silhouette and decided a blouse with a similar shape would suit the green skirt nicely.

I researched blouses from this period and decided on the year 1904 for my blouse. I was particularly inspired by this ivory c. 1905 blouse, this black c. 1905 blouse, and this blouse that The Met dates to 1899-1902. The idea to play with the direction of the stripes and to have curling lace trim (mimicking embroidery) was taken directly from this page from The Ladies’ Home Journal for April 1904 that Lauren of Wearing History kindly shared on her blog. Other views of some of these blouses as well as other inspiration are gathered on my Pinterest board for this project, here.
The Blouse Construction
My blouse is made of an ivory cotton that is woven with narrow stripes. In the center front panel the stripes are horizontal, while on the rest of the blouse they are vertical. The blouse is trimmed with lace appliqués in the same pattern as the Ladies’ Home Journal blouse from 1904. Unfortunately, all of the subtle ivory on ivory details are hard to photograph.

The blouse is mostly machine sewn and uses French seams except at the armholes, which are left raw. It is finished by hand and closes up the front with concealed hooks and thread bars. There is a twill tape channel for a drawstring at the waist to help control the fullness and the pigeon front.

The silhouette was looking a little deflated for a 1904 pigeon breast look, so I tacked ruffles down the front seams to help fill out the blouse. It’s subtle-but-useful method and was easy since I already had the circular ruffles in my stash.
The Hat Inspiration

The most direct inspiration for my hat was this image from 1903. While I decided against feathers, the general trim placement as well as the poofs under the back of the brim are present in my hat.

There are more inspirational hats here, on my Pinterest board for this project.
The Hat Construction
The hat in the 2012 version of this ensemble was an admirable idea in theory, but not execution. (I was displeased enough that it was remade into my 1885 Flower Pot Hat in 2015.) However, I had another of the same straw base that I decided to remake for the new Anne ensemble.
In 2012, I had used the second straw base to make a Regency bonnet, another project I wasn’t entirely happy with (this is not the right type of straw to get a good bonnet shape). All that needed to be done was removing the trimmings from the hat and taking out the stitching holding the wire around the edge… and I had a straw hat blank ready to be remade into a new hat!
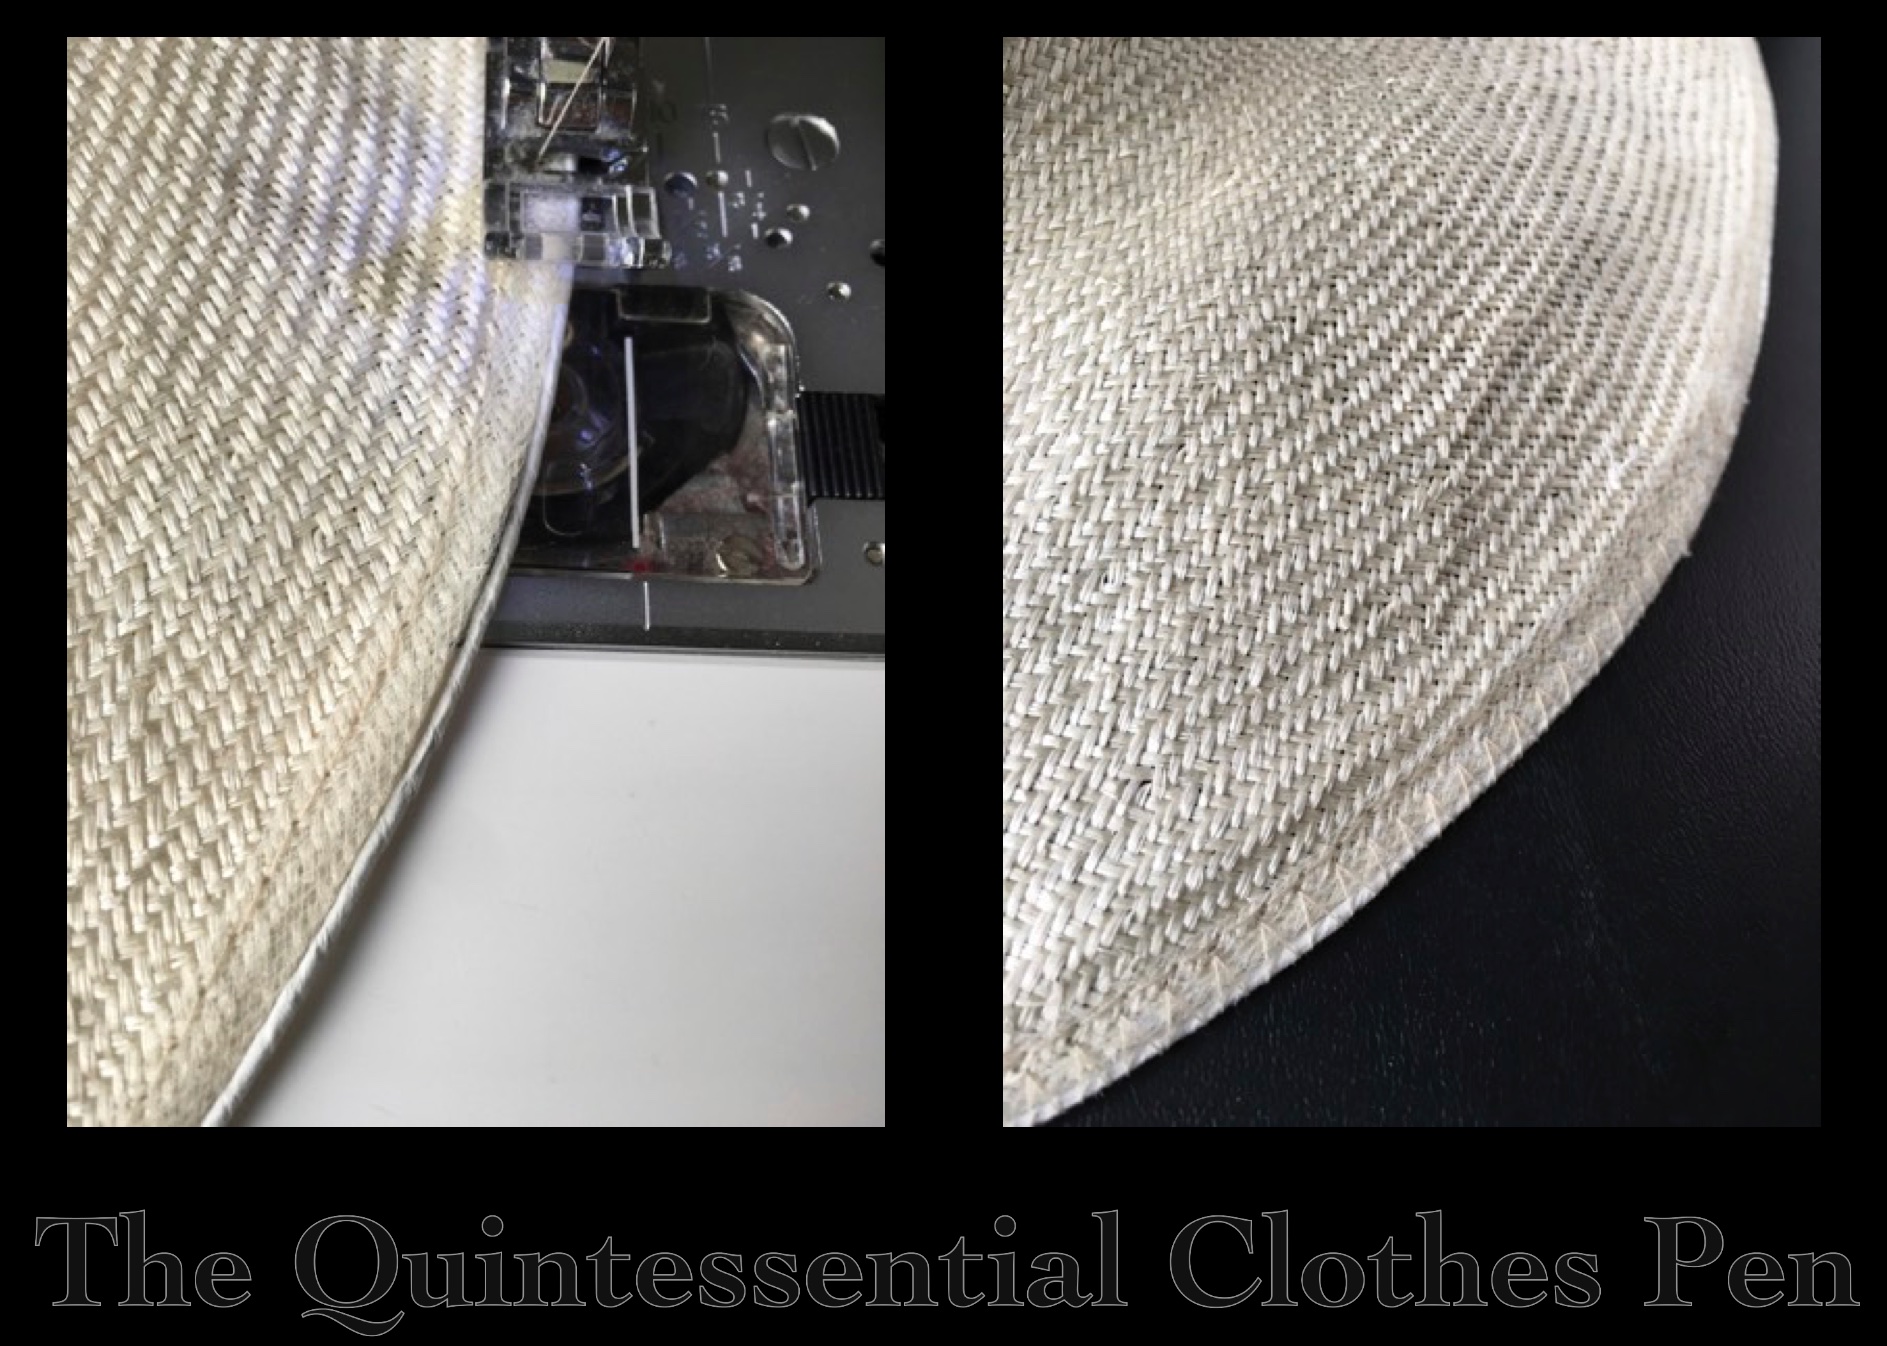
For a hat block, I used a shallow glass bowl covered in tin foil and plastic wrap. I wet the straw base in the bathtub, then used a paintbrush to cover the straw with a layer of my sizing (a bit of elmer’s glue dissolved in water–no formula, I just winged it). I set the hat out in the hot sun to let it dry, holding the edges down with spice jars to keep it from blowing away. (Can you tell I just wandered into my kitchen to see what I had that would work to help me with this hat?)

I tidied up the edges of the hat with scissors, bound the edge of the straw with narrow strips of tulle to keep the straw from fraying, and then reshaped my wire and resewed it around the edge of the hat. I covered these edge treatments with a binding of ivory silk satin, trimmed the hat, and I was done!
Sundries
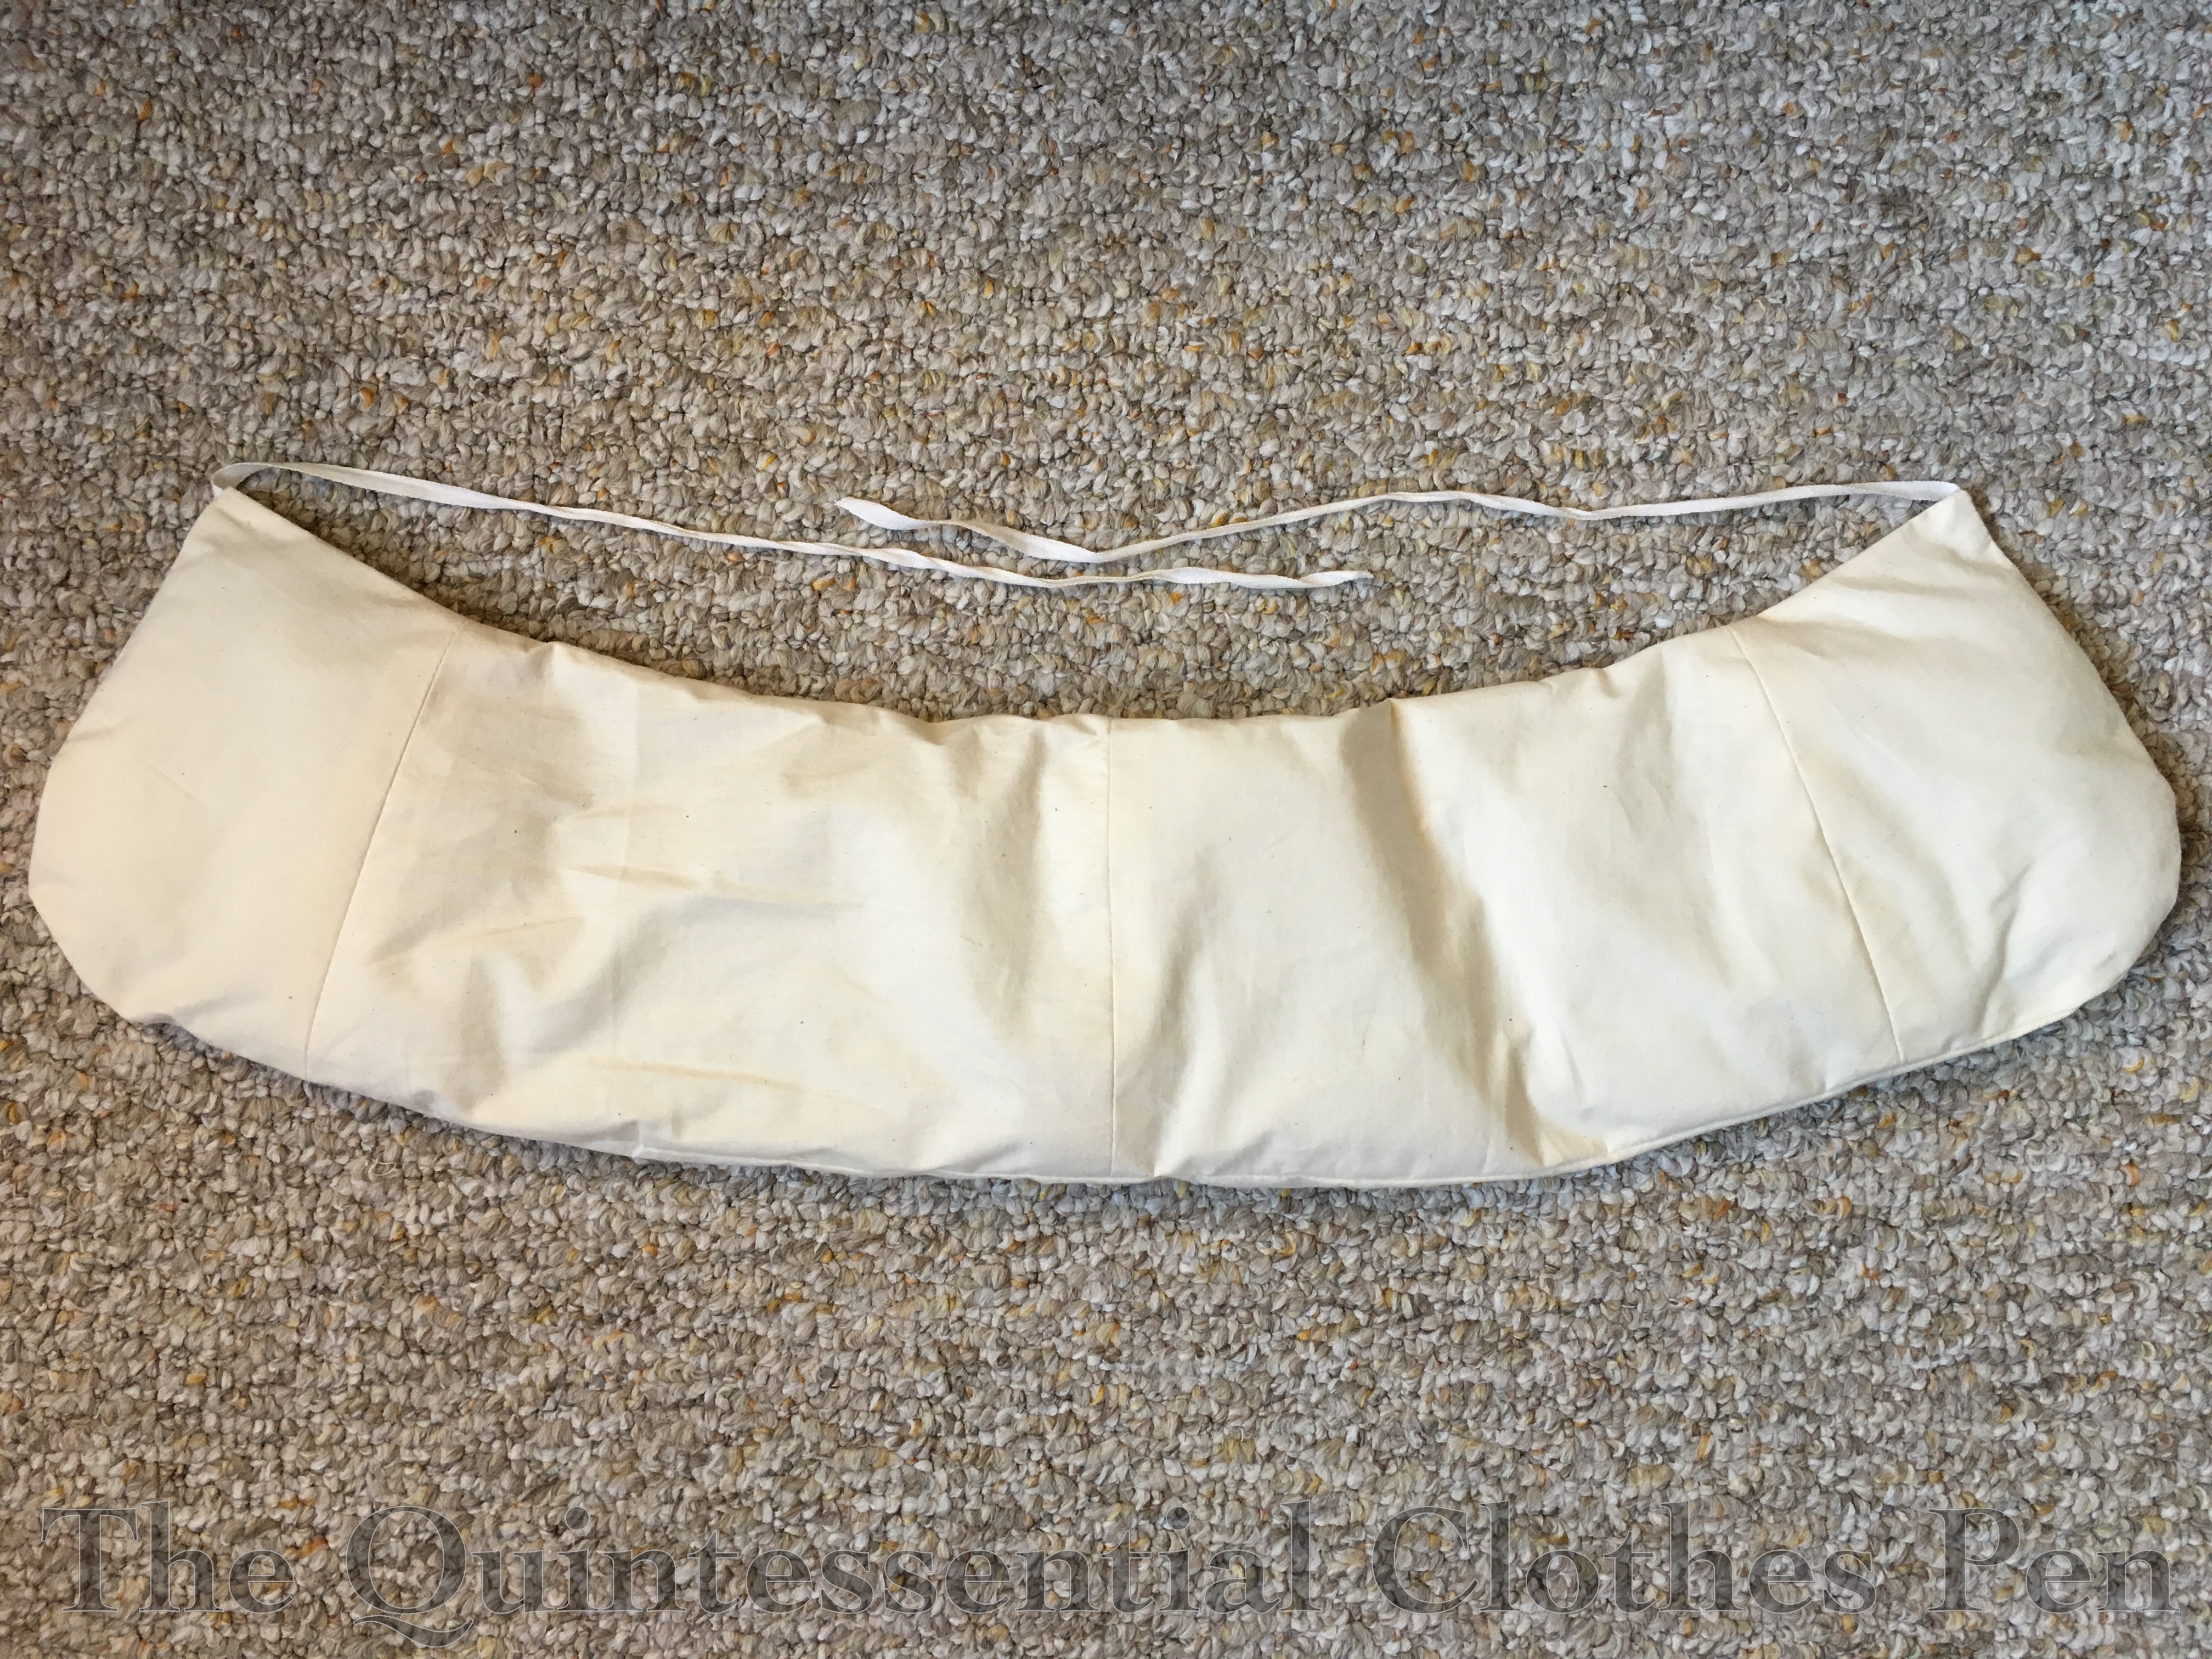
In order to achieve my desired pigeon breast silhouette of 1904, I needed some omph in the back in addition to the ruffles inside the blouse in the front. I tried wearing a small bum pad (about 10″ wide), but then my hips looked sunken by comparison. I determined I needed a new bum pad that would fill in both my hips and backside to help create the illusion I was aiming for.
I also made a new belt to go with this ensemble. I wanted something a little more V shaped in front and a little less dramatic in terms of color. I actually reused the lining from the previous iteration of my new hat to make a new belt. The two shades of green don’t quite match, but they also don’t offend, so I’m pleased.
Instead of a traditional Gibson Girl hair style, I tried a style more like this, with a center part and poofs on each side. It was a bit squashed by my hat, but I was quite pleased with it overall. Unfortunately, I didn’t get any perfect shots of just my hair style. I’ll have to try it again someday and get hair pictures.
SaveSave

Beautiful! Love hearing about the process of hatmaking.
It’s a lovely outfit! I also like the method of adding ruffles to the blouse, very clever!
Thank you! 🙂
You are talented! This outfit is beautiful and full of vintage style. I like your post, it’s clear and detailed. Every girl has a dream of becoming their own fashion designer. They like to add some creative idea in their clothing.
Loved the process of building your hat! I just embellished an inexpensive straw boater with a= wide black and white polka dot ribbon, according to a photo I’d seen. I stiffened the brim with dry starch I mixed with water. My mother gave me two boxes of it from the 1950s, I would guess, and it worked just fine!
That sounds like a fun recreation adventure! How neat that starch doesn’t lose its starch-i-ness over time.
I absolutely love this whole ensemble . it really does bring you back in time and I love your attention to detail I was wondering I the skirt was a self drafted pattern if so would you be willing to sell the pattern I would be very interested it purchasing one !! anyway I really do want to thank for all of the great ideas on your blog you are always such a inspiration especially when it comes to my personal historical journey you have even encouraged me to wear some of my 1890 ensembles out in public
-God bless
Tess
Hi Tess,
Thanks so much for taking the time to comment about the Anne Ensemble! I appreciate hearing that my adventures can inspire others. Thank you for sharing that with me.
The skirt is indeed a self drafted pattern. I will email you about it.
Best,
Quinn
May I know where is this place? The lake as background looks so lovely
Thank you! The photos were taken in the Boston Public Garden. It is a lovely space to visit any time of year, but especially in the spring and summer.