

Whether you sew historical clothing or not, I think it’s likely you’ve experienced the following phenomenon: You buy or make a lovely dress or other garment and wear it once (or maybe you wear it a lot). The season changes and you put said lovely garment away in the closet to await the next year’s season. When you next go to wear it, you realize that the garment no longer fits. It has obviously shrunk in the closet! I find that circumferences are the worst culprits for closet shrinking: waists, ribcage, arms… How dare they?!?
This has happened to me with both modern ready-made clothes and historical ones. Unlike modern ones, which usually hang around for a few years until I feel emotionally ready to donate them to someone else who might actually fit into them, my historical clothing has the benefit of being able to be resized with relatively little effort (certainly much less than making a new garment!). Depending on how I’ve constructed the garment, seams might be able to be let out or, being the pack rat that I am, I have more of the fabric hanging around and I can cut new pieces or add to what is there to expand at the necessary areas.
The more often I come across this problem in my wardrobe, the more I realize the benefit of making my clothing more adjustable from the start, with things like drawstrings and lots of overlap on opaque garments. (Did you notice that most of the closures on my recent 1817 Duchess Regency Gown were drawstrings? There might be an intentional rationale there… My 1811 Elusive Blue Gown also closes with ties and drawstrings, another intentional decision.)
In the past year or two, I realized that two of my older and oft-worn Regency dresses had experienced closet shrinkage. I wanted to continue to be able to wear them and so I started thinking of the best ways to alter the size to make them wearable again. Luckily, both of these dresses fall into the category of ‘I kept the extra fabric and have plenty to play with to resize them.’
I used a different method on each dress. The first is my 1813 Red Dress, which I made in 2013. It’s seen lots of wear since I made it (yay for actually making good use of something I’ve made!) as well as a pretty major revamp when I accidentally tore a hole in the skirt.
It’s always closed with hooks and eyes, but when I went to wear it last year it wouldn’t close! With some safety pins, we got it to this point, but I was afraid for the integrity of the fabric because it was stretched so tightly.

I was able to use someone’s small scissors to take out the stitches along the back edge with the loops on it to get a bit more fabric across and we used the safety pins for bars with a piece of ribbon folded behind to stabilize the now-only-one-layer of fabric. But I wasn’t willing to let people see it looking like this!

Thankfully, I had a shawl with me and I wore it the entire evening to cover the back. I was apparently nonchalant enough that no one realized I was wearing a shawl to cover the fact that my dress wouldn’t close, but I was awfully warm while dancing! Something had to be done before I would wear the dress again.
I pondered multiple ideas, but the one I settled on was to cut new center back pieces with more width to them and sew them over the current, too-small pieces. I also had to piece the waistband to extend it as well as re-pleating the skirt to fit the larger size waistband, but it looks pretty good, I’d say.
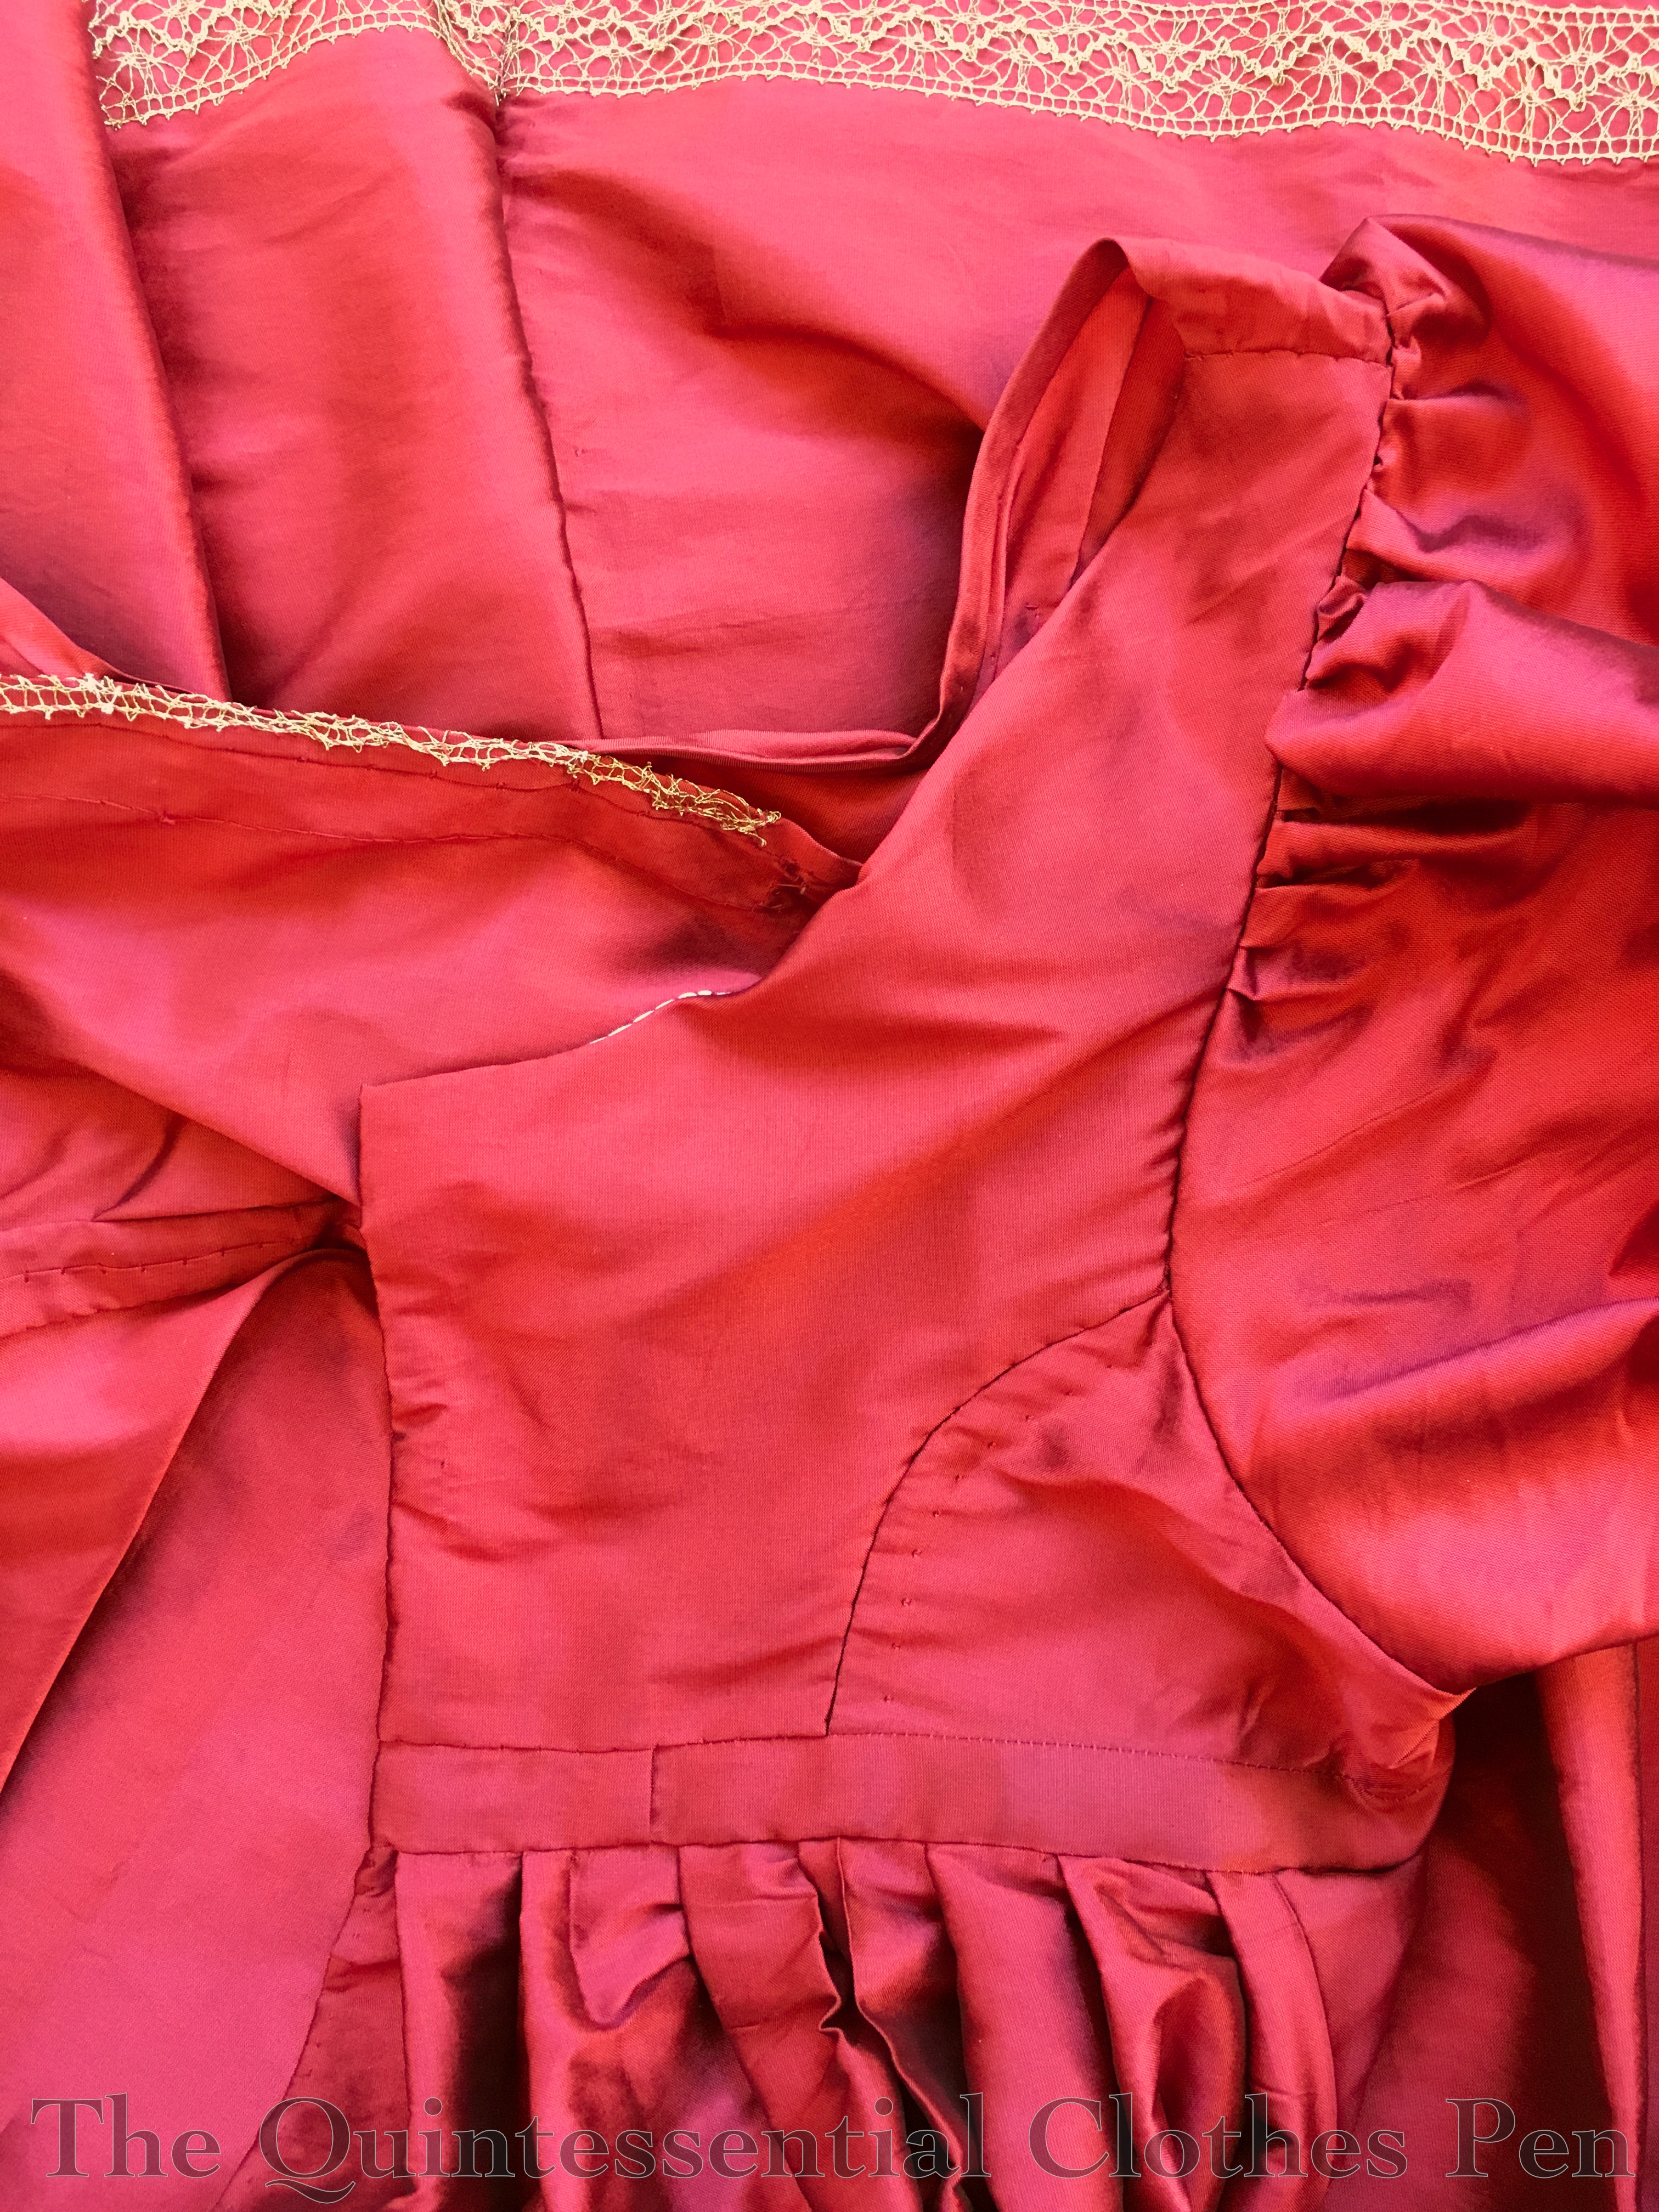
The inside of the dress now looks like this. Previously, it was unlined (I did a post about the original inside finishing of this dress, which you can see here). Now, the center back panel has a lining to help stabilize it and encase the original back panels and waistband extension. Still tidy, yay!
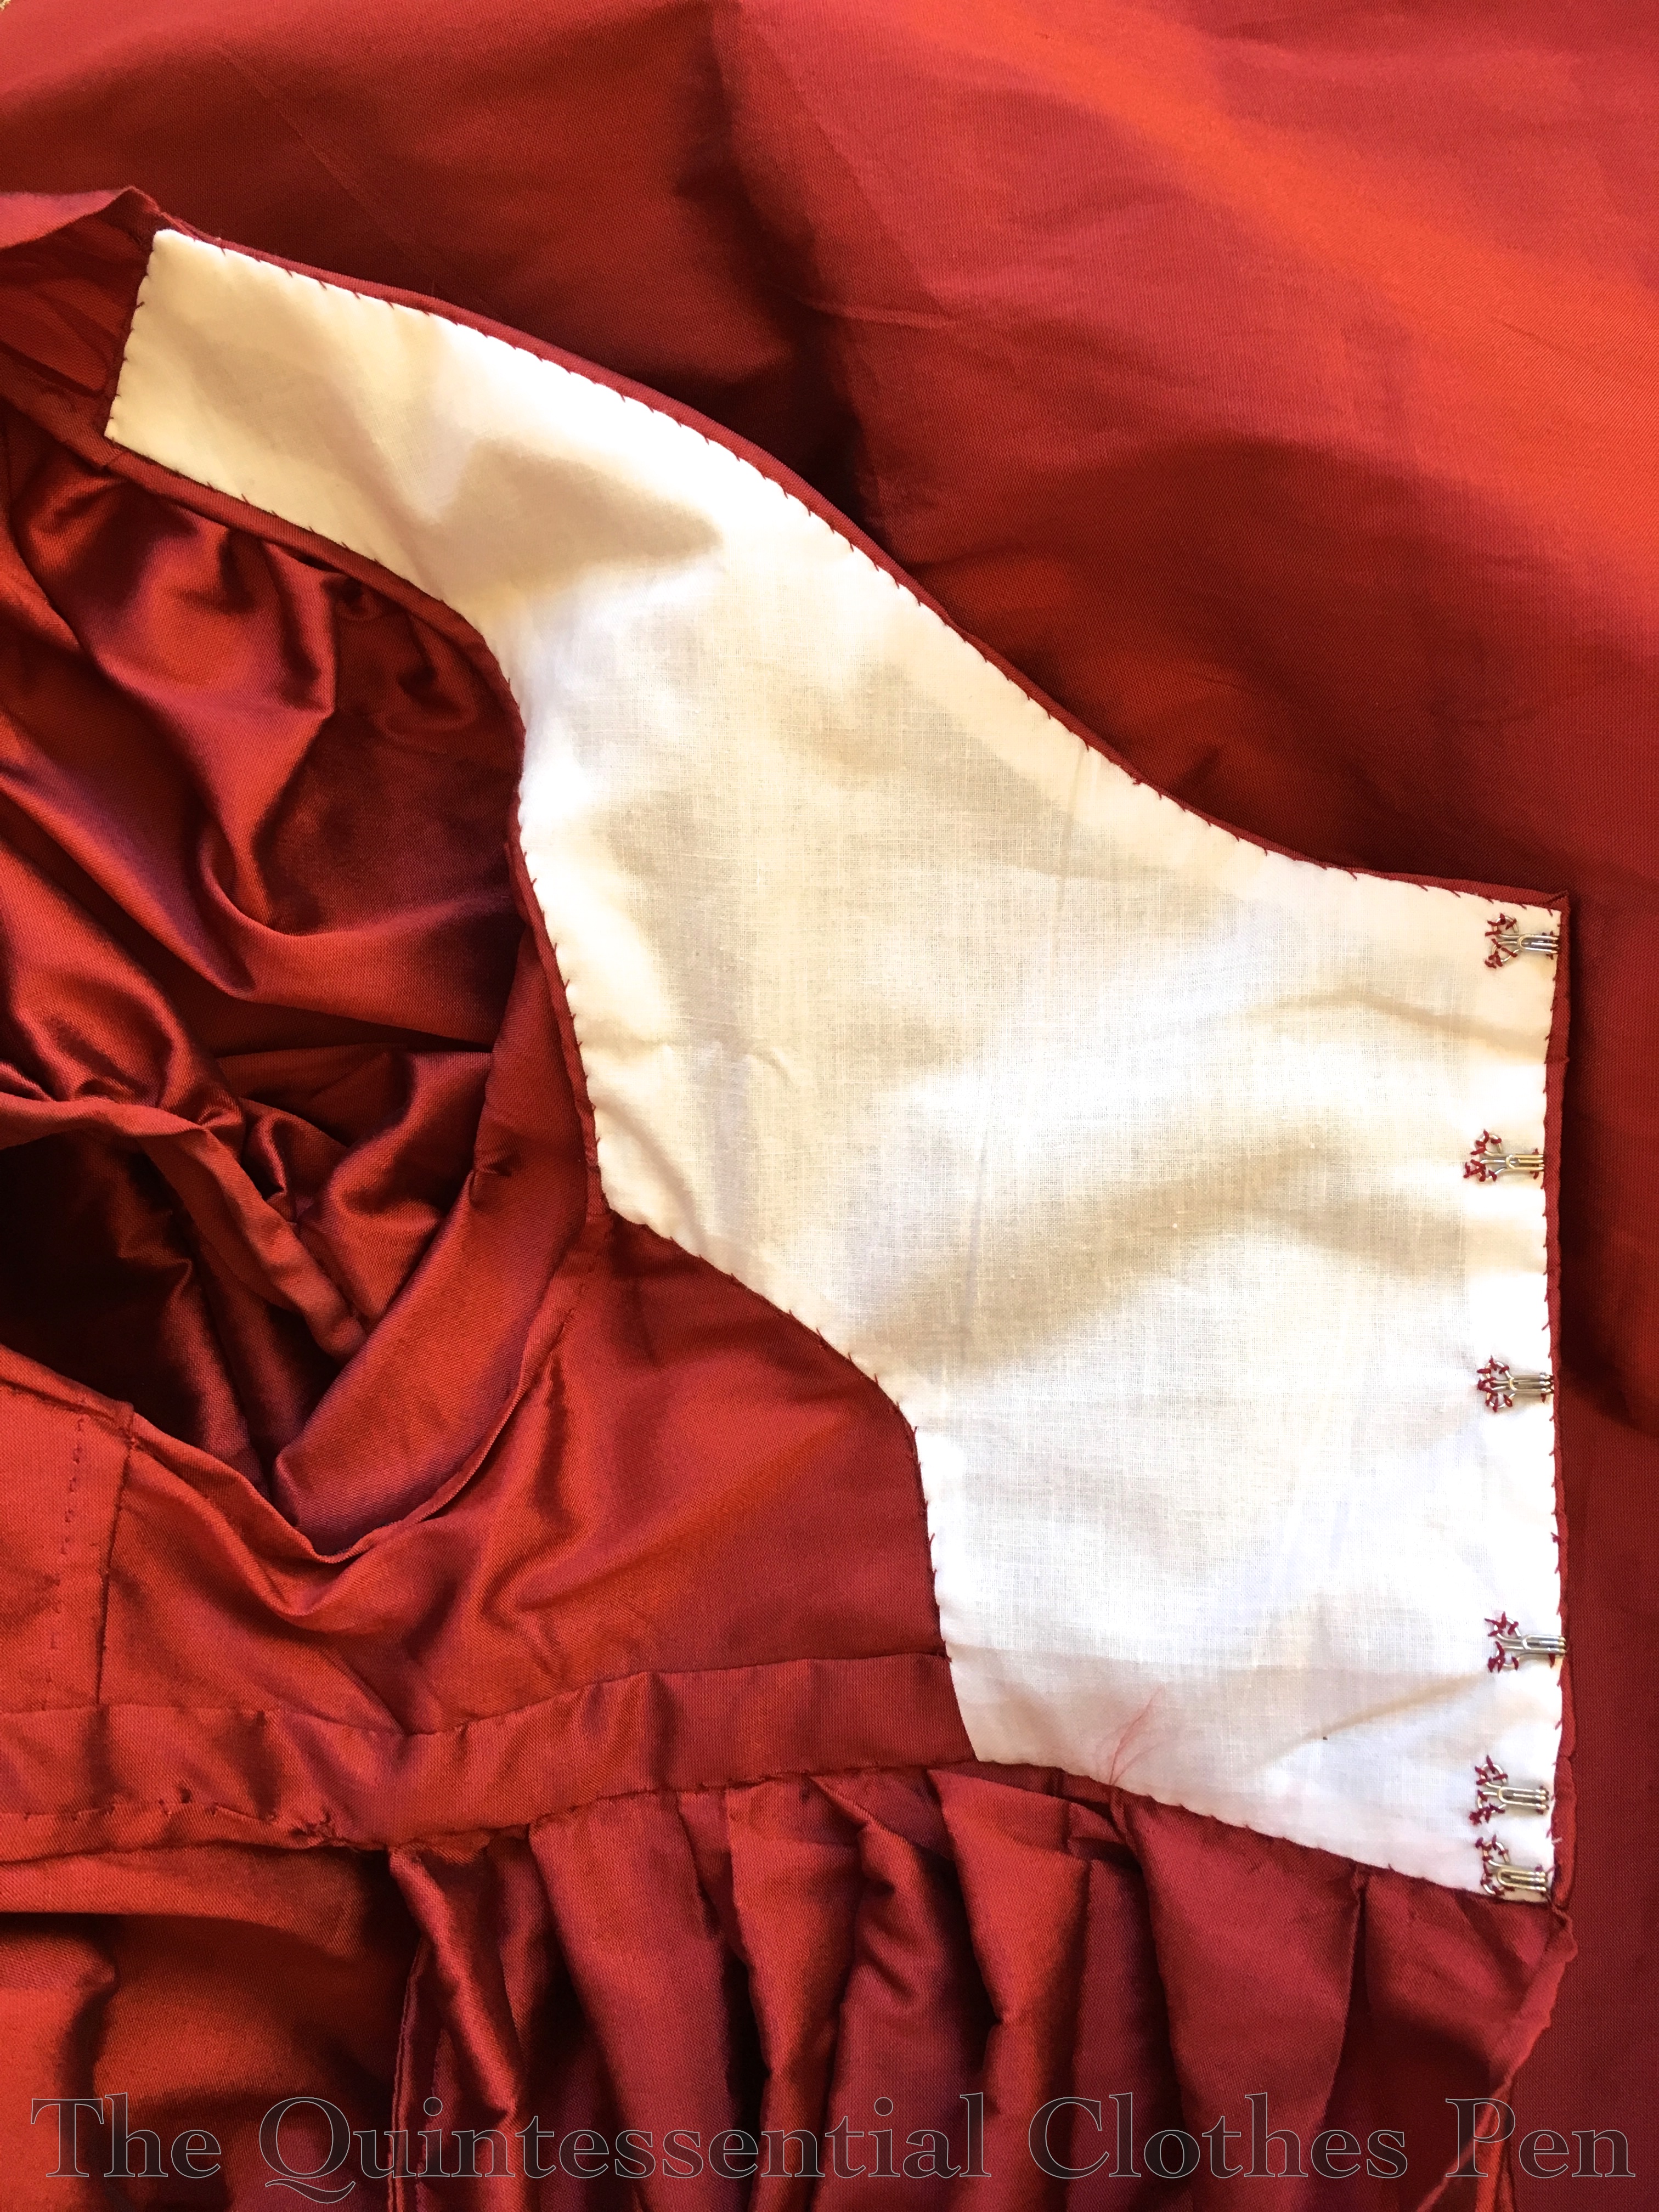
In addition, the armhole openings had become quite tight. I wanted a little more space to be comfortable, so I also added underarm gussets (the upside down triangle). I simply opened up the seam and added a diamond shaped piece. It’s diamond shaped and folded in the center to hide the raw edges inside and out. I didn’t bother to add a band at the bottom, as I figured this gusset was in a place no one was likely to see such detail.

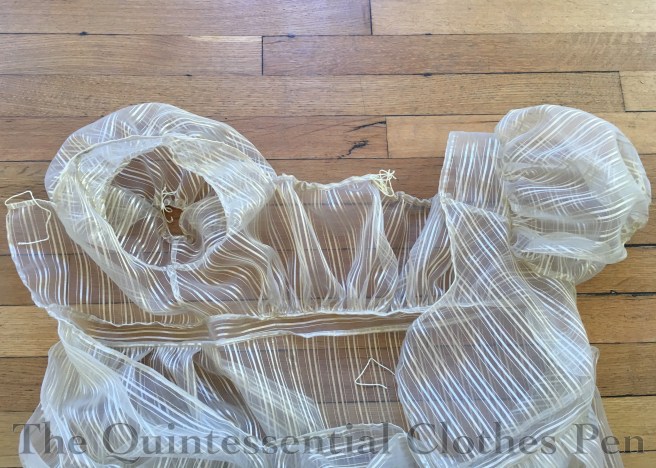
The other dress is my 1812 white square neck Ikea gown. I made this in 2012and have also worn it many times. Before the recent changes, I had made no other alterations to the dress since I first made it.
This dress also had a panel added to center back, but I had to more carefully follow the details of the dress, including the small seams (because of the sheer fabric) and the tucked waistband. This dress has spent a lot of time in the sun, and between that and being gently washed a few times, the fabric has become a much brighter white than it started out. It’s not noticeable, until I add a piece of the same fabric that has been sitting in my stash and the light hits it just right. (It’s convenient for pointing out the new fabric though, because it’s pretty obvious in the picture below!)

Sometimes, this would bother me. But it’s only noticeable in some light and I hope that eventually the pieces will also brighten. Plus, it’s entirely historically reasonable to piece a gown using more of the fabric that hasn’t faded in the same way as the rest of the garment to adjust the size. It’s much more practical than making an all new garment!
I had to regather the skirt on this dress (like I had to repleat the red one) to accommodate the new waistband size. I also added an underarm gusset on this dress to help the arm openings be more comfortable.

While the red dress fit pretty perfectly after the alterations, the white dress alterations proved to be too much (it’s hard to fit these things on yourself when the closures are in the back!) and I now need to move my eyes over and add a drawstring to the top of the back neckline to keep my undergarments from showing. Sometimes it seems like some garments will never leave the to-do list. Oh well! Does that happen to you? You think a garment is done until you wear it and realize it needs something changed or added? (I’m proud to report that between the time I started writing this post and the time I finished writing this post I completed those final two notes–drawstring and bars–and now the dress is done and ready to get put away! Hooray for getting rid of UFOs!)
Do you ever resize your modern or historical clothing after closet shrinkage? What methods have you used?

Thanks so much for this post! I too have a regency gown that has shrunk in the closet. I kept some of the extra fabric and would wonder why whenever I came across it and now I know! I am going to try your methods and enlarge my gown.
Yay! That’s such excellent feedback, Francaine. I’m so pleased that sharing my closet-shrinking-woes is helpful to others. I’m sure you’ll be successful.
Yes! Why does this happen?! Always in the arms and upper torso for me! I’ve been planning on resizing some things that I’m sure I will never fit back into in their current state. I hope I left enough turnings to let out some of the seams. We shall see!
I like what you did with the gussets. It doesn’t bother me one bit that the white fabric is a different shade. In fact, I love it! These are the details I see on original garments that excite me!
Cheers!
Caroline
Yes, details like that are just what people like us love…! I hope your resizing adventures are successful!
Thanks for writing this post! We’ve talked about this, but seeing your methods is inspiring! Maybe I’ll get my Poiret pants un-shrunk in time for the Ragtime ball.
Thanks! I support your un-shrinkage!
Ergh. I am very much experiencing the width-expansion issues, but mostly right now I’m dealing with it by: 1) crying, 2) putting things on models instead of me, or 3) just lacing really, really tightly. One day soon I’m actually going to have to face up to my new post-30 size and actually fix things properly.
Thank you so much for sharing this, and being so open about it. I find it really hard to admit, even to myself, that I’m not the same size I was at 22. 😦
It took me awhile to admit that my size has changed (though I still blame it on my closet in a joking fashion!). I’m hoping that posting about this topic might help others come to terms with their own changing size as well. 🙂 Thanks for saying thanks!