Project Journal: 1822-1824 Ensemble Part VIII: 1824 Dress Re-Imagined (HSM #1)

Sweeping views, a gold tinged sunset, lilacs in full bloom… and a re-work of an old dress!
Backstory

Back in 2014 I was on an 1820s kick, making undergarments and multiple outfits for dancing and staying warm while out in the winter. I shared about the design, construction process, and wearing of these garments in a Project Journal series of posts (hence the name of this blog post, which is installment VIII in this series). This link will take you to the full project journal. I wore these 1820s outfits over the next number of years, discovering different small details I wasn’t completely happy with and letting out this green dress in the sleeve circumference and back closure, in particular, to adapt to my size around 2015.

The small details that never quite made me happy included:

  • The way the skirt hung in the front with an outward fold rather than flat with a more exaggerated A-line silhouette.
  • The length, which was a little shorter than I liked the proportions of.
  • The fact that the appliquéd organza trim didn’t have quite the impact I was hoping for. I was actually a little bored with it.

Re-Imagining

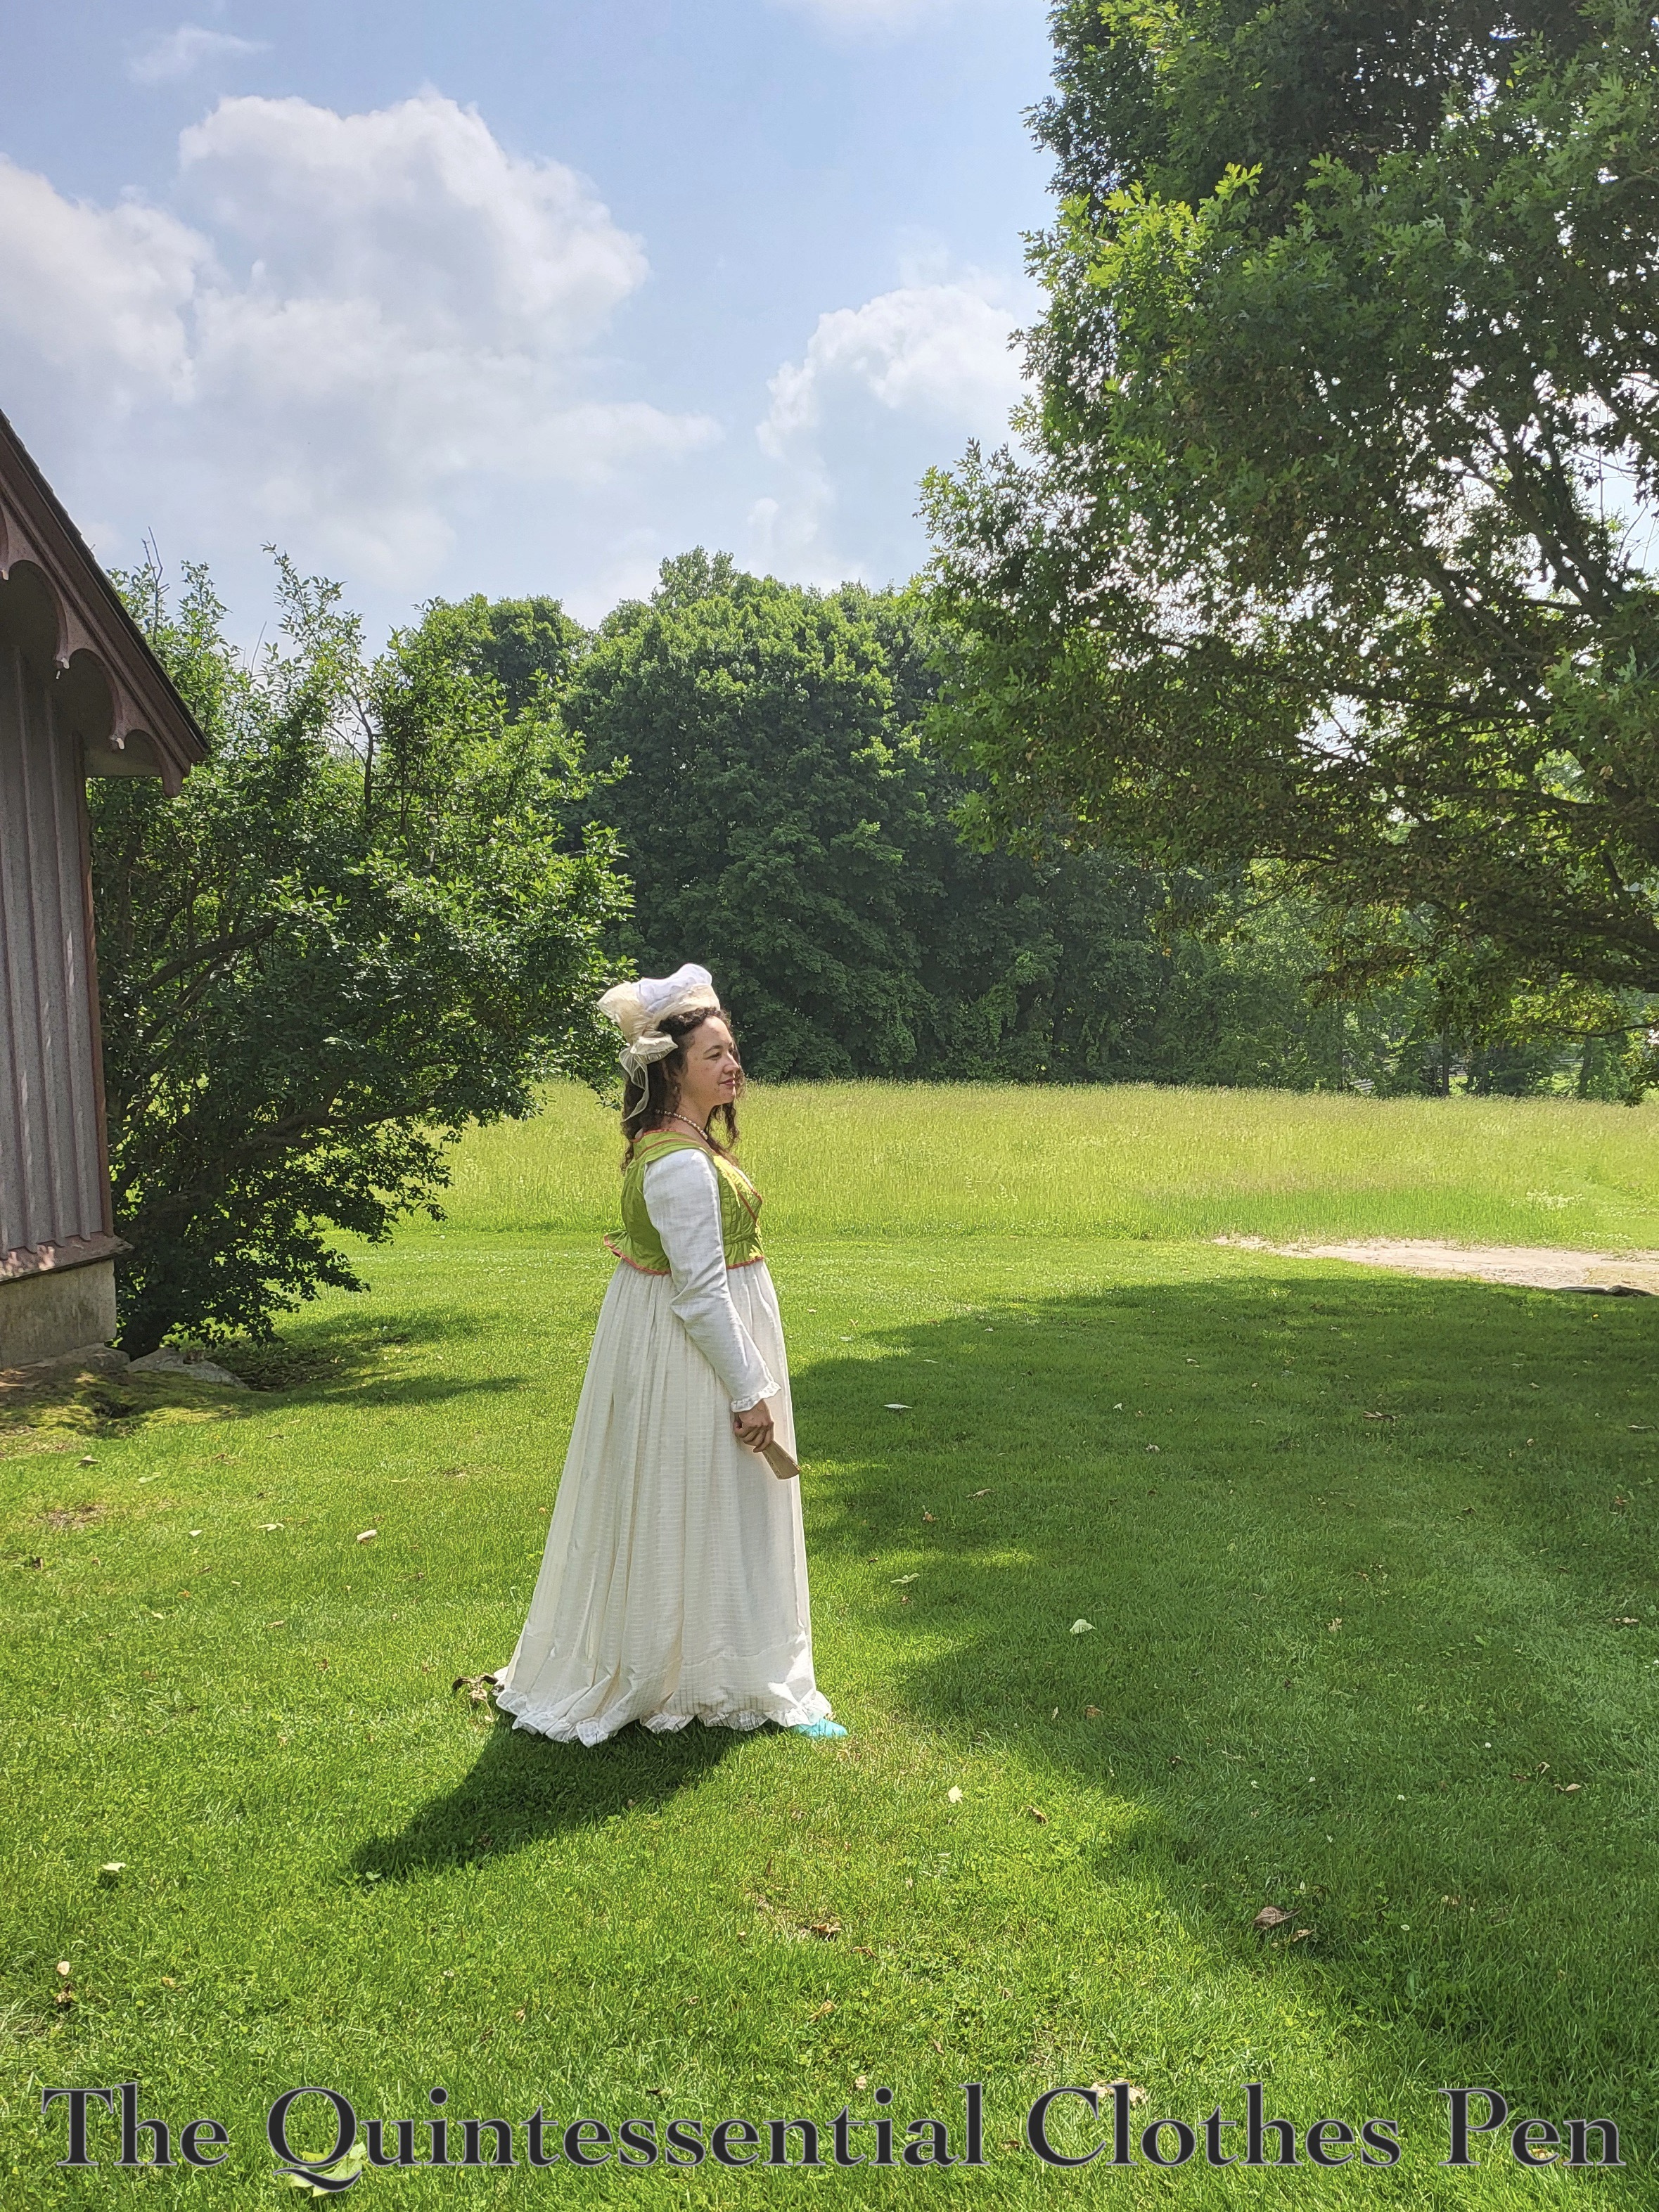
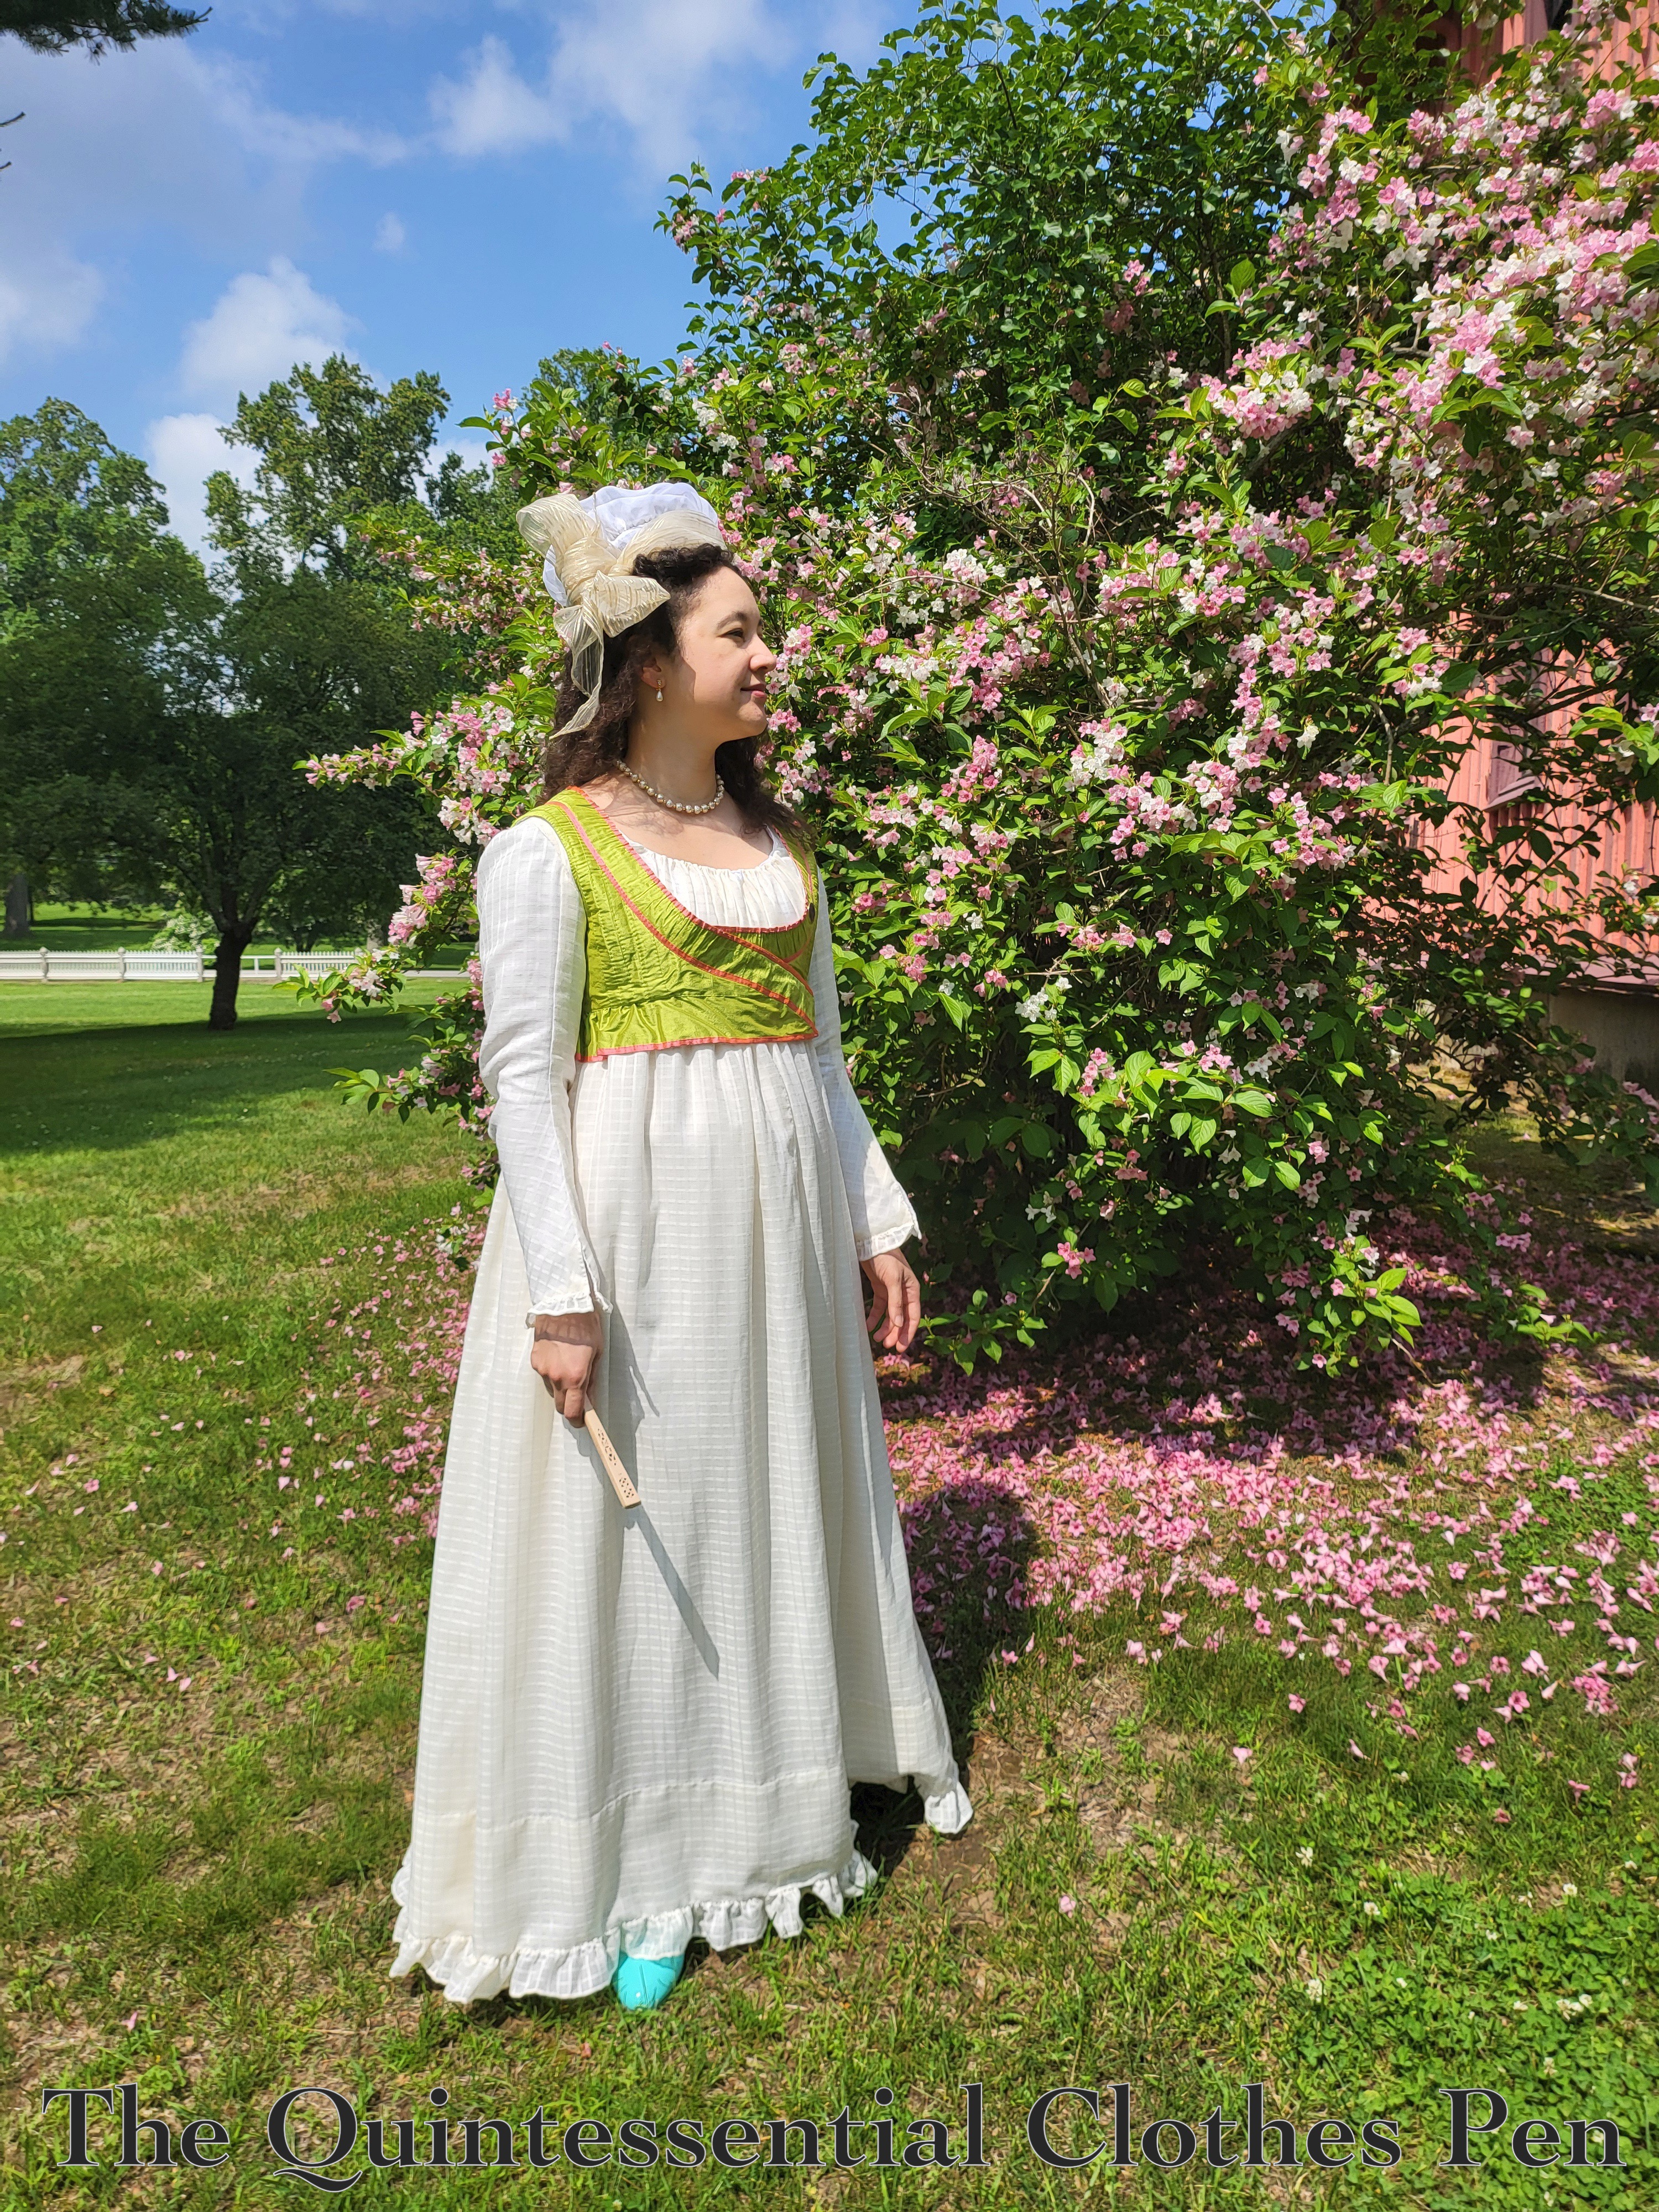
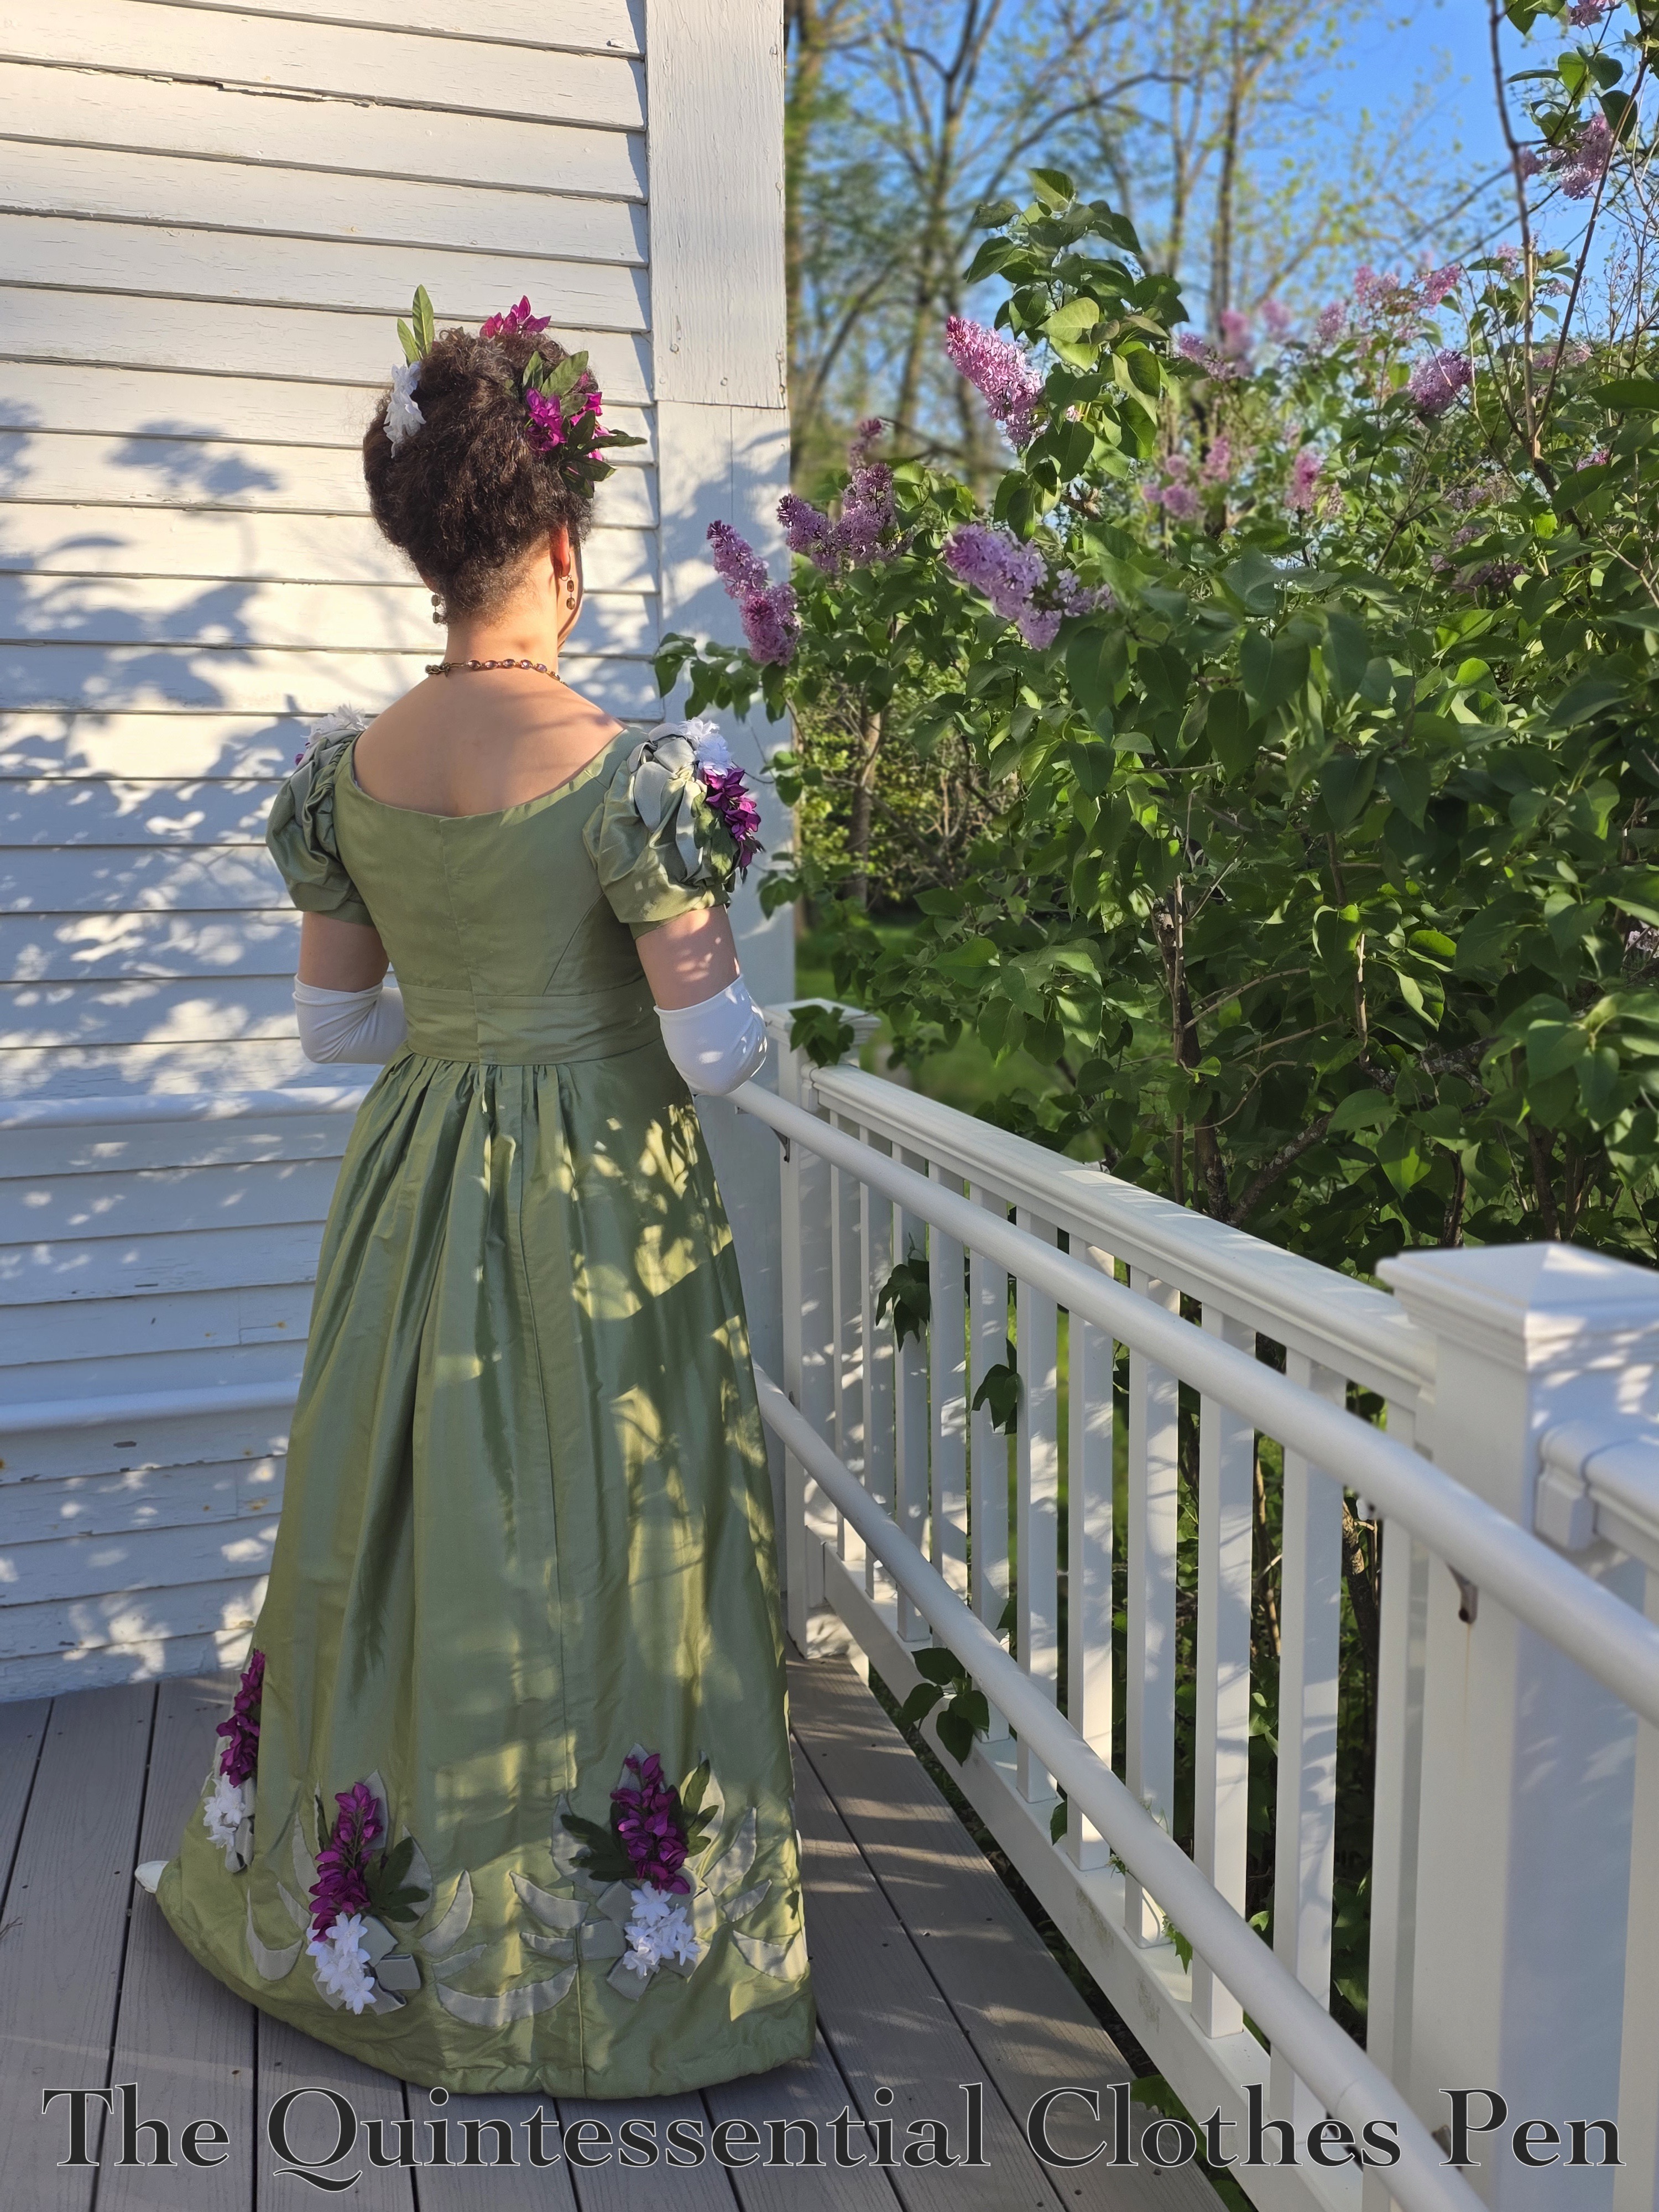
I had an upcoming event to wear the updated dress to and theme was a “blossoms ball!” So as I was brainstorming about the trim I thought “perhaps I need to add more flowers!” Here is the finished result.
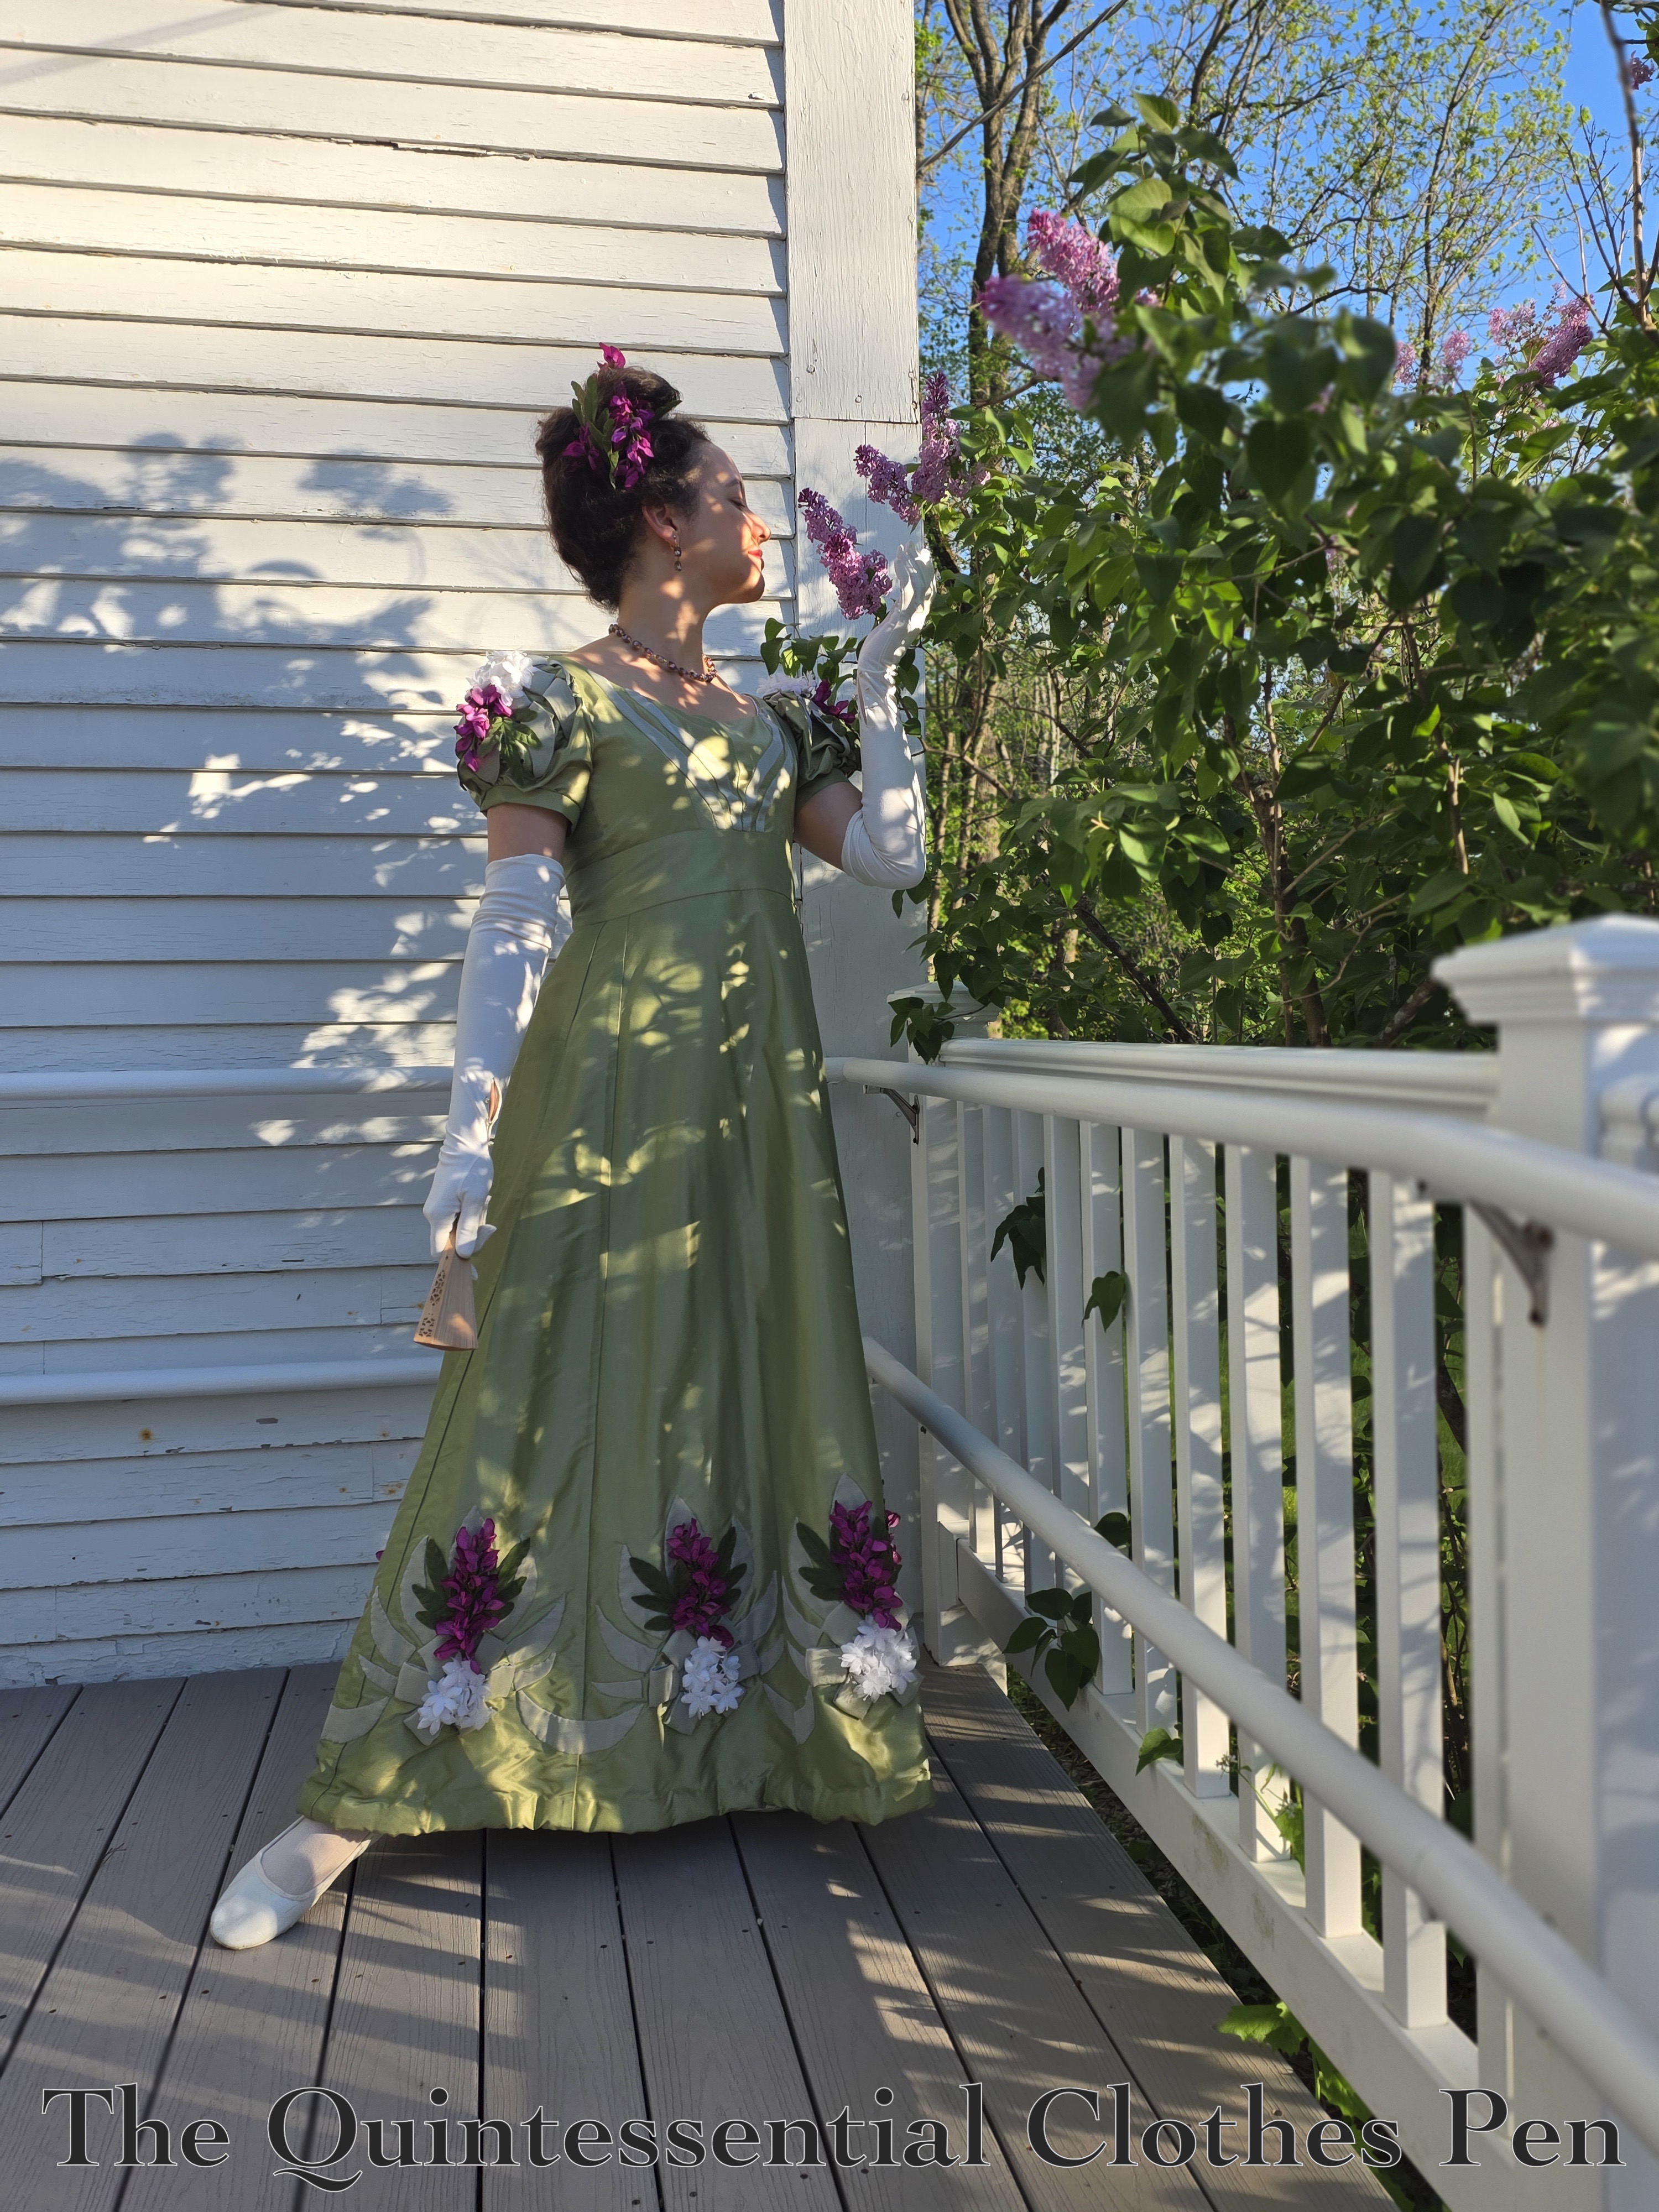
Let me explain the updates. The first goal was to lengthen the hem. I had actually left length on the bodice that could have been used to add overall length by resetting the waistband a lower position, but the silk fabric had permanent holes from the stitching that were quite visible, so this wasn’t a viable option. My solution was to make a new, wider waistband. This would drop the hem while also shifting the proportions just a bit to be more flattering. I still had a yard or so of this fabric carefully stashed away and cataloged (you can read about my stash system in this past post if you’re interested), so the materials part was easy.

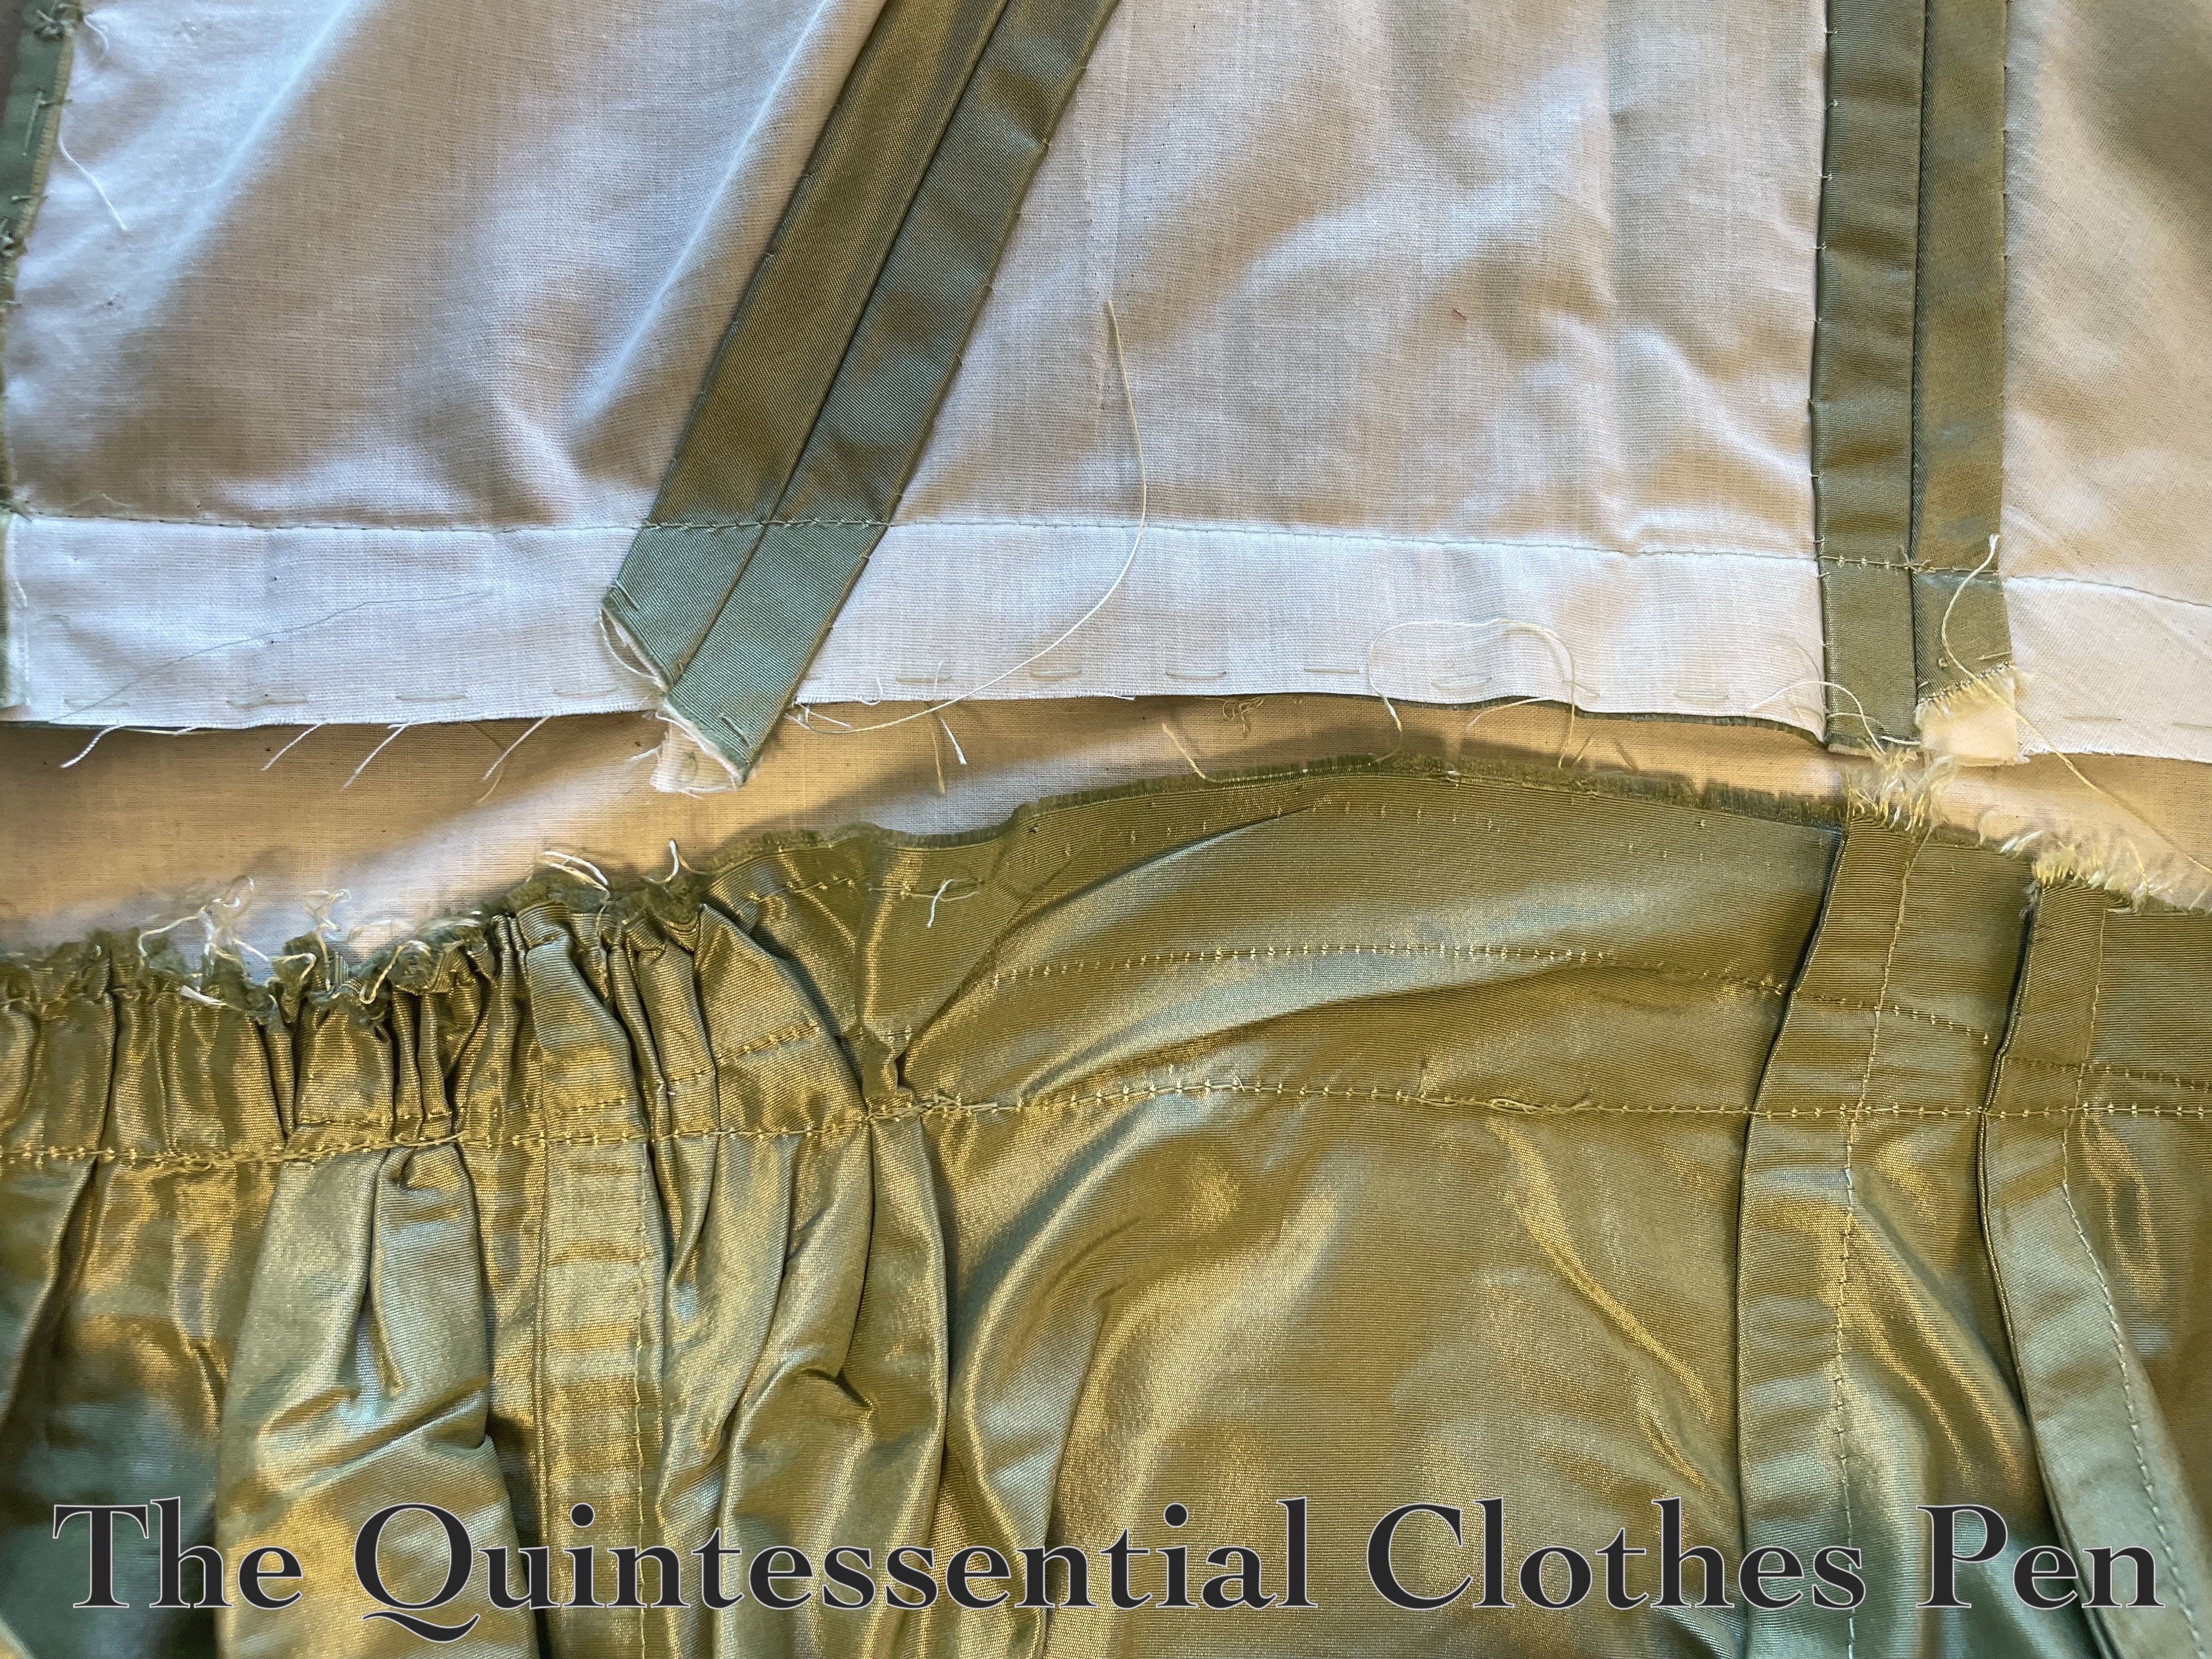
The second goal was addressed while the waistband was getting replaced. I shifted the skirt gathers to be a little wider across the back and better suit the overlap of the formerly-let-out back pieces. In the original iteration of this dress the gathers were concentrated in about half of the space that they are now, based on the historical pattern information I was using as a guide. But what I found while wearing the dress is that that placement of the gathers was eliminating some of the A-line shape that I was going for.
Additionally, I discovered that changing the waistline curve of the side skirt pieces would also help flatten the front of the skirt and kick out the sides to create the A-line shape I wanted. This makes sense from a patterning perspective, but was an update from the pattern pieces I had taken from Patterns of Fashion when I originally made the dress. I lowered the stitch line on the side skirt panel by about 1″ and tapered that towards center front and center. back. Below is a photo of the new waistband being attached, showing the old cut edge and stitch line very clearly above the new stitch line.
The bodice still fit in its let-out state (yay!), so it was easy to reattach it to the new waistband. I carefully followed the original stitch line to keep old stitch marks from showing! Those changes covered the first two goals of this re-imagining.

The last goal was to energize the trimming! I still remember the time consuming and finicky process of adding the appliqué silk organza motifs to the dress. I didn’t want to diminish that work! But it just doesn’t pop that much on its own… The fashion plate I was originally referencing can be seen here. It is partway down the page, labeled 1824 – Ackermann’s Repository Series 3 Vol 3 – May Issue.

When I looked at fashion plates from 1822-1824 again the 3D nature of the trimmings stood out to me and I thought “what if I add 3D flowers to the existing motifs?” There are multiple examples of evening gowns with this type of 3D trimming in this digitized volume of Ackerman’s The Repository of arts, literature, commerce, manufactures, fashions and politics. (The easiest way to find them is by looking at the thumbnails and quickly scrolling through all of the pages of text to look for the full page fashion plates scattered throughout.)

Off I went to my flower stash to see what I could find! I considered pink, yellow, and purple to complement the green of the dress. Given what I had available the purple was the winner. The color popped and brought energy to the whole dress without being garish and the flowers, which are silk but with plastic stems, didn’t appear too plastic-y to complement the silk dress. They needed a little bit of a transition, so I decided on adding some wired white silk millinery flowers as well. The fact that all of these flowers just exist in my stash in bulk was so helpful! And cost effective!
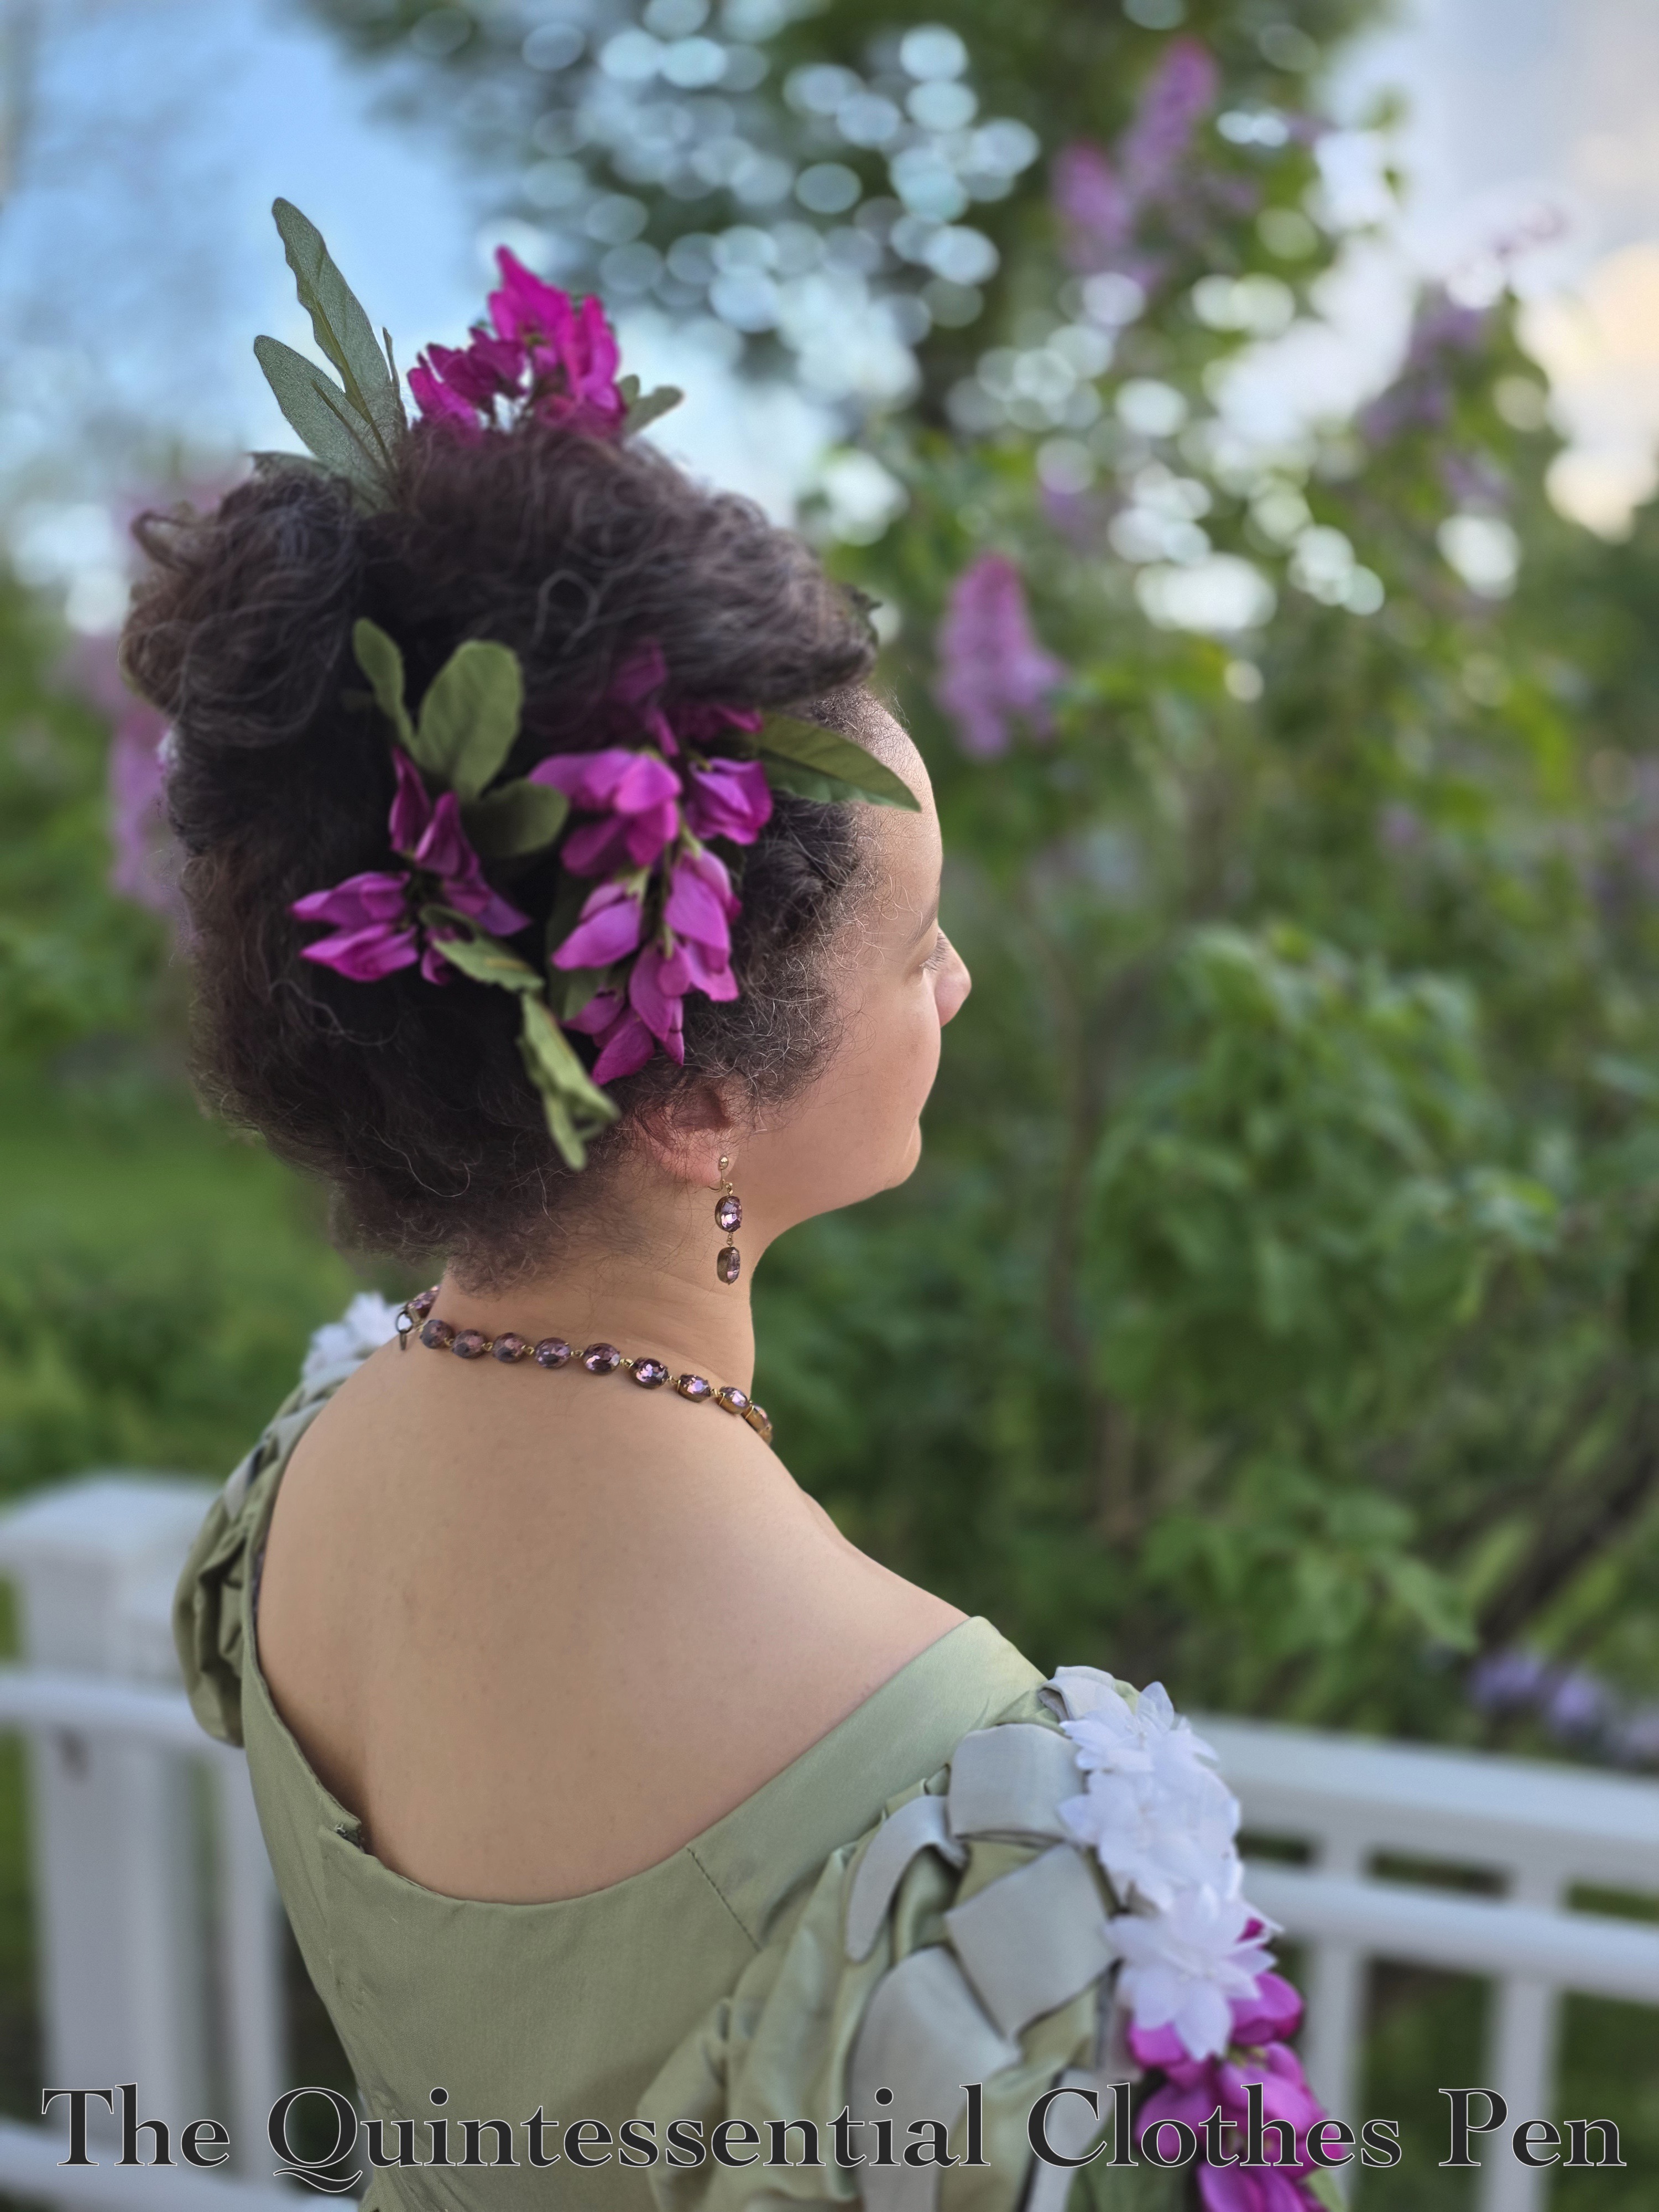
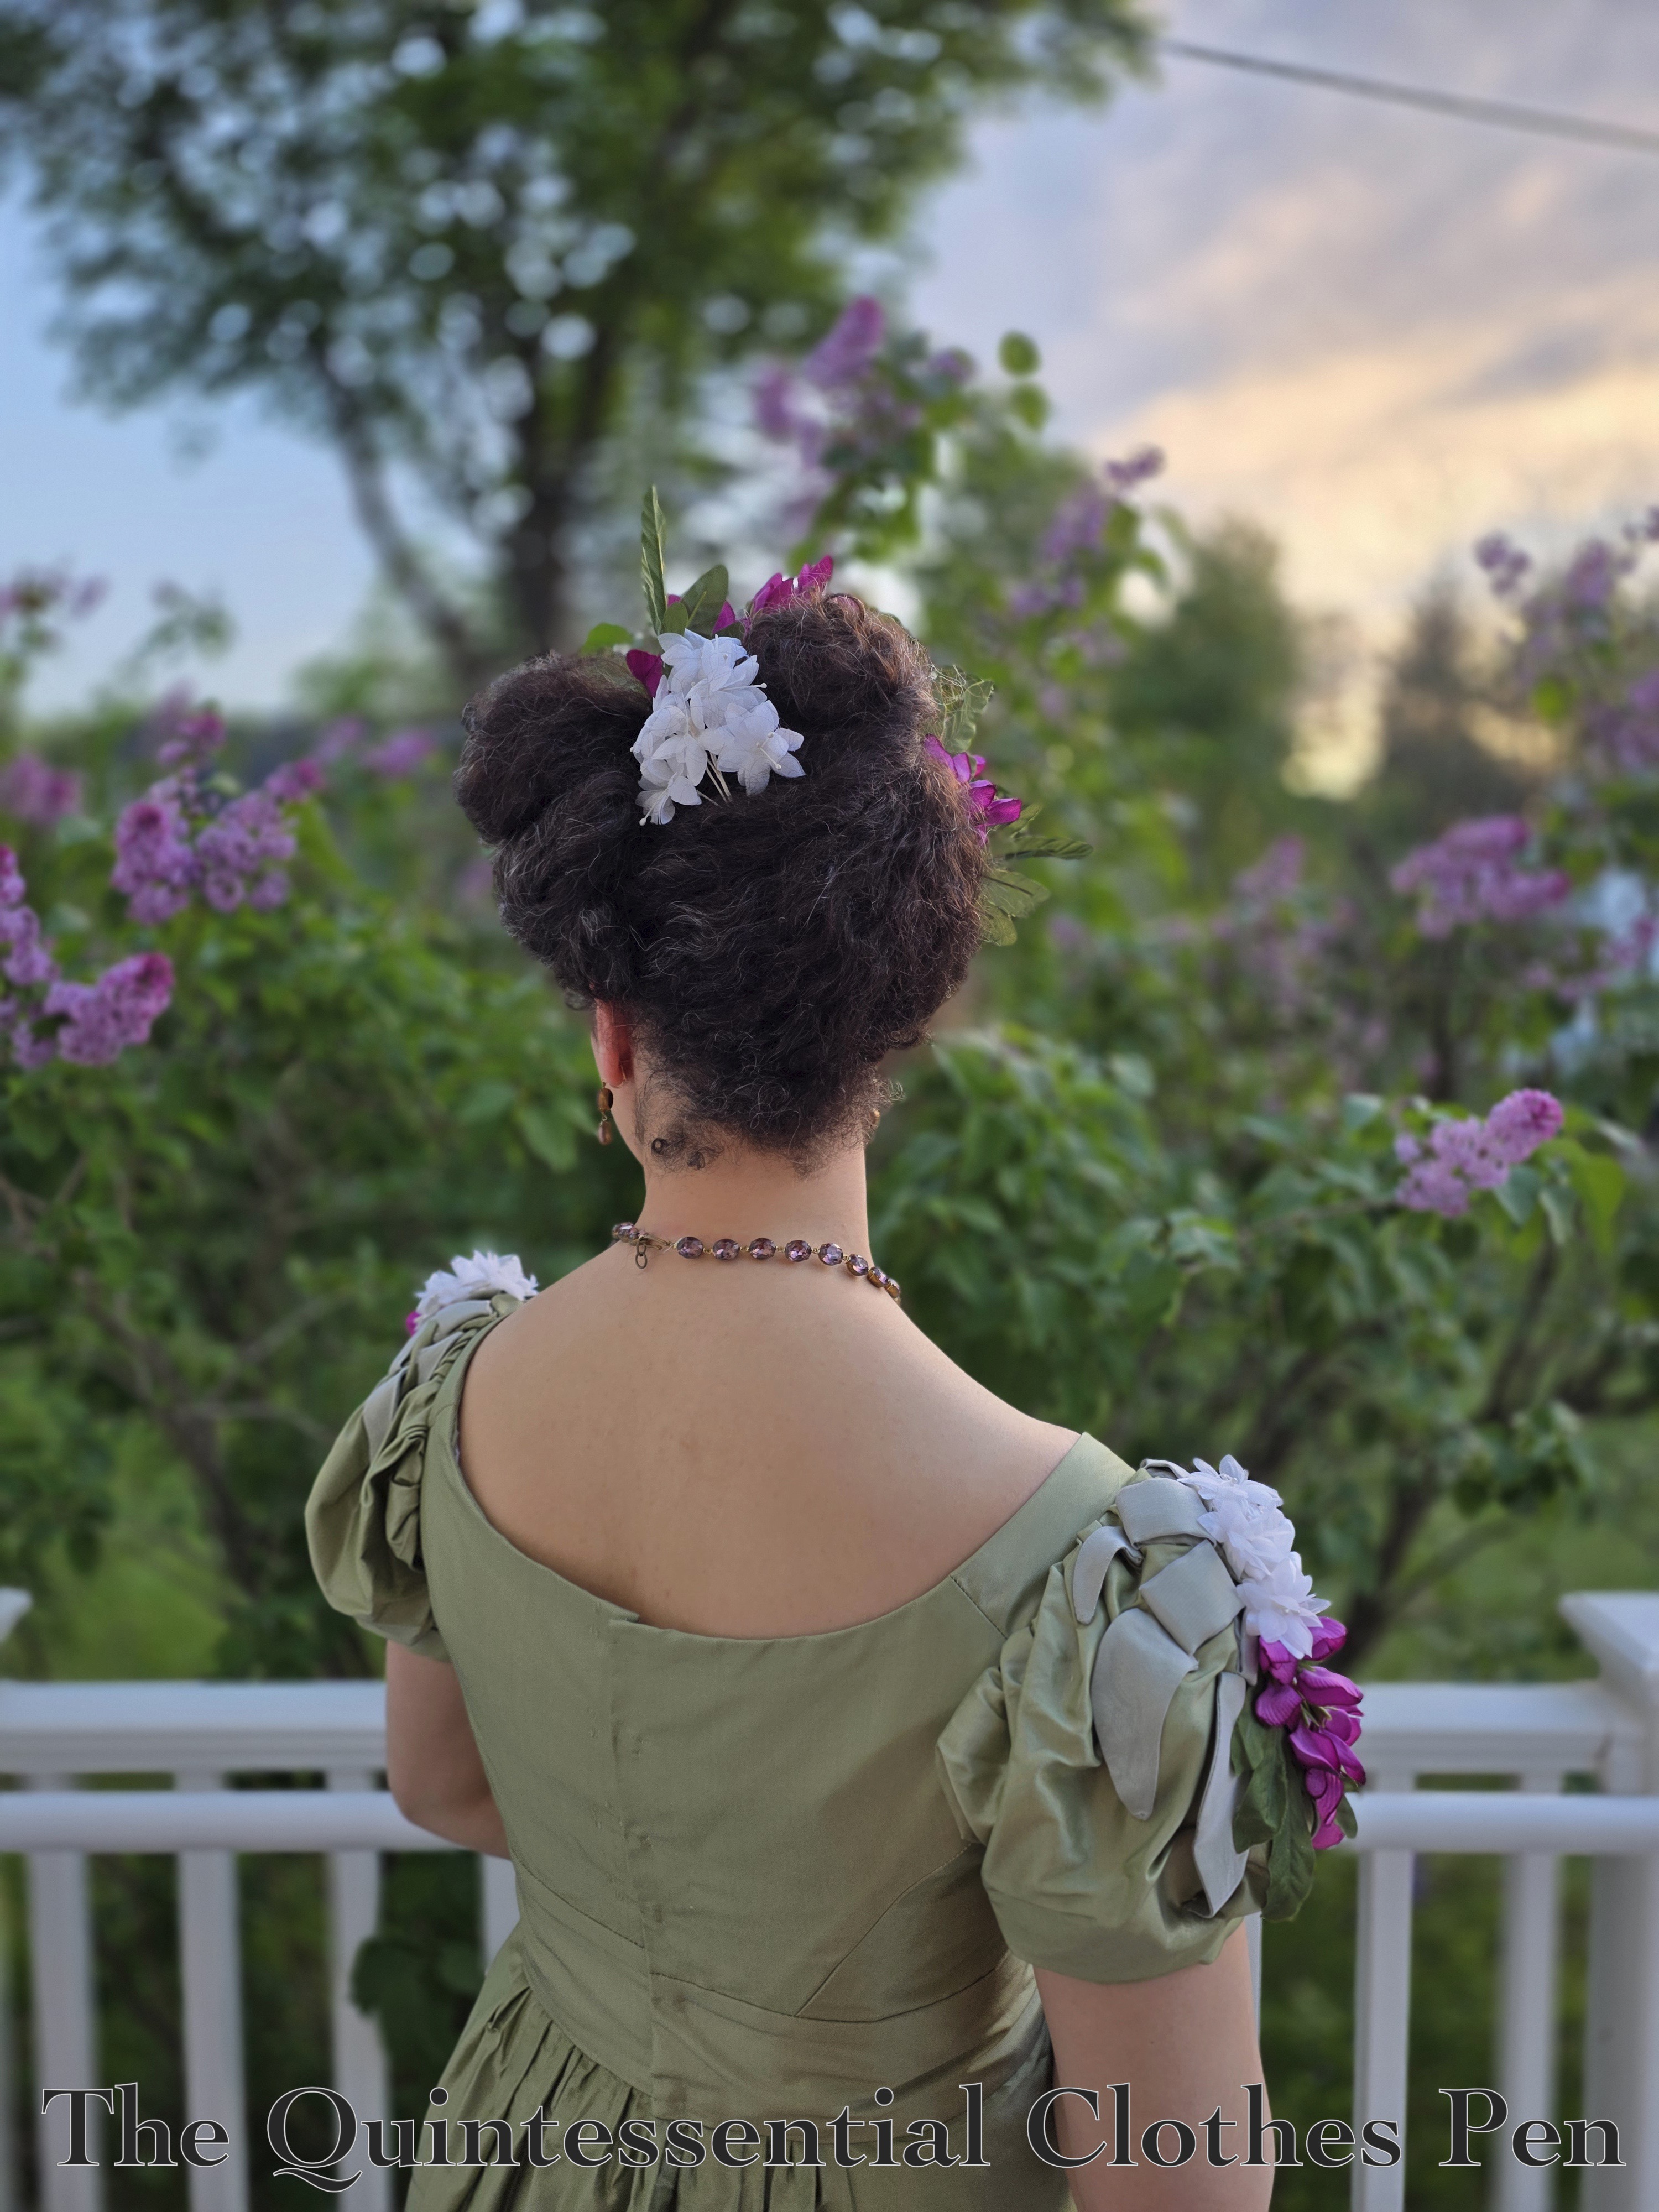
I had so much fun creating a hairstyle to go with this updated dress, too! More on that in my next post. For now, this re-make is my entry for the 2026 HSM Challenge #1 Joy For January:

Create an item that epitomises the joy you find in historical costuming – or simply something that would bring you joy at this time of year, whether it’s dark and cold, or sweltering hot where you are!

This dress fits the challenge because I find joy in:

  1. Re-making garments to fit better or have a more arresting design
  2. Re-wearing garments so I get more use out of my hard work
  3. Applying new knowledge to my projects

Just the facts:

Fabric/Materials: Leftover scraps of green silk.

Pattern: My own.

Year: 1824.

Notions: Thread and flowers.

How historically accurate is it?: 99%. Altering clothing to adjust for fit and shifting fashionable silhouettes is a documented historical method! A small bit off for not perfectly accurate flowers.

Hours to complete: I did not keep track. 6-8 is my guess. Most of that would have been hand sewing on the flowers.

First worn: May 16, 2026.

Total cost: $5. The fabric used was scraps from the original project. The flowers were purchased in bulk for a very low cost and stashed for years.
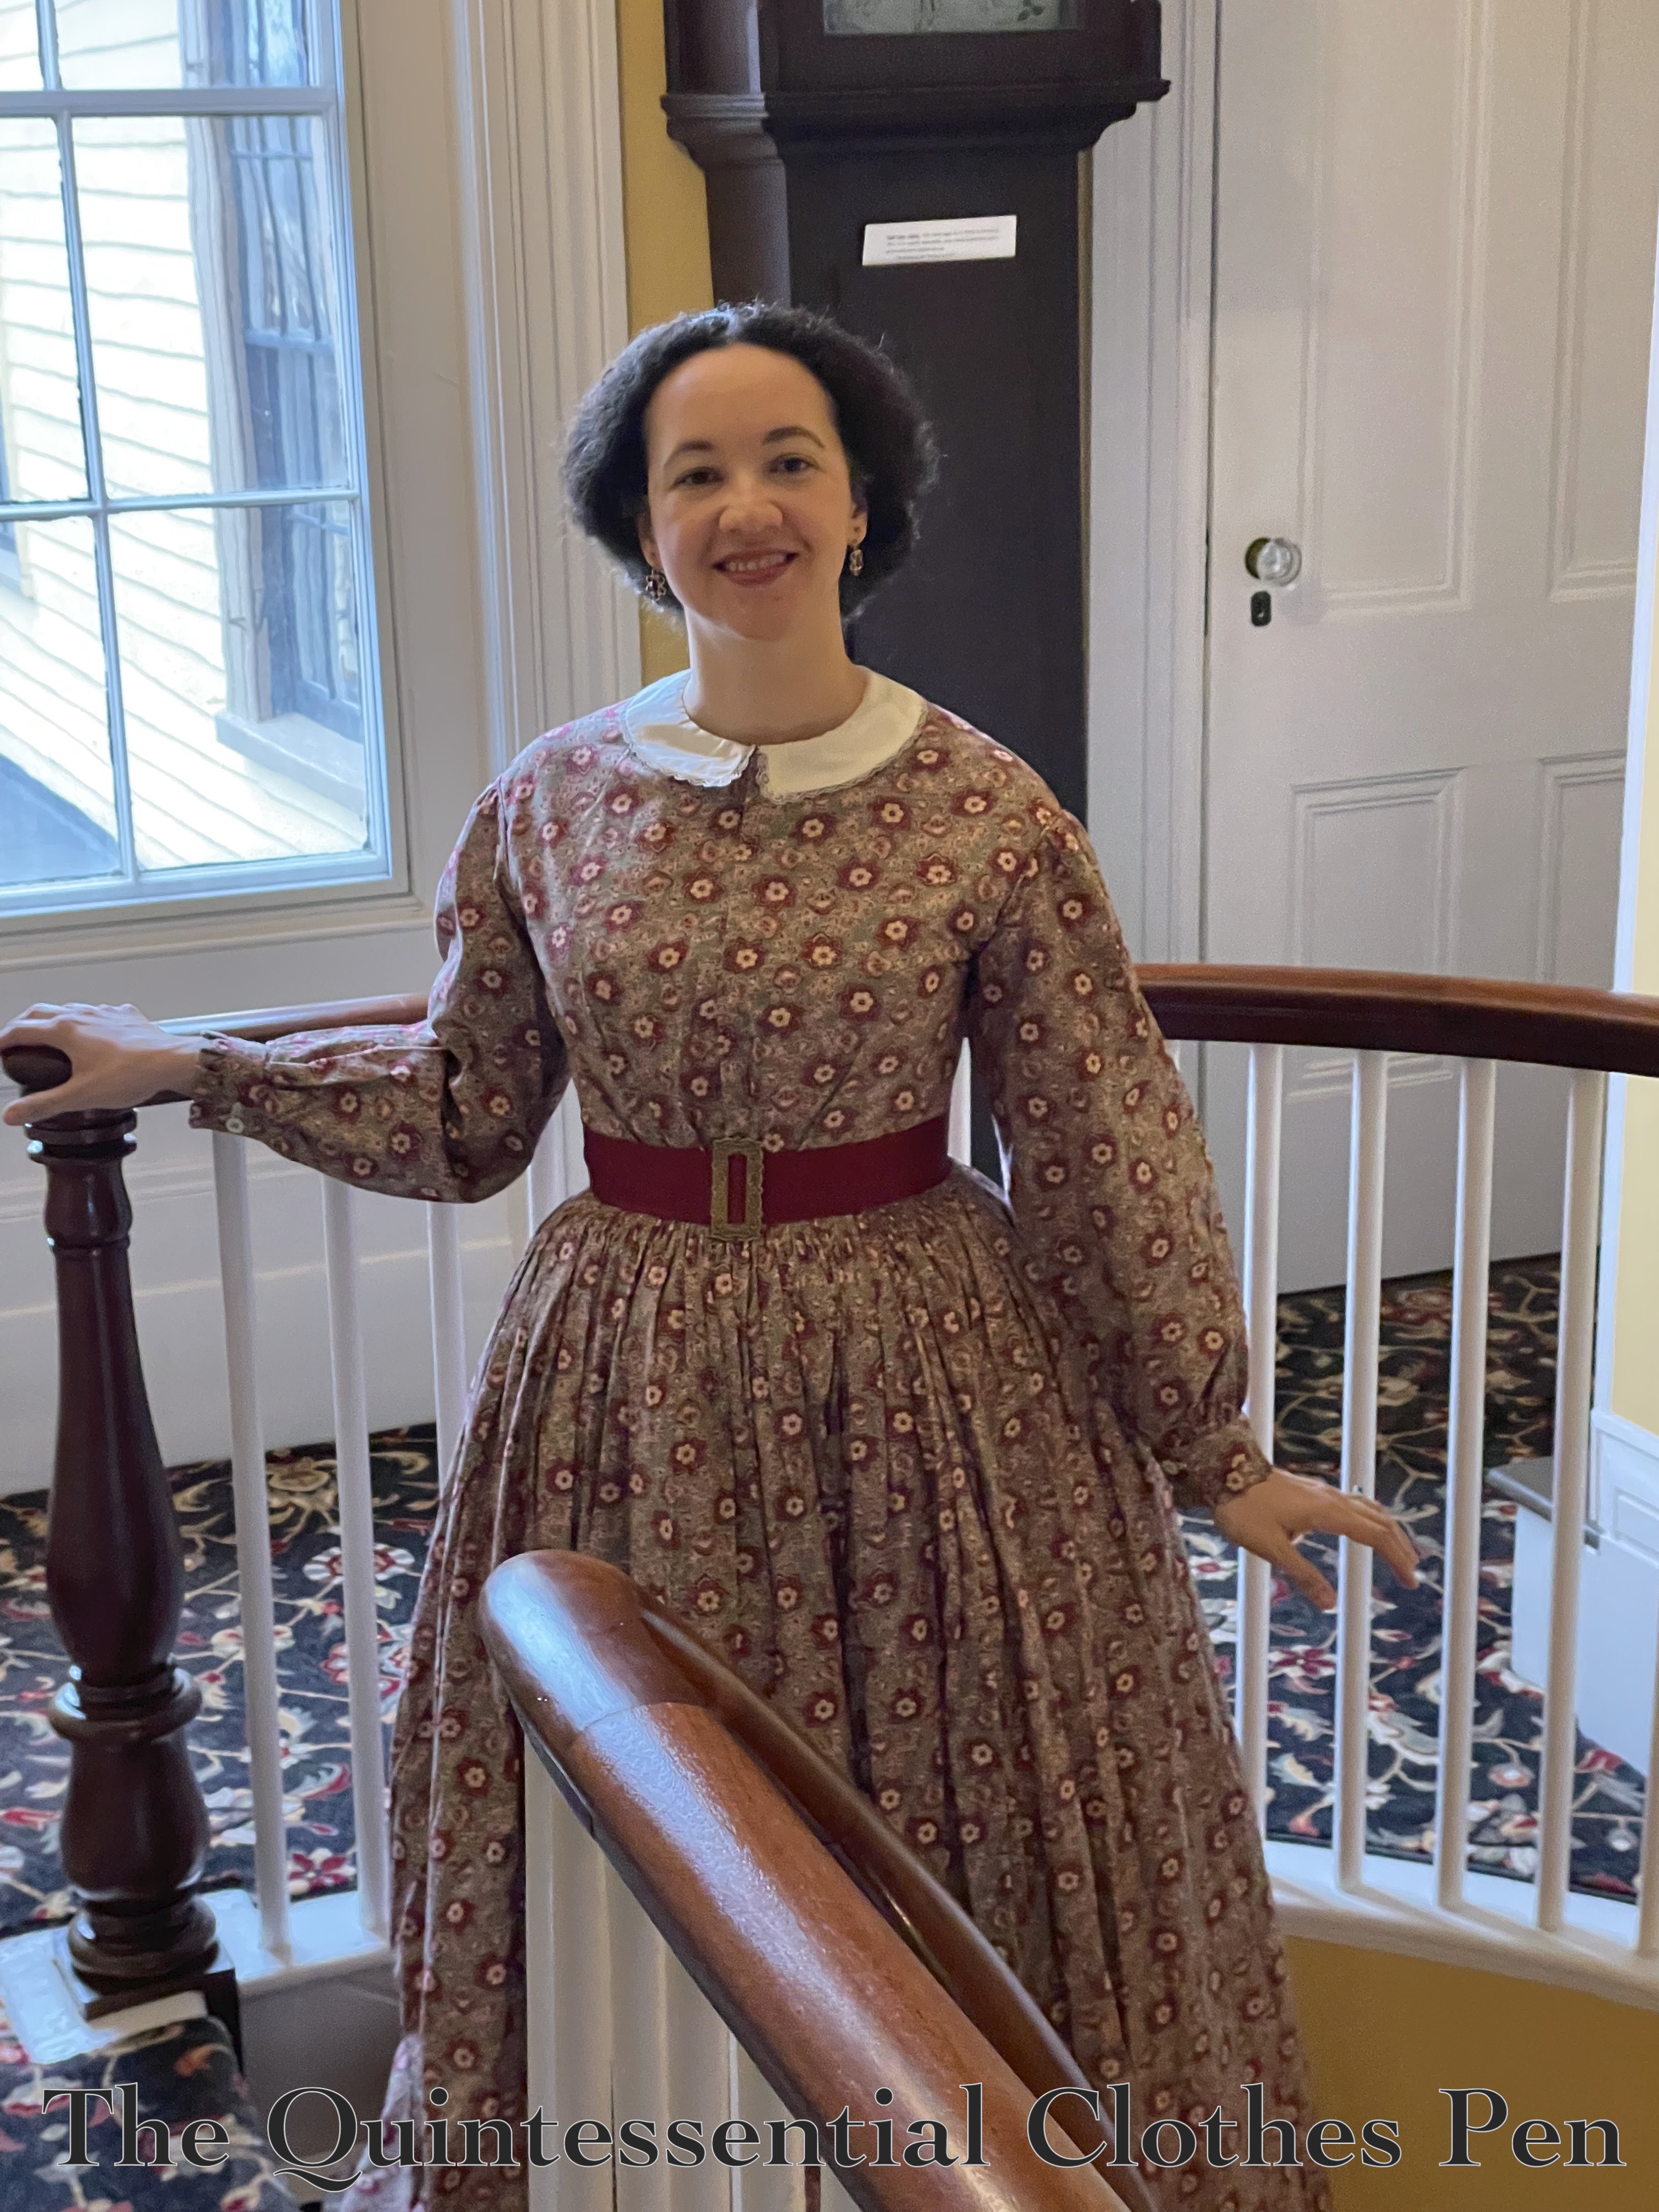
A New Look For Georgina

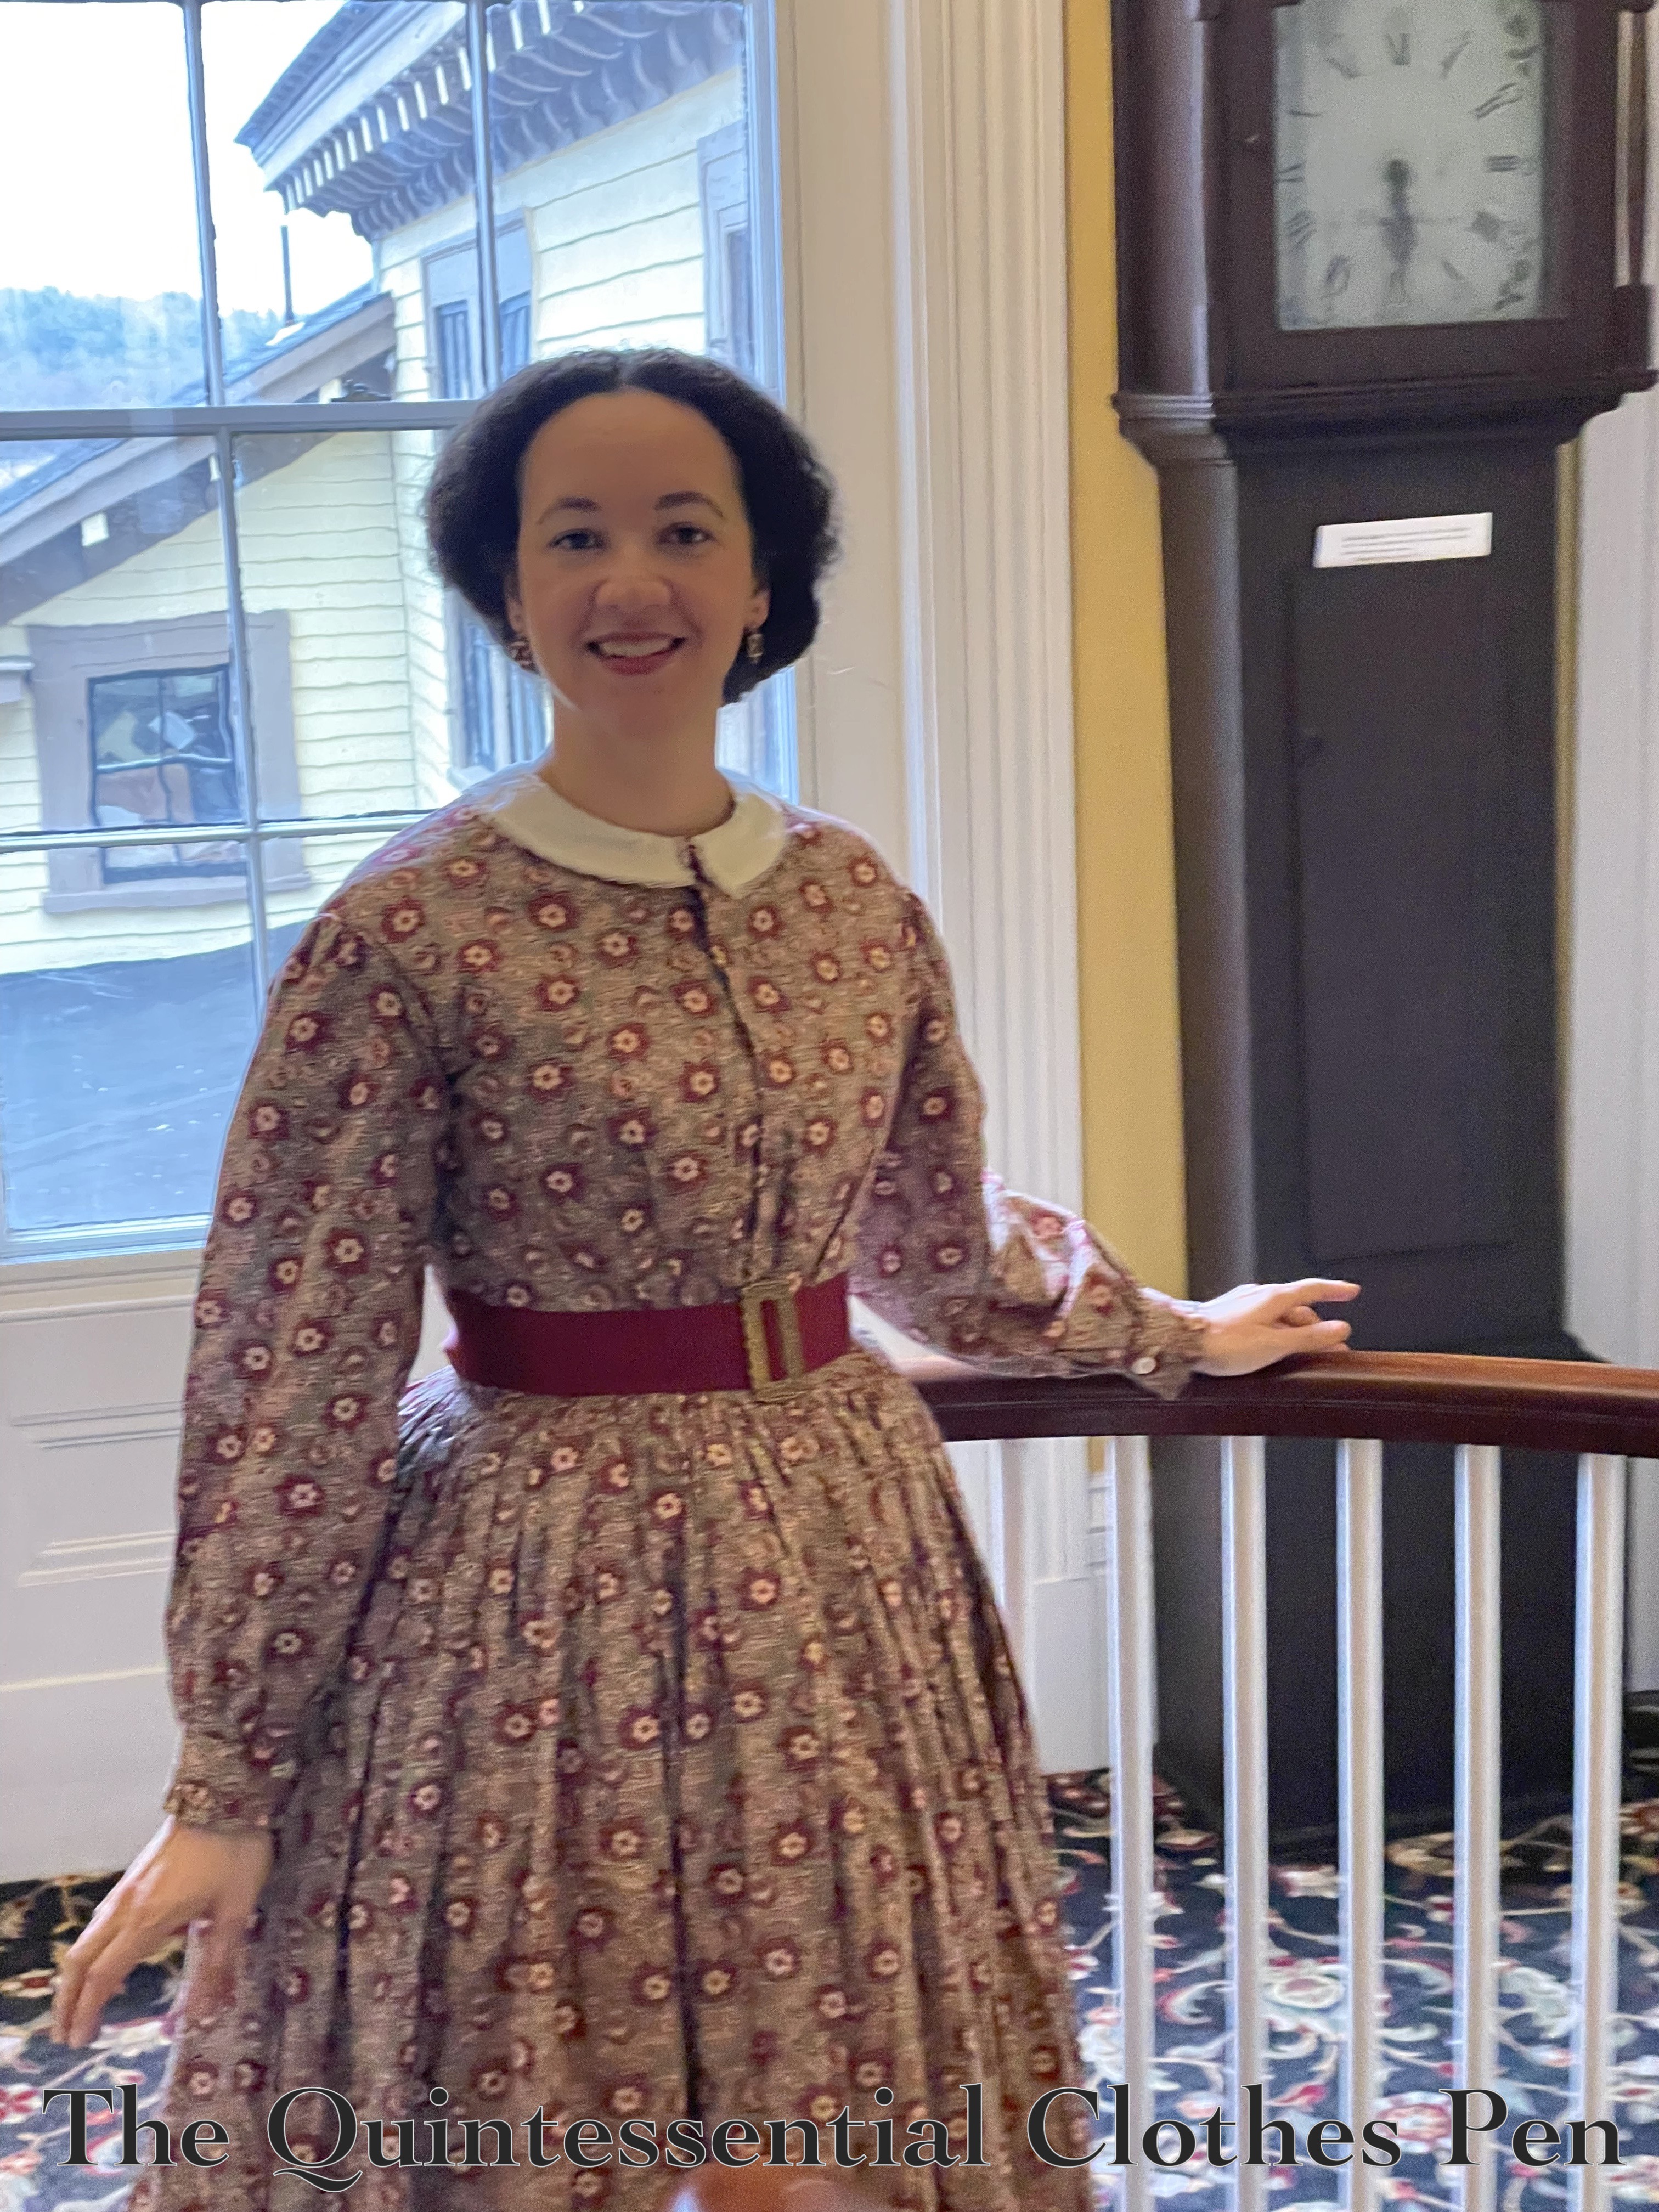
I decided to bring an oldie but goodie out of the closet for this year’s Footwork and Frolick fundraiser tea! I made Georgina, this 1858 reproduction cotton print dress, back in 2013! You can read all about the construction details here, in the original blog post sharing about this dress.

Movement space while preparing and serving tea is limited at this event, so hoops (which I would normally wear with this dress to support the skirt shape) were out of the question. I decided to go in an earlier 1850s direction with the help of the 1830s. (If you’d like to learn more about the “reasonable” hoops I would normally wear with this dress, check out this blog post which talks about how I made them, the dimensions, etc. and compares these to a bigger, more exaggerated hoop skirt I made as well.)

Why earlier 1850s? Well, the steel cage crinoline was patented in 1856. Before these structures came into use, women in the 19th century used other methods to create volume in their skirts. Layered petticoats, petticoats with ruffles, petticoats made out of stiff fabrics such as horsehair, quilted petticoats… These could get heavy and hot, but they did manage to get the job done! I decided to go with this type of layering for Georgina for this wearing.

However, while I don’t have layers and layers of 1850s specific petticoats, I do have a number of 1830s skirt supports and petticoats. So that’s where the 1830s helped out! It’s not unreasonable to think that people in the 1850s were still wearing garments similar to what they wore in the previous decade or two. Petticoat styles changed slowly (aside from increasing in volume!). I wore my 1830s/40s corded petticoat, 1830s skirt puffer, and 1830s/40s brown silk petticoat to achieve fullness. It was a nice silhouette!

The only issue is that Georgina’s skirt was still a little big long to be able to walk safely, especially while holding a pot of hot tea! So instead of wearing flat shoes, which would be my go to for daytime wear for the 1850s (or one could wear low — 1″ or so — heels, but I don’t have the right style in a daytime shoe style), I decided to wear my American Duchess carriage boots, which have a 2″ wedge. It’s always fun to have a reason to wear them and they lifted me just enough for my skirt to be a safe length. A win on all counts!

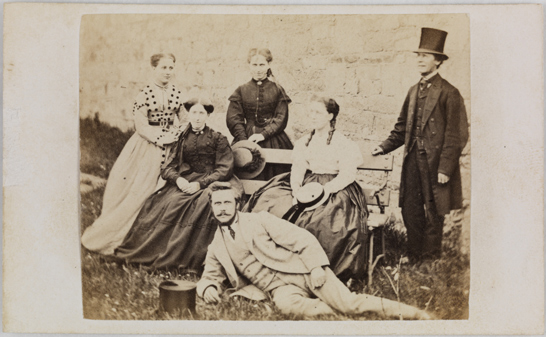
The other fun thing about this wearing is that I added a ribbon belt! This is a style that is pretty common for the 1850s in photographs of women wearing daywear. The belts and buckles add interest and help define the straight waistlines of the dresses. In the example below, the woman on the left wears a belt with a decorative buckle.

Group of six people outdoors, R. H. Kinnear, Science Museum Group collection. Included in the article “How to spot a carte de visite (late 1850s–c.1910)” by Colin Harding. 27 June 2013.

Here are further examples (all of these are on Pinterest): a plaid dress with a belt and decorative buckle, a check dress with a belt and decorative clasp, and a printed dress with a belt and decorative clasp or brooch.

Like the skirt supports, this idea also links back to my 1830s outfits, as I purchased three different colors of beautiful petersham ribbon to use at belts for my cotton print dresses from that decade as well as decorative buckle to wear with them. In this post about wearing my 1838 yellow dress I show the brown ribbon and discuss where I purchased the ribbon and buckle. In this post I show the burgundy ribbon with the 1834 bodice for my yellow dress. And in this more recent post I show the dark green ribbon with my 1836 blue dress. The burgundy ribbon matches Georgina’s fabric perfectly, so that’s what I decided on!

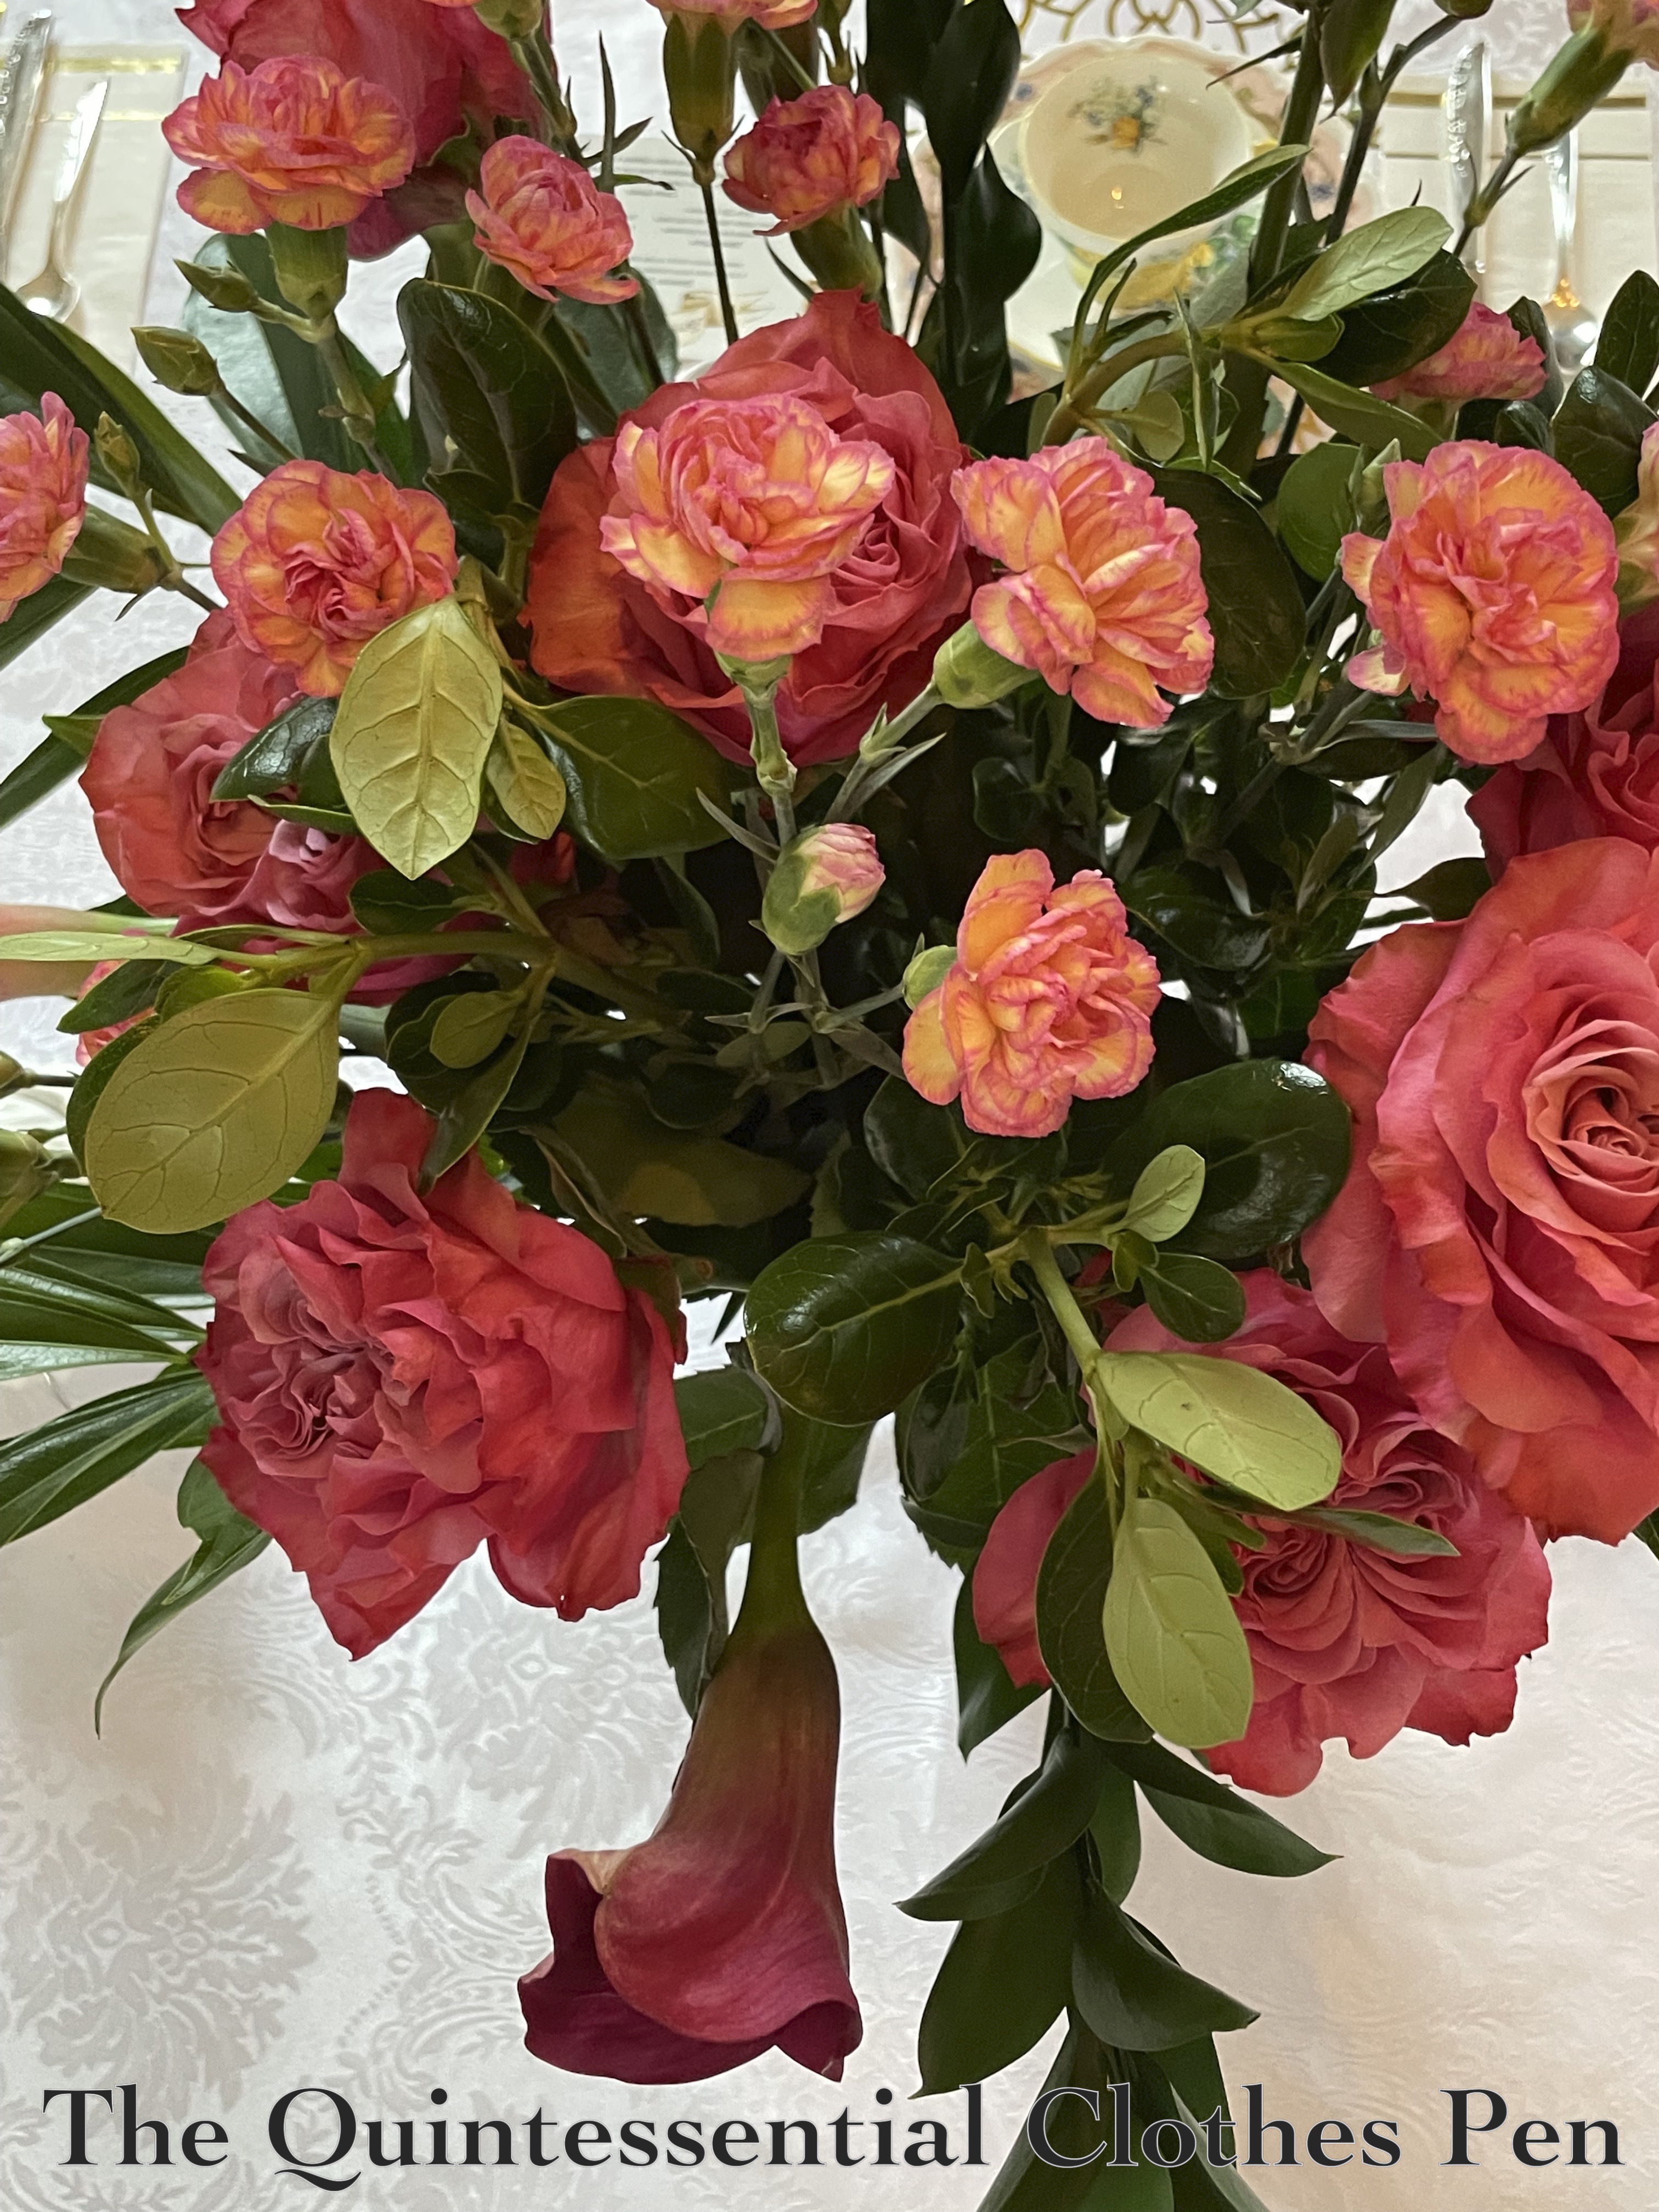
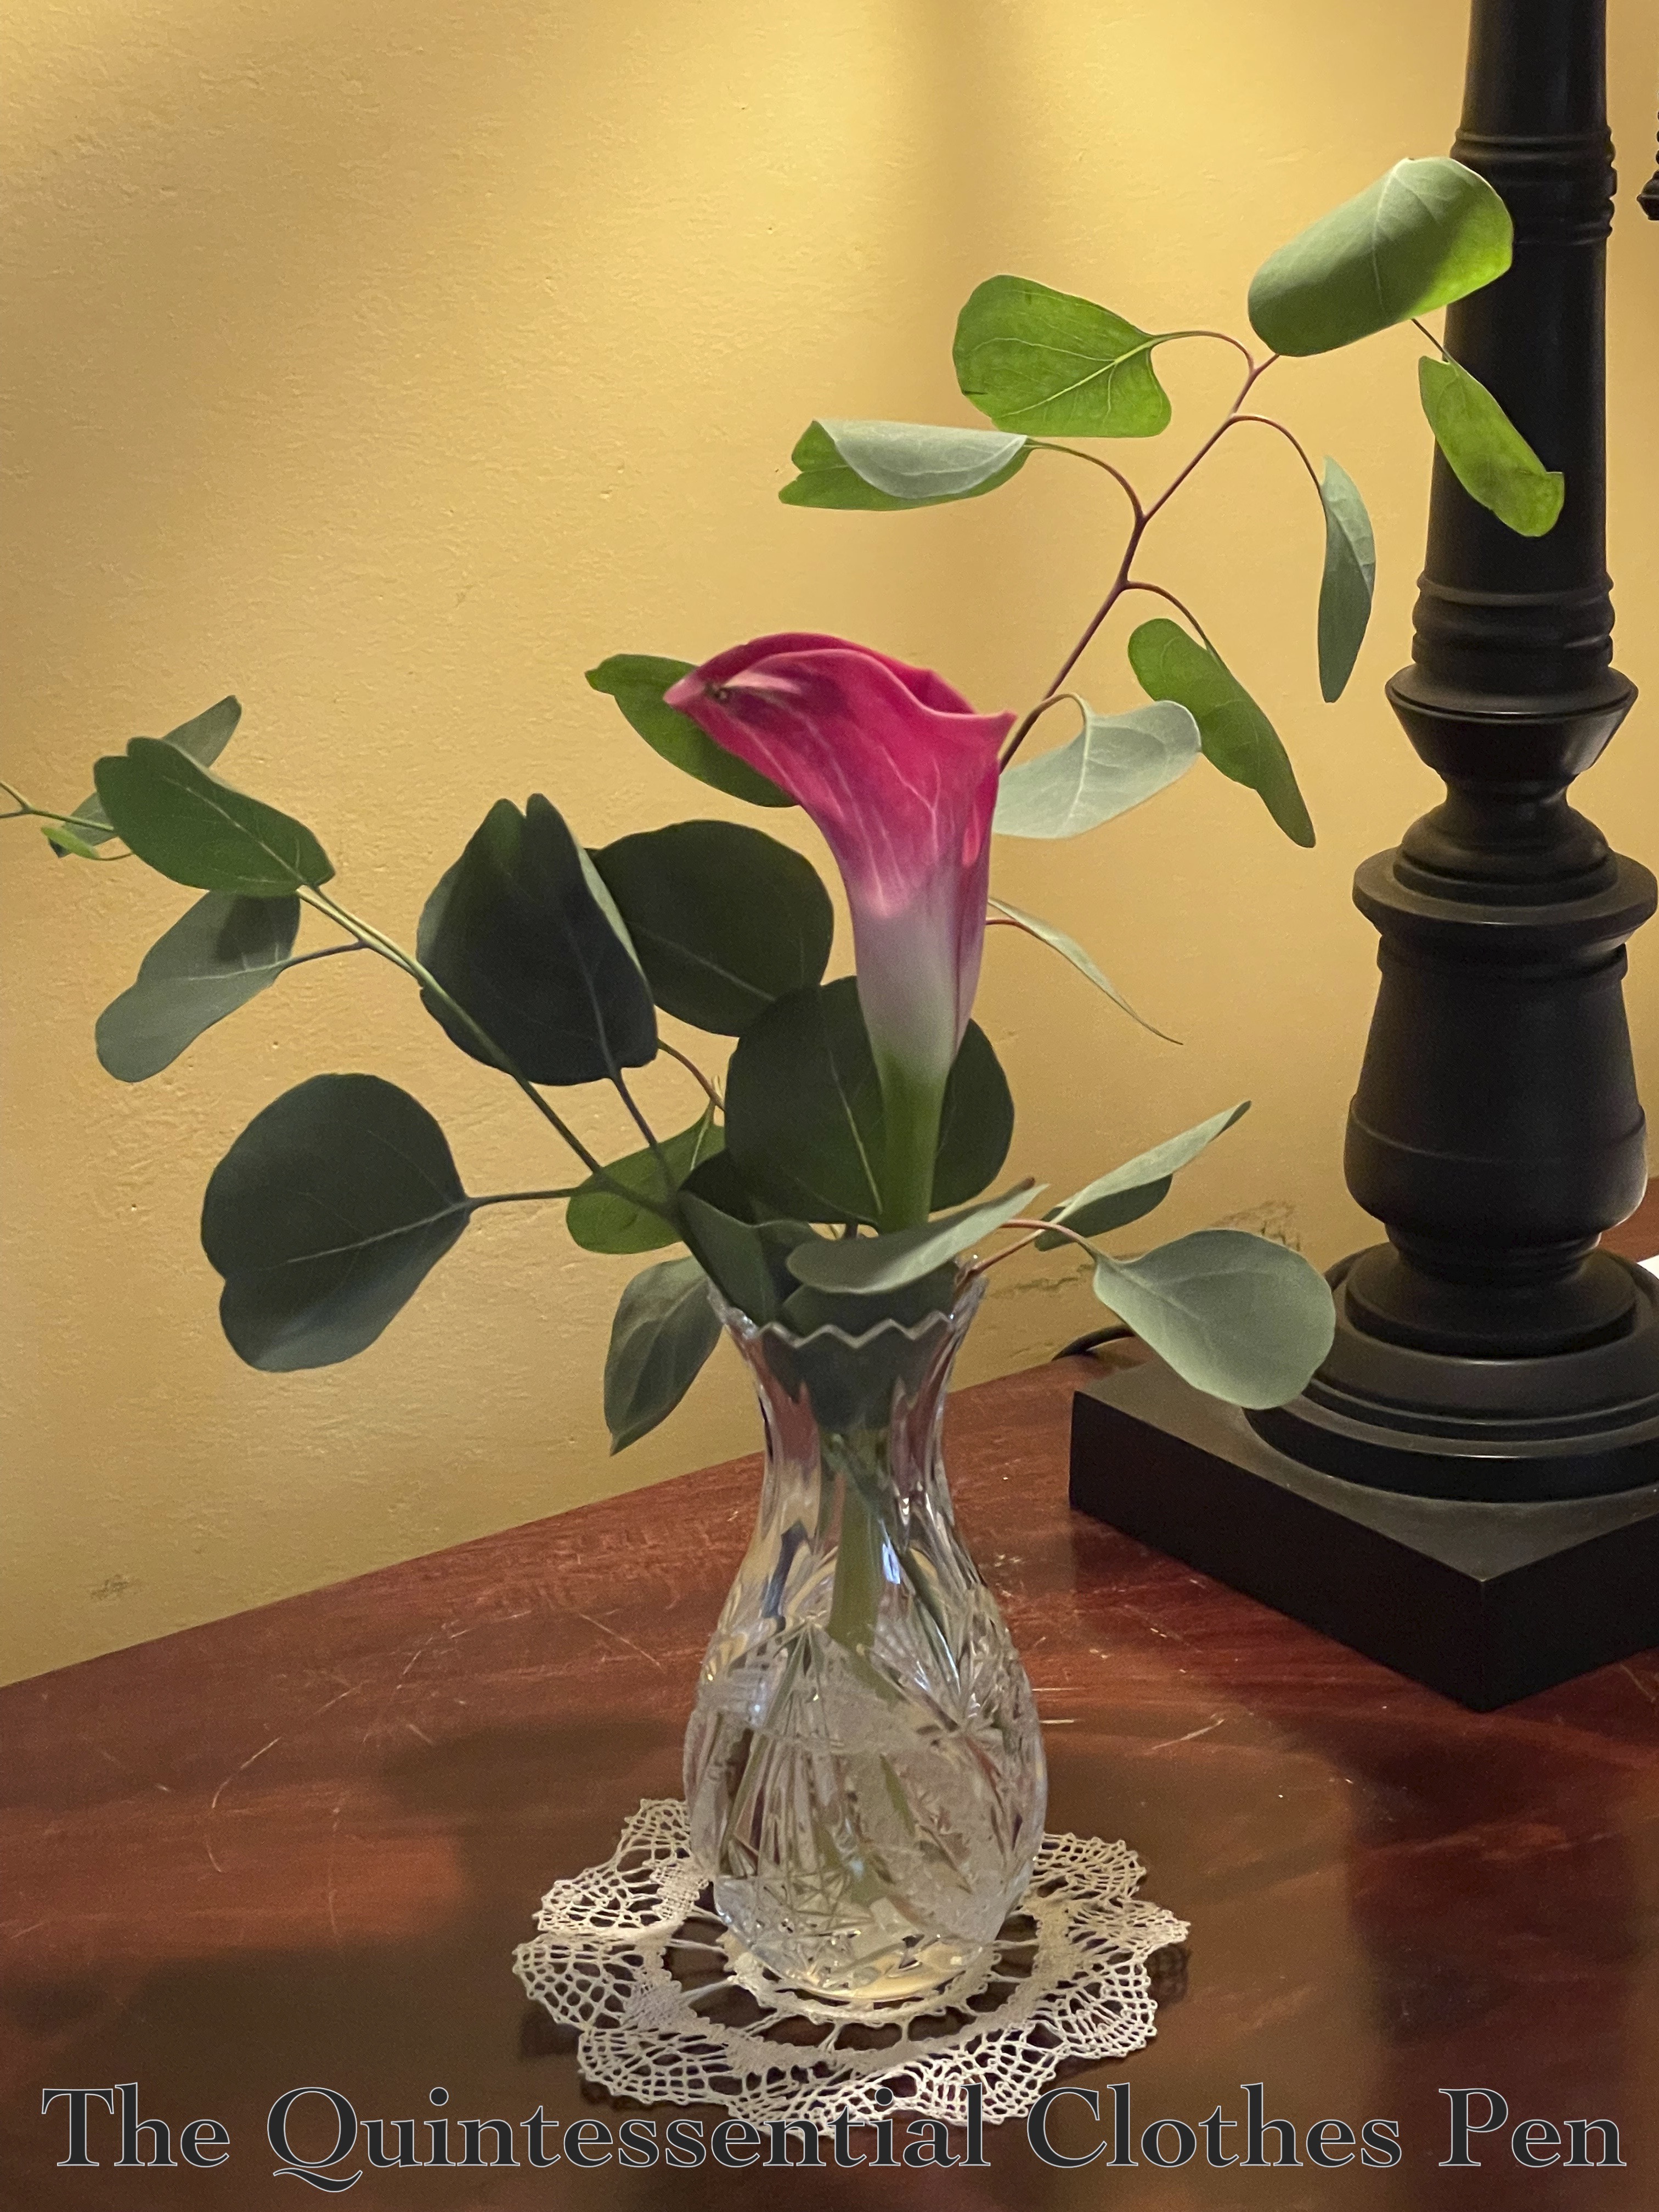
It’s fun to wear this lovely reproduction print and have a new accessory to change things up! Georgina in a new light! And a few photos of lovely flowers from the tea to add a bit of charm, as well.

1830s Blue Cotton Print Dress Friends!

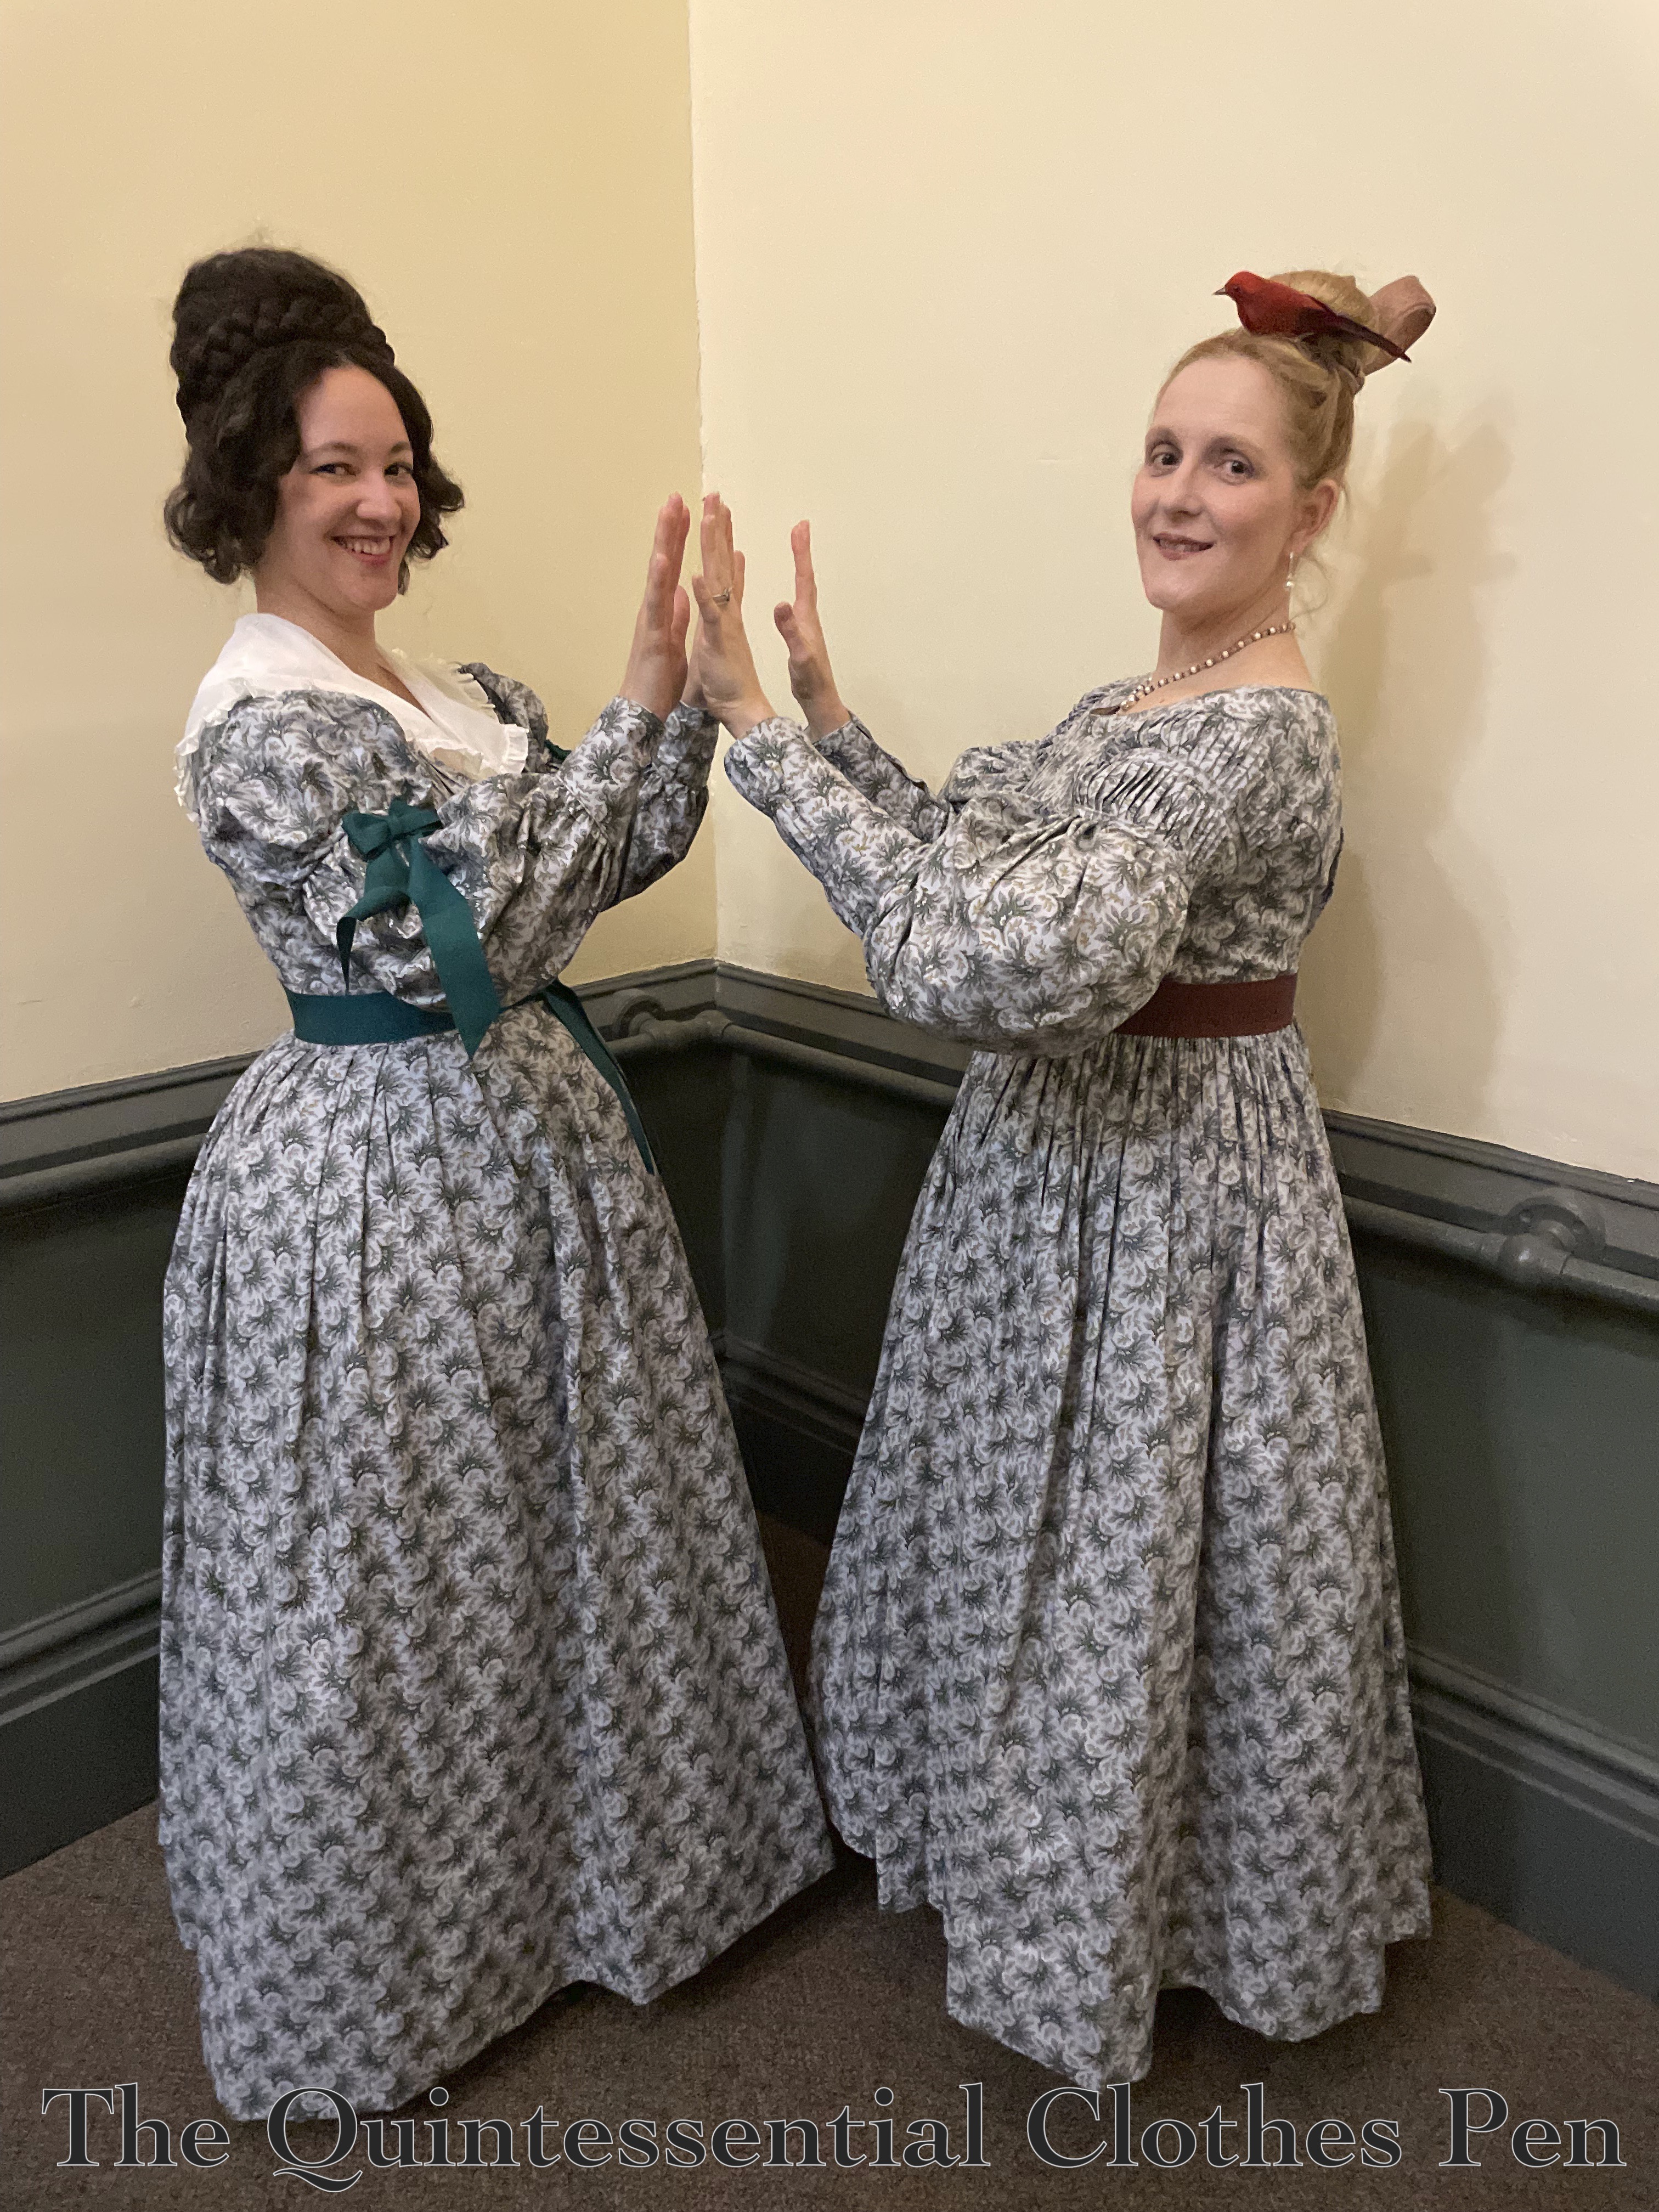
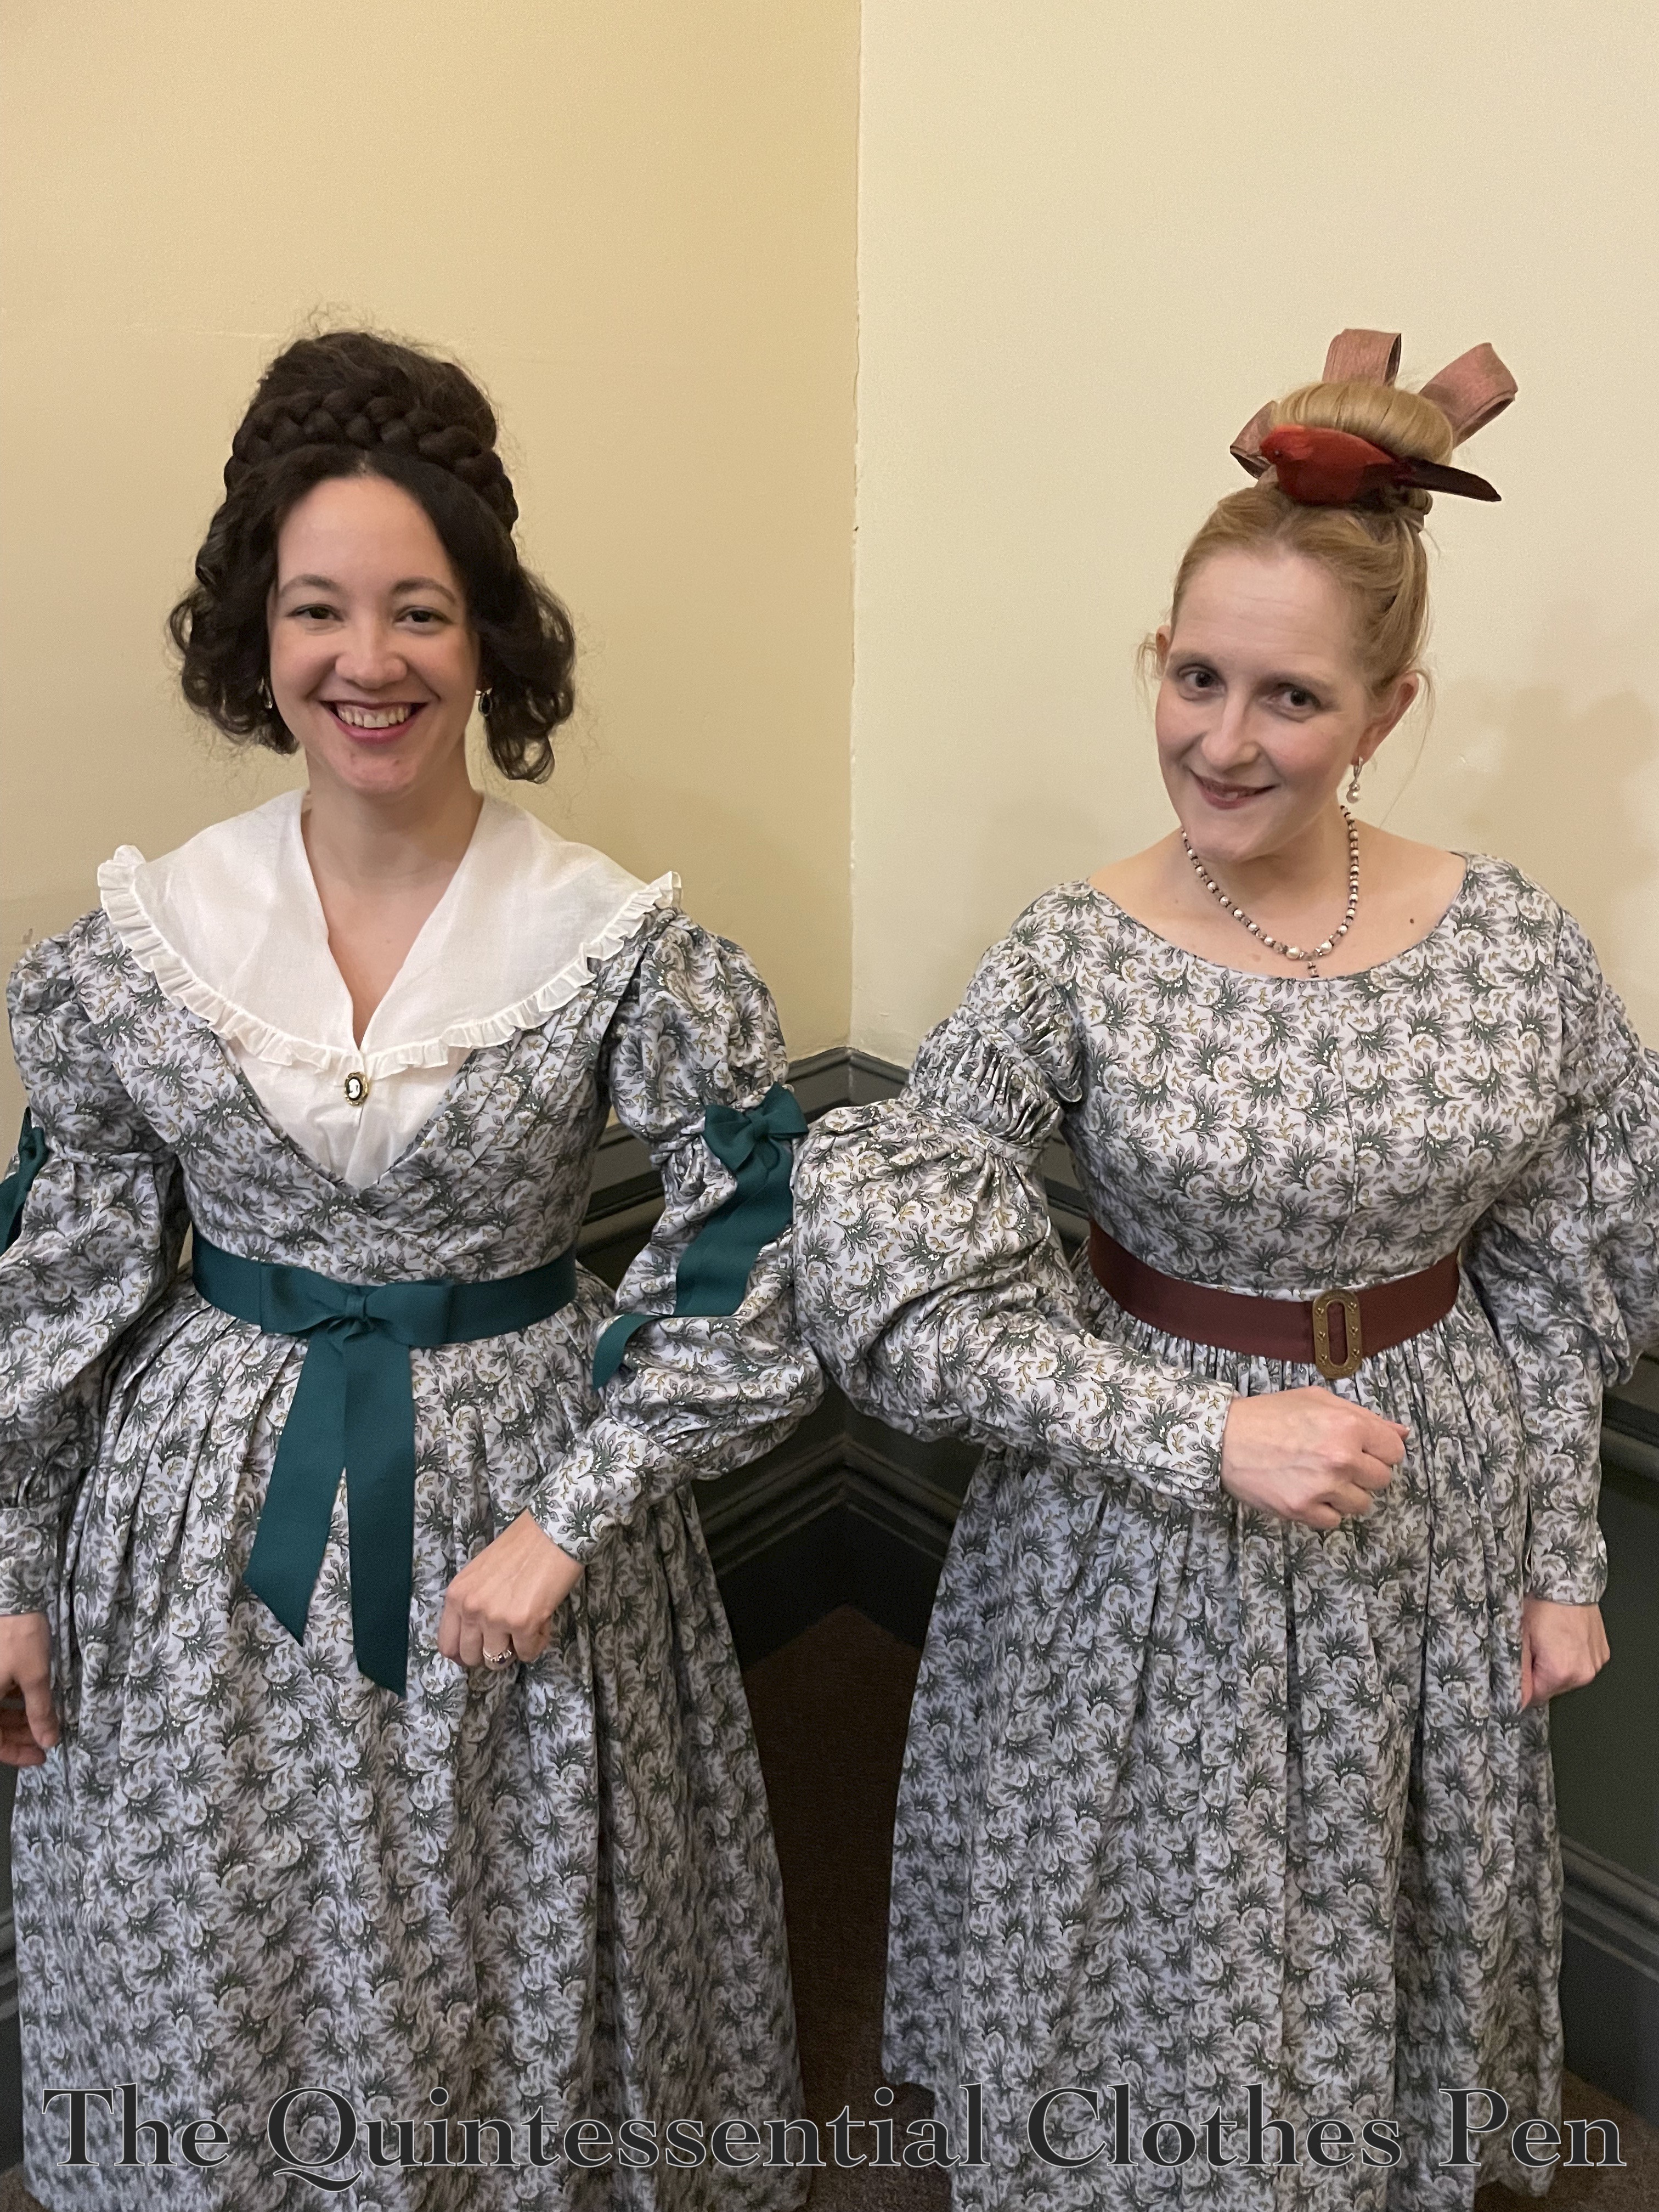
The 1836 Blue Cotton Print Dress I recently posted about making (on the left in the photo below) has a very similar dress-friend… It’s like looking in a mirror!

In fact, I purchased the fabric for the 1837 dress first (on the right in the photo above). When I started making the dress and saw how cute it was I decided I needed some of that fabric for a dress for me, too! I wrote about making that first 1837 dress back in 2022, which you can read about in this post.

We enjoyed trying different colors and styles of ribbons than we had in the past to complement the colors in the cotton print for this wearing.

And fun to play 1830s-bumper-sleeves!

I find great joy in noting the construction, pattern, and accessory differences between our two dresses. It’s neat to see how the same fabric can produce two dresses from the same period and in the same general silhouette, but with two different styles!

1836 Blue Cotton Print Dress (HSM #7)

I finished a large UFO! (That’s an Un-Finished Object.)

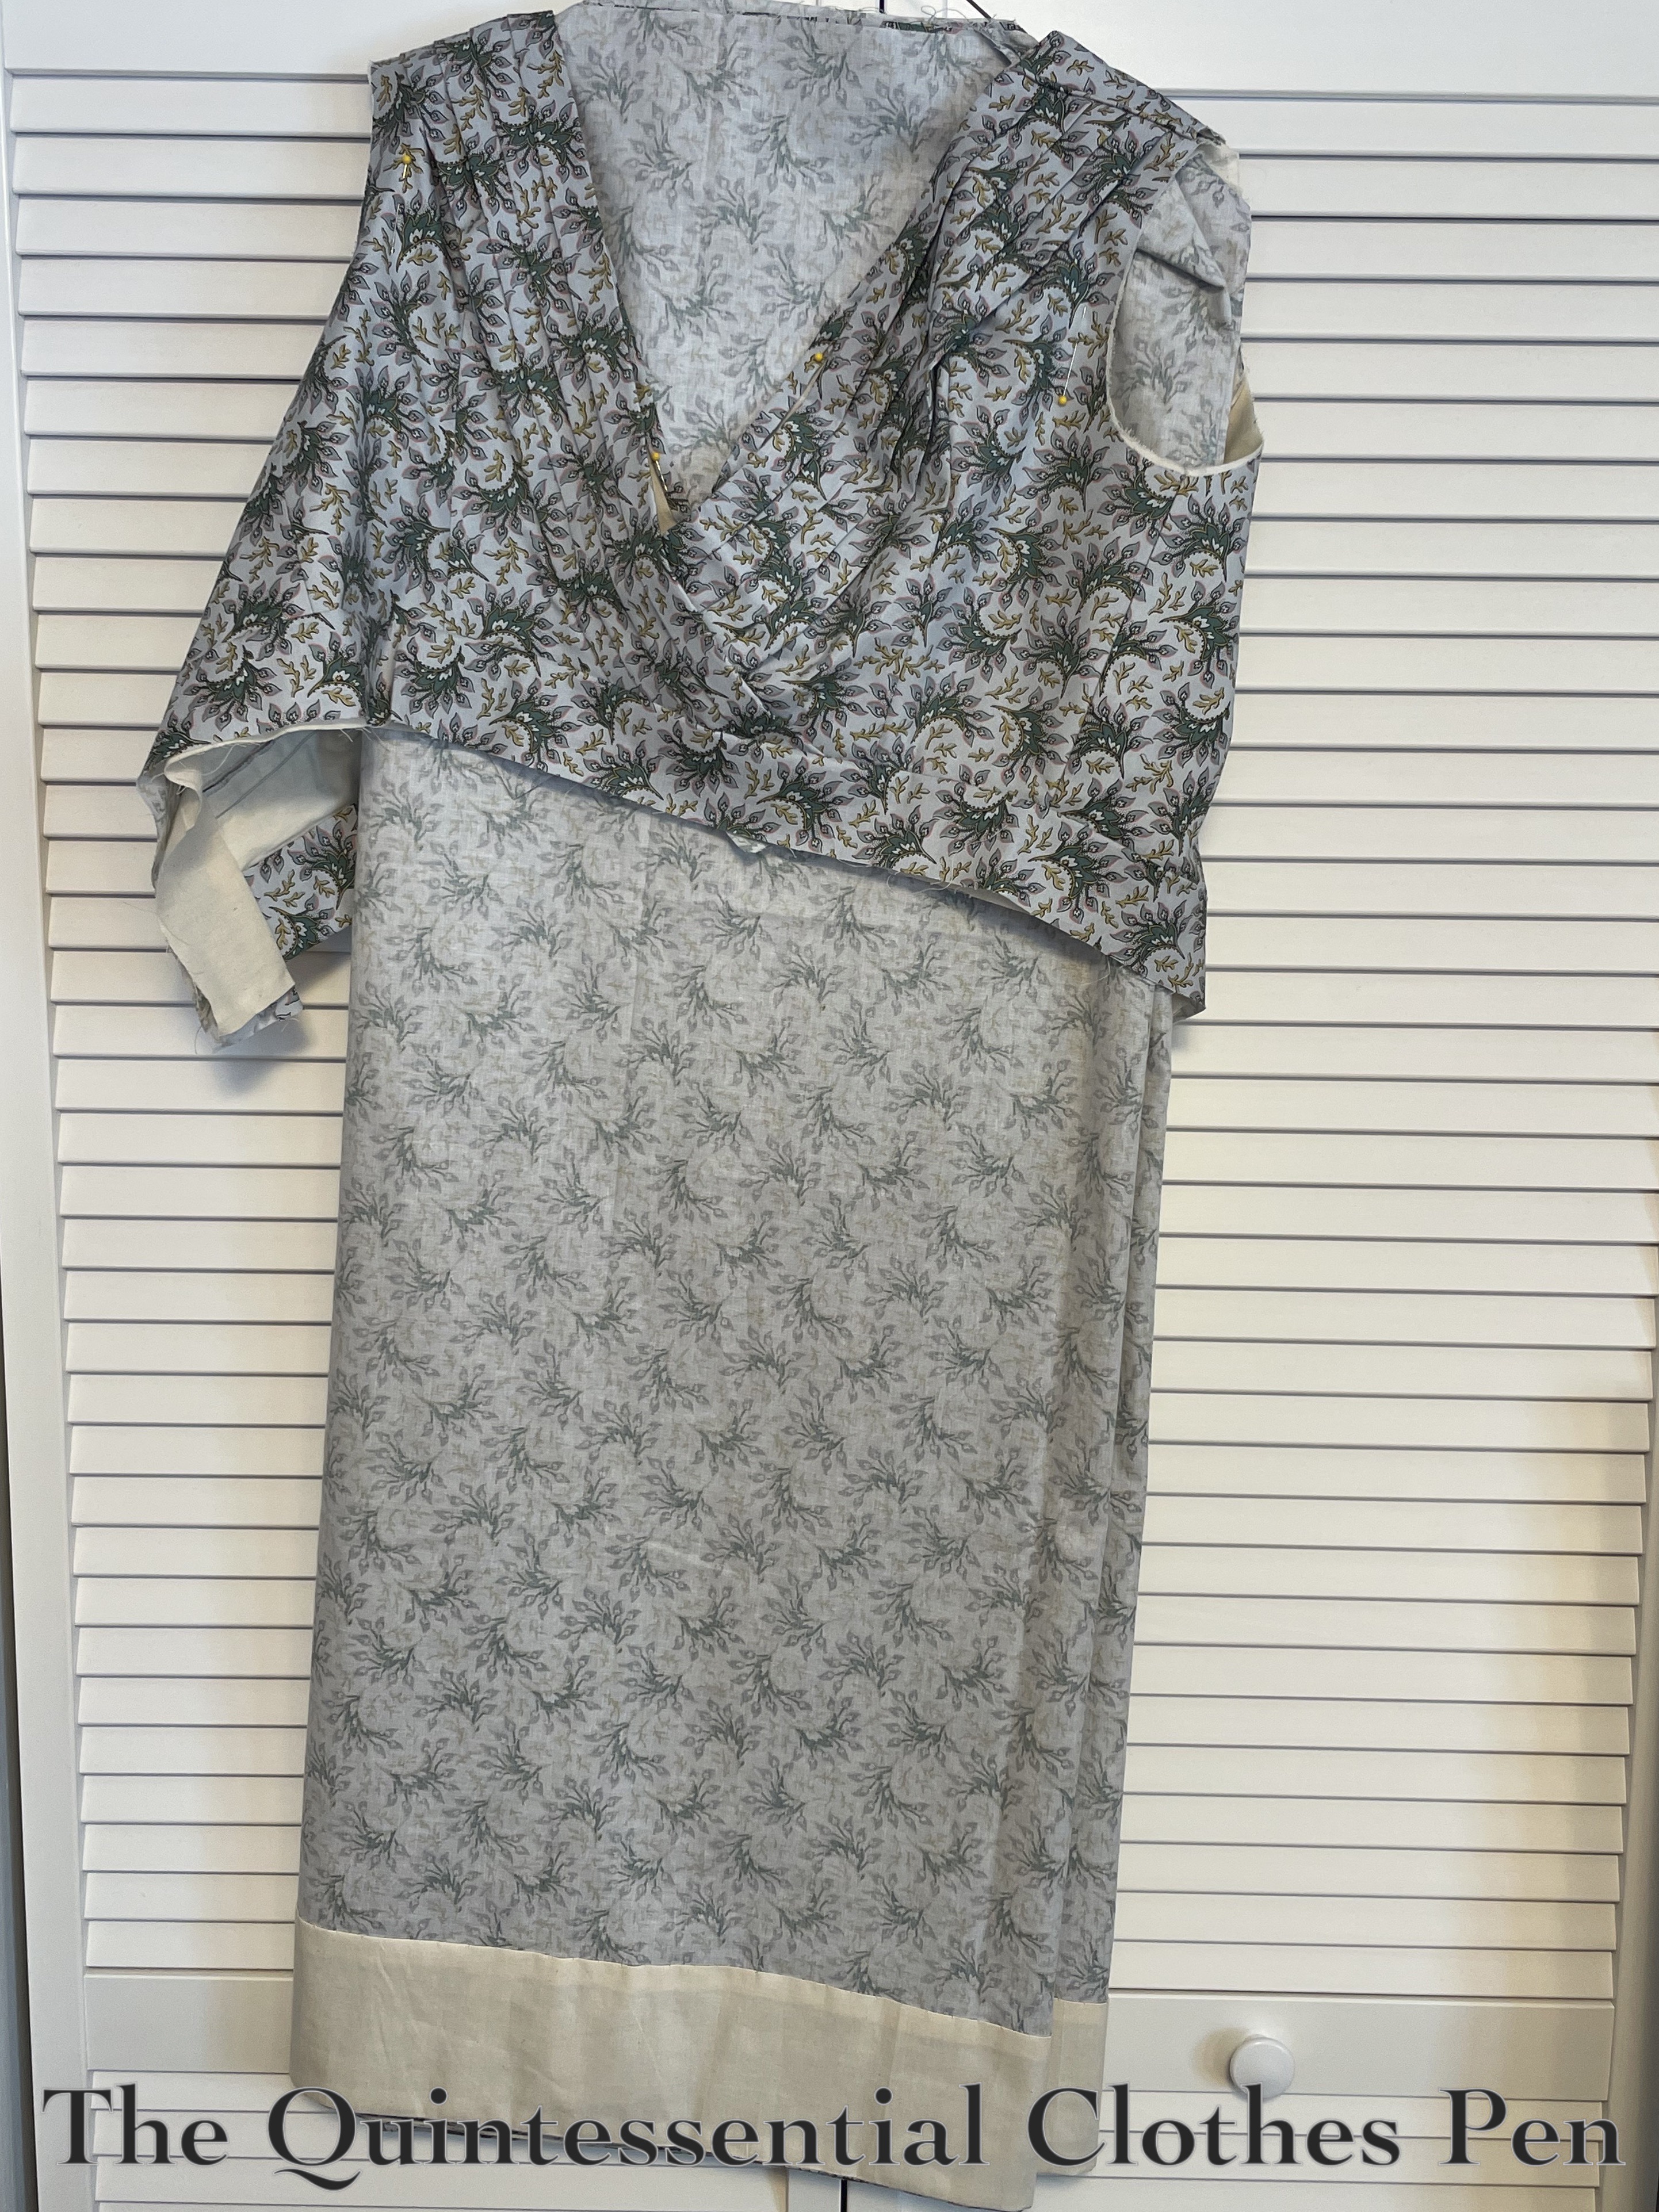
This is exciting because it’s been a few years in the making. You see, in 2020 I started a blue 1830s dress using the same fabric that I used for a friend’s dress. (You can see that dress in this past post. I even mention my in-progress blue dress at the end of the post!). In 2021, my dress was cut out but not assembled and by 2022, I’d started assembling the dress. I got as far as the bodice, skirt, and sleeves. But I was SO unhappy with the sleeves! They were not doing what I wanted at all. So the dress sat in the state in the image below for the next three years. From a sewing perspective, it remained on my “hopefully complete” to do list, but I didn’t have the heart to go back to the frustrating sleeves.
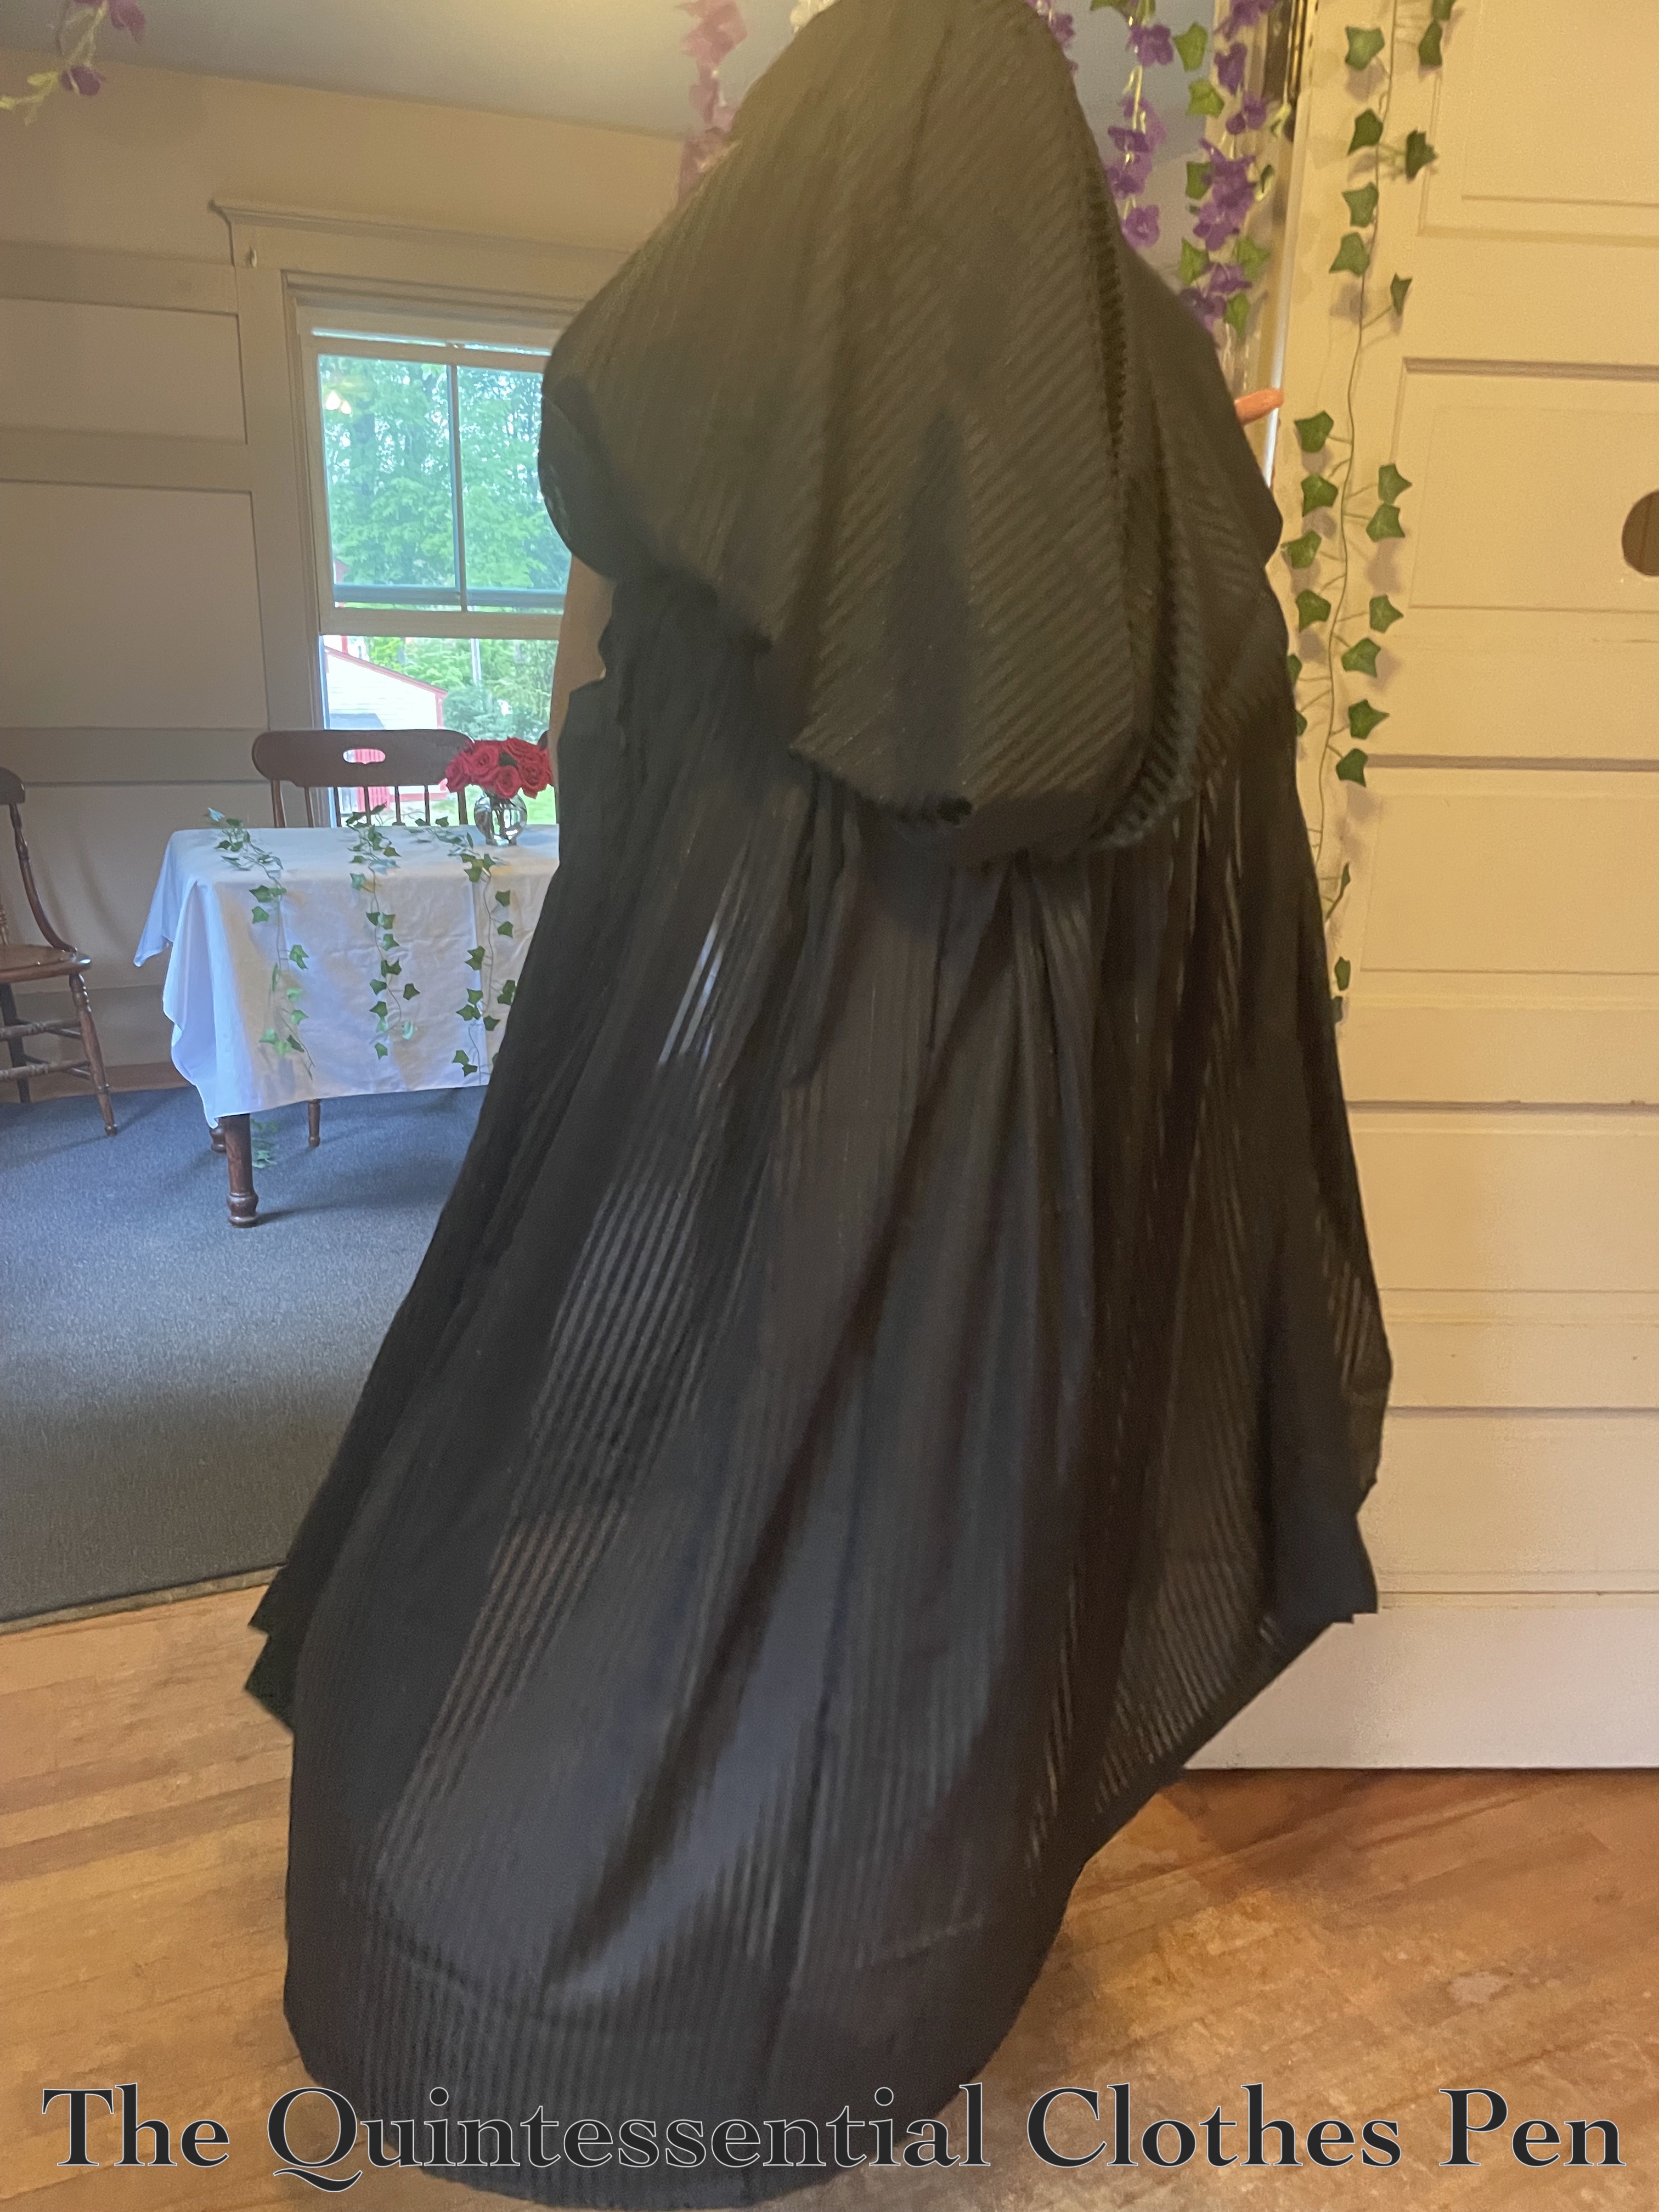
In 2025, however, I attached the skirt to the bodice. And, I looked at the sleeves again. I was still so sad… Finally, in early 2026 I found the energy needed to tackle the sleeves once again. I made an entirely new sleeve pattern and was finally able to move forward. My last blog post shares all the details about these new sleeves. It can be read here.

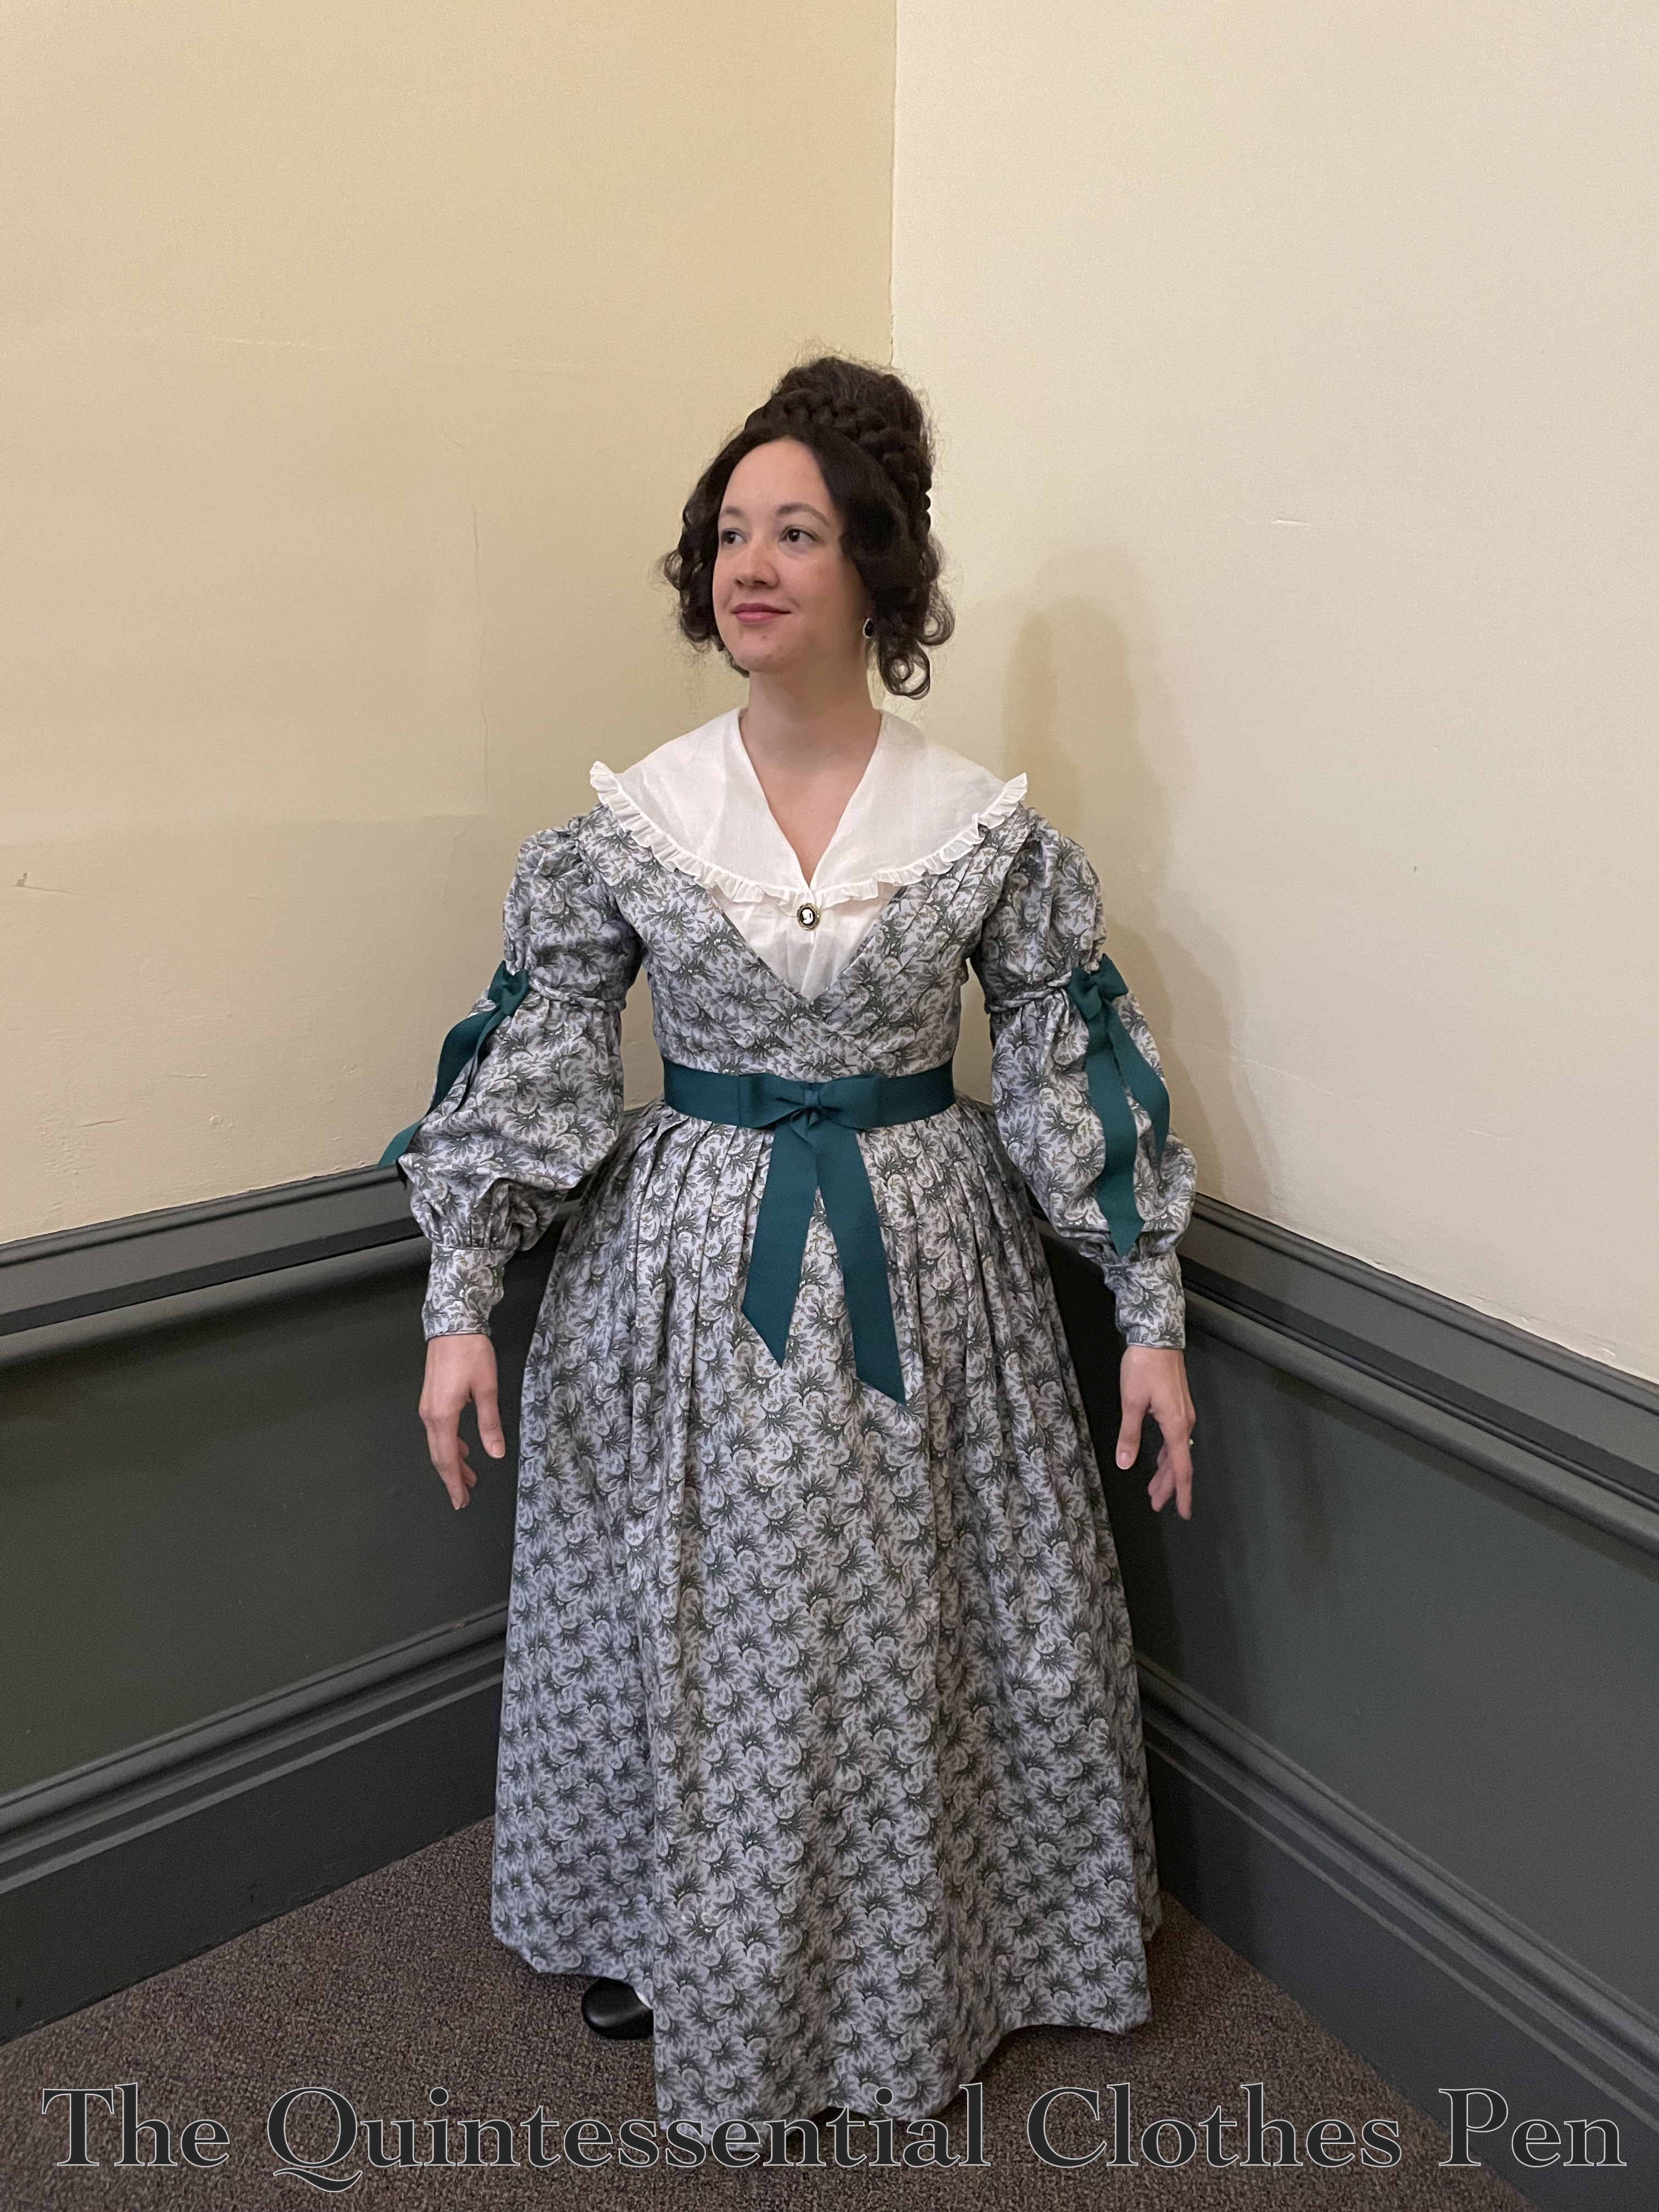
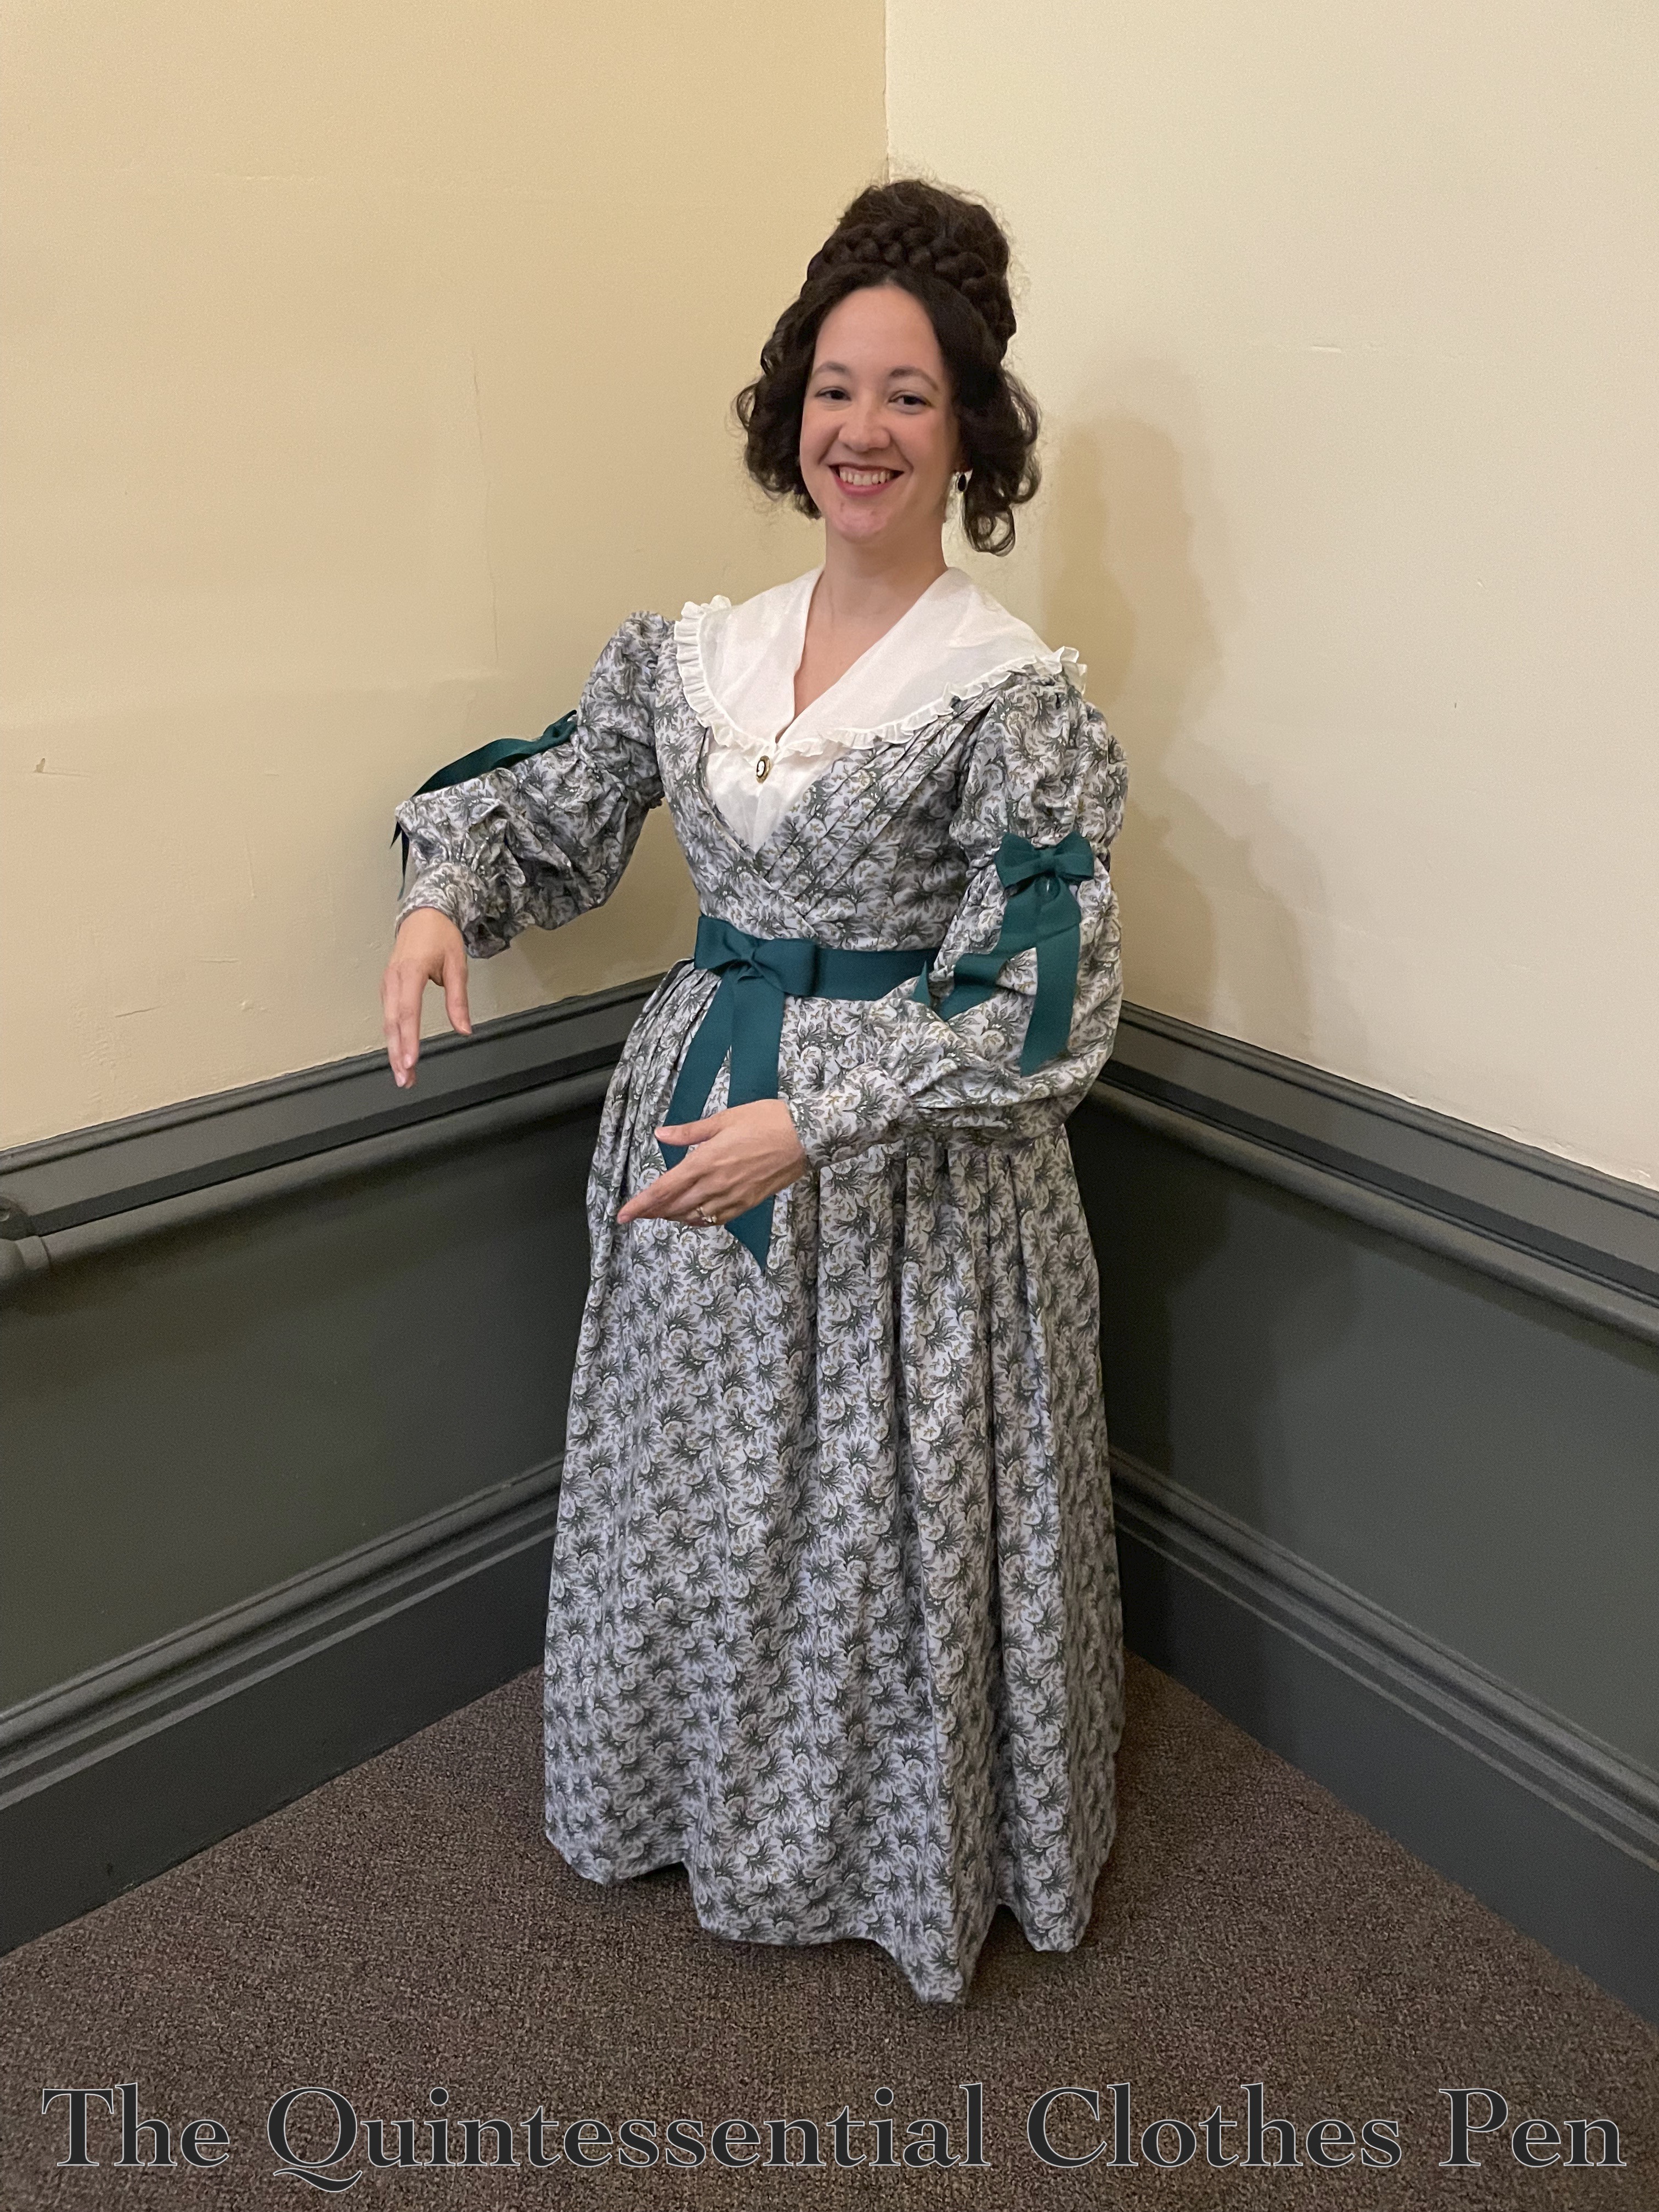
Below, showing off these new sleeves!

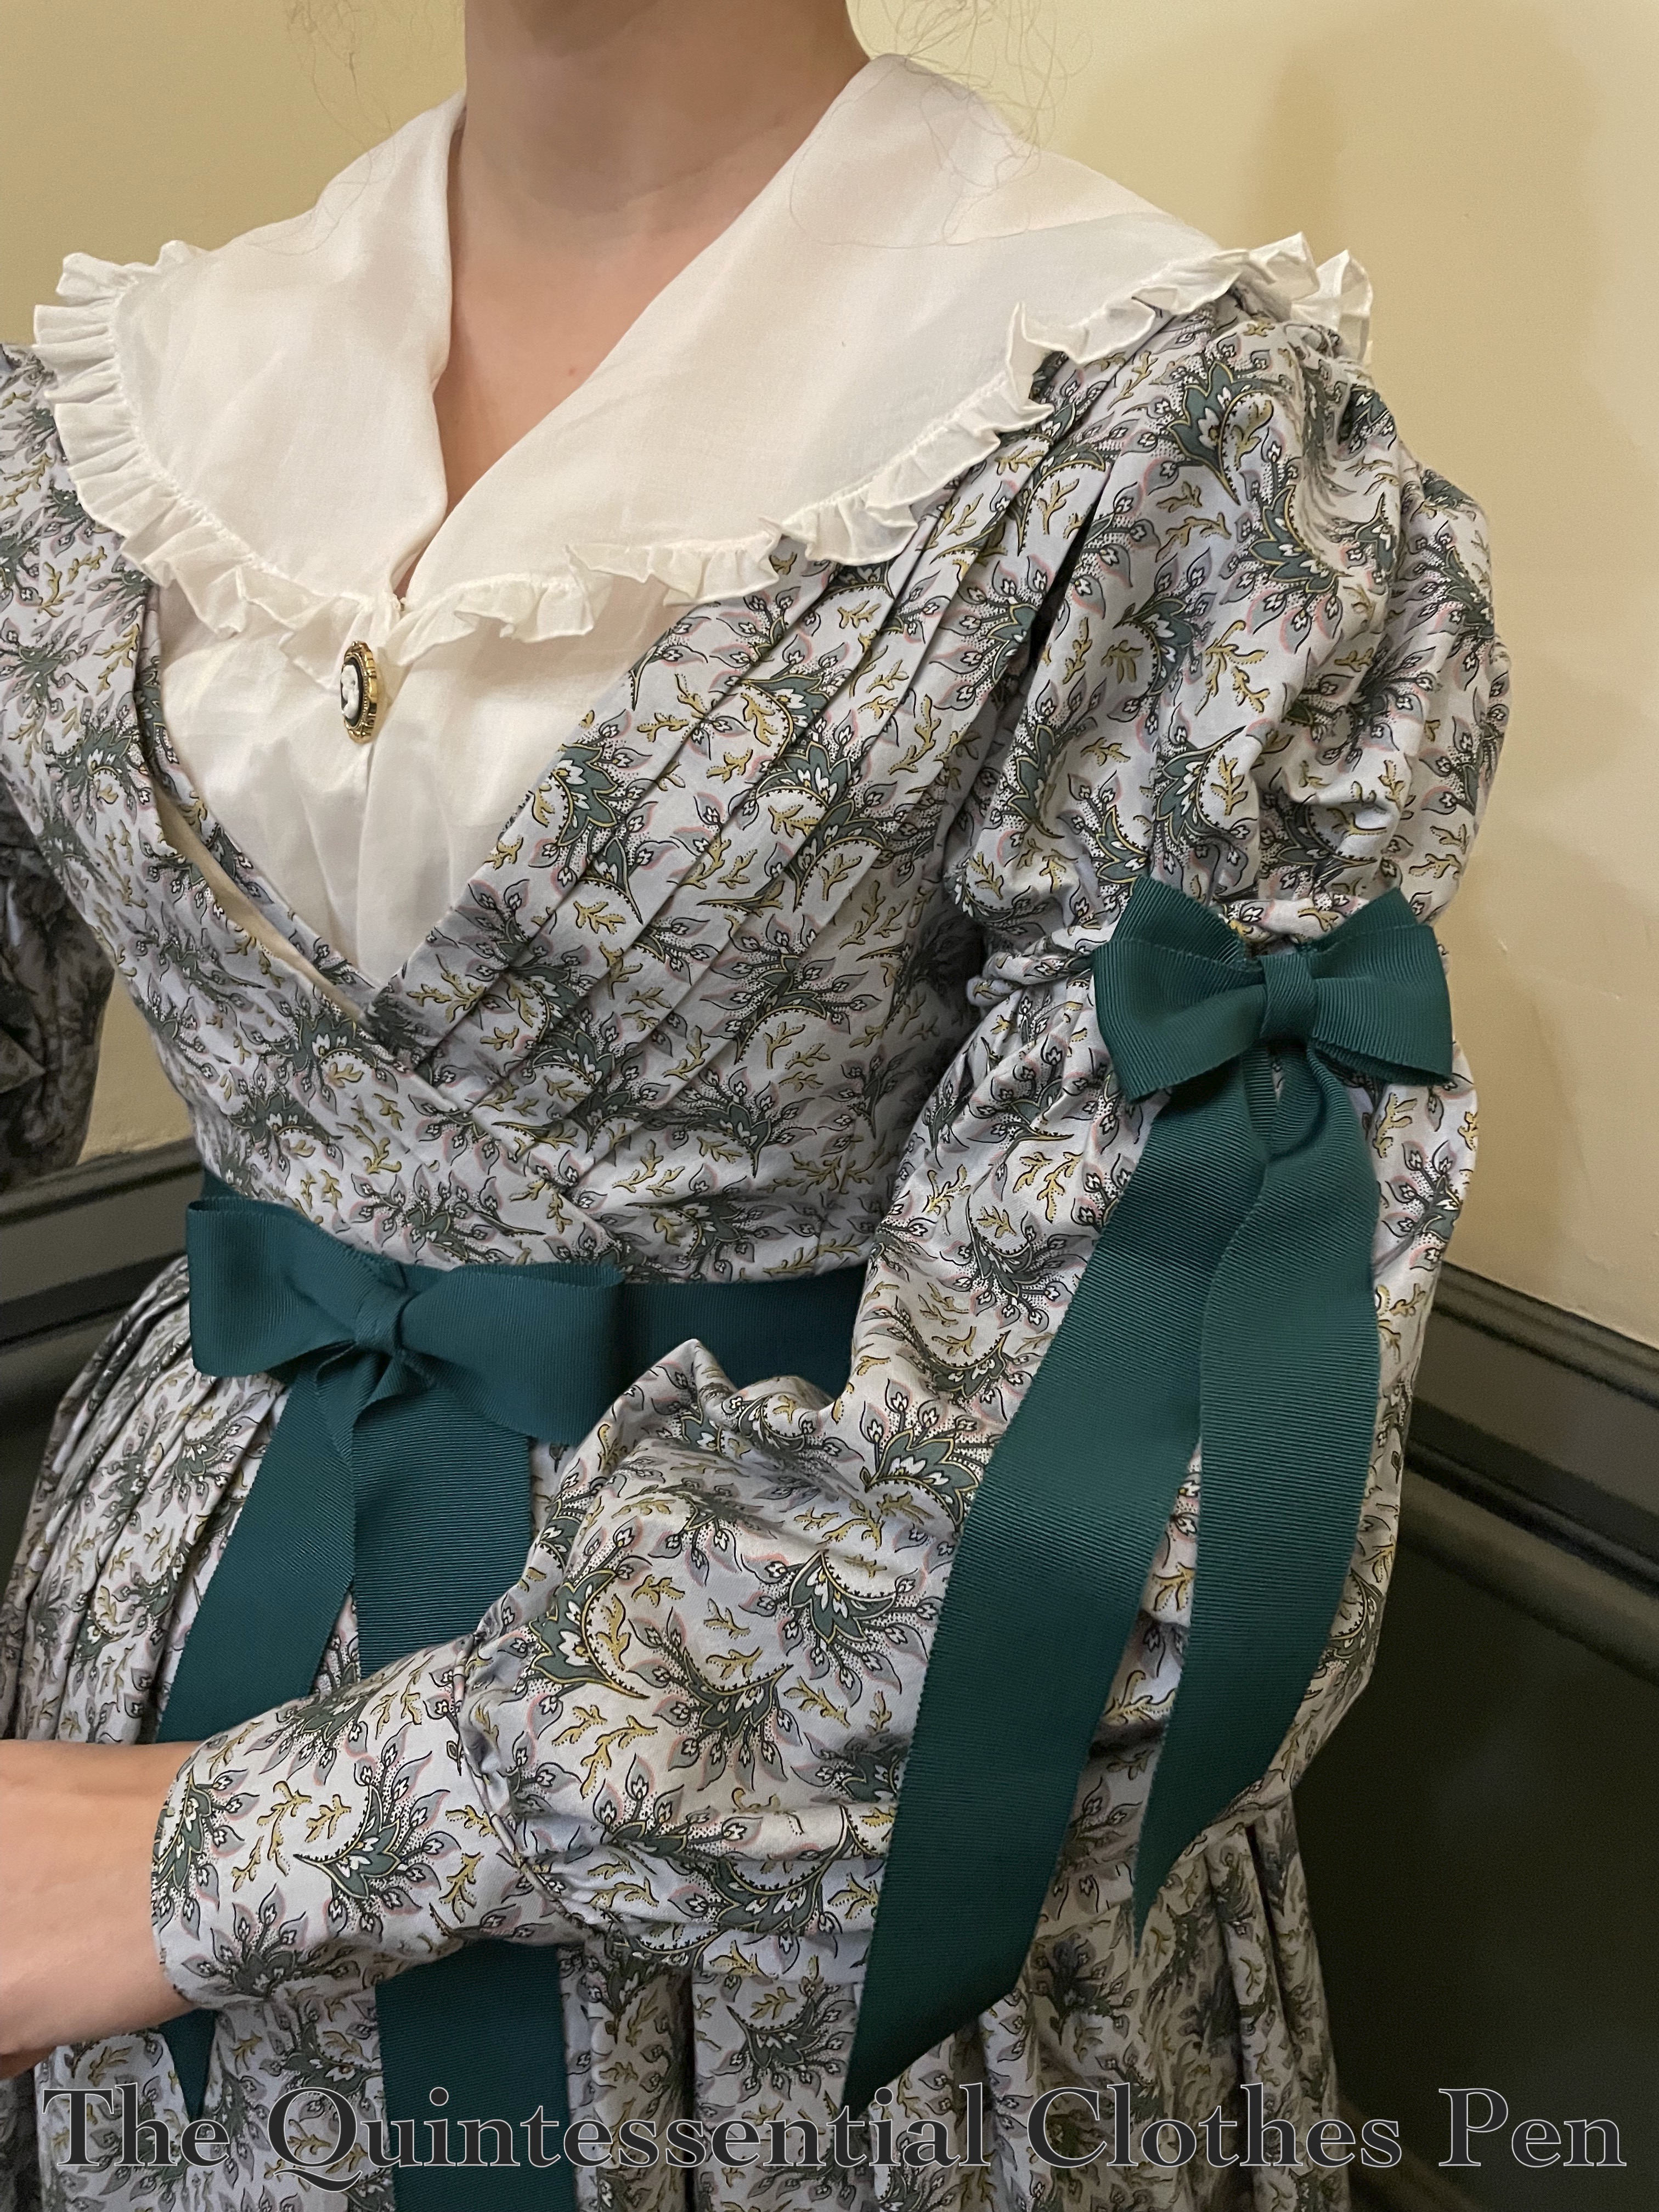
Next, a closeup showing the sleeves and other bodice details. The busy print on the cotton fabric hides some of the details, so its easy to appreciate them in a closer view.

Aside from the sleeves, the construction details for this dress are very similar to those for my 1838 yellow print cotton dress, which I detailed in this past post.

The white garment with the large collar is my 1836 chemisette, which I made to go with my 1838 dress bodice, as well as this dress. It’s great to have accessories that can be used for multiple outfits! You can read all about it in this past blog post.

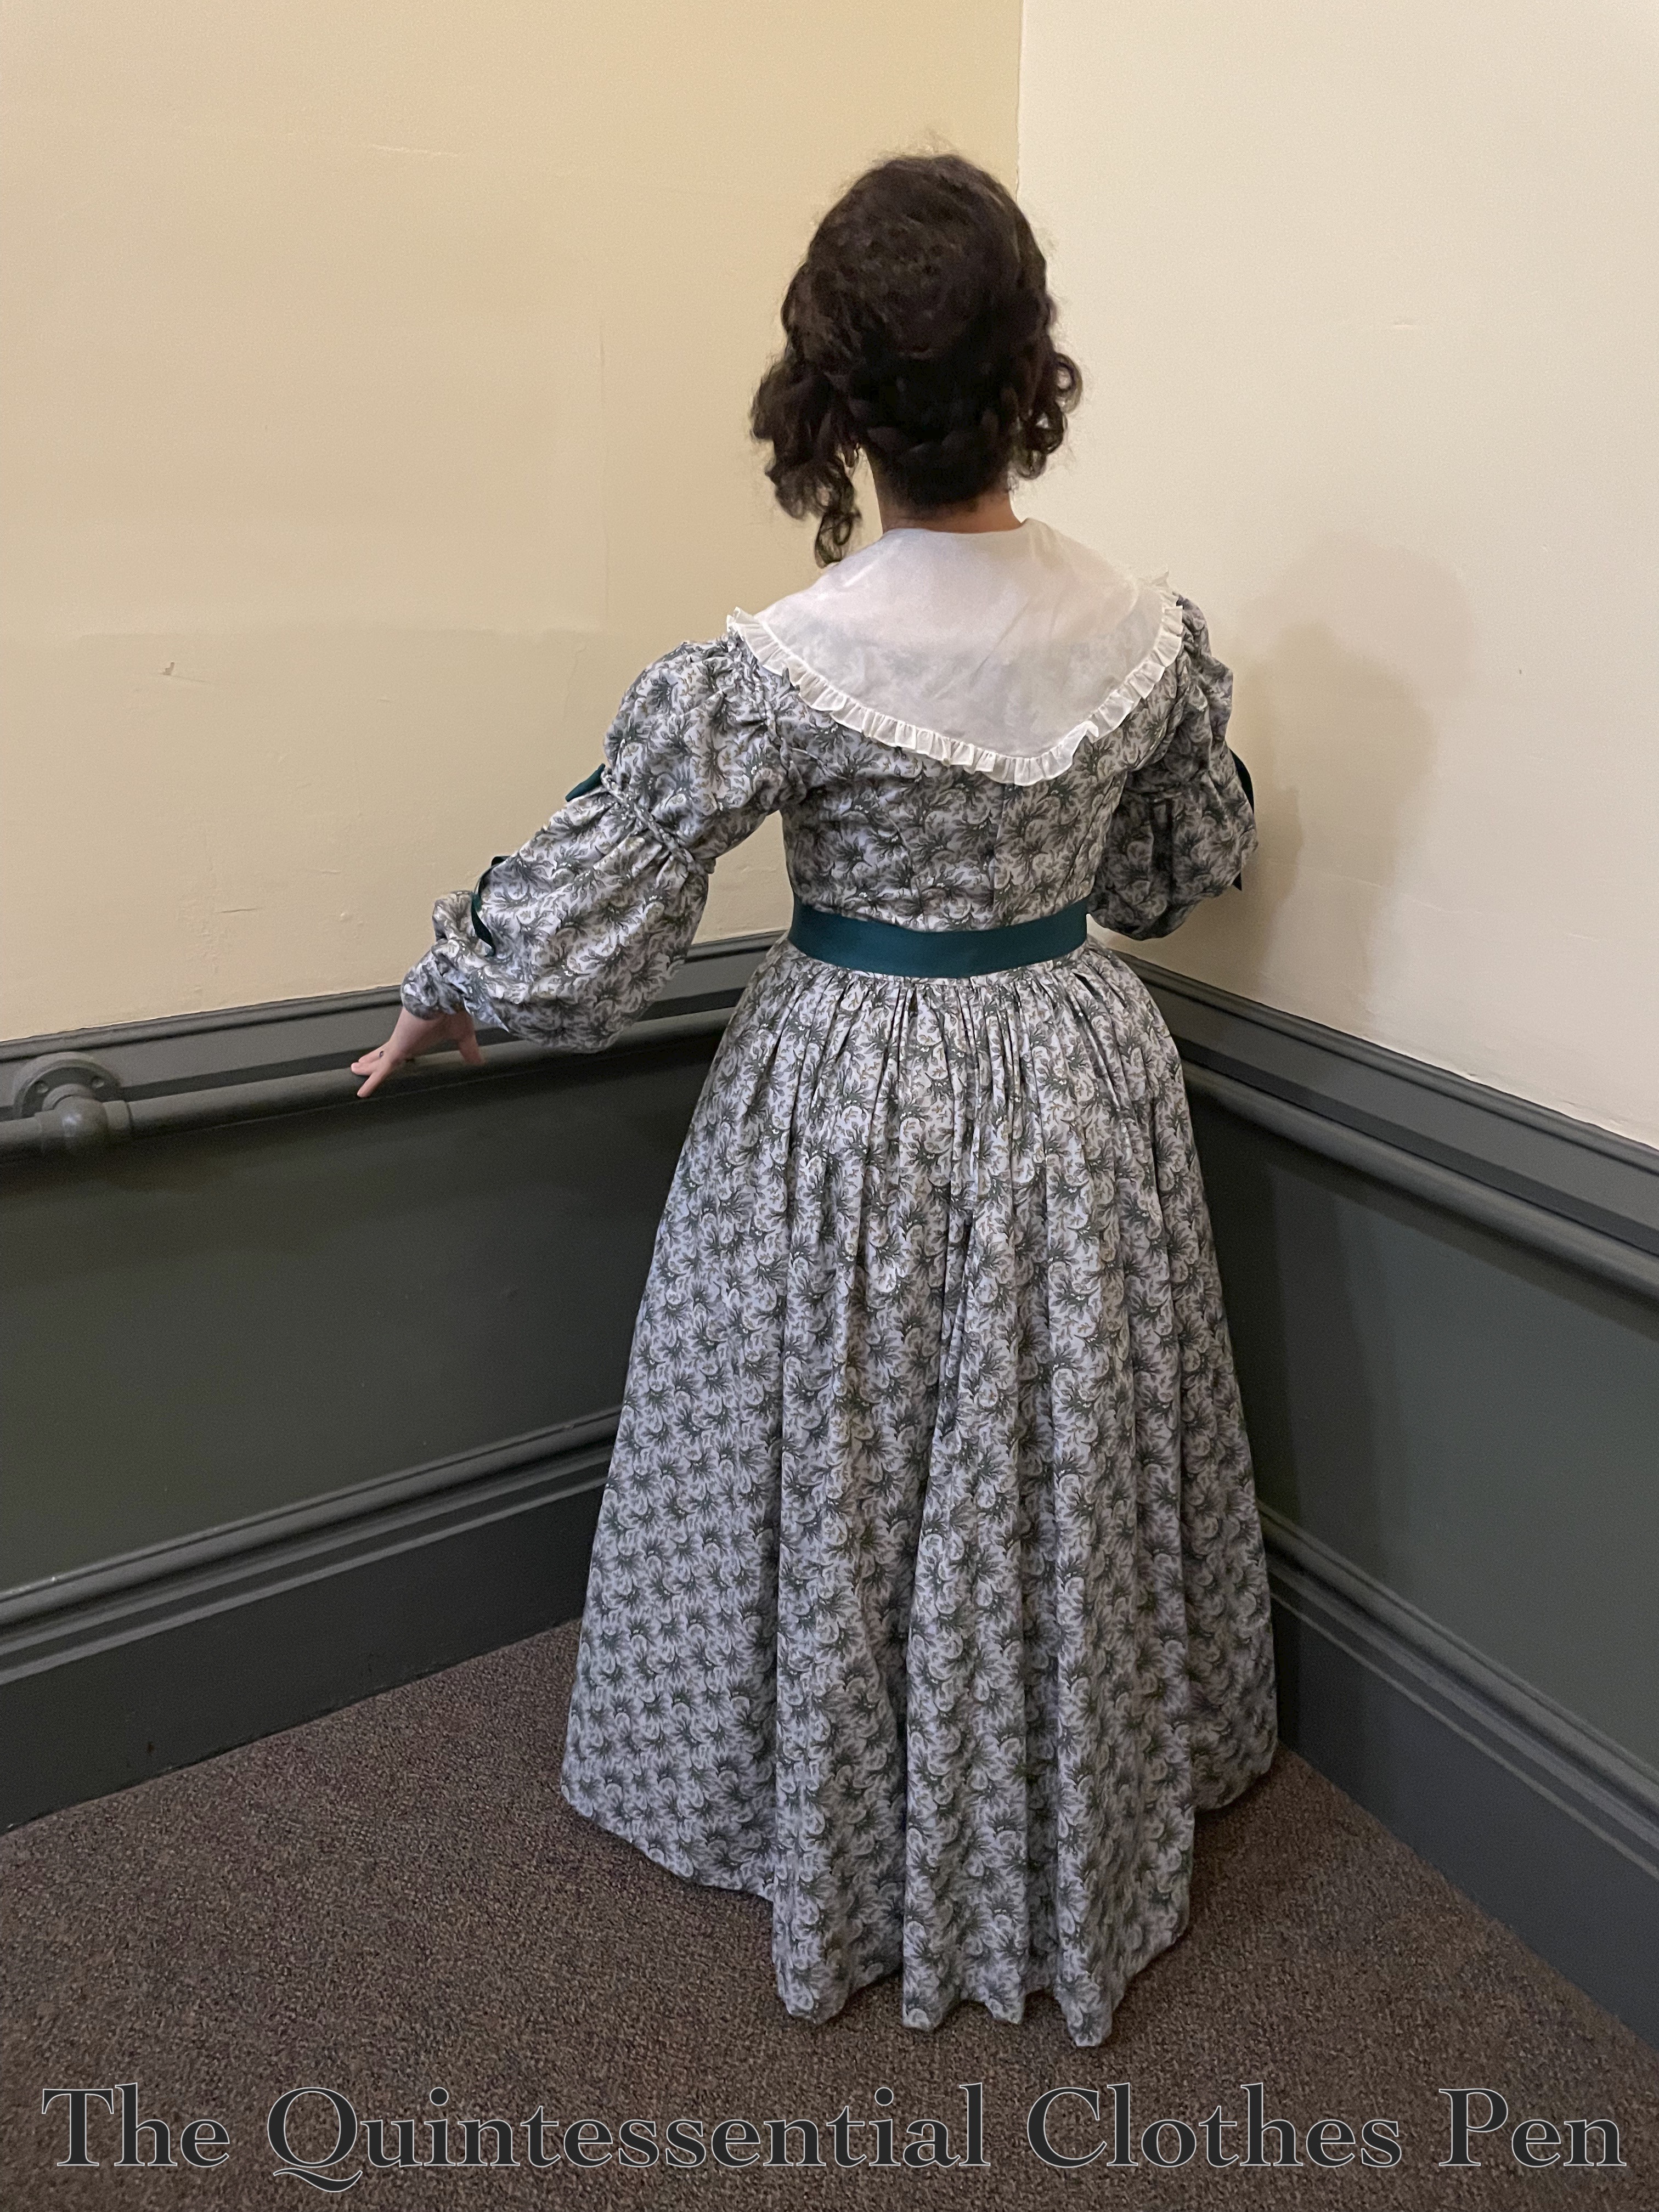
Here’s a back view. The back of this dress is lovely, but plain.

This is my entry for the 2026 HSM Challenge #7 Artistic Inspiration:

Create something using inspiration from paintings, sketches, fashion plates, and even written references like books, diaries or newspapers, etc.

This dress is directly inspired by this fashion plate!

Just the facts:

Fabric/Materials: 7.5 yards of blue cotton print and 1 yard of recycled (from other projects) cotton muslin.

Pattern: My own, adapted from Patterns of Fashion, The Cut of Women’s Clothes, and The Workwoman’s Guide.

Year: 1836.

Notions: 11 metal hooks and 5 metal loops, 4 yards of narrow cording, 5 yards of 5/32″ cording, 2 yards of 2″ wide dark green petersham ribbon, and 3 yards of 1 ½” wide dark green petersham ribbon.

How historically accurate is it?: 99%. Materials that are pretty darn good for 2026, the pattern is adapted from originals, and it uses historical sewing processes.

Hours to complete: 25 ¾.

First worn: March 7, 2026.

Total cost: Approximately $40. The fabric was a score at only $3 per yard from the local discount store, the ribbons were a few dollars each per yard, and the rest of the materials were either purchased in bulk, leftover from other projects, or recycled.

And that’s it! I’ve now finished 1830s bodice/dress combinations for 1834, 1836, and 1838! It’s been fun to play with silly 1830s sleeve shapes and I now have so many variations of 1830s daywear to wear!

1899 Elusive Blue: The Snow Queen Fancy Dress Version

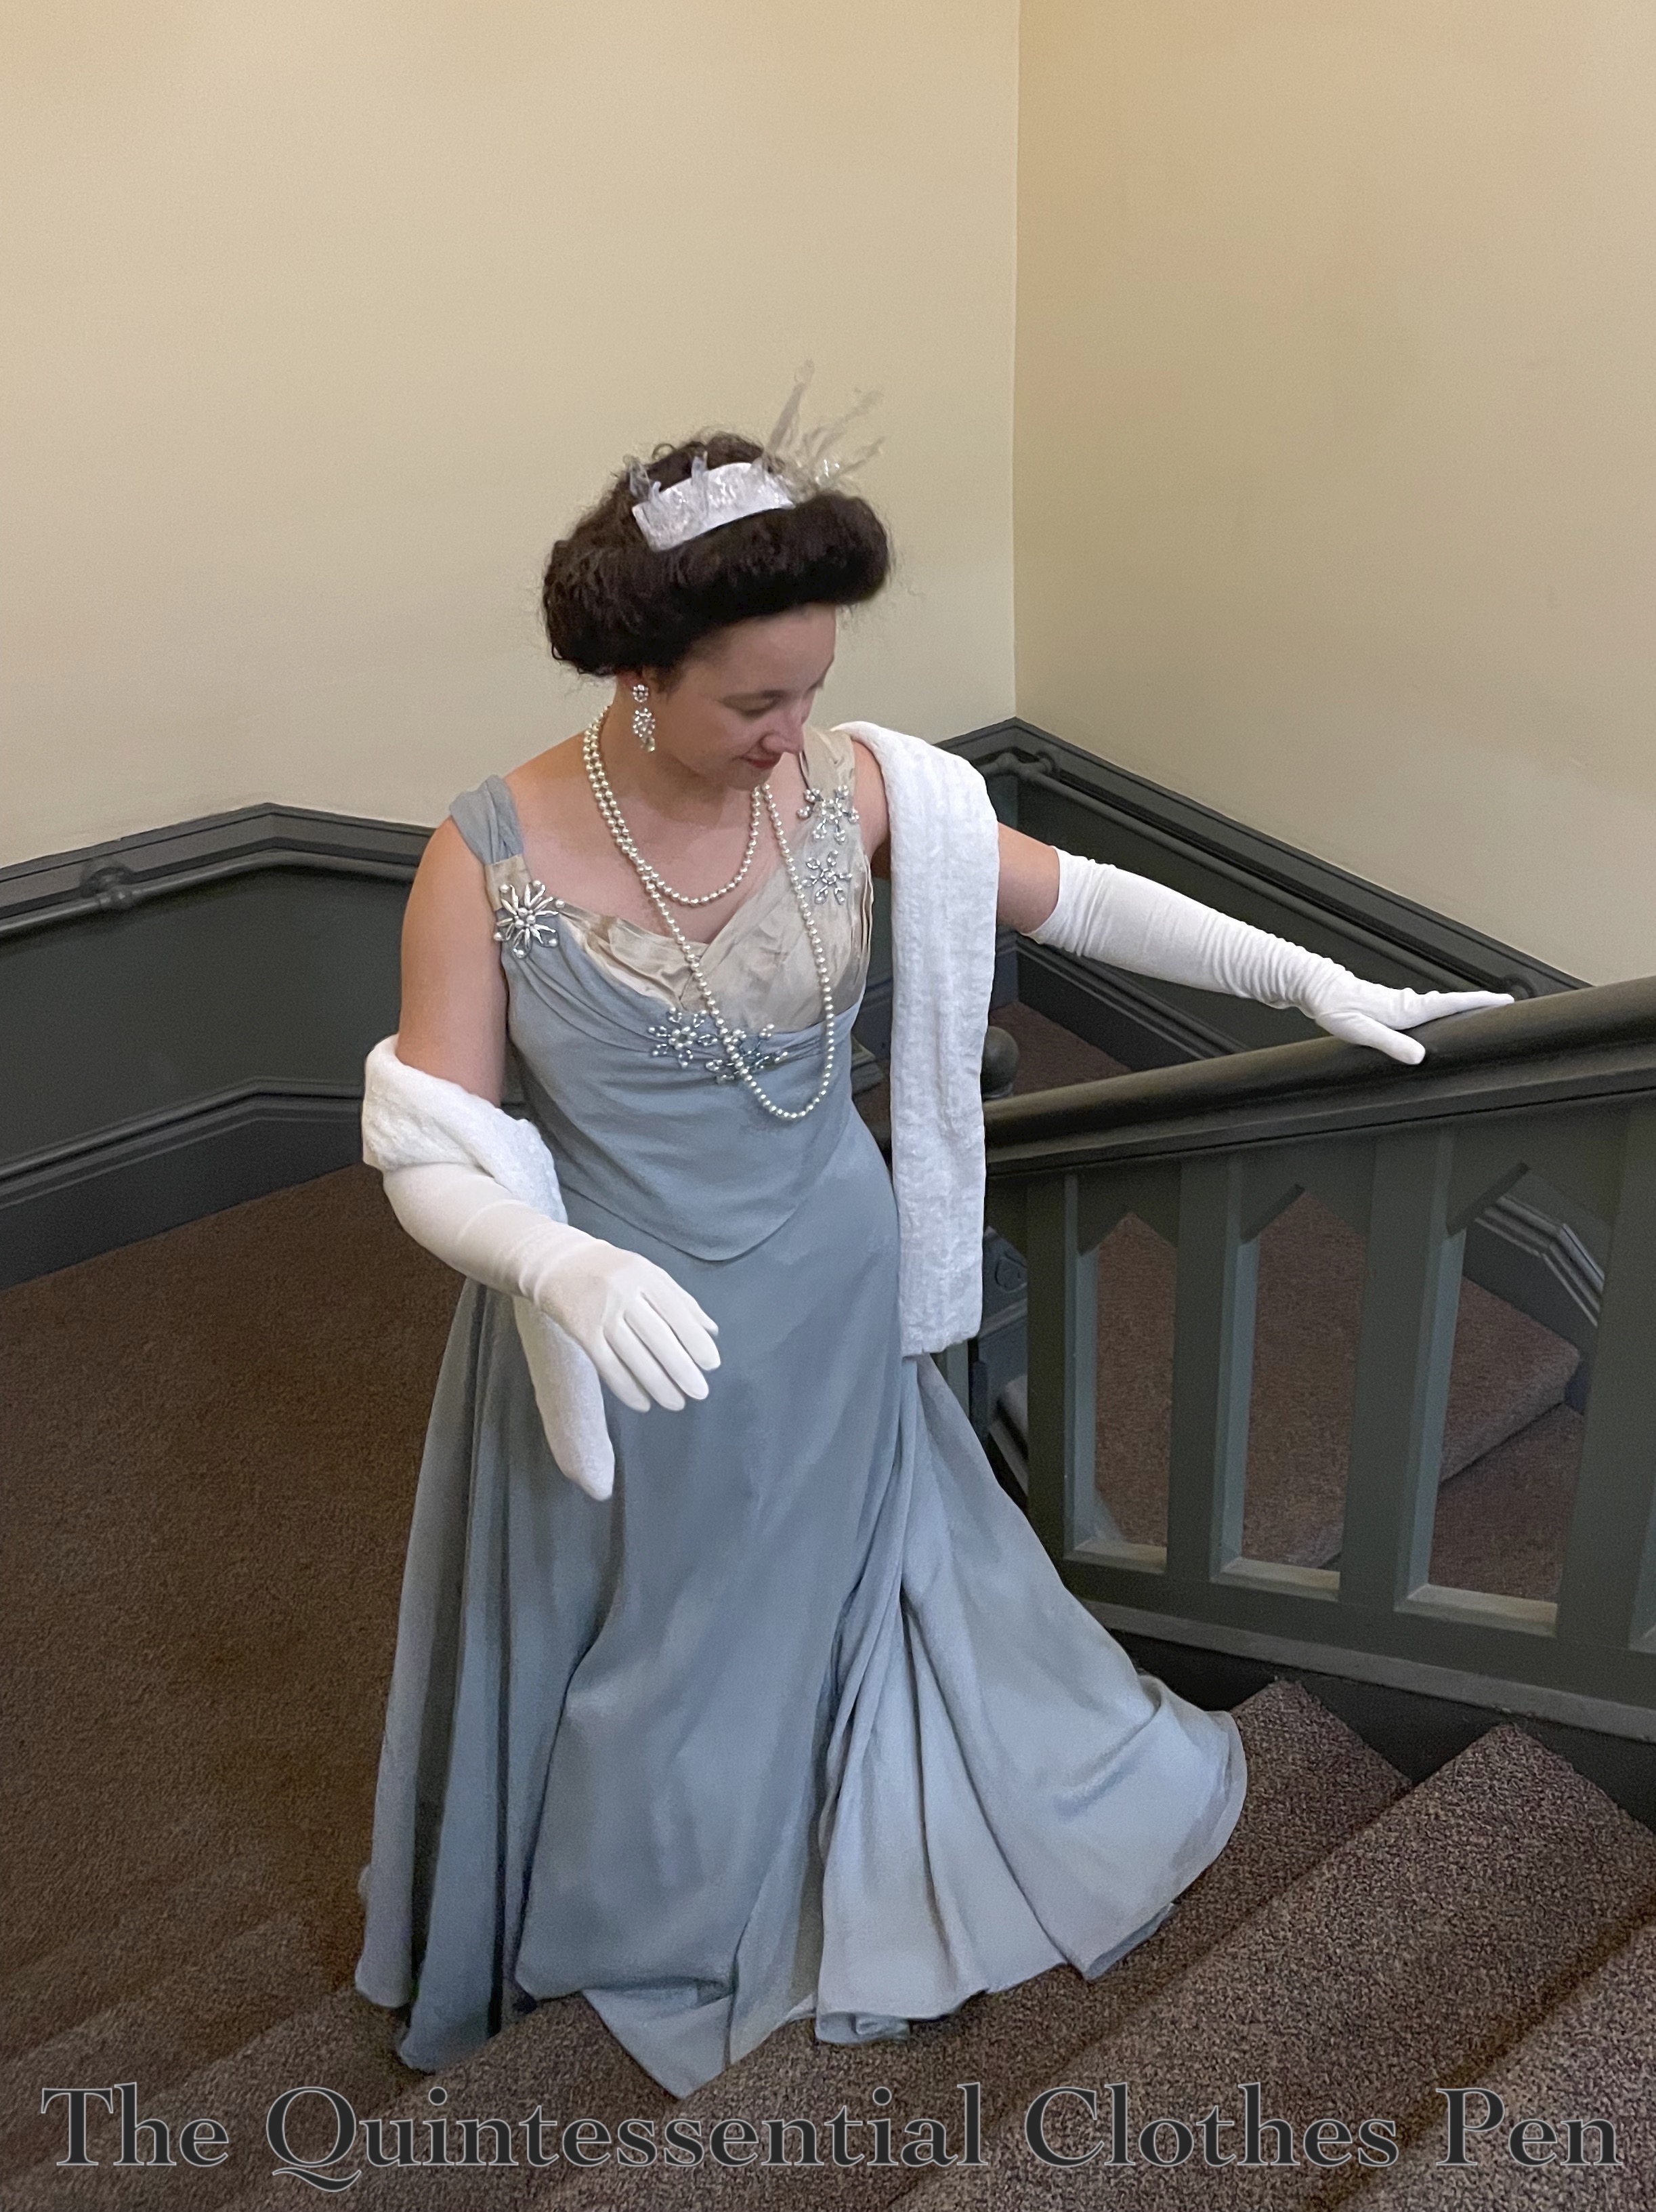
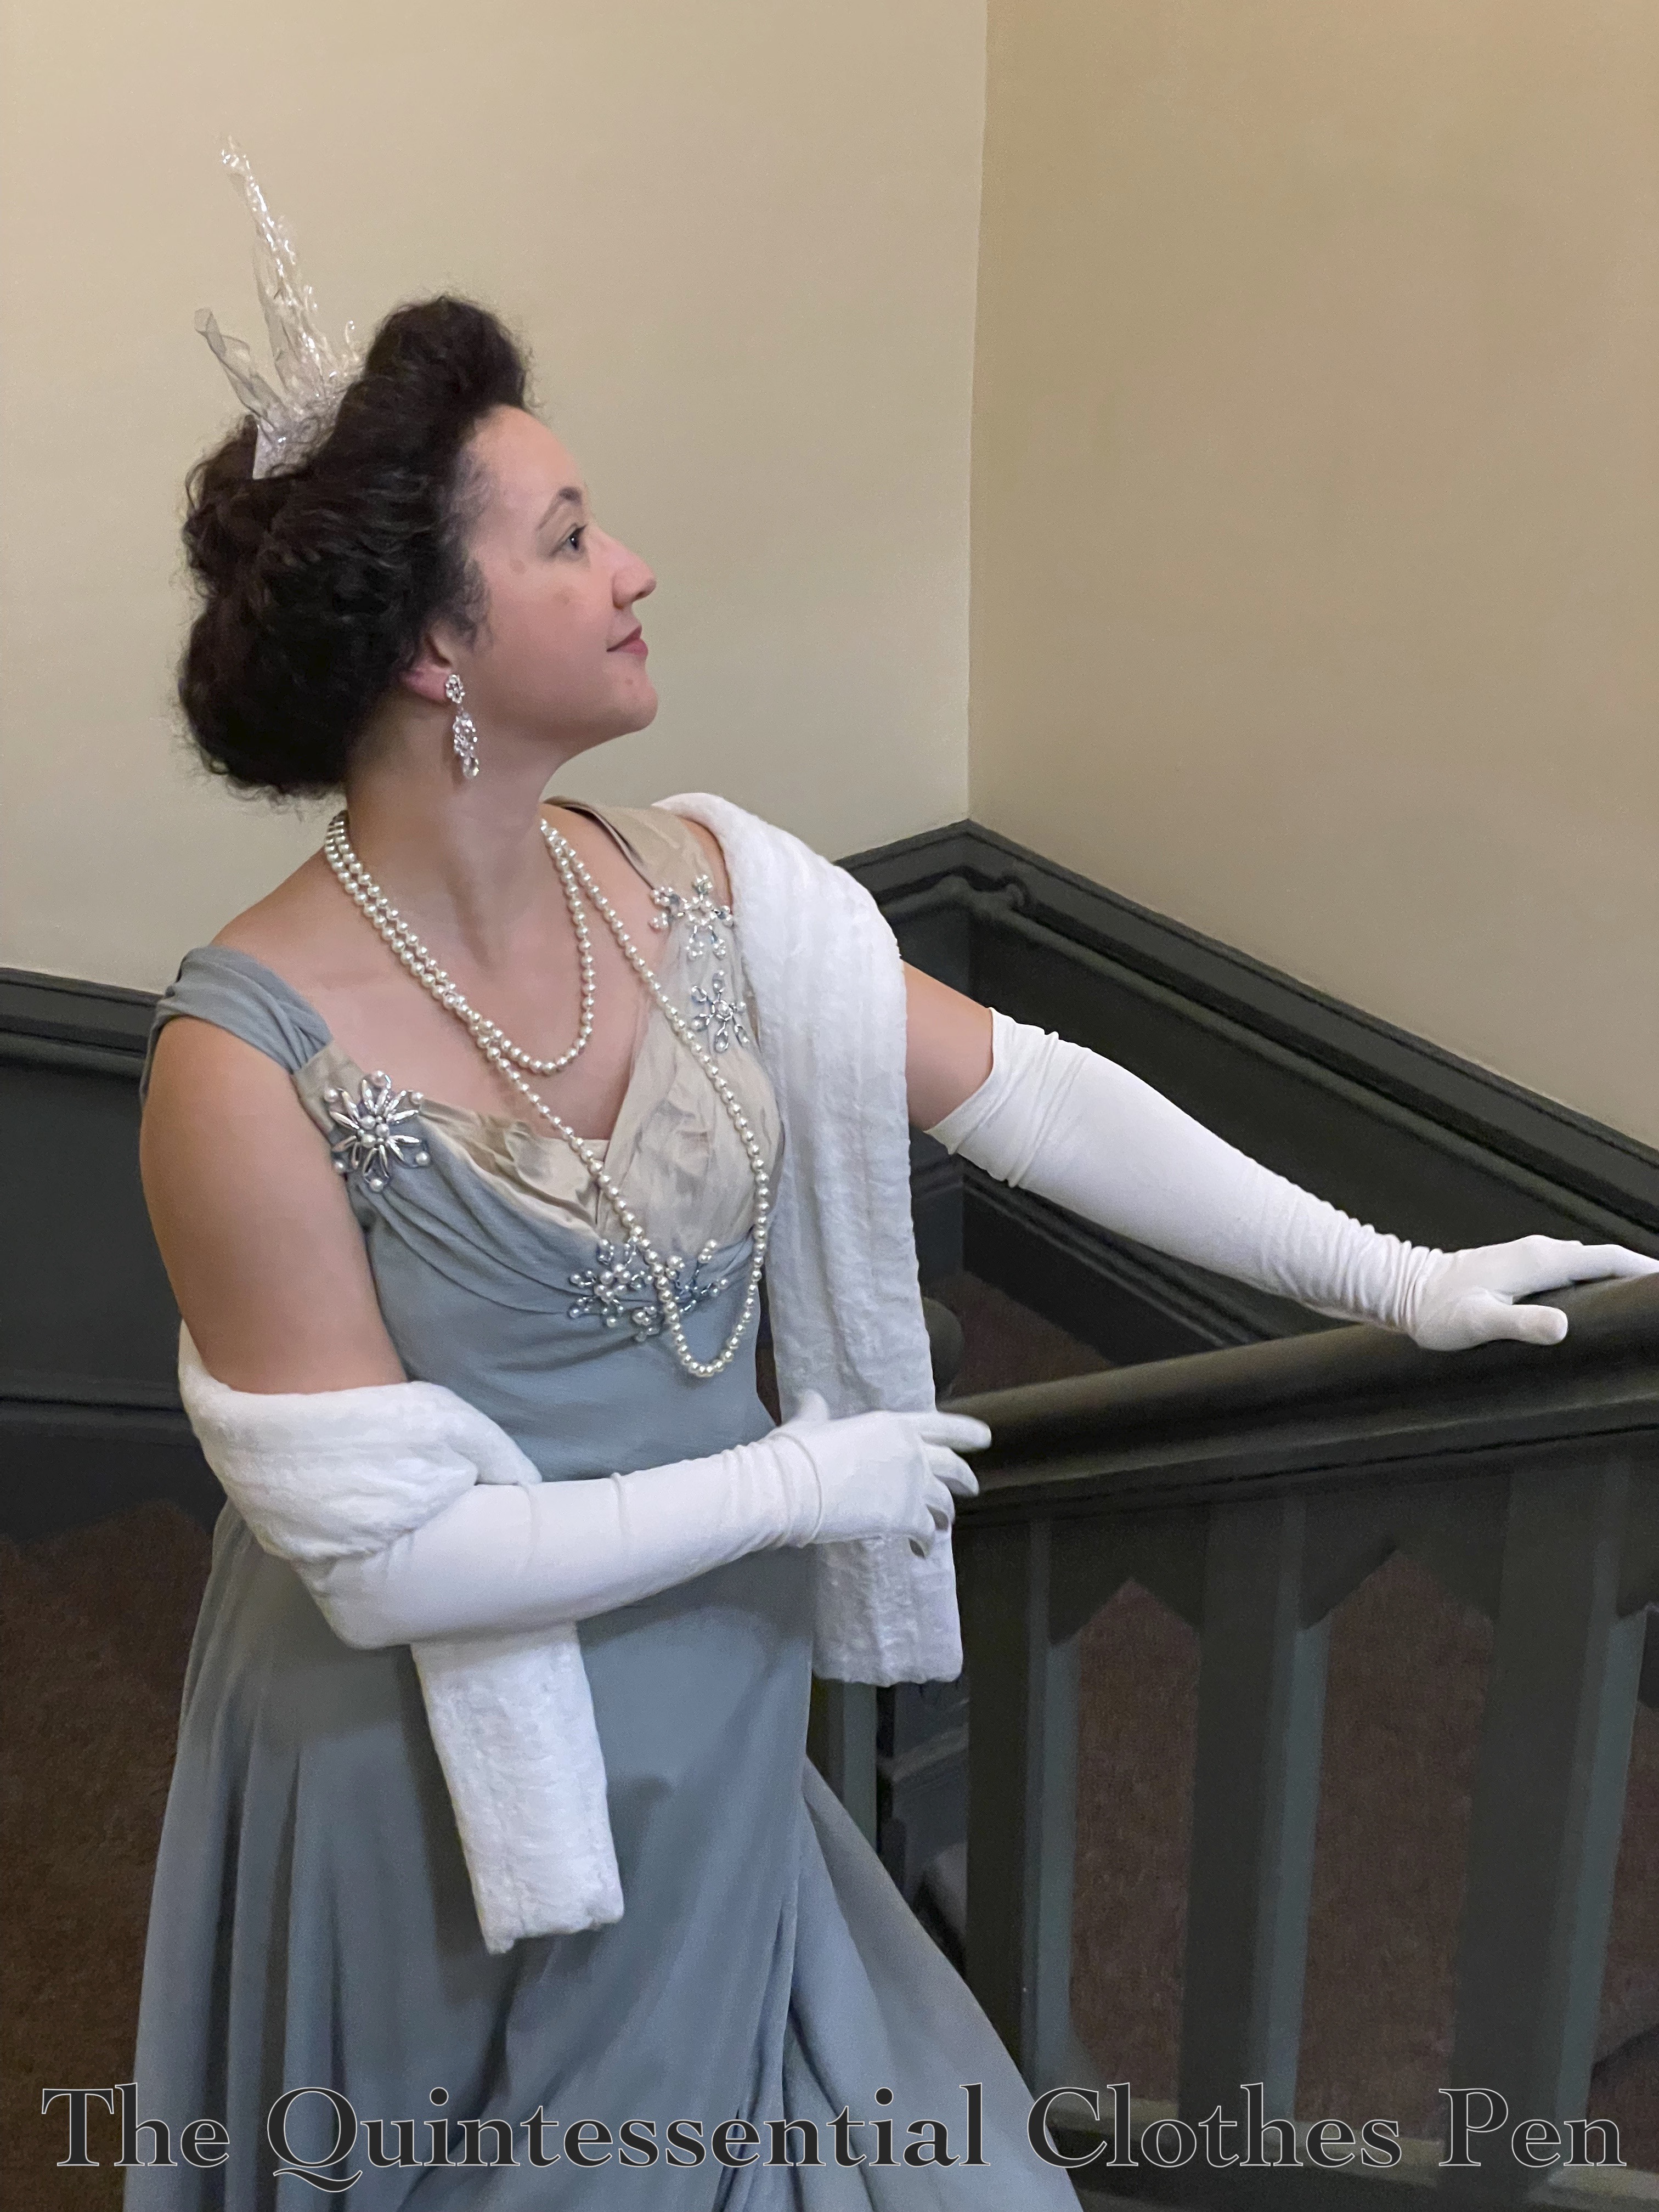
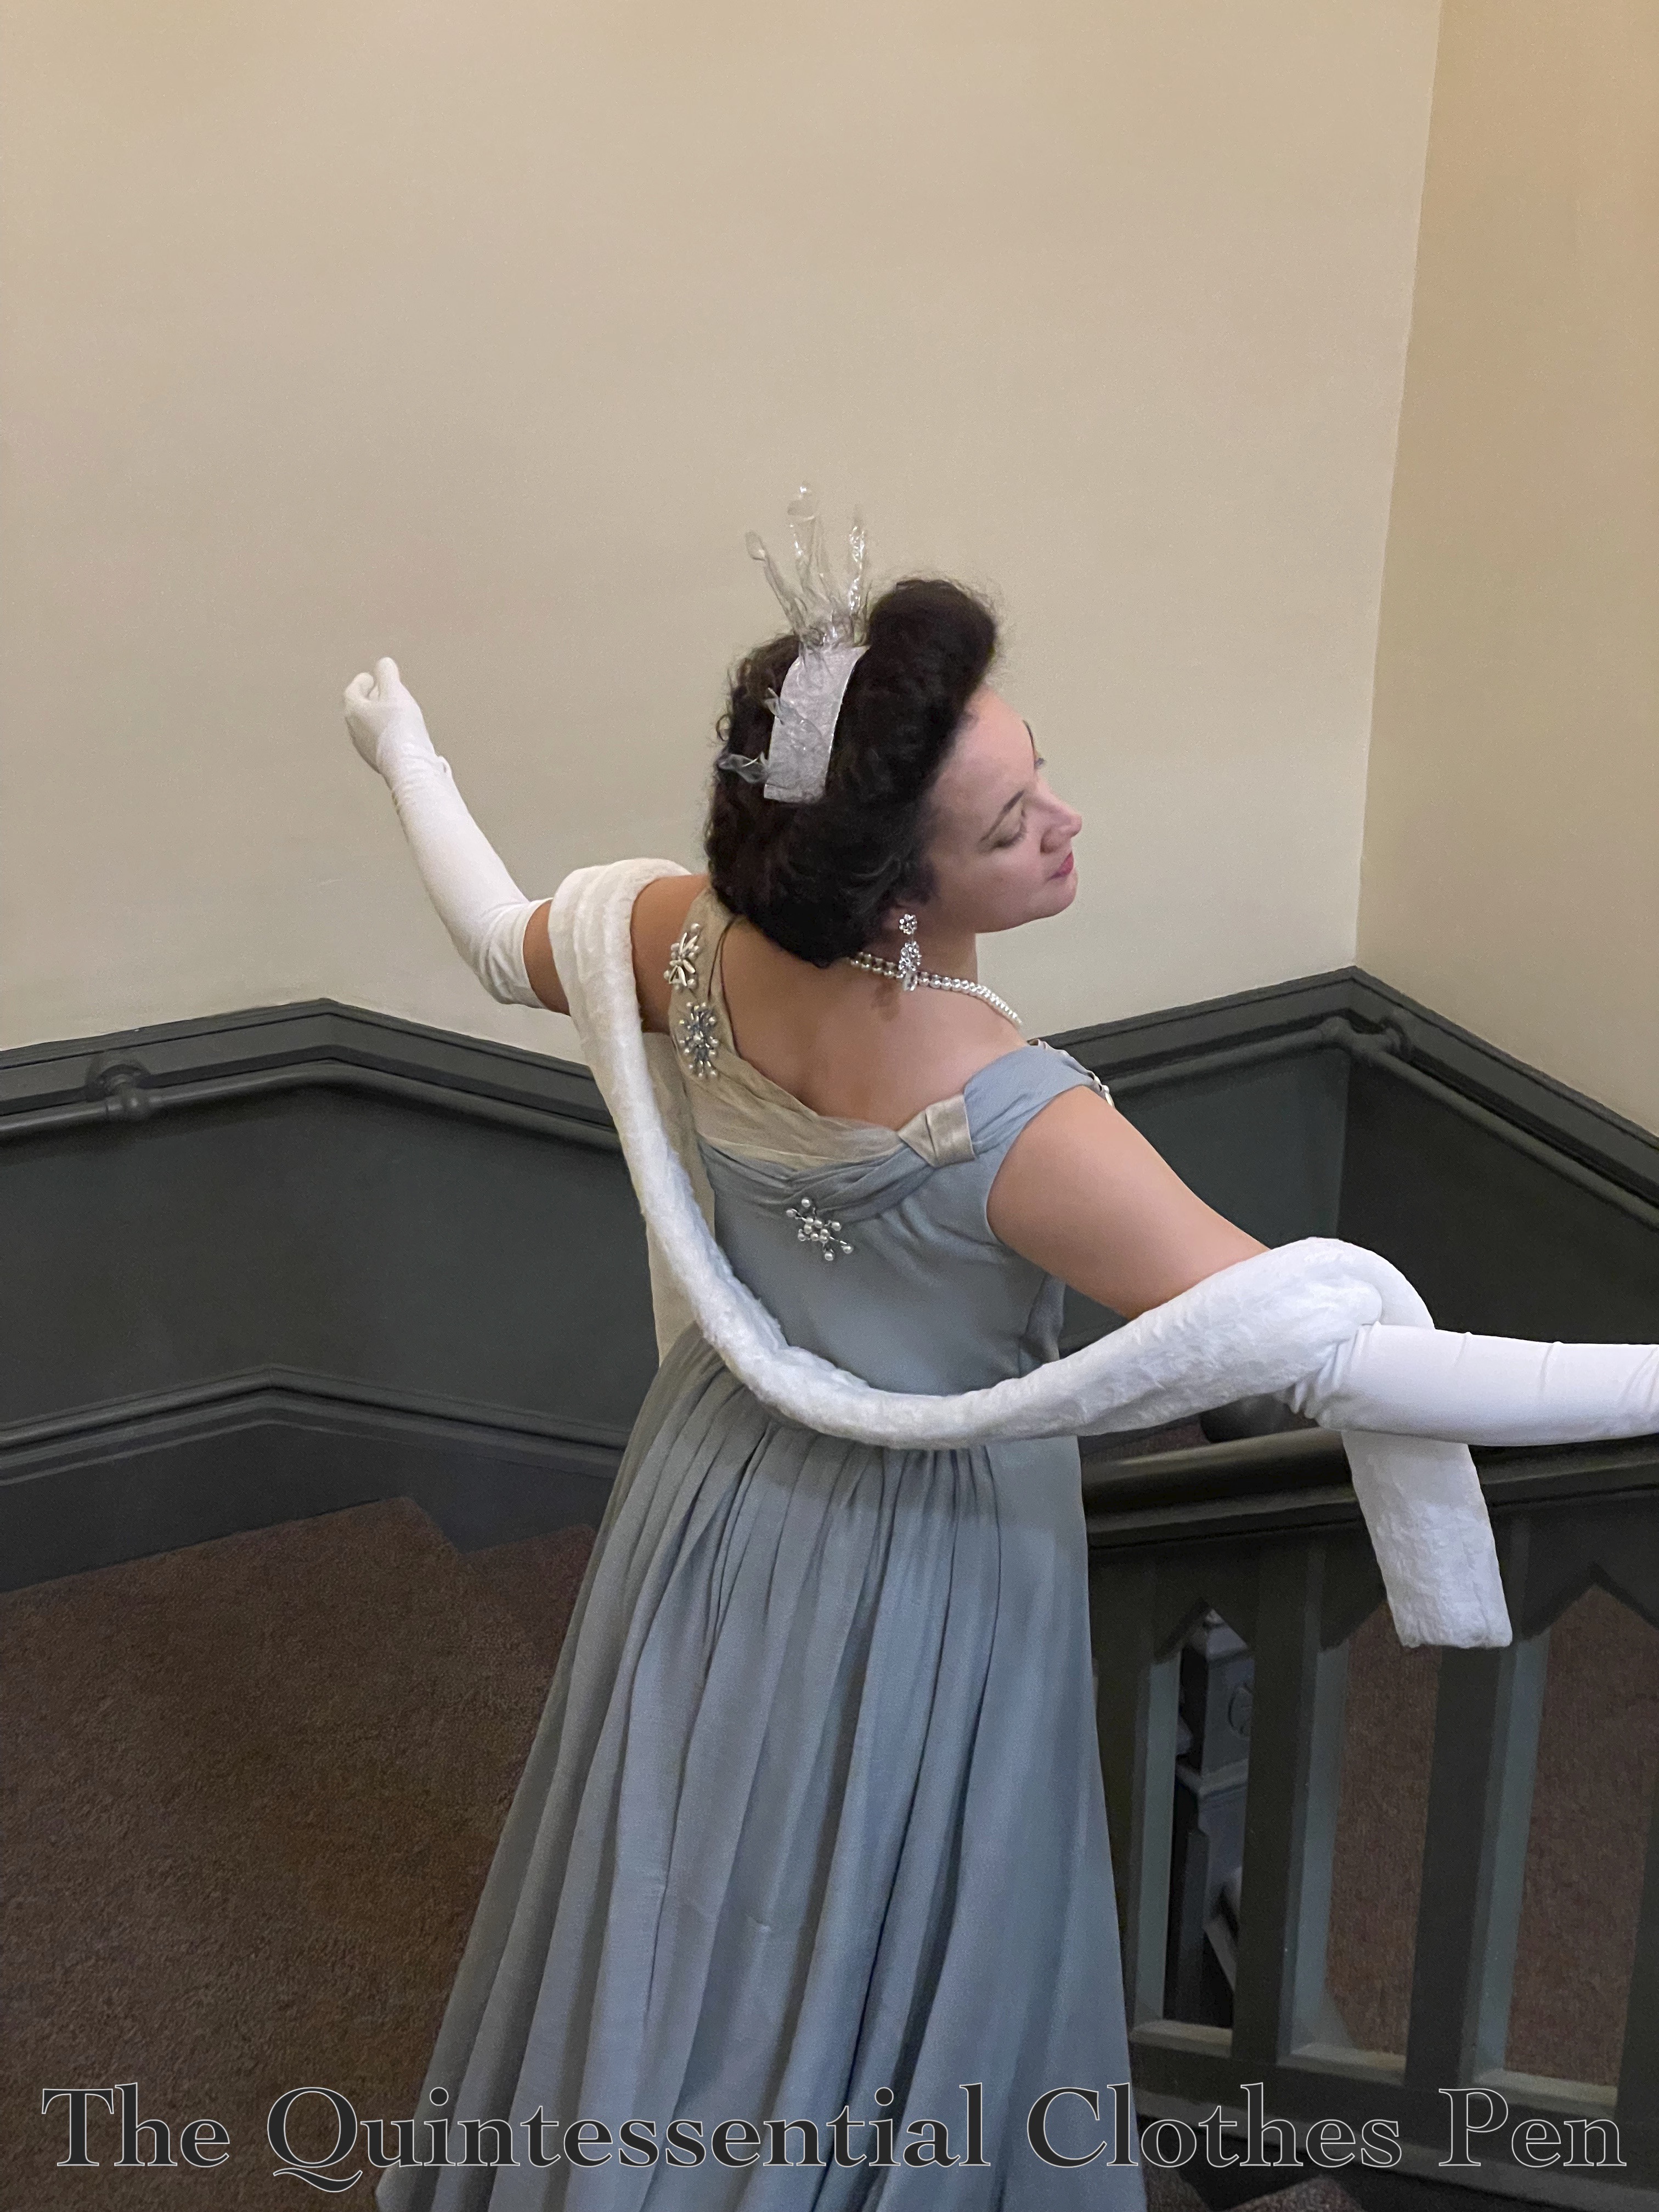
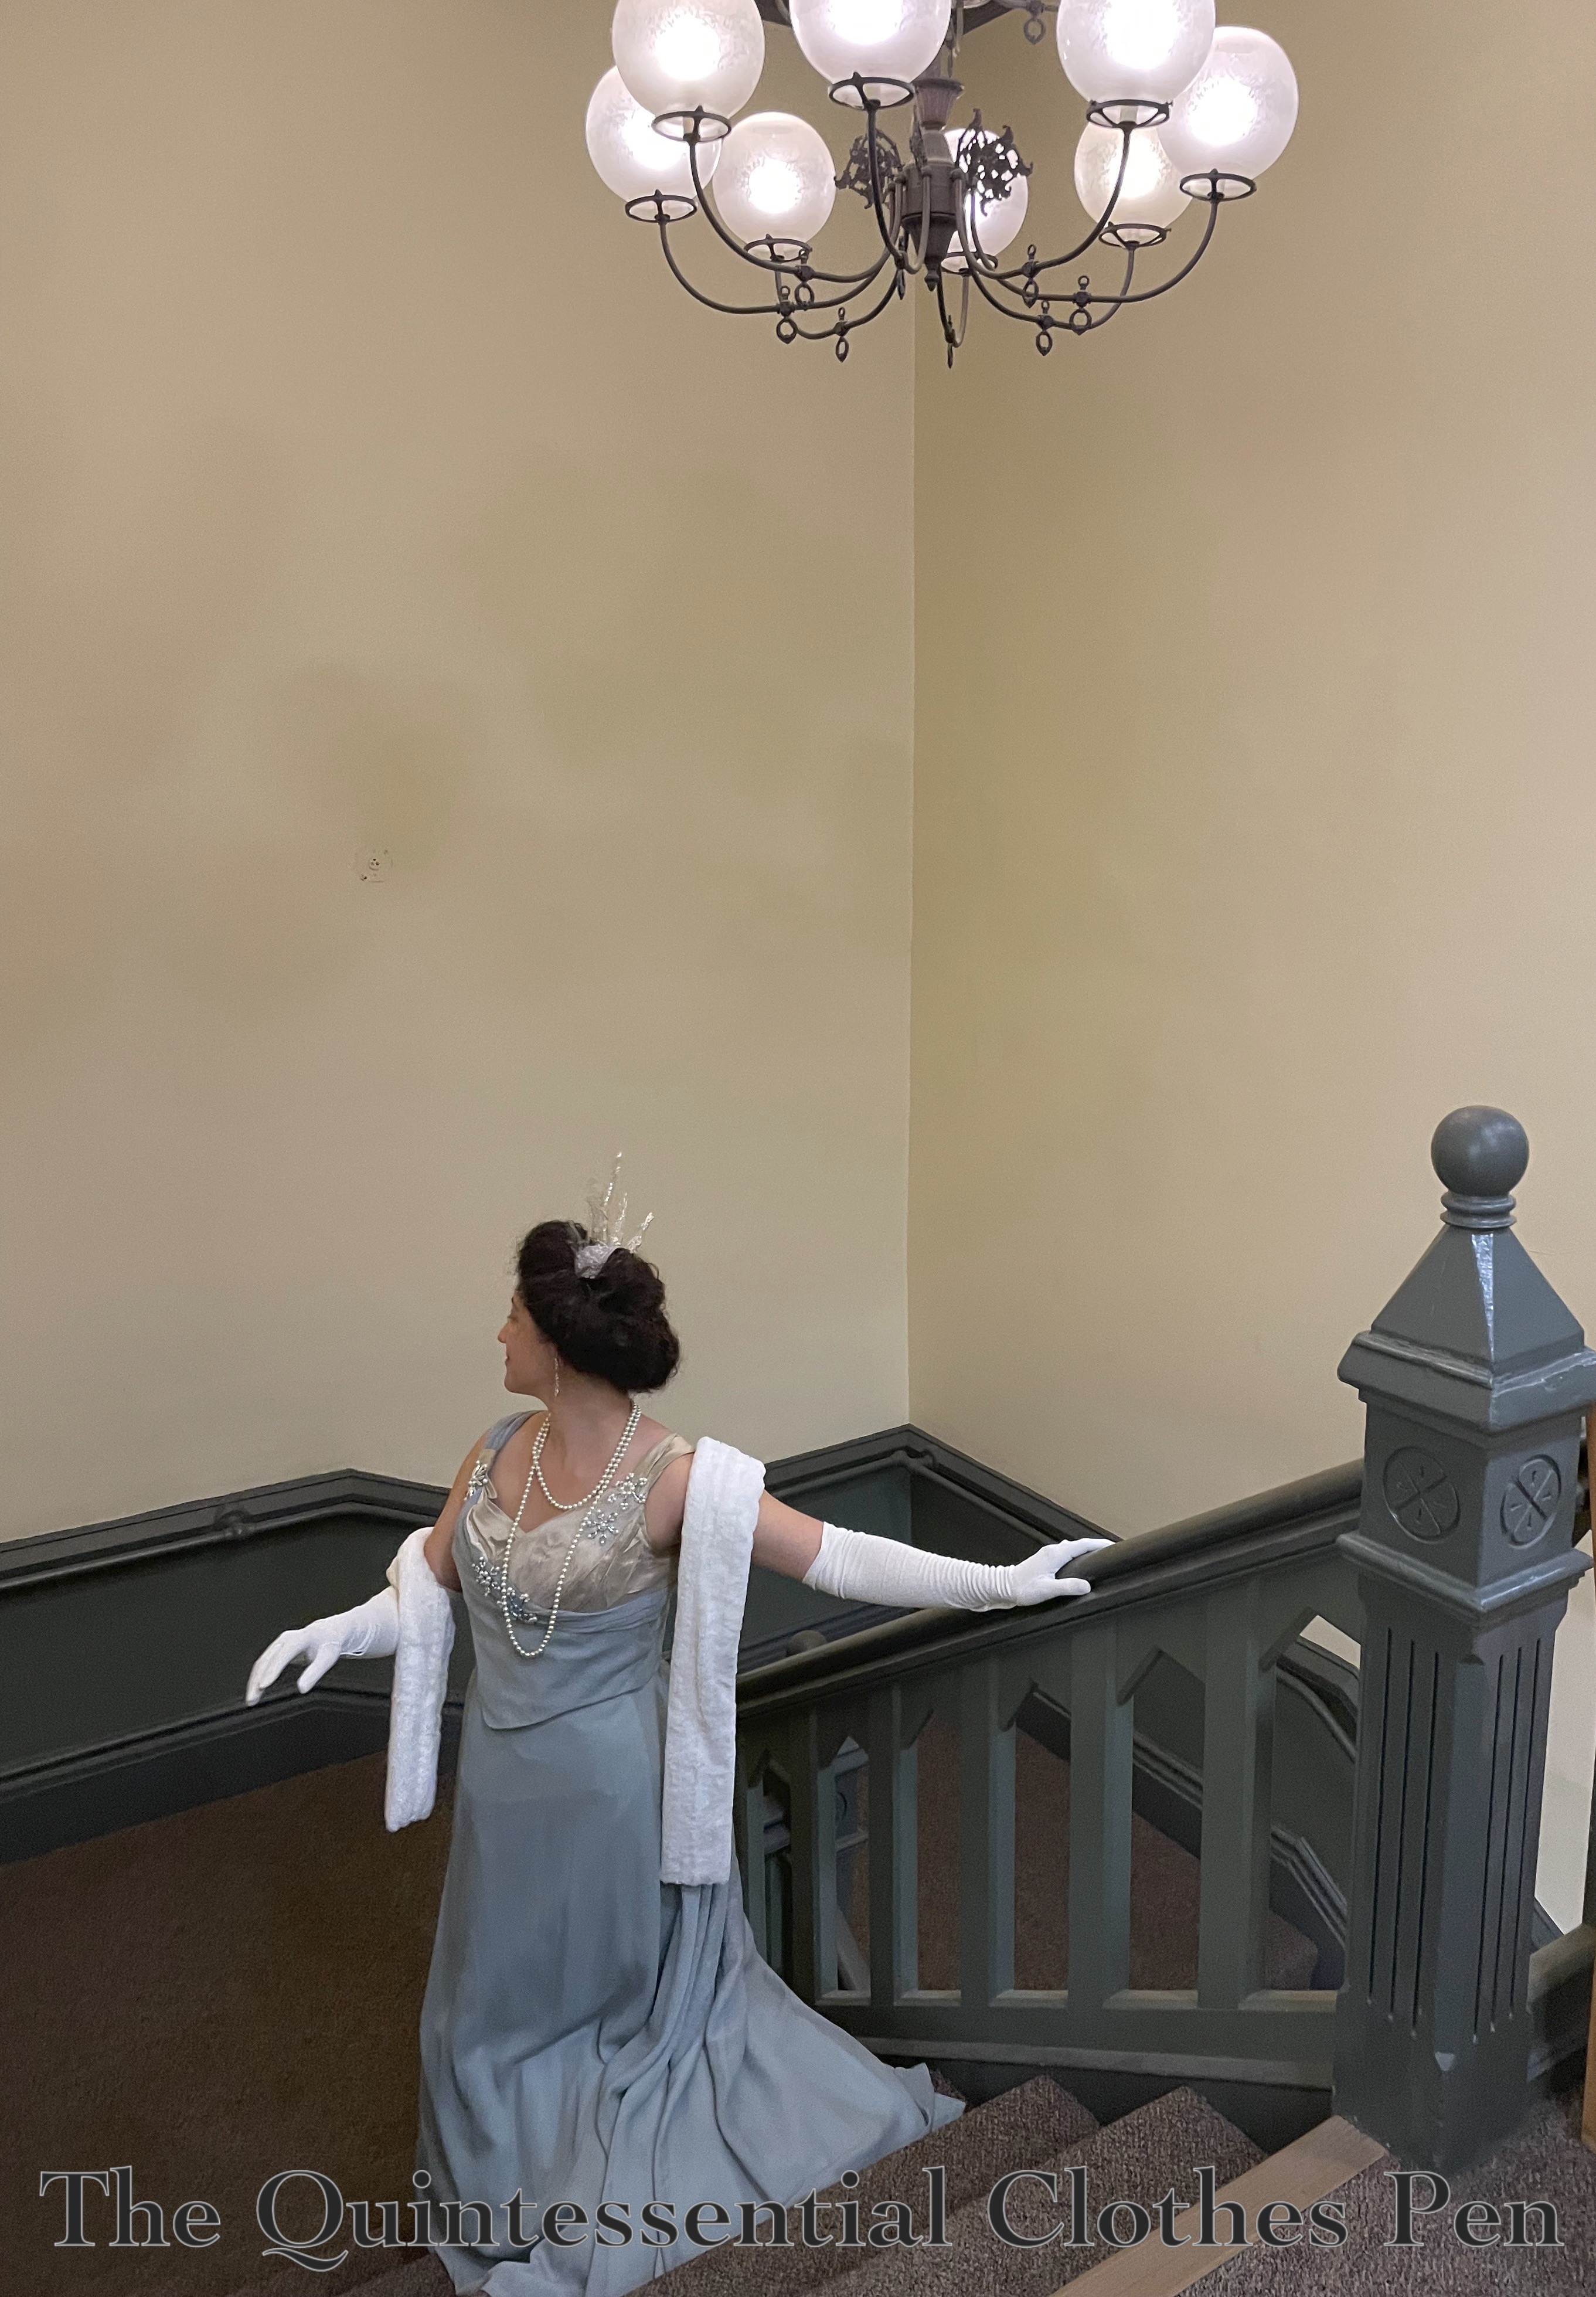
It’s time to share photos of my completed Snow Queen fancy dress outfit! This outfit, which is a re-trimming of my 1899 Elusive Blue dress, made use of new beaded snowflakes (posted about in detail here) and a recycled plastic clamshell icicle crown (posted about in detail here). Below is the finished outfit with all of the trimmings!

The trimmings included big sparkly earrings and a long strand of faux pearls worn in an 1890s style, long white gloves (an essential for an 1890s ball!), the afore-mentioned snowflakes and crown, and a bit of white fur to capture the idea of snow.

The fur tippet amuses me because it is super soft and comes in handy as a historical accessory, but also because, looking back, I made it in 2012! Here is the original blog post about it, including a definition of what a tippet is and research showing examples of tippets. How fun that it is still in my wardrobe and still coming in handy!

Here is the icicle crown in action, to give some context to the description of how it sits on my head.

To finish off, here is one more full length view of the ensemble, zoomed out far enough to see the fun bubble-shaped light fixture!

Happy new year! Thanks for enjoying this ensemble with me!

1797 Watermelon Sleeveless Bodice, Part III: Finished Garment

I’ve spent the last two posts sharing the details of inspiration, patterning, and making a 1797 sleeveless bodice. Now it’s time for photos!

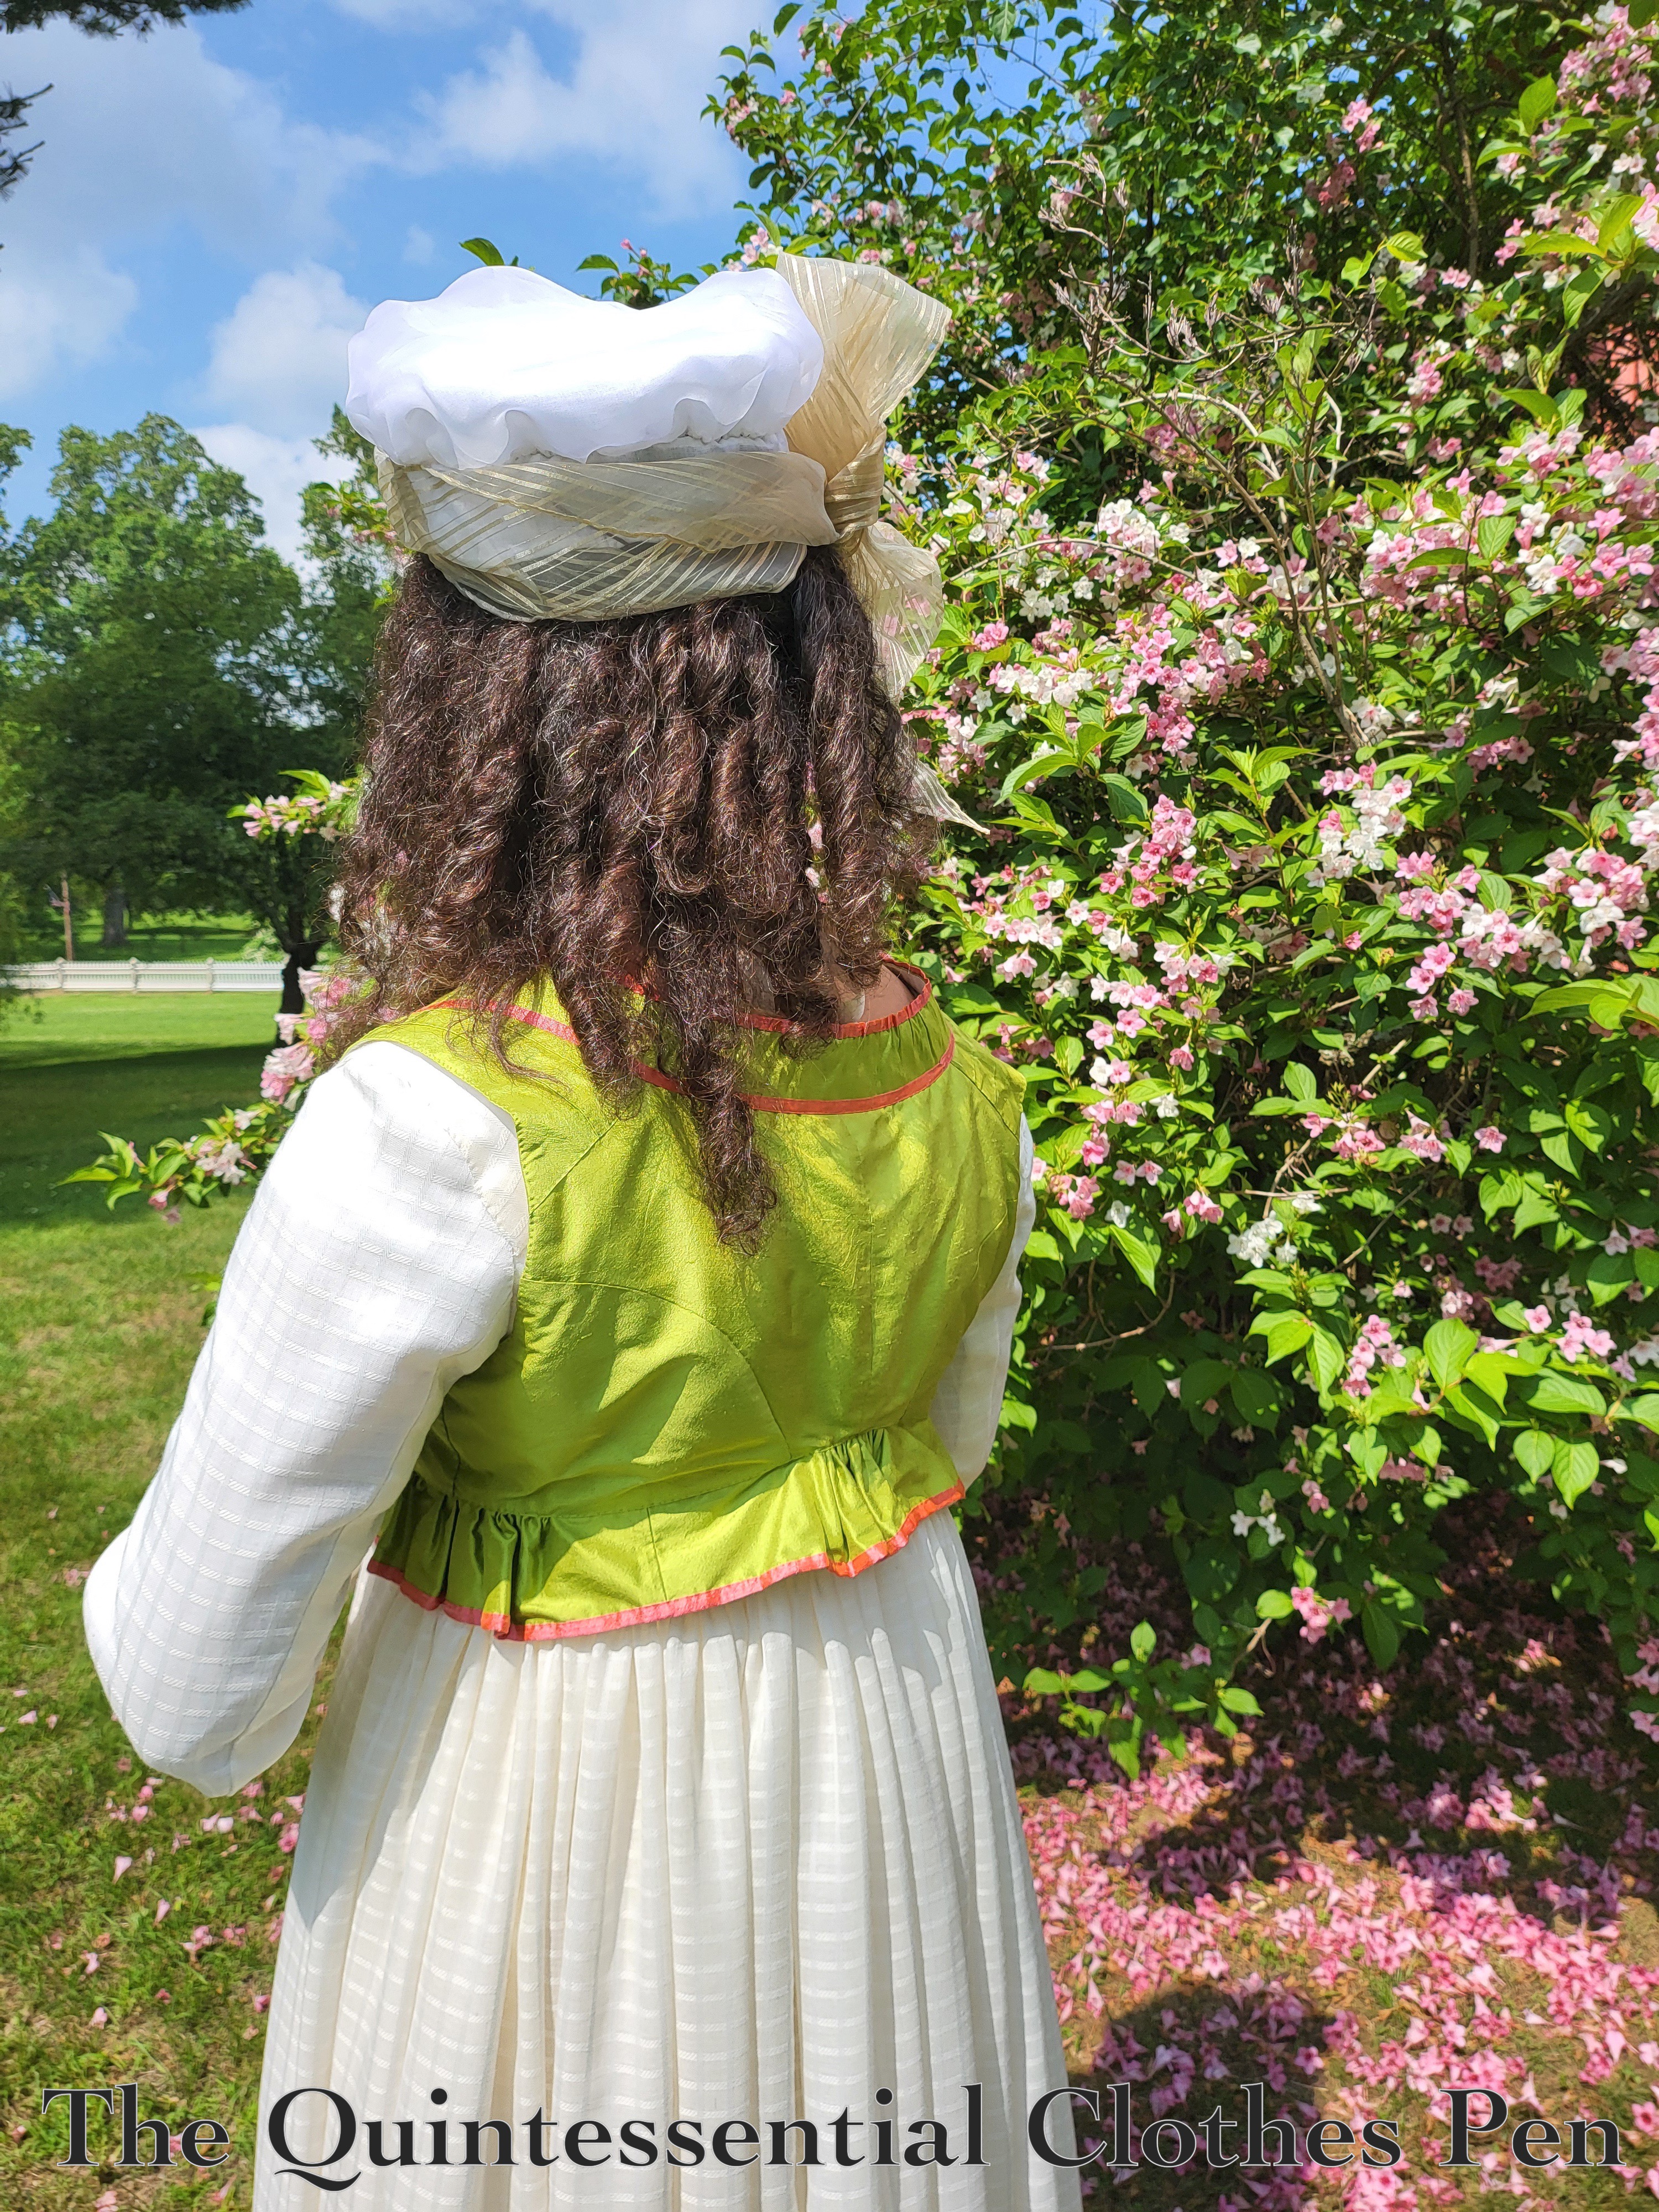
The new bodice is named for the vibrant colors I chose for it. Lime green! And pink! Ok, watermelons are a deeper shade of green, generally speaking, but the green and pink idea generally makes sense!

I enjoyed the minute details as I created this garment. In the photo below, the gathers of the peplum at the center back and along the sides are visible.

The back of the bodice rises up a bit, just as the dress underneath does. That is visible at a bit more of a distance.

I wore the new bodice with my 1794 Windowpane Ruffled Dress and 1790s Organza Cap With Gold Stripe Trimming.

It was all very grand. Fluffy, elegant, and extremely fun to wear!

GBVS Newport Weekend 2025

I was pleased to be able to return to Newport this year for the Greater Boston Vintage Society’s Newport Weekend event! It was a joy to be just a block away from The Breakers, hanging out with friends both new and previously-encountered.

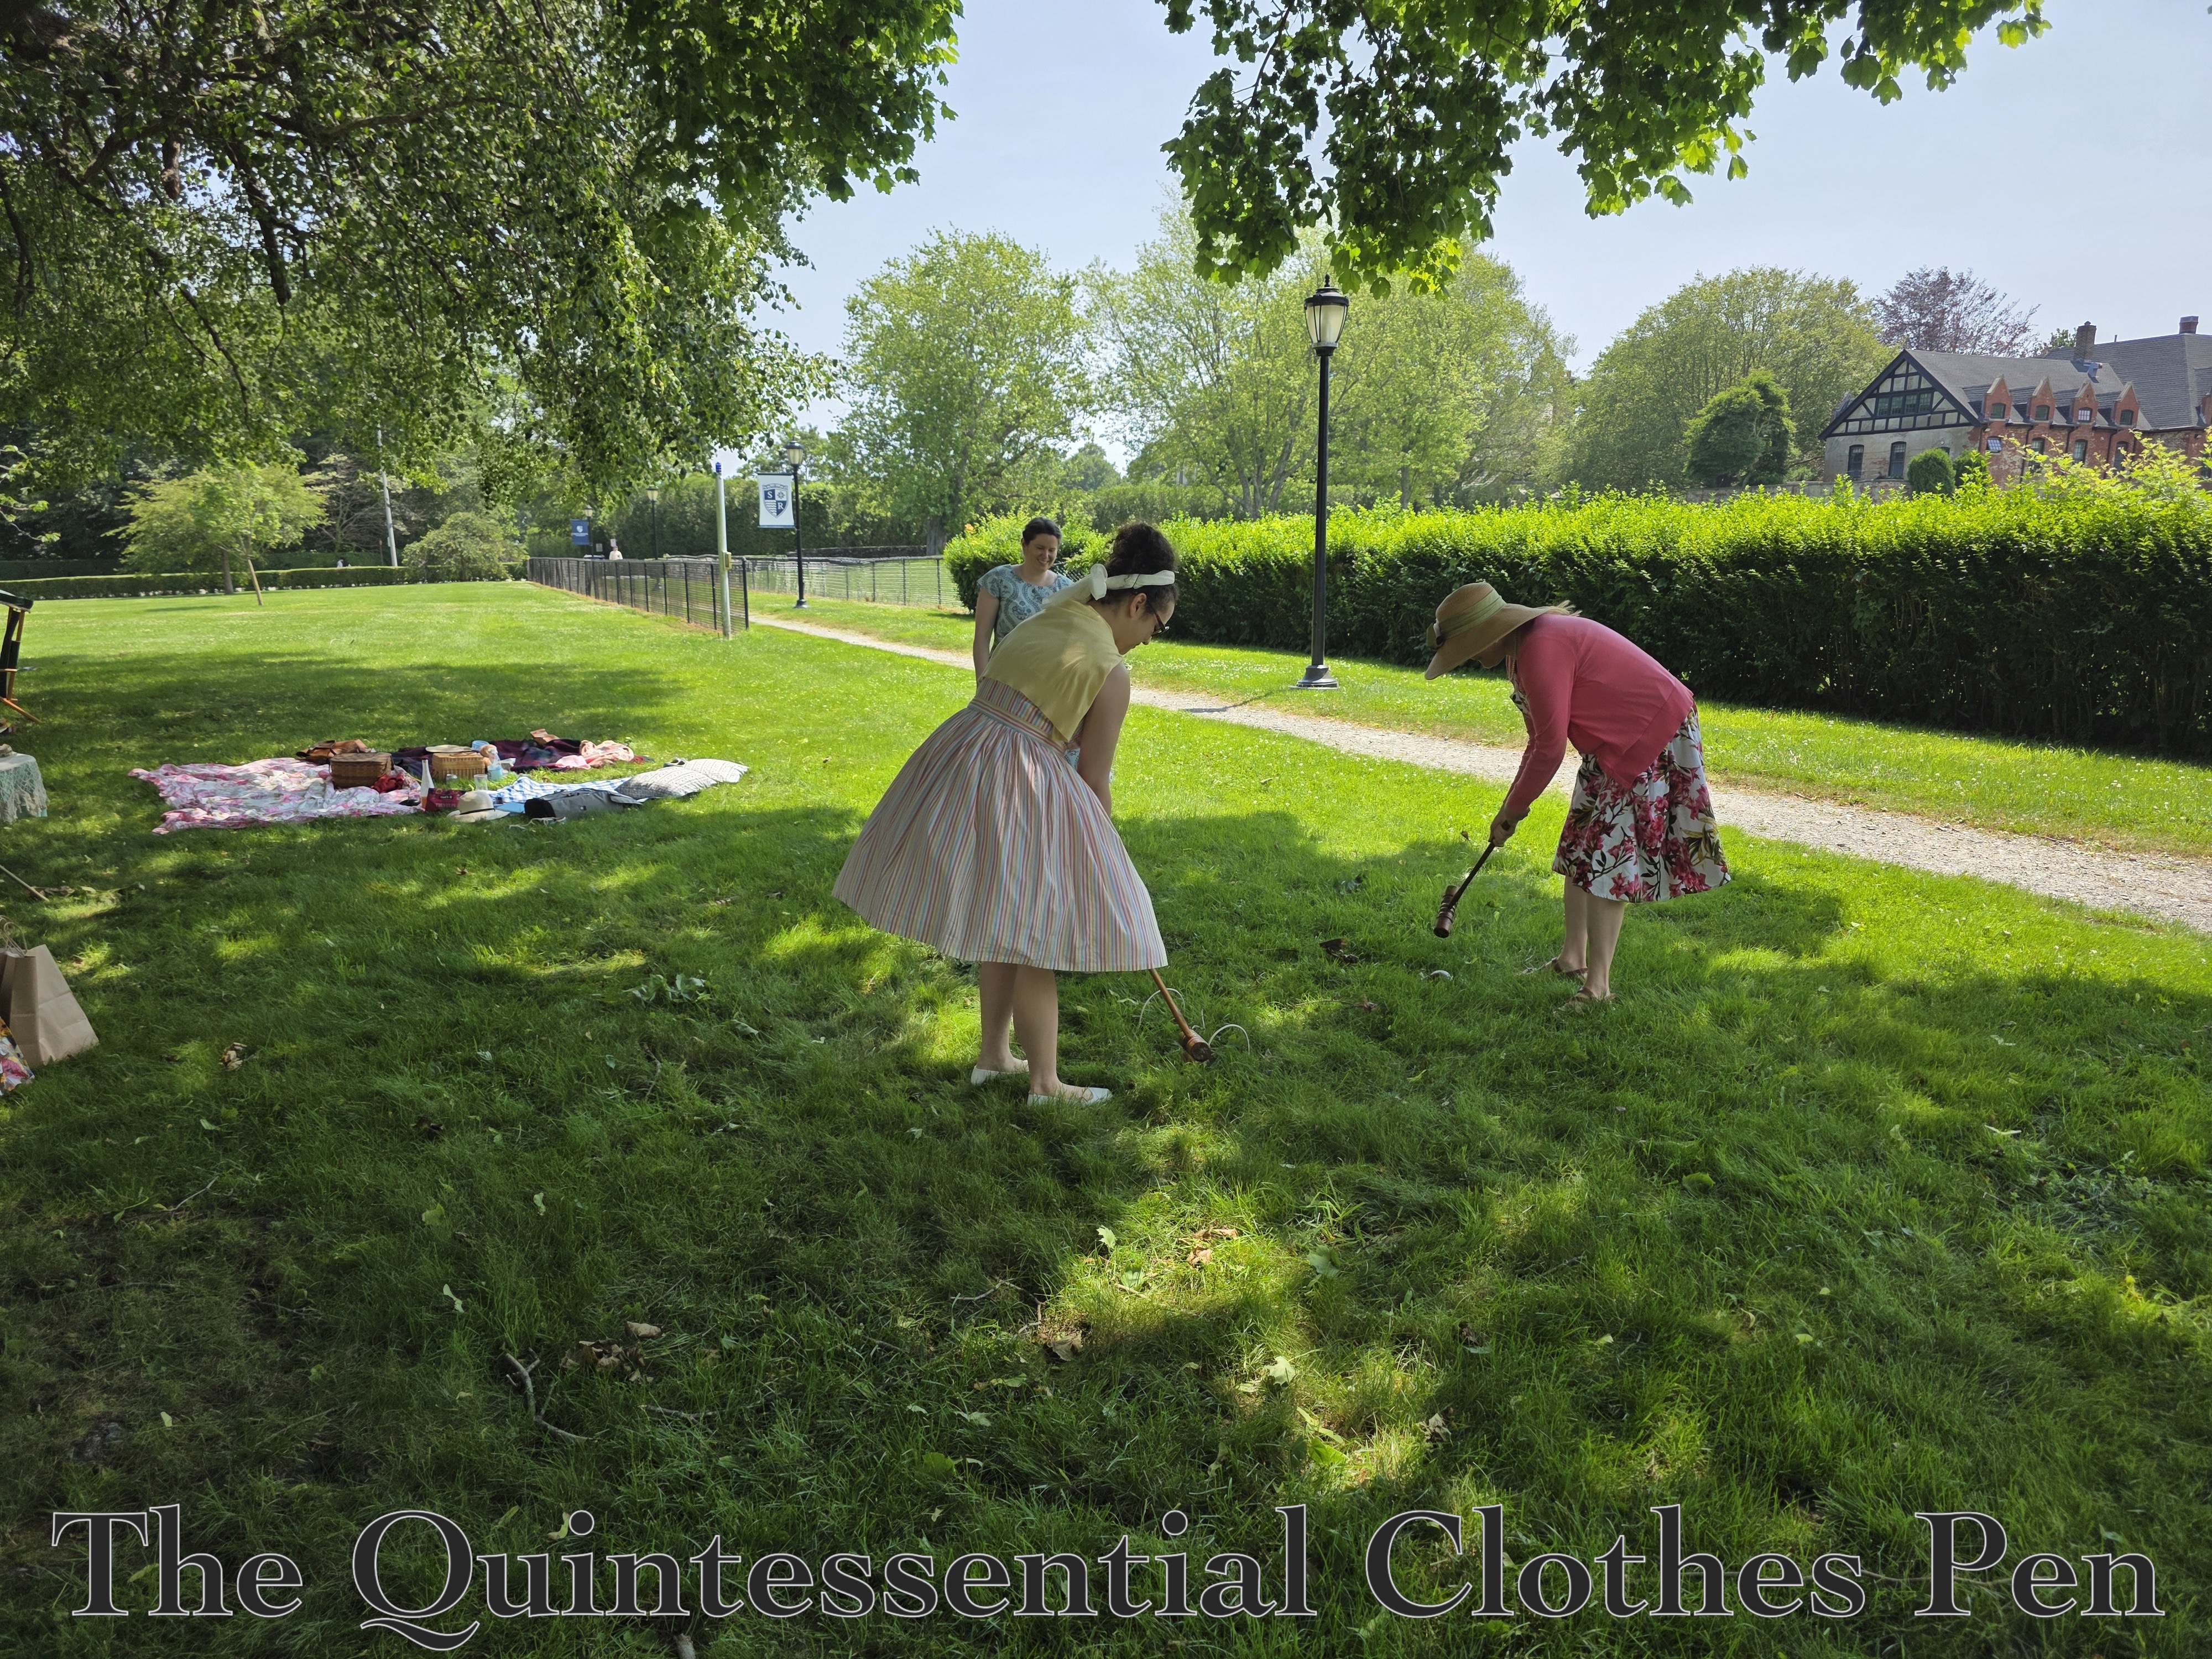
This year my outfits leaned towards the 1950s, which was a fun change. I wore my Fortescue Frock with a sporty-looking coordinating cardigan tied over my shoulders to fit the ‘collegiate’ theme.

The clear blue skies made for toasty weather, but it was reasonably cool in the shade, which was perfect for croquet during the picnic!

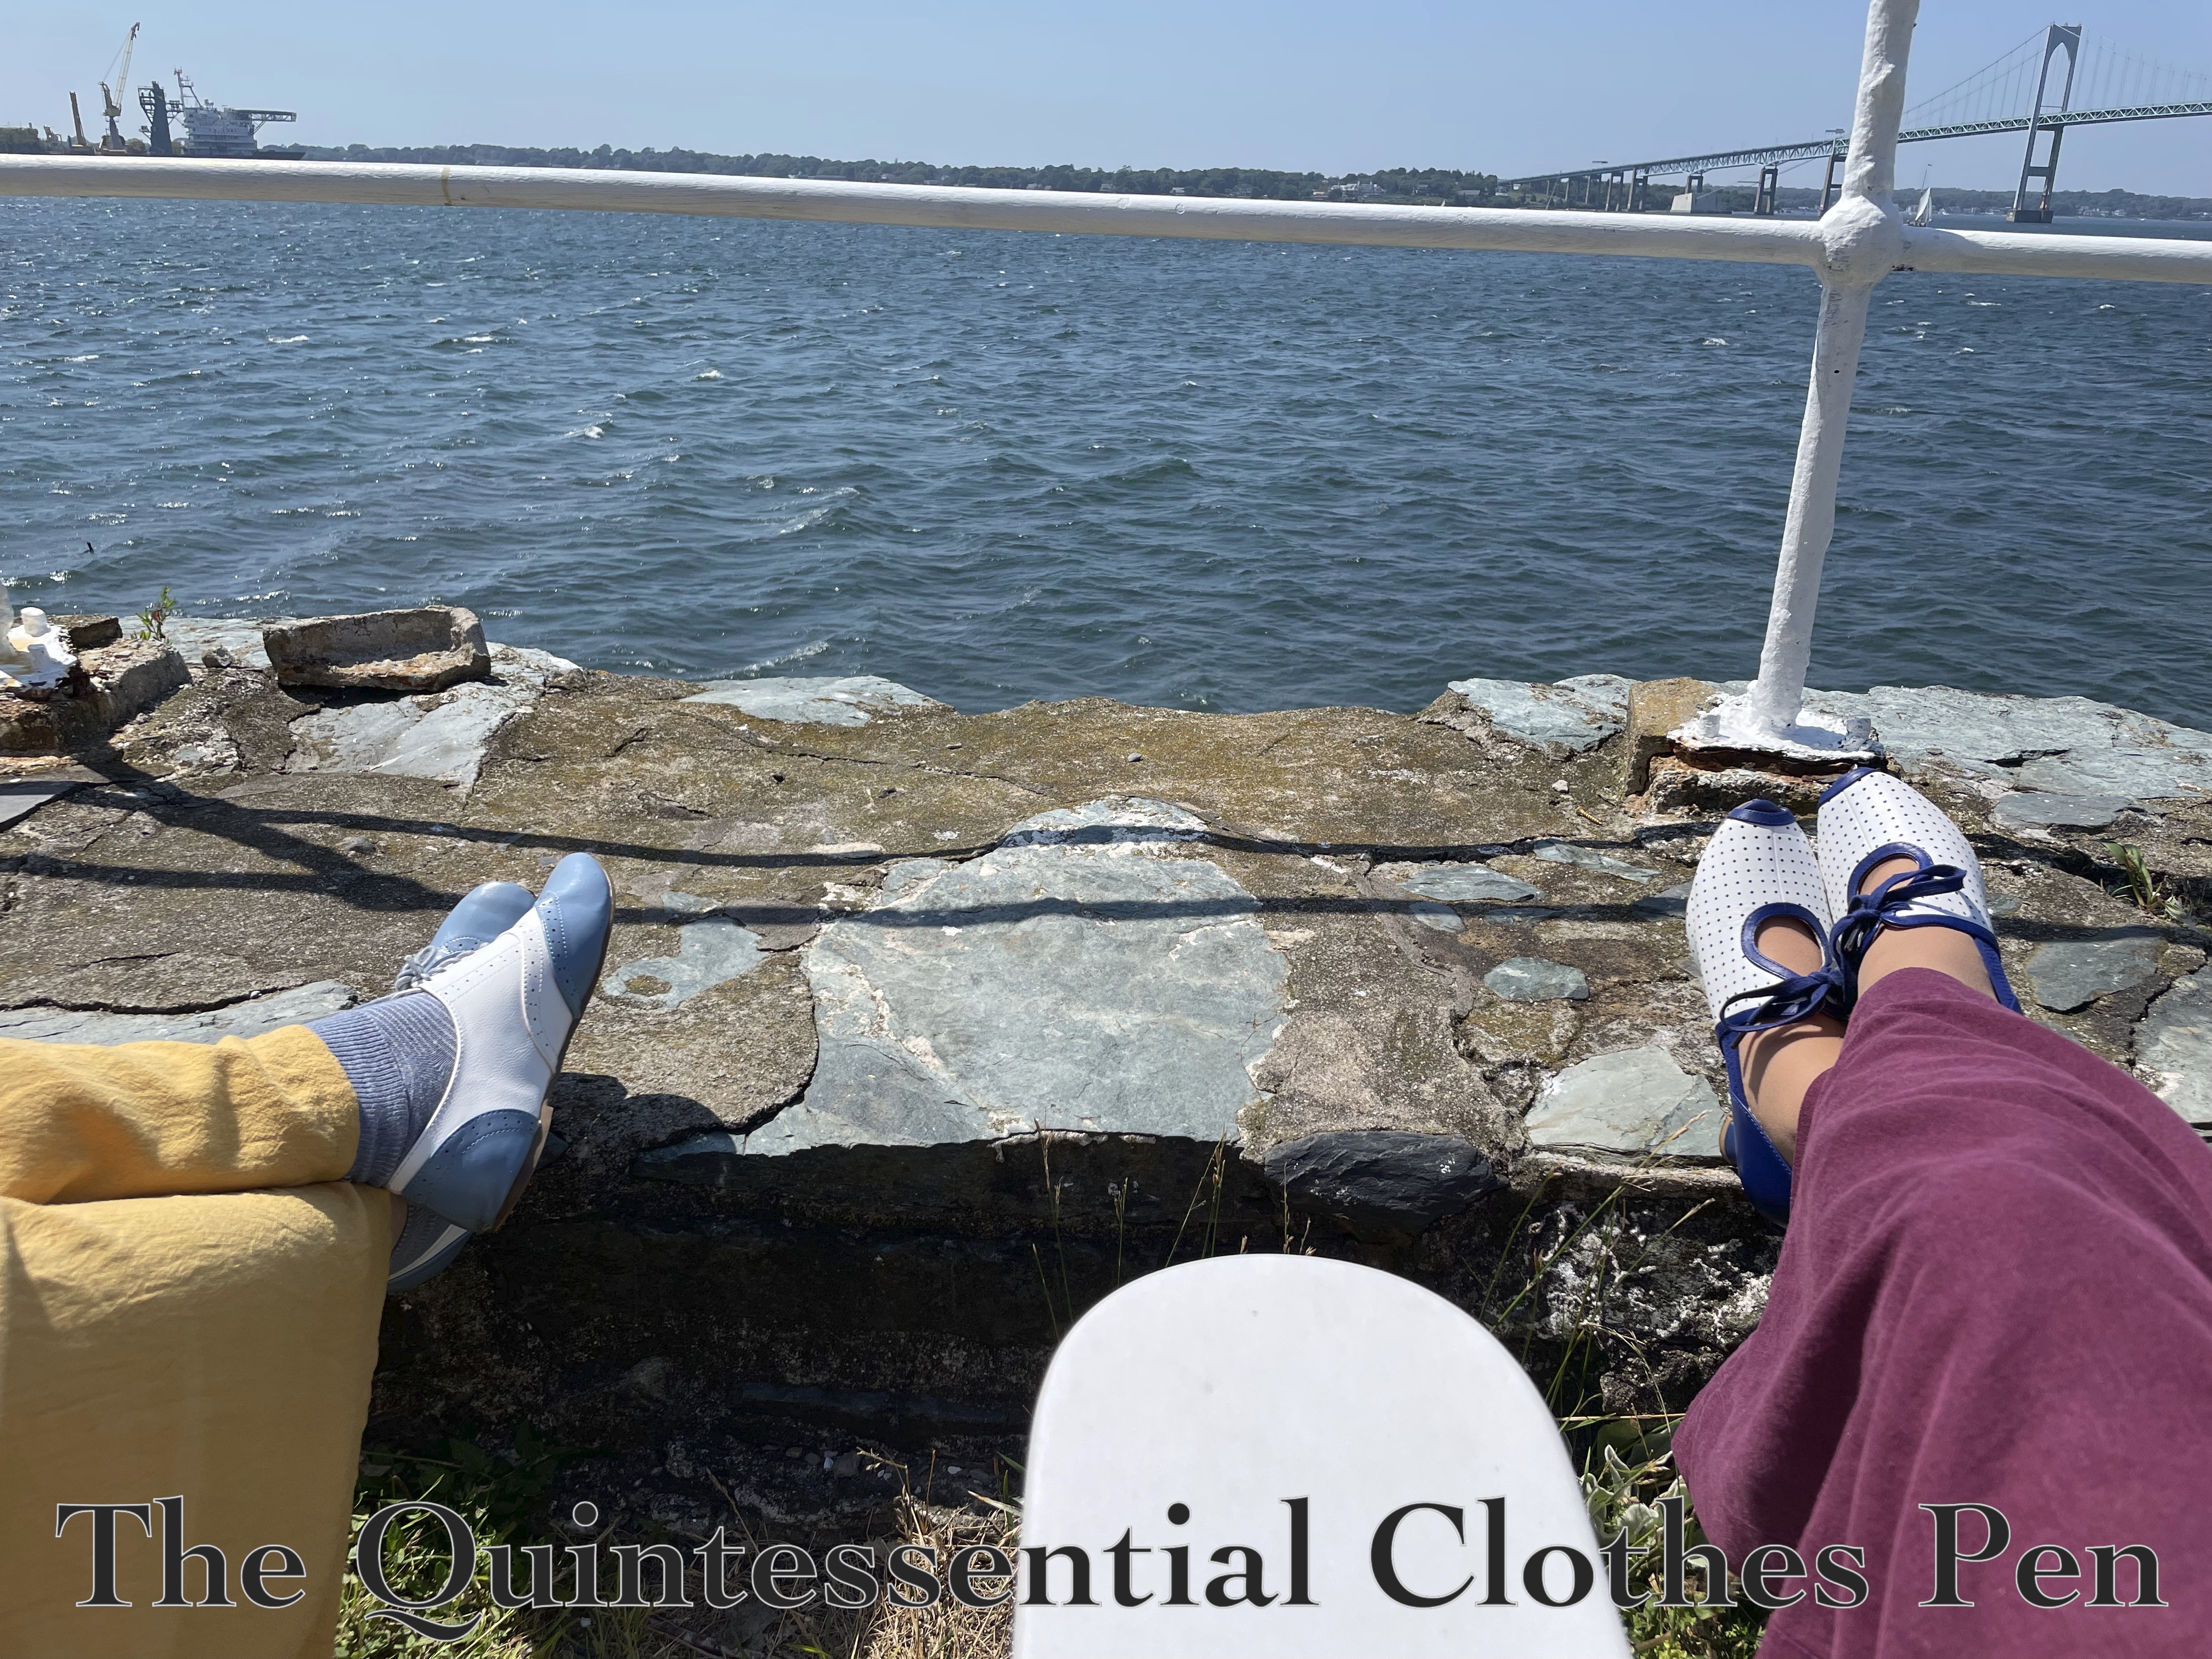
Sunday’s outing was to Rose Island, a location that I had not been to before. It was fun to learn about the island’s history! And the breeze on the island made for a very comfortable temperature!

I enjoyed breaking out my Plum Pants with Pointed Pockets and 1917 Knitted Sweater of Angorina. The combination was a little bit 1920s beach pajamas and a little 1930s sporting.

How lovely, to be able to lounge in an Adirondack chair with my feet up and have a charming conversation with a friend while watching the seagulls glide on the breeze!

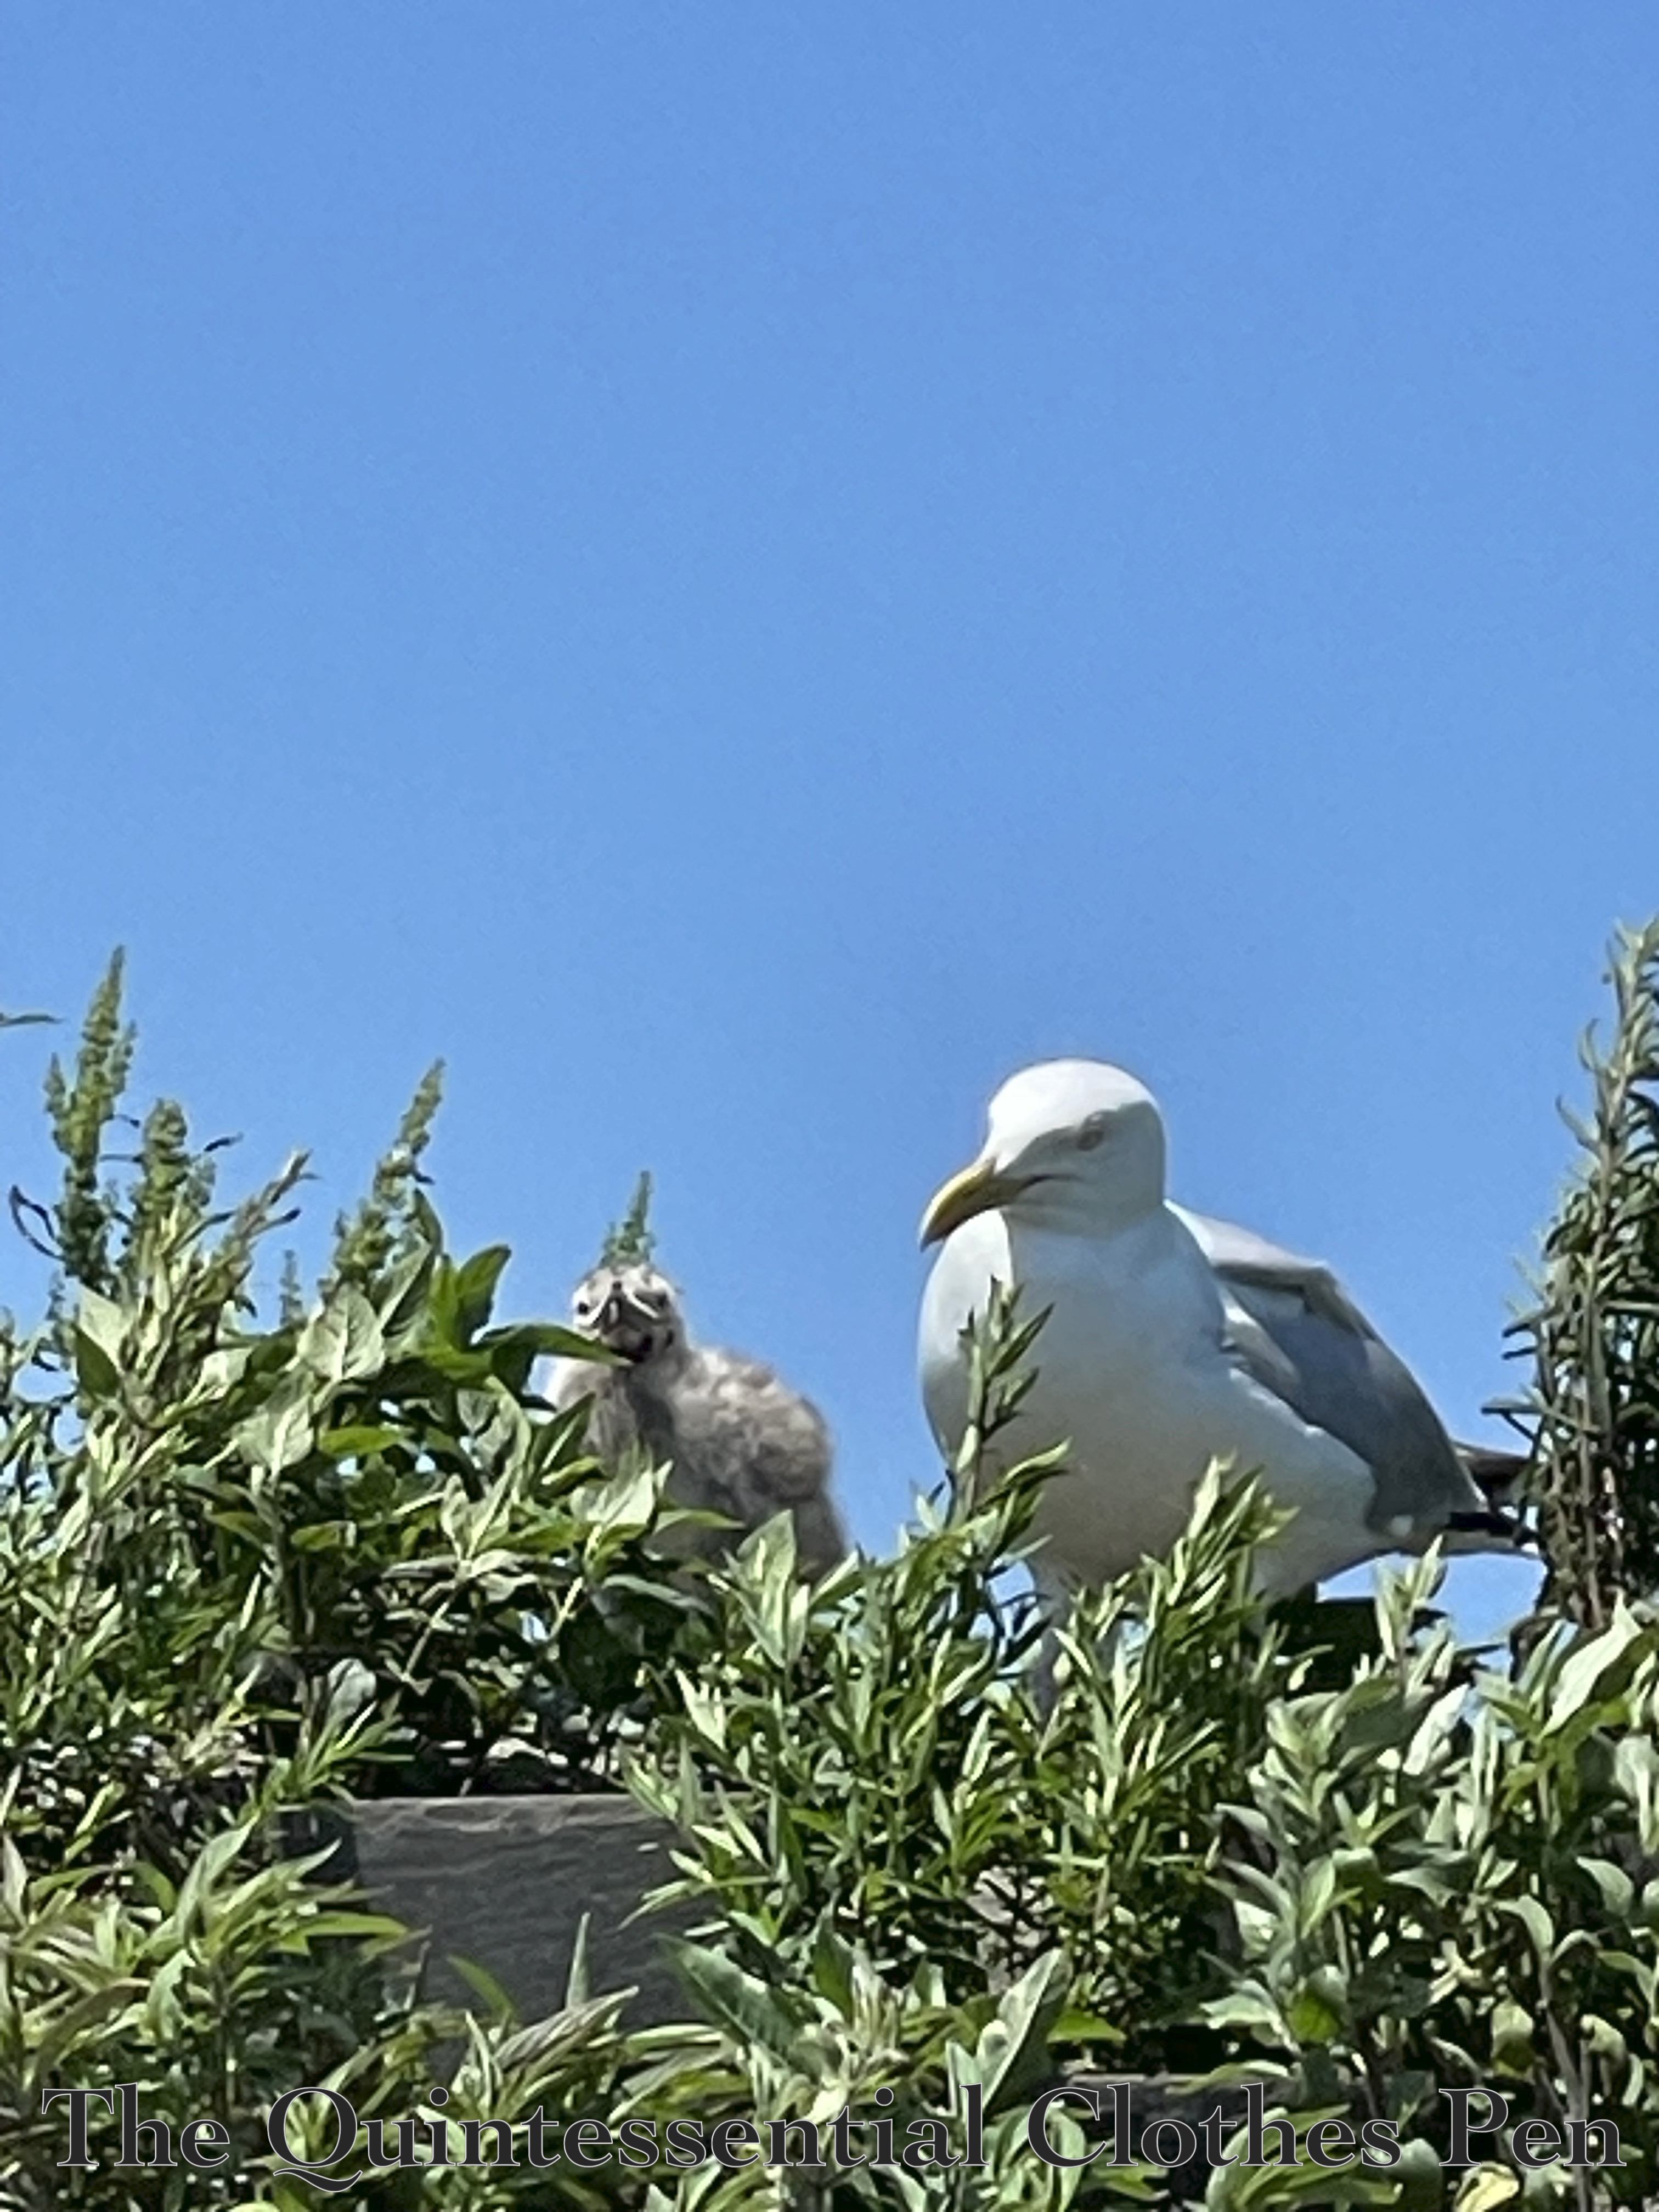
The birds on Rose Island are quite at home. In fact, most of the island is a preserve for them for most of the year. They had young ones while I was there and they were quite territorial, but I was able to zoom in to get this next photo without getting too close. The fuzzy young gull is cute!

All in all, I greatly enjoyed another lovely summer escape!

1794 Windowpane Ruffled Dress Outing

Back in October 2024, I posted about the inspiration and construction details of a freshly completed 1794 dress (you can view that past post here). At the time, I promised myself that I would figure out how to get my hair to look vaguely 1790s and find a fun opportunity to wear the dress and get photos!

Every few months after finishing the dress, I found the inspiration needed for a trial to figure out how to get my small-diameter-curly hair to look remotely like the billowing-larger-scale curls found in 1790s fashion plates. Of course, one could wear a wig… but I really enjoy using my own hair for these things! It’s a fun challenge, I think.

My first trial attempt was unsuccessful in the overall look, but I learned that curling iron curls didn’t look so far off as to be implausible. My second trial attempt taught me that the 1790s organza cap I made (finished even earlier, in 2023, and which you can read all about here, in a past post) that was intended for this outfit looked silly when perched directly on my head. It really, really needed volume so it appeared to be floating on my hair. Enter, a giant bun form. (The same bun form, in fact, that makes up the biggest part of my hair support for giant 1770s hair in this past post.)

See? The cap isn’t really on my head at all. It’s just floating on my hair. Aside from curling all of my hair, the only other part of creating this hairstyle was to artfully pin the curls up to make them elegantly descend from the cap on every side.

With this dress, I wore the foundations of the 1790s ensemble I’ve been putting together for the last few years. This included my entirely hand sewn c. 1785 Stays of Success and 1790s Petticoat & Bum Pad. Also finished in 2023 and 2024, this was the first real outing for the stays, which you can read all about in this past post, and for the petticoat and bum pad, which you can read all about in this past post.

The whole ensembles is super comfortable! The stays are, in fact, a success! And the layers, with their generously gathered skirts, are full of movement. The ruffles add a bit of fun. And the front closures on the petticoat and dress are definitely easy to use!

The only difficulty of wearing this dress came from the hem that just brushes the ground. Wearing it outside meant that it collected twigs, pine needs, and leaves that I was constantly removing. Not to mention the fact that the layers attracted multiple stinging bee-like creatures to get stuck between them! Ack! Luckily, kind people around me helped me separate the layers enough to let the winged creatures free, and not a single person was stung! Whew!

Perhaps this ensemble is better suited to a marble-floored walkway, but… it was breezy, and cool, and elegant to wear outside (when one ignored the bits of nature stuck in the hem ruffle!).

A Mysterious Domino, Part II: Making & Wearing

This is a continuation of my last post, which shared the background of why I created this black domino cape as well as research about what a domino is and its history.

Making My Mysterious Domino

Having decided on an idea, and probably conducted more research into its history than was strictly necessary for this purpose, I proceeded to figure out how to bring my idea to life. I had the additional goal of not wanting to spend money and therefore restricted my domino-endeavors to the stash.

I started by looking through my stash binder (I posted about my stash organization in this past post) to see what fabrics I had on hand that might be able to be made into a quick and easy domino. I came up with just one — a gifted-to-me three yard piece of a black synthetic sheer, with alternating satin and sheer narrow stripes and a bit of metallic thread woven in between each stripe. I liked the drape of the fabric, as I thought it would move nicely while dancing, and I liked that while being black, it was also interesting and had more to look at than a plain solid. Three yards was plenty of fabric to allow for a large hood and plenty of length!

I think this fabric might be fun to use for something else someday, so I was loathe to actually cut it to make a domino cape. From past experience (and my patterning books), I was aware of the general shape and construction of the hoods of 18th century capes, which I was more excited by than the shape of the main body portion of capes from this period. The hoods often have quite a bit of fabric pleated into a central spot on the back of the hood and the bases are often pleated into the neck area, as well.

I started experimenting with my fabric and safety pinned a central pleated area in the center of my three yard piece. Then, I safety pinned a center back seam in the two ends of the piece, which hung down below the ‘hood.’ The next step was to safety pin a row of large pleats around what would be the ‘neck’ area, to draw in the width of the fabric around the shoulders. And… I basically had a cape!
A bit rough and ready, but my safety pinning did create a cape with a hood!

I fiddled a bit, by turning under some of the depth of the hood (and pinning it back near the central pleats) as well as pinning up swags at the front shoulder areas. I agreed with Erté (in the quote in my previous post)– that my domino should have a distinguished cut to keep me from looking like a shapeless bundle!

At that point, I realized that most of my pinned areas really didn’t need to be sewn… I could just leave in the safety pins, making it much faster to take apart if I wanted to do that someday! In the end, the only two things I sewed were the center back seam (with basting stitches by hand) and the hem (again, with basting stitches by hand). Calling it a ‘hem’ is generous, I think! I really just turned it up once with the raw edge left visible.
Wearing My Mysterious Domino

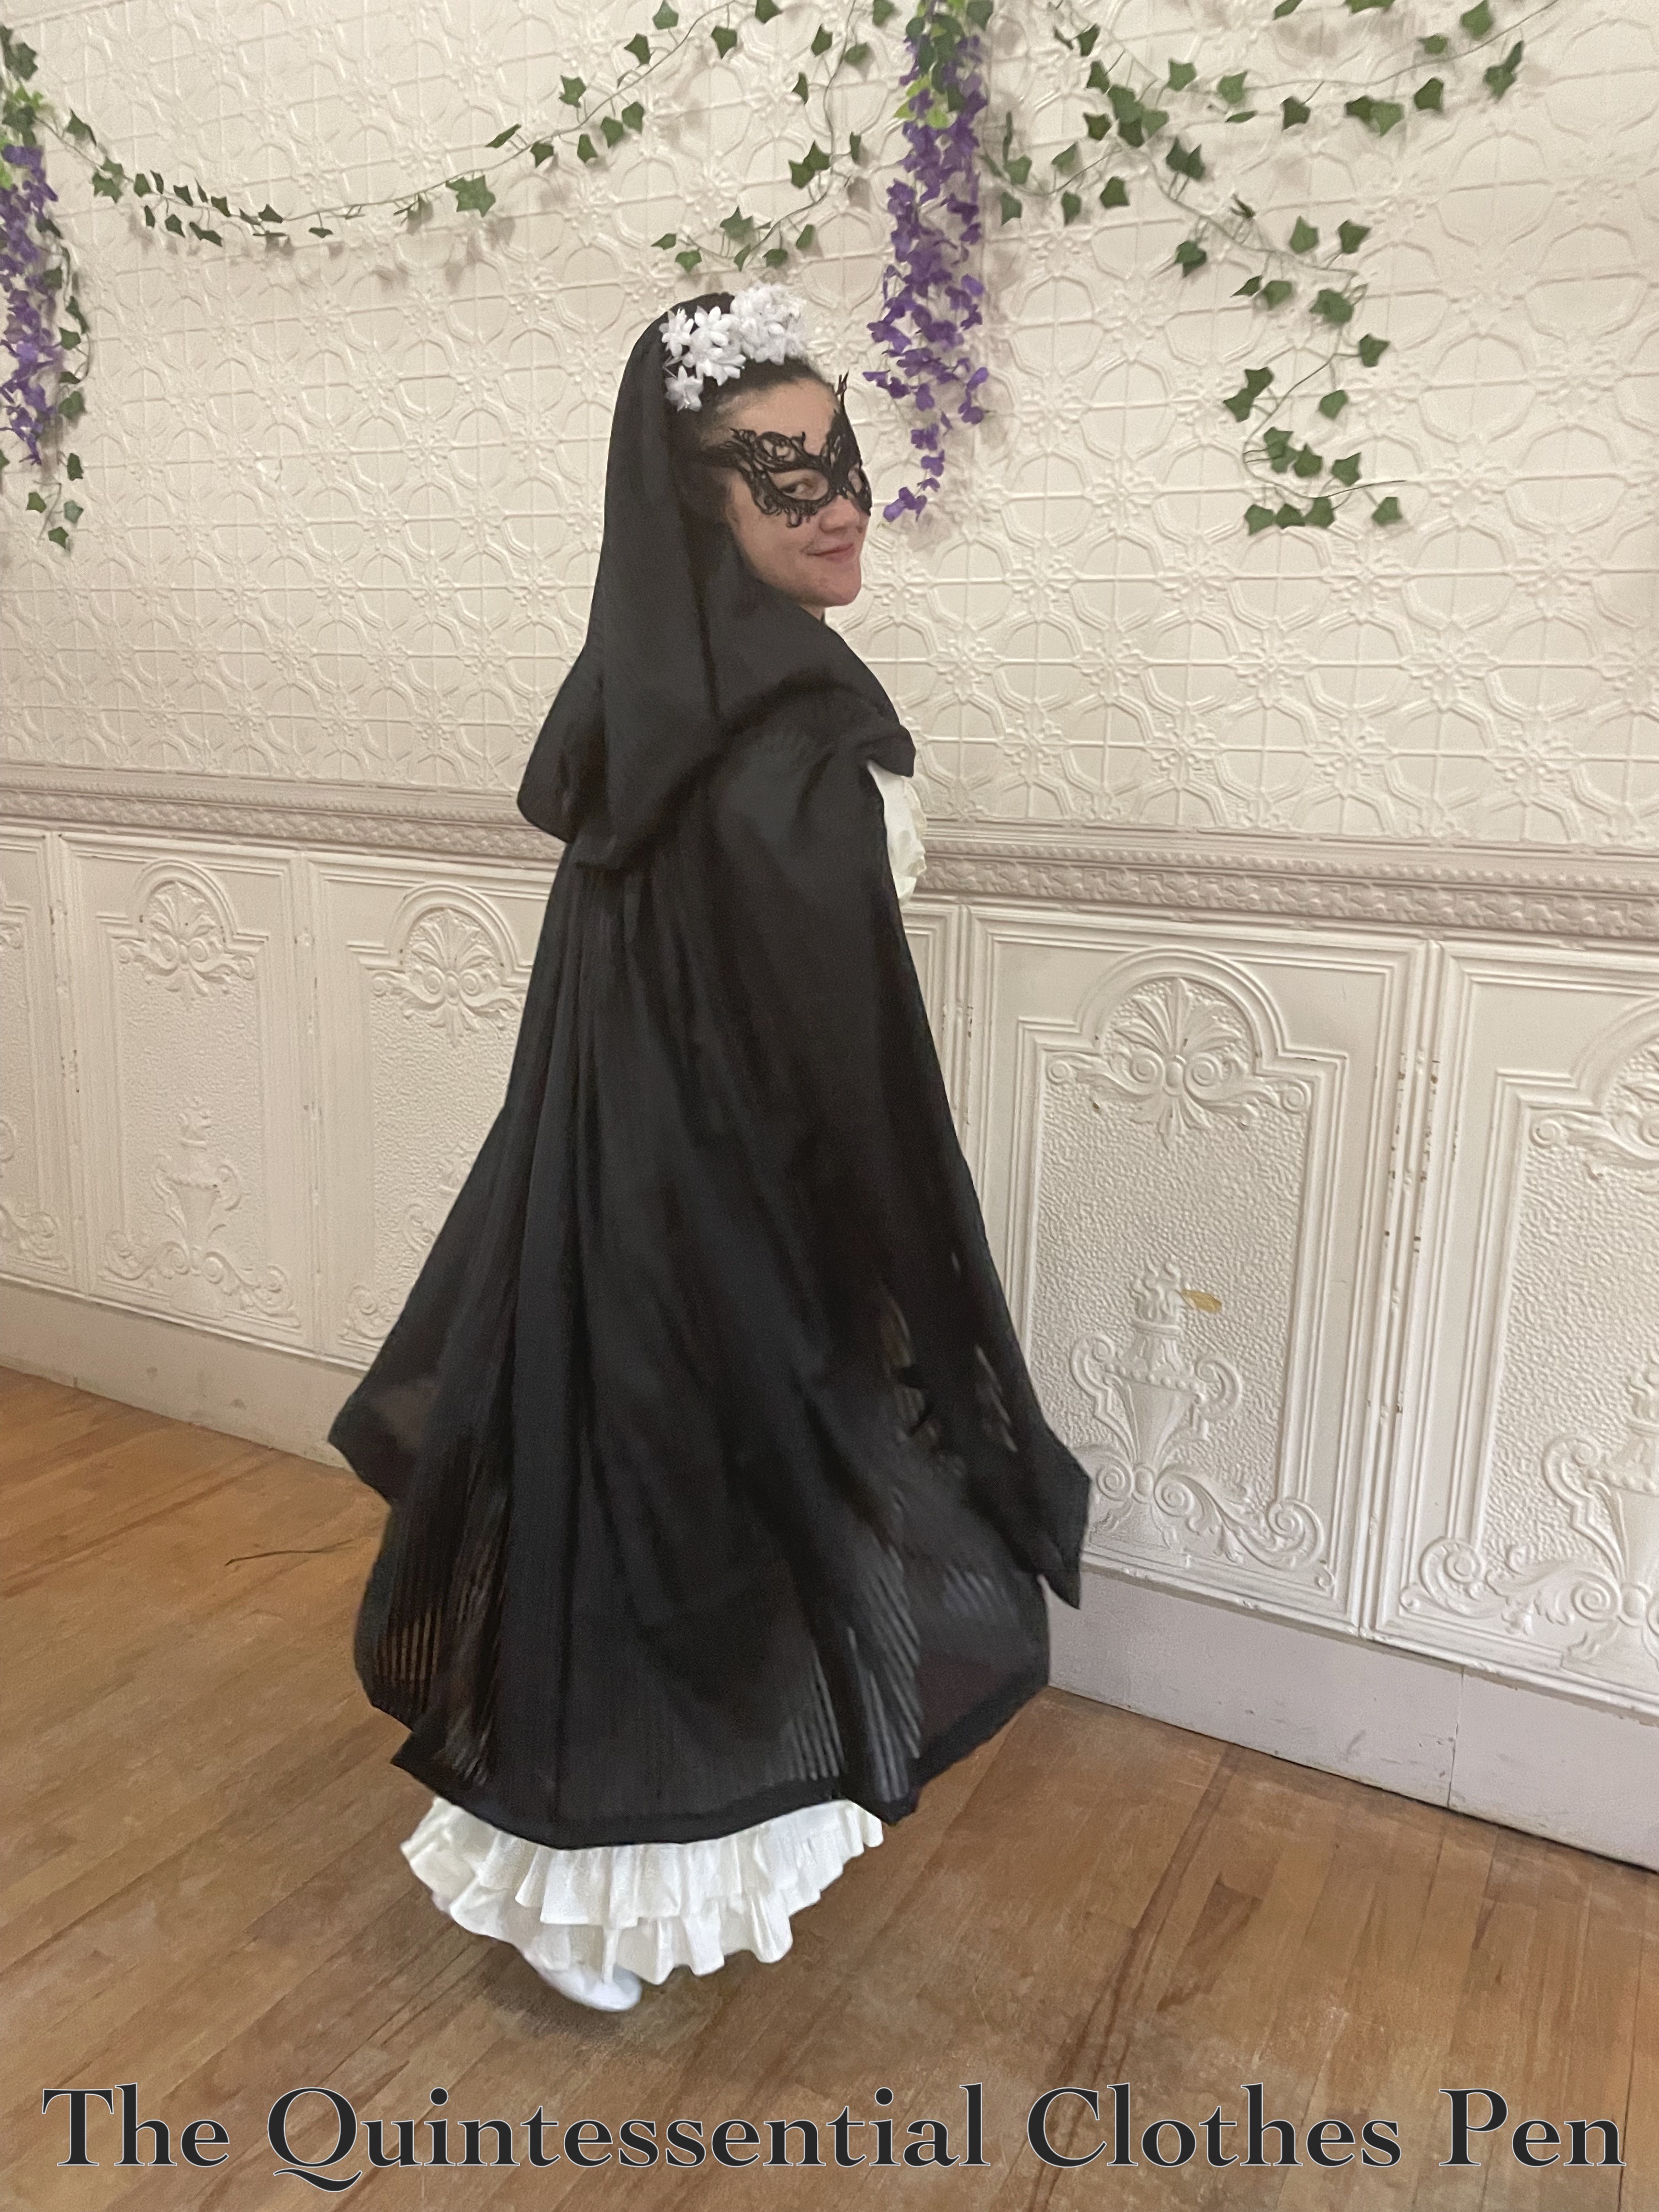
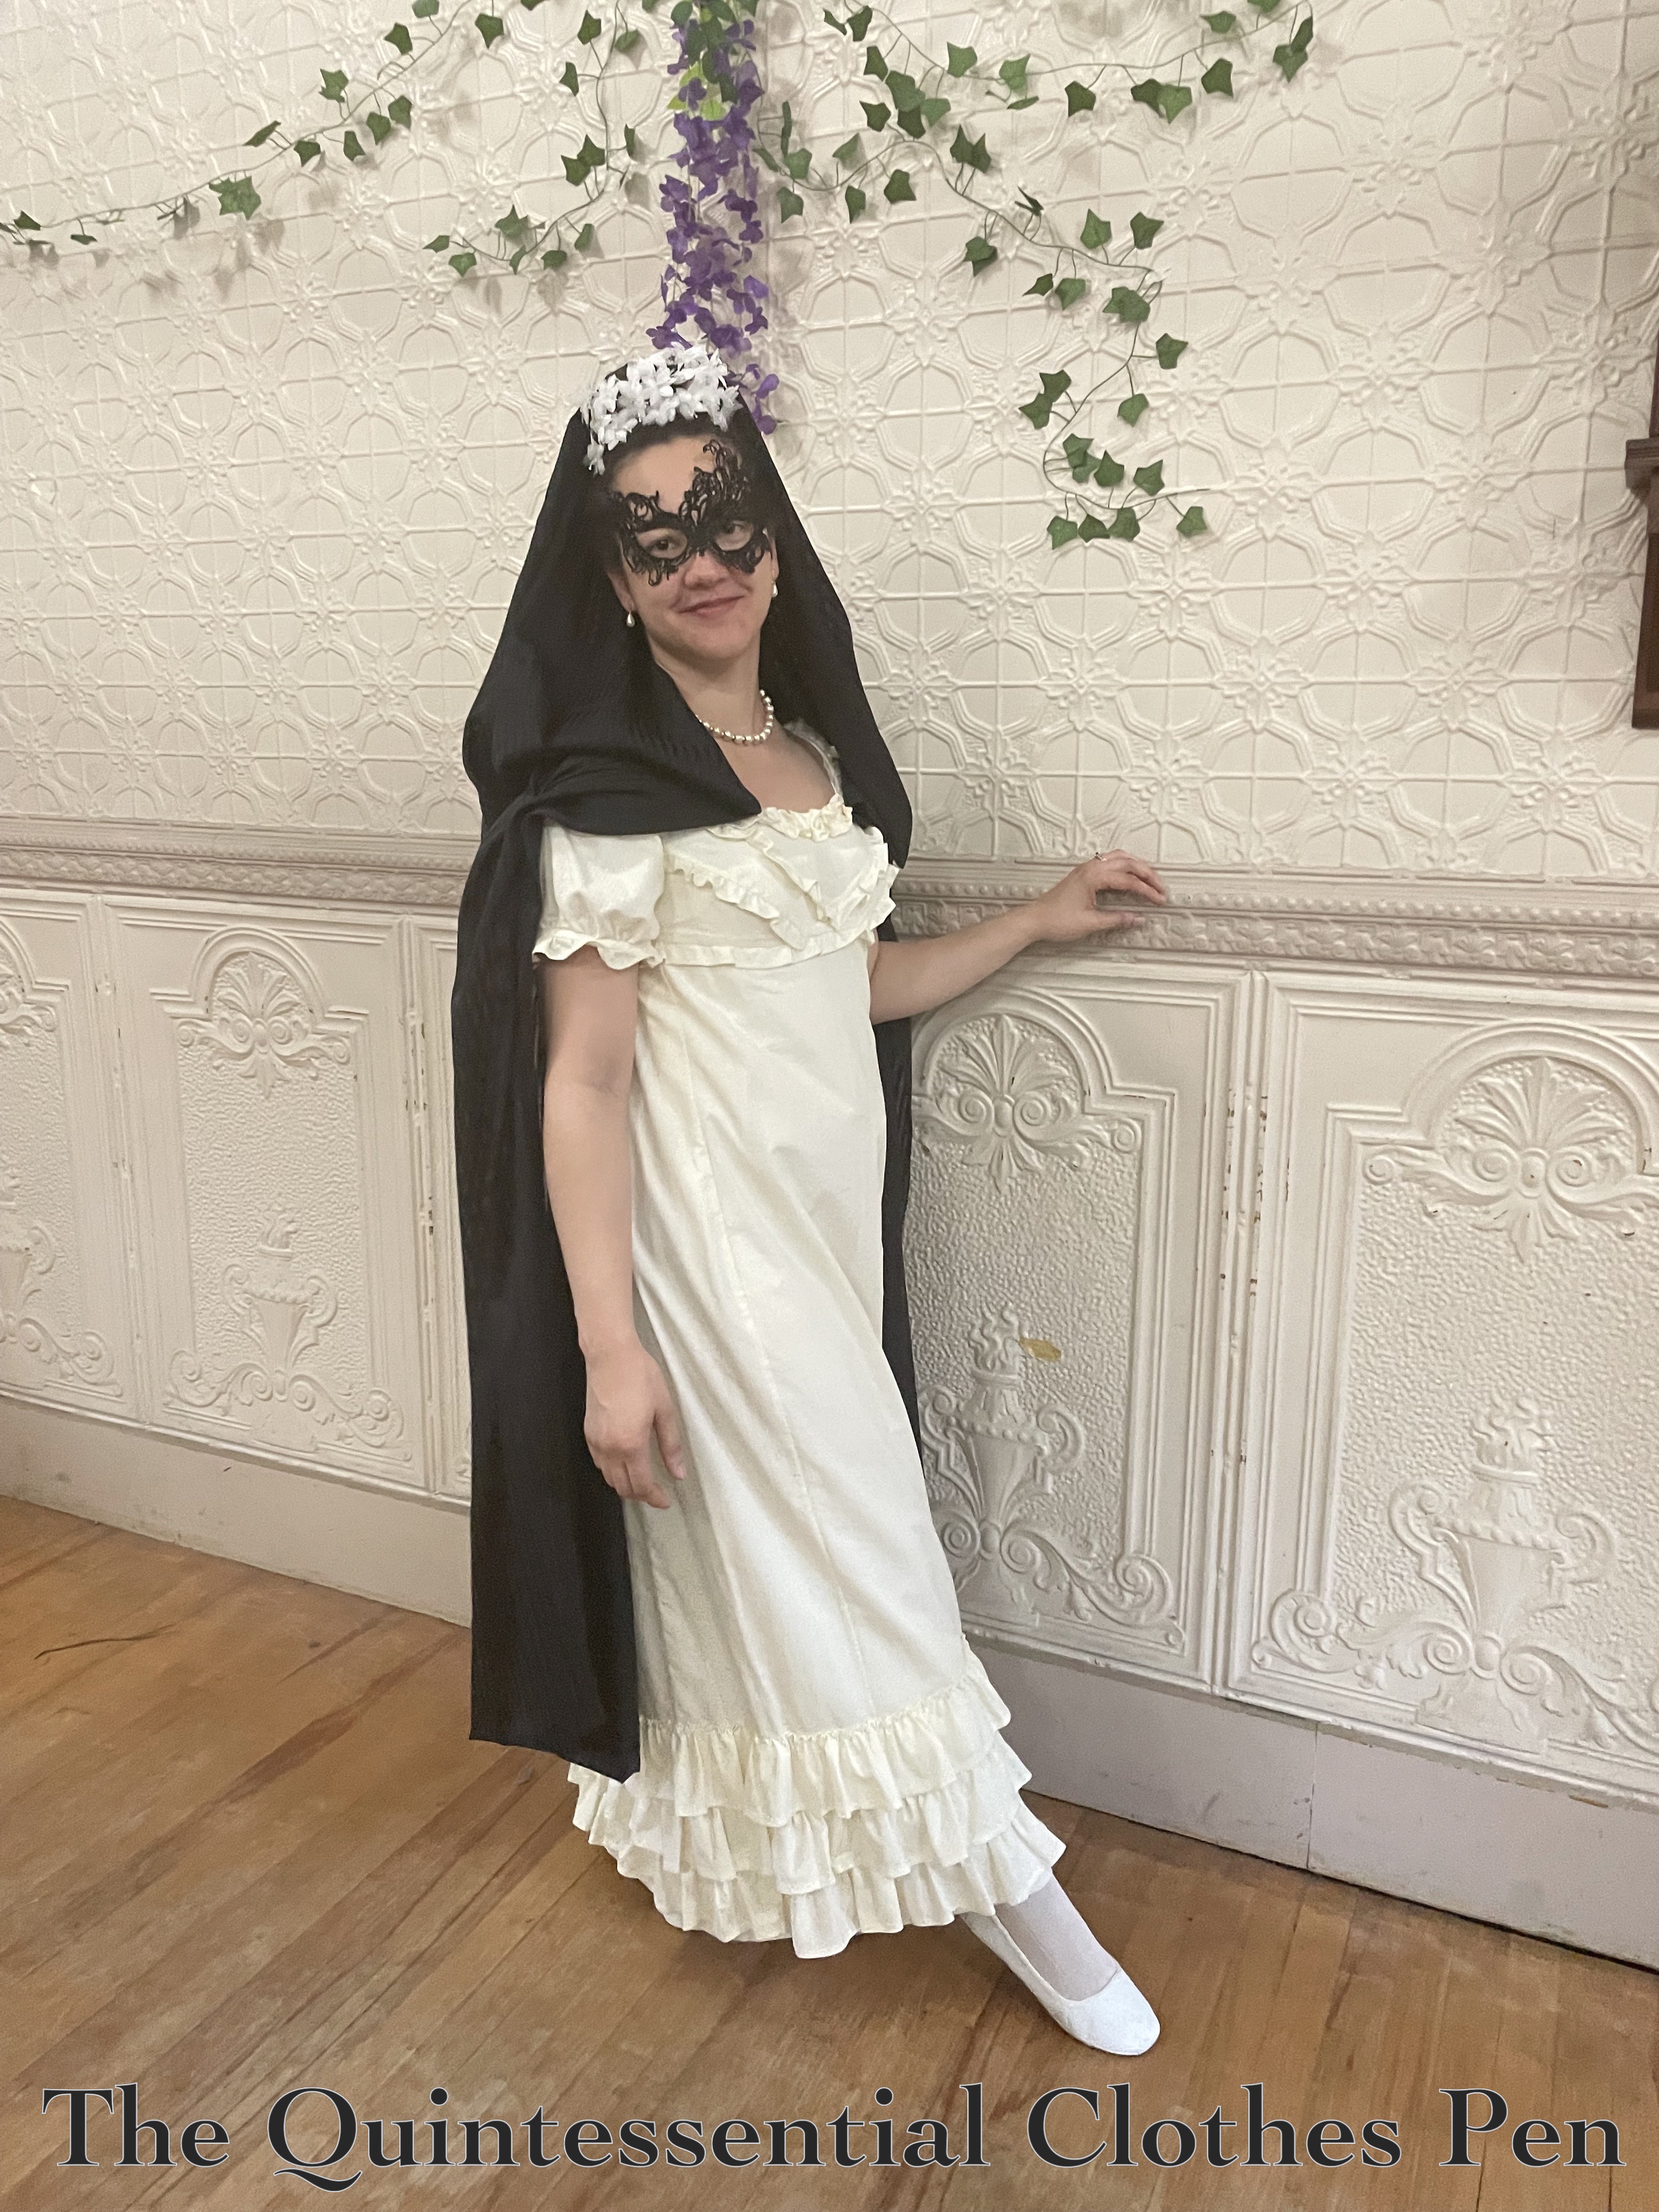
My historically plausible, mysterious looking domino cape was ready to go. I was all prepared for The Footwork and Frolick Society’s early 19th century themed Masquerade Ball!

I chose to pin the cape to my dress rather than having it closed at my neck. It made the hood pretty long in the back, but it kept the cape from pulling backwards and feeling claustrophobic, while also opening up the front view and not covering my entire dress.

And, since I felt like black mask, dark hair, and black hood was all a bit much around my face, I put my hair up around a huge bun form to raise the hood and added white flowers in front to add some contrast and a relief for the eyes.

Paired with white, gold, and pearl accessories, I created a fun new variation on an old dress!

A Windy Summer Adventure

I am super belated in posting about this event, but the one benefit of being so slow is that we’ve come full circle back to the appropriate season for these photos! I hope you enjoy recalling this lovely walk with me.

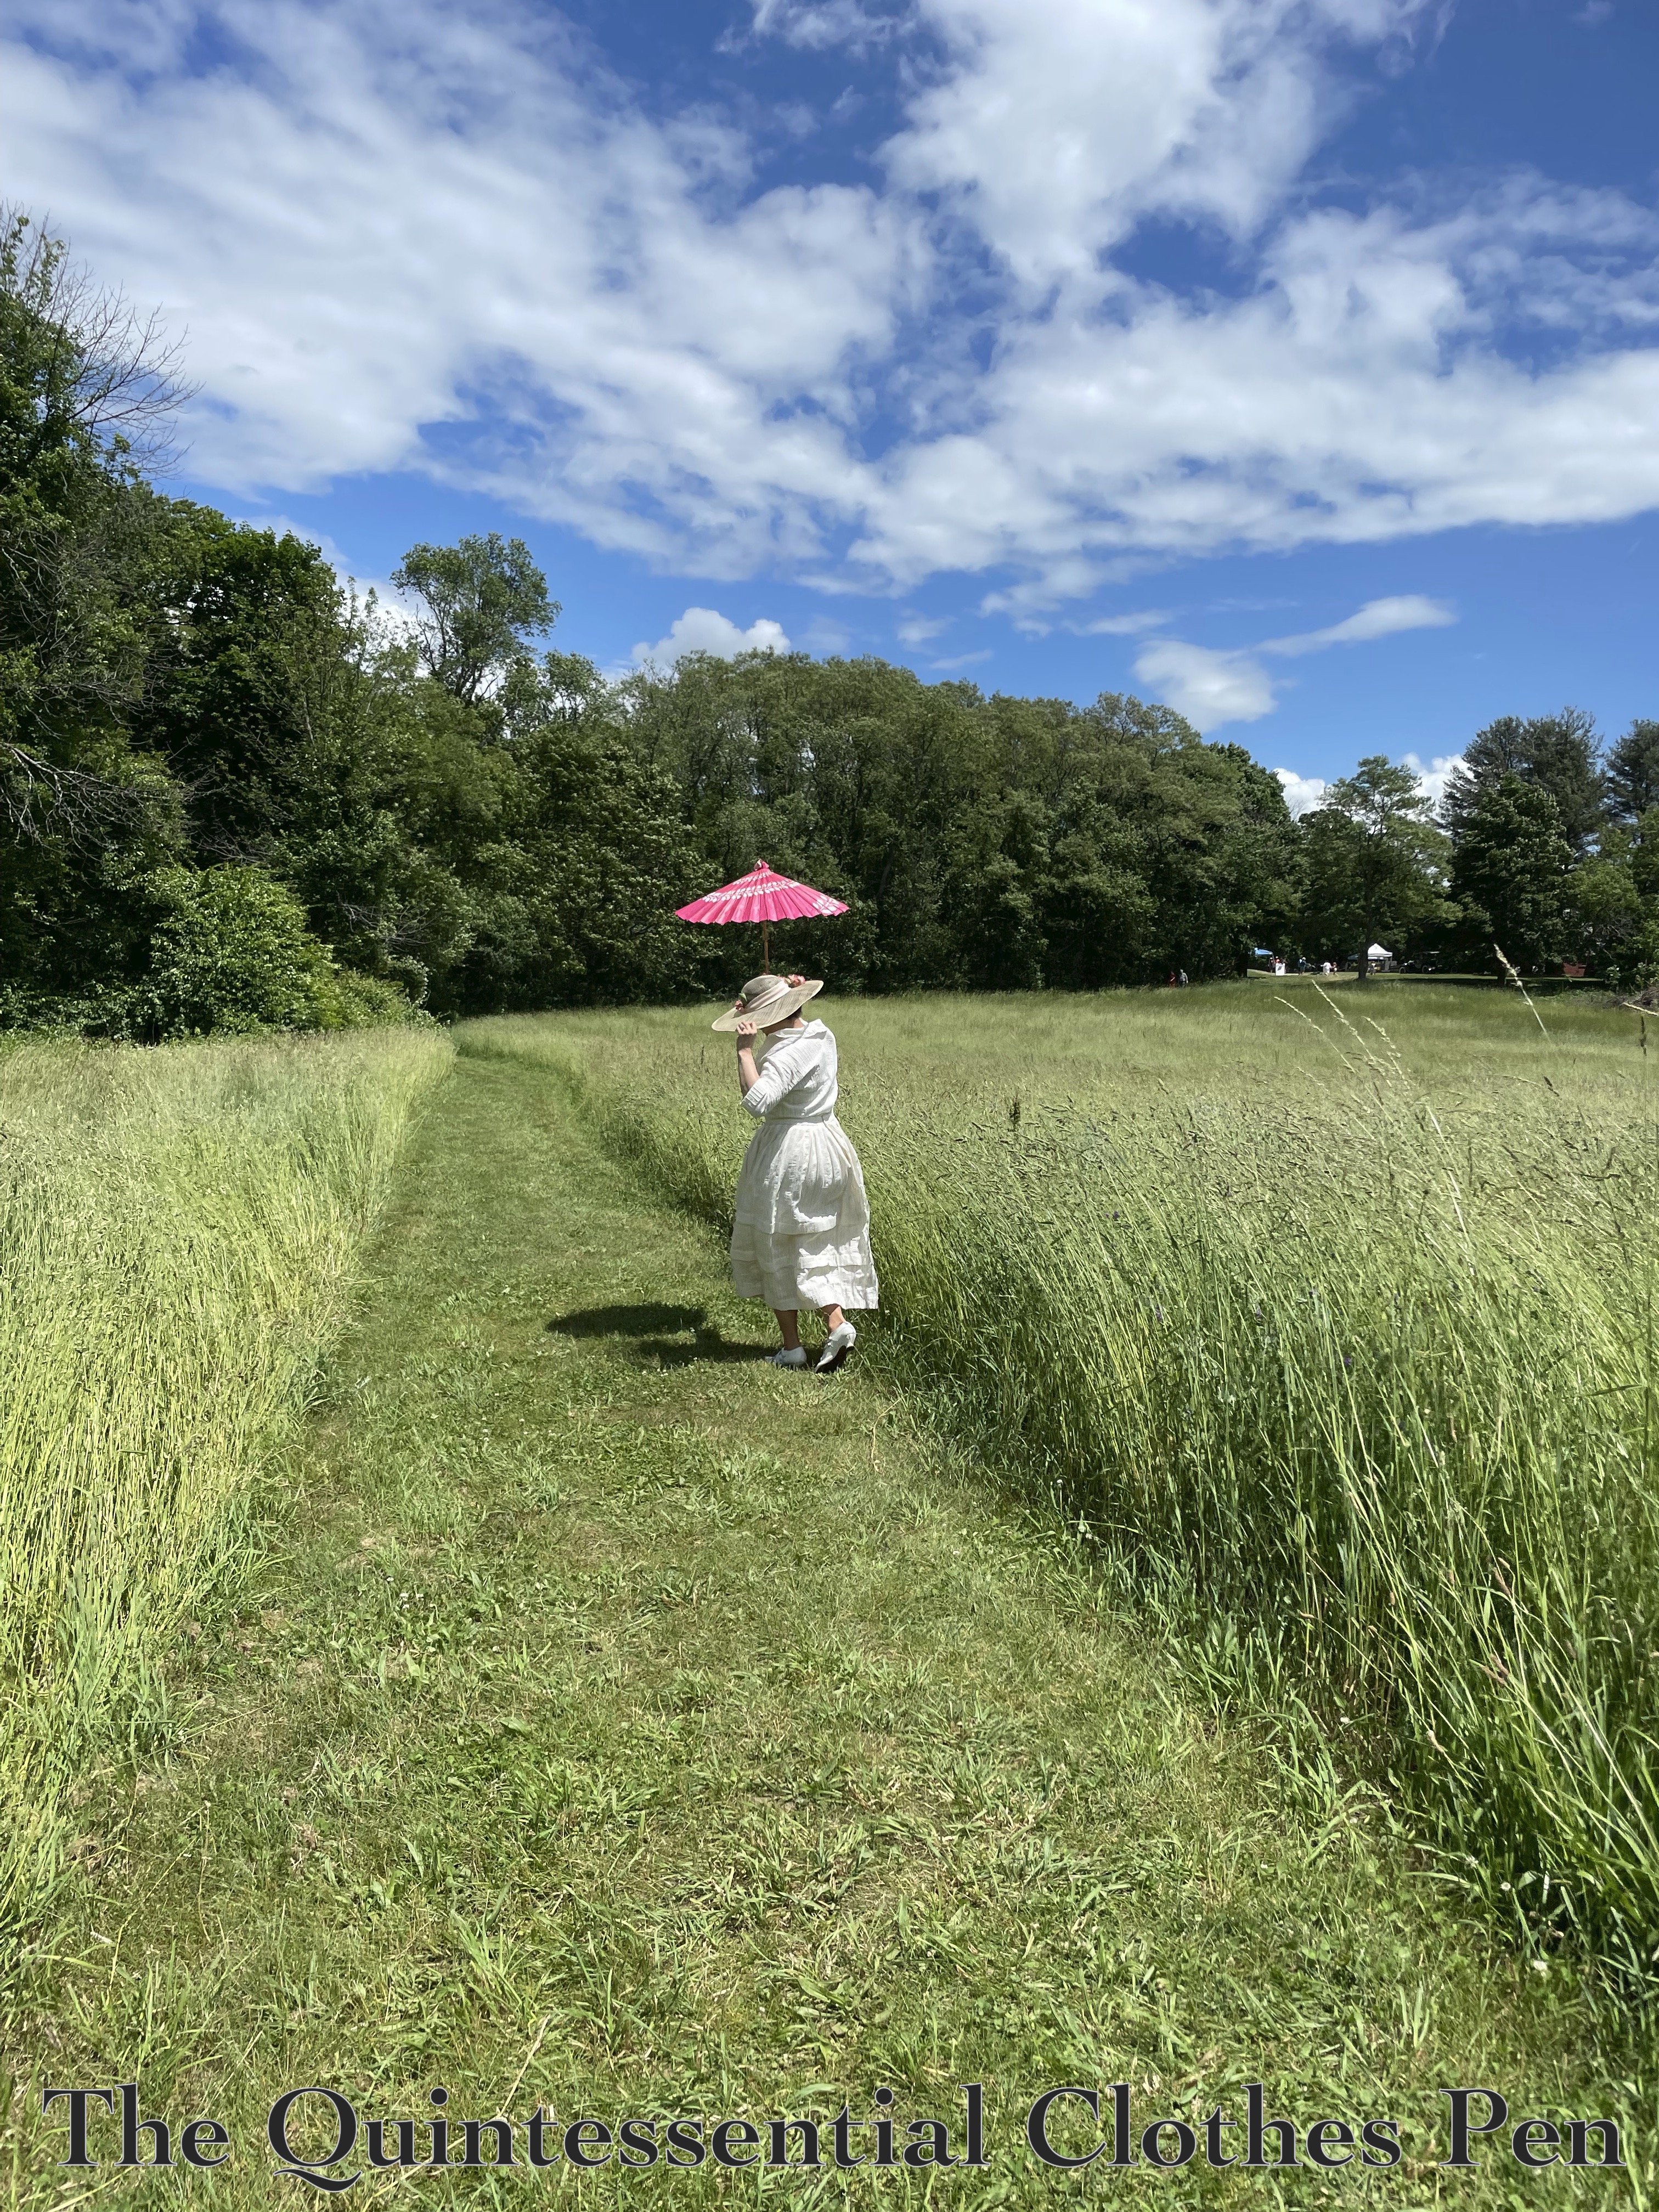
In June of 2024, I attended a 1920s themed Gala Day celebration at the Rebecca Nurse Homestead in Danvers, MA. (More about Gala Day can be read here, on the Rebecca Nurse Homestead site.) It was a beautiful day with sun and blue skies. Not hot, but pleasantly comfortable. And windy!

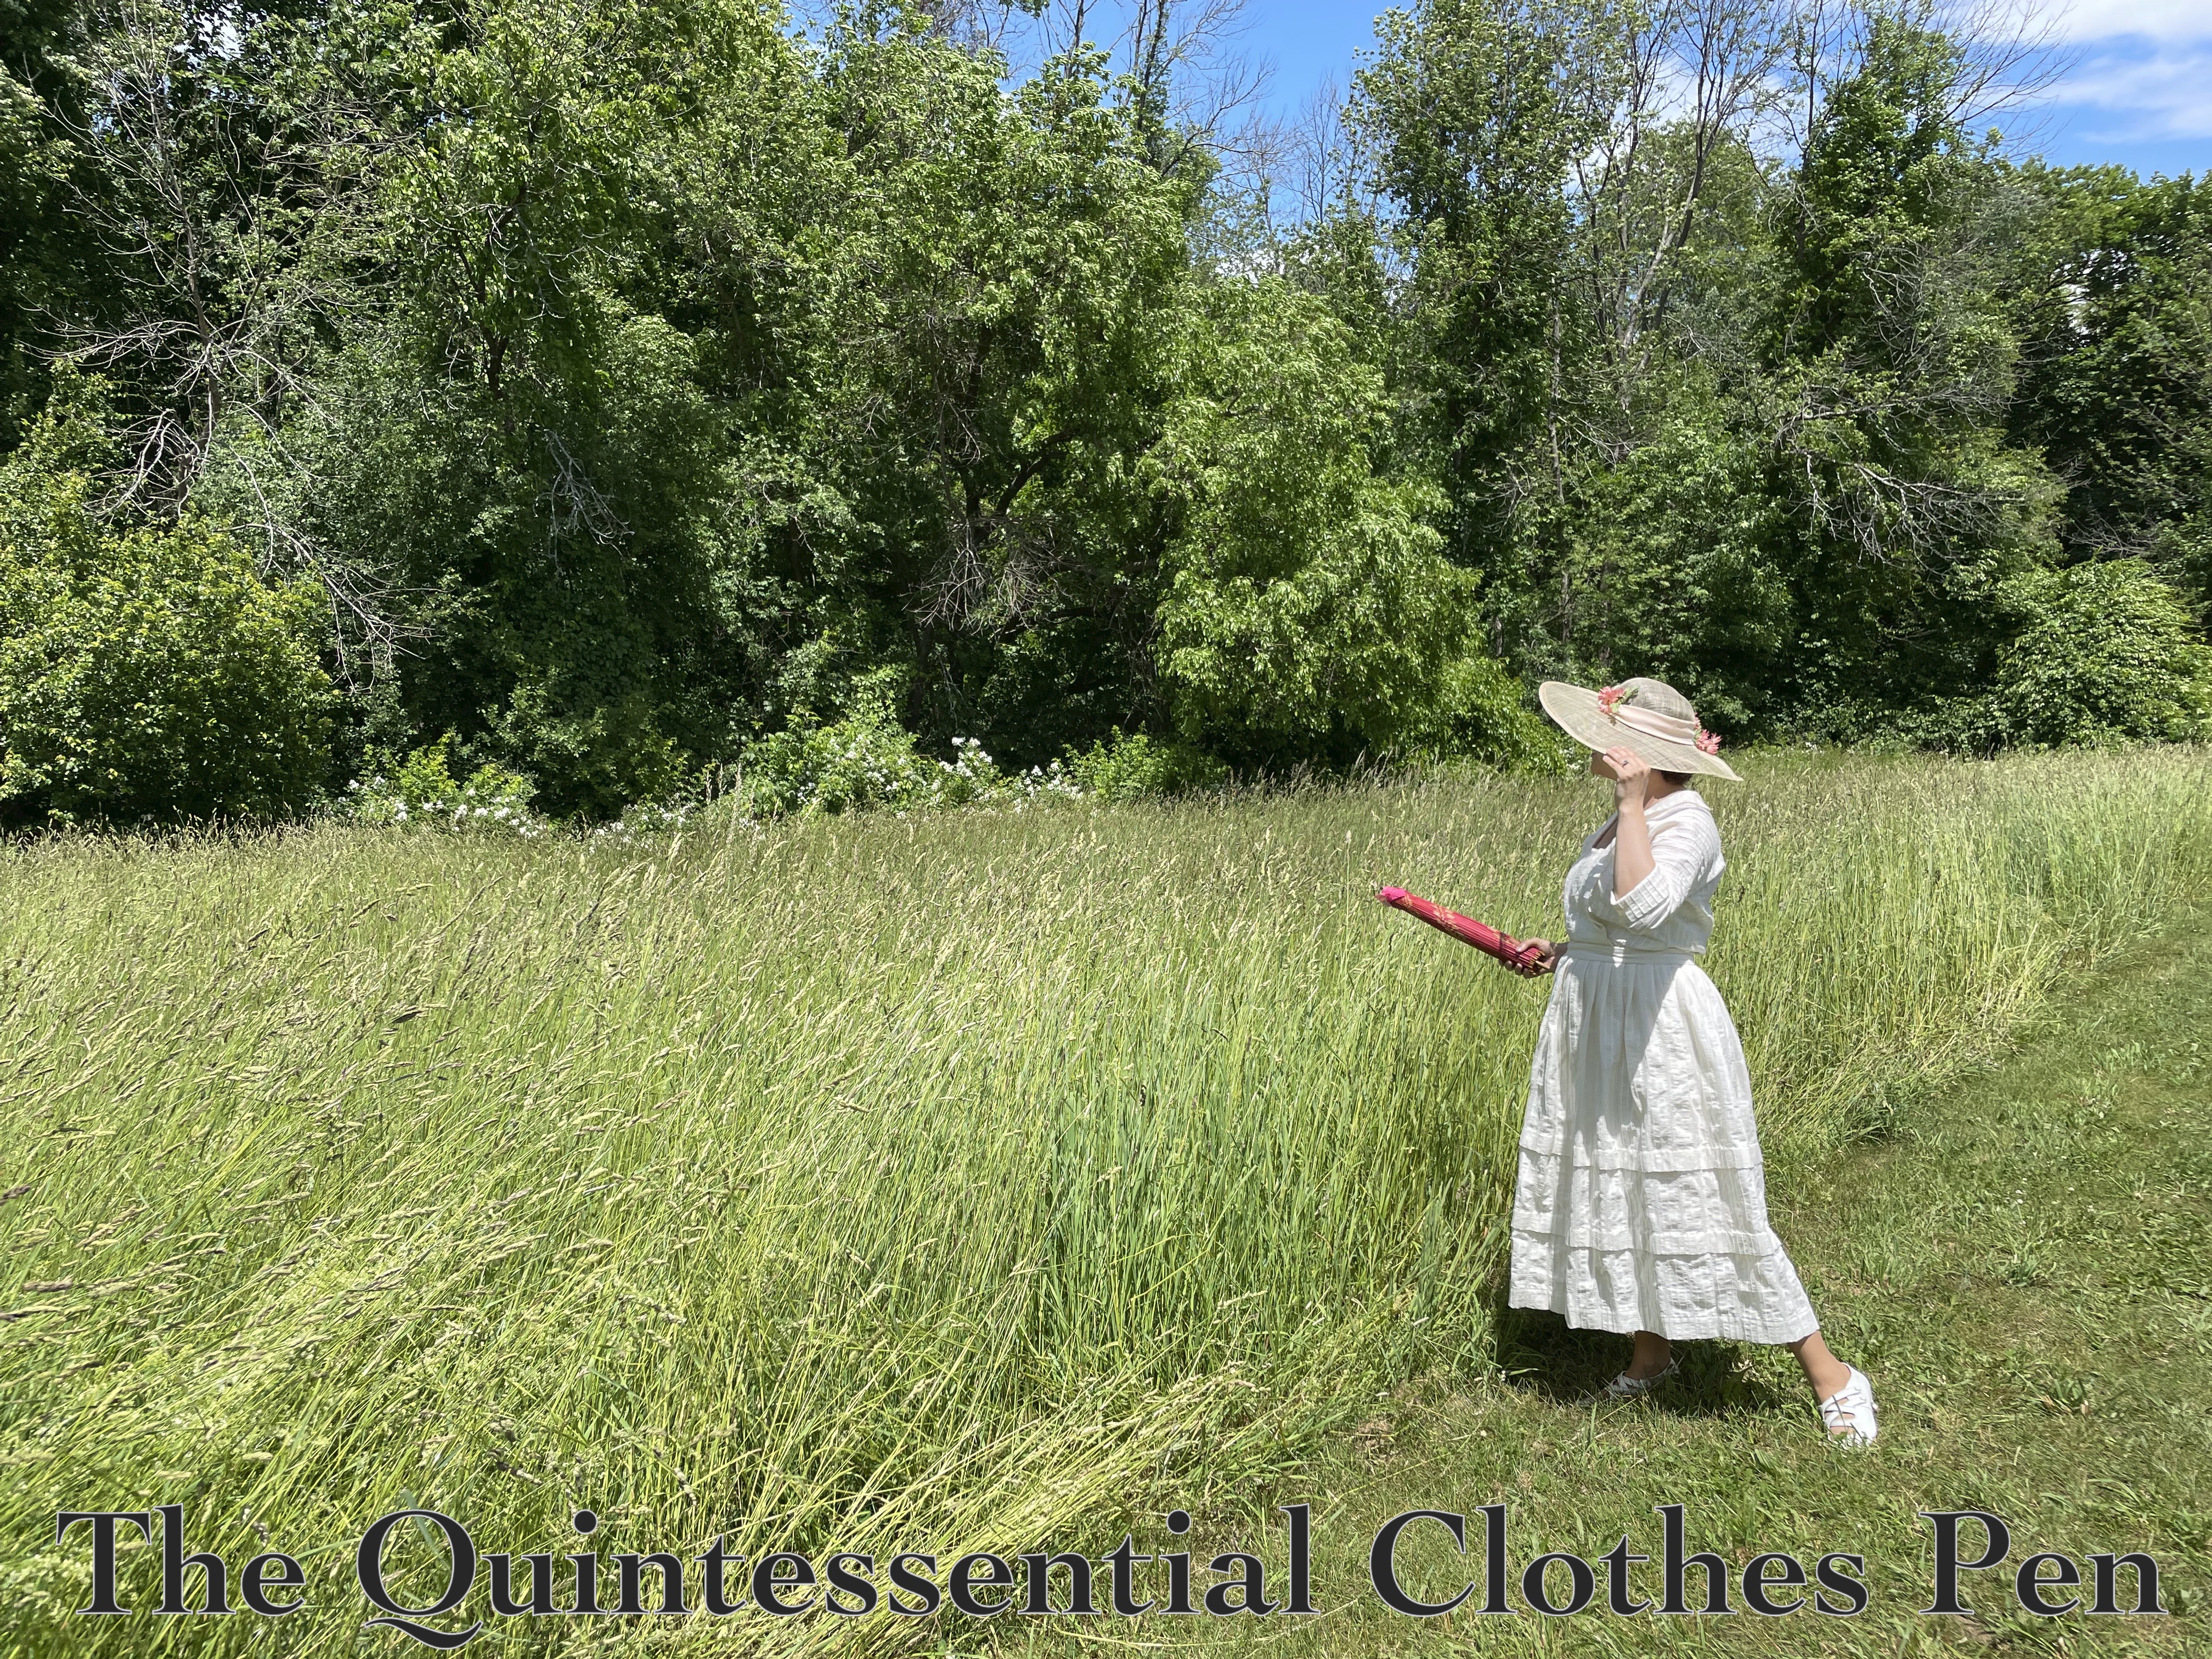
Hang on to your hats!

One of the parts of the event I enjoyed most was exploring the grounds, which afforded a number of lovely vistas for photos.

I wore my 1919 Ivory Dress, due to its incredibly comfortable nature and a 1920s wide brim hat that I made back in 2014.

And I had a bright pink paper parasol as an accessory! I love the pop of color against the blue and green enveloping swathe of nature.

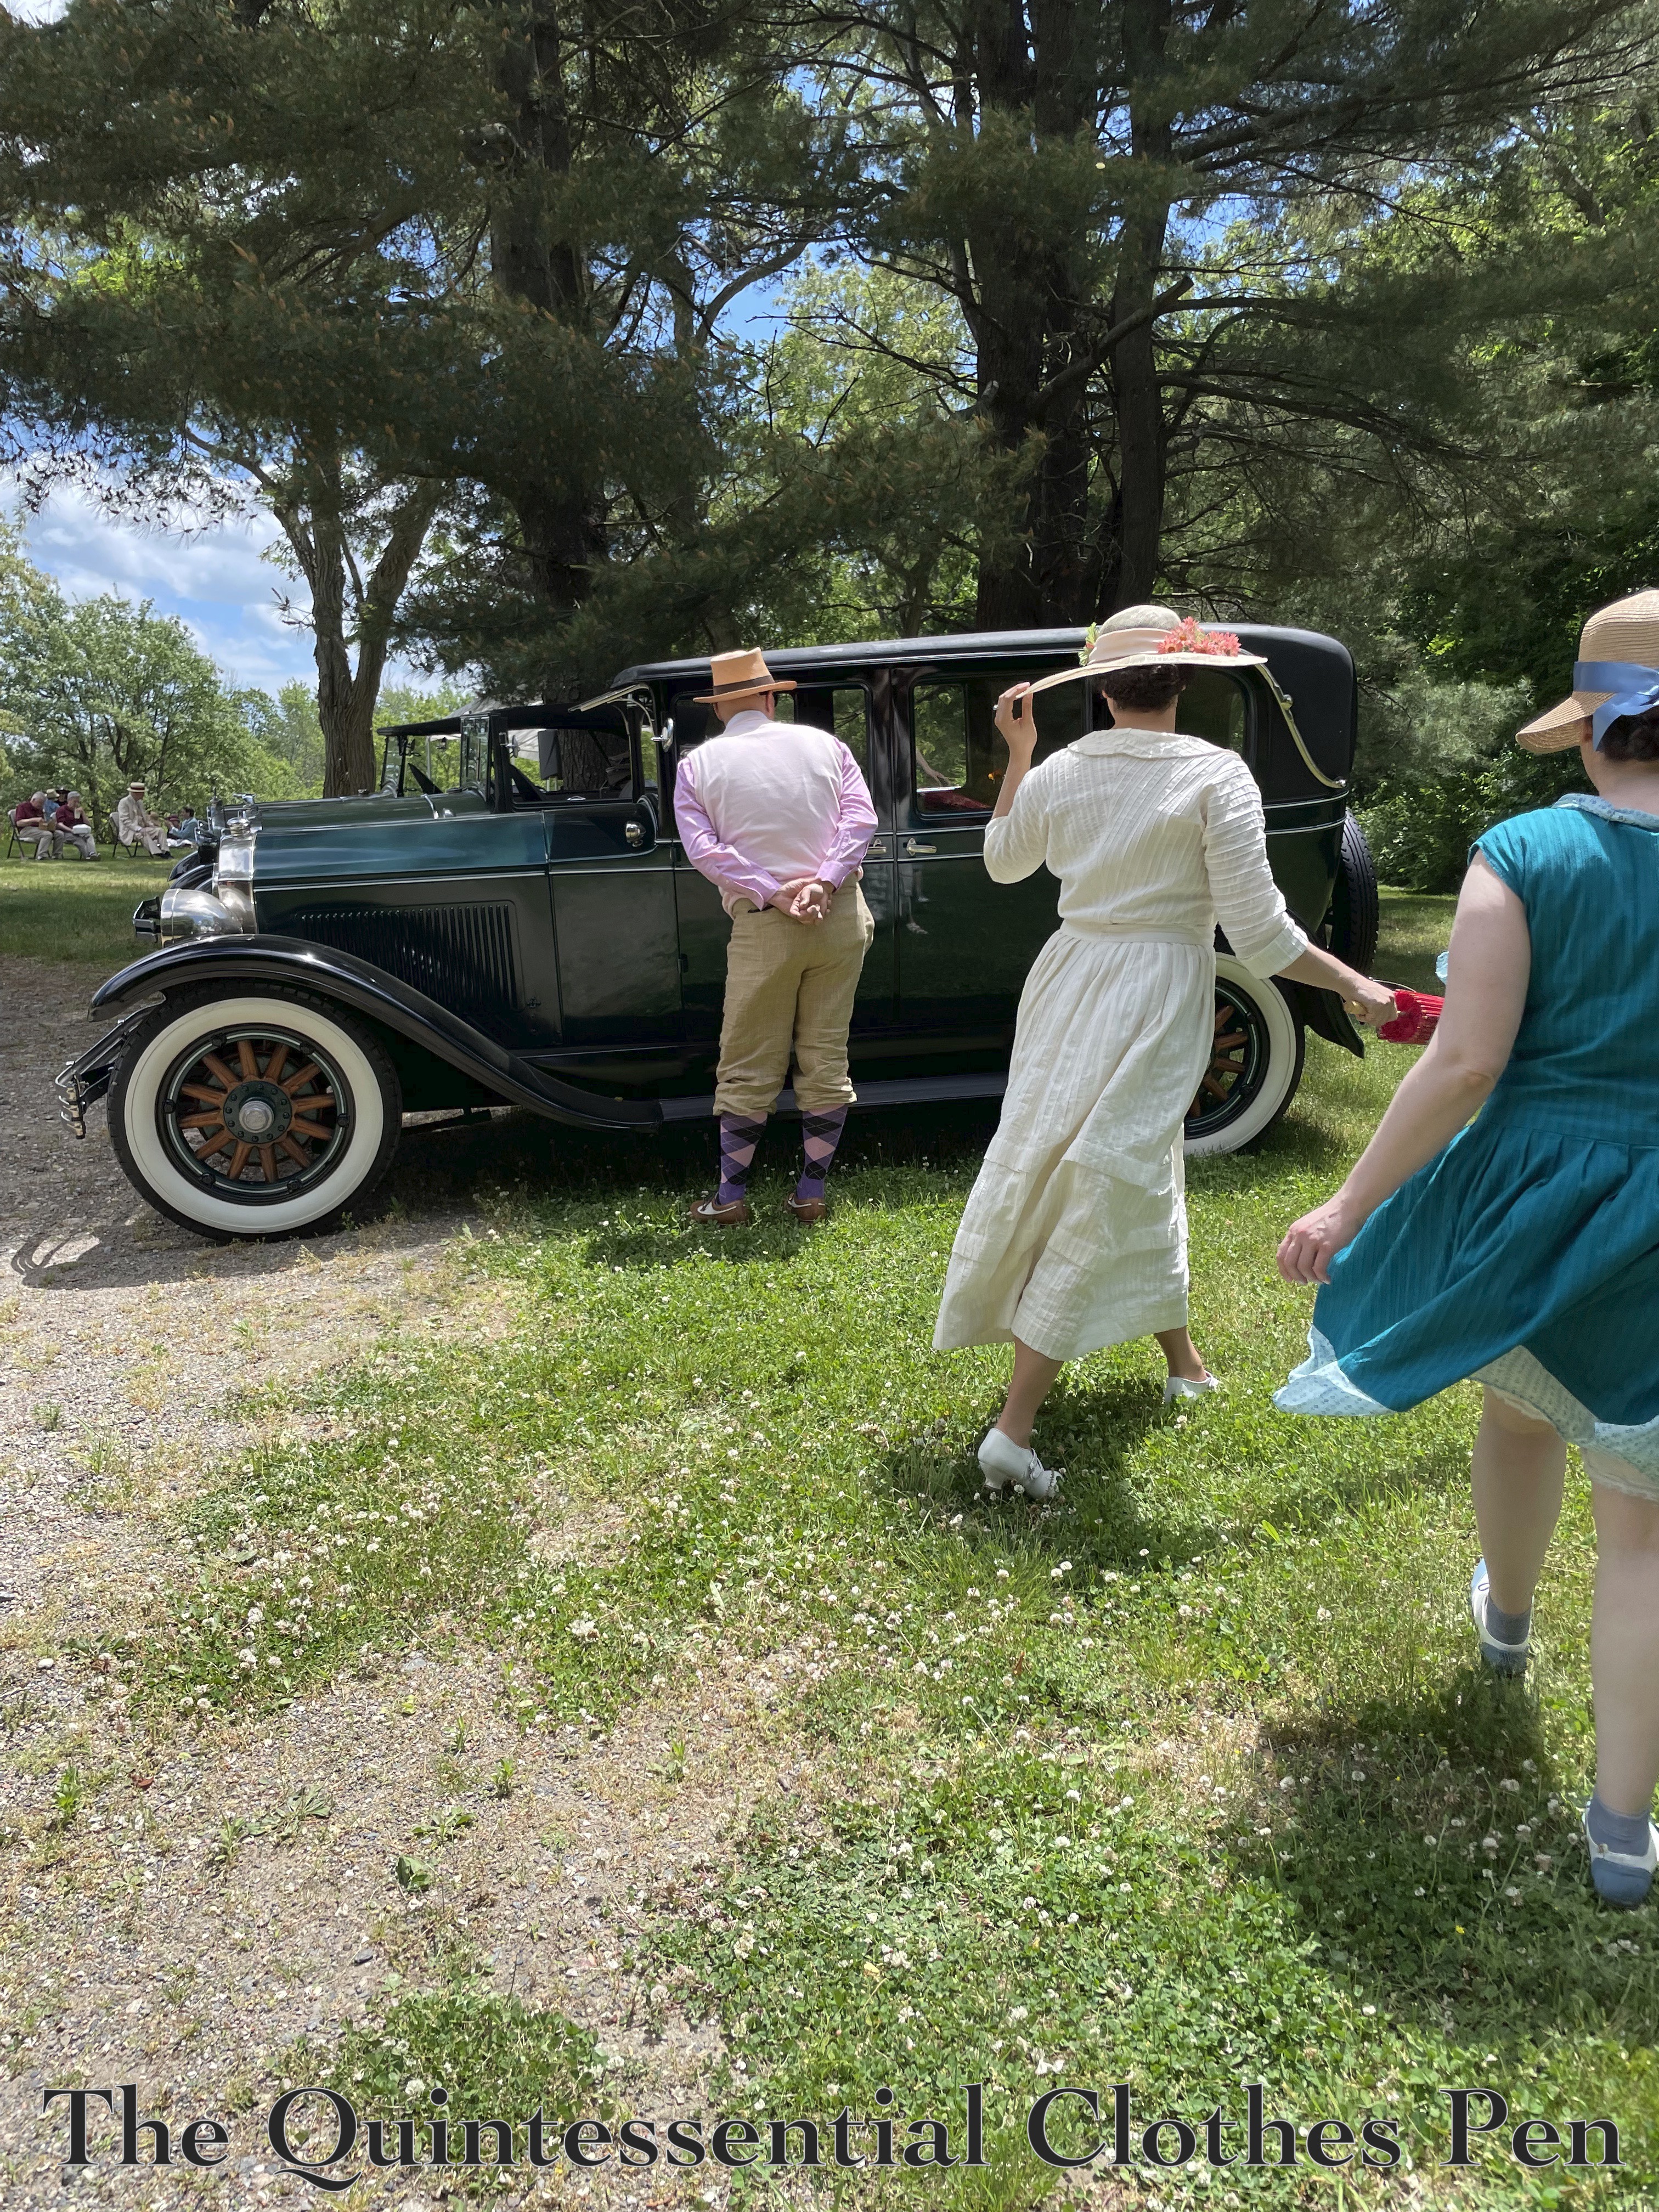
I also enjoyed looking at the details of the cars on display. The paint choices for this one, with the grass green wheels, really caught my eye!

All that was left was to imagine was rolling away in a car like this. What fun!