Re-Imagined 1885 Fancy Dress (HSM #9)

The Backstory

In 2016, I made a dress for a Fancy Dress Ball inspired by a dress worn by Alice Gwynn Vanderbilt in 1883. Alice’s now-famous dress, made by The House Of Worth, celebrated Electric Light as its theme. The dress uses beading and metallic elements (as well as an electric torch, for the original wearing!) to visually reflect light as well as communicate the electric light theme via decorative motifs. I posted an image of the inspiration gown and a link to more information about it in my original post about my dress in 2016, which you can view here.

I was inspired by the trimmings on the gown, but needed to create a dress with little expenditure (much different than the budget for a Worth dress!). To achieve this, the goal when I made my dress in 2016 was to use as many materials as I could that I already owned. The main dress fabrics were already in the stash from old projects and the silver net was leftover from trimming the Versailles sacque I posted about wearing recently.

Below, a photo of the dress in 2016, with a lantern standing in for “electric light.”
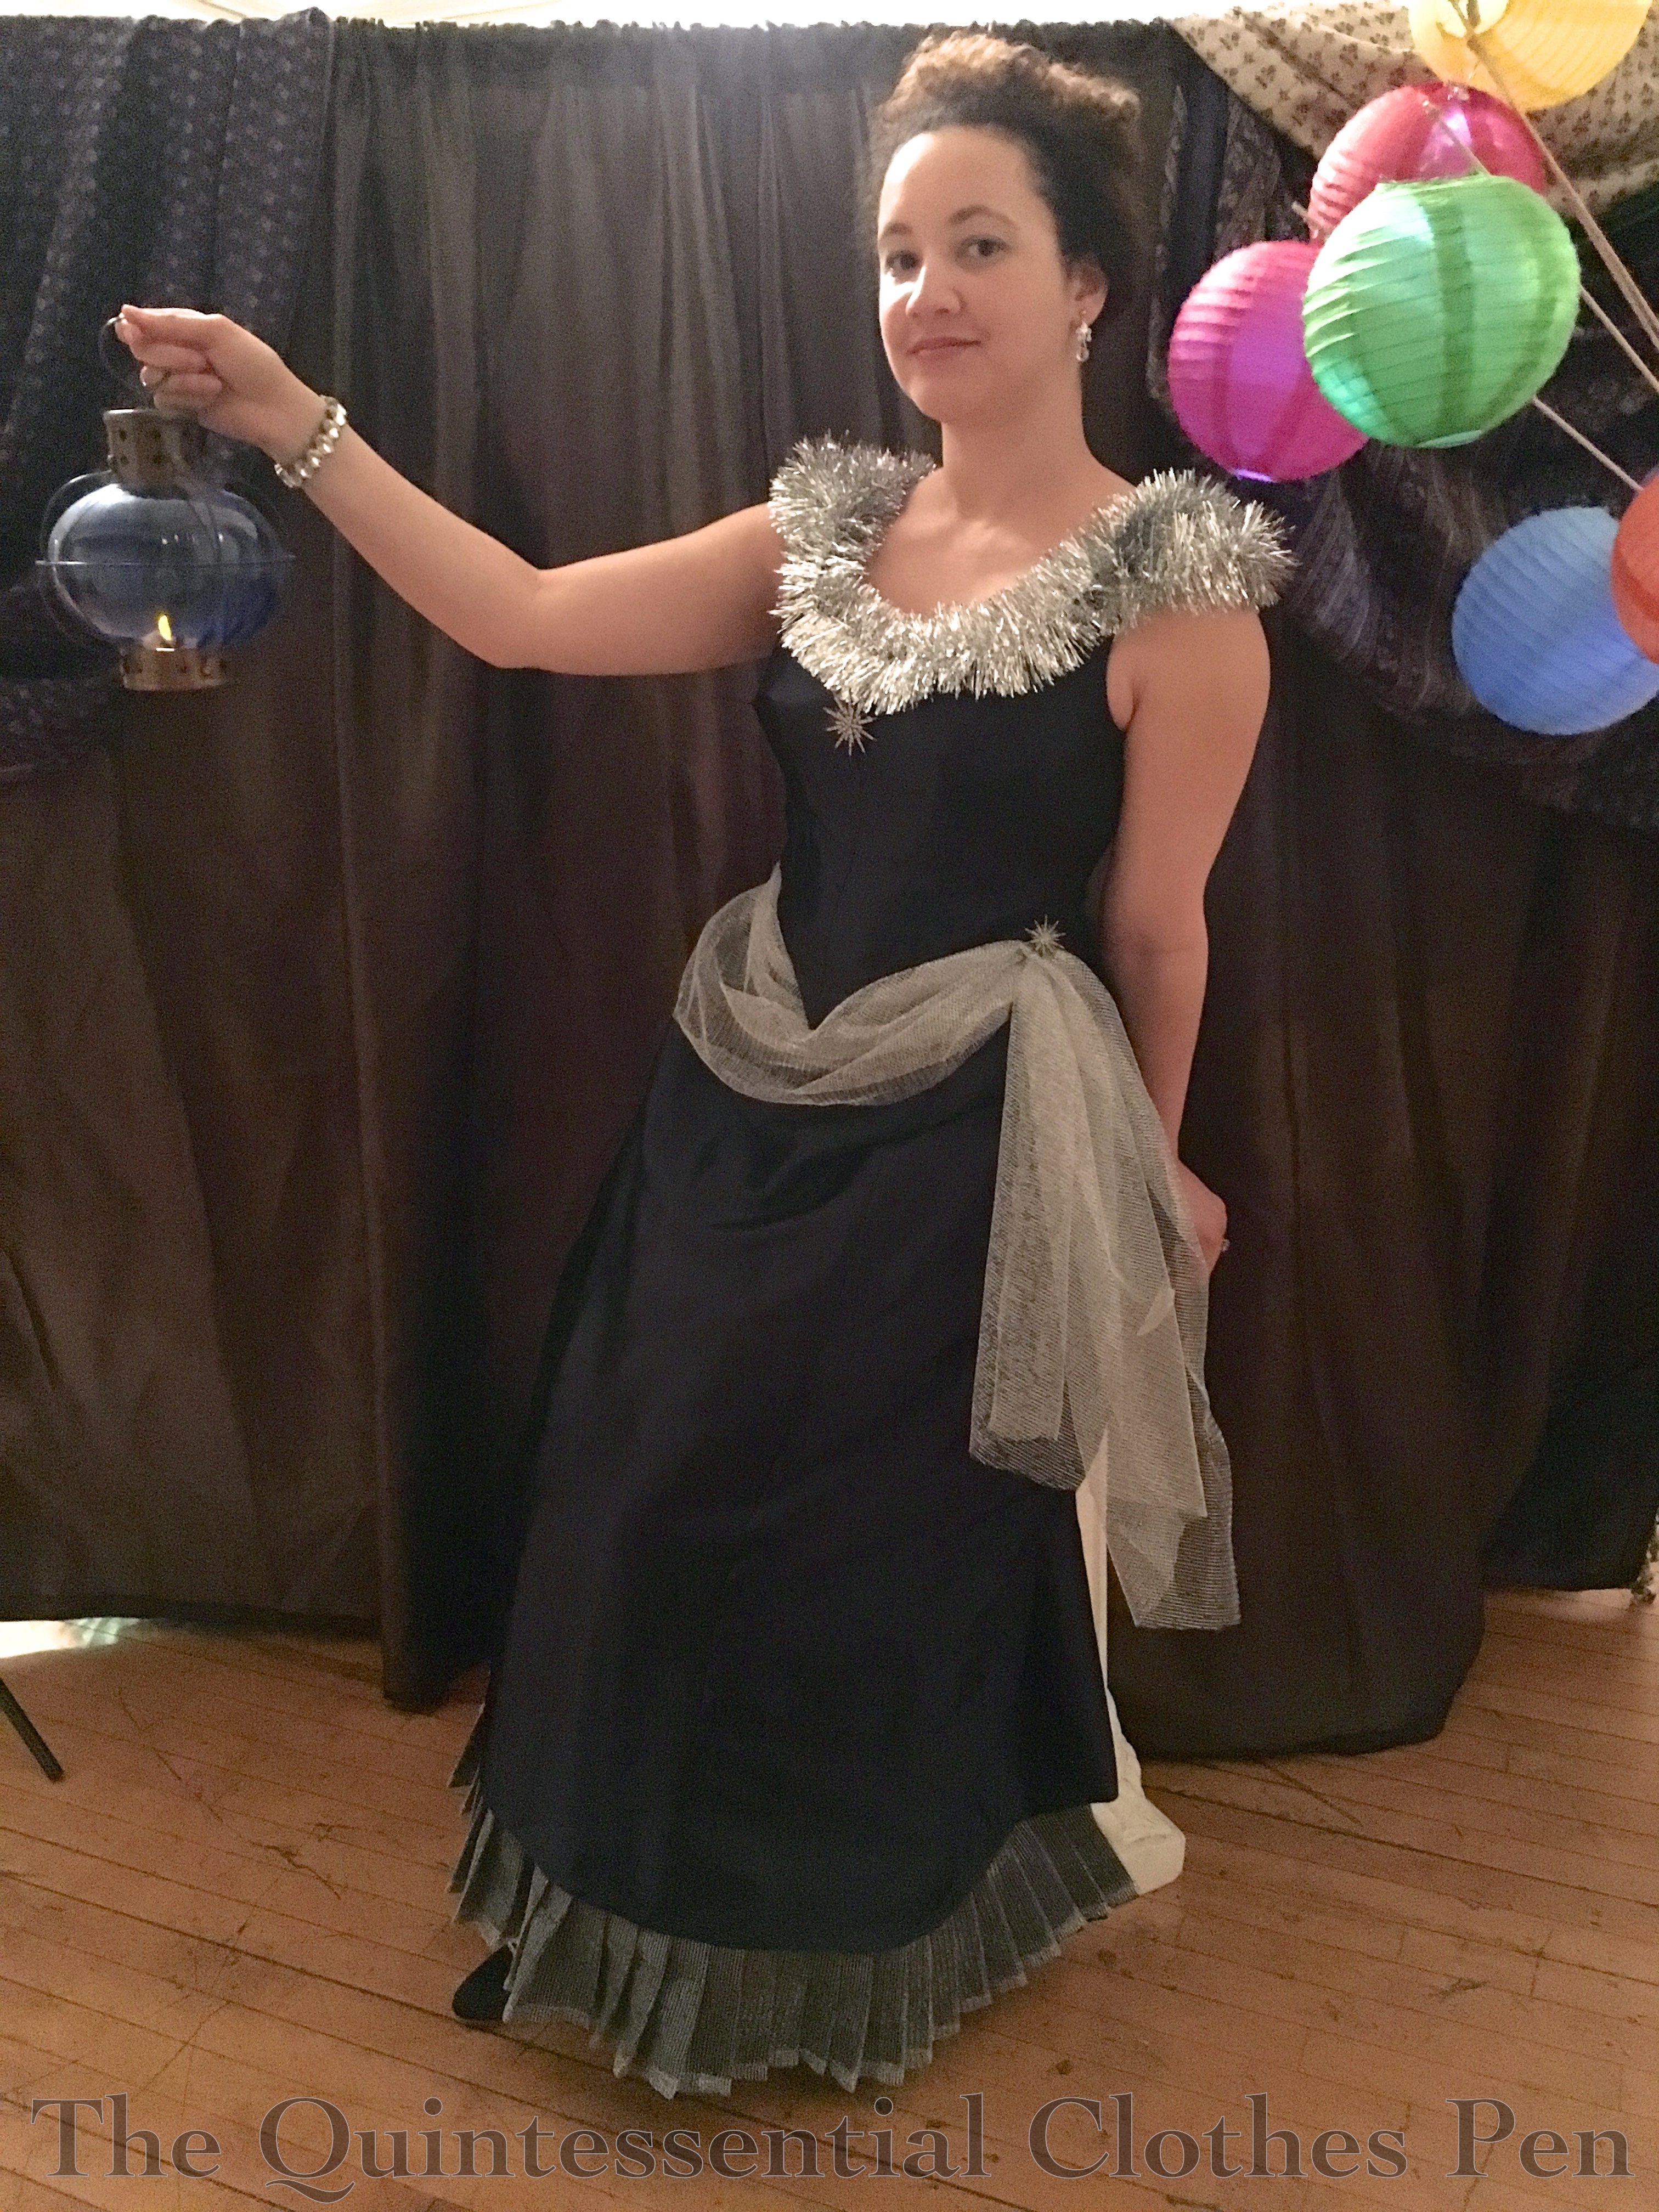
There were a few small changes I wanted to make after the first wearing of the dress, but I didn’t have a need to wear it again for years. Fancy Dress events are not all that common even within the already limited realm of historically clothed events! And with the original trimmings I didn’t like the dress for regular wear. Plus, for a number of years after making the dress the events I was attending did not encompass the 1880s.

More recently, however, I have had more opportunities to wear clothing from this period, as The Footwork and Frolick Society has hosted a few events with themes that can include the 1880s. Therefore, I decided to re-trim the Fancy Dress dress into a more regular, less Fancy Dress, ballgown style for the Yuletide Ball in 2024.

Inspiration

This time, my inspiration was a mashup of ideas from a variety of images.

From the fashion plate below, published in the Revue de la Mode in February 1886, I pulled information from the gown on the right, with the pleated fabric along the v-shaped neckline and asymmetrical decorations (which I guess are feathers) on the shoulder and skirt.

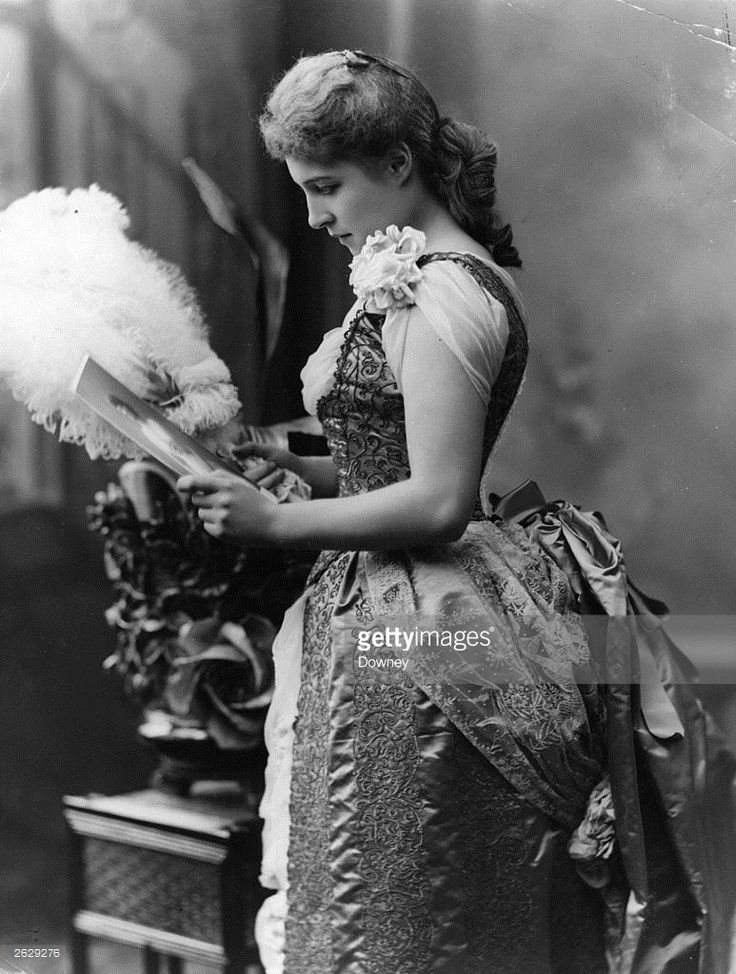
From the photo below of British actress Lillie Langtry (Original Publication: People Disc – HU0206. Photo by Downey/Getty Images), I pulled inspiration for the “sleeve” idea I wanted to incorporate. The pattern of the fabric used for the bodice in this photo was also reminiscent of one of the fabrics I used to update my dress.
And finally, I was also inspired by the beaded swags (and chiffon “sleeves”) on the c. 1887 dress in the collection of the Kent State University Museum in the photo below.

Dress Update Overview

For the re-make of the dress, I wanted to maintain my goal of using materials already on hand. I still had small scraps of the navy blue satin in my stash as well as the silver net. I also went through my fabric stash binder to see what other fabrics and trimmings might work and found that the best bets were a piece of polyester velvet flocked with silver swirls that I’d purchased at Joann Fabrics probably twenty years ago when I had just started sewing and loads of silver ribbon that I had been gifted to me. The blue and silver colors fit the colors of the existing dress perfectly and I thought there was a sort of New Year’s aspect to the color scheme, as well. (I also purchased the Joann fabric in burgundy and green (both with gold swirls) and had made Christmas decorations out those, but I don’t think I ever used the piece of blue, so this was a great opportunity!)

With my materials decided, I moved on to the sewing part of the project, starting with unpicking the original trim from the dress. I had made it knowing I might someday want to change the trimmings, so they were not sewn into seams and were pretty easy to remove. That left me with an almost entirely navy blue dress, relieved only by the silver pleats at the bottom of the skirt.

Then I went back and considered my original list of changes, which included:

  • Boning the center back edges so they would lie flat when laced closed
  • Adding a matching piece of satin behind the lacing holes to hide any white fabric of undergarments
  • Making sure that my chemise wouldn’t poke out of the armholes

Quoting myself, from 2016… “these are minor changes and I’m not sure when I’ll have the opportunity to wear this again so it might be awhile before they happen.” I’ll say! It only took 9 years!

Historical Sew Monthly

My goal of using stash-only materials for this dress re-do makes it fit into the Historical Sew Monthly 2025 Challenge #9 Blue:

Make an item that features blue, in any shade from azure to zaffre.

Just the facts:

Fabric/Materials: Approximately ¾ yard silver net, just over 1 yard of navy velvet with silver motifs, and scraps of navy polyester satin.

Pattern: My own.

Year: c. 1885.

Notions: Approximately 23.5 yards of ¼” silver ribbon.

How historically accurate is it?: 90%. Polyester and modern synthetic ribbon do not have accurate fiber content. And my patterning is conjecture. But the overall idea is pretty good.

Hours to complete: I didn’t keep track.

First worn: December 7, 2024.

Total cost: Free, since everything came from the stash and was either gifted to me or purchased ages ago!

Dress Update: Back Closure

Following the original list of changes, I added a placket behind the lacing holes and added plastic bones along the very back edges, to help hide undergarments (the white color really does pop against the navy blue of the dress!) and keep the back laying flat when laced closed.

Dress Update: Sleeves

When re-examining the dress in 2024 with fresh eyes, one of my biggest desires for change was to better fill in the armholes of the dress and provide a decorative element. Yes, evening dresses in the 1880s were often sleeveless, but when really looking closely at them again, I found that while not having sleeves, they do almost always have something that obscures the armhole and even the upper arm. I am more likely to call these styles swags or drapes of fabric, as they aren’t really proper sleeves, but they are certainly set into the armhole in some way. I wanted something like that for the re-do of this dress.

I haven’t had a need to pattern something like this for this period before, so I looked through my historical pattern books for places to start. Interestingly, I didn’t find much. There was one sleeve that seemed like a possible starting place, but when I mocked it up it didn’t really do what I was hoping for at all!

So that left me with the decision to create a pattern from scratch. Thinking about what didn’t work in the mockup and my inspiration image, I proceeded to drape a mockup that achieved what I was hoping for. I didn’t have my dress form handy, so it required a fair bit of going back and forth between pinning and trying on the bodice to get the right shape. But I did! It’s a strange shape, for any sort of sleeve pattern. But that makes sense, since the sleeve drape is a not-really-sleeve!

Dress Update: Apron, Sleeve Swags, and Ribbon Flowers

I pondered creating some sort of beaded fringe for the armhole (and maybe even the waist, as can be seen in the third inspiration photo, above), but decided against it for time and material reasons. I really did want to stick to the stash!

Even if the beaded fringe wasn’t going to happen, I liked the idea of something to set off the wonderfully pointed bodice so that it would show up and not blend into the skirt. So in the end I decided to use some of the velvet from the stash to make an apron layer for the skirt, as was very common on dresses from the 1880s.

I started with making the pleated neck swag, so I wouldn’t run out of fabric, and then used all of the leftover fabric to make the apron. Due to this fabric restriction, I patterned the apron based on what was possible with my fabric, using a general understanding of the how these skirt elements were patterned in this period. The front of the apron is a curved piece that is pleated into the back on each side. The back piece is a bit scant, but has a few pleats along the top to give volume and descends to a point at the center back, since that was the shape of the fabric that was available! I used up pretty much all of the blue velvet!

For the sleeves, I made flower shaped sprays from lengths of ribbon that were tied into loose knots close to each end and then folded into quarters to make one loop and two ends. These individual elements were then combined and sewn together to make the flower-like formations, with larger scale ones on the skirt and smaller ones on the bodice.

The sleeve dangles were made from the same ribbon, knotted in the same way, that was folded to make a longer and shorter side and then tucked under the sprays on the shoulders.

Below, you can see the individual spray elements and a length of ribbon ready to be added as a sleeve dangle.

Finished Updates

Here is the updated dress! The blue velvet pleated v-shaped neck swag completely ignores the neck shape of the bodice underneath, which is more of a square shape. The same fabric is used again to create an apron, stitched to the outside of the waistband of the skirt to reduce bulk.

The silver net is used over the blue satin scraps to create “sleeves” that are pleated into the armhole and decorated with sprays and dangles of silver ribbon.

The “sleeves” wound up looking a little odd where the meet the back of the bodice, but that’s more due to my original patterning of a very inset armhole in the back than it is the sleeve pattern. It’s a lesson/change for the next bustle period evening gown I make, whenever that is!

I didn’t know what to do with the back of the velvet swag, because I wanted it to be easily adjustable depending on how tightly the back was laced. I ended up with this pointed arrangement that accomplished the goal of flexibility.
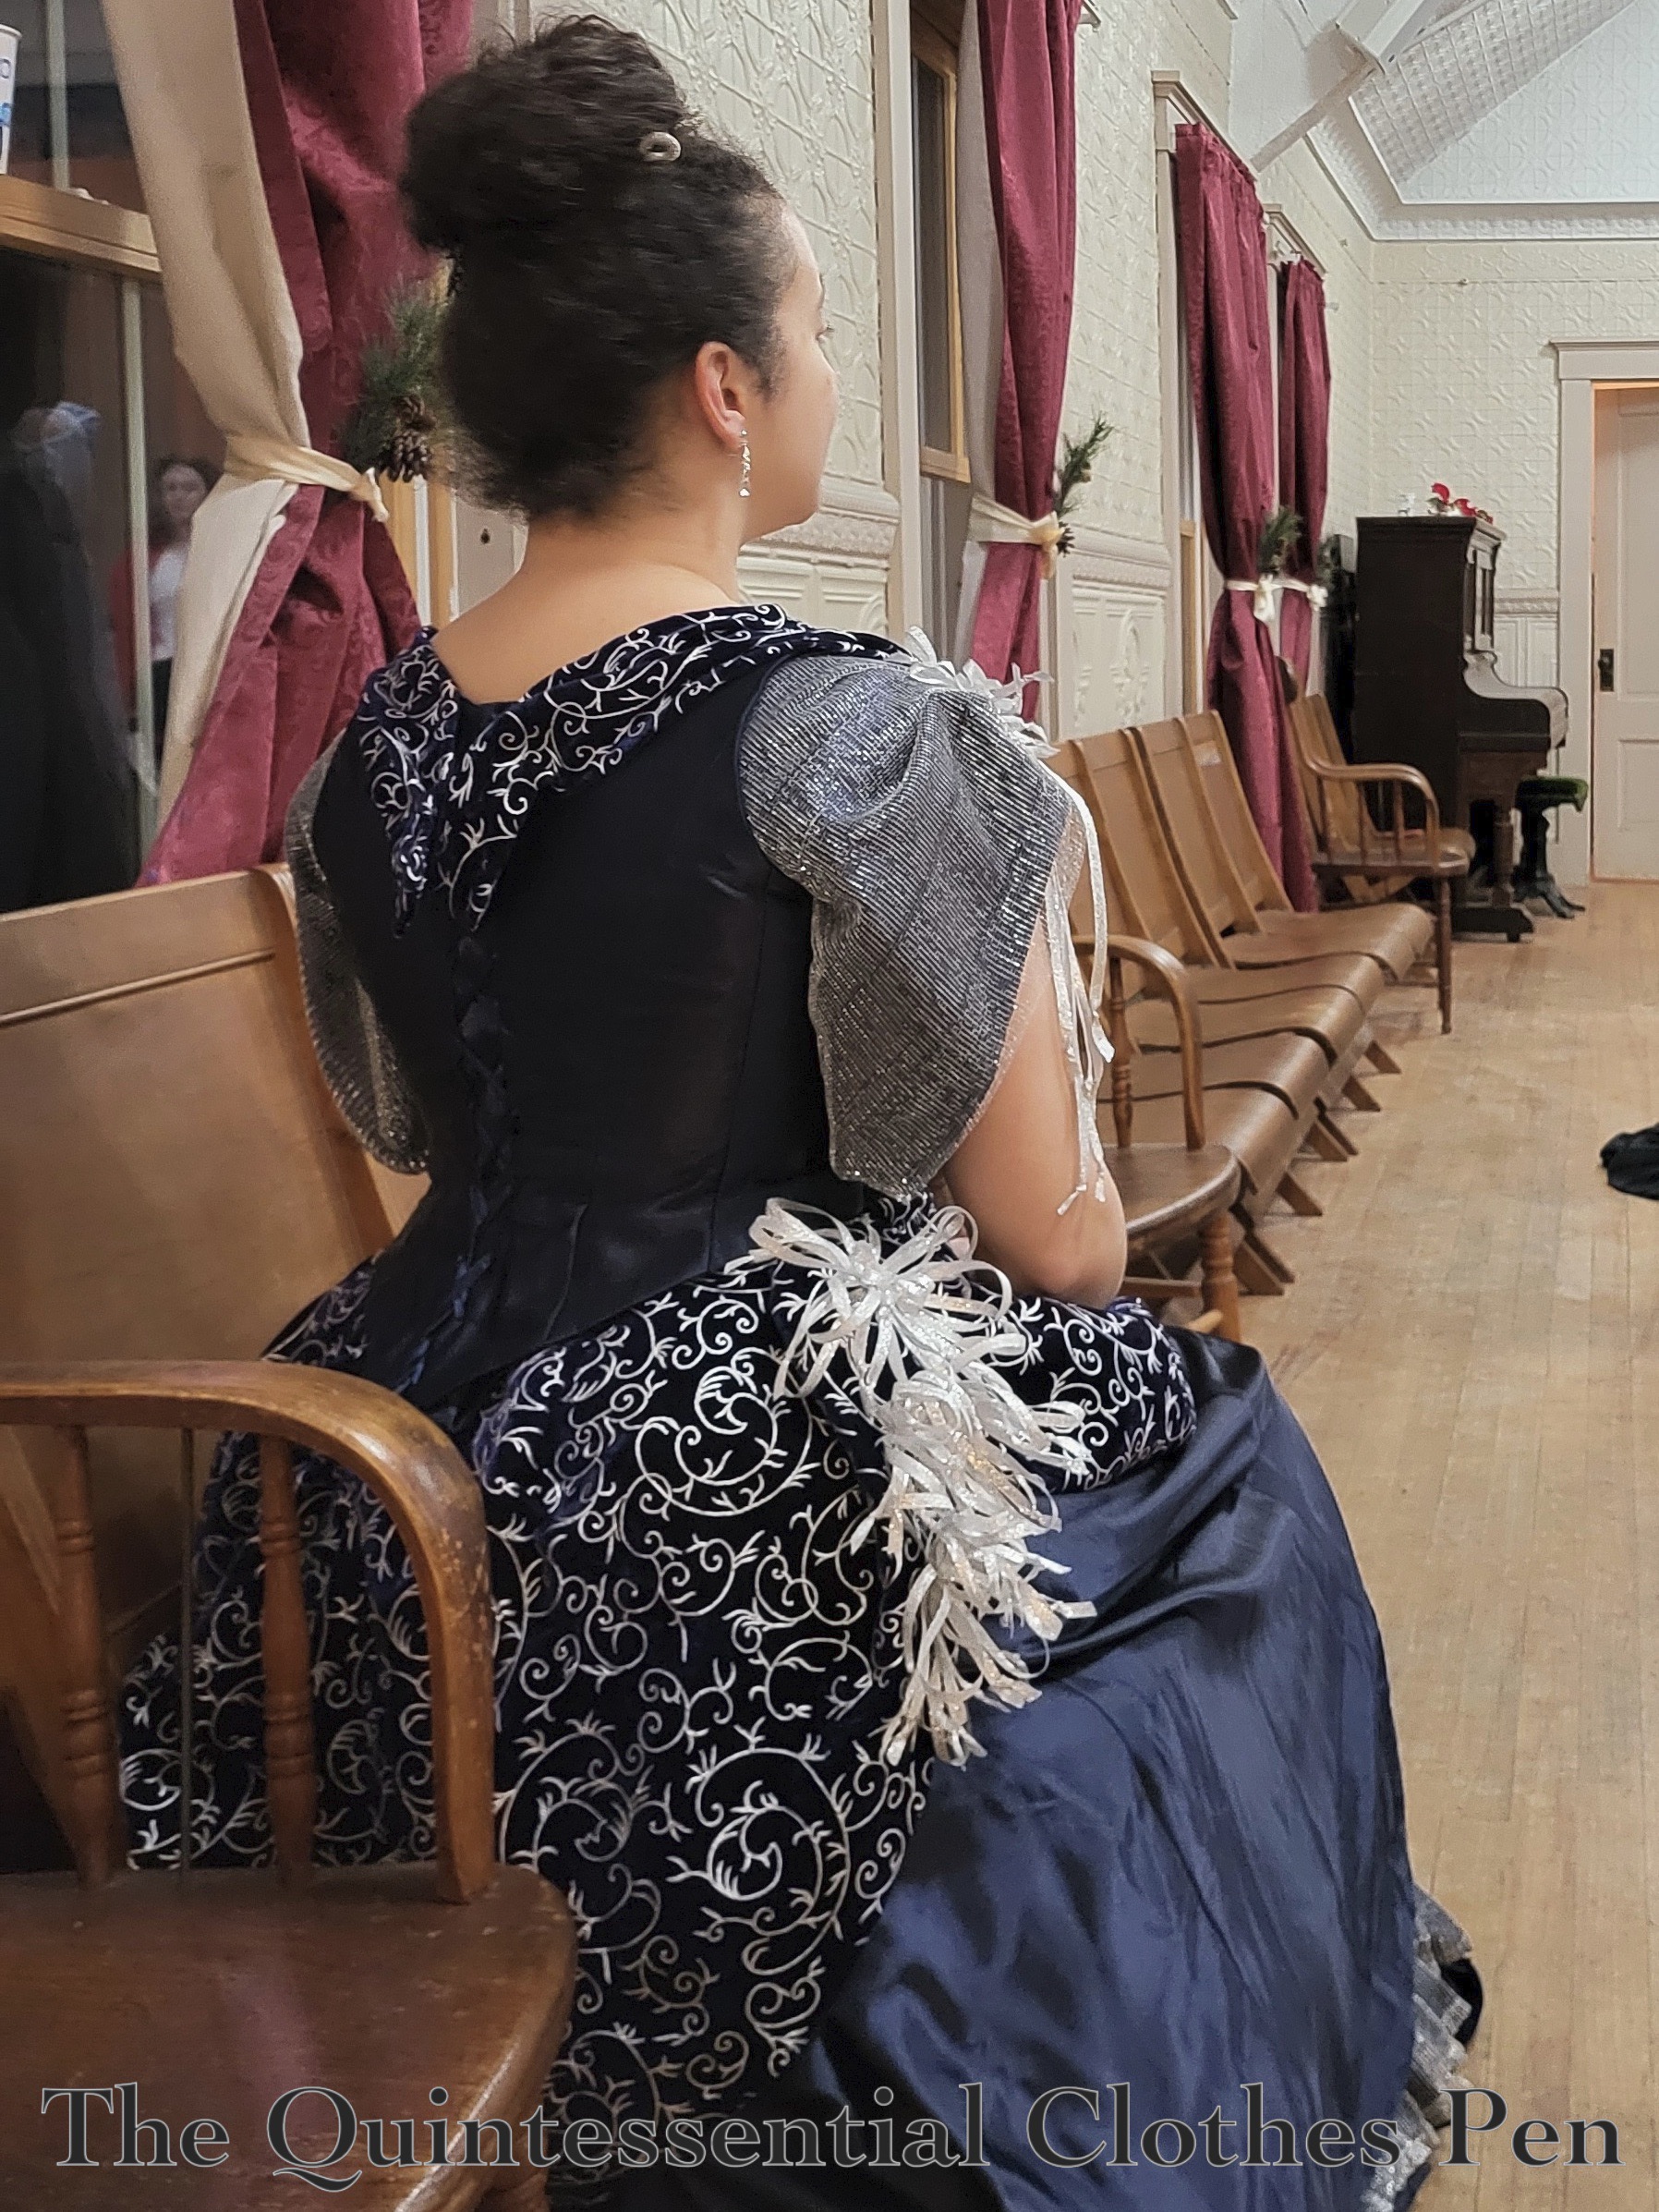
The armholes, left side front of the bodice, and right side front of the skirt are decorated with the sprays of looped silver ribbon. I used x4 — 4 yard spools of ribbon and half each of x3 more spools that were 5 yards each.

I calculated how many sprays and dangles I wanted for each section, but in the end I was running out of ribbon and started to just combine and move things around until they looked reasonable. Sadly, that means I don’t have a good record of how much ribbon went into each element or how long each piece of ribbon ended up being. I think that the smaller sprays were made of piece of ribbon that were 10″, the larger sprays on the skirt were made of pieces of ribbon that were 16″, and the arm dangles were 11″ before being folded.

Wearing

I wanted to find a simple but still 1880s hair style for this wearing, so I was pleased when I came across a photo of women in 1880s evening dresses with their hair drawn back and pulled up into simple large chignons on the backs of their heads. I wore that style with the addition of a few silver hair pins to tie everything together.

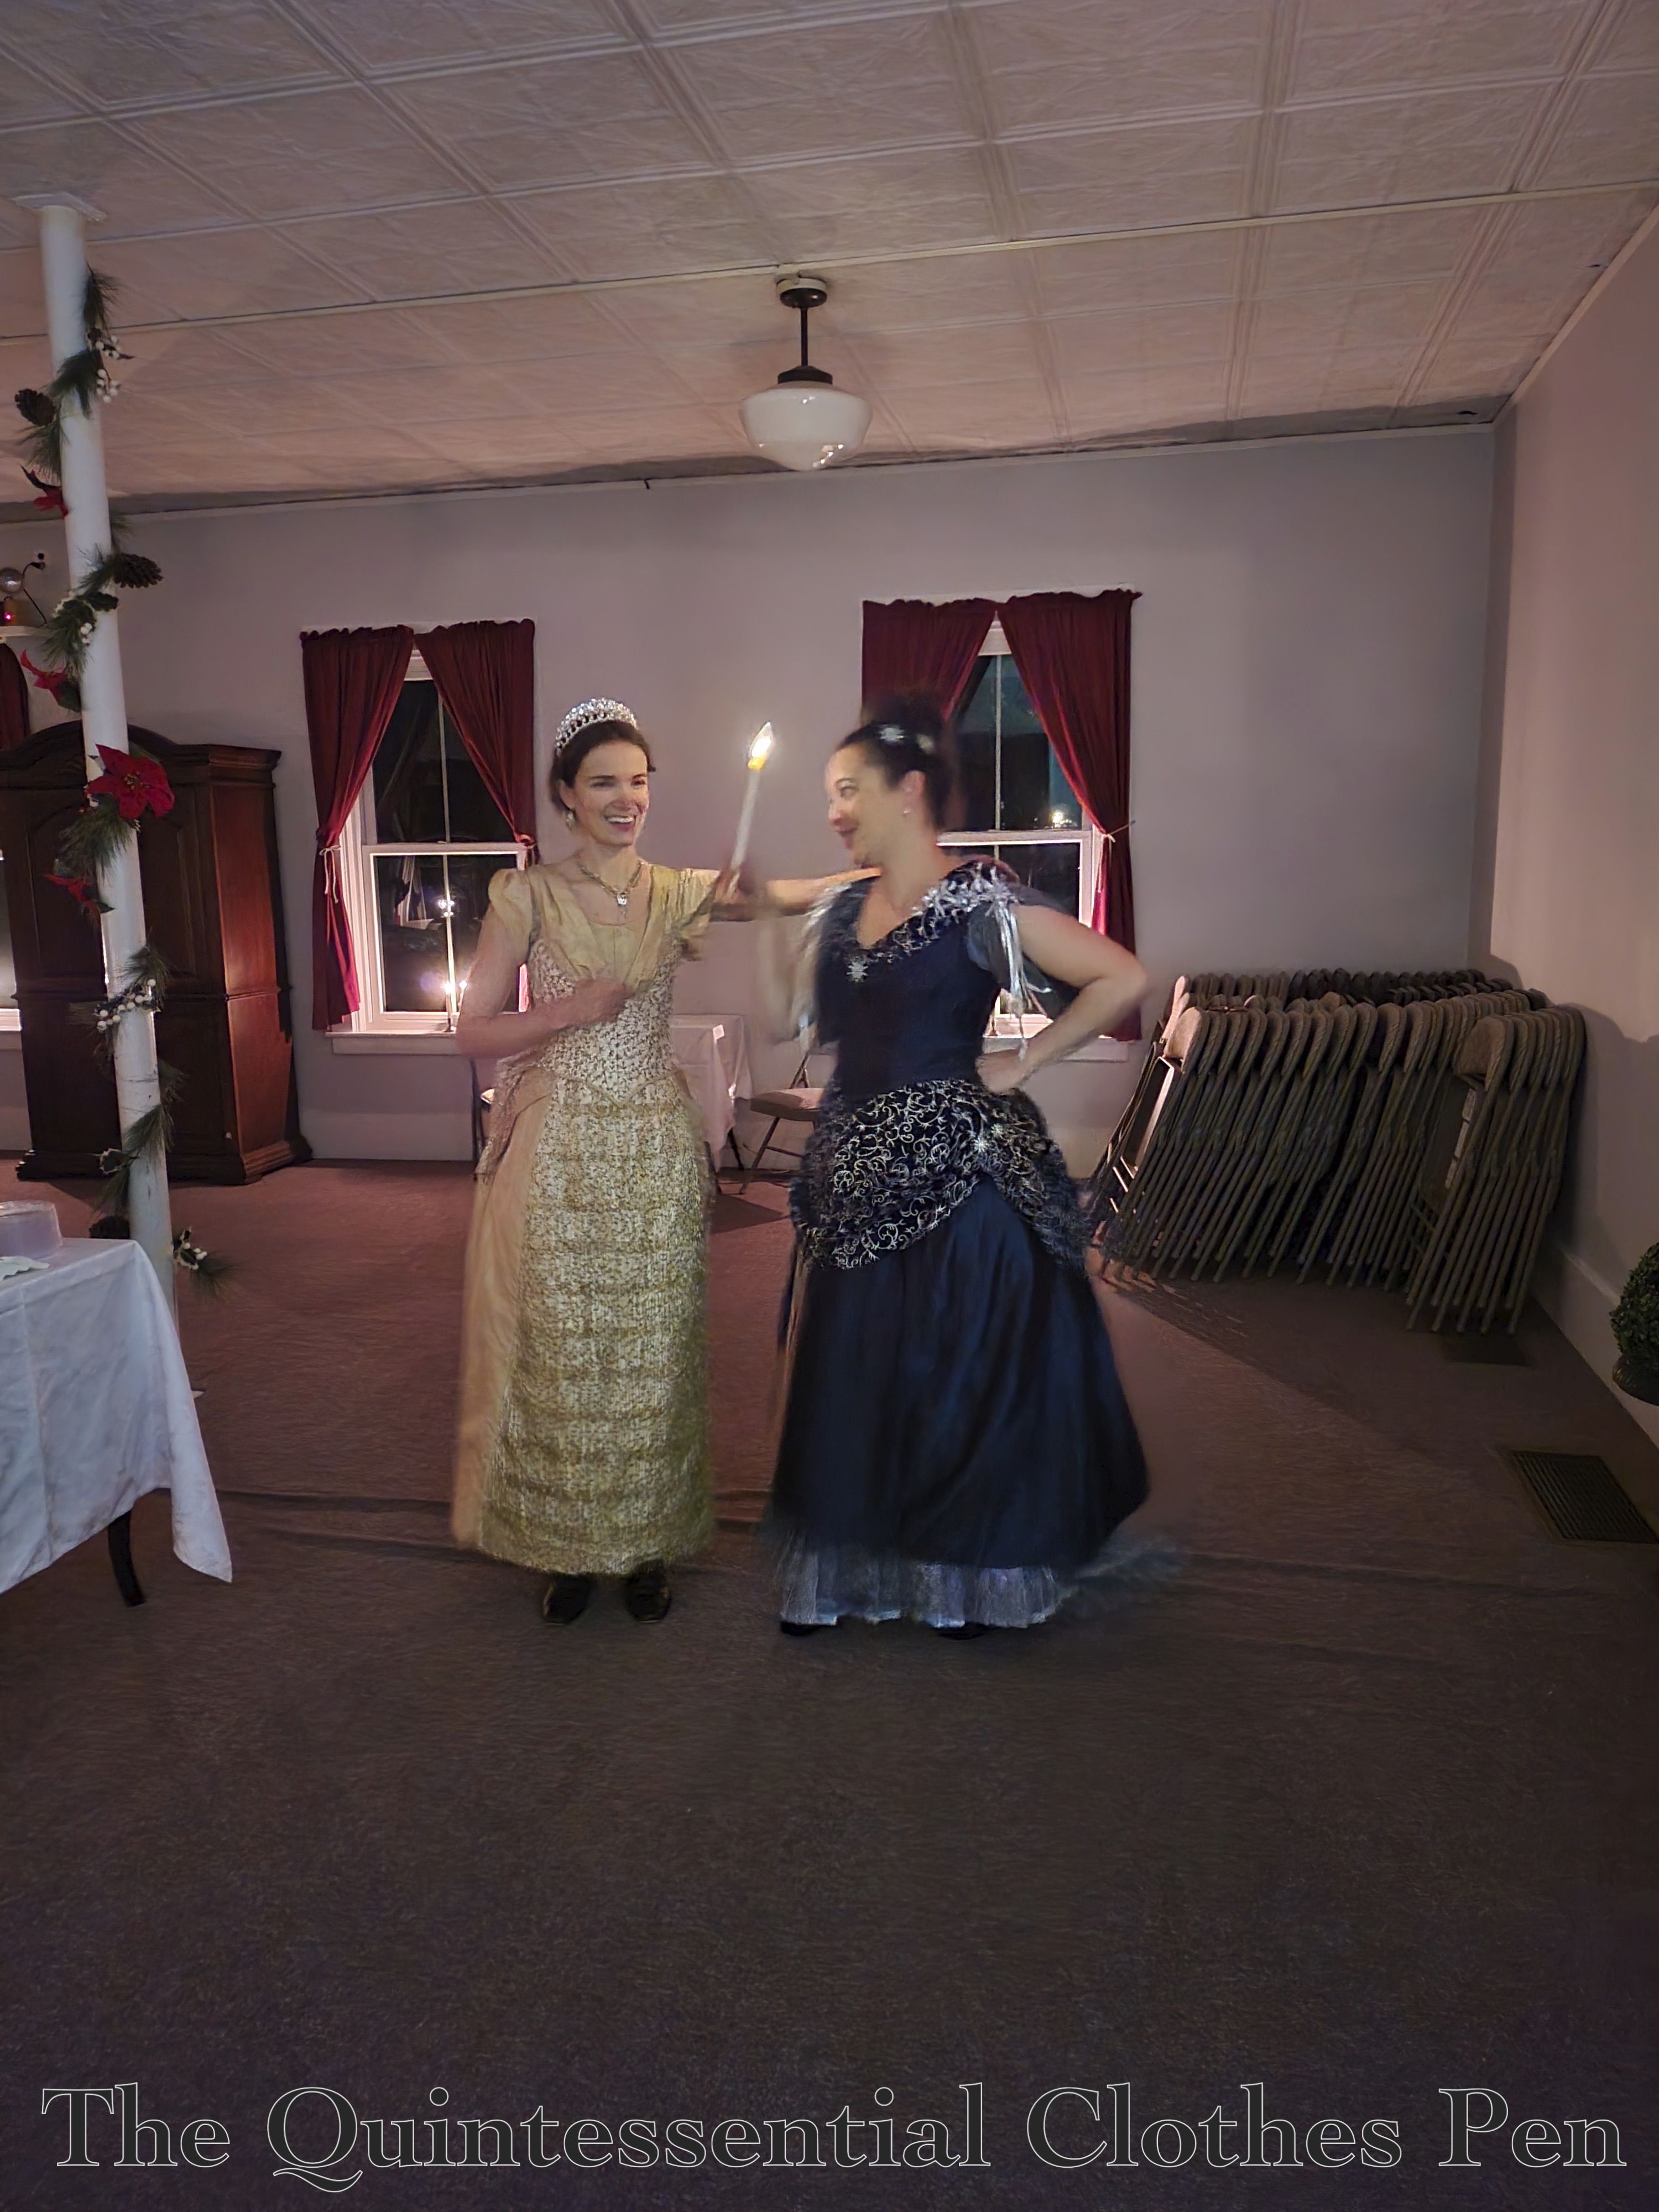
I also reused some of the star brooches from the first iteration of this dress, adding one at the center from of the bodice, two on the left side of the skirt, and some on the left side of my hair. They stand out well in the photo below, in which the two of us are bobbling about, making the ribbons on my dress and beaded trim on the dress on the left shimmer, sparkle, and sway.
Other Photos From The Event

This was a ball for bustles! There were multiple people wearing dresses with this feature, including the dress above, as well as the burgundy velvet dress below.
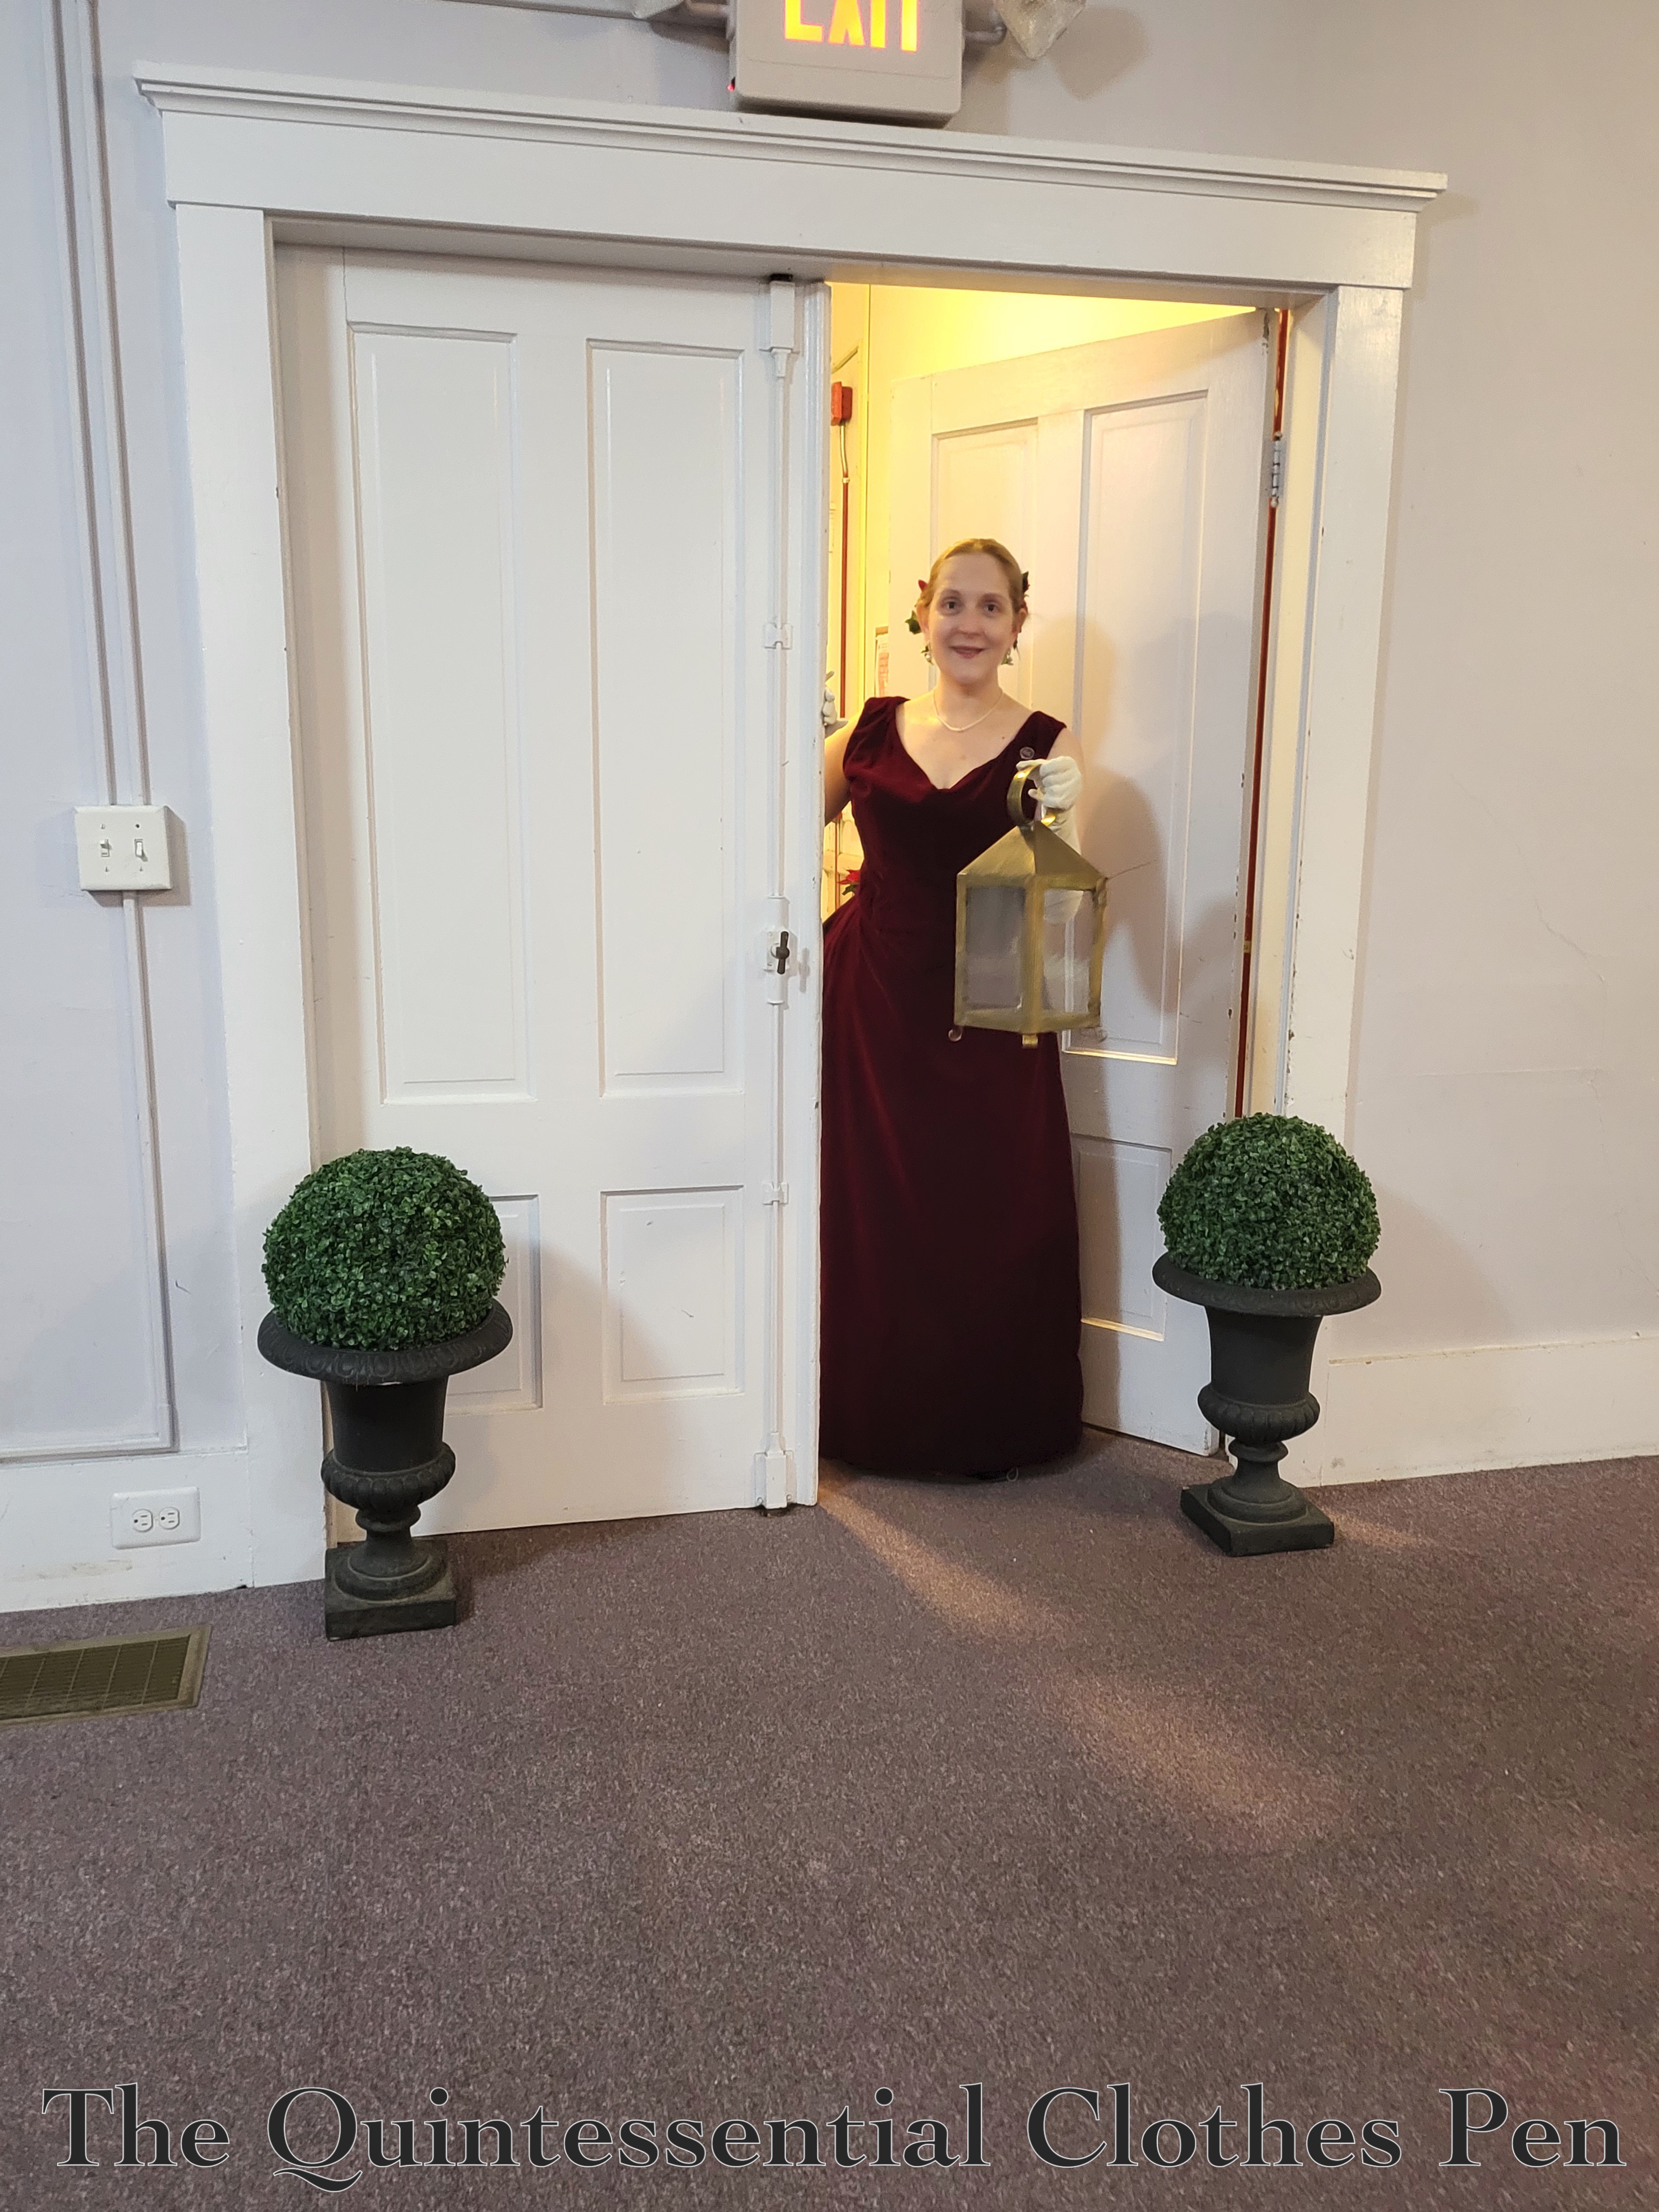
Finally, a cheerful holiday view into the ballroom. I wasn’t feeling my best at this event and therefore didn’t dance, but everyone else had a grand time! I look forward to the next event in which I can participate in dancing with the bustle! It’s really quite fun to experience the movement of dancing with all of your dress behind you!

1838 Yellow Print Dress At Tea

One of the fun features of The Footwork & Frolick Society’s annual fundraiser tea event is that F&F members and volunteers wear clothing representing the span of the Victorian period. (I recently posted a behind the scenes look at the tea that you can read here, if you are interested.) If you read this blog often, you likely know that I love pulling different historical outfits out of my closet for things like this!

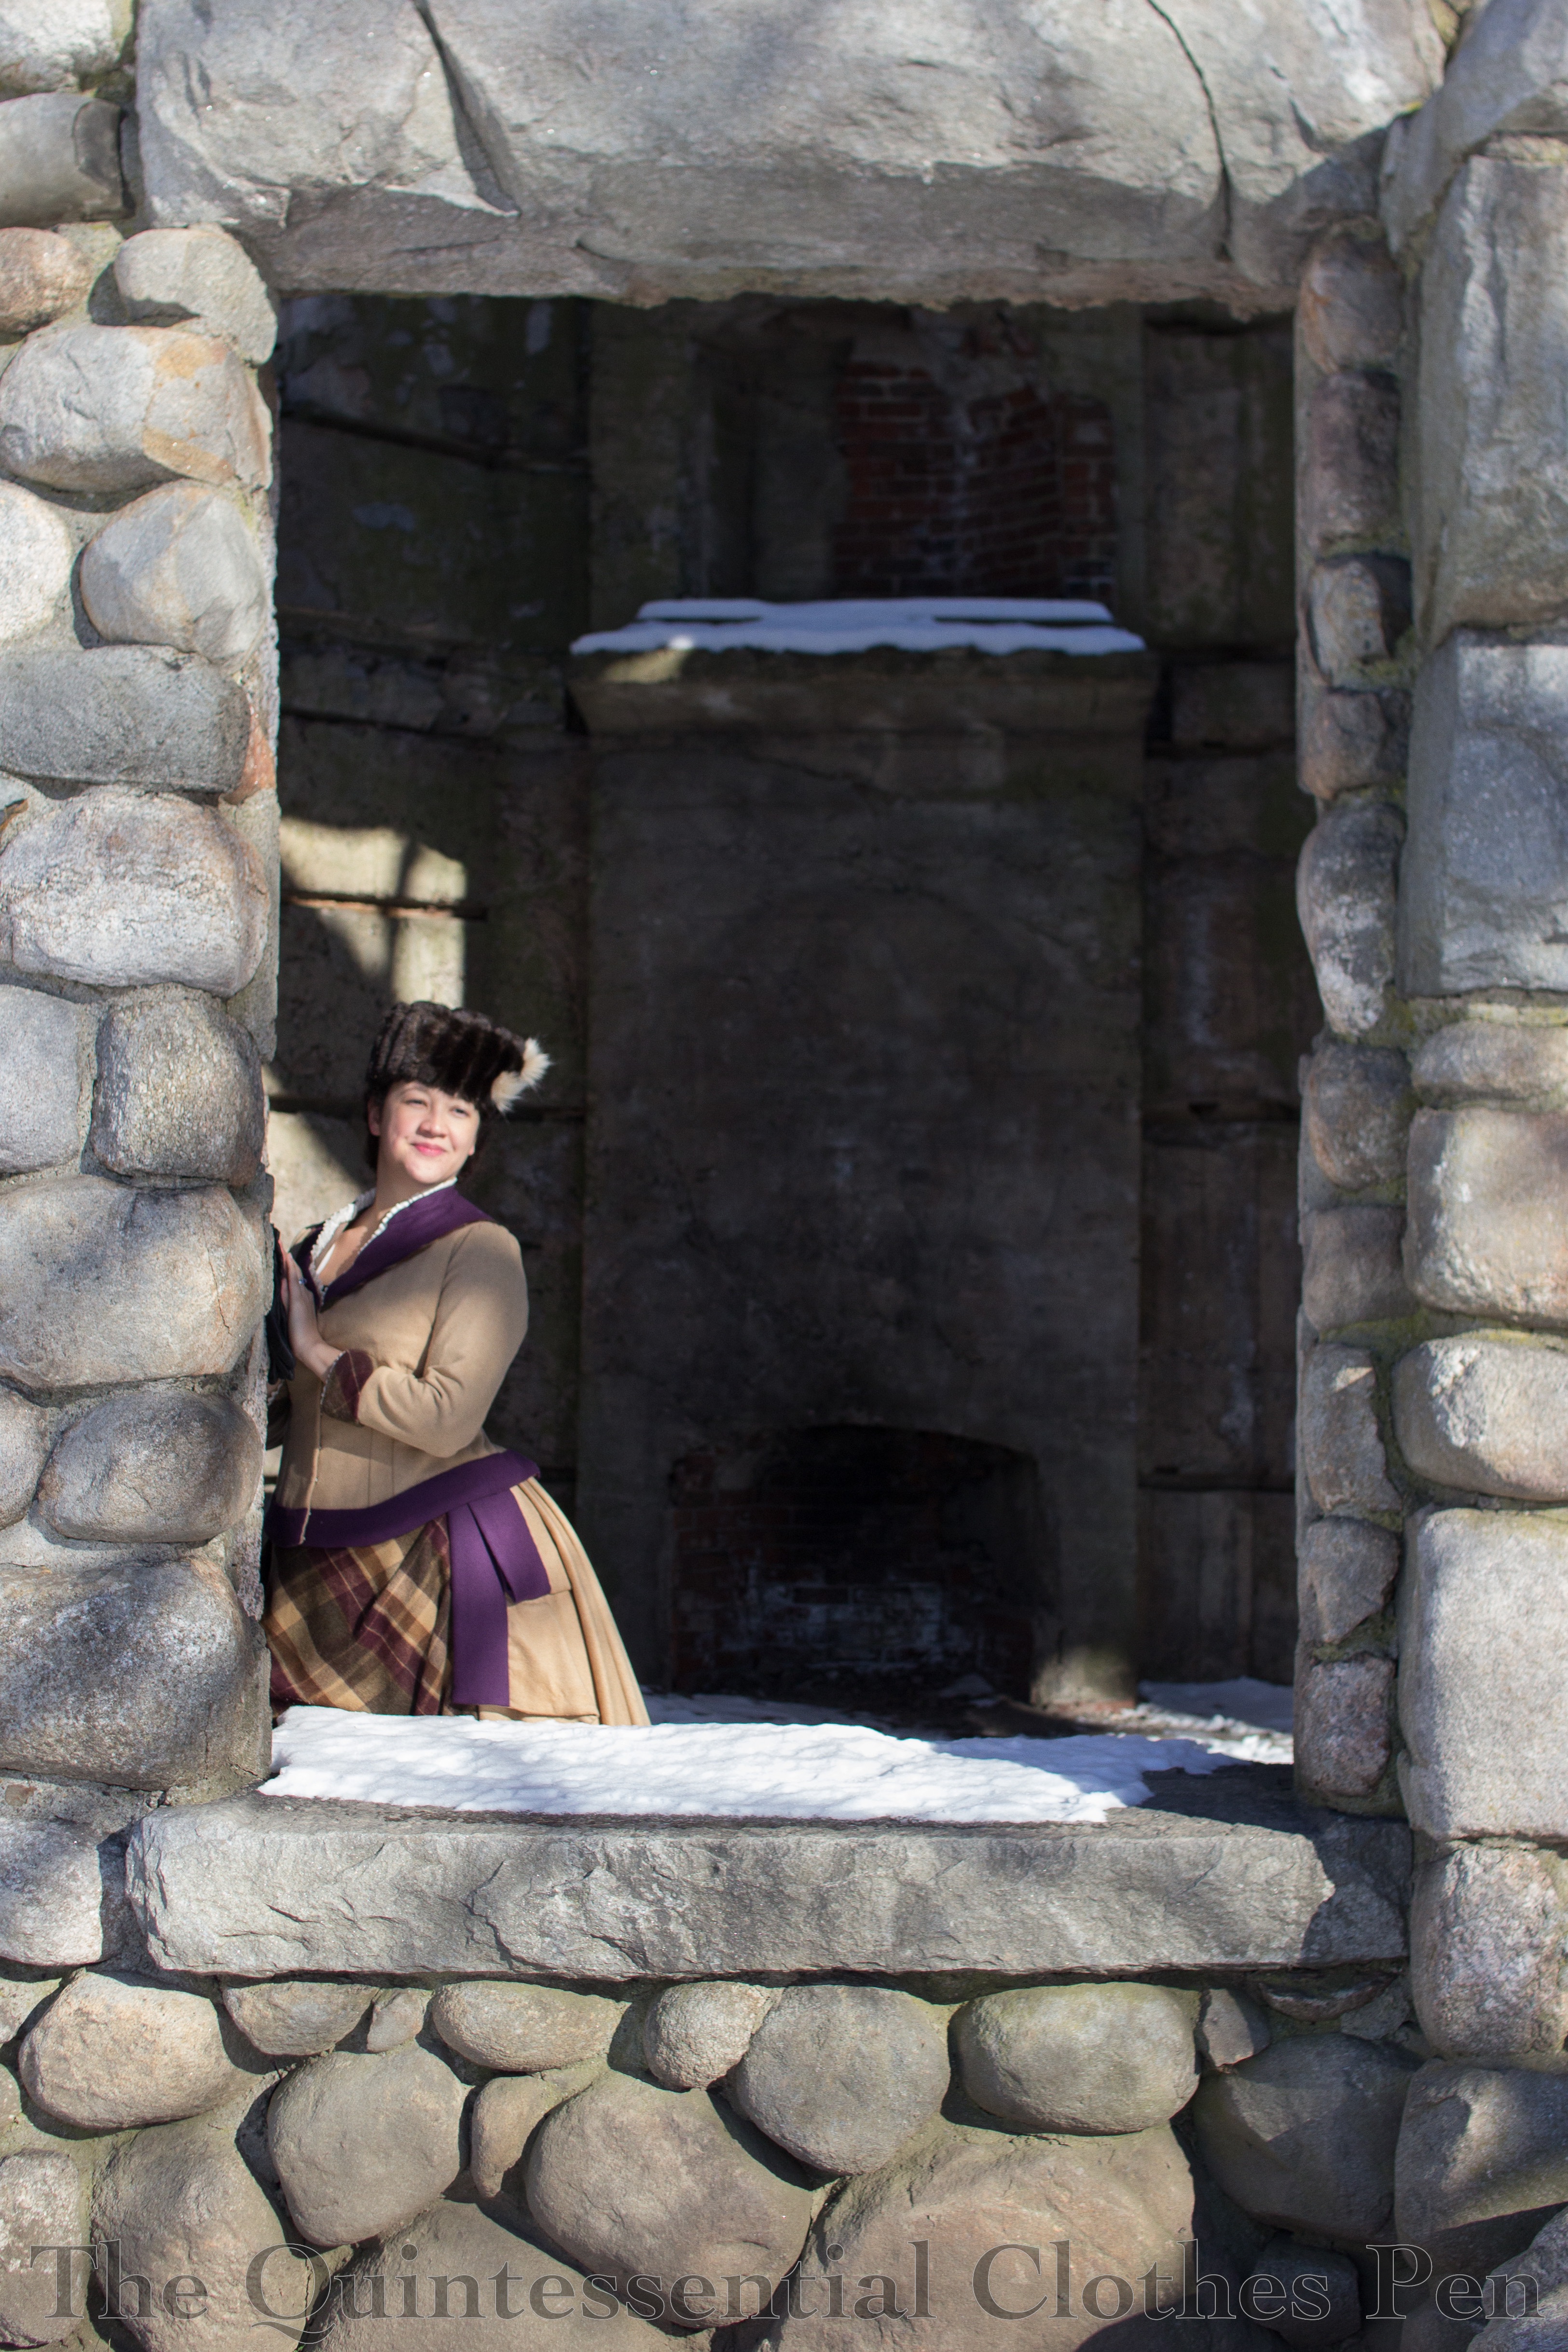
Last year, I wore the 1884 Plaid Wool Dress in the photo below (which you can read more about here, in a detailed post about this garment). This made sense as Boutwell House, where we host the tea, starts out at a pretty cool temperature. I hadn’t worn this outfit in awhile, so that was fun, too! However, after brewing tea for hours and the warmth of everyone’s body heat (and the fact that the heating system finally kicked in), I was pretty warm in my wool outfit by the end of the day!

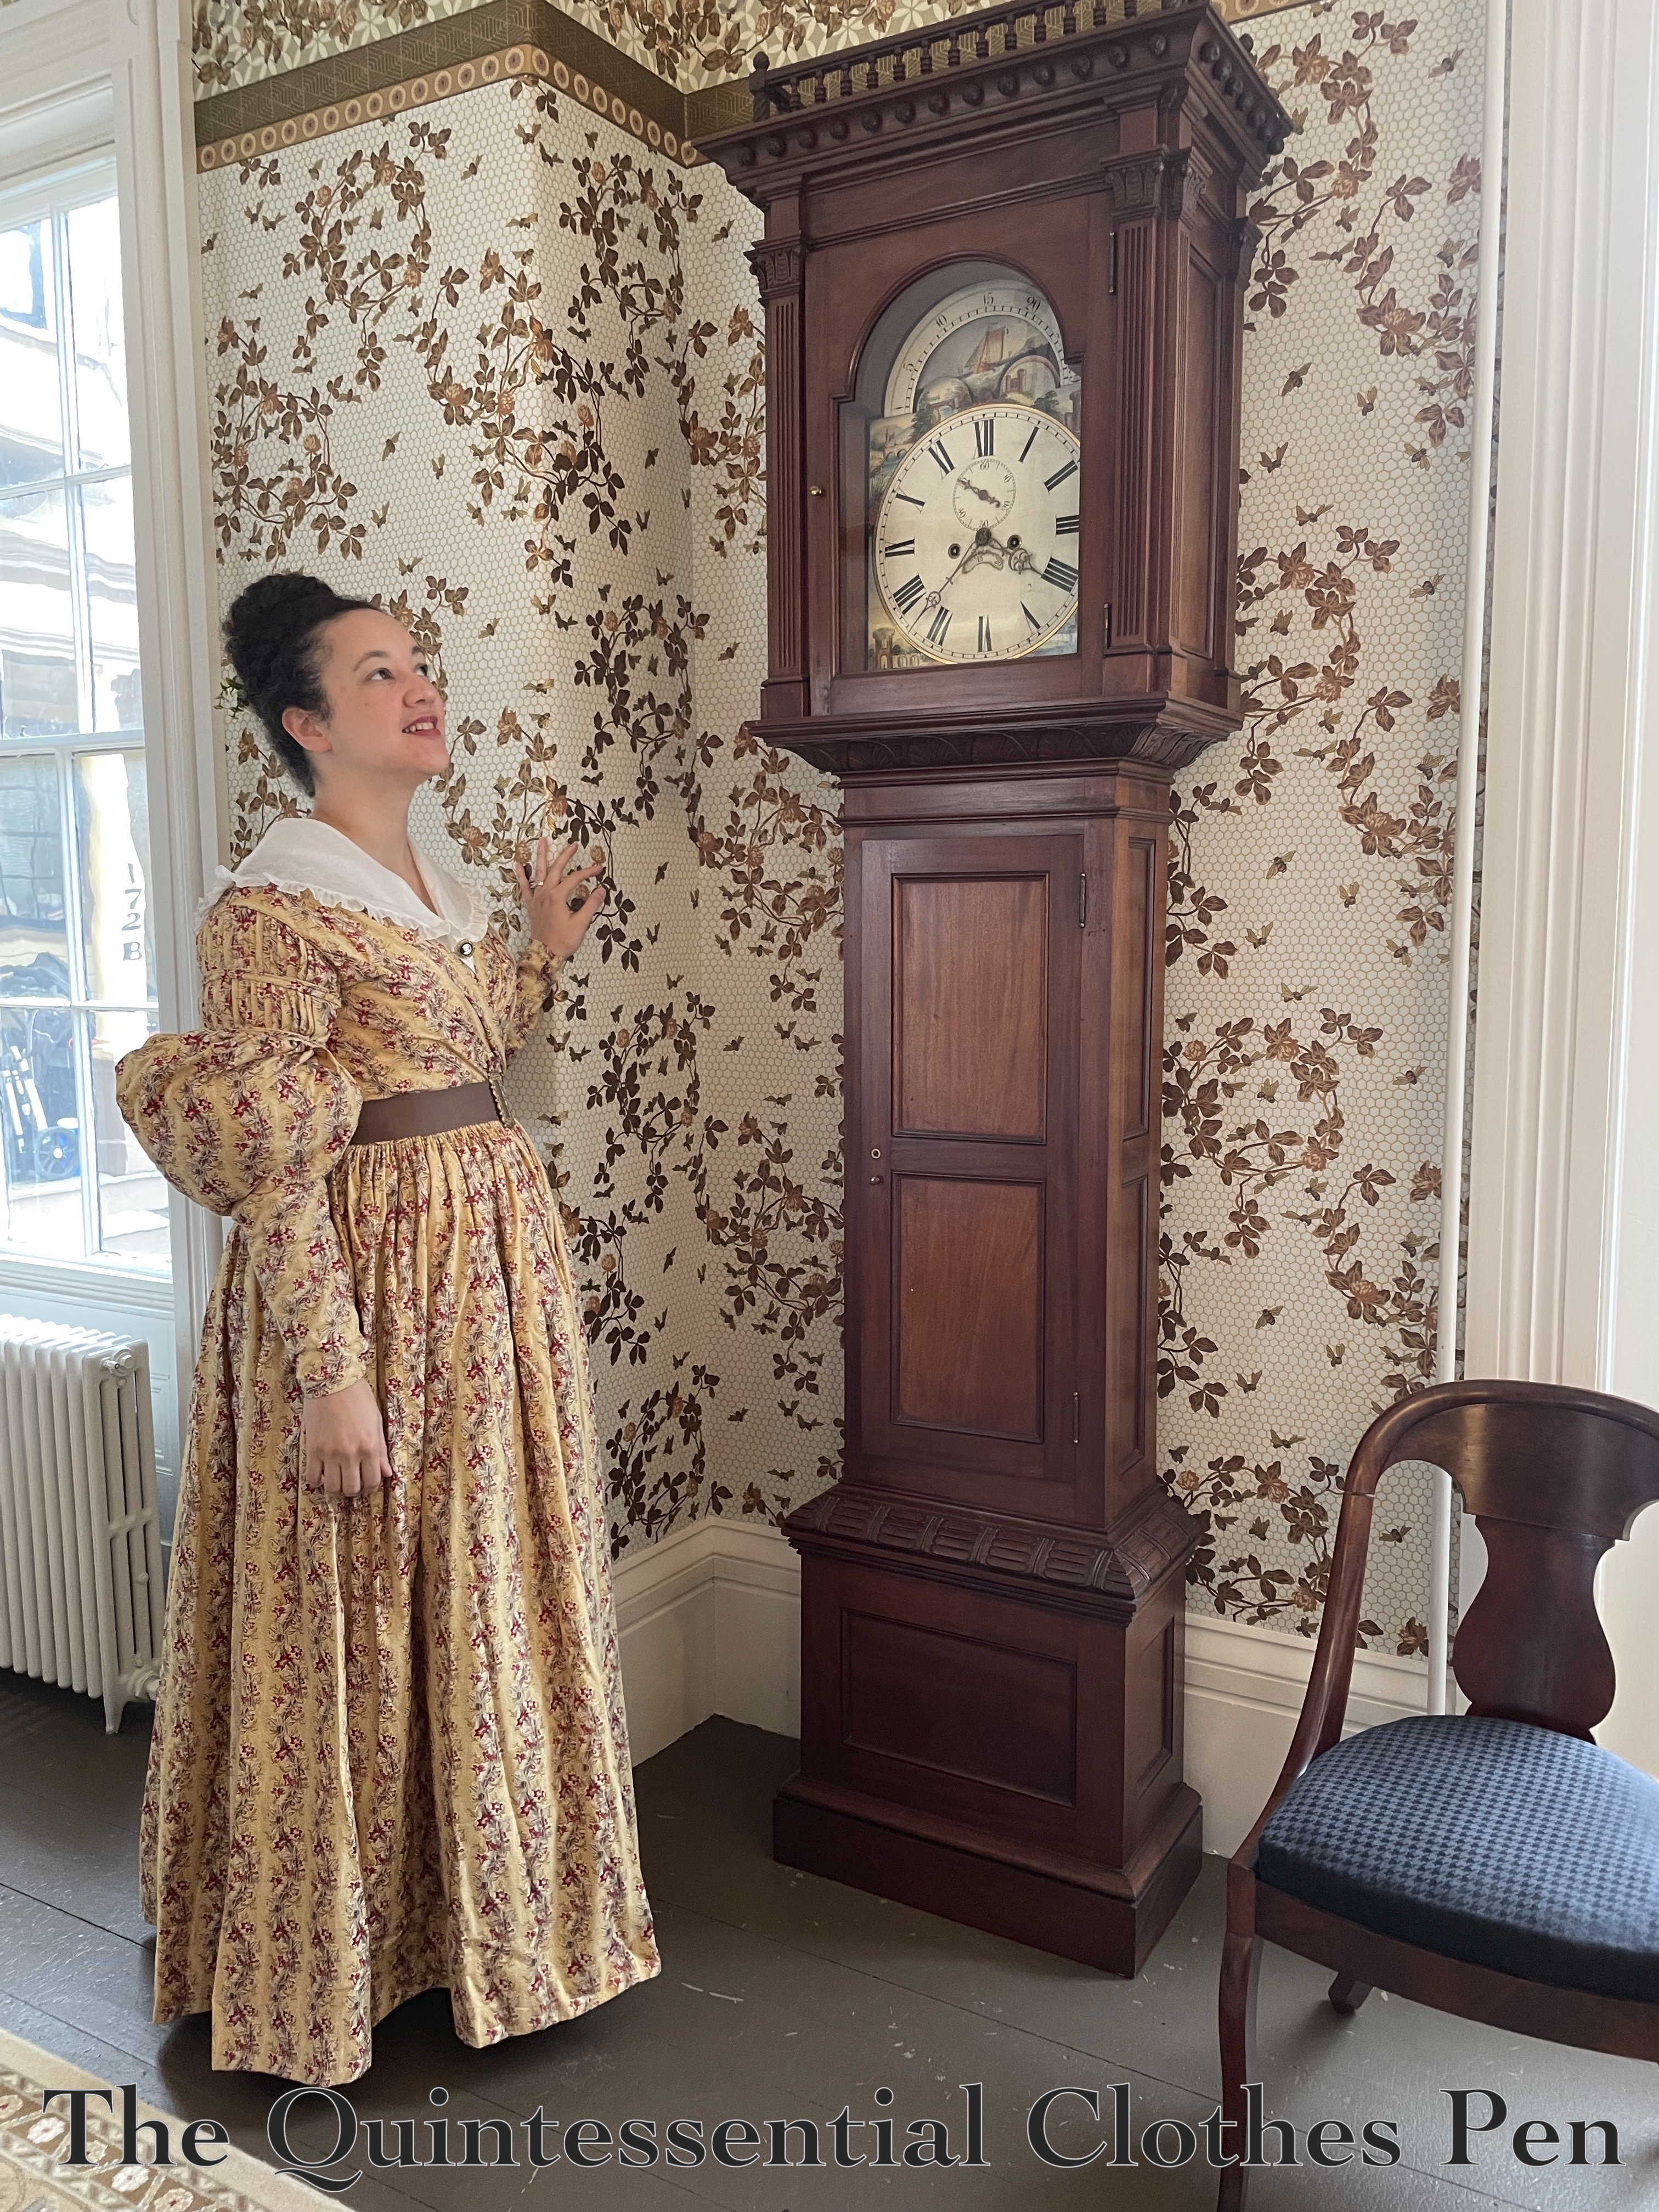
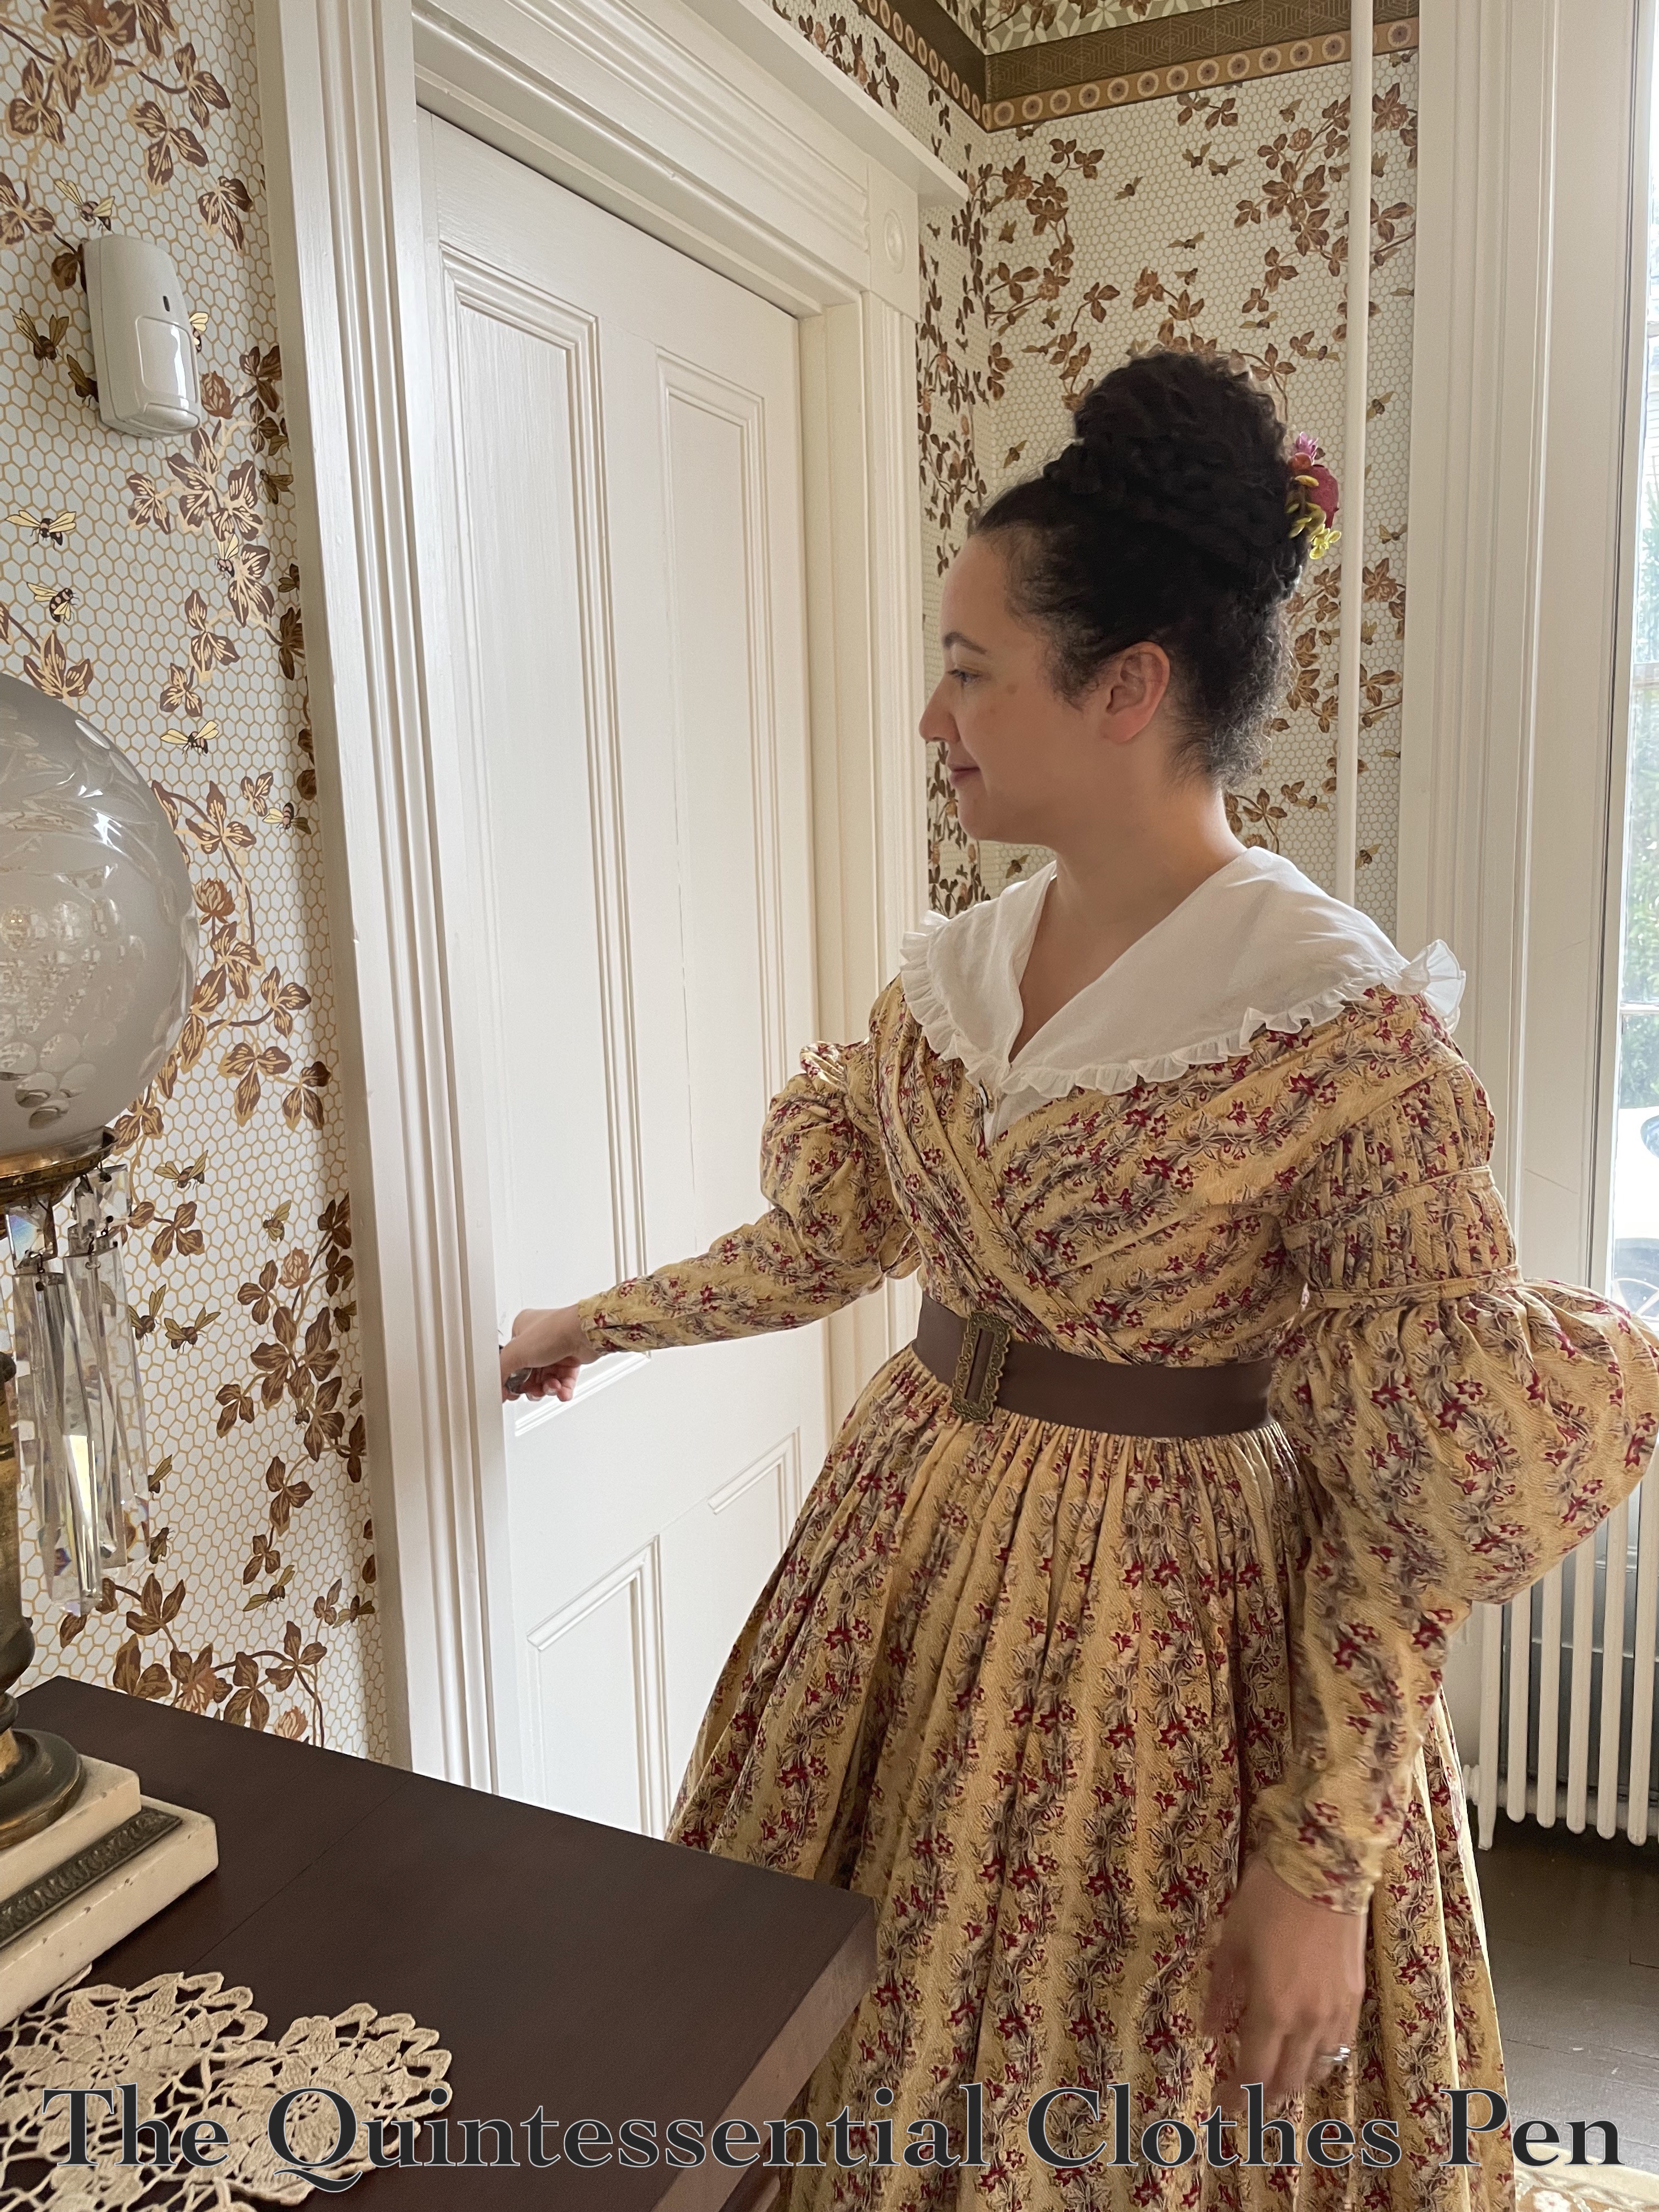
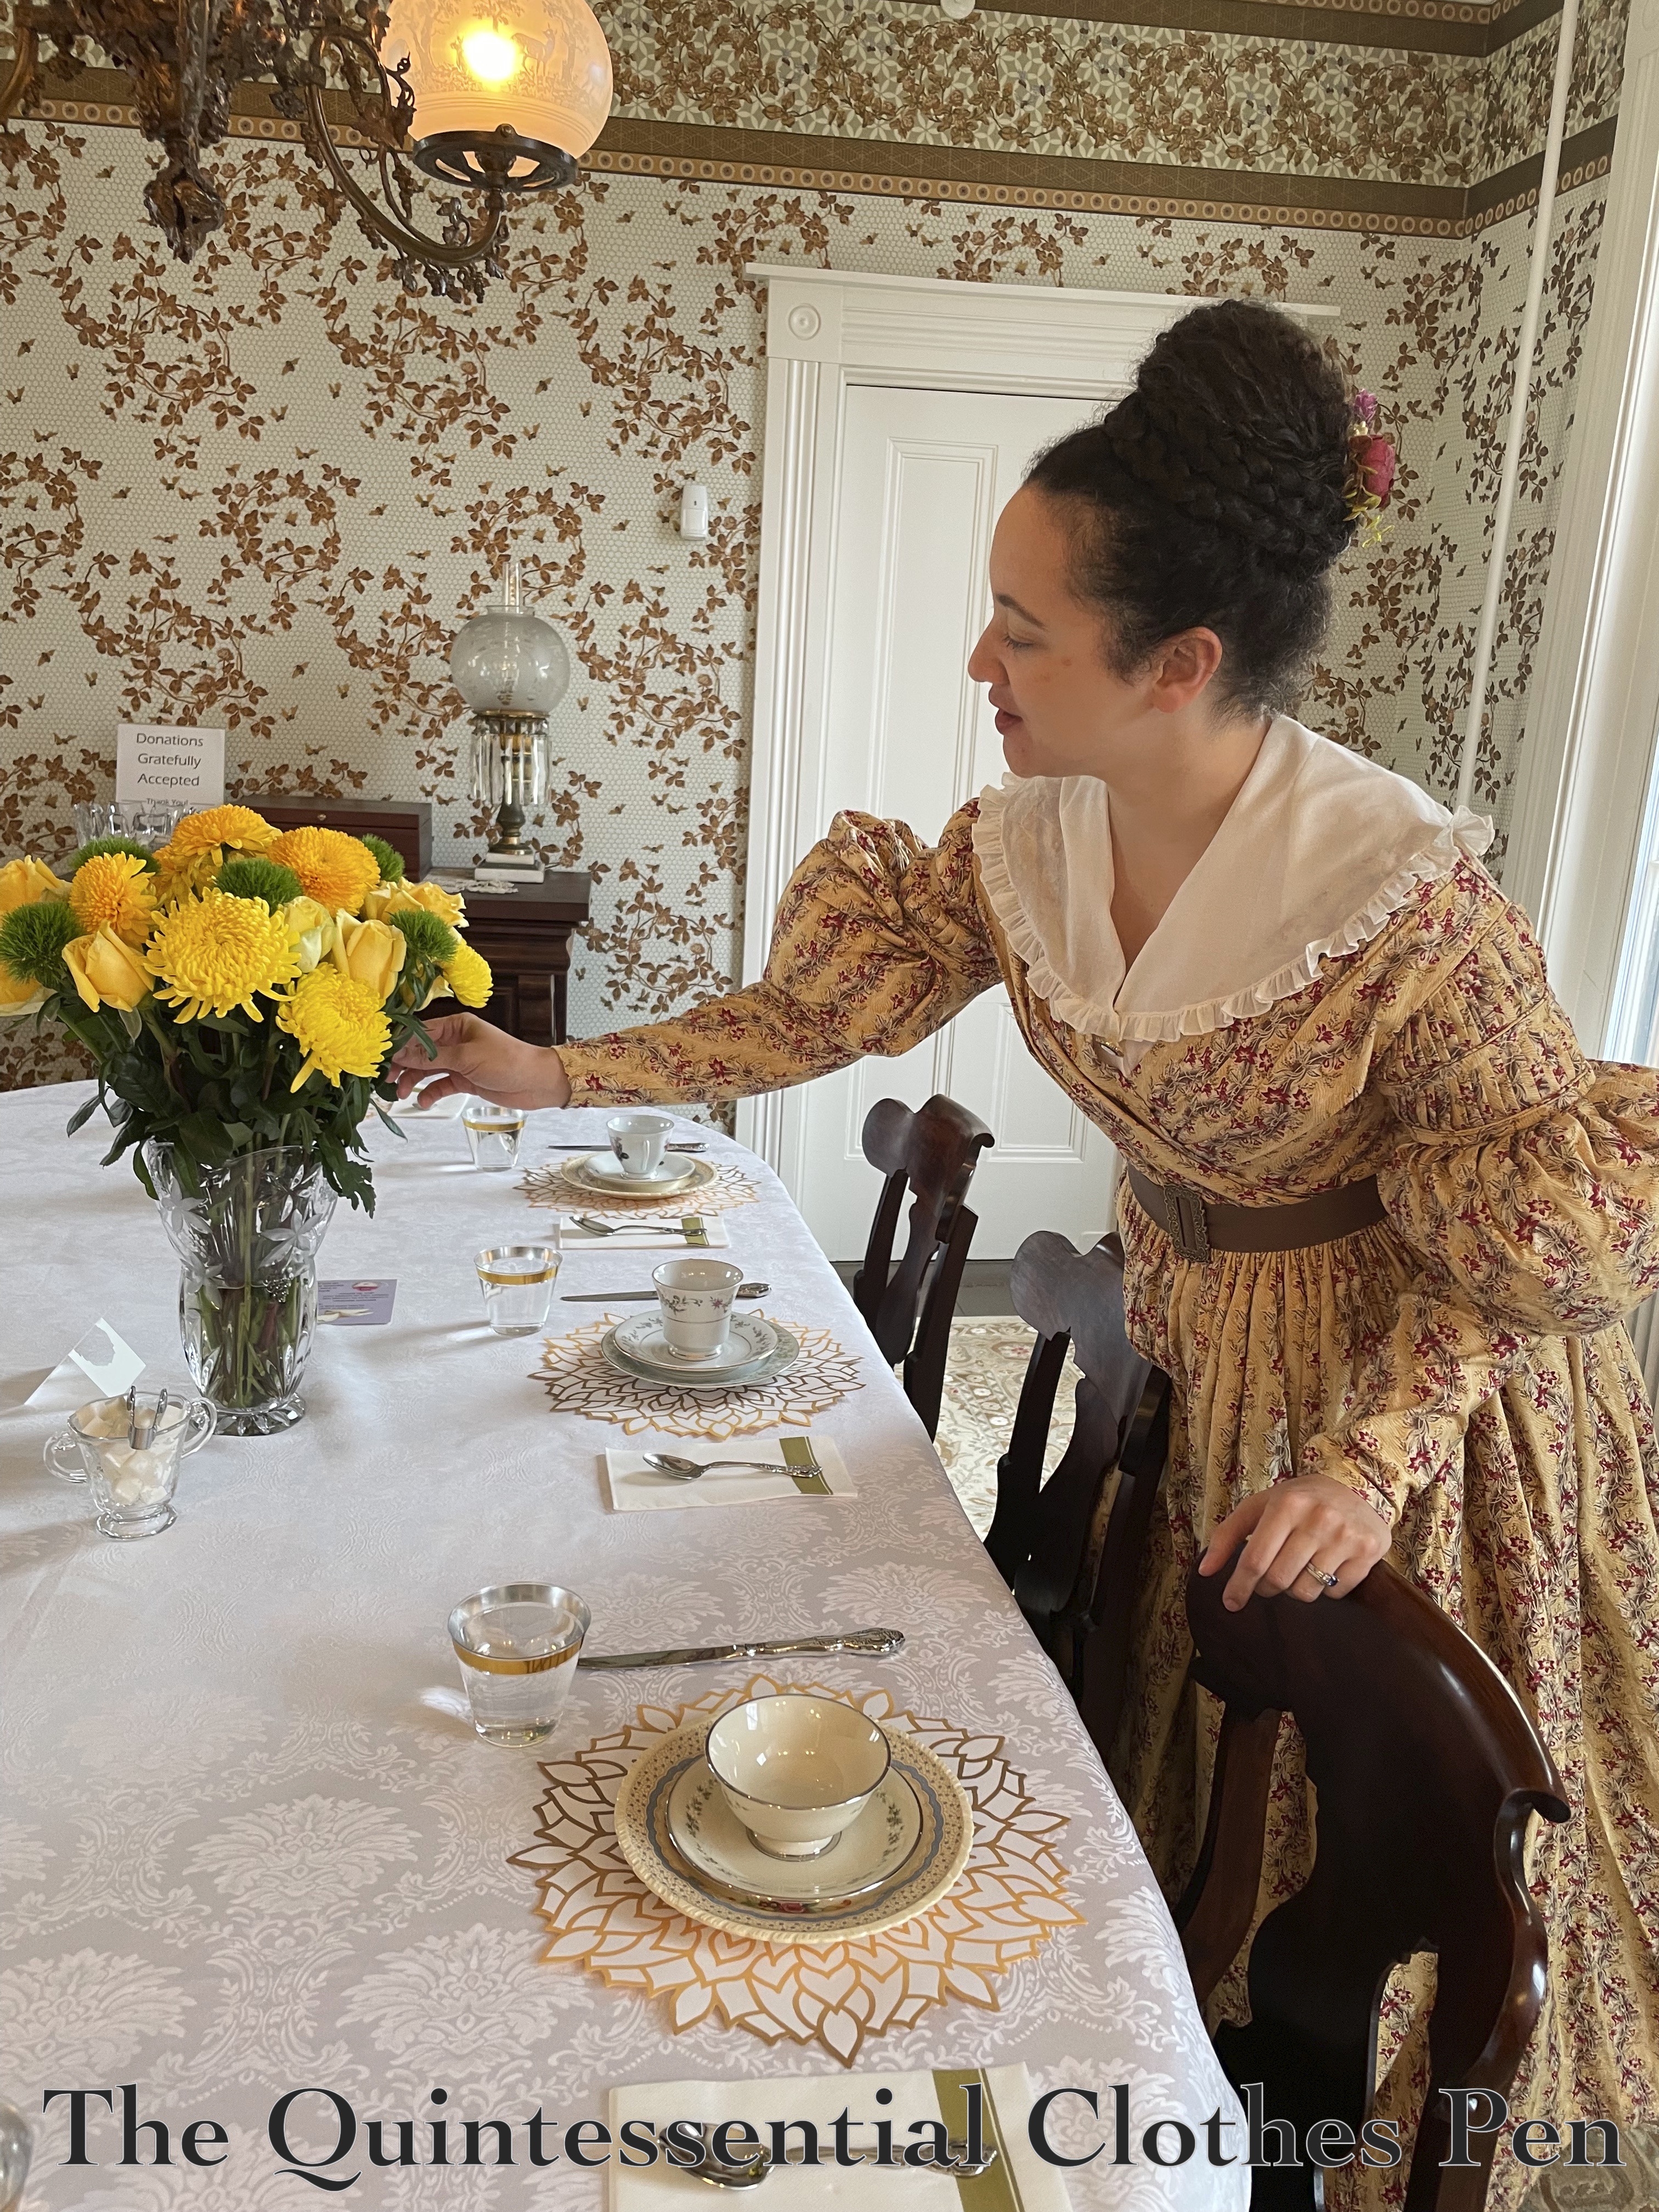
So this year, I decided to wear cotton! I landed on my 1838 yellow print dress because I hadn’t worn it in awhile, I wasn’t worried about it being in the kitchen (in terms of space and fabric type), and the sleeves are just plain silly! Below, this year’s 1838 yellow print dress in the dining room with the fabulous honeycomb wallpaper!

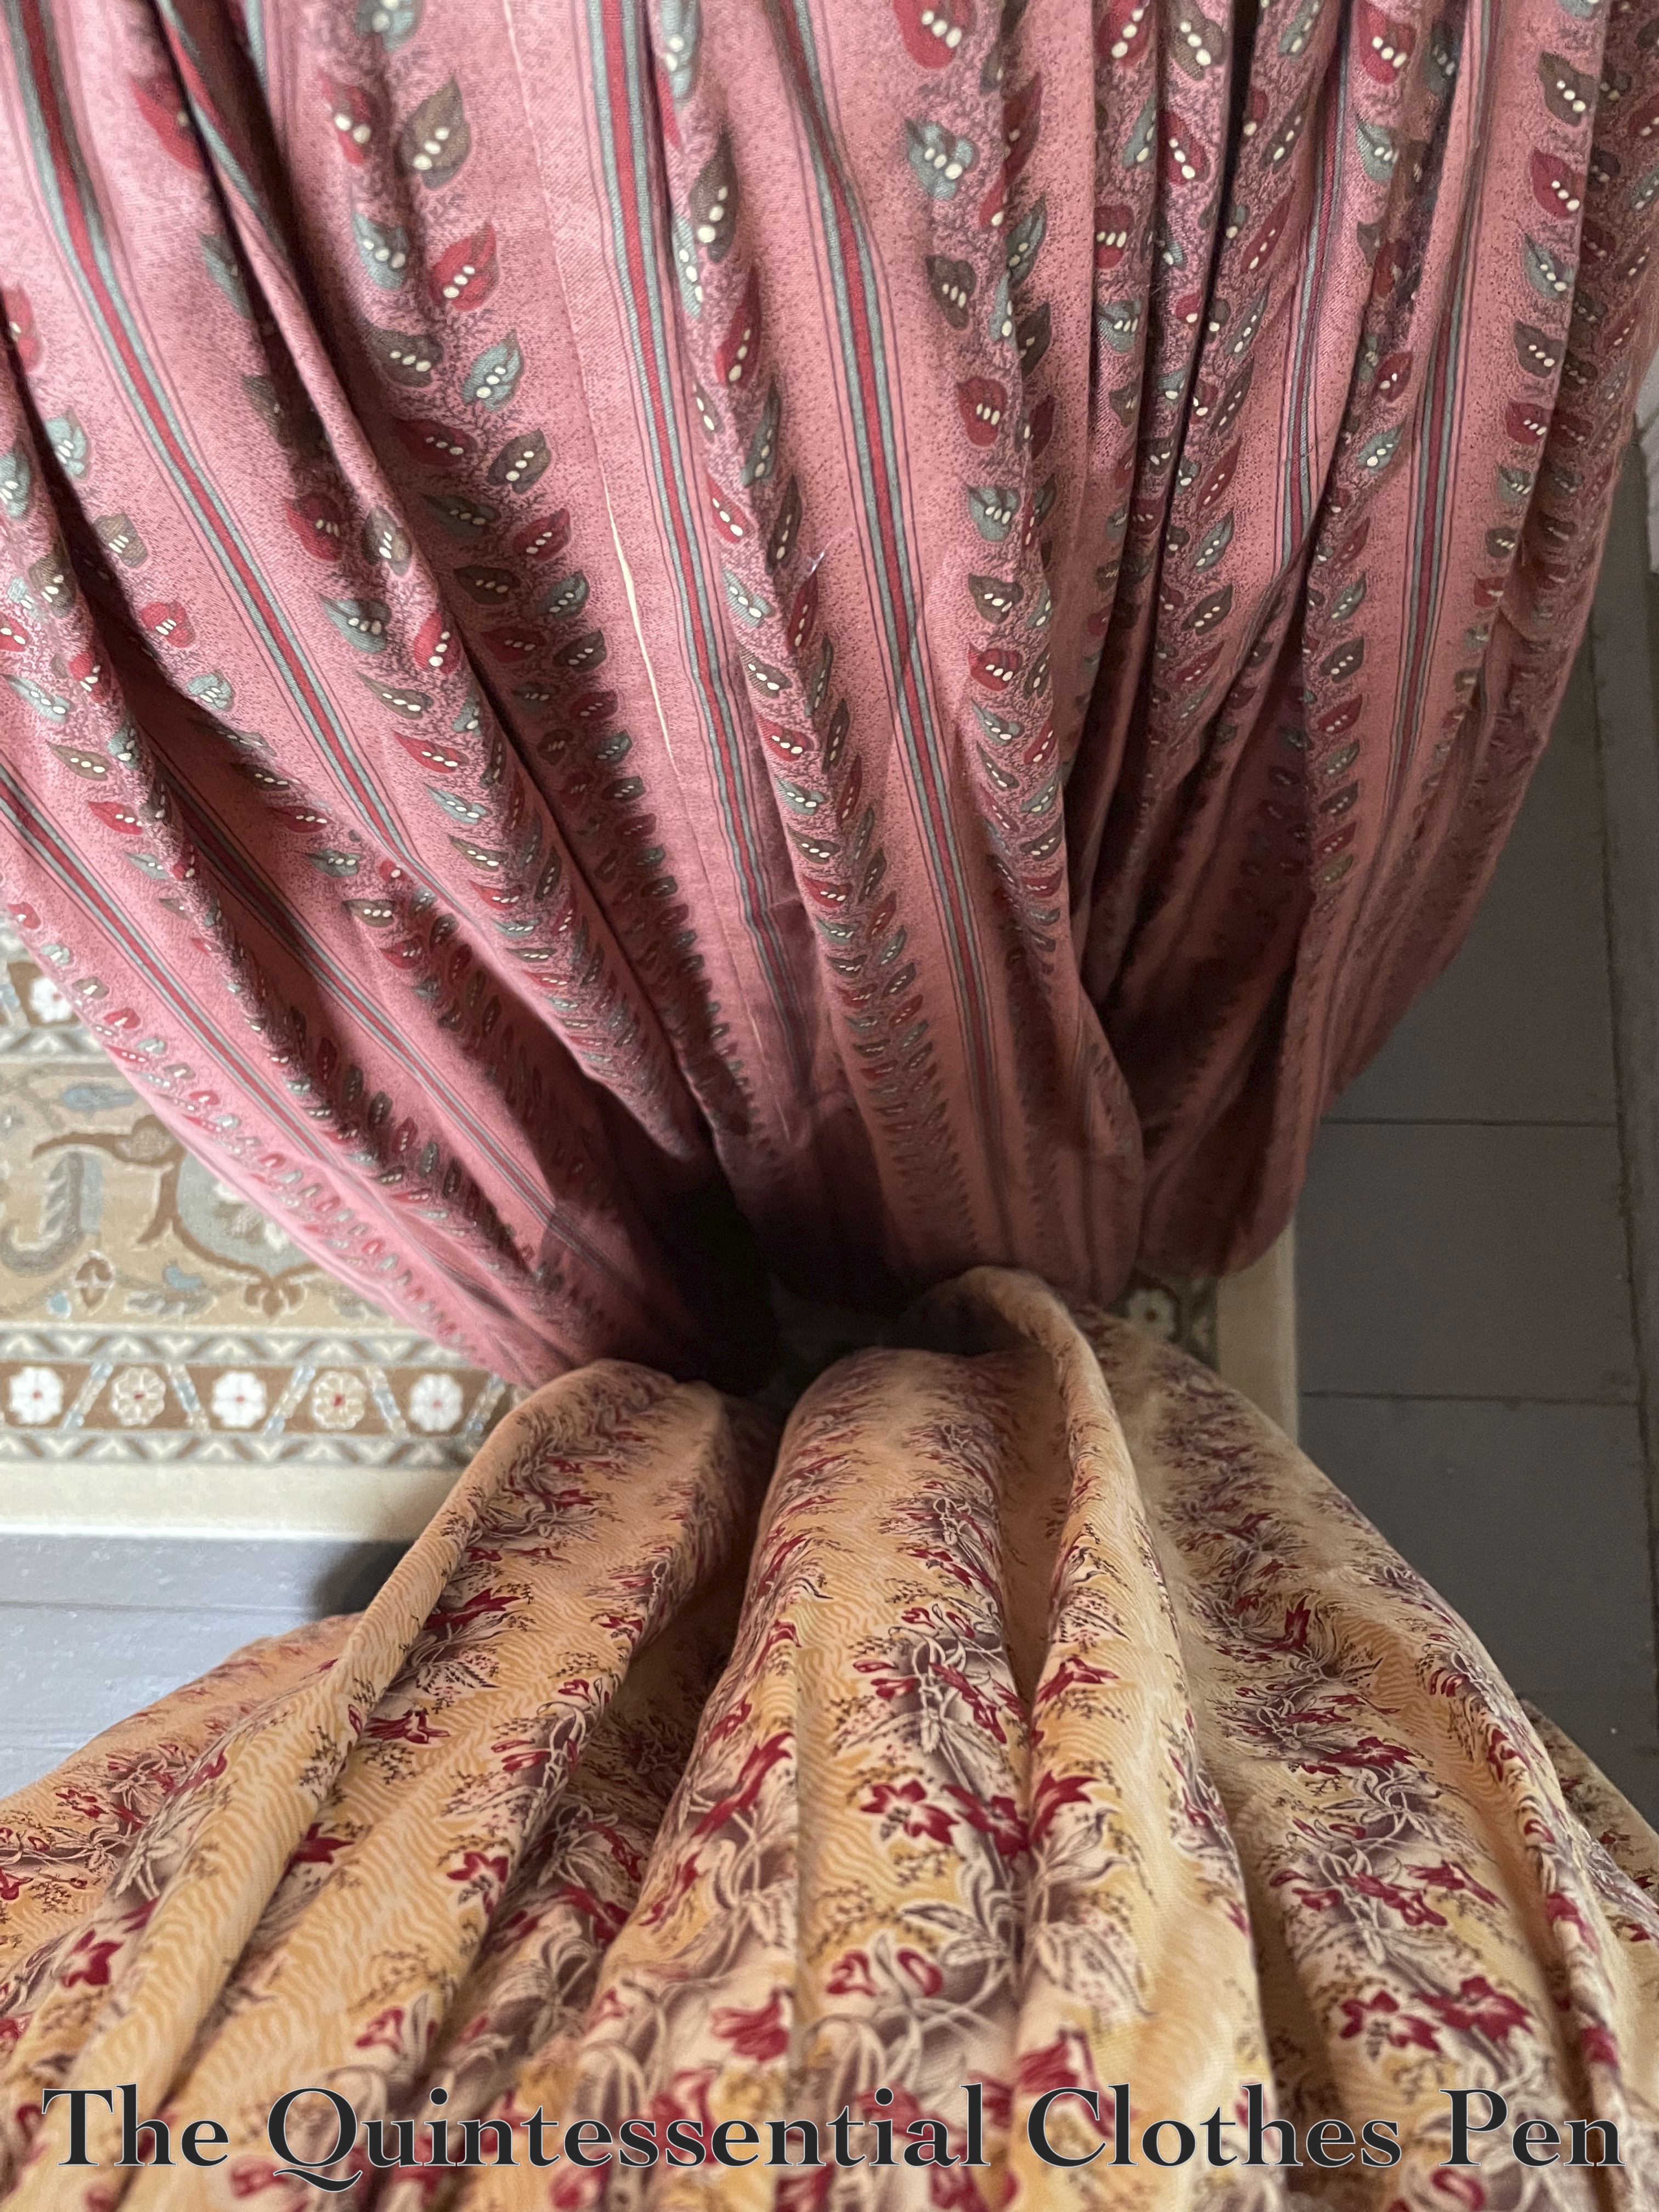
Looking at the photos, I realized I forgot to put on (or didn’t think I’d need, perhaps) my 1830s skirt puffer. You can read more about what that is in this past post, but essentially it’s a stiff ruffle that helps hold out the skirt at the top. This works in tandem with a corded petticoat to help hold the skirt out throughout the rest of the length. You can read all about the corded petticoat I made in this past post. What I’ve realized is that I DO need the skirt puffer! Always!

Despite this oversight, I was excited to try out a new ribbon belt color for this wearing. The last time I wore this bodice, in 2021, I chose not to wear a belt at all. Details about that wearing are in this past post and below is a photo of what this dressed looked like in that iteration.

I’m not sure which version I like better! I think no belt helps make the pleats on the bodice stand out more, but I also like that the belt helps break up the print. What do you think?

In case anyone is curious, I’ll share my sources for these accessories. I share because I think the items are great, not because I earn a commission or anything of that sort.

The yellow fabric of the dress is a Marcus Brothers Old Sturbridge Village Print that I acquired in 2013. I remember that detail because I posted about the fabric back then! You can read that past post here. In addition to my yellow fabric, reproduction floral stripes were a theme in other outfits at this year’s tea, as well, as you can see below!

Below, floral stripes consulting about… who knows!?! But it was a lovely opportunity to catch a photo.

Not only did I really enjoy the shapes of the flowers in this bouquet (rounded flowers always appeal to me!), but I also enjoy the yellow flowers and yellow dress in the whimsical atmosphere created by the wallpaper in this room.

In the midst of the busyness of hosting, F&F members did take a few moments to gather and have a brief sit. I love how the outfits in this photo complement each other and the room! And I always appreciate good company and hearty laughter. This was a wonderful start to spring!

Two Sacques At ‘The Salon at Palais-Royal’

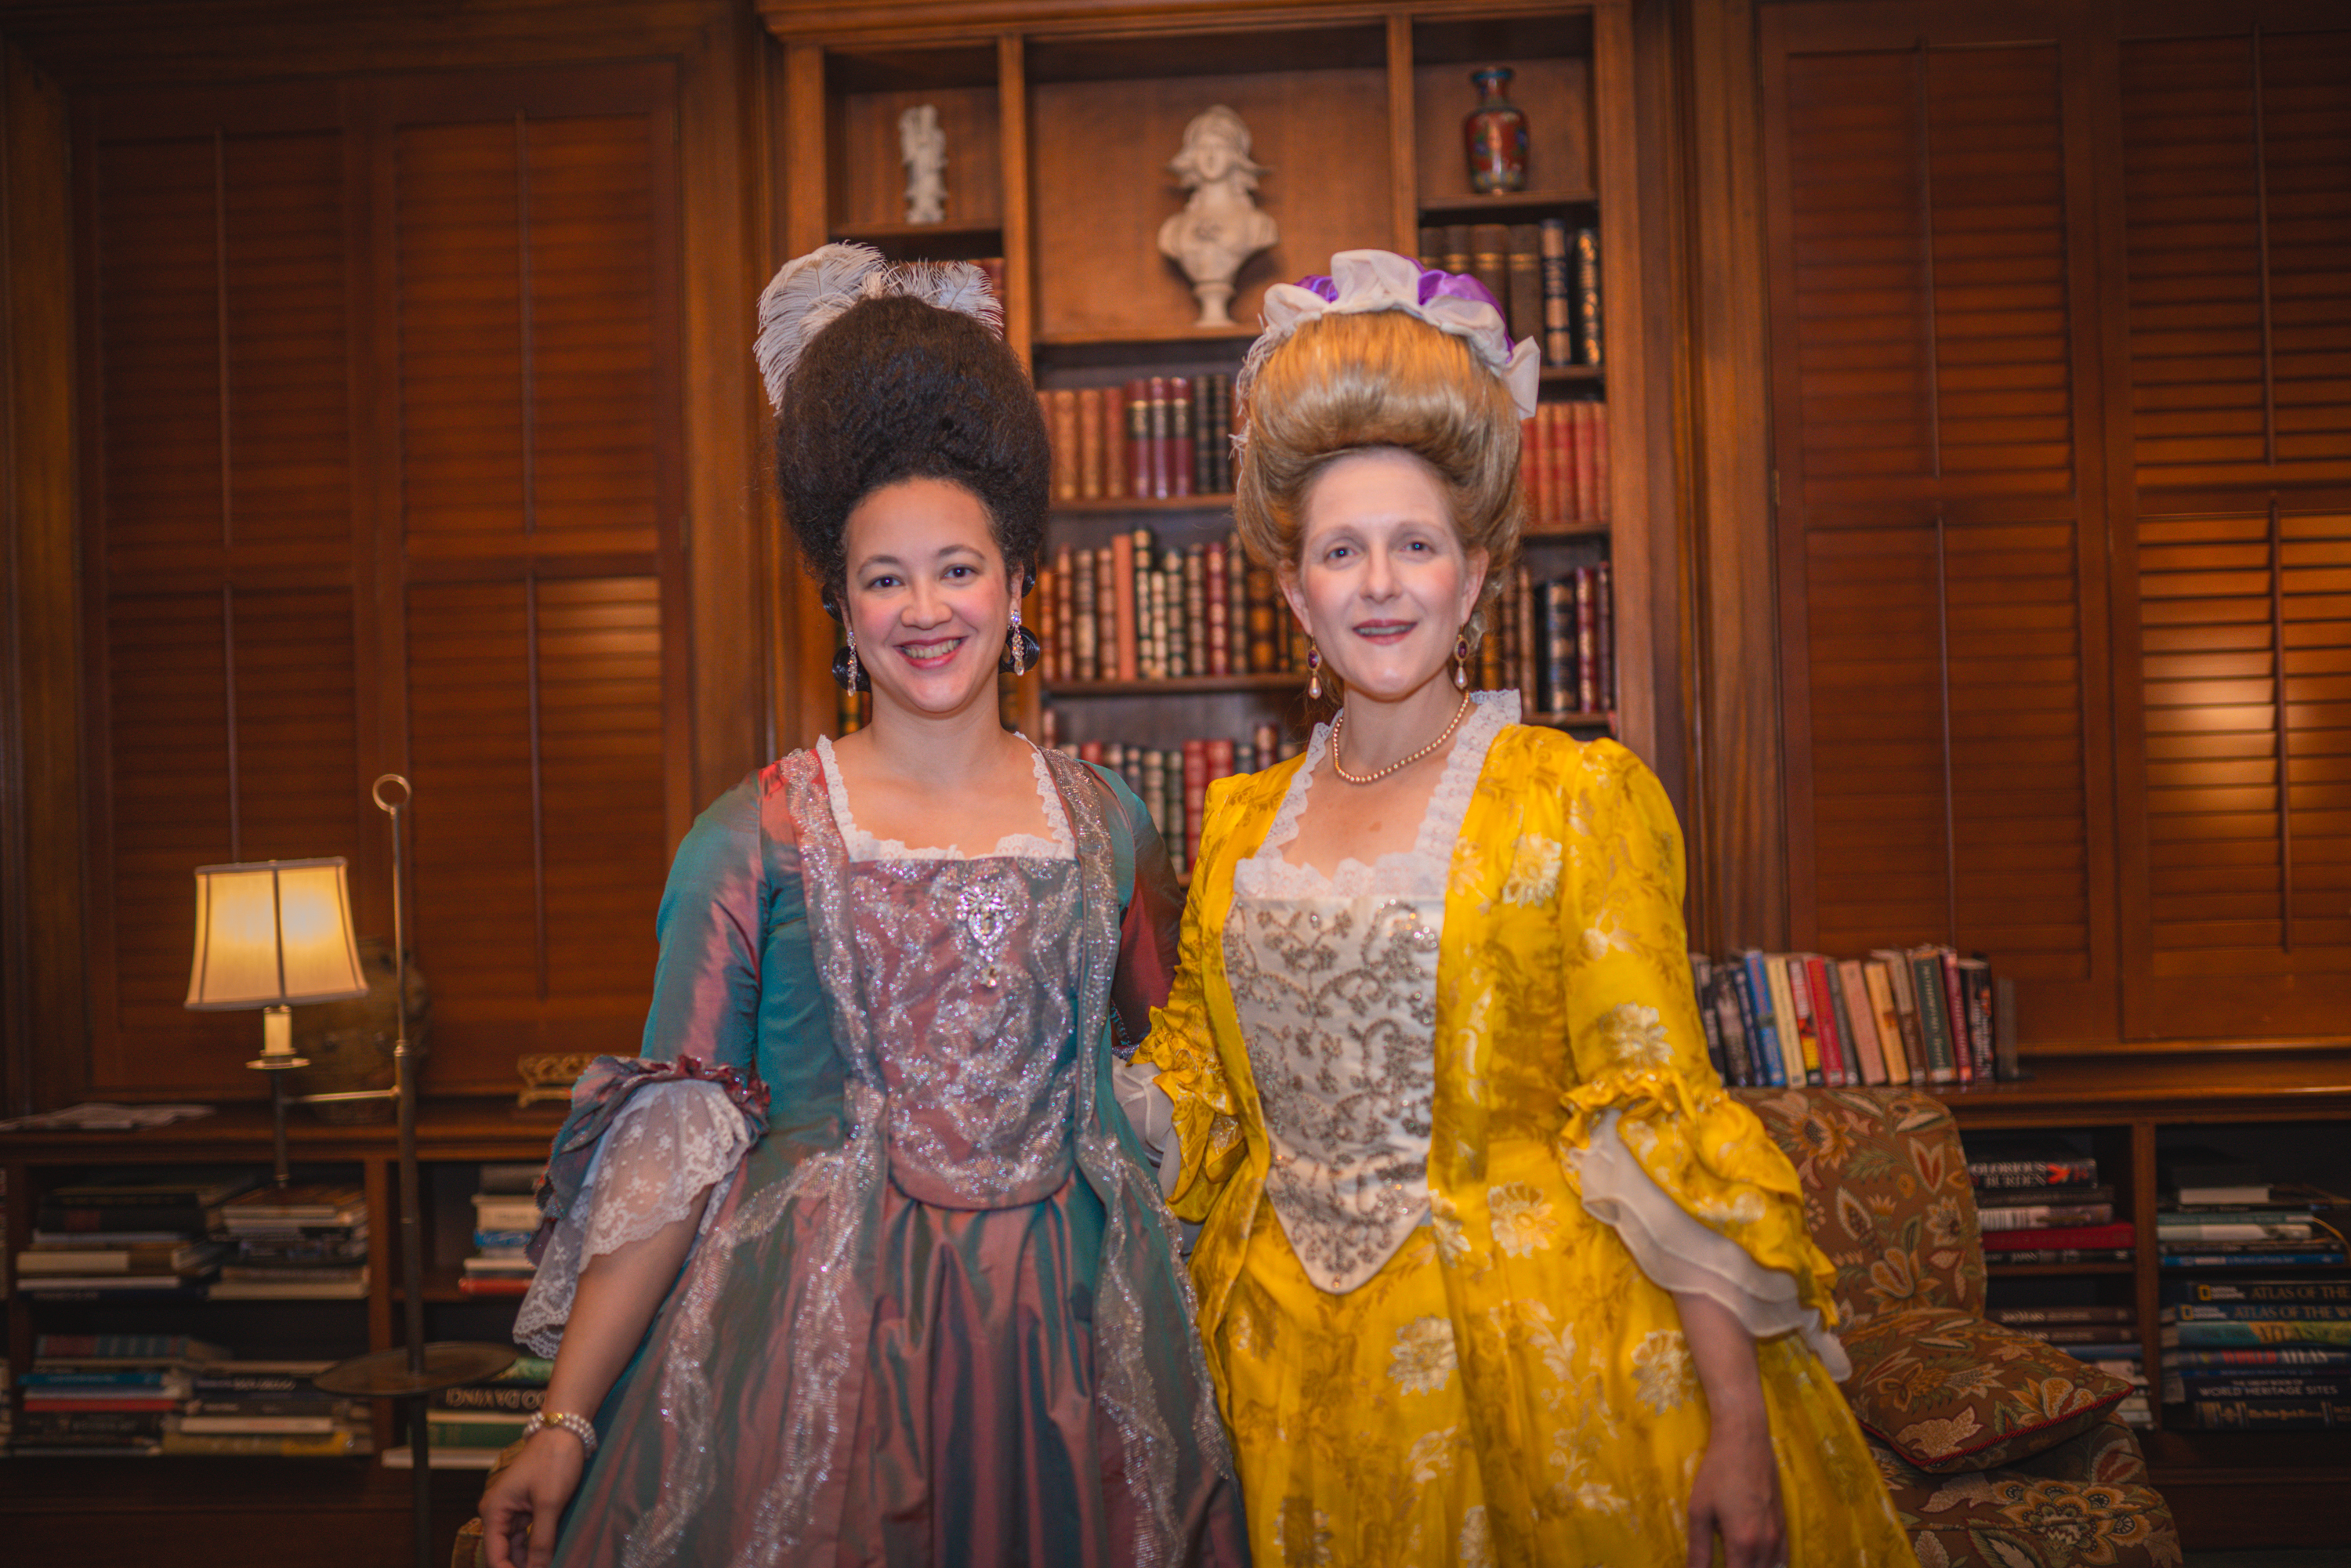
I am finally ready to share a full set of photos of the new Yellow Sacque and its friend, my older Versailles sacque (all of the construction details for these dresses can be found by clicking the links)! The two dresses had a joyful outing together at an event last year. This post is going to share about the event itself as well as photos and recollections.

Below, a photo of the Versailles Sacque and new Yellow Sacque next to each other!

Photo courtesy of Aleks Vu

About The Event

In October 2024, I had the great joy of attending the ‘Salon at Palais-Royal: An 18th-Century Chevalier Experience’ weekend hosted by Costumers of Color. The program included educational lectures, a violin concert, historical activity discussions and demonstrations, dancing, and more, with the goal of providing an inclusive environment for people of color both in terms of attendance and in terms of the educational theme of the event.

It was a success! Costumers of Color shared on the page for the event that “over 40 of the 140 attendees were POC (people of color).” That’s pretty amazing, and special! (If you go to the linked page, you can see group photos, one of which is of all the people at the event who identify as people of color.) I enjoyed that aspect of the event, as well as the educational theme that centered Joseph Bologne, Chevalier de Saint Georges, an 18th century Black “scholar, a fencer, a virtuoso violinist and a famous and sought-after composer.” (This quote is from the Costumers of Color blog post about Joseph Bologne. Please go give it a read if you would like to learn more! Bologne’s achievements are impressive!) In addition to these elements, I also enjoyed the combination of learning and participating that was incorporated into the weekend.

What Was Worn

For the formal evening part of the event, I chose to wear my Versailles Sacque (made and last worn in 2016, which I posted about here)! For this wearing, I updated the ensemble with a lace tucker around the neckline of the dress. This small new accessory helps complete the full look. It took a little bit of referencing my old blog posts to reconstruct my hair form and remind myself what accessories to wear, but I was successful. I was very grateful to myself for documenting things so well!

I also had the pleasure of seeing the new Yellow Sacque and all of the new accessories I’ve been making being elegantly worn by a friend!

Below, showing off both the front and back of the sacque (or Robe à la Française) style of dress.

Photo courtesy of Aleks Vu

More Photos

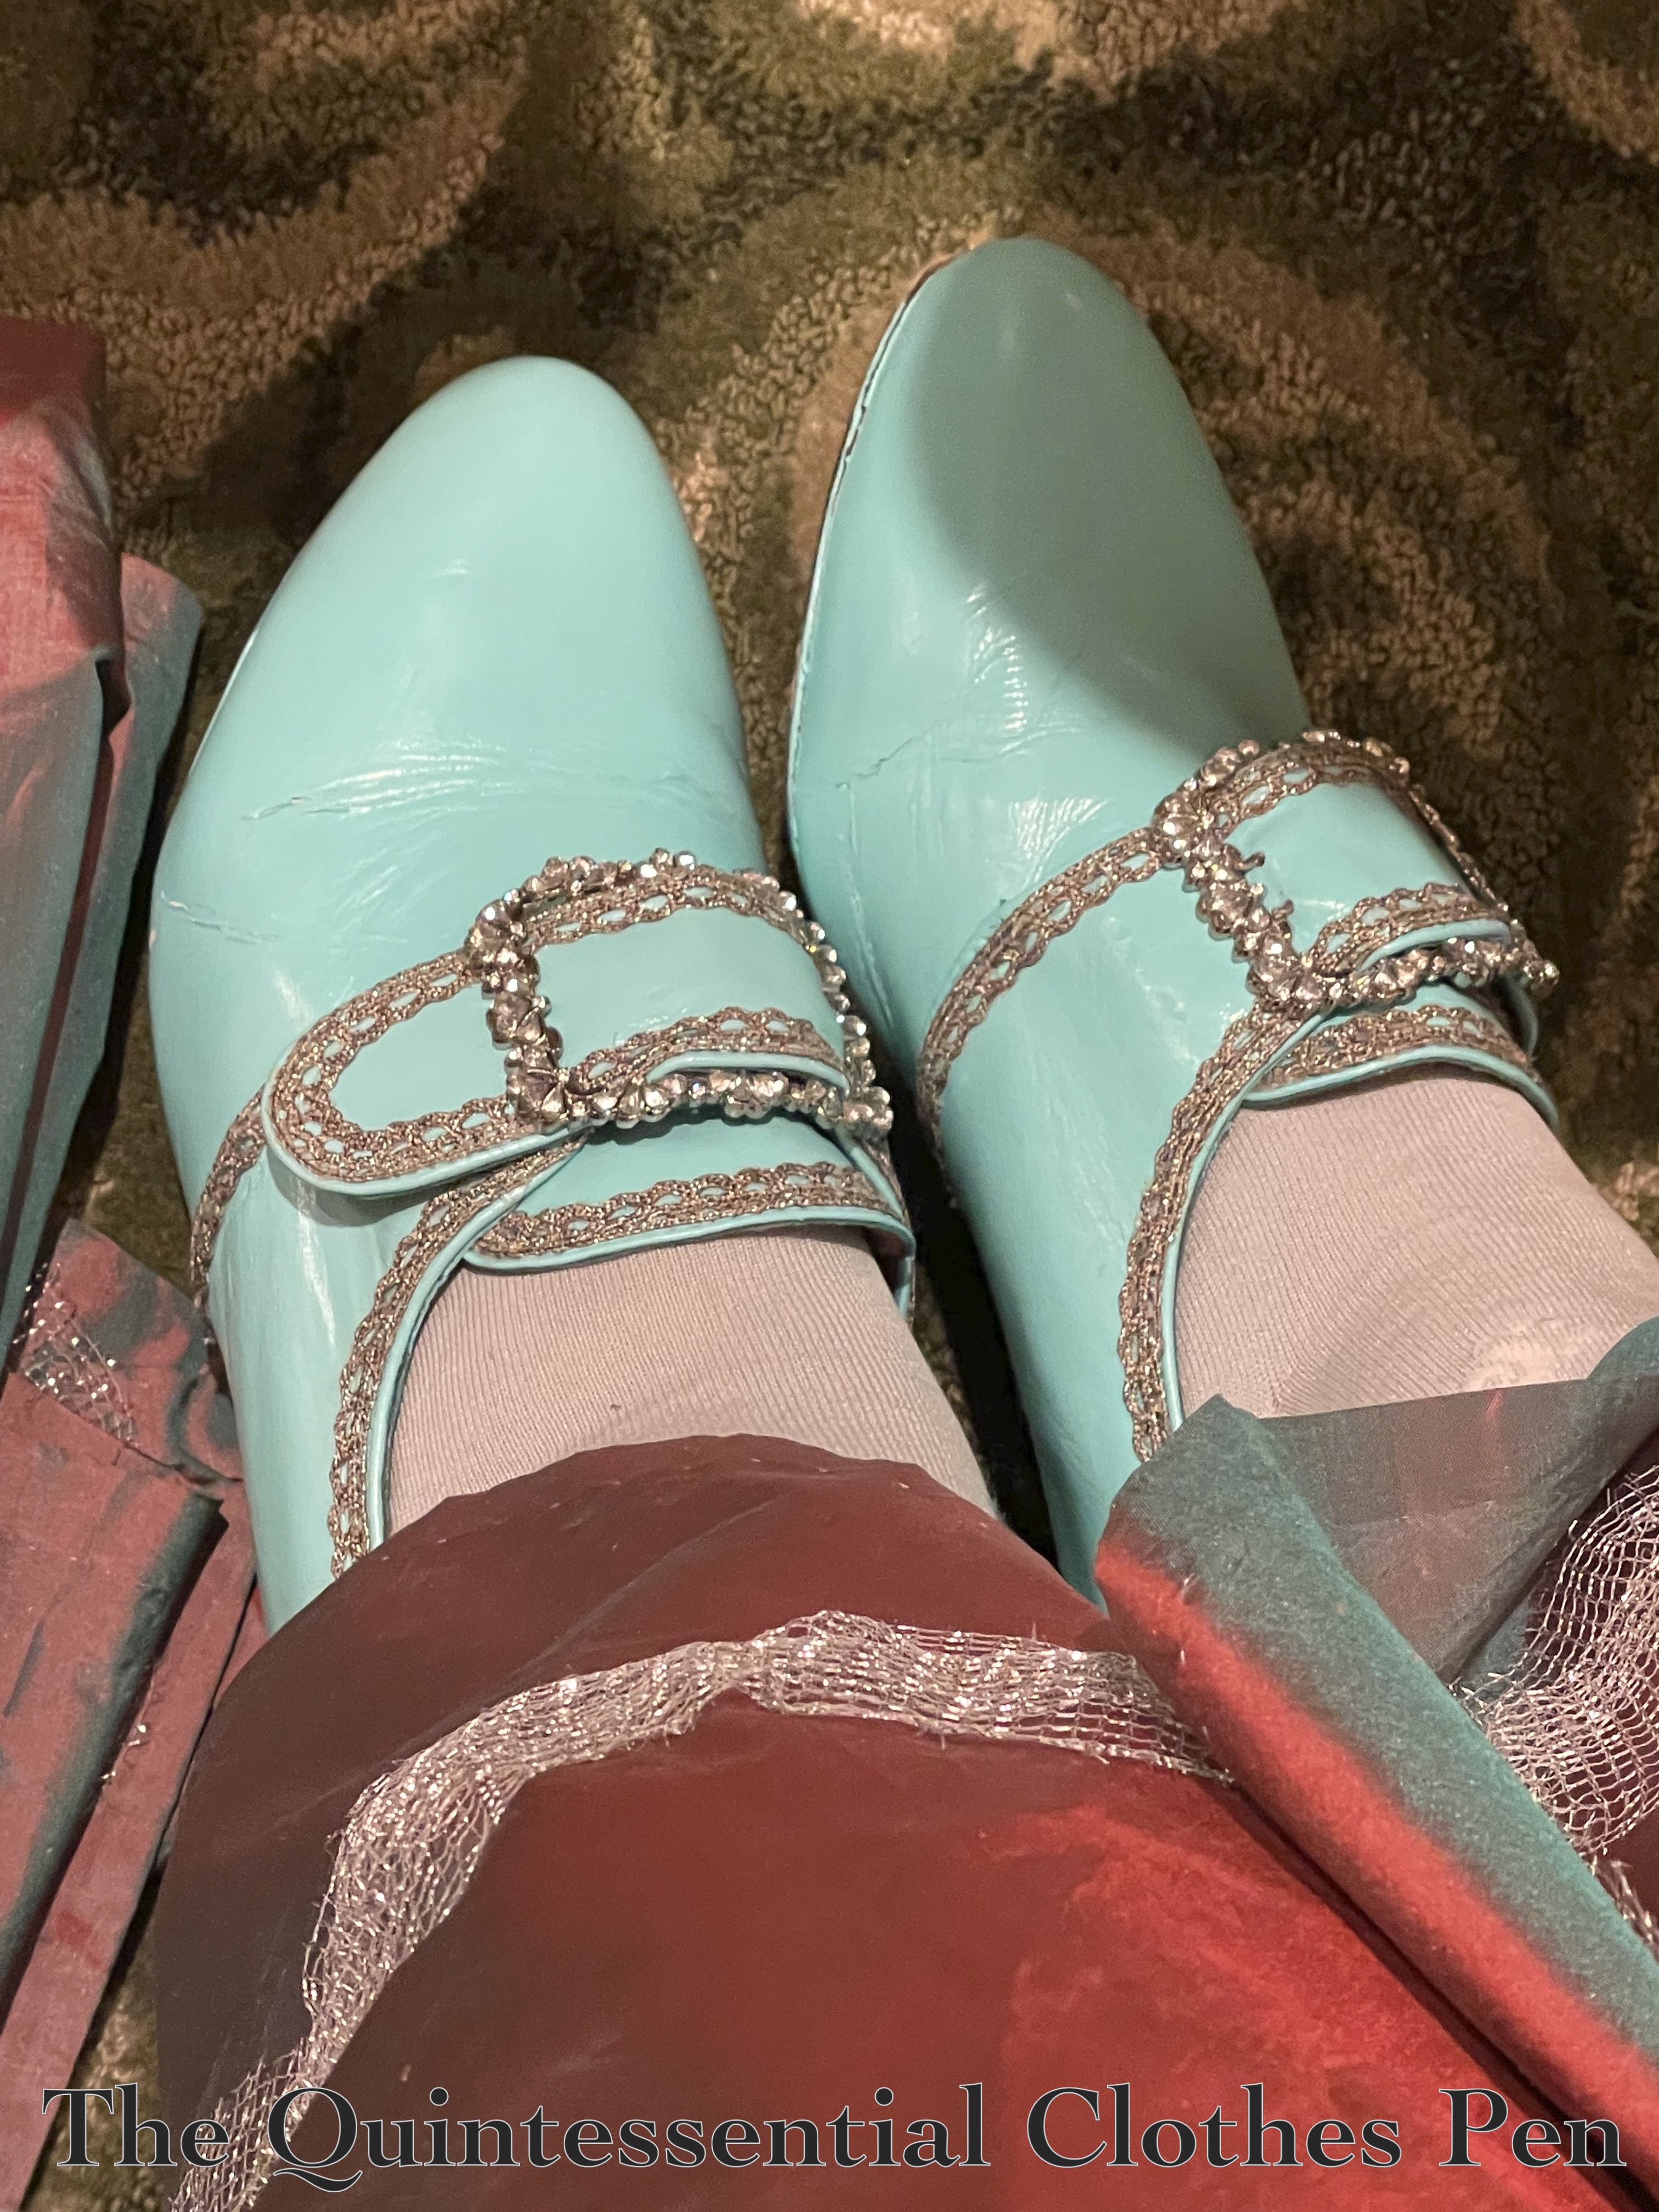
I was so pleased that my American Duchess Kensingtons were still in good shape after the immense amount of rain they endured in 2016. It was really exciting to break them out again with this dress! I’m still chuffed with the metallic lace I added. For Versailles, more bling was the thing! And in this photo, you can see how the light turquoise paint color picks up on the hints of turquoise in the dress fabric!

One of the things that I’d struggled to capture in photos for the Versailles dress’s first wearing was the changeable nature of the silk fabric. It is a ‘shot’ fabric, meaning that it uses two different colors woven in opposite directions: a vibrant turquoise and a deep red. This means that fabric appears to be both colors, or a mixture that looks a bit purple, depending on how the light hits it.

Most of my photos from the first wearing of the dress show the purple color, but the lighting at this event captured the many colors of the fabric much more clearly! Below is one example. Most of the dress appears in the red tone, but the shadows of the dress in the back look like the green color.

As I mentioned earlier, I had to reconstruct my hair style for this wearing. In 2016, I cobbled together a large form from many hair supports on hand (you can read about that in this past post). After that event, I deconstructed the large form in order to be able to use the individual parts again. So for this, re-forming the large form was necessary.

Below, you can see the final result of the style. This is the same style I created in 2016. (You can read more about it in this past post.)

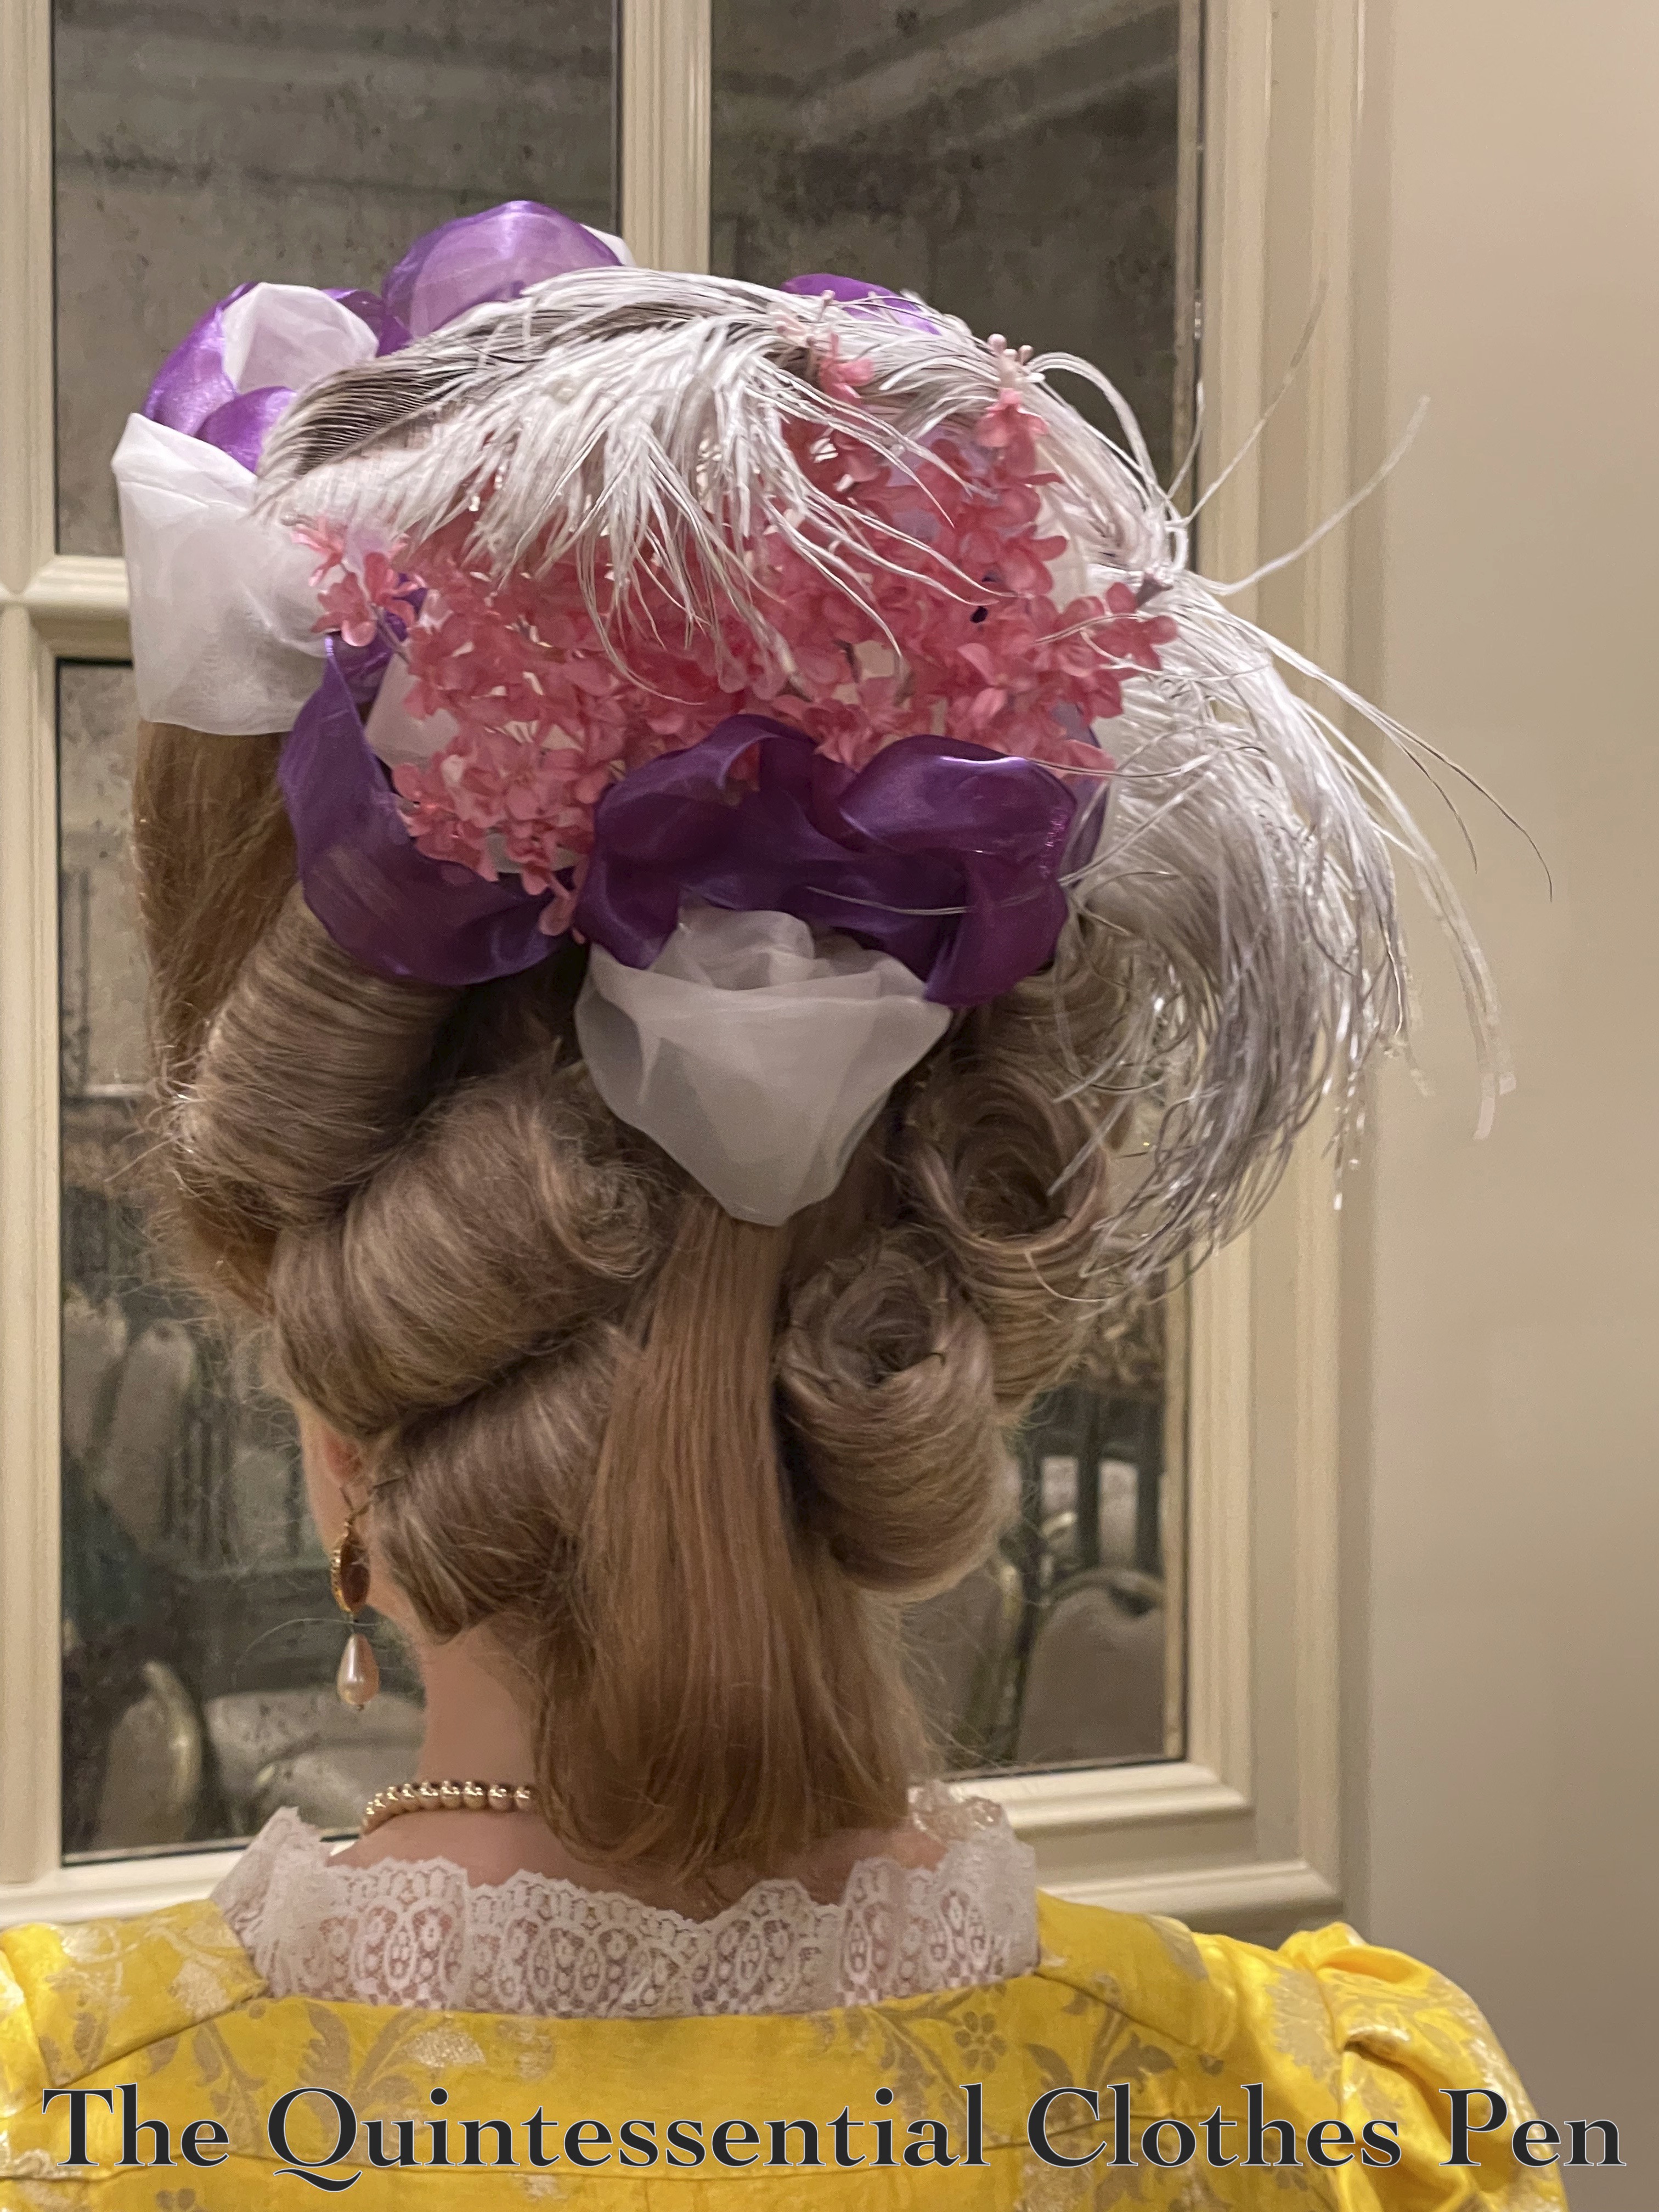
My friend wearing the Yellow Sacque also had a fabulously large hairstyle! Her style uses elements from the book The American Duchess Guide To 18th Century Beauty, including the ‘Ski Slope Hair Cushion’ and ‘1770s Pouf’ on pages 119 and 127. She also created her own buckles (those pre-made rolls of hair on the sides). And I had fun helping her place them the day of. It was fun to make two styles that are similar, but different in shape and details!

Recollections

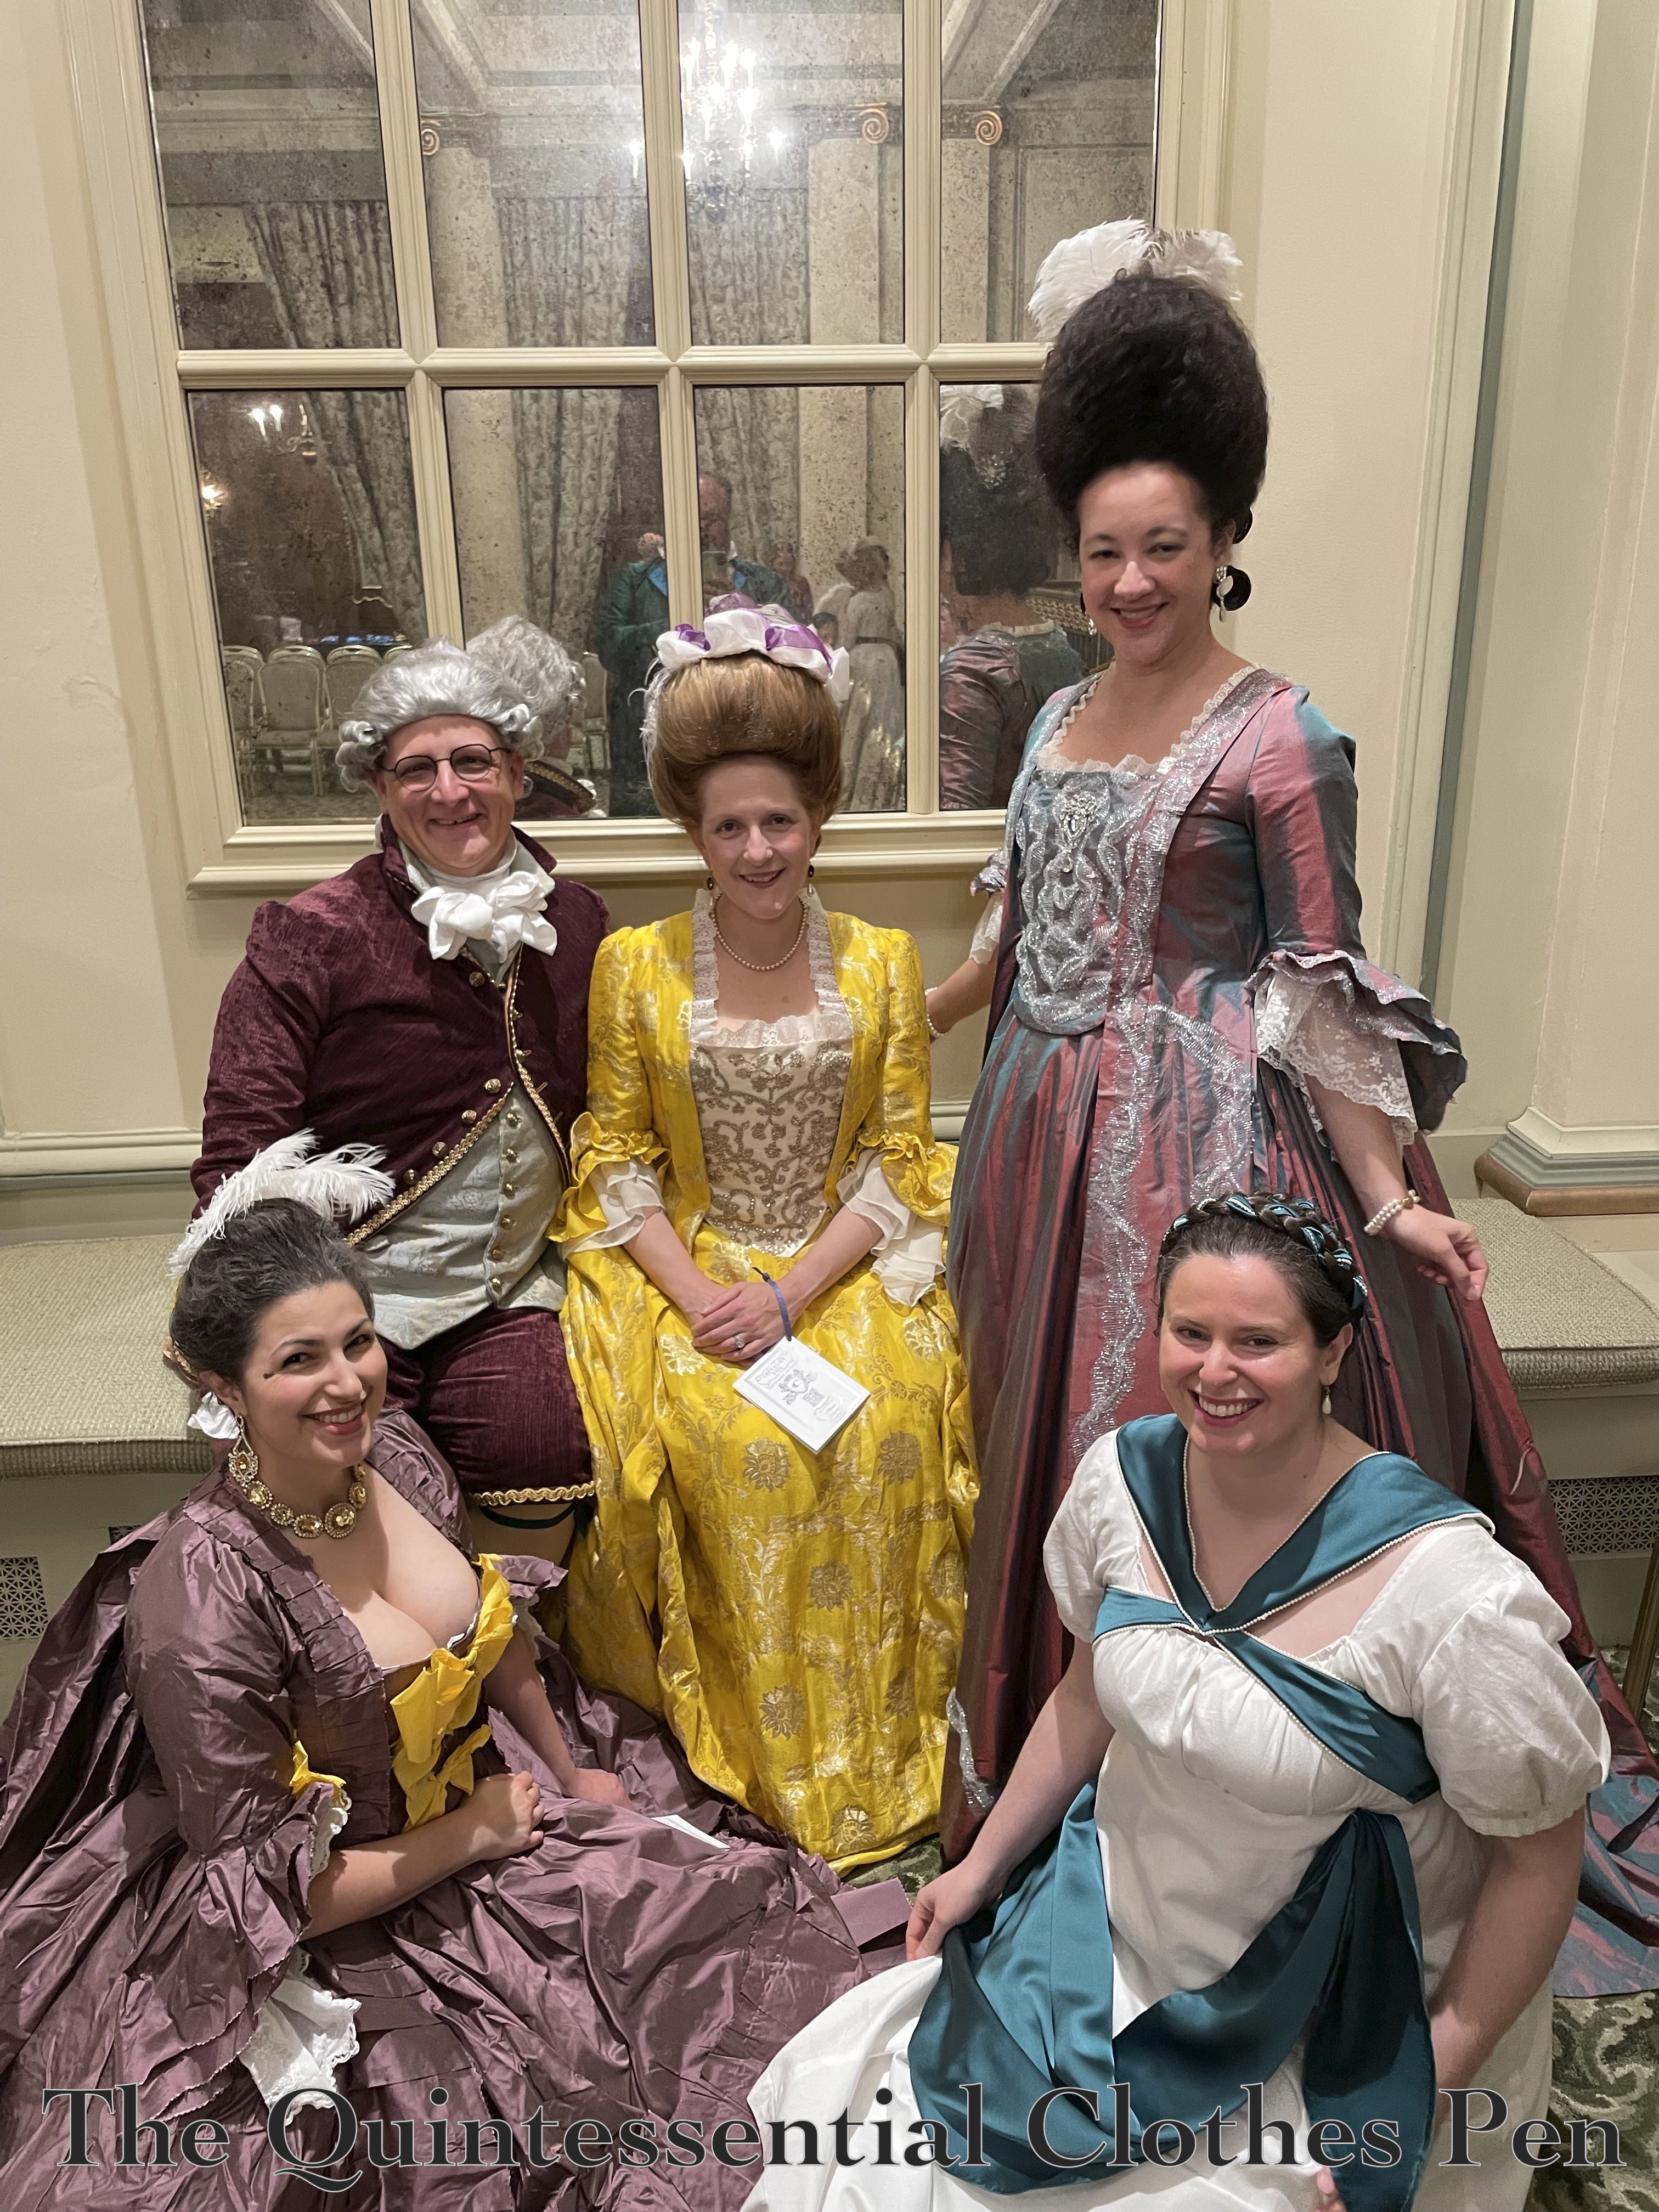
I had a fantastic time traveling with friends to this event. We all enjoyed the content of the weekend as well as the opportunity to make or refresh our clothing and accessories.

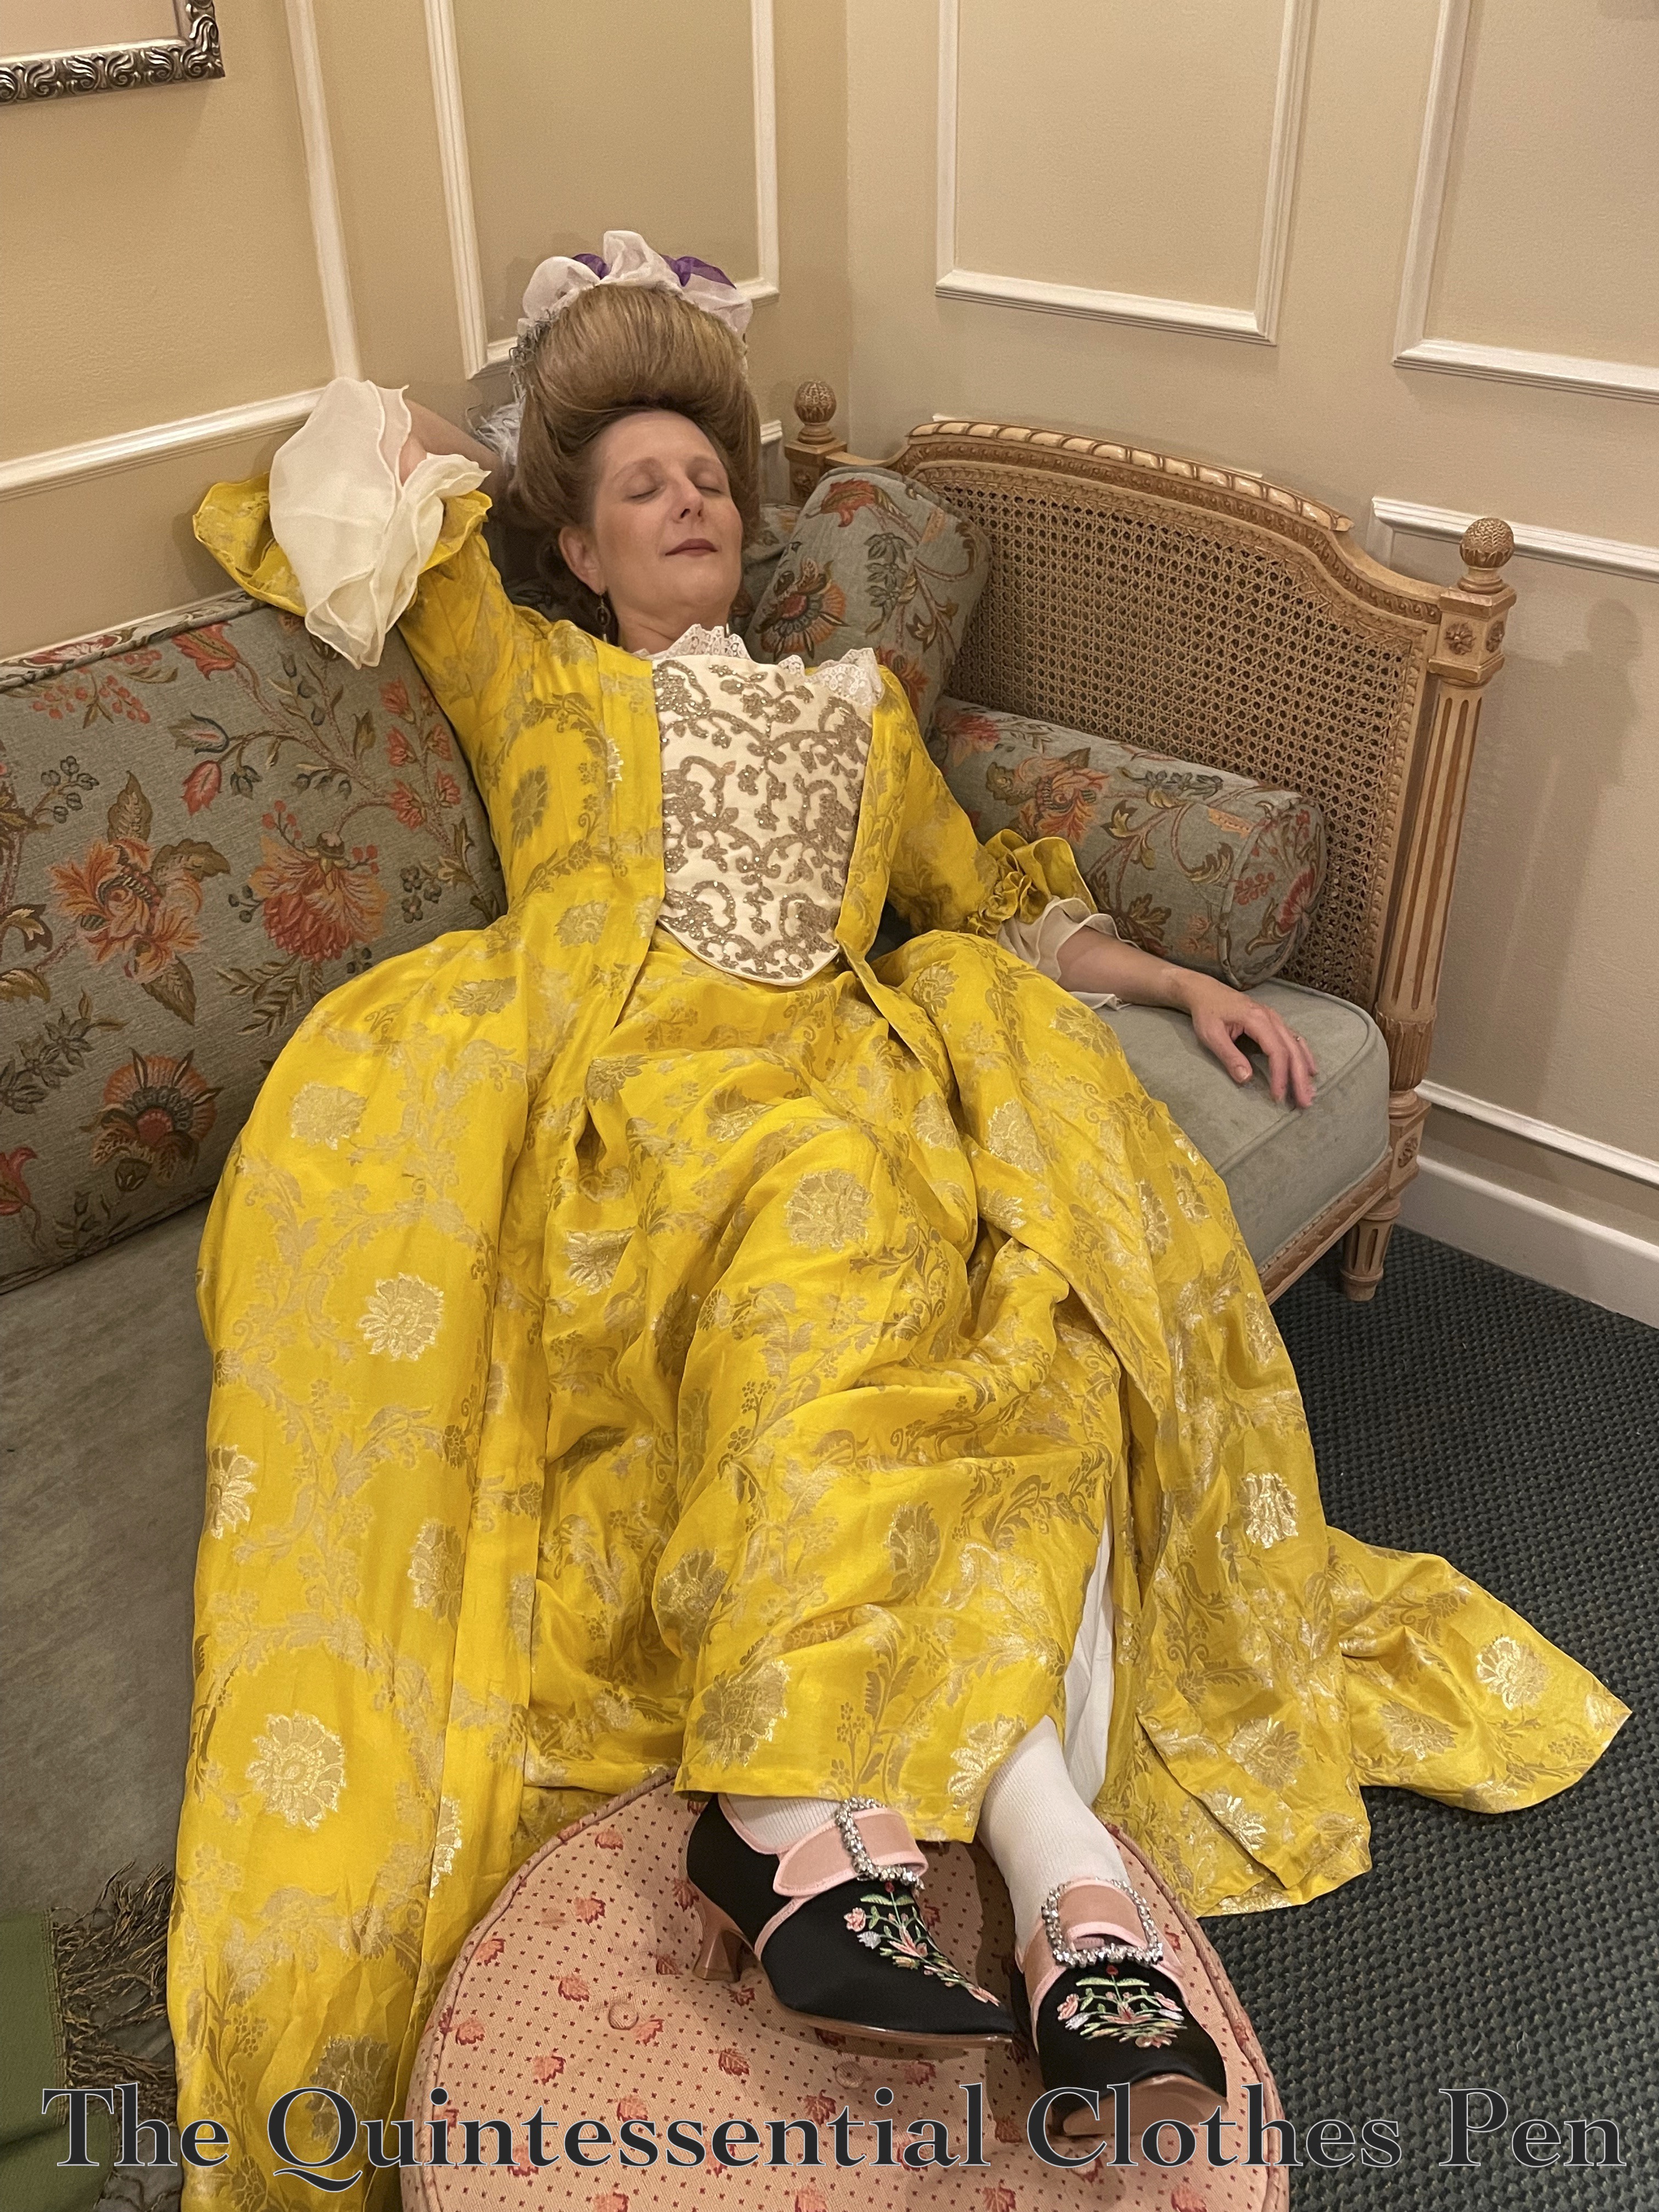
In fact, we had such a lovely time we felt the need to take a break in the ladies dressing room! How could we not, with such an elegant day bed and foot stool to lounge on?

It was also a special experience to have the opportunity to meet other bloggers and costumers I don’t often (or ever) get to see in person! We might exchange comments and be inspired by each other’s creations, but to meet people and have a conversation is extra wonderful. I’m so grateful that Cindy, of Cation Designs (who is in the photo with me, below), took the time to chat with me and express her appreciation for how this blog has made costuming feel approachable for her!

After a lovely evening, it was time to head out. It wasn’t particularly warm outside, so an extra layer was much appreciated!

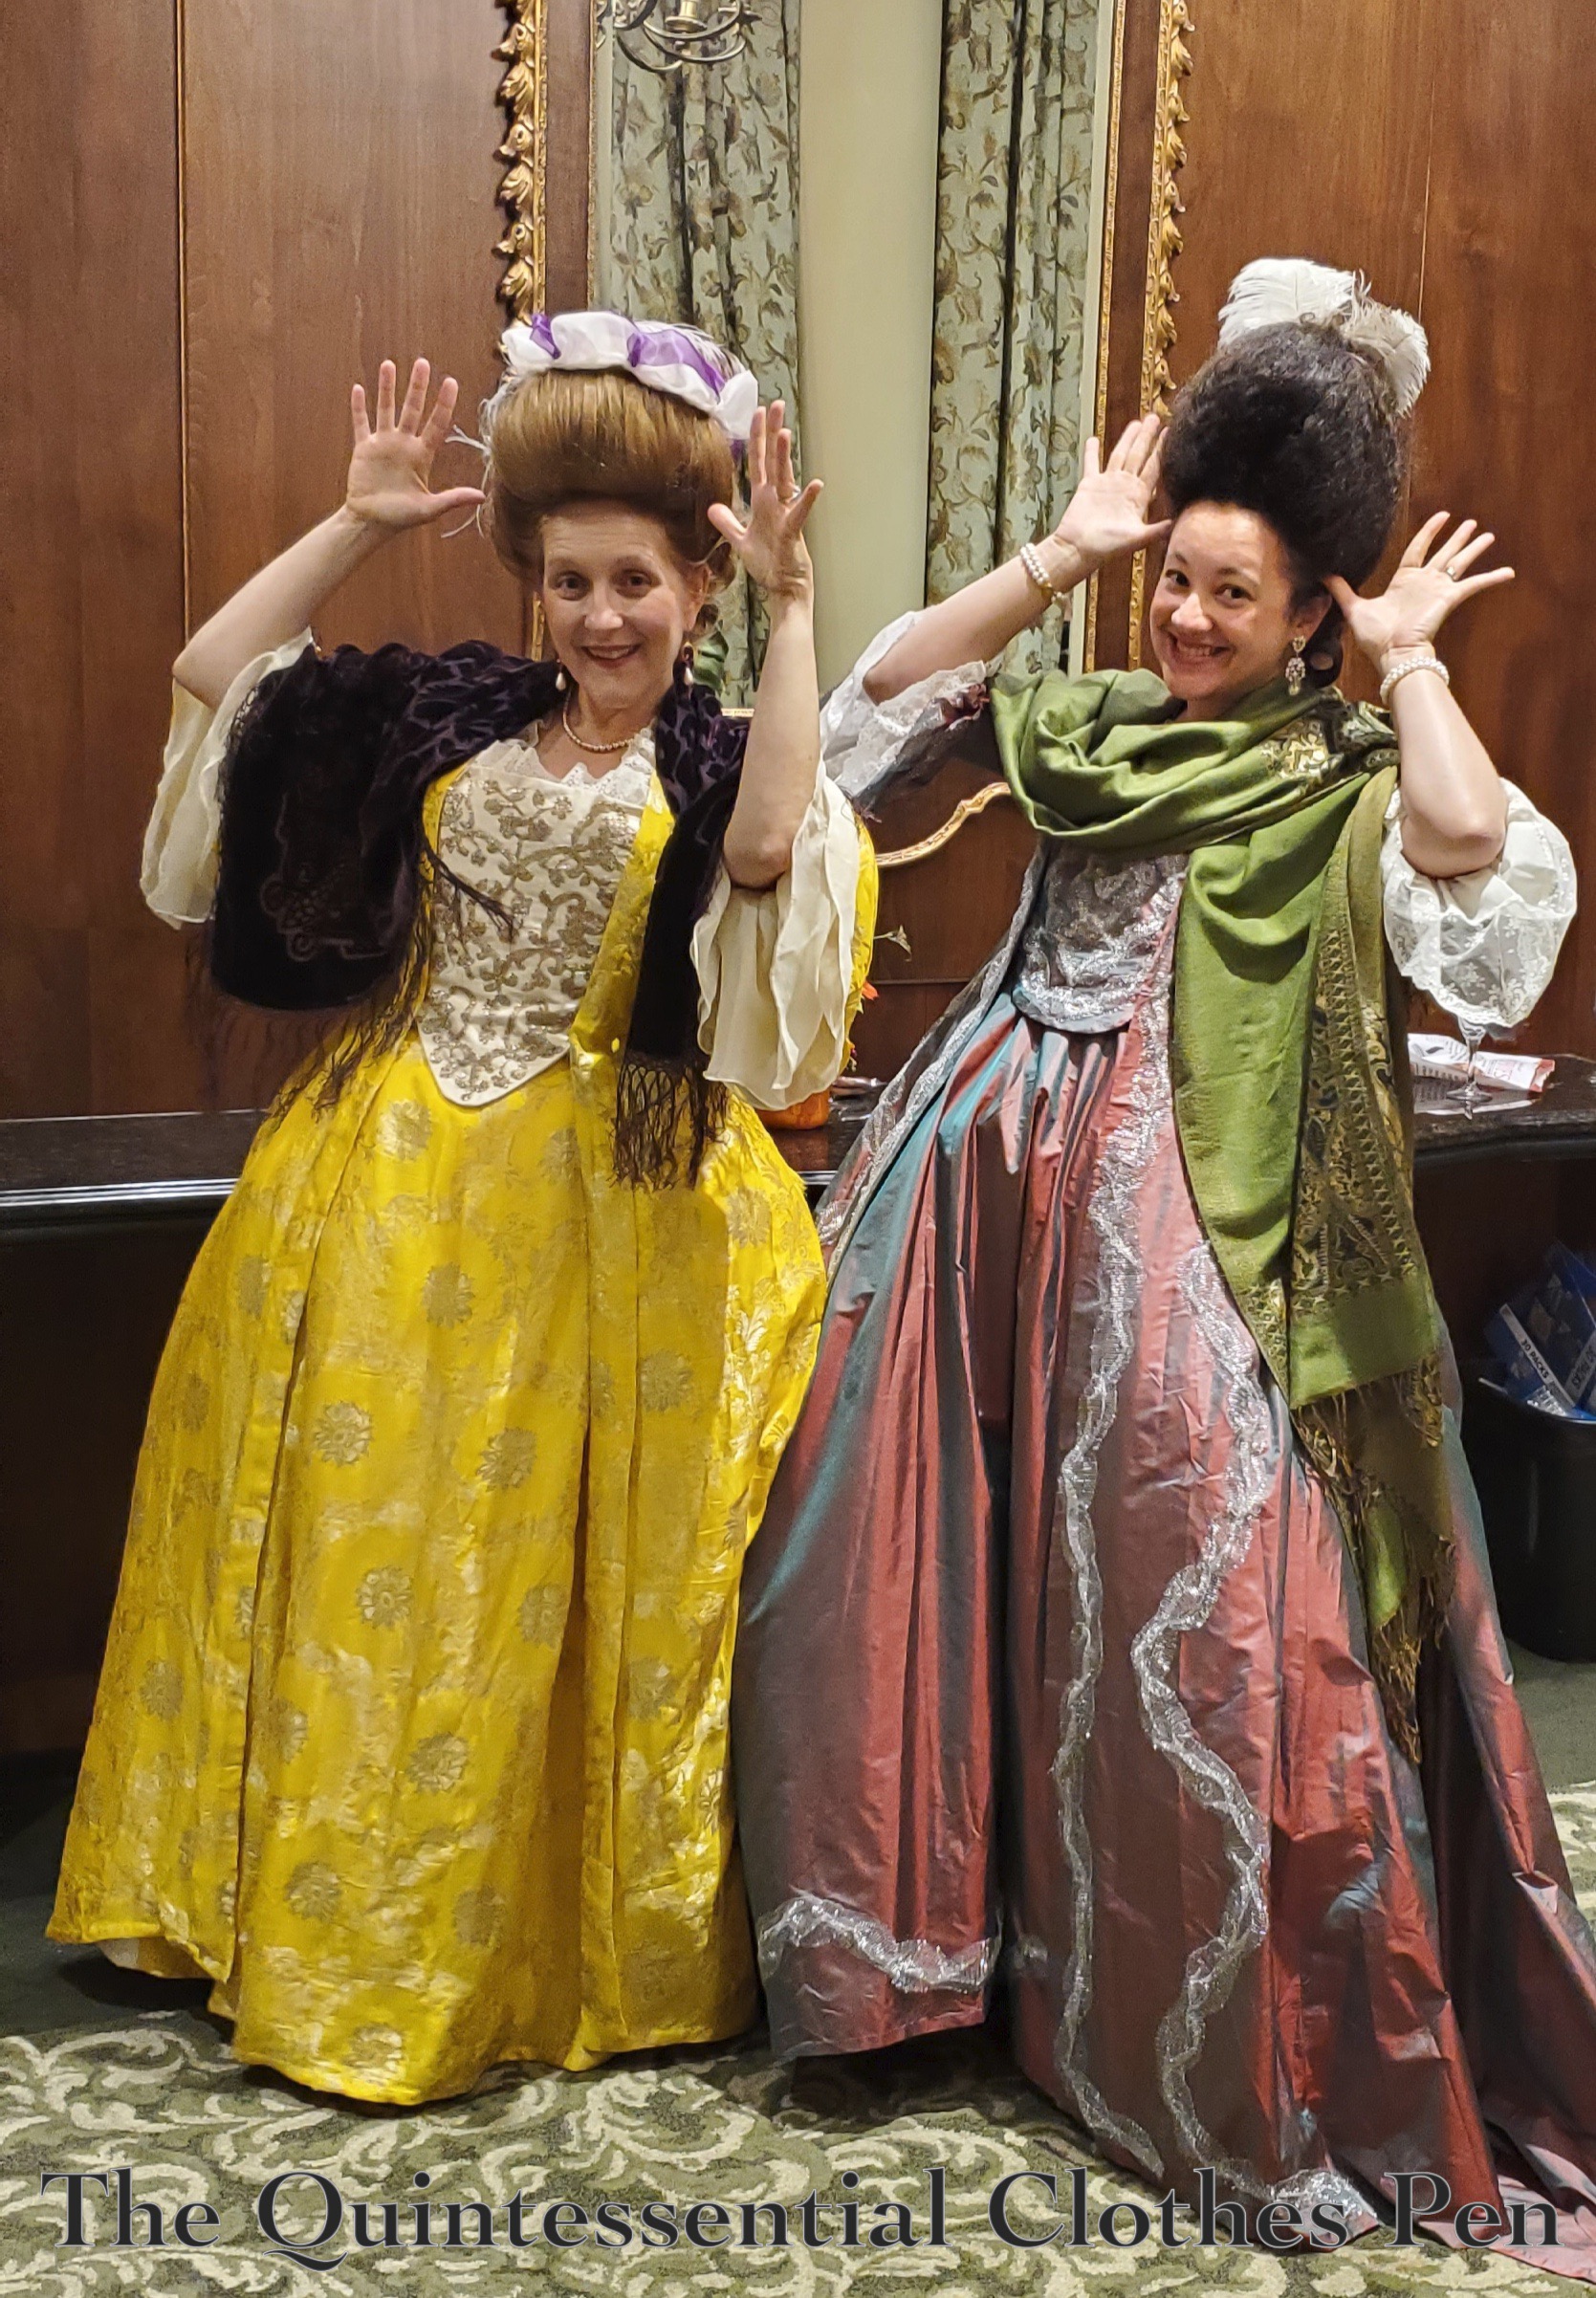
But a pause was necessary… I love my silly moose poses! Thanks for enjoying this outing with me!

The New Yellow Sacque!

It’s time to share photos of the finished c. 1770 yellow sacque I’ve been posting about for the last year or so! I’m not going to include too much introduction, as I’ve been hinting at and posting about this dress for ages. If you would like more background on this dress, check out the link to past posts at the end of next paragraph.

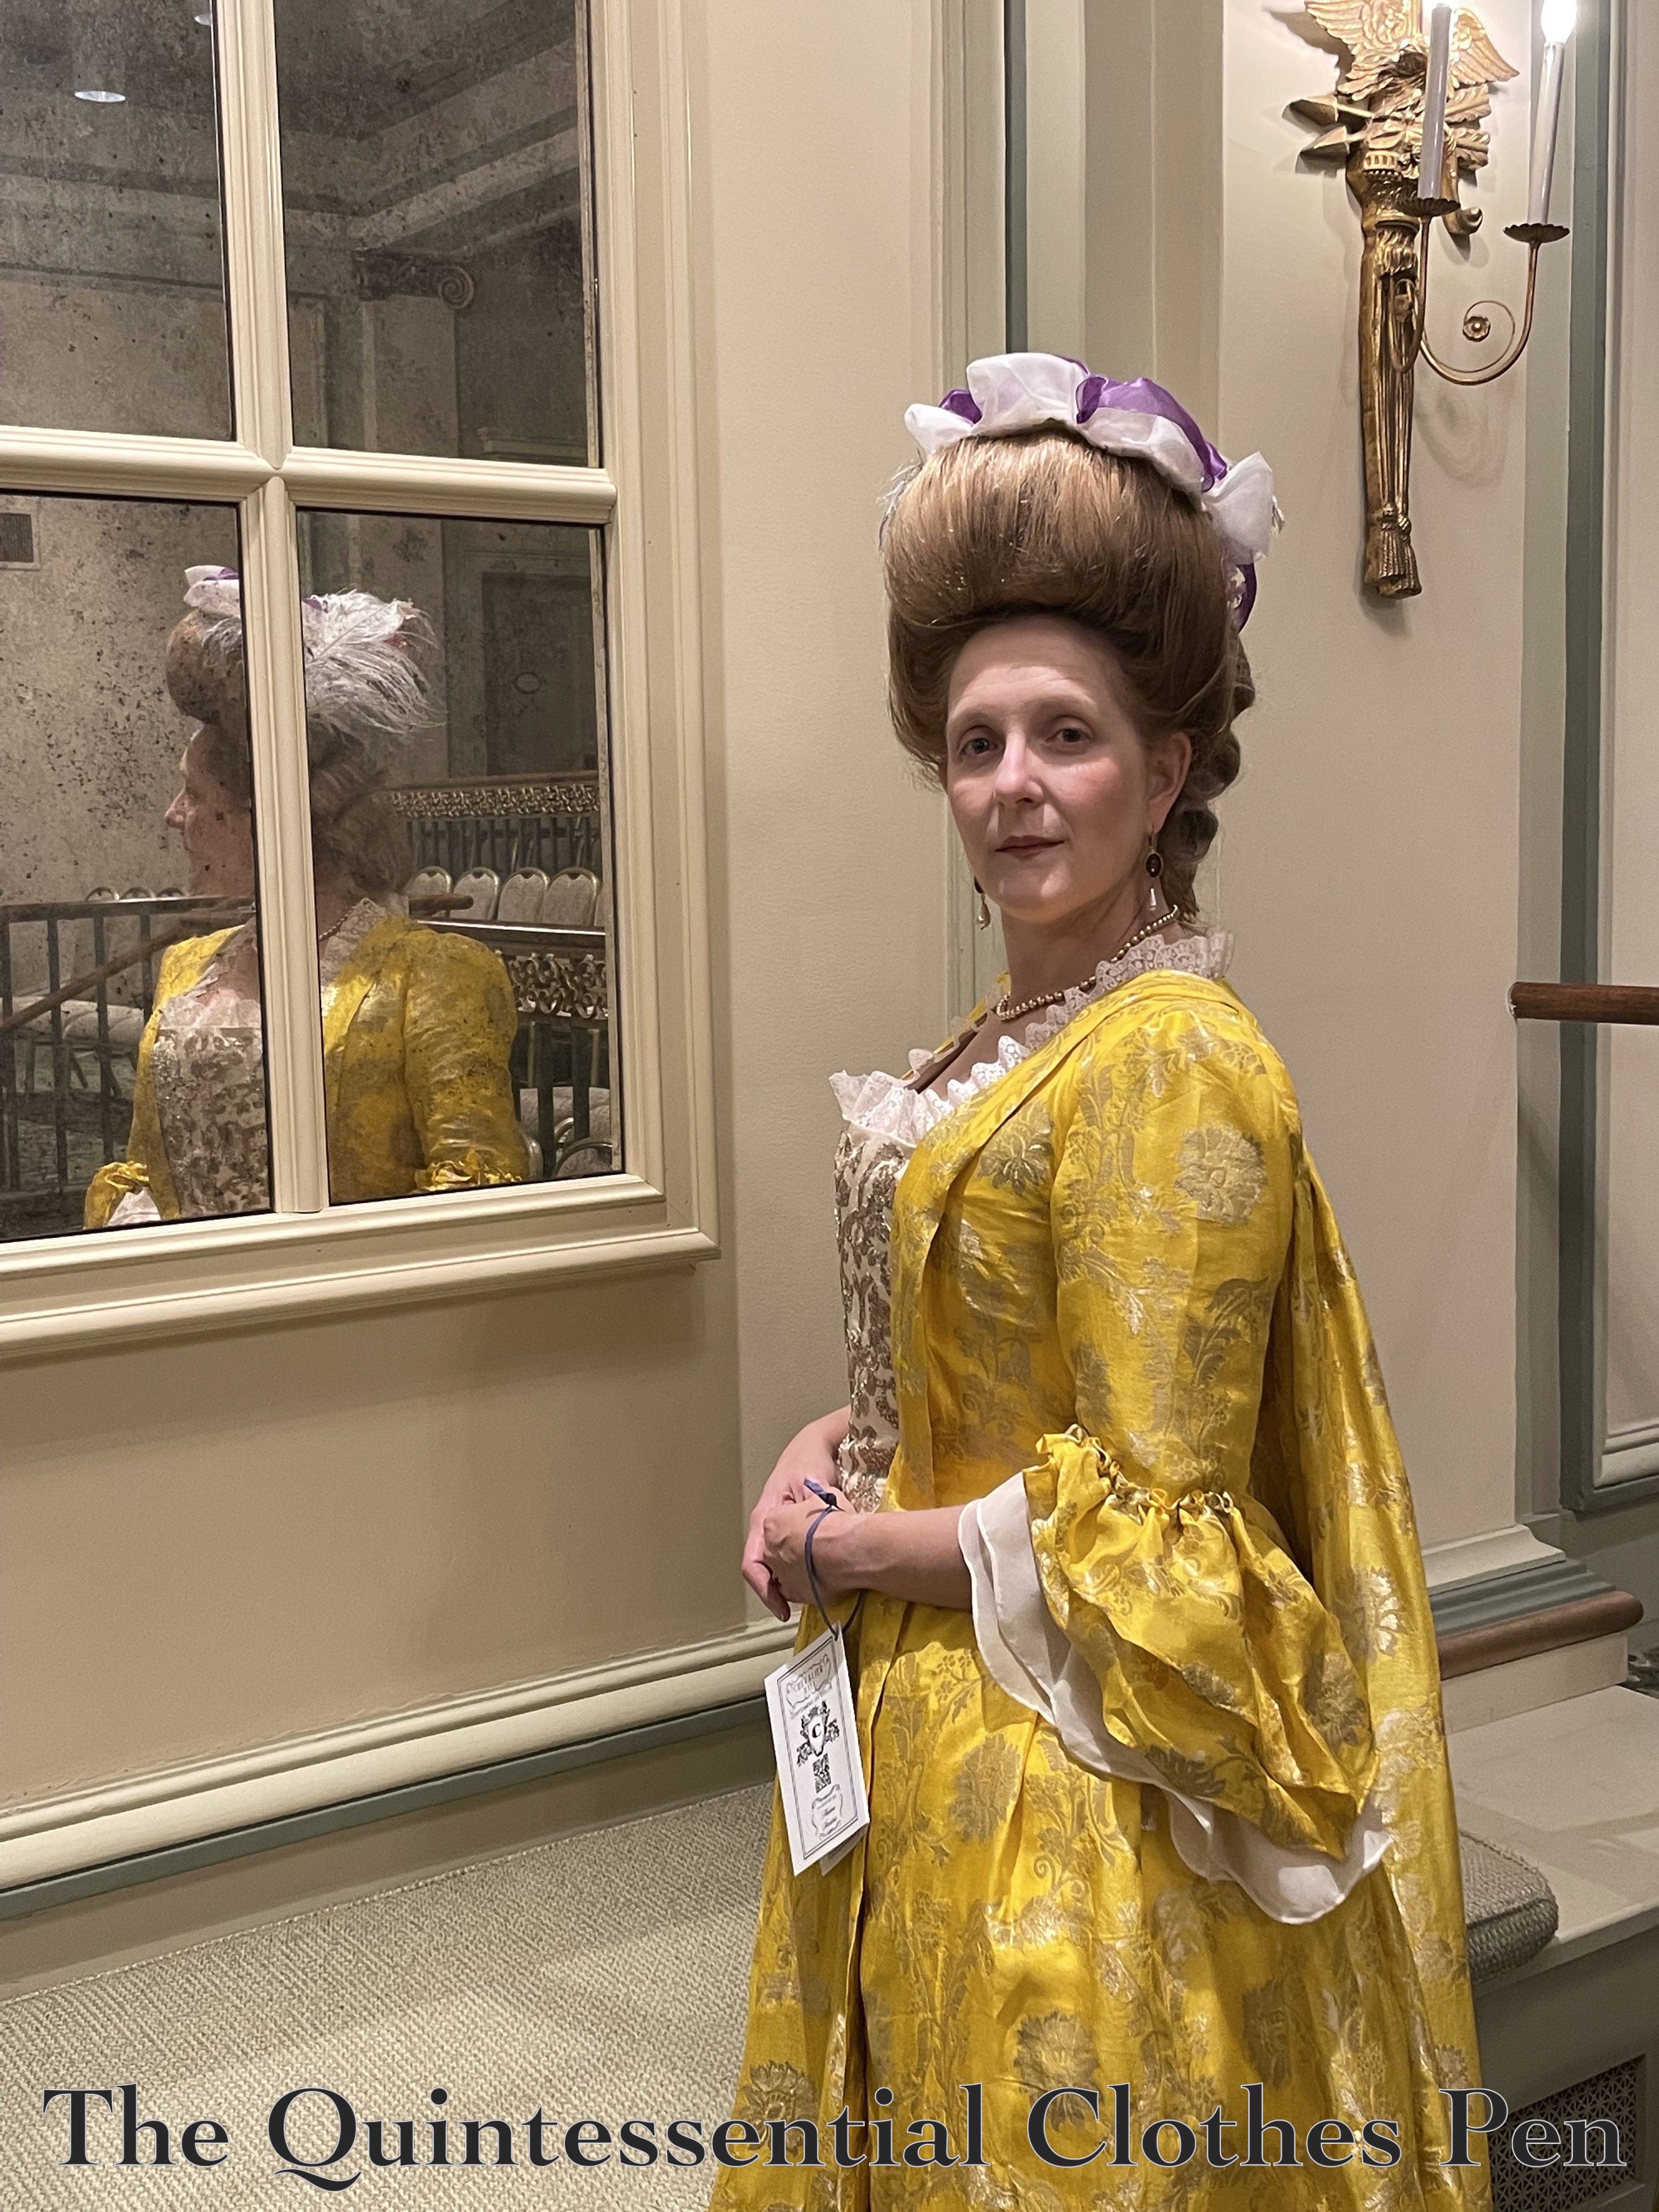
Without further ado, here is a full length photo of the dress, with all the accessories I’ve been slowly posting about: the panniers, engageants, stomacher, tucker, etc. If you want to know more about these elements or the construction of this dress itself, you will find lots of details and photos in this series of past posts.

This next wonderful view artistically shows off both the front and side view of the dress, including the dramatic back pleats that cascade down from the shoulders. This is a defining feature of this style of dress!

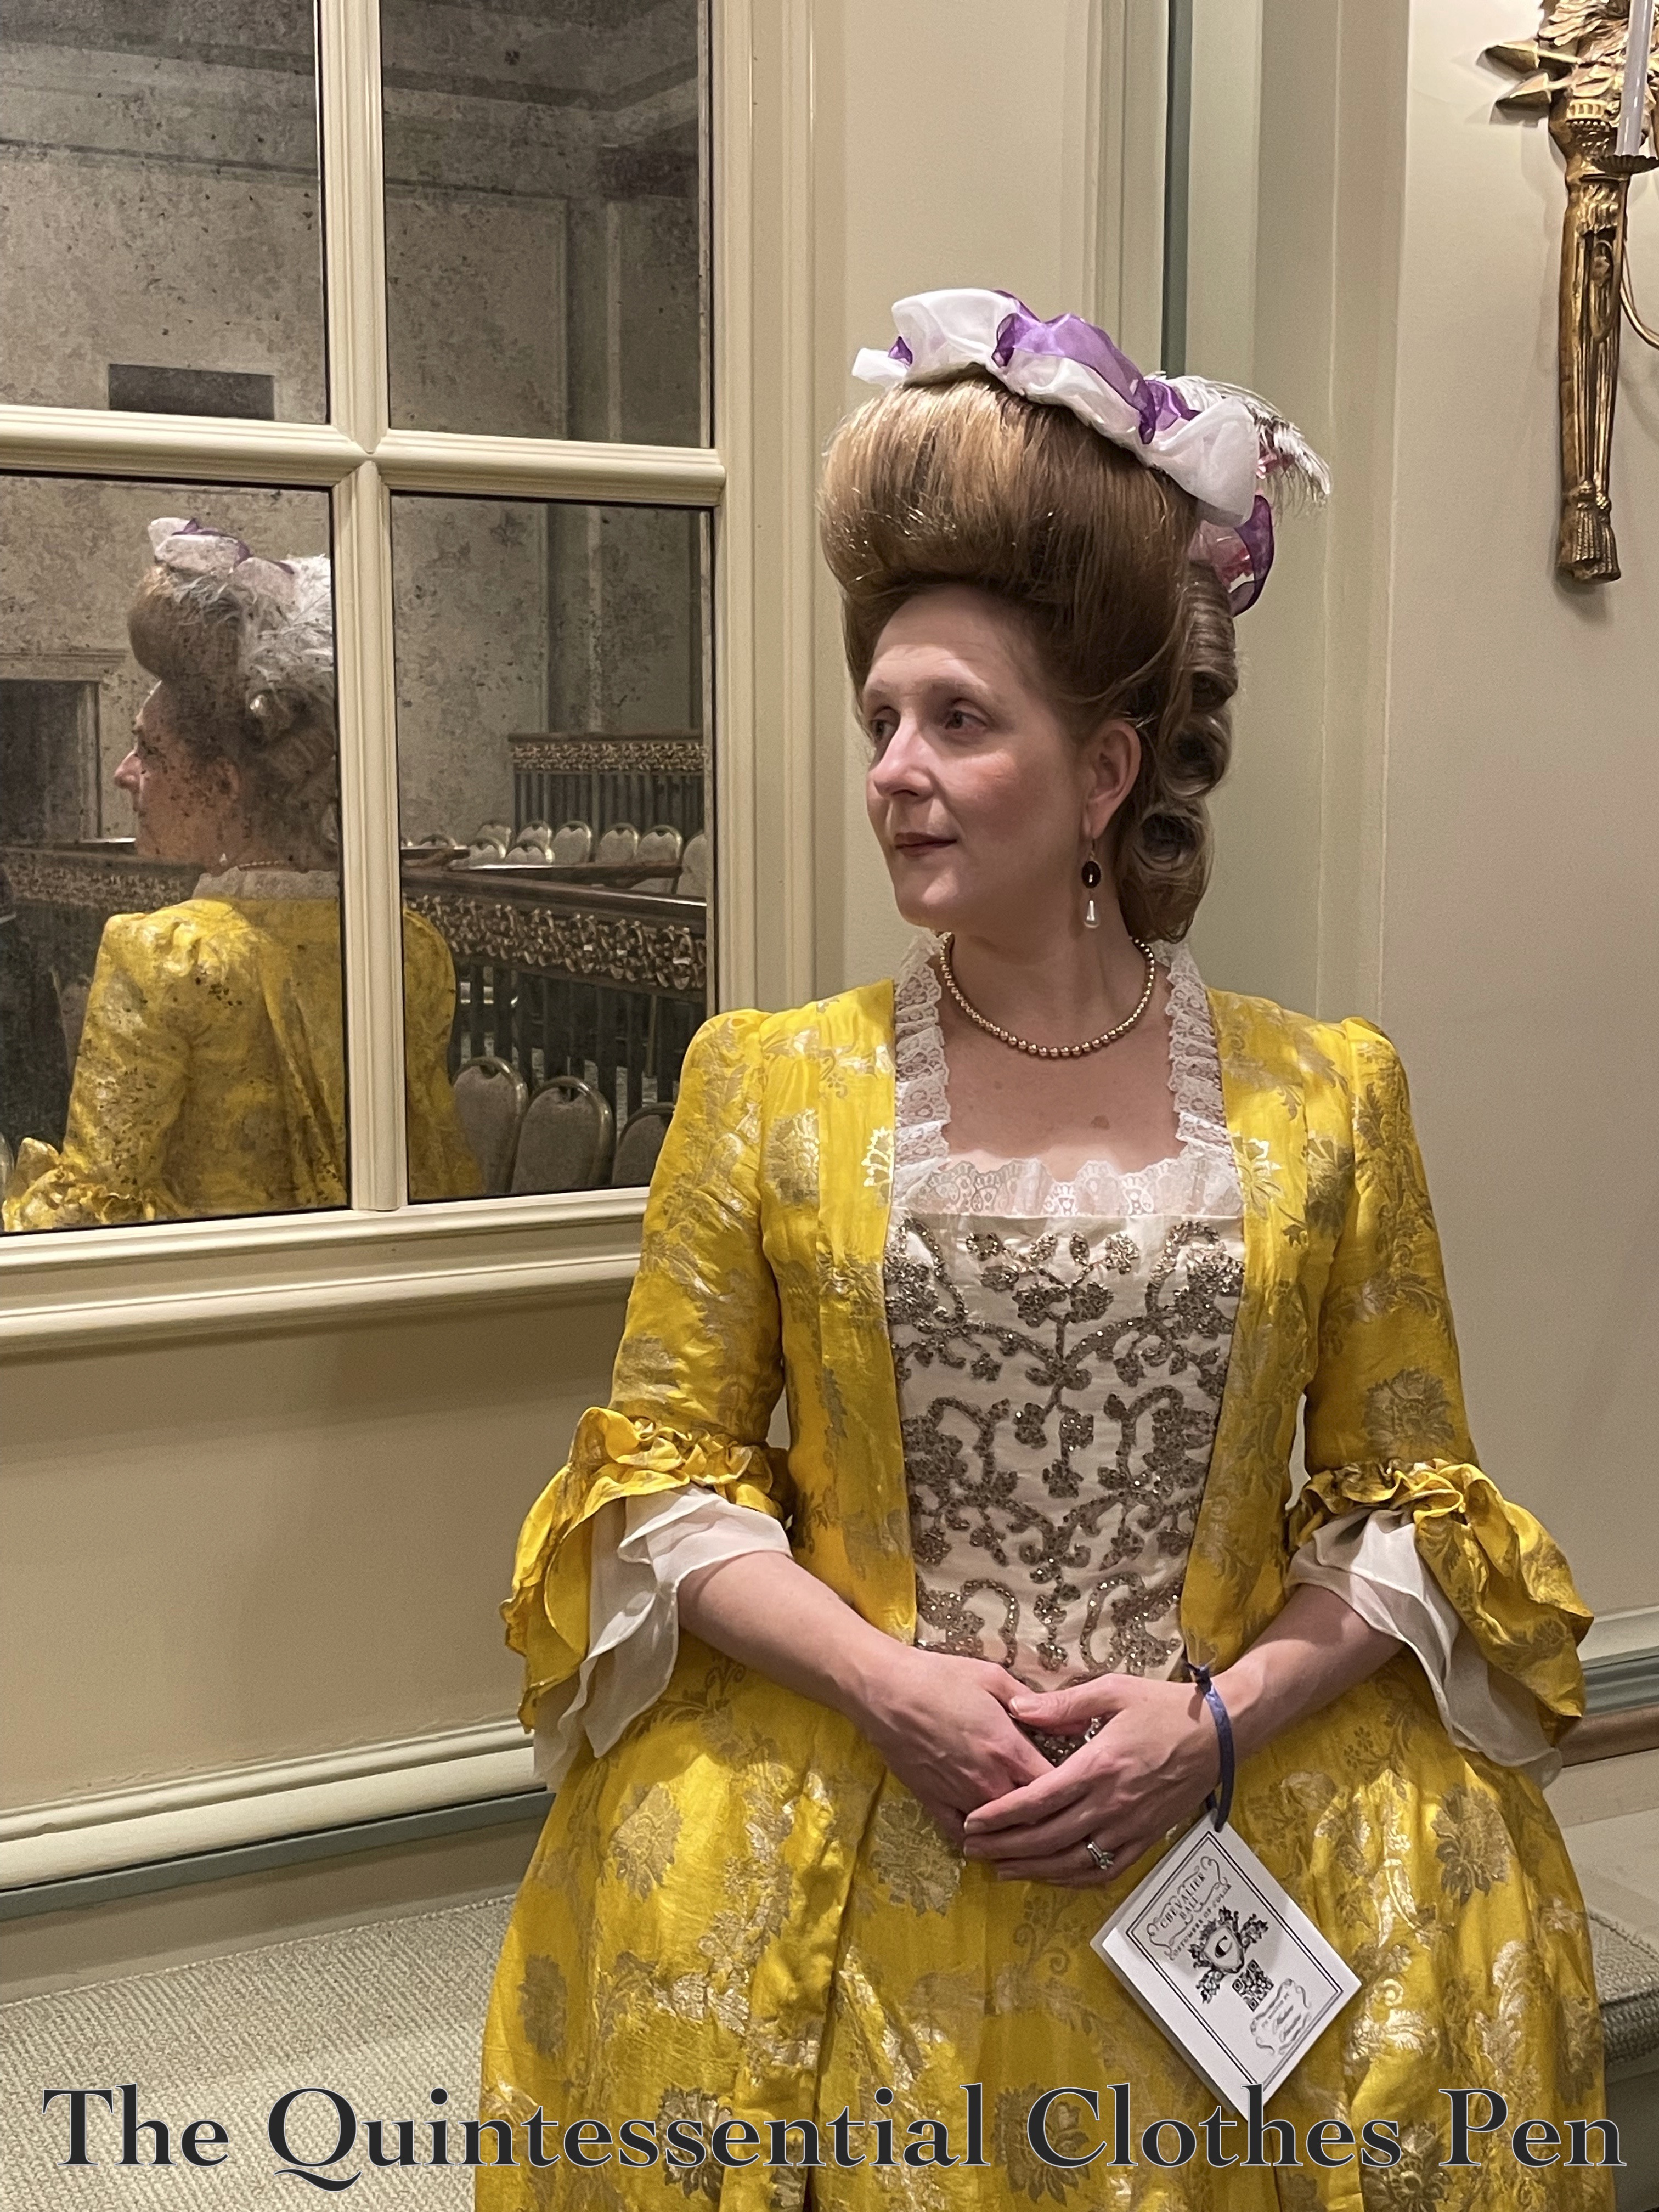
And here is a clearer view of the front of the dress, with the sparkly embroidered-looking stomacher more clearly visible. (Plus another fun view of the pleats in the back, too!)

I’m so pleased with how it turned out! The color is just as vibrant as I hoped, the gold pattern woven into the yellow adds excitement without needing additional trim just as I hoped, the accessories help complete the outfit in a wonderful way, I’m very happy with the shape and effect of the stomacher, and I’m very pleased with the pattern alterations and fitting tweaks I made so that this dress would fit just right. This was a fun and rewarding project!

1863 Fancy Dress: Genevieve As The Queen Of Hearts

Back in September, The Footwork and Frolick Society hosted a Wonderland-themed 19th century fancy dress ball. The idea was inspired by the whimsy of Lewis Carroll’s Alice In Wonderland (published in 1865) and Through The Looking Glass (published in 1871).

There were so many fabulous interpretations of Alice In Wonderland! You can get a sense of the fun in the gallery from the event on the Footwork & Frolick website, here.

I chose to re-use an idea I’d executed in 2018 when I turned a 1980s dress into a 1950s dress and style it as The Queen of Hearts. You can read about the dress re-make and original fancy dress styling here, in a past blog post. For this new wearing in 2024 I chose to use The Queen of Hearts theme and accessories again, but with one of my 1860s dresses to suit the mid-19th century goal of the Wonderland Ball!

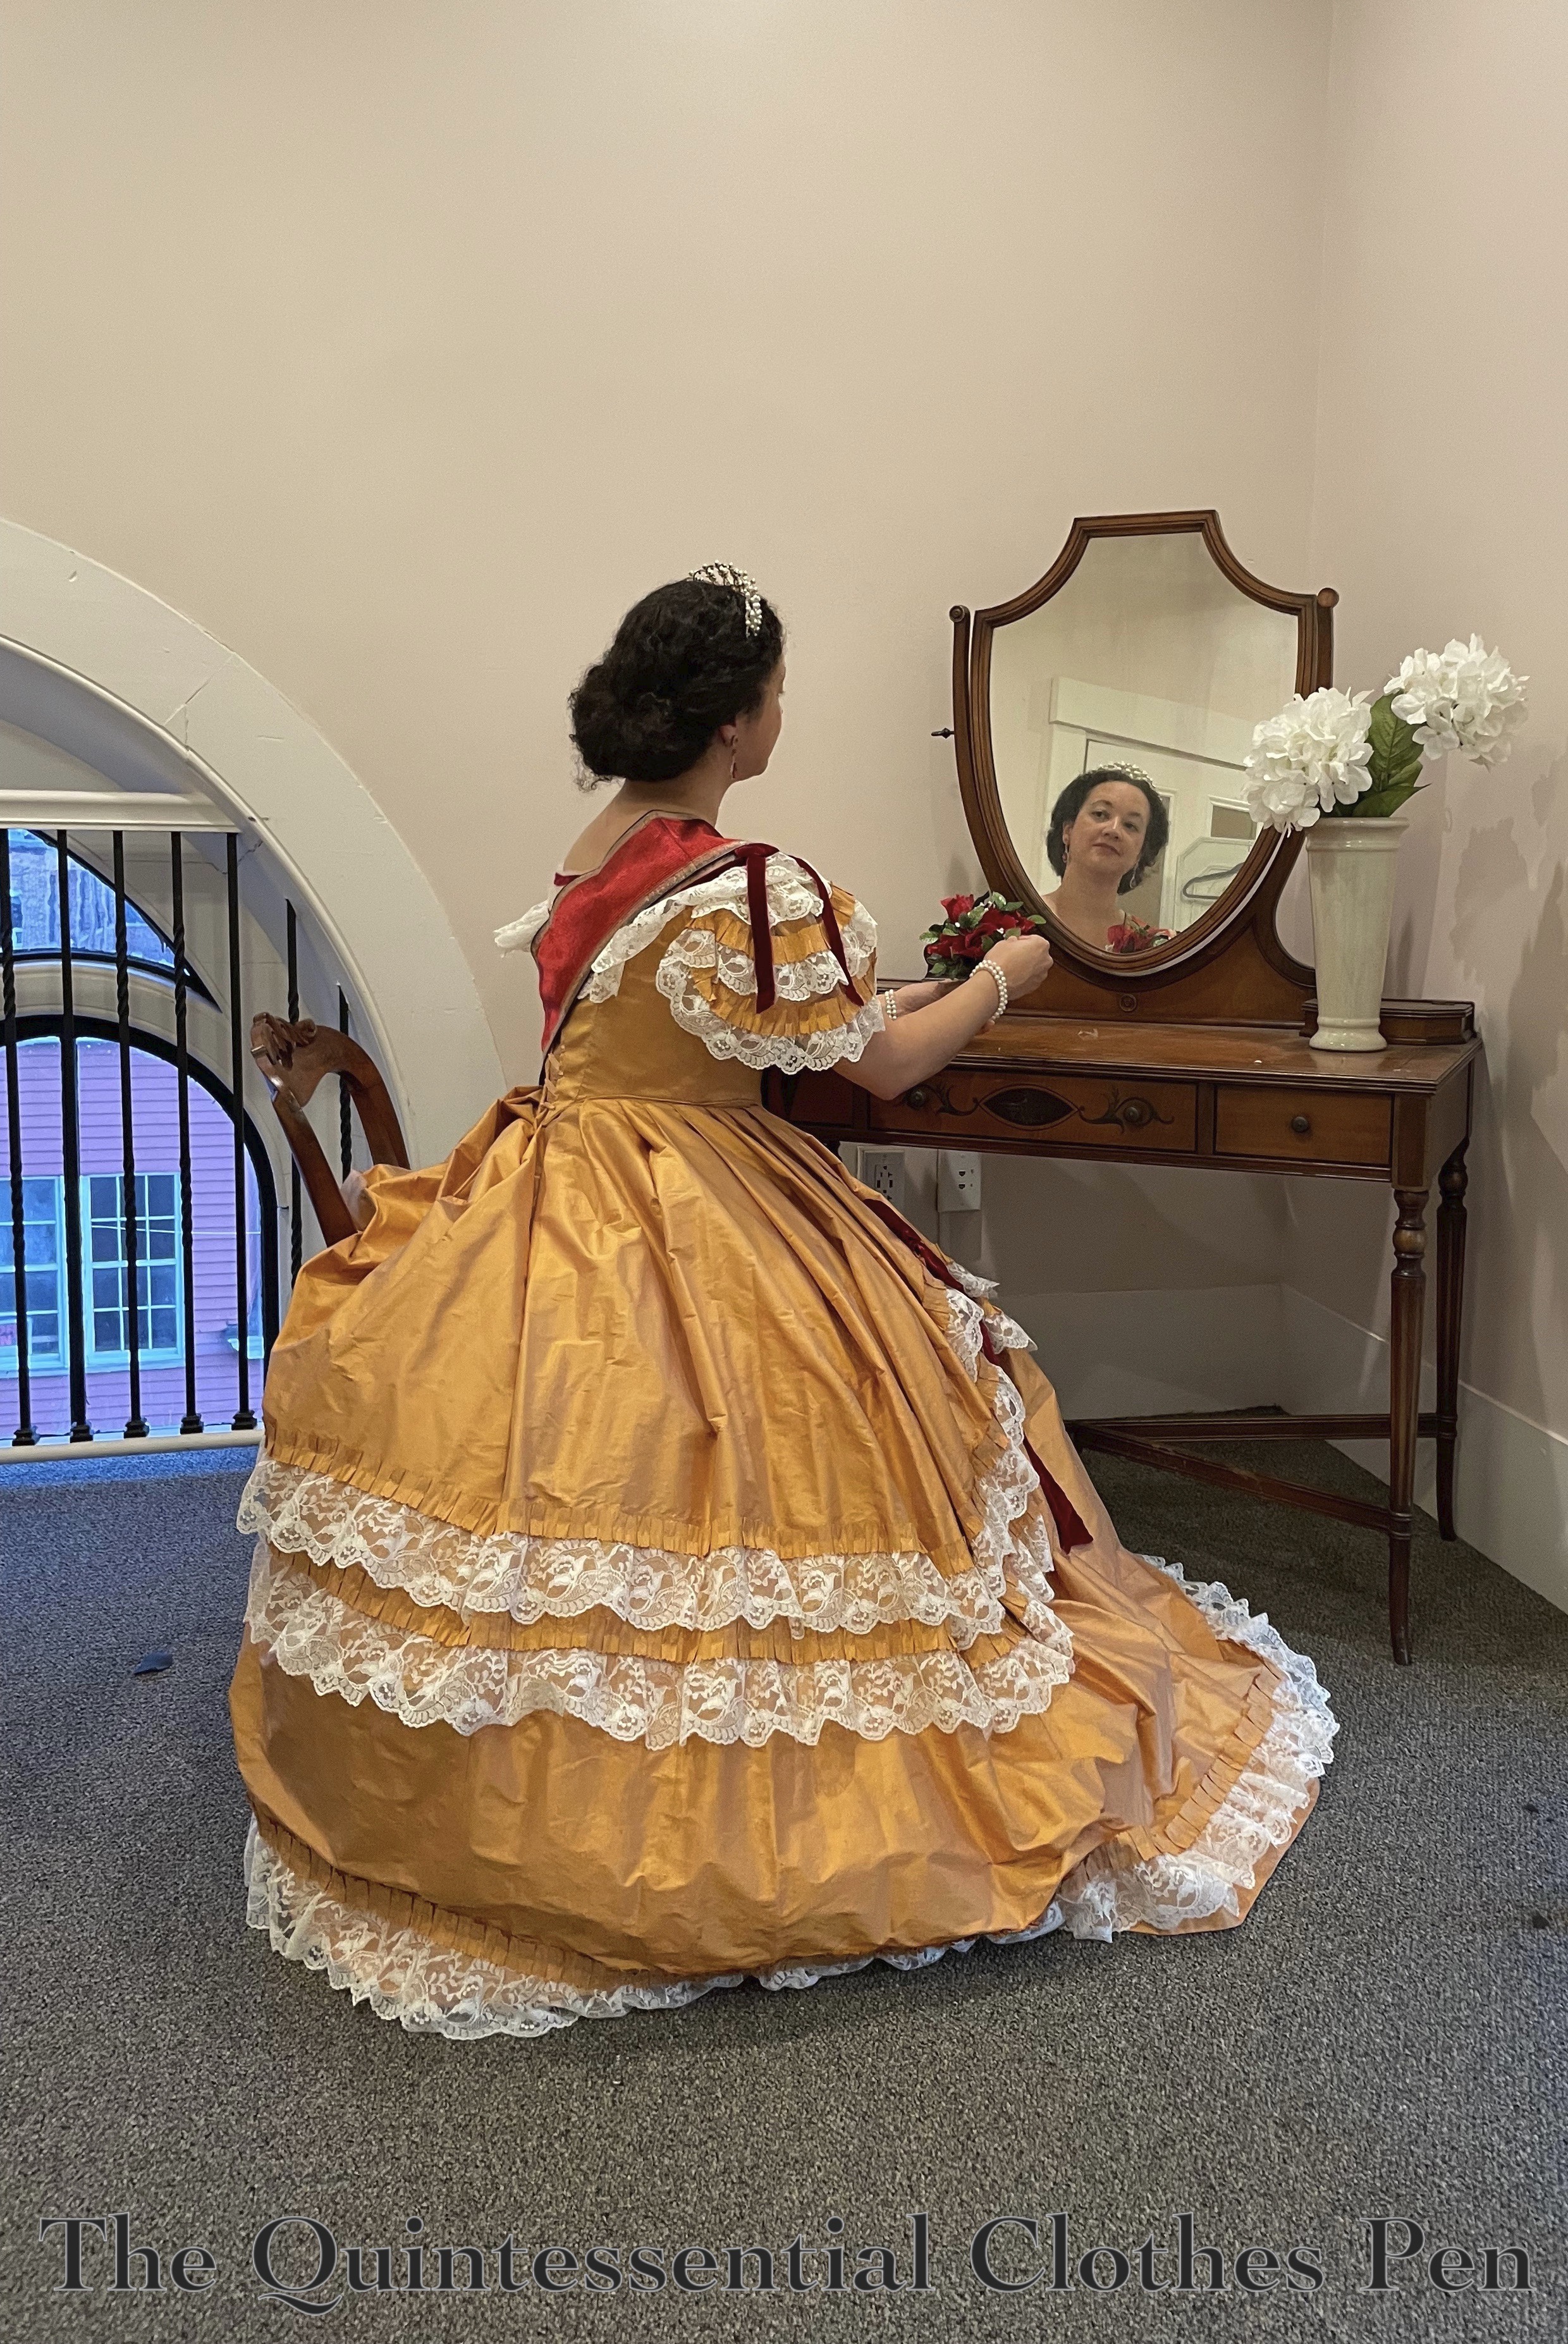
Genevieve, the name of my apricot ballgown from 1863, seemed to be the most fitting choice for a Queen of Hearts theme. (You can read all about the making of this dress in this Project Journal series of posts.) The two main elements of my fancy dress ensemble were a tiara and a royal order sash. I figured that could easily work again.

We captured a series of photos of The Queen of Hearts elegantly (and somewhat aloofly!) preparing for the ball!

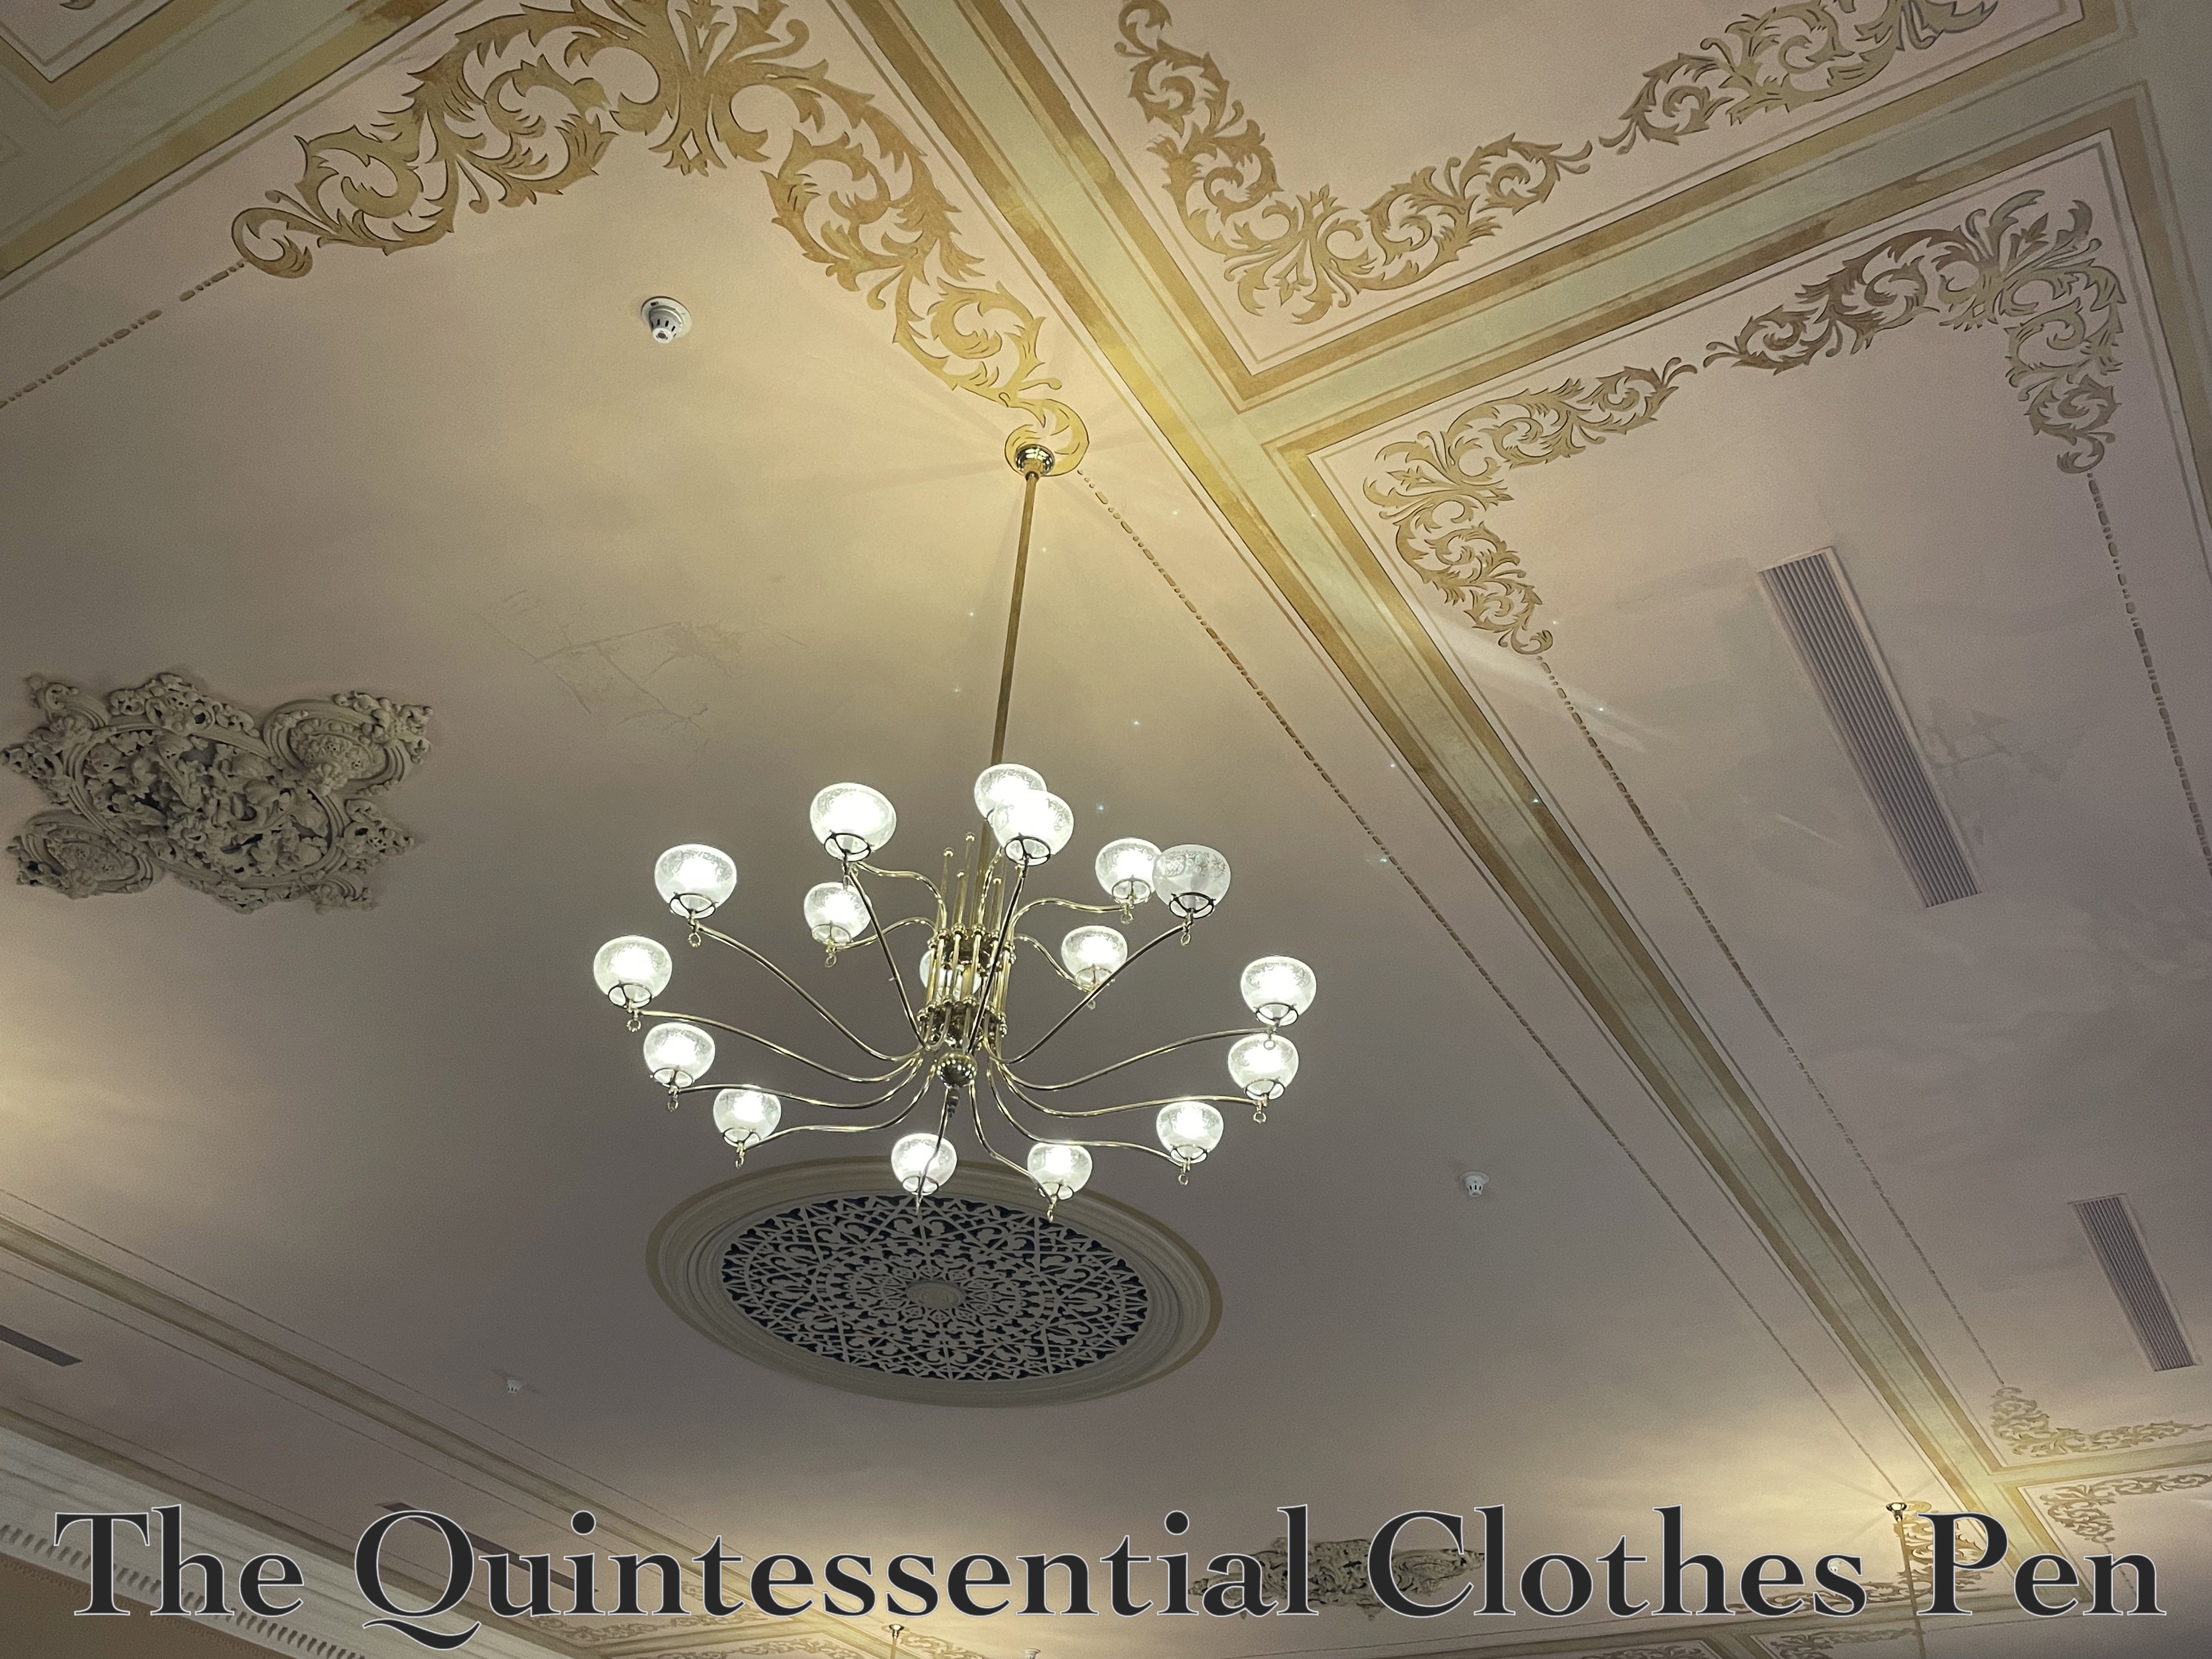
The ball itself took place in the lovely Andover town hall. It has all sort of beautiful details. Look at the ceiling!

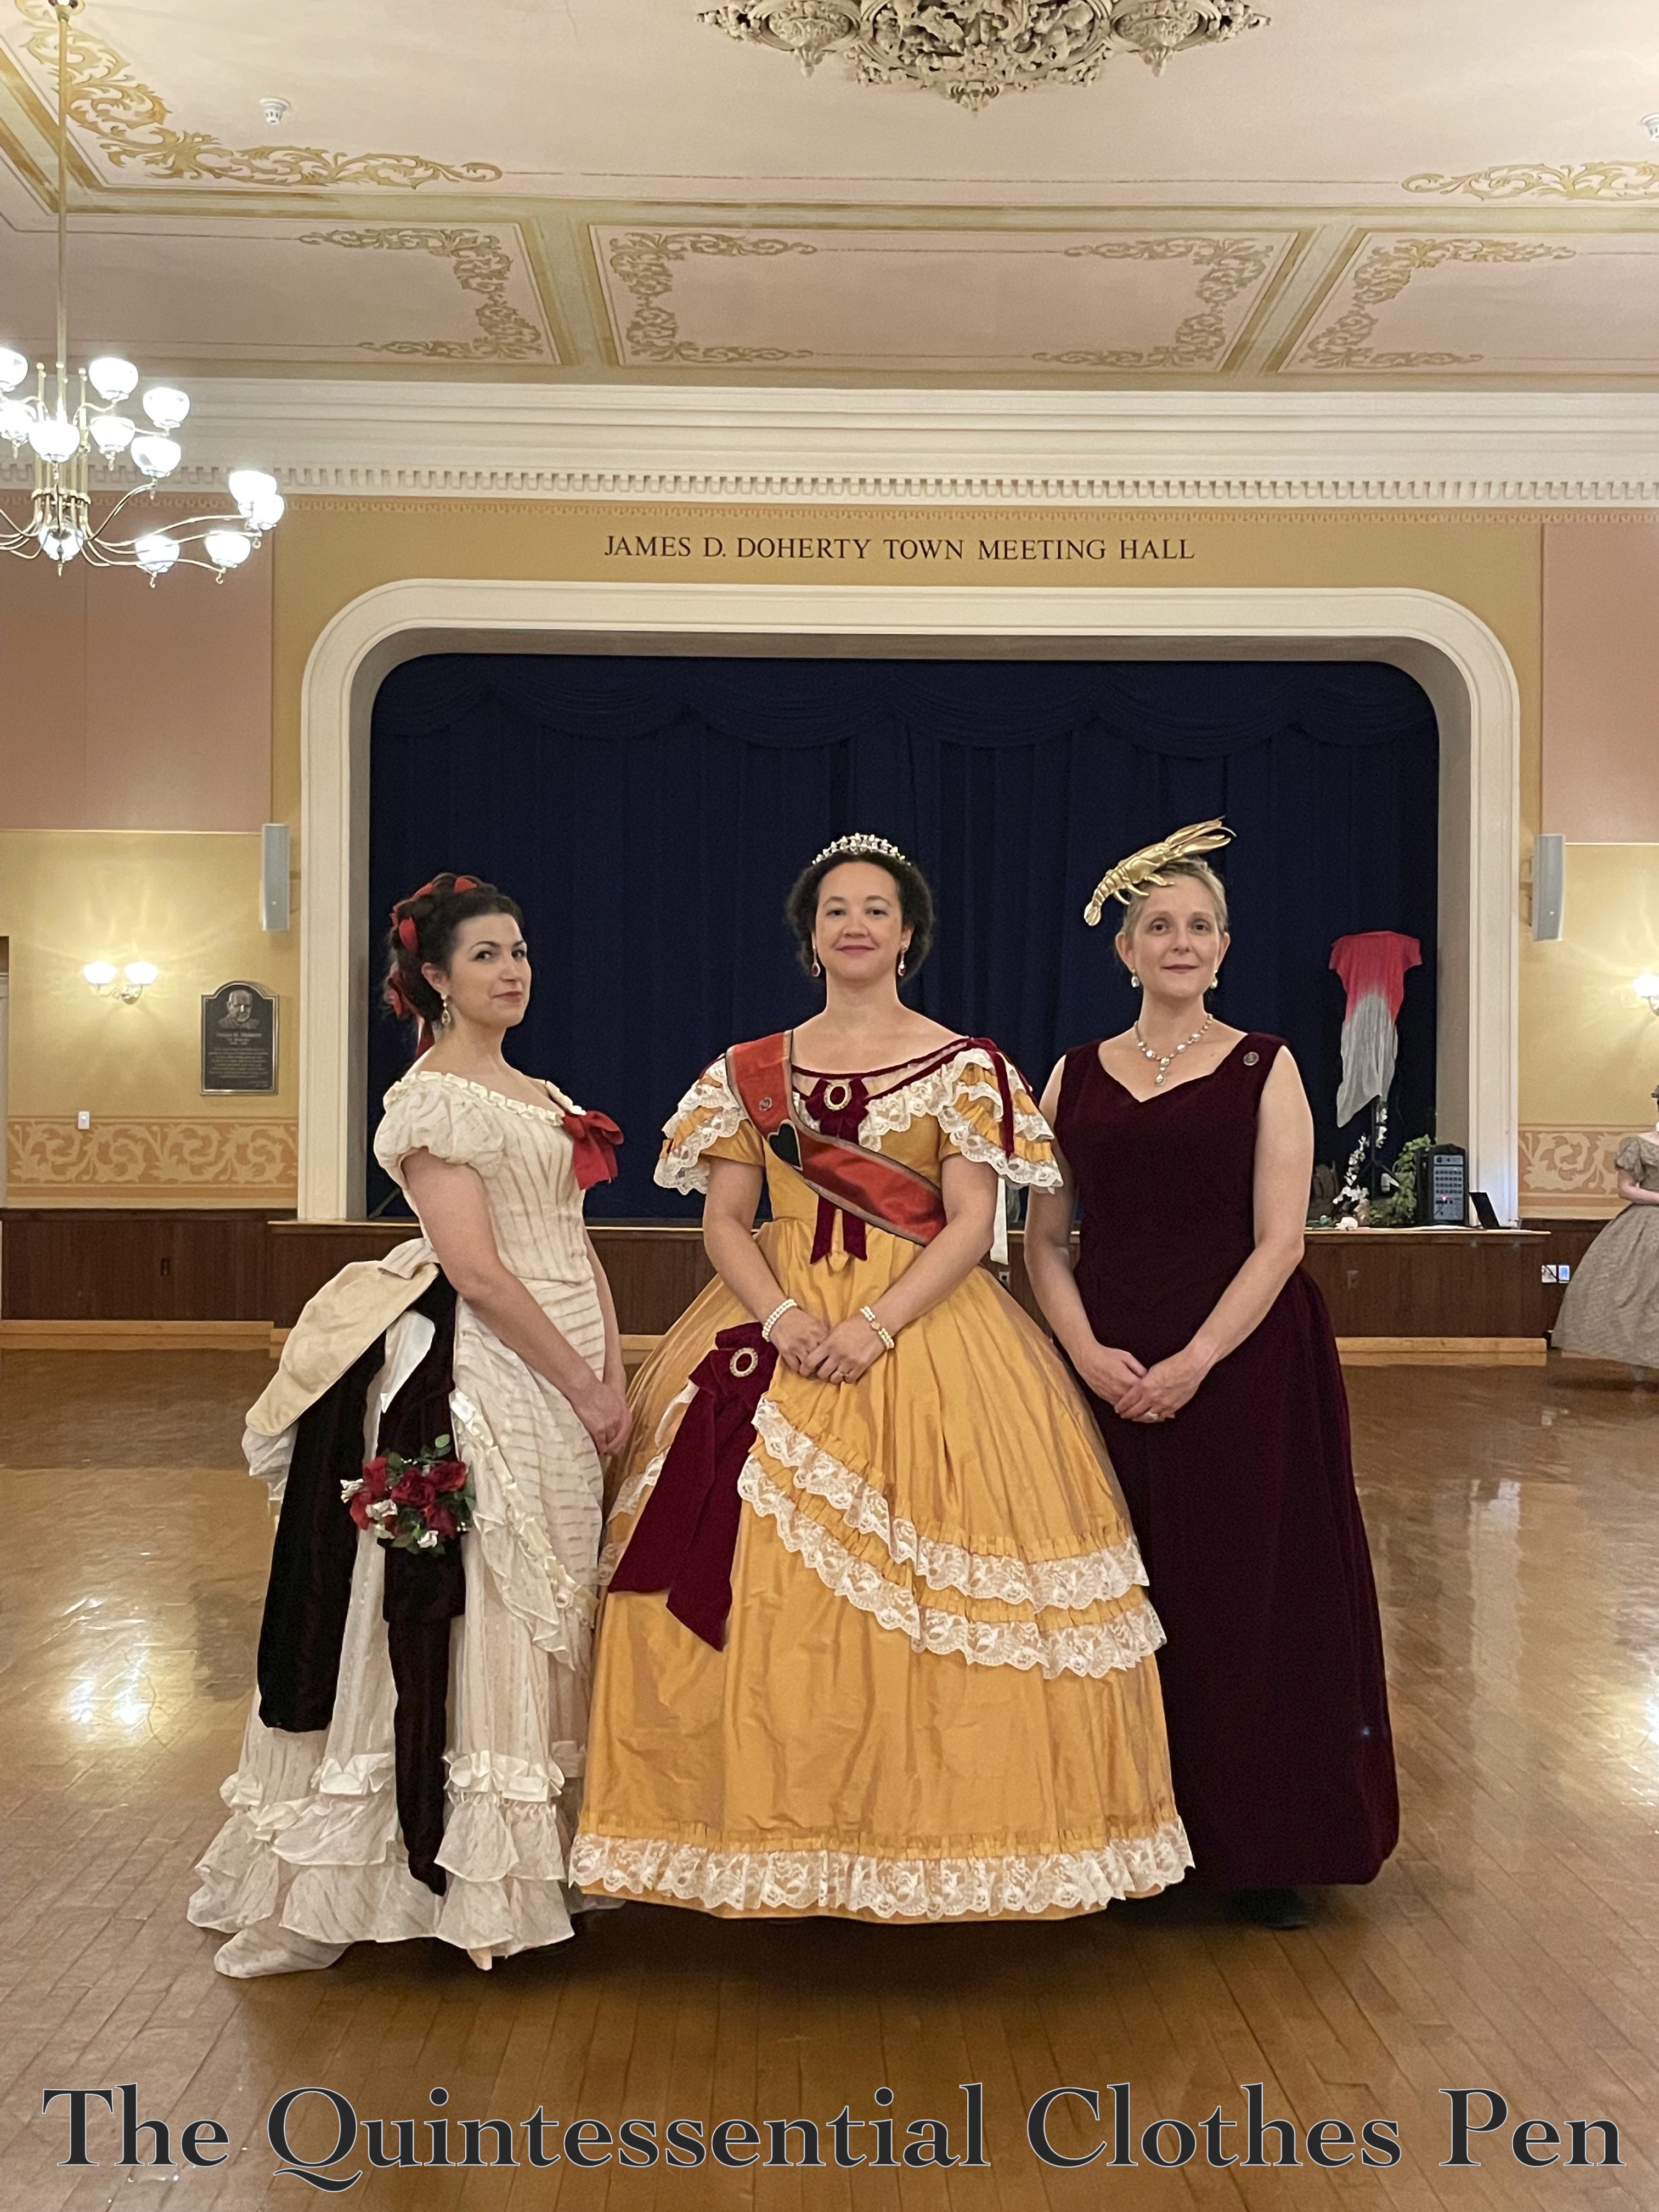
And the company was lively! I met charming new acquaintances and reconnected with creative friends. Below are a few of them… and we are joined by a golden lobster! (The lobster wanted to participate in the Lobster Quadrille, but had to step up the bling-factor to be ball appropriate!)

Croquet At Roseland Cottage

The outing for which I planned to wear my updated 1815 Tree Gown was an afternoon of croquet and house tours at Roseland Cottage: a joint event hosted by The Footwork & Frolick Society and Historic New England (the organization that runs Roseland Cottage).

Roseland Cottage is a lovely pink house in Woodstock, CT that was built in 1846 by the Bowen family (you can read more about thr history of the house here on the Historic New England website). I’ve been to the house before and posted about it on the blog — in a different post about playing croquet! That outing, which you can read about in this past post, was in 1860s clothes.

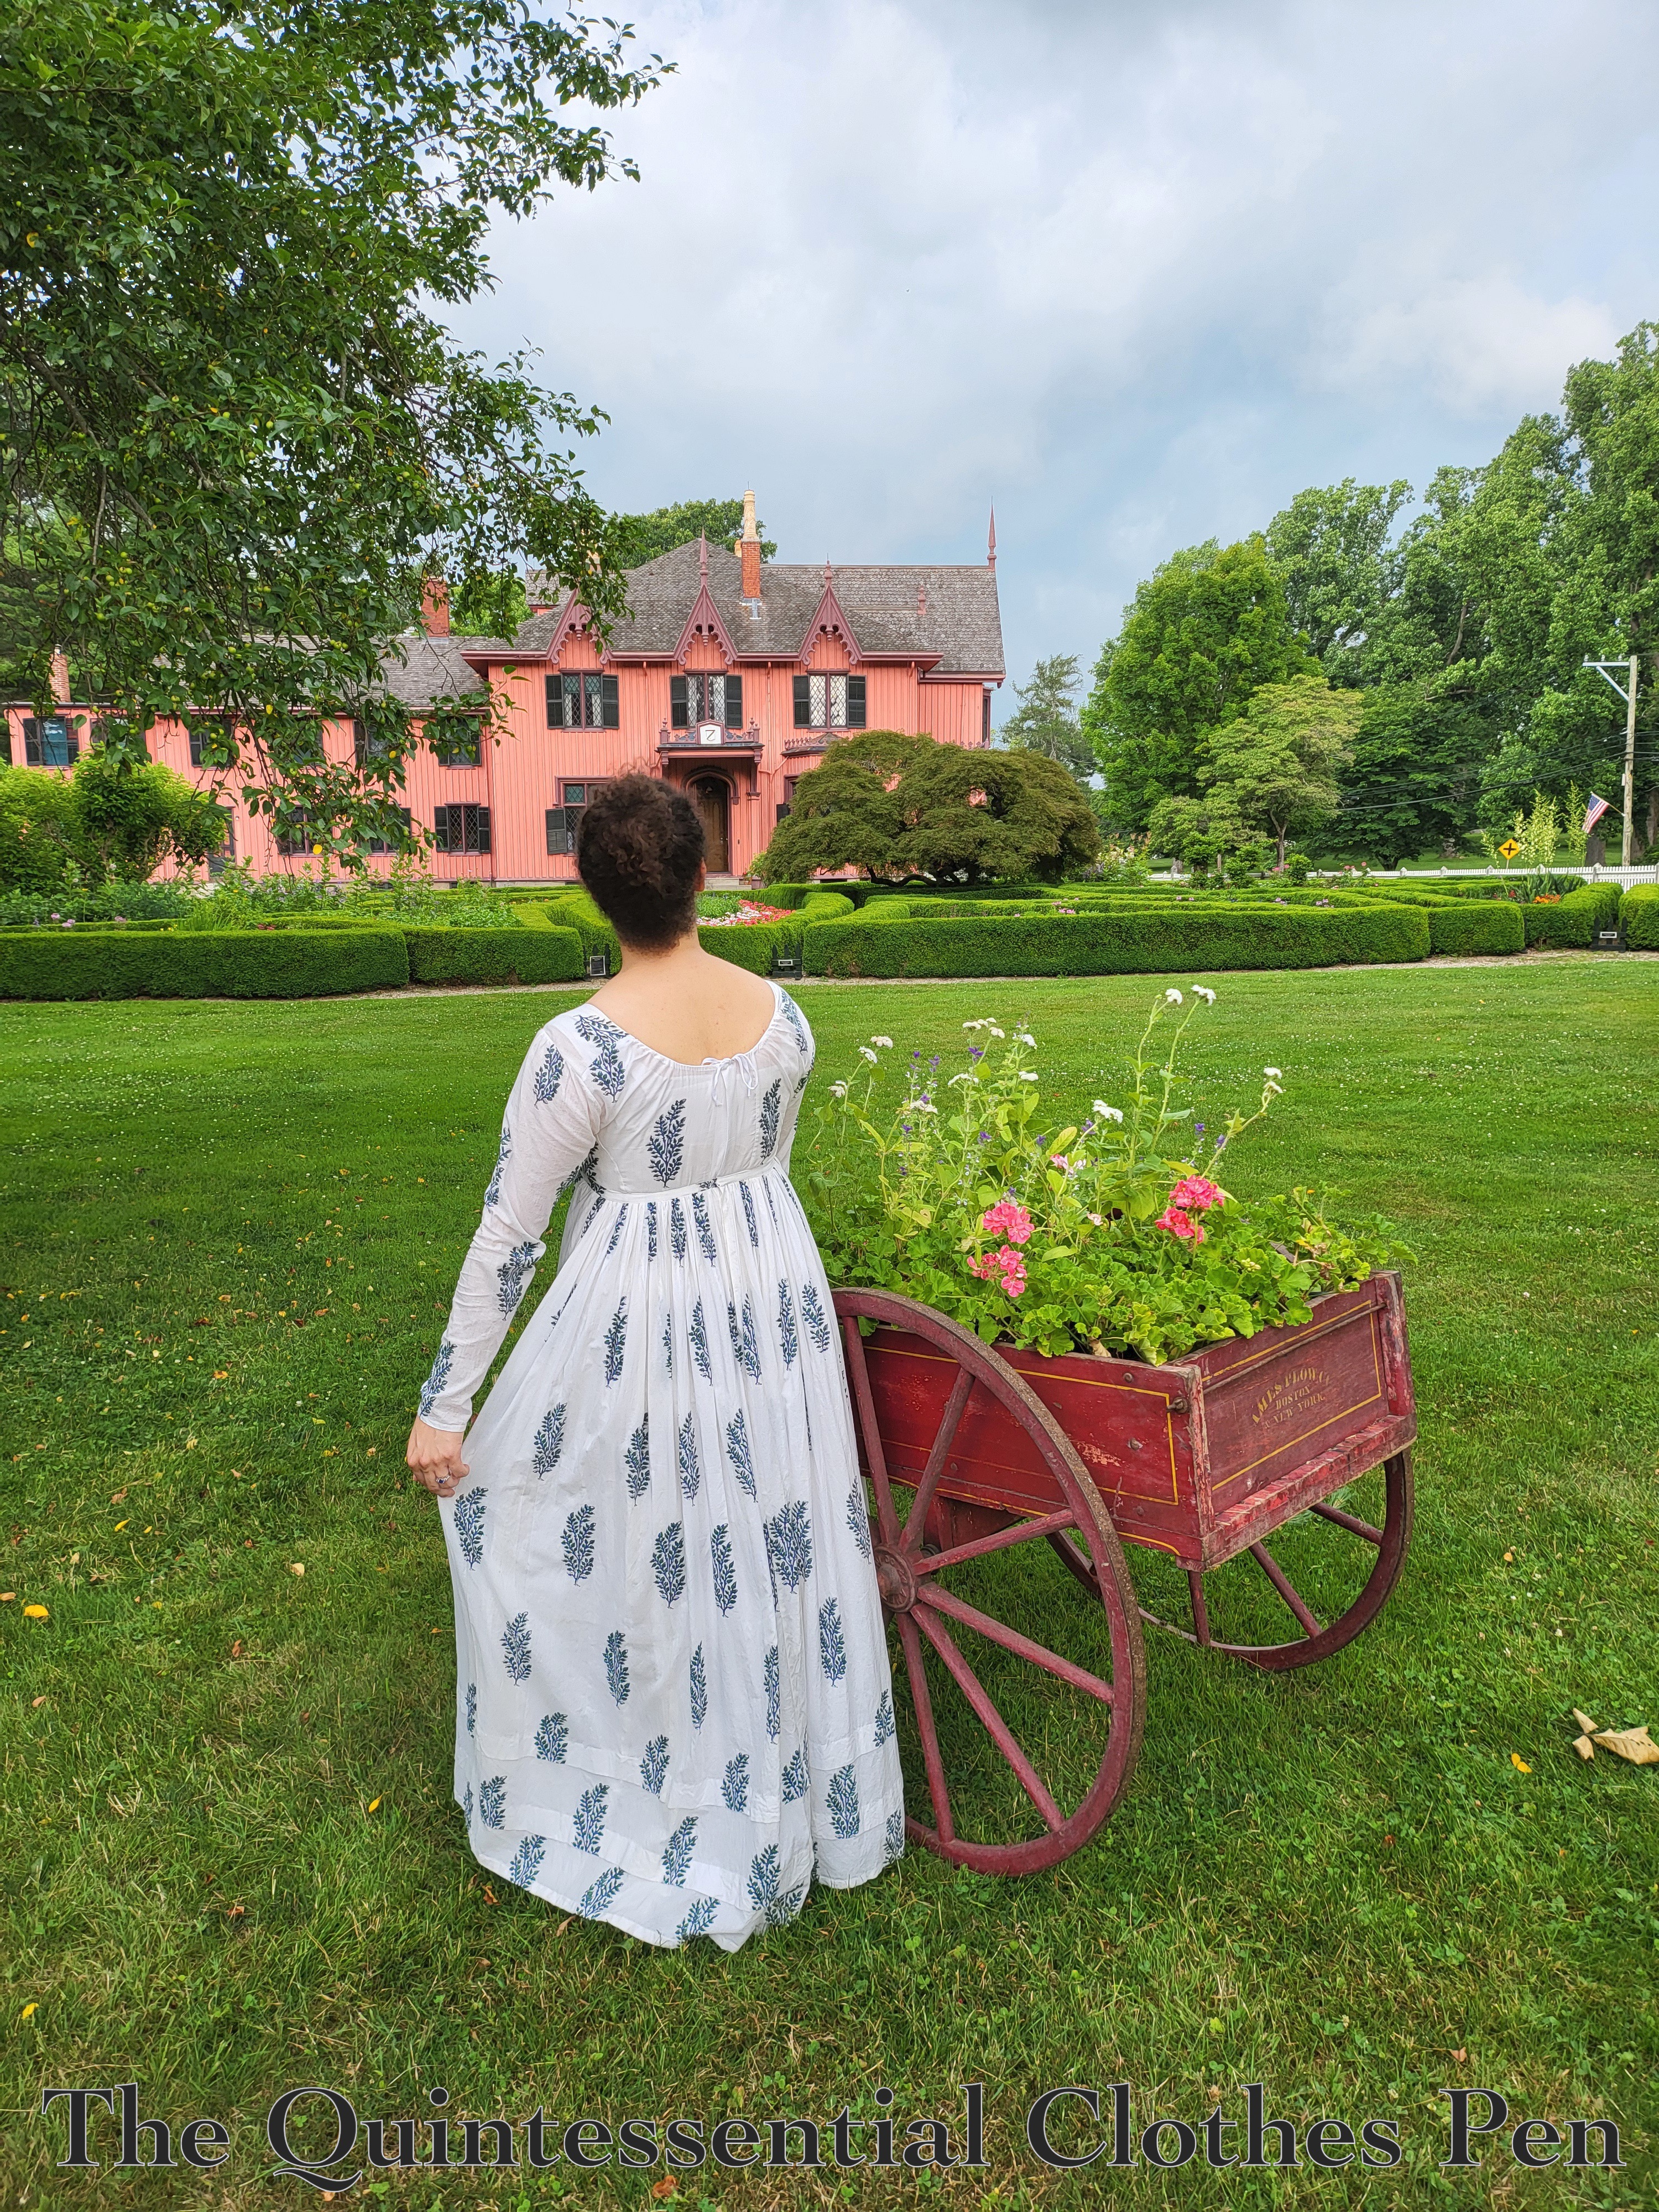
A rather moody looking Roseland Cottage on the day of this year’s outing is pictured below. It was overcast, which was nice because it wasn’t super hot, but we did have a fantastic rain and thunder storm roll through halfway through the event. Lightening struck the lawn outside of the house! Luckily, we knew it was coming and were able to transition indoors to play tabletop croquet and have tea. No one was rained on!

And I was pleased, because Roseland is lovely, the company was delightful, and my updated Tree Gown was freshly revived and very comfortable!

It felt important to show off the updated back of my gown for documentation here on the blog!

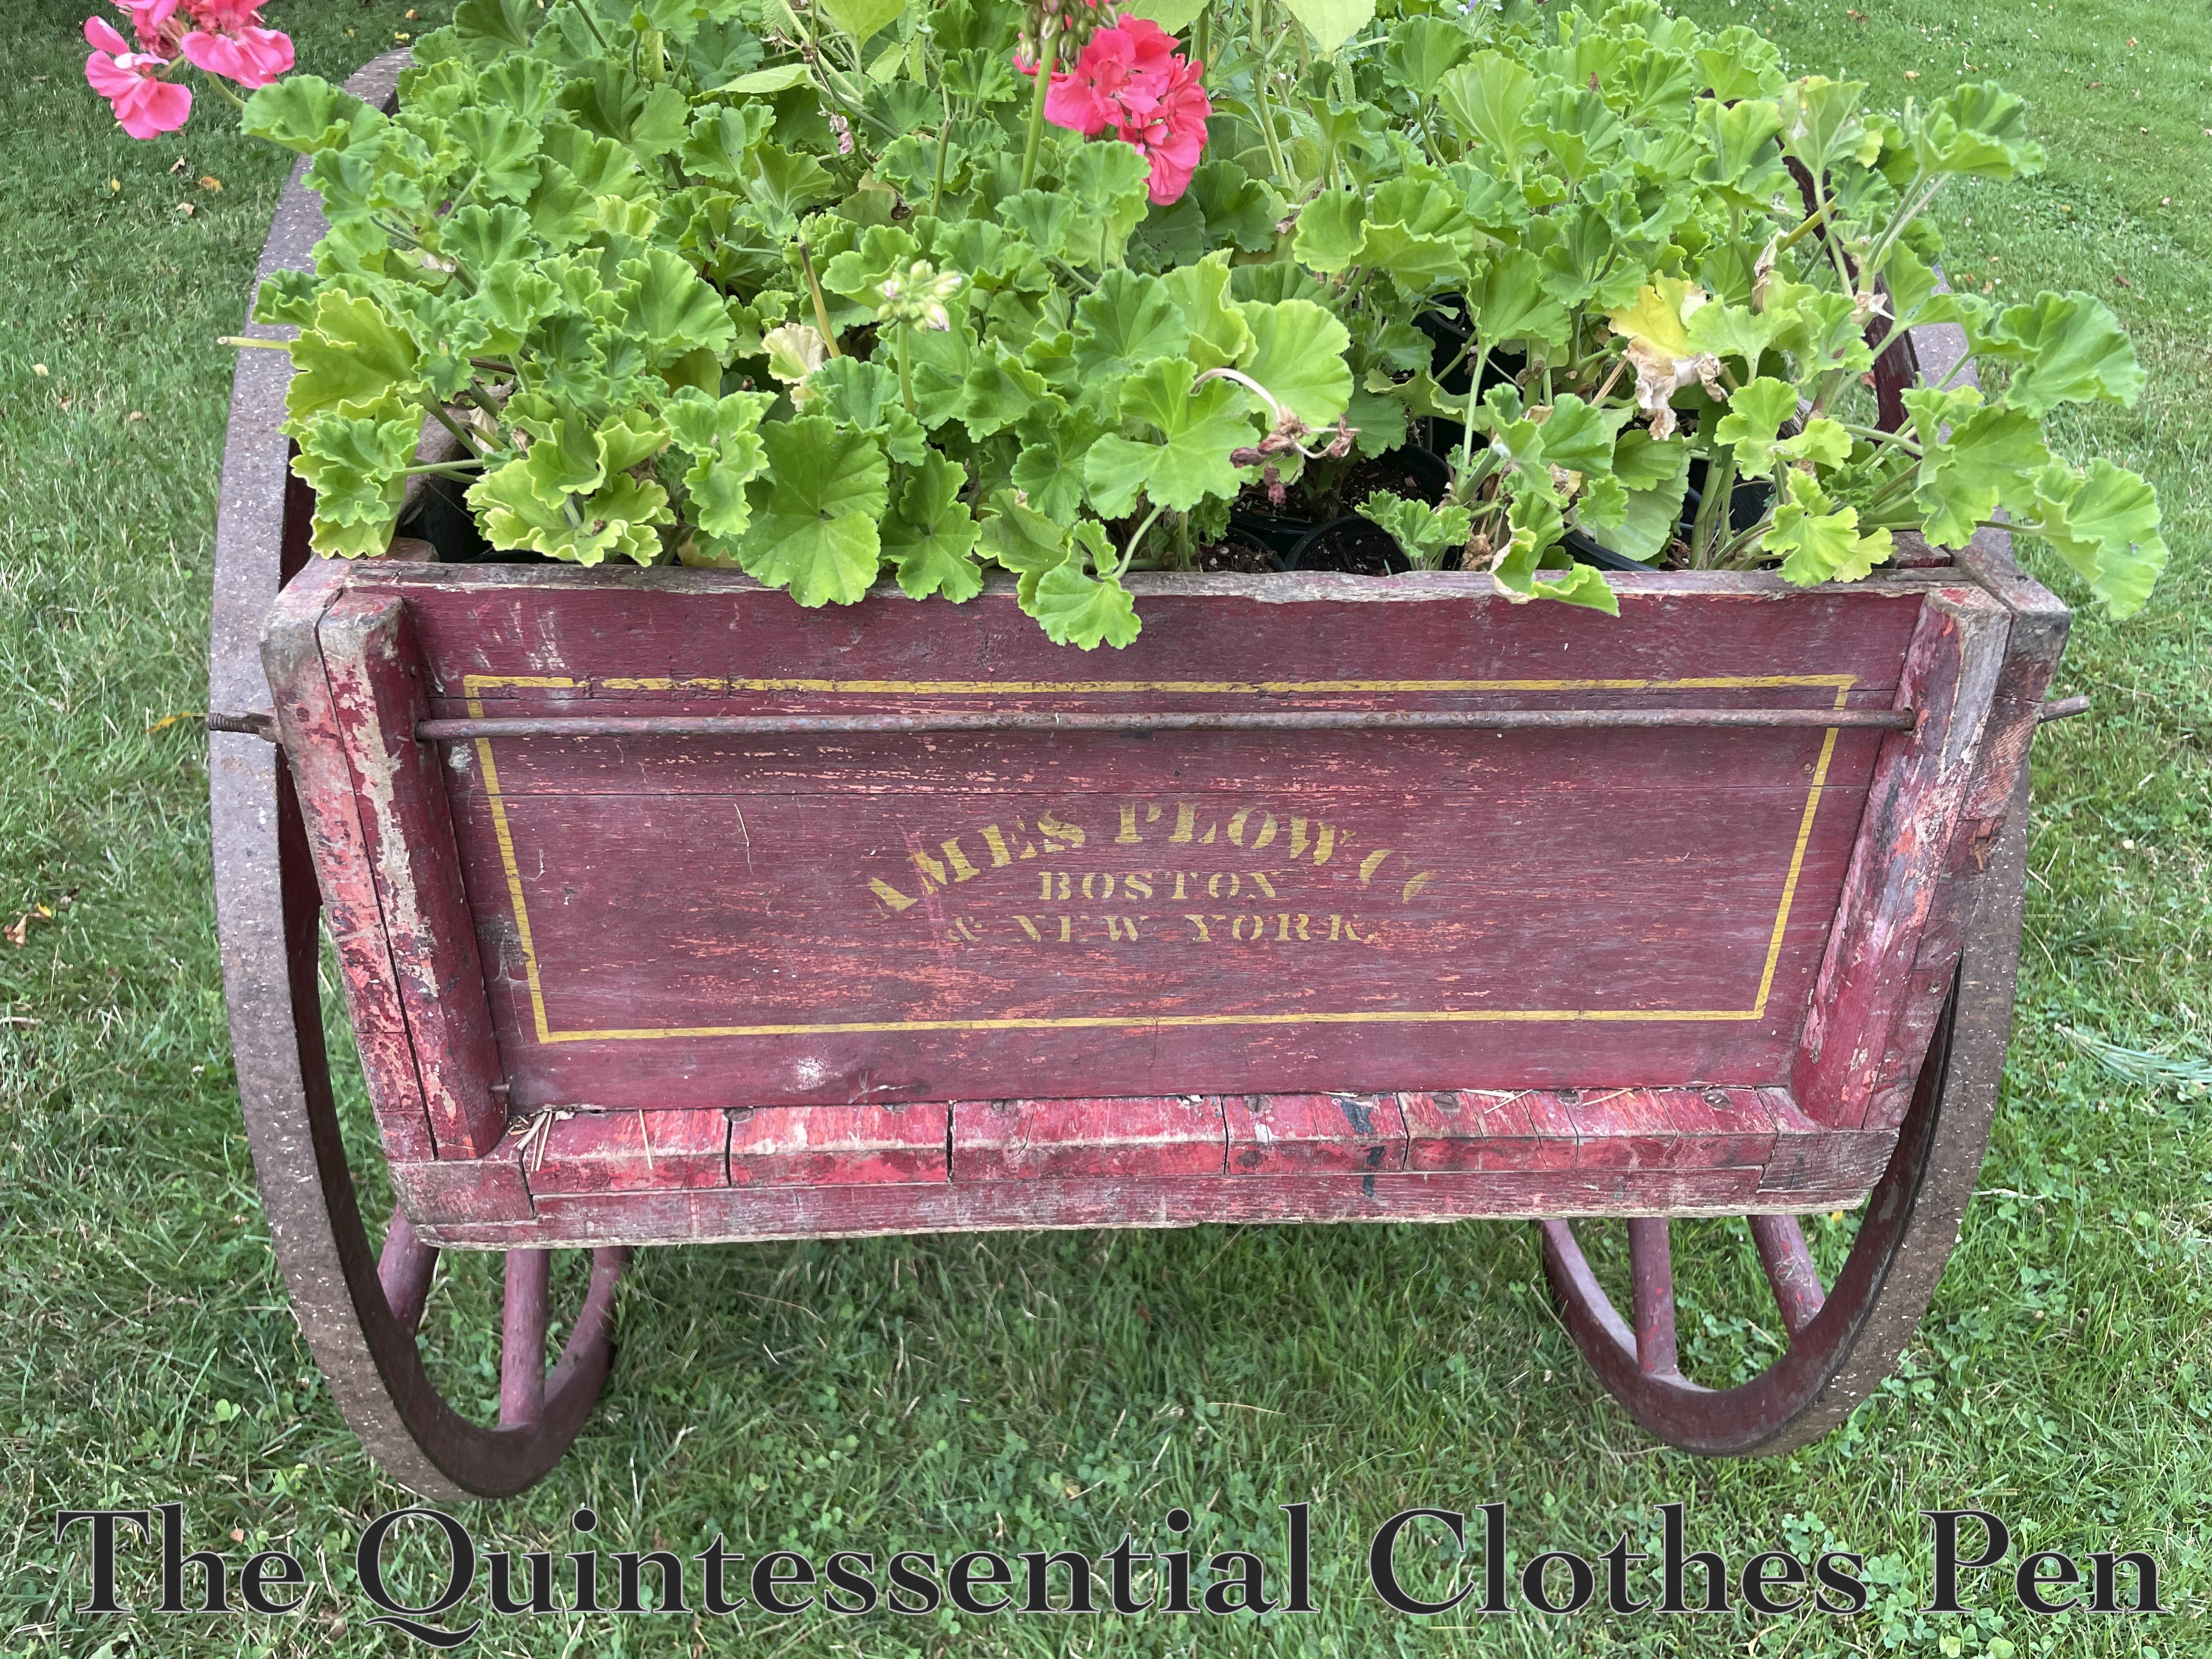
Roseland has a beautiful and well maintained garden, and in addition to that, I also appreciated the cute cart (detail photo below) full of additional flowers that was situated on the lawn. It made for a wonderful photo accessory, as you can see in the photo above!

As I mentioned in my post about altering the gown (linked at the top of this post), I’m so pleased to be able to give this dress extended life!

Playing Parlor Games

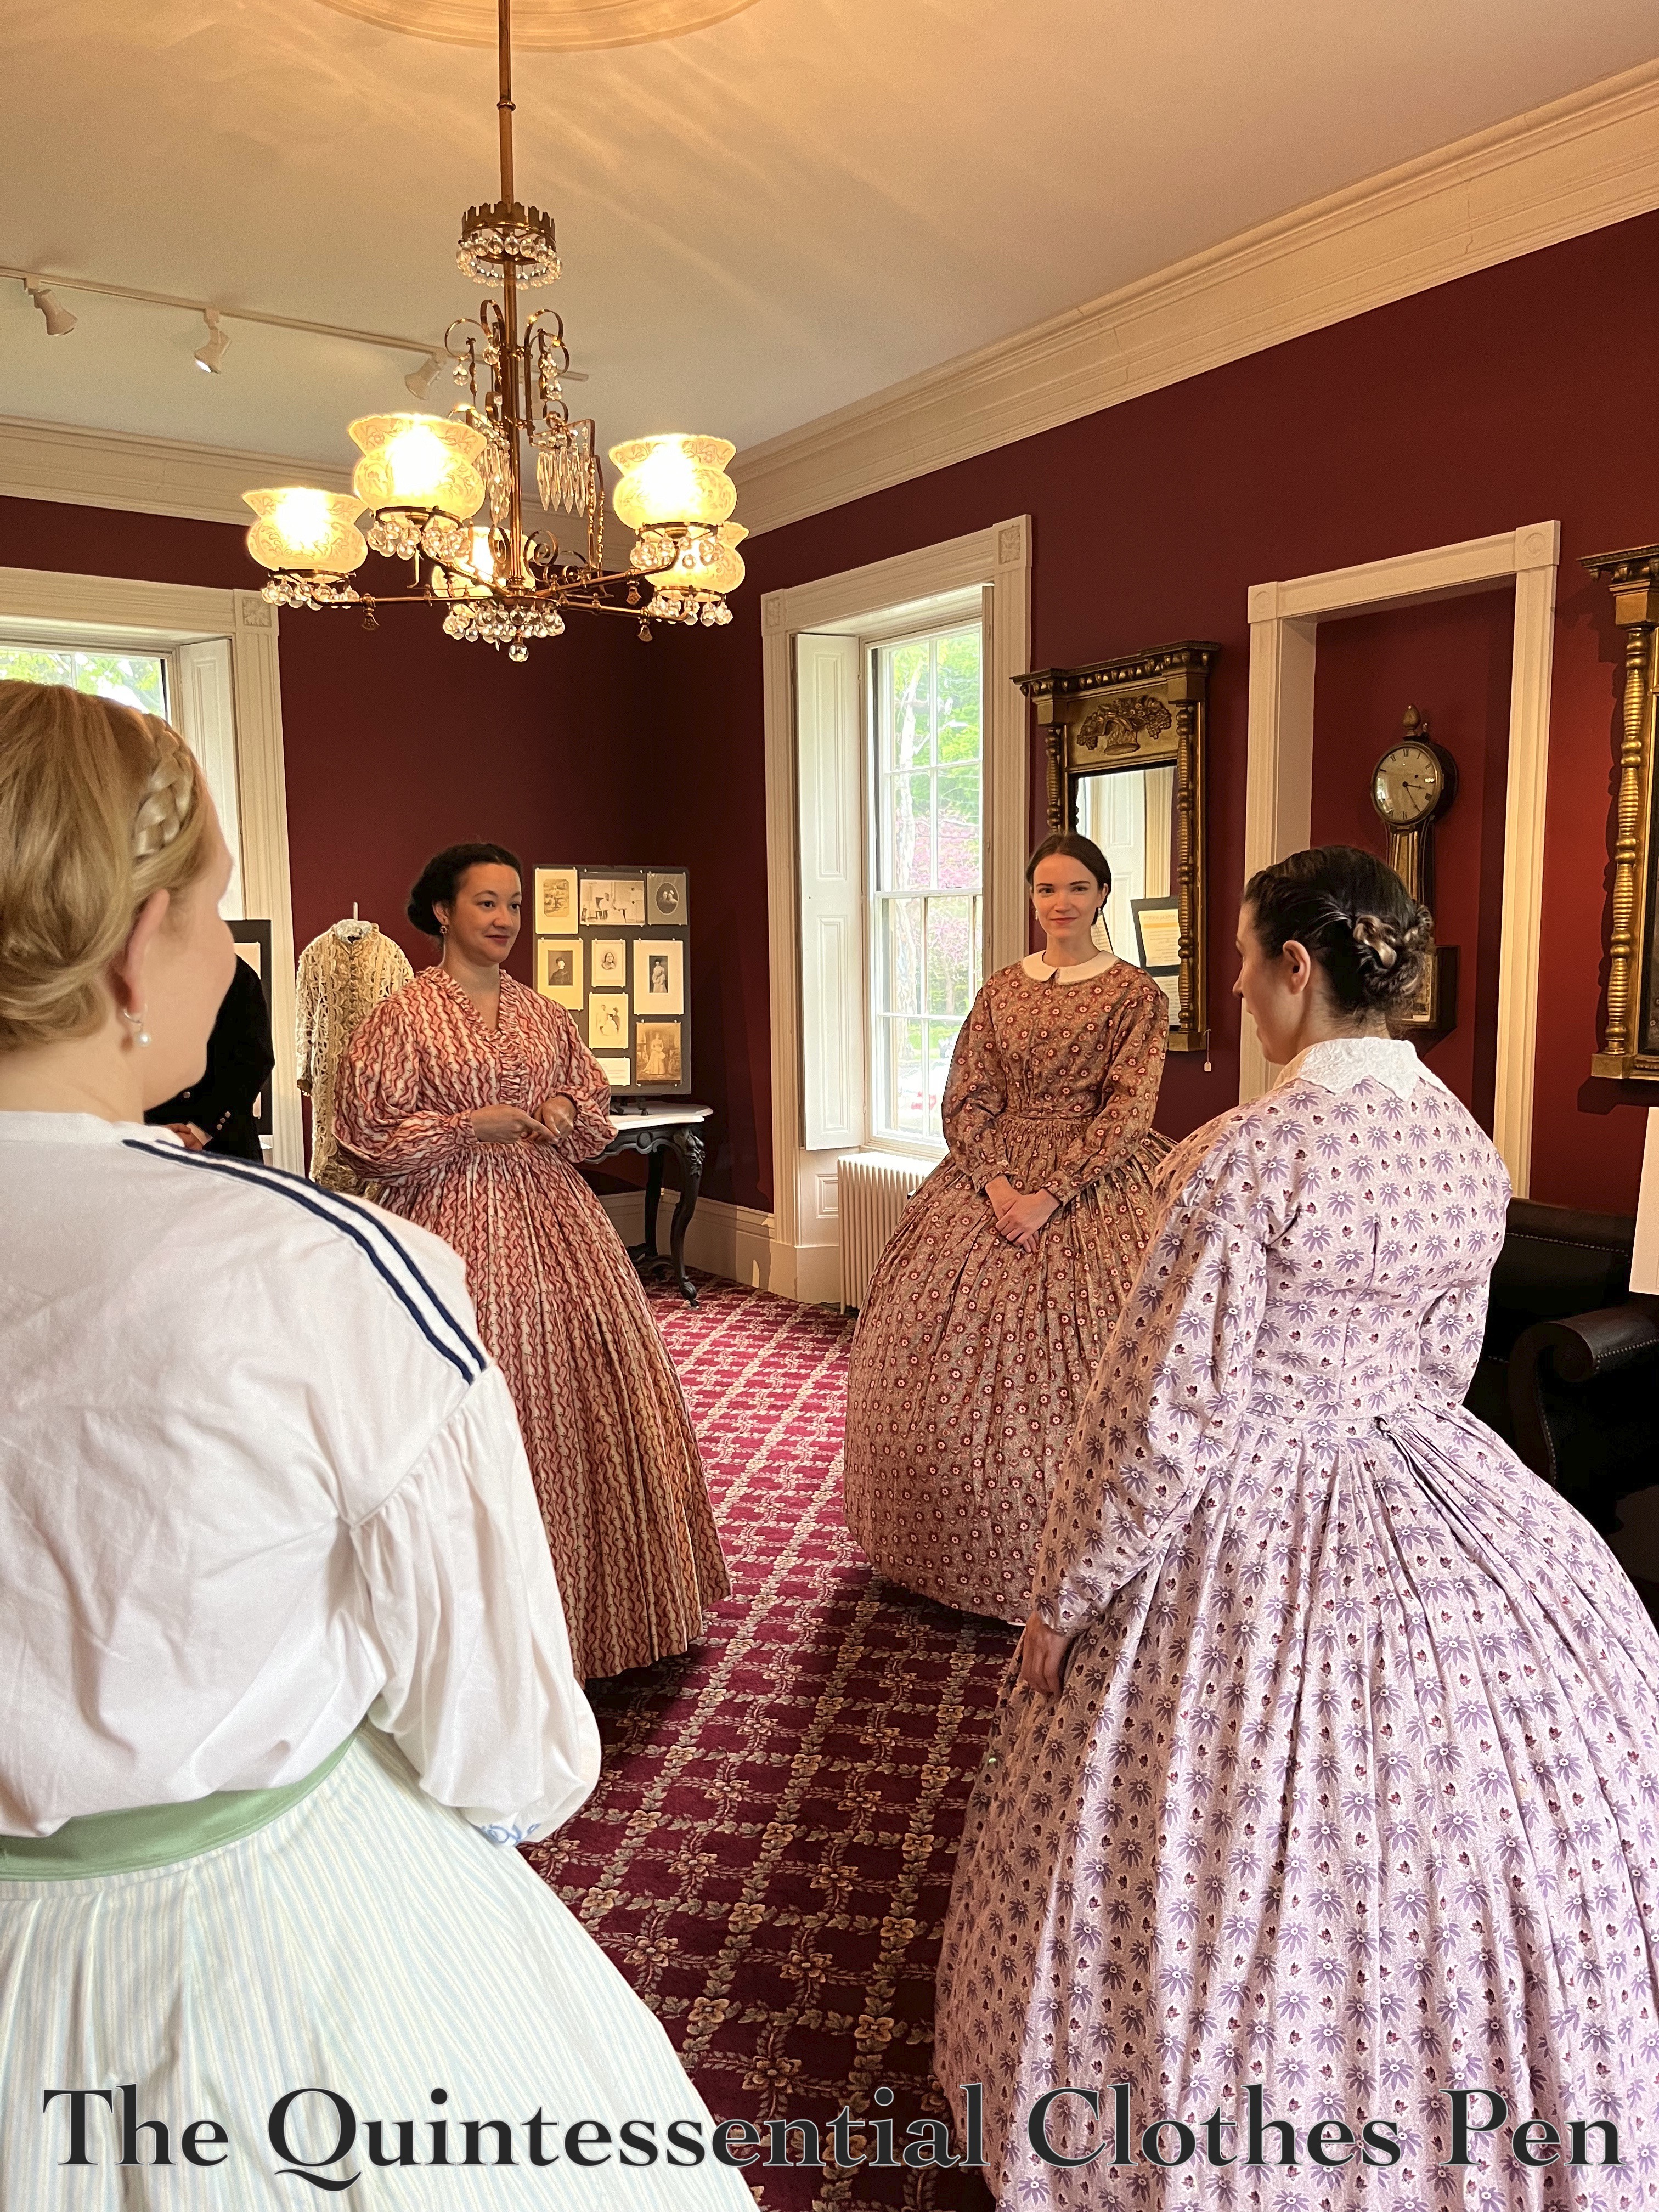
Part of the goal of the spring outing I recently posted about was to play parlor games with The Footwork & Frolick Society at the Boutwell House in Groton, MA. This was a fun public outreach event during which we invited guests at the open house to join us in parlor games from the mid-19th century.

Many parlor games from this period are somewhat sedate and word based. Others are more active, such as passing a ring around a ribbon in a circle while someone in the middle tries to guess who is hiding the ring.

There is also a game in which a person has to go around to everyone in the room and ask for something to take on an imaginary journey. It can get a bit silly as people add items to the imaginary traveling trunk.

I didn’t participate in every game, but I greatly enjoyed observing guests having fun even when I wasn’t actively participating.

A second dress of mine made it out of the closet to attend this event, too! You can read all about the construction of Georgina (a cotton print dress from 1858 pictured below) in this past post from 2013.

Even the volunteers at Boutwell House enthusiastically joined in with our games, providing a wonderful atmosphere for guests.

I had great fun, and even laughed myself into tears trying to do a quadrille figure ‘blindfolded’ (we did it with our eyes closed). There is video evidence of this amusing attempt here, on the F&F Instagram page. Yes, dancing a quadrille blindfolded is, in fact, an official published parlor amusement from the mid-19th century!

Photo credit for the last four photos: Steve Lieman

1817 Duchess Gown in Bridgerton Style

The Footwork and Frolick Society hosted a Bridgerton themed ball in May! Here are a few atmospheric shots.

For this event, I chose to wear my 1817 Duchess Gown (you can read about the inspiration and making of the dress, here). I love this dress and haven’t had a reason to wear it in years. Plus, I figured the neutral color would pair well with a few nods to the colorful style of Bridgerton costumes.

In the past, I’ve had fun pairing this gown with other colors and accessories, as well! You can read another past post where I show multiple wearings together here.

The dress is a sheer striped organza, which is fun because I can show off fancy historical underwear with it! I usually wear my 1814 Vernet petticoat so that the fancy trim around the bottom can be shown off (in addition to a second petticoat to make the ensemble fully opaque.) The second petticoat is functional more than decorative, and is the one I recently posted about that needed a size update to fit properly again!. Wearing it with this sheer dress for the ball was the push I needed to make the petticoat fit really well–I didn’t want odd lines showing under the sheer Duchess Gown!

In addition to the decorative Vernet petticoat, other accessories for this wearing included clocked silk stockings from American Duchess, white flats purchased from a consignment store about ten years ago, a gold bead necklace that ties with a ribbon that I don’t wear often (I usually gravitate towards other more sparkly jewelry), and three nods to the colorful style of Bridgerton.

My nods to color included a green organza sash (that I’ve worn with this dress before–see images in this past post from 2019), green and gold earrings (from the Downton Abbey collection a number of years ago), and flowers in my hair, including some vivid pink ones. I’ve had these flowers for about 25 years and rarely wear them. They’re pretty bright! But for the Bridgerton theme they made perfect sense!

The company at the ball was charming and the dancing was enthusiastic! My Duchess Gown even had an old friend visit in the form of my 1811 Elusive Blue Gown worn by a friend! I love that these garments are getting to be worn again!

Photo credit for this last photo: Lucas Clauser

Sophie In Springtime

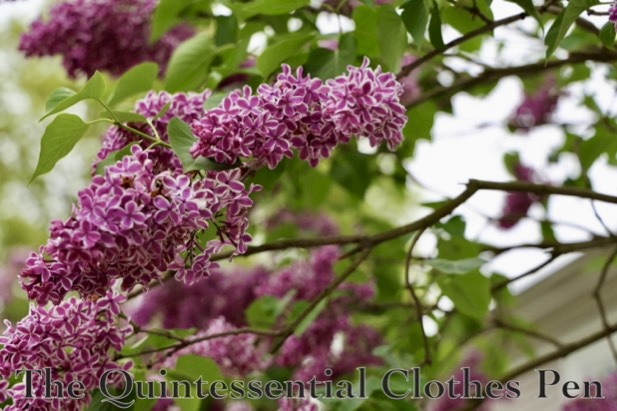
The lilacs were blooming in May, joyfully spreading their scent to all who passed by.

Photo credit for this photo: Steve Lieman

I was grateful to be able admire their beauty and celebrate spring with an outing in Sophie, my trusty 1861 twisted stripe cotton print dress. I made this dress in 2016 and posted about the construction in this past post.

The overcast sky didn’t dampen my spirits!

The diffused light was actually quite lovely and I enjoyed whirling around in the fresh air.

I hope your springtime held unexpected joy, as well!

Eleanor At The Boutwell House

My 1860s evening gowns have had far fewer outings in the last few years than they used to, which it made having a reason to wear one a few months ago particularly exciting!

The question was which to choose??? I wore Genevieve (my 1863 apricot-colored covered in lace and pleats silk gown) sort of recently, in April 2022. Other dresses in my historical closet that might still fit (Georginia from 1859, Annabelle from 1859, and Evie from 1864) haven’t been worn recently, but for some reason, plaid was sounding like fun… So I chose to wear Eleanor (my 1862 purple and green silk plaid dress)!

I’m still very pleased with the fabric of this dress and the way I cut the pieces to create interest in an otherwise pretty basic dress. The little details like tiny piping on the bodice, matching hair flowers, and a well matched set of jewelry (earrings and necklace from In The Long Run Designs, as well as a mix of modern and vintage brooches) also bring me joy.

I also had a lovely setting in which to wear the dress. The Boutwell House in Groton, MA was built in 1851 and is now home to the Groton History Center. The Footwork & Frolick Society partnered with them for the town of Groton’s annual WinterFest activities, which included inhabiting the house for an afternoon to give visitors a small view into activities from the period.

I enjoyed being able to wear an 1860s dress again. I’ve always loved the magic of a cupcake shaped hoop skirt–and this was no exception!