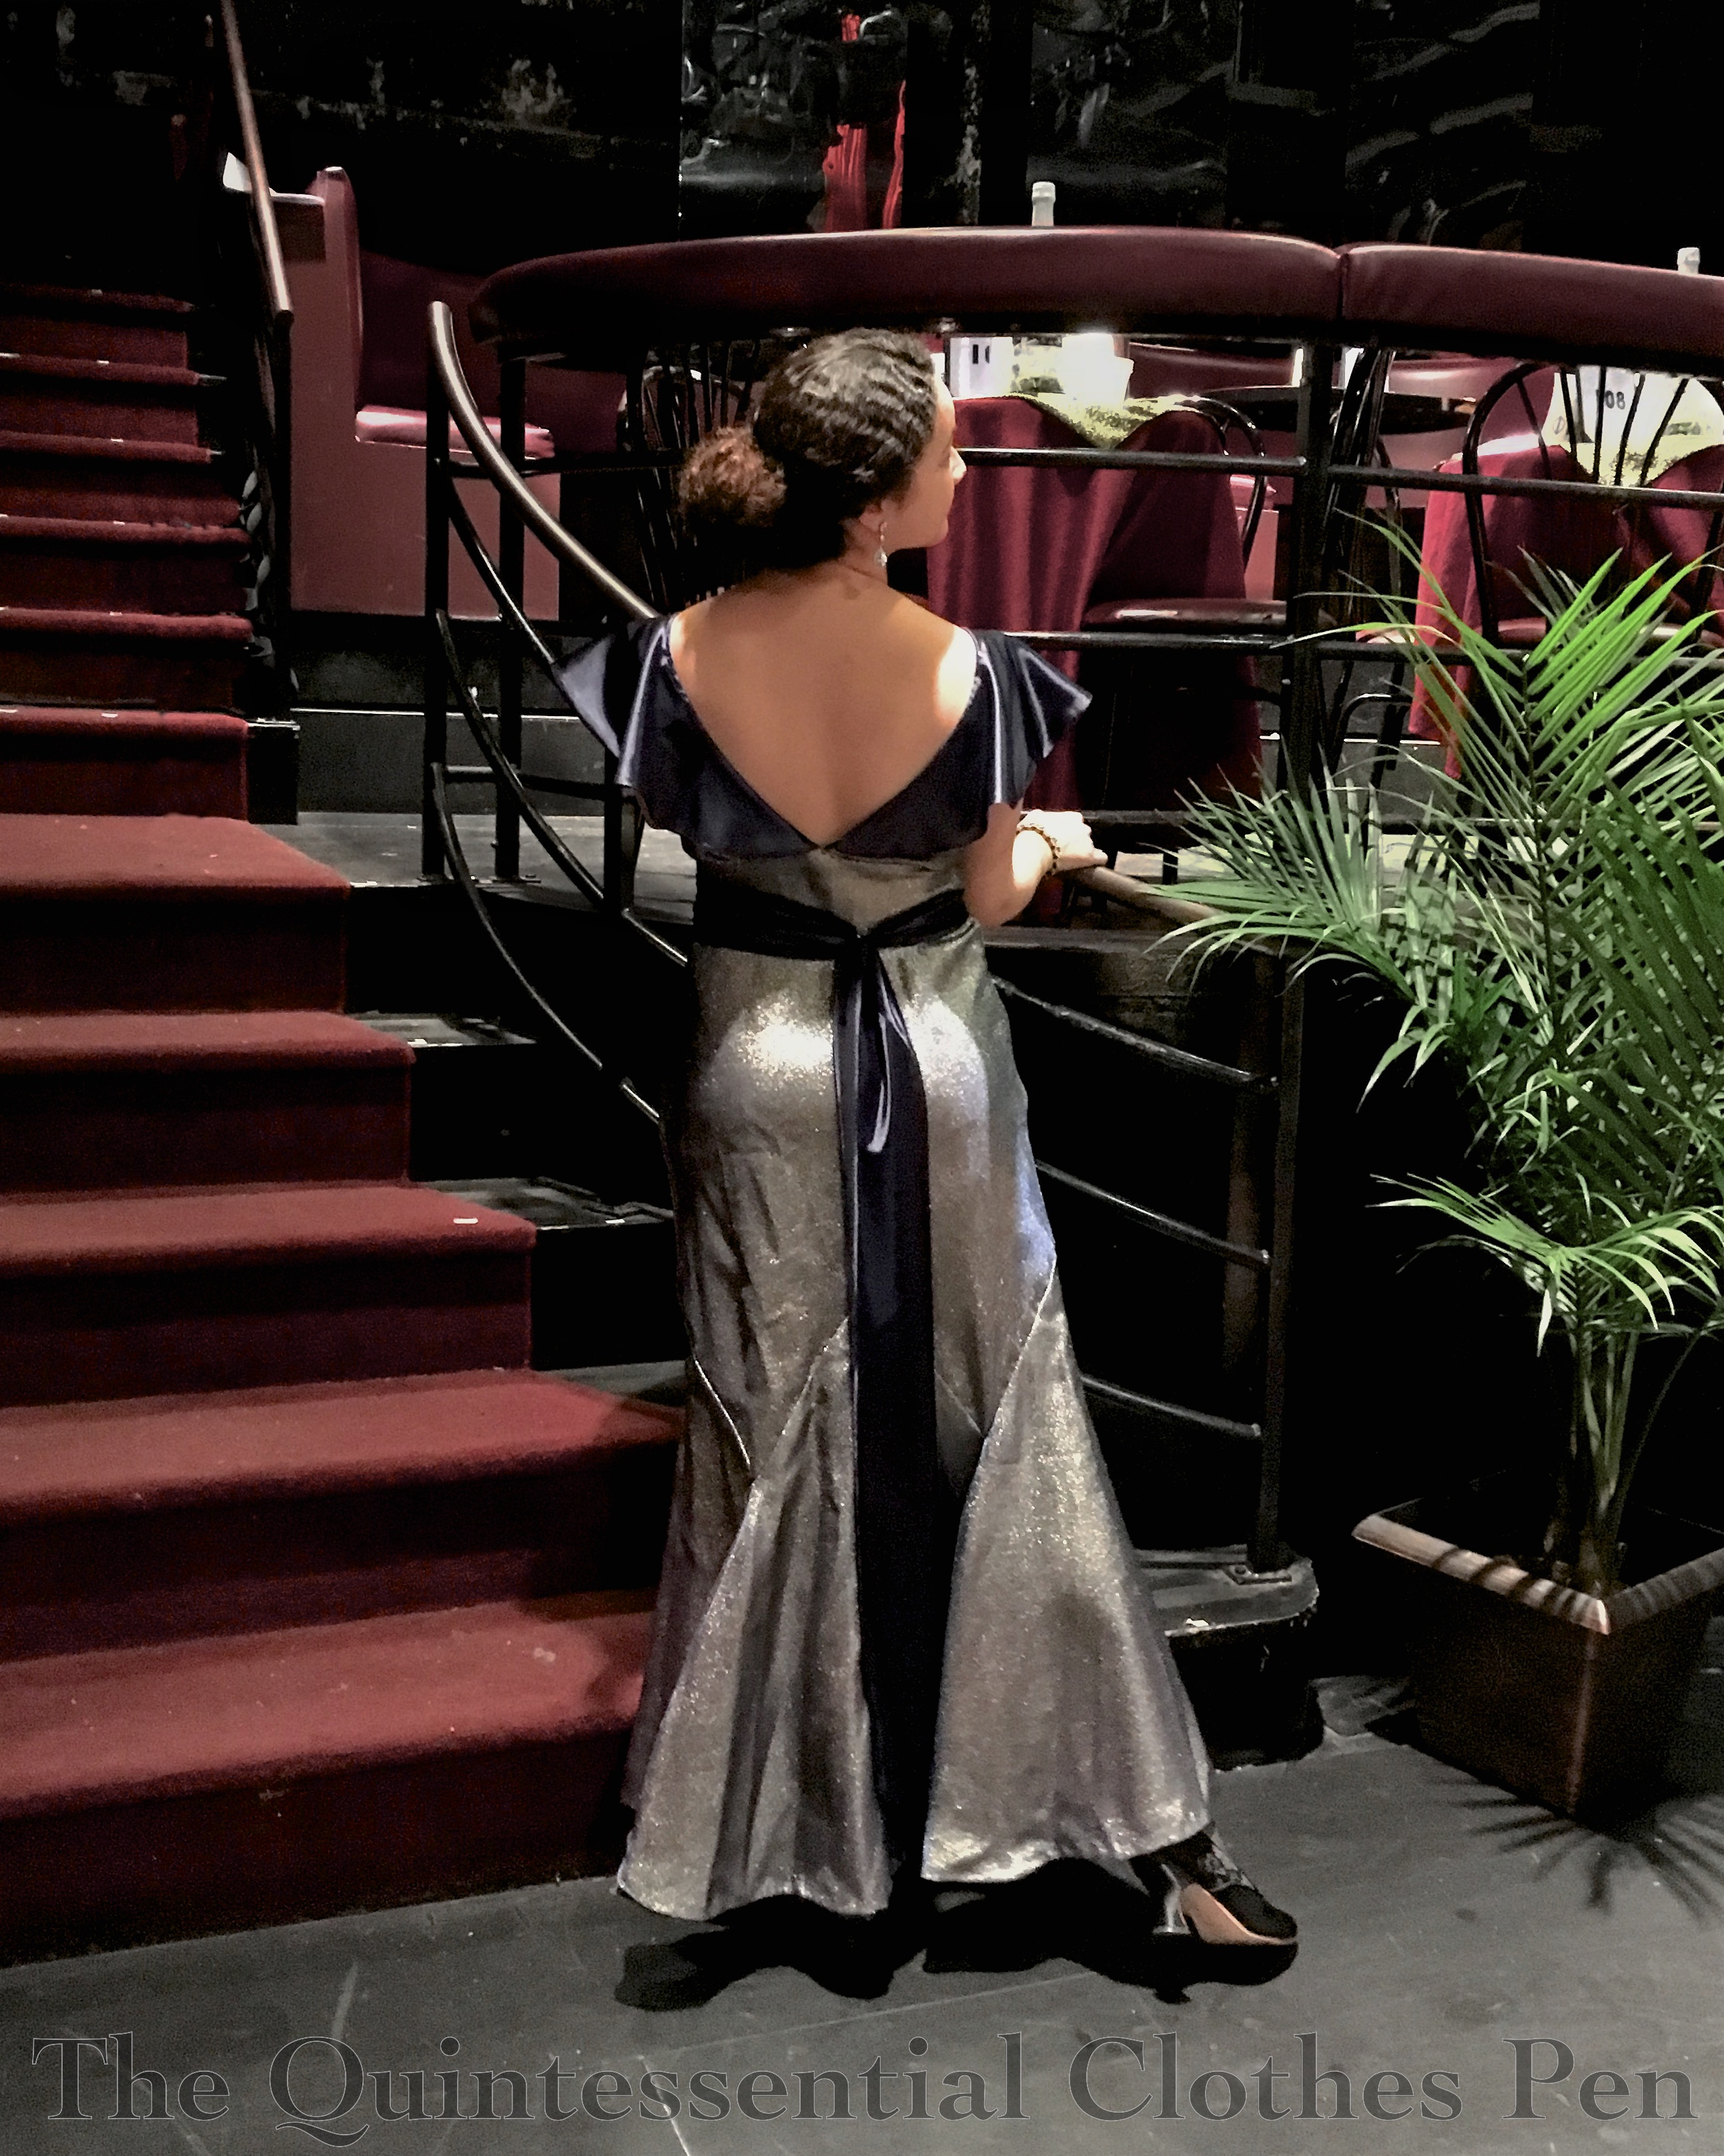
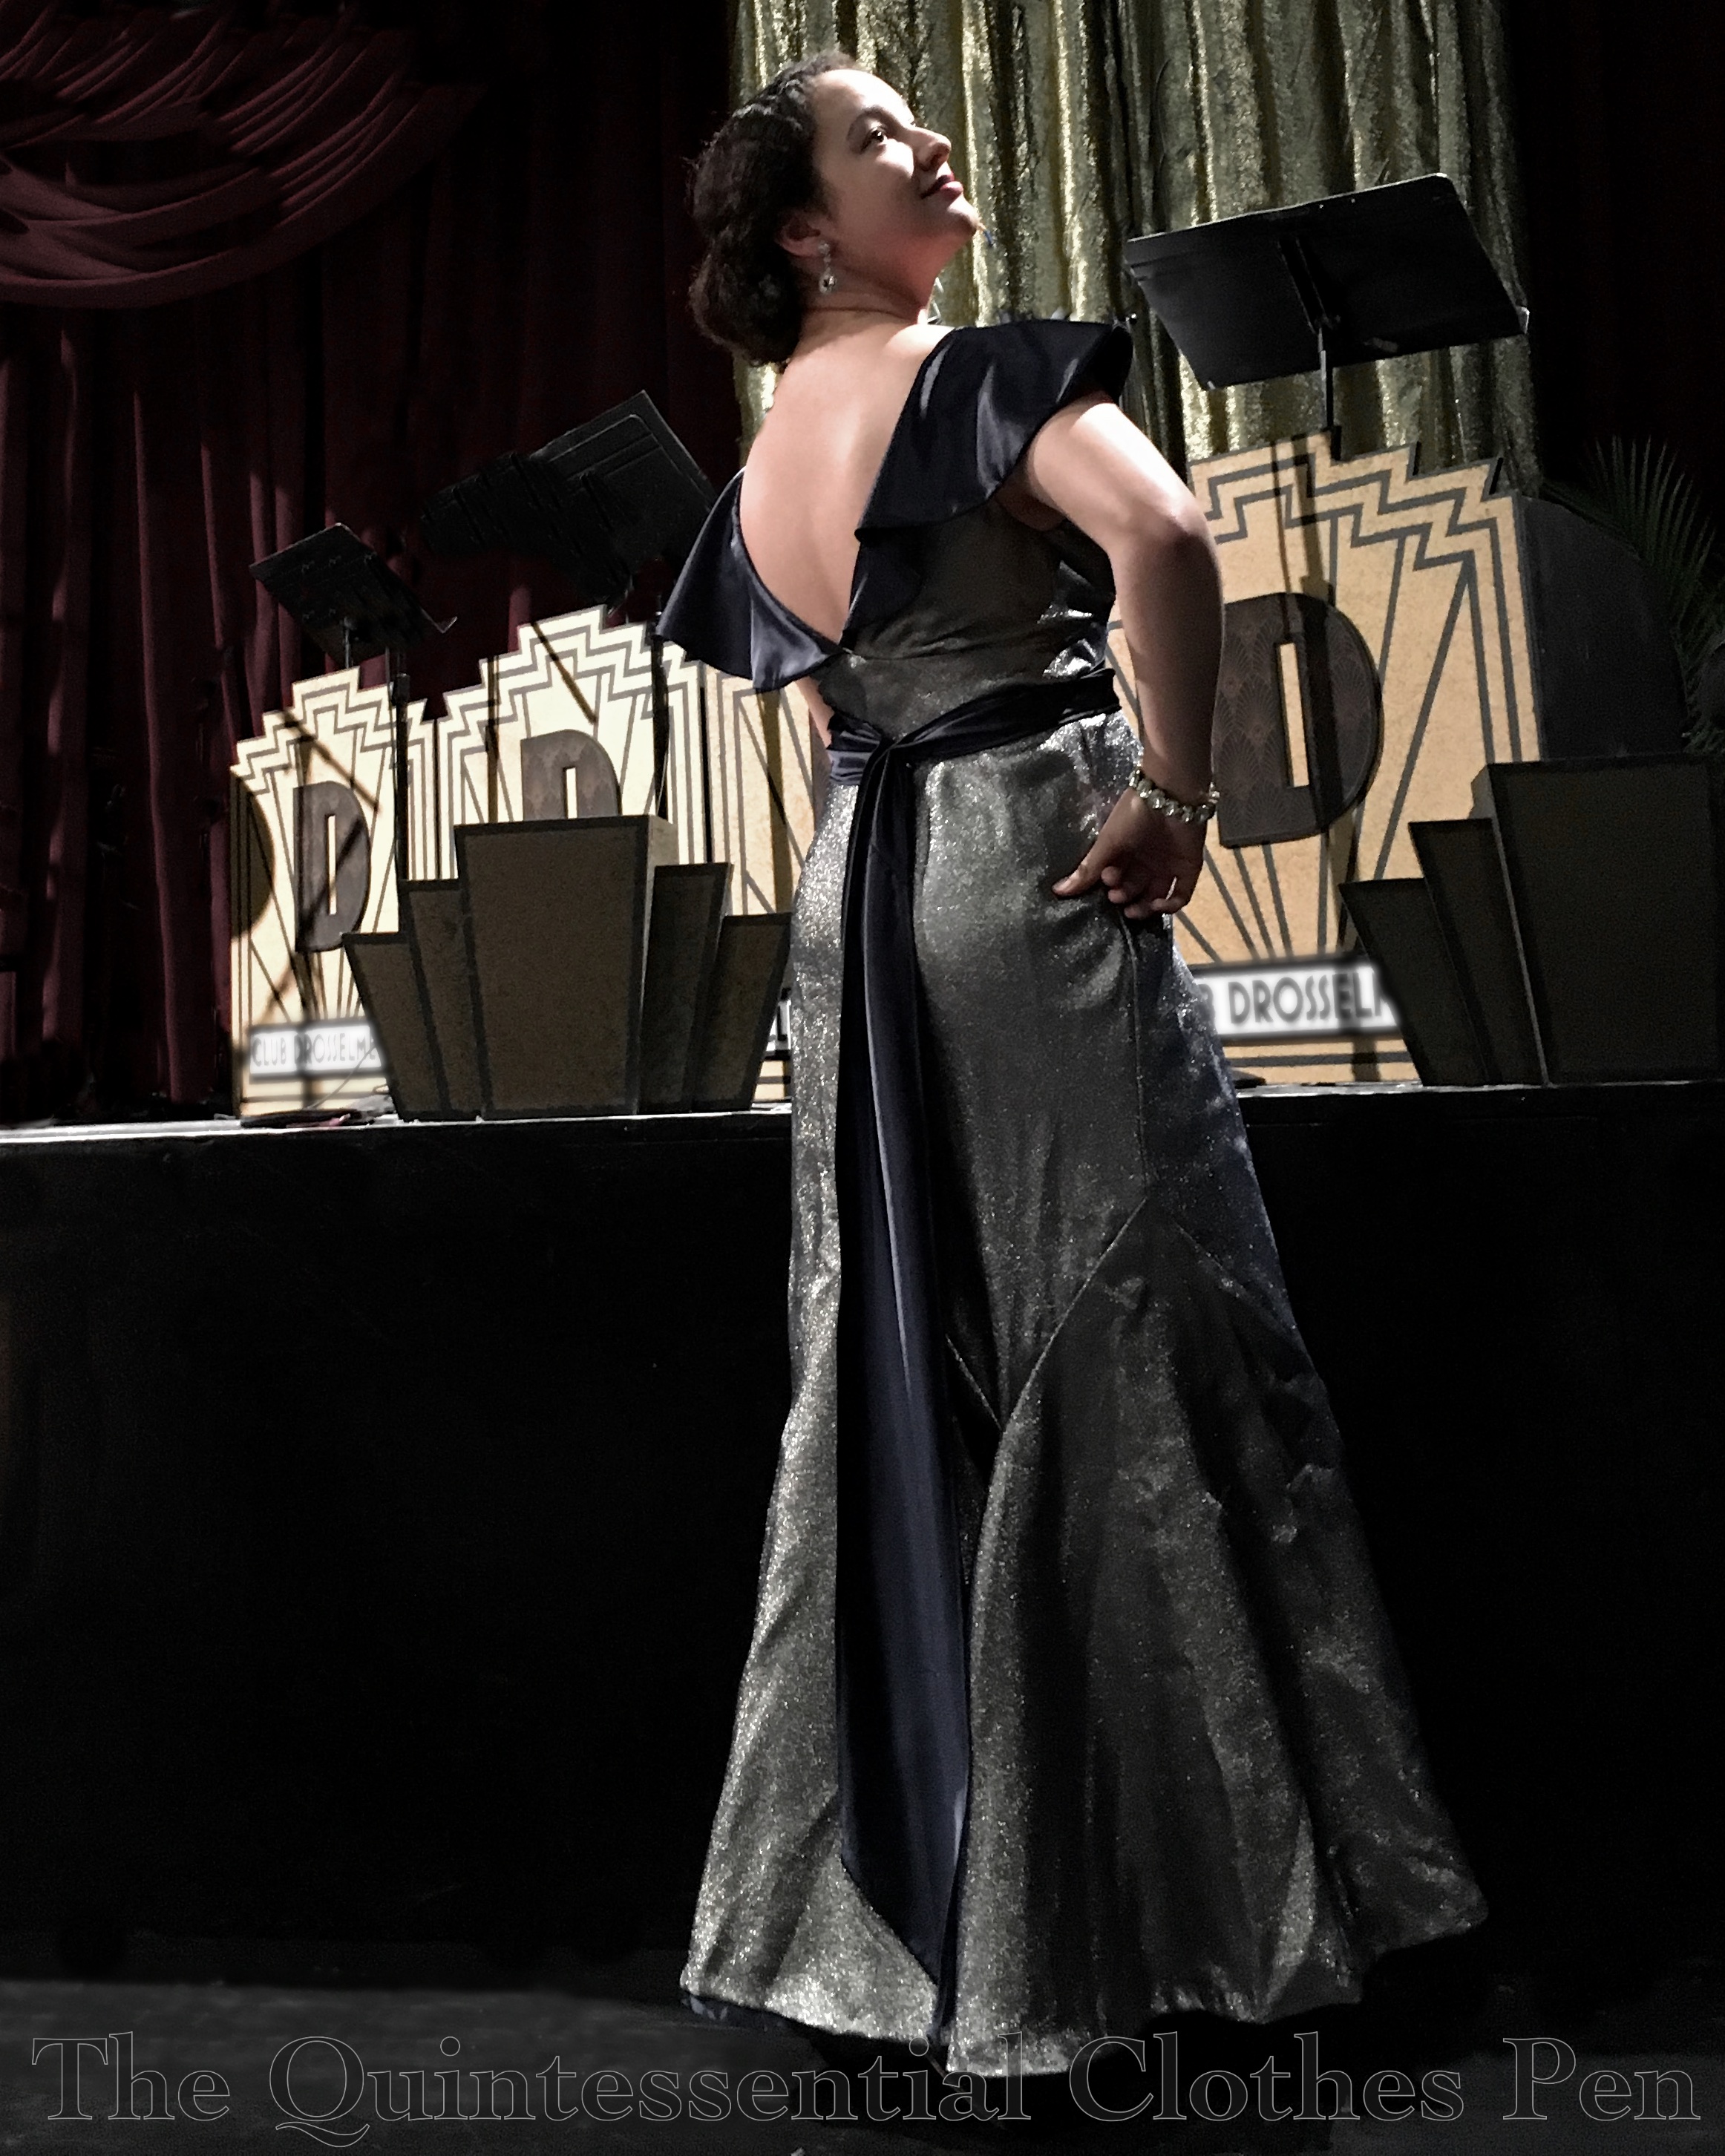
Of all the changing styles of women’s clothing in the 1930s, I am most drawn to those near 1933. This dress is no exception, though I’m putting its date at 1934. I designed, patterned, and built this dress for a short film four years ago, but it was never used and has been languishing ever since. So when I had an opportunity to wear 1930s evening wear last year I brought it out. Why not give something a wear that was entirely finished but had never been worn?
The dress is a classic 1930s bias cut gown. It has a wide ruffle around the neckline and applied godets on the skirt at about knee height. The dramatic back view shows off these details best. The inspiration came from this dress dated 1934 and this one dated 1933. I’ve accessorized it with sparkle drop earrings, a clear gem bracelet, and my black American Duchess Seabury shoes.
The dress is made from a metallic gold and navy shot fabric. I loved the metallic but hoped that it would drape more fluidly than it does in actuality. The neck ruffle and bias sash are both made from navy polyester charmeuse. The dress has a full lining of the navy charmeuse.
For not being made for me, it fits pretty well. It’s a smidge short and not perfect in the front torso, but I think the metallic fabric distracts pretty well! Plus, you really can’t tell if I only show you back views… The back is my favorite part!
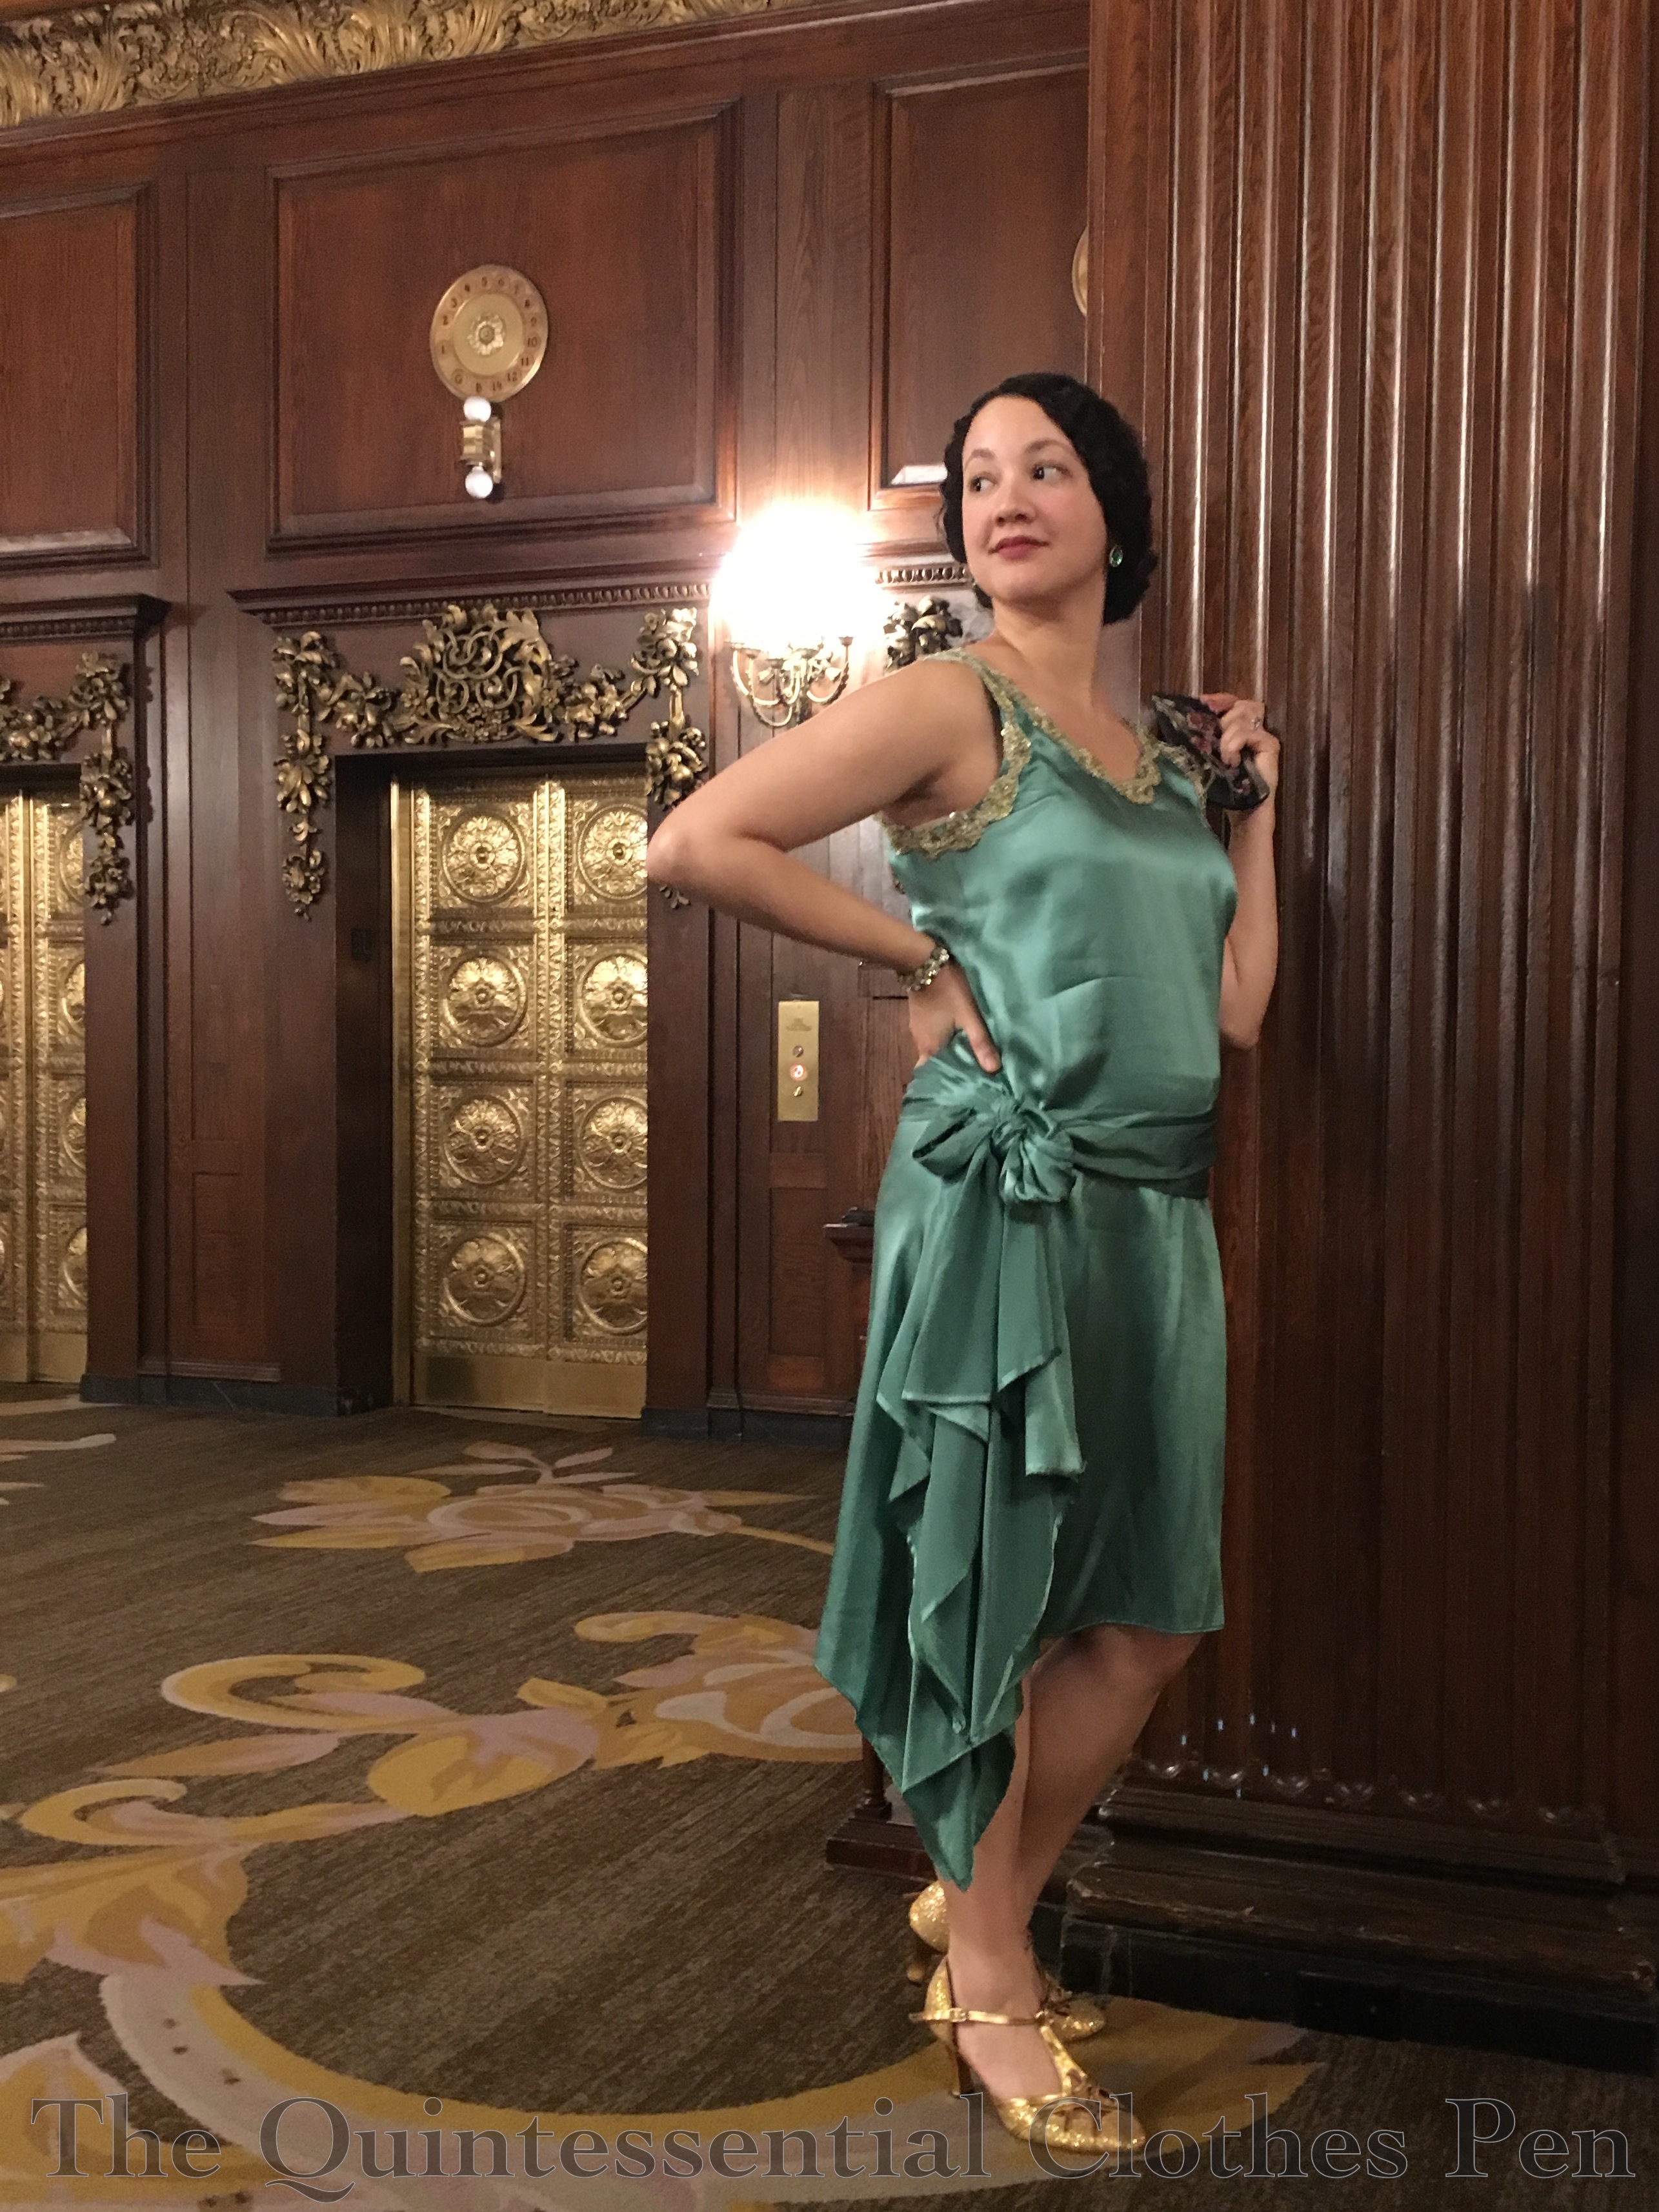
I made this 1928 evening dress and first wore it in 2012. Back then it was simple, with just a small cascade of fabric and no sash or bow (I show the construction in detail in this past post). Three years later, I decided to add the sash, bow, and extra cascade of fabric (and wrote a post about it). I liked the effect but wasn’t pleased with the slippery silk moving all over and sliding around. The armholes were also a bit high under the arms from the beginning, causing the trim to dig in a bit which wasn’t very comfortable.
Due to these issues and the addition of other 1920s evening dresses to my wardrobe I hadn’t worn this dress in a few years. But for an event this January, I decided to give it another go. Luckily, the dress still fit and didn’t cling in unwanted places! The first HSM challenge of 2018, Mend, Reshape, Refashion, was the perfect complement for the updates I wanted to complete.
To be specific about the updates, this time I lowered the armholes about 1″ and then pieced in extra trim to fill in the gap, sewed the sash/bow in place, and added an interior waistband that supports the weight of the bow and keeps the dress from pulling down on one side.
Our hotel room had a bonus vanity table and stool that was a perfect prop for photos…
I did my hair like I did last year but added a gold hair comb I recently discovered at my parent’s house. I’m pretty sure my mom gave it to me when I was a child or maybe a teenager… It’s just been sitting there waiting for me to put it to use again!
Just the facts:
Fabric: The only new fabric was a scrap of tightly woven polyester for an inner waistband.
Pattern: My own, based on measurements.
Year: 1928.
Notions: Extra trim to piece under the arms, thread.
How historically accurate is it?: Let’s say 95%, with points lost for the polyester.
Hours to complete: The updates took about 4 hours. I felt like hand sewing most of it so I could watch Netflix!
First worn: With the updates in January, 2018.
Total cost: Free!
I love how this dress looks and fits now! Yay! It only took three tries… It’s a good lesson: if you don’t succeed the first time, try again! And keep trying…! Third time is the charm on this one!
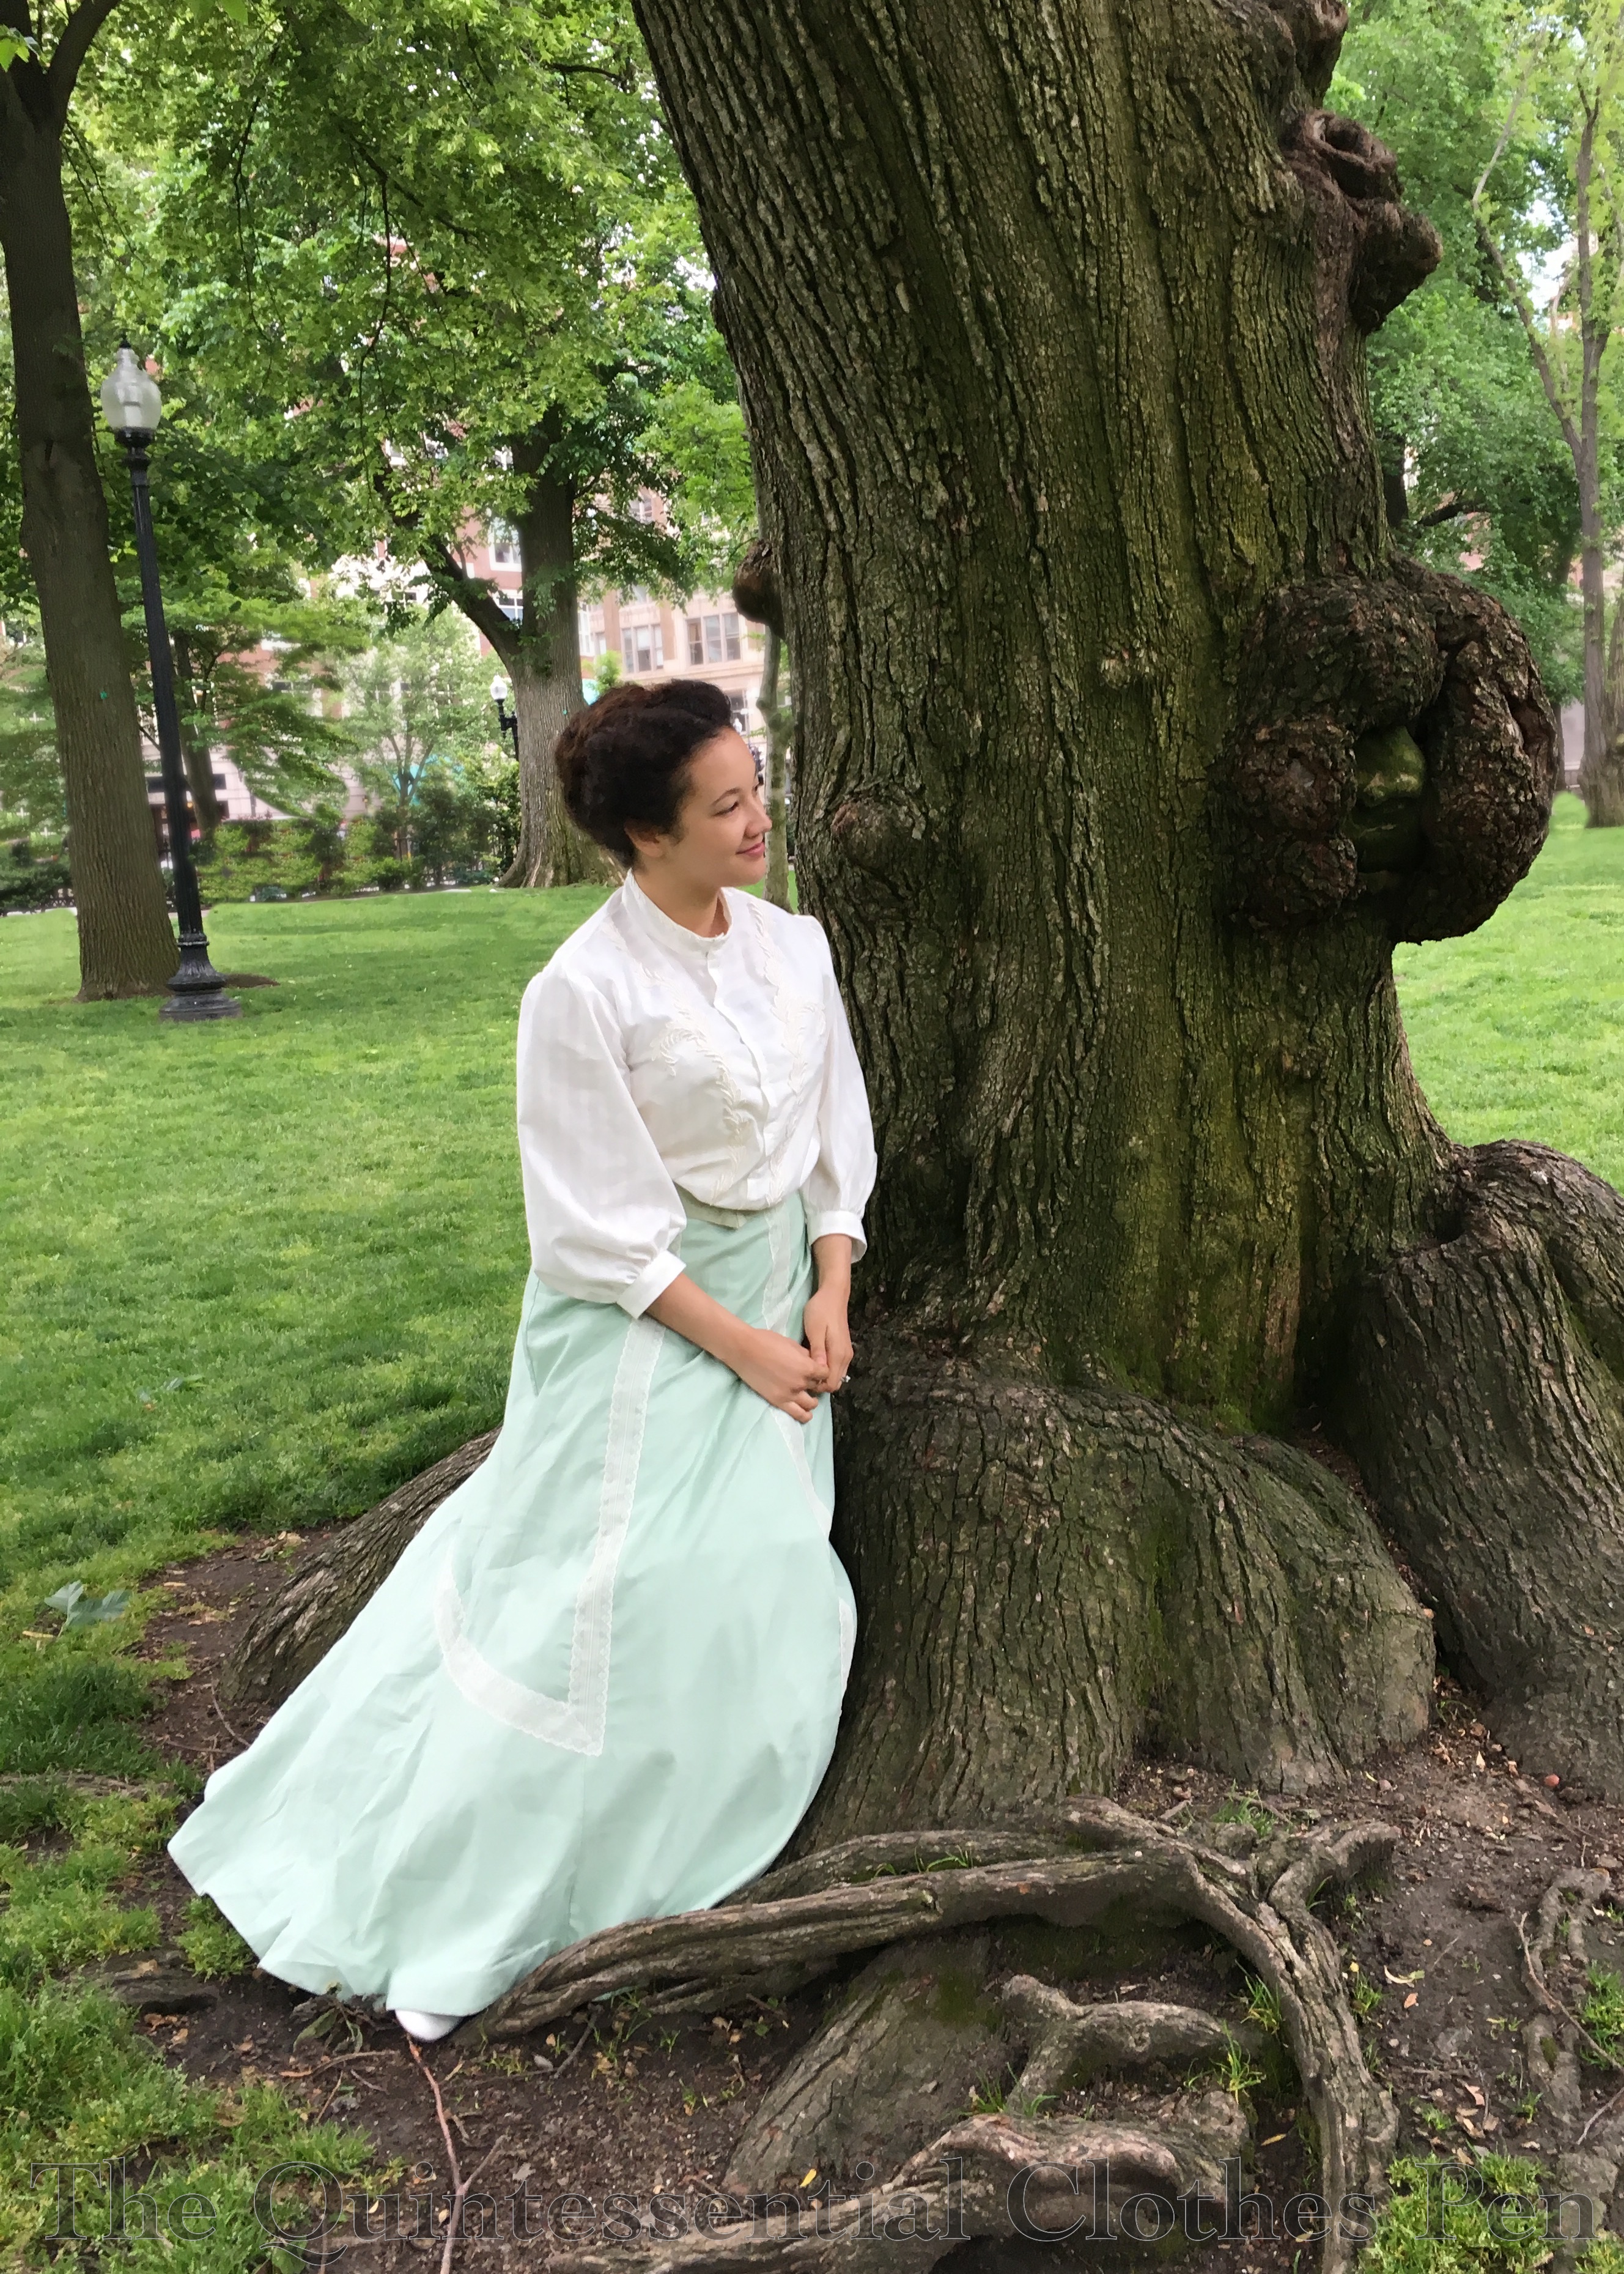
I had a chance to wear my 1899 Elusive Blue Dress at the end of last year plus the opportunity to take some wintery-feeling photos in it. This dress is so fun to wear–elegant and swooshy! Plus, the big hair of this period is just what my hair loves to do. So in the spirit of my post in 2016 sharing a more summery turn of the century ensemble, enjoy this Winter Gibson Girl Vignette!
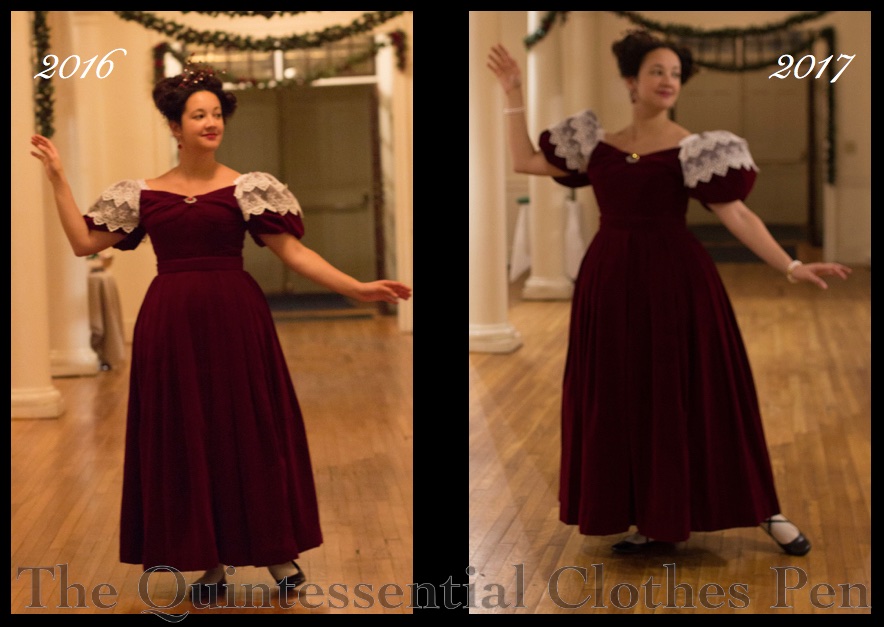
Last year, I made and wore an 1832 dress to the annual Christmas ball, but was disappointed with the silhouette as I didn’t have the time to make all of the supporting garments to really get it right. This year, I made the supporting garments to fill out last year’s dress so I could get the silhouette just right. Are you as curious as I am to compare the silhouette from one year to the next? Wait no more! (I even managed almost the exact same pose!)
I’m especially pleased with my sleeves! I have to confess that my sleeves were brushing up against things as I wasn’t used to how large they were! It was great! And the skirt is ever so slightly more full as well, which helps to balance the rather enormous sleeves.
I’m also pleased with the subtle difference of having laces on my shoes. Last year, I tried using masking tape to attach the laces inside the shoes, but pressure from walking pulled them right off. This year, I sewed the ribbons to lining of the shoe. That part worked great, but the ribbons would not stay tied and it was rather a challenge to bend over in a corset and tie the bows behind my ankles on a regular basis. It was great for looks but not for practicality!
It’s been almost exactly a year since the inspiration for a new mid-19th century headdress stuck in my mind. I was attending a workshop at the Civil War Weekend last October and watching others make lovely floral headdresses with low hanging flowers, like this. Another inspiration headdress was similar in having two sections of decoration on each side of a headband, but made of loops of silk chenille rather than flowers. I decided then and there that I wanted to try out this more unusual style. The image below was my main inspiration, followed by a similar style made of silk ribbon.
It’s charming, right? I thought it would be silly, fun, and different, so I went on a hunt for chenille yarn to complement one of my mid-19th century dresses, Annabelle. It was rather harder than I thought it would be to find just the shade of purple that I was looking for as well as an off white, but I persevered and found them on Esty.
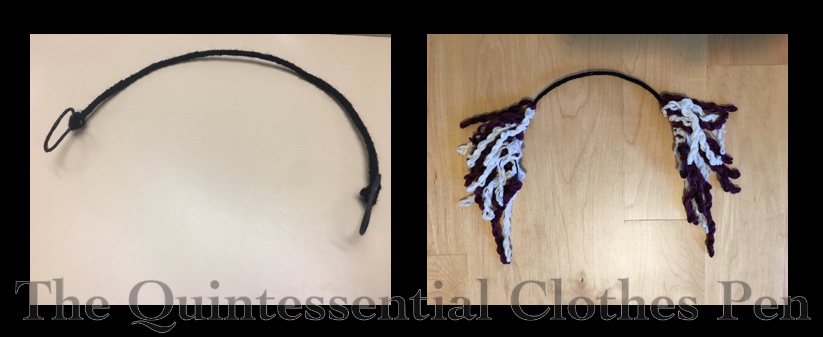
The base of my headdress is millinery wire. I formed loops at the ends in order to have a section to easily bobby pin to my hair. The over-the-head millinery wire is covered in black acrylic yarn from the stash to blend in with my hair, while the ends are black because I colored them with a sharpie–easy and quick. No yarn to get stuck in the bobby pins on the ends.
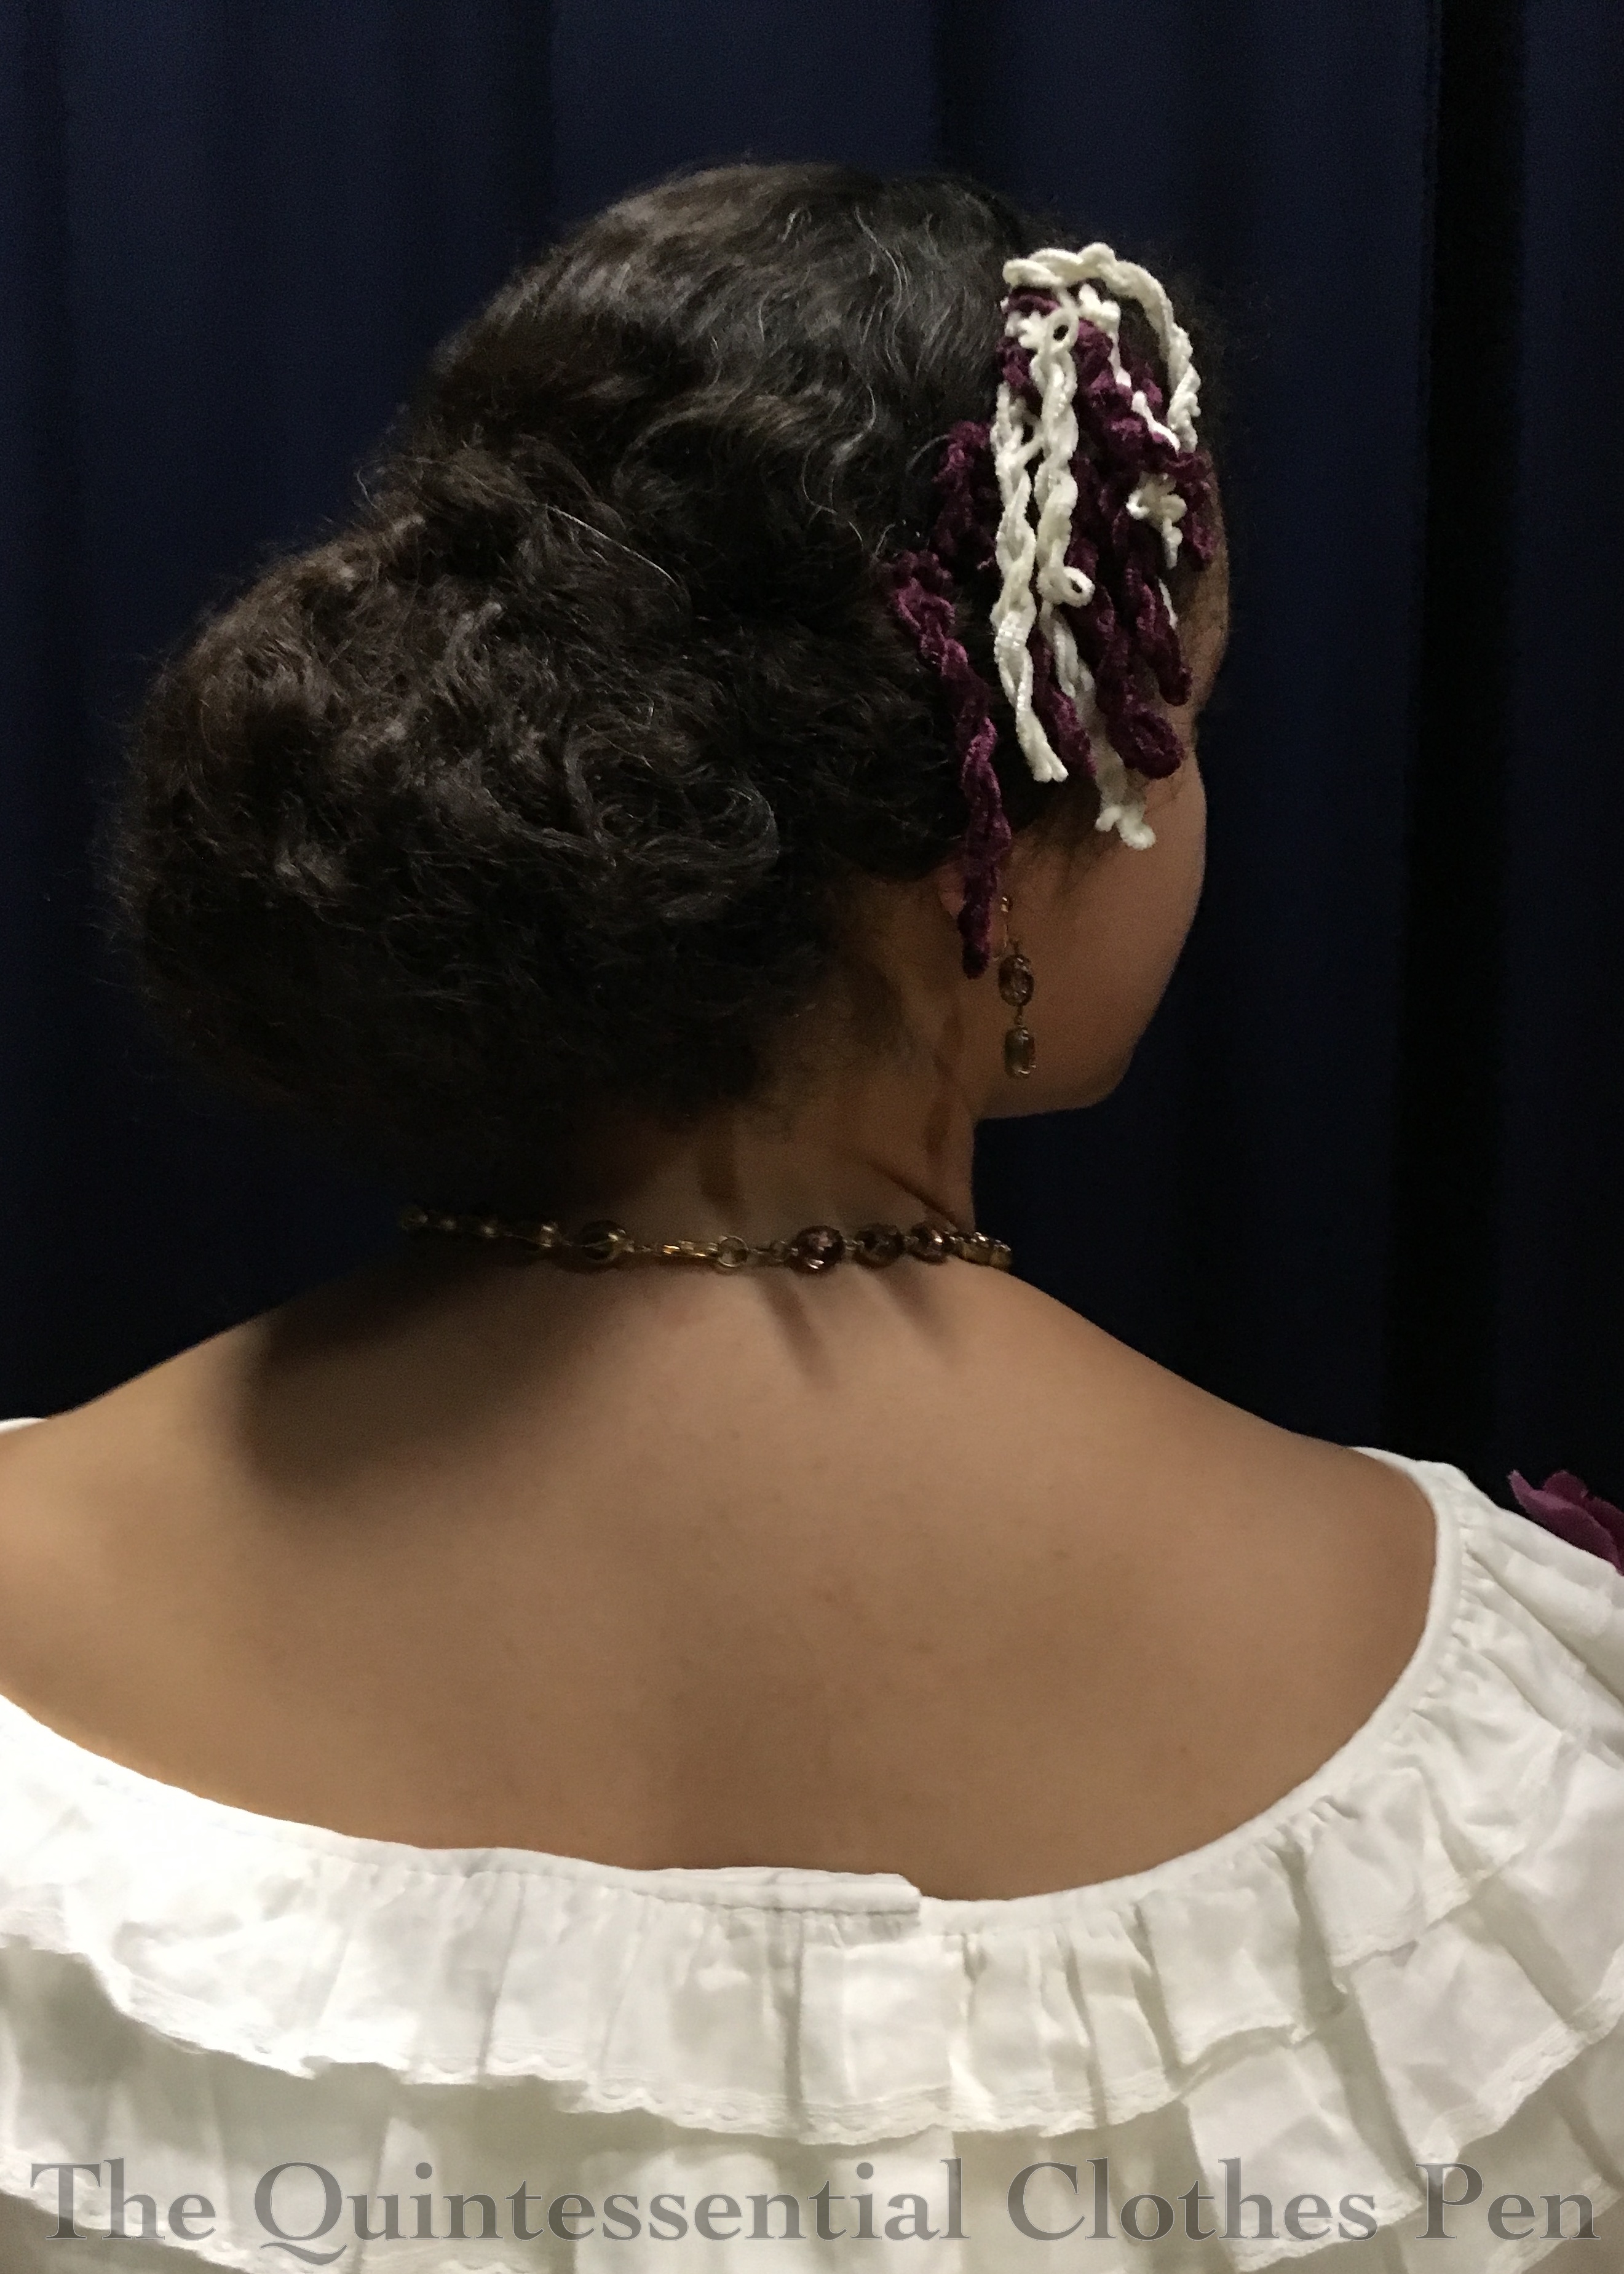
The loops of chenille vary in length. Each piece was folded in half, twisted, and then tied to the base. The chenille I found is not as plush as my inspiration, but with overlapping twists I was able to achieve a similar overall shape.
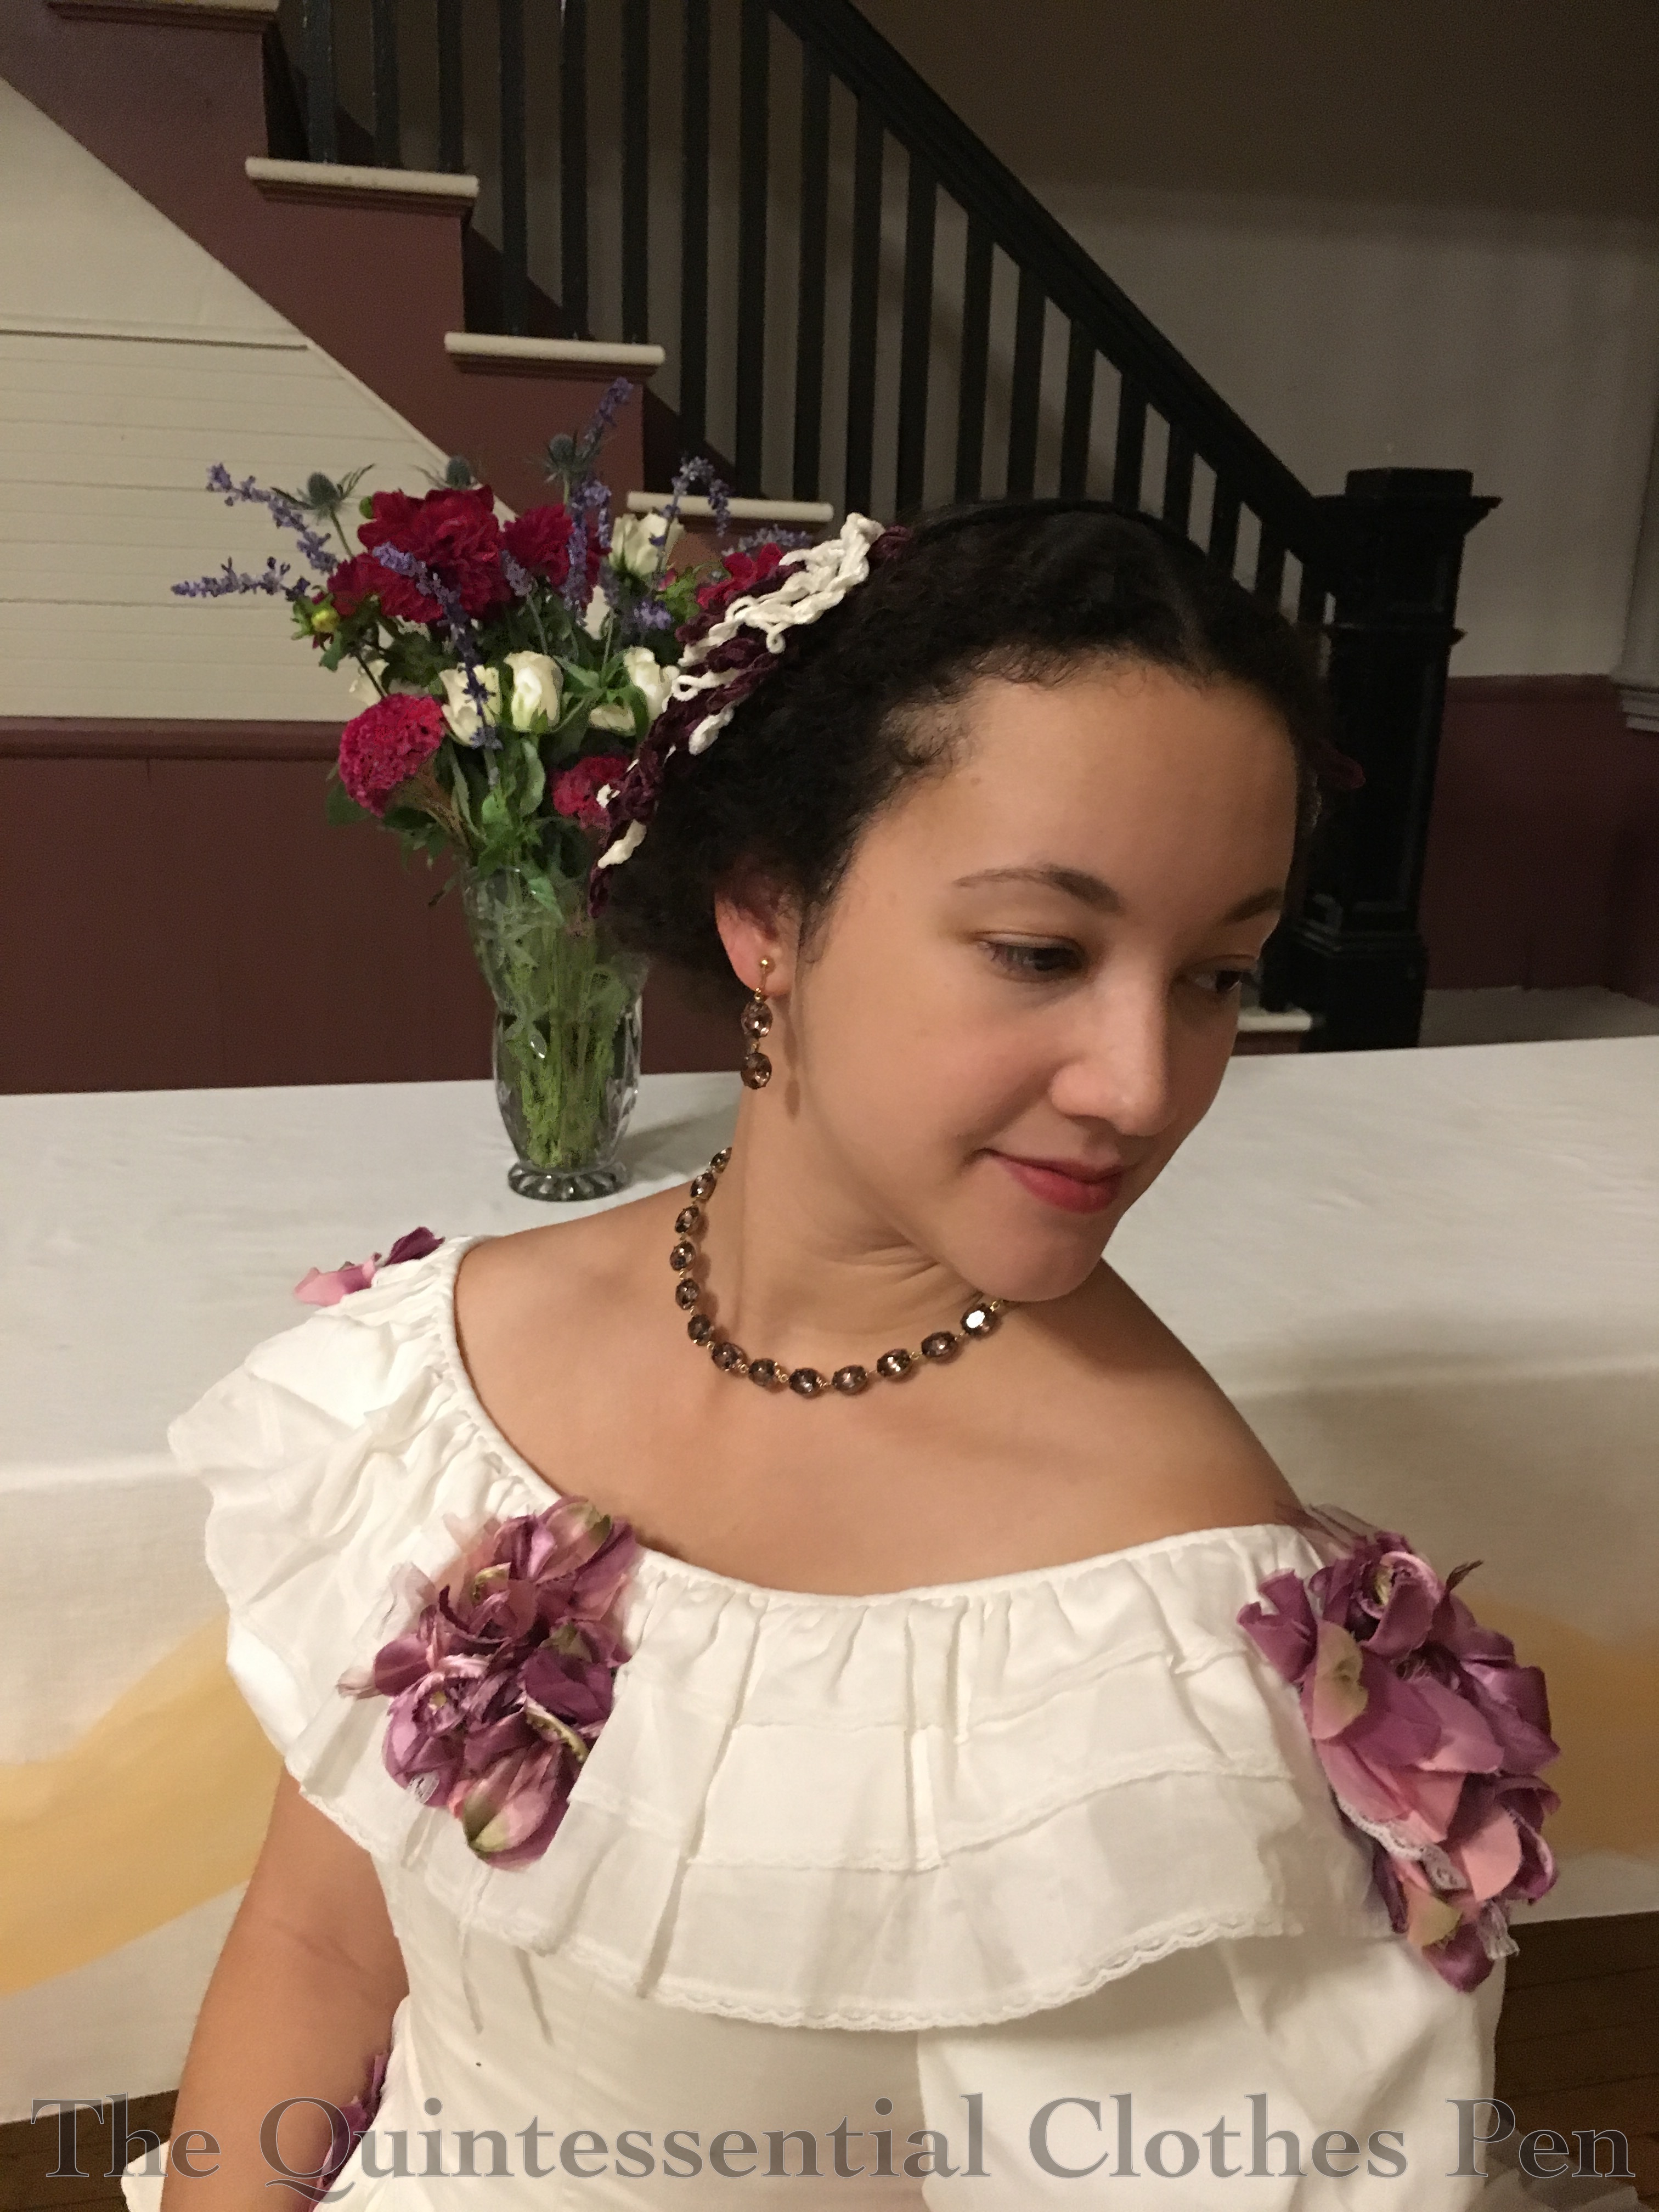
Here are two pictures of the headdress, one from the back, which better shows off the chenille headdress, and one from the front, which also shows one of our lovely bouquets from the ball.
As the title mentions, I was able to wear this ensemble to a mid-19th century Victoria and Albert themed ball. In addition to the usual loveliness of balls (live music, refreshments, etc.), we had added decorations, special fan shaped dance cards, a quadrille performance, and sashes. Here are the dance cards laid out on a silver tray in the entryway.
And here’s the whole ensemble worn with my sash. The chenille frames the sides of my face and puffs out a bit farther than my hair. Fun and different! I really like this somewhat quirky and unusual headdress!
Summer temperatures lingered on here until just the other day, though they were not quite as hot and humid as they were on the 4th of July…
The day of the event started off a bit rocky, as I was confused about what time I was meeting my friends to carpool and so was just starting to get ready as they were getting in the car to leave the house I was supposed to meet them at, an hour from my house! I wound up driving to the event by myself and getting there a bit late. It wasn’t a great way to start the day, but at least it went up from there.
Being the beginning of July, it was hot, even in the morning. I was dripping sweat just standing still in the shade and I didn’t sit down until after pictures were taken because I knew how wrinkly my rayon dress would be as soon as I even looked at a chair! See, no wrinkles… yet!
As you have probably deduced by now, I made a new dress! The goal was to have a war-time 1940s dress made from a fabric that had been sitting in the stash since 2013 waiting to be made into a 1930s or 1940s dress.
The dress is constructed from 3ish yards of rayon. (I don’t remember the exact yardage.) It’s a greyish/mauve color with little teal clovers all over. It’s machine sewn and hand finished. The seam allowances are left raw on the inside–a detail I have noticed in 1940s dresses I’ve had the chance to observe.
The dress closes with 12 buttons which run in groups of two down the front (and a hidden hook and eye at the waist). It’s a perfect detail for wartime, when I’ve read that zippers were being used less frequently so the metal could go to the war effort. The buttons-in-groups-of-two detail was directly inspired by this image. (The image came from this post by The Closet Historian. It has many lovely dresses from the Spring/Summer 1943 Montgomery Ward catalogue.)
I spent lots of time looking at buttons on Etsy in order to find some that matched the particular shade of teal I was looking for. I was so pleased when I found them! It was only after I ordered them that I realized they were shipping from Europe. I was very nervous they wouldn’t arrive in time for the event! Luckily, they arrived just a few days before, giving me just enough time to sew them on the dress. Whew!
I couldn’t find a buckle in the same teal color and I thought that might be too matchy anyway, so I went with a slightly grayish mother of pearl buckle instead, also from Etsy.
The pattern is a mix up of two different things: a 1970s shirt dress pattern for the bodice/sleeves and a self-drafted skirt pattern. I wanted to get the two pleats in the front of the skirt like the inspiration image has while also making the hem as full as was allowed during wartime rationing–a sweep of 74″. These two requirements made it easier to pattern something myself than try to start with anything I could easily find. I like the pleats in the front, but wish I had placed them a little farther towards the side seams. Oh well!
The back of the skirt is shaped with darts. Turns out they’re a little tipsy and listing towards the side seams… oops. The square-shoulder 1940s silhouette is achieved with the assistance of some super thick shoulder pads. Looks pretty silly on a hanger but slightly less silly on me, thankfully!
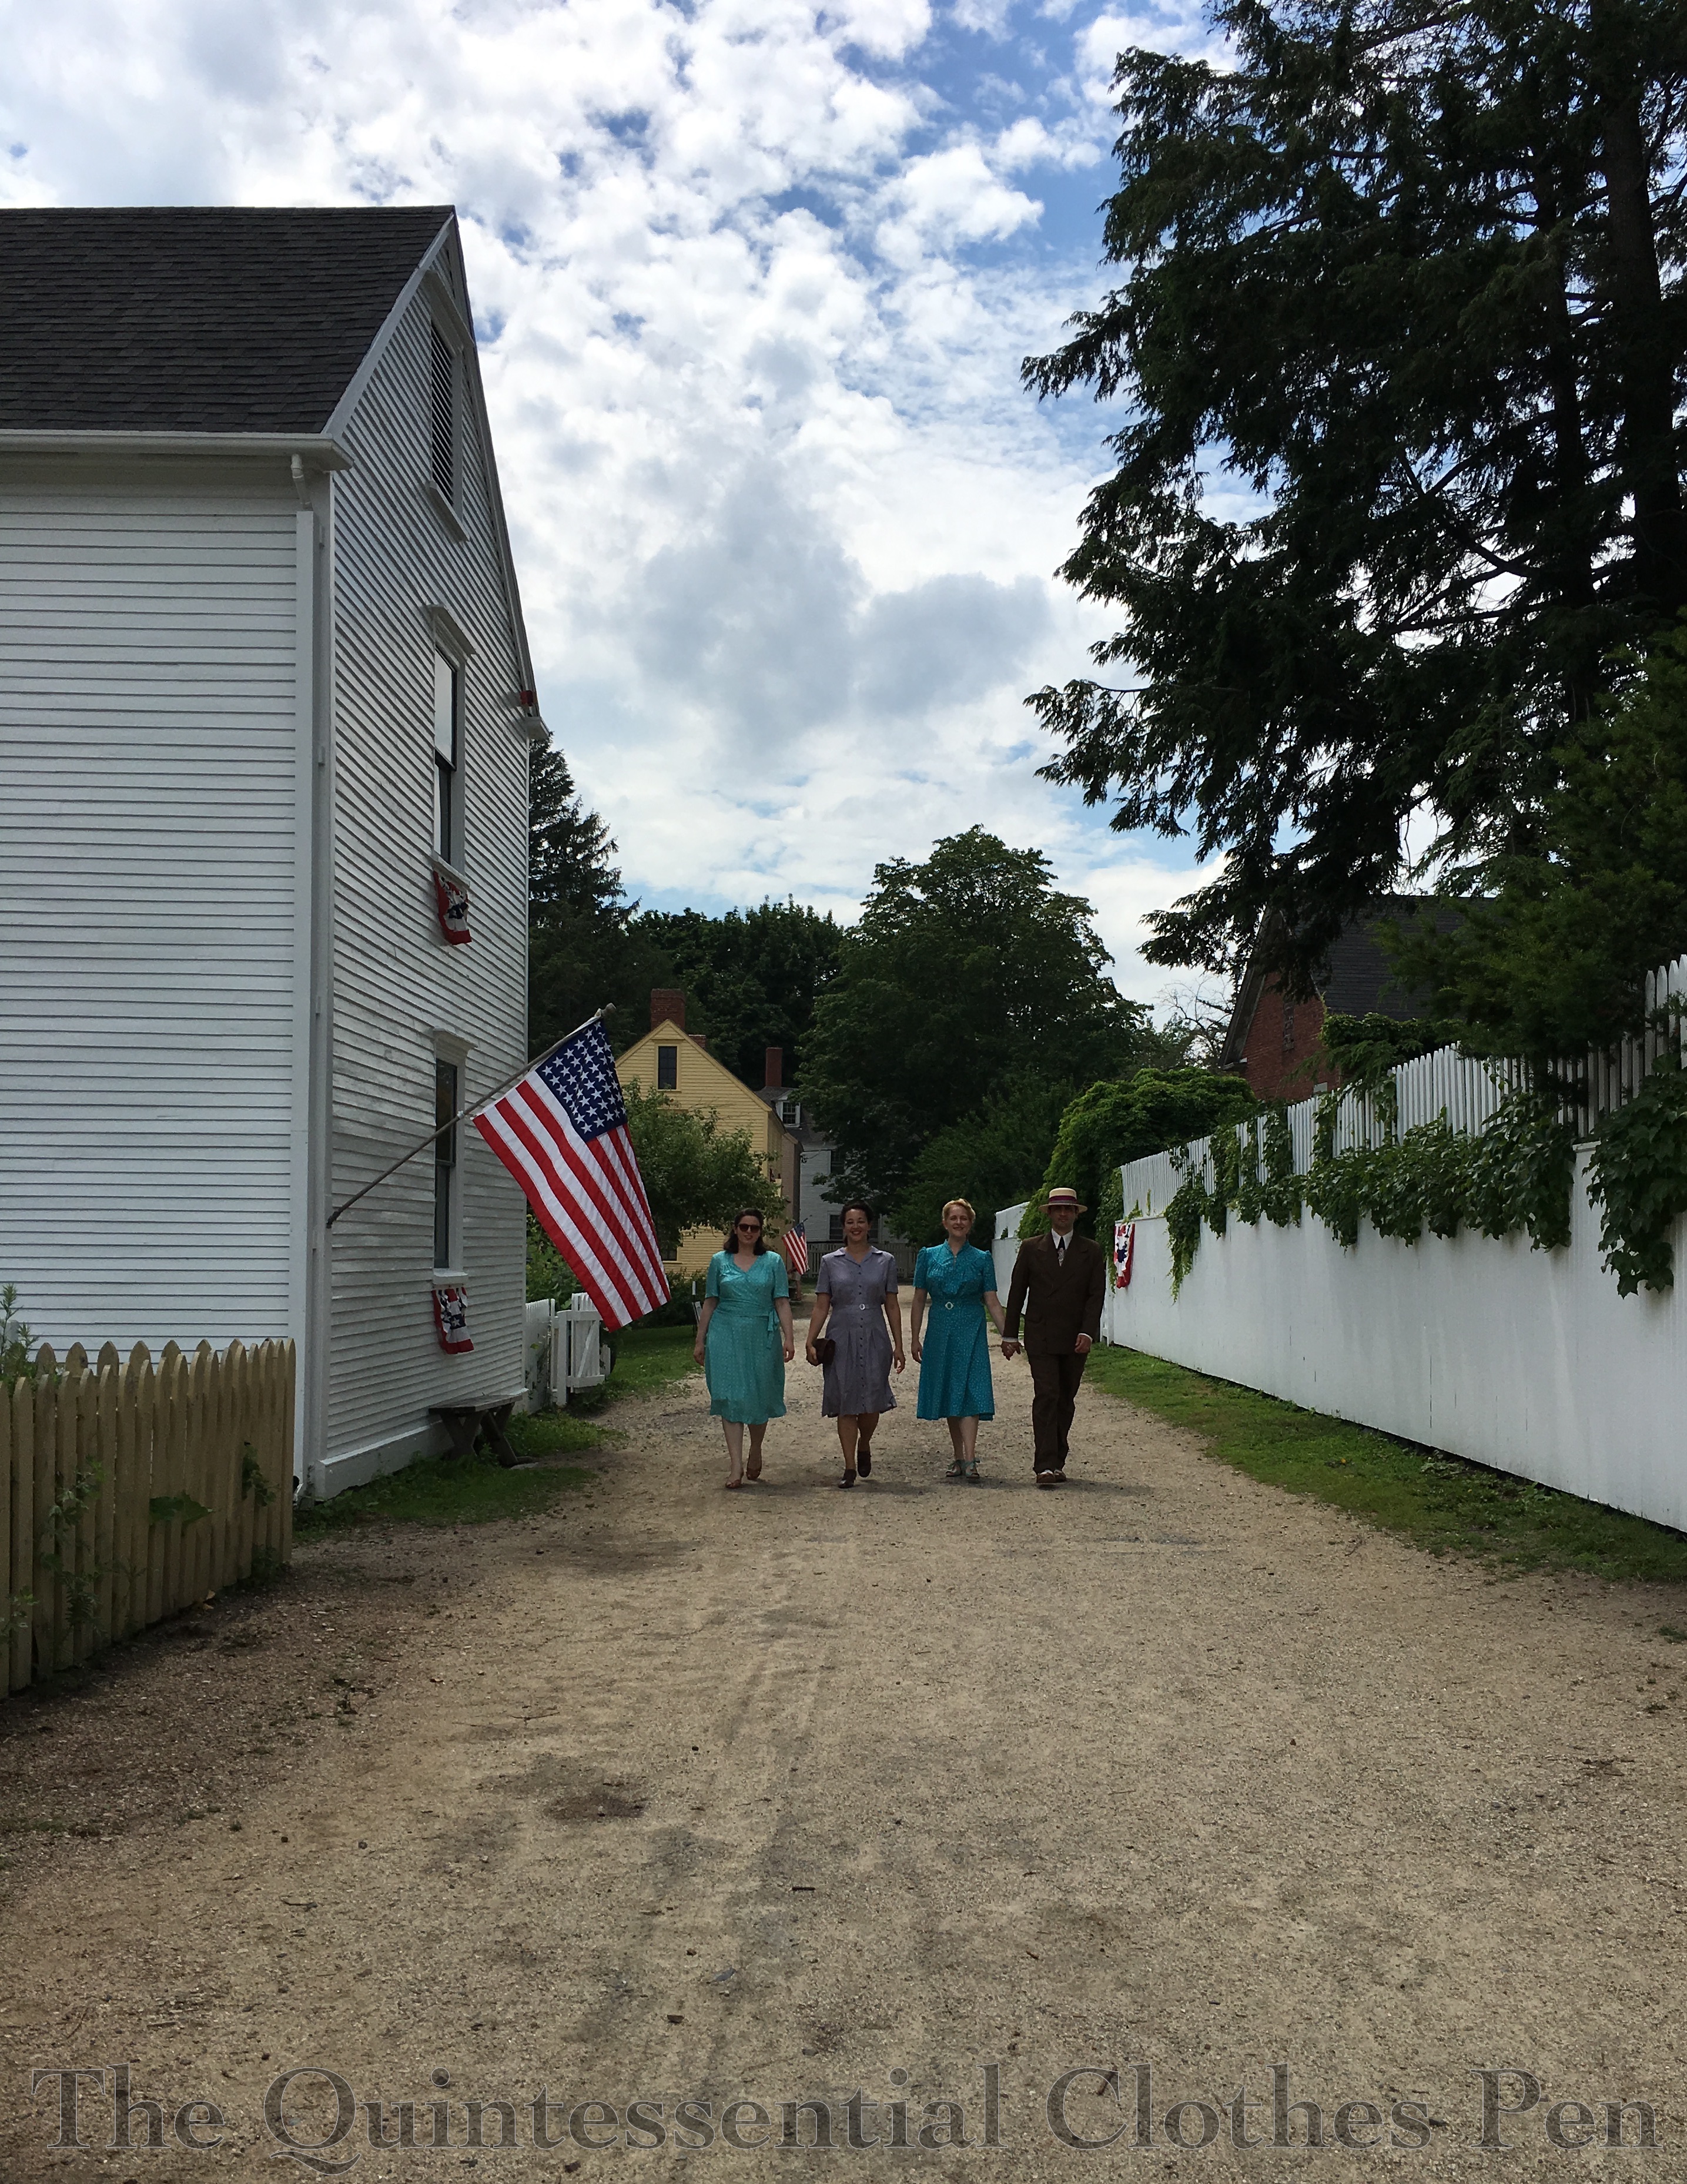
I like this photo of those of us from our group who were dressed in civilian clothes. In fact, there’s a whole series of us walking towards and away from the camera. It was hard to narrow it down to just one!
Before I made it, I wasn’t sure how I’d feel about an early 1940s day dress. I like shirt dresses when I see them but I don’t usually wear clothes with collars (nor many garments with buttons), so these were an unusual touch in my wardrobe. I’m pleased to report that with the proper accessories and hairstyle I felt perfectly comfortable and un-frumpy in this new decade. Win! Next up, a post with all the details of my successful victory rolls!
In 2012, I made and wore a c.1900 green skirt and straw hat at Newport Vintage Dance Week. I had plans to make a blouse as well with it but ran out of time and wore a 1913 blouse I already had instead. I wasn’t terribly pleased with the whole look, so I didn’t ever focus on it in a blog post, though I did include it in my overview of the dance week.
At Newport Vintage Dance Week in 2012.
Since then I’ve worn the skirt a few times, but haven’t been able to for the last few years because (and this shouldn’t be surprising given the subject of my last post) the waist was too small!
Thankfully, I had two things going for me that made changing the waist size quite simple. First, I had extra fabric. Second, when I’d originally made the skirt the waist circumference was a few inches too big for the waistband, so I took a tuck on each side of center back. Now all I had to do was let out the tucks and extend the waistband with my extra fabric!
Updated ensemble in 2017.
It took me years to finally get around to doing it, but I’m glad I did, because I really like this skirt and it’s fun to remember the lovely wading adventure we had back in 2012 while I was wearing it! What gave me the final push to do the change was the opportunity for an early summer picnic, for which I had clothes but really wanted to have something new. Who hasn’t experienced that desire?
More About The New/Updated Ensemble
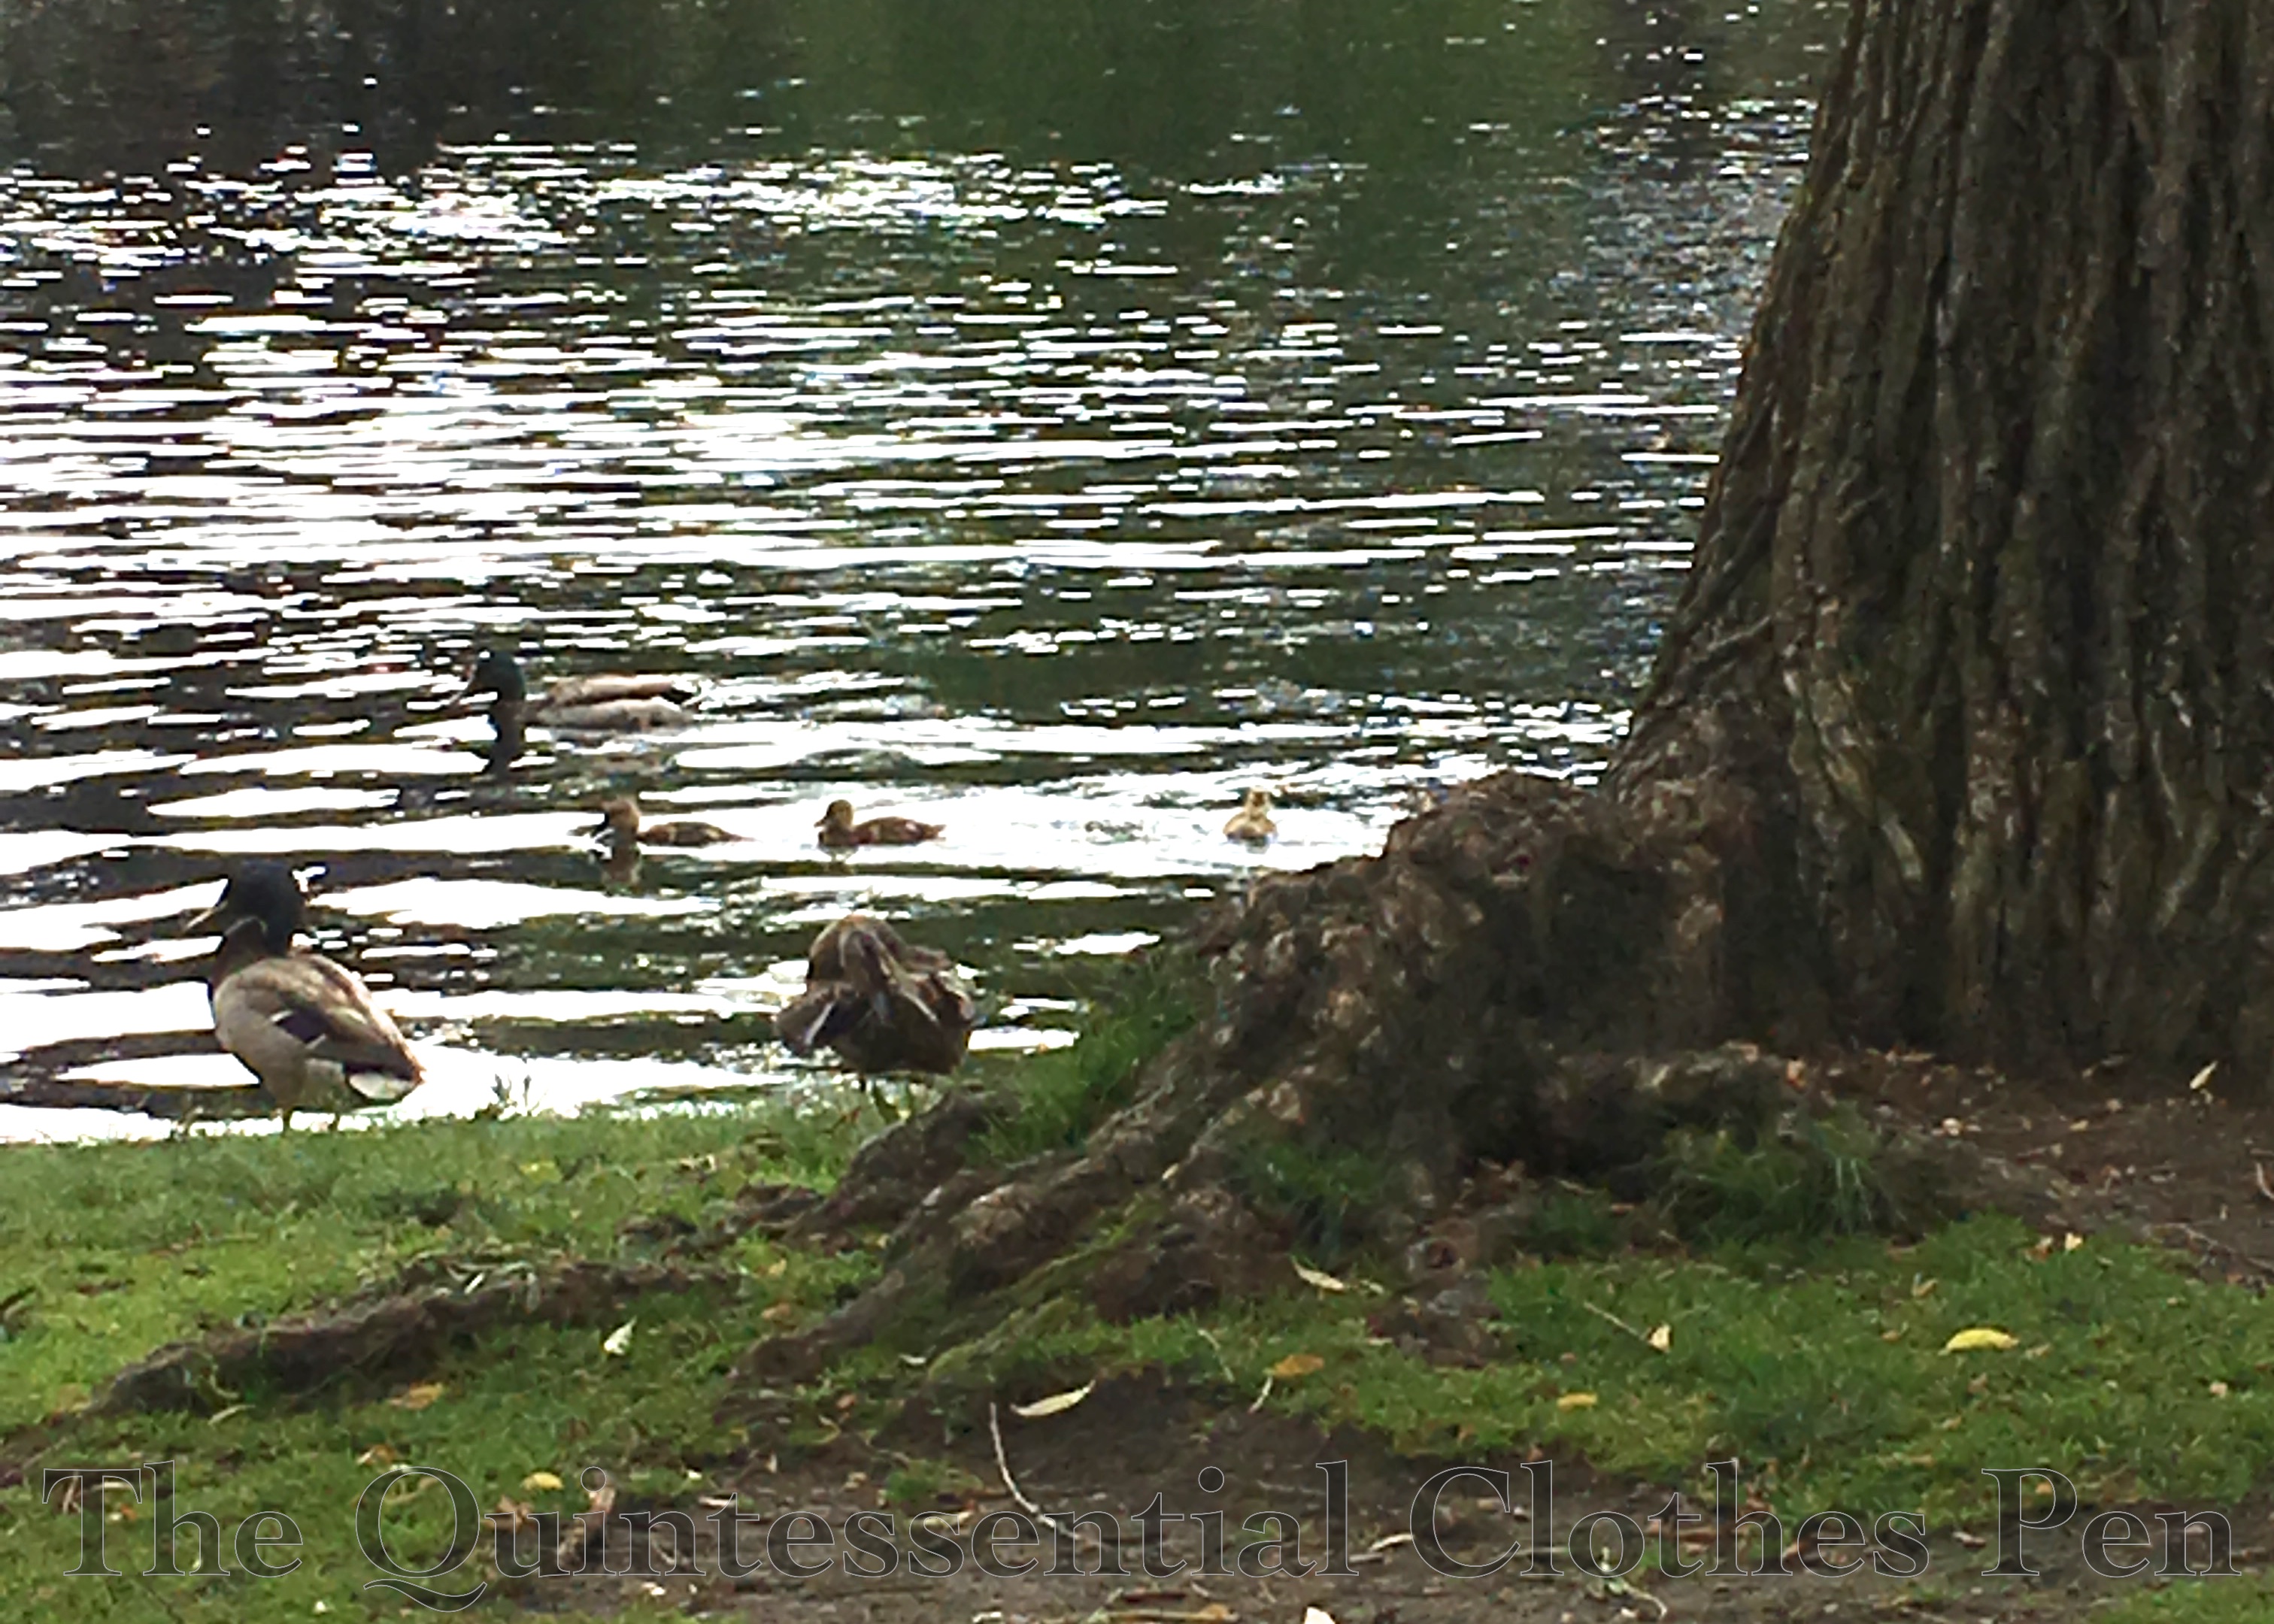
Ducks (and baby ducks) at the picnic!
The picnic provided some lovely backgrounds to take documentation pictures of all the new and updated pieces that form my Anne-inspired ensemble! I ironed out all the wrinkles in the skirt ahead of time… and then sat on picnic blanket before taking pictures, so the back pictures have a rather wrinkly bum.
The Blouse Inspiration
In addition to wanting to update the skirt, I’ve also had that blouse to go with it on my to-do list for years. Instead of going back to the blouse plan from 2012, I started over with new inspiration. (Never fear, the unfinished blouse from 2012 is still in a box waiting for me to go back to it… someday.)
The new inspiration came directly from the scene in Anne of Green Gables when she’s walking down the lane with Gilbert and his horse (just before she gets mad and whacks him with her basket!). I’ve always love her silhouette and decided a blouse with a similar shape would suit the green skirt nicely.
Anne and Gilbert! (And the horse.)
I researched blouses from this period and decided on the year 1904 for my blouse. I was particularly inspired by this ivory c. 1905 blouse, this black c. 1905 blouse, and this blouse that The Met dates to 1899-1902. The idea to play with the direction of the stripes and to have curling lace trim (mimicking embroidery) was taken directly from this page from The Ladies’ Home Journal for April 1904 that Lauren of Wearing History kindly shared on her blog. Other views of some of these blouses as well as other inspiration are gathered on my Pinterest board for this project, here.
The Blouse Construction
My blouse is made of an ivory cotton that is woven with narrow stripes. In the center front panel the stripes are horizontal, while on the rest of the blouse they are vertical. The blouse is trimmed with lace appliqués in the same pattern as the Ladies’ Home Journal blouse from 1904. Unfortunately, all of the subtle ivory on ivory details are hard to photograph.
The blouse is mostly machine sewn and uses French seams except at the armholes, which are left raw. It is finished by hand and closes up the front with concealed hooks and thread bars. There is a twill tape channel for a drawstring at the waist to help control the fullness and the pigeon front.
The silhouette was looking a little deflated for a 1904 pigeon breast look, so I tacked ruffles down the front seams to help fill out the blouse. It’s subtle-but-useful method and was easy since I already had the circular ruffles in my stash.
The Hat Inspiration
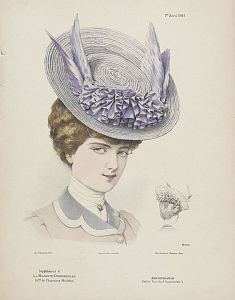
The most direct inspiration for my hat was this image from 1903. While I decided against feathers, the general trim placement as well as the poofs under the back of the brim are present in my hat.
There are more inspirational hats here, on my Pinterest board for this project.
The Hat Construction
The hat in the 2012 version of this ensemble was an admirable idea in theory, but not execution. (I was displeased enough that it was remade into my 1885 Flower Pot Hat in 2015.) However, I had another of the same straw base that I decided to remake for the new Anne ensemble.
In 2012, I had used the second straw base to make a Regency bonnet, another project I wasn’t entirely happy with (this is not the right type of straw to get a good bonnet shape). All that needed to be done was removing the trimmings from the hat and taking out the stitching holding the wire around the edge… and I had a straw hat blank ready to be remade into a new hat!
For a hat block, I used a shallow glass bowl covered in tin foil and plastic wrap. I wet the straw base in the bathtub, then used a paintbrush to cover the straw with a layer of my sizing (a bit of elmer’s glue dissolved in water–no formula, I just winged it). I set the hat out in the hot sun to let it dry, holding the edges down with spice jars to keep it from blowing away. (Can you tell I just wandered into my kitchen to see what I had that would work to help me with this hat?)
Reshaped straw hat base next to my improvised hat block.
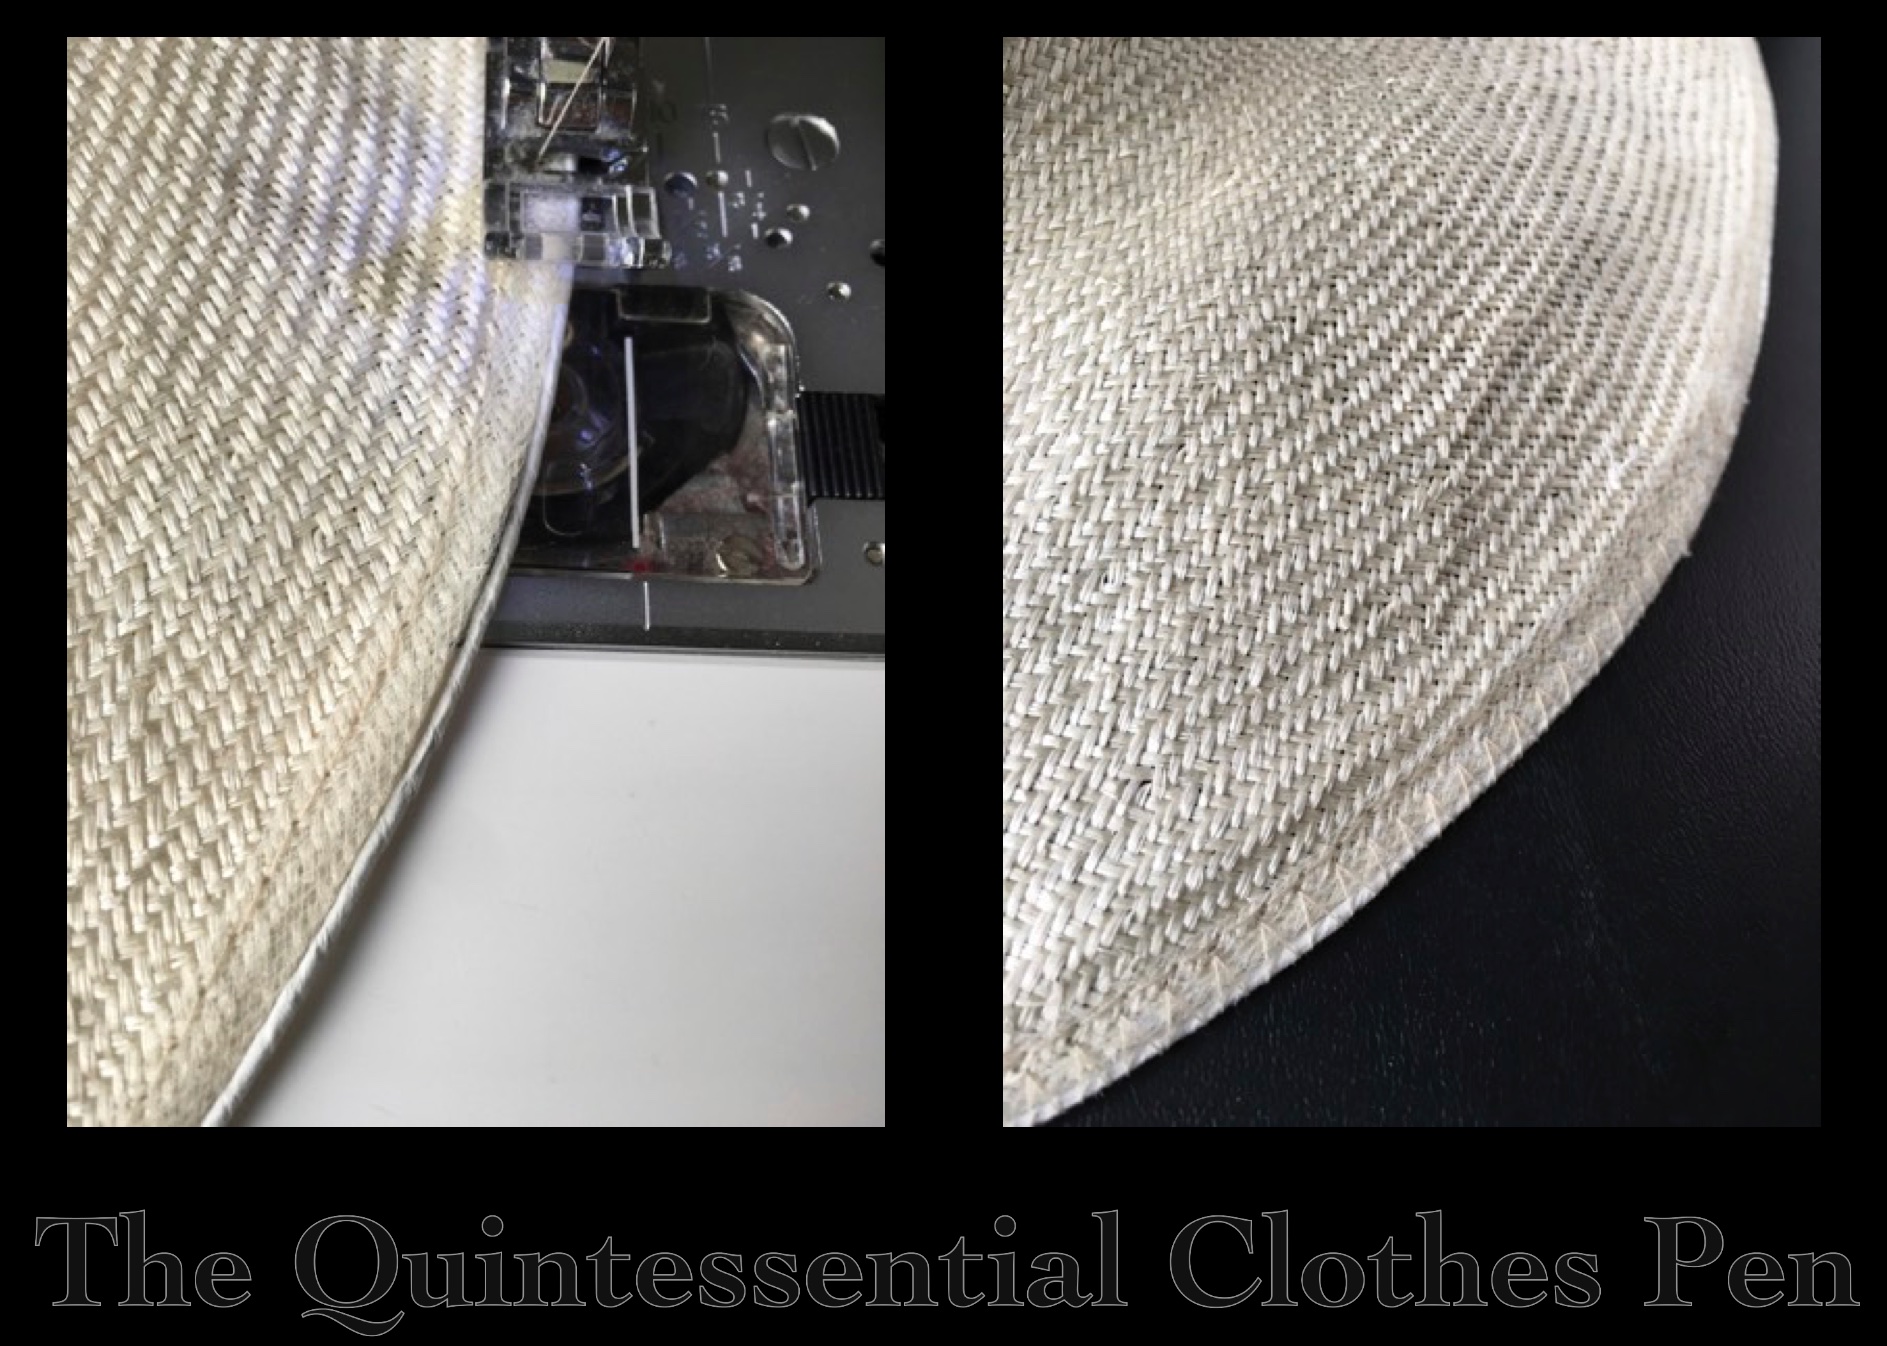
I tidied up the edges of the hat with scissors, bound the edge of the straw with narrow strips of tulle to keep the straw from fraying, and then reshaped my wire and resewed it around the edge of the hat. I covered these edge treatments with a binding of ivory silk satin, trimmed the hat, and I was done!
The tulle was sewn with a straight stitch. The wire was then stitched with a zig zag.
Sundries
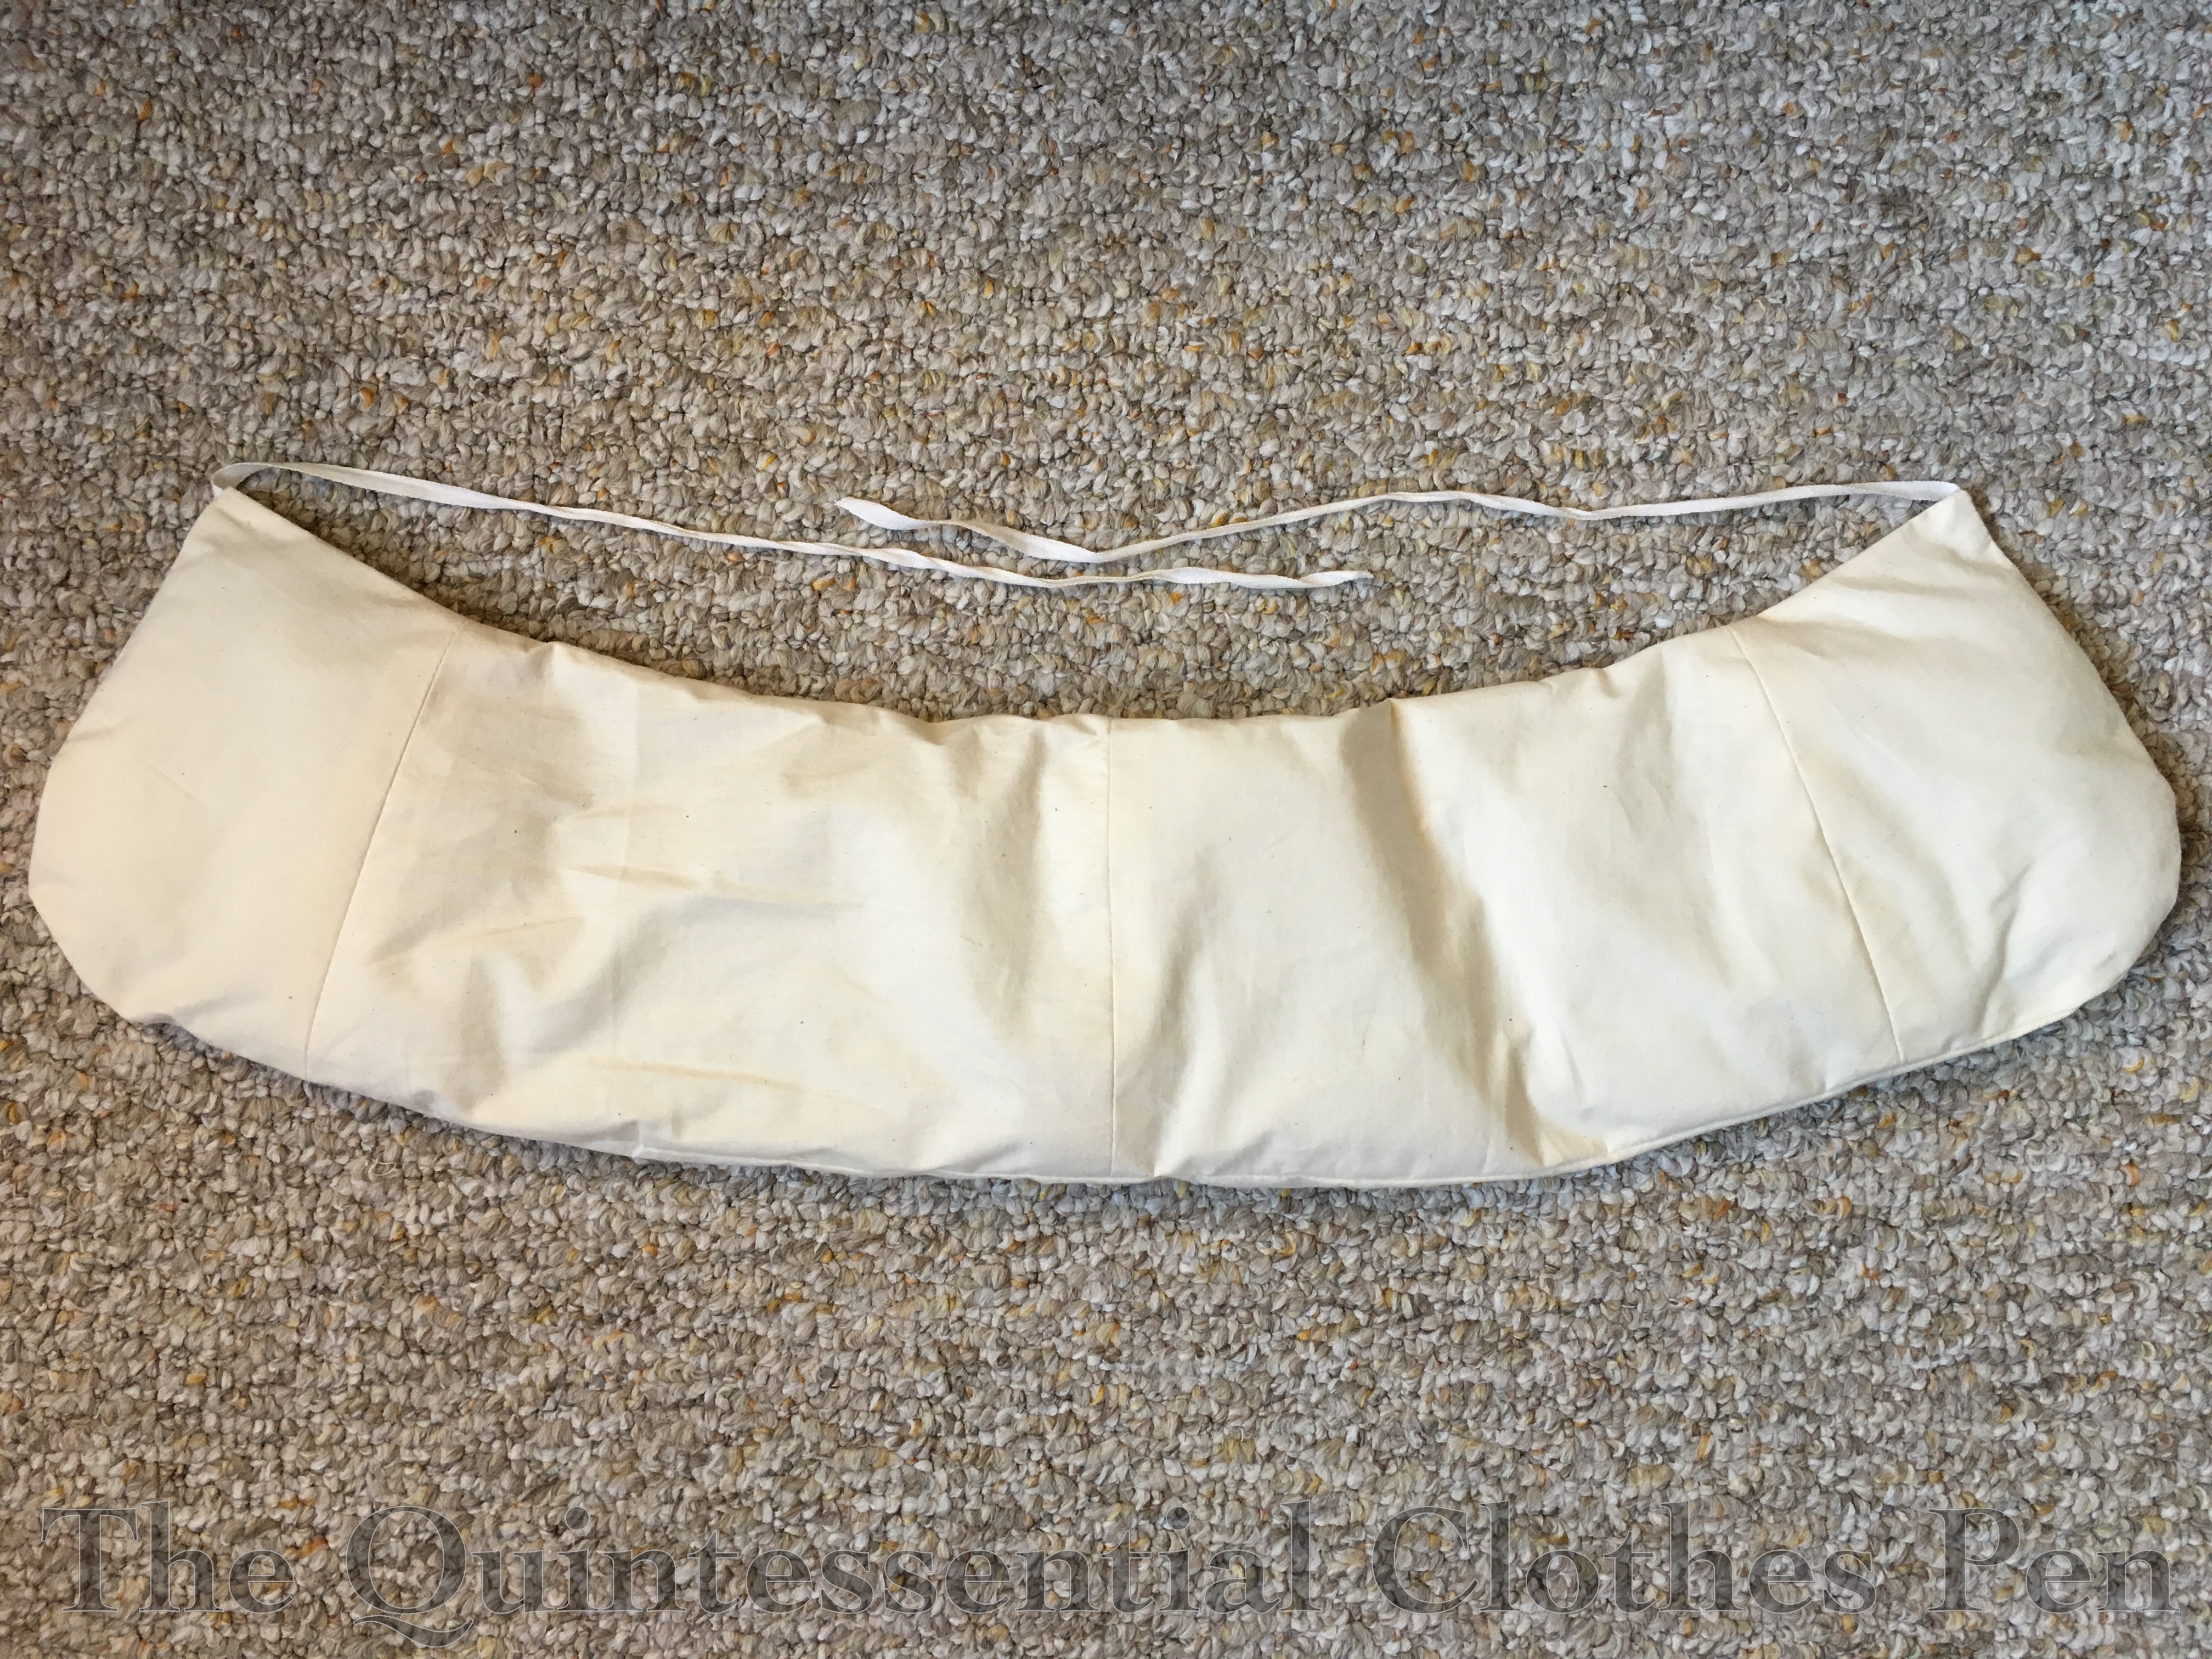
In order to achieve my desired pigeon breast silhouette of 1904, I needed some omph in the back in addition to the ruffles inside the blouse in the front. I tried wearing a small bum pad (about 10″ wide), but then my hips looked sunken by comparison. I determined I needed a new bum pad that would fill in both my hips and backside to help create the illusion I was aiming for.
I also made a new belt to go with this ensemble. I wanted something a little more V shaped in front and a little less dramatic in terms of color. I actually reused the lining from the previous iteration of my new hat to make a new belt. The two shades of green don’t quite match, but they also don’t offend, so I’m pleased.
Instead of a traditional Gibson Girl hair style, I tried a style more like this, with a center part and poofs on each side. It was a bit squashed by my hat, but I was quite pleased with it overall. Unfortunately, I didn’t get any perfect shots of just my hair style. I’ll have to try it again someday and get hair pictures.
My last few posts have been about the new Regency clothes I made earlier this year: Orange Boven Pelisse and Hat from 1814 as well as a look at the history behind the description Orange Boven and 1817 Gold Stripe Duchess Evening Gown. Now that I’ve got all the details about the construction and history of these garments recorded, it’s time for a look at the Regency Dance Weekend that provided an opportunity to wear these clothes in the company of other fabulously dressed people and in historical halls built in the early 19th century.
This annual Regency Dance Weekend is organized and run by the Commonwealth Vintage Dancers. If you want to see more pictures and read more about the amazing Regency moments I’ve had in past years, I have posts about them here: 2013, 2014, and 2016.
Saturday always begins with dance classes in modern clothes. The hard work we all put in during the day pays off at the evening ball, when we are able to dance with quick reminders of the figures but without full teaching. It’s a very special experience every year!
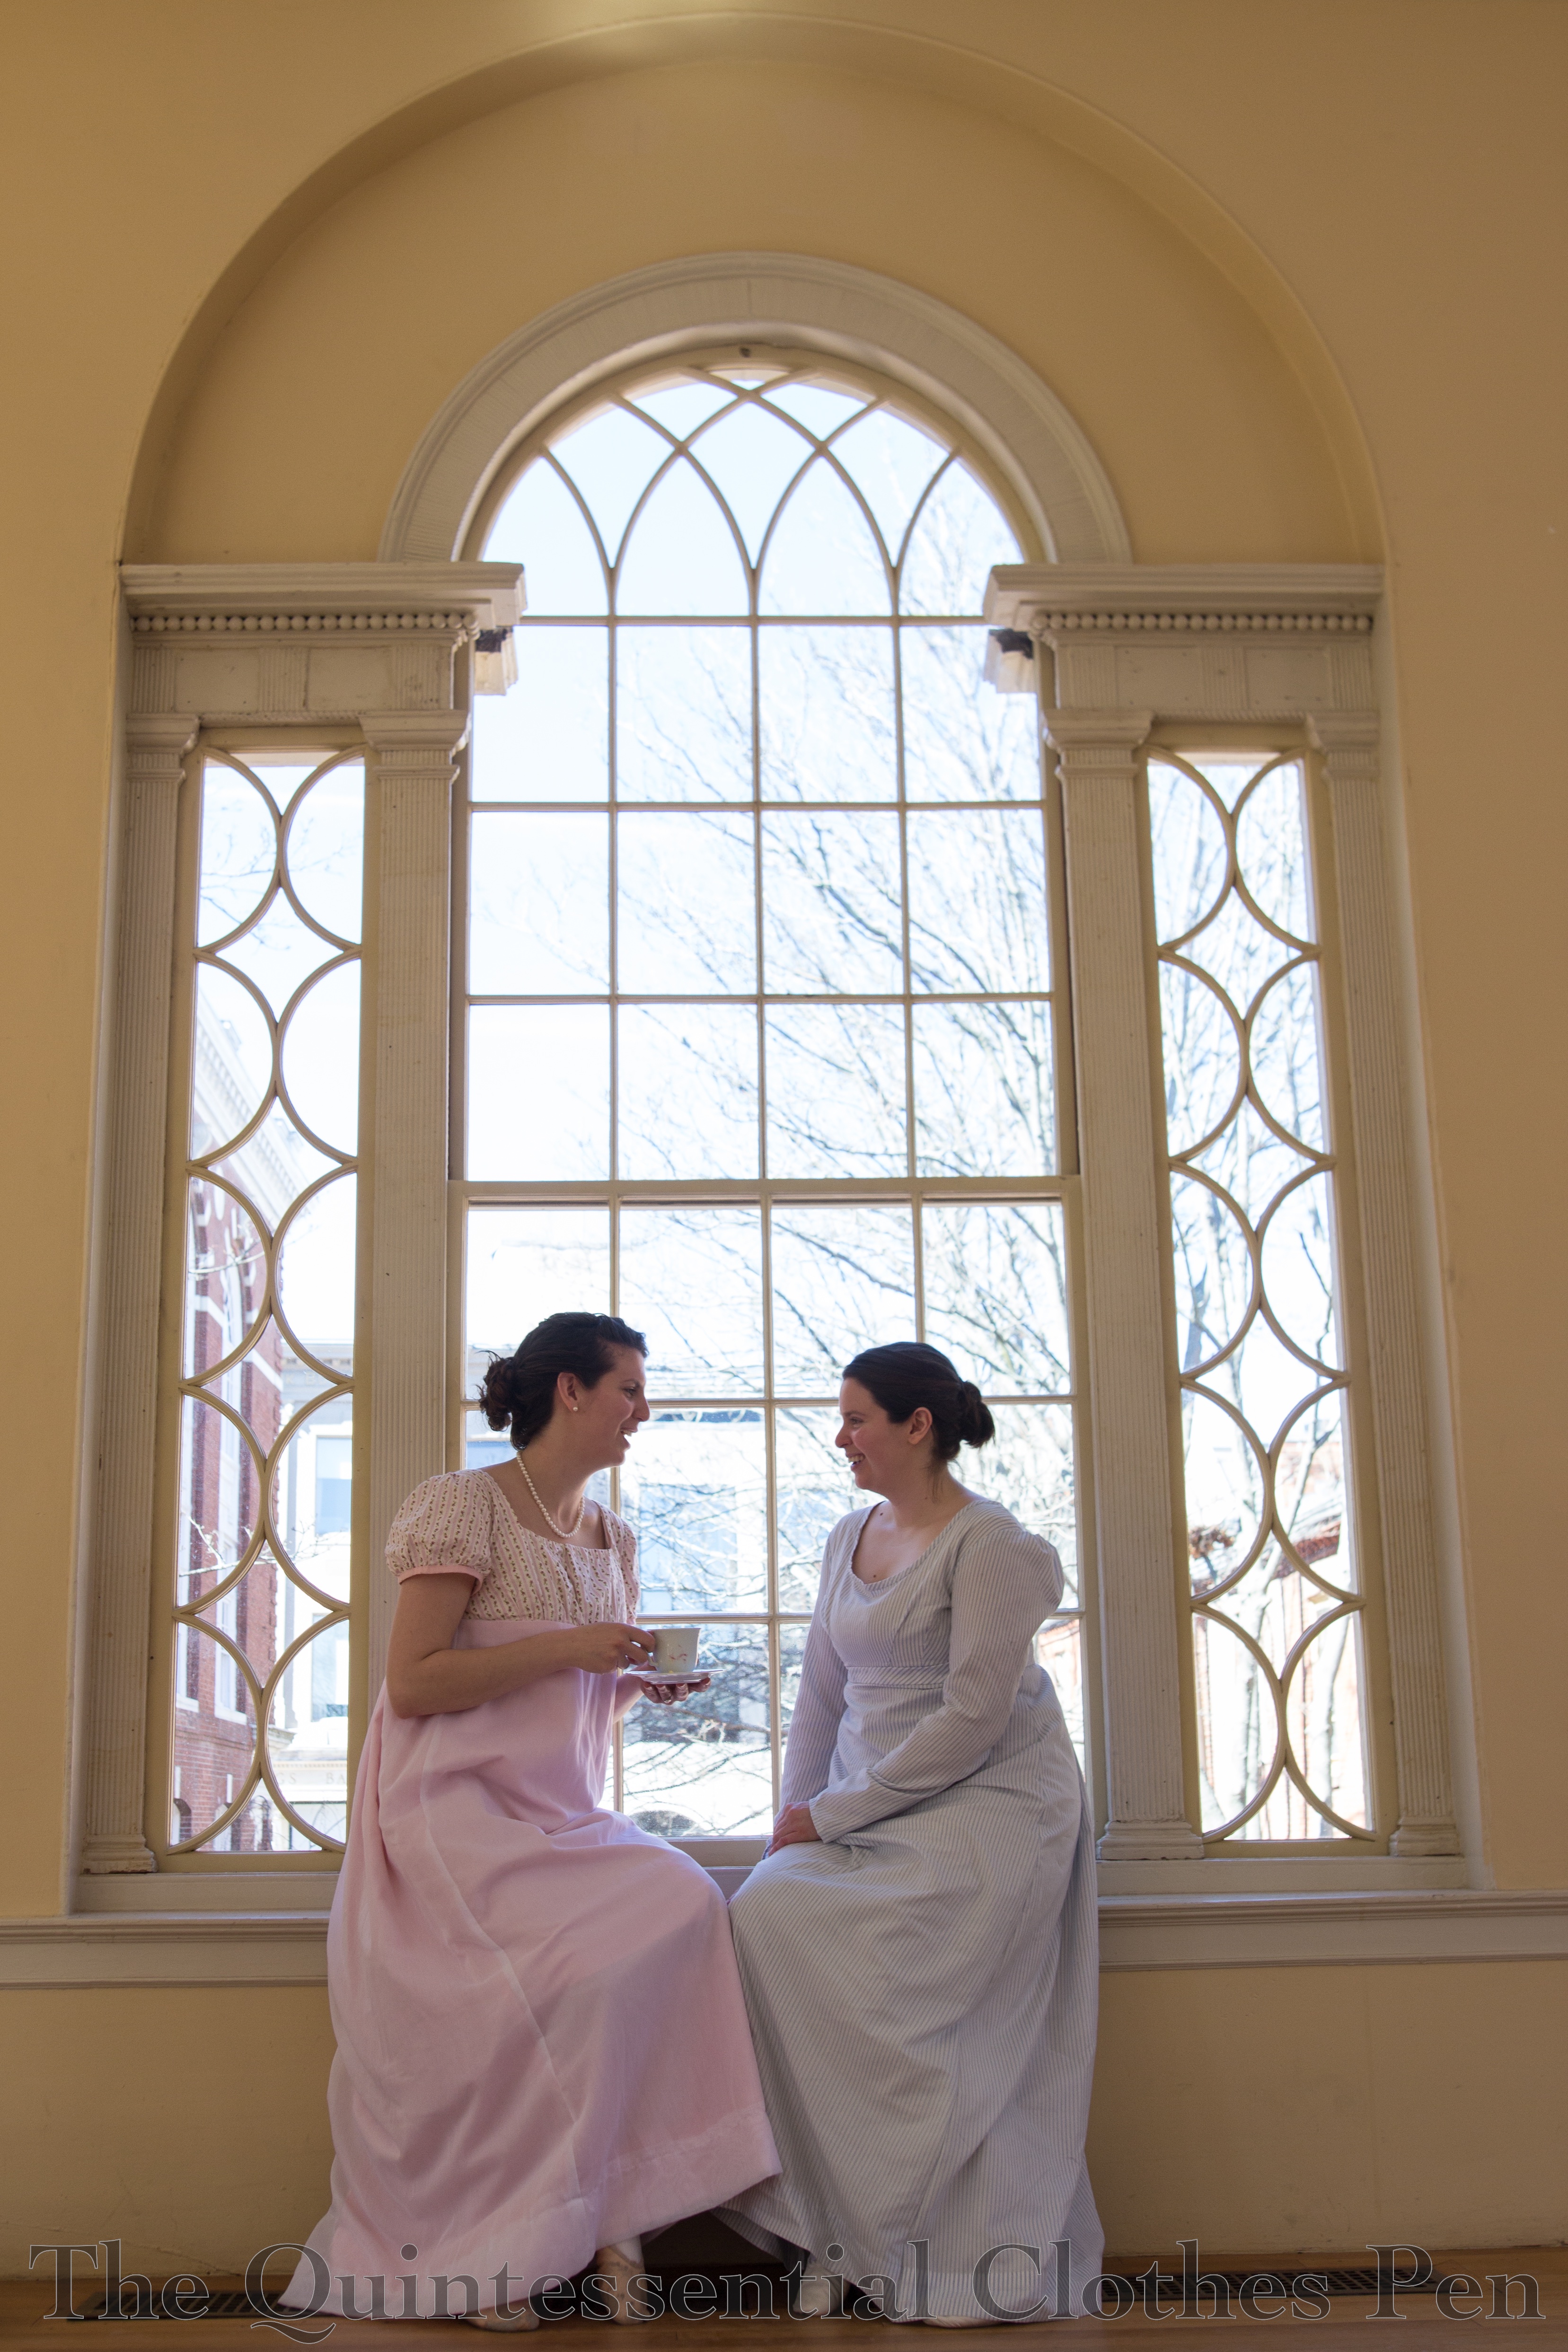
After a final class on Sunday morning, we take the afternoon off from dancing for a bit of leisure. Often it has been tea, though in some years we’ve had promenades, or even archery! This year we focused on tea, games, and chatting.
This venue, Old Town Hall, has lovely windows that make perfect frames for picture taking!
After tea, those of us running the weekend calmly (well, probably with a lot of scurrying) switch venues to the more elegant Hamilton Hall, where we have a formal ball with a lavish reception. Hamilton Hall is special, with a gleaming sprung floor, musicians balcony, and gorgeous gilt framed mirrors.
Sometimes, though, silliness ensues! I couldn’t resist making a face in the picture below… After that is a face that often happens after I run out of pose ideas…
There is lovely dancing on that evening. The things we’ve all learned have had time to sink in and people dance marvelously, again without teaching.
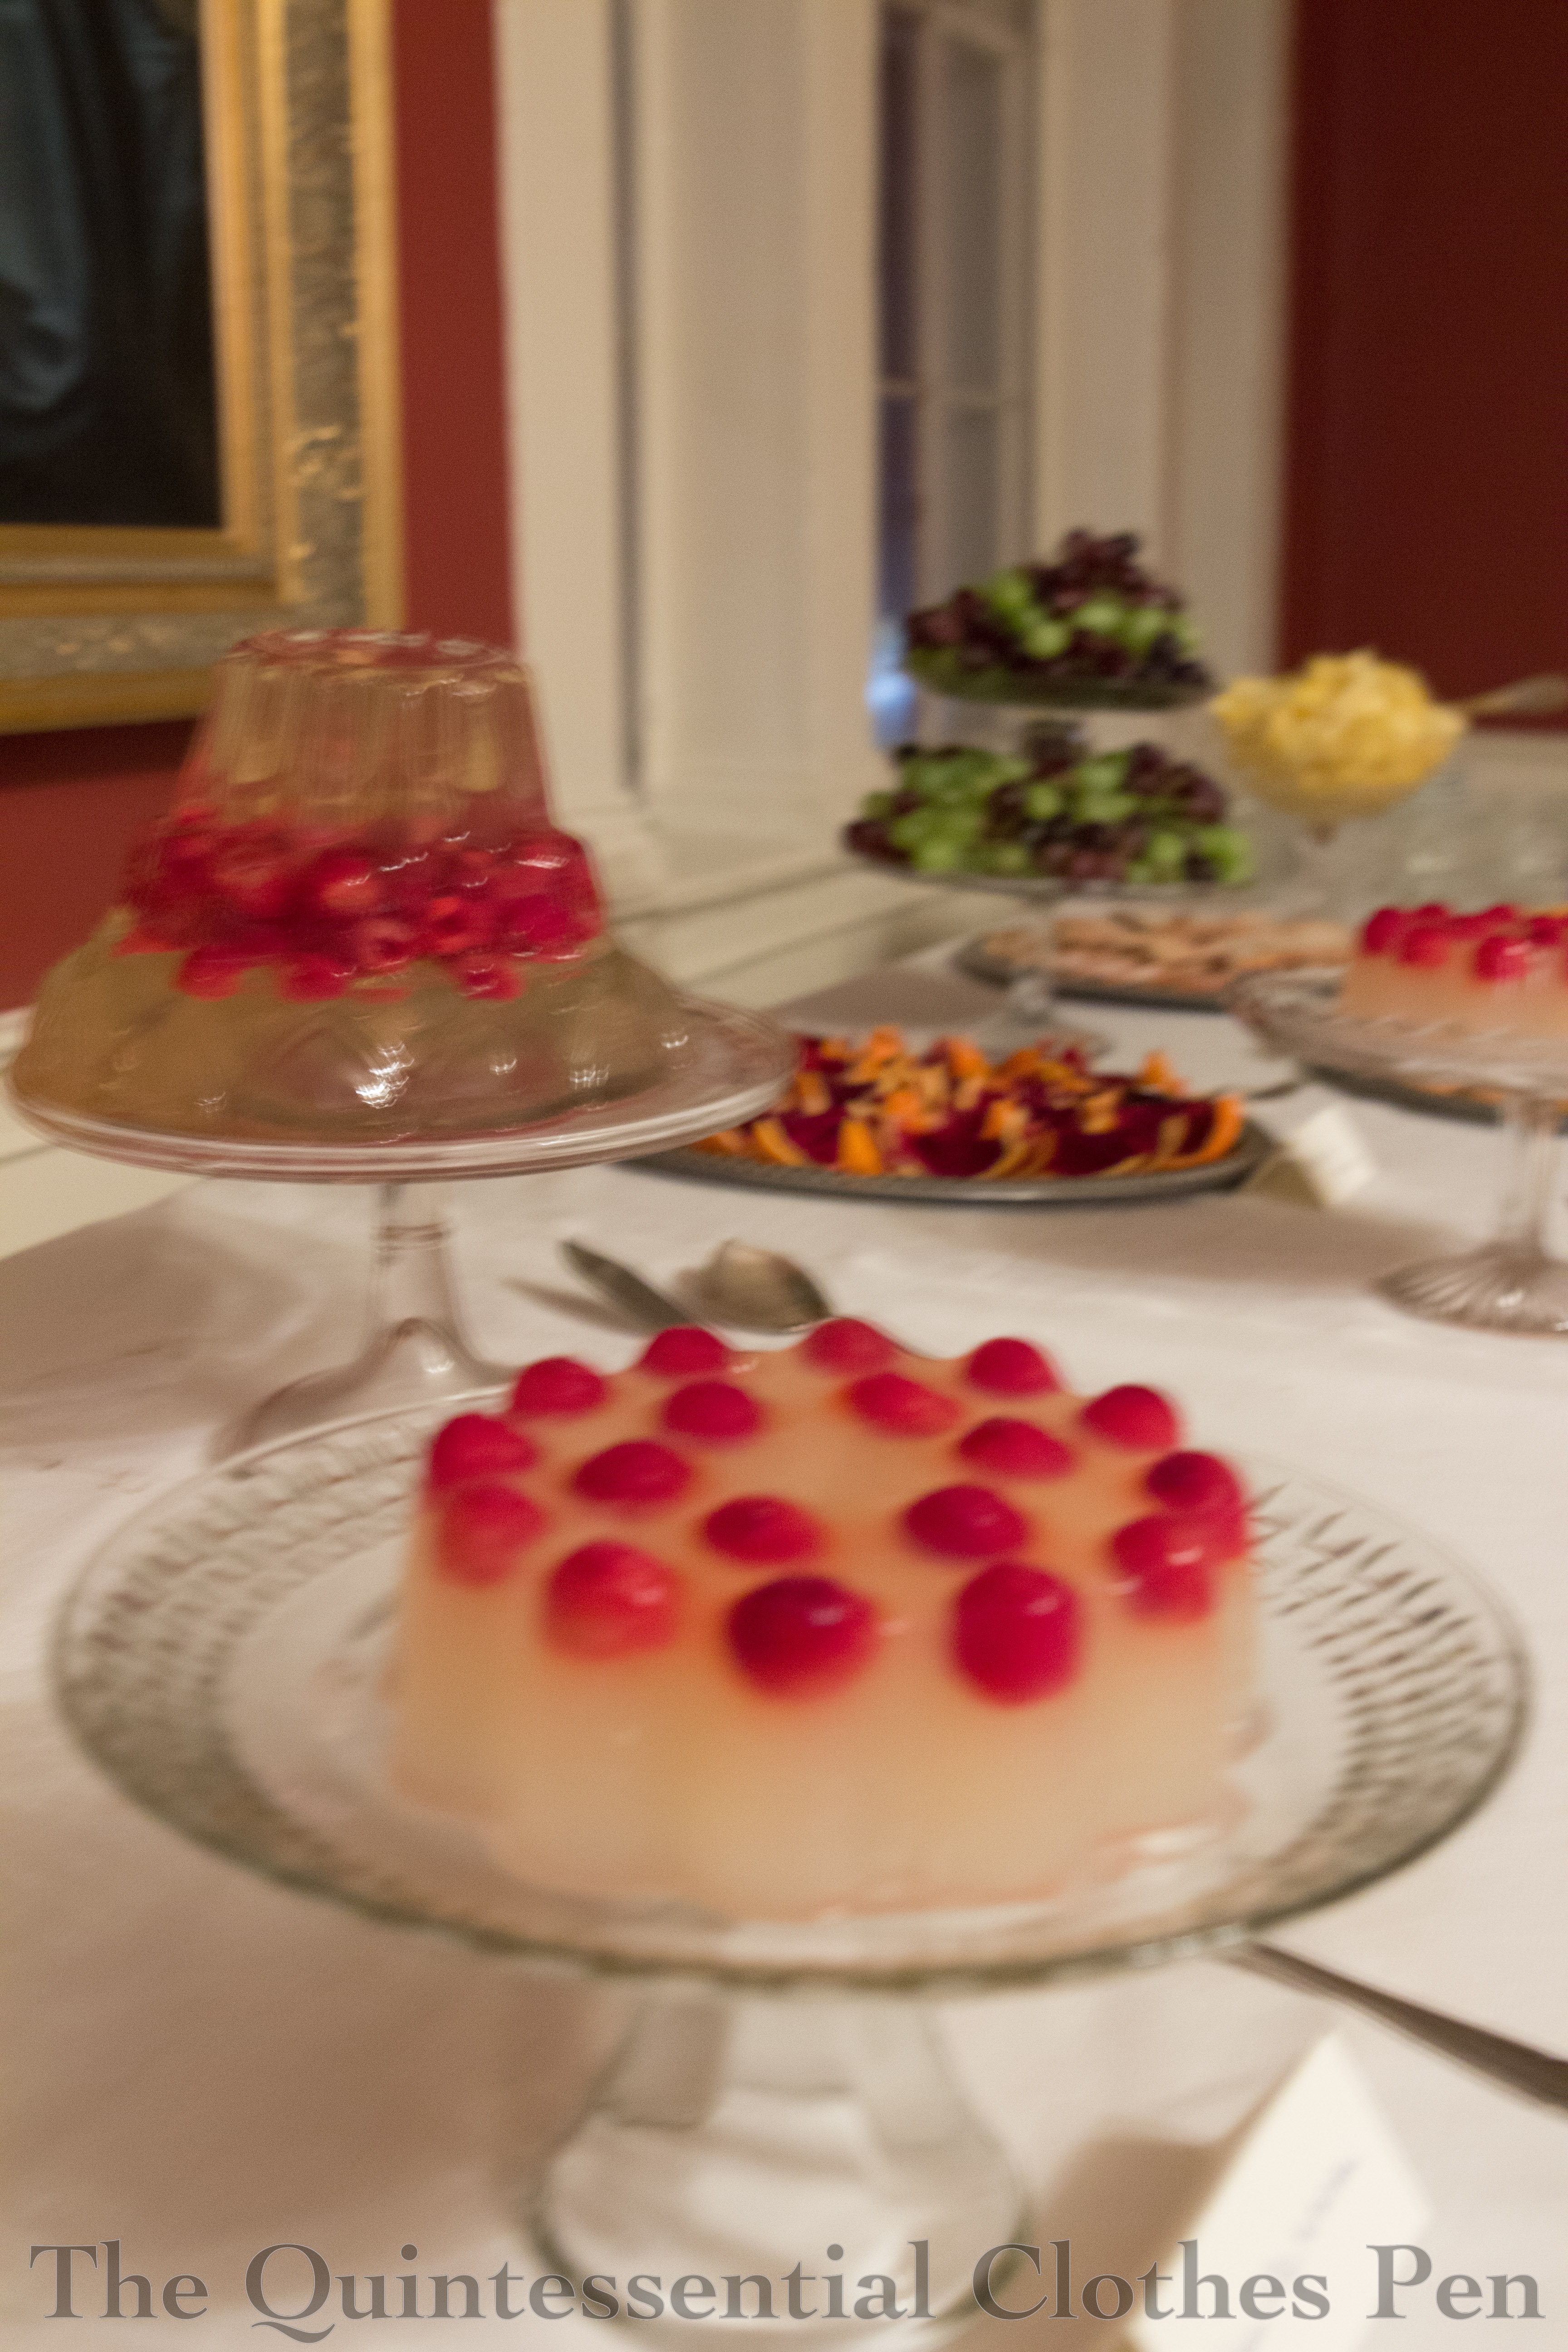
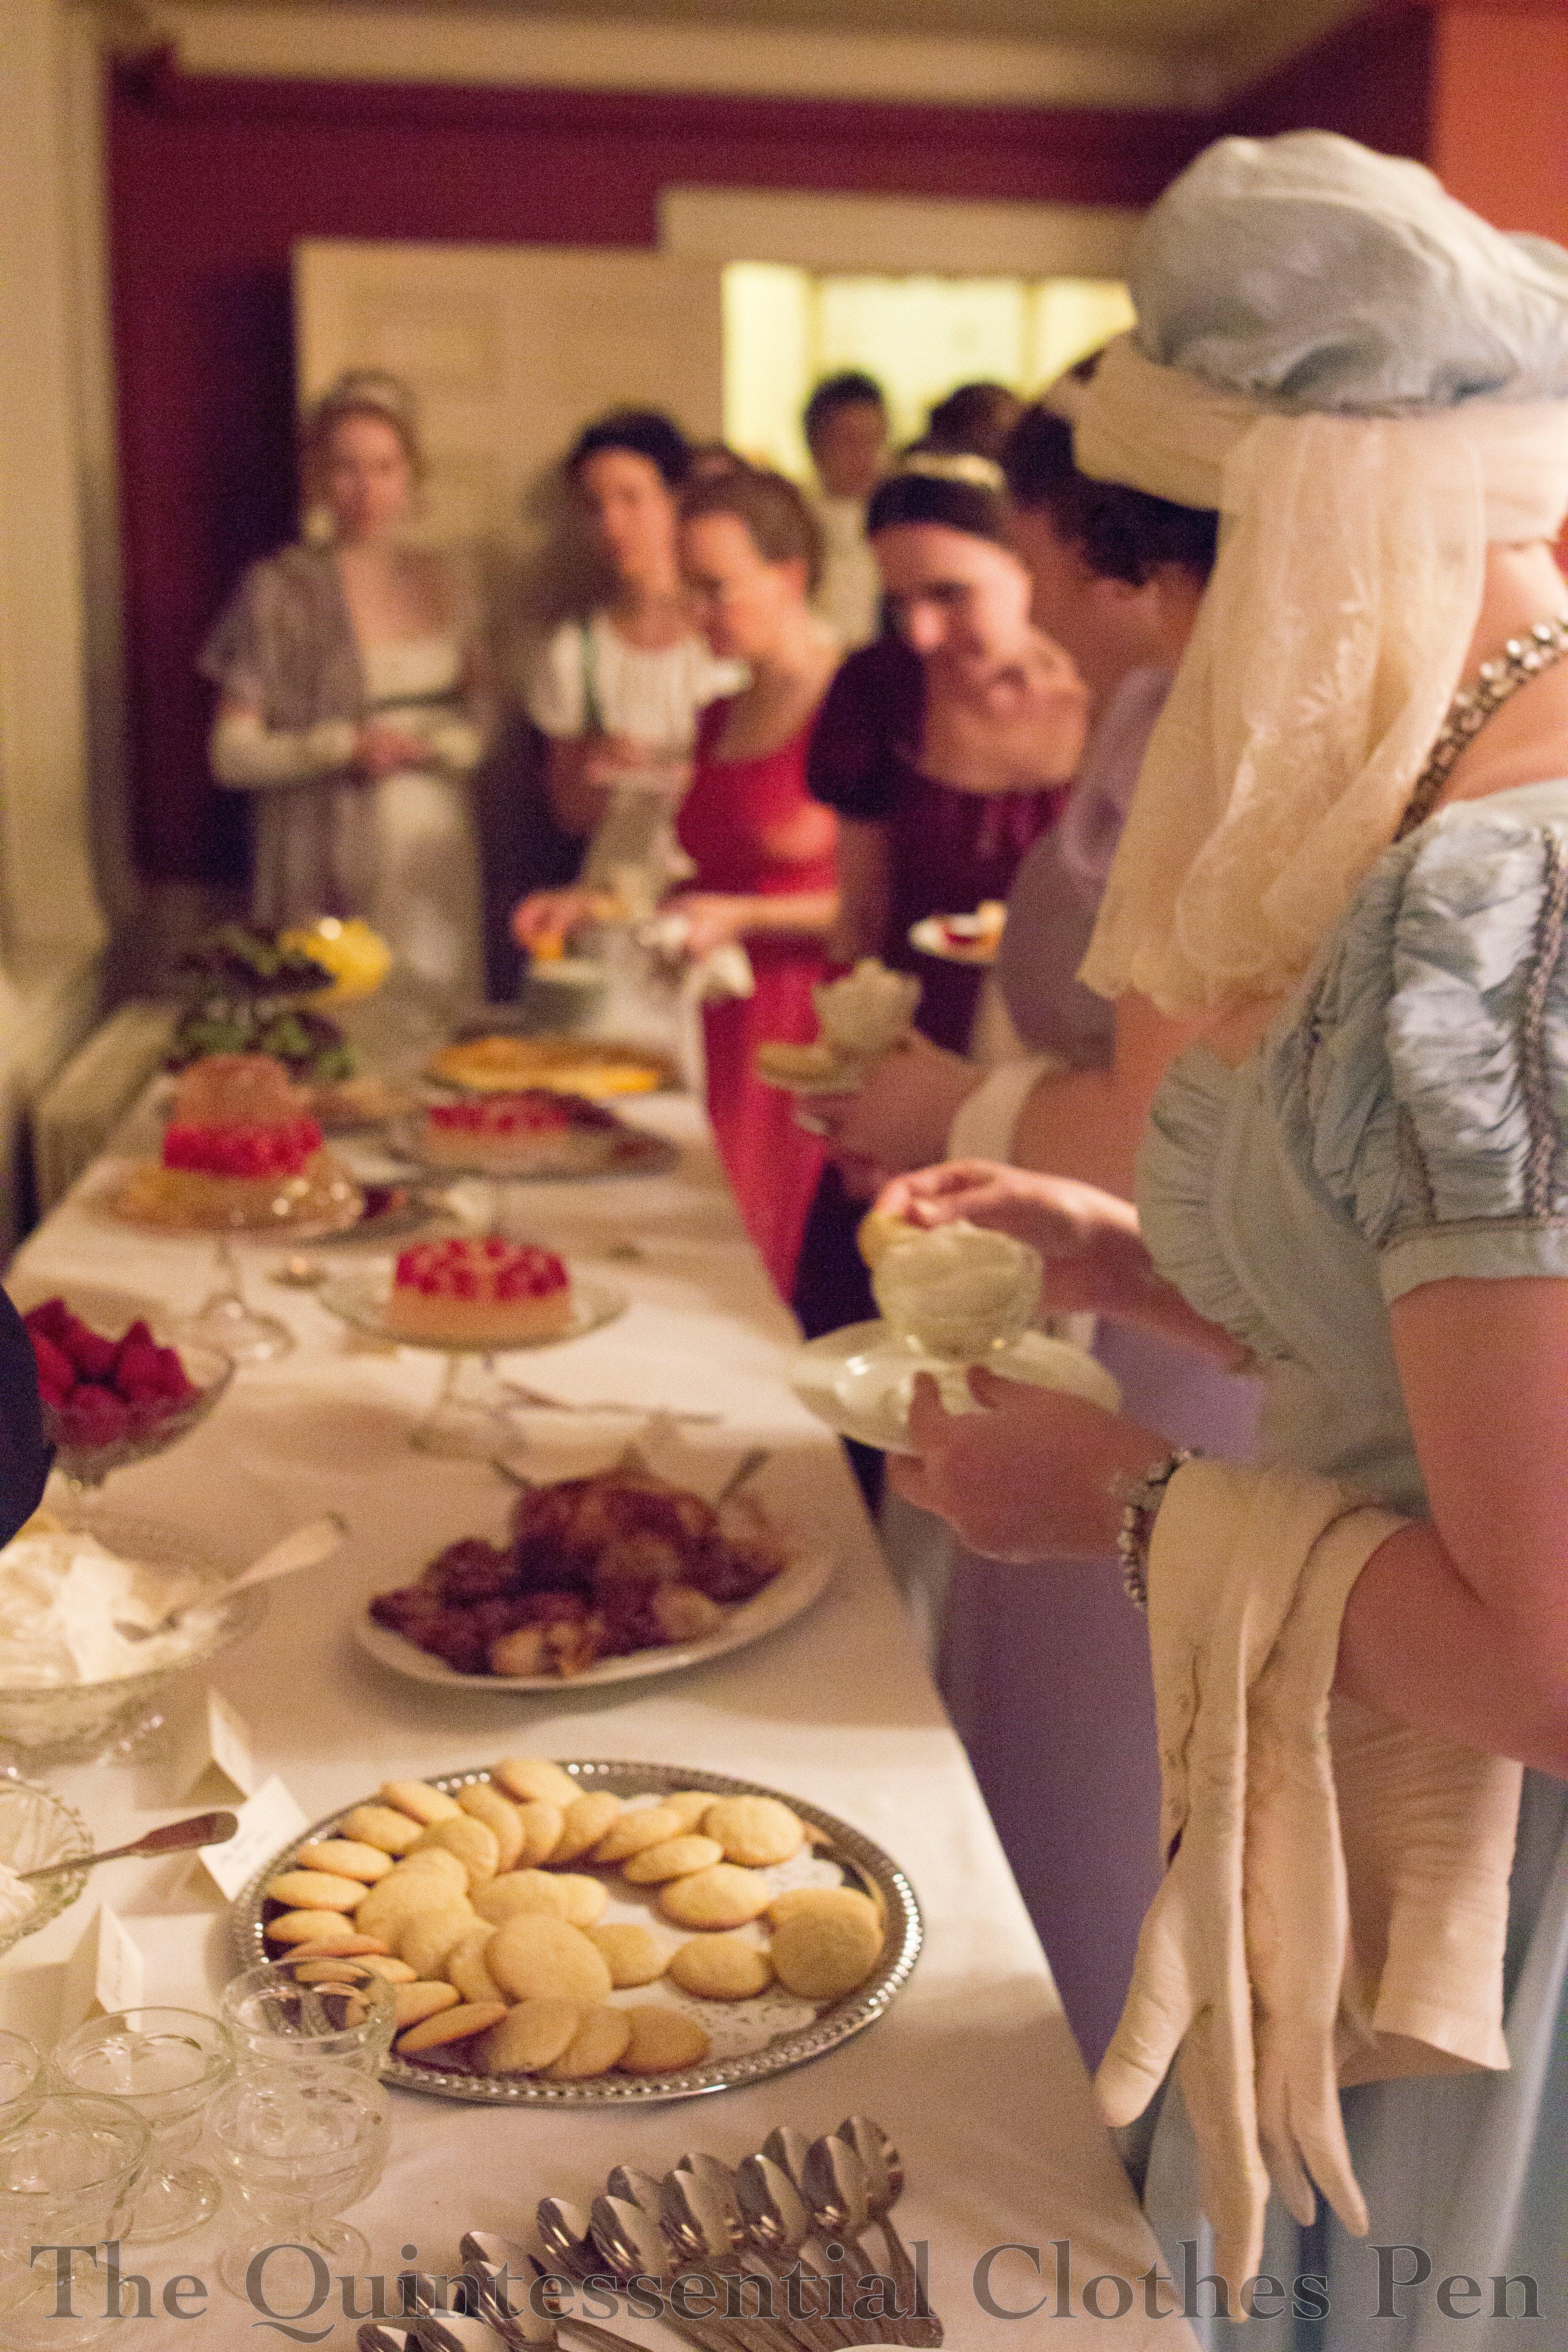
There are lots of yummy and beautiful foods to tempt everyone away from the ballroom, as well. This year we had some successful fruit filled jellies, a popular dessert in the 19th century.
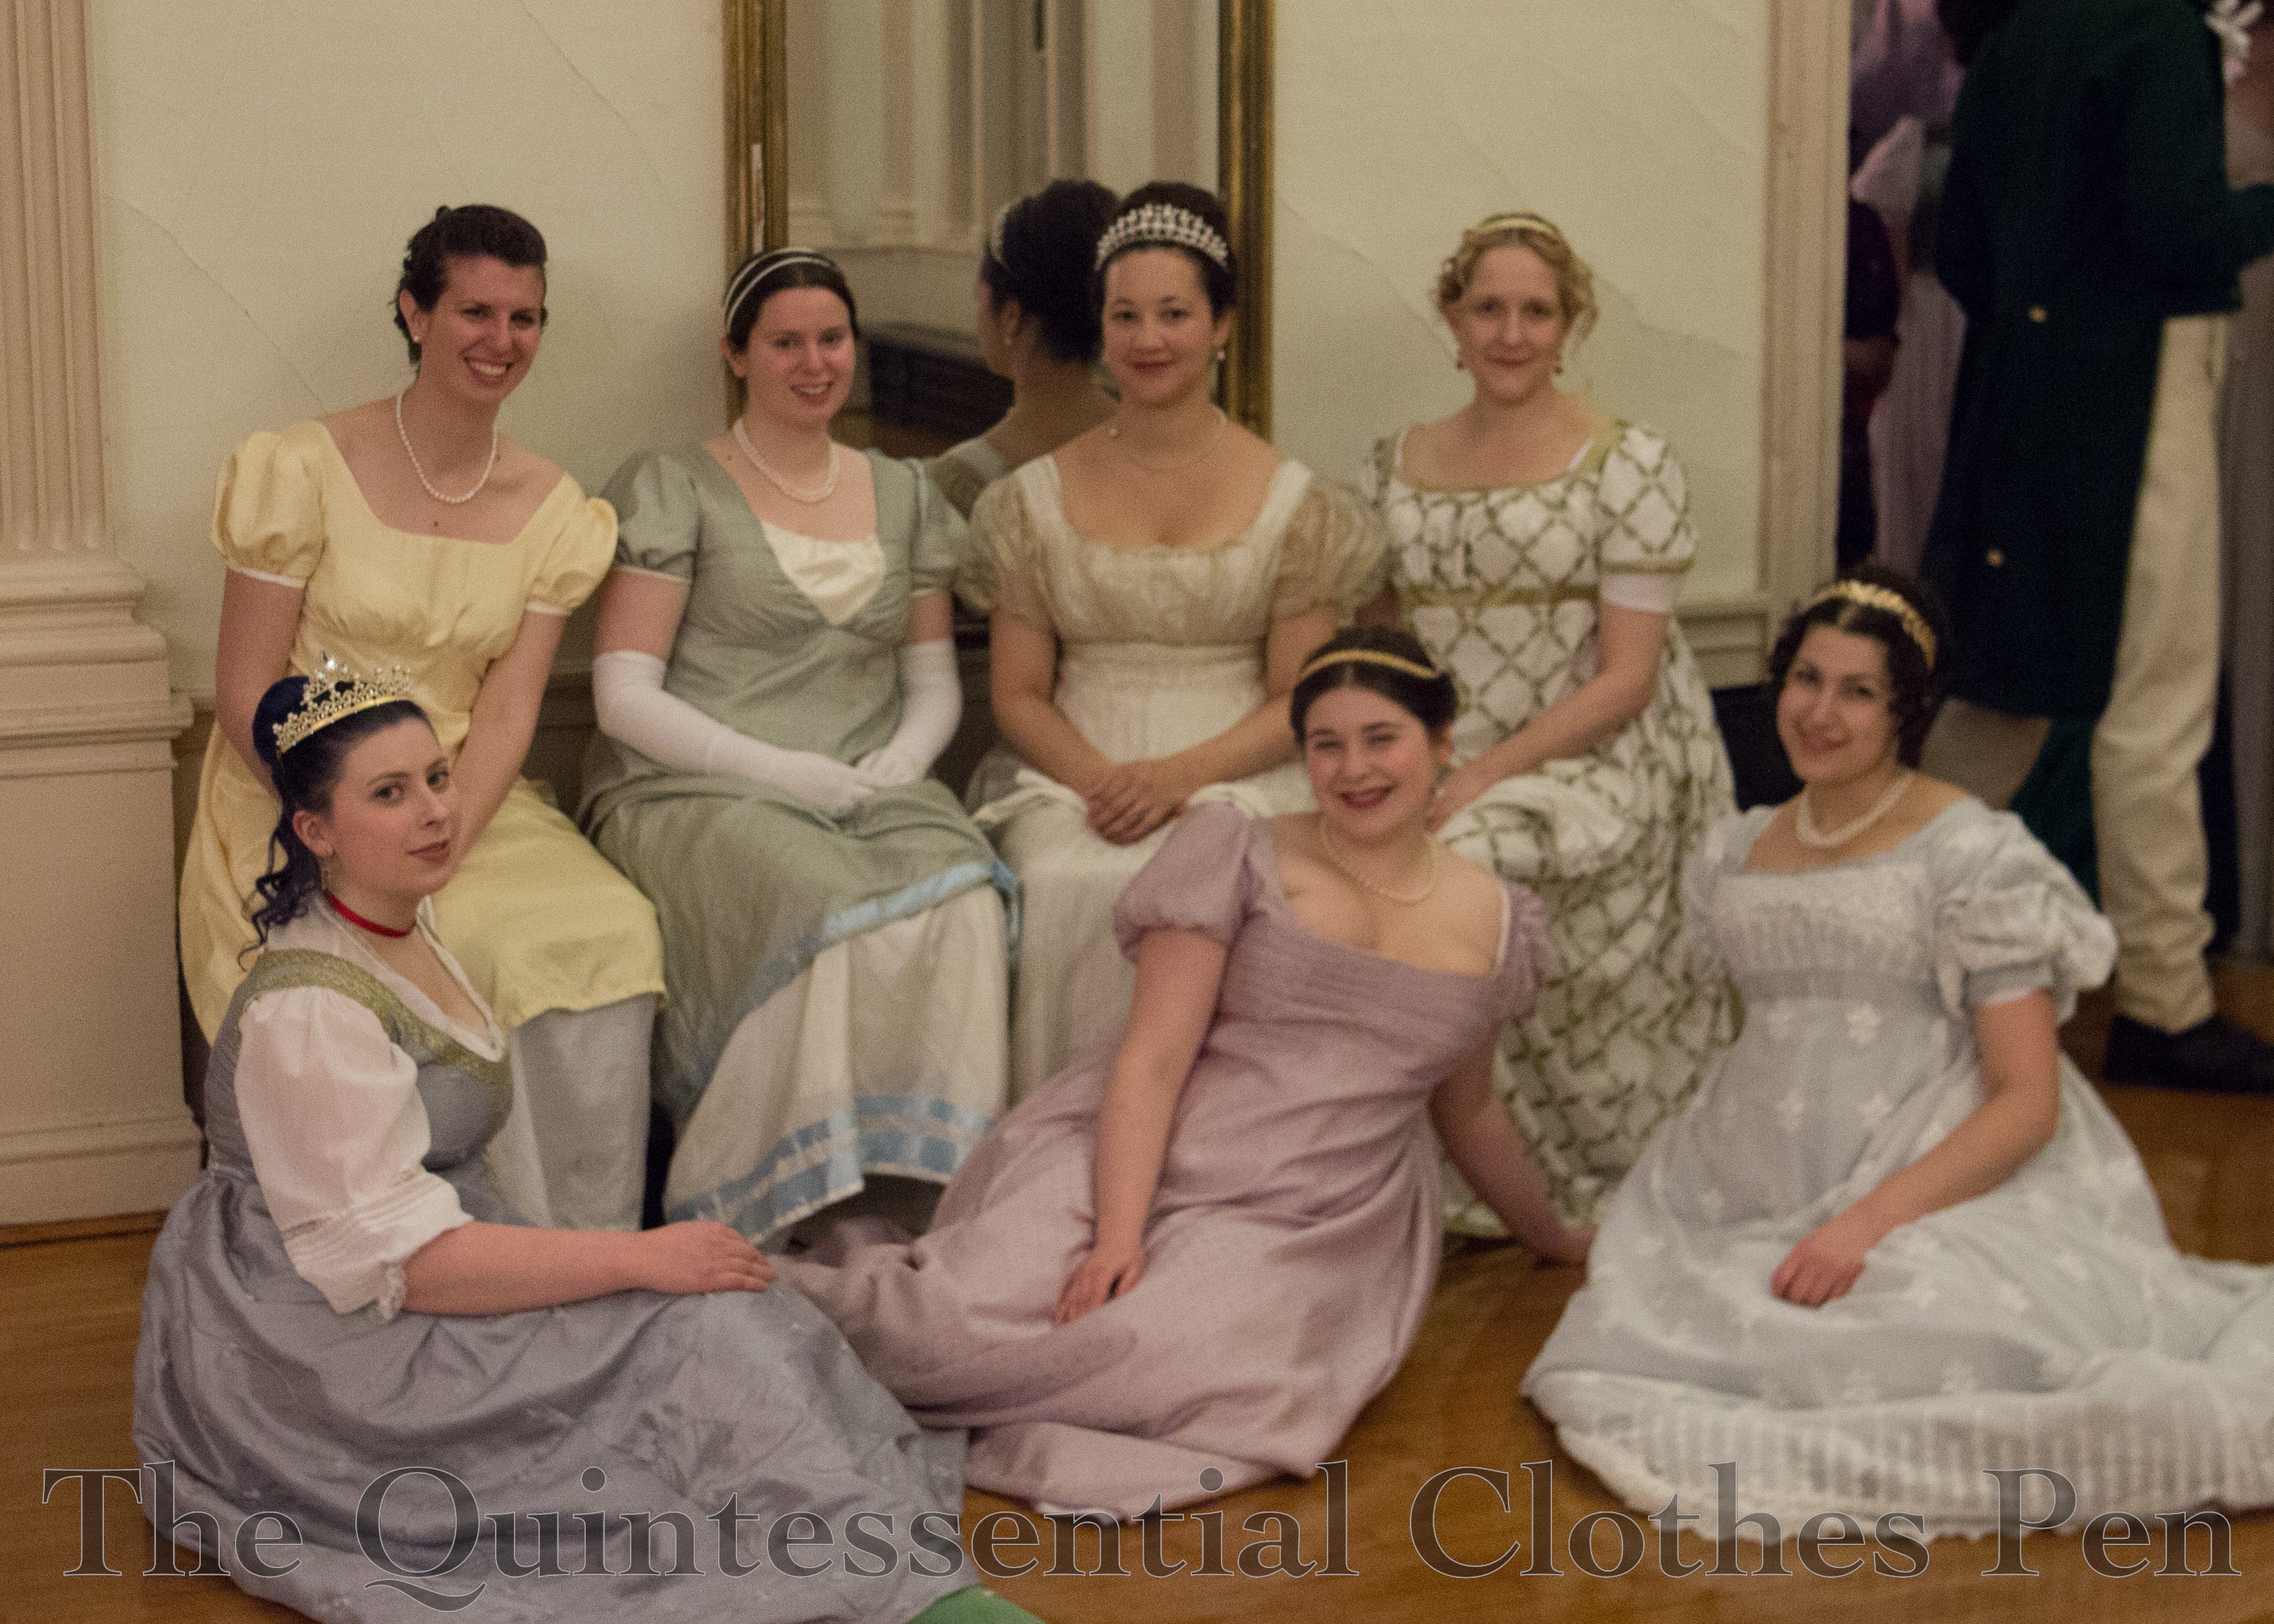
After lots of dancing (and dish washing–lovely spreads like this with real dishes don’t appear without a fair bit of work behind the scenes) a much needed sitting break provided a nice opportunity for a group photo.
As usual, it was a lovely weekend full of great dancing and meeting lots of lovely new people from around the country, the more local New England area, and even Canada! Maybe some year I’ll get to meet you, too!
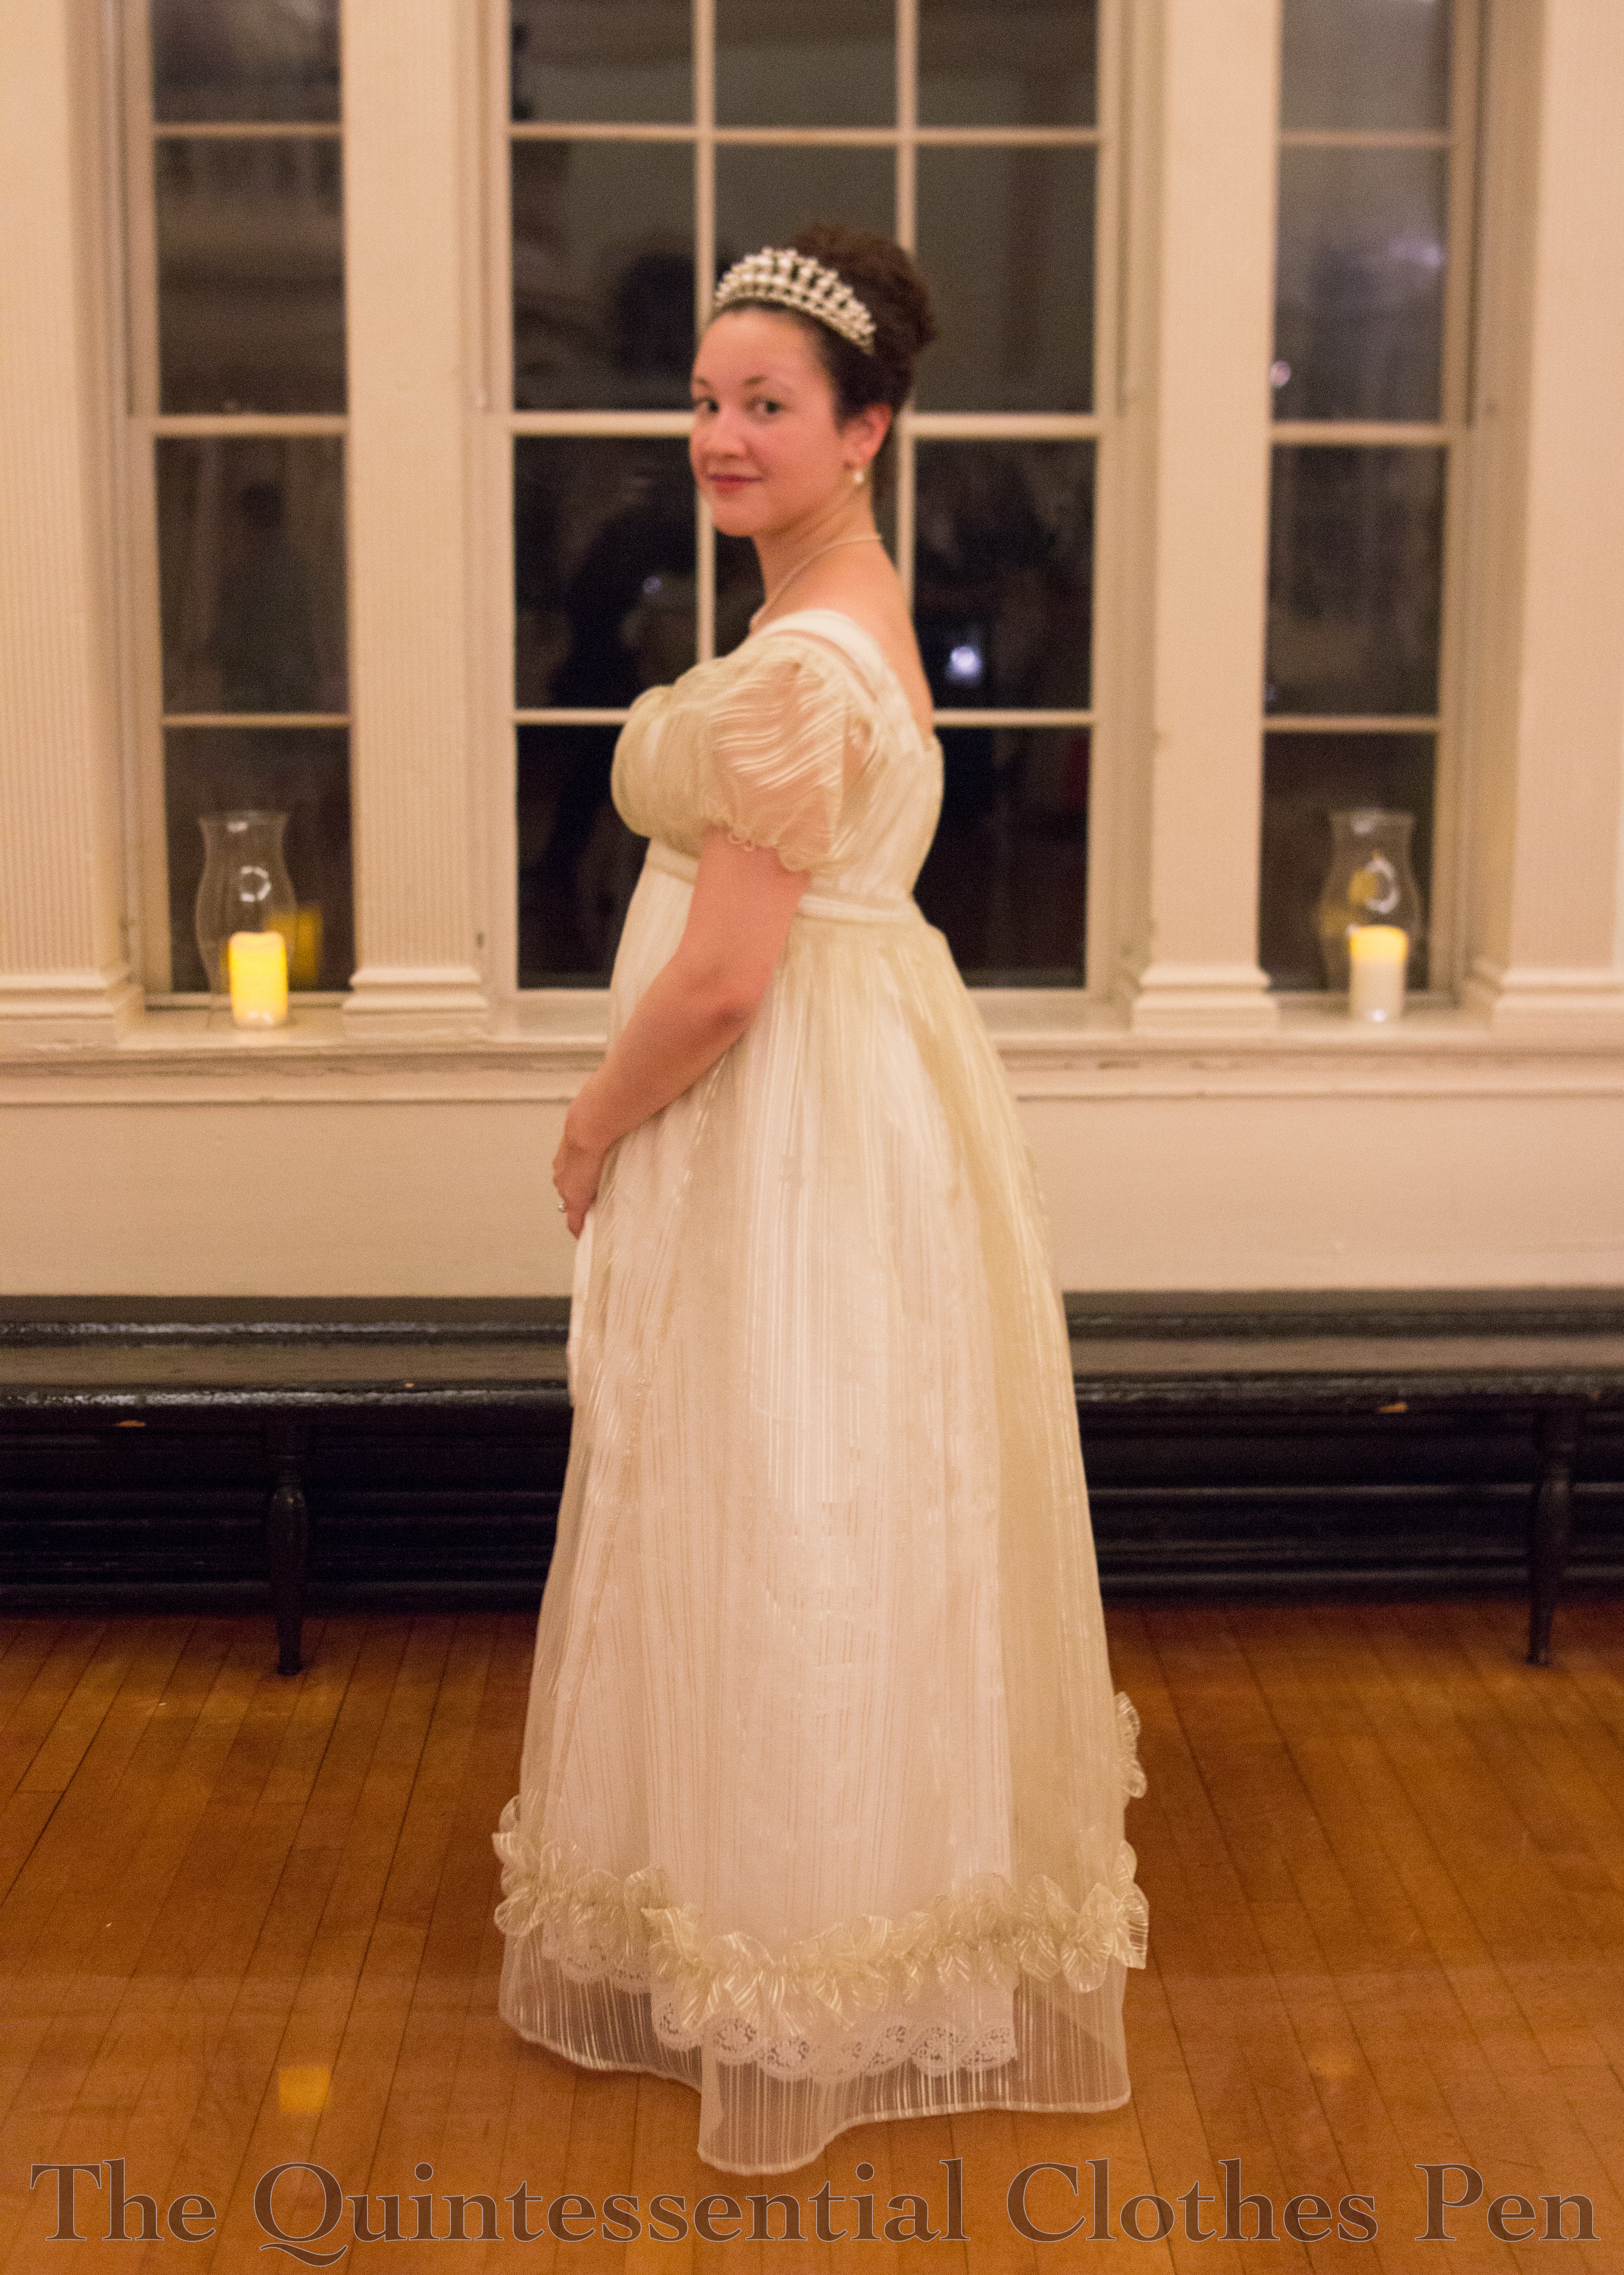
On the same January shopping trip that I unexpectedly found the blush sparkle fabric I made a 1920s dress out of I also unexpectedly found an excellent fabric for a new Regency evening dress. I hadn’t made one in awhile, but I had a Regency weekend coming up and I was wanting something new for the fancier ball (and of course nothing in my stash was inspiring me). In my wanderings around the store, I discovered an organza curtain sheer that brought to mind this particular fashion plate that has been on my ‘to-sew’ list for years.
1819 – Ackermann’s Repository Series 2 Vol 7 – March Issue
I’d been on the look-out for a sheer with black stripes but hadn’t found anything suitable. Once I found the curtain fabric, I debated whether to use it for a dress in this style or to hold out for the black stripe. As you’ll see, I decided to call this inspiration fulfilled by the gold striped fabric that I found. It’s polyester, but that means it was a good price. Occasionally, a polyester can be just the thing.
In addition to the Ackerman’s fashion plate, I also borrowed design ideas from two other striped evening gowns: this earlier Costume Parisien fashion plate from 1809 and this image of the Duchess d’Angoulême c. 1815. My dress is a conglomeration of these and the 1819 fashion plate. I borrowed the sheer overdress idea from 1819, the single row of scalloped trim from 1809, and the bias cut sleeves from 1815. I date my dress to 1817, as the fluffy nature of the organza pushes the silhouette towards 1820, but the single row of trim pulls it back from 1819 just a bit.
I have a full compliment of nicely finished underthings that are perfect for making the sheer dress opaque. It was never my intention to be a scandalous Regency lady with minimal underthings! In fact, to make the ensemble sufficiently opaque, I wore my chemise plus two petticoats under the sheer dress. Without the second petticoat it was clear where my chemise ended (at my knees, in case you’re curious), but I didn’t want to have the illusion of scandal with this, I really wanted opacity all the way down.
Like the new pelisse, the sheer dress provided another perfect opportunity to make further use of my Vernet petticoat, which has a lovely eyelet border at the hem. Here’s another view that shows off the lace on the petticoat.
It’s usual for me to meticulously finish the insides of my garments, but in the case of a sheer dress, that desire became a necessity. Accordingly, all of the inside seams are nicely finished with a mix of French, flat felled, and folding seam allowances to hide raw edges and whipping them together. I kept the finished seam allowances small, so that they wouldn’t detract from the stripes.
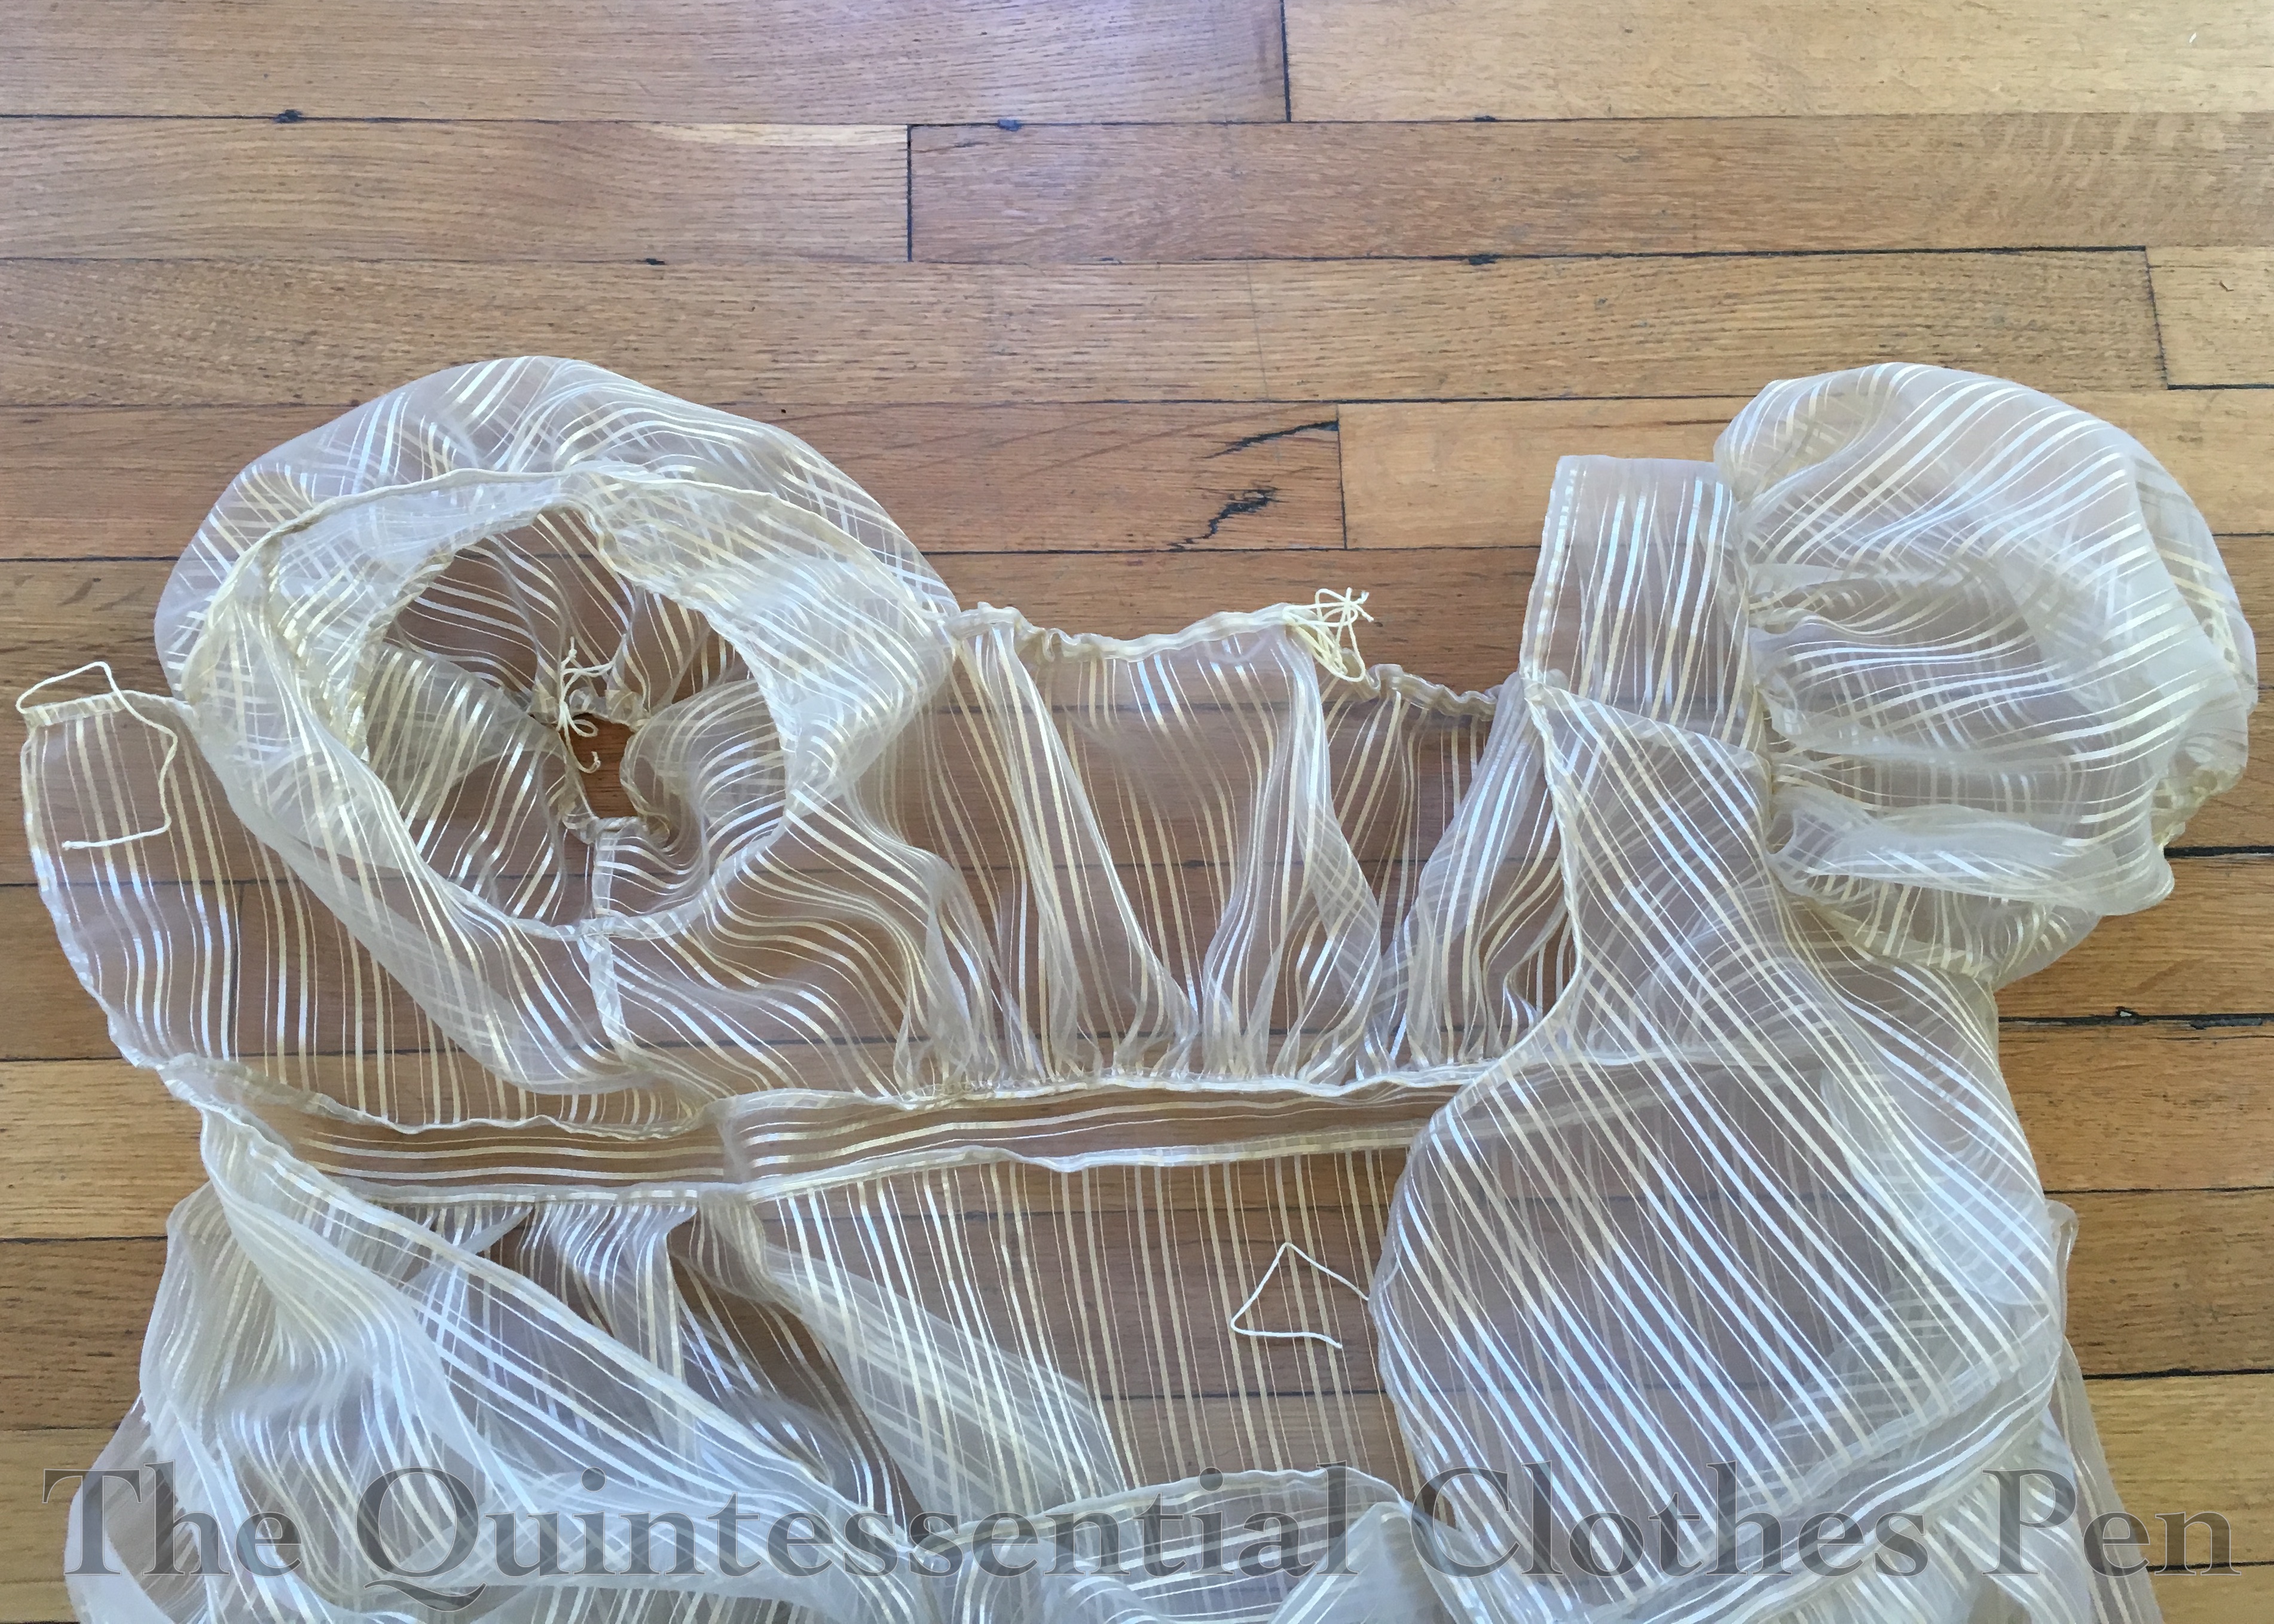
The bottoms of the sleeves and the front and back necklines are all adjustable with tiny drawstrings made from champagne colored embroidery floss. The goal was to have ties that would blend and not be noticeable through the sheer fabric.
The pattern for this dress was adapted from other Regency dresses I have made. I think I most closely referenced the patterns for my tree gown and square neck gown, but adjusted the fullness to give this dress a little more oomph.
This dress is machine sewn and hand finished. All of the French seaming was done on machine, as was the assembly of the bodice, waistband, and skirt to make a dress, but all of the other stitching (casings, hems, trim, finishing seam allowances in non-French ways, etc.) was done by hand.
The dress has a scalloped trim band around the bottom, set up high enough to show off the lace on the Vernet petticoat. It’s hand hemmed and it seems like miles… though I think it was only about 9 yards. Hemming, gathering, and attaching this was one of the last tasks and it was going right up until about 2am on the morning of the ball. By the time it was being sewn on there was no measuring or sectioning, just eyeballing, so it’s a little wavier than I would normally allow, but one has to make accommodations (sometimes). I was envisioning the scallops would be spaced out more and therefore be more defined, but as I was furiously sewing the trim on I was not about to cut it up and resew it, so all 9 yards made it onto the dress. It’s fine. I’m happy. I do not plan to re-do the fullness of the trim or the placement!
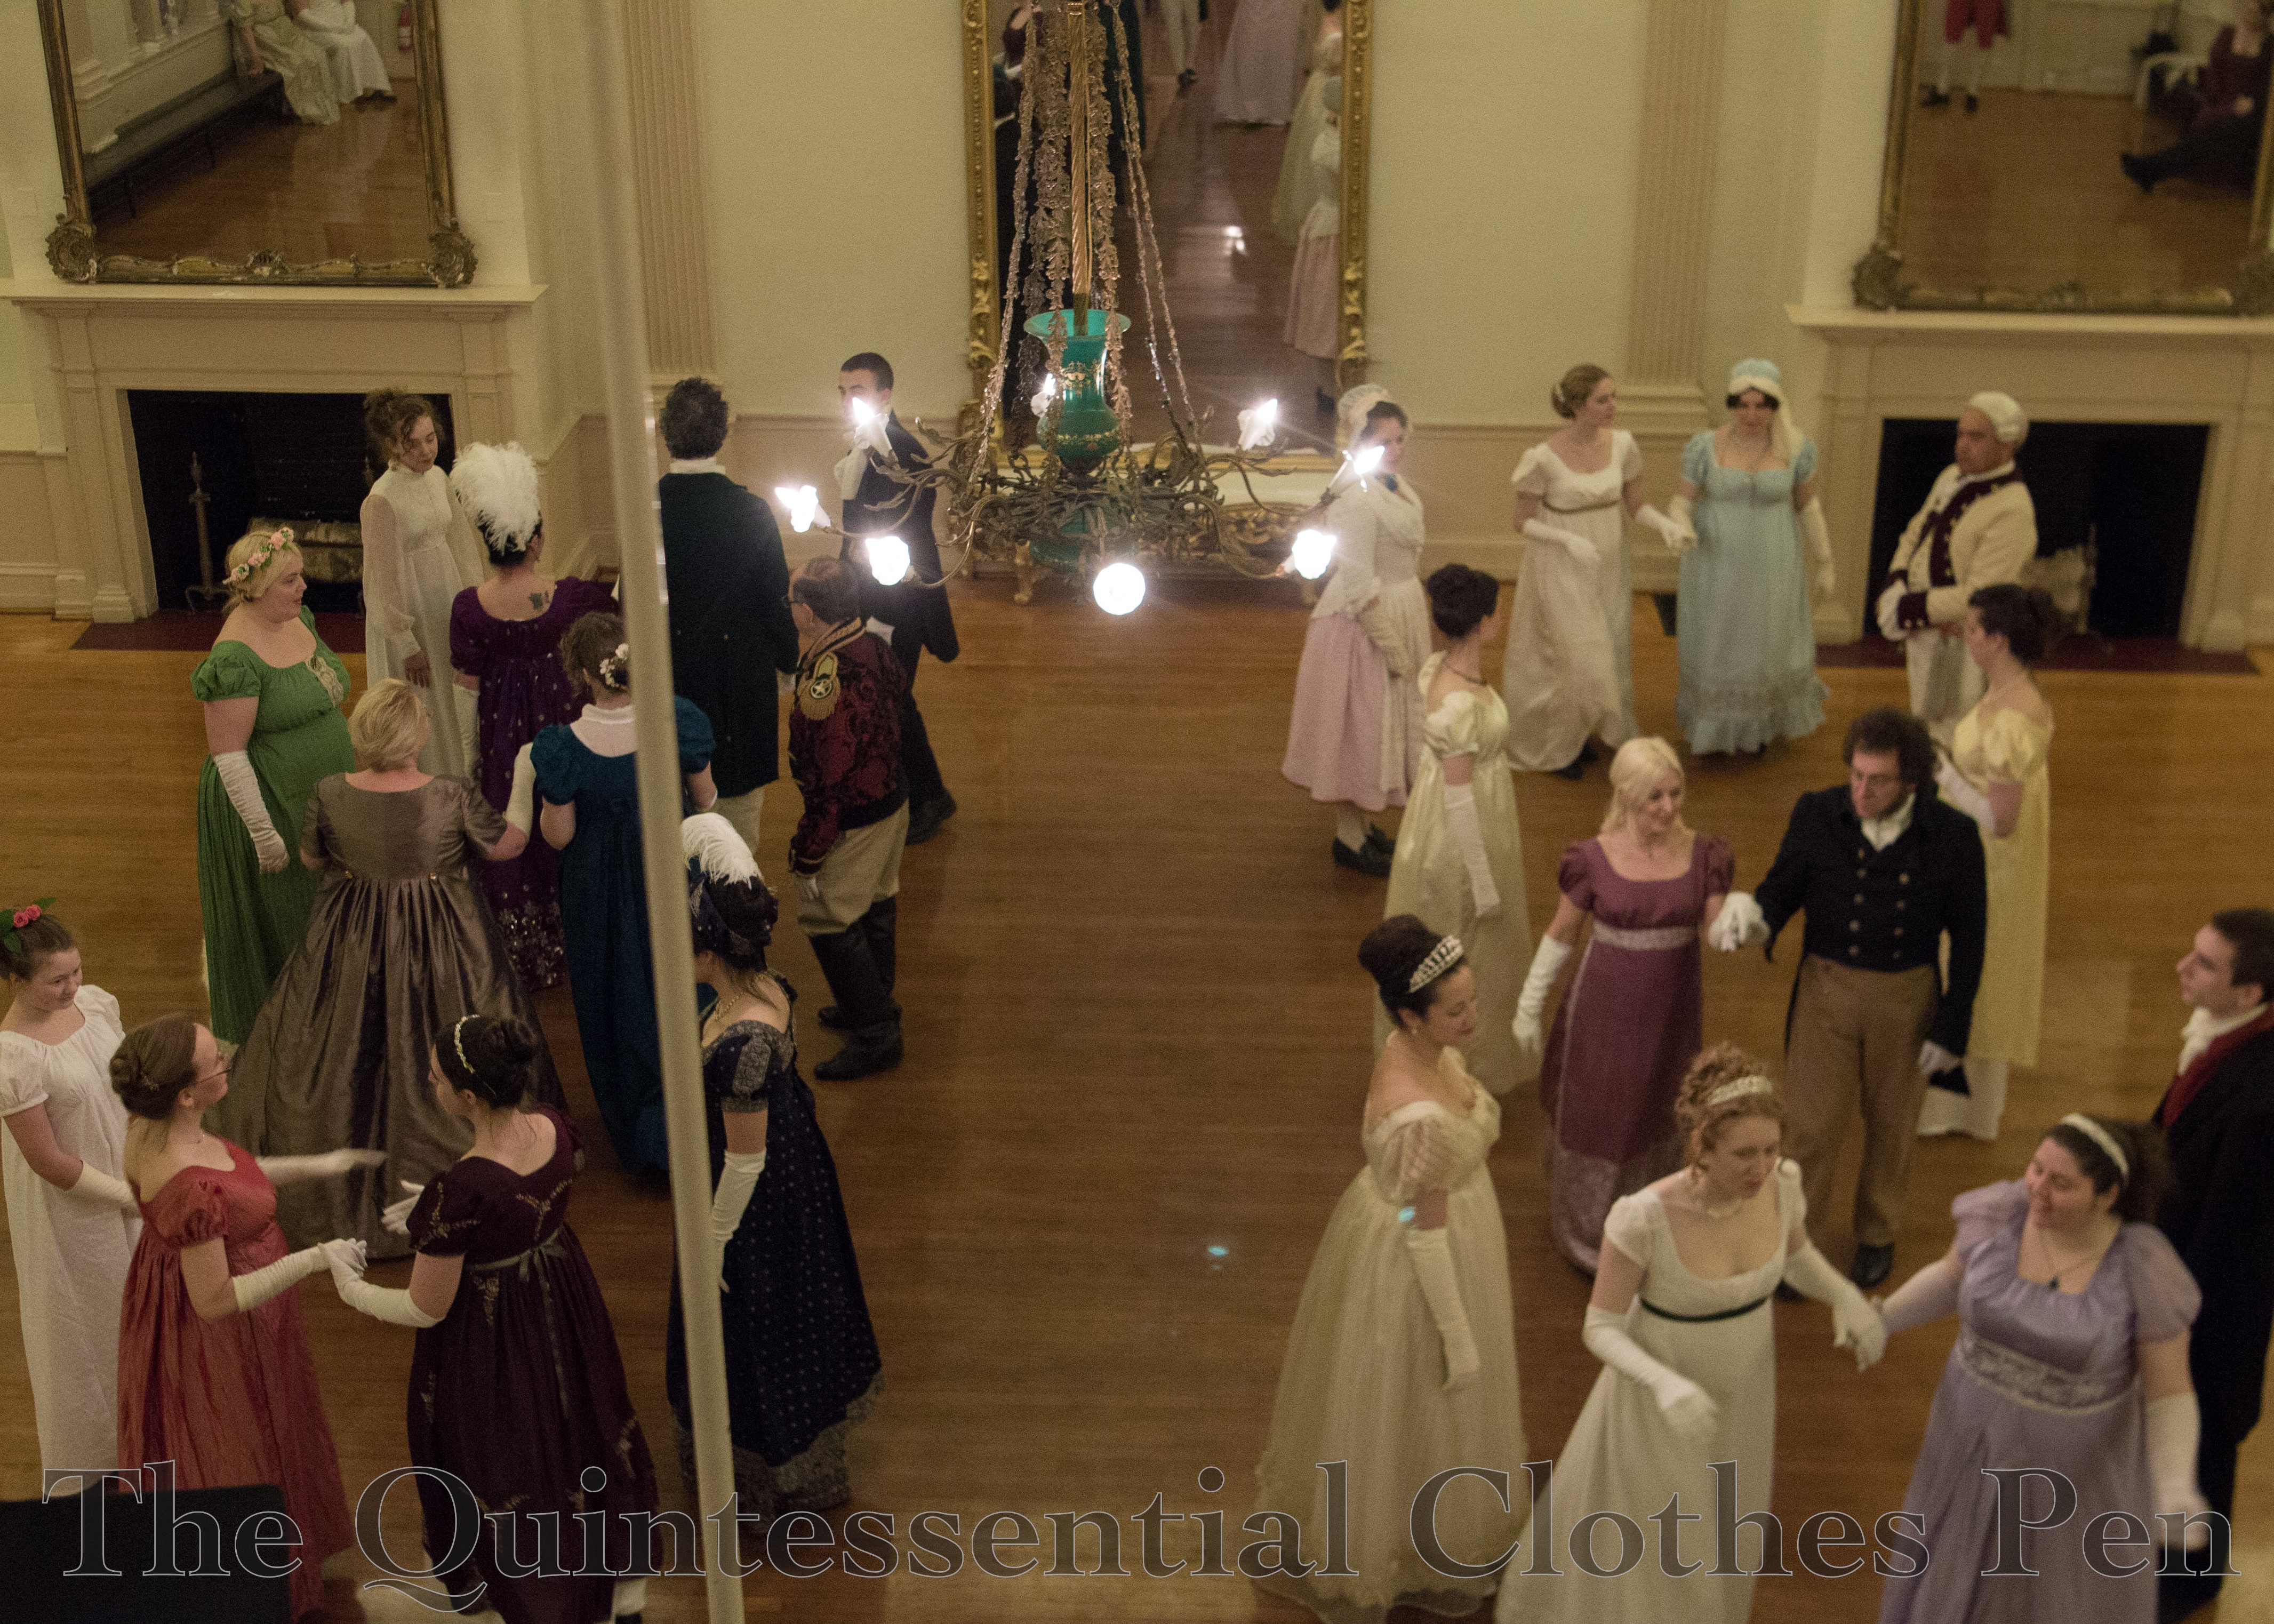
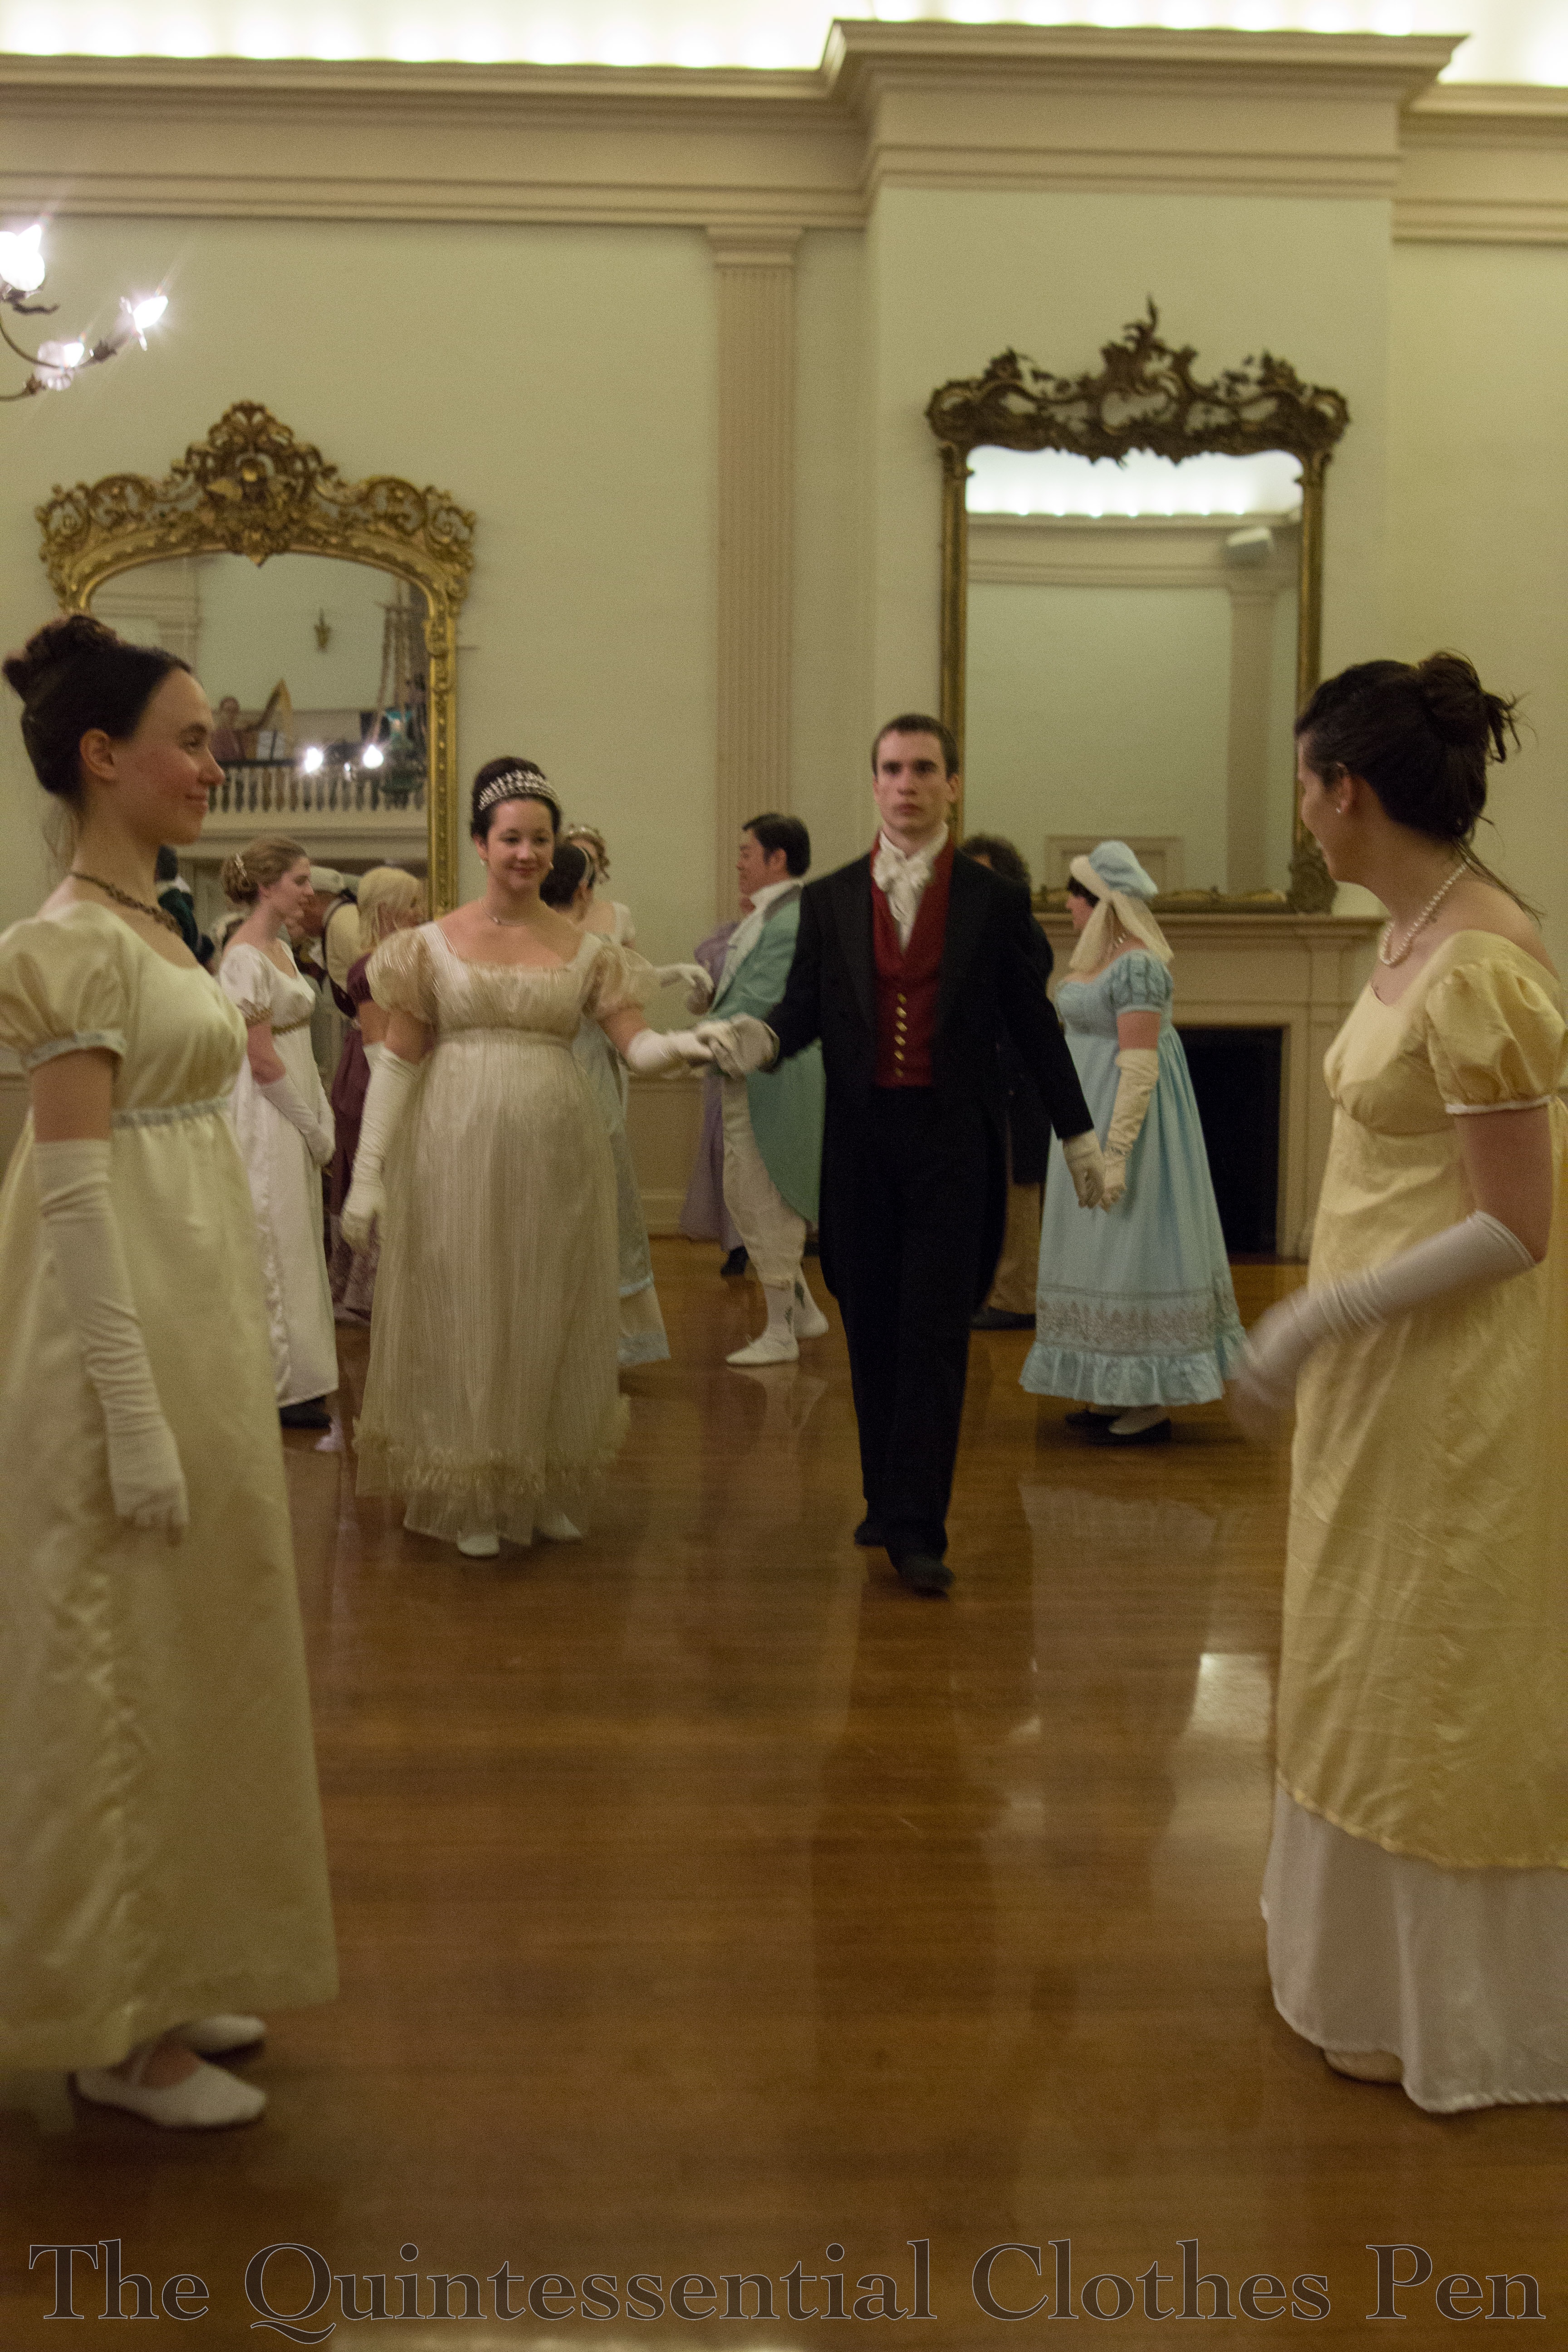
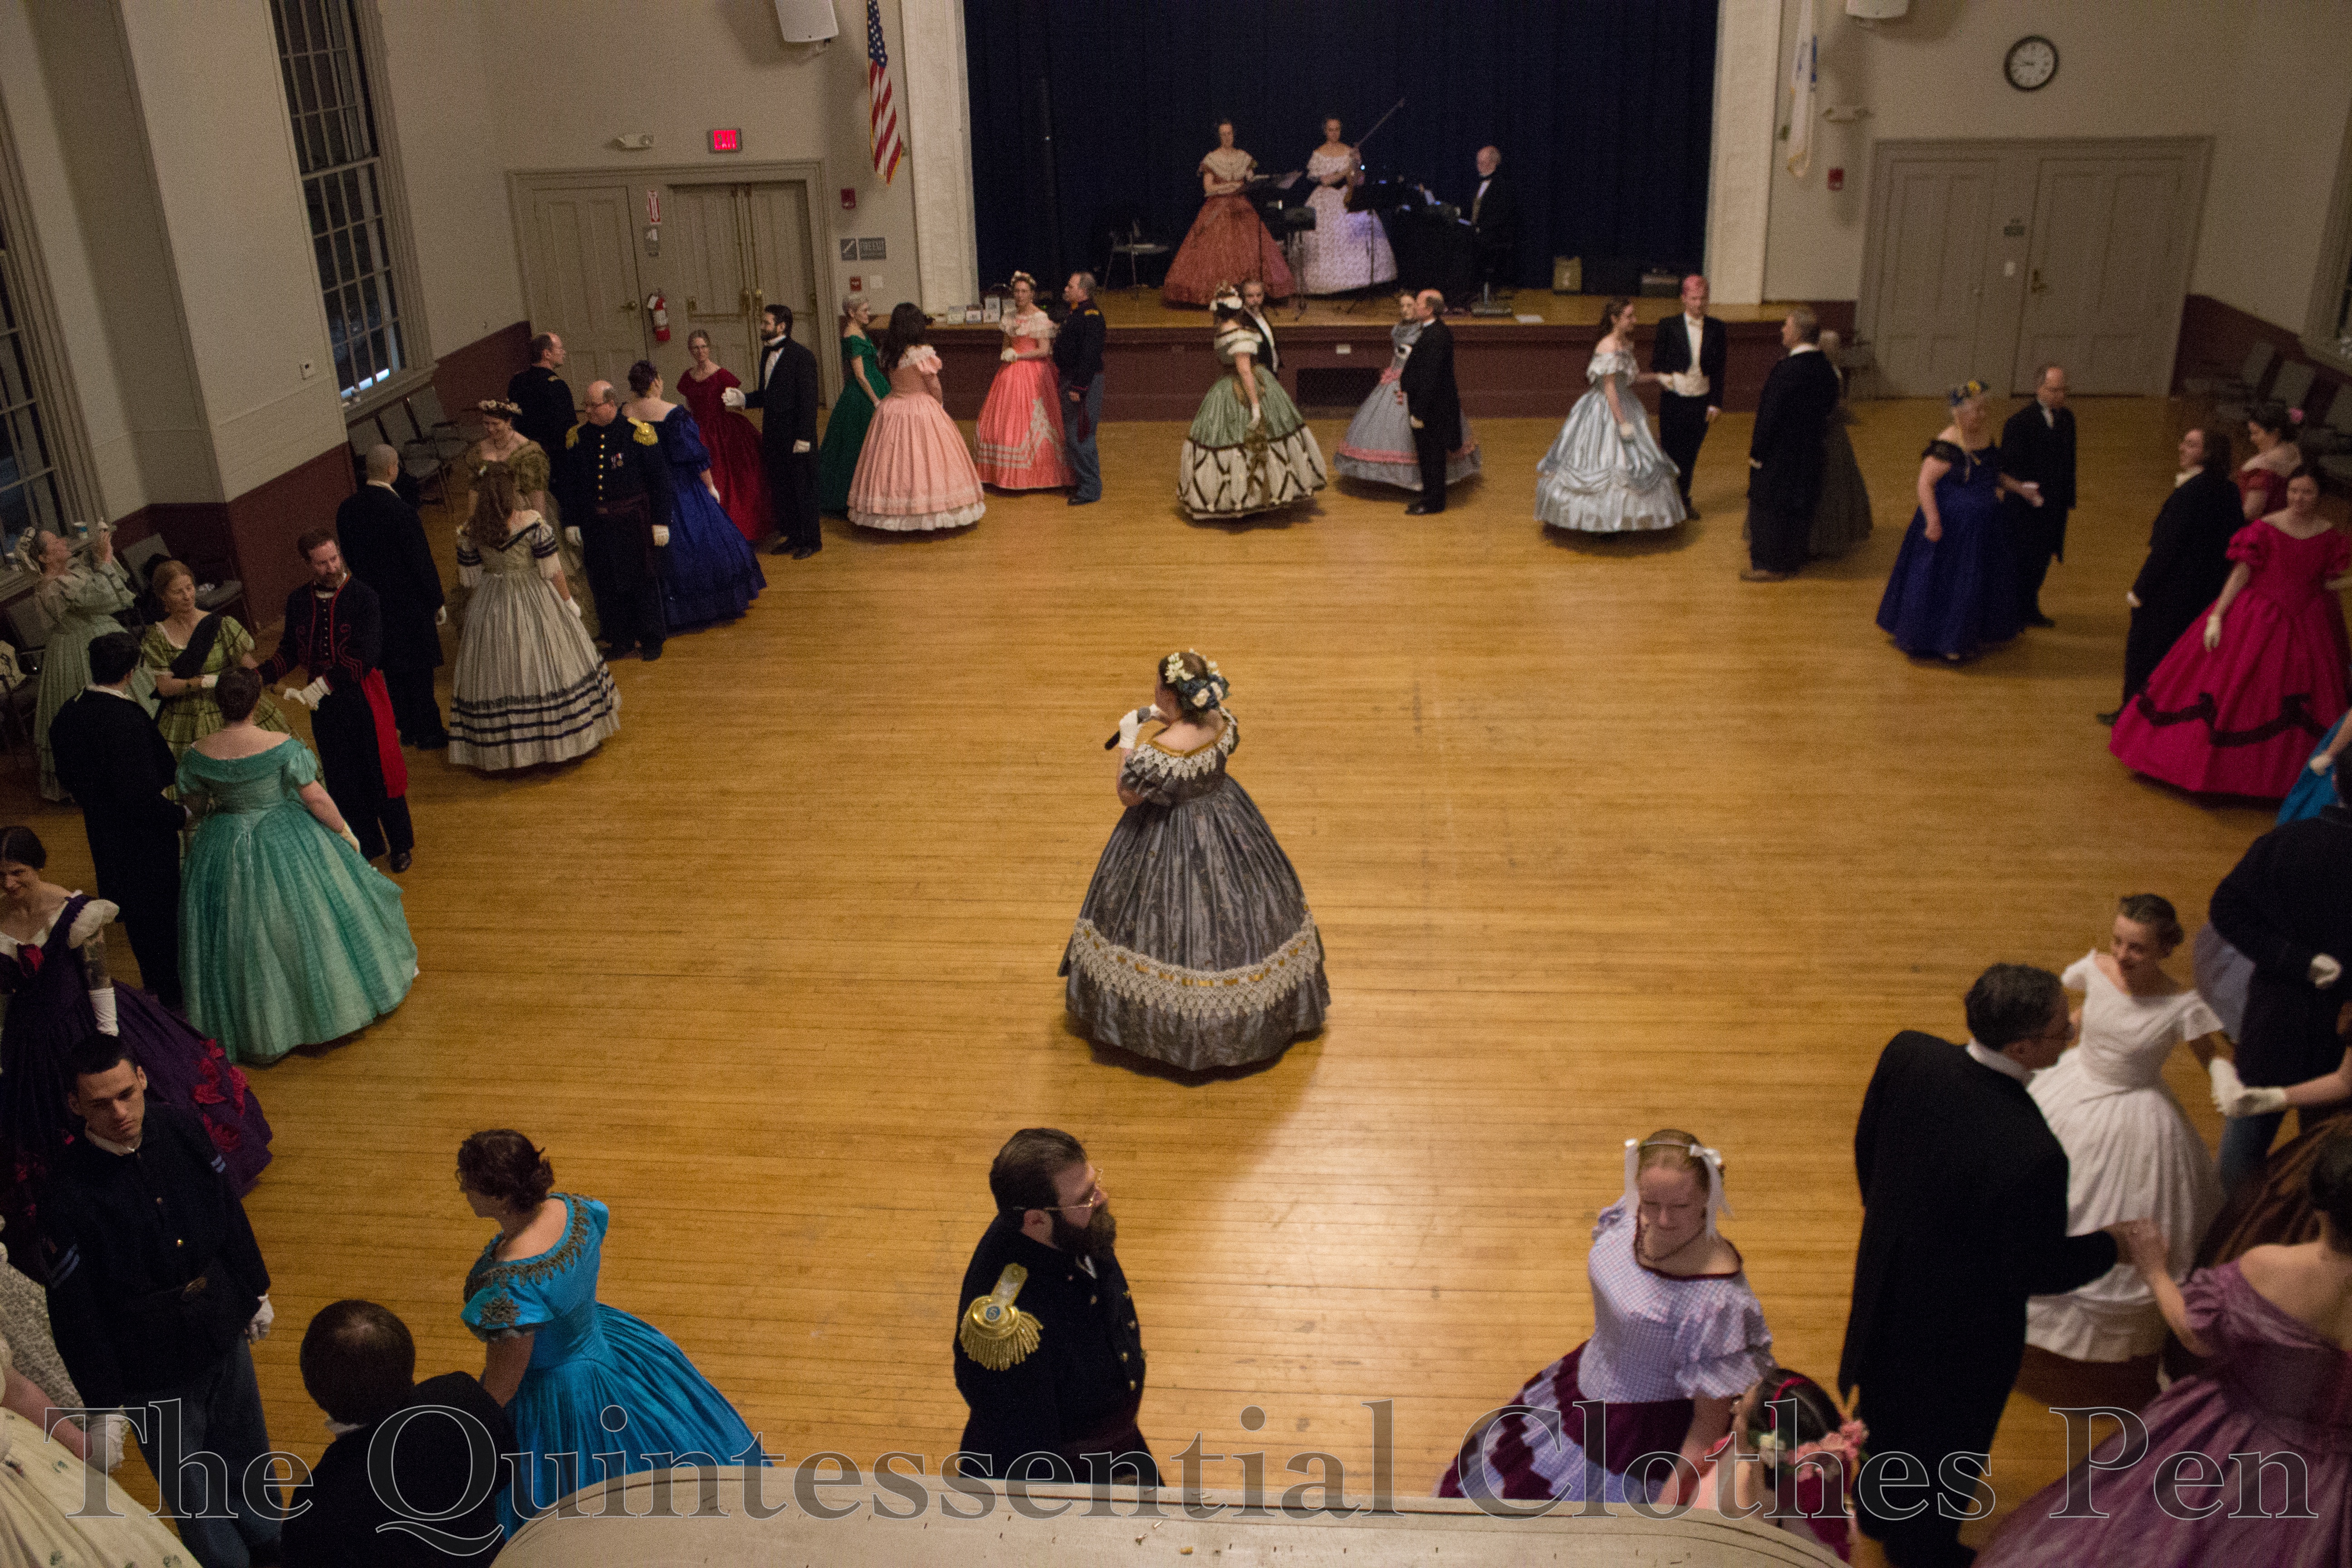
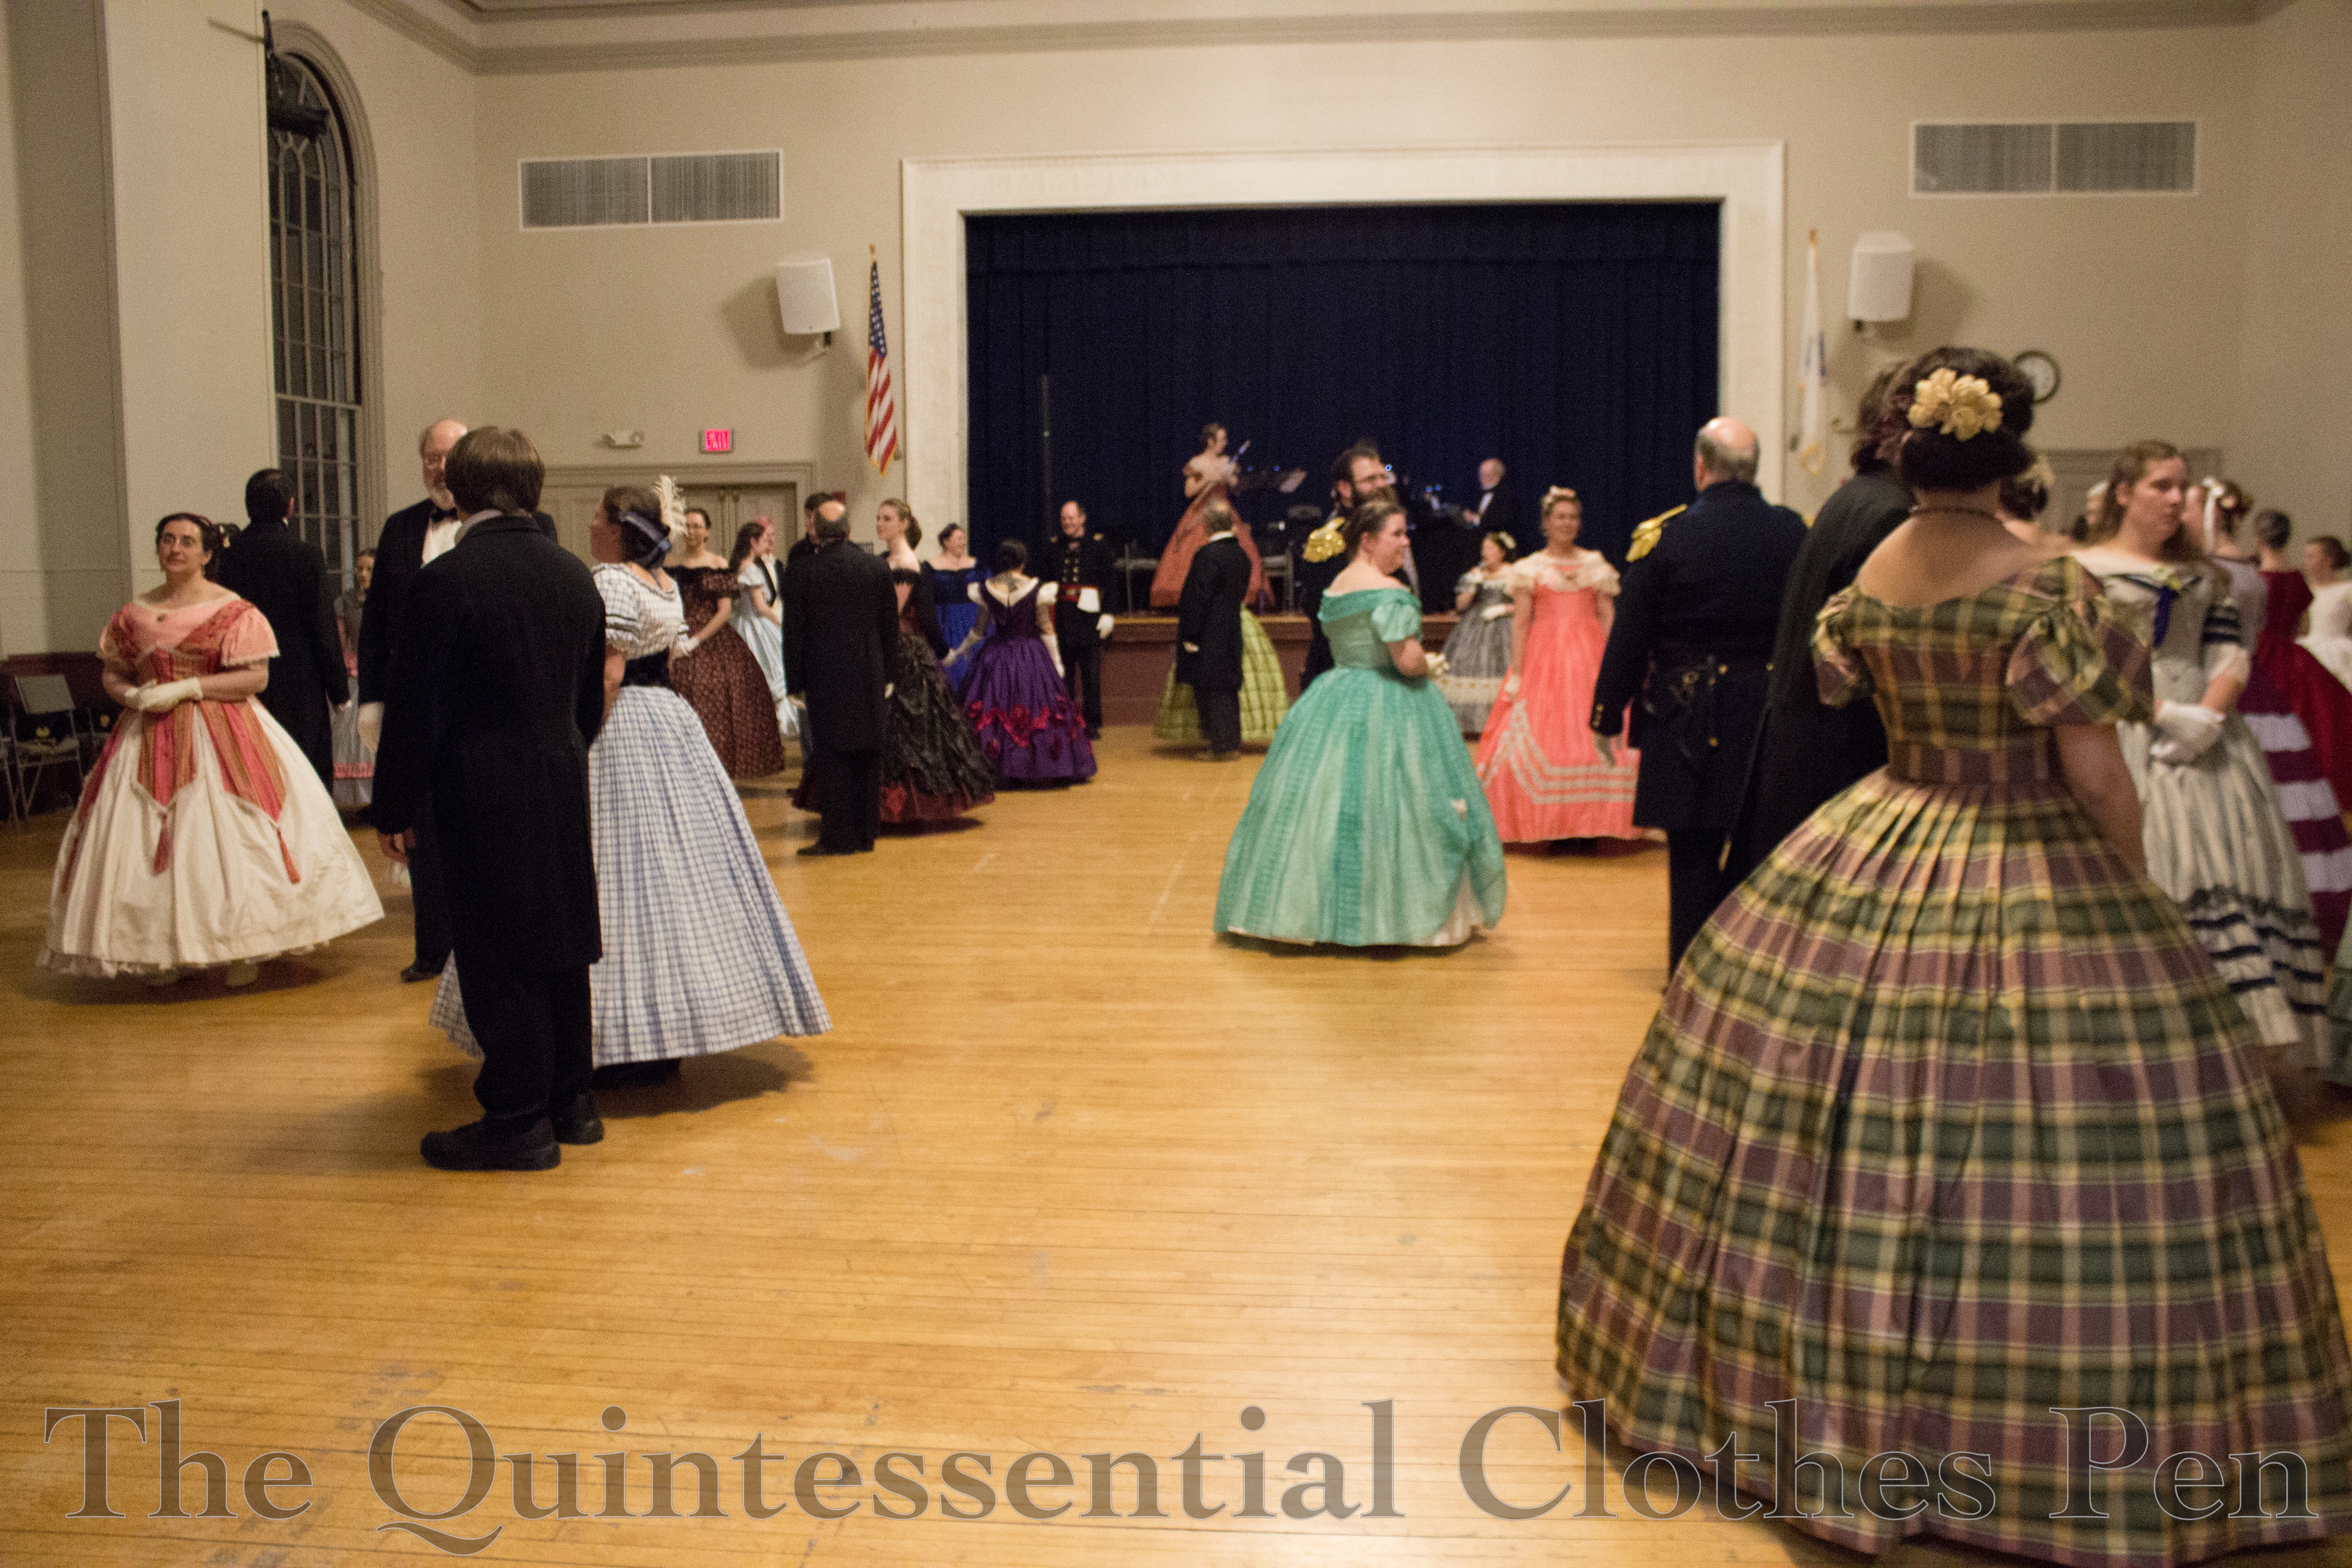
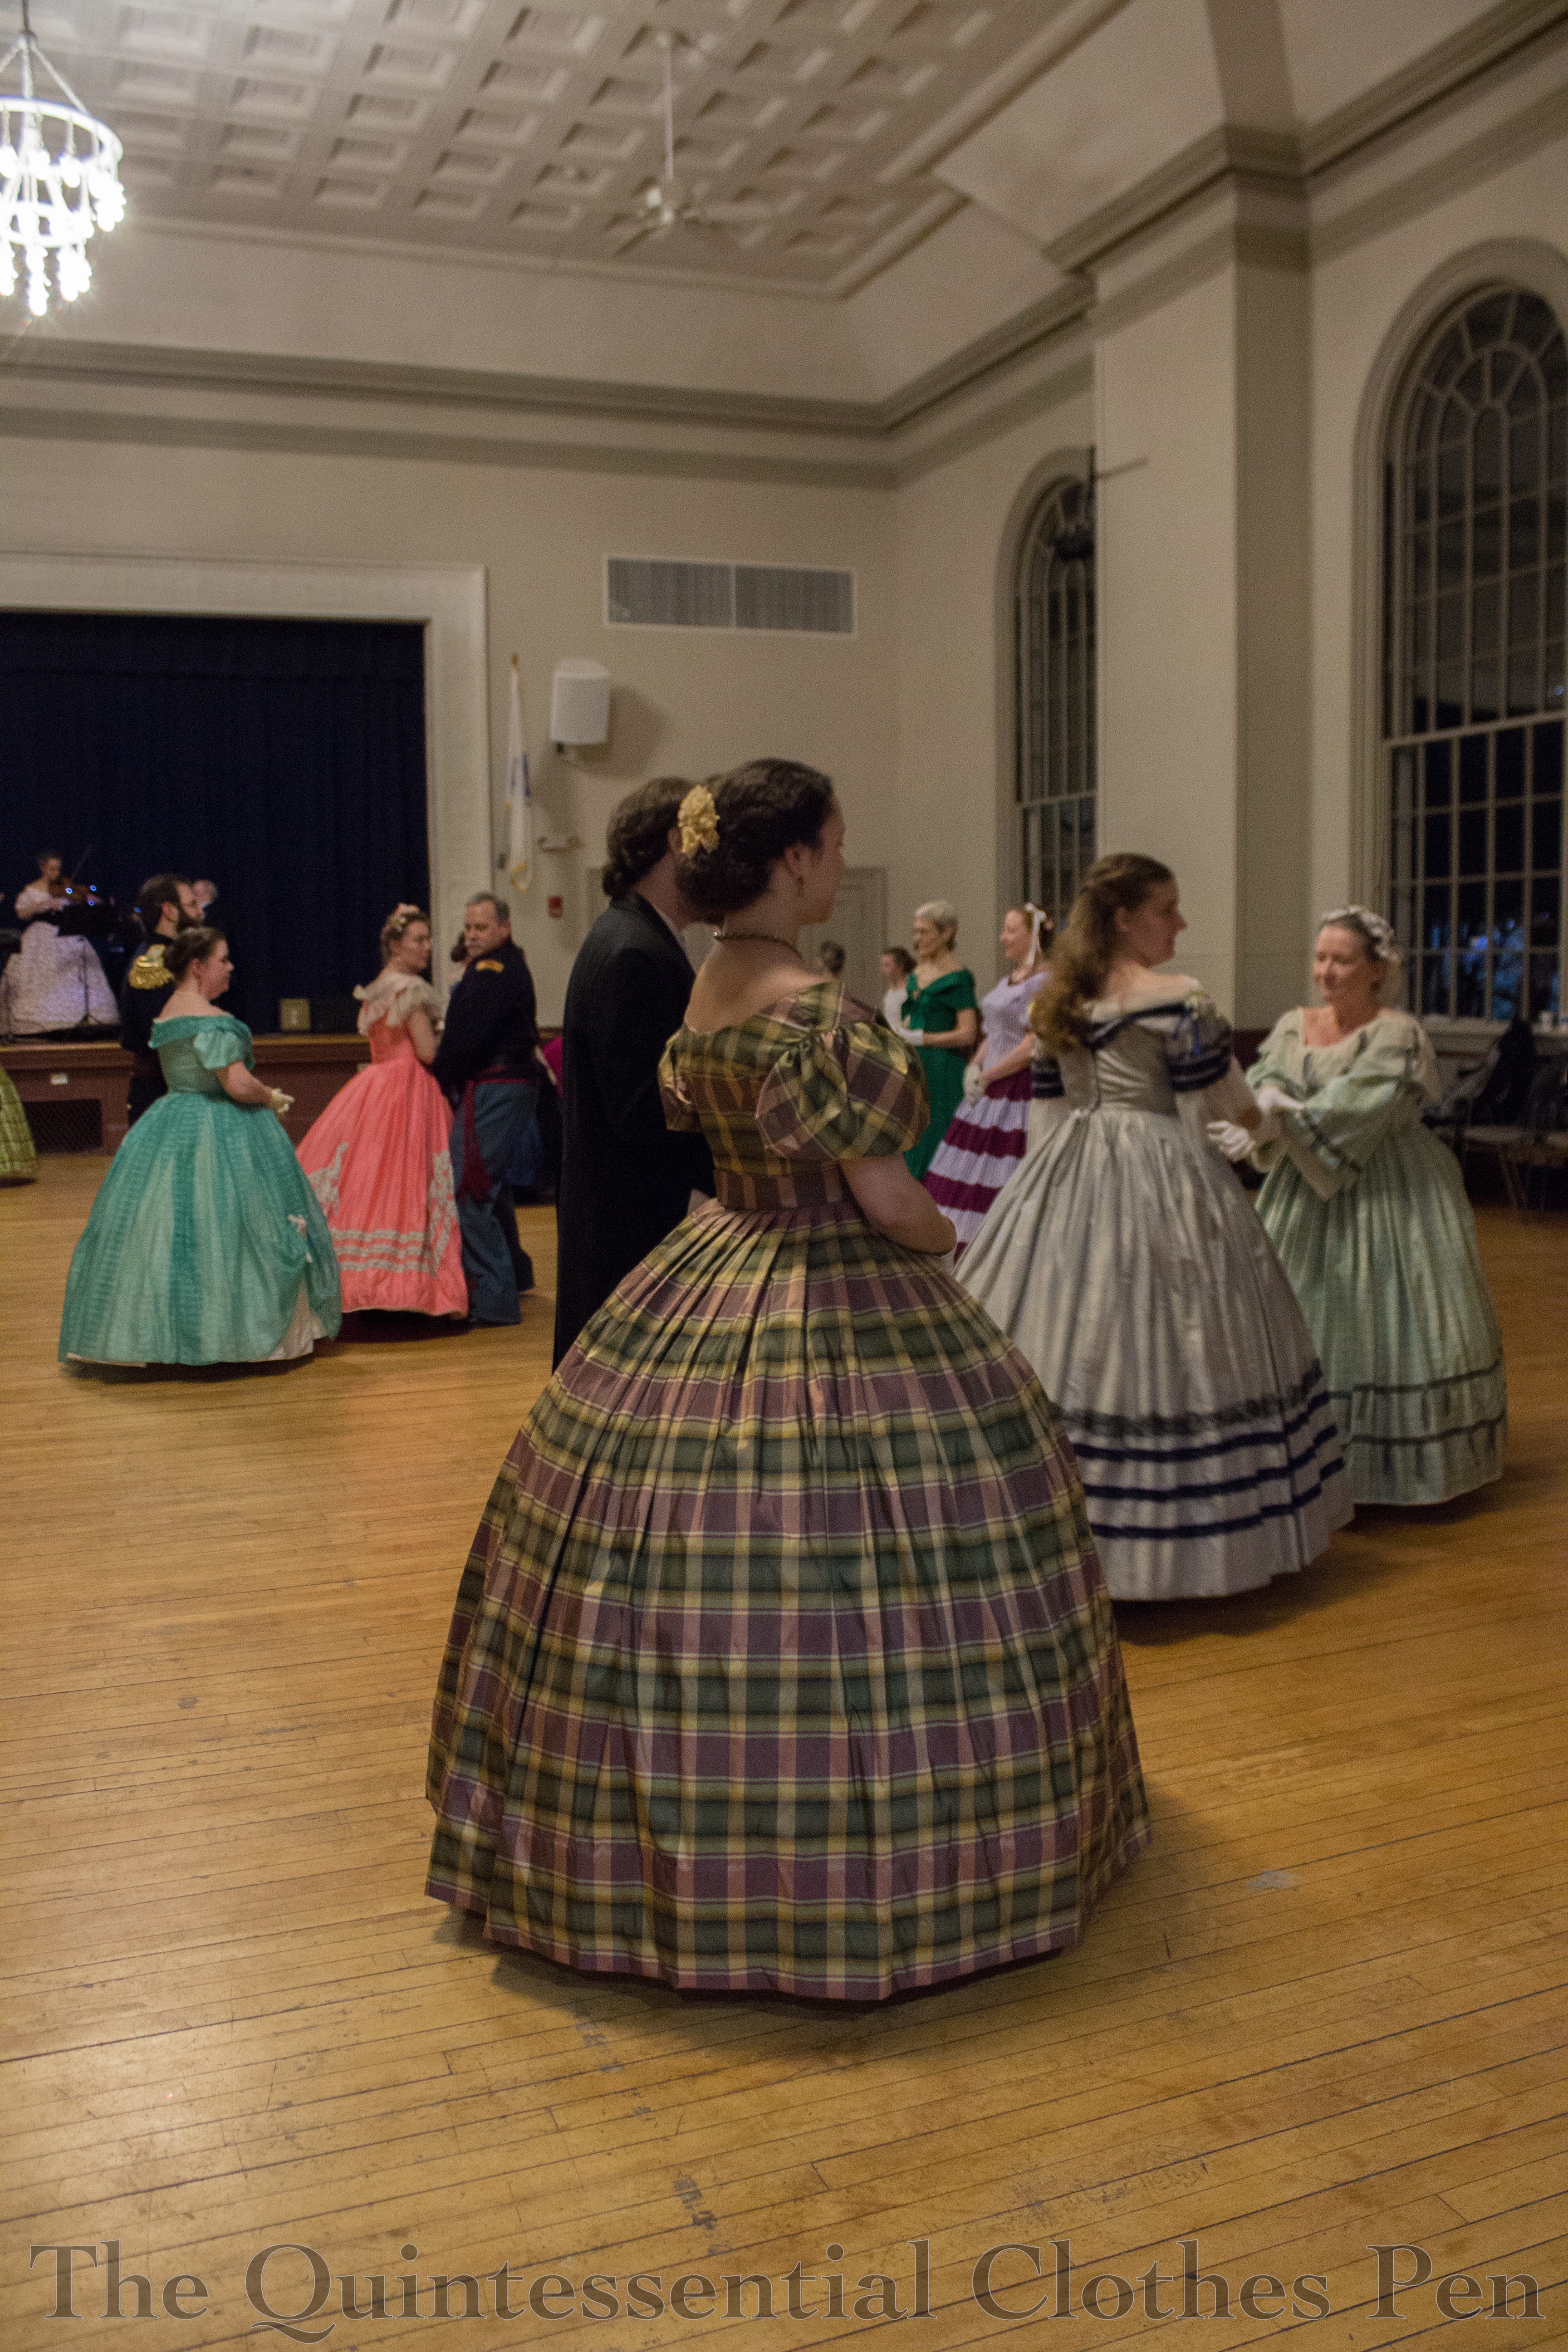
A few months ago, I had the privilege of being present once again at the Commonwealth Vintage Dancers’ annual Returning Heroes Ball. It was a lovely evening full of dancing, admiring the well turned out ladies and gentleman, chatting…and lots of dish washing (that’s what happens behind the scenes at these things–someone has to do all of the dishes.)
Here are two very similar views of the ballroom. I thought I’d include both because you see different dresses in each one and that’s one of the things that I greatly enjoy about attending historical events!
I didn’t spend all my time watching, however. Here I am participating in a quadrille. I wore my most recently constructed mid-19th century dress, Eleanor. I was grateful that the only change I needed to make after the first wearing was shortening the hem one turn so I didn’t step on it while dancing.
I made my refreshing apron a few years ago, but since then others have joined me in my apron endeavors (they really are quite practical when doing dishes, filling punch bowls, and setting out refreshments!). Aprons in a row!

























 The Quintessential Clothes Pen