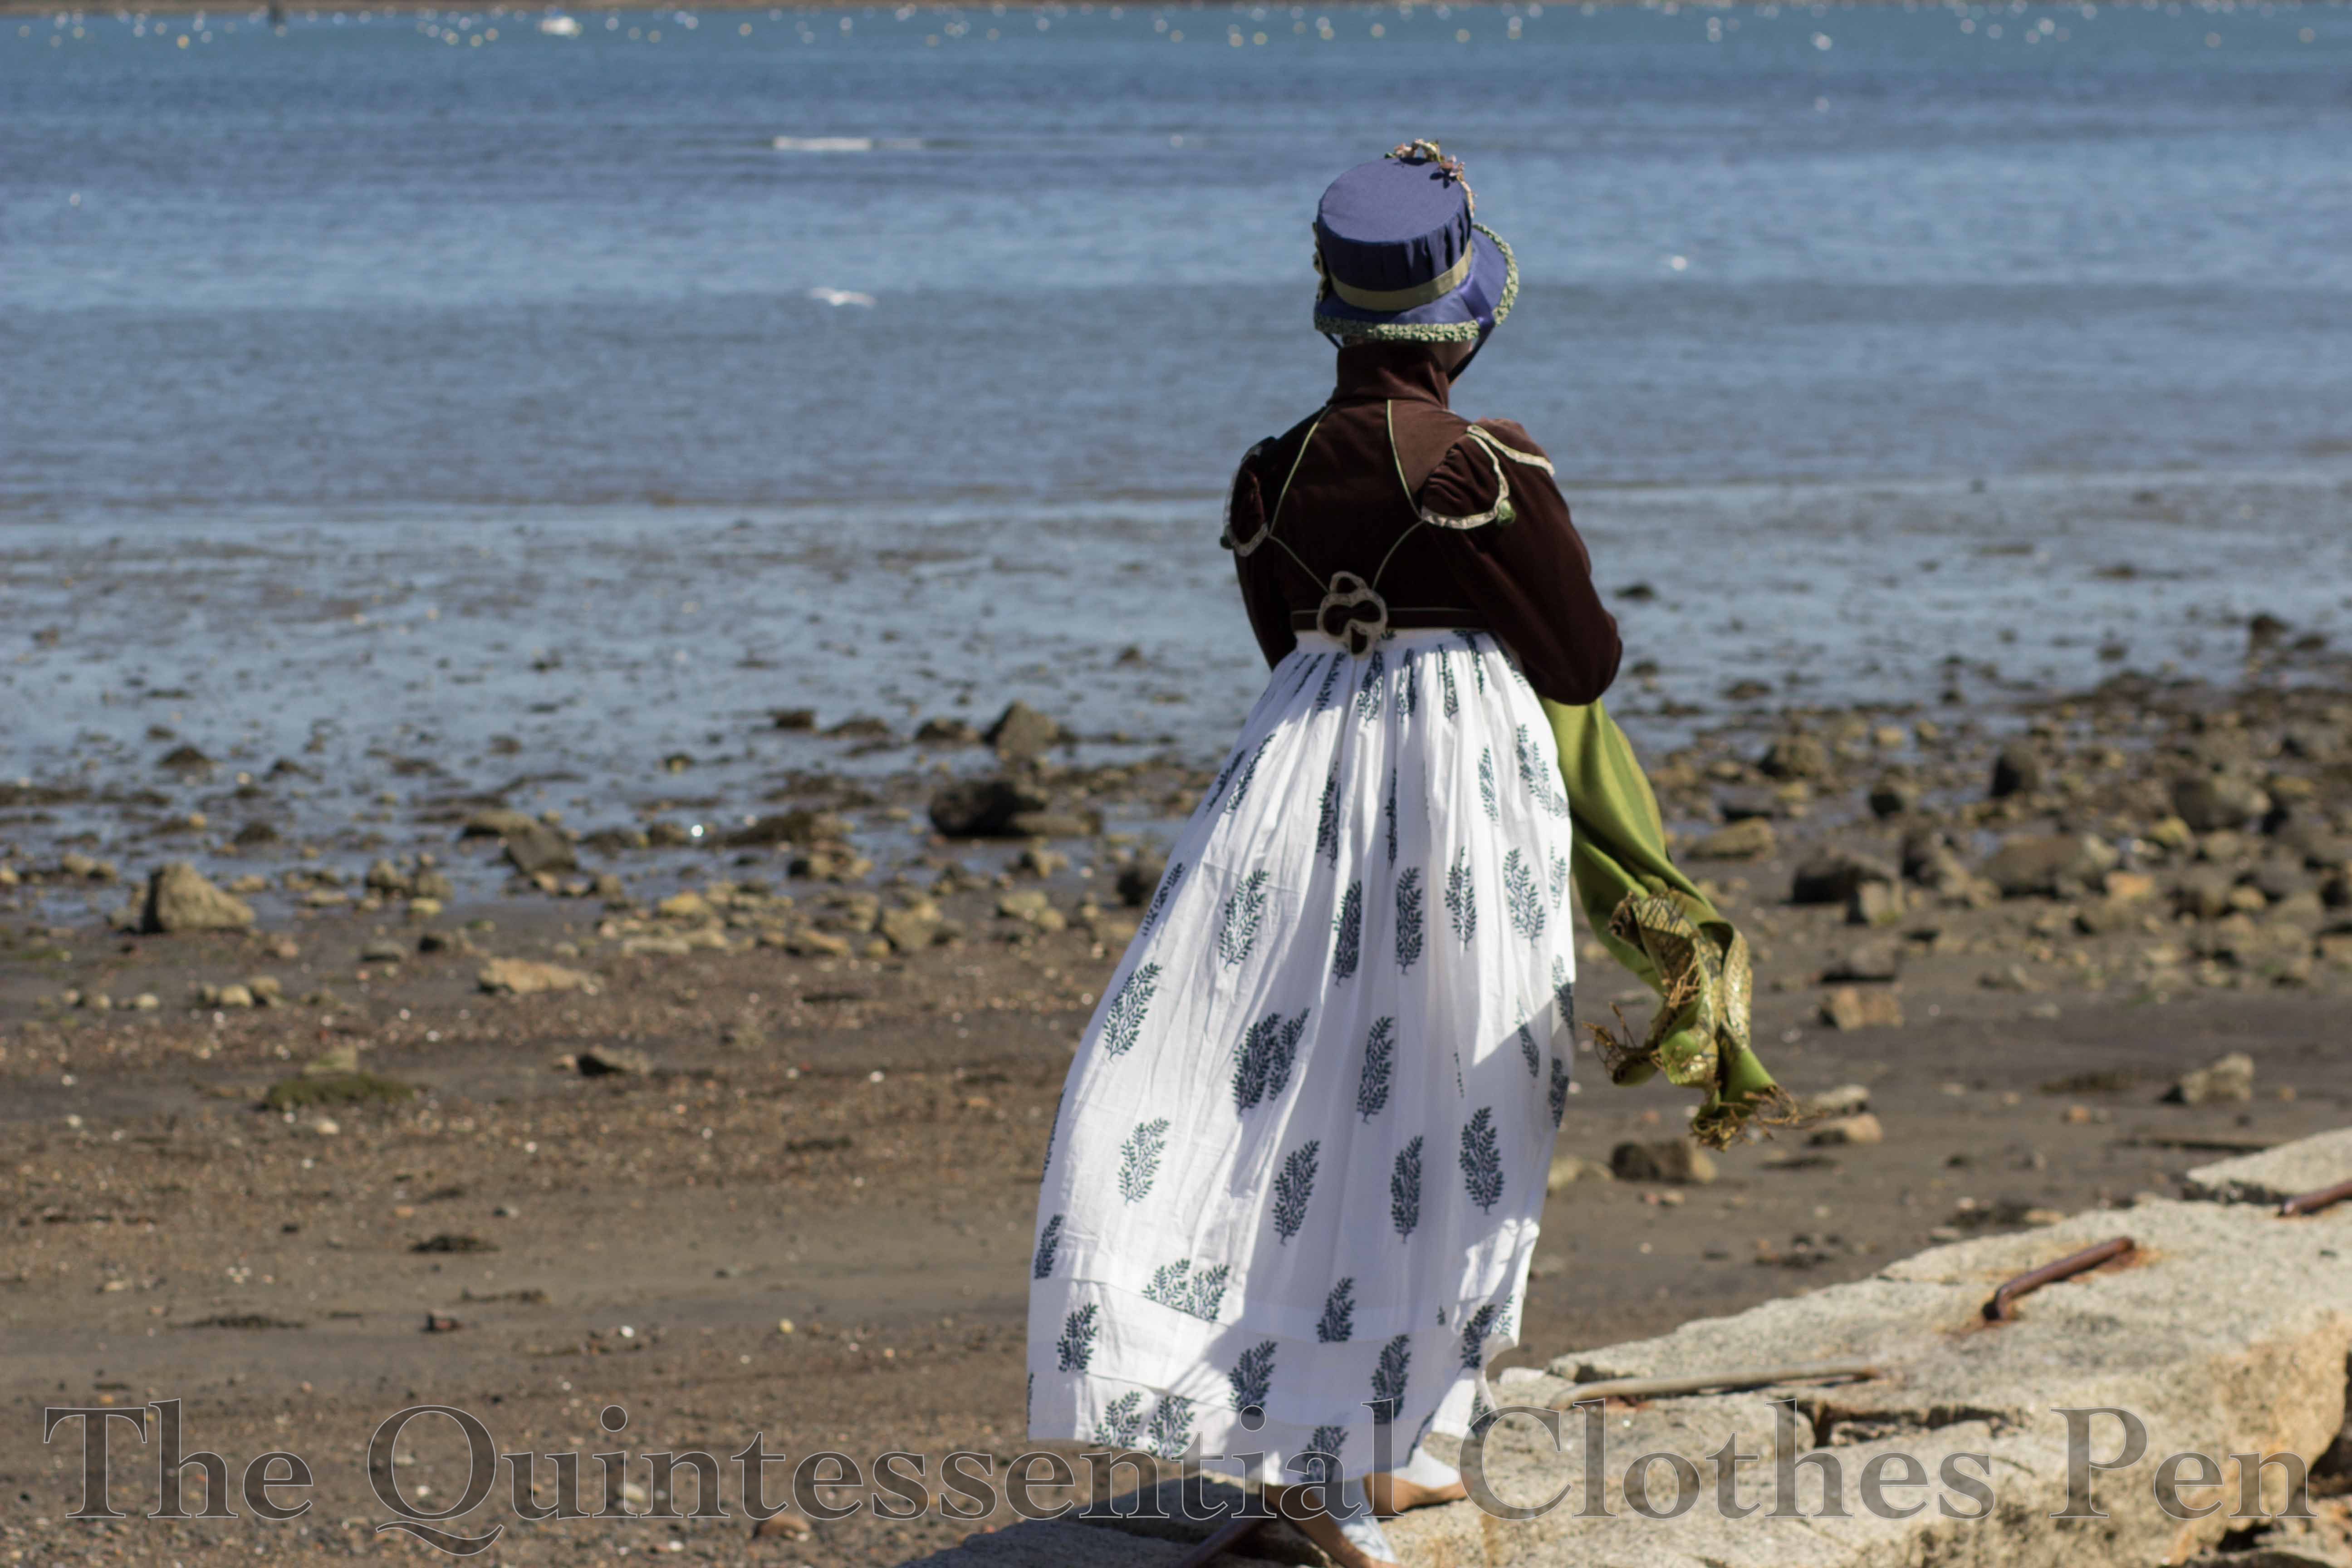
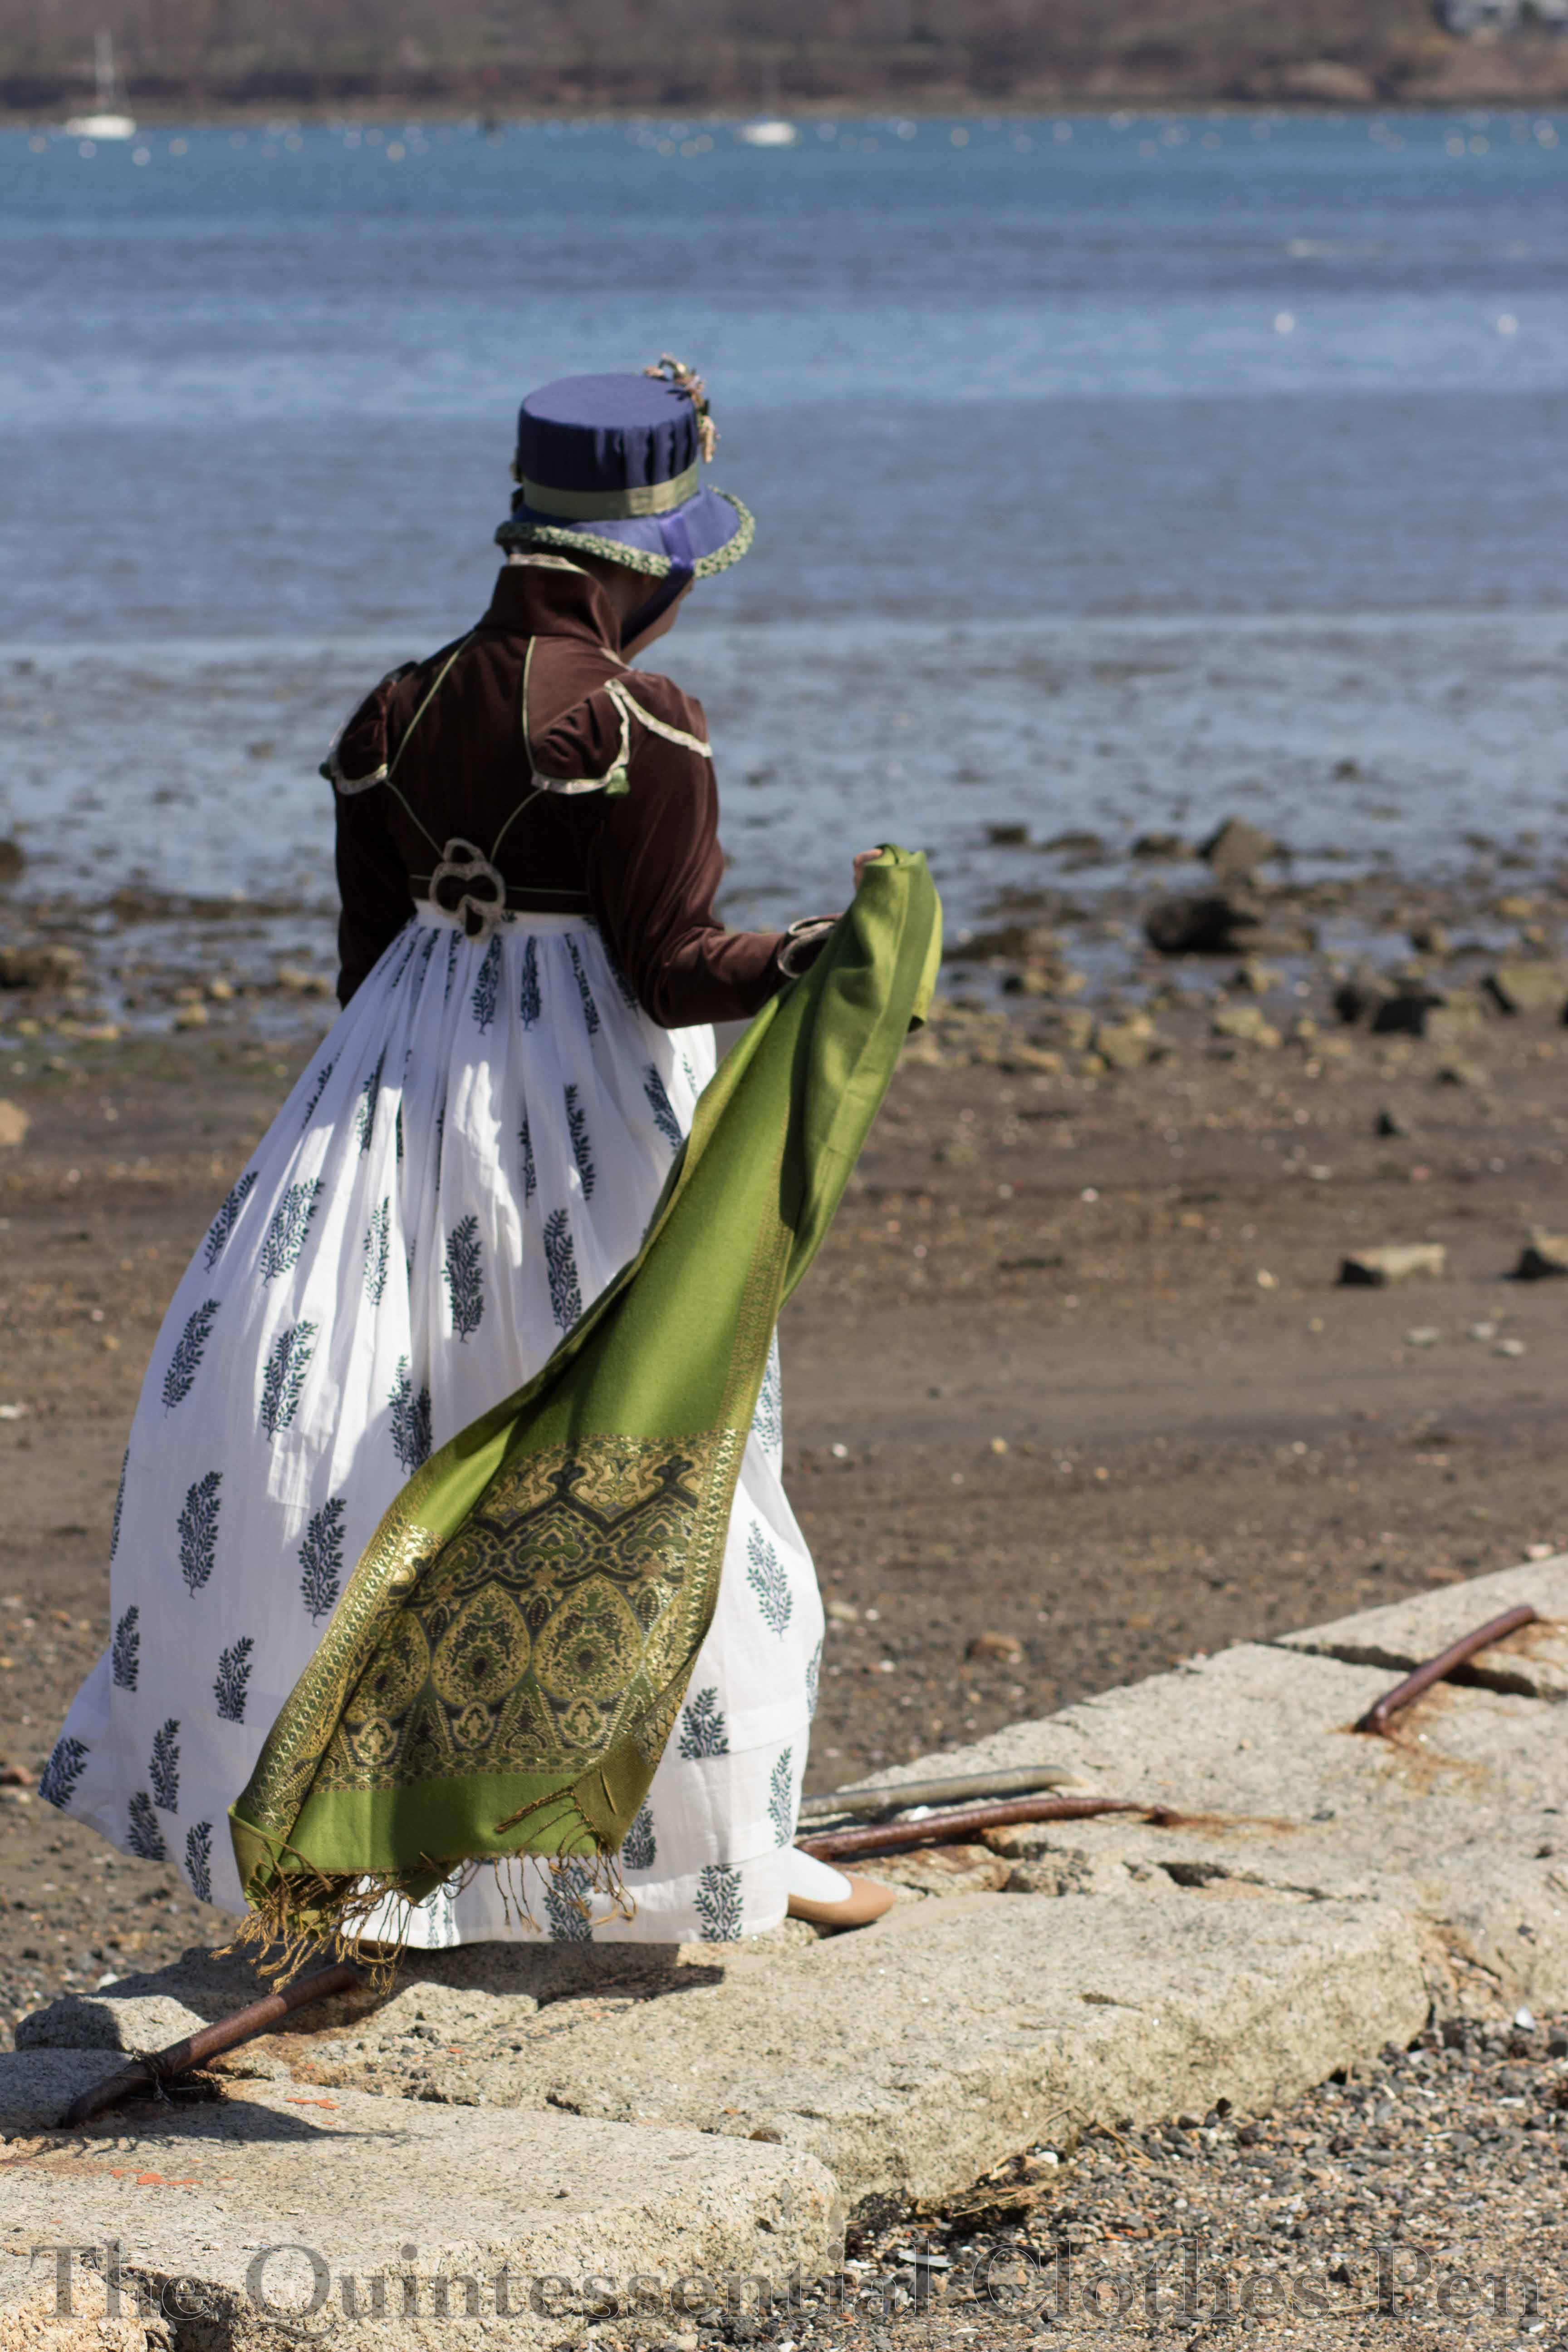
1814 Orange Boven Pelisse

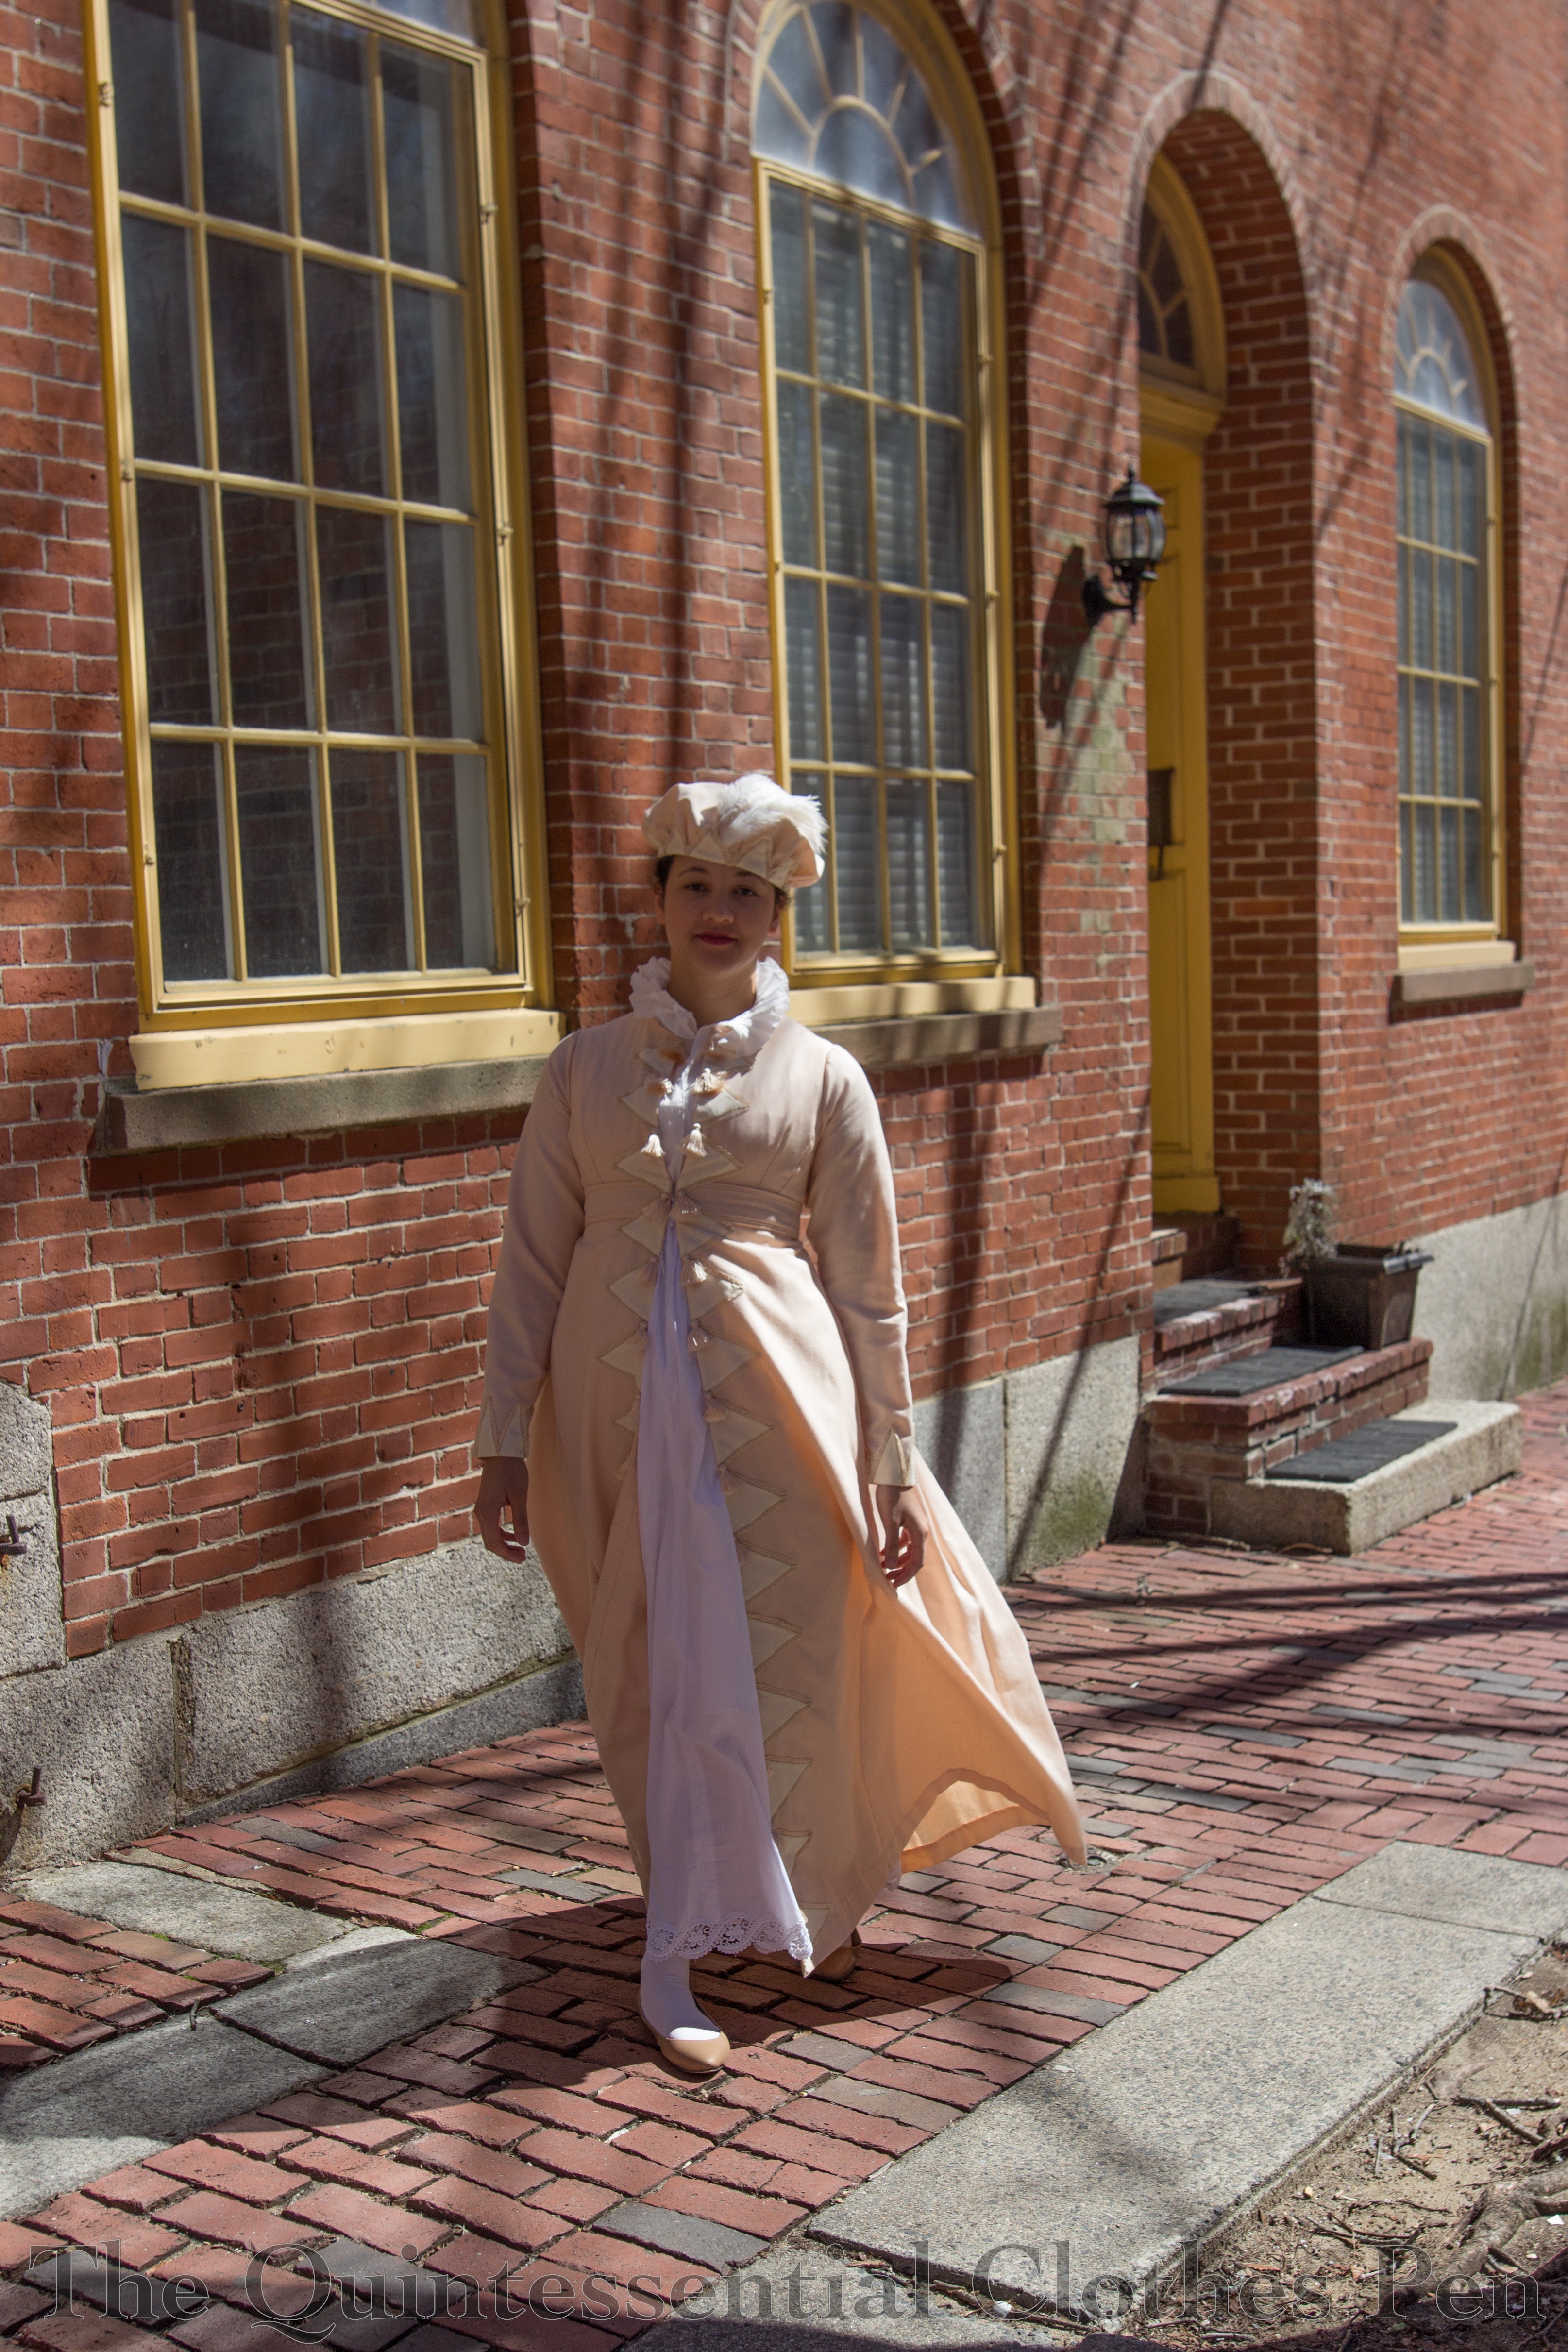
At least three years ago I was inspired by a fashion plate, as one often is, and started working on a Regency pelisse following the design in the image. I got really far along, finishing the construction and even part of the trimming, but then stalled and let the ensemble languish for years before determining to pick it up and finish it off this year or else! I’m excited to have finally reached a ‘done’ point in this project so I can remove it from the UFO list!

The pelisse (and hat) are directly inspired by the following fashion plate, which can be seen here with slightly different coloring and here in black and white. In the first of those two links, the garment is labeled as a dinner dress, but I thought the design would make excellent pelisse trimming and so I adapted it.
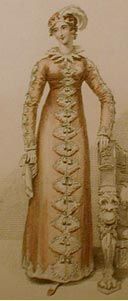
You’ll notice, perhaps, that the finished pelisse does not have as much trim on it as the inspiration image. Early in this project, before it languished, I cut out all of the appliqués for the neck, sleeves, and hem as well as the front edges. I pressed under a 1/4″ on each side of each piece, too. And then, as I was finishing all that triangle trim on the front earlier this year, two things happened:

#1- I lost steam and really just needed to be done with this project.

#2- I decided I liked the simplicity of the pelisse without the extra trim. It’s so easy to draw lots of details, but then in a real garment the details don’t always translate. For example, the triangles around the neck just looked bad and awkward (plus, I wonder if that is a chemisette collar and not trim on the dress itself?) and the sleeves just looked too crowded. I was also afraid that putting all that work into triangles around the hem would just get dirty and not be a good use of many more yards of the vintage lace I used to edge the triangles.

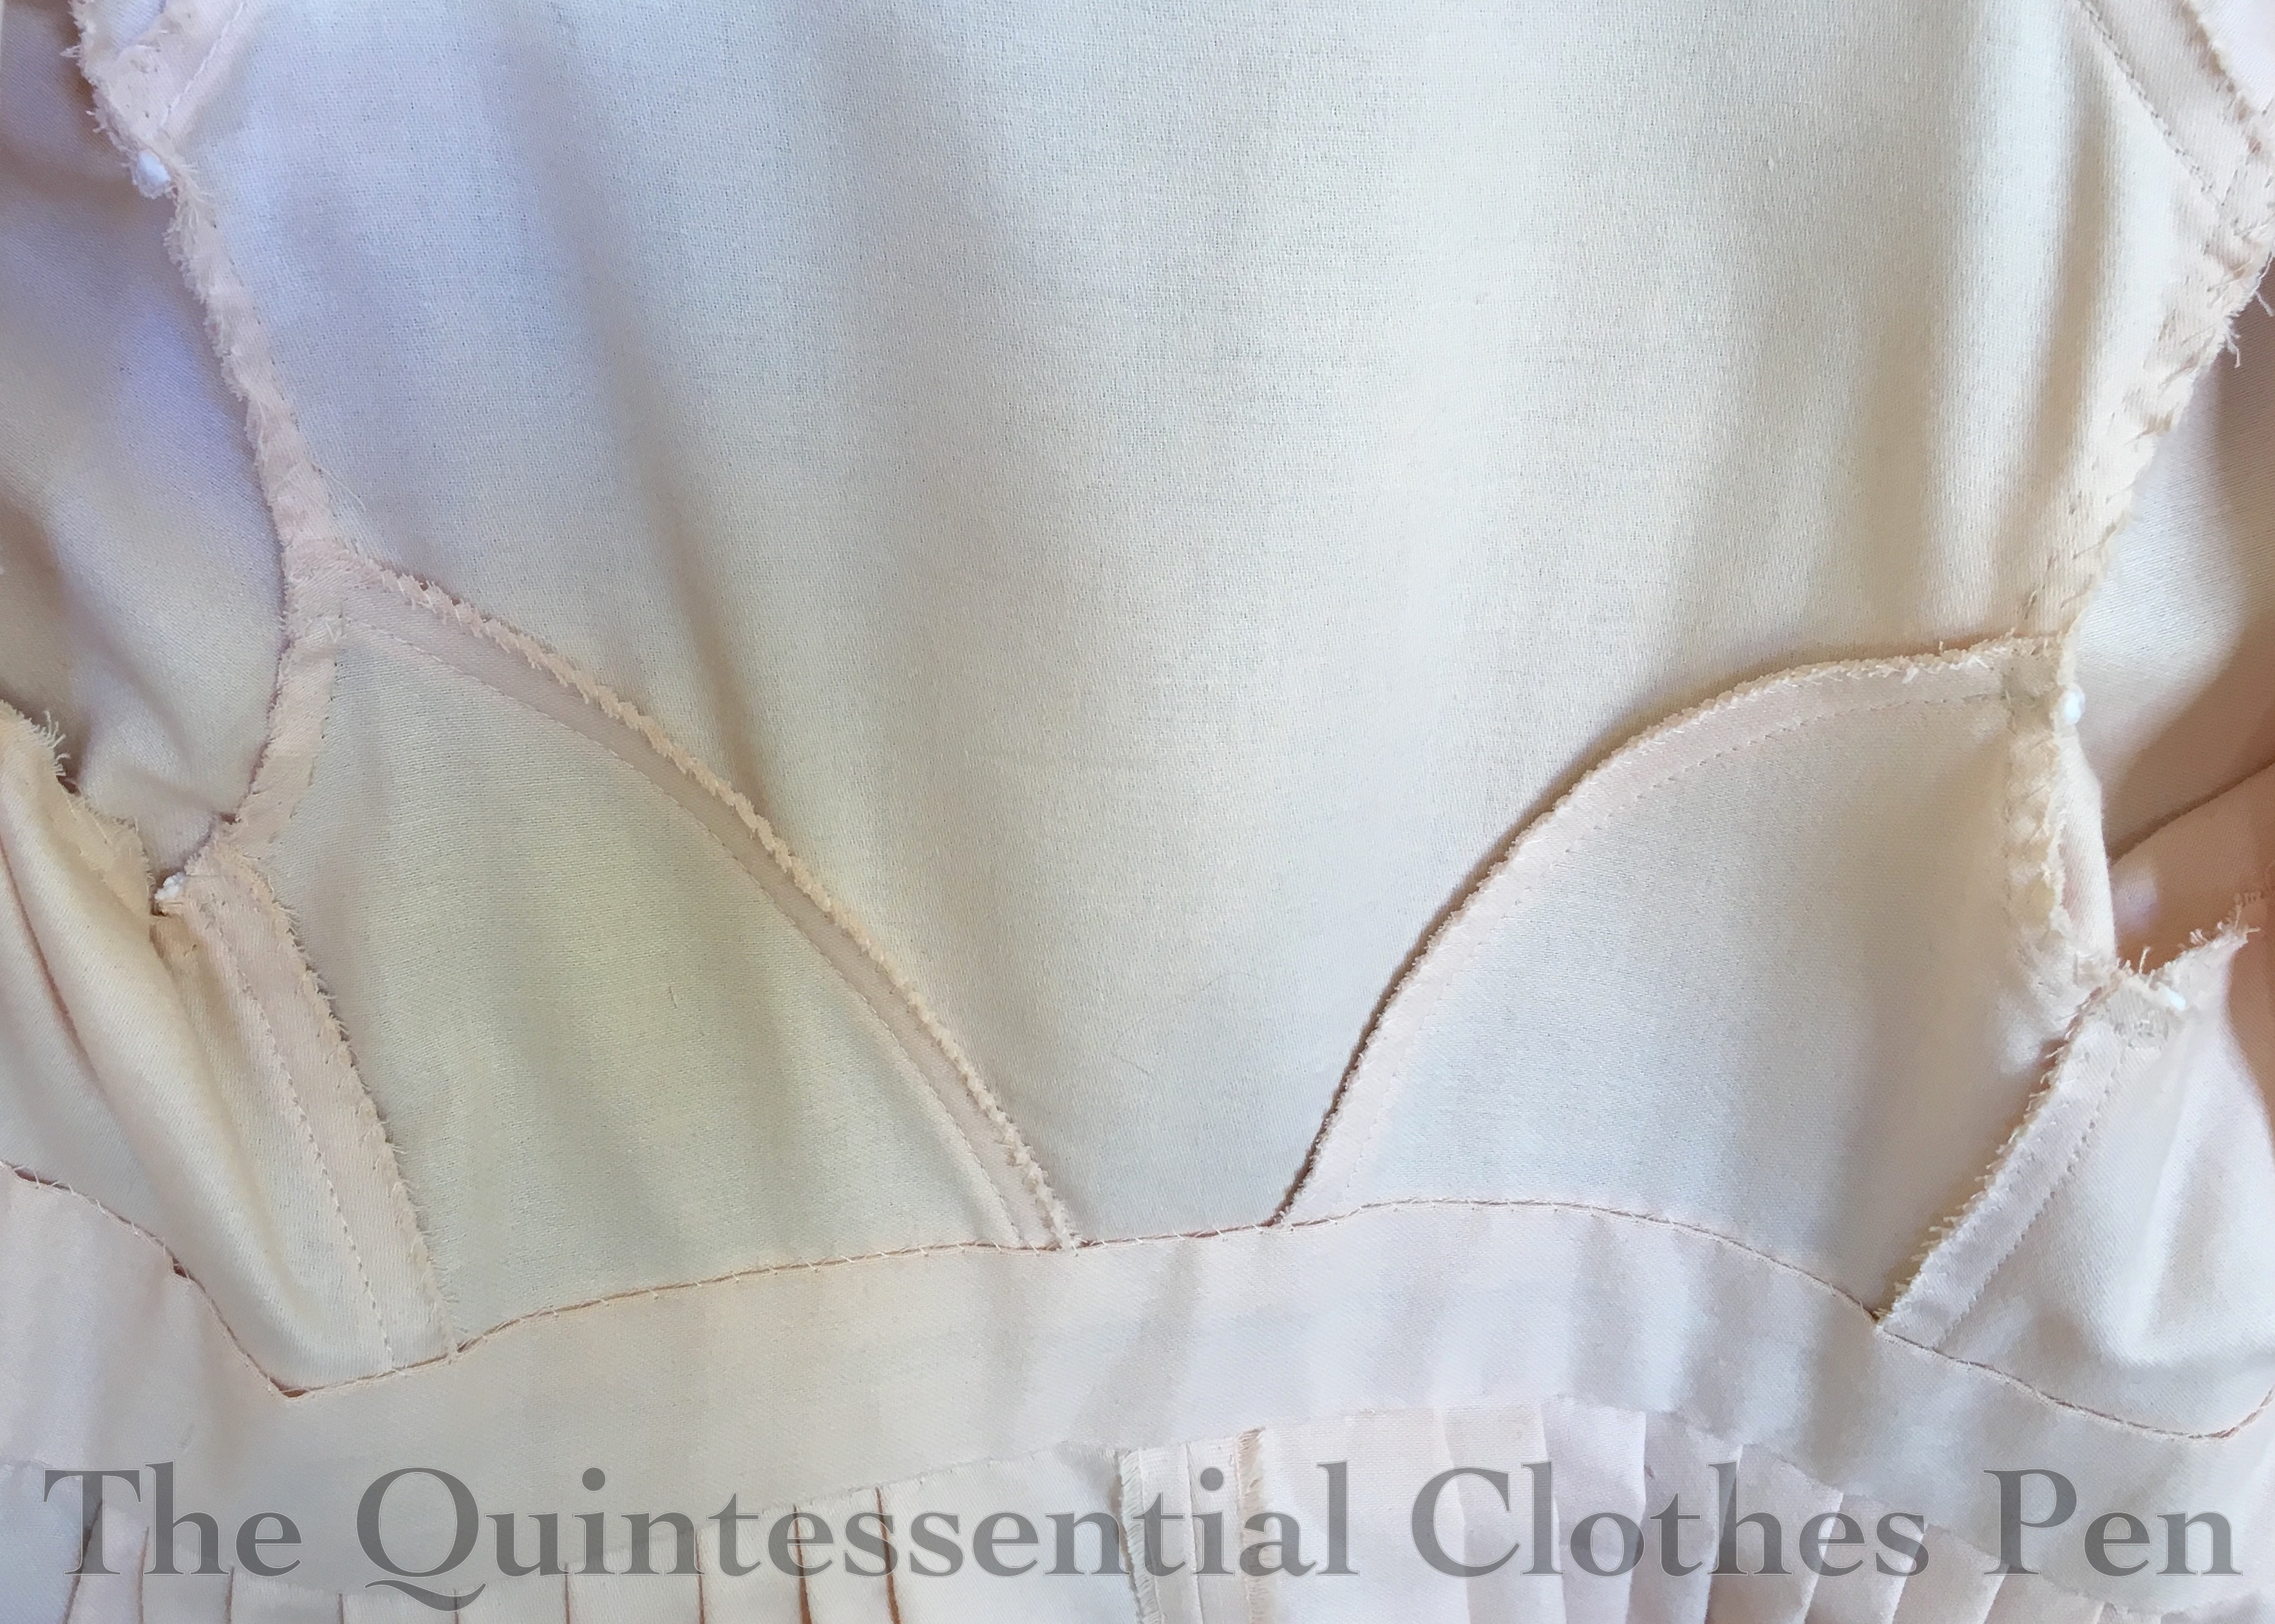
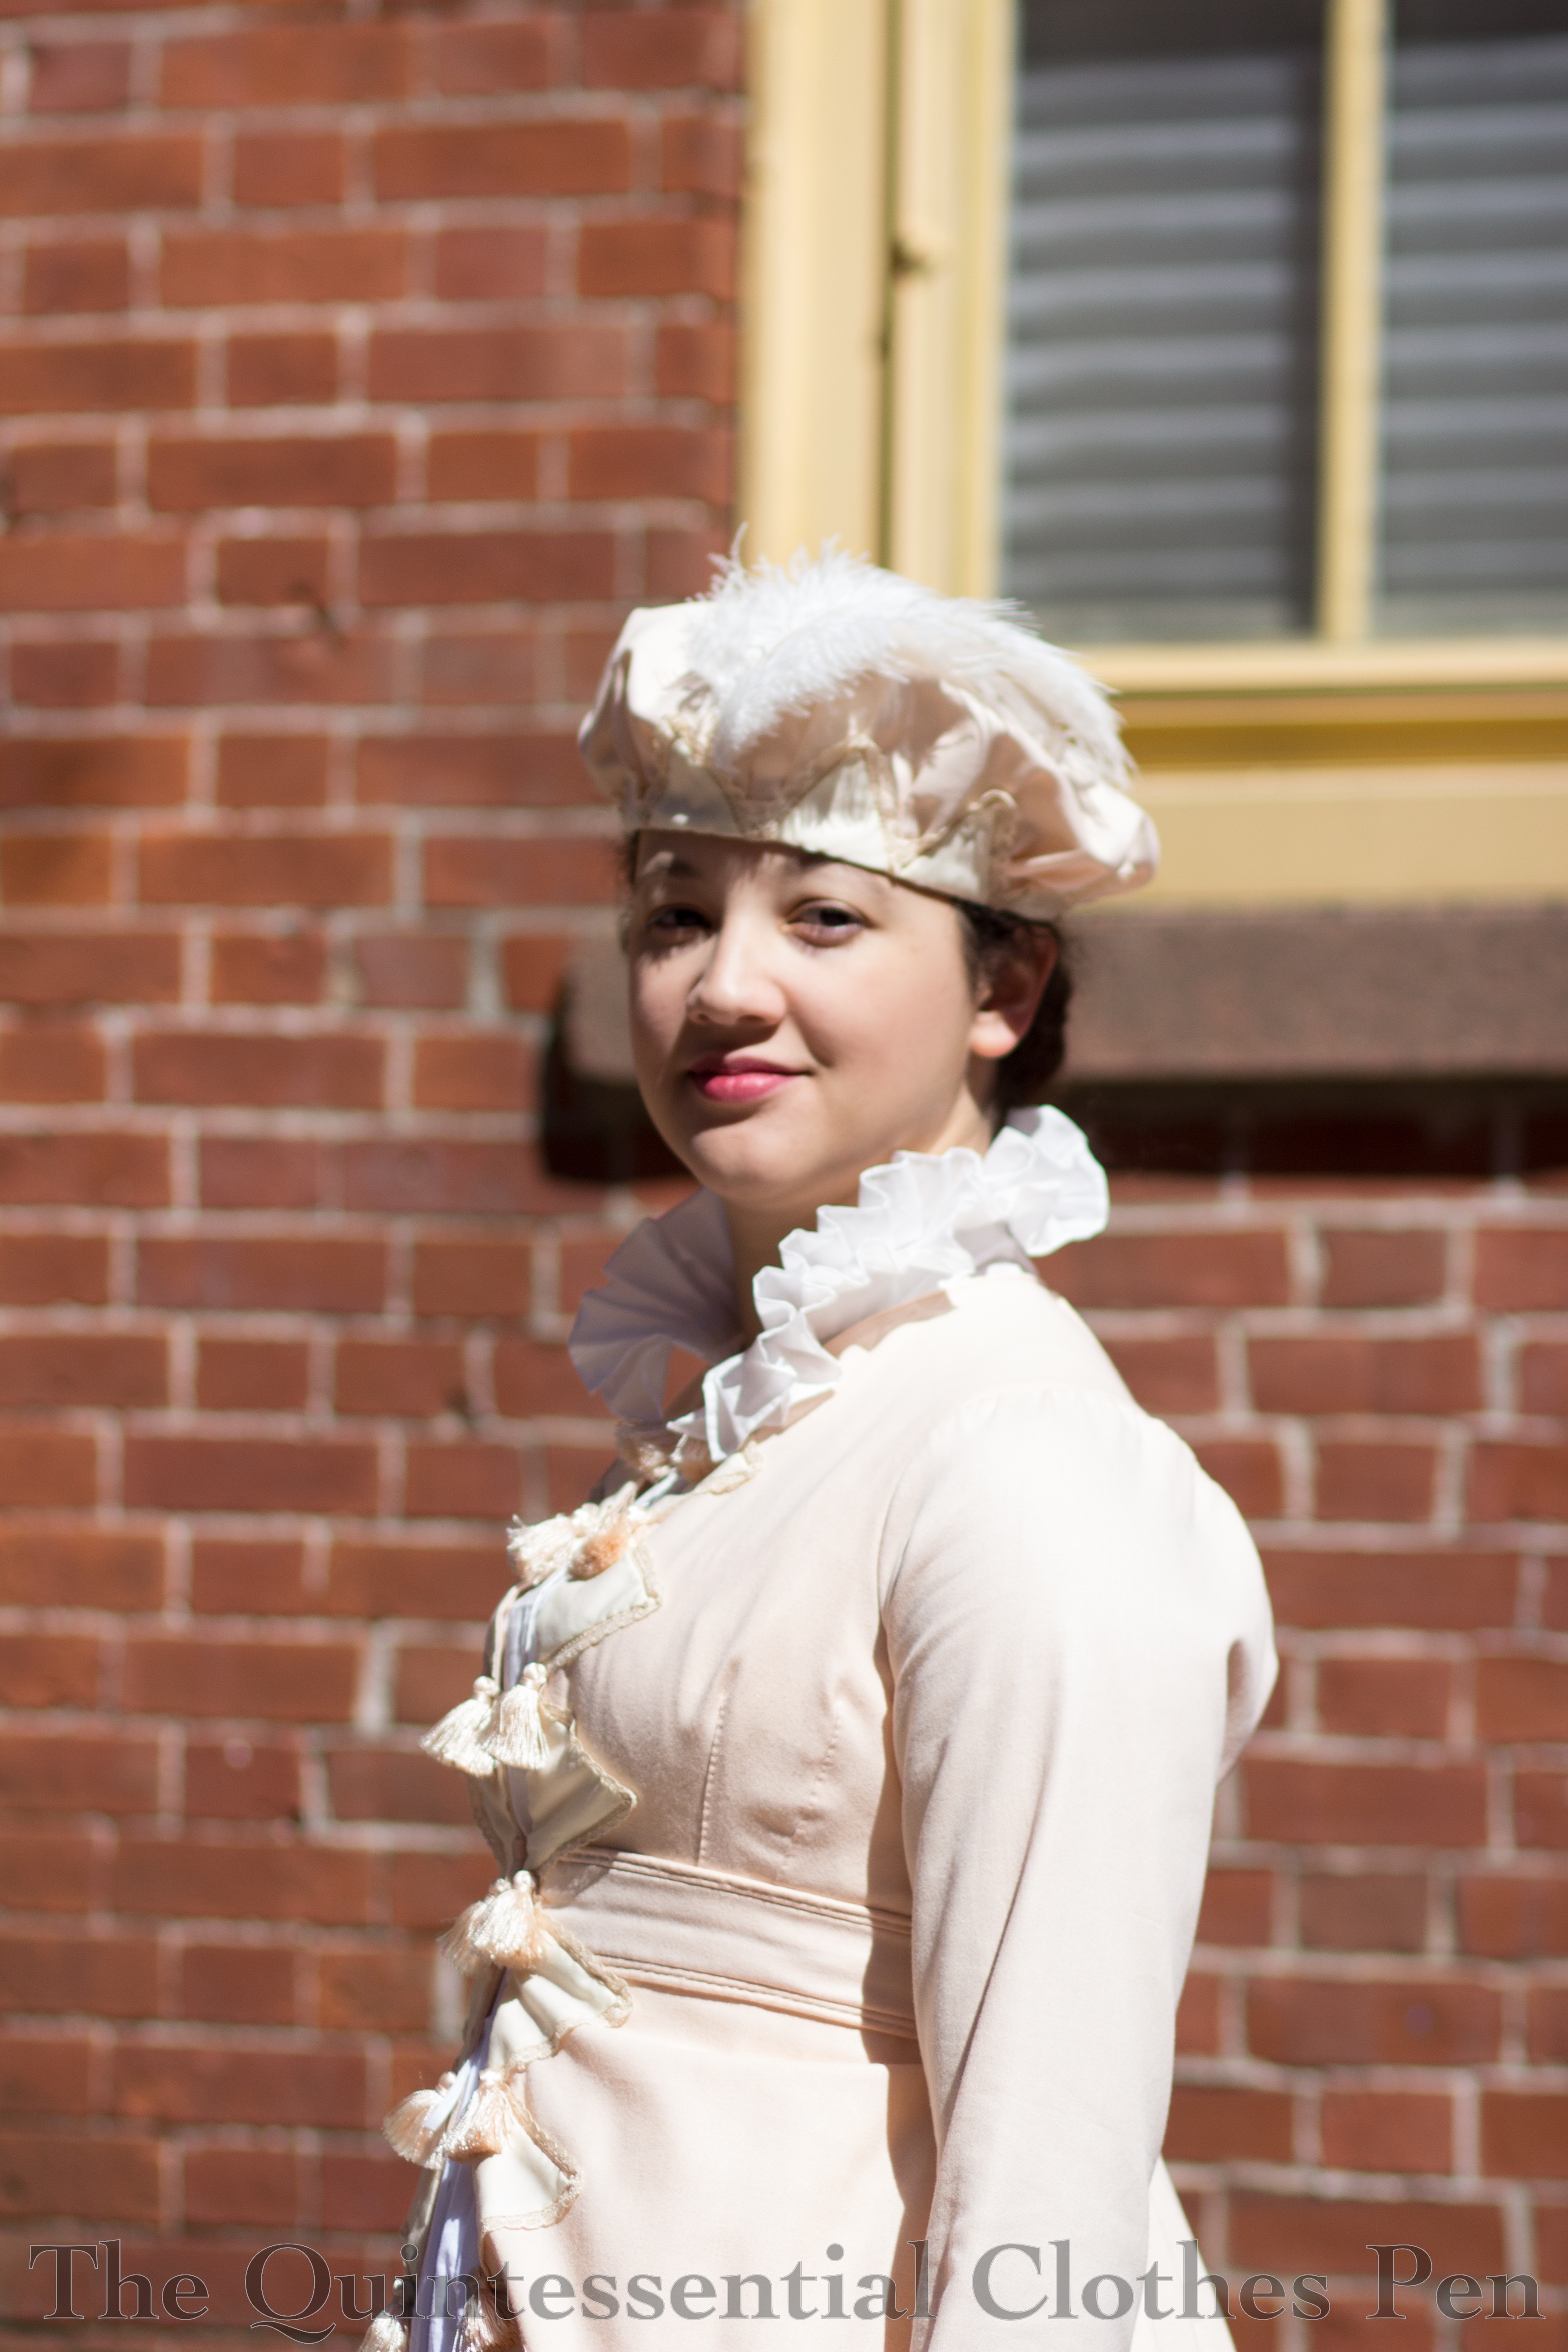
In fact, despite the somewhat-simplified trim, there are actually a lot of details in the construction of the pelisse. Each back seam is piped and the belt has double piping above and below it. The neck is bound with piping, which is sewn with small, invisible stitches around the neck to hold the seam allowance to the inside. Also, the skirt is knife pleated into the back, allowing for a nice silhouette from all sides.

The pelisse is made entirely from peach colored cotton. It is unlined, except on the belt, where it is lined in order to hide the raw edges. The other seam allowances are whip stitched to keep them tidy. Here is an inside view of the bodice section. I do like my insides to be tidy!
The trim fabric is a cream colored poly/cotton blend. Each triangle is edged in very light tan vintage lace. Then, to top it all off, there are peach tassels on each triangle down the front as well. The peach tassels were removed from a length of upholstery trim that happened to be a perfect color match!

The pelisse is machine sewn on the interior seams and hand finished, including the hem, neckline, seam allowances, and all that trim. The darts are also sewn by hand with a small running stitch, a detail I picked up from looking at extant pelisses, though of course it’s been so many years now that I can’t find a specific example. I like how the top stitched darts at a little extra interest.
The pattern for this pelisse is of my own design. I’m pretty sure it was based on my 1819 spencer, but adapted slightly for a different fit. It’s hard to remember since it’s been so many years since I made the pattern! The skirt is a large rectangle–two panels of fabric seamed at center back.

I’m wearing the pelisse with the following garments: a chemise and my short stays, my Vernet petticoat , my recently finished chemisette, and the hat that matches the whole ensemble. I’m excited to have found a use for the Vernet petticoat that shows off the trim at the hem! I did take out the tucks that made it the right length for my Witzchoura so that it would be the right length for the pelisse, but that’s what tucks are for, right? On picture day there was a nice breeze blowing everything around and showing off all the layers nicely.
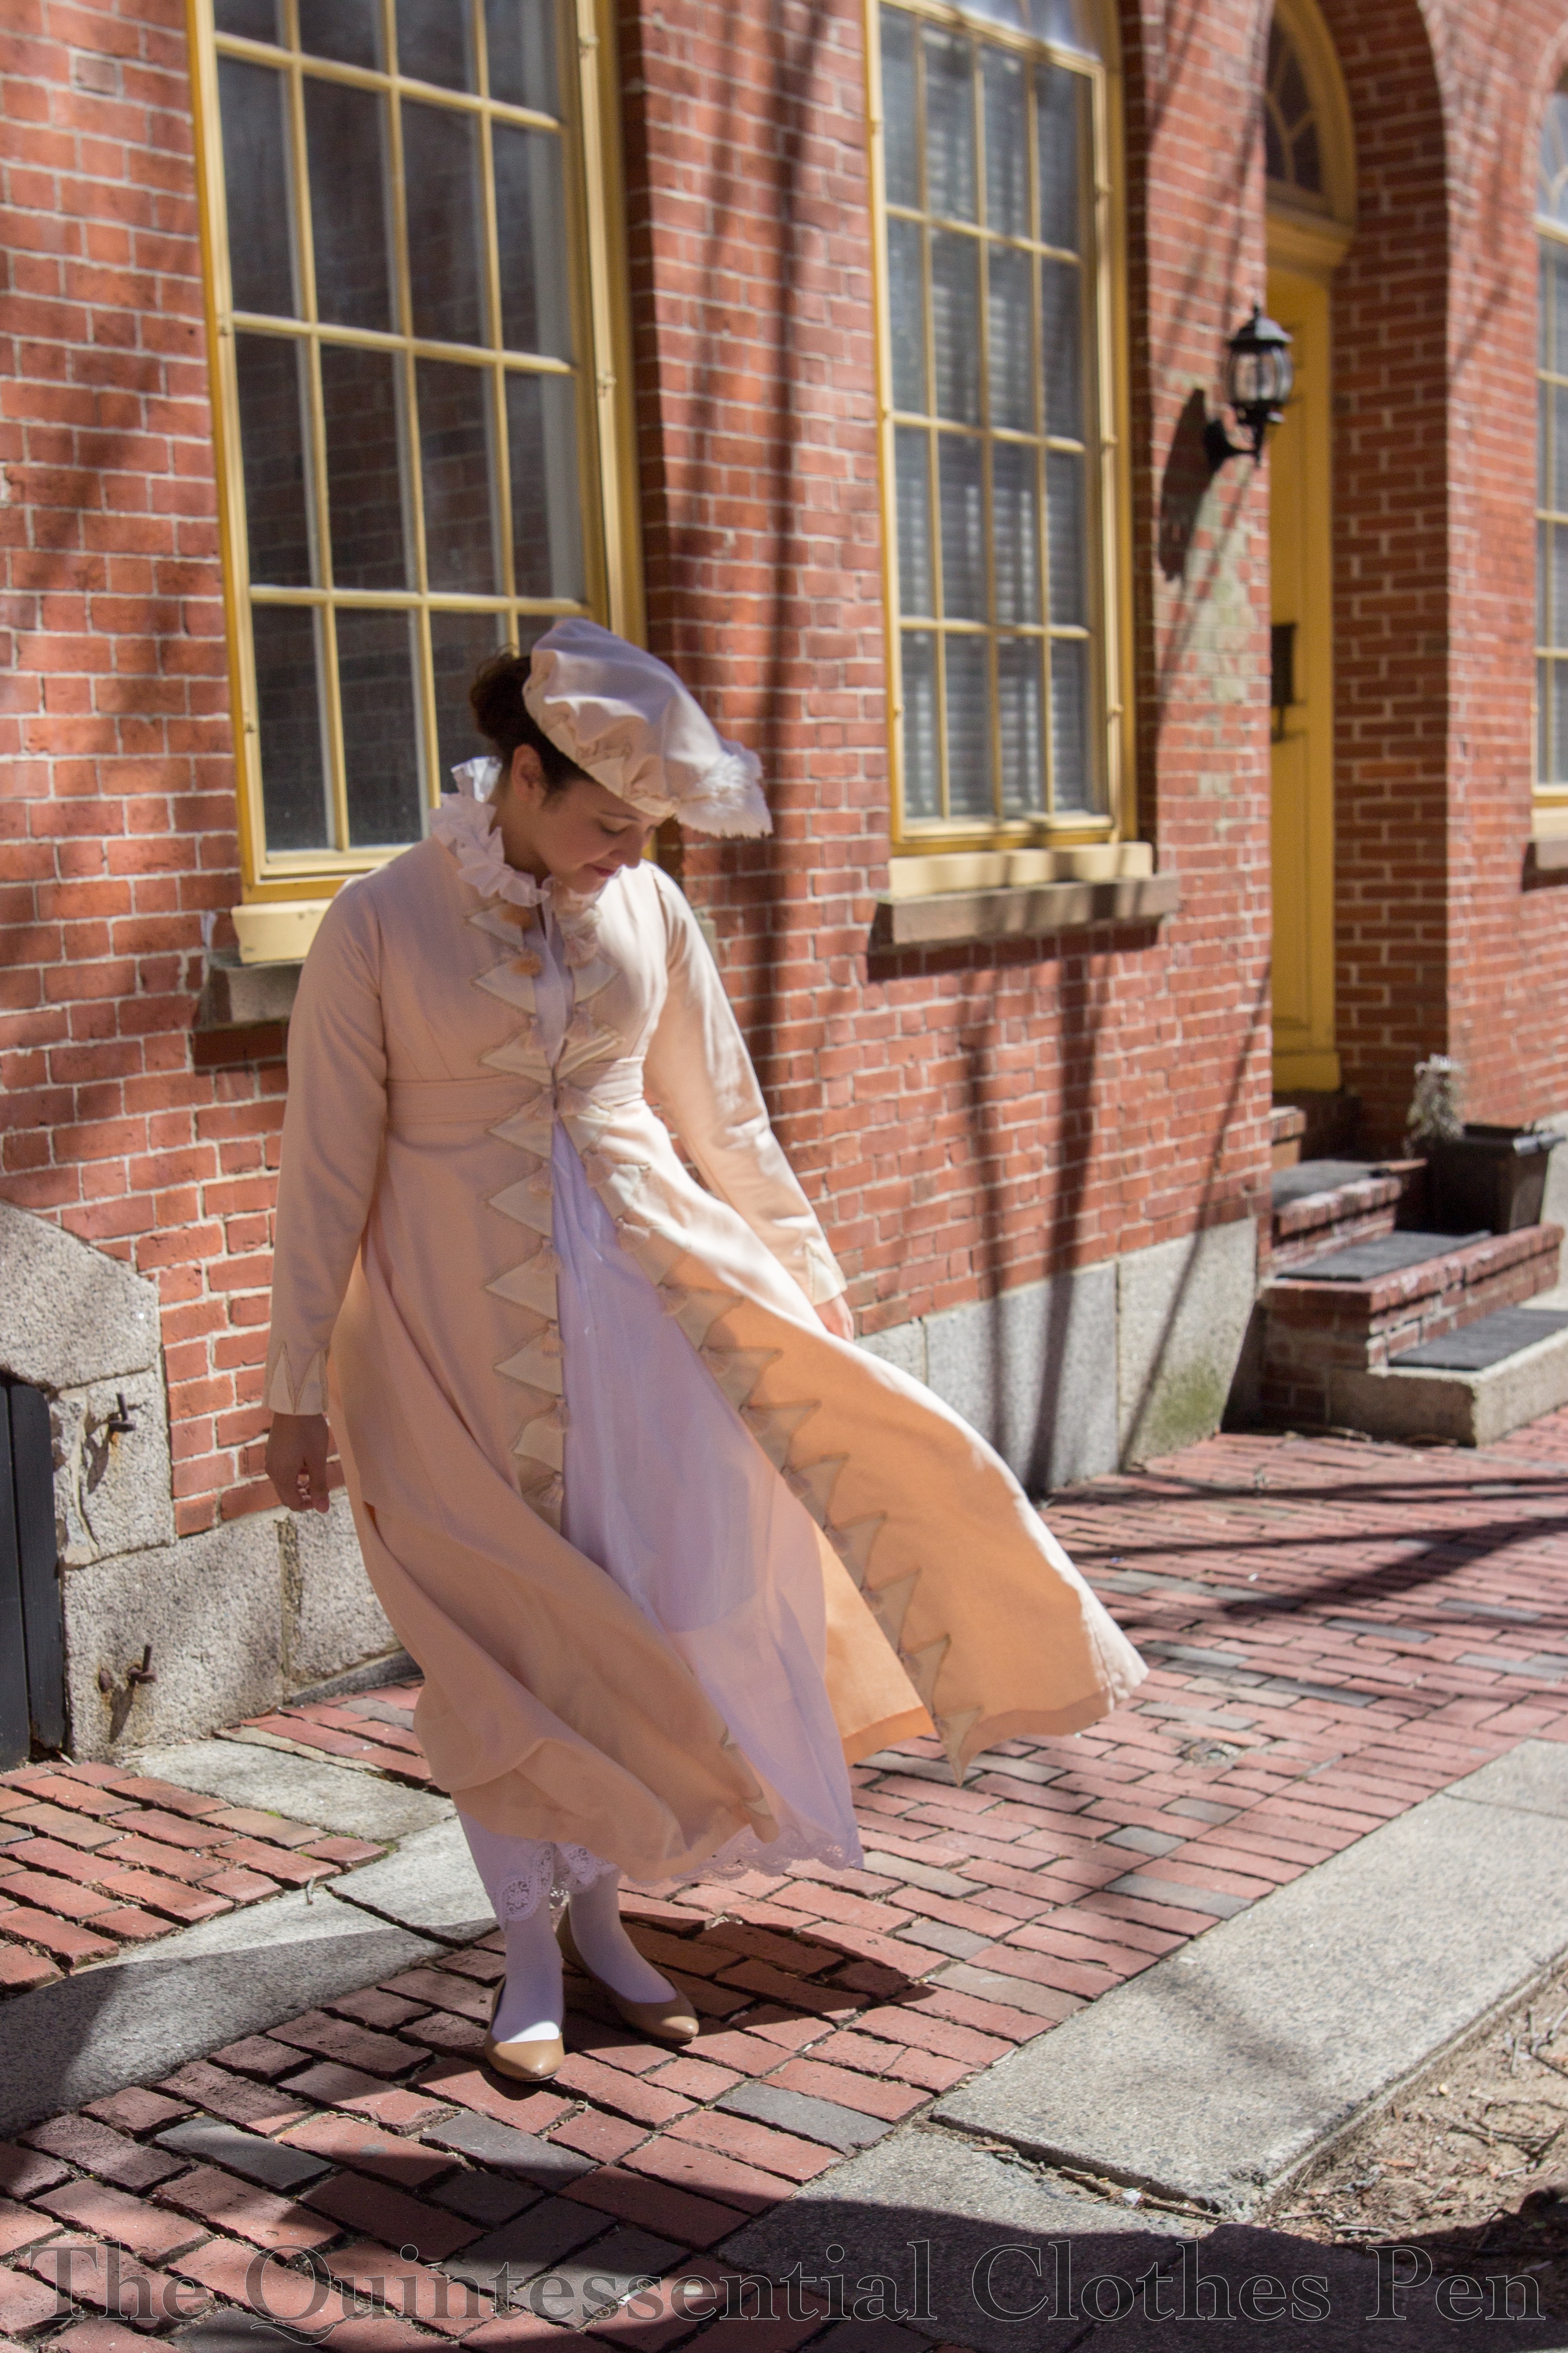
I was lucky to take these photos in and around some of the Regency period buildings in Salem, MA. You can’t beat buildings from the right period for a suitable backdrop for a garment like this!

Now I have my first pelisse. More outings will hopefully arise in the future so I can wear it again. I’m so glad I’ve decided it’s finished and that it was a comfortable garment to wear, though I maintain that the hat is a bit silly.


Orange Boven Hat, 1814 (HSM#4)

I am pleased to report that I made a garment which qualifies for the HSM challenge #4: Circles, Squares, and Rectangles! I wasn’t sure I had anything on the sewing list that would do, but then I remembered years ago when I started this hat and it was only two pieces, a circle for the crown and a rectangle for the binding. Perfect! (I’m not counting the triangular trim. That’s just the trimming!)

As you might guess from the photo, this hat is part of a matching ensemble: a pelisse and hat from 1814. I’ve got lots of details planned regarding the inspiration for this ensemble as well as more pictures of the finished outfit, but for now this teaser will have to suffice. It gives context to the rather silly hat.

Just the facts:

Fabric: Pale peach cotton and cream (likely) poly/cotton blend.

Pattern: My own based on my head measurements.

Year: 1814.

Notions: Thread, two ostrich feathers, and about 1 yard of vintage lace.

How historically accurate is it?: I’m going to go with 95% on this one. It’s entirely recognizable in its own time and made in a way that is straightforward and consistent with historic garments. The materials are not 100% accurate.

Hours to complete: If I’m only counting the hat, about 3 or 4, since it is entirely hand sewn.

First worn: April 9 for a Regency tea.

Total cost: About $8 for the hat without the pelisse.

1920s Island Escapade In Black And White

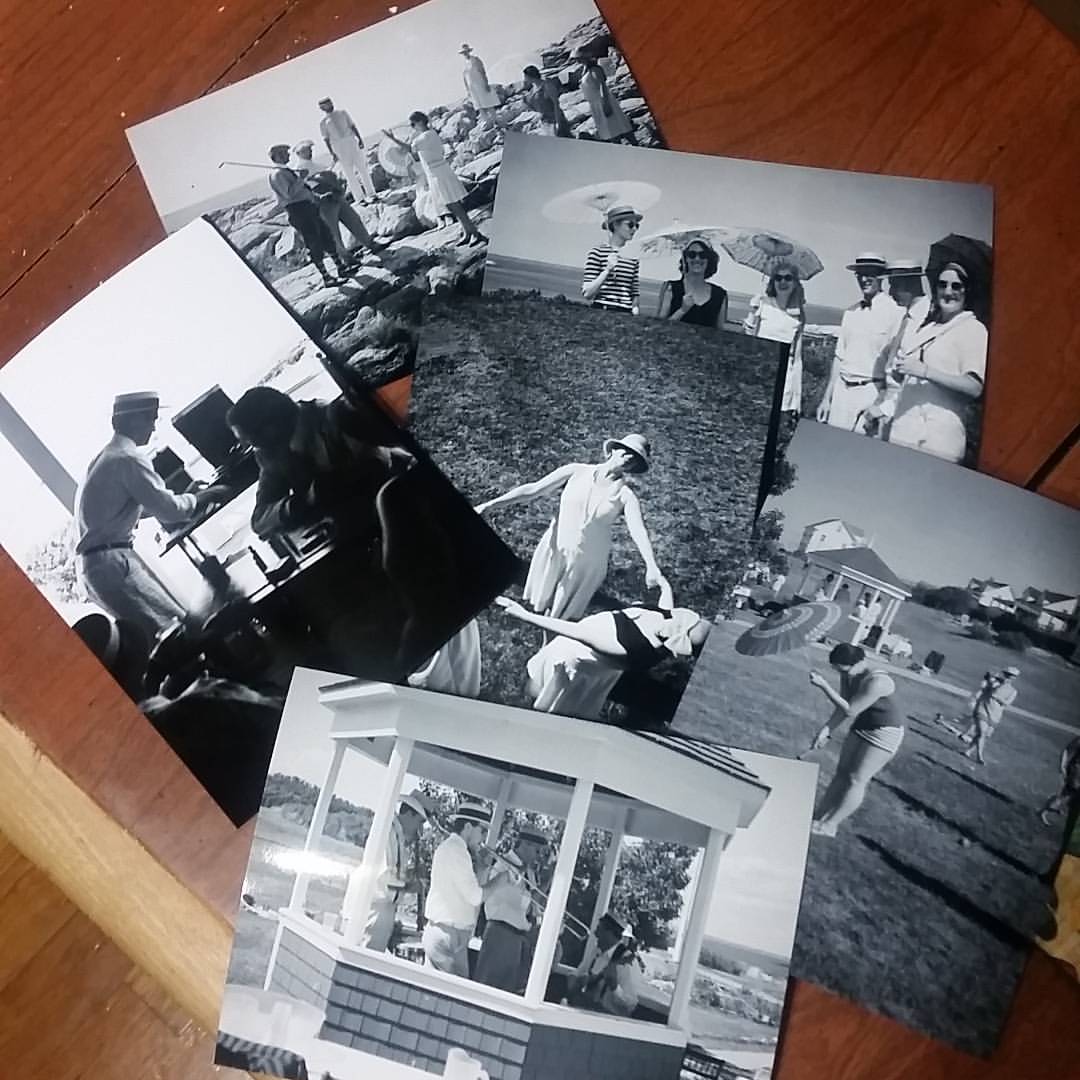
Here are a few more photos from my 1920s island weekend last August. These first few were taken with the same modern camera as all the photos in my previous post about the weekend.

This last photo shows other photographs taken with a friend’s vintage film camera. I don’t think the camera is as old as the 1920s, but I think it’s a least from the mid-20th century. Though I do remember the days of film cameras, I’m so used to digital cameras these days that a film camera is quite the novelty.

A 1920s Island Escapade

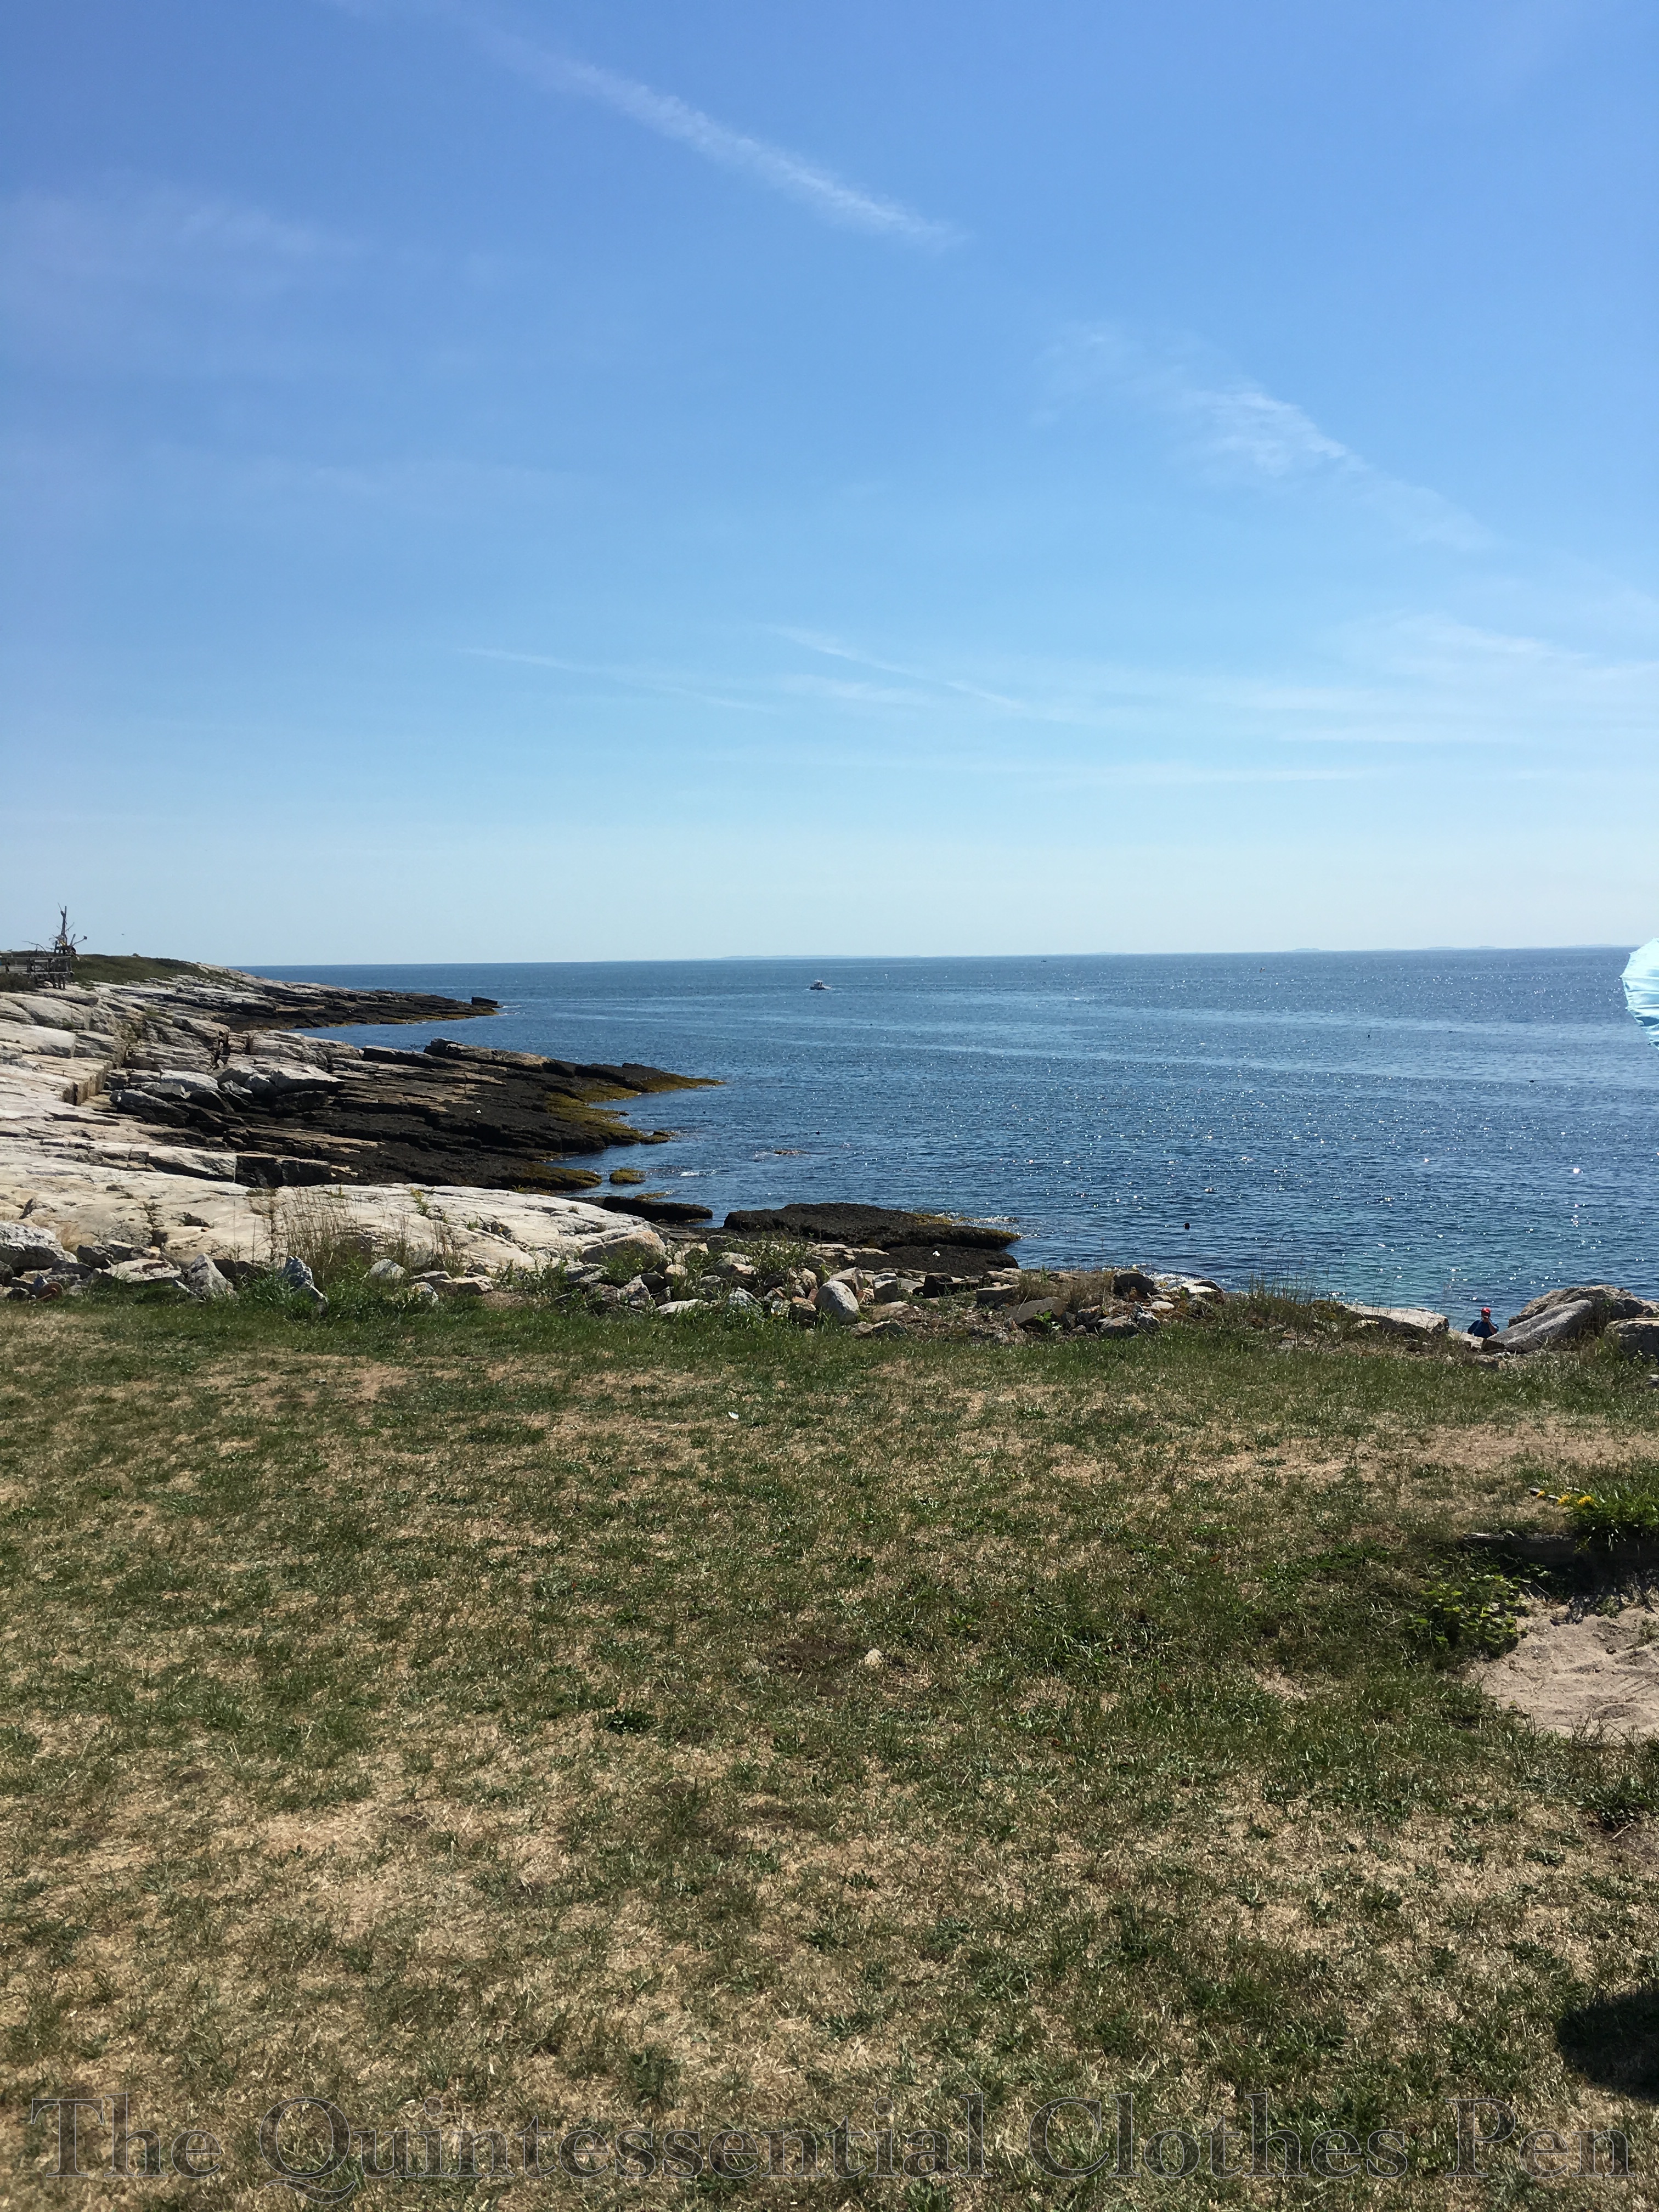
I’m terribly delayed in writing about a lovely event I attended last summer… Gatsby On The Isles was a 1920s weekend getaway to a coastal island, including a ferry ride, picnic, clambering on the rocks and in the water, lawn games, dancing, card games, and napping in rocking chairs on the large porch of the grand hotel. A fabulous live jazz band played great music throughout the weekend. It was very much like having a soundtrack to my own personal movie!

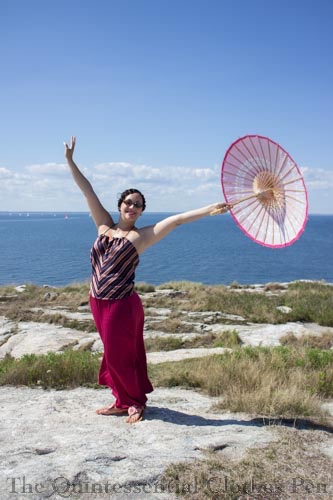
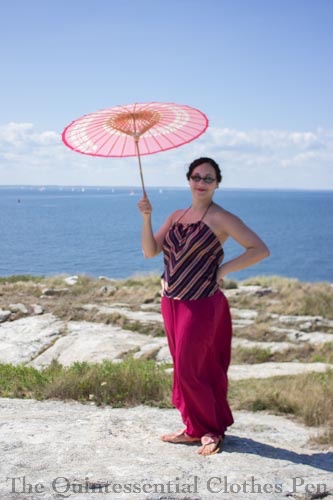
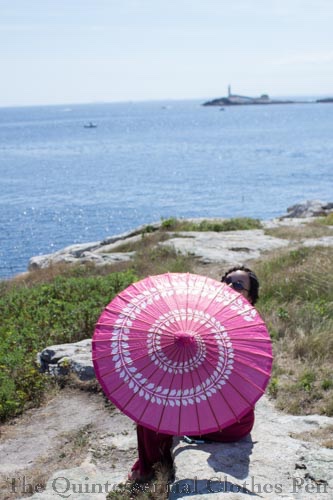
It was quite hot last August, so the strong breeze on the ferry and some parts of the island was quite welcome, as was wading and hiding under my parasol. (Had I not had a sturdy grip, my parasol would surely have been blown away during these pictures.)

I wore my 1930s beach ensemble for travel to the island and the afternoon picnic. I am always pleased with how the (polyester, ahem) pants don’t wrinkle, even with heat and sweat and sitting, and how gloriously cool and comfortable I am while wearing it.

Partway through the afternoon I changed into my 1925 bathing suit in order to go wading. Again, a very comfortable and fun item of clothing! I can now report that wearing a wool bathing suit in the heat is no different than wearing a modern suit. I certainly wasn’t any warmer than I would have been in a more modern style.

Getting to the water at this part of the island required some clambering over rocks, but also made a great backdrop for pictures!

Dinner was a casual affair, for which I changed into my 1926 sailor dress. An unplanned wardrobe similarity required picture documentation.

For the evening dance, I changed into my 1924 Golden Robe de Style. The parlor of the hotel had some fabulous couches that called for lounging and sultry faces. Despite being hot, it was fun to dance the night away to wonderful music, with breaks to sit out on the porch with a 1920s cocktail.

The next day was low-key. I explored the island, played cribbage, and took an unexpected nap in a rocking chair on the porch. I decided to be slightly old fashioned and wore my 1919 Ivory Eyelet Dress, another comfortable summer ensemble, with my 1920s Sinamay Hat.

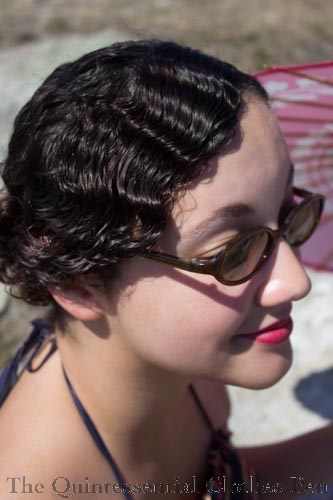
I tried a forward thinking 1930s inspired hairstyle for the weekend. I did it early Saturday morning before hitting the road and then wore it all weekend without a change. It went from day to evening with no problem and stayed in place through wind, hats, and sleeping. (This is the same hairstyle I hinted about in the post about my 1927 Blush Sparkle Dress.)

In order to keep the frizz down, I did my hair while it was still wet, using Tigi Small Talk as setting lotion to help the waves and curls stay in place. The front and crown were shaped with wave clips while the rest of my hair was massed lower on my head in tight curls. There were TONS of bobby pins hidden in there and it was very secure. I was very pleased with the security of the style and with how well it lasted without frizzing!

It was a very fun escape to the past and I’m so pleased to have great pictures to document it all. What a different scene and temperature than these last four or five months of winter!

1927 Blush Sparkle Dress

img_2353-1

I was at the fabric store looking for other things… (the beginning of a lot of my fabric buying adventures) when two super sparkly fabrics caught my eye. They were screaming “1920s!” But the colors were somewhat costume-y 1920s and not often seen in my research of actual historical dresses from this period–red on nude net and black on nude net. A bit disappointed, I looked at the sparkly lace section some more and found the same fabric in blush on nude net! It was so sparkly and the pattern on it was so perfectly deco that I had to take some home with me. Luckily it wasn’t expensive and only cost $14 for 1.25 yards. Not bad!

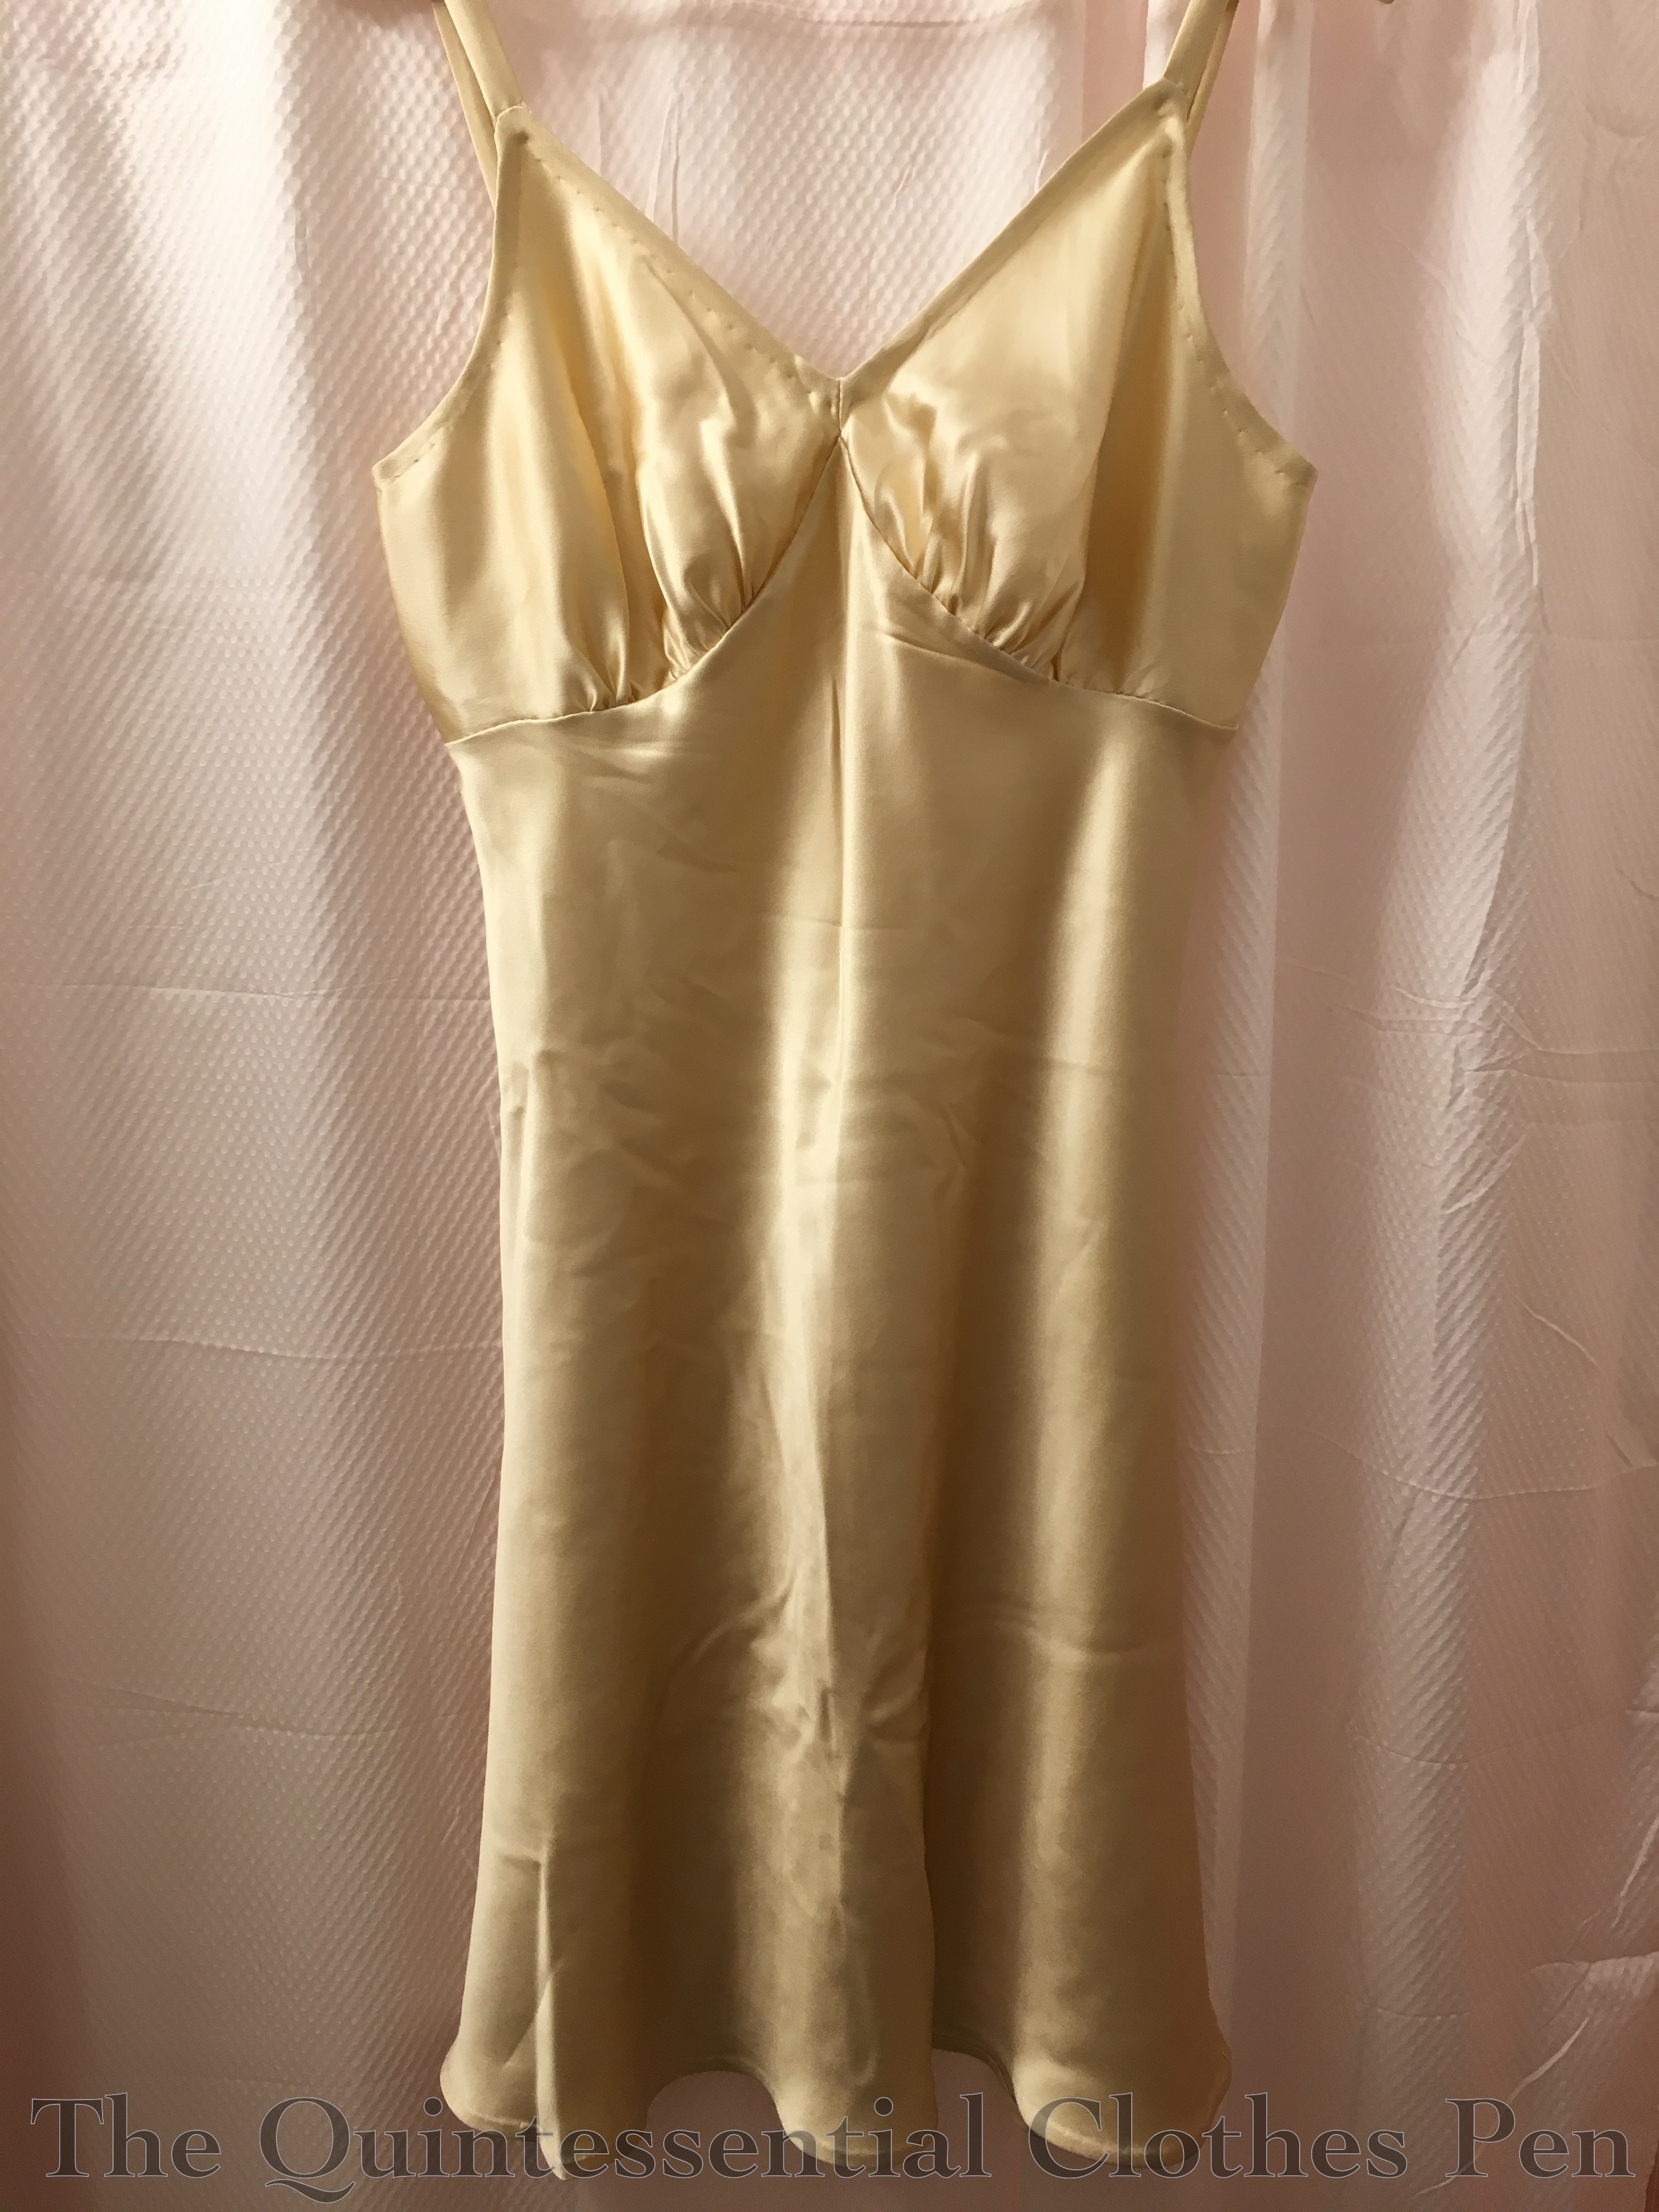
The timing was perfect, because I had a 1920s event in January and just enough time to make the dress.  I didn’t have a slip to go under it that was the right shape or color, so I also squeezed in making a bias cut slip.

img_2349-1

For the pictures, I wore my American Duchess black Seaburys. They provided just the right 1920s shoe shape, encasing the front of my foot in a uniquely historical way that modern style shoes do not. You can see the shape more clearly in this post when I wore the shoes with my 1920s bathing suit in a beauty pageant look.

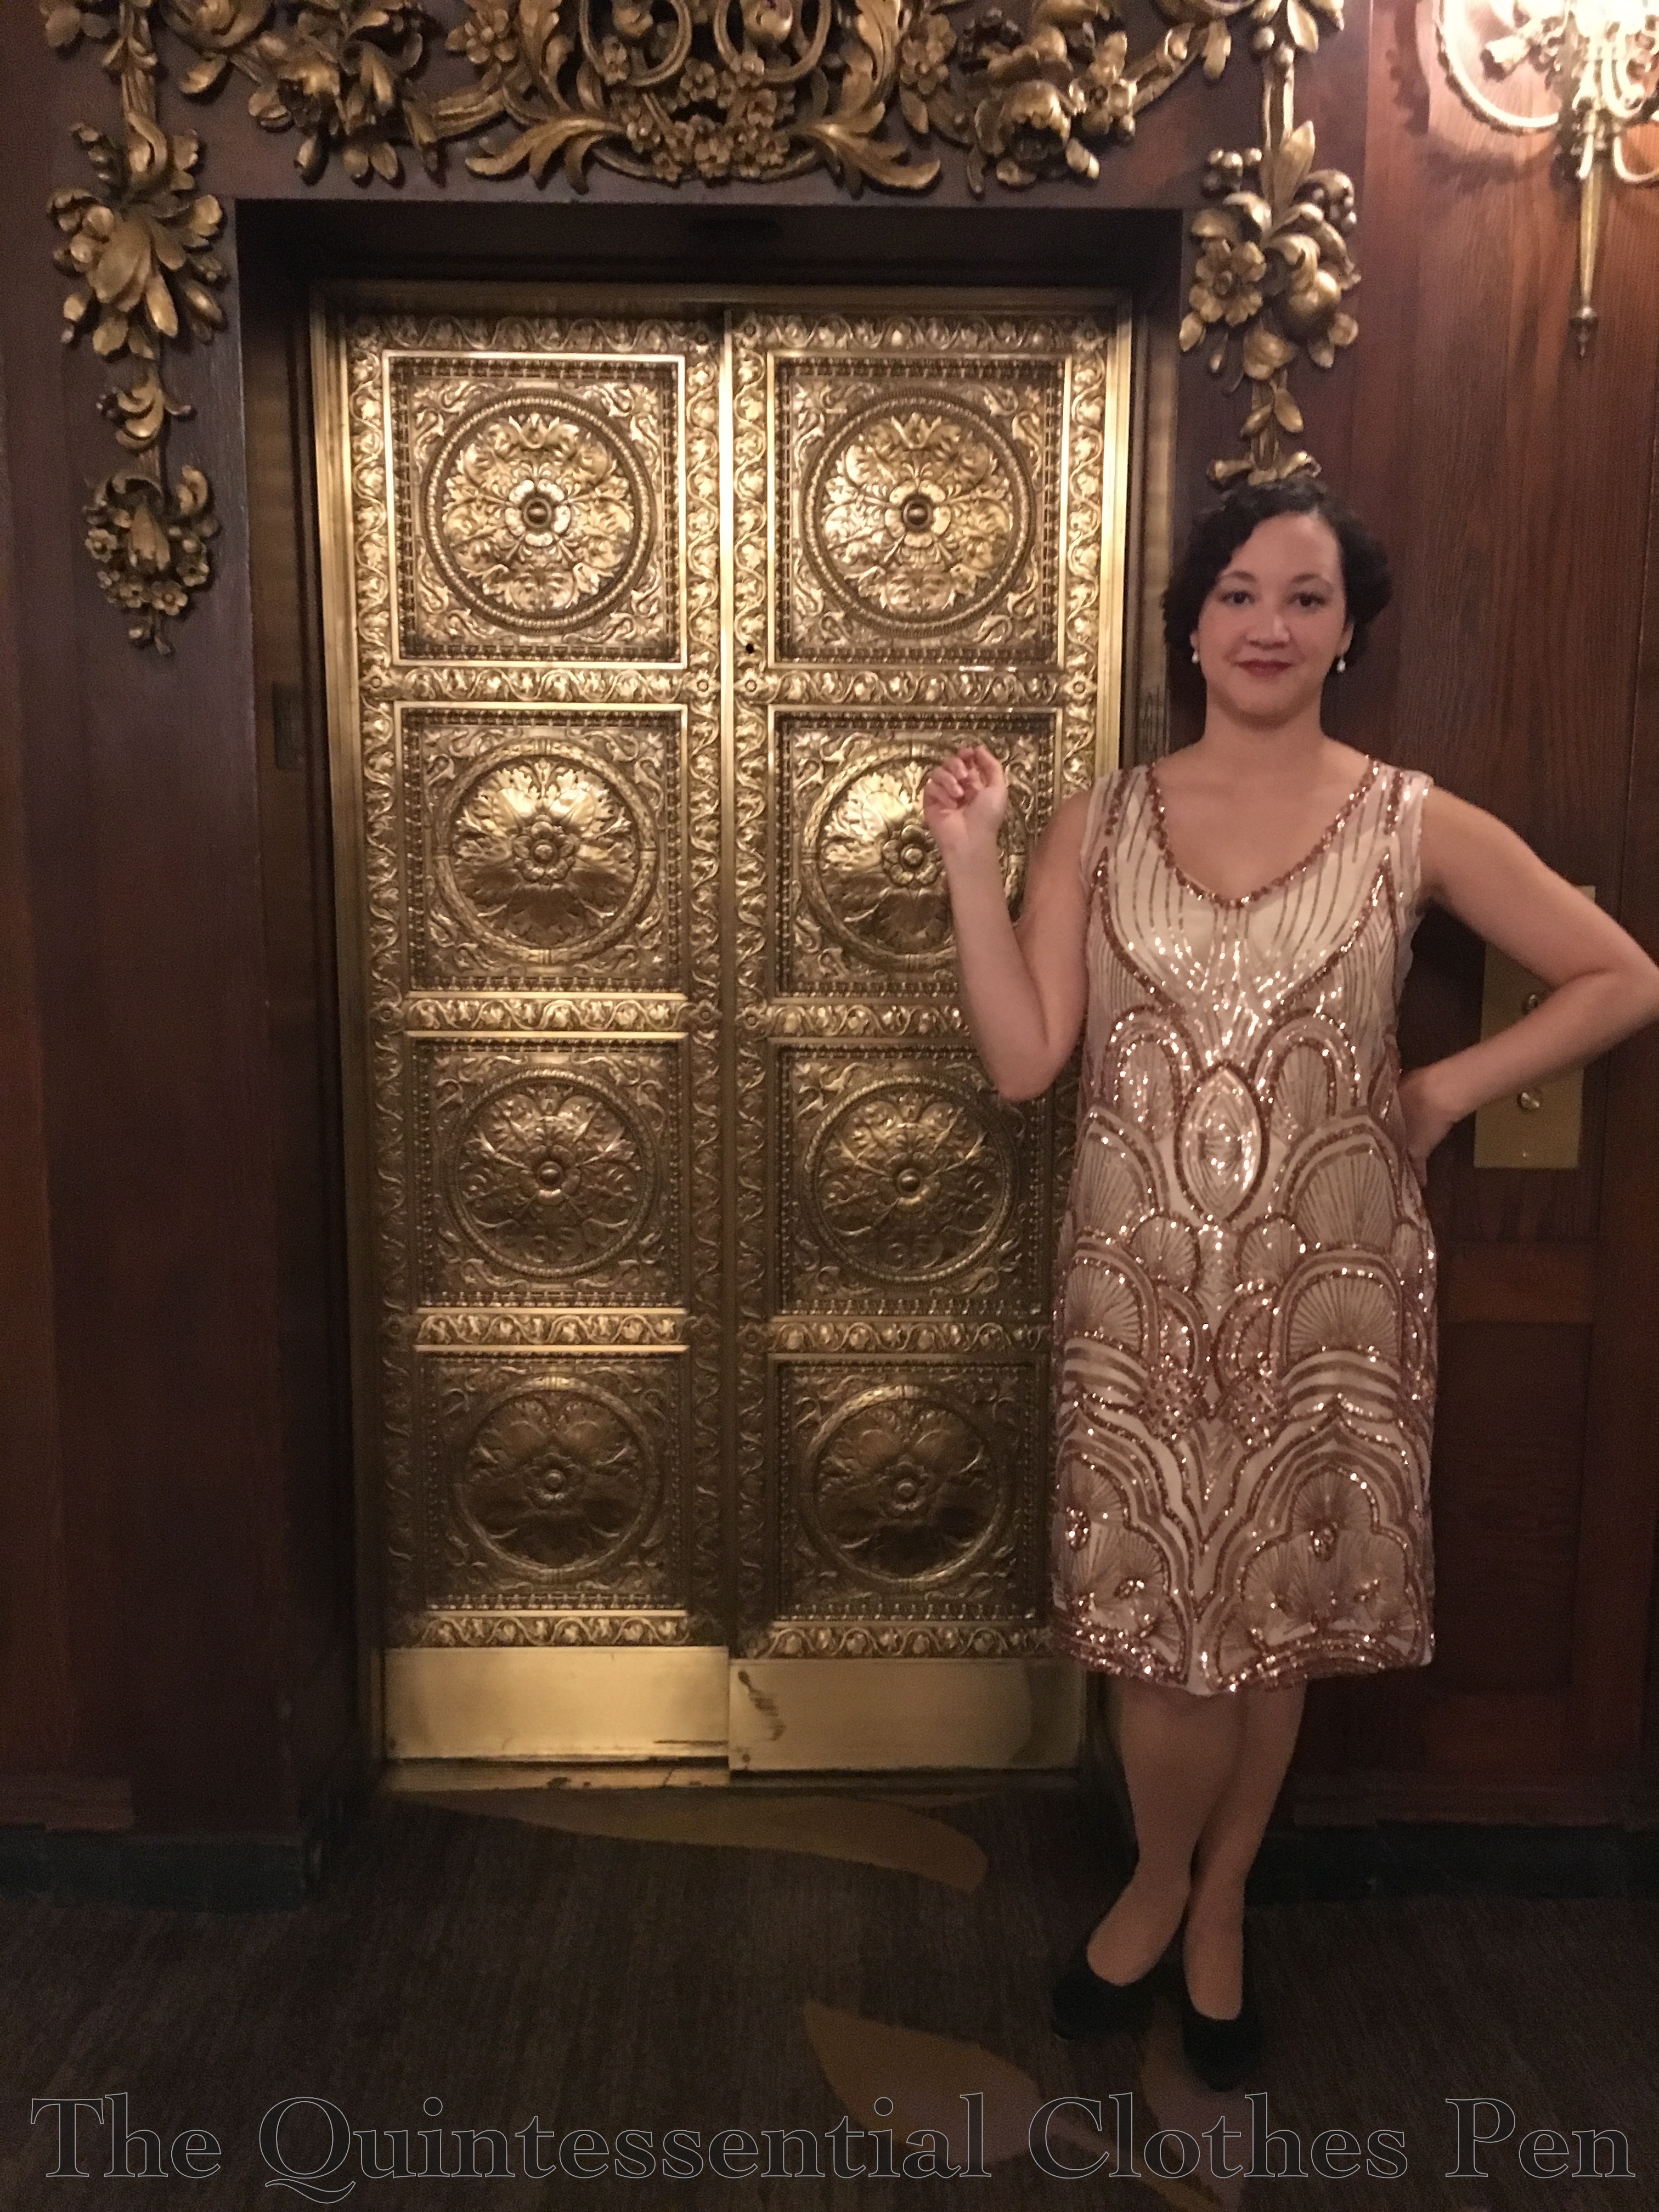
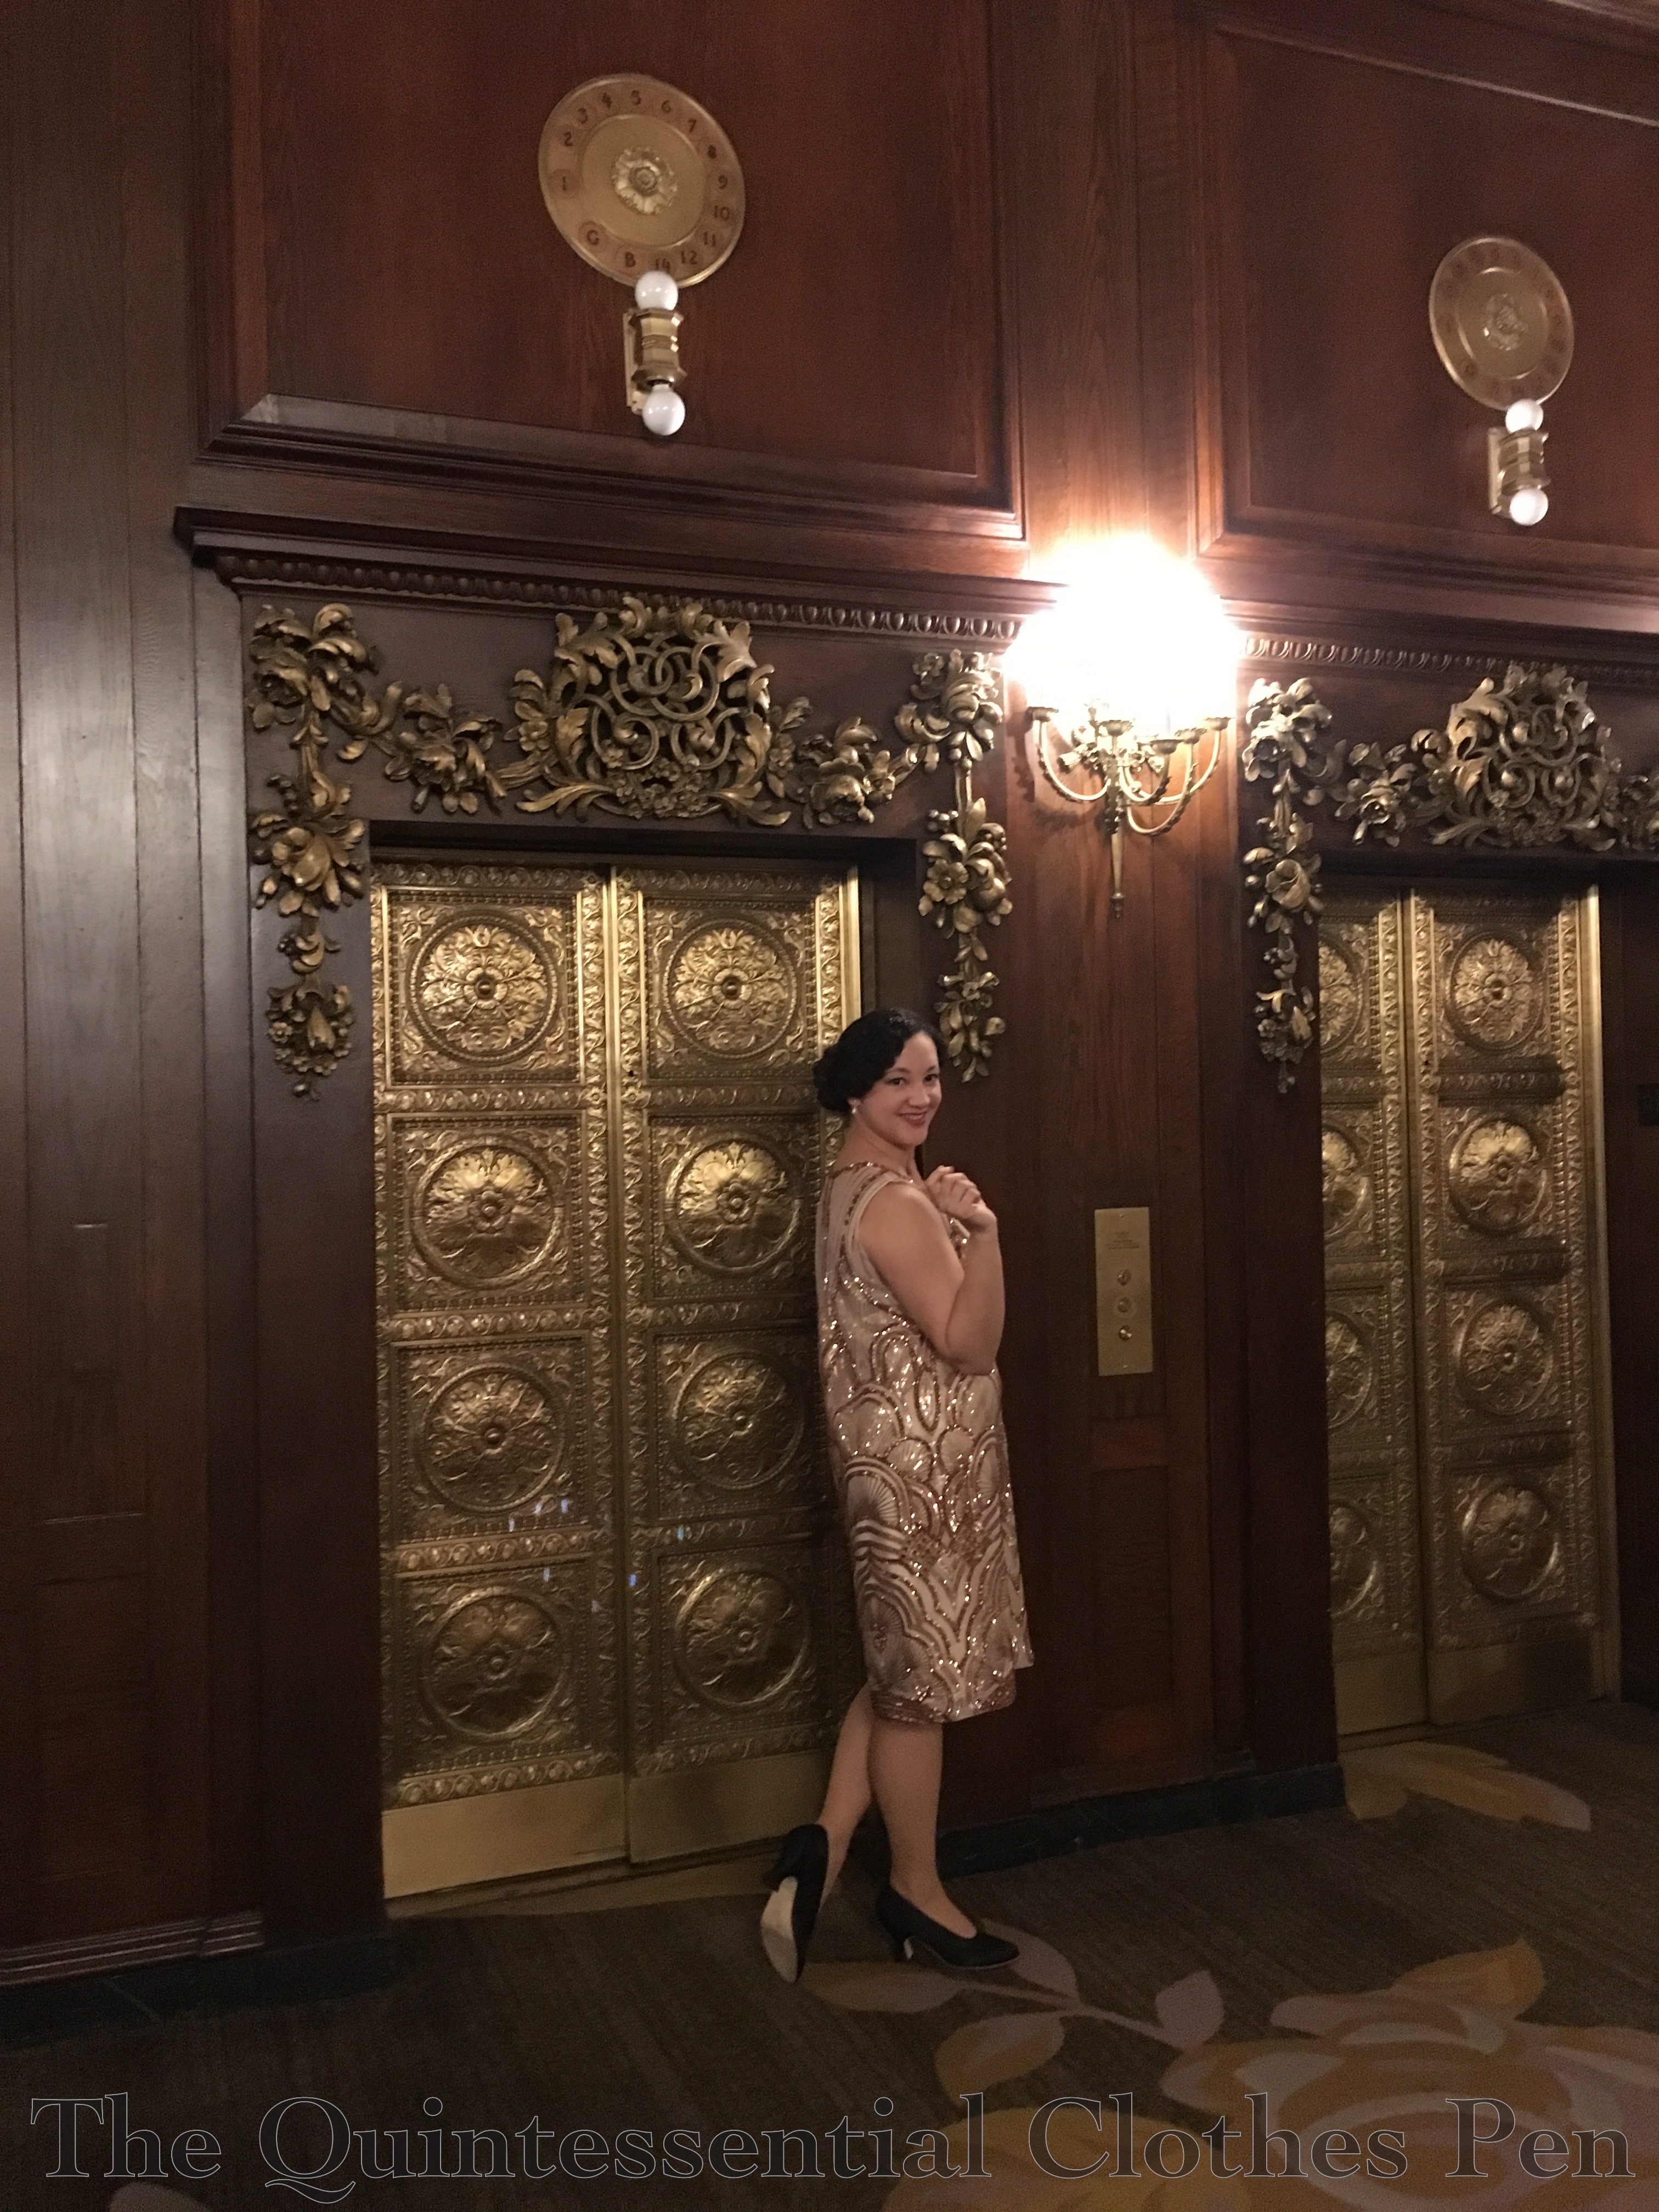
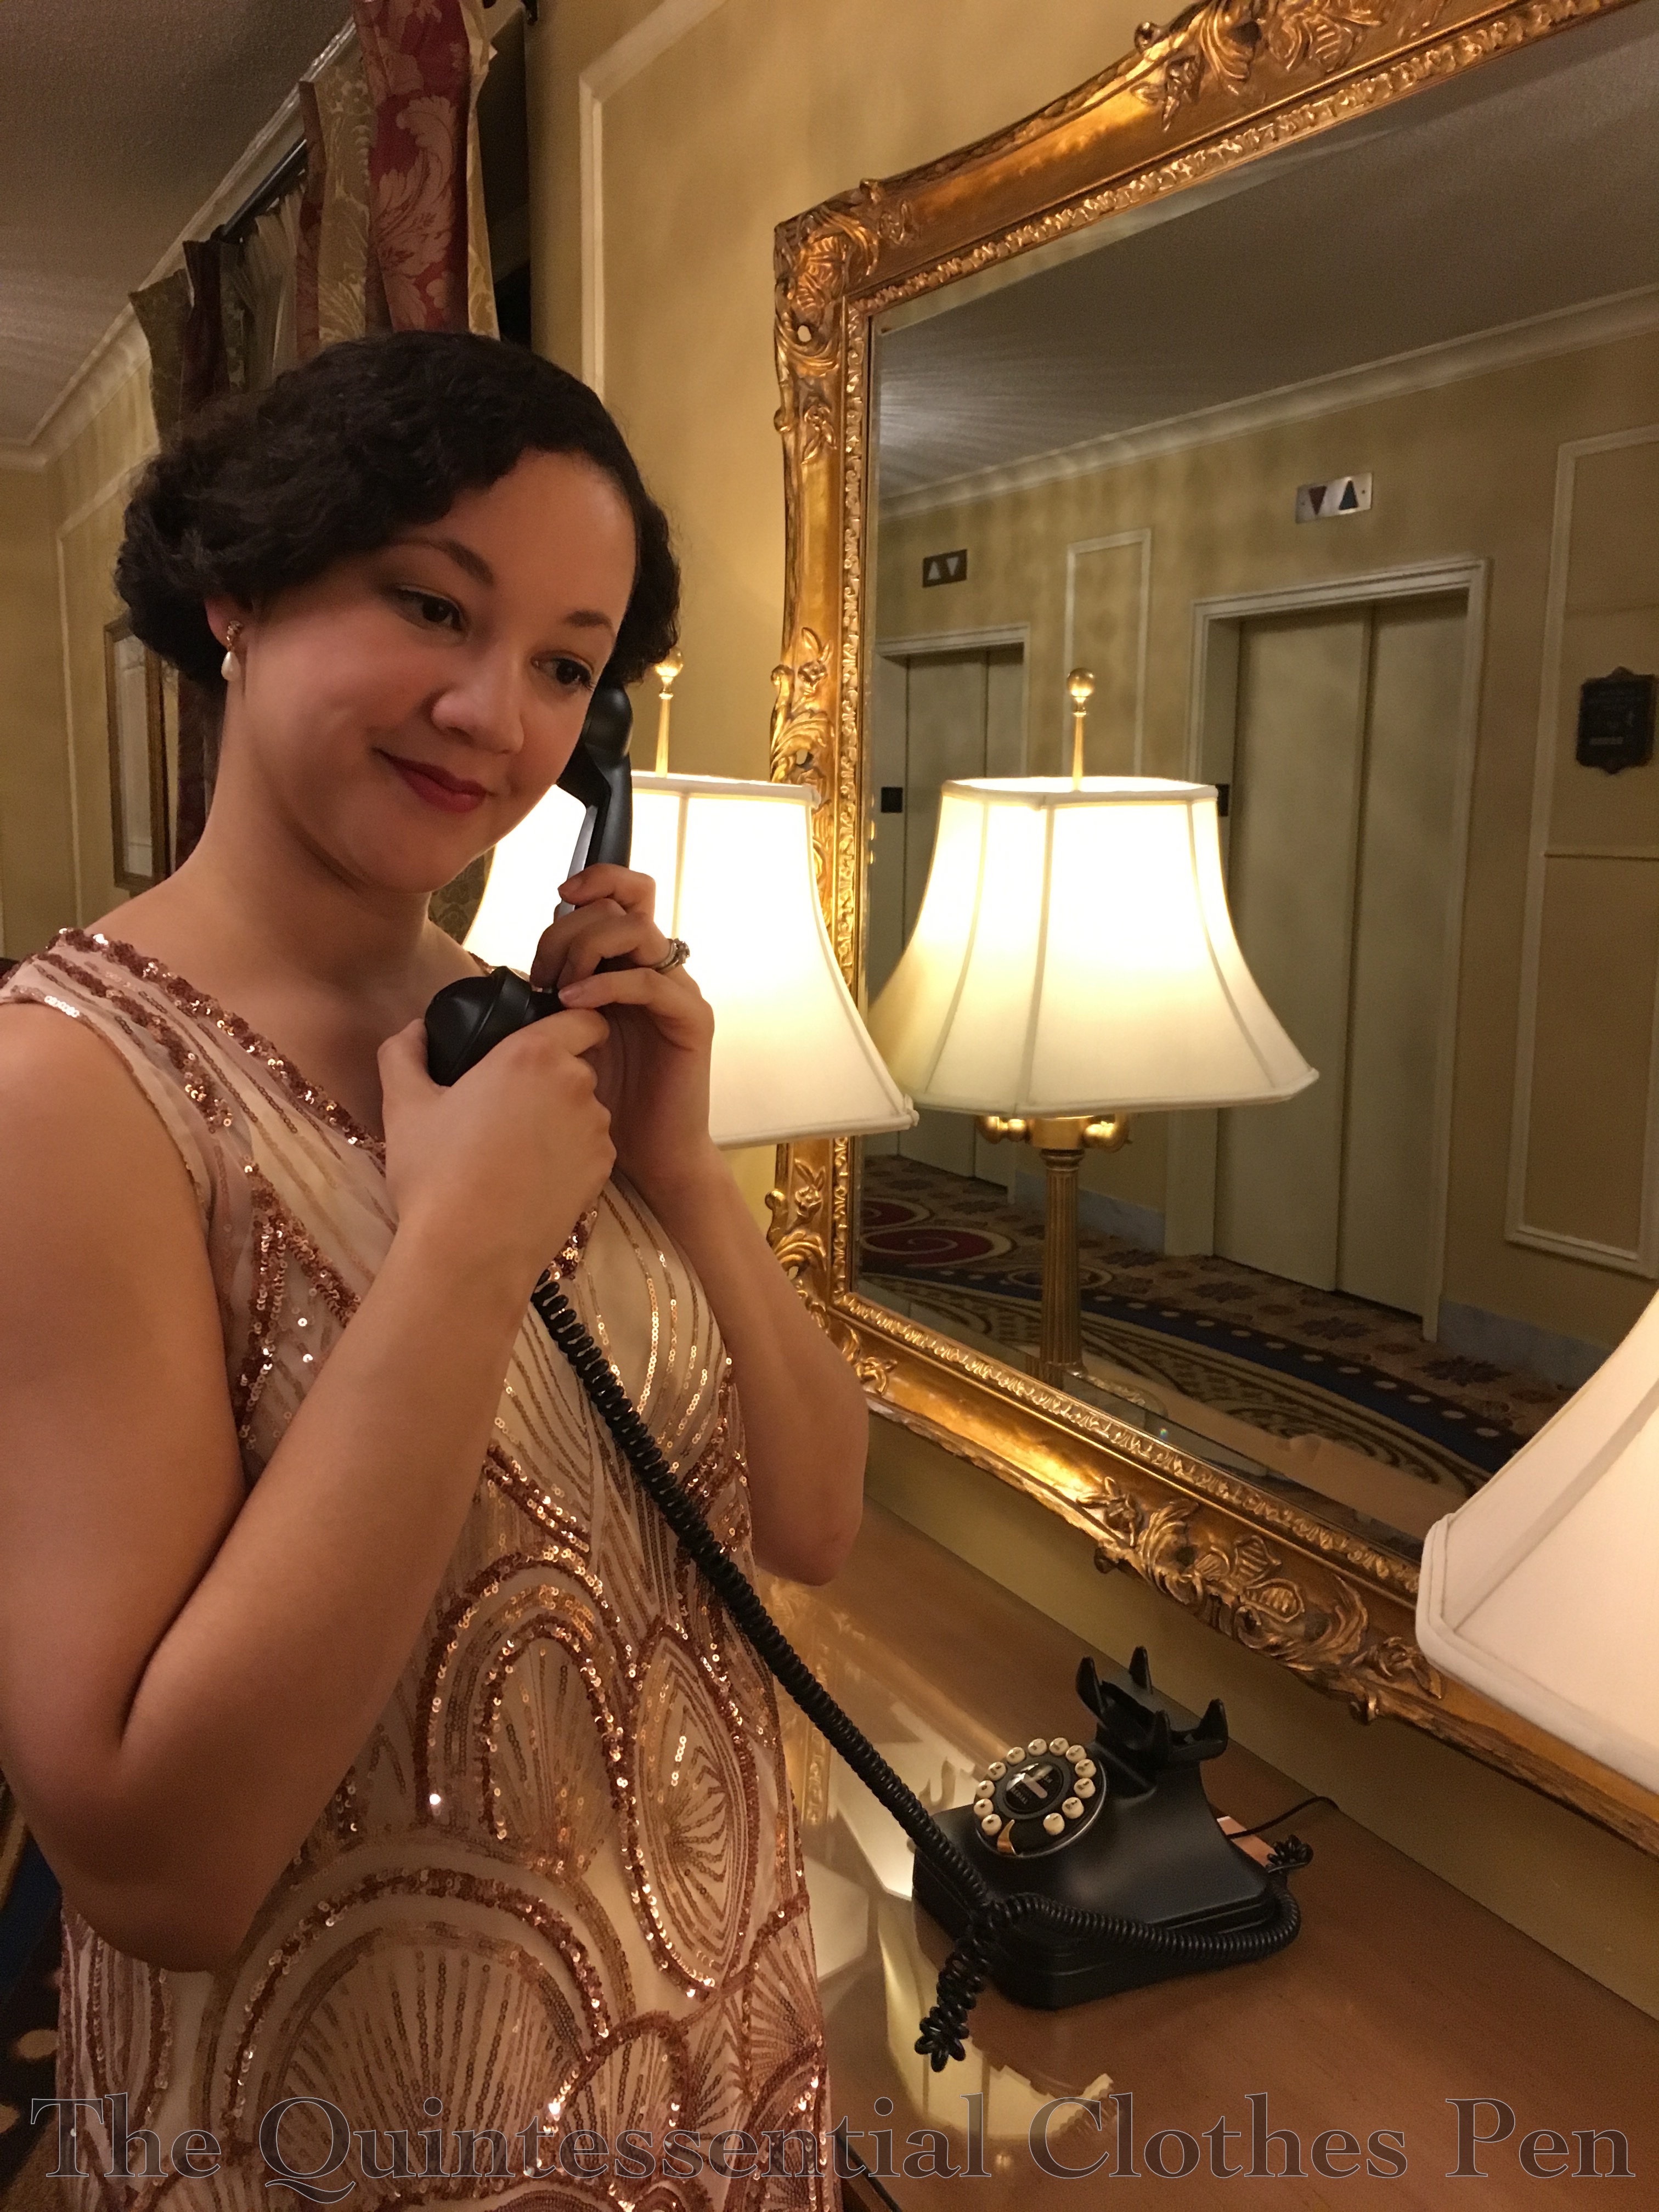
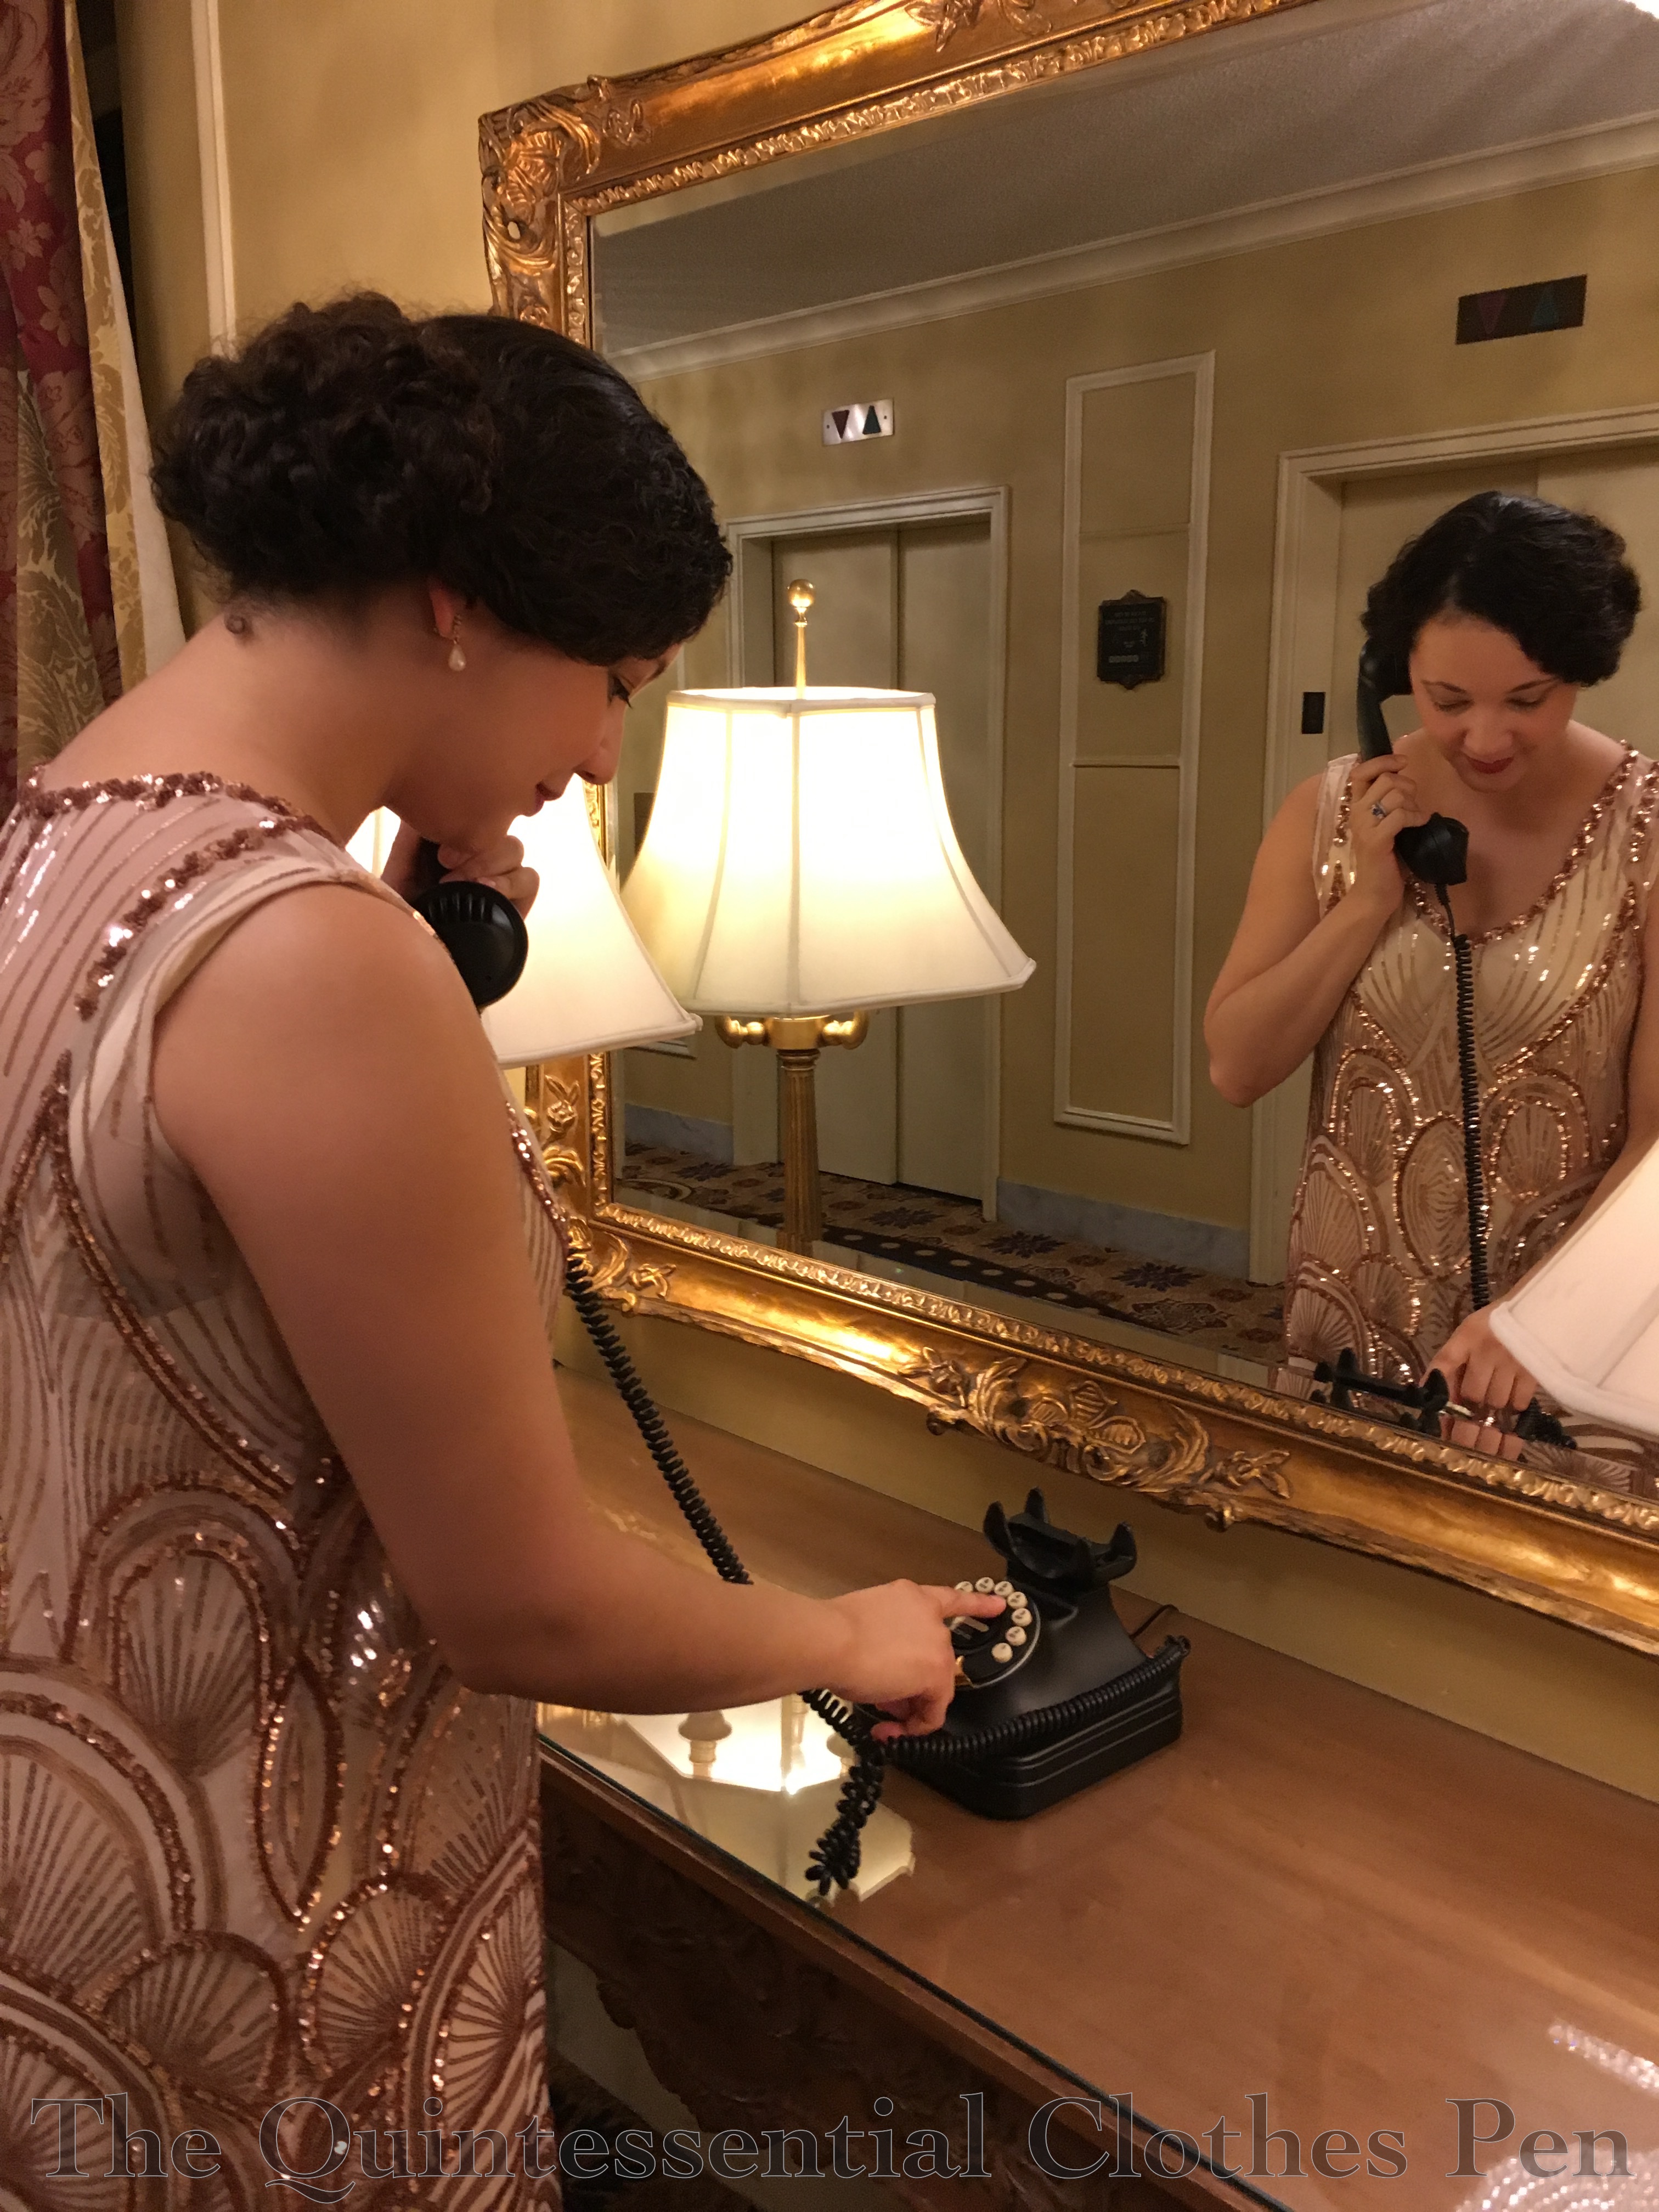
I was also incredibly lucky that the event was held in a historical hotel that provided fun backdrops for pictures! Those elevator doors are lovely! And look at this awesome phone–it had to be included in pictures!

img_2340-1

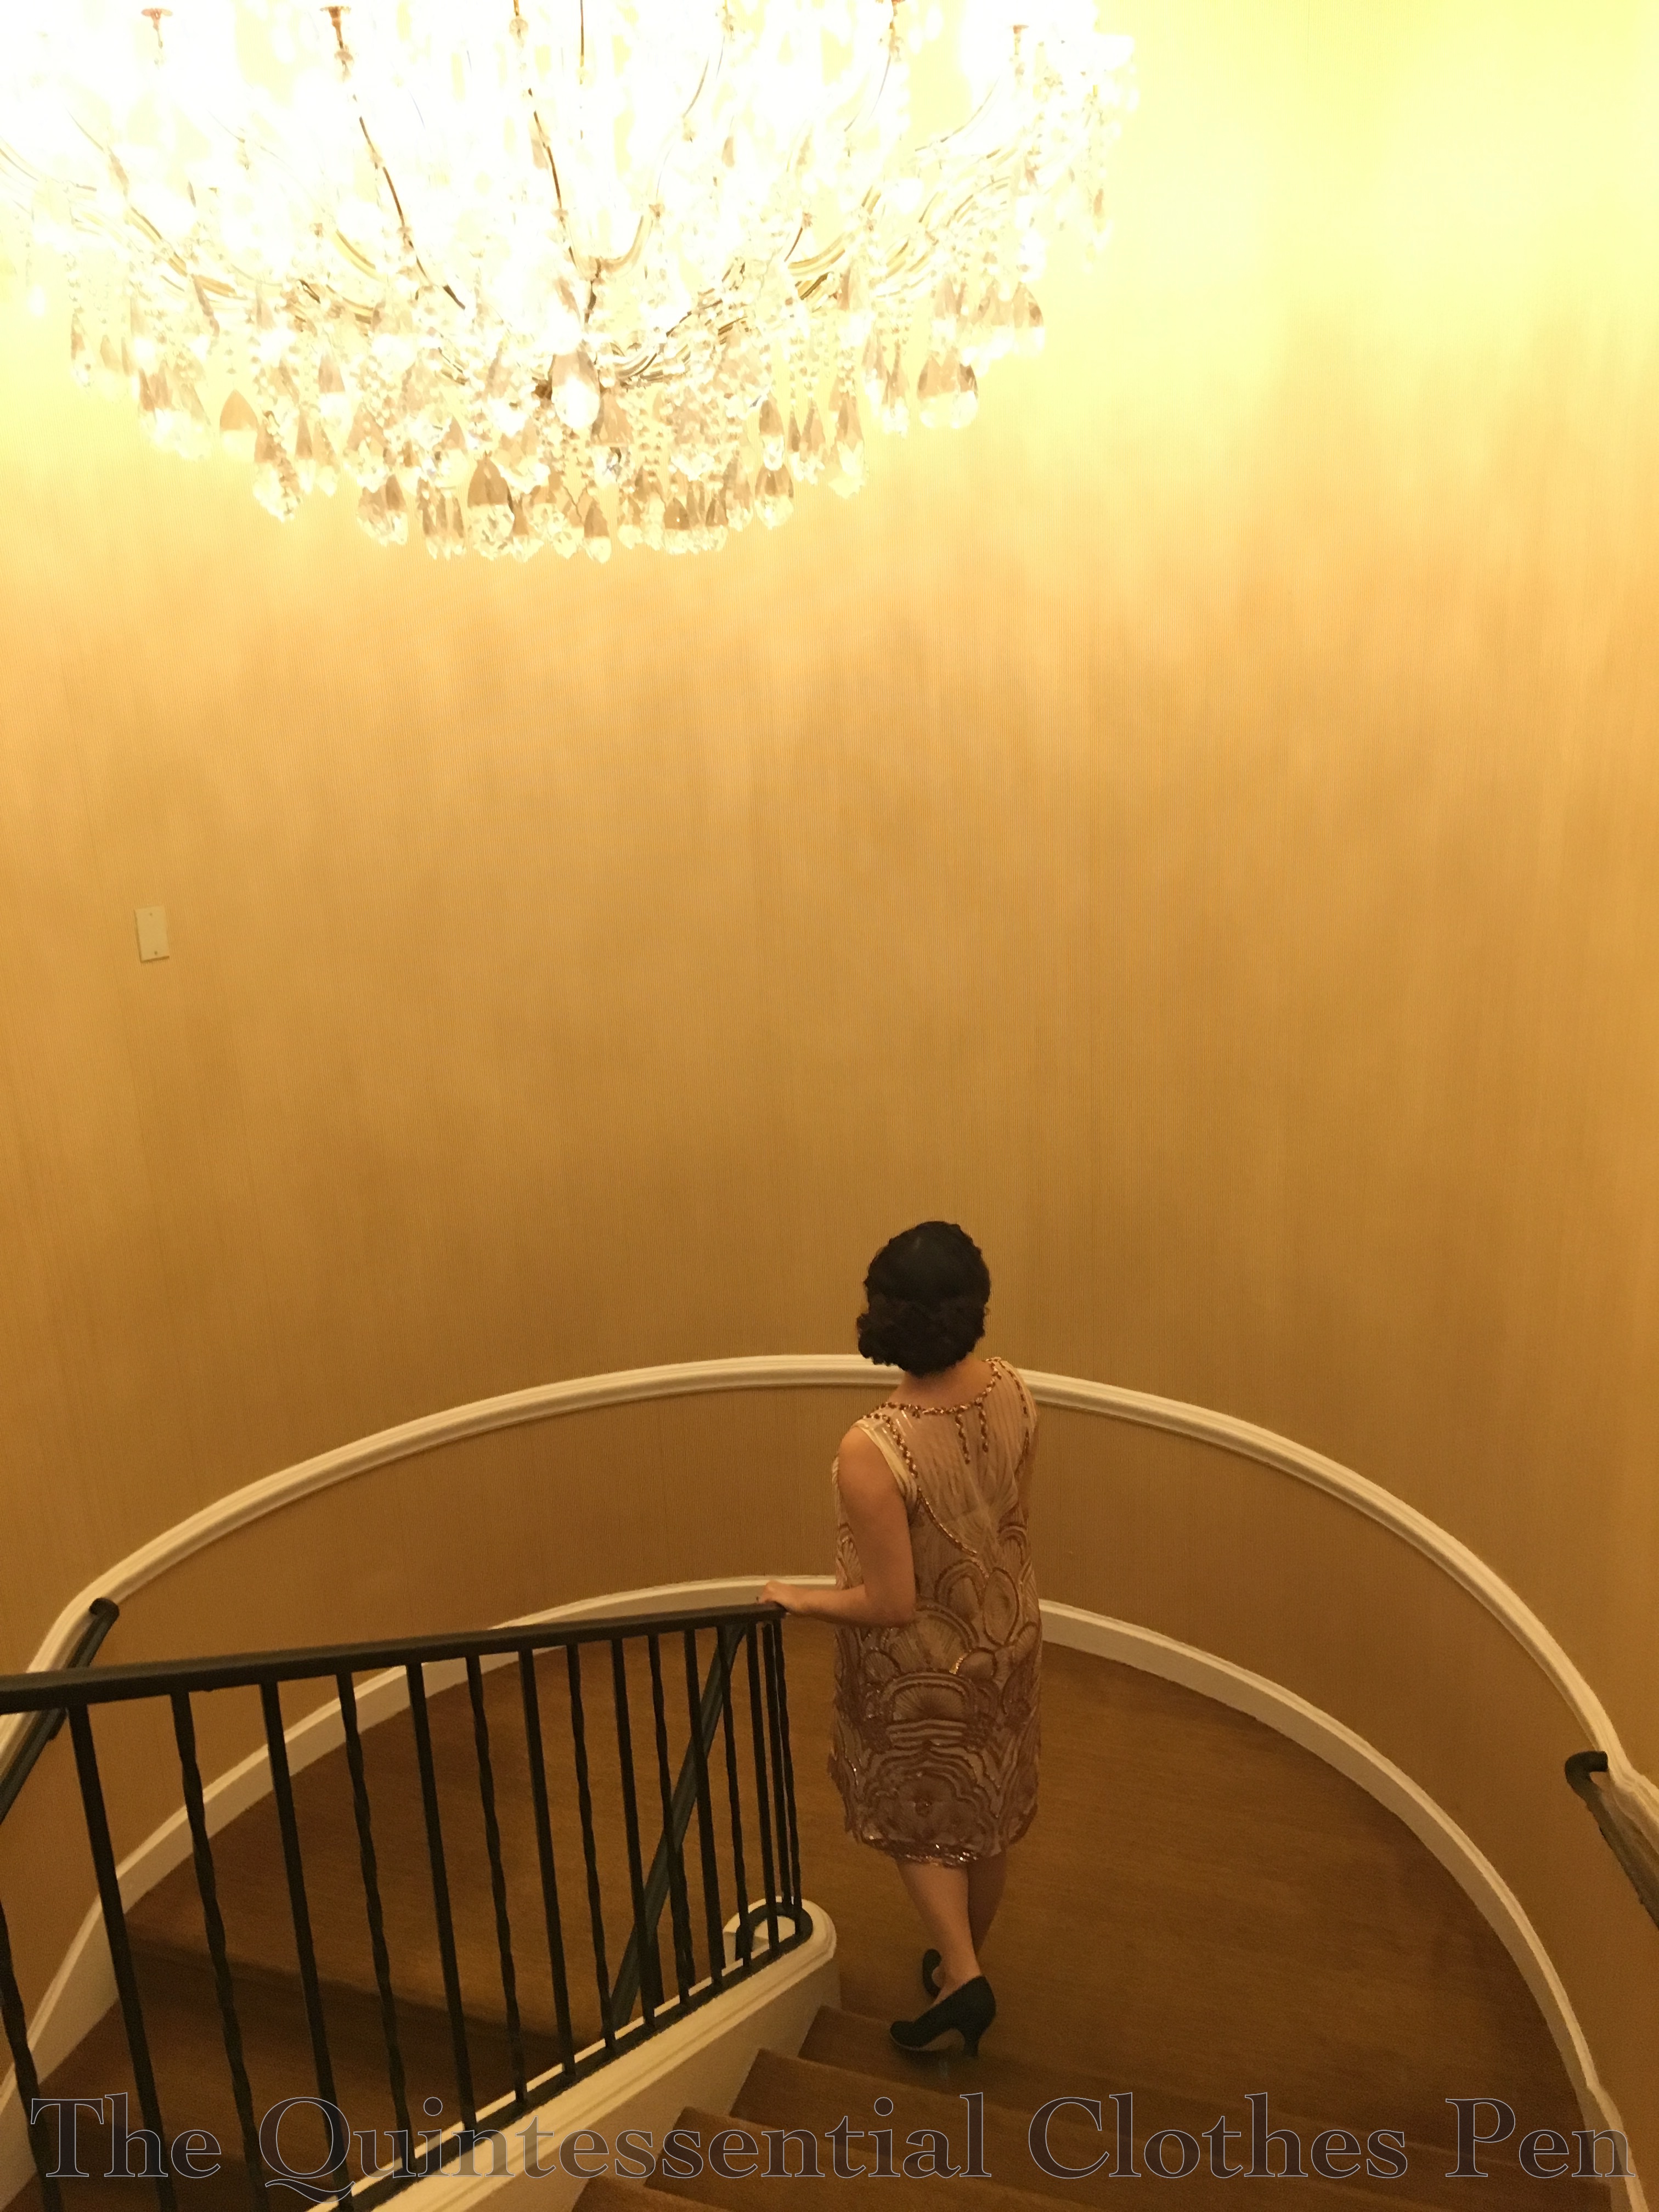
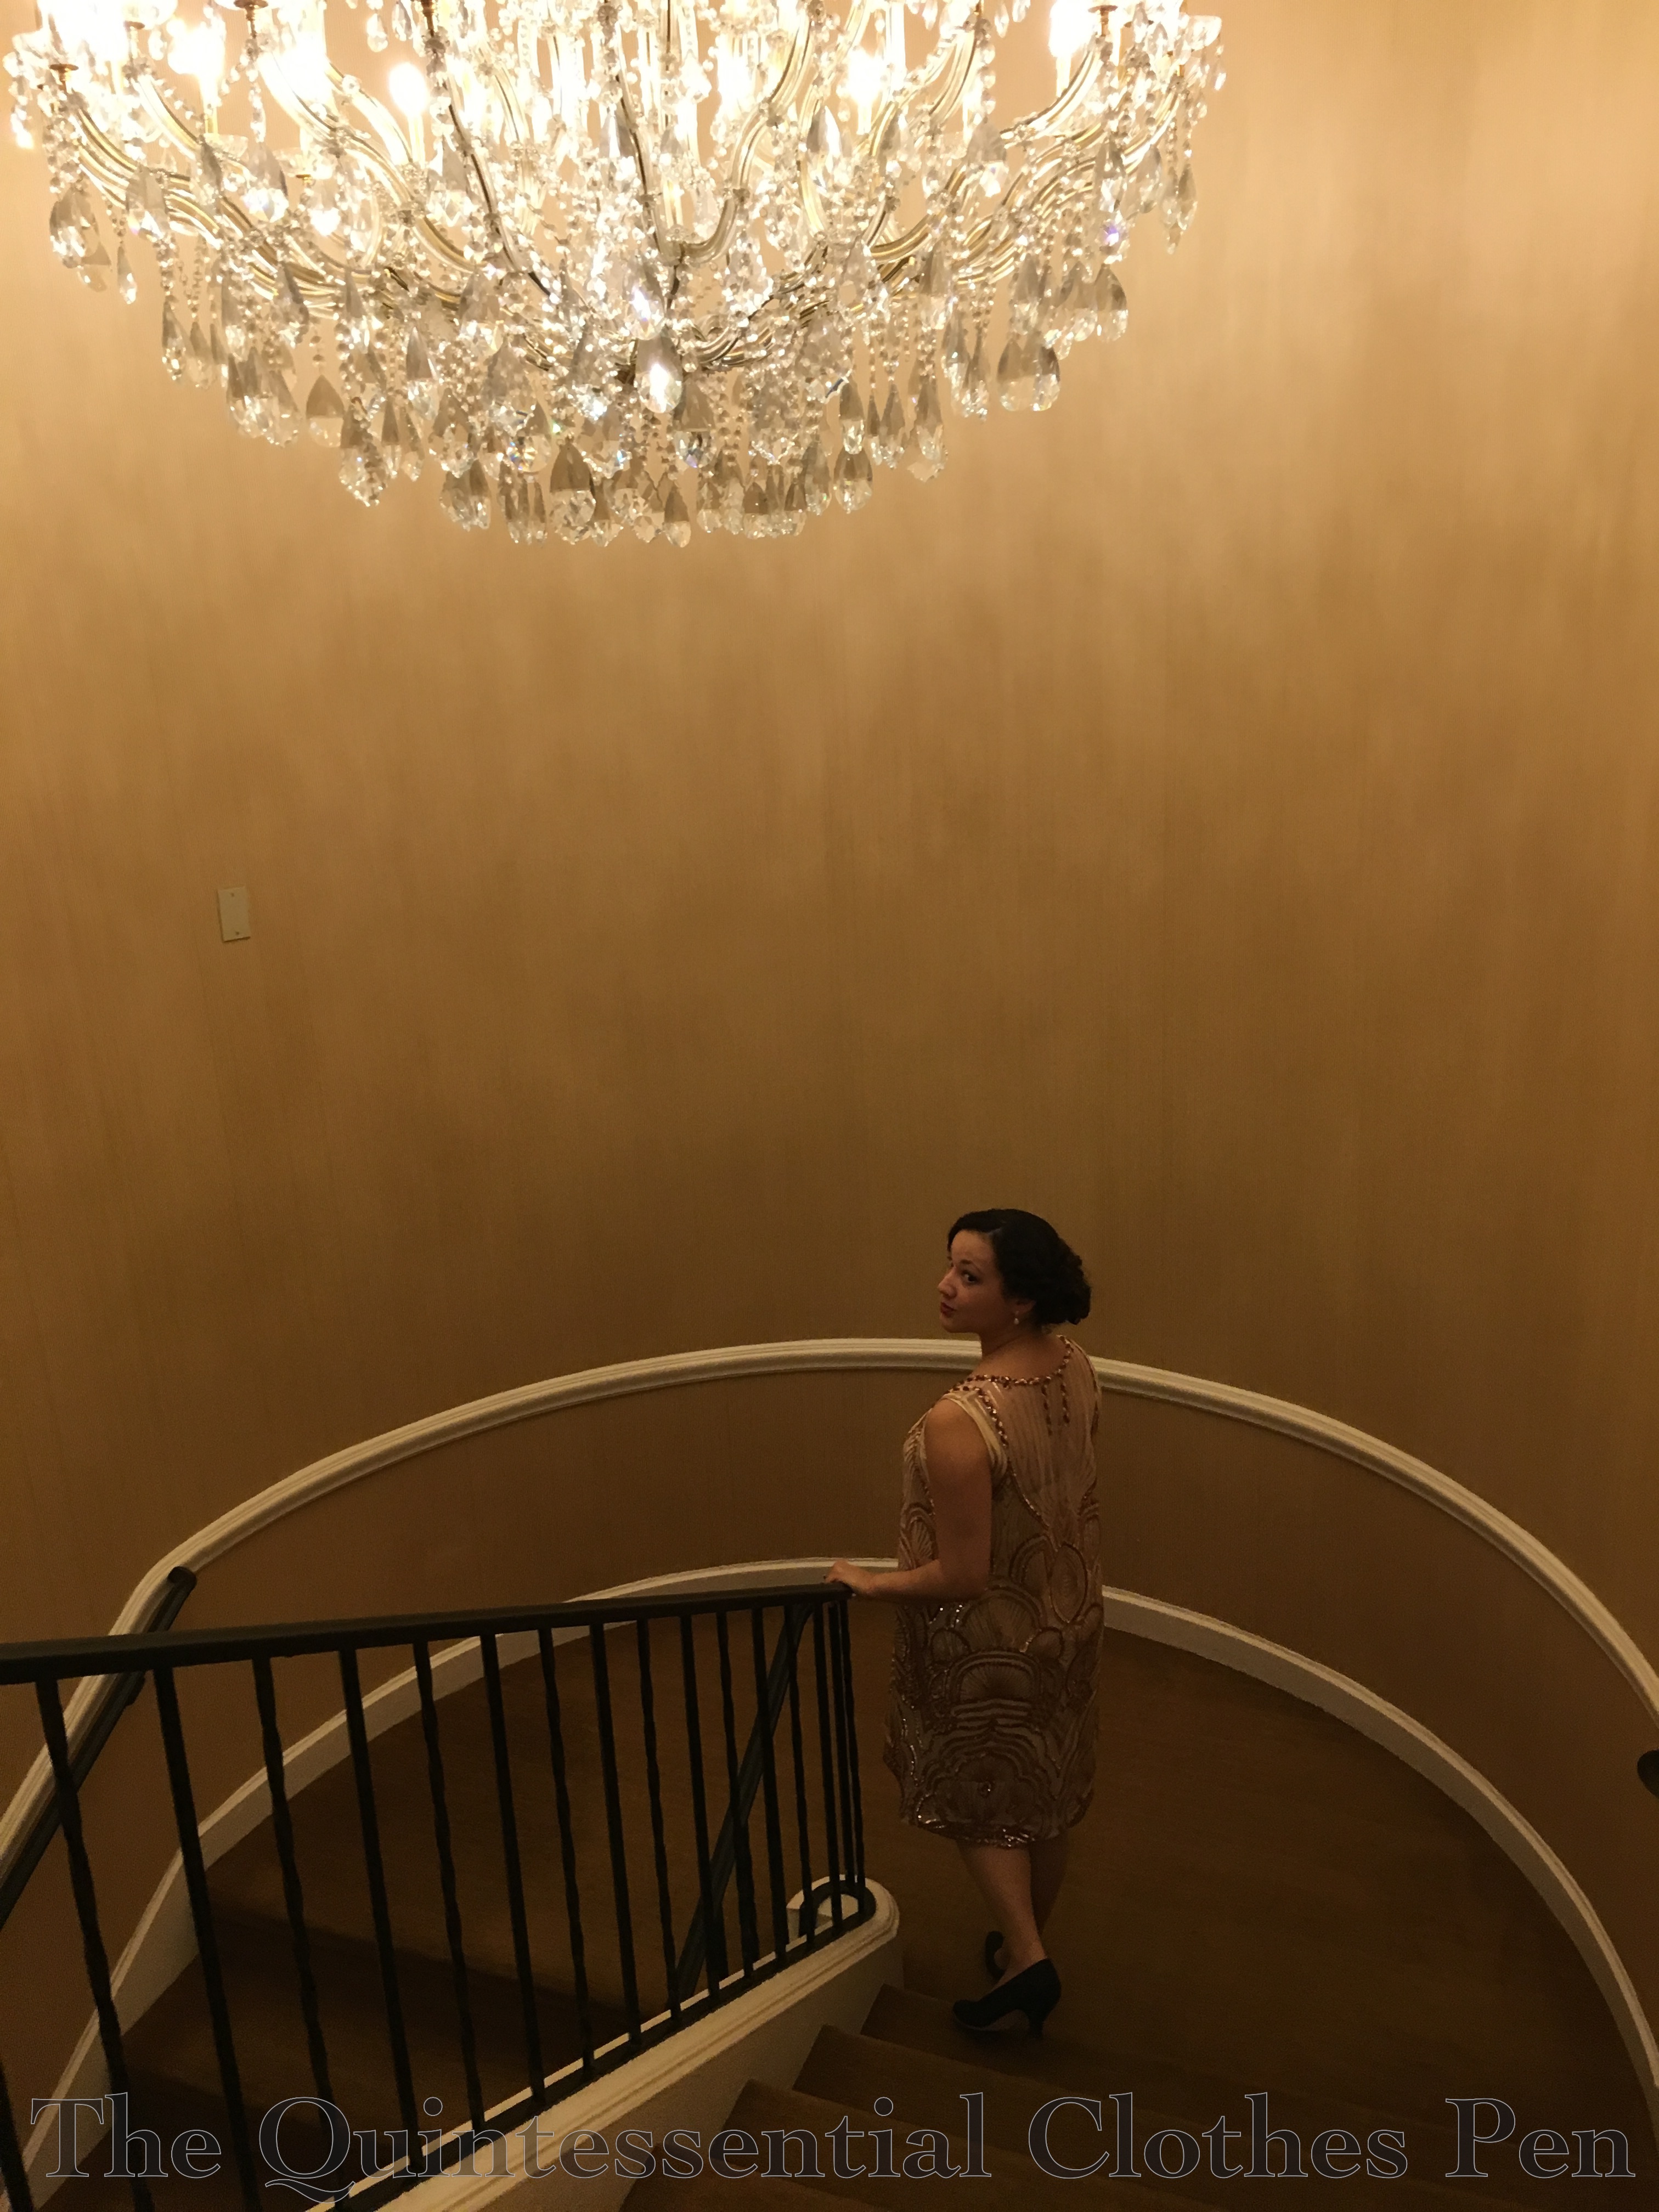
Another neat place we took pictures was this stairwell. I love how different these two pictures are, despite being so similar. One is much more about the dress while the other shows off the chandelier and is a bit more artsy and mysterious.

img_2329-1

img_2327-1

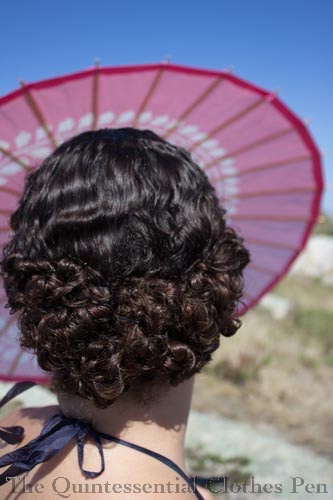
img_3151-1I was so pleased with how my hair turned out! I tried a style similar to one I did last summer for a different 1920s event that I have yet to post about… oops! But here’s a teaser of just my hair. Soon I’ll post the details and it will bring some warm summer memories to my New England winter.

For the summer event I did my hair when it was wet, resulting in a similar style, but much smaller and closer to my head. For that version, I did all the back curls while my hair was still distinctly damp, making the curls much tighter and closer to my head.

For this event, I braided my hair in the morning while it was still damp (to help create waves on the top but curls on the bottom) and left it all day, meaning it was mostly dry when I took out the braid. Then, when doing my hair for the evening, I added small rats under the puffed bottom portion to add a bit more volume than just my own curls. I covered the rats with the length of my hair then carefully placed and pinned the curly ends to imitate having a sort of 1930s smooth-on-top-curly at the bottom style, like this. This style is a few years later than my new dress, but I think it works as a 20s style for someone with longer hair, like me. I have a lot of hair to hide in a 1920s style!

img_2332-1

Both the dress and slip are entirely hand sewn, due to working on it away from home (I would have hand sewed the dress anyway because of all the sequins, but probably not the slip). The dress started out as a tube, but was more unflattering than I was willing to allow. It was fine from the hips down, but needed to be taken in above the hips. What I ended up with is a curved seam (or a long dart, depending on how you look at it–one side didn’t have a seam to begin with) allowing slight shaping from the torso to the skirt portion of the dress. 1920s dresses can be such bags, but after the extra shaping I am very happy with the still somewhat bag-like, skimming shape of the dress without feeling like it’s an absolute sack.

The slip was cut from a pattern I made a few years ago–perfect, since I didn’t have time to pattern something from scratch! I intentionally picked a 1930s pattern in order to have the addition of a perfectly fitting 1930s silk slip to my wardrobe, but also because the shape of the neckline was perfectly suited to the v-neckline I decided on for the sparkly overdress.

img_2374

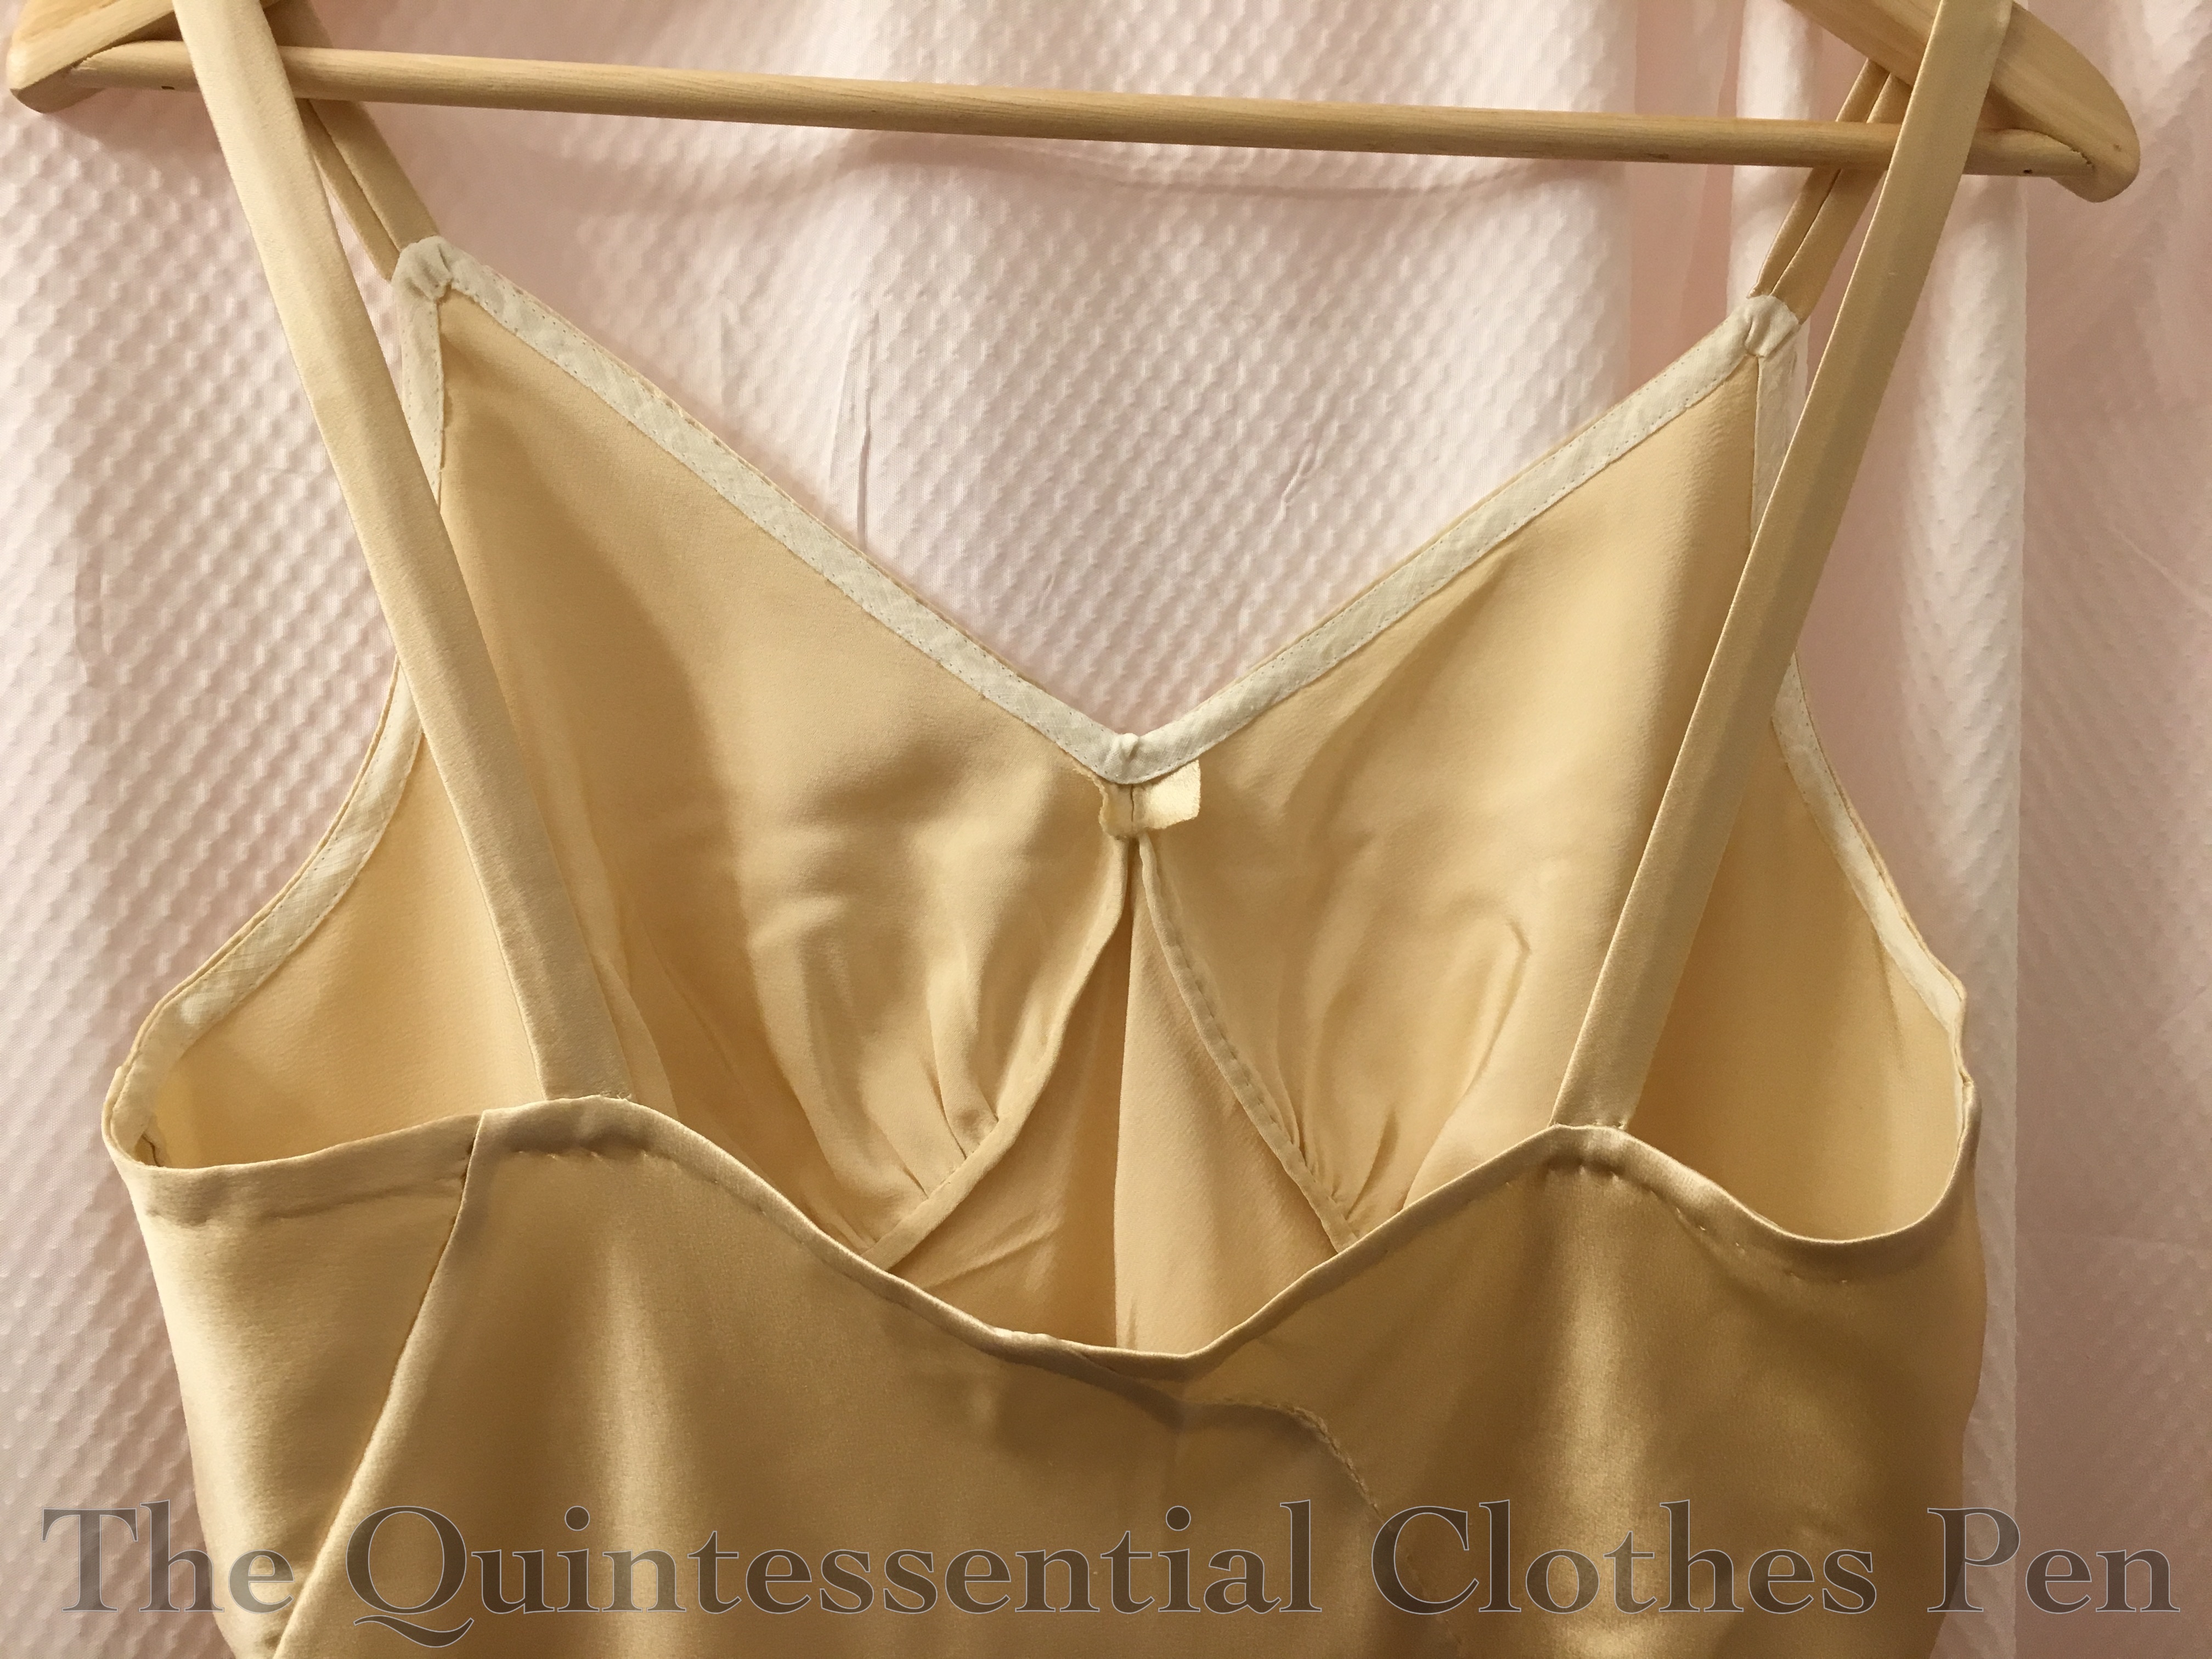
The slip has french seams on the sides. The under-bust seam allowance was trimmed away on the gathered piece and then the body piece seam allowance was turned over it and hand sewn to hide the raw edges. The top edge is mostly bound of with vintage cotton bias (which I removed from the top of the net petticoat I show in this post before shortening it. The piece wasn’t quite long enough to go all around the top edge of the slip, so the center back section is just turned twice and slip stitched, in the same way as the hem.

img_2378

The slip fabric is left over from a project that I did about 7 years ago. It’s lovely silk crepe back satin with the perfect weight for making bias cut 1930s clothing. I thought I would have just enough to eke out the slip, but I came up a little short on the back piece and decided to piece it to make it work, as the fabric is so nice to wear and it was the perfect color. As a result, there are two random diagonal seams on the top of the back piece of the slip. Oh well! They add character!

12 Bells Ringing! (1832 Velvet Gown & Hair, HSM #12)

I’ve had my eye on this fashion plate for years. Then earlier this year, I came across a reasonably priced, lightweight polyester velvet and thought it would be just the thing to recreate this gown. I don’t get too many opportunities to wear clothing from this period, but the annual CVD Fezziwig’s Ball, with a general ‘life of Charles Dickens’ timeframe, was the perfect opportunity to try it out. Plus, I’ve worn my green appliqué 1823 ball gown for the last few years, which has been lovely, but I was ready for a change. And, this fashion plate is from the month of December, which makes it even more perfect for wearing to a December event!

96ef3fb9a4ce77724b44e3a4ff1b3dc1
Royal Ladies’ Magazine, December 1832

Also, this dress fits the last HSM challenge of 2016 (Special Occasion: make something for a special event or a specific occasion, or that would have been worn to special event or specific occasion historically)! A ball gown is certainly a garment that would have been worn to a special event in the 19th century.

img_3694

Just the facts:

Fabric: About 5 yards polyester velvet.

Pattern: Adapted from Past Patterns #702, 1850s-1863 Dart Fitted Bodices (this is the same pattern I recently used to create Eleanor). The sleeve is a beret sleeve from Janet Arnold and the skirt size is based on information from Janet Arnold as well.

Year: 1832.

Notions: Thread, hooks and bars, two tier lace, pleated ribbon, muslin, narrow yarn for cording, and a brooch.

How historically accurate is it?: I’m going to go with 80% on this one. The materials leave something to be desired, though they have the right look.

Hours to complete: Too many, this dress was finicky!

First worn: December 10 for a ball.

Total cost: About $50.

I put a fair bit of work into this dress, but I don’t feel in love with it, as I often do with my creations. It’s finished (thankfully!) and it was fun to wear, but it was annoying and finicky to sew which made for a not fun process. Actually, the velvet fabric itself wasn’t the problem, even though I started out thinking it might be. I was able to do most of the seams on the machine without an issue despite having a fine layer of burgundy fuzz on everything. So the construction went together pretty quickly. I flat lined the bodice with muslin, sewed up the seams, and made cording on the machine. I did have to sew the piping on by hand at the neck, back, sleeves, and on the belt to get it to behave, as well as setting the sleeves by hand.

img_3690

Then I knife pleated the skirt, which was more annoying than that process generally is, and hand sewed it to the bottom of the bodice. I also whip stitched the bottom edge and the bodice seam allowance edges to keep them contained.

Next came the fiddly trim bits, which I usually enjoy. But… the belt wound up being too short, the placement of the fabric scrunched bit on the front was absolutely one of the most annoying dress construction processes I’ve had in years, and I couldn’t put the ribbon around the neck until the bust fabric bit was done. I wrangled the bust fabric into submission eventually, but with a lot of frustration. I solved the belt problem (because I was NOT going to be making another one) by adding a butt bow to fill in the gap, after looking at other 1830s dresses and their trims and being inspired. Actually, I really like the bow as I think it makes the plain back of the dress rather more interesting!
img_3687

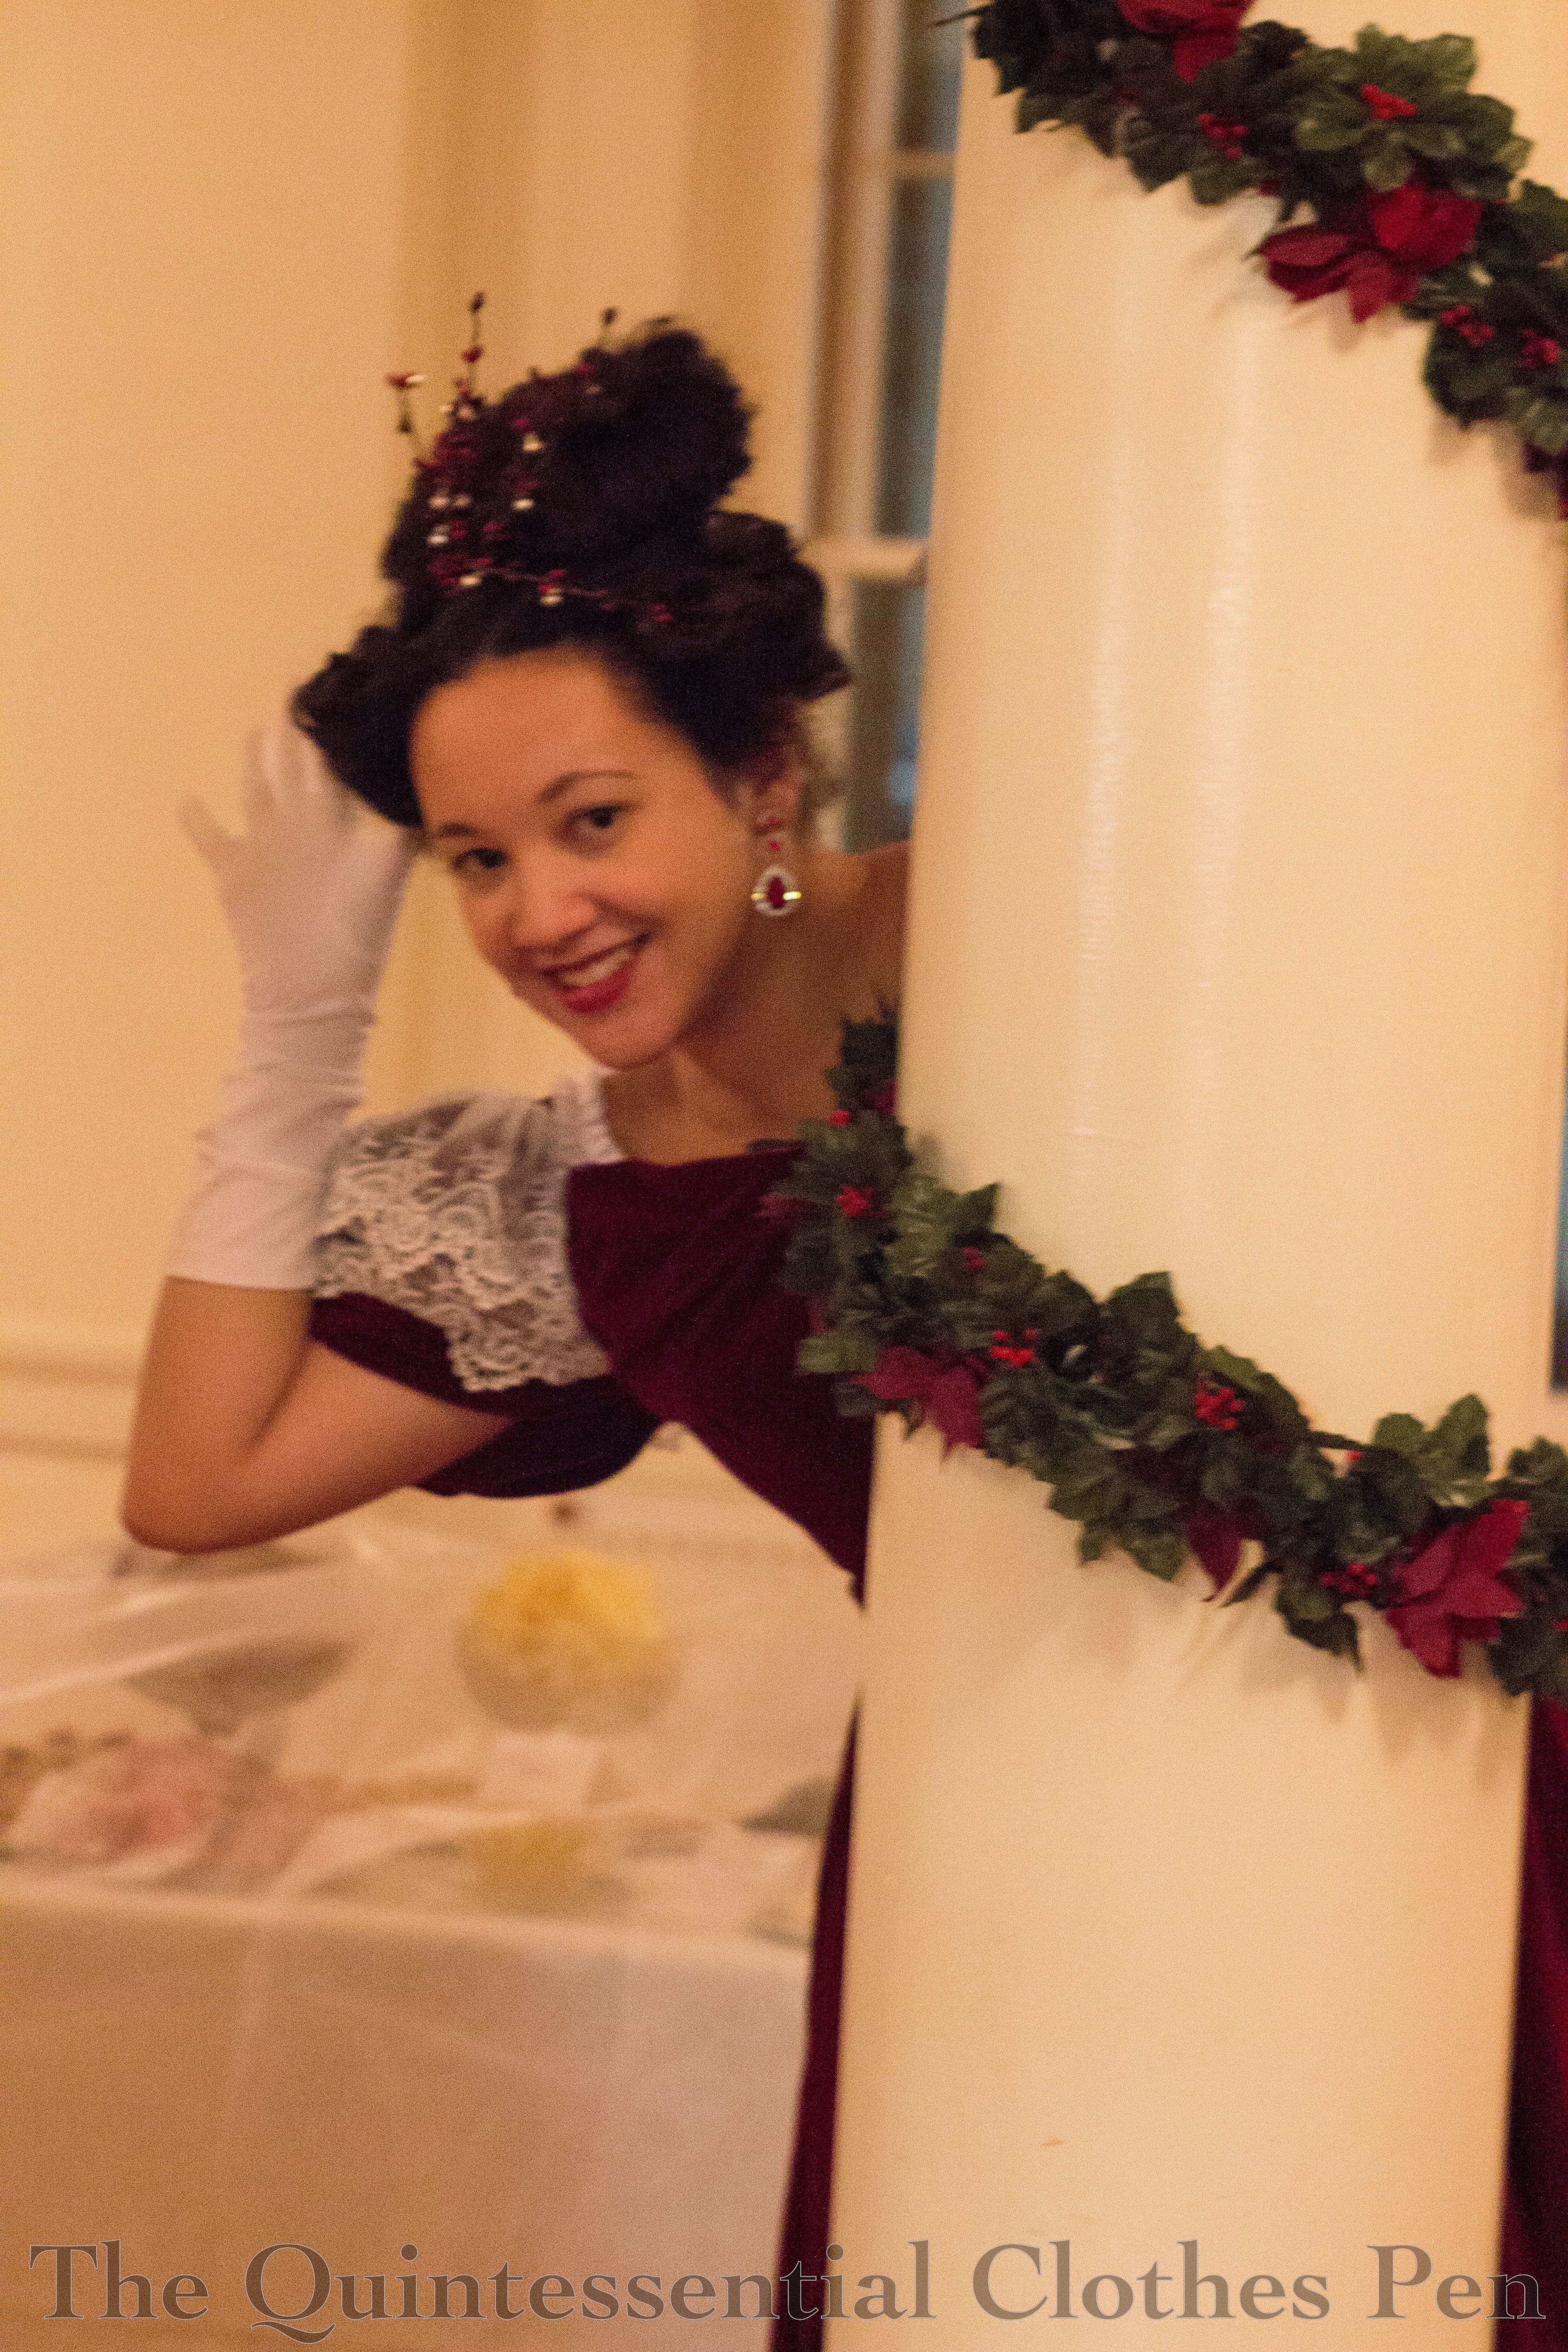
I was so grateful to be done sewing the thing that I didn’t bother doing anything to keep the sleeves poofed. Looking at pictures, I think some sleeve poofing would help for a next wearing. I’m also a bit disappointed by the skirt silhouette. I made a new silk petticoat to help fill out the skirt (more on that later), and a super quick stiff net ruffle for my waist, but I don’t think they did the job well enough. This picture, with the skirt in motion, is a better than when I’m standing still. Also, I had high hopes to make handmade slippers to wear with this dress, but abandoned that idea after making one, realizing that they were not looking the way I wanted, and that I really didn’t have time.

However, I really wanted the laces across my feet, so I tried used masking tape to attach black ribbons to my modern flats that tied around my ankles. It would have worked for pictures, but I danced before pictures and they fell off mid-dance… That was exciting. I was peering through all the dancers to keep an eye on the ribbons on the floor so I could recover them while hoping that no one would trip… Luckily, no one did! And I recovered the ribbons. I’ll have to try again next time.

img_3693

Then there was my hair. 1830s hair is ridiculous, but I was inspired and had a plan. I wanted those silly smooth loops of hair that are often seen in fashion plates. I tried them in fake hair and achieved something–but not what I wanted. And then I ordered false hair bangs to make the side curls, but in a comedy of errors they didn’t arrive until the day of the ball and I didn’t have time to curl and arrange them. All in all, I have concluded that these hair styles are harder than they look and frustrating to achieve! In the end, I resorted to using my own hair, with only a rat on each side to plump up the curls.

img_3703

Once I decided to go with the looser floppy loops of hair on my head, as in my fashion plate inspiration, I knew my own hair would do the trick. I wish I’d been able to get them to stand up just a bit more, but overall I like how the hair turned out. I certainly have enough hair to achieve all the different parts of this style. I think my favorite part is the unusual backwards V part in the front, which I saw on multiple images from the 1830s. It’s so unusual, but makes so much sense given the sections of hair needed for this style.

img_3706

My hair decoration is wired springs of berries bearing tiny jingle bells! I decided on this because of a mention of putting something from the 12 Days of Christmas in 1830s hair. There are no berries or bells in the modern version of the song, but Wikipedia suggests that in the 1840s the lyrics were ‘twelve bells ringing.’ I was intrigued and decided it would be a fun, silly thing to do. I was also worried that the bells were going to be very noisy! They provided a lovely tinkling sound when I moved, but couldn’t be heard from more than a few feet away and so therefore were not a distraction as I feared they might be.

I wore the gown with my 1860s chemise and corset, as well as the other skirt supports previously mentioned. I added white gloves for dancing and wore red and crystal earrings. Unfortunately, I couldn’t find a necklace that I liked, so I decided to go without instead.

img_3656

Moose hands! It was fun to be part of a rather large clump of women wearing 1830s to the ball this year. It’s such an odd period and one looks less out of place if others are wearing equally as ridiculous garments and hair as well!

img_3645

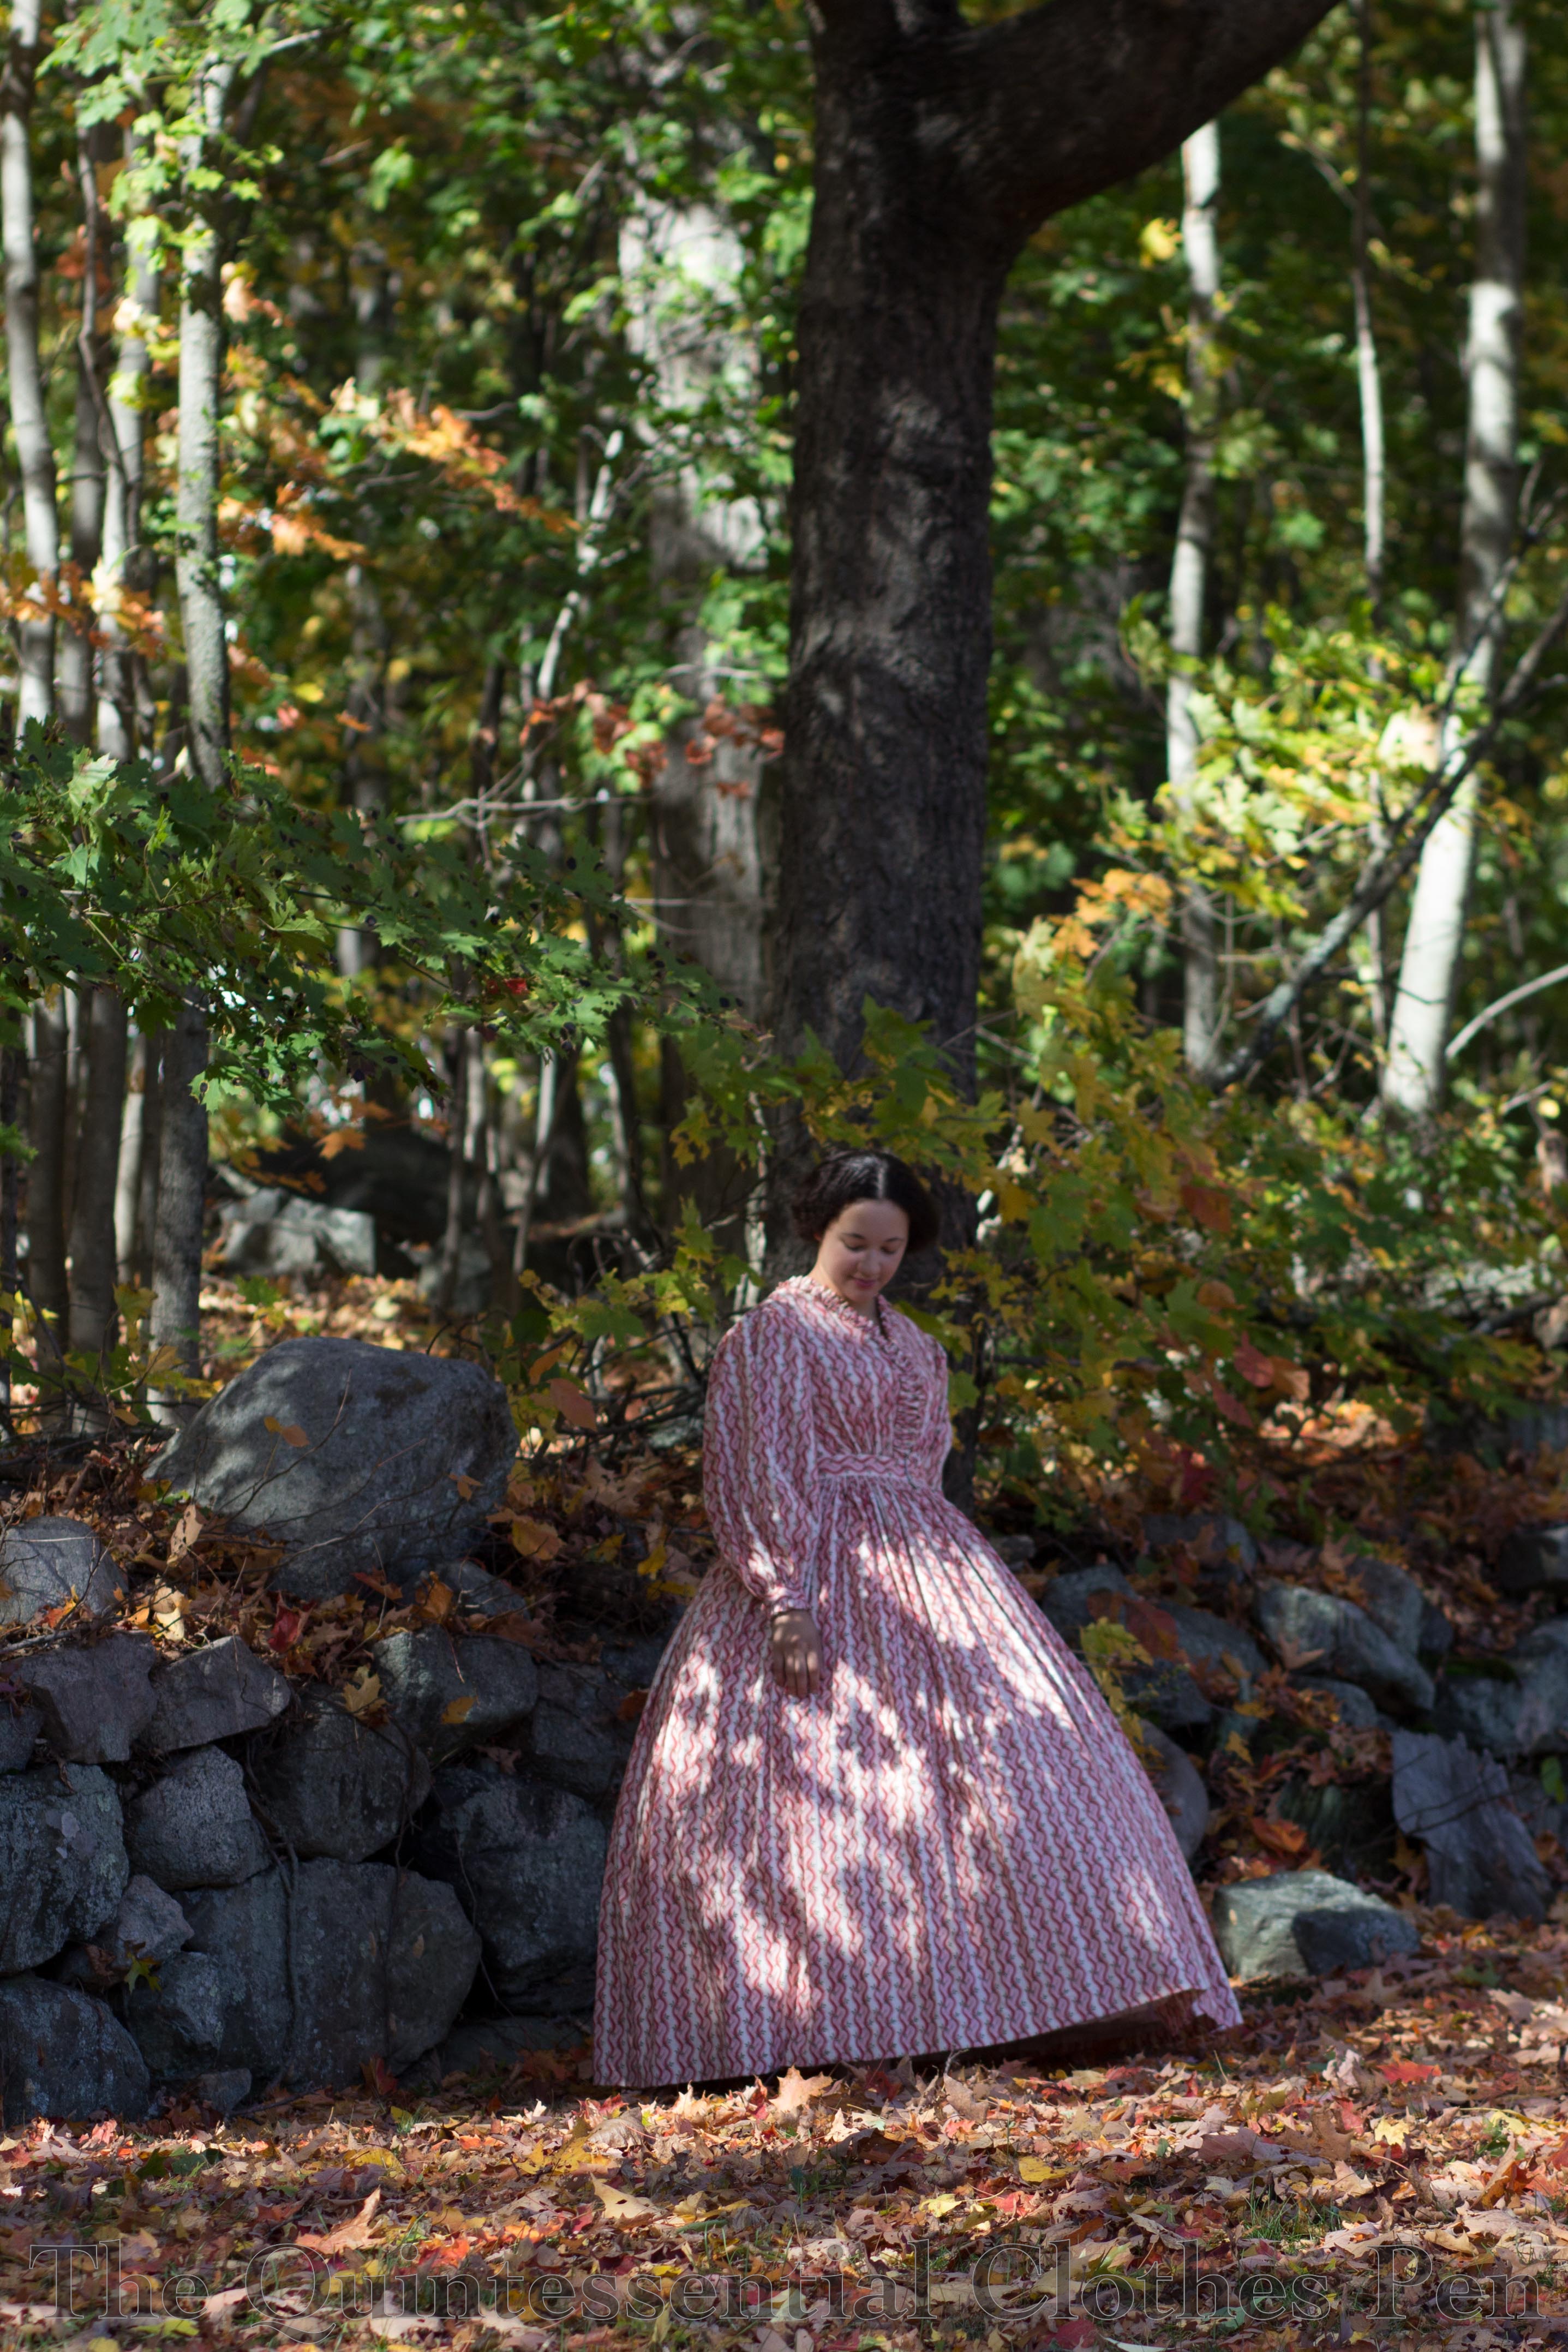
Sophie, 1861 Cotton Print (HSM #8)

Last week, I introduced Eleanor, a newly made plaid gown from 1862. Today’s introduction is to Eleanor’s friend, Sophie. Sophie actually came first, back during the summer when I was intending to participate in the same dance performance for which I’ve worn Georgina in the past (here are a selection of past posts about Georgina: the construction which is similar in some ways to Sophie, Georgina in action, and Georgina with a new collar).

This year, the performance was rescheduled due to rain and I couldn’t attend the new date, meaning that the new dress, Sophie, languished until October, when I was able to wear it during part of a recent mid-19th century dance weekend. The nice thing about the delay is that the pictures all have stunning fall leaves, which would not have been in the case in the summer.

img_3450-1

Also, had I worn this dress on the first intended date, it would not have been entirely completed. Having extra time allowed me to officially finish all the trim and closures which made this dress the perfect entry for the Historical Sew Monthly challenge #8 “Pattern – make something in pattern, the bolder and wilder the better.” I didn’t have any pictures of the dress on a body at that point, so I submitted a rather sad picture of the dress on a hanger at that time. It’s exciting to have real pictures now!

Just the facts:

Fabric: 7.5 yards cotton print.

Pattern: Adapted from Past Patterns #701, 1850-1867 Gathered and Fitted Bodices.

Year: 1860-1863 based on my extant inspiration, but I’m calling it 1861.

Notions: Thread, hooks and bars, muslin scraps, and narrow yarn for cording.

How historically accurate is it?: I’m going to go with 95% on this one. This is as accurate as I can be given the research I have done and the materials I used, though the use of a facing on the front edges is guesswork. Regardless, this would be entirely recognizable in its time.

Hours to complete: Unknown. A fair bit.

First worn: October 23 for an afternoon tea and dance games.

Total cost: $23.

img_3451-1

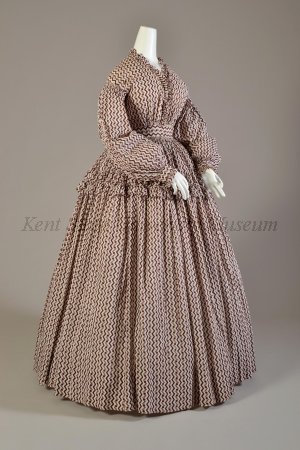
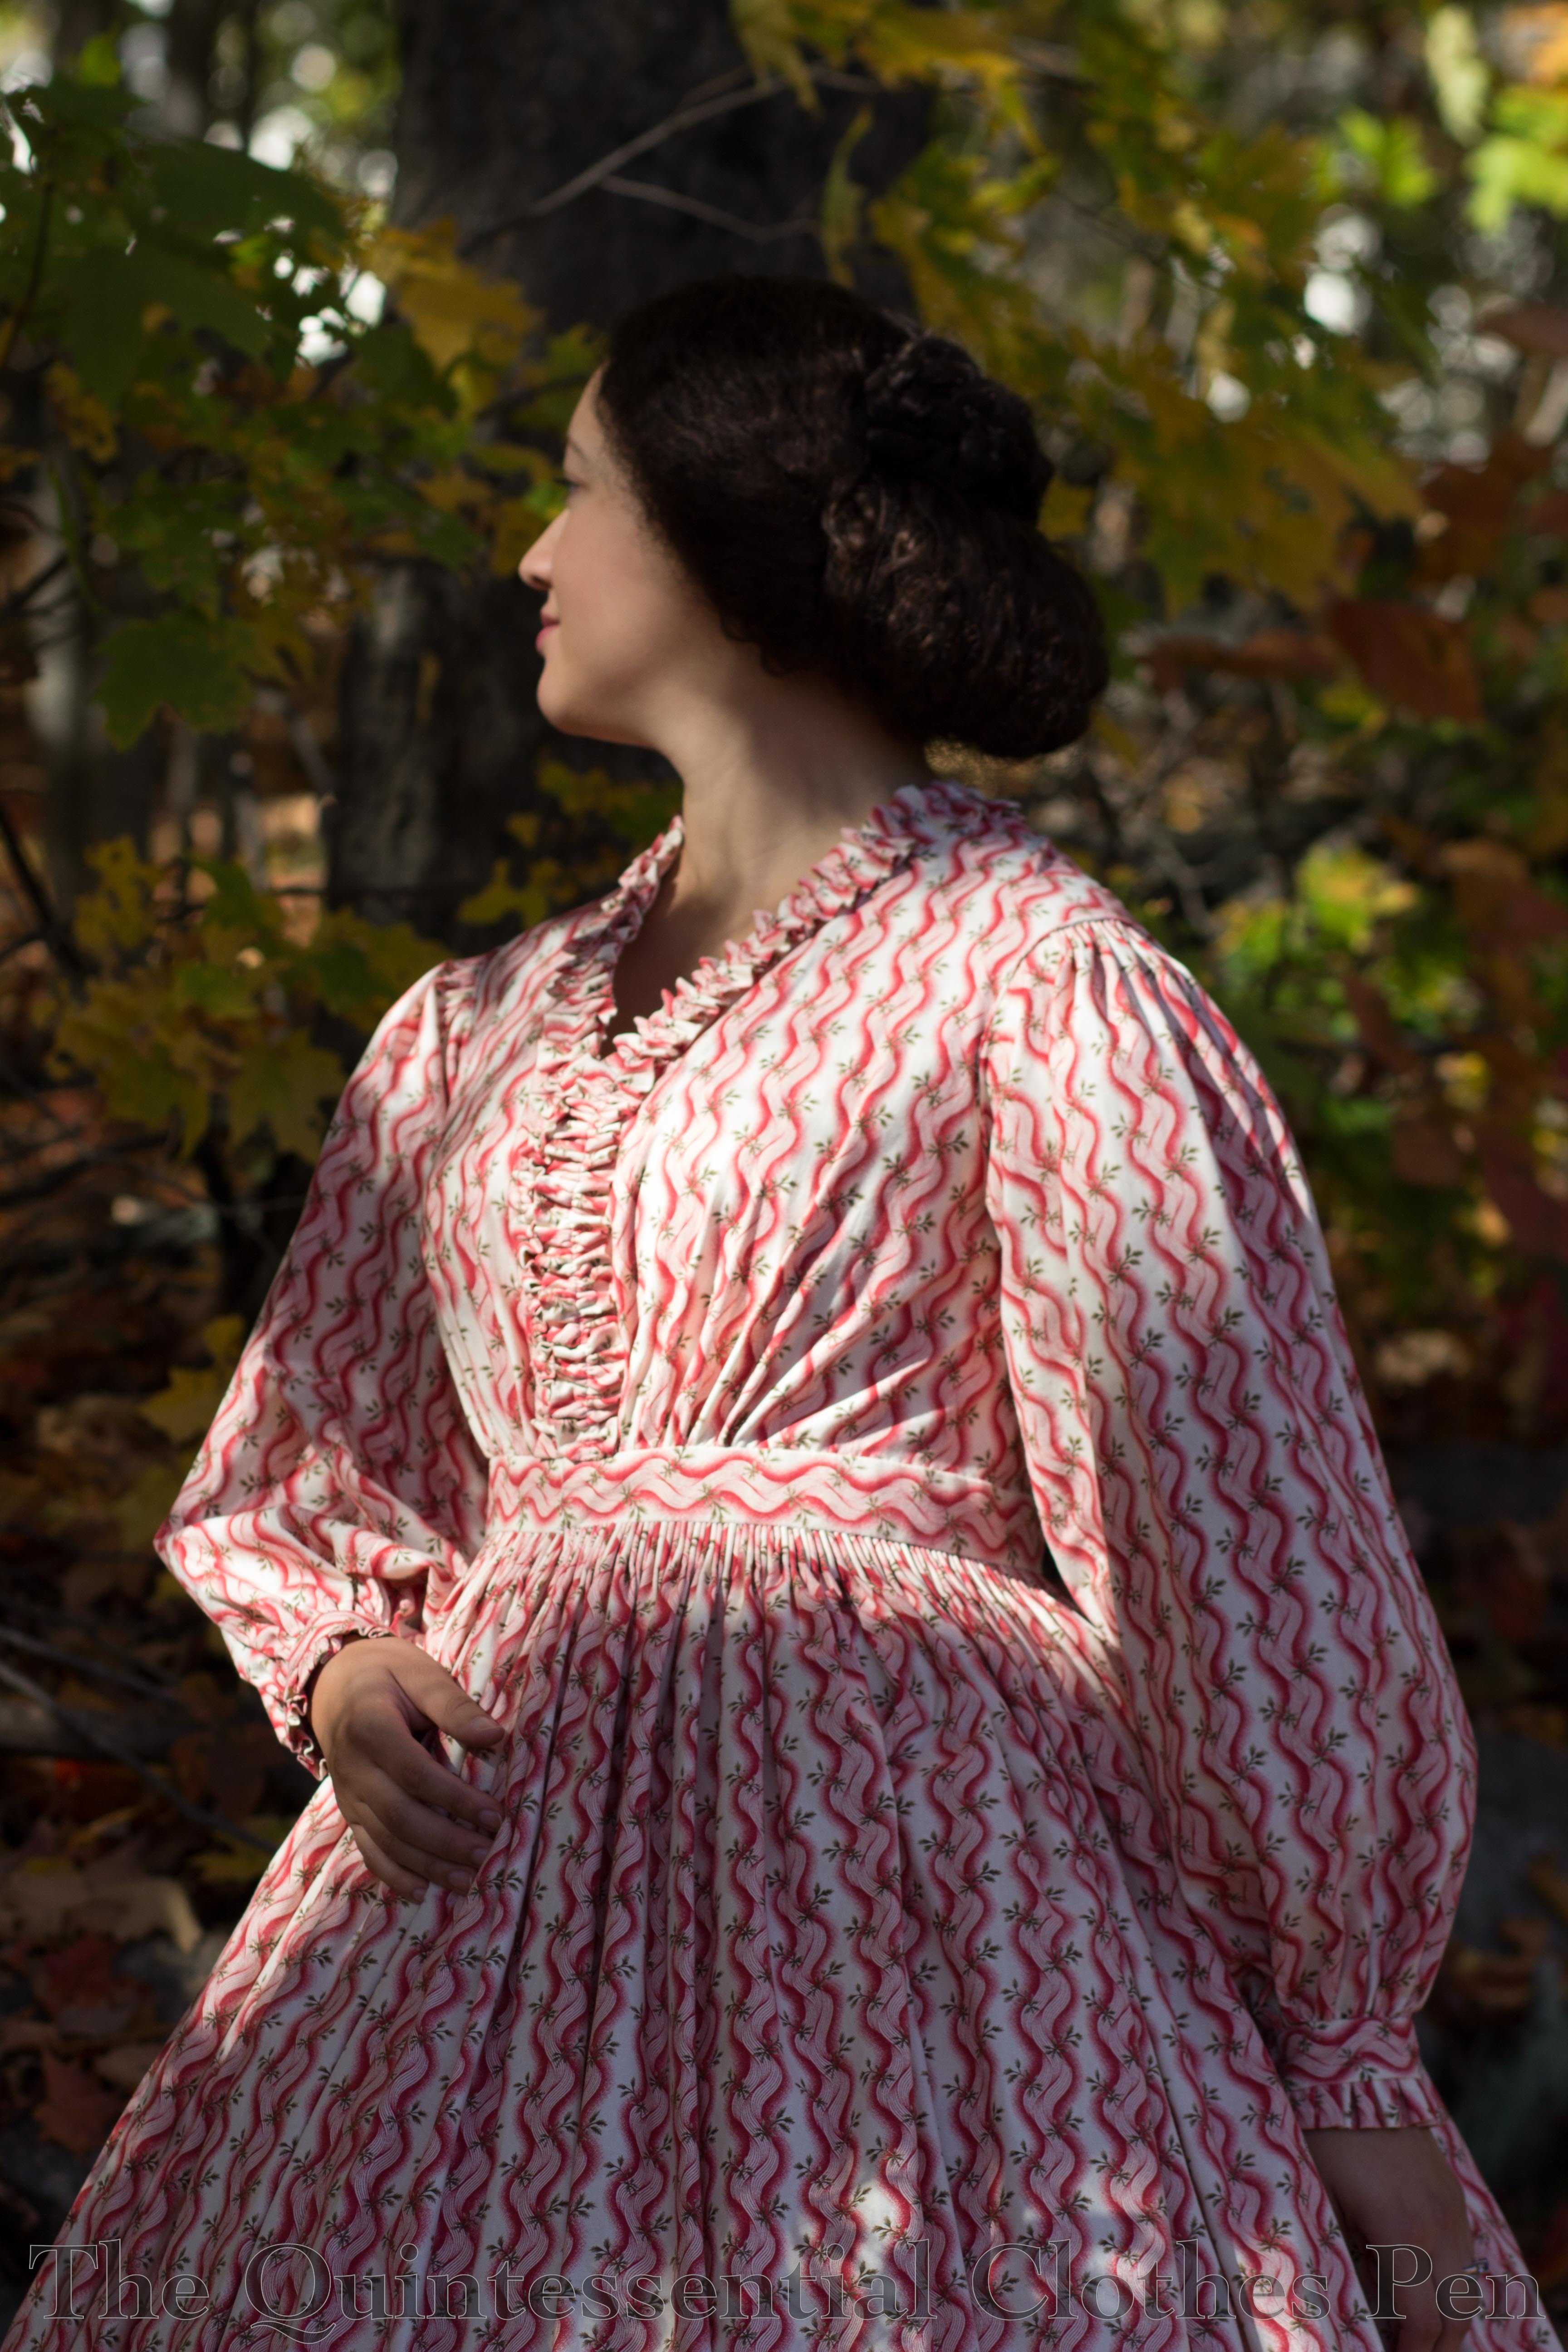
Sophie was directly inspired by this extant dress at the Kent State University Museum. I was considering what to wear for the performance, thinking that I’d worn Georgina enough to want something new, that I’d had an 1860s cotton print fabric in my stash for a few years, and then I remembered this dress. I decided to leave off the ruffle on the skirt (and also didn’t have enough fabric), but was so pleased that my cotton print is so perfectly suited for playing with the pattern in the same way as the extant dress!

19861270001

Dresses from this period with v necks are not common, but they do exist. This Pinterest board has lots of examples. My Pinterest board has a few other dresses that helped move me along as well.

As I mentioned in my post about Eleanor, finding and making use of subtle differences between dresses from similar years brings me joy. For example, Sophie has a v neck, no boning, cartridge pleated sleeves, gathered trim, and is actually sewn together as a dress, rather than hooking together at the waistband as with all my other dresses from this period.

img_3461-1

img_3464-1

img_3467-1

In other ways, Sophie is similar to Georgina, being partially machine and partially hand sewn, having a cartridge pleated skirt, cuffs with little ruffles at the ends, and pockets.

img_3462-1

Personally, I love having pockets in day dresses. It brings me peace of mind to know that modern things like my keys are close by and not sitting around somewhere. Plus, chapstick, fan, gloves, etc. are also excellent choices for stashing in pockets. These pockets, which you can see the top of in the picture below, are sewn in the same way as Georgina’s pockets, shown here. I love this collection of references to pockets from the 1840s, 50s, and 60s that Anna Worden Bauersmith put together. I’ve been waiting for just the right moment to share it for what seems like ages.

img_1871

Here are two more interior shots of the dress. The first shows the muslin facings. I don’t have documentation for this method being used to finish a lightweight summer cotton dress, but it makes sense that this method might have been used to finish the edges nicely while keeping the main body of the dress breathable and light. The second picture shows in the inside of the top of the sleeve, particularly to show the cartridge pleats.

img_1874

img_1872

In addition to the dress, I also made a new cage crinoline. I’ve been wanting a slightly smaller, less bell shaped one, particularly to wear with cotton dresses. I love my old cage crinoline (seen here) for evening dresses, but it is just a bit too much for a more practical daytime look. The new crinoline shape just looks ‘right’ with the cotton dress. The difference is subtle, but pleasing. Unfortunately, it did not perform well in its first wearing. The vertical tapes were sliding all over the place and causing the hoops to drop and be tripped on. Not good! It needs revision before being finished and shared, so for now you’ll just have to believe that I’m wearing it with this dress.

Now that you’ve heard all about the dress itself, here are some pretty pictures of it in action. These first ones are in the spirit of the development of rural cemeteries in the mid-19th century, which you can read more about in this blog post at Plaid Petticoats.

img_3492-1

img_3480-1

The next few are a celebration of the autumn season. The gorgeous leaves were beckoning us to have some laughs. Incidentally, I tend to jump in the air with my arms up whenever I’m having an amazing time in this period. Take this memory, for example. I’m doing pretty much the exact same thing!

img_3522-1

img_3525-1

img_3526-1

img_3543-1

We have so many things to be grateful for. I am always thankful for the many blessings in my life, particularly at this time of year. I hope that your life is also overflowing with blessings and reasons to give thanks, in autumn and always.

img_1956-1

An Introduction To Eleanor (HSM #10)

The Historical Sew Monthly challenge for October is Heroes – Make a garment inspired by your historical hero, or your historical costuming hero.

img_3400-1

You may or may not know that one of my favorite movies is Gone With The Wind. (I posted about this topic years ago when the blog was in its infancy–most of what I claimed then is still true and the 1860s will always have a special place in my heart, but I can now say that other periods give me excited wiggles too!) You can read the old blog post to get more specifics, but the essential point is that despite her personal shortcomings and the turbulent and controversial history of the period, Scarlett reminds me of the clothing that I love and therefore is an historical costuming hero to me.

And this gown has an added historical hero, Eleanor ‘Felcie’ Bull, who came to my rescue when I was contemplating what sleeve style to give my dress.

b9d863448d33e96ca7ce04a041dfd005
Eleanor “Felicie” Bull. 1863.

Prior to finding her image, I had been planning to name this dress Johanna, in honor of the friend who convinced me that I needed the fabric a few years ago. But I had sort of decided this was weird, since all my other dresses from this period have names that I like, but that are not from a specific living person. Once I found this image I was completely overtaken with excitement–I love the name Eleanor and there she was, helping me out! The choice was obvious.

img_3382

I made a new hair decoration to go with Eleanor. I had the perfect stem of purple velvet leaves, but no flowers to match the dress. So I dyed some white millinery flowers to a golden yellow. They have a fluffier texture than before being dyed, but the color is perfect. Using millinery flowers brings me so much joy, because it’s easy to shape any section since each stem is fully wired. And I couldn’t pass up the opportunity to wear my Dames a la Mode purple earrings and necklace.

img_3384

Regarding dress construction, we must start with a bit of a personal habit, or perhaps a theory, though I’m not sure it’s as thought out as that. When the opportunities arise for me to make multiple garments from the same period that could be carbon copies of each other in different fabrics (so much speedier on the patterning and planning front!), I hardly ever take that easy road. I am drawn to exploring the small variations.

So it is with Eleanor. I decided to: knife pleat her skirt instead of box pleating, cartridge pleating, or gathering; to make a plain darted bodice instead of using seams or gathers; to make the bodice straight across all around, which is more unusual for evening gowns made of silk than having points in front and back; to overlap and topstitch her side back seams; to omit the oft-seen bertha around the neckline; and to have single puff bias cut sleeves. These things all make this dress just slightly different than my others from this period, adding a bit of thought and time to the process. And if we’re talking about time, let’s just mention how mind-boggling cutting plaid pieces with curved seams and darts is when the pattern matching is important to you!

I collected images of plaid gowns with a focus on evening bodices and noticed these features, which is why I decided on them. The most useful images are in one place here, on my Pinterest board for the project. I was contemplating the sleeve type when I came across Eleanor ‘Felcie’ Bull. Interestingly, she shows all of those traits I’d decided on. I loved her simple sleeves and restrained bodice trimming, which then set me on an extensive Ebay and Etsy hunt to find just the right brooches to replicate her style. Yes, I did look through about 150 pages of bow brooches to find just the right one for less than $15. Plus many pages of gold oval brooches. I couldn’t have wished for better results! Remember the look I gave you a look a few posts ago? The only thing I did was to brush the oval brooch (which is new, not vintage) with a bit of brown acrylic paint to bring it down to the old gold color of the bow brooch.

img_3403-1

Other construction details include flatlining the bodice and facing the skirt in a remnant of dusty mauve cotton from my stash (used it up, yay!), creating boning channels in the darts to keep the front nicely shaped, and finishing the neck and bottom edge of the bodice as well as the armholes with very narrow cording.

Just the facts:

Fabric: About 6 yards of silk taffeta and 1 yard of cotton.

Pattern: Adapted from Past Patterns #702, 1850s-1863 Dart Fitted Bodices and Period Costumes for Stage and Screen as a reference for the sleeves.

Year: 1862, given the details that I decided on.

Notions: Thread, hooks and bars, canvas to interline the belt, narrow yarn for cording, and plastic wire ties for boning the bodice.

How historically accurate is it?: I’m going to go with 99% on this one. Materials and methods are well researched and executed. This would be entirely recognizable in its time.

Hours to complete: I really didn’t keep track. But I can safely say many!

First worn: October 22 for a ball.

Total cost: $98 total: $68 for the silk, $10 for bow brooch, and $18 for the oval brooch.

I’ll end this with my photographic homage to Eleanor ‘Felcie’ Bull.

img_3386-2-1

1899 Elusive Blue With Train

My last post recounted a fun event that I recently attended which explored the Victorian fascination with ancient Egypt. The event was unusual in topic, quite well done, and interesting, especially as I rather like ancient Egyptian history myself. I felt that I knew a good portion of the information in the lecture, but I also learned some new things.

I decided to leave my outfit for the event for this separate post so I could go into detail without getting too long winded. As sometimes happens, I committed just about two weeks before the event to having a new garment. A trained skirt! This event seemed very suitable–dramatic surroundings and no dancing being the biggest factors.

I had started a second, trained, skirt to go with my 1899 dress back in January, but it had languished at the point of needing hemming. Despite all the other projects also needing to be completed around this time, I decided to furiously work to hem the trained skirt so I could wear it to this event.

img_1993-1

img_1995-1

Success! The construction of the trained skirt is based on this gorgeous green gown at The Met. There is a side view of the skirt which shows just a bit of the under layers that support the hem. With that in mind, I scrounged for other extant examples of trained hem finishes and included them on my inspiration Pinterest board. This example, also from the Met, shows a clear view of the hem finishing on the inside of the skirt.

To replicate the wide and stiffened hem of the exterior I purchased polyester organza in a closely matching color and used it cut on the bias. The width of organza was folded in half to add an extra bit of support before being hand hemmed. The lining is hemmed with a bias band of an ivory cotton/poly blend that has a gathered section of lace machine sewn to the top edge prior to the hand hemming so the machine stitching doesn’t show. (Given that the whole dress is mystery fabric, I had no qualms about continuing to use polyester to keep the cost down on this project.) After hemming, I put the skirt on a dress form and pinned the lining and exterior together at five strategic points, then swing tacked the layers together. These tacks keep the exterior perfectly positioned over the lining.

img_2001-1

All of the extra work to support the hem layers was worth it. Along with my super silk petticoat to support the skirt, they nicely support the train, allowing it to elegantly float behind or swirl around me with just a small movement. It was quite fun to swish through the lovely rooms at the Castle with a dramatic train without it being so long that it becomes a nuisance. I’ll have to find more opportunities to wear this fabulous ensemble!

Picturesque Regency Moments

During this year’s Regency Dance Weekend, we captured some of my all time absolute favorite shots of my Tree Gown. I saved them for this post rather than including them in the overview of the weekend.

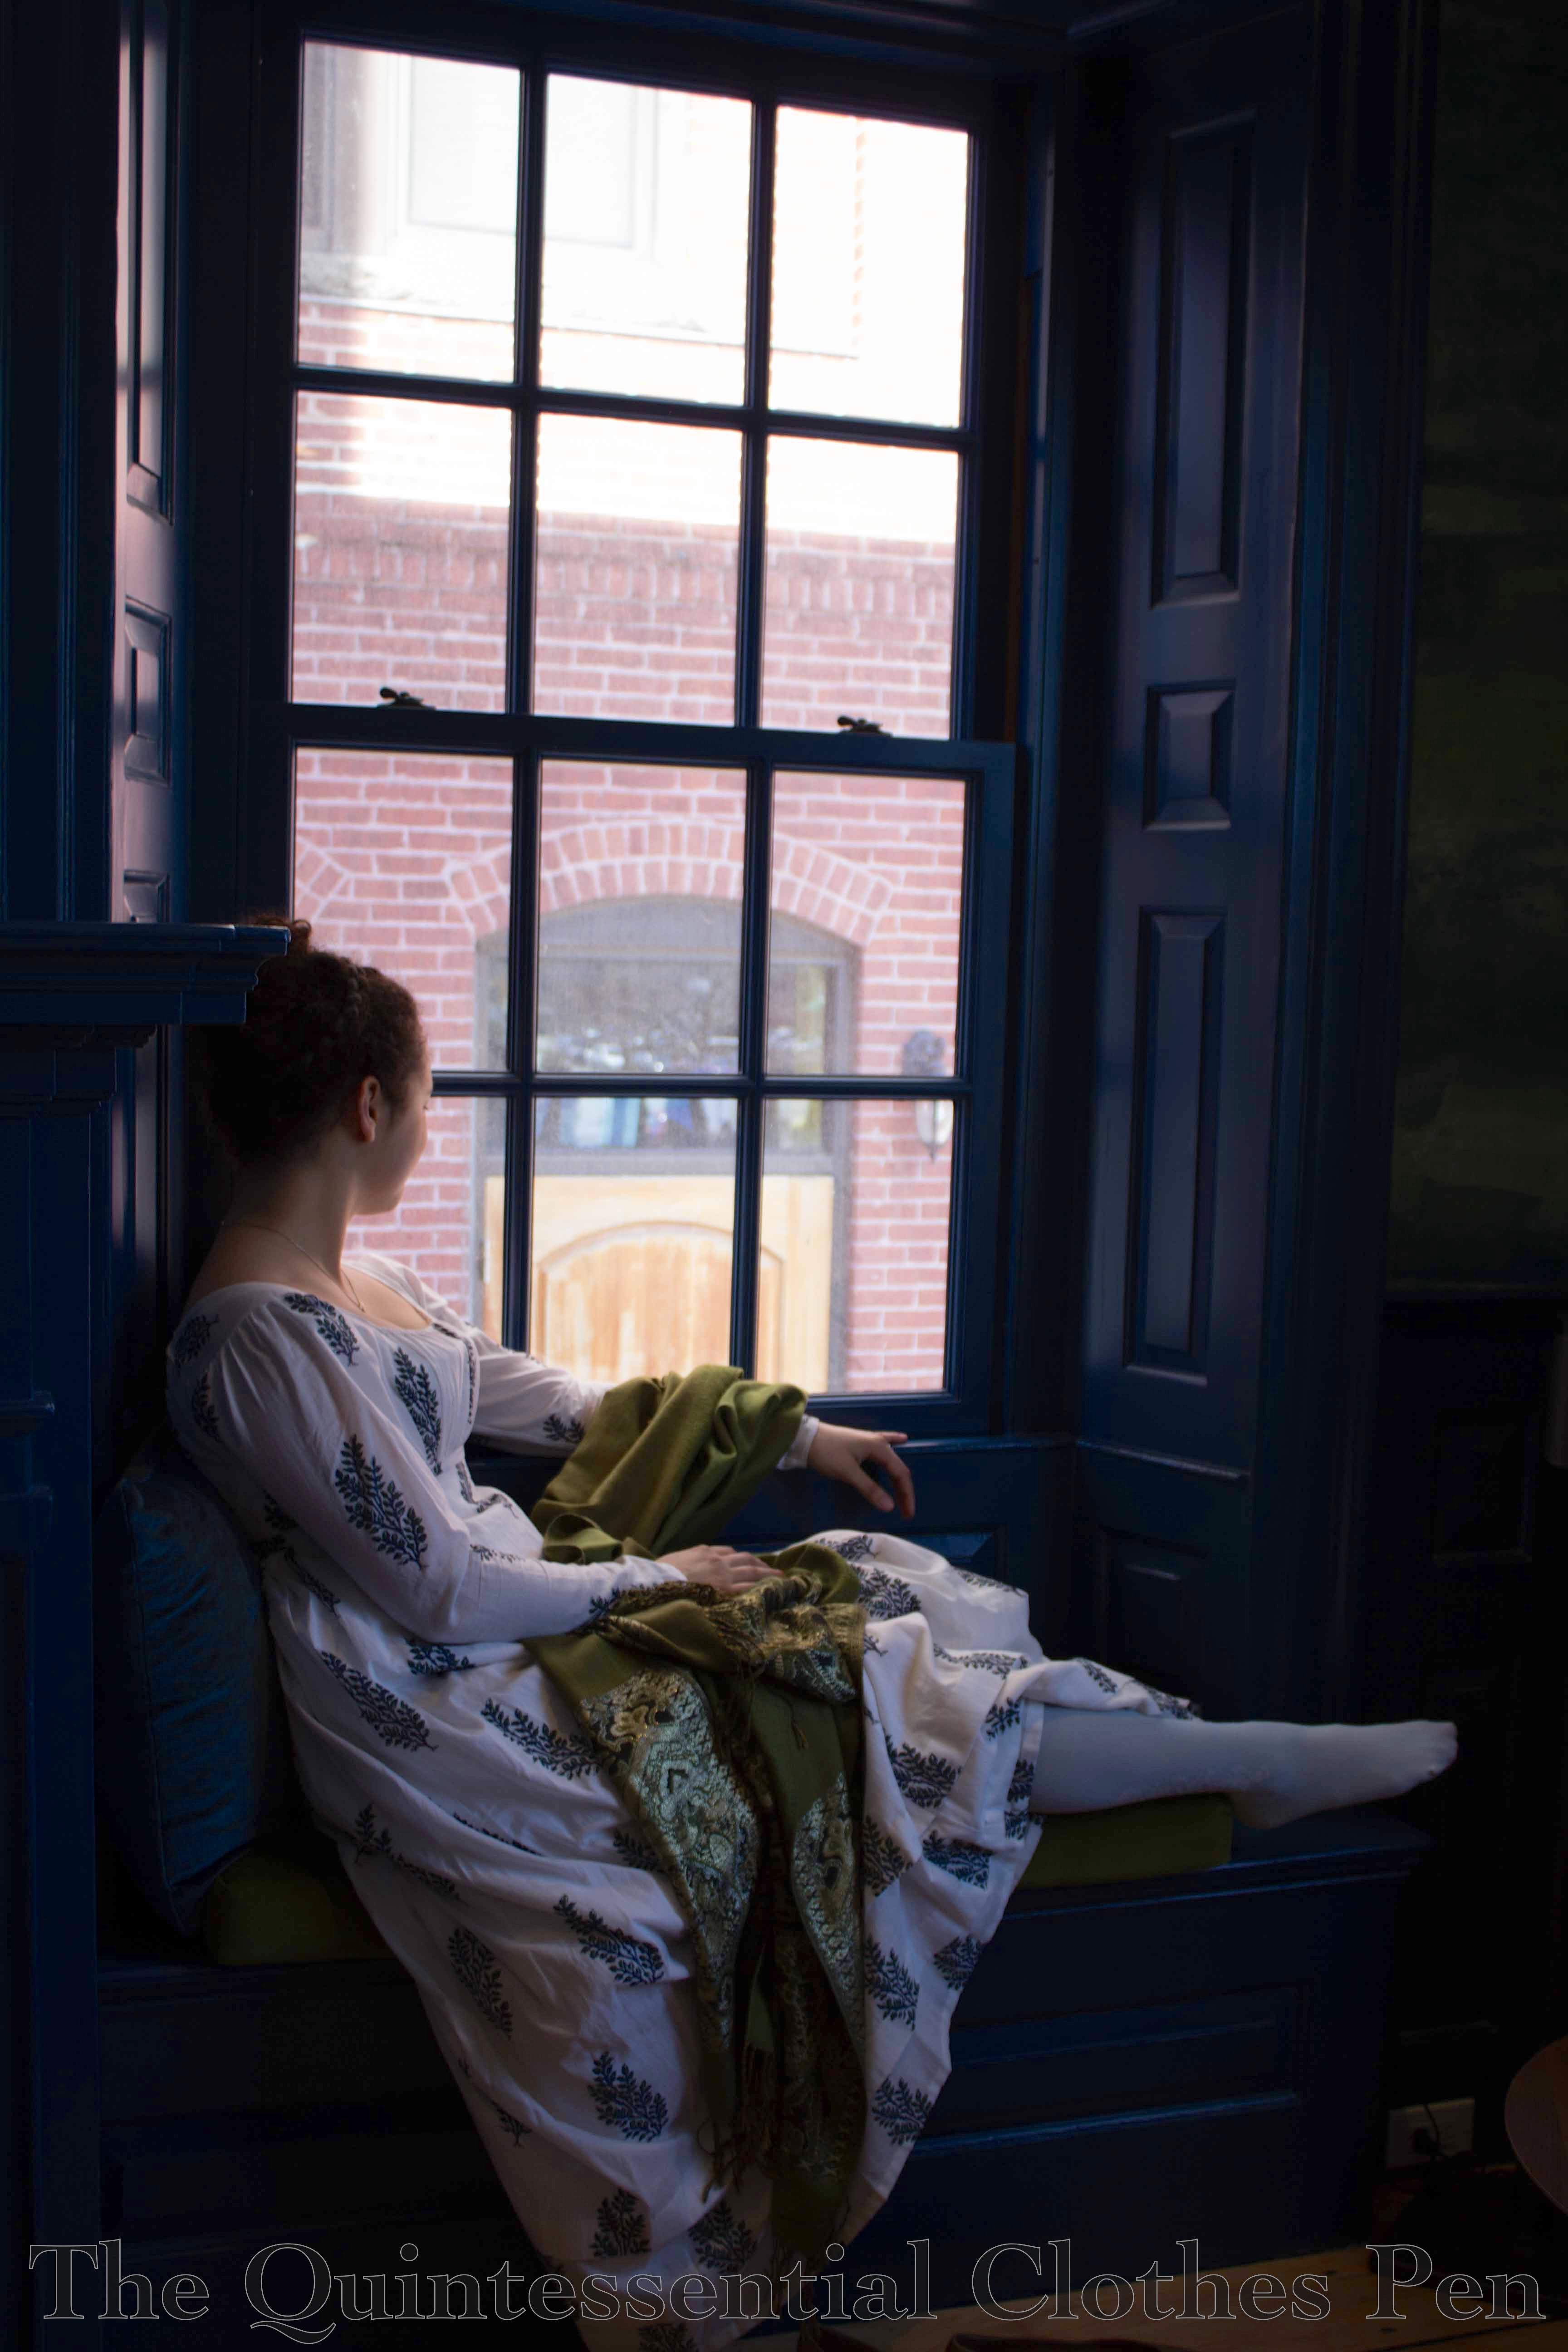
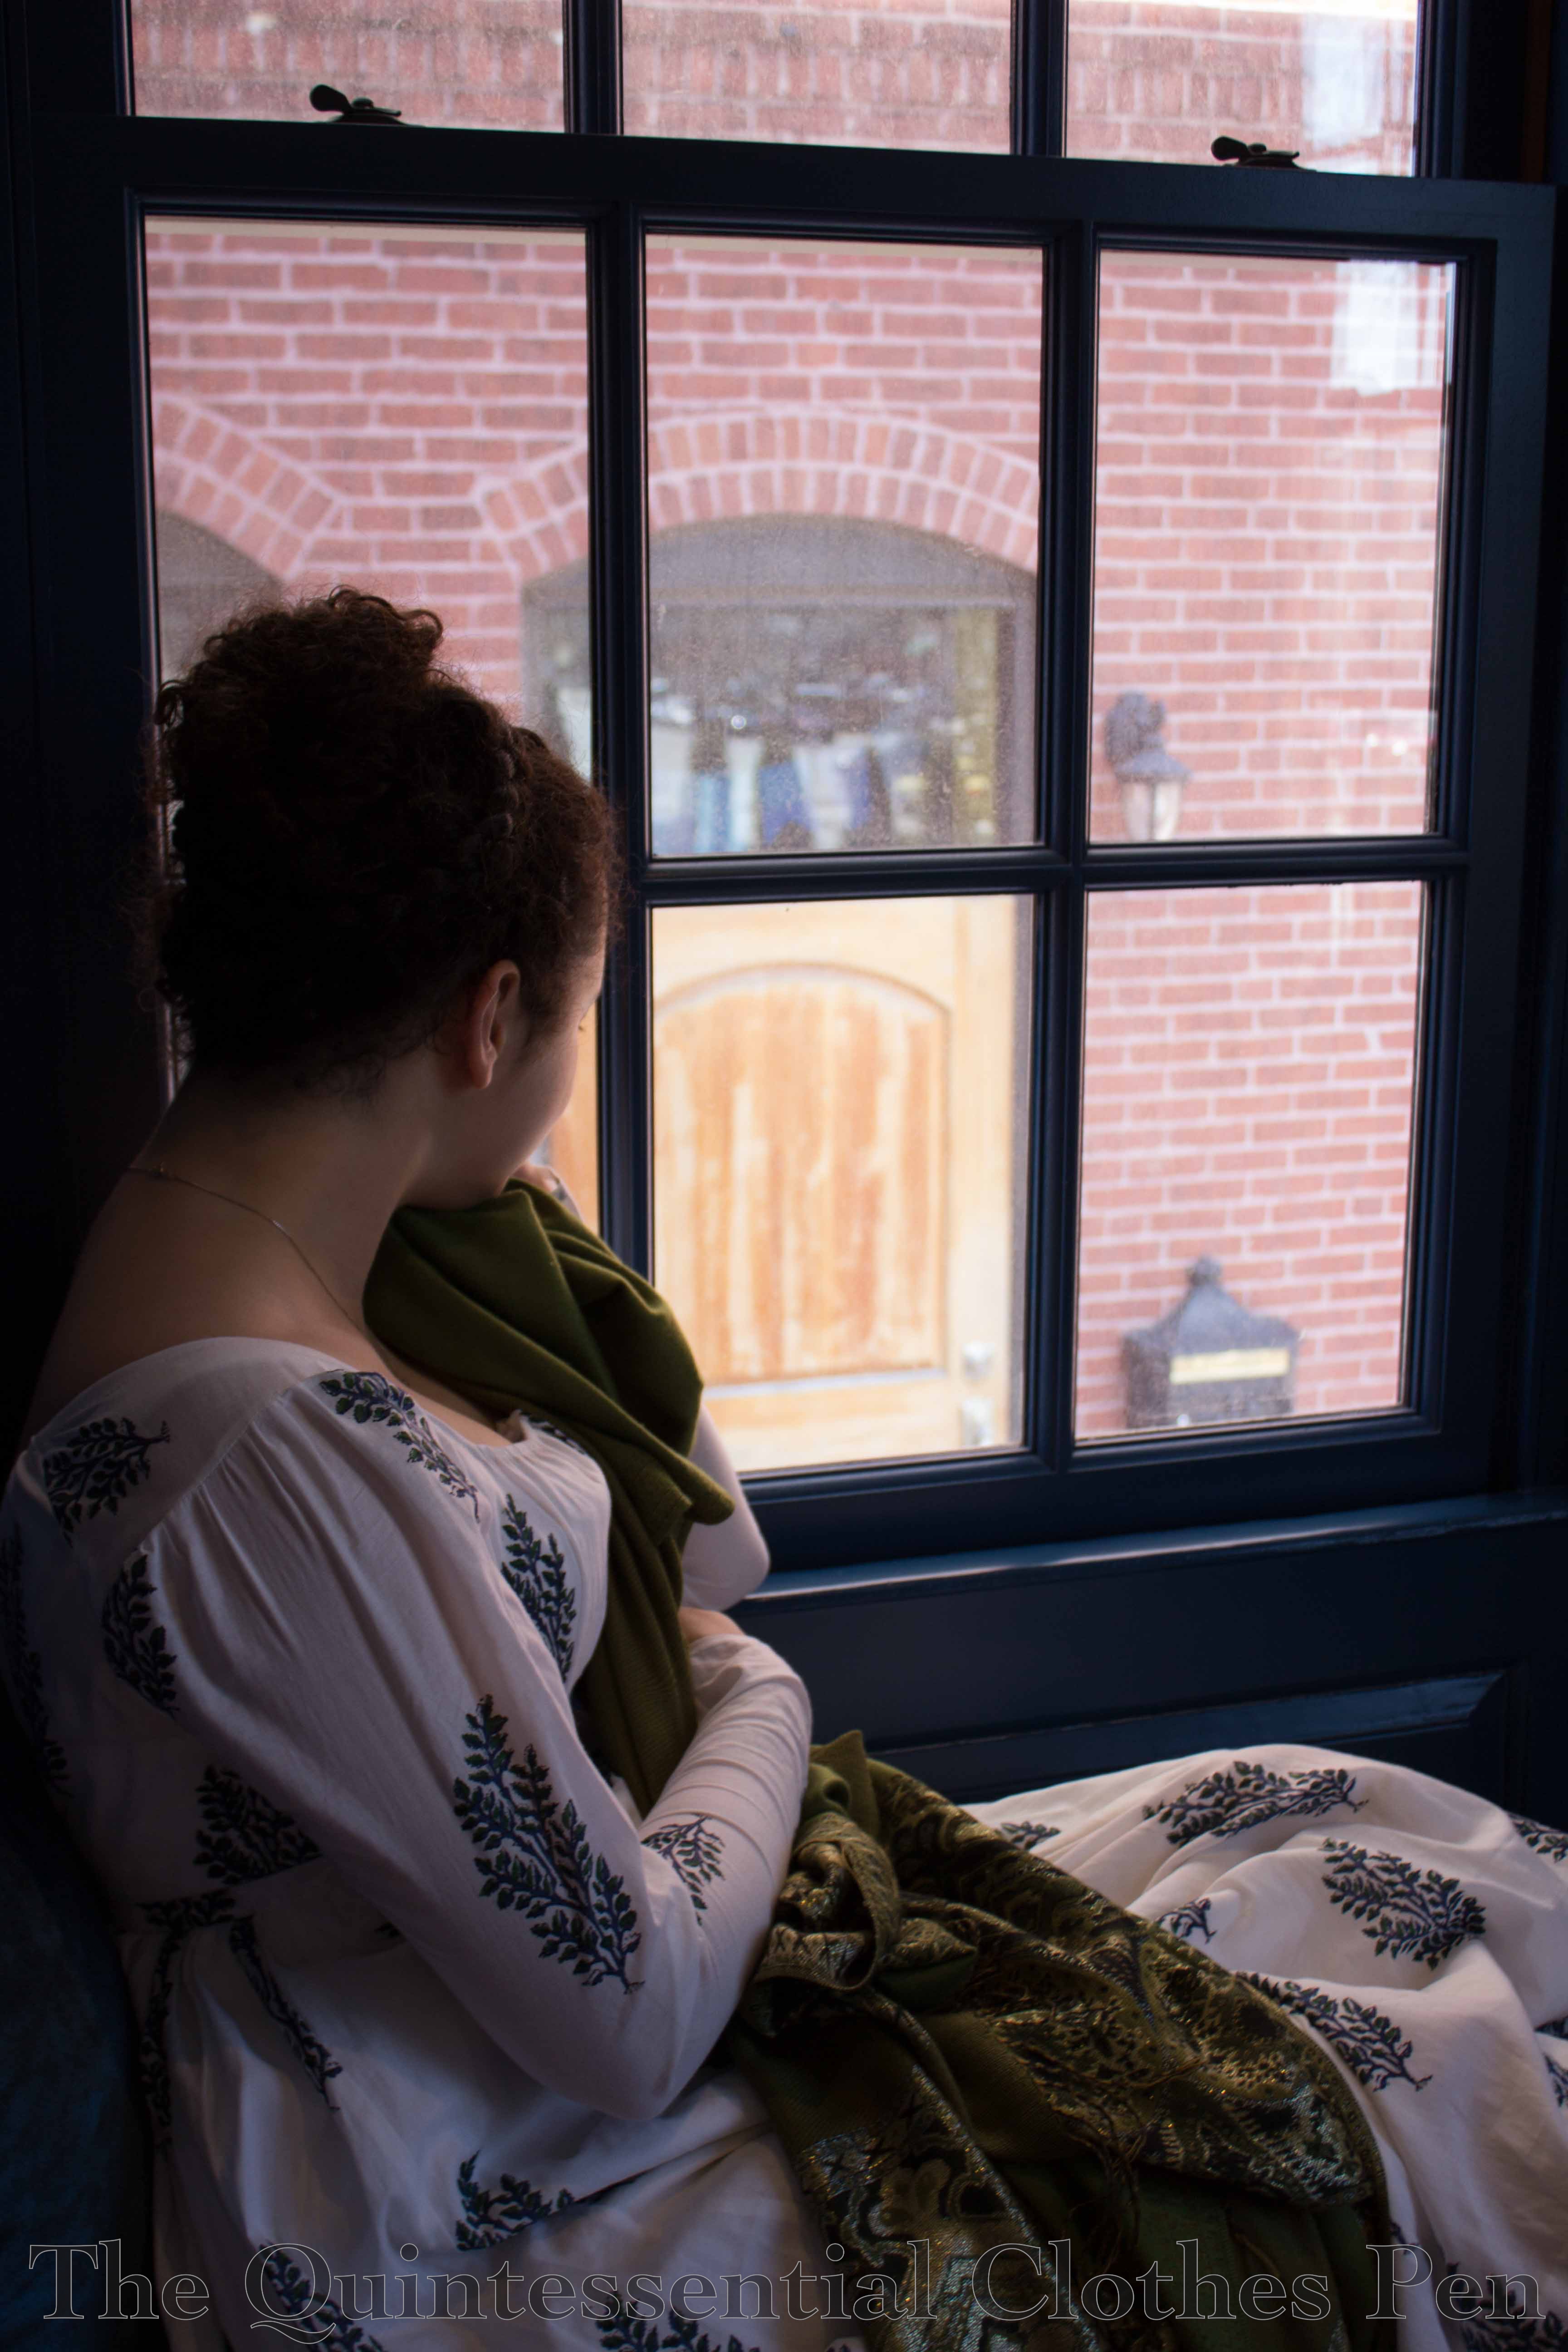
These first few were taken at our hotel. While the blue walls don’t scream Regency to me, they do coordinate nicely with my dress and make for a stunning background. The idea behind these is along Lizzy Bennet lines–lounging in a windowsill while comfortably contemplating life. This gown has the most beautiful drape to the skirt! It’s soft and full without being too fluffy.

img_2579-1

img_2583-1

img_2591-1

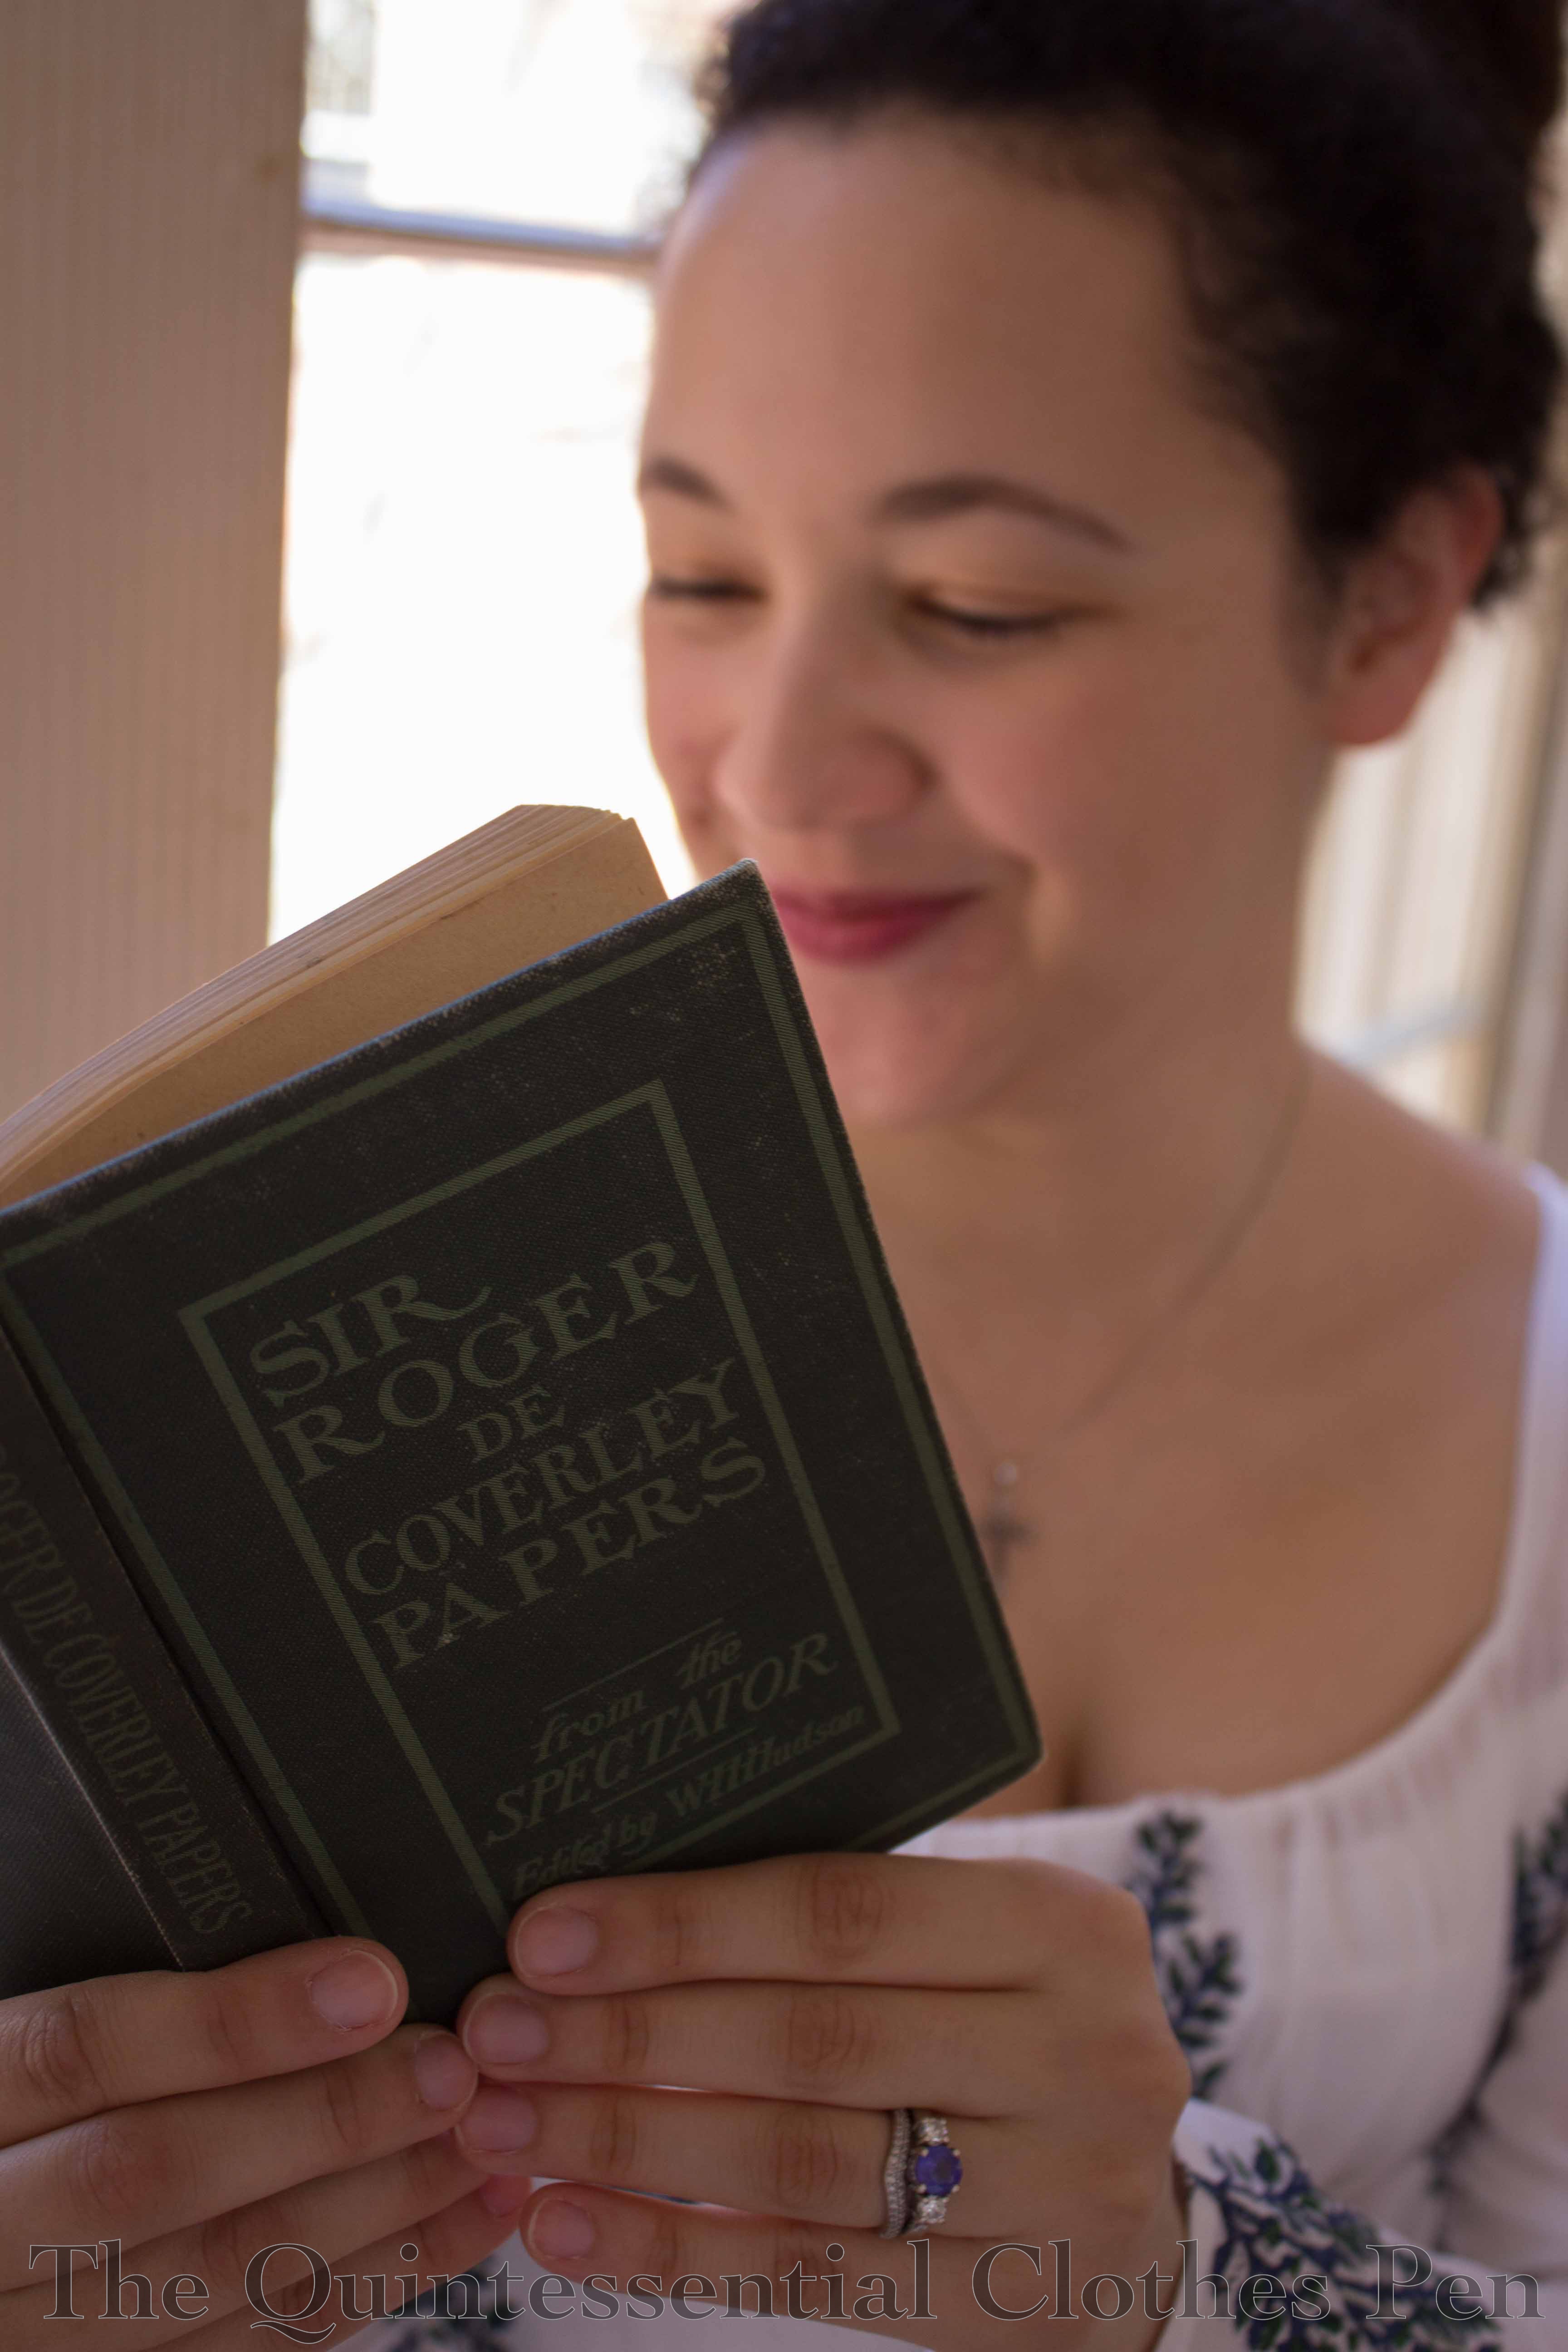
The next batch was taken at tea. One of my friends had brought the book and it is perfect for us, since we know a dance called Sir Roger de Coverley that was danced during this period. I had to pose with it!

img_2627-1

img_2630-1

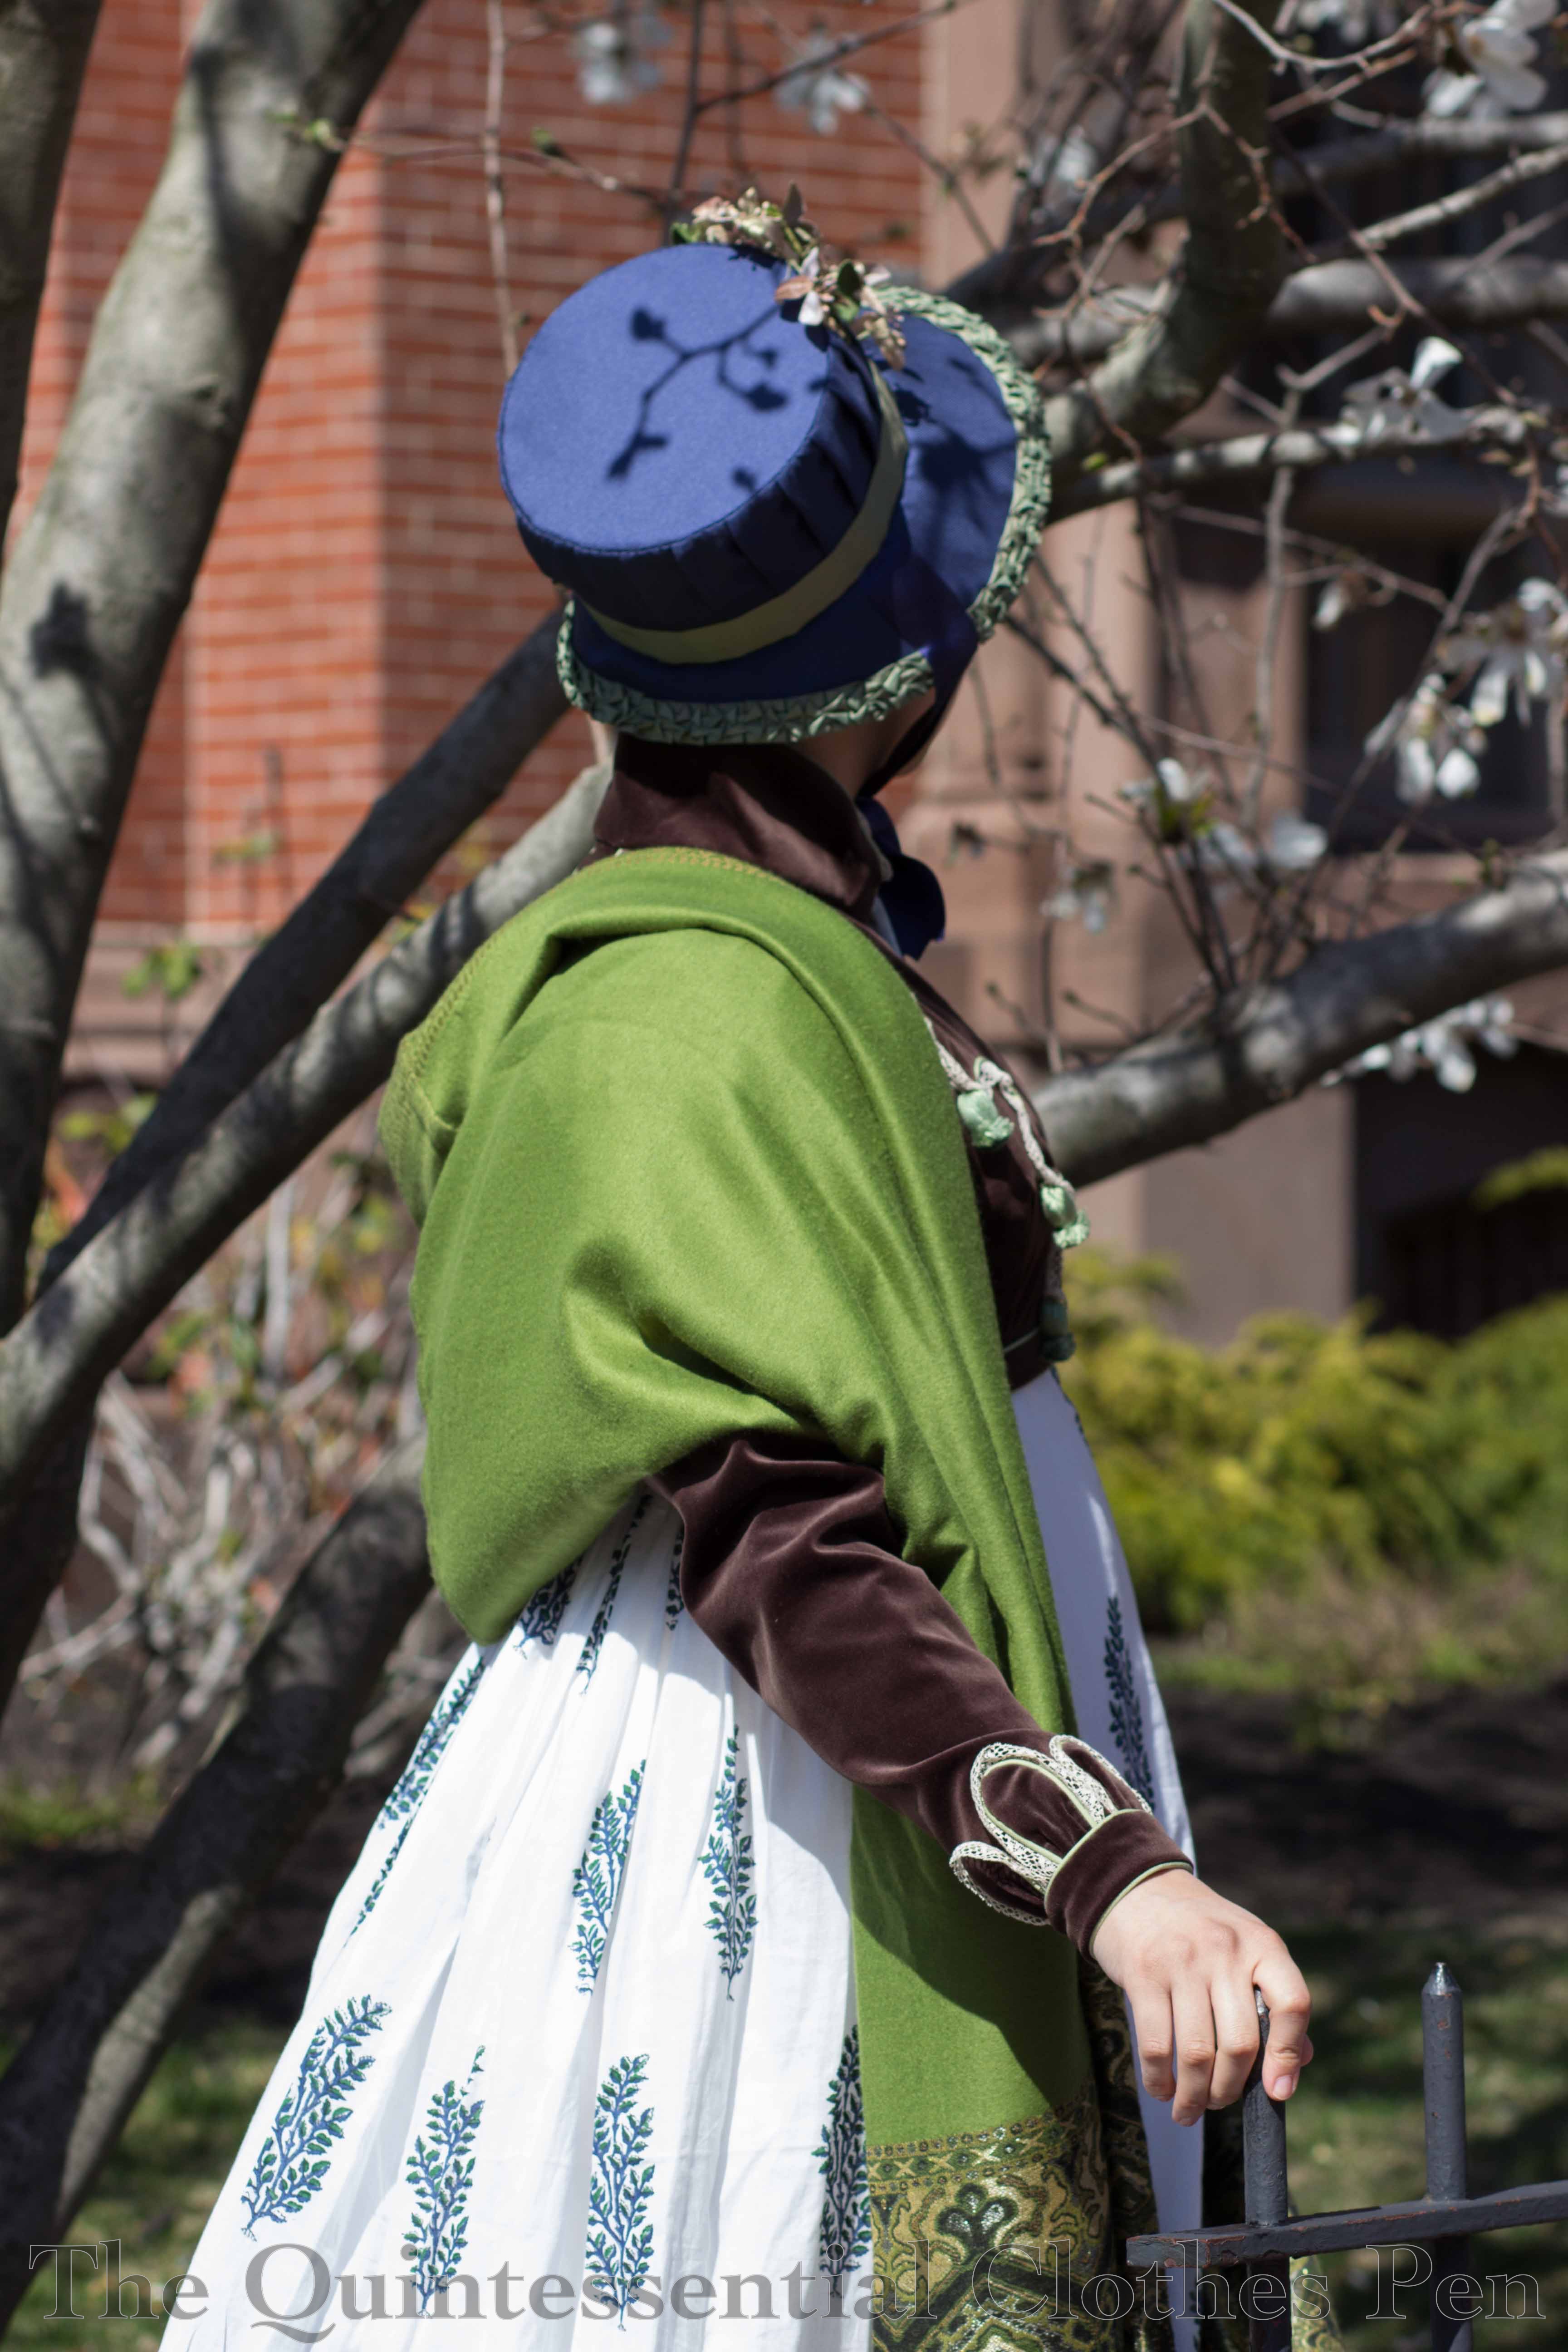
Then we went on our promenade, where we got some excellent photos of the gown with accessories: shawl, spencer, and bonnet. I like how the tree mimics the flowers on my bonnet.

img_2652-1

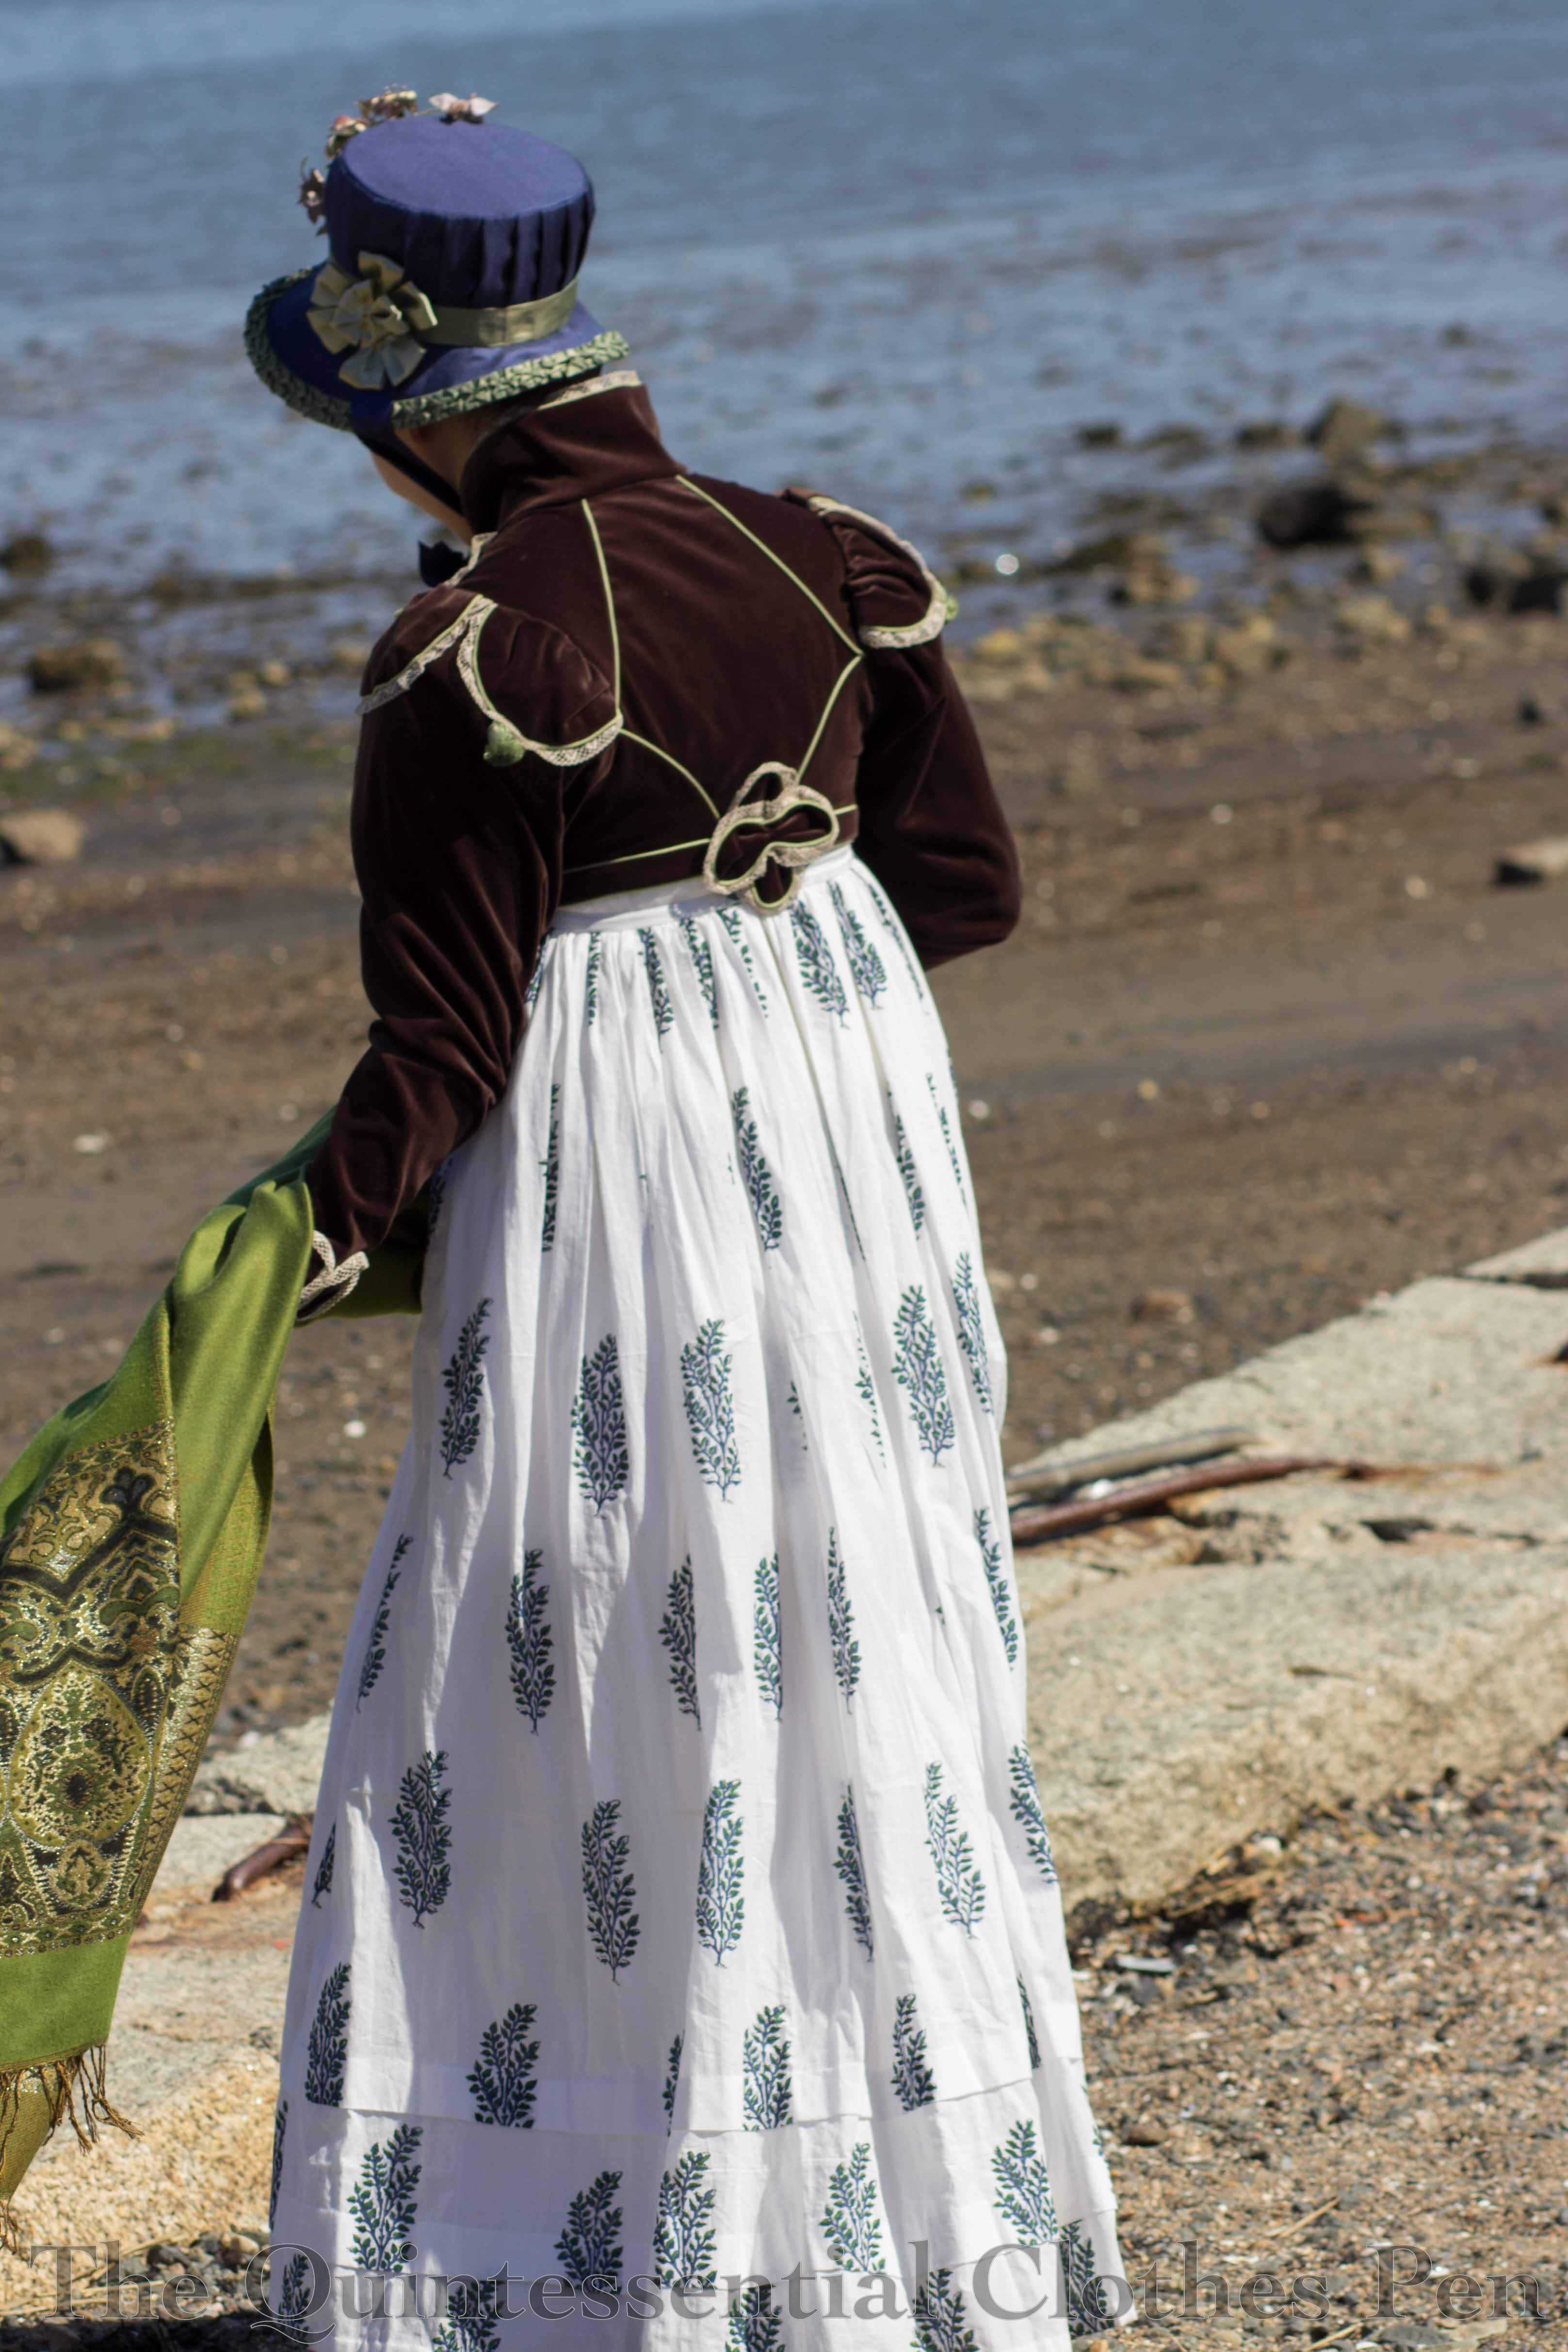
Mixing up my Jane Austen stories, these pictures by the water remind me so much of Persuasion and the unfortunate visit to Lyme. I just love everything about this outfit! The fabrics, the details in the trimmings… it all coordinates so well without being perfectly matching!

img_2703-1

img_2712-1

img_2706-1