Way back in April, I was excited to be part of the Commonwealth Vintage Dancers’ annual Regency Dance Weekend again. As usual, there were lots of dance classes, an informal ball, an afternoon tea and promenade, and a formal ball. It’s always a joy to do Regency dancing in Salem in historical halls built during this period.
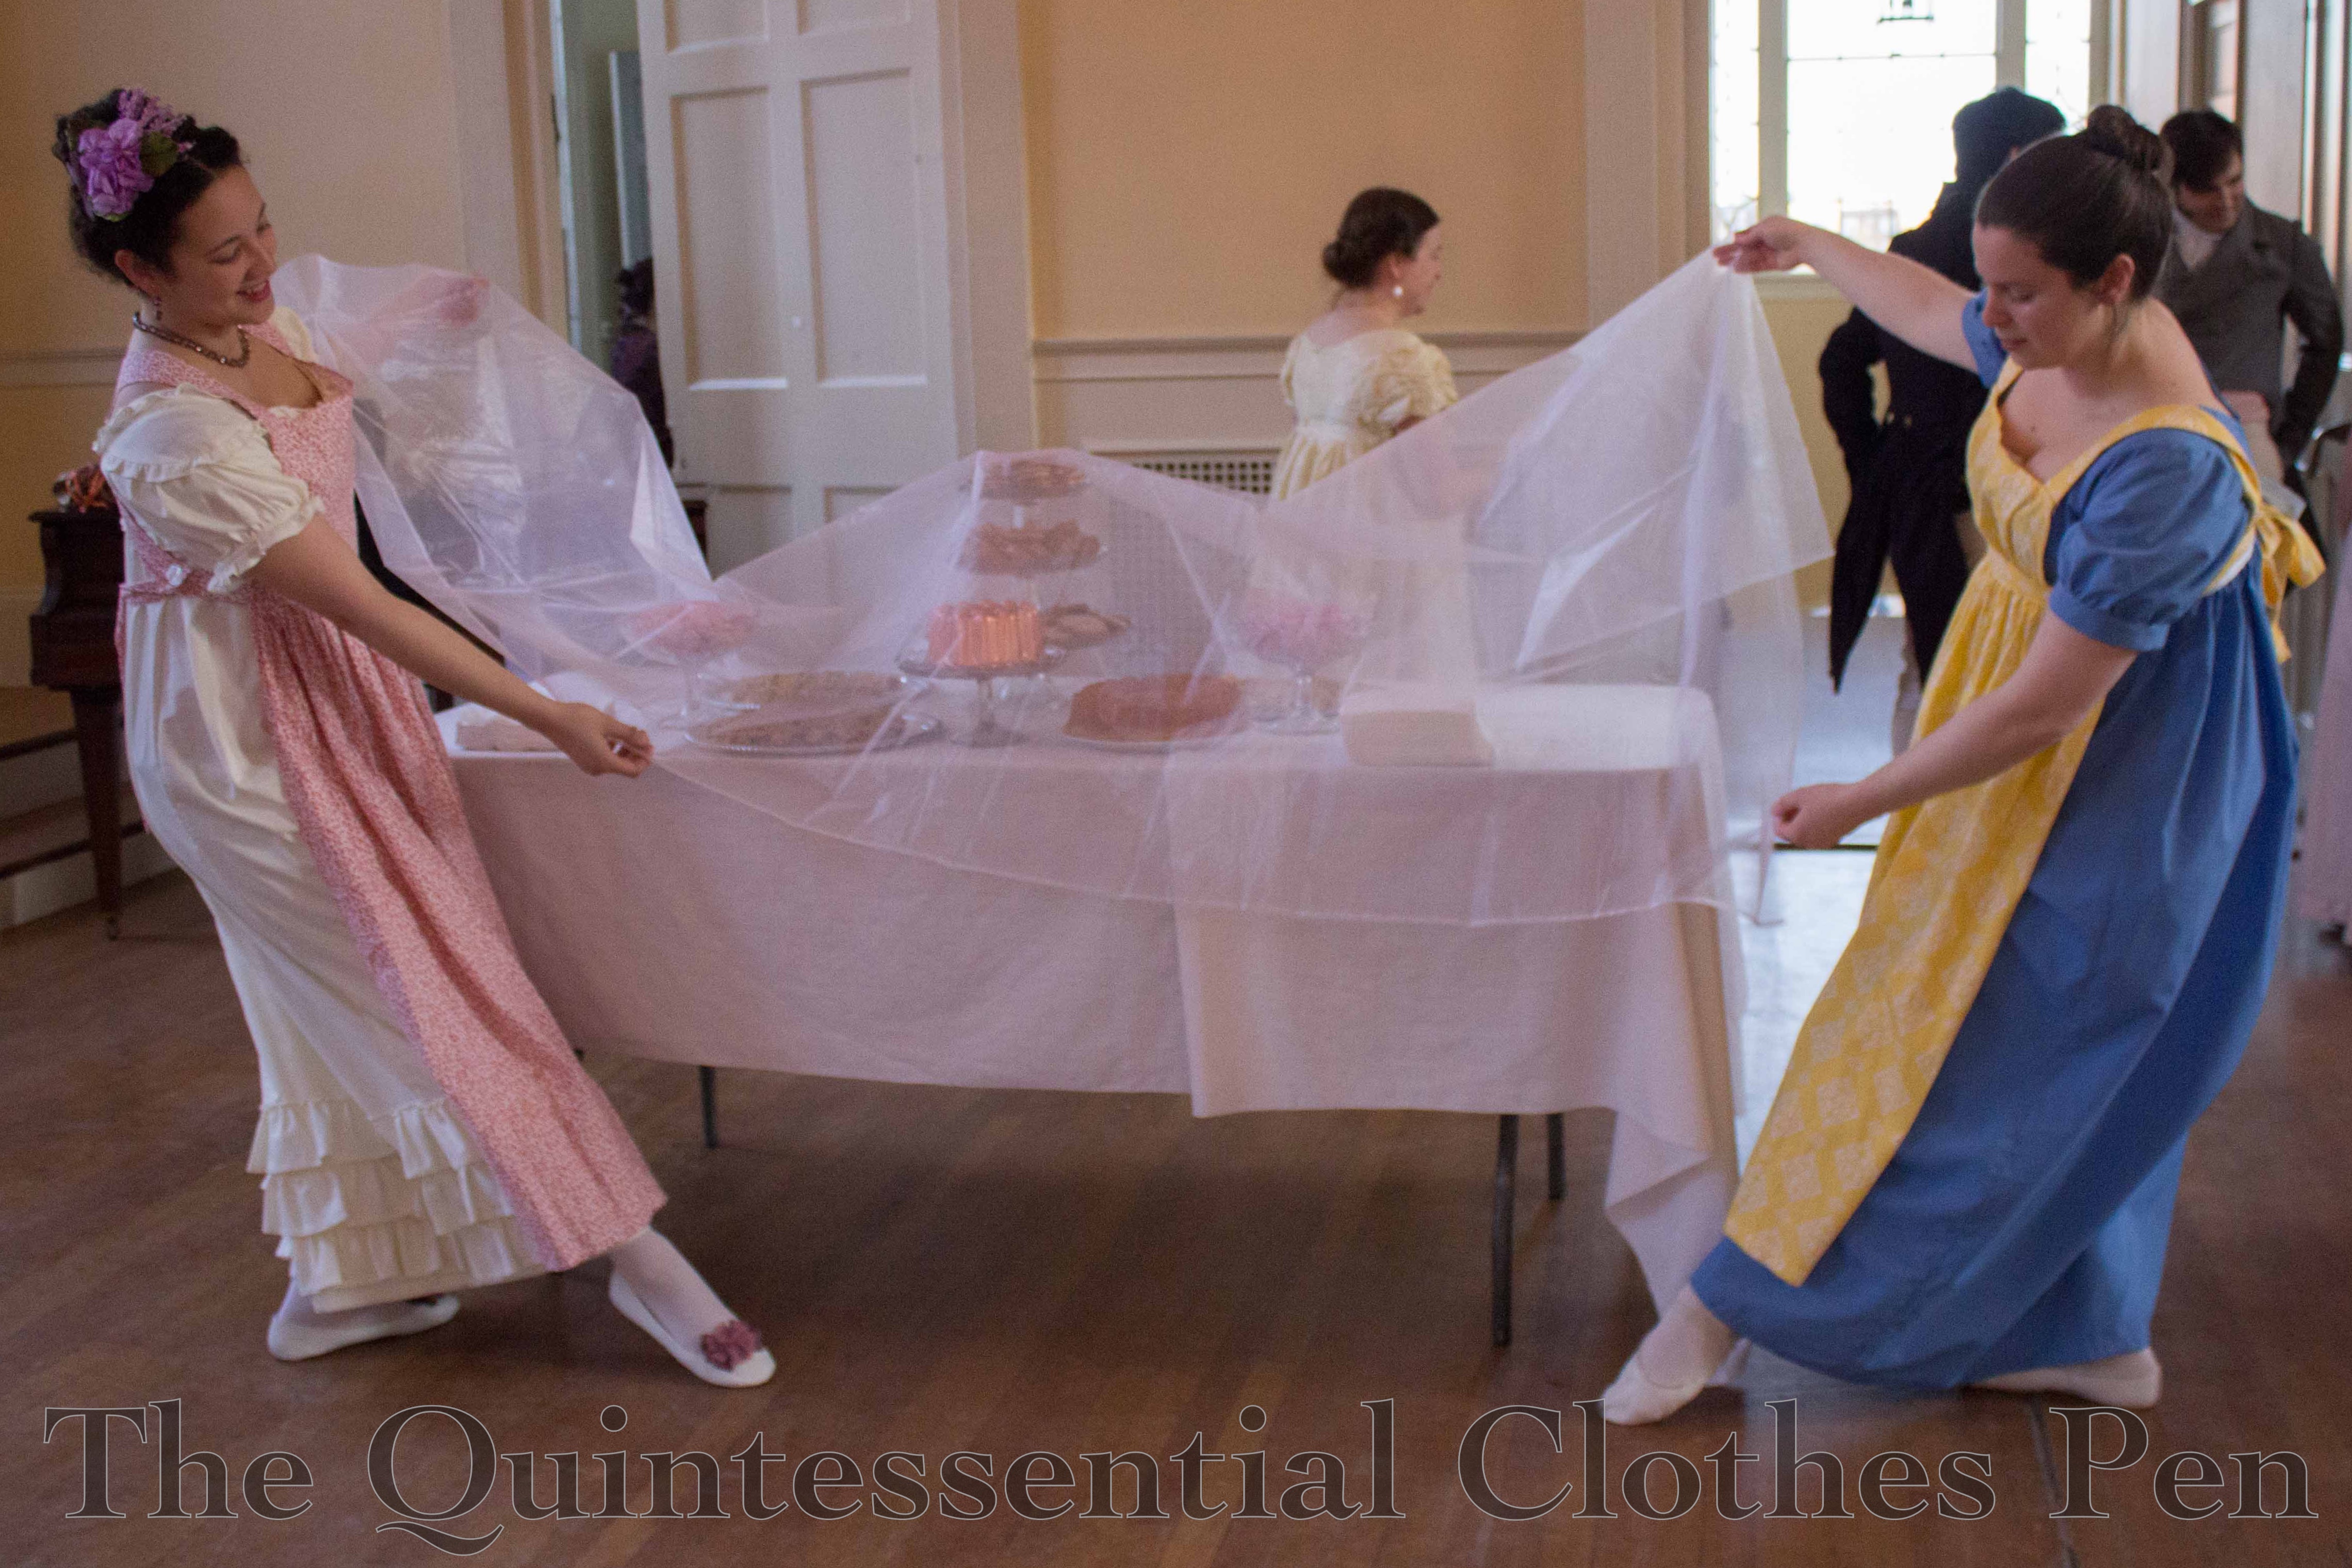
I thought I would share an overview of the weekend to start off my six-months-late sharing of the event. I did actually post about one thing from the Regency Weekend a few months ago. My new shoe poms! Here I am showing them off while artfully covering our refreshment table at the beginning of Saturday evening.
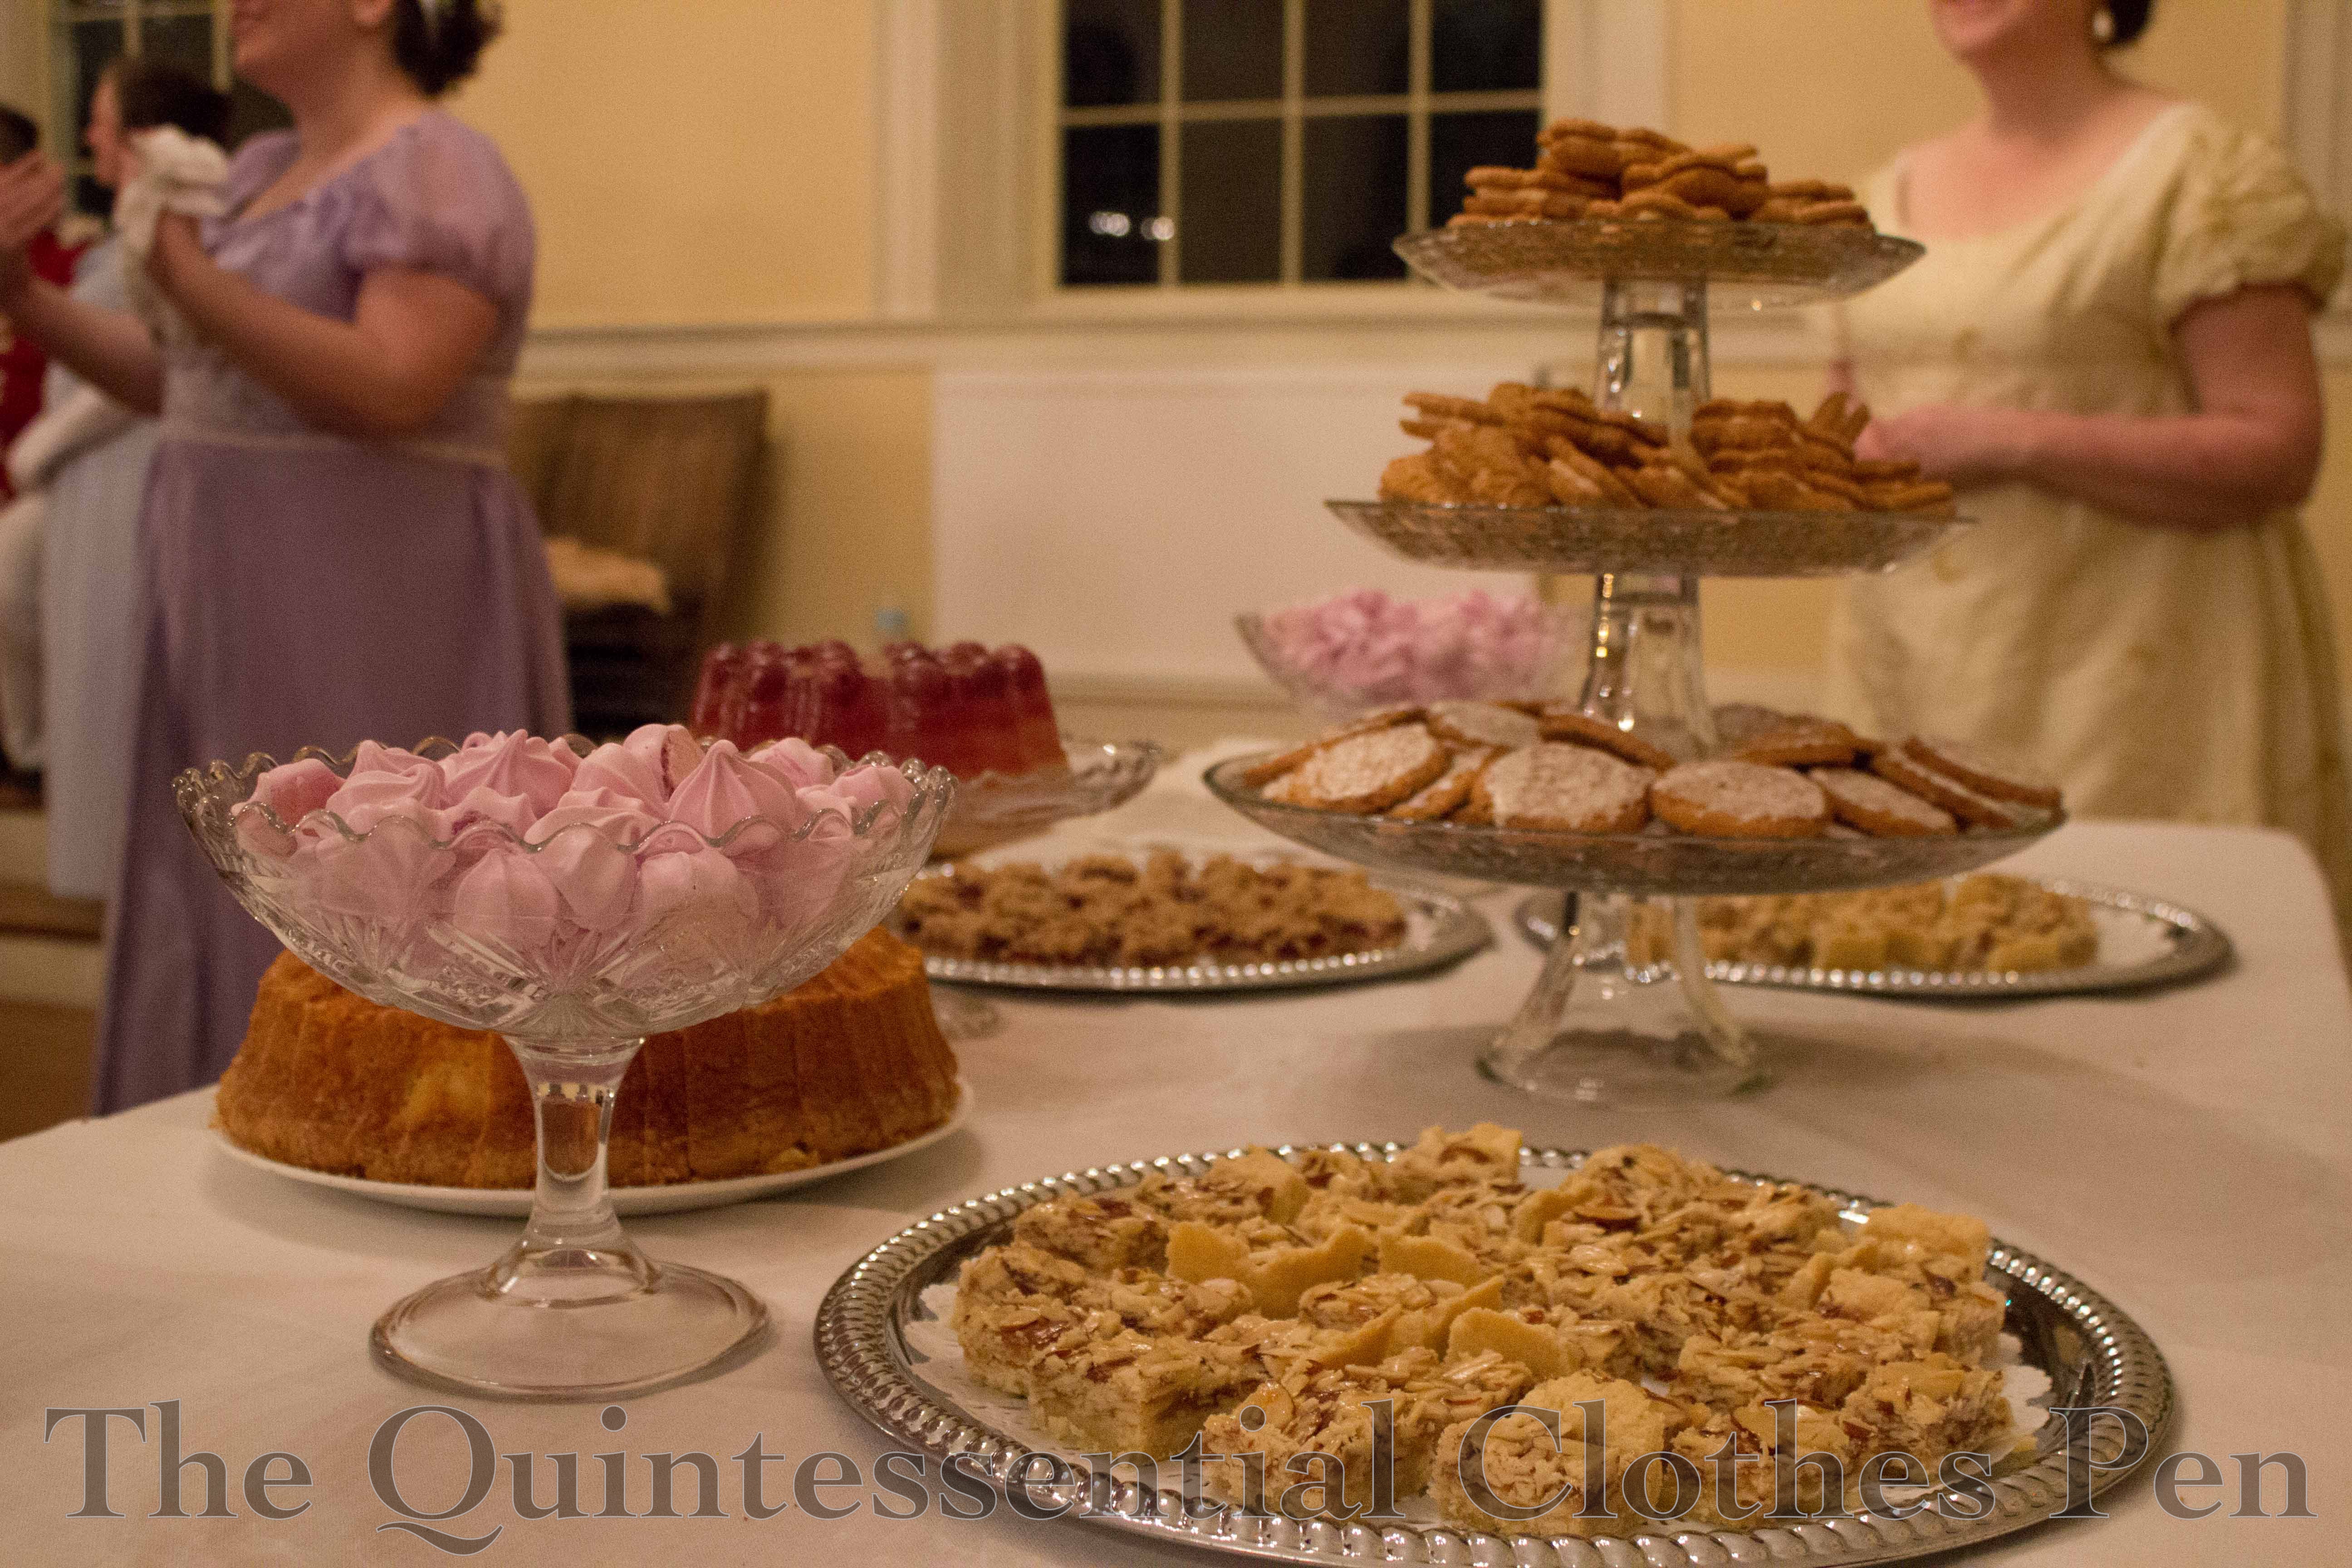
Unveiled, here is the refreshment table from the informal ball. Yummy! There was even a homemade jelly (visible in the back).
On Sunday, we took the opportunity to take a group picture in our lovely hotel. The building is quite full of history, though the hotel is new in that building. We enjoyed our stay very much. It was great to have a common living room to relax in as a group. Plus, who can complain with having historical paintings on the walls?
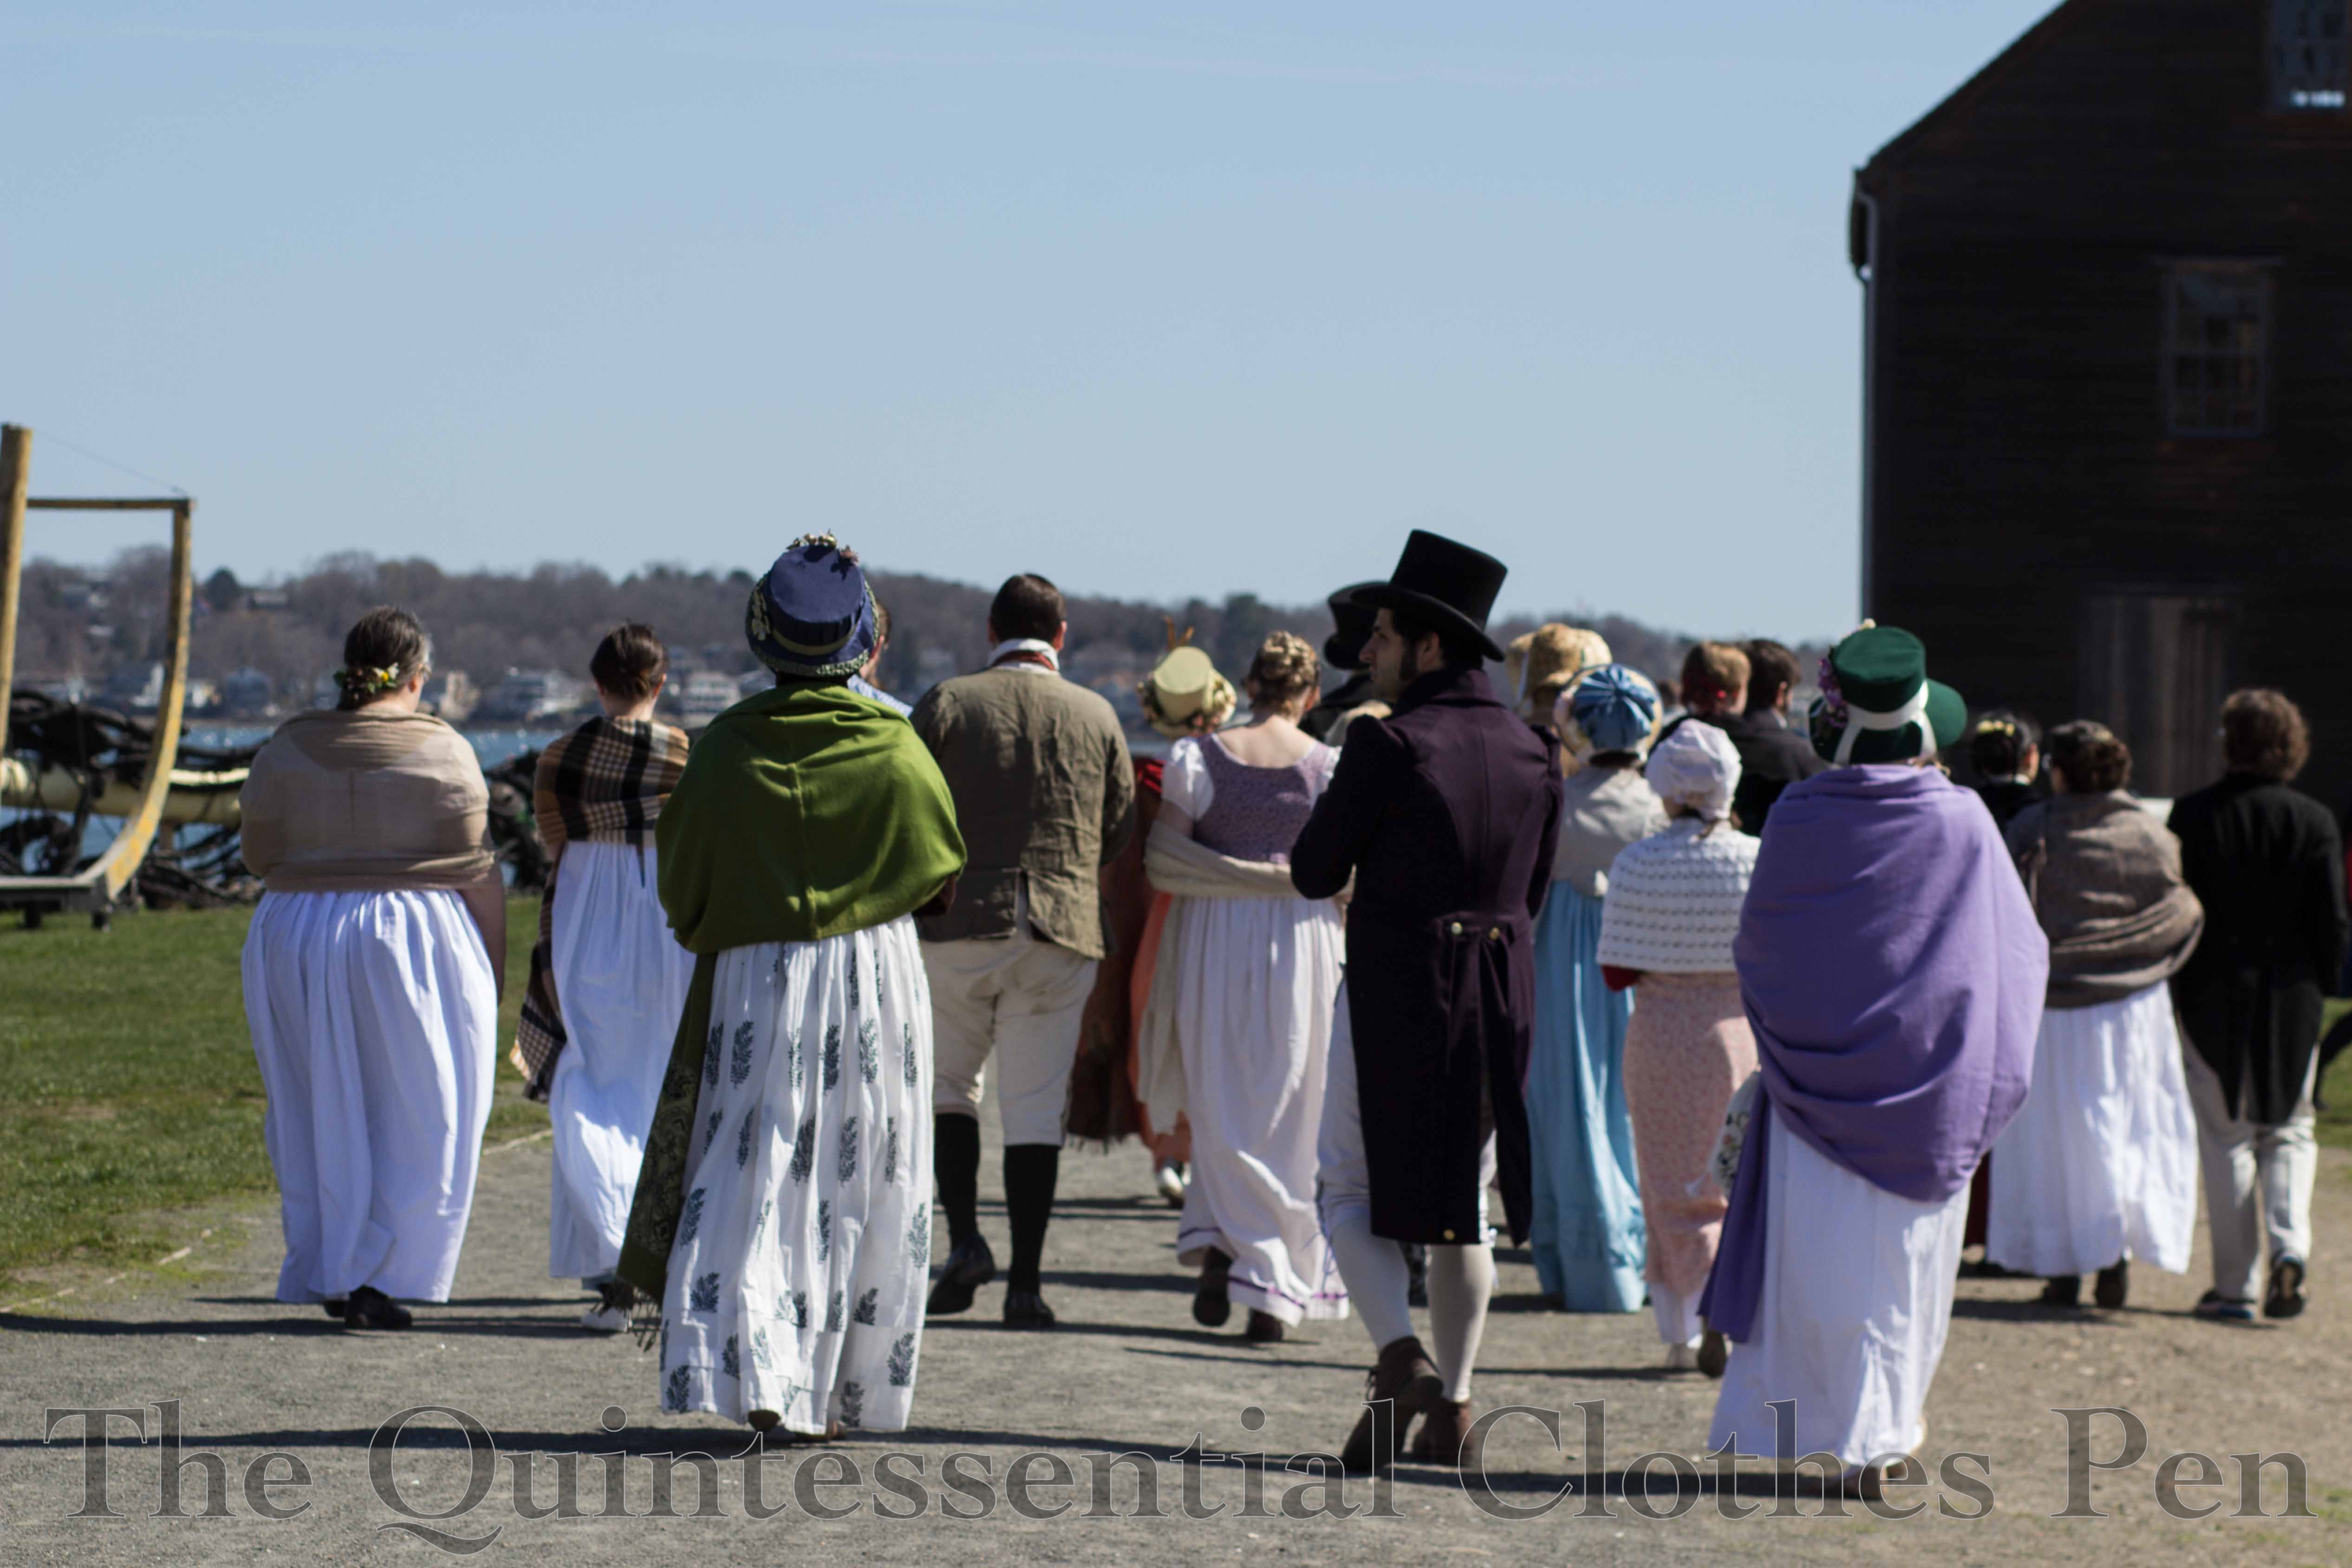
After group pictures, we headed to Salem Old Town Hall, where we were meeting for tea and as a starting point for a promenade to the water. It was a bit chilly for April this year, making shawls rather welcome to stay warm.
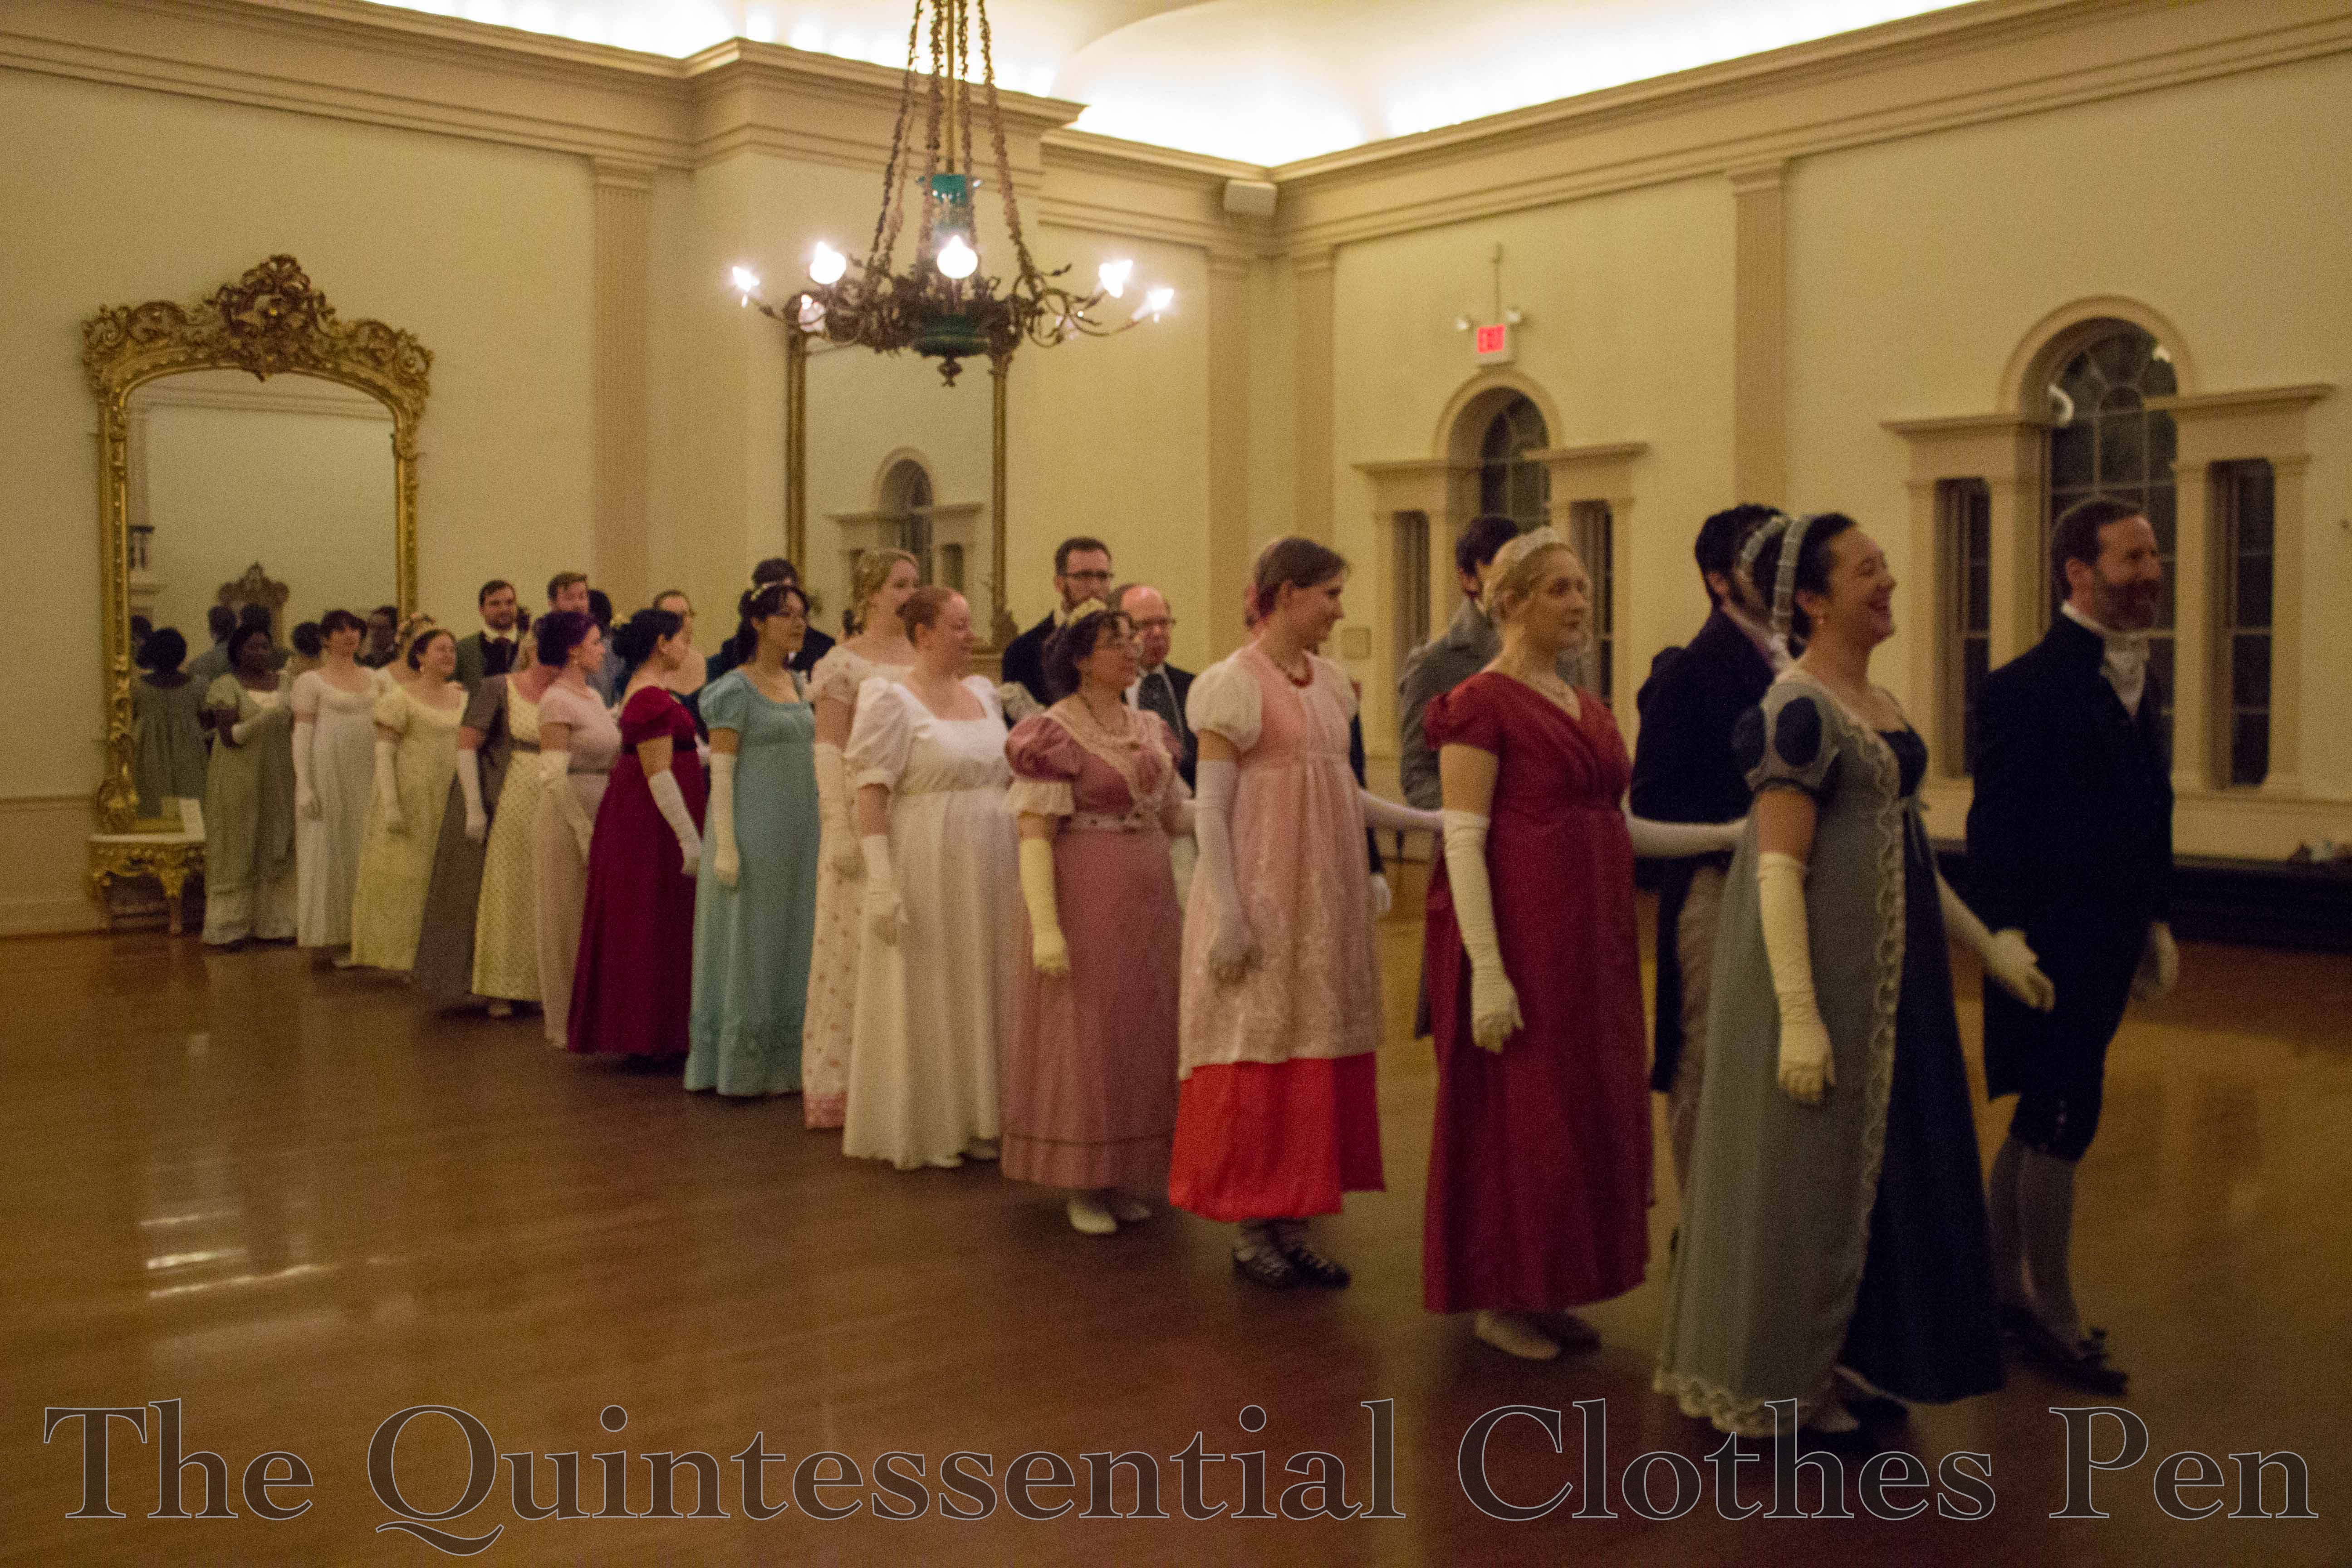
Hamilton Hall is lovely with a sprung floor intended for dancing and large mirrors around the walls. Here are the dancers all lined up and ready to go!
Another neat feature of Hamilton Hall is that the dance floor is actually on the second floor, meaning that every guest is able to ascend and descend the stairway to get to the ballroom–perfect for pictures!
All in all it was a lovely weekend. I’m really looking forward to next one in April 2017! It’s really special to have a weekend to get in such depth for one period. Here are my accounts of past years: 2013 and 2014. In particular, 2014 had blog posts which really express the special quality of this event.
In September, my friends and I had a last picnic of the season to take advantage of the summer weather before it faded into fall. Along with other picnics we’ve had in the past, we again met up in the Boston Public Garden with our picnic blankets, food, drink, and croquet set.
We’d decided on a turn of the 20th century theme for our clothing and I took the opportunity to dig a 1903 outfit out of the closet that I don’t think I’ve worn since 2012, at Dress U and Newport Vintage Dance Week. It’s an orchid lawn skirt (and a bolero I didn’t wear this time) and a white silk and cotton lace blouse.
This wearing, my hat had been re-trimmed in a more pleasing fashion than when I wore it in 2012 (in fact, all the lovely millinery flowers are only pinned on so it’s easy to change, not that I’ve bothered since I put the flowers on about two years ago) and I had practiced my Gibson Girl hair in January and now know how to achieve the look with minimal effort.
I was very pleased with the result! Next time I plan to wear a hat with a Gibson Girl style I’ll put the opening of my hair pad at the top of my head rather than the bottom, and likely leave a little space to make the front a bit more flat so my hat doesn’t tilt up. Where’s the fun if I don’t learn something new every time I wear historical clothing?
I had already decided this spring that a 1920s bathing suit was on the sewing list for this summer when Gina, of Beauty From Ashes, contacted me and asked if I’d like to test an Edwardian bathing boot pattern for her. I’m pretty sure I squeaked! “Of course!” But then I realized that there was no way I was going to have time to work on the boots before summer when I returned from my trip to Versailles. Luckily, that timing was just fine.
Gina had taken the boot pattern from a pair of extant boots that she owns, sized the pattern for her own feet, and then made a pair herself (of course with a lot of work on the pattern along the way). To the right are Gina’s boots, which you can read more about in her post, here.
The idea coincided so closely with my plan for the 1925 bathing suit that I really wanted to push the boot date towards the 1920s and wear them together. I did some digging into bathing boot history in Women’s Shoes in America, 1795-1930 and found some great info supporting my plan, including information about the wearing of stockings with swimsuits and how that practice changed from the end of the 19th century through the 1920s. The following are excerpts from pages 137-139. There’s lots more detail about stockings and bathing shoes in the late 19th century that I haven’t included here, so if that interests you I highly suggest you get your hands on the book.
Bathing shoes were always optional, depending on how rough the terrain was and how tender the feet…
The most common bathing shoe at all times is a low slipper fitted with tapes that cross over the instep in varying arrangements and tie round the ankle. These are shown as early as 1867…
As long as bathing garments covered most of the legs, that is until the late 1870s, stockings were not considered absolutely necessary…
In the late nineteenth and early twentieth centuries, black stockings were very often worn for bathing without any shoe at all… When bathing shoes are shown, they are usually lighter than the stocking…and the commonest style is still the low slipper, presumably cork-soled, with tapes to cross once or twice and tie round the ankle…
About 1915, a new style of bathing footgear appeared, a mid-calf high boot, solid on the sides and back of the leg, but open down the front and laced across the opening… [and] the acceptance of real swimming (as opposed to splashing in the waves) brought about changes in bathing costume… Closer-fitted knitted suits appeared in the 1920s, and gradually the long black stockings were discarded (the last fashion picture I find including them is from 1922). In the late 1910s and early 1920s, short stockings were worn gartered someplace below the knee, but soon even these disappeared and bare legs began to appear in the early 1920s. Bathing shoes were still worn over bare feet when rough ground made them desirable, but they were a matter of utility, not modesty.
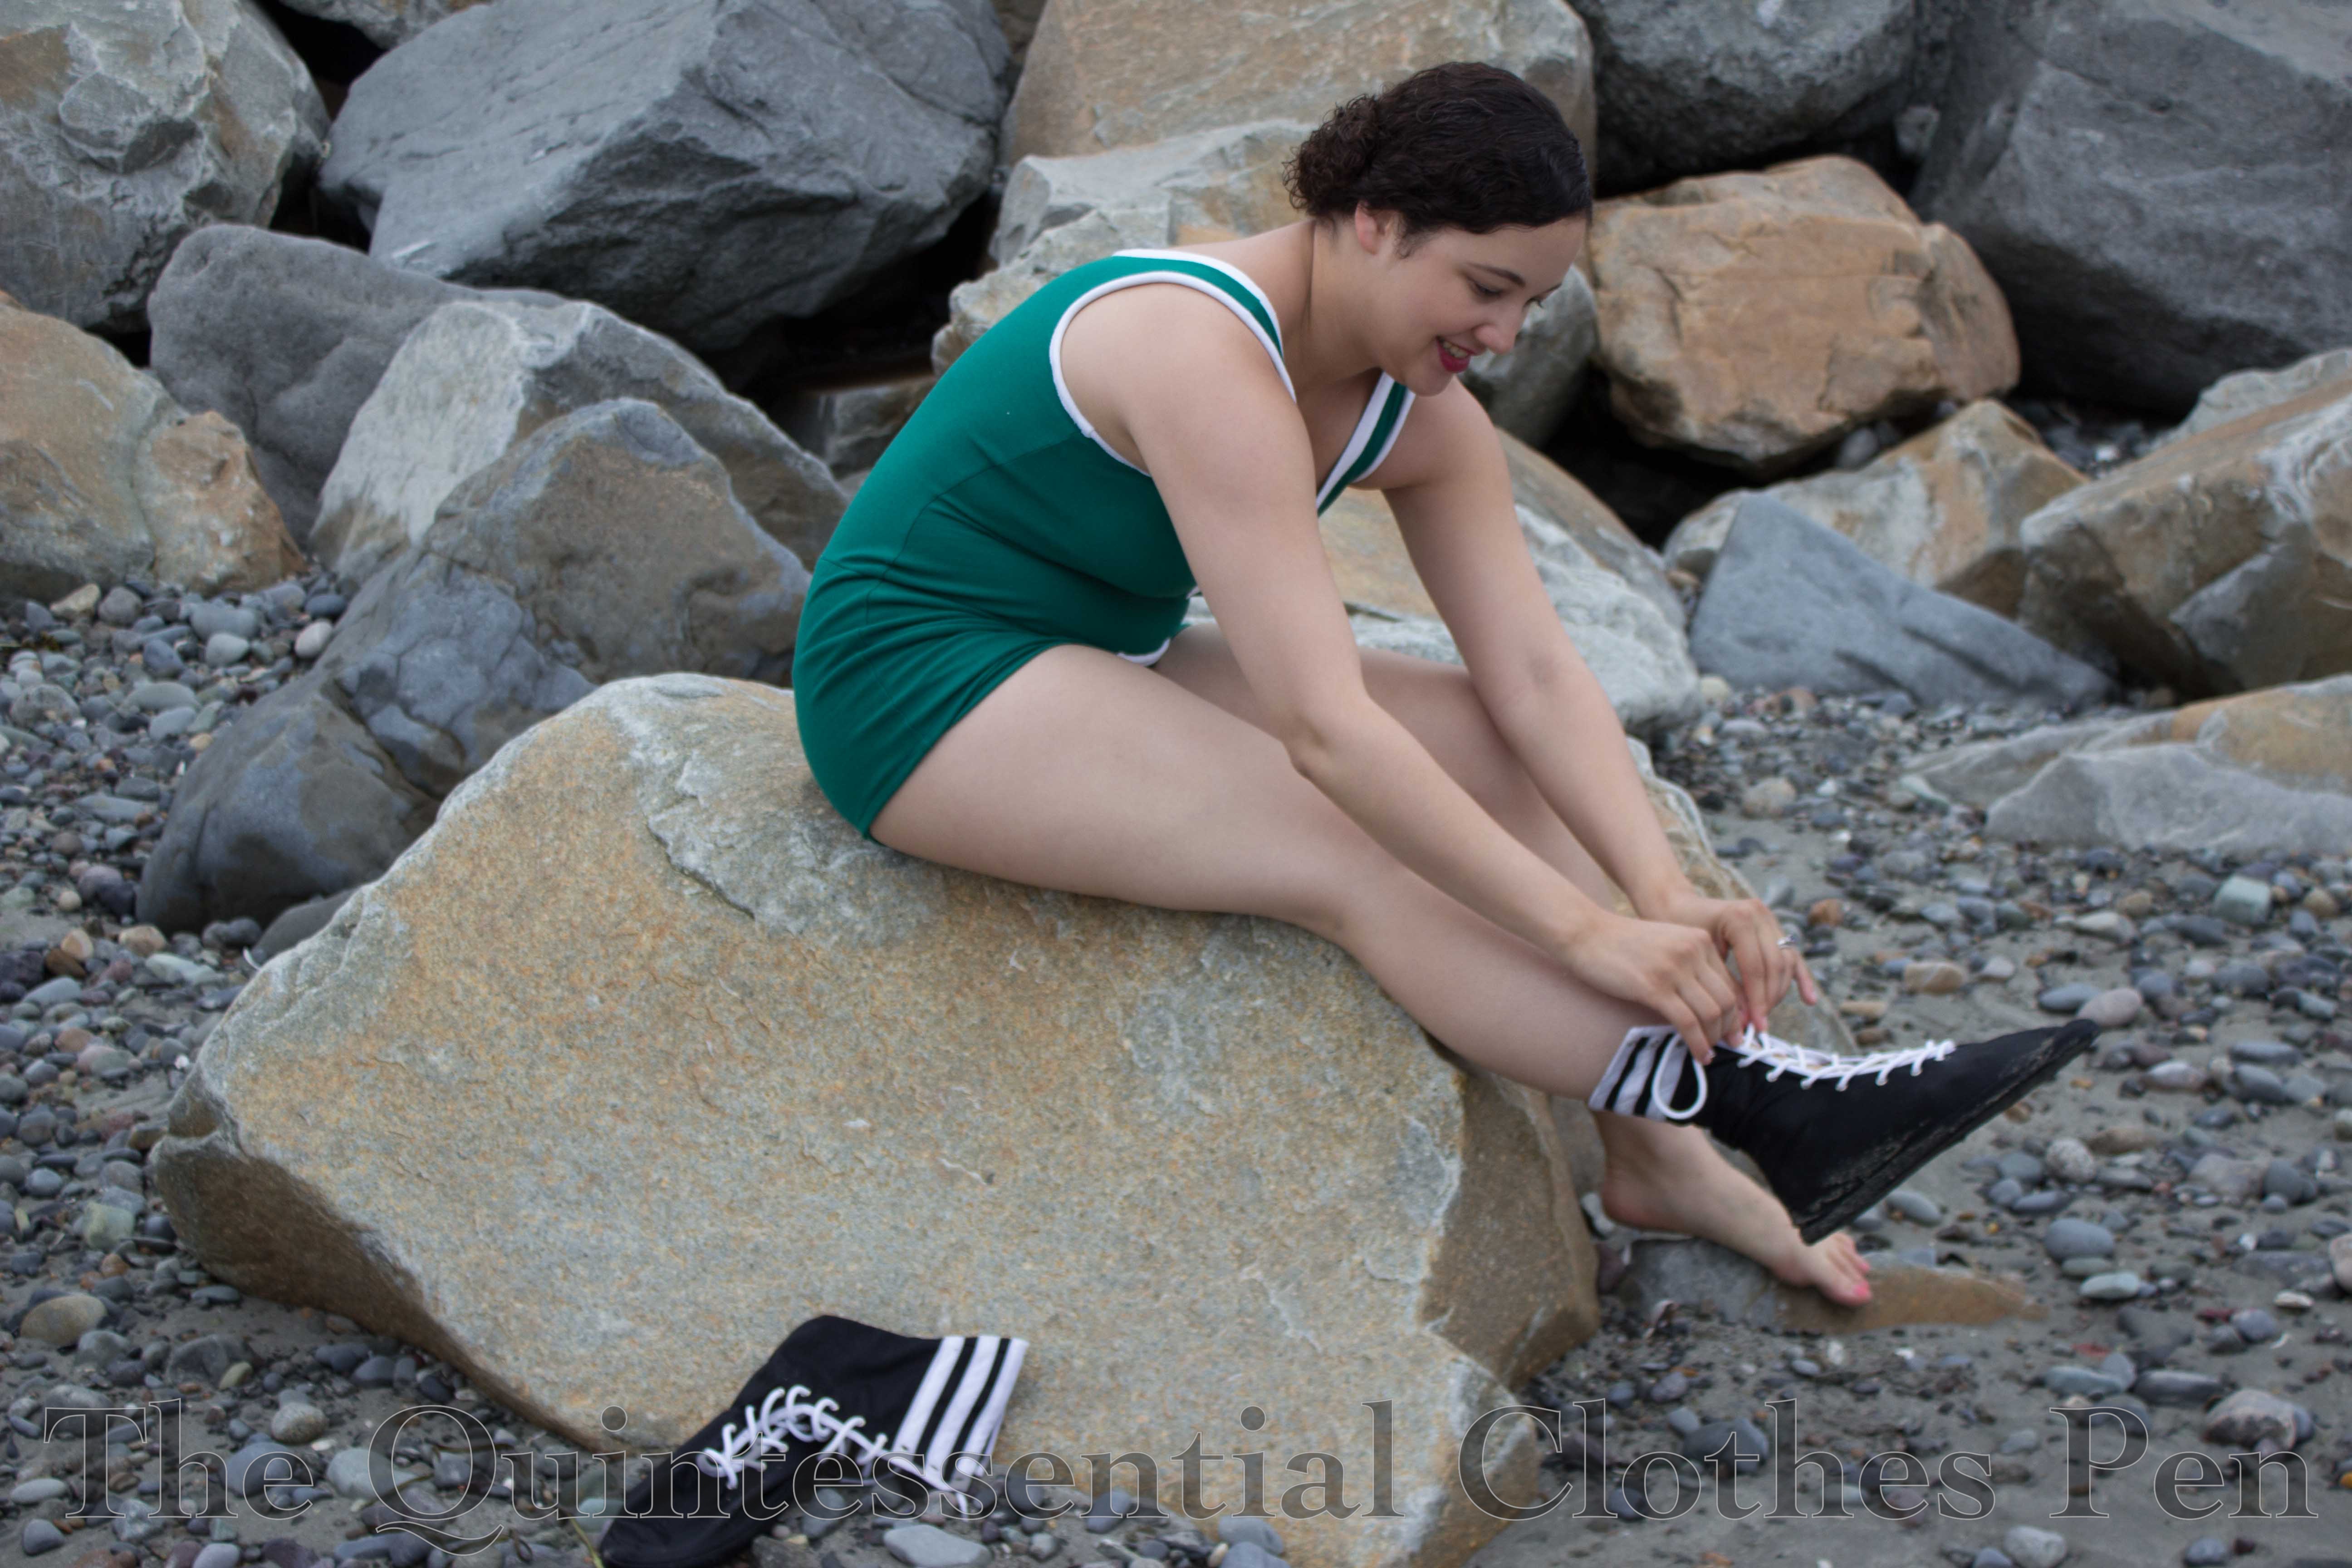
Such useful information when deciding what accessories I wanted to wear with my swimsuit and boots! I thought of taking pictures with stockings and without but decided that was too much of a hassle and settled instead for pictures with boots and without. You’ve already seen the pictures without boots. Now for a few with! (Yes, a friend also joined the pattern testing and wore her bathing boots to the beach, too!)
After wearing the boots in the water I took them off for pictures of the suit, but then decided to put them back on. As you might expect, they are less exciting to put on when feet and boots are already wet and covered with sand… though I think all the sand in the boots did give my feet a good exfoliation!
As for construction, here’s a quick run-down. I chose to make my boots out of navy cotton twill and white cotton canvas. Despite the fact that green boots exist, I didn’t want to try and match my greens. Plus, both the navy and white fabrics were in the stash and are neutral enough to wear with any future bathing suit I might decide to build.
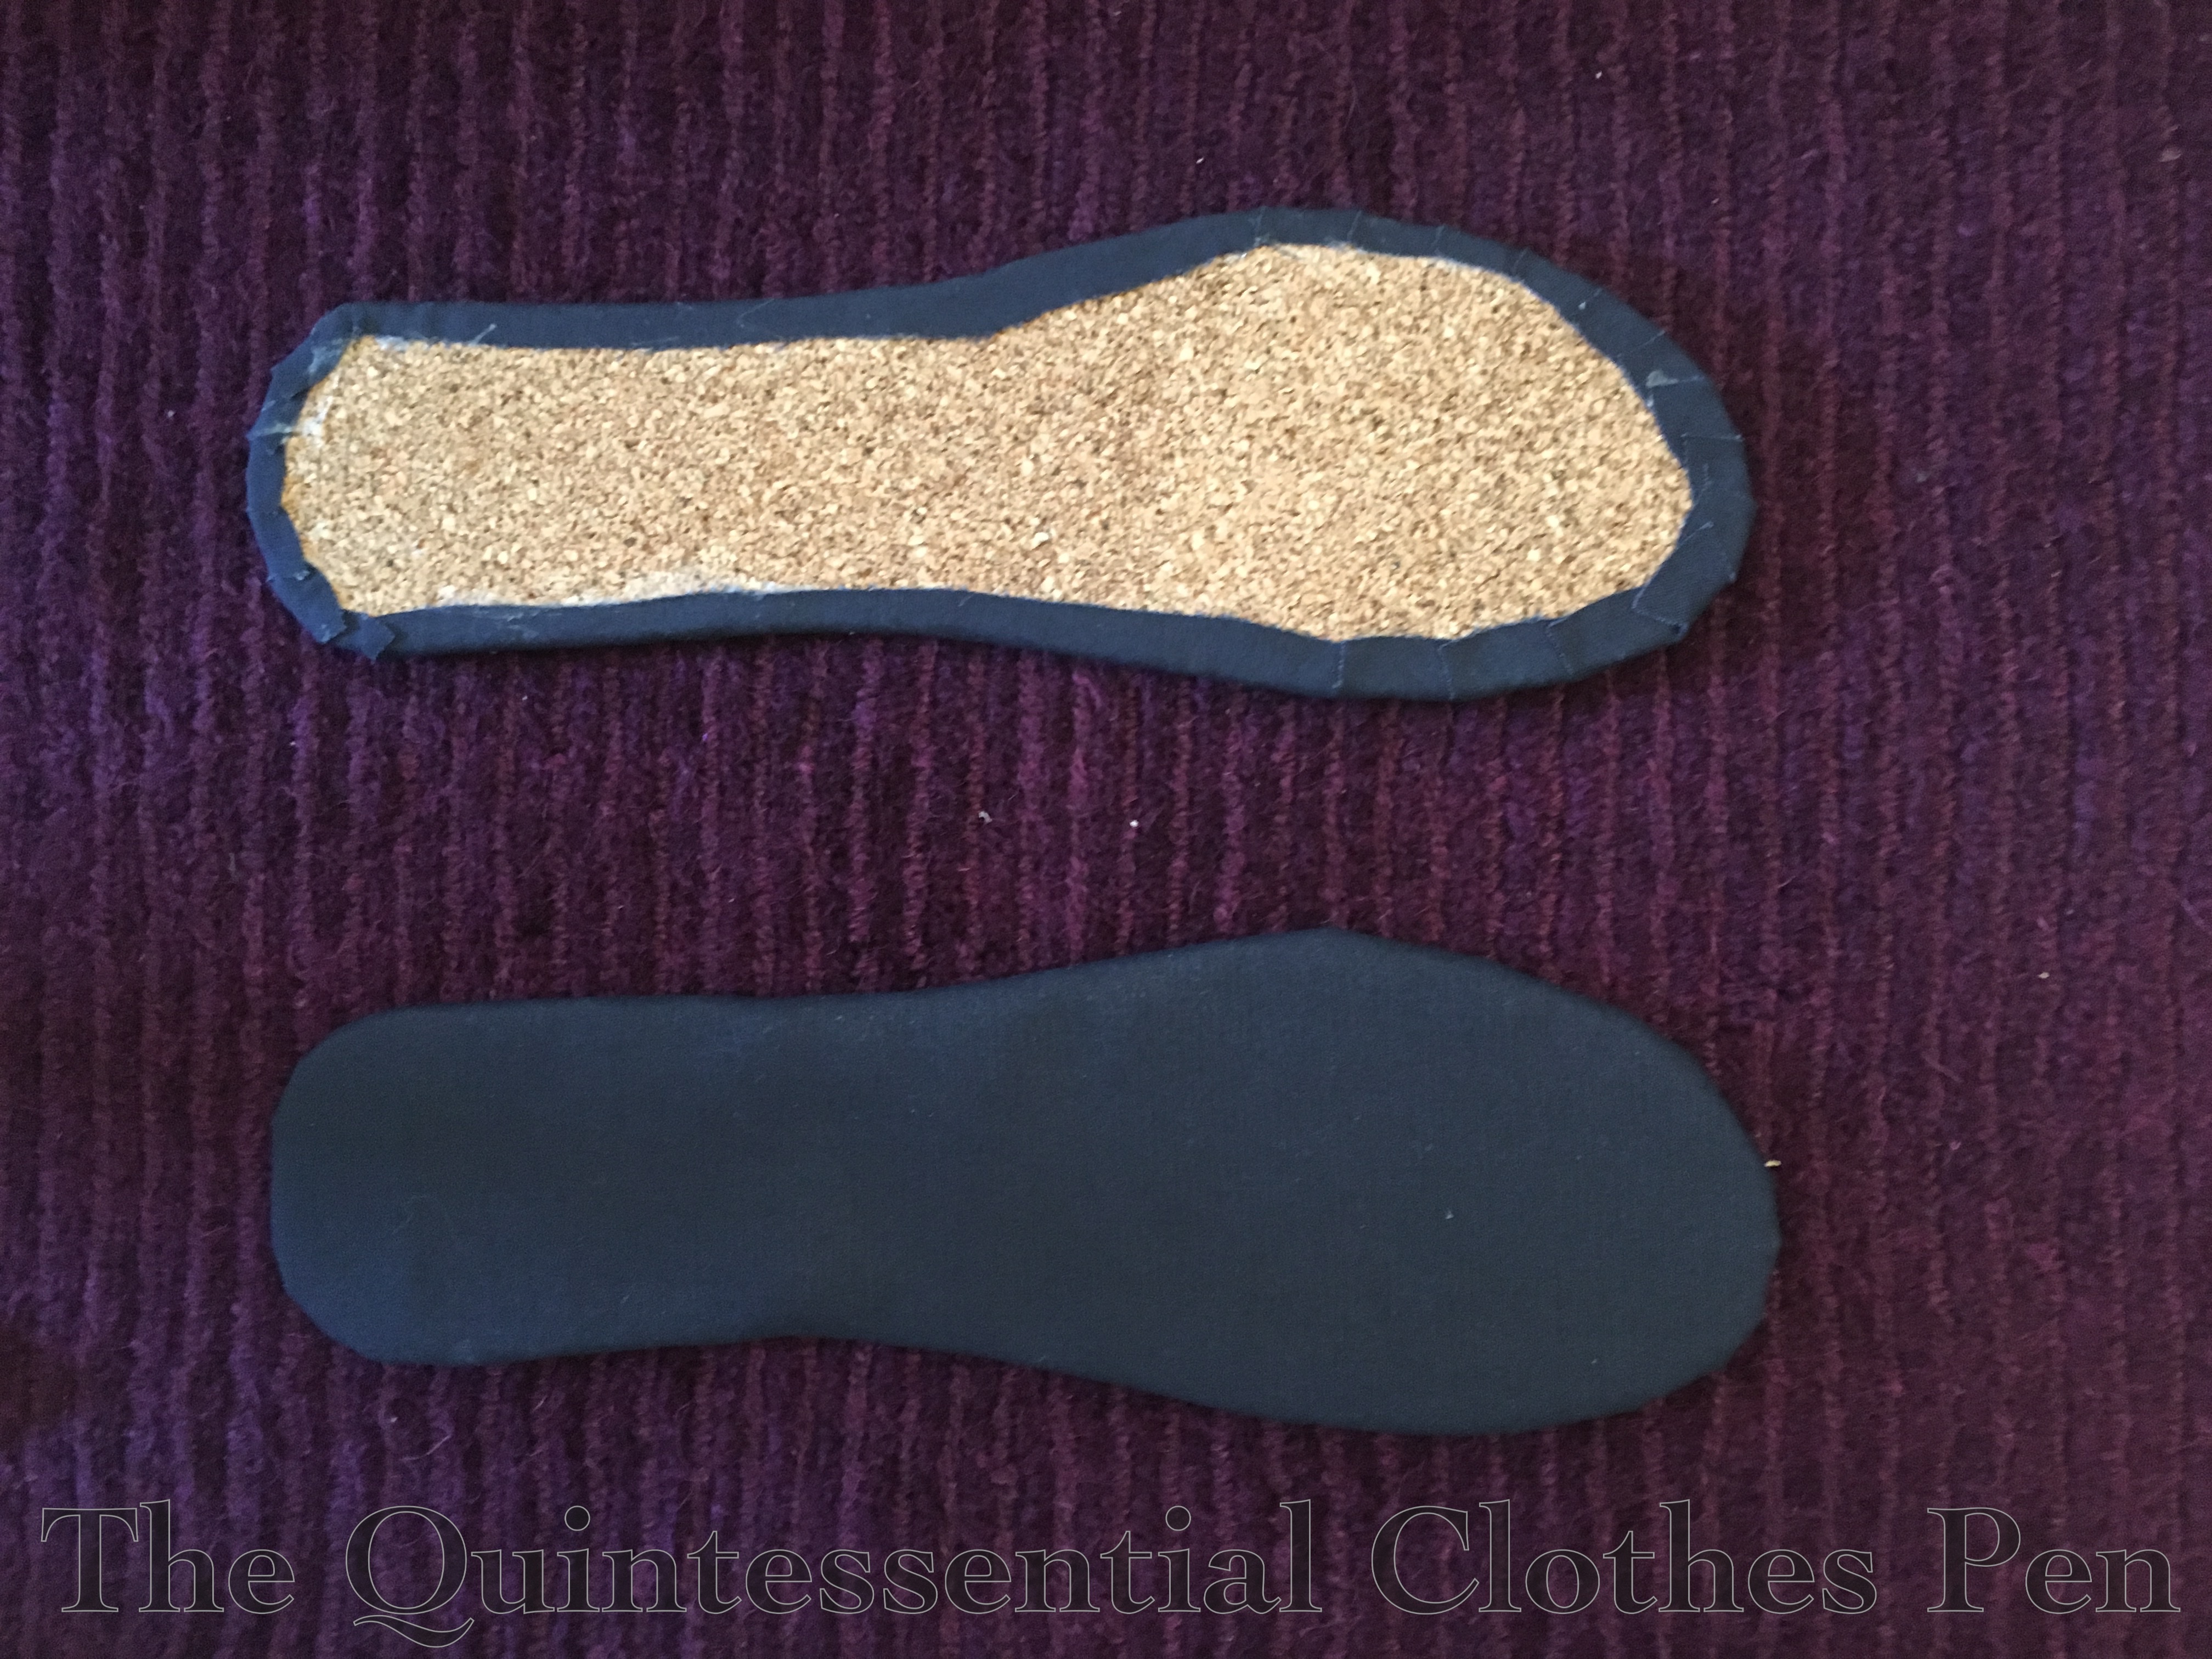
Each outsole has two layers of cork bound in bias. Nice and sturdy for walking, but too thick for a sewing machine, which meant a lot of unexpected hand sewing for this project.
The insoles are a single layer of cork with the fabric glued in place. I just slipped in insoles into the boots for wearing, which meant I could take them out to let them dry after wearing. Given that they were soaked through this was great.
The uppers were fully finished before attaching them to the soles. This part is all machine sewn.
Finally, I hand sewed the uppers to the soles.
(I’ve made this all sound very easy and speedy, but I’ll admit that I took a shortcut and purchased cheap eyelets and a cheap eyelet setter to get the right look with high hopes for the quality. Unfortunately, I was disappointed. The eyelets were such a pain! The setter squashed them unevenly and then I needed pliers to make them look somewhat reasonable and trim off sharp bits. There are 44 eyelets. It took a long time. And it made my hands hurt. It would have been faster for me to hand sew the eyelets. Plus, they rusted after just the one wearing the water! And they got rust on my shoelaces, which was also a pain because the standard round shoelaces barely fit through the eyelets and getting them laced was hours all by itself. Ugh! For next time, I found narrower laces that will be so much easier to use, so I can at least take them out after wearing the boots without it taking forever. Or maybe I just won’t wear them in the water. Anyway, I don’t suggest you follow my example on the cheap eyelet front.)
I am so grateful to Gina for sharing her pattern with me! It takes a lot of work to perfect a pattern and I probably would not have attempted bathing boots without having one already made and in hand.
On my to-do list for this summer was a 1920s bathing suit. At first I thought I might knit one, but I wanted a smaller project than that, and also, a friend who hand knit a swimsuit last year reported a fair bit of sagging happening when she wore hers in the water. So I decided to try a different approach and make my suit from wool jersey fabric, a historically accurate option in terms of weave and fiber for a 1920s suit, as far as I can tell from my research.
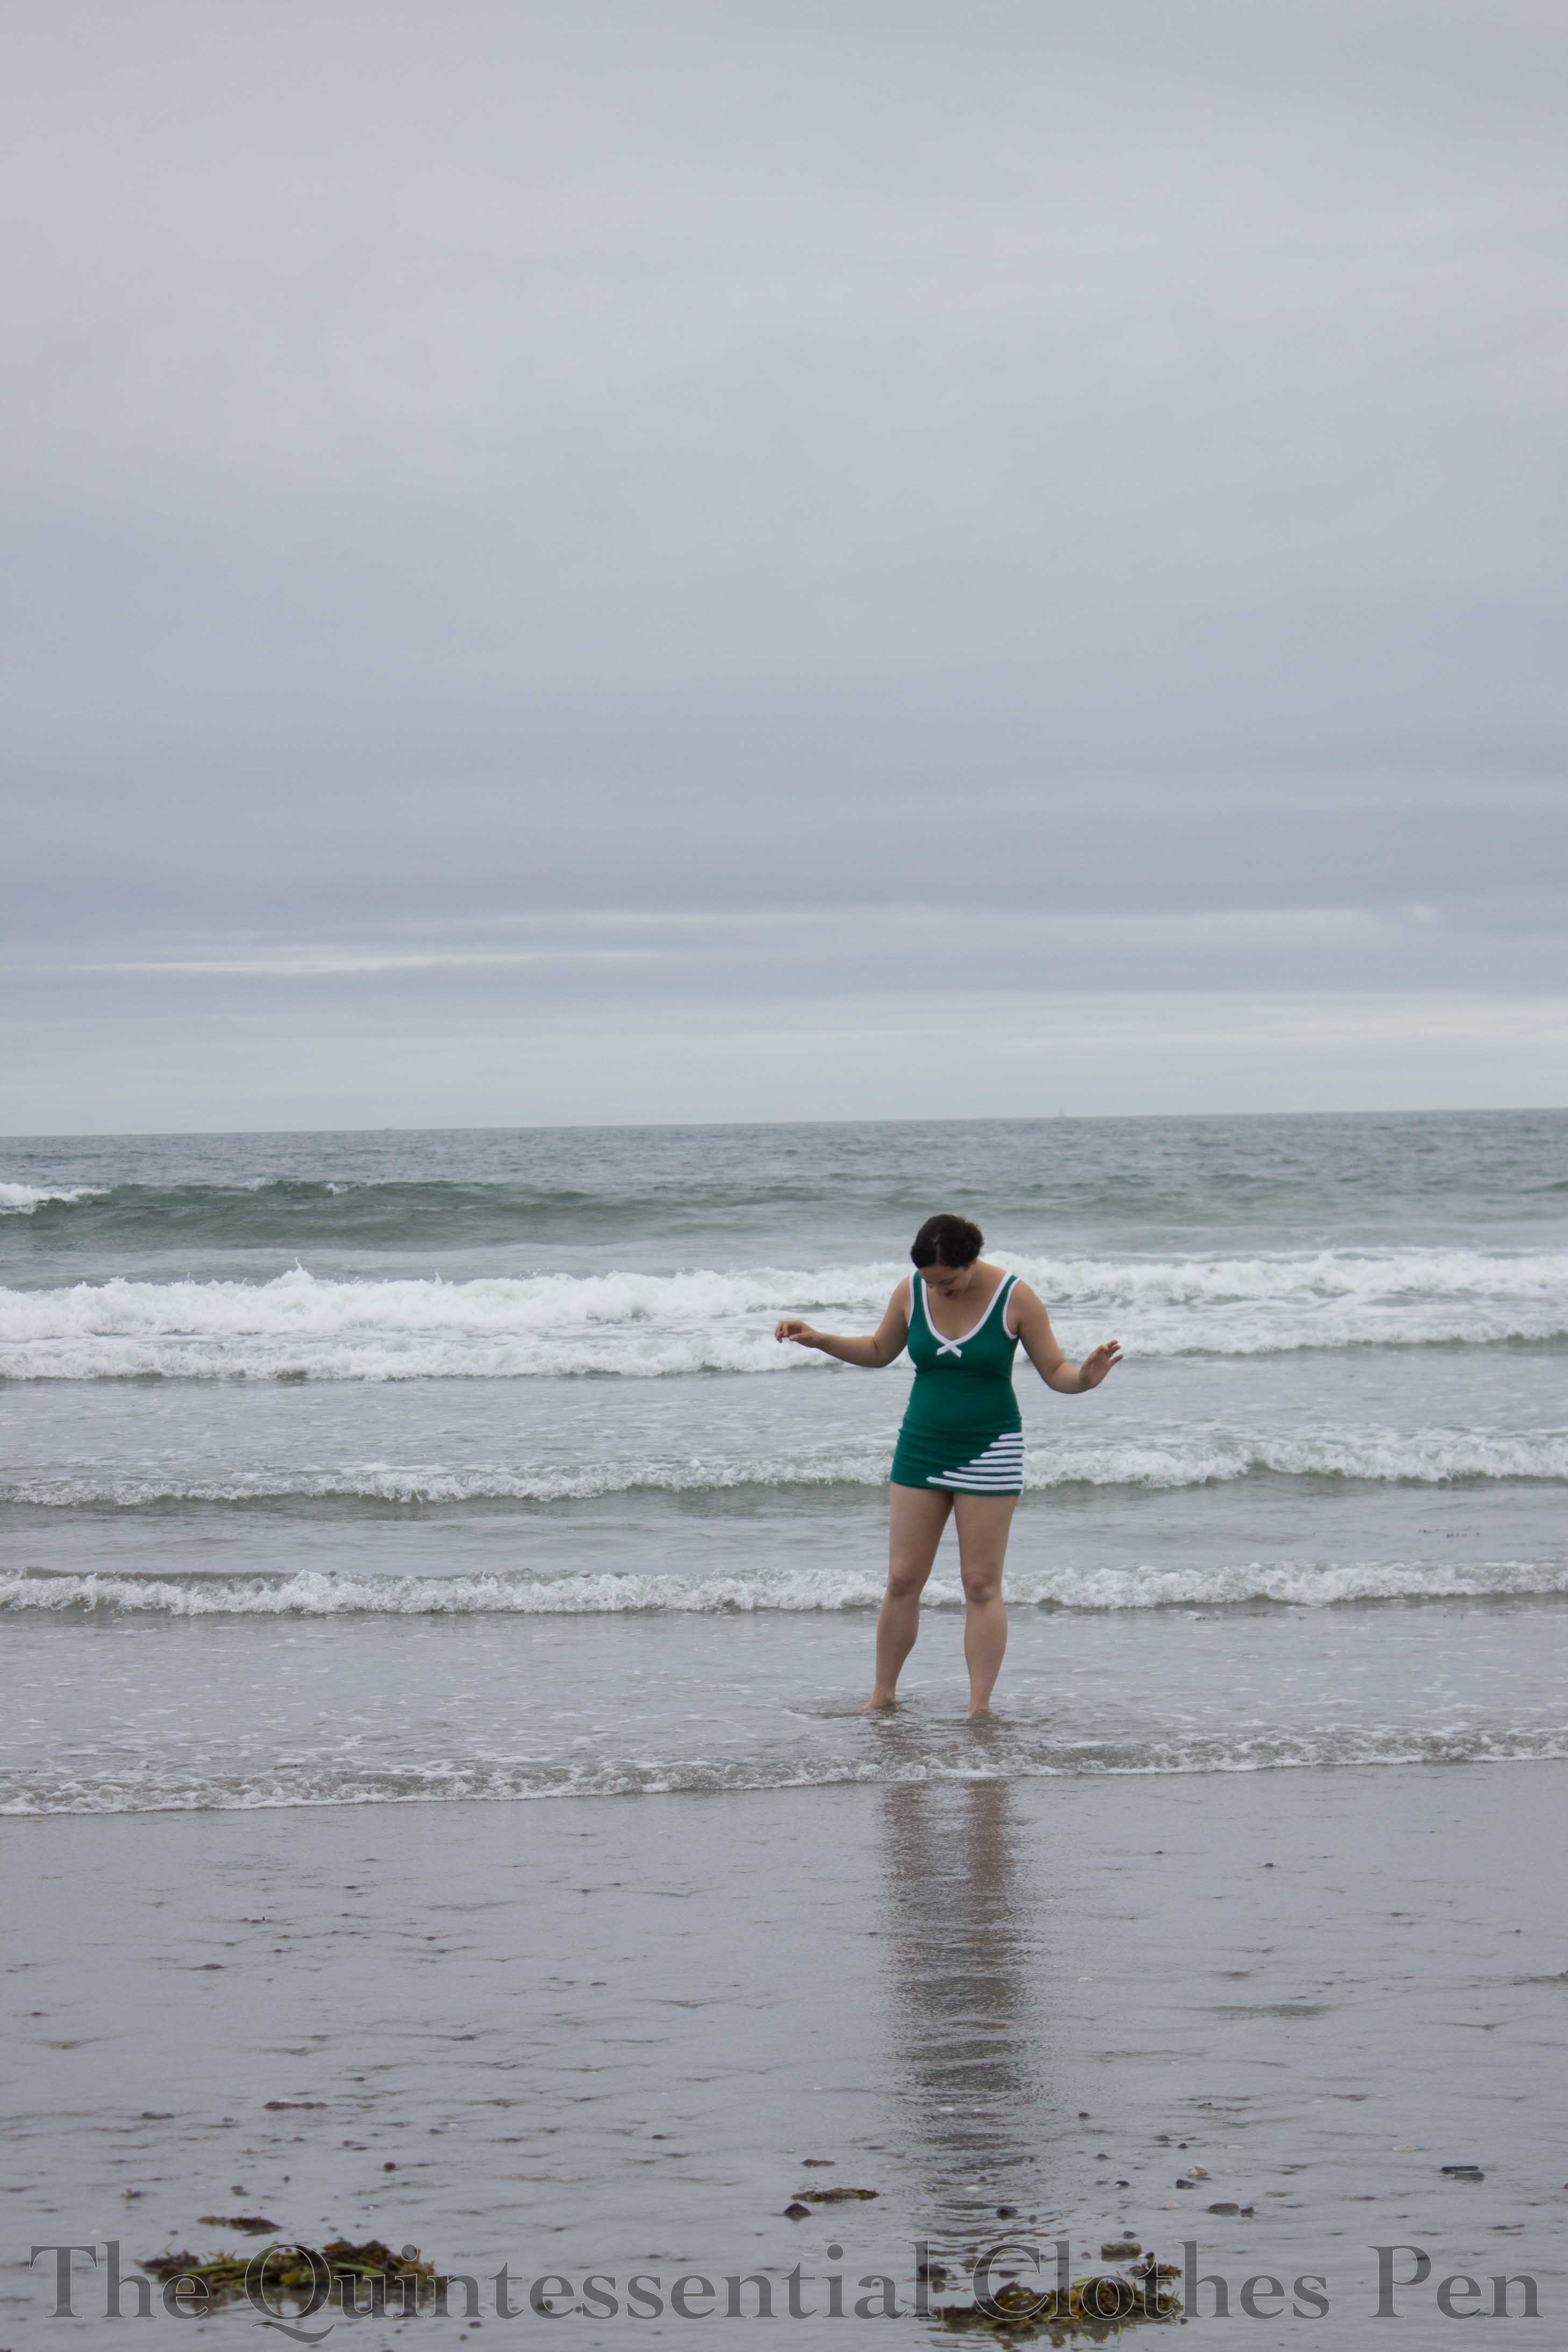
After spending lots of time looking at inspirational images on Pinterest and compiling this board of the most inspirational images, I decided on the year 1925, when suits were getting shorter and often sported built in shorts. My main inspiration was this extant suit from 1925 at Abiti Antichi. It’s where my decorative inspiration came from and also justified the visible seam where the shorts attach to the dress. I also referenced this 1920s extant suit at All The Pretty Dresses, which shows interior finishing (serging!) and has narrower straps.
I knew there was no chance of finding wool jersey at a local fabric store, so I searched around the internet for sources. I believe I found only three–a company in New Zealand, New Zealand Merino and Fabrics, that makes gorgeous colors and sells through their own website and through Etsy; Denver Fabrics, which had wool double knit fabric; and Nature’s Fabrics, which I had never ordered from before, but which had lovely colors. I decided on bottle green from Nature’s Fabrics and vowed to get the whole project out of just one yard.
For a pattern, I used a tank top from Old Navy as a starting point since I liked the straps, adding length (and width since my wool jersey was less stretchy than the tank). I cut the dress pieces first, then used the extra bits to cut the shorts.
I wanted to use the pattern from my dotty tap pants for the shorts, but I didn’t have it handy, so I pulled out a finished pair of the shorts and used that instead. Unfortunately, I was a few inches shy of being able to cut all four shorts pieces out of my leftover fabric. My solution was to cut the two fronts out and then piece the back pieces with a seam about 4″ below the waist, hoping that it wouldn’t be noticeable in the finished suit. There’s a slight line, but it’s not something I’m worried about, especially since I basically used up all the fabric I had–no adding to the stash on this project!
The white trim came from the stash. It’s a lightweight knit terrycloth I bought at JoAnn’s when I first started sewing. I made a robe, but didn’t love it. I did, however, keep it and am happy to have repurposed the fabric.
This would have been a really speedy project if it wasn’t for the trim. I used a serger with four threads to sew/finish the seams all at once, making the construction super speedy (I think I cut and assembled the whole thing in an evening). However, the white lines took a long time to carefully machine sew on and then I still had to bind the arm and neck holes, turning the project into a multi-evening size. The time spent was worth it though, because I love the finished product!
I love the images of the bathing suit contests here from the 1920s, in particular this one from 1926. All the bathing beauties are wearing their nice pumps with their bathing suits!
I didn’t have time to get a sash together, but the bathing beauty look is what I was aiming for in this picture, wearing my American Duchess Seaburys with my swimsuit.
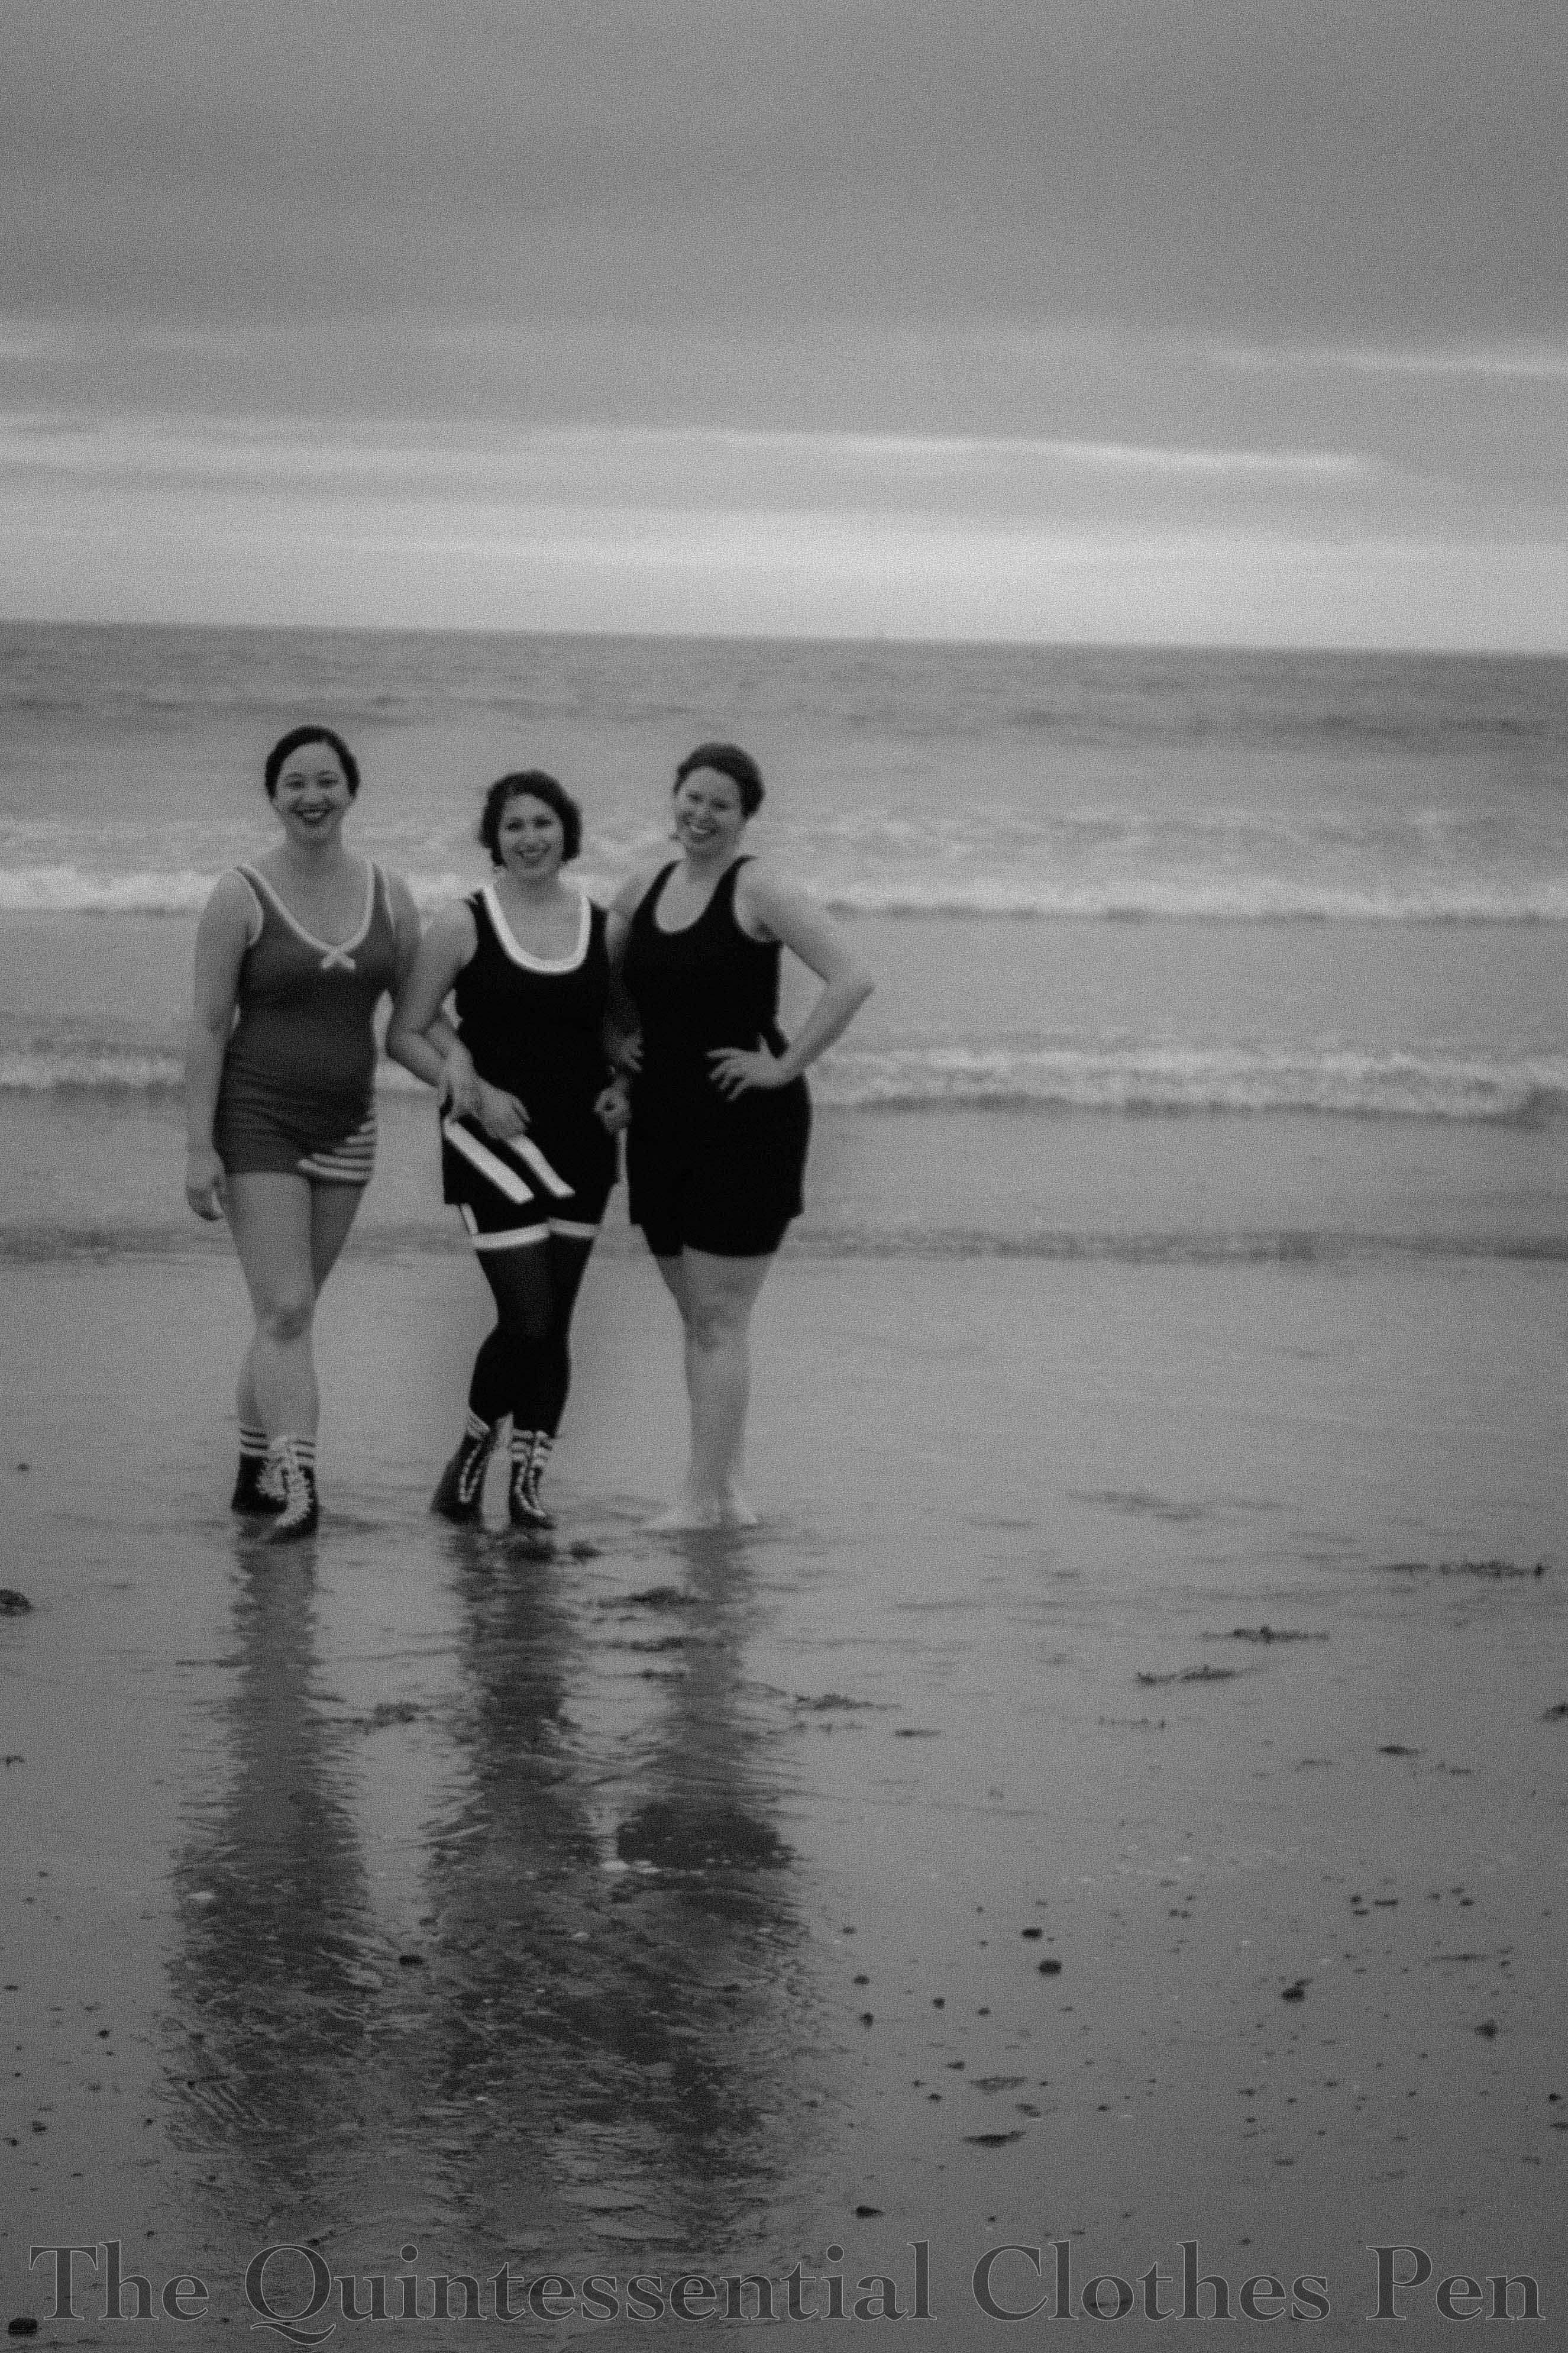
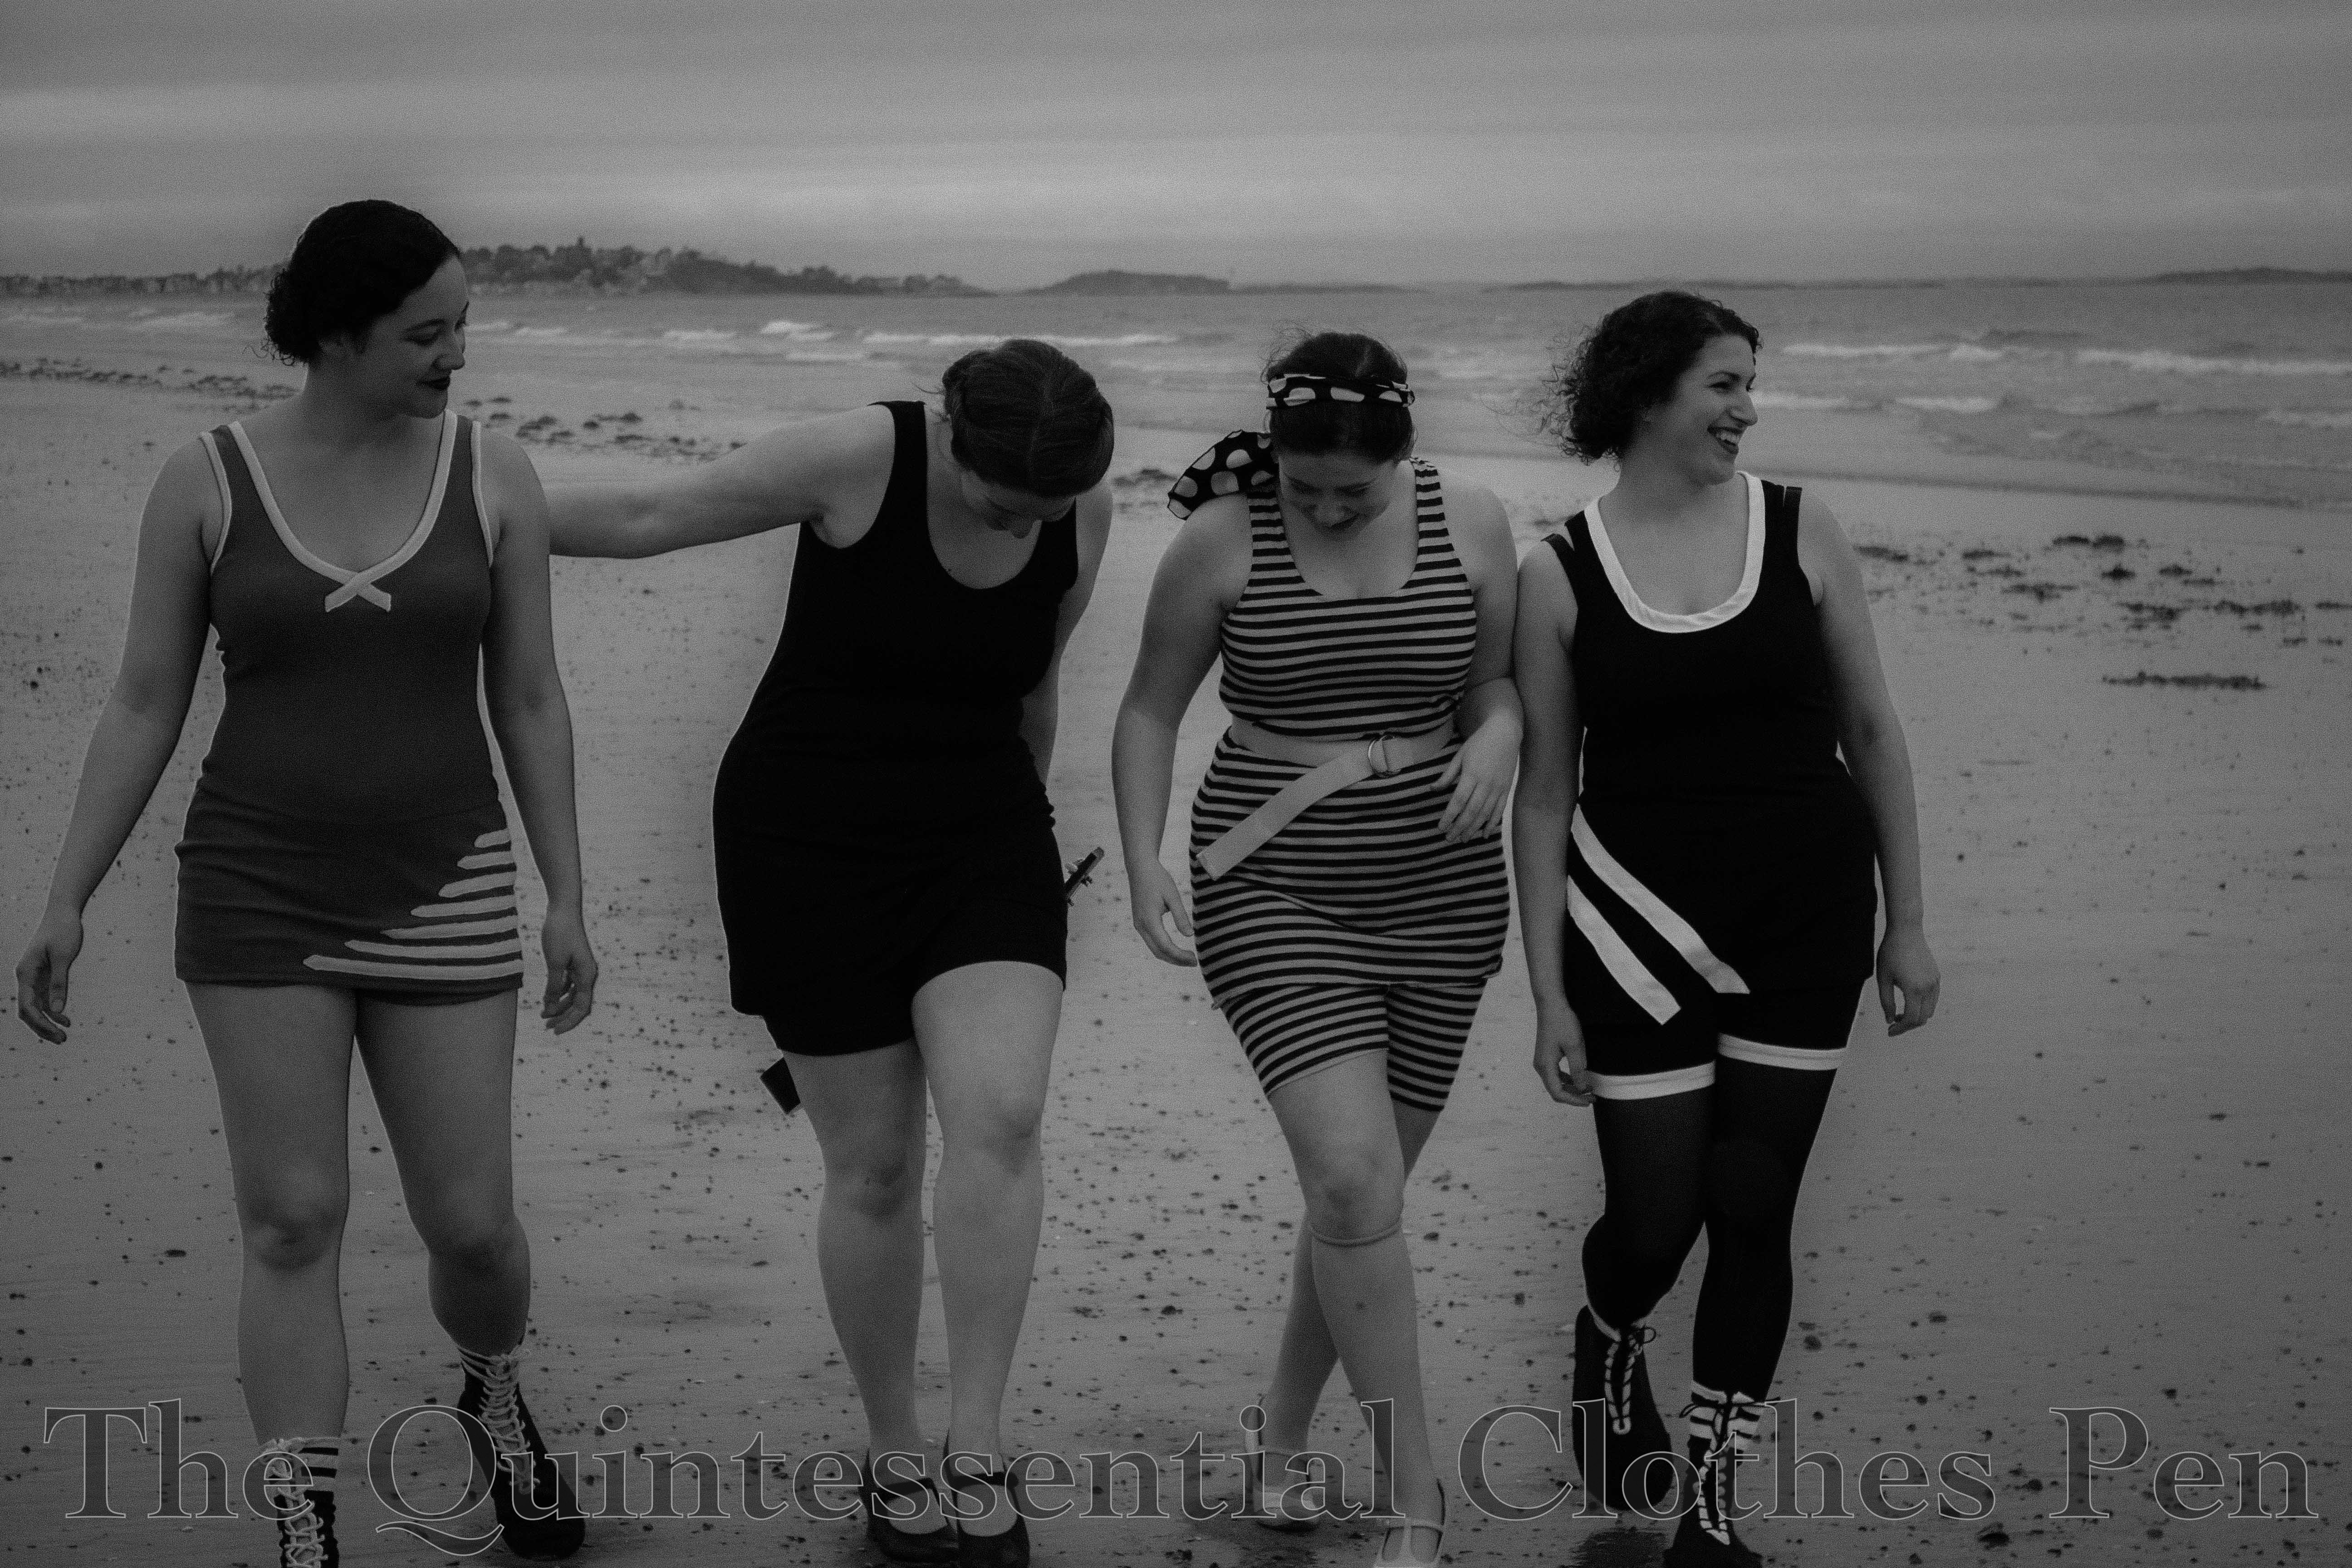
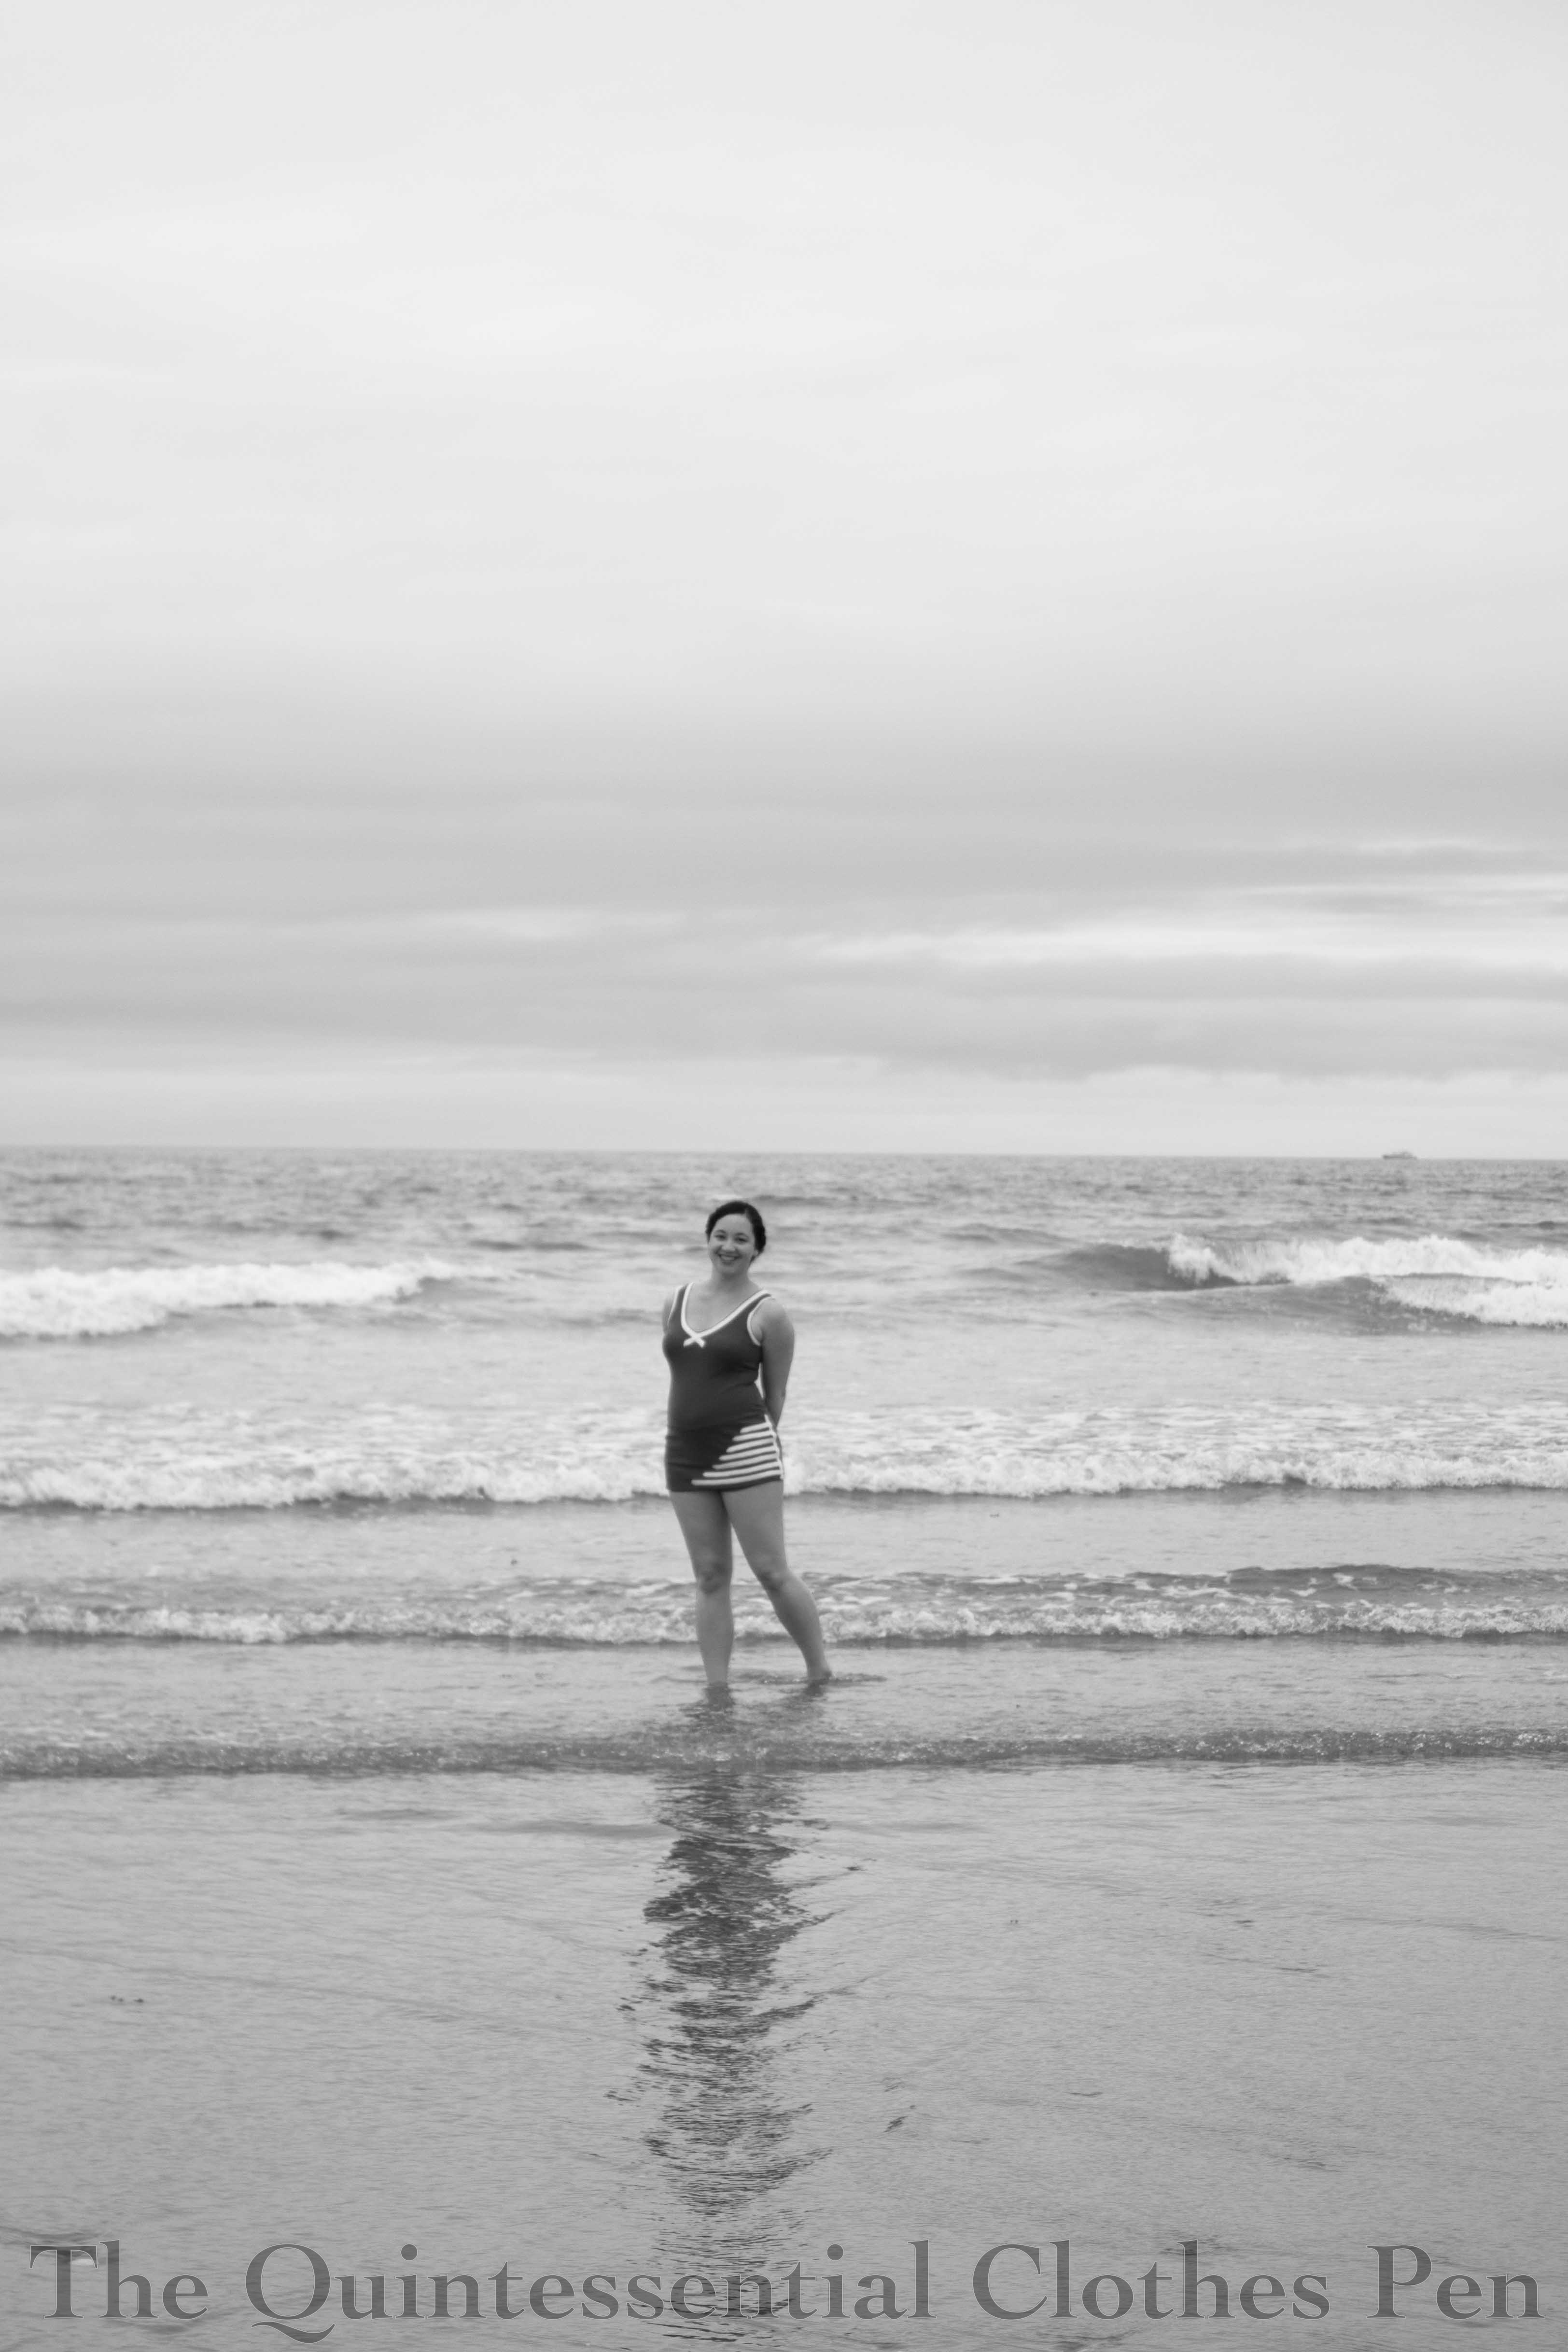
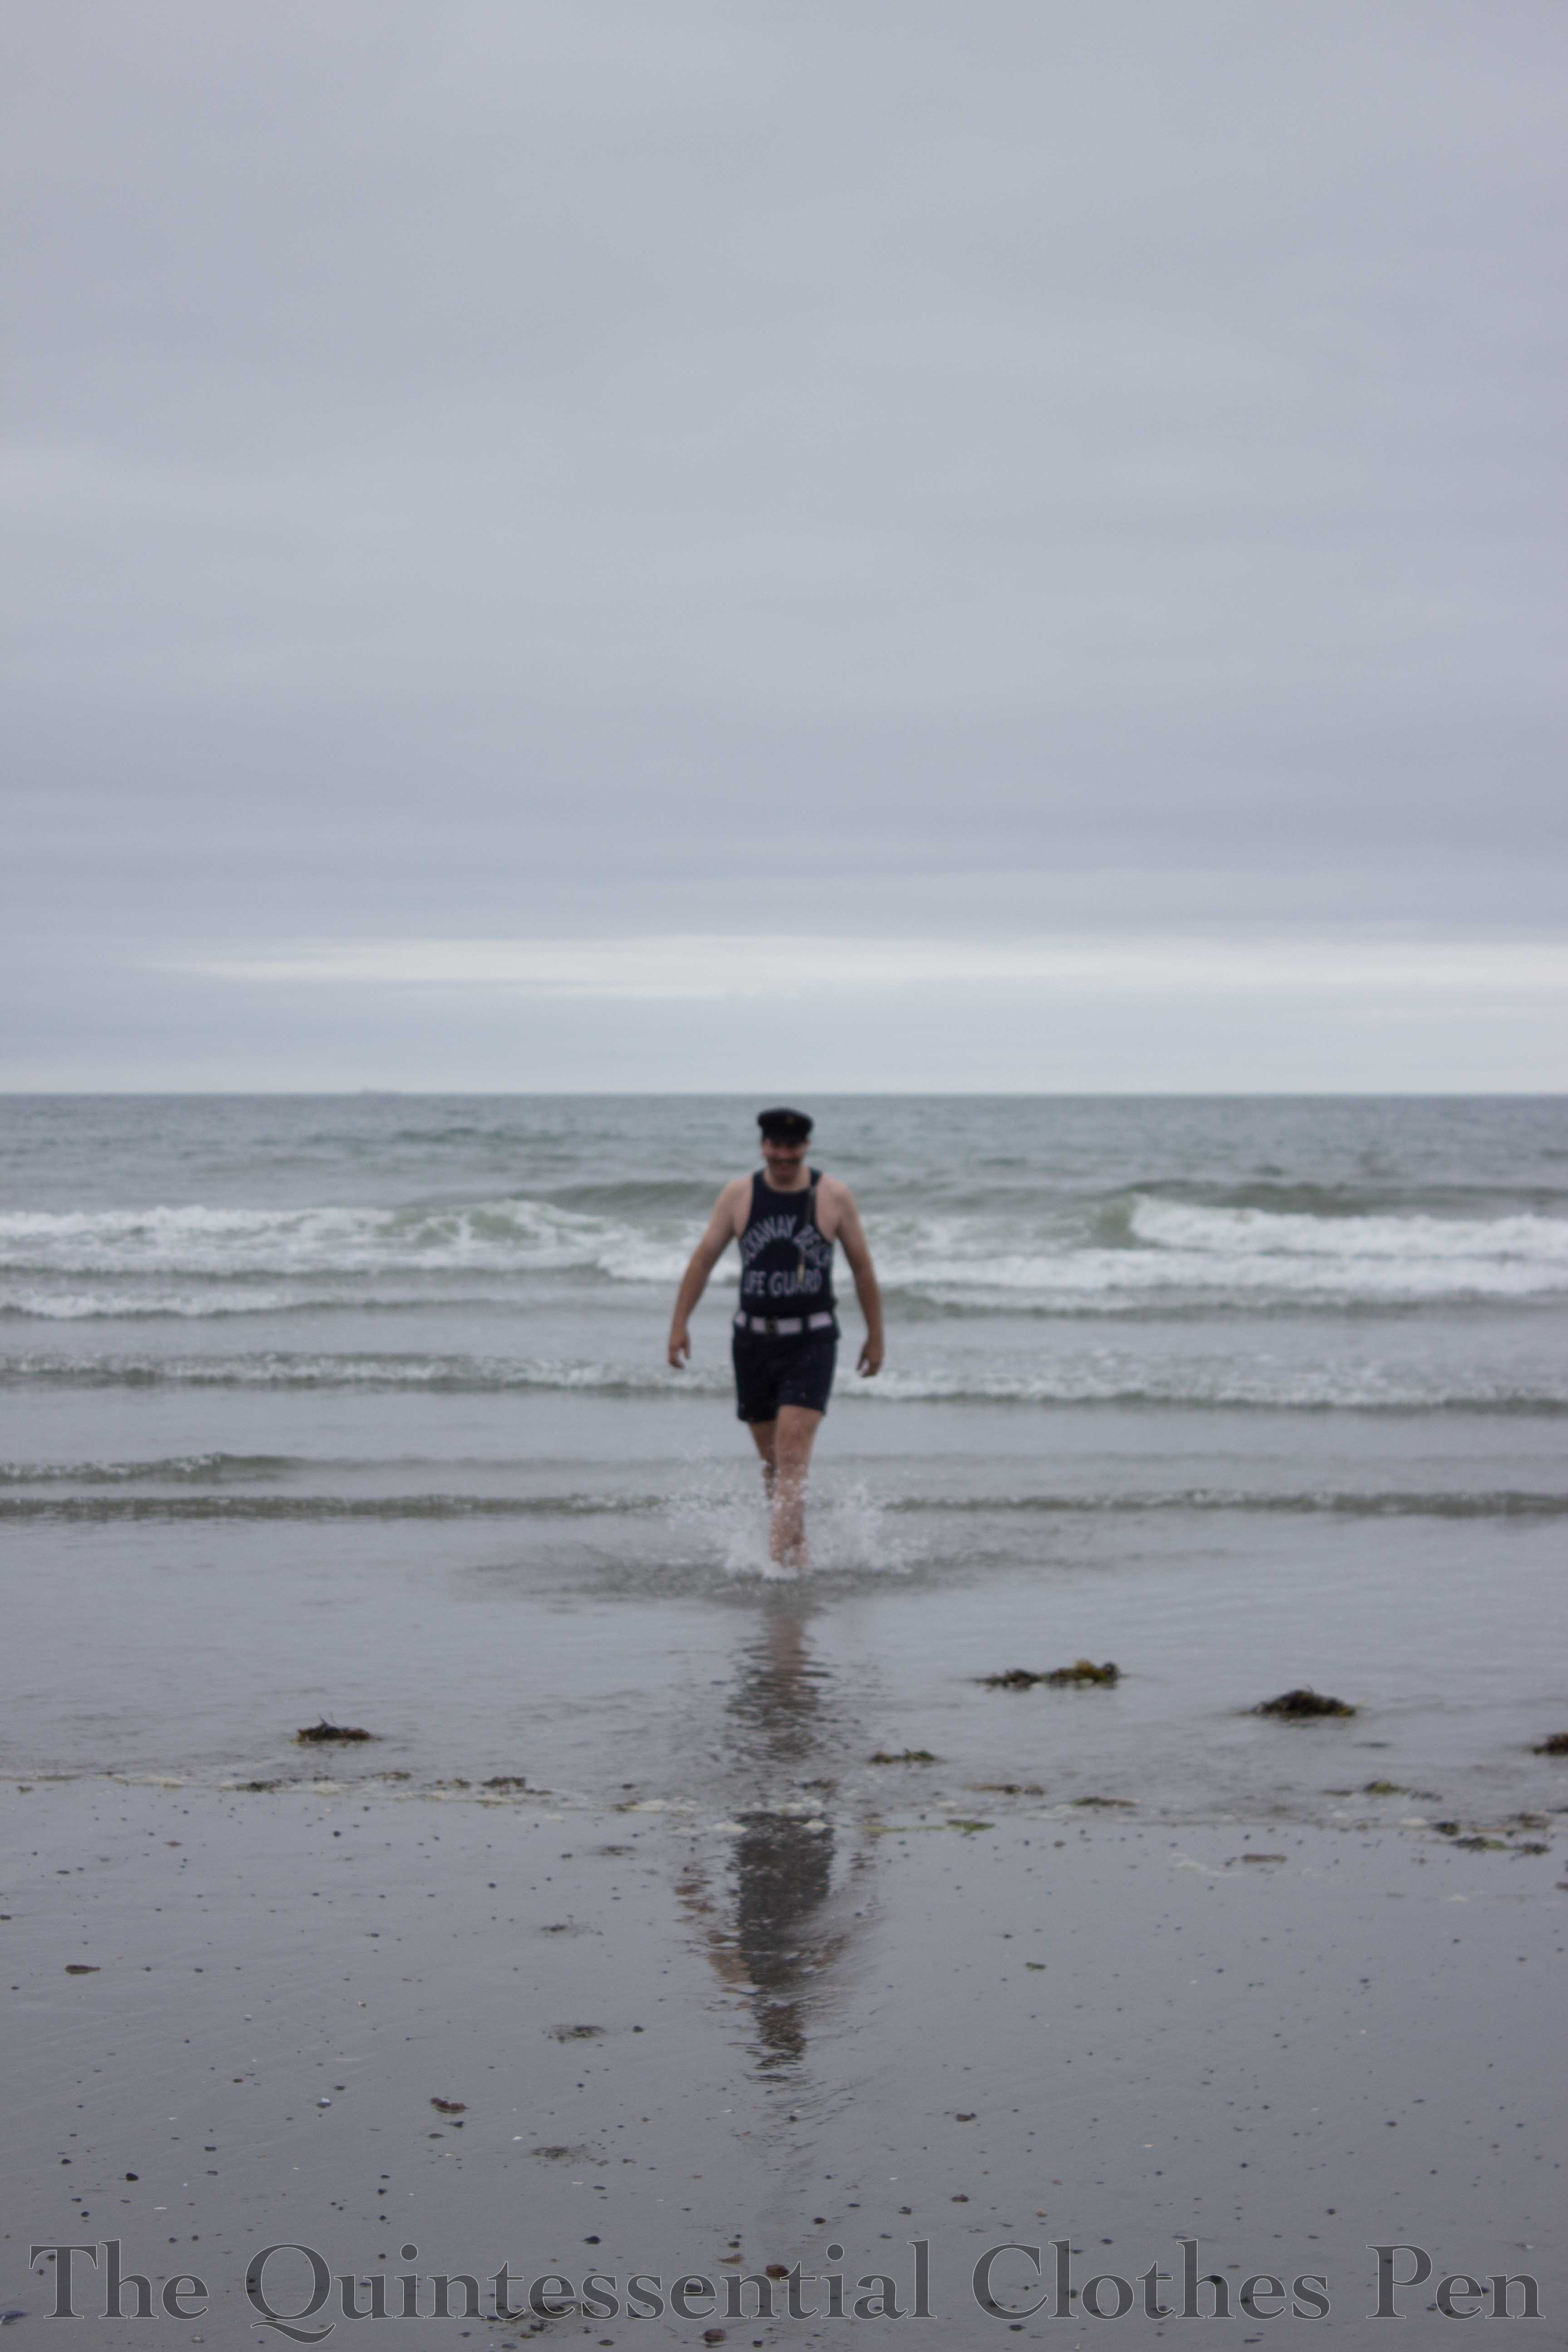
My main goal was to have the suit for an event at the end of August, but it was done in time for a vintage beach outing in July! It was an unusually cold day and therefore the beach was pretty empty, but it meant we had the beach basically to ourselves and got some great pictures! In August, I’m planning for the whole suit to get wet, so we’ll see how that goes! In the meantime, here are a few more fun pictures from the July beach day.
I have a three evening gowns from the 1920s, but only two daytime ensembles. For summer events from the Ragtime dance period and the 1920s in general, I wanted a new addition in the daywear lineup, so I kept my eyes open while out shopping for other projects. I came across the fabric for this dress a few months ago before I had time to sew, but with a general plan in mind.
Fast forward to about a month ago and I started actually planning the dress. I had thought to make a dress from about 1916 with a distinct a-line shape (a silhouette like this), but reconsidered that plan when considering the very linear effect of the tucks in the fabric. The linear fabric was much more suited to the period from 1919 to 1922 and so down that road I went.
Year: 1919, explained in detail further along in the post.
Notions: Thread, snaps, and a hook and bar.
How historically accurate is it?: 95%. Accurate pattern from the period, reasonable fabric, and accurate finishing methods. Woo!
Hours to complete: 30? I took my time to enjoy the process, hand sewed more than was absolutely necessary in order to watch Netflix and not dig out the sewing machine, and fiddled with the bodice for awhile to get a style I was satisfied with.
First worn: July 17 for a Ragtime tea dance.
Total cost: $30 for the fabric.
(Edit: I forgot to mention what HSF challenge this was for when I originally published the post. It’s for challenge #7: Monochrome.)
Why did I decide on 1919 for the year of my dress? The pattern dates to 1918-1920, putting my dress squarely in the middle, but I also looked at the details that changed with each year from 1918-1922 to confirm the plan.
1918. Skirts have just ceased being the A-line shape of the prior three years, but they still have fullness and waists remain high.1919. Still some full skirts, but the silhouette is narrowing.1920. Slimmer skirts with high waists.1921. Slimmer skirts with a dropping waistline.1922. The waistline has dropped to hip level and drape effects are fashionable.
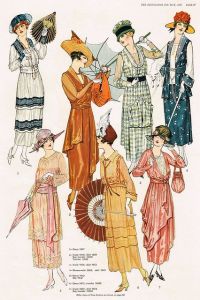
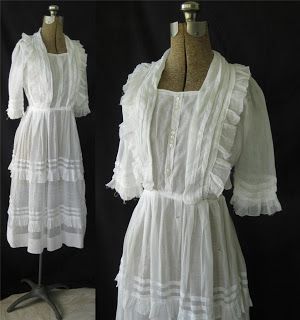
1919 is the year when the features I most wanted all come together: full skirt, high waist, playing with the linear nature of my fabric going both vertically and horizontally, and skirt tucks. These features can be seen in the following most inspirational images.
c. 1915c. 1915c. 19201919
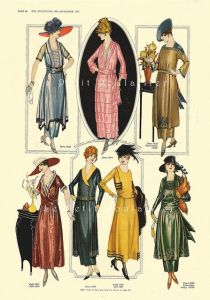
Plus, these two fashion plates, from 1920 and 1921.
And construction? I kept it simple, with a few unfinished edges in the skirt (gasp!), pinking on the seams and exposed edges in the bodice, and as few closures as possible. No fuss. The bodice closes off center in front but the skirt closes in back because I was originally planning to make a separate blouse and skirt. When I decided I didn’t feel like dealing with a peplum, and that even with a peplum a blouse was likely to come untucked (as happens with my 1917 blouse when I wear it), I just hand sewed the now-bodice to the inside of the waistband and sewed snaps around the other side to keep it together, as you can see. This way, it’s easy to separate the two pieces in the future.
All in all, a pretty quick project as my projects go. Comfortable, flattering, easy to alter (a component of sewing projects I am trying to incorporate more often as I move forward with projects), satisfying to wear, plus it goes well with my Astoria shoes. Win!
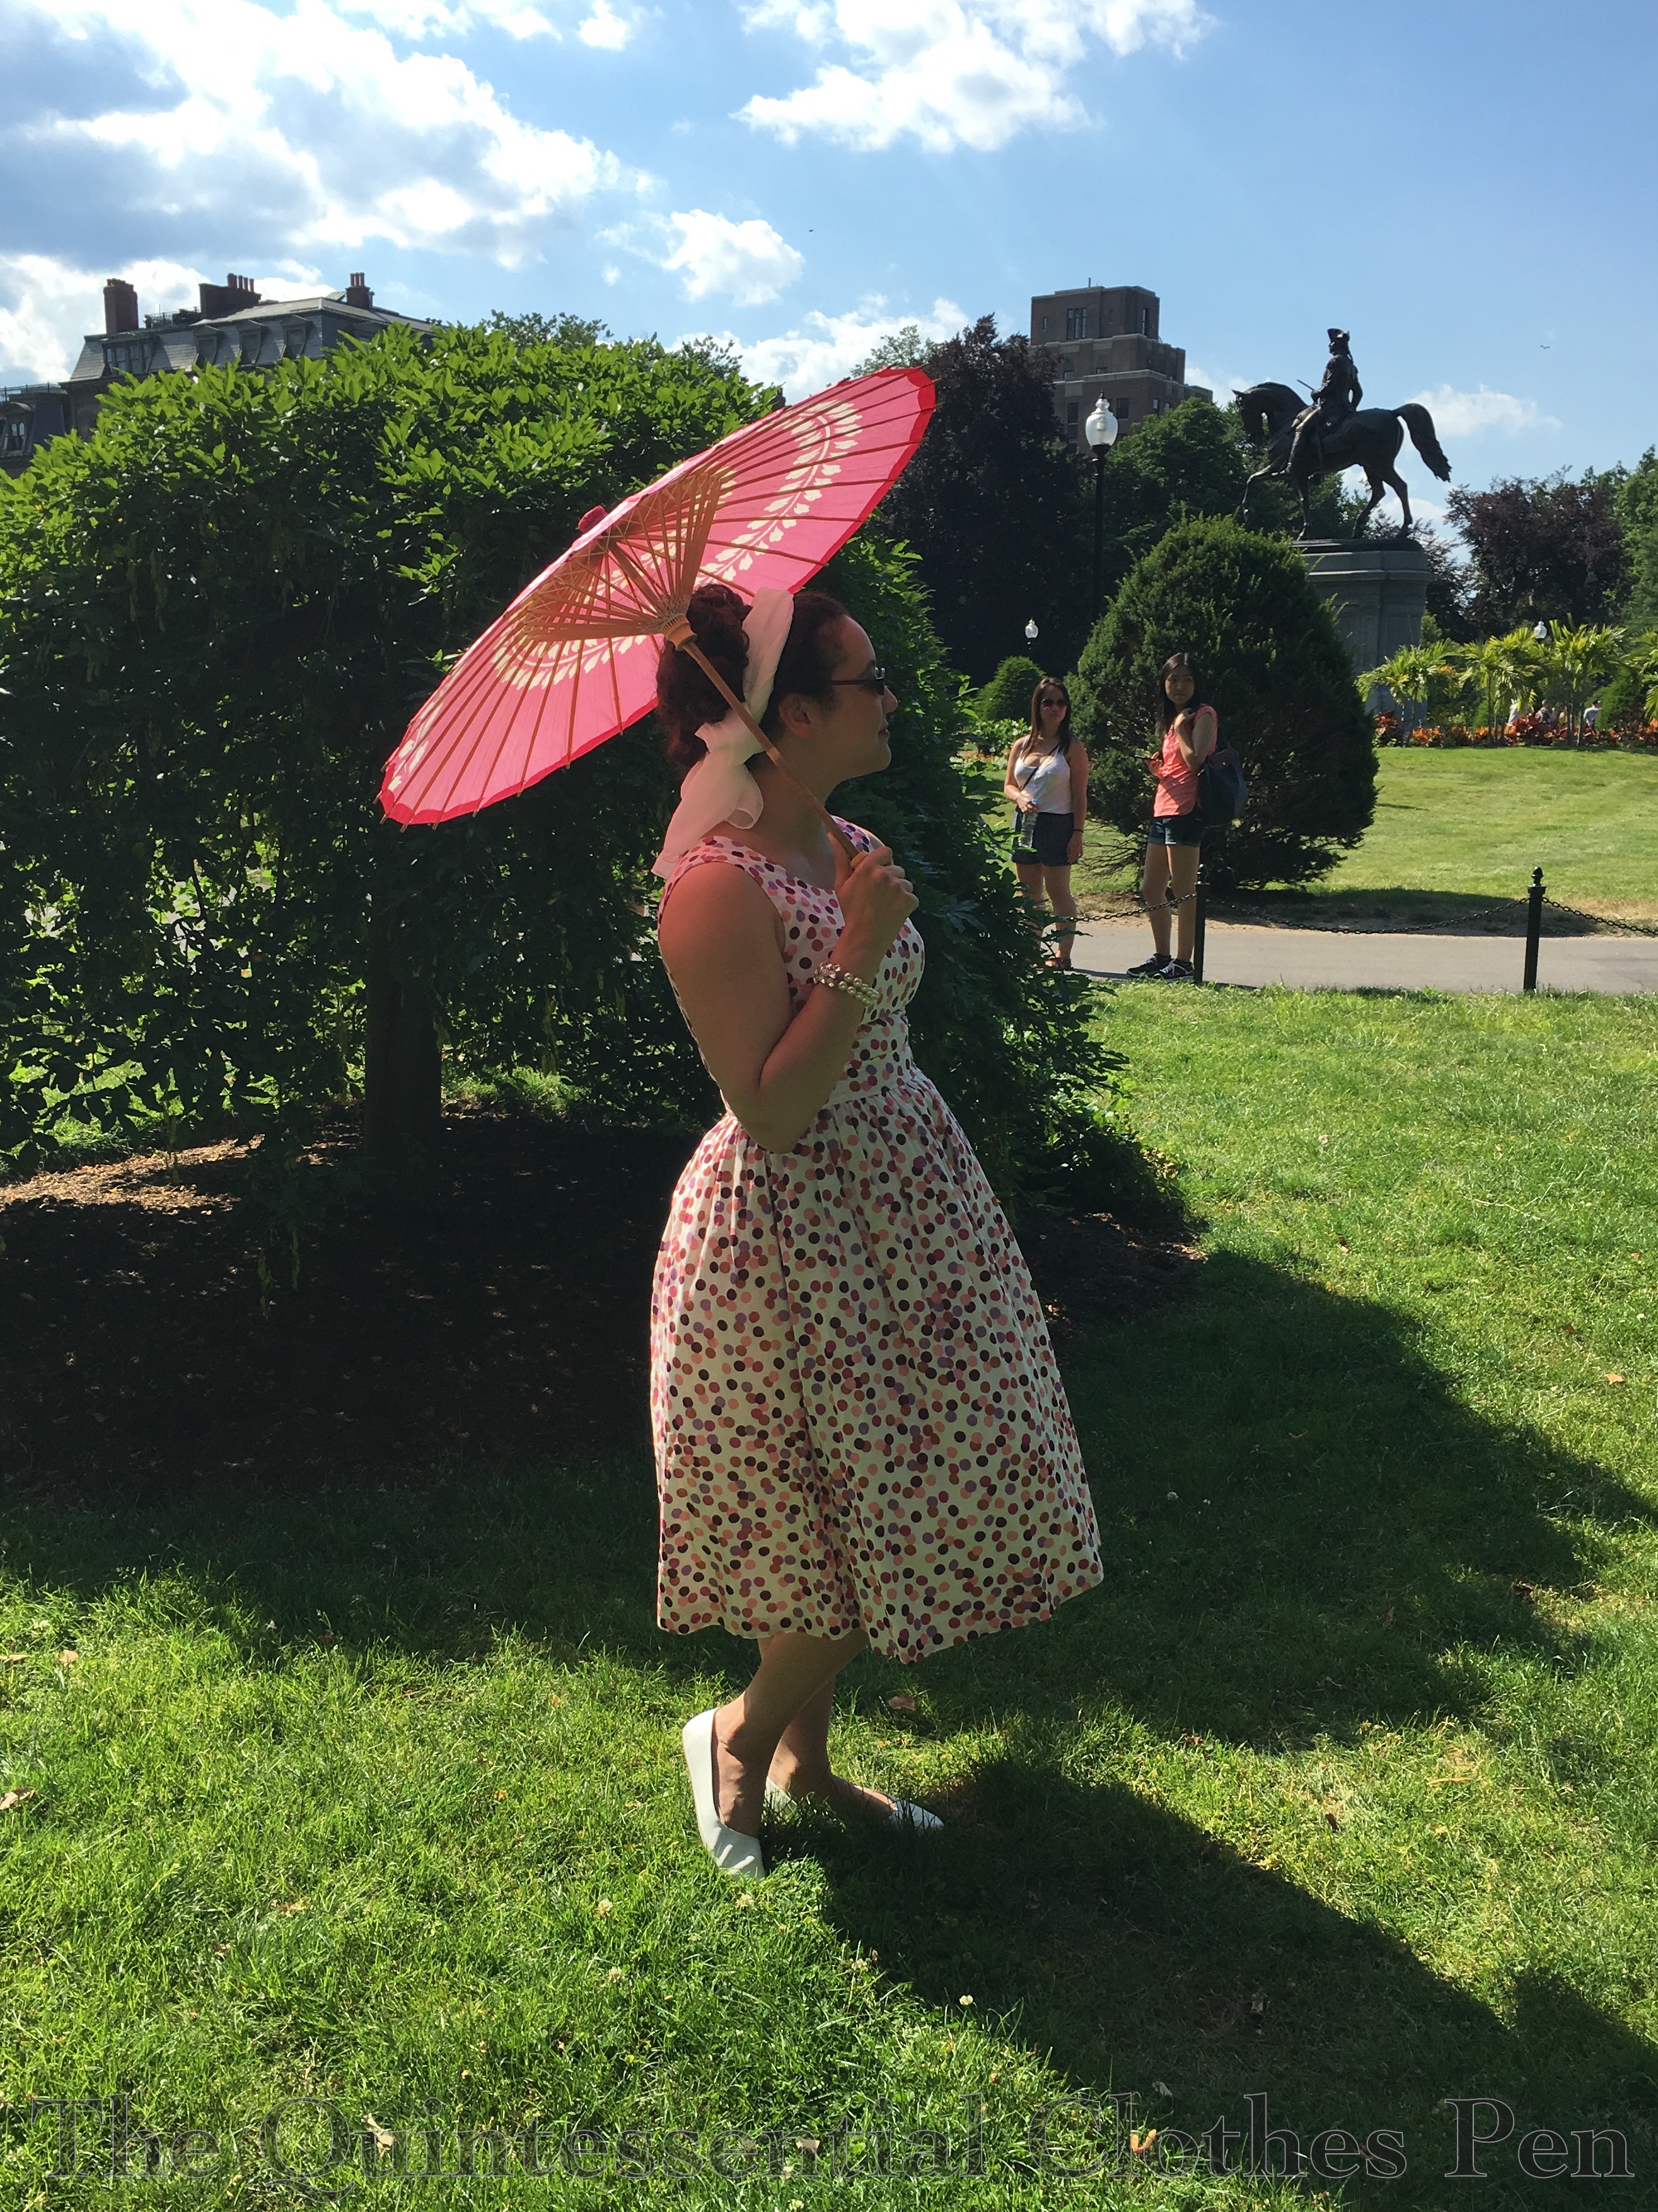
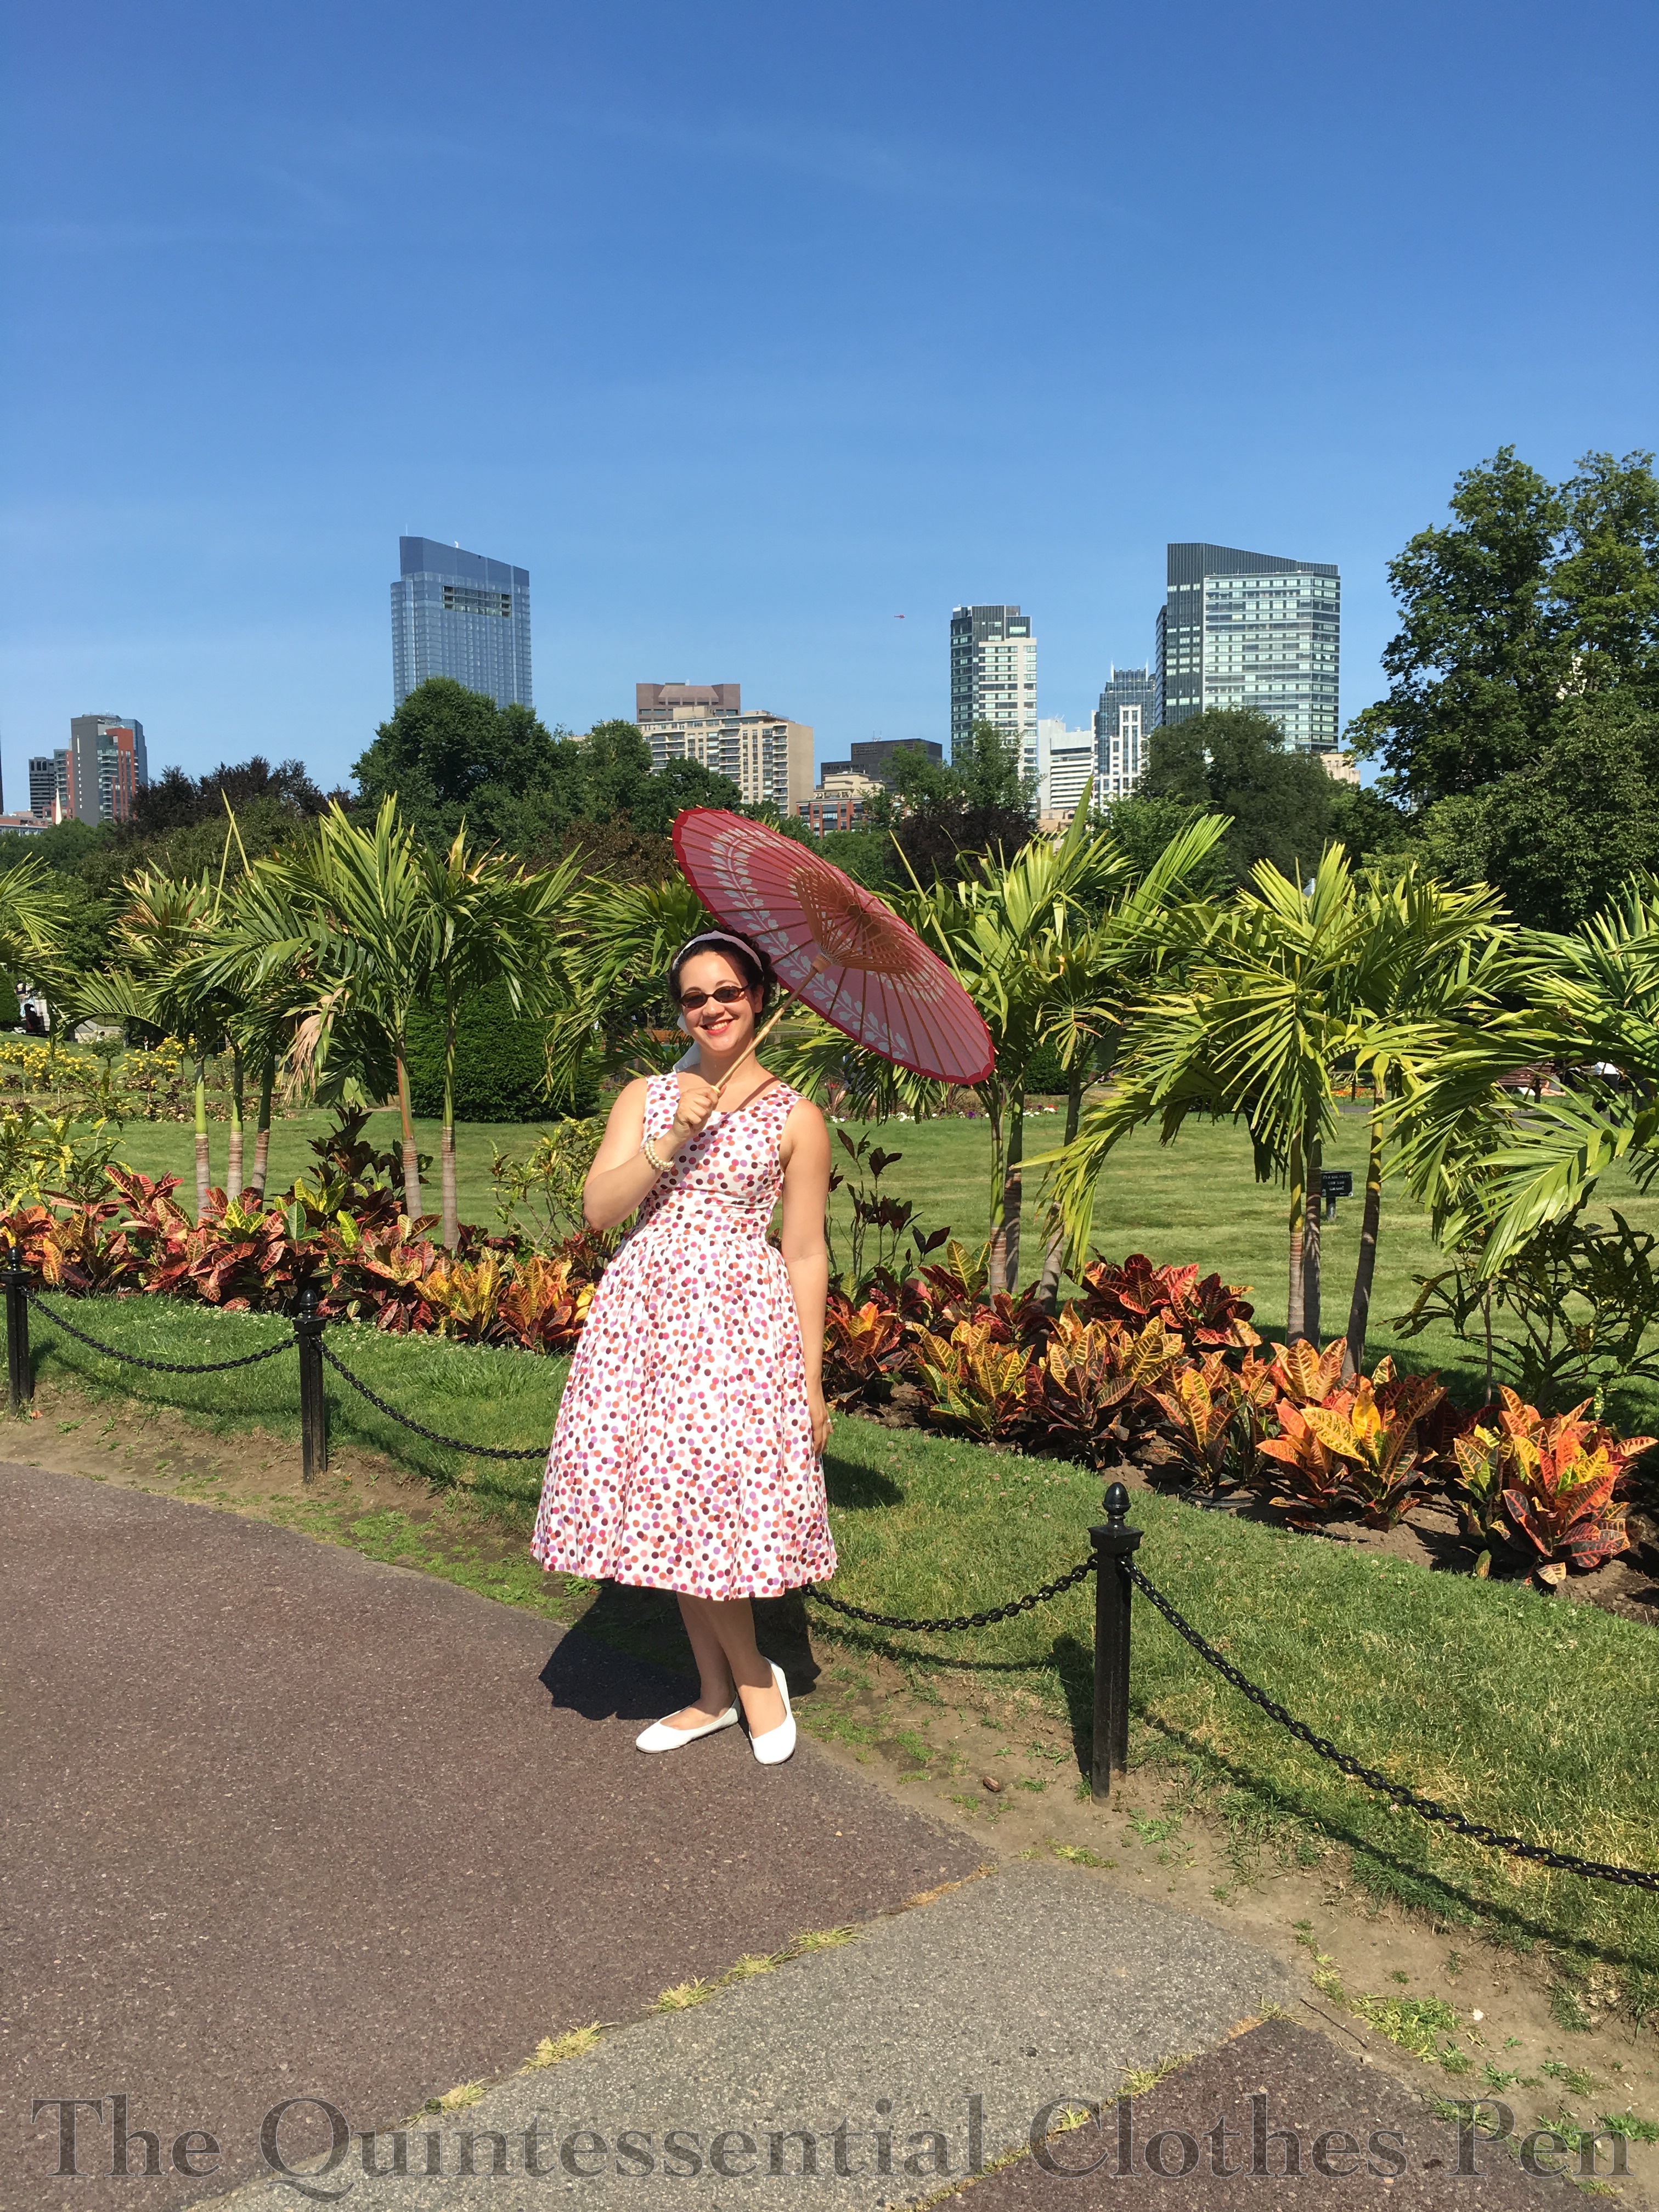
In June, I went to a picnic in the Boston Public Garden. As it was an open era event, I decided to wear my 1953 dot dress because it is easy and cool to wear in the summer heat.
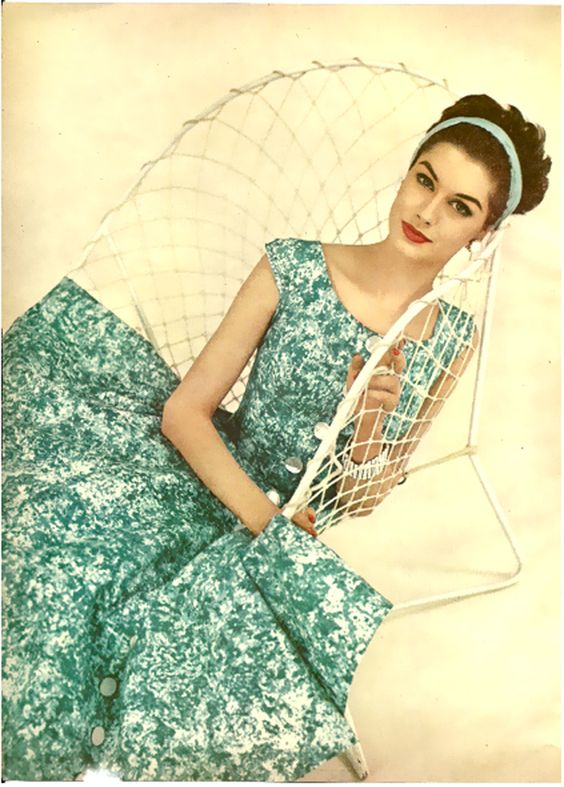
I took a long time styling my hair to look like this image from 1954. It’s quite a feat to tame the frizz and there was a moment of woe and frustration, but I didn’t have time to start again, so I continued on and was happy with the end result despite the angst in the middle of the process. Looking effortless is so much work!
Charm Magazine, 1954
Picnicking! I plopped down to eat and then didn’t move much until picture time.
I love how the pictures turned out! I purchased a new parasol to use this summer for 1920s events, but it matched this dress very nicely so I brought it along to the picnic. Raspberry is one of my favorite colors.
There was a crowd of people watching the picnic most of the day, but we managed to get a lot of pictures without them. Yay! I don’t mind being gawked at (I’m rather used to it actually) but I do usually like images that don’t have modern dressed people in the background better.
The palms remind me of Florida, and this picture’s story in my head is that I’m on vacation there in the 1950s.
I may look composed in these pictures, but when I run out of pre-thought pose ideas chaos ensures. I often start waving my arms around wildly, talking (producing odd faces when captured as a picture), and flinging my legs around. Here’s an example. There are a a range of caption ideas that pop into my head here: ‘hi-ya!’ and ‘at the bat’ most often.
I hope you’re enjoying your summer, too! It’s so nice that the days are long and there are lovely days for sitting in the park or other outdoor activities!
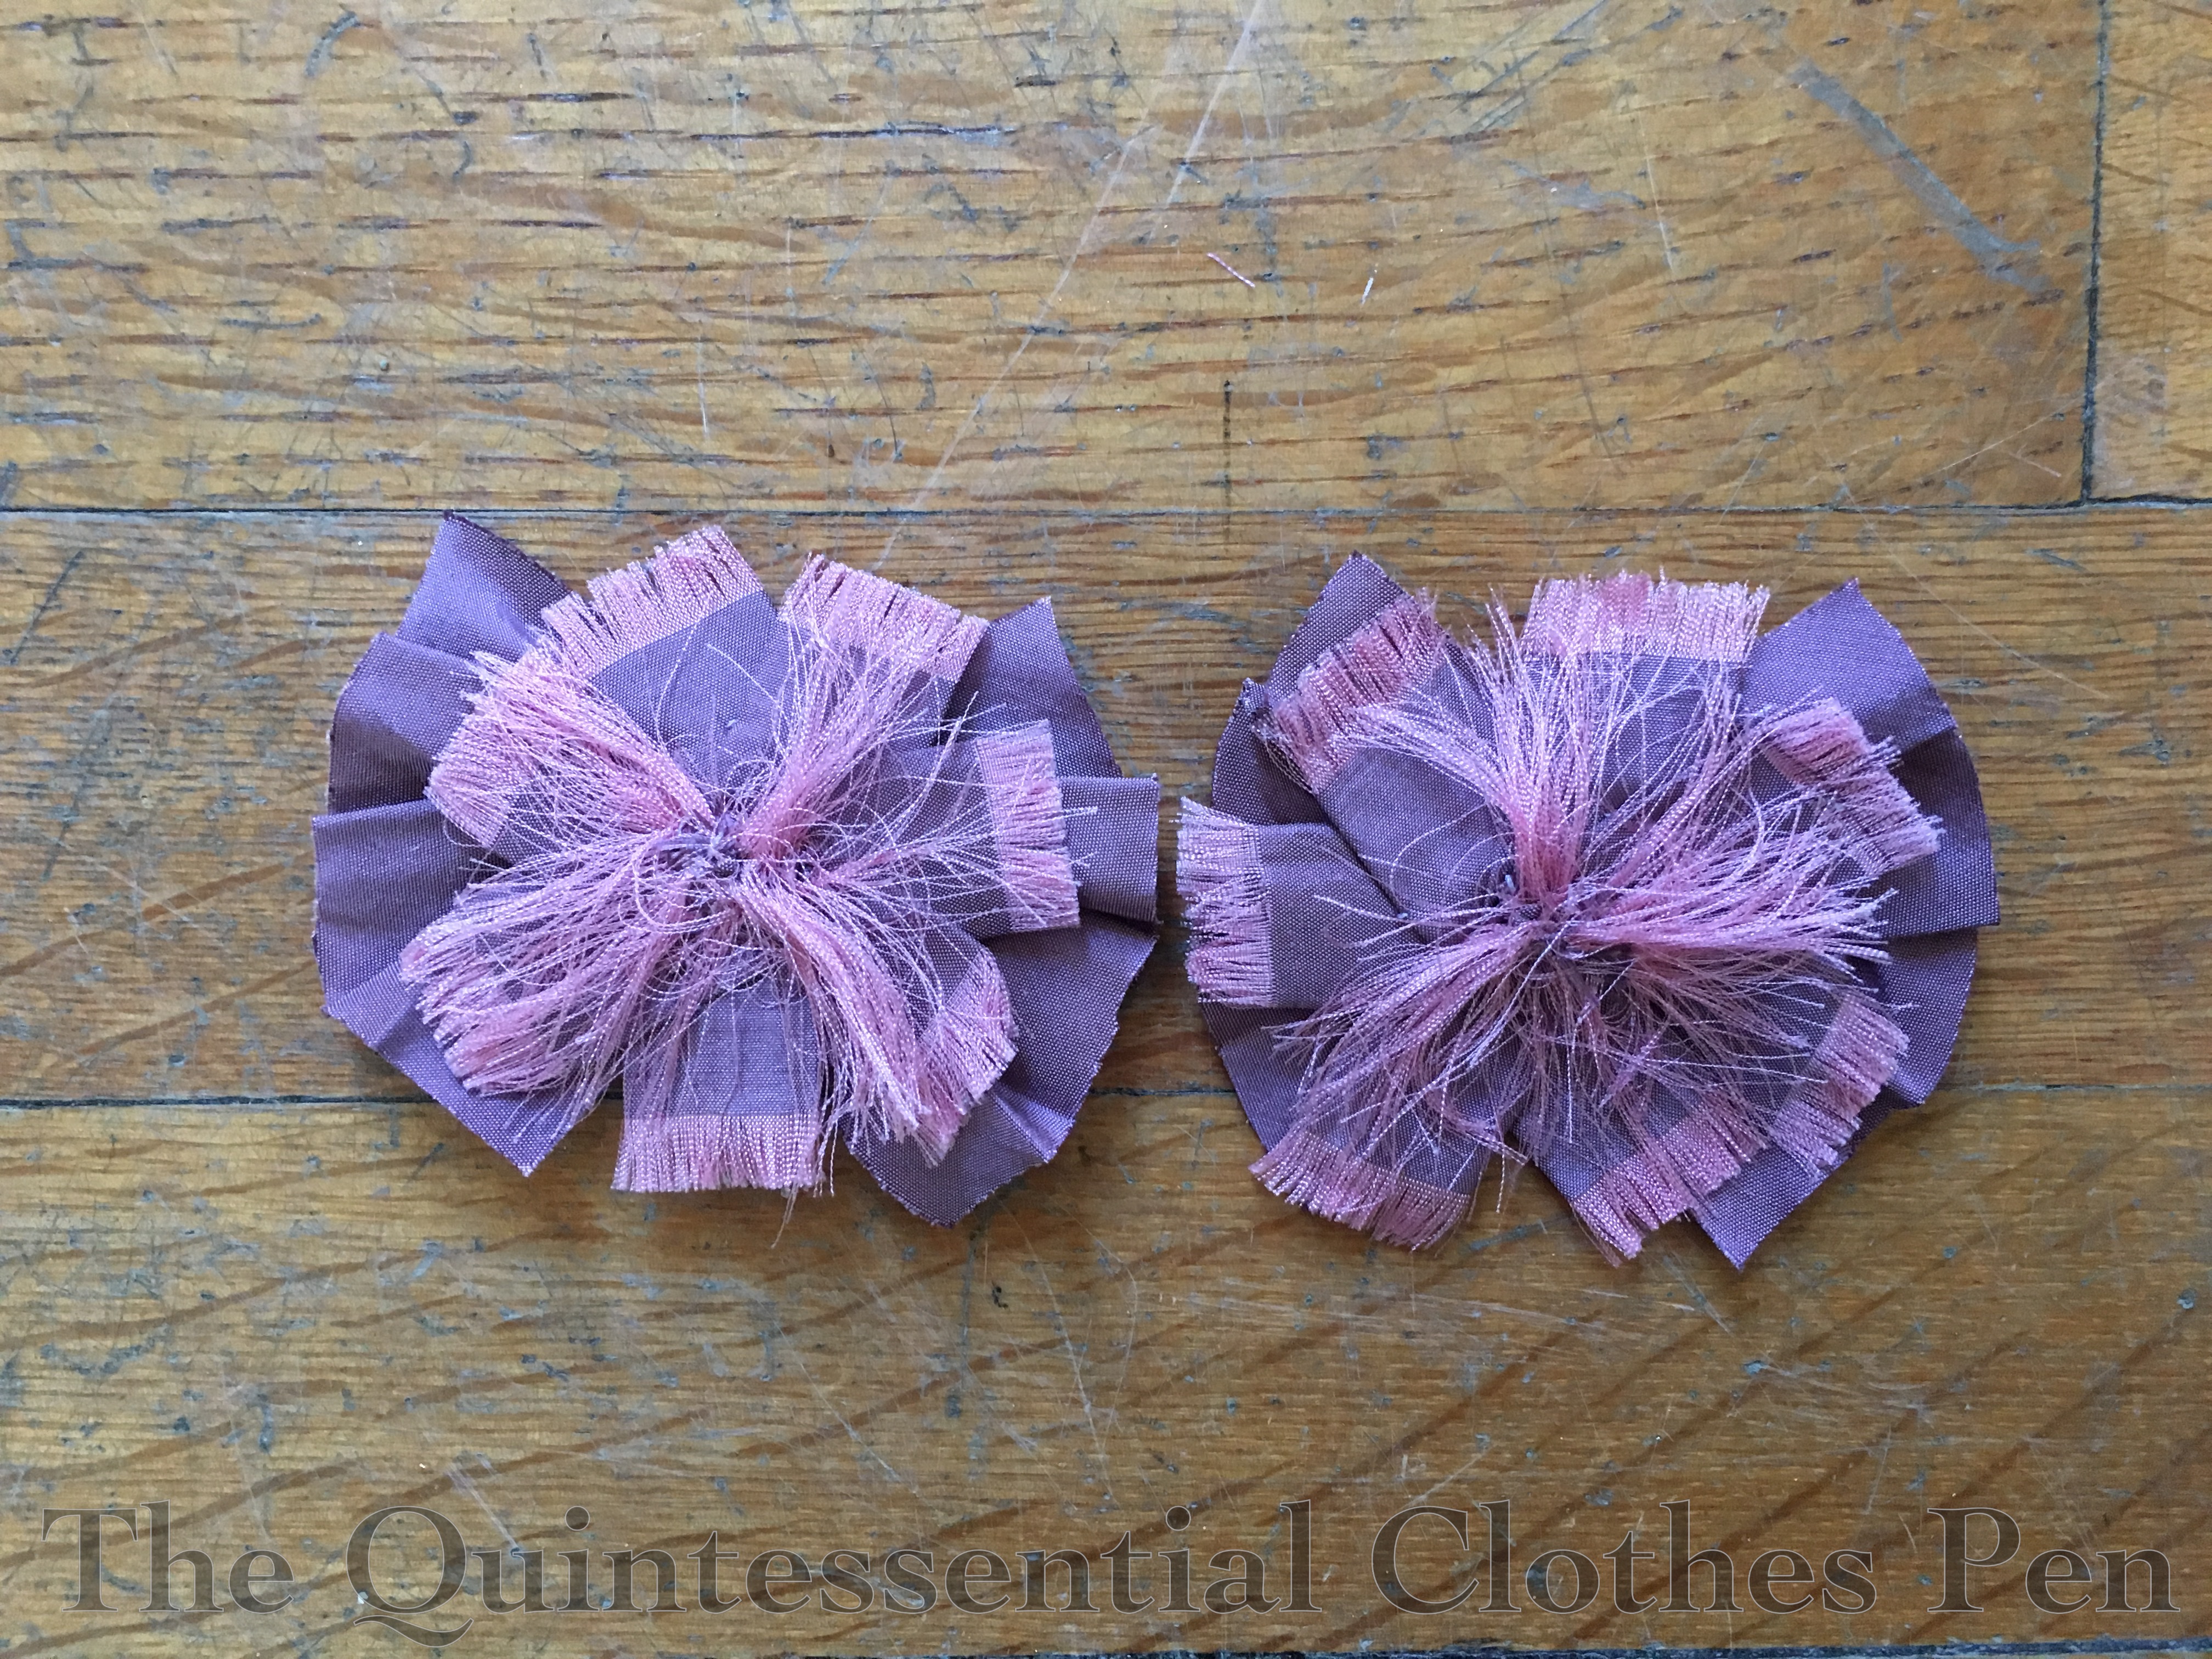
I was very excited when Gina posted a tutorial for making shoe pom poms in September 2014. I decided then and there, while reading the post, that I needed some of my own. It only took me about 18 months to get around to it… but I am happy to report that in April 2016, I finally used Gina’s tutorial to finish making my very own!
What prompted me to really go ahead with making the poms is that I wanted to have something to spruce up an older outfit I wore to the 4th Annual CVD Regency Dance Weekend, but didn’t have the time to create a new dress, as the Versailles sacque and 1885 Fancy Dress were all consuming. I suppose what I should really say is that what prompted me to finish the poms is the opportunity to wear them. I think I actually started them in late 2015.
Let me start by saying that Gina’s tutorial is clear and easy to follow. I highly recommend it!
My issues were all self inflicted… I carefully followed Gina’s instructions, got partway through the process and realized that the scale was much bigger than I remembered and that I didn’t like it at all on top of my foot. Oh no! (But in going back to link to Gina’s tutorial for this post I have realized that of course her poms are not the scale I wanted, because her poms are bigger than I ever intended! Oops! Totally my fault!)
The only solution I could see at the time was to cut off the ends of each pieces and re-fray the silk ends! UGH! It was not a fun process to fray the ends and I could not face the idea of doing it again. So I refused to work on the poms for months because I was so frustrated. Then, in March or April, I had the brainstorm to make the pieces shorter by cutting out the middle so I wouldn’t need to re-fray the ends. Duh! From there it was smooth sailing to finish up the poms.
Partially finished pom on top (using Gina’s original dimensions). My completed pom on the bottom (smaller in scale). The pin is for scale.
I used a purple silk shantung from my stash for this project so it would match my other purple accessories. The back of the poms have American Duchess shoe clips attached so that I can easily clip the poms to any shoes.
I was inspired by extant shoes with poms on the toes, such as these. You can also take a look through my Pinterest board to spot more pom-like shoe decorations.
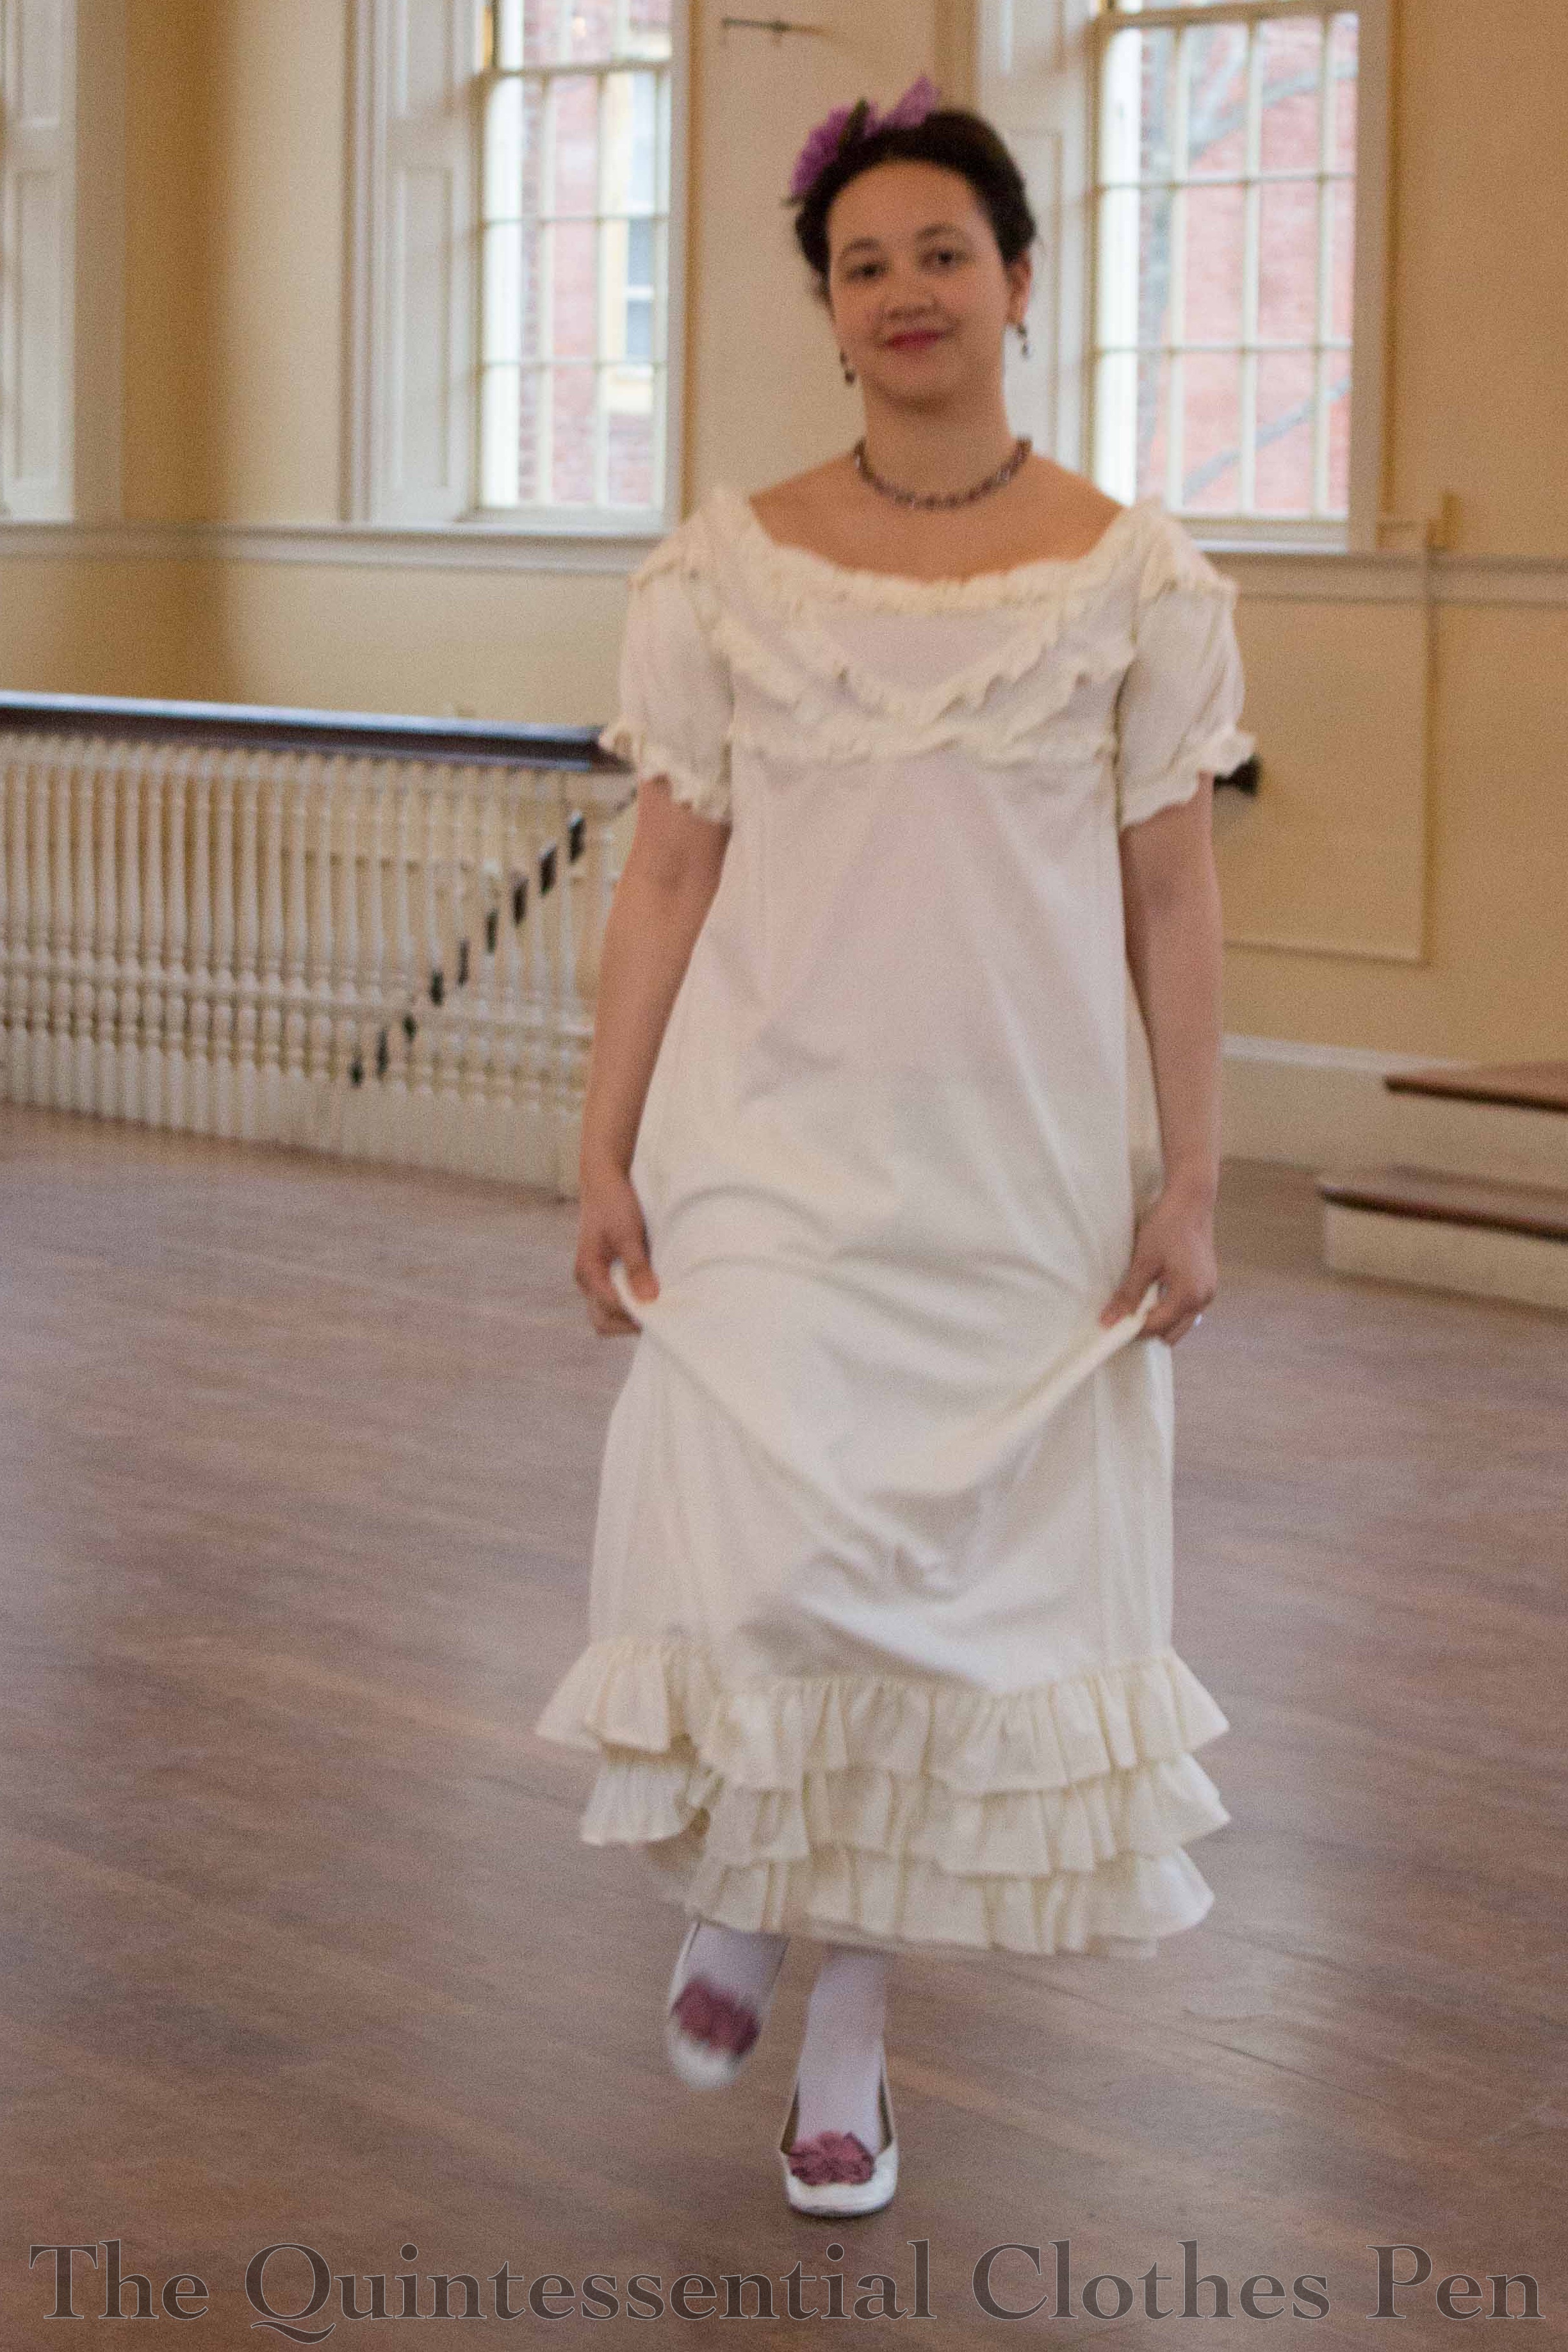
Poms in action! I really like the look of the neutral dress with the purple accessories.
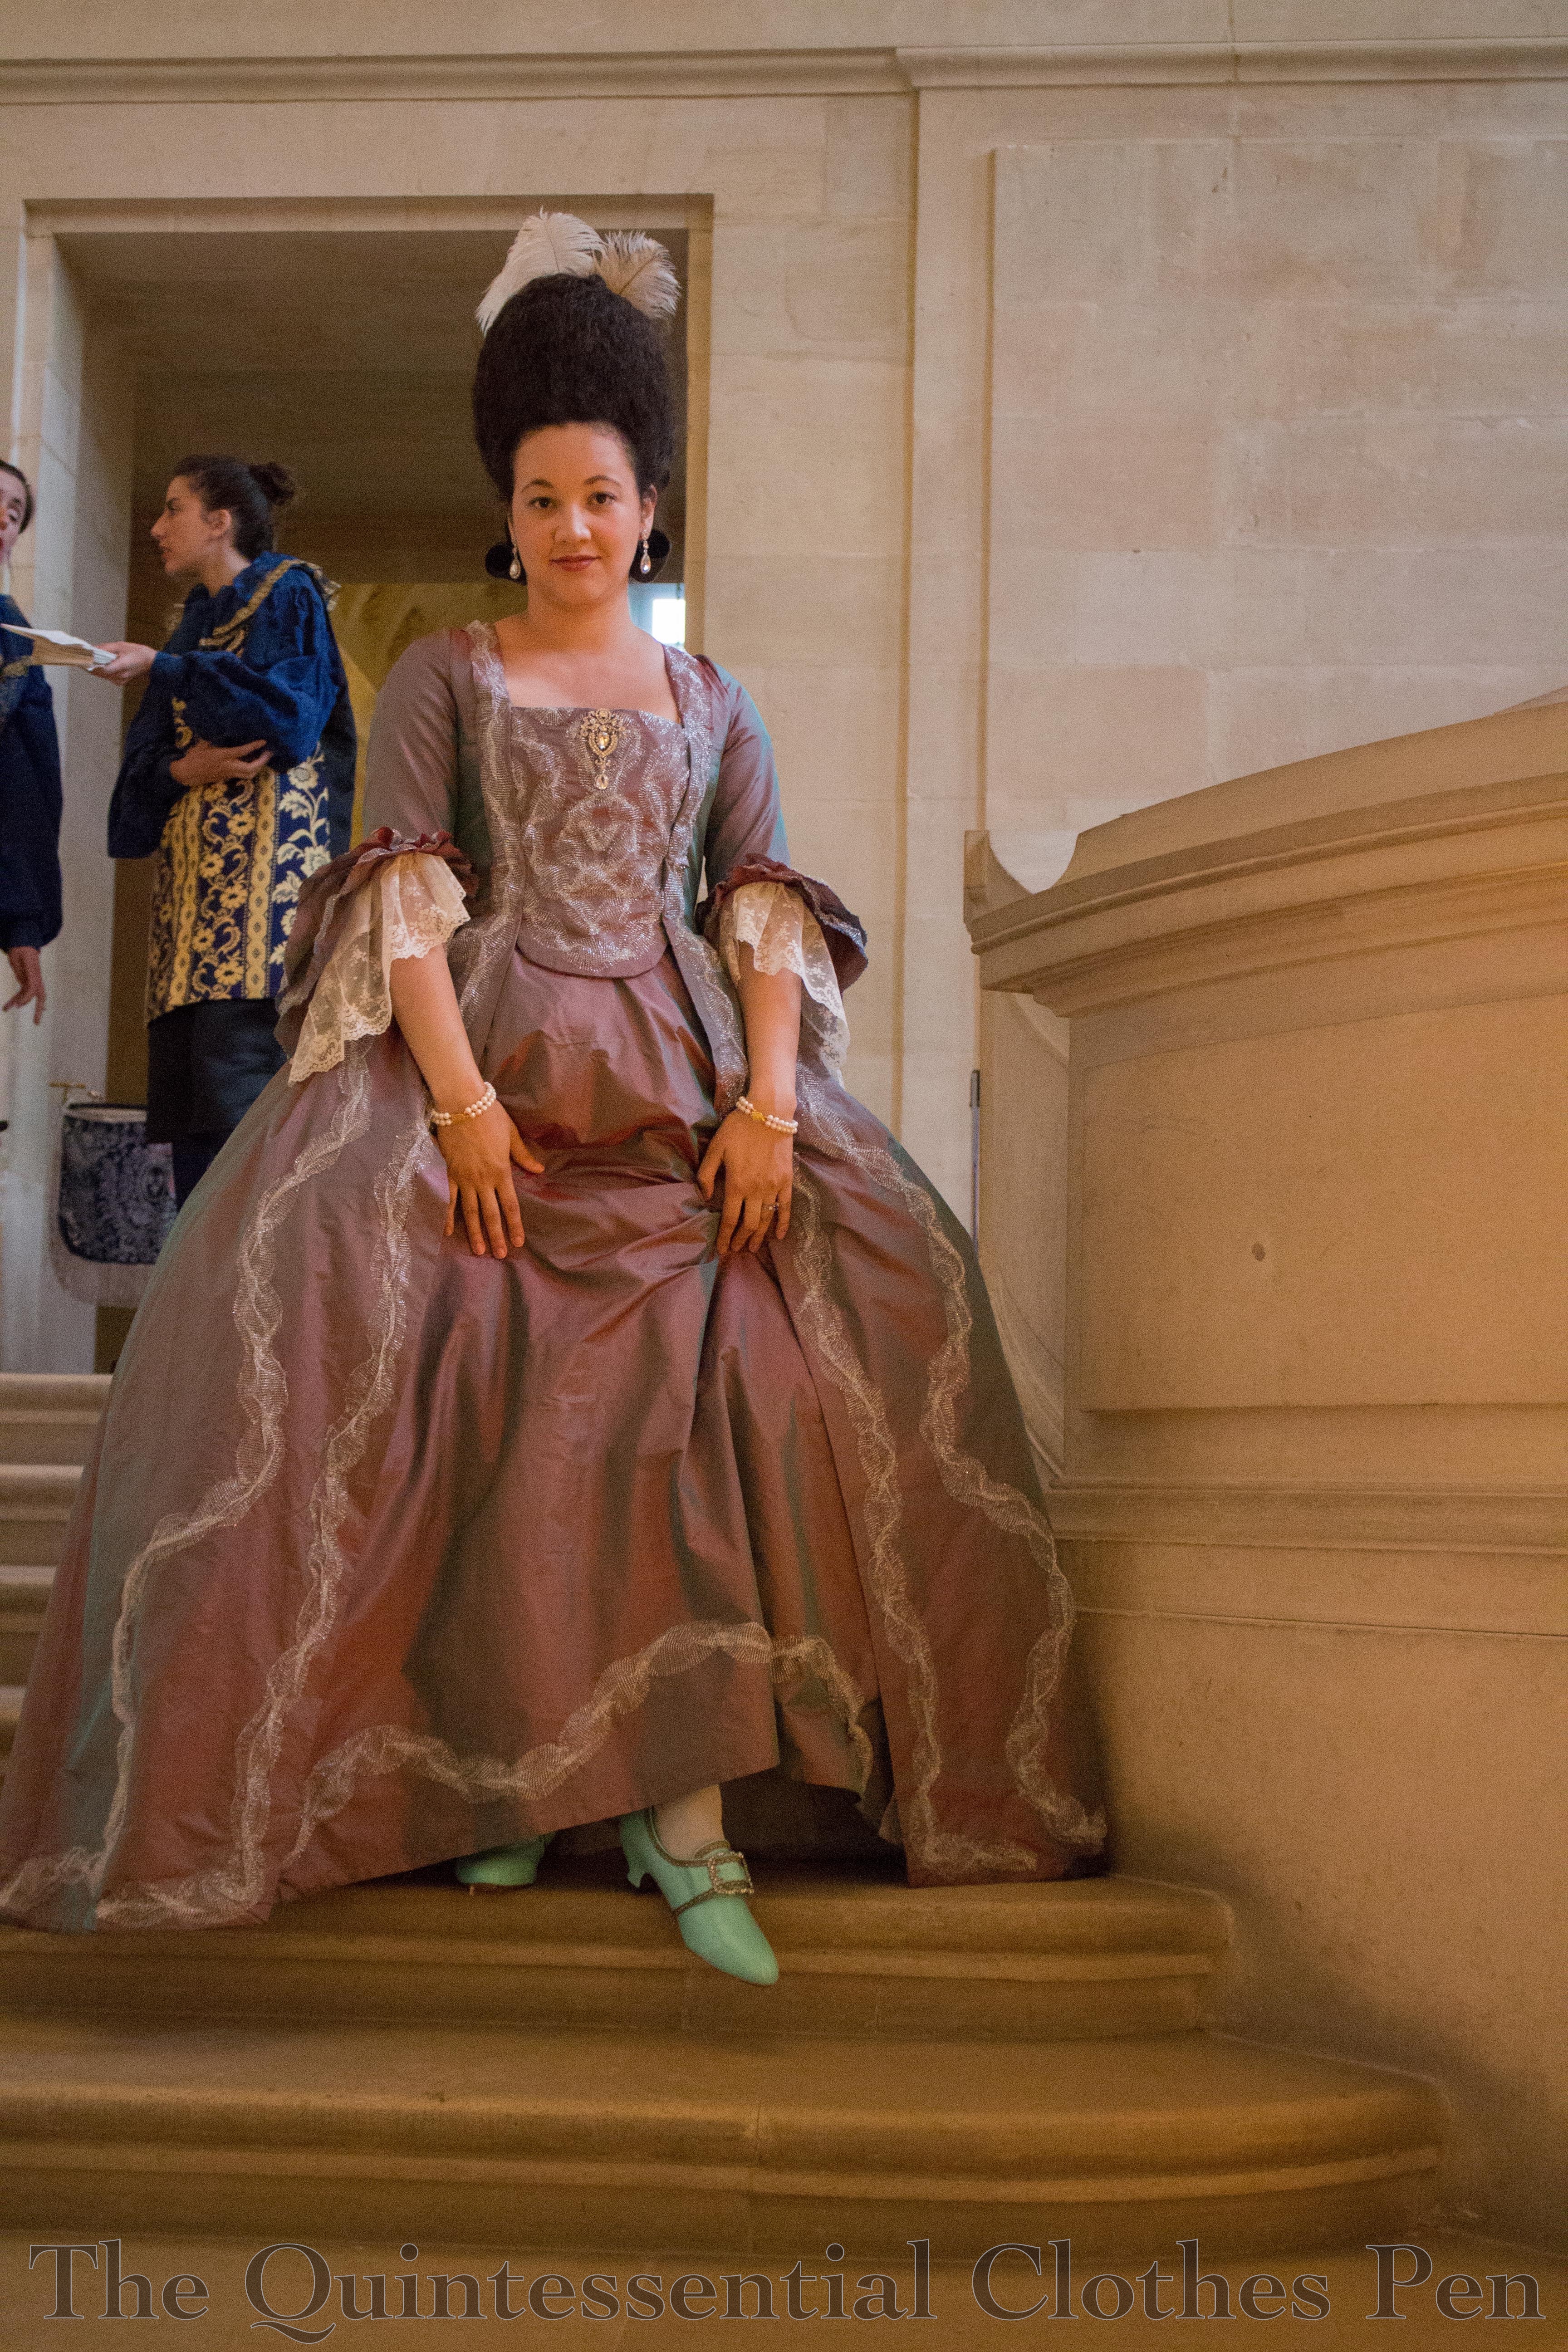
The change in plan resulted in new fabric and a new plan. I stuck with the decade of the 1770s, but decided to make a robe a la francaise, or sacque, instead of a robe de cour as it seemed like a garment I might be more likely to wear again in the future. Accordingly, I found and ordered new fabric: 11 yards of a very lightweight changeable silk ‘lutestring’ from Burnley and Trowbridge. Luckily, the new fabric still worked with the metallic silver net I’d purchased for trim. It’s the same metallic silver net that is on my 1885 Night Sky Fancy Dress, just cut into strips.
Regarding the pattern, I found some of the directions to be confusing. For example, making the petticoat seemed way overcomplicated. You can read more details about how I made my petticoat here. Also, I found the directions for pleating the front robings/facing and the back pleats quite confusing. There, I was saved by this post written by AJ who also used the JP Ryan pattern, got confused, and posted about the confusing bits. Very helpful! Aside from the confusing directions, the gown pieces went together perfectly with no trouble. I did have to alter the front strap area to make the front sit flat against my body. Two friends who used this same pattern did not have to make that adjustment, so I chalk it up to differing body shapes but do not think it negatively affects the pattern.
The lining of the gown is made from a one yard piece of cotton/linen blend from my stash. Also from my stash and used inside the gown were a scrap of medium blue linen and a scrap of medium blue cotton twill used to interface the stomacher. These were all the bits left of those three stash fabrics–yay! I was also amused that all of the random non-silk fabrics in this gown and petticoat wound up being blue. I used my lining as my mockup, meaning that I had to take a dart in the front strap area, but was able to adjust the pattern to eliminate the dart before cutting out the silk.
The back of the lining is adjustable using a tie threaded through eyelets. The edges are boned with reed. The pattern suggests ties, but you also see lacing in extant garments and this seemed easier to adjust and that it would use less length for the tie(s). There are examples of both ties and lacing on my Pinterest board for this project. The tie is a 1/4″ cotton twill tape. It’s not accurate, but did the job.
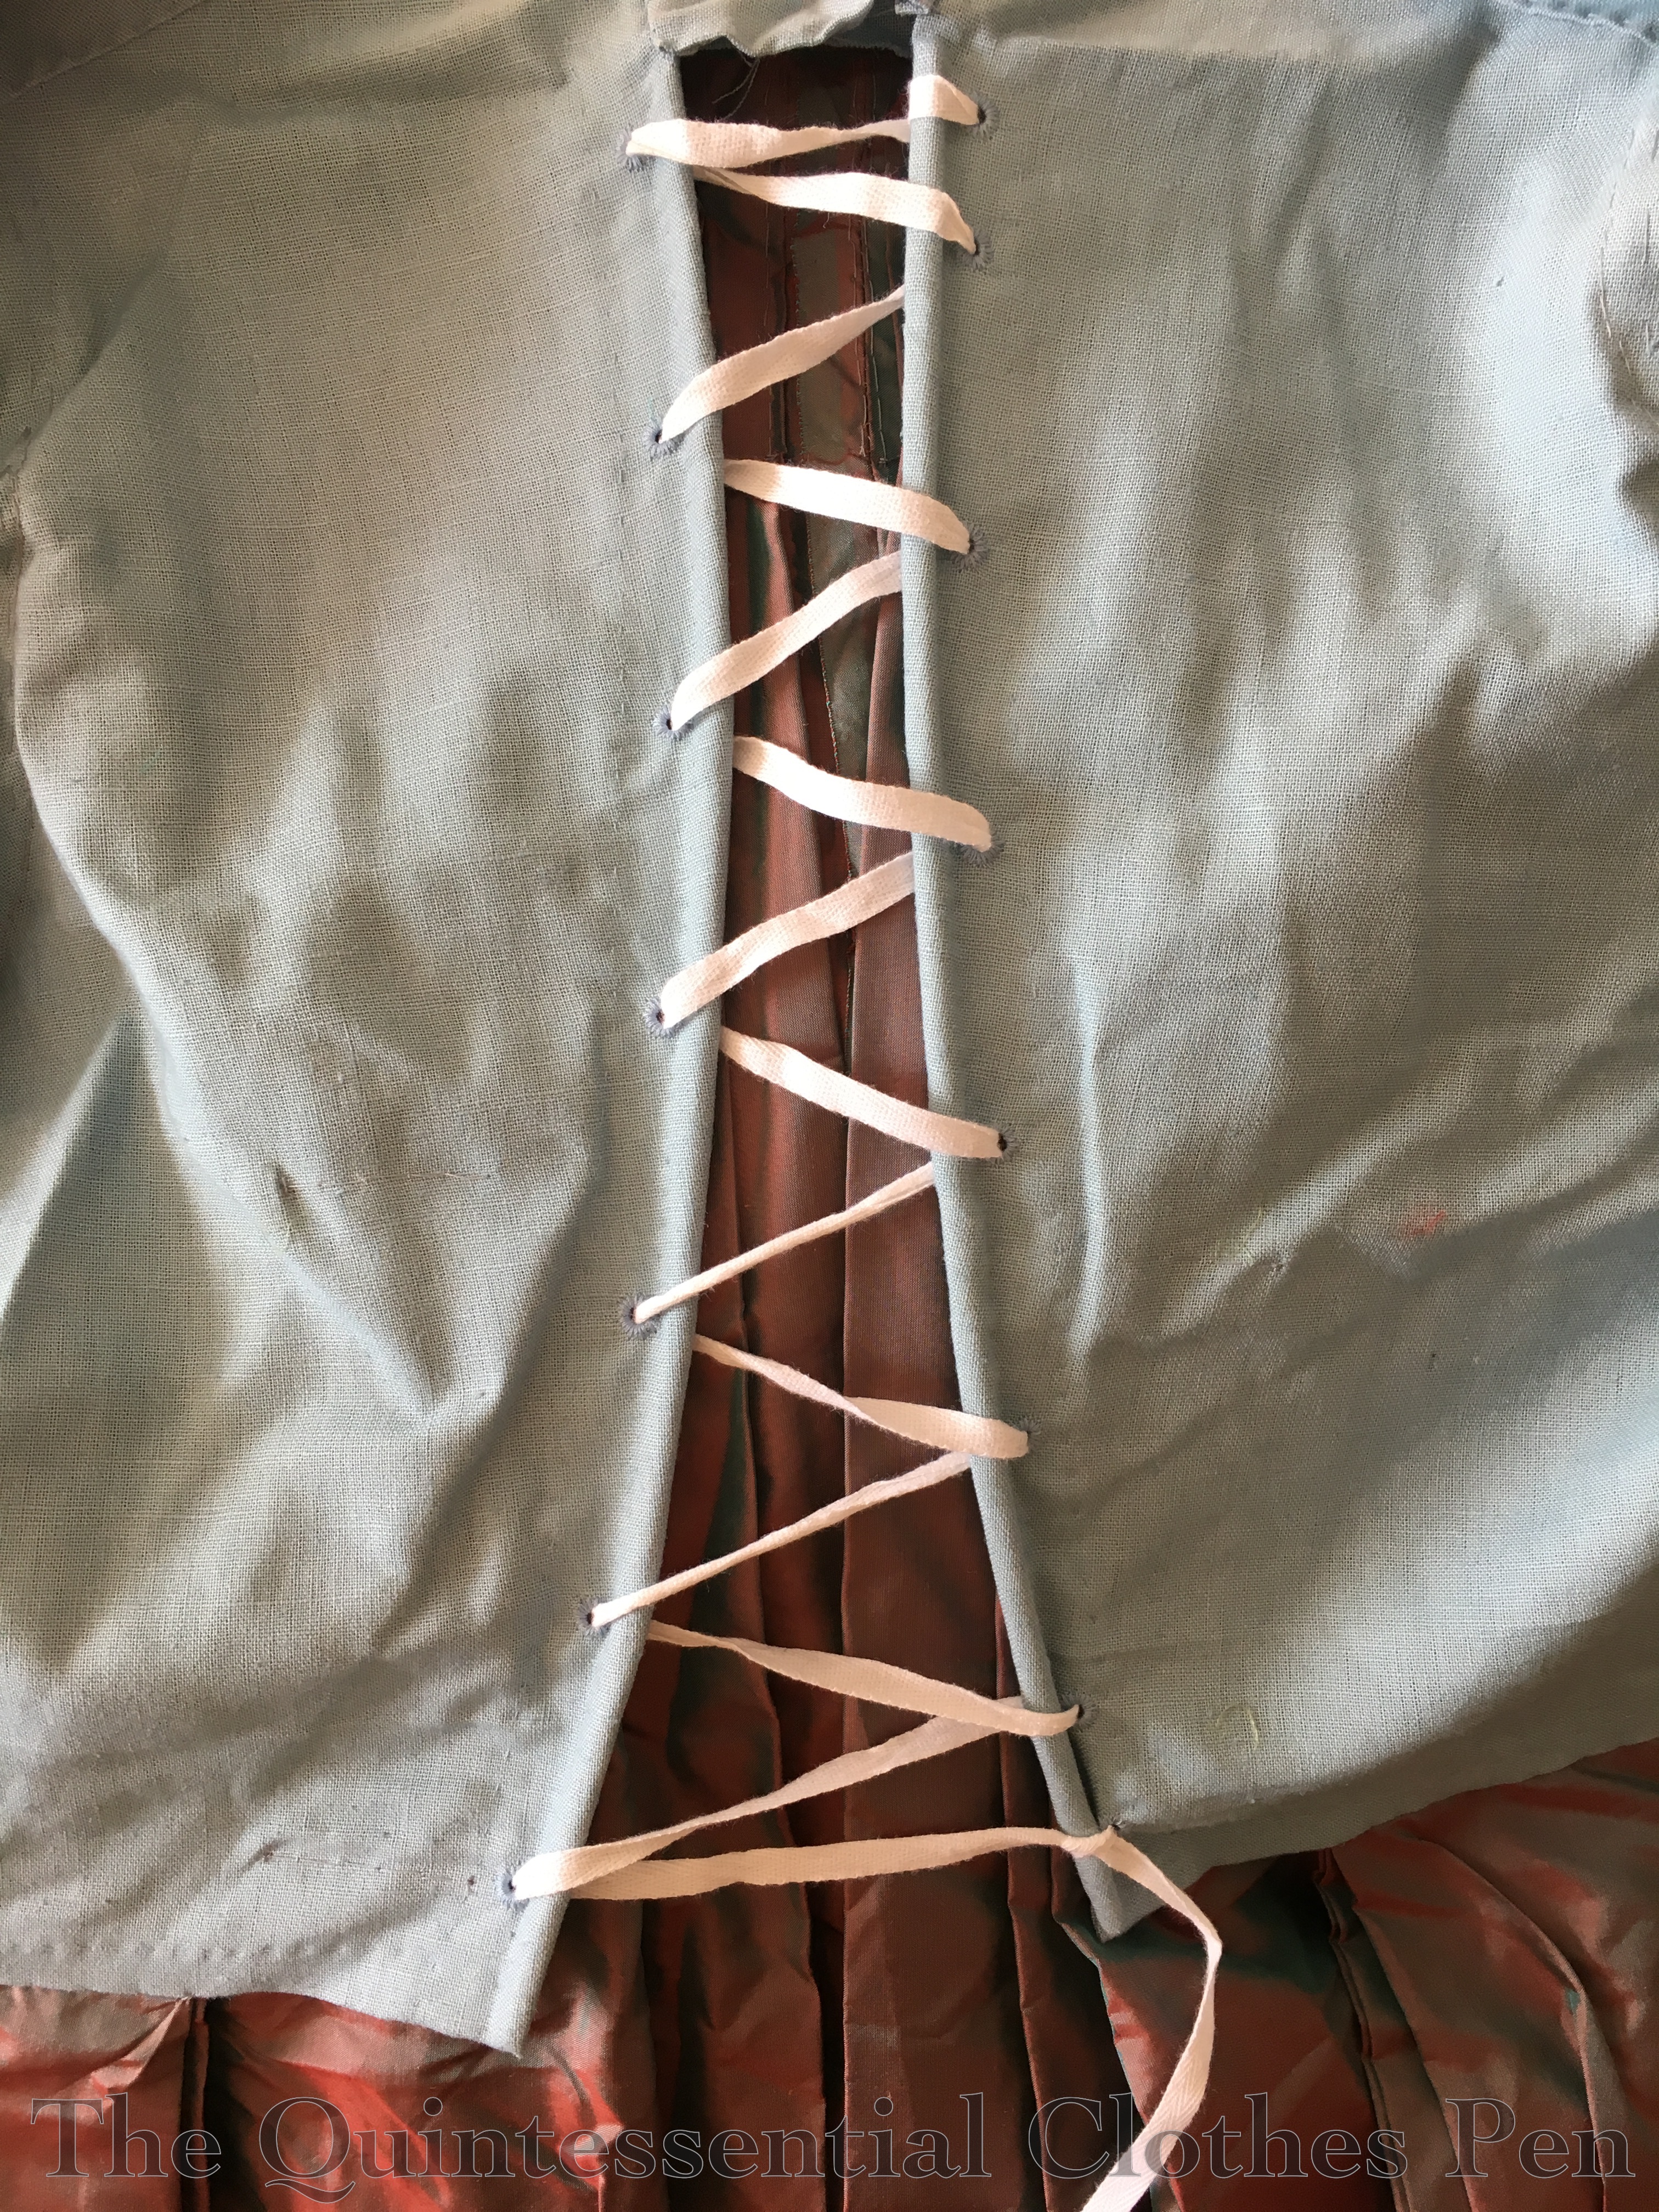
Underneath the decorative stomacher, the gown closes with lacing panels attached to the lining. Again, mine laces closed using twill tape.
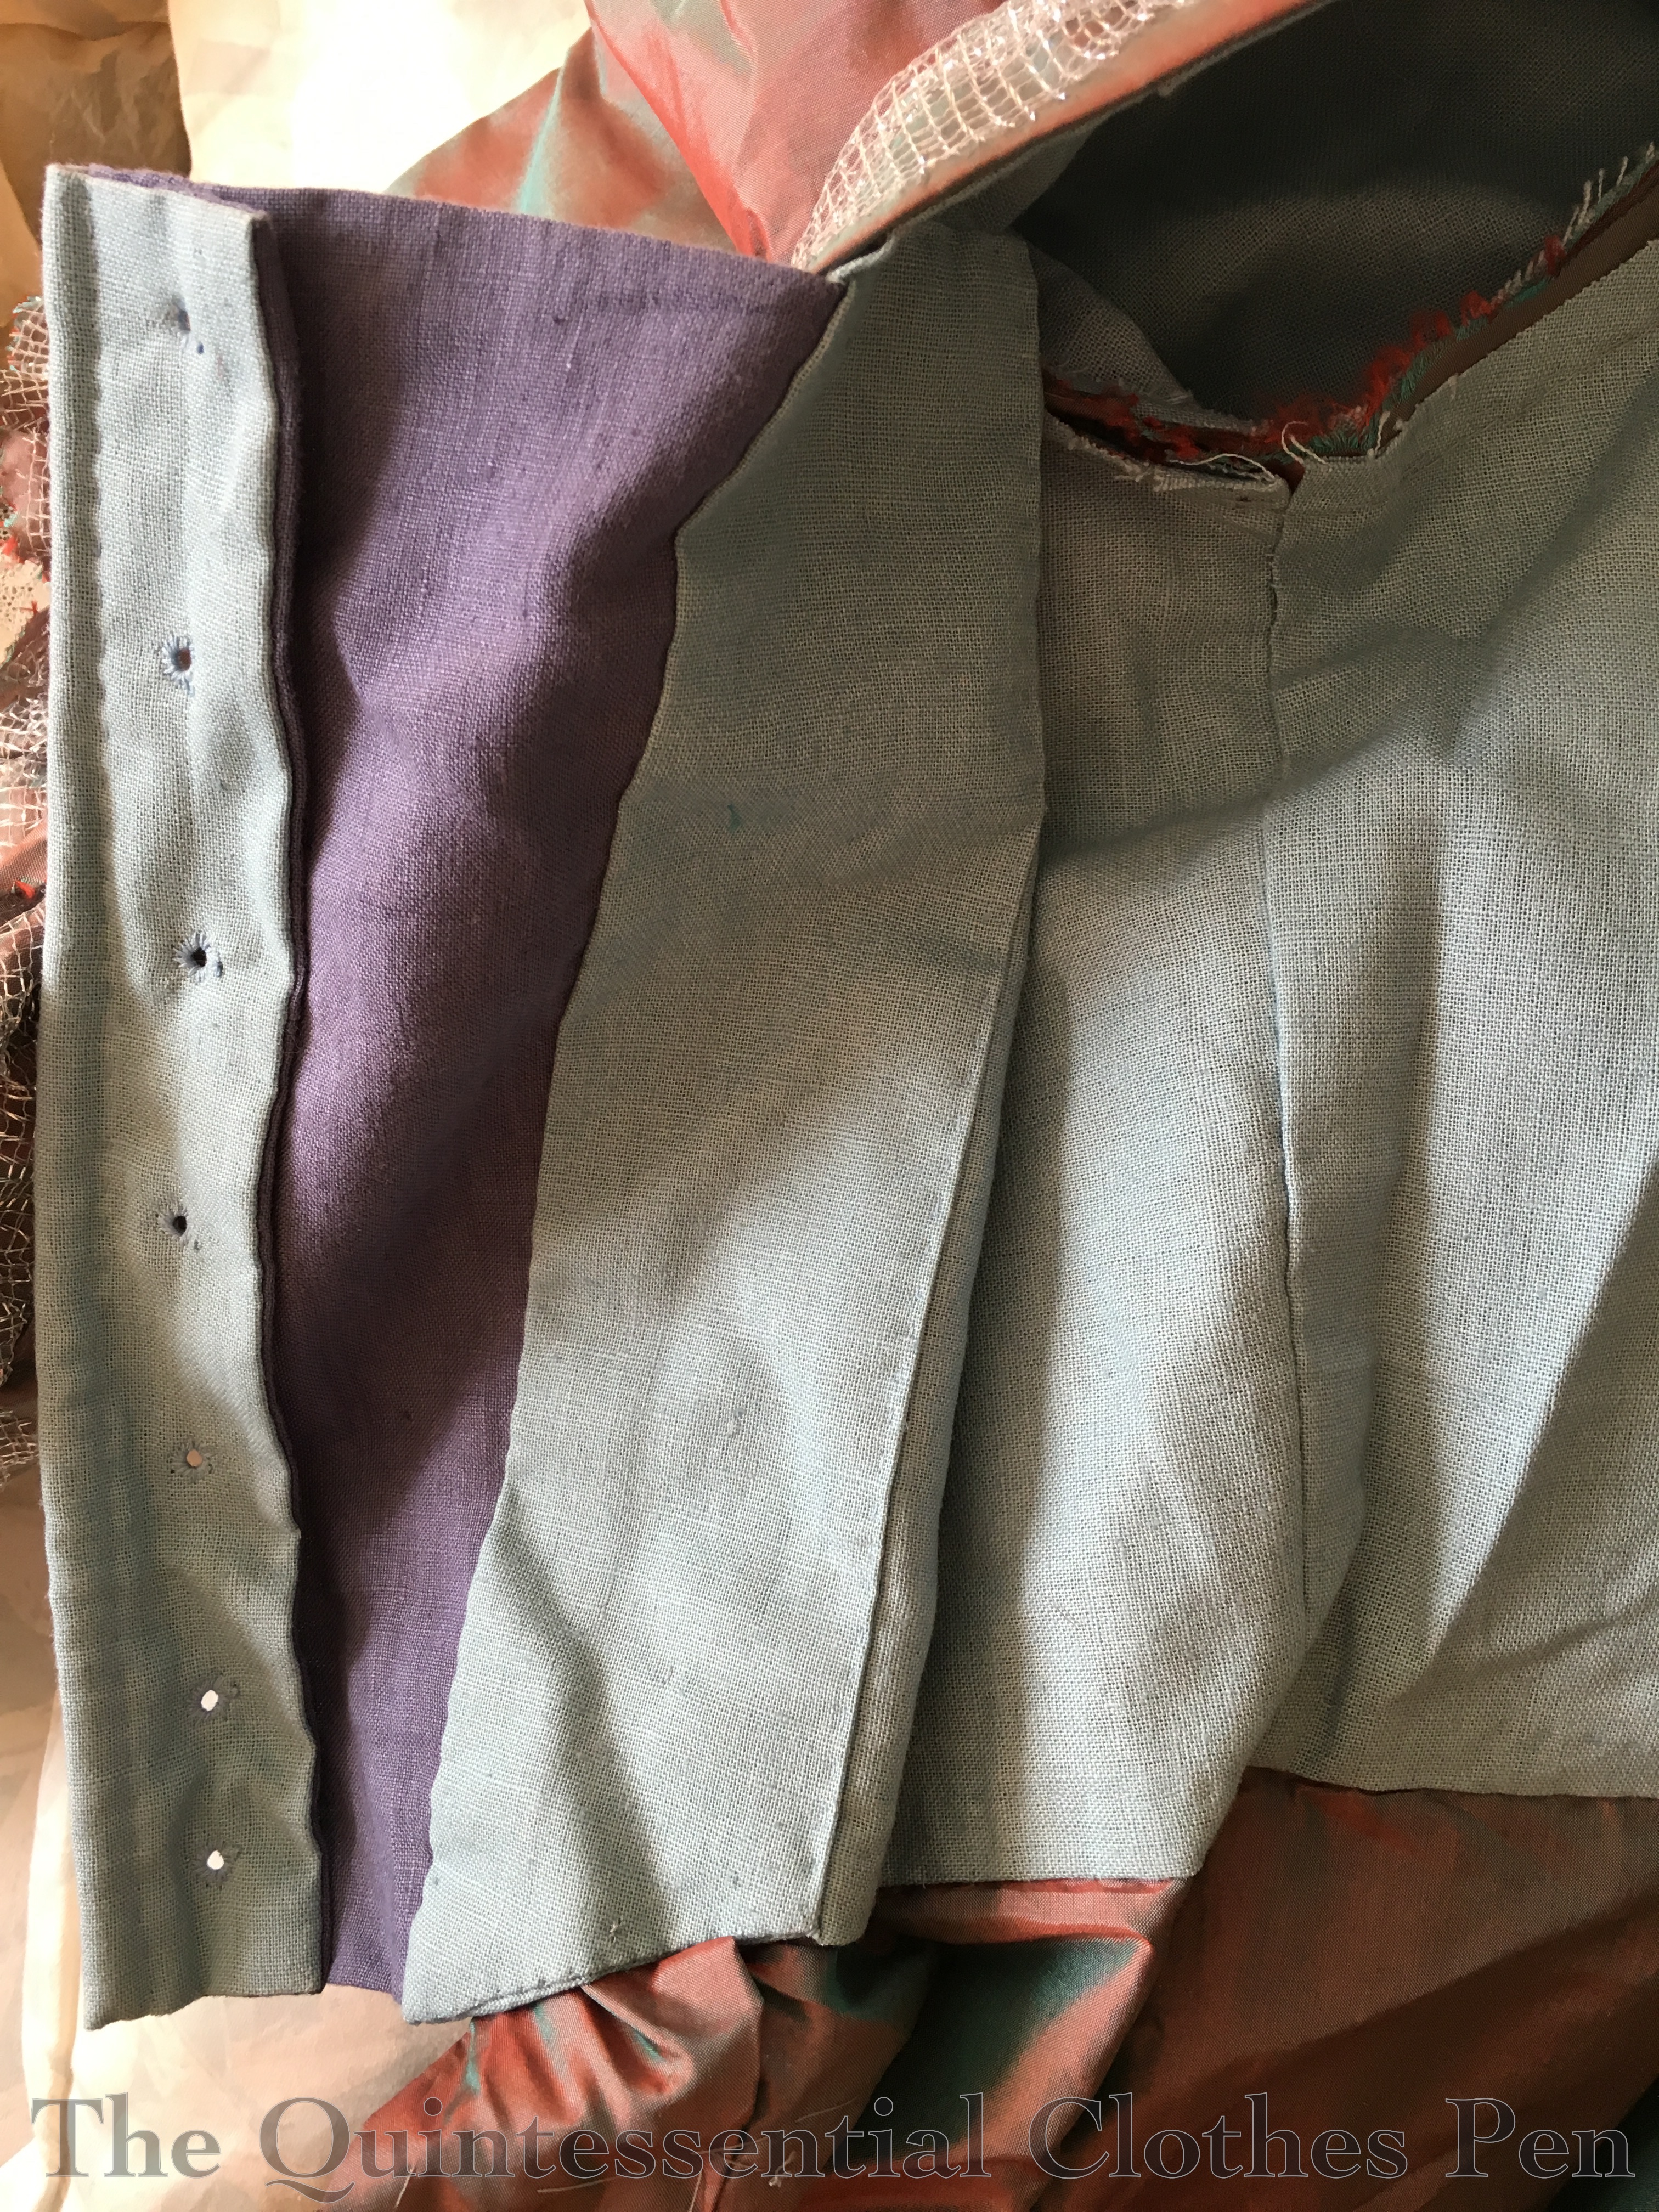
This is the inside of the front lacing panels. You can see the medium blue linen backing. I think I had run out of the cotton/linen blend at that point. As is usual with 18th century garments, the armhole is left unfinished.
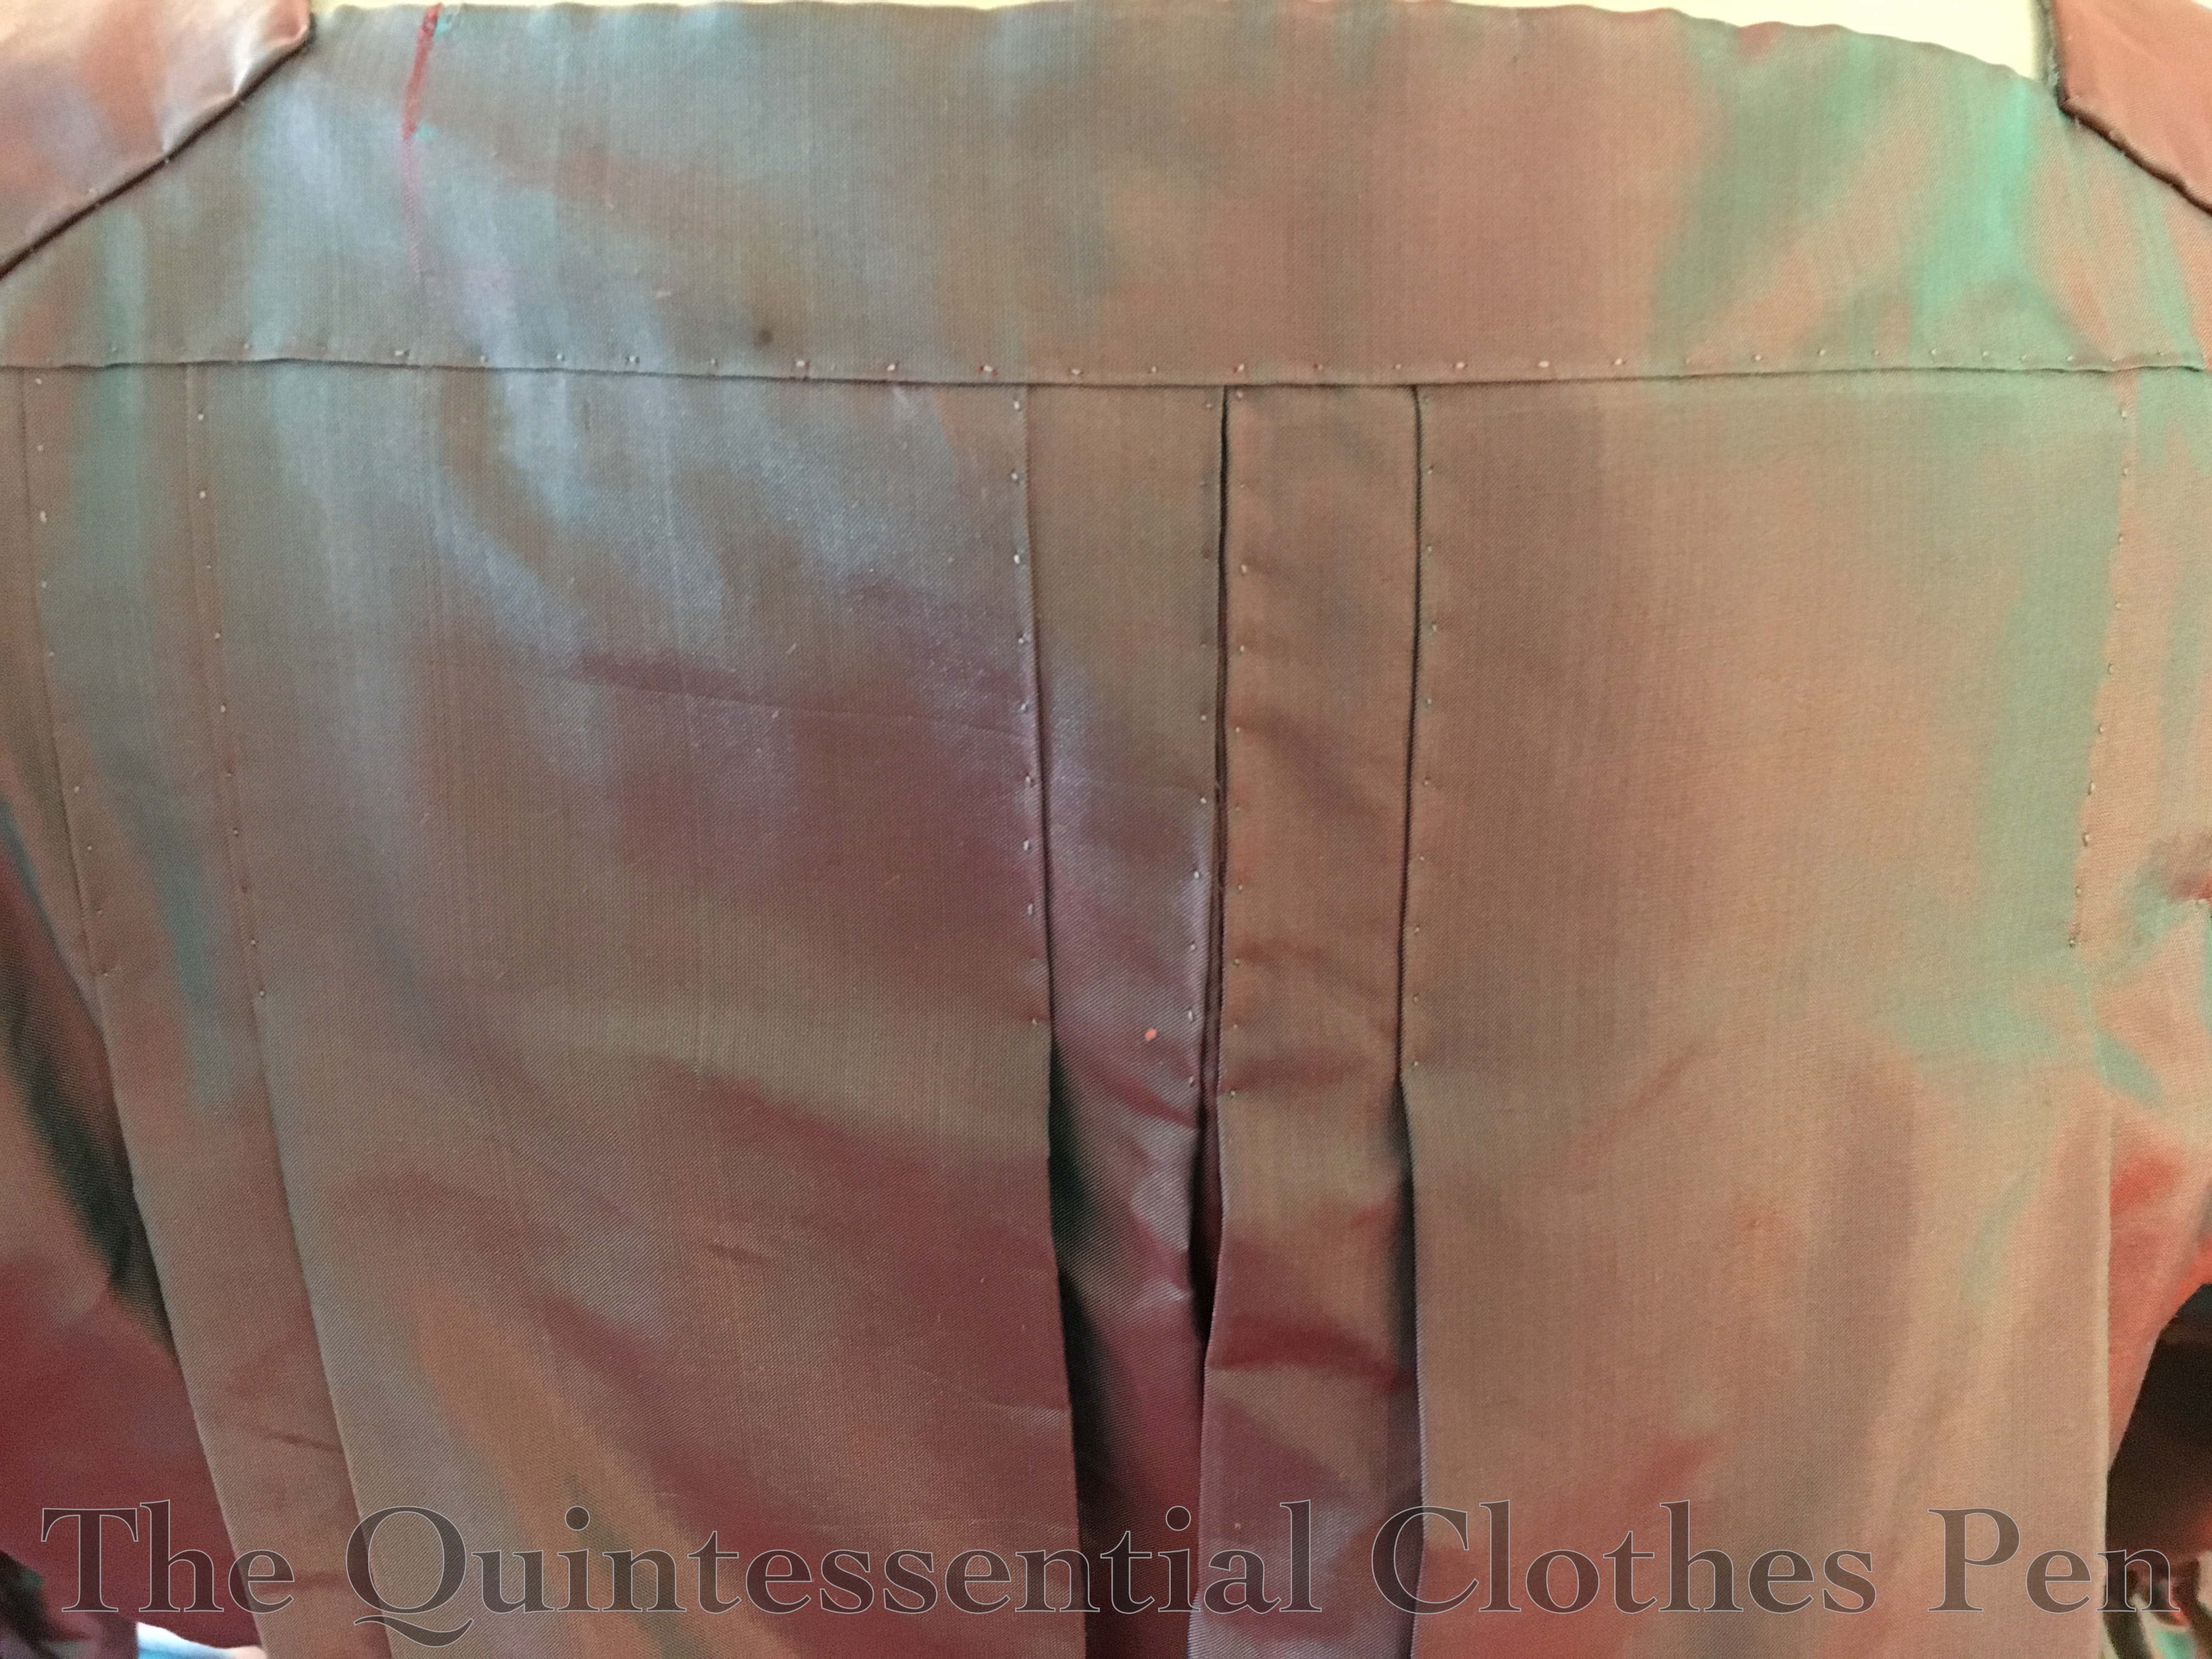
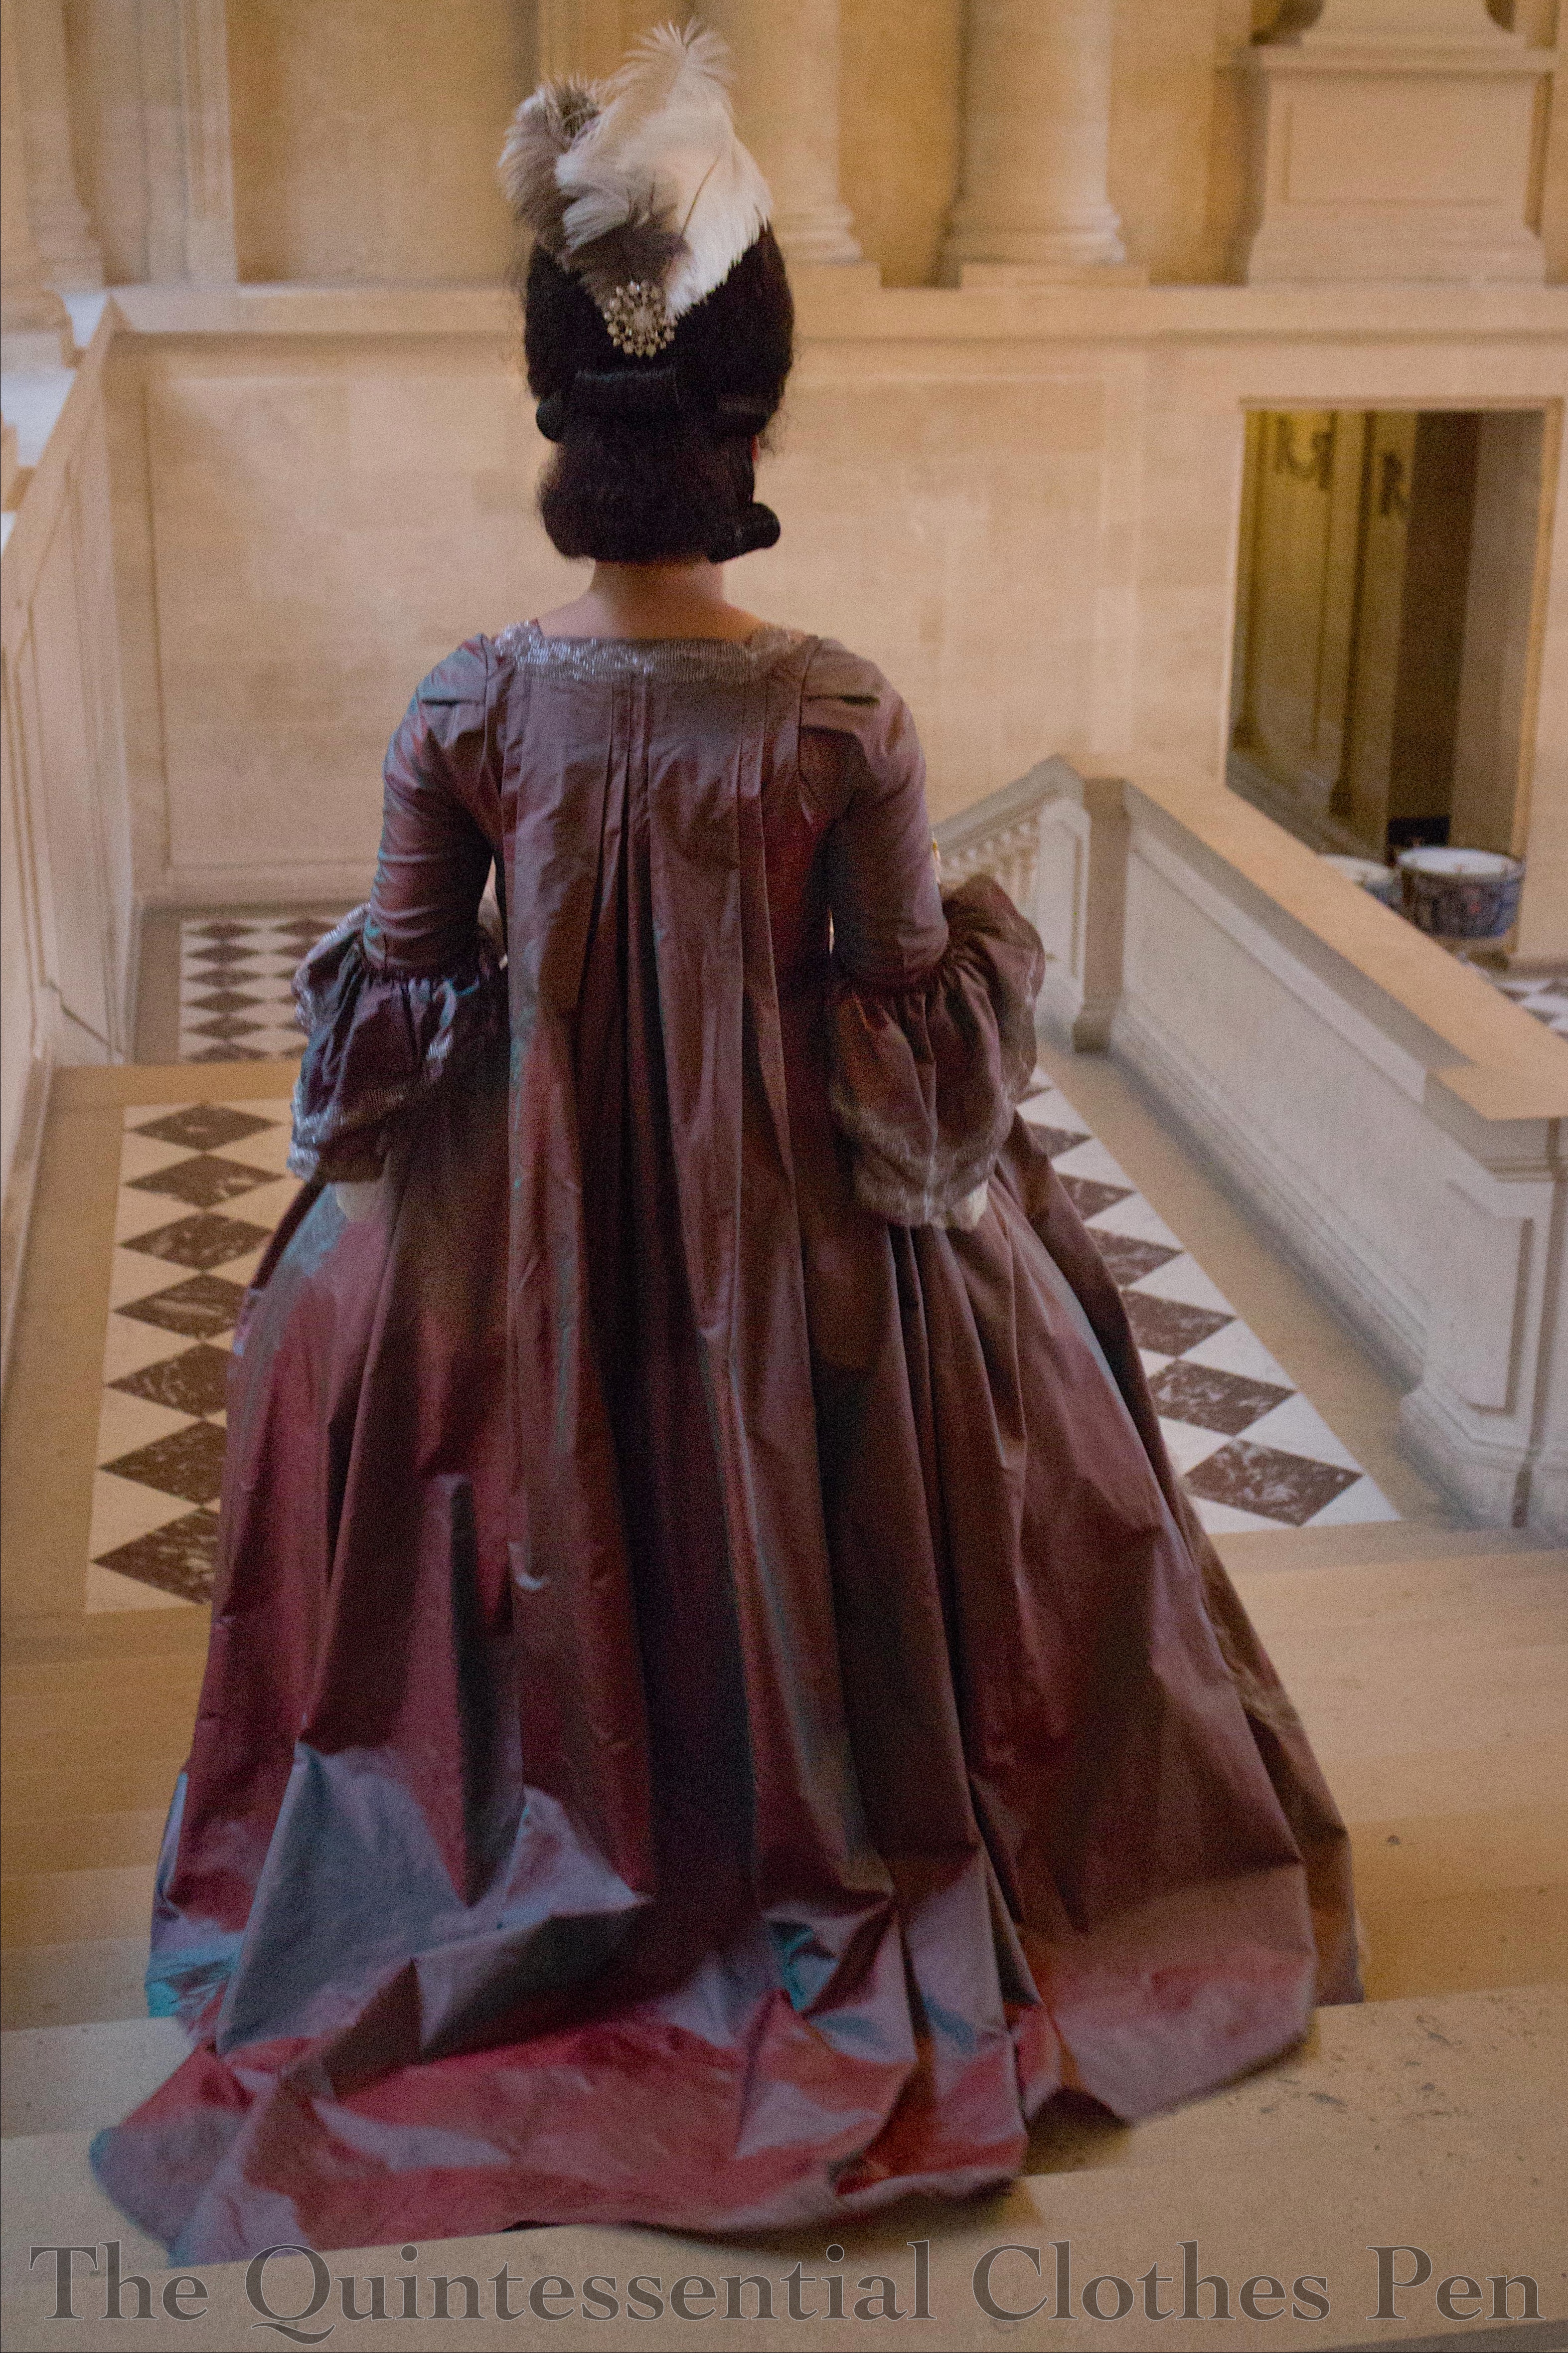
Here’s a close up of the back pleats. These are stitched all the way through to the lining. The directions for the pleats were slightly confusing, but made sense once I started fiddling with my fabric. It was important that I had transferred all the markings from the pattern to make the pleating easier to understand. The pattern uses another four pleats pleats, underneath these, that you can’t see to add volume to the back.
Due to the unexpected nature of the purchase of the silk fabric for this gown, I decided to do that fabric justice by hand sewing the entire garment. So in addition to the exterior stitching like that anchoring the pleats on the back, all of the interior seams are also hand sewn. I rather enjoy hand sewing and it makes a lot more sense given the way 18th century garments were constructed.
Here is the gown mostly sewn in its essential elements, but lacking trim. The sleeve flounces were individually gathered and sewn to the arm openings. They are pinked with scalloped shears on the top and bottom edges.
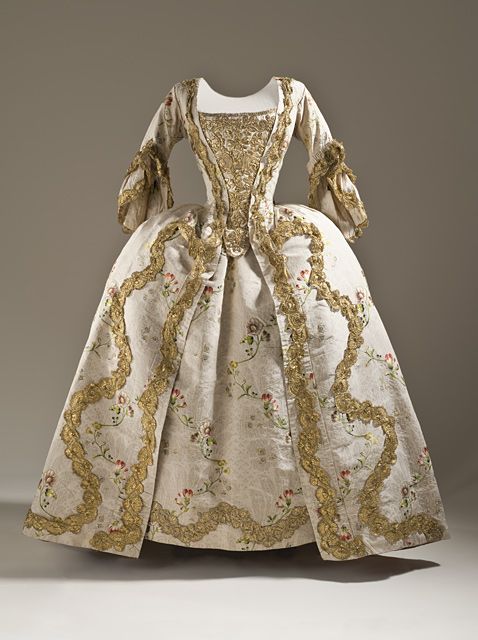
The following image is the gown that I followed in terms of trim placement. It took many more hours than I thought it would to pin the trim on. Those big waves are more complicated than they look, plus I had the challenge of creating the smaller scallops as I went along as well. All of the trim had to be sewn along both sides and tacked at each scrunch after it had been pinned.
Robe a la Francaise. 1765. LACMA.
You can see that I pressed my robings down all the way to the hem, though once the trim was applied on top it was really not very noticeable. I like the finished result, but I think it’s worth pointing out that this pattern is designed to have a wide stomacher. I was envisioning it coming out a little narrower at the waist. But I think adjusting the back opening enough to make a noticeable difference would only create awkward wrinkles under the arms.
The finished stomacher was covered in scalloped trim and finished off with a sparkly brooch. I went to France with an untrimmed stomacher and no clear idea about how I wanted to trim it except that I wanted it to be an all over metallic feast for the eyes. Luckily, early in the trip I was able to go see the 300 Centuries of Fashion exhibit at Les Arts Decoratifs. In addition to being amazing (I got to stand within 6 feet of Dior’s Bar Suit and see many garments I’ve only ever seen on Pinterest!), I also took a picture of a stomacher that was inspirational in terms of the overall wavy patterns and filler shapes. That picture is below.
Trimming the stomacher took place in the evenings in the few days before the special event. Here is the stomacher in progress. I took it specifically to show the amazing green color that the fabric can appear from some angles. I was hoping to get a picture of the finished gown looking this color, but had to be content with seeing shades of green in some of the pictures as we didn’t capture any where the whole gown was this color.
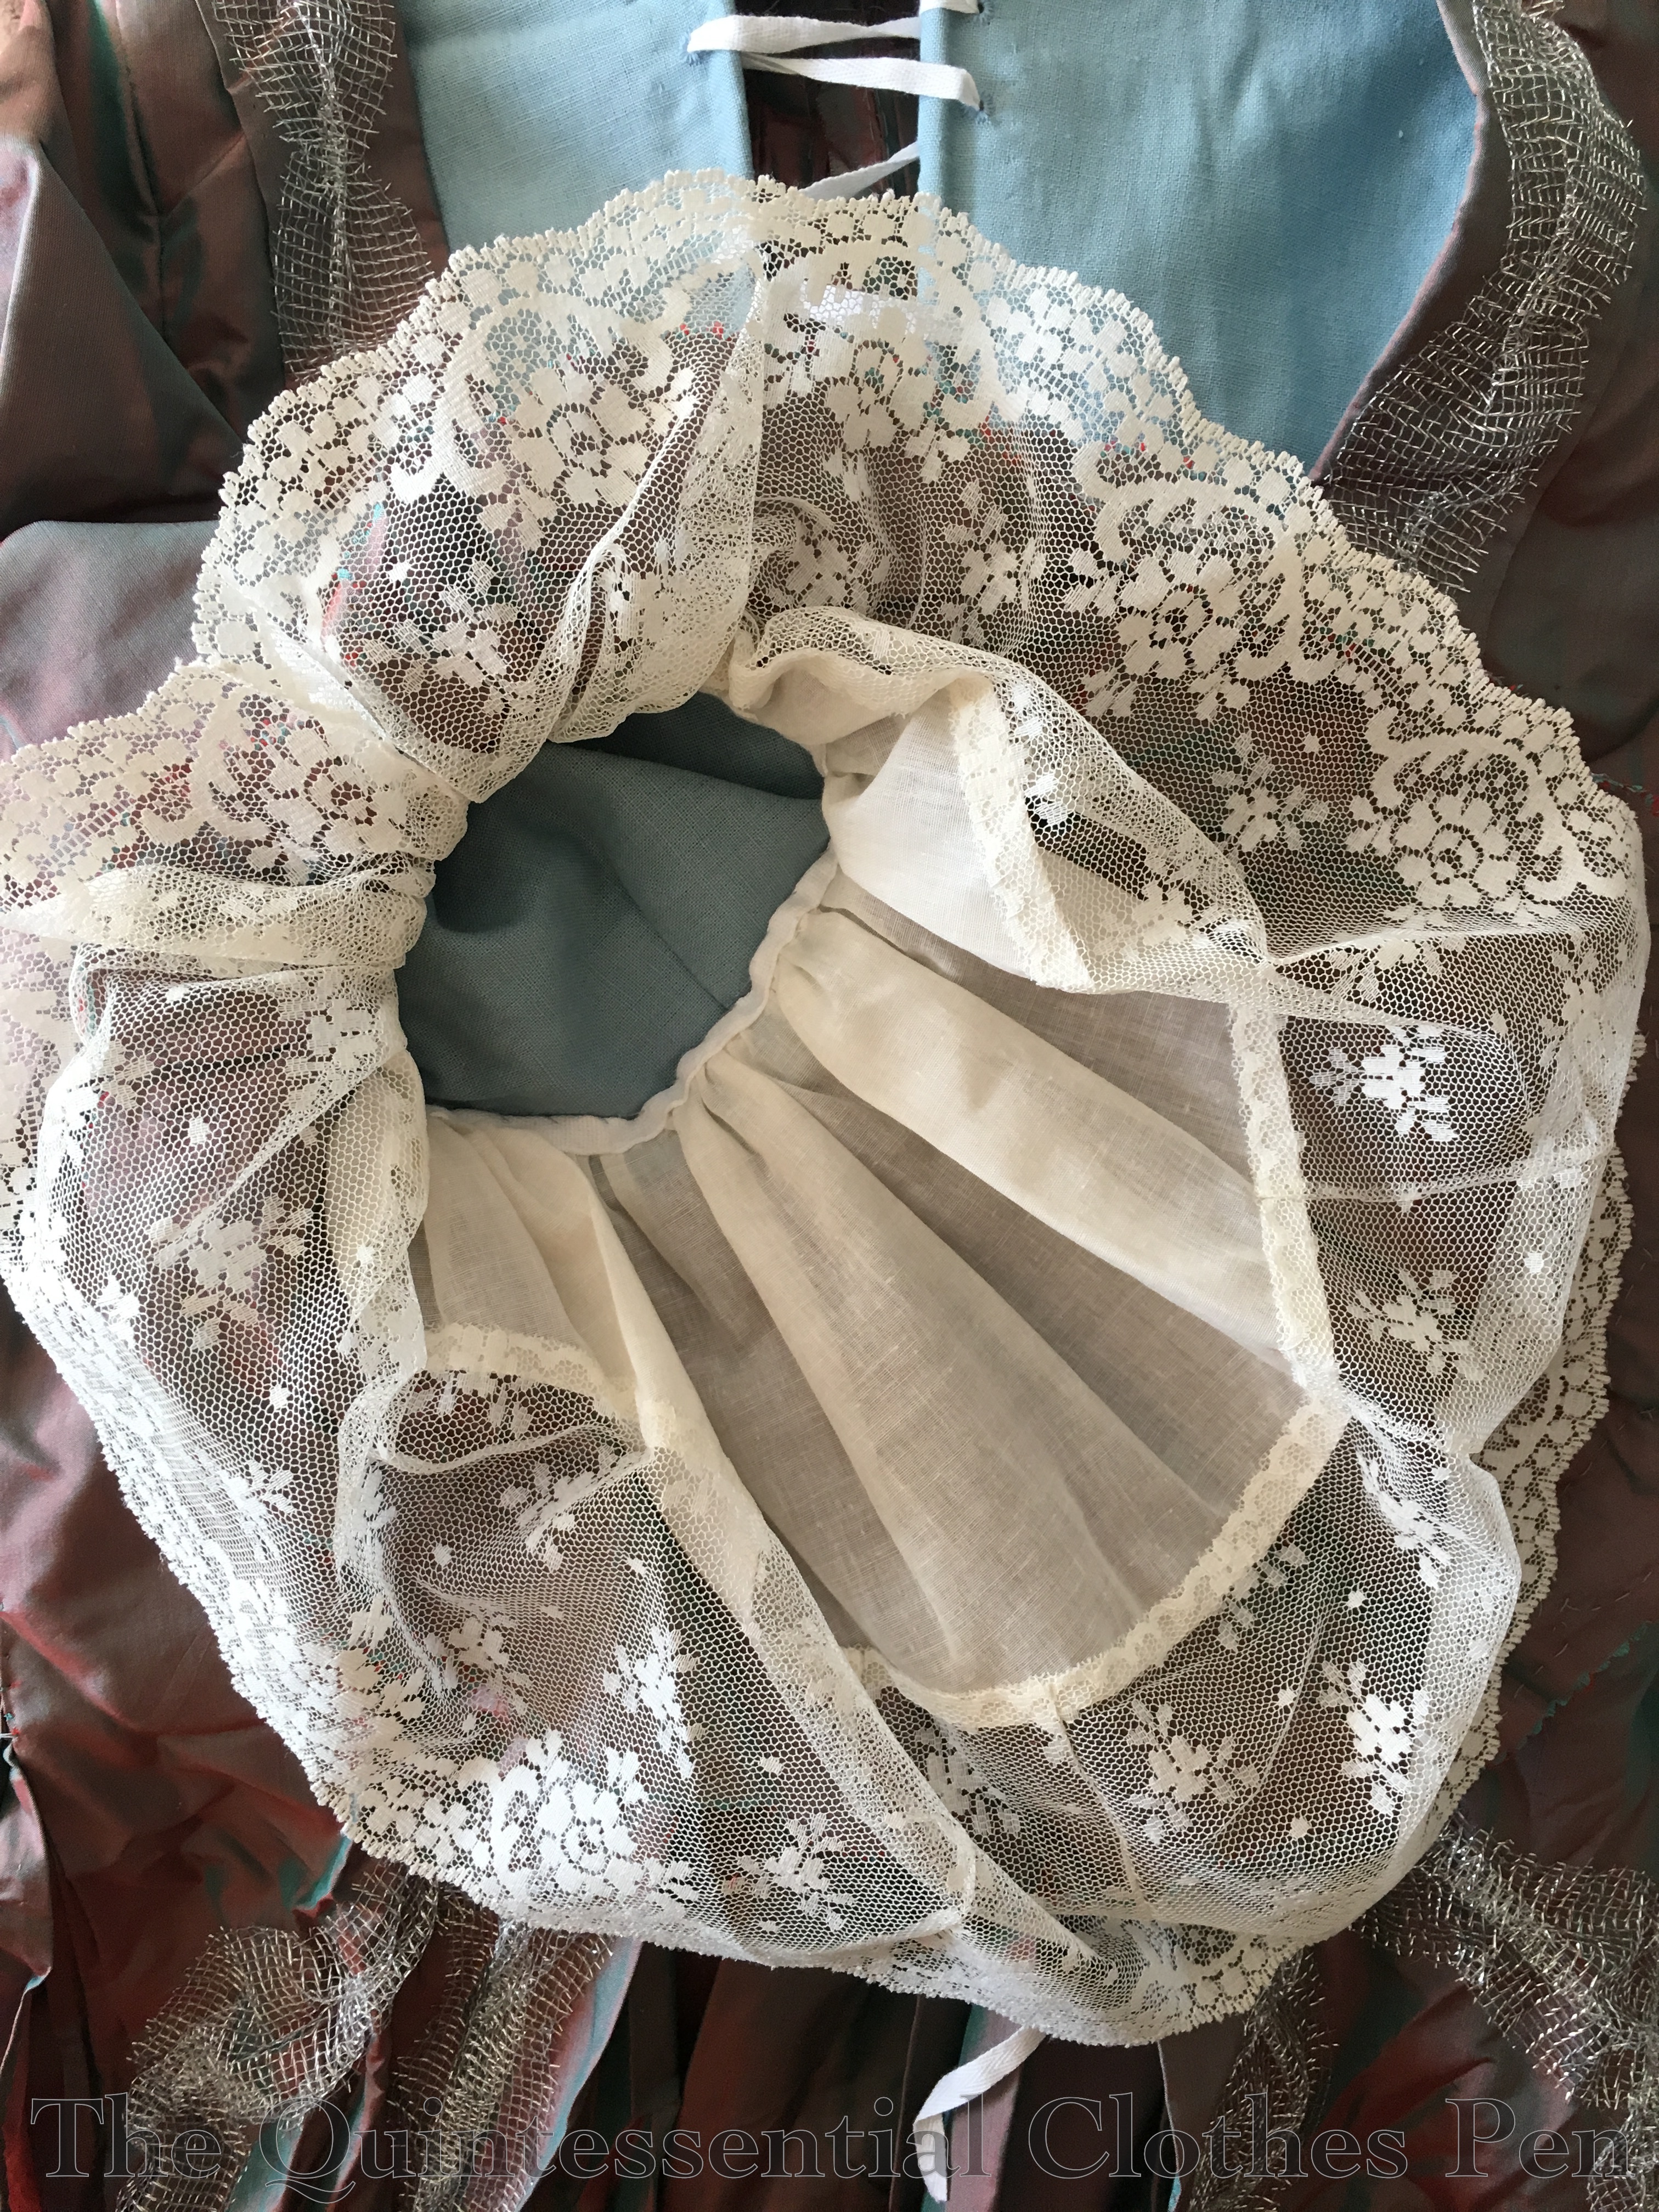
Another part of the dress that was finished in France were my engageants. The pattern includes flounces of two lengths to be made of silk and then one longer flounce for an under flounce or engageant. I sacrificed some lace I’ve been intending for another project, threw some darts in at the longest section to get the scalloped edge to be the right shape, and filled in the length with a bit of mystery ivory sheer. The resulting flounce was gathered and sewn to a cotton tape that was basted into the arm opening.
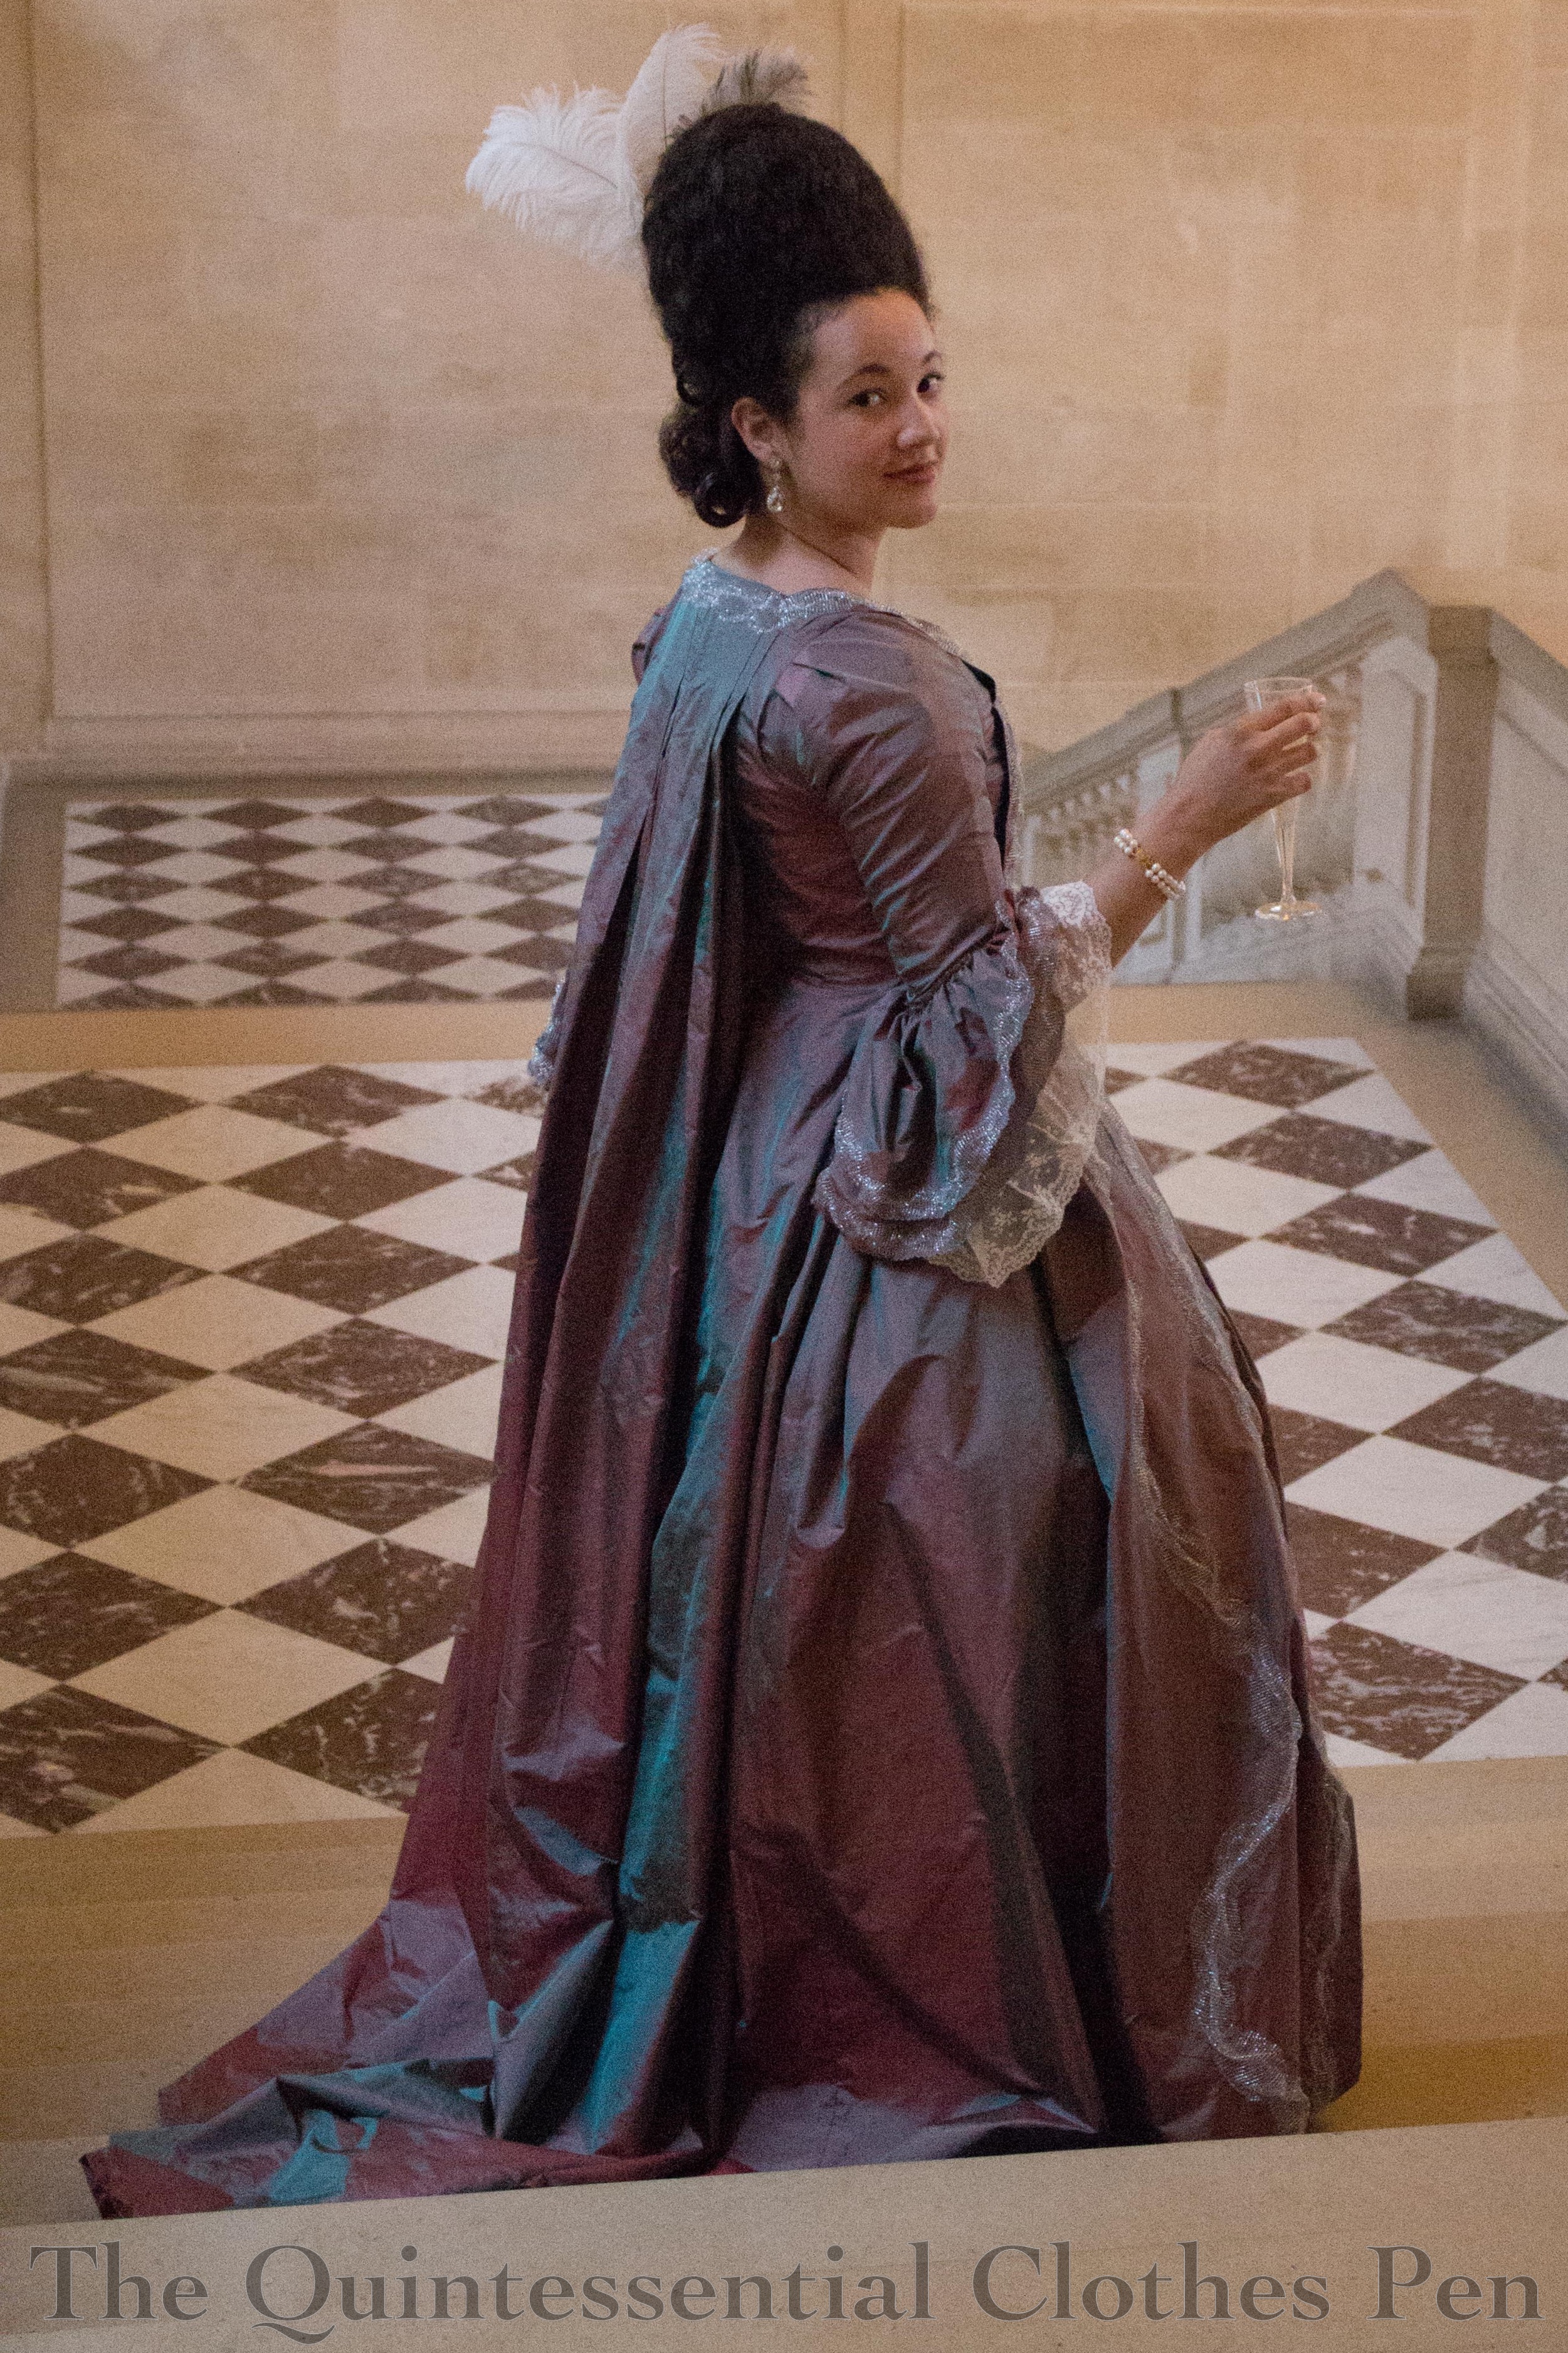
It sure sounds like a lot of work, recounting these bits of the process. It was! And it paid off. I’m very pleased with the gown. And very pleased that this picture captures some of the stunning green in the fabric!
Part of the work of getting ready for my trip to Versailles was hair: figuring out how I wanted to style my hair, obtaining or creating all of the necessary pieces and accessories, and practicing ahead of time. After looking at lots of inspiring images with a variety of hair shapes, I settled on creating a high slightly egg shaped style c. 1770.
I did two trial hair sessions in the month or so before I left. The first was rather frustrating, as I was learning what I liked (or didn’t like), and the end result was less than satisfactory. The progress was slow because I was creating hair pieces as I went along. The second day was much quicker and ended in success! At the time of the success post there was no time to post about how I achieved my look, but now there is, so here we go.
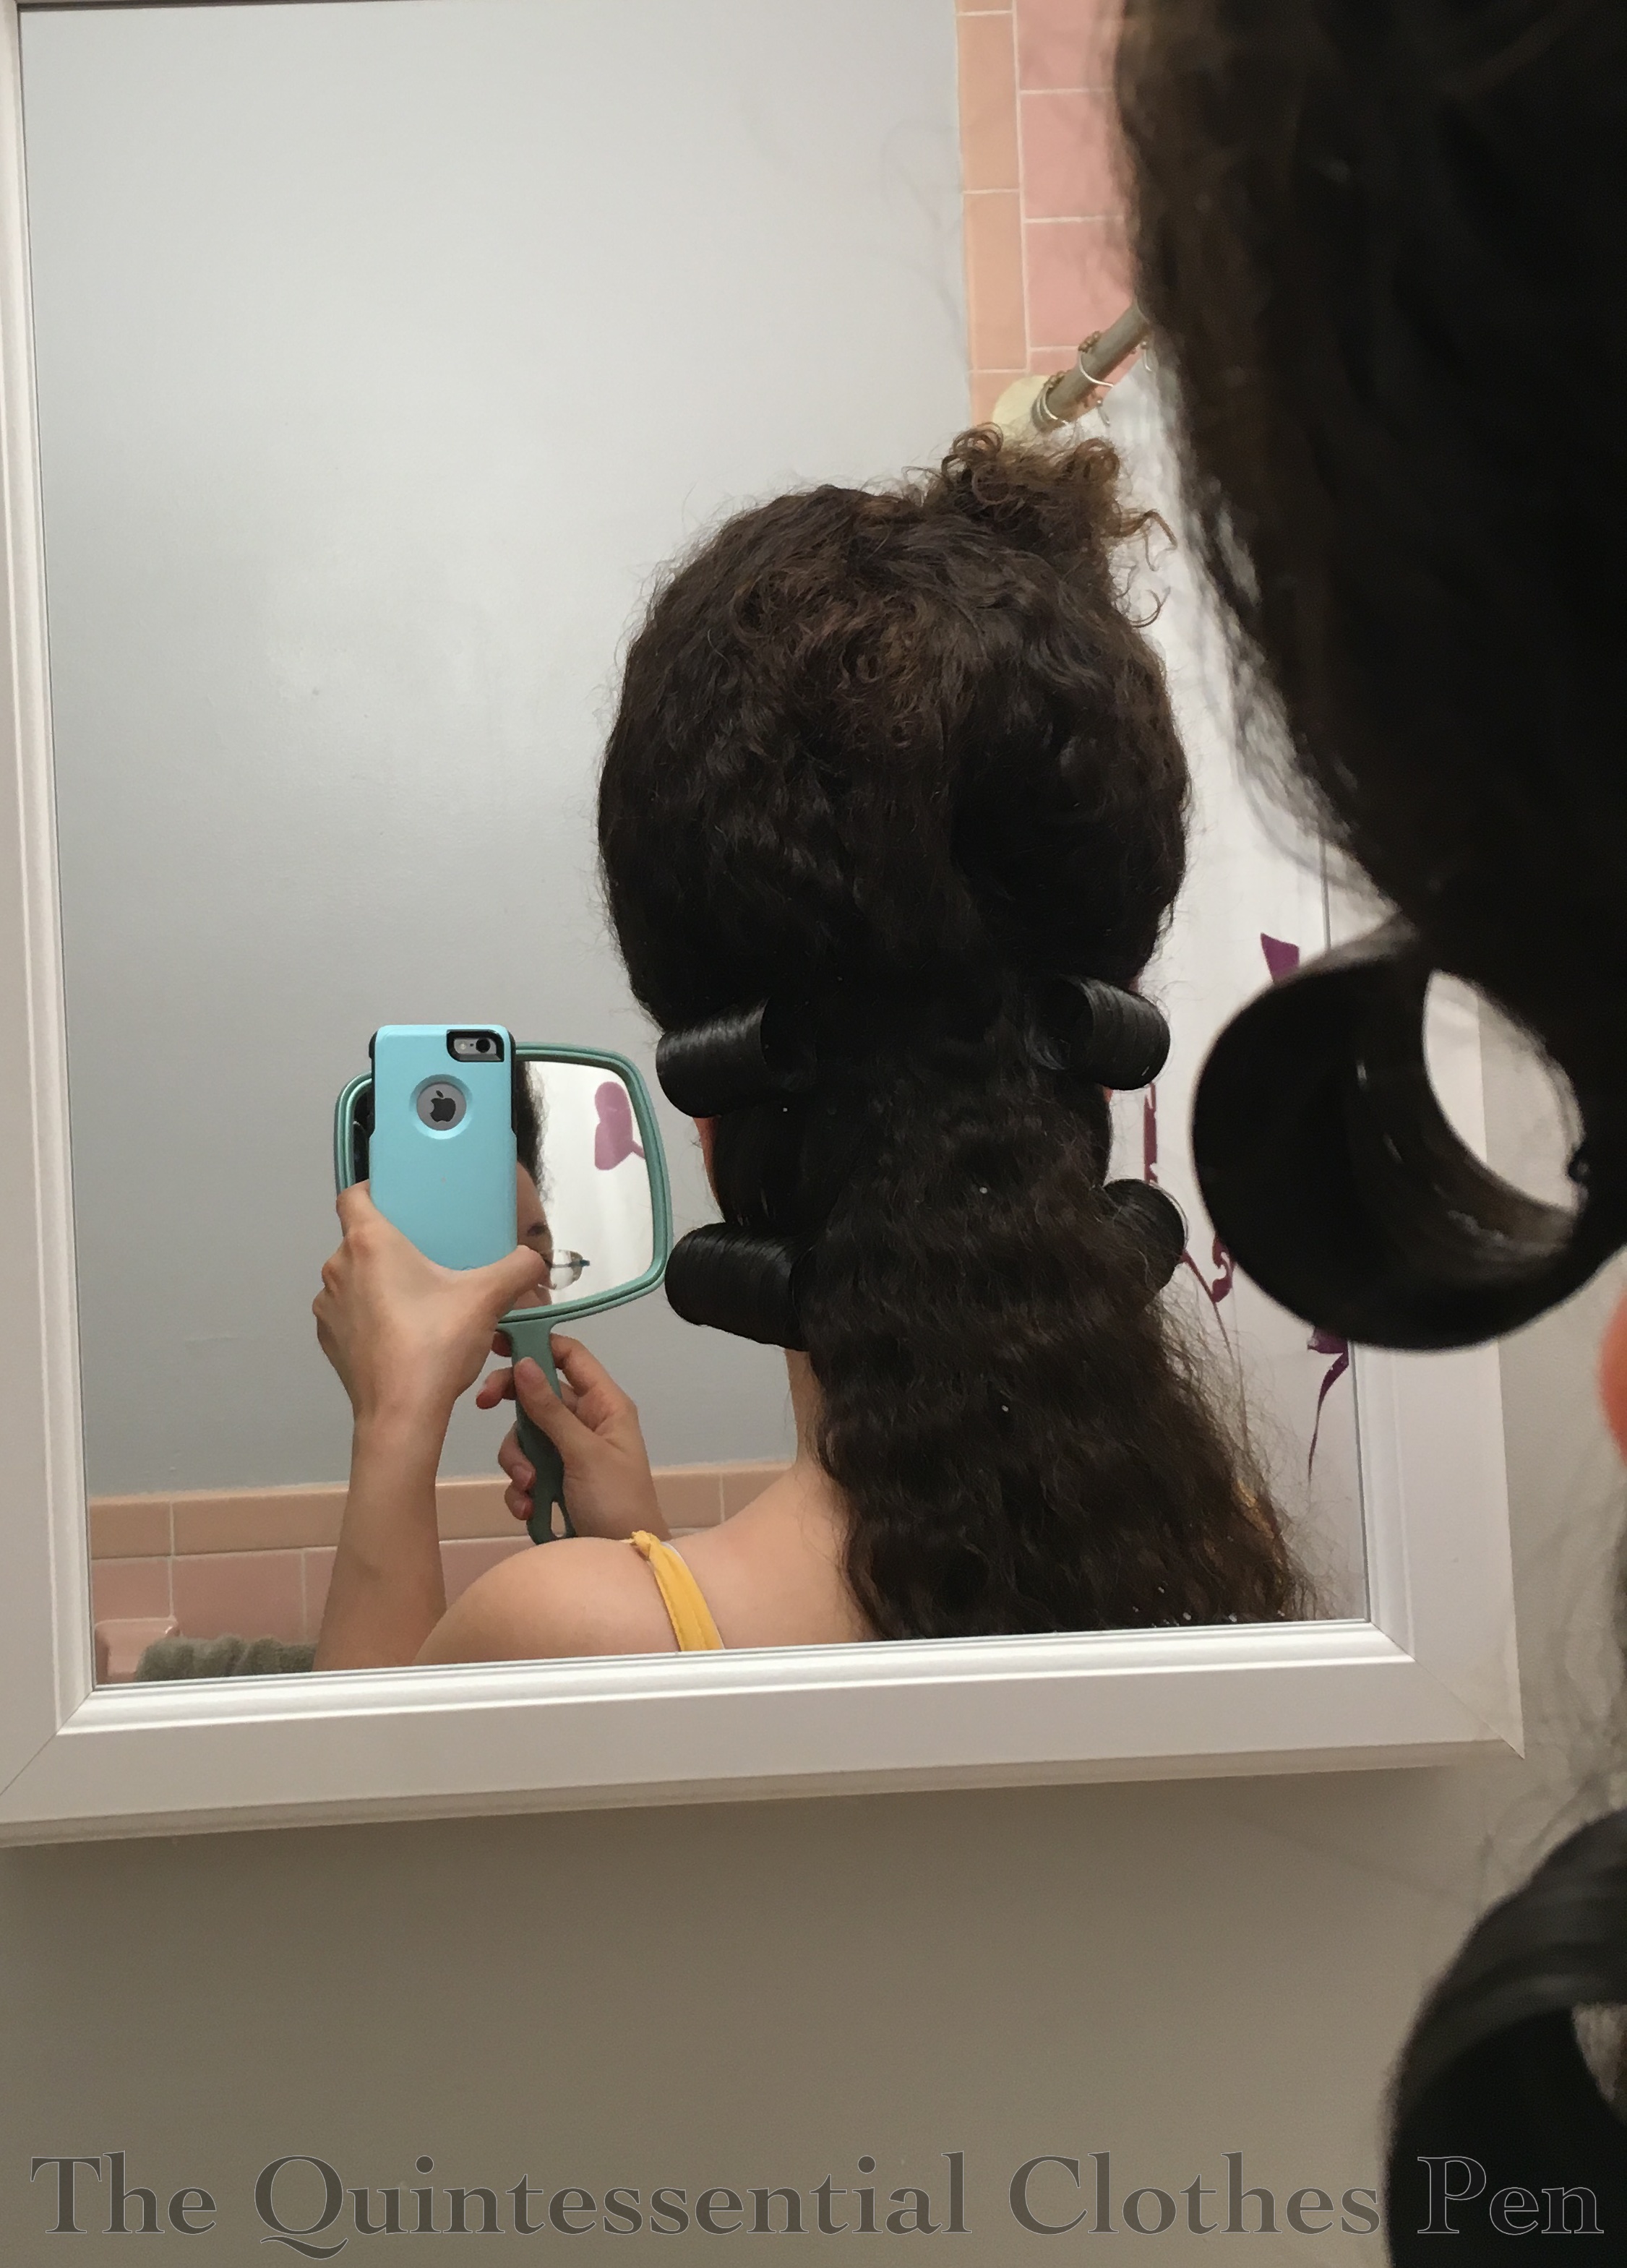
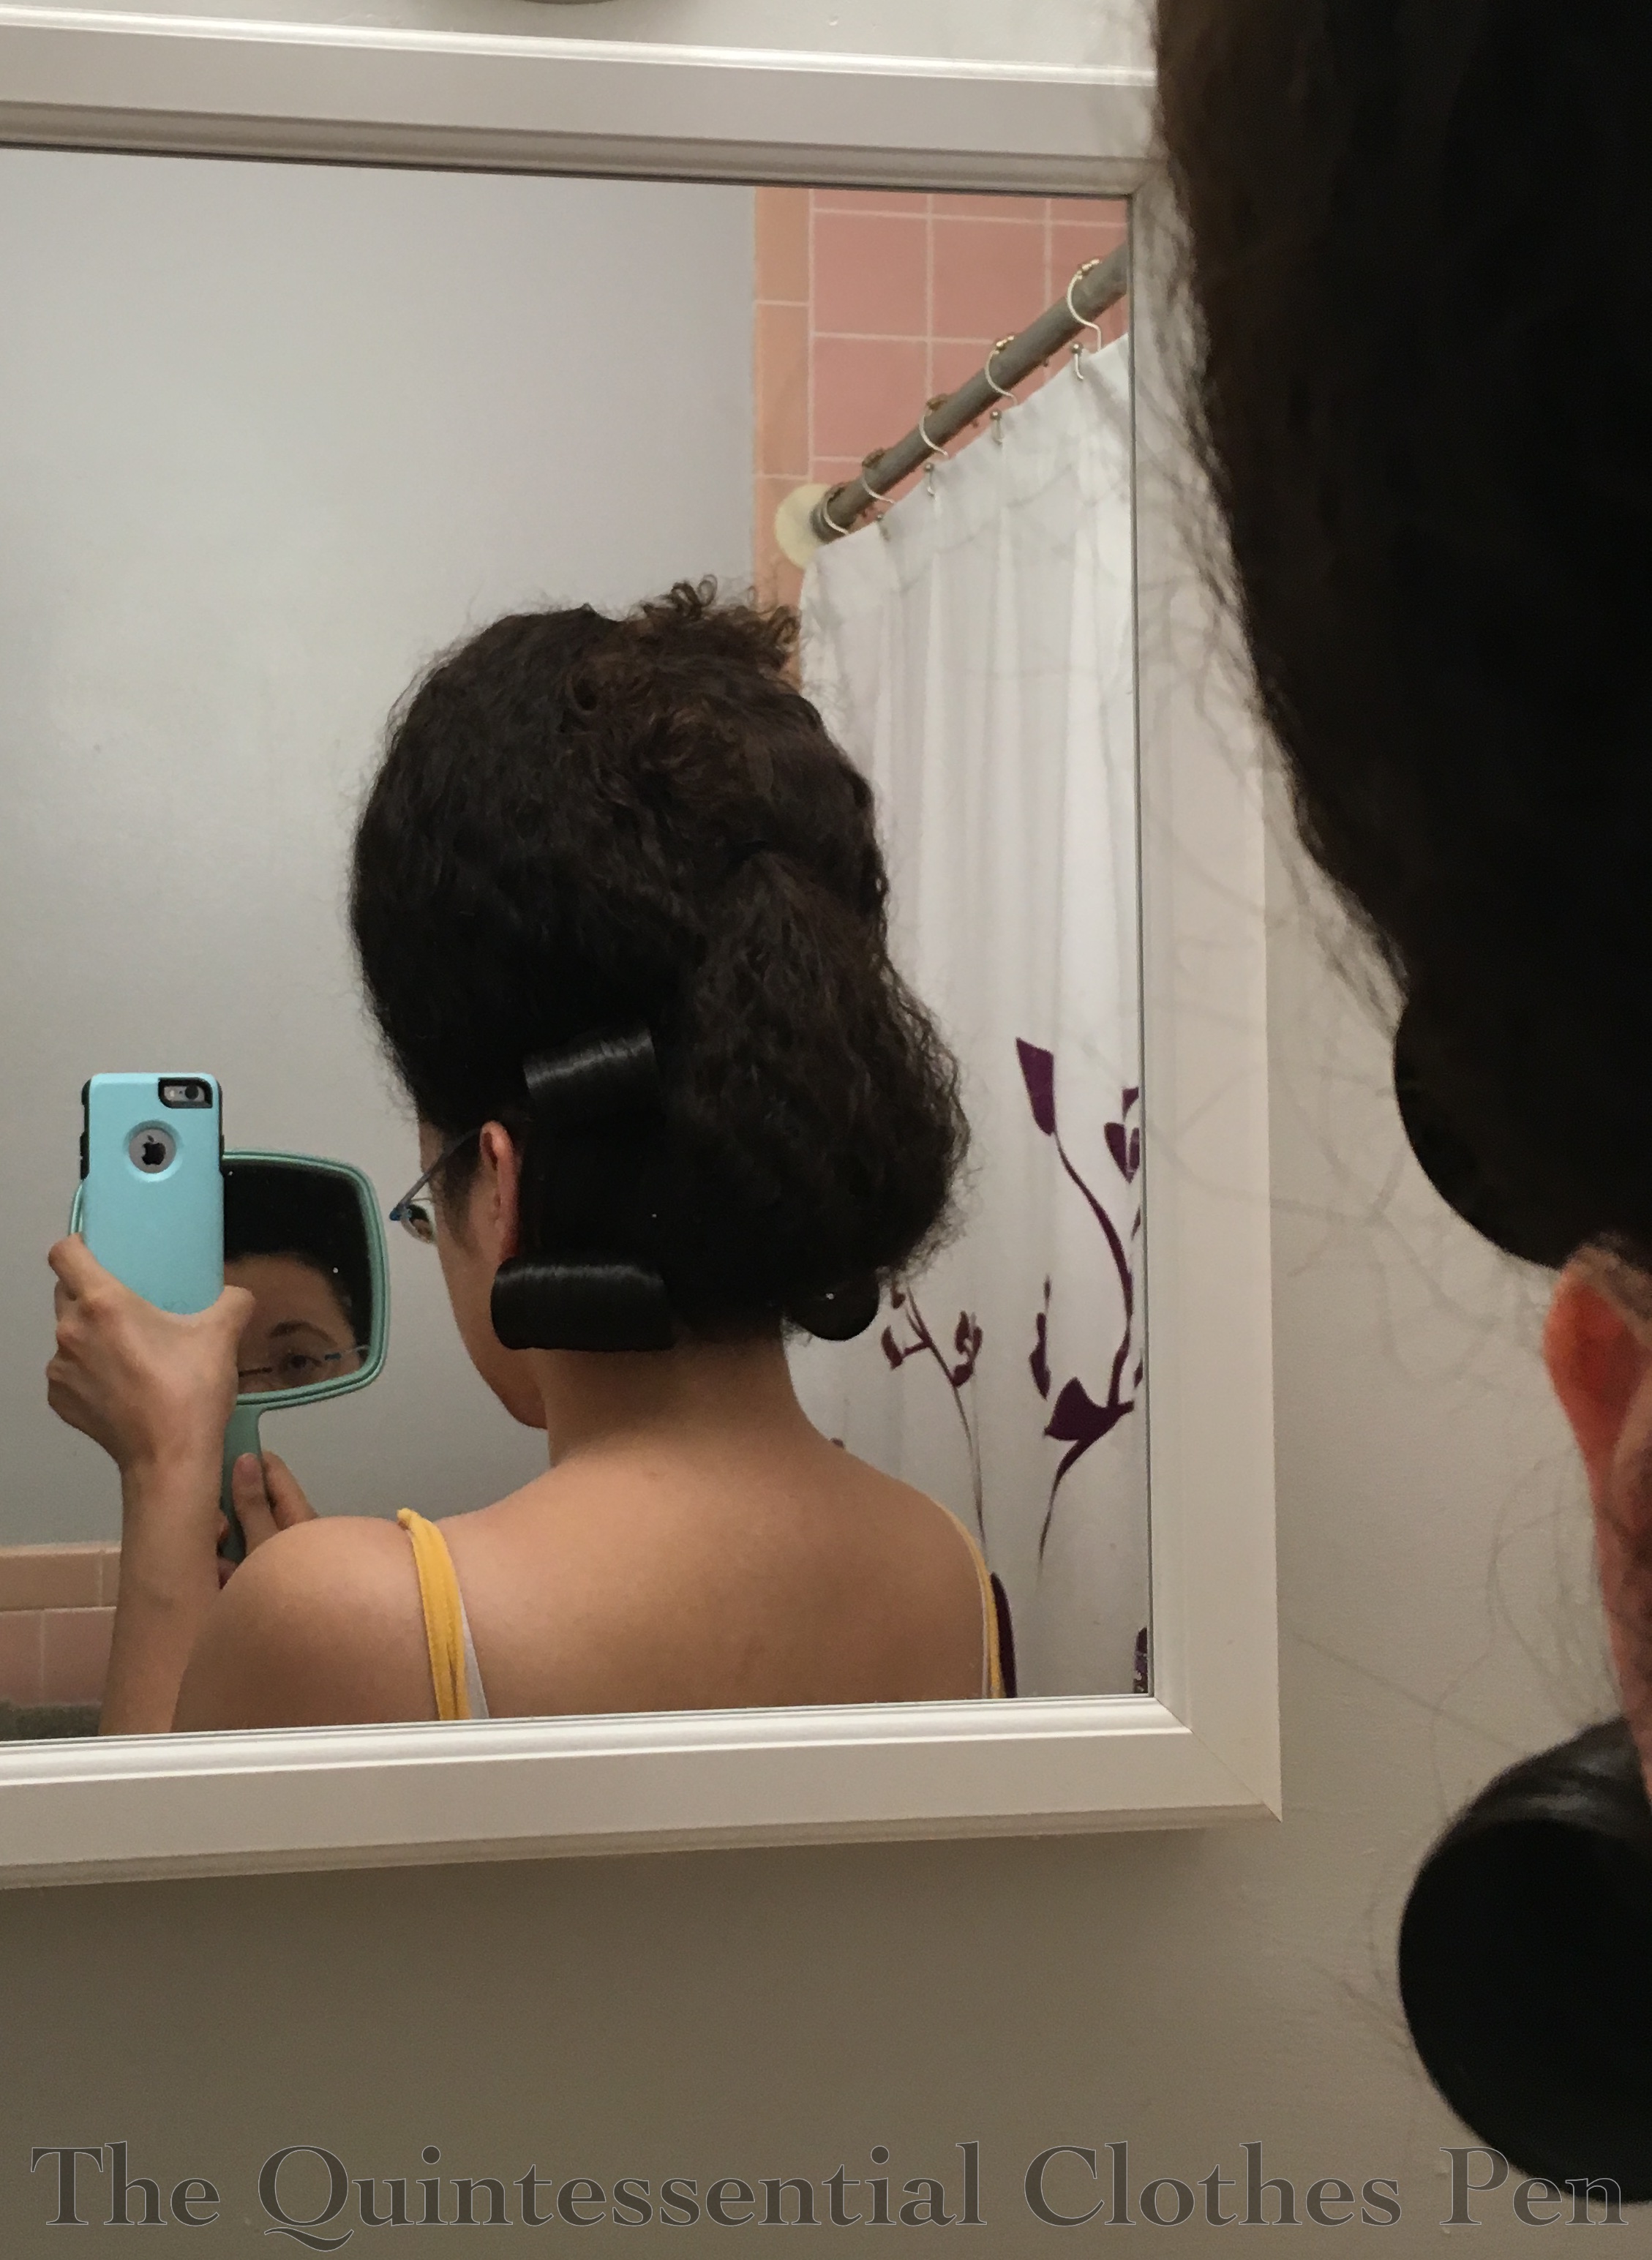
The pictures I took were for myself so that I could remember each successful step on the day of the event while getting ready. It worked quite well! And it means I have step by step pictures to share here. Once I had the plan down, I think styling took about 45 minutes with all the steps including trim and powder.
One of my first hair pad contraptions. This wasn’t tall enough or large enough around.My final hair pad contraption with the addition of my Gibson Girl hair pad for bulk.I started by anchoring the pad to my head in about eight different places using crossed bobby pins. Then the front section of hair was brought up over the front of the hair pad, and pinned in place.I may look crazed, but I used my fluffy ends to help fill out the sides of my hairstyle even more. This is the middle of the back of my hair pulled up, crossed to help hide the hair pad and pinned in place.The sides were smoothed up and over the crazed side curls and pinned so the ends helped cover the hair pad in back. The curly bit sticking out on top was later tucked in and hidden.From the back. At this point I had clipped in four of the five permanently glued buckles.The remaining back section was loosely looped up. The fifth buckle was placed over the pins holding the loop of hair in place.
Then, for the actual event, I used baby powder to powder my hair. It was easy to use, required no extra products to hold in place, and smelled fresh. (I forgot to powder my hair on the trial days, so your eyes aren’t deceiving you if my hair looks darker in those step by step photos. There is a picture of my hair half powdered in this post taken while I was getting ready on the day of the event.)
The finished result! My ornament is the one I made for my 1899 evening gown with some extra white feathers.
My buckles were made using synthetic hair. I purchased a ‘full head’ clip in set, 20″ long, that came with sections of various widths already attached to wig clips (similar to this). I purchased color #4, which matches the darker brown parts of my hair nicely, aside from being super shiny. I used the narrower widths for the buckles, but I still have the wider ones leftover. (I’m thinking I might be able to use them to create some 1830s clip in hair pieces…)
I am very grateful that Kendra Van Cleave did an immense amount of research into 18th century hair and wigs and shared it. An excellent taste is available on her blog and she’s also compiled her knowledge into a very detailed, picture-filled book that was quite helpful along my path to creating 18th century hair. Amongst lots of other information, there are instructions for creating temporary and permanent curls and buckles (including the instructions I used to create my buckles), lots of background about types of wigs and hair pieces, a discussion about powder options, and step-by-step tutorials showing ways to create a variety of styles from throughout the 18th century. Very useful!
All those pictures of Versailles look amazing, but a lot of work went into looking effortlessly elegant. Some of the work I’ll be sharing in posts specifically about my hair and gown, but I also have a few pictures from the day along the same lines that didn’t quite fit into main post. They’re more ‘behind the scenes’. Enjoy!
This is Mr. Panniers after escaping my suitcase and before having his bones inserted for the big event. Hard to recognize without his proper shape, I think!Getting ready. My half finished hair is half powdered, to show the difference in color. As you can see, I only did a light bit of powder.A final graceful pose in the Hall of Mirrors as the staff was very slowly herding us out.



































 The Quintessential Clothes Pen