

In my last post, I shared the inspiration for a freshly completed garment called a pelerine. I also shared more about what, exactly, a pelerine is. Today’s post will focus on the process of making my pelerine.
Making It Work
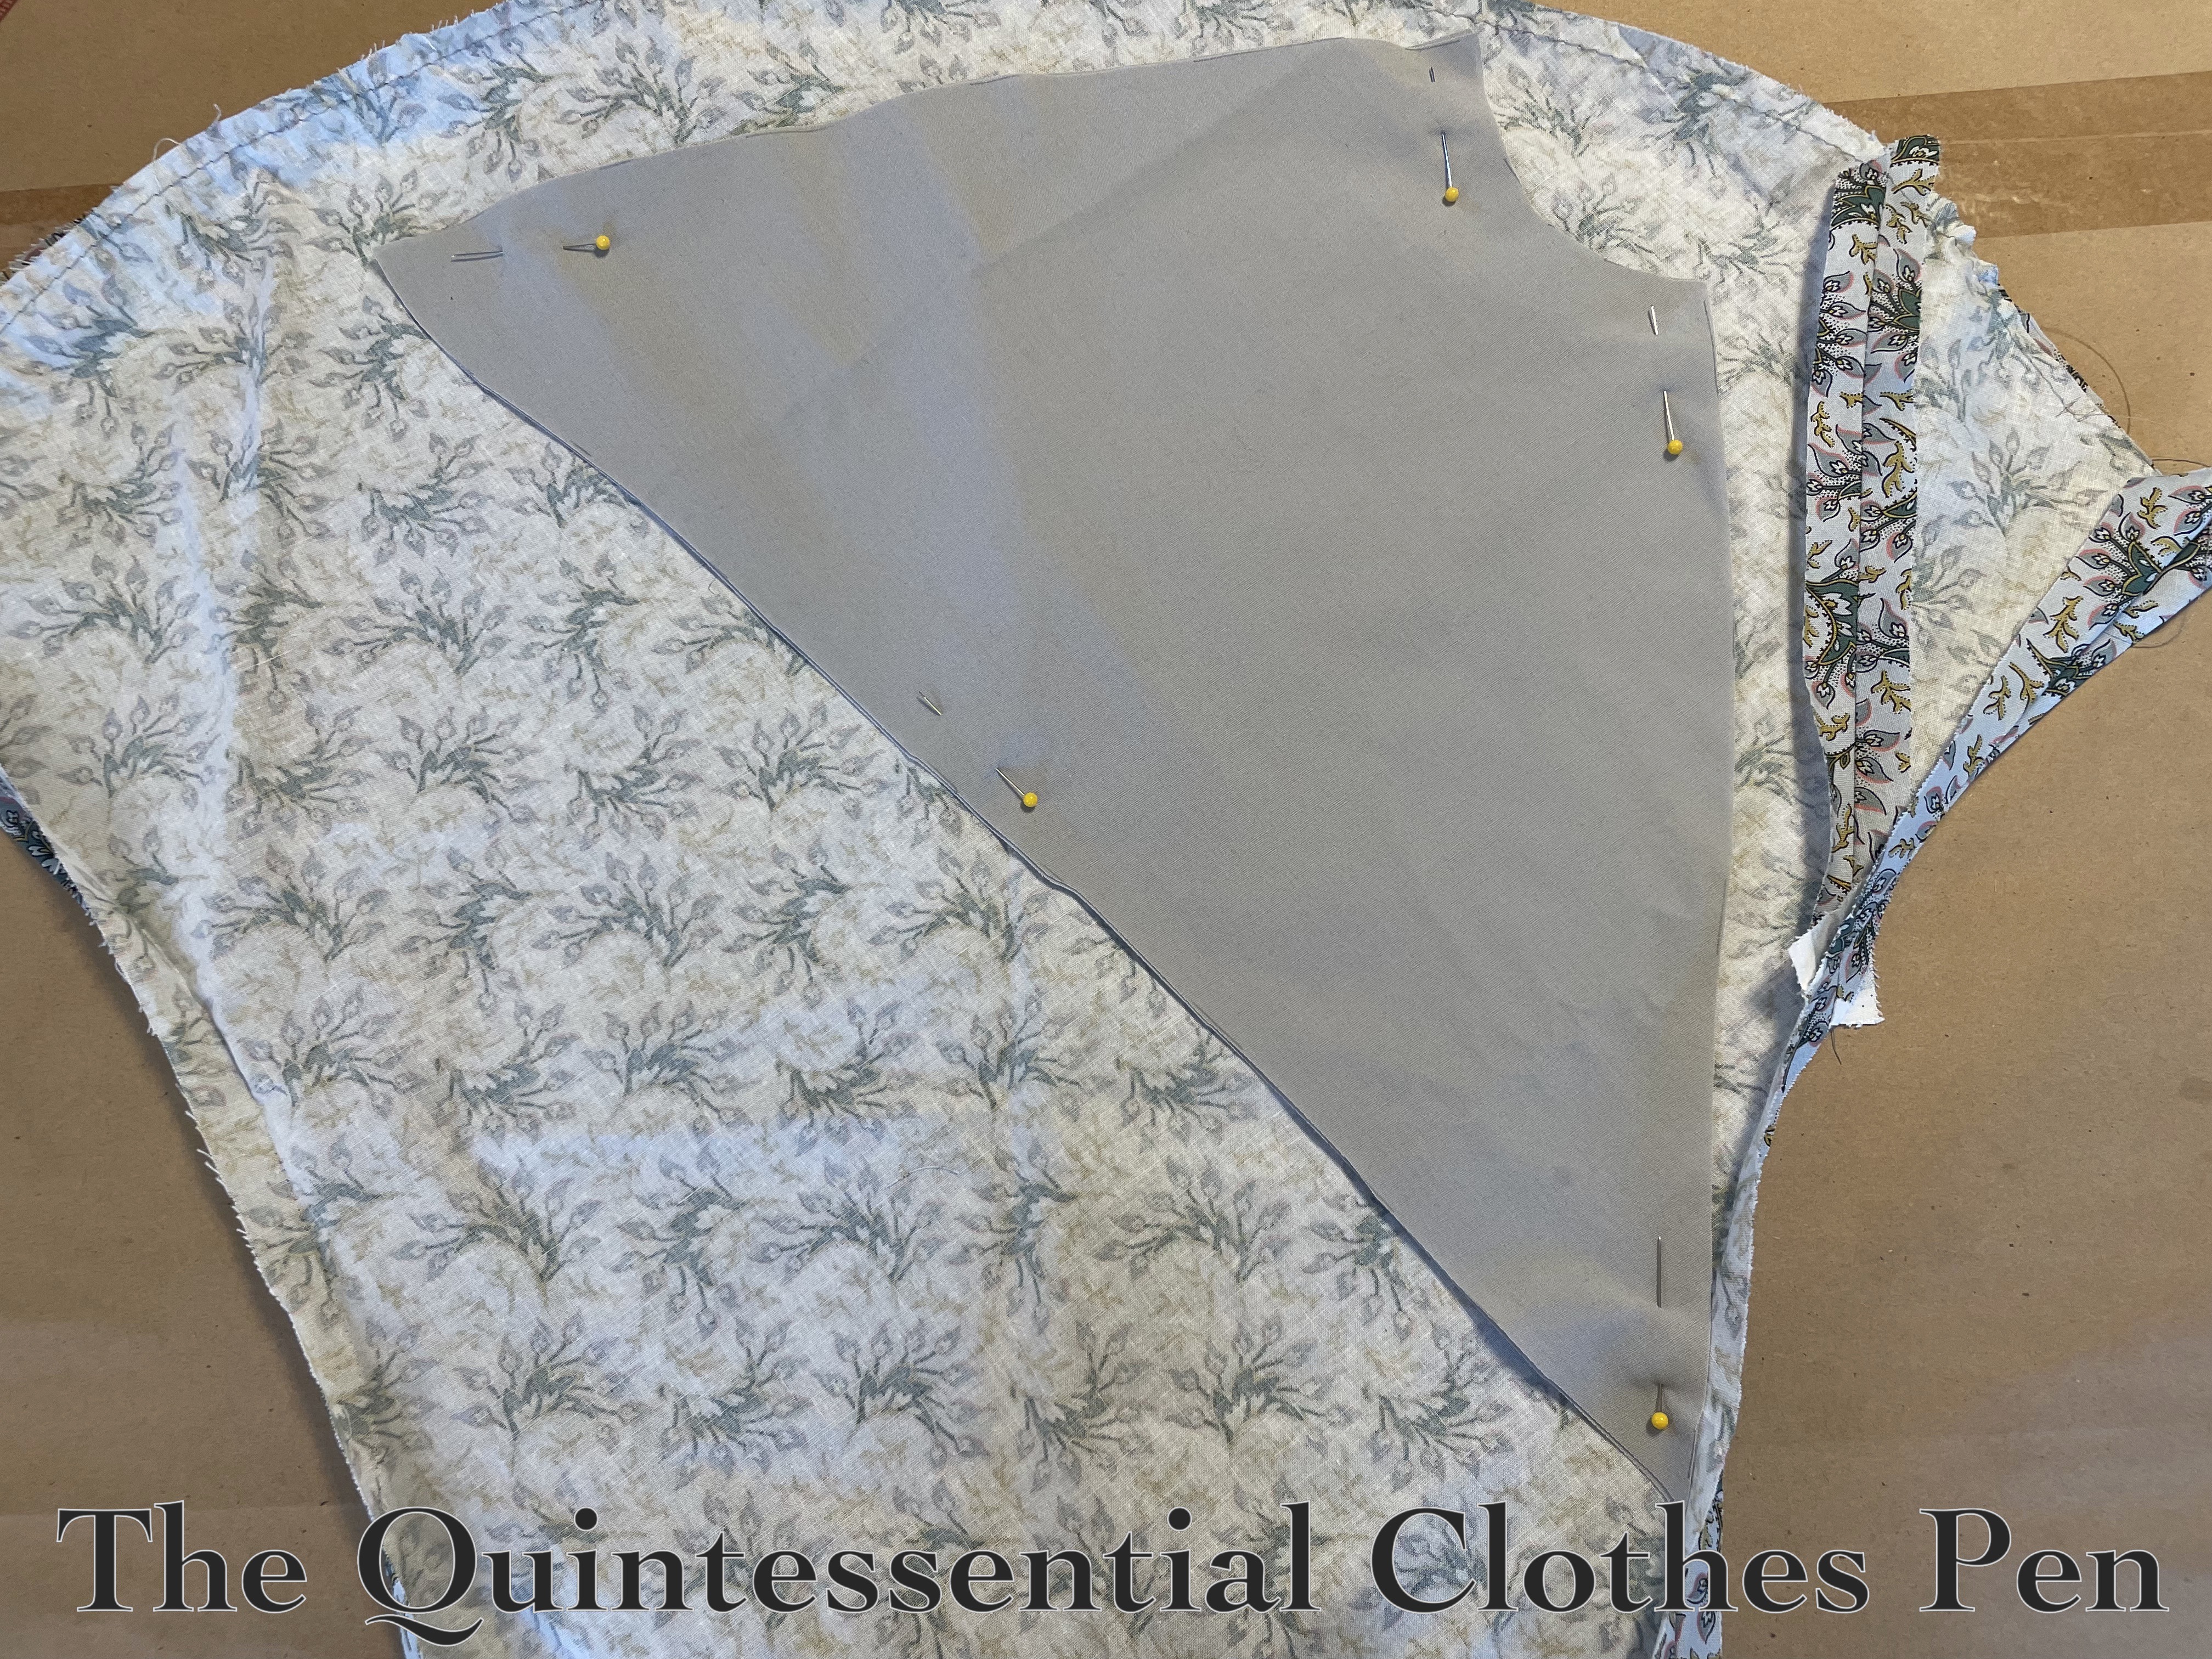
As I said in my last post, it was a squeeze to fit my pelerine pieces on the blue cotton print fabric I had leftover after making my 1836 dress (which you can read all about in this past post). I started by re-using the failed sleeves for the front pieces, as you can see in the photo below. Recycling! This was a great use of the failed sleeves! (This past post shares the story of the failed sleeves and successful second attempt.)
Sewing… With Some Bumps Along The Way
In theory the pelerine is pretty straightforward. There is a lining of grey cotton and an exterior of blue printed cotton. They get bagged out and then there’s a pelerine! But I decided to add the complicated addition of a decorative edging band as well as cording.
The process started out just fine. I had my exterior and lining cut, made narrow cording, and cut wide strips of bias that were pressed in half to make the edging band. The layers made a nice little sandwich. (It was a bit mind boggling to make sure that the right sides were together and the cording and edging were layered in both the correct order and correct directions to make it all turn right side out properly!) The sandwich is below.
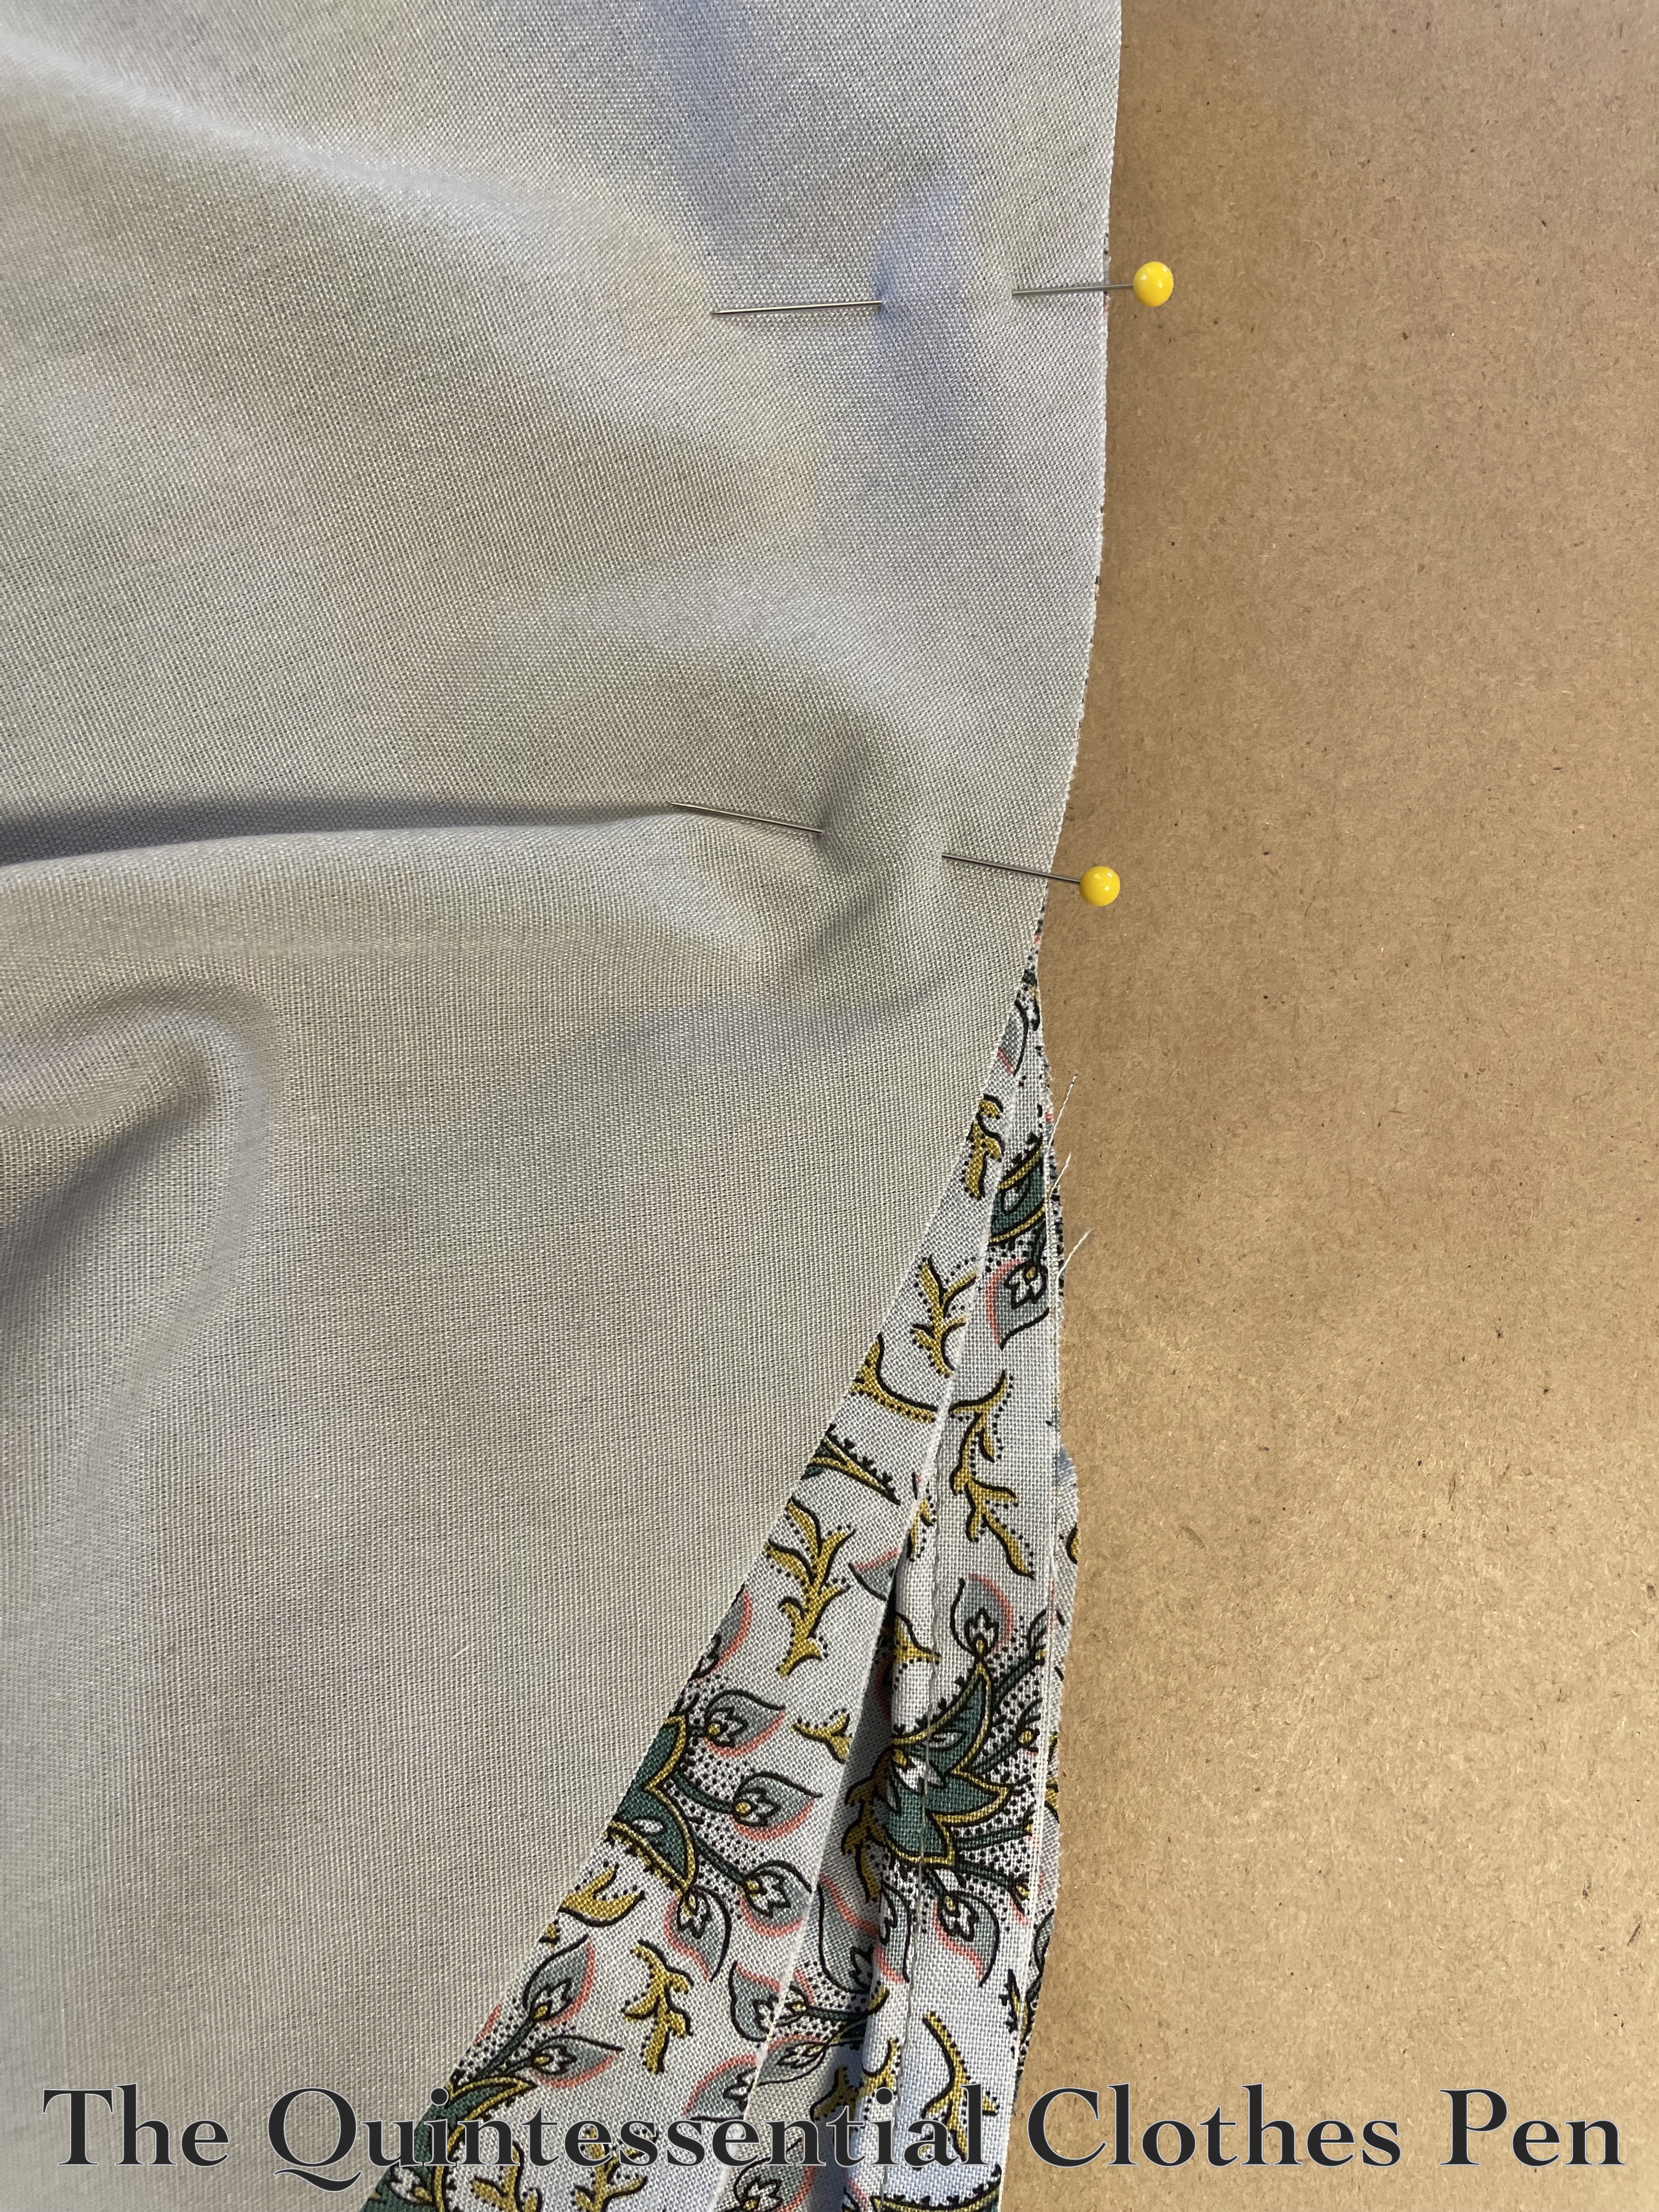
I pinned all the way around my pelerine, leaving an opening along one back side so I could turn it right side out. The opening is visible in the next photo.
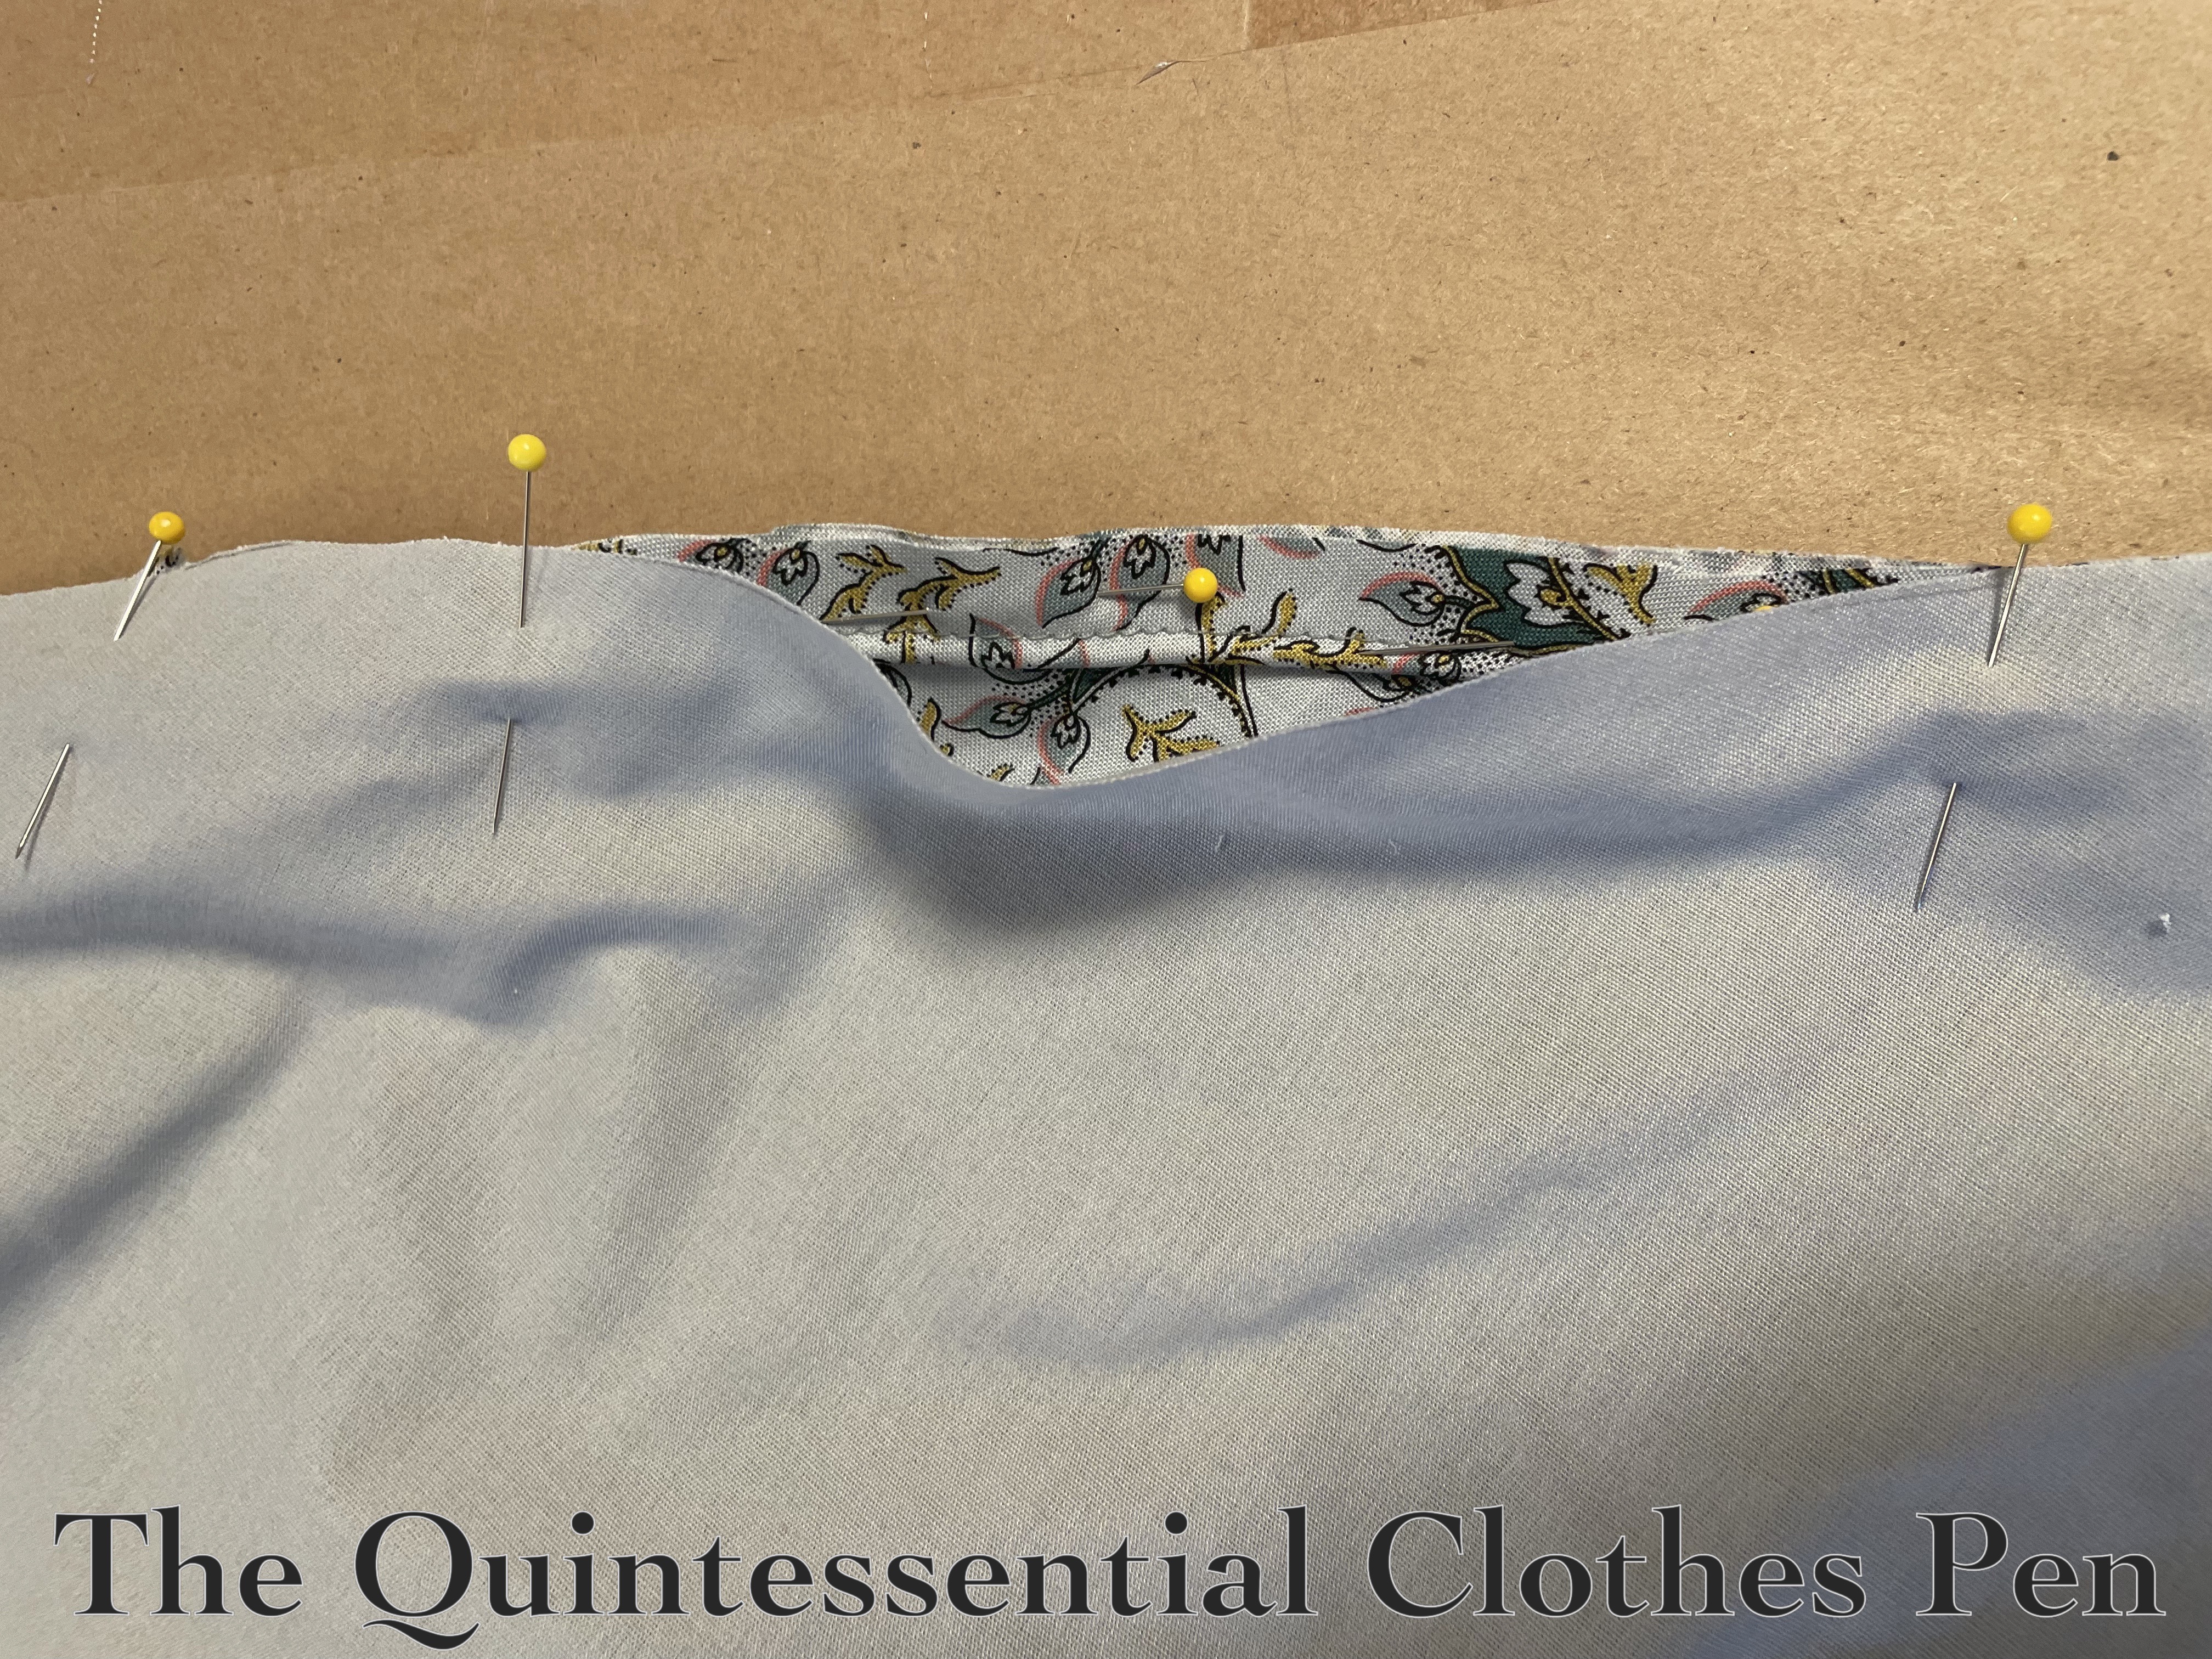
Oops… Once it was turned right side out I realized I’d made a mistake! Can you spot it in the next photo?
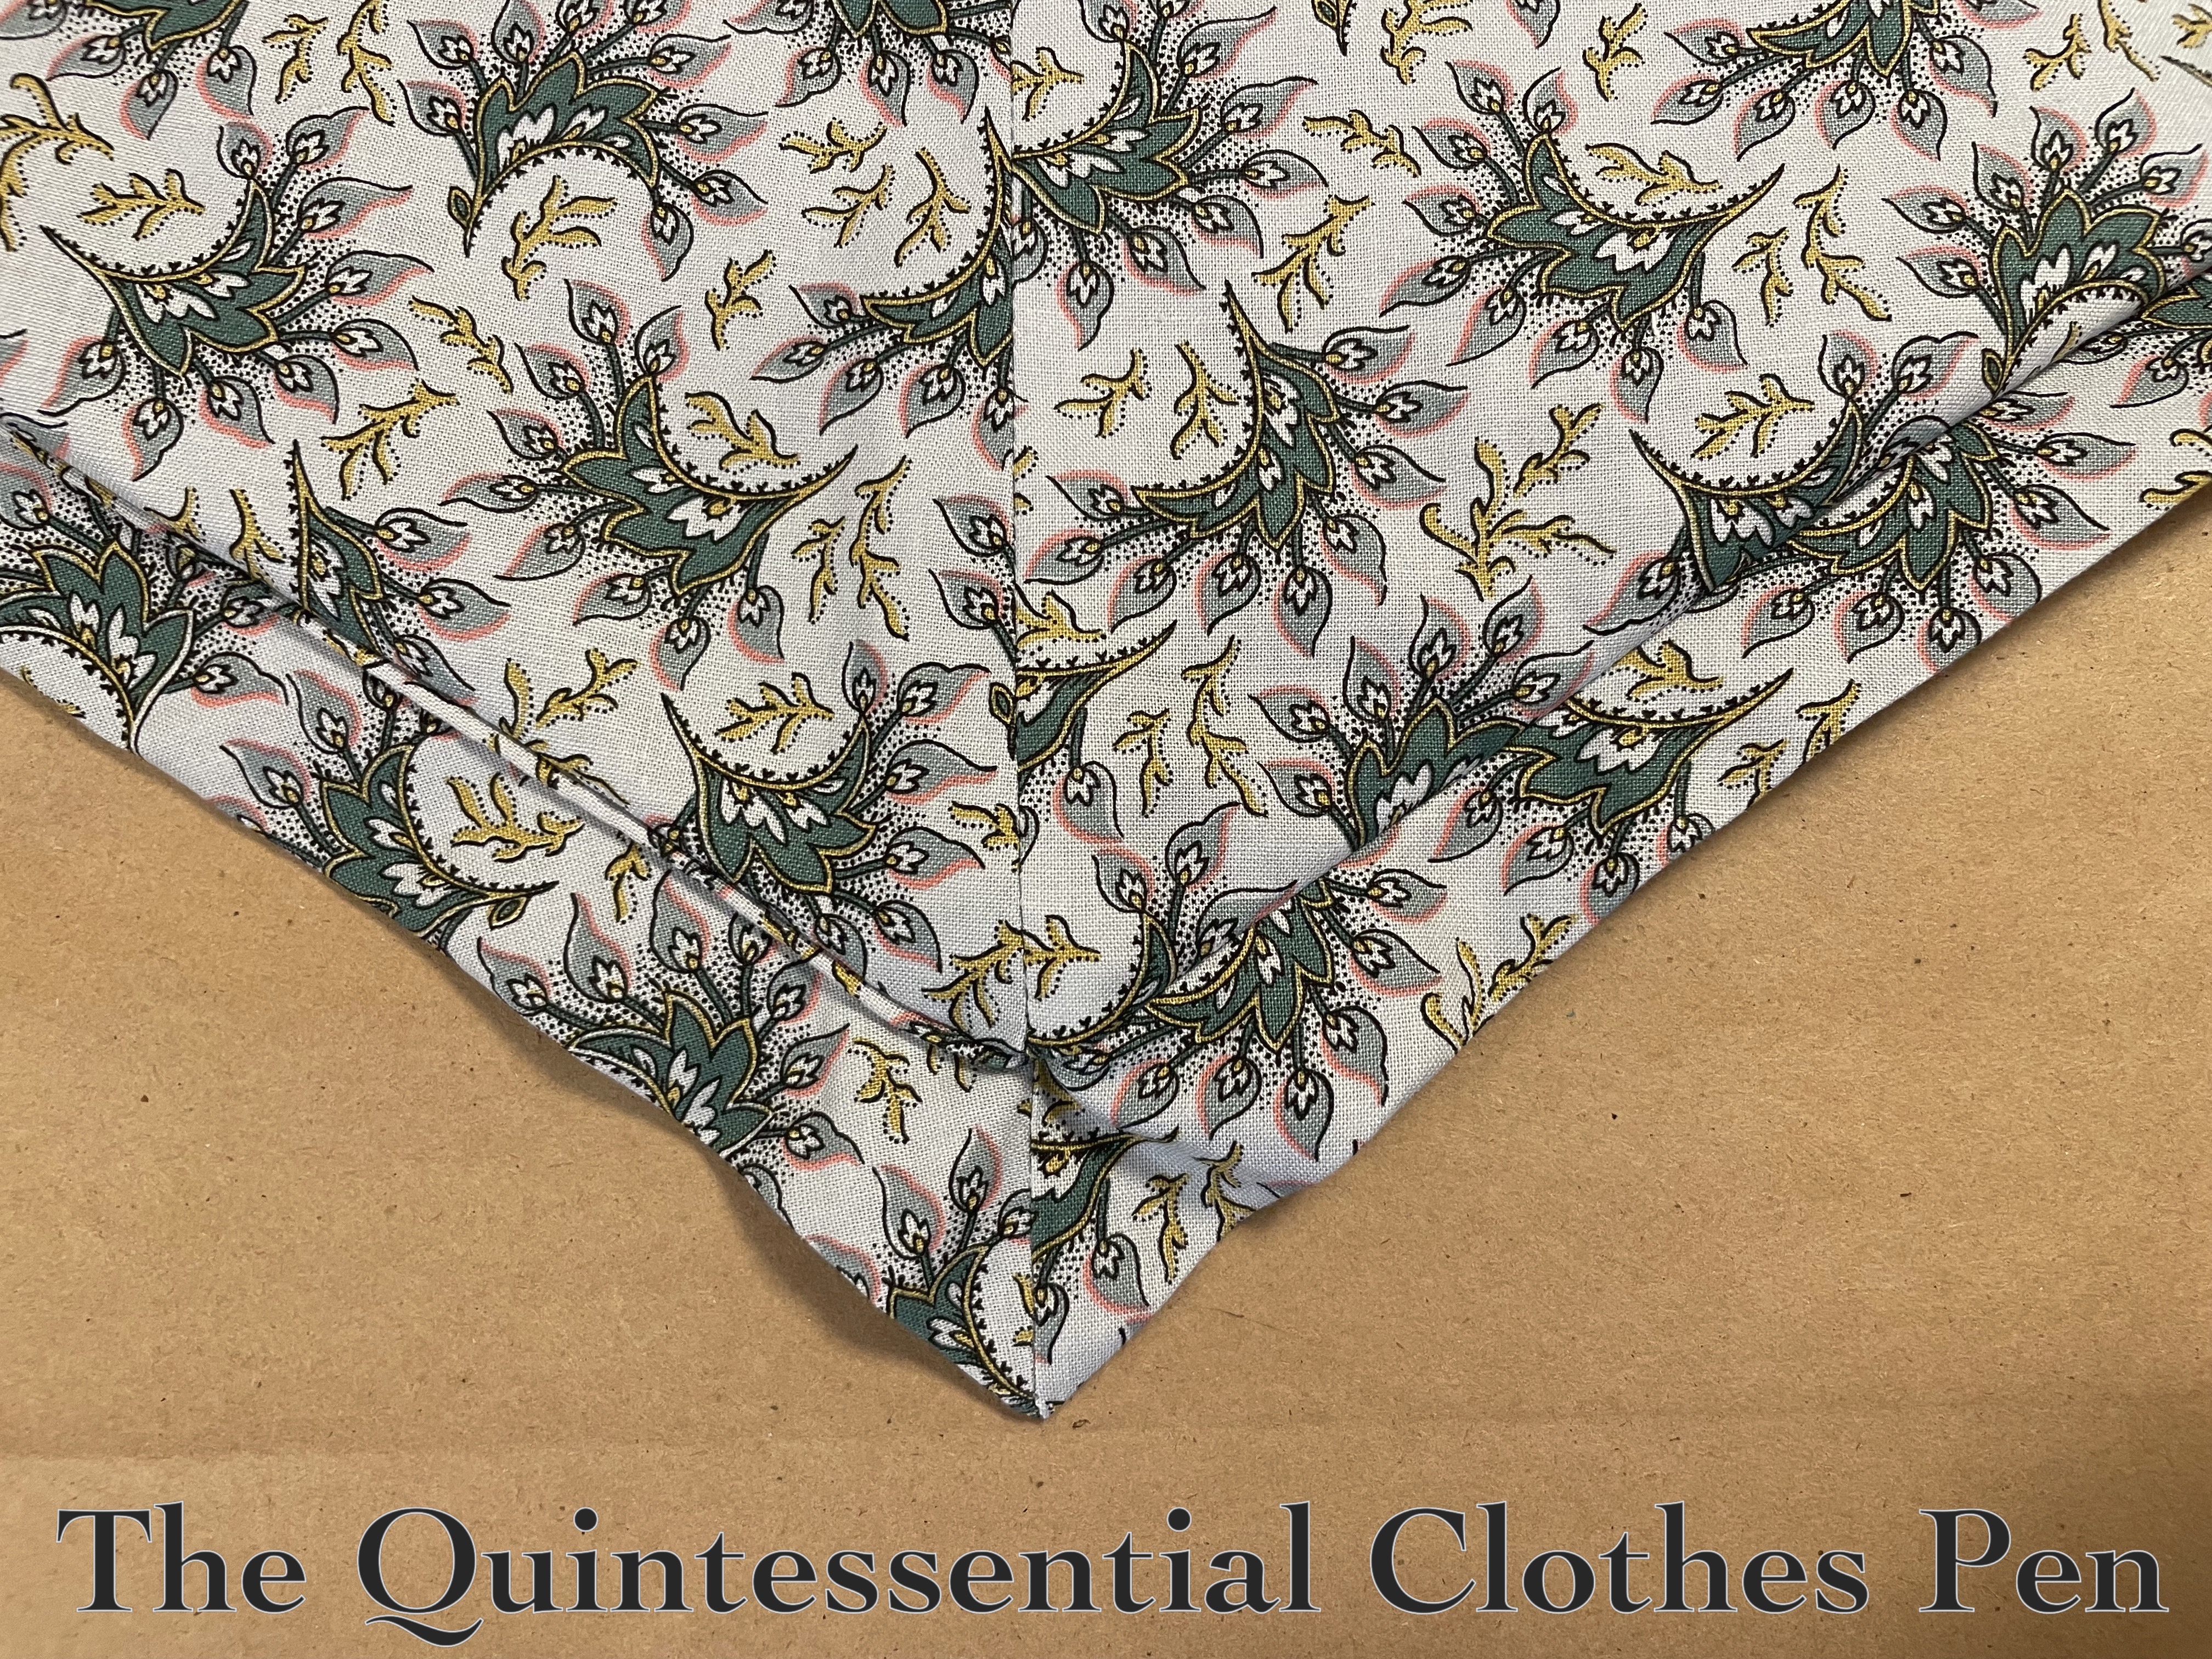
I don’t even remember how I did this, but somehow my cording went from being visible on the exterior of the pelerine (on the left of the photo) to being hidden below the edging band (on the right of the photo). I can’t remember how it happened. Anyway… it was an issue.
I did some unpicking, re-sandwich-ing, and resewed the pelerine so the cording would be visible on both the left and right sides. But there was a new issue! This one is easier to spot in the next photo, I think.
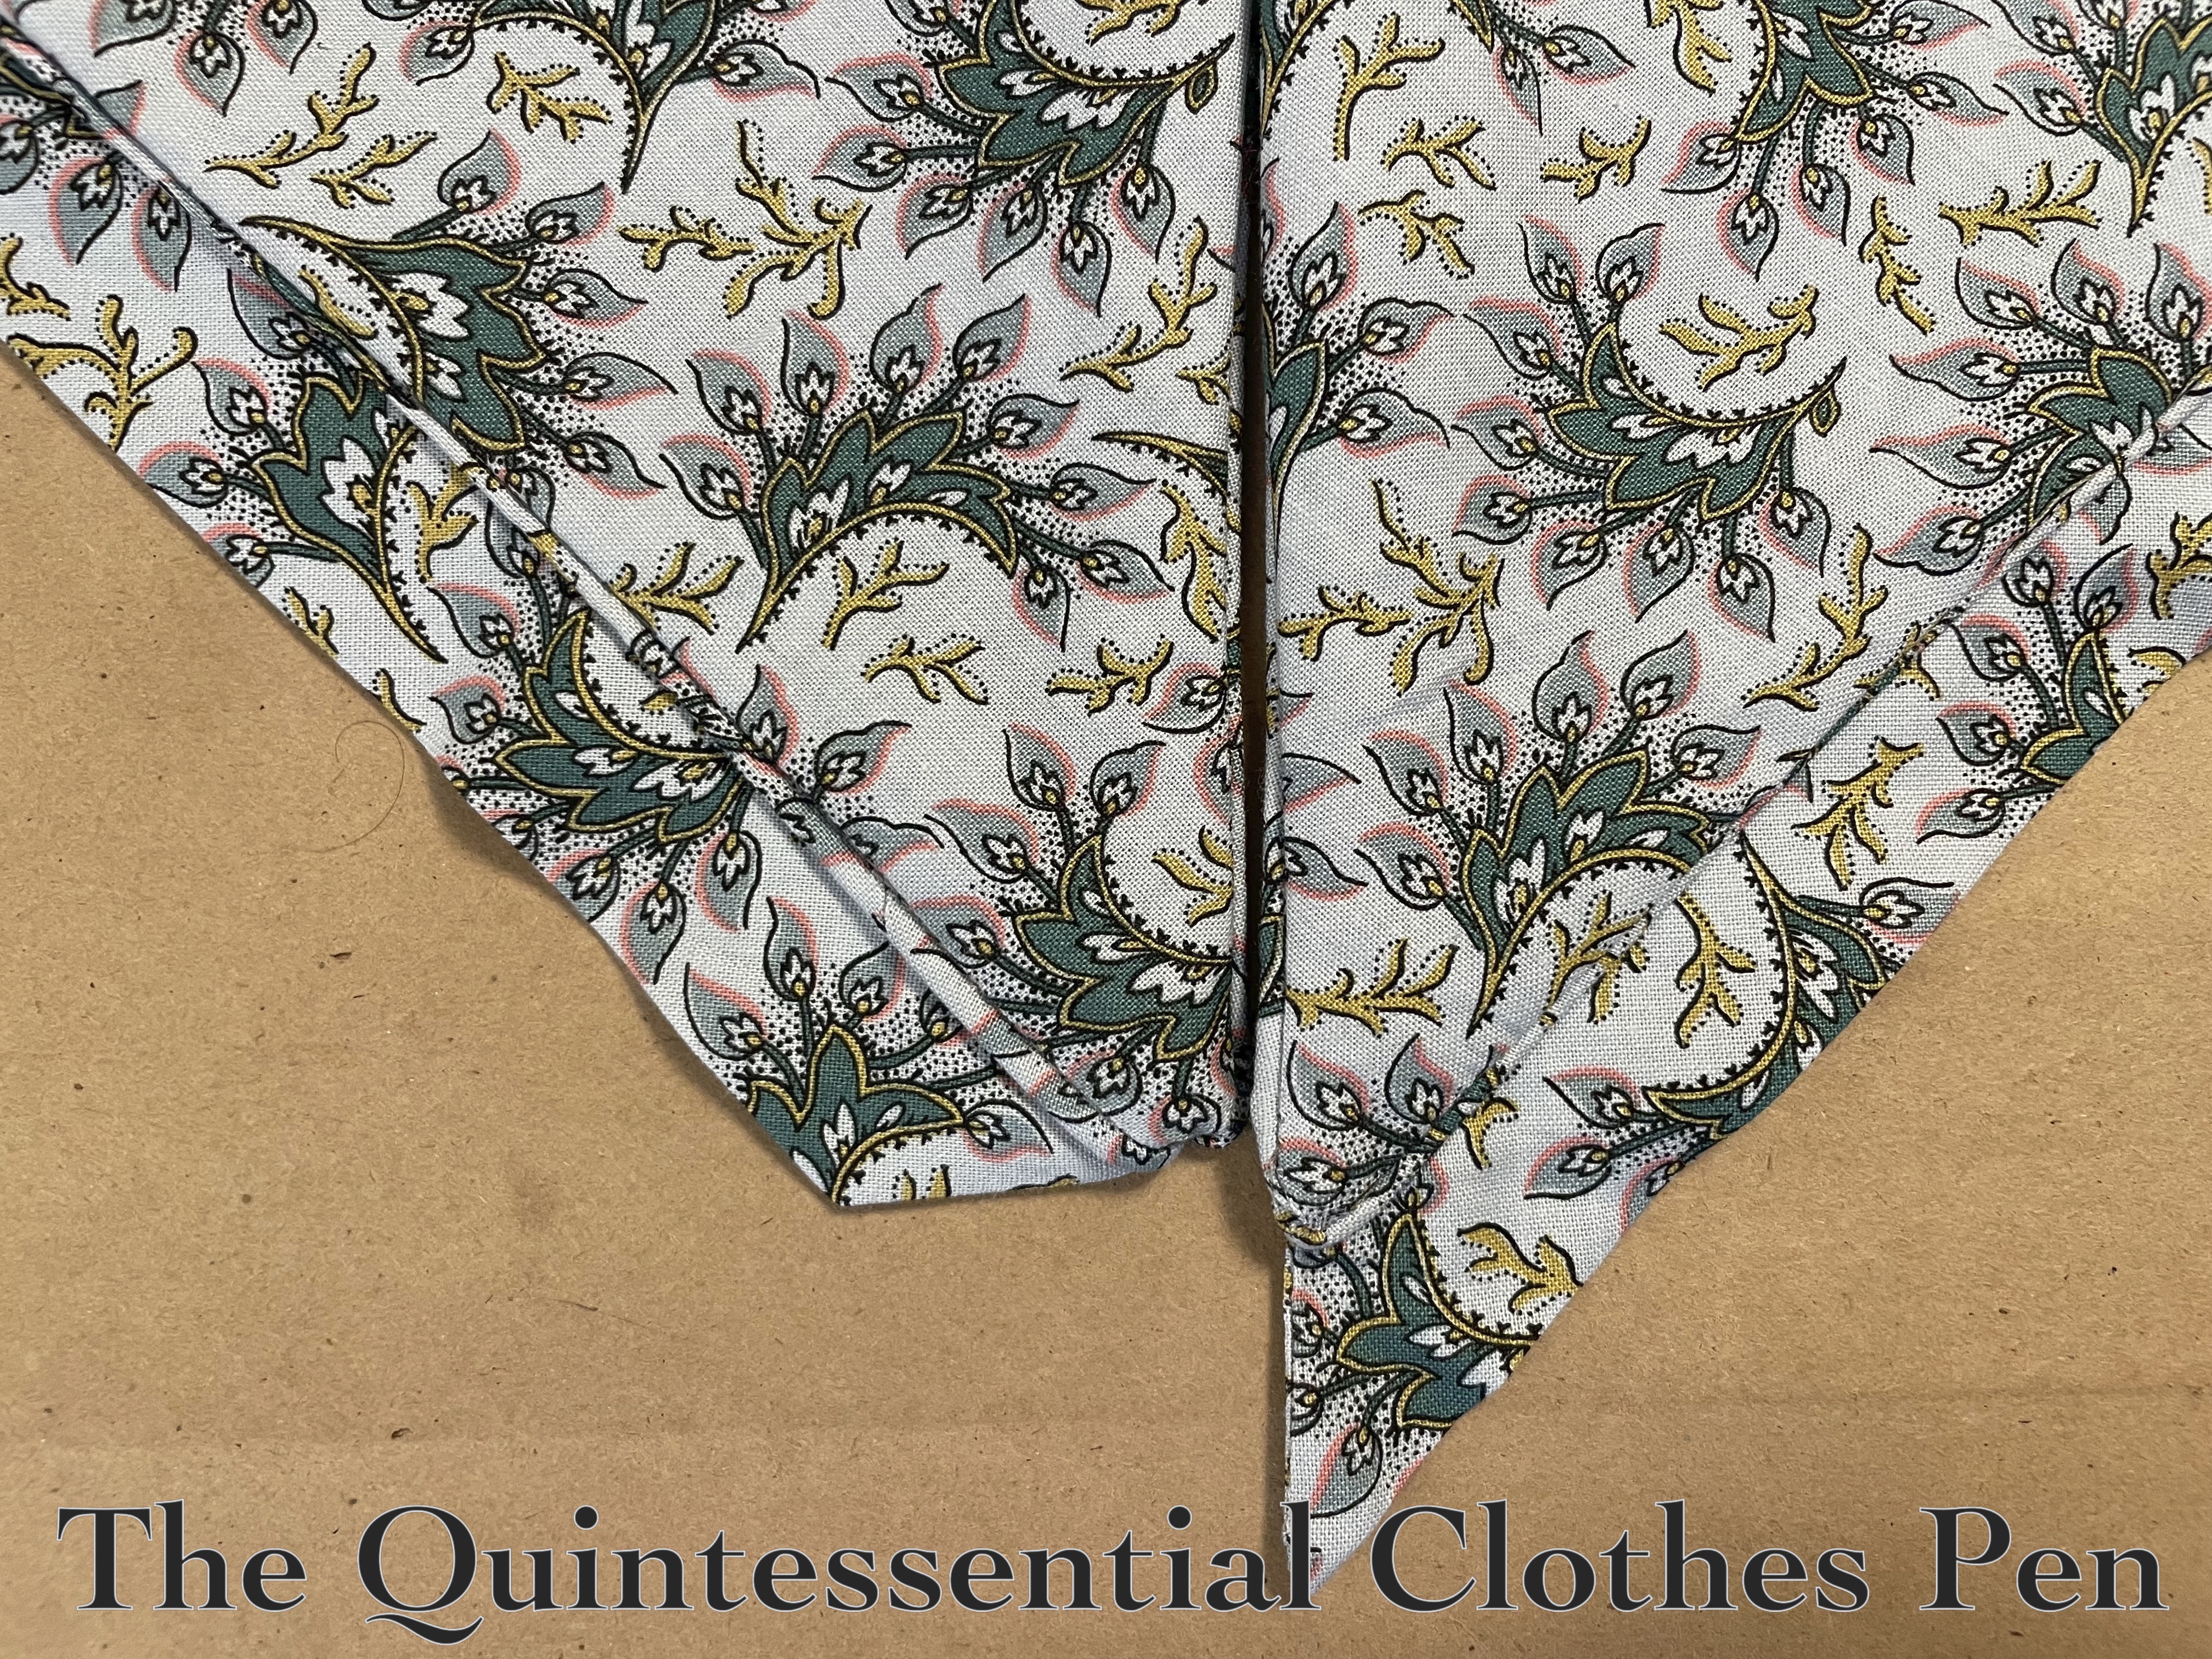
The edging band has lovely points at the center front. These are a bit of a mind-boggle to figure out when the whole band is tucked up inside of the main body while the whole thing is wrong side out. I’d finished both of them with the correct angle the first time around, when the cording was wrong, but then when I fixed that I changed the edging band angle thinking I was making sense… And I’d trimmed the seam allowance.
The only thing to do was piece the edging band. It’s fine. You really can’t see it from a distance, or even up close in the photo below unless you look really carefully (I did try to match the pattern as best as I could without driving myself crazy!). If you zoom in on The Met images, I love that you can see piecing on those, too!
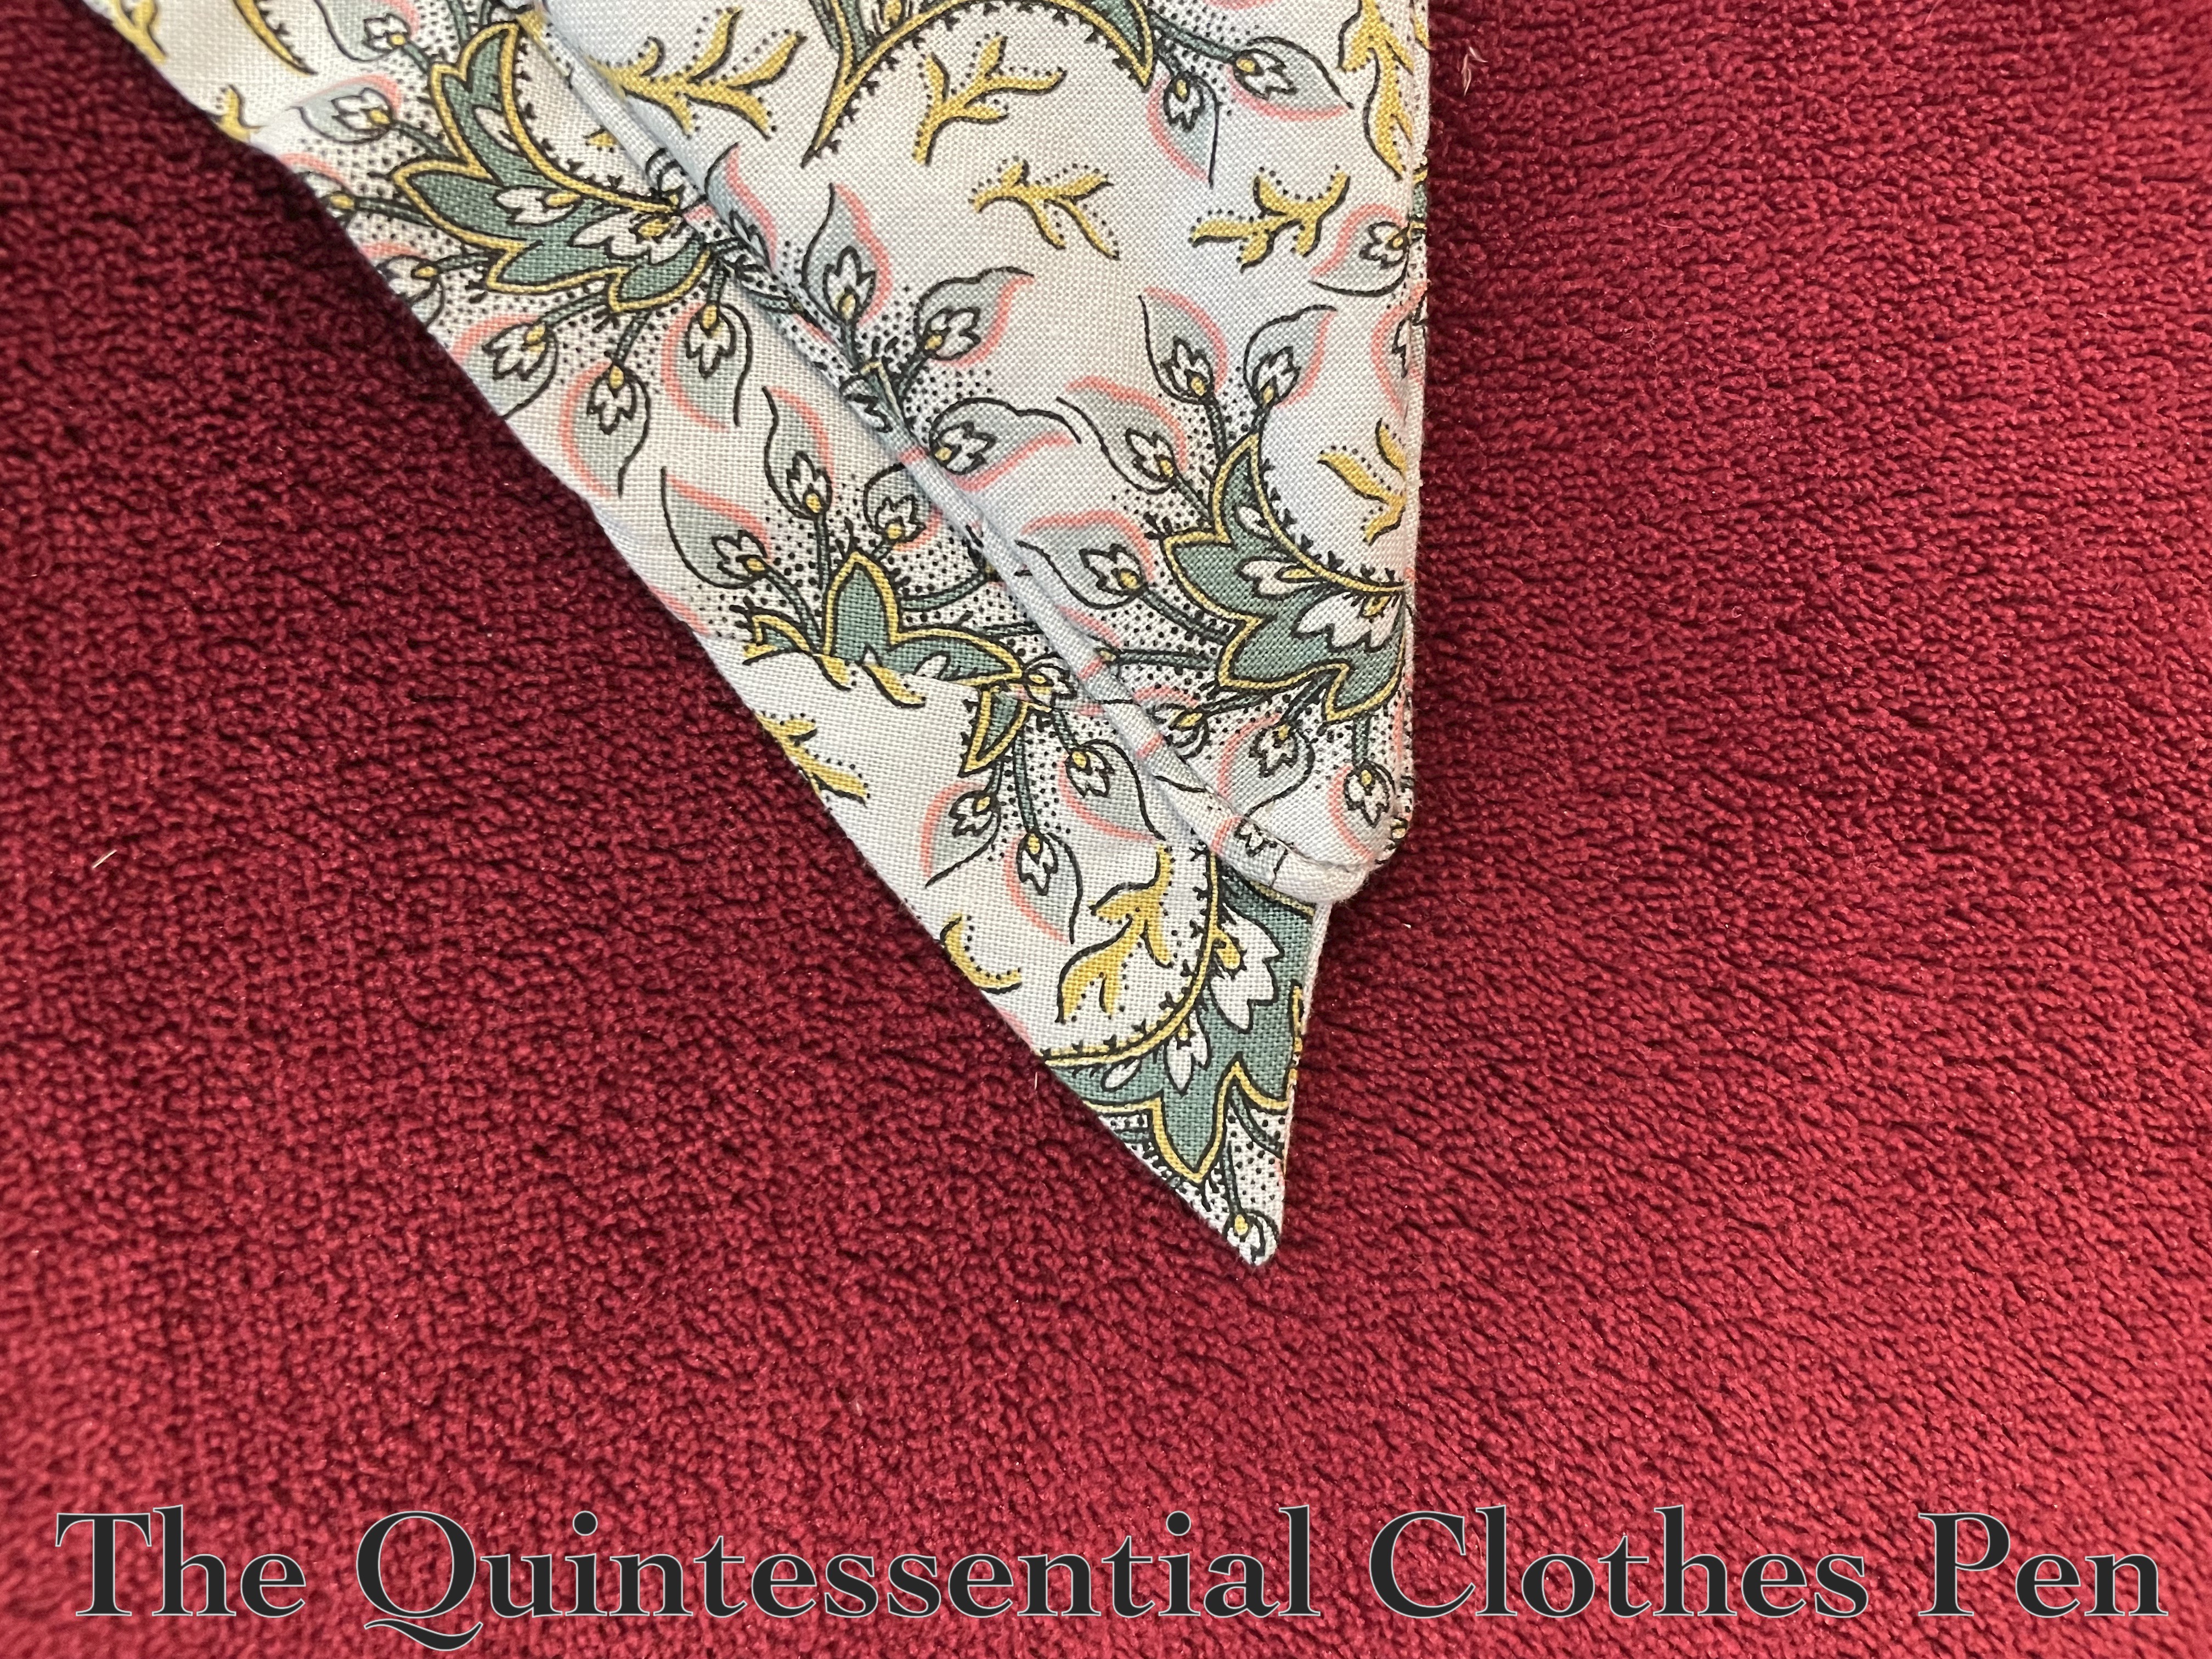
Below is an image of the finished pelerine from father away. Can you see the piecing? My guess is “no” unless you look very, very carefully!
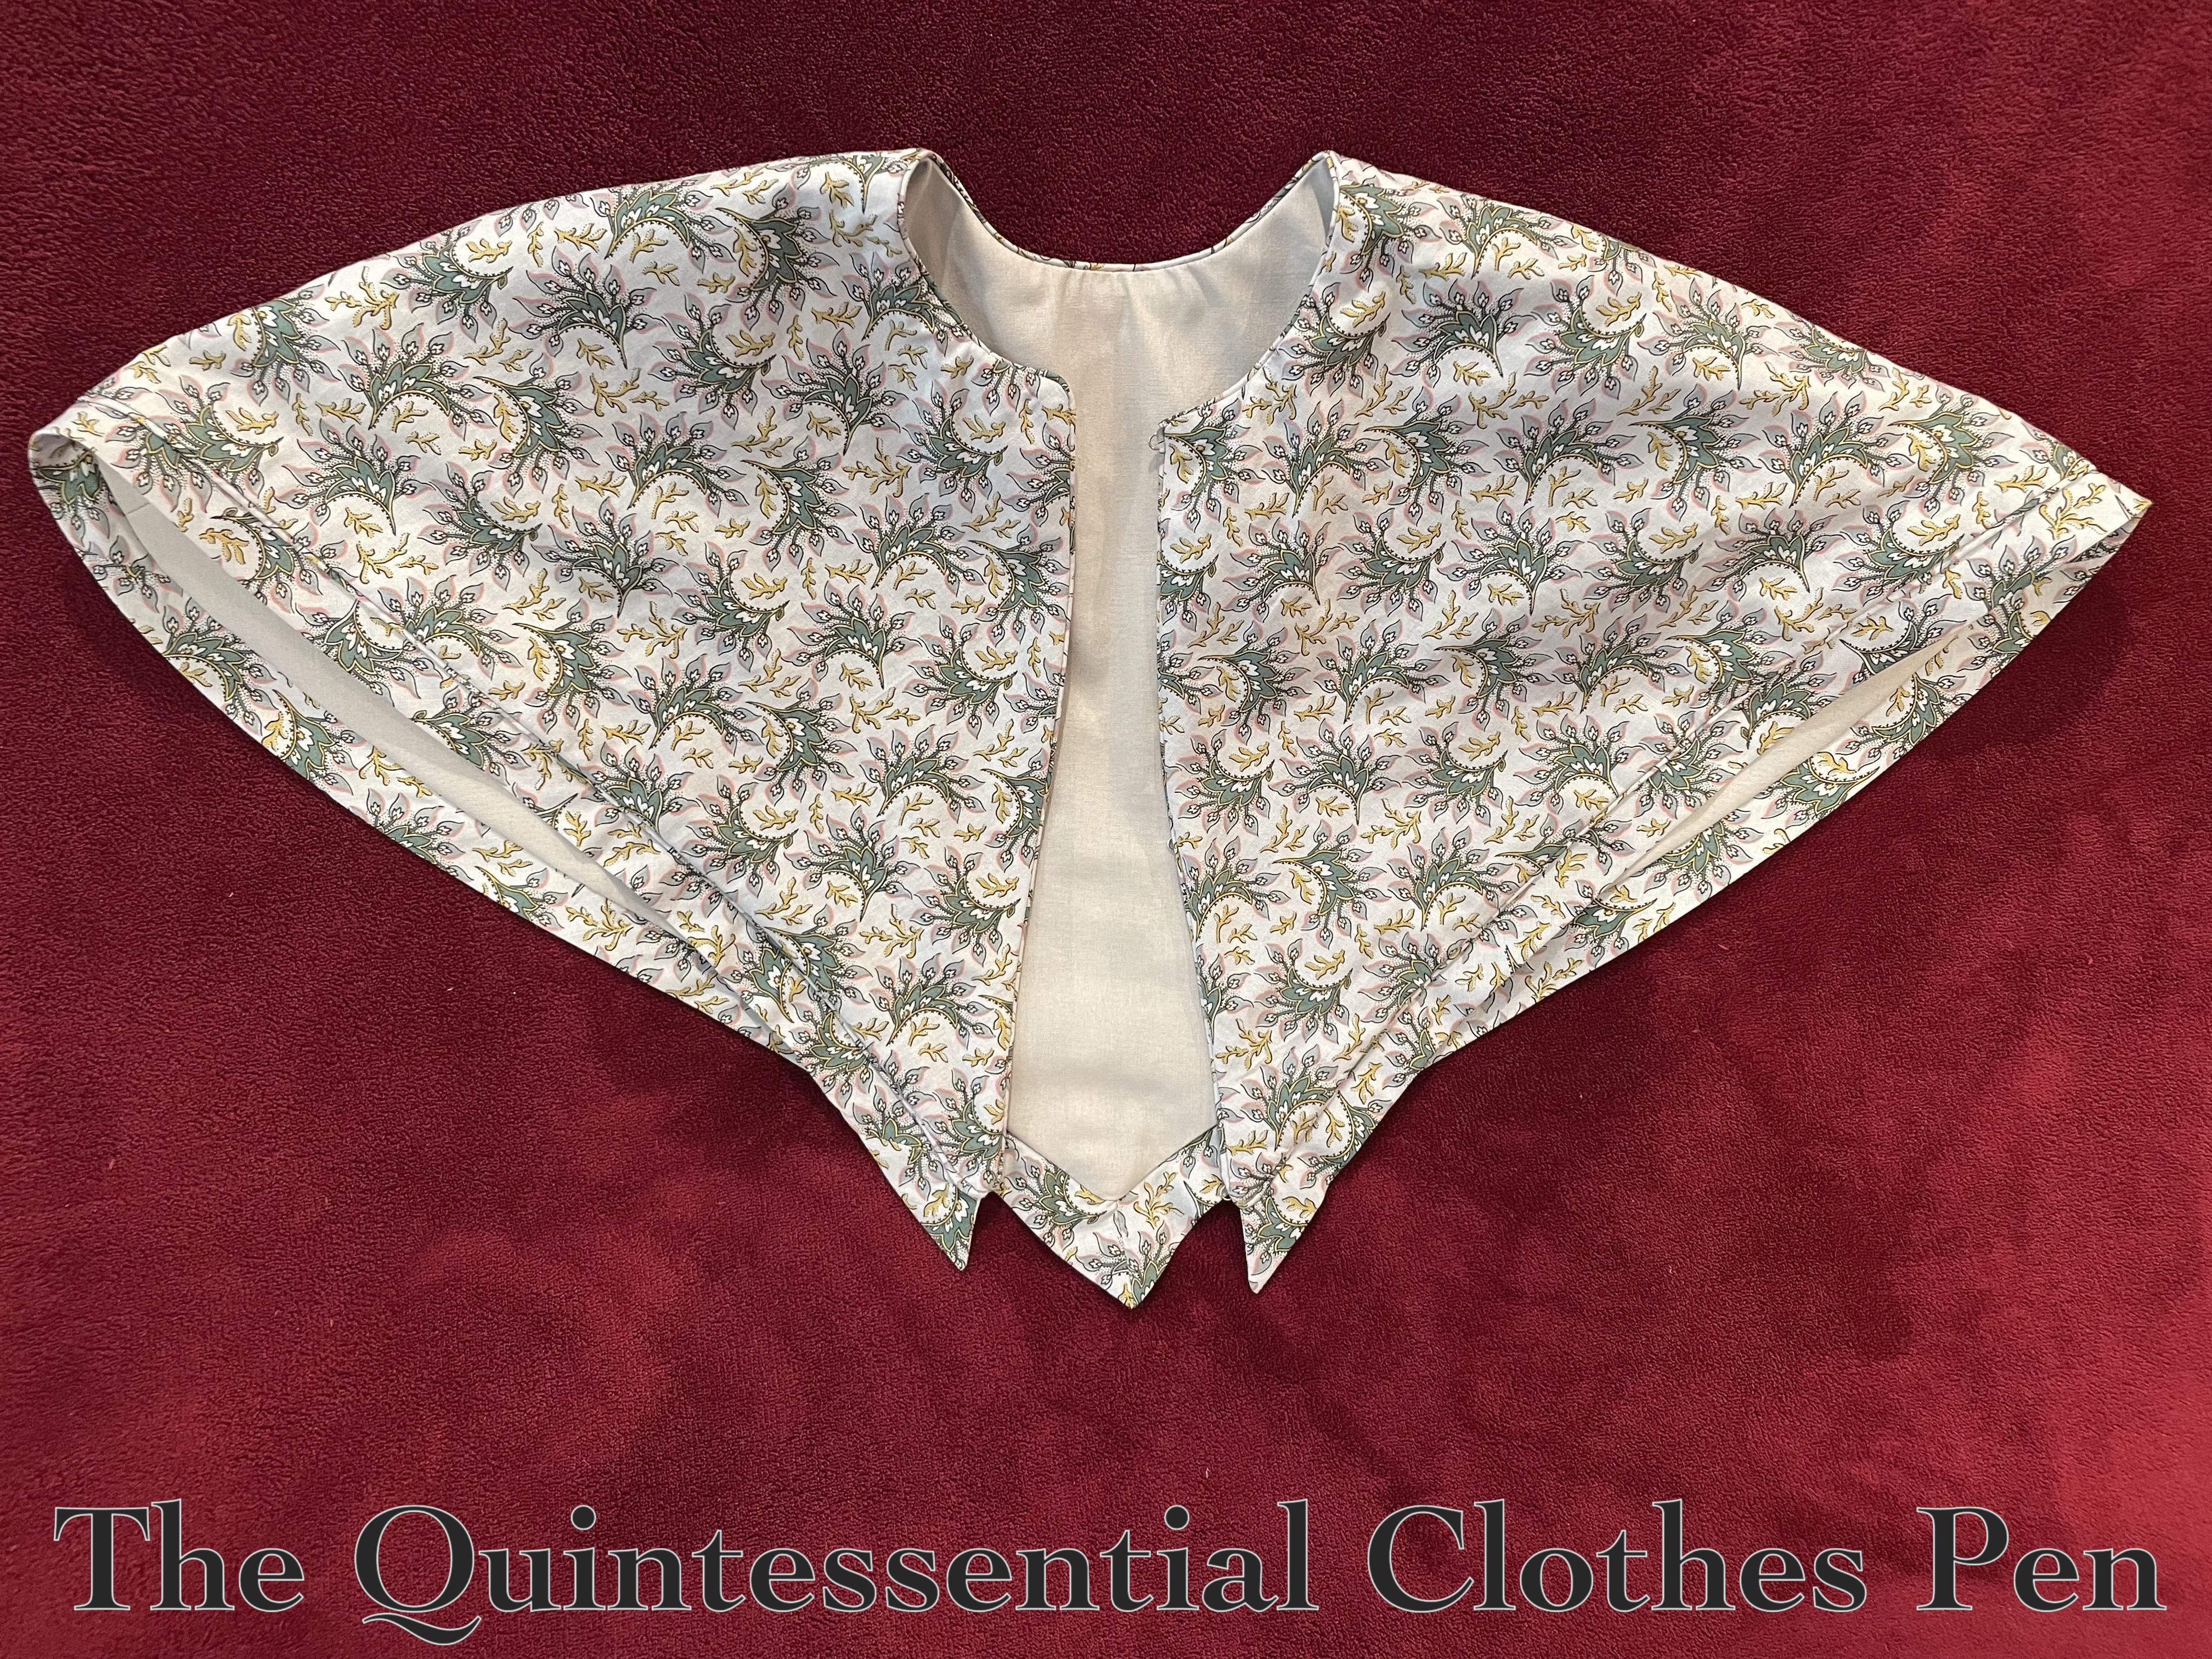
Finishing Details
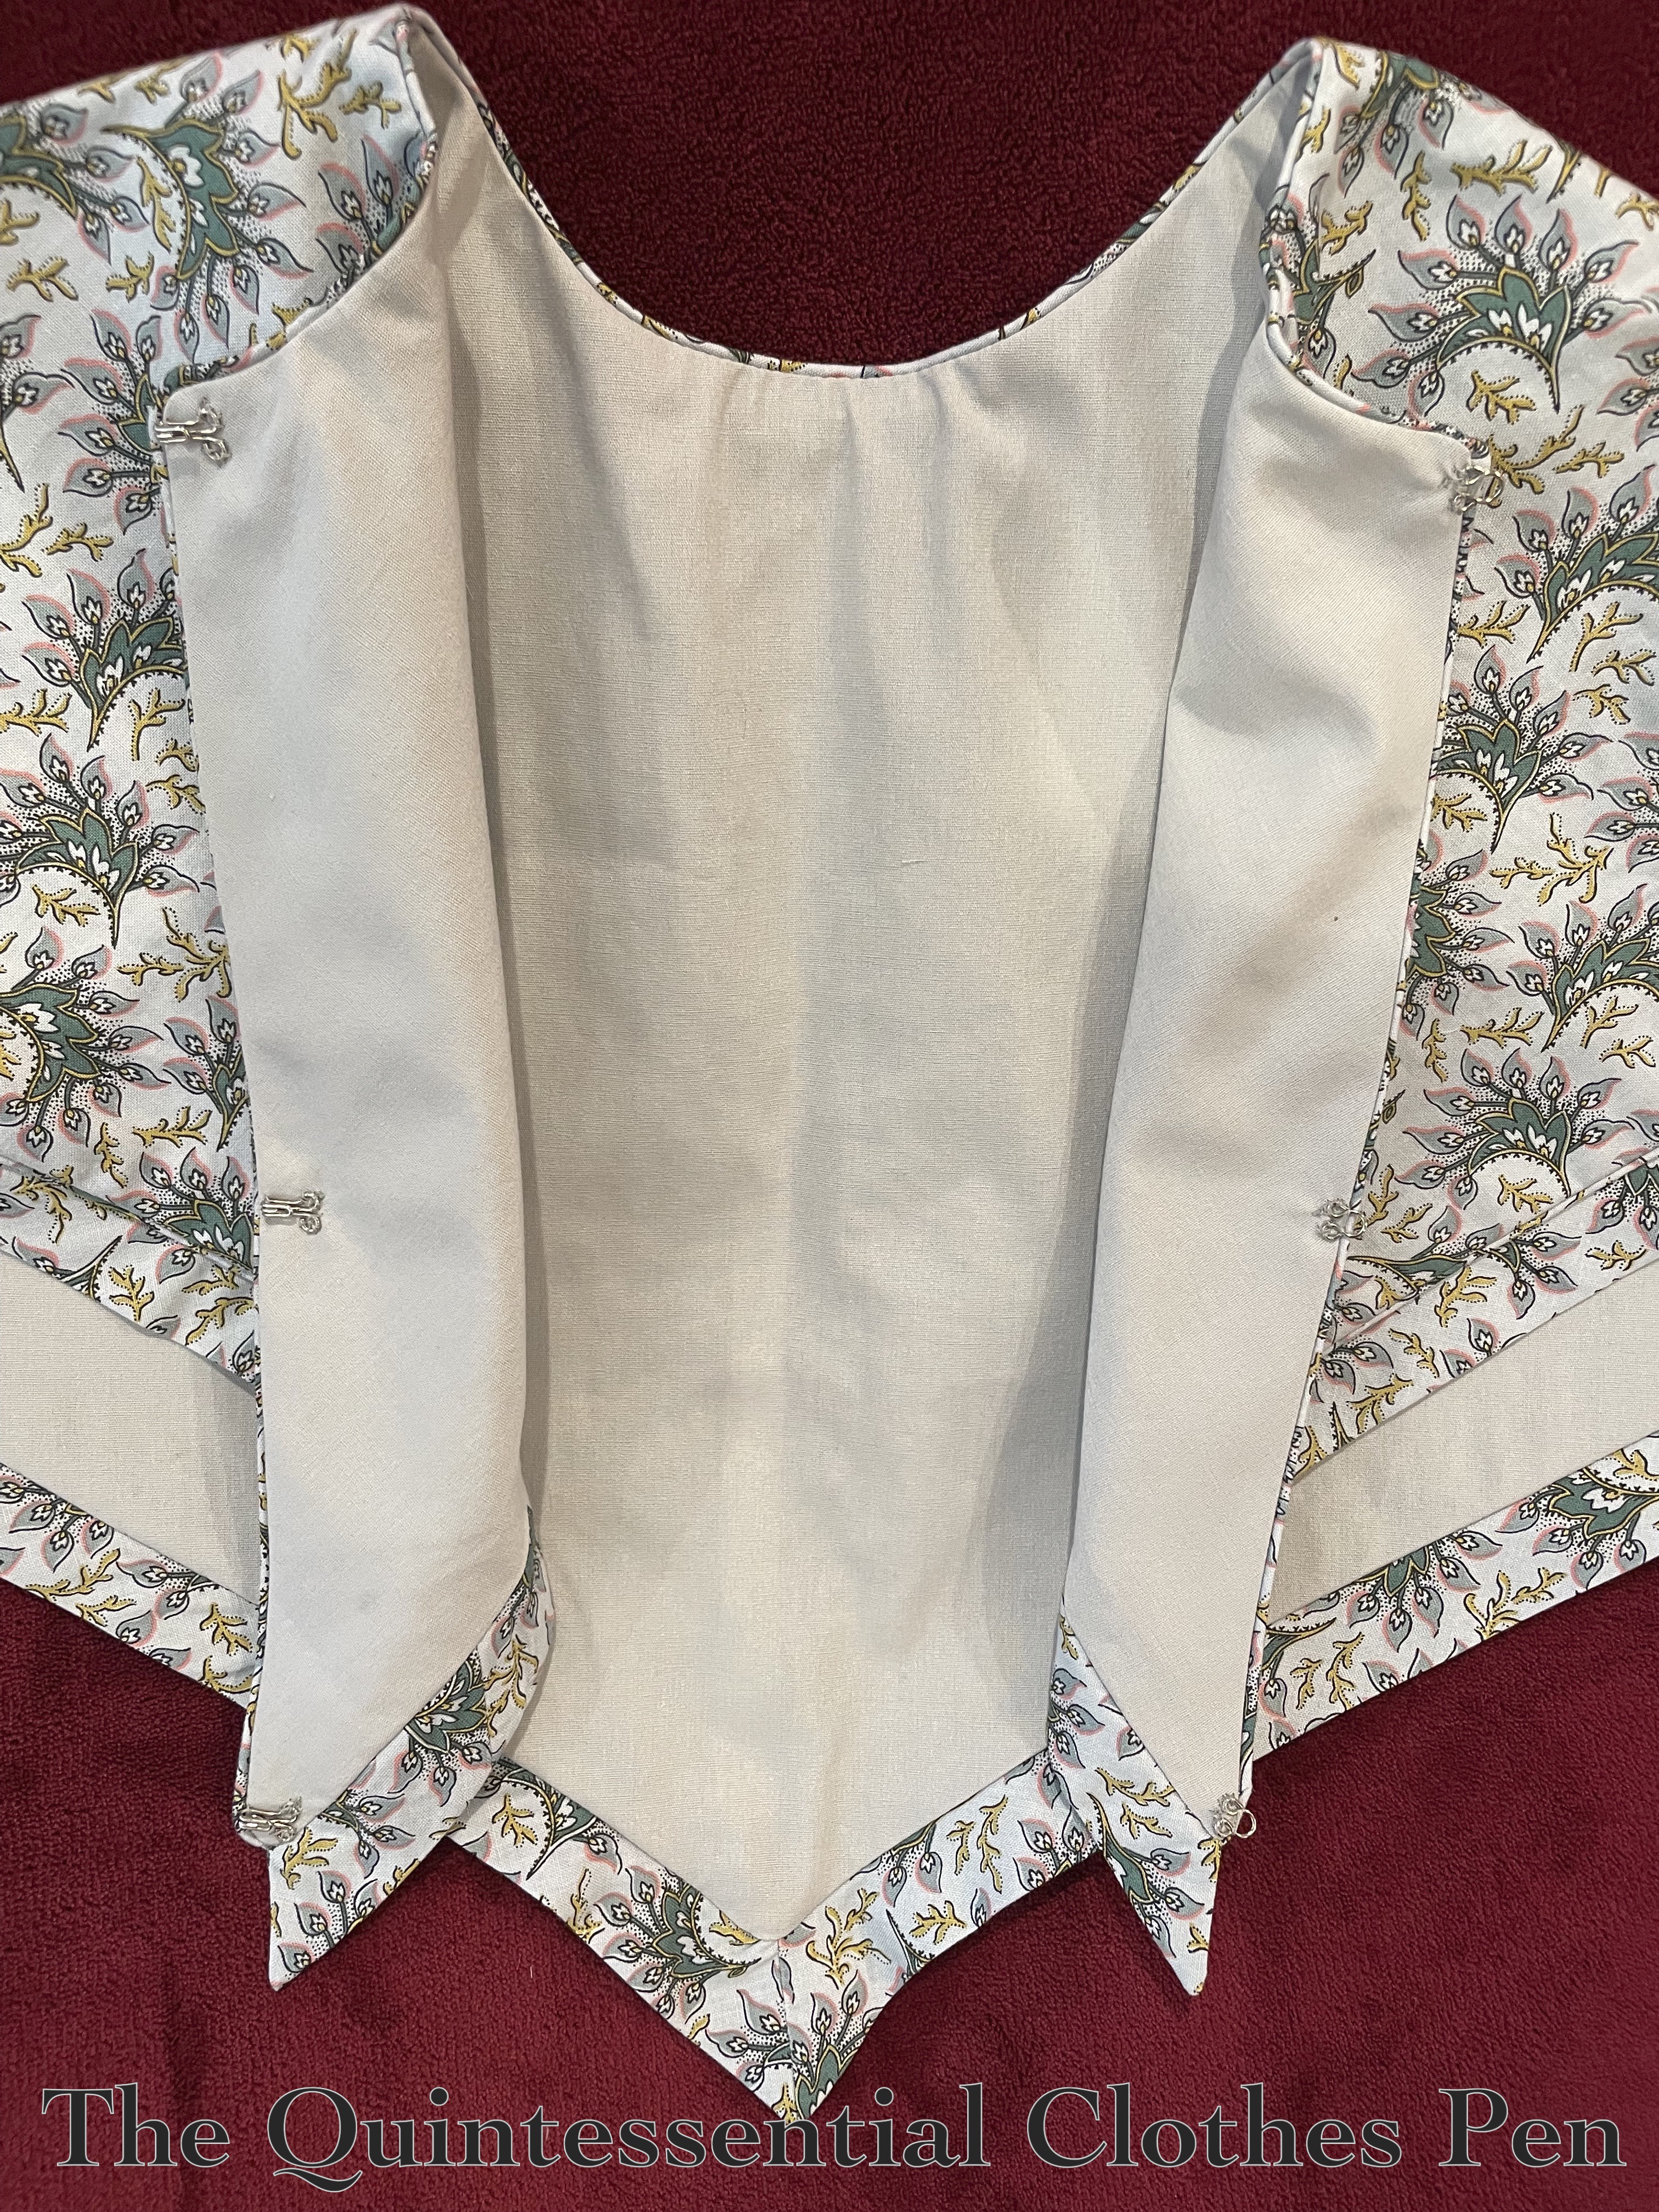
The front of the pelerine closes with hooks and loops. Top, bottom, and sort of center (placed strategically to keep the pelerine closed over the bust). It turns out that a center-point to keep the pelerine from gapping is not quite a halfway point down the front edge, as you can see in the photo below.
Here is a closeup of the finished decorative edging band and cording.
And that’s it!
HSM Details
The Historical Sew Monthly theme #10 for October 2026 is Your Own Challenge:
Either tackle something that you have put off doing because you have found it personally challenging, or create a different & new personal challenge of your own – perhaps a full ensemble that’s intimidating? Sewing something that requires learning a new skill or stitch? Share your challenge with the HSM community if others are looking for inspiration.
Side note: I haven’t explained the Historical Sew Monthly in awhile. It is a choose-as-you-can community building sewing challenge originally hosted by The Dreamstress blog. It’s been running for about fifteen years at this point! These days new challenges and other information is housed in a Facebook group. Information about the group is still available here, where the original concept is explained on The Dreamstress blog as well.
I decided that my October challenge is Procrastination, Patience, and Practicality! For a pelerine. In a post. Alliteration is the thing here.
Why procrastination? Well, I didn’t feel I could complete the pelerine until I made the dress (to make sure the pattern shape worked, but also to make sure I had enough fabric). The dress took about six years to finally be completed, so the pelerine was on hold for all of that time, as well.
Why patience? This sewing process definitely took patience!
Why practicality? I love that, in addition to the removable bows and interchangeable belt colors for my dress, I also will now have the option of wearing it with or without the pelerine! More variations!
Just the facts:
Fabric/Materials: Approximately 1 yard of blue cotton print and 1 yard of solid grey cotton.
Pattern: My own
Year: 1835.
Notions: 3 metal hooks and loops, 2 yards of narrow cording, and thread.
How historically accurate is it?: 99%. Materials that are pretty darn good for 2026 and the pattern is adapted from originals.
Hours to complete: Approximately 5 ¾ (even with my mistakes!).
First worn: Not yet!
Total cost: Approximately $6. The fabrics were a score at only $3 per yard from the local discount store. The closures and cording were purchased in super bulk.
Someday I’ll find a fun reason to wear the pelerine and get photos of it being worn!


Beautiful fabric, beautifully sewn! 😍