2025 was a bit of a crazy year, but despite that I have so many things to be grateful for and recall with joy, including both sewing projects and events! So here is my 2025 recap. (You can see all of my past posts related to reflecting and looking forward here.)
Projects I completed in 2025
January: c. 1770 Stomacher (for the new Yellow Sacque) (HSM #12)
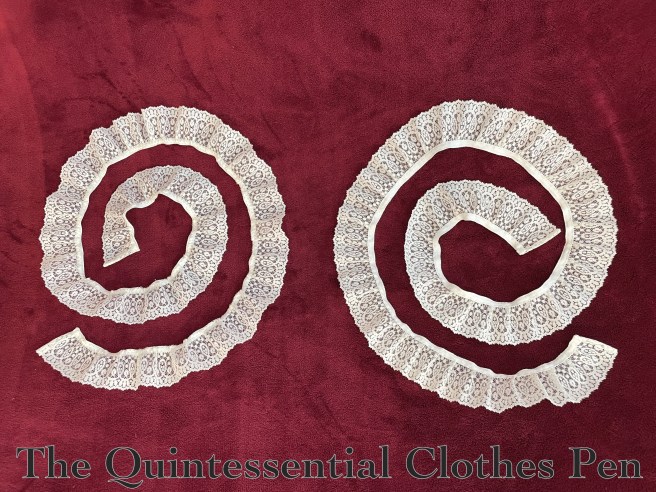
February: Two Tuckers (for the Versailles and new Yellow sacques) (HSM #6)
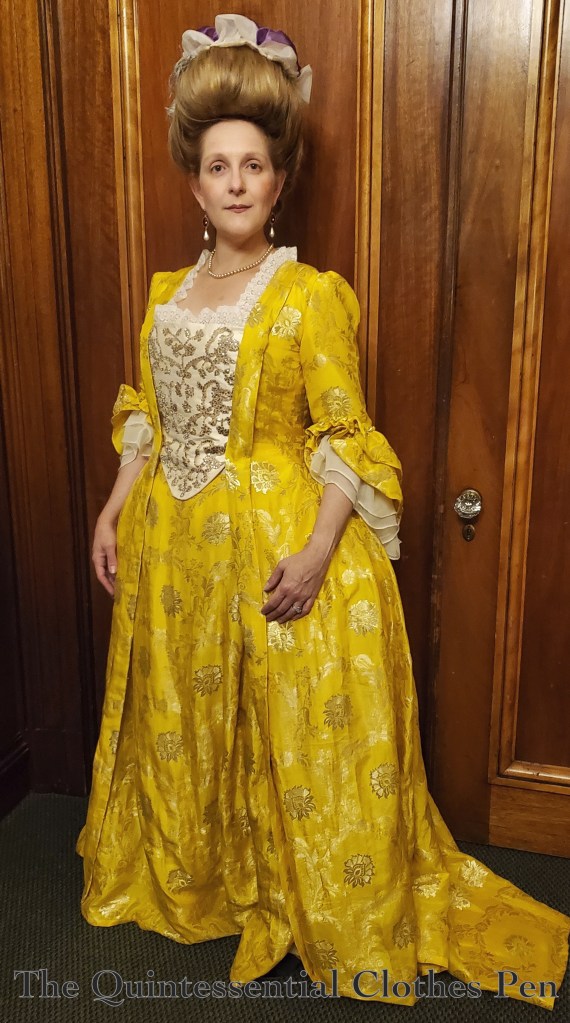
March: The New Yellow Sacque
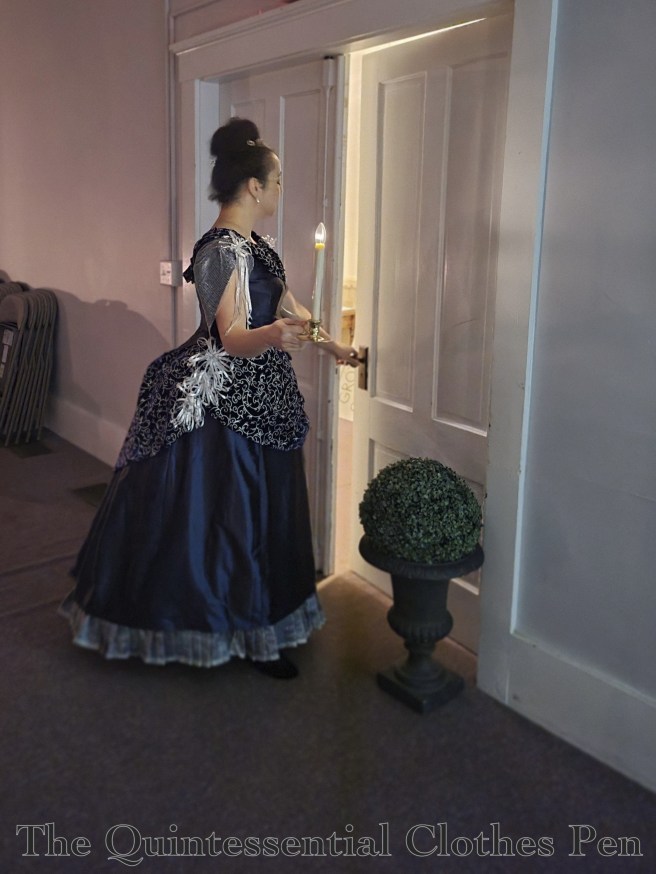
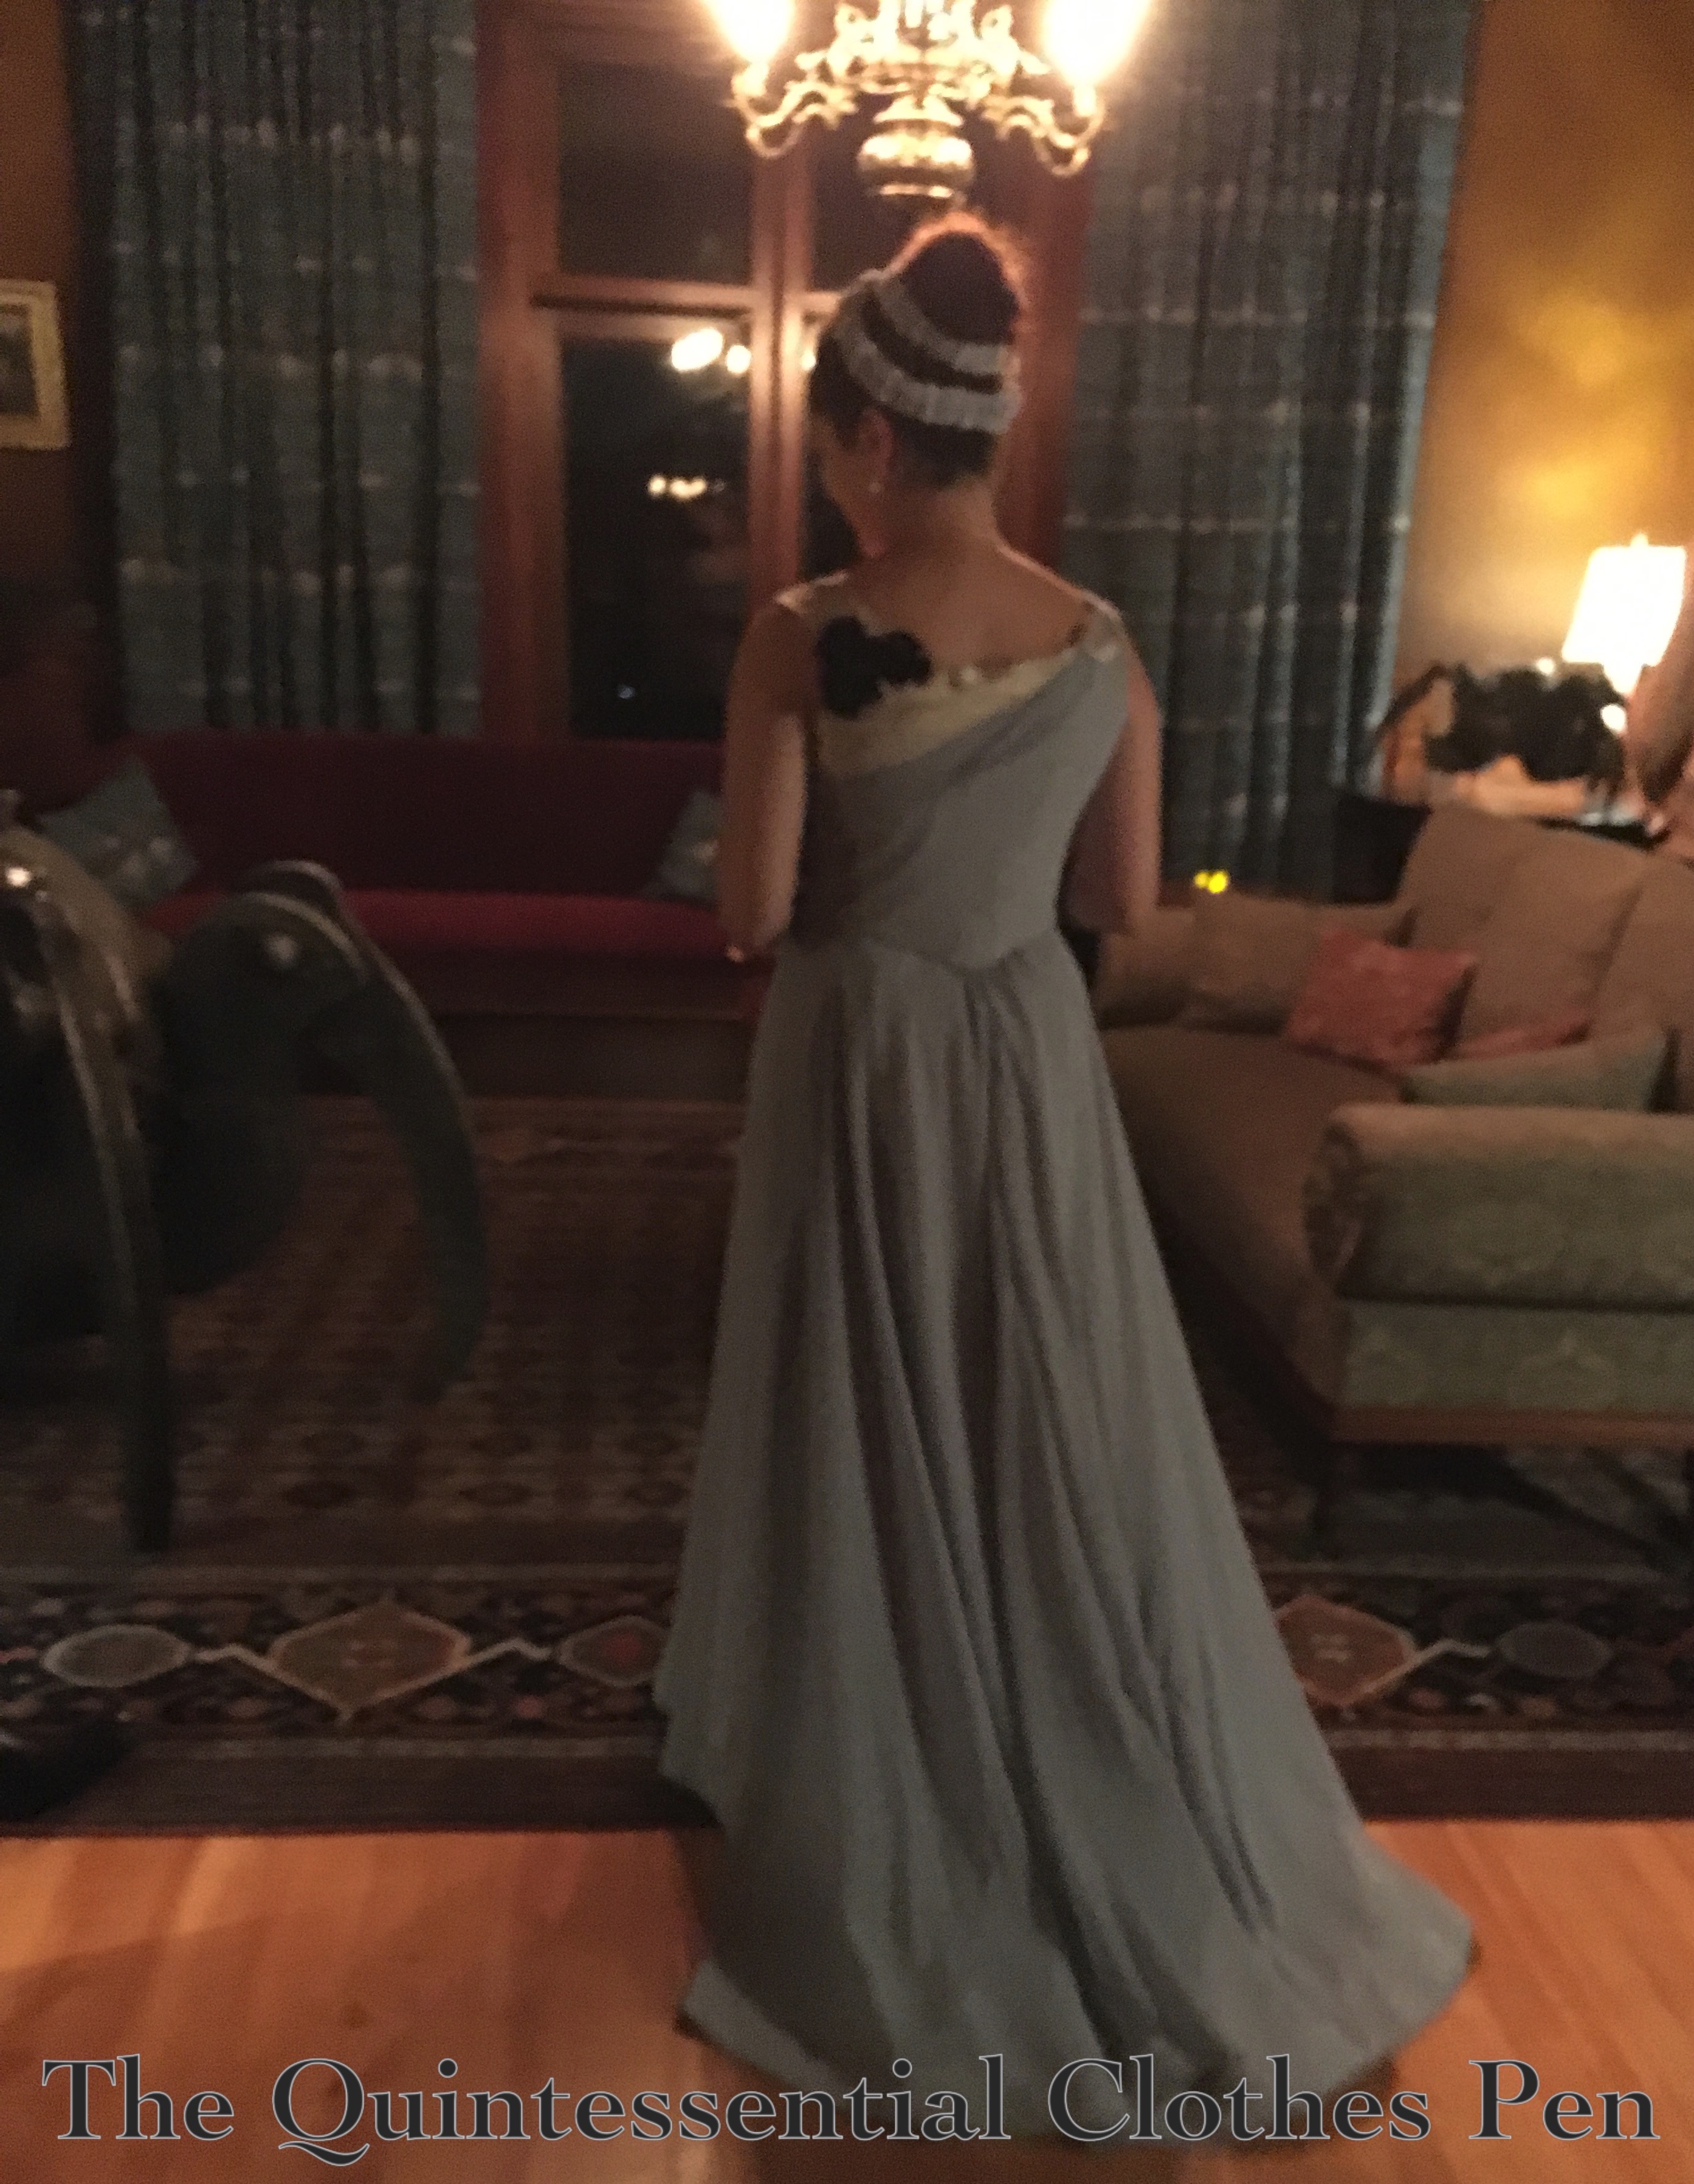
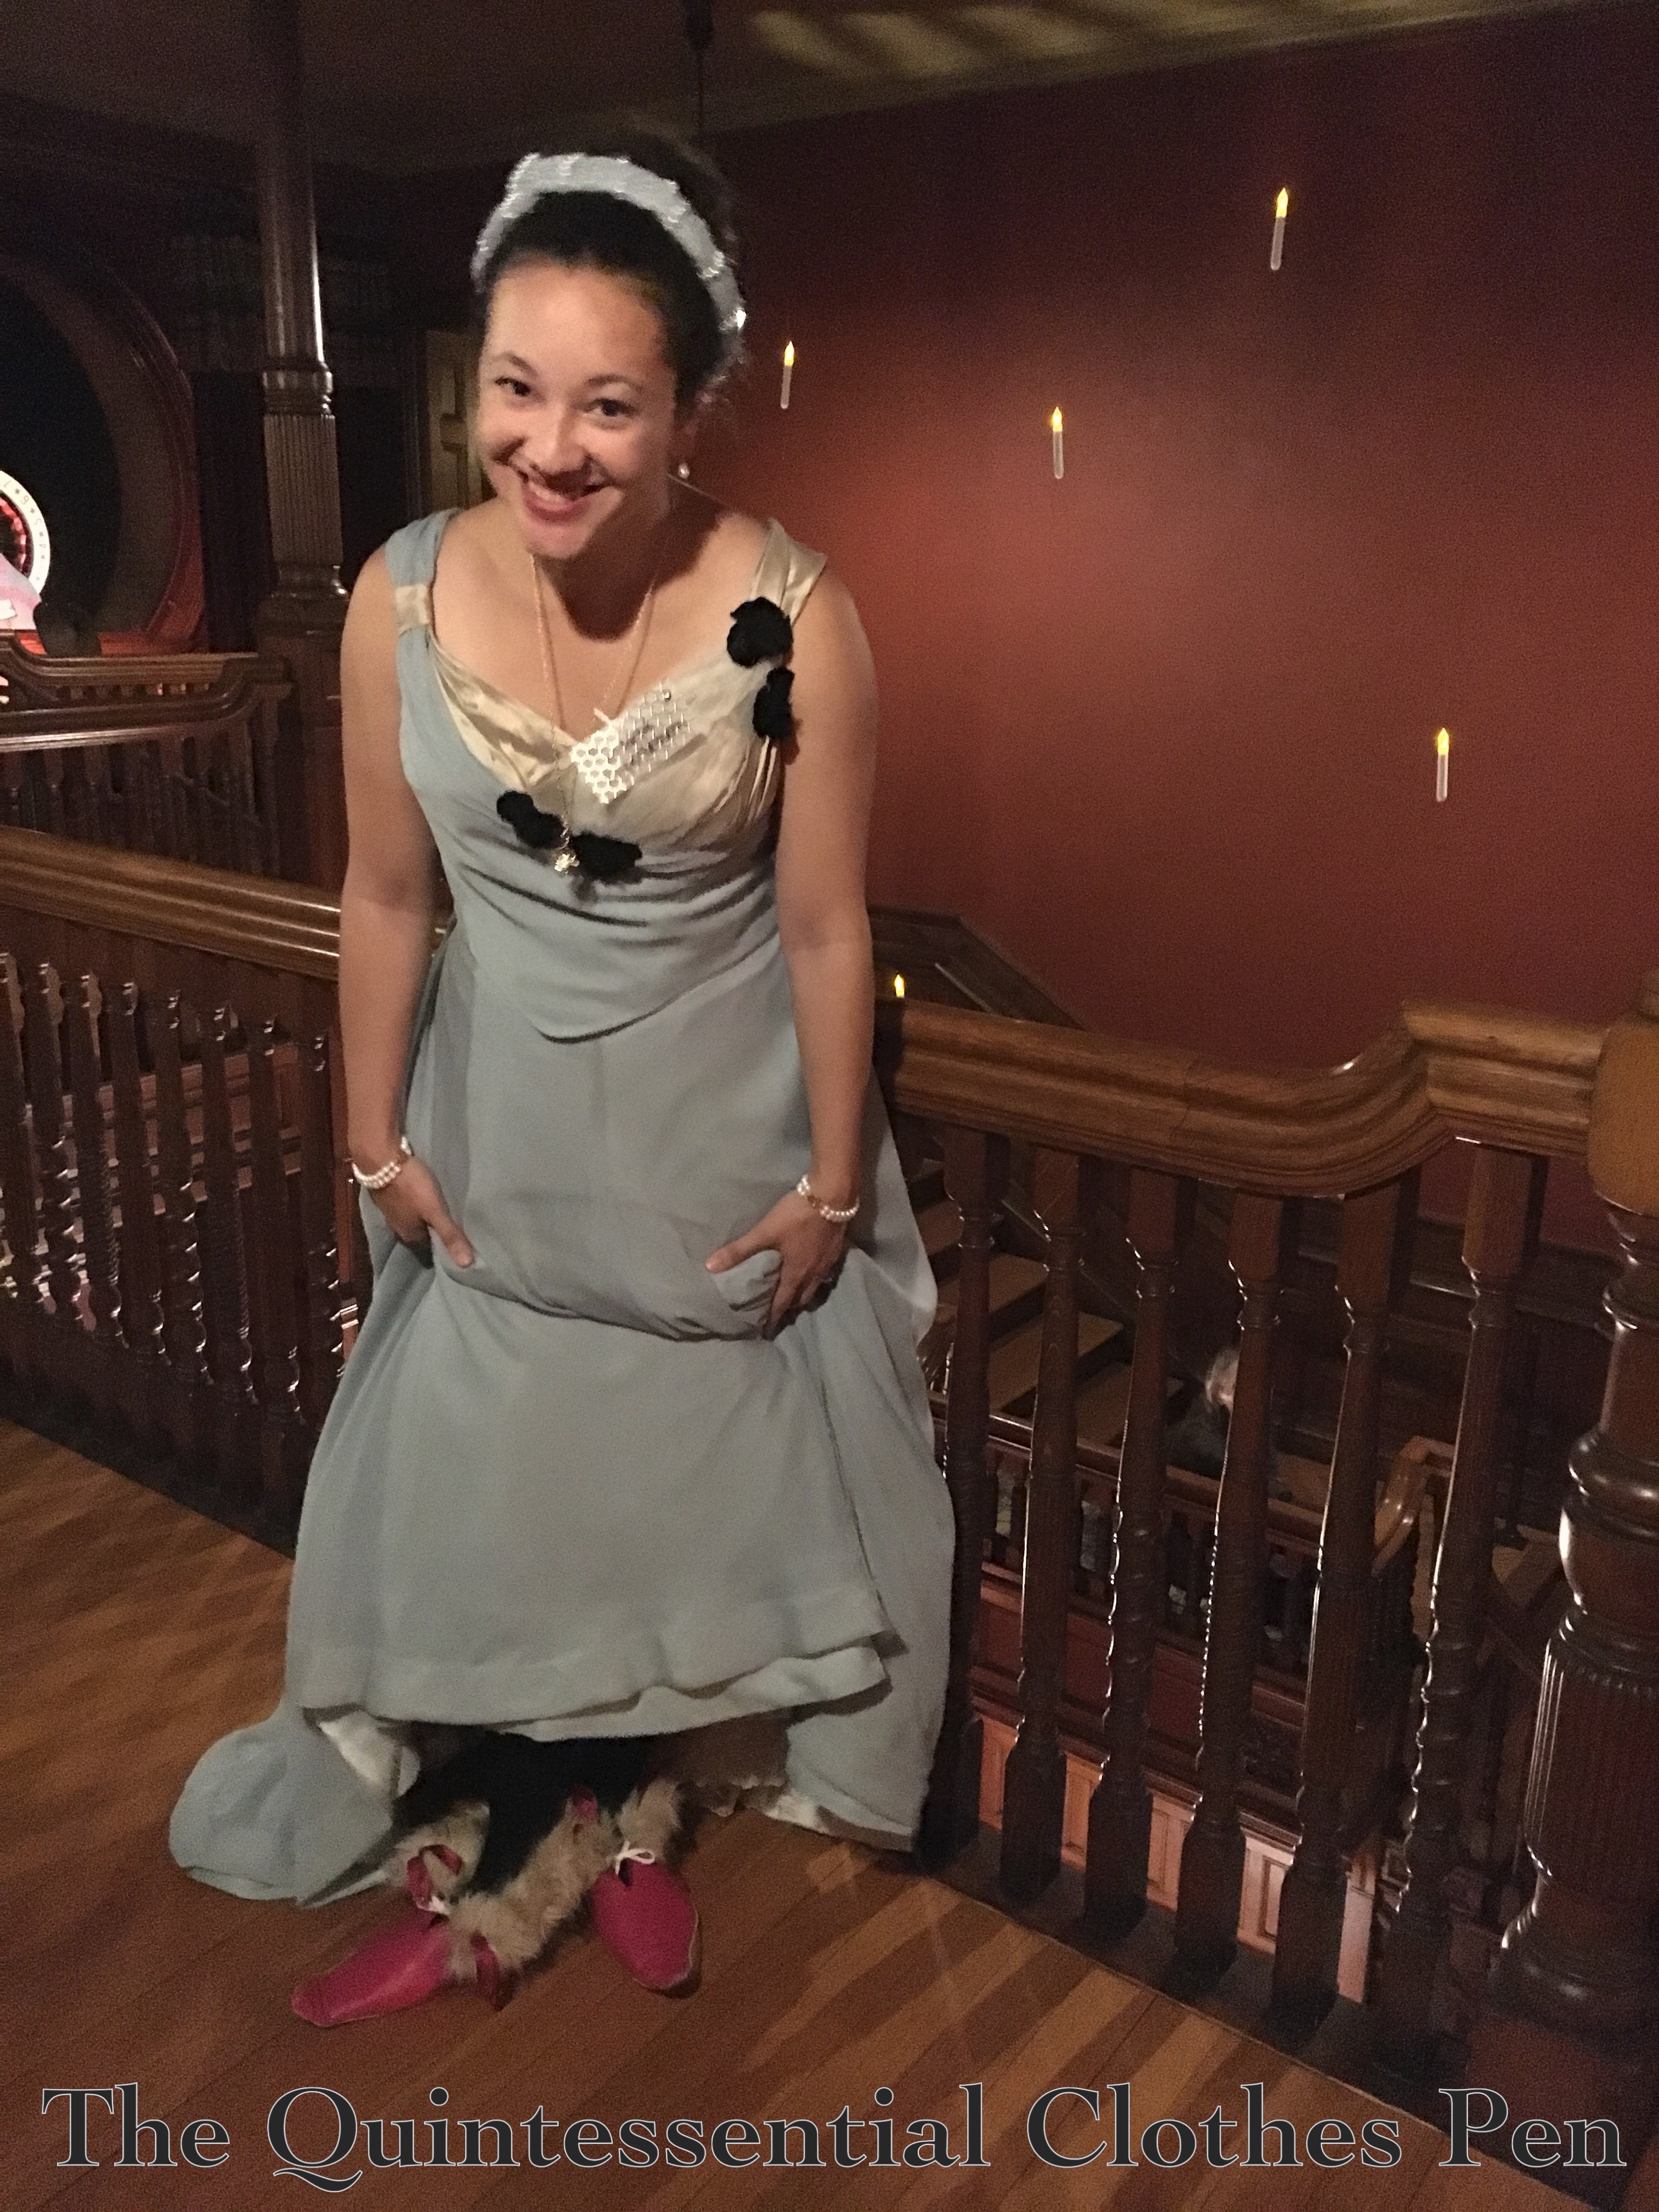
June: 1885 Fancy Dress Re-Do (HSM #9)
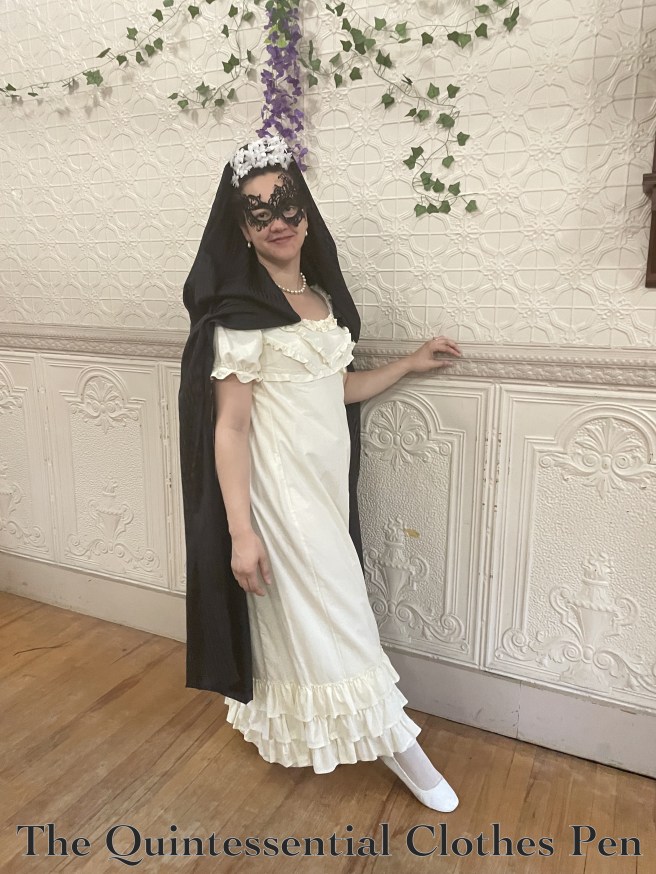
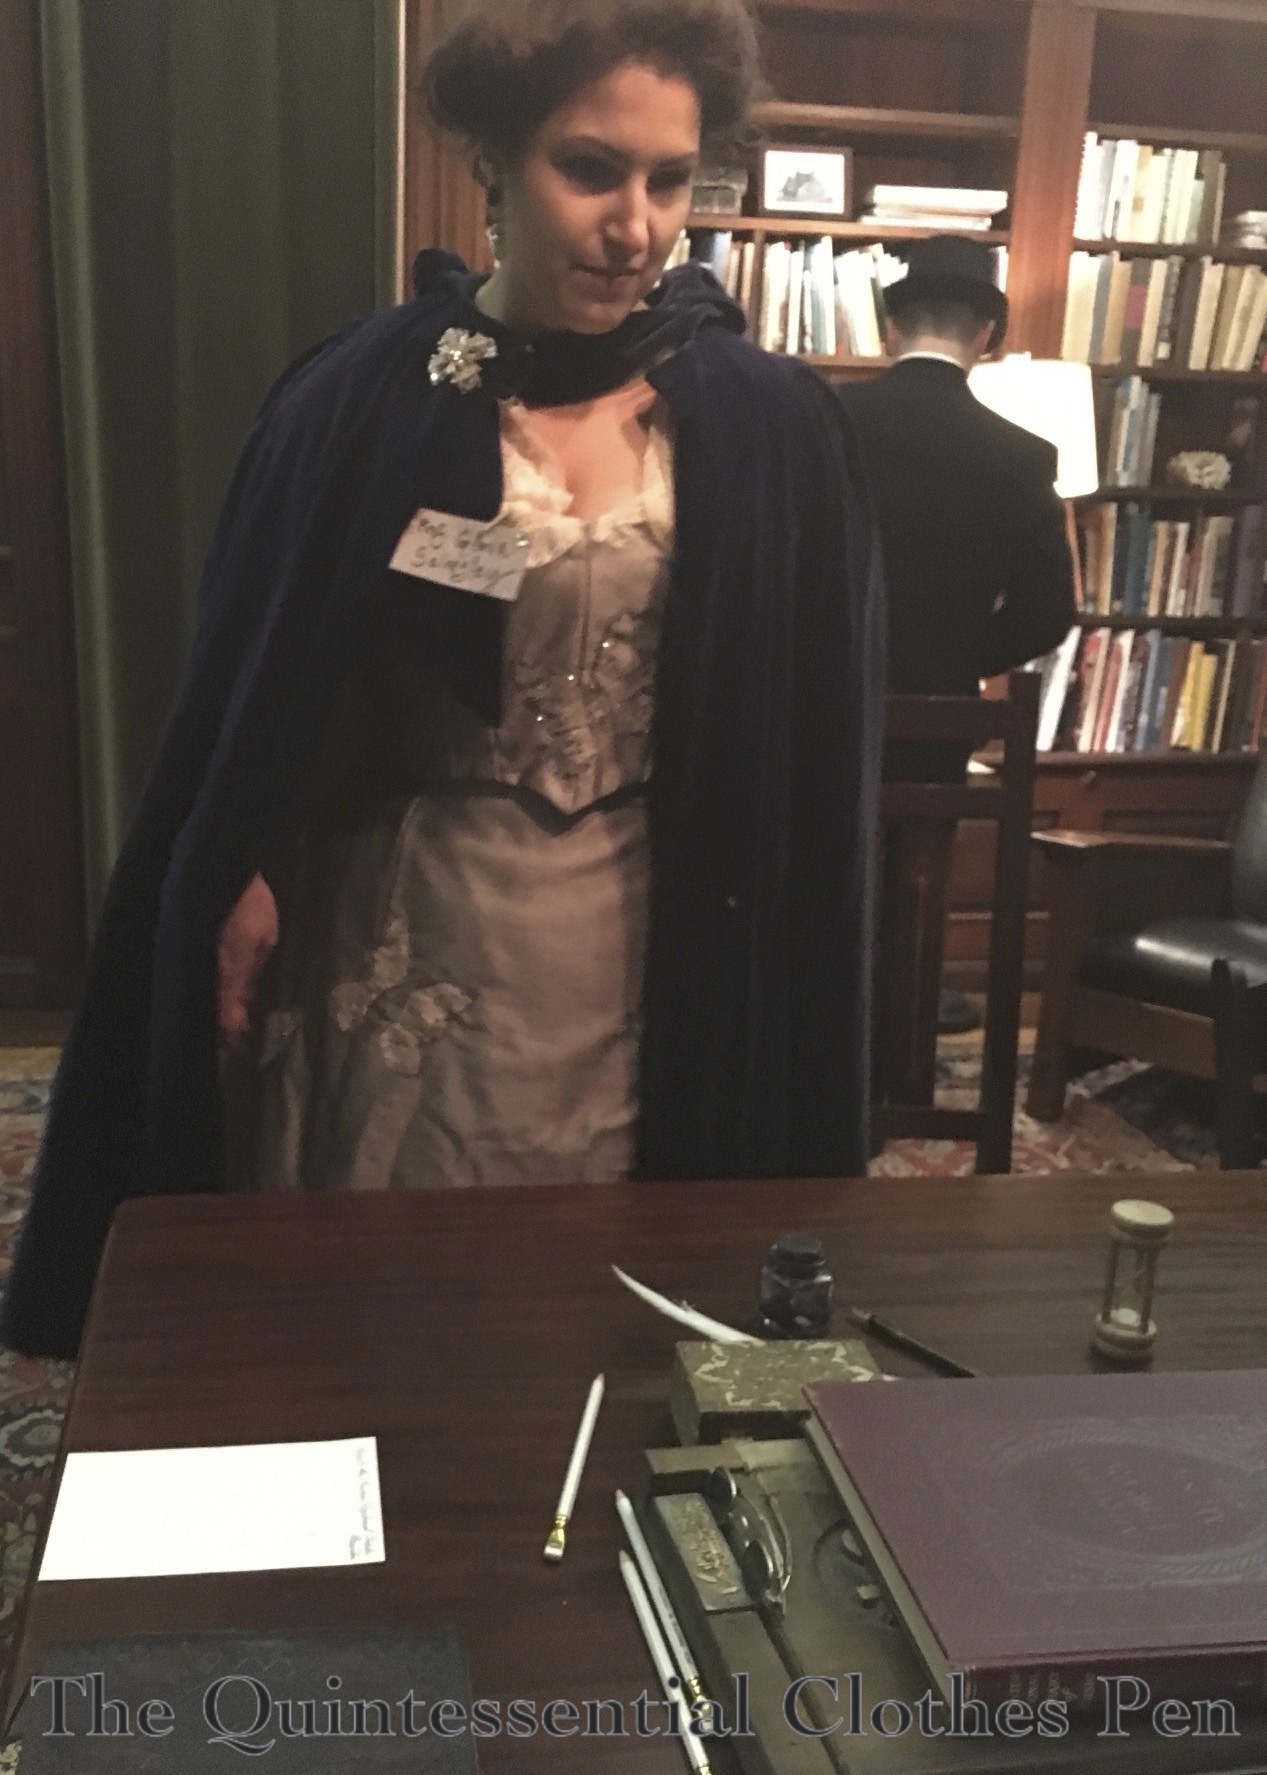
July: A Mysterious Domino
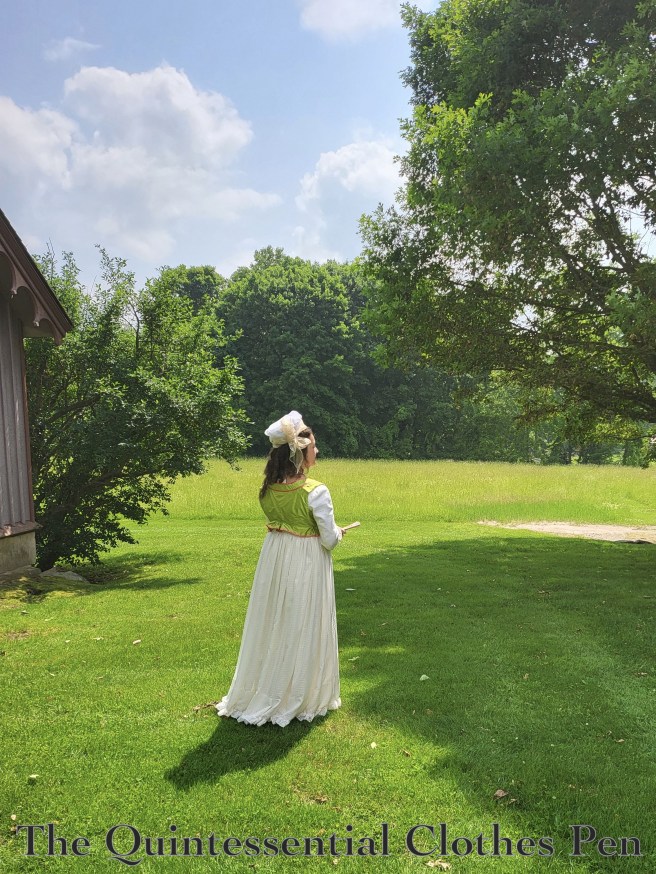
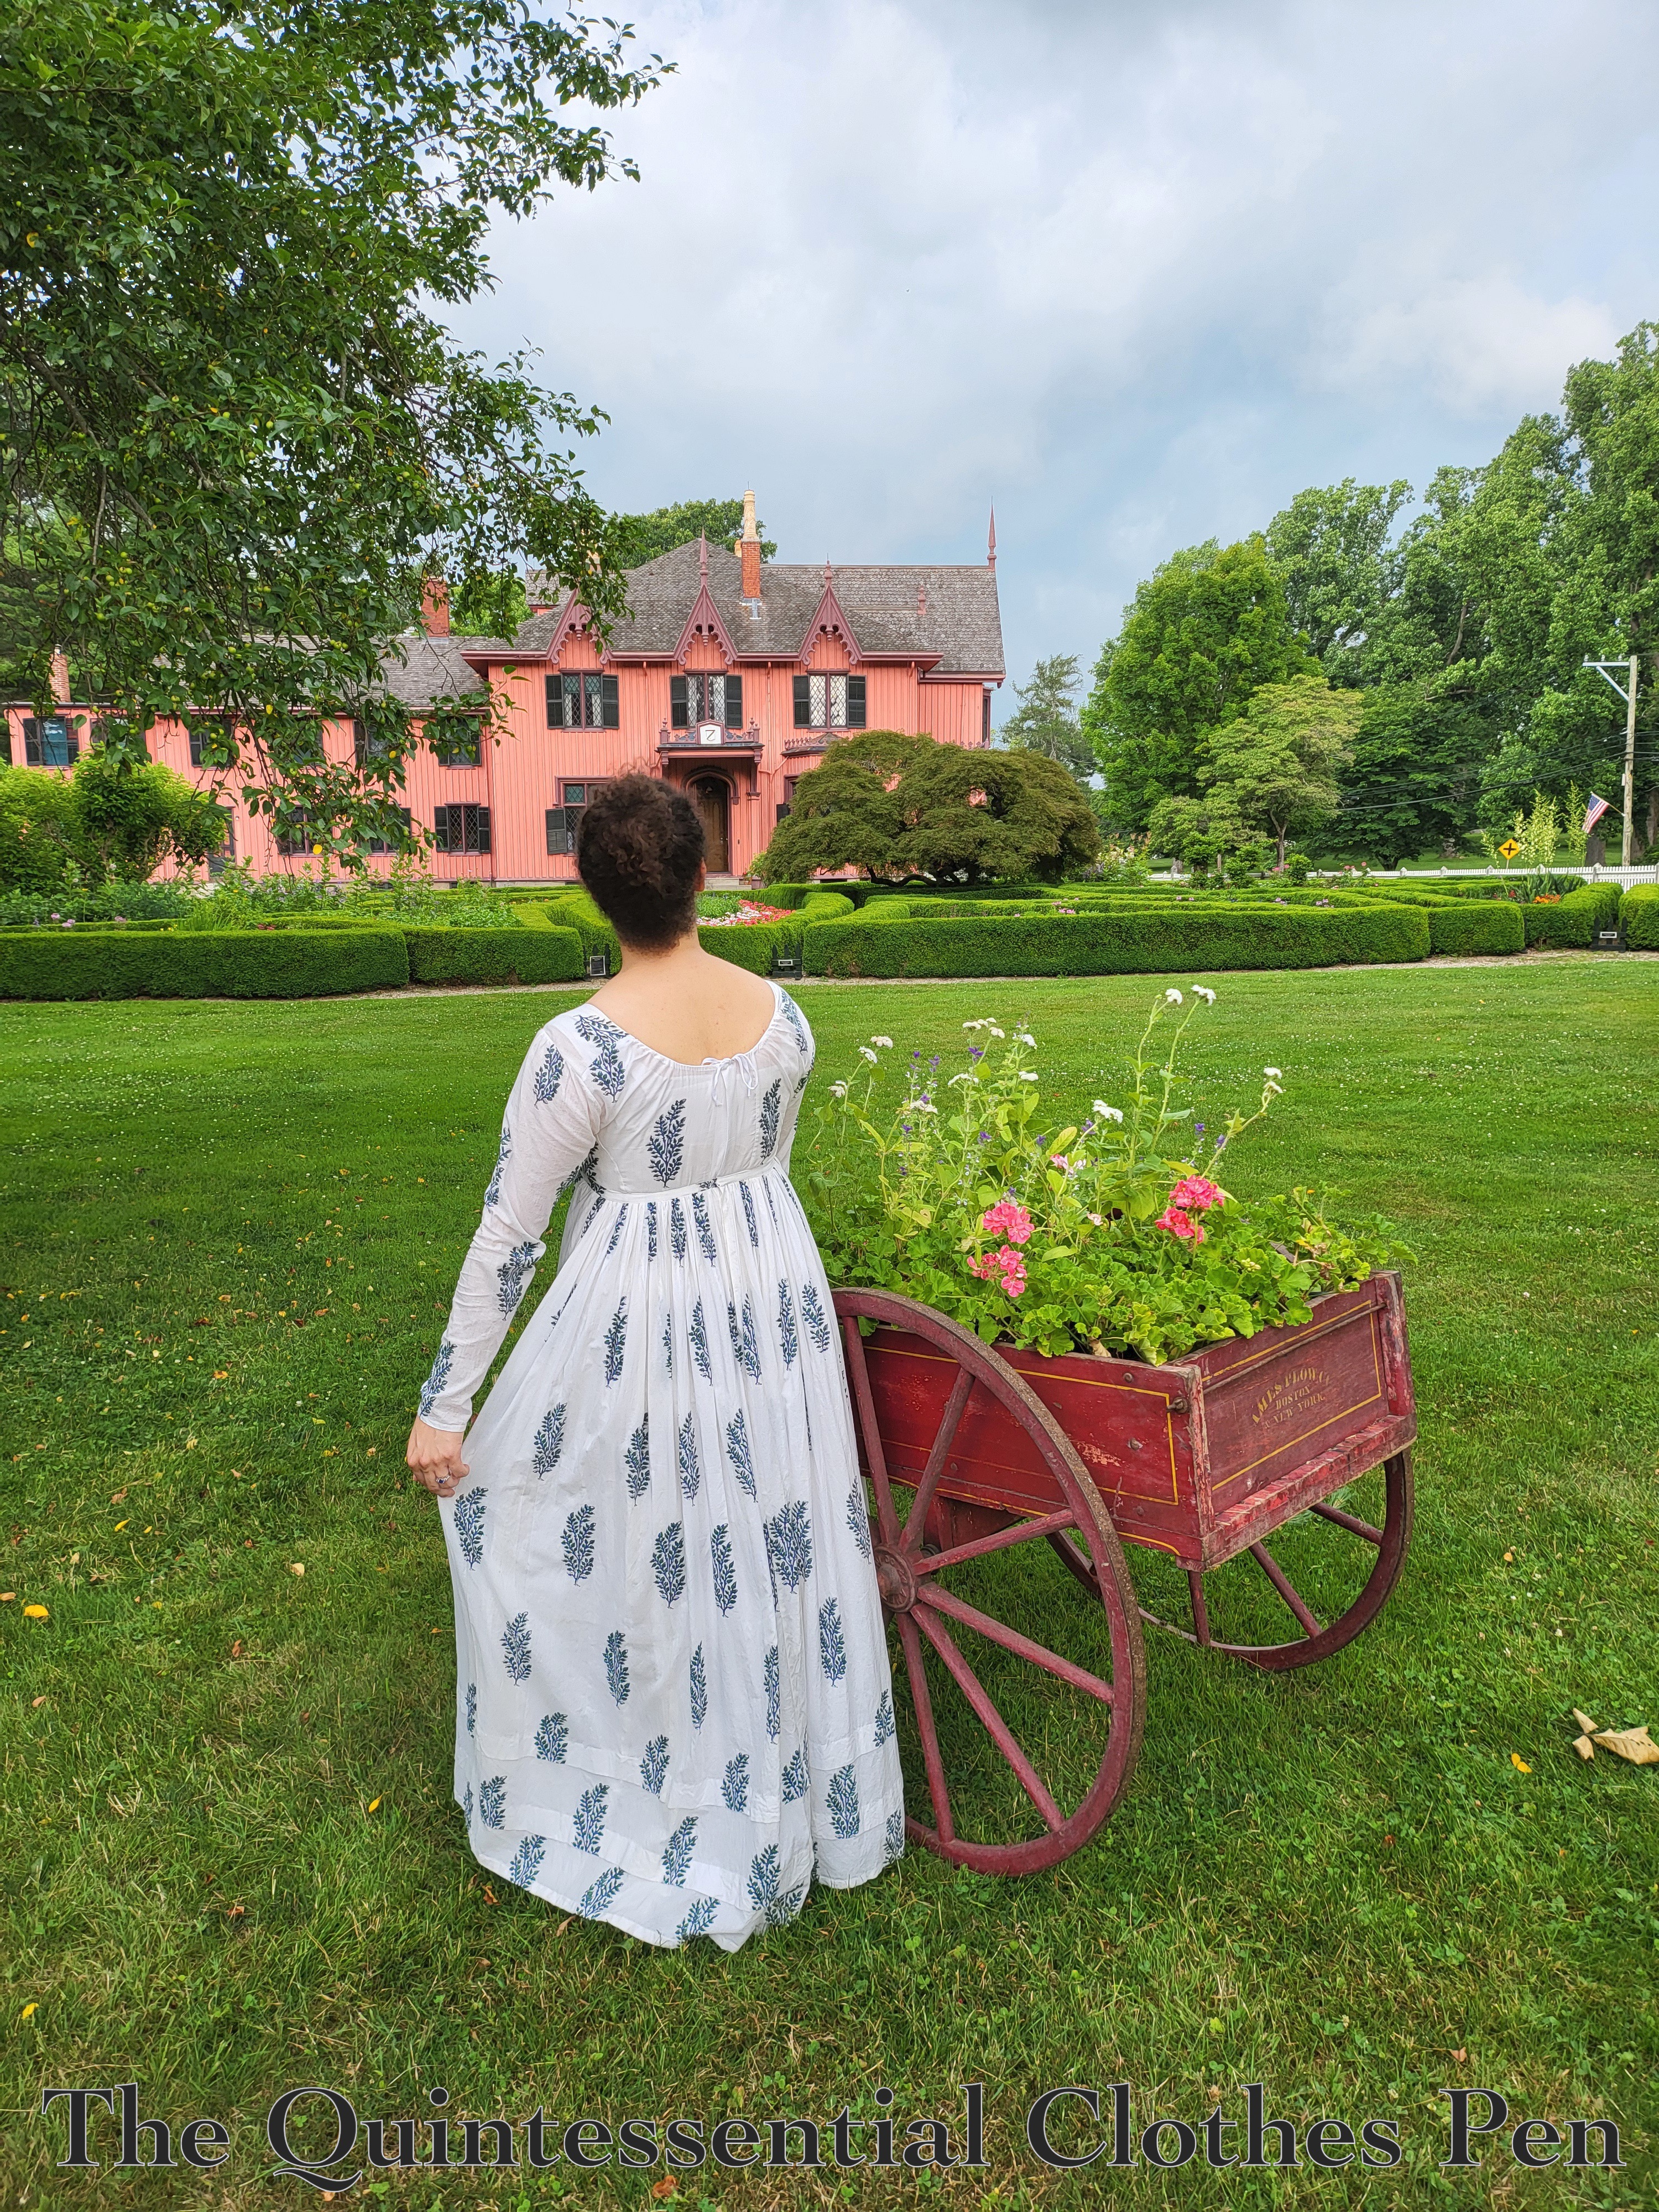
November: 1797 Watermelon Sleeveless Bodice
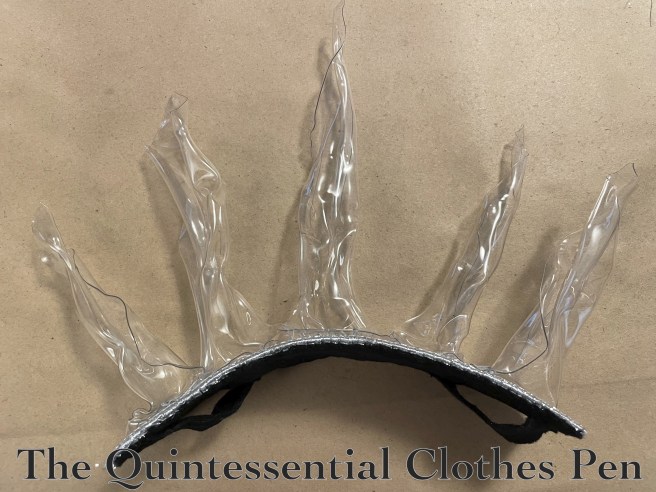
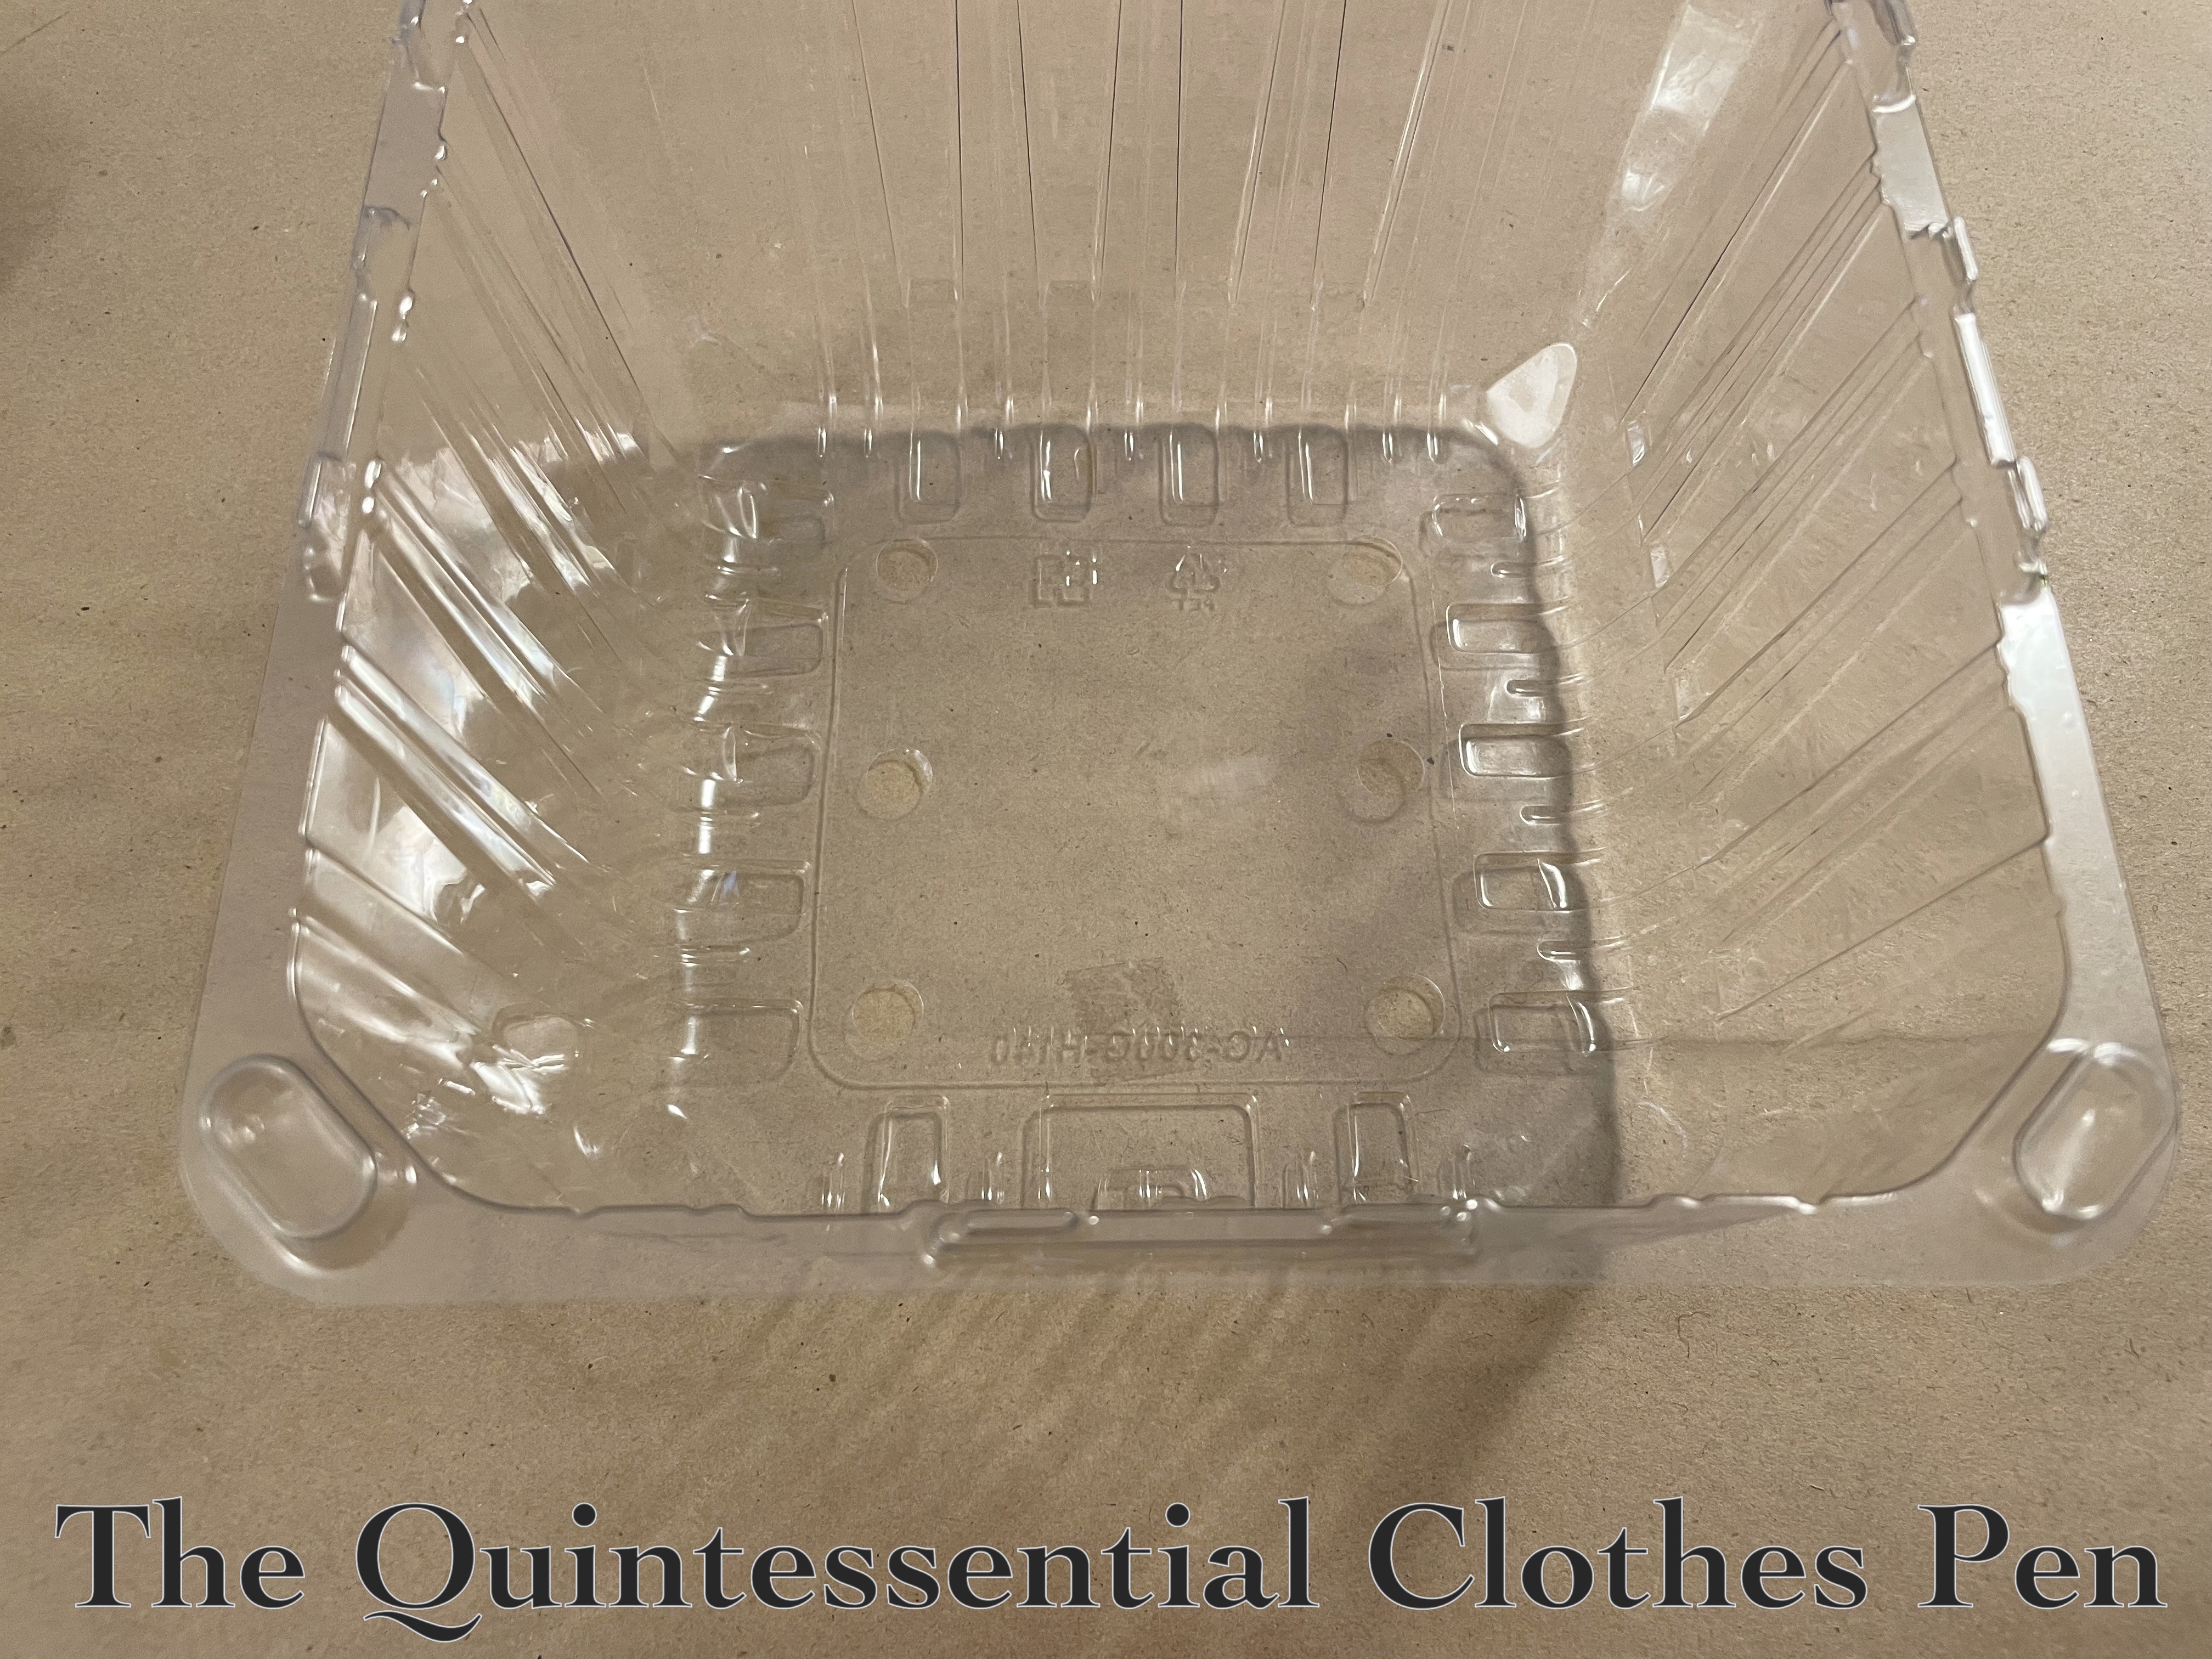
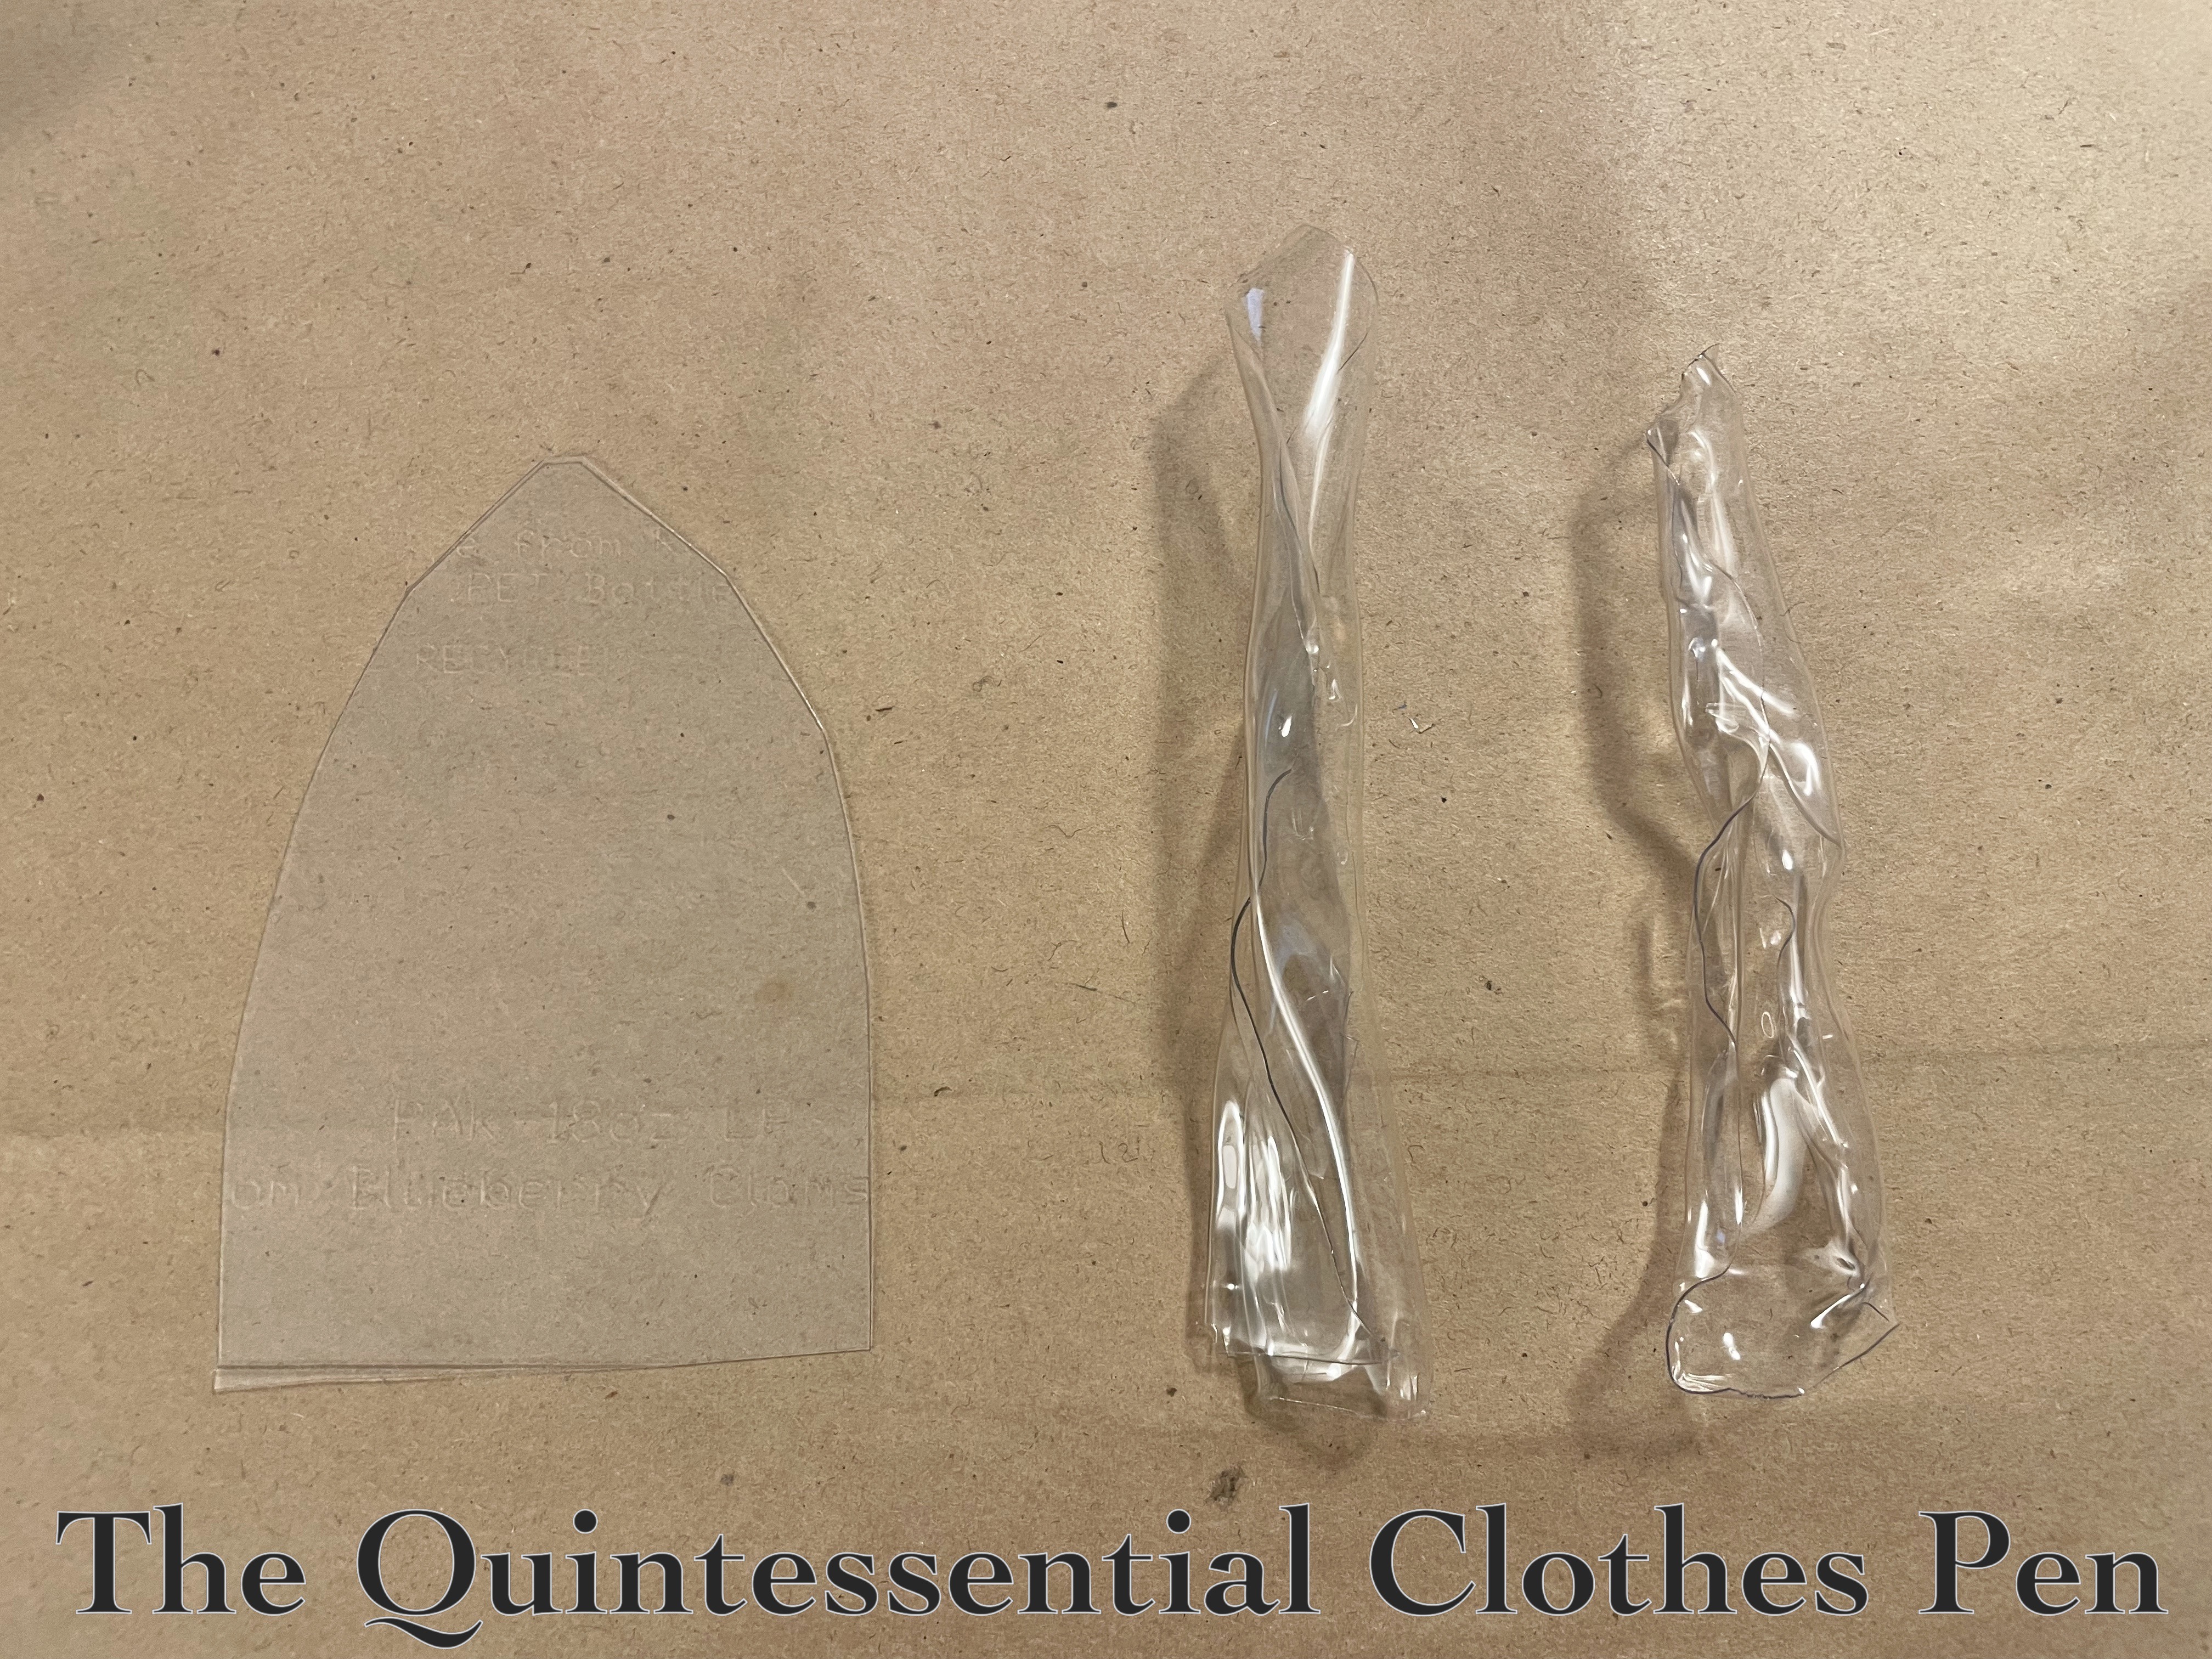
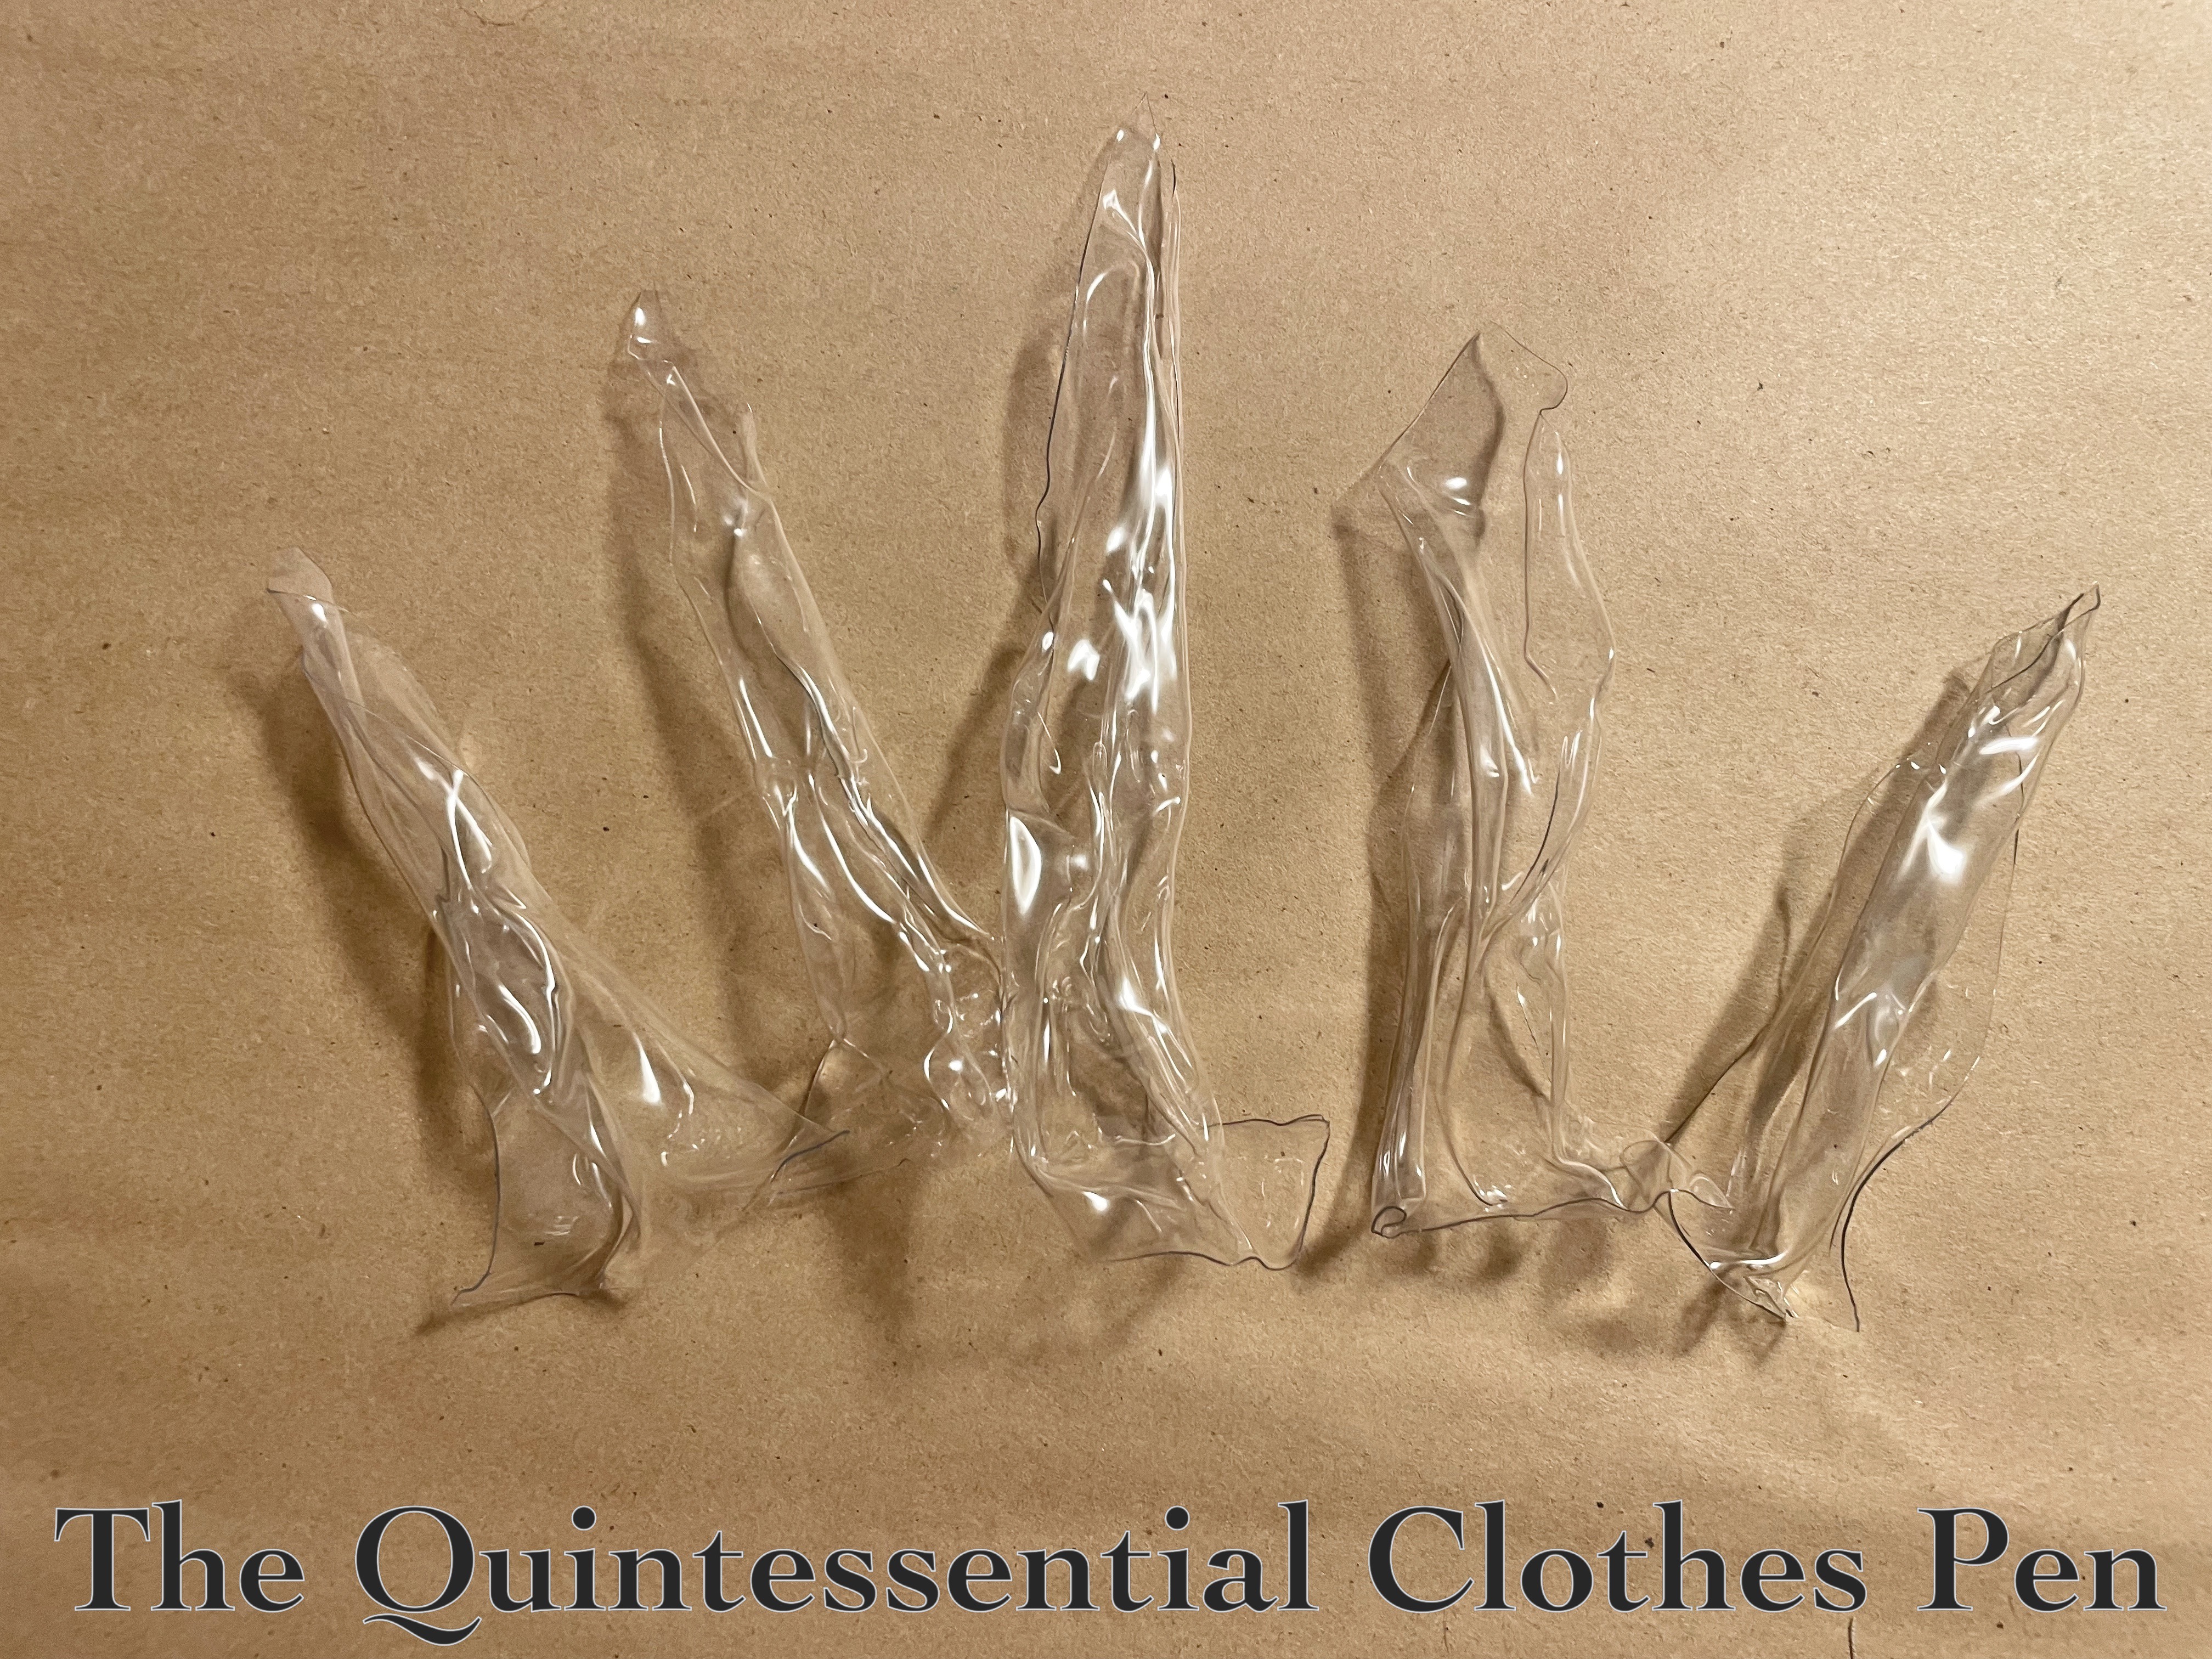
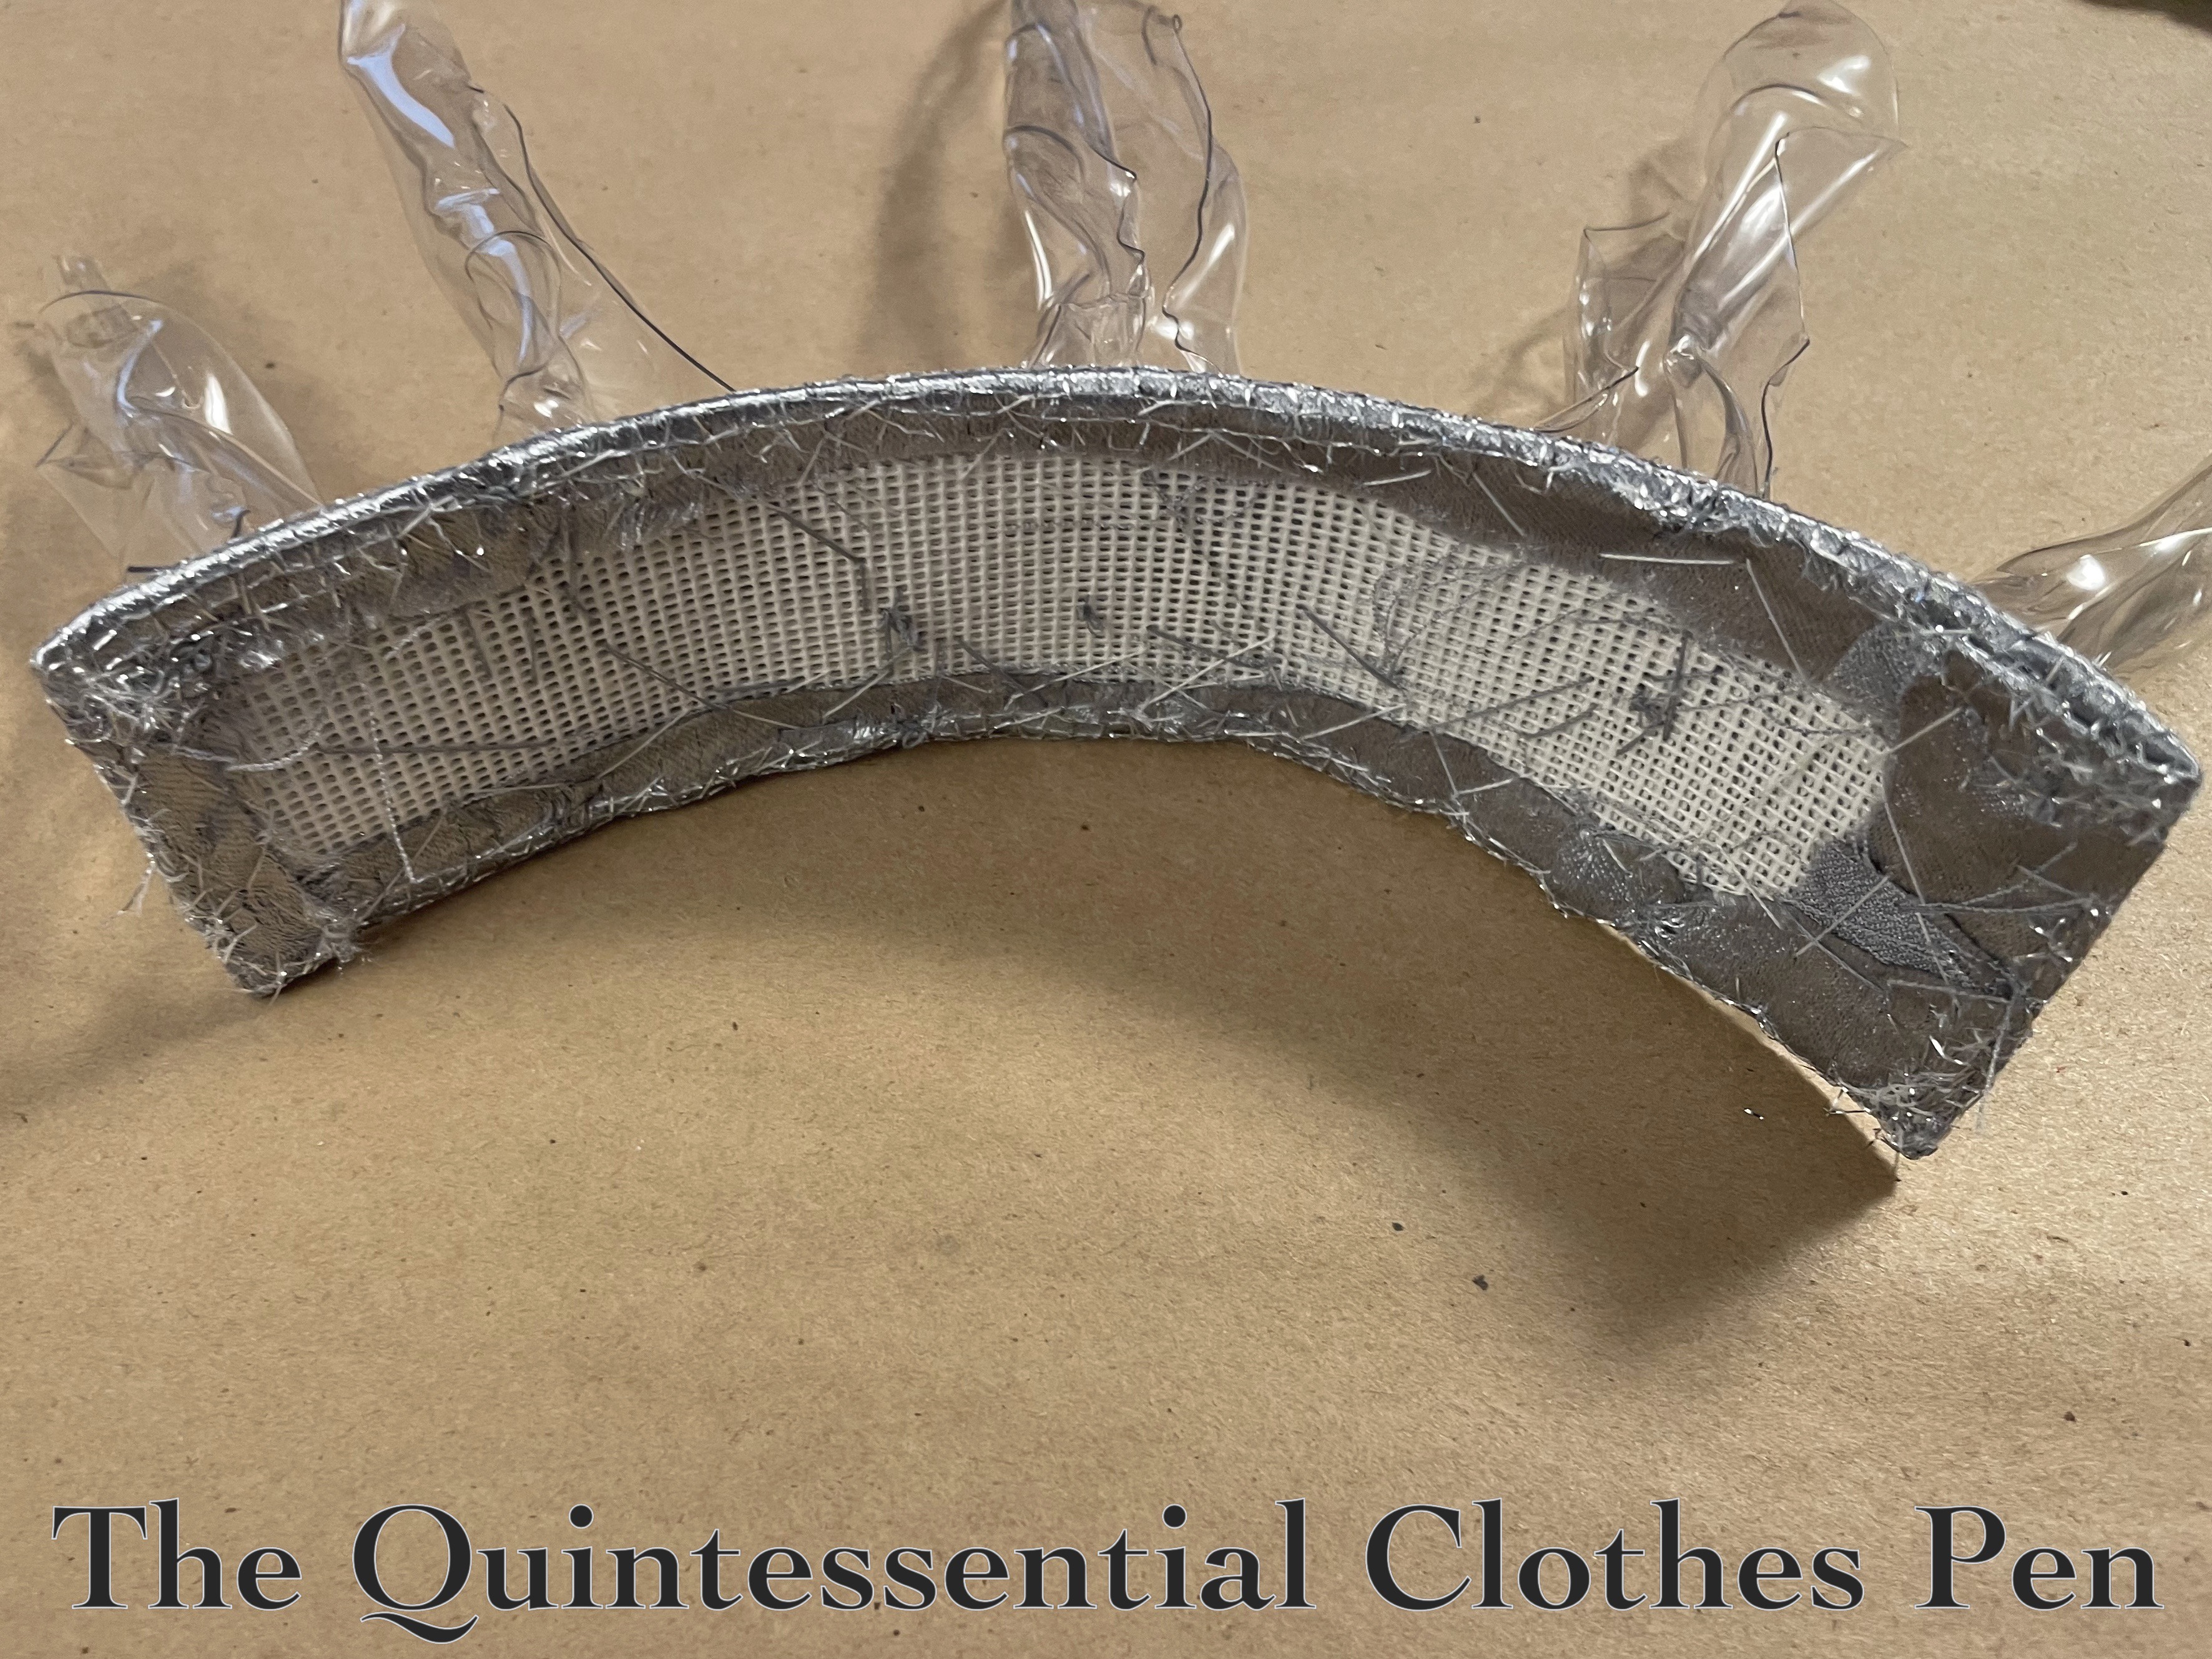
November: A Recycled Plastic Icicle Crown
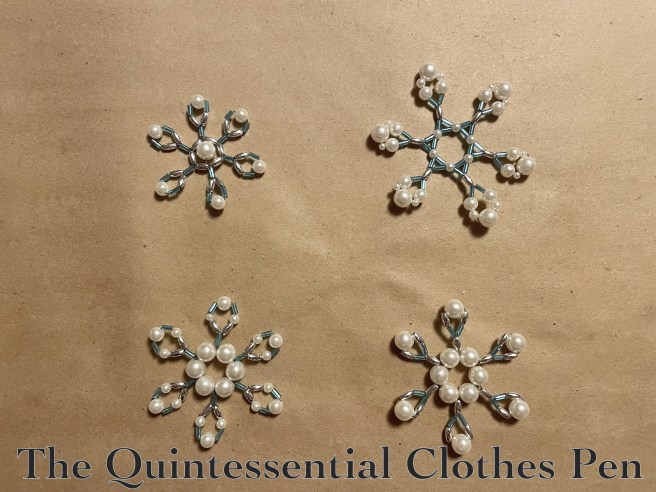
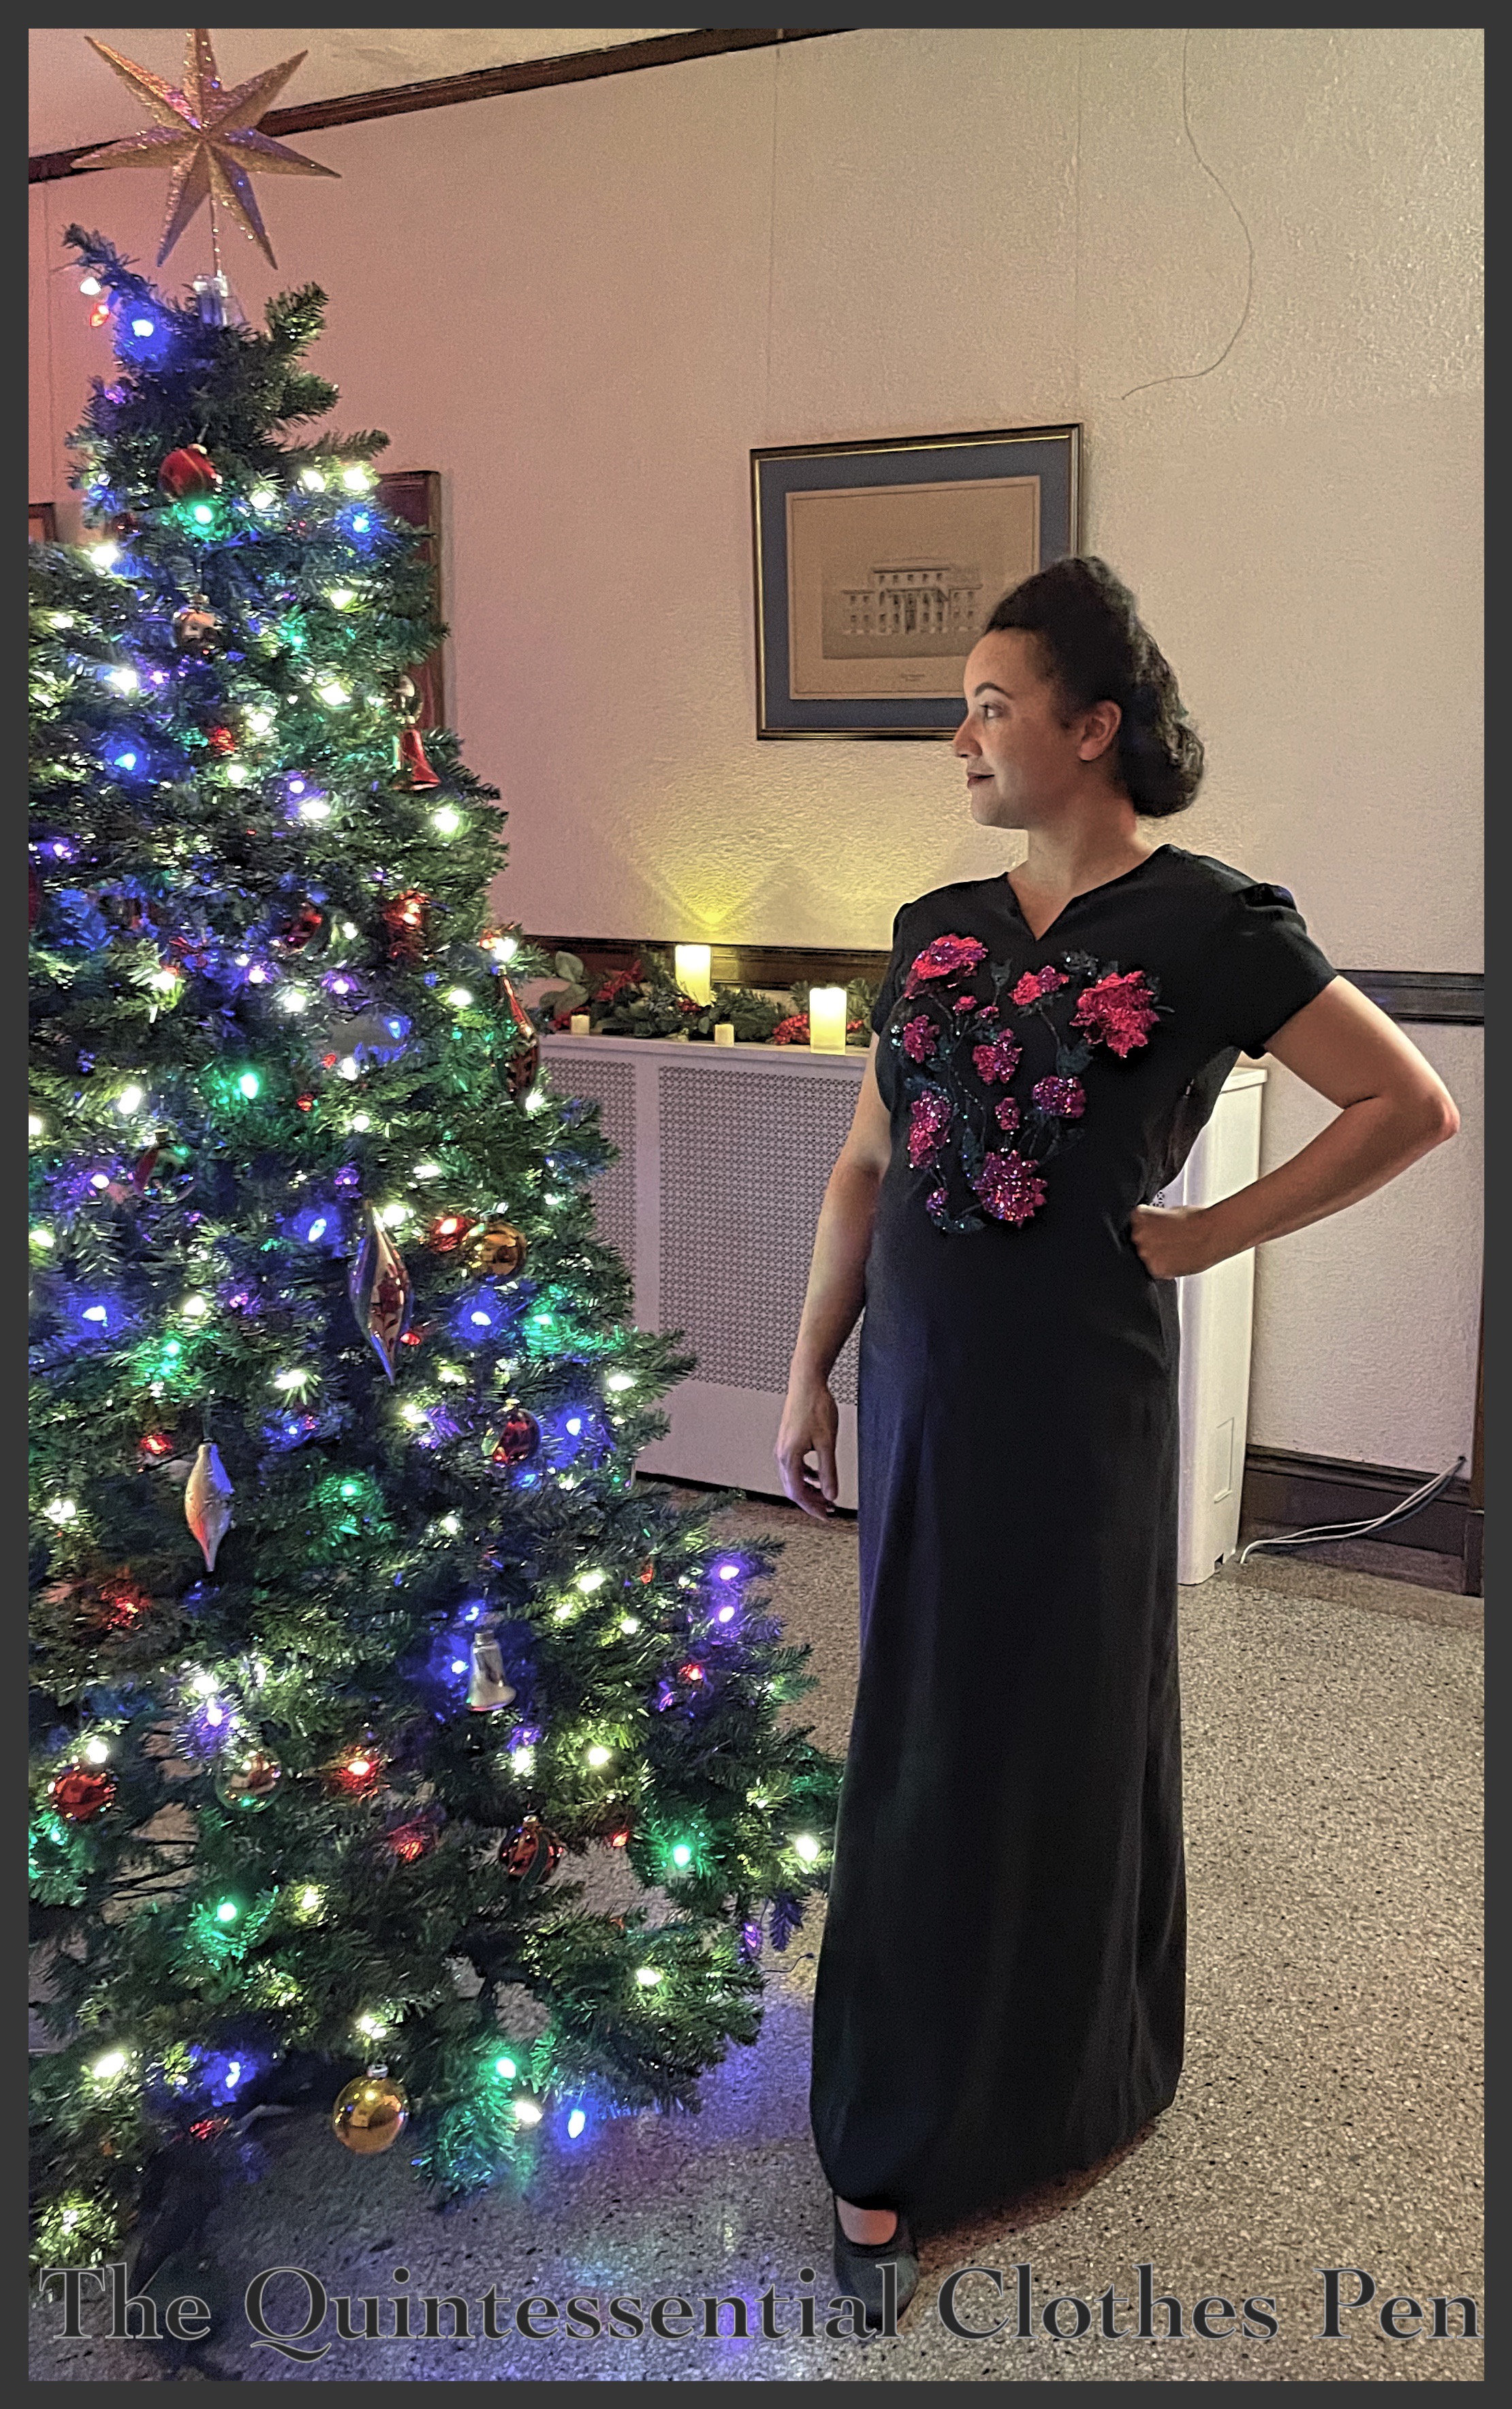
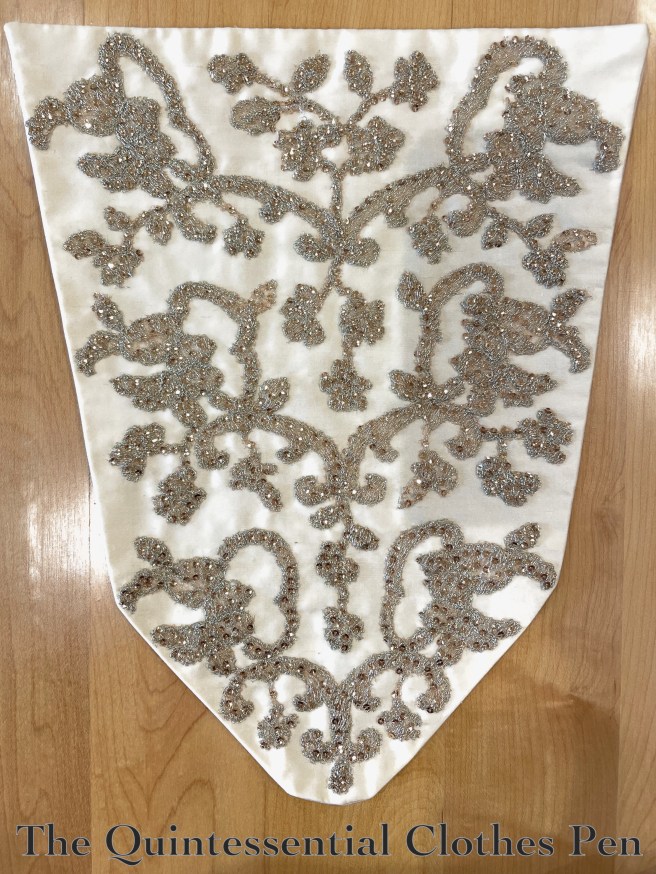
December: Beaded Snowflakes
General Blog News
I participated in my 13th year of the Historical Sew Monthly! This year I only got around to posting about 3 of the 12 challenges. That was fewer than I had hoped, but the end of the year became very busy and this fell down on my priority list. A few of the small projects I completed at the end of the year could have counted for HSM challenges, I think, but I didn’t have the wherewithal to document them in that way. Oh well!
Event Recap
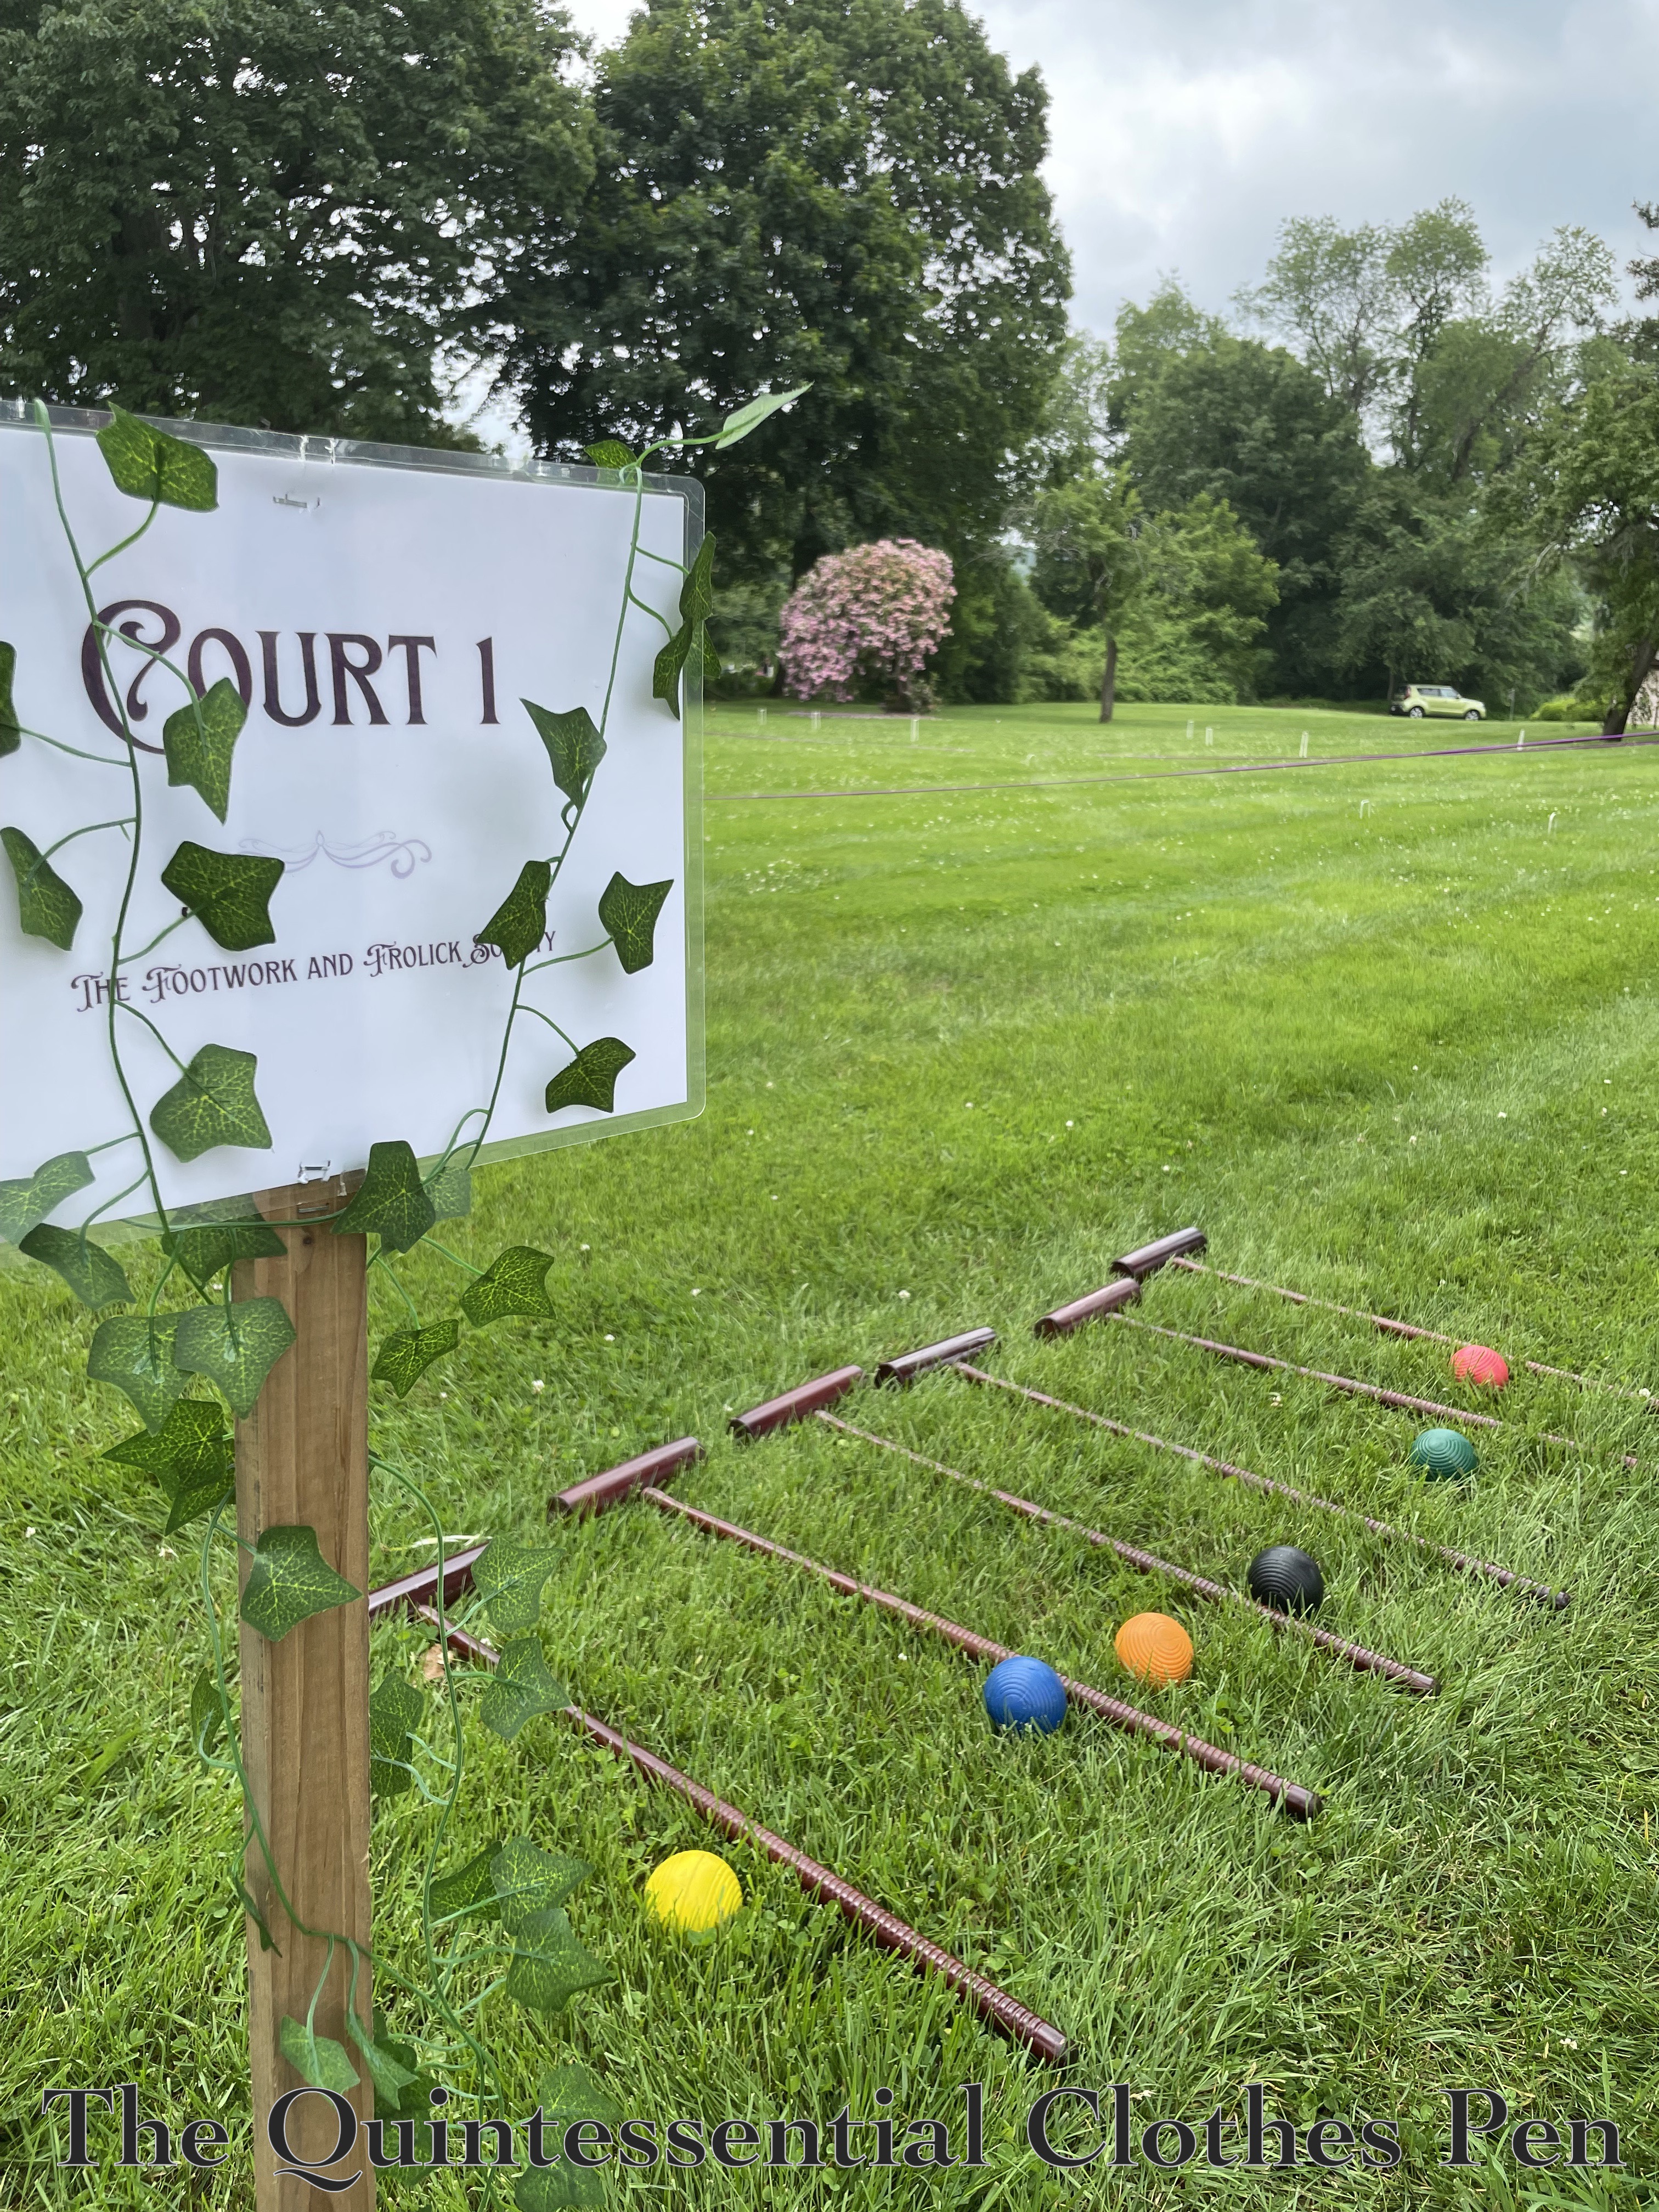
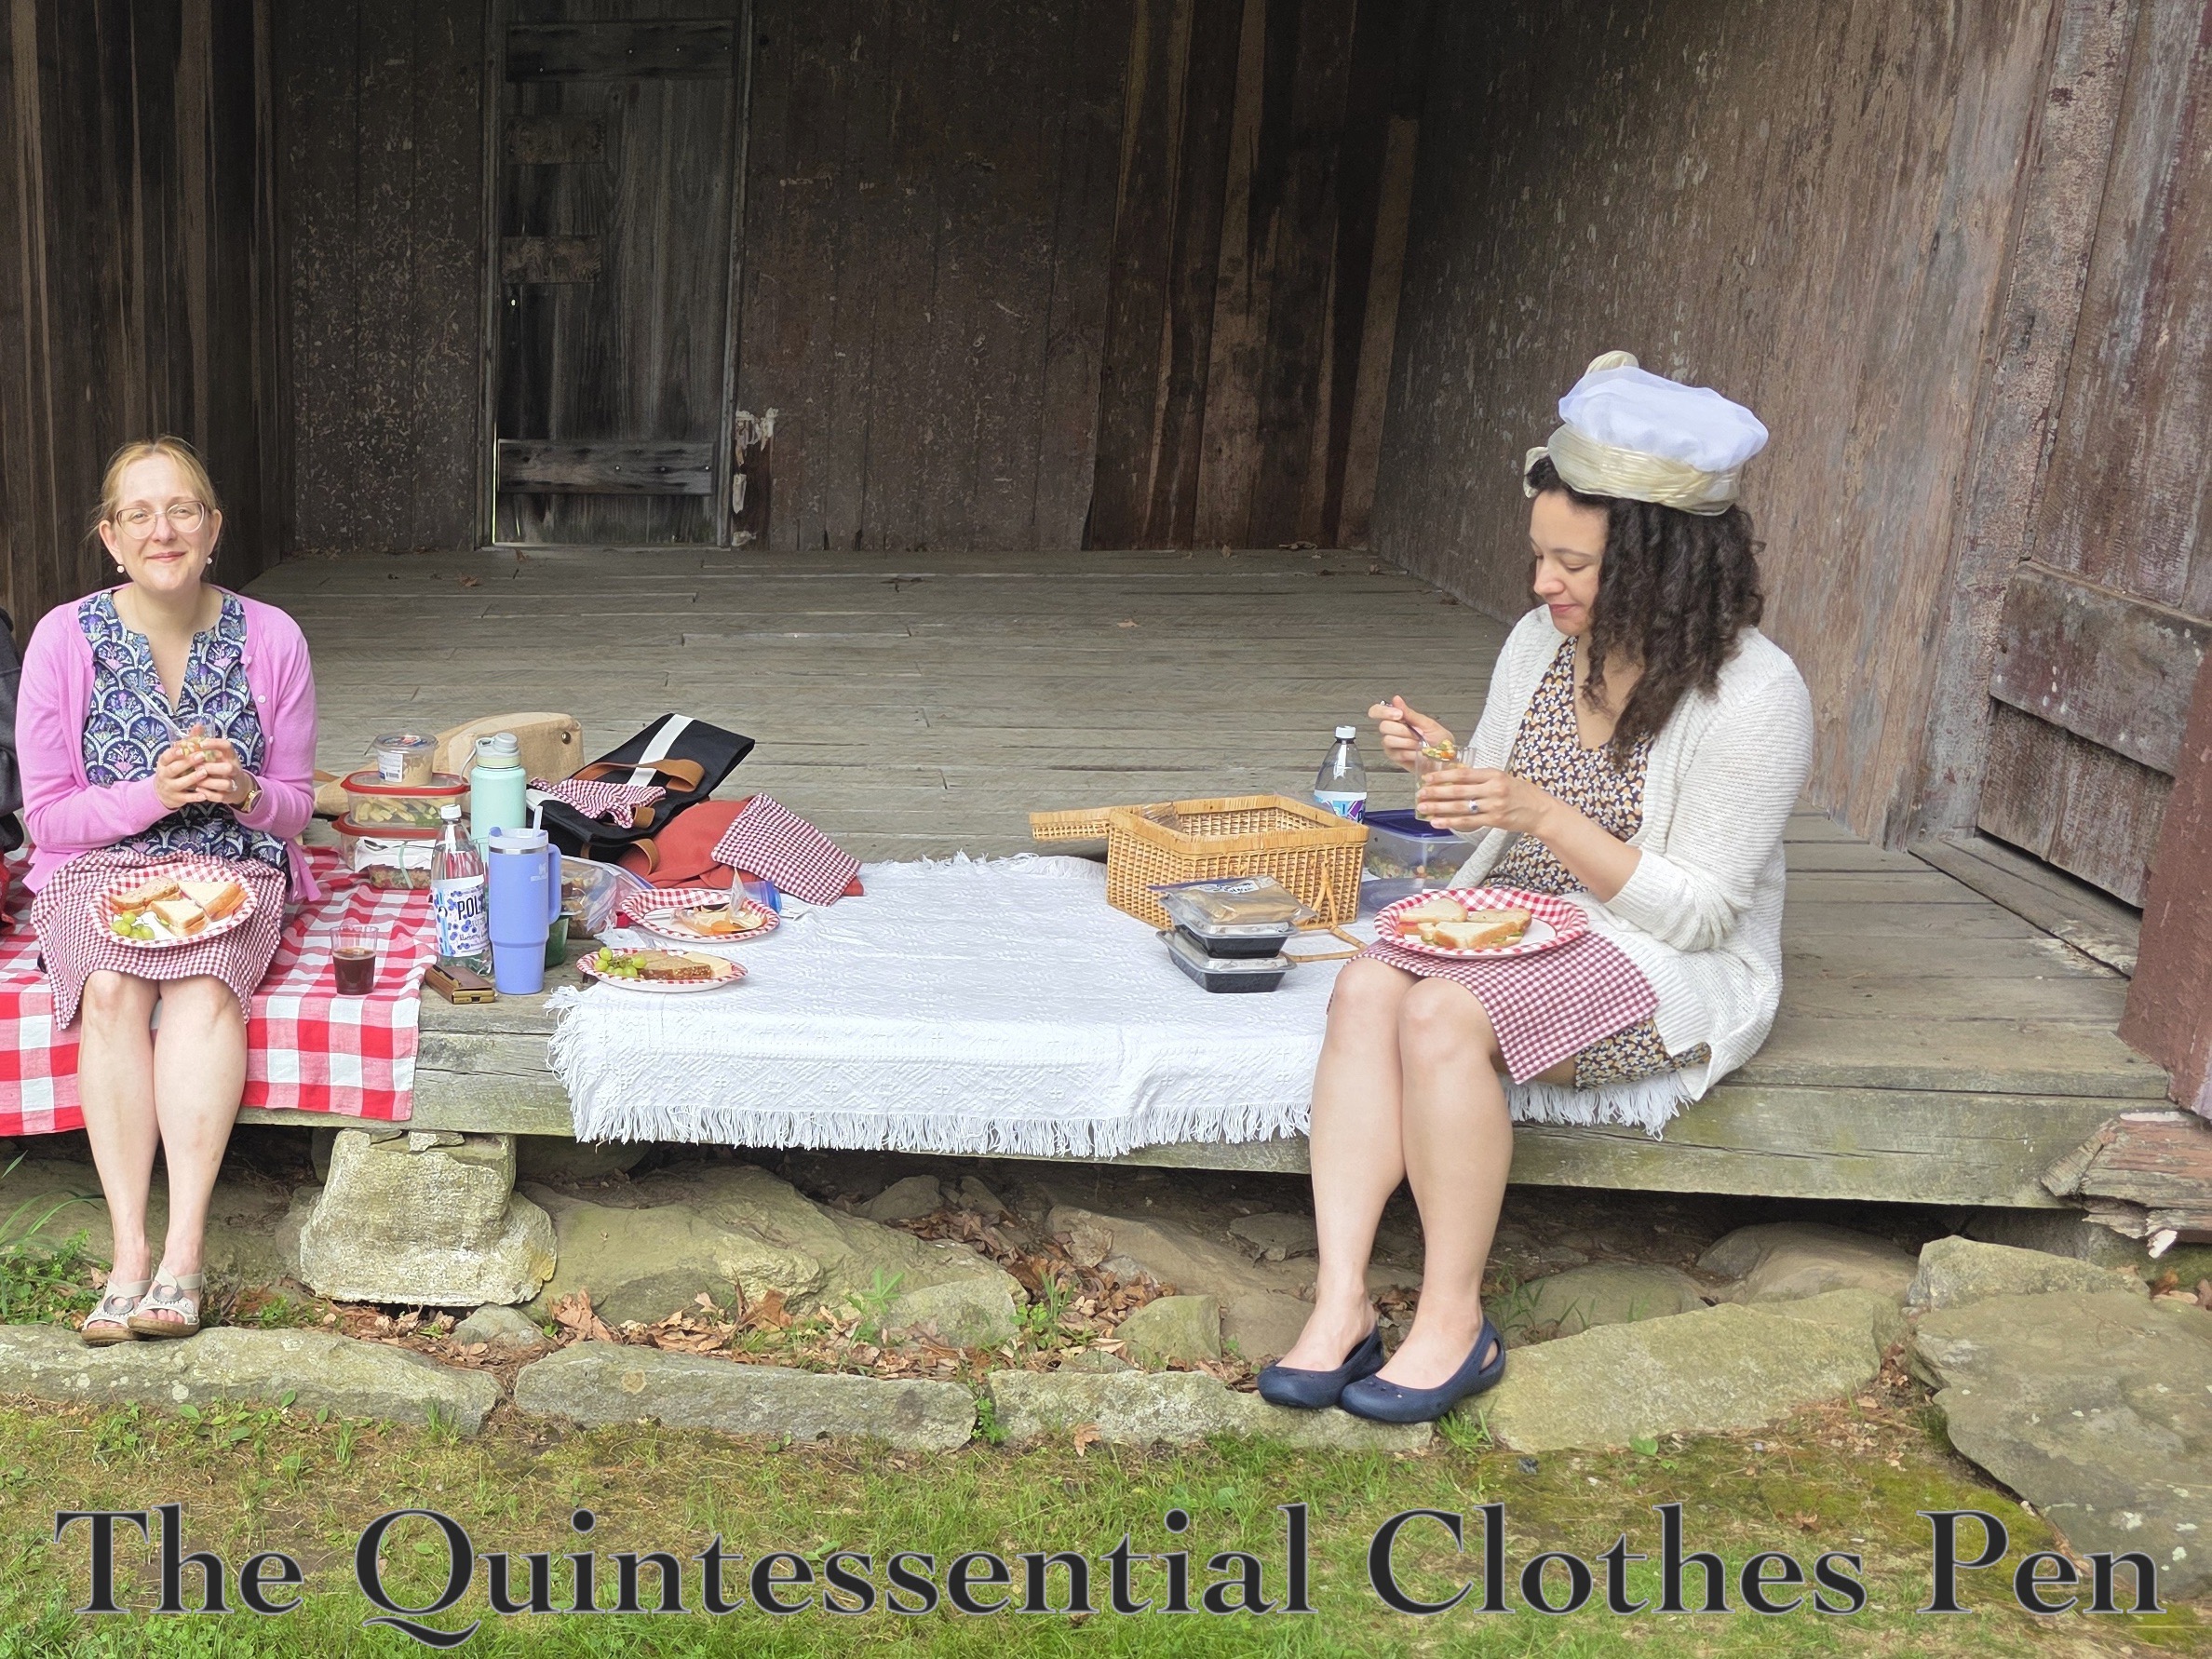
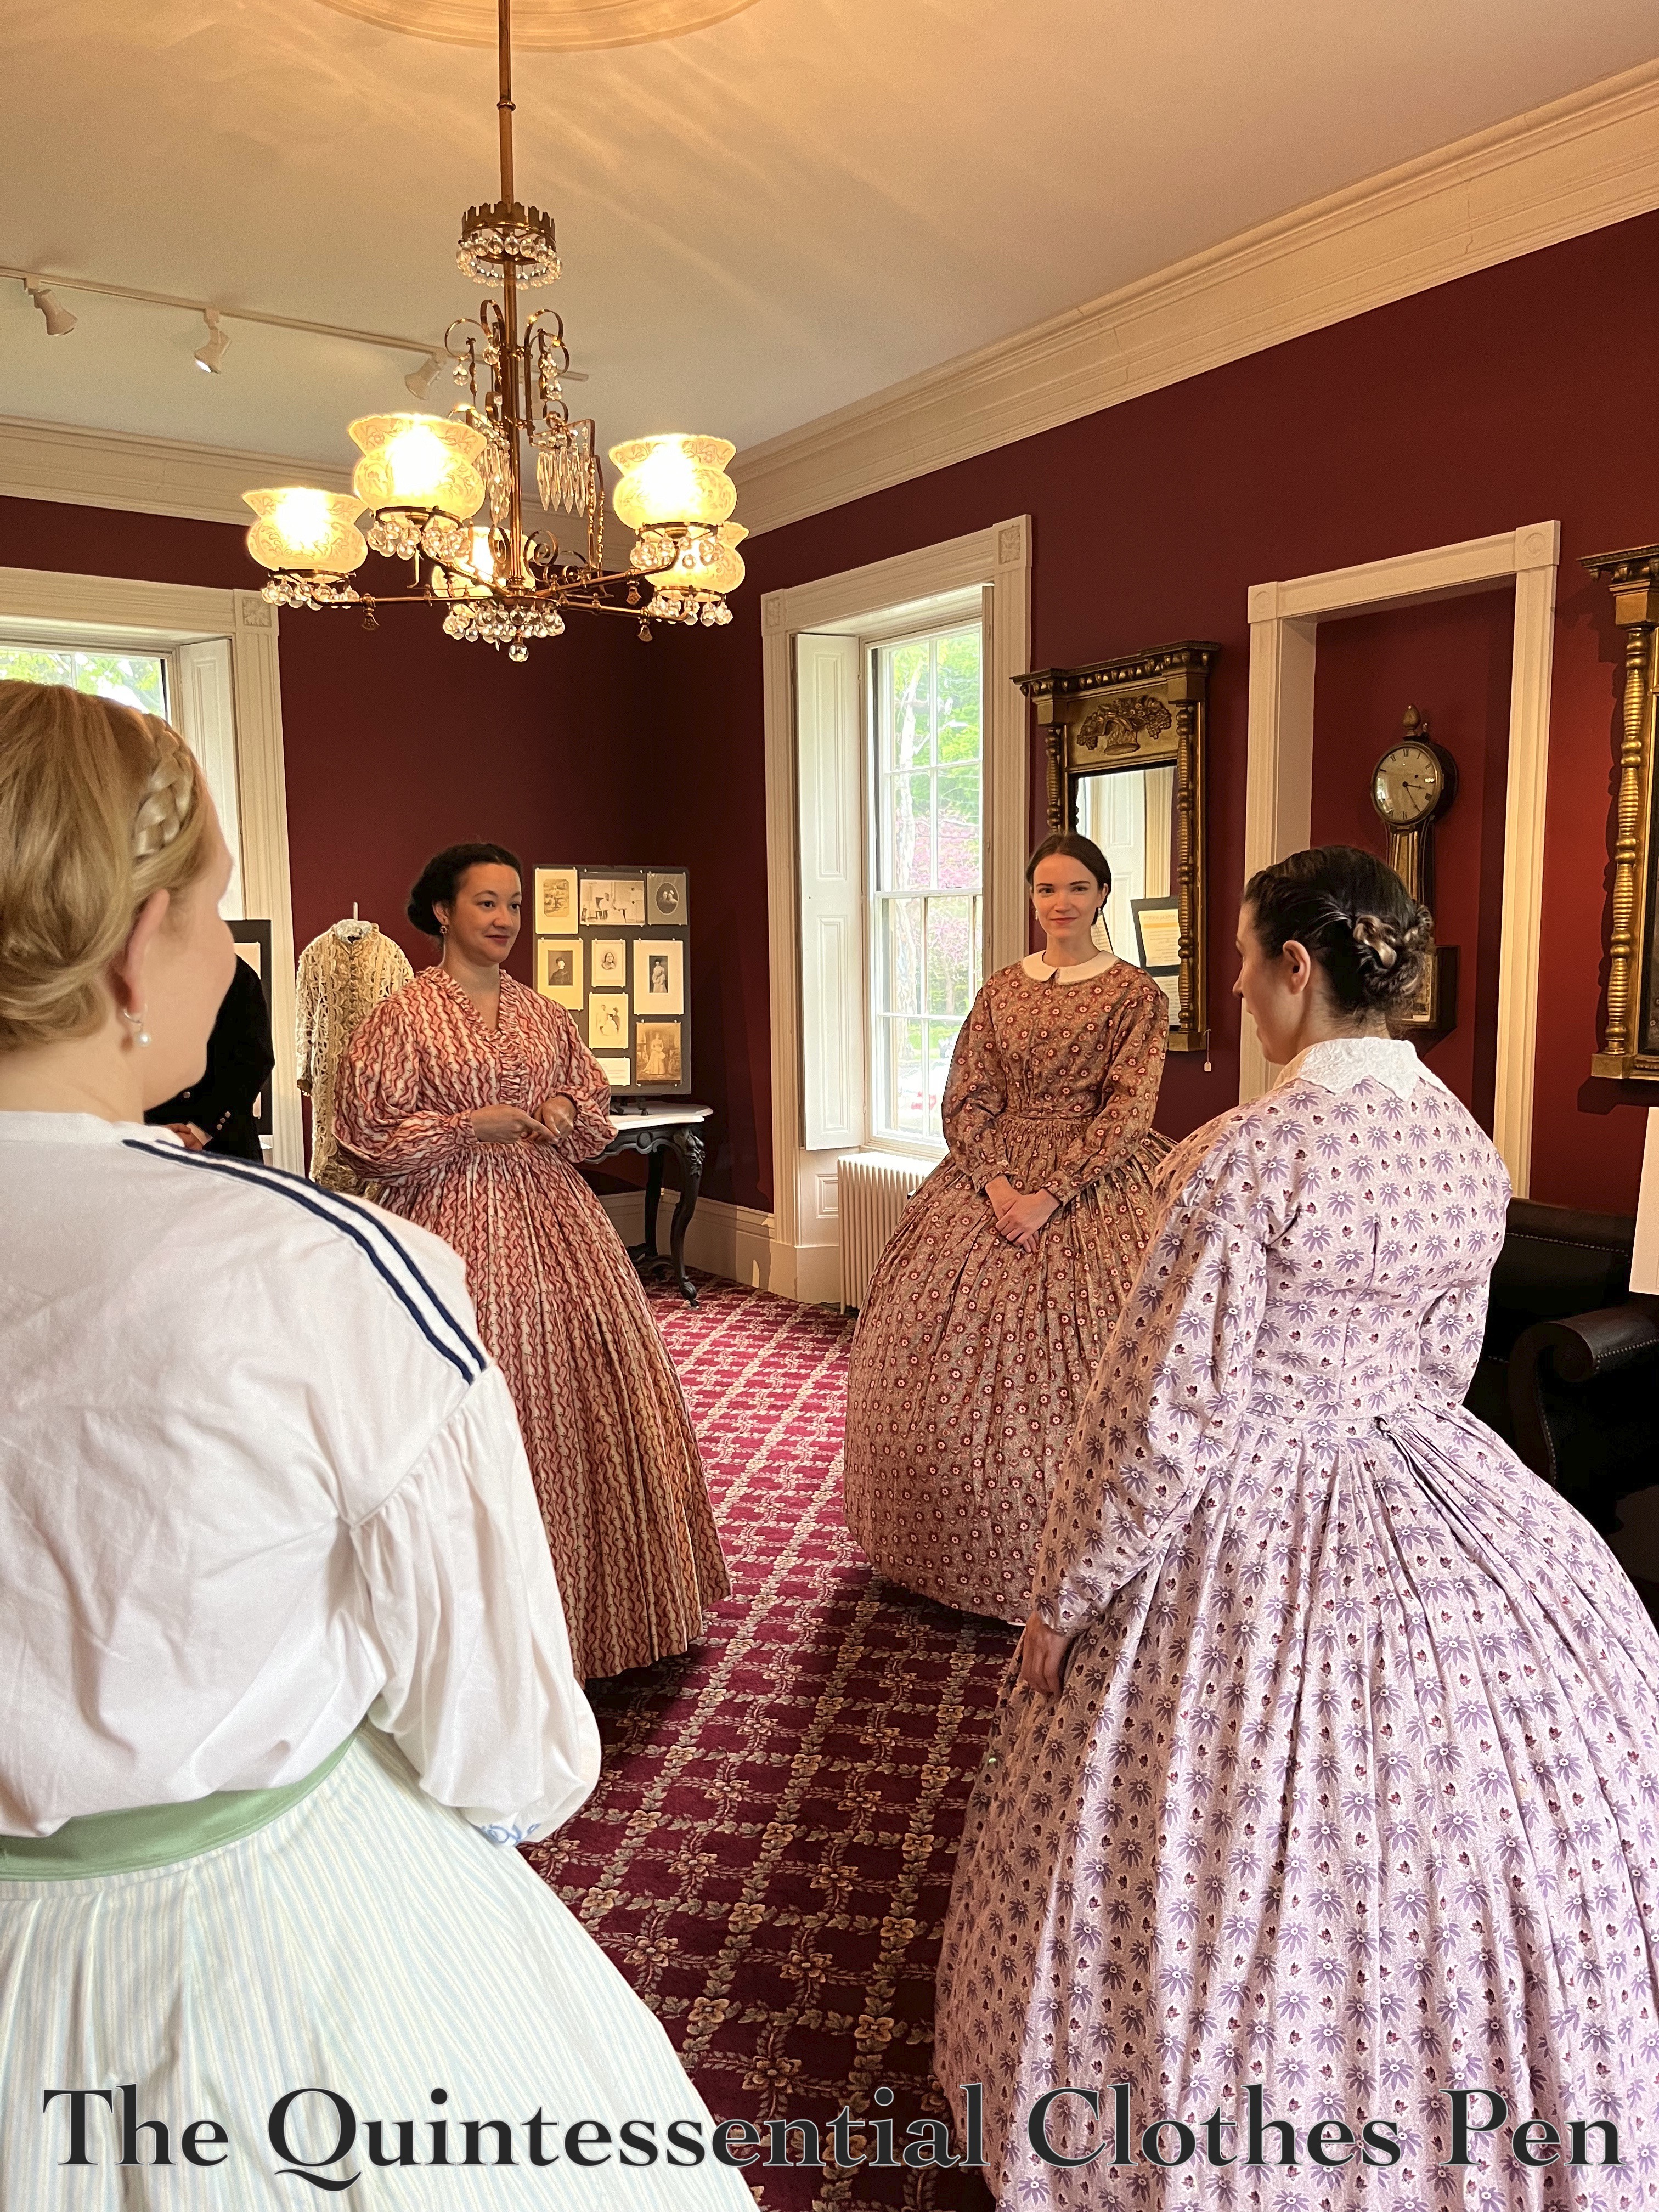
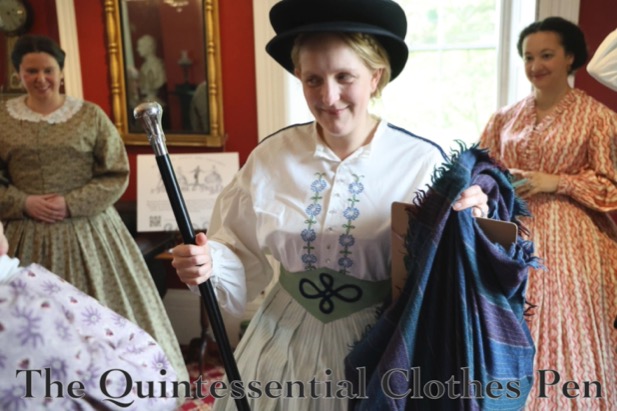
I attended 3 balls, 2 other events (tea, picnic, croquet, outings, etc.), 3 dance and historical pastimes performances or educational events, and 1 weekend event (that included dancing, games, and costumed outings). Certainly not my busiest historical year, but I had a lot going on, so given all the life things this was pretty reasonable.
To Do Lists
Well… Looking at last year’s to do list, I didn’t get very far. I did work on some of the things on the list, but I didn’t complete any of them entirely.
So, my definitely-to-do for 2026 is a repeat of 2025. That includes:
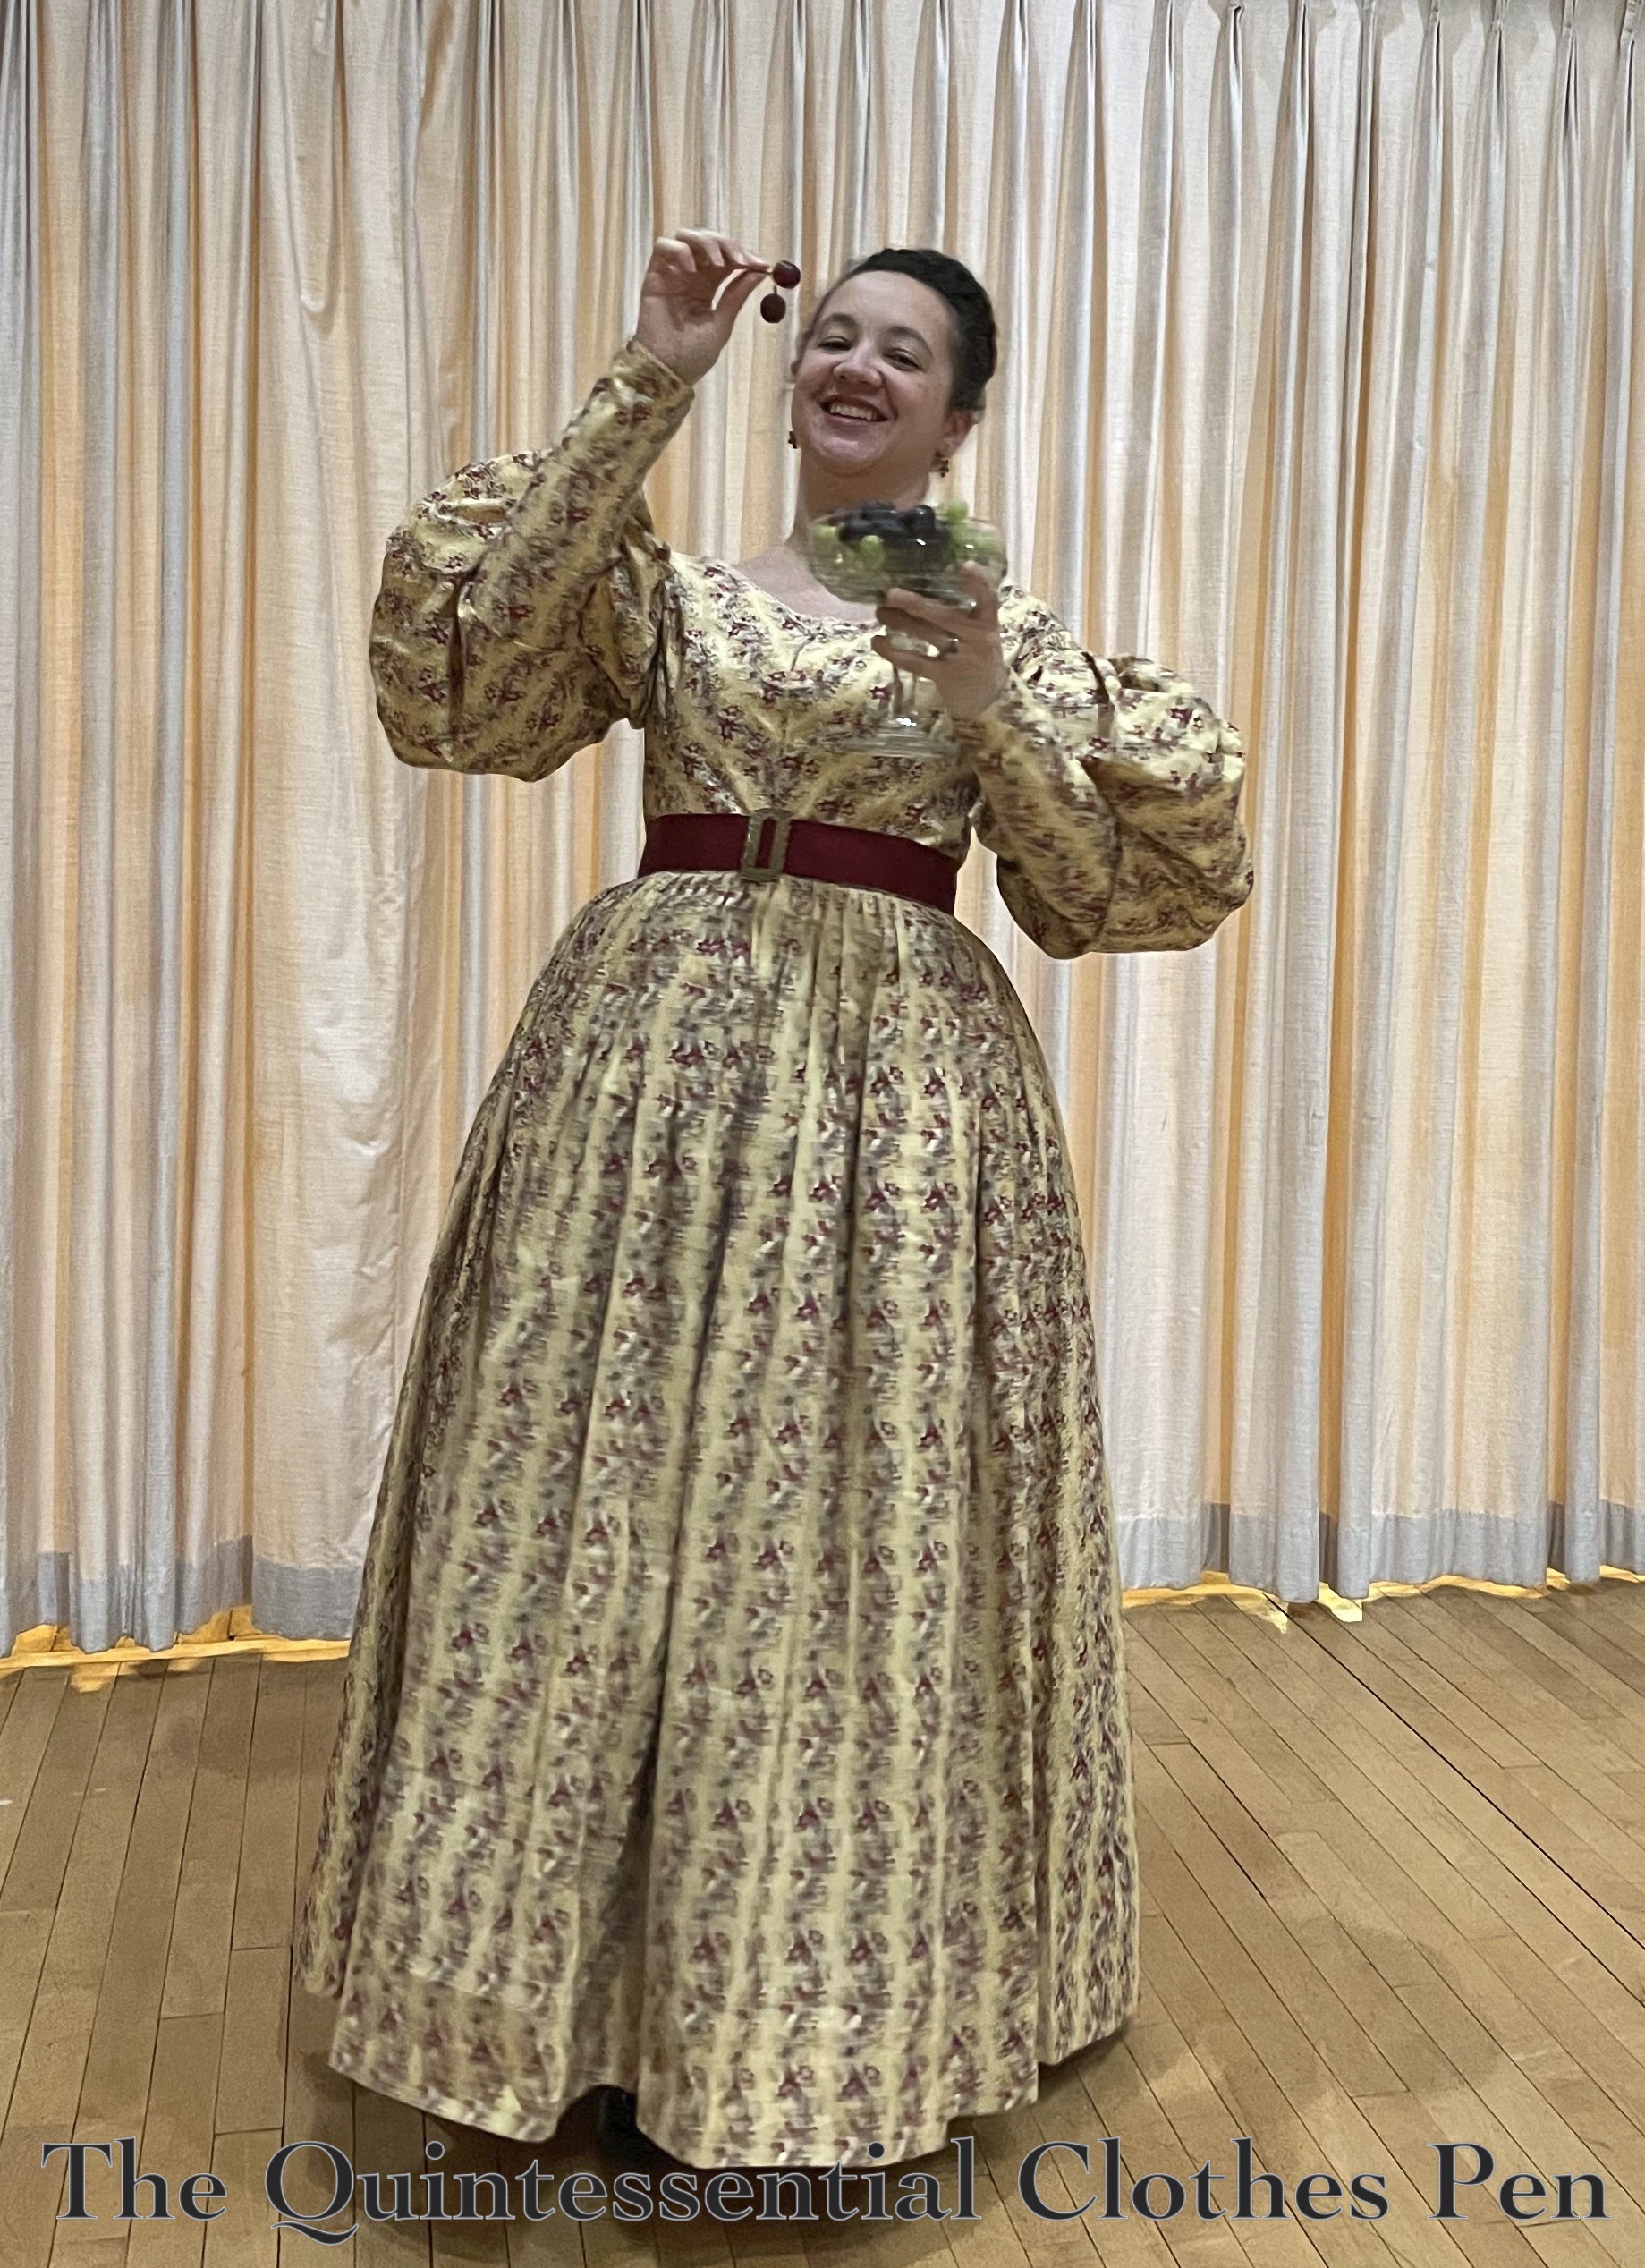
- Finishing the 1836 Blue Print Cotton Day Dress #2. This had some progress made (I attached the skirt to the bodice!), but it needs new sleeves patterned and executed.
- Updating the trimming on my 1893 Bronze and Pink Ballgown to better go with the size updates I made in 2022 and posted about in 2023. I started this, re-seating the waistband and taking out the old hem, as well as starting to re-trim the bodice, but then I got stuck and distracted.
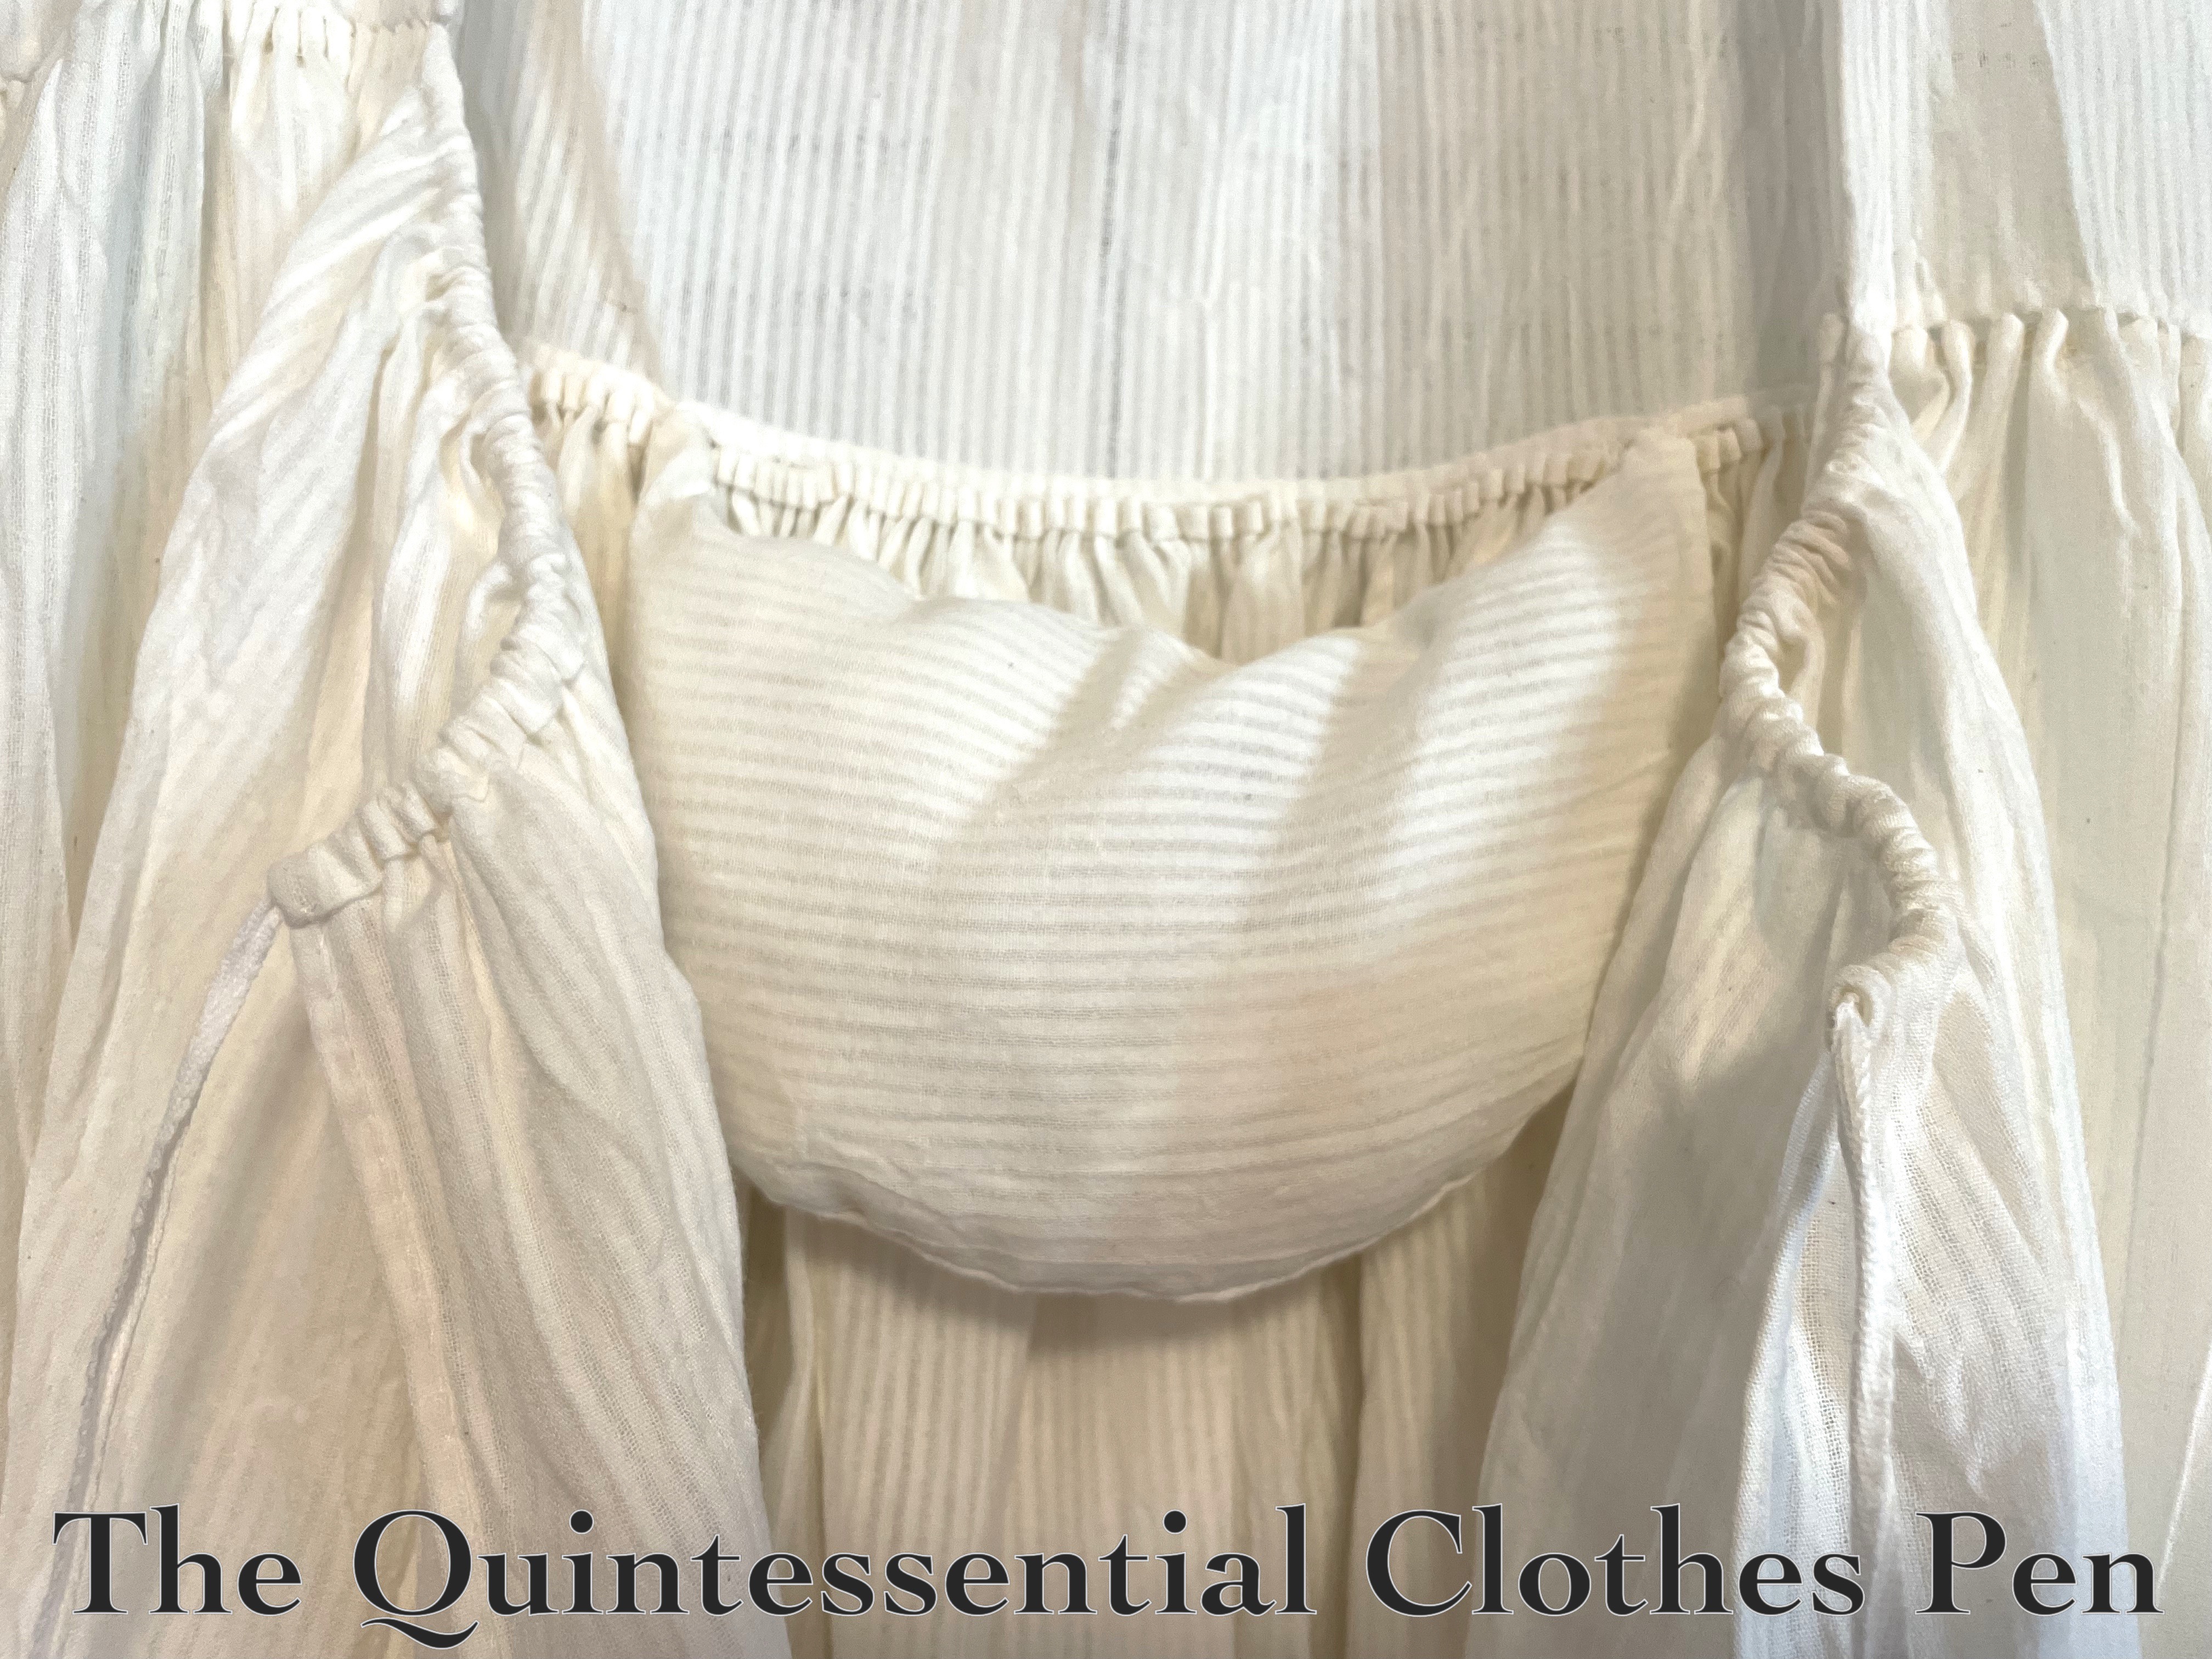
- Scroop Patterns Frances rump (1775-1795). This is well on it’s way to being finished, but I am trying to get the 1893 and 1836 dresses done first.
- 18th century neckerchief. I believe I did research on shape, decided on size, and cut this out, but haven’t hemmed it yet.
- Various sleeve and neck ruffles to go with all of these 18th century gowns. These are cut out and started, but I lost the motivation to work on them.
And my maybe-to-do list includes:
- 18th century green silk skirt
- 1780s dress inspired by this one in the Glasgow Museum
- Scroop Patterns Amalia jacket (1775-1795)
- 1780s cap
- 1930s burgundy crepe blouse
With such a busy year in 2025 I really can’t fault myself for not completing these things. I did, after all, complete some other sewing projects. We’ll see how I do with the list in 2026. At the very least I’d love to get the 1836 dress, 1893 dress, and Frances rump completed, so that I can put them away! The dresses, in particular, have lived in plain sight for years now so that I remember to work on them.
I remain so very grateful for good friends, supportive family, and engaging blog readers. I sincerely hope you also have many things to be grateful for and that this new year brings joy and peace to you.
Here is a silly cheers to another year of historically clothed fun!