

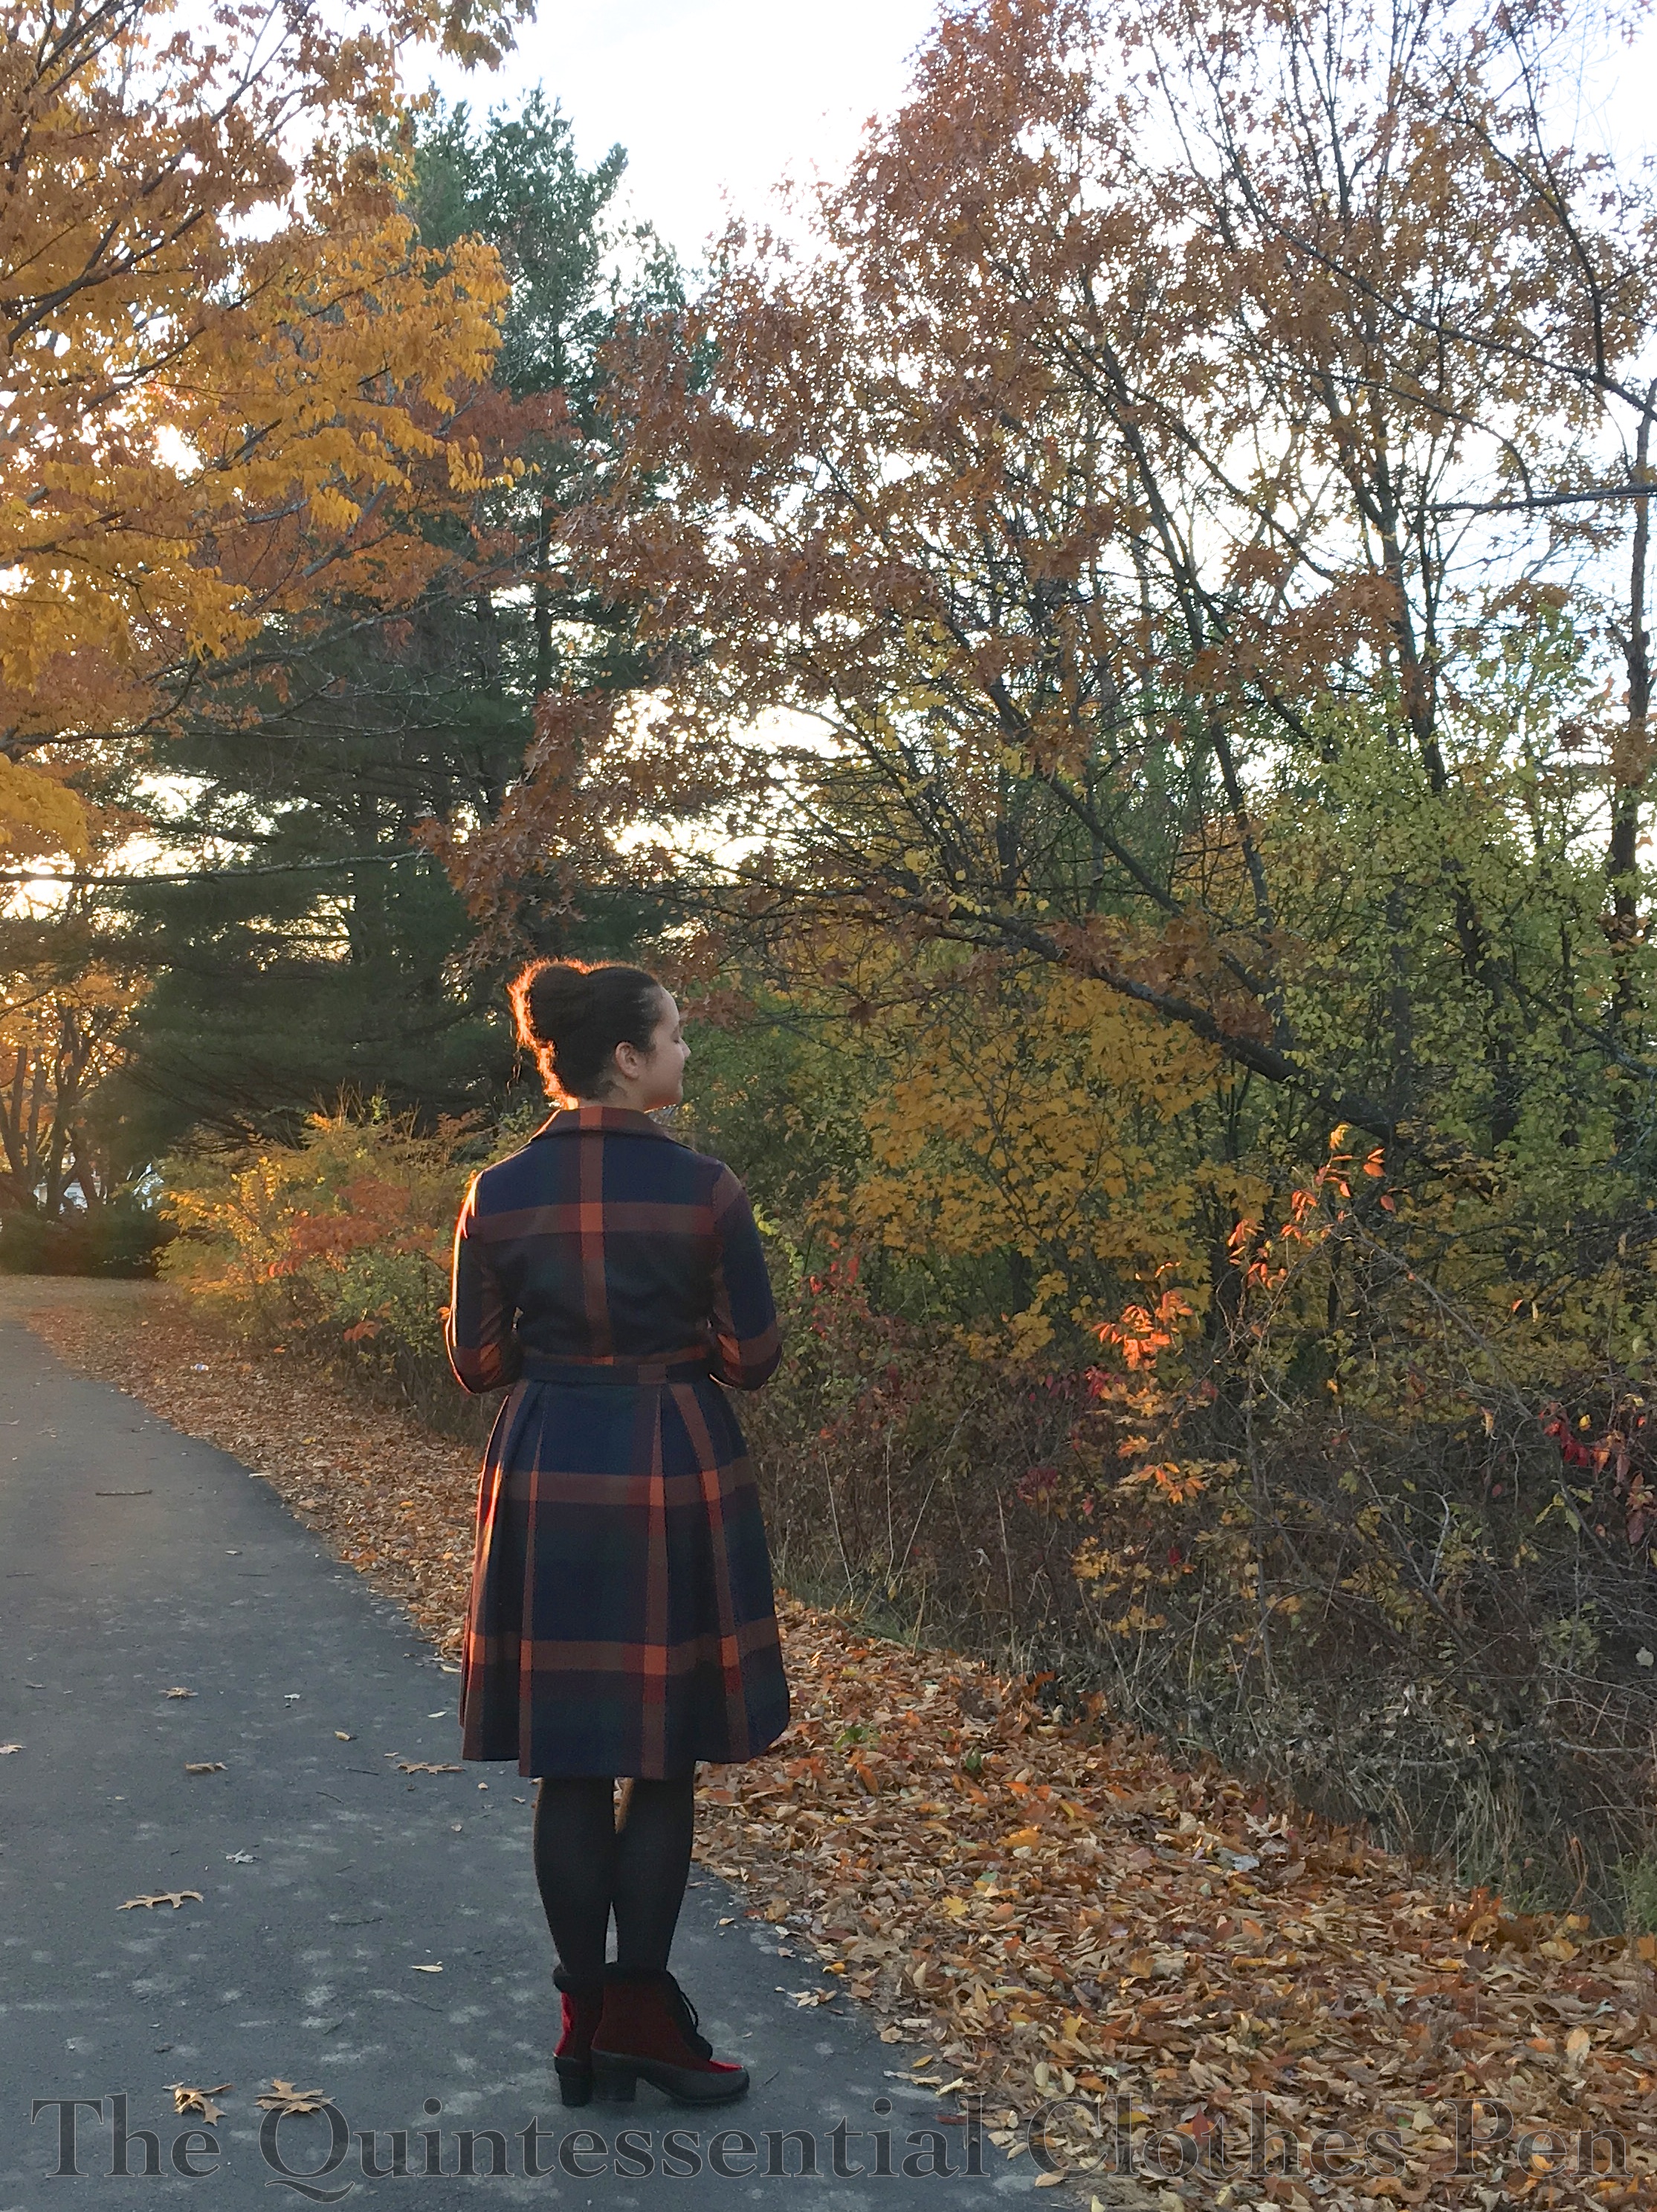
I’d like to introduce you to my Autumn Plaid Dress! This is one of the dresses that I mentioned in my end of 2018 post as something that was made but never posted about. The goal was to post about it early this year. I would say it’s now mid-year, but better late than never, right?

I made this dress at the very end of last summer. I even made sure to find time to take photos of it while the trees were still in full autumn glory! The colors in the fabric reminded me so much of autumn that I felt that photos with lovely changing leaves were essential!

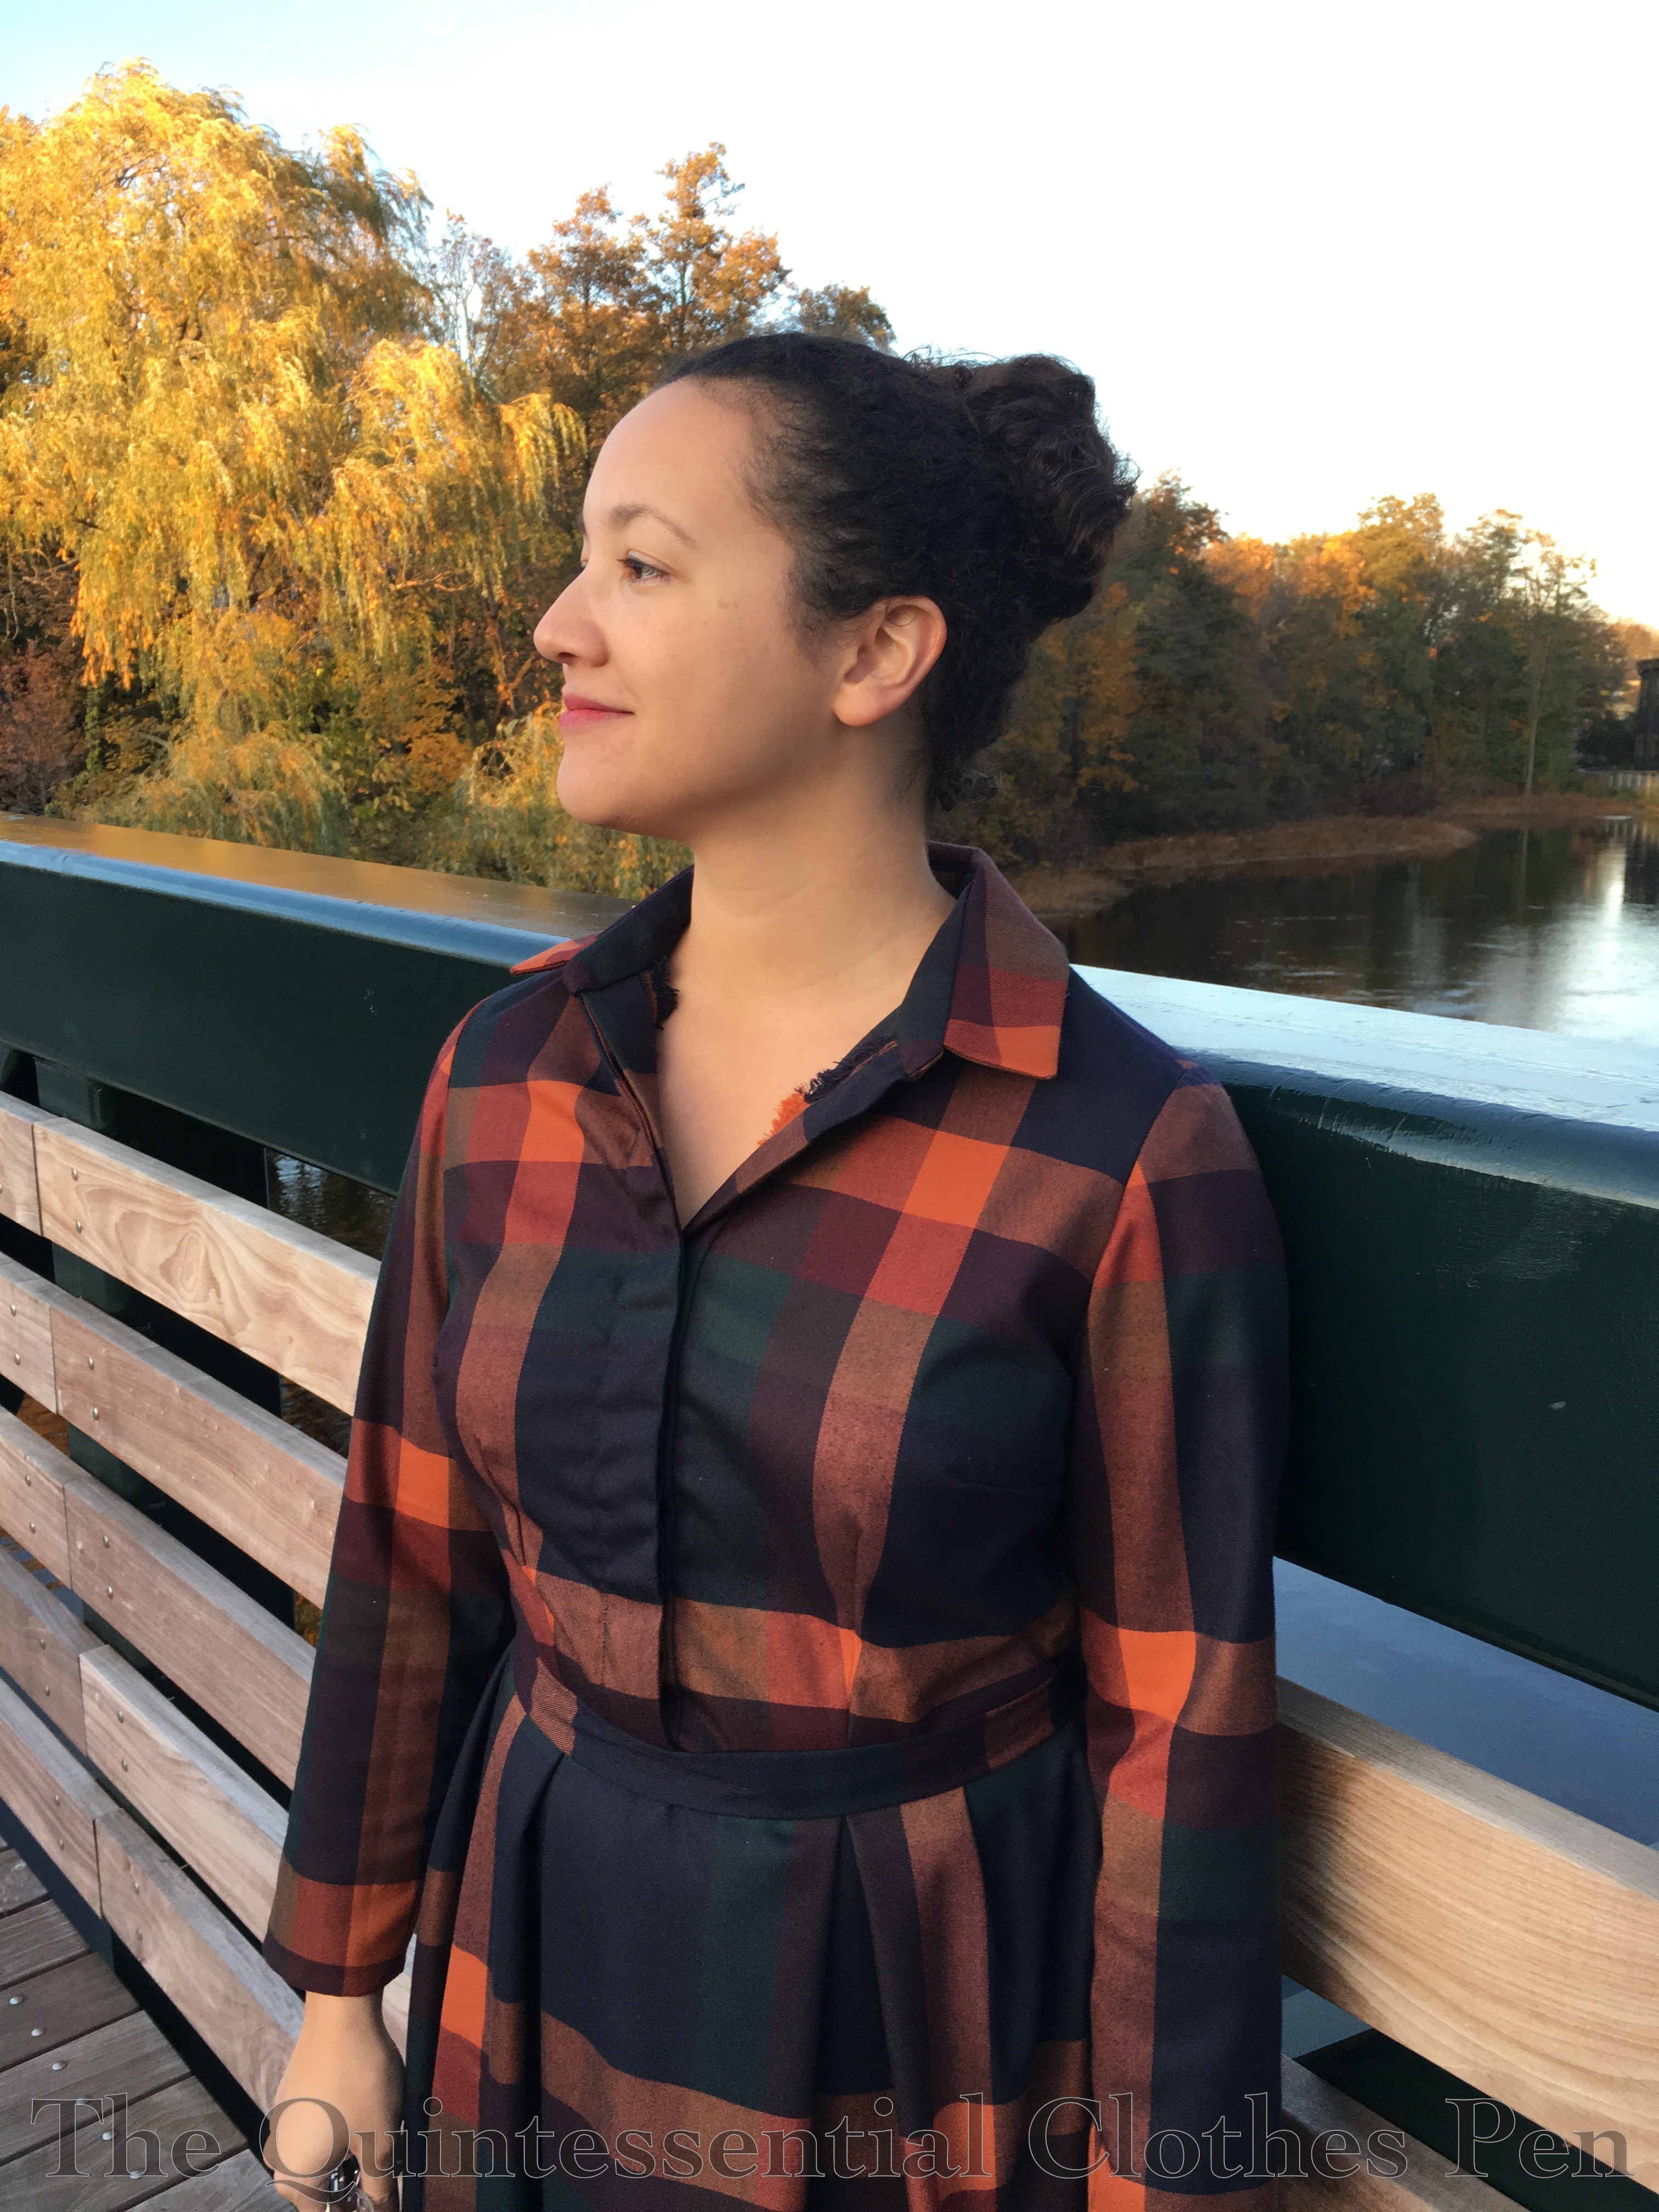
This dress came about due to the intersection of inspiration and fabric. I think the inspiration came first, when I found this dress (with no further information other than the single image). I loved the irregular large scale plaid, hidden placket, shirt collar, and long sleeves. It’s just a very different plaid dress than the often some-amount-of-circle skirt and smaller scale plaid dresses I am often drawn to.

In November of 2016, I saw the perfect fabric at Blackbird Fabrics. Of course it’s long gone now, but I snapped up 1.5 meters at the time. I loved the rich autumnal colors and large scale plaid! That pop of orange is unusual and great!
After that, the fabric sat in my stash… Until last year, when I actually make time for the dress. In August, I decided that now was the time!
The first step was to figure out a pattern. The bodice started life as McCalls 7351 because I didn’t want to deal with drafting a collar or front button placket. I also thought it might be a good starting place for sleeves.
I made multiple mockups of this pattern, fiddling with the fit especially in terms of the sleeves. I wanted to have a dress I could work in, with full range of motion for my arms without feeling constricted or lifting the dress at the side seams. This is not what I got with the sleeve straight out of the envelope. It looked nice with my arms down, flat and smooth, but I had very restricted arm movement. (So I guess this pattern wasn’t the easiet starting place for sleeves… oh well!)
After finally sorting out the fit of the sleeves and body pieces, I moved on to changing the front button placket to be invisible as I really liked that feature of the inspiration dress. This tutorial from Threads Magazine was great for this pattern change. Once I understood the different parts and how the folds interacted it was easy to alter the width of each fold to make a narrower placket than the tutorial.
I drafted the skirt pattern on a dress form. I wanted to get the deep pleats and rounded silhouette of the inspiration. It was a bit tricky and required lots of fiddling, playing with pleat depths, and also playing with the angle of the pleats at the waist seam.

Armed with my pattern pieces, I sat about cutting my fabric… and realized that 1.5 meters was not enough fabric to make the dress I had patterned! Oh no! What to do?
The first thing I did was eliminated some of the fullness I put in the skirt. I was able to keep the pleats, but the hem is narrower than I’d originally patterned. (But that’s fine in the end, because I think it’s a nice shape without being too full.) Then I started very, very carefully planning where to put each of the other pieces I needed. I realized that I could use less fabric if I changed the back from the original pattern (with a yoke and bottom section with a box pleat as on a man’s dress shirt) to a simple darted one-piece back. I did some pattern piece mashing, tested the new pattern out, and was able to move forward again.
My detail-oriented brain clearly decided on symmetry of the plaid (even though the inspiration didn’t worry about that at all and that’s something I liked… I find it’s hard to break the desire for symmetry!). That meant the cutting layout needed to be very specific in order to accommodate both that and the quantity of fabric I had to work with.

I fit the skirt pieces on the yardage (with a tiny hem). Then found places for the fronts (without the placket extensions) and back. The sleeves barely fit. I could have shortened them and had plenty of fabric but I really wanted the wrist length. The collar and placket pieces were next. They got squished in between the larger pieces. Of those, only the upper collar is one piece. As you can see in the next photo, the under collar and both layers of collar stand have seams at center back (though I did manage to make them all symmetrical!). The button placket had to be seamed on and pieced horizontally and the buttonhole placket also had to be pieced on. There’s a narrow orange line near the buttonholes just across from the horizontal piecing seam where the placket extension was stitched on to the front piece.

This was absolutely a case of laying out every single piece before cutting anything! After all that, this is what I was left with for fabric scraps. I’d say that’s a pretty good use of all my fabric, wouldn’t you?
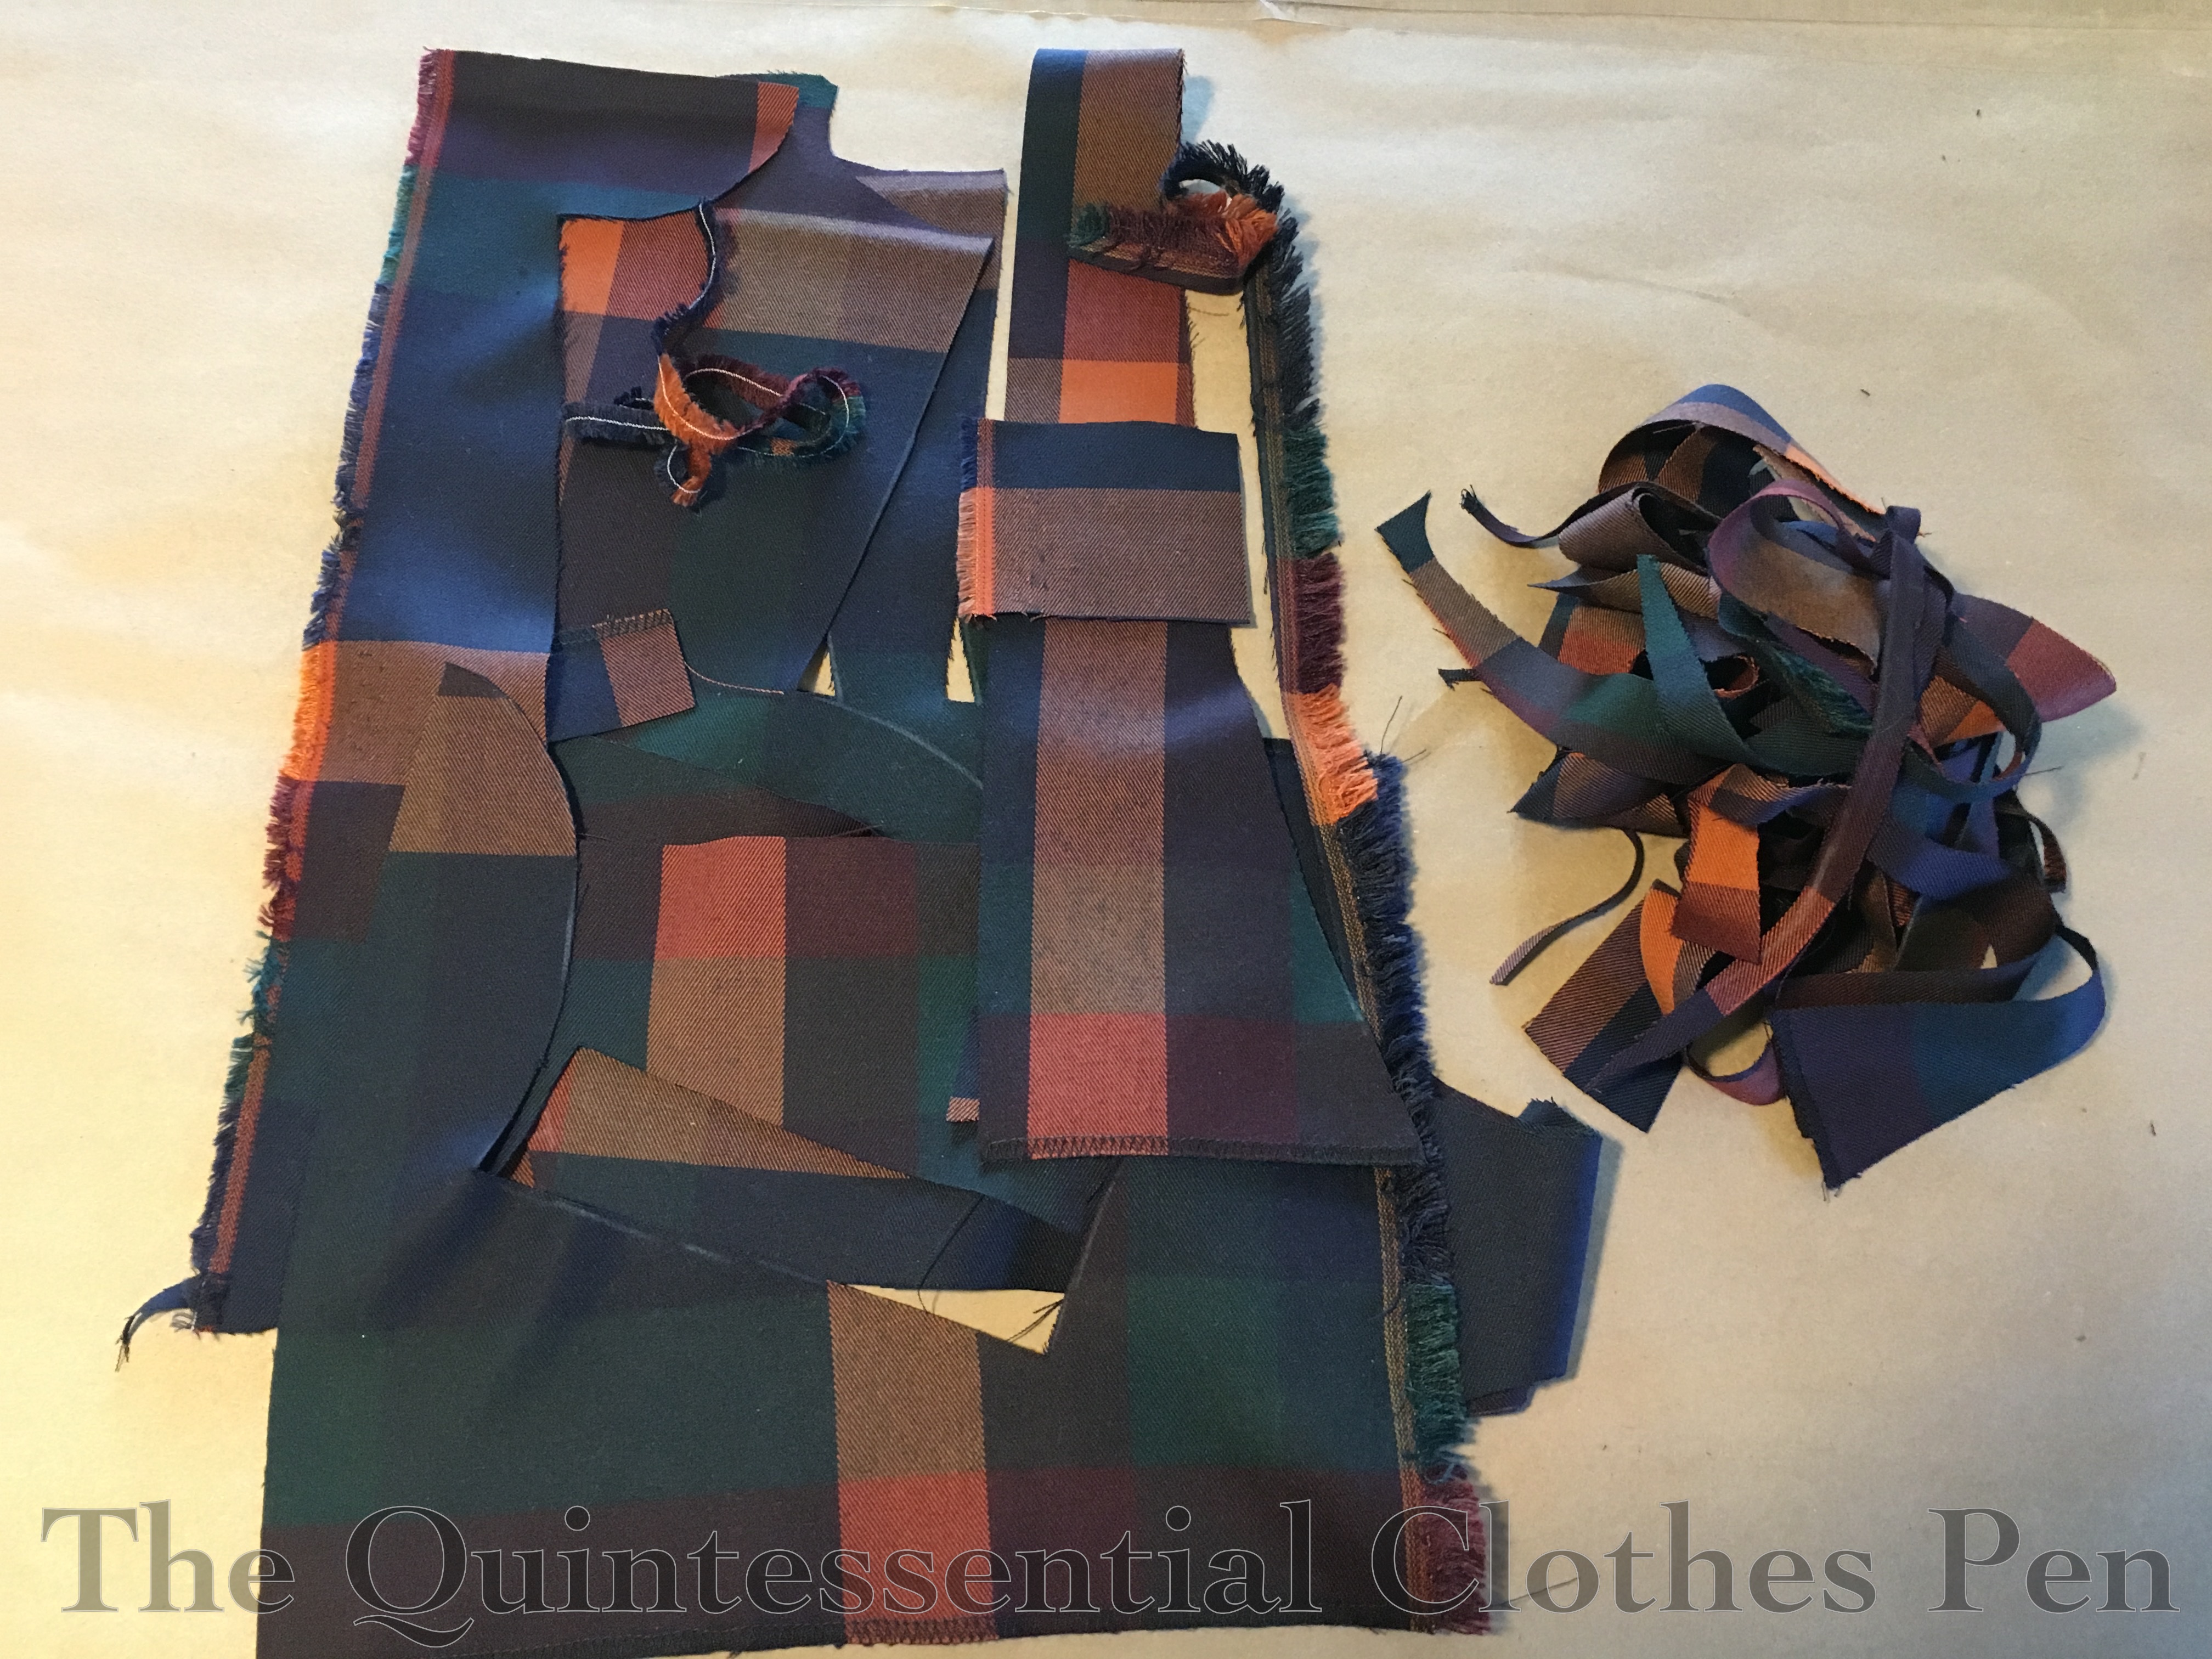
I was very amused by the fringe-y selvedge edge and wanted to incorporate it into the dress. I used those selvedges for the inner edge of my plackets. The already finished edge was stitched down but not turned under, so a little bit of the fringe pokes out when the dress is worn. I did debate if it was making the dress too home-made looking, but I think it’s subtle enough that it doesn’t have that effect.
At some point I also made space on the fabric for a belt. There was no way to make this symmetrical without a lot of piecing, given the spacing of the plaid and the placement of the plaid on the dress, so this is my nod to asymmetry. I can line up one of the orange lines somewhere, but somewhere else around my waist they don’t line up.

I finished this dress right around the time that the pre-orders from Royal Vintage Shoes were delivered last fall. I had great fun wearing this dress with my new burgundy Aspen Boots. I couldn’t resist having red winter shoes!
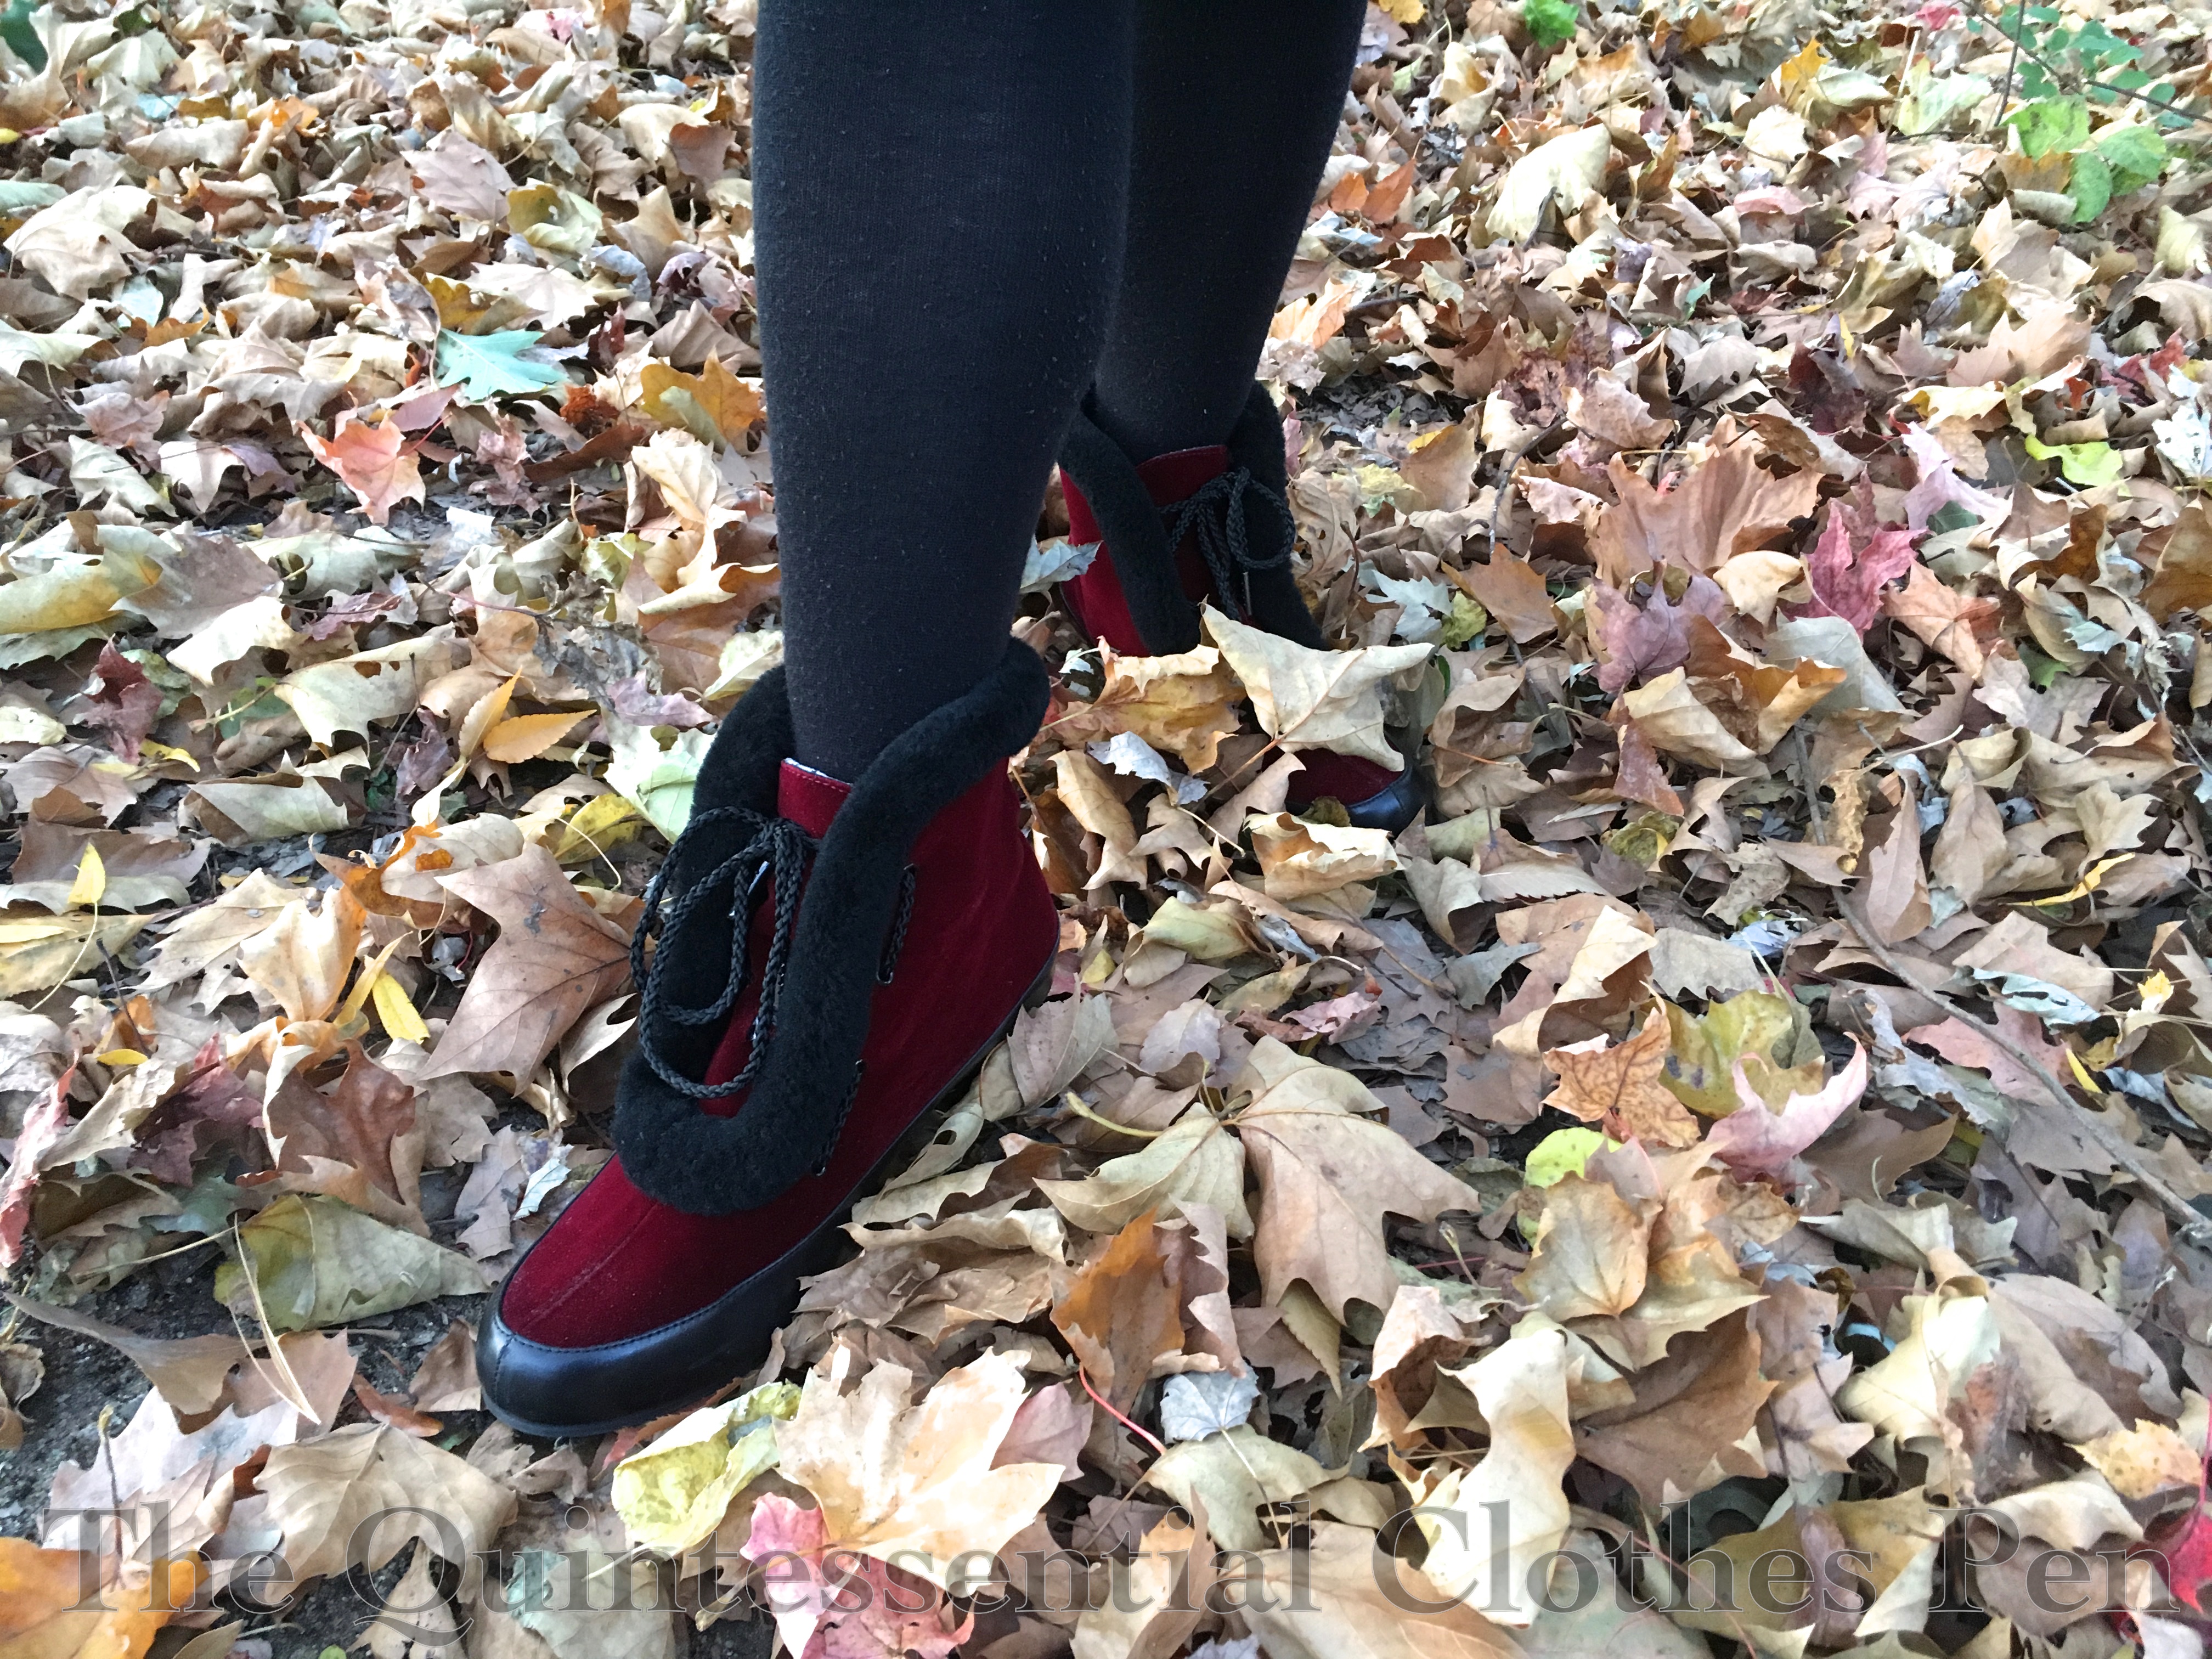
I love these boots! I added an insole under my heel to help cushion my feet and they are so comfortable! I can wear them standing and walking all day and not have aching feet. The low heel is flattering and snazzy without feeling like a heel. The rubber soles are great for wearing in rain and snow. They are great with pants and skirts/dresses. And they’re a fun color! I feel very confident when I wear them and get lots of compliments. Can I say anything else positive? I love these!

What else have I not mentioned about the dress?
The buttons are from my stash and are plain and dark. I was one short, so there’s a slightly different dark button at the bottom. It’s fun to have details like that on clothes you make yourself.
My fabric is a nice medium-weight twill, which makes the dress well suited to fall and winter wearing. The dark colors didn’t really speak to me to wear this spring and it’s not a summer dress, so it’s waiting for autumn to roll around again to be worn. In the meantime, I’m happy to have captured the lovely colors of the leaves with the wonderfully autumnal colors of the dress. Maybe this year I’ll take photos of it with pumpkins…!


I love Autumn. I love Plaid. When you combine them, it is extra special! I know the care it took to match the fabric. When I was a senior in college, I made a red and grey plaid lined wool jacket. I still have it!
How lovely! The precision is a fun challenge (sometimes) and it was fun to combine the autumnal and plaid elements. Thanks!
Quinn, lovely dress!! You look gorgeous. Love the boots.
Your new logo type looks great.
Love, Mom
Thanks!!! Yay!