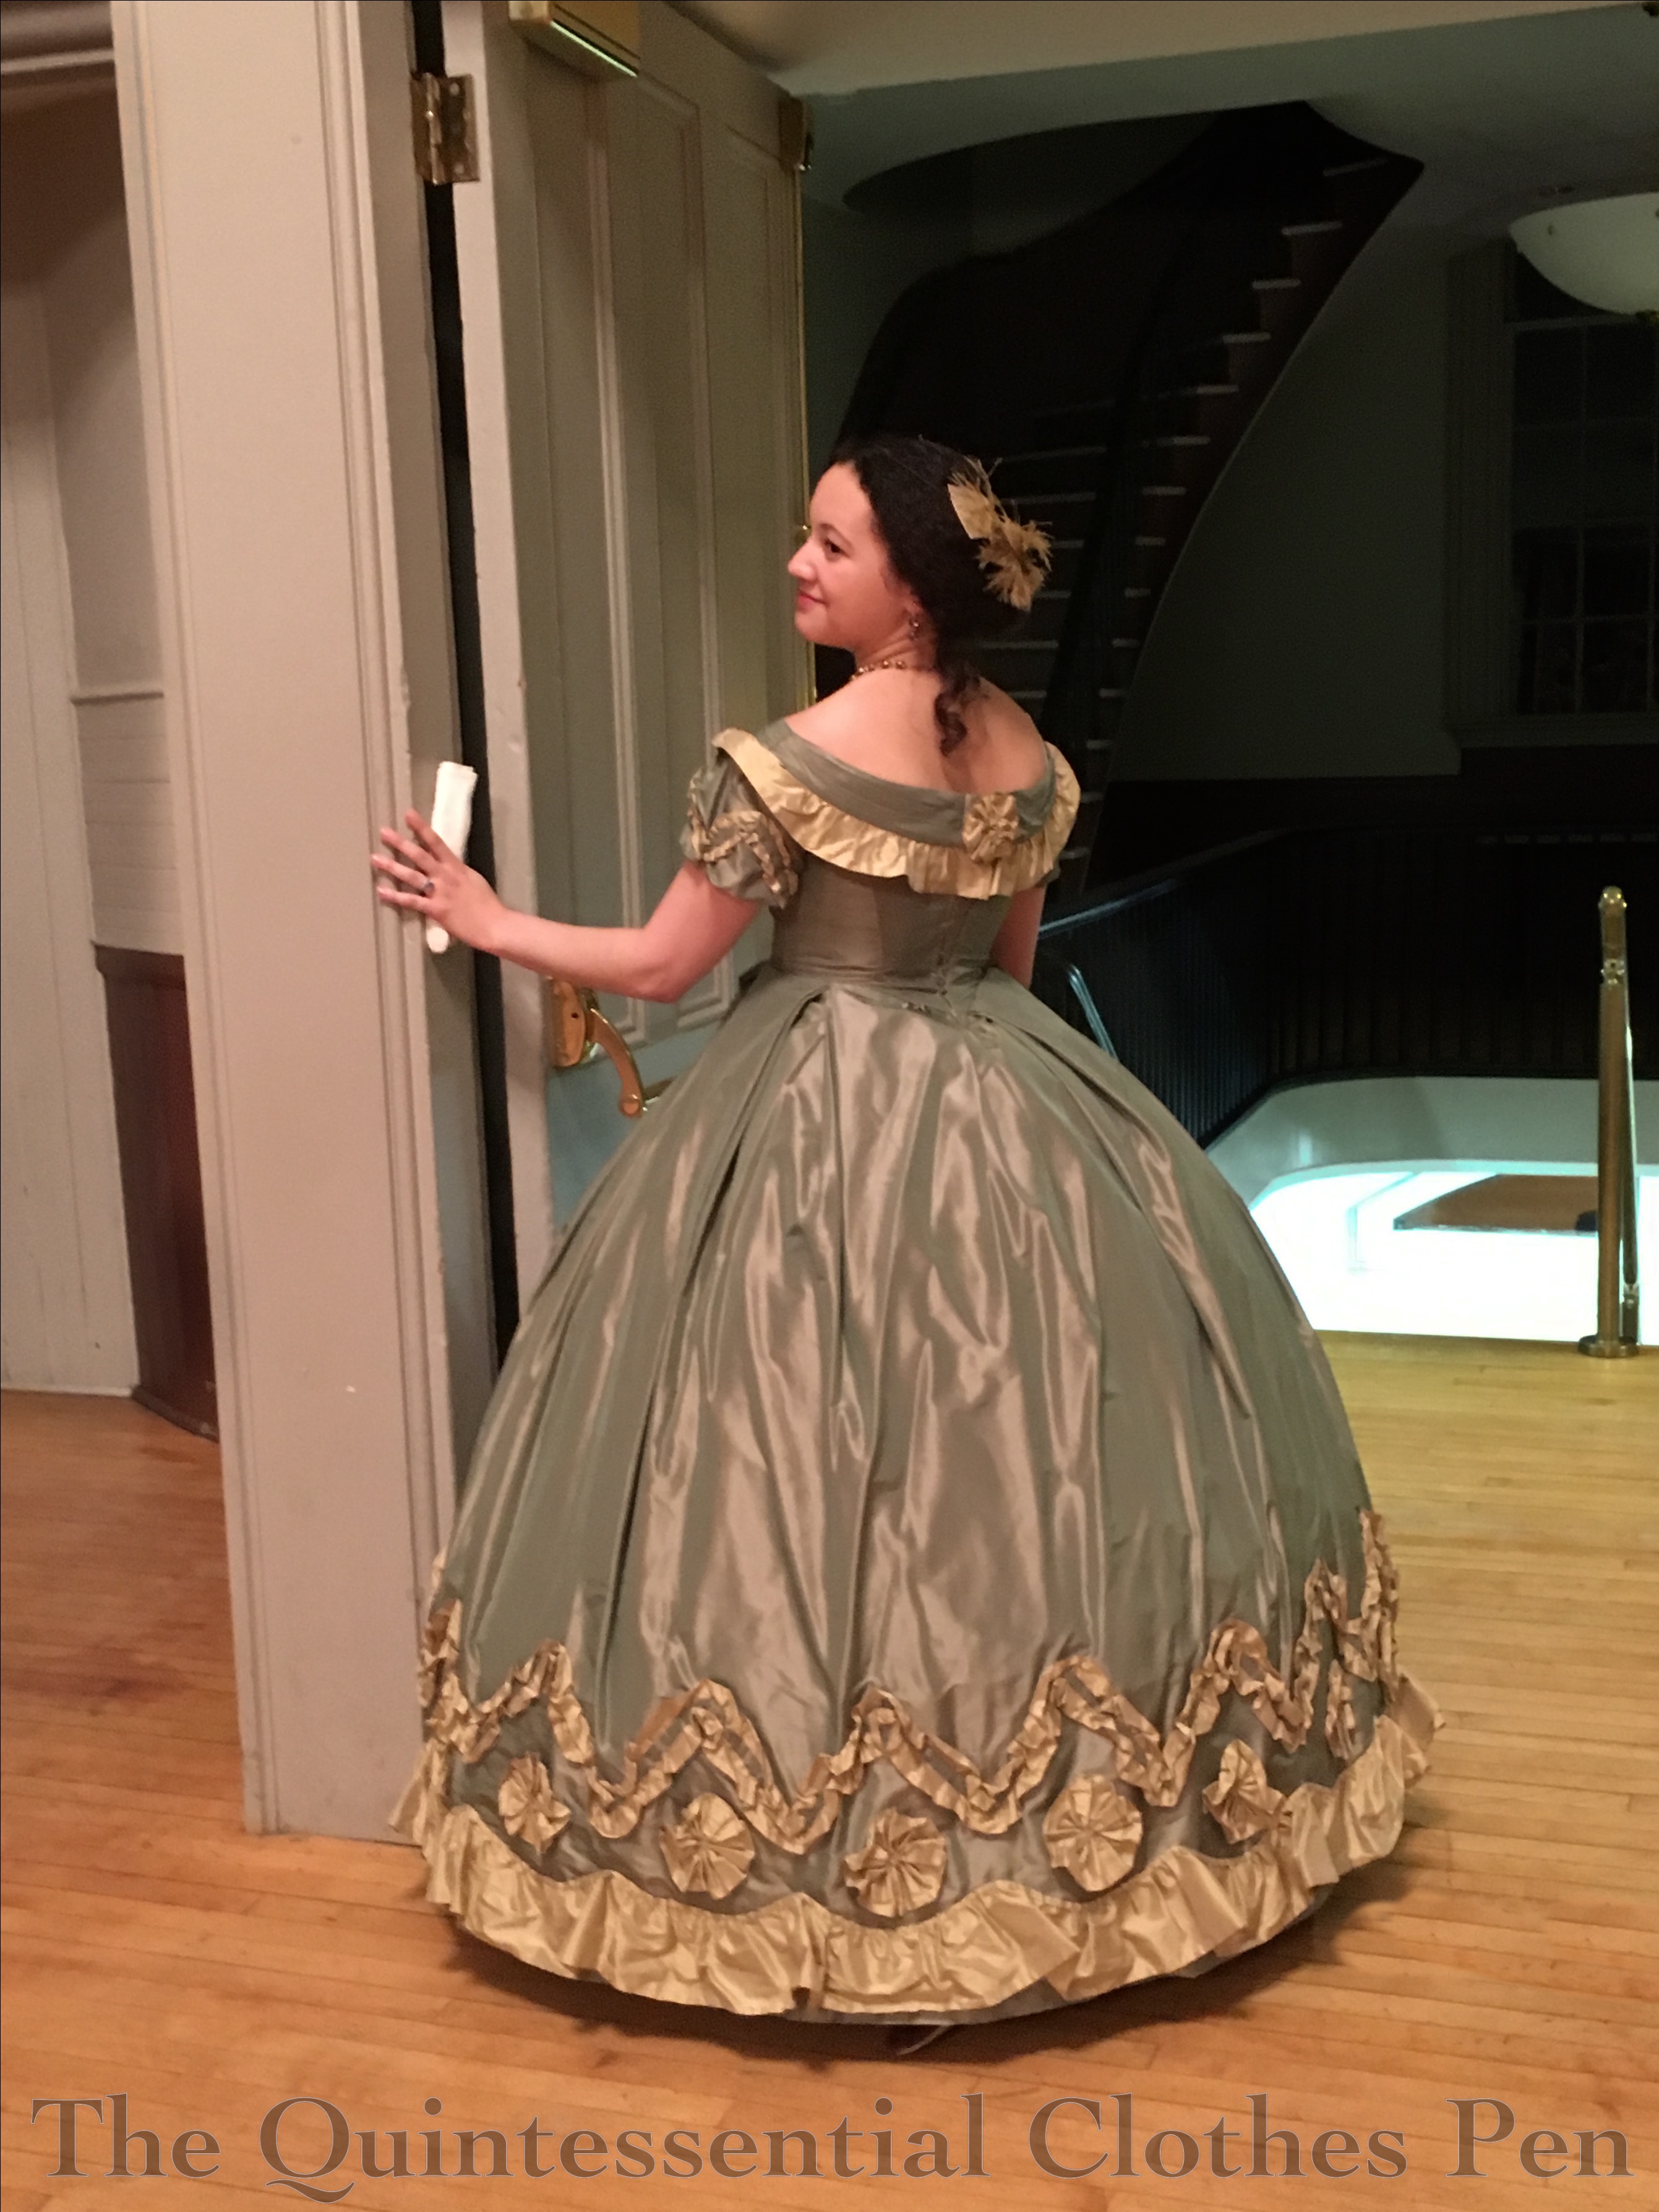
In March, I again had the pleasure of attending The Commonwealth Vintage Dancers‘ annual Returning Heroes Ball (you can read about other years I’ve attended here). I decided to wear Evie, my 1864 ballgown, simply because it had been a year or so since the last time I wore that particular gown.
In order to change things up I did two things differently with this wearing: I wore different earrings and did my hair differently. Small changes, but it makes wearing an old dress feel new and exciting!
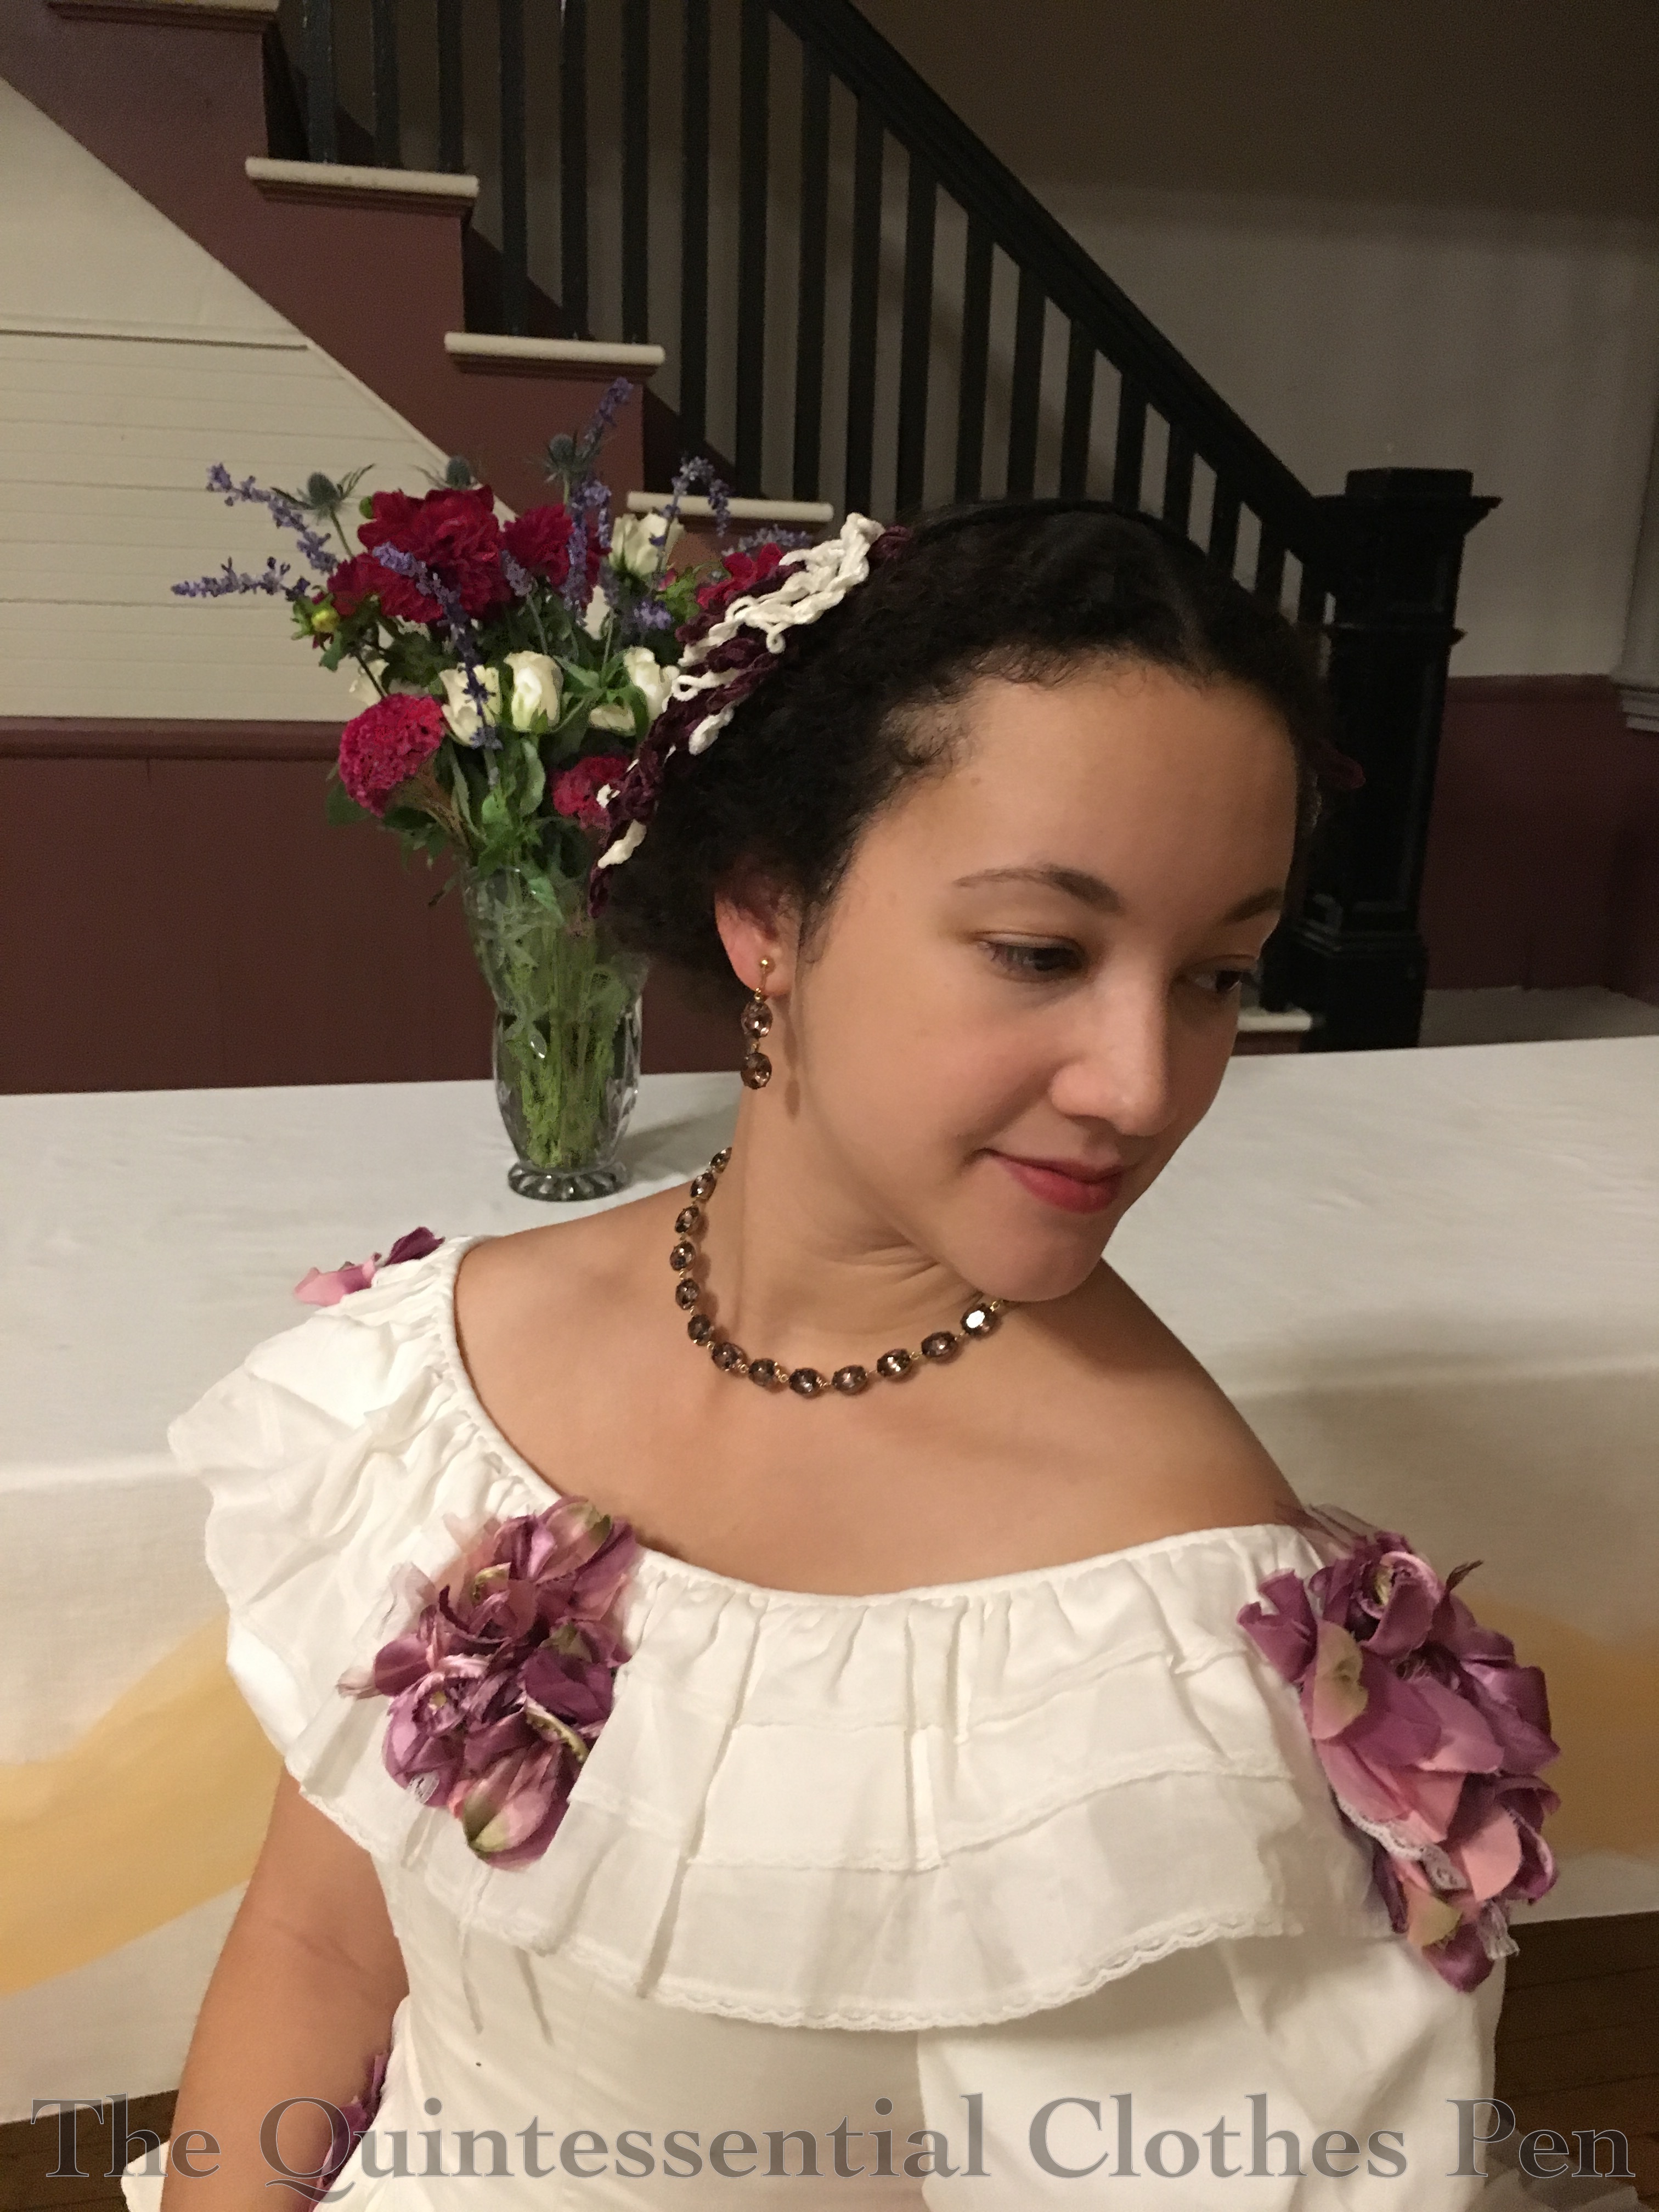
I don’t think I’ve ever worn these earrings for mid-19th century events before (only for things later and earlier than this period), though now that I’ve tried it I think they work quite well. I made them from triple drop earrings that I bought from a modern store (I forget now, but I think it was New York and Company). I just took off the bottom drop and attached them to clip hardware. They catch the light and sparkle nicely.
1860s and earrings together reminds me of the scene in Gone With The Wind in which a straggling soldier try to steal ‘ear bobs’ from the house. Not that these look at all similar (and luckily my story ends on a happier note than that scene), but a GWTW reference generally makes me smile.
I was going to do a simple hairstyle (my usual go-to c.1860 style with a center part and the hair in a low mass at the back of my head), but as I was getting ready I chanced a look at Pinterest and got excited about trying a more complicated style than I usually do. In particular, I liked the puffed fronts on some of these styles from 1864 and the curls on the sides like some of these from 1861.
I sort of mashed these two looks together, using small rats to puff the front sections of hair and a curling iron to get smooth curls for the sides. My hair is getting to be so long that I had to pin the hanging curls up to shorten them! The rest of my hair was just twisted and pinned on my neck without too much attention paid to it. I was running out of time and knew I’d be adding my hair piece on top, which would cover most of the back of my hair anyway.
I really like the end result for this particular dress of mine. I feel it compliments the hair piece and the silk dress nicely. Isn’t it lovely when all these little details come together to create one cohesive end result? Yay!
I had a chance to wear my 1899 Elusive Blue Dress at the end of last year plus the opportunity to take some wintery-feeling photos in it. This dress is so fun to wear–elegant and swooshy! Plus, the big hair of this period is just what my hair loves to do. So in the spirit of my post in 2016 sharing a more summery turn of the century ensemble, enjoy this Winter Gibson Girl Vignette!
While it’s still holiday season I want to share a few pictures from The Commonwealth Vintage Dancers’ 2017 Fezziwig’s Ball. This year we had snow on the day of the event. It made for some slippery driving, which unfortunately caused a number of people to not be able to make it, but the bright side was that Salem was enchantingly draped in snow.
It was a bit colder than it has been in some previous years, so it was necessary to wrap up warmly for outdoor caroling. The easiest (and warmest) option that would fit over my gigantic 1830s sleeves was my 1860s wool cape (it is lined in flannel and has thick batting so it is quite soft and warm!). It was great to make use of its amazing warmth since I hadn’t worn it in years, though I have yet to get actual documenting photos of it. I always seem to be wearing it when it’s dark outside! We did get this nice picture though. The stars of light are made using a special Petzval lens (you can read more about this special lens in this past post). The cape plus a muff did a good job of keeping everything but my head warm. There’s no easy way I know of to cover a big hairstyle without mussing it while also keeping your head warm…
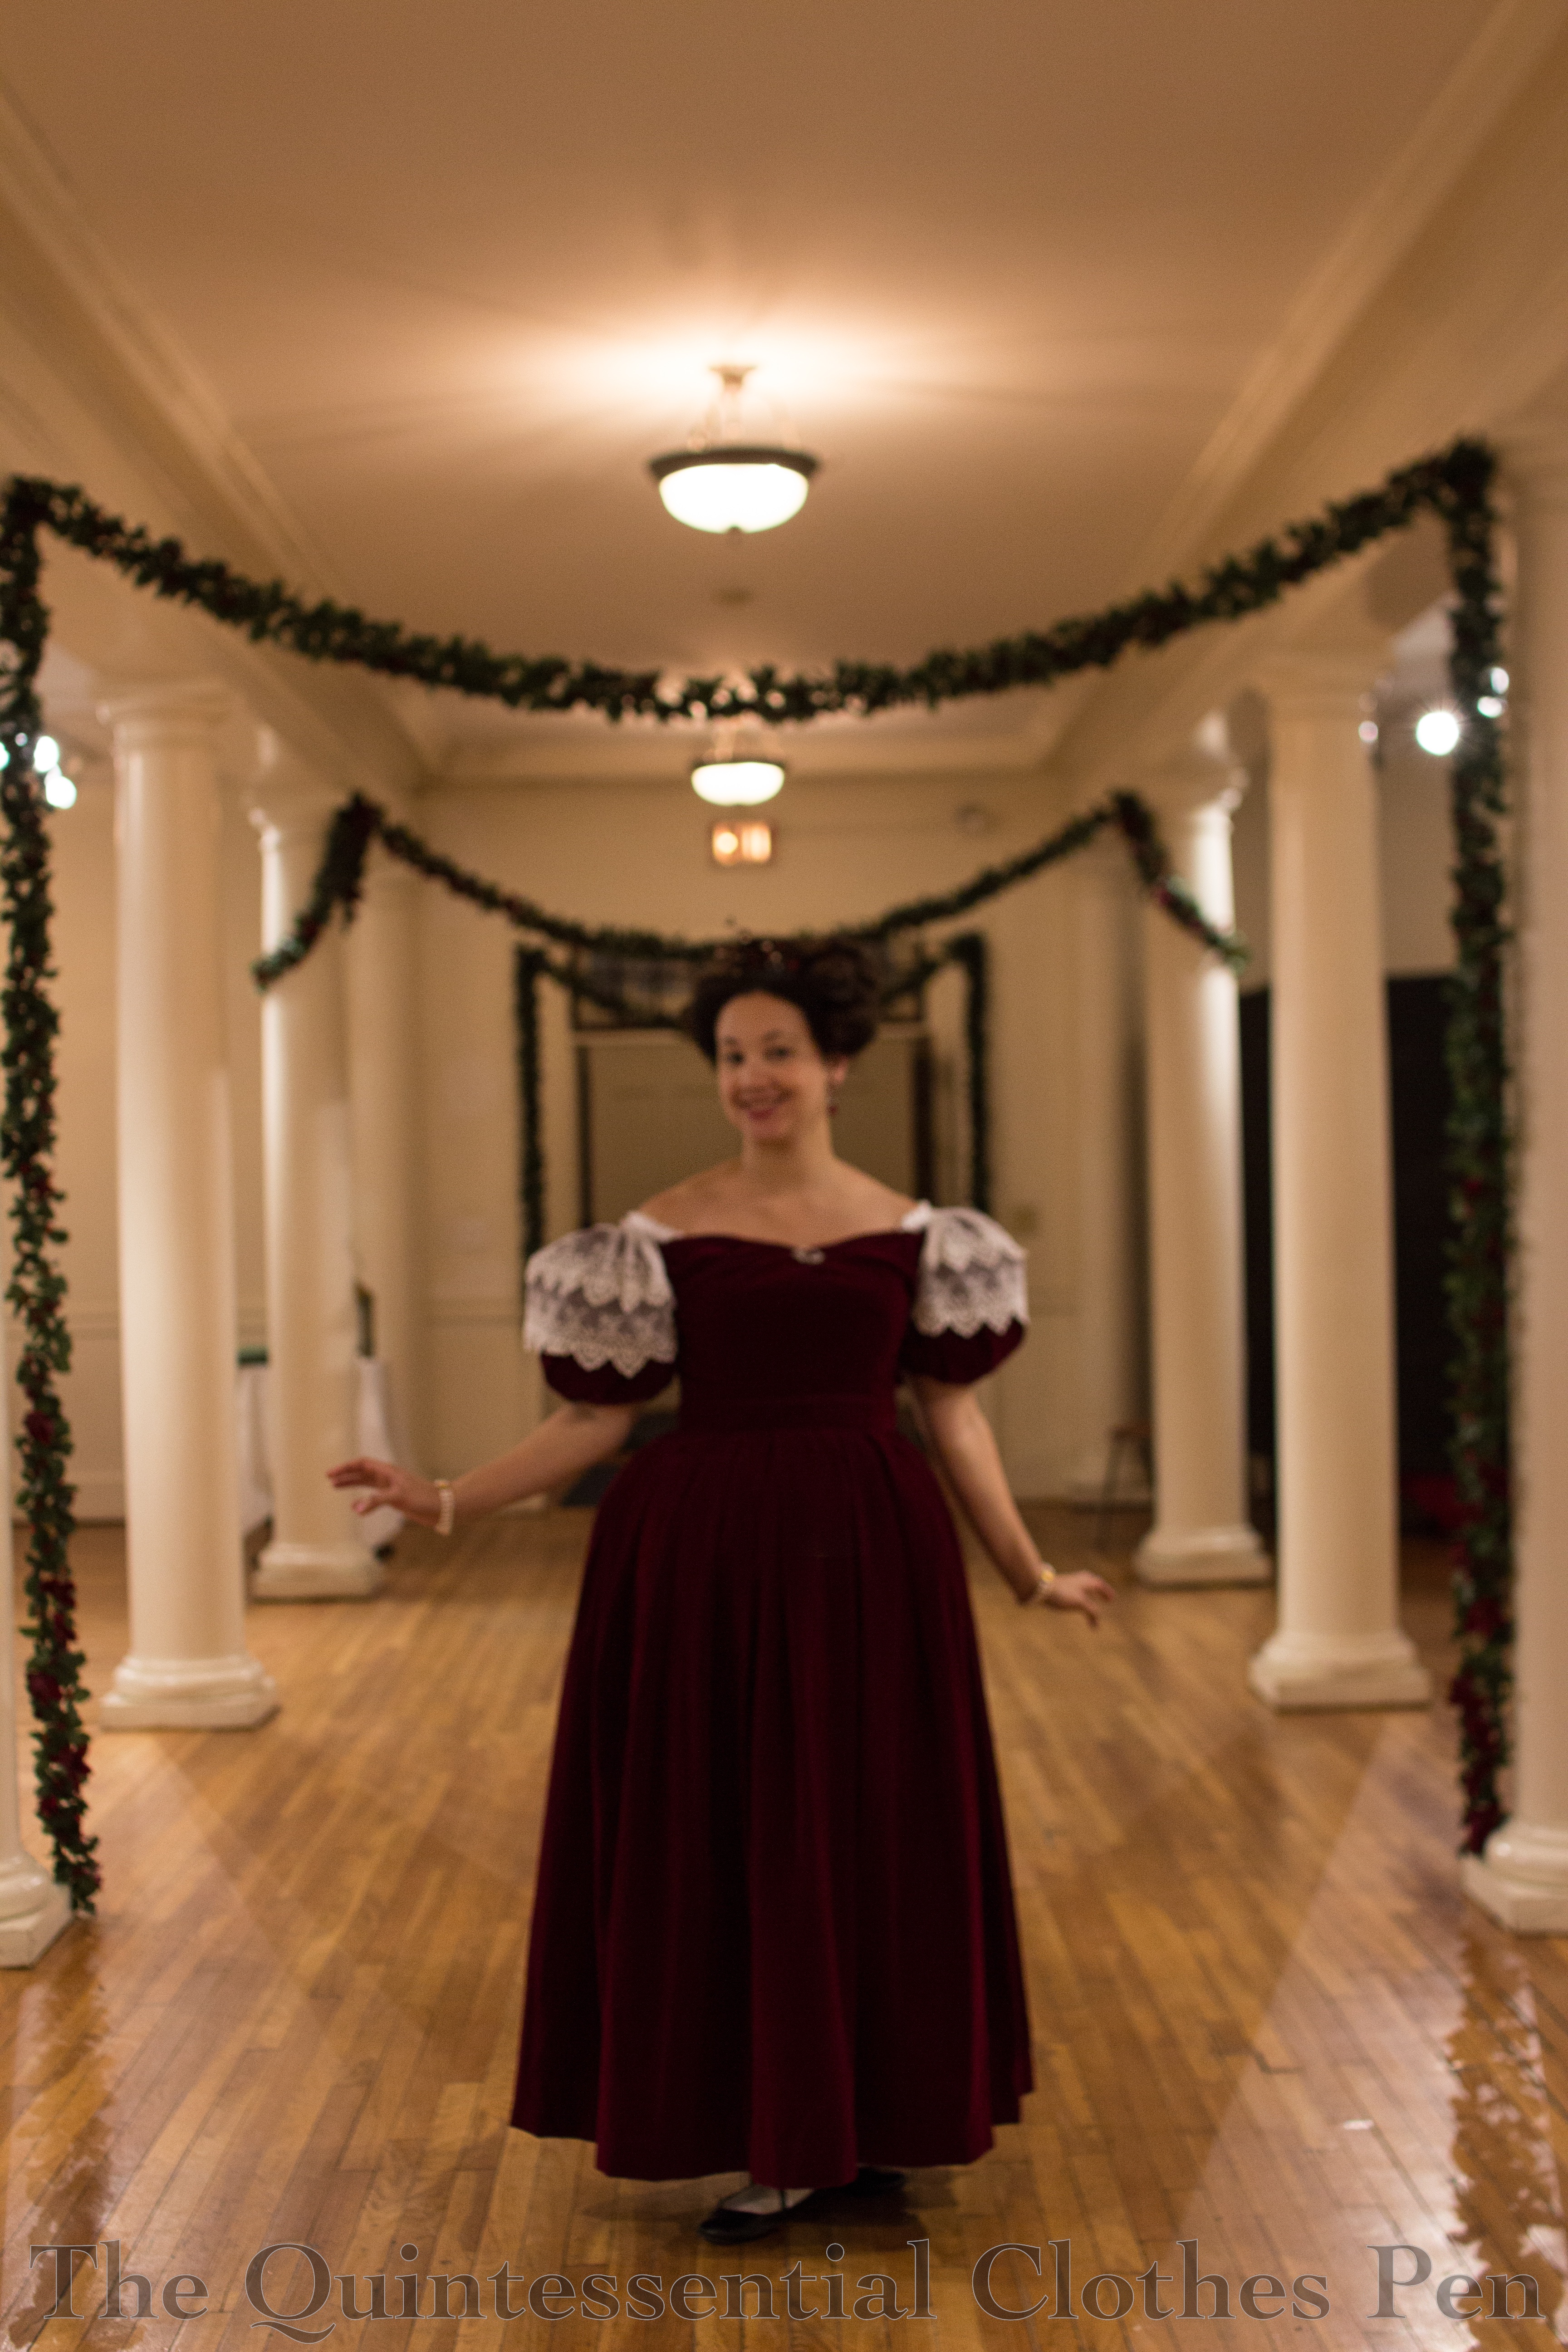
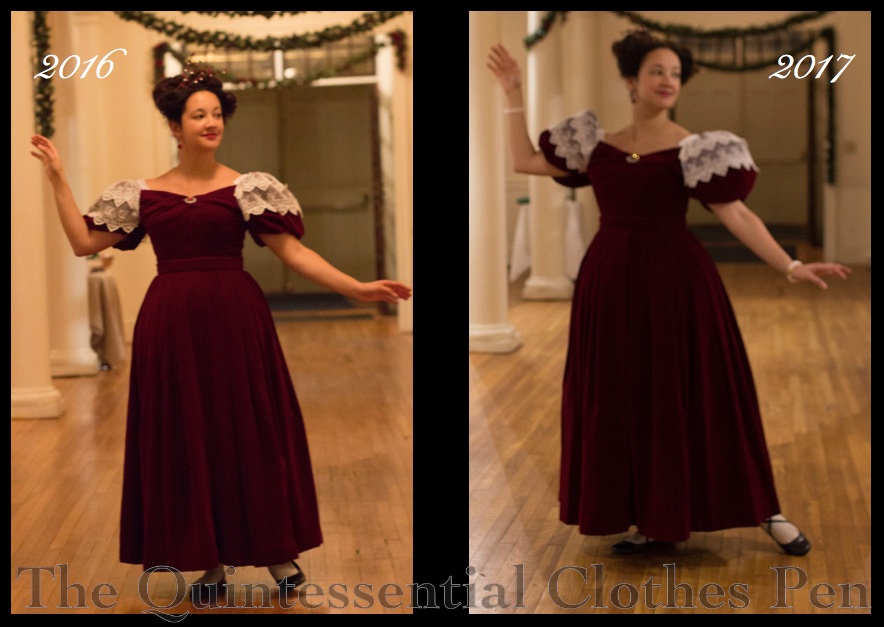
Super puffed sleeves, a little more skirt volume, and ribbons on my shoes are the notable changes from last year’s wearing.
I basically styled my hair the same way as last year. I really liked what I came up with and there seemed to be no need to reinvent the wheel!
After vigorous dancing to lovely holiday music it is always a treat to partake of the lavish refreshments, which provided a perfect outing for my refreshing apron. It does a wonderful job of keeping my dresses clean!
Happy holidays!
I hope you’ve had a joyous December so far, full of laughter and blessings!
Last year, I made and wore an 1832 dress to the annual Christmas ball, but was disappointed with the silhouette as I didn’t have the time to make all of the supporting garments to really get it right. This year, I made the supporting garments to fill out last year’s dress so I could get the silhouette just right. Are you as curious as I am to compare the silhouette from one year to the next? Wait no more! (I even managed almost the exact same pose!)
I’m especially pleased with my sleeves! I have to confess that my sleeves were brushing up against things as I wasn’t used to how large they were! It was great! And the skirt is ever so slightly more full as well, which helps to balance the rather enormous sleeves.
I’m also pleased with the subtle difference of having laces on my shoes. Last year, I tried using masking tape to attach the laces inside the shoes, but pressure from walking pulled them right off. This year, I sewed the ribbons to lining of the shoe. That part worked great, but the ribbons would not stay tied and it was rather a challenge to bend over in a corset and tie the bows behind my ankles on a regular basis. It was great for looks but not for practicality!
I made an 1832 dress last year for the annual Christmas ball. I was very happy with the dress itself, but a bit saddened by the silhouette due to the fact that I didn’t have time to make all the accessories to help give the dress just the right silhouette. This year I’m wearing the same dress again for the Christmas ball but I’ve taken the time to create two different underpinnings that will really help the shape.
There are two areas where I was disappointed with last year’s silhouette. The first was my sleeves. The dress I made has large beret sleeves but without anything inside to keep their shape they became deflated as the night wore on. The solution: a pair of 1830s sleeve puffs! The one below, from the V and A, is just one example (and what I used as direct inspiration for creating mine).
Conveniently, these fit this month’s HSM challenge perfectly!
HSF Inspiration: “One of the best things about the HSF is seeing what everyone else creates, and using it to spark your own creativity. Be inspired by something that has been made for the HSF over the years to make your own fabulous item.”
Sleeve puffs have been made by multiple people over the years of the Historical Sew Fortnightly/Monthly, though most recently a pair was submitted for Challenge #10: Out of Your Comfort Zone in 2017.
Here are my sleeve puffs!
So, just the facts:
Fabric: Soft cotton twill, polyester organza and stiff net for stuffing.
Pattern: My own, based on measurements and looking at extant puffs.
Year: 1830s.
Notions: Thread.
How historically accurate is it?: Let’s say 95%. It’s entirely recognizable in its own time. The exterior is plausible fabric, the stuffing is not.
Hours to complete: Perhaps 2?
First worn: Not yet! Will be worn in December.
Total cost: Free! All the fabrics are from the stash.
I took in progress pictures of the puffs as I made them, so eventually I’ll post a detailed tutorial for how exactly I made these. But for now, let’s talk about the second area that I was disappointed with my 1832 silhouette last year: the skirt fullness. I had hoped to create a nice round shape, but my silk petticoat alone wasn’t enough. I whipped up a puffer of stiff net gathered onto a waistband, but it didn’t add enough oomph either.
Of course, a corded or starched (or both) petticoat would be the ideal way to fix this problem. I didn’t devote the time to making either of these for this particular dress (and don’t already have them as part of my wardrobe.) Another idea one of my friends had was to use a fluffy many tiered organza petticoat from eBay to get a nice 1830s silhouette. I, however, was inspired by Lauren’s ‘ugly puffer’ (she made it for the 18th century, but the idea can be used to fill out skirts from many different eras) to try and get a better silhouette this year.
I actually used the same net puffer I used last year, but added a gathered layer of pre-quilted cotton from the stash. I hemmed the edges to help add stiffness and used up the small scrap that I had (only about ¼-⅓ of a yard), which amounted to about a 2:1 ratio of gathering.
That, plus giving my silk petticoat a shake out to get the ruffle at the bottom more full and less squashed from storage, seems to help, at least when I tried it on at home. We’ll see how these two underpinnings help at the ball. I’ll have to do comparison pictures between this year and last year!
How do you get an 1830s silhouette? Do you have any creative ways to get the right look?
A few months ago, I had a post with the same name that focused on two Regency dresses that had experienced closet shrinkage. The post was centered around what I did to make them wearable again. Around the same time I was battling the Regency closet shrinkage, I encountered the same problem with two of my older mid-19th century dresses as well. Boo!
It took me awhile to do anything about the problem and even longer to post about it, but here we are.
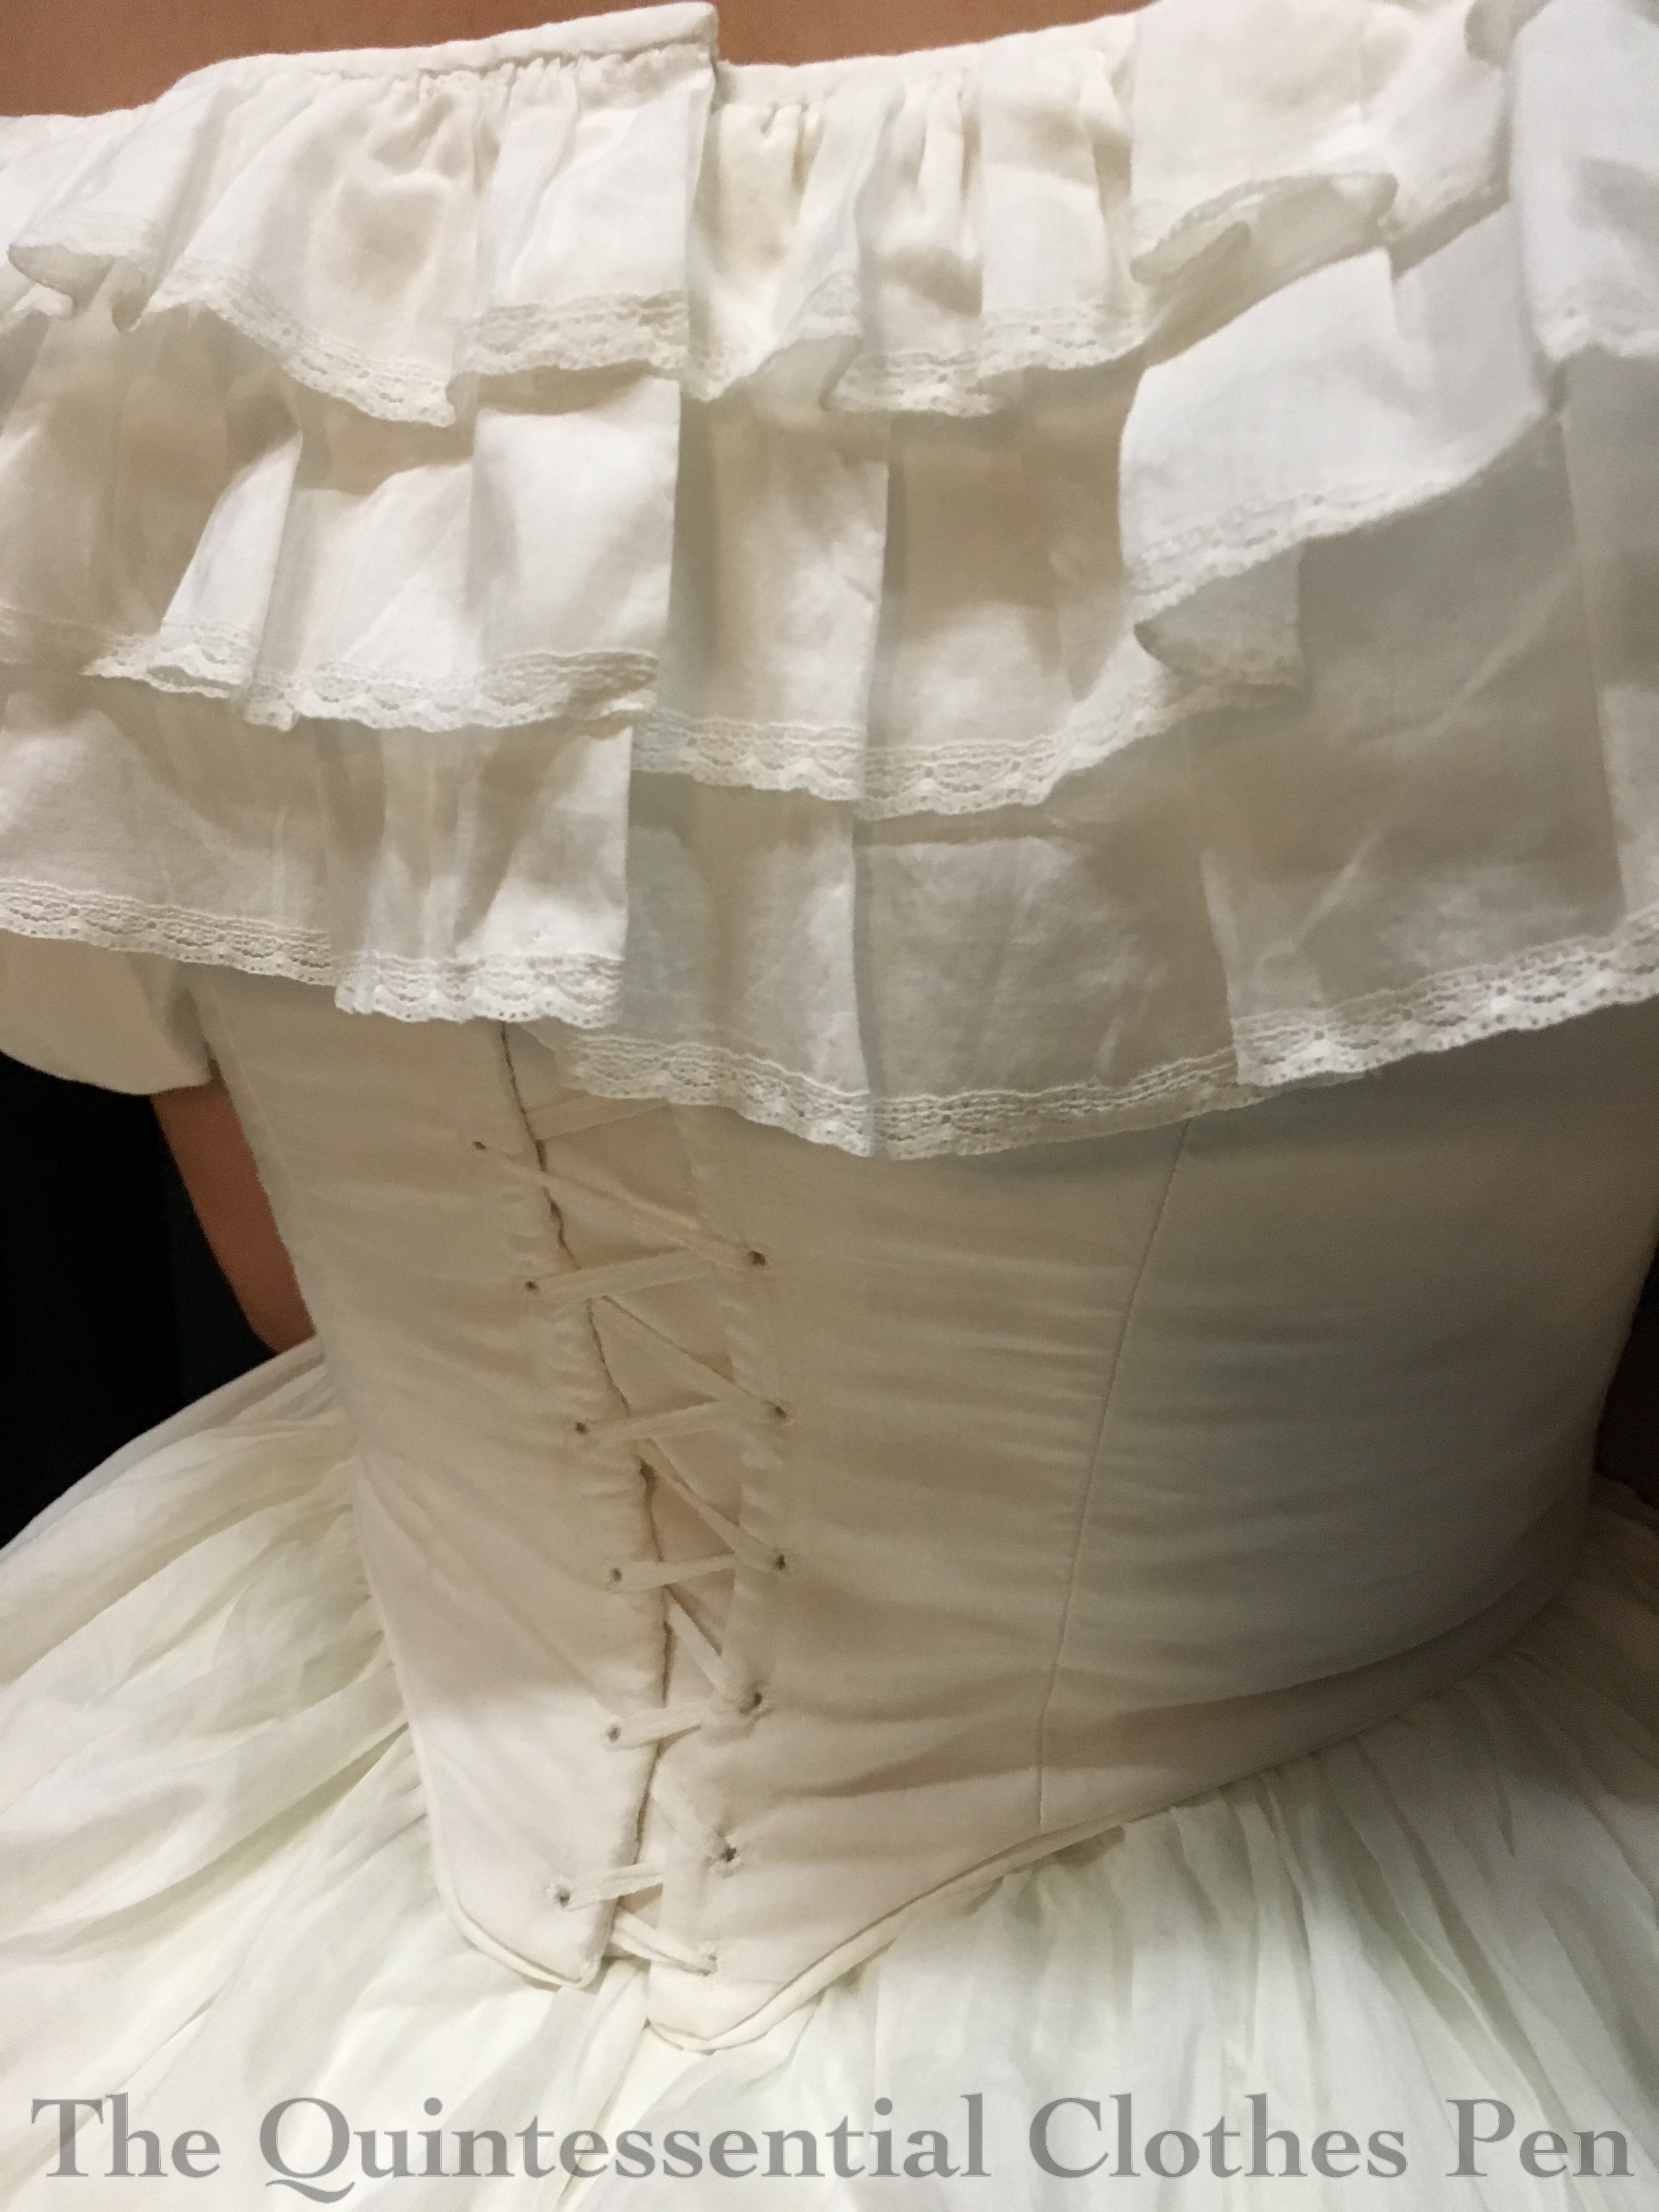
There was a time when the back edges of Evie’s bodice met from top to bottom. In fact, if you look at the pictures in this post from 2013 you’ll see that there was even excess fabric around the waist (yikes, but that does mean my waist has expanded a fair bit!); however, by February 2016, the bodice looked like this:
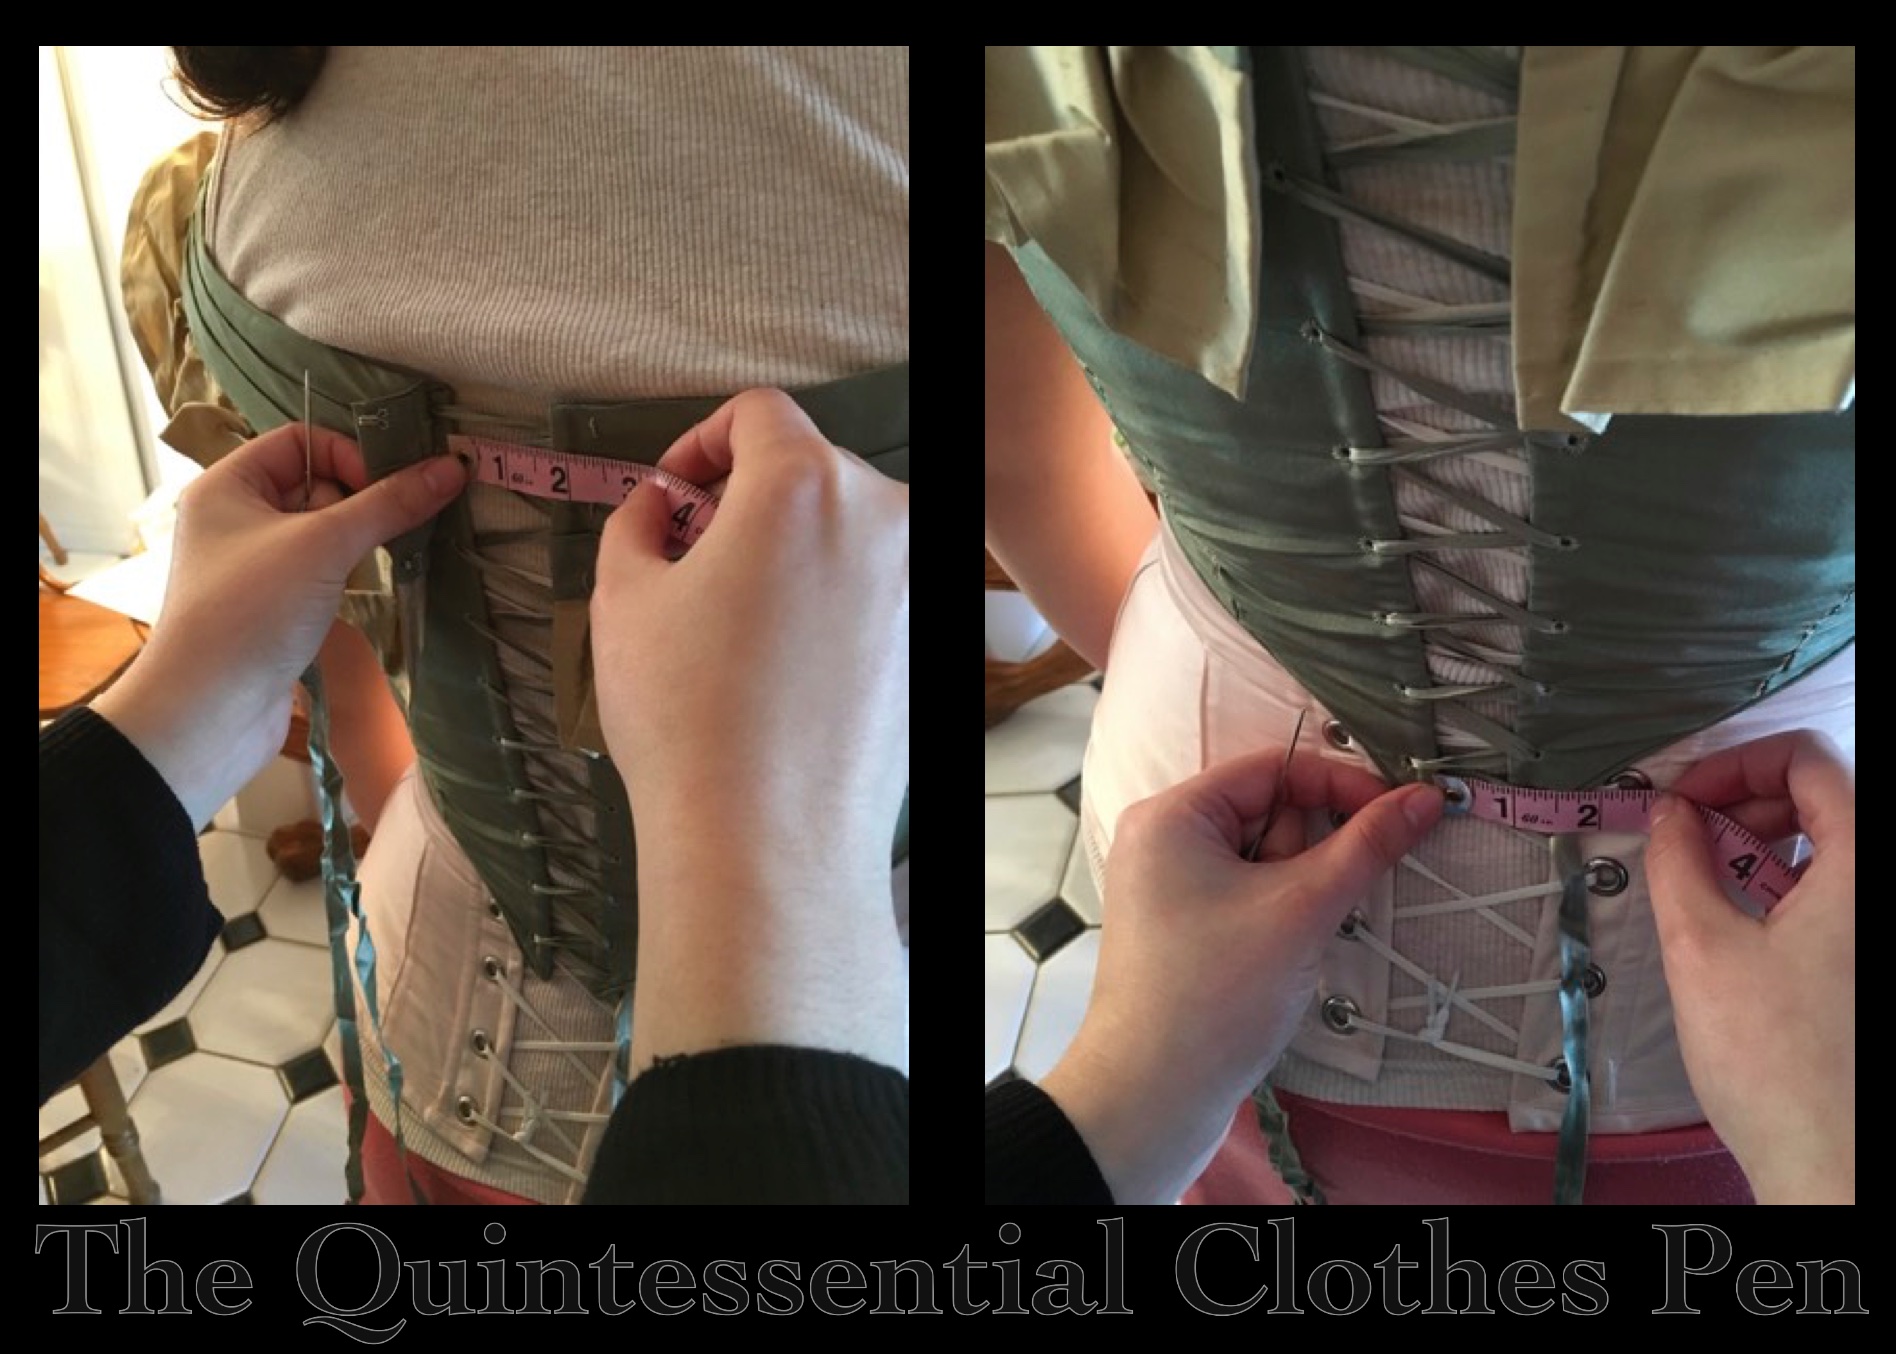
Uh oh! That wasn’t going to do for wearing at a ball! So I brought my corset and bodice (plus the other bodice I’ll mention shortly), got all laced up, and had a friend measure the gap between the back bodice edges and take pictures for documentation (so I wouldn’t forget the measurement, because let’s face it, my memory is pretty terrible sometimes).
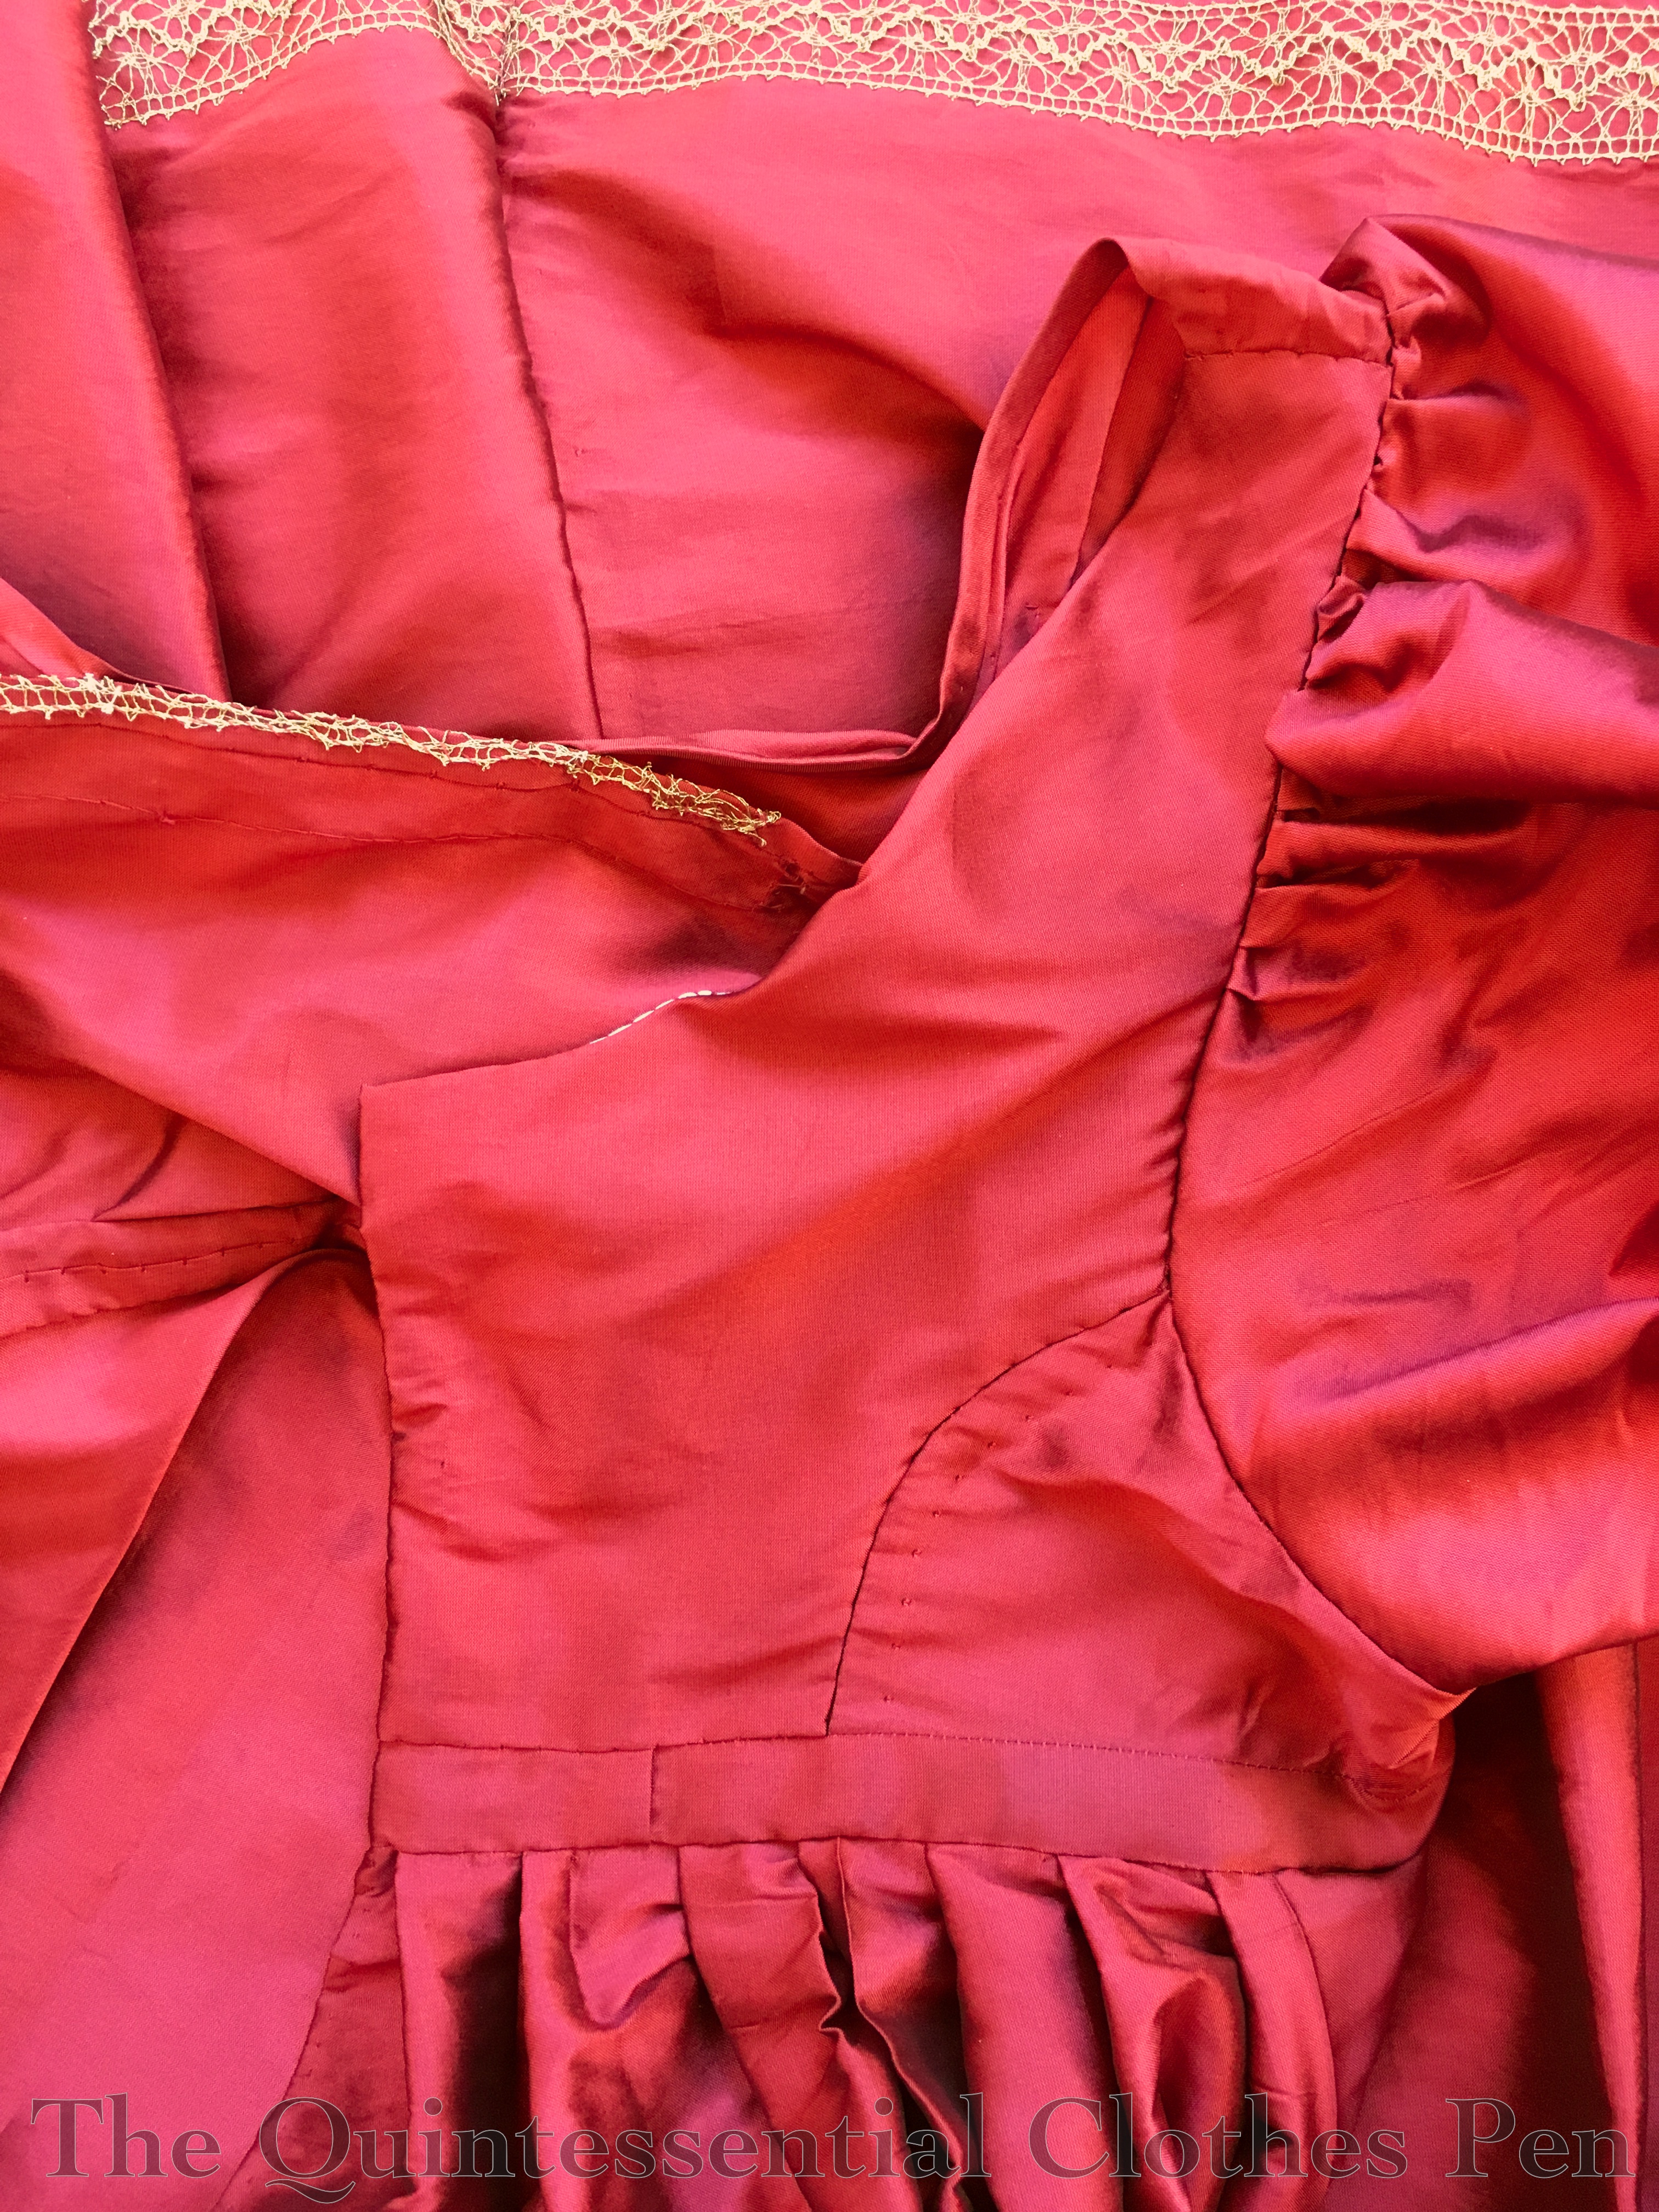
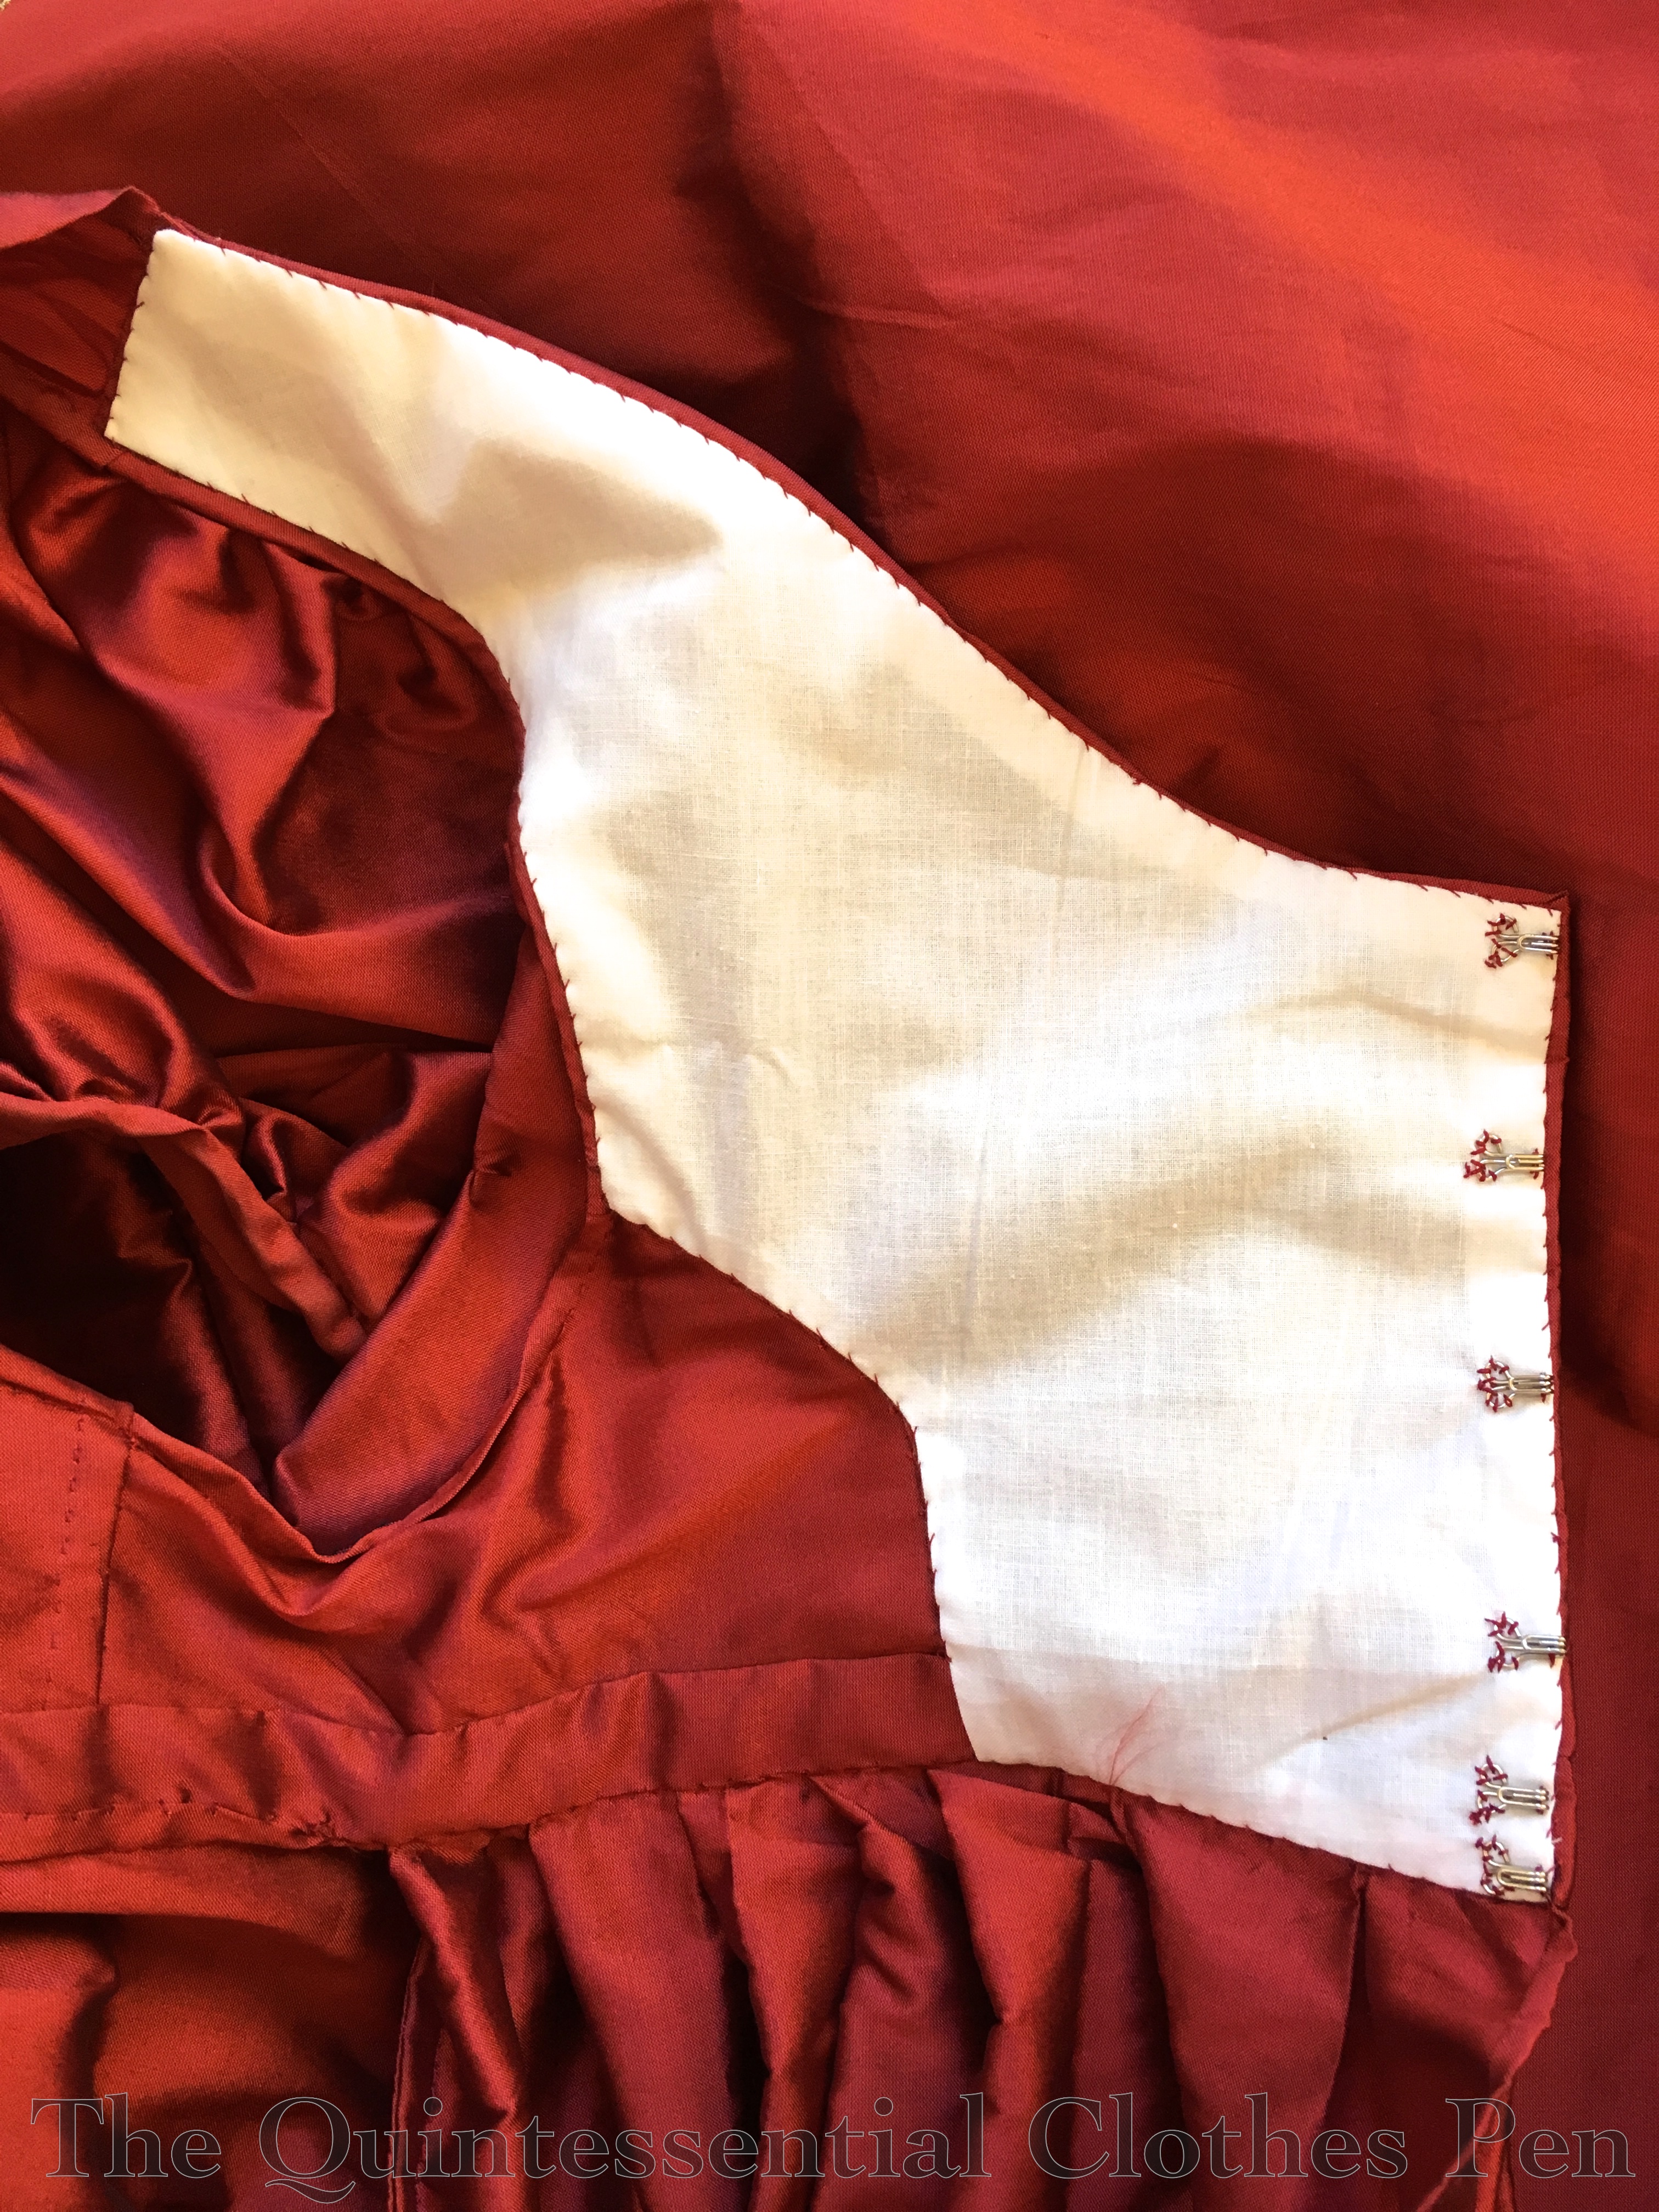
Then I pondered my options. There was no way to let out the seams on this bodice, as the fabric has scarred at every point the needle and thread passed through. Plus, I didn’t leave much seam allowance anyway. Given my limited options, I decided that a placket was the best way to go. Many extant dresses using lacing as the method of closure on bodices and I’m sure that ladies in the 19th century changed sizes, too. I went on a hunt and couldn’t find an example of a bodice with a placket showing between the lacing, but museums have the benefit of being able to put their collections on forms rather than real people, which allows for easier adjustability to have the lacing edges touching. (If you know of any examples of a bodice laced with a placket under the gap, please let me know!) Anyway, I don’t think it’s unrealistic to assume that some ladies in the 19th century used the same method I did to allow adjustability in their bodices.
In addition to the placket, I also had to extend the bertha to bridge the gap. For that I was able to unfold my seam allowance, respace my gold ruffle, and cover the remaining gap with a rosette of gold like the one on the front of the bodice (another instance of the benefit of saving all the scraps from a project–this finished off the gold bits I had leftover from the original construction). Thankfully, these changes worked. I wore Evie to a ball in March 2016 and was happy as a clam. The placket was hardly noticeable and now the dress is much more adjustable!
The second bodice was for the dress named Annabelle, which was made in 2011 (and worn again later in 2011). This bodice also closed all the way down the back when it was made. Well, that’s not the case any more. Actually, a few years ago I’d already converted the closure from being hooks and eyes with folded over seam allowance to lacing with less seam allowance folded over in order to eek out a little more space, but that just wasn’t enough. By 2016, here’s how we were looking. It was time for a more drastic update.
I did the same thing I did for Evie, adding a placket and regathering the bertha to make it span the lacing gap. It took me about two years to get to it, but the result is that I was able to wear Annabelle to a recent ball in October, with a back that looked like this.
Not bad! The only thing I want to change is making that top edge actually stay matched rather than the one side riding up. But that’s a minor change. Overall, I’m pleased to be able to continue to wear this dress!
There we are–two more examples of how to fix the-dress-no-longer-fits problem! It was incredibly lovely to receive comments on the Regency post that other people also experience closet shrinkage and have already adapted their clothing to deal with it or are now inspired to do so. It is my hope that continuing to post about this topic will encourage others come to terms with their own changing size as well as ideas for how we can all deal and move forward while still being able to wear our finery.
It’s been almost exactly a year since the inspiration for a new mid-19th century headdress stuck in my mind. I was attending a workshop at the Civil War Weekend last October and watching others make lovely floral headdresses with low hanging flowers, like this. Another inspiration headdress was similar in having two sections of decoration on each side of a headband, but made of loops of silk chenille rather than flowers. I decided then and there that I wanted to try out this more unusual style. The image below was my main inspiration, followed by a similar style made of silk ribbon.
It’s charming, right? I thought it would be silly, fun, and different, so I went on a hunt for chenille yarn to complement one of my mid-19th century dresses, Annabelle. It was rather harder than I thought it would be to find just the shade of purple that I was looking for as well as an off white, but I persevered and found them on Esty.
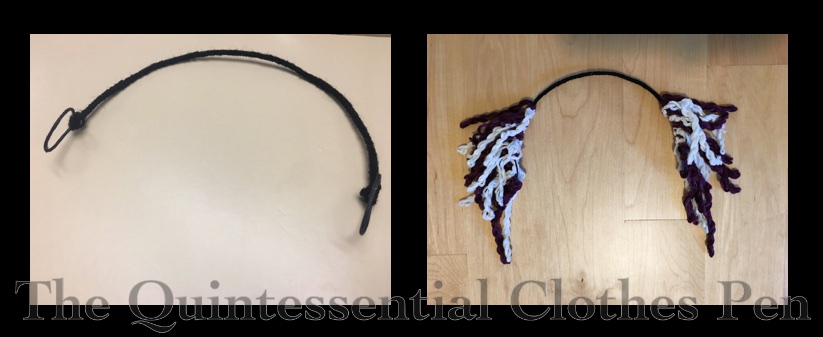
The base of my headdress is millinery wire. I formed loops at the ends in order to have a section to easily bobby pin to my hair. The over-the-head millinery wire is covered in black acrylic yarn from the stash to blend in with my hair, while the ends are black because I colored them with a sharpie–easy and quick. No yarn to get stuck in the bobby pins on the ends.
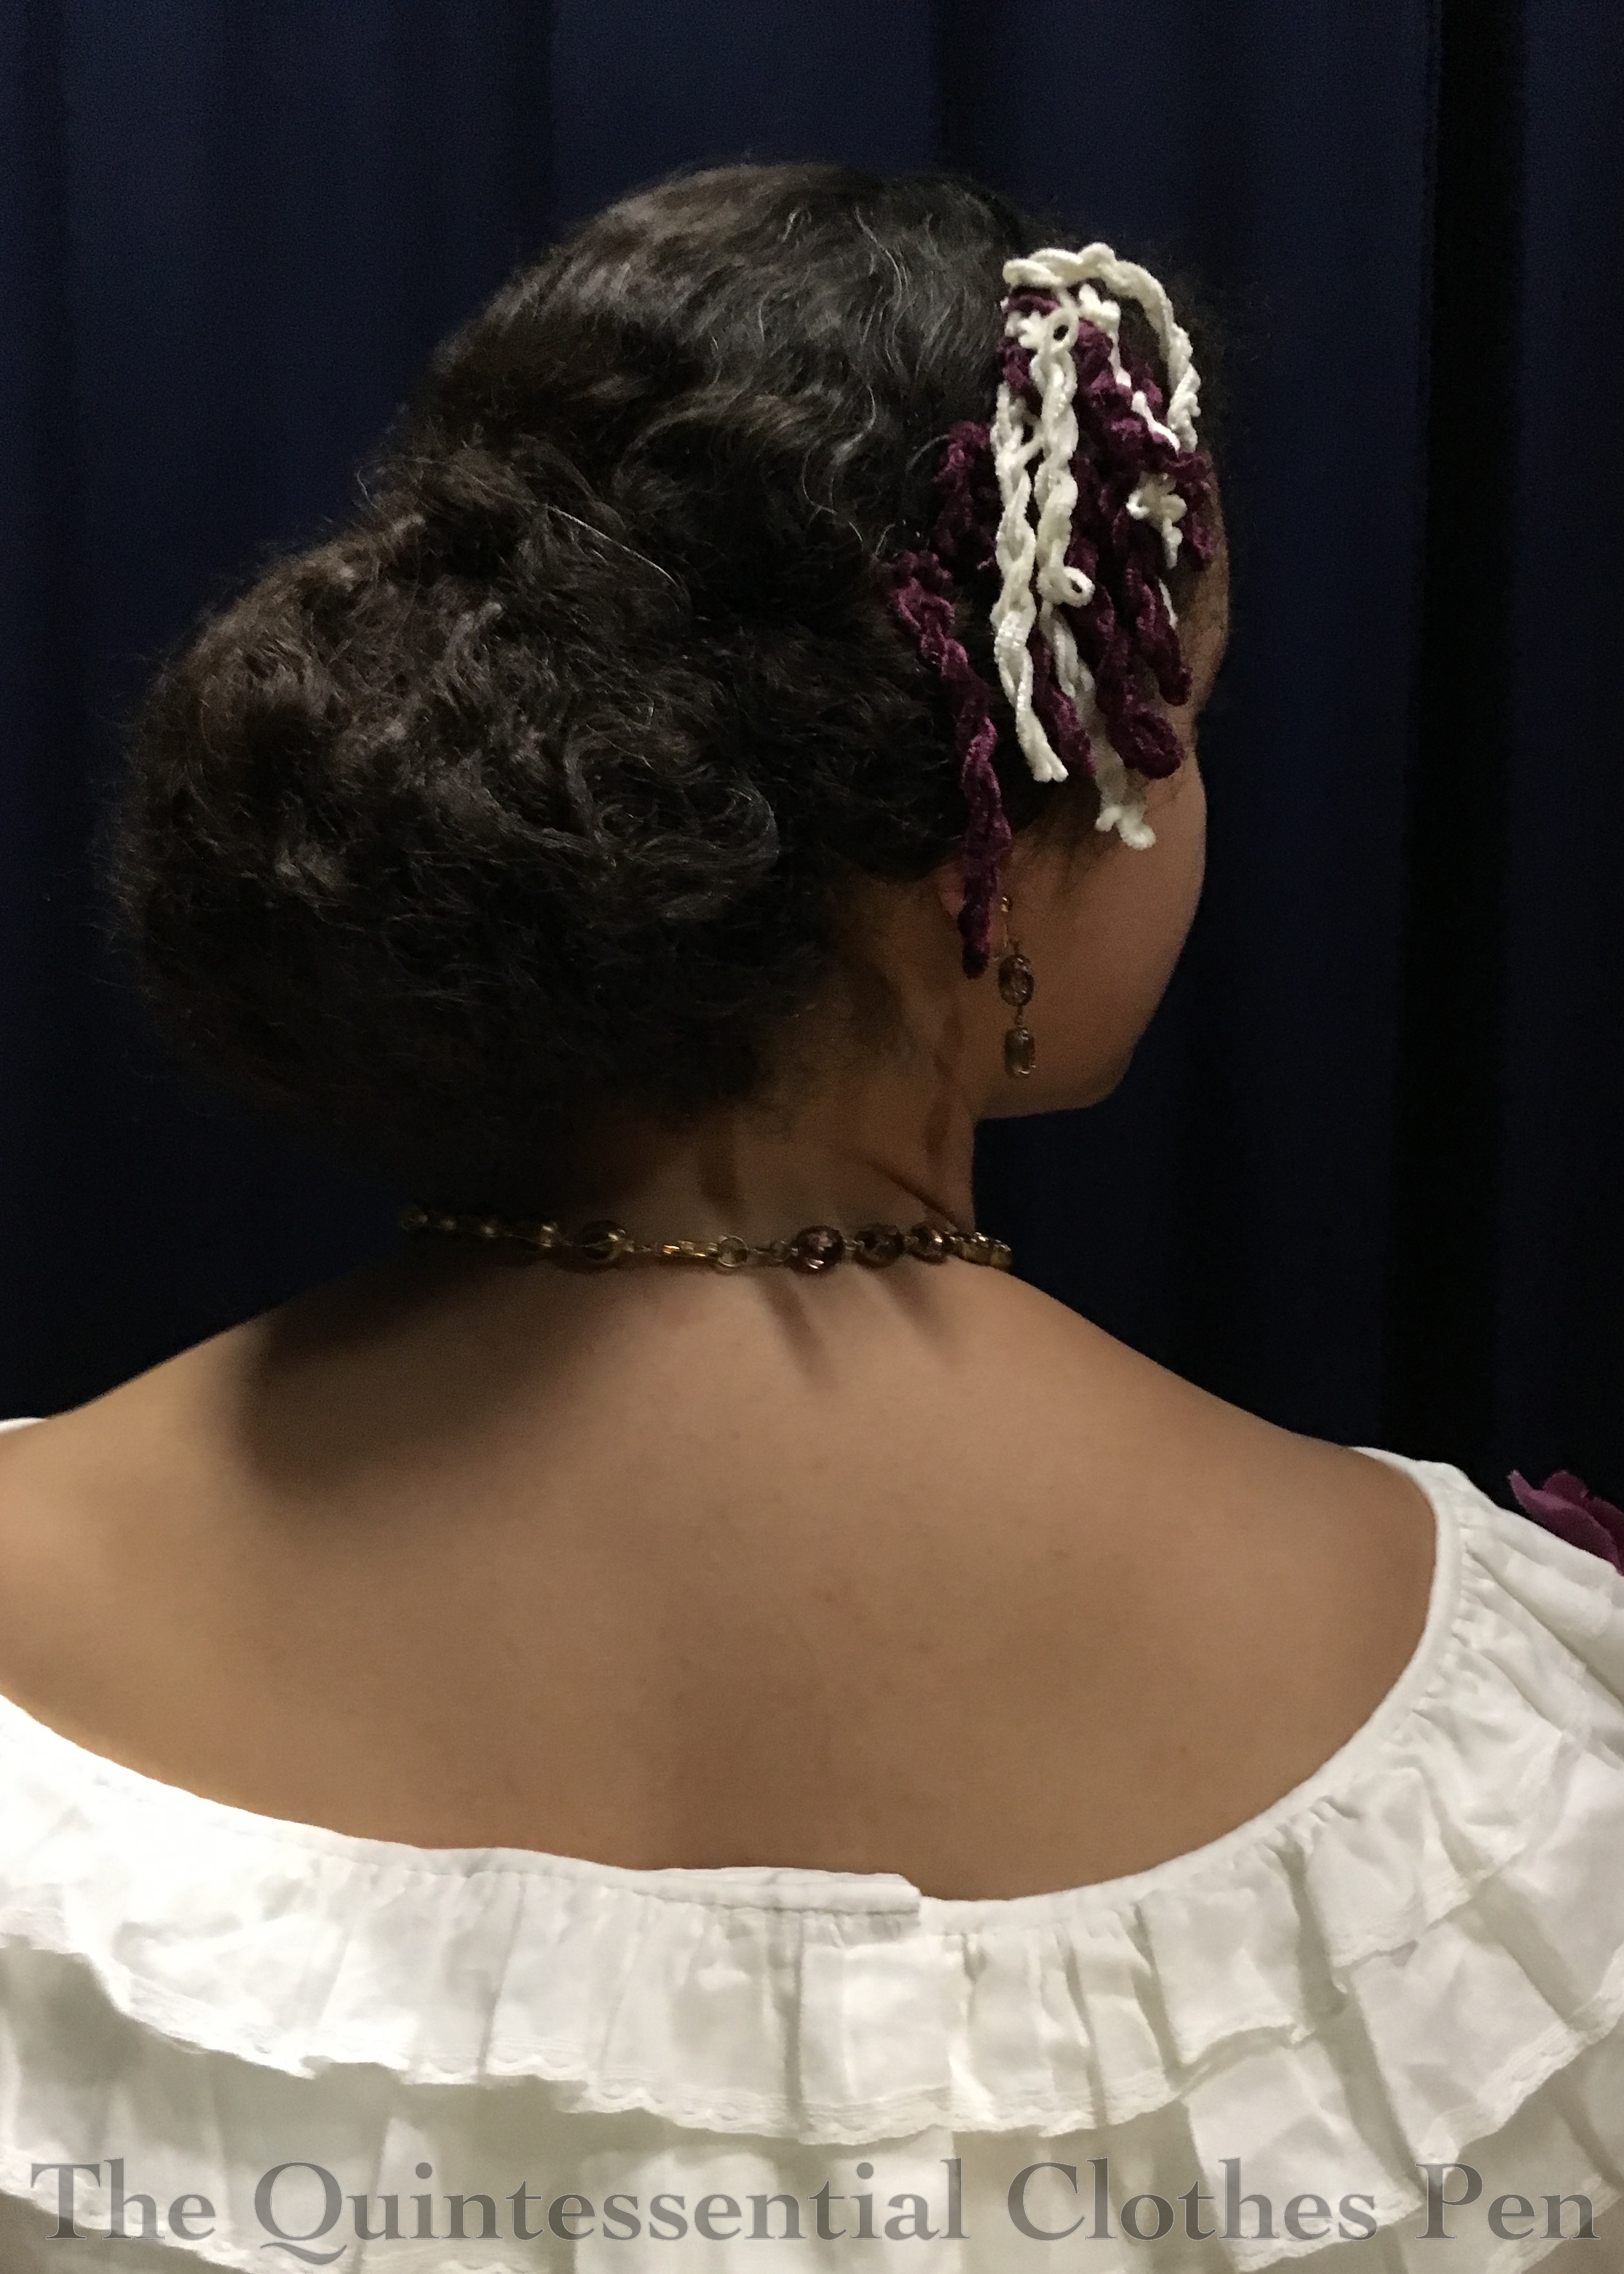
The loops of chenille vary in length. Each piece was folded in half, twisted, and then tied to the base. The chenille I found is not as plush as my inspiration, but with overlapping twists I was able to achieve a similar overall shape.
Here are two pictures of the headdress, one from the back, which better shows off the chenille headdress, and one from the front, which also shows one of our lovely bouquets from the ball.
As the title mentions, I was able to wear this ensemble to a mid-19th century Victoria and Albert themed ball. In addition to the usual loveliness of balls (live music, refreshments, etc.), we had added decorations, special fan shaped dance cards, a quadrille performance, and sashes. Here are the dance cards laid out on a silver tray in the entryway.
And here’s the whole ensemble worn with my sash. The chenille frames the sides of my face and puffs out a bit farther than my hair. Fun and different! I really like this somewhat quirky and unusual headdress!
Whether you sew historical clothing or not, I think it’s likely you’ve experienced the following phenomenon: You buy or make a lovely dress or other garment and wear it once (or maybe you wear it a lot). The season changes and you put said lovely garment away in the closet to await the next year’s season. When you next go to wear it, you realize that the garment no longer fits. It has obviously shrunk in the closet! I find that circumferences are the worst culprits for closet shrinking: waists, ribcage, arms… How dare they?!?
This has happened to me with both modern ready-made clothes and historical ones. Unlike modern ones, which usually hang around for a few years until I feel emotionally ready to donate them to someone else who might actually fit into them, my historical clothing has the benefit of being able to be resized with relatively little effort (certainly much less than making a new garment!). Depending on how I’ve constructed the garment, seams might be able to be let out or, being the pack rat that I am, I have more of the fabric hanging around and I can cut new pieces or add to what is there to expand at the necessary areas.
The more often I come across this problem in my wardrobe, the more I realize the benefit of making my clothing more adjustable from the start, with things like drawstrings and lots of overlap on opaque garments. (Did you notice that most of the closures on my recent 1817 Duchess Regency Gown were drawstrings? There might be an intentional rationale there… My 1811 Elusive Blue Gown also closes with ties and drawstrings, another intentional decision.)
1817 gown with mostly drawstring closures.
In the past year or two, I realized that two of my older and oft-worn Regency dresses had experienced closet shrinkage. I wanted to continue to be able to wear them and so I started thinking of the best ways to alter the size to make them wearable again. Luckily, both of these dresses fall into the category of ‘I kept the extra fabric and have plenty to play with to resize them.’
It’s always closed with hooks and eyes, but when I went to wear it last year it wouldn’t close! With some safety pins, we got it to this point, but I was afraid for the integrity of the fabric because it was stretched so tightly.
I was able to use someone’s small scissors to take out the stitches along the back edge with the loops on it to get a bit more fabric across and we used the safety pins for bars with a piece of ribbon folded behind to stabilize the now-only-one-layer of fabric. But I wasn’t willing to let people see it looking like this!
Thankfully, I had a shawl with me and I wore it the entire evening to cover the back. I was apparently nonchalant enough that no one realized I was wearing a shawl to cover the fact that my dress wouldn’t close, but I was awfully warm while dancing! Something had to be done before I would wear the dress again.
I pondered multiple ideas, but the one I settled on was to cut new center back pieces with more width to them and sew them over the current, too-small pieces. I also had to piece the waistband to extend it as well as re-pleating the skirt to fit the larger size waistband, but it looks pretty good, I’d say.
The inside of the dress now looks like this. Previously, it was unlined (I did a post about the original inside finishing of this dress, which you can see here). Now, the center back panel has a lining to help stabilize it and encase the original back panels and waistband extension. Still tidy, yay!
In addition, the armhole openings had become quite tight. I wanted a little more space to be comfortable, so I also added underarm gussets (the upside down triangle). I simply opened up the seam and added a diamond shaped piece. It’s diamond shaped and folded in the center to hide the raw edges inside and out. I didn’t bother to add a band at the bottom, as I figured this gusset was in a place no one was likely to see such detail.
The other dress is my 1812 white square neck Ikea gown. I made this in 2012and have also worn it many times. Before the recent changes, I had made no other alterations to the dress since I first made it.
This dress also had a panel added to center back, but I had to more carefully follow the details of the dress, including the small seams (because of the sheer fabric) and the tucked waistband. This dress has spent a lot of time in the sun, and between that and being gently washed a few times, the fabric has become a much brighter white than it started out. It’s not noticeable, until I add a piece of the same fabric that has been sitting in my stash and the light hits it just right. (It’s convenient for pointing out the new fabric though, because it’s pretty obvious in the picture below!)
Sometimes, this would bother me. But it’s only noticeable in some light and I hope that eventually the pieces will also brighten. Plus, it’s entirely historically reasonable to piece a gown using more of the fabric that hasn’t faded in the same way as the rest of the garment to adjust the size. It’s much more practical than making an all new garment!
I had to regather the skirt on this dress (like I had to repleat the red one) to accommodate the new waistband size. I also added an underarm gusset on this dress to help the arm openings be more comfortable.
While the red dress fit pretty perfectly after the alterations, the white dress alterations proved to be too much (it’s hard to fit these things on yourself when the closures are in the back!) and I now need to move my eyes over and add a drawstring to the top of the back neckline to keep my undergarments from showing. Sometimes it seems like some garments will never leave the to-do list. Oh well! Does that happen to you? You think a garment is done until you wear it and realize it needs something changed or added? (I’m proud to report that between the time I started writing this post and the time I finished writing this post I completed those final two notes–drawstring and bars–and now the dress is done and ready to get put away! Hooray for getting rid of UFOs!)
Do you ever resize your modern or historical clothing after closet shrinkage? What methods have you used?
My last few posts have been about the new Regency clothes I made earlier this year: Orange Boven Pelisse and Hat from 1814 as well as a look at the history behind the description Orange Boven and 1817 Gold Stripe Duchess Evening Gown. Now that I’ve got all the details about the construction and history of these garments recorded, it’s time for a look at the Regency Dance Weekend that provided an opportunity to wear these clothes in the company of other fabulously dressed people and in historical halls built in the early 19th century.
This annual Regency Dance Weekend is organized and run by the Commonwealth Vintage Dancers. If you want to see more pictures and read more about the amazing Regency moments I’ve had in past years, I have posts about them here: 2013, 2014, and 2016.
Saturday always begins with dance classes in modern clothes. The hard work we all put in during the day pays off at the evening ball, when we are able to dance with quick reminders of the figures but without full teaching. It’s a very special experience every year!
After a final class on Sunday morning, we take the afternoon off from dancing for a bit of leisure. Often it has been tea, though in some years we’ve had promenades, or even archery! This year we focused on tea, games, and chatting.
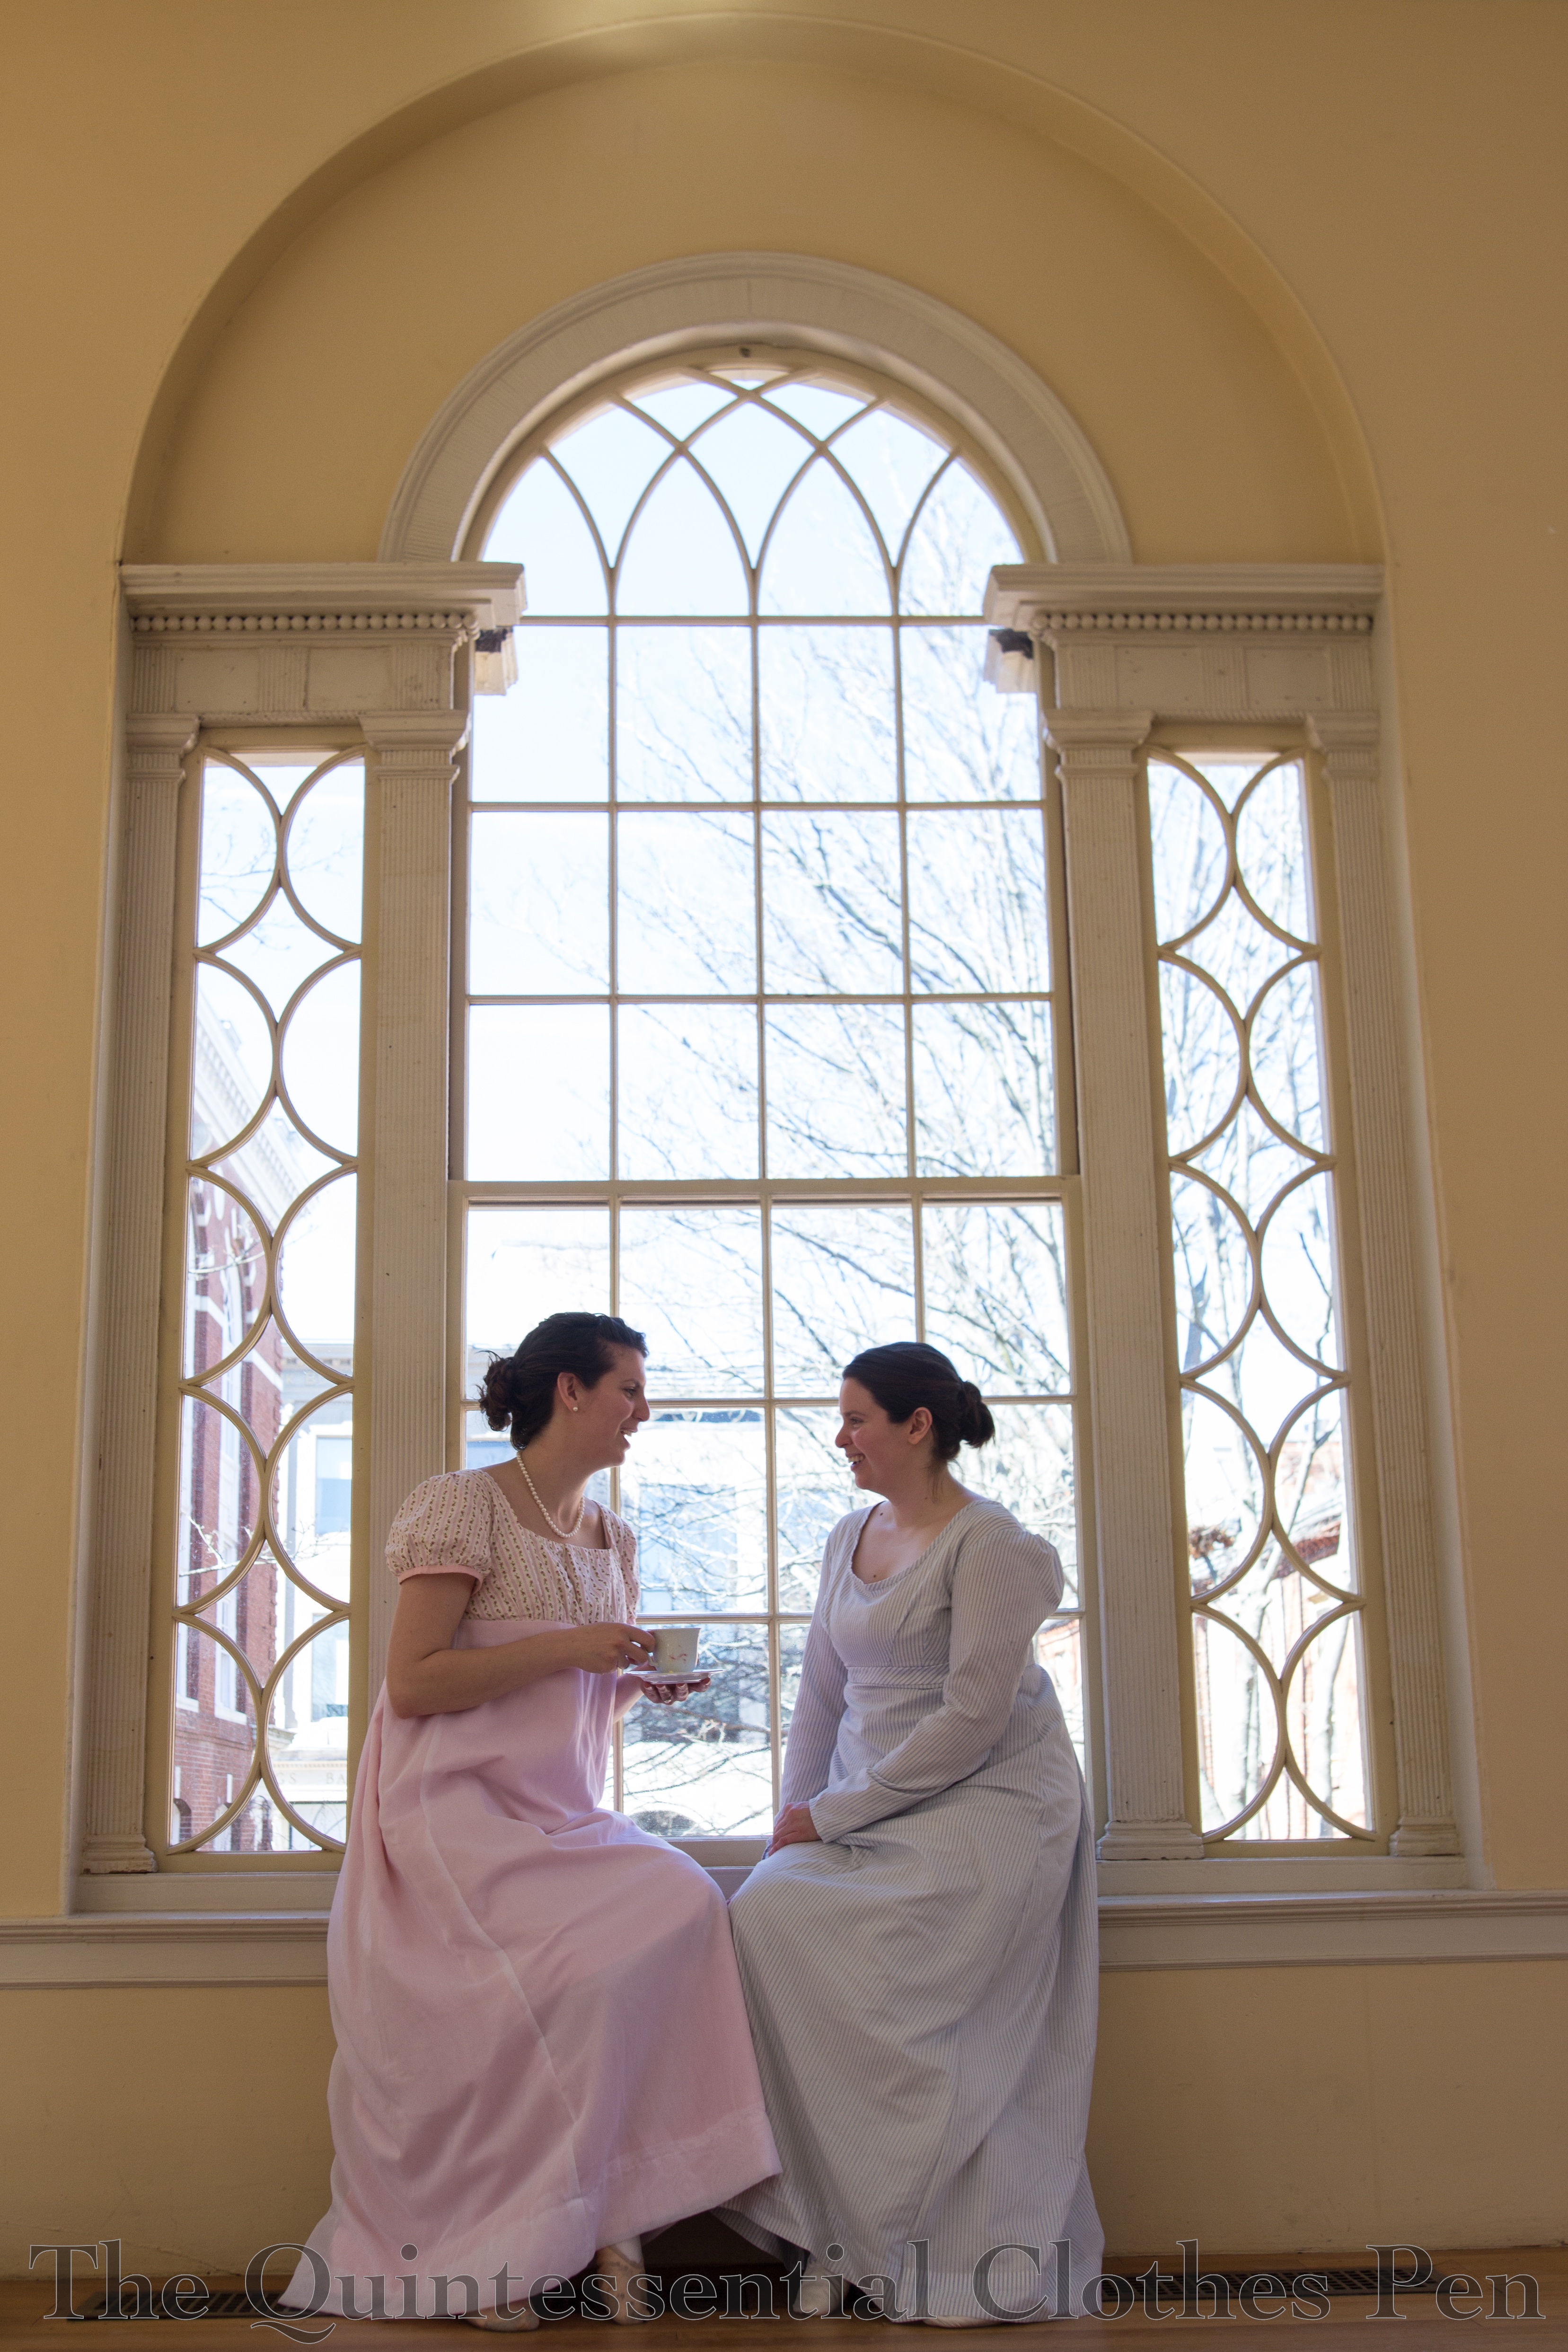
This venue, Old Town Hall, has lovely windows that make perfect frames for picture taking!
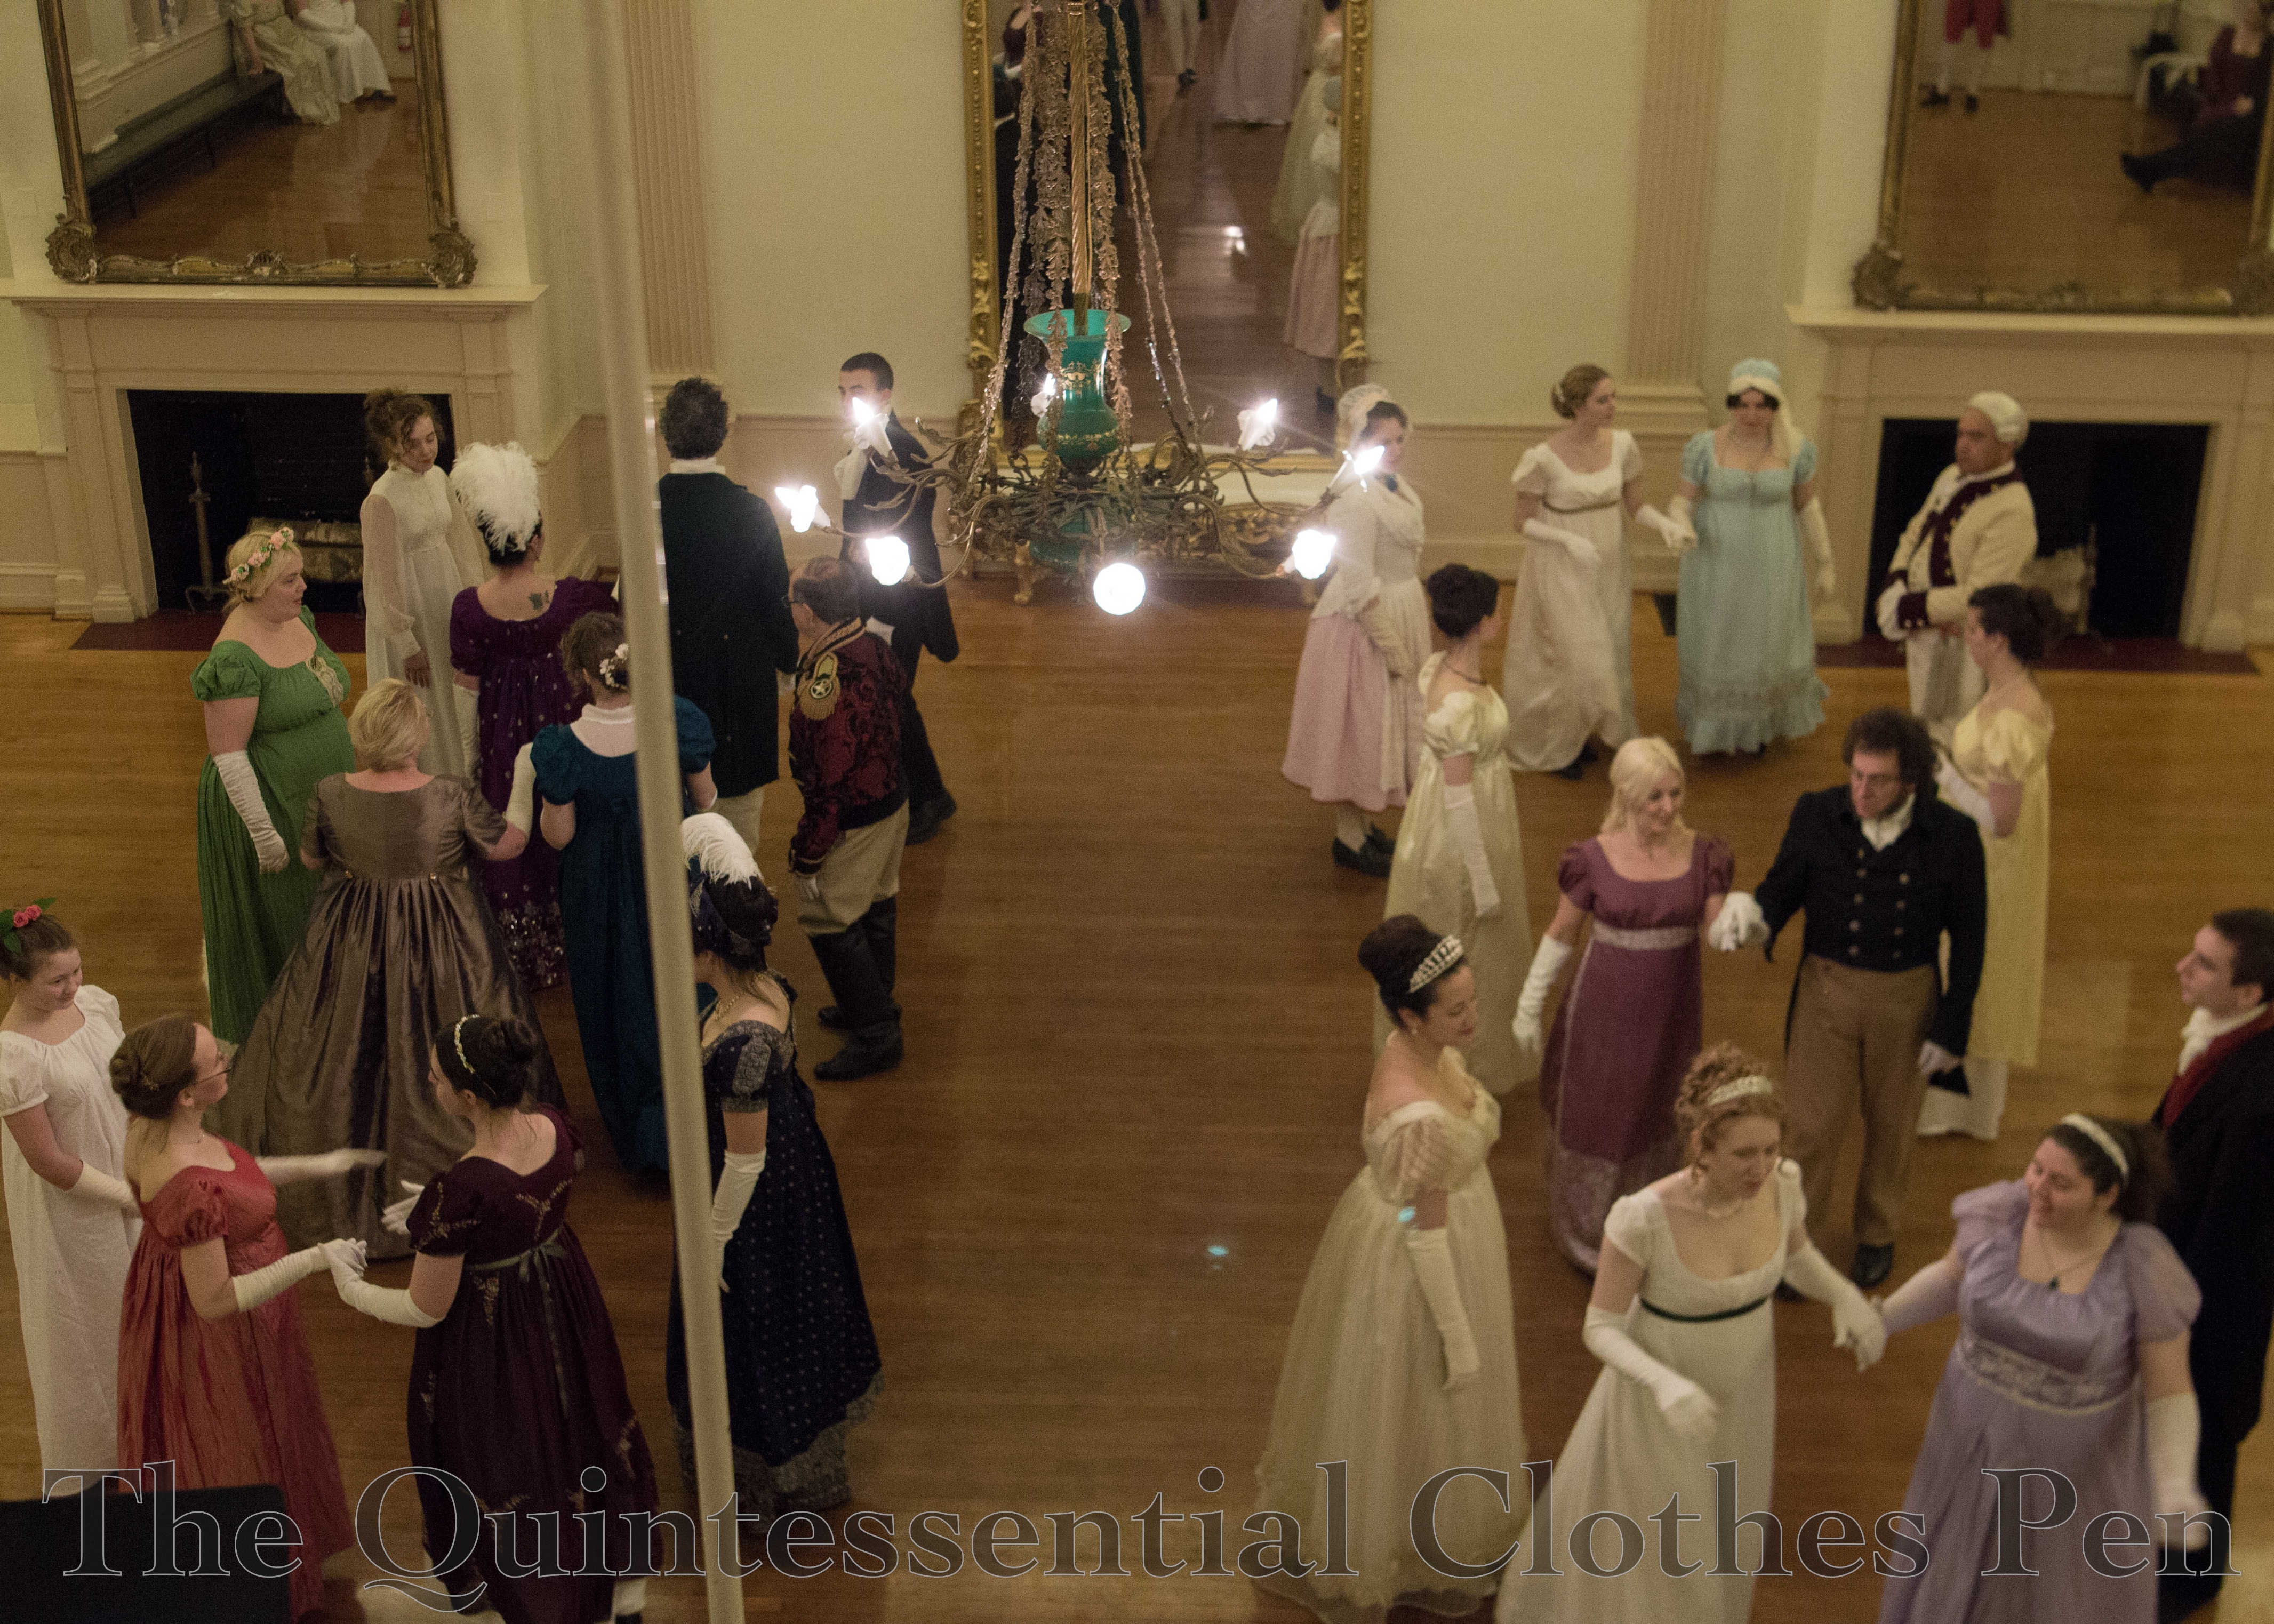
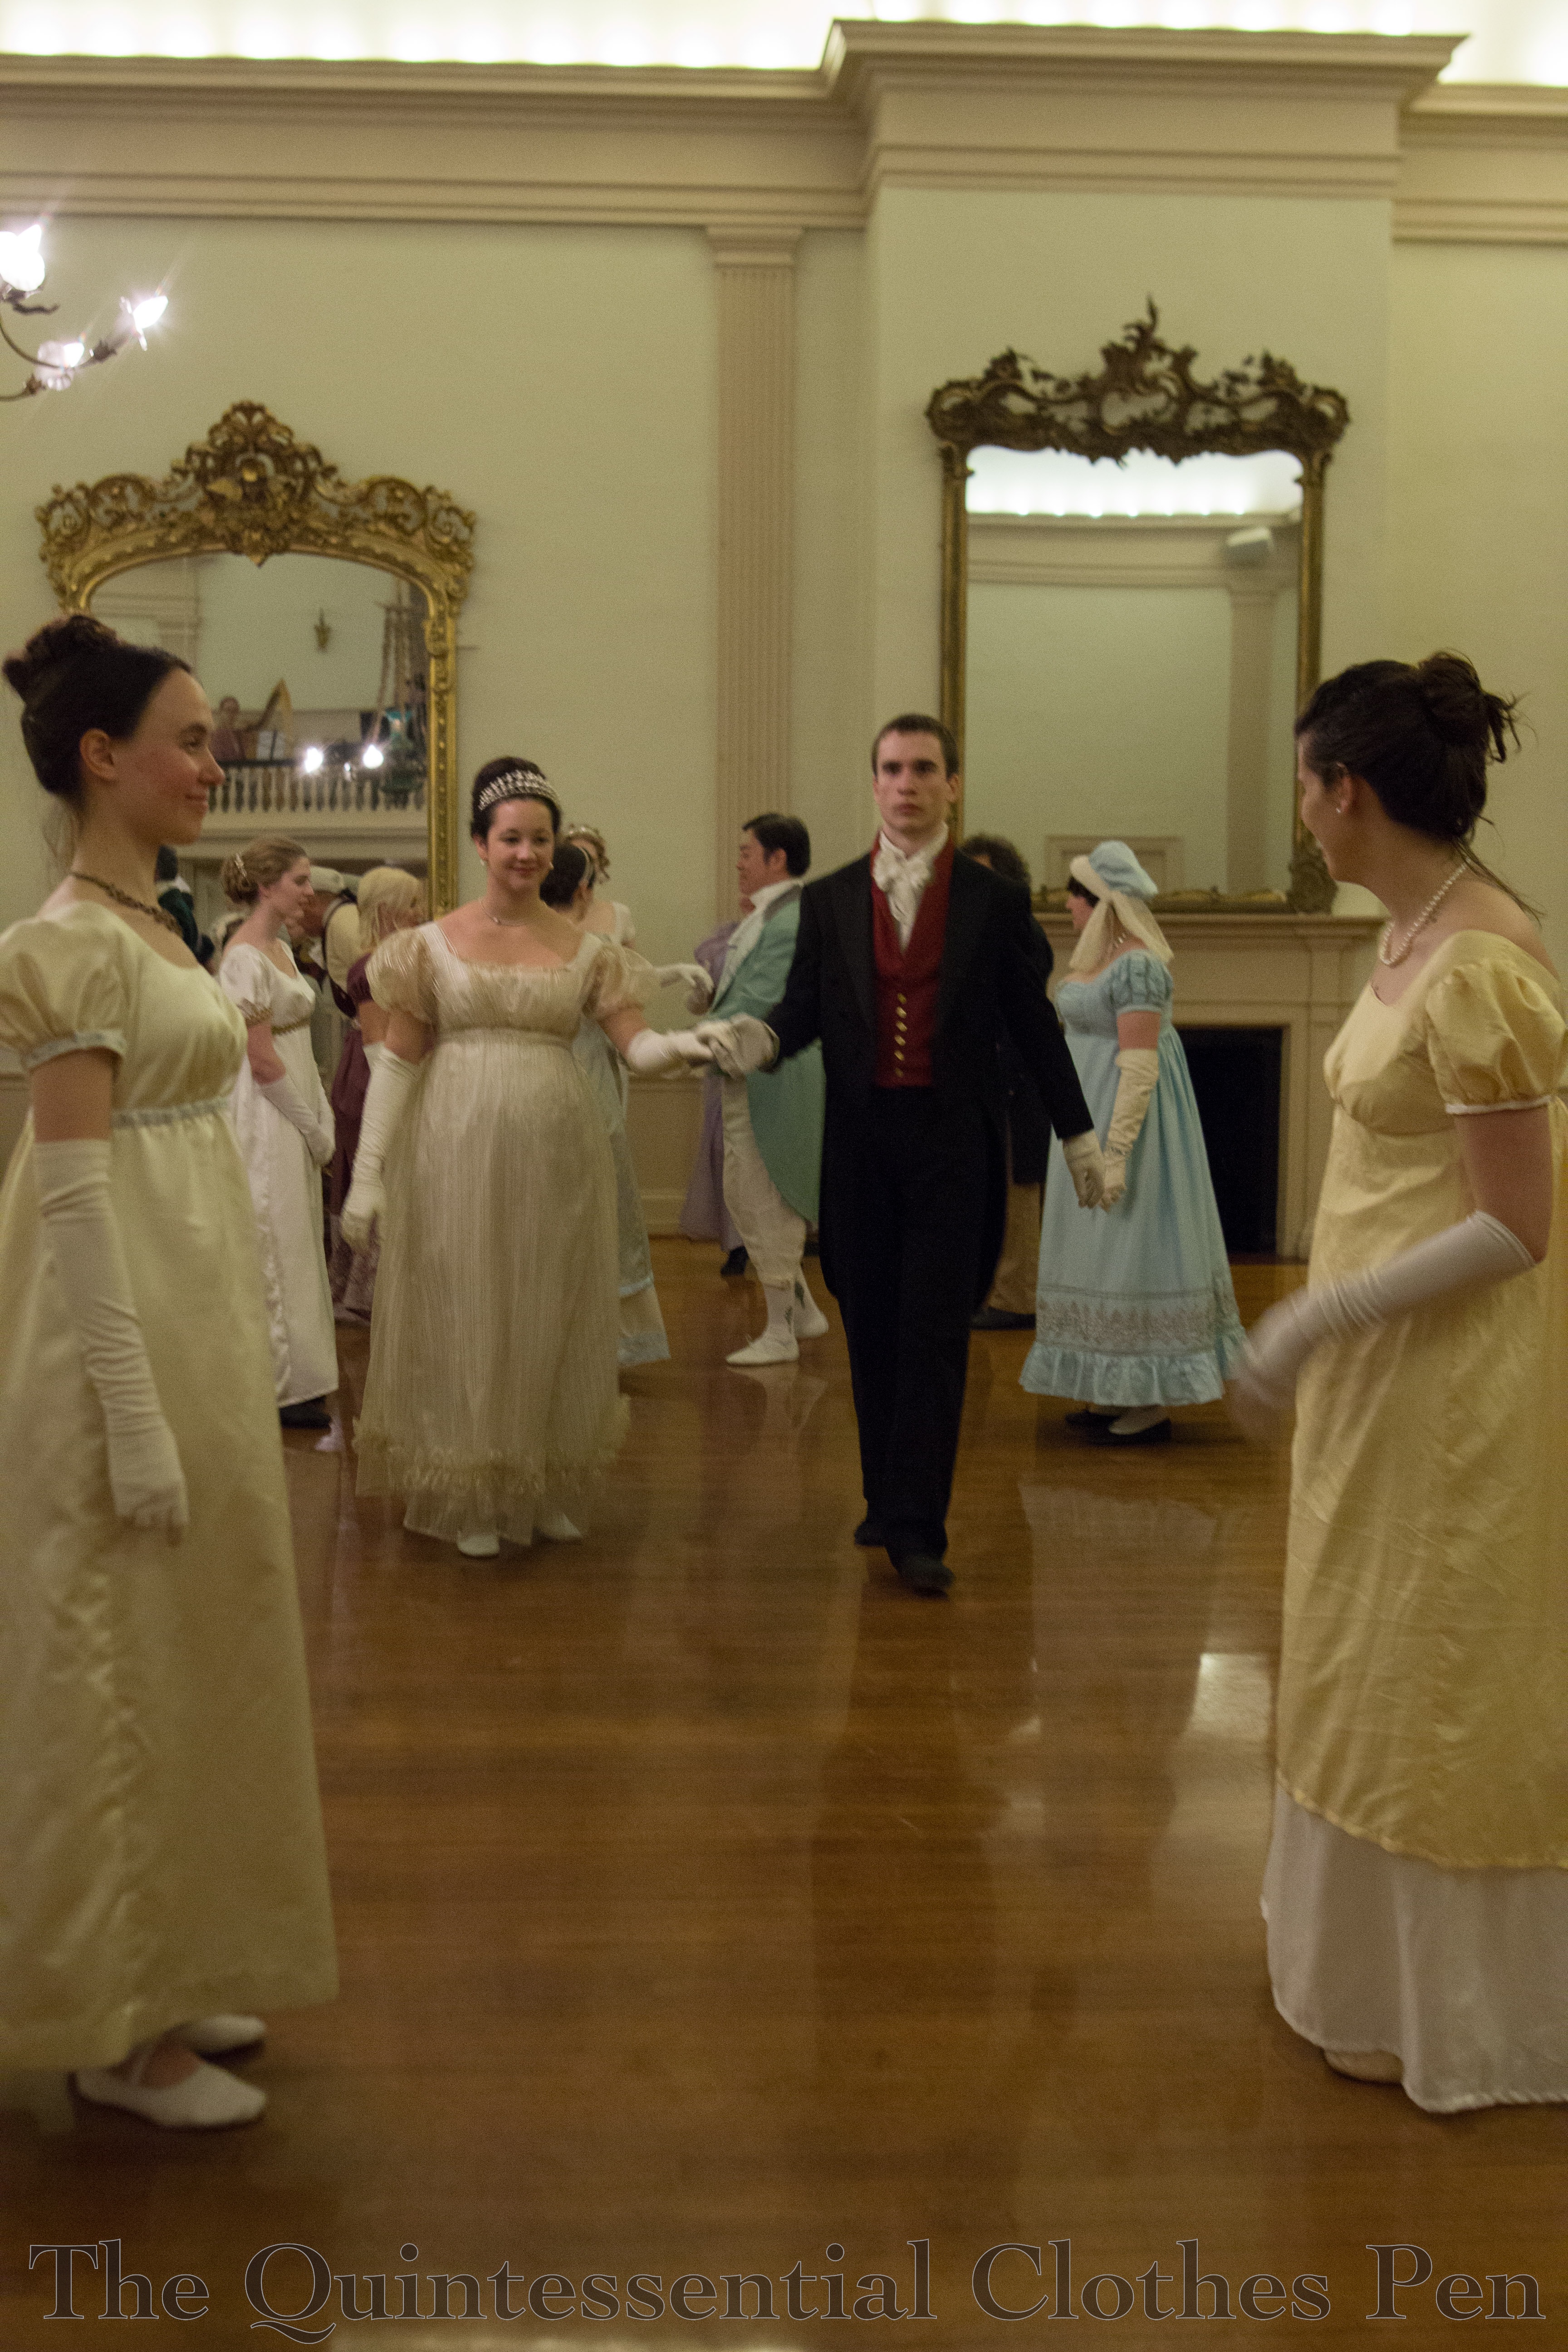
After tea, those of us running the weekend calmly (well, probably with a lot of scurrying) switch venues to the more elegant Hamilton Hall, where we have a formal ball with a lavish reception. Hamilton Hall is special, with a gleaming sprung floor, musicians balcony, and gorgeous gilt framed mirrors.
Sometimes, though, silliness ensues! I couldn’t resist making a face in the picture below… After that is a face that often happens after I run out of pose ideas…
There is lovely dancing on that evening. The things we’ve all learned have had time to sink in and people dance marvelously, again without teaching.
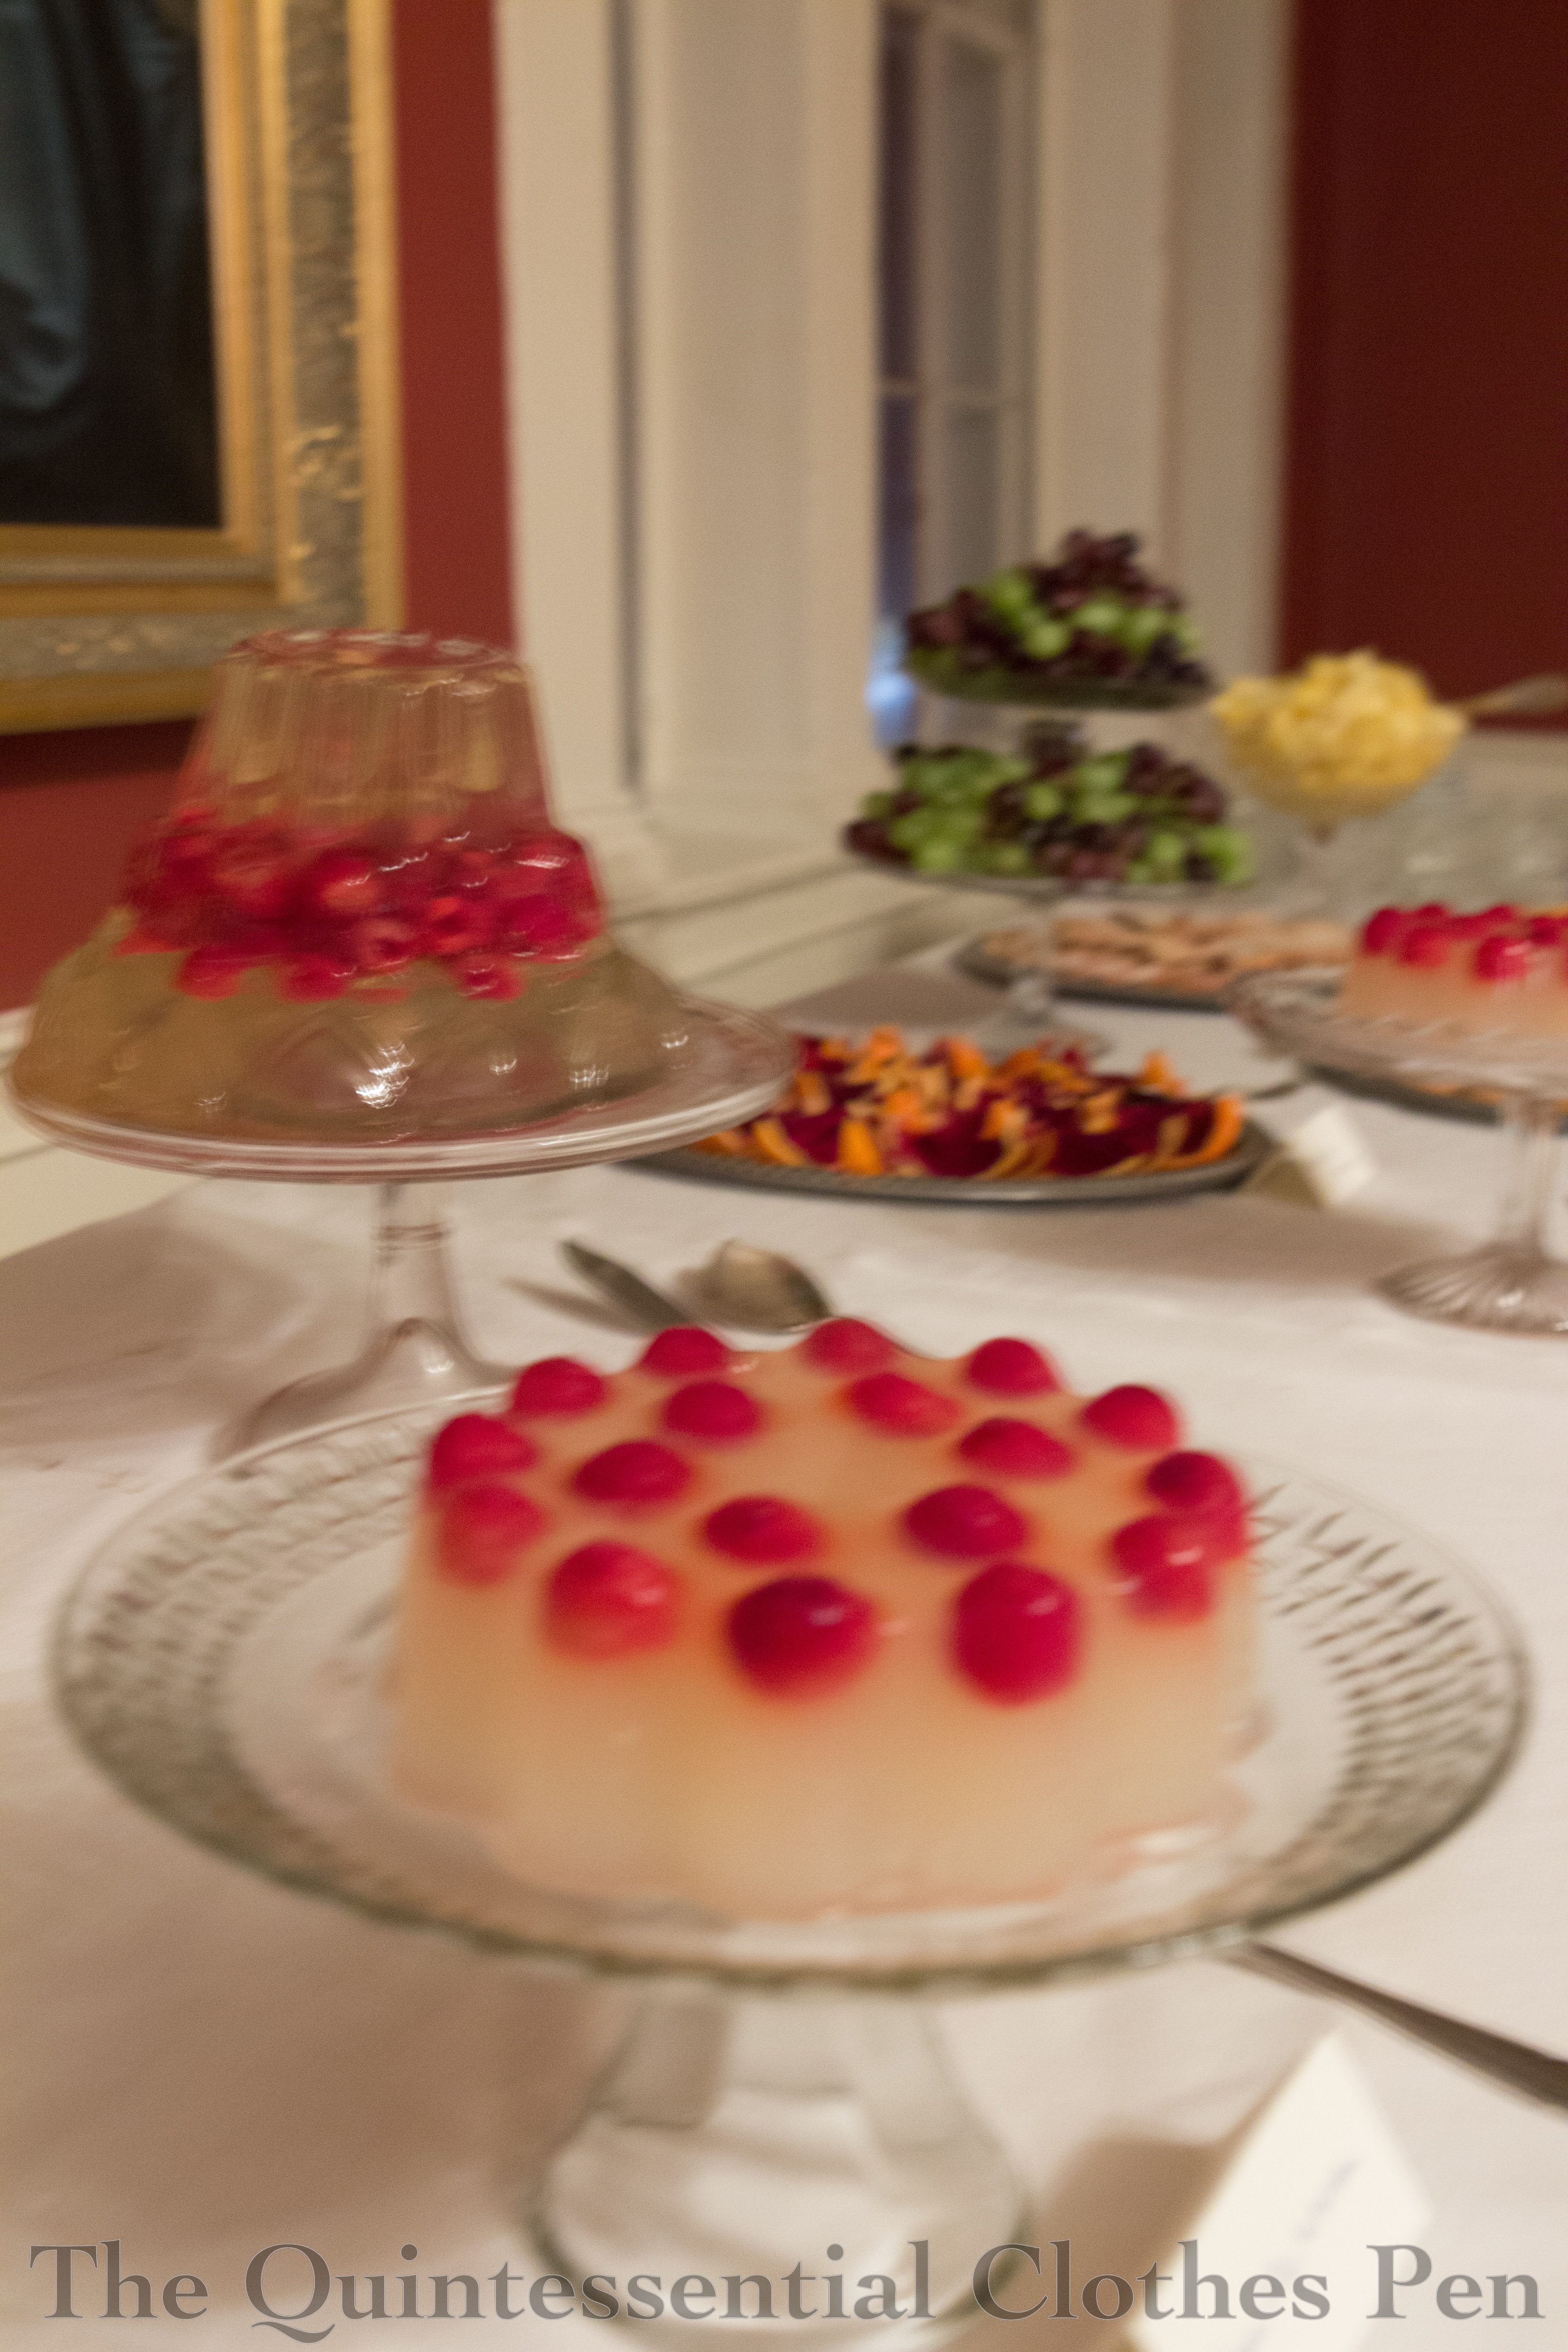
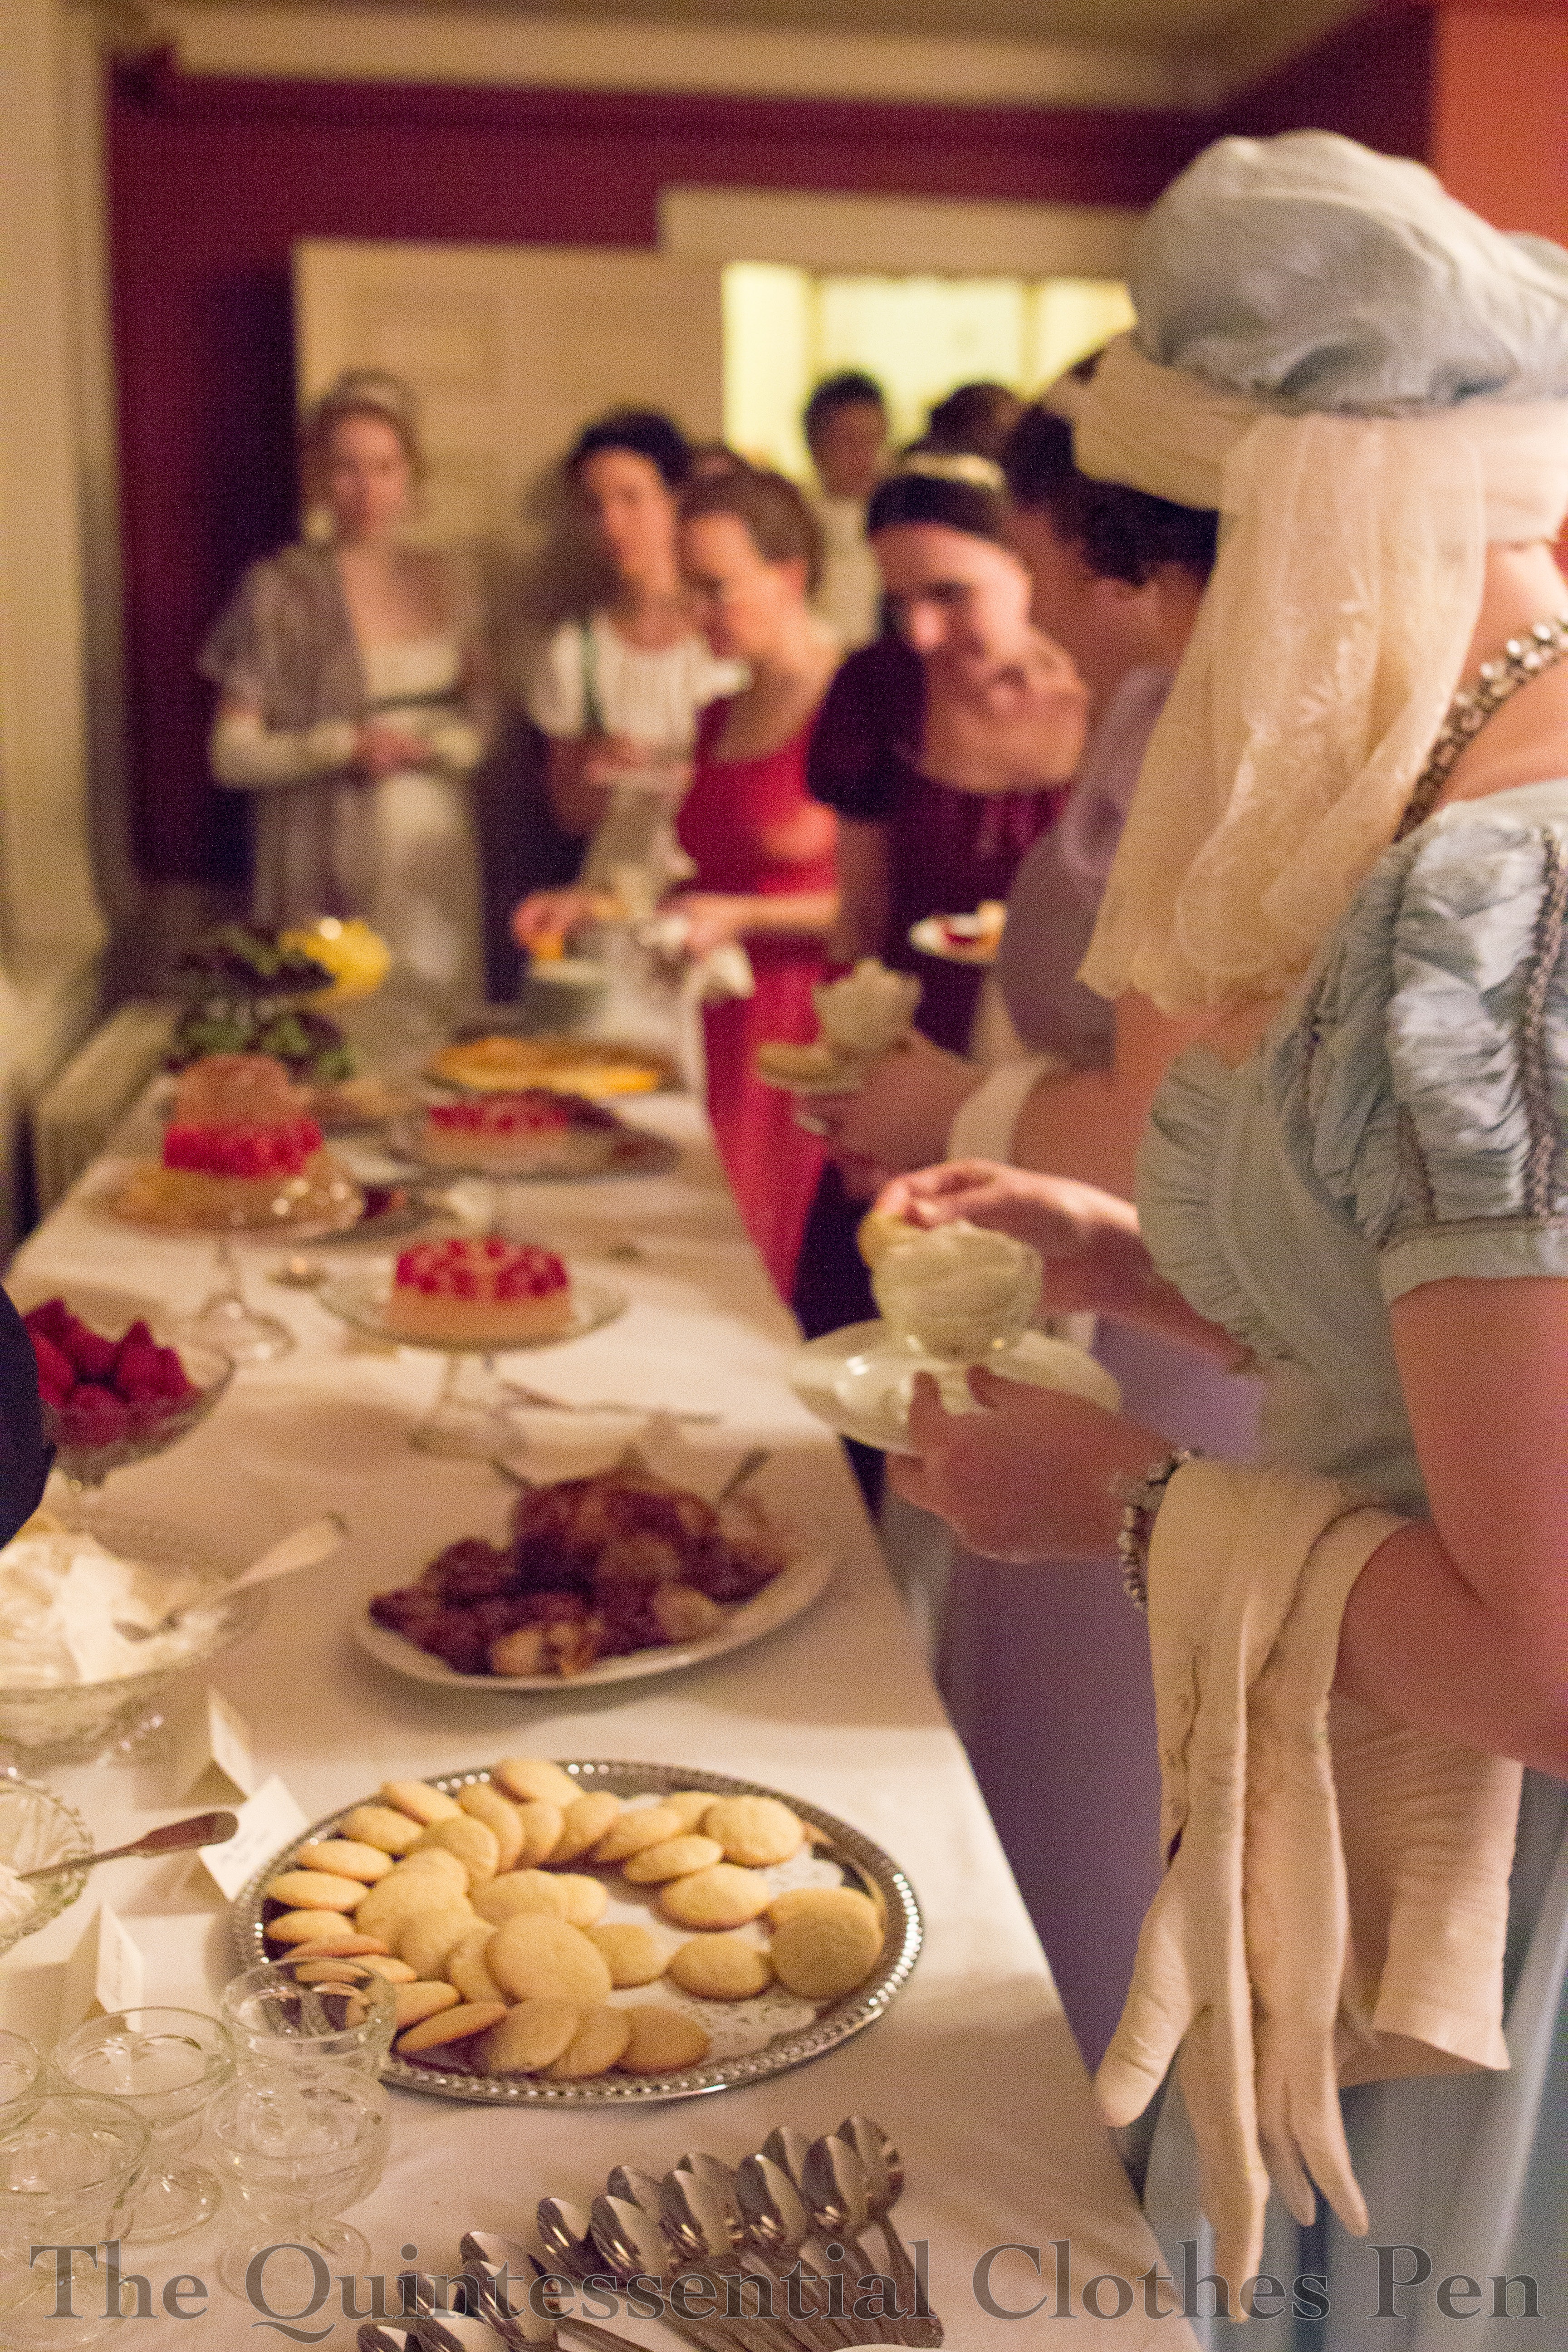
There are lots of yummy and beautiful foods to tempt everyone away from the ballroom, as well. This year we had some successful fruit filled jellies, a popular dessert in the 19th century.
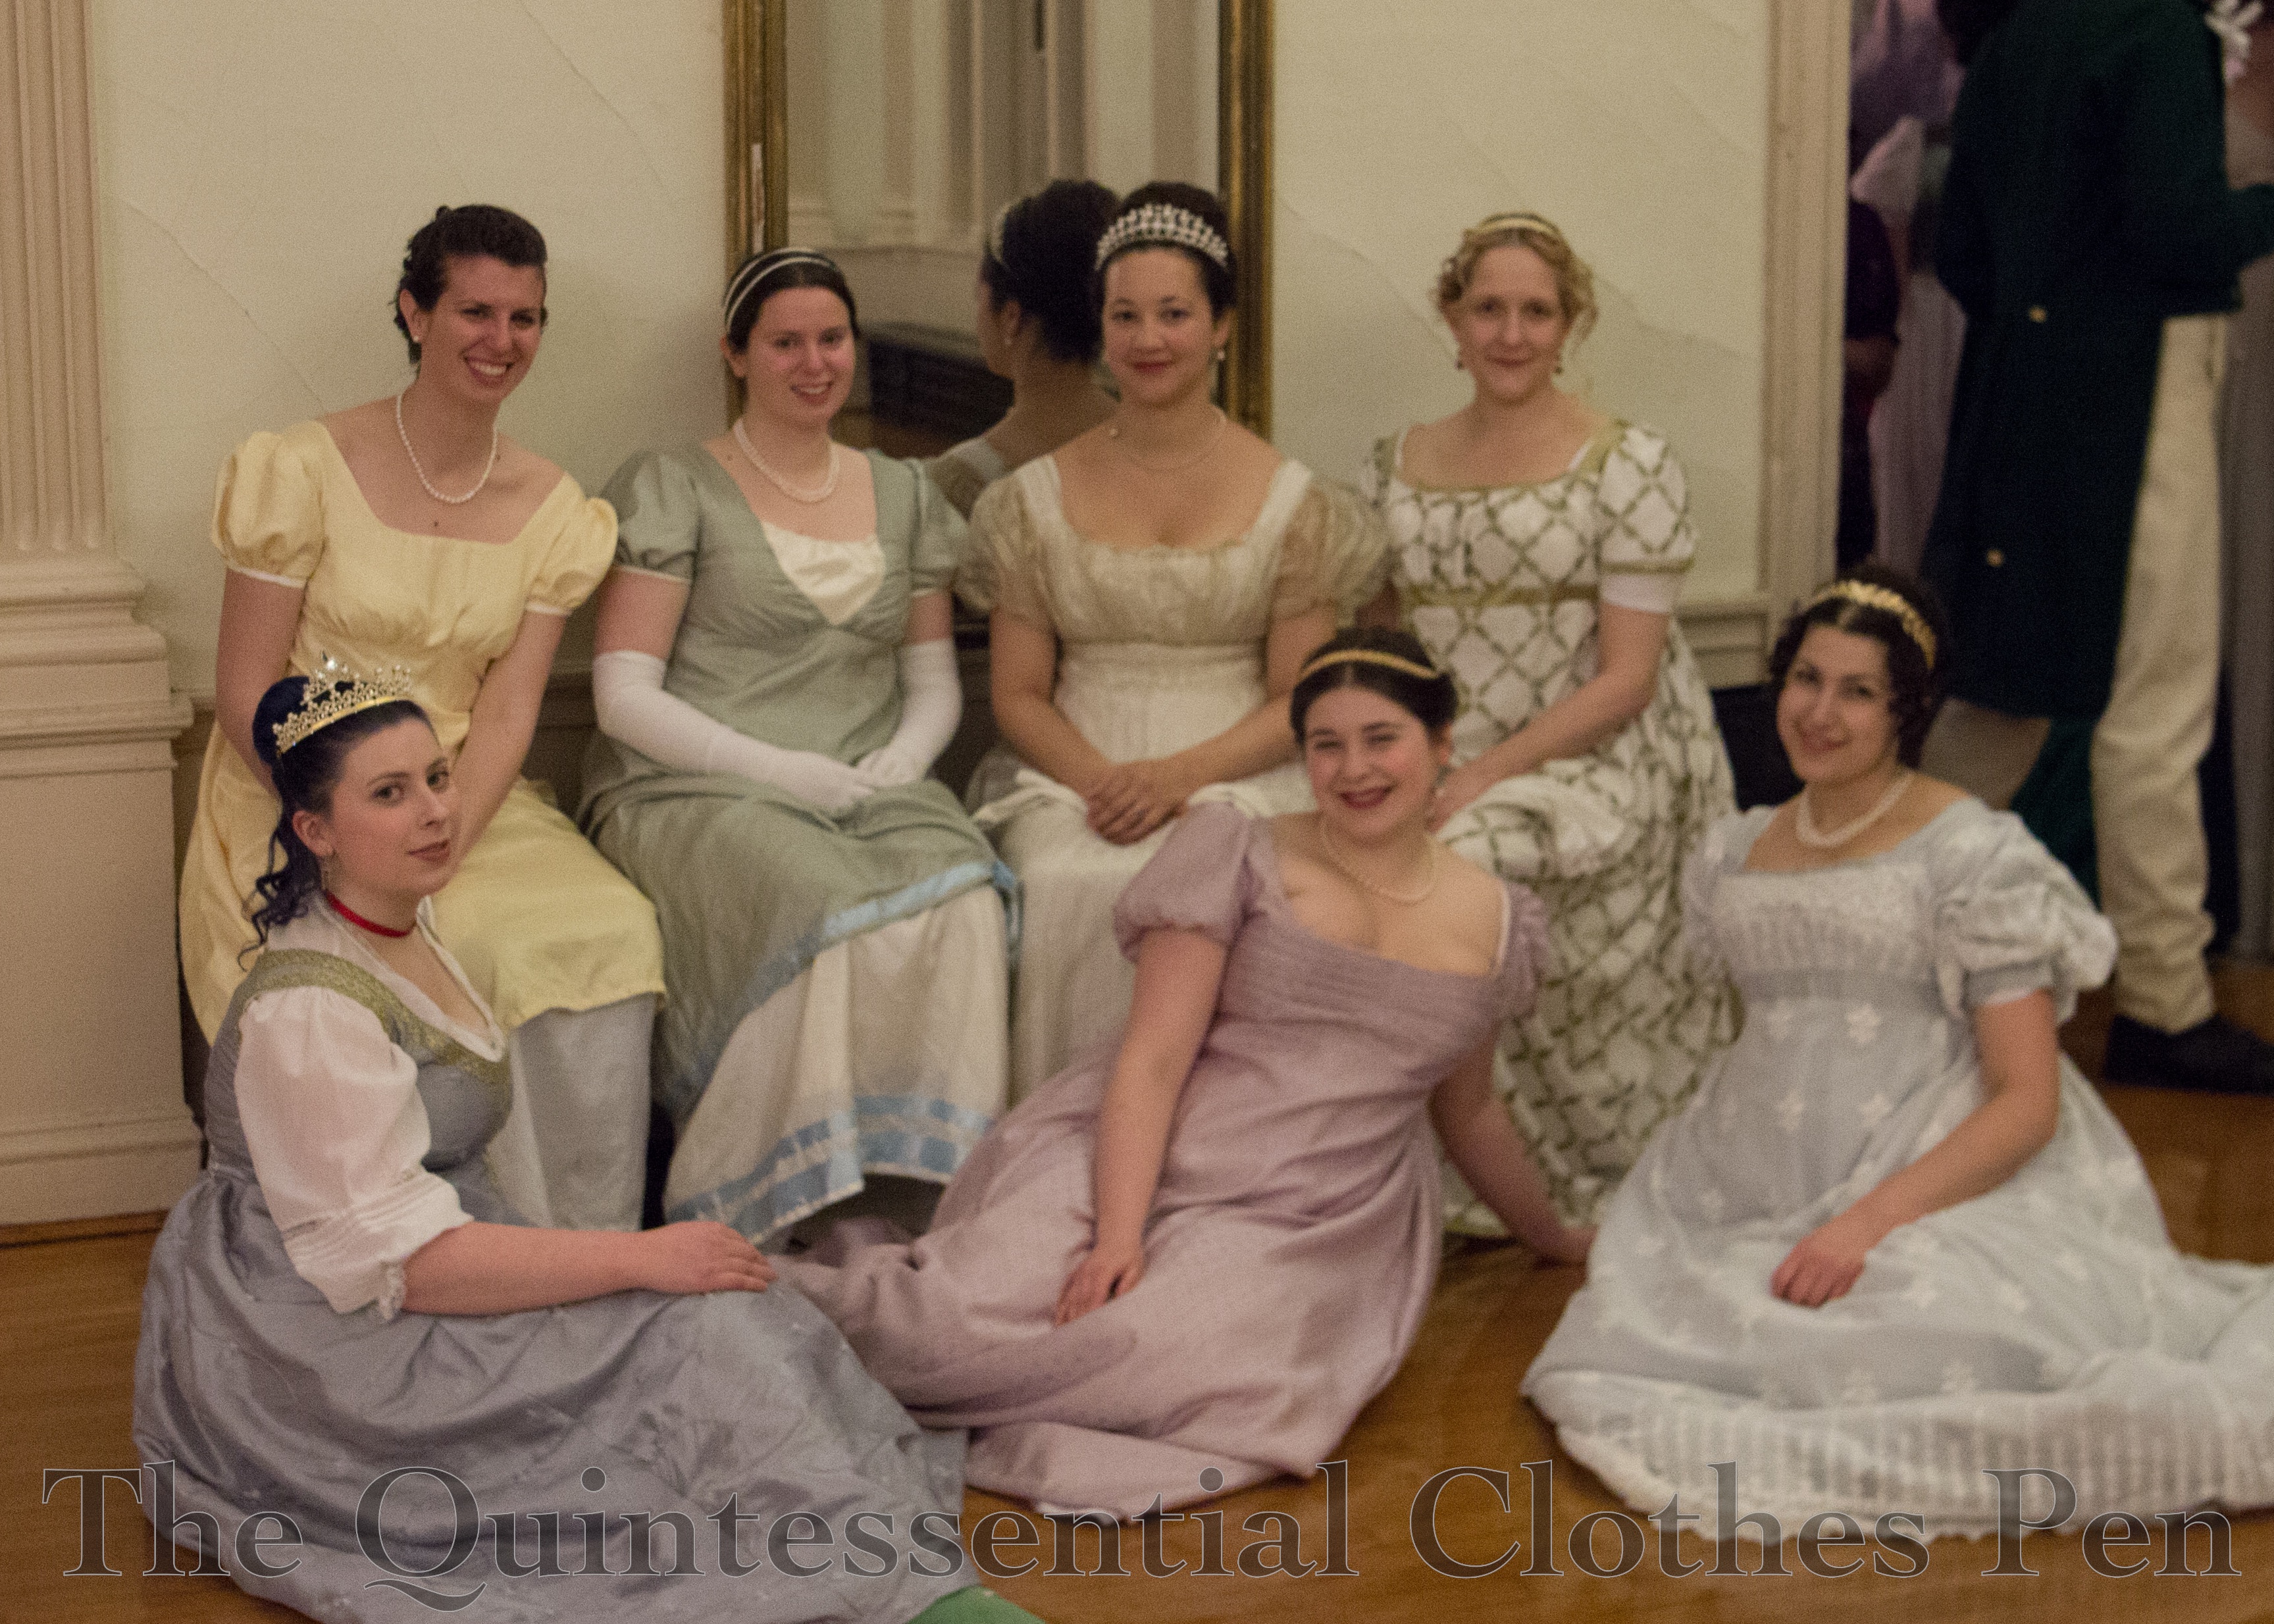
After lots of dancing (and dish washing–lovely spreads like this with real dishes don’t appear without a fair bit of work behind the scenes) a much needed sitting break provided a nice opportunity for a group photo.
As usual, it was a lovely weekend full of great dancing and meeting lots of lovely new people from around the country, the more local New England area, and even Canada! Maybe some year I’ll get to meet you, too!
On the same January shopping trip that I unexpectedly found the blush sparkle fabric I made a 1920s dress out of I also unexpectedly found an excellent fabric for a new Regency evening dress. I hadn’t made one in awhile, but I had a Regency weekend coming up and I was wanting something new for the fancier ball (and of course nothing in my stash was inspiring me). In my wanderings around the store, I discovered an organza curtain sheer that brought to mind this particular fashion plate that has been on my ‘to-sew’ list for years.
1819 – Ackermann’s Repository Series 2 Vol 7 – March Issue
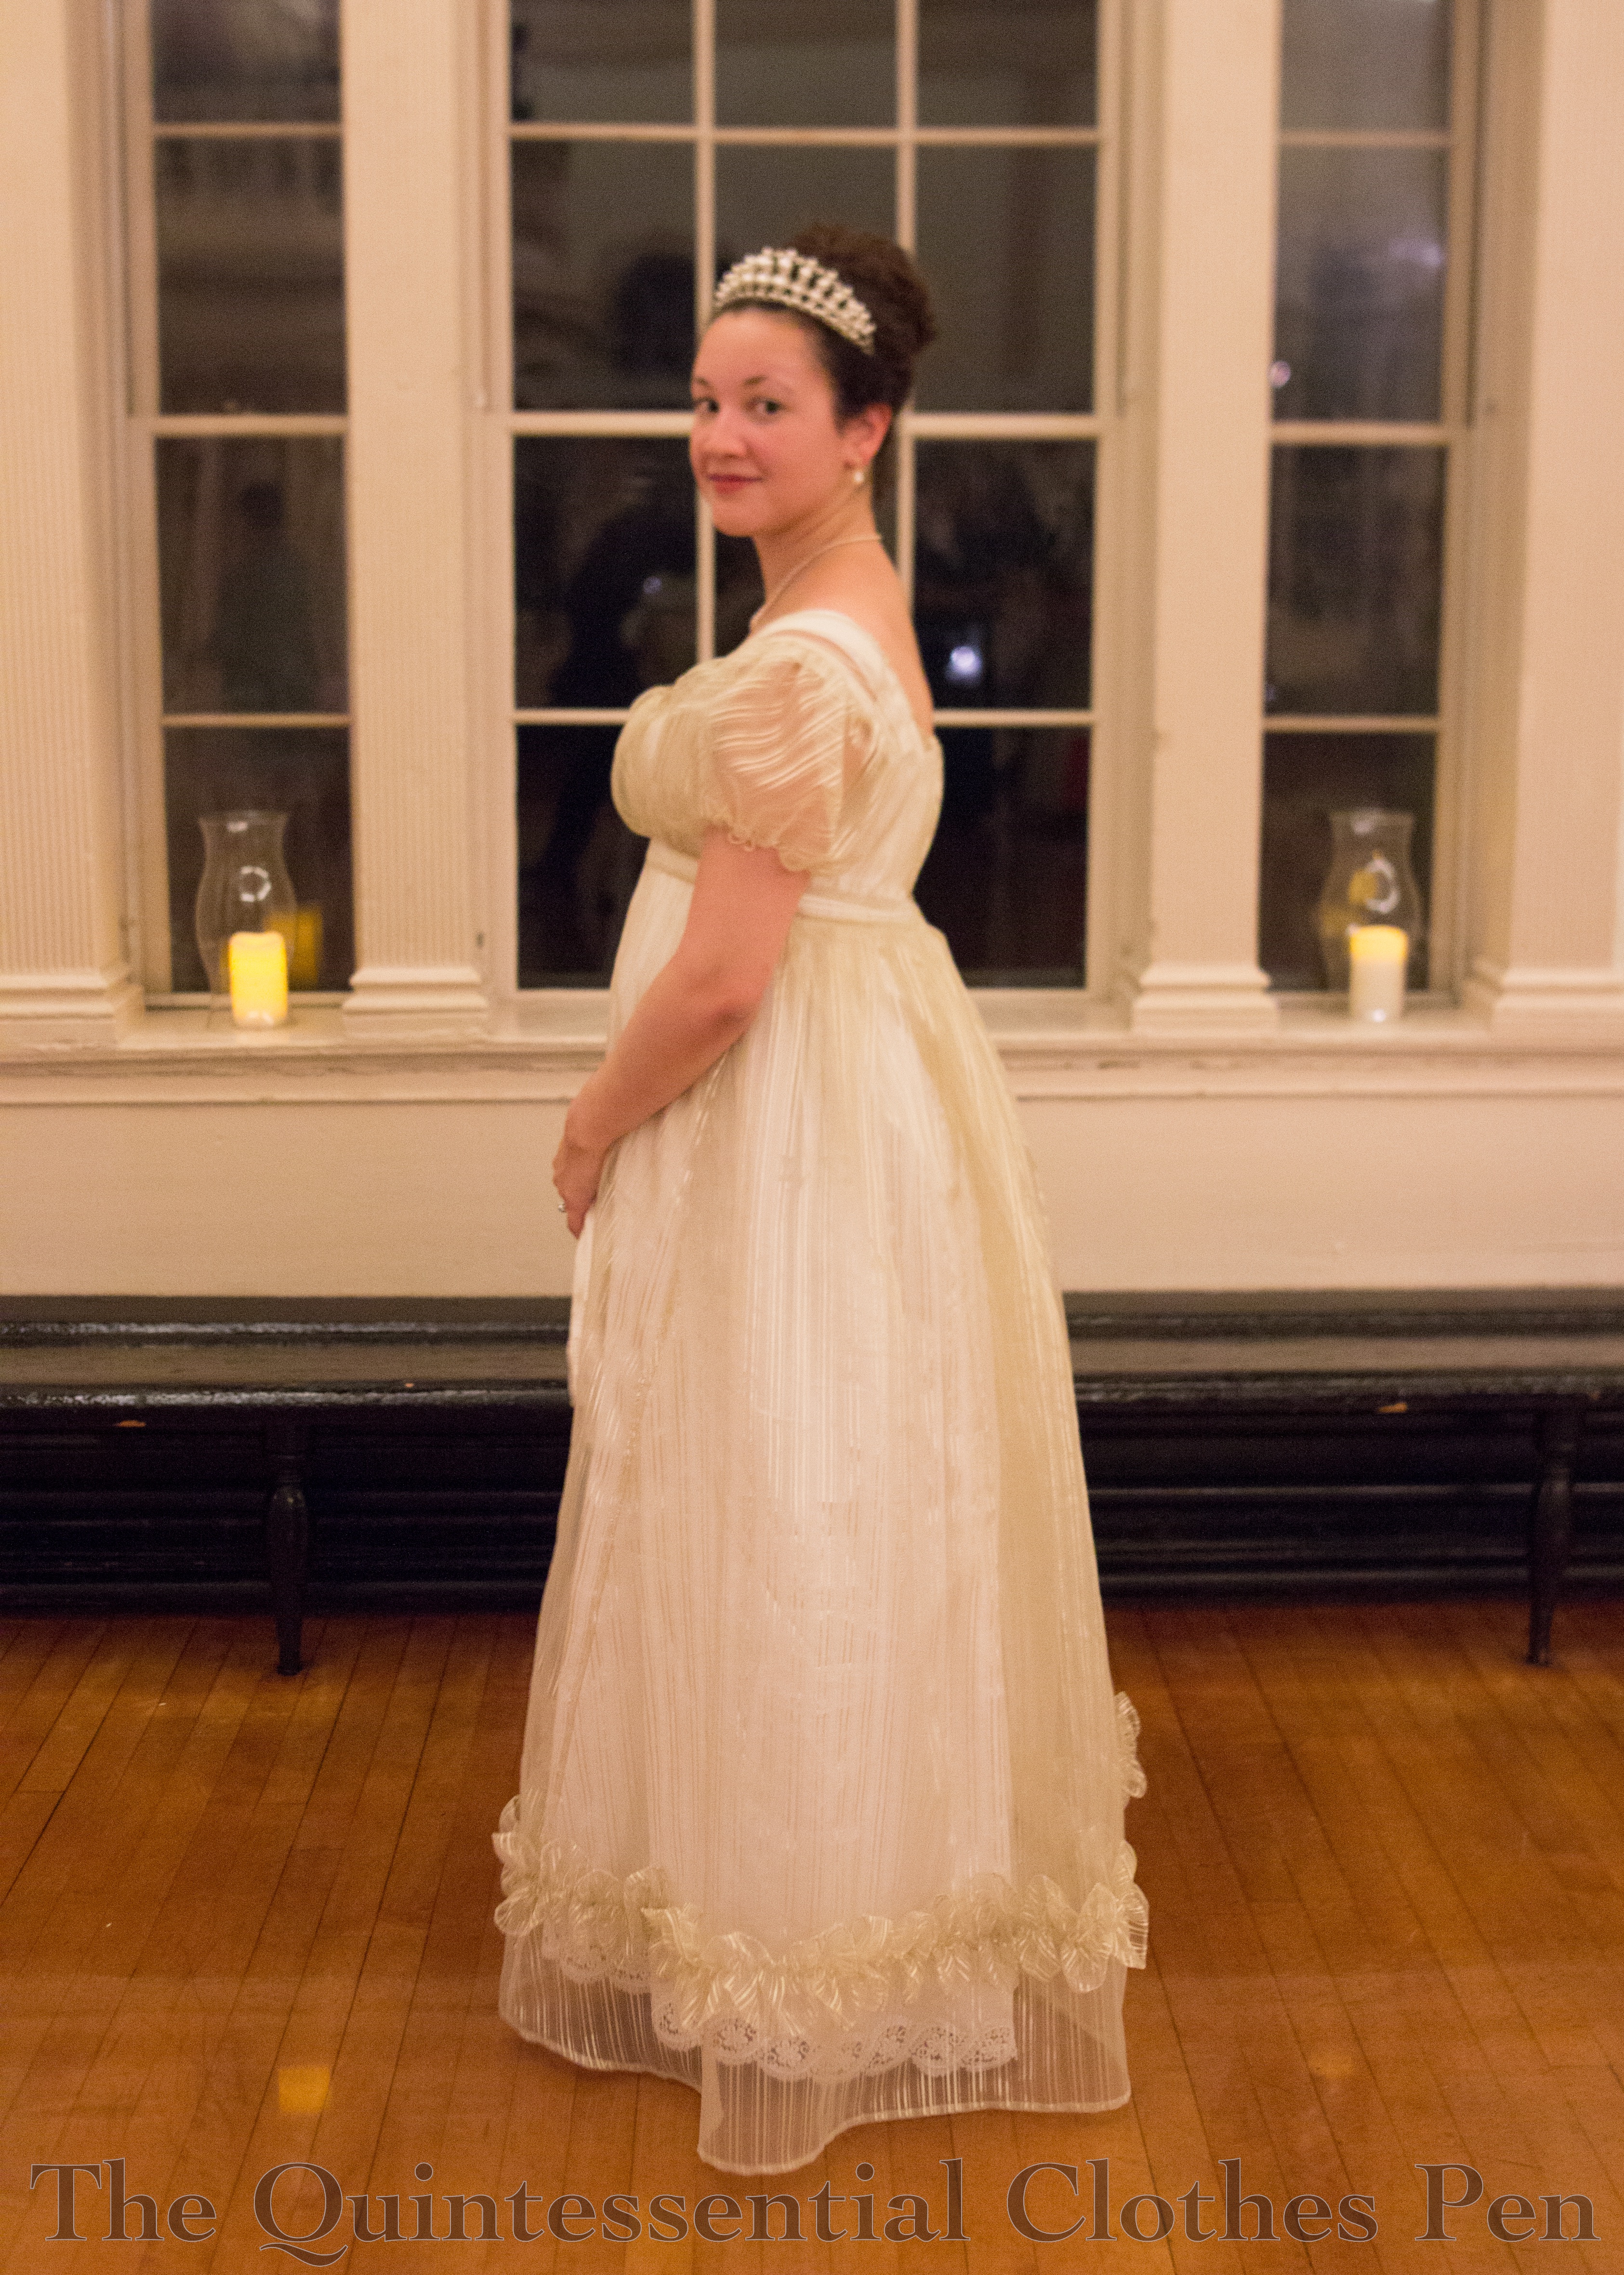
I’d been on the look-out for a sheer with black stripes but hadn’t found anything suitable. Once I found the curtain fabric, I debated whether to use it for a dress in this style or to hold out for the black stripe. As you’ll see, I decided to call this inspiration fulfilled by the gold striped fabric that I found. It’s polyester, but that means it was a good price. Occasionally, a polyester can be just the thing.
In addition to the Ackerman’s fashion plate, I also borrowed design ideas from two other striped evening gowns: this earlier Costume Parisien fashion plate from 1809 and this image of the Duchess d’Angoulême c. 1815. My dress is a conglomeration of these and the 1819 fashion plate. I borrowed the sheer overdress idea from 1819, the single row of scalloped trim from 1809, and the bias cut sleeves from 1815. I date my dress to 1817, as the fluffy nature of the organza pushes the silhouette towards 1820, but the single row of trim pulls it back from 1819 just a bit.
I have a full compliment of nicely finished underthings that are perfect for making the sheer dress opaque. It was never my intention to be a scandalous Regency lady with minimal underthings! In fact, to make the ensemble sufficiently opaque, I wore my chemise plus two petticoats under the sheer dress. Without the second petticoat it was clear where my chemise ended (at my knees, in case you’re curious), but I didn’t want to have the illusion of scandal with this, I really wanted opacity all the way down.
Like the new pelisse, the sheer dress provided another perfect opportunity to make further use of my Vernet petticoat, which has a lovely eyelet border at the hem. Here’s another view that shows off the lace on the petticoat.
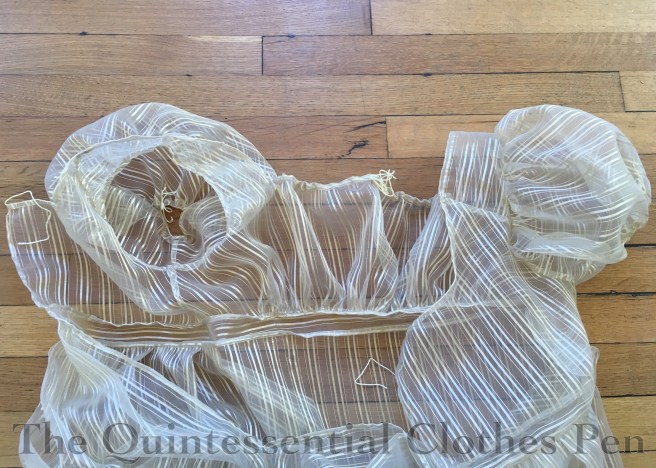
It’s usual for me to meticulously finish the insides of my garments, but in the case of a sheer dress, that desire became a necessity. Accordingly, all of the inside seams are nicely finished with a mix of French, flat felled, and folding seam allowances to hide raw edges and whipping them together. I kept the finished seam allowances small, so that they wouldn’t detract from the stripes.
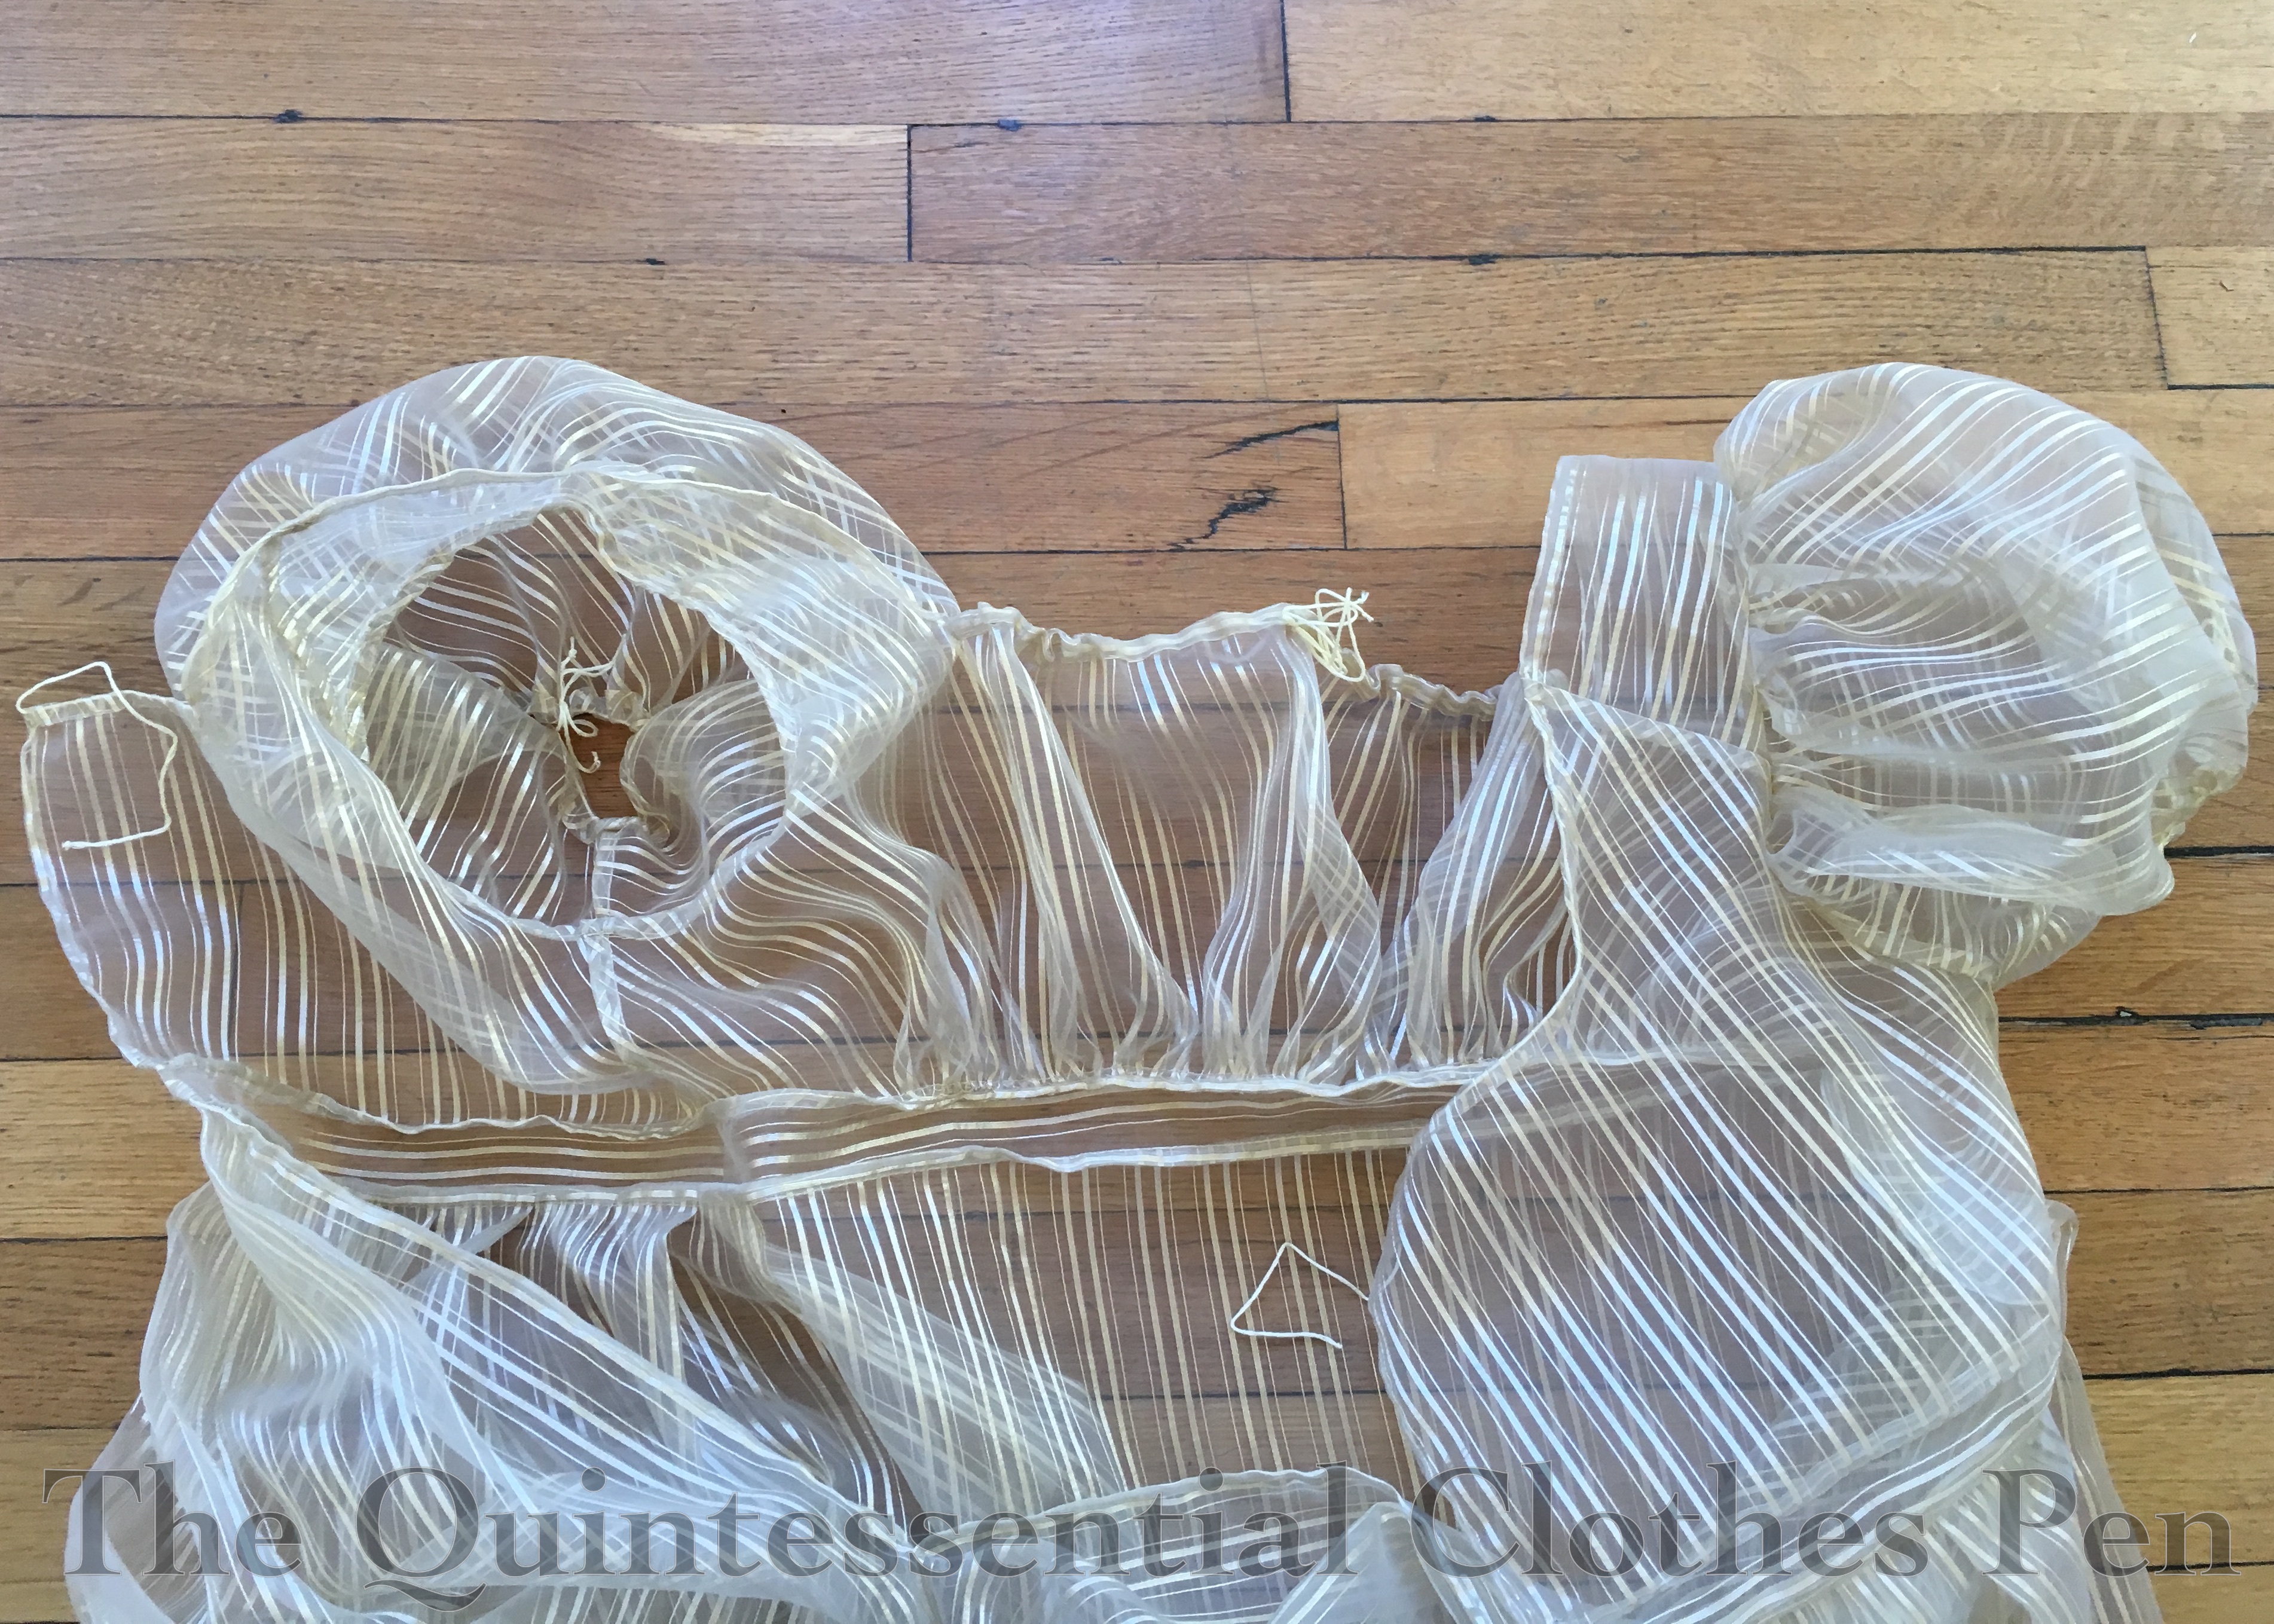
The bottoms of the sleeves and the front and back necklines are all adjustable with tiny drawstrings made from champagne colored embroidery floss. The goal was to have ties that would blend and not be noticeable through the sheer fabric.
The pattern for this dress was adapted from other Regency dresses I have made. I think I most closely referenced the patterns for my tree gown and square neck gown, but adjusted the fullness to give this dress a little more oomph.
This dress is machine sewn and hand finished. All of the French seaming was done on machine, as was the assembly of the bodice, waistband, and skirt to make a dress, but all of the other stitching (casings, hems, trim, finishing seam allowances in non-French ways, etc.) was done by hand.
The dress has a scalloped trim band around the bottom, set up high enough to show off the lace on the Vernet petticoat. It’s hand hemmed and it seems like miles… though I think it was only about 9 yards. Hemming, gathering, and attaching this was one of the last tasks and it was going right up until about 2am on the morning of the ball. By the time it was being sewn on there was no measuring or sectioning, just eyeballing, so it’s a little wavier than I would normally allow, but one has to make accommodations (sometimes). I was envisioning the scallops would be spaced out more and therefore be more defined, but as I was furiously sewing the trim on I was not about to cut it up and resew it, so all 9 yards made it onto the dress. It’s fine. I’m happy. I do not plan to re-do the fullness of the trim or the placement!