Delving Into Orange Boven

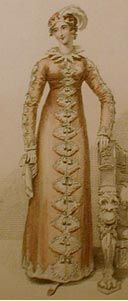
Way back when I started the Regency pelisse I posted about recently, I got very excited about the version of the inspiration image that is labeled ‘Orange Boven Dinner Dress.’ I had no idea what the description ‘orange boven’ meant and so I went looking for information…which led me down the research rabbit hole.

Orange Boven Dinner Dress. Engraved for No. 54 New Series of La Belle Assemblee Feb. 1, 1814.

Turns out that ‘orange boven’ is much more than a description of color. In fact, it is connected to Dutch history! (That fact reminds me strongly of Orange Pekoe tea, which has nothing to do with tasting like oranges and everything to do with a historical association with the House of Orange and the Dutch East India Company, in addition to the tea leaf grading system.)

I’ve put together a few excerpts from my research to better explain the historical context of ‘orange boven.’ These first excerpts are from “The History Of The Northern War; Commencing In 1812, To The Congress At Vienna In 1815.” John Hampdon, Esq. 1815. (The full text of this book is free on google books, you can view it by clicking the link. If you put “history of orange boven” into the search feature it will take you directly to the relevant pages, some of which I have condensed here.)

From Chapter XXIII. Pages 360-361.

“…But it was not necessary that the troops of the allies should make their appearance in those countries, which had so long endured the miseries of French subjugation, to free them from their invaders…the sentiments and feelings of the conquered countries, which had so long been kept down by their presence, being now unchecked, spontaneously burst forth in favour of their legitimate governments.

Holland, which had so long groaned under French tyranny; which, from the peculiar nature of the country, and the dispositions and habits of its people, had suffered more from the continental system than any other part of Europe, set the example of liberating itself from its oppressors. All at once, and, there is reason to believe, most unexpectedly, both to the governments of Great Britain and France, on the 15th of November an insurrection broke out in Amsterdam, where the people rose in a body, proclaiming the house of Orange, with the old cry of Orange boven, and universally putting up the orange cockade. The example of the inhabitations of Amsterdam was immediately followed by those of other towns in the provinces of Holland and Utrecht; the French authorities were dismissed; a provisional government formed, from which two deputies were sent to the prince of Orange in this country; and the following laconic and emphatic address to the Dutch was circulated:

‘Orange boven! Holland is free–the allies advance upon Utrecht–the English are invited–the French fly on all sides–the sea is open–trade revives–party spirit has ceased–what has been suffered is forgiven and forgotten–men of consequence and consideration are called to the government–the government invites the prince to the sovereignty–we join the allies, and force the enemy to sue for peace–the people are to have a day of rejoicing at the public expence, without being allowed to plunder or commit any excess–every one renders thanks to God–old times are returned–Orange boven!’

The prince of Orange lost no time in going over to Holland; and the ministry of Great Britain nobly seconded him in his purpose of completely liberating his country…”

From Chapter XXIV. Pages 375-376. Another account of the same events.

“Nov. 21, 1813.

The baron Perponcher and Mr James Fagel have arrived this day from Holland…to inform his royal highness the prince regent and his serene highness the prince of Orange, that a counter-revolution broke out in…on Monday last, the 15th instant, when the people of Amsterdam rose in a body, proclaiming the house of Orange with the old cry of Orange boven, and universally putting up the Orange colours.

This example was immediately followed by the other towns of the provinces…

The French authorities were dismissed, and a temporary government established and proclaimed in the name of the prince of Orange, and, until his serene highness’s arrival, composed of the most respectable members of the old government, and chiefly of those not employed under the French.”

From Chapter XXVI. Pages 399-400.

“Amersterdam, Dec. 2. About three o’clock, his serene highness the prince of Orange made his solemn entry into this capital, thorough the gate of Haerlem, under the roar of artillery, and with the ringing of all the bells. The joy was general among all classes of inhabitants; the numbers of the populace that were assembled, and flew to every part where his highness passed, were past description; the joyful acclamations of Huzza! Orange boven! And Long live prince William the First, sovereign price of the Netherlands! were uninterrupted. The whole city will be illuminated this evening.”

Some of this same text occurs in this source as well: The New Annual Register Or General Repository Of History, Politics, And Literature For The Year 1813 (1814).

Sunday morning, 21 November 1813, marks a crucial moment in Dutch history. On behalf of the prince of Orange – then living in England – a provisional government was created to reassume power from the French. (Rjksmuseum)

Here is another account, from a few decades later. This is from a  History of Europe During The French Revolution. 1789-1815. Archibald Allison, 1841. (Again, the full text of this book is free on google books, you can view it by clicking the link. If you put “history of orange boven” into the search feature it will take you directly to the relevant pages, some of which I have condensed here.)

From Chapter LXXI. Pages 657-658..

“At Amsterdam, the [French] troops were no sooner gone than the inhabitants rose in insurrection, deposed the Imperial authorities, hoisted the orange flag, and established a provisional government, with a view to the re-establishment of the ancient order of things…the people every where, amidst cries of ‘Orange Boven!’ and universal rapture, mounted the orange cockade, and reinstated the ancient authorities; and after twenty years of foreign domination and suffering, the glorious spectacle was exhibited, of a people peacefully regaining their independence, and not shedding a drop of blood, and, without either passion or vengeance, reverting to the institutions of former times.”

Here is a much more succinct mention. This is from A History of Germany; From Its Invasion By Marius to the Year 1850 (1862). (Again, the full text of this book is free on google books, you can view it by clicking the link. If you put “history of orange boven” into the search feature it will take you directly to the relevant pages, some of which I have condensed here.)

From Chapter LI. Page 350.

…Meanwhile the partisans of William of Orange, then in his twenty-second year, were rousing the nation with the cry of “Oranjie boven,” Up with Orange. Hats were decorated with orange-colored ribbons, and on every tower waved a banner with the inscription–

Up with Orange, down with Witt;
Him who says nay, may thunder split.

Another source I came across is a book published in 1900 called Anneke: A Little Dame of New Netherlands. Written by Elizabeth Williams Chimney, there is an entire chapter with the title ‘orange boven.’ The forward of the book reveals its fictional nature and I have not been able to find another reference to the information on the first page of the chapter, but it is an interesting and quick read if you’re further interested in this topic. This link will take you directly to the first page of the ‘orange boven’ chapter.

SaveSave

SaveSave

Returning Heroes Ball 2017

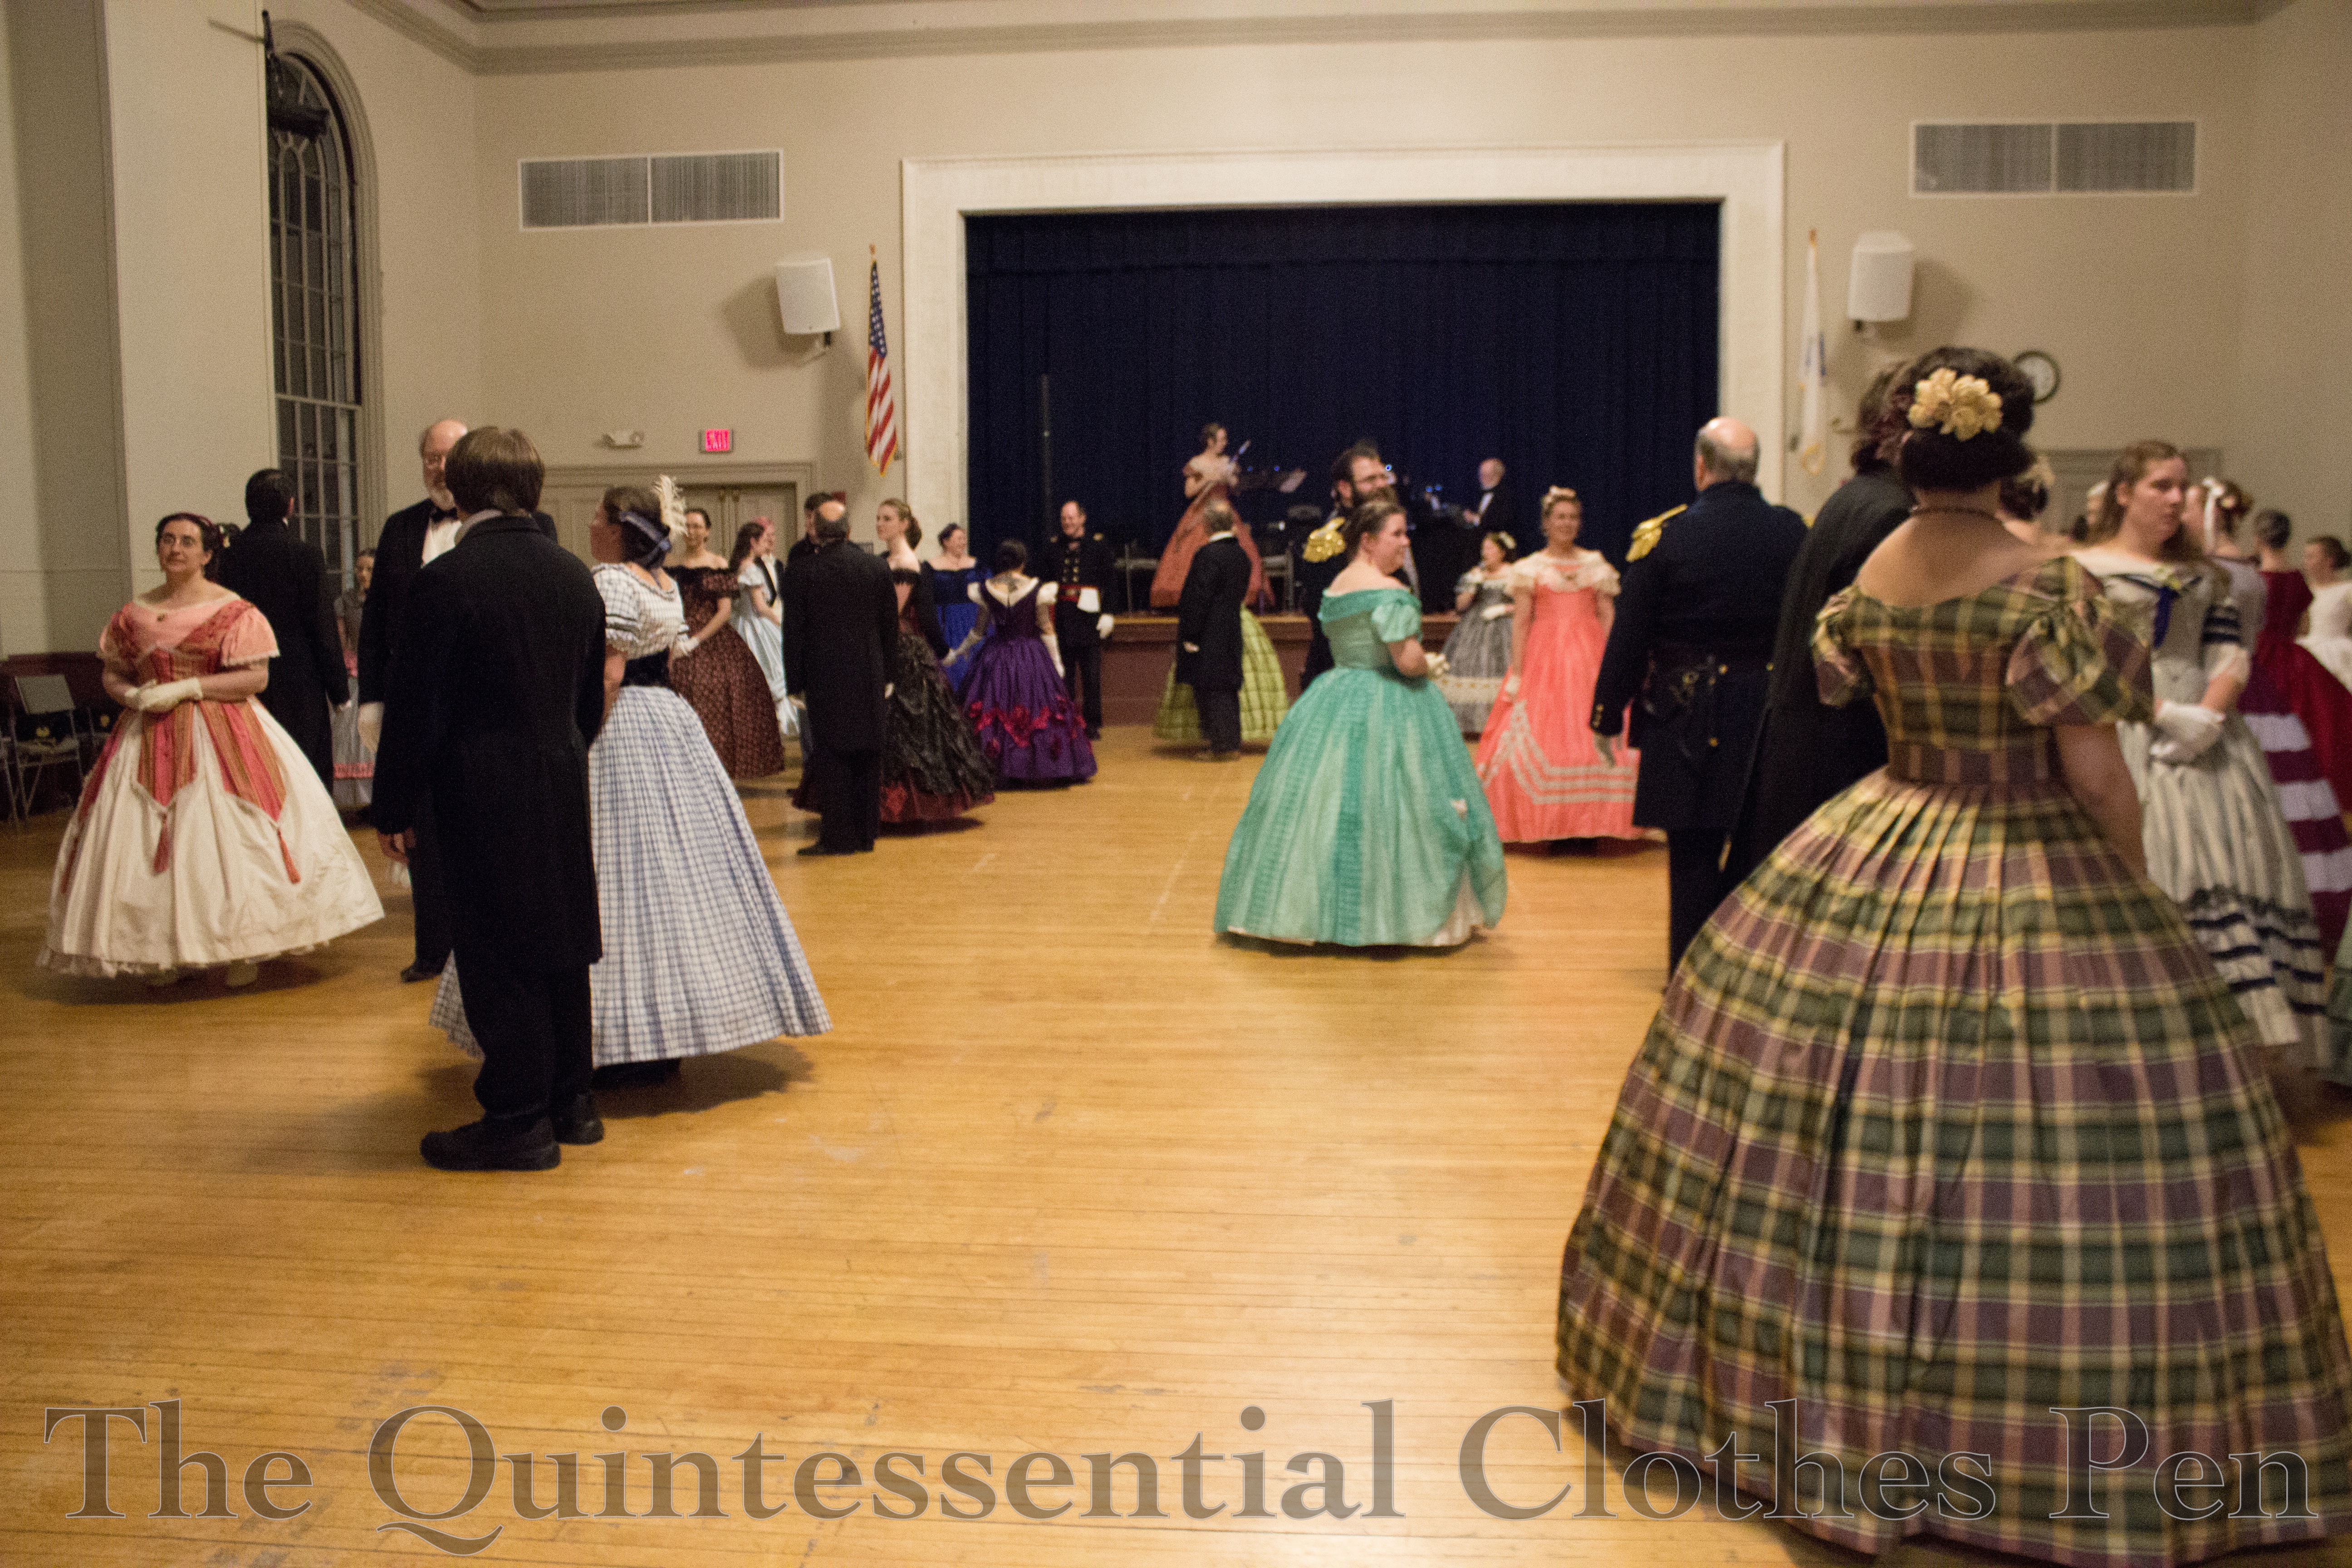
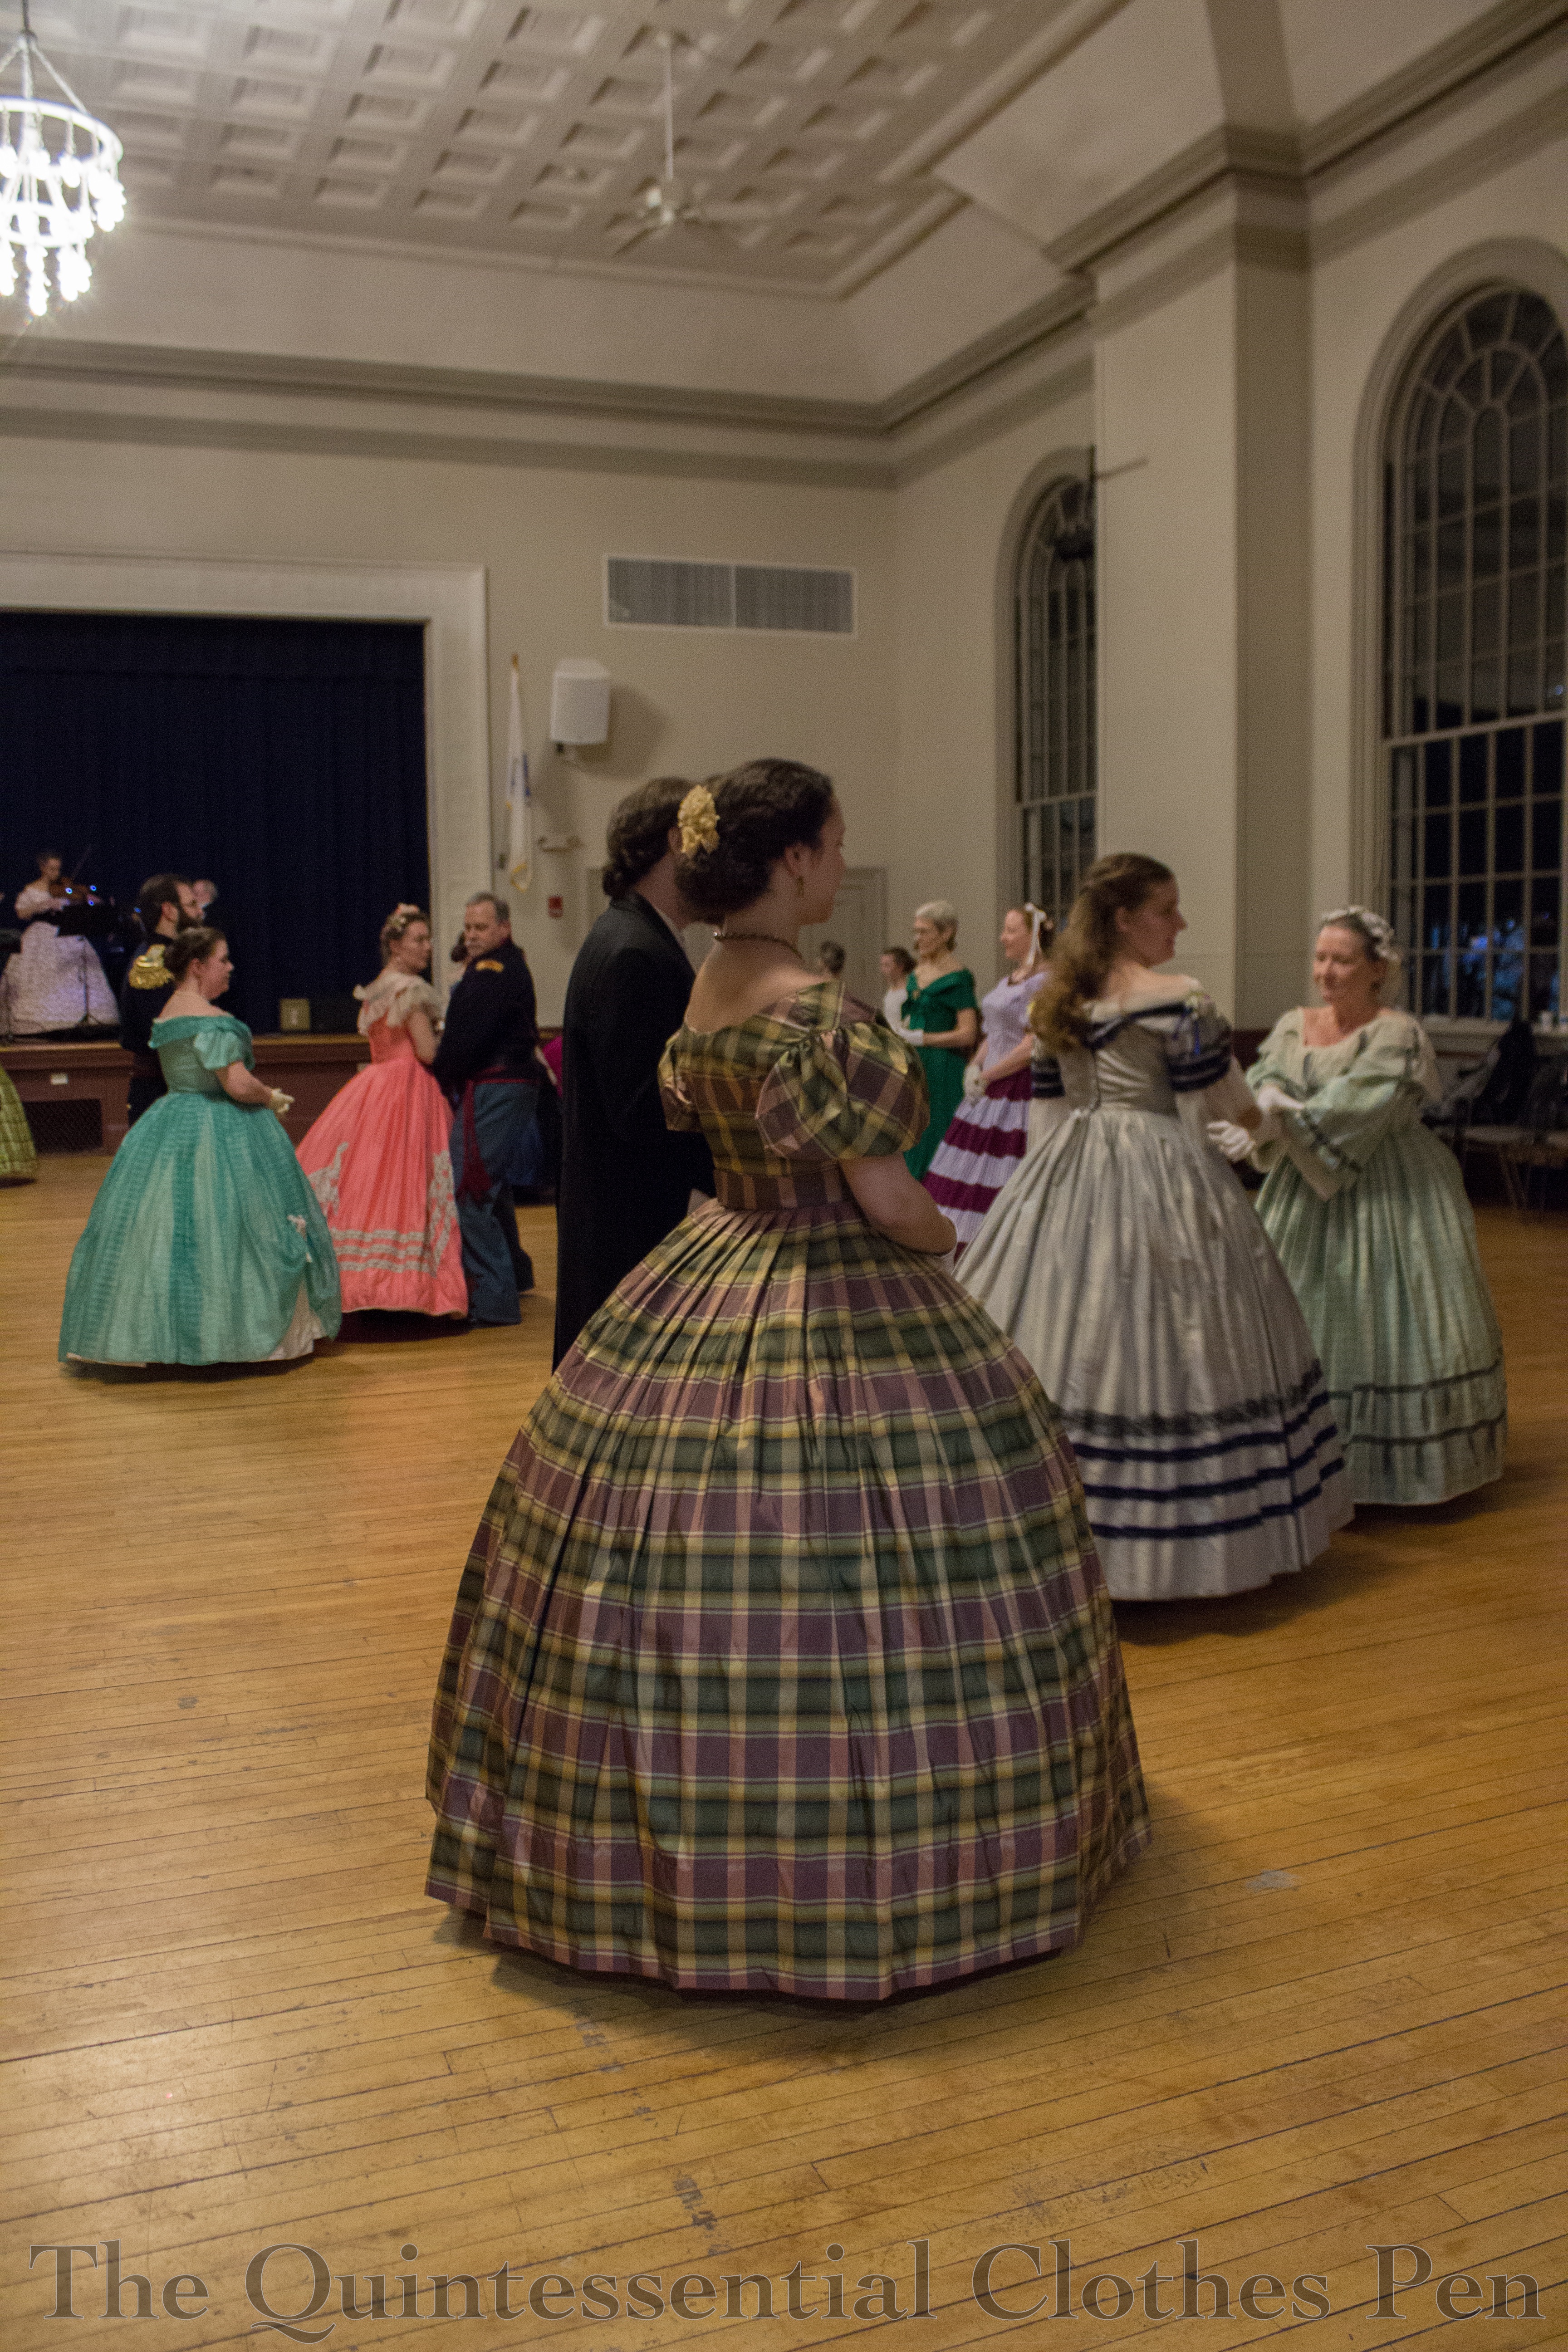
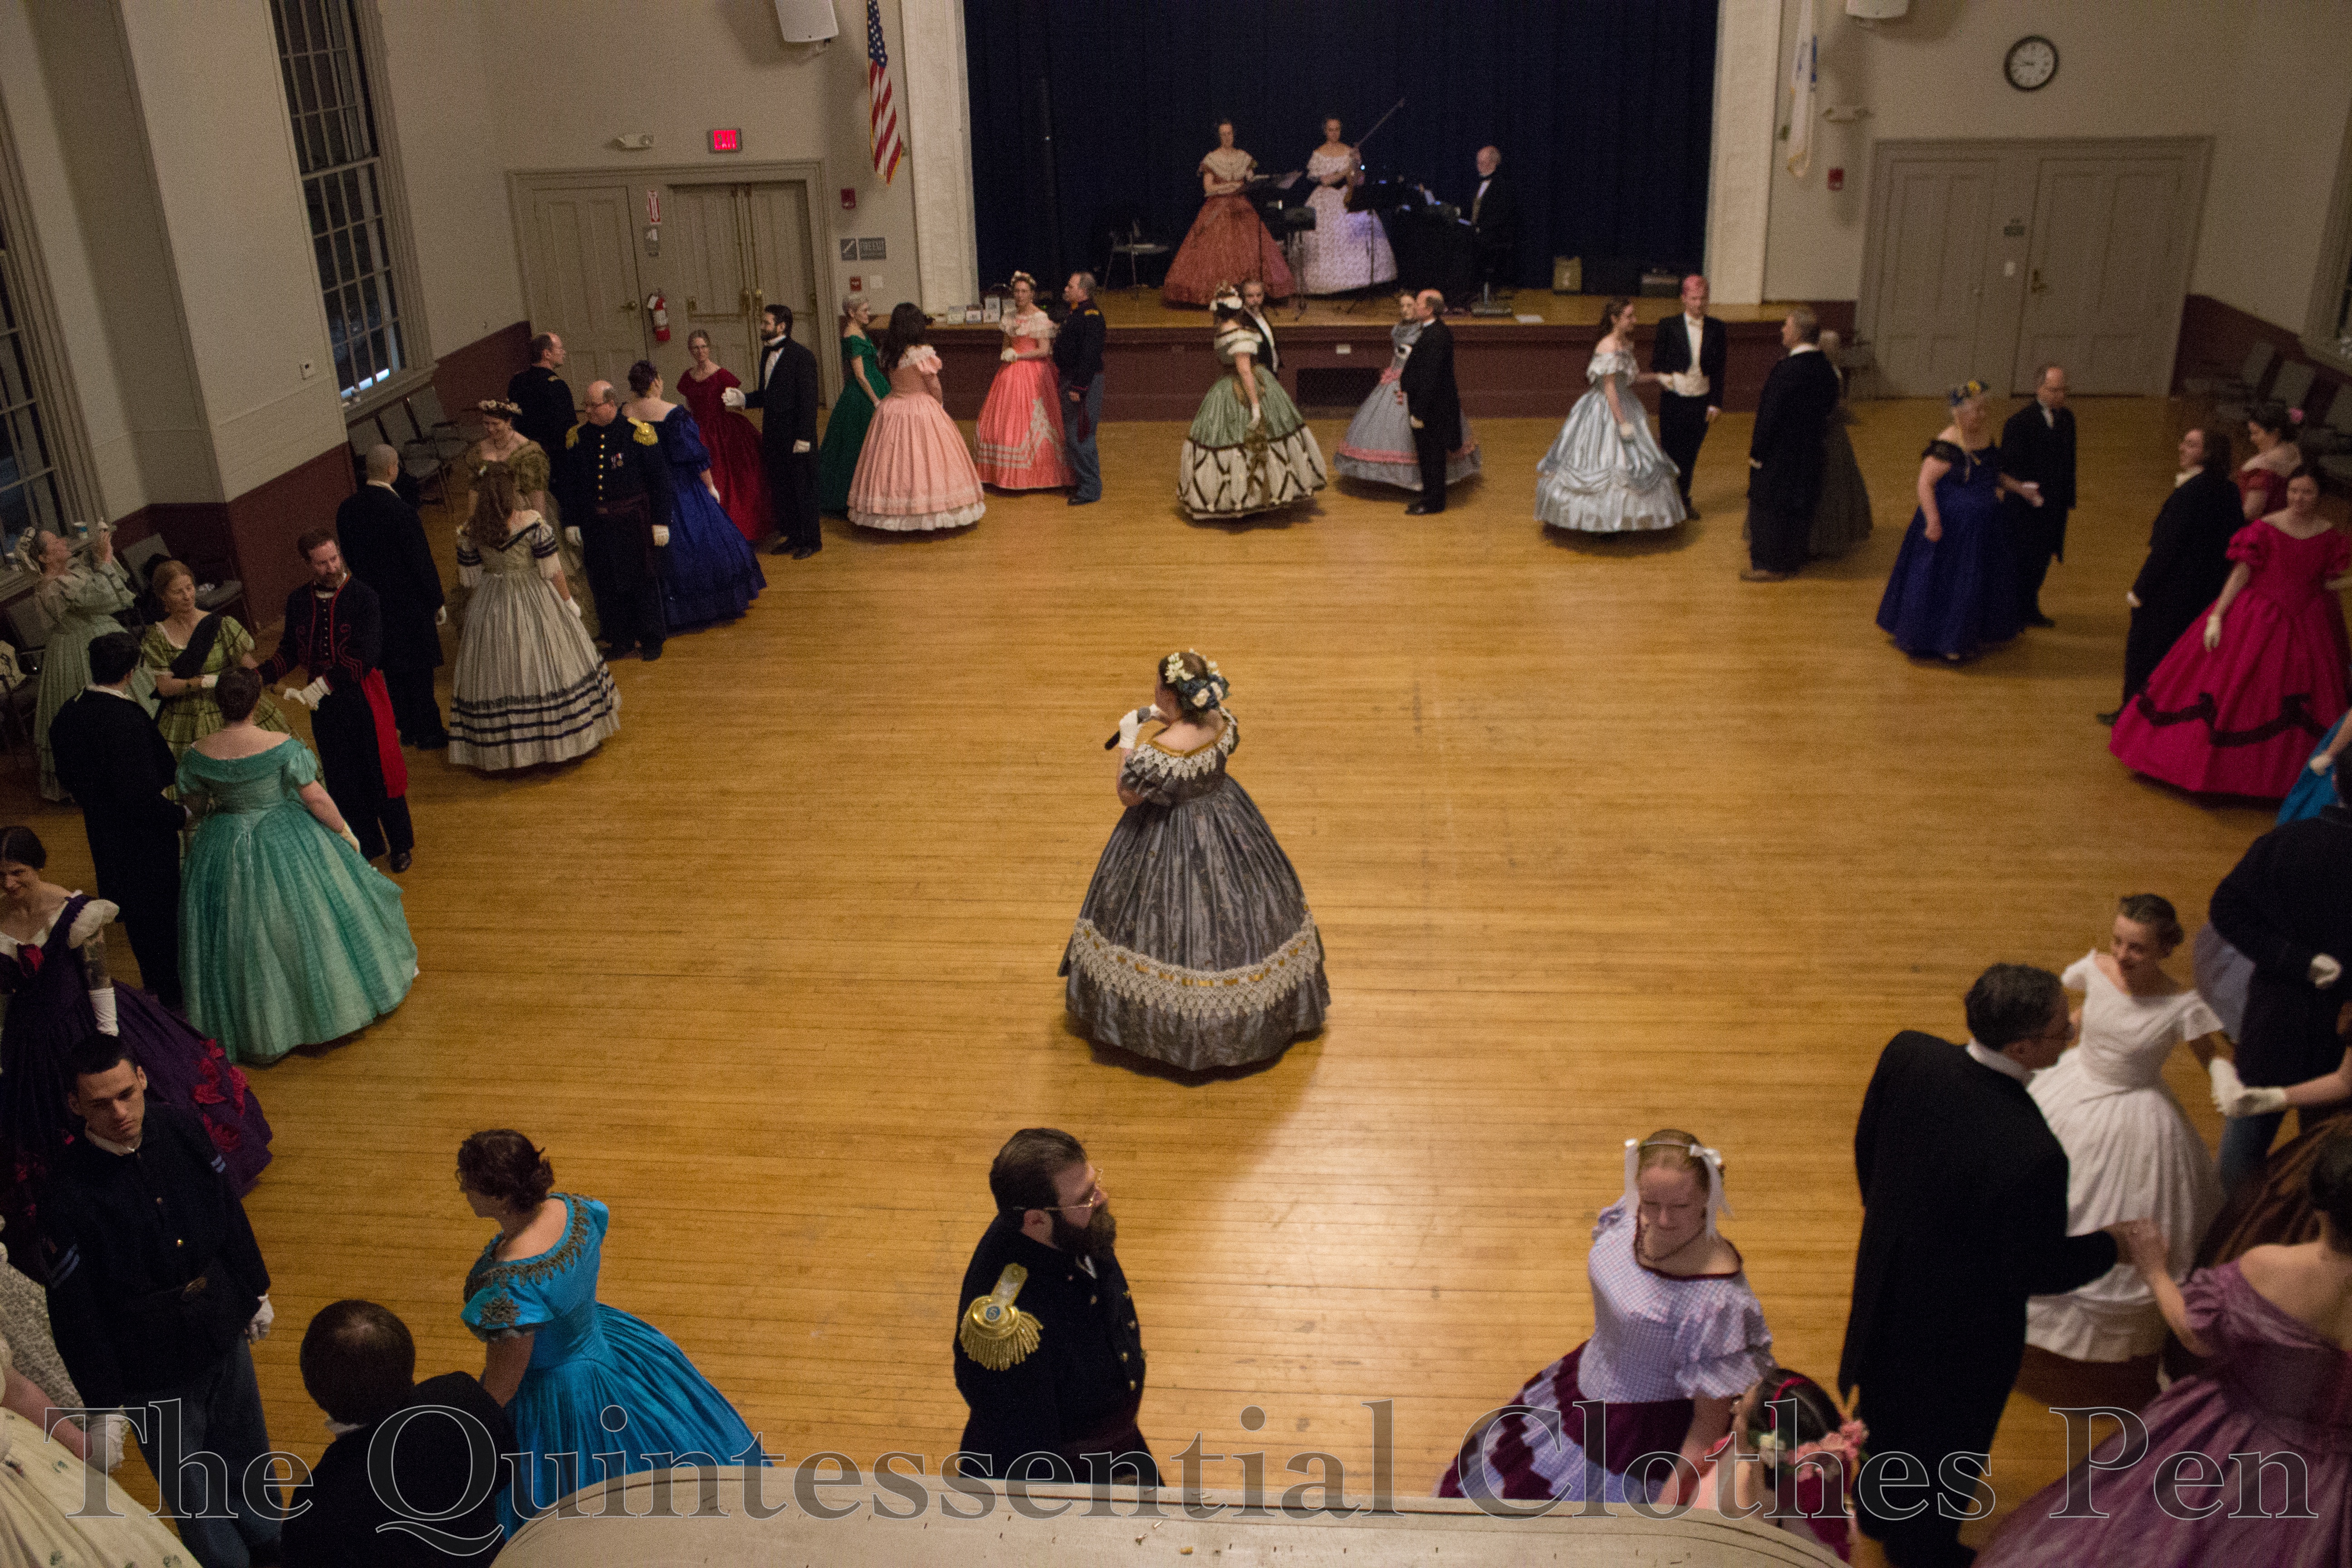
A few months ago, I had the privilege of being present once again at the Commonwealth Vintage Dancers’ annual Returning Heroes Ball. It was a lovely evening full of dancing, admiring the well turned out ladies and gentleman, chatting…and lots of dish washing (that’s what happens behind the scenes at these things–someone has to do all of the dishes.)

Here are two very similar views of the ballroom. I thought I’d include both because you see different dresses in each one and that’s one of the things that I greatly enjoy about attending historical events!

I didn’t spend all my time watching, however. Here I am participating in a quadrille. I wore my most recently constructed mid-19th century dress, Eleanor. I was grateful that the only change I needed to make after the first wearing was shortening the hem one turn so I didn’t step on it while dancing.

I made my refreshing apron a few years ago, but since then others have joined me in my apron endeavors (they really are quite practical when doing dishes, filling punch bowls, and setting out refreshments!). Aprons in a row!

1814 Orange Boven Pelisse

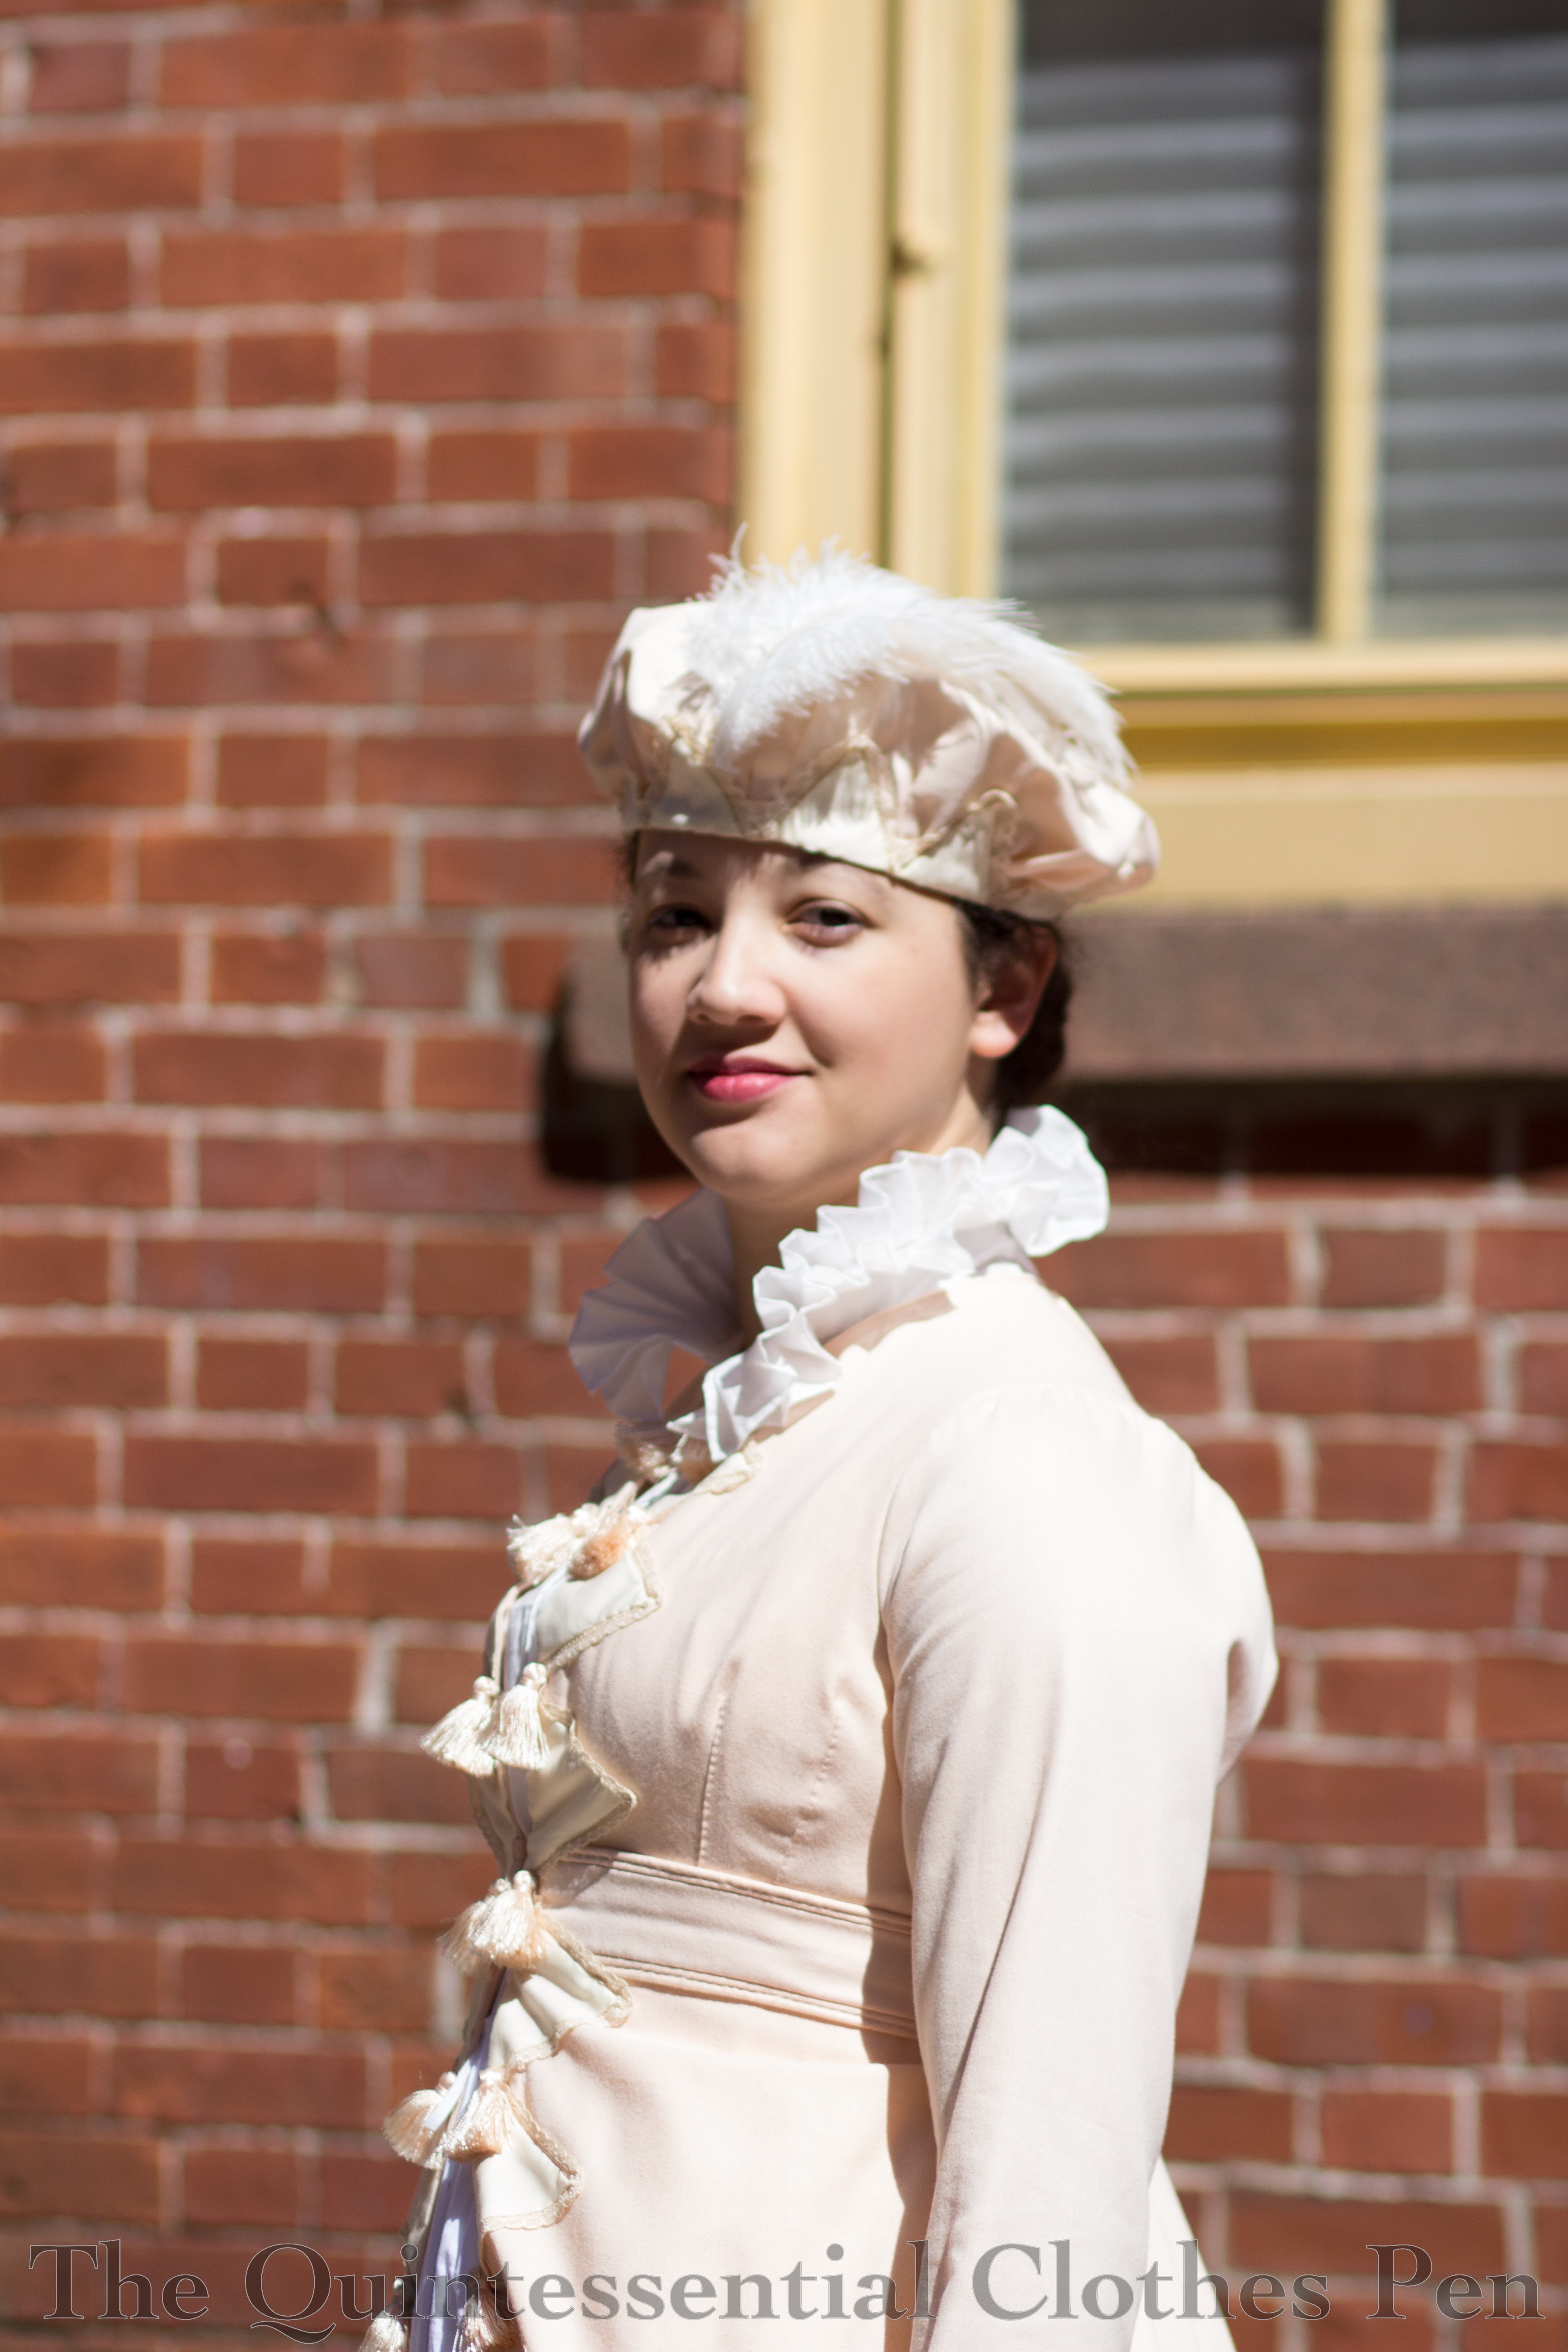
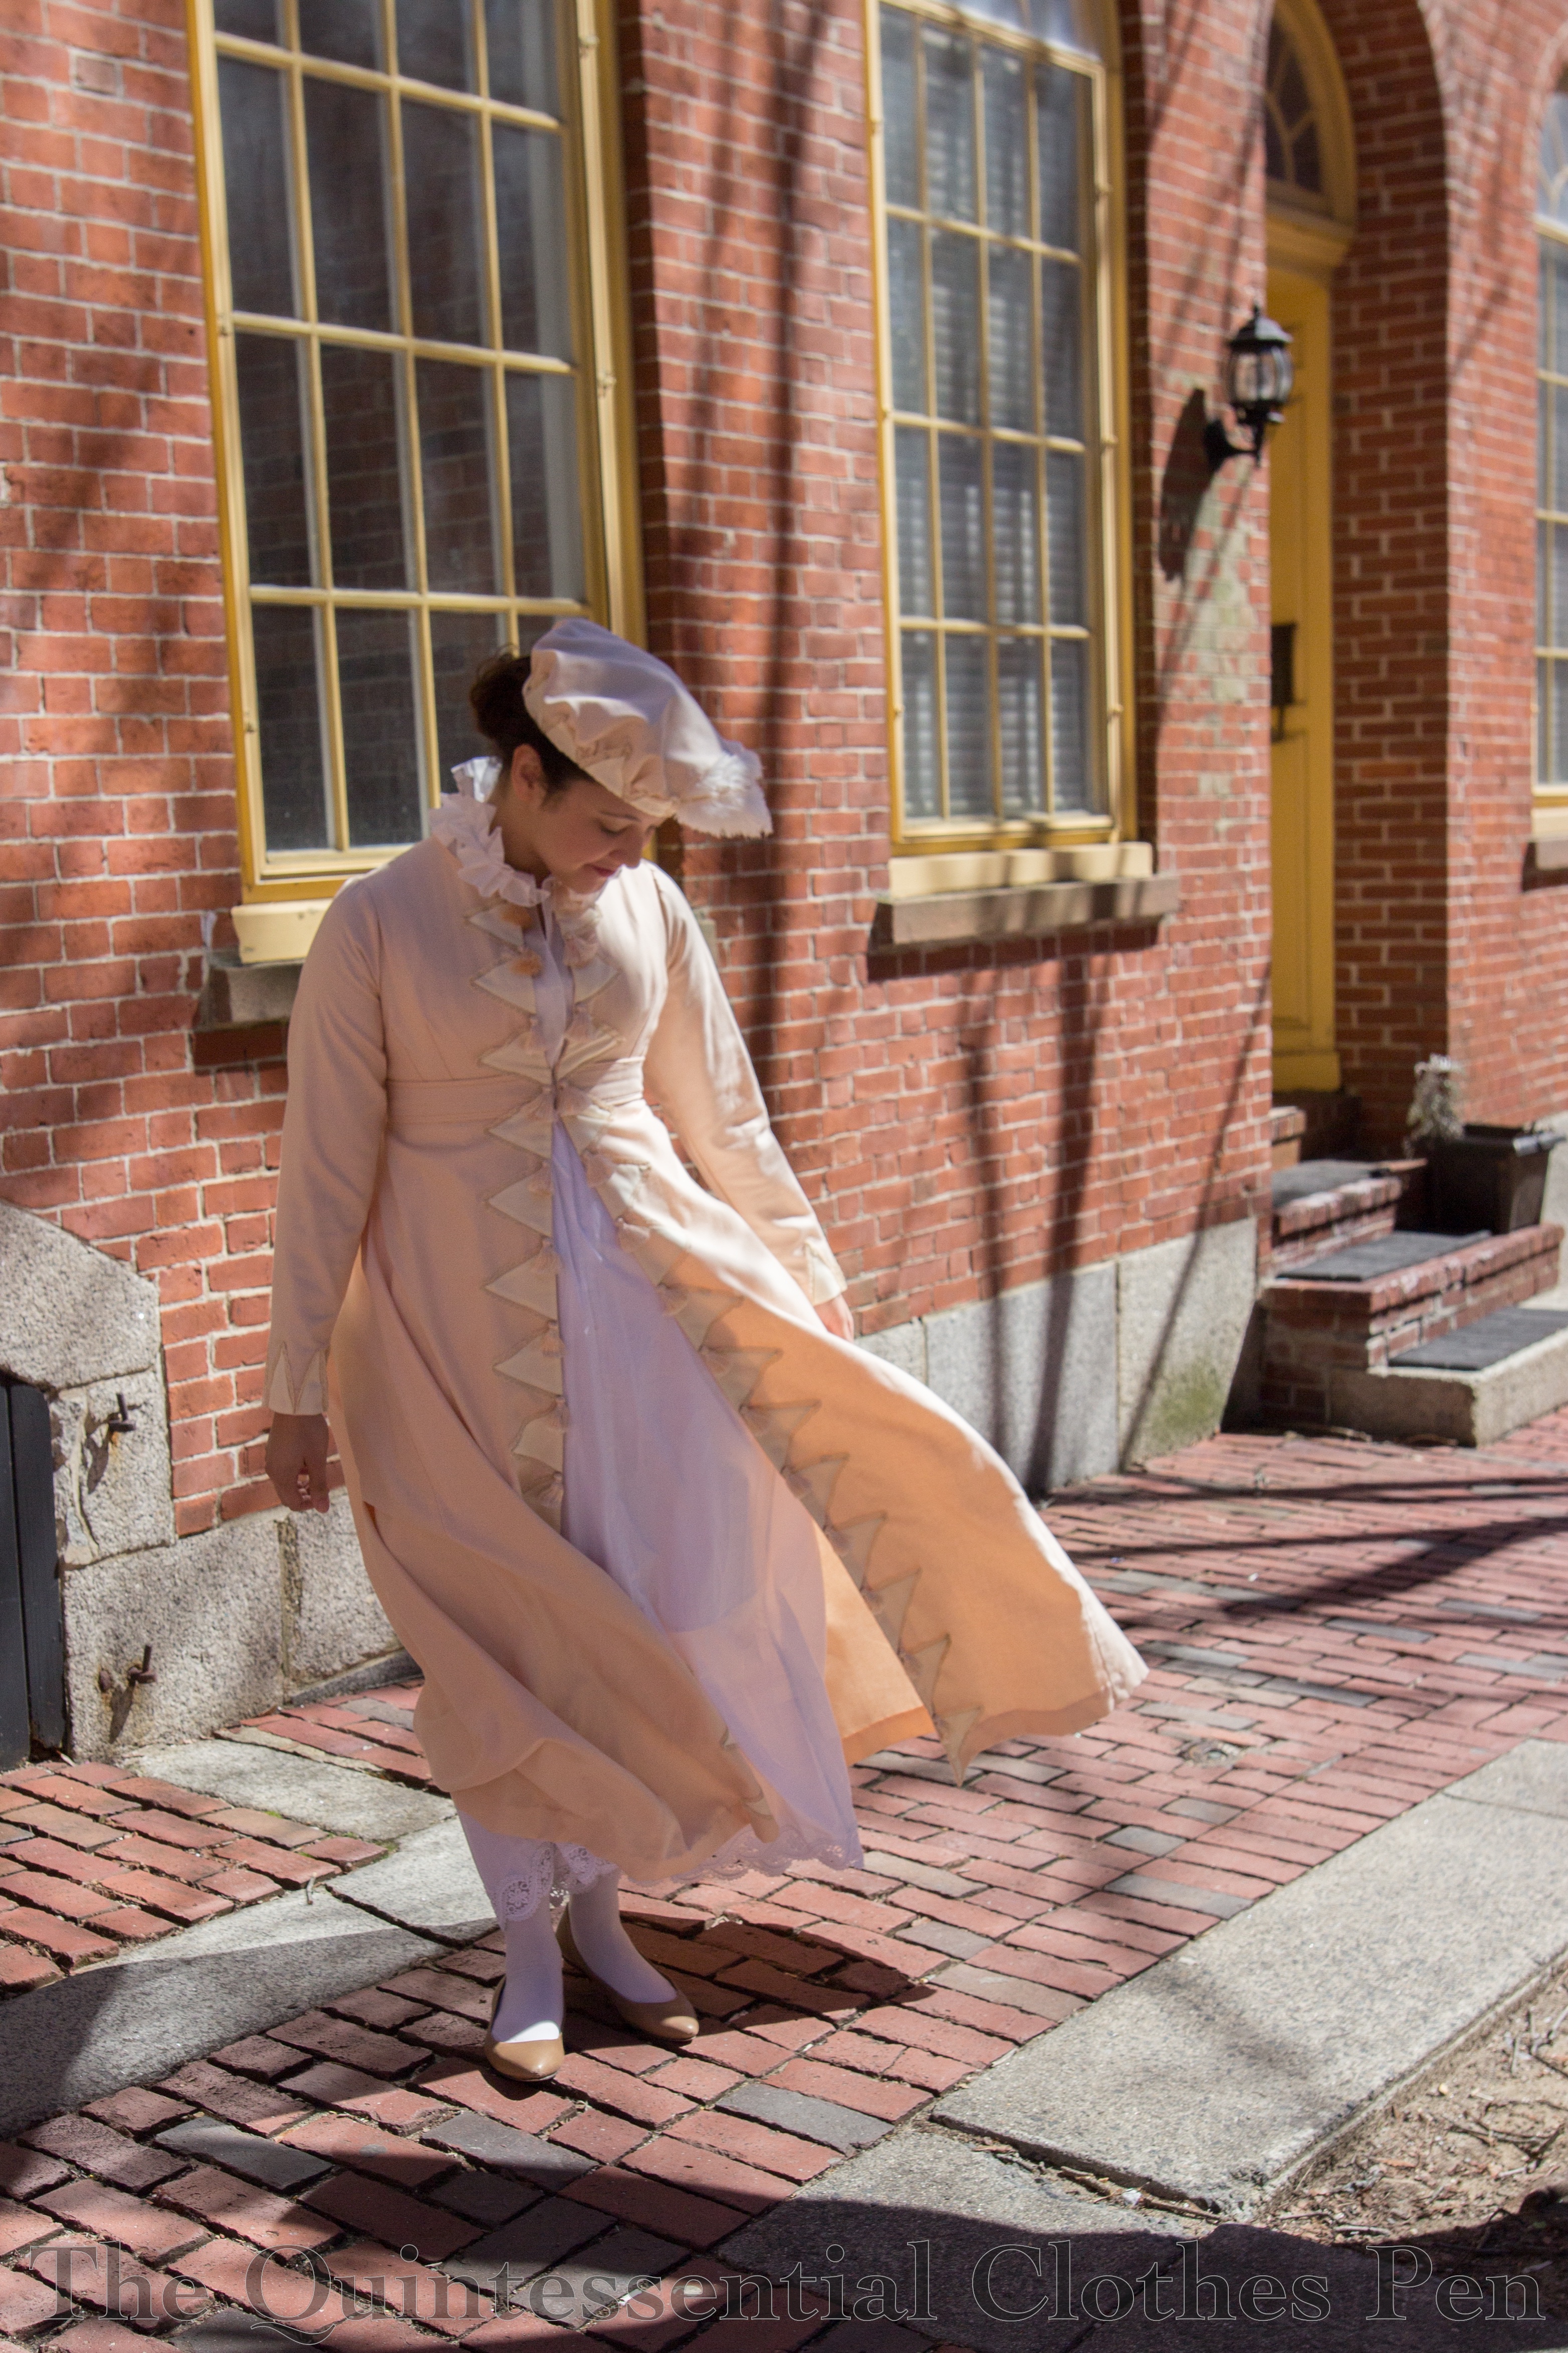
At least three years ago I was inspired by a fashion plate, as one often is, and started working on a Regency pelisse following the design in the image. I got really far along, finishing the construction and even part of the trimming, but then stalled and let the ensemble languish for years before determining to pick it up and finish it off this year or else! I’m excited to have finally reached a ‘done’ point in this project so I can remove it from the UFO list!

The pelisse (and hat) are directly inspired by the following fashion plate, which can be seen here with slightly different coloring and here in black and white. In the first of those two links, the garment is labeled as a dinner dress, but I thought the design would make excellent pelisse trimming and so I adapted it.

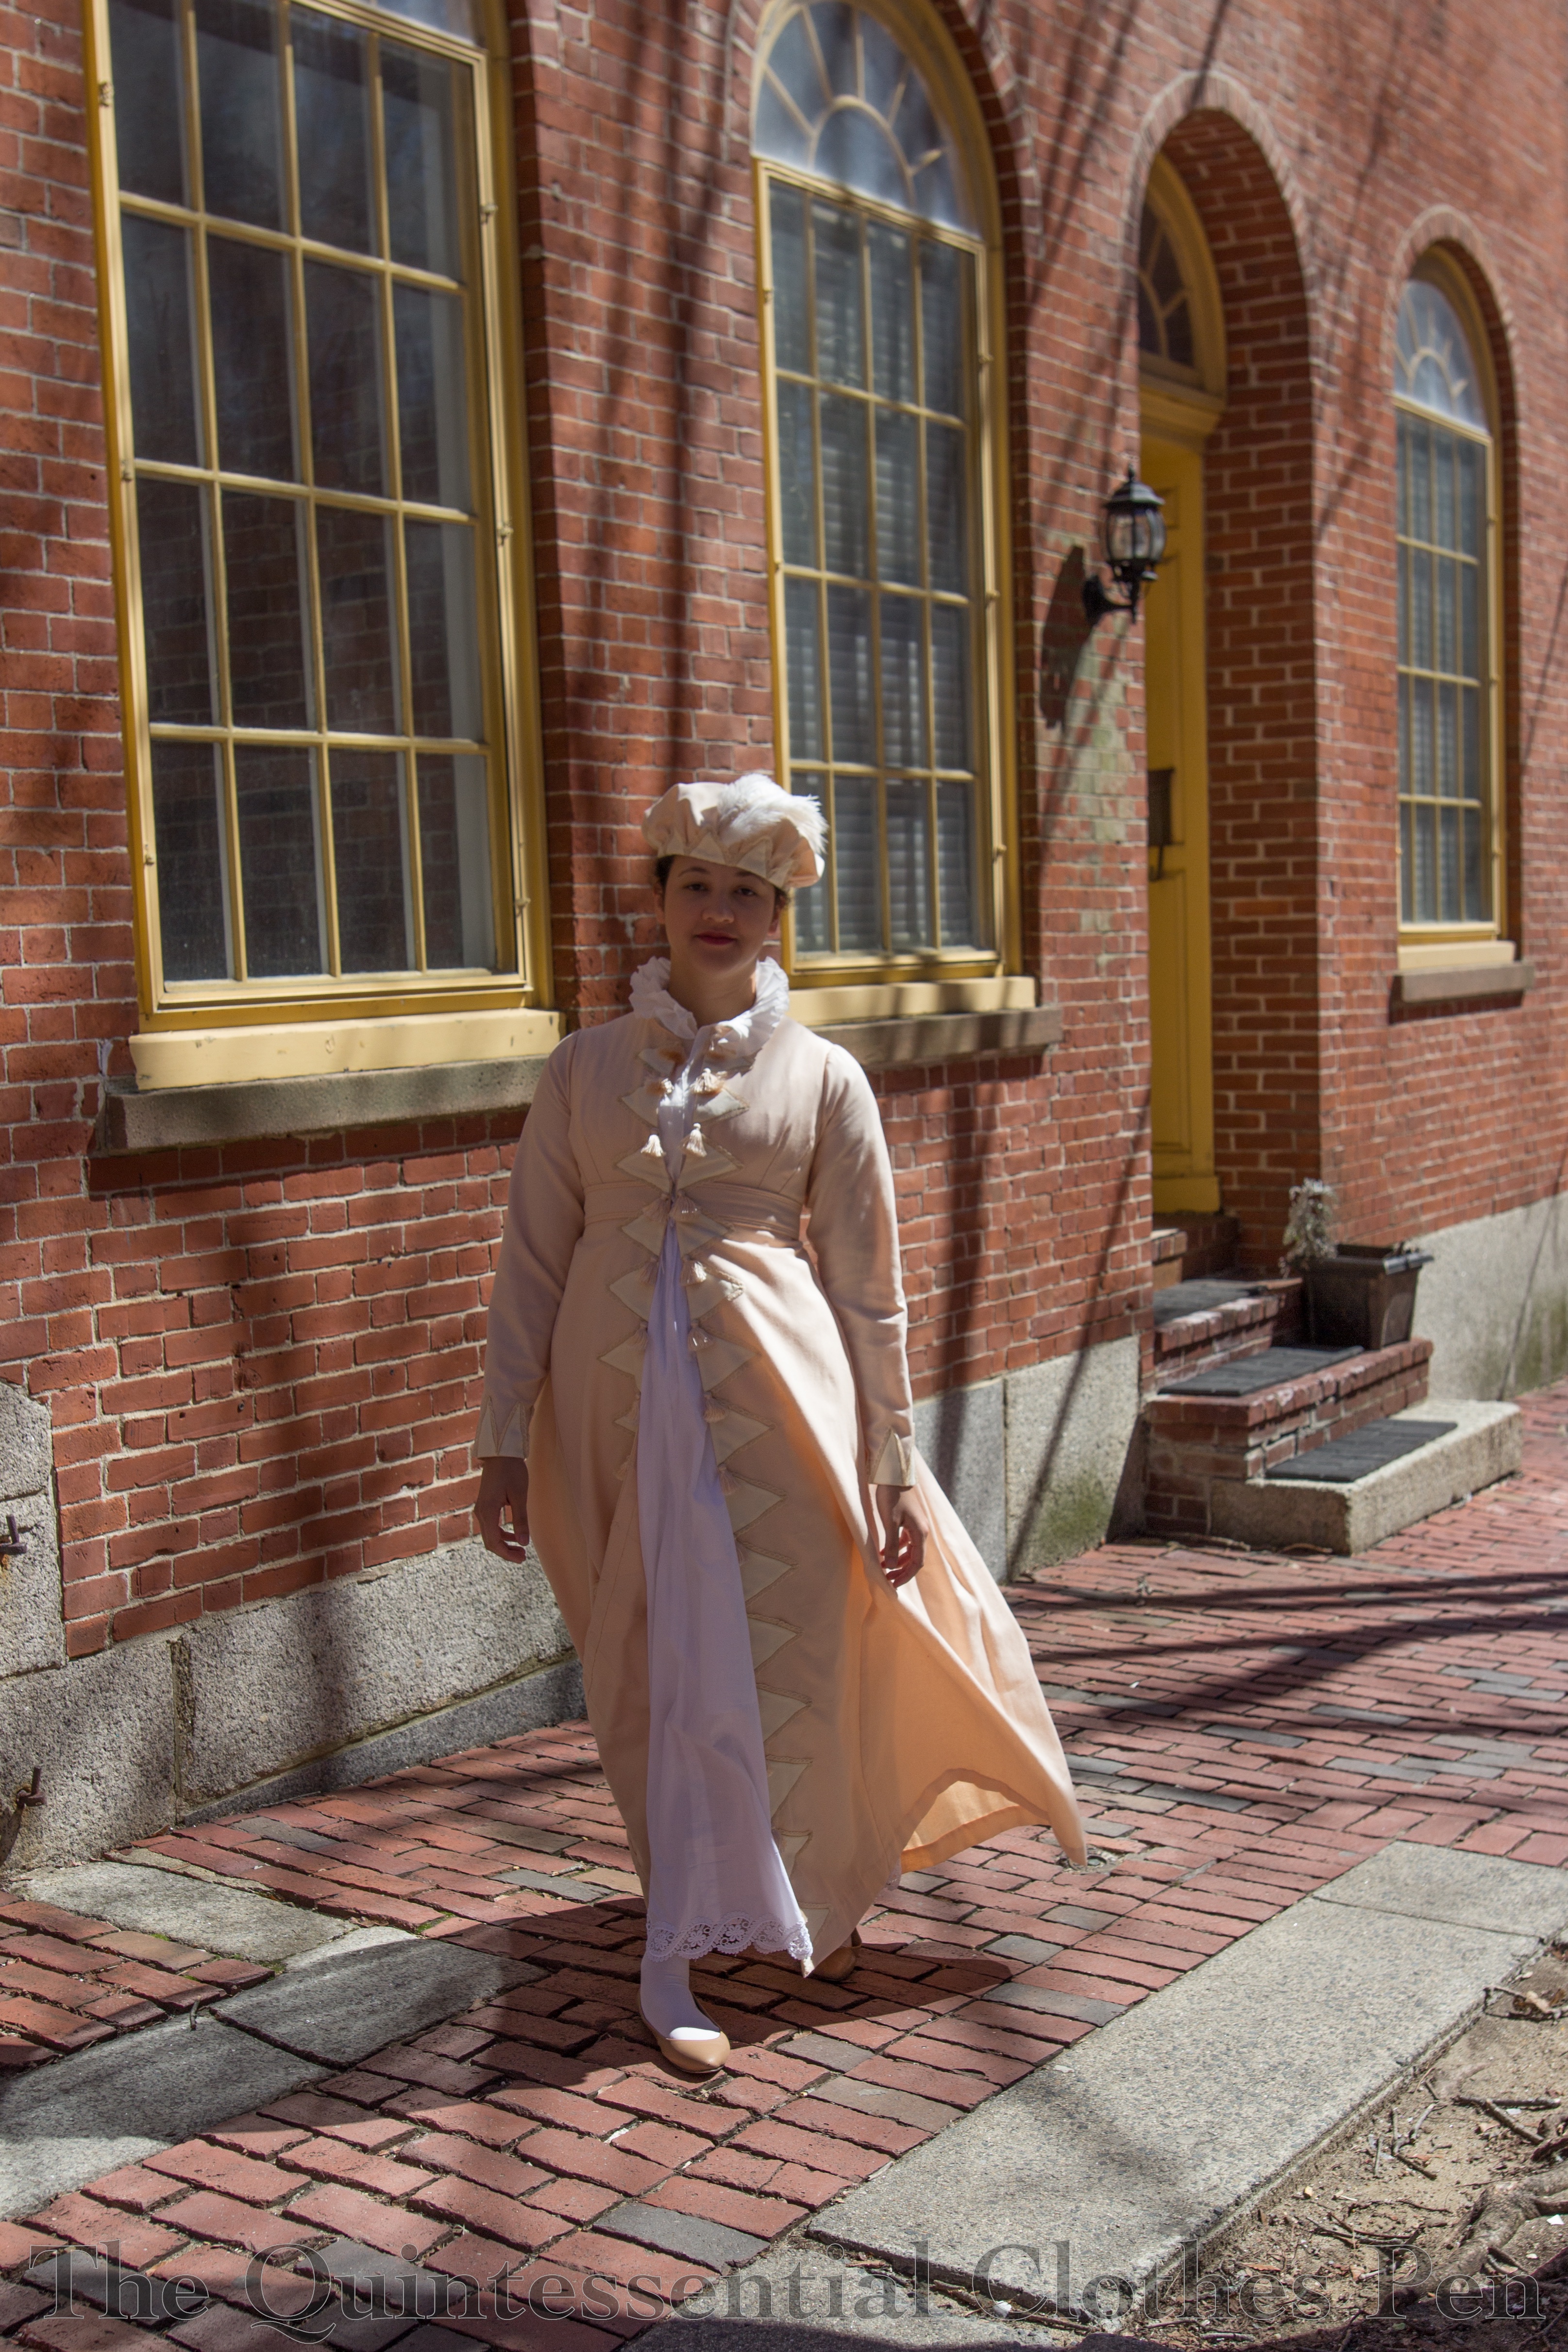
You’ll notice, perhaps, that the finished pelisse does not have as much trim on it as the inspiration image. Early in this project, before it languished, I cut out all of the appliqués for the neck, sleeves, and hem as well as the front edges. I pressed under a 1/4″ on each side of each piece, too. And then, as I was finishing all that triangle trim on the front earlier this year, two things happened:

#1- I lost steam and really just needed to be done with this project.

#2- I decided I liked the simplicity of the pelisse without the extra trim. It’s so easy to draw lots of details, but then in a real garment the details don’t always translate. For example, the triangles around the neck just looked bad and awkward (plus, I wonder if that is a chemisette collar and not trim on the dress itself?) and the sleeves just looked too crowded. I was also afraid that putting all that work into triangles around the hem would just get dirty and not be a good use of many more yards of the vintage lace I used to edge the triangles.

In fact, despite the somewhat-simplified trim, there are actually a lot of details in the construction of the pelisse. Each back seam is piped and the belt has double piping above and below it. The neck is bound with piping, which is sewn with small, invisible stitches around the neck to hold the seam allowance to the inside. Also, the skirt is knife pleated into the back, allowing for a nice silhouette from all sides.

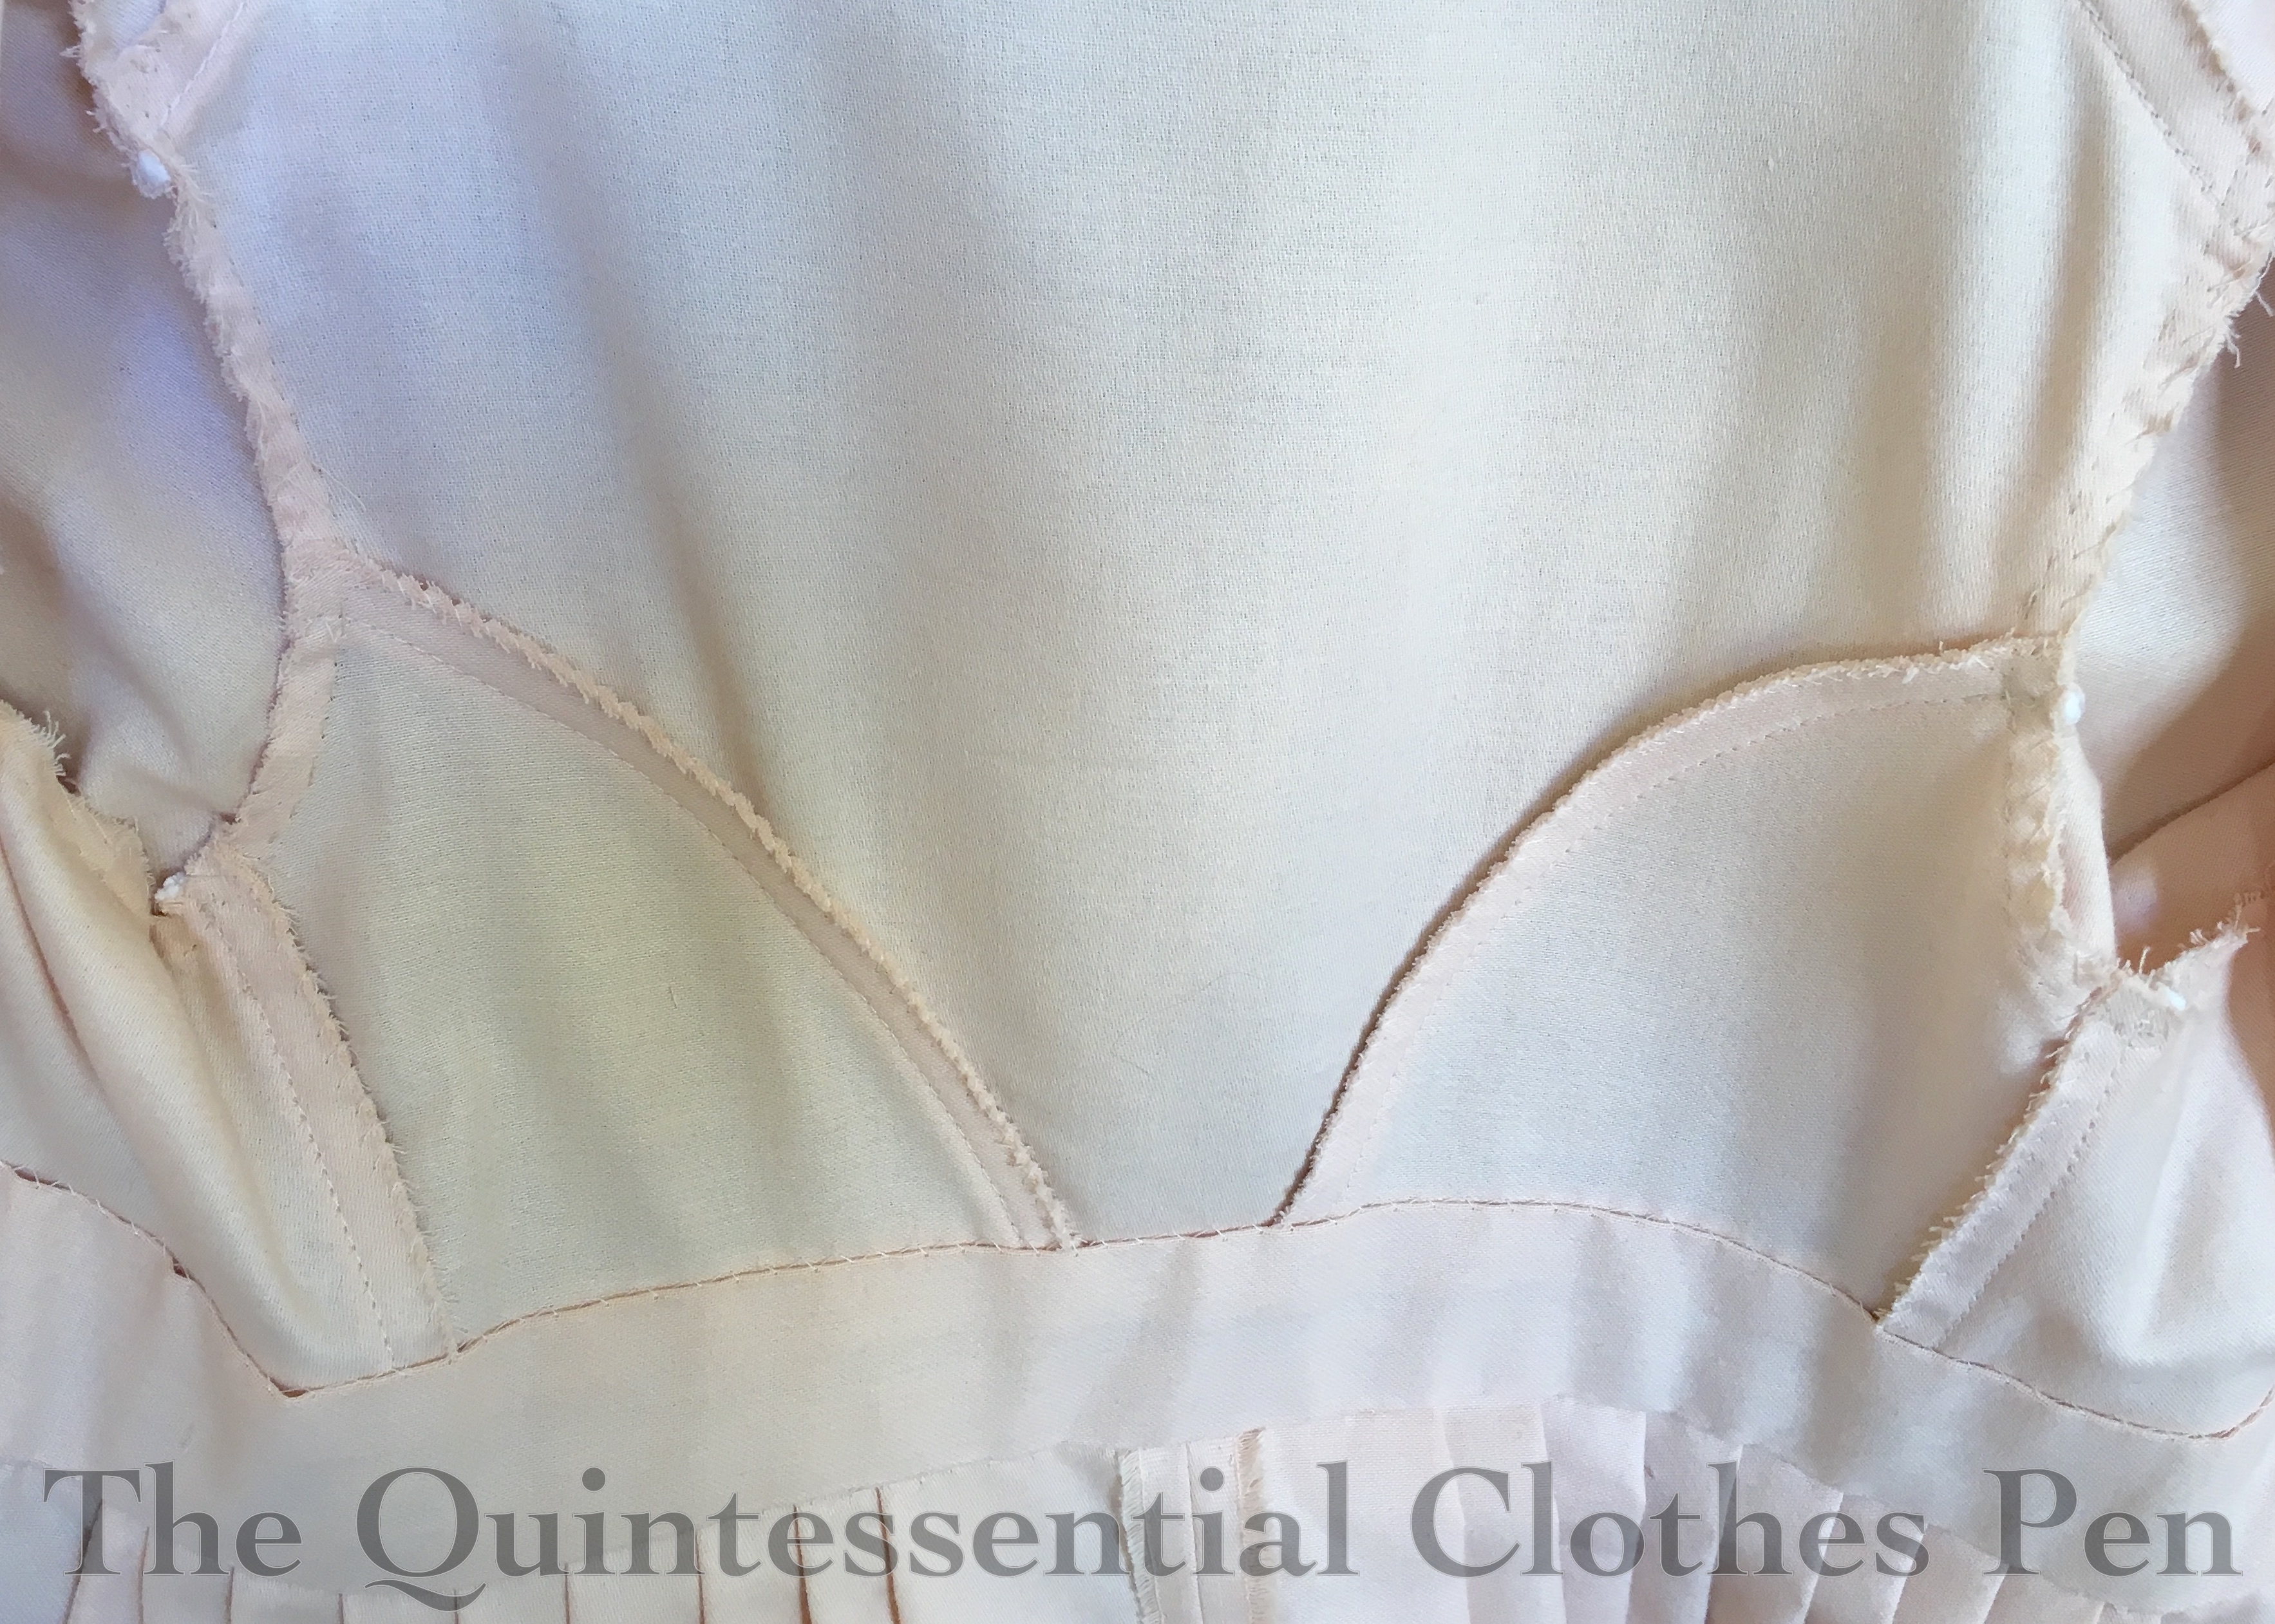
The pelisse is made entirely from peach colored cotton. It is unlined, except on the belt, where it is lined in order to hide the raw edges. The other seam allowances are whip stitched to keep them tidy. Here is an inside view of the bodice section. I do like my insides to be tidy!

The trim fabric is a cream colored poly/cotton blend. Each triangle is edged in very light tan vintage lace. Then, to top it all off, there are peach tassels on each triangle down the front as well. The peach tassels were removed from a length of upholstery trim that happened to be a perfect color match!

The pelisse is machine sewn on the interior seams and hand finished, including the hem, neckline, seam allowances, and all that trim. The darts are also sewn by hand with a small running stitch, a detail I picked up from looking at extant pelisses, though of course it’s been so many years now that I can’t find a specific example. I like how the top stitched darts at a little extra interest.

The pattern for this pelisse is of my own design. I’m pretty sure it was based on my 1819 spencer, but adapted slightly for a different fit. It’s hard to remember since it’s been so many years since I made the pattern! The skirt is a large rectangle–two panels of fabric seamed at center back.

I’m wearing the pelisse with the following garments: a chemise and my short stays, my Vernet petticoat , my recently finished chemisette, and the hat that matches the whole ensemble. I’m excited to have found a use for the Vernet petticoat that shows off the trim at the hem! I did take out the tucks that made it the right length for my Witzchoura so that it would be the right length for the pelisse, but that’s what tucks are for, right? On picture day there was a nice breeze blowing everything around and showing off all the layers nicely.

I was lucky to take these photos in and around some of the Regency period buildings in Salem, MA. You can’t beat buildings from the right period for a suitable backdrop for a garment like this!

Now I have my first pelisse. More outings will hopefully arise in the future so I can wear it again. I’m so glad I’ve decided it’s finished and that it was a comfortable garment to wear, though I maintain that the hat is a bit silly.


Orange Boven Hat, 1814 (HSM#4)

I am pleased to report that I made a garment which qualifies for the HSM challenge #4: Circles, Squares, and Rectangles! I wasn’t sure I had anything on the sewing list that would do, but then I remembered years ago when I started this hat and it was only two pieces, a circle for the crown and a rectangle for the binding. Perfect! (I’m not counting the triangular trim. That’s just the trimming!)

As you might guess from the photo, this hat is part of a matching ensemble: a pelisse and hat from 1814. I’ve got lots of details planned regarding the inspiration for this ensemble as well as more pictures of the finished outfit, but for now this teaser will have to suffice. It gives context to the rather silly hat.

Just the facts:

Fabric: Pale peach cotton and cream (likely) poly/cotton blend.

Pattern: My own based on my head measurements.

Year: 1814.

Notions: Thread, two ostrich feathers, and about 1 yard of vintage lace.

How historically accurate is it?: I’m going to go with 95% on this one. It’s entirely recognizable in its own time and made in a way that is straightforward and consistent with historic garments. The materials are not 100% accurate.

Hours to complete: If I’m only counting the hat, about 3 or 4, since it is entirely hand sewn.

First worn: April 9 for a Regency tea.

Total cost: About $8 for the hat without the pelisse.

A Chemisette (HSM #3)

I’ve wanted a Regency chemisette to complete my daytime looks since 2012, even going so far as to purchase a specific tool with the intent on using it for a chemisette ruffle. (Unfortunately, my cast iron crinkle cutter has been a very useful doorstop for the last few years but hasn’t been used at all for its actual purpose! To be fair, it still hasn’t been used for its actual purpose, but at least I know now that I have a chemisette pattern that fits, which makes me more likely to try it out for a more finely pleated collar version in the future.)

I’m so happy with this chemisette! I had sized up a chemisette pattern from Janet Arnold years ago, but it didn’t fit me as is, so for this I used the pattern for a pelisse I’m working on as a starting point for fit and the Janet Arnold pattern as a reference for grain lines and overall shape.

The fabric is ‘silky cotton voile’ from Dharma Trading. I used it for Annabelle, one of my mid-19th century dresses and had the perfect long straight scraps left for cutting out a chemisette! The weight of the fabric is lovely and so comfortable to wear and it’s nice and sheer just like a chemisette should be. Plus, it behaved so well, finger pressing as I did the seams and the pleats on the two collar layers.

I decided to add this garment to the list of Regency things I’m trying to get together for an event in April rather at the last minute. I was going on vacation with a very long travel time ahead of me and decided that having a hand sewing project would suit me very well. I found the time to cut the pieces and then hand sewed most of it while I was away, using nail clippers as my scissors. (I didn’t want to get in an argument with TSA about how the length of the blade on my thread snipping scissors actually is within their regulations.)

The chemisette uses a combination of running, whip, and slip stitches for the seams and narrow hems. It ties below the bust using a 1/4″ cotton twill tape. I thought of putting a closure at the neck, but decided against it as there are images of chemisettes being worn open at the neck (like this) and I really like that look on me rather than the head-on-a-platter look of it closed (see a mix of styles including that here). If I had closures but decided to wear the chemisette open at the neck you would see them and I don’t love that idea.

March’s HSM challenge is The Great Outdoors and I’m calling this chemisette a fit for the challenge, as I intend to wear it with a pelisse for an outdoor promenade. Plus, chemisettes are useful for protecting the skin from the sun (which of course you are so much more likely to be exposed to while outdoors!).

So, here are just the facts.

Fabric: Leftover bits of silky cotton voile from another project.

Pattern: Based off of my own, but referencing those in Janet Arnold.

Year: c. 1810.

Notions: Thread and 1/4″ cotton twill tape.

How historically accurate is it?: I’m going to go with 100% on this one. The materials are good and so is the method.

Hours to complete: I didn’t pay attention because I was leisurely sewing this while on vacation. Maybe 8-10?

First worn: Will be worn in April.

Total cost: All from the stash! Free!

HSM #1: Brown Silk Petticoat

While making my 1832 velvet gown at the end of last year, I decided that a generic 1830s/40s petticoat might add to the silhouette, besides being elegant and fun to own. Silk petticoats remind me of Mammy, in Gone With The Wind, who is very excited (and a bit scandalized) about a red silk petticoat gifted to her by Rhett.

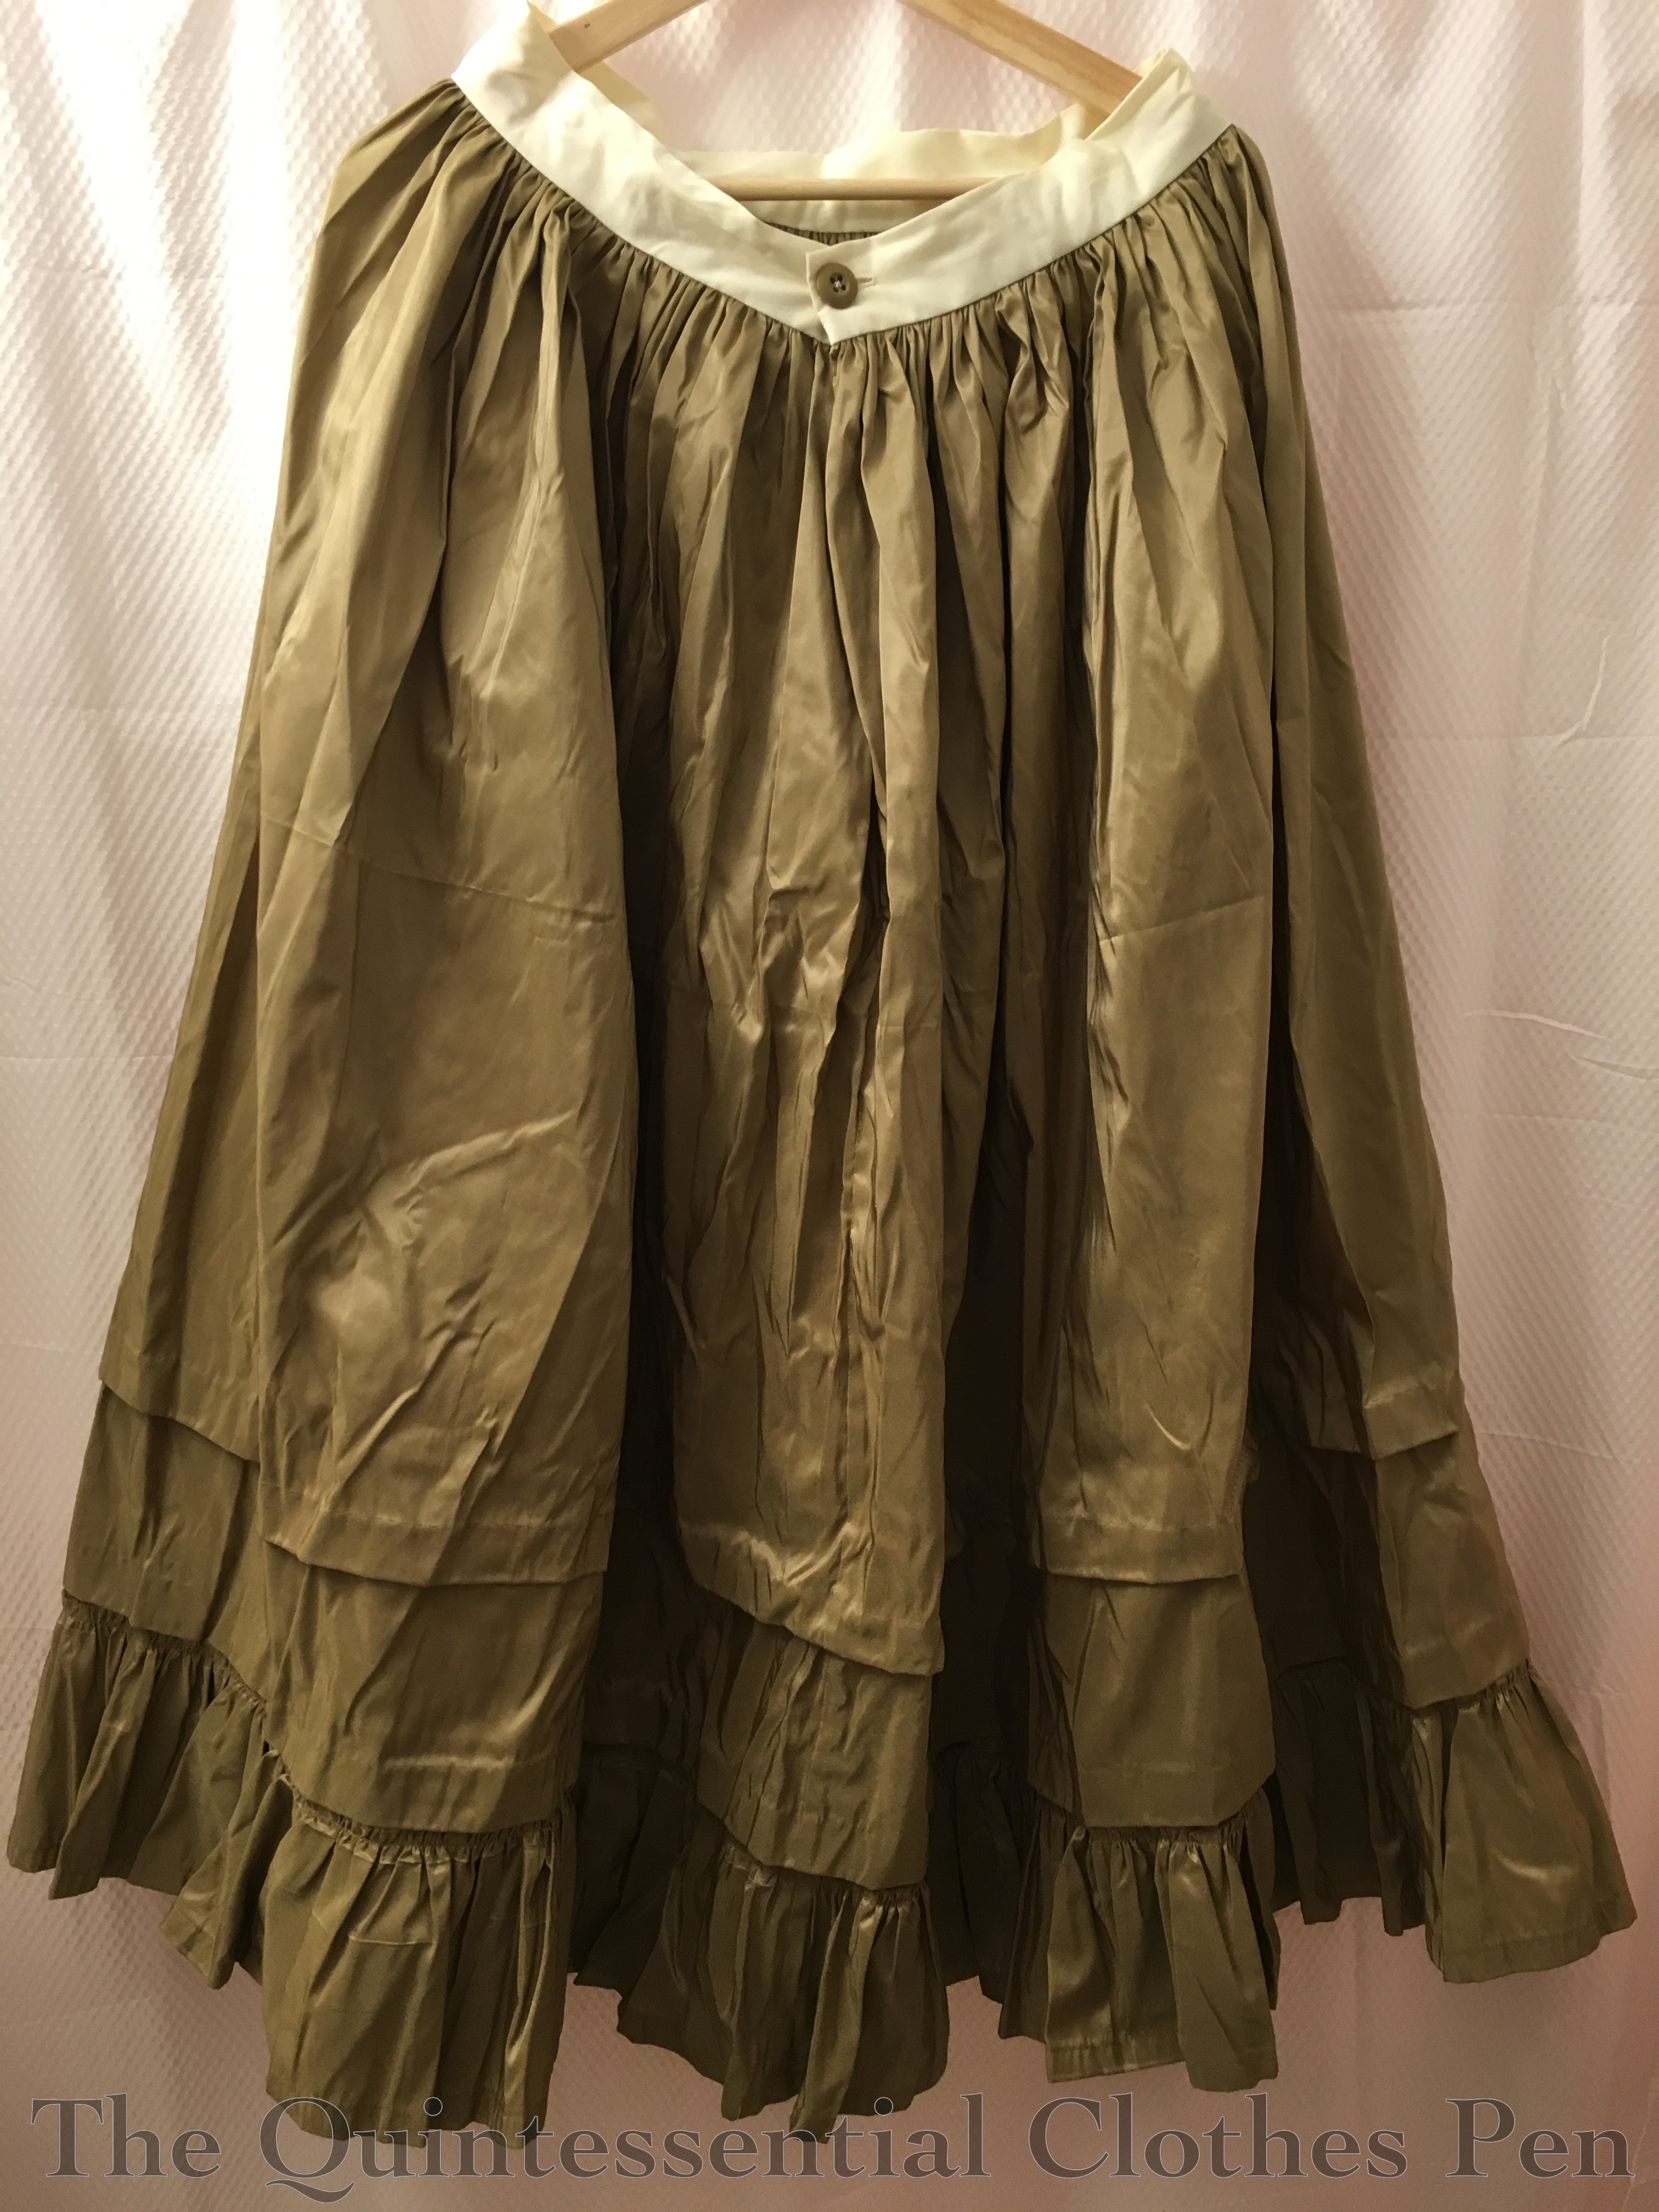
I had purchased this silk taffeta a number of years ago on clearance, but it was languishing in the stash due to its unflattering shade of brown. I had 3 yards, which was just right for a petticoat. And since the garment is never seen nor worn near the face, the color was perfectly suited to the project.

img_2372

I made a tube of the yardage, then cut off the excess length and used that to make the ruffle. I had thought of making the ruffle twice as high, but realized that I needed to have more than a 1:1 ratio to gather… duh! I was sick while making this and clearly my head wasn’t working terribly well. Anyway, I cut my tall ruffle in half to make a 2:1 ratio and that was that.

The waistband is made of small bits of leftover cotton from some other project. There is evidence of quilted petticoats from the 1830s and 1840s having waistbands made of other fabrics, which was my inspiration (examples can be found here, here, and here). It was a perfect idea, as I was trying to make the best use of my fabric and I did not want to cut a waistband piece out of it.

Petticoats of this type also sometimes close with buttons (like this one), so I chose to close this petticoat in that way as well. It used up a single, random, khaki colored button from the stash and matches the fabric perfectly!

img_2373

I added tucks to the petticoat after trying it on with the 1832 dress and realizing it needed to be shorter. Those are hand sewn, but the rest of the construction was done on a machine except for the buttonhole and sewing down the inside of the waistband.

This garment fits the first HSM challenge of the year, Firsts and Lasts (create either the first item in a new ensemble, or one last piece to put the final fillip on an outfit), as it was the start of the 1830s ensemble.

Just the facts:

Fabric: 3 yards brown silk taffeta.

Pattern: None. Just rectangles and math, sort of.

Year: 1830s/40s.

Notions: Thread, a button, and a cotton scrap.

How historically accurate is it?: I’m going to go with 95% on this one. The materials are good and so is the method. The only thing off is the machine sewing and the plastic button.

Hours to complete: Not many, for me. Maybe 10? It didn’t help that I was sick  and not thinking straight.

First worn: December 10 for a ball.

Total cost: $18.

Vernet Project: Witzchoura Construction

This is the last post about the construction of my amazing 1814 Vernet Project. I really enjoyed doing the research and making the parts of this project. It was great fun and such a lovely learning experience to be part of the group of people making Vernet ensembles. And I was able to wear most of the ensemble for more than just pictures! I hope to find future reasons to wear these again!

I’ve been saving the best for last–the construction of the main piece, the witzchoura itself. As with all the other pieces in this ensemble, the witzchoura is entirely hand sewn. It is made up of a faux fur lining and an exterior of silk taffeta flat lined with cotton flannel and trimmed with more faux fur. Here are some in progress photos.

img_2202-1
Faux fur lining made up but not set in.
img_2205-1
A seam and bust darts in the faux fur lining. The edges were cut without seam allowance, butted together, and whip stitched.
img_0264-1
An interior view of the in progress witzchoura, showing the back pleats and cotton flannel interlining. I believe at this point I had attached the hood/collar as well as the faux fur lining at the neck but had not yet sewn the center front edges together.
img_0278-1
The exterior silk/flannel layer was pleated, but the fur was gathered (it wound up resembling cartridge pleats) to the bodice.
img_0274-1
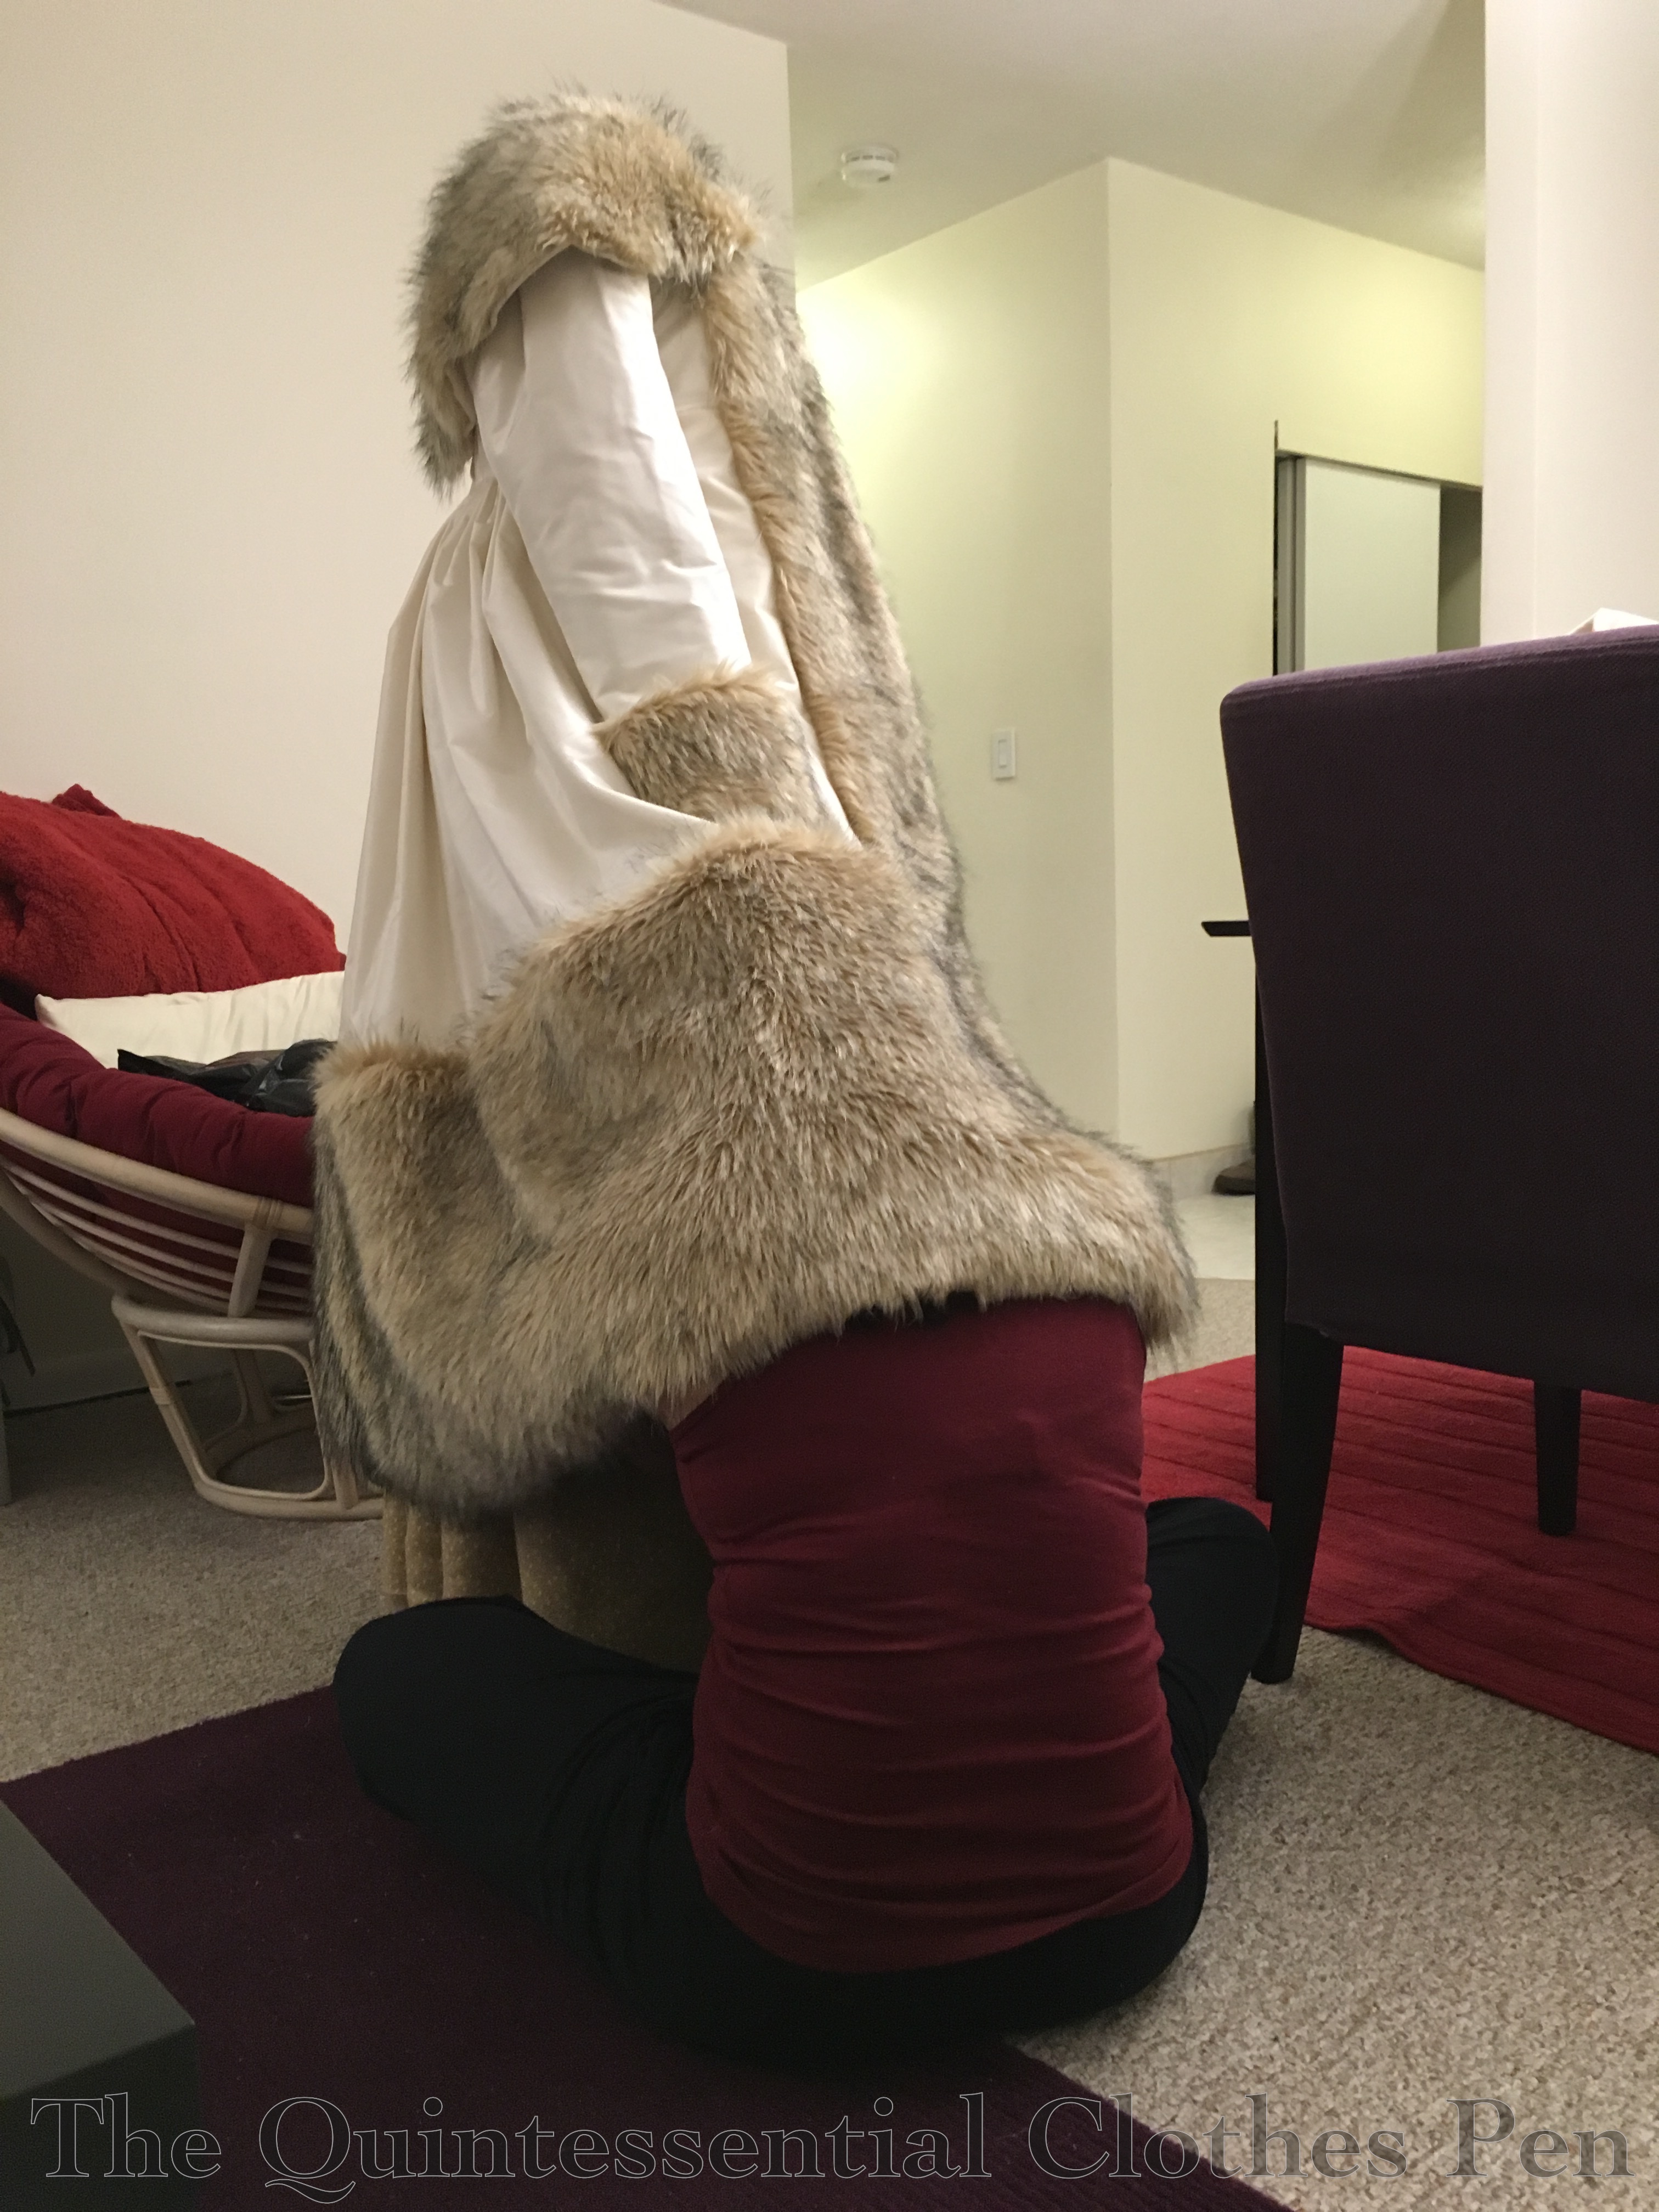
After attaching the front edges of the exterior and lining I put the witzchoura on squishy to look at the hem lengths. In doing so, I found a few places where the exterior needed to be invisibly tacked to the lining, which is why I’ve got my head between the layers!

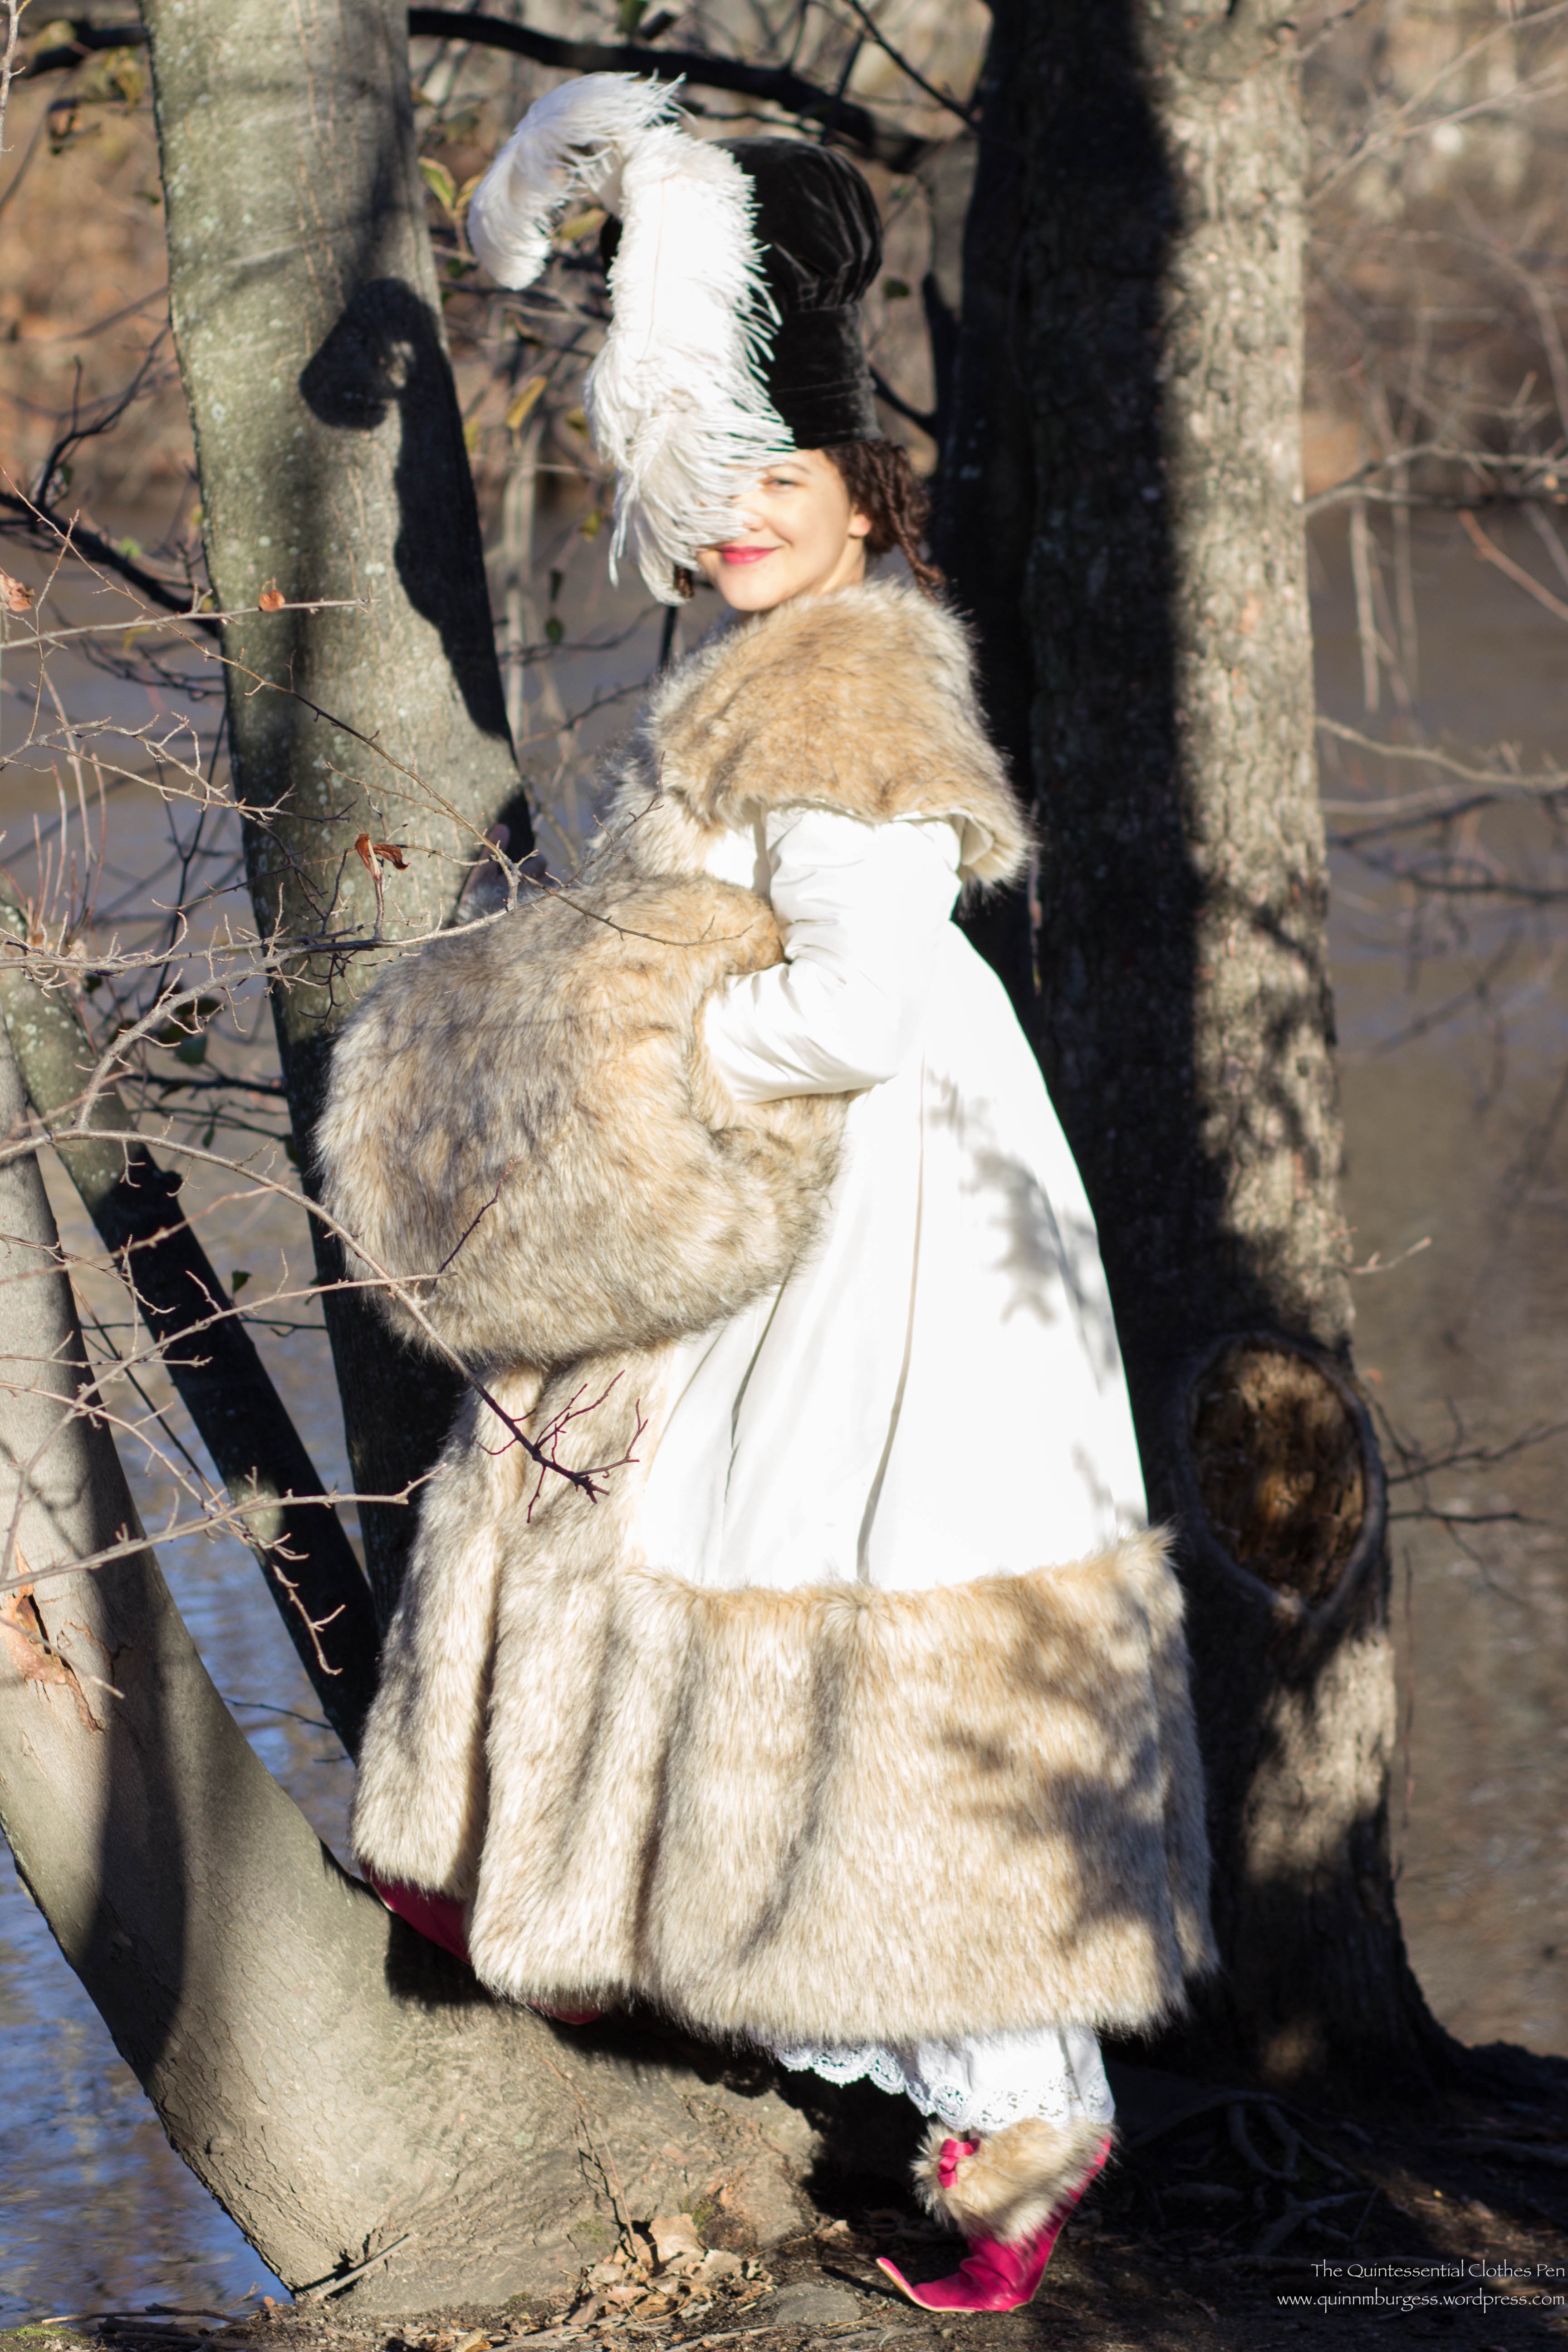
Ta da! The finished witzchoura with all of the lovely accessories. It certainly is a luxurious looking and feeling ensemble!

img_1860-1

I thought I would address a few other points as well. Some people have been waiting for answers to these questions for a long time! Thank you for your patience as I waited to answer your questions until now in order to keep everything together in terms of information.

Is it heavy to wear?

No, once dressed, the ensemble does not feel heavy. But, when holding it, or hanging it, or putting it on, YES, it feels quite heavy! It’s a fair bit of fabric, with three layers, and the faux fur gets heavy quickly with such yardage.

What is the weight? How does it compare to a heavy wool winter coat, for example?

Oh dear. I’m very bad at estimating this. I like the comparison question better! If you’ve ever held a very heavy, thick, full length winter coat, I think this is probably similar in weight. But compared to anything less, it would feel heavier.
Is it easy to walk and move with such an enveloping set of objects?

This is the sort of question I would want to know the answer to! Yes, it’s easy to walk. The ensemble does not restrict leg movement. I can also move my head with ease, because the hat sits low enough that it is well anchored and not going anywhere. However, the witzchoura does restrict arm movement some. For example, putting it on without just the right movement (which is lifting it up and behind and then sliding both arms in at the same time) doesn’t really work. And once it’s on, there’s only so much forward and backward arm movements that are possible. Lifting arms is better, but still not full range of movement. Each layer by itself has more possibilities, but the faux fur fills a lot of space inside the silk exterior. This makes it quite warm, but feels a little bit like wearing a marshmallow.

I hope you’ve enjoyed my Vernet journey! If you have any other questions about the ensemble please let me know. I would be happy to answer them!

Vernet Project: Petticoat and Muff Details

As the end of this year draws nearer, I feel the urge to complete my plan to share all the details of my 1814 Vernet Ensemble before the end of 2016. In order to do that, I have the smaller garments to discuss (petticoat and muff) and the witzchoura itself, which I know some people have had questions about for probably about a year. Sorry to keep you waiting!

As I’m saving the witzchoura to be the grand finale, today I want to share some details about the petticoat and muff. First, here are some repeat pictures of the full ensemble in case you’ve started reading since this project was unveiled. Both of these pictures are from my Vernet Project photo shoot in 2015. They give you a good glimpse at the petticoat and the muff.

IMG_1985

The muff exterior is the same faux fur as the trim on the witzchoura. The lining is an ivory cotton flannel, which feels warmer on the hands than a silk lining and which I don’t think is out of the realm of possibility in terms of historical reasonability (a theory I have tested out with multiple muffs over the last few years).

In order to get the distinctly Regency style of a beehive style muff, the inner flannel lining is substantially smaller in dimension than the exterior fur. Layers of high loft polyester batting fill in the shape and the fur actually wraps to the inside of the lining for a few inches on each side and is gathered to fit the smaller circumference of the lining. The result is a very large and very cozy muff. (This method is different than making the interior and exterior the same or similar in dimensions, resulting a muff that looks like my 1822 one. The blog post sharing details about that muff has lots of great images of both types of muffs from this period, if you want to see more. Also, it’s worth noting that polyester batting would not have been used to keep one’s hands warm in the early 19th century, but that I chose that materials because I had it on hand and it is not visible.)

IMG_2004

The petticoat is the only piece of my Vernet project that existed before I agreed to participate. It started life as part of a dress, but was removed and languished for years. Turns out I had made it too narrow to dance in, which isn’t very useful in my life. On the bright side, I had just enough of the cotton fabric left to add another panel, thus making the hem circumference much more wearable.

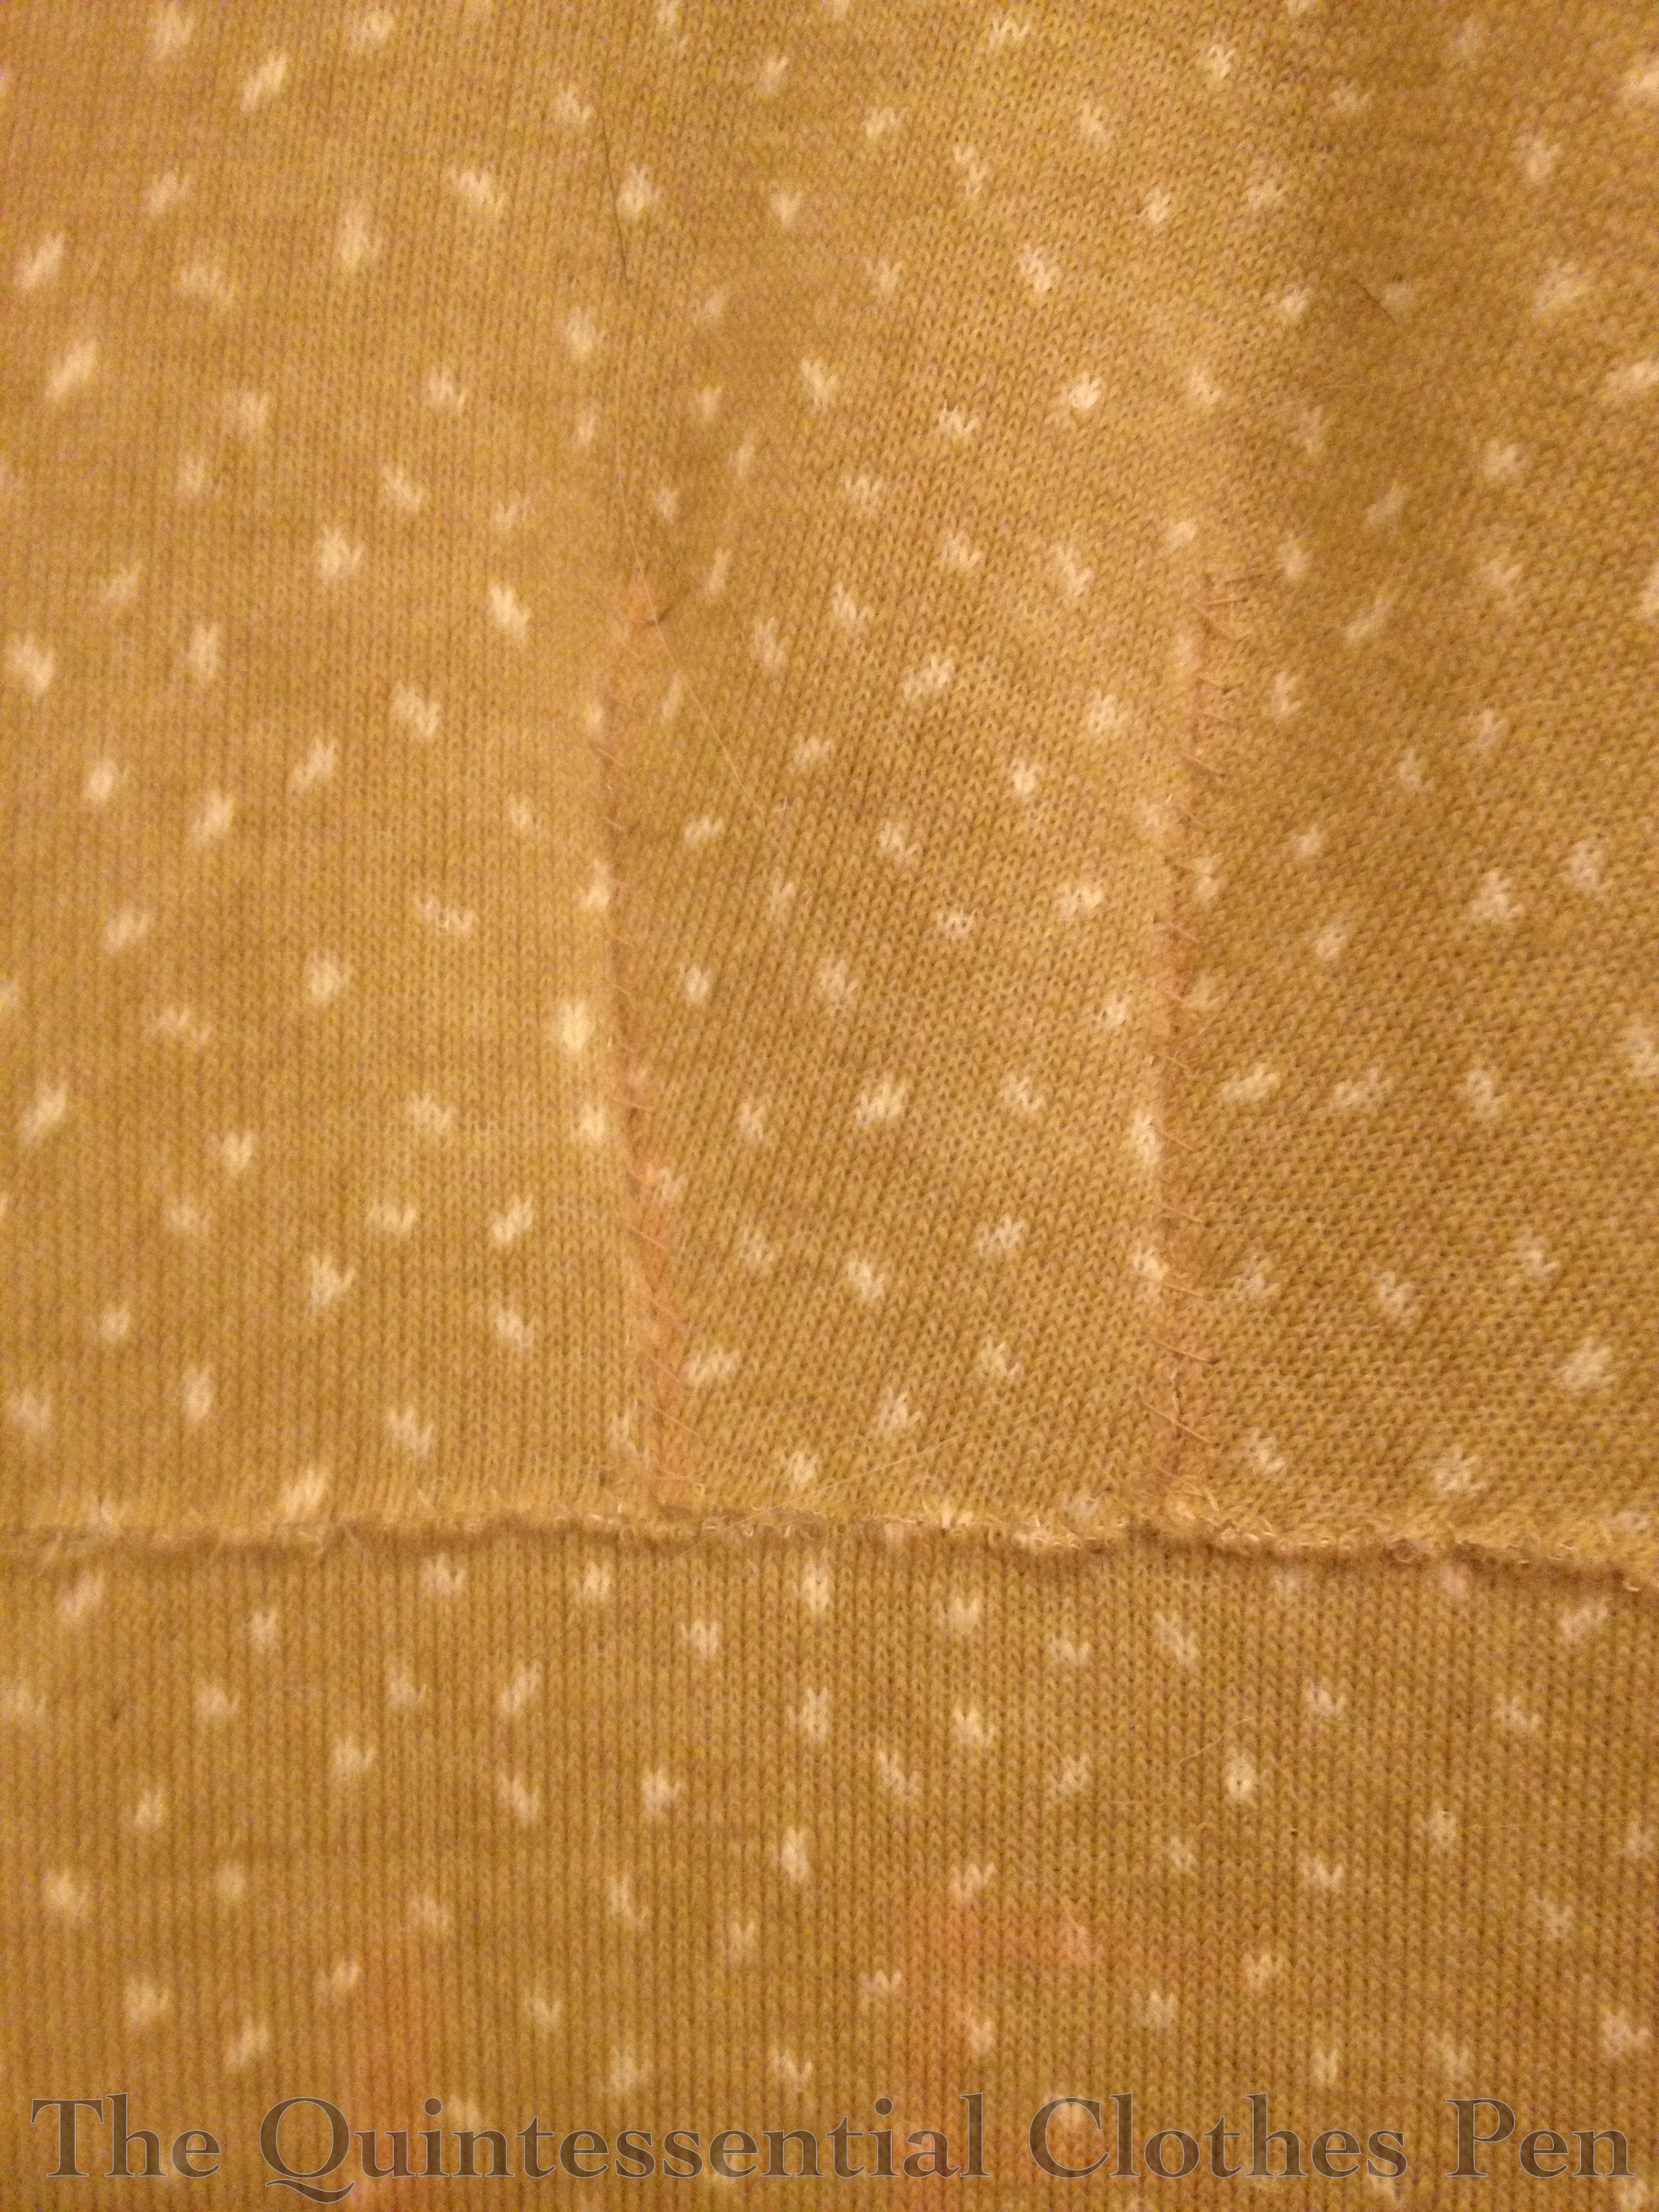
The petticoat had an attached sleeveless bodice before the addition of extra fabric in the skirt, so after adding fullness I was able to simply reattach the bodice. The edges of the bodice are narrow hemmed and it closes at center front with a tie at the waist and a button and loop at the bust. This past blog post discusses extant sleeveless underdresses or petticoats such as this. As with everything else in this project, both this petticoat and the muff are entirely hand sewn.

img_1632-1

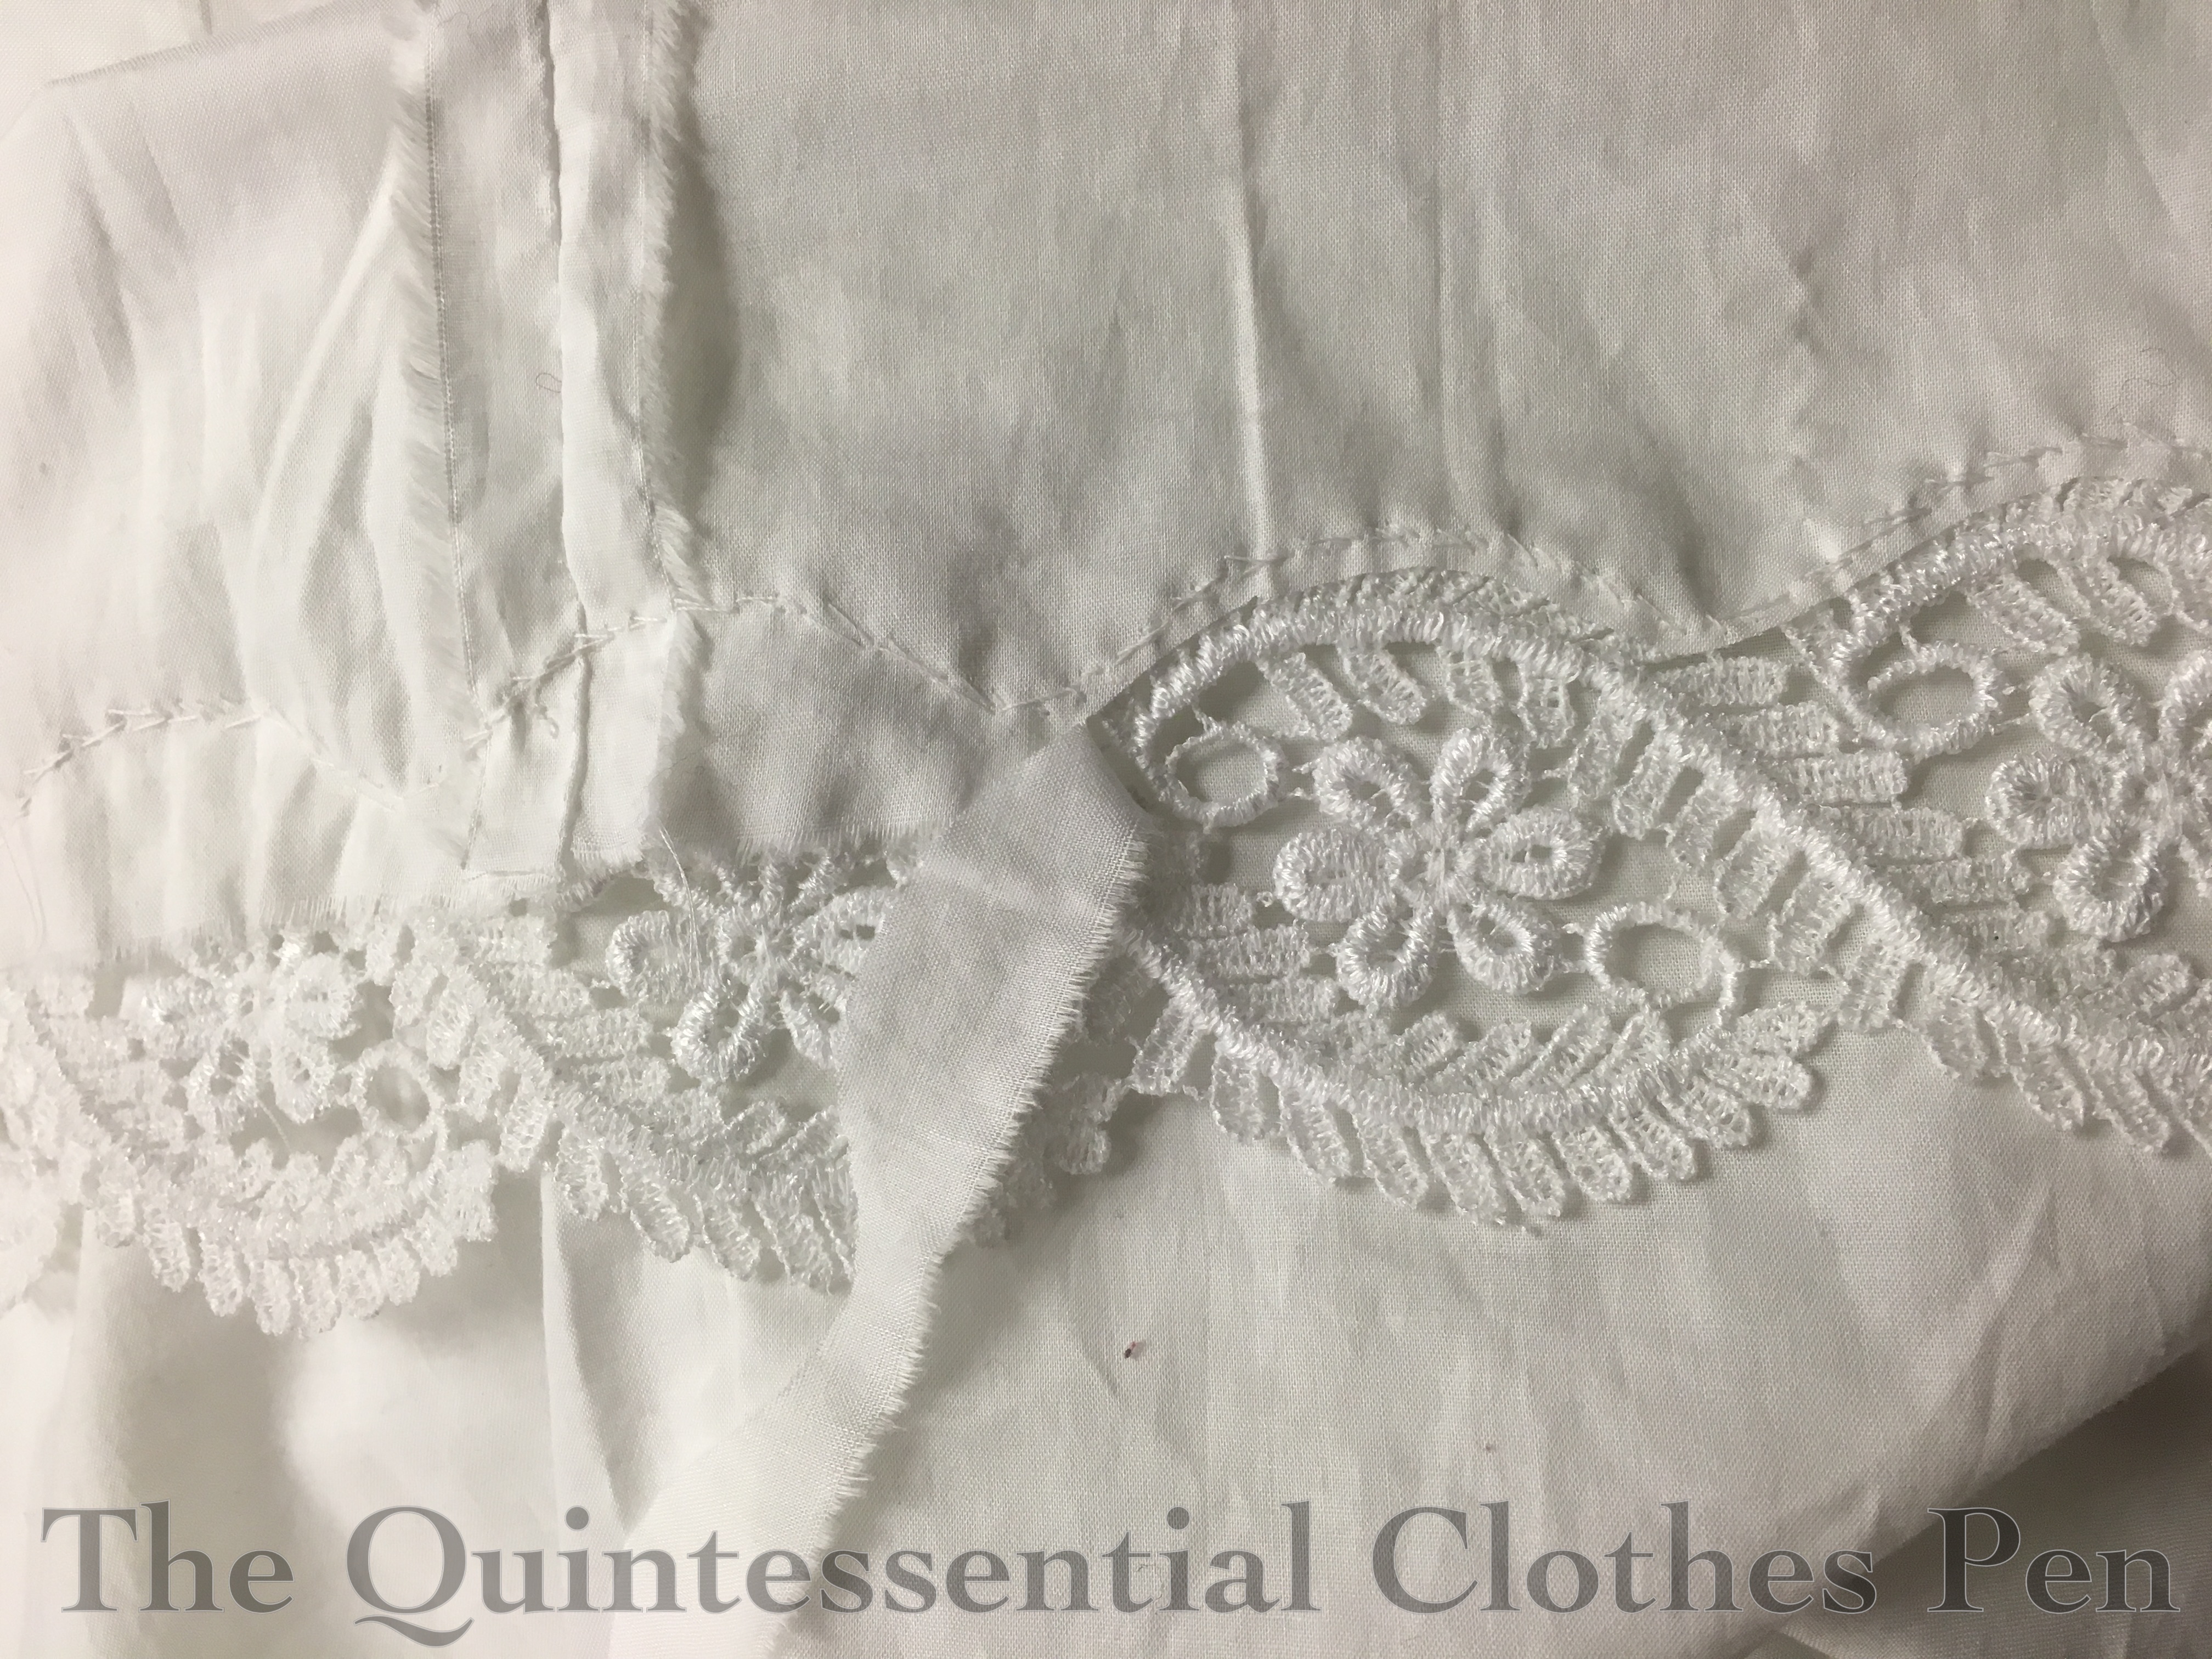
The only other changes I needed to make to the petticoat to use it for the Vernet Project were at the hem. I started by adding lace that mimicked the shape of the embroidery seen in my Vernet fashion plate. I whip stitched the lace on with small stitches and then cut away the fabric behind the lace, creating a lovely scalloped hem.

img_0284-1

After trying on the petticoat with the finished hem, I decided it was too long and took a tuck above the hem to shorten it. You can see the tuck in one of the photo shoot pictures early in this post.

This final picture is from when I was hemming the witzchoura. While I had that garment on the dress form I also put the petticoat on to determine the placement  of the lace on the previously hemmed petticoat.

img_0279-1

And that’s it! Those two garments were minor in scale compared to the toque de velours, silly shoes, and the witzchoura itself, both in terms of materials and sheer volume of work involved.

Sophie, 1861 Cotton Print (HSM #8)

Last week, I introduced Eleanor, a newly made plaid gown from 1862. Today’s introduction is to Eleanor’s friend, Sophie. Sophie actually came first, back during the summer when I was intending to participate in the same dance performance for which I’ve worn Georgina in the past (here are a selection of past posts about Georgina: the construction which is similar in some ways to Sophie, Georgina in action, and Georgina with a new collar).

This year, the performance was rescheduled due to rain and I couldn’t attend the new date, meaning that the new dress, Sophie, languished until October, when I was able to wear it during part of a recent mid-19th century dance weekend. The nice thing about the delay is that the pictures all have stunning fall leaves, which would not have been in the case in the summer.

img_3450-1

Also, had I worn this dress on the first intended date, it would not have been entirely completed. Having extra time allowed me to officially finish all the trim and closures which made this dress the perfect entry for the Historical Sew Monthly challenge #8 “Pattern – make something in pattern, the bolder and wilder the better.” I didn’t have any pictures of the dress on a body at that point, so I submitted a rather sad picture of the dress on a hanger at that time. It’s exciting to have real pictures now!

Just the facts:

Fabric: 7.5 yards cotton print.

Pattern: Adapted from Past Patterns #701, 1850-1867 Gathered and Fitted Bodices.

Year: 1860-1863 based on my extant inspiration, but I’m calling it 1861.

Notions: Thread, hooks and bars, muslin scraps, and narrow yarn for cording.

How historically accurate is it?: I’m going to go with 95% on this one. This is as accurate as I can be given the research I have done and the materials I used, though the use of a facing on the front edges is guesswork. Regardless, this would be entirely recognizable in its time.

Hours to complete: Unknown. A fair bit.

First worn: October 23 for an afternoon tea and dance games.

Total cost: $23.

img_3451-1

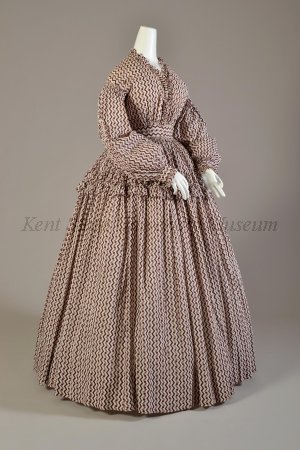
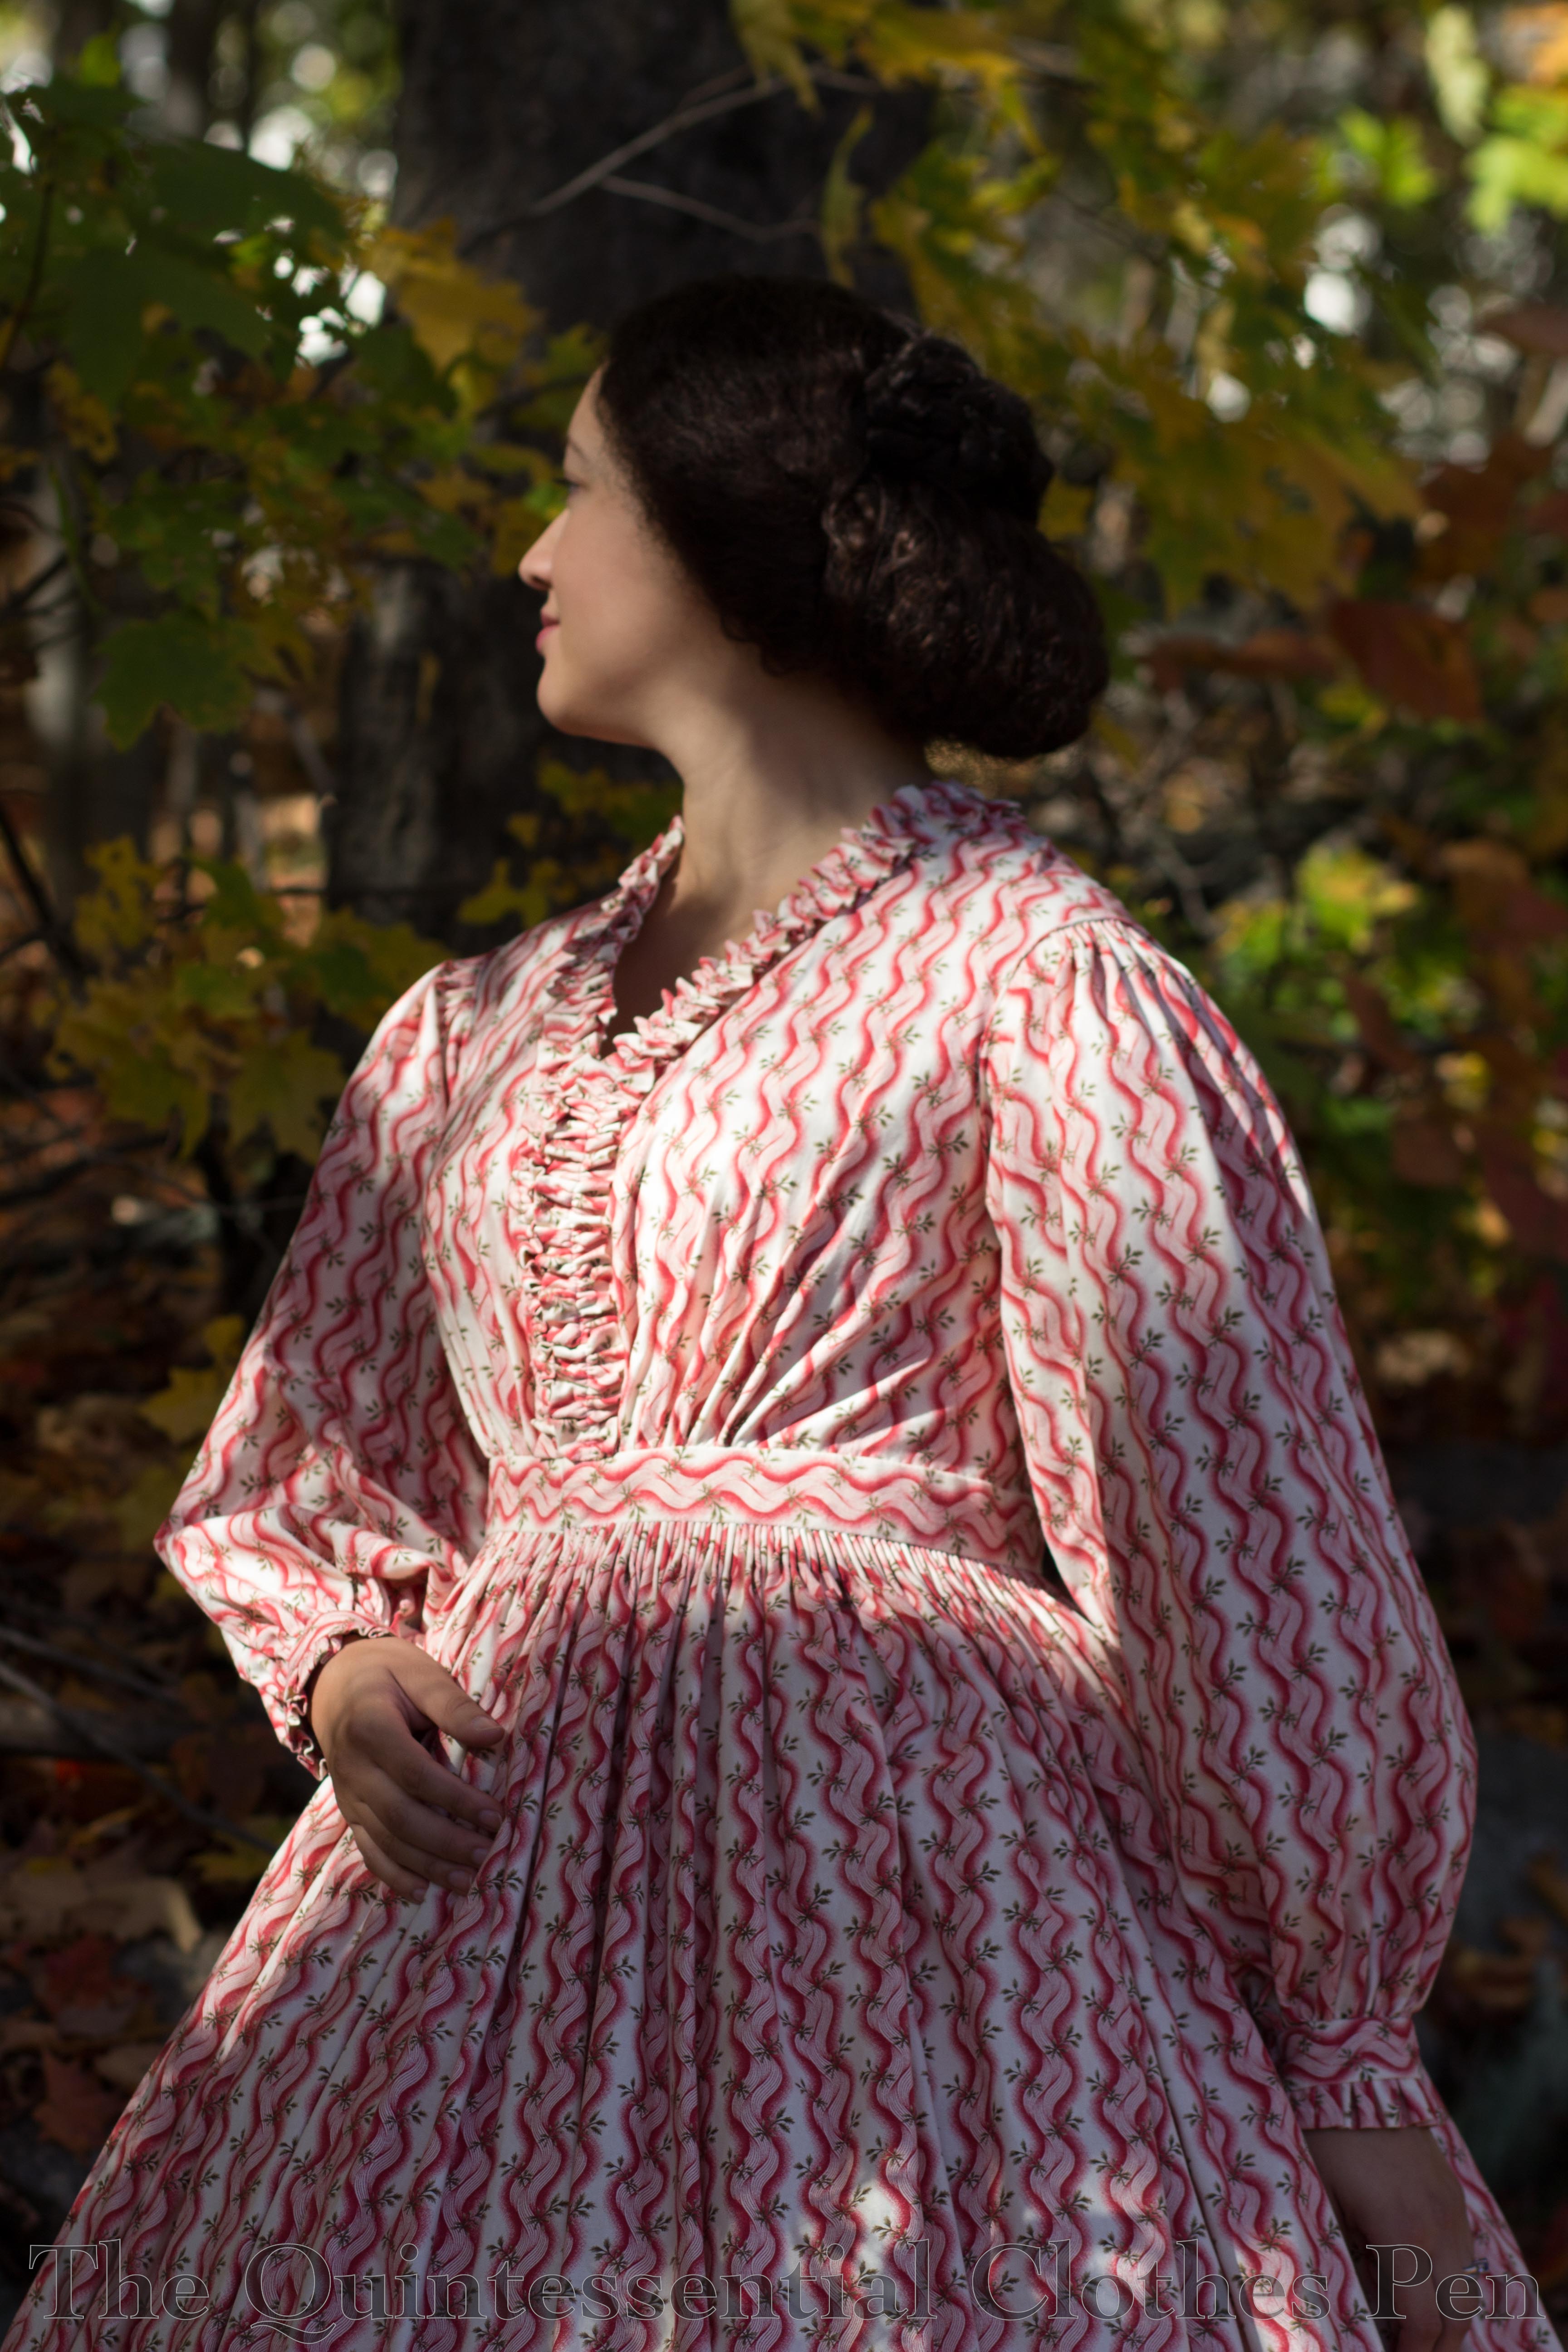
Sophie was directly inspired by this extant dress at the Kent State University Museum. I was considering what to wear for the performance, thinking that I’d worn Georgina enough to want something new, that I’d had an 1860s cotton print fabric in my stash for a few years, and then I remembered this dress. I decided to leave off the ruffle on the skirt (and also didn’t have enough fabric), but was so pleased that my cotton print is so perfectly suited for playing with the pattern in the same way as the extant dress!

19861270001

Dresses from this period with v necks are not common, but they do exist. This Pinterest board has lots of examples. My Pinterest board has a few other dresses that helped move me along as well.

As I mentioned in my post about Eleanor, finding and making use of subtle differences between dresses from similar years brings me joy. For example, Sophie has a v neck, no boning, cartridge pleated sleeves, gathered trim, and is actually sewn together as a dress, rather than hooking together at the waistband as with all my other dresses from this period.

img_3461-1

img_3464-1

img_3467-1

In other ways, Sophie is similar to Georgina, being partially machine and partially hand sewn, having a cartridge pleated skirt, cuffs with little ruffles at the ends, and pockets.

img_3462-1

Personally, I love having pockets in day dresses. It brings me peace of mind to know that modern things like my keys are close by and not sitting around somewhere. Plus, chapstick, fan, gloves, etc. are also excellent choices for stashing in pockets. These pockets, which you can see the top of in the picture below, are sewn in the same way as Georgina’s pockets, shown here. I love this collection of references to pockets from the 1840s, 50s, and 60s that Anna Worden Bauersmith put together. I’ve been waiting for just the right moment to share it for what seems like ages.

img_1871

Here are two more interior shots of the dress. The first shows the muslin facings. I don’t have documentation for this method being used to finish a lightweight summer cotton dress, but it makes sense that this method might have been used to finish the edges nicely while keeping the main body of the dress breathable and light. The second picture shows in the inside of the top of the sleeve, particularly to show the cartridge pleats.

img_1874

img_1872

In addition to the dress, I also made a new cage crinoline. I’ve been wanting a slightly smaller, less bell shaped one, particularly to wear with cotton dresses. I love my old cage crinoline (seen here) for evening dresses, but it is just a bit too much for a more practical daytime look. The new crinoline shape just looks ‘right’ with the cotton dress. The difference is subtle, but pleasing. Unfortunately, it did not perform well in its first wearing. The vertical tapes were sliding all over the place and causing the hoops to drop and be tripped on. Not good! It needs revision before being finished and shared, so for now you’ll just have to believe that I’m wearing it with this dress.

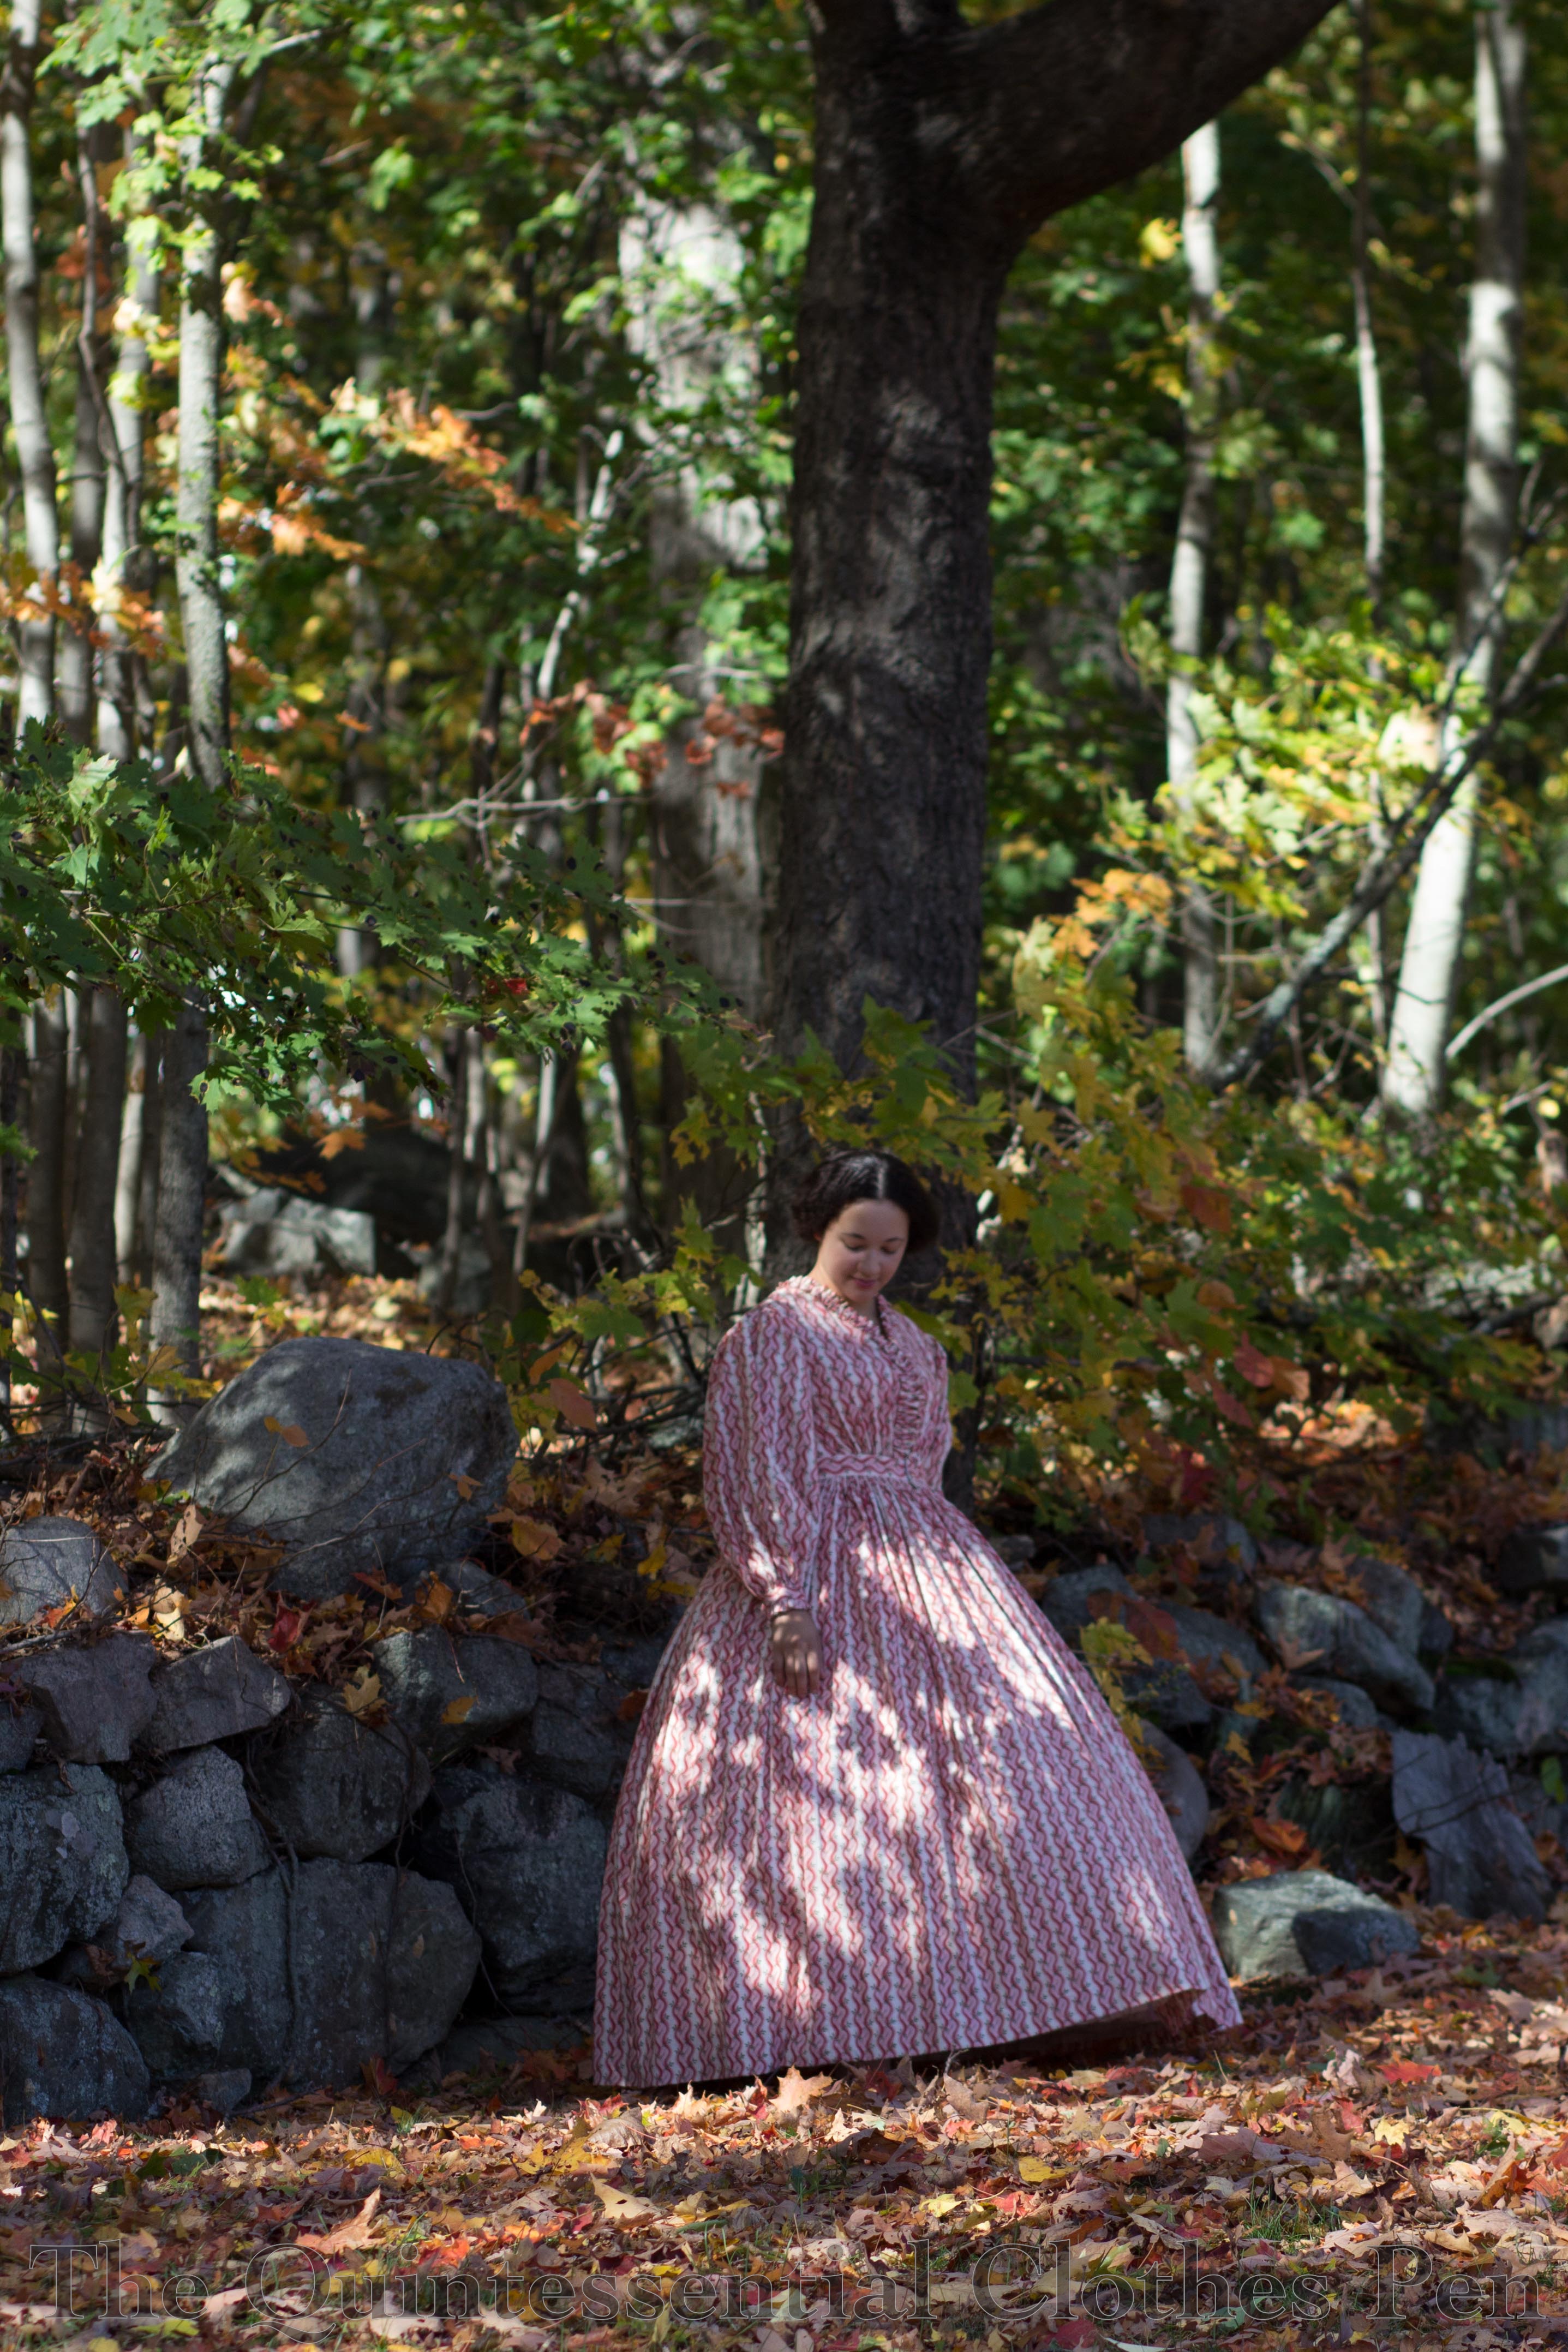
Now that you’ve heard all about the dress itself, here are some pretty pictures of it in action. These first ones are in the spirit of the development of rural cemeteries in the mid-19th century, which you can read more about in this blog post at Plaid Petticoats.

img_3492-1

img_3480-1

The next few are a celebration of the autumn season. The gorgeous leaves were beckoning us to have some laughs. Incidentally, I tend to jump in the air with my arms up whenever I’m having an amazing time in this period. Take this memory, for example. I’m doing pretty much the exact same thing!

img_3522-1

img_3525-1

img_3526-1

img_3543-1

We have so many things to be grateful for. I am always thankful for the many blessings in my life, particularly at this time of year. I hope that your life is also overflowing with blessings and reasons to give thanks, in autumn and always.

img_1956-1

An Introduction To Eleanor (HSM #10)

The Historical Sew Monthly challenge for October is Heroes – Make a garment inspired by your historical hero, or your historical costuming hero.

img_3400-1

You may or may not know that one of my favorite movies is Gone With The Wind. (I posted about this topic years ago when the blog was in its infancy–most of what I claimed then is still true and the 1860s will always have a special place in my heart, but I can now say that other periods give me excited wiggles too!) You can read the old blog post to get more specifics, but the essential point is that despite her personal shortcomings and the turbulent and controversial history of the period, Scarlett reminds me of the clothing that I love and therefore is an historical costuming hero to me.

And this gown has an added historical hero, Eleanor ‘Felcie’ Bull, who came to my rescue when I was contemplating what sleeve style to give my dress.

b9d863448d33e96ca7ce04a041dfd005
Eleanor “Felicie” Bull. 1863.

Prior to finding her image, I had been planning to name this dress Johanna, in honor of the friend who convinced me that I needed the fabric a few years ago. But I had sort of decided this was weird, since all my other dresses from this period have names that I like, but that are not from a specific living person. Once I found this image I was completely overtaken with excitement–I love the name Eleanor and there she was, helping me out! The choice was obvious.

img_3382

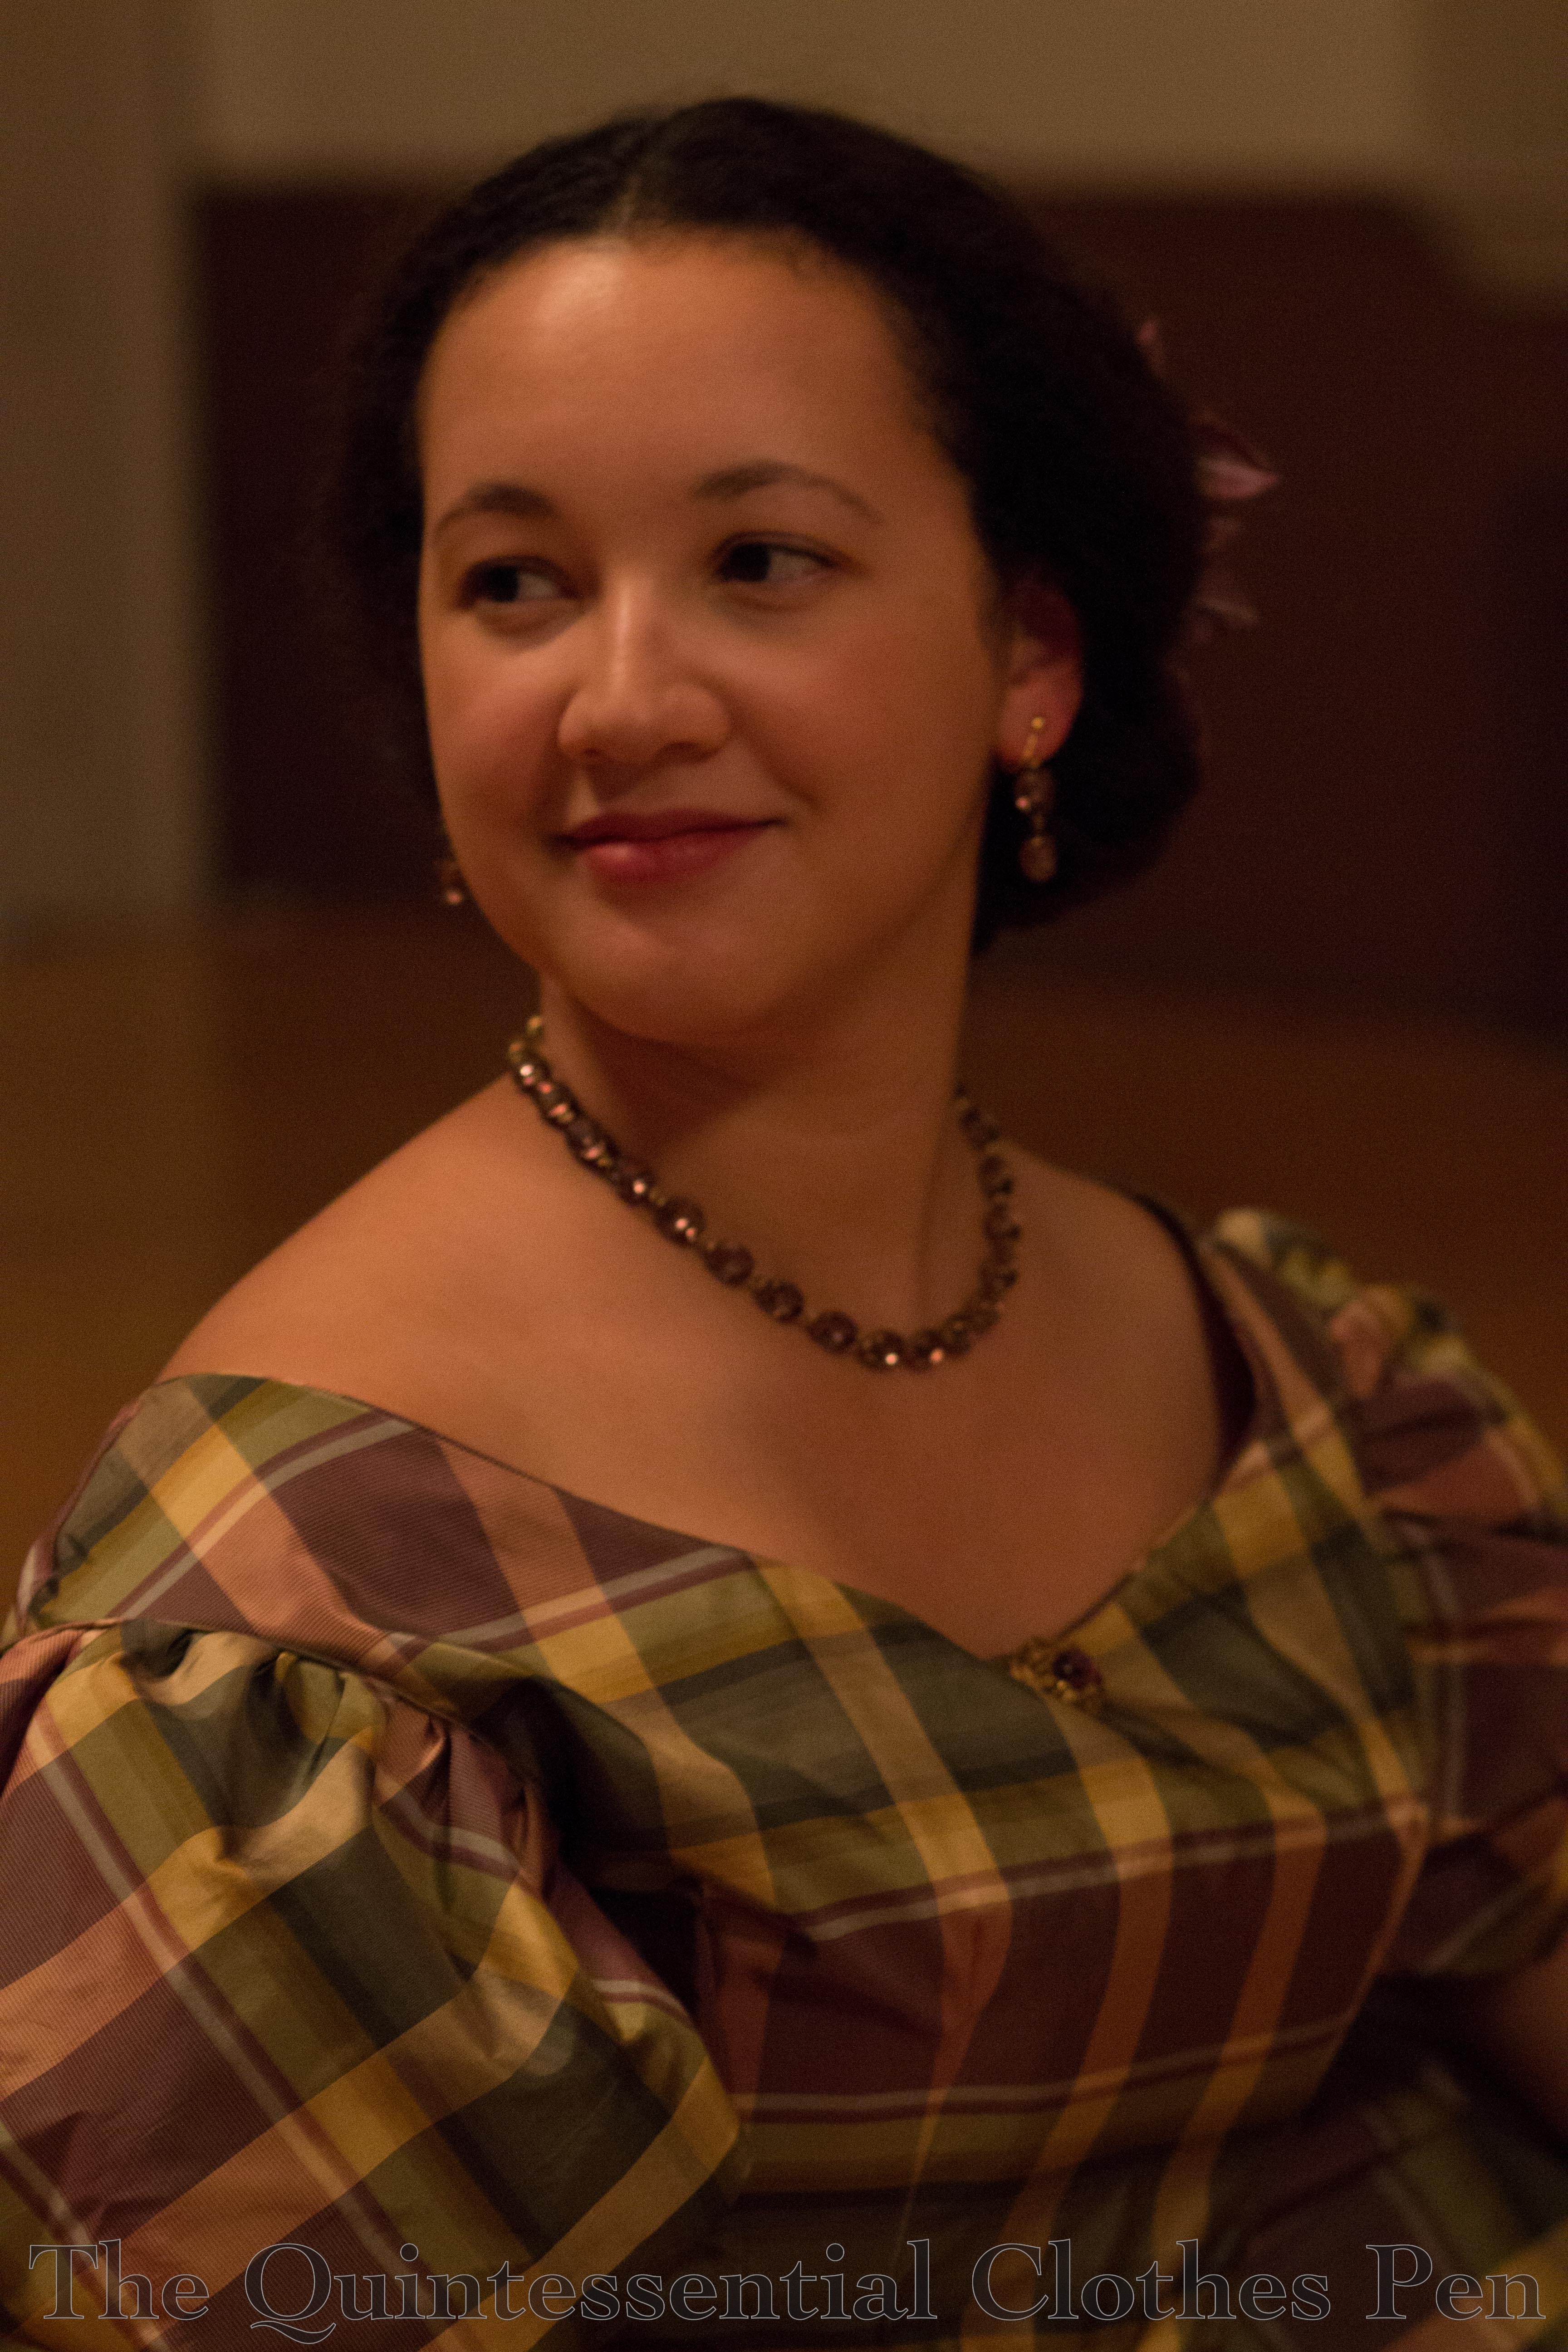
I made a new hair decoration to go with Eleanor. I had the perfect stem of purple velvet leaves, but no flowers to match the dress. So I dyed some white millinery flowers to a golden yellow. They have a fluffier texture than before being dyed, but the color is perfect. Using millinery flowers brings me so much joy, because it’s easy to shape any section since each stem is fully wired. And I couldn’t pass up the opportunity to wear my Dames a la Mode purple earrings and necklace.

img_3384

Regarding dress construction, we must start with a bit of a personal habit, or perhaps a theory, though I’m not sure it’s as thought out as that. When the opportunities arise for me to make multiple garments from the same period that could be carbon copies of each other in different fabrics (so much speedier on the patterning and planning front!), I hardly ever take that easy road. I am drawn to exploring the small variations.

So it is with Eleanor. I decided to: knife pleat her skirt instead of box pleating, cartridge pleating, or gathering; to make a plain darted bodice instead of using seams or gathers; to make the bodice straight across all around, which is more unusual for evening gowns made of silk than having points in front and back; to overlap and topstitch her side back seams; to omit the oft-seen bertha around the neckline; and to have single puff bias cut sleeves. These things all make this dress just slightly different than my others from this period, adding a bit of thought and time to the process. And if we’re talking about time, let’s just mention how mind-boggling cutting plaid pieces with curved seams and darts is when the pattern matching is important to you!

I collected images of plaid gowns with a focus on evening bodices and noticed these features, which is why I decided on them. The most useful images are in one place here, on my Pinterest board for the project. I was contemplating the sleeve type when I came across Eleanor ‘Felcie’ Bull. Interestingly, she shows all of those traits I’d decided on. I loved her simple sleeves and restrained bodice trimming, which then set me on an extensive Ebay and Etsy hunt to find just the right brooches to replicate her style. Yes, I did look through about 150 pages of bow brooches to find just the right one for less than $15. Plus many pages of gold oval brooches. I couldn’t have wished for better results! Remember the look I gave you a look a few posts ago? The only thing I did was to brush the oval brooch (which is new, not vintage) with a bit of brown acrylic paint to bring it down to the old gold color of the bow brooch.

img_3403-1

Other construction details include flatlining the bodice and facing the skirt in a remnant of dusty mauve cotton from my stash (used it up, yay!), creating boning channels in the darts to keep the front nicely shaped, and finishing the neck and bottom edge of the bodice as well as the armholes with very narrow cording.

Just the facts:

Fabric: About 6 yards of silk taffeta and 1 yard of cotton.

Pattern: Adapted from Past Patterns #702, 1850s-1863 Dart Fitted Bodices and Period Costumes for Stage and Screen as a reference for the sleeves.

Year: 1862, given the details that I decided on.

Notions: Thread, hooks and bars, canvas to interline the belt, narrow yarn for cording, and plastic wire ties for boning the bodice.

How historically accurate is it?: I’m going to go with 99% on this one. Materials and methods are well researched and executed. This would be entirely recognizable in its time.

Hours to complete: I really didn’t keep track. But I can safely say many!

First worn: October 22 for a ball.

Total cost: $98 total: $68 for the silk, $10 for bow brooch, and $18 for the oval brooch.

I’ll end this with my photographic homage to Eleanor ‘Felcie’ Bull.

img_3386-2-1