While we’re on the subject of updating clothing that no longer fits quite right (this is continued from my last post about updating a pair of 1860s drawers, which you can read here), I have another post about updating a layer of historical underwear for fit.
A few background thoughts
In the past 15 years or so that I’ve been making historical clothing, I’ve also changed sizes and some of the clothes I made early on just no longer fit. The usual culprits are the waist, bust, and shoulder width. (It’s not necessarily all for the worst. My shoulders and arms are bigger because I’m gaining strength and being active, so that’s a healthy change!)
I’ve been able to wear more of my historical clothes recently and the more I wear the older ones, the more I realize just how much my shape has changed. Because I have some lovely garments that I still want to be able to wear, I’ve been updating these garments to better fit my current shape.
Background on this particular garment
I made an early 19th century bodiced petticoat in 2012 (here is my post from back then sharing research about this type of garment). Since then, I’ve gained inches in the bust, ribcage circumference, and in the width of my shoulders. So despite wearing this petticoat and making do, I finally reached a point where it became important to make this fit better.
Here is the bodice portion of the petticoat before my alterations, from the front and back.


I determined that I needed a whole new front piece–one that would be wider across the bust and with more gathers to condense to the ribcage size. I also realized that it would be helpful to make the side back pieces a little more substantial, with a taller side seam to match the new front.
Update details
Thankfully, I keep lots of fabric scraps! And in this case, I actually still have yardage of the fabric I made the petticoat from. So no problems there — I was able to easily cut out a new front with updated dimensions as well as bits to add to the side pieces to extend them (I didn’t feel like replacing them entirely — this petticoat already is a bit pieced at the center back, where I had previously added fabric in order to help make it a little larger a few years ago).
After cutting new pieces came the boring part of unpicking the original front. Ugh! I don’t enjoy taking apart things that I’ve made! But I did it.
I thought I might machine sew the new pieces on, but I was more inclined to complete this project while not near my sewing machine, so I did it by hand instead. I replicated all of the same seam finishes from the original bodice front (because I like consistency, but not because they are historically accurate, in this case).
Here are the results!

And here are closeups of my very pieced method of creating larger side back pieces (you can also see the extendo I added to the back at some point about 6 years ago).

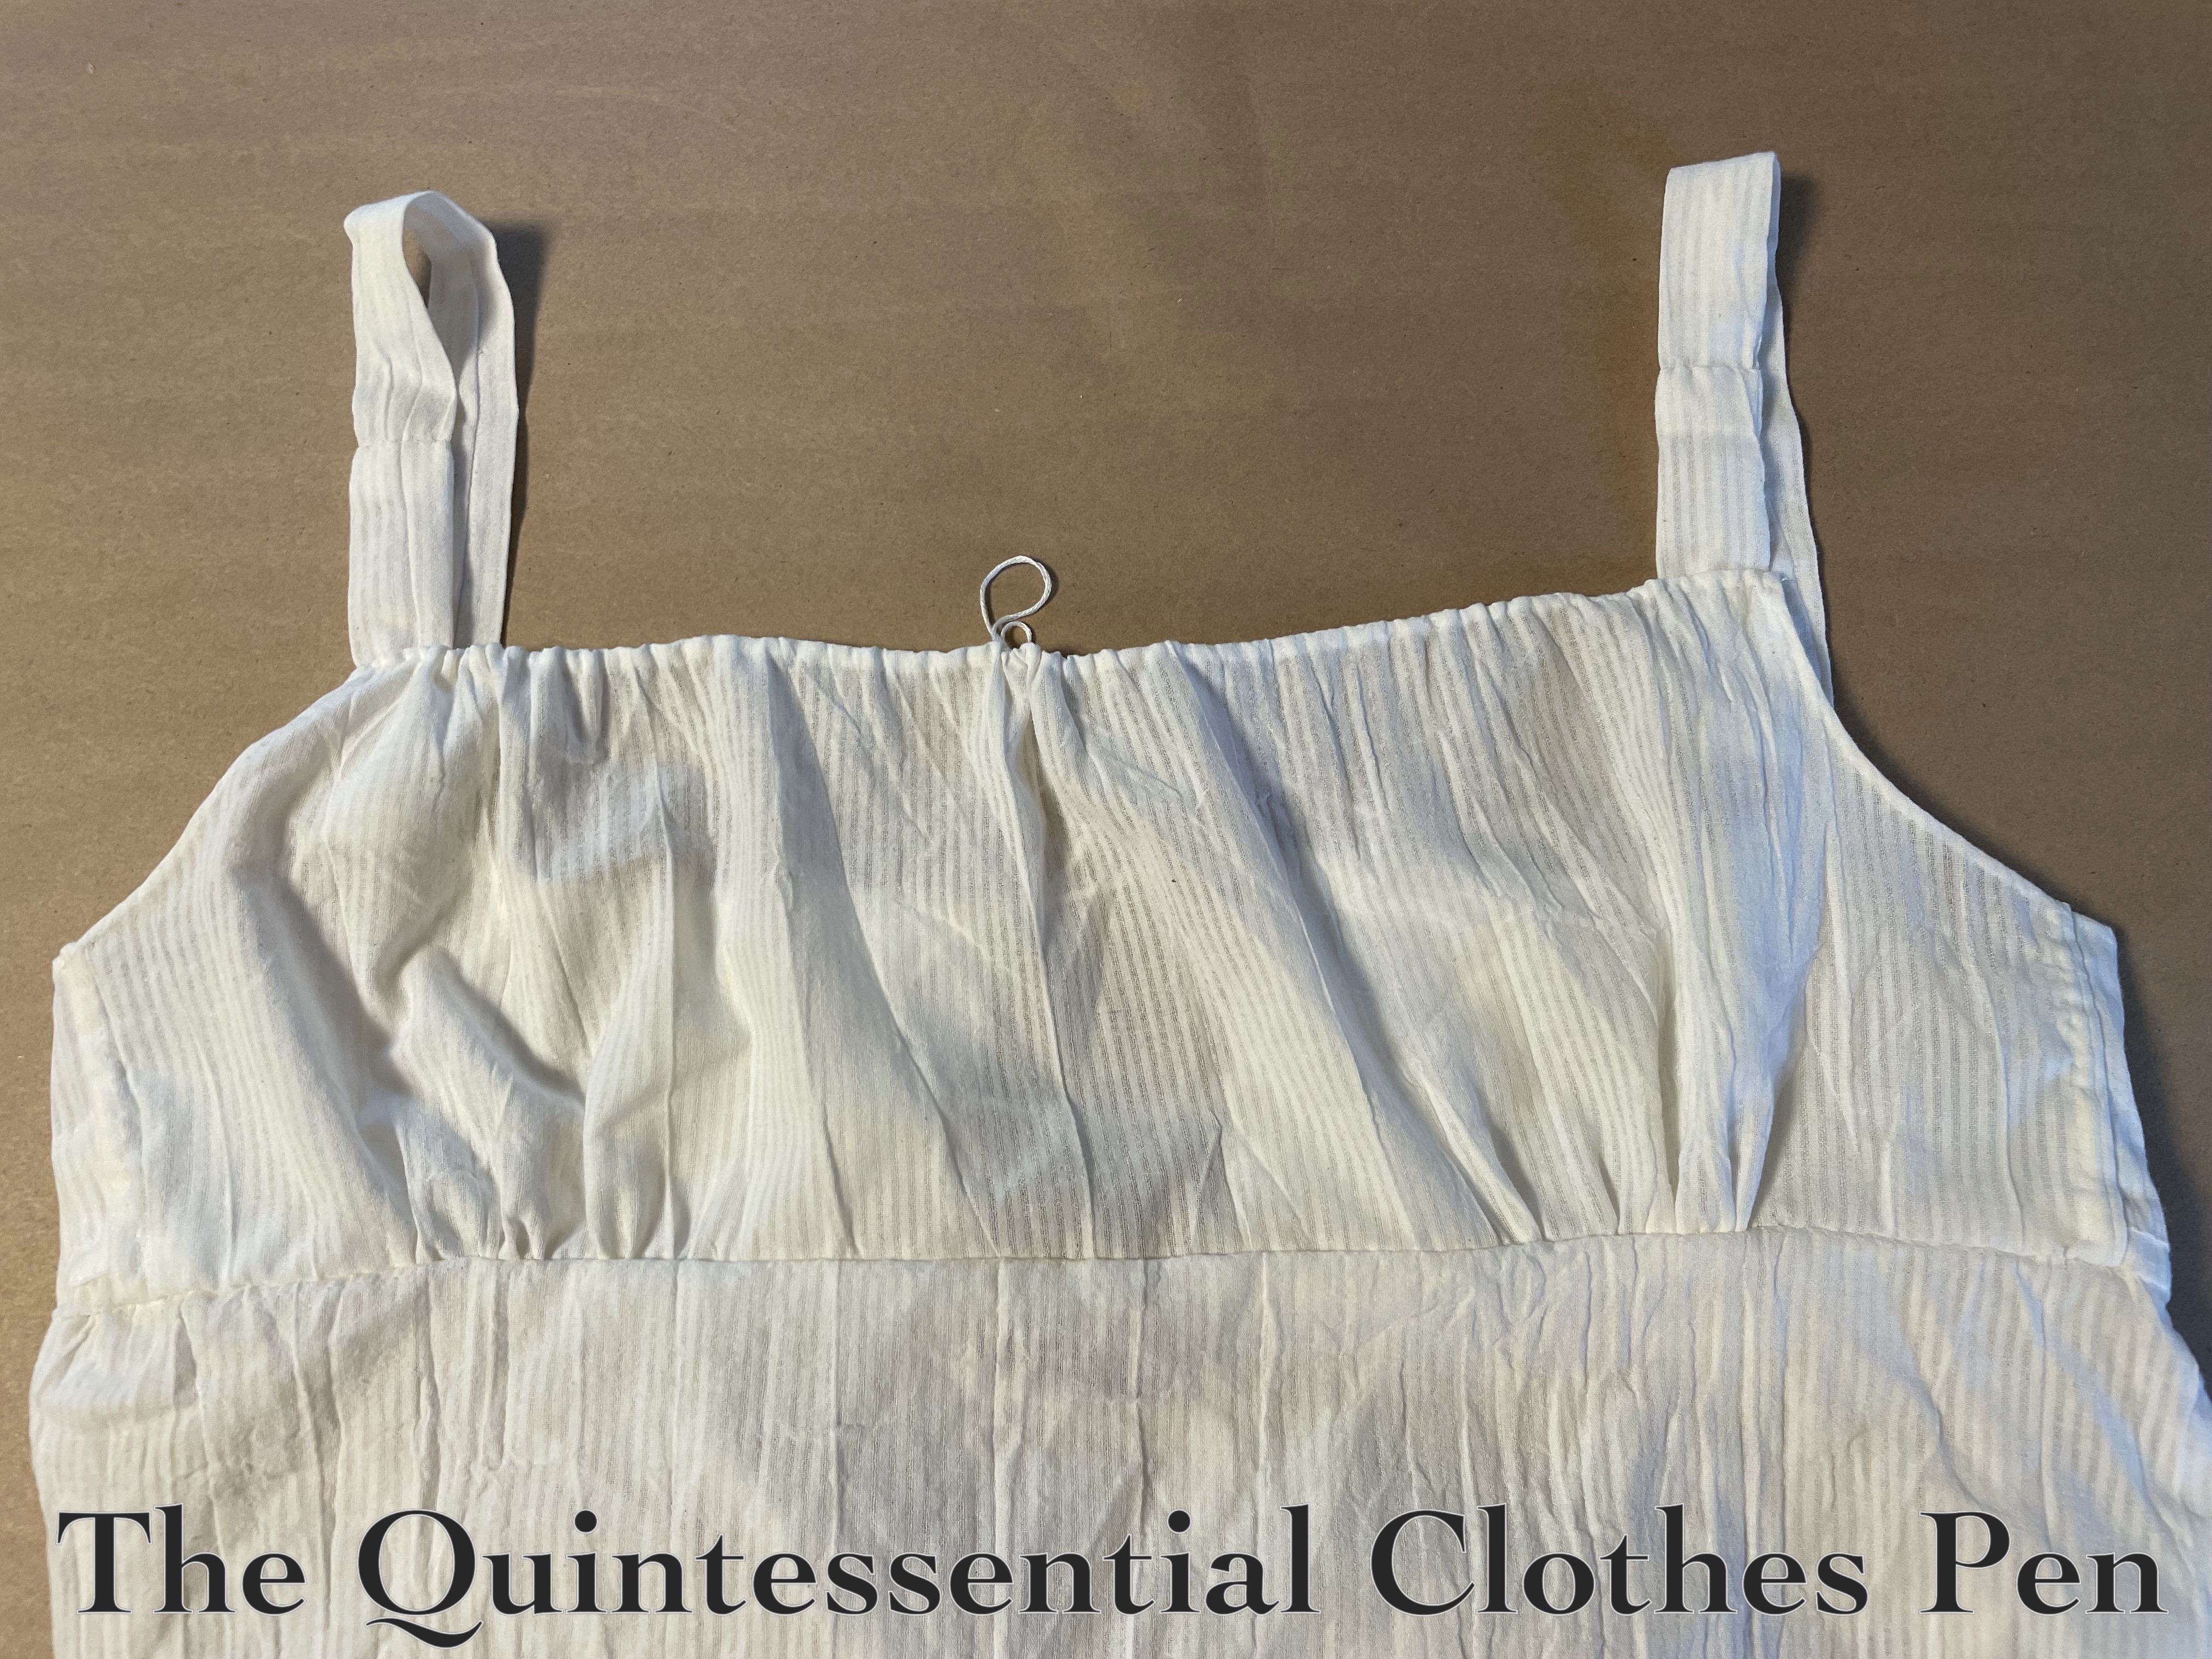
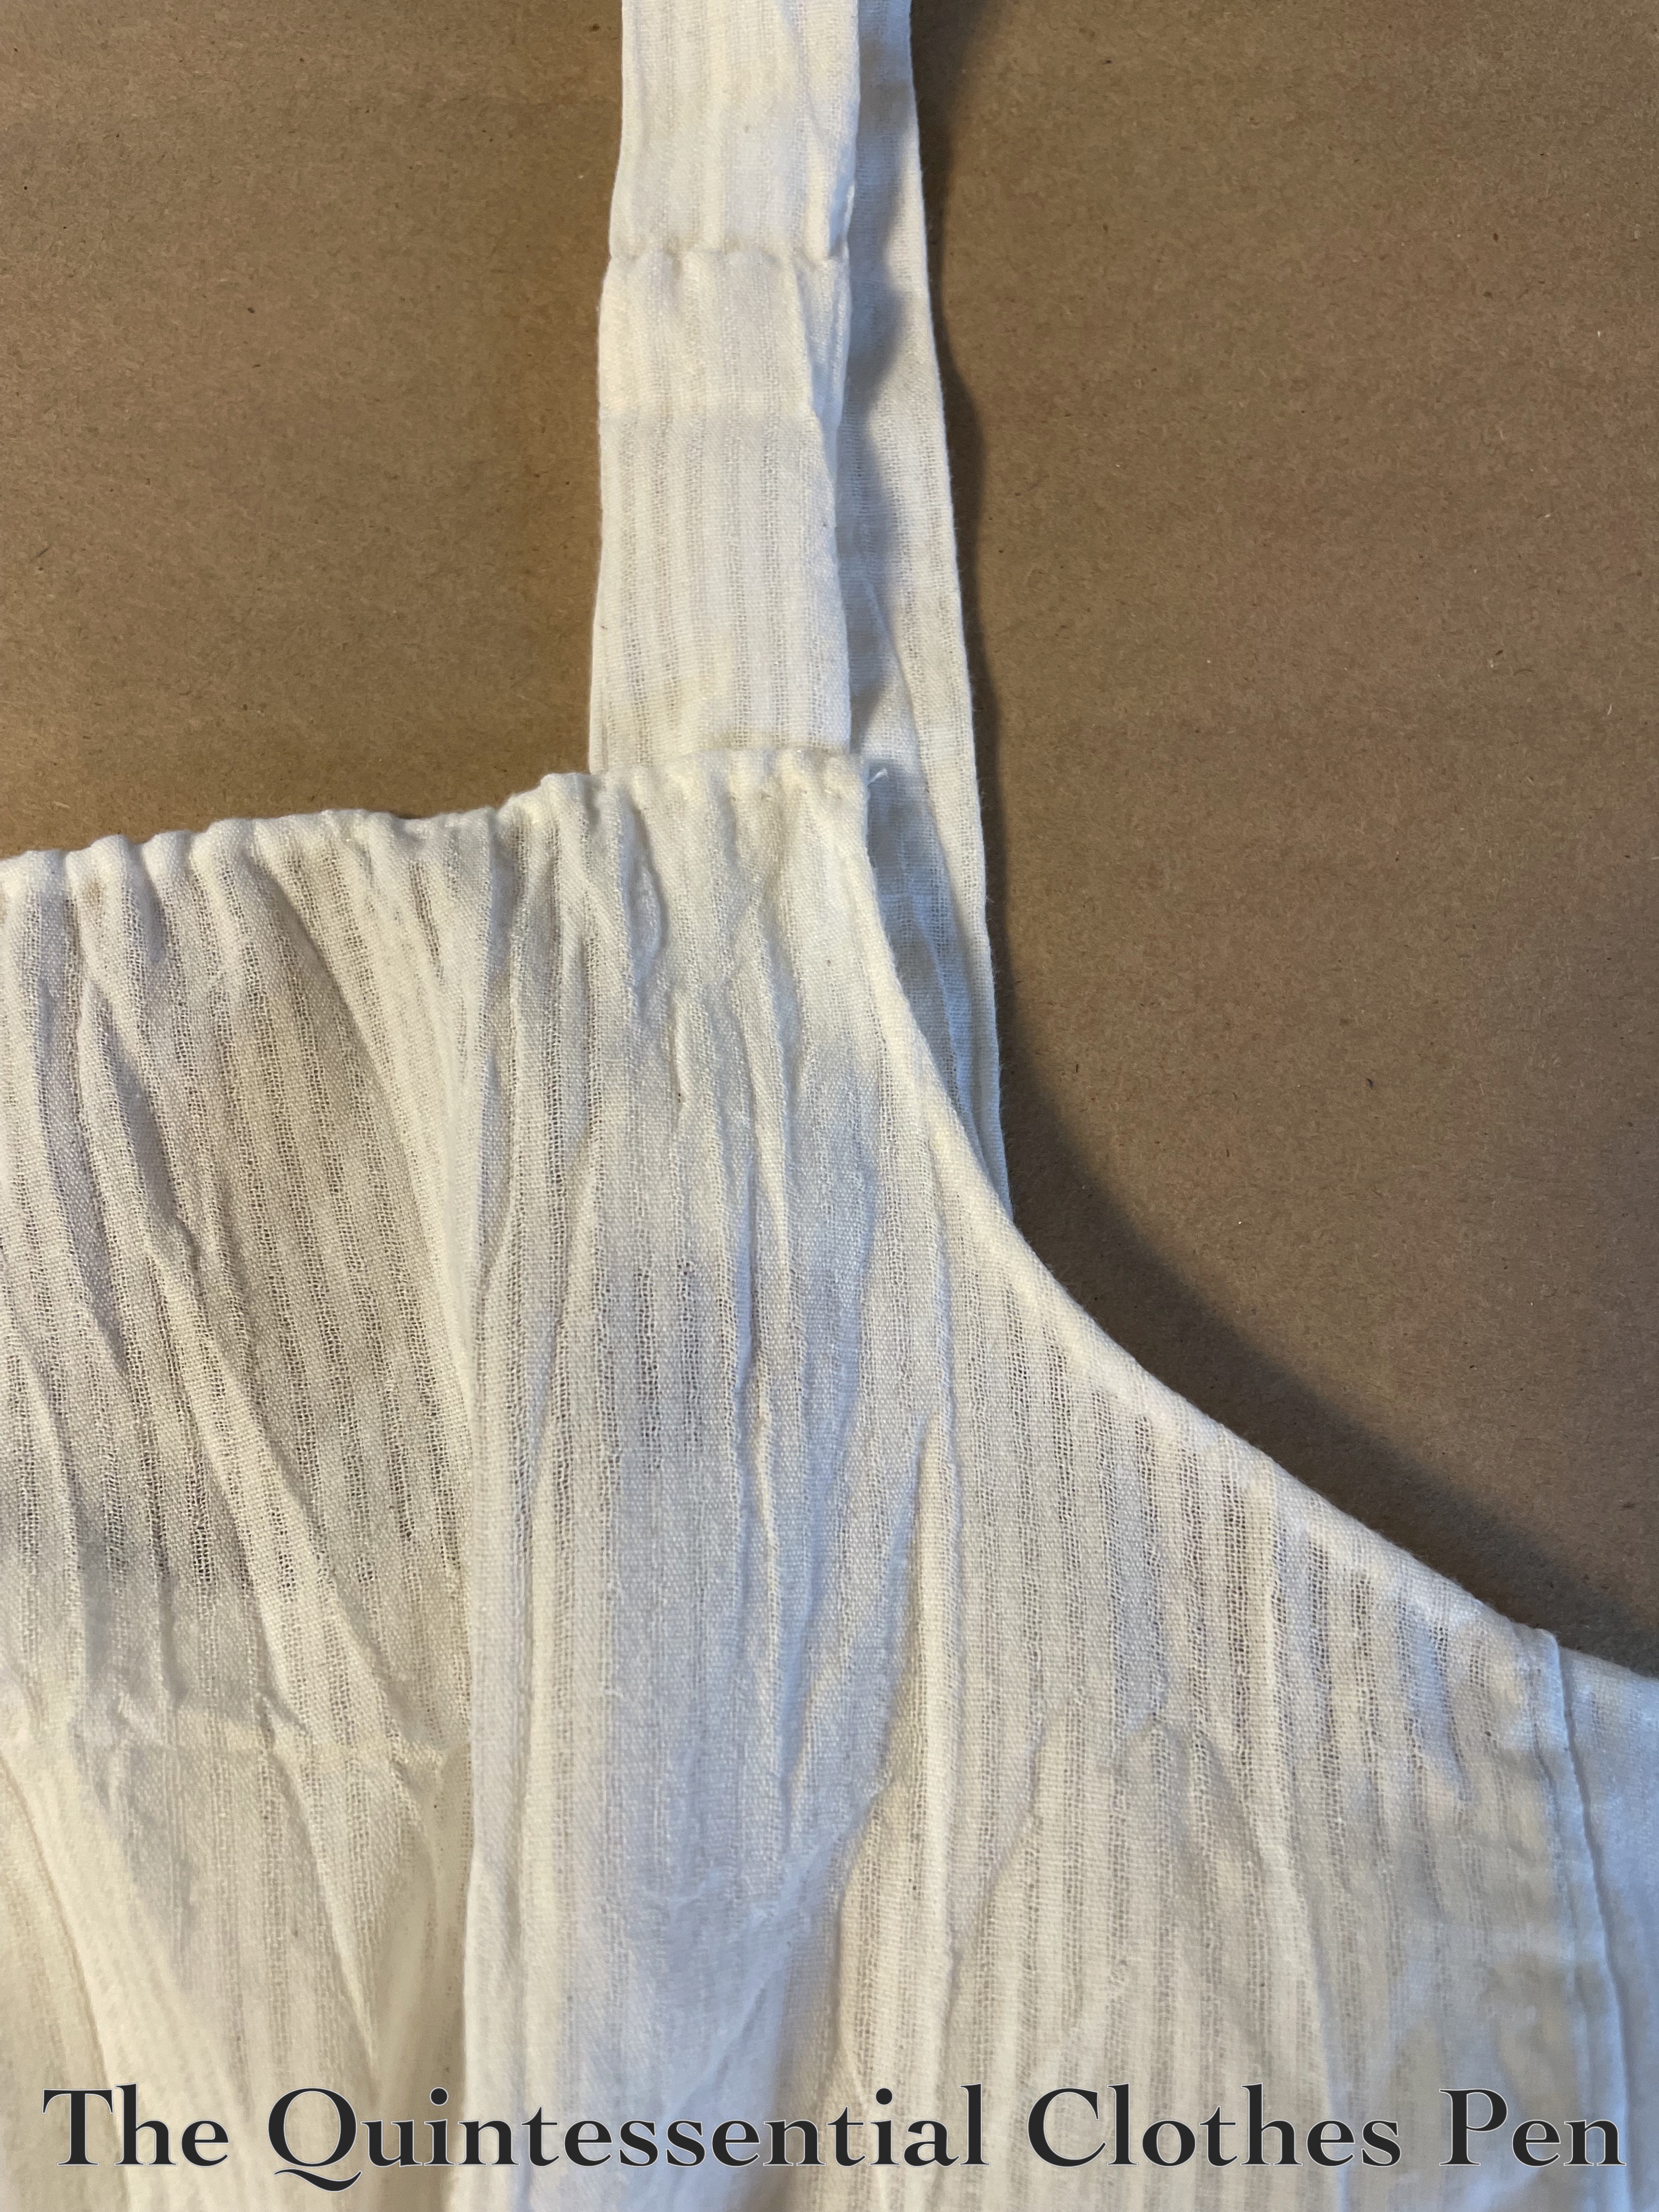
Unfortunately, when I tried on the adjusted petticoat I realized that the armsceyes were uncomfortably small. I was not going to be able to deal with that! “Get it off!” was my exact though. To fix that problem, I added strap extender bits to the front of the straps.
This worked great! And now, I have a petticoat that fits again! It covers my current bust size AND fits across the back (in fact, I made it even a little too wide across the back because I figured that might be helpful).
Here is a photo of the inside of the new front bodice piece. Both the old bodice front and the new one have a drawstring along the top edge. And you can see that I left additional strap length for theotrical future of letting-out.

I’m calling this my entry for the Historical Sew Monthly 2024 Challenge #5 New Clothes from Old:
Make something new out of a worn-out garment or accessory. Or make something using recycled materials.
I believe I’ve recycled a worn-out garment into something new and ready to use again!
Just the facts:
Fabric/Materials: Scraps of white cotton.
Pattern: My own.
Year: c. 1812.
Notions: Thread.
How historically accurate is it?: 100%. It’s completely reasonable to extend the life of a garment like this by altering it.
Hours to complete: 4? It took some time to seam rip and then I was meticulous about stitching the new pieces on. I didn’t really keep track.
First worn: On May 4.
Total cost: Free! Materials were scraps left over from the original project.
It took a bit longer than expected to hand sew all of the updates I needed to make, especially with the late-to-the-party addition of the strap update. I was pleased to finish this the day before it was needed! (More on that later!)