Mid-Century Birthday Croquet At Roseland Cottage

Finally, a break from stay-related blog posts! (Slow sewing progress is being made, but not enough to post about…)

In the meantime, I have an armchair peep into a lovely birthday outing with friends on a gorgeous autumn afternoon.

The location of the outing is Roseland Cottage, in Woodstock, Connecticut.

Built in 1846 in the newly fashionable Gothic Revival style, Roseland Cottage was the summer home of Henry and Lucy Bowen and their young family. While the house is instantly recognizable for its pink exterior, Roseland Cottage has an equally colorful interior, featuring elaborate wall coverings, heavily patterned carpets, and stained glass, much of which survives unchanged from the Victorian era. The house is a National Historic Landmark.
(from the Historic New England website)

We made special arrangements with the staff to picnic and croquet on the lawn in mid-19th century clothing, followed by a house tour. Some of us had seen the house before, but the details never cease to amaze and hold our interest. If you’re ever in the area, I highly recommend a visit!

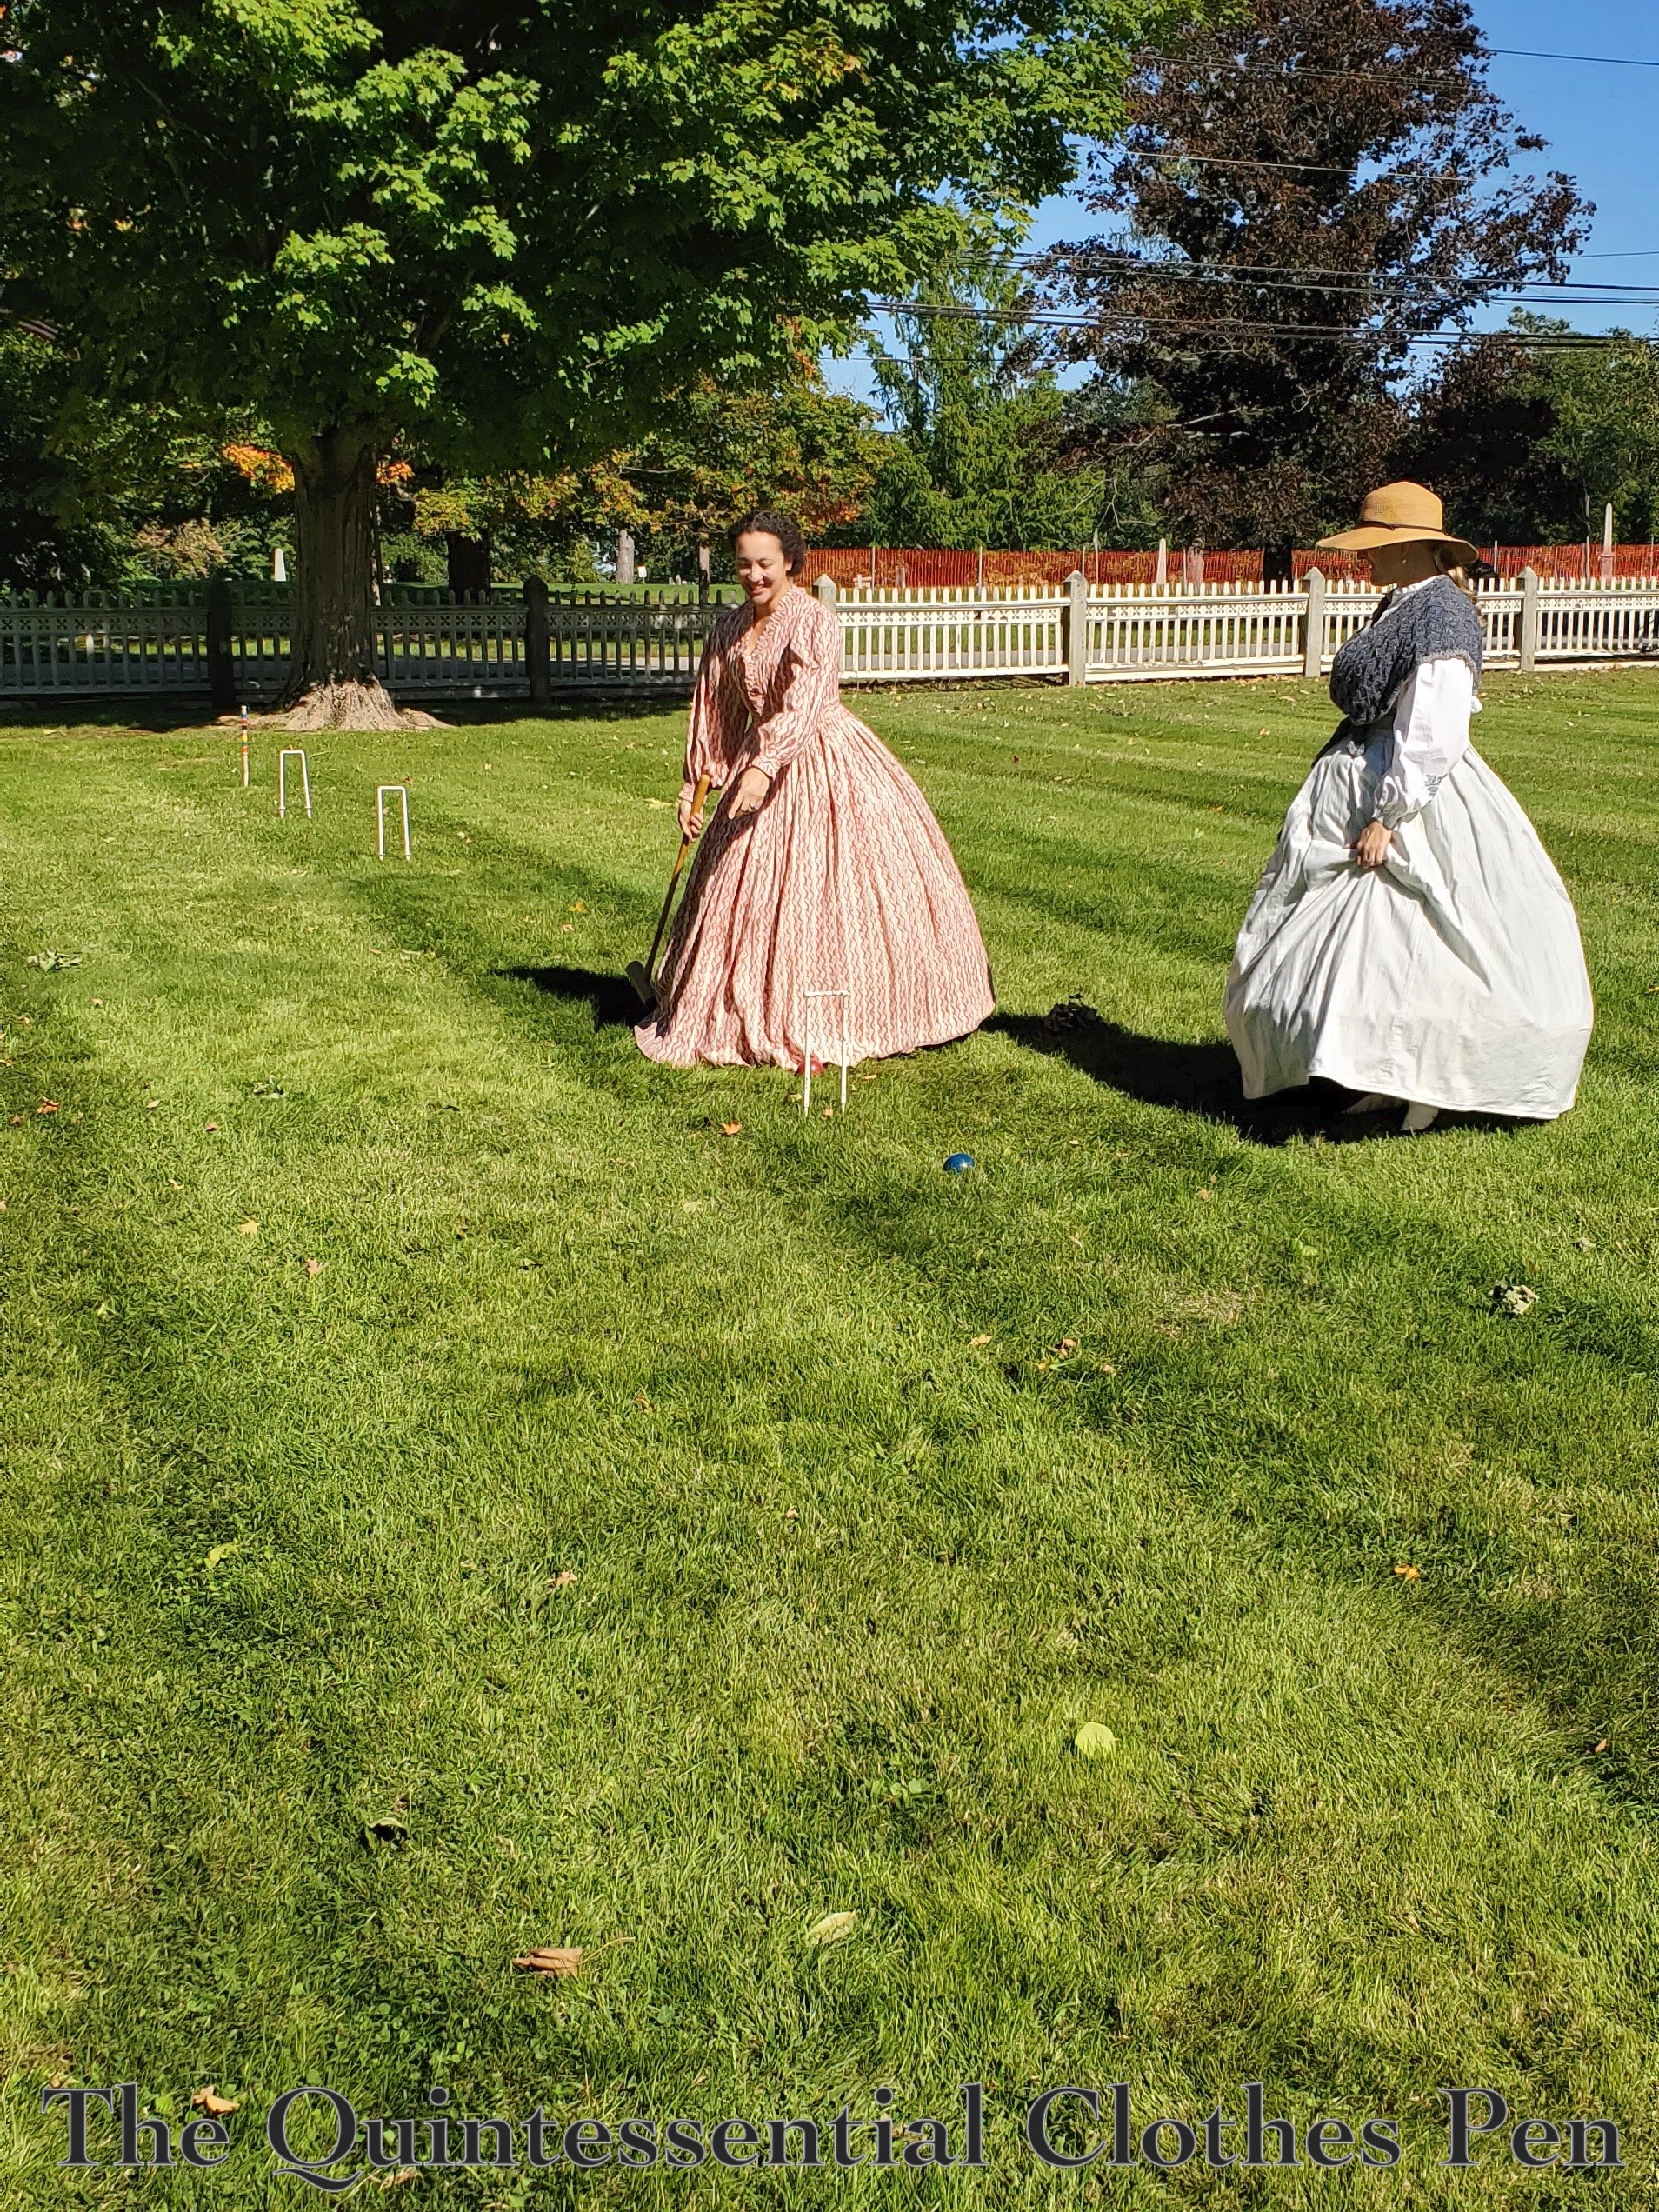
The grounds of the house are well maintained and provided an excellent area to set up croquet.

We enjoyed serious croquet as well as a few silly rounds of our own invention. The shadows made for fun photos, too!

The day was sunny and beautiful. There was a slight bit of chill to the air, but it was quite comfortable in full length sleeves and long dresses.

One zealous croquet ball whacked me in the ankle and caused a small scene. Thankfully, it wasn’t too bad after the initial pain wore off (no bruises or anything worse!)

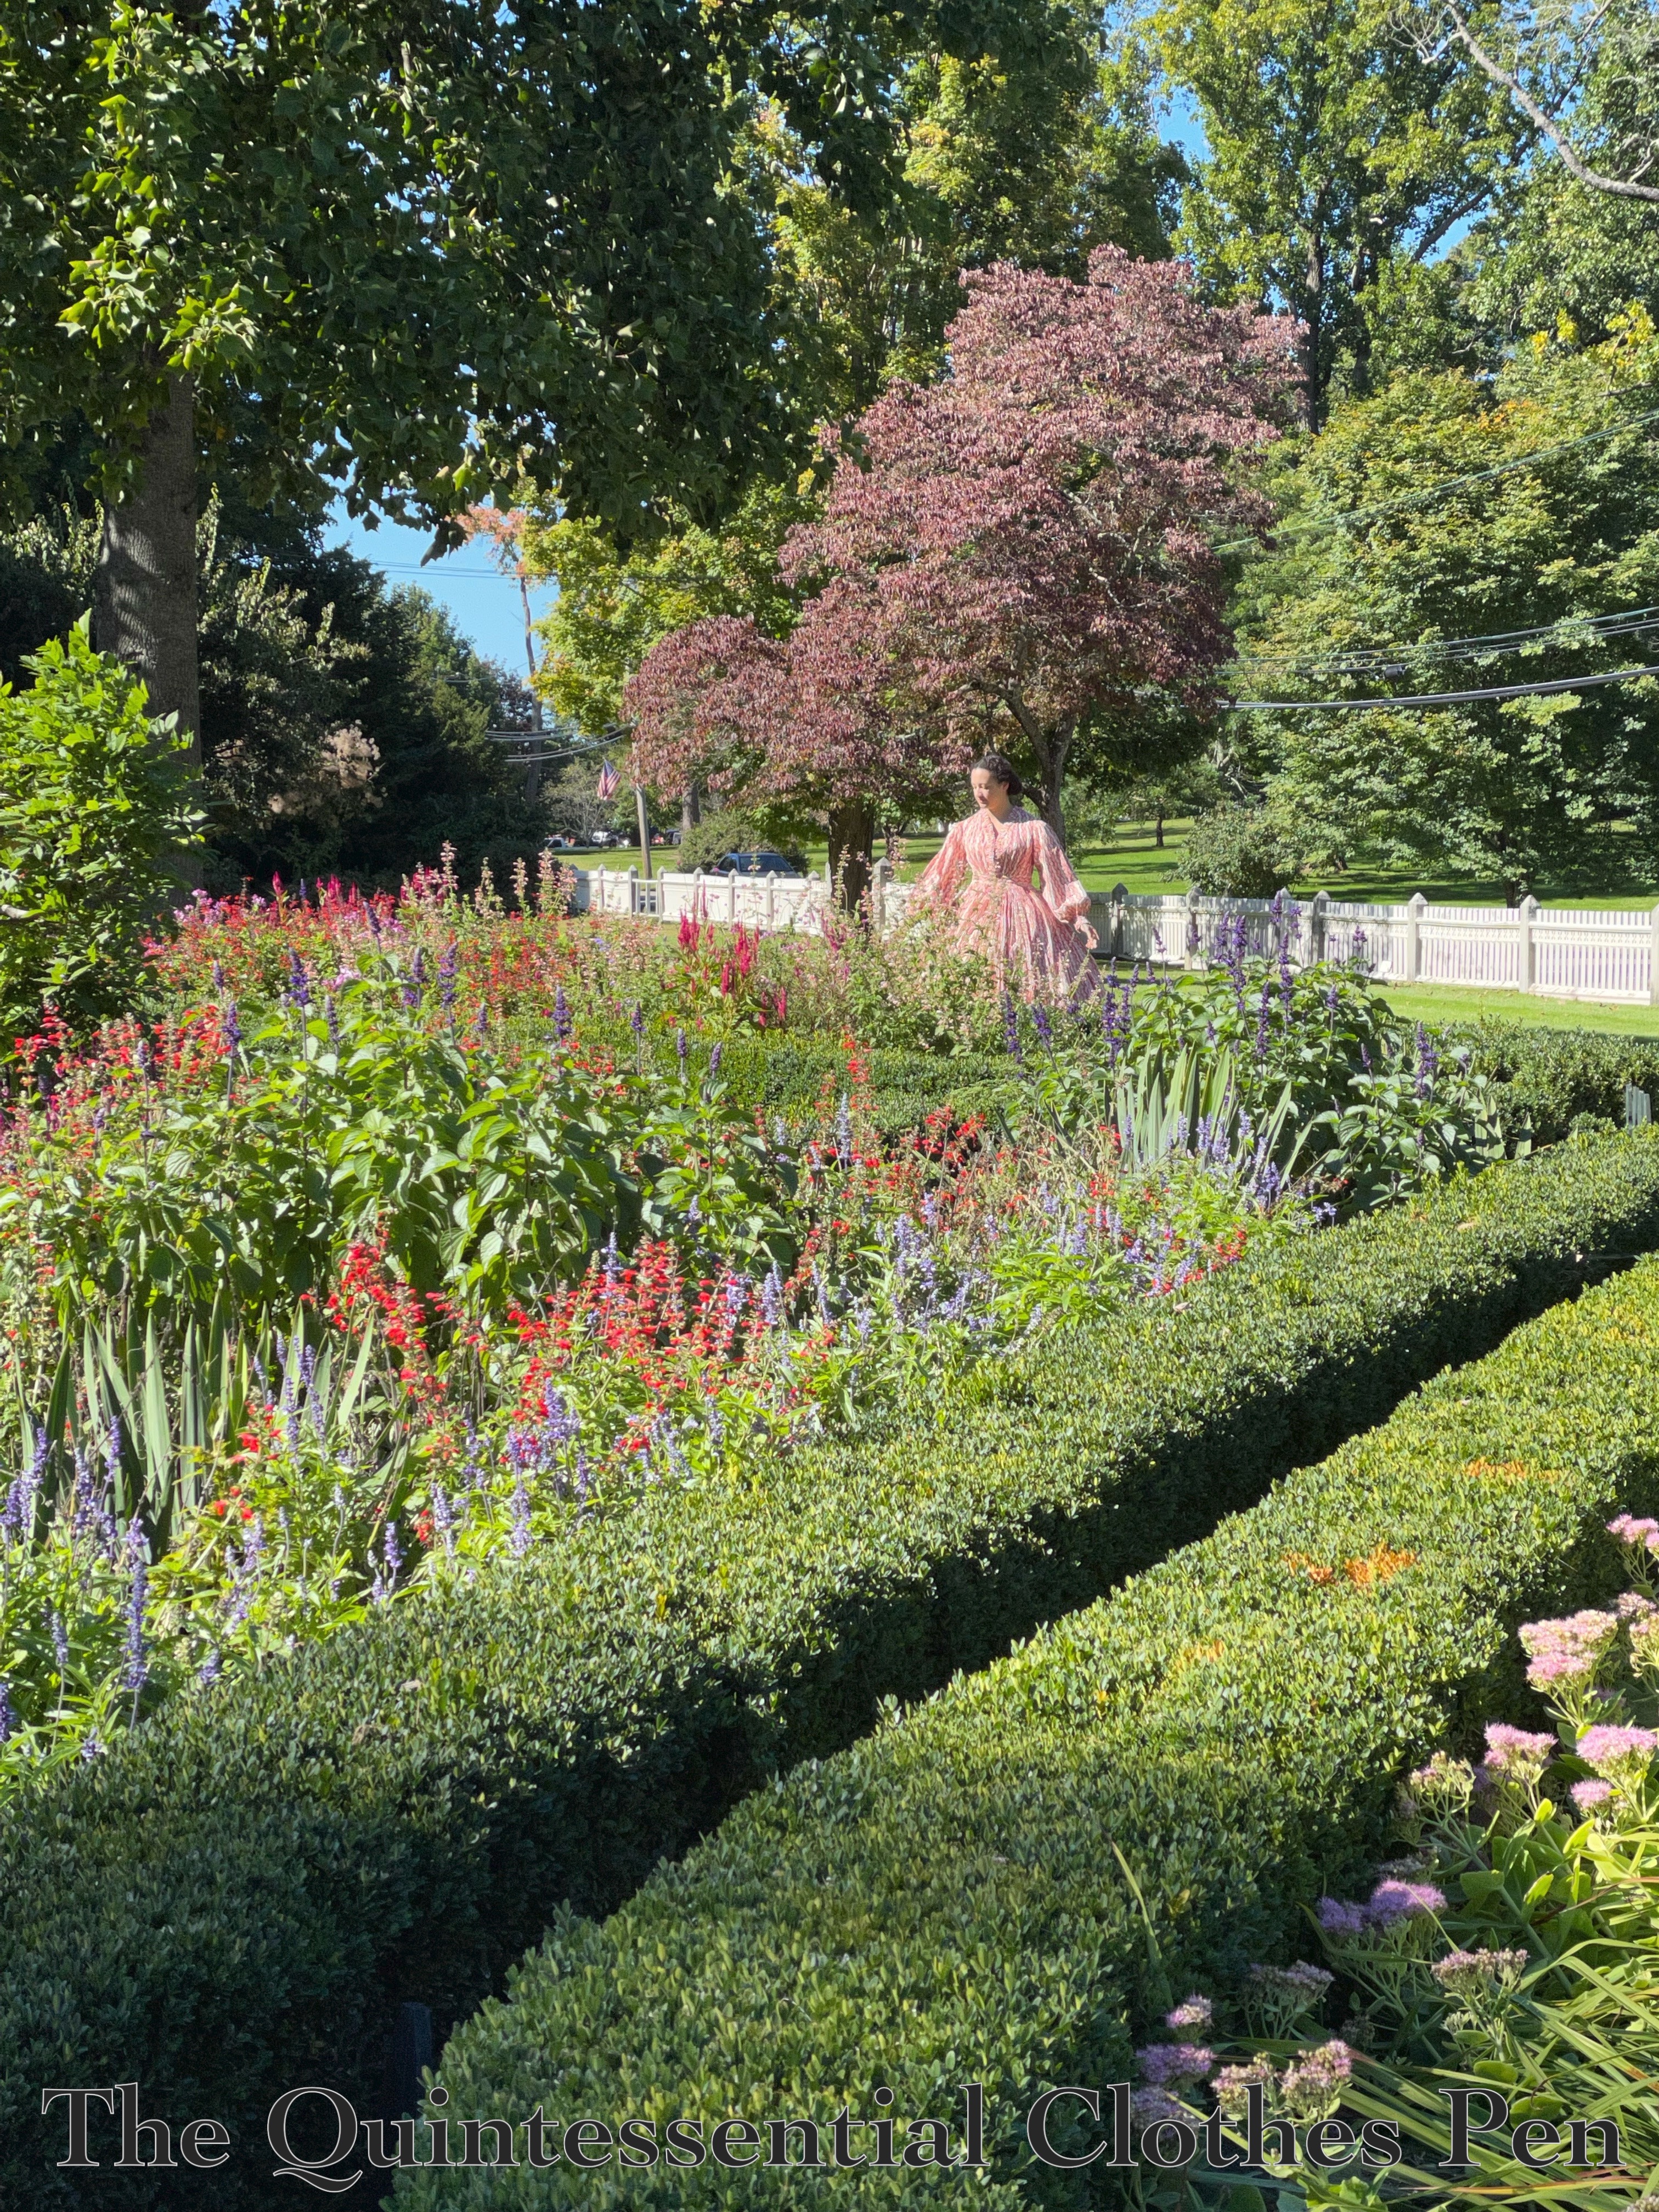
In fact, the croquet ball whack didn’t stop me from enjoying the gardens in Sophie, my 1861 reproduction cotton print dress.

The gardens are maintained with the same plan and variety of plants that would have been evident in the 19th century. They were in full color during our visit!

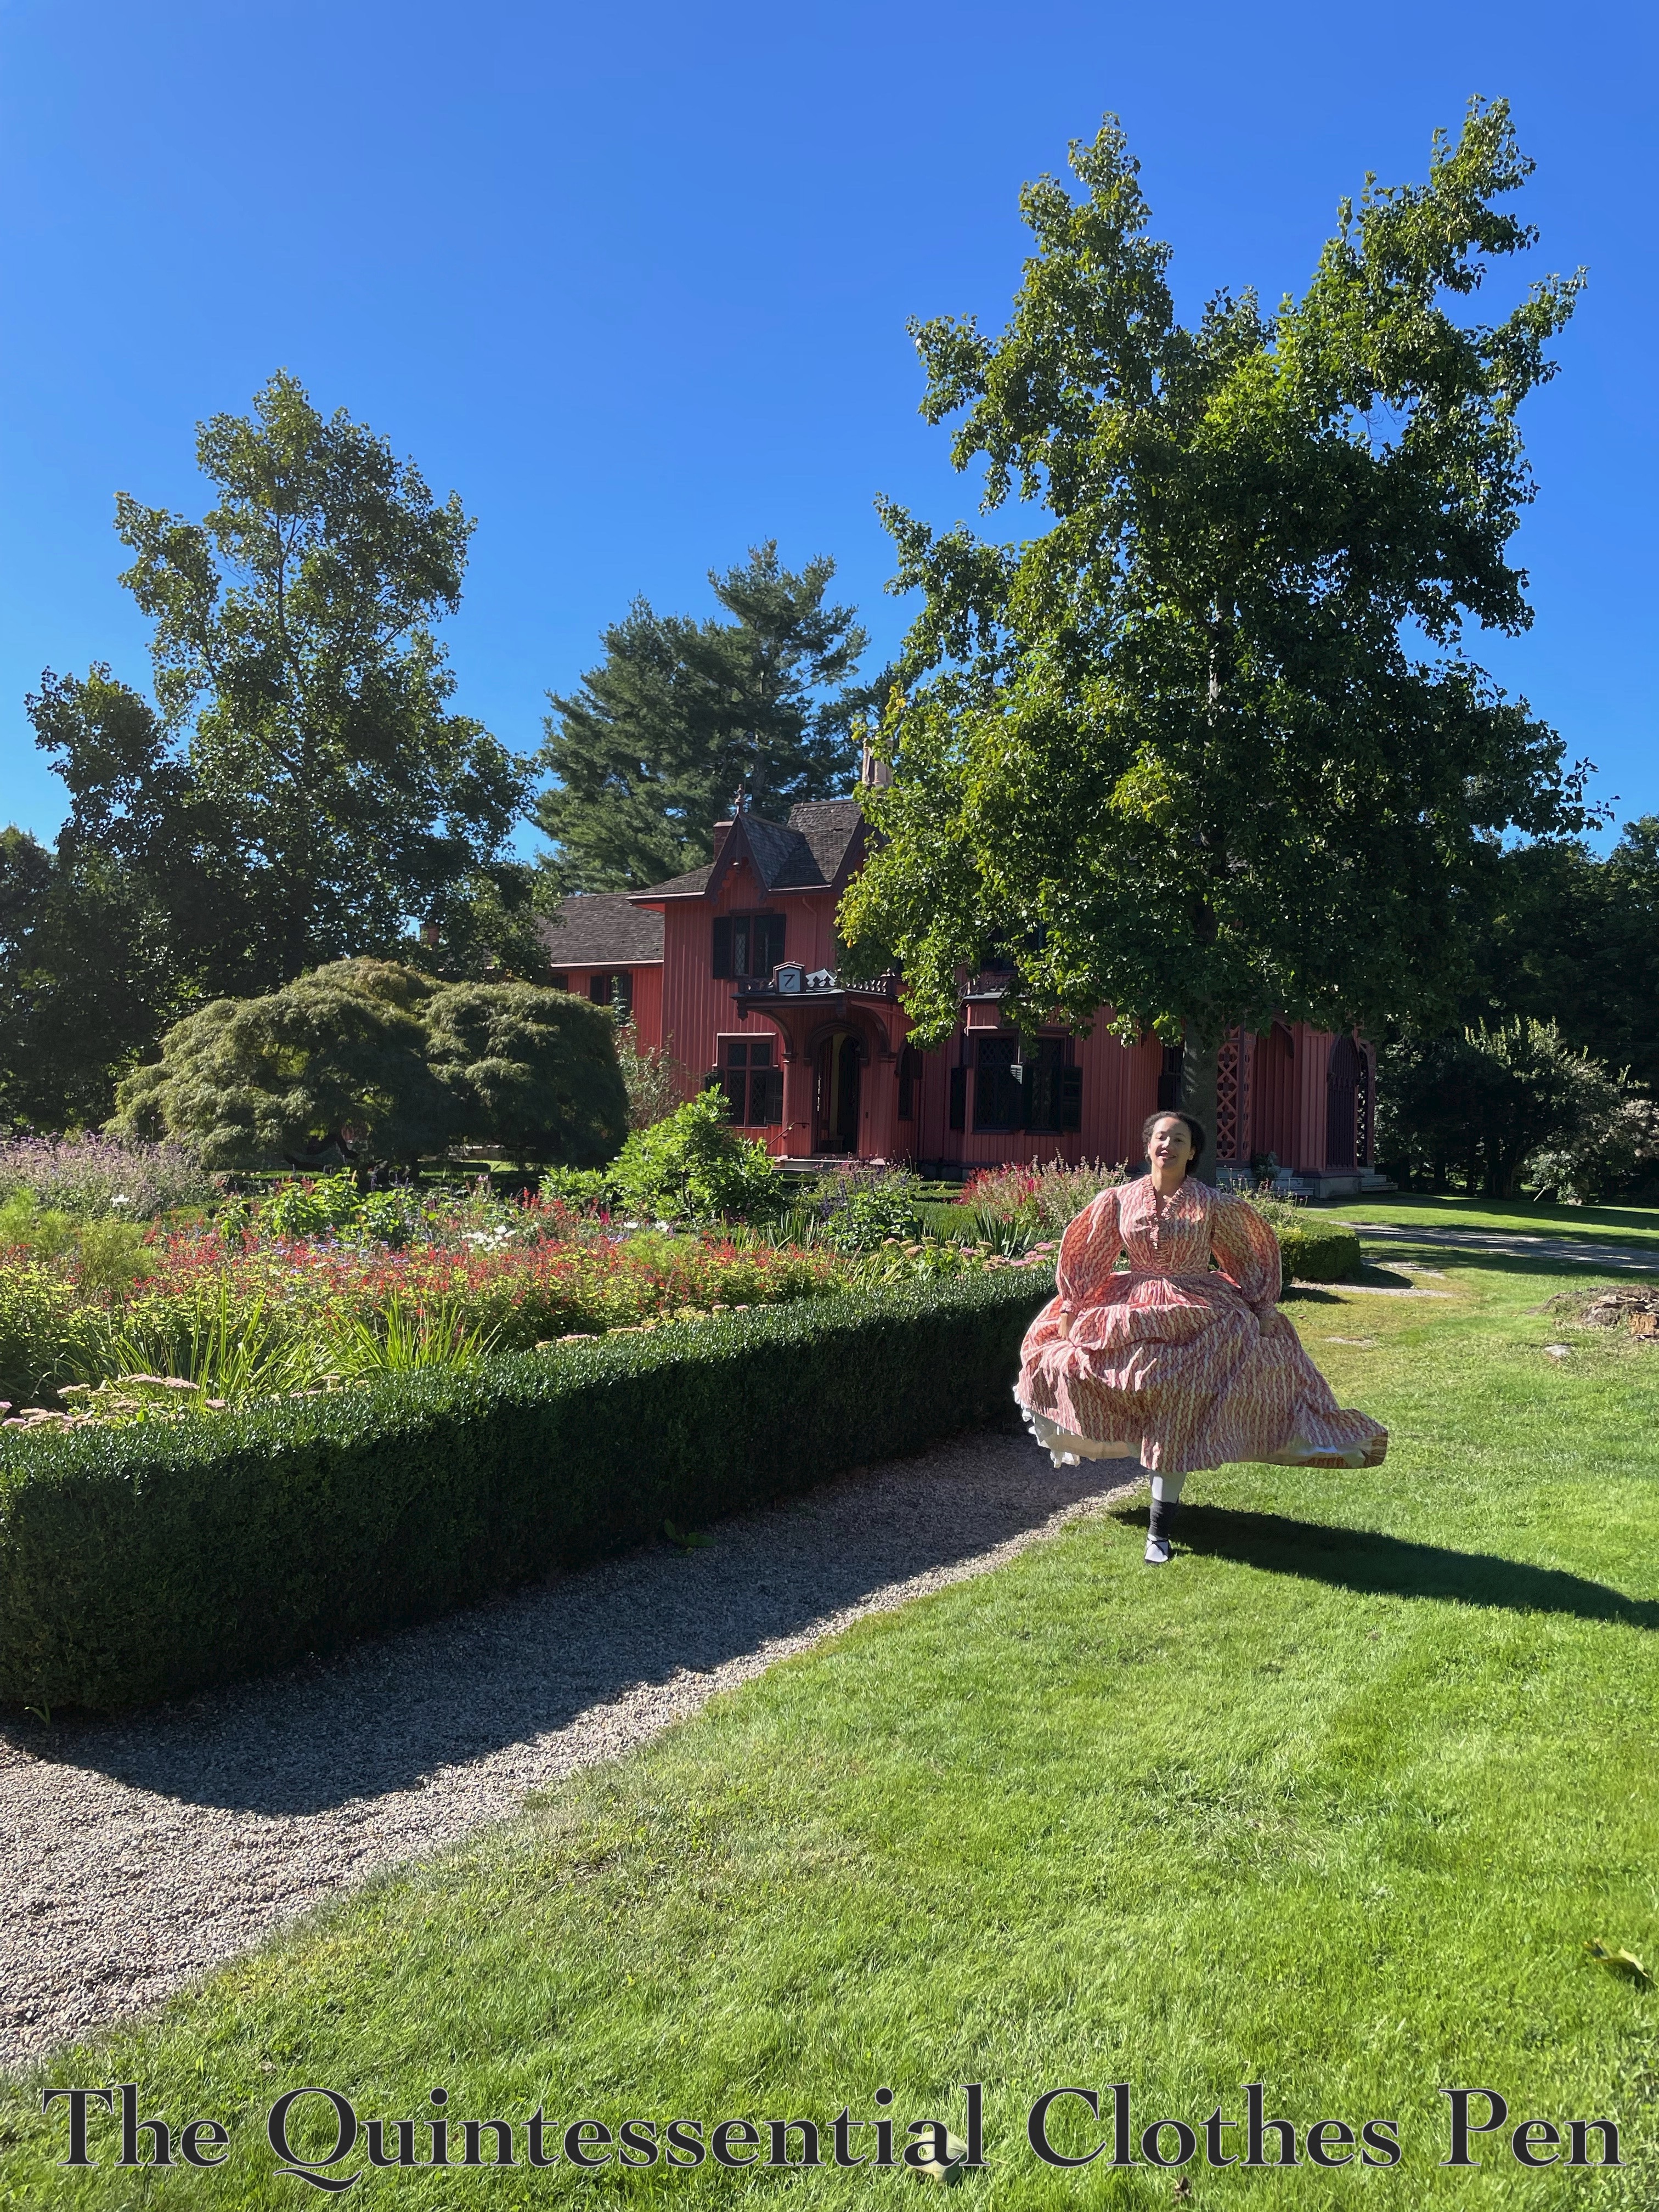
I greatly enjoy this photo, which was completely unintentional. I just started running around because it was fun, and then was told to go back and do it again because the photo opportunity was so exciting. So I suppose in a way it was intentional?

Croquet was followed by a house tour, during which the staff invited us to remain in historical clothes and take photos. This was my favorite! There’s a little built-in seat with a bay window in one room. It was well suited to sitting in hoops. Looking for friends arriving, perhaps?

An exciting, beautiful day! Thanks for enjoying it with me!

c. 1785 Stays (Of Fail), Part V: Middle Construction Details

I had hoped to get all of my remaining construction details into this post, but progress on the stays has slowed. Plus, I realized I didn’t have enough linen tape to bind the edges, so new binding needed to be ordered. That has been done but I’ve been so busy that no sewing has happened yet. So for now, here are the middle parts of the construction update.

Updating Gussets

After all the initial steps of putting the stays together (which I detailed in my previous post in this series), I had a fitting that left me feeling rather disappointed. I’ve already detailed the results of that fitting, in Part II of this series.

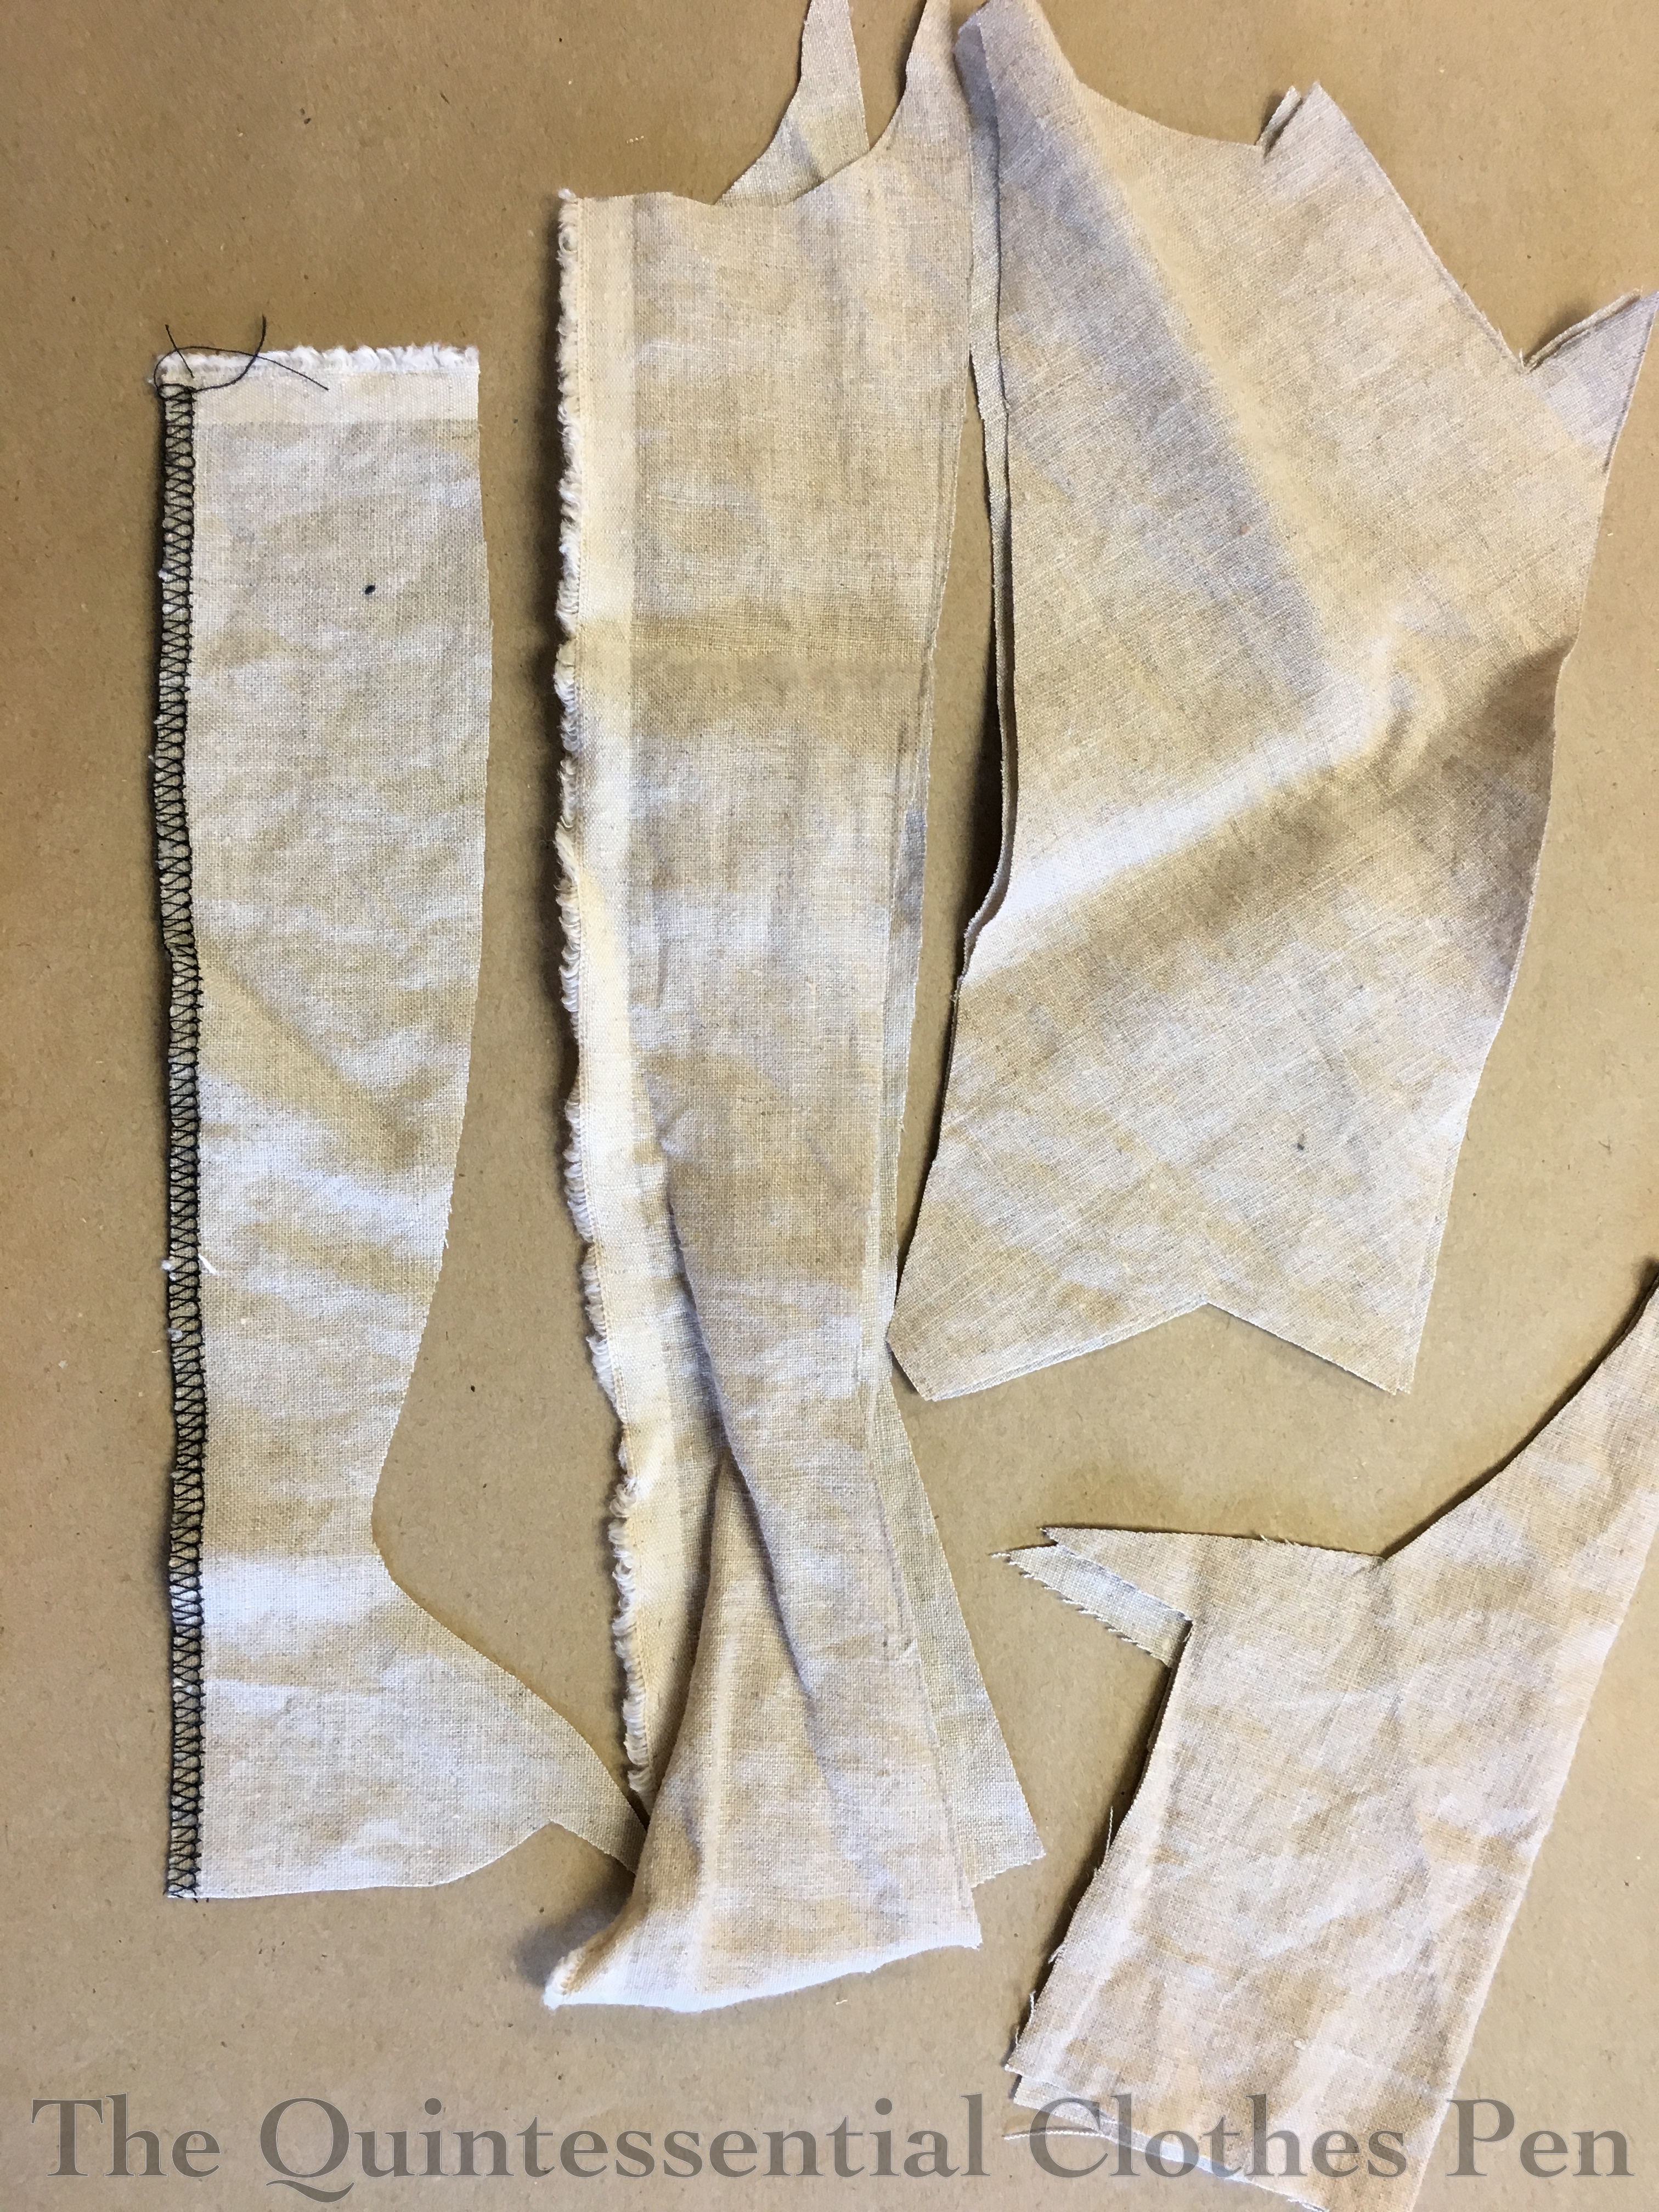
To summarize: I wanted to raise the gusset I’d added to the back with the goal of providing more width at the waist and hopefully increasing the comfort of the stays on my back. Accordingly, I removed the offending short gusset out of the stays, but, instead of piecing new gussets out of my meager scraps, I realized I could cannibalize the straps I’d originally cut (but decided not to use) to make longer gussets.

Below: the new, longer gussets in place.

This worked well for the exterior linen and one layer of interlining linen, but the straps were only ever going to have one inner layer of linen. And none of my scraps were quite long enough to make a second layer now that the piece would be used in the main body of the stays.

So, I used what I could and layered a second piece near the bottom tab to extend the second layer of linen. Work with what you have, right?

This new gusset had a wider bone channel already sewed… and I really didn’t want to deal with my narrow bone idea again. Therefore, these two pieces will have permanently wide boning channels. It’s all in the spirit of making do! I did have to extend the bone channels after adding the extra bit of linen near the tab, but that was easy to do.

Covering Seams & Finishing Edges

Following the information in Patterns of Fashion 5 (see my fourth blog post in this series for more information on this incredible book), I covered the visible whip stitches that formed the seams of the pieces with 1/4″ linen tape.

Then, I basted all around every exterior edge, to hold the layers in place while I continued to work on the stays. I followed that by whip stitching the raw edges, in order to create a more stable edge for the binding.

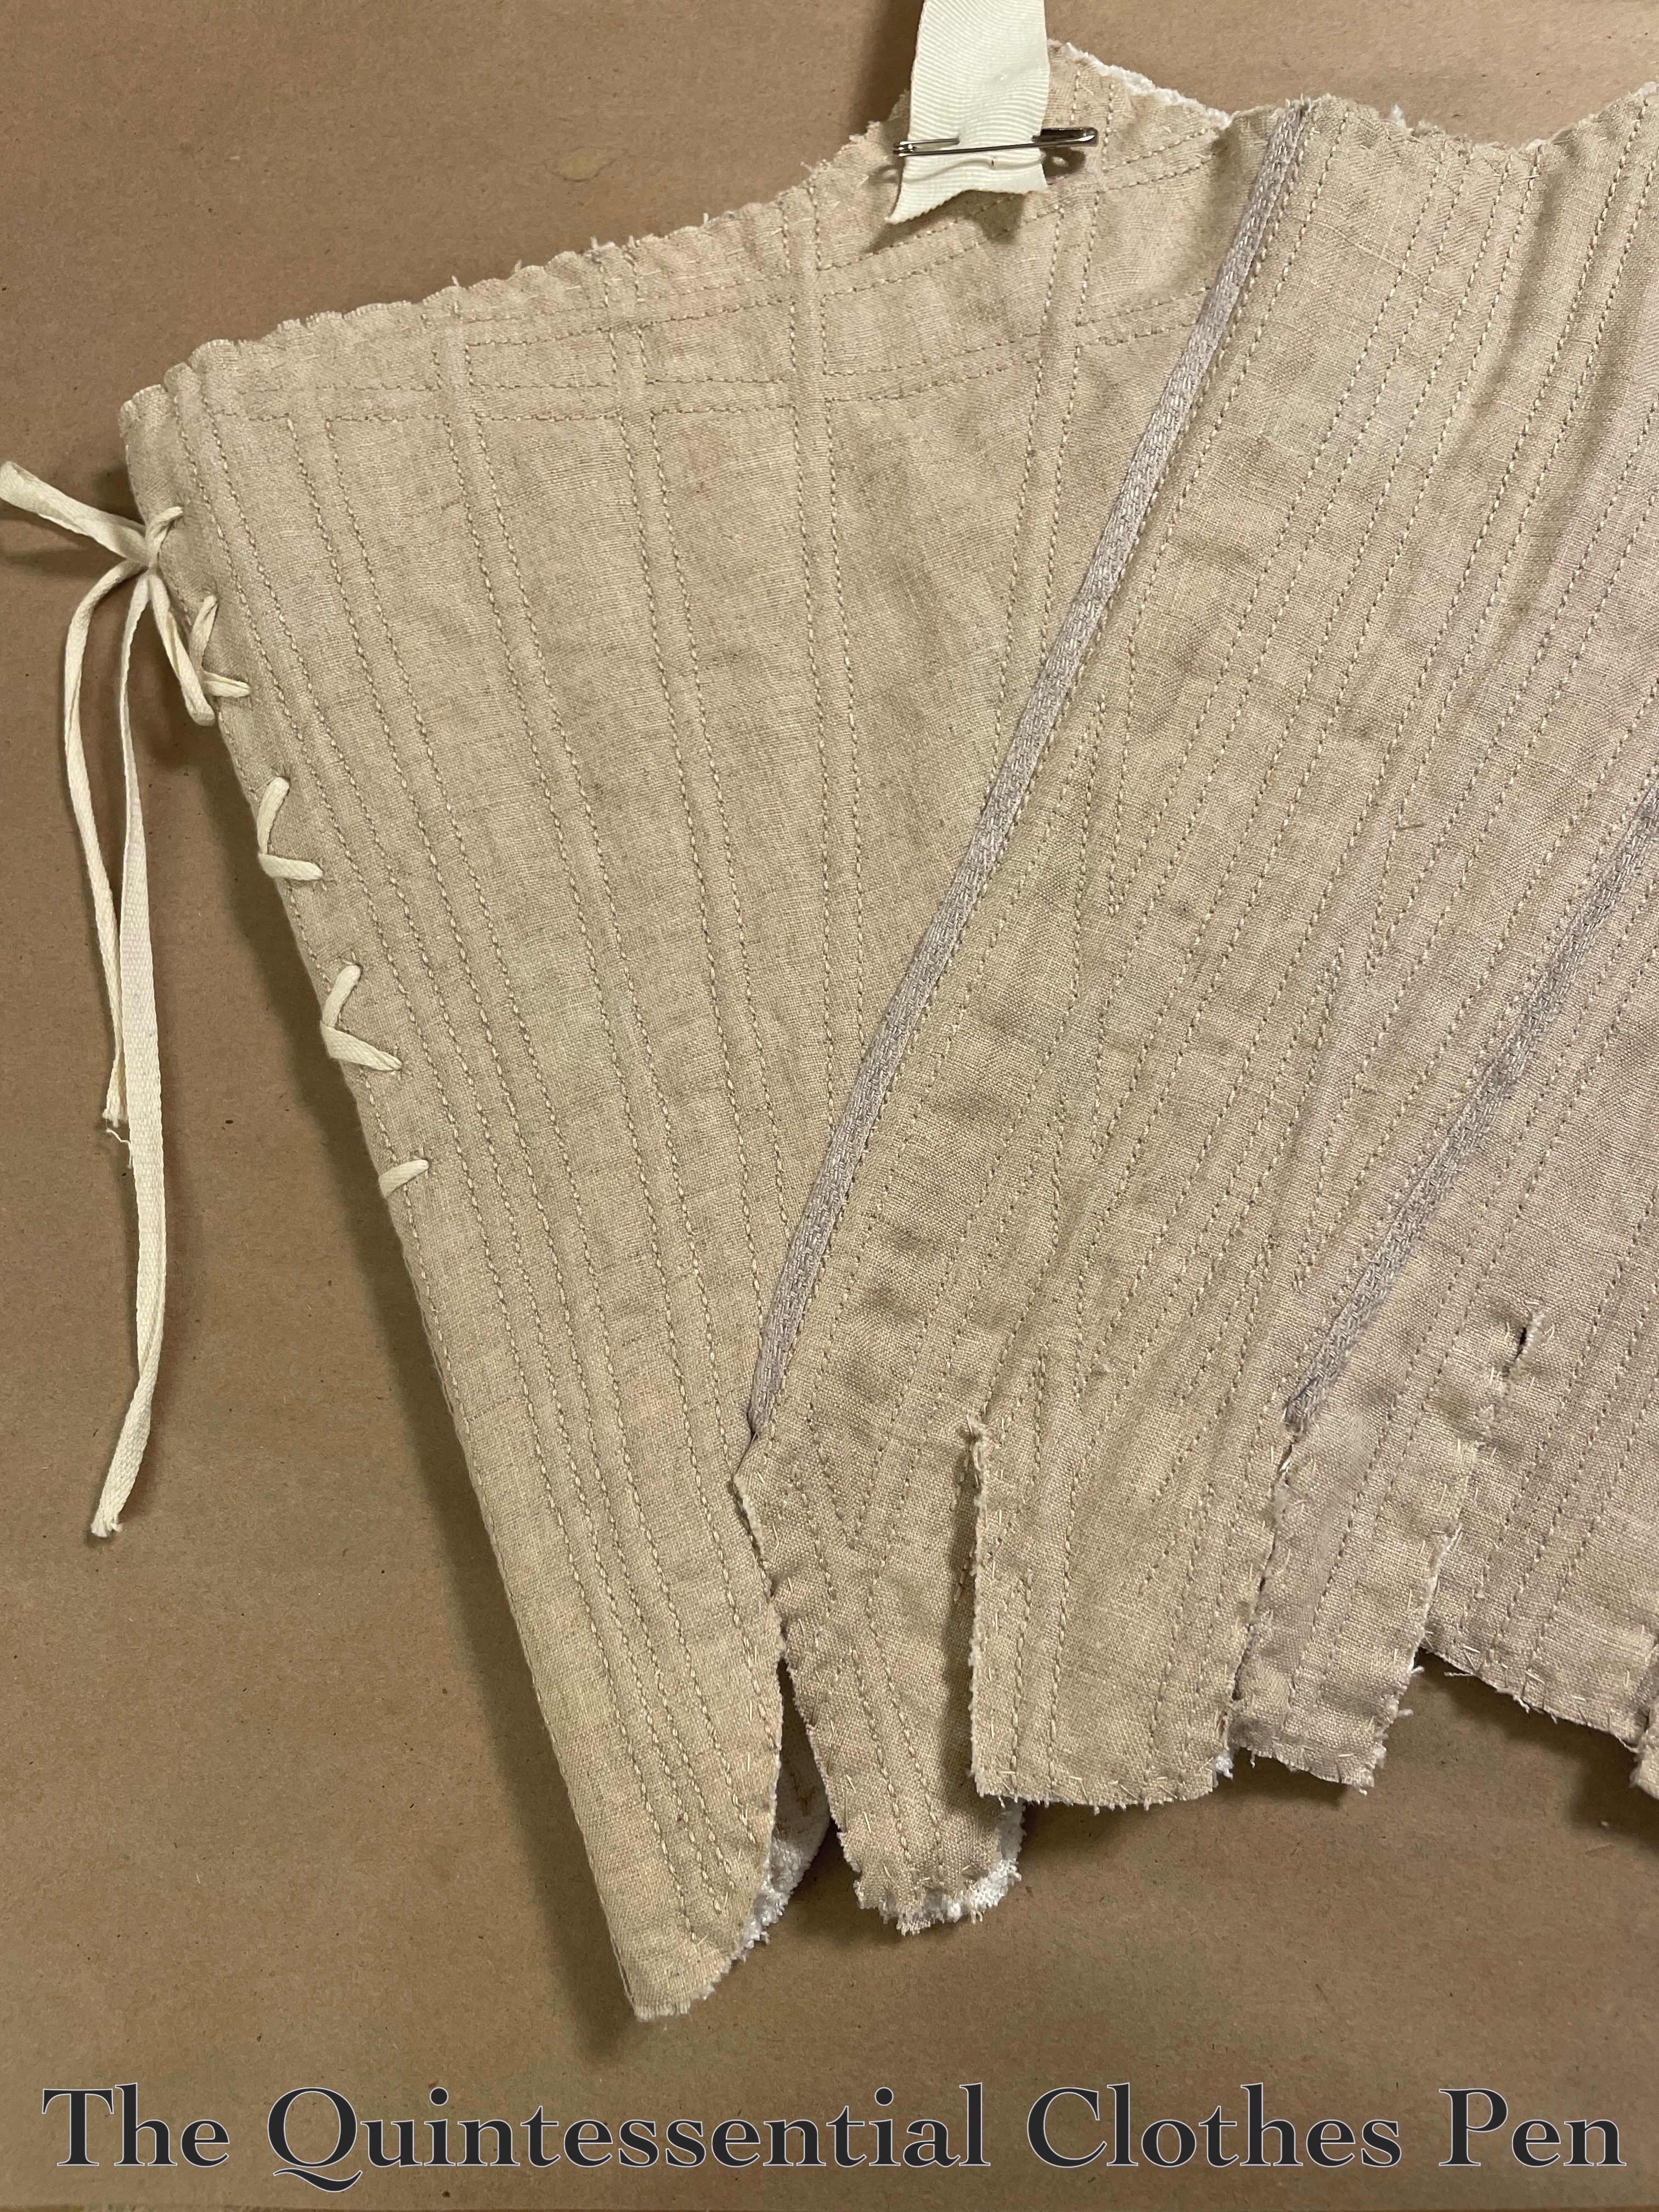
In the photo below you can see the linen tape covering the seams and the edges that have been basted and whipped.

Finally, I was ready to bind the edges!

You can read previous posts in this series here:
c. 1785 Stays (Of Fail), Part IV: Early Construction Details
c. 1785 Stays (Of Fail), Part III: The Pattern
c. 1785 Stays (Of Fail), Part II: Fitting Update
c. 1785 Stays (Of Fail), Part I: Beginnings

c. 1785 Stays (Of Fail), Part IV: Early Construction Details

Construction Process Resource

The book I used to create the pattern for my stays (Stays and Corsets: Historical Patterns Translated for the Modern Body by Mandy Barrington) gives very little in the way of construction information for stays (process, materials, and details). I found this to be really disappointing.

Thankfully, however, there are other resources that one can go to for this type of information. I chose to reference Patterns of Fashion 5 (PofF5), authored by Janet Arnold, Jenny Tiramani, Luca Costigliolo, Sebastien Passot, Armelle Lucas and Johannes Pietsch.

The great thing is that I could go to PoF5! It had not yet been released when I started this project, but I have it in hand now… and I must say that it is an absolute gold mine of information! There is so much research, expertise, and detail included. There are so many color photos. There are x rays of extant garments. And of course there are patterns. And information about patterning and making both in the past and now.

I cannot do anything but rave about this book! It is almost double the length of the earlier Patterns of Fashion books. I actually sat down and read this book cover to cover, which is not how I usually deal with pattern books (usually I read the bits that are relevant to a certain project). This book is amazing!

On To The Construction Process

Despite creating a pattern from another source, PoF5 was invaluable for the construction process of my stays. Using information in PoF5, I decided to make my stays from an outer layer of linen, 2 layers of linen buckram, and a lining (that will likely be linen).

To start, I cut out the exterior and 2 layers of heavy linen for the interlining. Below is a photo of my inner heavy linen with the pattern laid on top. I used stash fabric and found a piece that just barely fit my pieces. No seam allowance is included in the pattern, so you can see that I really eked my pieces out!

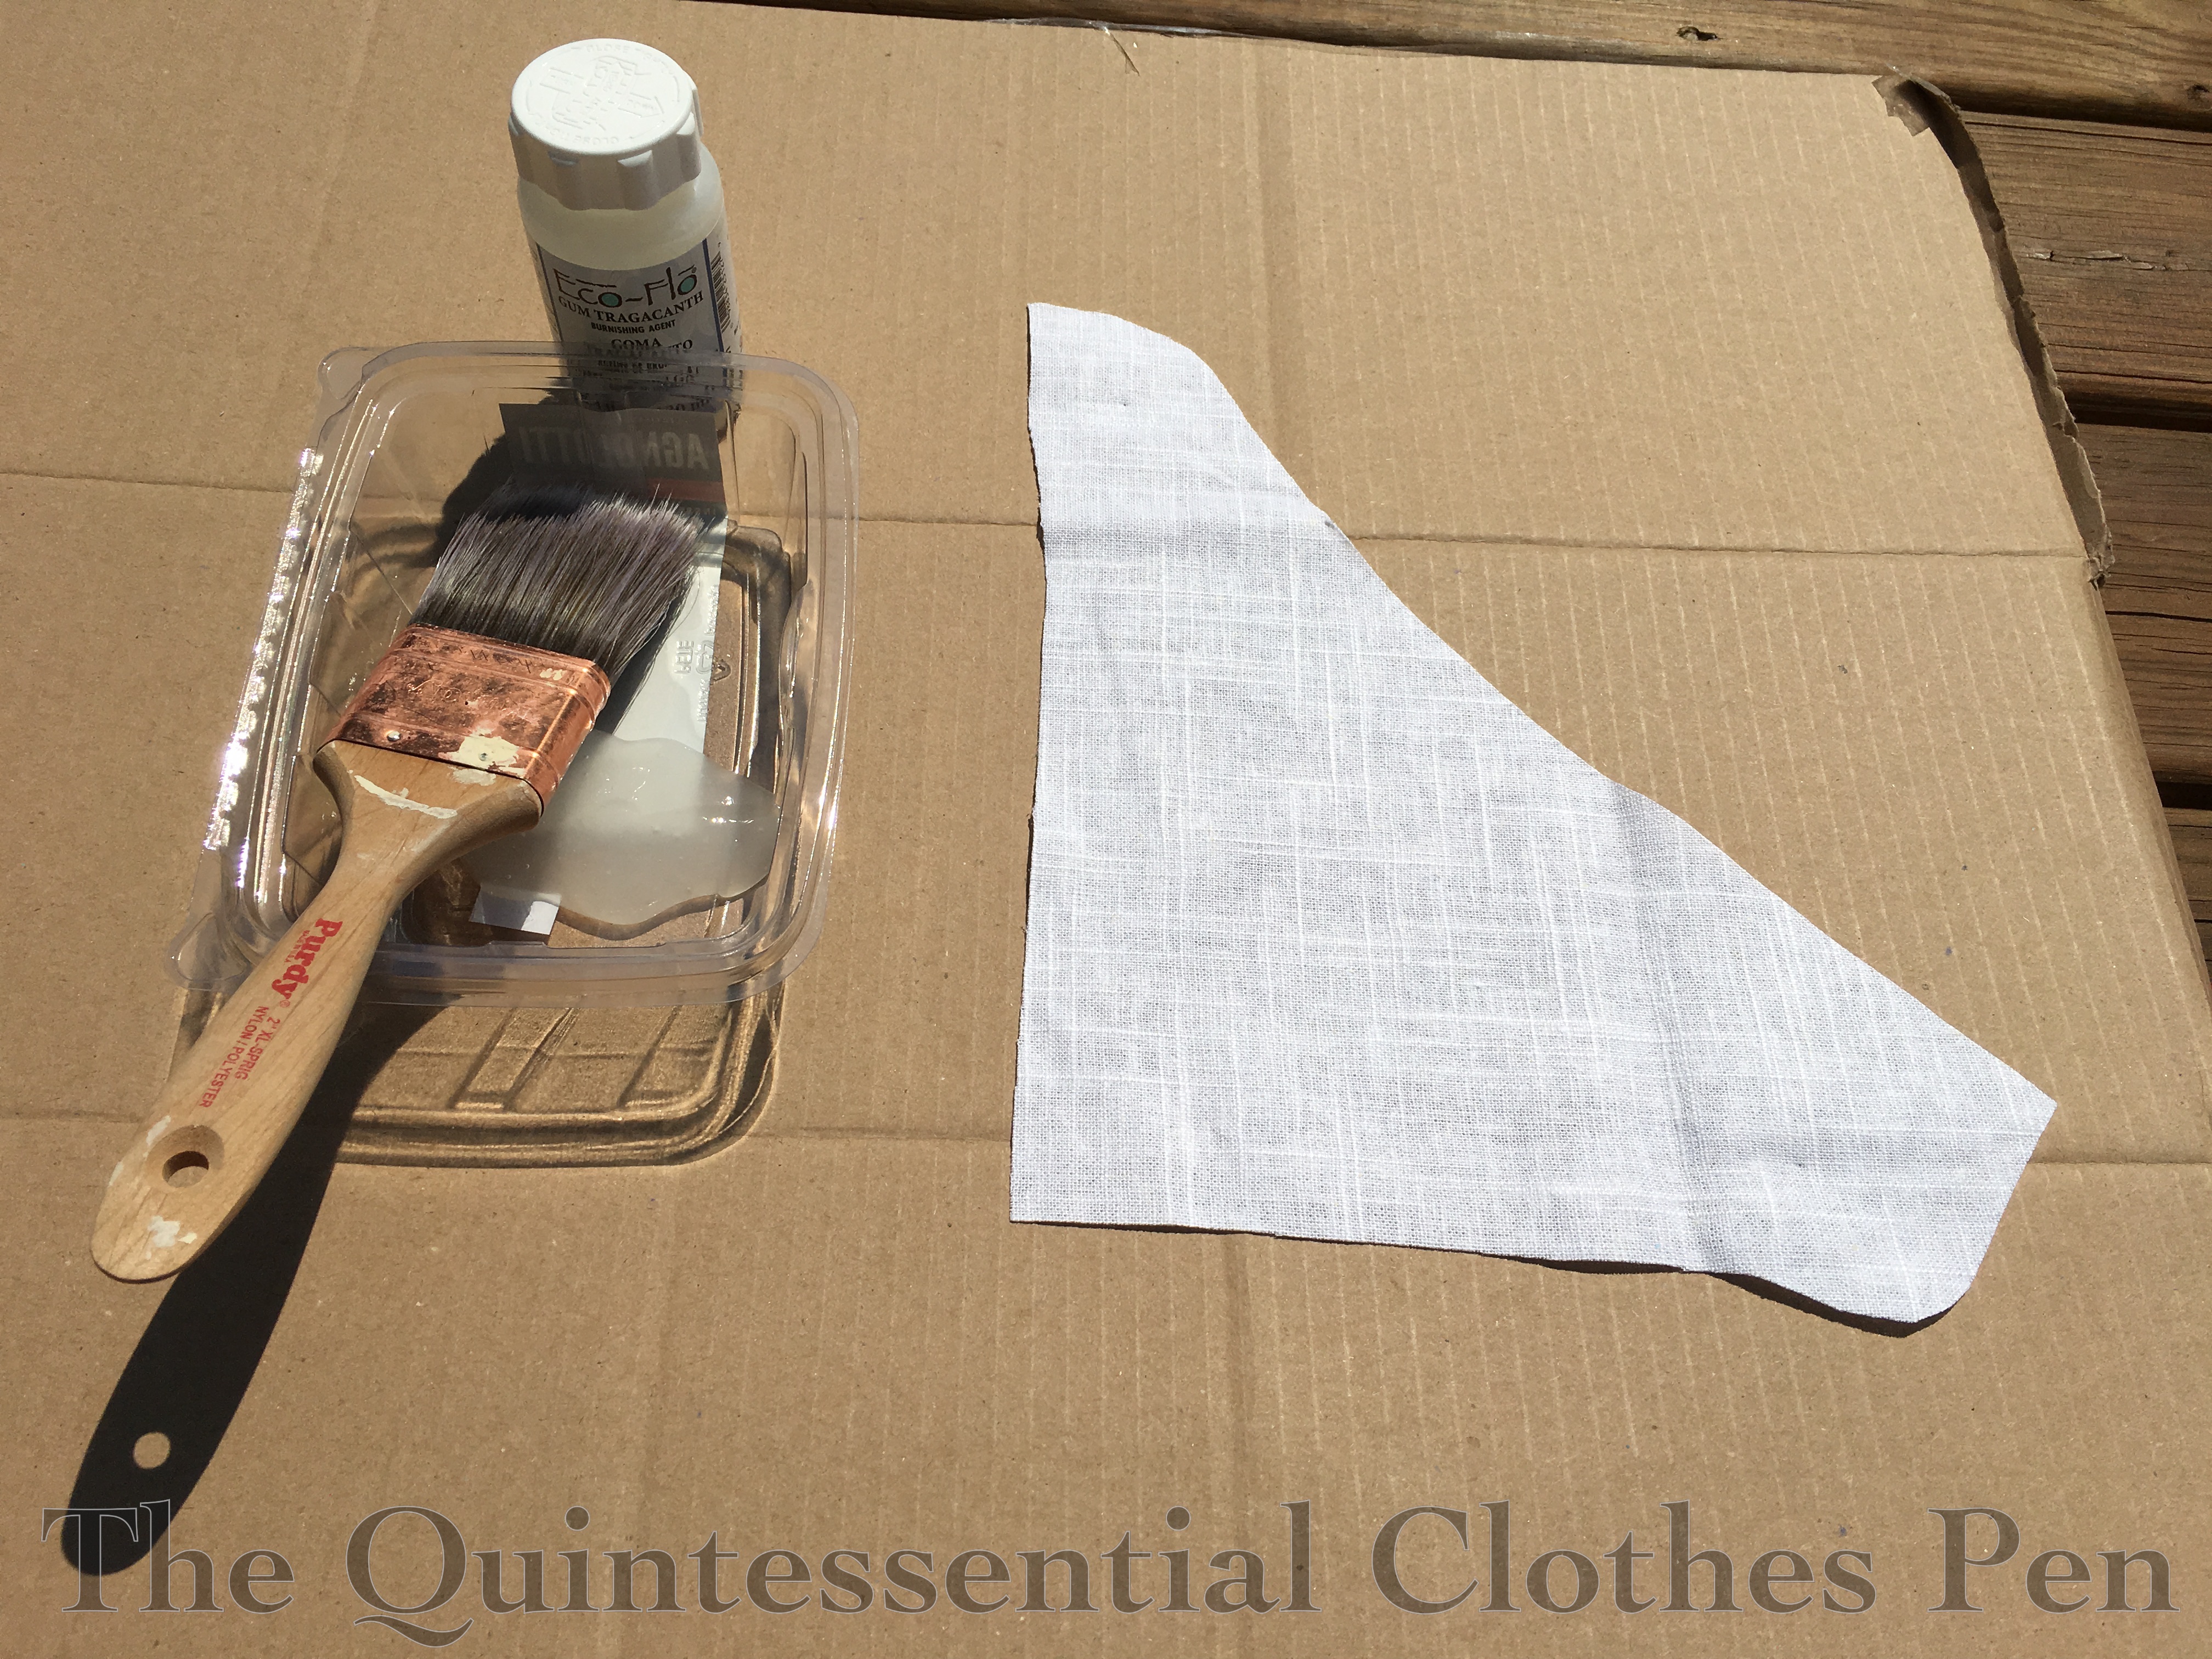
To nerd out on history fun and try something new, I decided to make my own stiffened buckram for the inner layers. So, on a hot August afternoon I was to be found sitting on my deck dripping with sweat while painting gum tragacanth onto my linen pieces instead of being inside where it was cool.

So what is gum tragacanth? It is a stiffening agent used to make linen buckram, which is a material used to stiffen 18th century stays.

Burnley and Trowbridge has a great video about making buckram that describes fum tragacanth and Leimomi, The Dreamstress, has a great blog post discussing gum tragacanth and xanthan gum. The post includes videos and lots of wonderful how-to information.

I used a paintbrush to spread my gum tragacanth on my linen. By the end I was definitely getting a little sloppy because I wanted to get out of the sun as quickly as possible, but I was still impressed with myself for the lengths I go to sometimes for the sake of historical exploration!
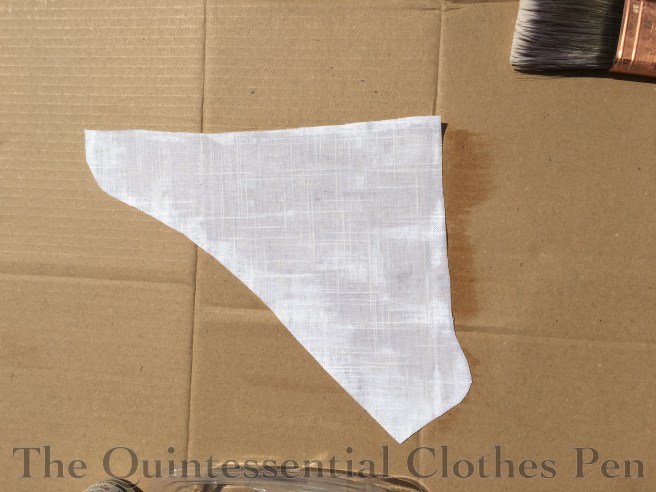
Below is a photo of my set up. Cardboard from the recycle, a dish-shaped piece of packaging from the recycle, and a paint brush.

I used a full 4.4 oz bottle of Eco-Flo Gum Tragacanth for my double layer linen interlining. In the dish you can see the consistency of it. It was wonderful not to need to mix or heat it, as you would need to do with xanthan gum.

To be honest, I didn’t notice too much of a difference in the linen after applying the gum tragacanth. (This could be because I was already using a heavy linen?) It also seems, and makes sense, that the stiffness has been reduced as I’ve worked with the fabrics. Regardless, I am still entertained and enriched by my experiment.

After the gum tragacanth dried, I flat lined my 3 layers for each piece (2 layers of heavy linen and the exterior linen) and marked my boning channels. I found that using Frixion pens worked well, because the marks easily erase with a hot iron after the channels are sewn (and the pen marks don’t rub off while being sewn, as with chalk). Magic!

There was lots… and lots… of sewing boning channels, as you can see blow.

After all my channels were complete (and I’d pushed in all those narrow zip ties I ranted about in my first post about these stays), I moved on to the eyelets. There are eyelets for the center back closure and eyelets for front adjustability, as on the inspiration Chertsey stays (which you can see in my third post about these stays).

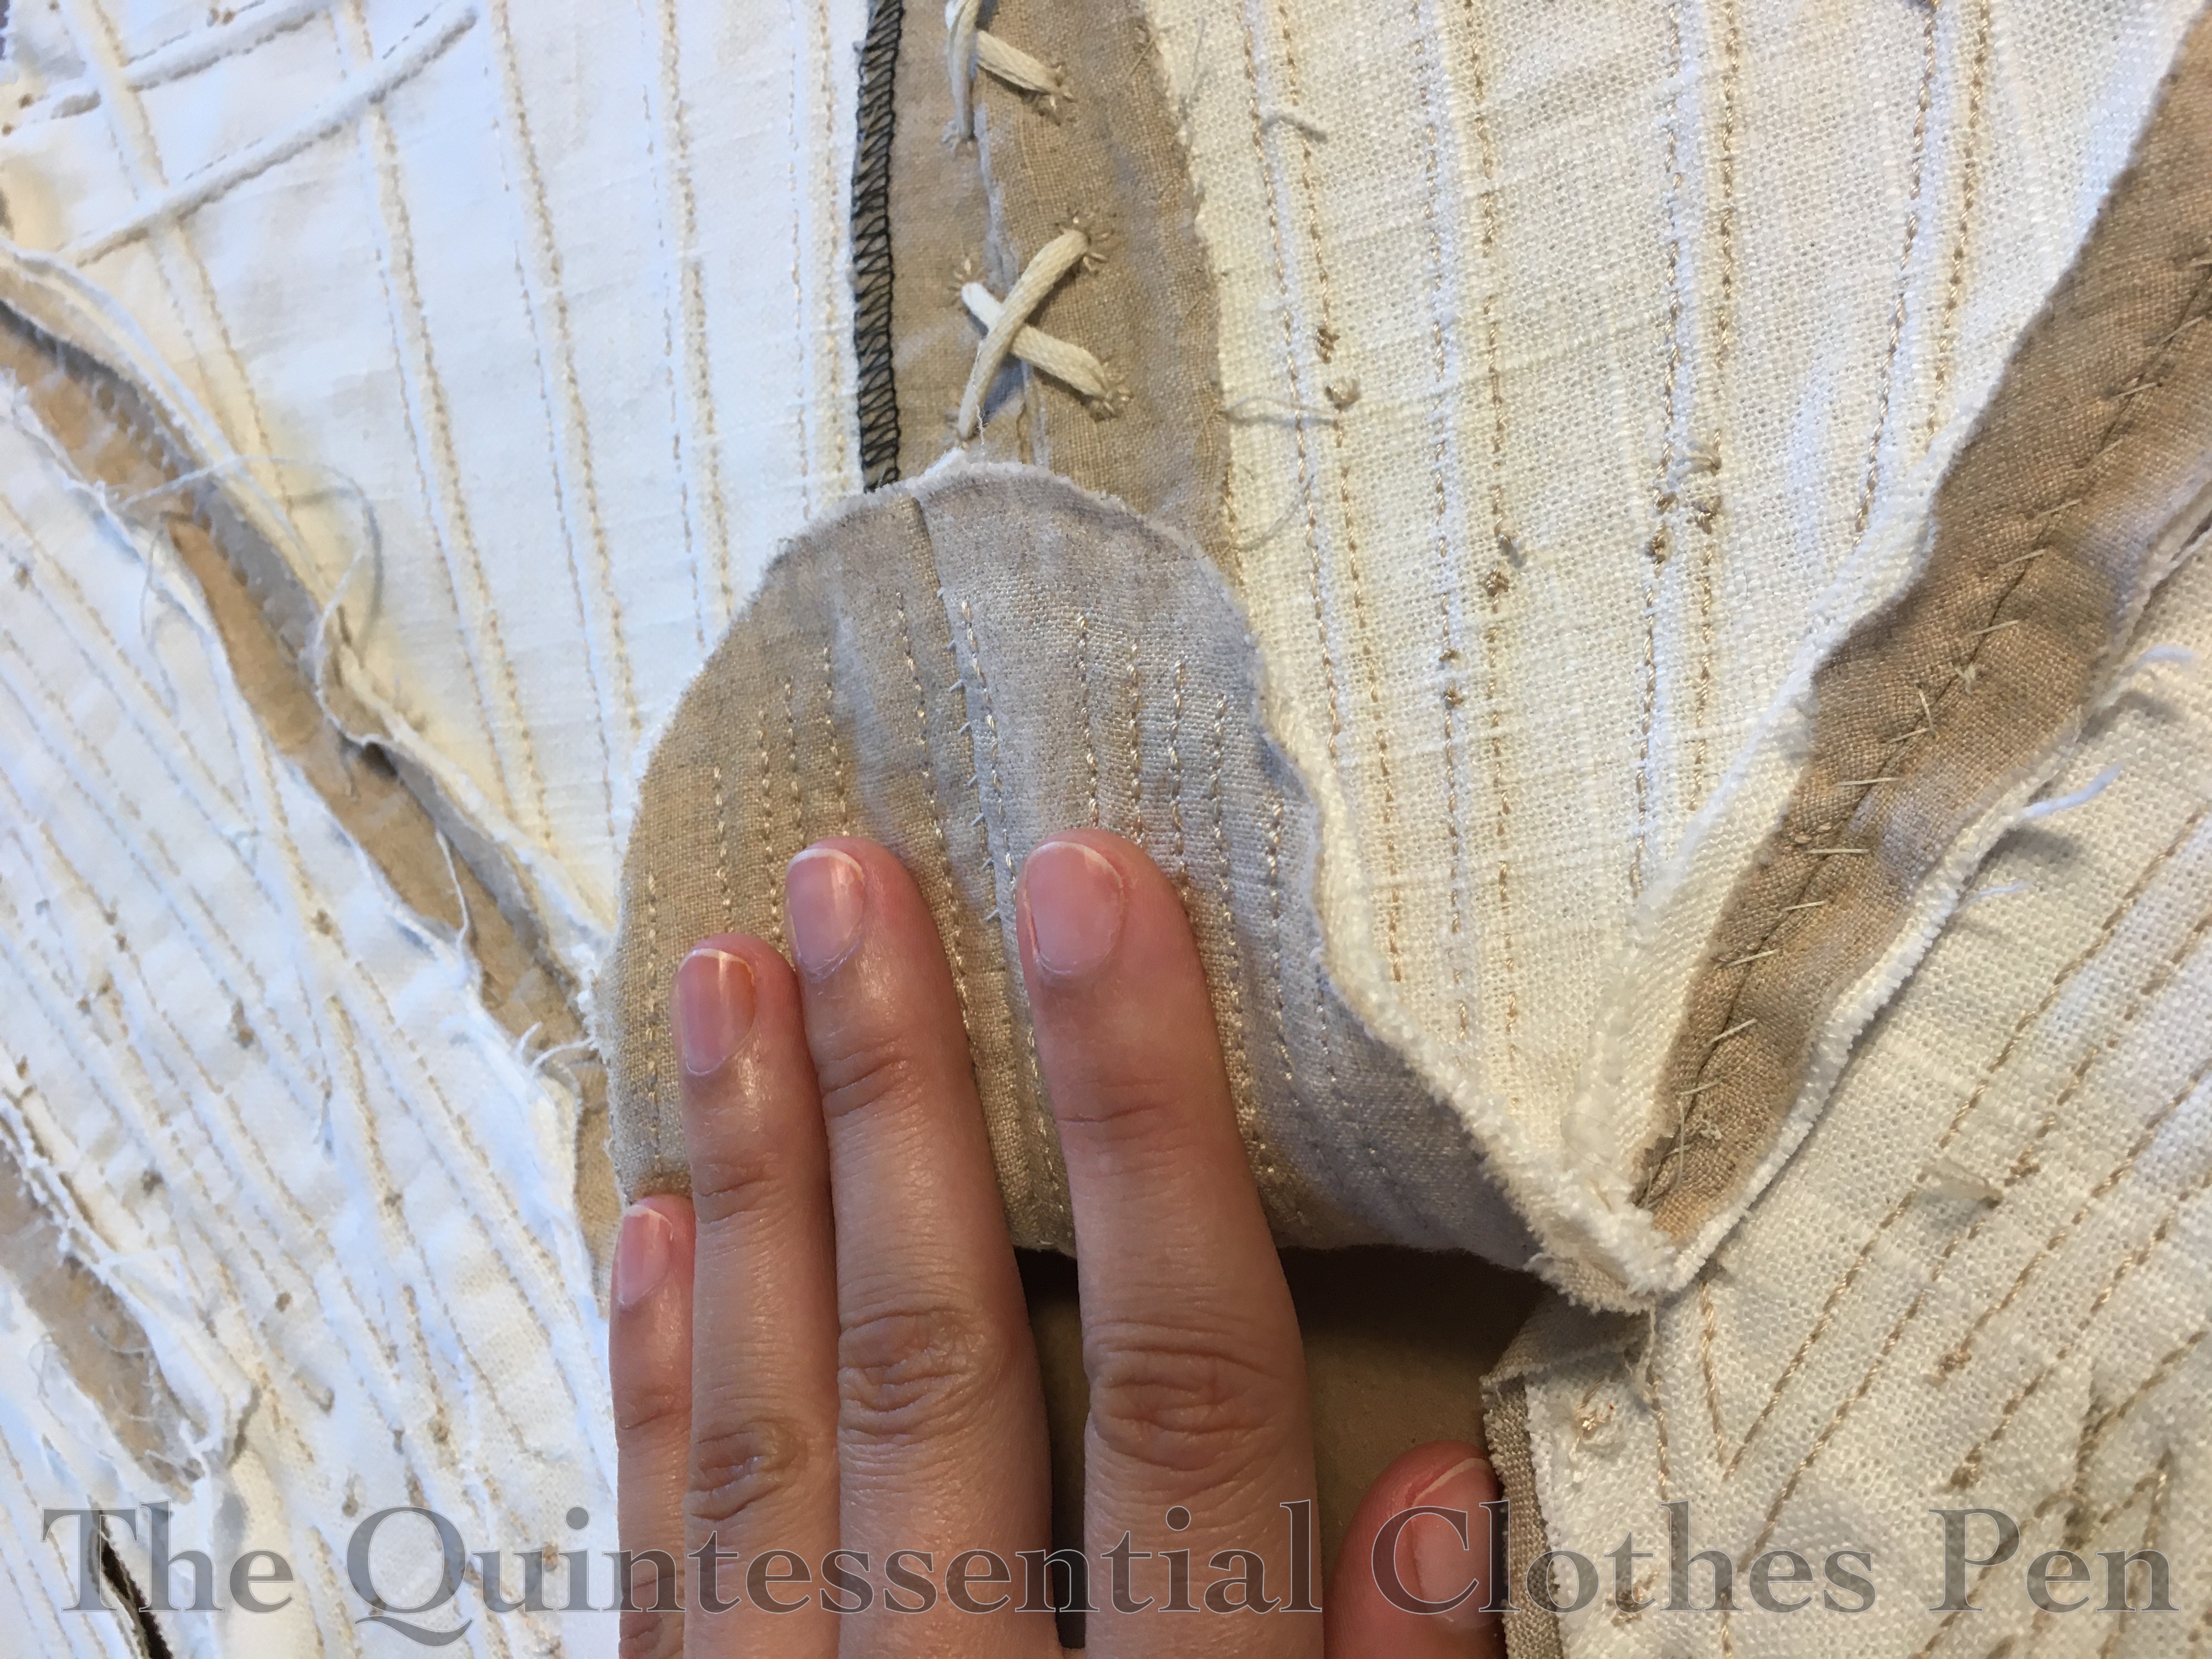
I realized that I hadn’t cut my center back pieces with enough fabric to wrap around past the eyelets (though I didn’t have enough fabric to do that, anyway!), so I pieced strips together and whip stitched them on to make the extension, as you can see on the right side of the next photo.

After the eyelets were done, I assembled my pieces with whip stitches.

I whip stitched the seam allowances down as well, thinking that might help make the stays fit smoothly for a fitting.

That basically brings the project up to the unfinished state it is in now, minus a few fittings and adding that back gusset.

You can read previous posts in this series here:
c. 1785 Stays (Of Fail), Part III: The Pattern
c. 1785 Stays (Of Fail), Part II: Fitting Update
c. 1785 Stays (Of Fail), Part I: Beginnings

c. 1785 Stays (Of Fail), Part III: The Pattern

The Beginnings, The Longer Version

Let me back up from the current state of the Stays Of Fail to all the wonderful documentation I did about making them, at least to this point. When I started these stays back in 2018, I intended them to be a sort of in-between-projects-project for when I wanted a bit of hand sewing to do. Given that, the project moved at a pace only slightly faster than a glacier!

Somewhere very early in the planning stages of these stays I decided to try out a new book for patterning them: Stays and Corsets: Historical Patterns Translated for the Modern Body by Mandy Barrington. This book presents the idea that you can use any person’s measurements to draft a basic block of the body and then use the basic block to draft any of the historical stays in the book. It’s a neat idea, in theory, and I wanted to try it out.

The Pattern

I didn’t keep track of how long the patterning/drafting process took me. But it was a long time…

There was lots of math, which always happens with drafting a body block and is to be expected, but on top of that there was also the drafting of the specific pair of stays I’d decided on: the 1785-1788 Half Boned Stays (patterned from a pair of stays held at the Chertsey Museum). I was doing my pattern drafting while being often interrupted, so that slowed me down, but despite that the process was longer than I was expecting (and I’m not new to making body blocks or patterns).

This is the original pair of stays at the Chertsey Museum. (Accession number M.2008.53)

(The nice thing is that if I were to use this book to pattern another set of stays or corset I would be halfway there, having already now created a custom body block, but I suspect it would be faster for me to start with a pattern from another book source, because I think my brain wraps around the idea of resizing a pattern without the body block drafting pretty easily.)

I eventually had my body block and was able to draft my pattern using the instructions. The instructions were quite detailed, so that was great. I finally had a pattern that I was able to cut out and make a mockup out of! I was able to get into the fun part: sewing!

Testing The Pattern With A Mockup

I had expected that, after spending a lot of time spent patterning the stays to fit my measurements, I would have stays that basically fit. And I did. But they fit my measurements with the center backs touching and no compression, just sort of lightly surrounding my body without providing support.

The drafting did it’s job of making stays to my measurements, but I was dubious about whether they would do their supporting job when fully boned and finished. So I decided to adjust the mockup a bit–taking some in at the waist, in particular.  (While this is a small adjustment to make, it reminded me that at the point at which I had to alter the mockup I might as well have started with a pattern that took less time to create.)

But perhaps, that alteration was my downfall. As you’ll see in later posts, I later had to add fabric back into the waist size.

That’s all for now. Next post, I’ll detail the early construction process, including stiffening my own linen!

You can read previous posts in this series here:
c. 1785 Stays (Of Fail), Part II: Fitting Update
c. 1785 Stays (Of Fail), Part I: Beginnings

c. 1785 Stays (Of Fail), Part II: Fitting Update

In March 2022, I had another fitting on the pair of stays I started posting about recently. I tried a few different things and some seemed to work. It gave me hope!

I decided to add tape straps to these stays, partly to help counteract the back pulling away from my shoulder blades and slouching in towards center. This method of straps comes this pair of stays at the McCord Museum (accession number M969X.26), which is dated 1785-1790.

The idea has intrigued me for awhile and specifically appeals for this project because I didn’t like the fit and feel of the attached fabric straps and had already cannibalized them to make gussets, anyway.

Adding the tape helped the stays feel better, but the gussets were still a problem. I decided to move the gussets up higher by about 3″. I didn’t have quite enough fabric length to do that but I decided to piece on additional sections at the bottom. Piecing is completely period and seemed like a better idea than not having stays that I could wear!

Additionally, I maxed out the seam allowance on both sides of the gussets and the abutting pieces. I’m hoping those things will help narrow the back gap. I’ll also add a new boning channel in the gusset.

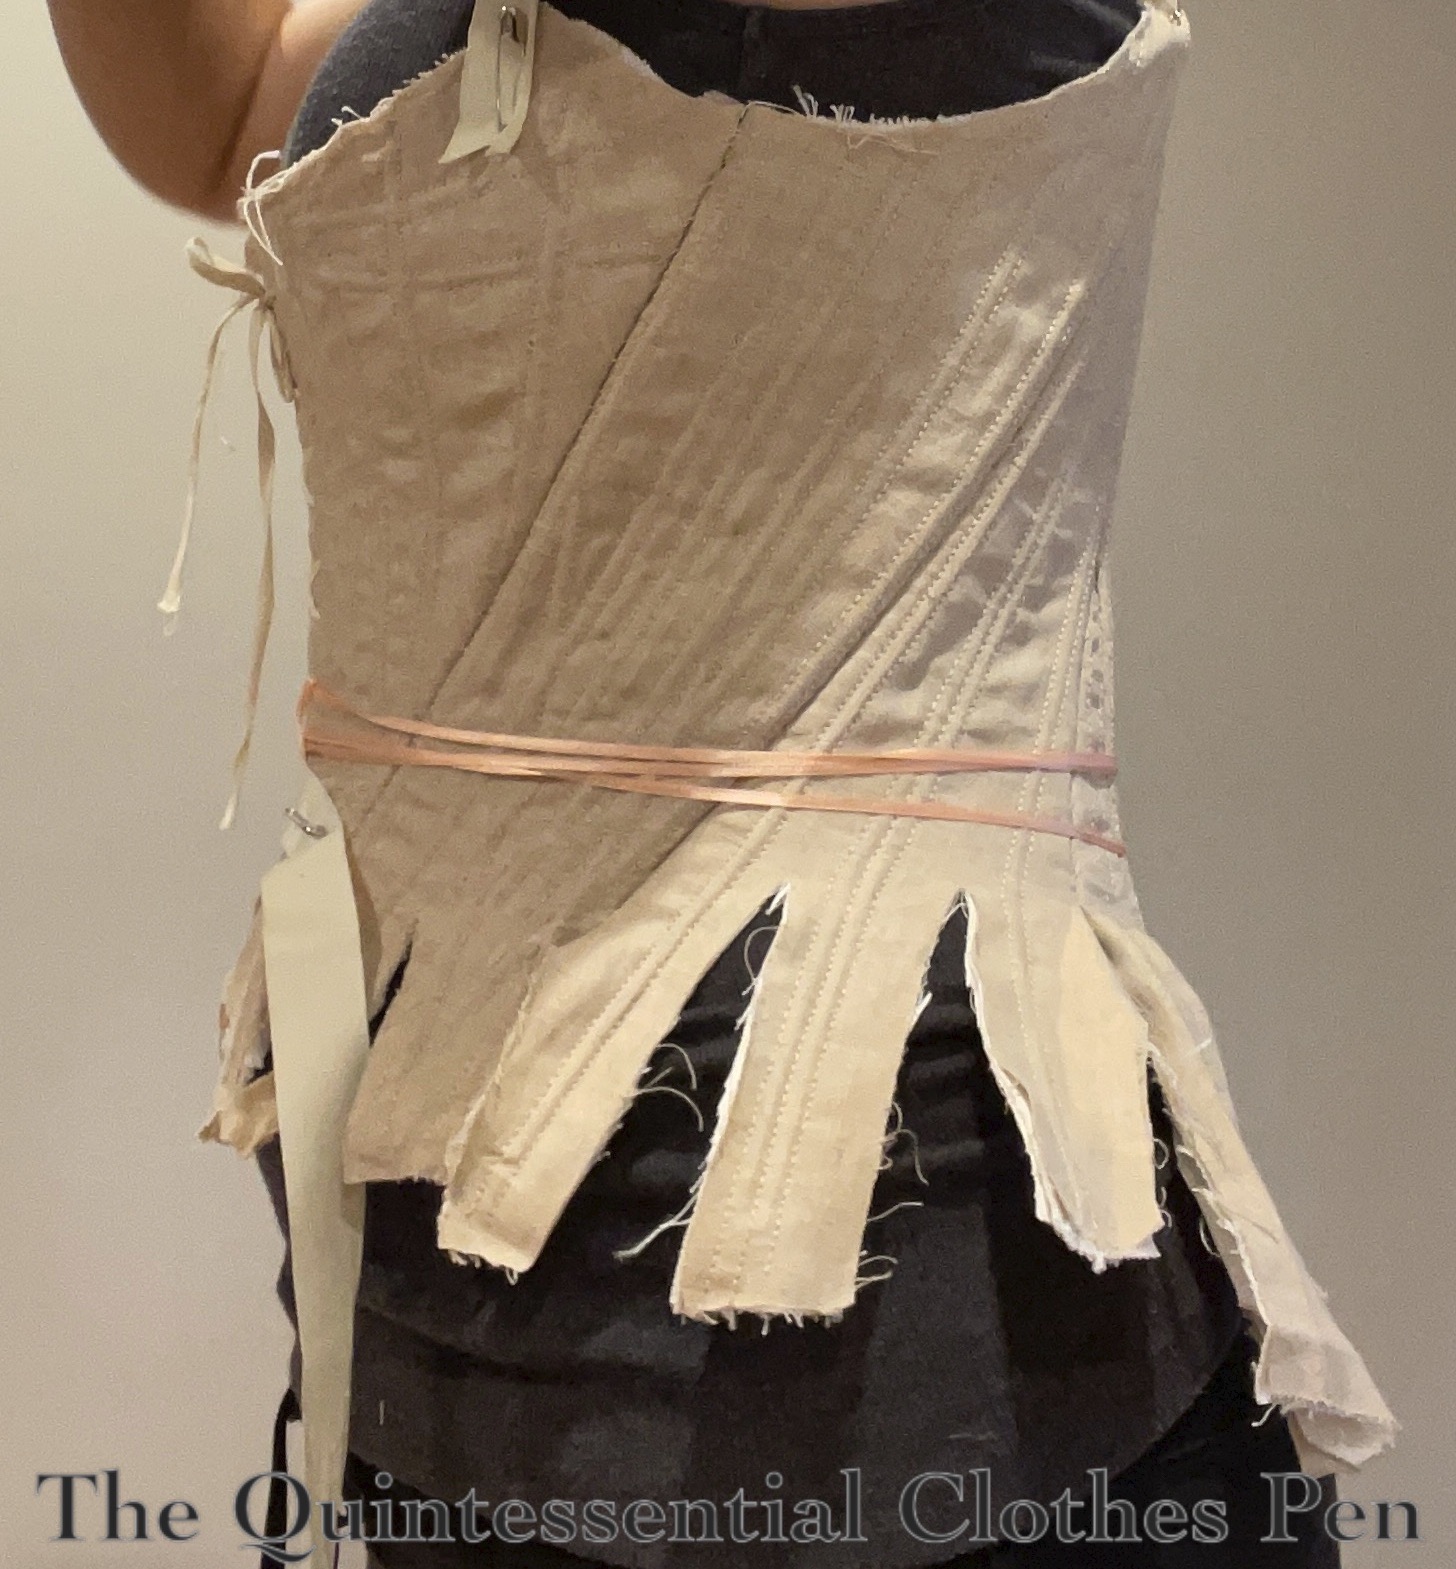
In terms of fit, the side view actually isn’t bad with the added strap!

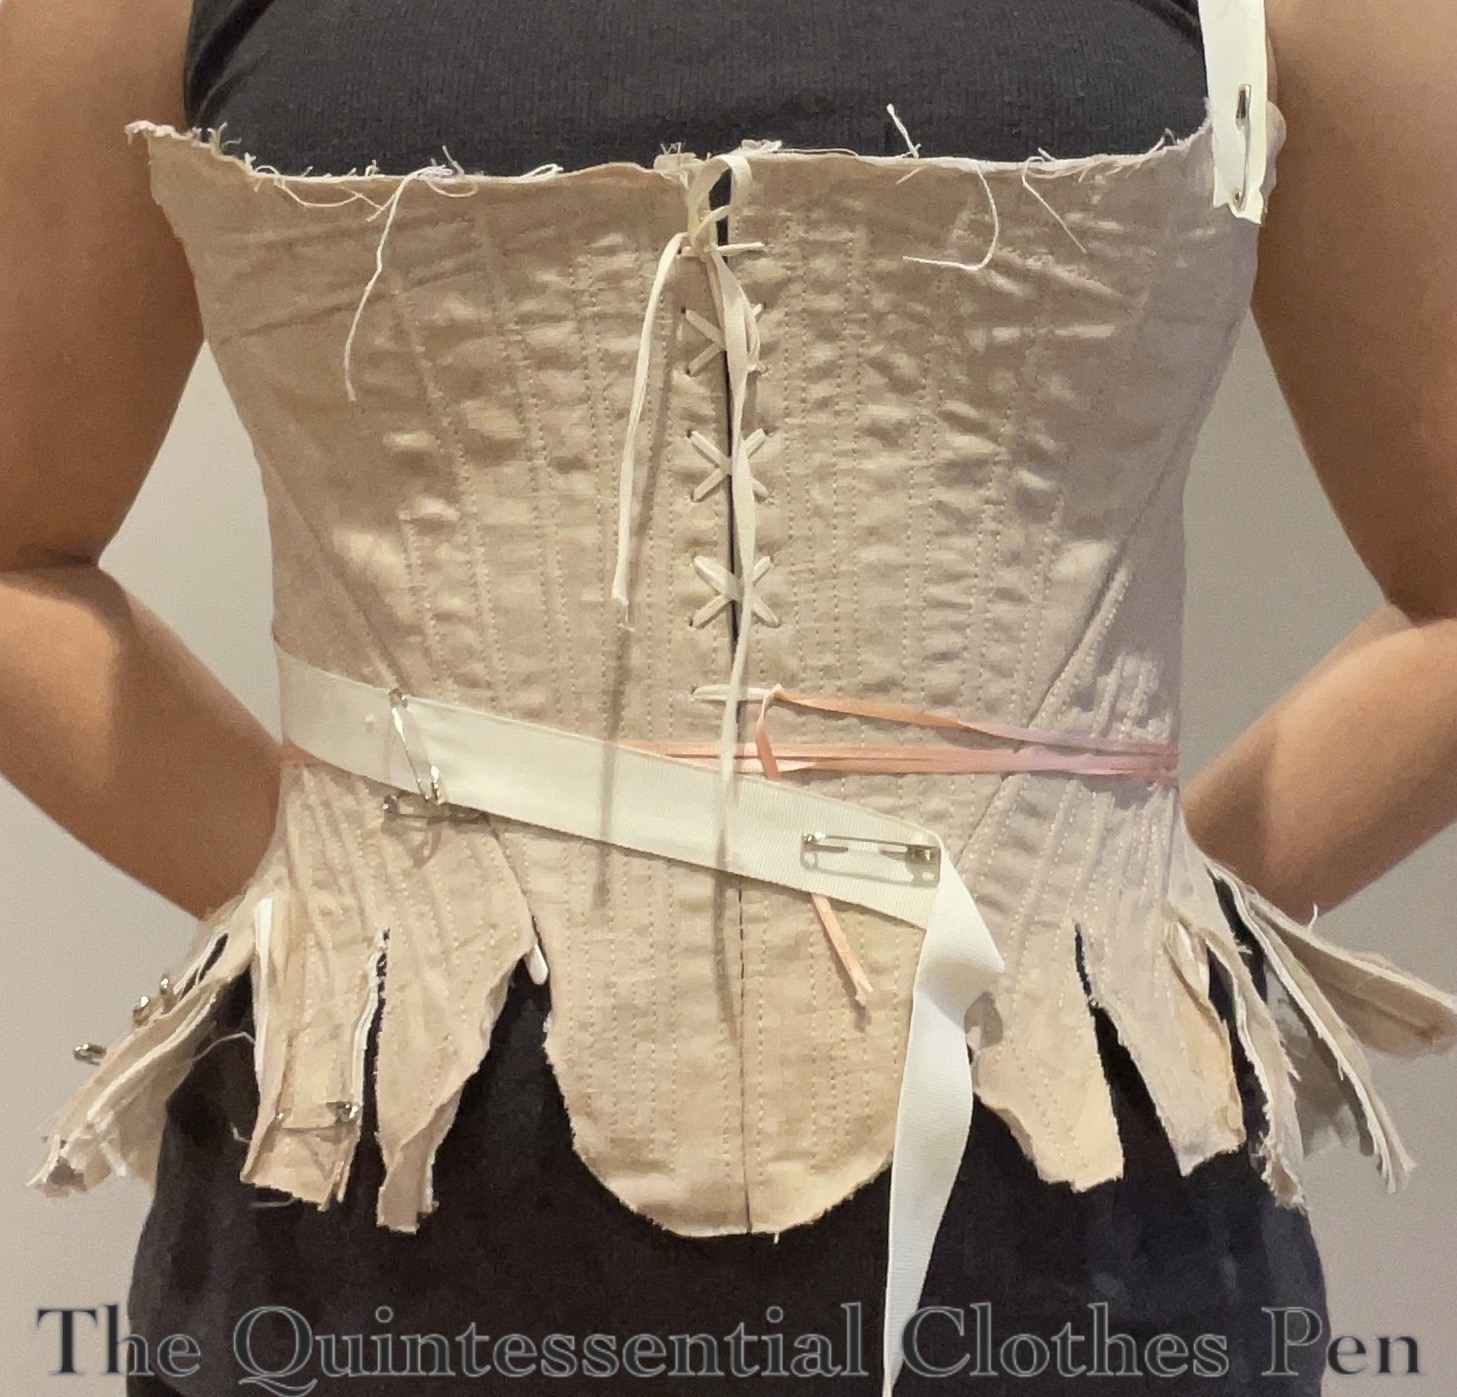
The tape shoulder straps wrap across the back and then will hook in the front. For the fitting the test strap is just safety pinned. Other pins are marking where the strap hits as well as the finished length of the tabs.

After this fitting, the to do list includes:

  • resetting/piecing the gussets and adding boning channels and boning to them
  • whipping the edges of the stays in preparation for binding them
  • binding the edges of the stays
  • adding the tape straps for a final fitting

I’ve been very busy, so those things are moving along quite slowly. I did update the gussets and start whipping the edges, so there is some progress.

That’s all for now. Next post, I’m going to go back to the early construction details of these stays.

c. 1785 Stays (Of Fail), Part I: Beginnings

The Beginnings, The Abbreviated Version

The very late 18th century (1780s and 1790s) is a mostly new period for me. I have a chemise… but no other underclothes that fit, no dresses, and quite likely no accessories… I’m starting mostly from scratch! And as one does (or at least as I do) when faced with a new period, I decided to make completely hand sewn stays as the foundation. That was in 2018!

I thought I had a grand plan. I was so excited about my stays! I tried a new way of patterning, tried a new method of stiffening my fabric, sewed oodles of boning channels by hand, shoved bones into all the channels that were just a little too tight, put in my eyelets by hand… And I documented all of it to share it here.

Catching Up To The Current State Of Things

Then in mid-2021, I did a fitting… and realized that I was really unhappy with the stays. Really unhappy. Mostly due to the fit.

The stays pushed my tummy downwards so it rounded out underneath the front point and tabs, but, even worse, the back pushed down on my lower back and was super uncomfortable! AHHHHH! After all that time spent hand sewing! And it’s not like I jumped right in to hand sewing stays without mockups and thinking that the pattern fit. No, I’d done those steps and hadn’t noticed anything wrong! GRRRR.

My immediate reaction was to put the project away. I just couldn’t bear it. After I calmed down (weeks later, mind you!), I tried to see what I could do to fix the issues. I decided to add a gusset into the back, since the pressure seemed partly to come from the bottom of the lacing gap being quite wide. I had only very small scraps left, so the only way to do this was to cannibalize my straps (which is fine, because I wasn’t super keen on them restricting my shoulders, anyway).

Here’s a photo of the back of the stays with the triangular gusset already added (and some other things that I’ll talk about later). The gap at the bottom was even wider before I added the gussets!

Fast forward a bit more and I had another fitting. The gusset helped a little, but I still had pressure on my lower back. And… the front problem, I realized, was due to a combination of the front being too short for my frame and this idea I had to use ⅛” bones, to mimic the size of originals…

I’ve had success with plastic zip ties as bones, so I thought I could use narrow ones to create the width I was looking for (I used these, purchased on Amazon). Unfortunately, they were very tight in the channels. It took a lot out of my wrists to cut and push in all the bones. The width of the zip ties looks great, but they’re too flimsy. Look how much I can bend back the front tab!

After much deliberation that included going back to look at the original that the pattern I used is based off of, and the reproduction made from it that is in the book I used, I realized that the original stays are just really short in the front. AHHHHH! (More about the book I used will be coming in a future post.)

I didn’t process this earlier, in any of my fittings, or my mockup, or my patterning, or my looking at the book! And I’m incredibly low on fabric! Below are my scraps, minus the long ones in the center, which were already used to face the eyelets.

So… I was left with a half finished pair of stays that took many, many hours to even get to this point–wonderfully sewn in terms of methods, but which I couldn’t wear. I was very upset and put the stays into time-out (again!).

I’ll stop the story of the stays here and continue on with my updates from the most recent fitting next time.

Genevieve At A Spring Fete

Genevieve, the name I gave to my most recently constructed mid-19th century sewing project back in 2019, was only able to be worn once before all events ceased. So when friends and I decided to gather for a private ball earlier this spring, I knew that of the multiple ball gowns from this period in my closet Genevieve was the one I most wanted to wear.

I was having such a lovely time dancing that I didn’t take any photos of that activity, and the dress had already been documented, so I didn’t take photos specifically for that purpose, either. Refreshments, however, were definitely worth taking photos of, because we decided to cut our cake with a sword.

Why? Because it is amusing! We had been at a ball a number of years ago in which no one had a knife, but someone did have a sword! We used it at that time and it’s been a running joke ever since. In this case, we did have knives… but swords are far more dramatic!

The beautiful and delicious cake was made for us by a local bakery, Dolce Amar. Friends contributed flowers and vessels to add to our springtime theme.

If you’re interested in learning more about Genevieve, my 1863 apricot silk dress, I documented the creation of the dress in nine separate blog posts over the course of 2019. All of those posts can be viewed here in the project journal for the dress.

Winter Wonderland Adventure: Snowshoeing

Spring may be here now, but I haven’t finished my recounting of winter adventures! I don’t want to wait until next winter for these posts, so I hope you’ll forgive me for being in the wrong season for a bit.

The second day of my 19th century Winter Wonderland Adventure was supposed to include snowshoeing! I haven’t done much snowshoeing in my life, but I did do a little last winter. I was entertained and decided to purchase snowshoes.

Even though there wasn’t tons of snow… I was determined to use the new snowshoes! I thought it would be more fun to wear another warm historical outfit rather than modern clothes (even though the snowshoes are modern!).

I decided on my self-knit 1920 Deauville Sweater, which is acrylic and very warm, as well as a thrifted wool skirt with pleats that looks decidedly vintage to me. The skirt has a surprising mixture of colors in the plaid, including grey, green, blue, yellow, and magenta. The colors are muted enough to go with most things, but the touch of magenta felt like it would tie in with the Deauville Sweater nicely.

These garments were supplemented by modern base layers and fleece leggings. In addition, I wore locally sourced alpaca fiber gloves lined with fleece, modern snow boots, and a felted wool hat I made many years ago when I was learning millinery.

The hat is a nice olive color trimmed in grey. It started life as a derby, with a round crown, but that looks absurd on me, so I squashed in the top to make it look a little more fedora-like. The effect was quite jaunty! I’m very pleased with this first, very belated, hat outing! I hope I find more reasons to wear it!

Our snow shoe path followed along the same route as the sleigh ride the previous day, winding along a river and past the ice skating area. In contrast with the previous day, there was not a flake of snow falling from the sky, just bright sunlight.

It was a beautiful along the river, with rushing water gurgling along and massive chunks of ice thrown up against half submerged rocks and along the banks of bends in the river’s course.

The sunshine was a such a lovely contrast with the light snow of the previous day. It was an excellent adventure. I’m pleased that I managed to use my snowshoes this winter and even more pleased that I got to air out some historical clothes, too!

A 19th Century Winter Wonderland Adventure

Friends and I have been talking about going away for a historical winter outing for years to a particular establishment remembered from childhood outings. Nestlenook Farm, in Jackson, New Hampshire, boasts a variety of winter activities all in one place! There are sleigh rides (with real horses and actual runners, if there is enough snow!), a three acre skating pond, and snowshoeing trails.

I grew up in a different part of the country, so I hadn’t ever been Nestlenook Farm, but I have fond memories of going into the mountains with my family and best childhood friend to have winter adventures. My memories are of a man called Happy Jack who ran a small business driving draft horses pulling real sleighs through the woods to a hill that was perfect for snow tubing. He’d drop you off for the day, allow the kids to tire themselves out tubing, sledding, and hanging out by the fire pits, and then he’d return to take you back through the woods. It was very exciting!

This past winter I was able to experience all of this fun, but in 19th century clothes! We were worried there wouldn’t be snow. But not only was there snow on the ground, we also had a magical day of snow lightly falling while we took part in the various activities! We could not have asked for more picturesque weather!

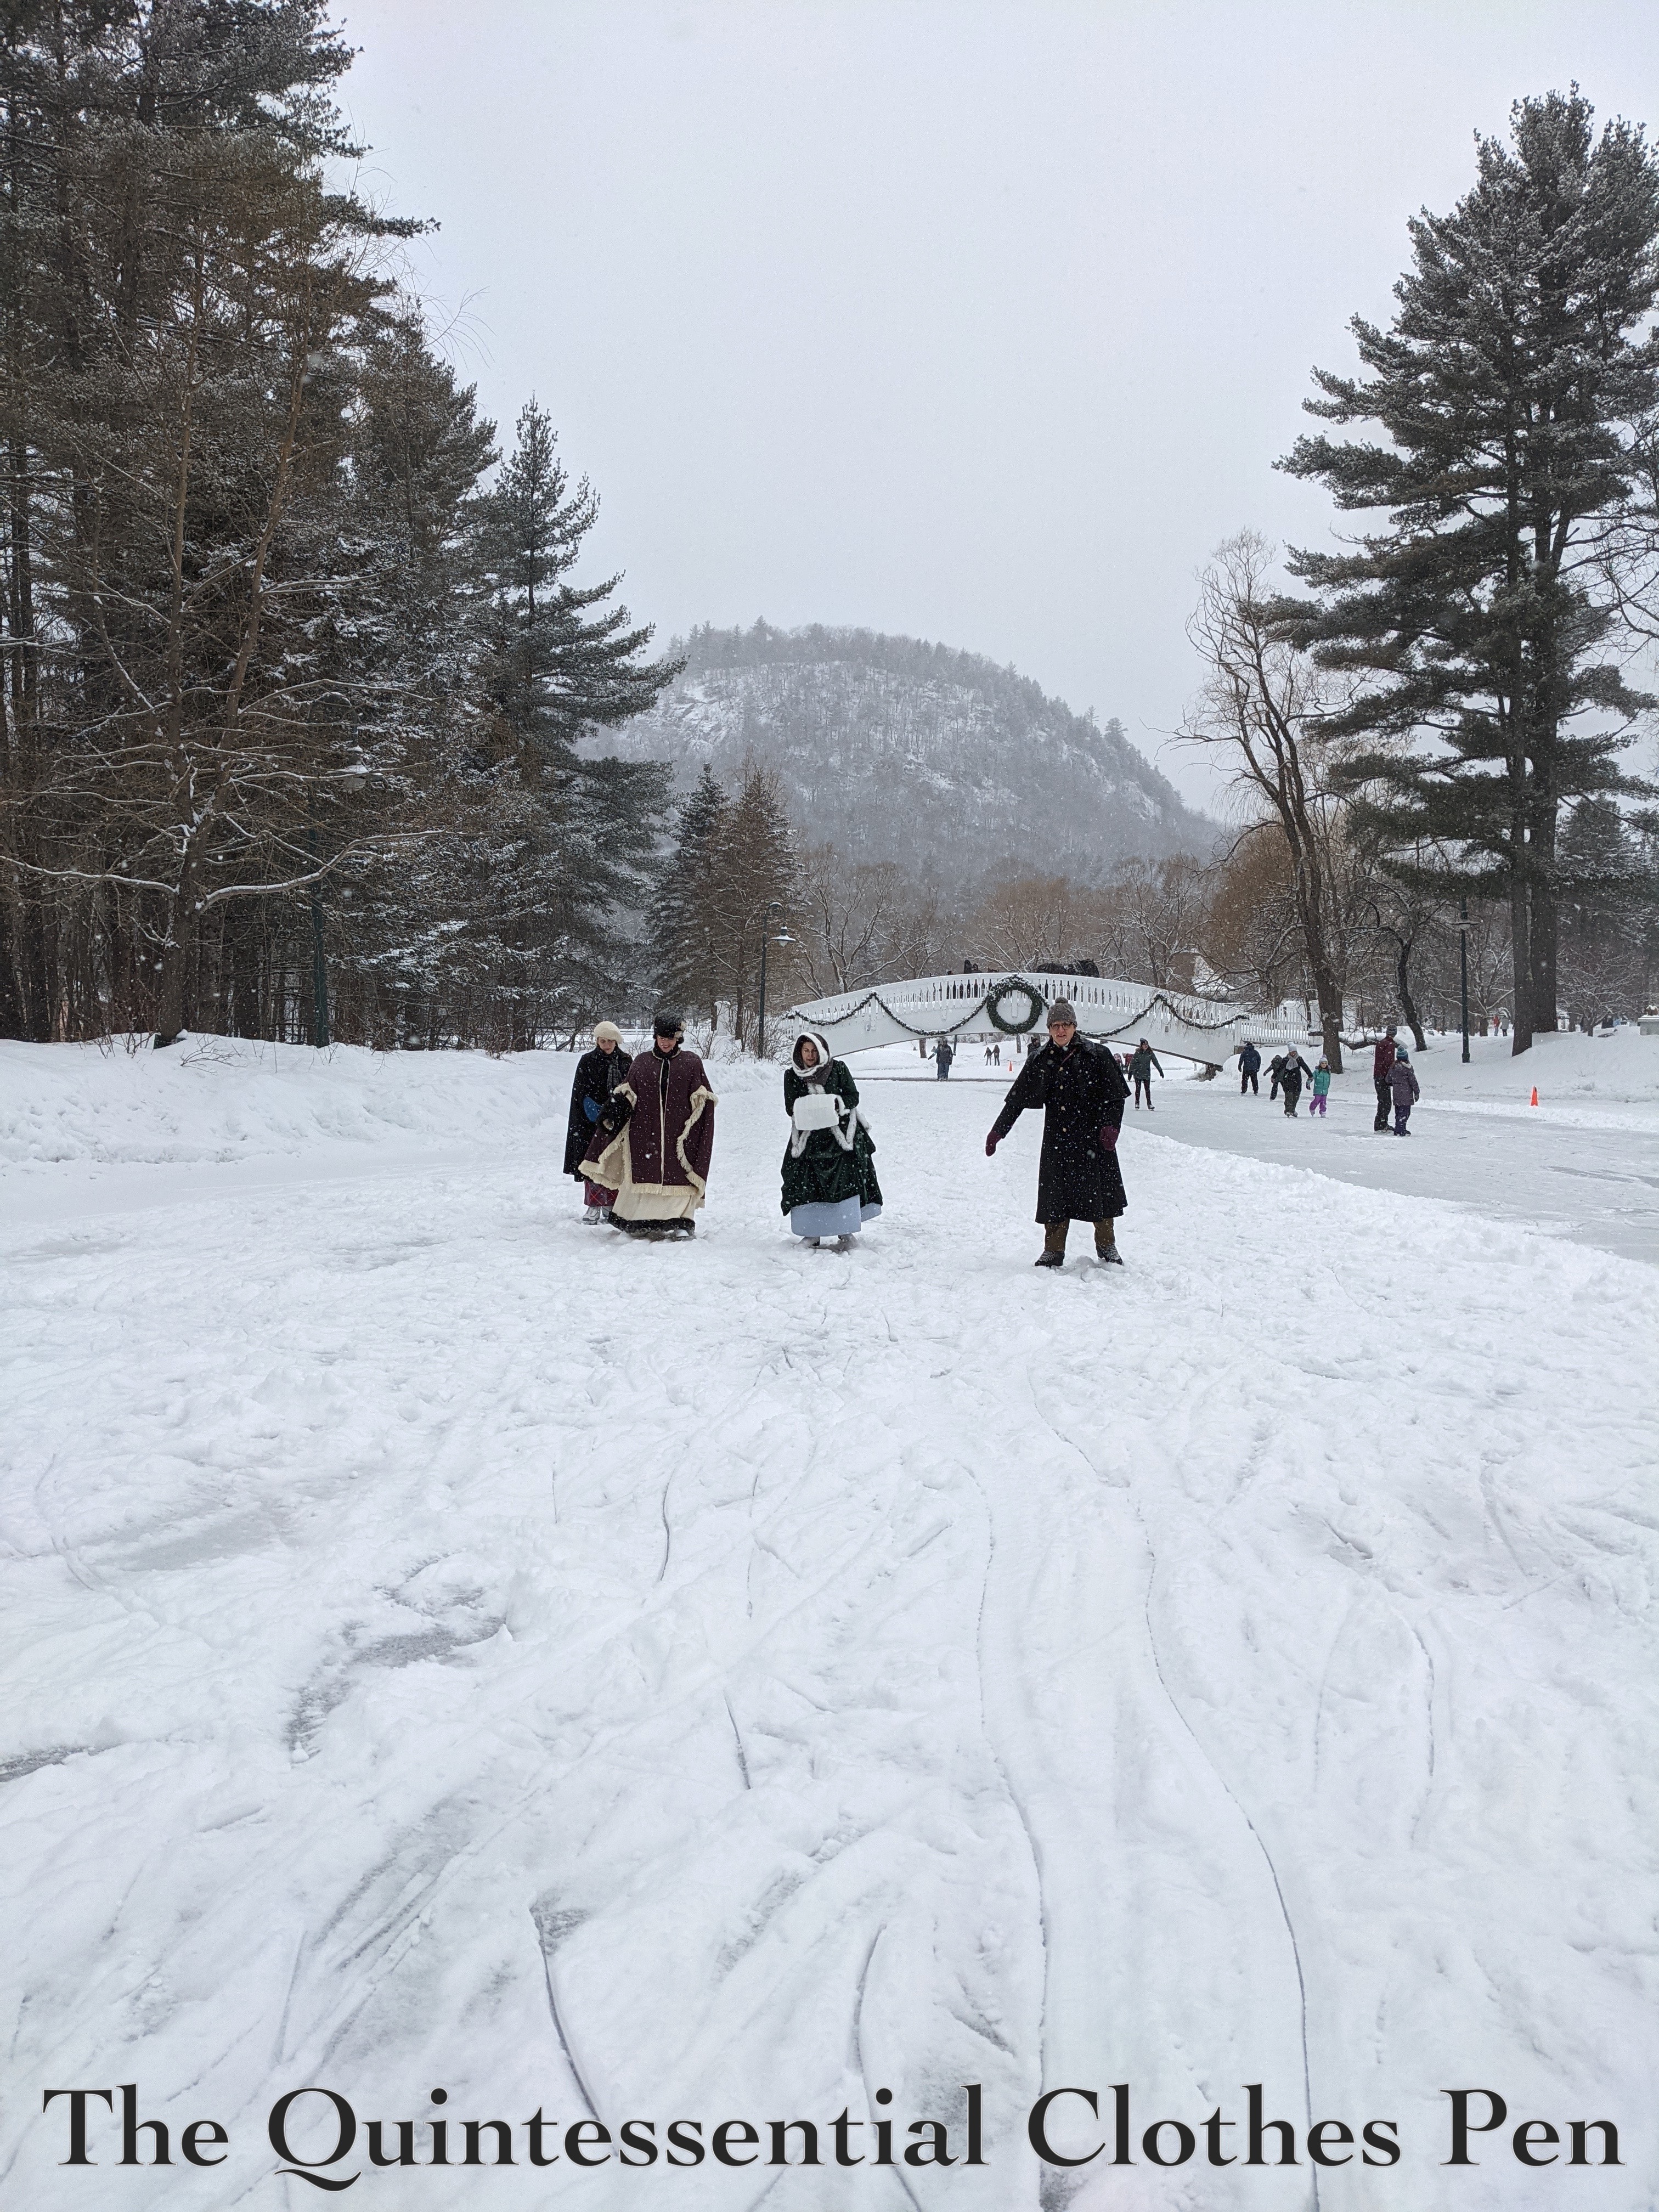
We bundled up in our various 19th century (and hidden modern) warm layers, outerwear, accessories, and blankets for our sleigh ride. The sleigh trail circles the ice skating pond and there’s a lovely lookout where the sleigh drivers will pause to take a photo. Ours kindly took many photos, anticipating that we might accidentally make silly faces in some of them.

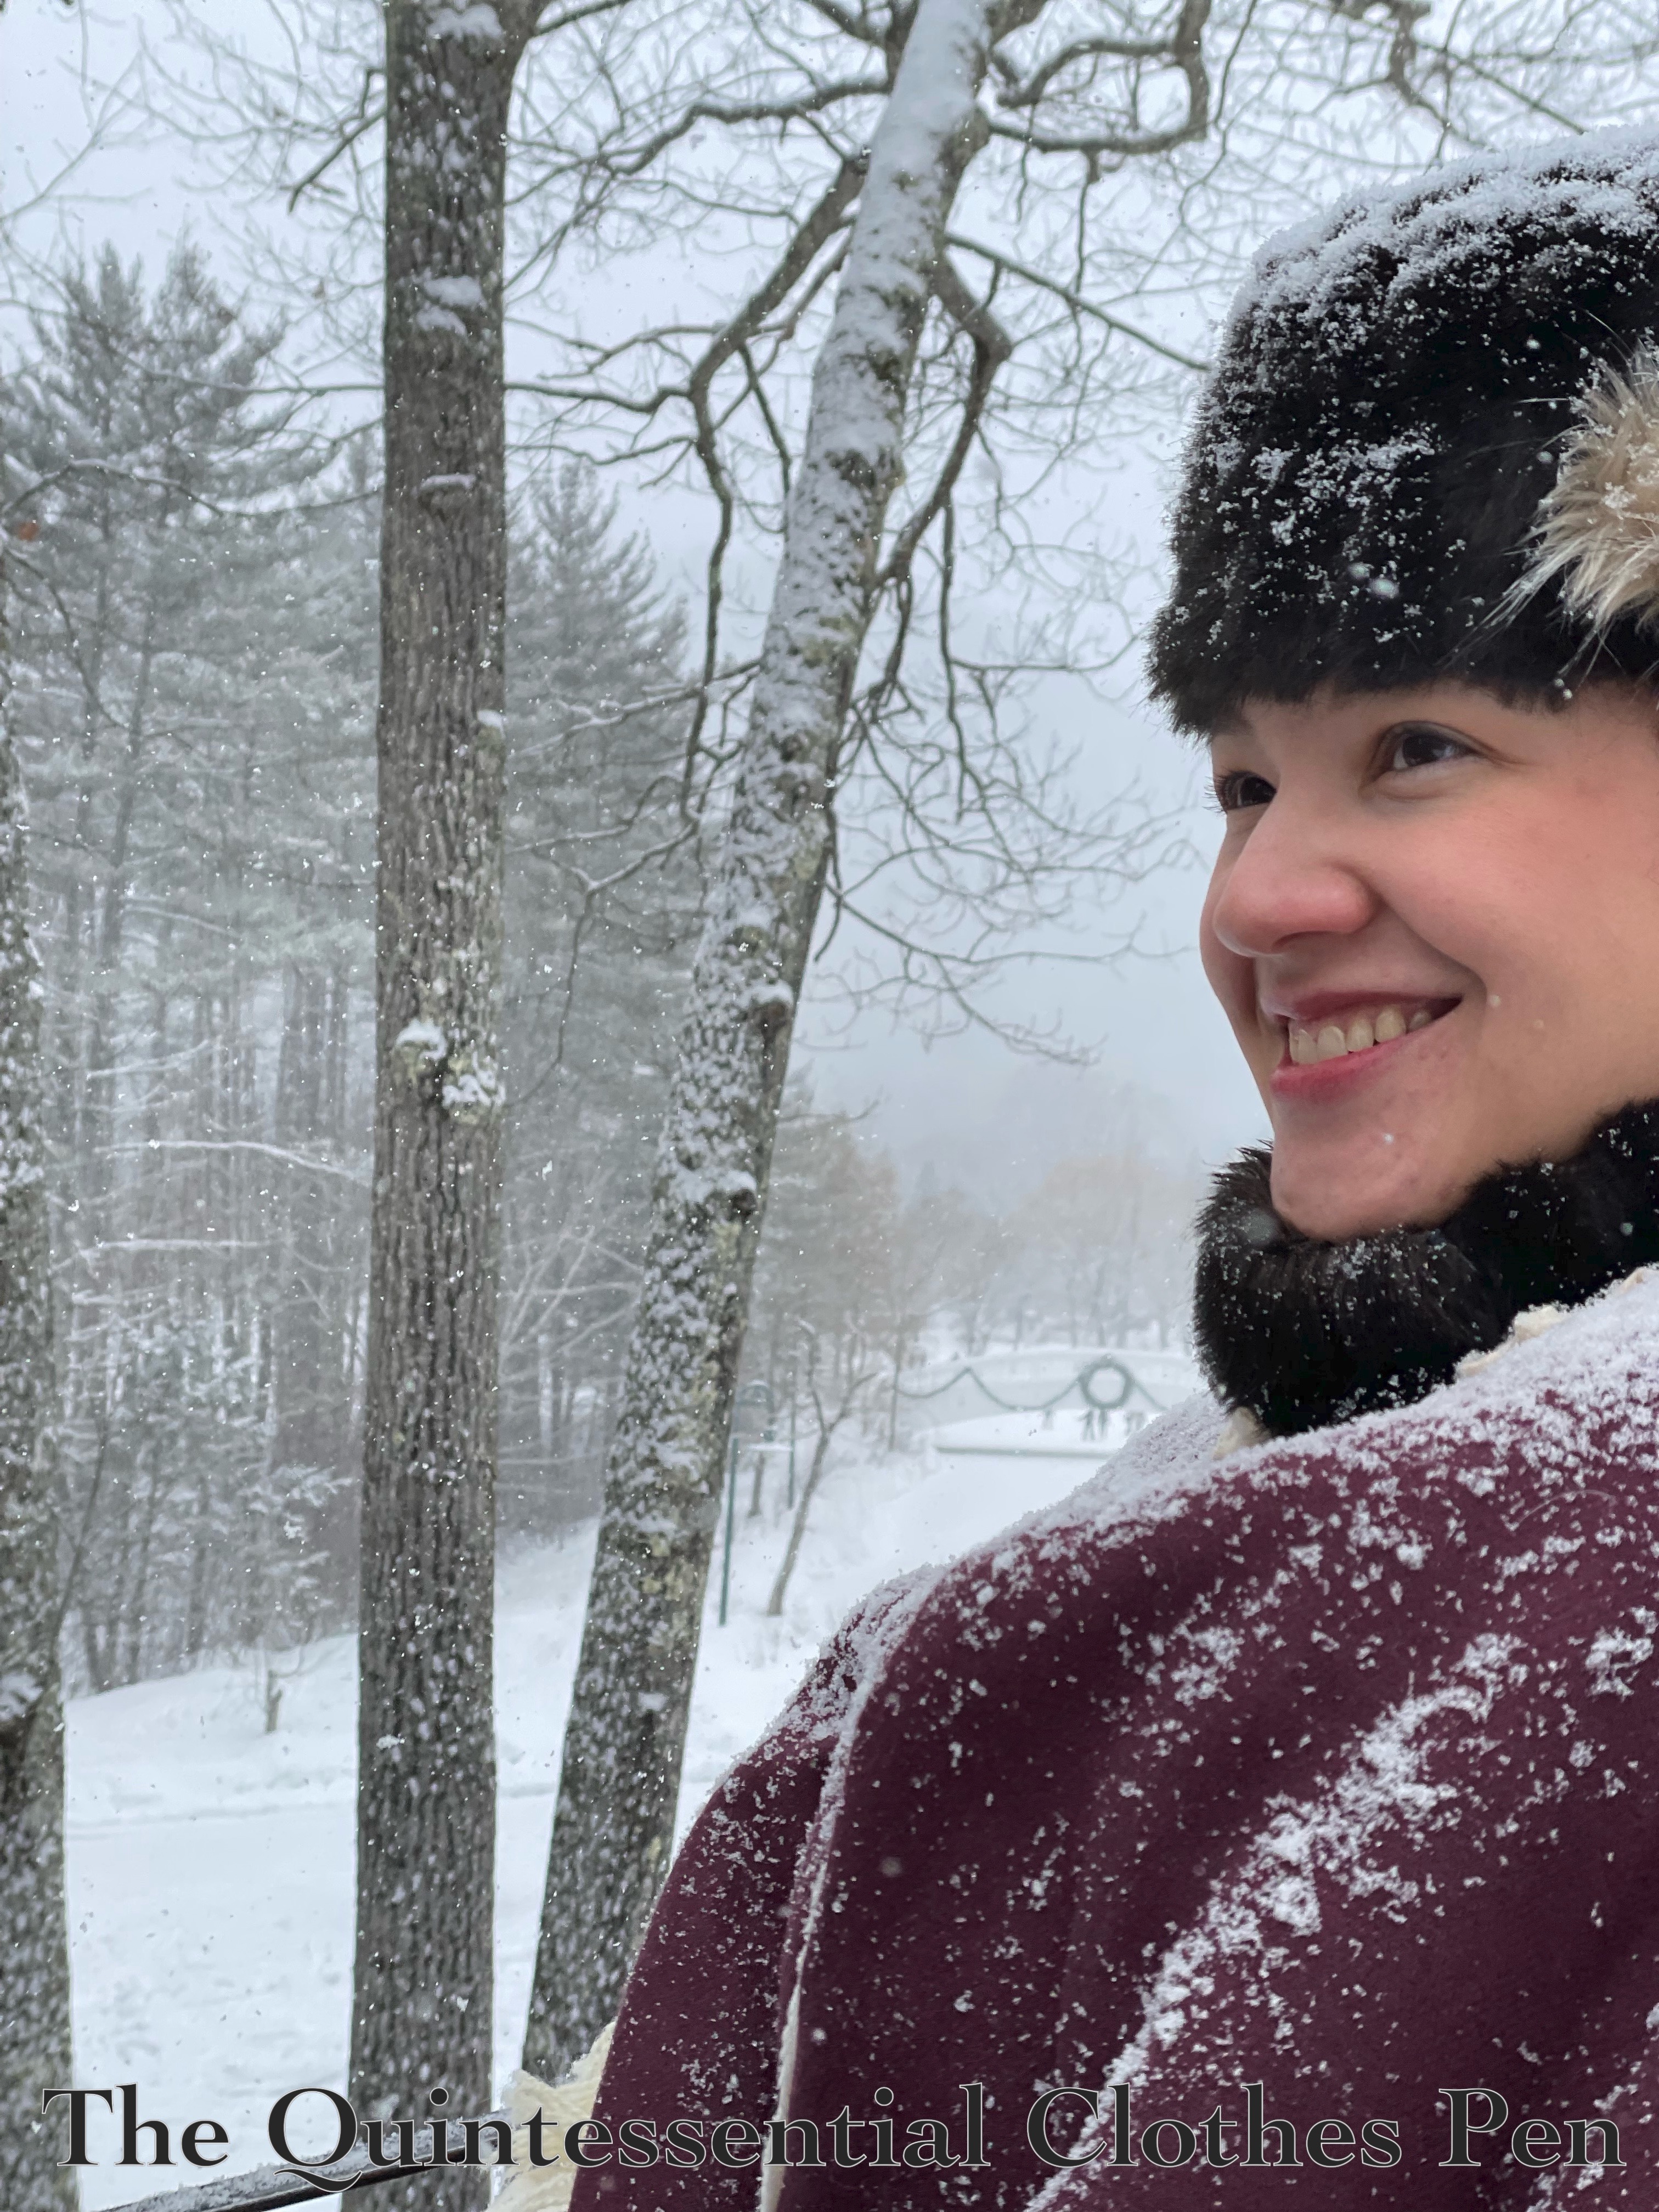
Now that’s a real smile! It was difficult not to smile, with good company, an obliging sleigh driver, the sound of the horses’ bells jingling, and snow lightly falling!

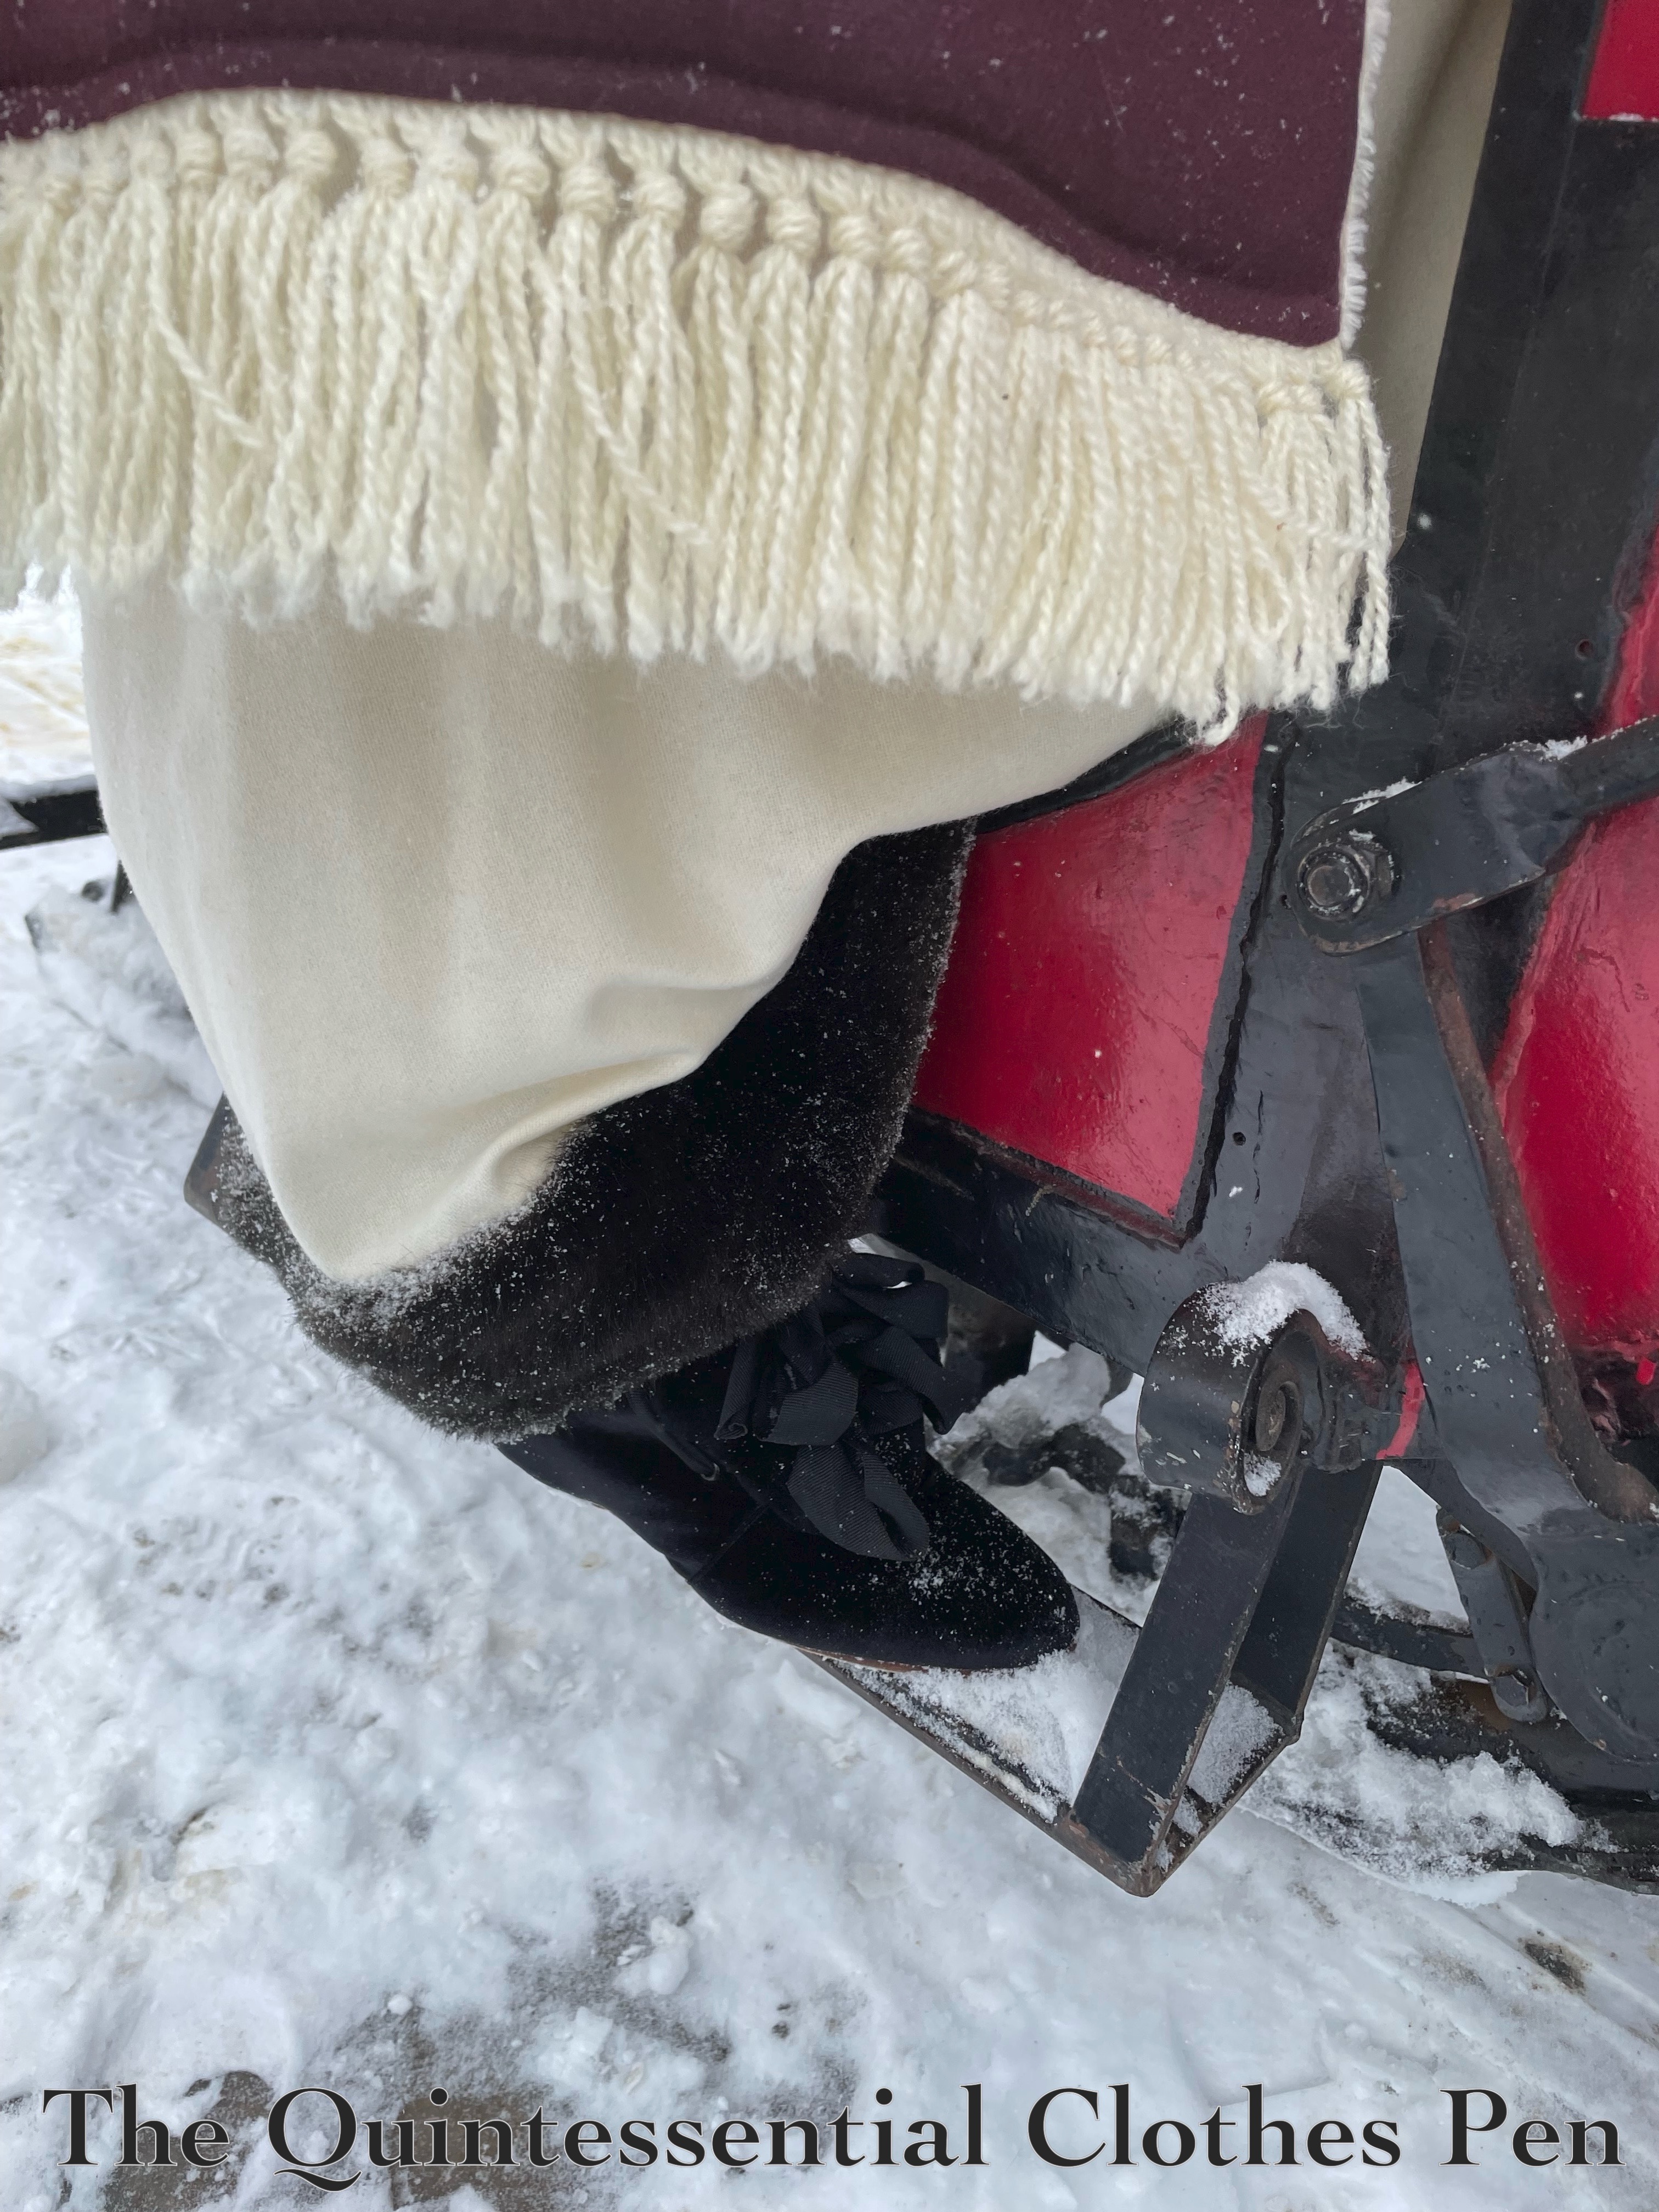
I opted to wear my American Duchess carriage boots. How could I not? A sleigh is just a carriage with runners, right? Photo documentation of both the boots and the sleigh on actual runners was essential.

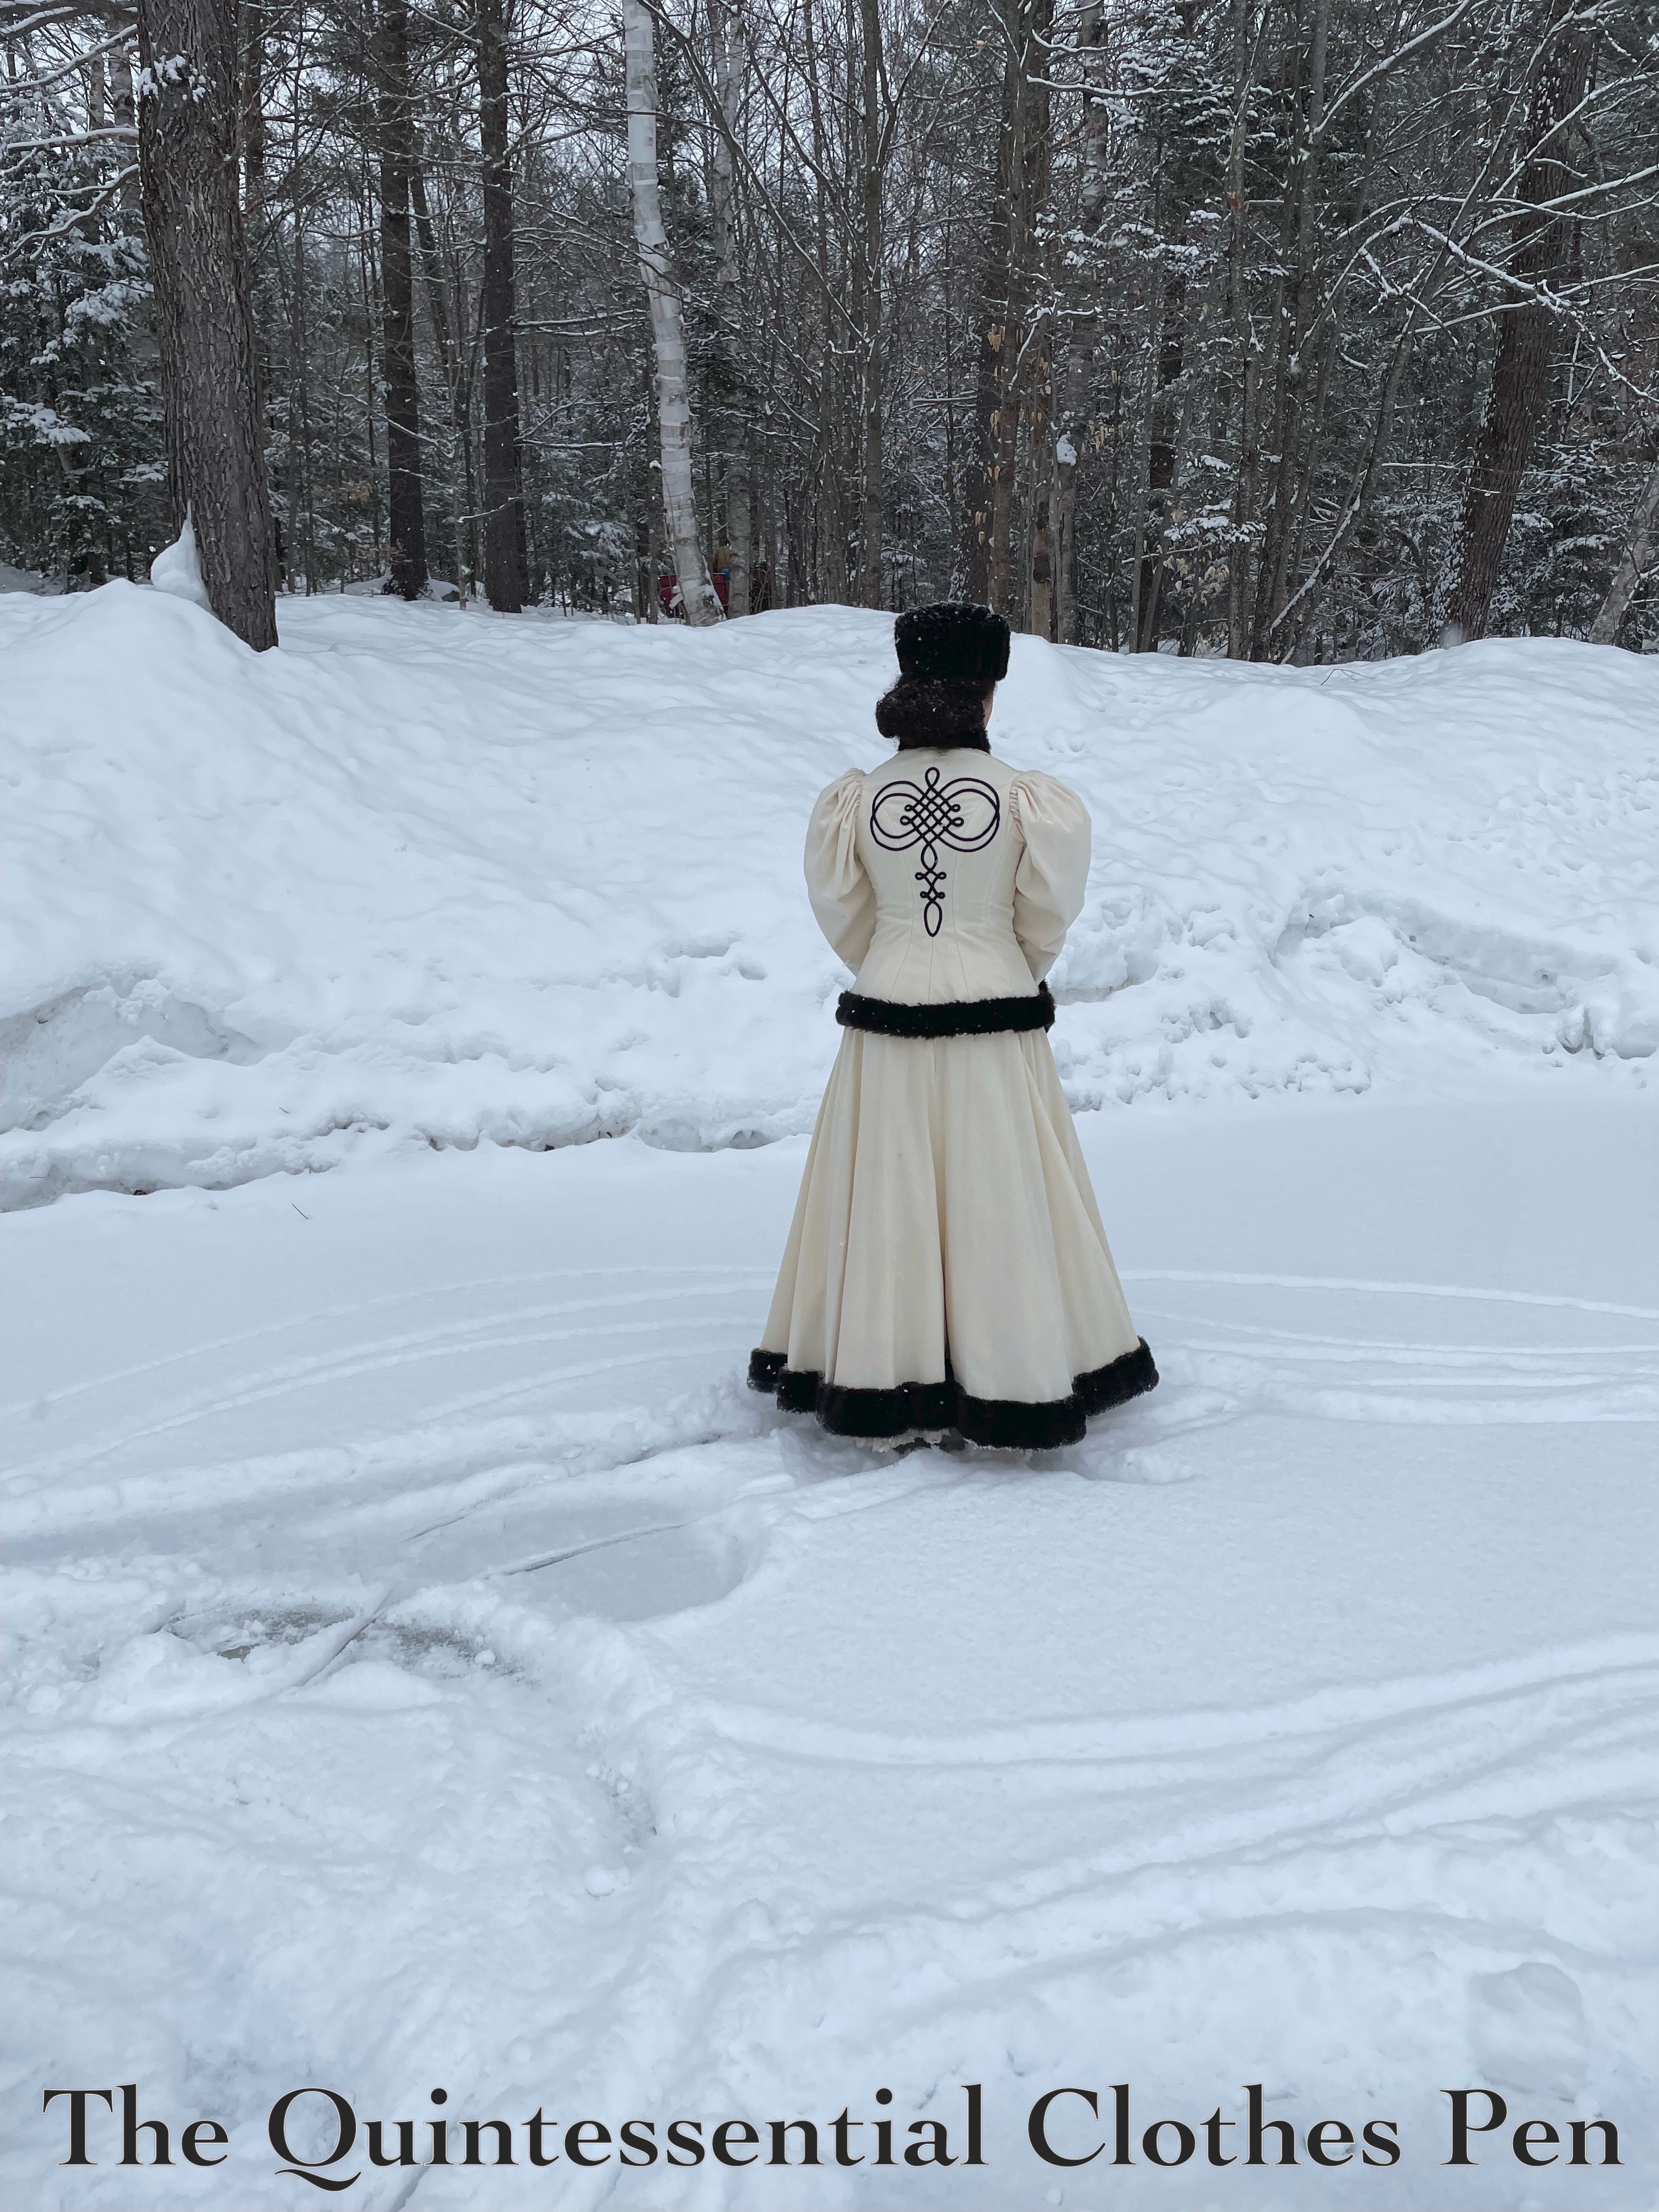
In addition to shoes, the rest of my outfit for the day consisted of modern ski base layers, my 1880s yellow corset and 1903 super silk petticoat, 1895 ice skating ensemble, matching faux fur hat and muff set (made for 1917 but with the ability to be used for lots of periods), and my 1855 wool cape because the other layers weren’t quite enough to be warm in the sleigh.

Following the sleigh ride, we went ice skating!

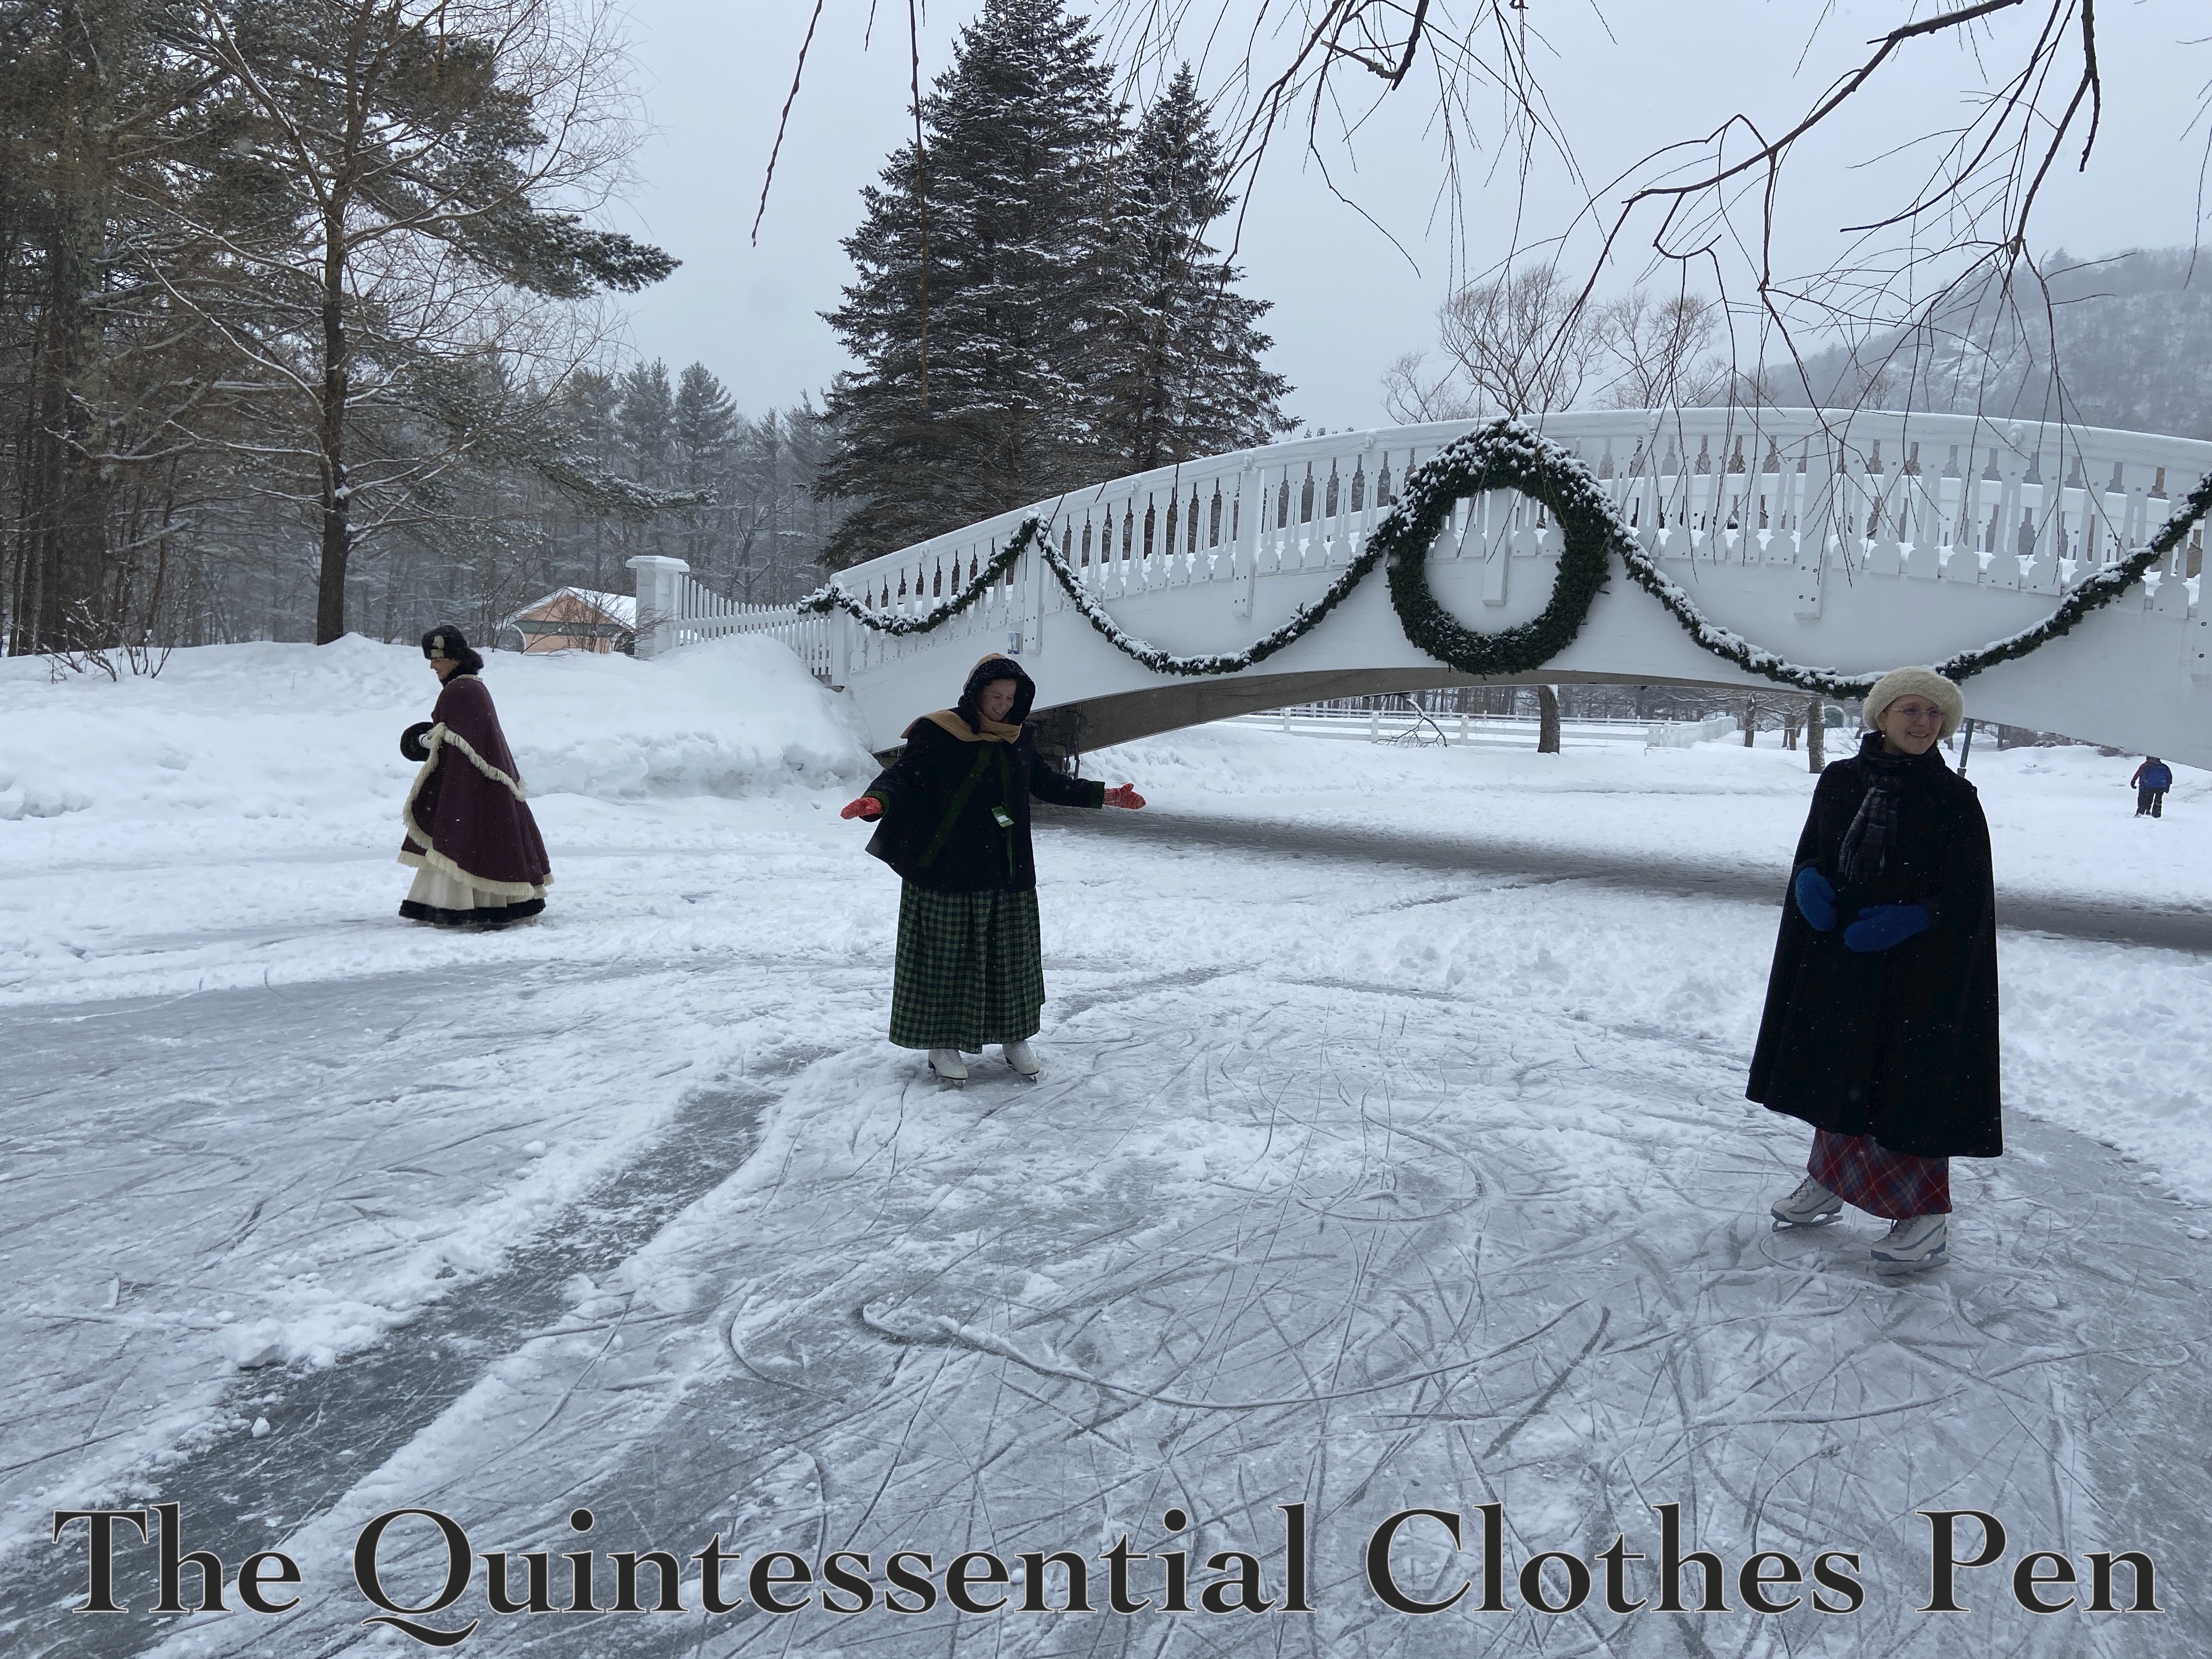
I’ve done a middling amount of outdoor ice skating since moving to the Northeast, but I can say with certainty that I’ve never been ice skating with accumulated snow on the ice. I wasn’t sure if it would be difficult to skate through, so I had to try it! It’s not bad, actually, if it’s only a few inches deep. (When I tried to skate through drifts that were more than about 6″ high I found the dramatic decrease in my momentum to be startling as it threw off my balance. But it was still fun to go flying through drifts!)

A few inches of snow on the ice sort of helps stabilize you (unless it obscures obstacles and trips you up!). That’s what happened to me here. There was uneven ice that caused me to do a super plop as my feet went right out from underneath me. This was the aftermath, as I caught my breath before getting up again.

There weren’t all that many people skating, so it was easy to find areas for nice photos. Skating made me warm enough that I didn’t mind taking off the cape for some ice-skating-outfit-only photos. How could I not, when this outfit was made just for this?

It may not be winter anymore (yay, spring is here!), but it’s fun to revisit this exciting adventure by including it here on the blog. Thanks for enjoying it with me!

1837 Blue Cotton Print Dress #1

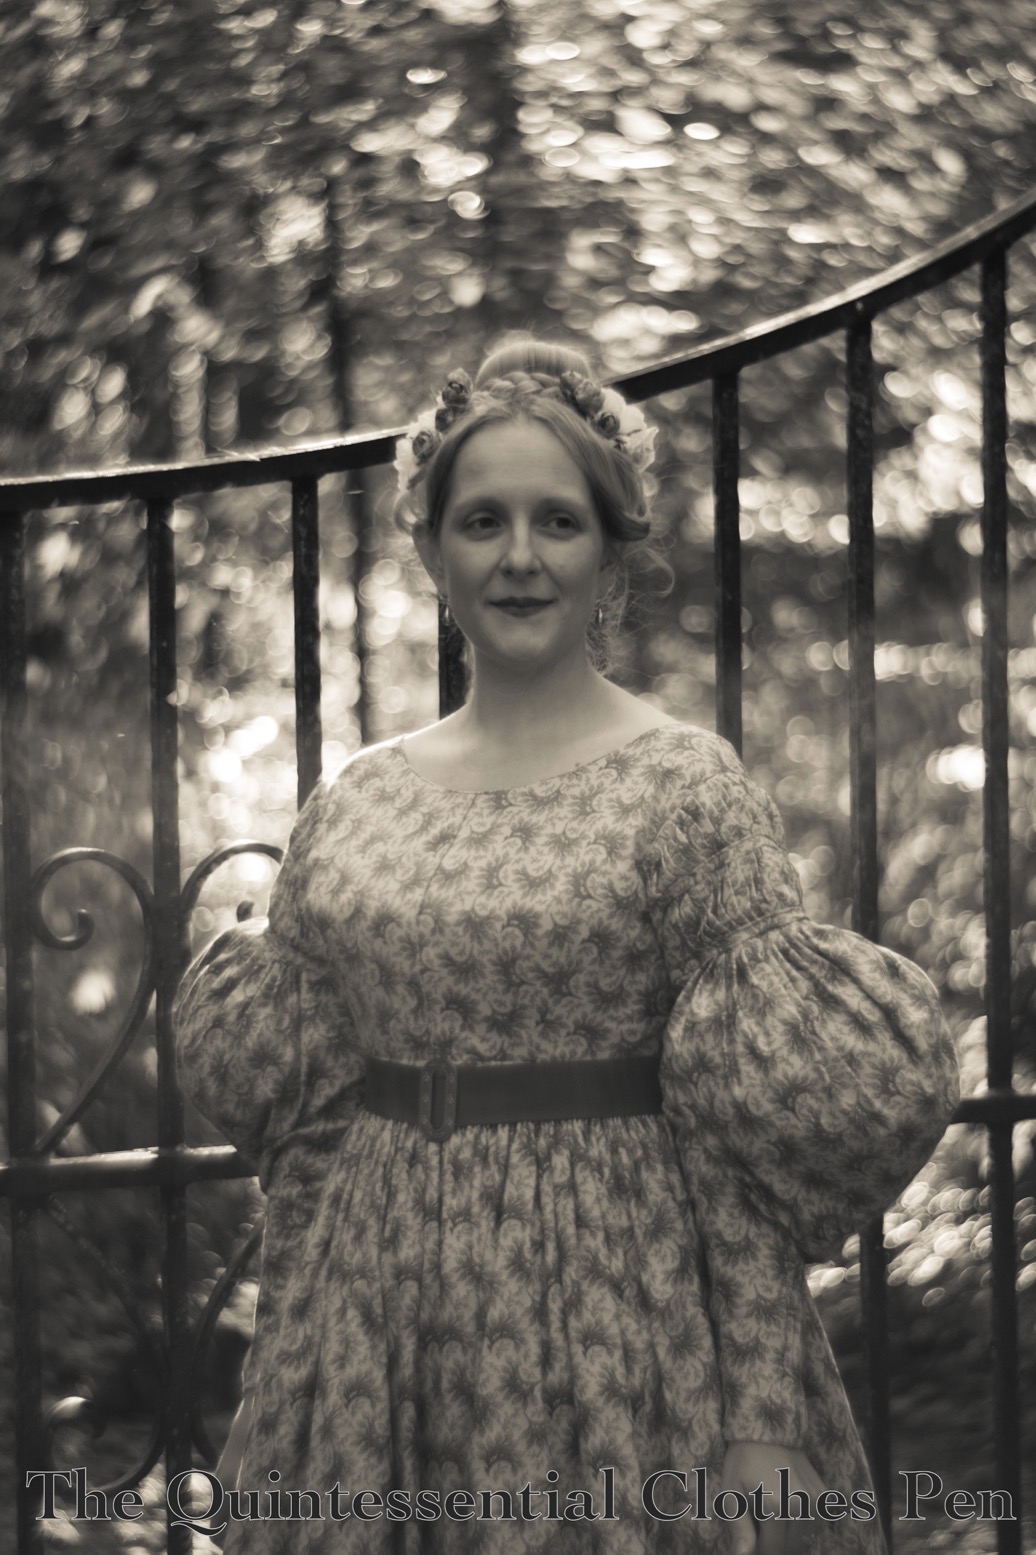
I was on a bit of a 1830s tear back in 2020, when I made my 1834 yellow print dress followed up with a coordinating 1838 yellow print bodice and 1836 chemisette. But in fact there was even more than that, because I also made an 1835-1840 (let’s just call is 1837) blue cotton print dress for friend at the same time!

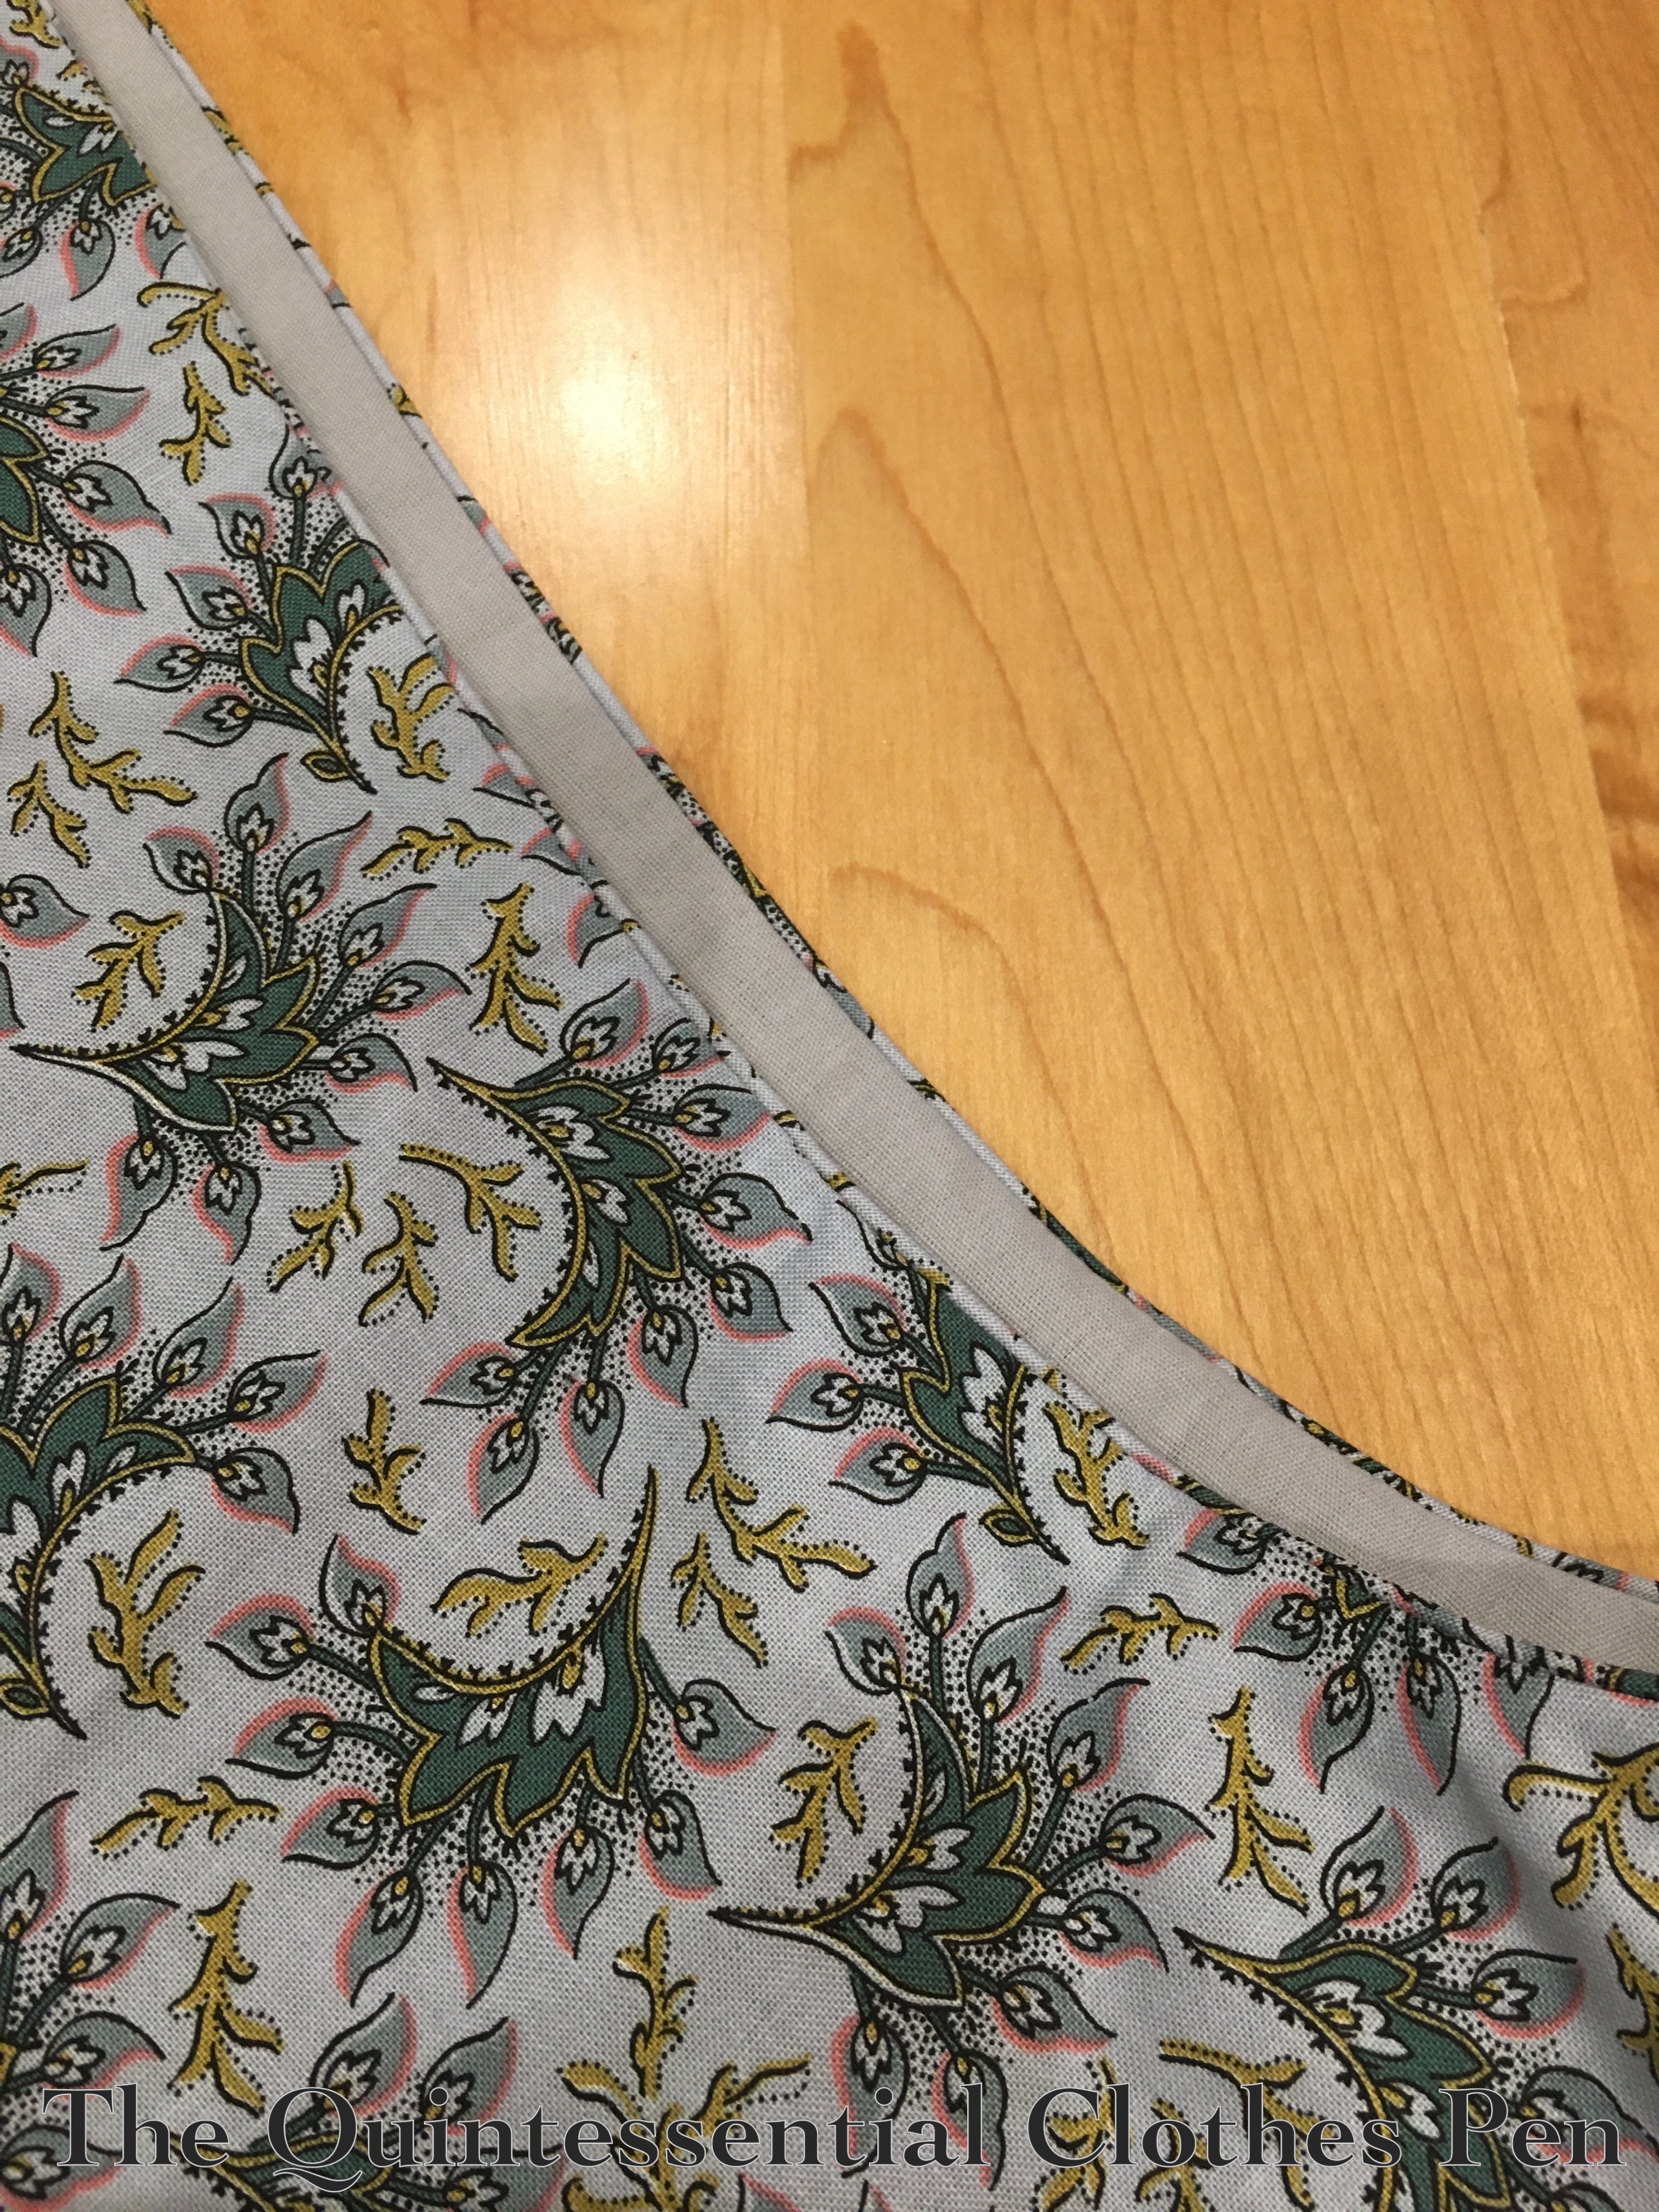
You can spot this dress in the photos from my 1830s Woods Walk blog post from 2021. The fabric for was a bargain at the the local discount fabric shop–only $3 per yard! It’s not technically a reproduction historical print, but the colors, motifs, and details (such as little dots for texture in the design) have the right look to me.

In terms of a pattern, I used my 1834 yellow print bodice as a starting point for this new blue dress, so the two bodices are very similar aside from size. The skirt of the blue dress is made in exactly the same way as the yellow dress (I blogged about that construction process in detail here).

The big different is the sleeves!

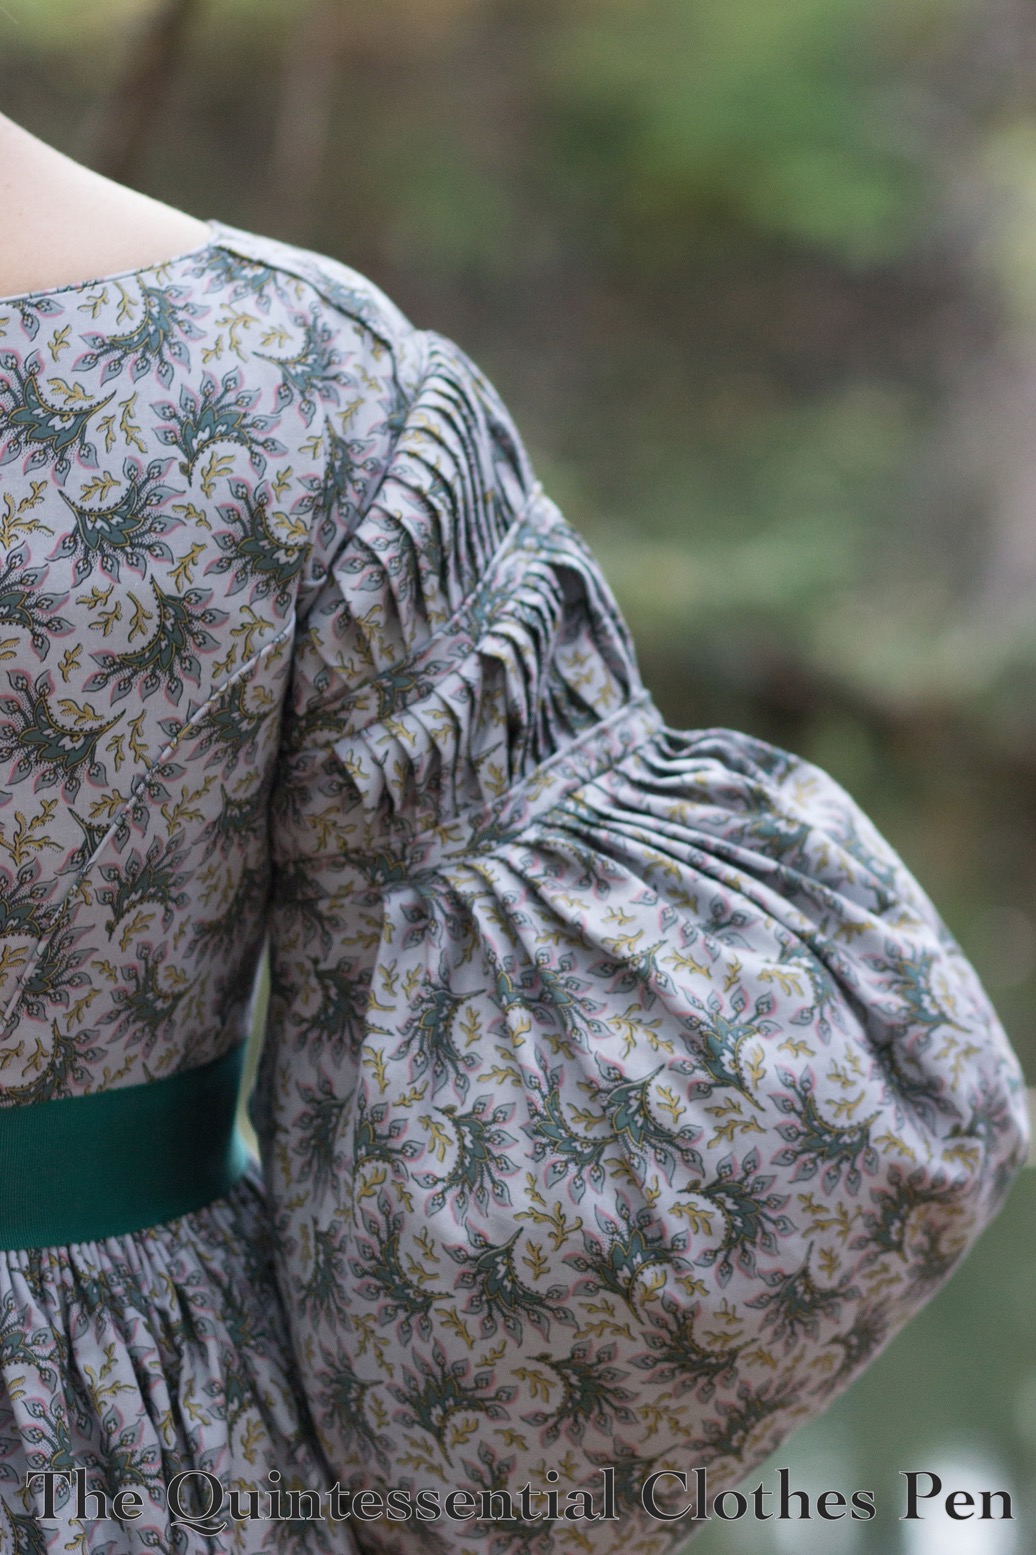
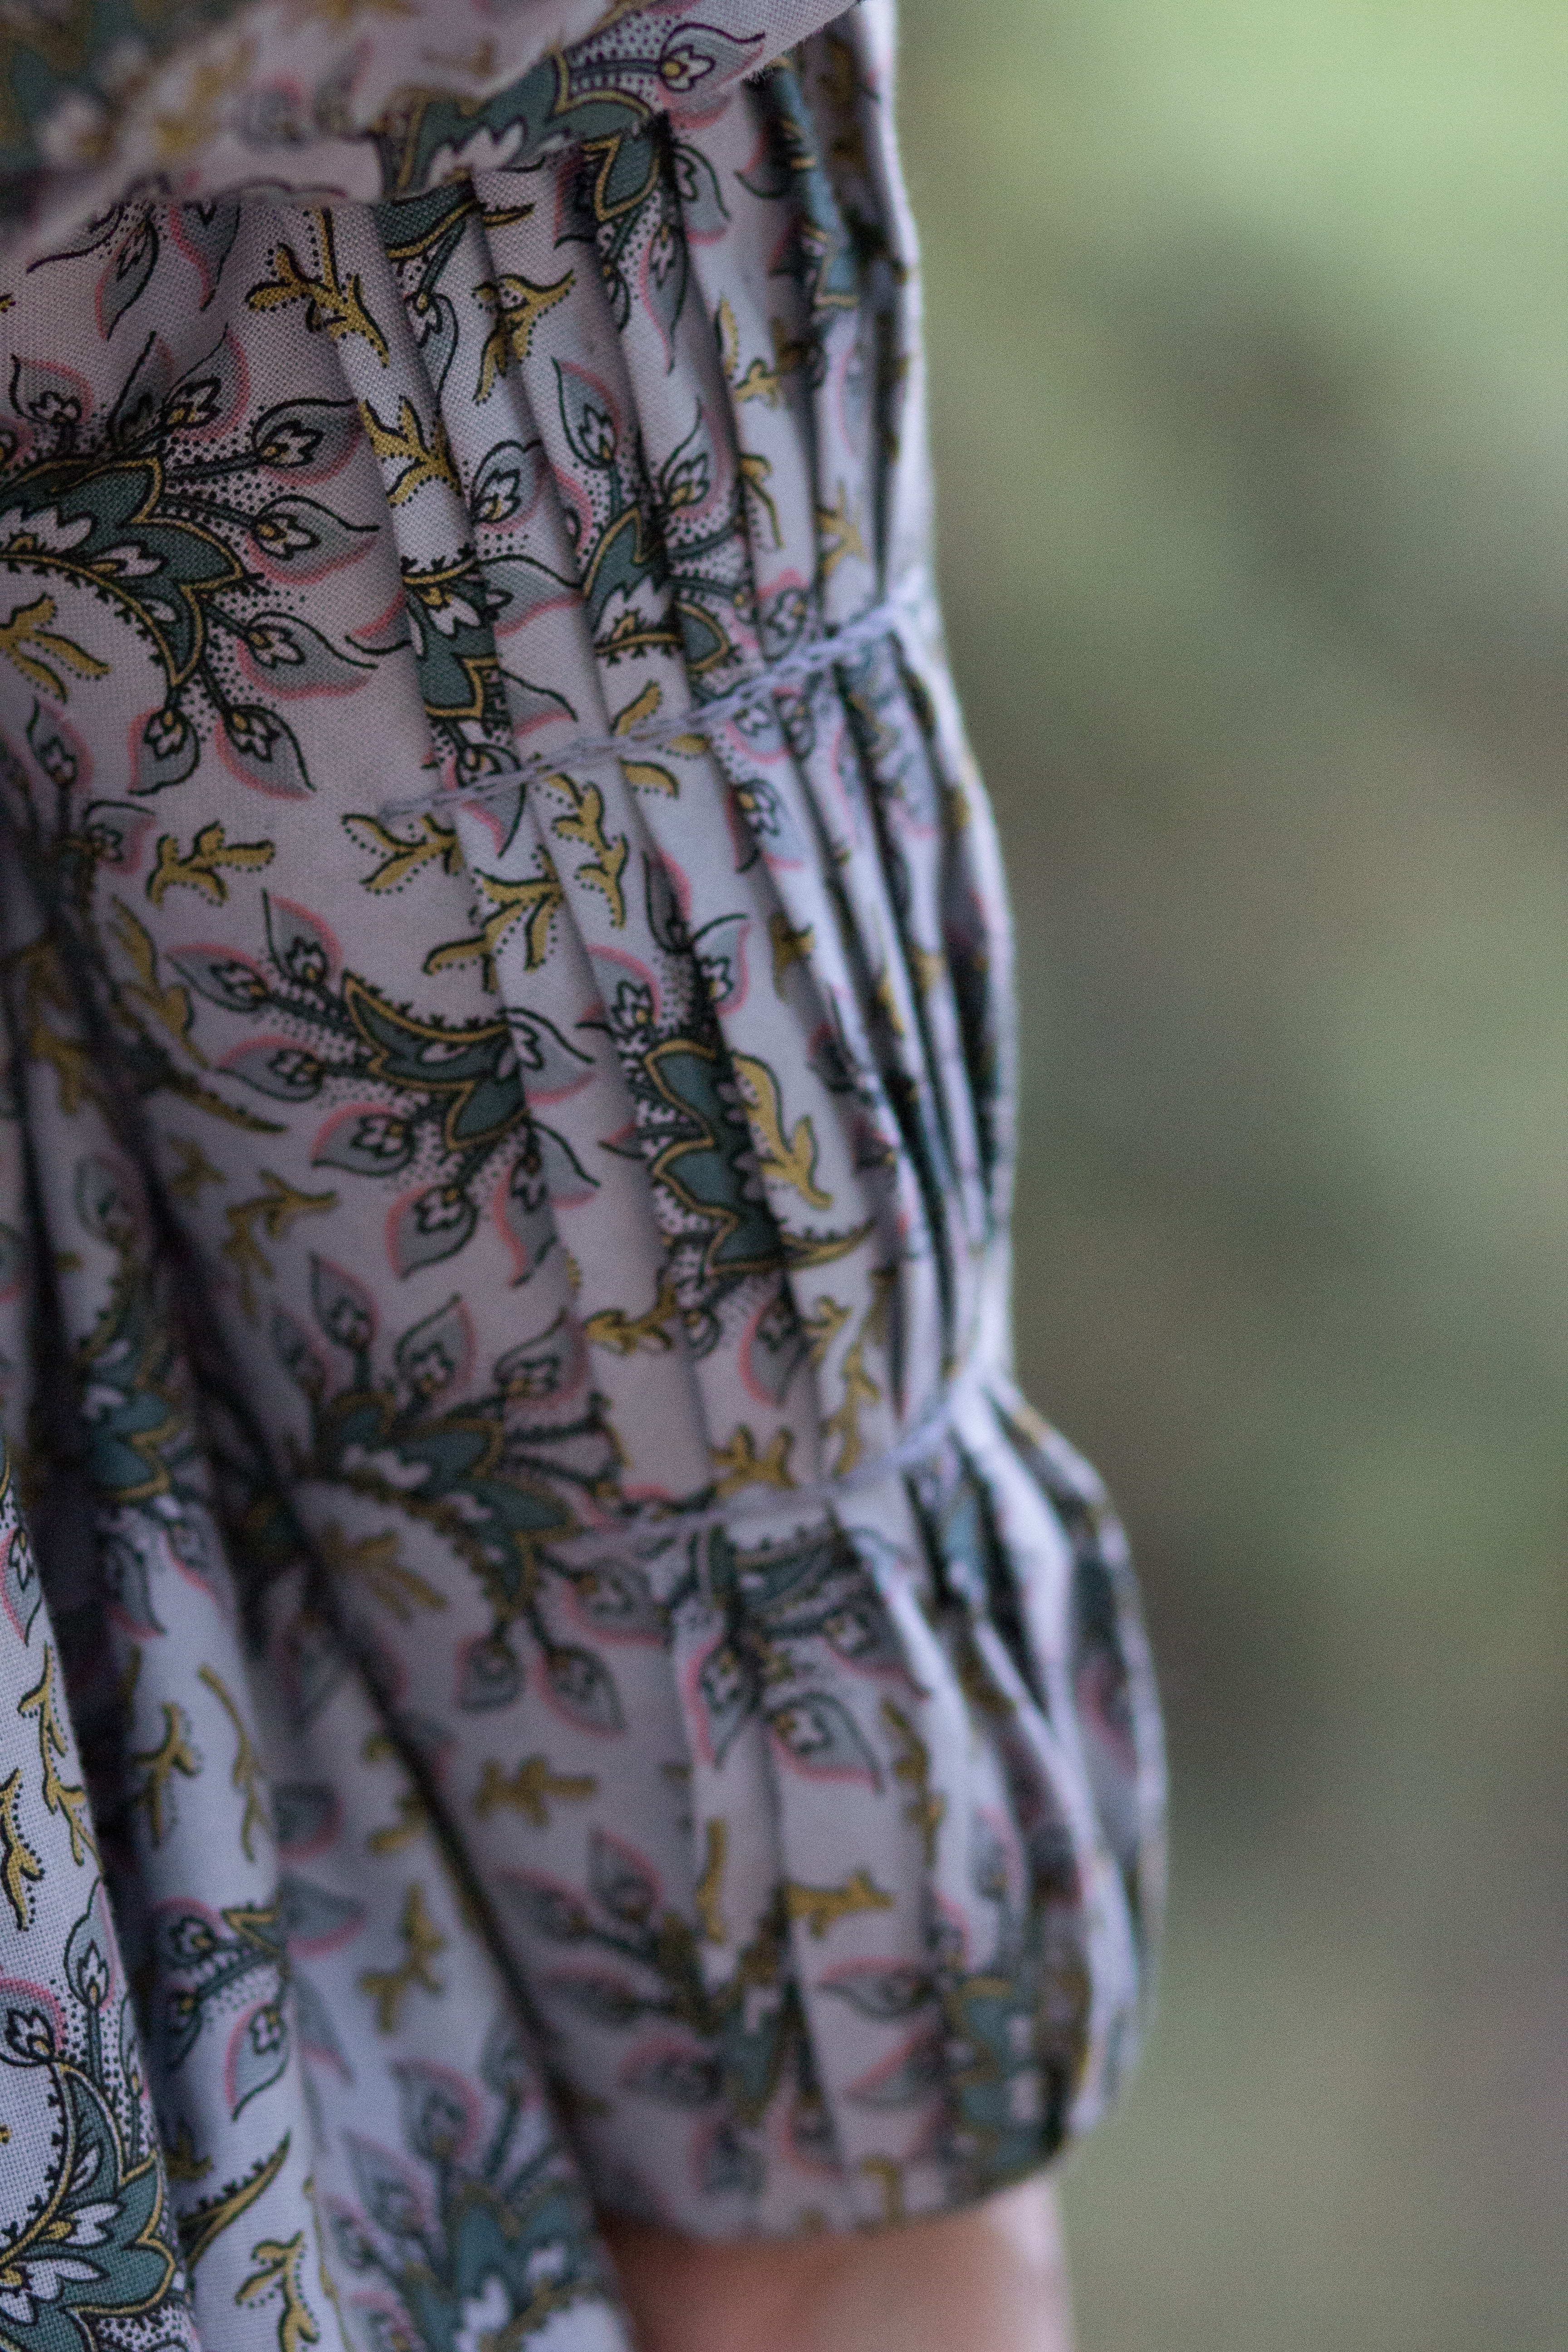
After trying a few silly sleeve shapes, we settled on giant elbow height puffs that are set off at the top and bottom with pleats and feature a bit of embroidery and corded bands to hold the pleats in place.

Here’s a view of the pleats and corded bands at the top of the sleeve. This dress has similar pleats.

And here are the pleats at the sleeve cuffs. These are held in place with a subtle bit of embroidery. This extant dress has a similar treatment, as does this one (and it has a matching pelerine!).

The sleeve puffs are supported by separate interior puffs that tie in. I used the method outlined in my 1830s Sleeve Puff Tutorial to make them.

In addition to the base dress, we decided to go all in on the 1830s aesthetic and create a matching fabric pelerine for this ensemble.

I looked at images of pelerines to determine what the shape and edges should be. We decided on a simple but flattering shape (as much as a matching fabric piece can be!) without extra difficulty in the form of scalloped or dagged edges, ruffles, etc. This is the finished shape we decided on.

Cording helps to define the edge and a similarly colored grey/blue cotton lining finishes off all of the raw edges. This was great, as the pelerine could be almost entirely made by machine!

On our woods walk, my usual photographer friend (who blogs at Plaid Petticoats) enjoyed taking a few photos with her Petzval camera lens, which creates the swirled background in the next two photos (you can read more about the Petzval lens in this Plaid Petticoats blog post). I can’t decide whether I like the color or black and white version better, so I’m including both!

So why is the title of this post include the #1? Well… because I enjoyed the effect of the fabric so much that I purchased additional yardage for myself and started making an additional dress for myself, too! What an excellent excuse to try out further 1830s sleeve variations!

Blue dress #2 has been cut out for quite awhile (a year, I think?). However, I’ve been busy and other things have been a priority, so the dress is 0% done in terms of being assembled. Someday…!