

I had hoped to get all of my remaining construction details into this post, but progress on the stays has slowed. Plus, I realized I didn’t have enough linen tape to bind the edges, so new binding needed to be ordered. That has been done but I’ve been so busy that no sewing has happened yet. So for now, here are the middle parts of the construction update.
Updating Gussets
After all the initial steps of putting the stays together (which I detailed in my previous post in this series), I had a fitting that left me feeling rather disappointed. I’ve already detailed the results of that fitting, in Part II of this series.
To summarize: I wanted to raise the gusset I’d added to the back with the goal of providing more width at the waist and hopefully increasing the comfort of the stays on my back. Accordingly, I removed the offending short gusset out of the stays, but, instead of piecing new gussets out of my meager scraps, I realized I could cannibalize the straps I’d originally cut (but decided not to use) to make longer gussets.
Below: the new, longer gussets in place.

This worked well for the exterior linen and one layer of interlining linen, but the straps were only ever going to have one inner layer of linen. And none of my scraps were quite long enough to make a second layer now that the piece would be used in the main body of the stays.
So, I used what I could and layered a second piece near the bottom tab to extend the second layer of linen. Work with what you have, right?

This new gusset had a wider bone channel already sewed… and I really didn’t want to deal with my narrow bone idea again. Therefore, these two pieces will have permanently wide boning channels. It’s all in the spirit of making do! I did have to extend the bone channels after adding the extra bit of linen near the tab, but that was easy to do.
Covering Seams & Finishing Edges
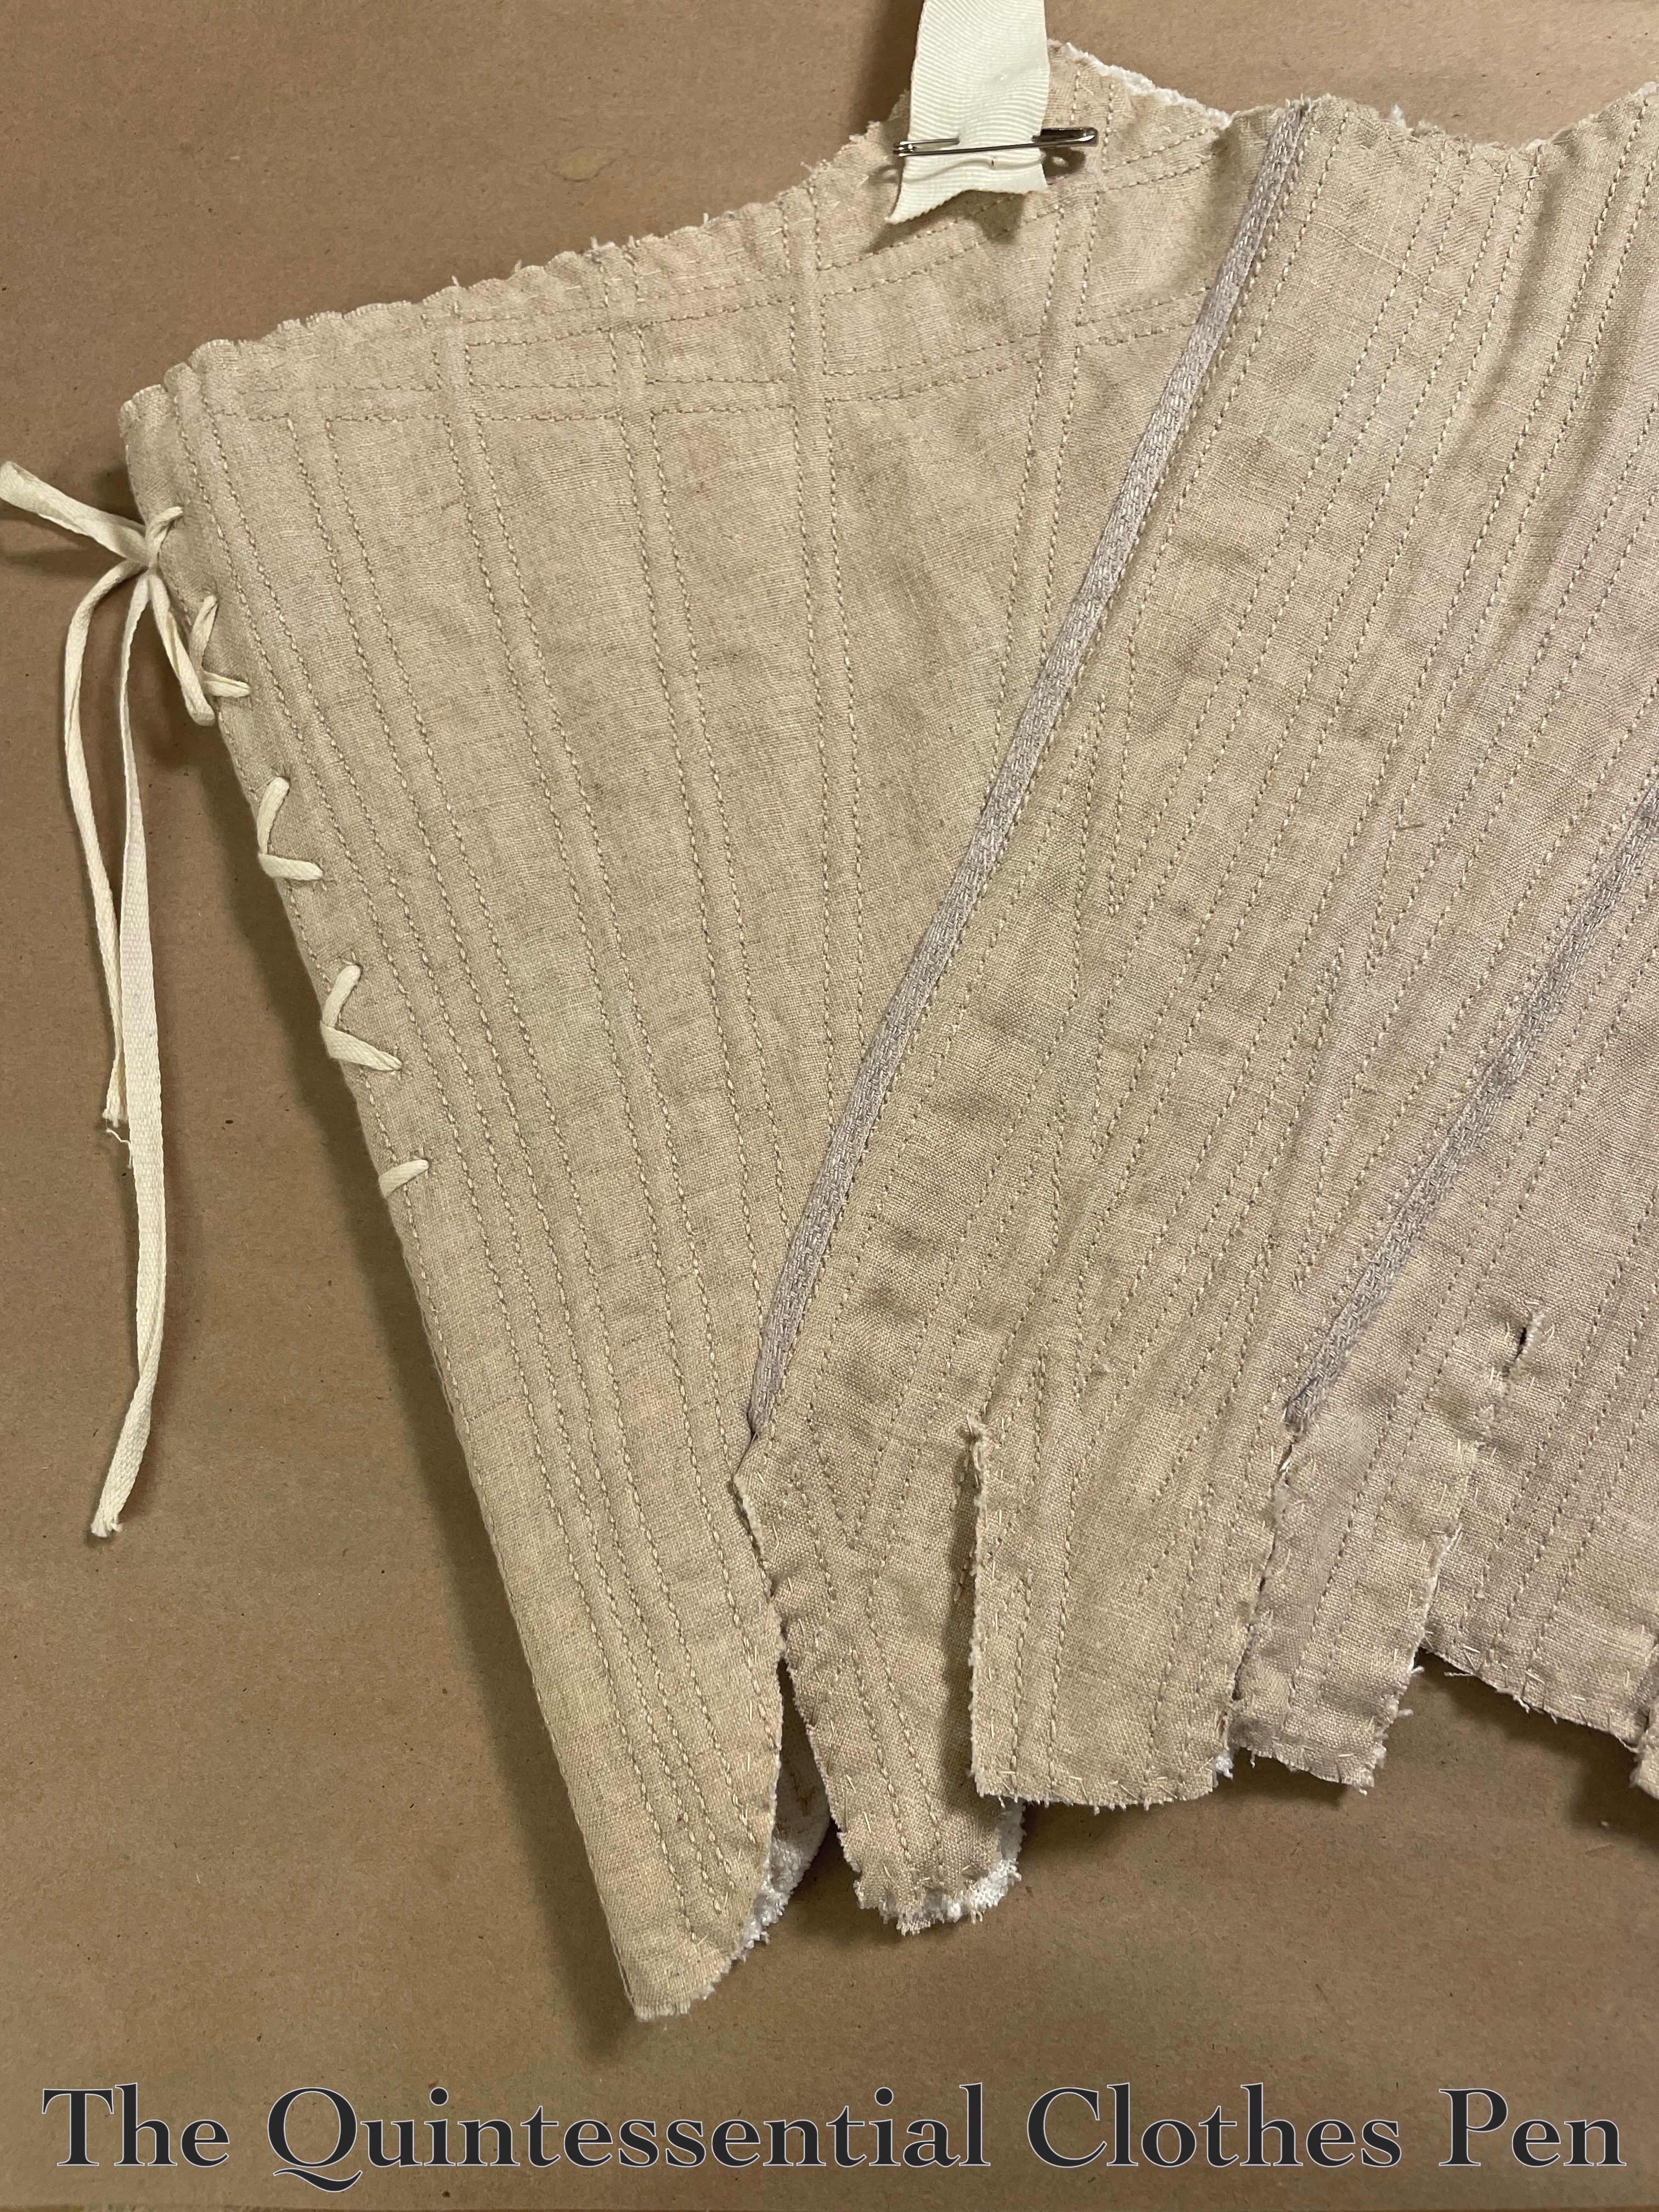
Following the information in Patterns of Fashion 5 (see my fourth blog post in this series for more information on this incredible book), I covered the visible whip stitches that formed the seams of the pieces with 1/4″ linen tape.
Then, I basted all around every exterior edge, to hold the layers in place while I continued to work on the stays. I followed that by whip stitching the raw edges, in order to create a more stable edge for the binding.
In the photo below you can see the linen tape covering the seams and the edges that have been basted and whipped.
Finally, I was ready to bind the edges!
You can read previous posts in this series here:
c. 1785 Stays (Of Fail), Part IV: Early Construction Details
c. 1785 Stays (Of Fail), Part III: The Pattern
c. 1785 Stays (Of Fail), Part II: Fitting Update
c. 1785 Stays (Of Fail), Part I: Beginnings
