This story begins in my previous post (which you can read here) in which I share the backstory and inspiration for this garment. I’ll be carrying on from where I left off. But first, a quick side story!
Mr. Q saw the title of this post and asked “What is a watermelon sleeve?” An excellent question, I think! I explained that watermelon is my description fpr the colors of the garment I’m discussing. But… I do rather wonder what a “watermelon” sleeve might look like…! After all, there are many historical sleeves with fun names (bishop, bell, pagoda, beret, gigot, and mameluke all come to mind quickly, though I can’t think of any that are named after fruit. If you can, let me know!).
Leaving that tangent behind… back to the story!
Patterning
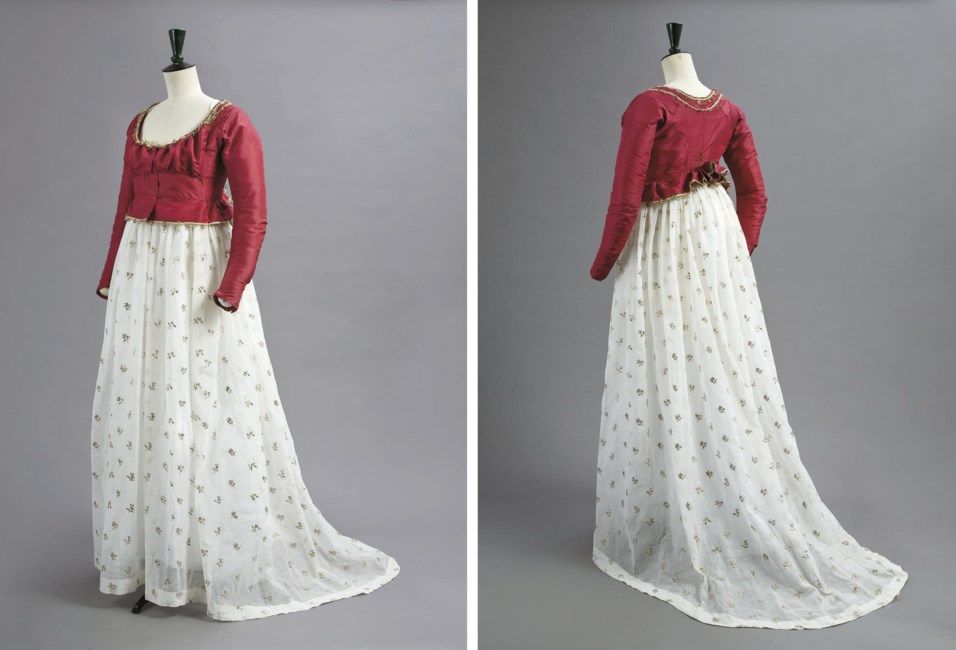
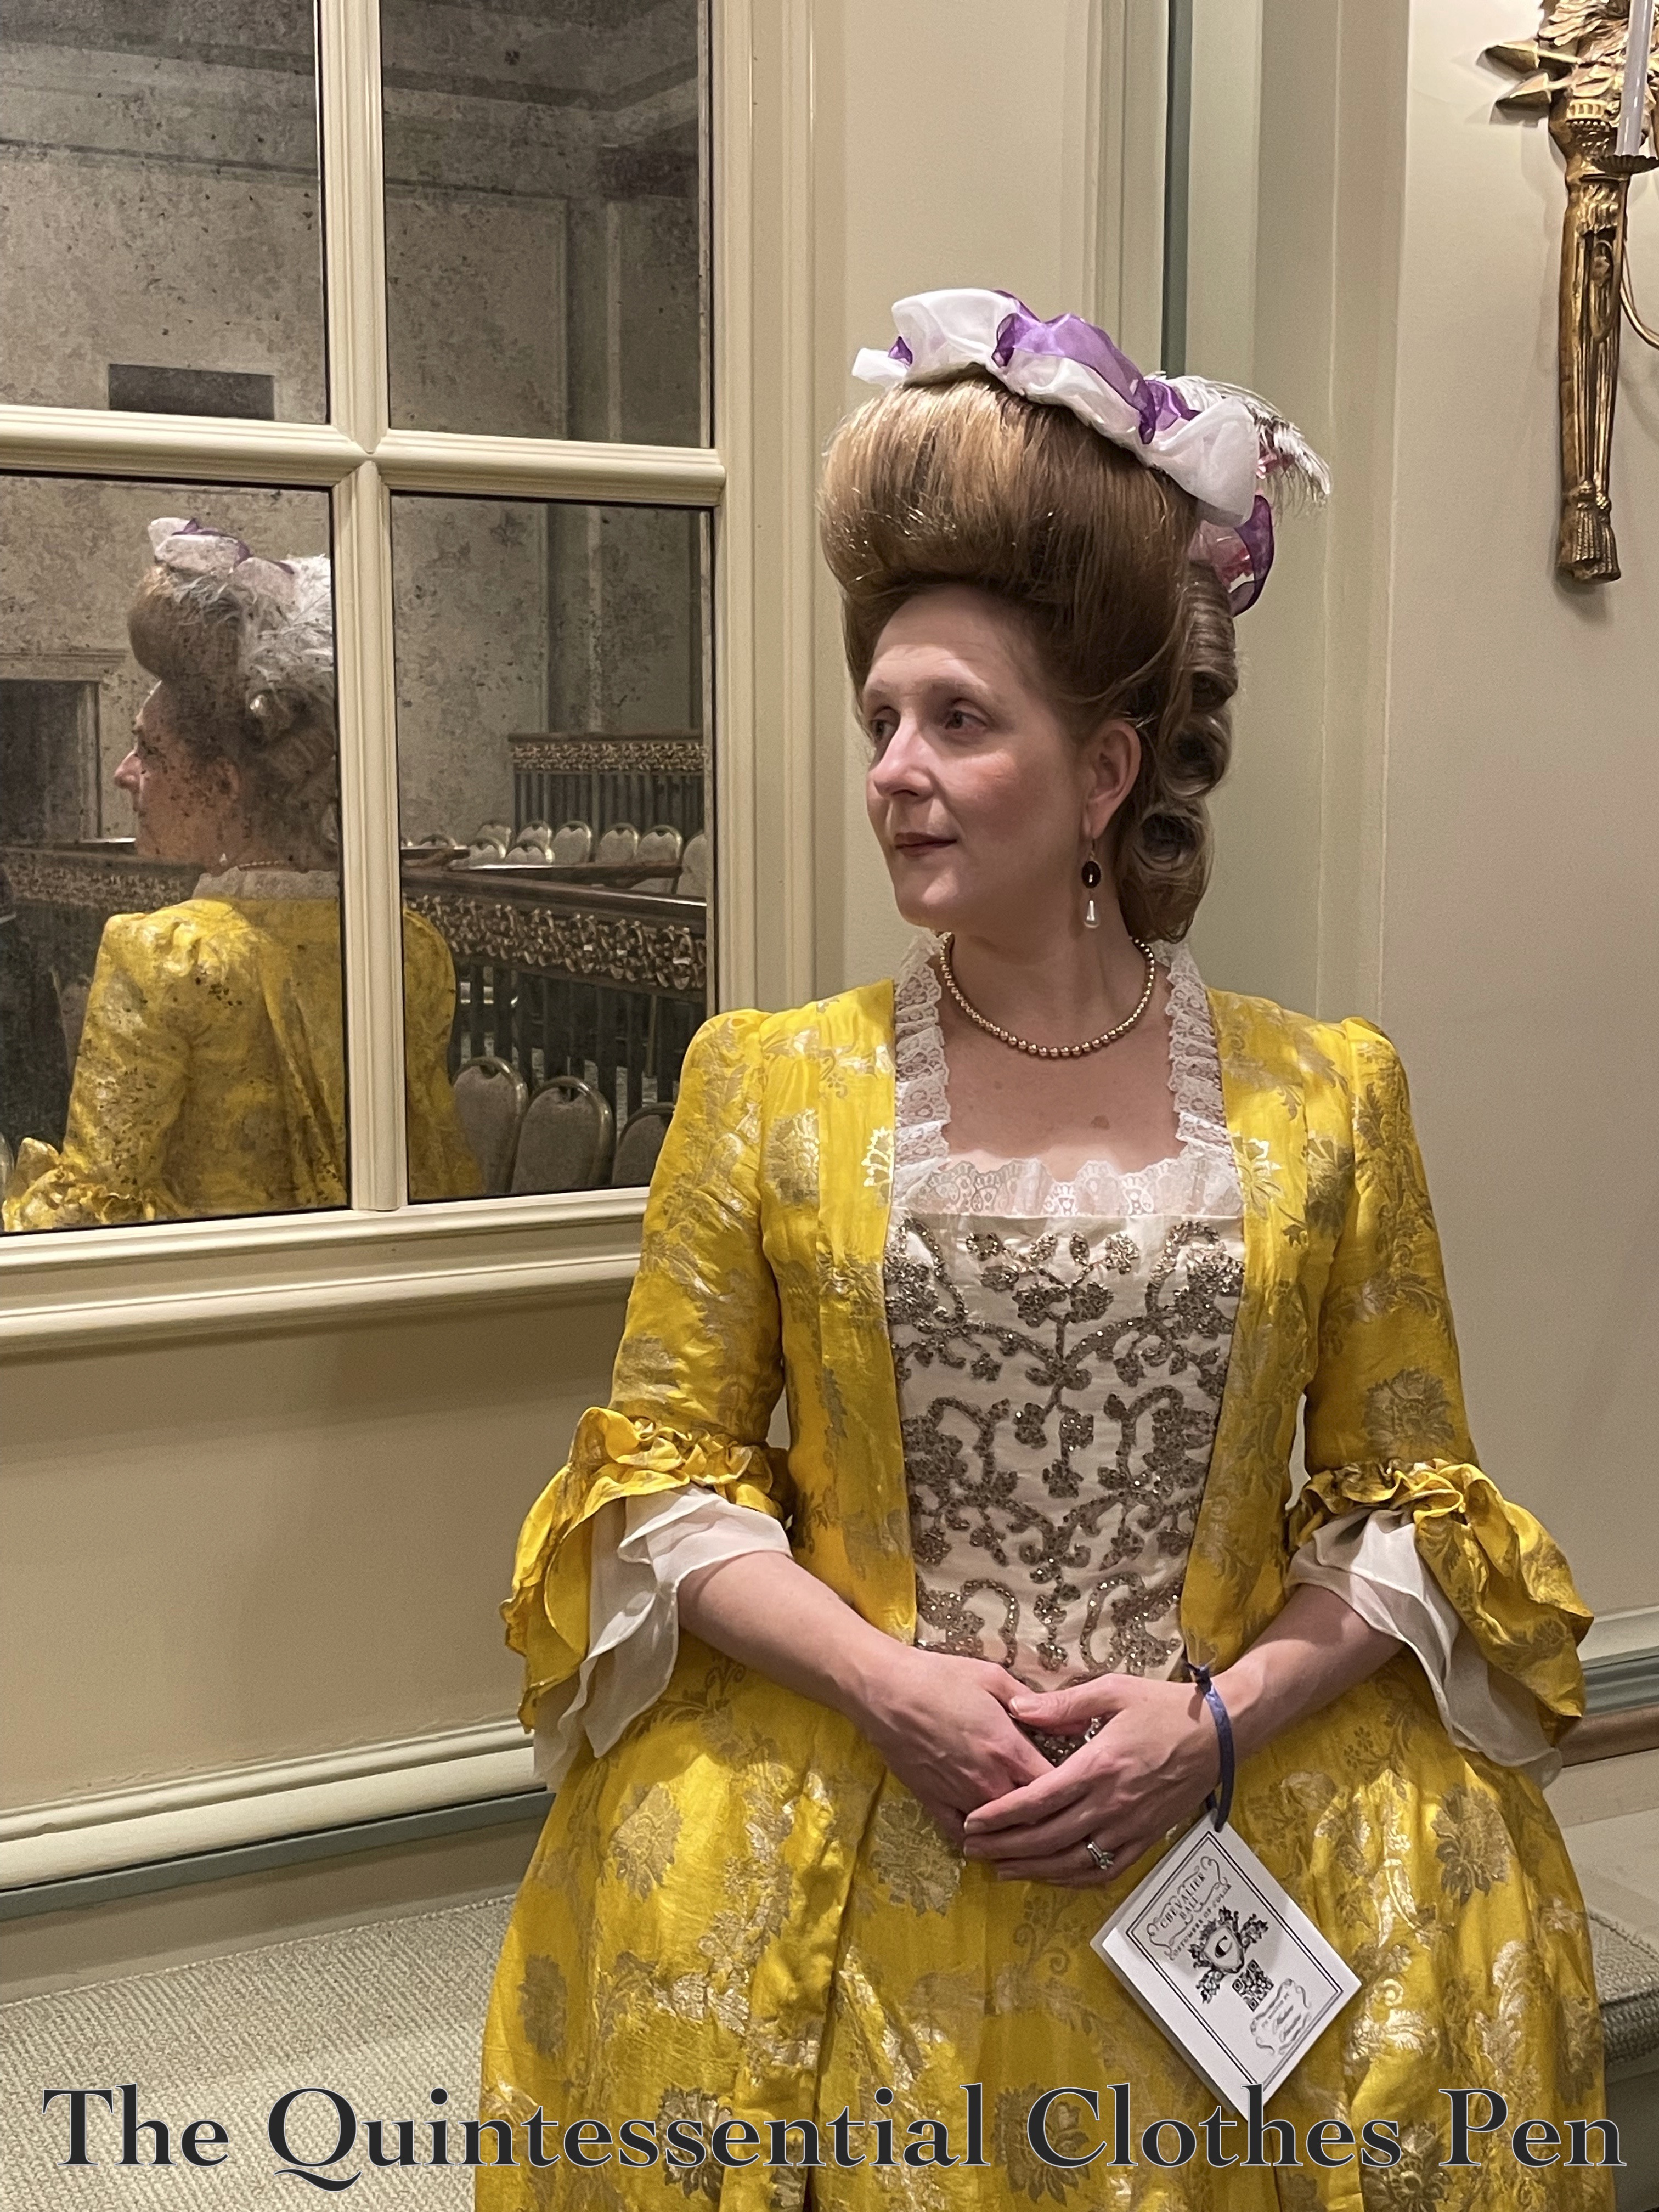
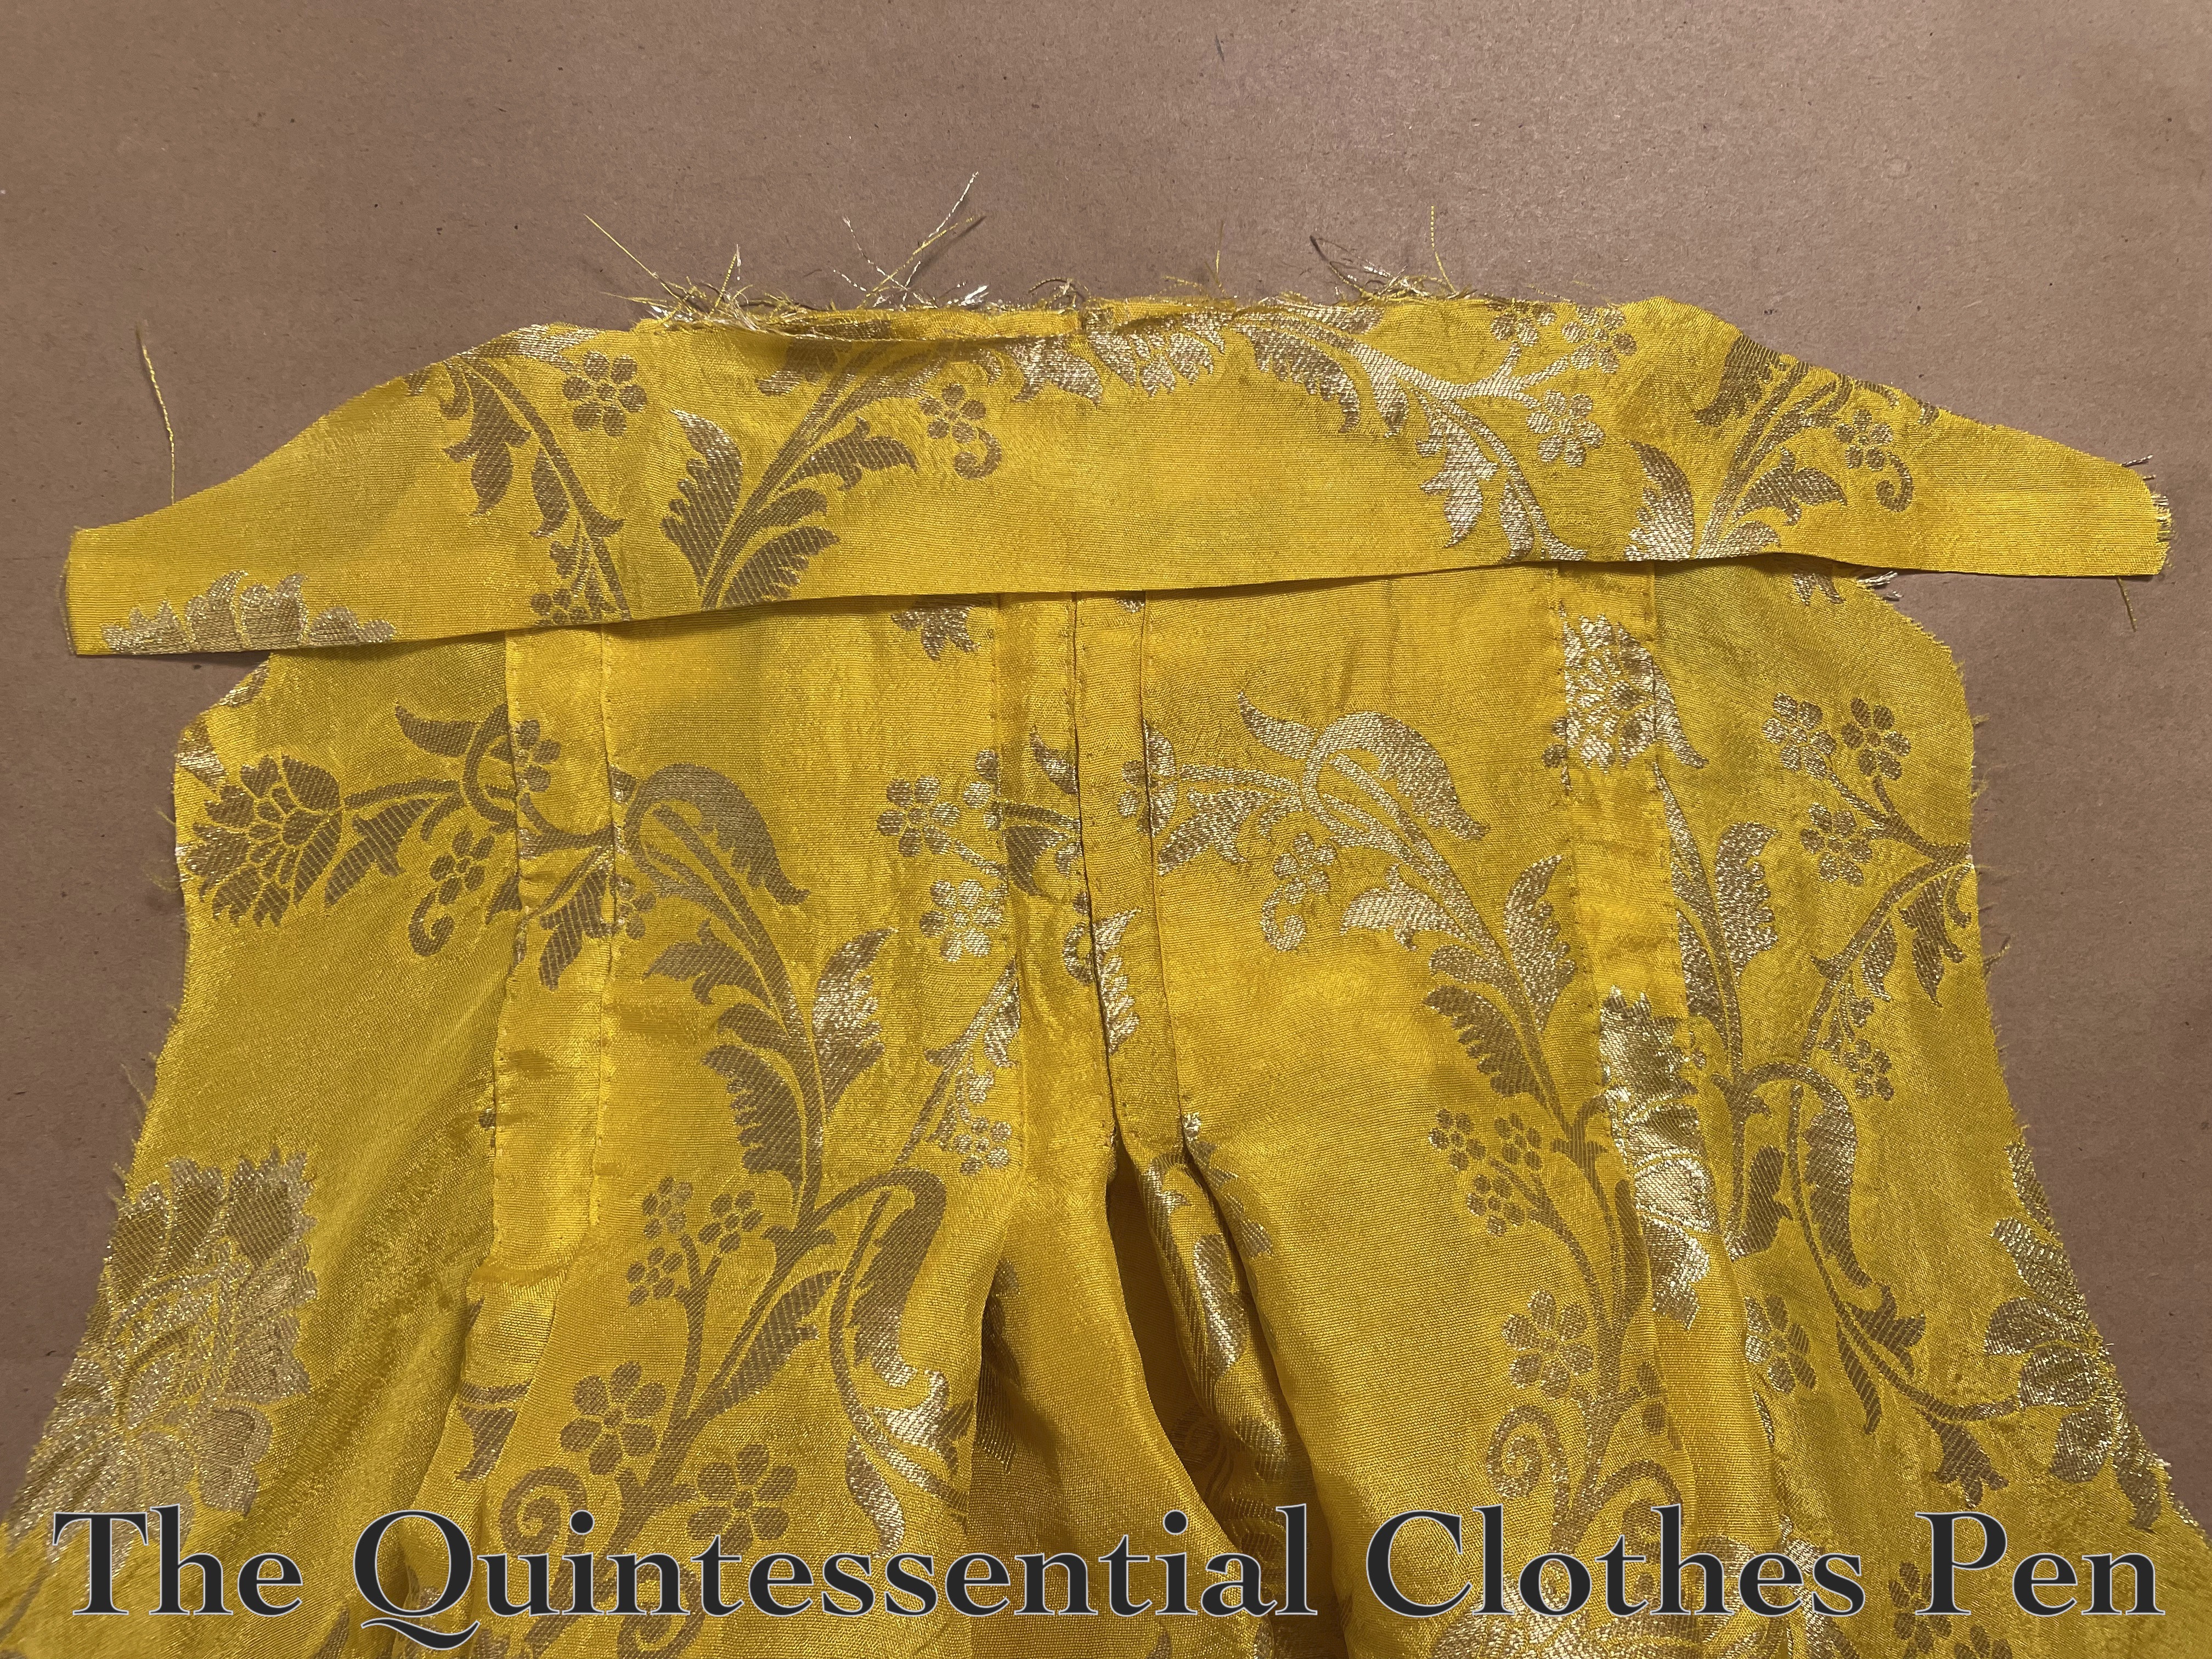
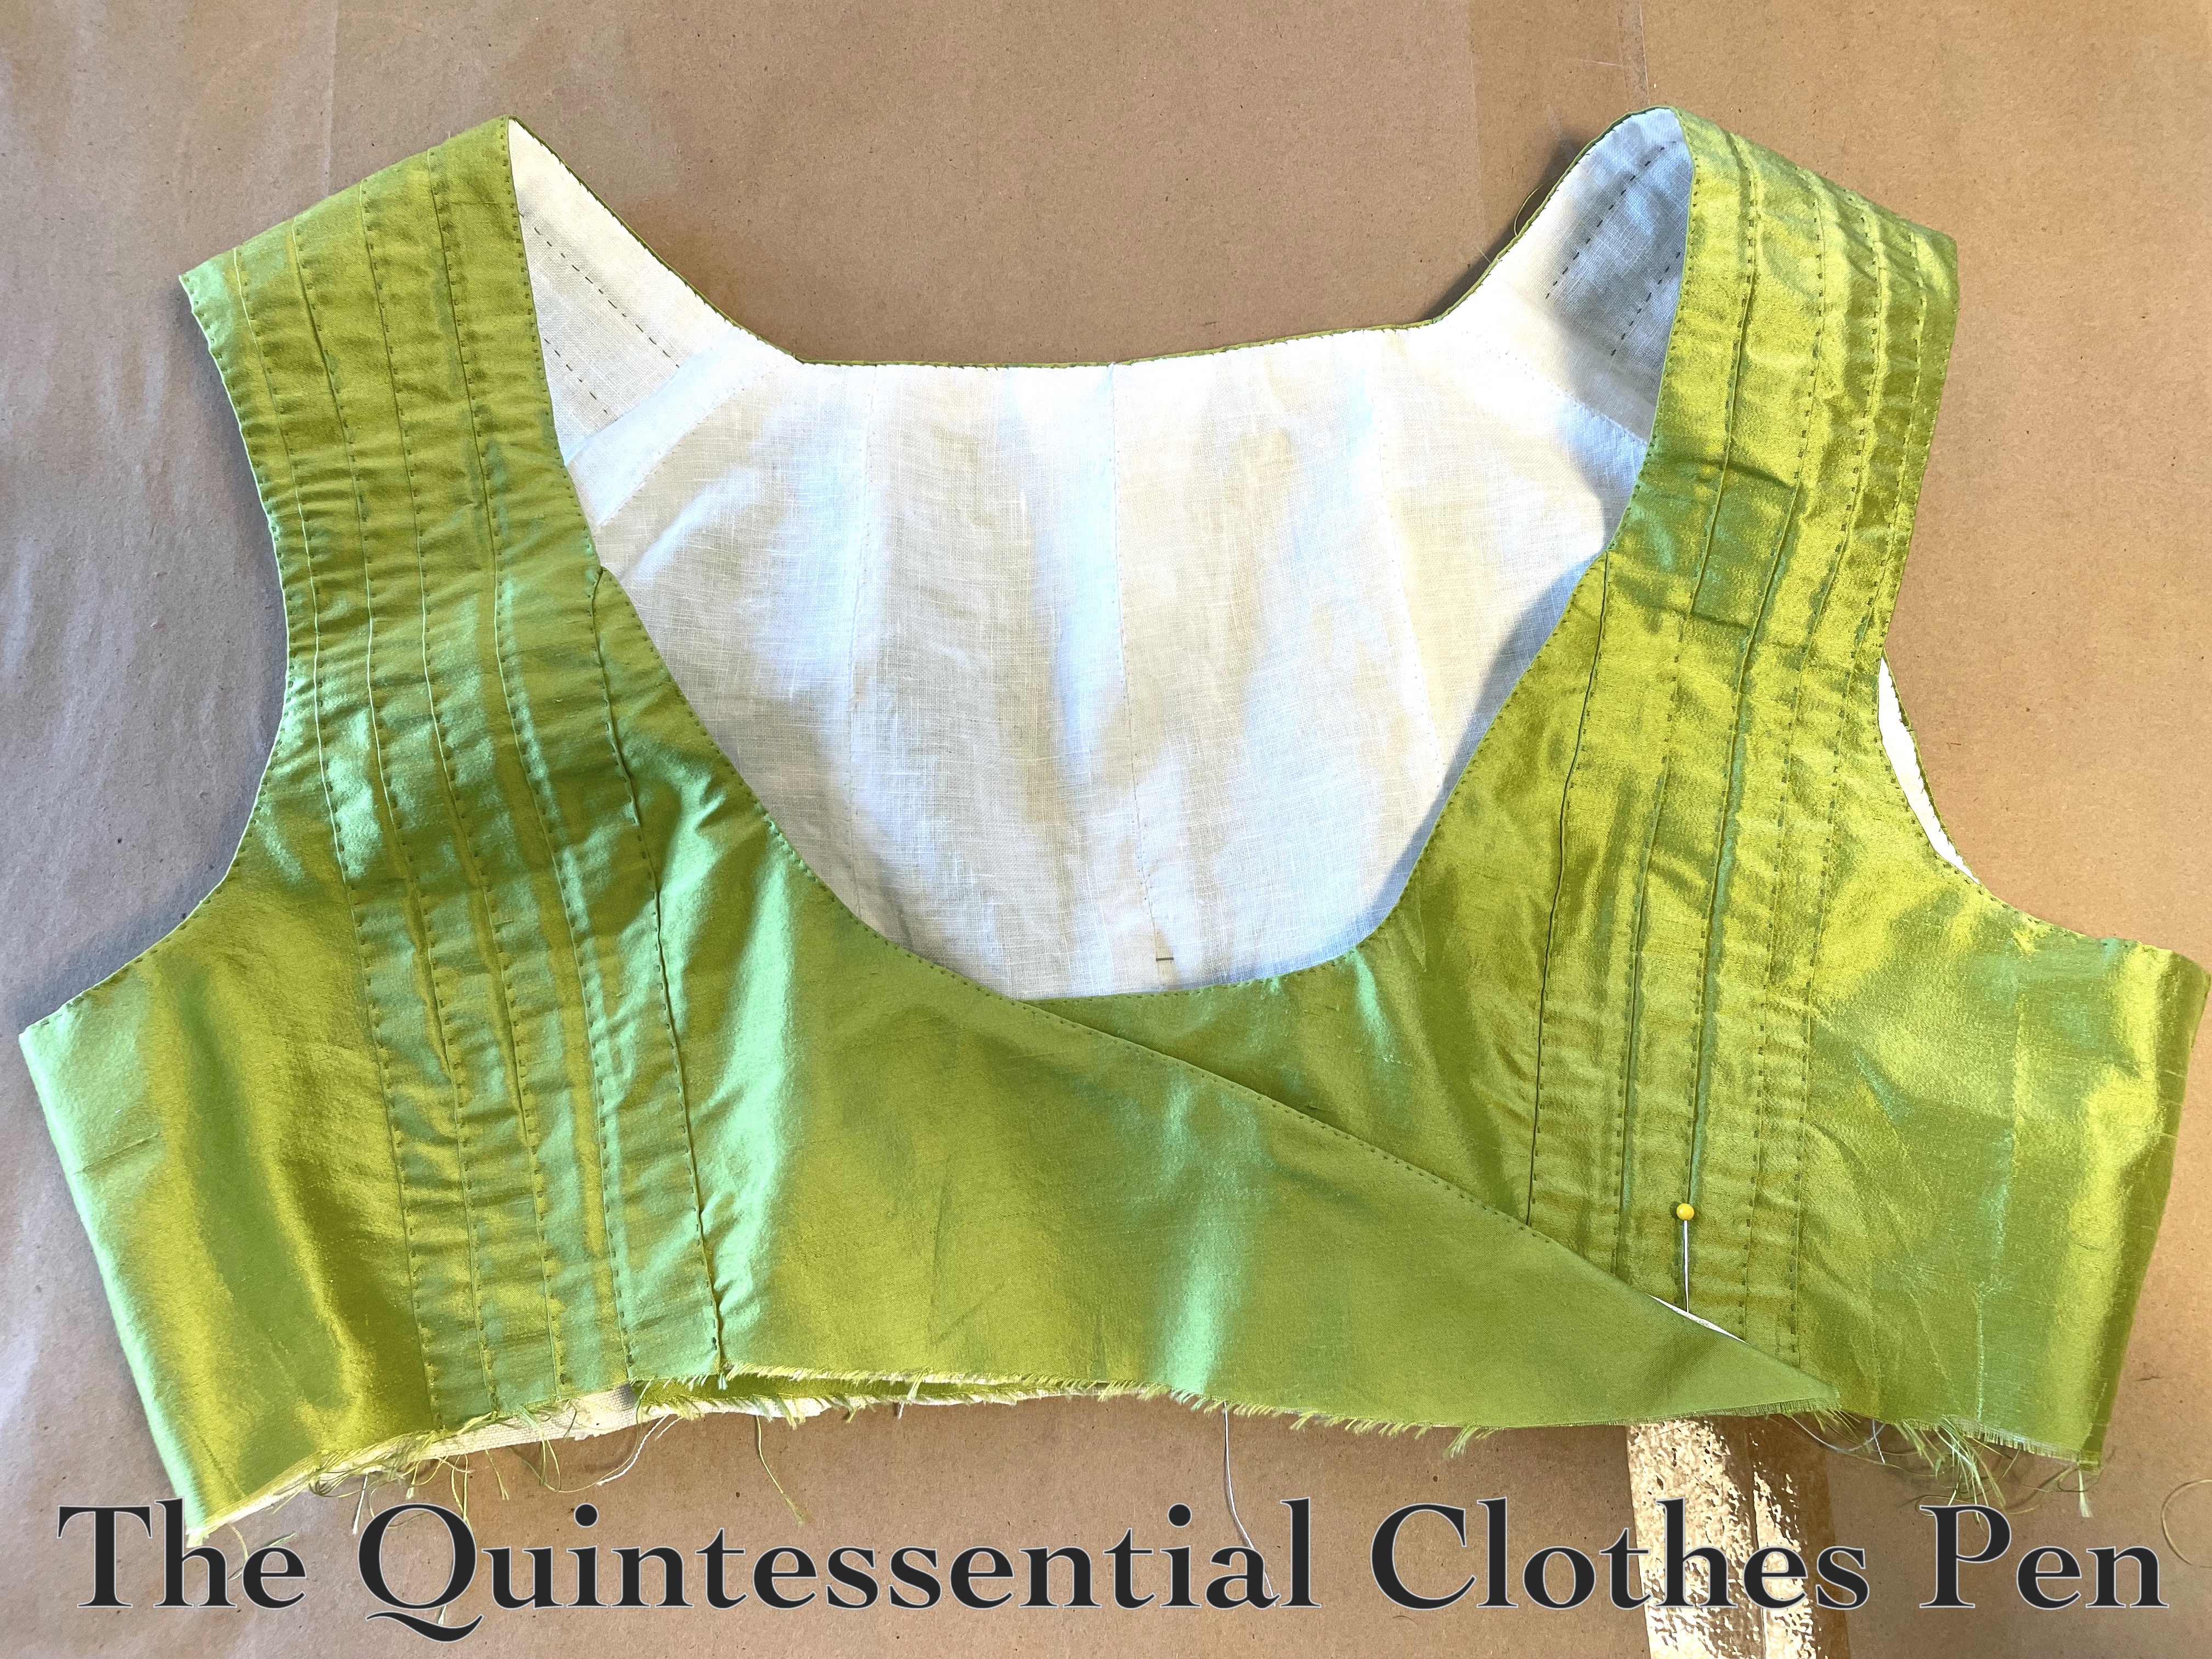
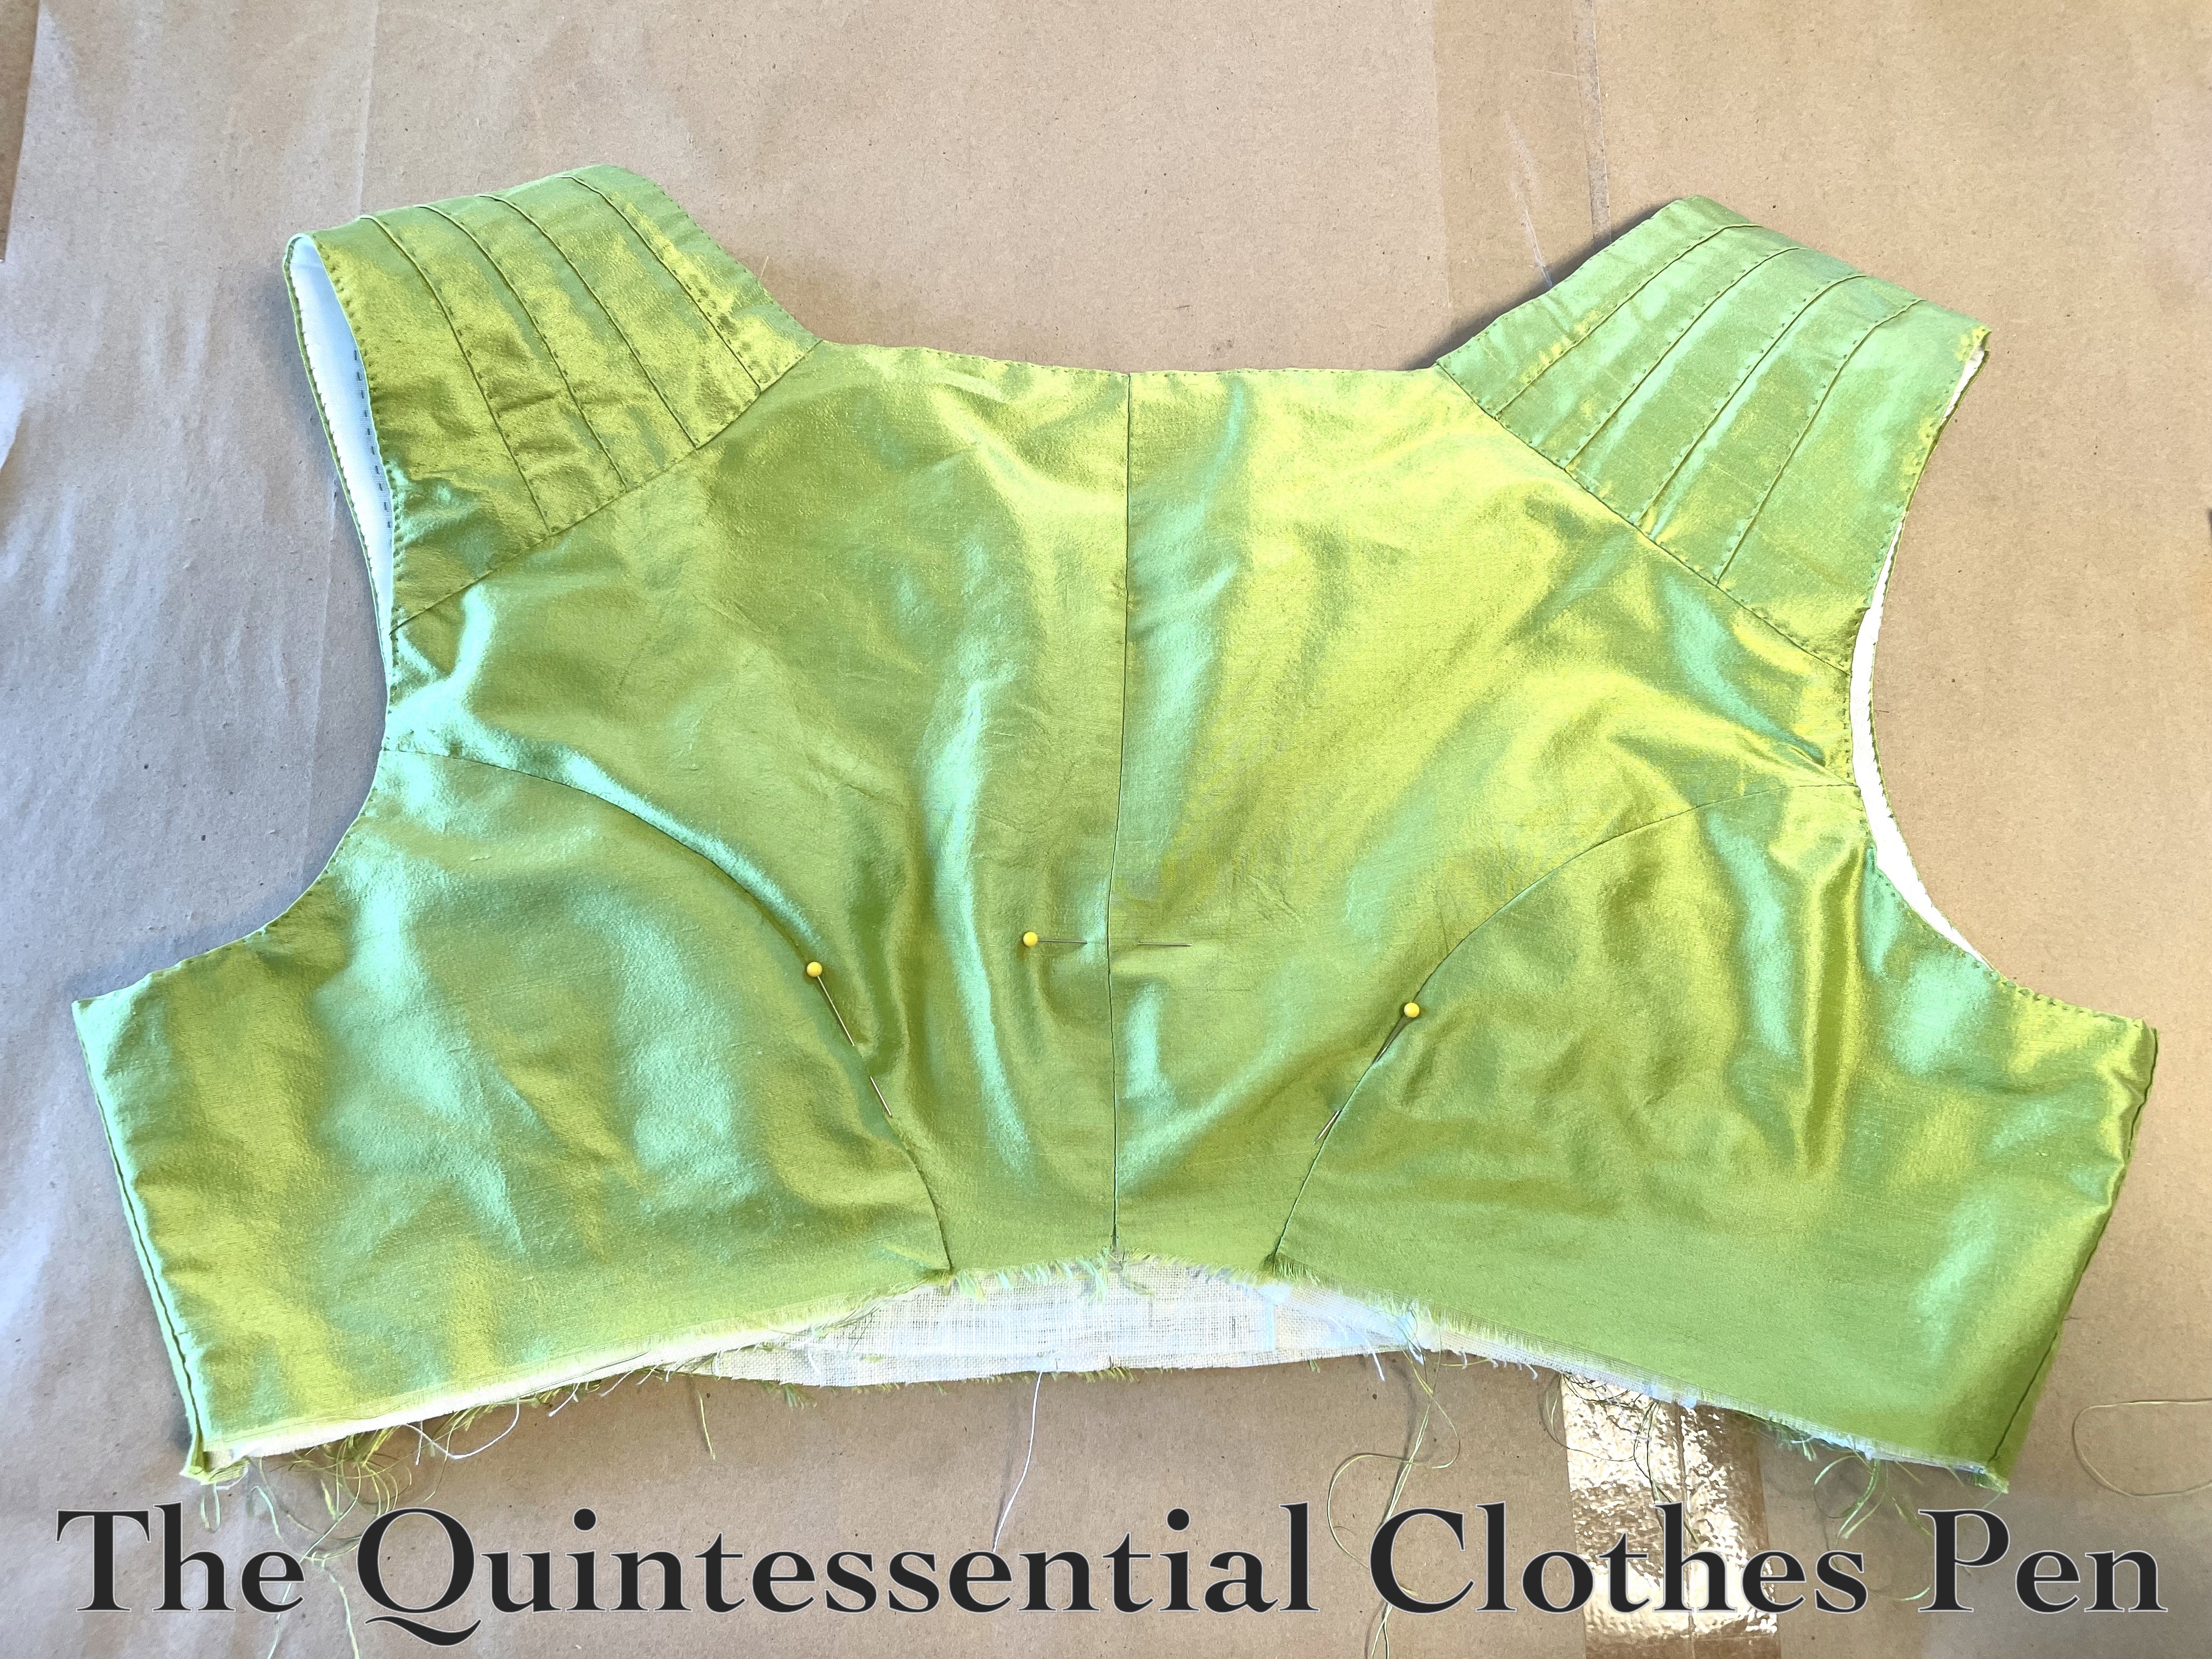
The pattern started with the lining pattern for the dress that I knew fit and would be worn under the sleeveless bodice as well as the bodice of “A Robe c. 1795 – 1803” on pages 44 and 45 of the original printing of Janet Arnold’s Patterns of Fashion 2. I liked the idea of the pleats on the exterior to provide interest on my otherwise solid fabric. It didn’t occur to me until very late in the process of making this garment that most of the pleats would be covered by the neck trim. Oops! Oh well! Below, a photo of the front of the bodice. The pleats are the topstitched lines running downwards from the shoulders.
I ended up with separate patterns for the exterior and lining front pieces, but the side back and back pieces were cut from the same pattern. I’ll explain how I made them.
For the front lining piece, I started with the dress lining, as pictured below. By starting with this, I knew that the sleeveless bodice would easily fit over the dress and have similar seam lines.
I adjusted this pattern to have a little bit of wearing ease by adding ¼” to the bottom edge, ¼” to the neck edge, ½” across the center back piece, and ¼” across the side back pieces.
To that, I superimposed the PoF robe because it had a very low front bodice (clearly intended to be worn with a dress underneath) and it had a front pattern piece that curved downward towards the front, with a separate side front piece. Ah ha! I could create a dart going towards the waist in the area between these two pieces and have a one piece lining while also easily having a two piece exterior to make the pleats easier! This would reduce bulk in the finished garment and allow for the necklines of the exterior and lining to be exactly the same.
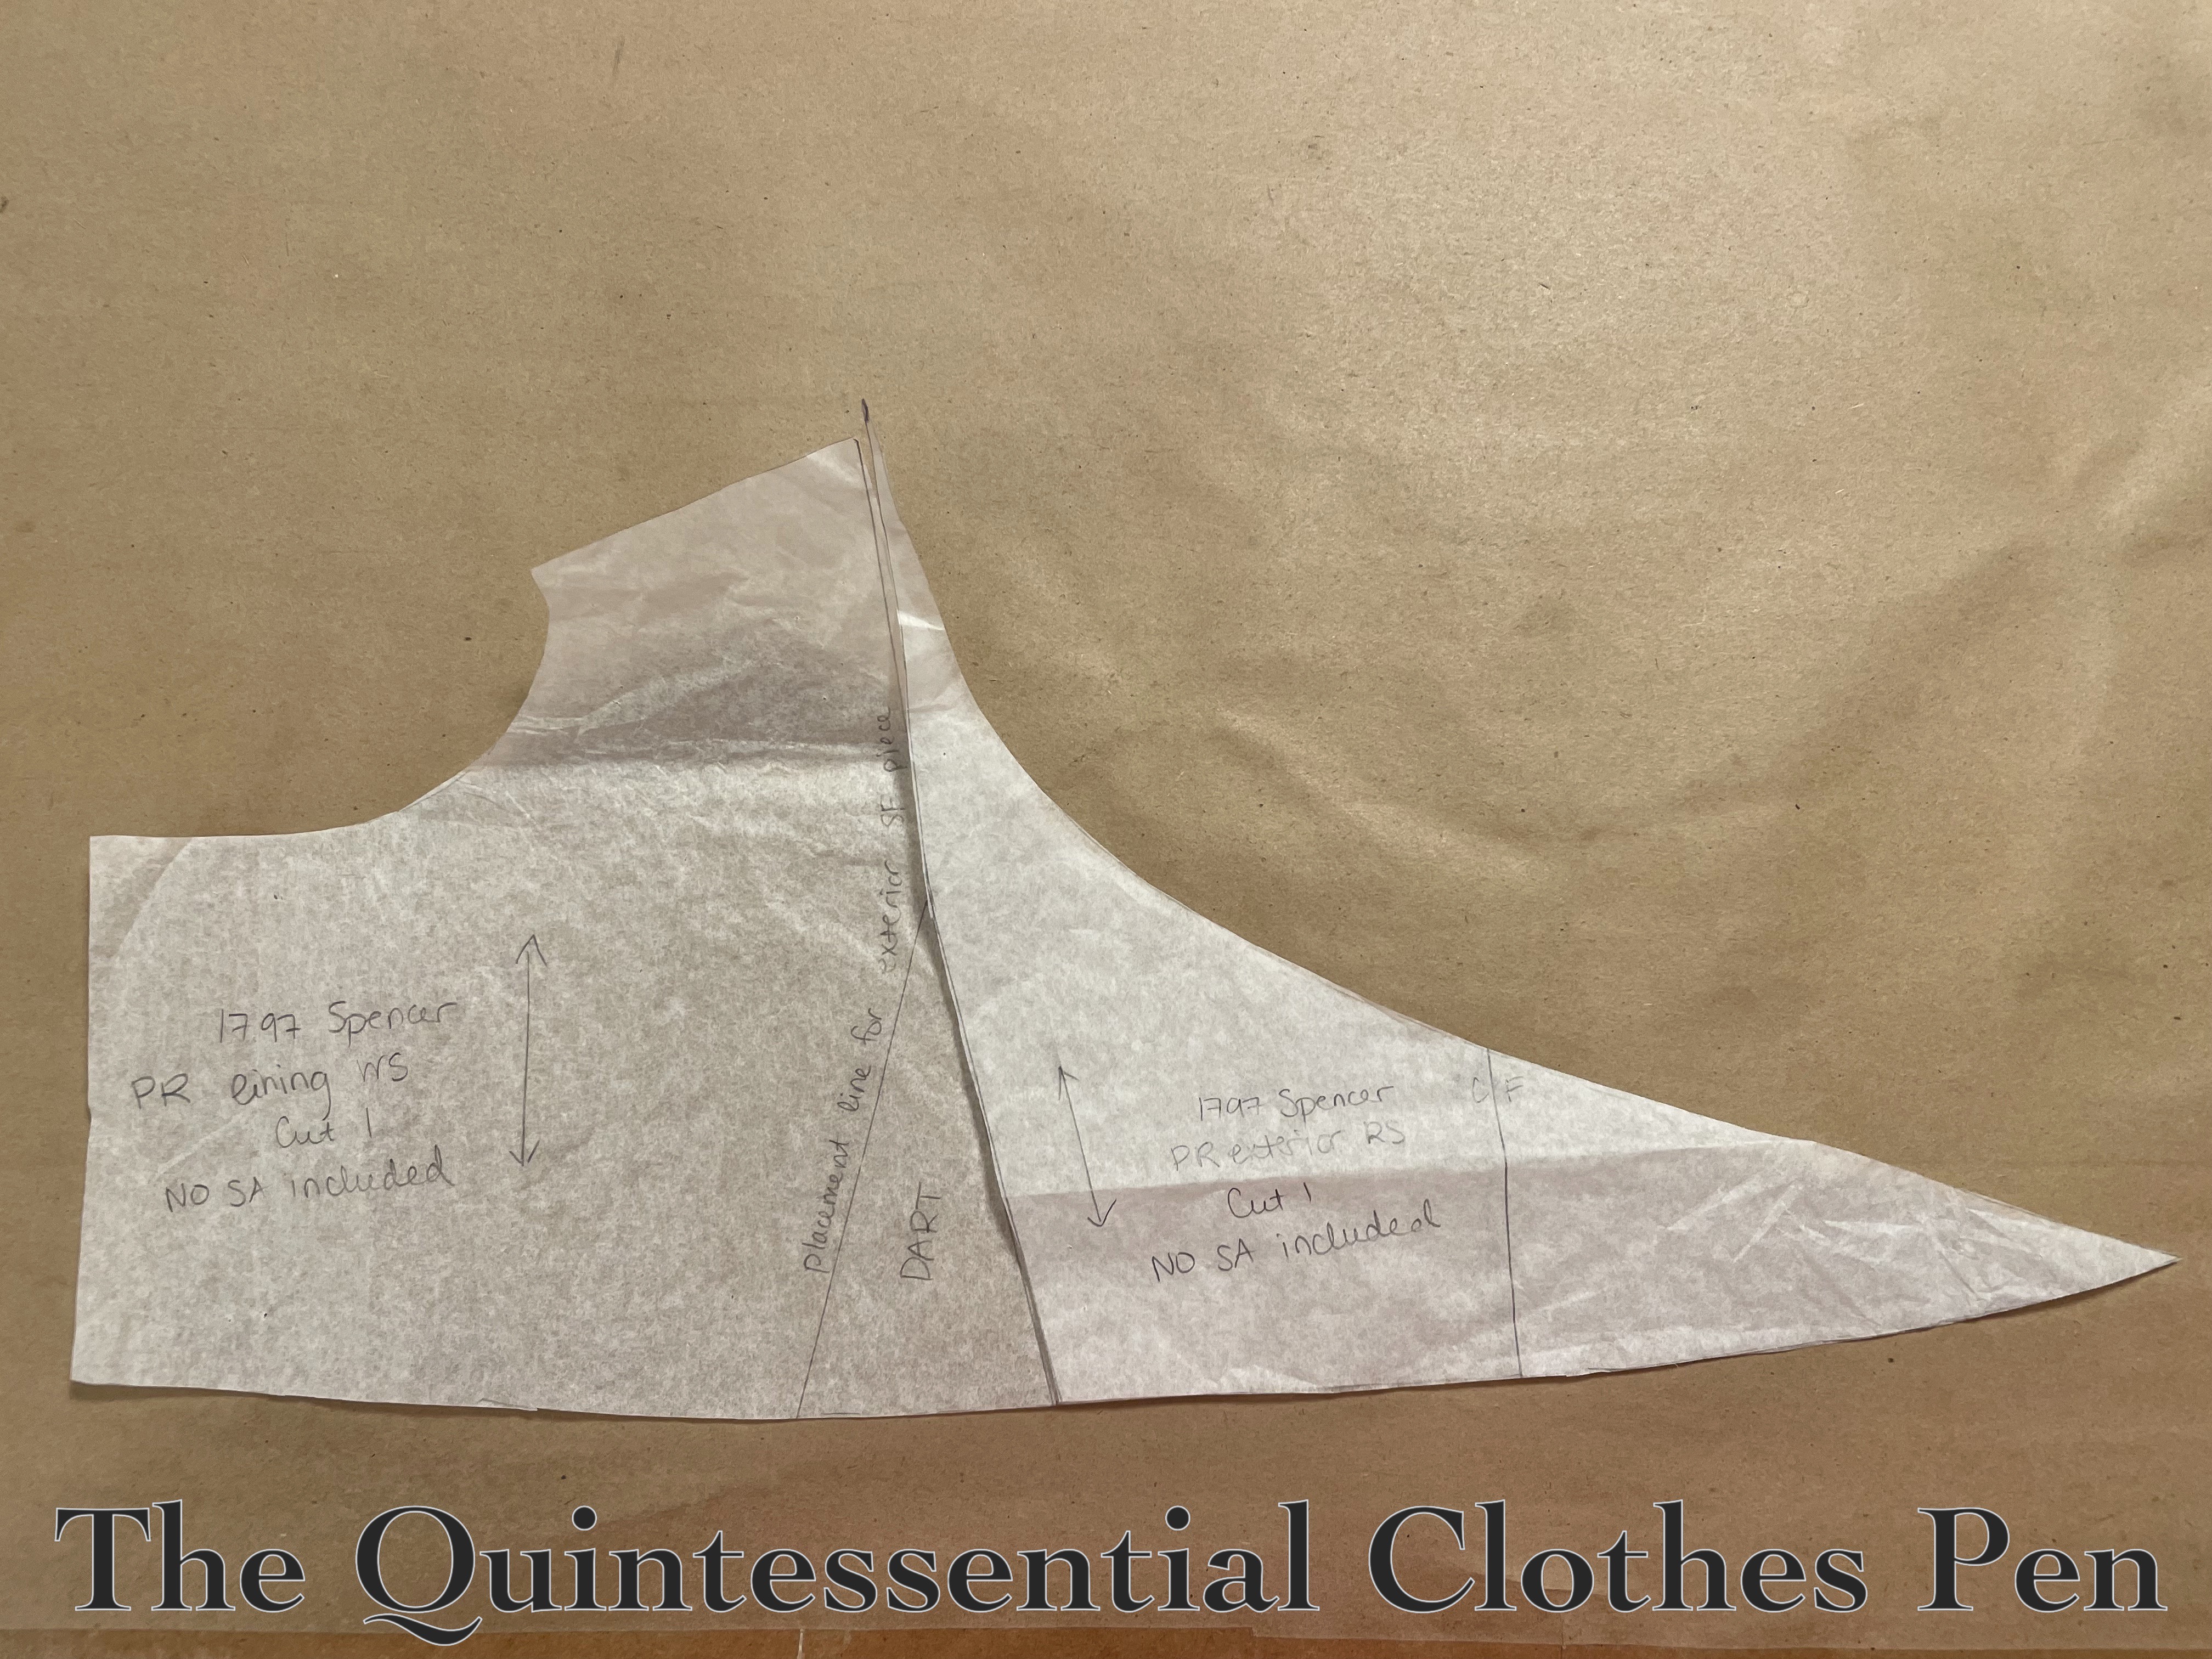
The photo below shows the front pieces I ended up with. On the left is the lower part of the front lining (the shoulder area is extended with a separate shoulder piece in the lining) and the center front part of the lining. For the lining, these were cut as one piece (with the dart marked).
If you look carefully, you might notice that the grainline on the center front piece is off relative to the side piece. Why is that, you might wonder?
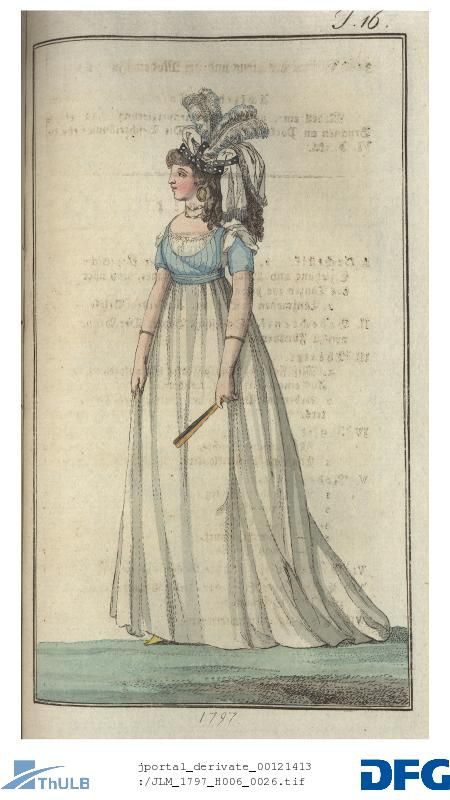
Well, for the front exterior I started with the lining piece but changed the single dart to be the pleats I’ve previously mentioned. I didn’t see bust darts in my inspiration fashion plate or observations of 1790s overdresses, but in 18th century dresses pleats are used used in varying depths to adjust a flat piece of fabric to fit the curves of a body, so I used that method.
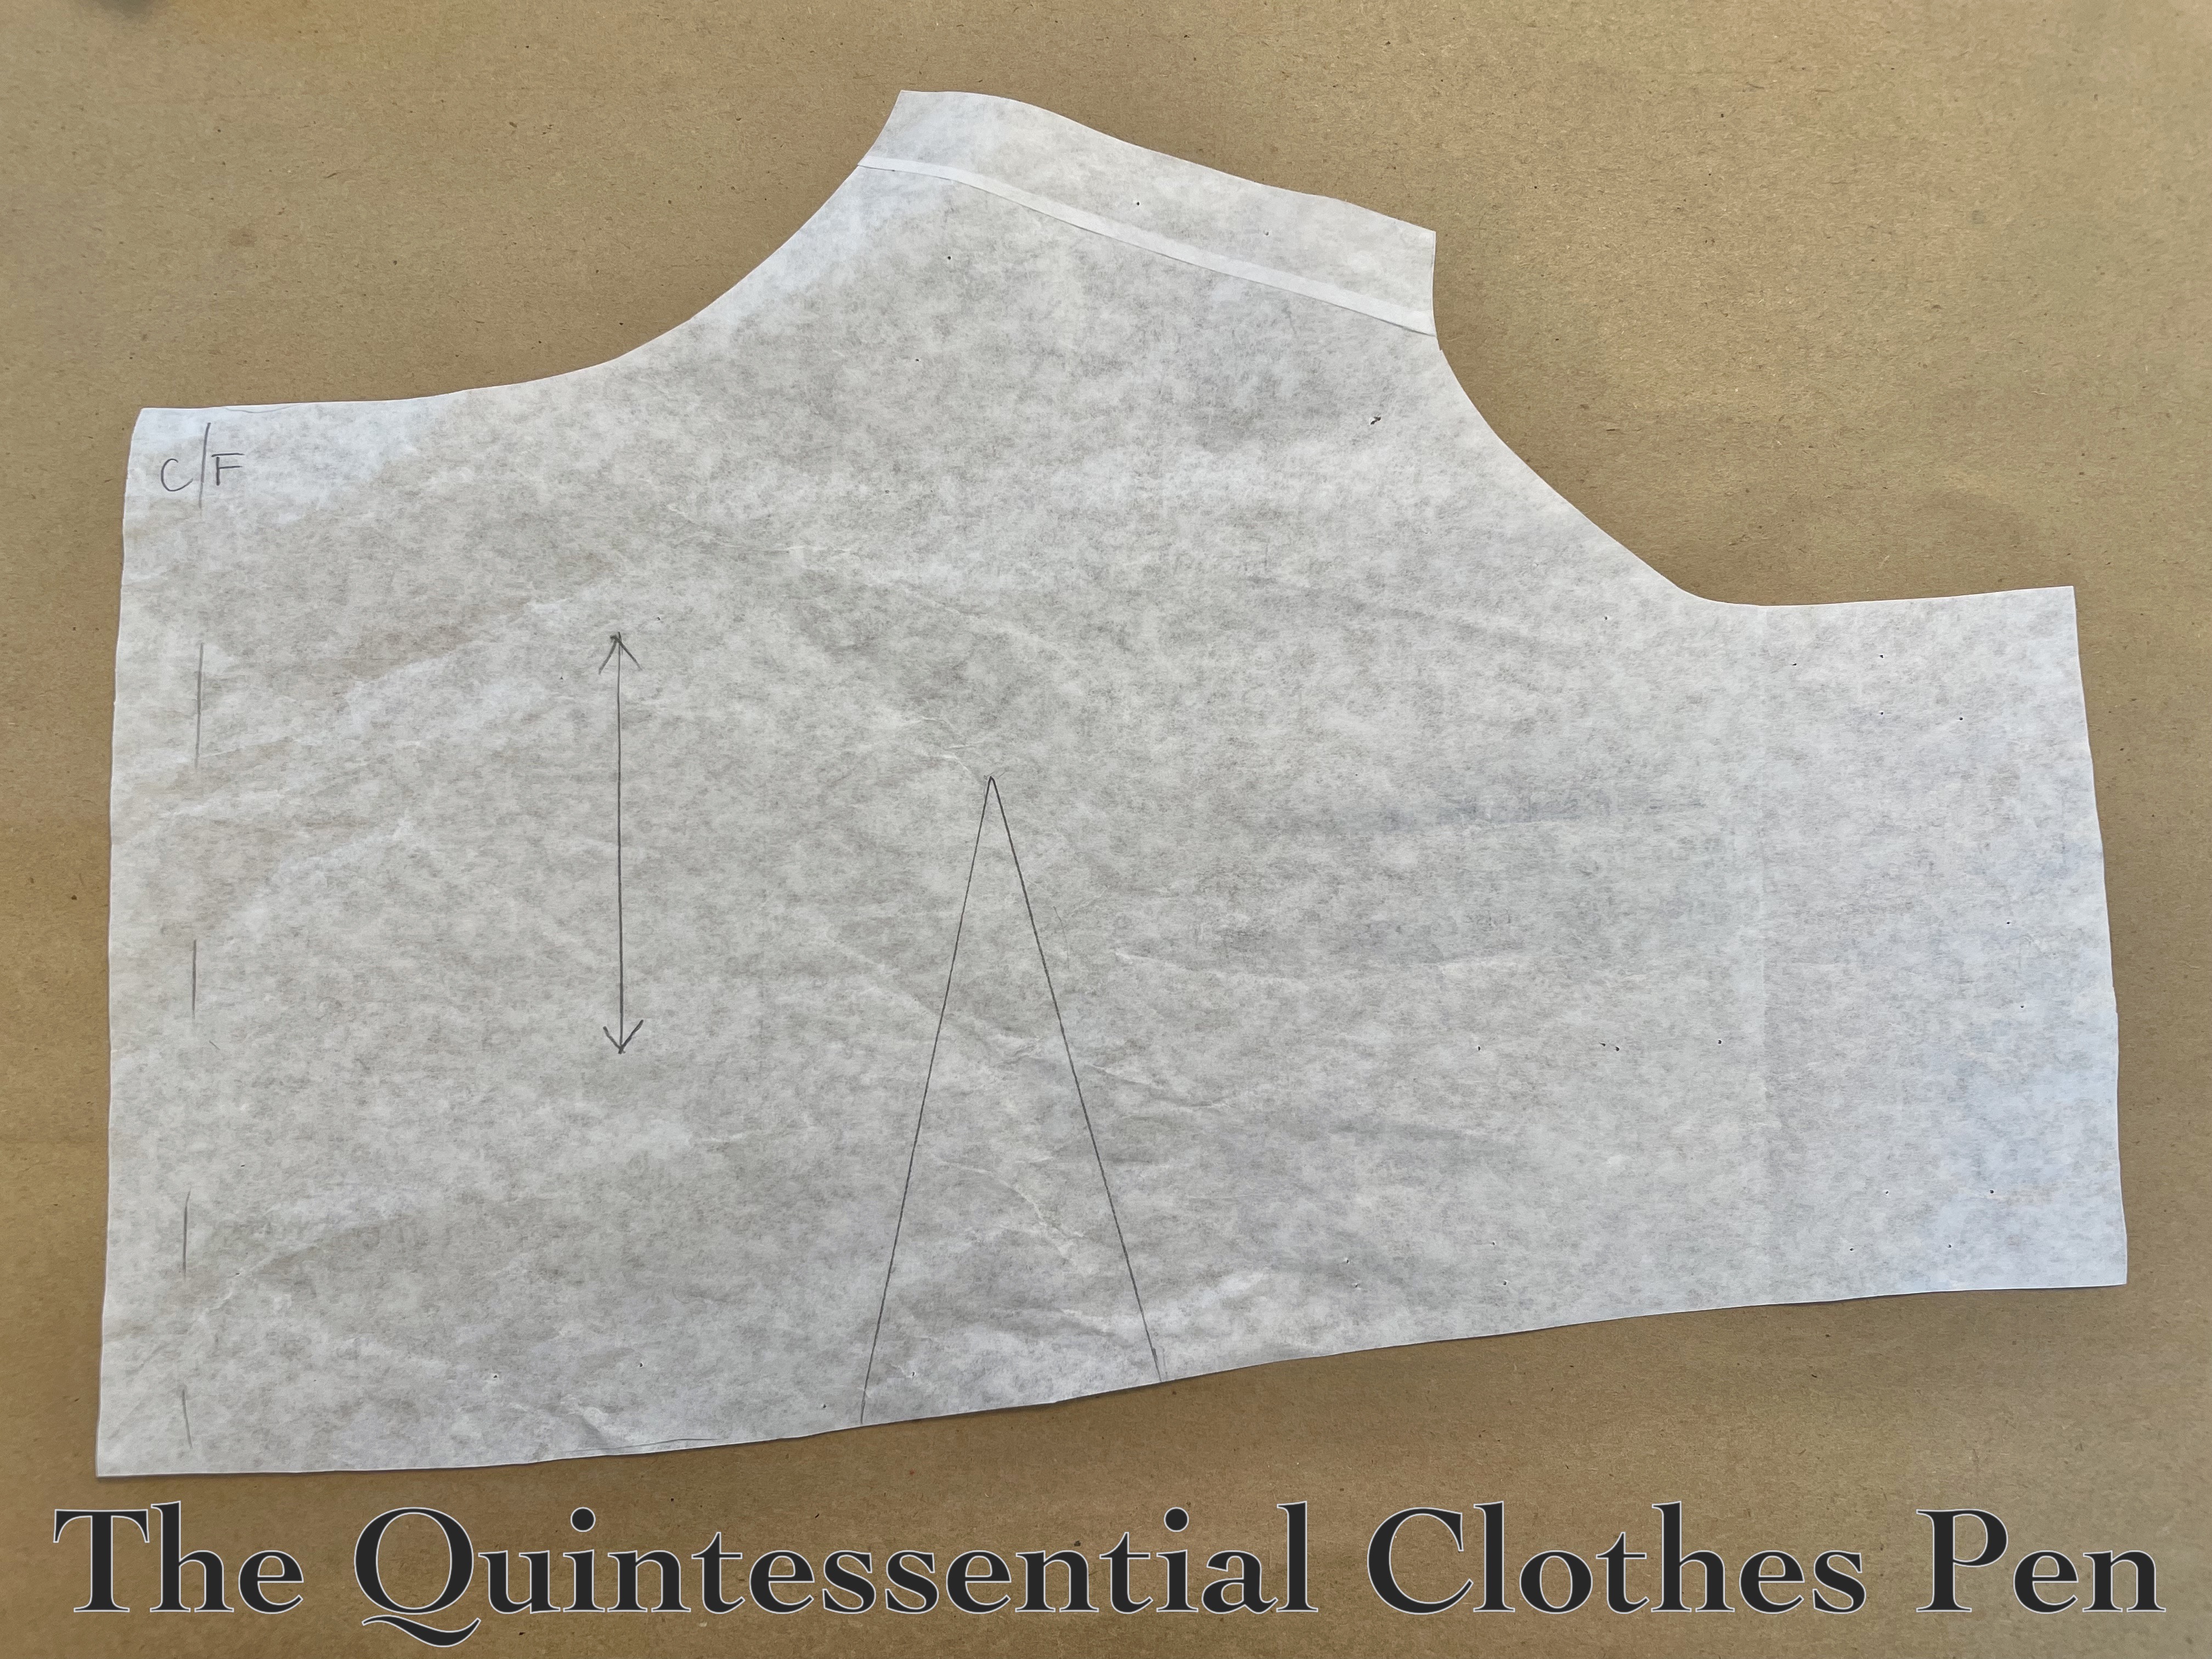
First, I traced the lining pattern onto a new piece of paper, including the dart. Then, as you can see in the photo below, I cut along the dart edge closer to Center Front, then up a line that continued to the neck edge I wanted. (I also cut down to the bust point from two other points along the neckline, but later realized I didn’t need those cuts.)

Next, as you can see in the photo below, I rotated the center front piece down towards the dart, making that area a little narrower and creating space (essentially another dart) going up towards the shoulder. Then I drew my new grainline on the front piece for the exterior, heading up towards the shoulder. This is why it looks off relative to center front. When worn, those ‘darts’ are closed when the exterior is fitted over the lining and center front is pulled into its proper place on the body.
These exterior darts — hidden in the seam line — are what creates that downward curve to the pattern pieces that I observed in PoF.

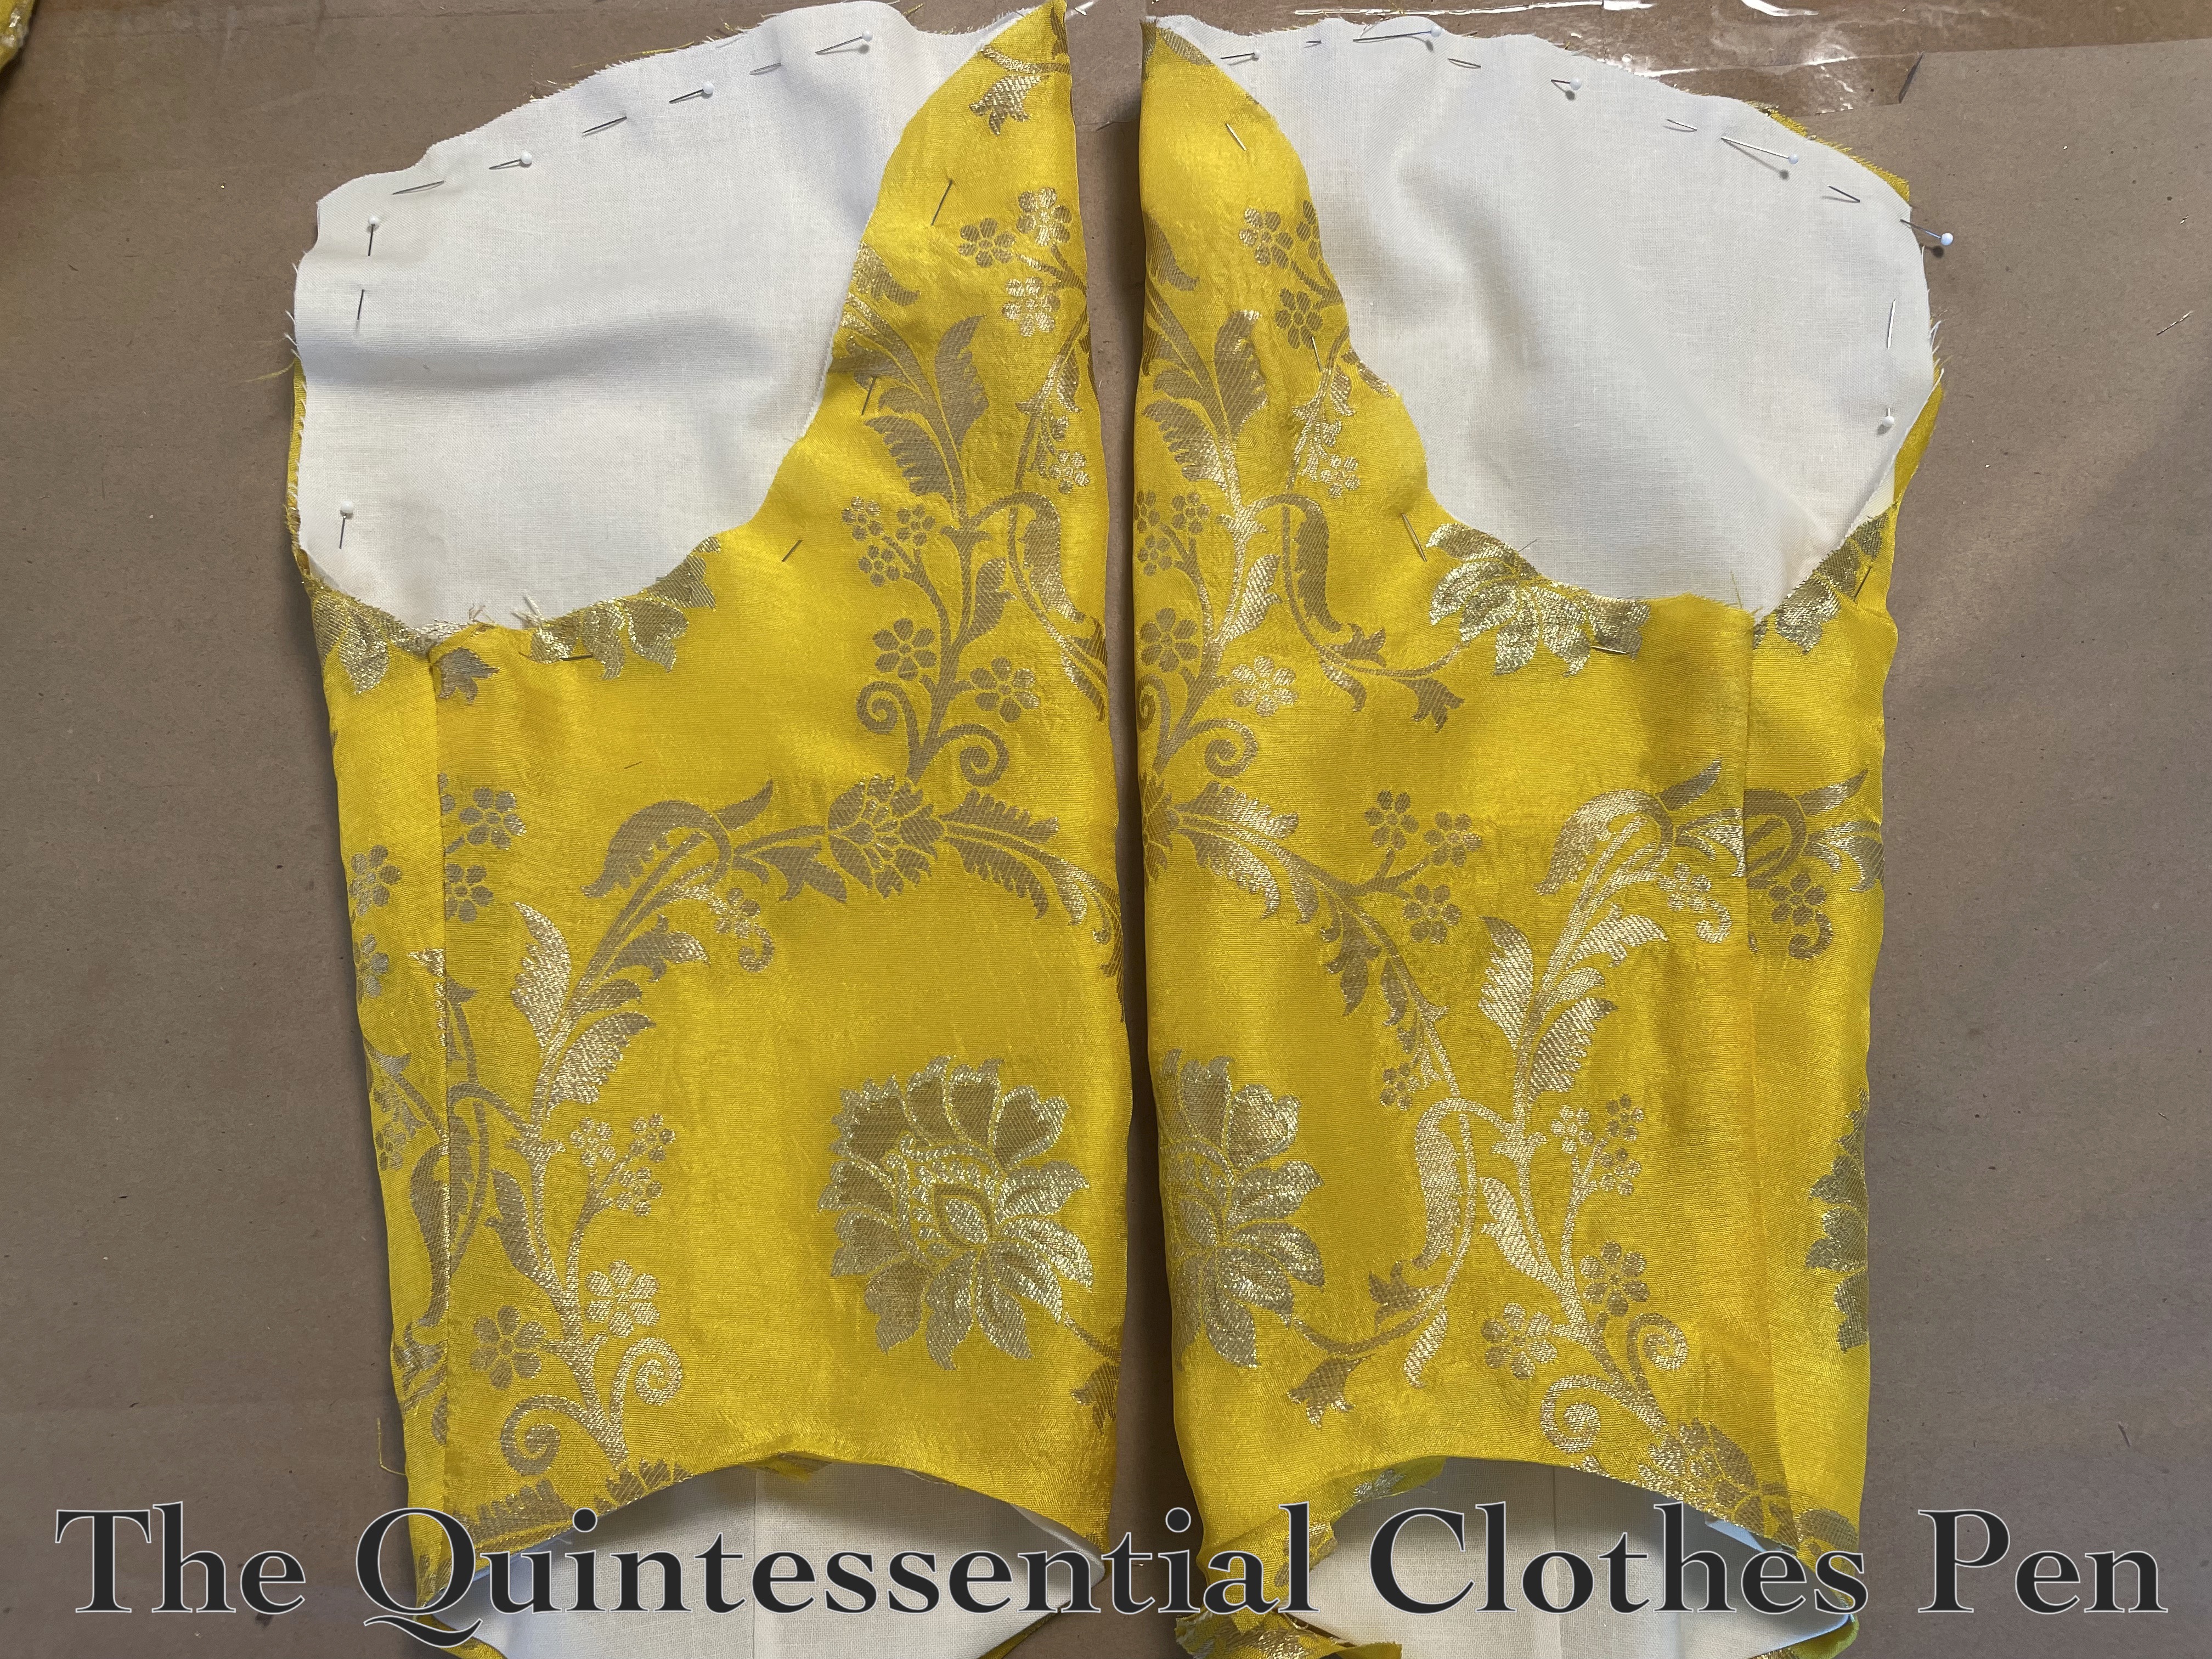
The two ‘darts’ are taken up in the pleated side front piece of the exterior, which is fitted over the center front piece and the darted bodice lining. In the photo below, the dart in the lining is visible on the left and the silk is pleated to fit and visible on the right.

After creating the paper pattern, I made a mockup and did a fitting to see how well my adjustments worked. They were pretty good, but I did have a few notes — I extended the bottom edge by a little more across the front, set the overlap shape I wanted (based on the fashion plate), set my armhole seam allowance, decided on the height of the peplum, and adjusted the front neckline to sit nicely over the dress.
I made these adjustments to my paper pattern and then moved on to cutting out my pieces in real fabric:
- A proper left front lining
- A proper right front lining
- Proper left side front and center front exteriors
- Proper right side front and center front exteriors
- Straps in lining fabric
- Side back pieces for lining and exterior
- Center back pieces for lining and exterior
The Backstory: Construction
With a pattern established, I went down the rabbit hole of figuring out construction methods.
I had been reading Patterns of Fashion 6: The Content, Cut, Construction & Content of European Women’s Dress c. 1695-1795 and my mind was full of details and excitement about 18th century construction methods, so I happily went down a path of sewing in an 18th century manner! But… at some point in the middle of things I realized that I would need to combine some early 19th century construction methods into what I was doing, too, since my sleeveless bodice idea does span two different eras of construction styles.
For example, from an 18th century perspective turning seam allowances of the lining and exterior towards each other and whipping the pieces together made perfect sense. From a 19th century perspective, however, finishing the armholes with this method seemed odd (usually in the 18th century the seam allowance would have been left raw on the inside when the sleeve was attached, but I wasn’t adding sleeves!) and inserting a peplum into the bottom edge seemed odd, too (often a ruffle was applied on top of an edge, rather than being sandwiched between the exterior and lining, but that wasn’t the look I wanted). After many brain somersaults, I wound up mashing these two methods of construction together to create a transitional garment (which does actually make sense, since this was a transitional period for construction methods!).
Actually Making The Spencer
I thought it would be fun to use up linen scraps for the lining, rather than cutting into yardage from my stash. The lining pieces weren’t that big, right? Well, it turns out they were bigger than I thought. I ended up using 3 or 4 different types of white linen and adding in a fair number of piecing seams to get the shapes I needed for these lining pieces (you can see some extra seams in the lining in the previous photos). It definitely added time, but I had time while making this garment, so it was fine.
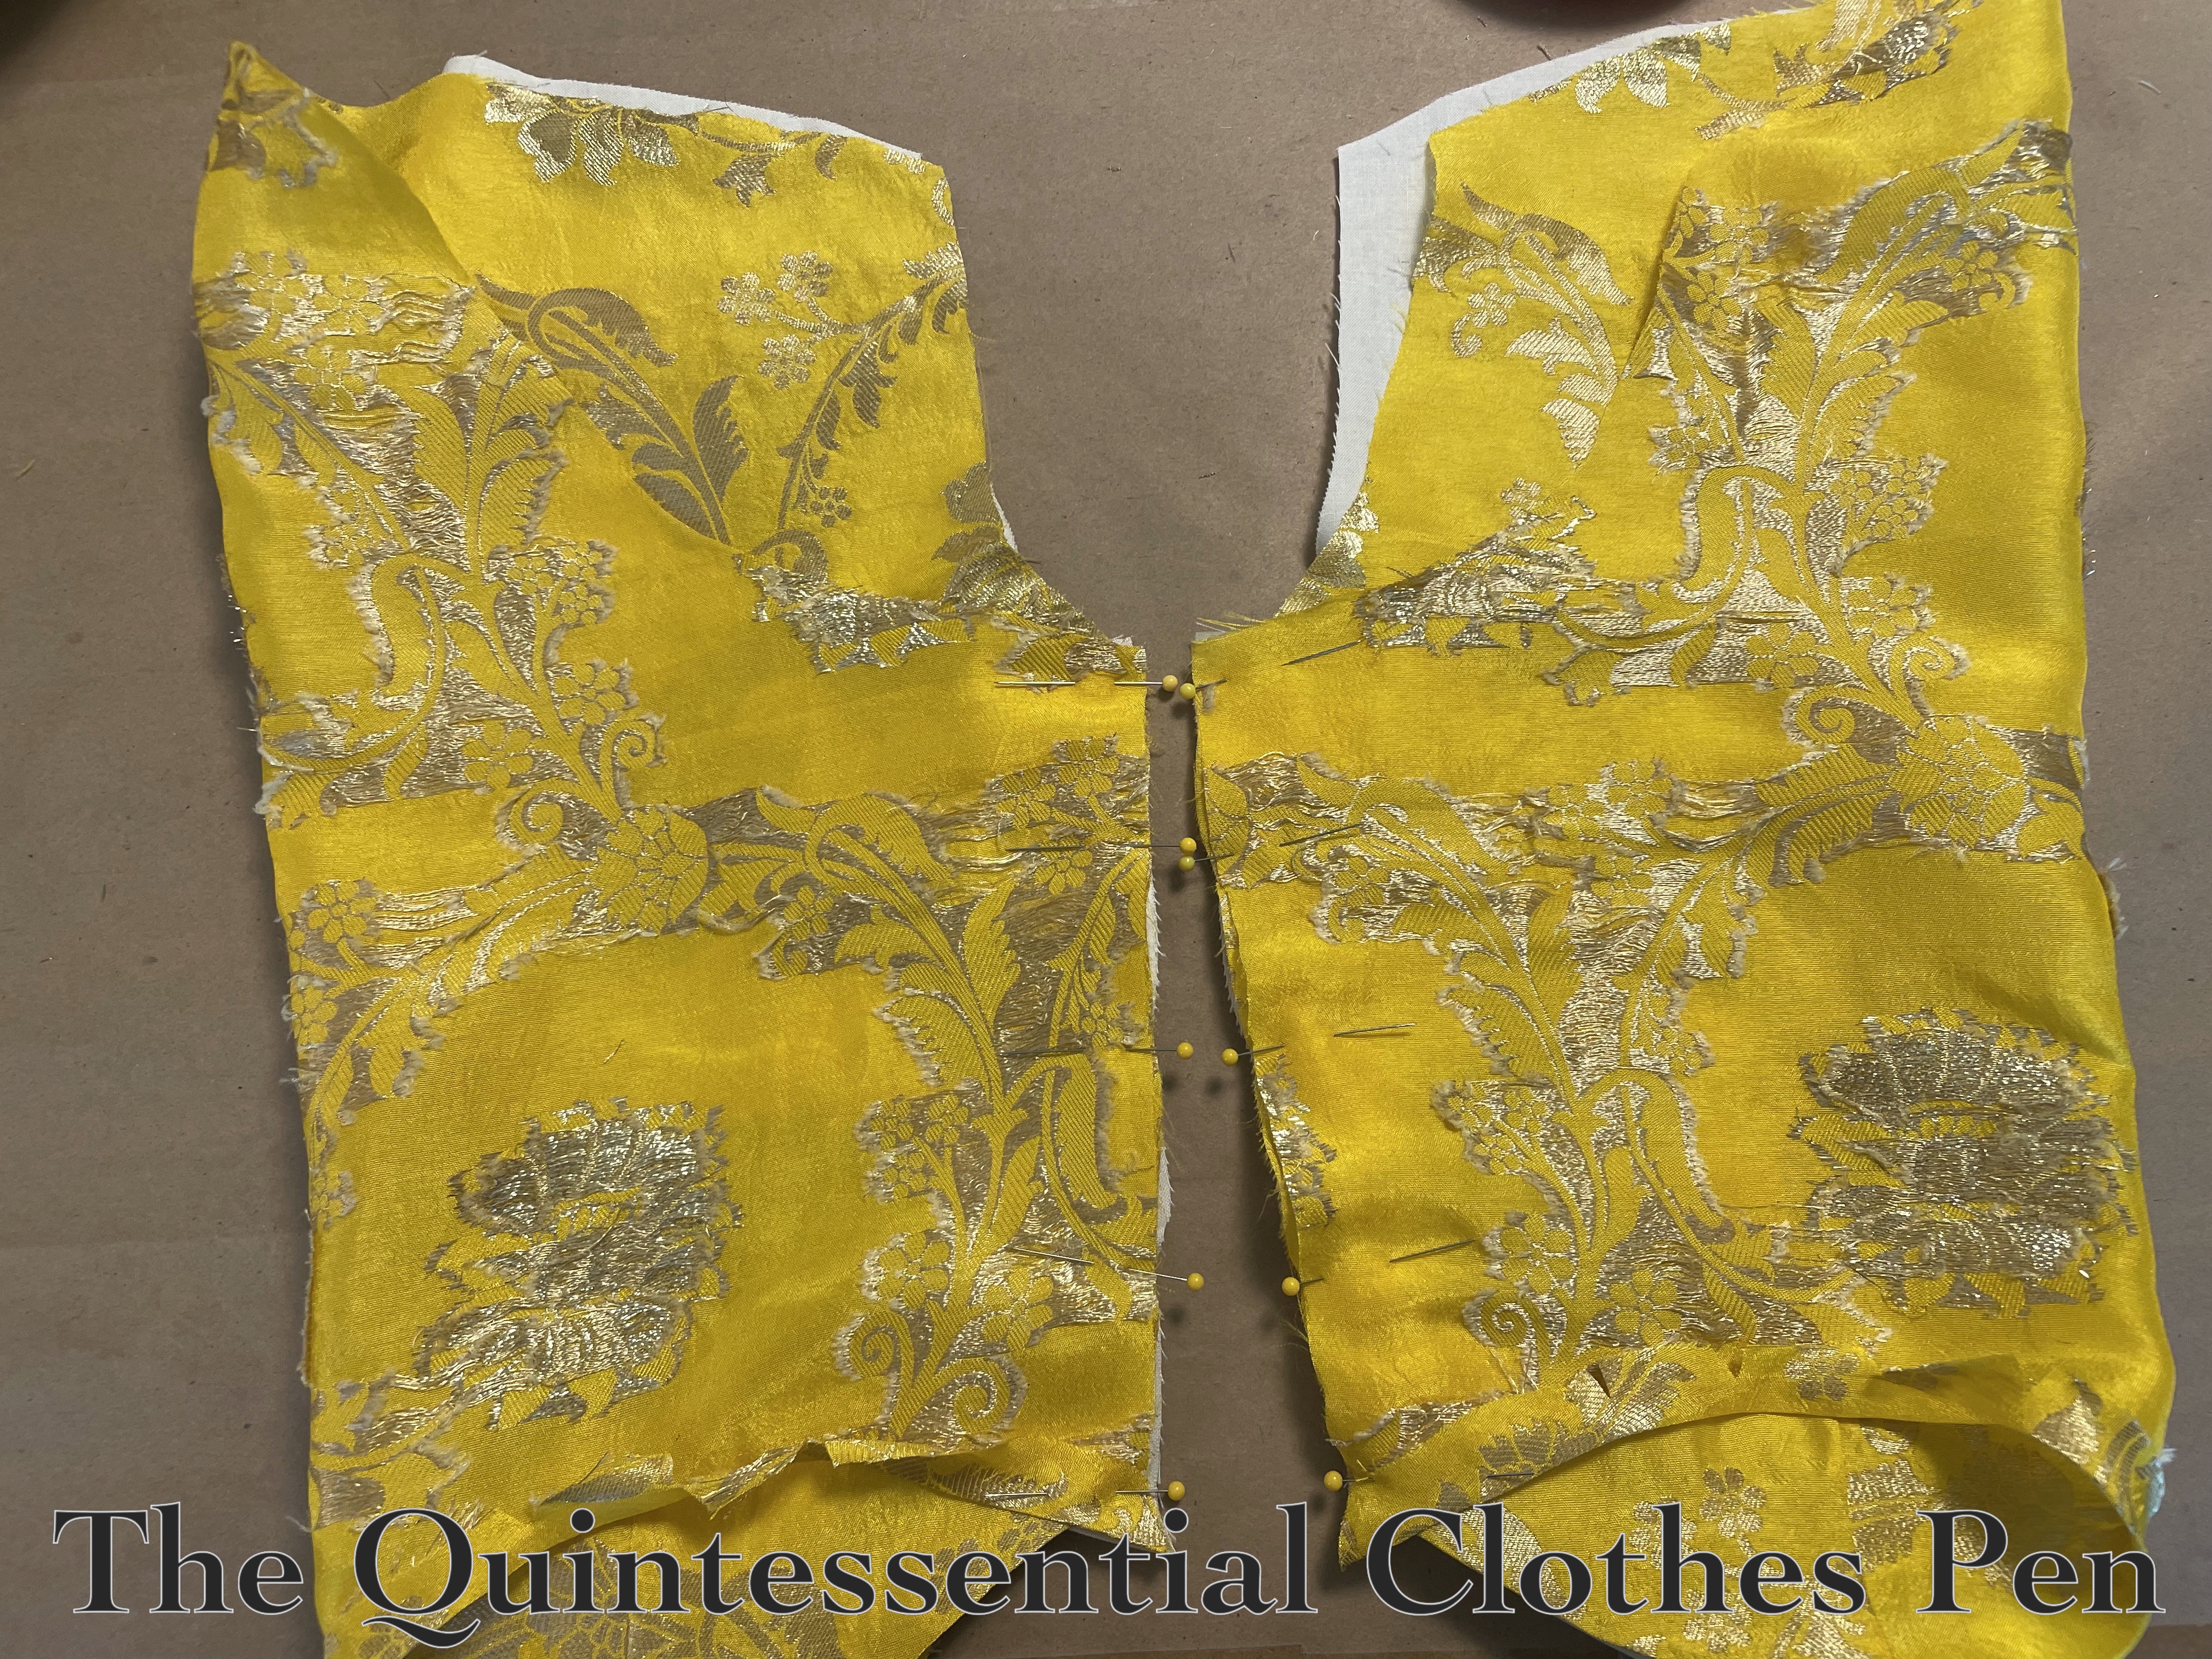
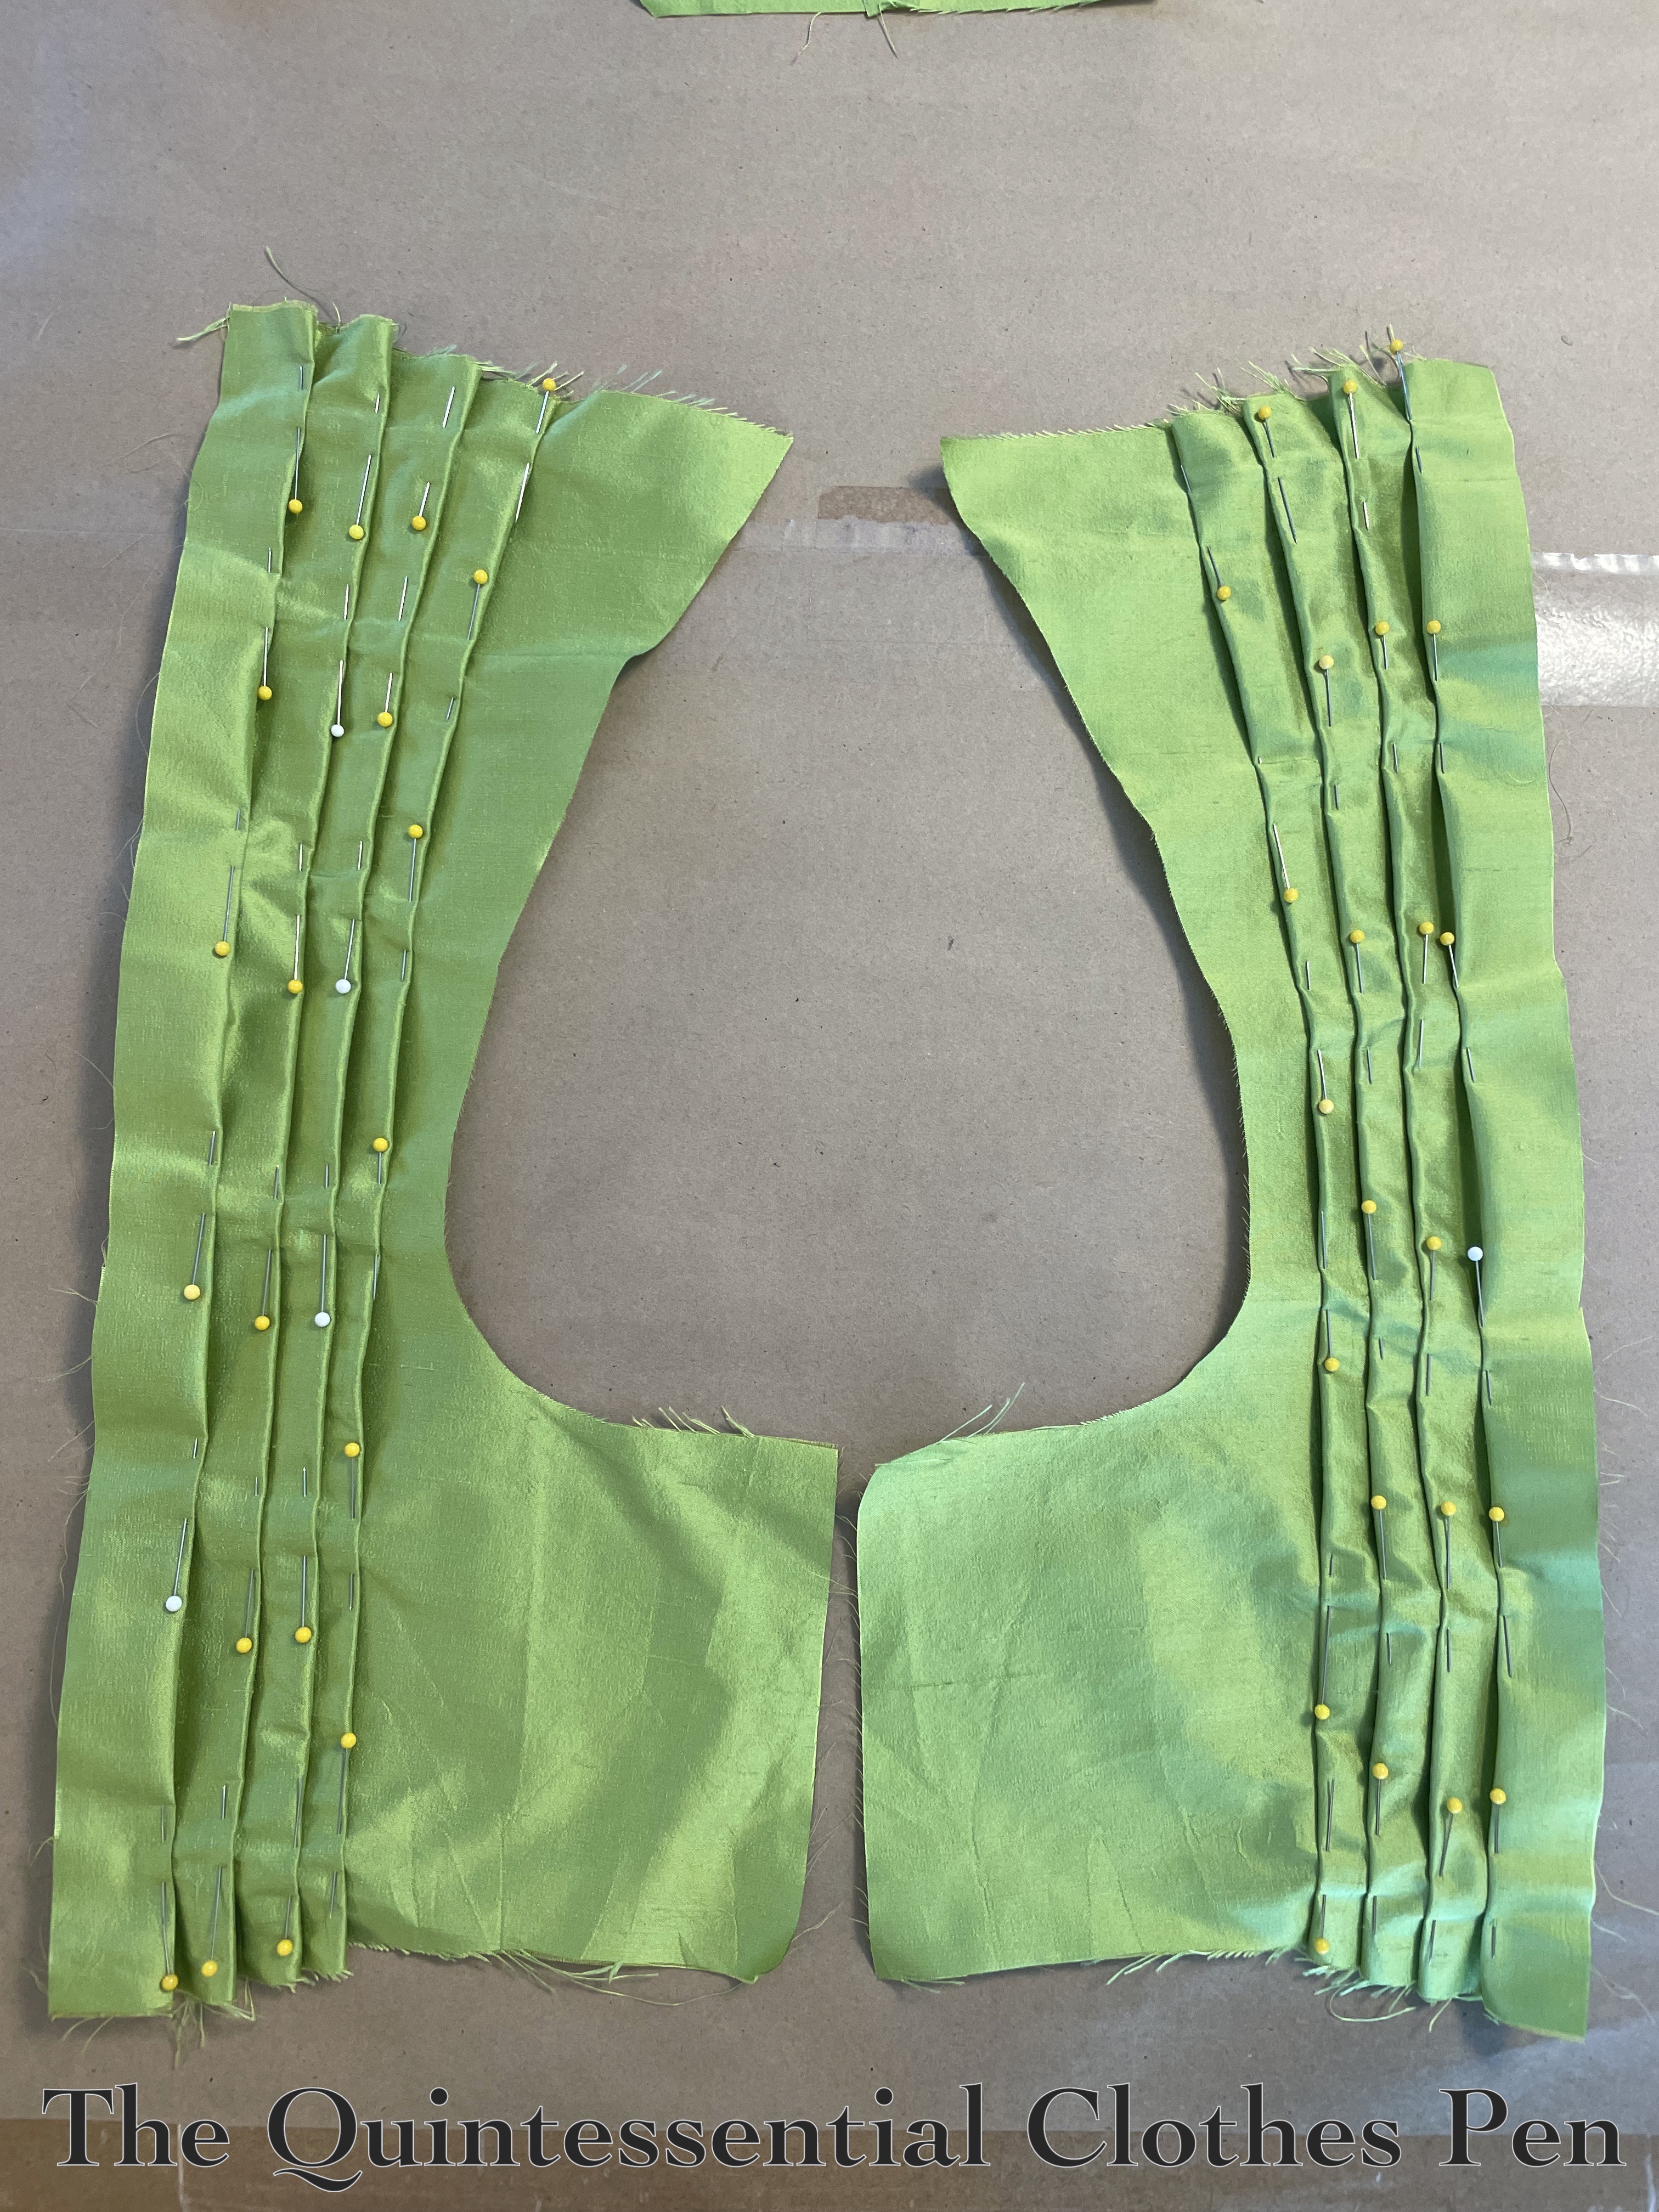
Once the lining pieces were ready to go I could cut the silk layers. The side front of the silk exterior had the shoulder straps included and was extra wide in order to create those all-important pleats. Below is a photo of what the pleats looked like before they were topstitched flat. They are not quite all the same depth and slowly spread out as they move towards the shoulder seam in the back (at the top of the photo).
Here is a summary of the 18th century elements I used in the construction of this garment: much piecing of the lining fabrics, whipping the lining pieces together along the seams, whipping the lining into the exterior around the edges, topstitched pleats in the front exterior for shaping over the bust, a shoulder seam that is topstitched onto the back piece, many edges bound in narrow strips of silk, and the neckline trim being tucked to shape around the neckline curve.
Here is a summary of the 19th century elements I used in the construction of this garment: gathering the peplum and sewing it to the bodice with right sides together then whipping the lining seam allowance on top and turning in the seam allowance of the armholes and whipping the lining into place.
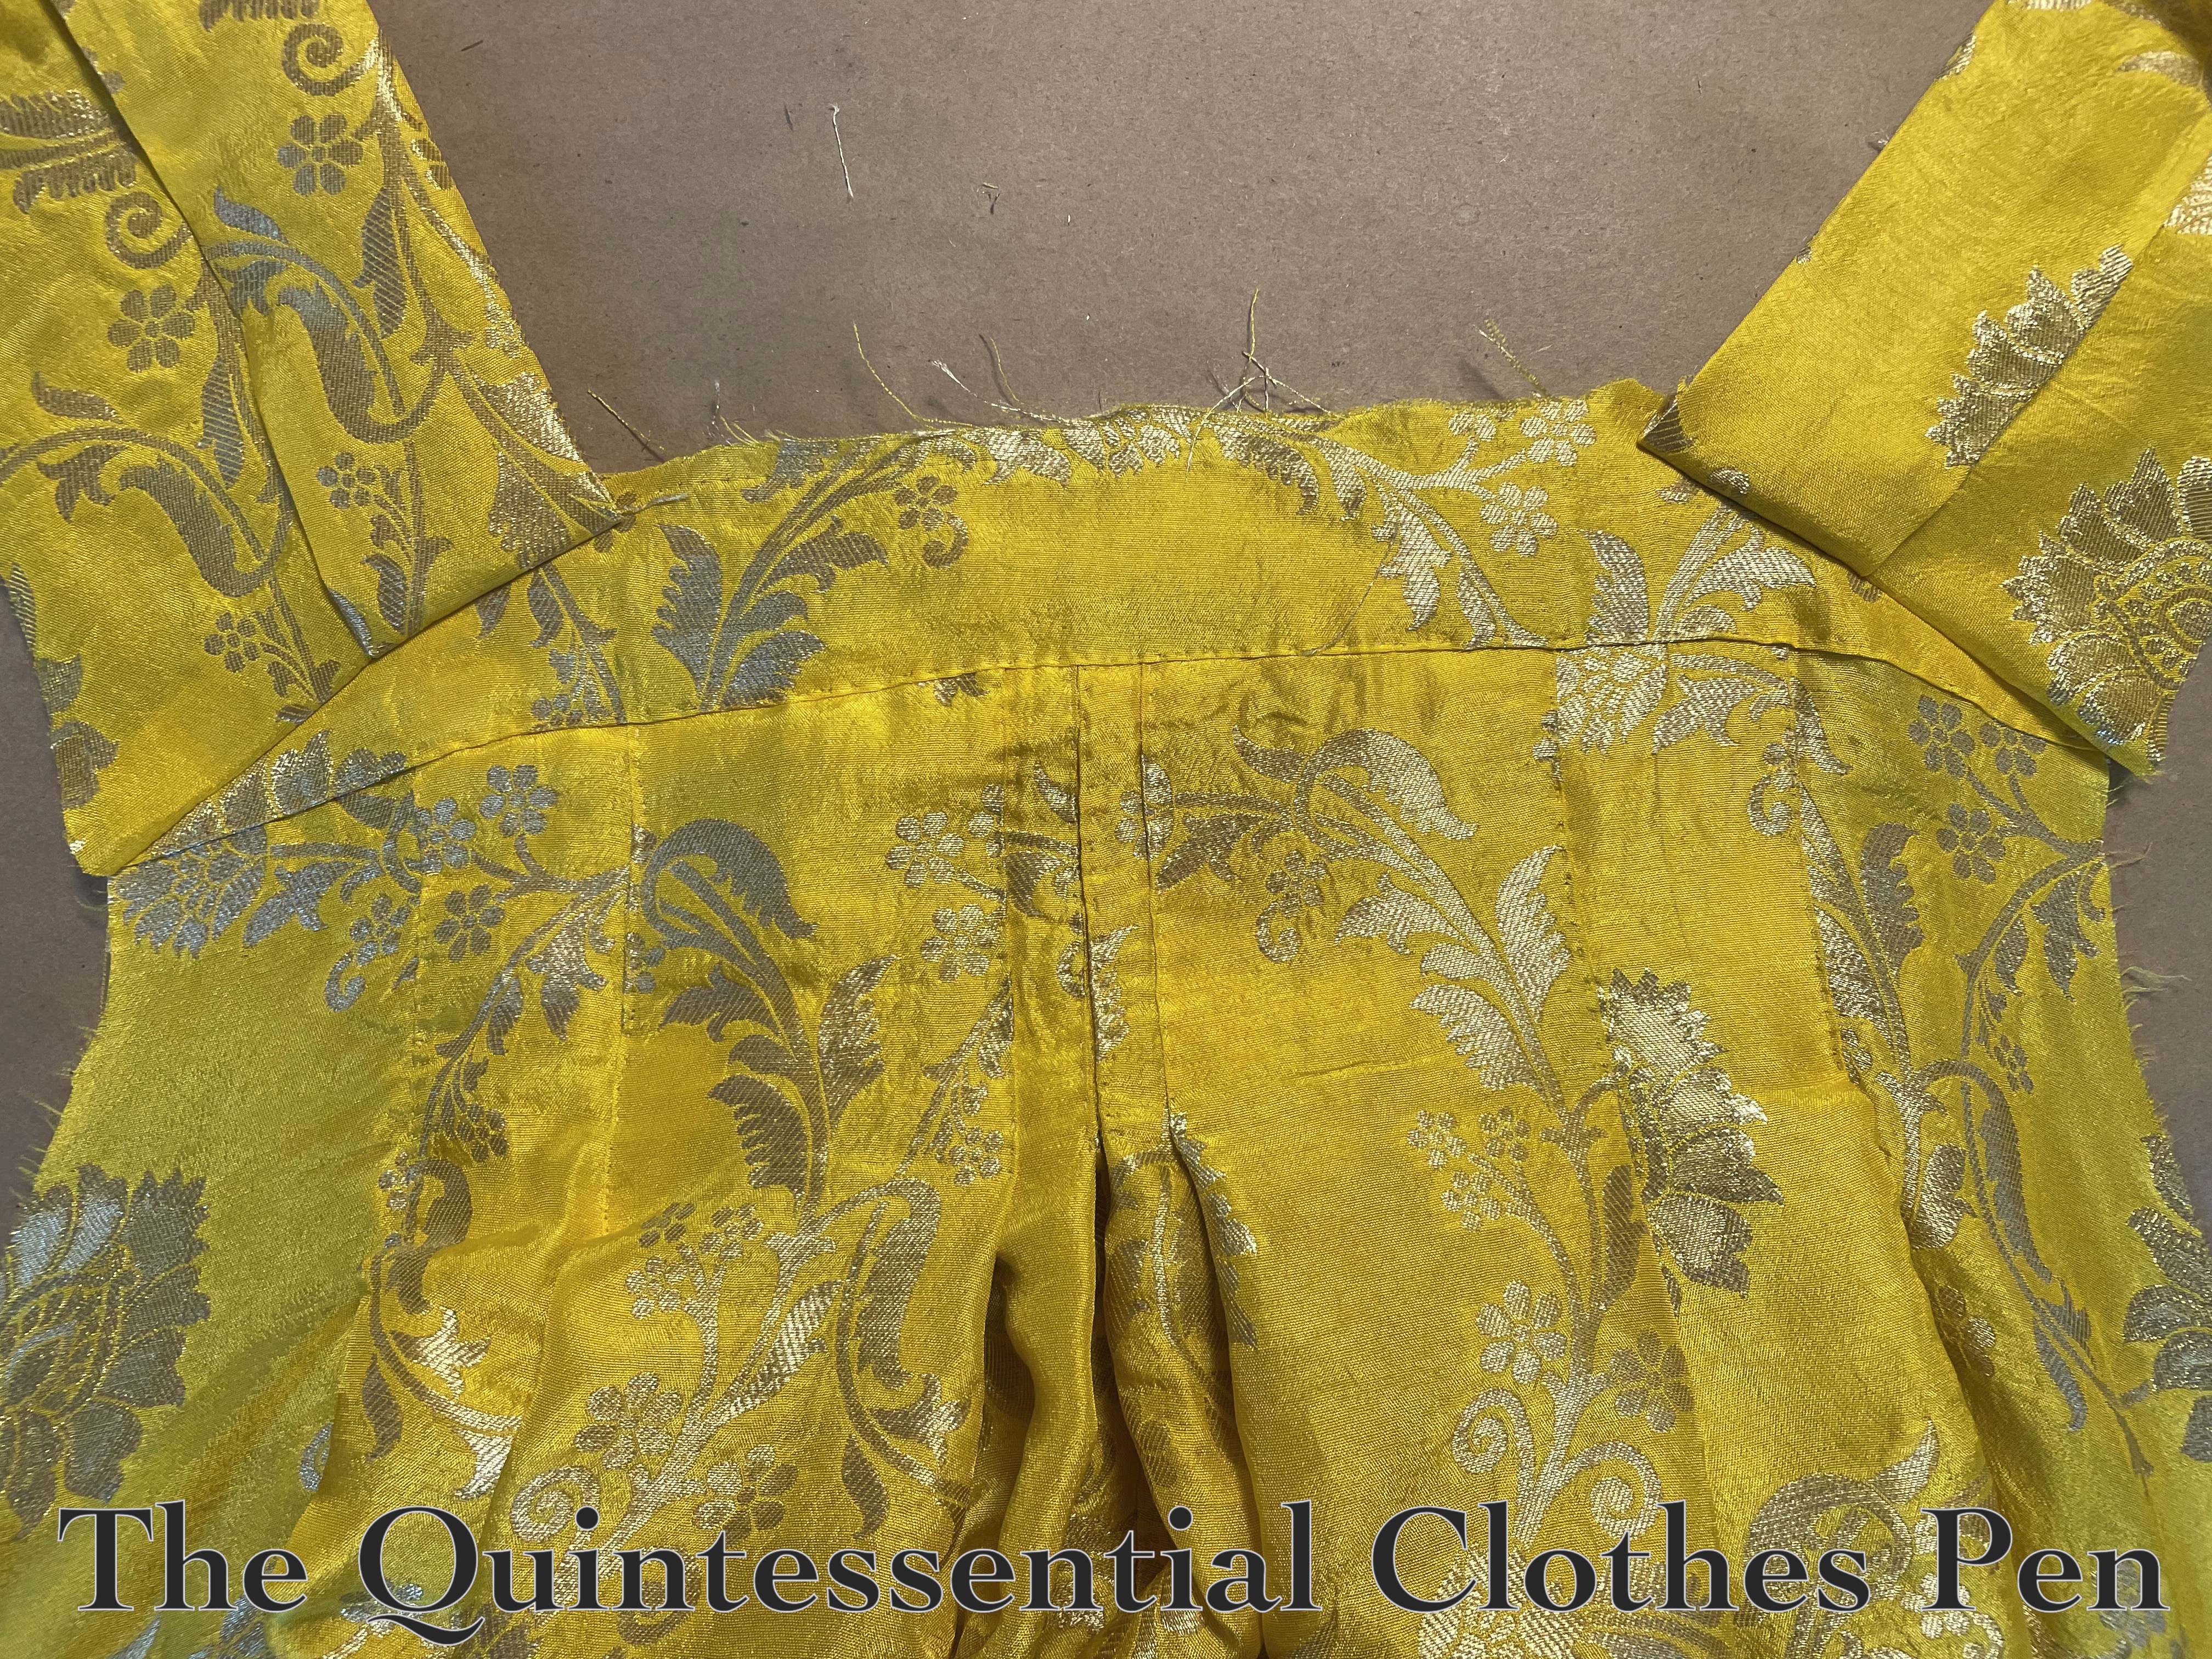
In the photo below, most of those methods have been employed to get the bodice to this state, which is basically finished aside from the peplum, neck trim, and closures.
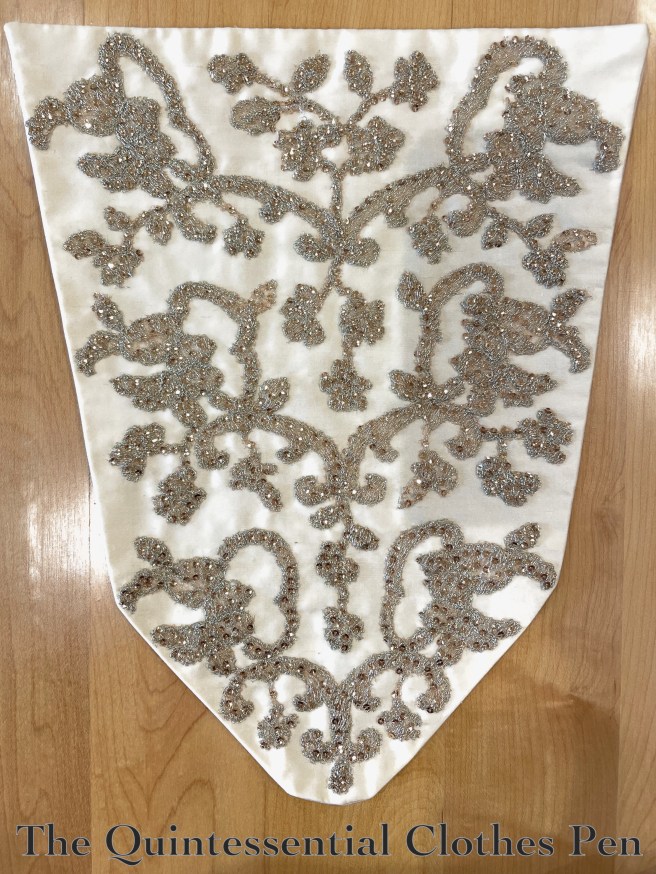
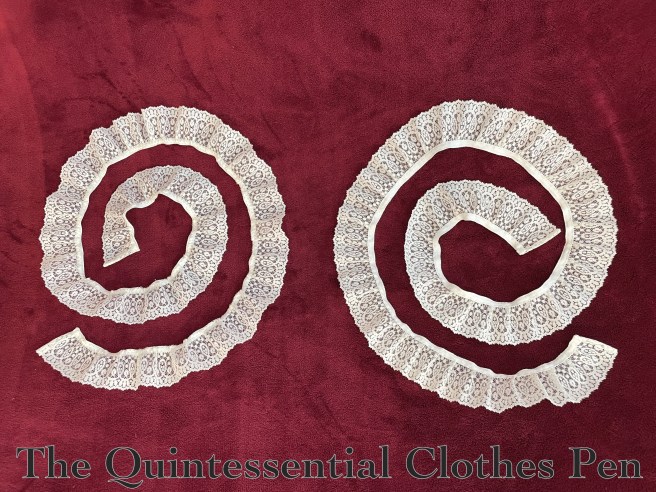
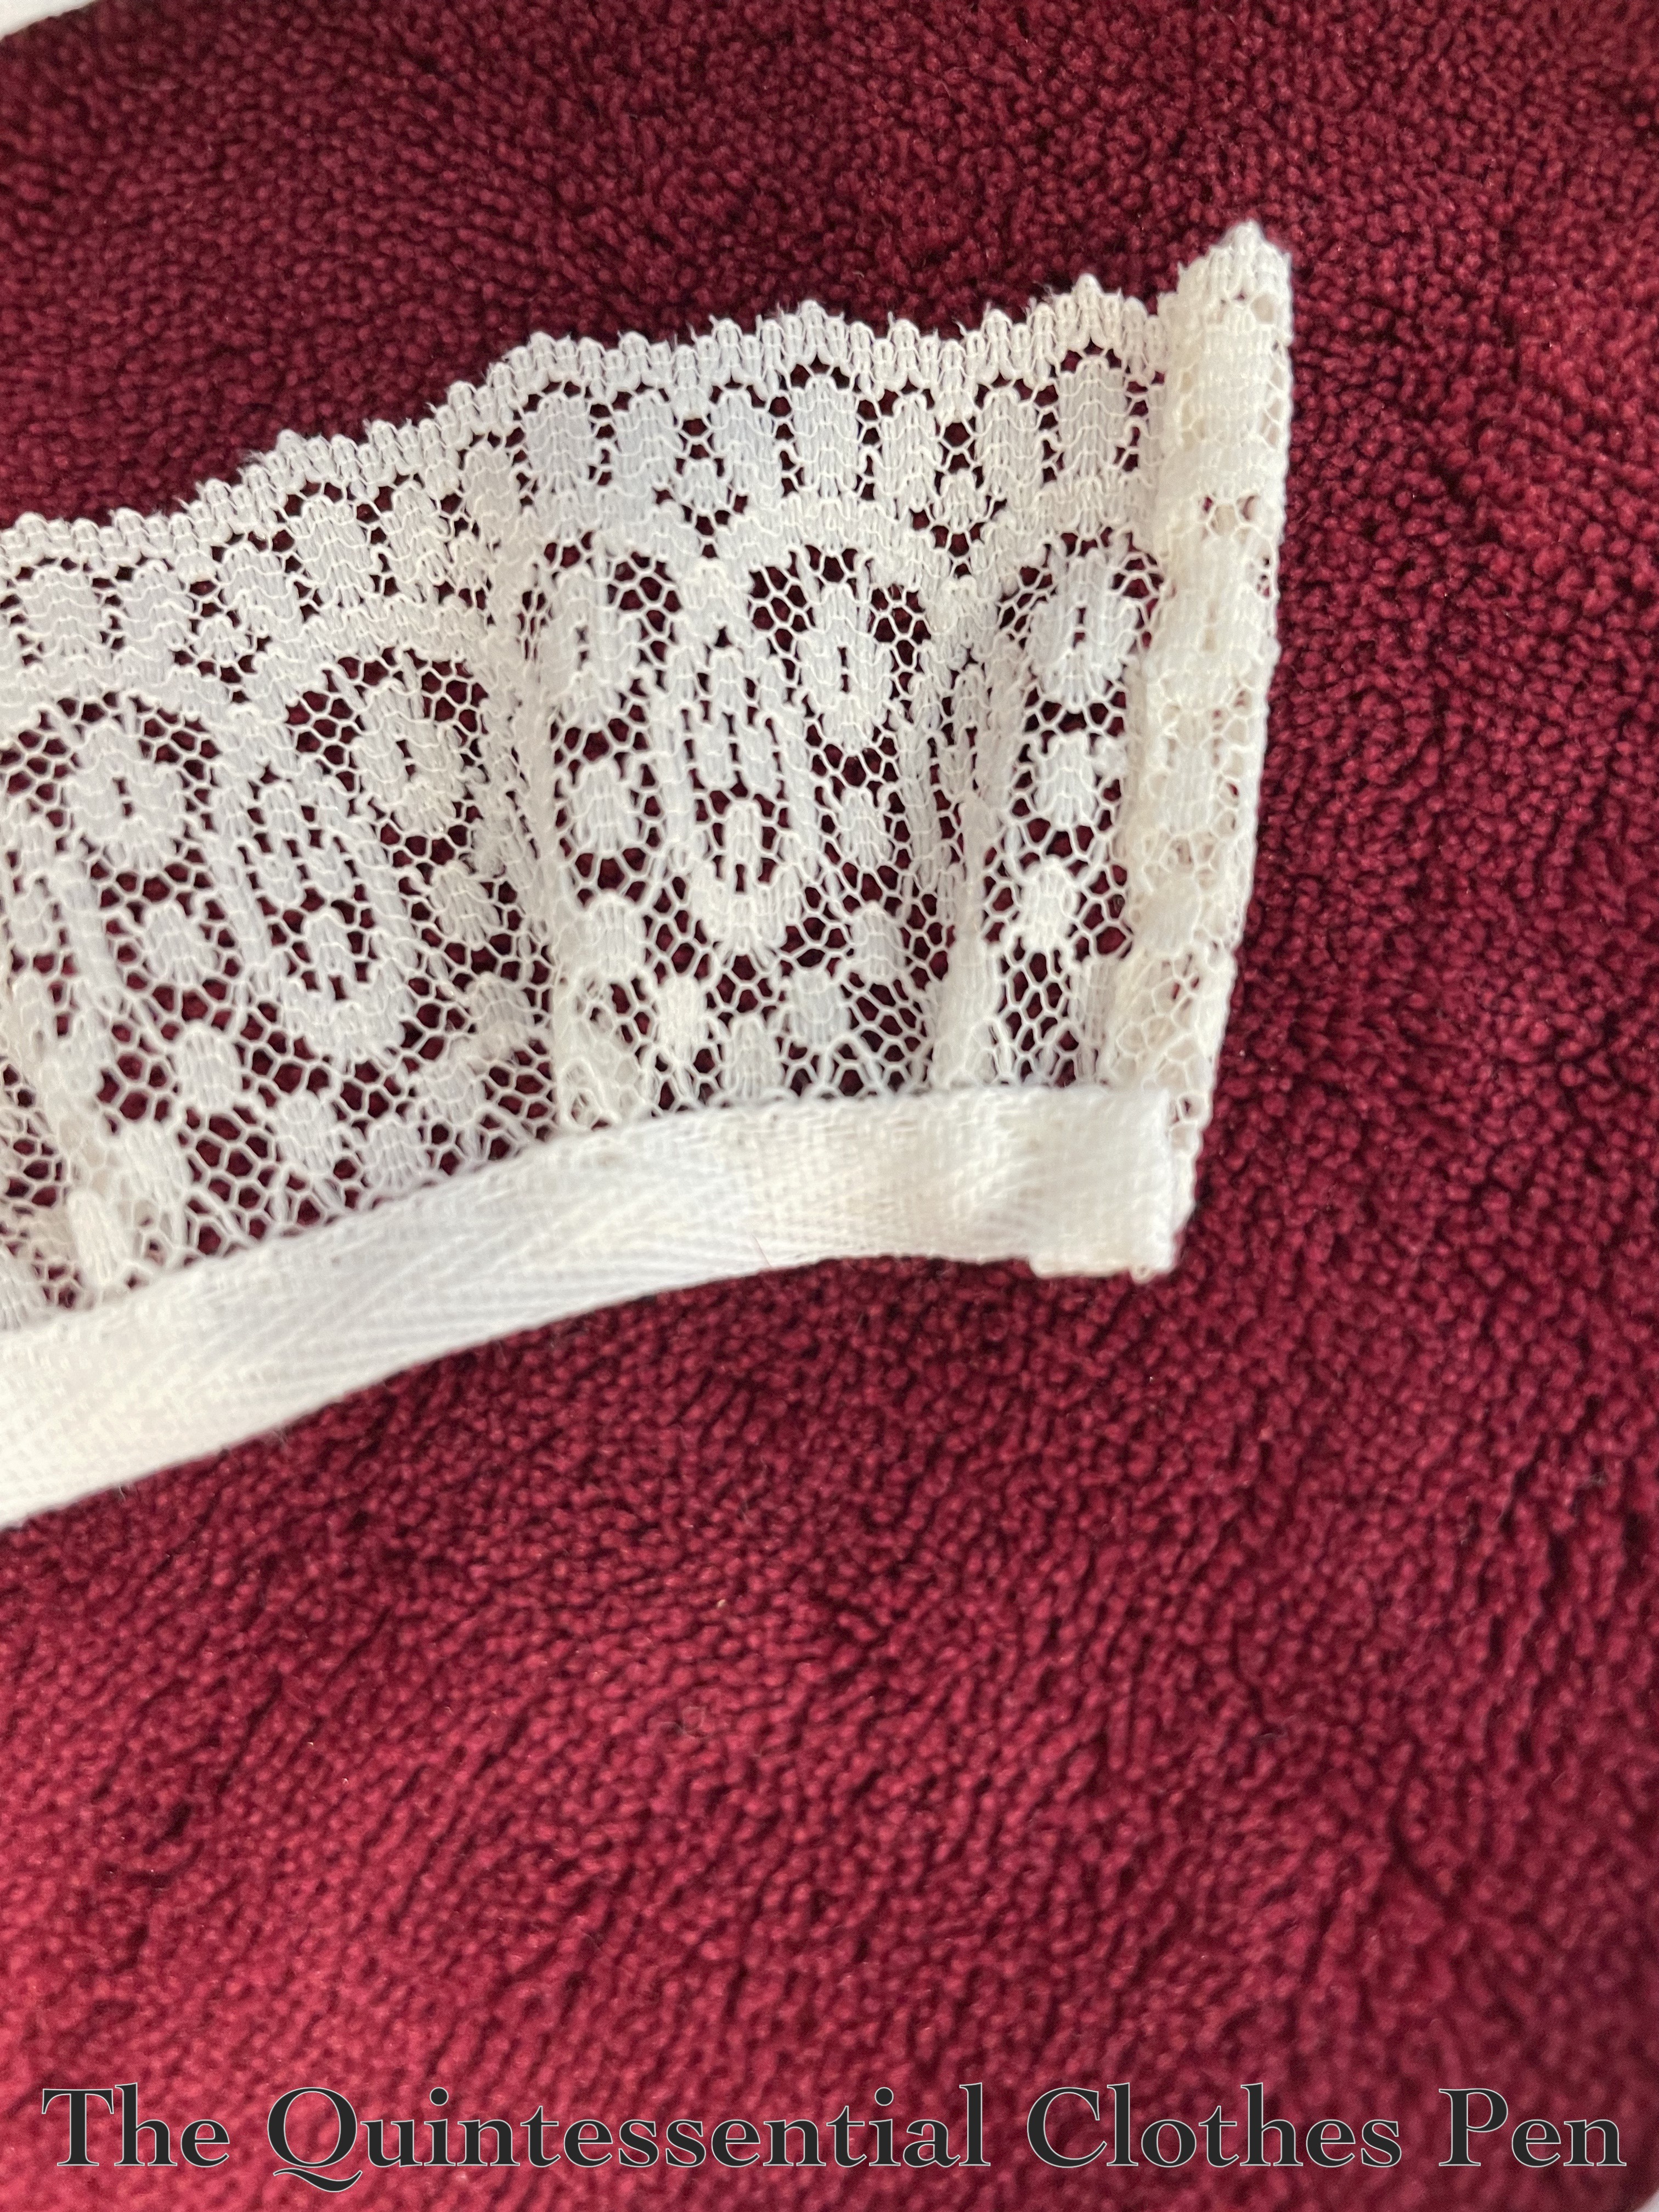
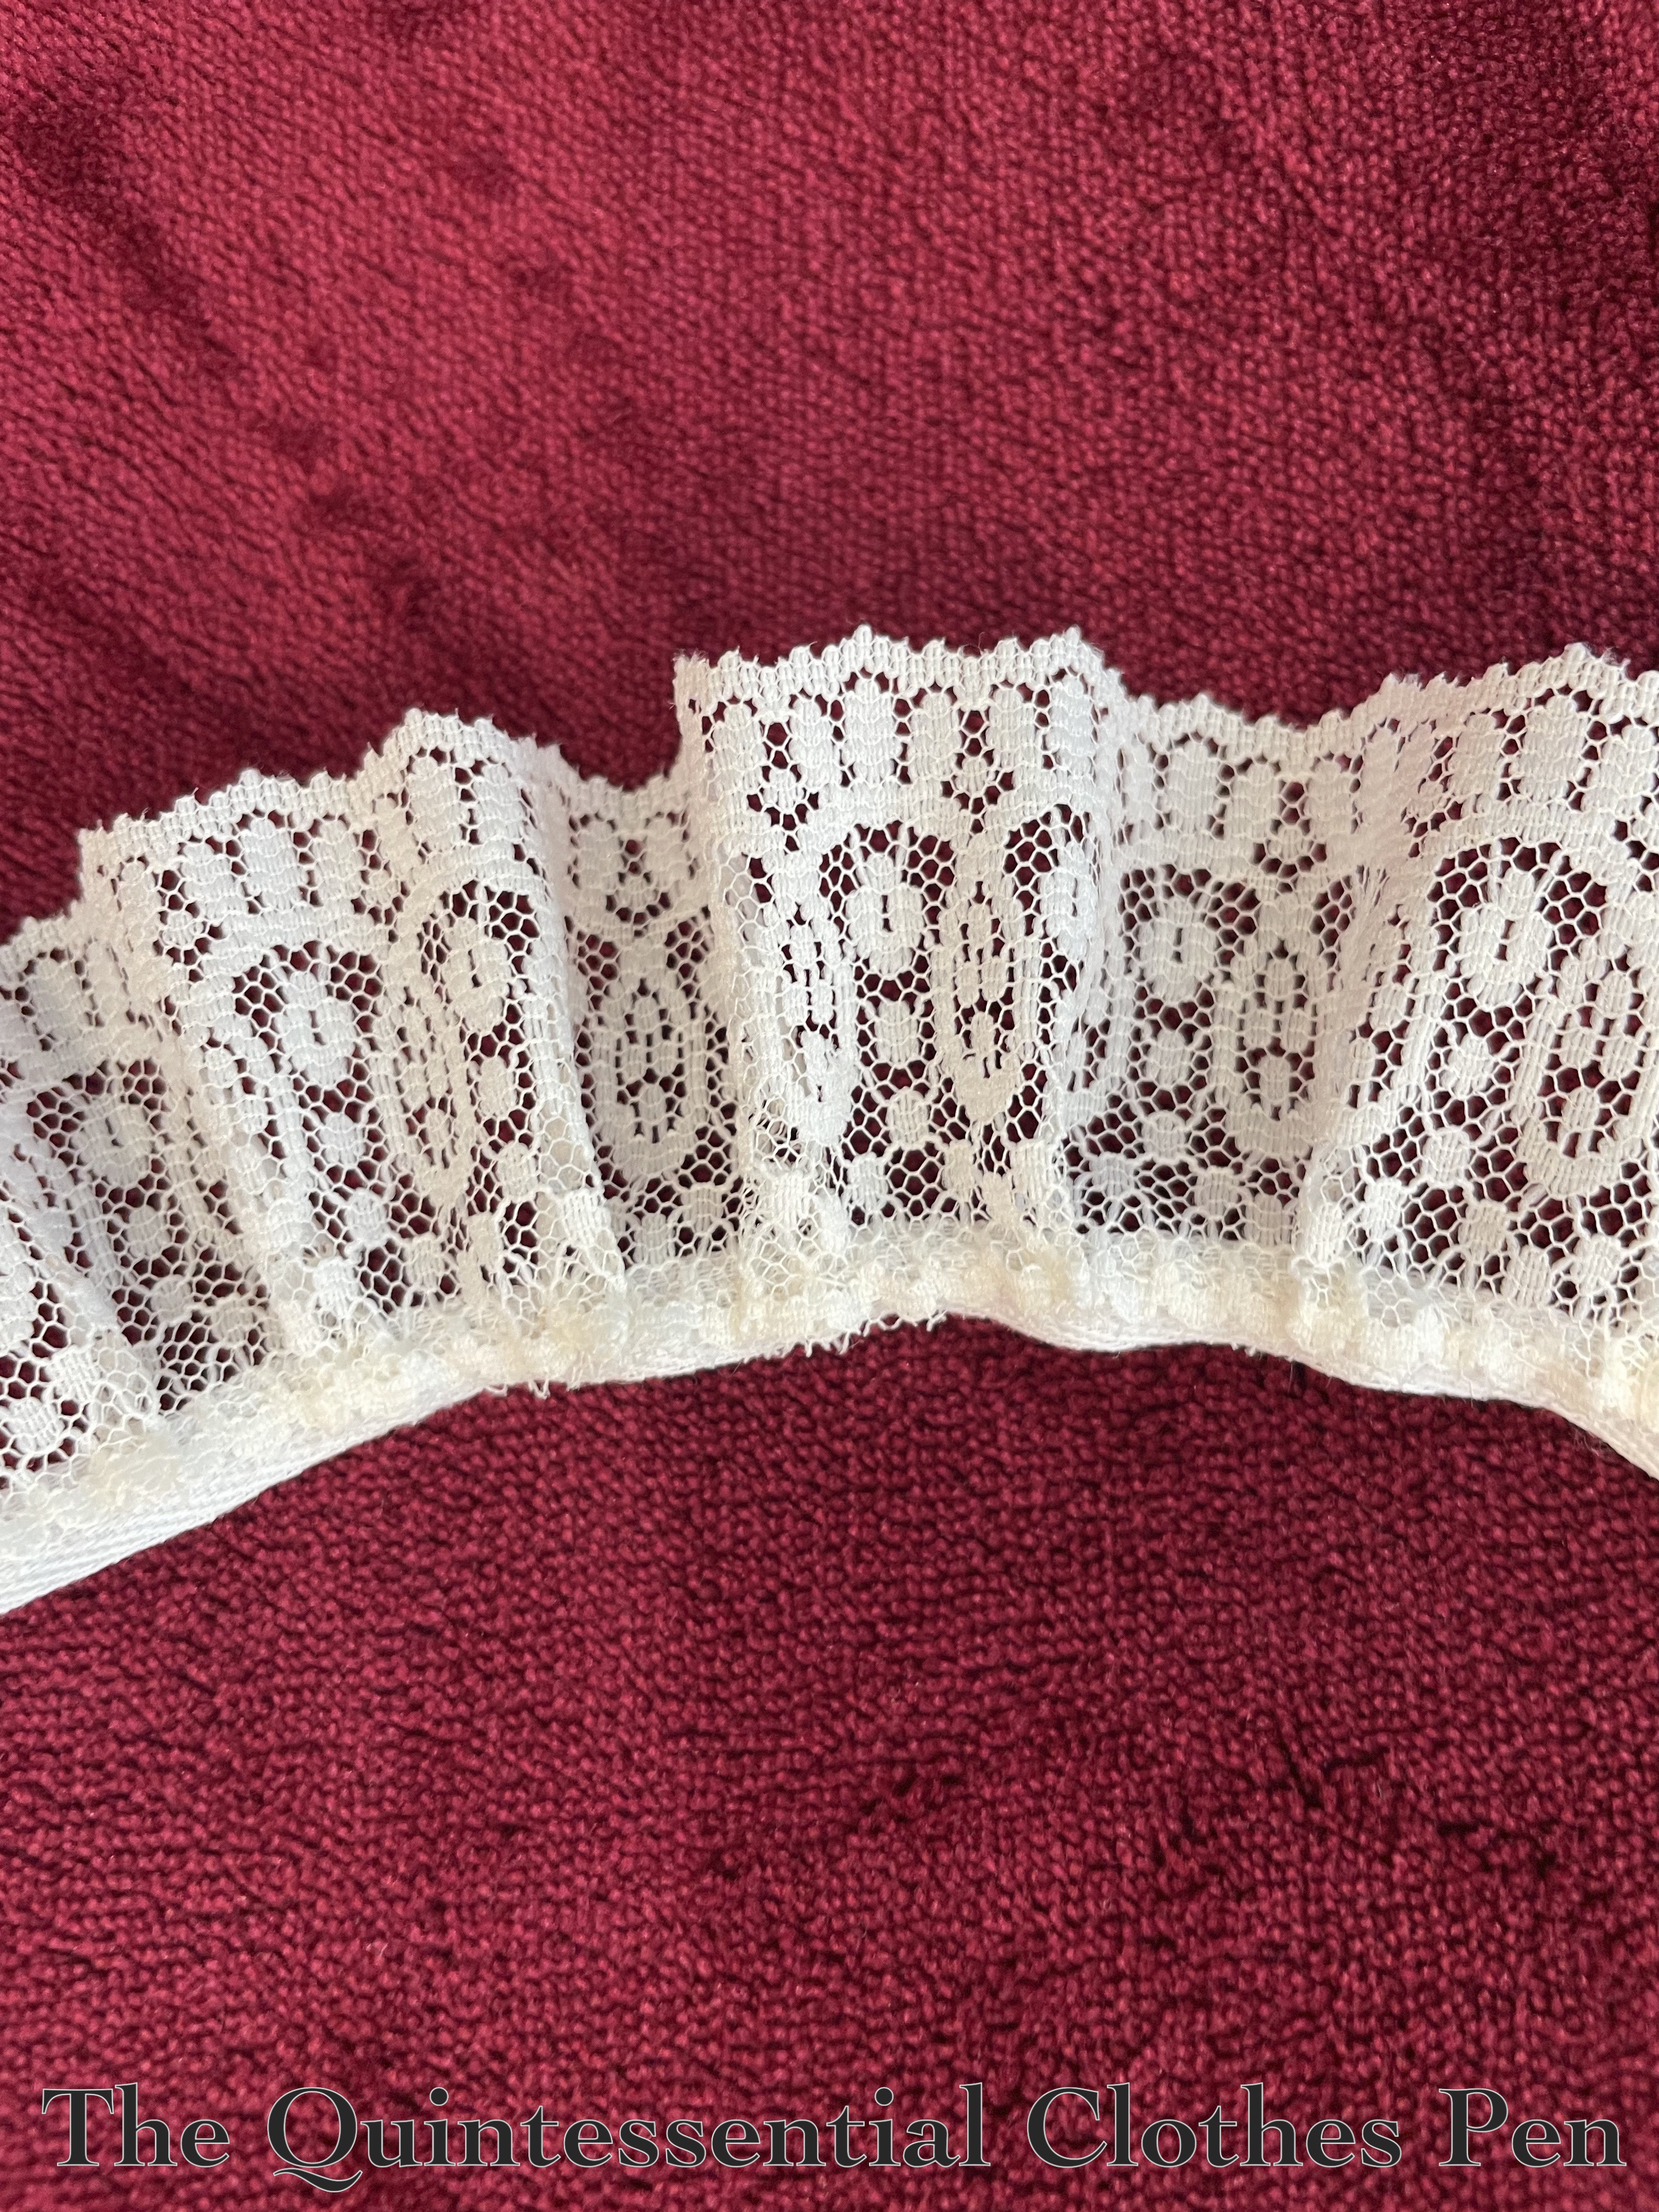
The neck trim is a pieced strip of the green silk bound in running stitched ¼” wide strips of pink silk (hence the watermelon name!). The assembled band was running stitched along the outer edge and then eased into place around the neck edge. Below is the easing in progress. It took many pins!
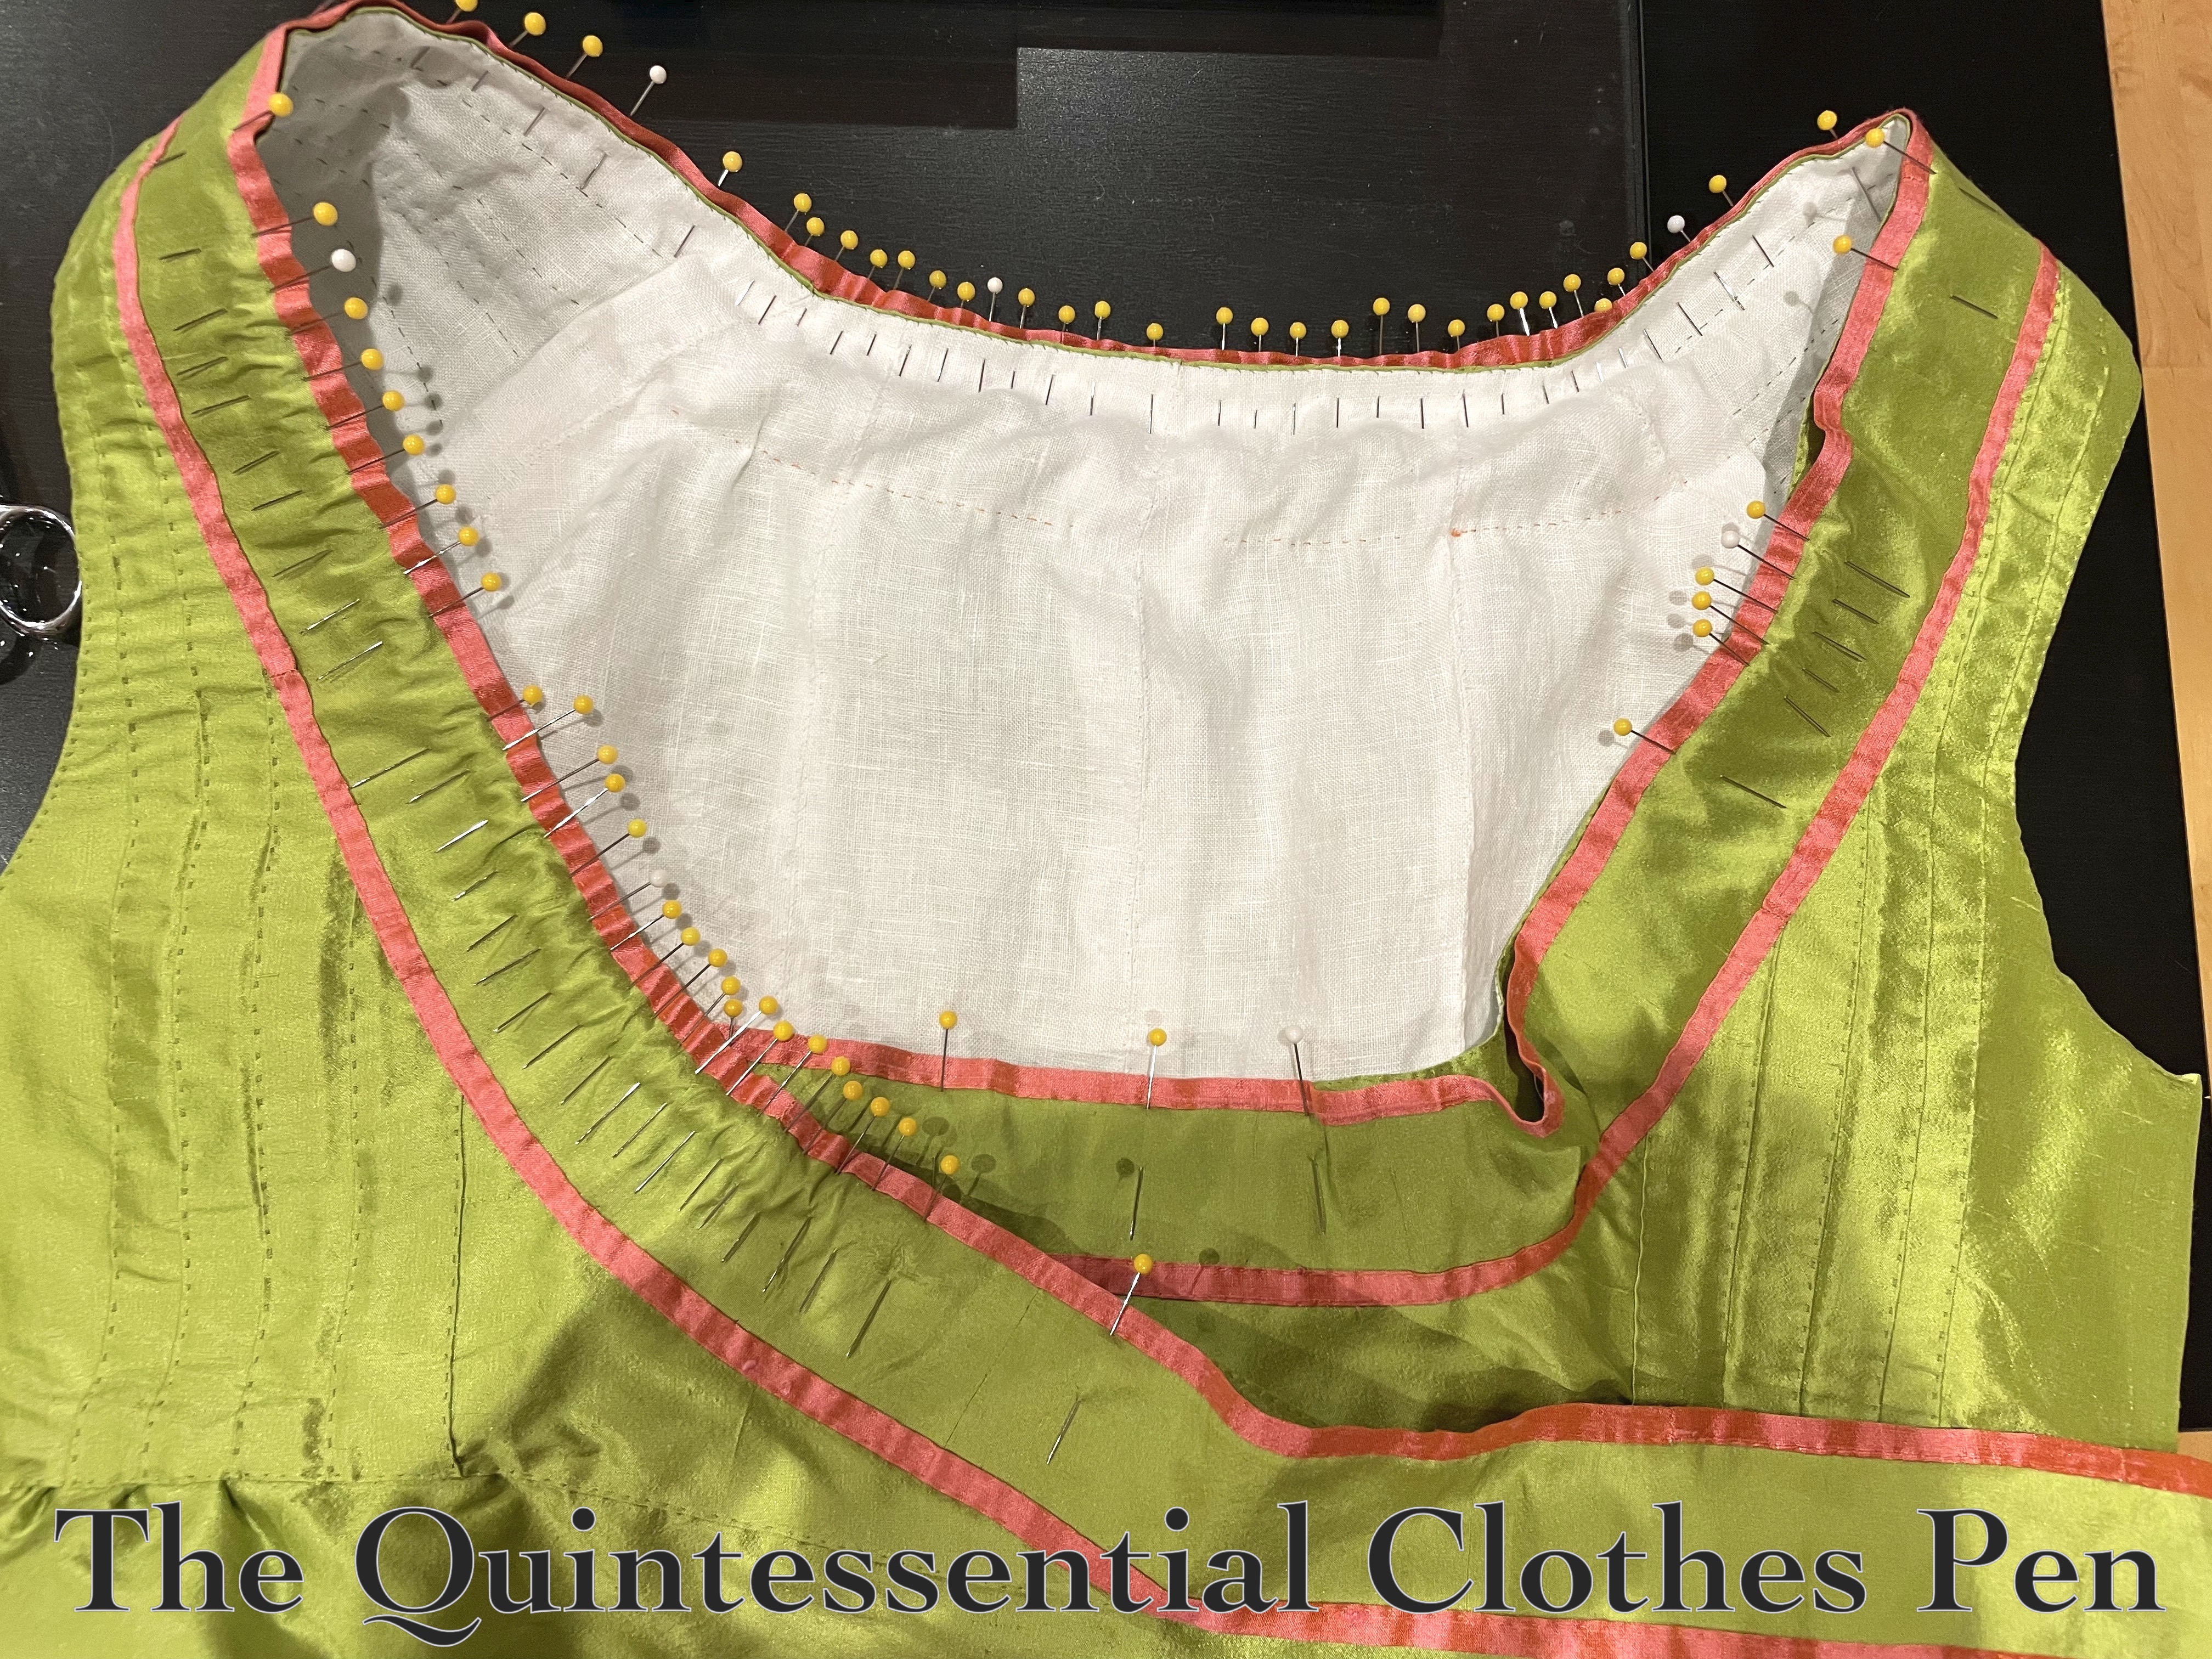
And here is a closeup. You can see some of the whip stitched piecing seams in the lining and the minute easing of the neckline edge of the trim.

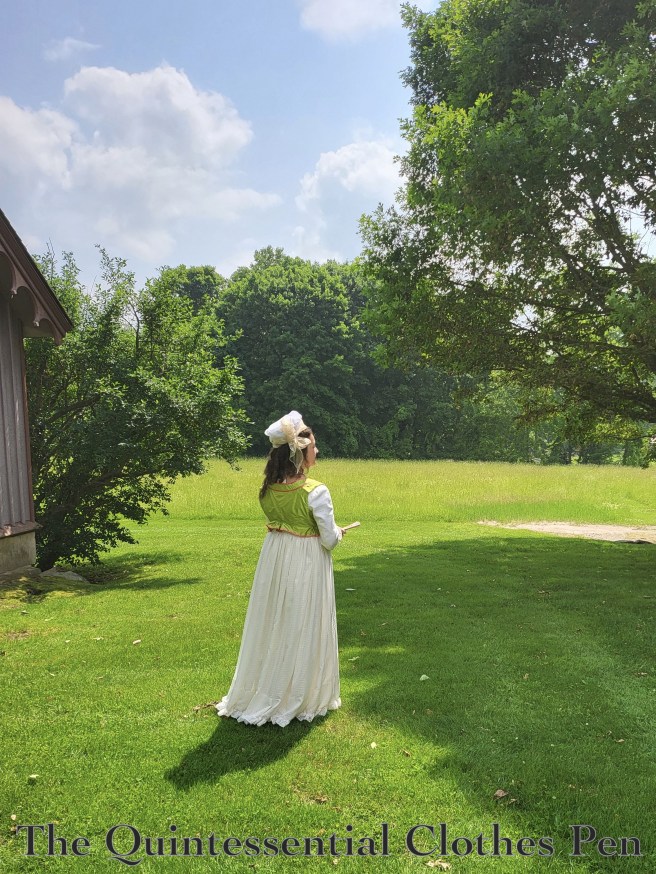
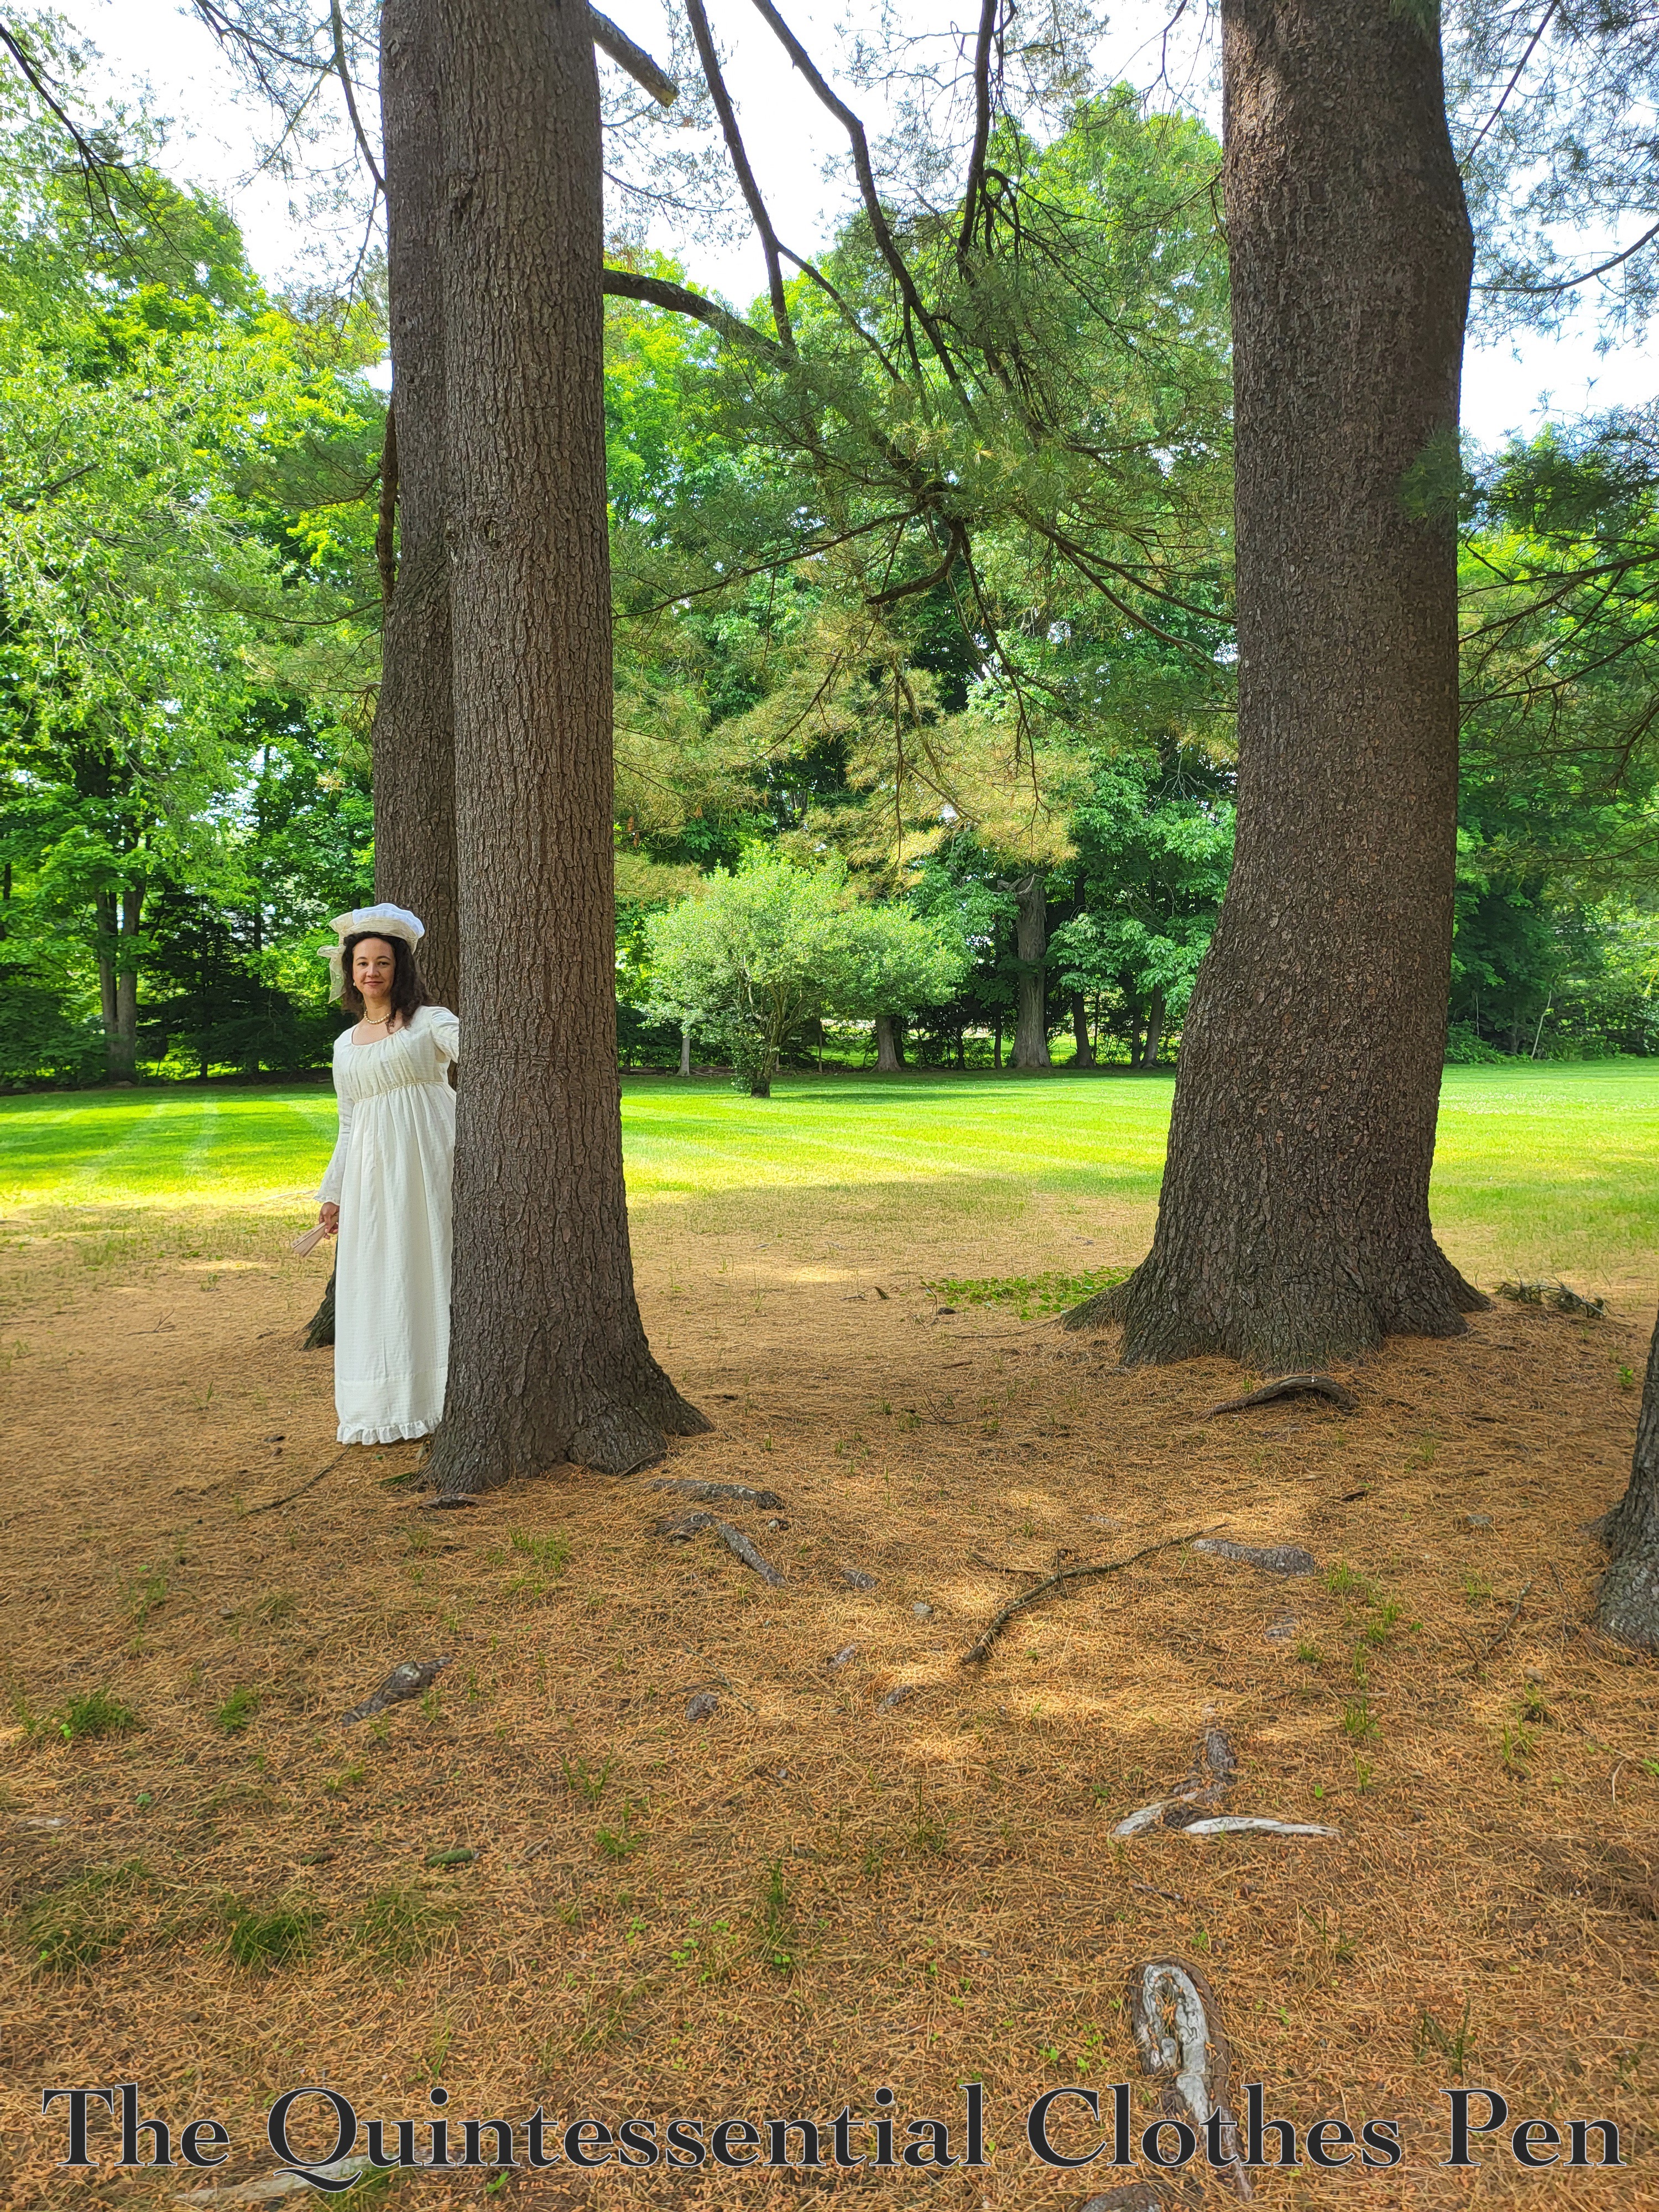
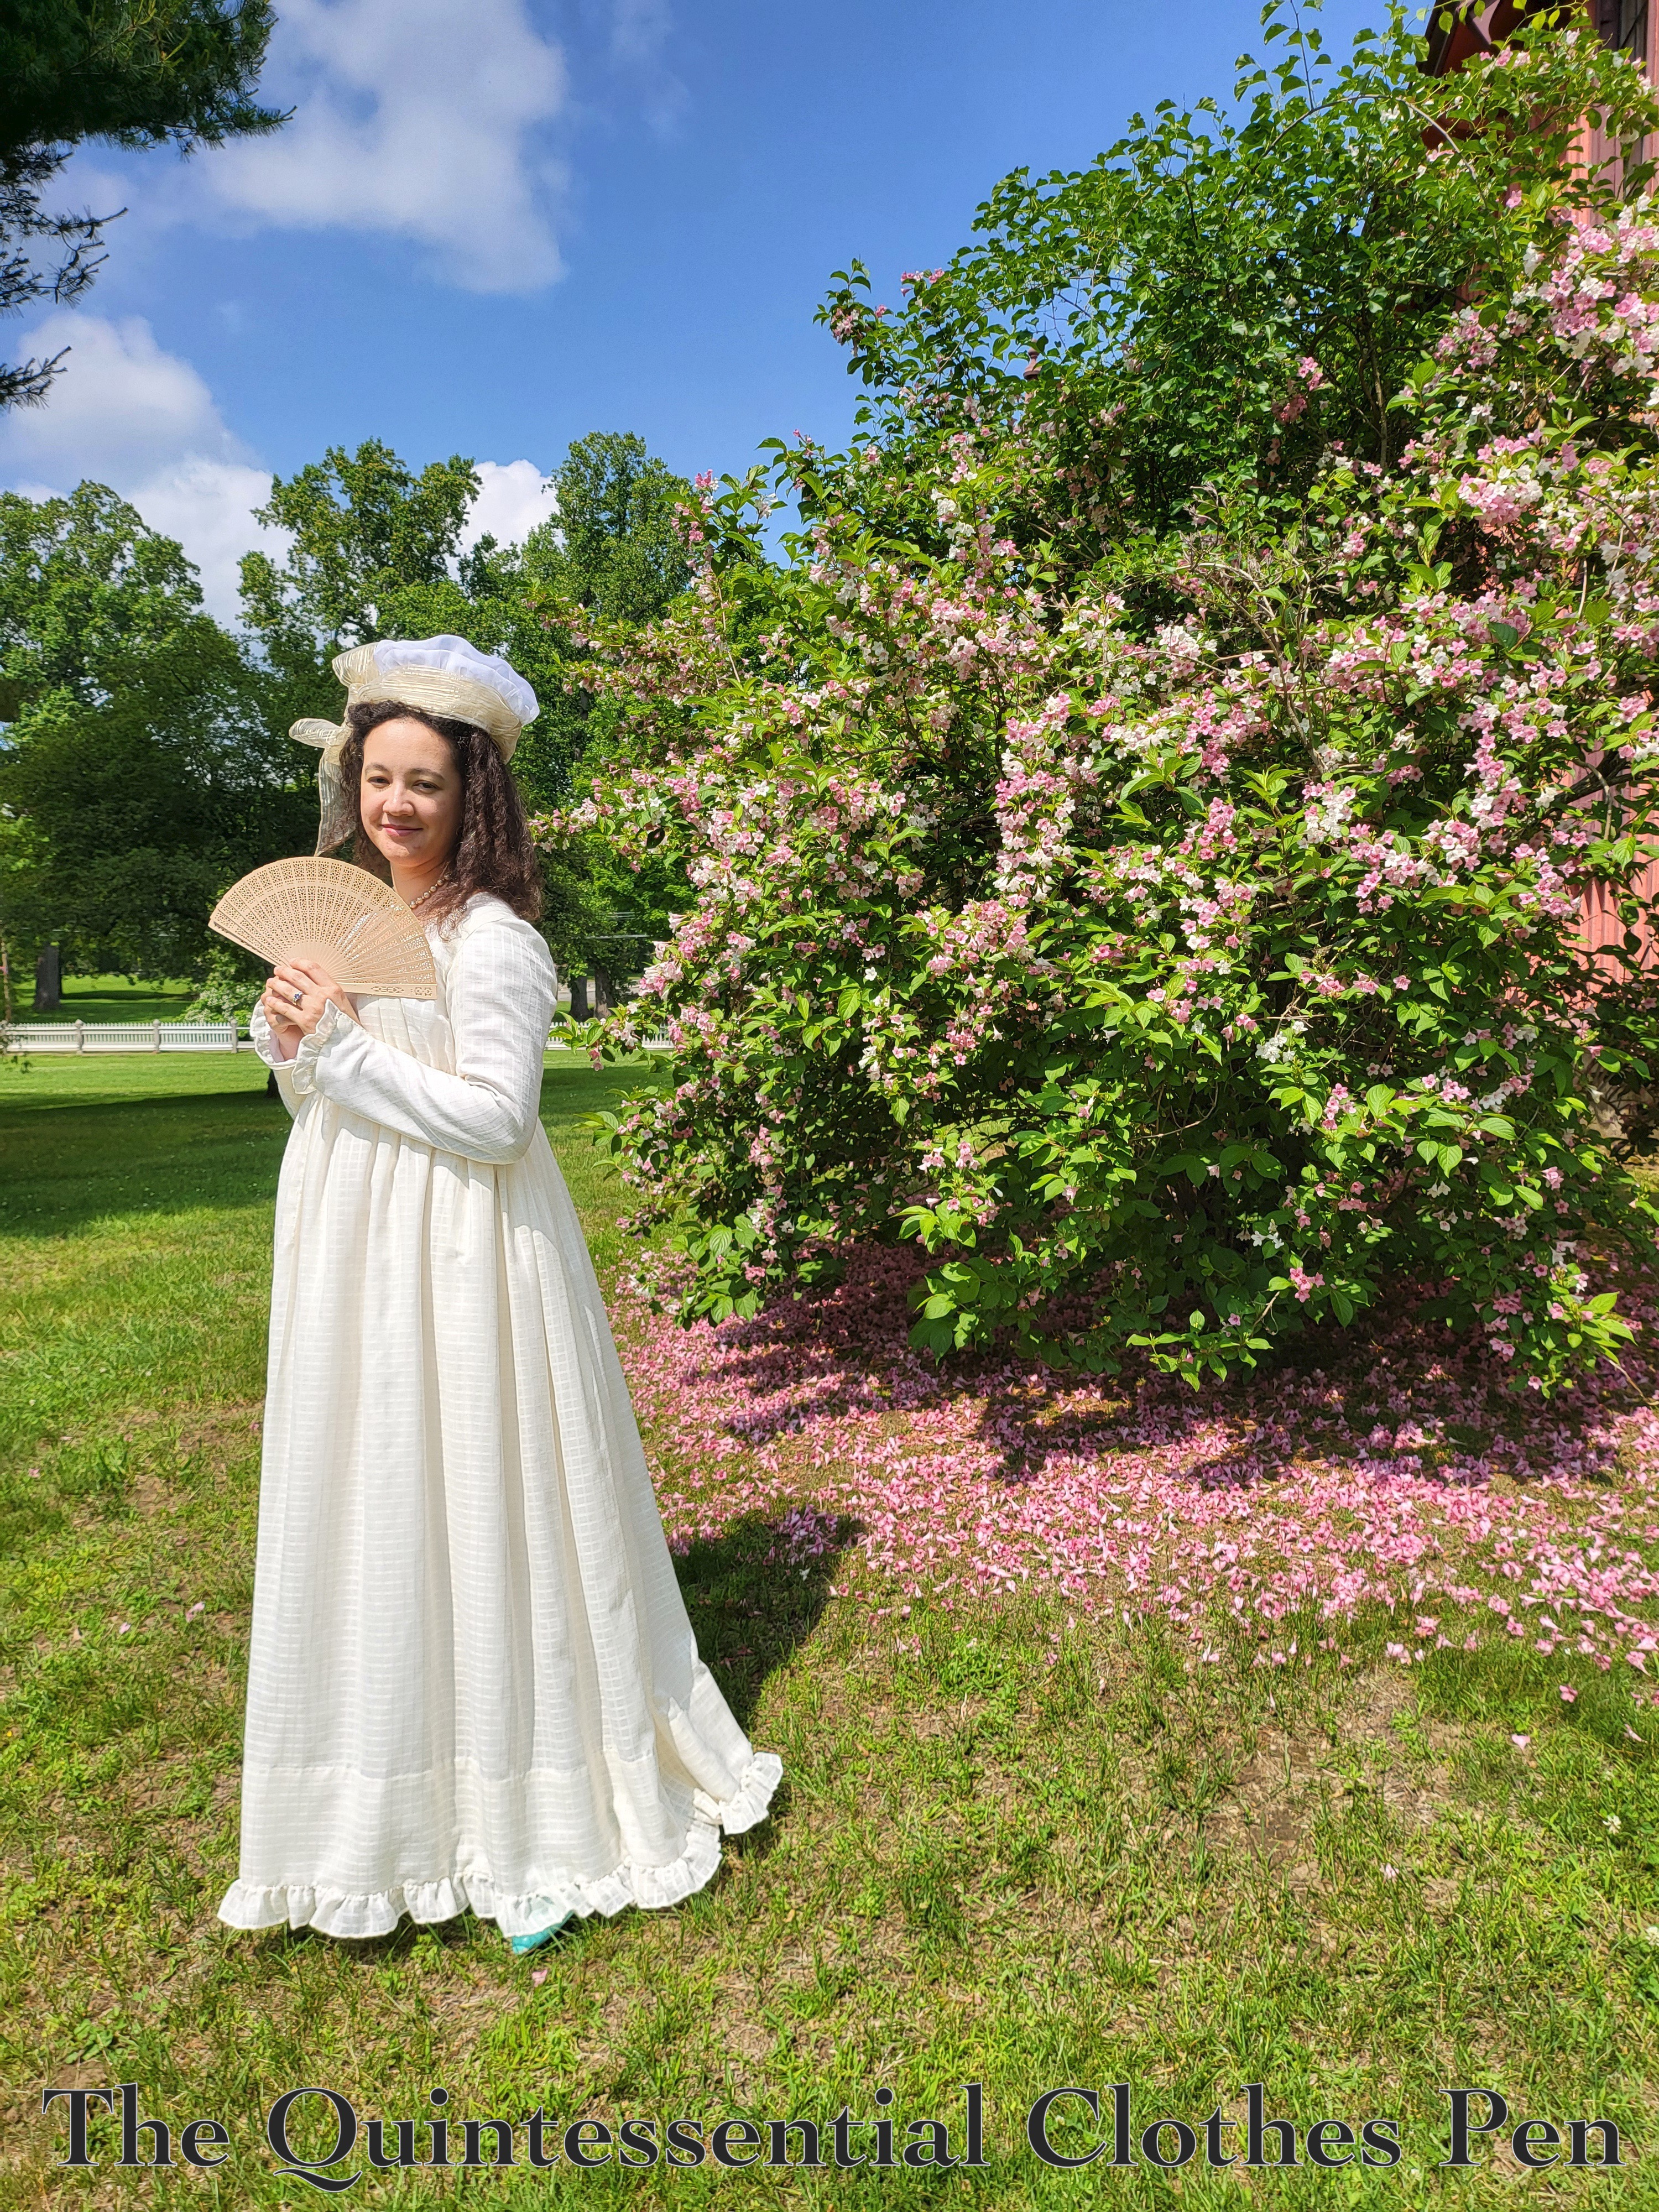
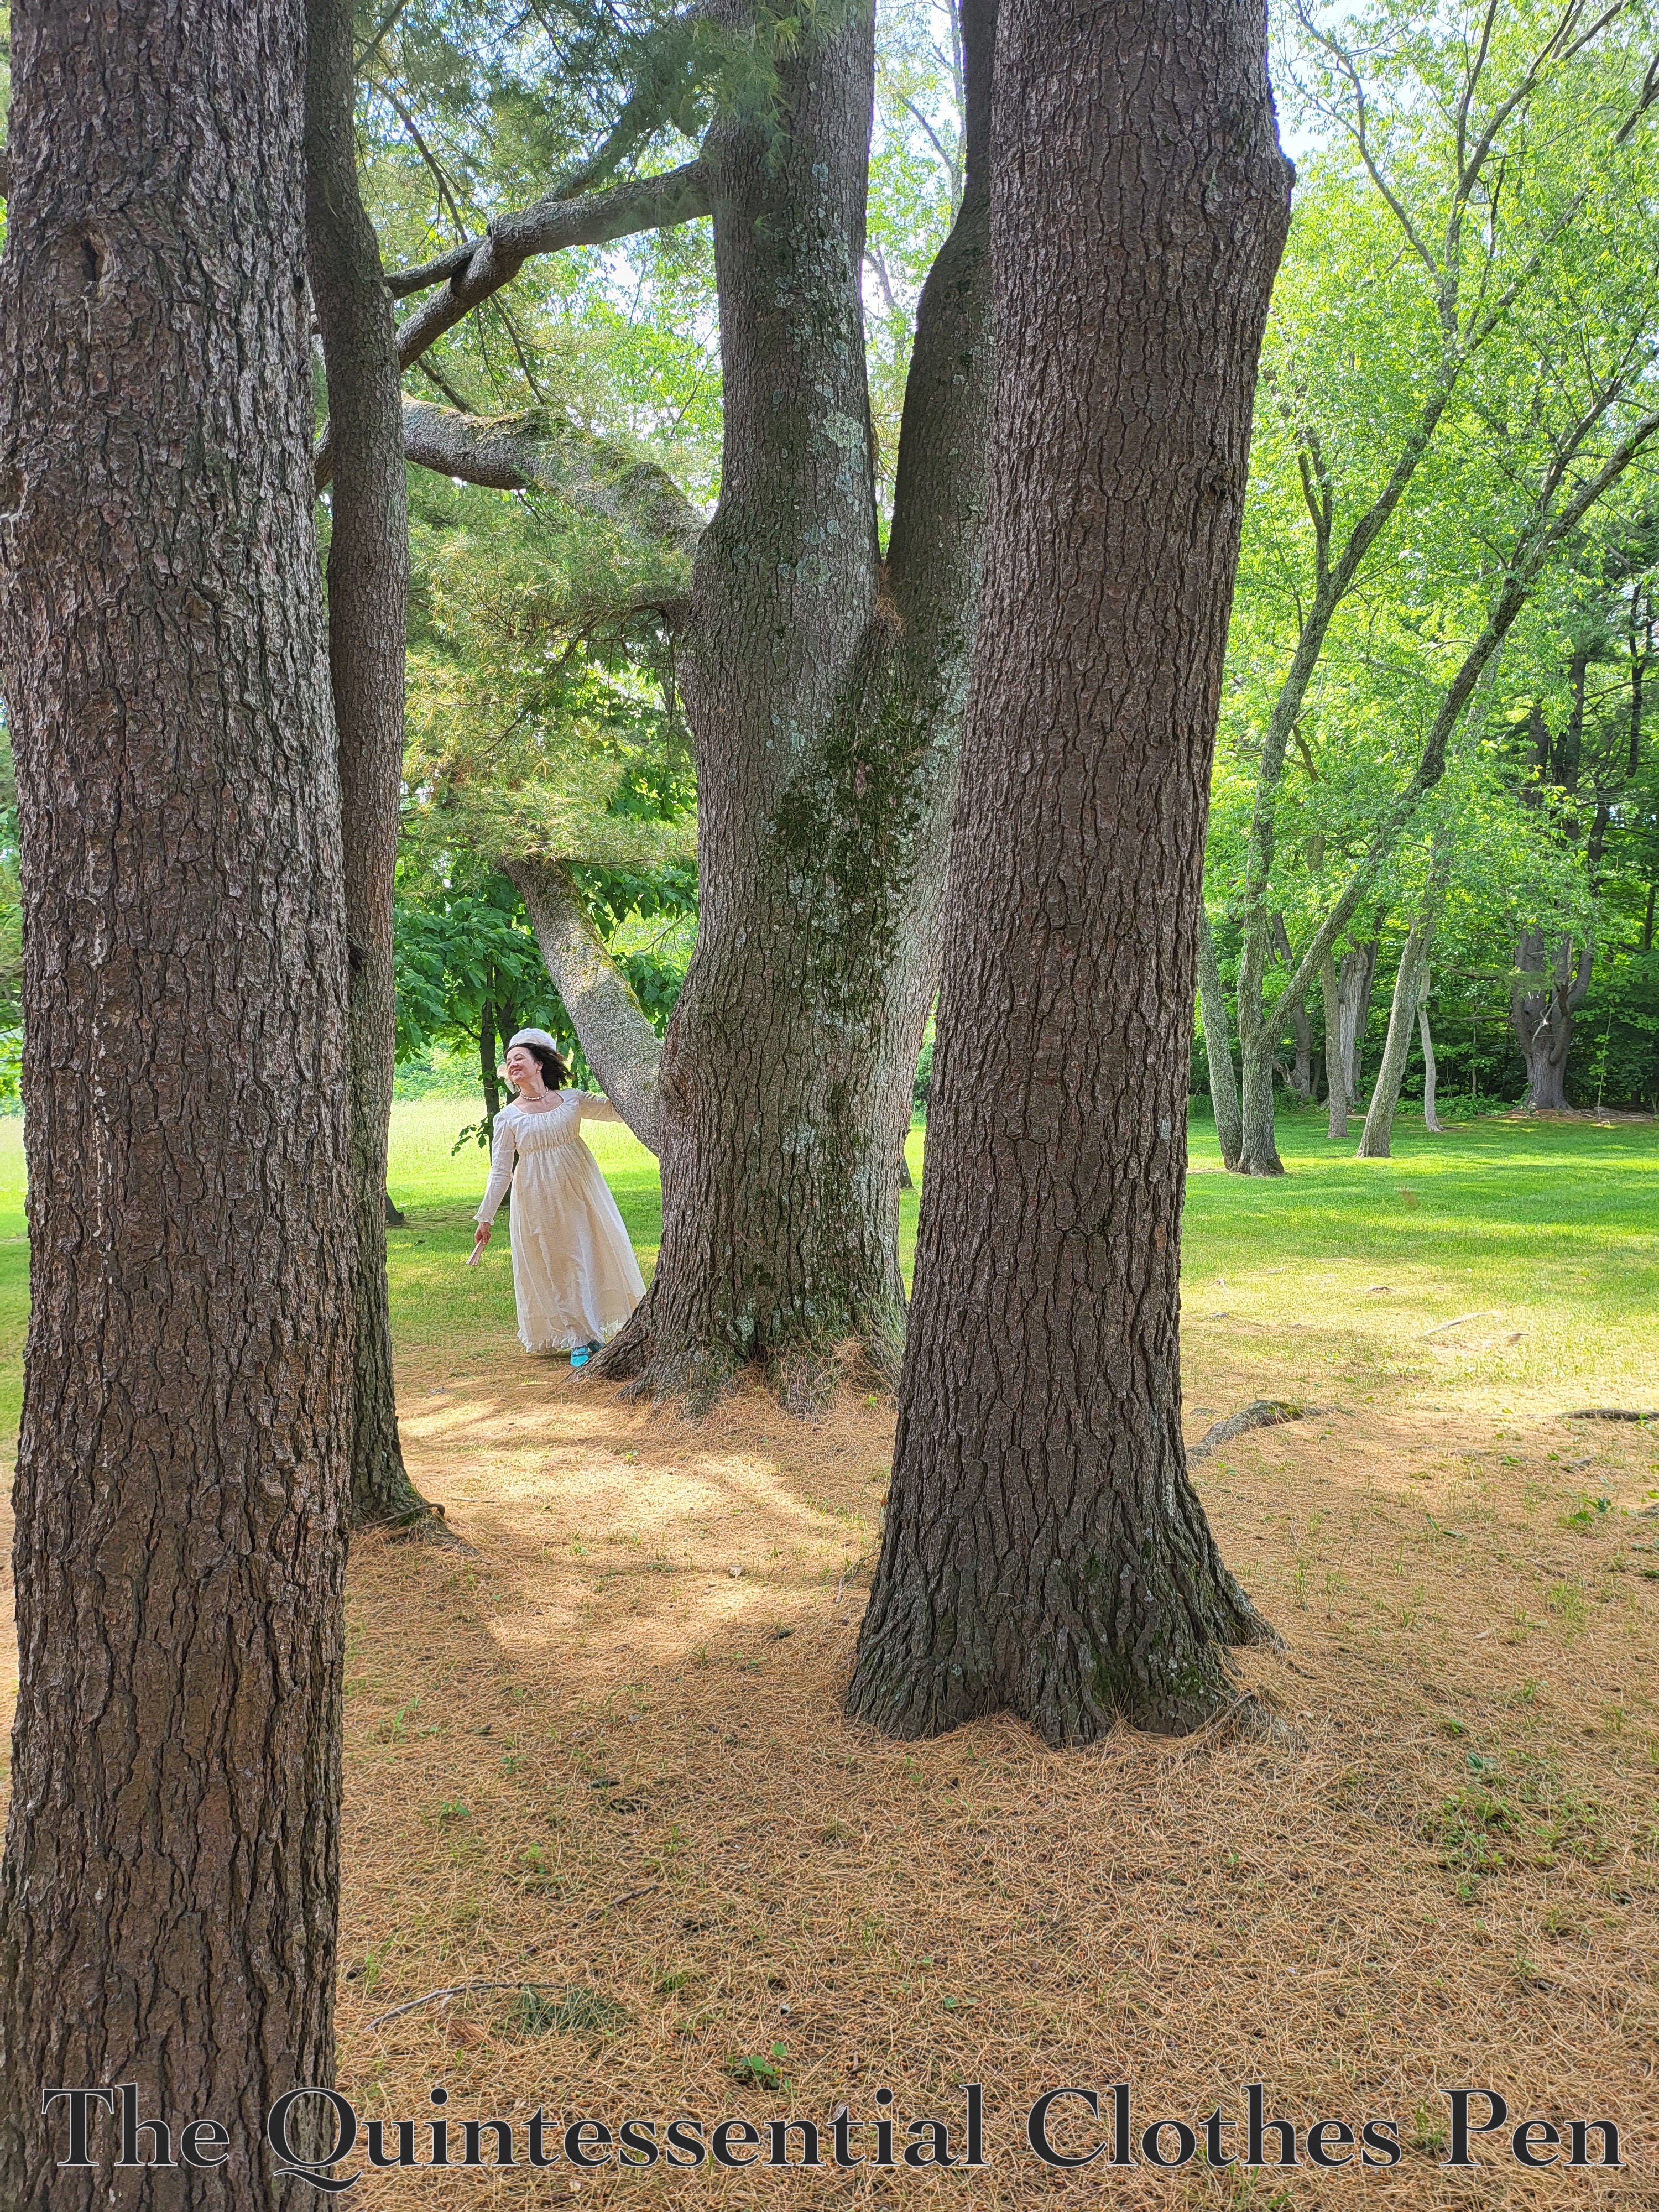
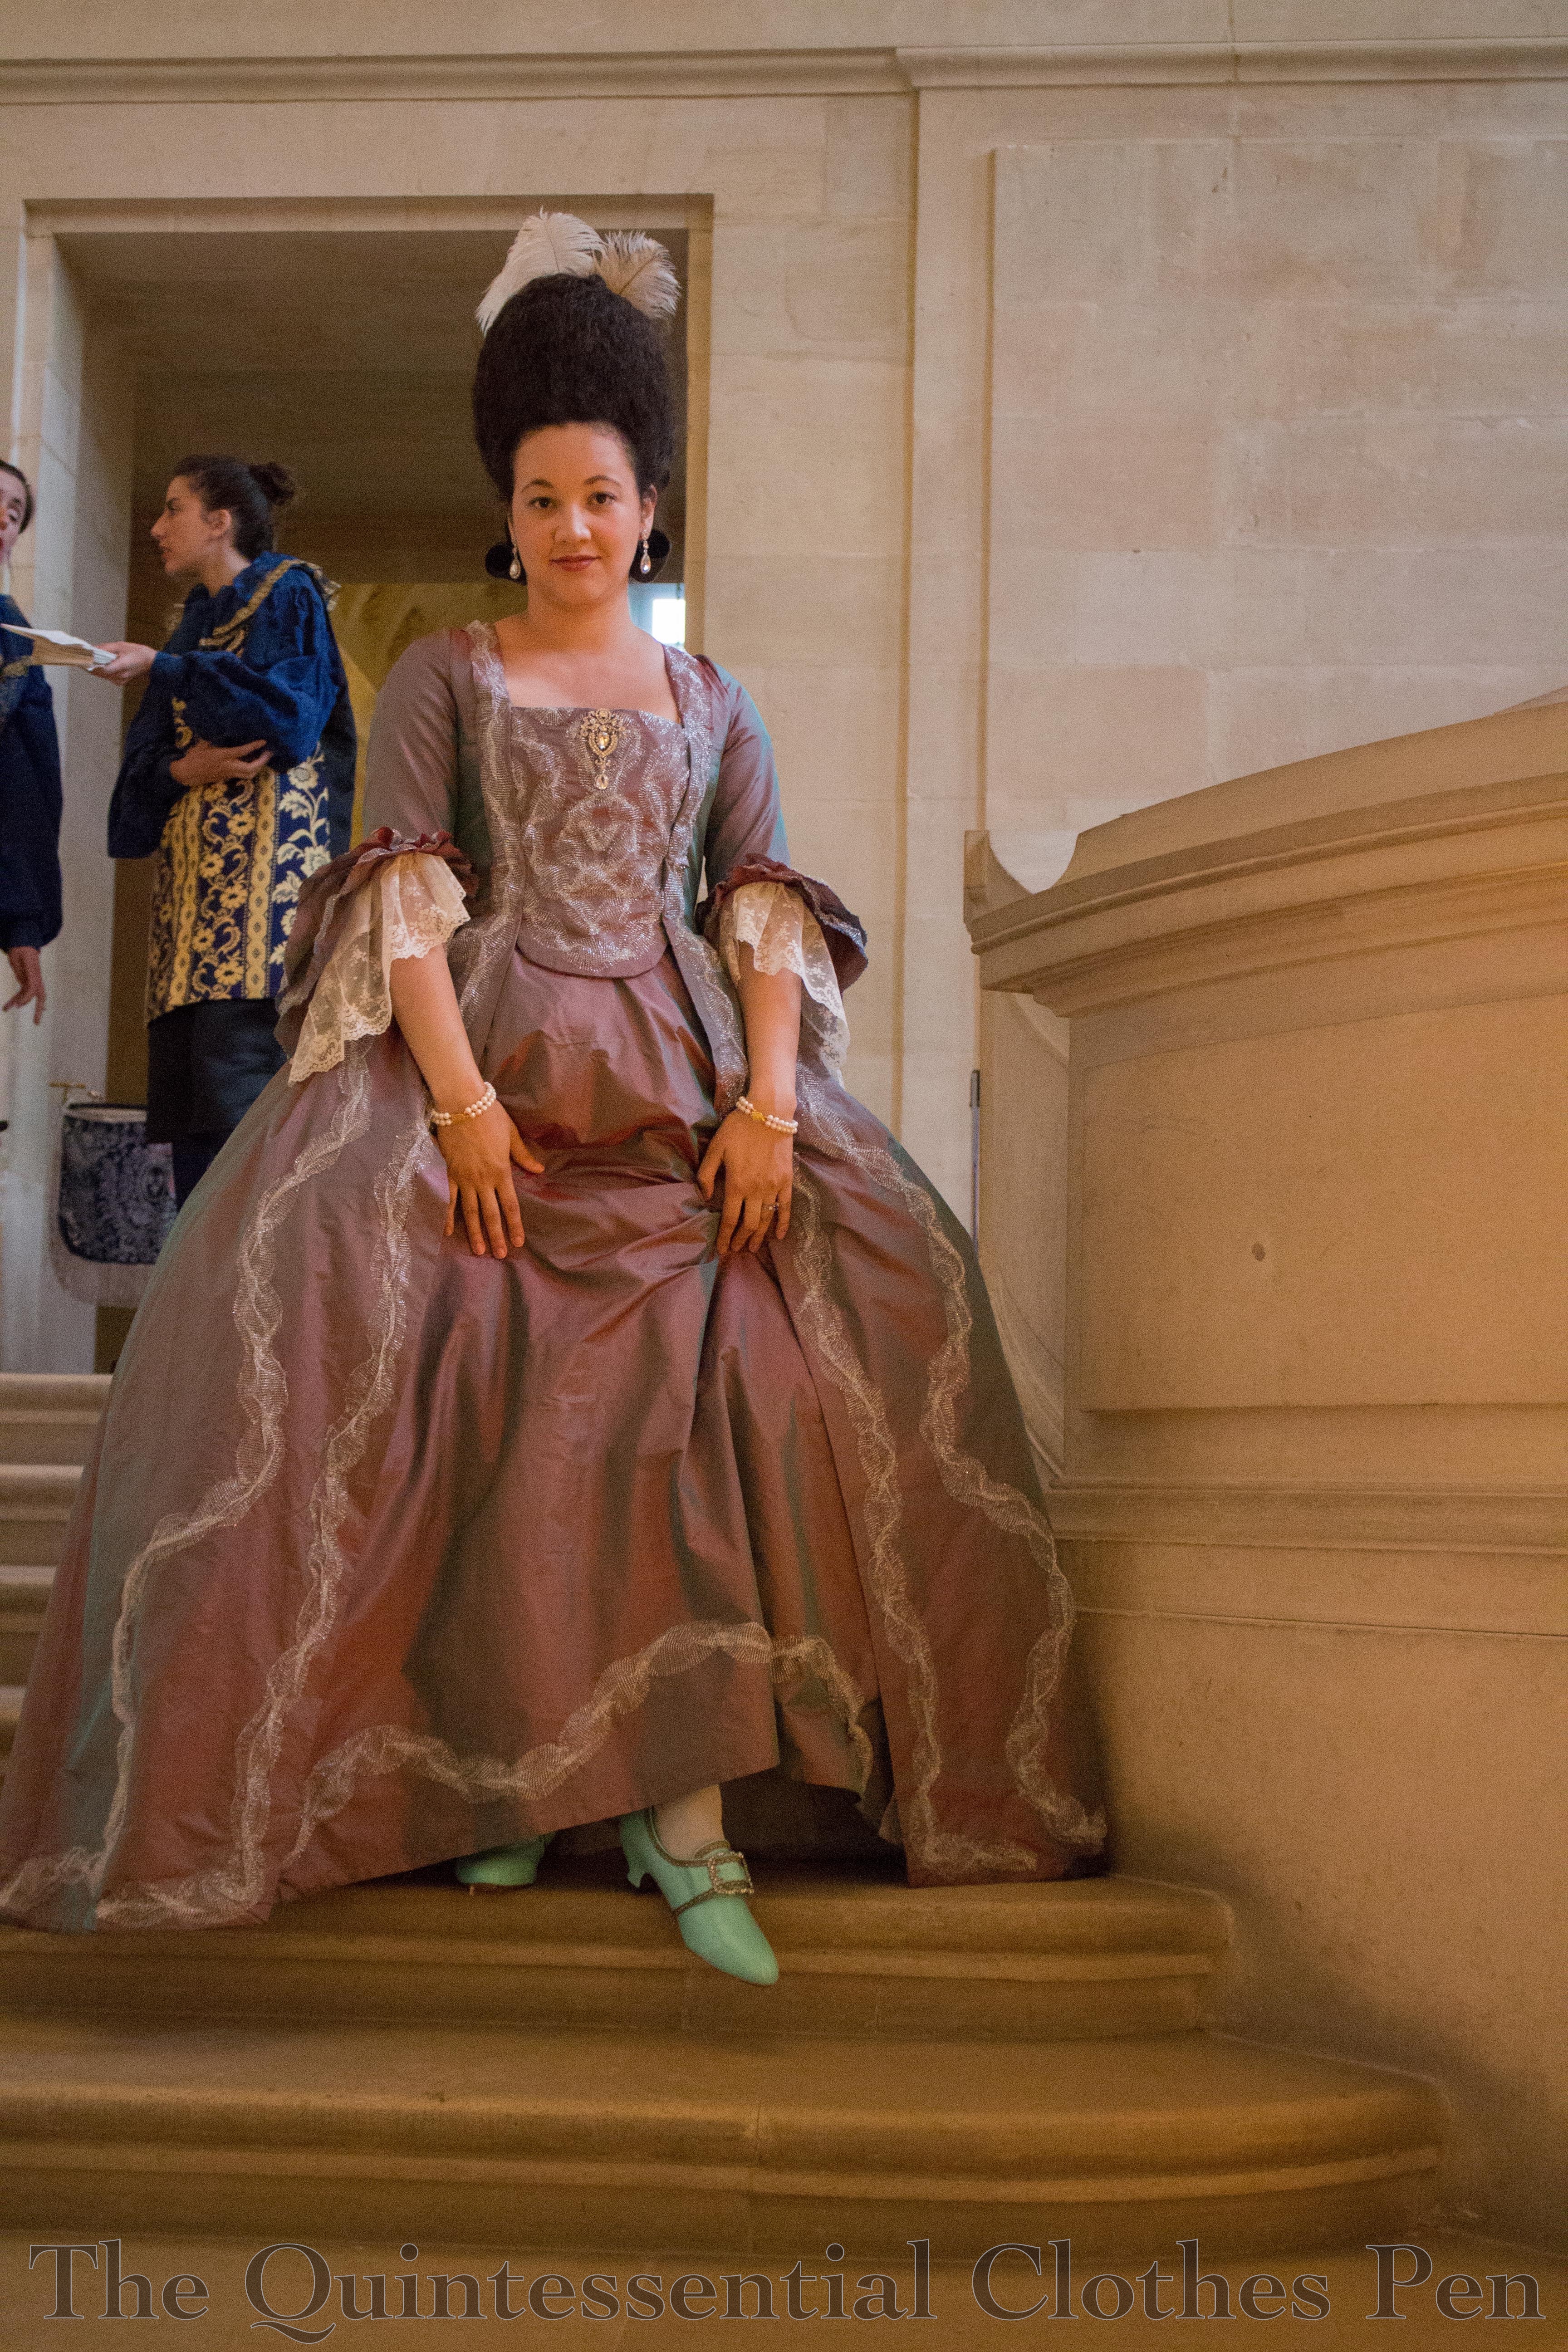
And that was it…! Entirely hand sewn, with many small details, lots of justifying and research, and, in the end, a relatively small garment! Next time, photos of the finished garment being worn!