

In a departure from the usual clothing content on the blog, today I have a DIY weighted doorstop tutorial. The idea came about when I moved into a house whose doors were sometimes inclined to hit the wall.

There are hardware type solutions to the door-handle-hitting-the-wall problem, but those didn’t appeal to me. Instead, I looked around the internet for inspiration that had more character. I’m very amused by the idea of a llama doorstop and I really liked geometric shapes made from fabrics full of character in doorstops such as this and this. I decided that while the llama is amusing, in actual practice I wanted something with a little less character. And I have sewing skills and a lot of fabric, so why not make my own geometric doorstop?
In all honesty, I took all these photos and made my doorstops four years ago! They’ve been sitting and waiting for me to publish a blog post since then. My recent inspiration to write this up came from the fact that I decided to make another doorstop for friends. Looking at my notes and photos pushed me to want to finish off this idea by getting it up on the blog.
DIY Weighted Pillow Doorstop: Supplies Needed
Fabric (at least 28″ x 8″)
Thread
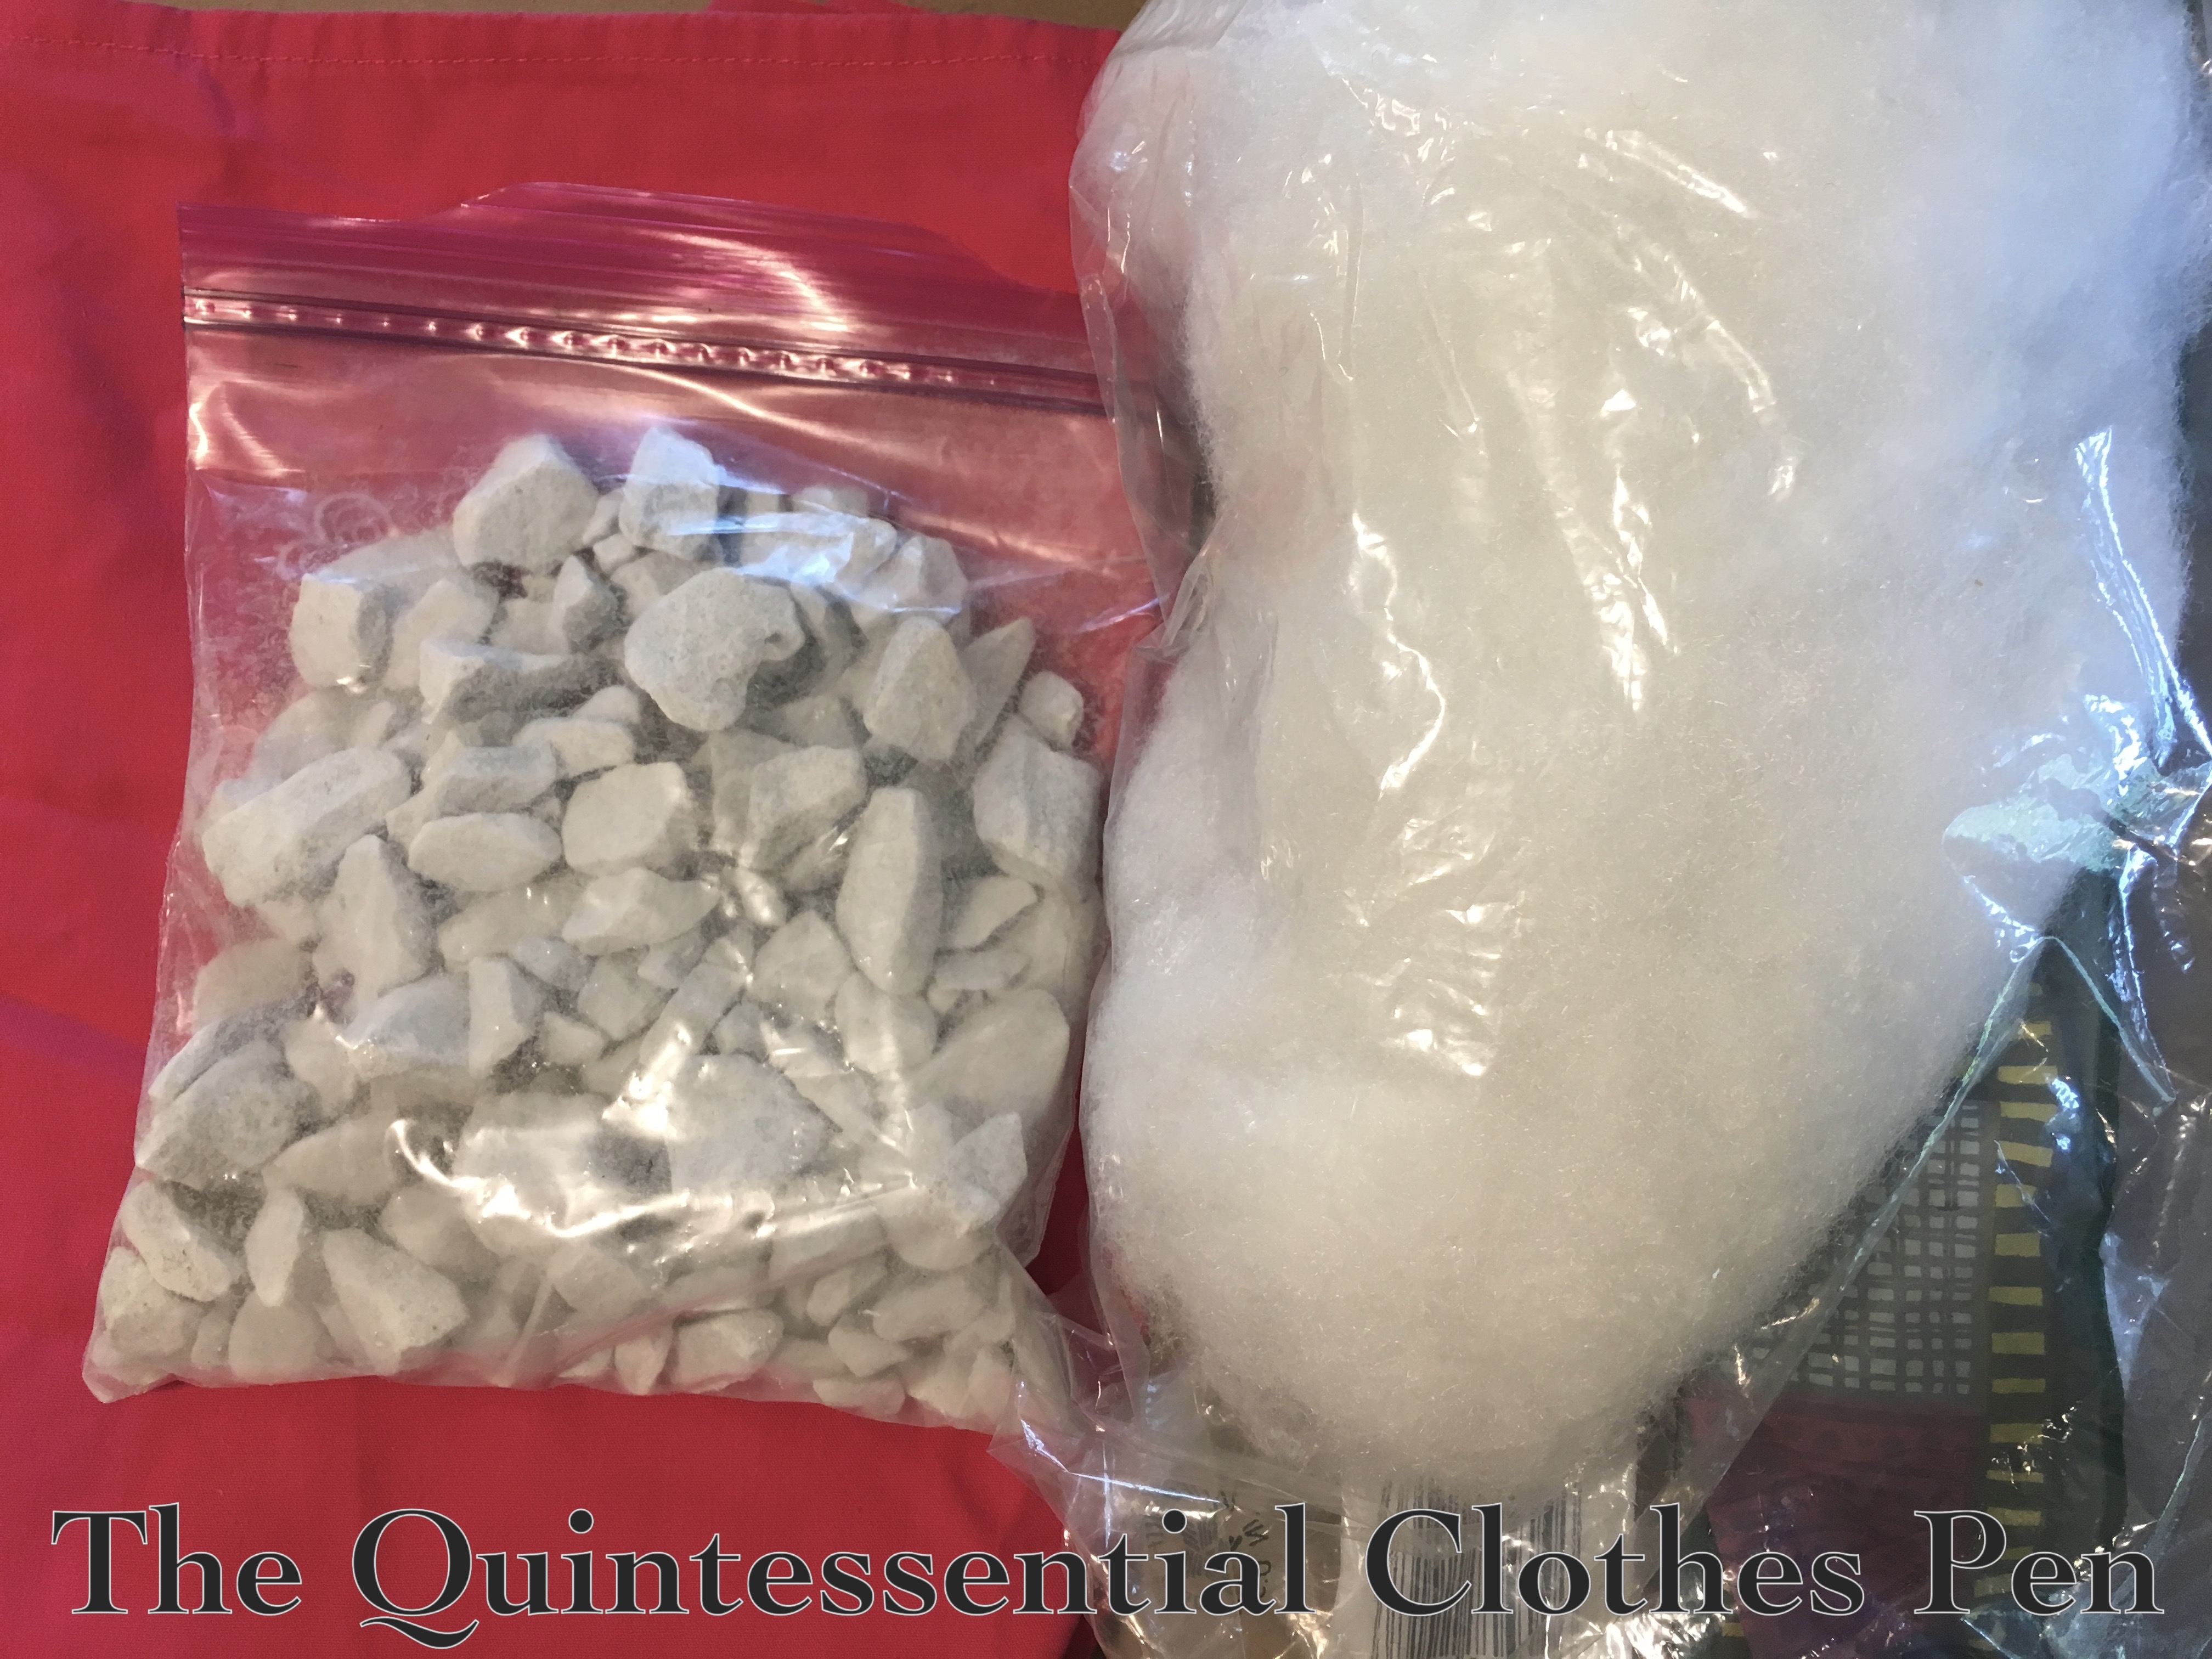
Weighted filling (I used small rocks from the hardware store)
Scraps of fabric
Batting (optional)
DIY Weighted Pillow Doorstop: Tutorial
Step 1: Cut fabric exterior to be 28″ x 8″ (this includes seam allowance).

Step 2: Press under 1 ½” on each short side of the exterior fabric rectangle.

Step 3: Fold the fabric the short way across the fabric. With right sides together, stitch the long sides of the rectangle with ½” seam allowances (keeping the pressed under short sides folded back towards the wrong side). Clip the corners closest to the fold.

Step 4: Turn the rectangle right side out.

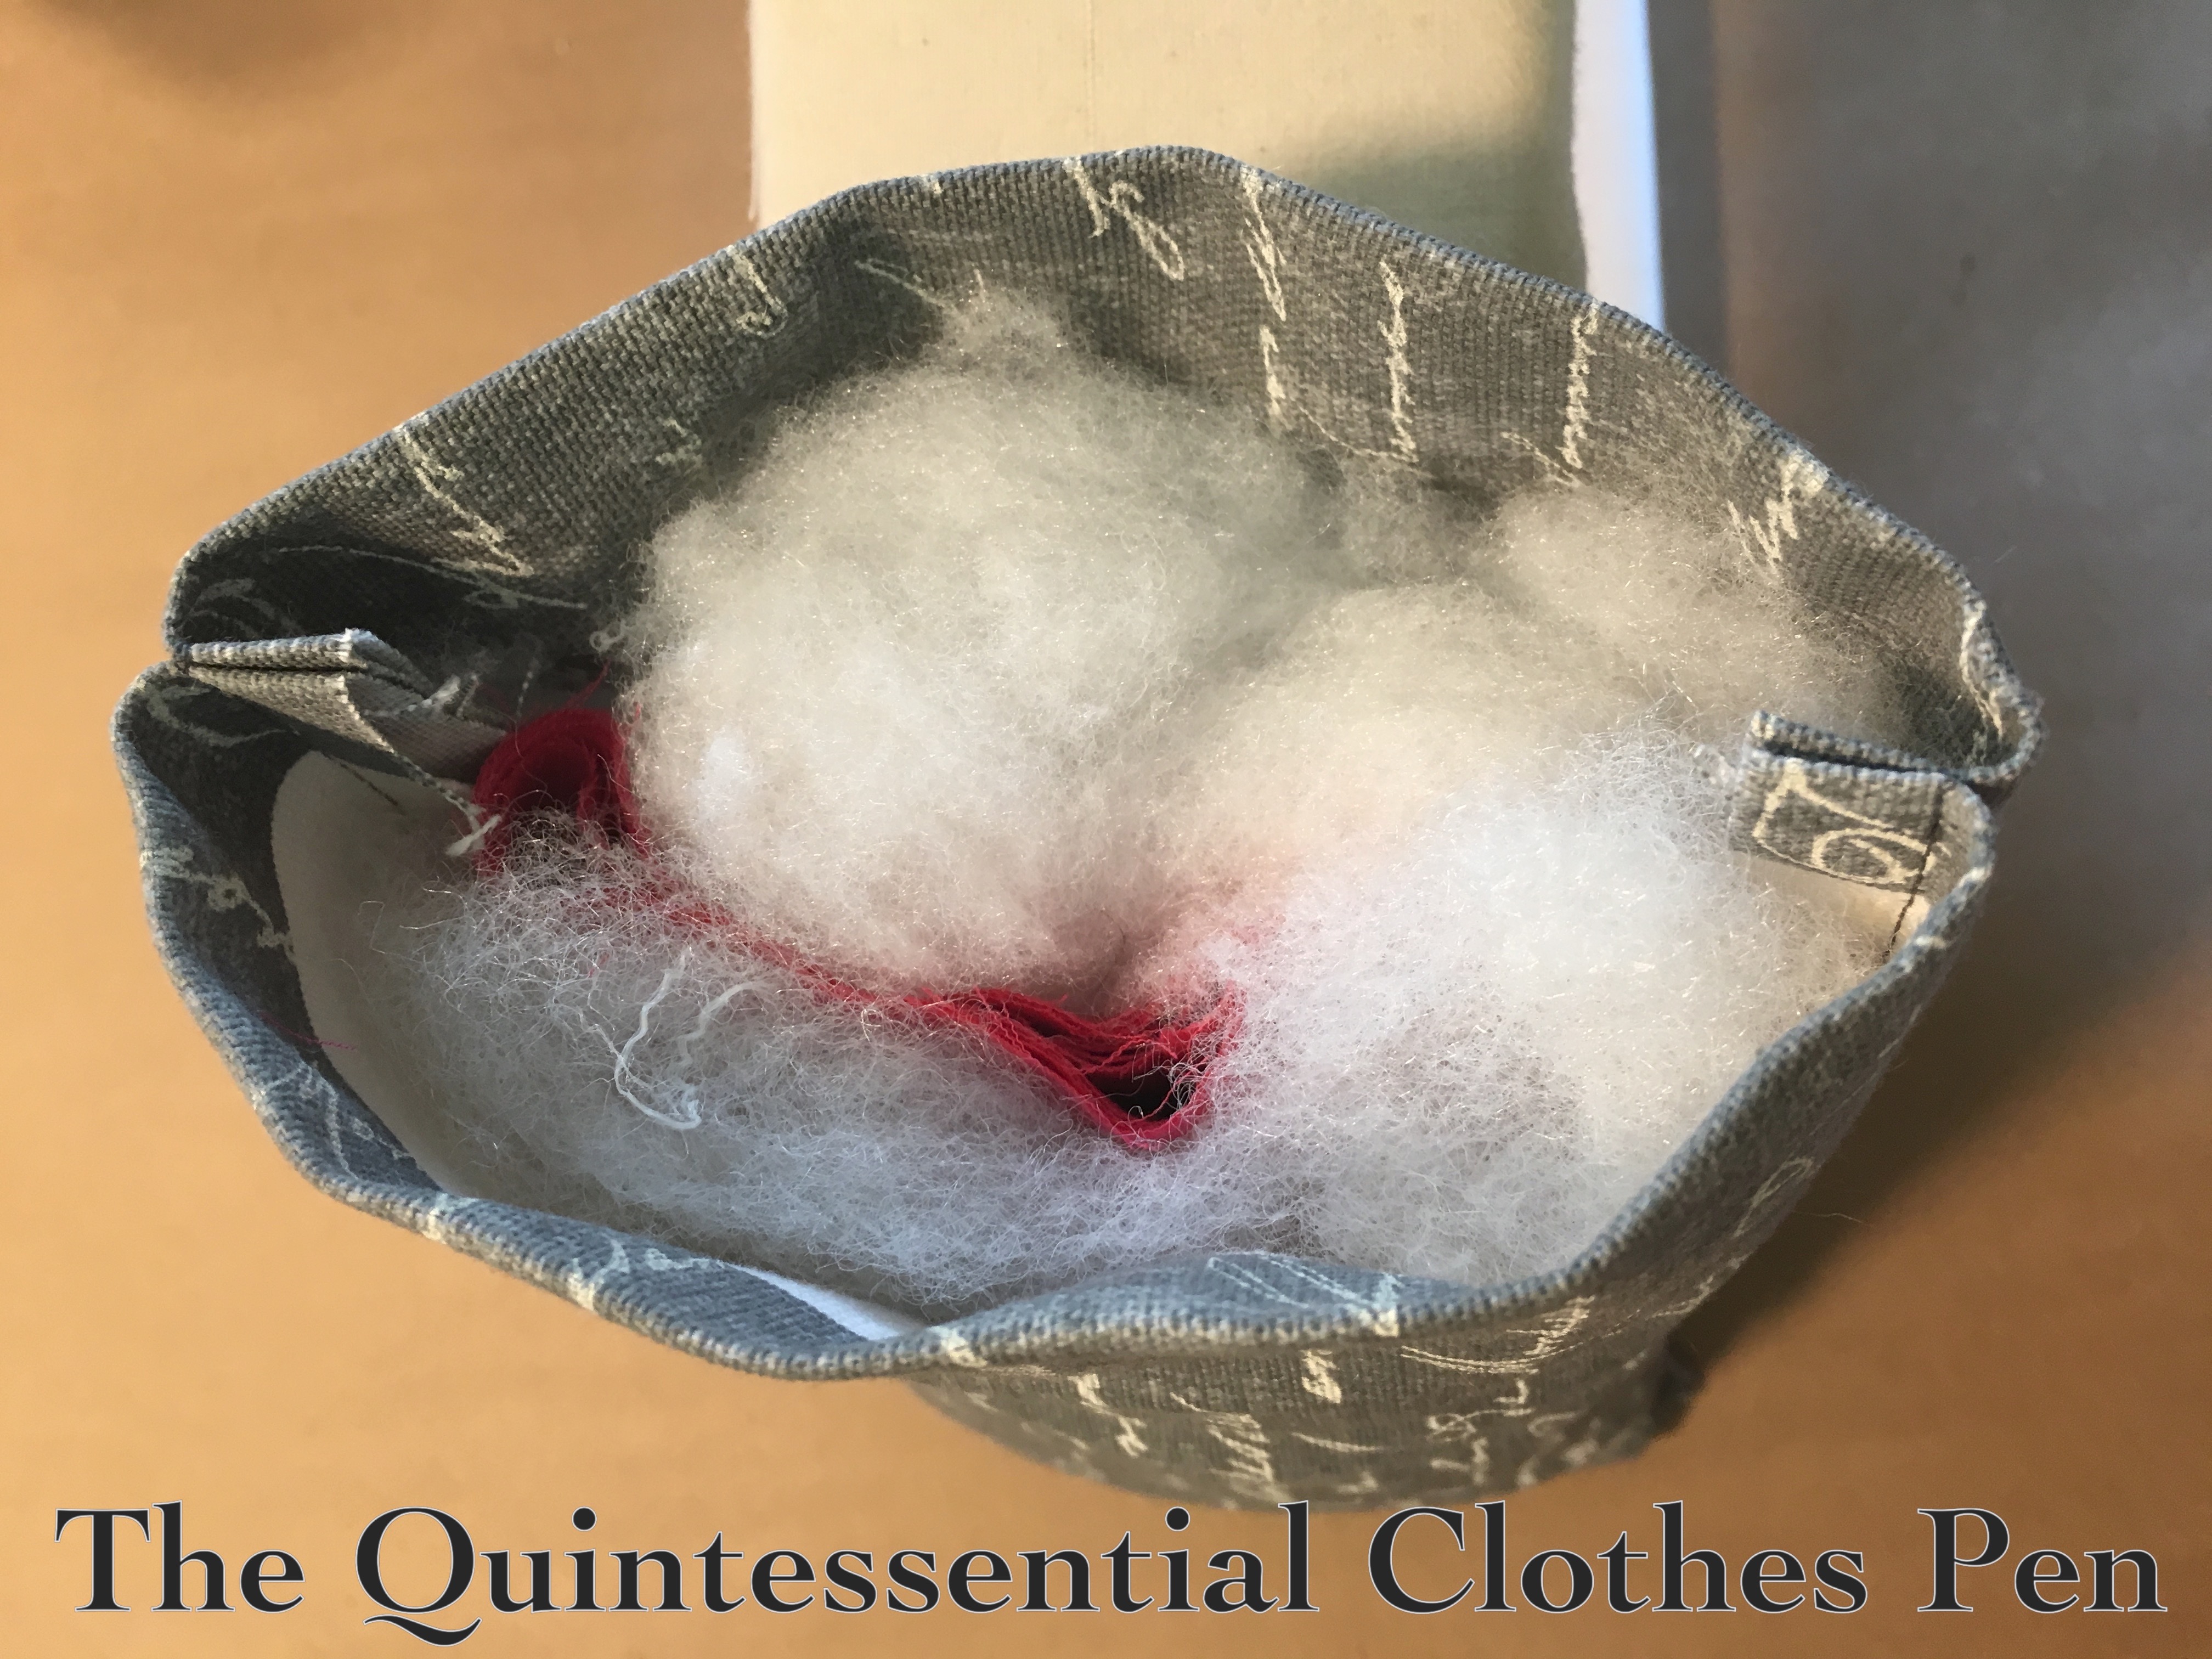
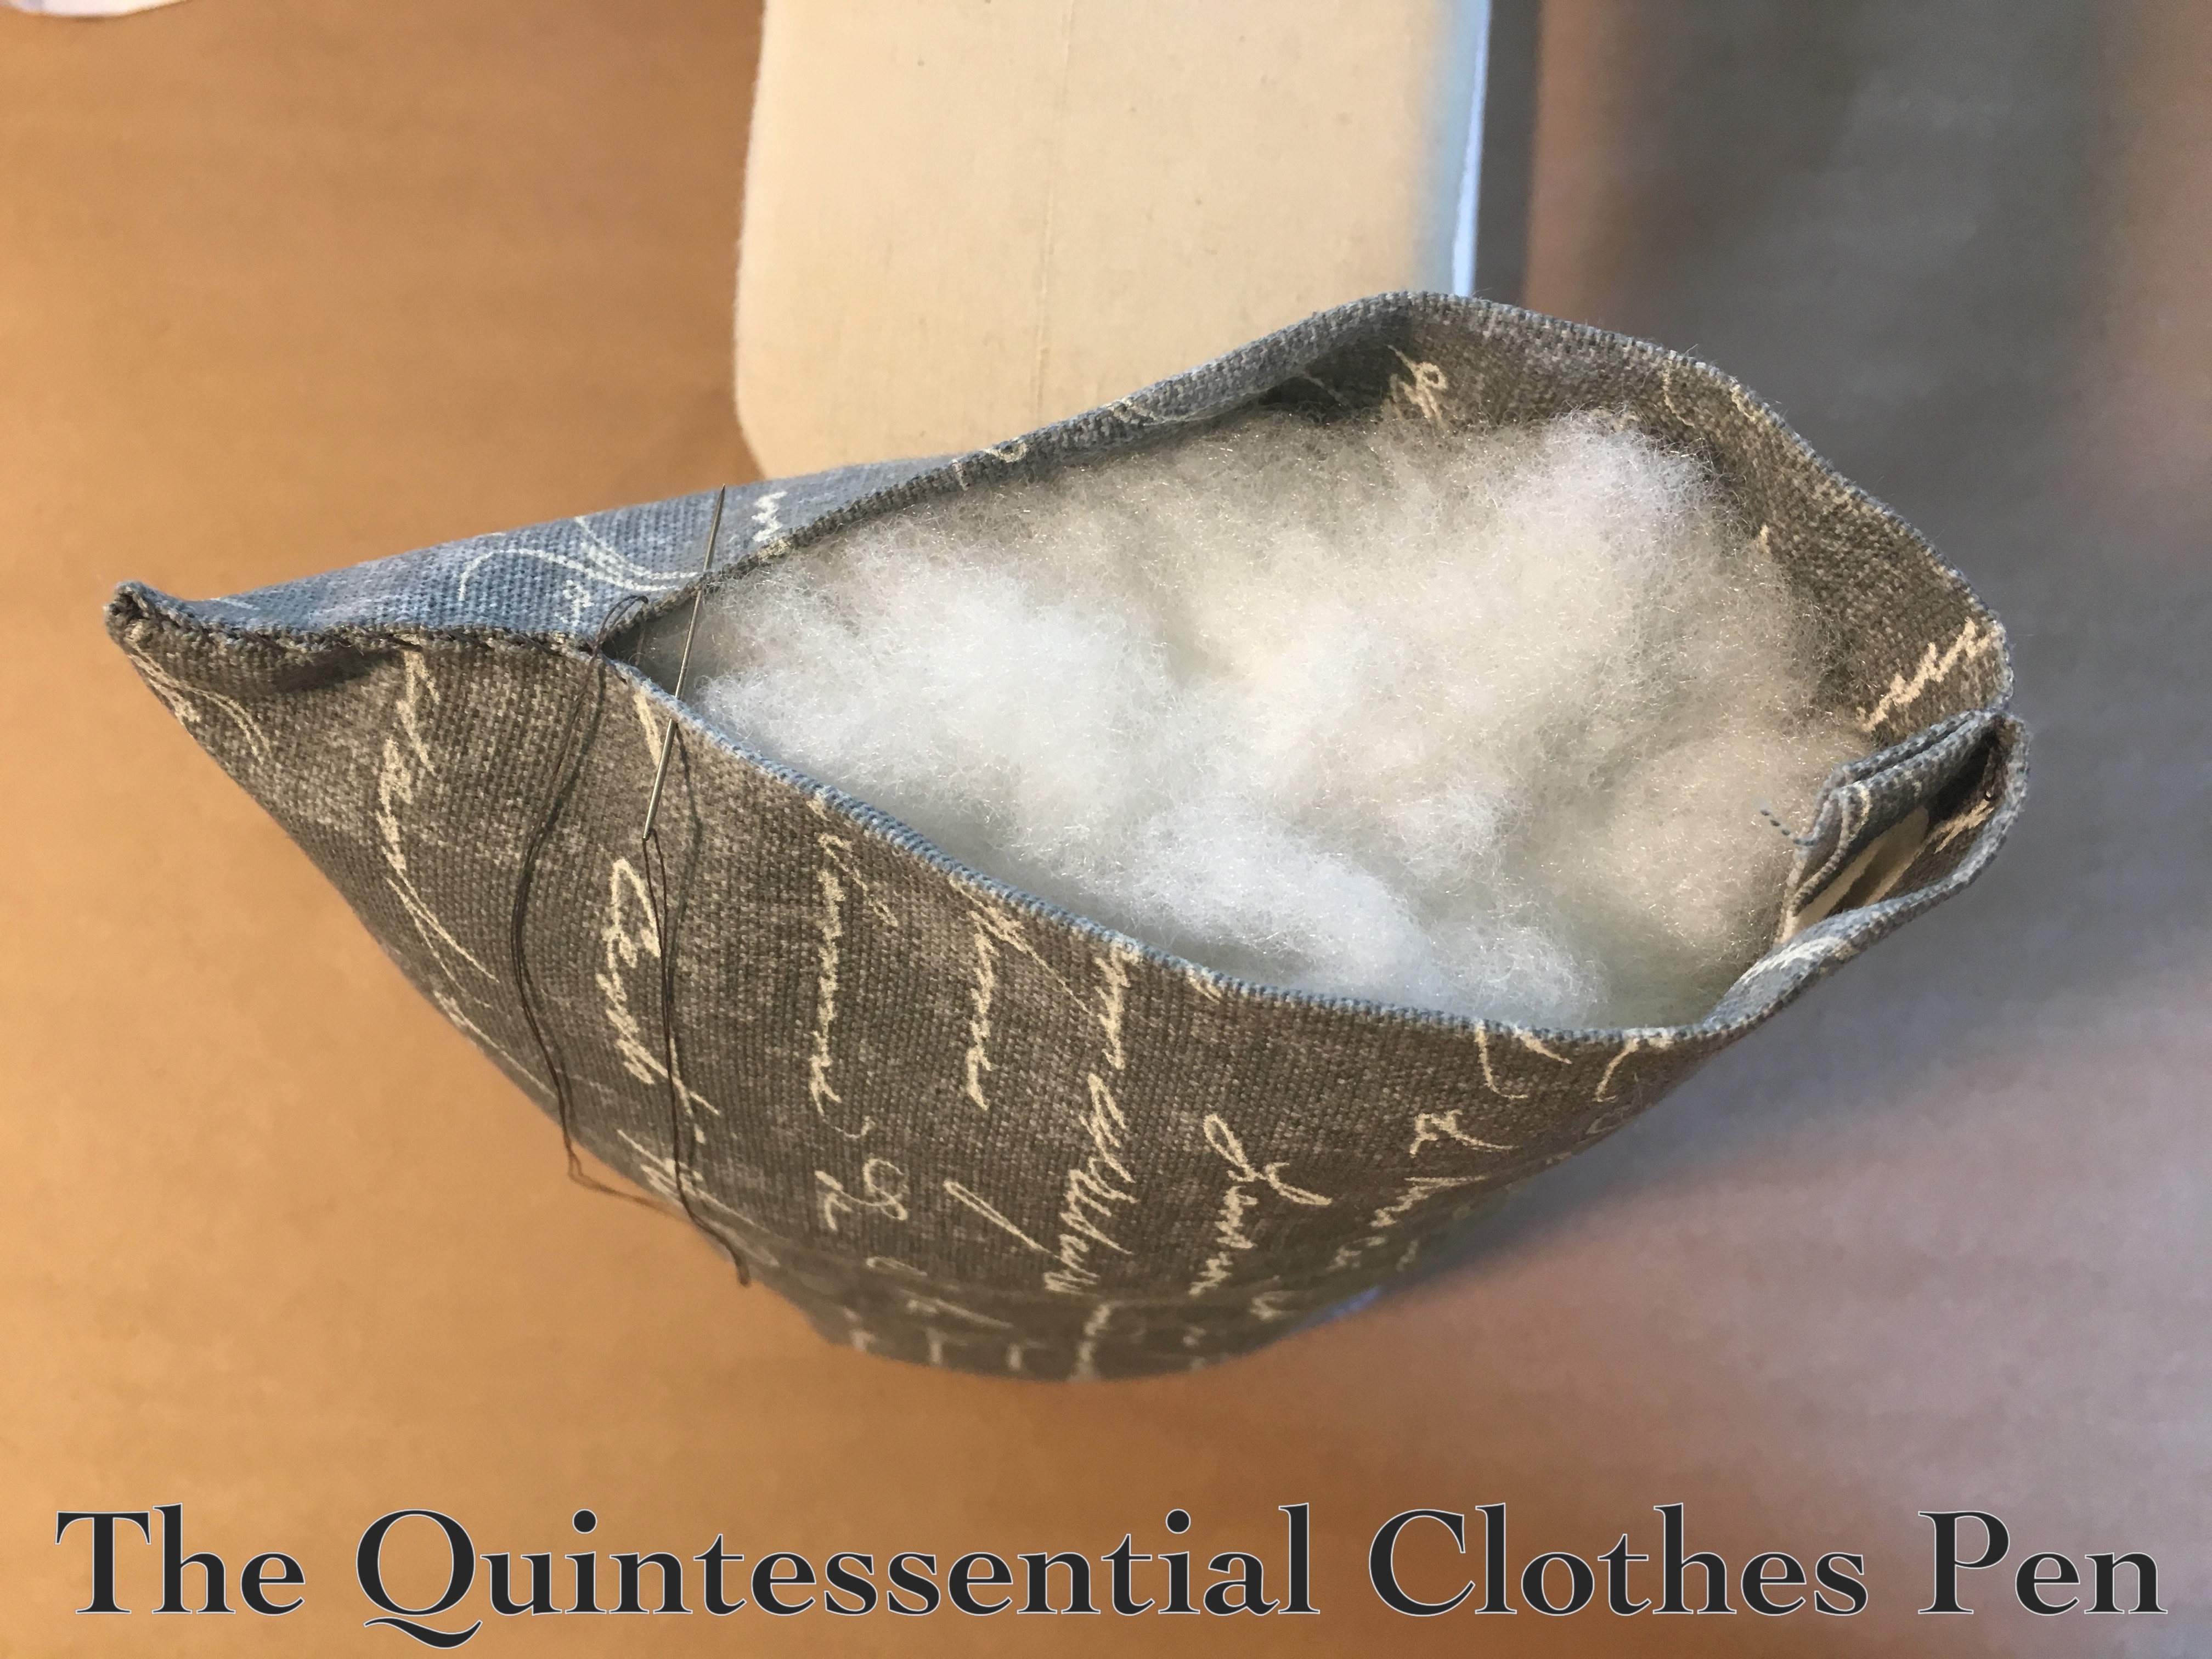
Step 5: Fill a Ziploc bag with your weighted filling. Wrap the bag with scraps of fabric (I used old sheets, but old clothes or scraps from projects would work, too). Place the wrapped bag inside of the fabric exterior, then use batting to fill around the wrapped bag (you could also just fill your pillow with fabric scraps if you have a lot of them). This creates a soft pillow that has enough weight to stay in place while a door hits it regularly.

Step 6: Sew the opening of the pillow closed. I used a whip stitch with double thread. Ta da! A finished doorstop!


A few notes:
- I thought of using rice or dry beans as a weight in the pillows, but thought better of that idea since it might attract unwanted critters over time.
- If you use something as a weight that you want to be able to replace, you could sew velcro onto the short side opening so that the interior is more easily accessible.
Here is a completed doorstop in place. It has enough depth to keep the door handle from hitting the wall, is heavy enough not to move around, and is super durable. The doorstops are somewhat subtle in the grey fabric I used, though if you wanted to make more of a statement out of them you could use more exciting fabric.

Yay for using sewing skills for an everyday purpose!
