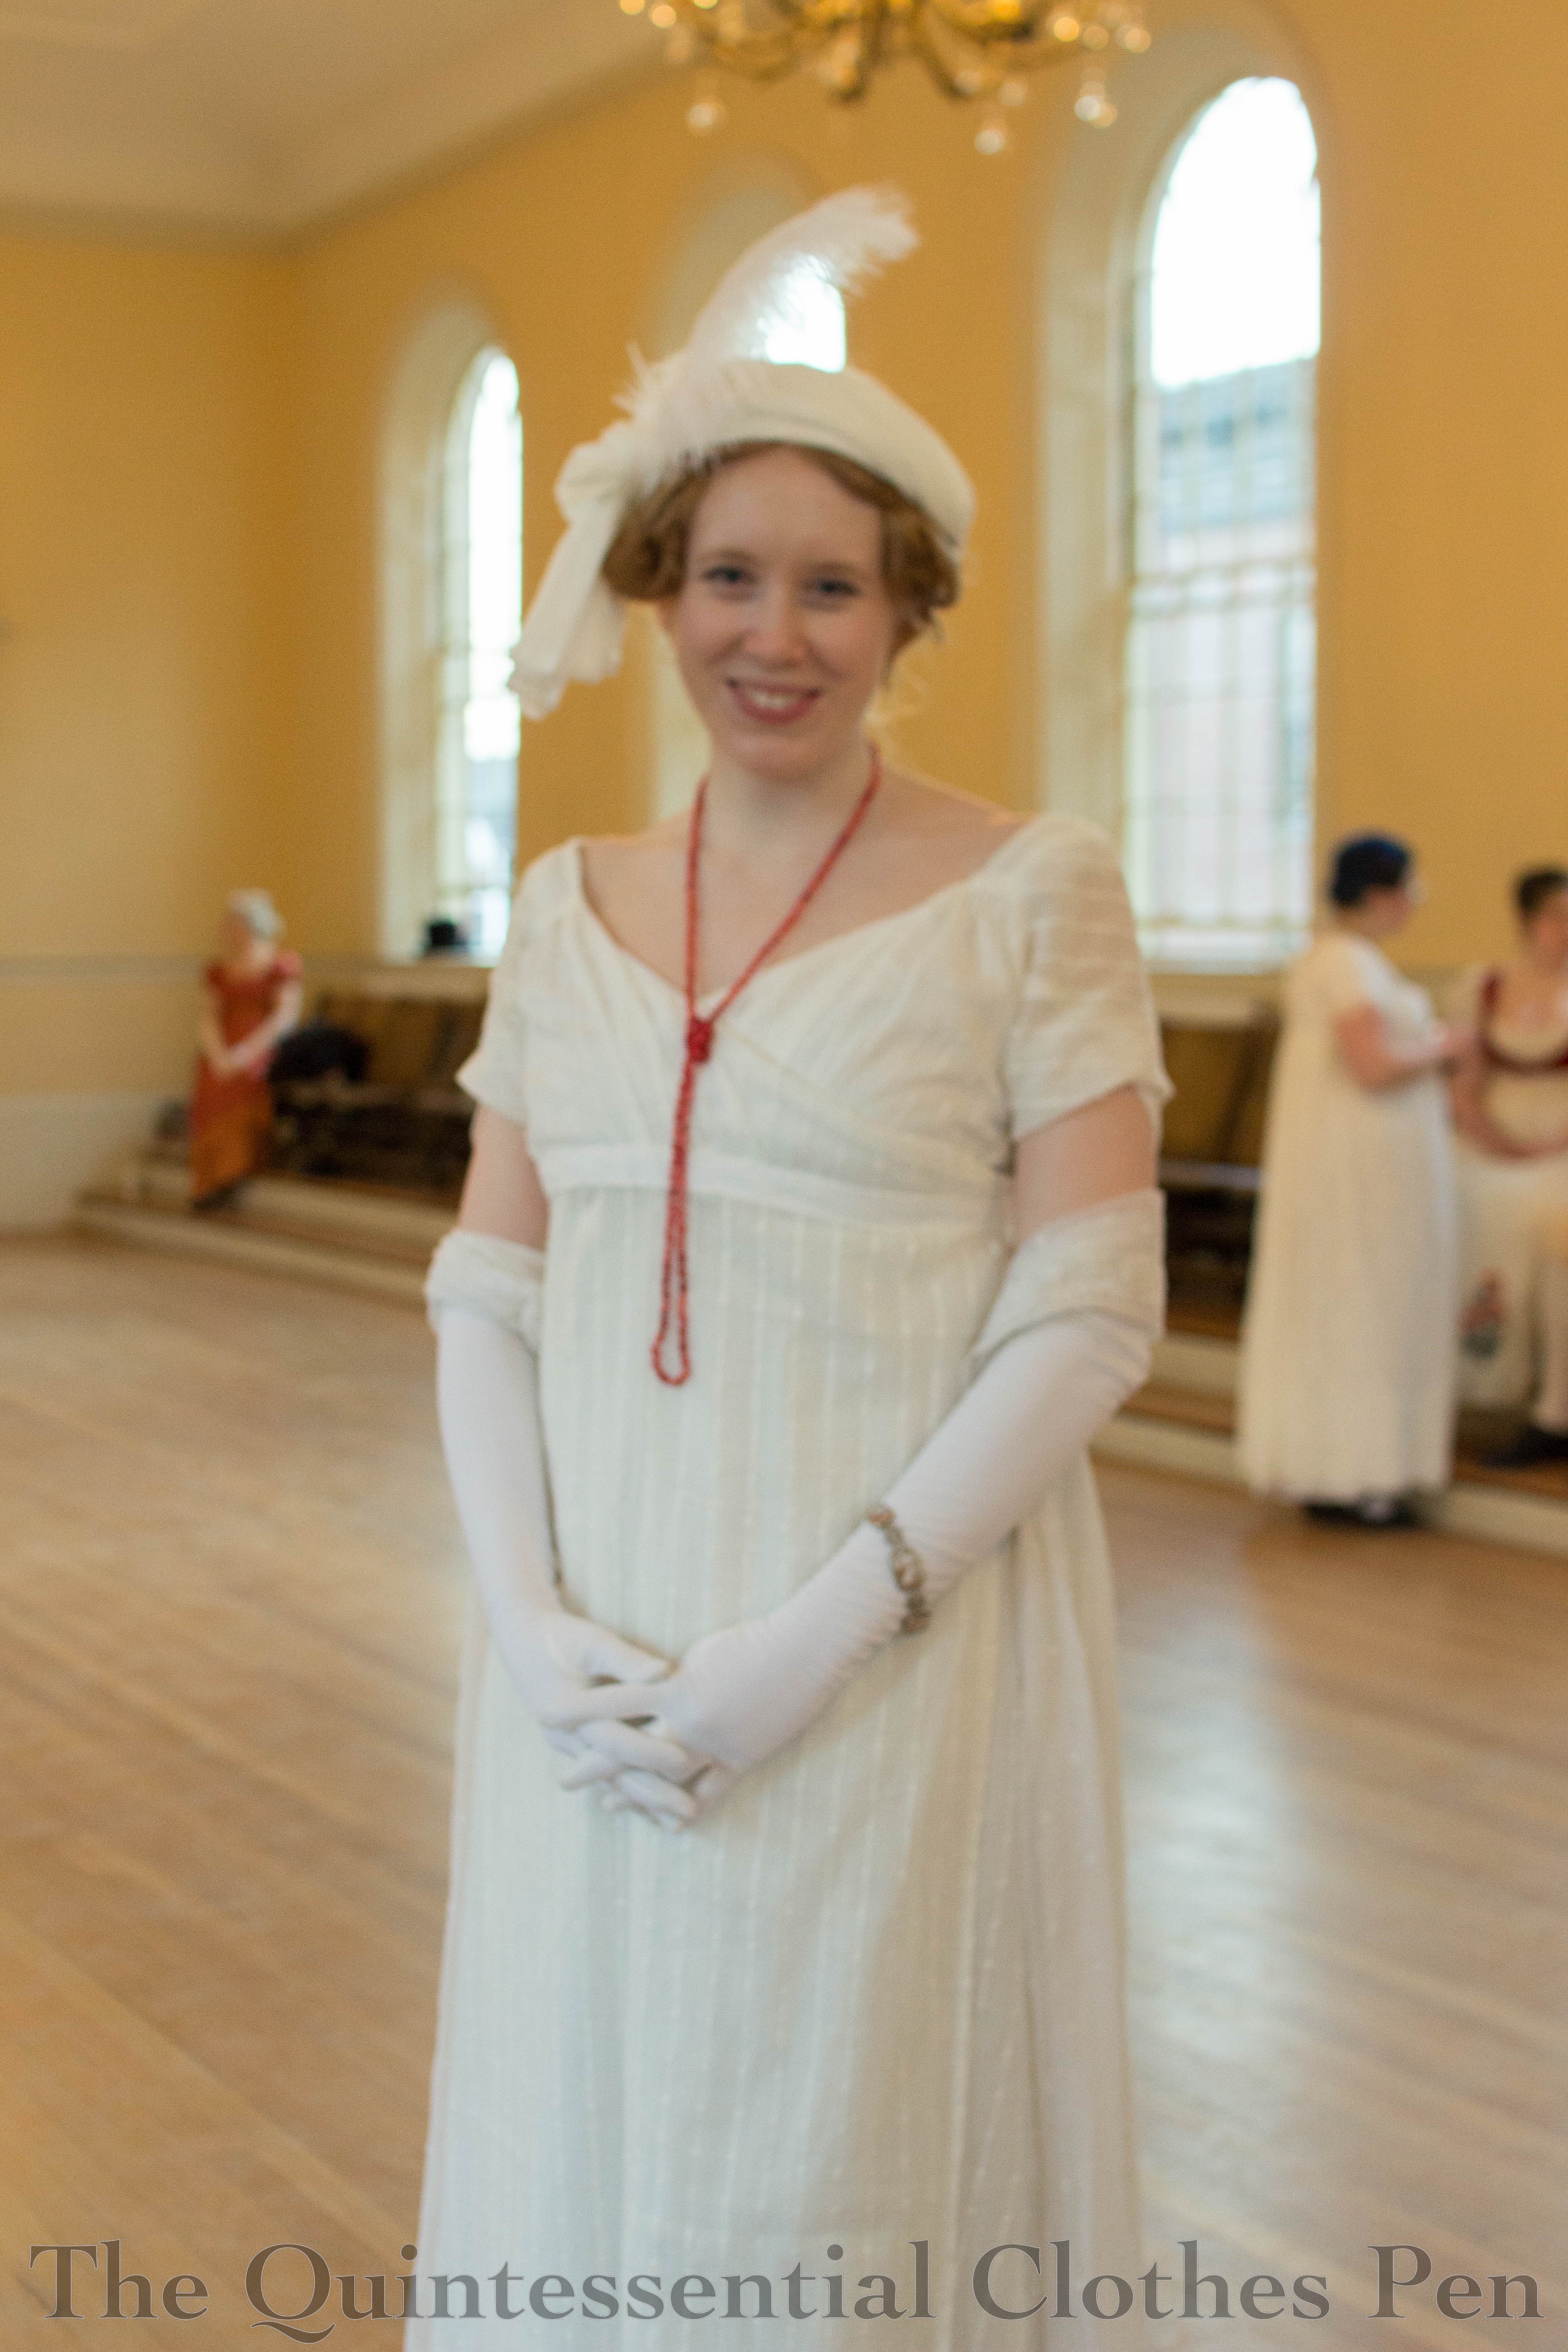
Autumn Plaid Dress

I’d like to introduce you to my Autumn Plaid Dress! This is one of the dresses that I mentioned in my end of 2018 post as something that was made but never posted about. The goal was to post about it early this year. I would say it’s now mid-year, but better late than never, right?
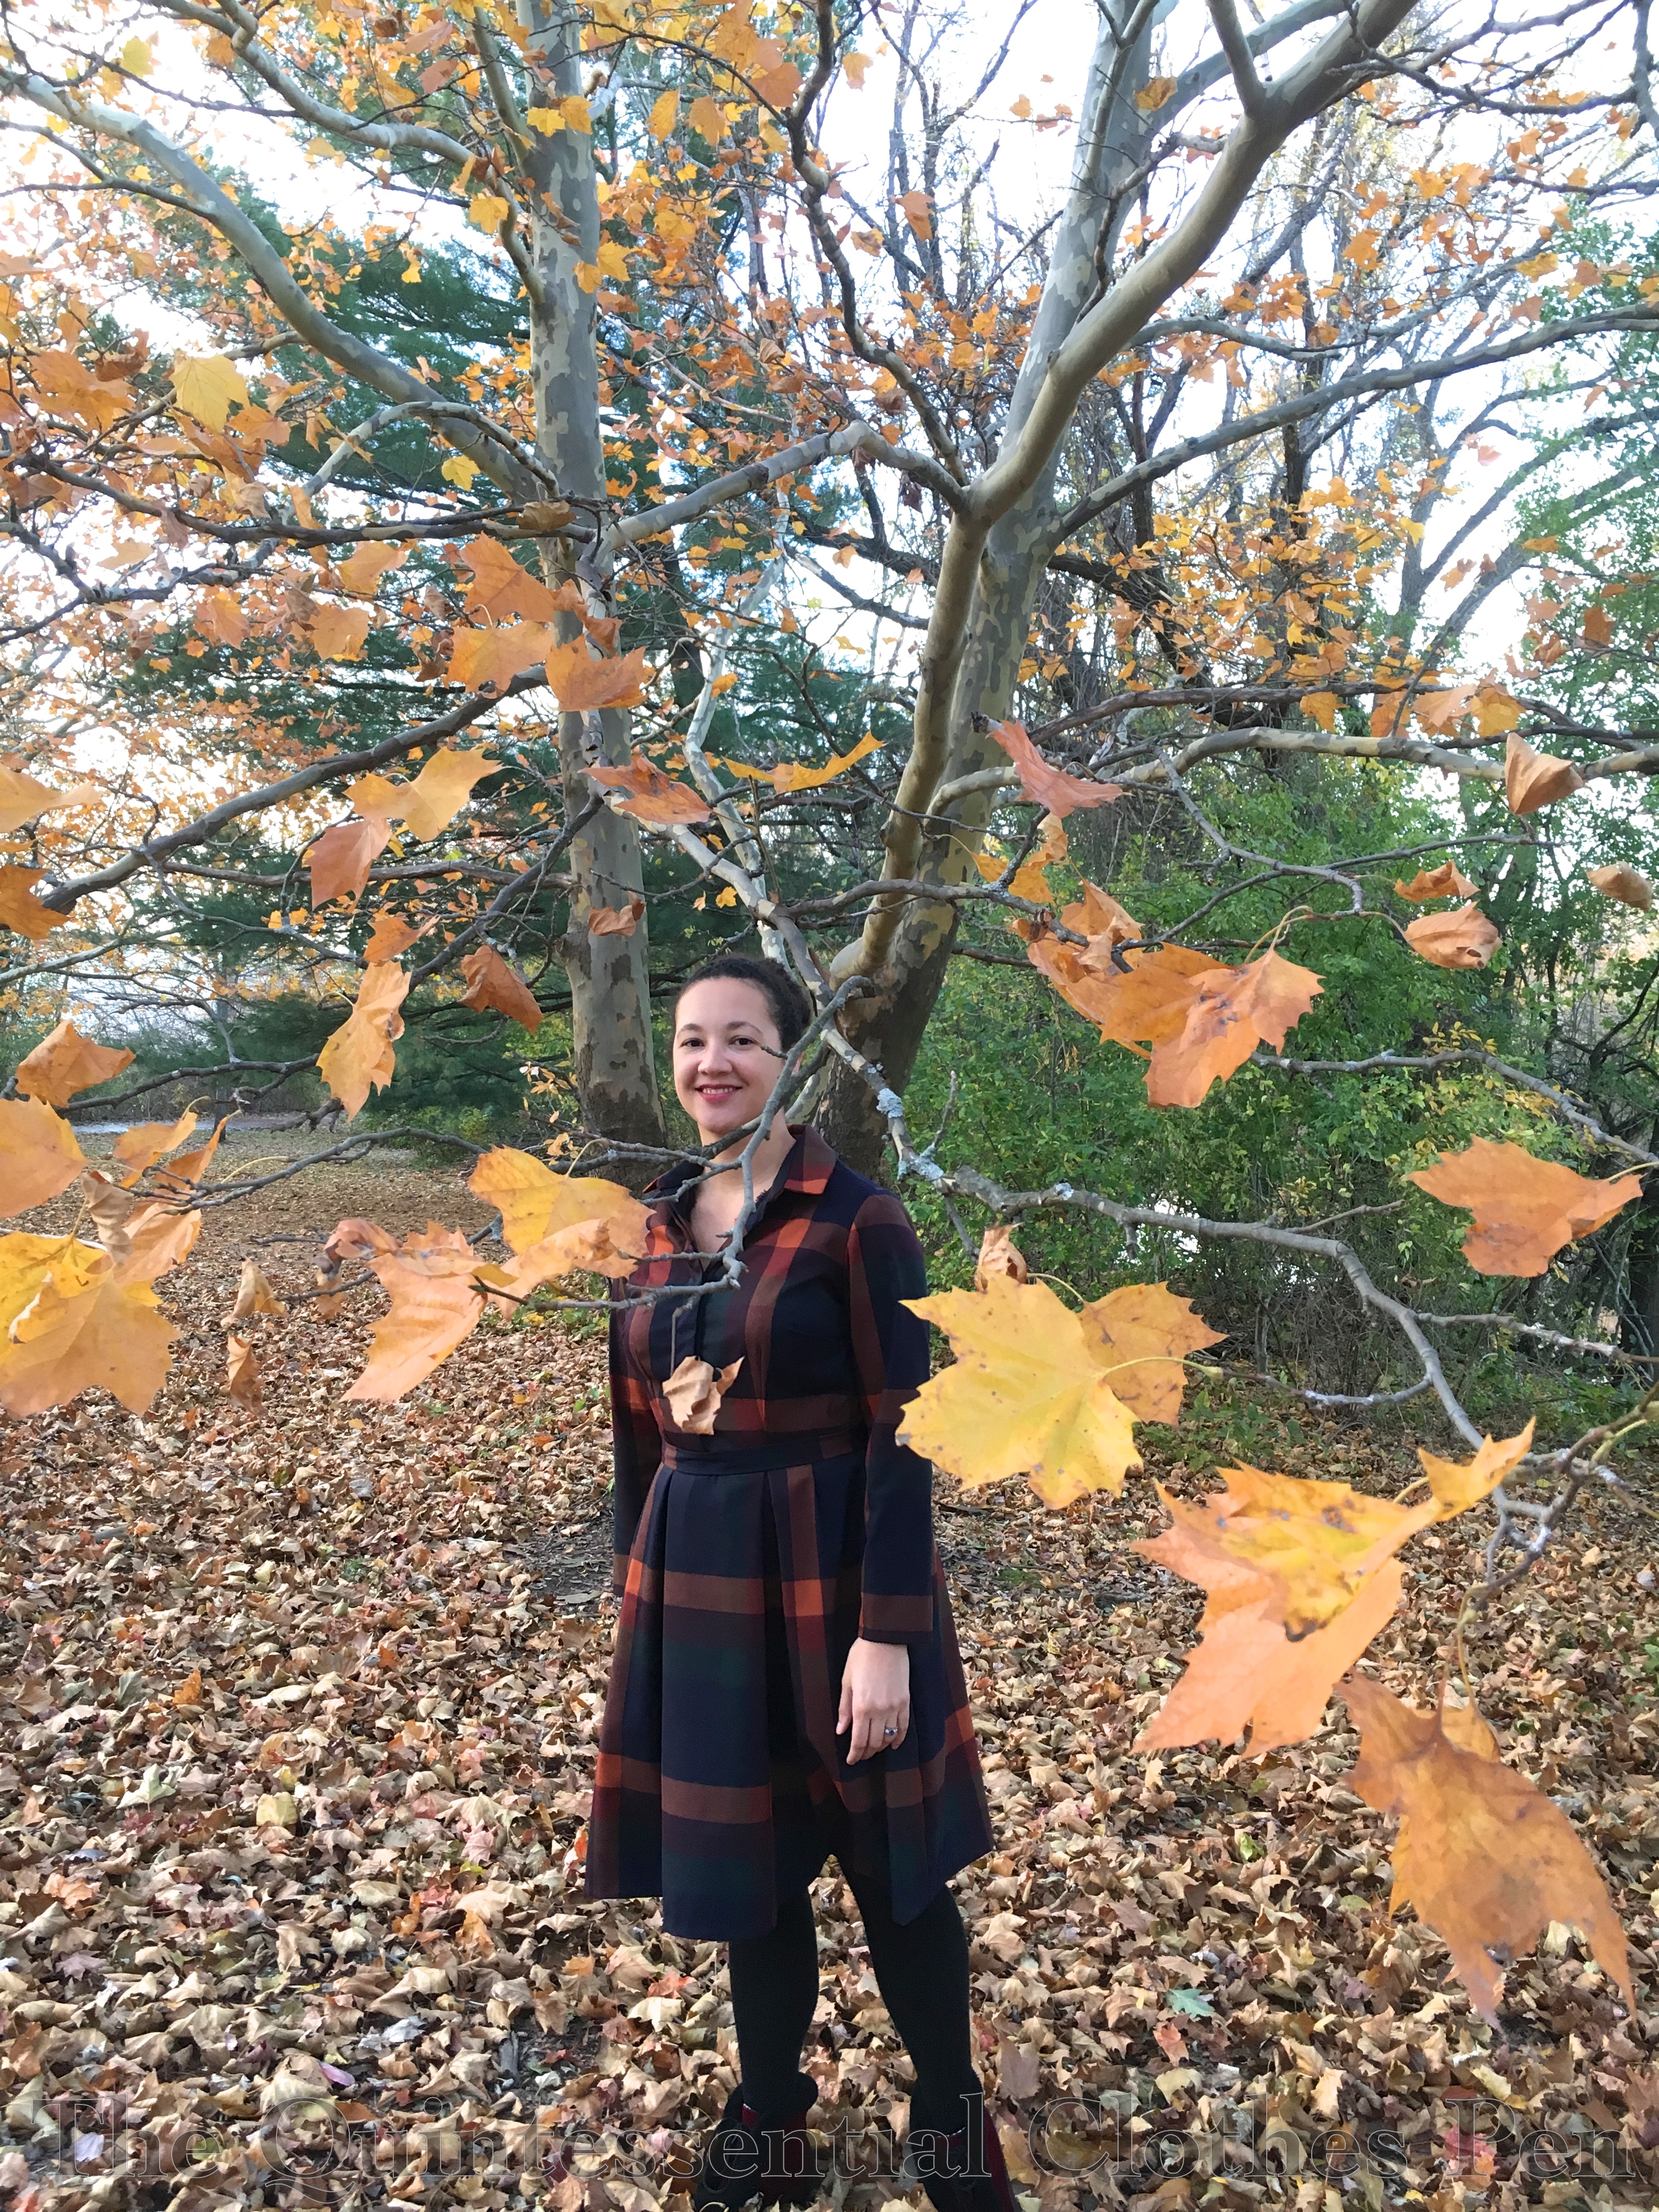
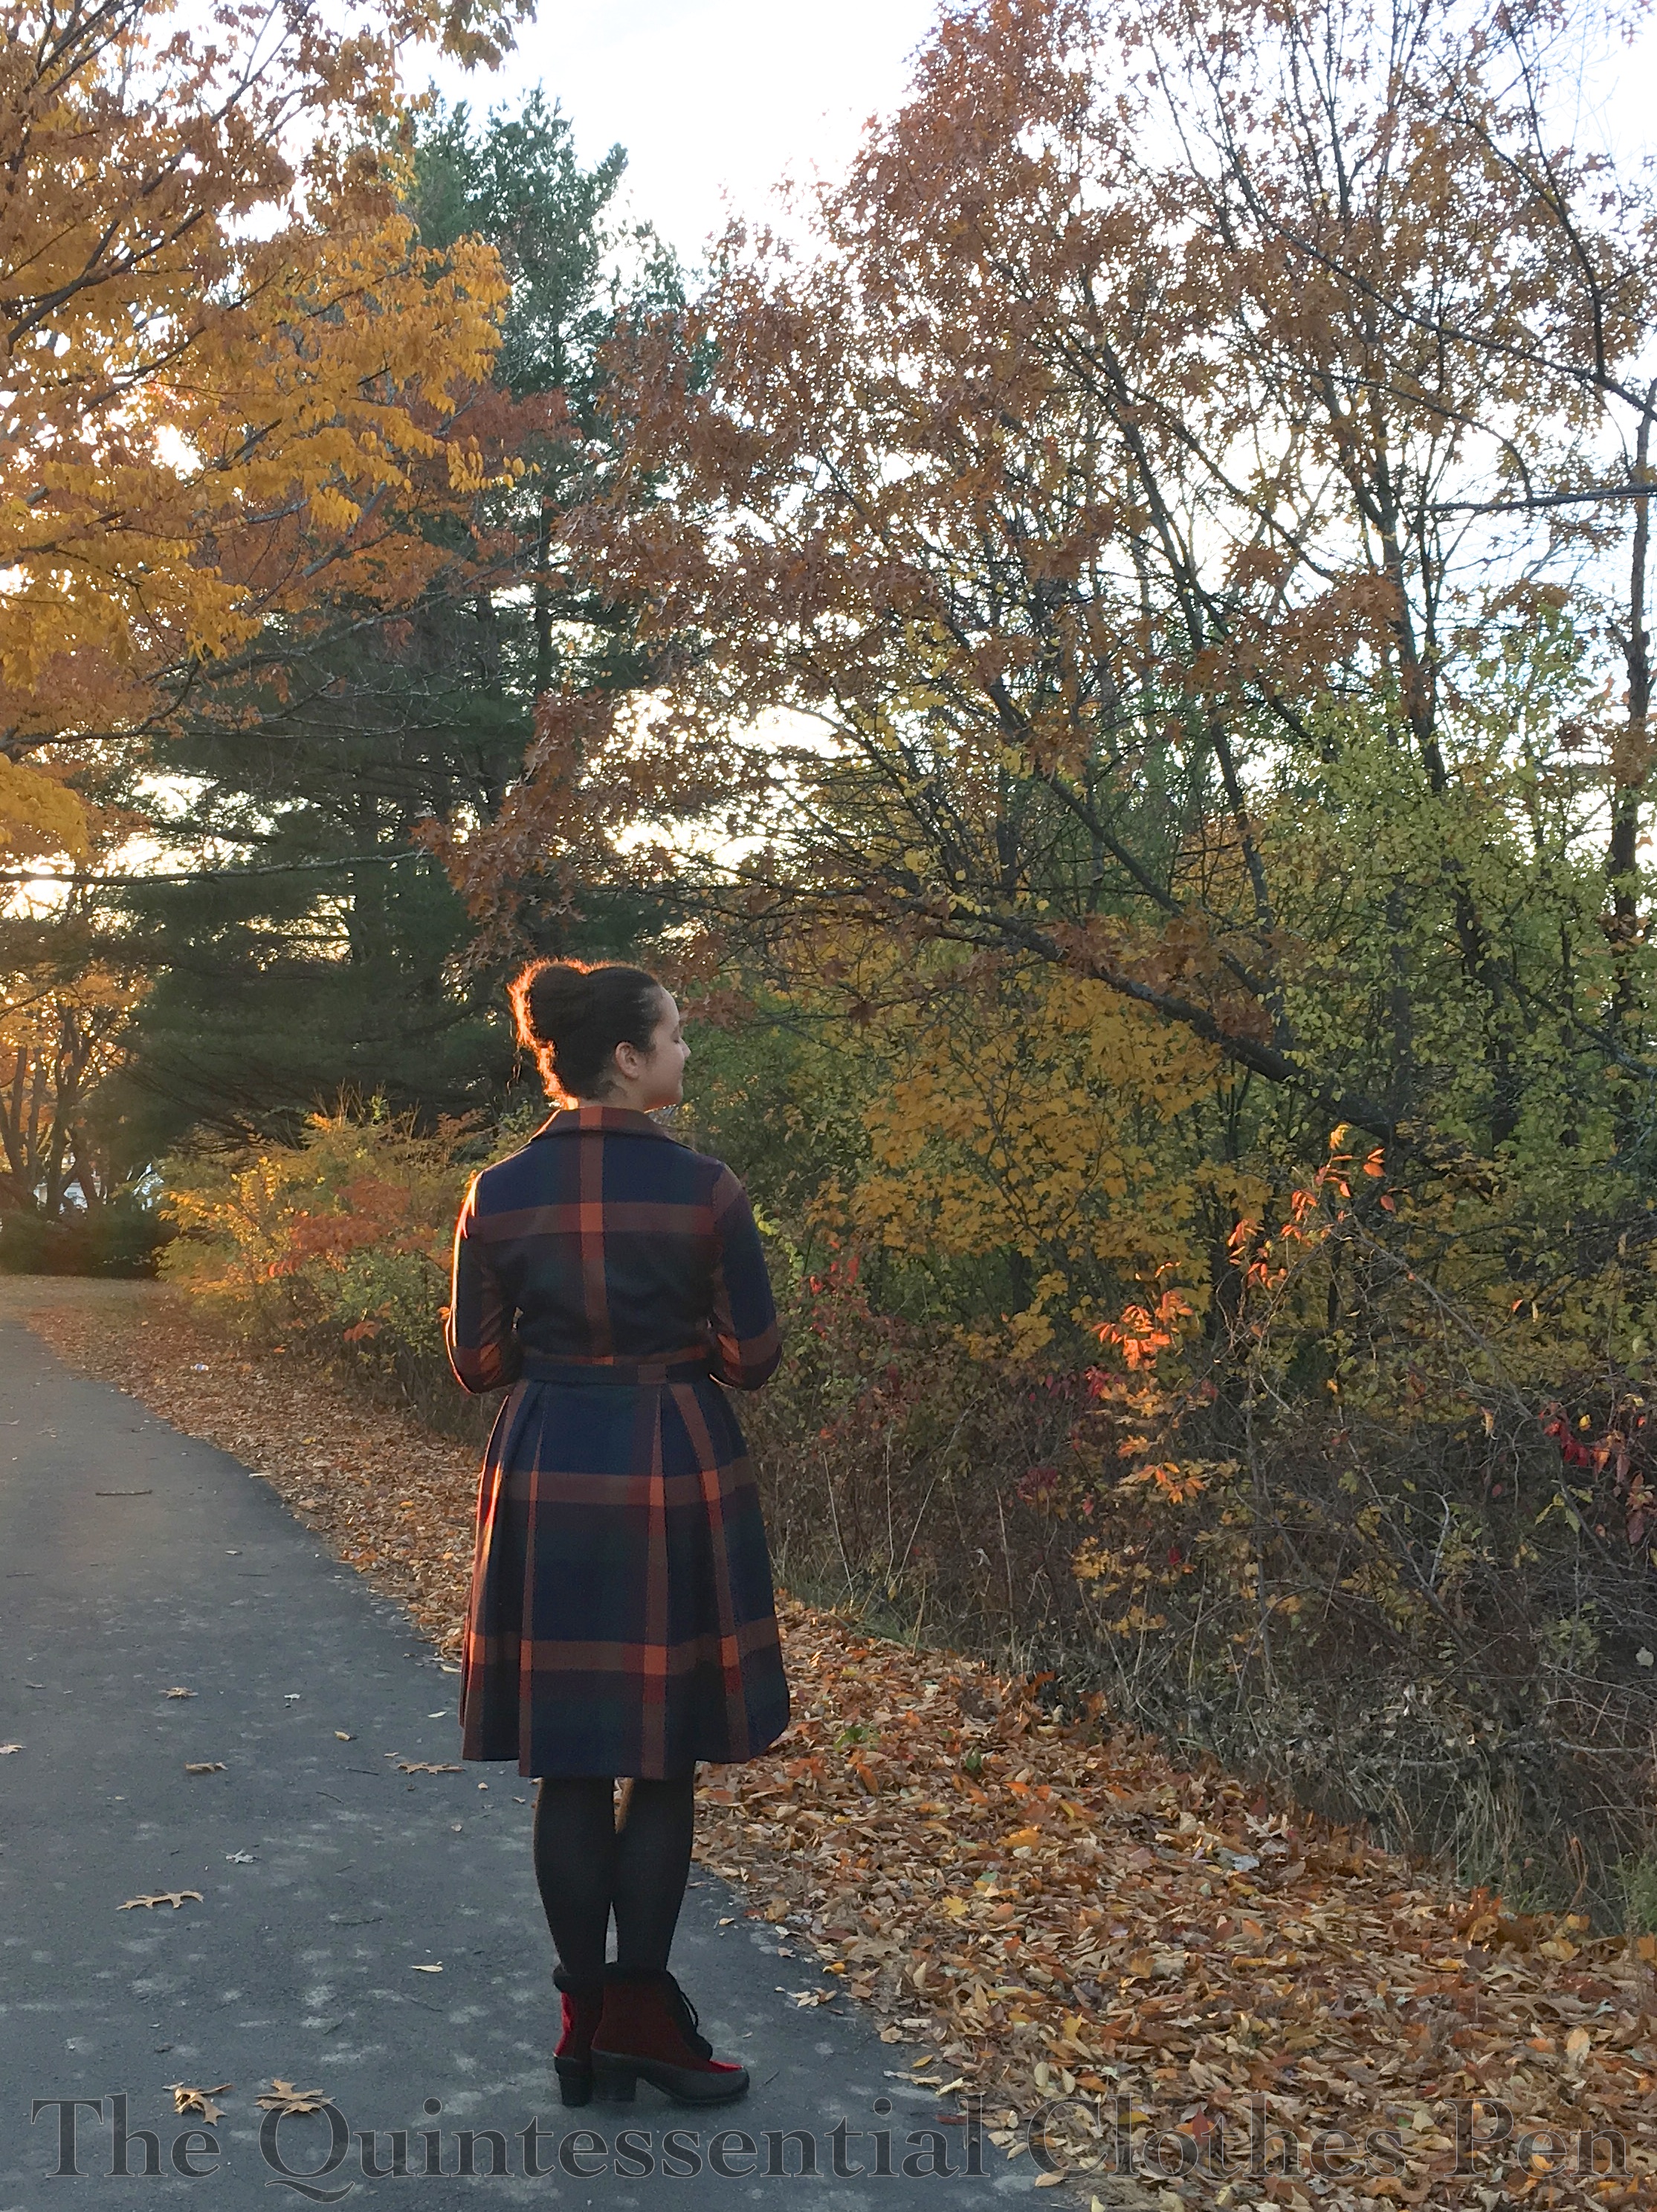
I made this dress at the very end of last summer. I even made sure to find time to take photos of it while the trees were still in full autumn glory! The colors in the fabric reminded me so much of autumn that I felt that photos with lovely changing leaves were essential!

This dress came about due to the intersection of inspiration and fabric. I think the inspiration came first, when I found this dress (with no further information other than the single image). I loved the irregular large scale plaid, hidden placket, shirt collar, and long sleeves. It’s just a very different plaid dress than the often some-amount-of-circle skirt and smaller scale plaid dresses I am often drawn to.

In November of 2016, I saw the perfect fabric at Blackbird Fabrics. Of course it’s long gone now, but I snapped up 1.5 meters at the time. I loved the rich autumnal colors and large scale plaid! That pop of orange is unusual and great!
After that, the fabric sat in my stash… Until last year, when I actually make time for the dress. In August, I decided that now was the time!

The first step was to figure out a pattern. The bodice started life as McCalls 7351 because I didn’t want to deal with drafting a collar or front button placket. I also thought it might be a good starting place for sleeves.

I made multiple mockups of this pattern, fiddling with the fit especially in terms of the sleeves. I wanted to have a dress I could work in, with full range of motion for my arms without feeling constricted or lifting the dress at the side seams. This is not what I got with the sleeve straight out of the envelope. It looked nice with my arms down, flat and smooth, but I had very restricted arm movement. (So I guess this pattern wasn’t the easiet starting place for sleeves… oh well!)

After finally sorting out the fit of the sleeves and body pieces, I moved on to changing the front button placket to be invisible as I really liked that feature of the inspiration dress. This tutorial from Threads Magazine was great for this pattern change. Once I understood the different parts and how the folds interacted it was easy to alter the width of each fold to make a narrower placket than the tutorial.

I drafted the skirt pattern on a dress form. I wanted to get the deep pleats and rounded silhouette of the inspiration. It was a bit tricky and required lots of fiddling, playing with pleat depths, and also playing with the angle of the pleats at the waist seam.

Armed with my pattern pieces, I sat about cutting my fabric… and realized that 1.5 meters was not enough fabric to make the dress I had patterned! Oh no! What to do?

The first thing I did was eliminated some of the fullness I put in the skirt. I was able to keep the pleats, but the hem is narrower than I’d originally patterned. (But that’s fine in the end, because I think it’s a nice shape without being too full.) Then I started very, very carefully planning where to put each of the other pieces I needed. I realized that I could use less fabric if I changed the back from the original pattern (with a yoke and bottom section with a box pleat as on a man’s dress shirt) to a simple darted one-piece back. I did some pattern piece mashing, tested the new pattern out, and was able to move forward again.

My detail-oriented brain clearly decided on symmetry of the plaid (even though the inspiration didn’t worry about that at all and that’s something I liked… I find it’s hard to break the desire for symmetry!). That meant the cutting layout needed to be very specific in order to accommodate both that and the quantity of fabric I had to work with.

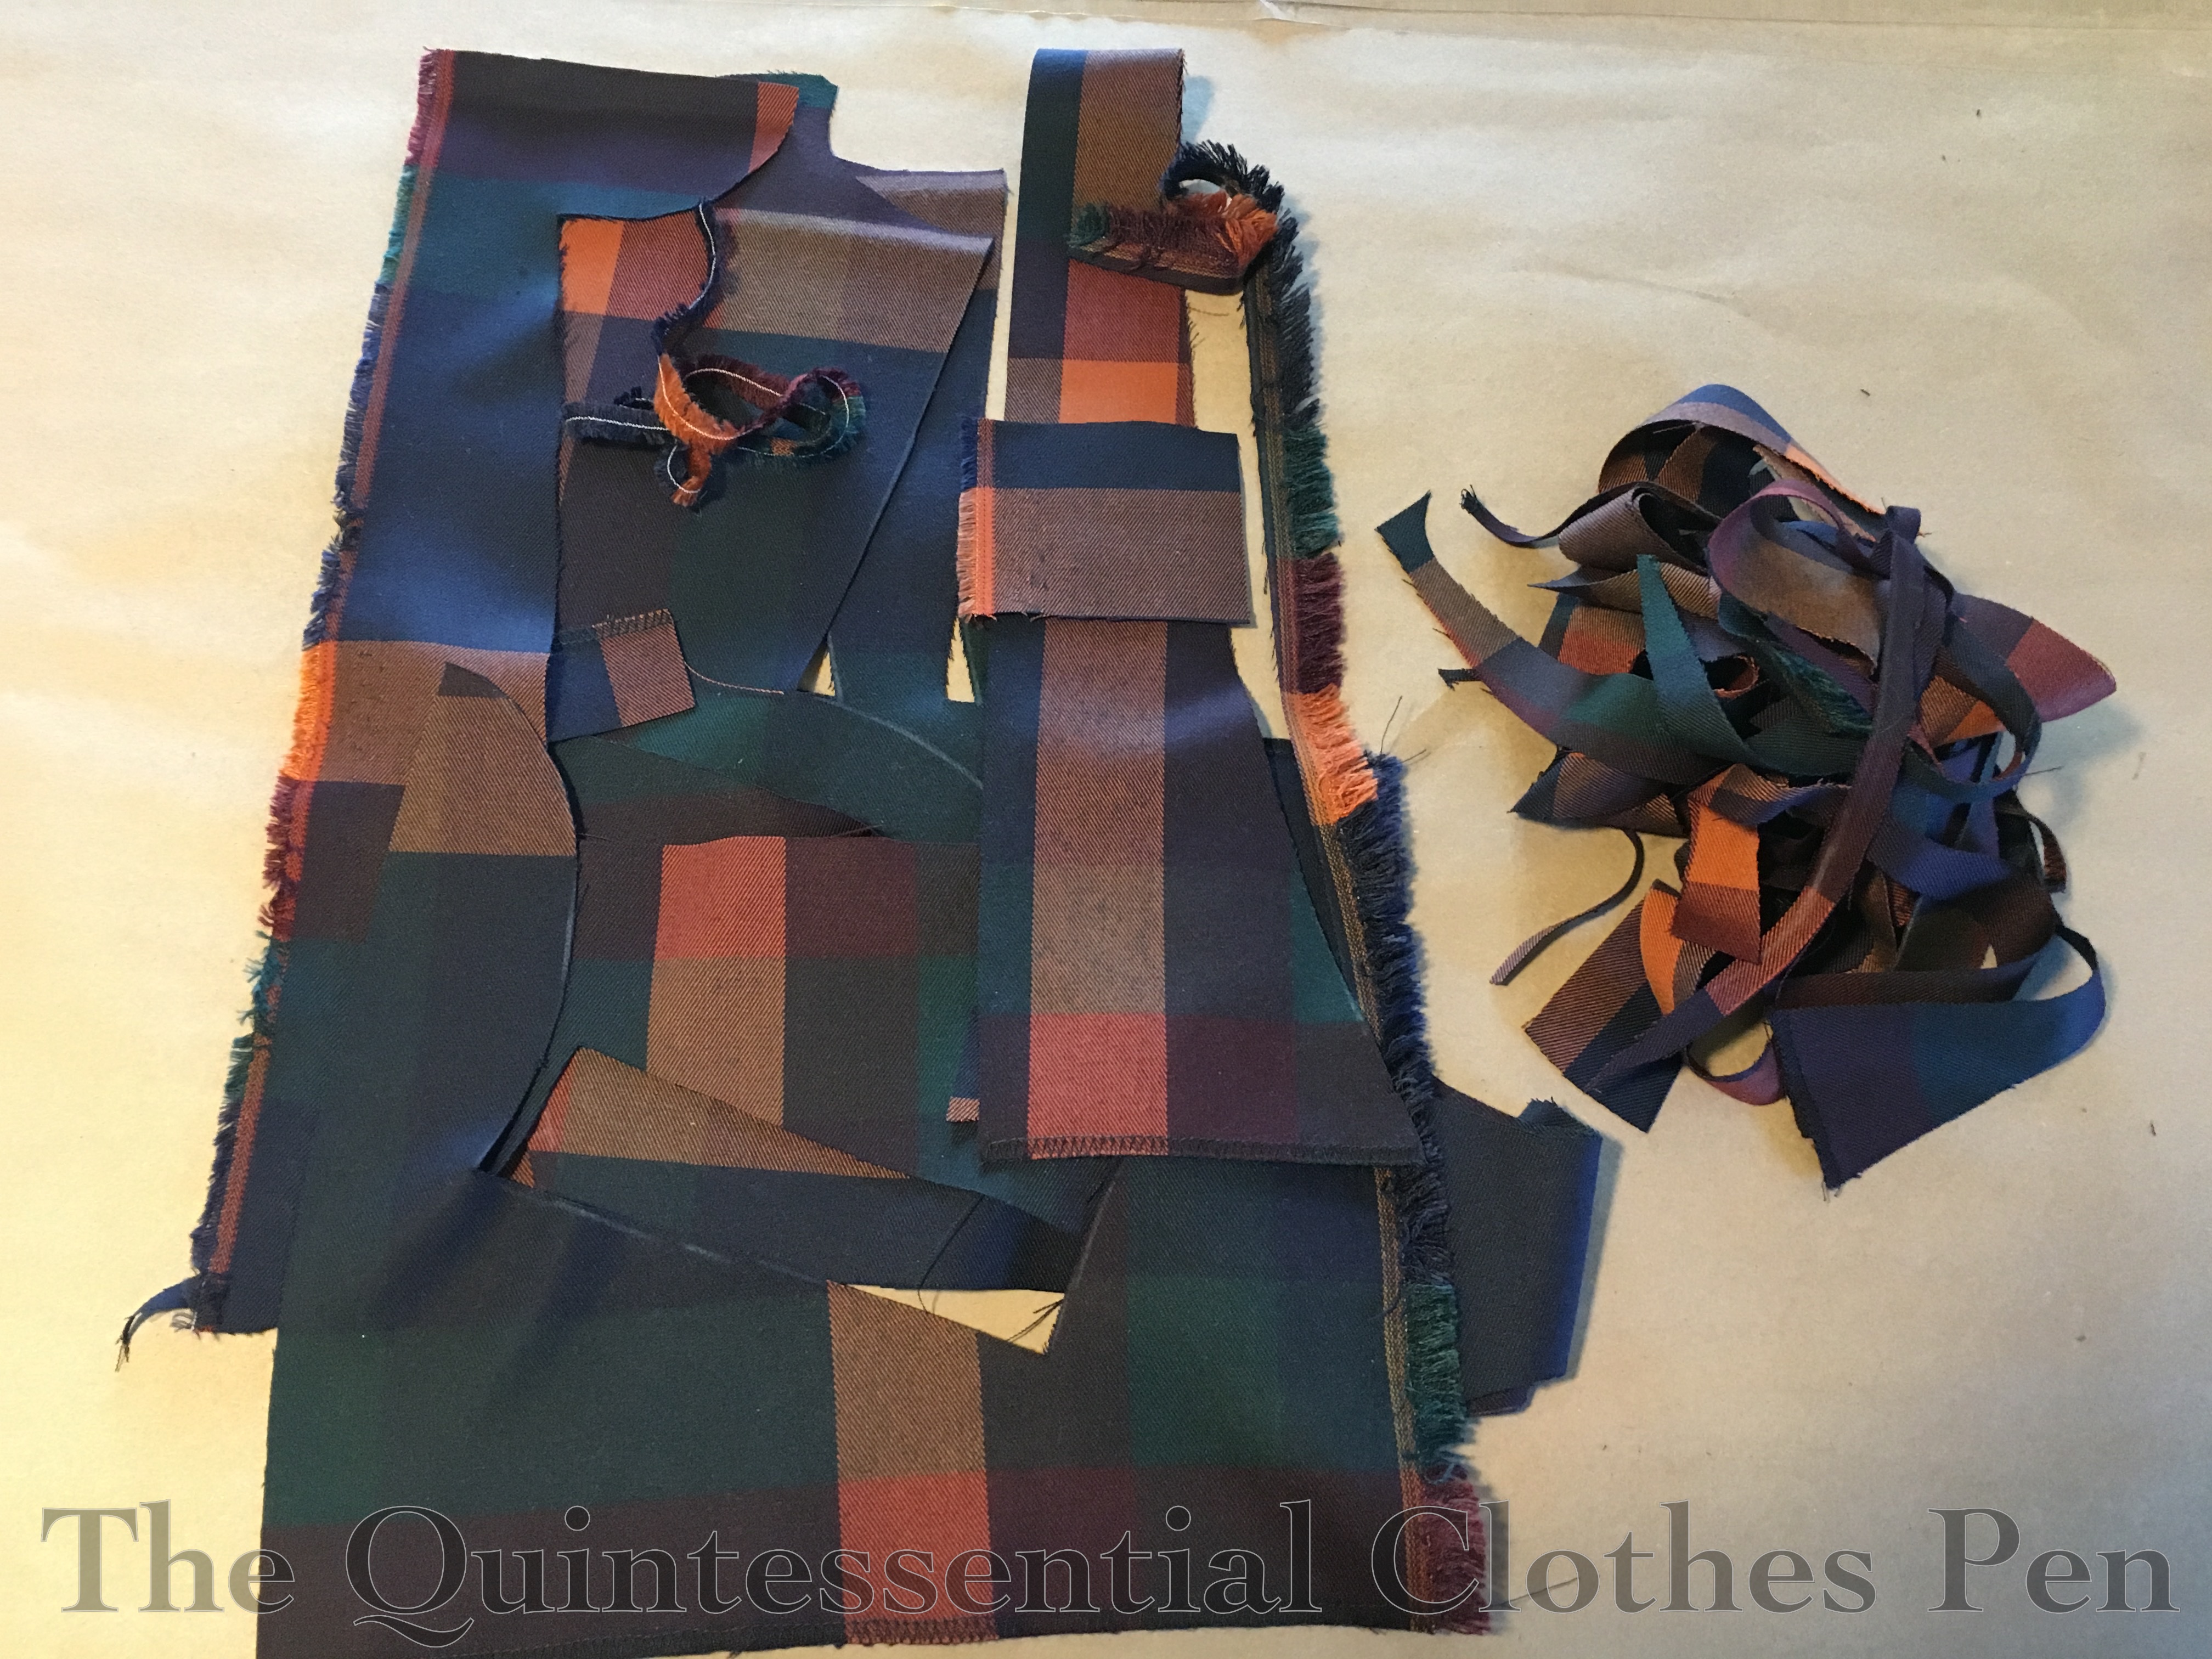
I fit the skirt pieces on the yardage (with a tiny hem). Then found places for the fronts (without the placket extensions) and back. The sleeves barely fit. I could have shortened them and had plenty of fabric but I really wanted the wrist length. The collar and placket pieces were next. They got squished in between the larger pieces. Of those, only the upper collar is one piece. As you can see in the next photo, the under collar and both layers of collar stand have seams at center back (though I did manage to make them all symmetrical!). The button placket had to be seamed on and pieced horizontally and the buttonhole placket also had to be pieced on. There’s a narrow orange line near the buttonholes just across from the horizontal piecing seam where the placket extension was stitched on to the front piece.

This was absolutely a case of laying out every single piece before cutting anything! After all that, this is what I was left with for fabric scraps. I’d say that’s a pretty good use of all my fabric, wouldn’t you?
I was very amused by the fringe-y selvedge edge and wanted to incorporate it into the dress. I used those selvedges for the inner edge of my plackets. The already finished edge was stitched down but not turned under, so a little bit of the fringe pokes out when the dress is worn. I did debate if it was making the dress too home-made looking, but I think it’s subtle enough that it doesn’t have that effect.
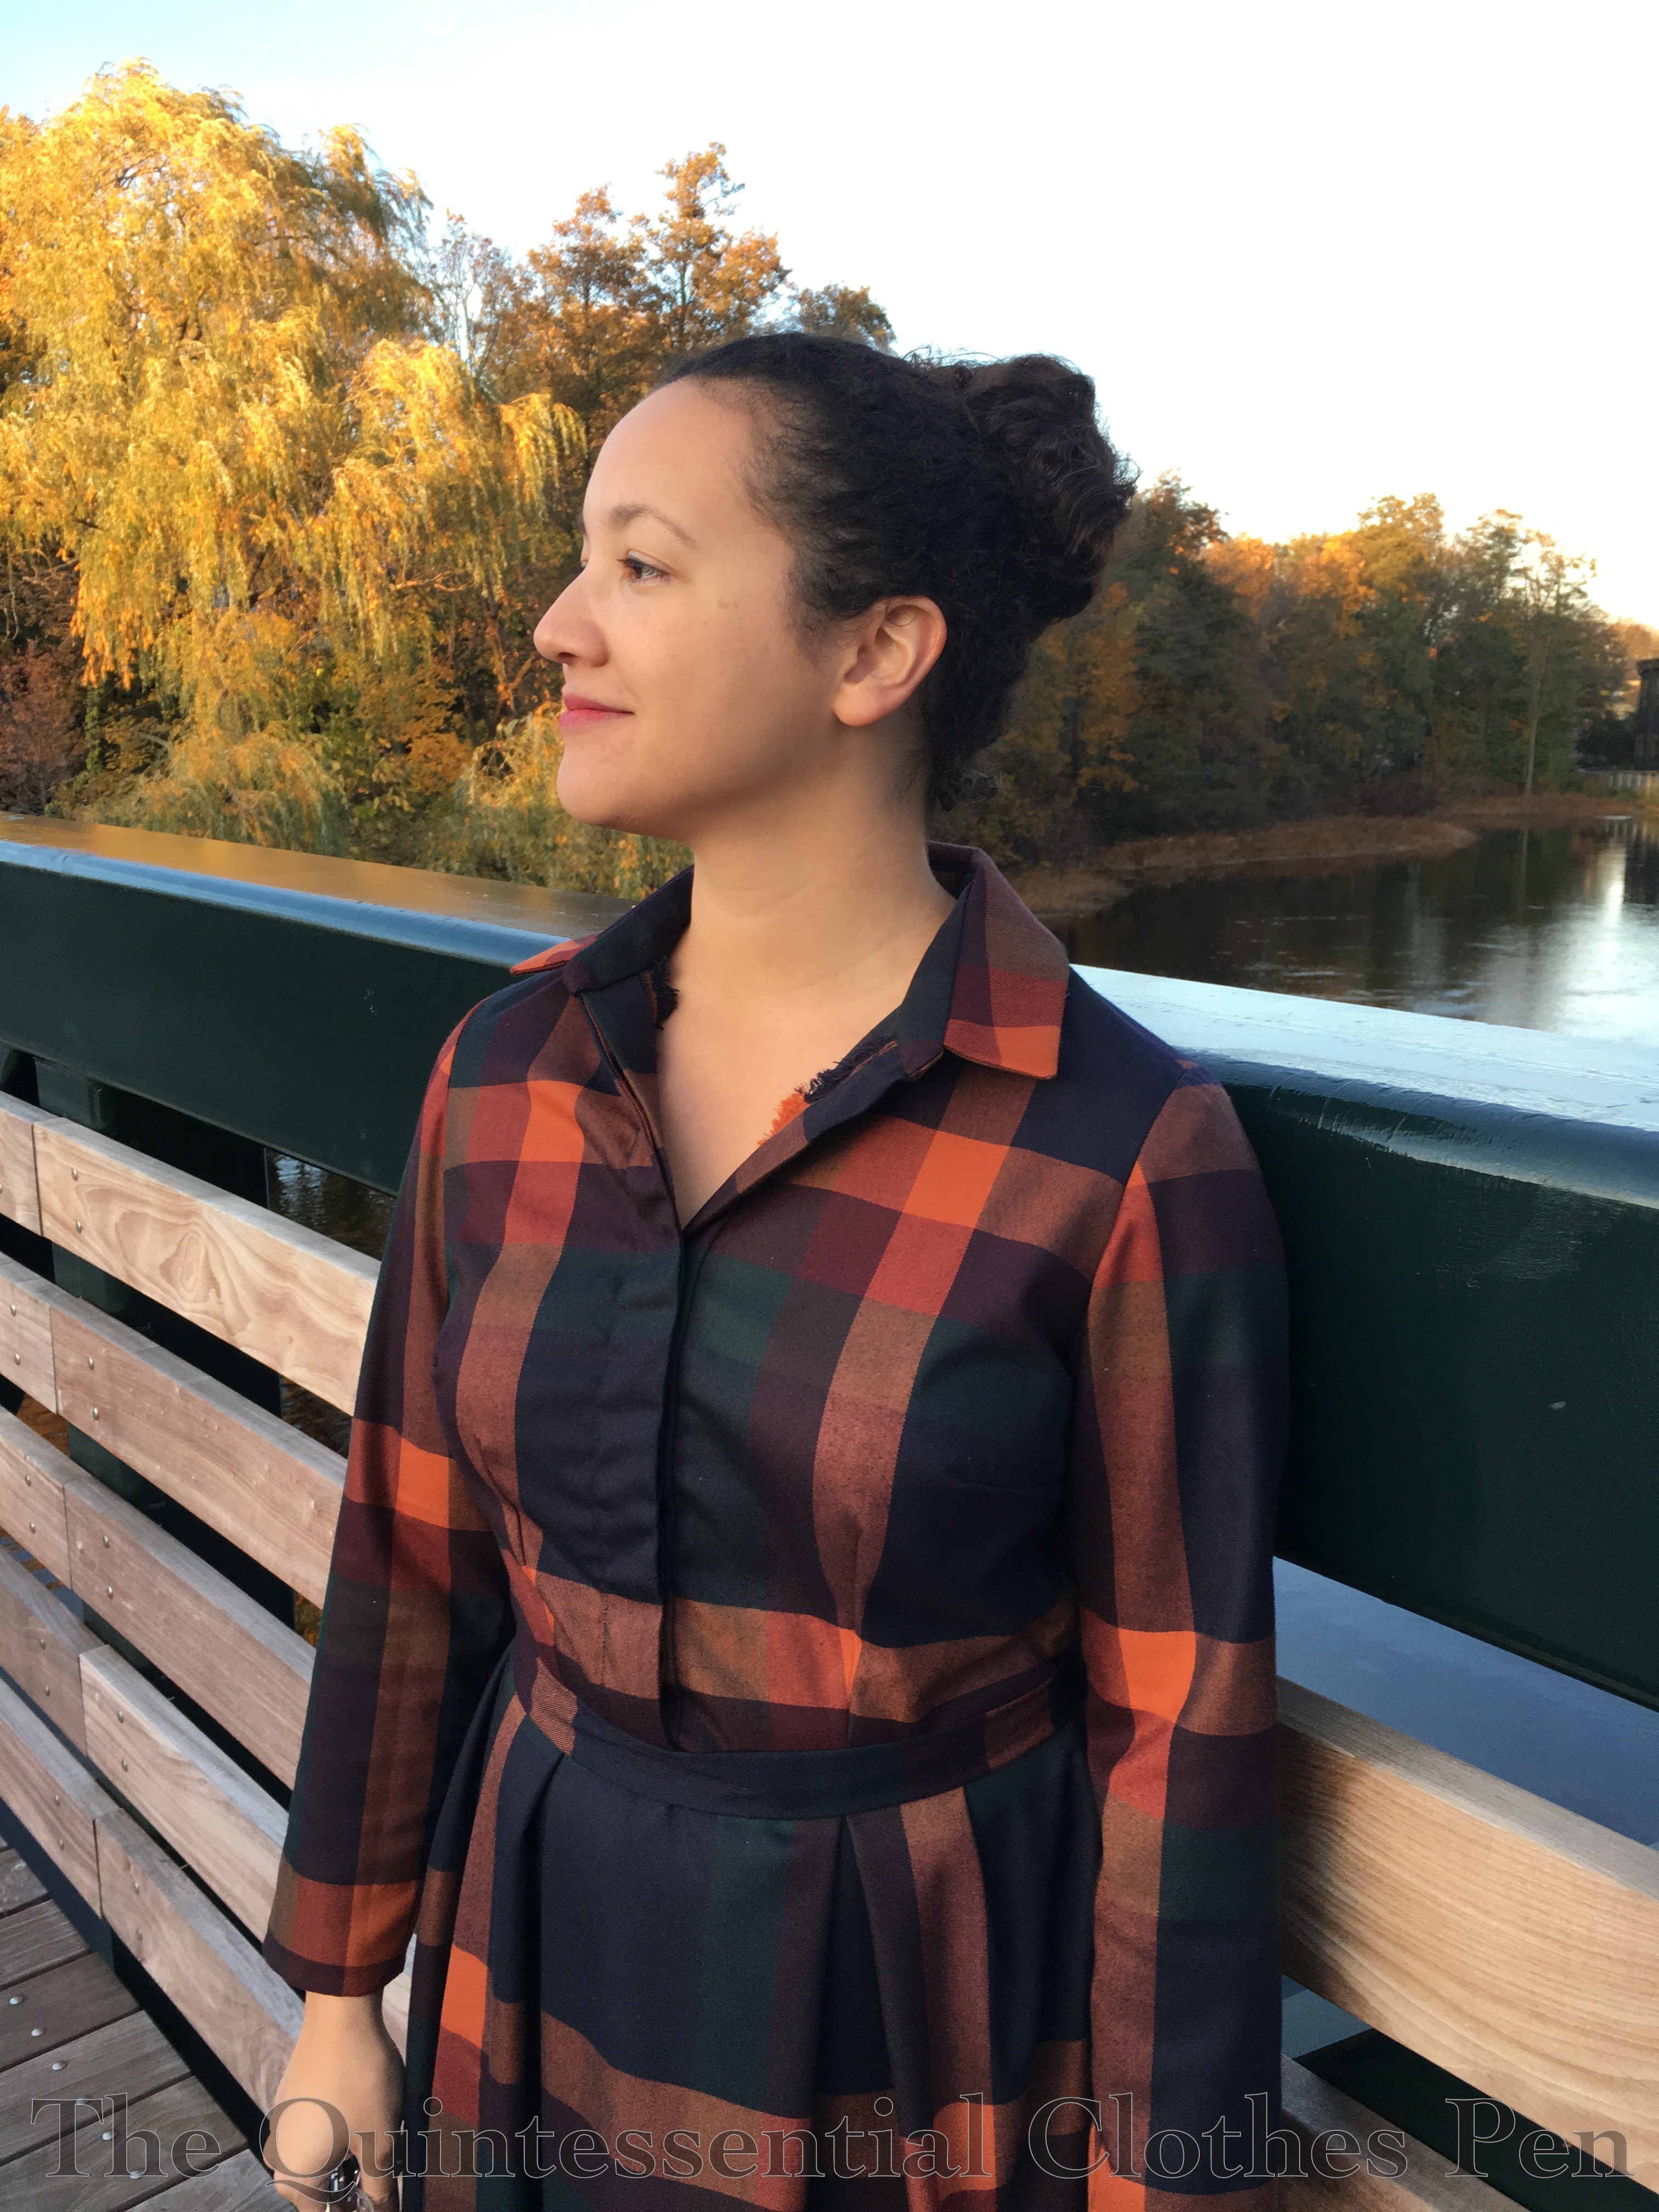
At some point I also made space on the fabric for a belt. There was no way to make this symmetrical without a lot of piecing, given the spacing of the plaid and the placement of the plaid on the dress, so this is my nod to asymmetry. I can line up one of the orange lines somewhere, but somewhere else around my waist they don’t line up.
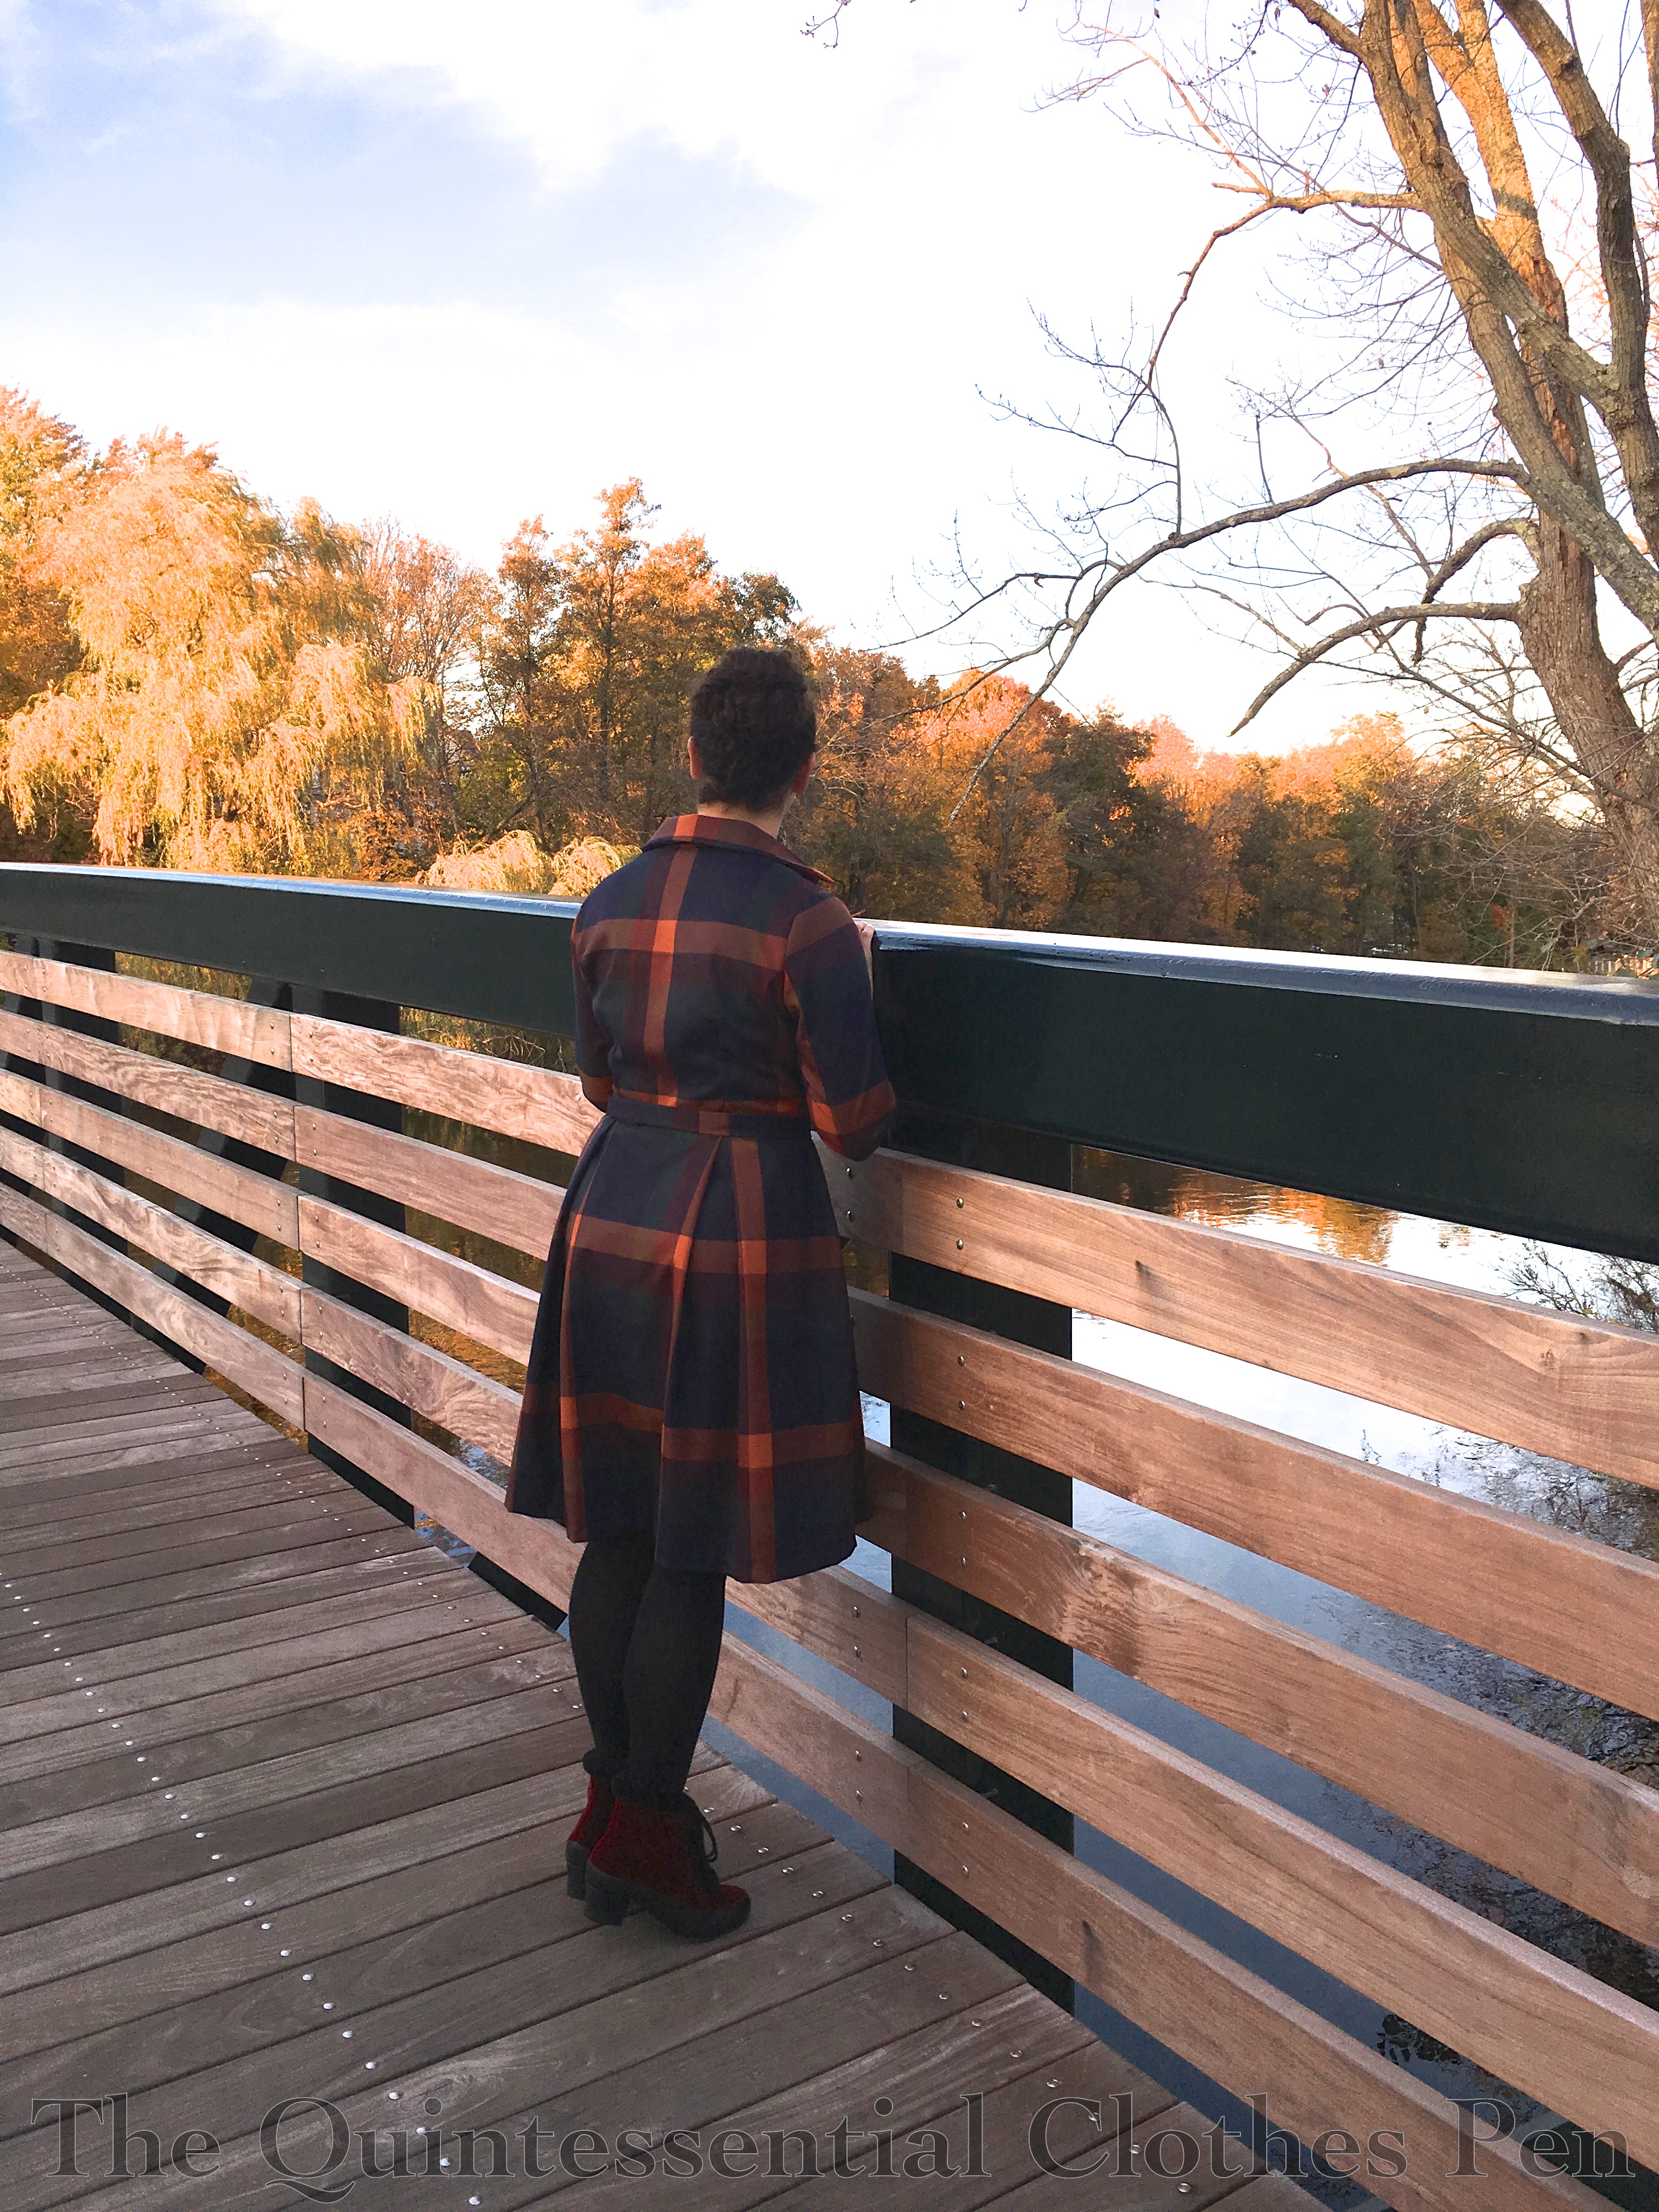
I finished this dress right around the time that the pre-orders from Royal Vintage Shoes were delivered last fall. I had great fun wearing this dress with my new burgundy Aspen Boots. I couldn’t resist having red winter shoes!
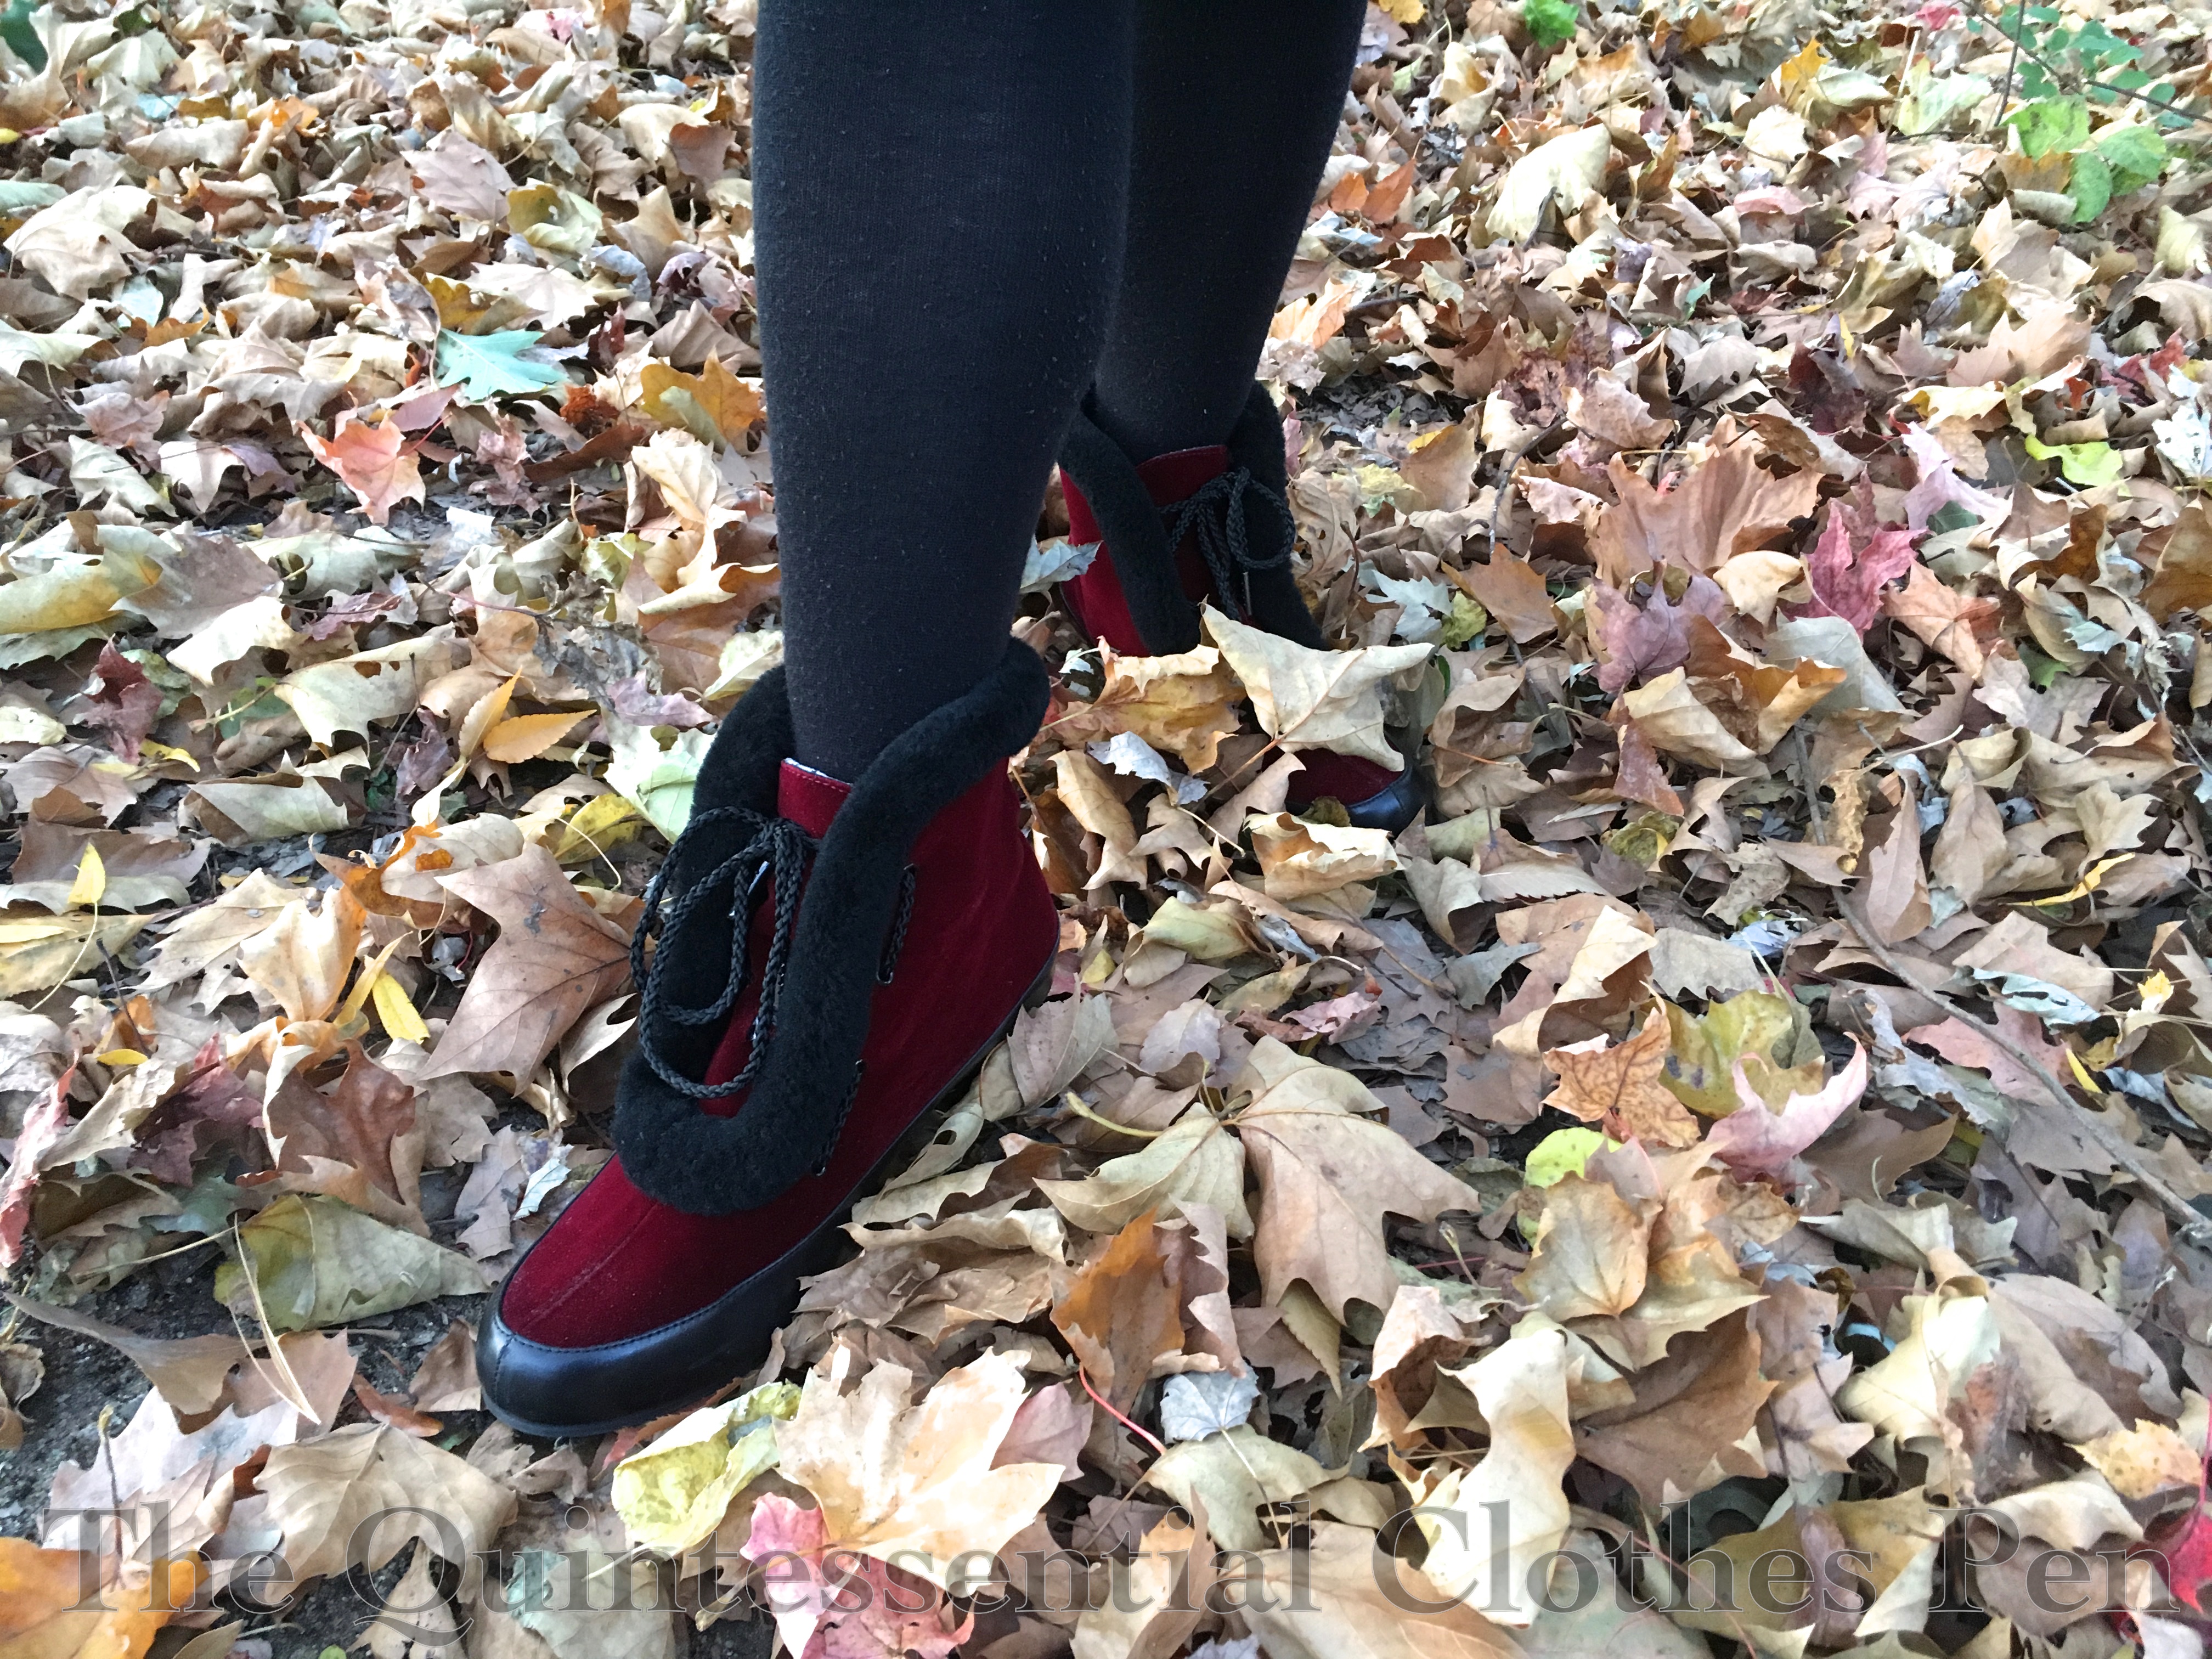
I love these boots! I added an insole under my heel to help cushion my feet and they are so comfortable! I can wear them standing and walking all day and not have aching feet. The low heel is flattering and snazzy without feeling like a heel. The rubber soles are great for wearing in rain and snow. They are great with pants and skirts/dresses. And they’re a fun color! I feel very confident when I wear them and get lots of compliments. Can I say anything else positive? I love these!

What else have I not mentioned about the dress?

The buttons are from my stash and are plain and dark. I was one short, so there’s a slightly different dark button at the bottom. It’s fun to have details like that on clothes you make yourself.

My fabric is a nice medium-weight twill, which makes the dress well suited to fall and winter wearing. The dark colors didn’t really speak to me to wear this spring and it’s not a summer dress, so it’s waiting for autumn to roll around again to be worn. In the meantime, I’m happy to have captured the lovely colors of the leaves with the wonderfully autumnal colors of the dress. Maybe this year I’ll take photos of it with pumpkins…!

Regency Intensive Dance Weekend 2019

It’s been two years since I last did a post covering the entirety of one of the Commonwealth Vintage Dancers’ annual Regency Intensive Dance Weekends. I thought this year would be a good year to bring back that tradition, so I made sure to capture moments throughout the weekend (or I helped friends make that goal happen!). So… prepare for a long post with lots of photos!

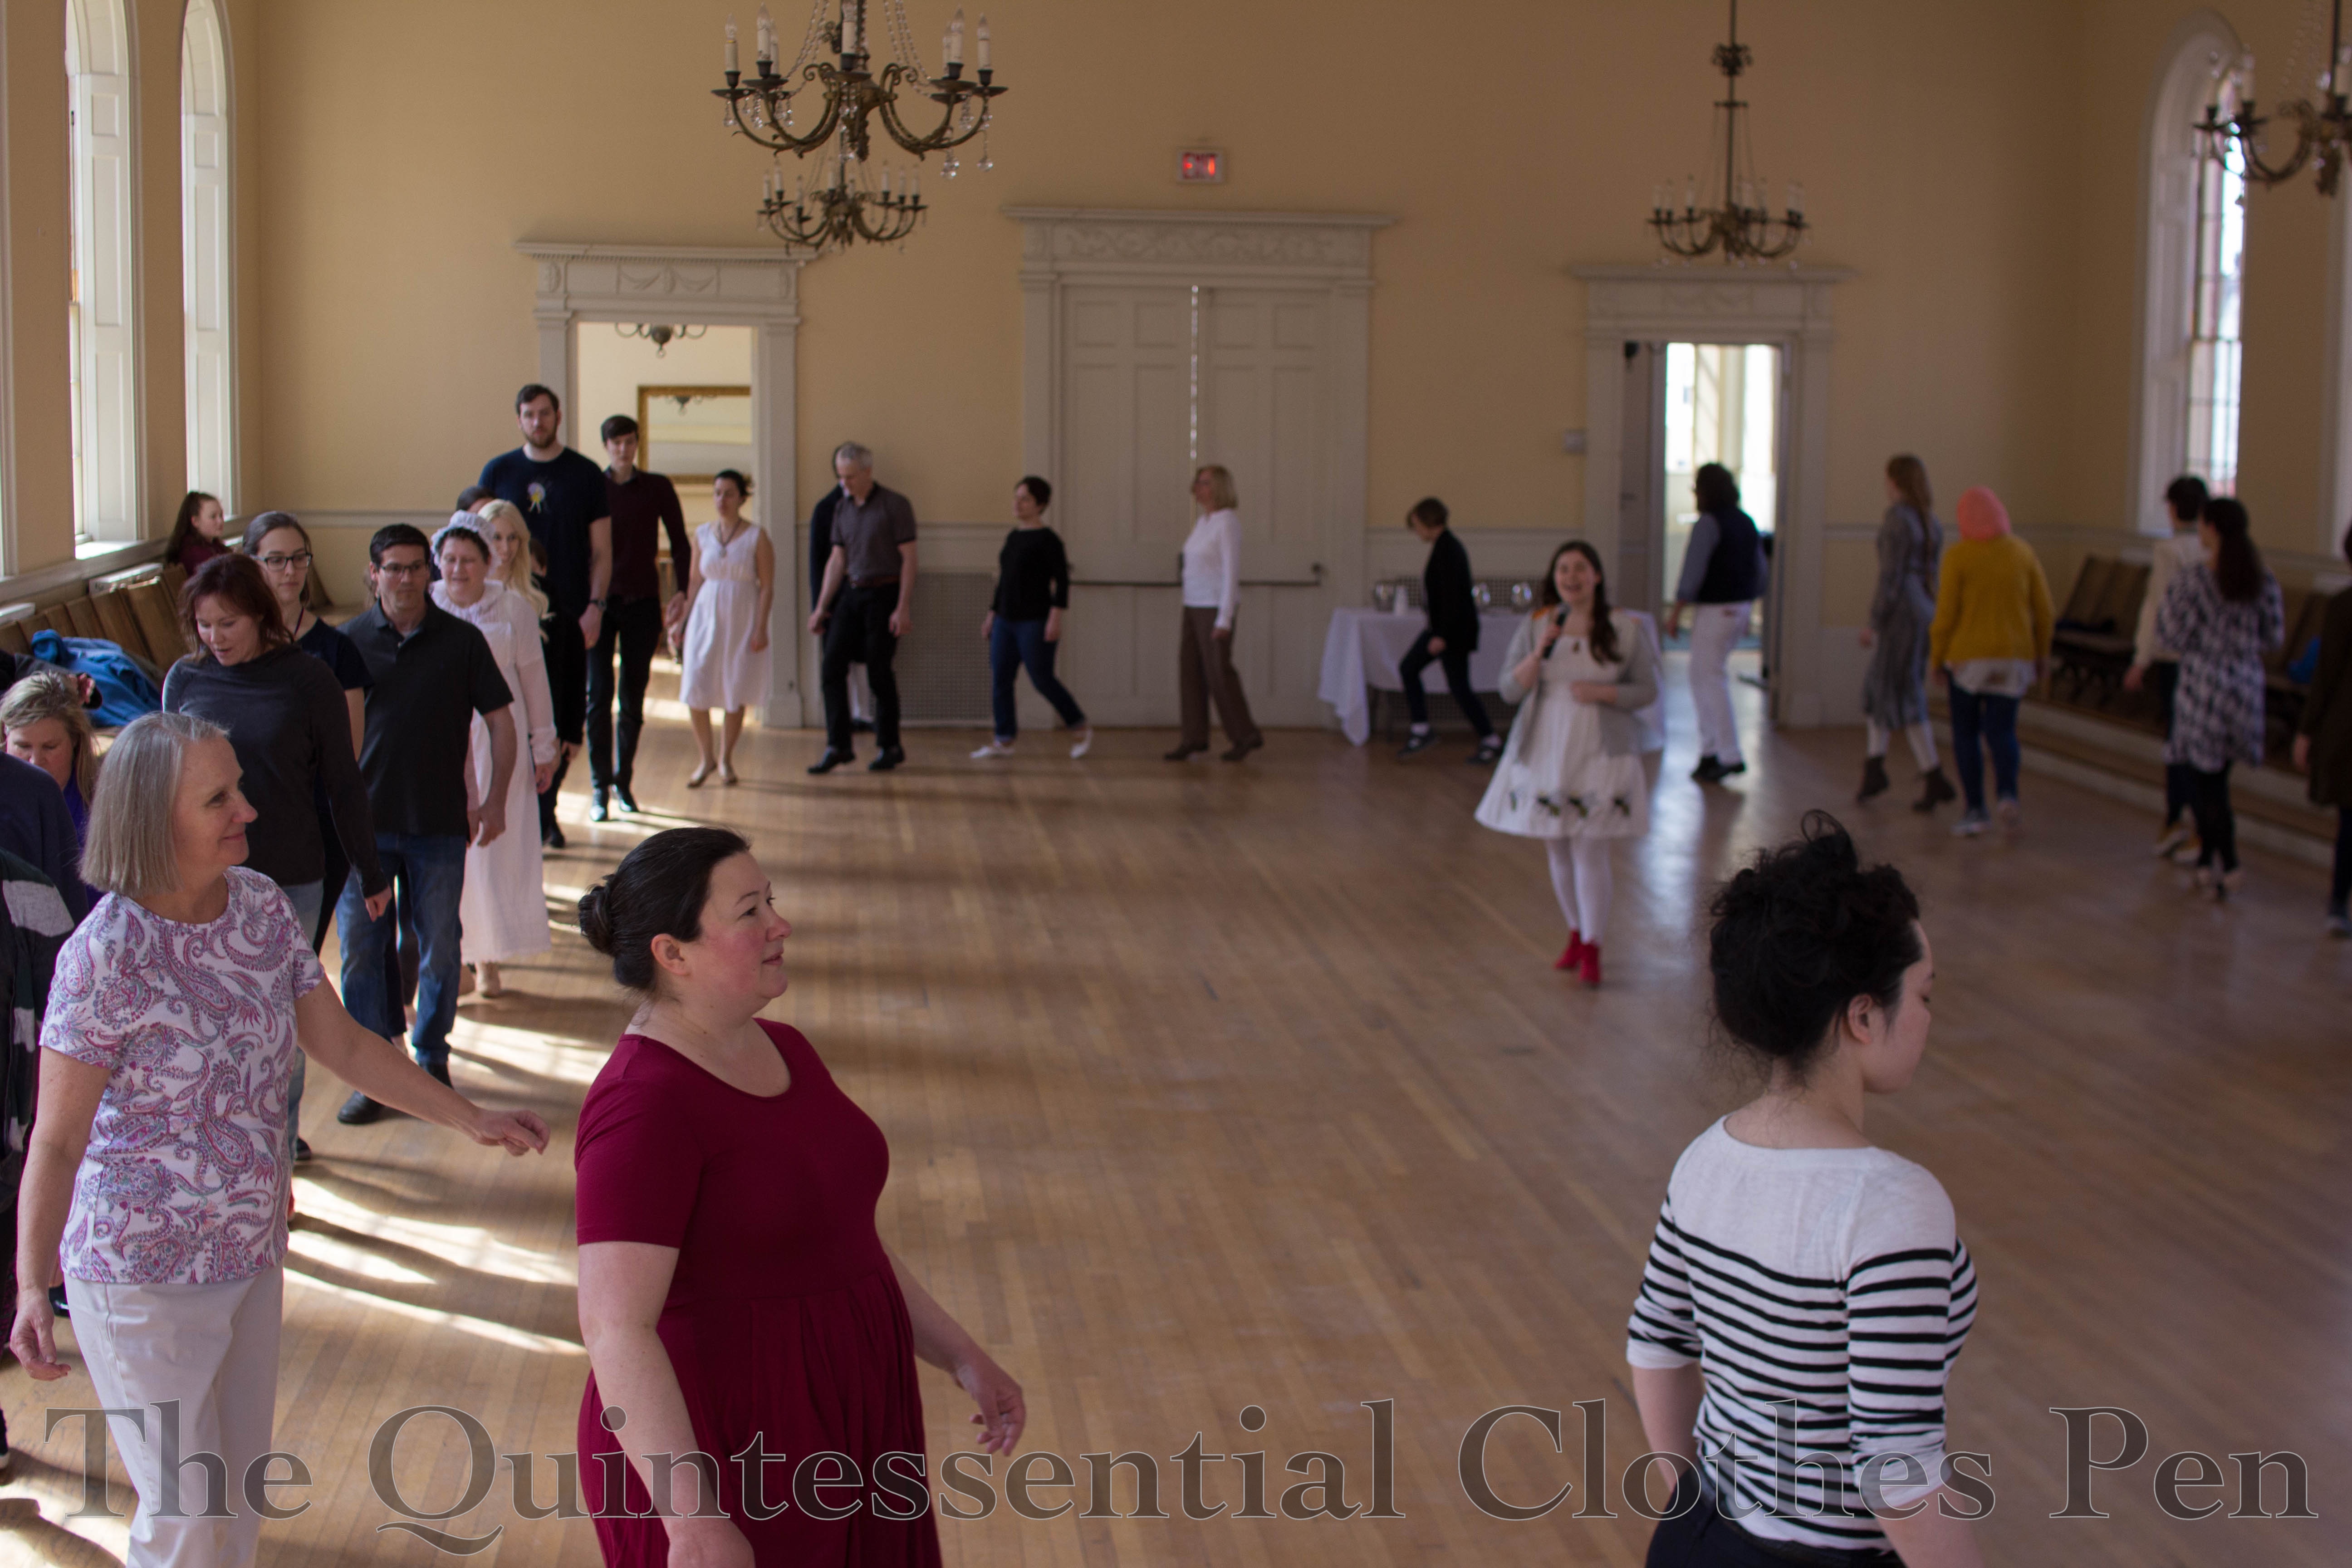
Saturday is a day full of dance classes. The name of the weekend does include the word ‘intensive’, right? The level of dancing achieved at this event is quite a step above a stand alone ball and I love how special that is. Here we are in the morning, learning the special steps that are particular to Regency dancing.

Saturday evening brings a ball to practice all the dance steps learned throughout the day. This year I decided to wear my red and gold 1813 evening gown and red and gold tiara with my red and gold reticule. I enjoy how well these different pieces coordinate with each other!

Amusingly, two other ladies were also wearing red and gold dresses. With cross fronts! Isn’t it neat how a description such as ‘red cross front short sleeve gown with gold trimming‘ can be the same but each dress is unique?

I find it pleasant to observe lovely clothing on elegant people during the course of ball. New dresses and accessories add a bit of excitement to a gathering! I enjoyed seeing this dress because I also have a dress made from the same Ikea curtain fabric.

Sunday morning we have more dance classes followed by a mixture of tea, promenade, and games in the afternoon. The activities have varied over the last seven years but we’ve always had an afternoon of non-dance fun incorporating at least a few of these activities each year. This year we started with a promenade. Thankfully we had good weather: a reasonable temperature with just a little bit of sun that accommodated pelisses, shawls, and spencers.

We ended on the town common and stopped for photos. Isn’t this one lovely?

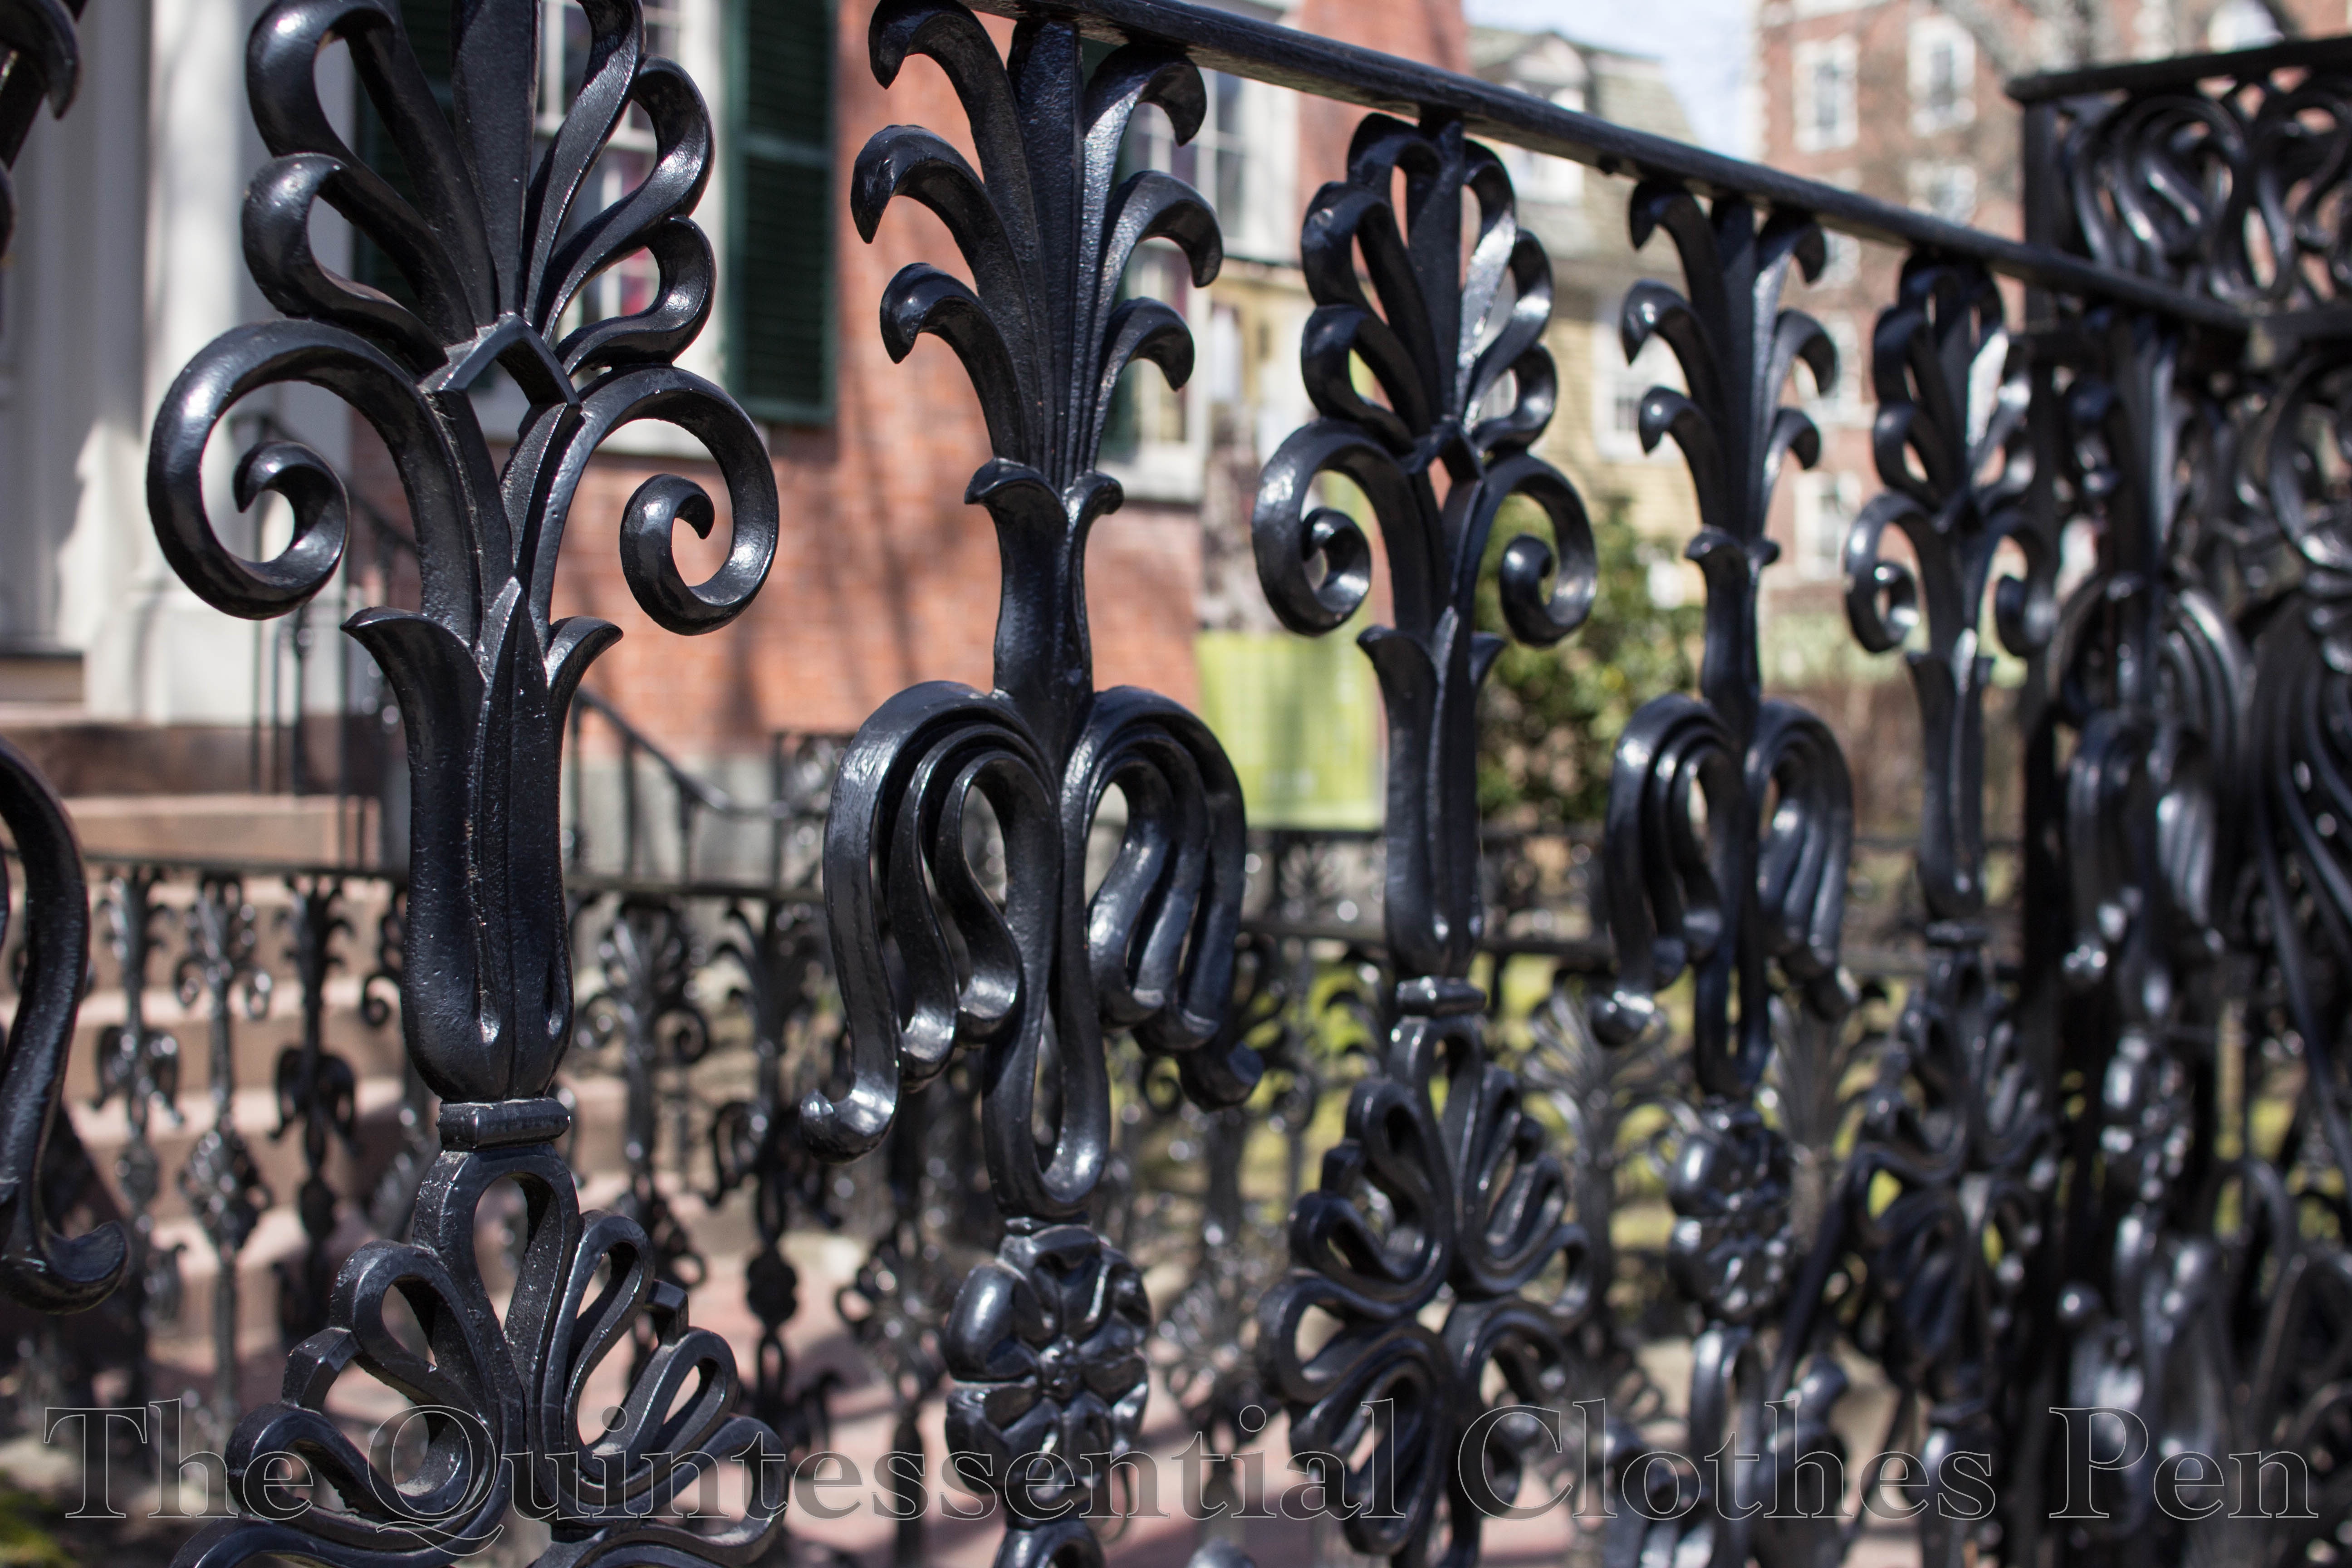
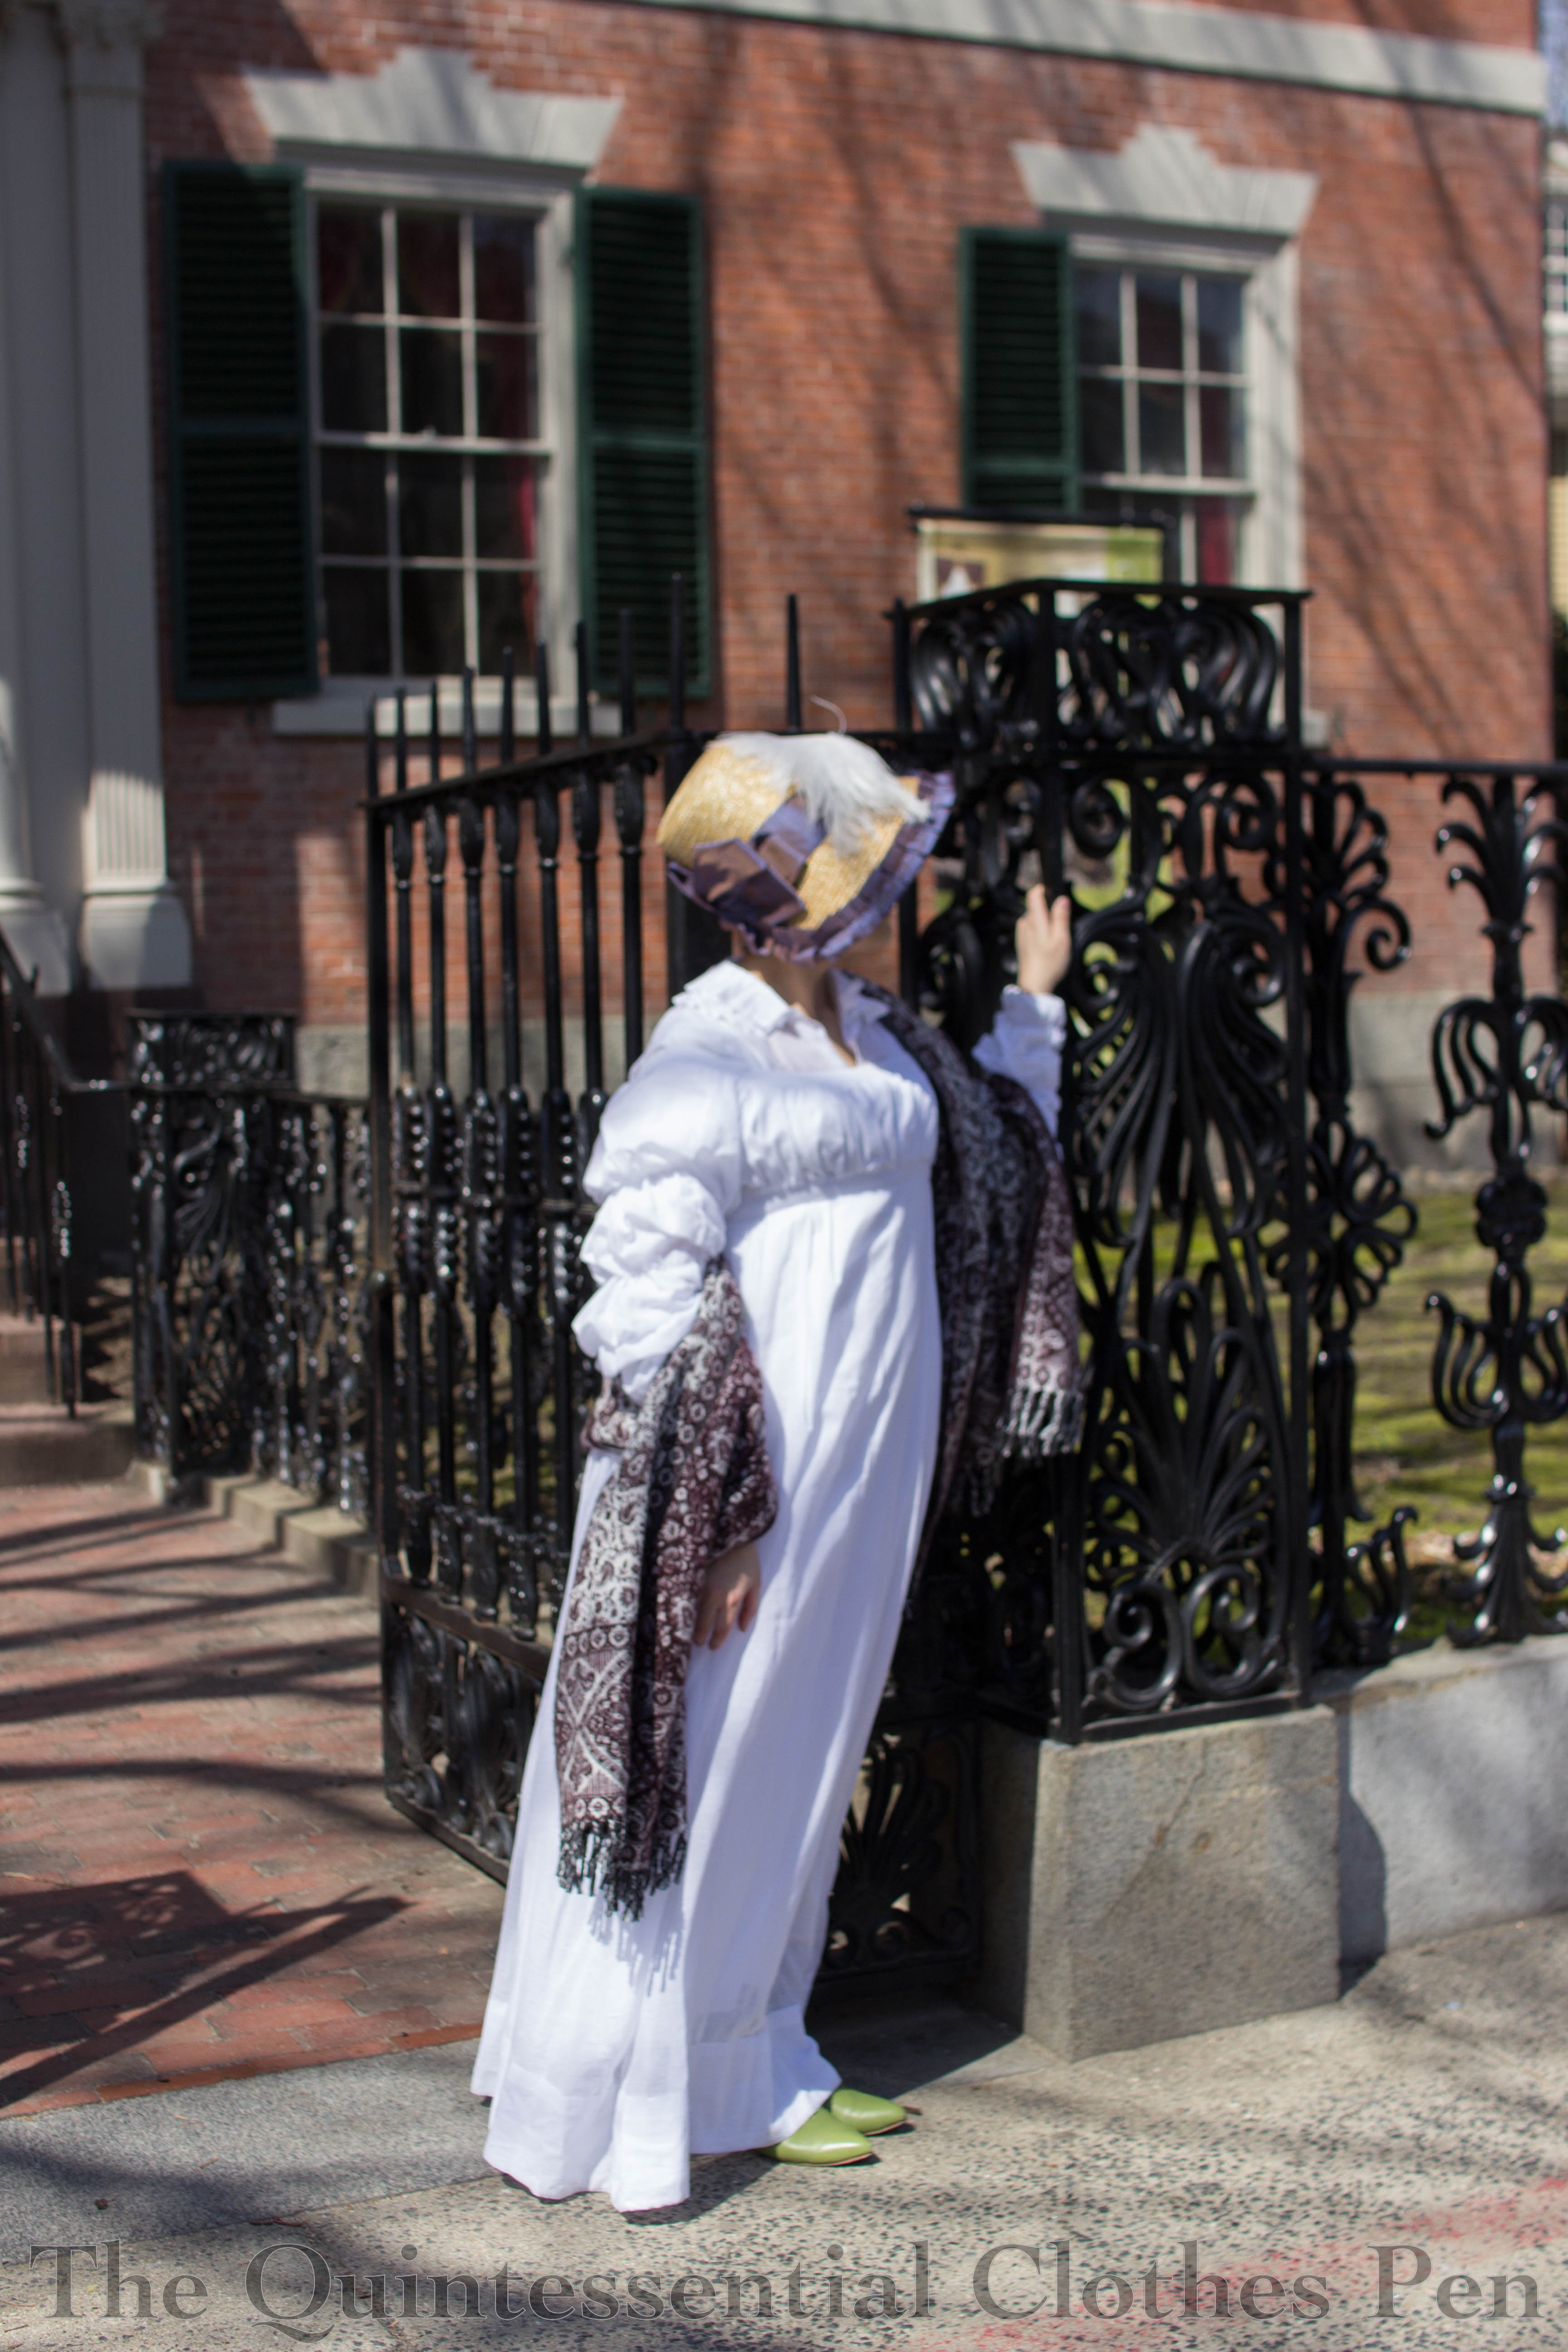
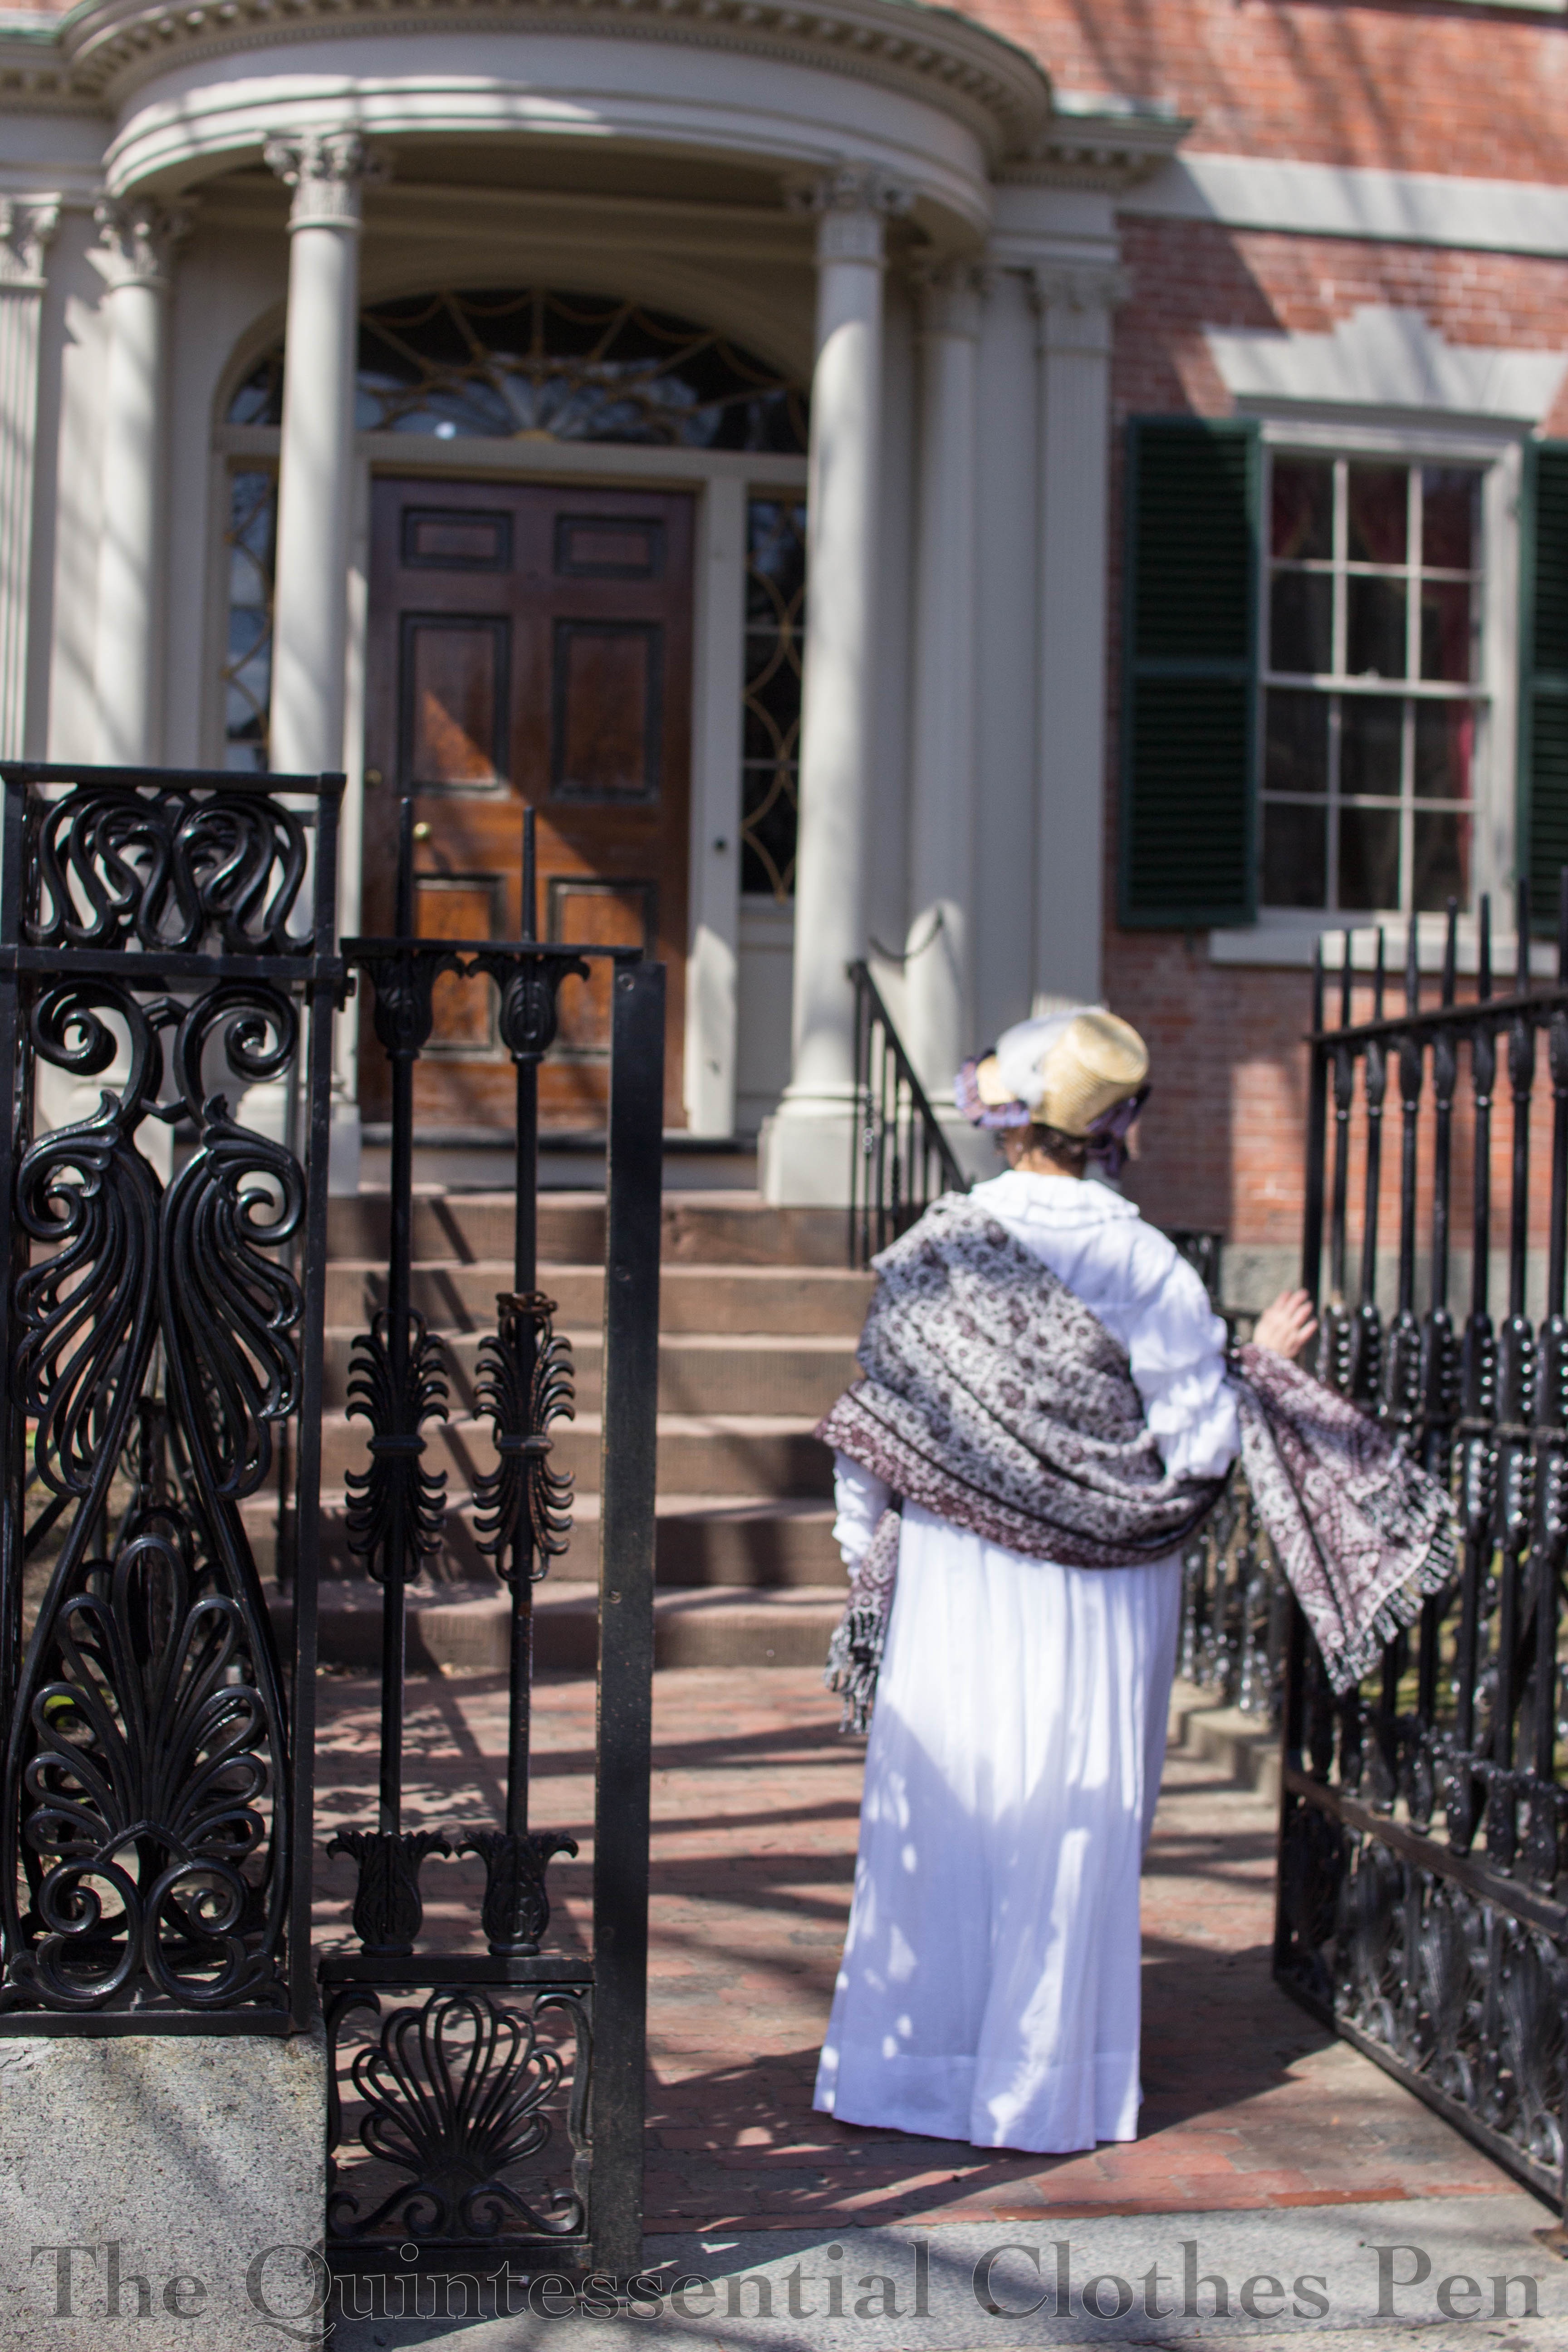
On our return stroll, I might have become distracted by one of the historic houses owned by one of the museums in town… The property had a fabulous wrought iron fence that I insisted we take photos with. Lots of photos… These are just a few!

As you can see, I wore my 1815 tree gown, 1819 spencer, and 1815 bonnet. Plus, I finally made use of a muff I made back in 2012 at Dress U! The scale of this muff is generally for the 18th century so I really haven’t used it since I made it, but the color matched my accessories so well that I decided to wear it with this outfit and I love the result. It’s super cozy and warm and the cover is completely separate from the down stuffed pillow inside so that in theory I can make other covers for it someday. This lovely item is the result of a class I took with LadyDetalle. (She has an Etsy shop that often stocks muffs like this as well as many other beautiful and historically inclined goodies.)

Back at the hall, tea was well underway. This year’s group really enjoyed chatting with each other and playing games. It was charming to observe such enjoyment.

Not too long after tea comes the grand ball across town. We have always started this ball with a reception that includes champagne sabering in a little park just near the hall.

Arriving back at the hall, guests are greeted with sparkling cider.

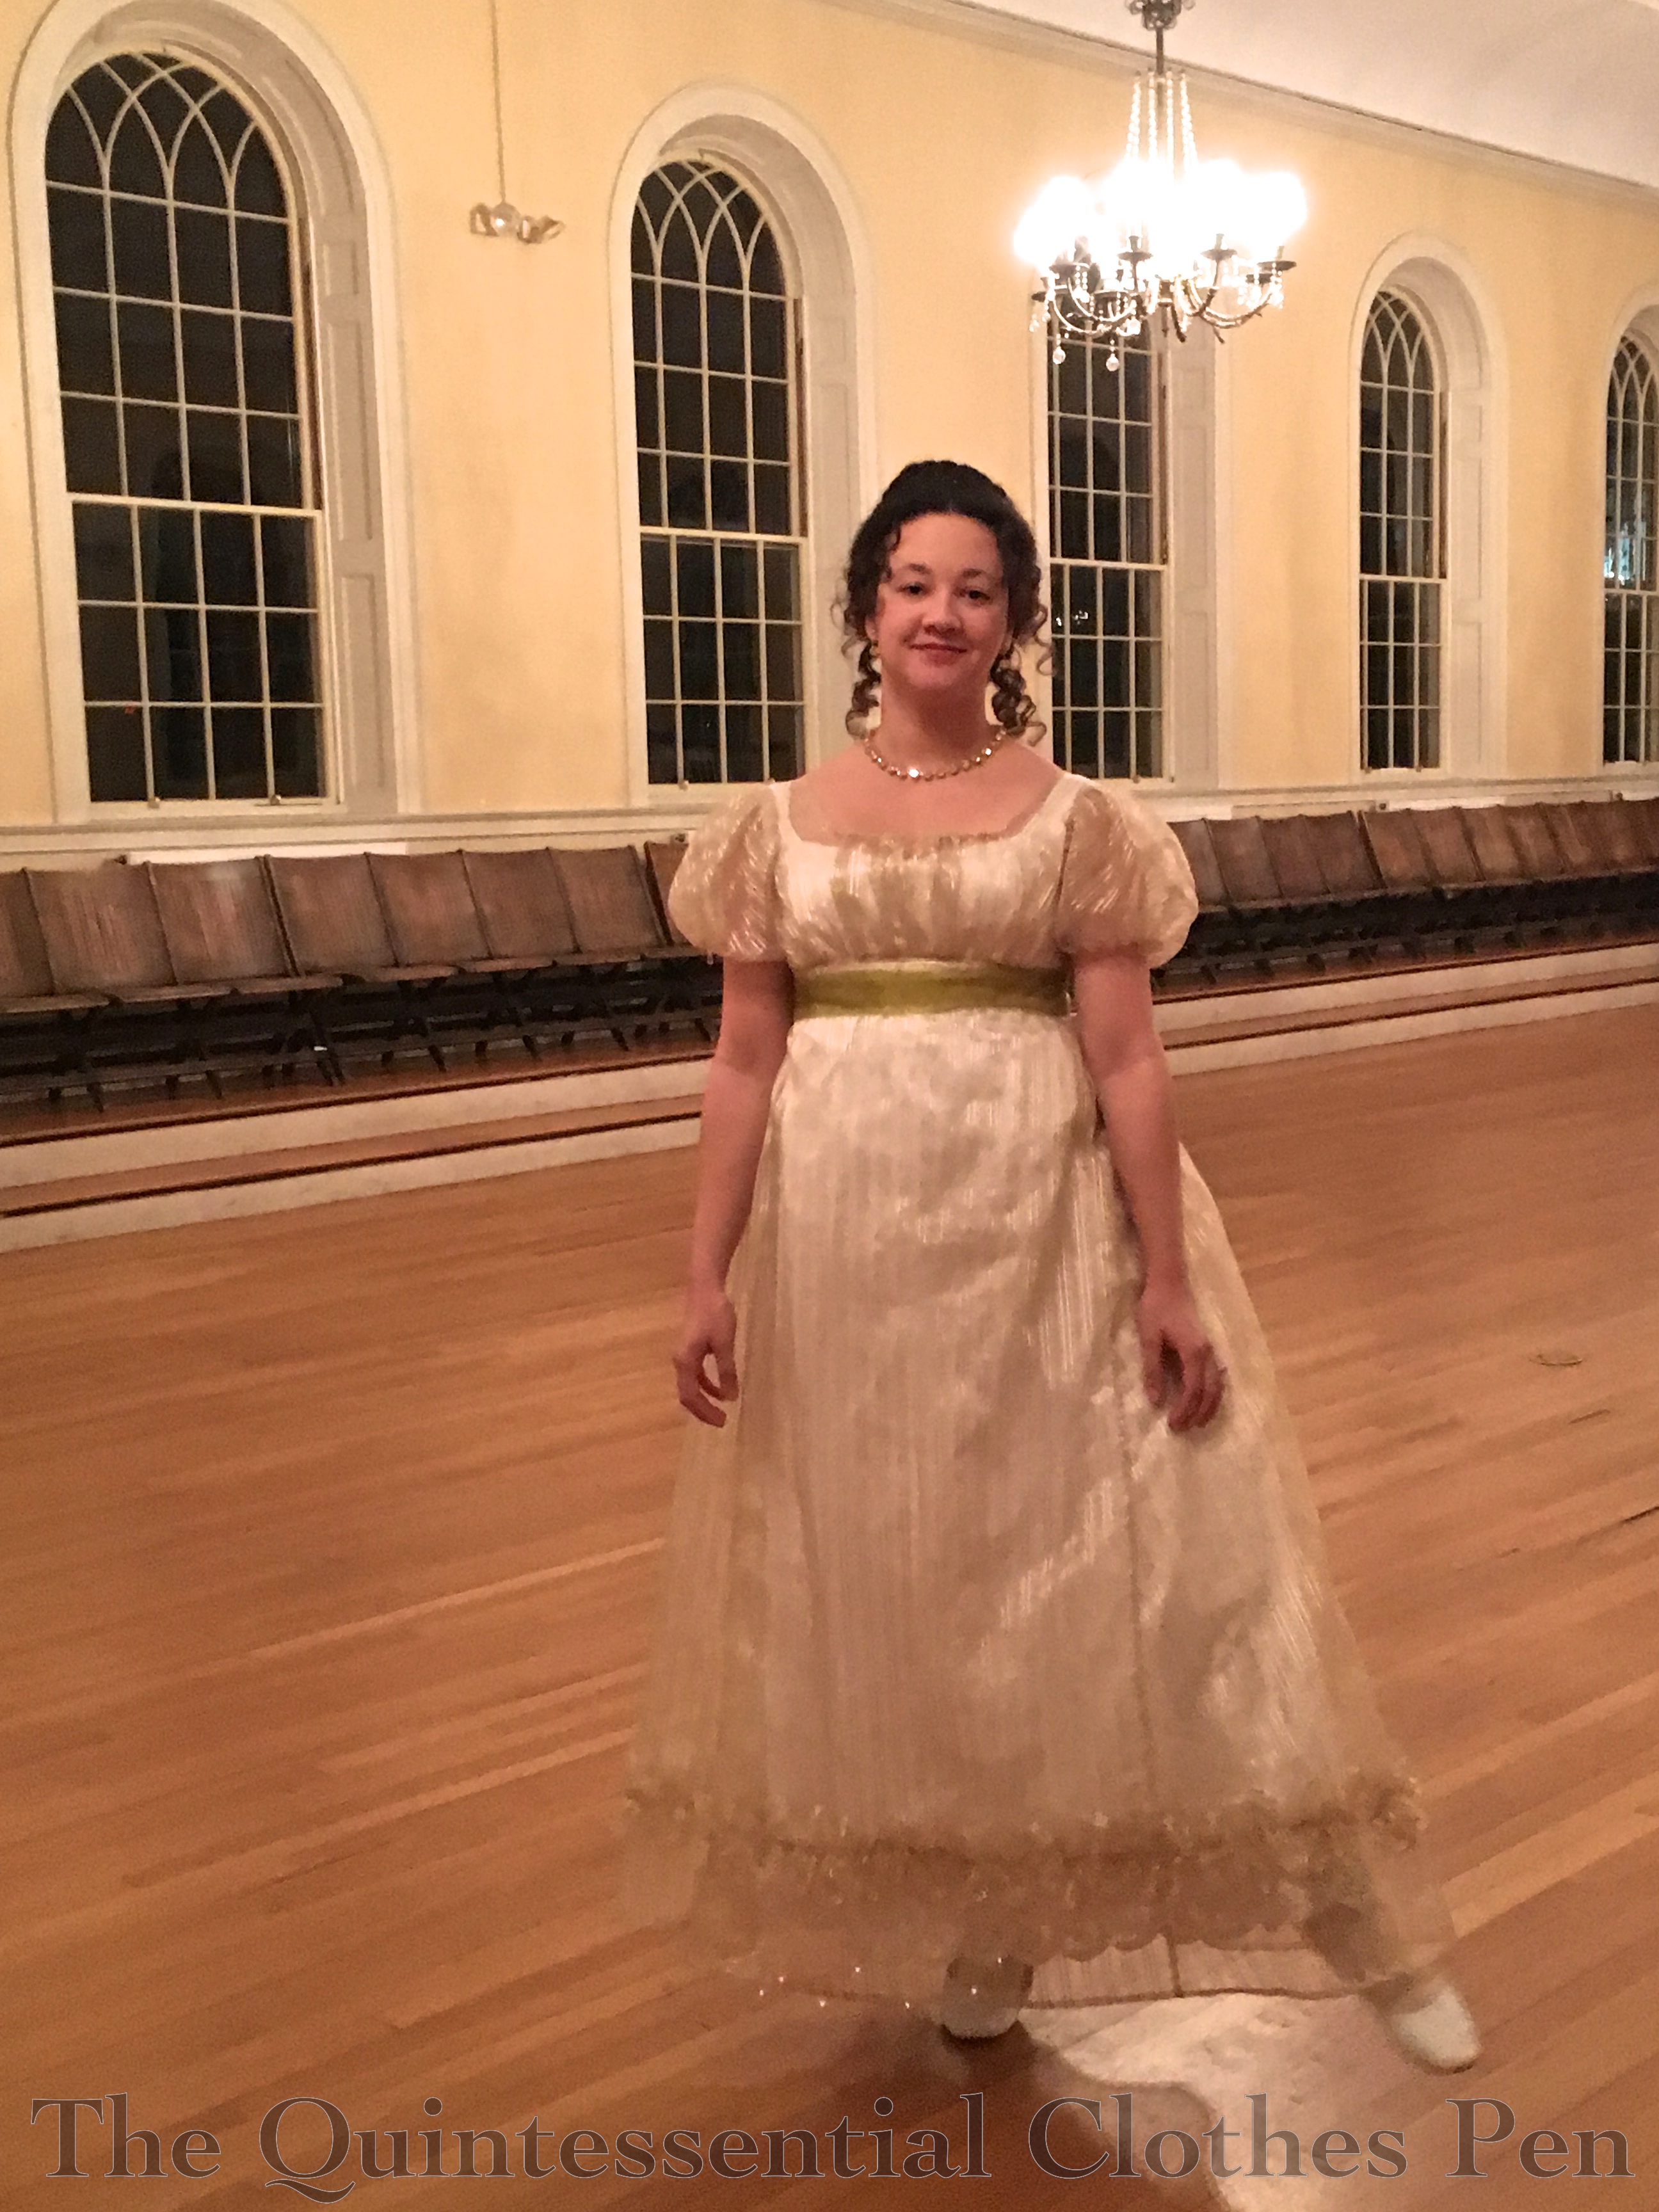
We took a few minutes out of the evening to document our clothing, as one does. I wore my 1817 Gold Stripe Duchess evening gown again (I just wore it in February as well), but with different accessories. I love how these accessories changed up the dress to have a different feel. This wearing included my 1819 purple hair flowers, purple shoe clips, the new necklace and earring set from the wearing of this dress in February that is from In The Long Run Designs and a white organza sash just like the green one I wore in February. The white really didn’t show on this dress except for a hint of fluff at the bow, but the two purple accessories stood out and of course the jewelry was sparkly and wonderful!

Purple and gold seemed to be a theme at this ball, just as red and gold was the night before! Raven of Plaid Petticoats had a new dress that fit the theme very well. She and lots of helping hands were working on the dress all weekend in order to finish it for the ball!

It’s quite grand, seeing everyone dressed in their Regency best for this ball. And I think many people are surprised by how well the dancing goes! It’s a special treat to have such advanced dancing.

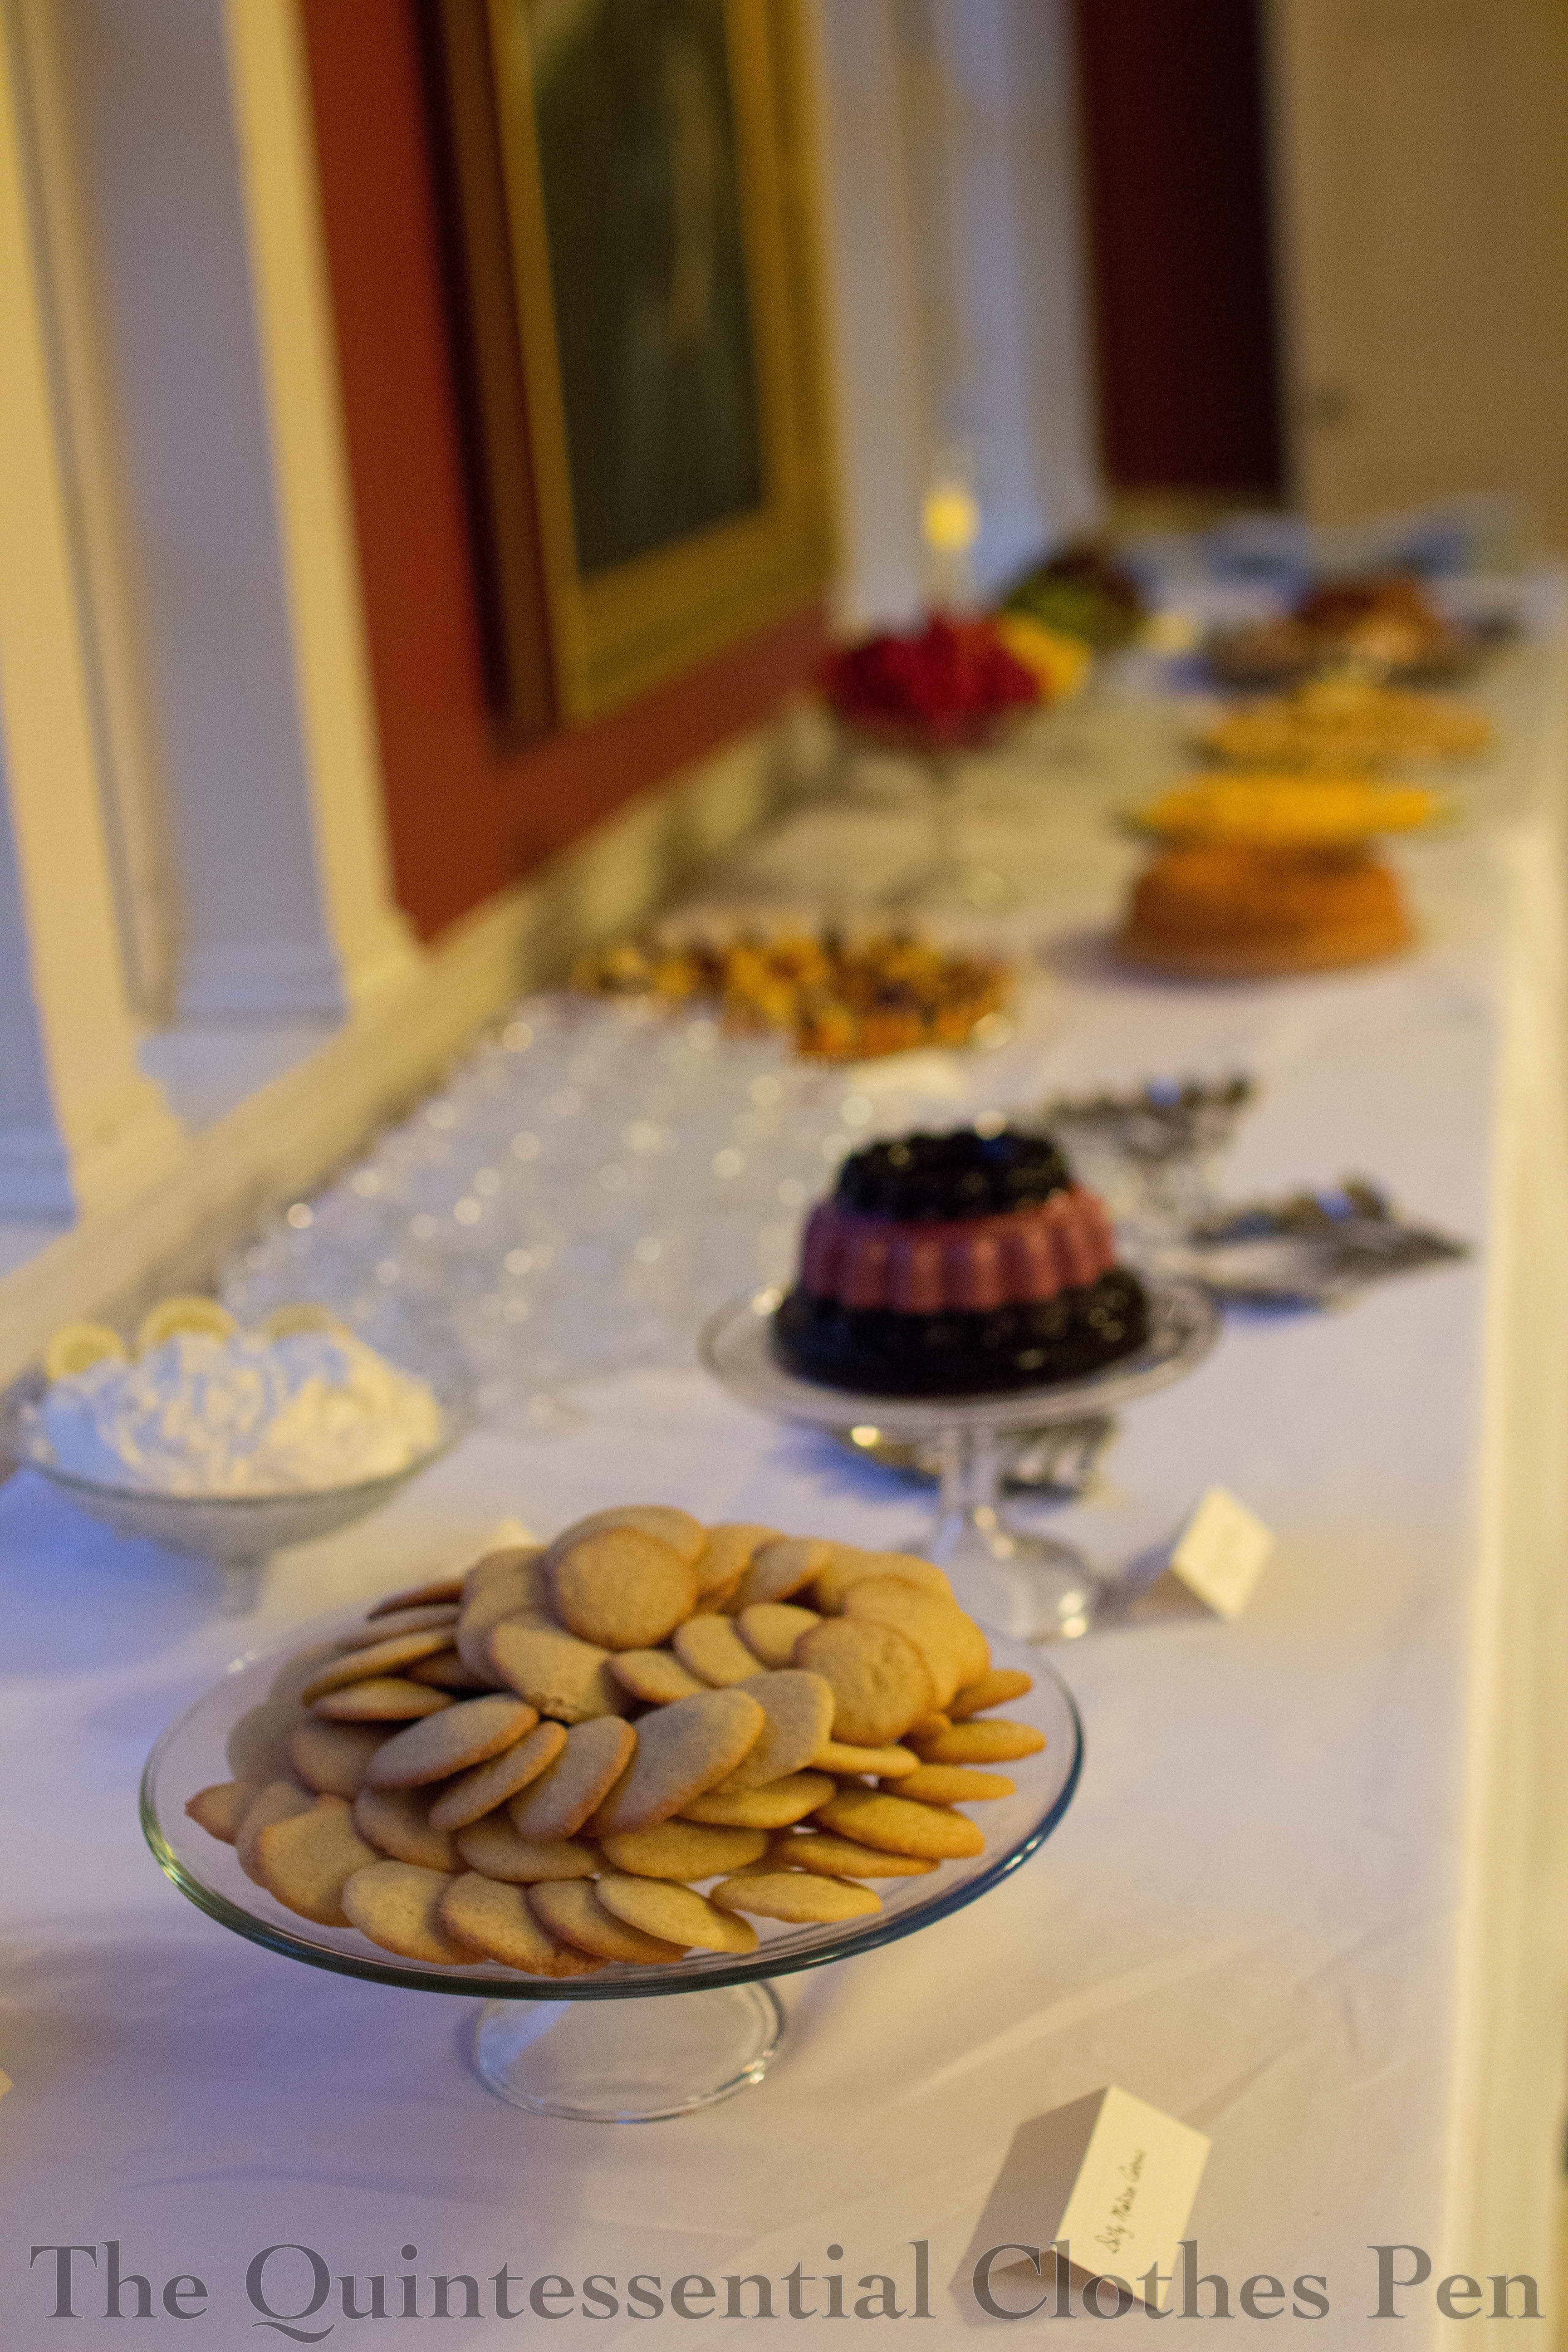
This ball is always accompanied by lavish refreshments carefully arranged to impress.

And at the end of two wonderfully long days of dancing I’m always exhausted! I hope that reading through this post was exciting and not exhausting! If you’d like to read more about the magic of previous years, I posted about the Regency Intensive Dance Weekend in 2013, 2014, 2016, and 2017 as well.

1817 Gold Stripes And Face Framing Curls

Back in February, I was able to re-wear my 1817 Gold Stripe Duchess Gown to The Commonwealth Vintage Dancers’ annual Regency Ball.

I love this dress! The sheer fabric is unusual to see in modern recreation settings and has lots of body, making for a lovely shape that is fun to dance in. It turns out that the gold stripe is rather neutral, so I’ve had fun accessorizing it in different ways this spring. We’ll start with this wearing, but there’s another one to blog about as well!

This time I decided to add a bit of color to the dress by adding a wide chartreuse organza sash with a simple bow in the back and rather long ends. (I’m all for variation in ribbon sashes for Regency dresses. In fact, I wrote a post detailing different sash styles a number of years ago!)

I also added lovely new jewelry from In The Long Run Designs. The color I chose, jonquil, is a light yellow color . It compliments my skin tone and adds quite a bit of neutral-toned sparkle to my ensembles (the goal was to match as many dresses as possible so I can get the most use out of the set).

The day of the ball I thought I had lots of time and so I decided on a whim to do a complicated hair style with face curls. It turns out I was off by an hour but I didn’t realize it until I was in the car! Thankfully I arrived in time and didn’t cause anyone else issues with my lateness. Oops! But I was very pleased with my hair (and the fact that it was done before I arrived to get dressed definitely helped offset the fact that I was late).

The hairstyle is directly inspired by the following image of Maria Leopoldine of Austria from 1815 (source). I have a note that it was painted by Friedrich Johann Gottlieb Lieder but I can’t find documentation for that detail outside of my note-to-self. Maria Leopoldine caught my eye because I love big braid buns (my hair does volume so well!) and I thought it was high time to try face curls again (see my 2014 attempt and a different narrower circumference of curl in 2016 to see other attempts I’ve posted about).

So off I went with a curling iron to try and reproduce this hairstyle. Given that I thought I had lots of time, I even took photos of the process so I could share it with you!

Let me start by saying that yes, even though my hair is curly I still use a curling iron (or other curling method) to get precise curls. To show the difference, here’s my hair at a partially done stage. You can see the curling iron curls to the left of my forehead and chin with my natural curls being held sideways in between them and on the right side of my face.

How did I get to that point? I’ve determined that great looking historical hairstyles are often styled in many parts. The complicated thing about face framing curls with my hair is that it’s all quite long: past my shoulders when it’s curly and almost to the middle of my back when it’s straight. I don’t have short lengths around my face to curl, so I have to fake it with long lengths that are pinned up to be shorter.

To begin, I split each half of my hair into sections–a front top section, a back top section, a section behind my ear, and the rest of the hair on the back of my head. In the photo above, I’ve already used the curling iron to curl the top back section of hair, pinned up some of the length, and used the front top section of hair to smooth out and cover up the pinned up length. I’ve also curled the back section behind my ear and pinned the curls up to shorten them as well. The rest of the hair is being held out to the side so you can see the different sections I’m referring to.

I realized after taking that photo that I should show a better example of what all of those words mean. So in the next photo I’ve let go of the back section and put a loose hair tie around it to keep it separate from my nicely curled sections. And I’ve curled the back top section of the other side of my hair, but I haven’t pinned those curls up to shorten or arrange them. I’m holding the front top section up in the air so you can see how untamed the curling iron curls look before being arranged.

The curls are the hard part. After arranging the top front sections and pinning them down around the back of my head it was a matter of wrapping and pinning up the back sections to look nice and make a big bun on the top of my head. I’m pretty sure I used a big bun form under there (the medium one from my Versailles hair in 2016–and for reference that post pretty clearly shows how long my hair is–it’s great for volume but can be a lot to wrangle), but it’s hard to remember as that was now almost three months ago and I didn’t take photos of those steps!

The final step was to wrap and pin my trusty (and yikes, 15 years old!) faux braid around the bun and give the whole thing a liberal dose of hairspray!

I love that I’ve found a new look for this dress and a new historical hairstyle. Looking at the photos, it doesn’t look like my braid bun is quite as large or wide as Maria Leopoldine’s (I’ll have to try again someday!). Despite that, I was very pleased with the face framing curls and the bouncing curls behind my ears. The style felt very regal!

Ikat Print Henrietta Maria

I have a modern dress to share with you today in the spirit of completing my goal for early this year that I share the modern garments I made last year. This is my second Scroop Patterns Henrietta Maria dress.

The first Henrietta Maria I made has a large floral pattern on it that I really like as it’s an unusual scale and subject for me. (Unfortunately, Mr. Q does not appreciate those fabric choice details and I always get an askance look when I wear it–and that’s pretty often once warmer weather sets in.) So partly because I find the Henrietta Maria to be super comfortable as well as classy and also because it’s nice to wear things that the people around you also appreciate, I finally got around to making a second Henrietta Maria last summer!

I happened on a 100% ikat print rayon fabric at Joann Fabrics of all places! (It’s great that they are carrying rayons more frequently than they used to.) This print seemed like an interesting choice for the new dress and I’m quite pleased with the end result. The rayon fabric is super soft and comfy–great for warm weather!

To learn more about what ikat fabric is, check out this awesome terminology post by The Dreamstress (she’s also the proprietress of Scroop Patterns!).

As I mentioned already, I highly recommend the Henrietta Maria by Scroop Patterns! The pleats around the neck and arm openings are unusual, visually interesting, and elegant in any setting. This is a dress that can easily be dressed up or down and made in everything from a solid color to a large print. I’ve considered making it in a warmer fabric for cooler weather as well, but have been stopped by the roadblock that the full sleeves don’t easily fit inside my usual winter coat (I’ve tried–they just get scrunched around my upper arms unless I fish around and pull them down!). For summer, when I don’t need a coat, the Henrietta Maria is great.

This dress was made as part of my #virtualsewingcircle while I was still finding time to sew live last summer. It is sewn in the exact same way as my first Henrietta Maria: mostly by machine with lace to nicely finish the tucked openings, an inner elastic at the waist, and a hand finished hem (there are photos of all of these finishing details in that post about the first dress). I made the hem on this version just a few inches longer than the first version in an effort to make this version more wear-to-work, but nothing else changed.

I really wanted to get photos of this dress before I put it away for the winter and I did manage to sneak these in on the last warm day of September last year, but I’m still hoping for a better background eventually. A black marble waterfall or tropical plants are in my hopes–maybe this year I’ll get one of them!

1926 Silver Robe de Style Second Styling

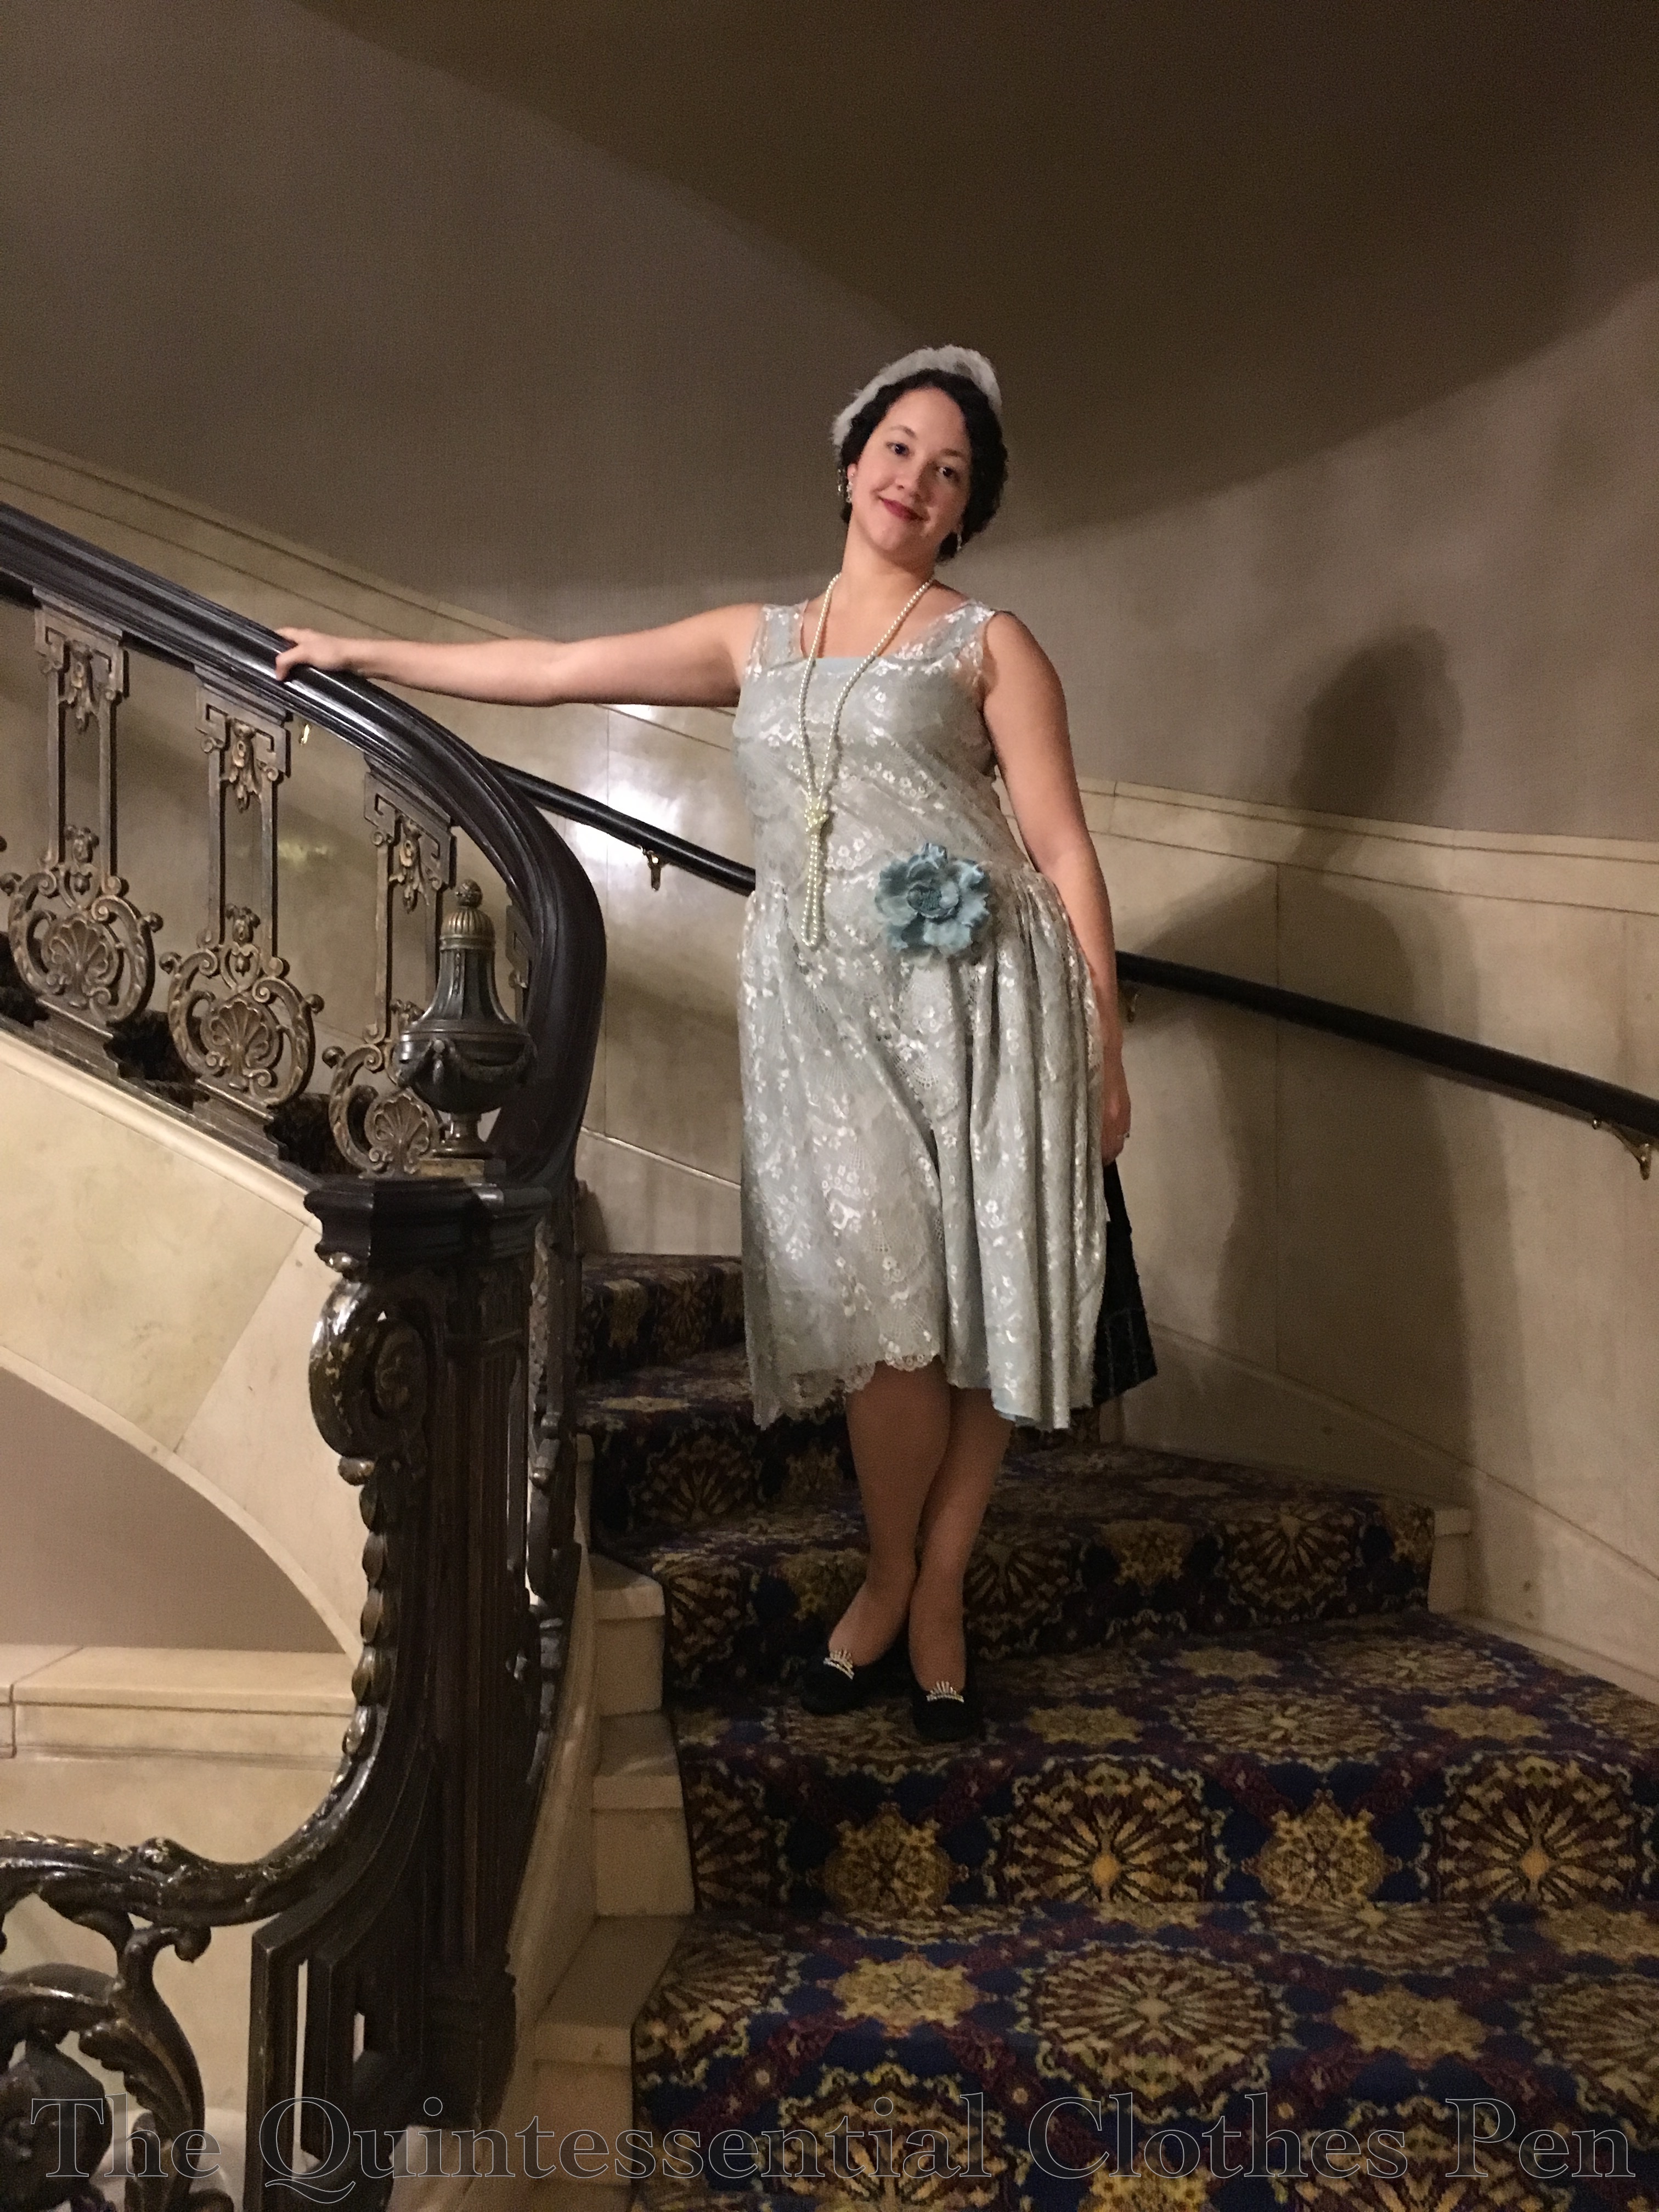
Today I have a new dress adventure to share with you: the second wearing of my 1926 Silver Lace Robe de Style to a Gatsby Ball in January. The last time I wore this dress was last August, so it was fun to bring it out again. I thought it fit in nicely with the idea of blue and silver for the new year, even though it wasn’t technically a new year themed event.

The robe de style dress was popularized during the 1920s particularly by the designer Lanvin. This alternative to the popular straight silhouette dresses of the 1920s is characterized by a dropped waist with wide skirts. Many of these dresses have panniers in them that are borrowed from the style of 18th century court dresses. Here is a little more information about the robe de style from the FIDM museum if you’d like to read more.

I have another more dramatic robe de style already, so this lace one is more of a nod to the robe de style, with softly gathered sections at the hips and no panniers or other understructure.

(My 1924 Golden Robe de Style is the more dramatic one. I made that dress in 2015 and posted about the construction of it this past post. Since then I have updated the trim on it to be much better suited to the dress. You can see the new trimming in these two past posts: in 2016 and in 2017.)

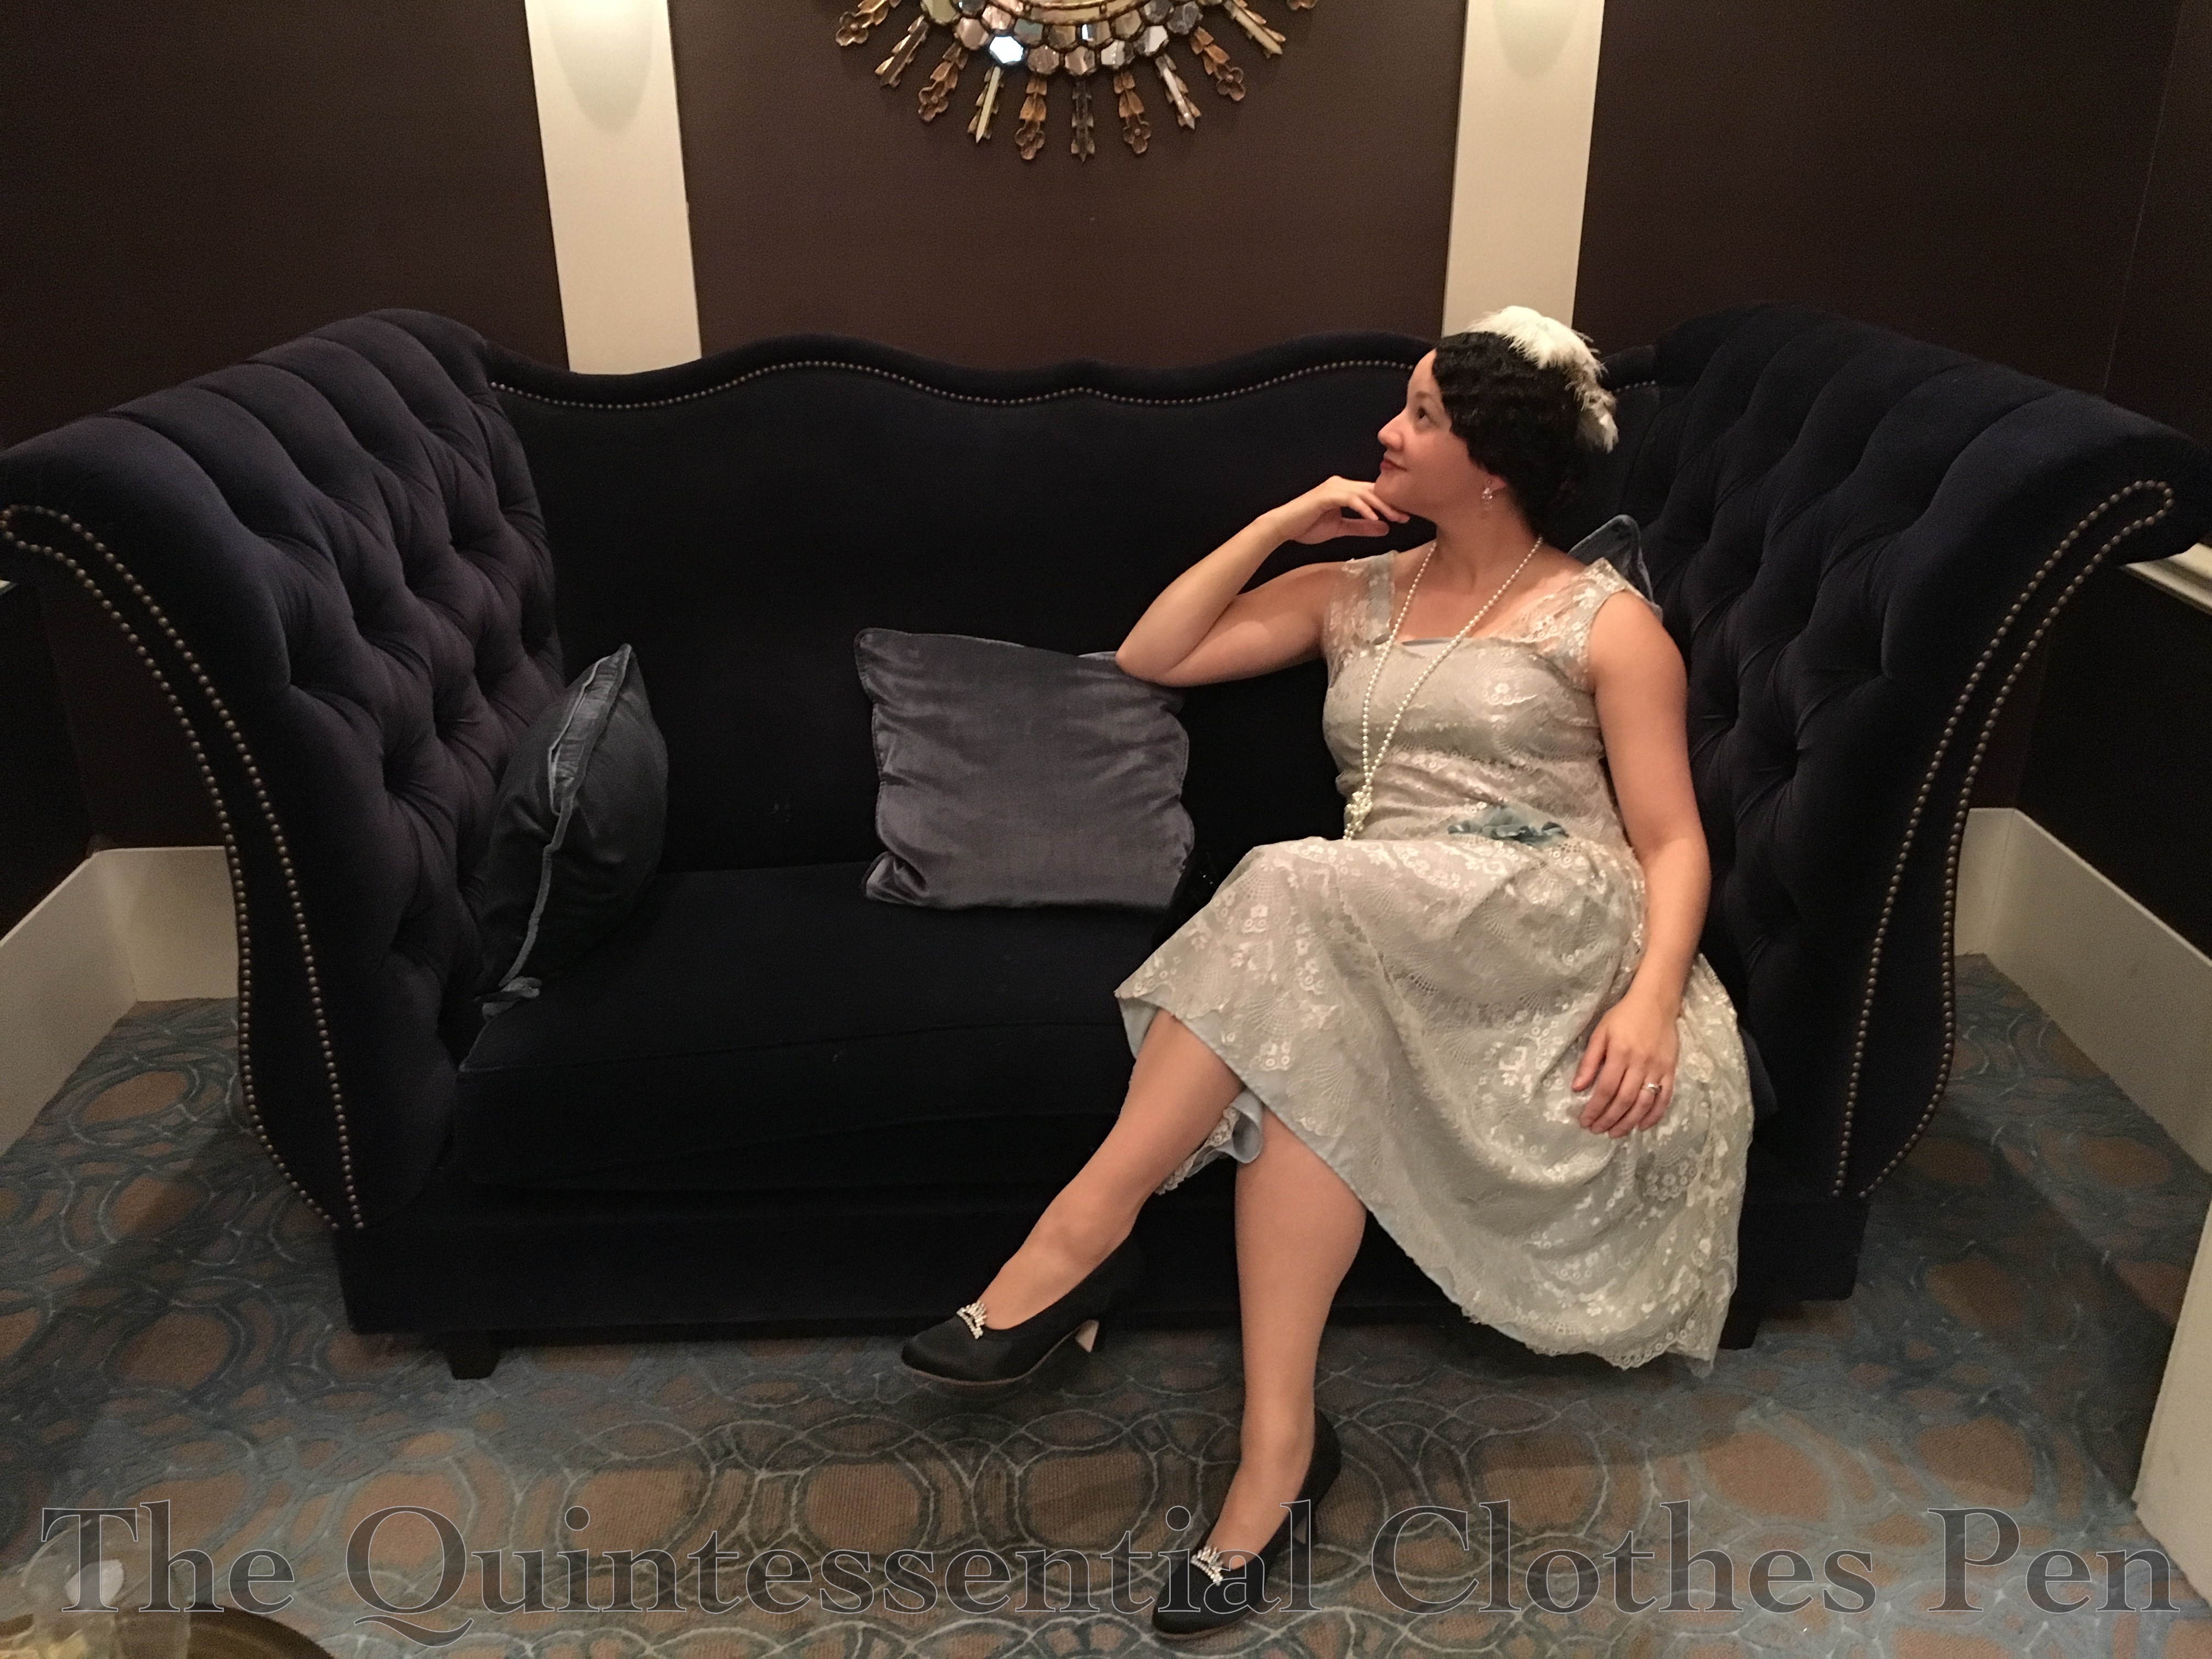
Last August I wore this dress with silver accessories: silver American Duchess Seaburys and silver hairpins. This time I decided to try my black Seaburys with silver rhinestone shoe clips, an ostrich feather/rhinestone hairpin (this is the same decoration I had in my hair for my 2016 Versailles look–how fitting to wear it again with a dress that has a nod to the shape of the gown I wore that night!), and my newly made black velvet handbag. It’s a bit hard to see the handbag in these photos, but if you look for it you can spot it in one hand or the other in most photos. Trying to show it off and not look ridiculous was a bit of a challenge.

(As a another side note, that same hairpin works really well for the 1890s, too! Who knew it could so easily shift between not only decades, but centuries!)

While packing and getting dressed, I couldn’t decide which dress to wear to the ball: this silver robe de style or my 1927 Blush Sparkle Dress. I brought both of them with me to the event and only made a decision when I realized that a friend hadn’t brought a sparkly dress to wear. (Never fear, she had a dress, just not a sparkly one!) The fabulous architecture of the The Fairmont Copley Plaza Hotel really called for some sparkle, so I wore the robe de style and loaned her the blush sparkle dress. It was fun to see it sparkling around the ballroom!

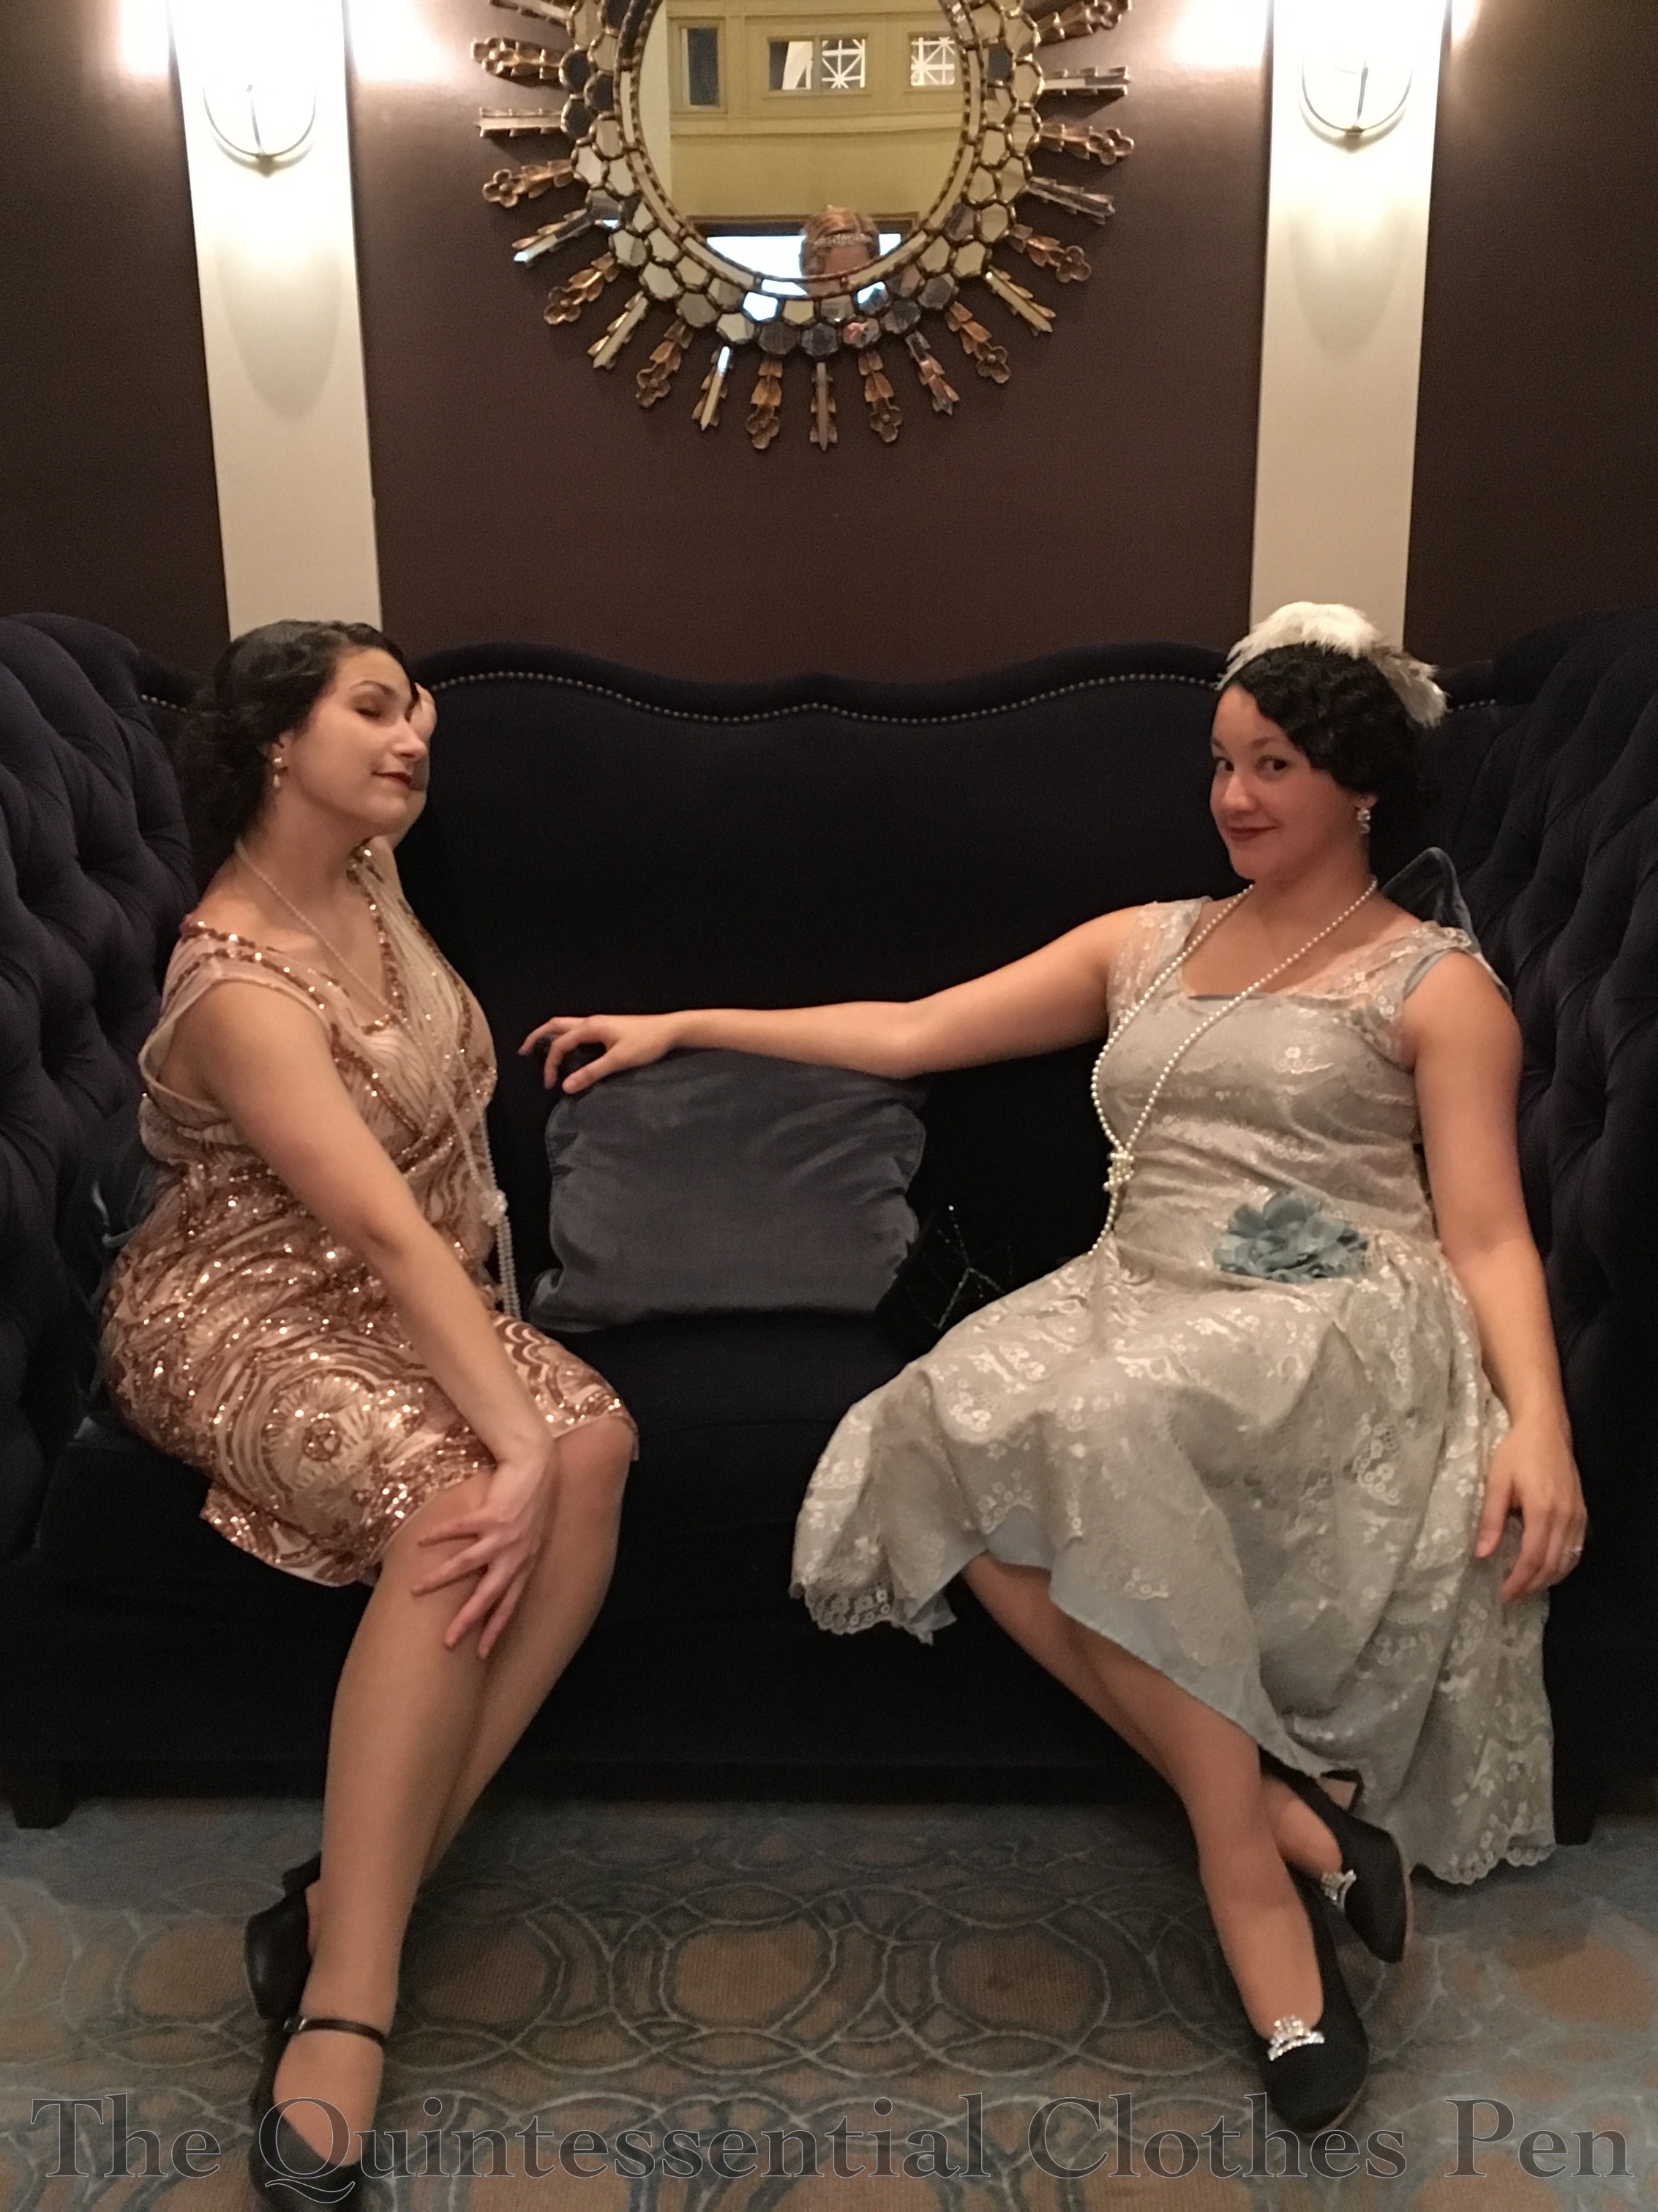
Showing off two different styles of 1920s dresses. Blush Sparkle on the left and Silver Robe de Style on the right. It’s hard to lounge and not look silly. This was one of the best we got!

After the second wearing, I am still pleased with this dress. It’s fun to dance in and a bit unusual in style: qualities that suit me perfectly.

I think I like this dramatic black and ostrich styling best so far. Do you have a preference between the first styling with silver accessories and this second wearing?


Sunshine Yellow Stripes In 1933

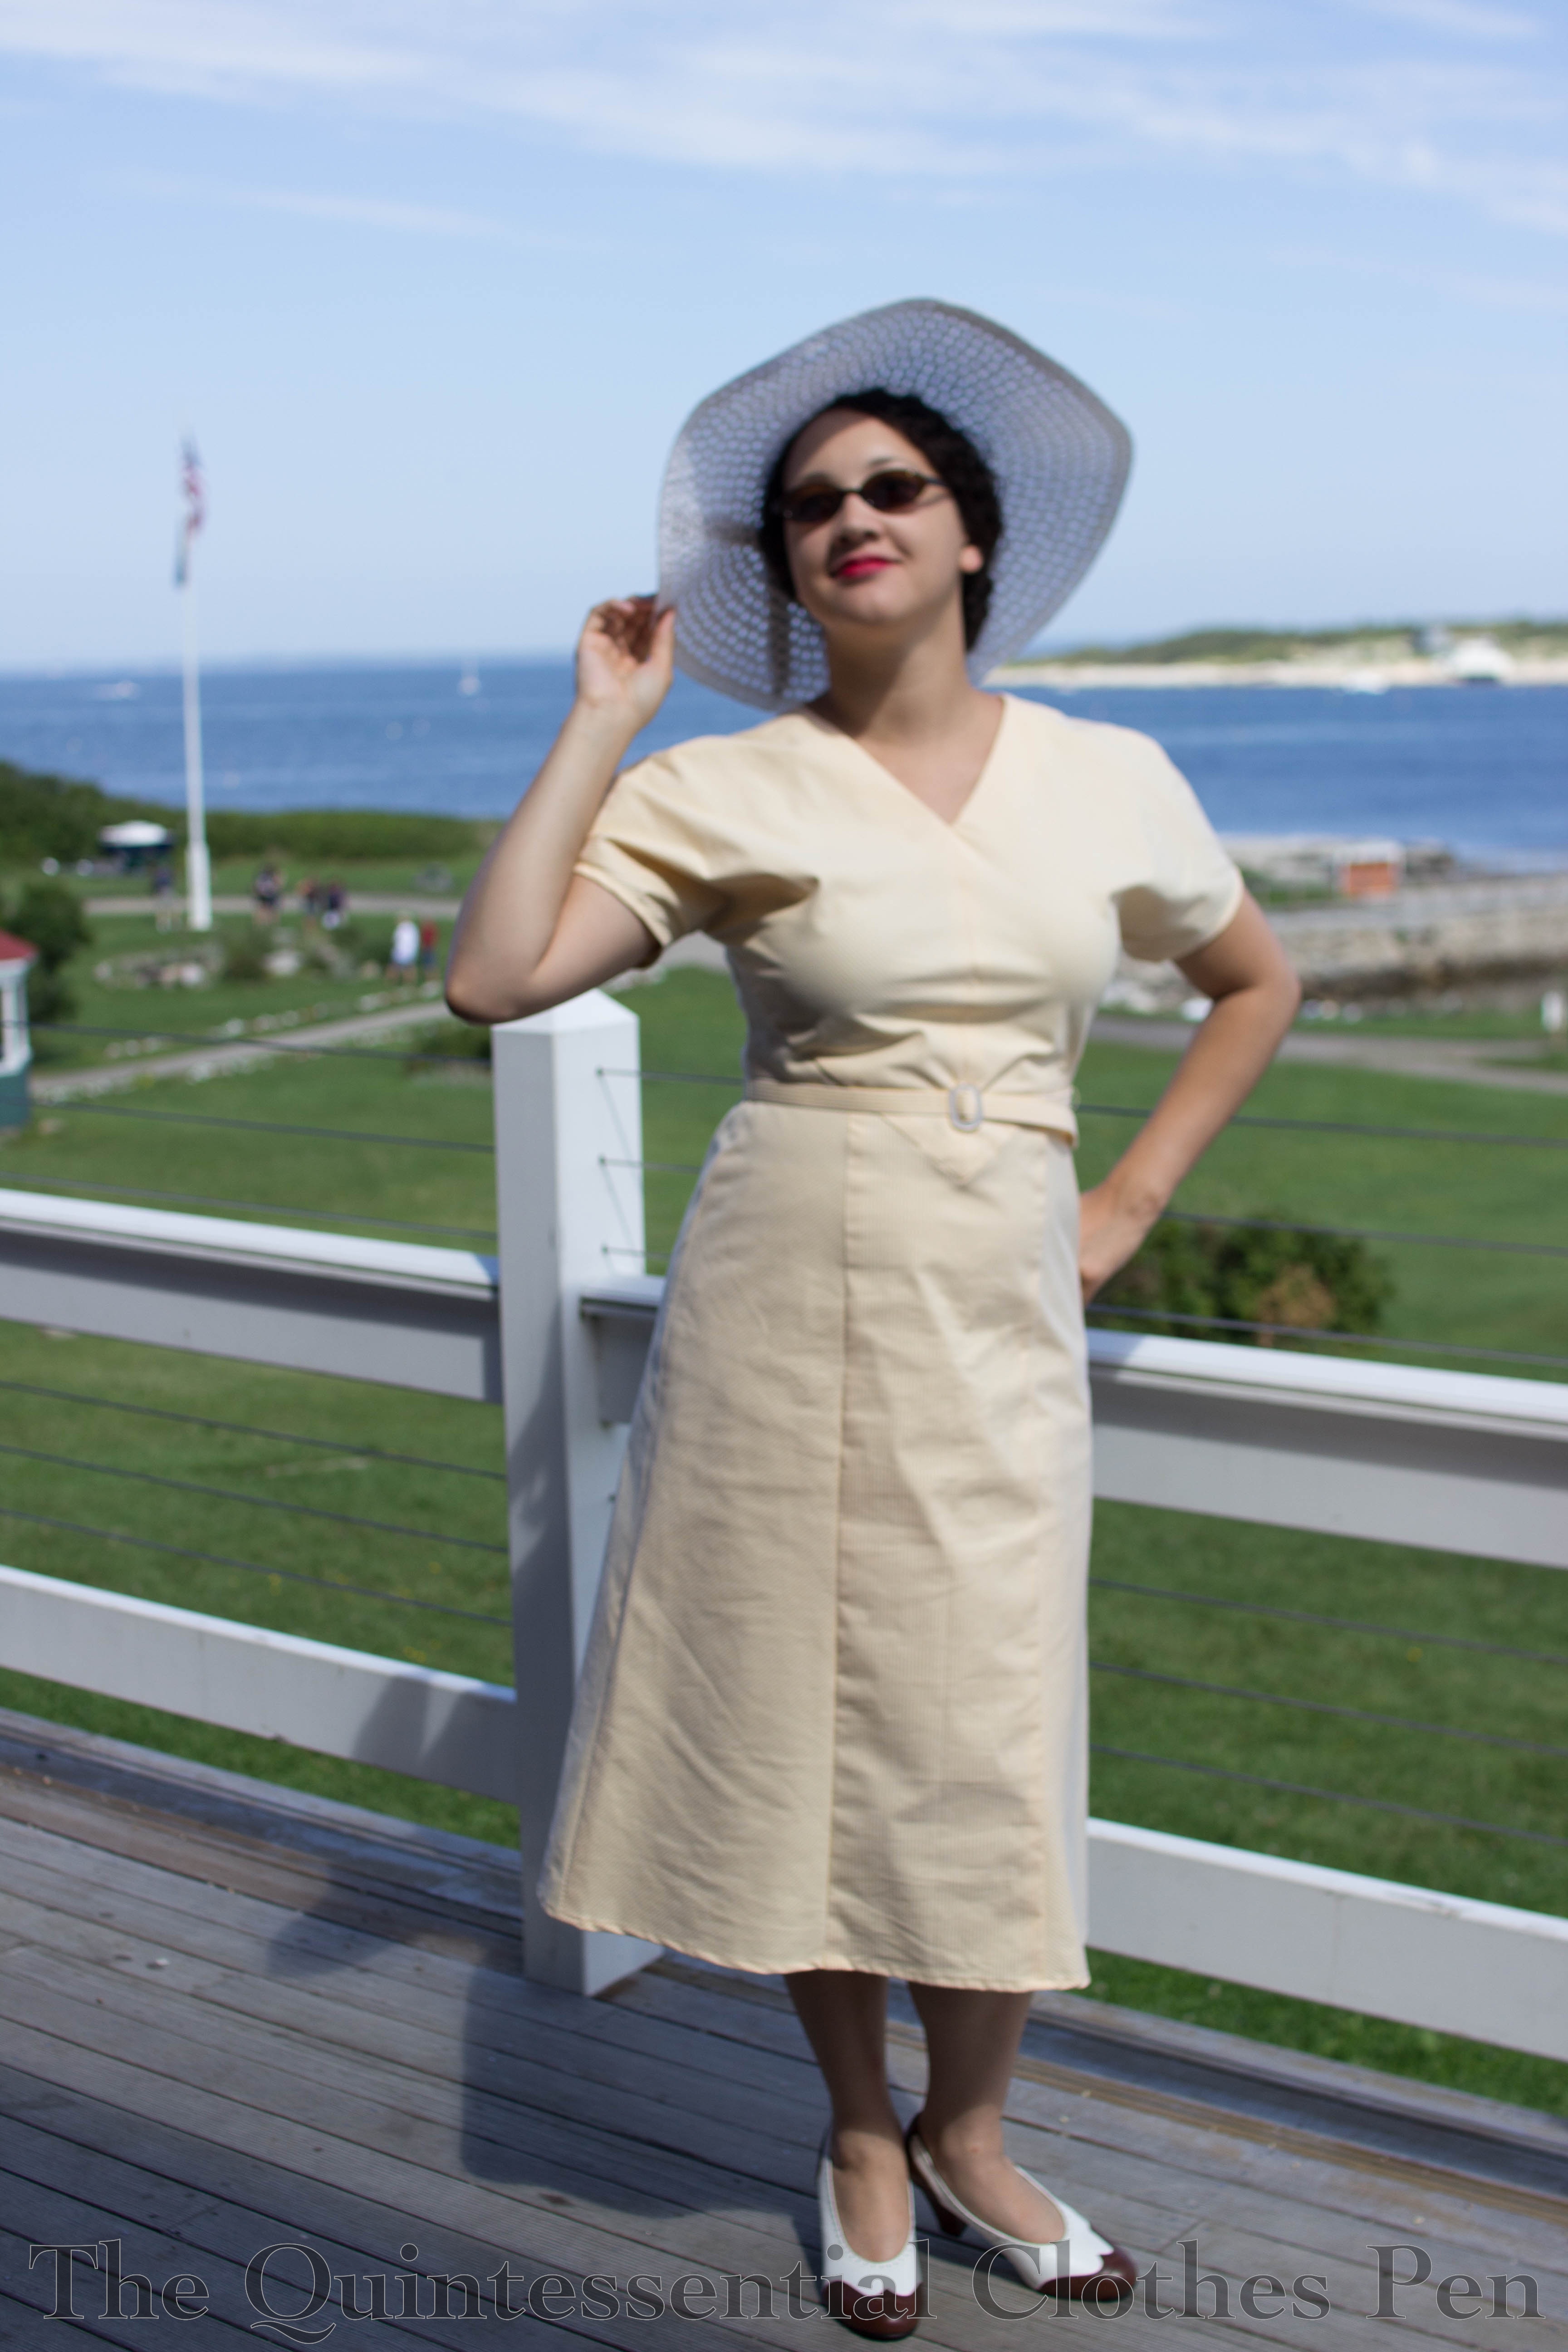
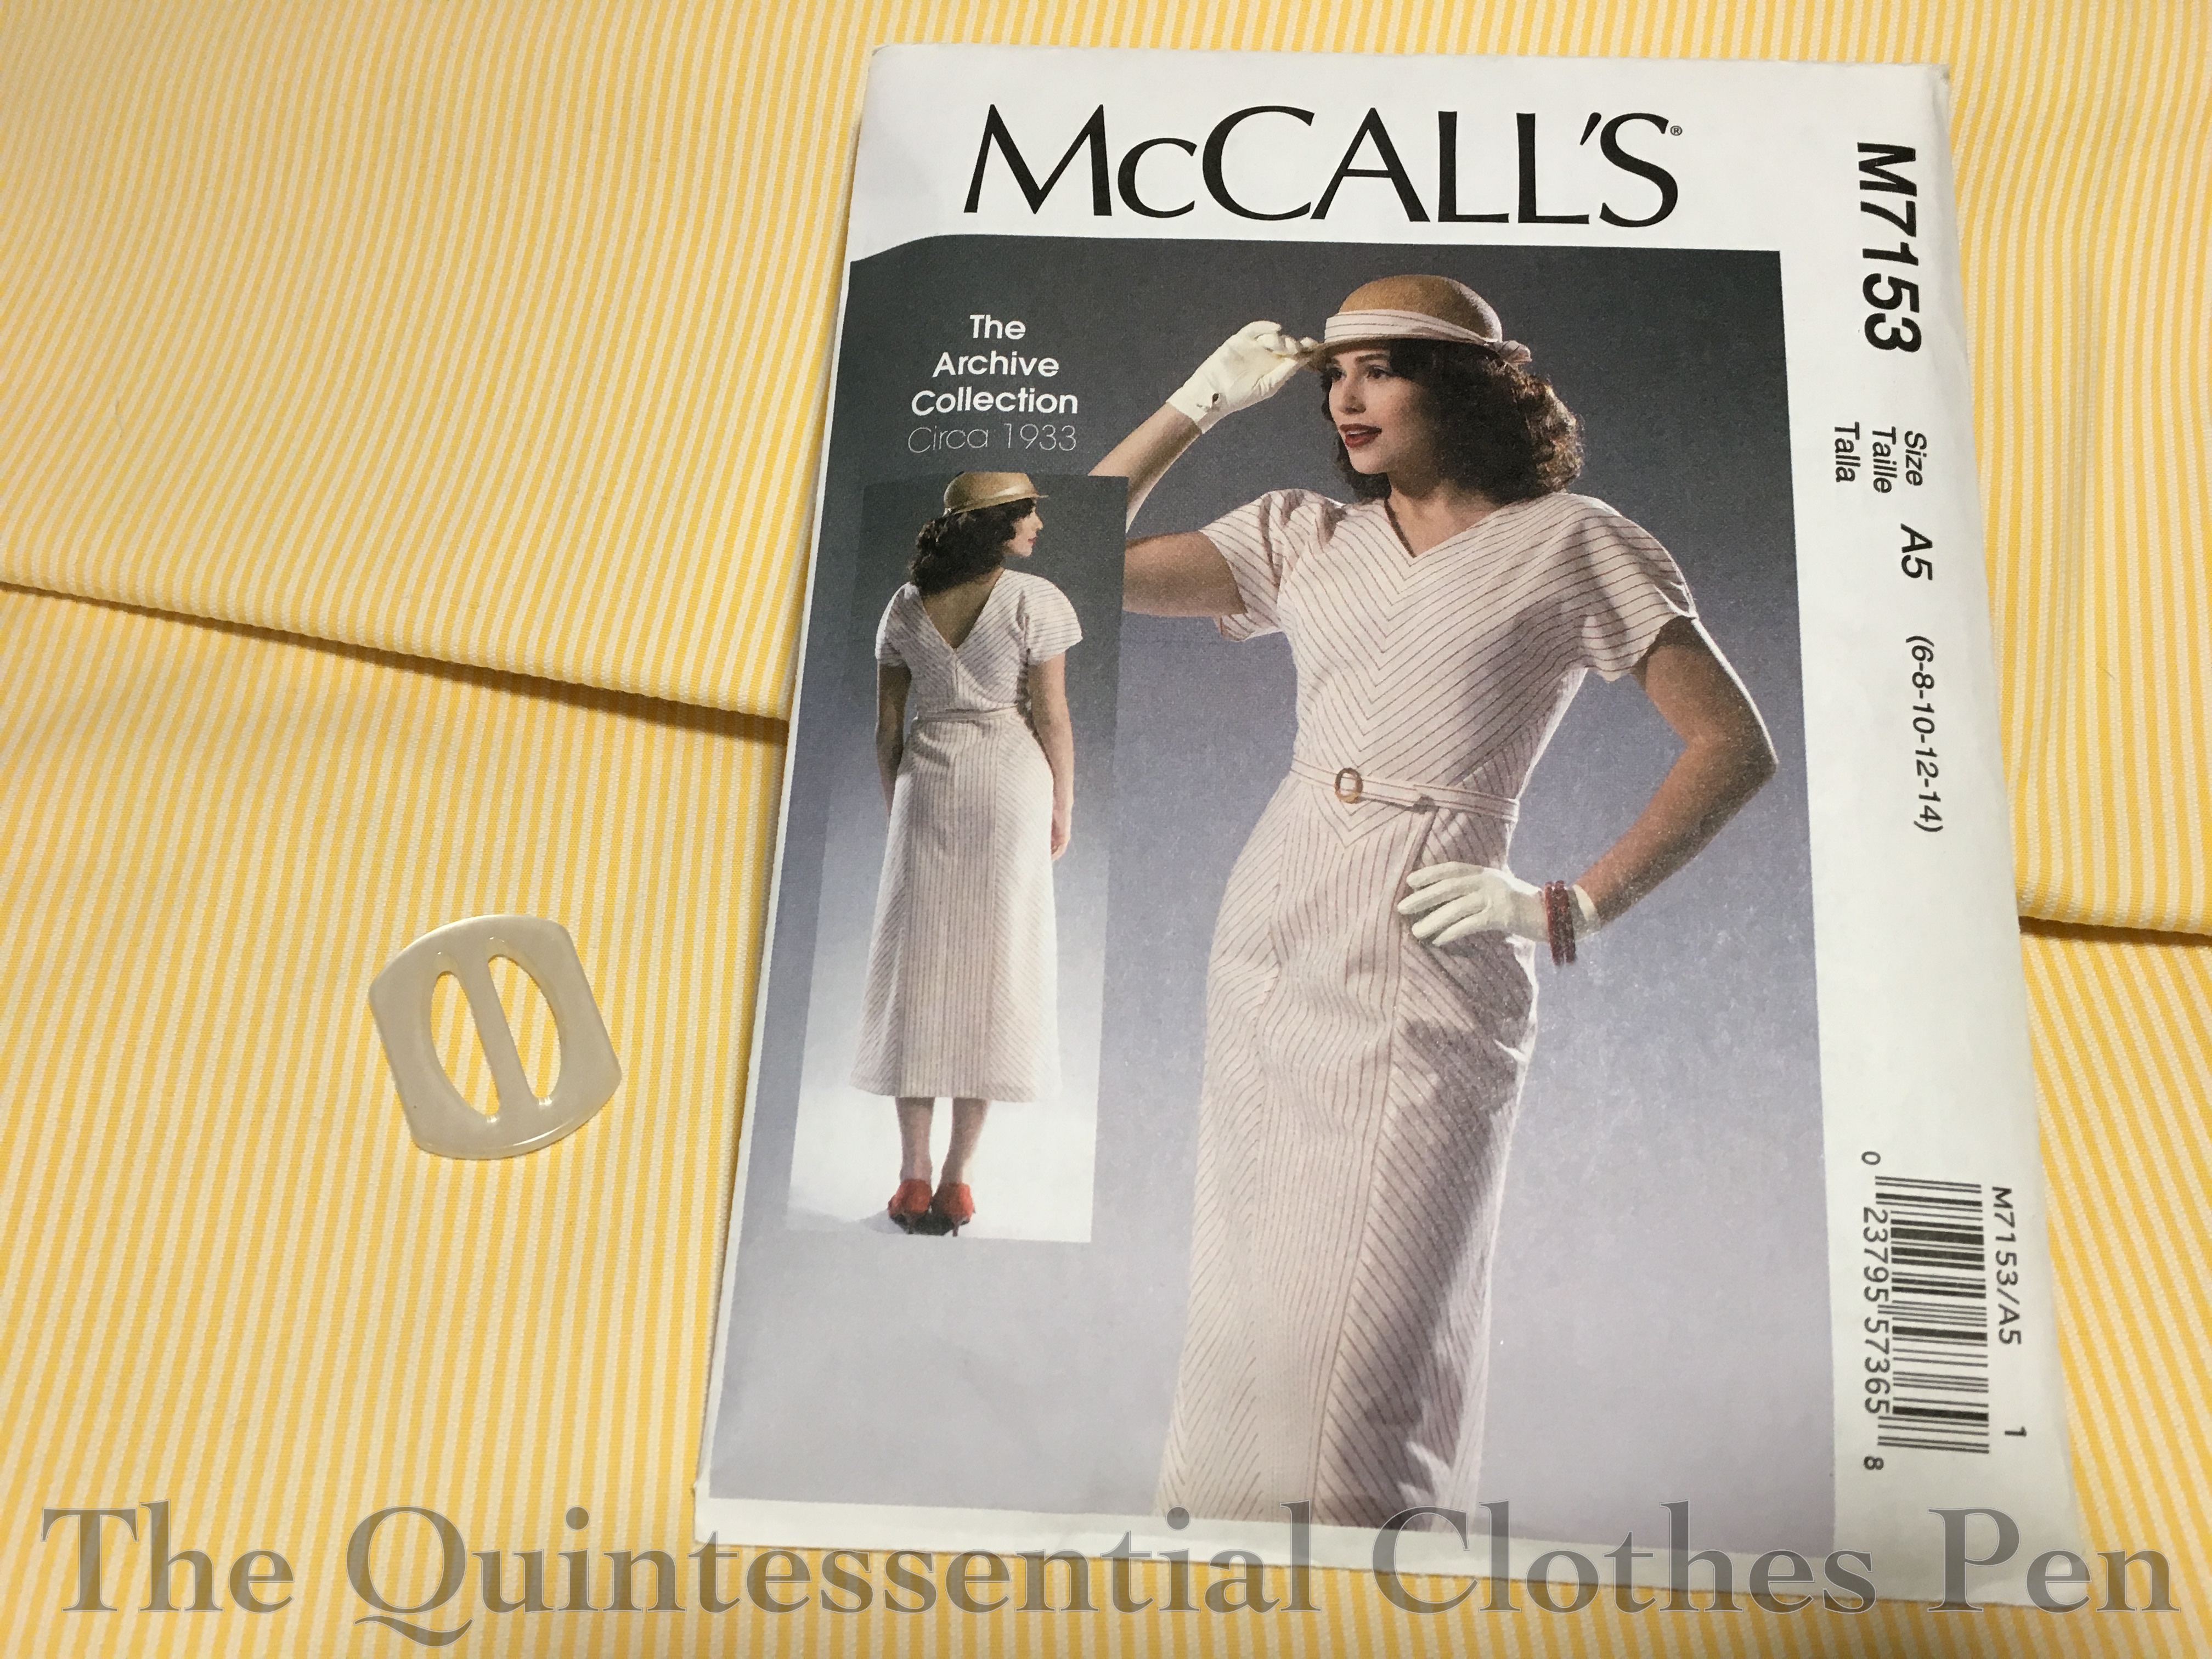
Last summer, I decided to make a dress from McCall’s #7153, an archive pattern from 1933 (although now out of print, it was released in 2015 so it’s pretty easy to find with a quick search). This is a pattern I’ve been eyeing for awhile. I decided to make it because I wanted something comfortable, new, and appropriate for daytime to wear to a Gatsby weekend in the heat of August. 1933 is obviously not in the 1920s, but the weekend tends to be more generally 1920s/1930s in terms of clothing, so I figured this would fit right in.

The style of the dress is quite defined by the differing grain lines on the pieces, a detail that is set off by the stripes used for the sample dress. Accordingly, I went off in search of a good stripe for the dress. I couldn’t find one I liked in the right weight with a stripe quite as delicate, visible, and widely spaced as the sample dress, but I did find a lovely yellow and ivory narrow stripe at Farmhouse Fabrics (although now they have this, which is similar to the sample dress–I’m not sure which one I would choose if I had both options in front of me now!). I couldn’t find a yellow belt buckle that was right, so I decided to go classic with a white mother of pearl one from my stash instead.

I cut out a mockup in size 14. This was a project for my #virtualsewingcircle while I was still finding time to sew live. The mockup fit, but was very tight, so when I cut out the yellow stripe I made the dress a size 16 (for reference, my measurements were about bust 40″, waist 32″, and hips 42″).

The only other change that was required was to take up the shoulders (which I think meant that I also lowered the front neckline and cut new front facings, though now it was long enough ago that I don’t remember perfectly). McCall’s must have been thinking people were going to put in huge shoulder pads–there was so much room! I believe I took about about 2″ (4″ total) of height!

In addition, I took Kelly’s advice from making this dress and omitted the zipper down the back to keep things smooth. This was made possible in part because my fabric has a little bit of stretch in it.

I think I mostly followed the pattern directions for assembly. There are some steps in a specific order to get the nice point, particularly in the front.

I machine finished the hems, including the sleeves, and under stitched the neck facing, tacking it down by hand to the seam allowances on the inside. The seam allowances were pinked to keep the seams from getting bulky while also keeping them from fraying. This wasn’t important for the bias cut pieces, but it definitely helped the center back and center front panels that are cut on the straight grain of the fabric!

I completely ignored the belt directions, opting instead to use belting encased in a tube of my fabric. Belting is a great product that, as fas as I can tell, stopped being produced in the last few years. Boo! It’s a bendable but stiff plastic backed fabric that you used to be able to purchase in different widths to use as stiffening for self-fabric dress belts (perfect for dresses from the 1930s, 1940s, and 1950s!).

Despite the photos of the whole look with accessories (which I’m very pleased with!), when I tried on the dress after finishing the sewing I was so disappointed! I looked so frumpy in the mirror with the calf length hem and my bare feet! I made a lot of faces. Then I thought, ‘Well, I guess I try on the shoes I plan to wear with this.’ That idea did make me a little happier, because I had snagged a pair of Royal Vintage brown and white spectators but hadn’t found a reason or outfit to wear them with yet. And then… MAGIC. Those 3″ heels absolutely transformed the look! All of a sudden that calf length hem looked great! I was probably standing with more confidence rather than disappointment, too, but really, it was like I was wearing a different dress. Has that ever happened to you? The accessories really make some looks come together! And especially with 1930s calf length hems… the heels really help posture and proportions.

I found that my first pair of Royal Vintage shoes are very comfortable. They have a bit of padding in the sole, which is great under the balls of my feet especially, and also arch support. They don’t pinch or rub in any uncomfortable ways. After wearing them for the better part of two days in a row I can say that my feet were tired of being in 3″ heels, but tired or aching in no other way (that’s just a function of being in 3″ heels, no matter how comfortable they are). And boy, did I feel snazzy for those two days!

This next one is the ‘Oh no! My hat is flying away!’ face. It was rather windy, so there actually were moments where I had to hold onto my hat to keep it from flying away! This hat is a refashion of a modern sunhat that deserves its own post–coming soon. I’m very pleased with this updated version and I love how well it coordinates with my shoes!

The stripe in the fabric gets a bit lost when you’re not right next to the dress, but I still like it overall. I found the dress was more comfortable to stand in than to sit in, but it did well in the heat and was cool and breezy. Success!

1926 Silver Lace Robe de Style

One of my summer sewing projects was a new 1920s robe de style. (And yes, I am clearly delayed in posting about it!) I already have one (my 1924 Golden Robe de Style) but I stumbled across a lovely lace at Joann Fabrics in the spring that called to join my wardrobe as a second dress in this category. I attend enough 1920s evening events that I can never seem to have enough dresses. Doesn’t that sound grand written out? I actually do have plenty of dresses, but it’s nice to have variety and cycle through different styles, types of fabrics, weights, etc.

I’ve enjoyed wearing my first robe de style and wanted to try another one with different characteristics. The 1924 golden one is made of silk taffeta and has an ankle length skirt, but I wanted this one to be much lighter weight and shorter in length. I also wanted a different neckline. After looking through my Robe de Style Pinterest board for inspiration I settled on this dress, a Boué Soeurs robe de style from fall/winter 1925-6. This is where my date of 1926 for my new robe de style comes from.

Obviously the lace is not opaque so as with the original dress I needed a lining. I settled on the icy blue because it was from my stash. (You’ve seen this fabric before, in my 1899 evening gown.) It was great to use a stash fabric for cost saving and stash-diminishing purposes as well as the fact that the colors coordinate. And, I was able to accessorize with a large flower pin in a very similar color that has been in my stash since before I had a fabric stash! Isn’t it wonderful to find good homes for odds and ends like this?

In addition to the flower pin, I also wore my extra long strand of faux pearls, my American Duchess silver Seabury shoes, and vintage silver hair pins. Oh, and earrings. But I can’t remember which ones and I can’t tell from the photos which pair they are. I’ll have to figure that out again next time I wear this dress!

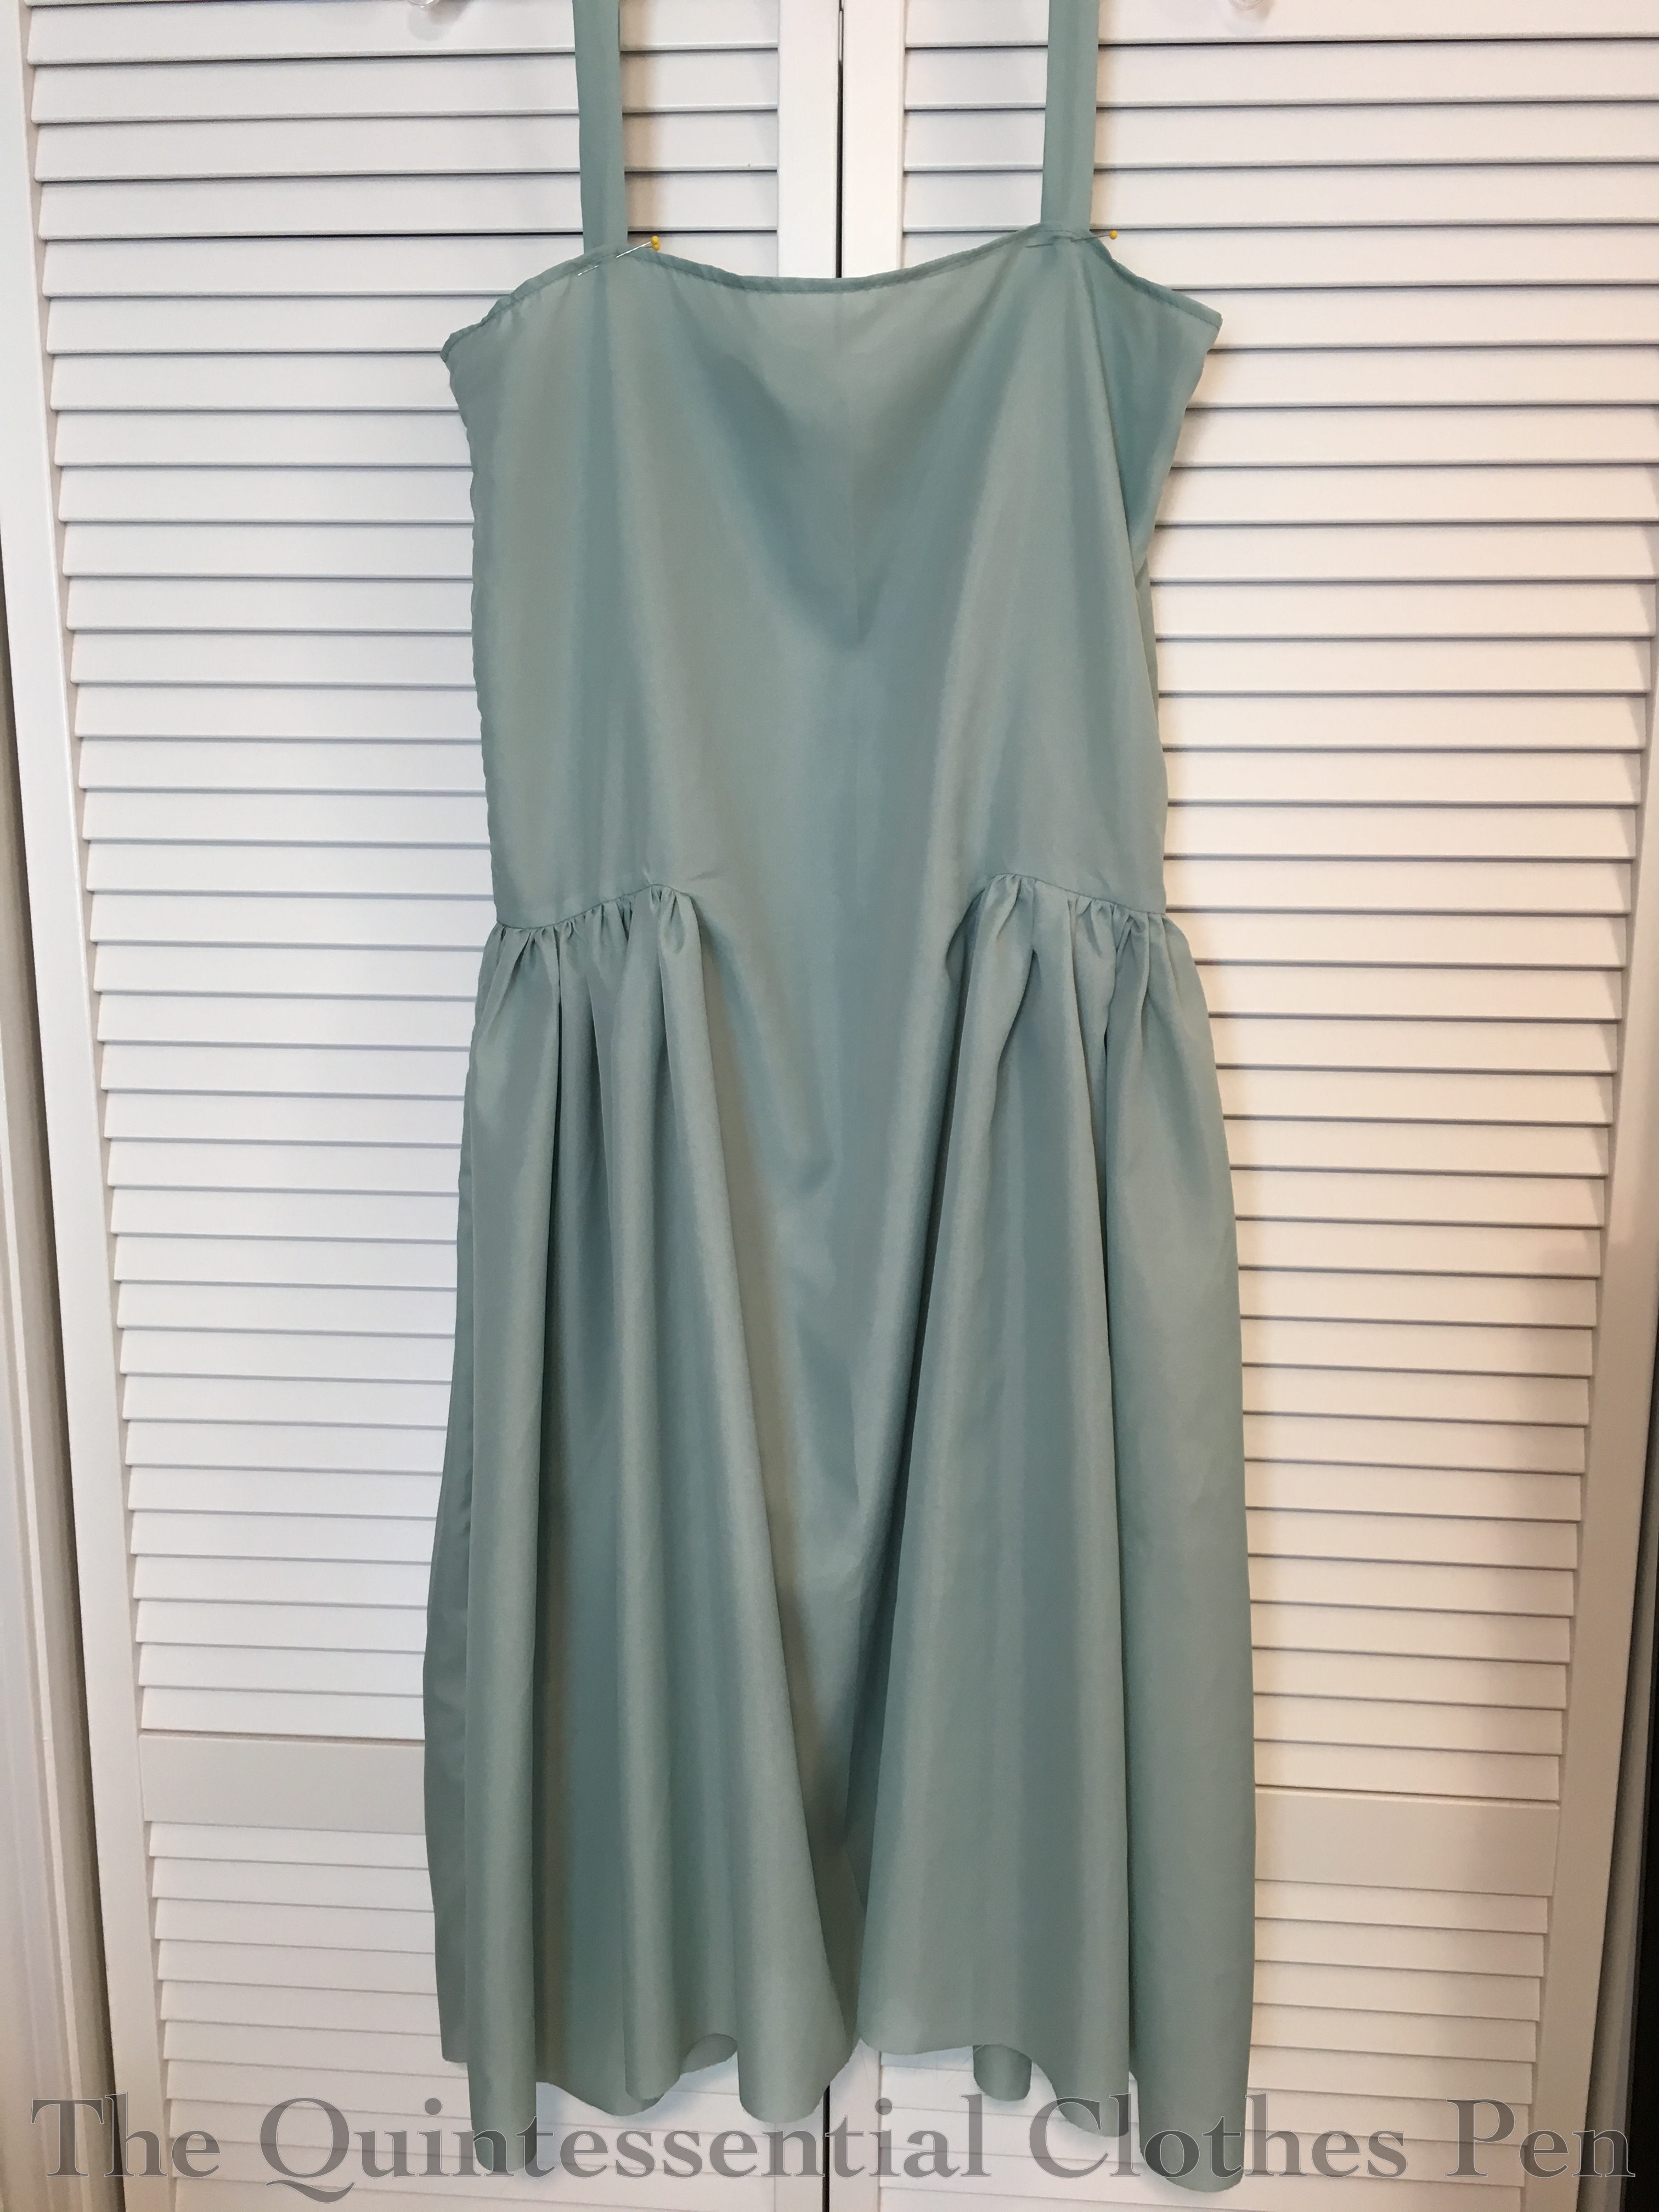
The pattern for this dress is me-made, composed of mostly rectangular shapes based on my measurements. The body of the lining is basically an upside down T shape, where the sides are gathered into a slit that extends into the main body on each side by a few inches. (You can see what I’m talking about in the photo below.) The lining has a straight top edge with rectanglur straps attached. The hem angles down slightly on the sides intentionally. I still wanted an uneven hem as with my 1924 dress, but I wanted a less dramatic difference than with that dress.

The lace layer was a little more complicated. I wanted an uneven hem to match the lining, but I also wanted to keep the hem following the scallops across the fabric. So… I had to keep my hem straight. That means I had to make the tops of the sides curve up since the bottom couldn’t curve down, but that meant I couldn’t cut my lace layers as a T, because the curve up would cut into the sides of the dress.

My solution was to add a seam across the lace pieces at the height of the gathers. To do this I perfectly matched the scallops, carefully layered and stitched them with a narrow zig zag, and then trimmed away the excess fabric to make the seam almost entirely invisible. Can you spot it in this photo?

I also had to trim away the ‘eyelash’ bits left over after cutting along the scalloped pattern along the hem. This photo shows that step in progress. A bit tedious, but worth it!

Unlike the lining with its straight top edge, the lace has a v neck on one side and a scoop on the other. This layer is interchangeable in terms of which is front and back, since they’re the same with no special shaping. The edges of the lining are finished by machine while the neckline and the armholes of the lace are narrow hemmed by hand.

This new dress can be worn with or without panniers, but for the first wearing I went without in order to make the full skirt more subtle and to differentiate the dress from my 1924 Golden Robe de Style (which needs to be worn with panniers).

While this dress could be worn at any time of year, I am particularly enchanted with the idea of it being perfectly suited to a 1920s New Year party. The colors and silver lace seem well suited to that theme.

And on that note, in case I don’t get another post in before 2019… happy new year!

A Fortescue Frock

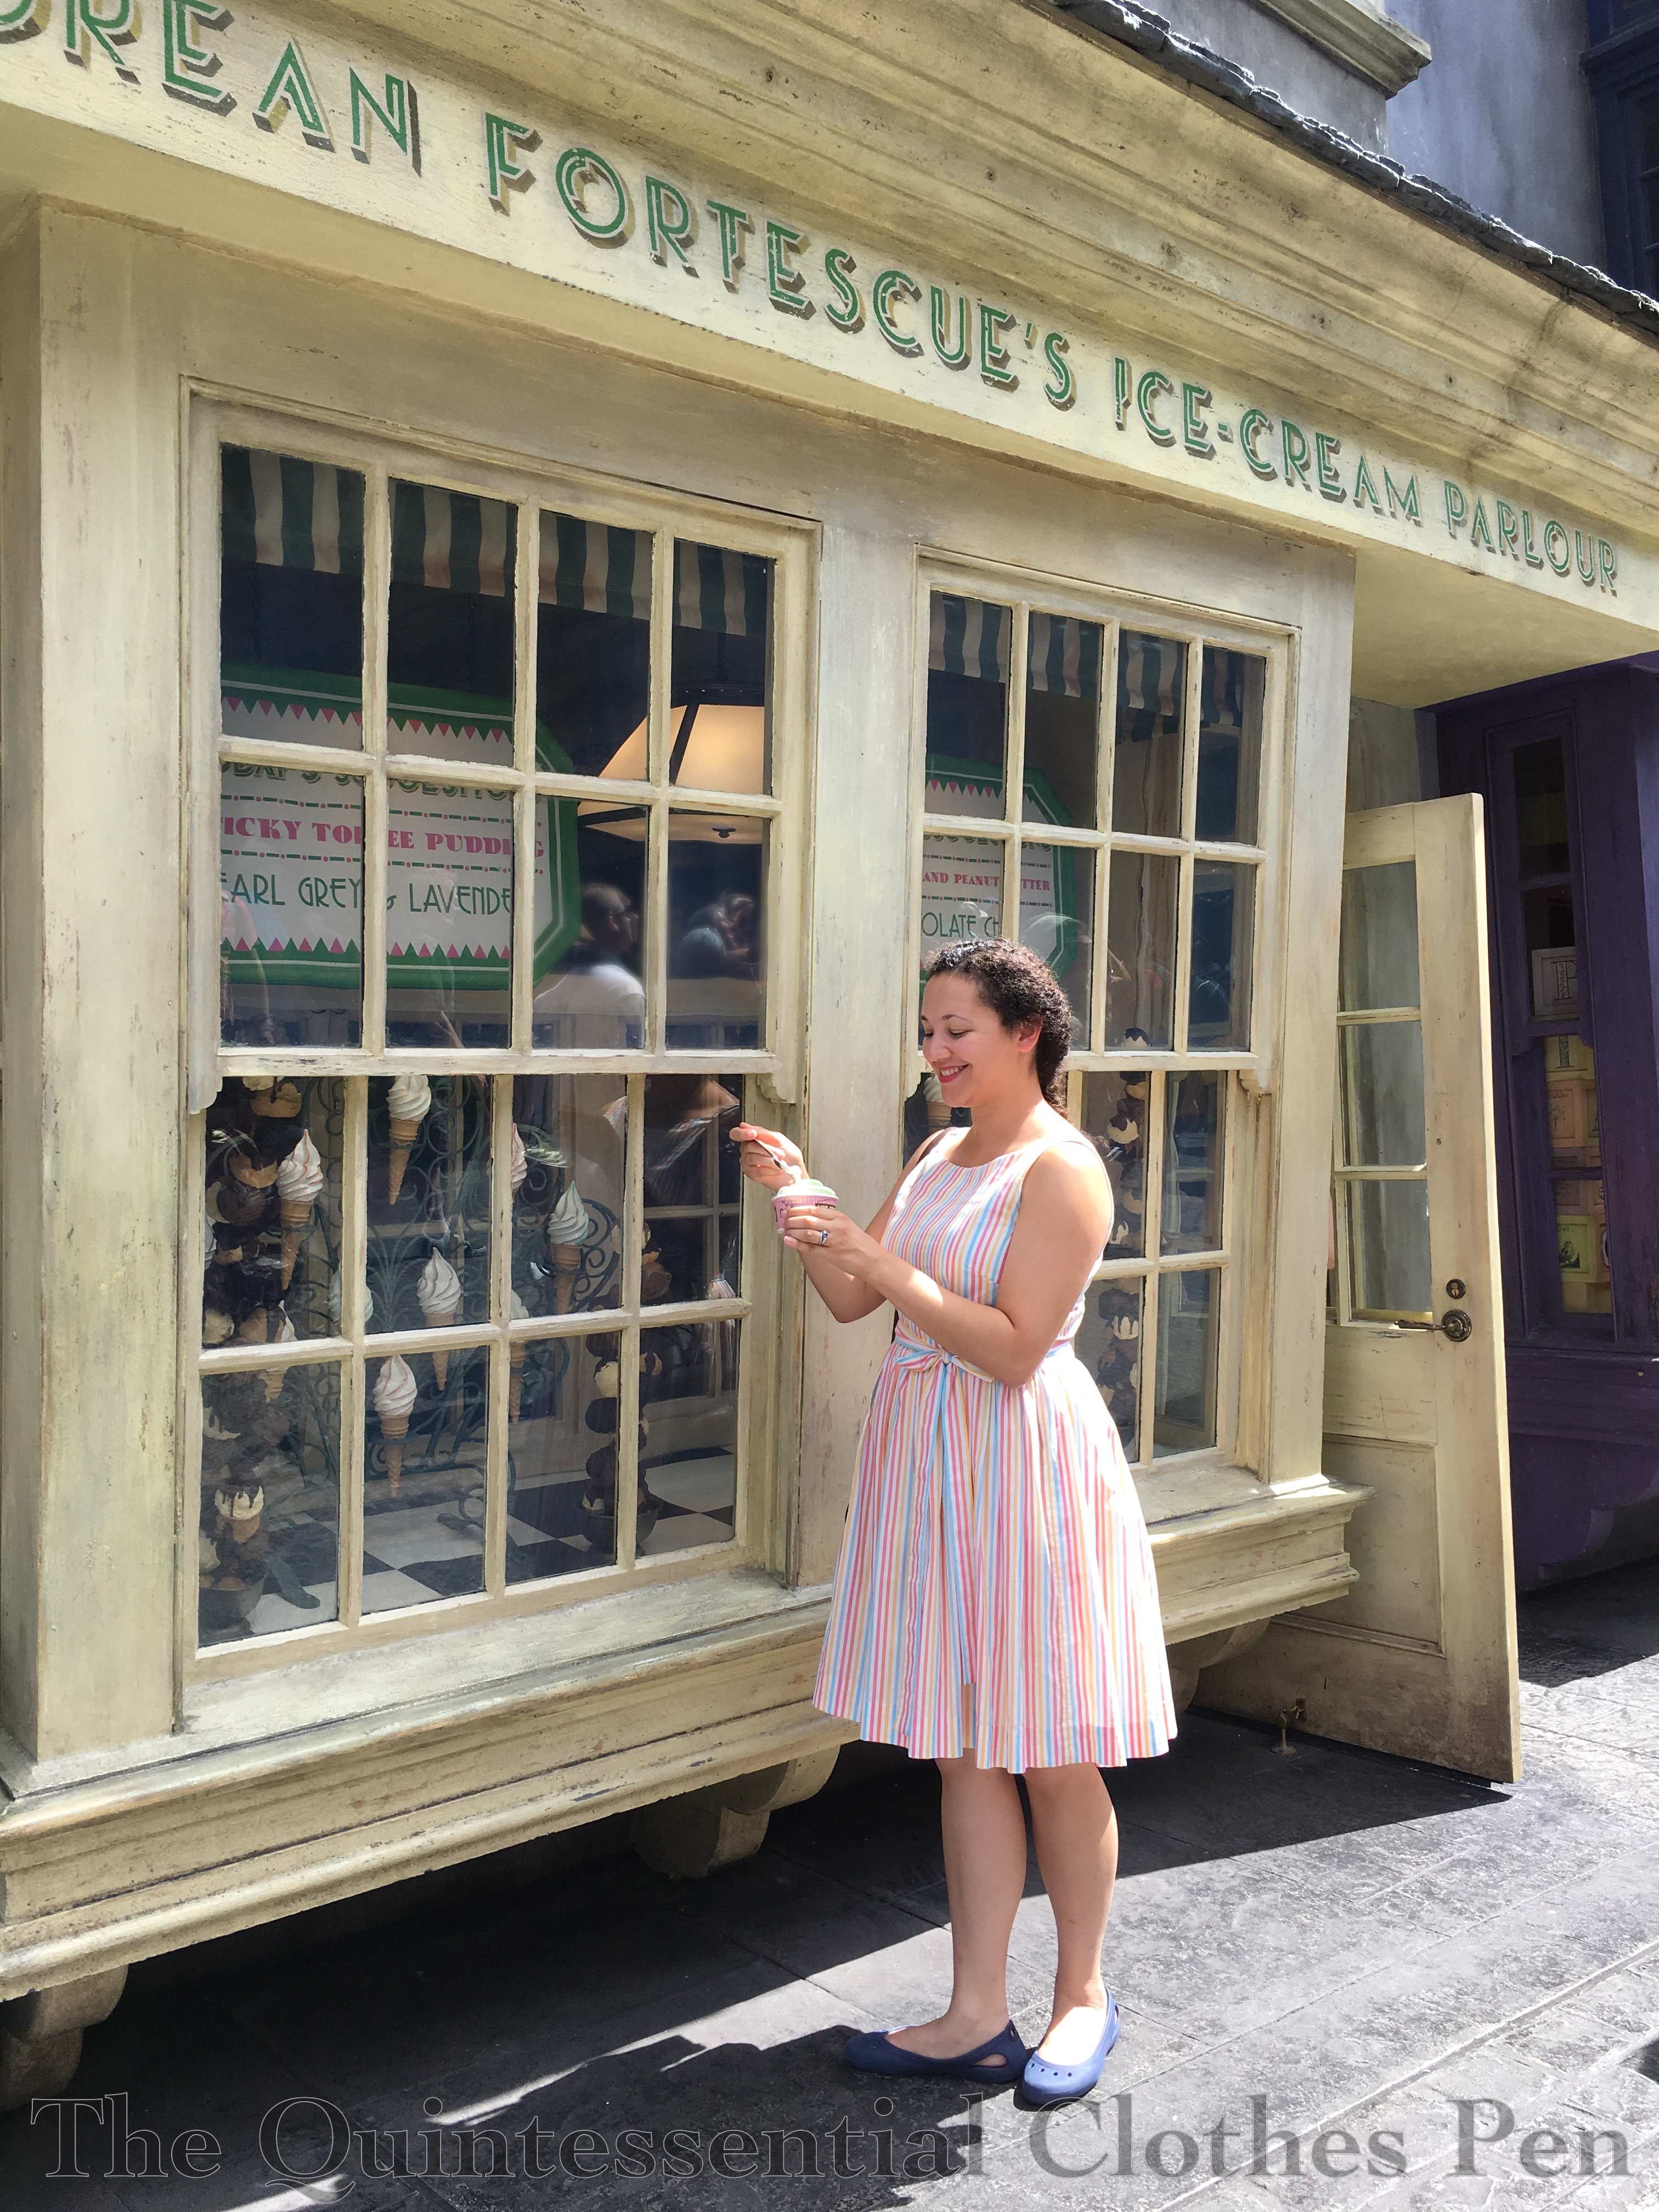
Say that ten times fast! I was originally calling this dress the Cotton Candy Stripe Dress, but while wearing it to The Wizarding World of Harry Potter and seeing how well it matched the decor of Florean Fortescue’s Ice Cream Parlor it earned a new name.

I happened upon this summery fabric while looking for a different striped fabric at Farmhouse Fabrics. I bought it with the plan of using New Look #6143 for the bodice with a gathered skirt similar to my Bubble Dots Skirt.

I very carefully cut out the bodice pieces to match the stripes and was very pleased with the results. Look at how well my center back seam matches with the invisible zipper set in! The shoulder seams match nicely, too, and I didn’t even plan that!

The bodice is lined in lightweight white cotton, in the same way as the New Old(er) Dress I posted about in July. It uses the same bodice pattern and like the other dress this one closes with an invisible zipper down the back as well.

I thought of adding pockets but the fabric seemed to sheer to hide them well, so I decided against it.  I thought of adding a skirt lining, but decided I didn’t want to add bulk at the waist so I would live dangerously and hope that a slip would be enough to provide opacity. Thankfully, a knee length white slip is perfect. To add a just a little bit of volume, I also wear my vintage petticoat with the dress. You can see that petticoat in this past post.

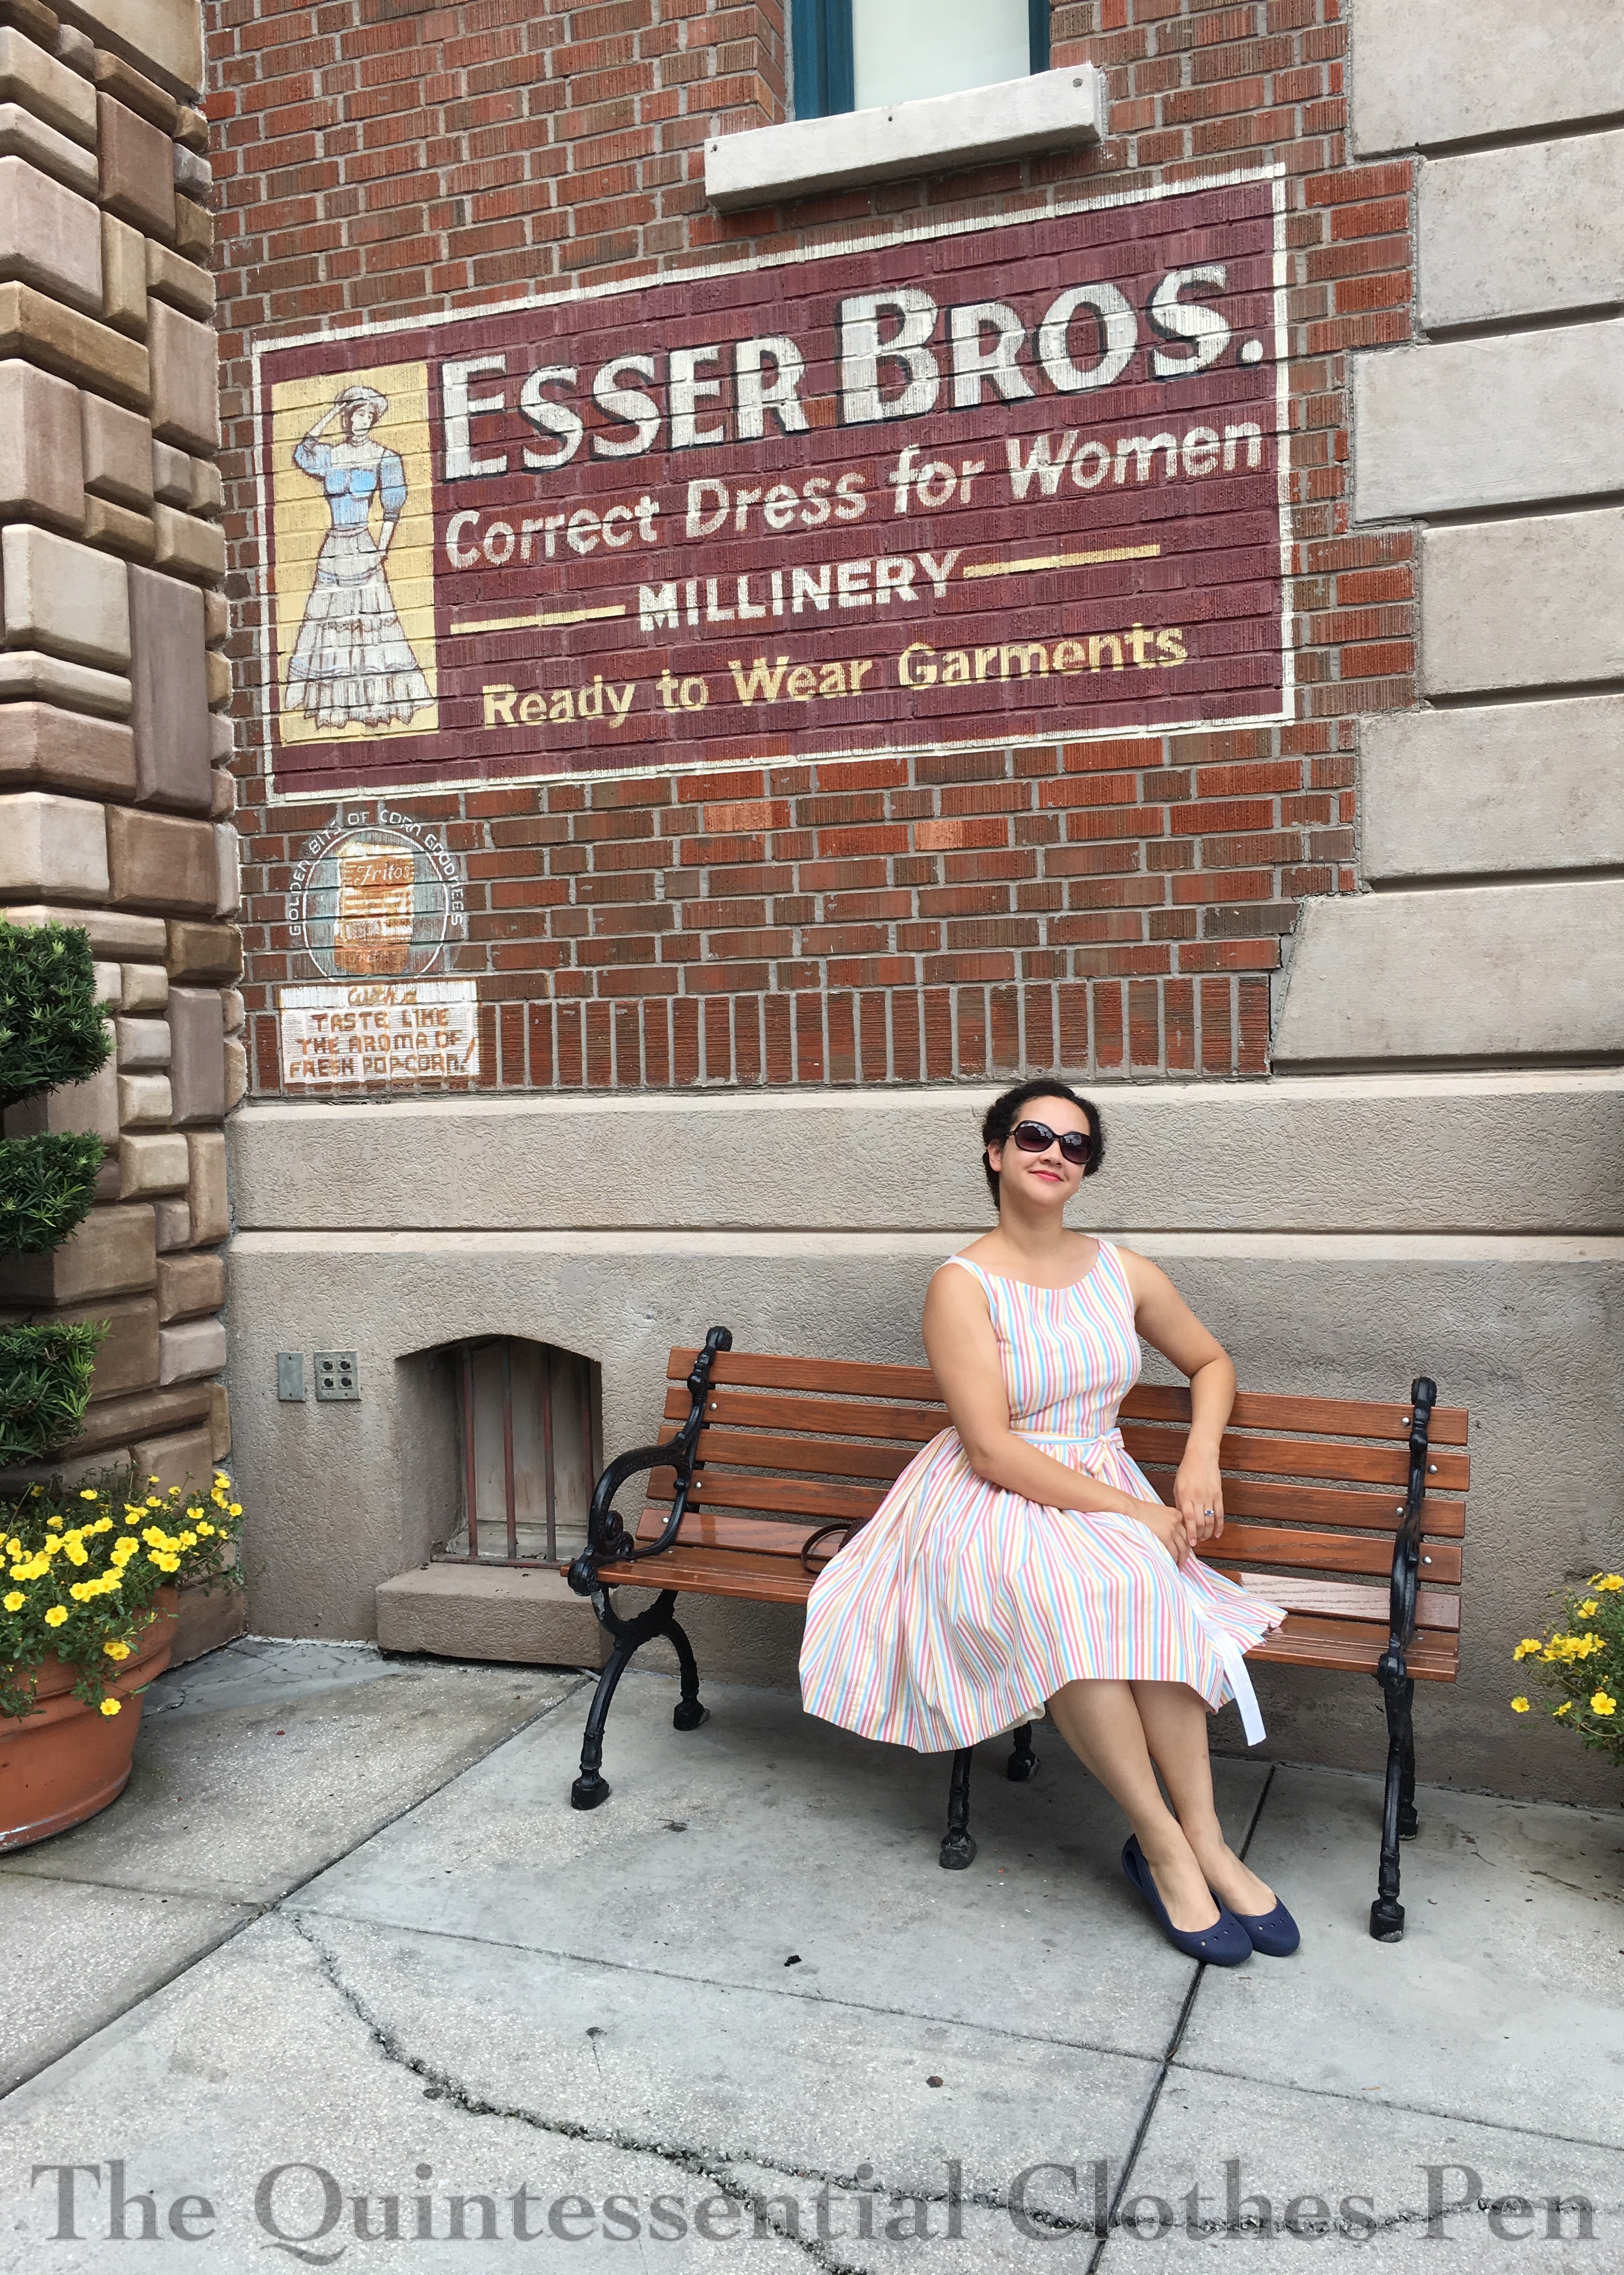
This dress is fun! It’s light, summer-y, and my only fear was getting something on the white fabric while wandering around the amusement park. Thankfully that never happened!  We happened upon this spot while wandering around and it seemed good for a photo! My vacation sunglasses look like a bug and are silly, but I rather enjoy them once or twice a year. I never wear sunglasses that big in my normal life! They were great for the bright Florida sun!

Here are a few end-of-day shots, with frizzier hair and running-out-of-pose-idea poses. We stayed at the Cabana Bay Resort. It’s vintage themed and had some really adorable decor that we really enjoyed!

I made the dress with a 2″ hem but that skirt length was just barely long enough to conceal my petticoat (I realized after looking at photos). It was too close for comfort, so after I got home I decided to lower the hem as much as possible, which I’m very pleased with. Sadly I only got one wearing in with the new length before fall set in. Now the dress is now packed away and waiting for warmer weather next year!

Vintage-Inspired Book Dress

Two or so years ago, I came across this dress as I was poking around the internet. I loved the print, but the style was not for me. The peter pan collar, in particular, isn’t really my style. However, I got it in my head that maybe I could make my own version of this dress, with style details that suited me better.

This led to a hunt for the fabric. With a little bit of searching, I was actually able to find the exact cotton print fabric used in the dress I originally liked! I bought mine from Fabric.com, but it was (and still is) also listed on Etsy. It has a little bit more stiffness than your average quilting cotton, which makes for a dress with nice body. It also has little hints of metallic gold in the book titles, some of which are readable. This makes it a little festive and fun without being over done.

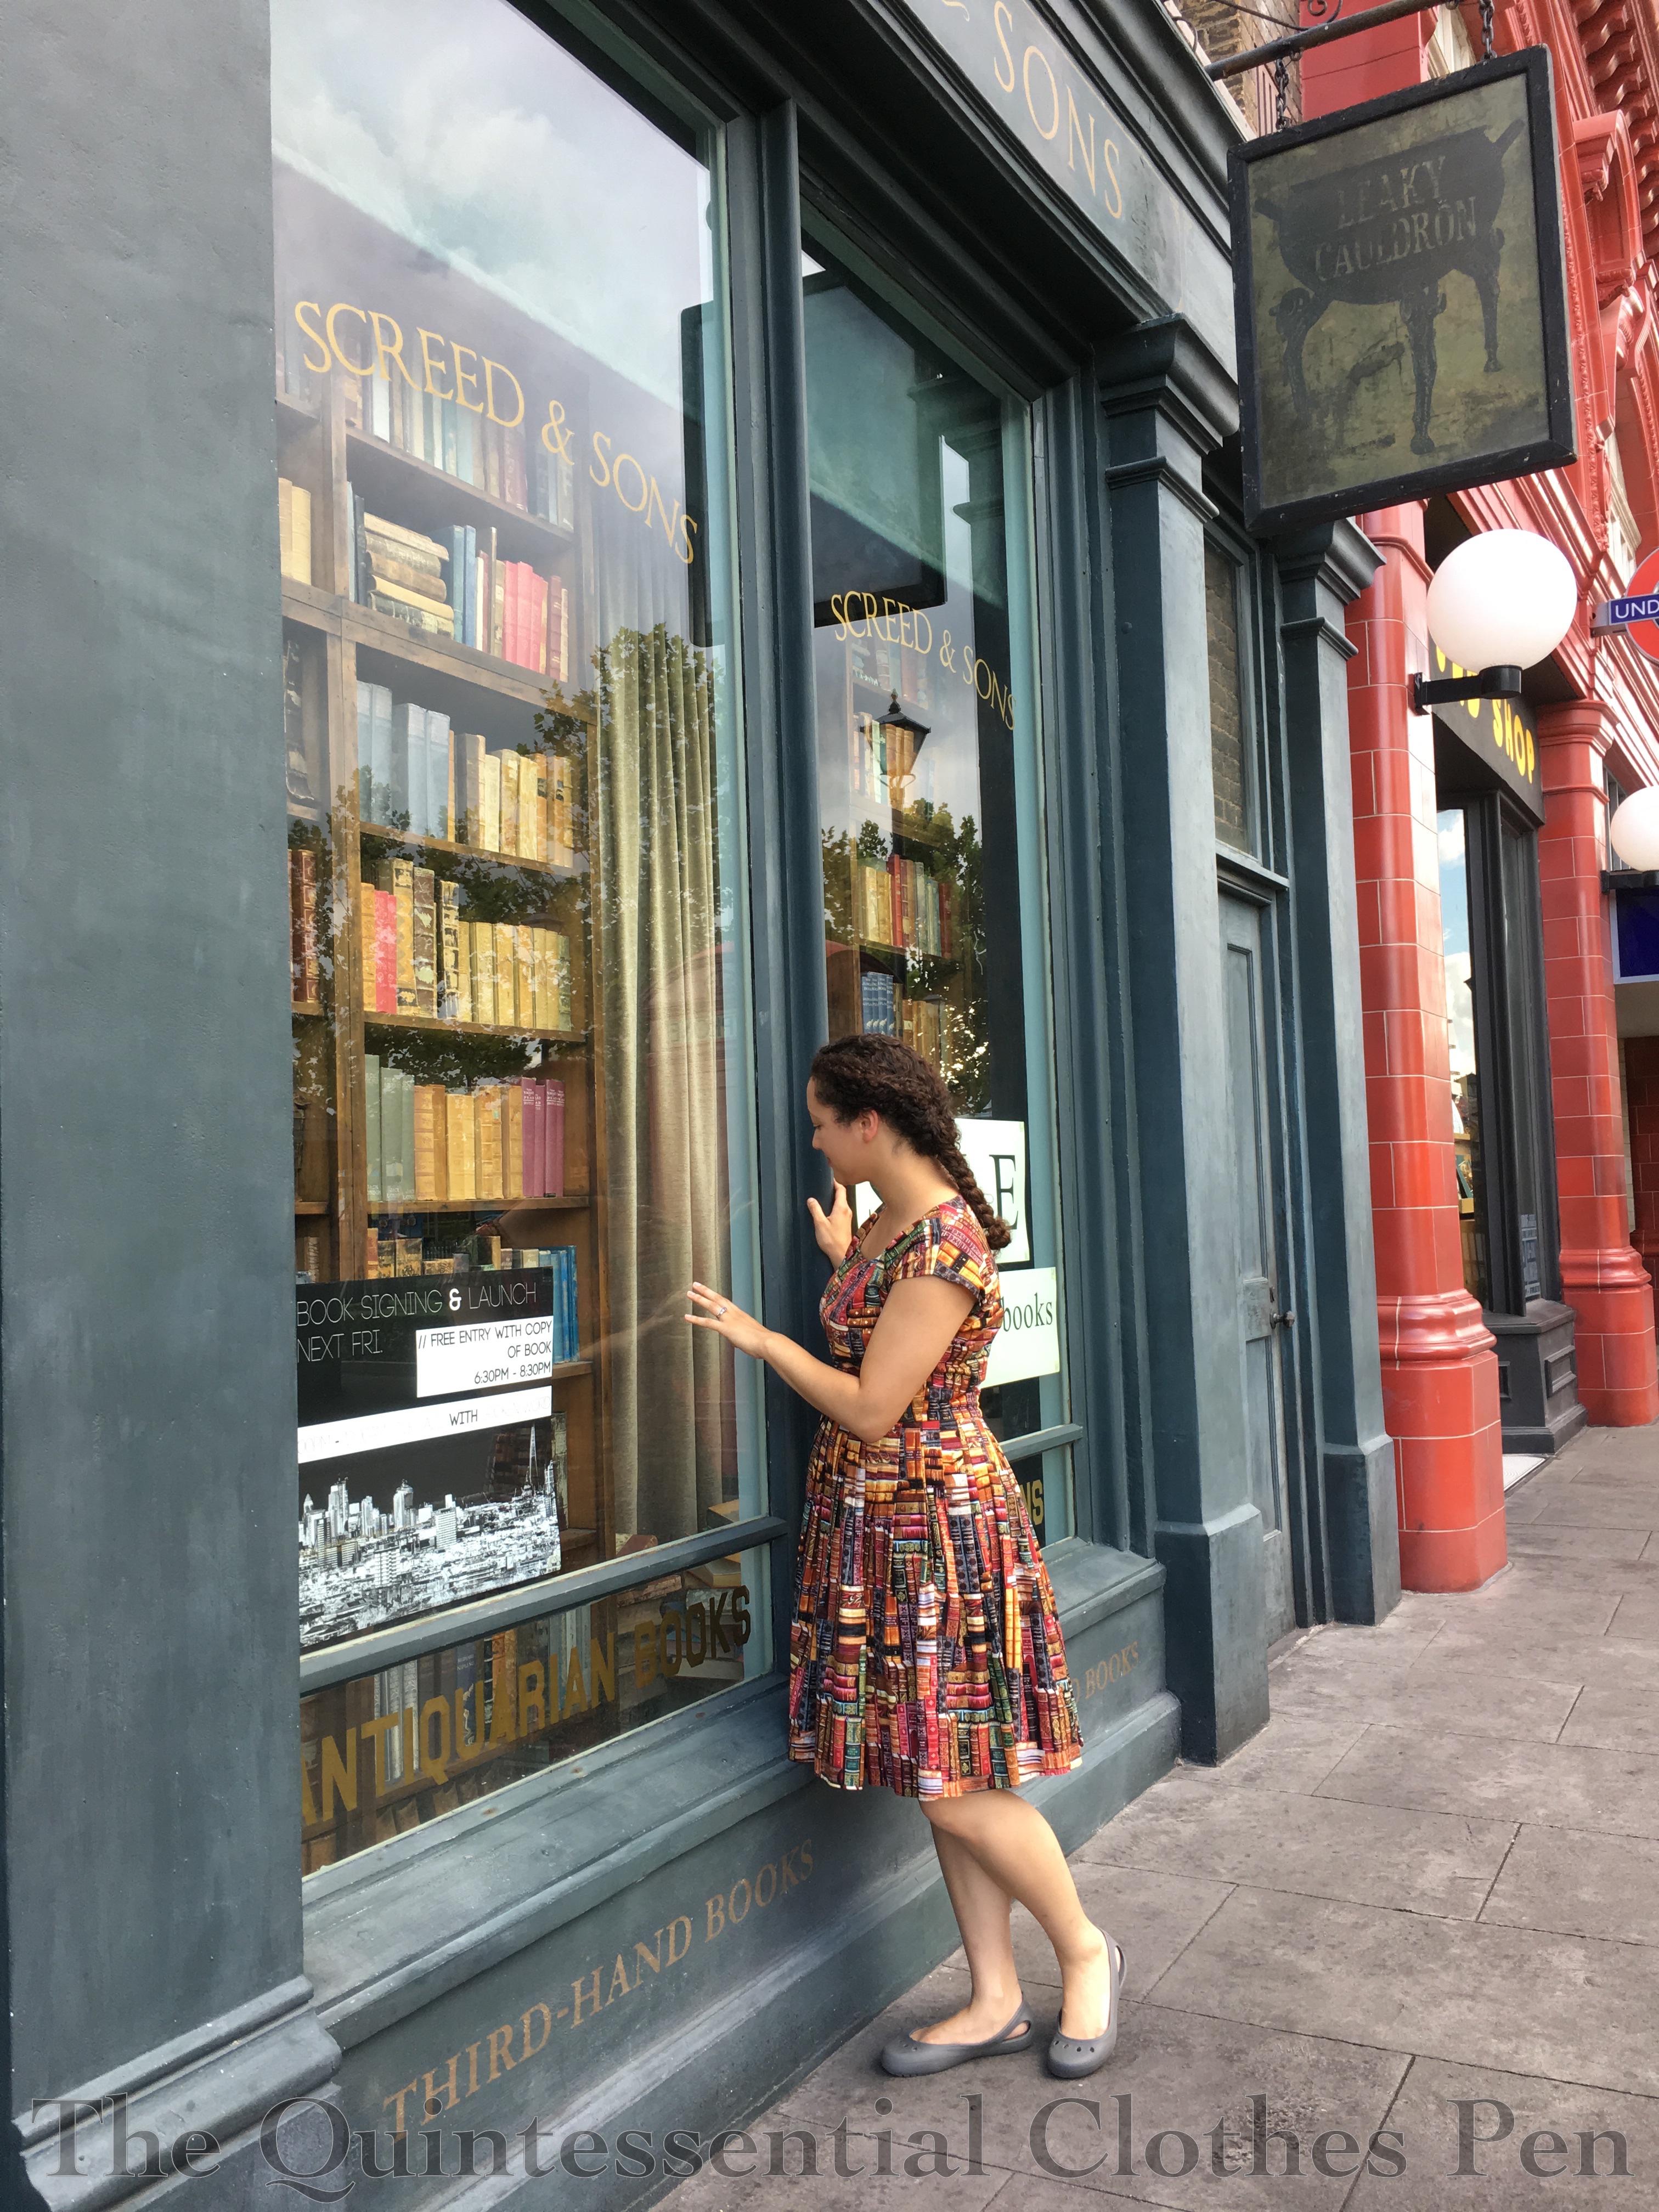
That was back in 2016. It took me about a year to get around to making the dress, but I finished it in late 2017. And I’ve been wearing it! It just took another year to wear it somewhere that was good for taking photos. (I still hold out hopes of taking photos of it in a fabulous wood paneled library, while holding my hardcover copy of Gone With The Wind. That’s one of the readable titles on the dress! Not sure when that will happen, though.) In the meantime, I’m very pleased with these photos from my trip to Universal Orlando, where we took photos of this dress in various Harry Potter locations.

I used Butterick 5880 (a retro pattern from 1951) for the bodice of this dress. This is the same bodice I used for my Happy Clover Dress, which I finally finished in 2017 as well. Both of these dresses have a different neckline than the original pattern. I’ve found that this is a great basic pattern for me. It fits well, I like the all-in-one-with-the-bodice sleeve, and different necklines work with it to change it up from one dress to the next!

The square neck inspiration for this dress came from a blog reader in 2017, who commented on my Happy Clover Dress post and suggested that a square neckline might be a nice vintage touch. I thought the idea made sense with the square corners of the books in this print and decided to give it a try!

As with the Happy Clover Dress, I did not use the Butterick skirt pattern, instead opting to create my own. My vintage inspired skirt is simply a tube that is 122″ in circumference, knife pleated to fit the waist size of the bodice. I carefully cut and seamed the panels to maximize my fabric use and have side seams as well as a center back seam. Part of the reason I had to maximize my fabric use was that I used up pretty much all of all 2.5 yards that I bought. In fact, I didn’t even have scraps big enough to make pockets out of after cutting out the bodice and skirt pieces! I used what I had and pieced the rest of my pocket bags with fabric left over from my 1860s Flower Basket Fancy Dress project. I had dyed the fabric a mottled brown, had only had small scraps left, and the look reminded me of book leather, so it seemed like a fitting thing to use.

Pockets in a dress is excellent! And you can do that when you make your own clothes. Actually, while I was on my trip I was asked whether I’d made the dress. The giveaways were the fact that I had my hands in my pockets and the knife pleated skirt, both of which struck the person who asked as being vintage and self-made details–not a combination that would be easy to buy in a store. I thought that was fun!

I made this dress using modern techniques. All of the inside seam allowances are finished using a serger/overlocker. There is an invisible zipper in the back. It is almost entirely machine sewn, including the hem and armholes. The only hand stitching is the finishing of the brown bias tape that finishes the neckline, in order to keep that nice and invisible. On the hem and armholes the black machine stitching blends into the print and is hardly noticeable.

I have fun wearing this dress and pairing it with different cardigans in the colder months! Black and red are my favorites. And I can report that it was very enjoyable to be dressed in slightly-vintage-style to visit Diagon Alley and Hogsmeade. I had no trouble on the rides and was as comfortable in the heat of Florida as I would have been in shorts or capris and a tee shirt, which is what most people were wearing. I felt more put together and enjoyed the themed dress! I might have to do things like that more often!

1925 Blue Coral Day Dress (HSM #8)

The summer has been very busy and I don’t feel like I’ve completed very many sewing projects for myself. Really the only reason I’ve completed anything is because I’ve been live streaming my sewing, which forces me to make things from the list of the-things-I-want-to-make-that-I-never-make-time-for. Do you have a list like that? Mine is lengthy!

One of the first of these things-I-don’t-usually-make-time-for projects was a dress made out of one of the fabrics I bought earlier this year. I really wanted to have it for events this month as they are generally quite hot and the fabric I found is nice and lightweight while still being opaque. I found this fabric at a local discount store for the awesome price of $2.99/yard and then later saw it at a regular price store for somewhere closer to $10/yard, which really made me feel like I got a deal!

The pattern for this dress is a Quinnpen special (ie. made by me). I took my inspiration directly from this extant dress at All The Pretty Dresses. Due to that, it qualifies for the HSM Challenge #8 Extant Originals (copy an extant historical garment as closely as possible)!

To start, just the facts:

Fabric: 2.5 yards cotton lawn.

Pattern: My own.

Year: 1925.

Notions: Small bits of contrasting fabric for bias binding, thread.

How historically accurate is it?: I’d say this one is about as close as I can get to 100%!

Hours to complete: Approximately 8 hours.

First worn: August 5, 2018.

Total cost: $10.50 (including the fabrics I used for decorative sash options).

For the bodice of this new dress, I started with my 1927 Blush Sparkle dress (that dress started life as a tube before I added a head hole, armholes, and side seams/darts to about the hip level). For the skirt, I made a circular pattern that had the zig zag top edges that are featured in the extant dress. It was a bit of trial and error process to get the zig zags just right, but I made it in the end! You can see the topstitched zig zag detail on the extant inspiration if you look at the pictures carefully.

The zig zag top edge of the skirt is pressed under and topstitched onto the bodice. On both my dress and the extant dress that detail gets lost in the pattern, but it allows the skirt to have a lovely drape and fullness while the top can stay that straight 1920s shape that is so iconic. Here’s a closeup of my topstitching. Not bad on the pattern matching!

I finished my dress armholes and neck hole using bias, as I believe the original did based on looking at the photos. My only changes here were to use a contrasting color so I could actually see where the openings are (before I put on the orange binding the blue on blue pattern just made a big indistinguishable pile!) and to turn the bias binding to the inside of the openings (given that I was using a contrasting color). Aside from that the only other detail I omitted was a center back seam on the bodice since I had enough fabric not to need it when I was cutting out the pieces.

The photo above shows the dress with two different sash options that I made for it: pink and orange. I bought the orange when I bought the blue, but when I got home I thought it might be too bold and decided I might like the pink better. But I really couldn’t decide, so in the end, I made both!

When I wore the dress, I was still undecided… so I took pictures with all three options: no sash, pink sash, and orange sash. See each look below!

The idea behind a sash was this inspiration: Wilton Williams, The Bystander, August 12th 1925, though after wearing it my preference is no sash! I think that the bold, large scale patterns in the fabrics of the inspiration dresses lend themselves better to a sash than this blue dress.  The bonus part of not having a sash is that the dress is easy to wear, there’s no fussing with keeping a sash in place, and the dress really does have a nice 1920s shape to it even though the detail of the zig zag is lost from more than a foot or two away. What do you think? Does one style of sash (or no sash) speak most to you?

It’s fun to have a new dress to wear, discuss, and document! There are more dresses in the live stream queue, so if you want to stay in touch with what I’m making I would love to have you join me for one of my virtual sewing circles. You can join me on Wednesdays and Fridays from 9-10:30pm EST!