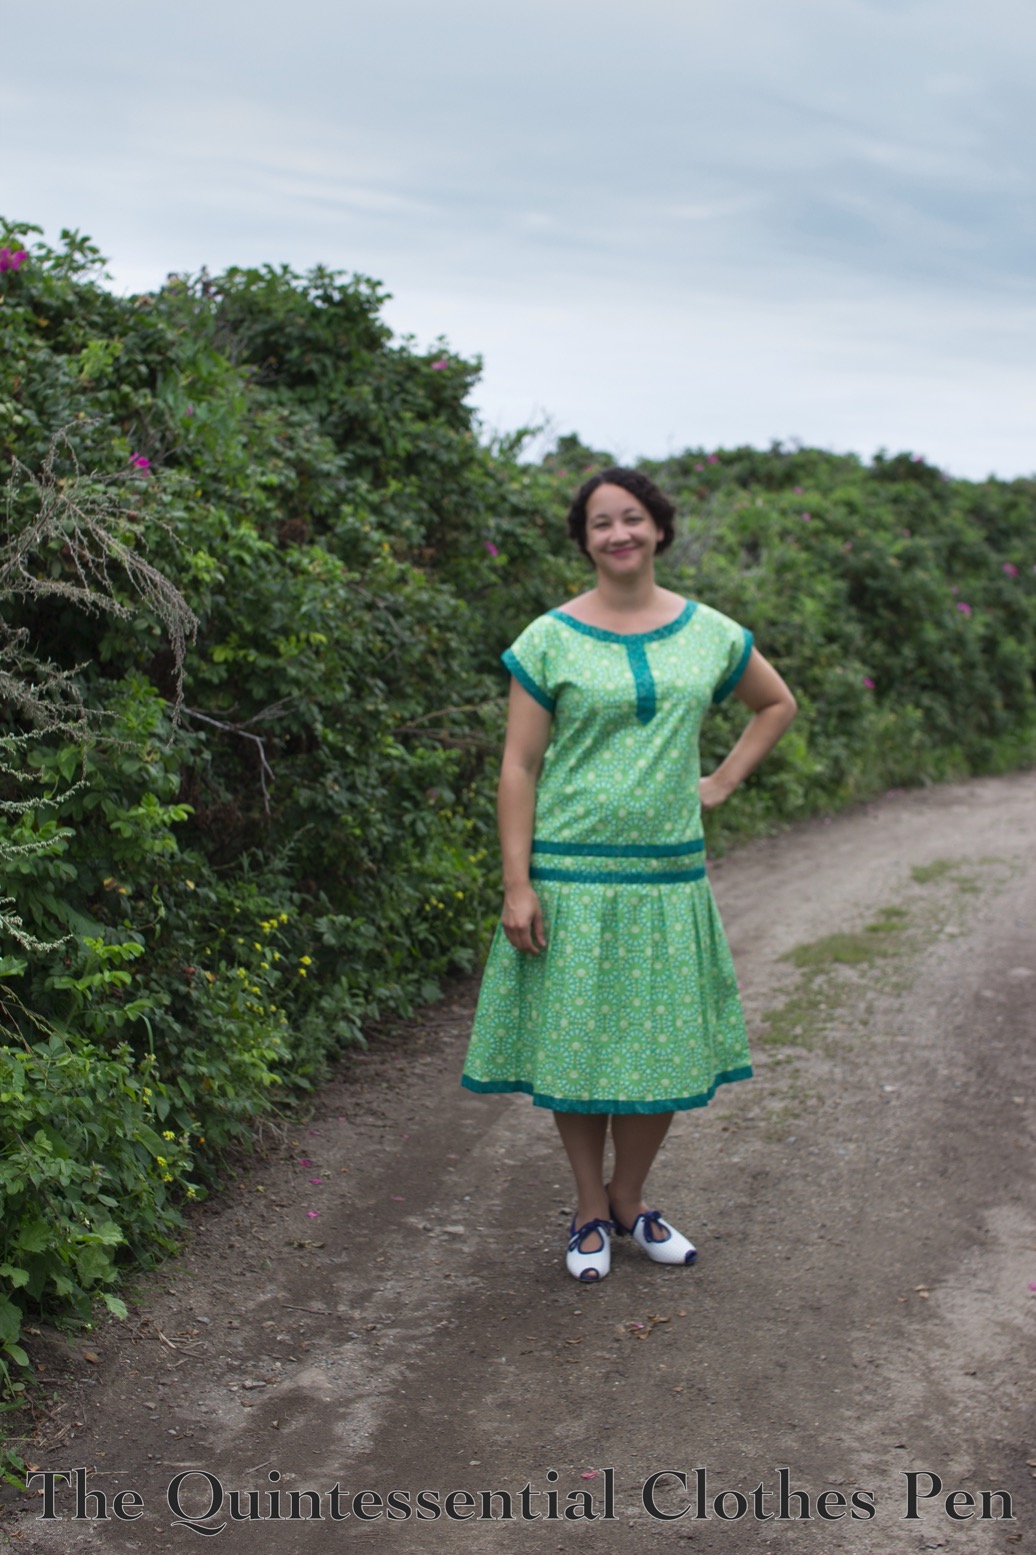
1928 Egyptomania Inspired Green & Teal Dress (HSM #2)

I was inspired to make a dress! That seems like quite an accomplishment these days as I’ve been so busy with other things that I haven’t made much for myself this year.

It was summer, you see, and I knew that Gatsby On The Isles was coming up. (I’ve attended in the past, check out the past posts from 2019, 2018, and 2016.)

I have plenty of dresses (and let’s be honest, not many of them have been worn in the last two years or so), but I also had fabric that was waiting to be turned into a dress… So it didn’t take too much self-convincing to decide that the fabric ought to be turned into a dress, right now!

My first idea was to create something like the dress on the bottom right (#2346) in next image, but after making a mockup I realized that I didn’t have enough yardage of my proposed fabric.

Needlework Magazine, March, 1925

I’d bought the fabric thinking I’d make a rather simple 1920s dress, but the dress I’d been pursuing wasn’t quite that–and the length was longer than I had yardage for. So it was back to Pinterest to find another idea. I settled on using the green dress below, another one I’d been eyeing for years, as my inspiration.

1928

I’d purchased the green and teal accent fabrics in 2021 and thought they would work well for this second design idea.

My bodice pattern was adapted from my 1925 Blue Coral Dress, to get the general size, in combination with my late 18th century shift, to get the cut on sleeves. The skirt is just a tube made from what was leftover after that. I wanted to get two full widths of 45″ but didn’t have enough, so the skirt is one full width and two additional sections.

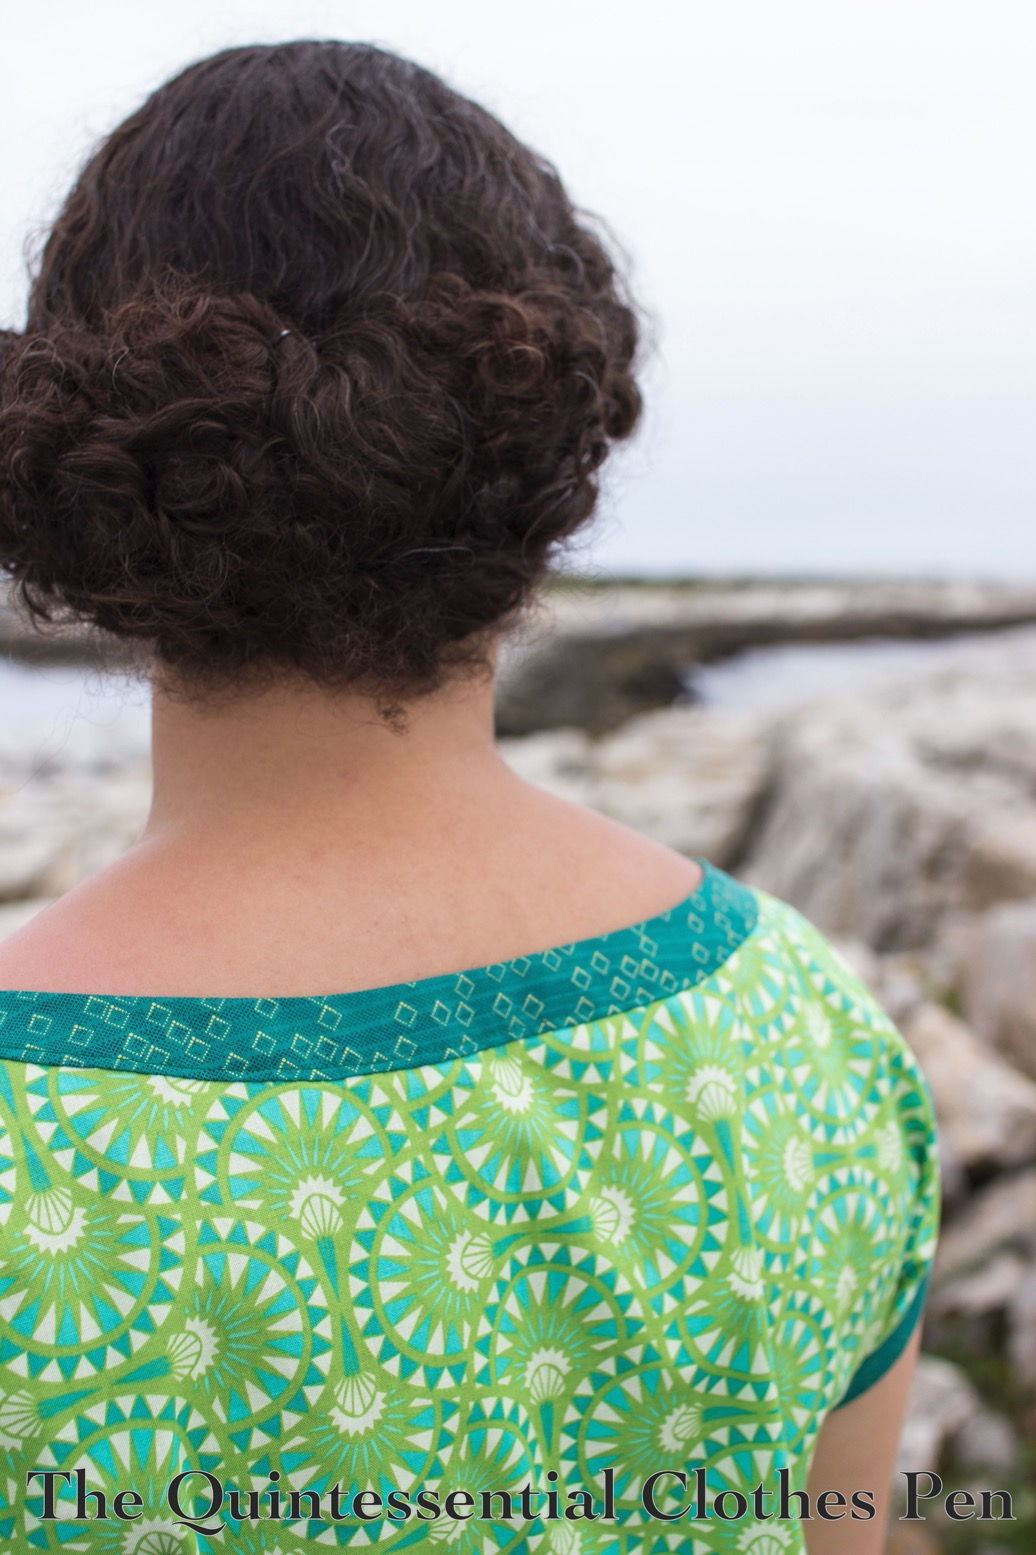
I wanted to match the pattern perfectly at the seams, but that ate up too many inches of my circumference so I settled on not matching them–and frankly, you can’t tell! I spent a lot of time making perfect pleats (the print on the fabric makes that pretty easy, actually), but of course they smoothed out as soon as I wore the dress. Oh well!

The dress qualifies for the Historical Sew Monthly Challenge #2

The Roaring 20s: Make something from the 20s (any century) or that somehow incorporates a number in the 20s. .

Just the facts:

Fabric/Materials: 2 yds green cotton and 1 yd of teal cotton.

Pattern: Created by me.

Year: 1928.

Notions: Thread.

How historically accurate is it?: 95%. The pattern and construction methods are quite good. The fabrics are a bit stiffer than those that I think would have been used 90 years ago.

Hours to complete: Perhaps 12? I didn’t keep track.

First worn: August 2021.

Total cost: Approximately $9.

This dress is mostly machine sewn. The goal was to entirely machine sew the dress, including attaching and top stitching the trim, but then as I was reaching the end of the sewing process I realized there were a few things that would look nicer with a bit of hand sewing.

Why is this Egyptomaina inspired?

Well, ancient Egypt was all the rage in Europe and America in the 1920s, particularly after Howard Carter and Lord Carnarvon discovered the tomb of the Pharaoh Tutankhamun in 1922. Egyptian motifs were used in Art Deco design elements for furnishings, jewelry, and clothing. So, while not exactly Egyptian… the colors and patterns in my fabrics remind me of Egyptian things: the Nile river, lapis lazuli, the Egyptian lotus flower, and the tops of many ancient Egyptian columns, for example.

Obelisks were often erected in pairs at the entrances to ancient Egyptian temples, so given the Egyptian association of my dress, I wanted to try and get a photo of my dress with the obelisk on the island. The photo is not quite just me and the obelisk, but it will do. (The problem is that the obelisk is so tall that if you’re close to it you can’t tell what it is… but being far enough away to get the full height means that other elements make their way into the photo, too!)

There are lots of additional photos from tromping around looking for good photo opportunities for this dress, so you’ll be seeing more of it and my accompanying adventures in more posts soon!

1930s Holyhead Harpies Adventure

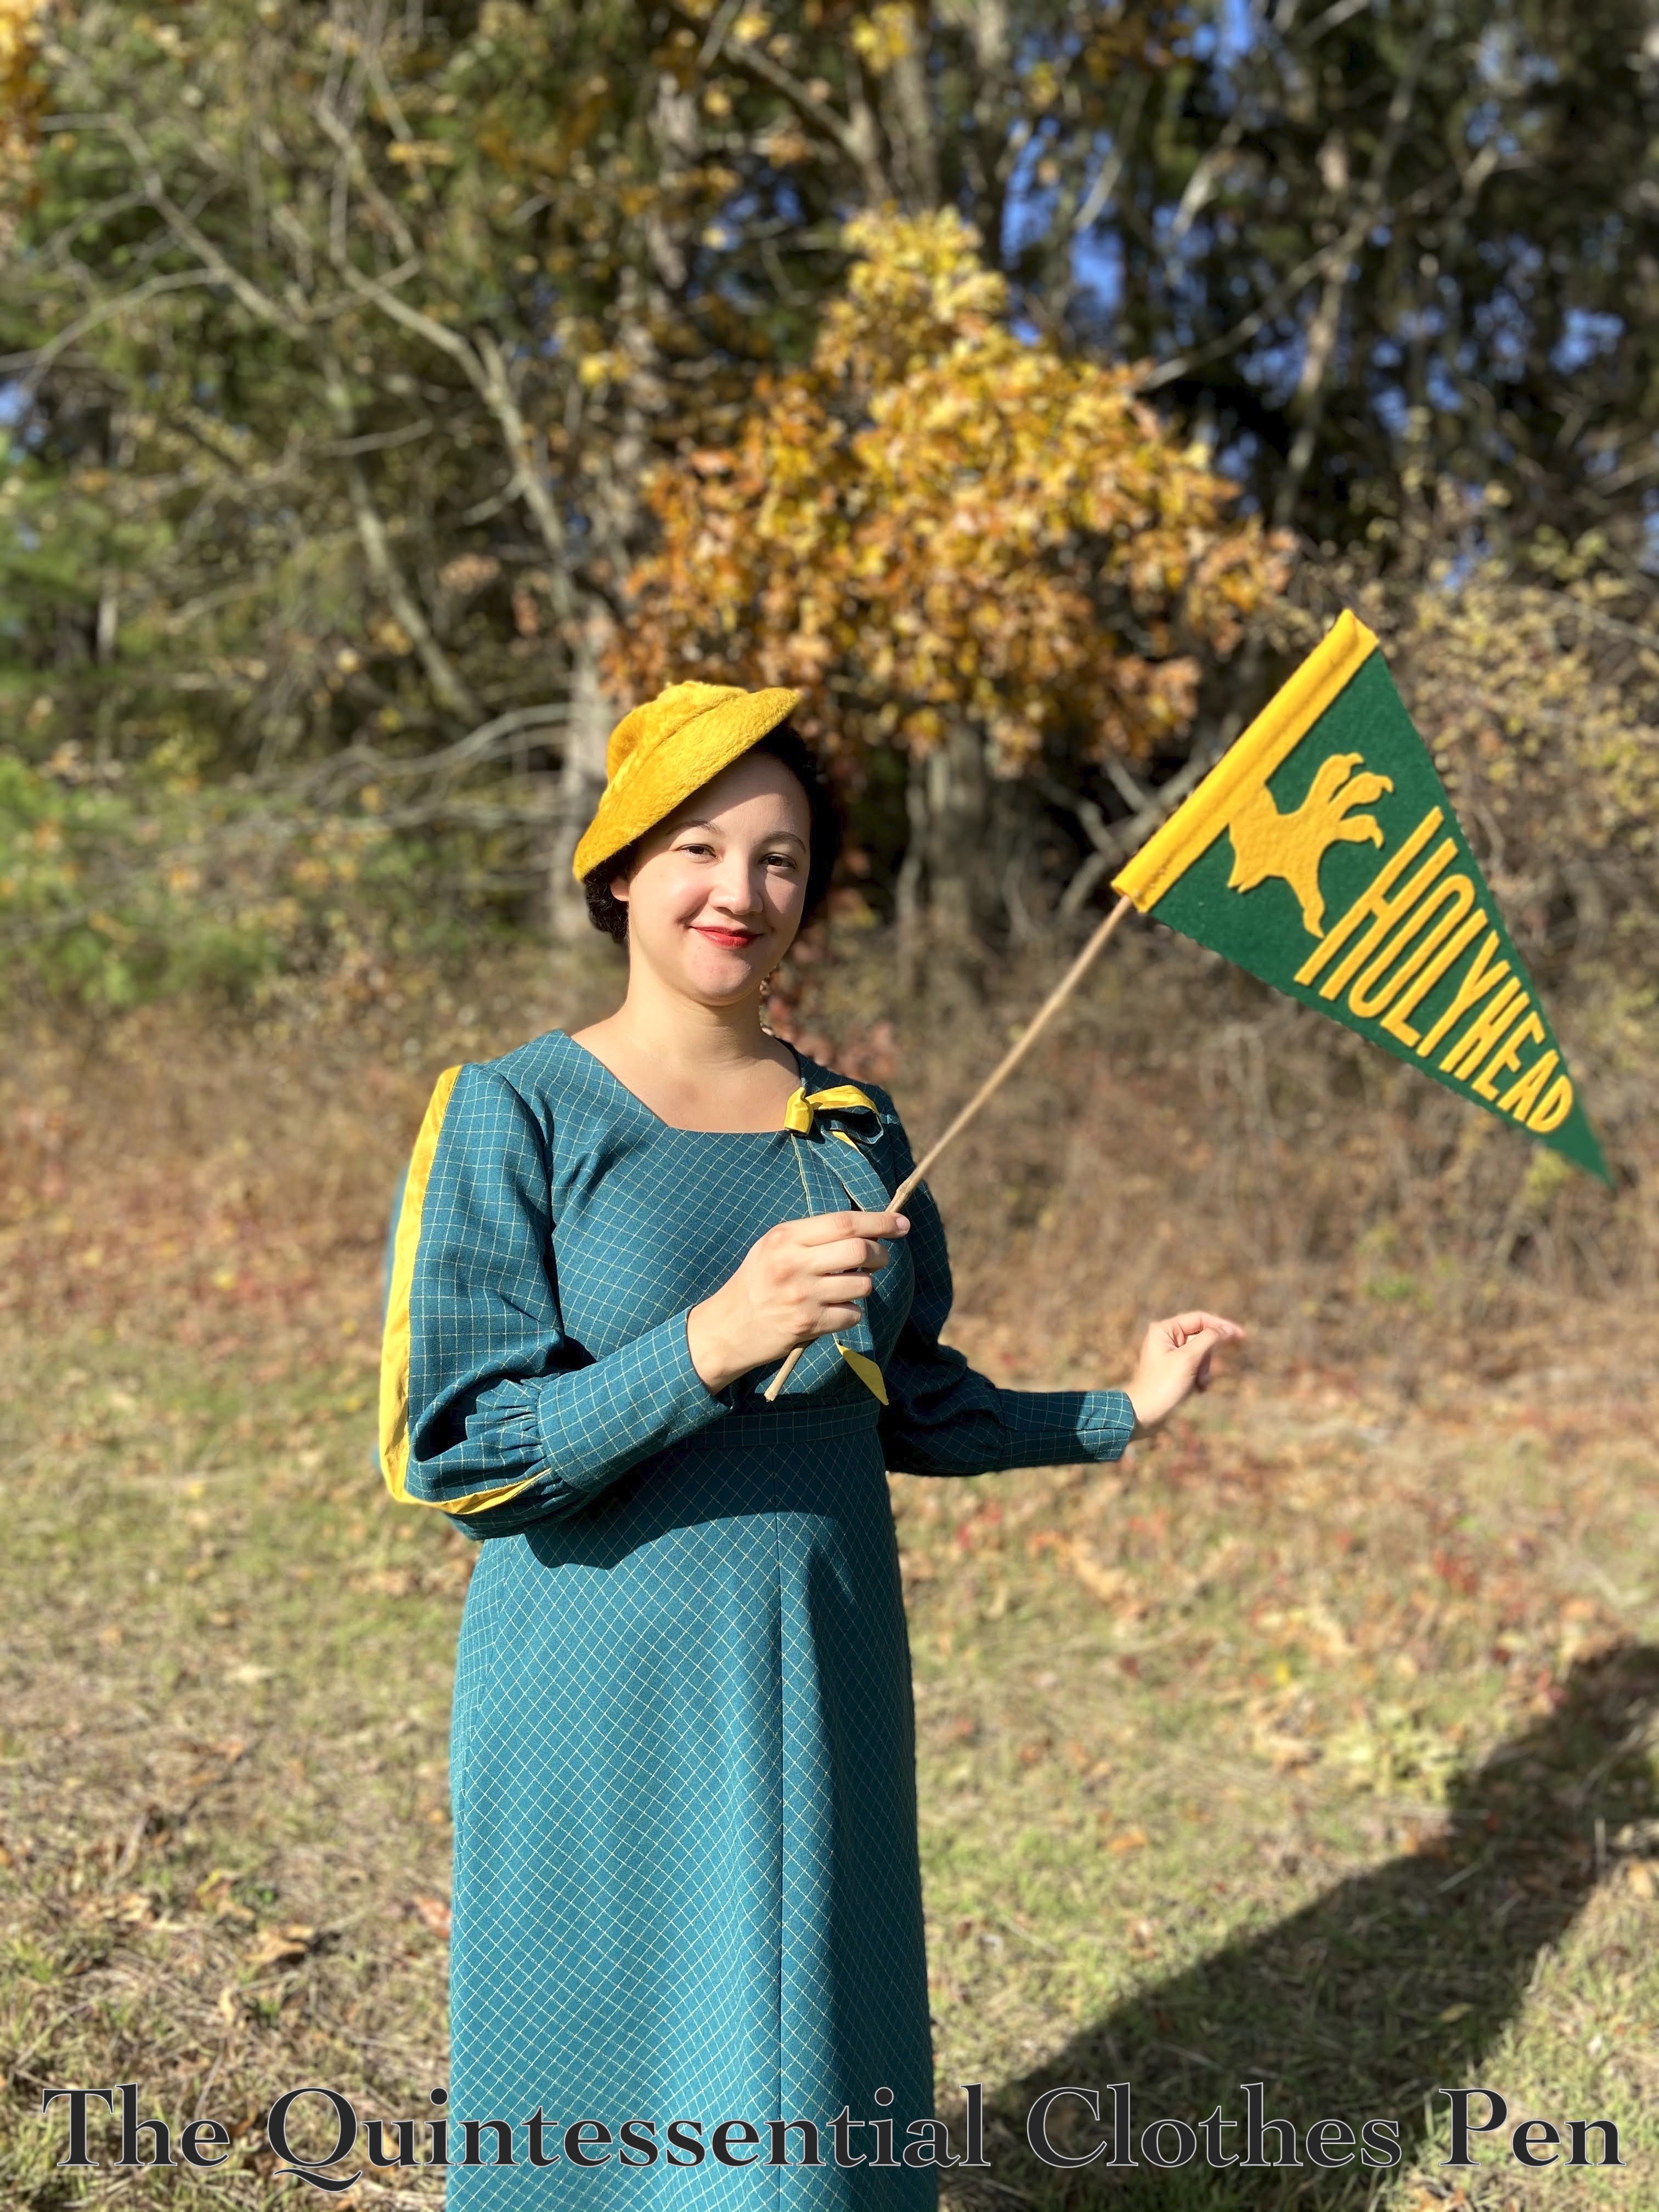
Some of my friends decided to make 1930s quidditch uniforms for the Holyhead Harpies team (these are all Harry Potter references, in case that sentence makes no sense to you!). I didn’t have the time to join them in that particular endeavor, but I did have a 1933 dress in my closet in the team colors (green and gold) and we decided it would be fun for me to tag along on the quidditch adventure. One could call me team manager, or a fan, or… take your pick!

My role might depend on which photo you’re looking at… I brought along a wand and my time turner and made sure to run the team through their drills!

Our initial photos were fun, but the backgrounds weren’t great, so we decided to do an autumnal outdoor photo shoot, which we combined with regular photos of my dress, too. The non-Holyhead Harpy photos of the dress can be seen here in a previous post.

You can’t really see the detail of the pennant in the last photo (but look at that gorgeous tree!), so below is a closer photo. One of my friends had great fun making the felt pennants!

We had fun taking action shots, too!

Who says quidditch brooms aren’t real?

Quidditch champions!

Sometimes a bit of silly is good for you. Certainly it brings smiles! To read more about the idea to make 1930s quidditch uniforms, check out this post about it on Plaid Petticoats.

An Autumn Outing For The 1933 Green & Gold Dress

It’s autumn! I think this is my favorite season. Chilly air mixed with sunshine… The return of wool sweaters and skirts… Crisp apples and fresh cider… Yum!

I thought I’d set the season by sharing a few photos from an autumn photo shoot that haven’t made it onto the blog yet. They are so wonderfully autumnal that I’ve been saving them until the perfect time of year!

The story behind the photo shoot is that back in 2017 I made a bias cut 1933 dress. It is green with a small windowpane woven in gold and features gold taffeta accents as well as a gold tilt hat remade from a vintage velour cloche-shaped hat. Construction details and the original photo shoot were blogged about here.

At the time I made the dress I had no particular plans for it, but I’m pleased to say that I have put it to use a few times in the last few years. Most recently, I wore it on this gorgeous autumn day in order to get updated photos of it and to join friends as we photographed them in 1930s-style Holyhead Harpy quidditch uniforms (this is a reference to Harry Potter… more on that in a future post!).

I loved the idea of the gold accents in harmony with the changing leaves, though I think it’s possible the leaves mostly stole the show!

It was such a beautiful day! With or without leaves the trees looked striking against the brilliant blue sky.

In addition to getting photos, we had a picnic followed by a lovely walk as we took in the trees, sunshine, and fresh air. Autumn is only just starting so there’s plenty of time to get some more of that, too!

1838 Yellow Bodice Construction Details (HSM #4)

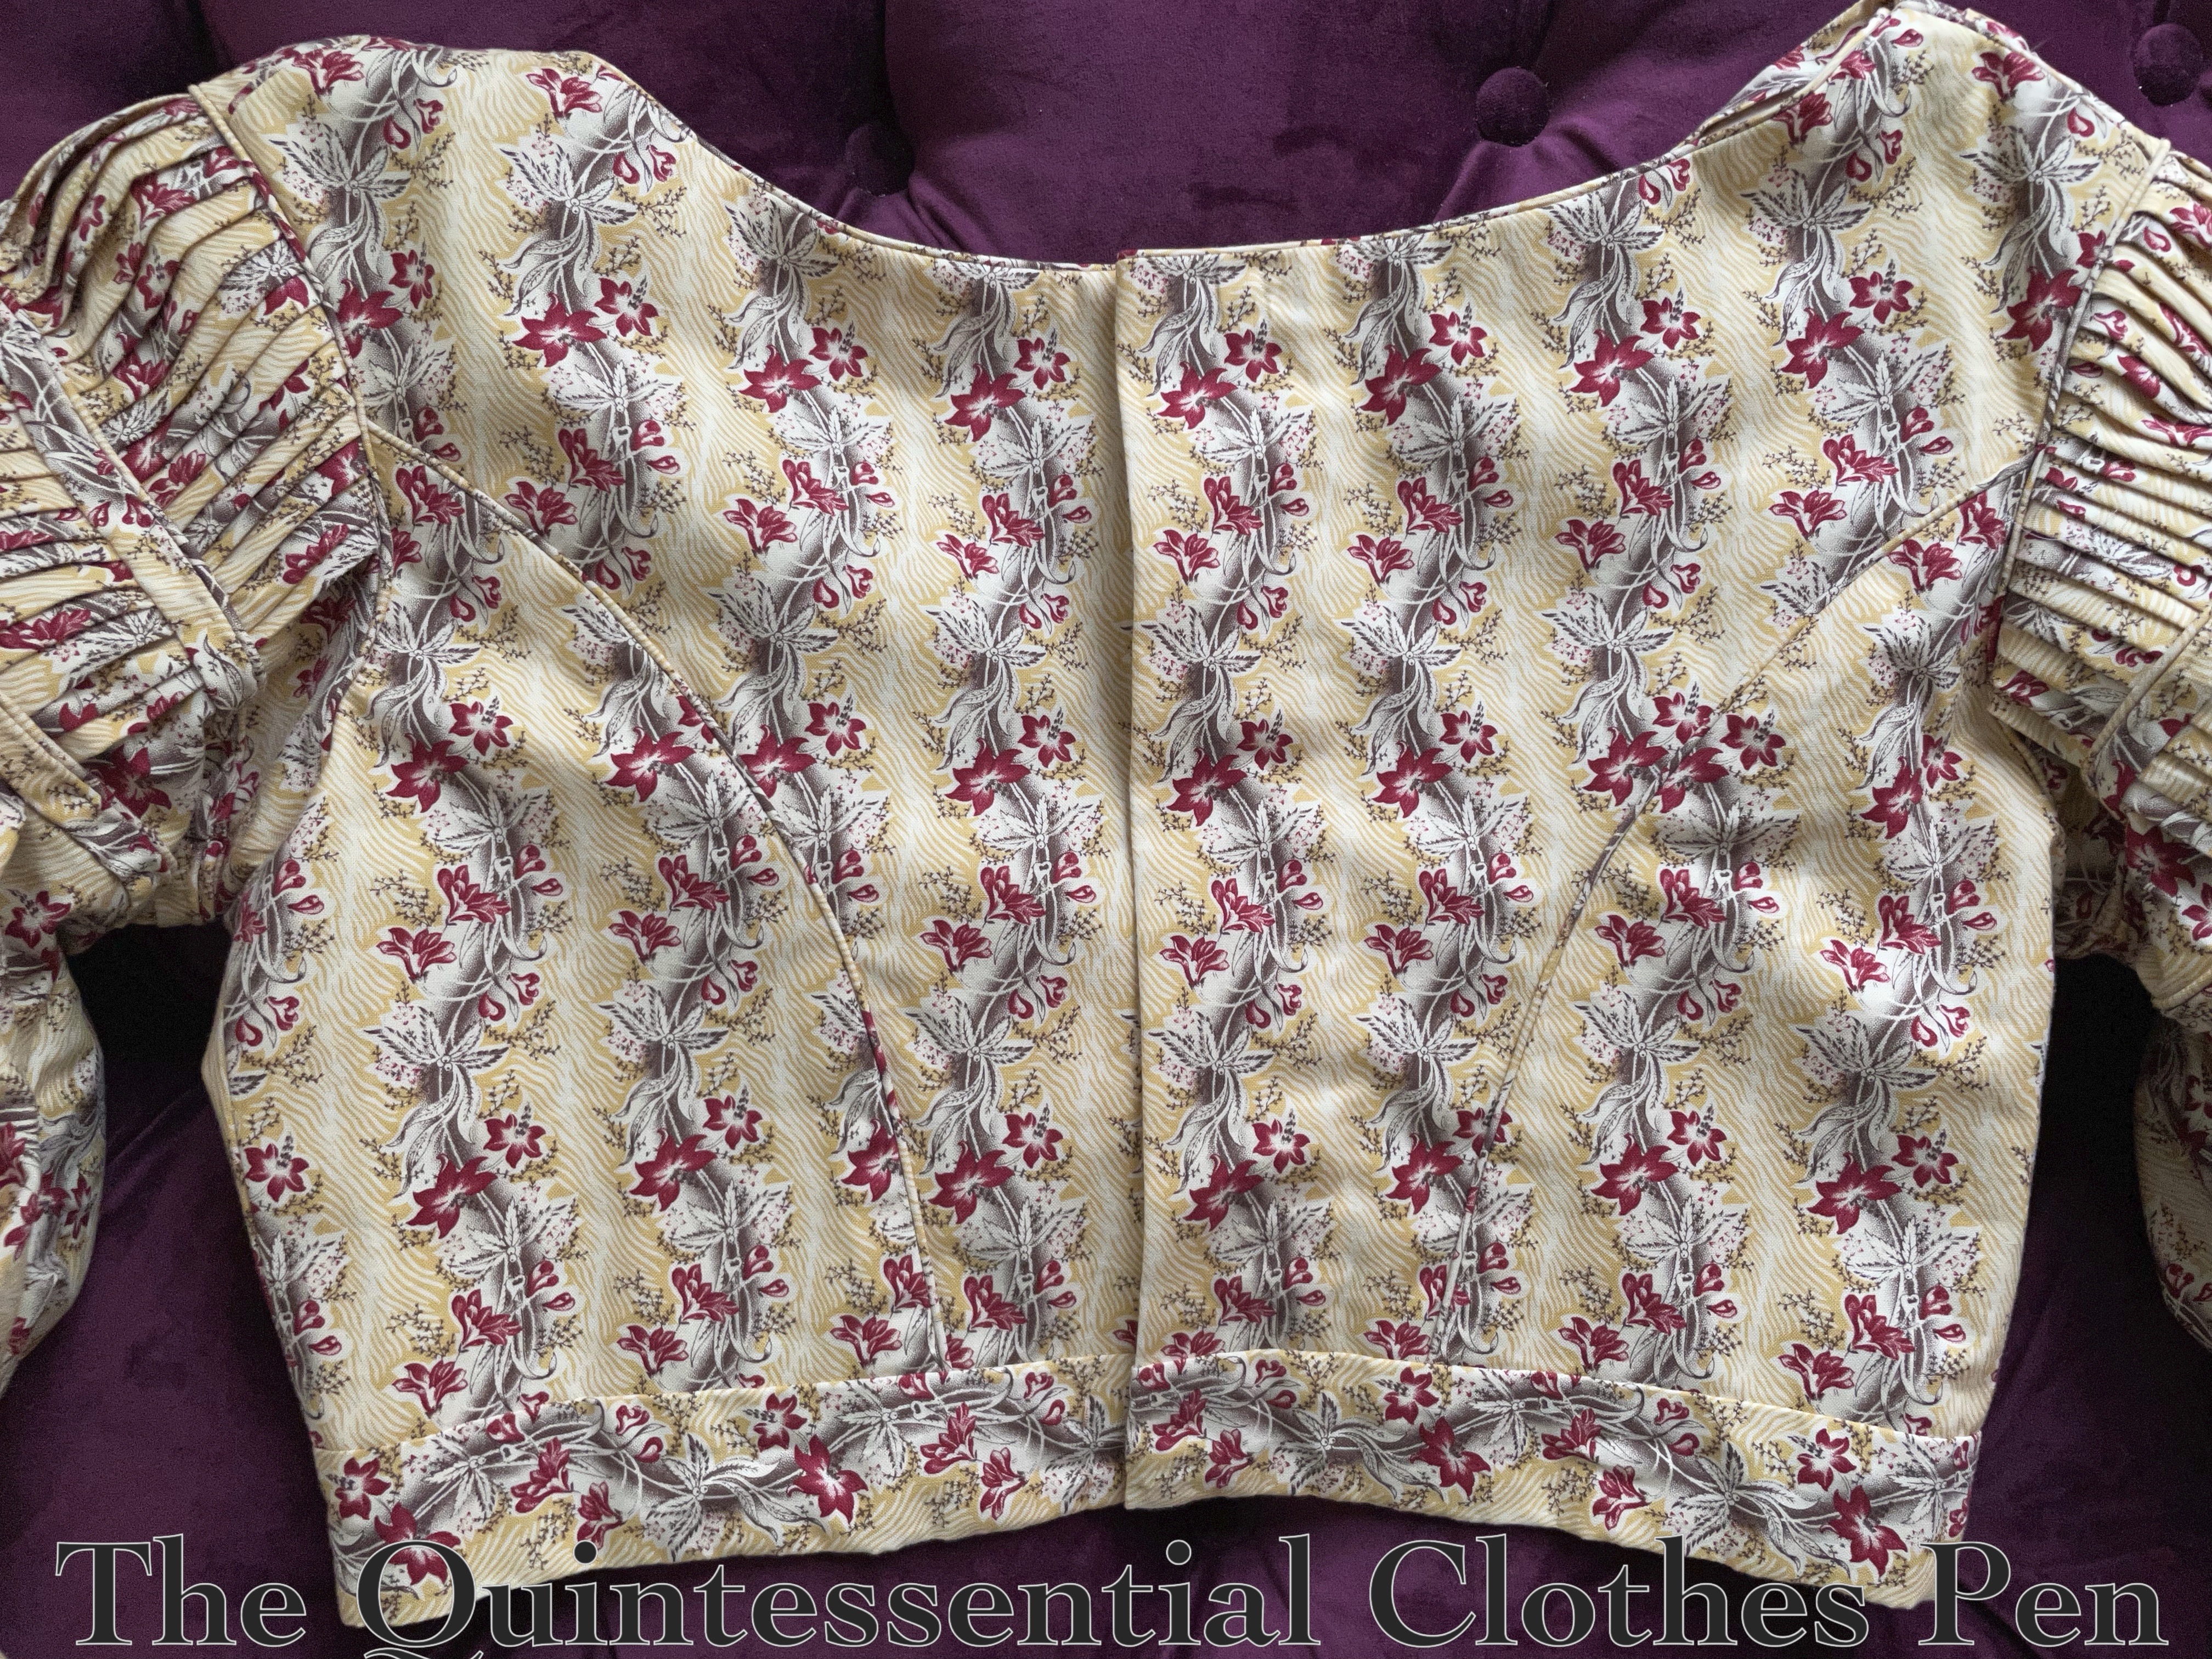
Last year, I made a yellow cotton print 1834 dress (there are tons of details about it in this past post). The yardage leftover after that project wasn’t enough for another full dress, but it was enough for another bodice, and I’d been caught up in 1830s fever!

There are so many ridiculous sleeves to explore! Accordingly, I decided to make a second 1830s bodice with different sleeves. I finished the new 1838 bodice earlier this year and over the summer I was able to wear it with my recently finished chemisette.

The 1834 dress was made in two parts, a skirt and separate bodice, so that it was easy to make a second bodice and save yardage on the skirt.

Construction Overview

First, the construction details of the new 1838 bodice, starting with the HSM facts, because this bodice fits Challenge #4:

The Costumer’s New LookGive an old costume a new look, either by creating a new accessory or piece which expands or changes the aesthetic and use of an outfit, re-fashioning something into a costume item, or re-making an old costume.

Fabric/Materials:Approximately 2.5 yds reproduction print cotton and 1 yd of muslin.

Pattern: The pattern for this bodice is based on patterns contained in Janet Arnold’s Patterns of Fashion 1 and Norah Waugh’s The Cut of Women’s Clothes, as well as sleeve information fromThe Workwoman’s Guide.

Year: 1838.

Notions: 2 ½ yds narrow cotton yarn for cording, about 10 hooks and loops, and thread..

How historically accurate is it?: 90%. The pattern, construction methods, and fabric are all quite good. Inside seams are sewn by machine.

Hours to complete: 22.

First worn: August 2021.

Total cost: Approximately $15.

Construction Details

The back of this bodice is made just like the 1834 bodice, with piping in the side back seams. The armsceyes and neck are also finished with piping.

The main difference in the bodice (aside from the sleeves, which we’ll get to shortly) is the front, which has a deep V shape.

I looked at extant garments to see how this style was constructed. There are a collection of pertinent ones on my Pinterest board for this sewing project. The main inspiration for my observations was this garment, featured on All The Pretty Dresses blog (and included on my Pinterest board).

What I saw is that instead of being flatlined (as with the yellow and muslin layers of the back pieces), the lining was stitched separately from the gathered front panels. The muslin provides a fitted shape for the yellow exterior layer. There is a photo of the inside of the bodice of the extant bodice that shows this very clearly.

For my dress, the piping that finishes the back neck continues around the muslin to finish the edge. The yellow exterior pieces of the V edges (which are cut on the straight of grain) are simply pressed under twice.

Here is a closeup of the armhole of my bodice from the inside. The muslin front edge and exterior yellow layer are on the right of the photo. You can also see the ties that hold the sleeve puffs in place.

In addition to those details, the photo below also shows the hooks that are used to attach this bodice to the skirt.

Ok, but the sleeves are the star of the show here, so let’s discuss them! Being from 1838, they still use a lot of fabric (a yard each), but the fullness is pleated to force the puff down to the elbow level.

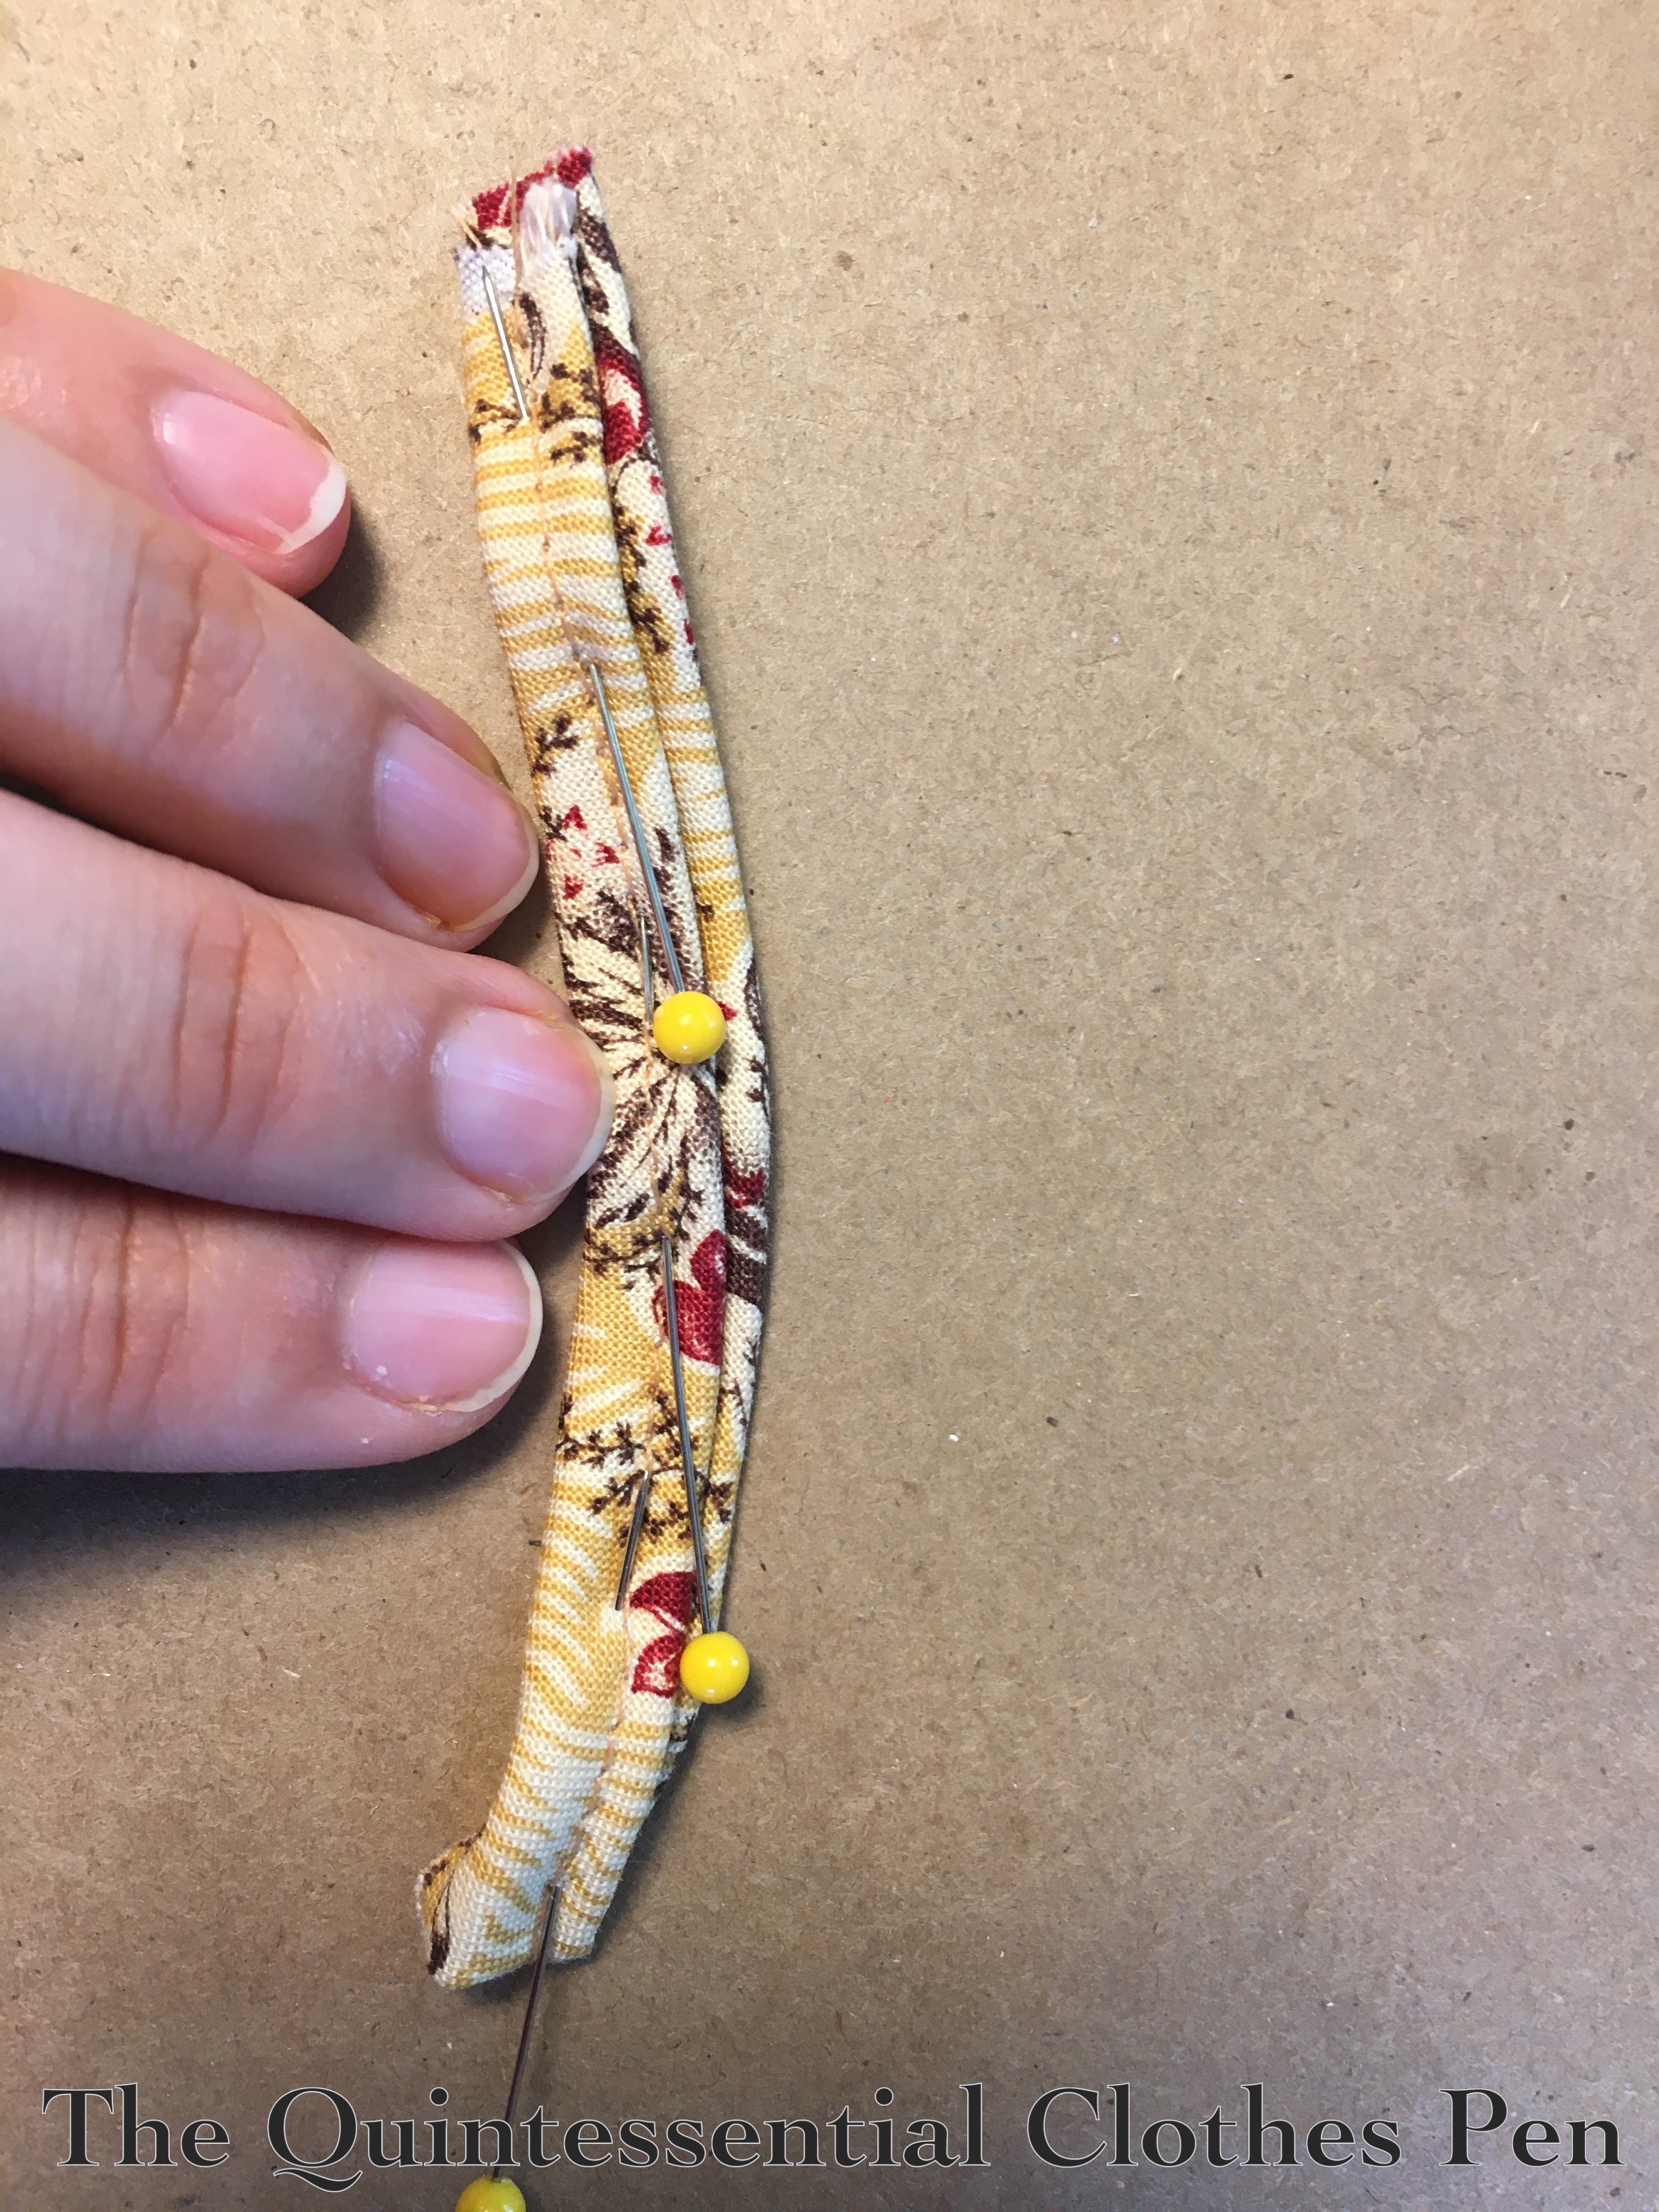
Here’s a closeup of the completed sleeve. The pleats are held in place by two bands of double piping that are hand sewn in place.
To make the double piping I machine sewed the cord into one side of my bias and hand sewed it into the other, then pressed the bias in half and attached it through all the layers. In my sample below I didn’t bother to put the machine stitching on the under side, but on the dress the machine stitching is not visible.

Before the piping was added, the pleats were machine basted in place. My machine basting wasn’t exactly where the piping ended up, so I removed the basting anywhere it showed.

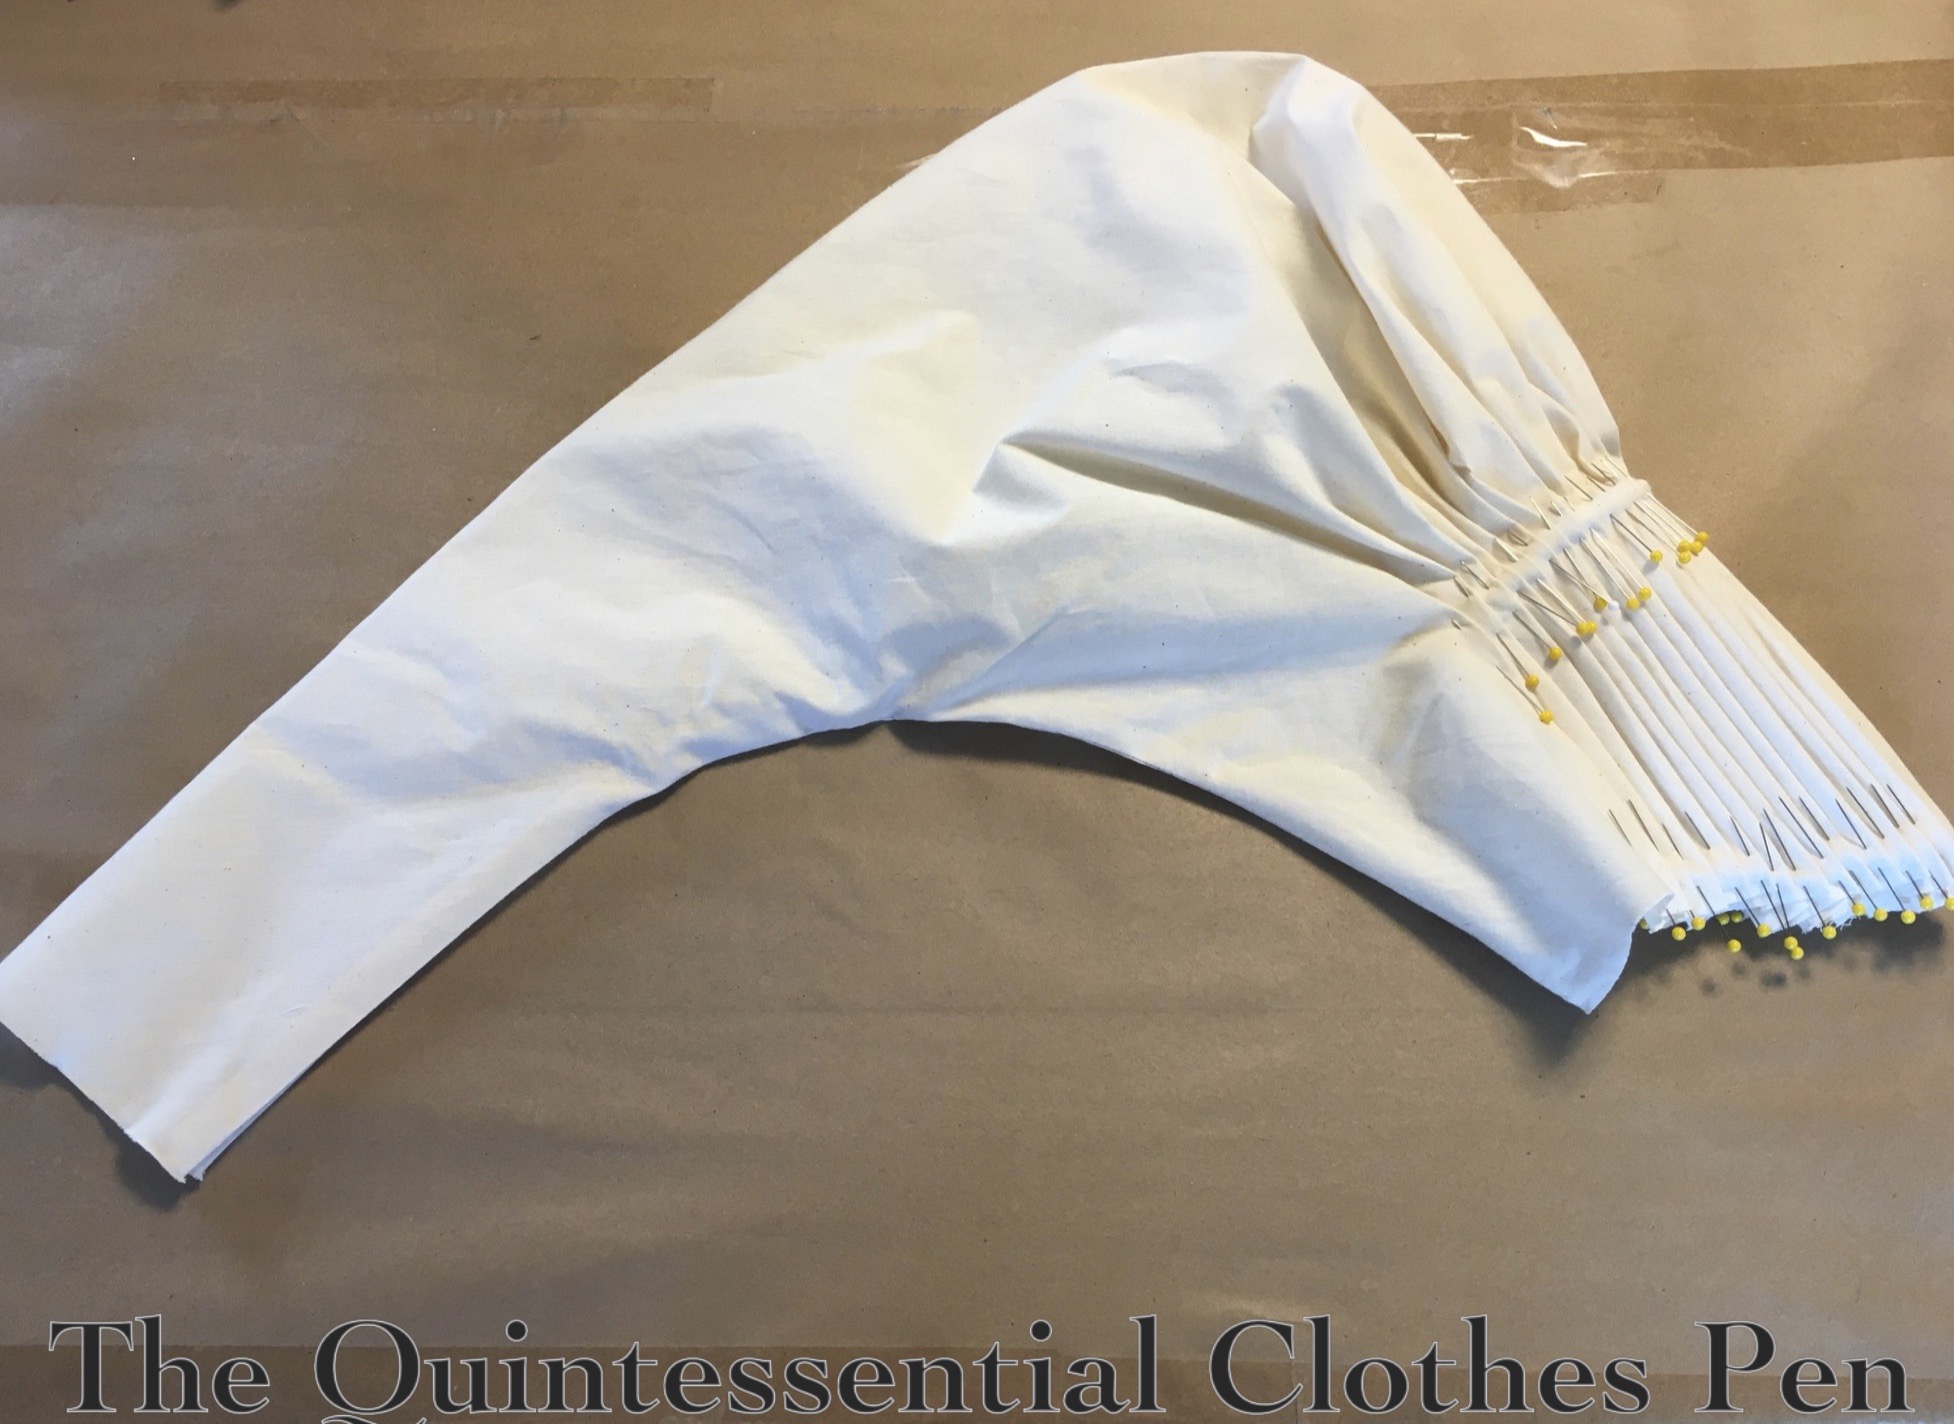
Backing up some more in the process, below is one of the sleeves with the pleats pinned in place. I did this while the sleeves were flat, before I sewed up the inseams.

There’s no pattern for the pleats… it was just a matter of knowing what dimensions I wanted to end up with for my top edge and bicep and then eyeballing it. The pleats vary in depth on the inside, even though the outside is pretty even at ¼”. Part of this is due to the fact that the pleats have to angle in order to create an armsceye that keeps a curve up in the middle. Figuring it out is a great mind puzzle!

Below is the sleve before being pleated, etc. Between being over a yard high and also being cut on the bias you can see why each sleeve takes a yard of fabric!

After pleating and sewing the inseam the sleeves had this shape (below is my mockup sleeve). I really wanted an exaggerated elbow puff, so this isn’t quite the shape I wanted to end up with. To get the shape I wanted, I took horizontal tucks about halfway down the sleeve. This keeps the forearm relatively unwrinkled while creating lots of elbow puff. The tucks are lost in the pattern of the finished dress.

Could I have altered my pattern to not have to take tucks? Sure! I’d probably change the curve of the sleeve inseam to do that. But… I’d already cut my pieces. And adapting sleeve shapes to adjust for changes in styles seemed very appropriate and in the spirit of what 1830s ladies might have done.

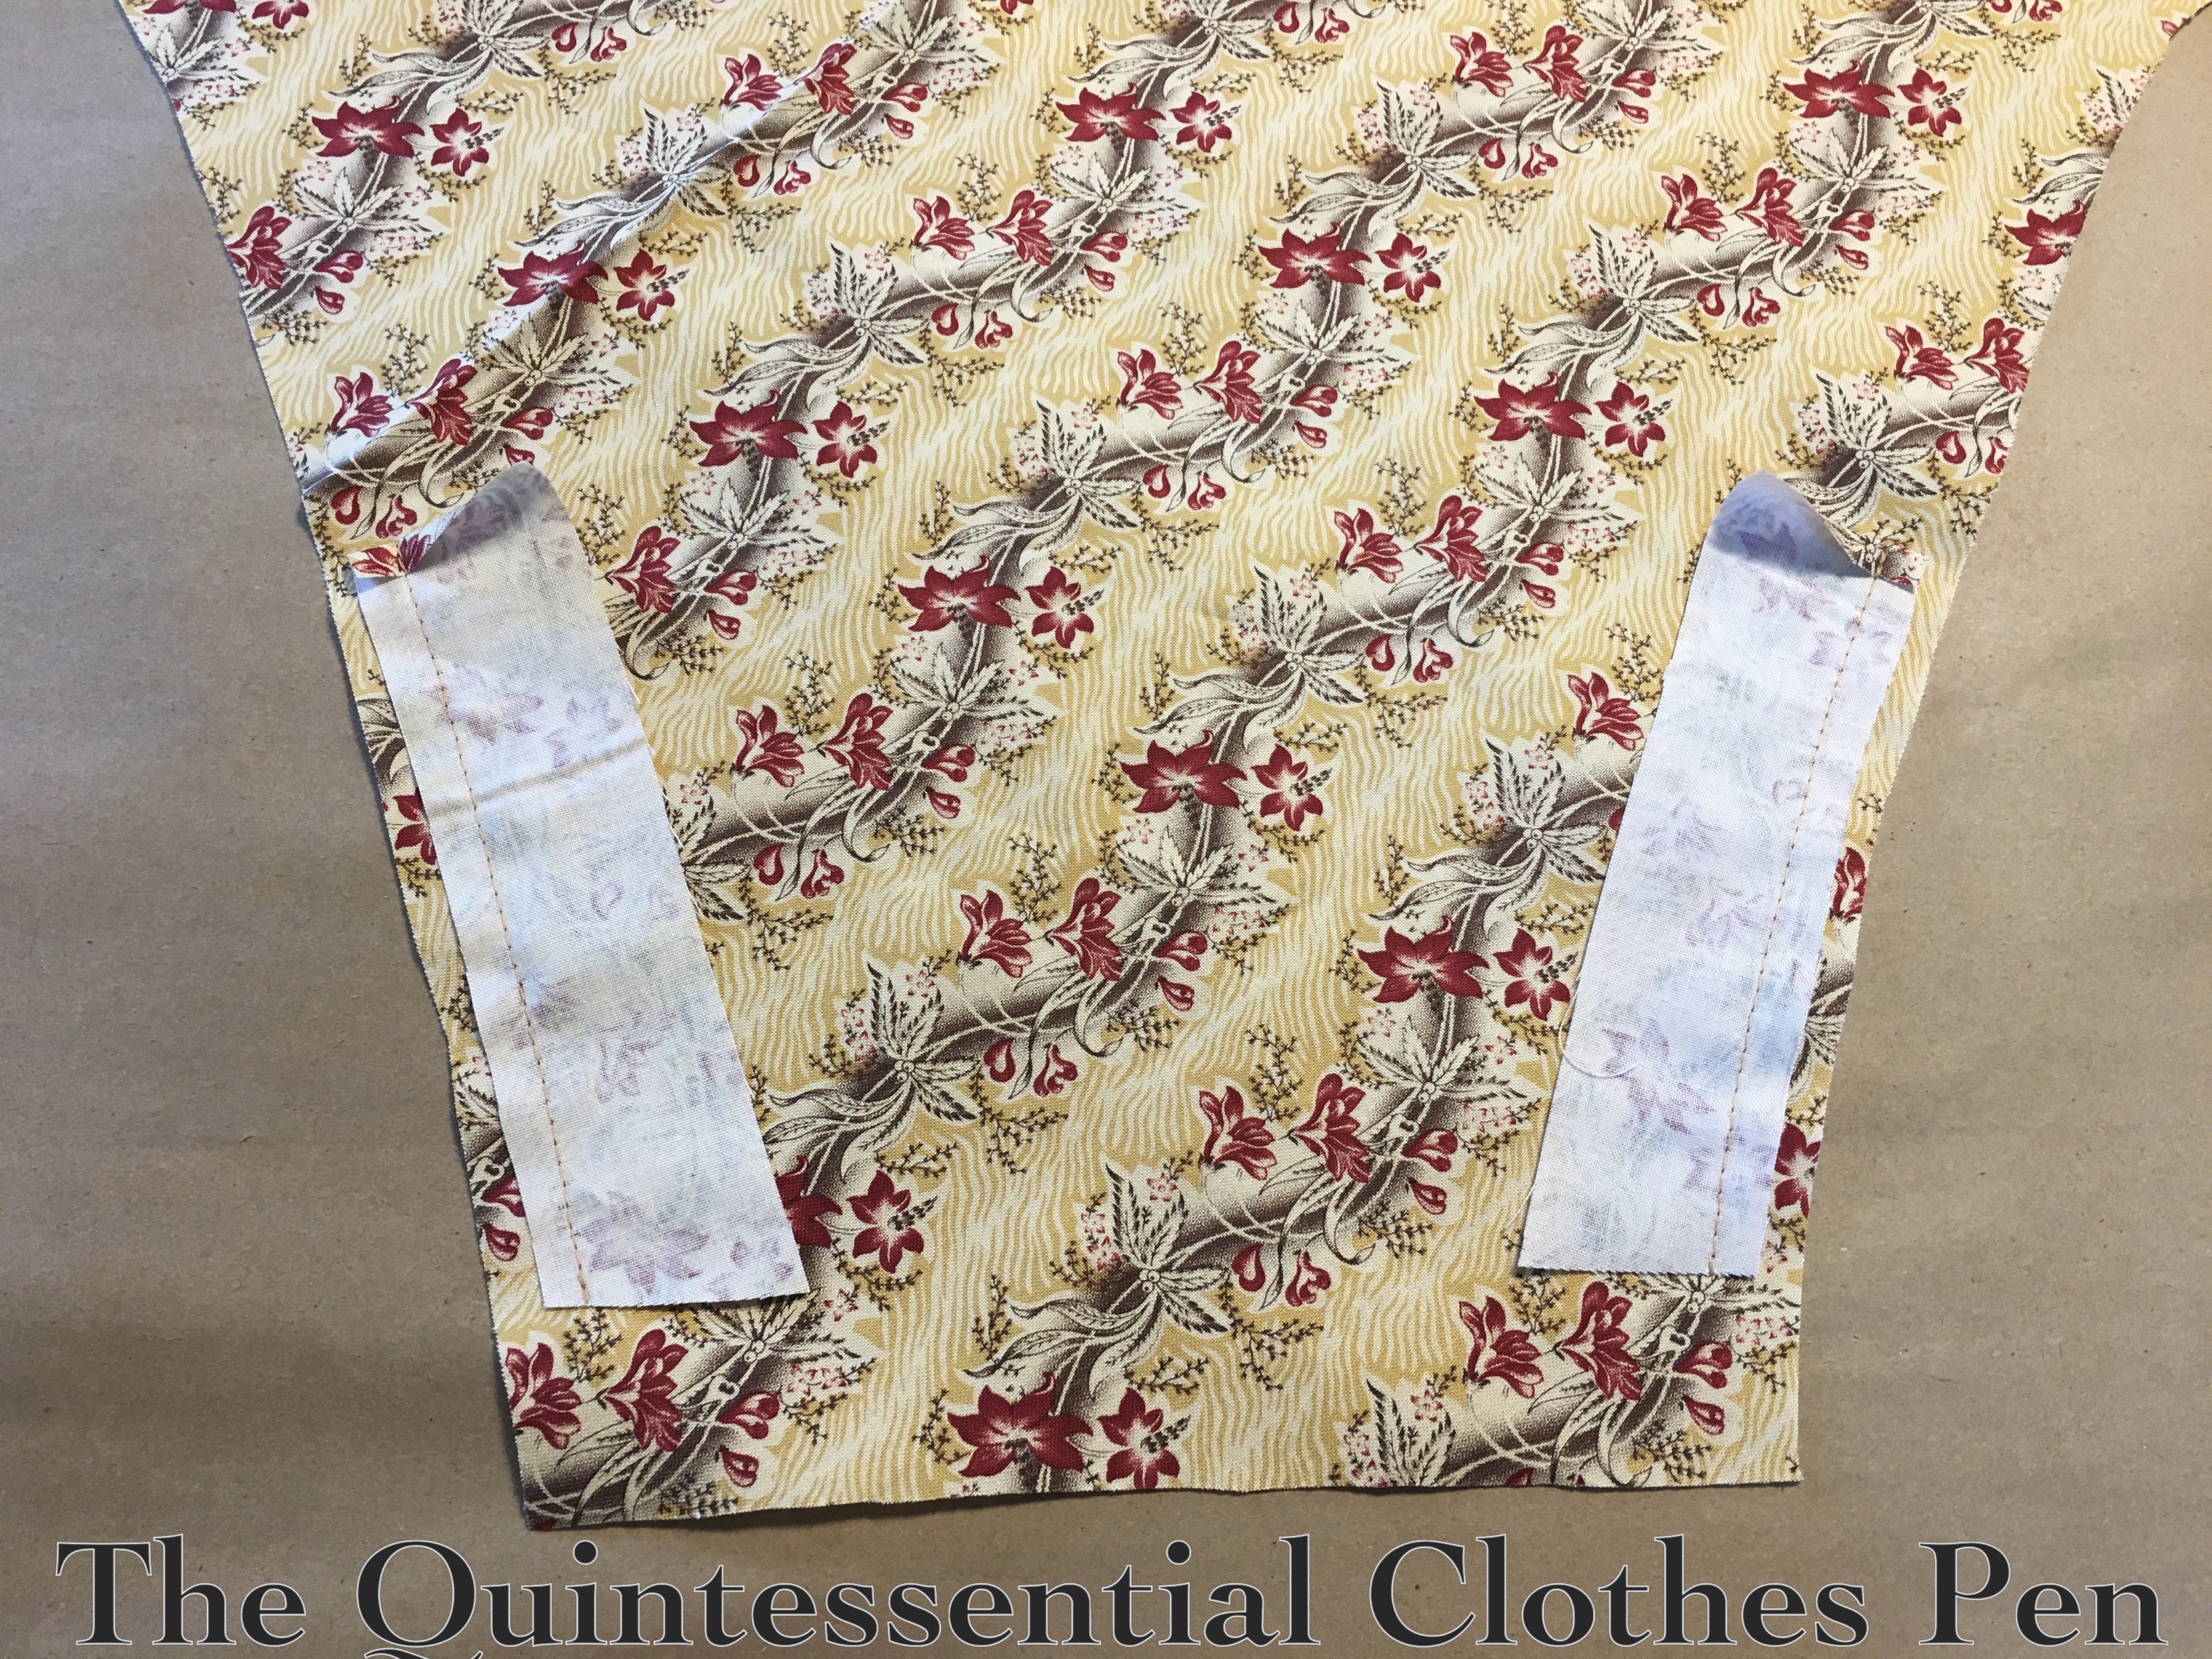
So for a bit more sleeve information… These sleeves have an opening at the cuff to allow for the tight fit of the forearm. The openings are finished with self fabric facings and then the hem is turned up.

Here’s what that looks like on the inside.

And that’s it for construction!

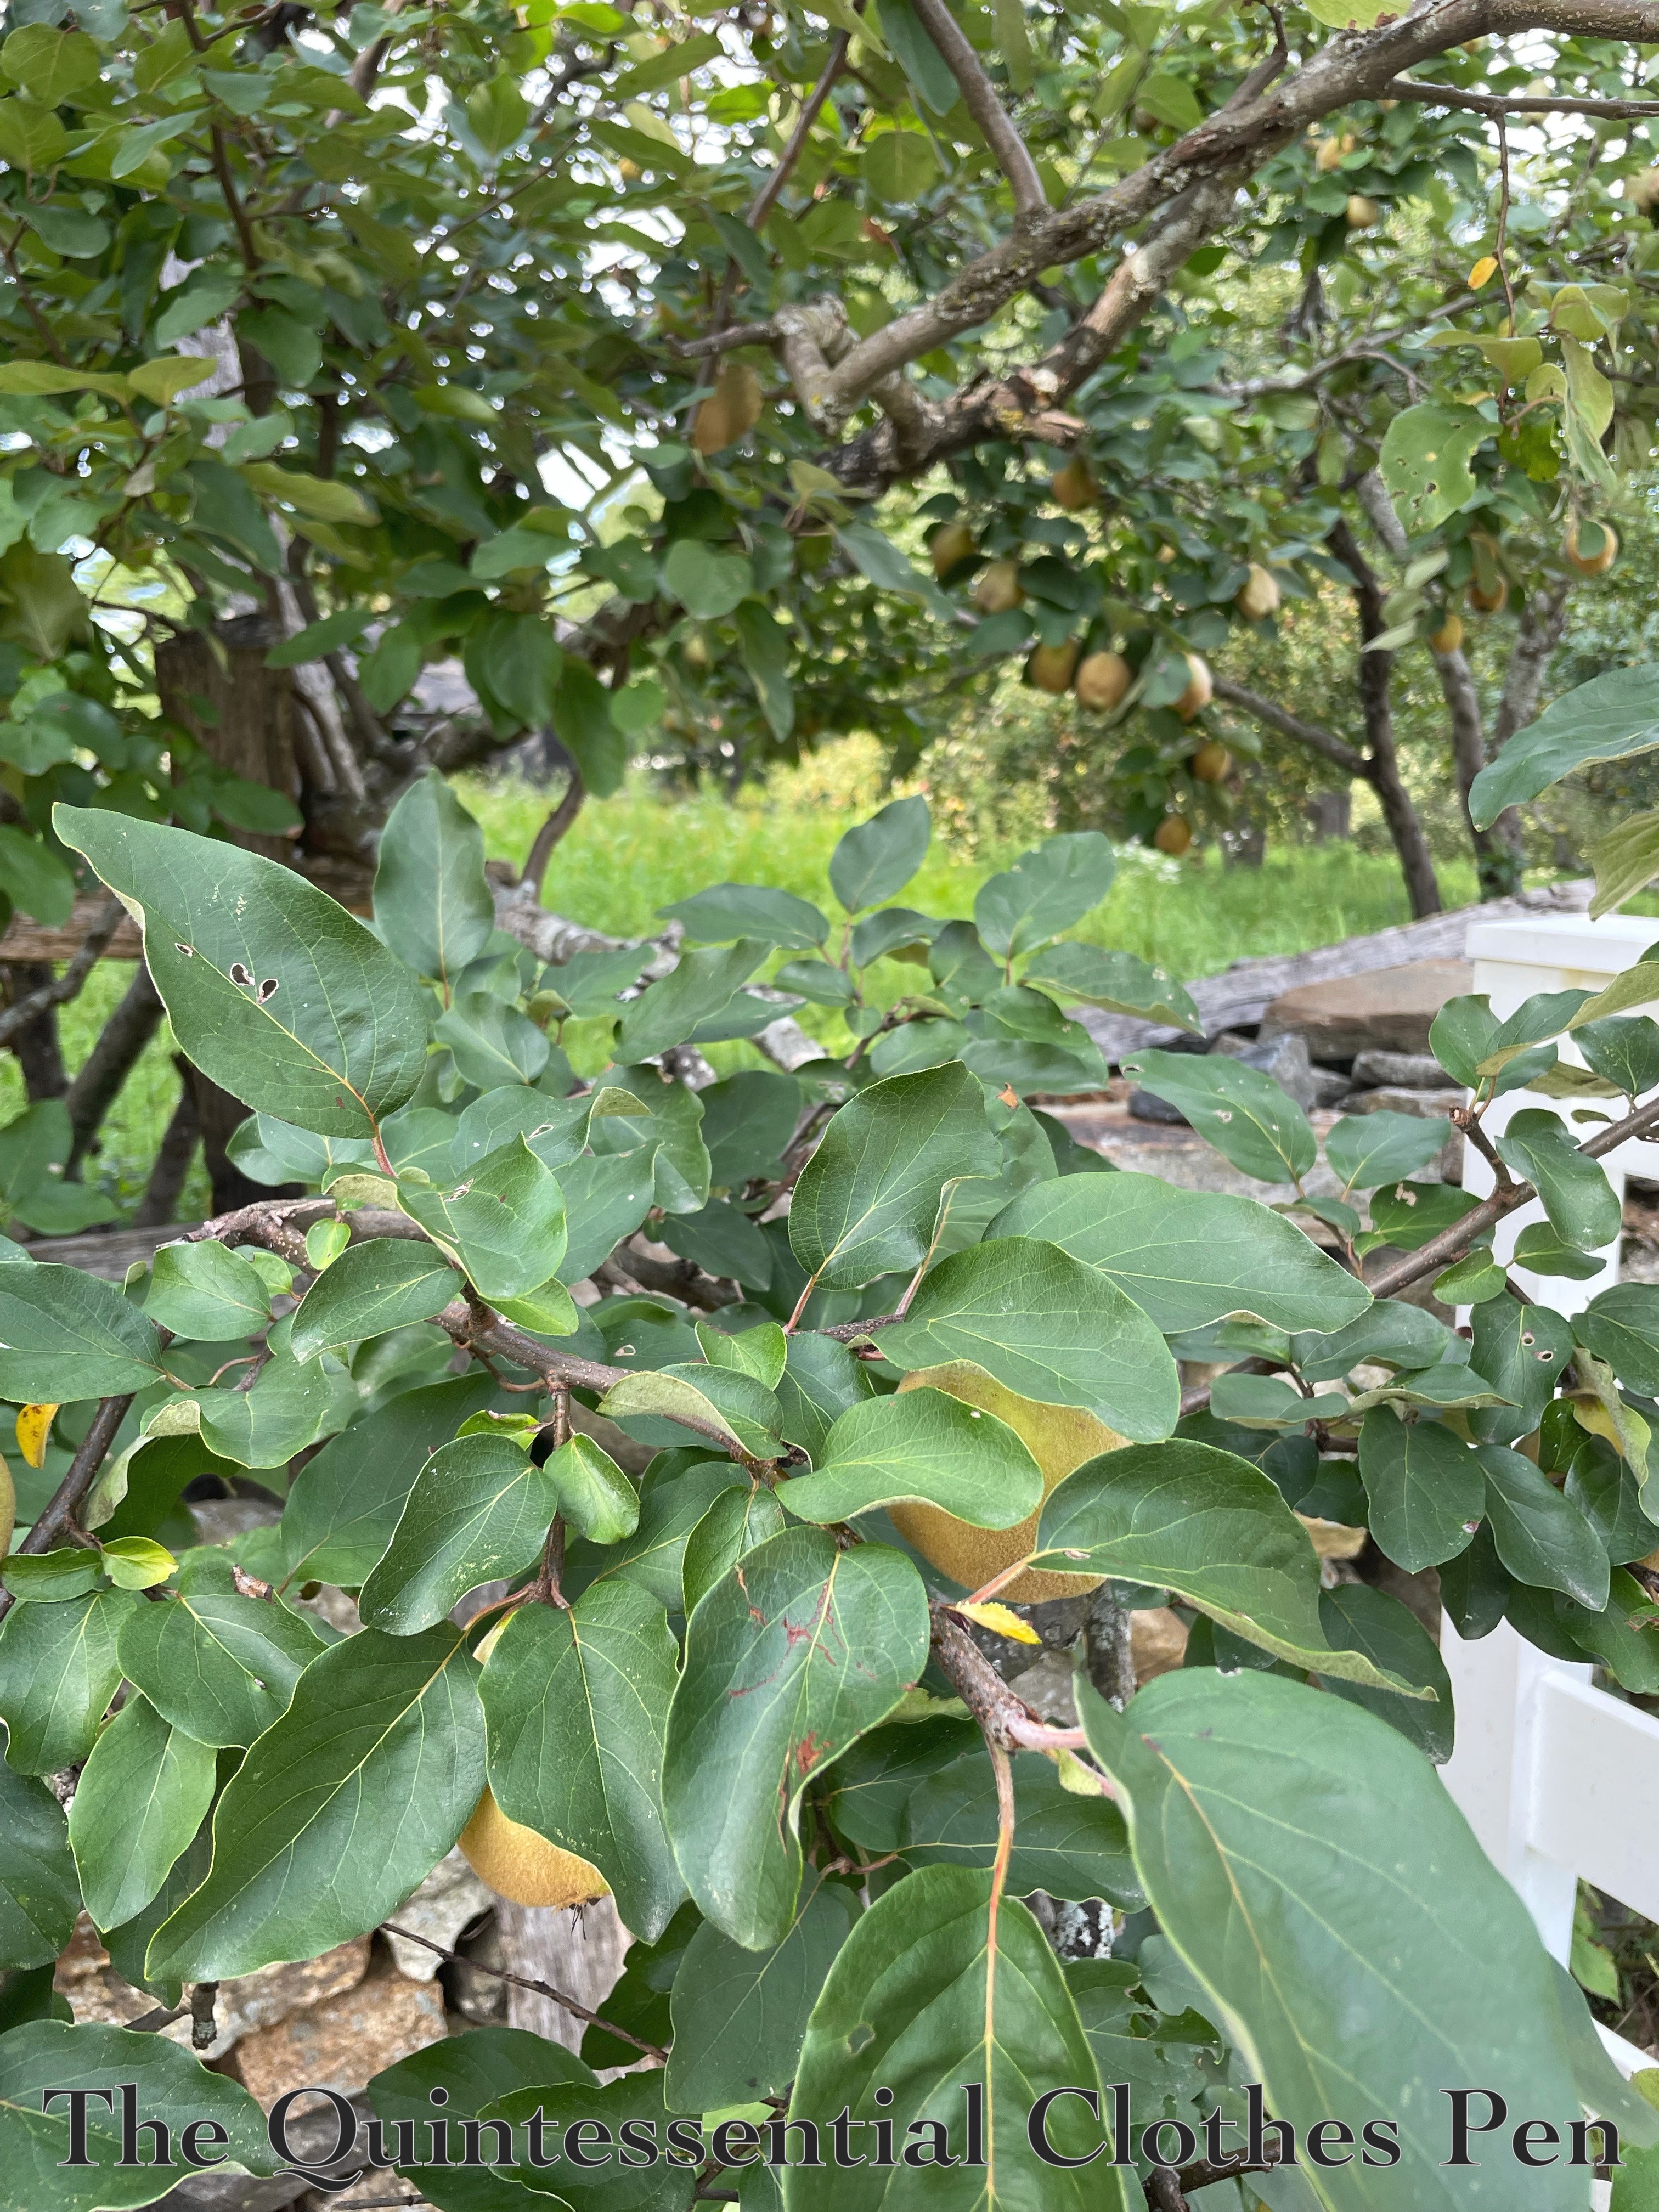
Here’s a bonus photo of the dress with a quince tree. I’ve heard of quinces but never encountered them before.

They sort of look like pears!

I’m very pleased with this cross front bodice and the sleeves that go with them. I appreciate their minute detail even though they were definitely the most time consuming part of this bodice!

An 1890s Outing To Save A Munbax

It’s been awfully quiet here on the blog for awhile. Life has been busy, but the real reason for my lack of posts is that I upgraded my computer. That’s a good thing overall, but it has created multiple issues with storing/moving/accessing my photos as well as needing a new program to edit/watermark/organize them and I’ve only recently found a solution that fits my workflow and needs.

I’ve been sitting on these photos from an event in 2018, thinking that they would be fun to share, but never actually getting to it. But now is the time!  Save The Munbax was a live, interactive game created by Green Door Labs that created a magical, wizarding world set in the 1890s. As guests, we solved puzzles, interacted with magical plants and potions in classes, and followed different trails to attempt to save the rare Northern Crested Dimmoth Munbax from extinction. You can read more about Save The Munbax here.

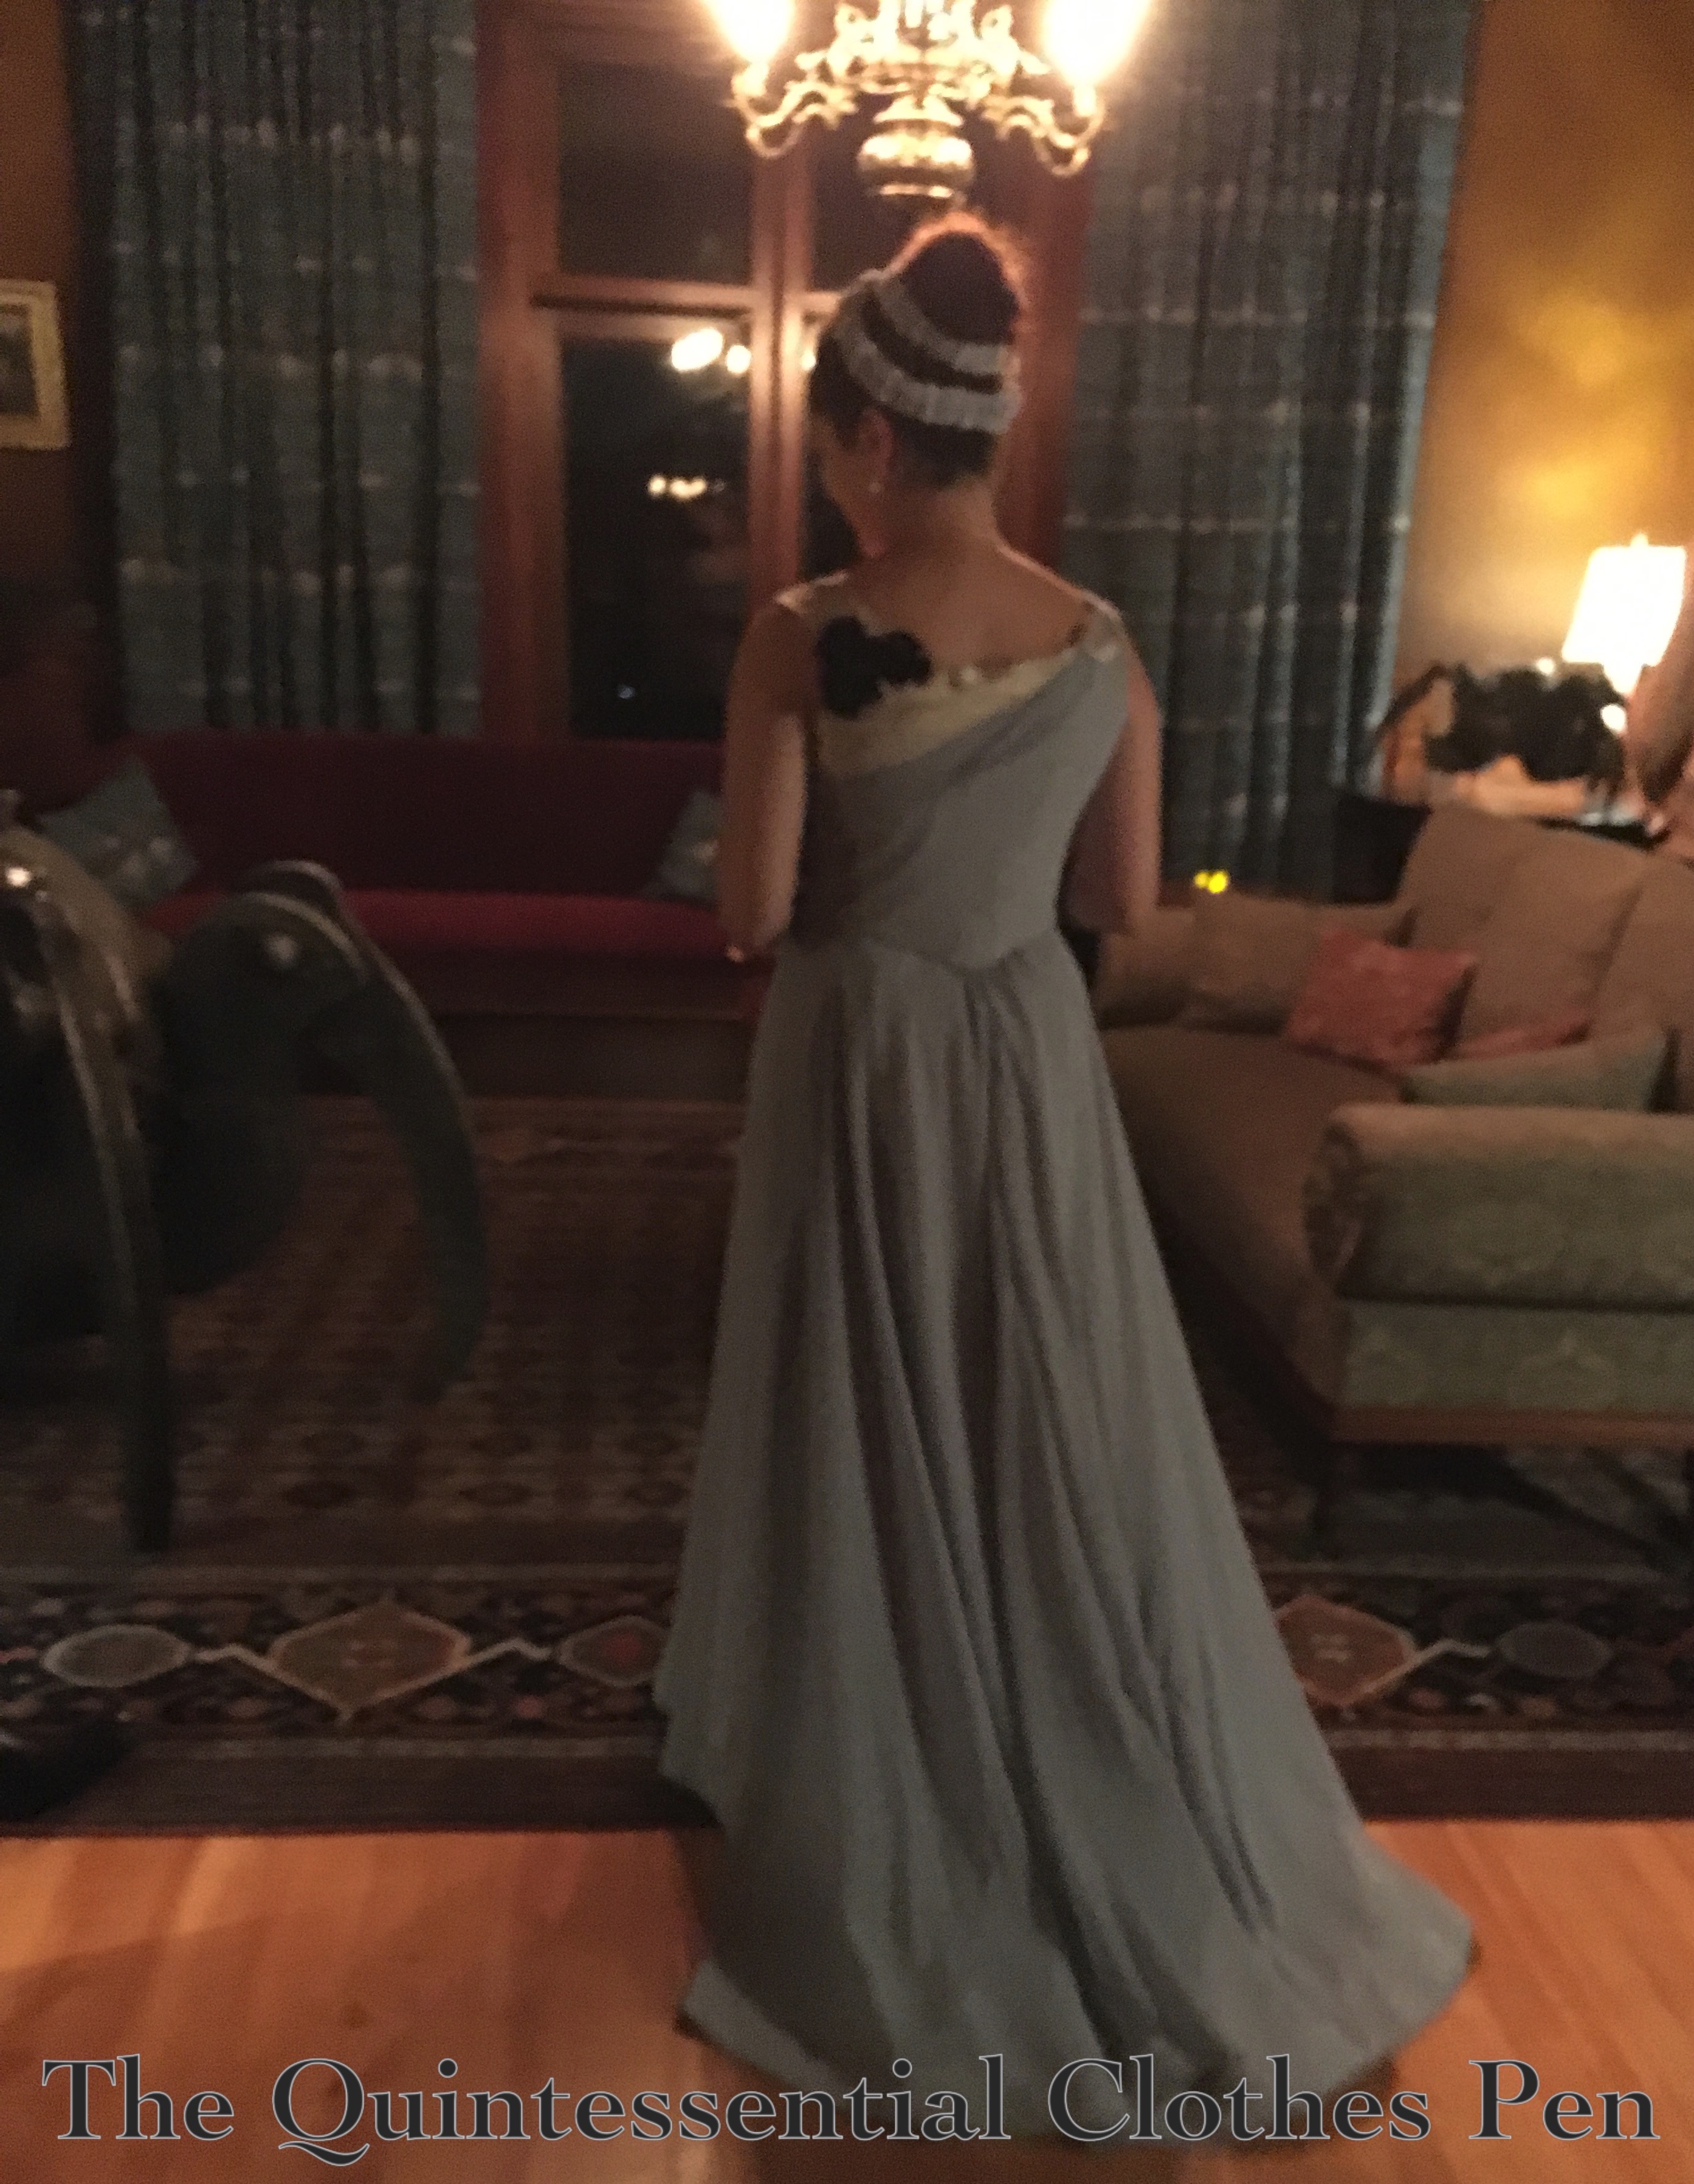
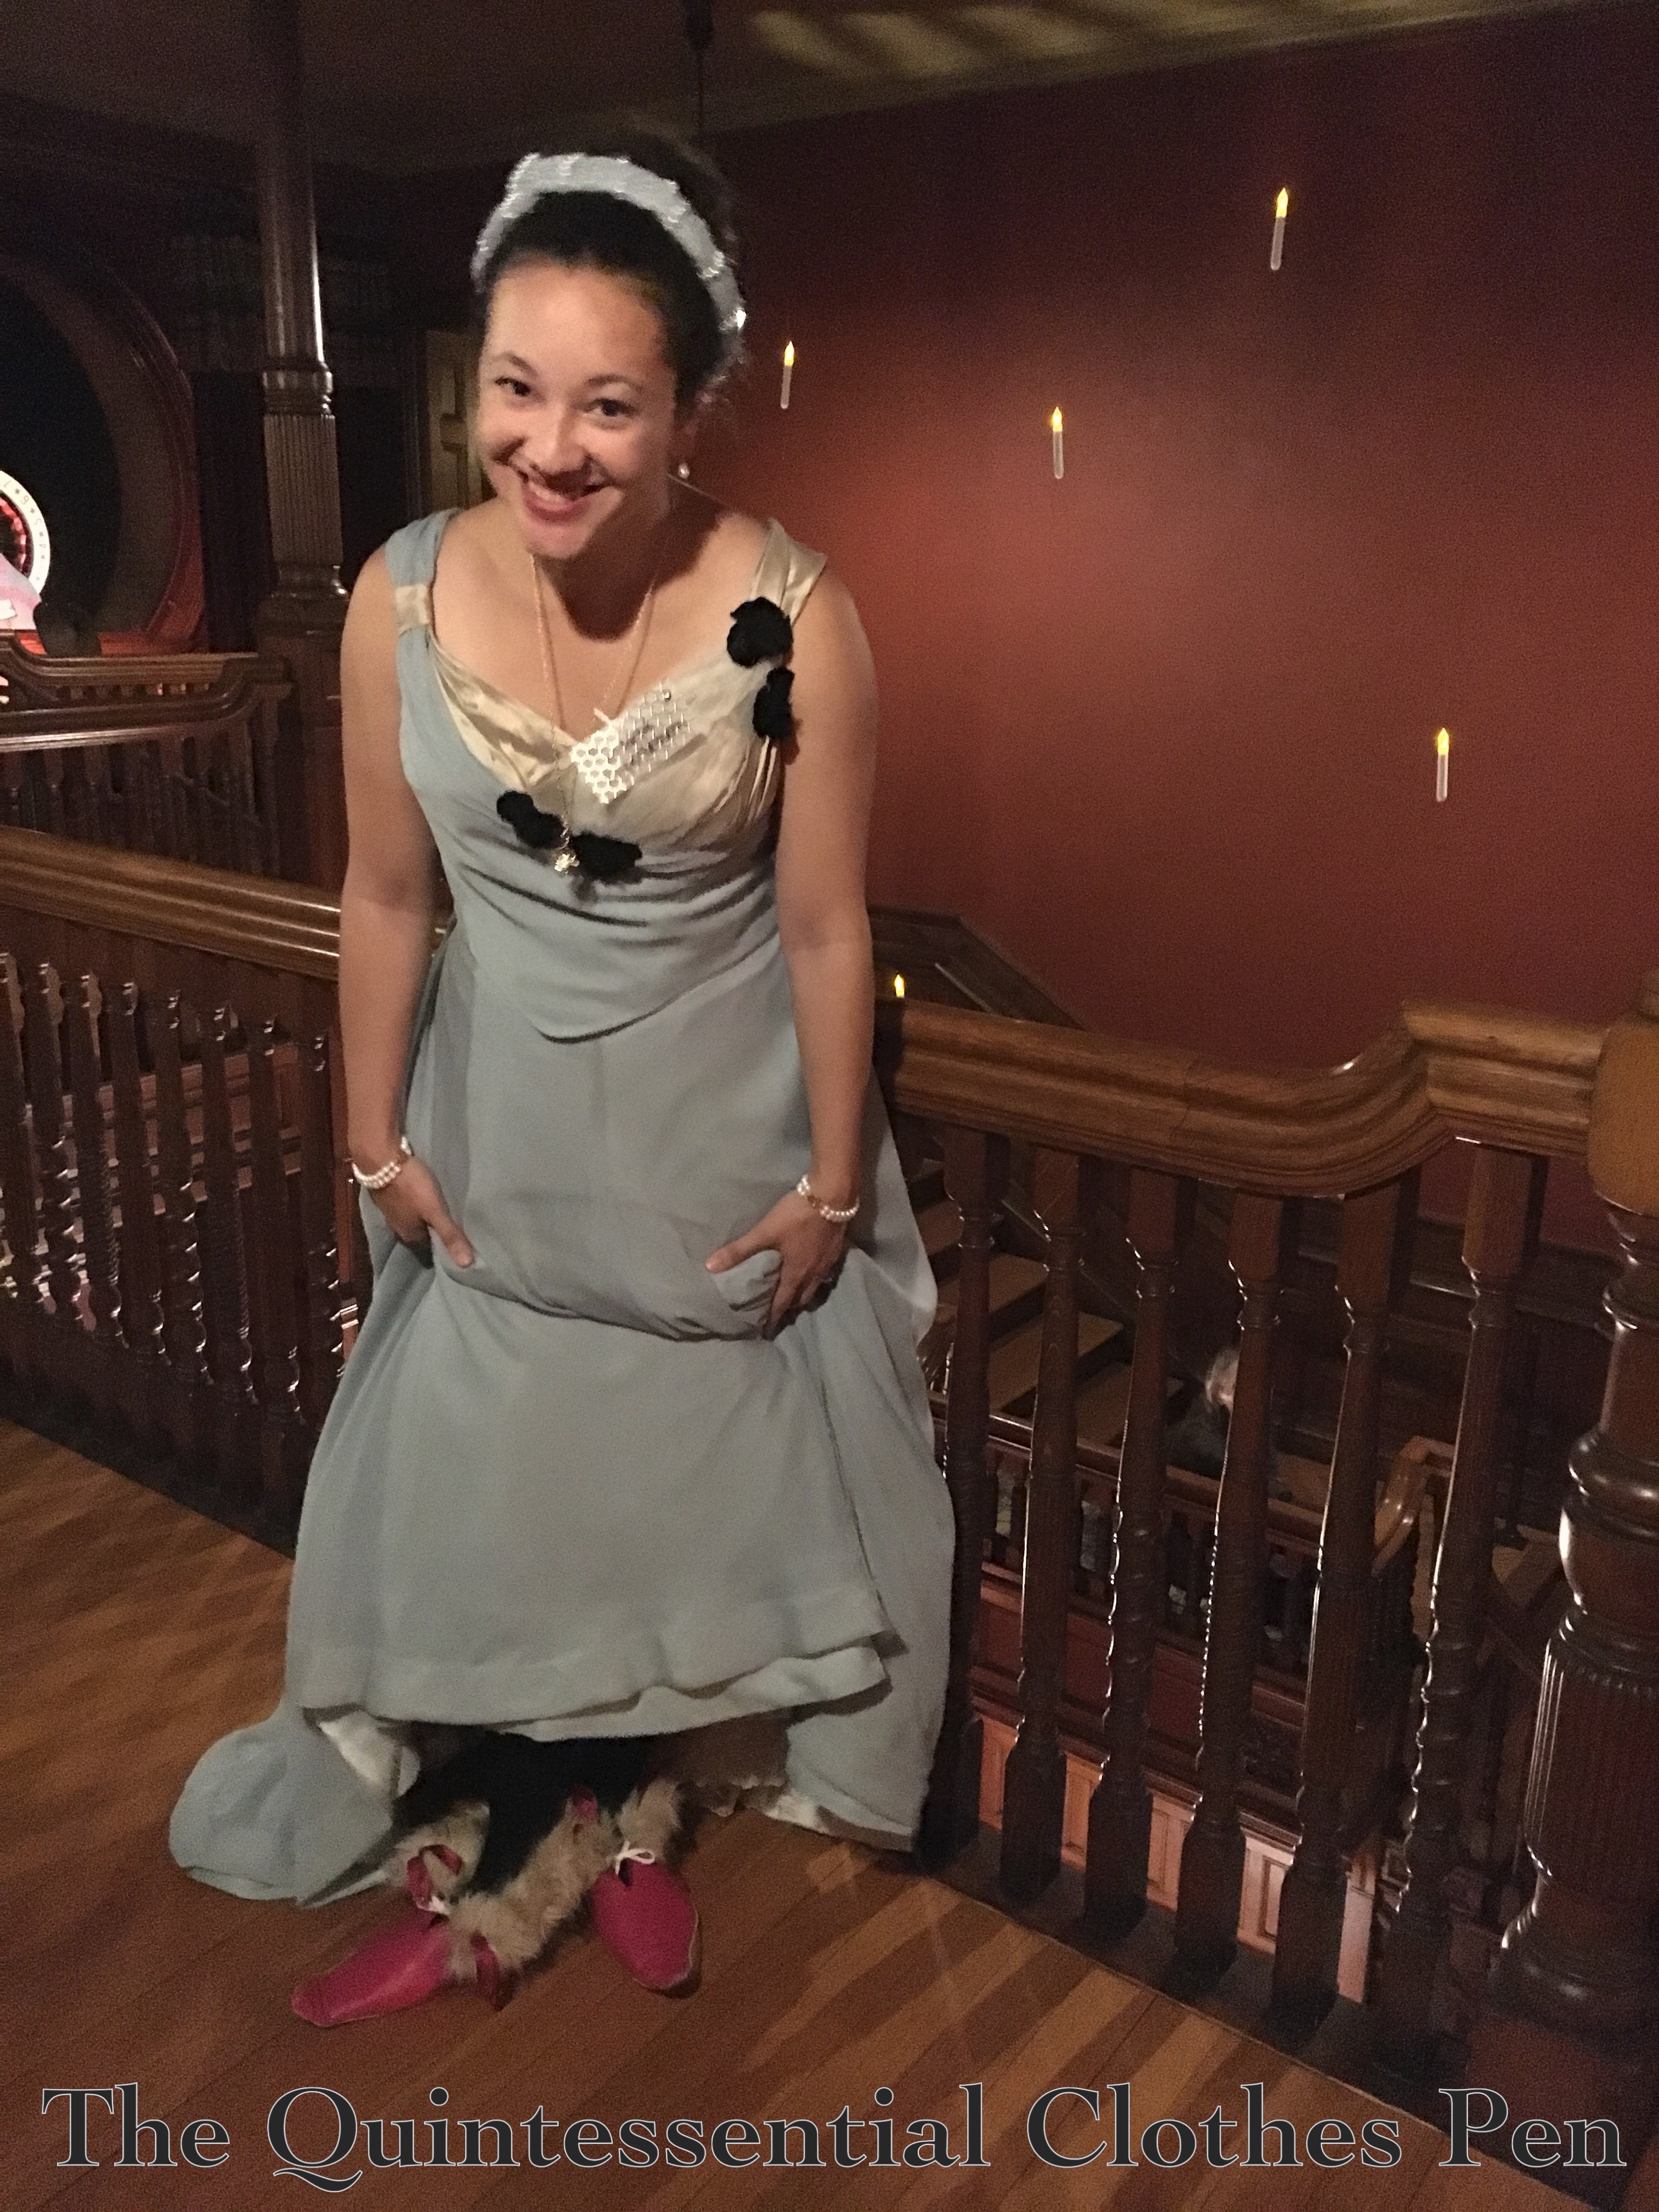
Since this fantastic world was set in the 1890s, I decided to give my 1899 Elusive Blue Gown a night out of the closet. With no dancing involved it was a great opportunity to wear the trained skirt!

I wanted to make my 1890s outfit a bit more magical and quirky, so I pulled a few accessories together that aren’t my usual for an 1890s dress. For one thing, I wore my subtle-Harry-Potter time-turner necklace, picked up on my trip to trip the Wizarding World Of Harry Potter at Universal Studios in 2018.

I also wore my 1811 Turban Fillet instead of my usual feathers and sparkly hair accessories. Despite not being made to match my 1899 dress, it is actually made from the same fabric since I have an 1811 evening gown made from this elusive blue fabric.


The final bit of quirk was my shoes. I thought silly shoes would be fun, so I wore my 1814 Vernet shoes. The turned up toes and fur weren’t really visible, but I enjoyed knowing that they were there.

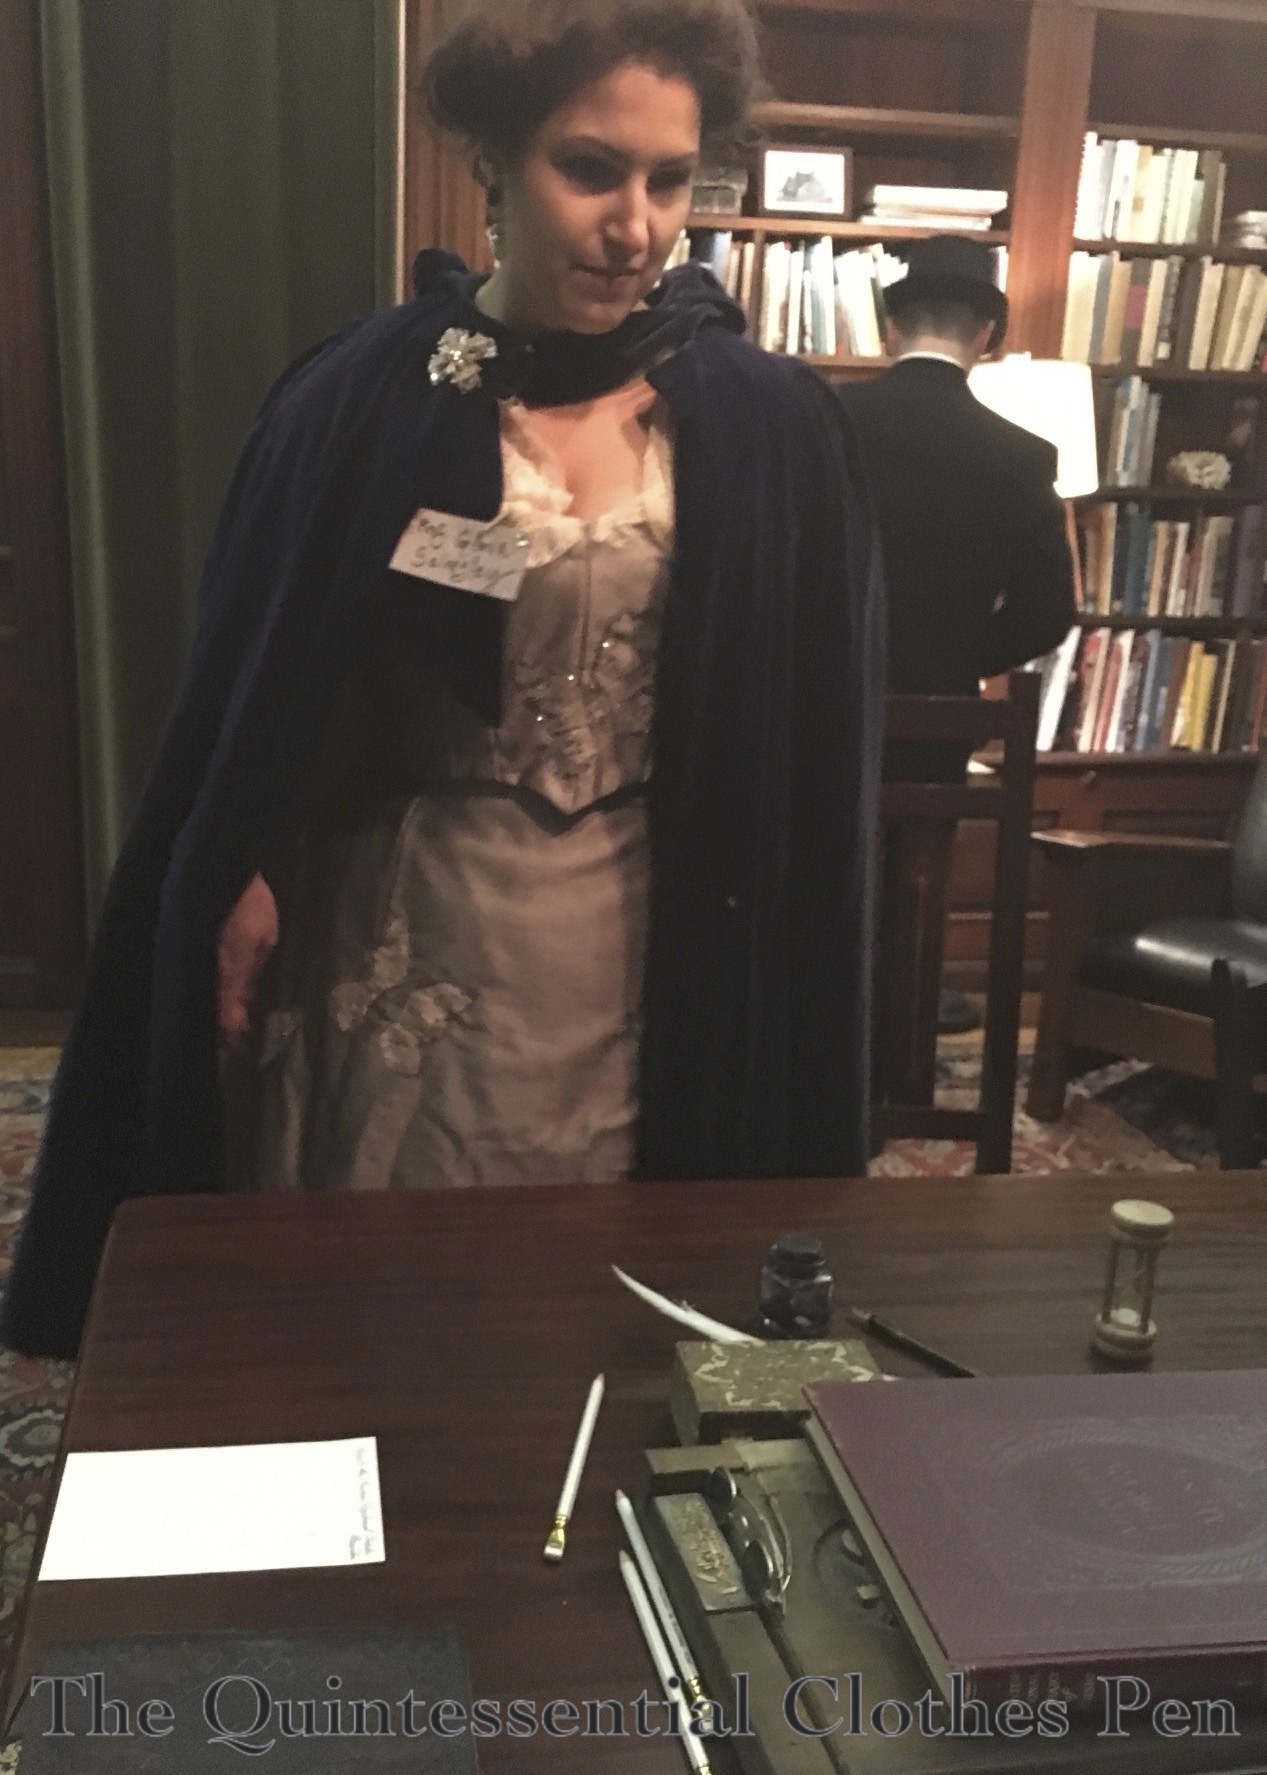
I attended this event with Plaid Petticoats, who was also dressed up in her 1890s best, including a cape!

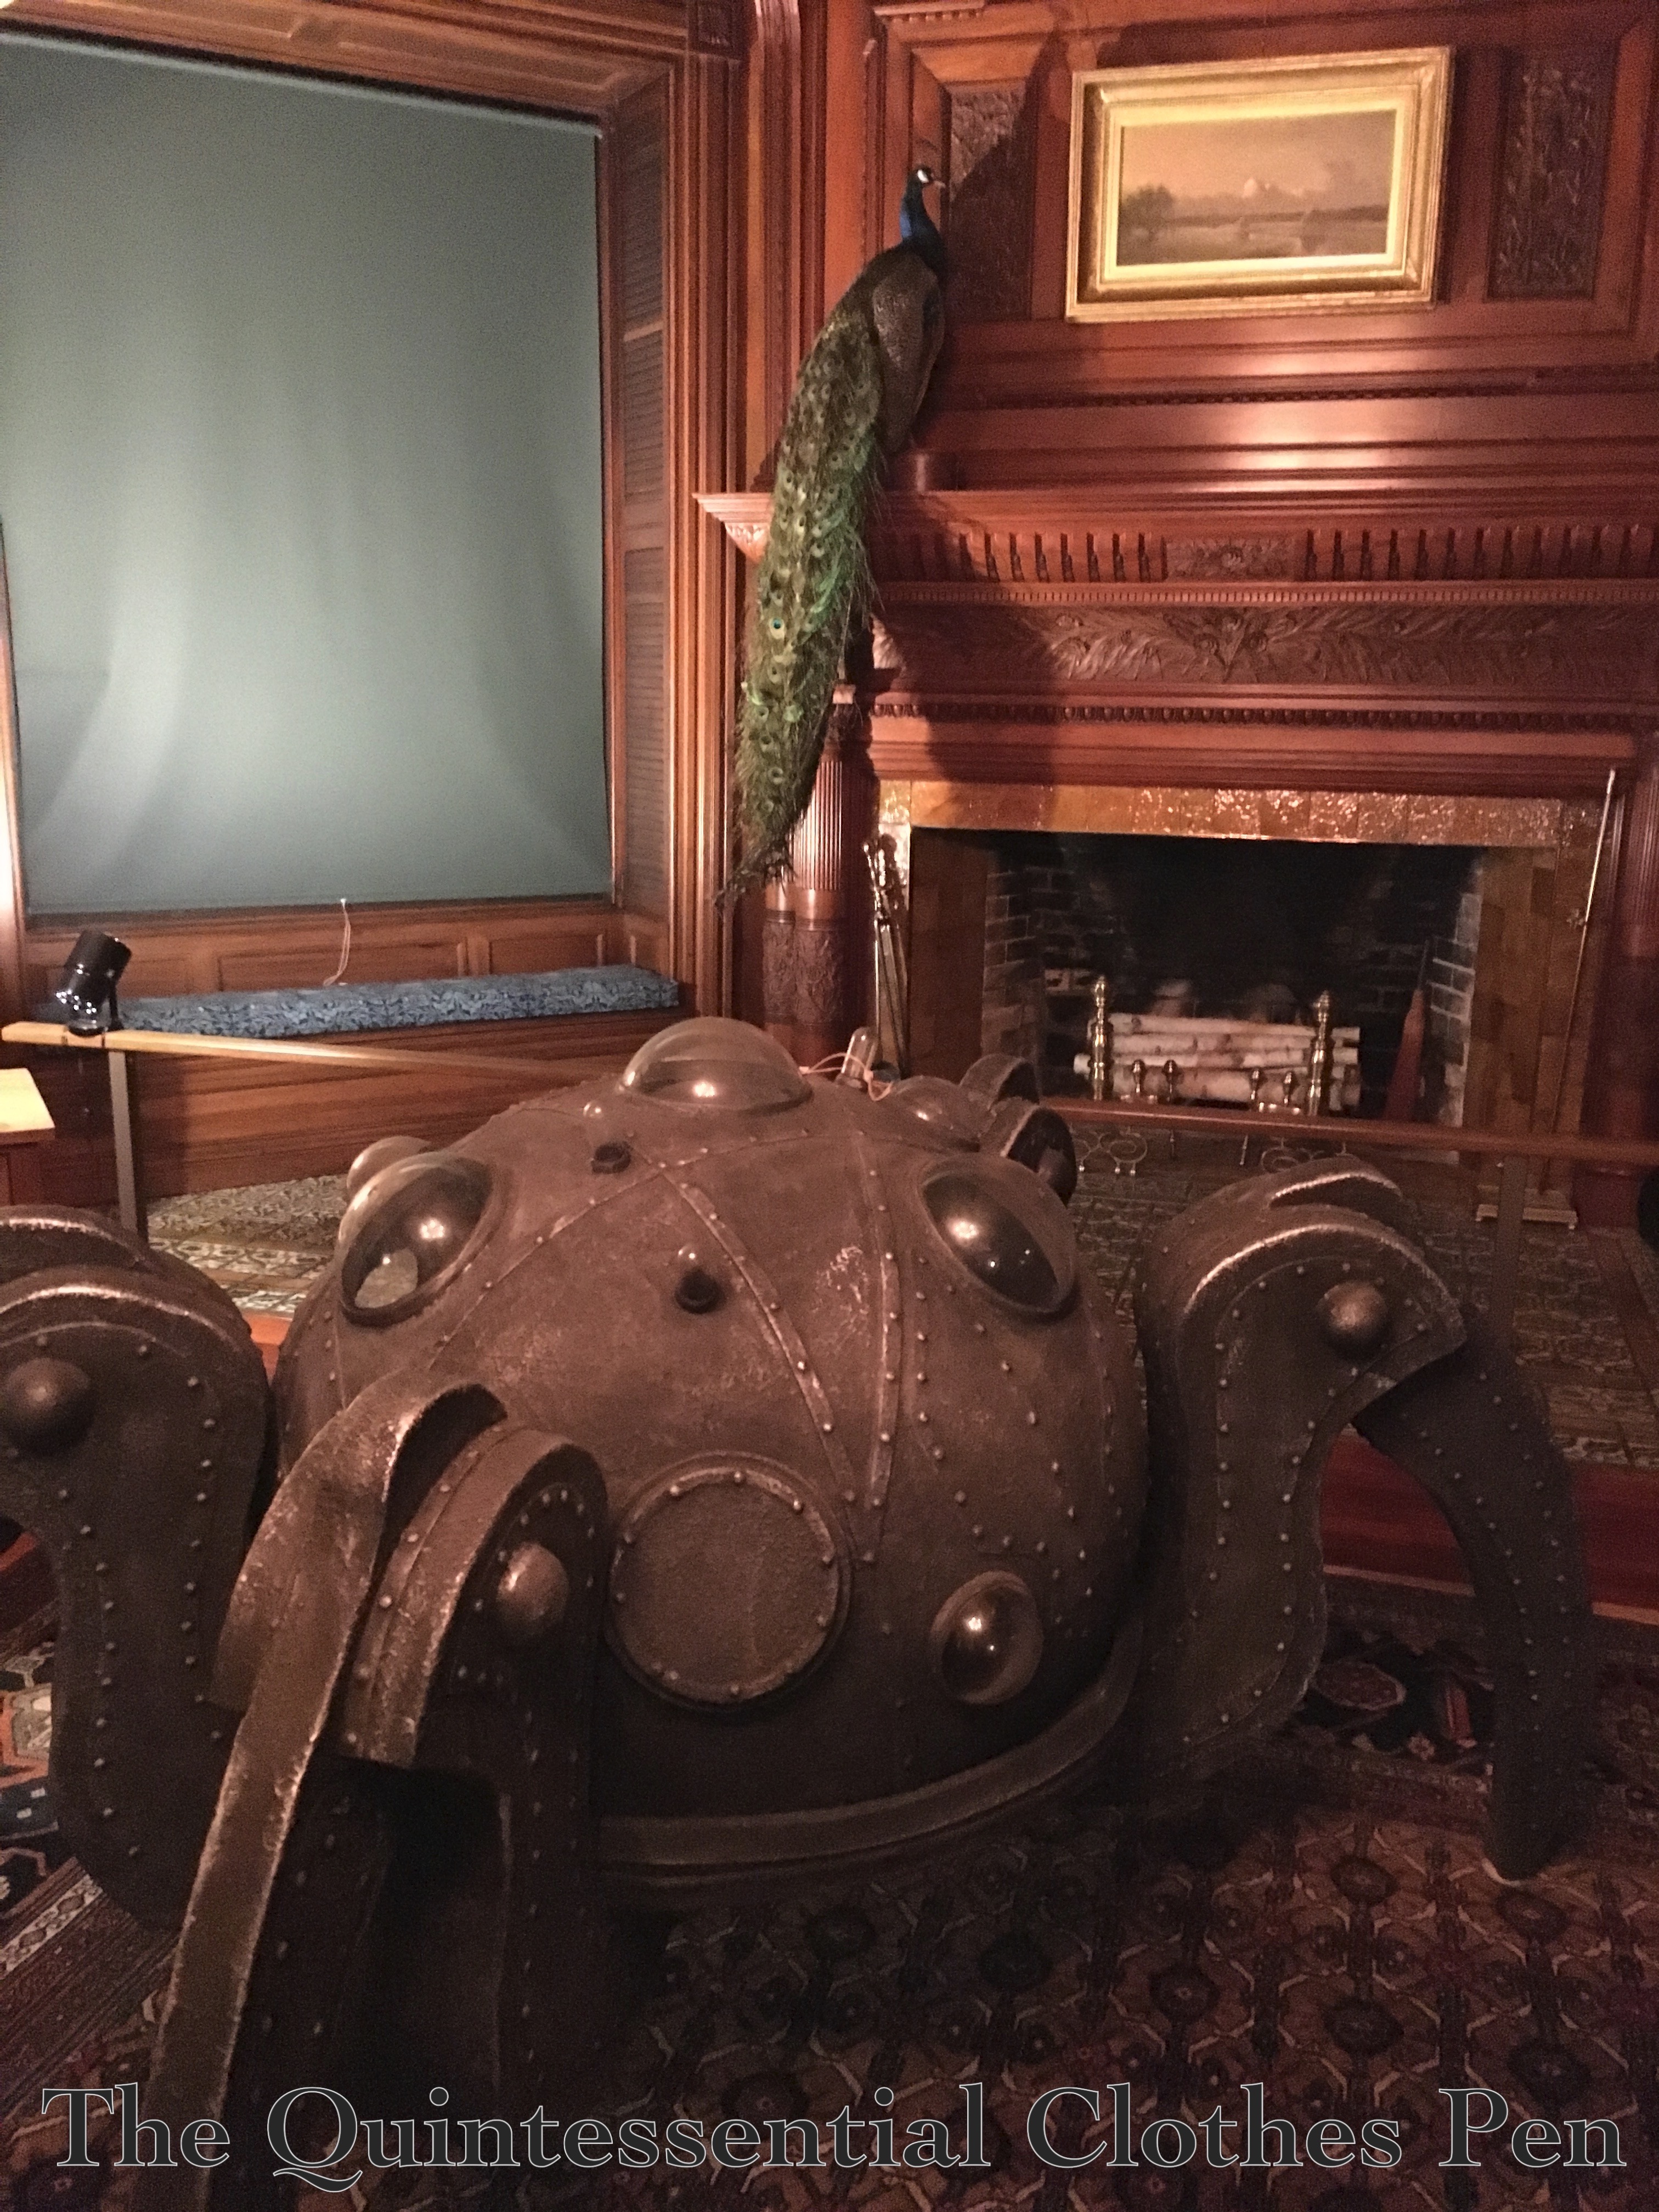
We had fun exploring the different rooms, solving the puzzles, and exclaiming at different oddities.

We enjoyed the floating candles in the stairwell and used them as a backdrop for some our photos and also to give my pygmy puff a subtle chance to pop out of my reticule.

In the end, the guests were able to solve the mysteries necessary to save the Munbax and we were even rewarded with a glimpse of one!

First Croquet Of The Year

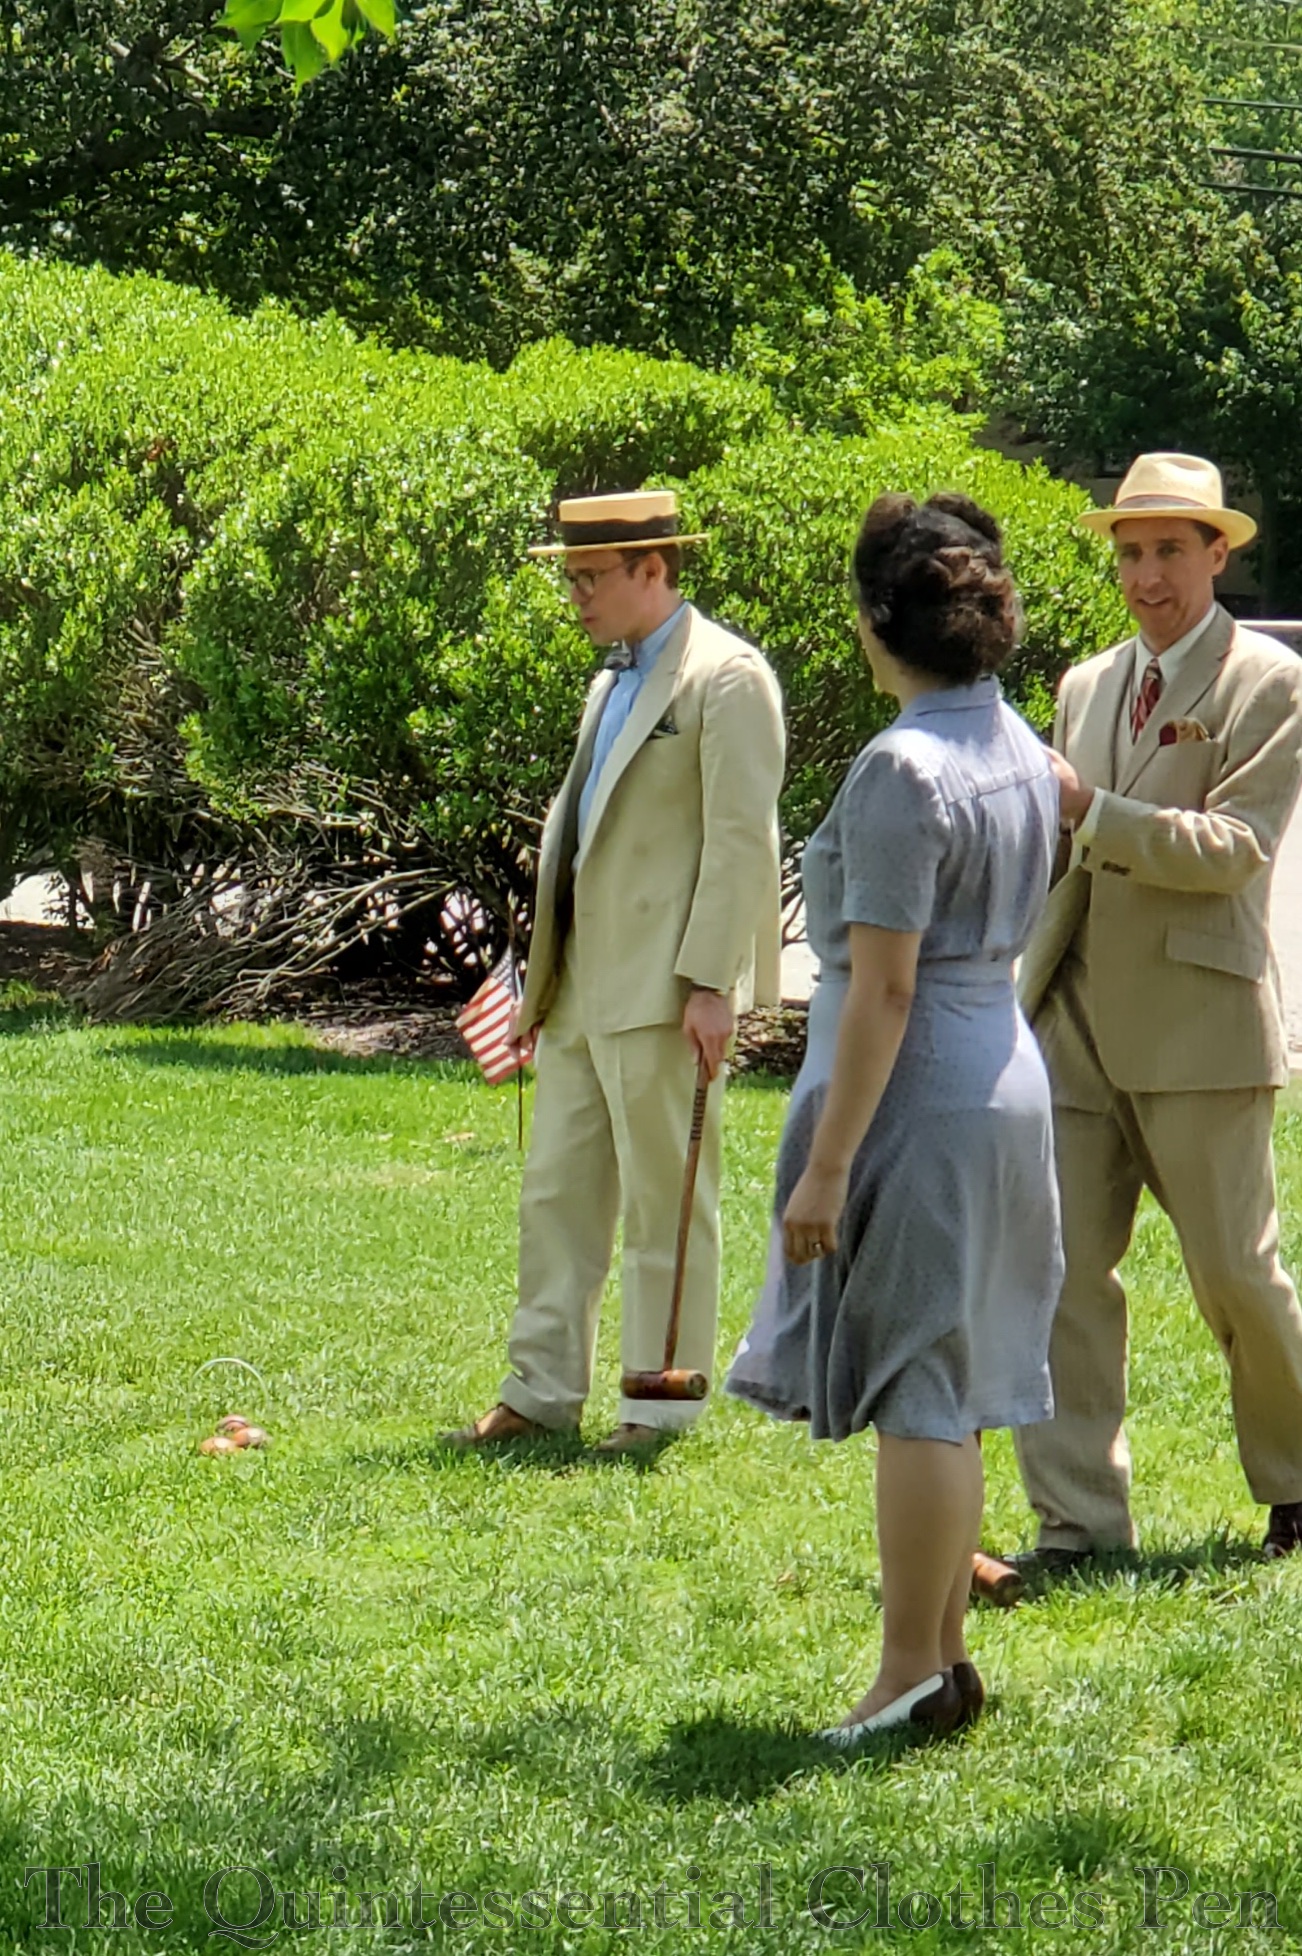
An event! With vintage clothes, and people, and sun, and croquet! The weather was perfectly reasonable–warm without being absurdly toasty–and the ground was dry–perfect for laying out blankets to picnic in style.

I decided to wear my rayon 1943 Mauve Print Dress. I made it in 2017, but have only worn it once, I think. I thought this would be a great opportunity, plus it allowed me the chance to wear my American Duchess Peggy spectators and do my hair in victory rolls. I’m pretty much a fan of big hair in any era, so the victory rolls sounded more appealing than close-to-the-head 1920s styles (1920s being an oft visited decade for summer events since the clothes are easy to wear even when it’s very hot).

(As a side note, I feel like this photo with Plaid Petticoats makes me look like a giant! I don’t think we’re actually that far apart in height (maybe we are?), but the combination of natural waist dress vs dropped waist dress, plus heels vs flats, plus big hair vs hat really makes us look drastically different in height!)

I was very pleased with my victory rolls. I’ve practiced them a few times over the last year or so and have tried a few different products as well. I’ve found that I can make them work (even with my curly hair, yay!) with some Lotta Body on dry hair that hasn’t been washed that day. The biggest challenge is actually that my hair is getting quite long, so the rolls start even farther away from my head than when I wore this dress the last time with victory rolls. My arms almost aren’t long enough anymore!

The long hair also makes figuring out the back a little tricky. I was pleased with what I came up with, though I don’t remember exactly how I did it. It’s something with each side separated, twisted, and then dented in the middle so it’s not one big puff. I guess I have to do it again so I can figure that out!

The picnic included a croquet tournament. I was doing unexpectedly well in the first game, but faltered towards the end and didn’t make the cut to the next round due to the fierce competition (said only somewhat jokingly!).

Croquet involves serious thinking and set up!

This was a lovely outing, perfect for easing back into events. It was wonderful to go digging in my historical clothes closet to get out all of the garments, accessories, and picnic things I would need! I’ve really missed that!

1830s Woods Walk

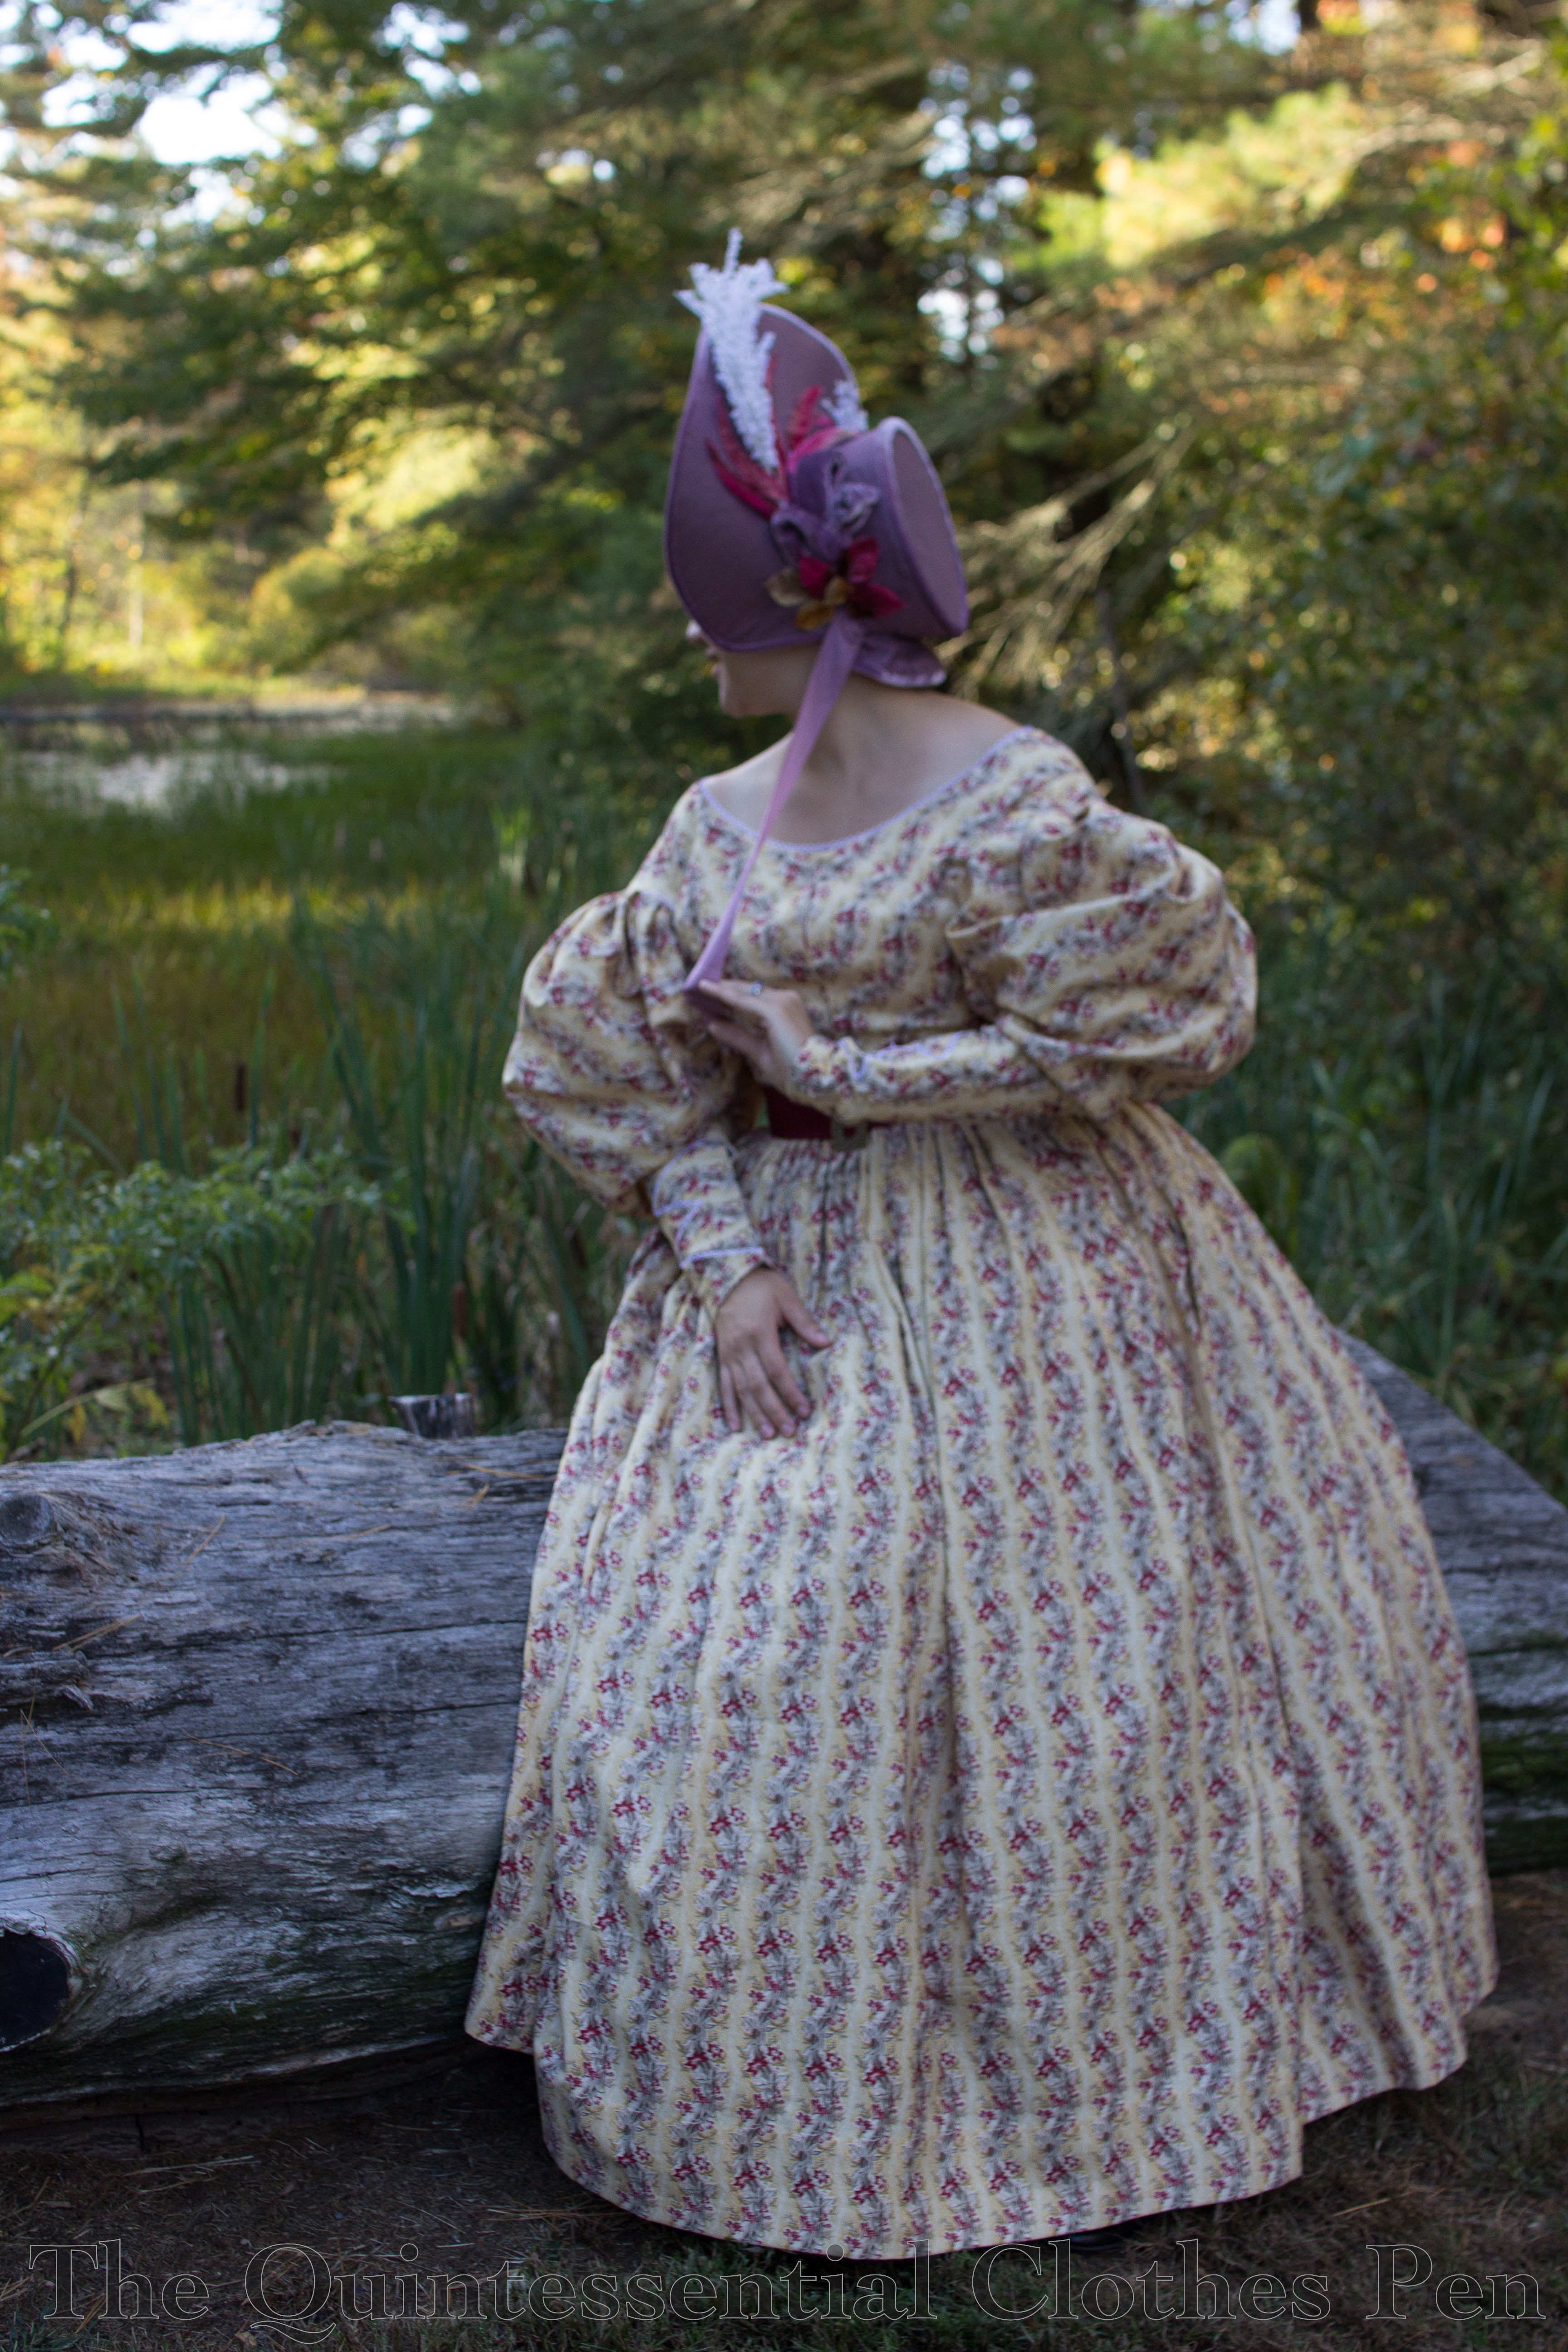
My 1830s apple picking adventure last fall was followed by a ramble through the woods for exercise and to get more photos. I shared a bunch of the photos in the construction posts for my 1834 dress (here and here), but even after that there were still a bunch of lovely photos I wanted to share. At that point, I decided to take a break and post about other topics since I’d posted a few blog posts in a row about 1830s things and so the photos from the woods have been patiently waiting to have their moment to shine. Today is the day! I bring you an 1830s armchair ramble through the woods!

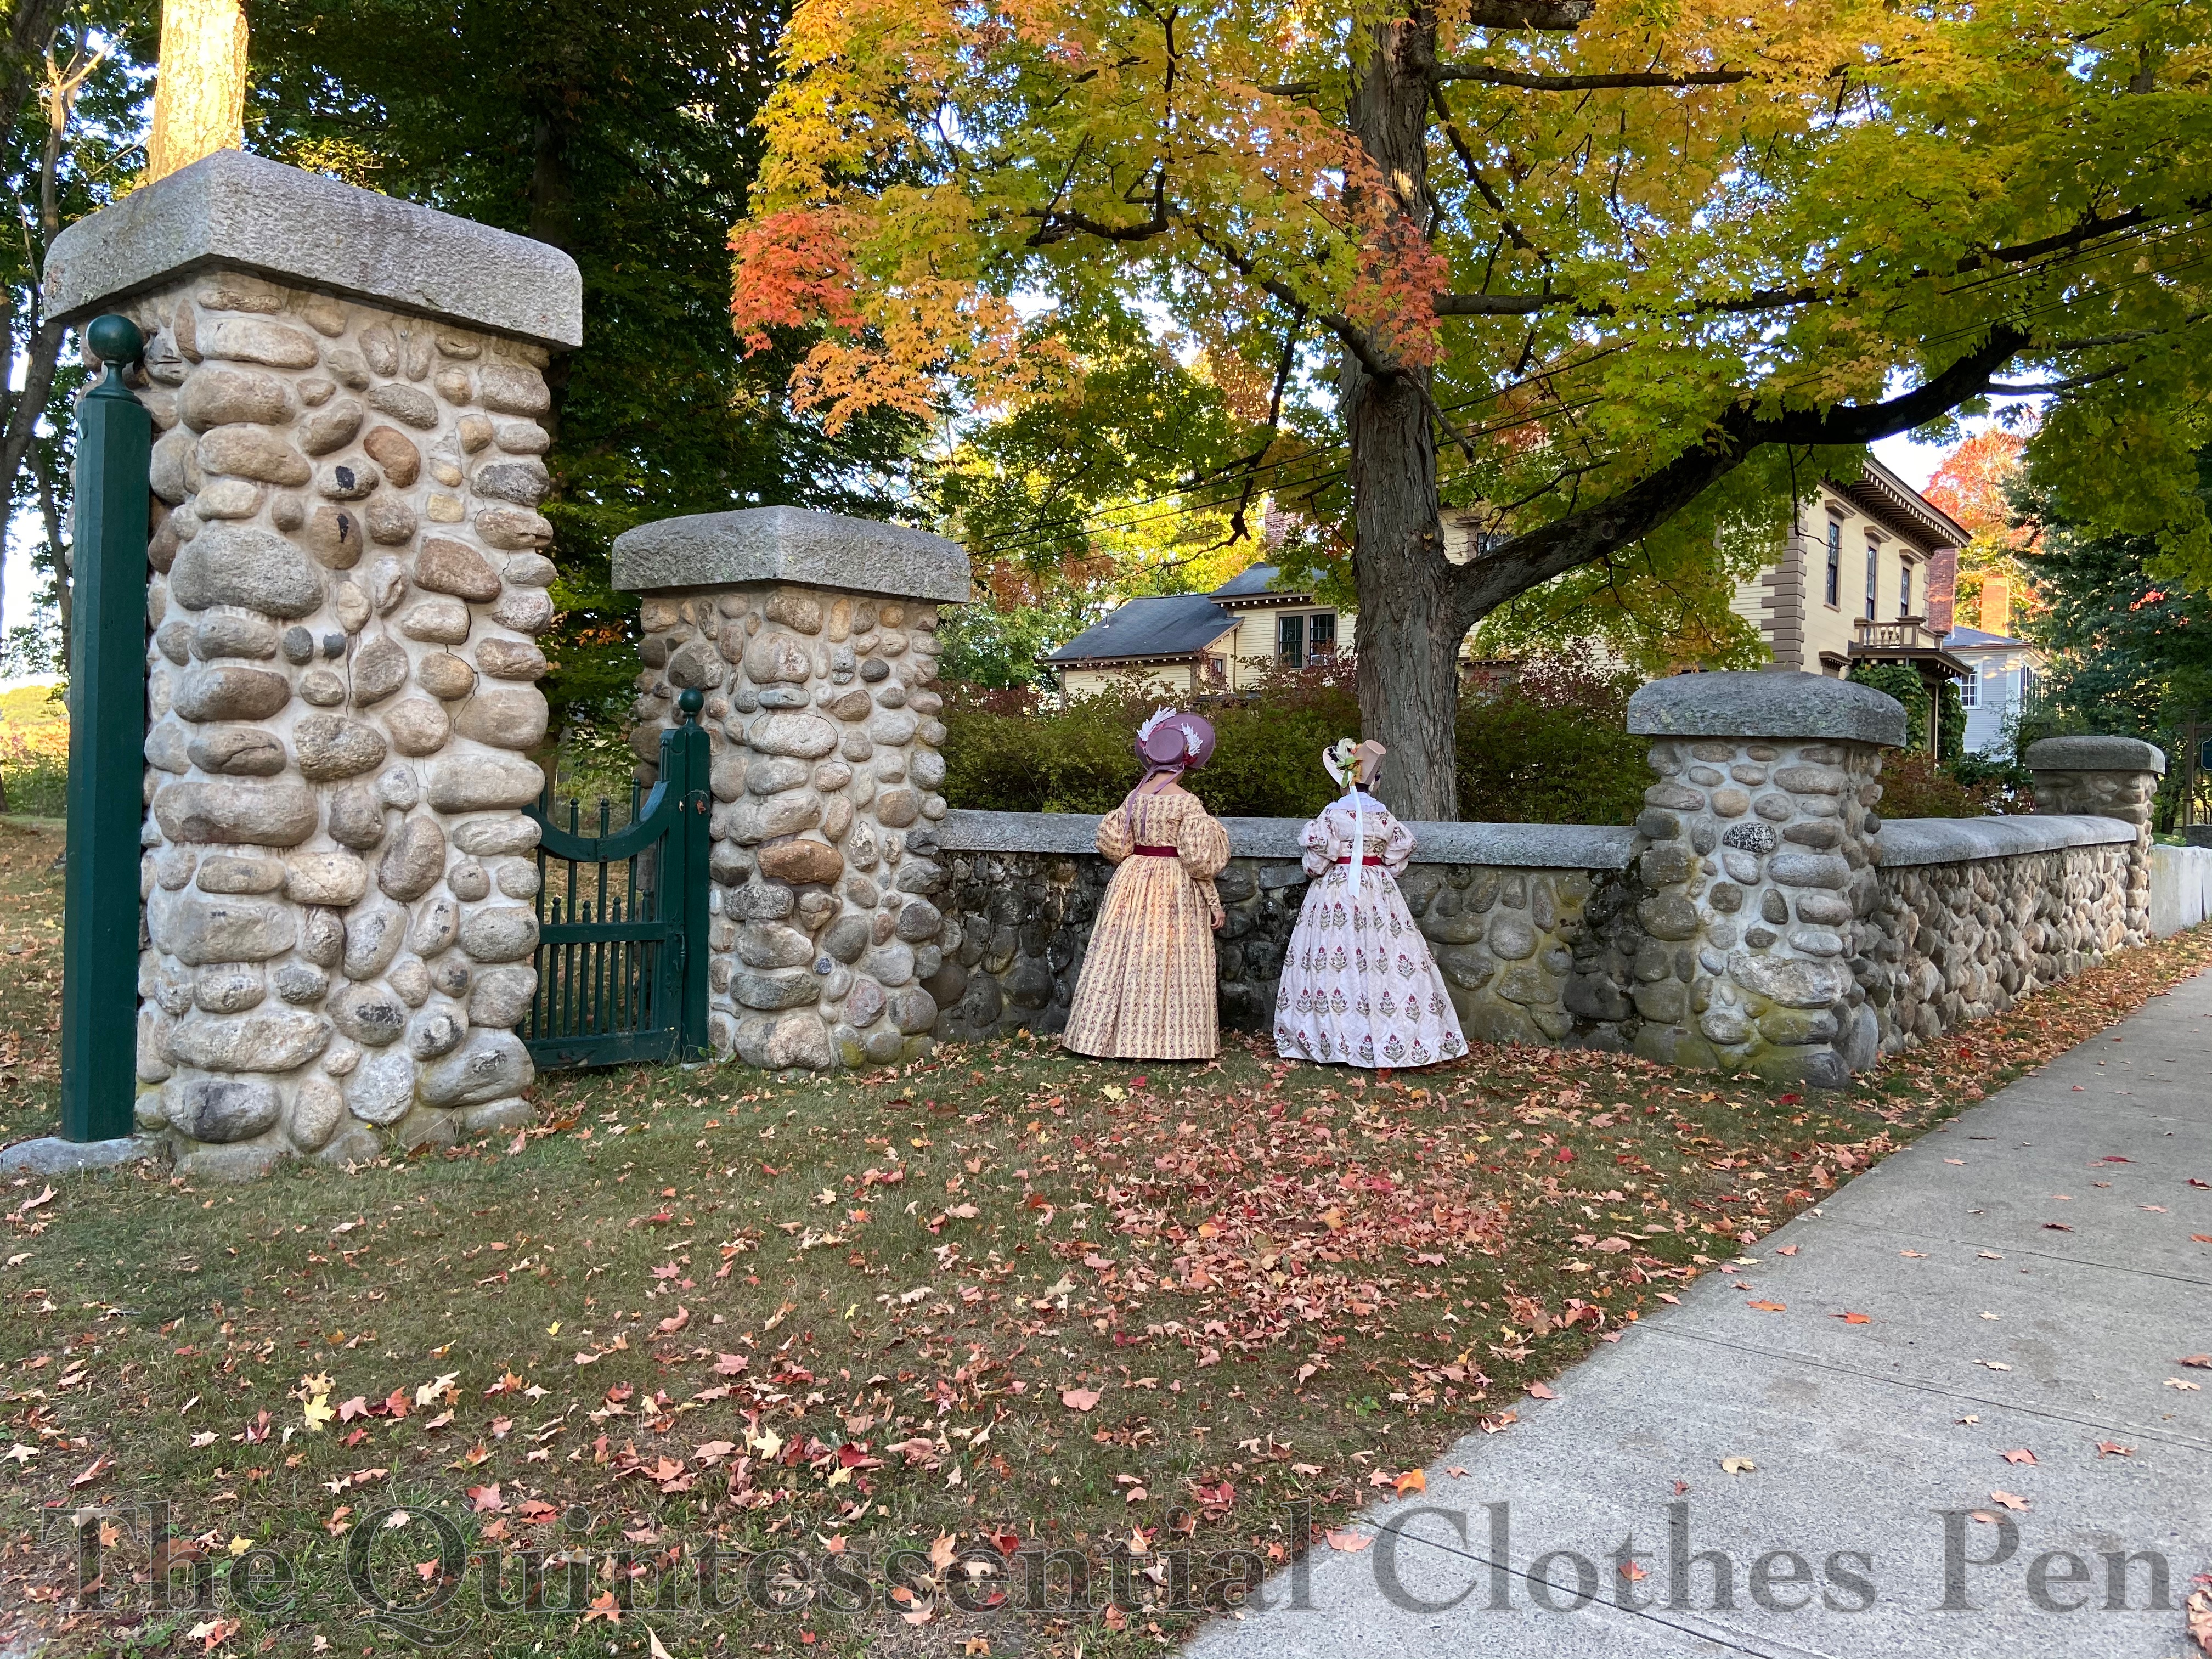
On our way to the wooded area, we stopped to take advantage of this stone wall and gate.

The main gate to the wooded area is similar, though with bricks instead of stones and with animal sculptures to delight visitors. My usual photographer friend (who blogs at Plaid Petticoats) enjoyed taking a few photos with her Petzval camera lens, which creates the swirled background in the next two photos (you can read more about the Petzval lens in this Plaid Petticoats blog post).

Just past the main entrance to the wooded area is a little bridge spanning a lovely bit of water. It looks like a pond, but I think it might actually be connected to the nearby river.

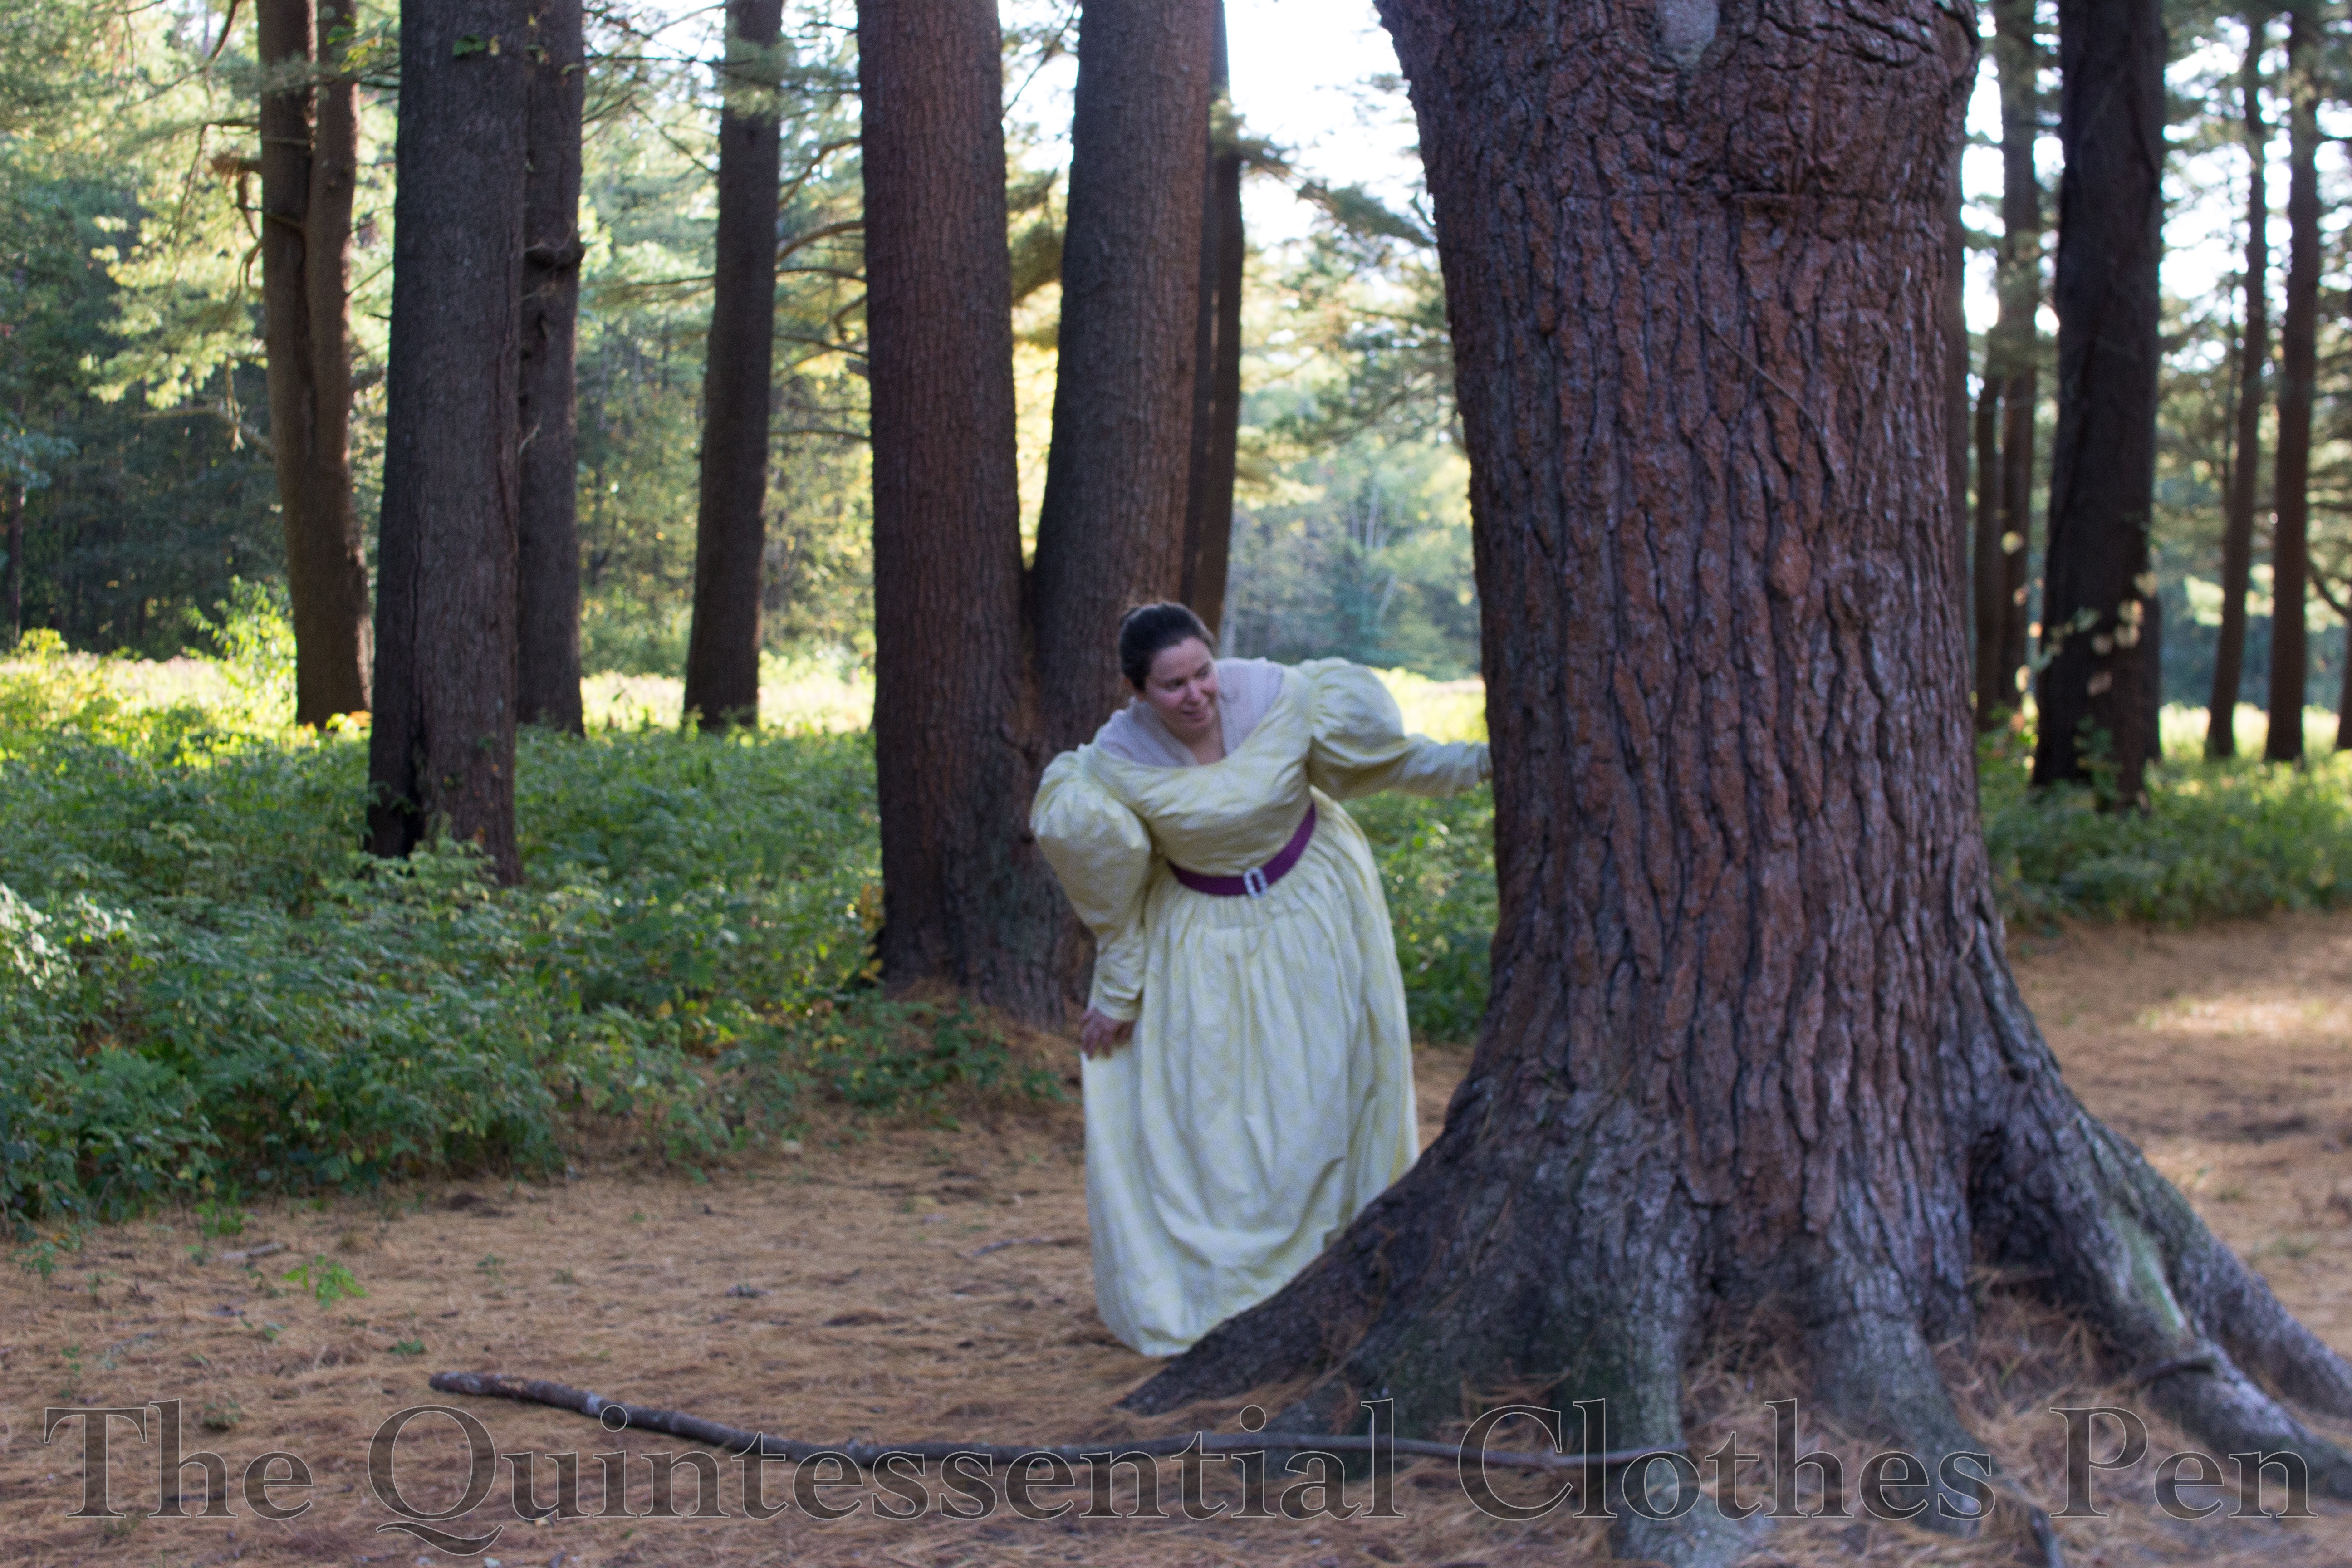
Around the bend is one of my favorite vistas, a grand line of pine trees bordered on one side by a small meadow. It’s a magnificent and playful place to stop for photos.

Continuing towards the river is a path along one side of the meadow. Thankfully, the grass on the path is maintained and easy to walk through.

This group photo uses the Petzval lens to make a glorious twinkling arch of greenery out of the dwindling afternoon sunlight.

Along the way to the river are small bits of interest. Enterprising greenery in unique shapes and more watchful animal statues.

Near the river we stopped for more photos. The drooping trees made dramatic backgrounds for us.

I love the next photo. It captures the reflection of the golden leaves in a way that almost looks like a painting, in juxtaposition with the oak leaves and branches on the far side.

Thanks for joining me on this autumnal walk through the woods. I find outings like this are wonderful moments for reflection and appreciating the natural beauty of the seasons.


Early & Mid 19th Century Commission For NSCDA-MA

I find great joy in the pursuit of researching and making historical clothing. Here on the blog, I post most often about the garments I make for myself, but I rarely post about commissions to make custom historical garments for private individuals, museums, historical institutions, etc. Today’s post is different from the usual in that I’m going to share a commission project with you!

This commission came about through the kindness of Myrthe, who blogs at Atelier Nostalgia. (And how fitting, that we were just communicating about how wonderful it is to connect with people who love historical clothes from around the world!) The commission was from the Massachusetts Chapter of the National Society of the Colonial Dames of America (NSCDA-MA).

The NSCDA-MA owns the beautiful William Hickling Prescott House in Boston, which was built in 1808 and upgraded throughout the 19th century. The NSCDA-MA website (linked above) shares many more details about the various owners of the house and its architecture. In addition to the house itself, the NSCDA-MA also holds a wonderful collection of historical clothing, some items of which have been used for display purposes throughout the house (though most of the garments are in storage and only available for research visits by appointment). Unfortunately, historical garments are often not suited to permanent display as they can be made of delicate fabrics that can be damaged by light, dust, and gravity, just to name a few possible problems. The NSCDA-MA was looking for custom made historical dresses to display instead of the extant historic garments and I was very excited to work with them to make that goal a reality!

The commission involved two dresses: one from about 1810 and one from about 1845. The two dresses haven’t been mounted yet and aren’t available to visit due to ongoing closures, but I hope to eventually go see them in one of the glorious rooms of the house. For now we’ll have to make do with flat photos that were taken for my own archival purposes.

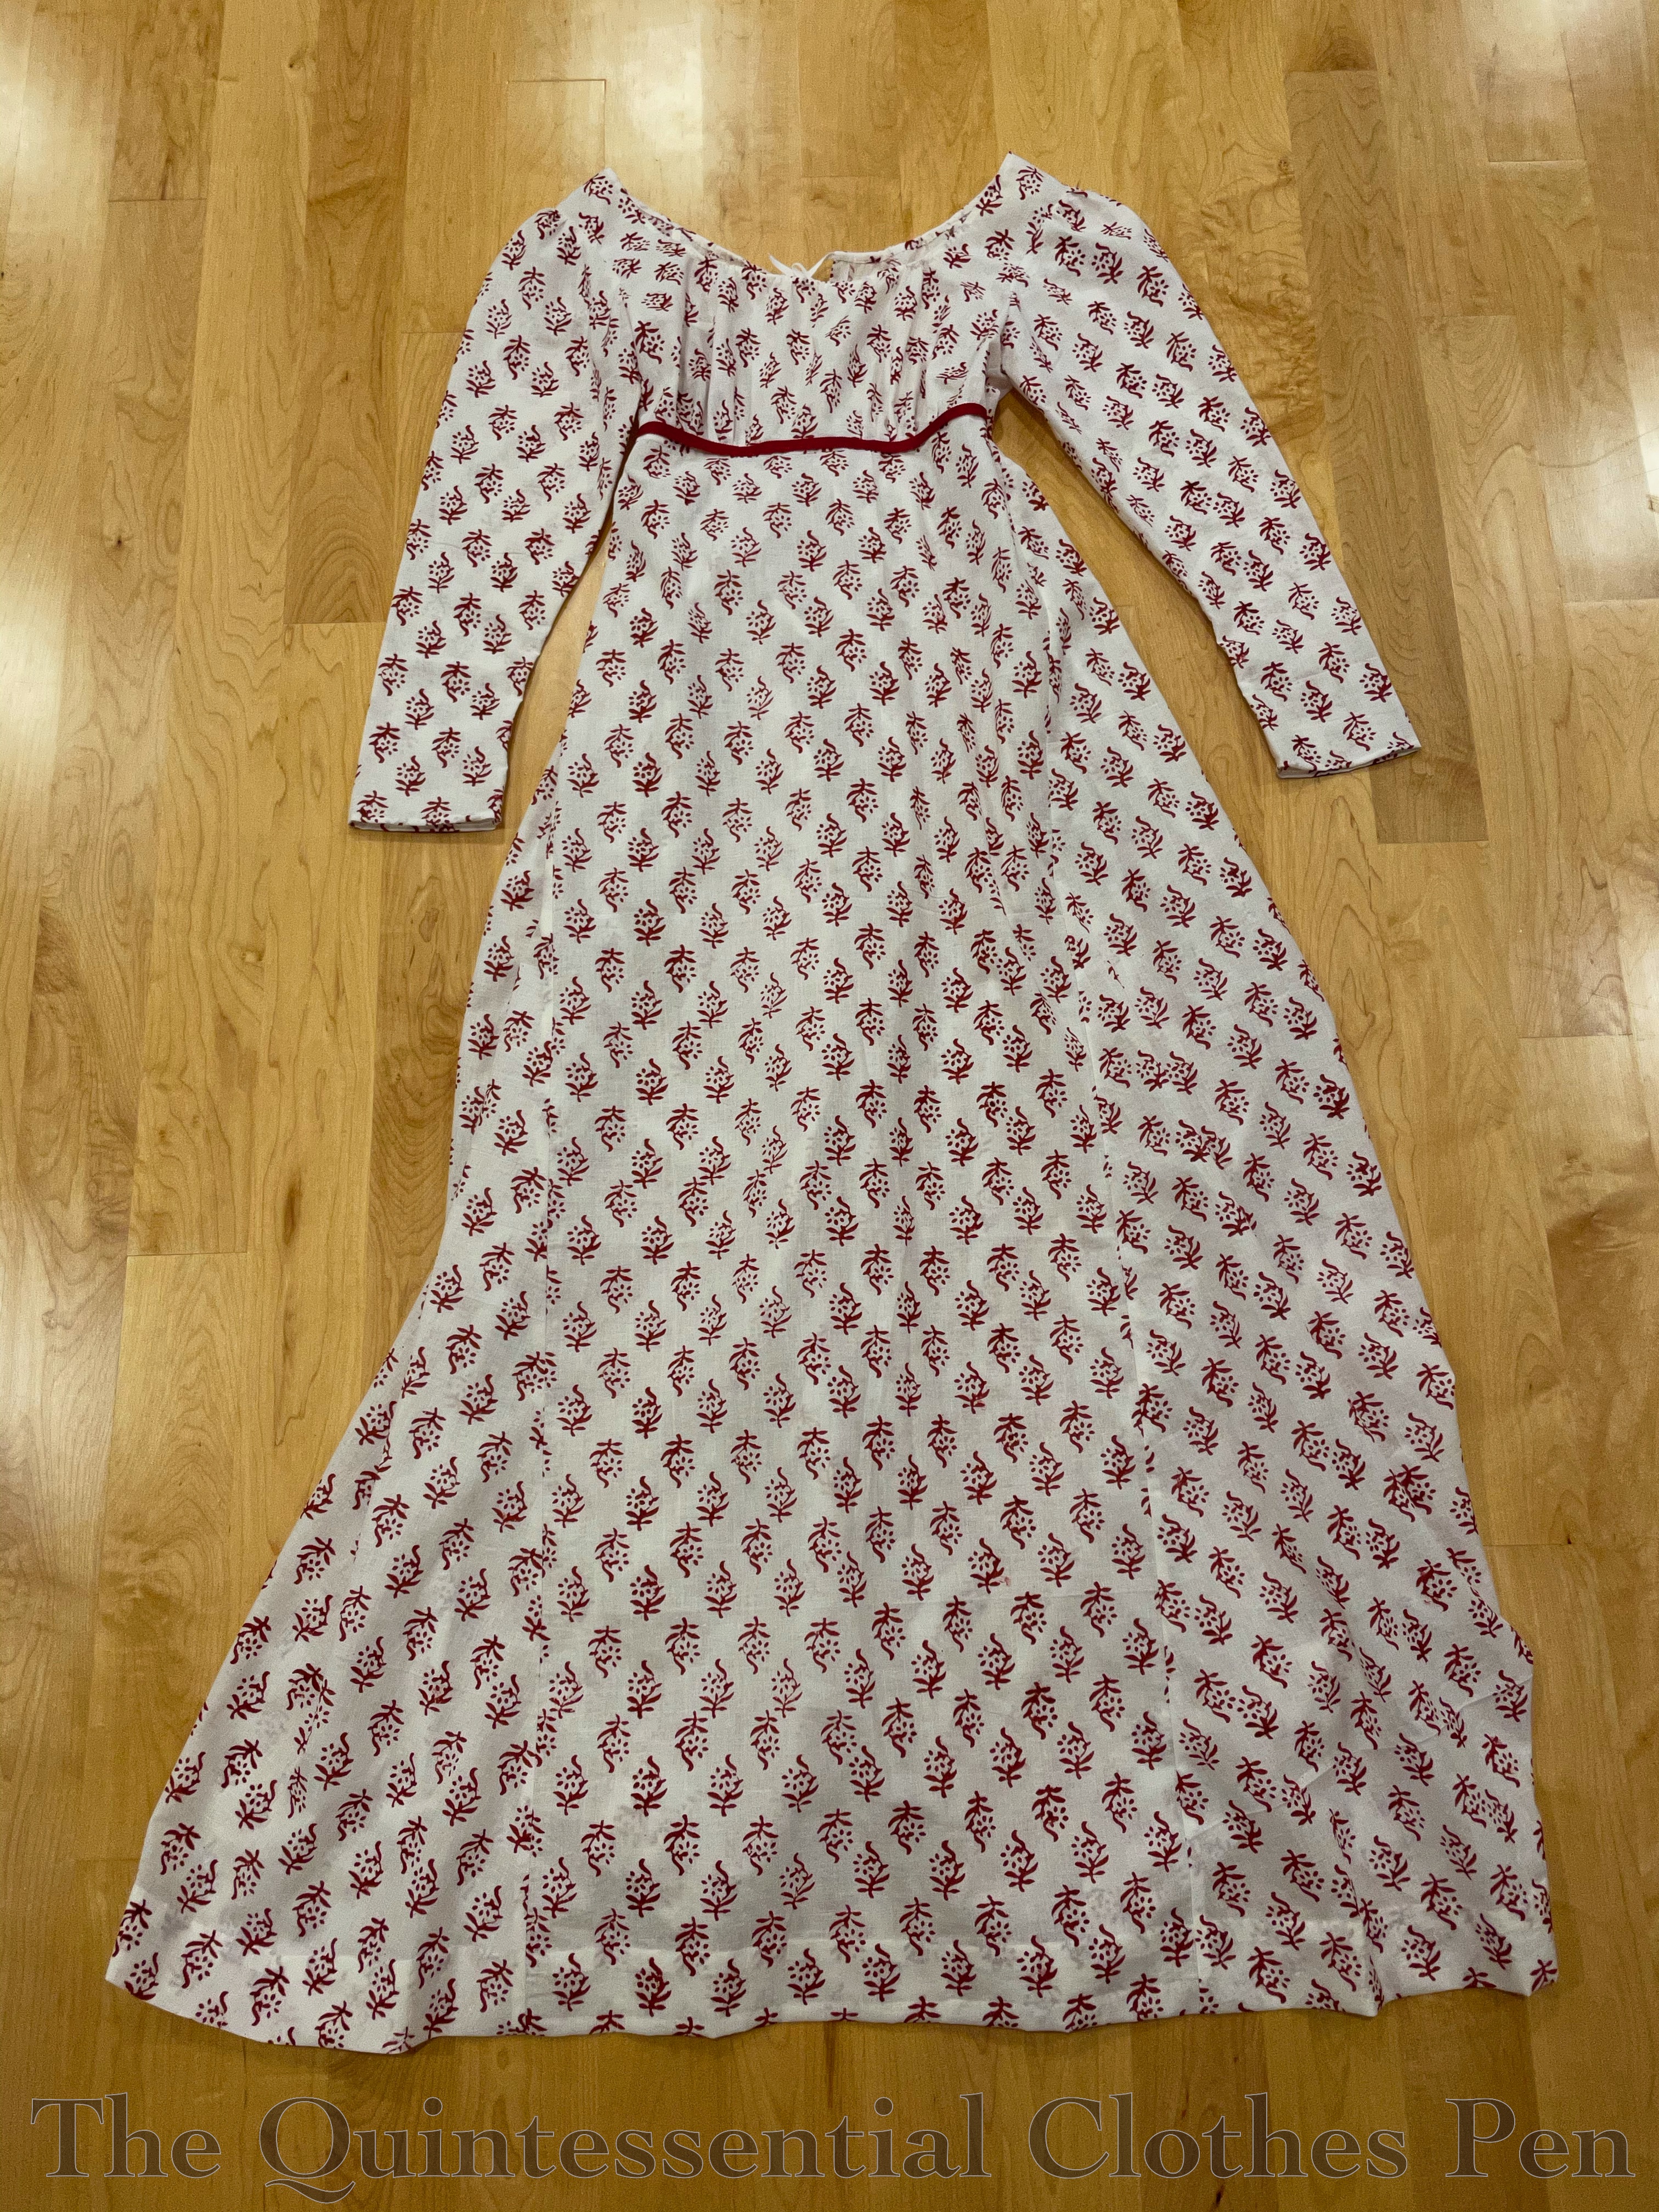
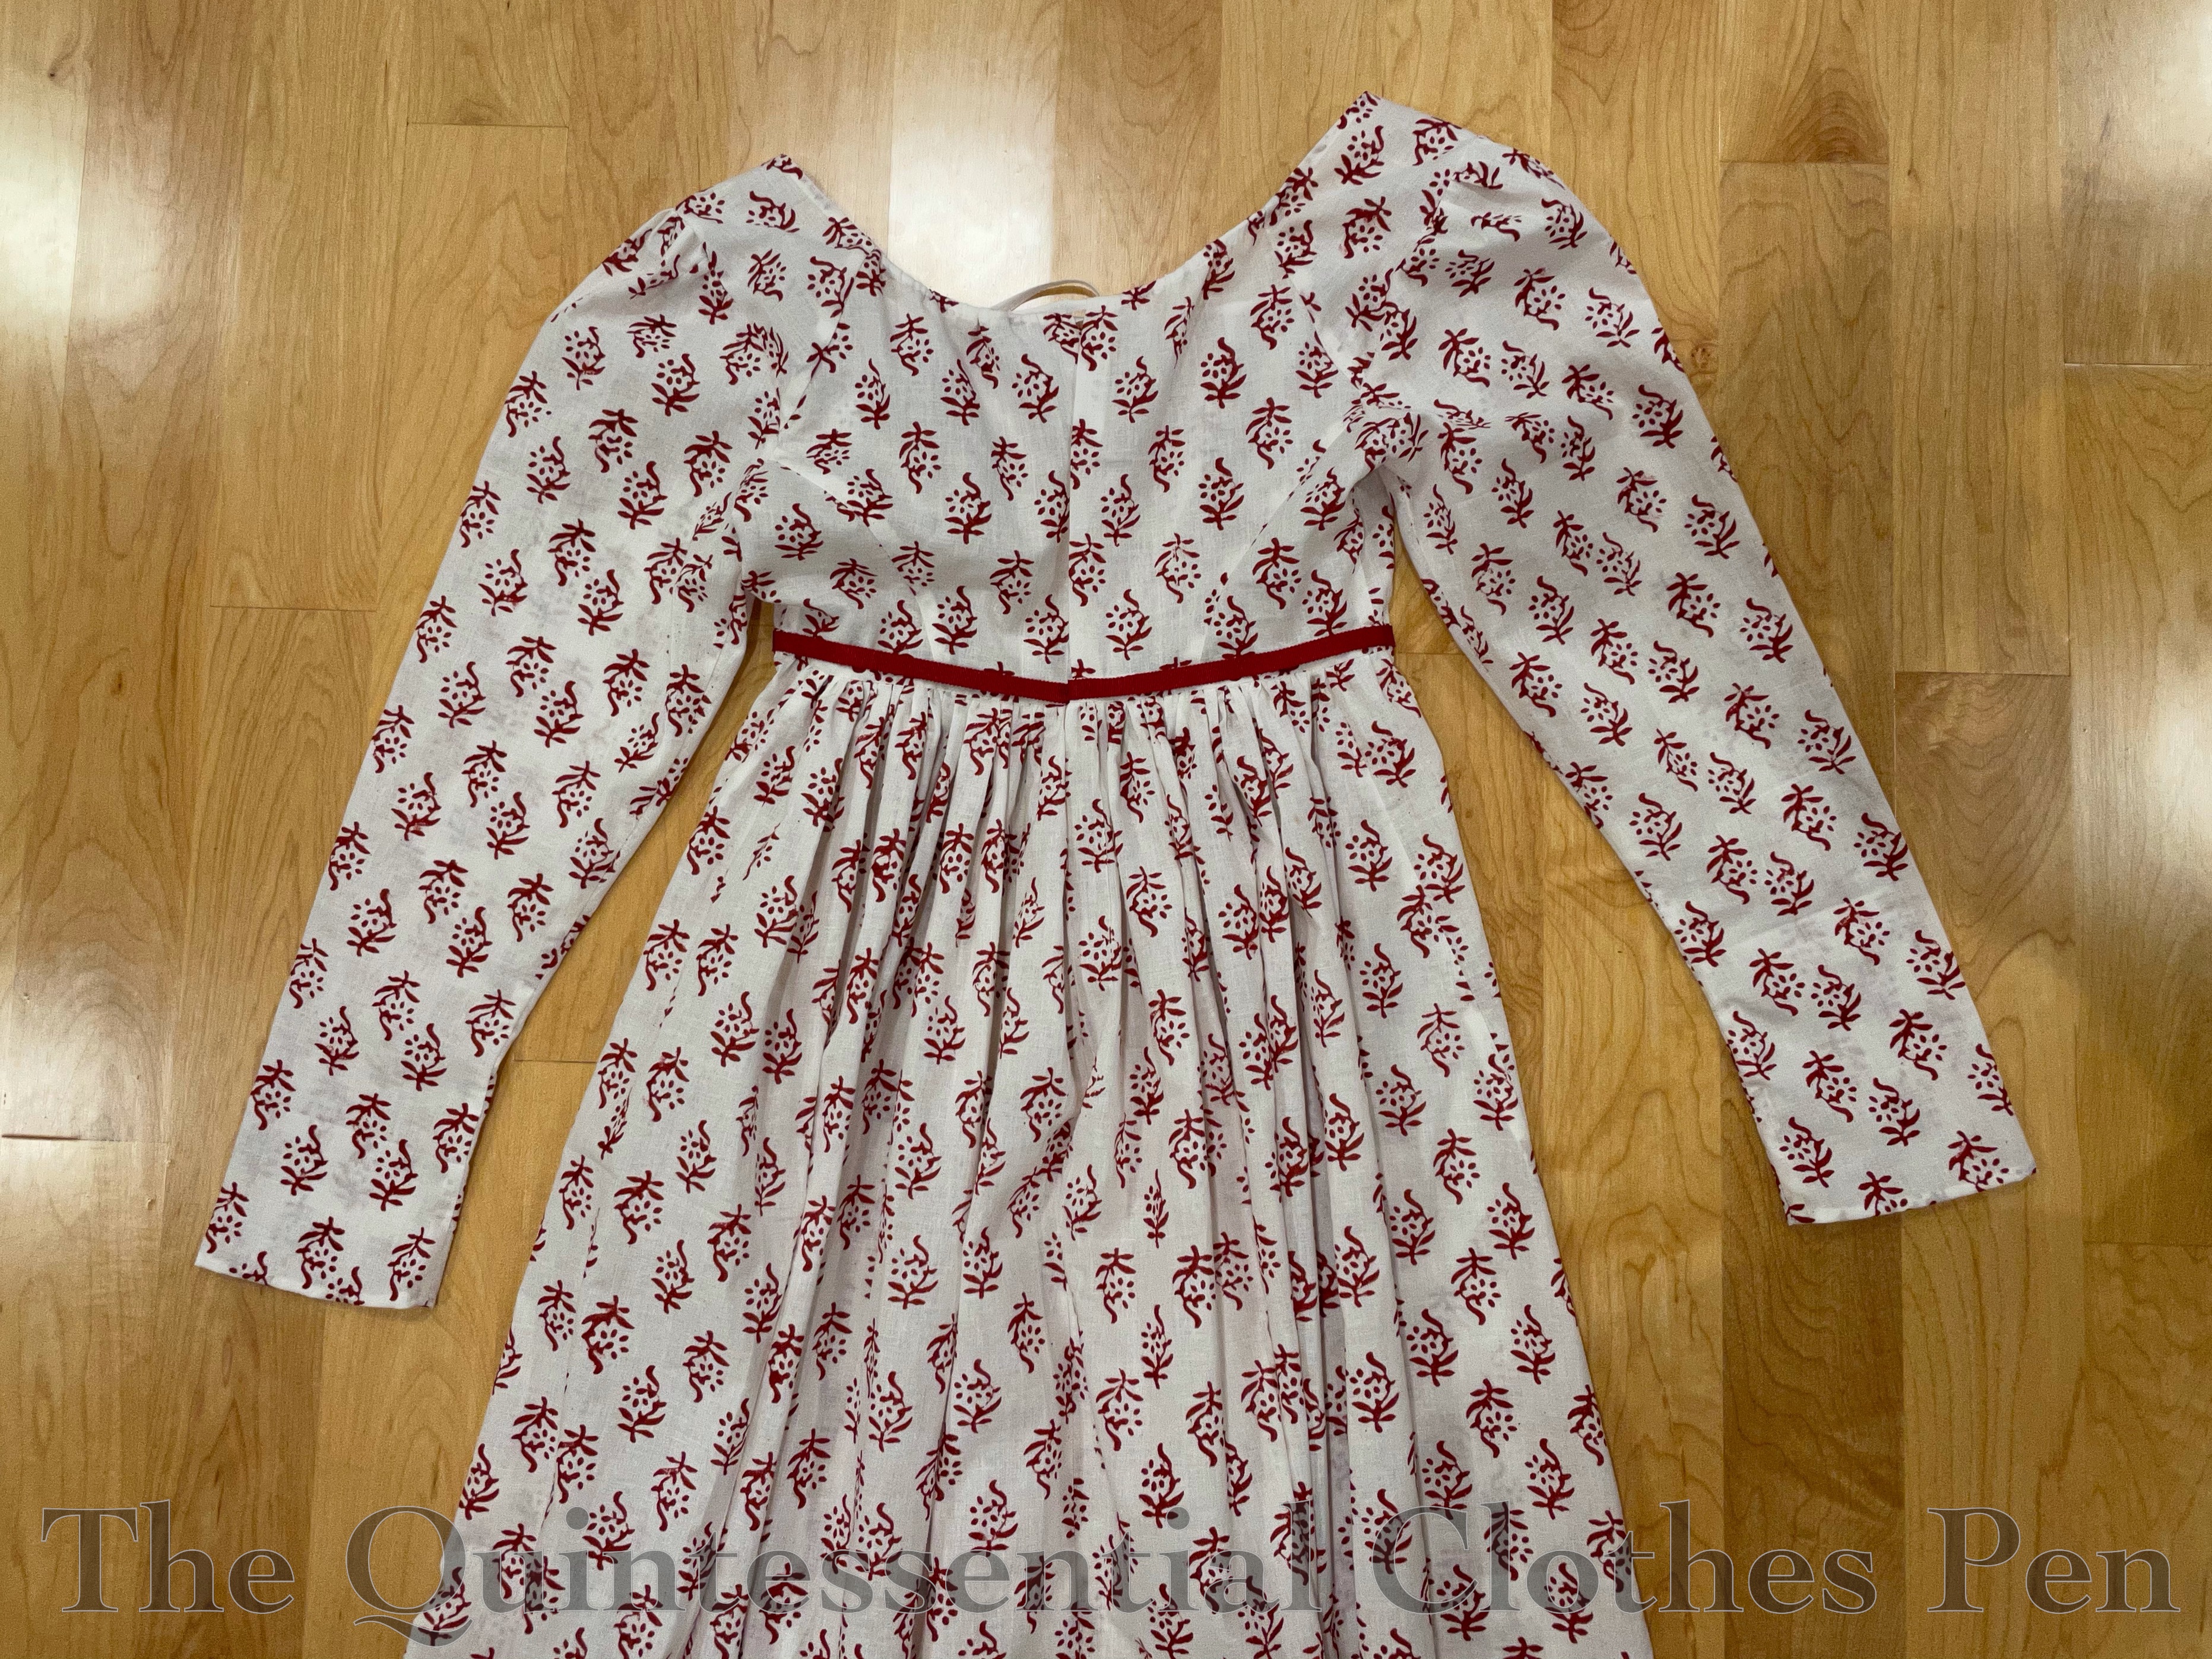
The c. 1810 dress was inspired by a few different dresses, including this c. 1810 cotton dress held by The Metropolitan Museum of Art. The goal was to merge the inspiration dresses into one dress with a repeated pattern on cotton, an adjustable drawstring neck, and long sleeves. In order to support the silhouette and provide opacity I also made a bodiced petticoat to go with the dress. Below are front and back views.

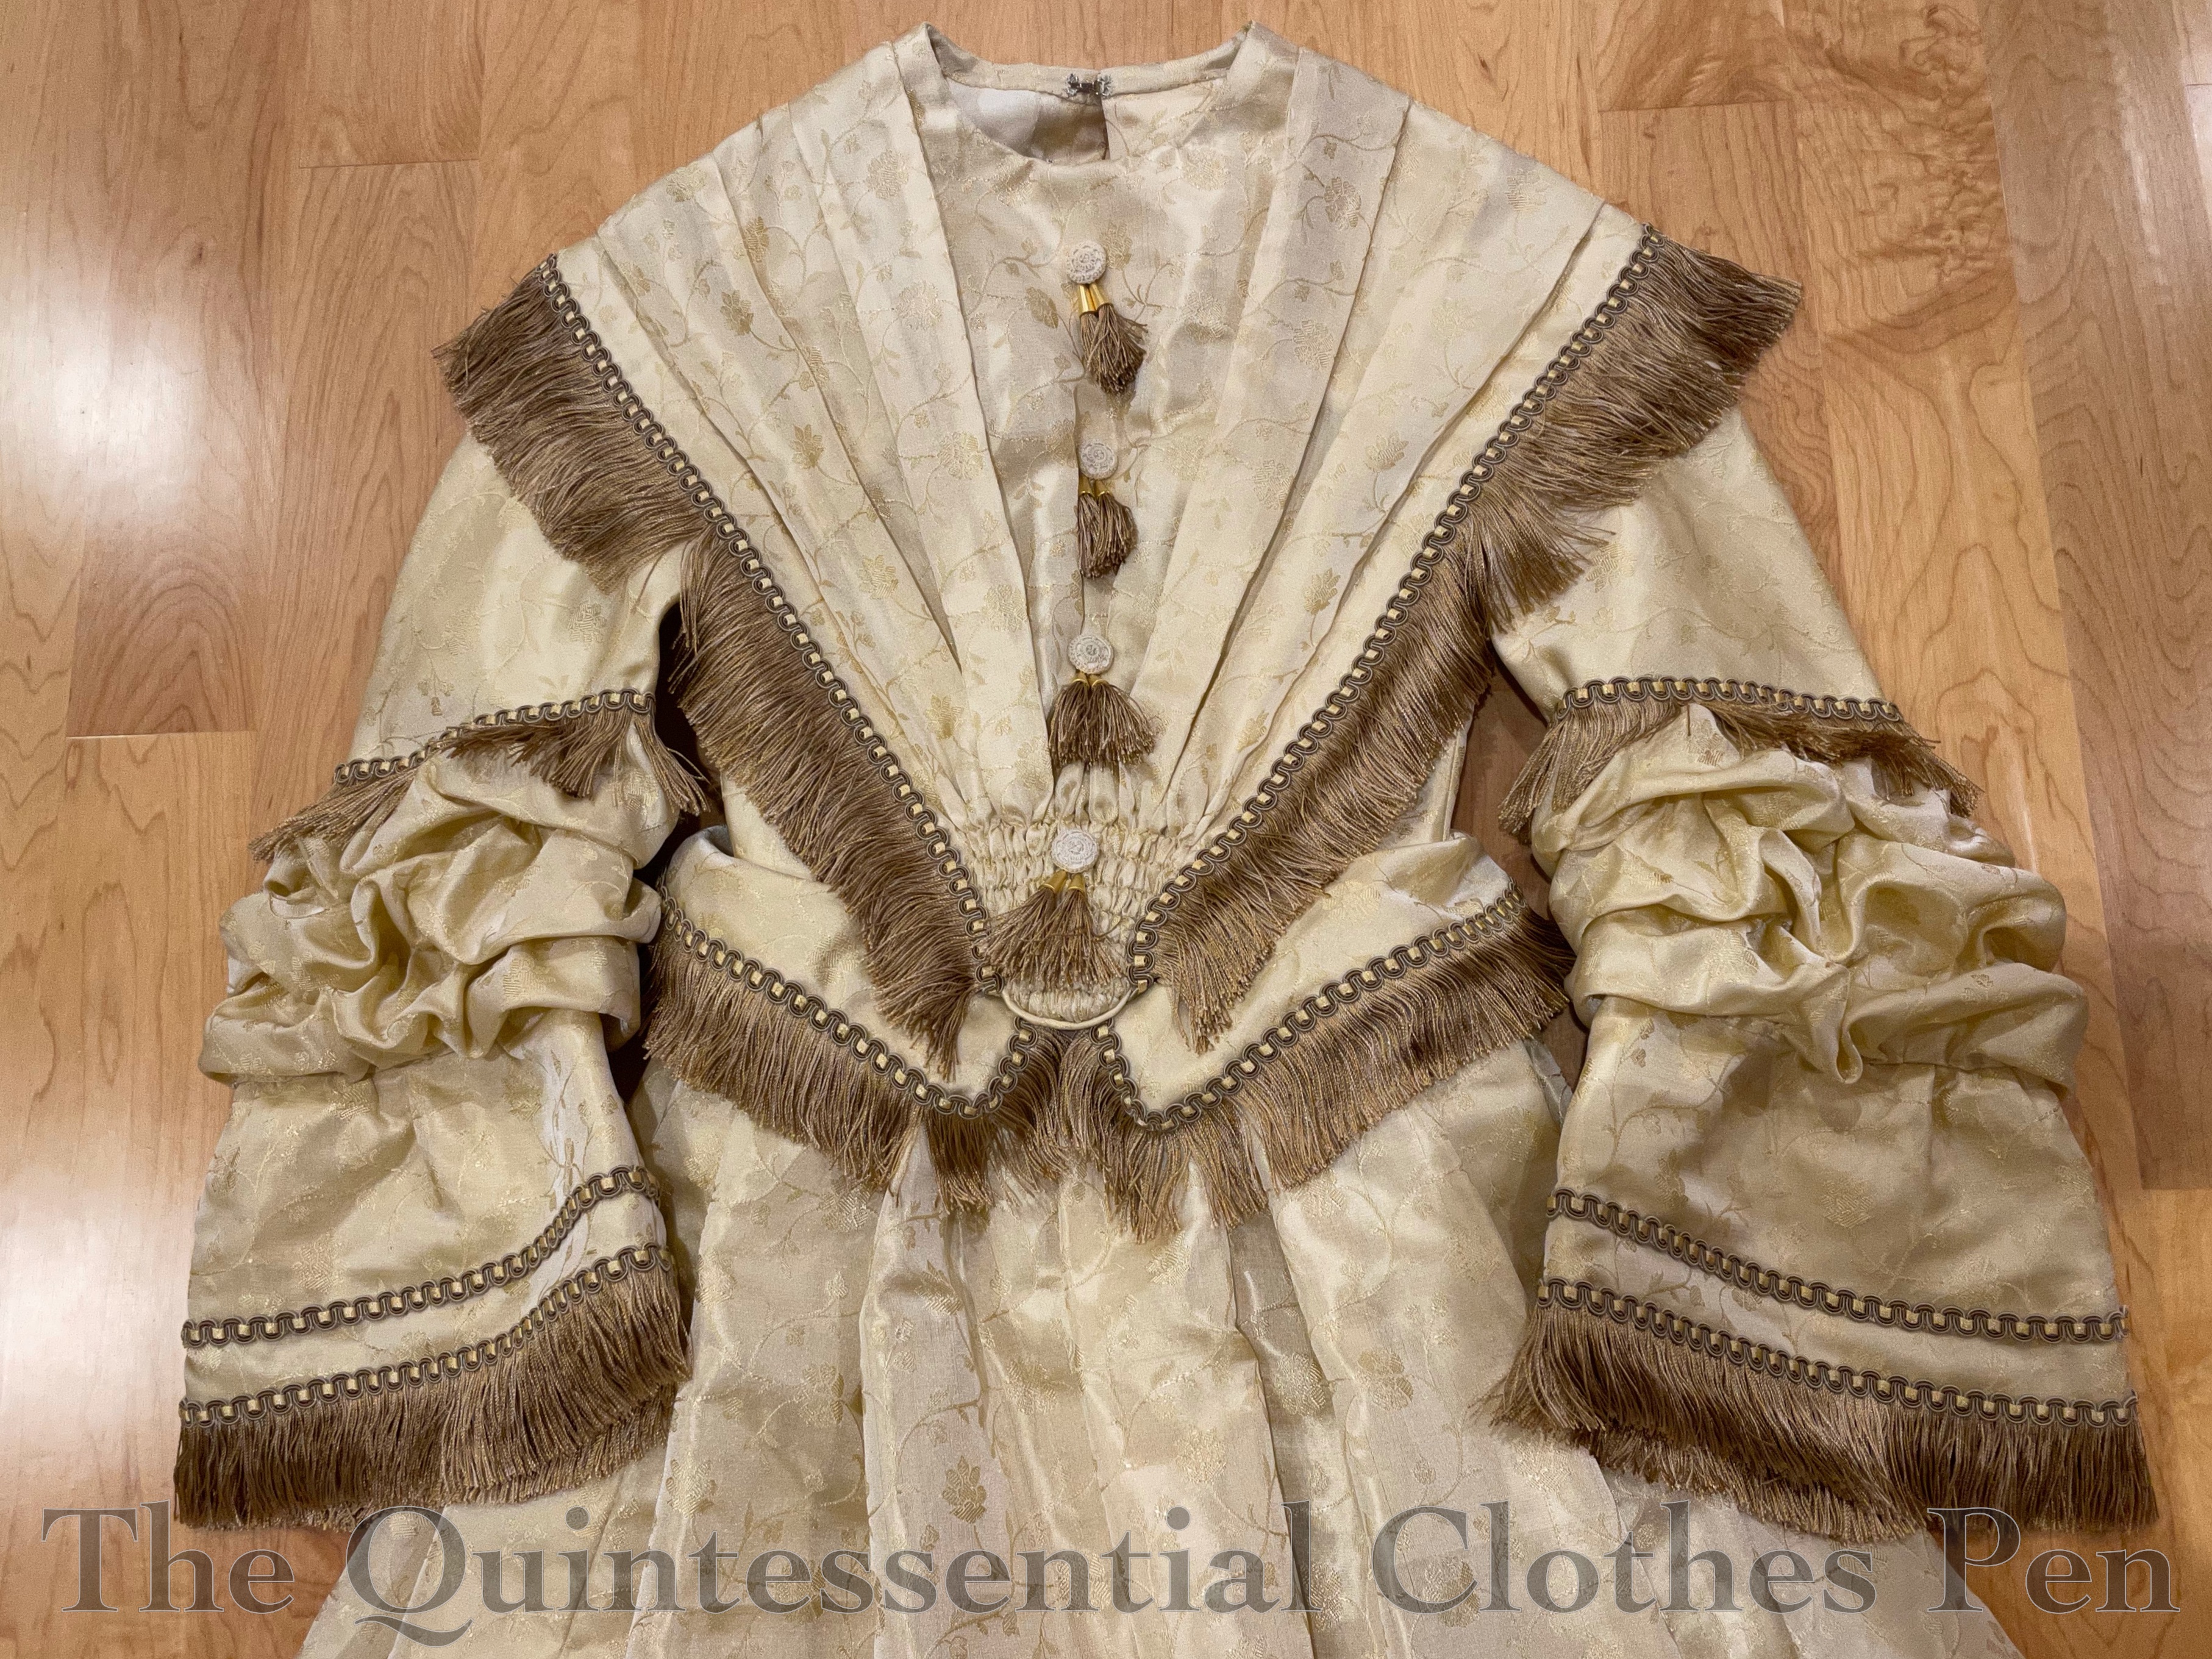
Unlike the first dress, the c. 1845 dress was inspired by this specific c. 1848 silk dress held by The Met. The goal was to keep the details of The Met inspiration dress but make the new dress proportional to the measurements of the form that would be wearing it. The dress includes extra structure to help the bodice keep its shape even without a corset underneath. Below are a full length front view and a close up of the bodice.

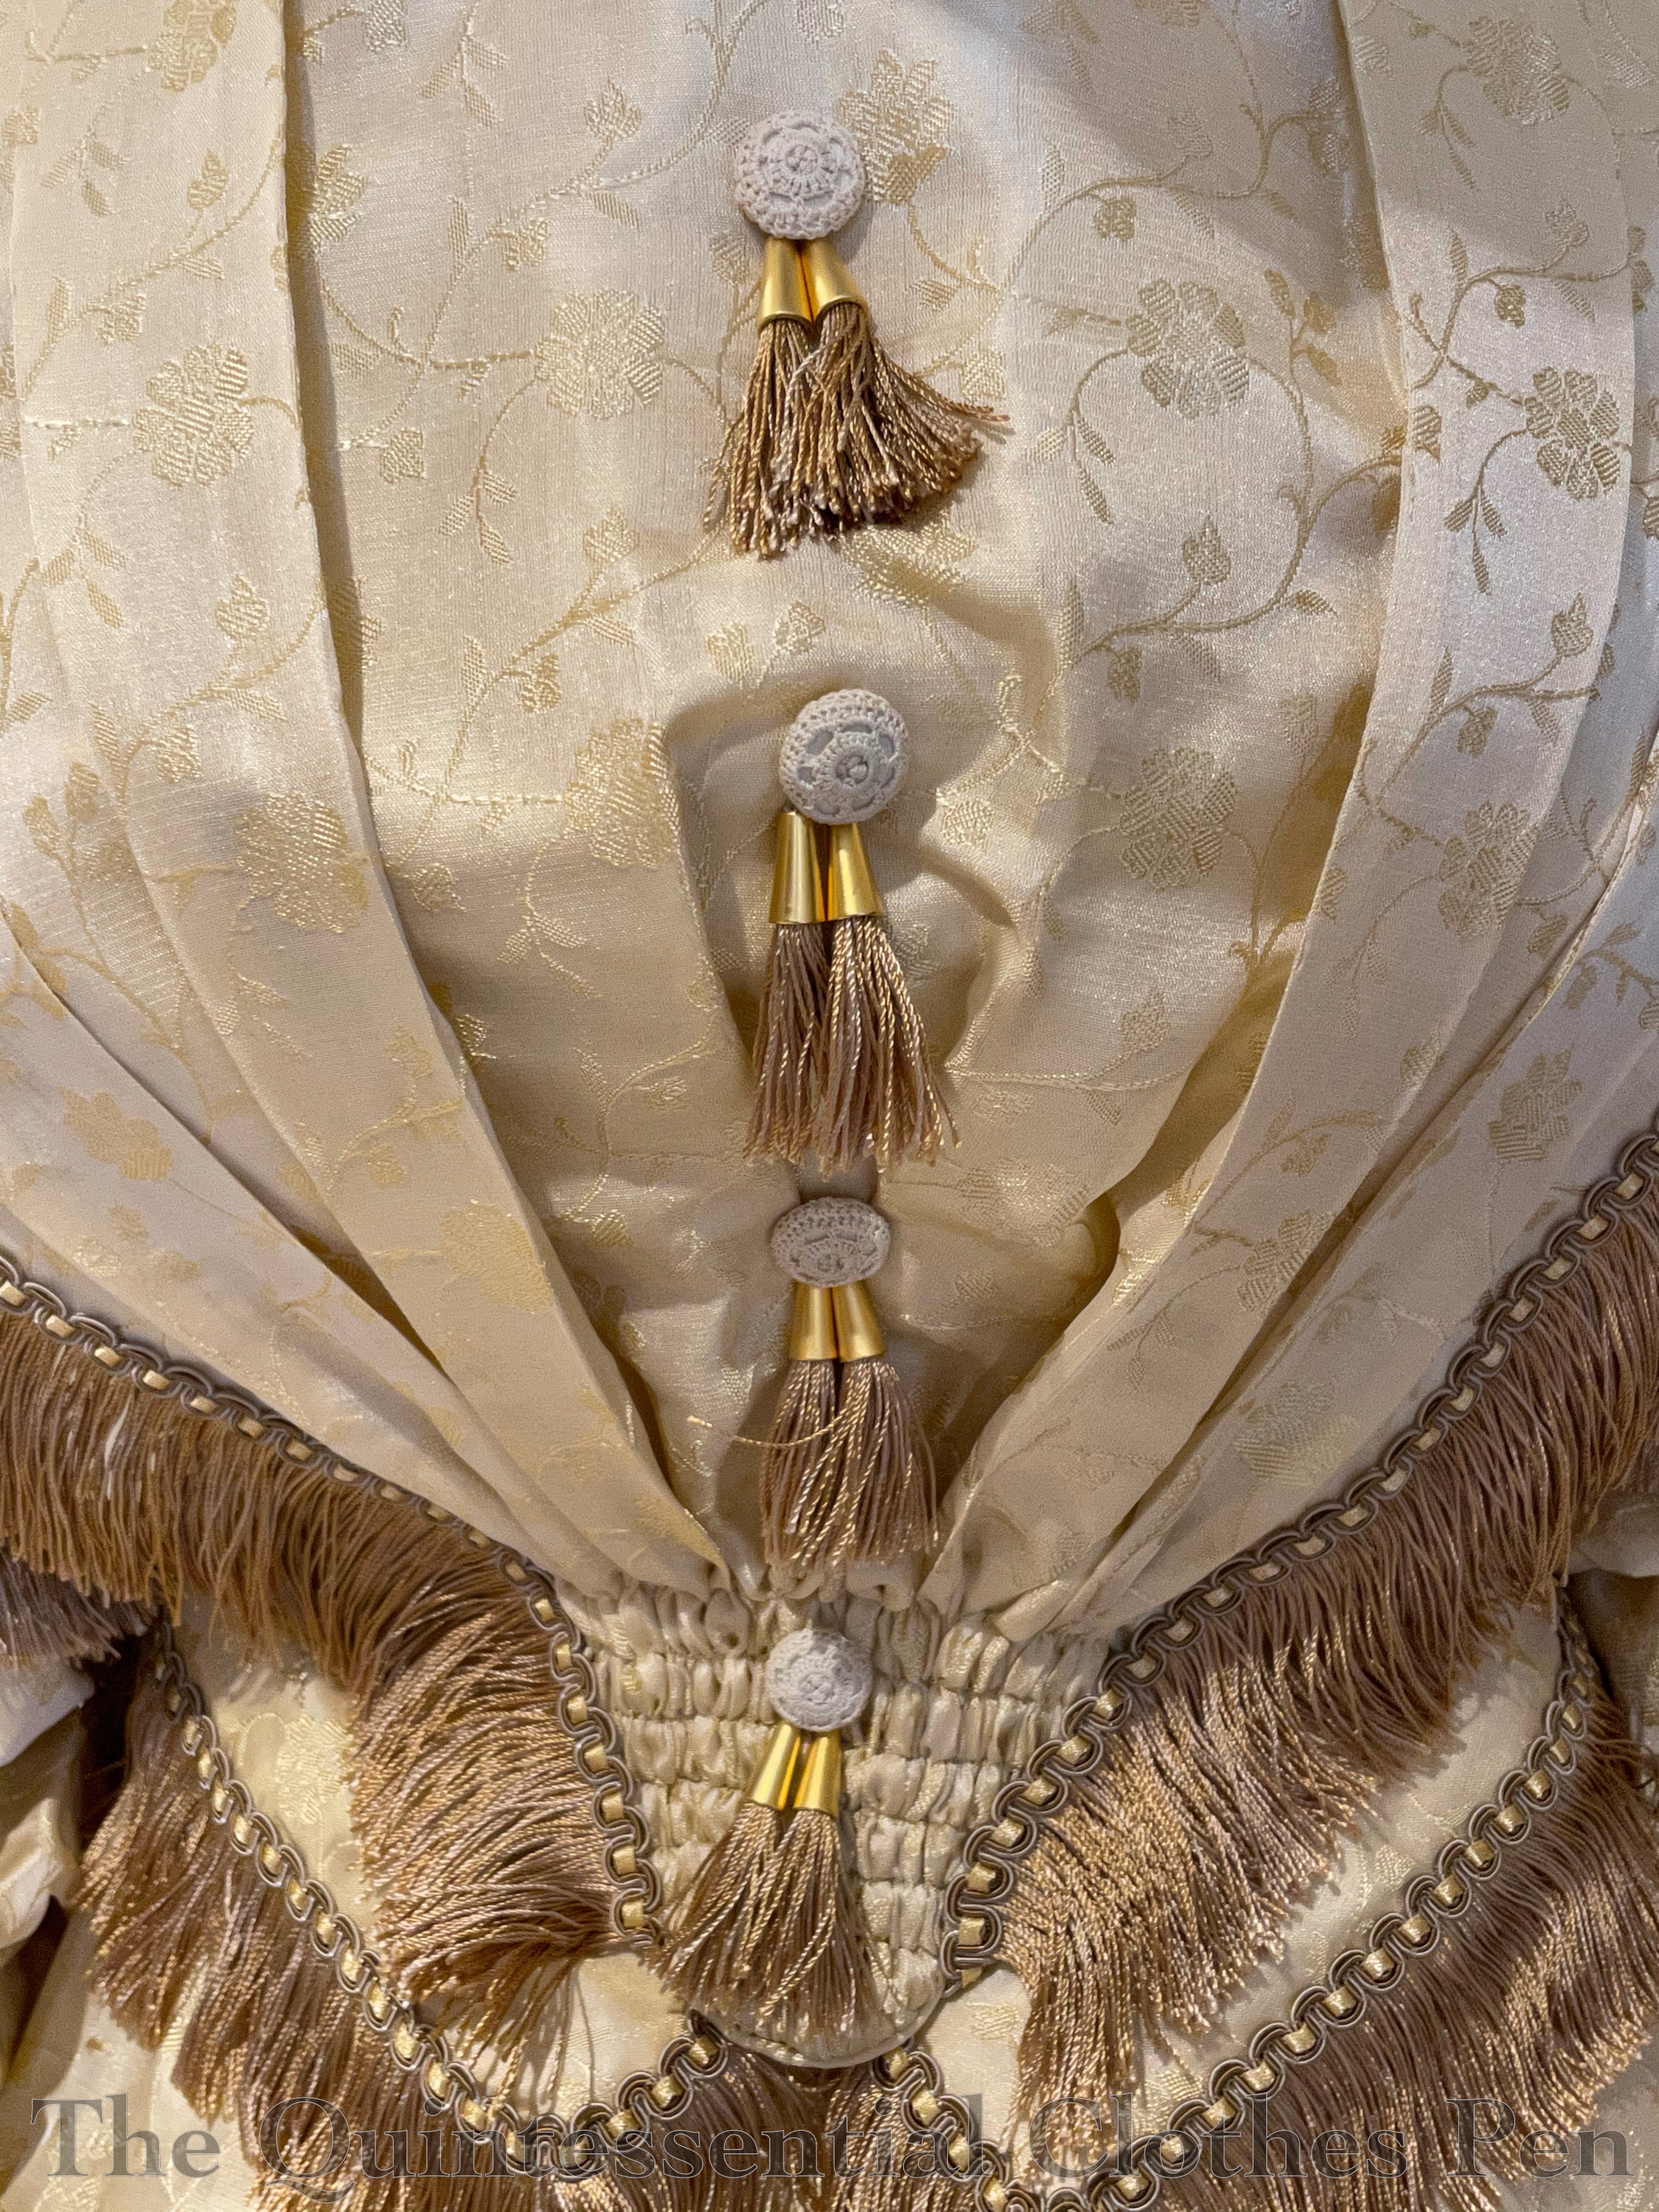
I had lots of fun finding trimmings for this dress that recalled the original. In the case of the tassels, I combined sections of the fringe with tassel tops and vintage passementerie buttons in order to get the right look and create tassels. Below, a closeup of tassel parts and the final result.

The designs of each dress were settled on with much collaboration to determine fabrics, trimmings, style details, and more. Both patterns were individually created to fit the requirements and specifications for each dress. Both dresses use a mixture of machine sewing/modern methods on the interiors and hand finishing on the exteriors. This speeds up construction and provides the necessary foundation for the dresses even without a full set of supportive undergarments.

I love projects like this! It’s so wonderful to collaborate with others who appreciate the minute details of historical clothing while also making garments that can be used to help interpret history to the public. These sorts of projects are often initiated through word of mouth suggestions, so please reach out if you know of museums, historic sites, historical societies, etc. who are looking for this type of collaboration!

Over The Creek And Through The Woods, In A Bustle!

Long before winter had arrived, I had a vision for getting atmospheric winter woodland photos of my recently posted about 1884 Wool Plaid Dress and 1885 Wool Mantle. (The links are to previous posts about these garments that have tons of inspiration, patterning, construction, and finishing details–check them out if you want to see more details up close or learn about how these garments were made.) I was joined in my plans by a friend (who blogs at Plaid Petticoats) who also had a winter-y bustle dress that, like my ensemble, needed to be appropriately documented and photographed. In this post, I’d like to take you with us on our photographic ramble to show you some of the beautiful winter sights that didn’t make it into the detailed construction posts.

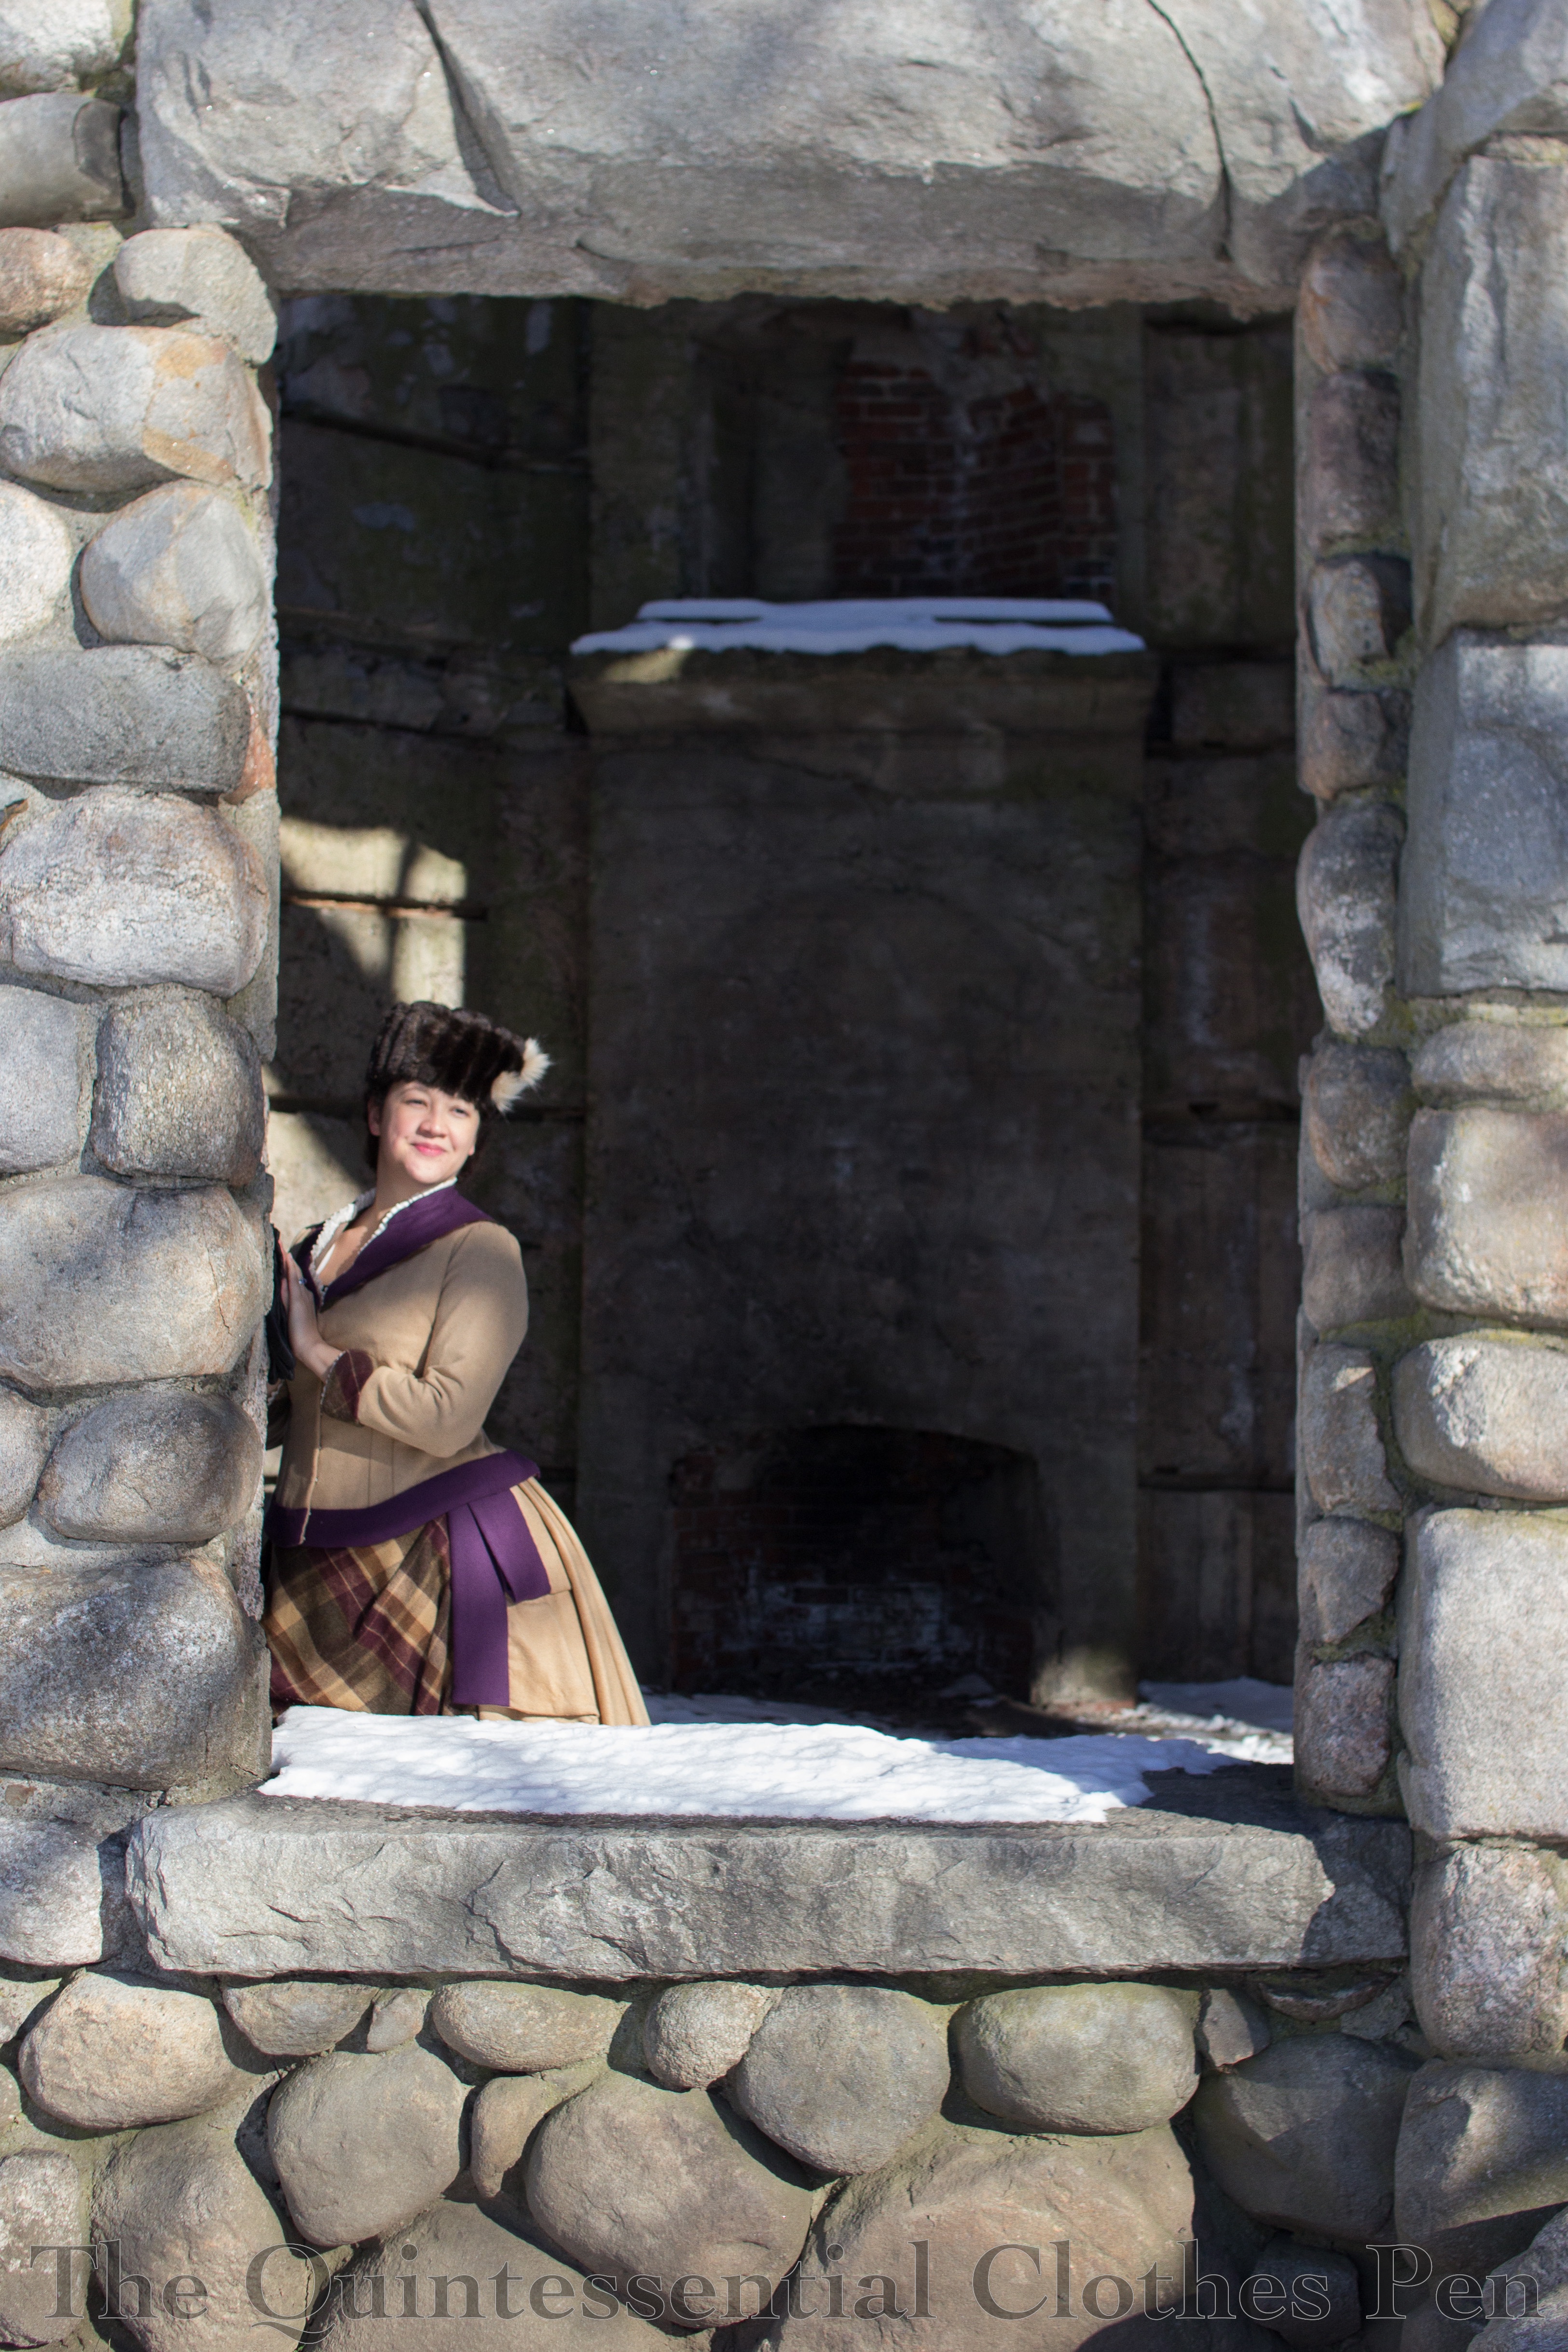
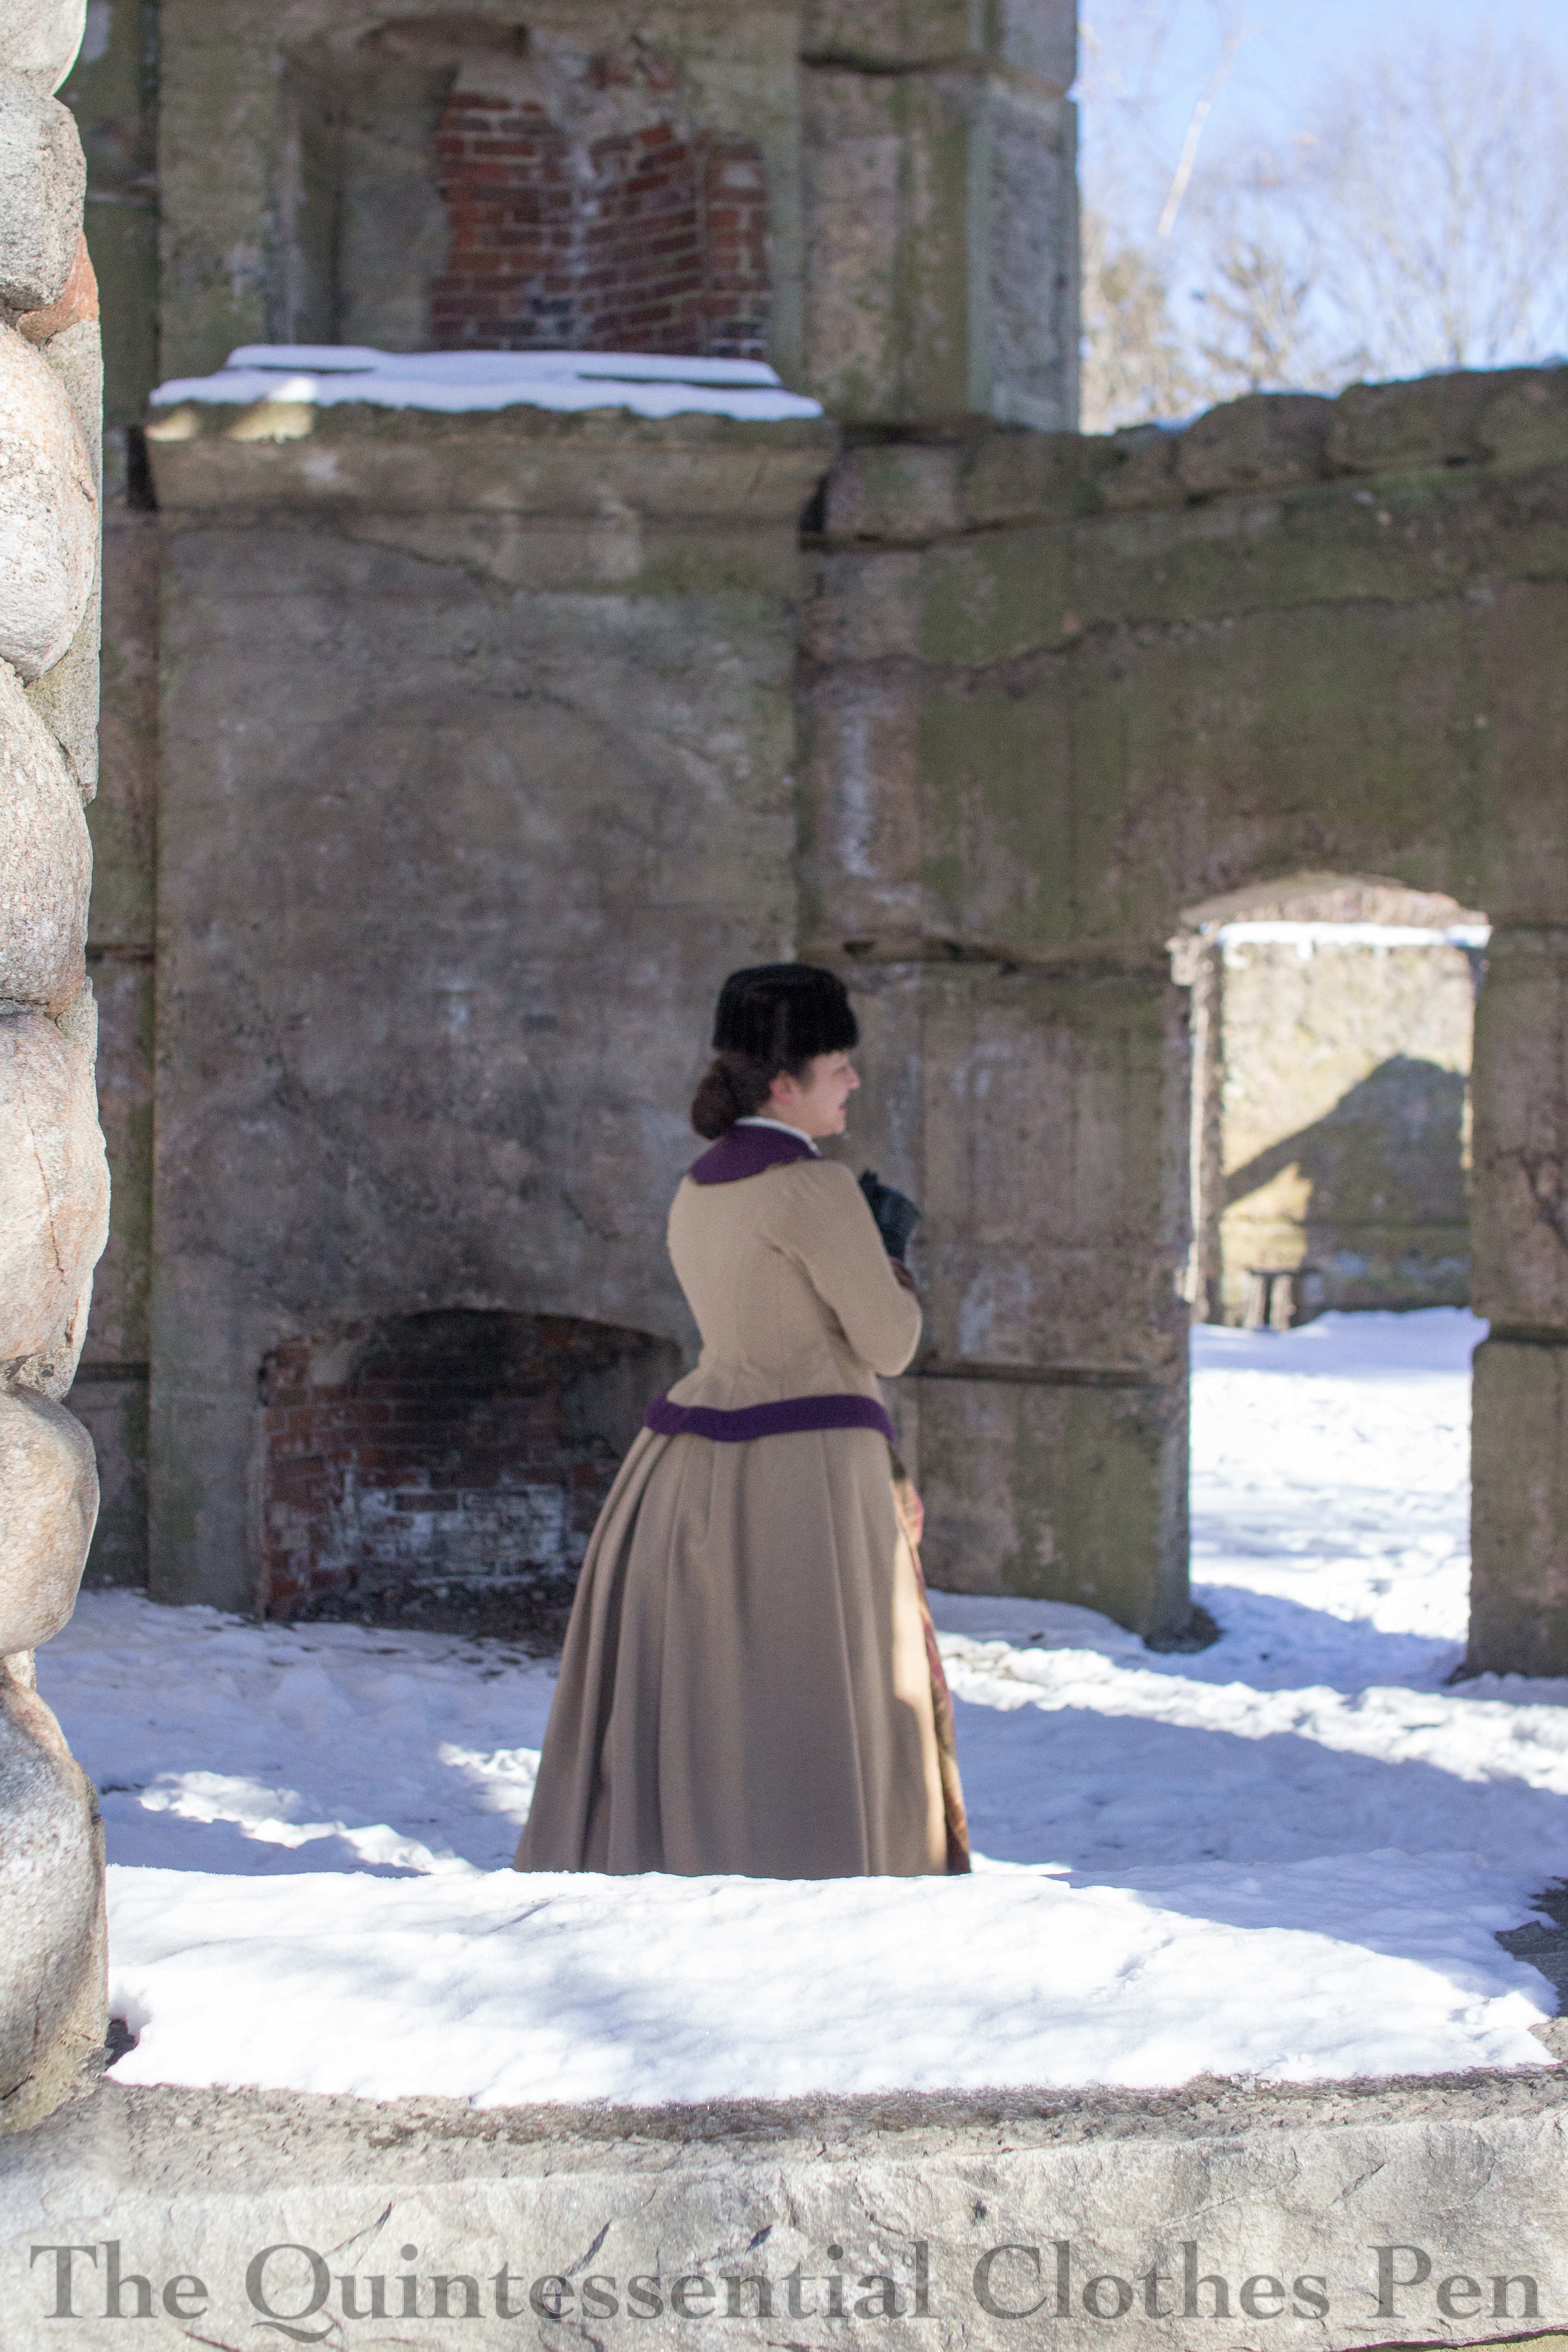
We began our adventure with photos at a local ruined estate called Bancroft’s Castle. We’ve walked up the long, steep hill to this location multiple times in modern clothes, but wanted to prove it was possible in corsets, bustles, and snow, as well as having the wonderful setting for some of our photos.

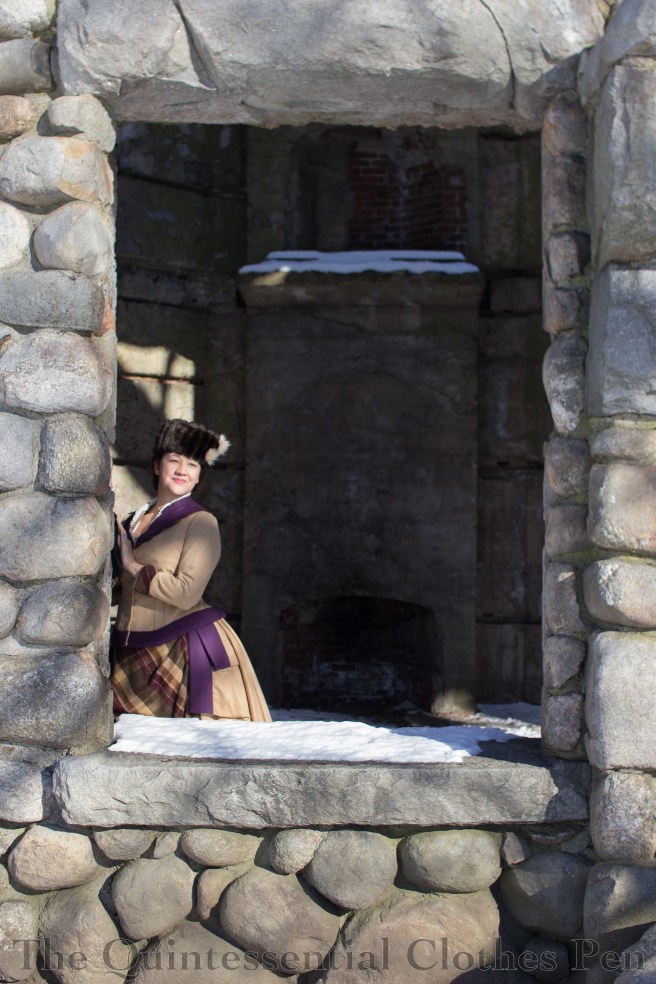
Bancroft’s Castle was built in the early 20th century but destroyed by fire within a few decades. Now, the only parts left standing are the stone walls and fireplaces. The site is open to the public and often quite crowded, but in the freezing temperatures we had it pretty much to ourselves. I love this photo, which captures the ruined walls, open levels, and stark trees. Even the iron fence seems to suit the mood!

There are lots of other photos with Bancroft’s Castle as the background in my details posts about my dress and mantle, if you want to see more.

After taking advantage of the different sections of the castle, we moved on to a path along the nearby river .The path meanders across fields, up and down hills, along the river, through the woods… and more!

It was a beautiful, sunny, very cold day. There was relatively new snow that covered everything. Being just a few inches, it was not deep enough to be a hassle to walk through in a long skirt.

The open field trekking felt very much in the spirit of adventuring women of the late nineteenth century, though it was made slightly easier by the fact that we could follow existing tracks rather than having to blaze our own trail.

After crossing the fields, we arrived in the woods along the river. The bare trees made wonderful views for musing as they stood in the snow.

The river is large enough to not freeze over entirely, though the shallow edges were covered with ice. I appreciated the bands of interest provided in this view. Snow, bare shrubs, ice, wonderfully reflective water, grey trees, green pines, and very blue sky.

In particular, I was struck by these trees with their curved trunks artfully reflected in the river. The bursting silhouette of the trees is fun all on its own but even more pleasant to look at when joined by the reflection. It feels exuberant, despite the bare branches.

The wooded area was soon interrupted by a stand of pine trees. I could easily envision them being foreboding, in an Anne of Green Gables way, but they were also bathed in golden sunlight which brought a certain magic that was cheery and bright.

It was a great place to stop and take photos. I love the next one for the depth, but if you look carefully you can also see that both bustle ensembles made it into the shot, which amuses me.

A bit of post-production on the part of my Plaid Petticoats friend produced this Harry Potter patronus image. Her dress is Slytherin inspired!

After the stand of pine trees was a small creek that fed into the main river. We looked into going around it, but of course finding the end wasn’t really feasible and the other side had a river. So… It was over the creek time!

Other trekkers had laid logs and branches across the creek to create a makeshift bridge. With the help of the ‘bridge’ we made it across with no problems!

After that it was easy going along the river and then back through the woods and fields. Both of our dresses were none the worse for wear, though part of my hem facing had been pulled loose on a branch and then collected quite a bit of snow inside. Getting all the snow out was a bit challenging, but it was easy to resew the hem once the more difficult task was completed.

I had a great time tromping about in my dress–proving that climbing hills and scrambling down ravines and across creeks is completely do-able in a bustle!

1884 Plaid Wool Dress Details

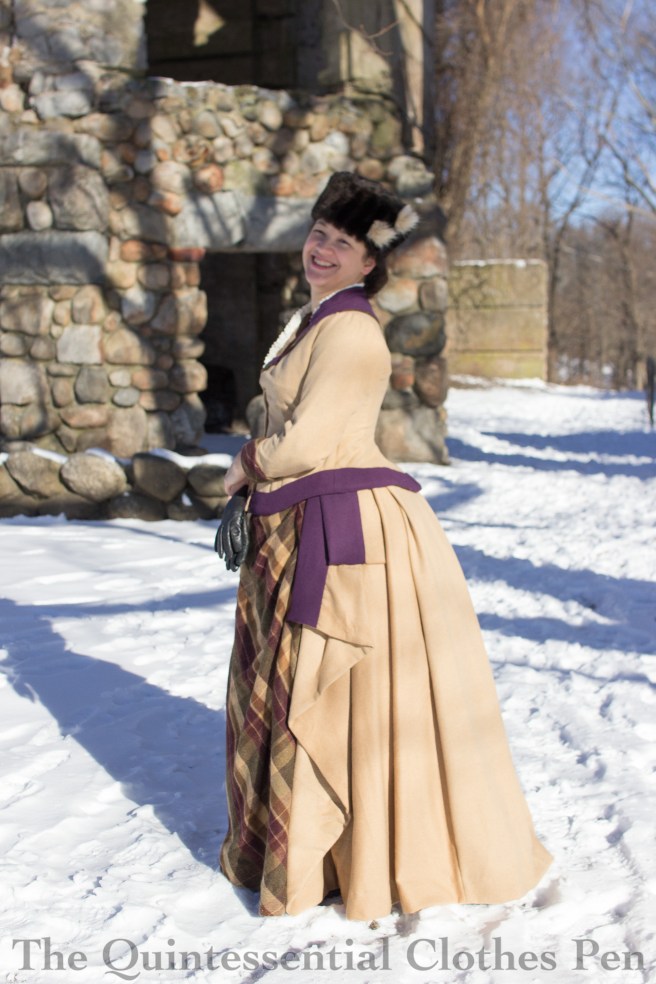
I’m very excited to share the details of my (somewhat) new 1884 Plaid Wool Dress! It’s ‘somewhat new’ because I actually finished it 8 months ago, but at that point it was July and the temperature was absolutely not acceptable for wearing a wool dress for photos! Instead of putting the dress away, I kept it out, waiting for colder weather and the opportunity for a photo shoot. I was hoping for snow… and this winter, I got it!

This dress is entirely inspired by the dress on the right in the fashion plate below from La Mode Illustree. I love the relative simplicity of the overall design and the waterfall of folded fabric on the skirt. Unfortunately, I don’t have an official source of the fashion plate or the year it is from, though my best guess is 1884.
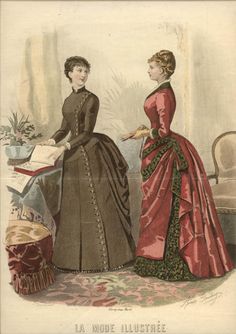
I thought the design would be a great use of the tan and plaid wools that have been in my stash since 2012 (wow… that’s longer than I remembered!).  In addition to those, a small piece of plain purple wool had made its way into my stash over the last eight or nine years and when I started this dress in November 2017 I decided it would be a nice addition to the tan and plaid wools in the form of trim. While not an exact match to the purple in the plaid, I think it helps to perk up the plaid and bring out the non-tan tones (the green and purple).
Skirt Construction

I started the process of this dress with the skirt. I wanted the fabric to hang just like the fashion plate, so I decided to drape a custom pattern as opposed to starting with anything that already existed. The only exception to that (in the skirt) is a base of drab greyish-brown cotton. The base pieces were adapted from a Janet Arnold pattern.

I used the skirt base for the front and side areas, in order to have something for the wool layers to be attached to. In the back of the skirt there is nothing but the tan wool.

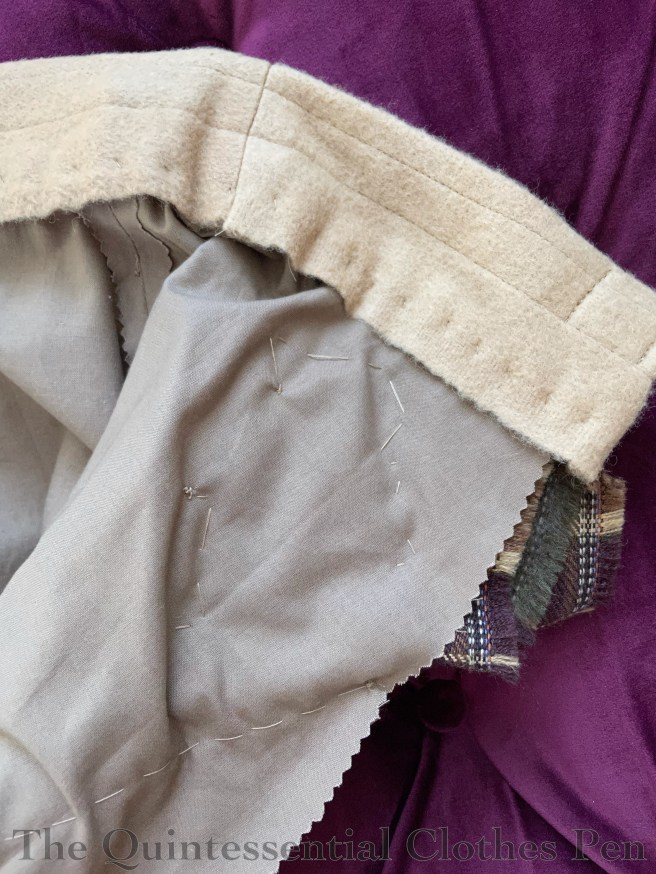
Here is a look at the inside of the finished skirt. You can see the tan waistband along the top and the drab cotton base with tacking stitches all over it. The tacking stitches are holding the plaid fabric in place–you can just see the plaid selvedge poking out on the right side.
The pleats in the plaid aren’t part of the original fashion plate, which instead has a draped apron-type front. I tried that, putting my plaid with a vertical grain and a tan apron over top, but I really hated how it looked in wool–too heavy and rather unattractive. I played with the fabrics until I settled on the bias plaid. I hinted at the draping in the fashion plate by adding tucks to the plaid to help it drape just slightly rather than just being flat. You can see the resulting folds pretty clearly in the next photo.

The various overlapping pleats of the plaid front, waterfall side, and back were complicated. I was trying to achieve a back that looked like this dress held by the Met, in addition to the various lovely folds shown in the fashion plate.

It’s easy to draw things, but sometimes they don’t really work in actual fabric… I found that with the waterfall, especially. There’s actually an added loop of fabric tucked between the folds that isn’t part of the side piece at all! It’s just a little fake bit to help create the look of the fashion plate. I couldn’t figure out any other way to do it!
Given these various challenges and lots of other things to keep me busy in life, this poor skirt sat in a half finished state on the dress form in my sewing room for at least a year. I couldn’t remove it without marking everything… and I couldn’t make up my mind about what I wanted! (I say poor skirt, but it was sort of poor me, as I definitely reached a point of wanting the dress to get put away!)

Eventually, I did make up my mind and remove the skirt, but the partially finished skirt still sat around for ages before I finished it. Part of marking the skirt also meant figuring out the facings of the waterfall bits, because the fully finished edges had to be set into the waistband. Mr. Q actually asked at one point after the skirt was off the dress form whether I had intended it as decoration in my sewing room because it was there for so long… Nope!

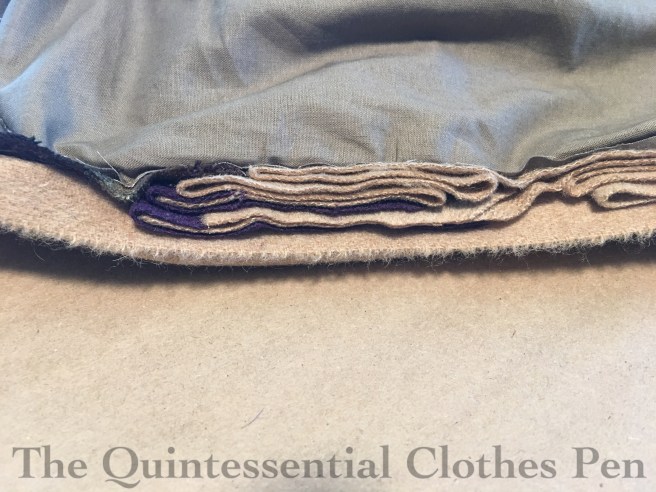
All the various pleats on the skirt wound up making for a rather thick layer of things to sew through for the waistband. Here’s what the side with the waterfall trim looks like on the inside. I count at least 9 layers of wool in one spot! Given that, I decided to cut the inner side of my waistband on the selvedge of the fabric and leave it hanging down into the skirt instead of turning the seam allowances up as you would normally do for a waistband.
Setting the hems on the skirt was another challenge, though this was due to the fact that I did it by myself. It involved dressing in my corset, bustle, petticoat, and skirt, twisting and contorting while putting pins in the hem to mark the floor, then standing to look in the mirror to see if they were even, then adjusting… many times!

I eventually had everything marked to my satisfaction and could move on with the sewing. All sections of the hem are finished with wide bias strips of the drab cotton, the goal being to make the hems durable and less likely to catch on twigs, etc. than if they had more textured wool exposed (and I can say, after romping about the woods in this dress, that the hems did an admirable job!).

After using the drab cotton for both my 1896 Bicycling Ensemble and to line my 1863 Apricot Evening Gown I was starting to run low for this project. I cut the skirt base pieces, cut the bodice lining pieces, and then used pieced scraps to make the wide bias to hem the skirt. As you can see in the above photo, some of my bias pieces were only 6″ or so in length. And in the photo below, you can see the only bit of wide bias that was leftover when I was finished!

The final skirt detail to share is a hidden patch pocket! The skirt opens on the side front, along one side of the plaid, and underneath that opening is a pocket, perfectly sized to fit a cell phone and keys. The pocket is oddly low, near the knees, but that is because I wanted to make sure that any bulk from items in the pocket would press in towards my legs and not make an unsightly bulge on the exterior of the dress.

The photo below shows the pocket, as well as some of the hooks and thread loops that allow the tan fabric to attach to the plaid wool.

Bodice Construction

In addition to this rather complicated skirt, there was also a bodice to be made! The bodice is actually pretty straightforward. The pattern is adapted from the one I used for my 1885 Frills and Furbelows summer dress which in turn was adapted from a Janet Arnold pattern.

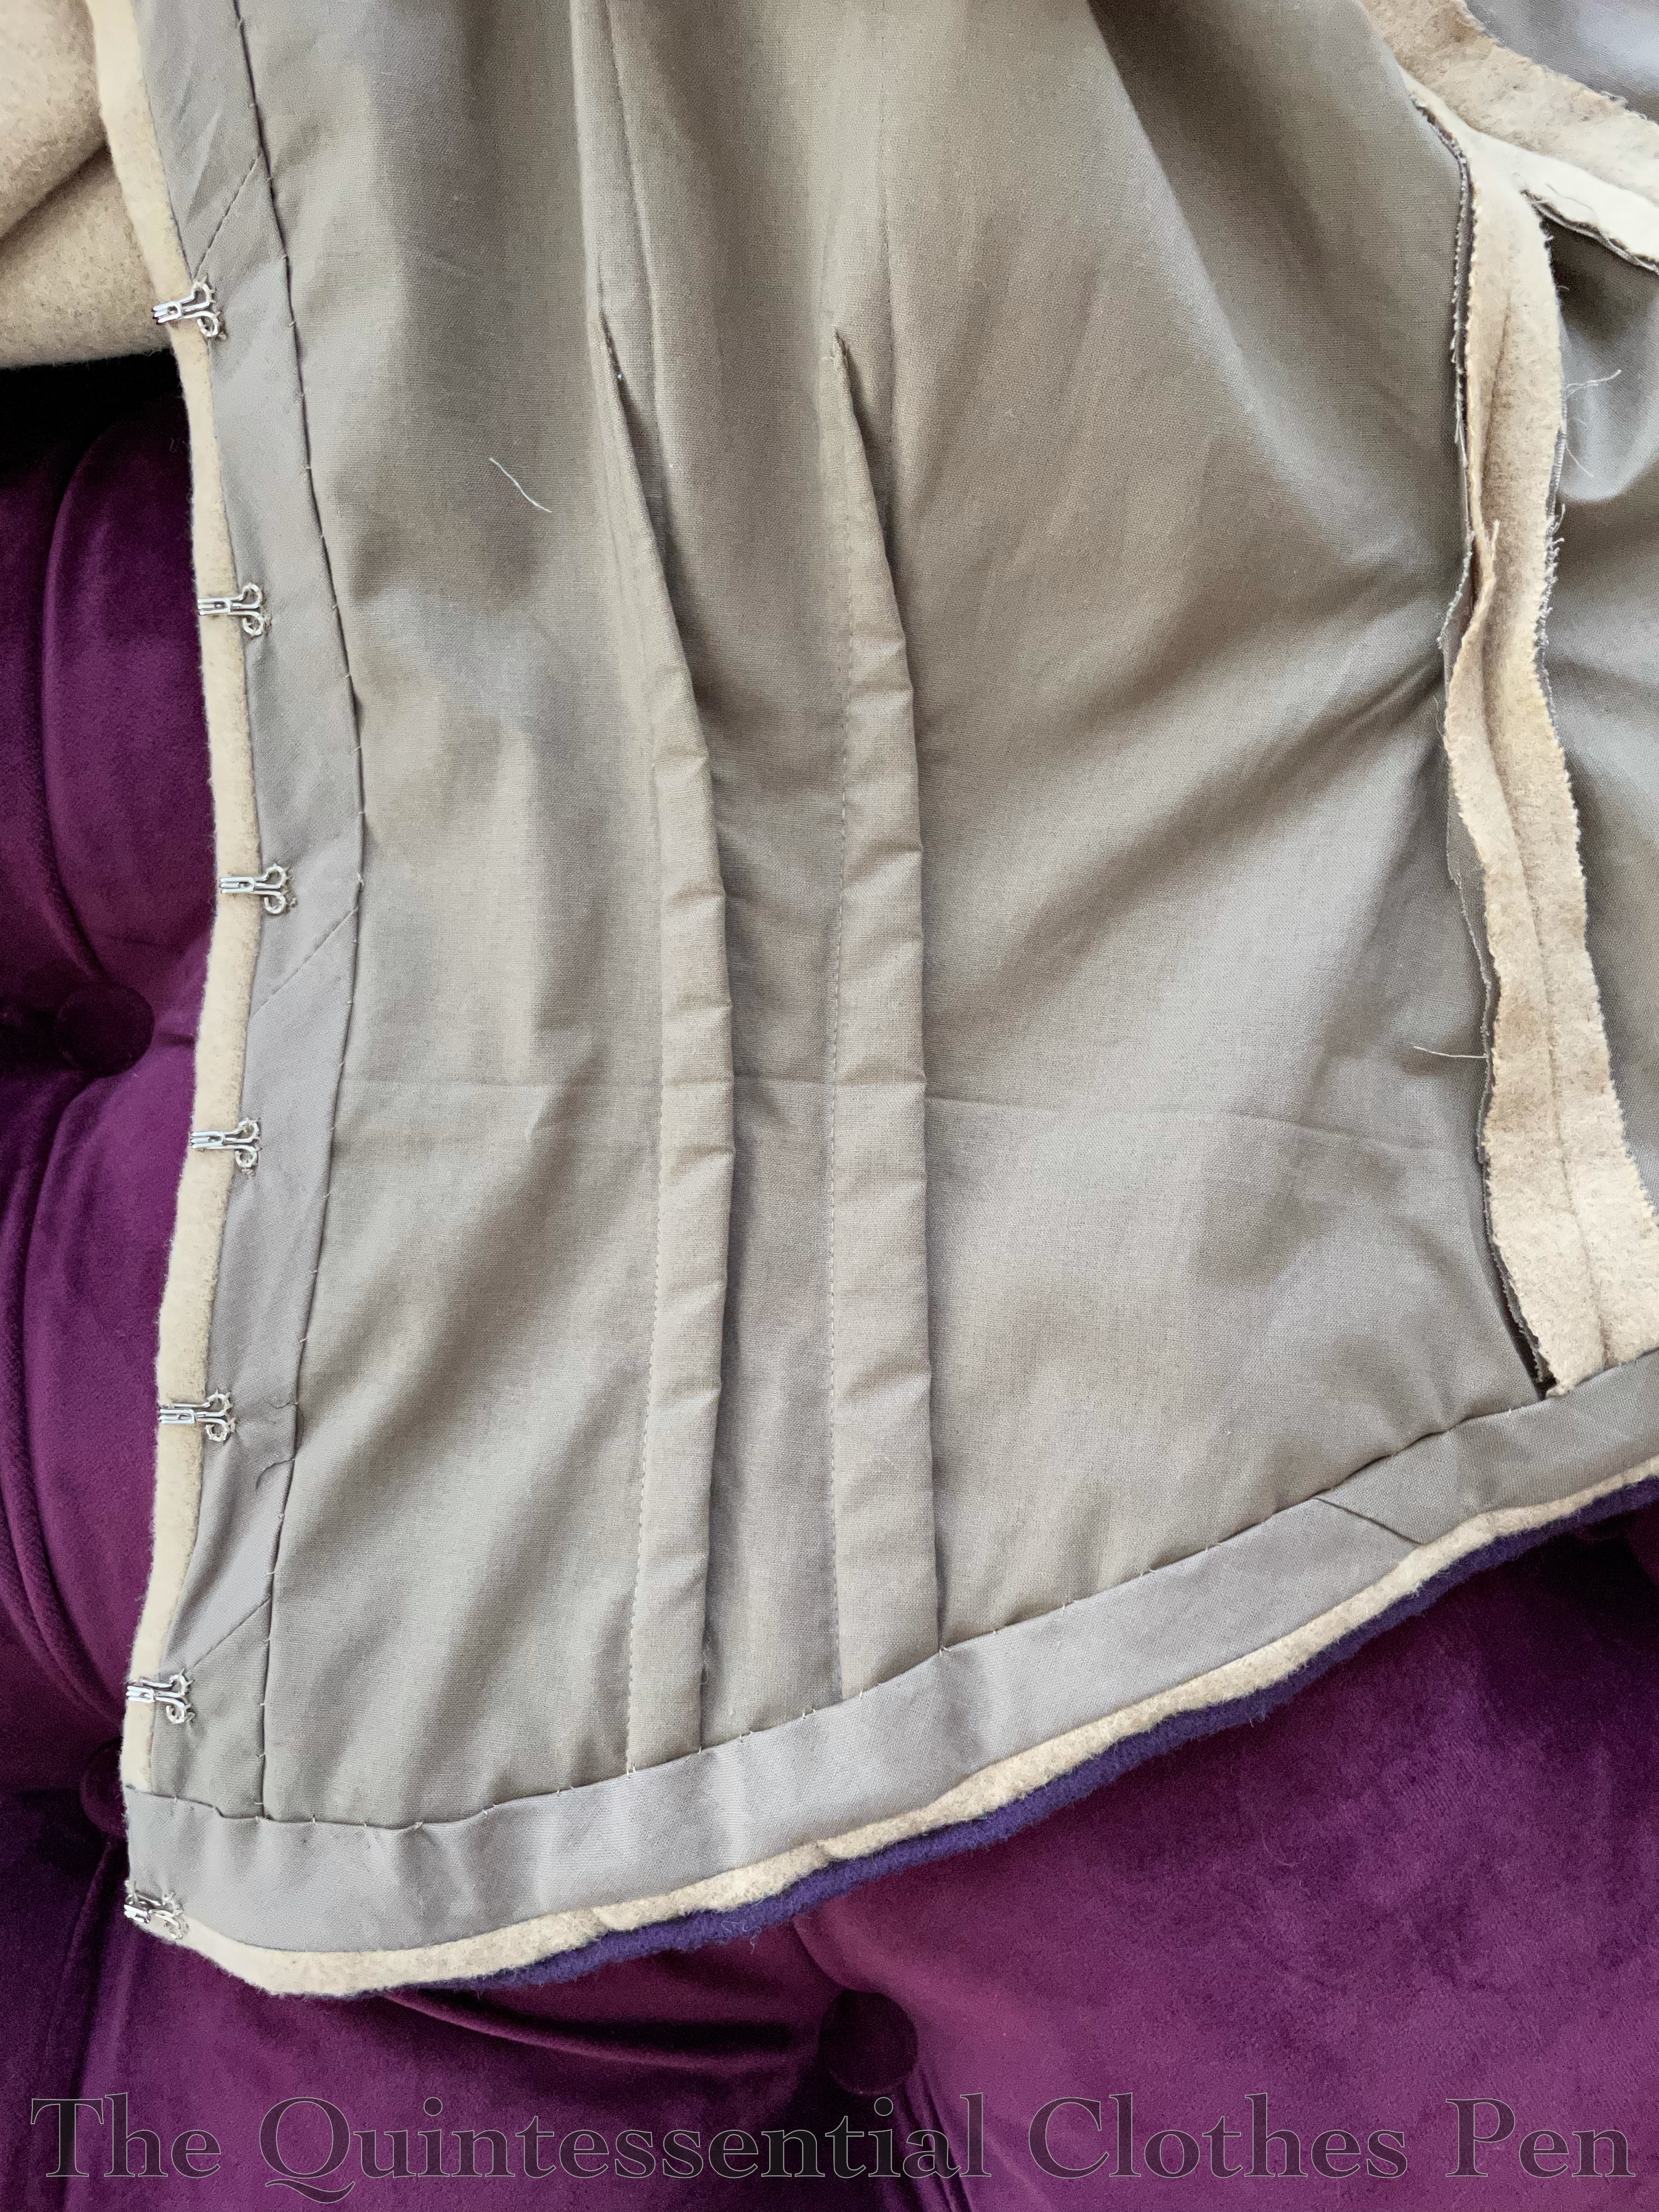
The bodice is completely flat lined in the drab cotton. There is a ribbon waist tape to help keep the back of the bodice tight against the body and to keep the bodice from riding up while being worn.
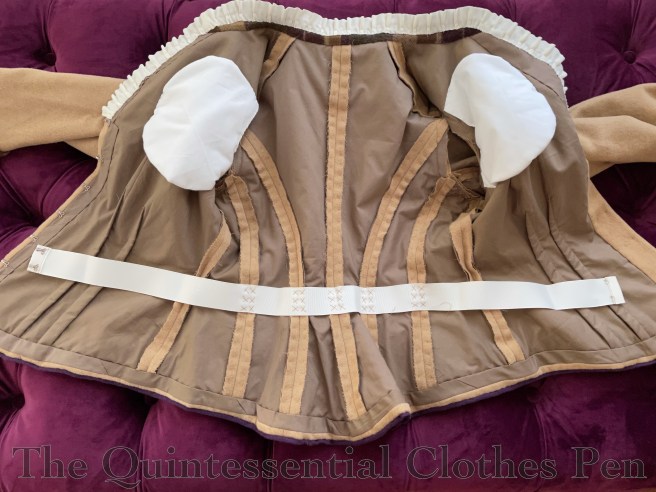
The bottom and front/neck edges are finished with bias strips of the drab cotton. The seam allowances are unfinished. The bodice closes in front with hooks and loops.

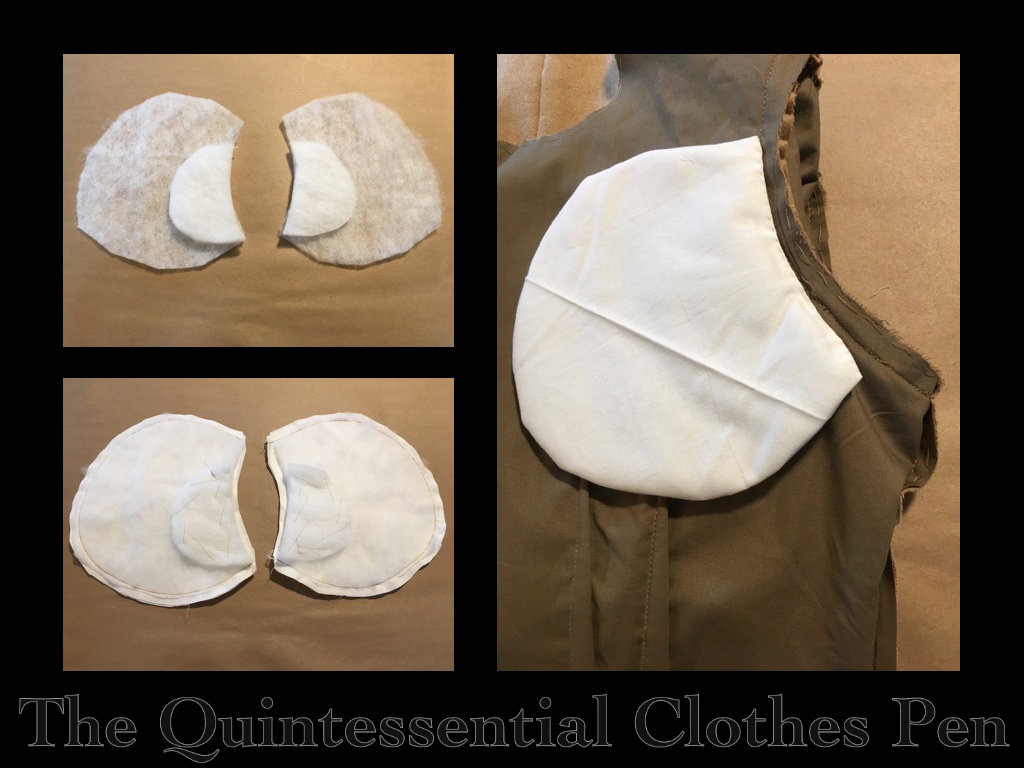
There are two other details I want to discuss, as well. First, there are the bust pads! I came across these in this c. 1885 extant dress and decided I wanted to give them a try to see if I could get that really exaggerated bust to waist ratio in my inspiration fashion plate (here’s the link to it again).

Turns out… no. I did not achieve that bust to waist ratio… but I think that’s more a factor of my waist size than anything. (It’s not as small as it was 10 years ago…) To keep the proportions of the fashion plate I would drastically need to increase the bust size. Perhaps in another dress.

In the meantime, this dress tried out the bust pads. They are made from cotton scraps with shaped batting layers inside. Below you can see the steps to creating the pads. Once sewn, these were tacked inside the bodice to keep them in place.

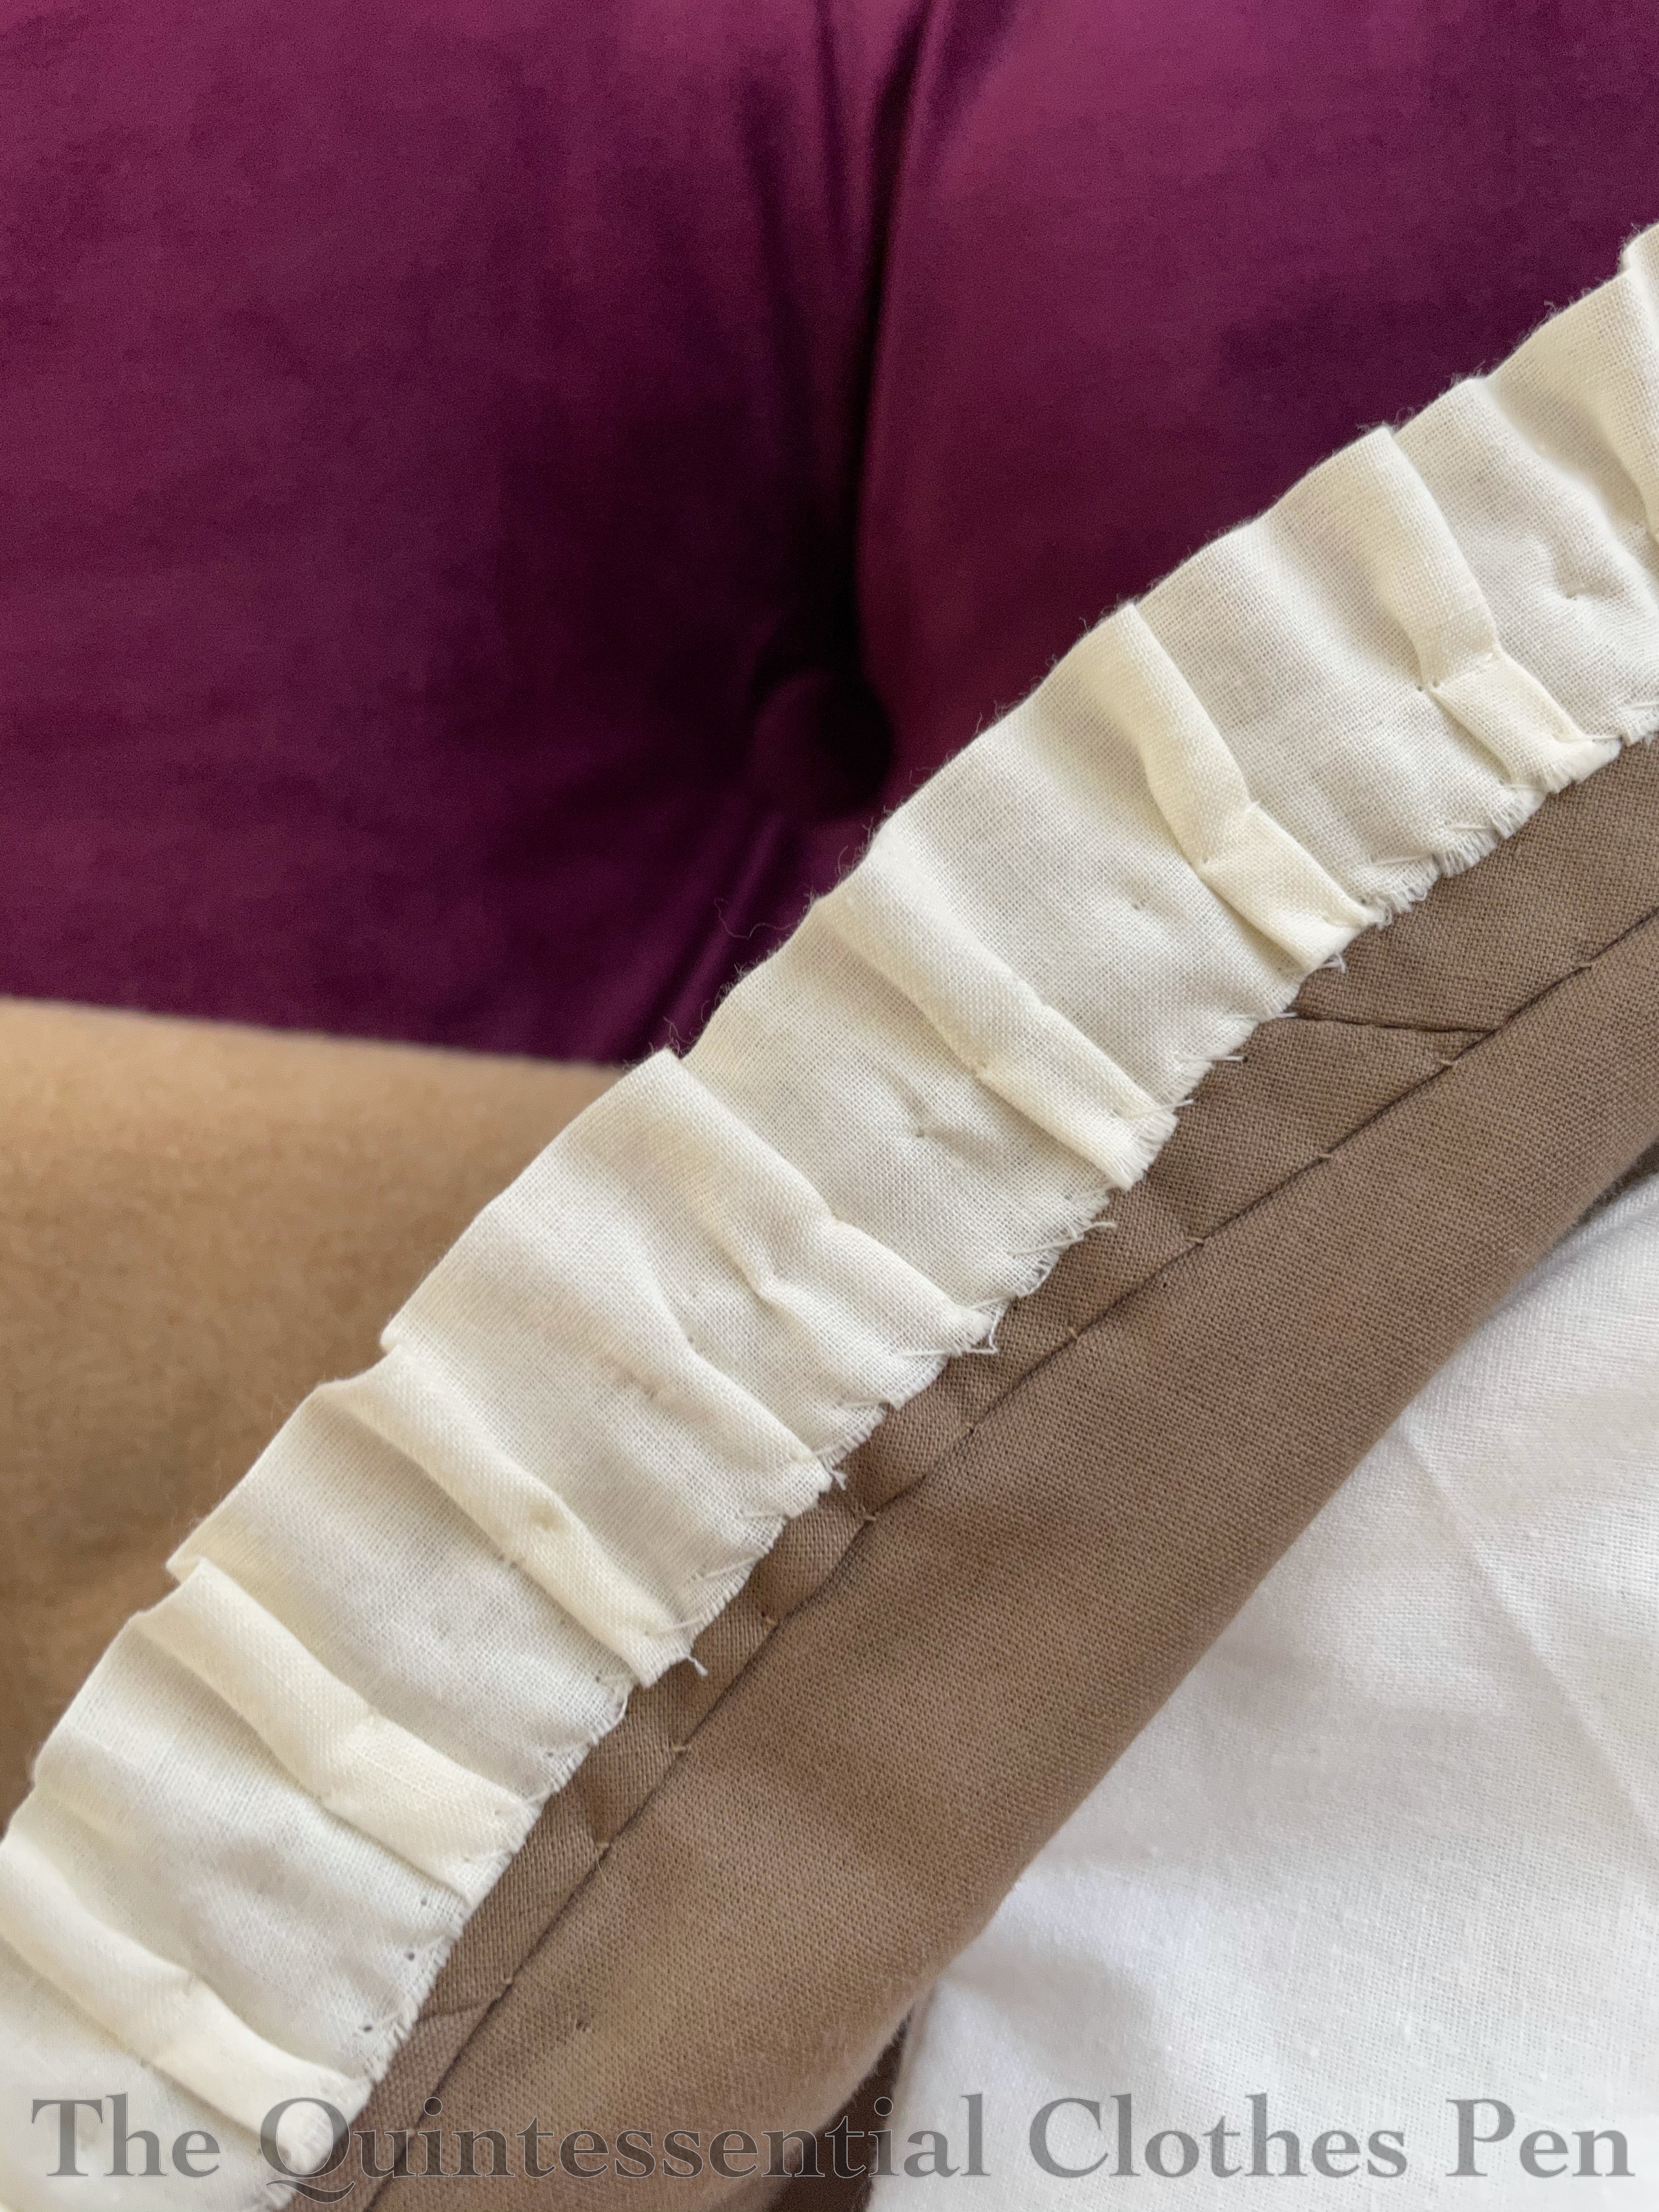
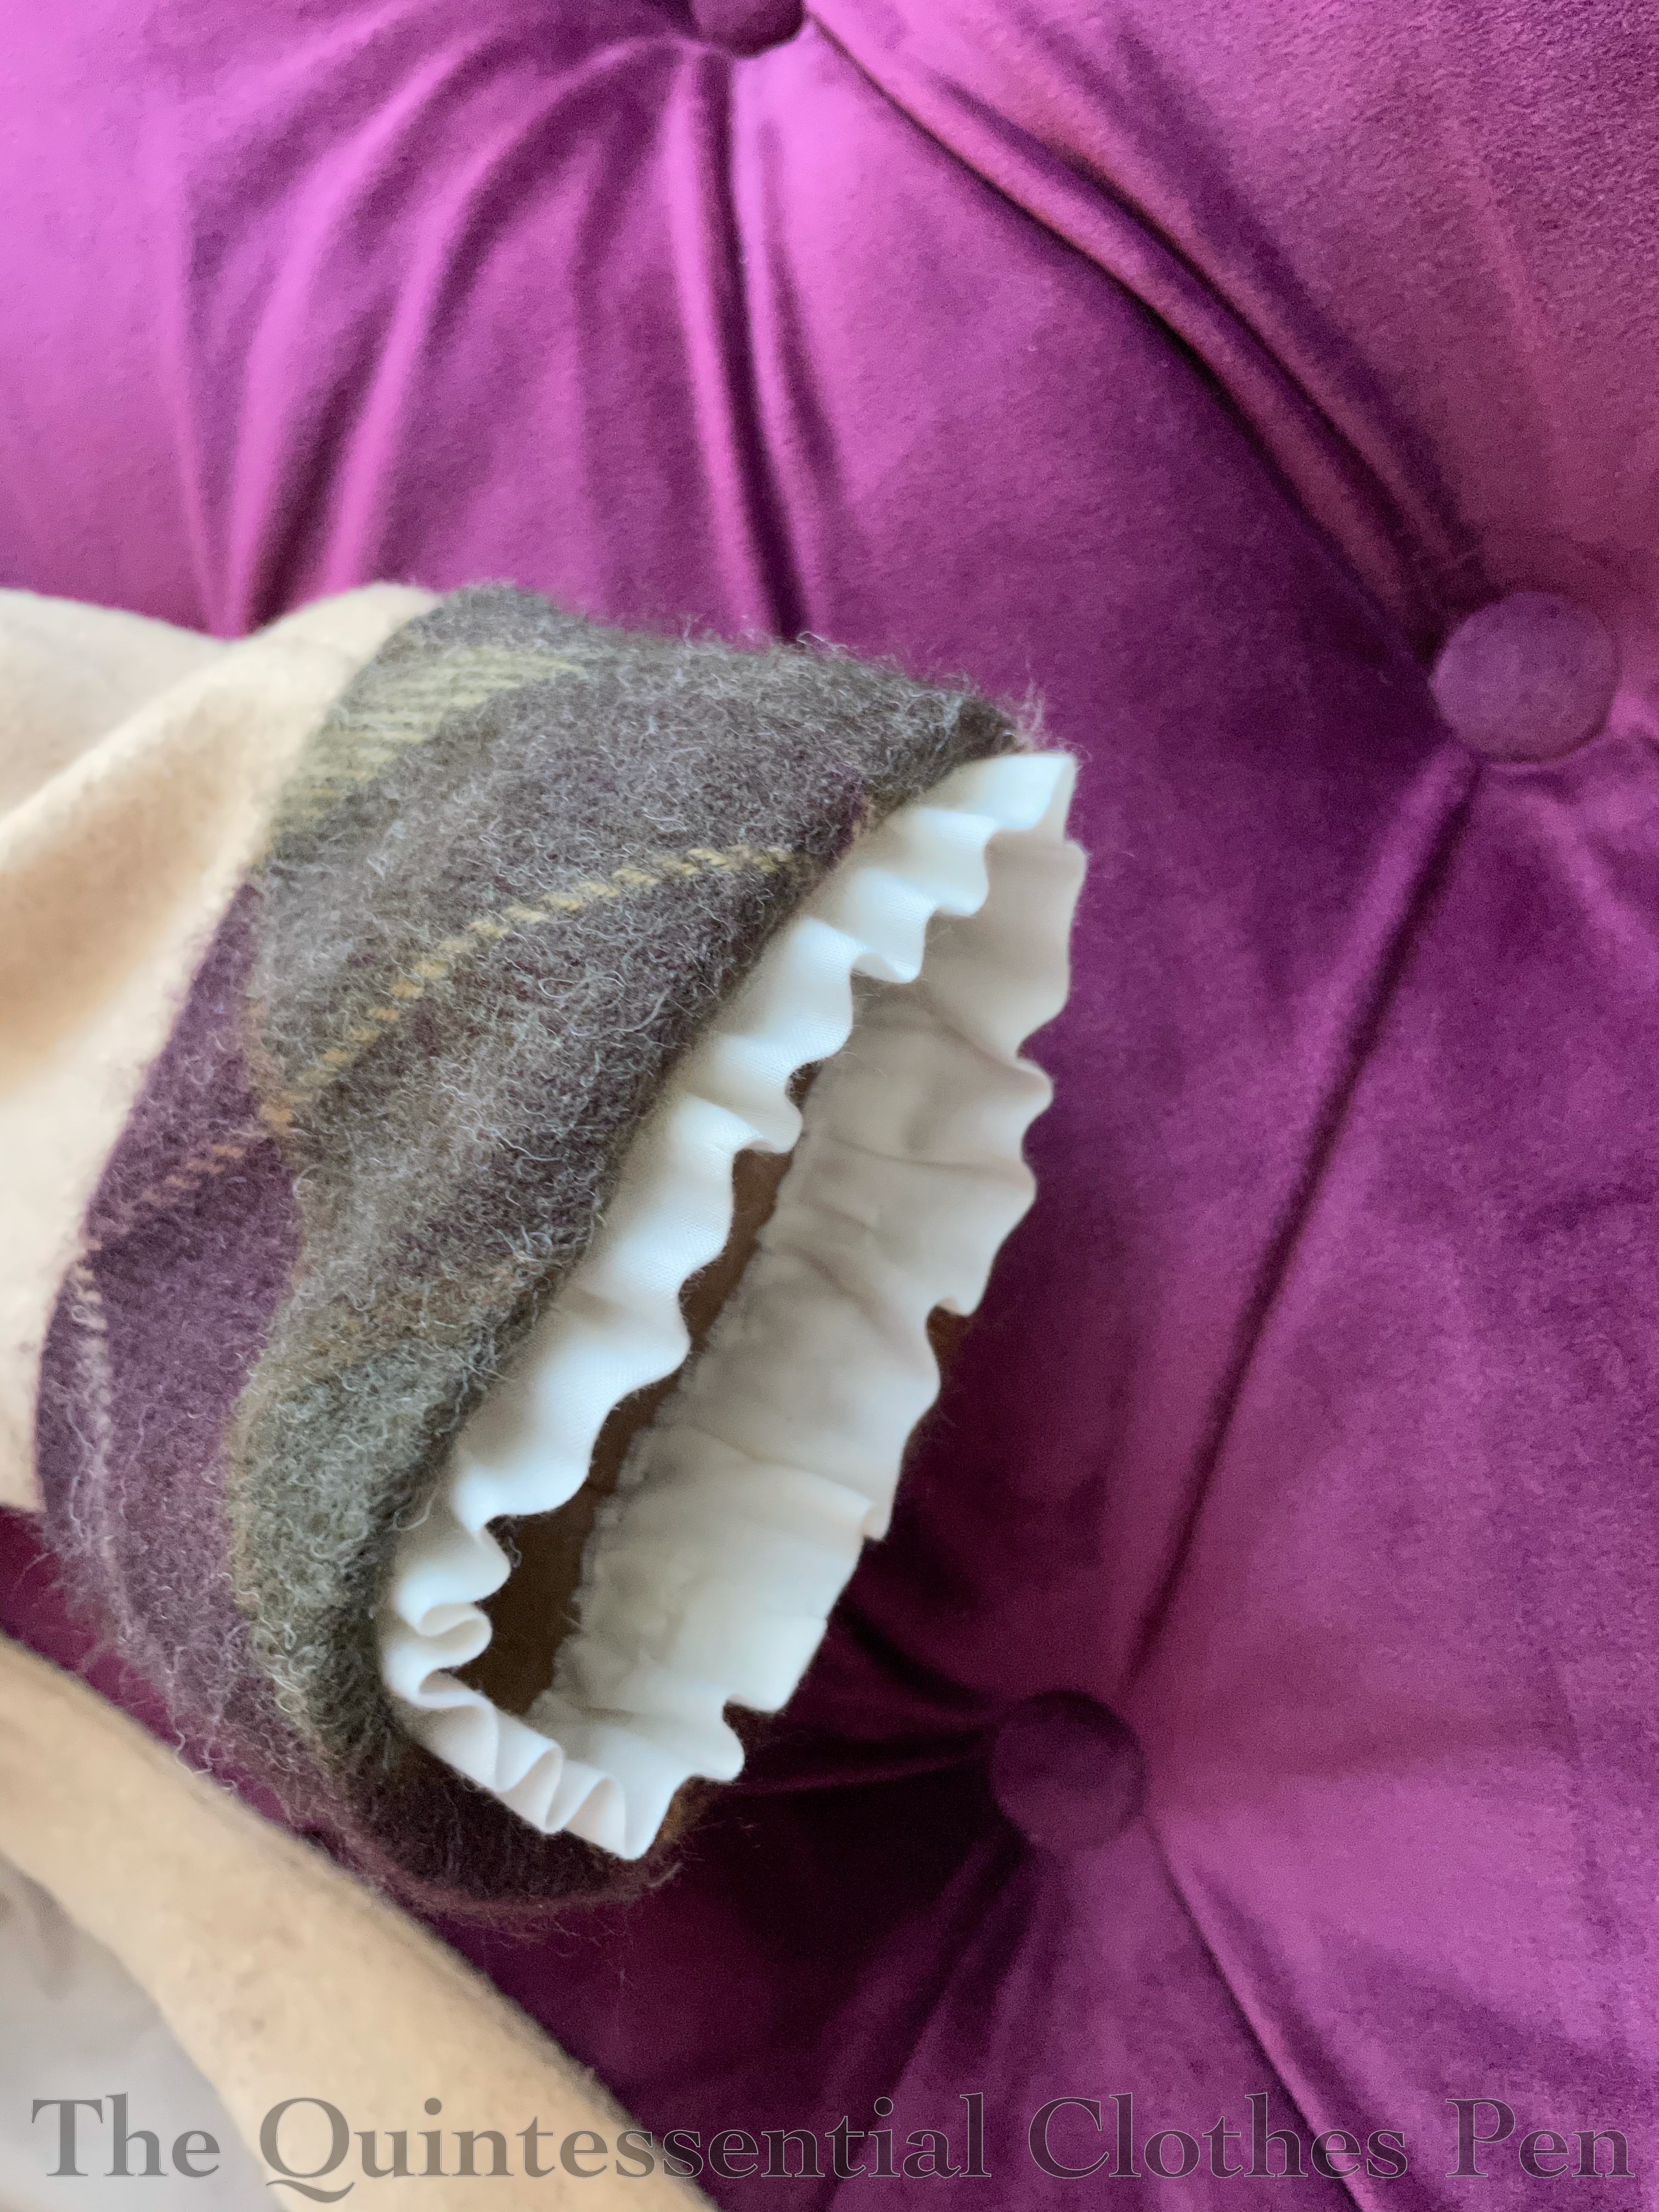
The second detail still to discuss is the neck ruffle. I finished this dress shortly after completing my 1875 Reception Dress last summer and I had my antique fluting iron on the brain. After pondering the fashion plate neck and sleeve ruffles for awhile I decided to use my fluting iron to ruffle some cotton to use for my dress’s neckline and cuffs.

I was well practiced by this point, having fluted lots of silk for the 1875 dress, so away I went! The cotton strips are cut on the grain and folded along the long edge–no hemming required!
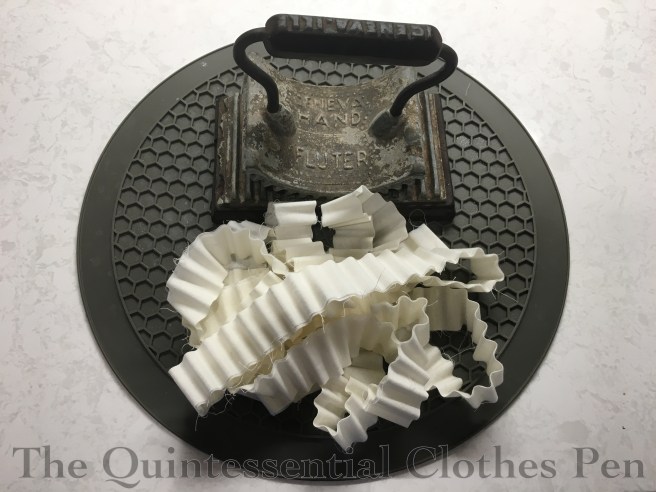
Attached to the neckline the trim looks like this. The waves are a little crushed where they are tacked down, but the folded edge maintains a nice wavy shape. I found that my cotton frayed more than I wanted it to, so I went back and whip stitched over the raw edge to keep it tidy.

I used the same cotton for small ruffles on each cuff, as well. Like the neck ruffle, these are hand sewn inside the finished sleeve openings.

You can see the finished effect of the ruffles in the next photo! Subtle, but adding a nice edge finish.

While the ruffles are sewn to the inside of the finished bodice, the purple bodice trim and plaid cuffs are sewn similarly but on the outside of the finished bodice. I didn’t want them to add bulk by turning all the way under into the bias edging, so they have the raw edges turned under and then they are hand sewn to the outside of the bodice.

I decided the purple trim around the neck wasn’t quite interesting enough and so I added a narrow fold of bias cut plaid to help transition between the two solid colors. This also helps the bodice to feel that it belongs with the skirt, so that the only plaid isn’t just on the skirt front and cuffs.
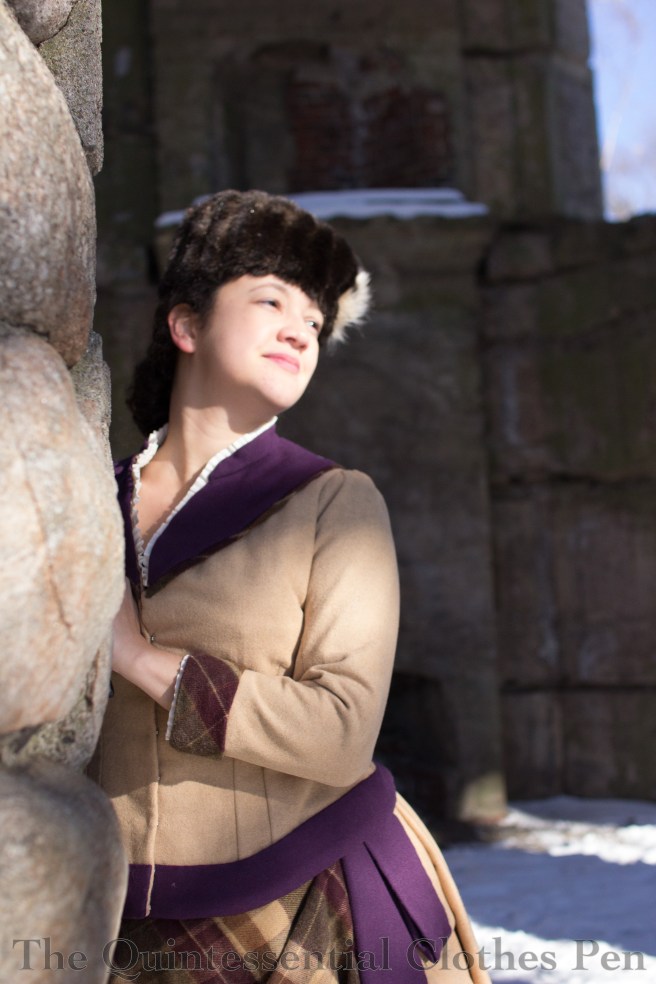
Final details

Both skirt and bodice are mostly assembled by machine with hand finishing, including trimming, hemming/facing, closures, etc.

I used about 8 yds of the different wools and drab cotton for the ensemble. These materials, plus notions etc., cost just under $30. This was definitely helped by the fact that most of the fabrics were purchased for just $3 per yard at the local discount fabric store!

The skirt is a bit heavy, being made of about six yards of wool and cotton, but it’s not unreasonable. And, it’s quite warm! I was perfectly warm in the approximately 20 degree Fahrenheit cold for all of these photos except for my nose, chest, and hands. Never fear, though, I was wearing the additional layers of my newly completed mantle and muff except for during these photos! (And there will be posts coming up about them as well, with lots more photos!) With all my layers the only part of me that was cold was my nose!
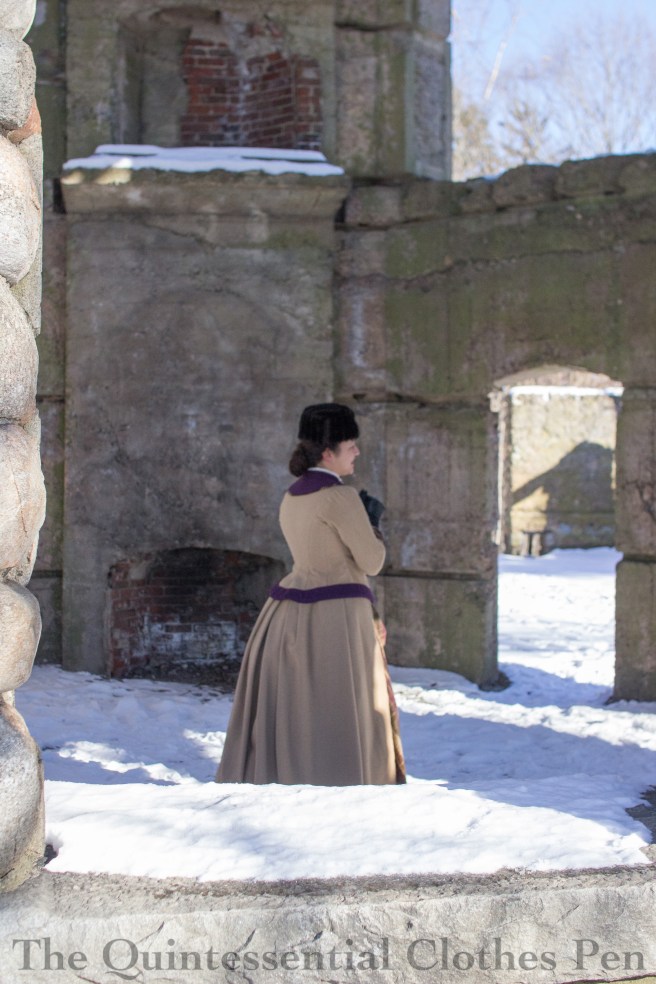
In the end, I’m more pleased with the overall dress than I expected to be! I was always excited about the skirt and the purple swoop of the upper bodice trim, but once I started making the dress in wool I was worried the bodice might be too plain and maybe even boring… but I like the fit and shaping very much (especially in the back!) and I think that helps balance out the relatively simple style. It makes sense for a wool dress to be well tailored but more simple in decoration and style than its silk counterparts.

Also, I’m very pleased that my idea from 2012, to use these fabrics for a bustle dress, has finally been achieved! I think there’s still a yard or so of tan wool in my stash, but I’ve sewn my way through a good 8 yards of it. That’s great stash busting!