c. 1785 Stays (Of Fail), Part VI: Finishing Construction Details

This project was on hiatus for a number of months (the last post about it was in October 2022!), but the time has come to wrap it up!

After the progress made in the last post, there weren’t that many steps left to complete. Yay! Below are details about those steps.

Binding

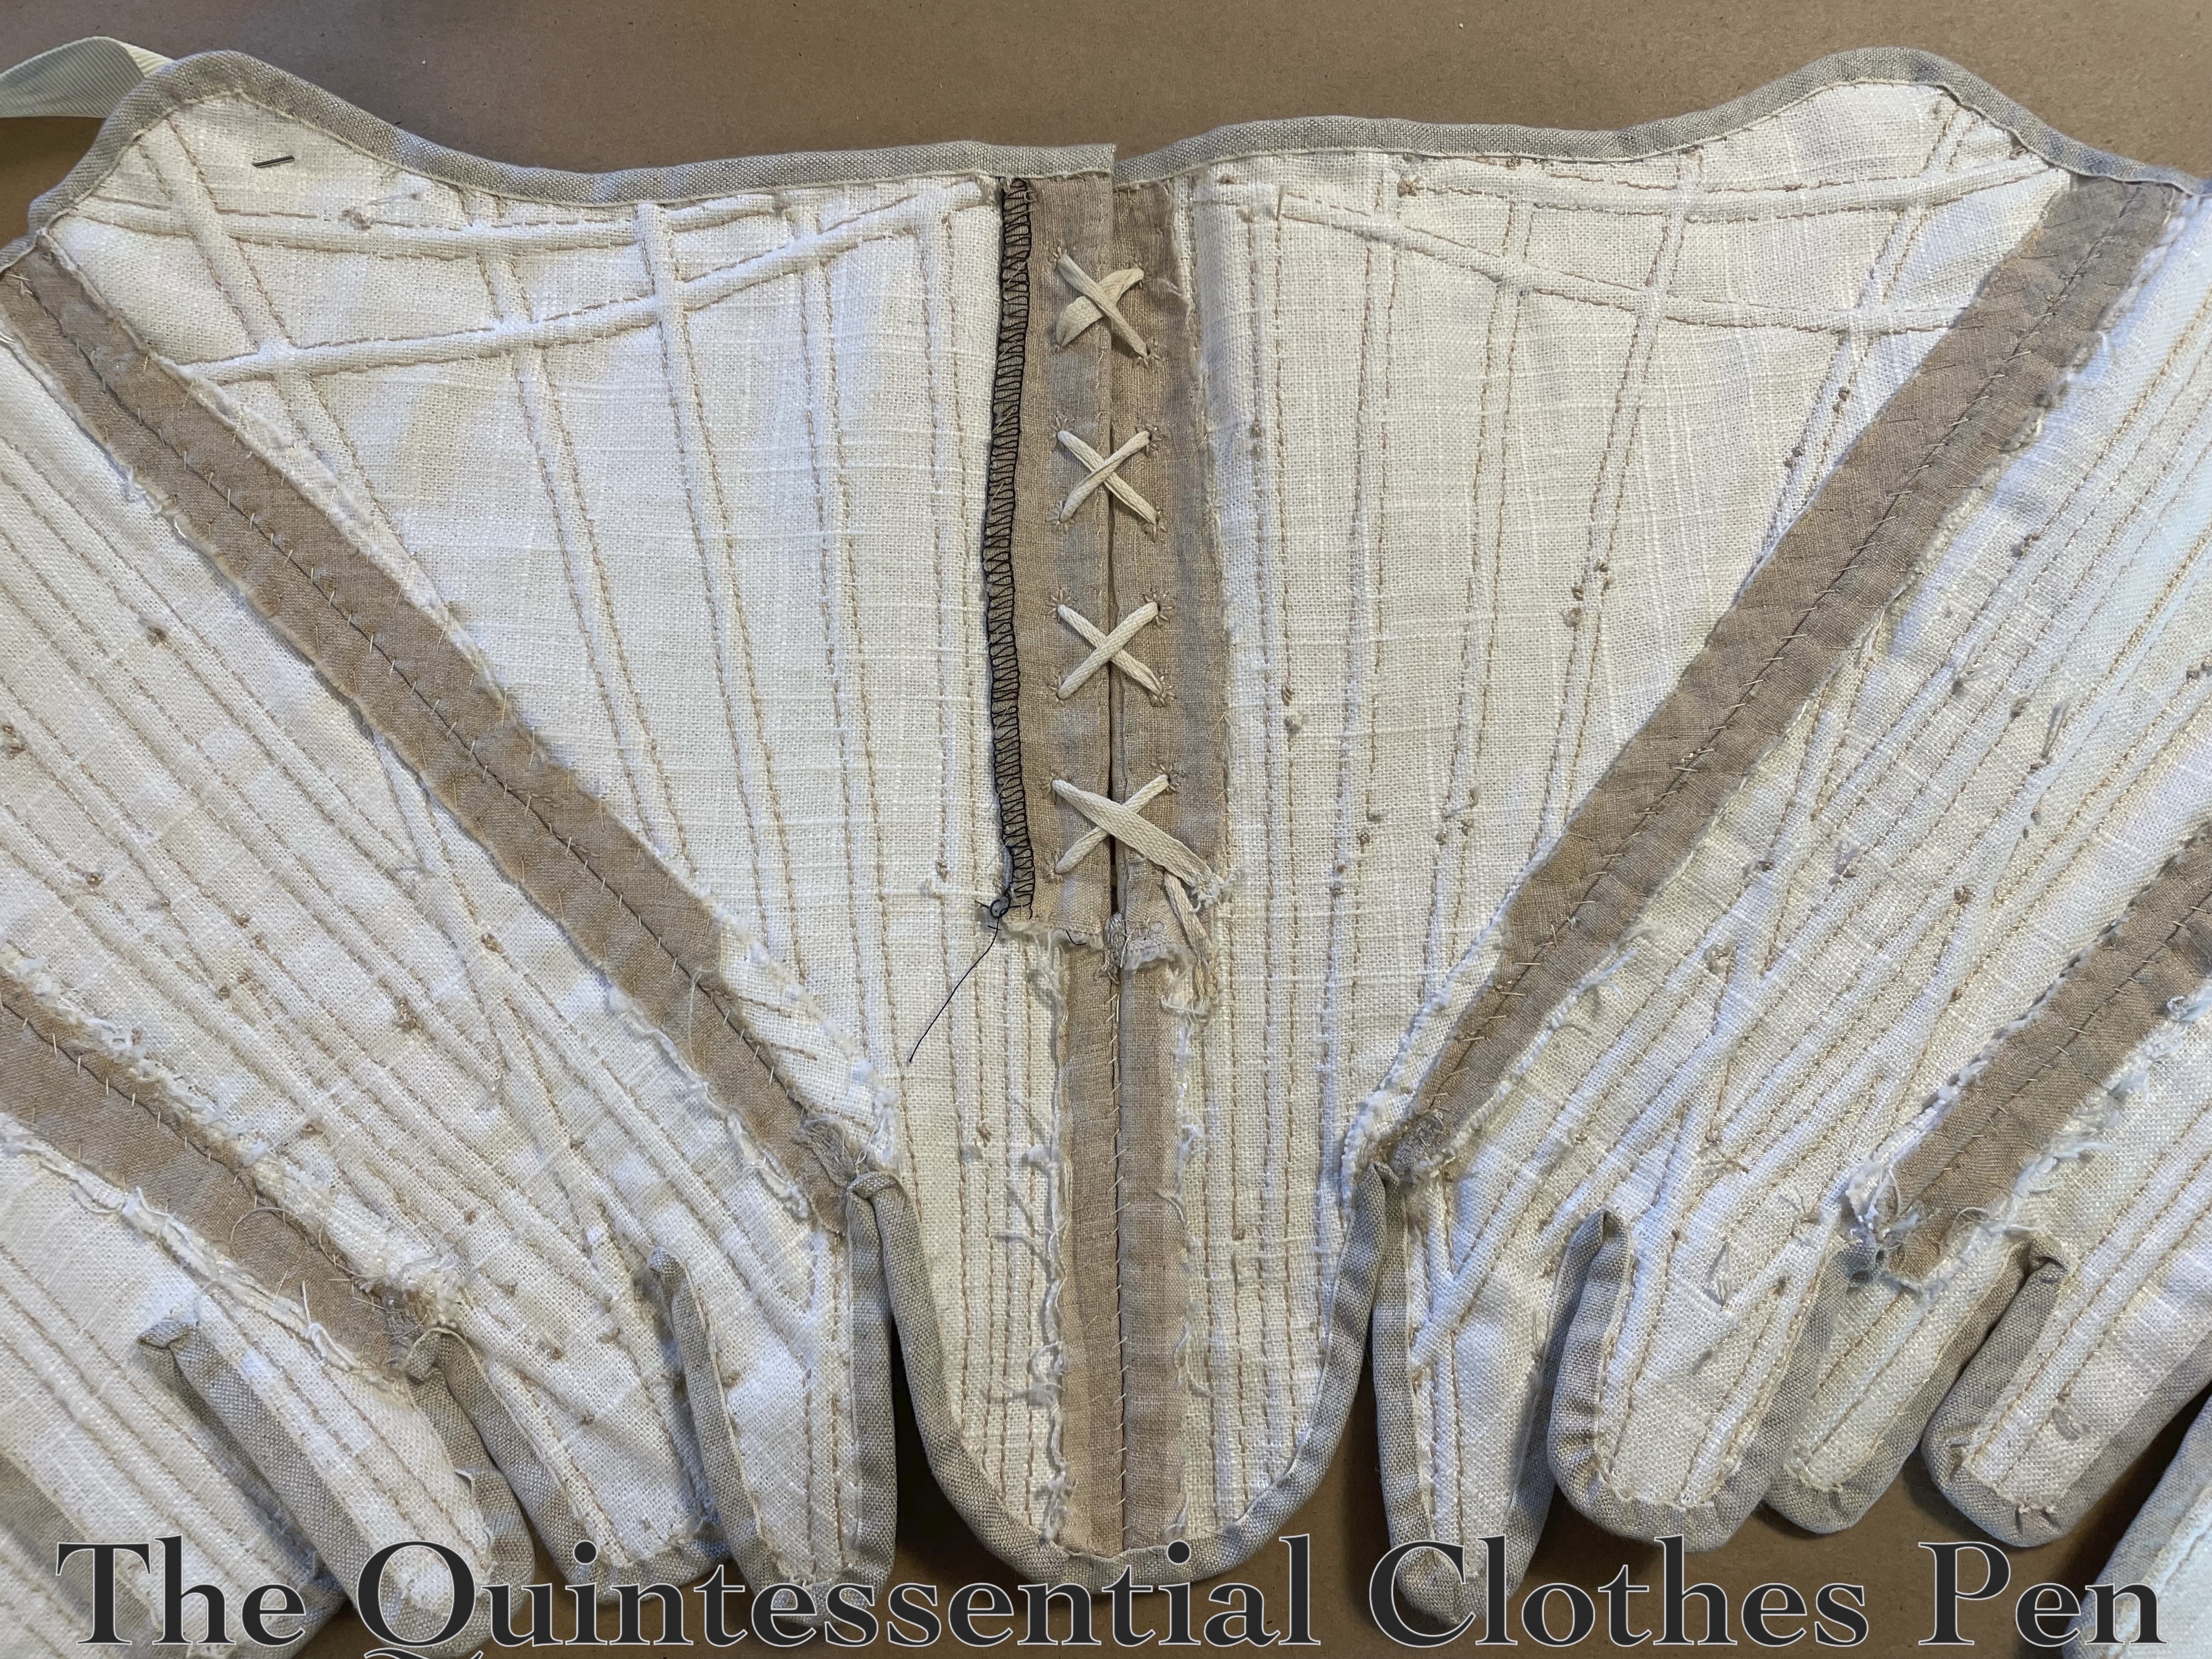
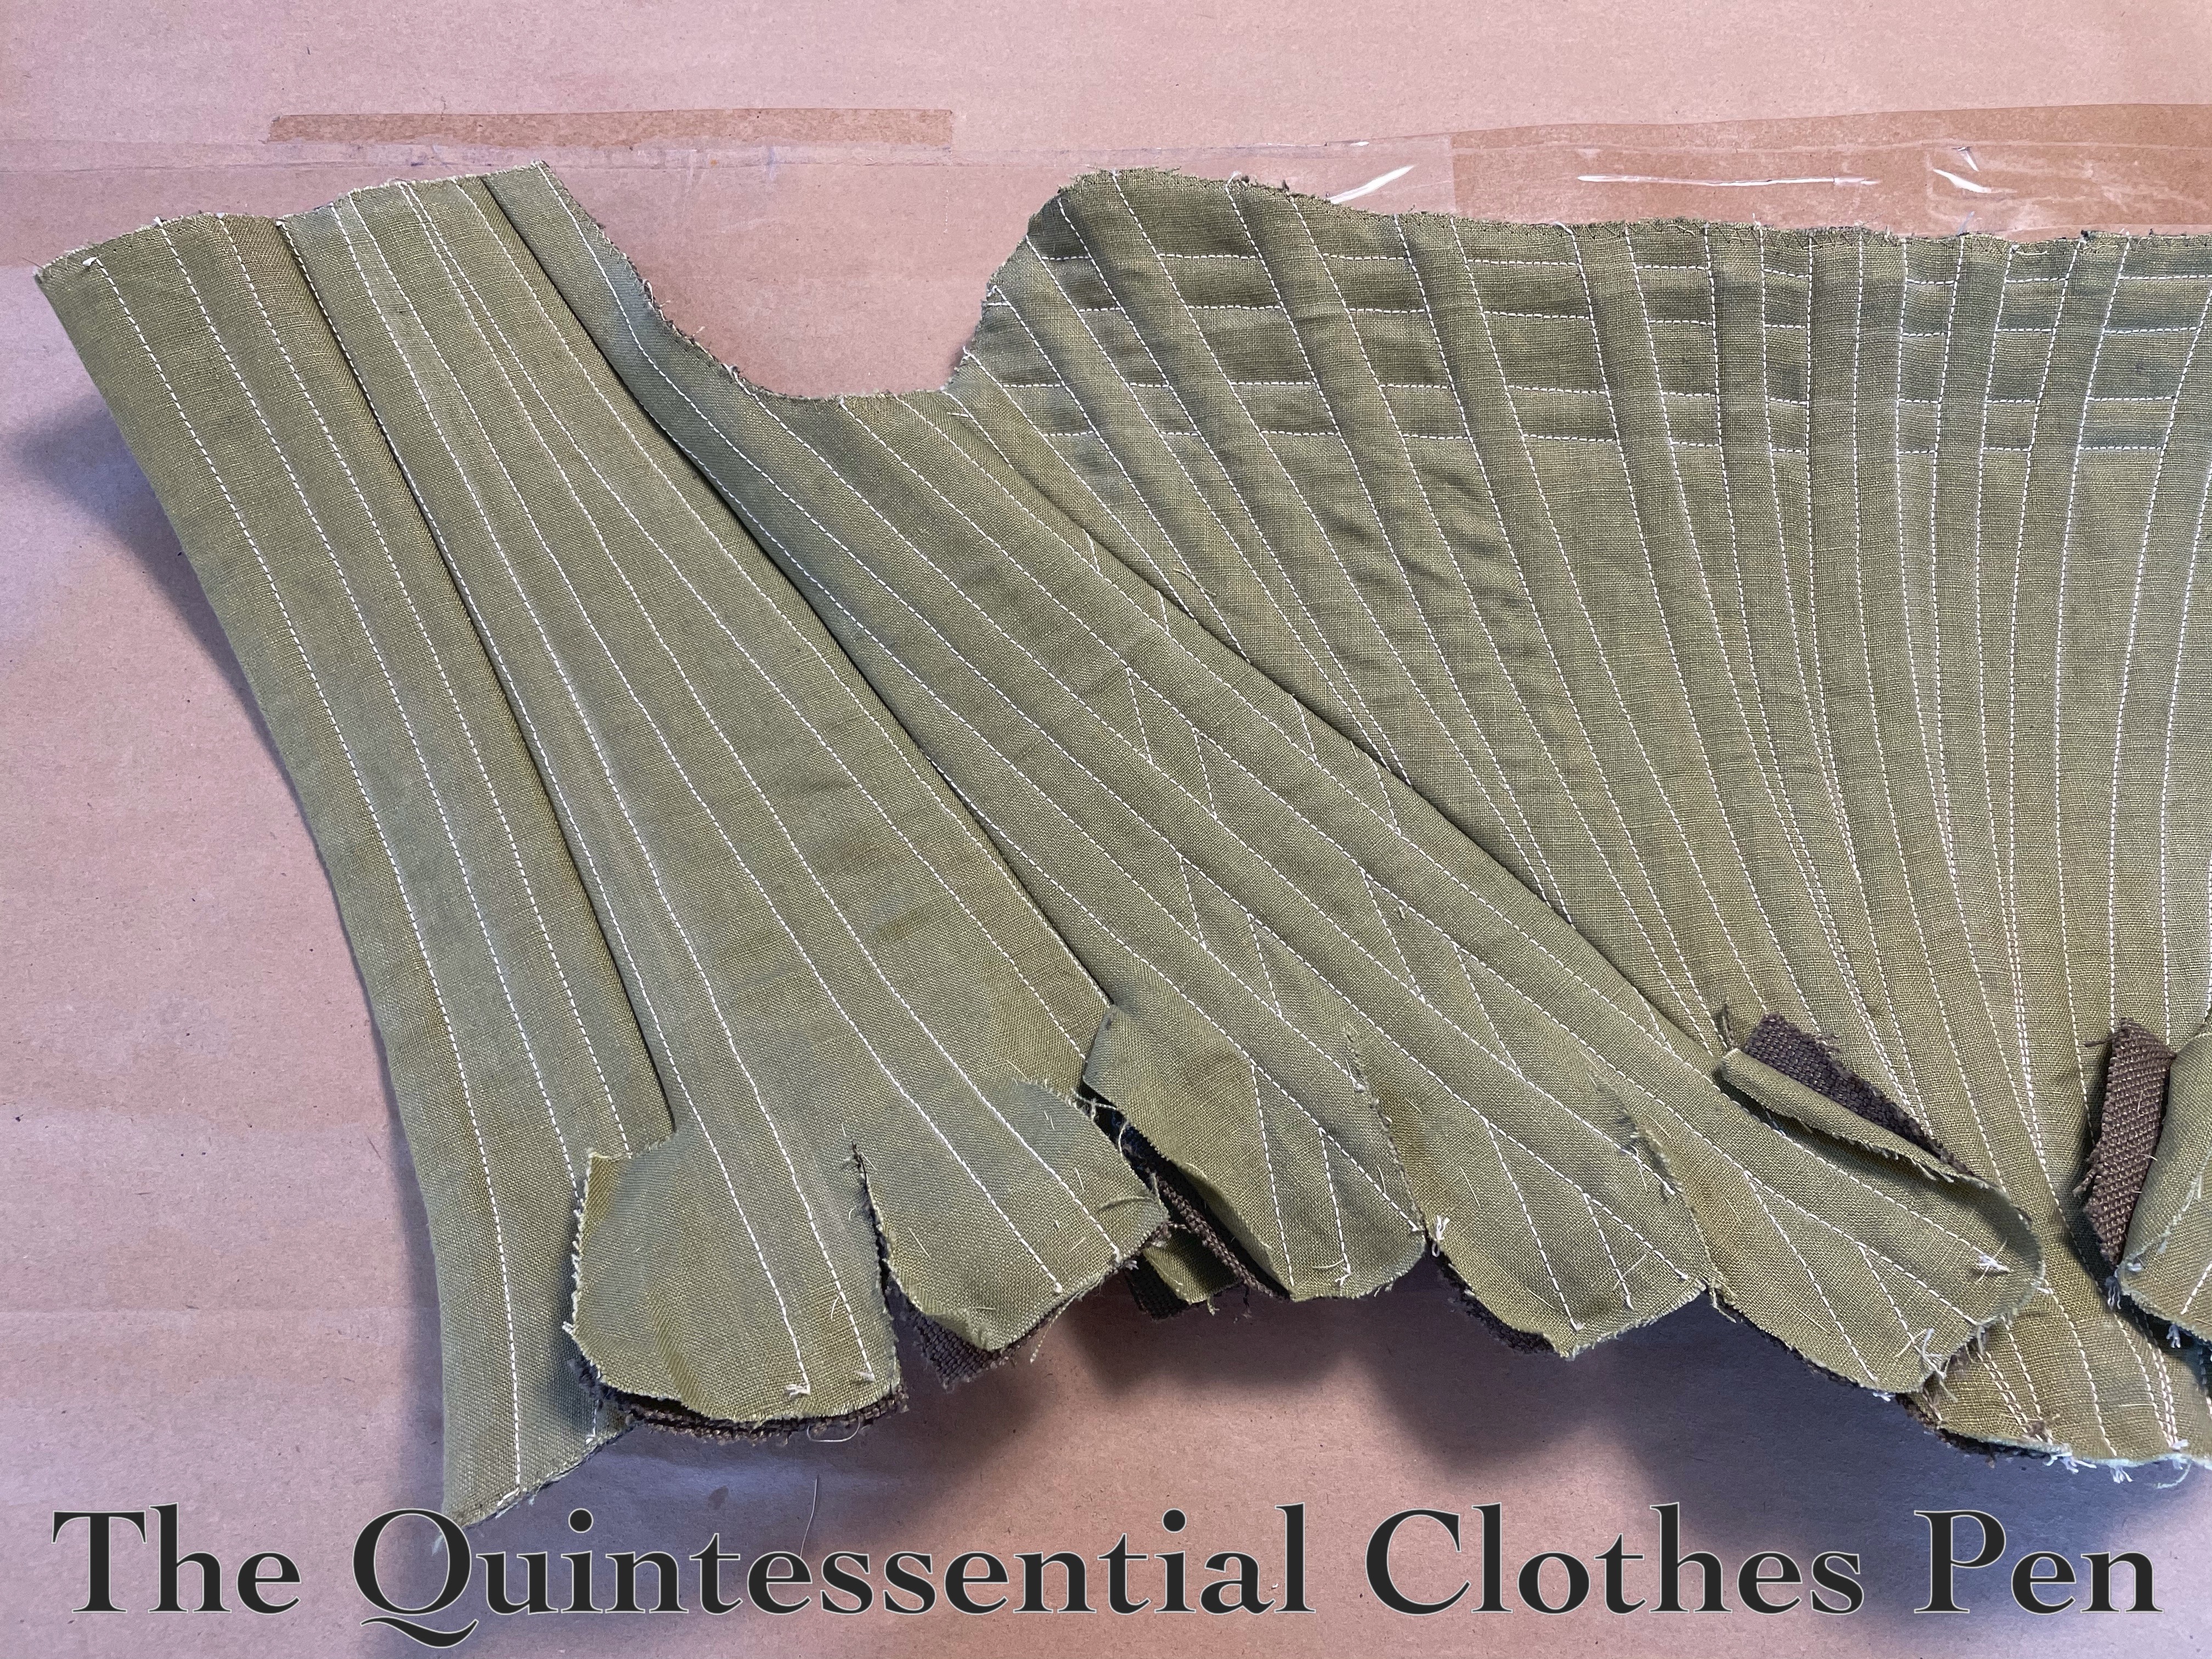
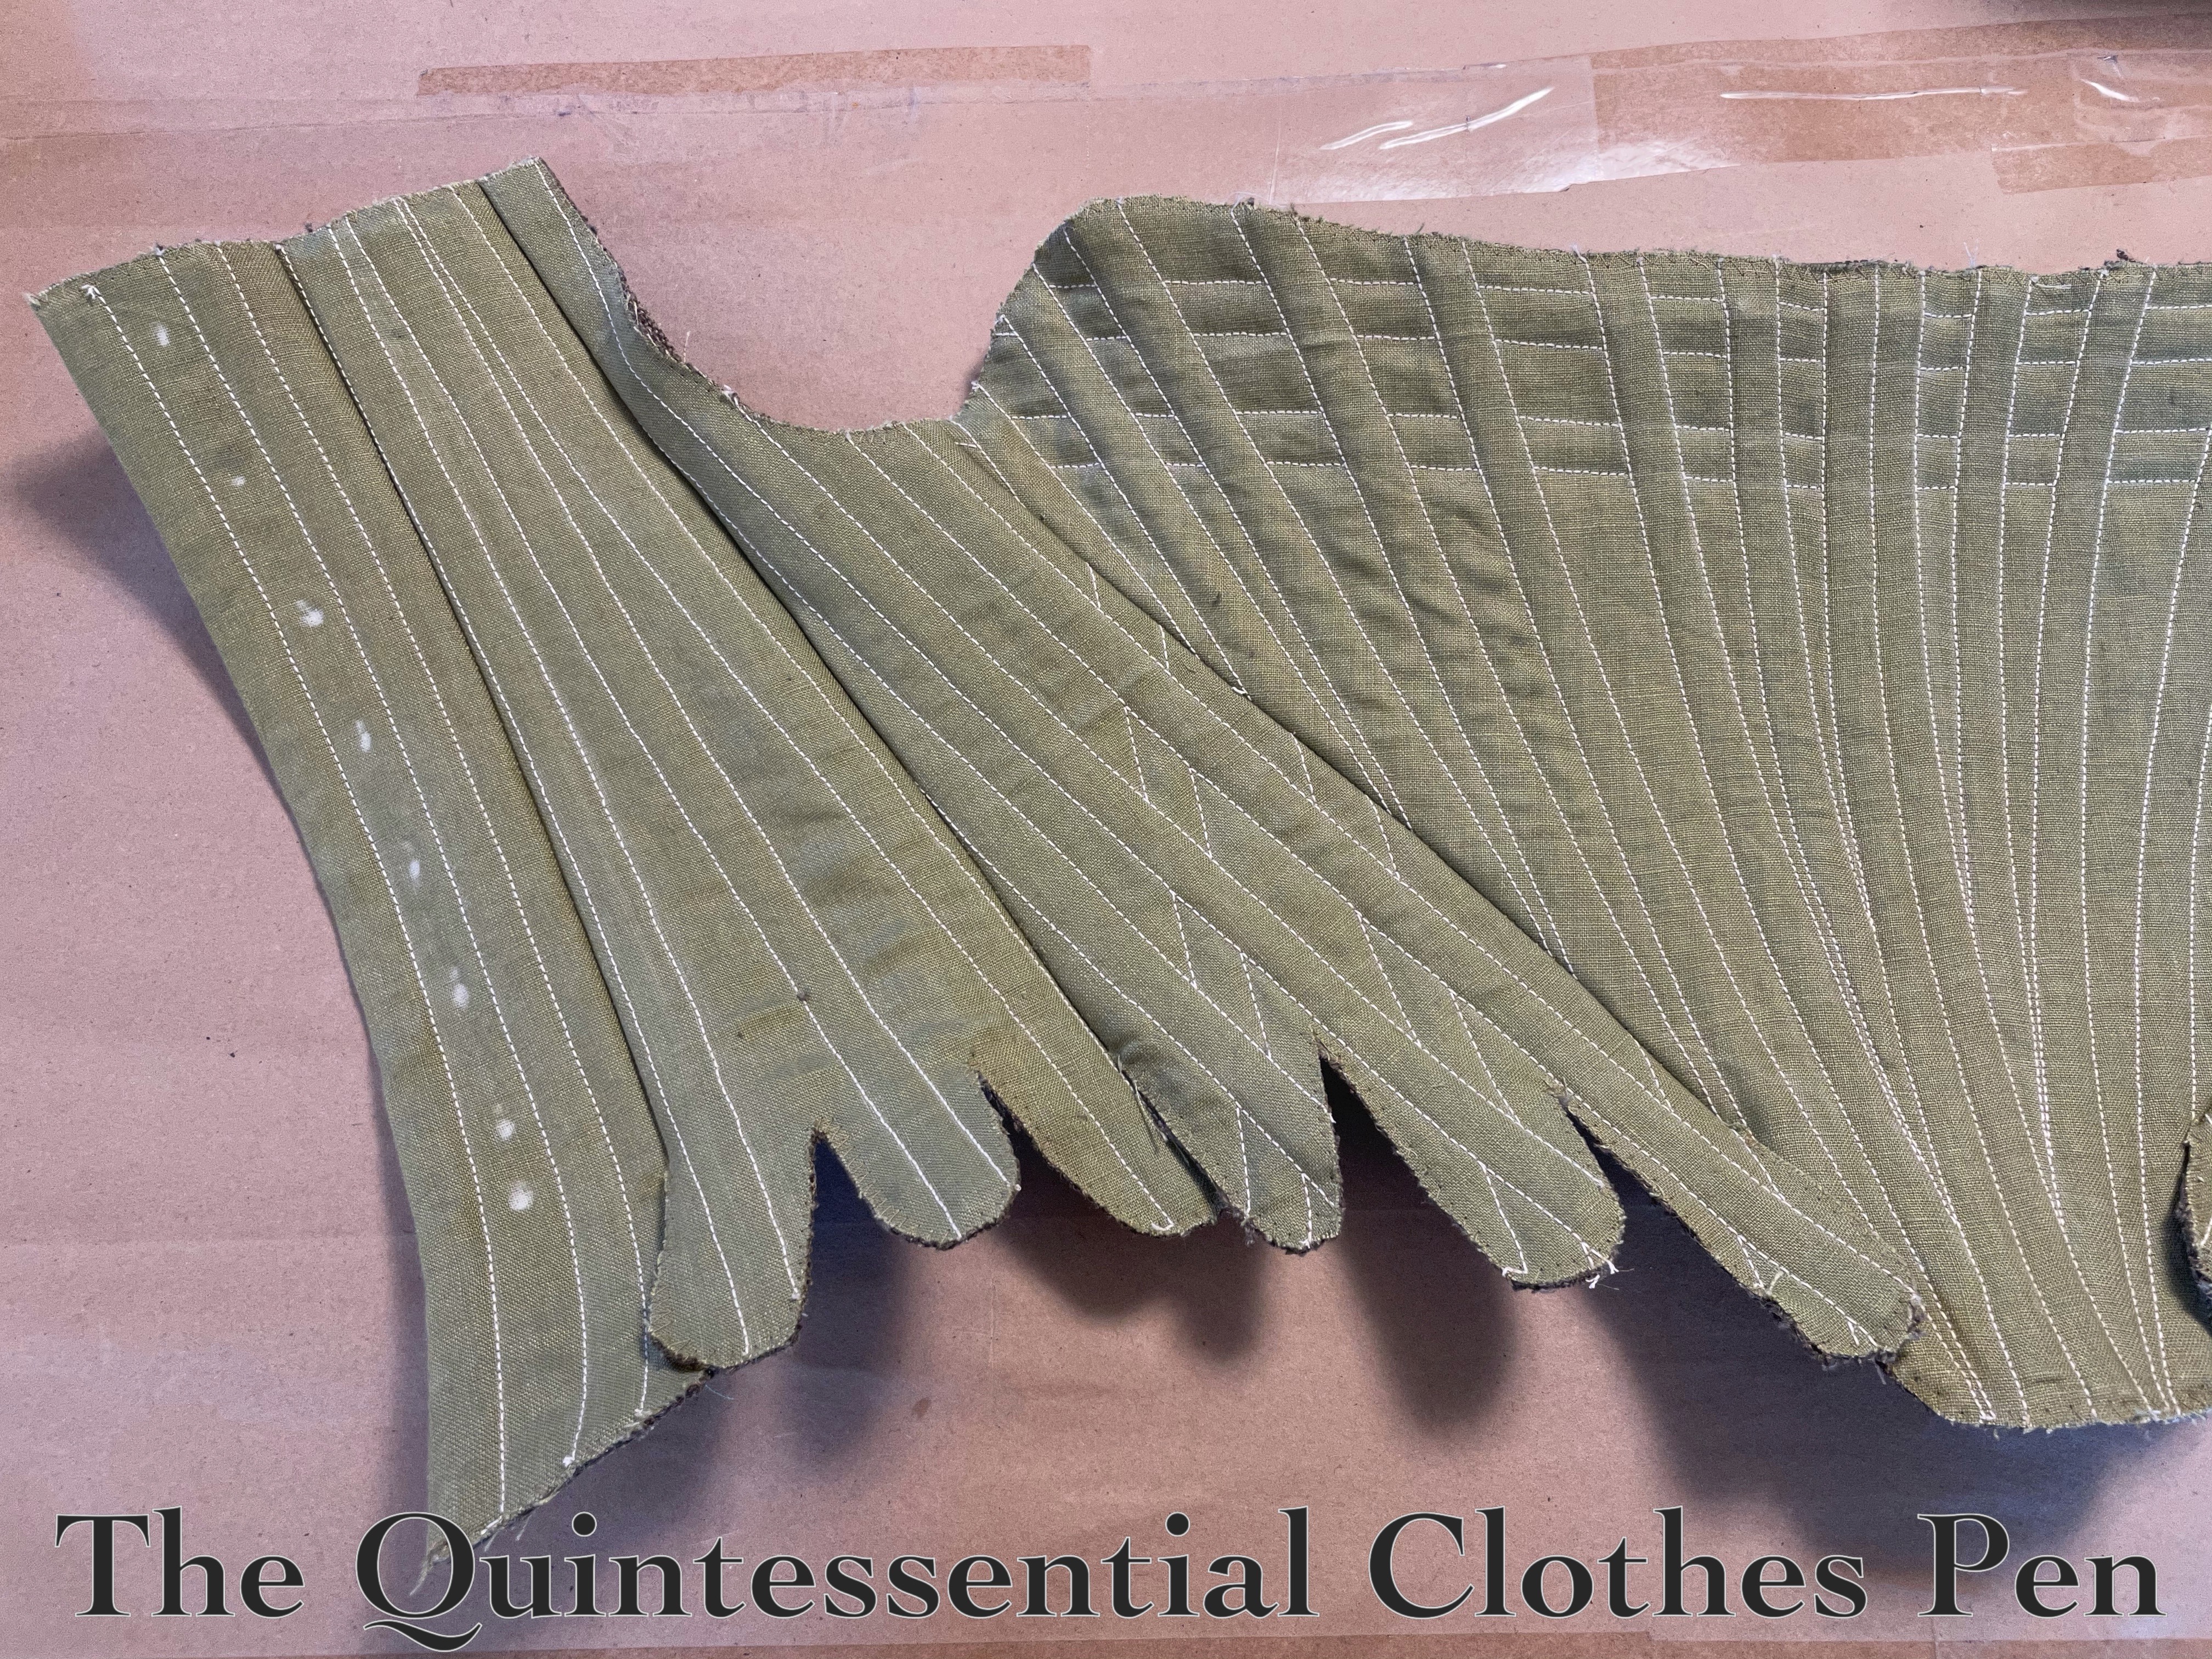
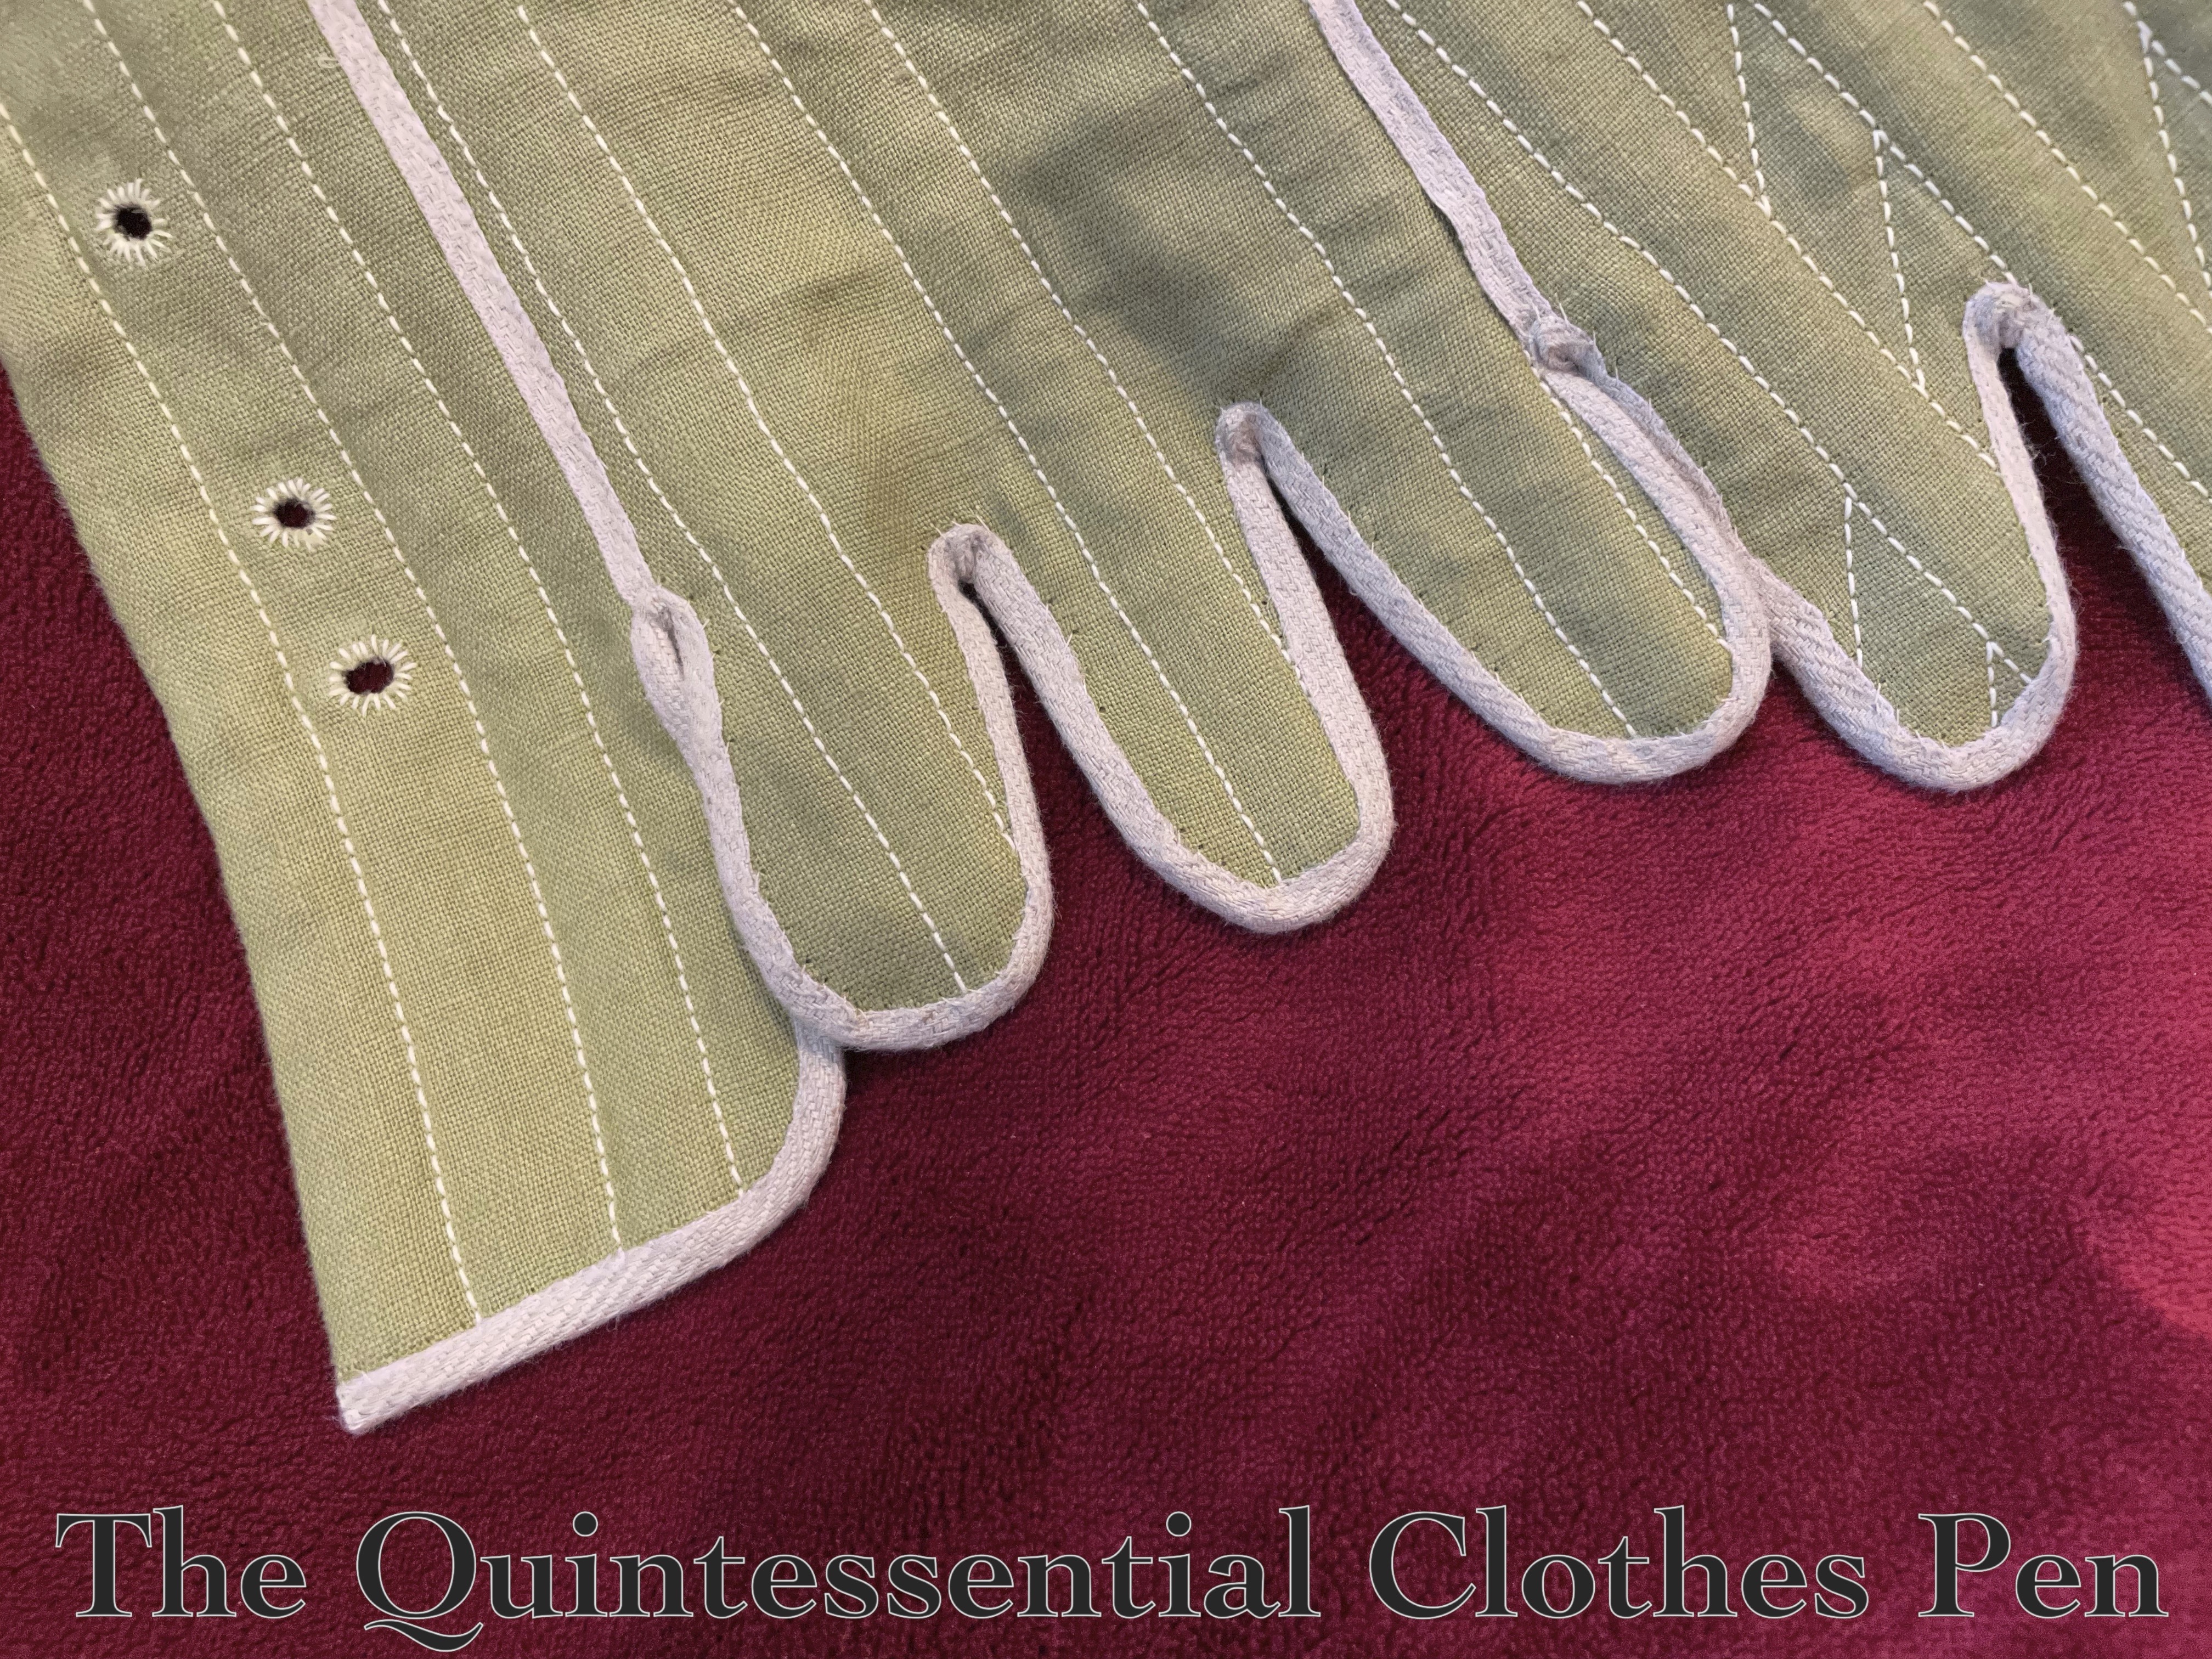
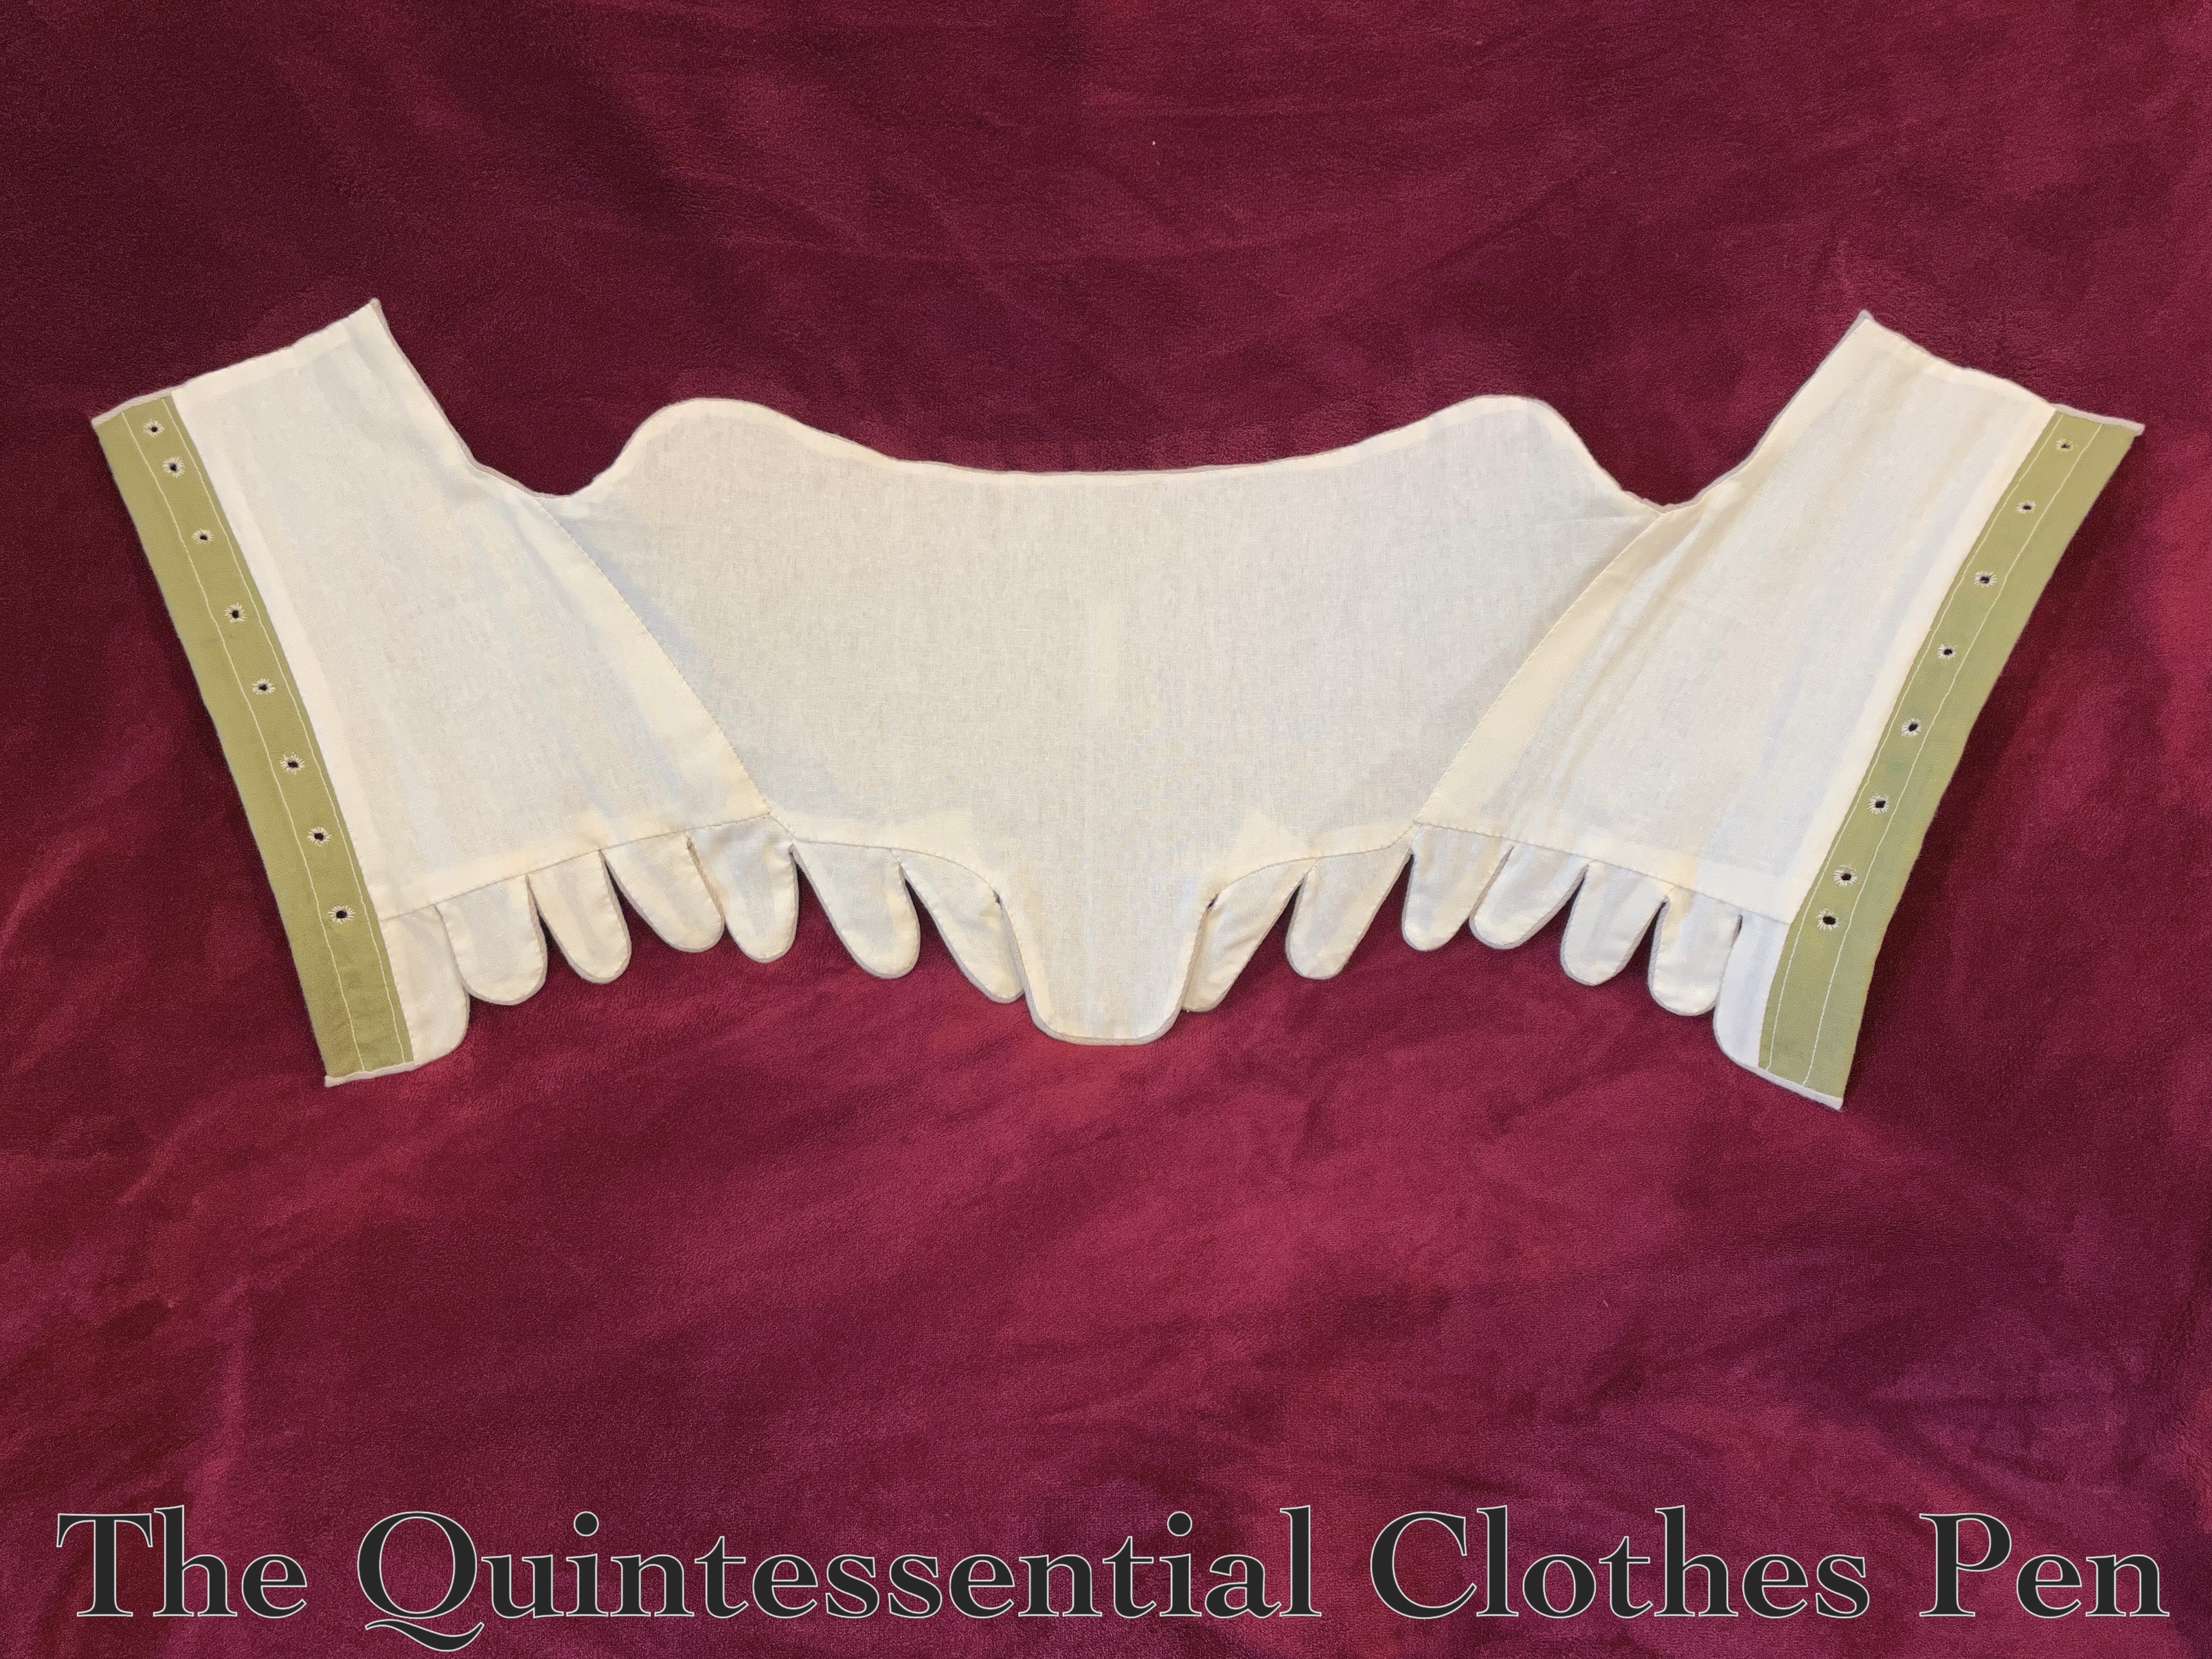
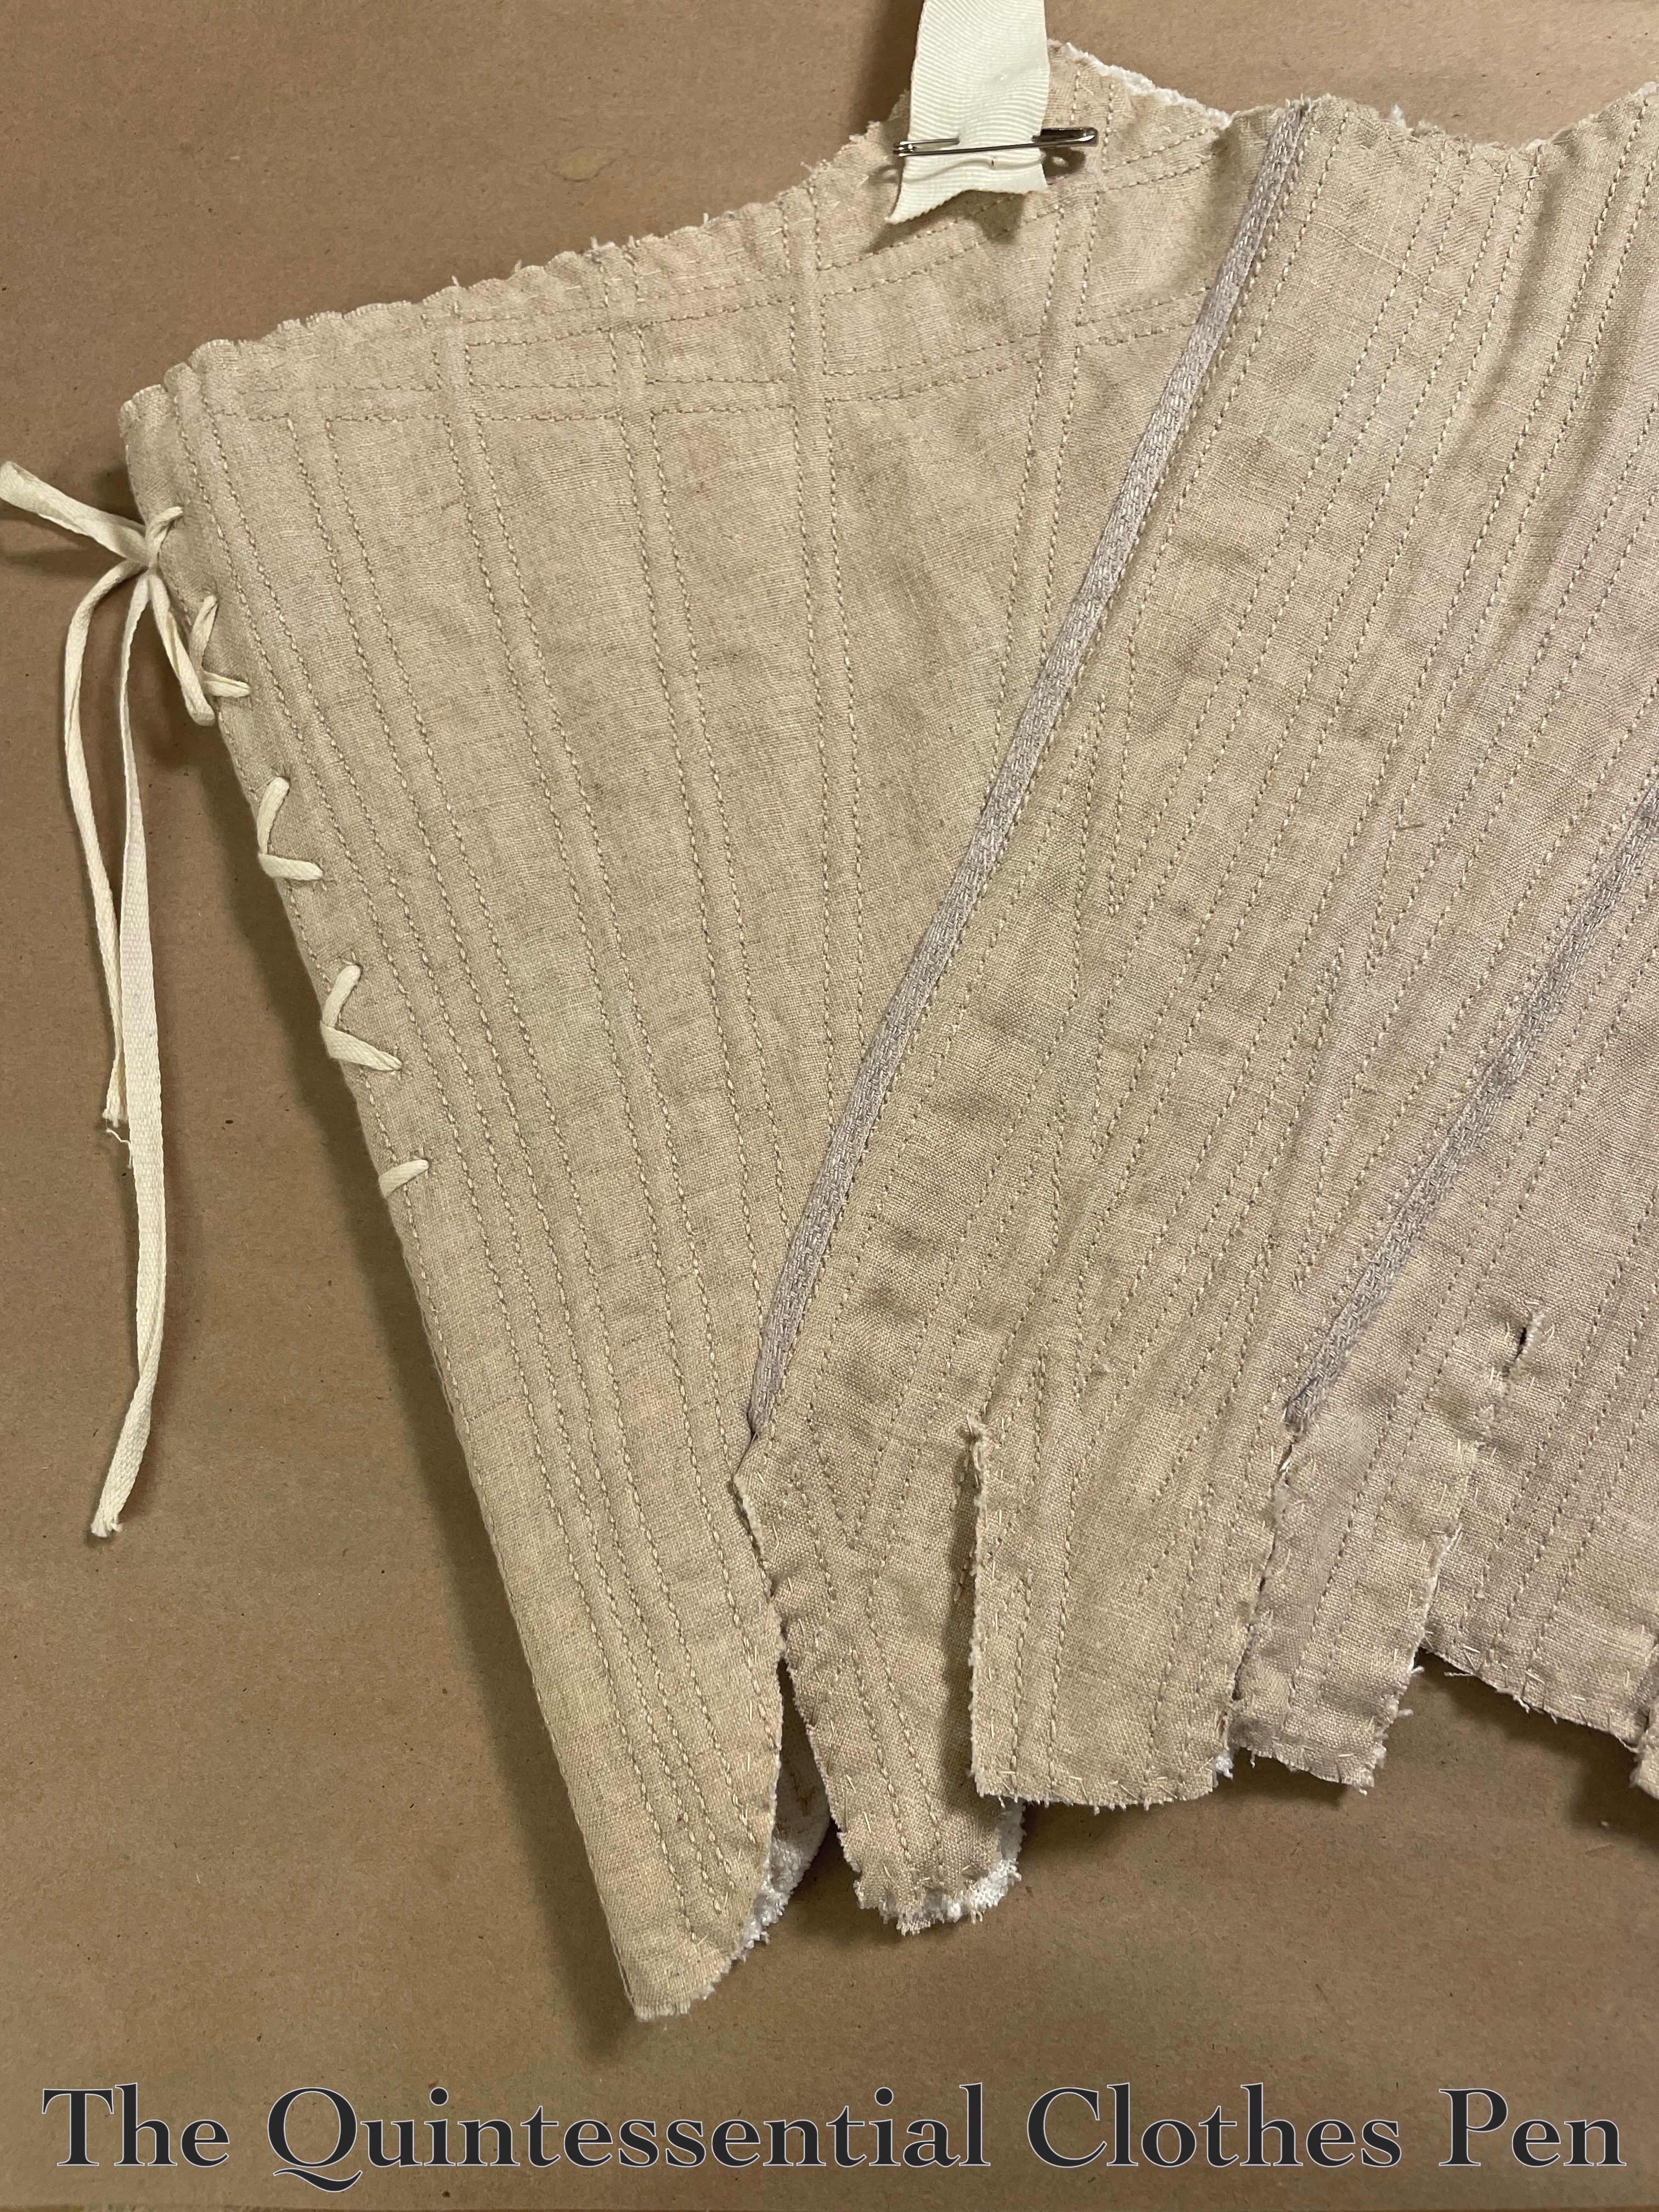
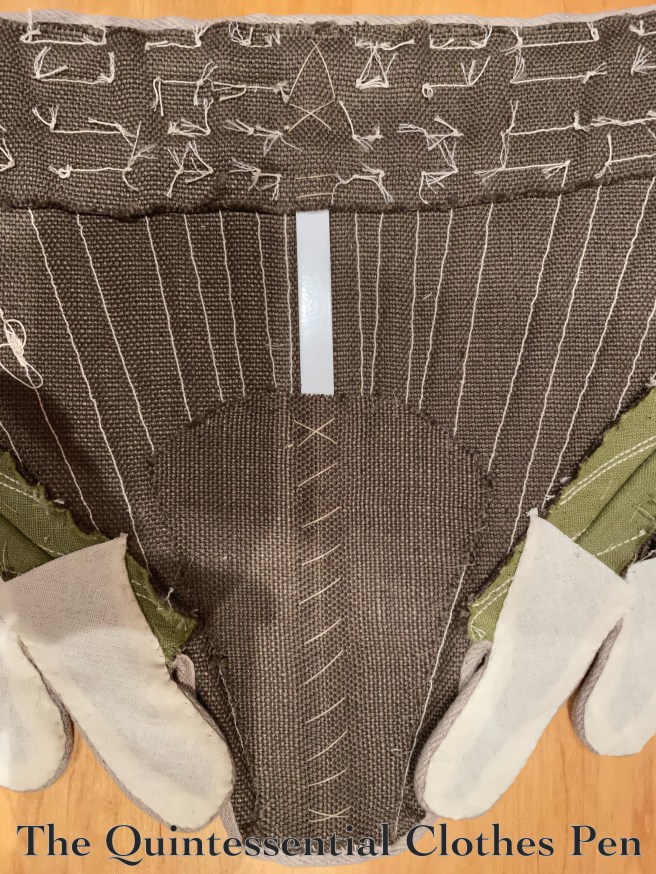
I used ½” natural linen tape. It is whip stitched onto the right side and then wrapped around to the inside and more roughly whipped. The inside stitches will be covered with the lining, so making them invisible and pretty is less important. Below is a photo of the inside of the stays after the binding was sewn on.

Lining

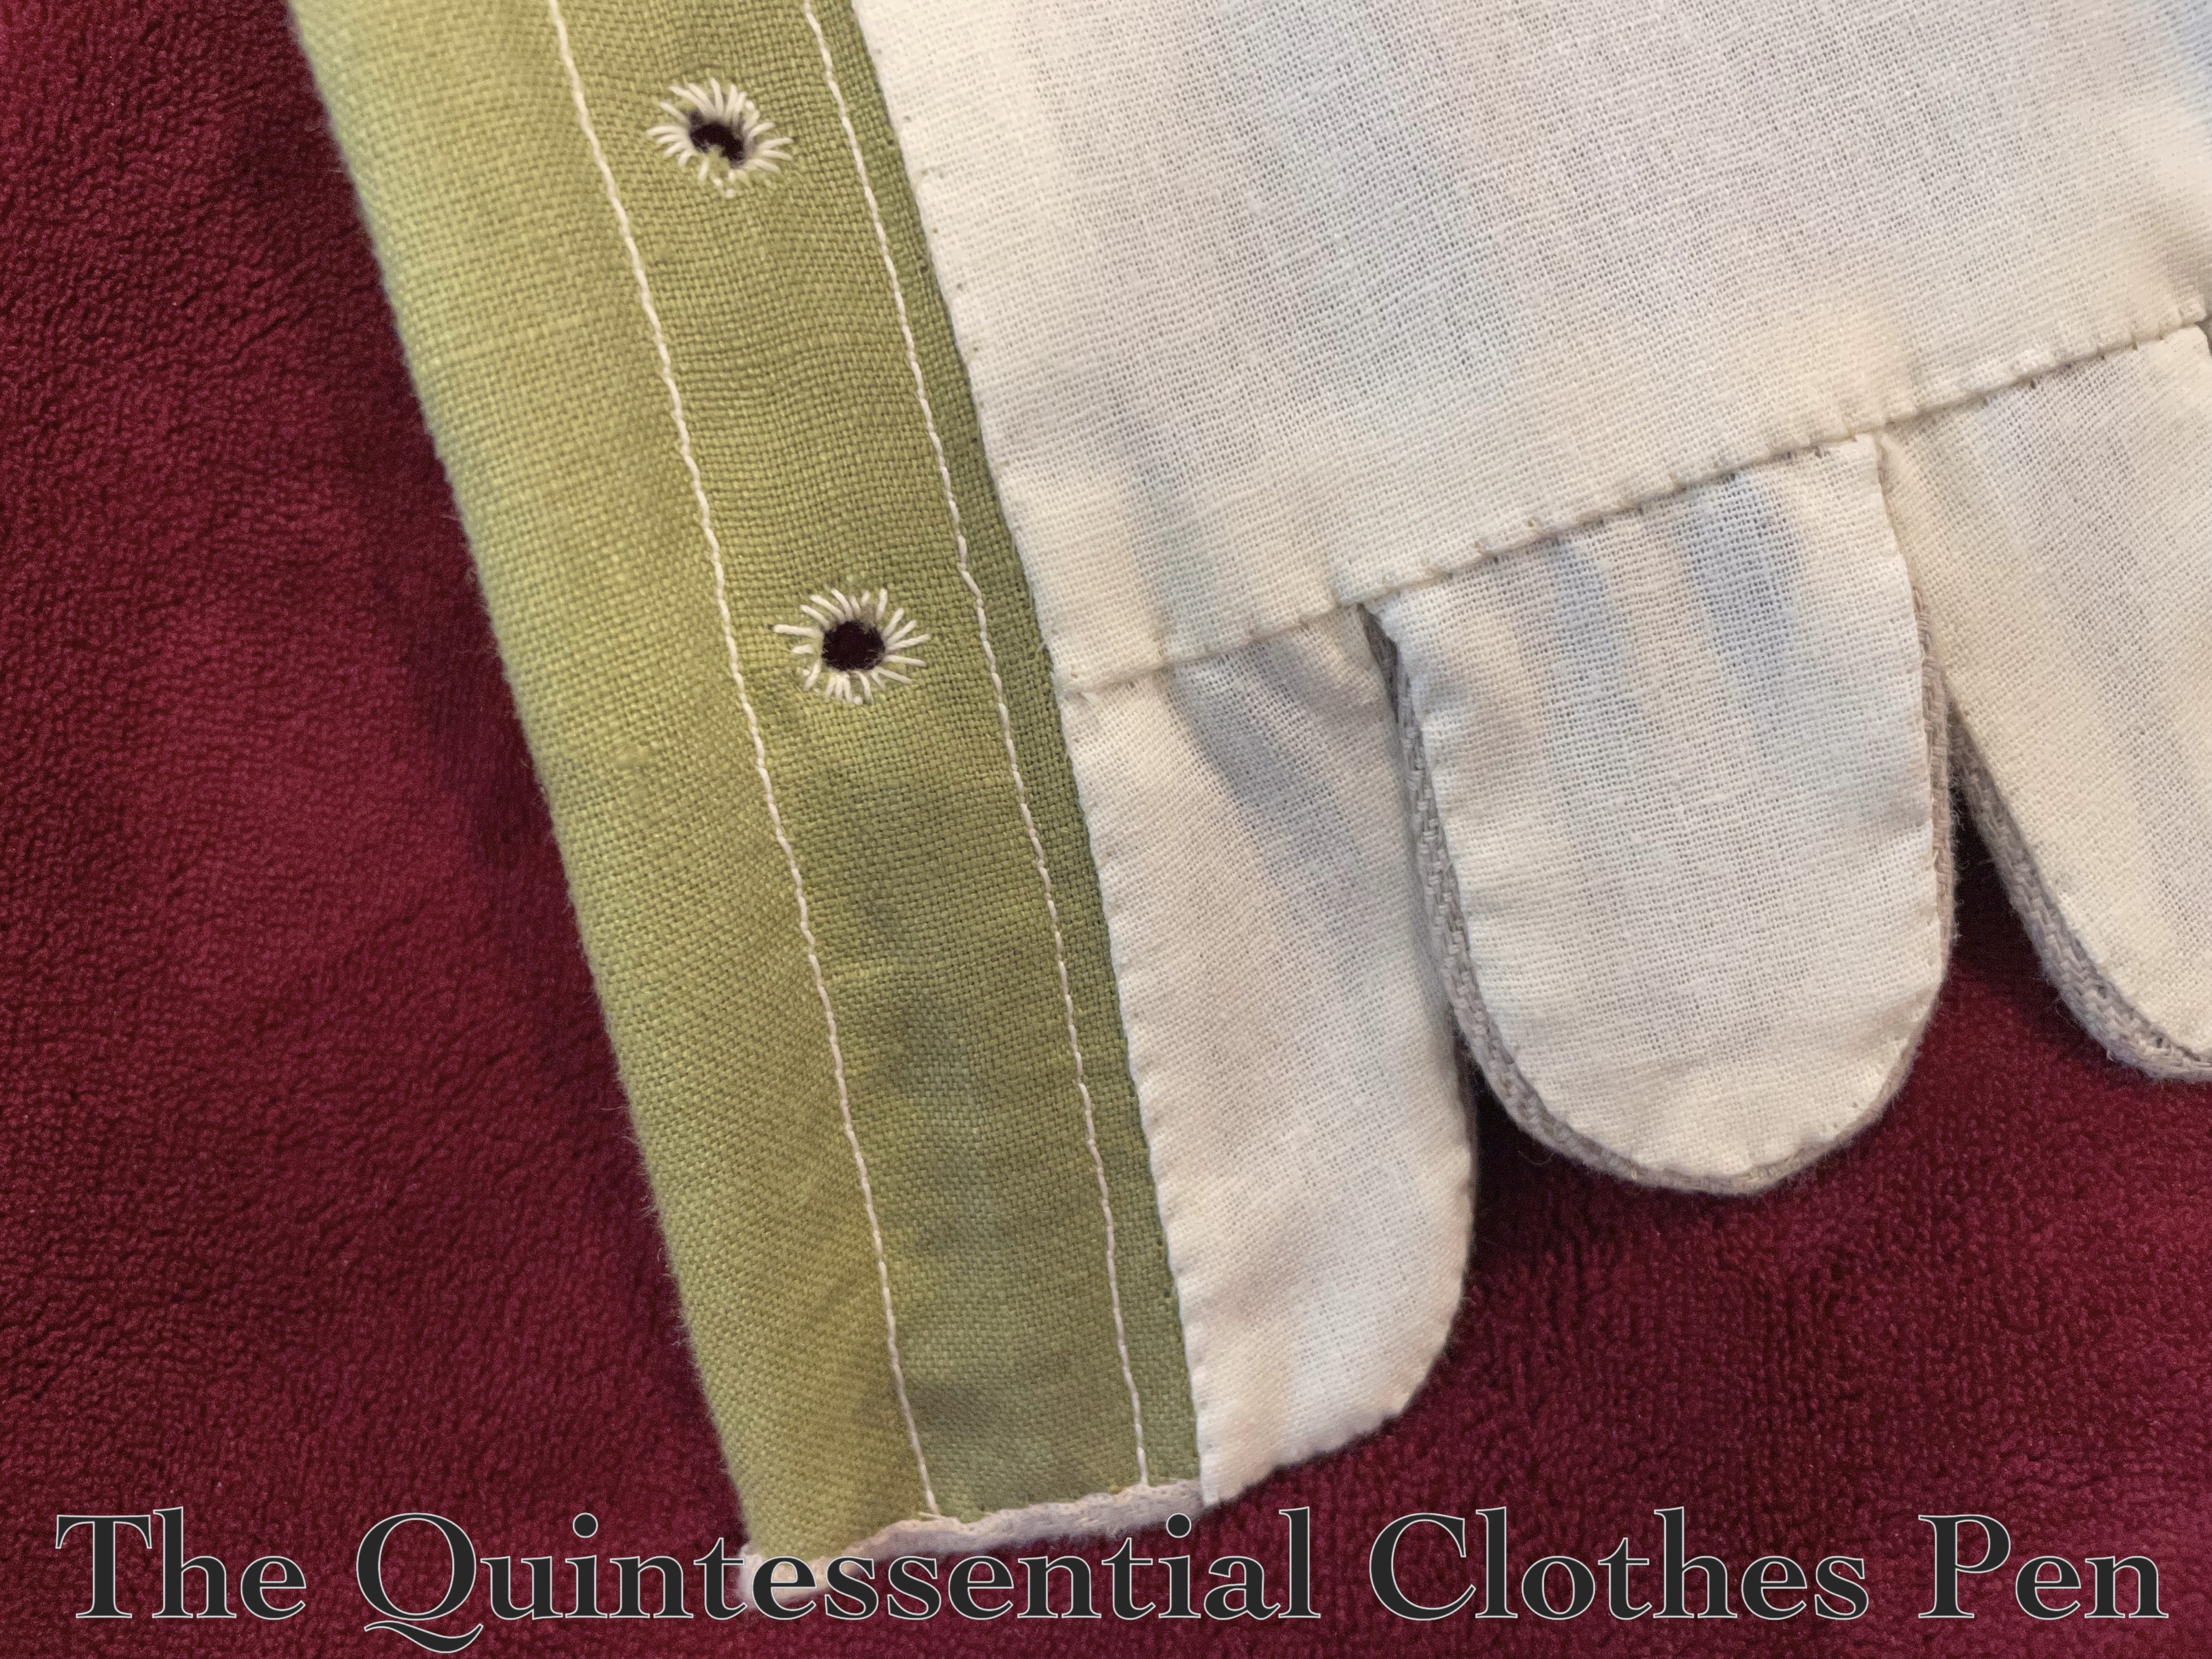
At this point, the stays were almost done. The lining serves to cover up all of the interior construction. To make it, I laid my stays out wrong side face up (as in the above photo) with my lining fabric on top. I pinned in a few strategic places and then roughly penciled where I wanted the cutting lines to be. Then, I cut the lining pieces out.

Once cut, I pinned the center lining piece in place, then pinned the piece next to it, turning under my raw edges at the places I wanted the seam to be and around the edges. Those edges were all pinned in place and then each edge was whip stitched. Additionally, each tab has a separate, small piece of lining whose edges are also whip stitched in place.

Straps

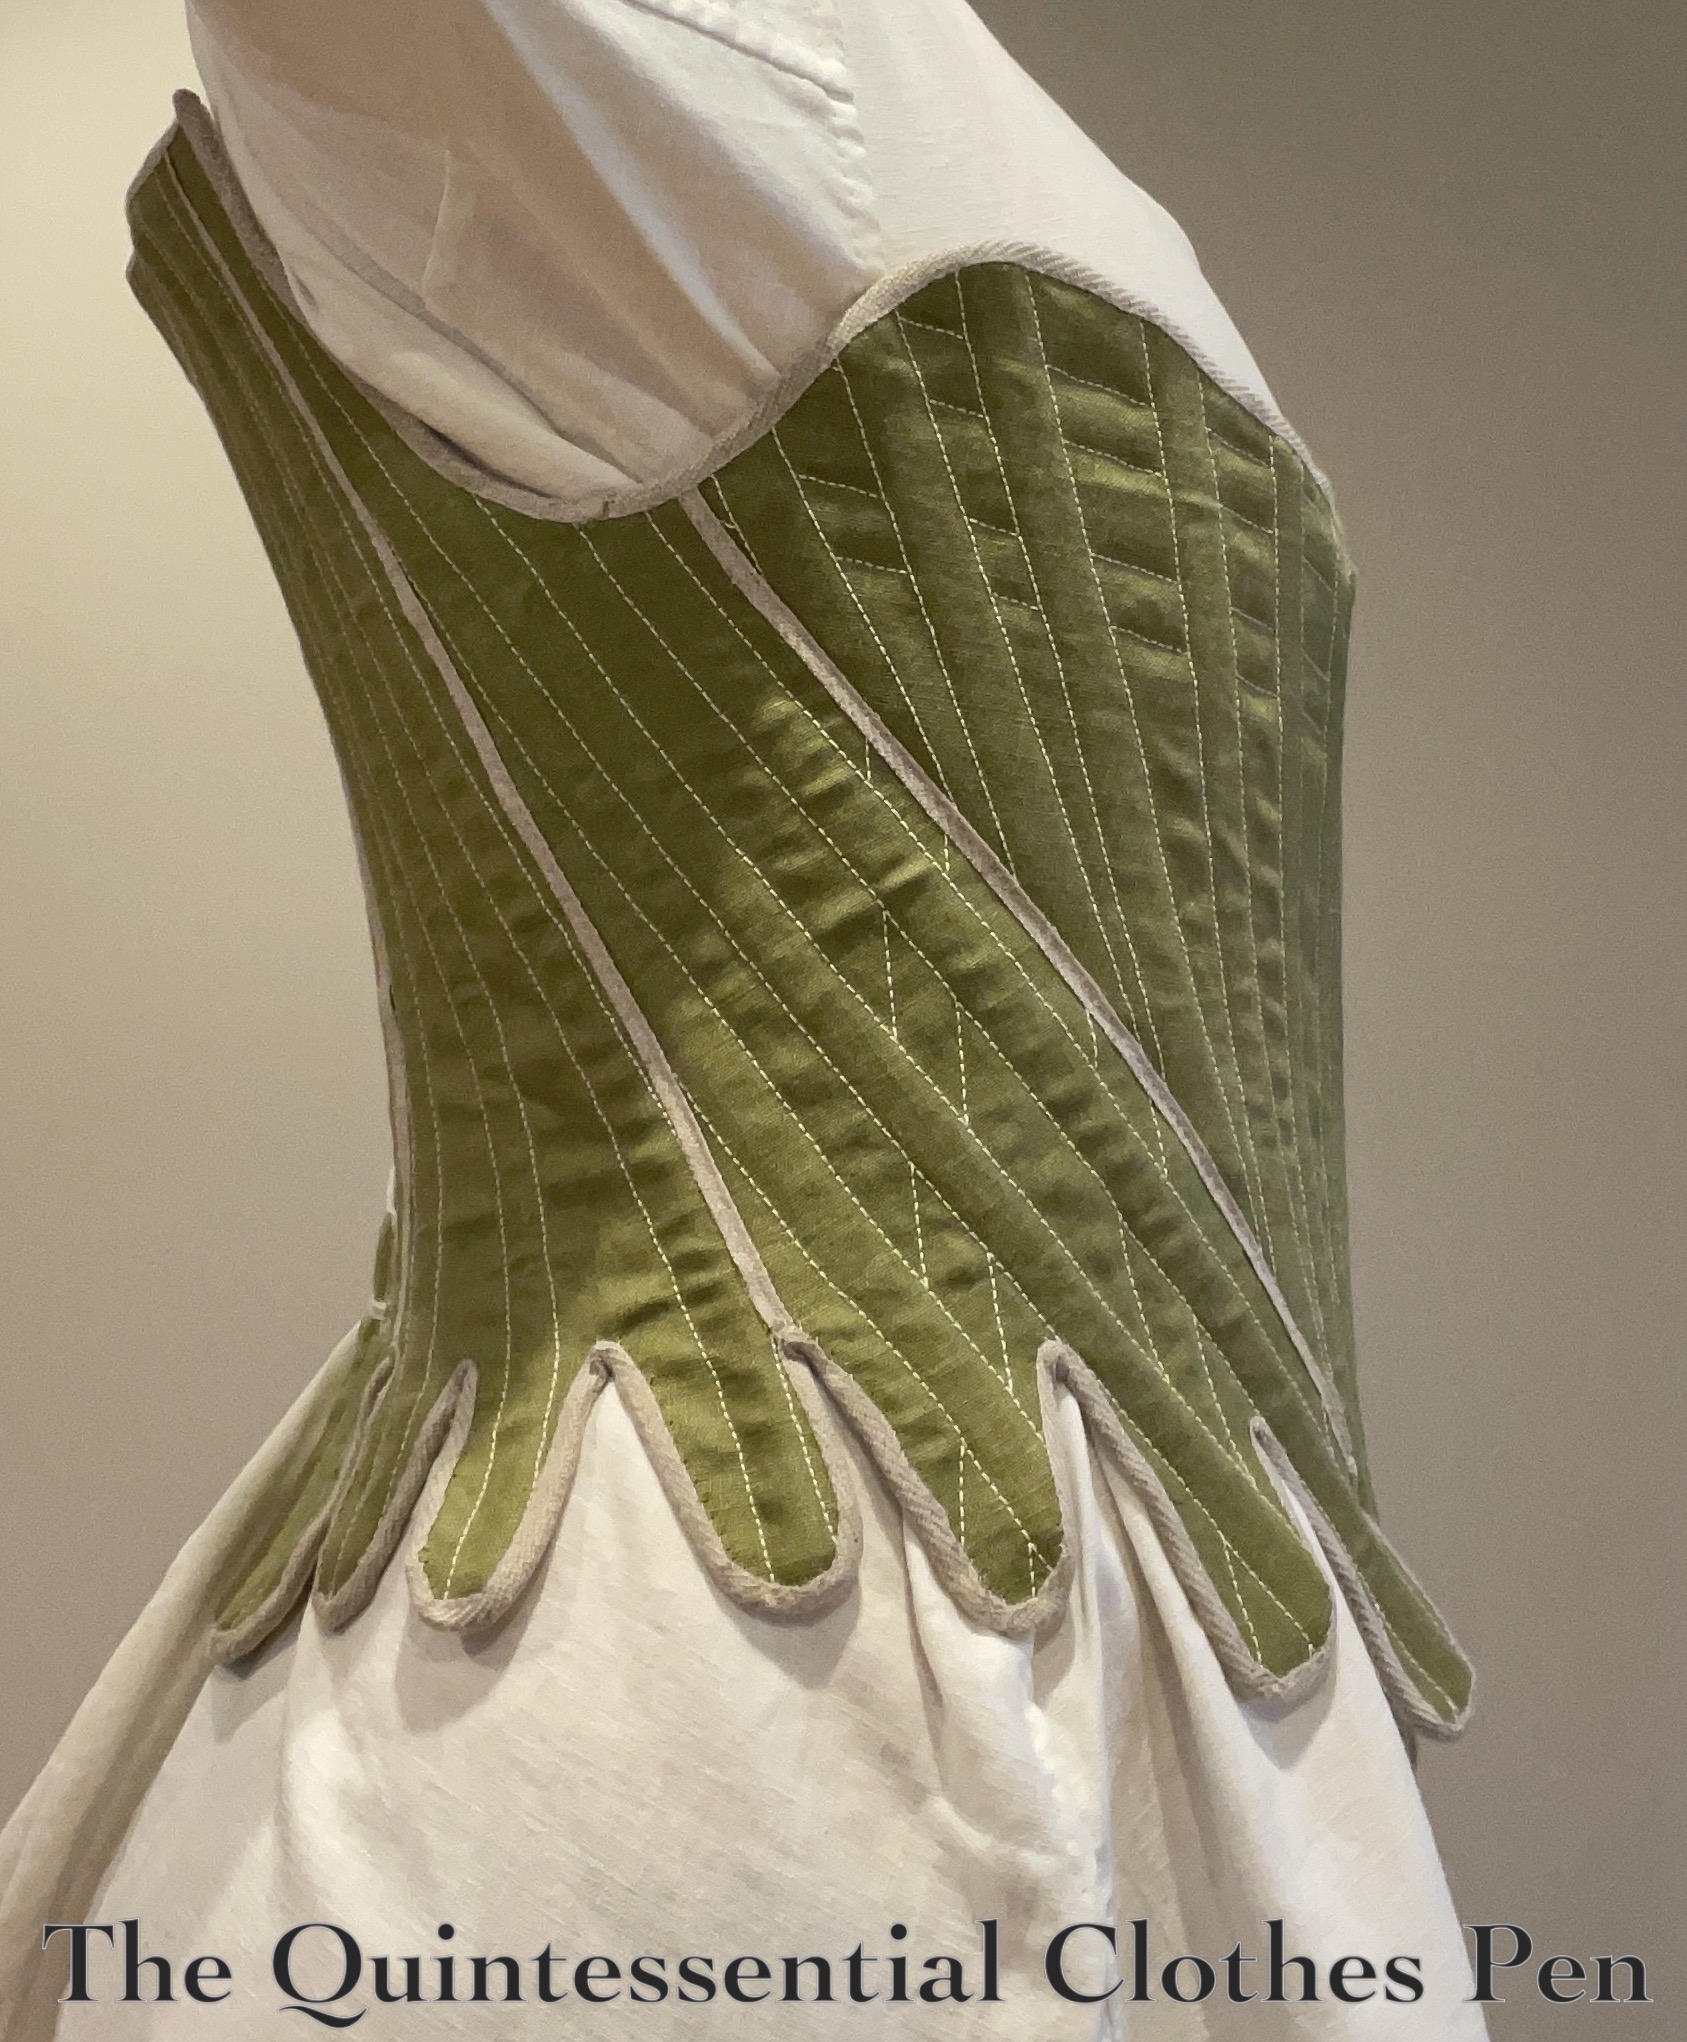
The truly final step was to add straps! I used ¾” ivory cotton twill tape. Each strap was sewn to the front points of the stays and the short raw end hemmed. A scrap of ¼” twill tape was also sewn on each of the side backs for the wider tape to run through.

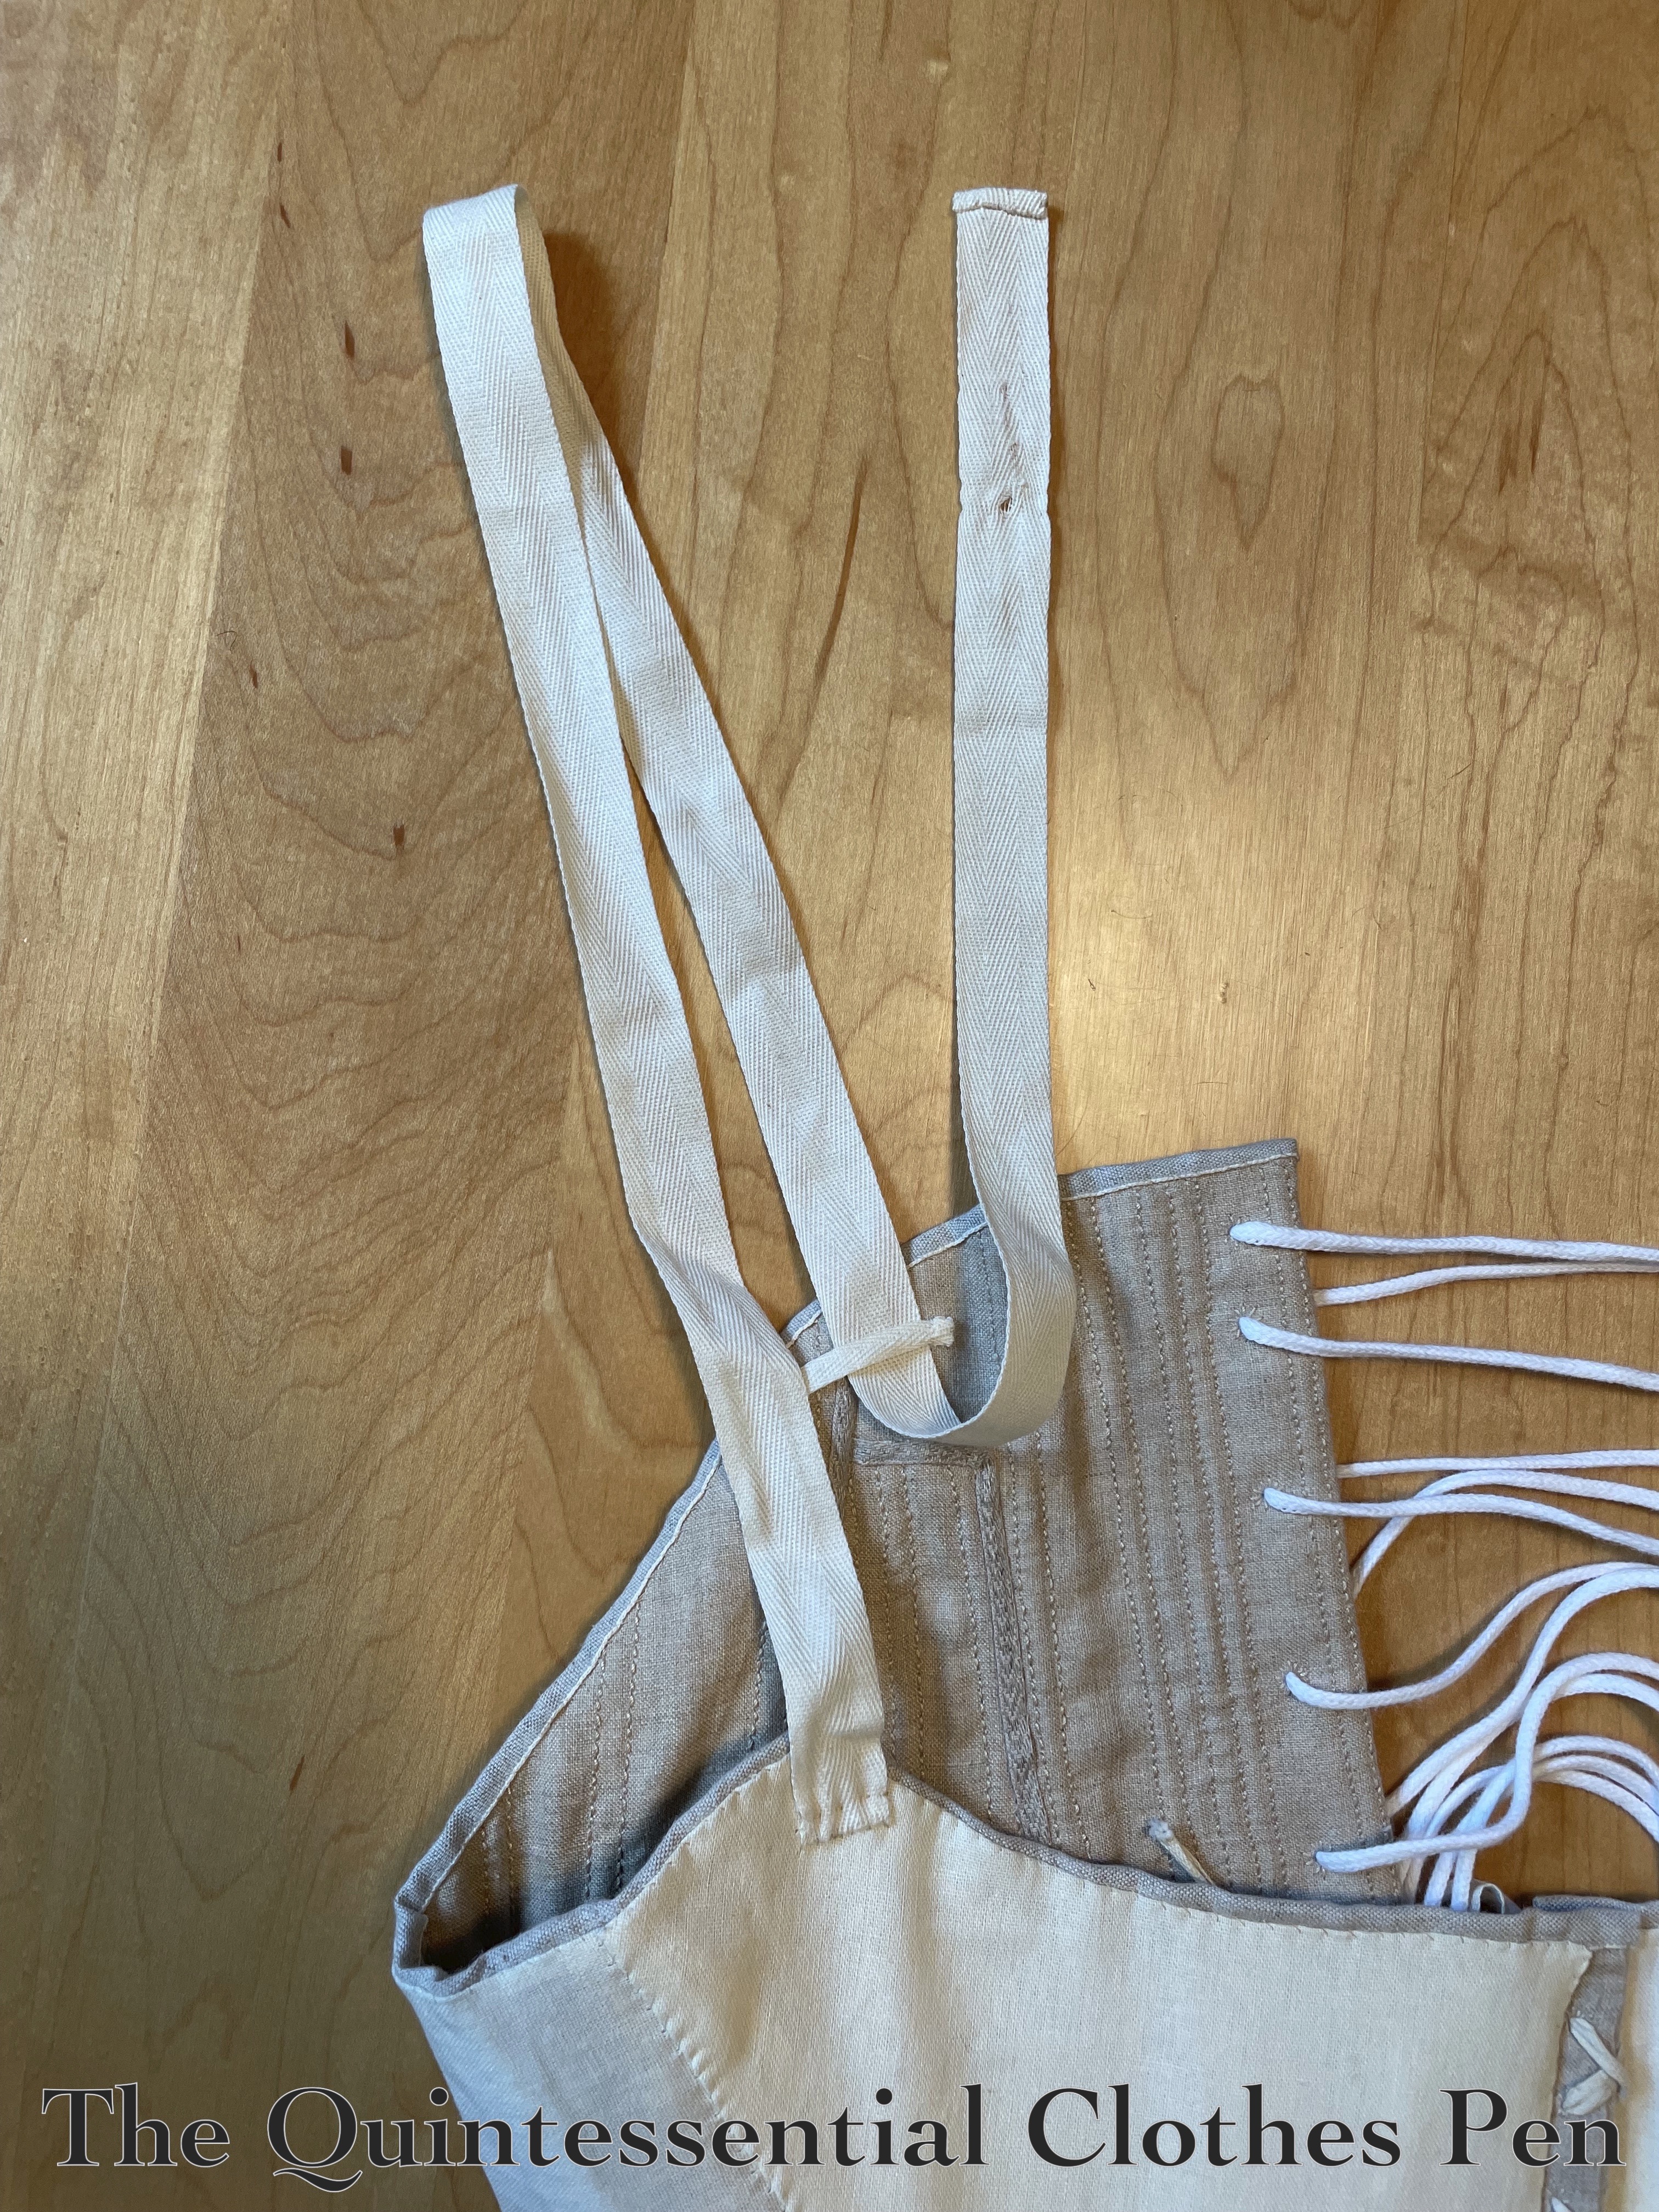
Then, I tried on the stays and determined where I needed to place the hooks that the straps would attach to. Below is a photo of one of the straps held in place by the sideways hook. The straps are long enough to wrap over the shoulder, cross in back, and wrap around towards the front to catch on the hooks.

After that, all I had to do was attach the hooks… and… after many years… the stays were finally, finally… finally…. DONE! They were finished in April 2023.

You can read previous posts in this series here:

c. 1785 Stays (Of Fail), Part V: Middle Construction Details
c. 1785 Stays (Of Fail), Part IV: Early Construction Details
c. 1785 Stays (Of Fail), Part III: The Pattern
c. 1785 Stays (Of Fail), Part II: Fitting Update
c. 1785 Stays (Of Fail), Part I: Beginnings

1875 Reception Dress Photo Shoot

I was really excited to spend lots of time working on and finally completing this dress during the summer of 2020.

At that time, there was no option of finding a fabulous indoor place to take photos, so I had to make do with the outdoors. Don’t get me wrong, I have lovely photos from that short outing, but they didn’t have as much background ambiance as I was hoping to find, someday.

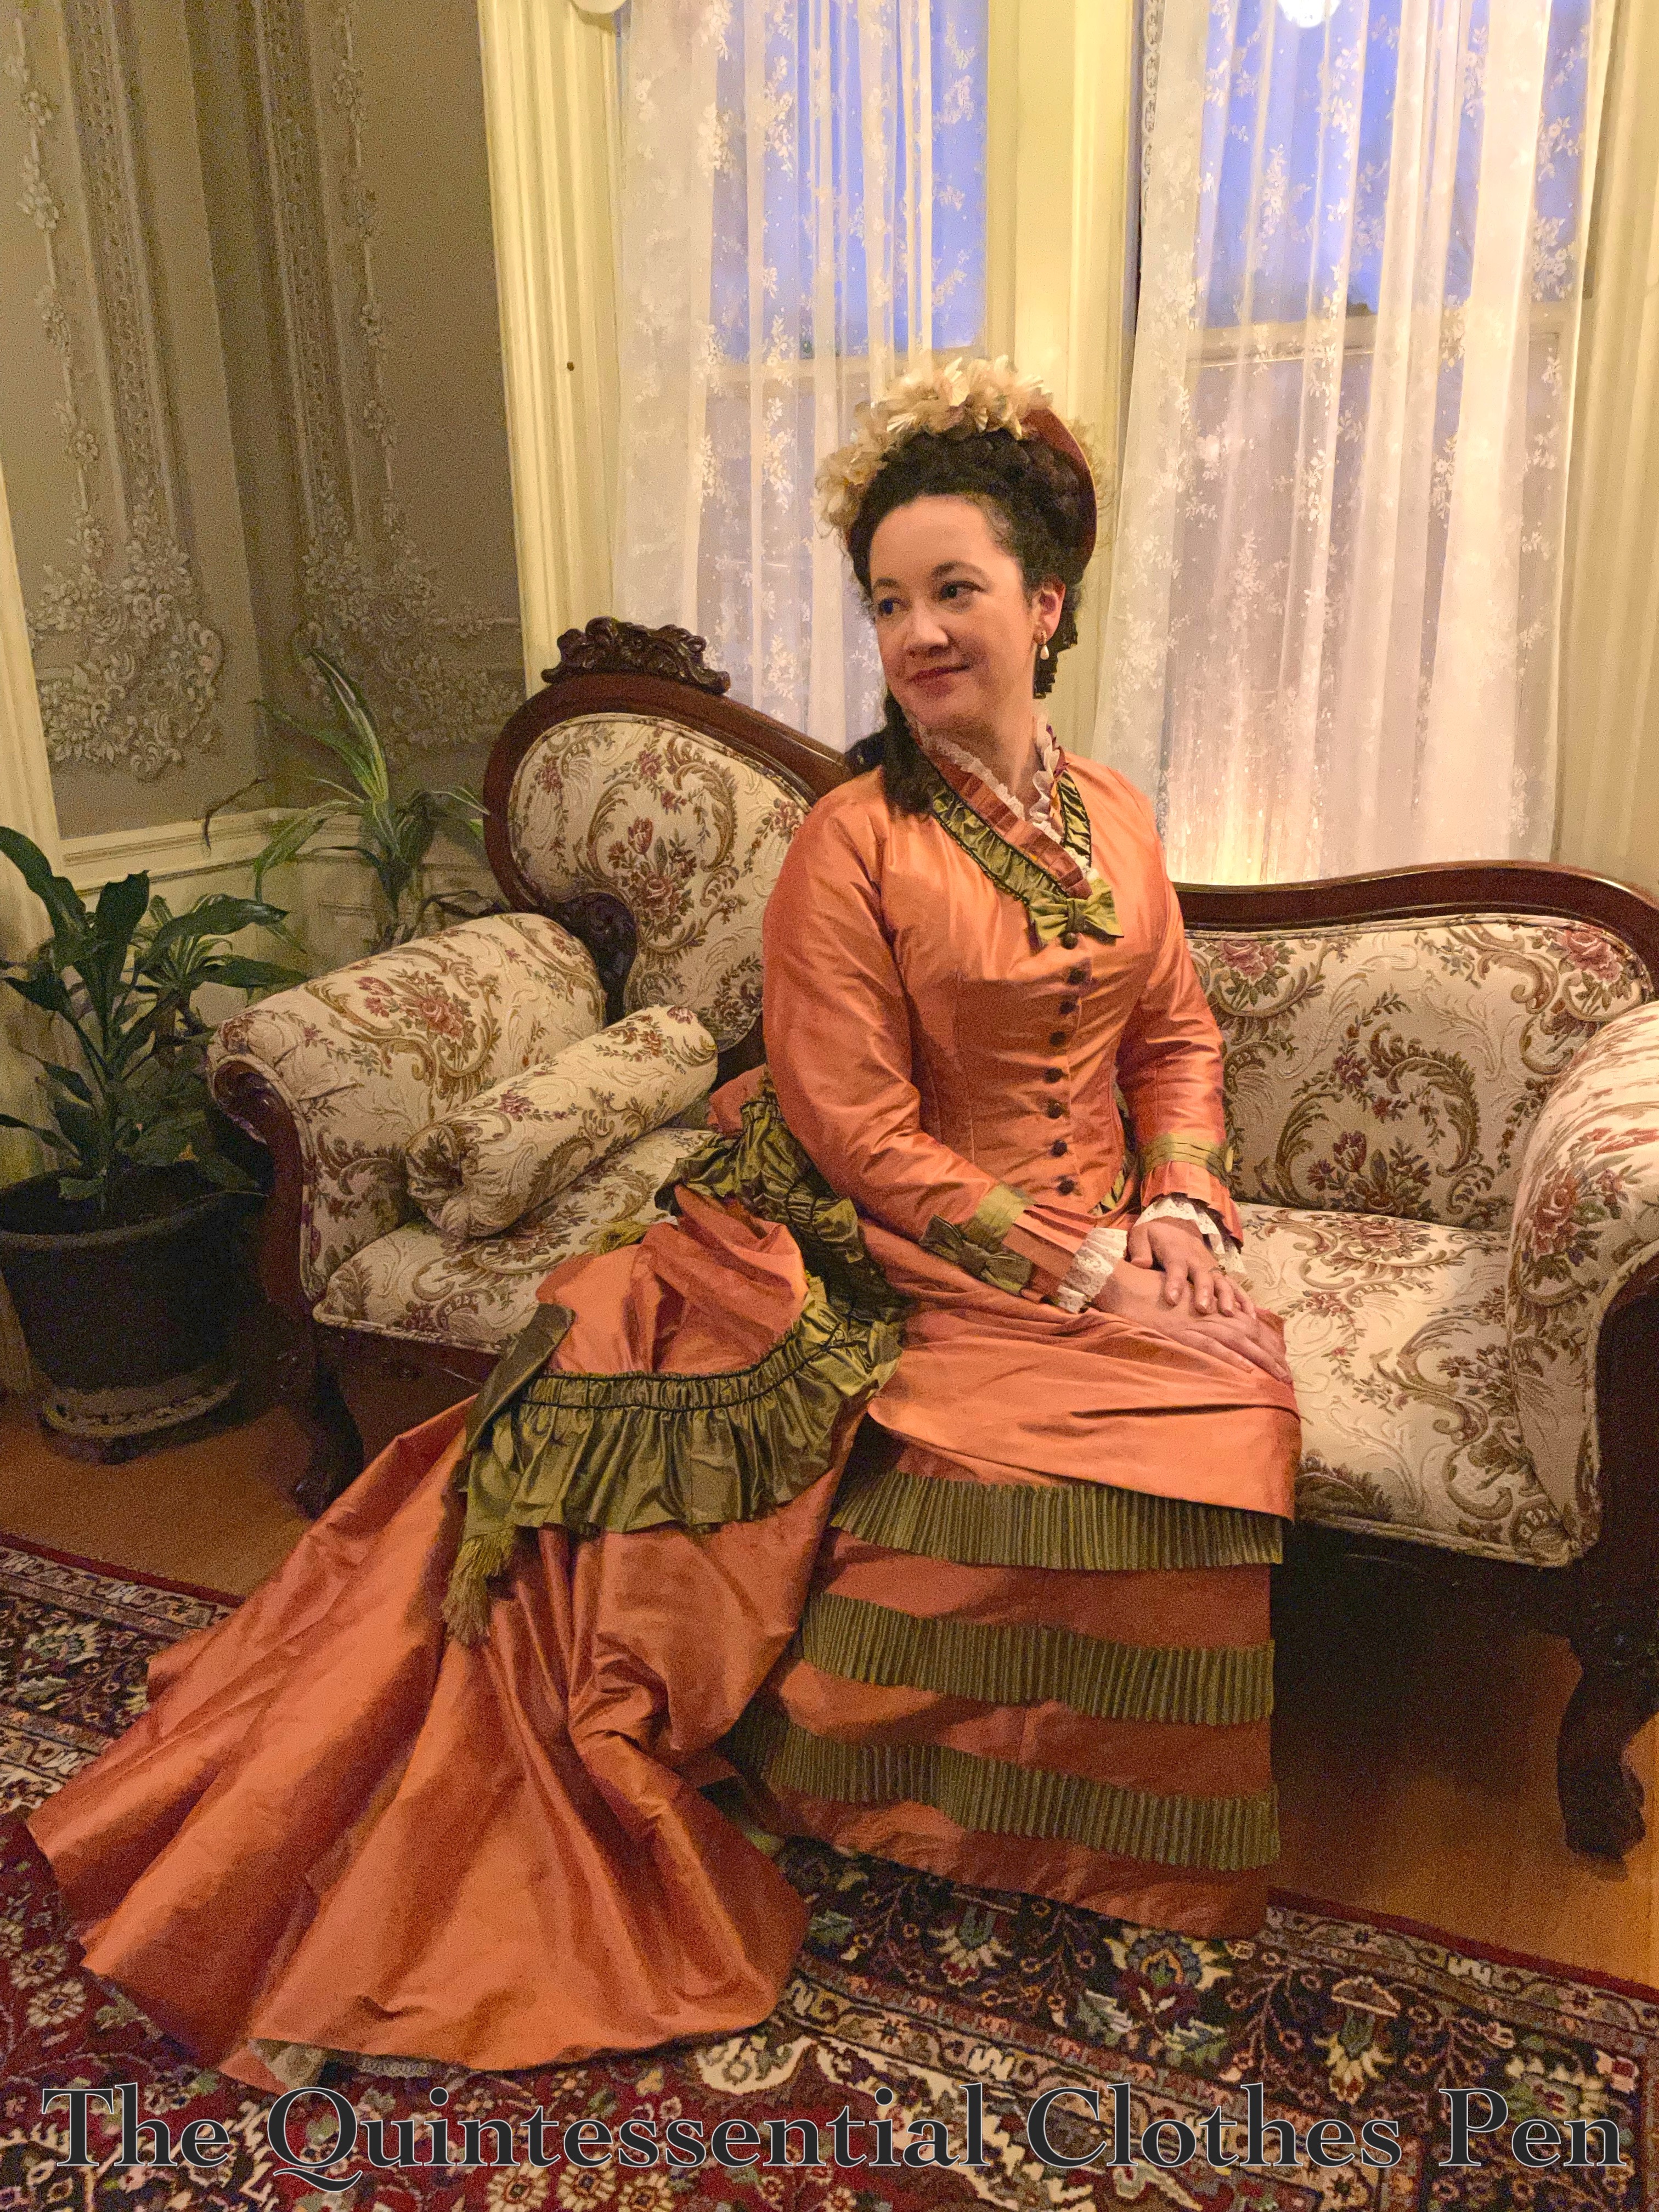
But last year, I had the opportunity to actually wear this dress for an activity! And I was able to convince friends to take oodles of photos so I could better document the dress in appropriate surroundings for its reception status. So now, I present many photos of this dress.

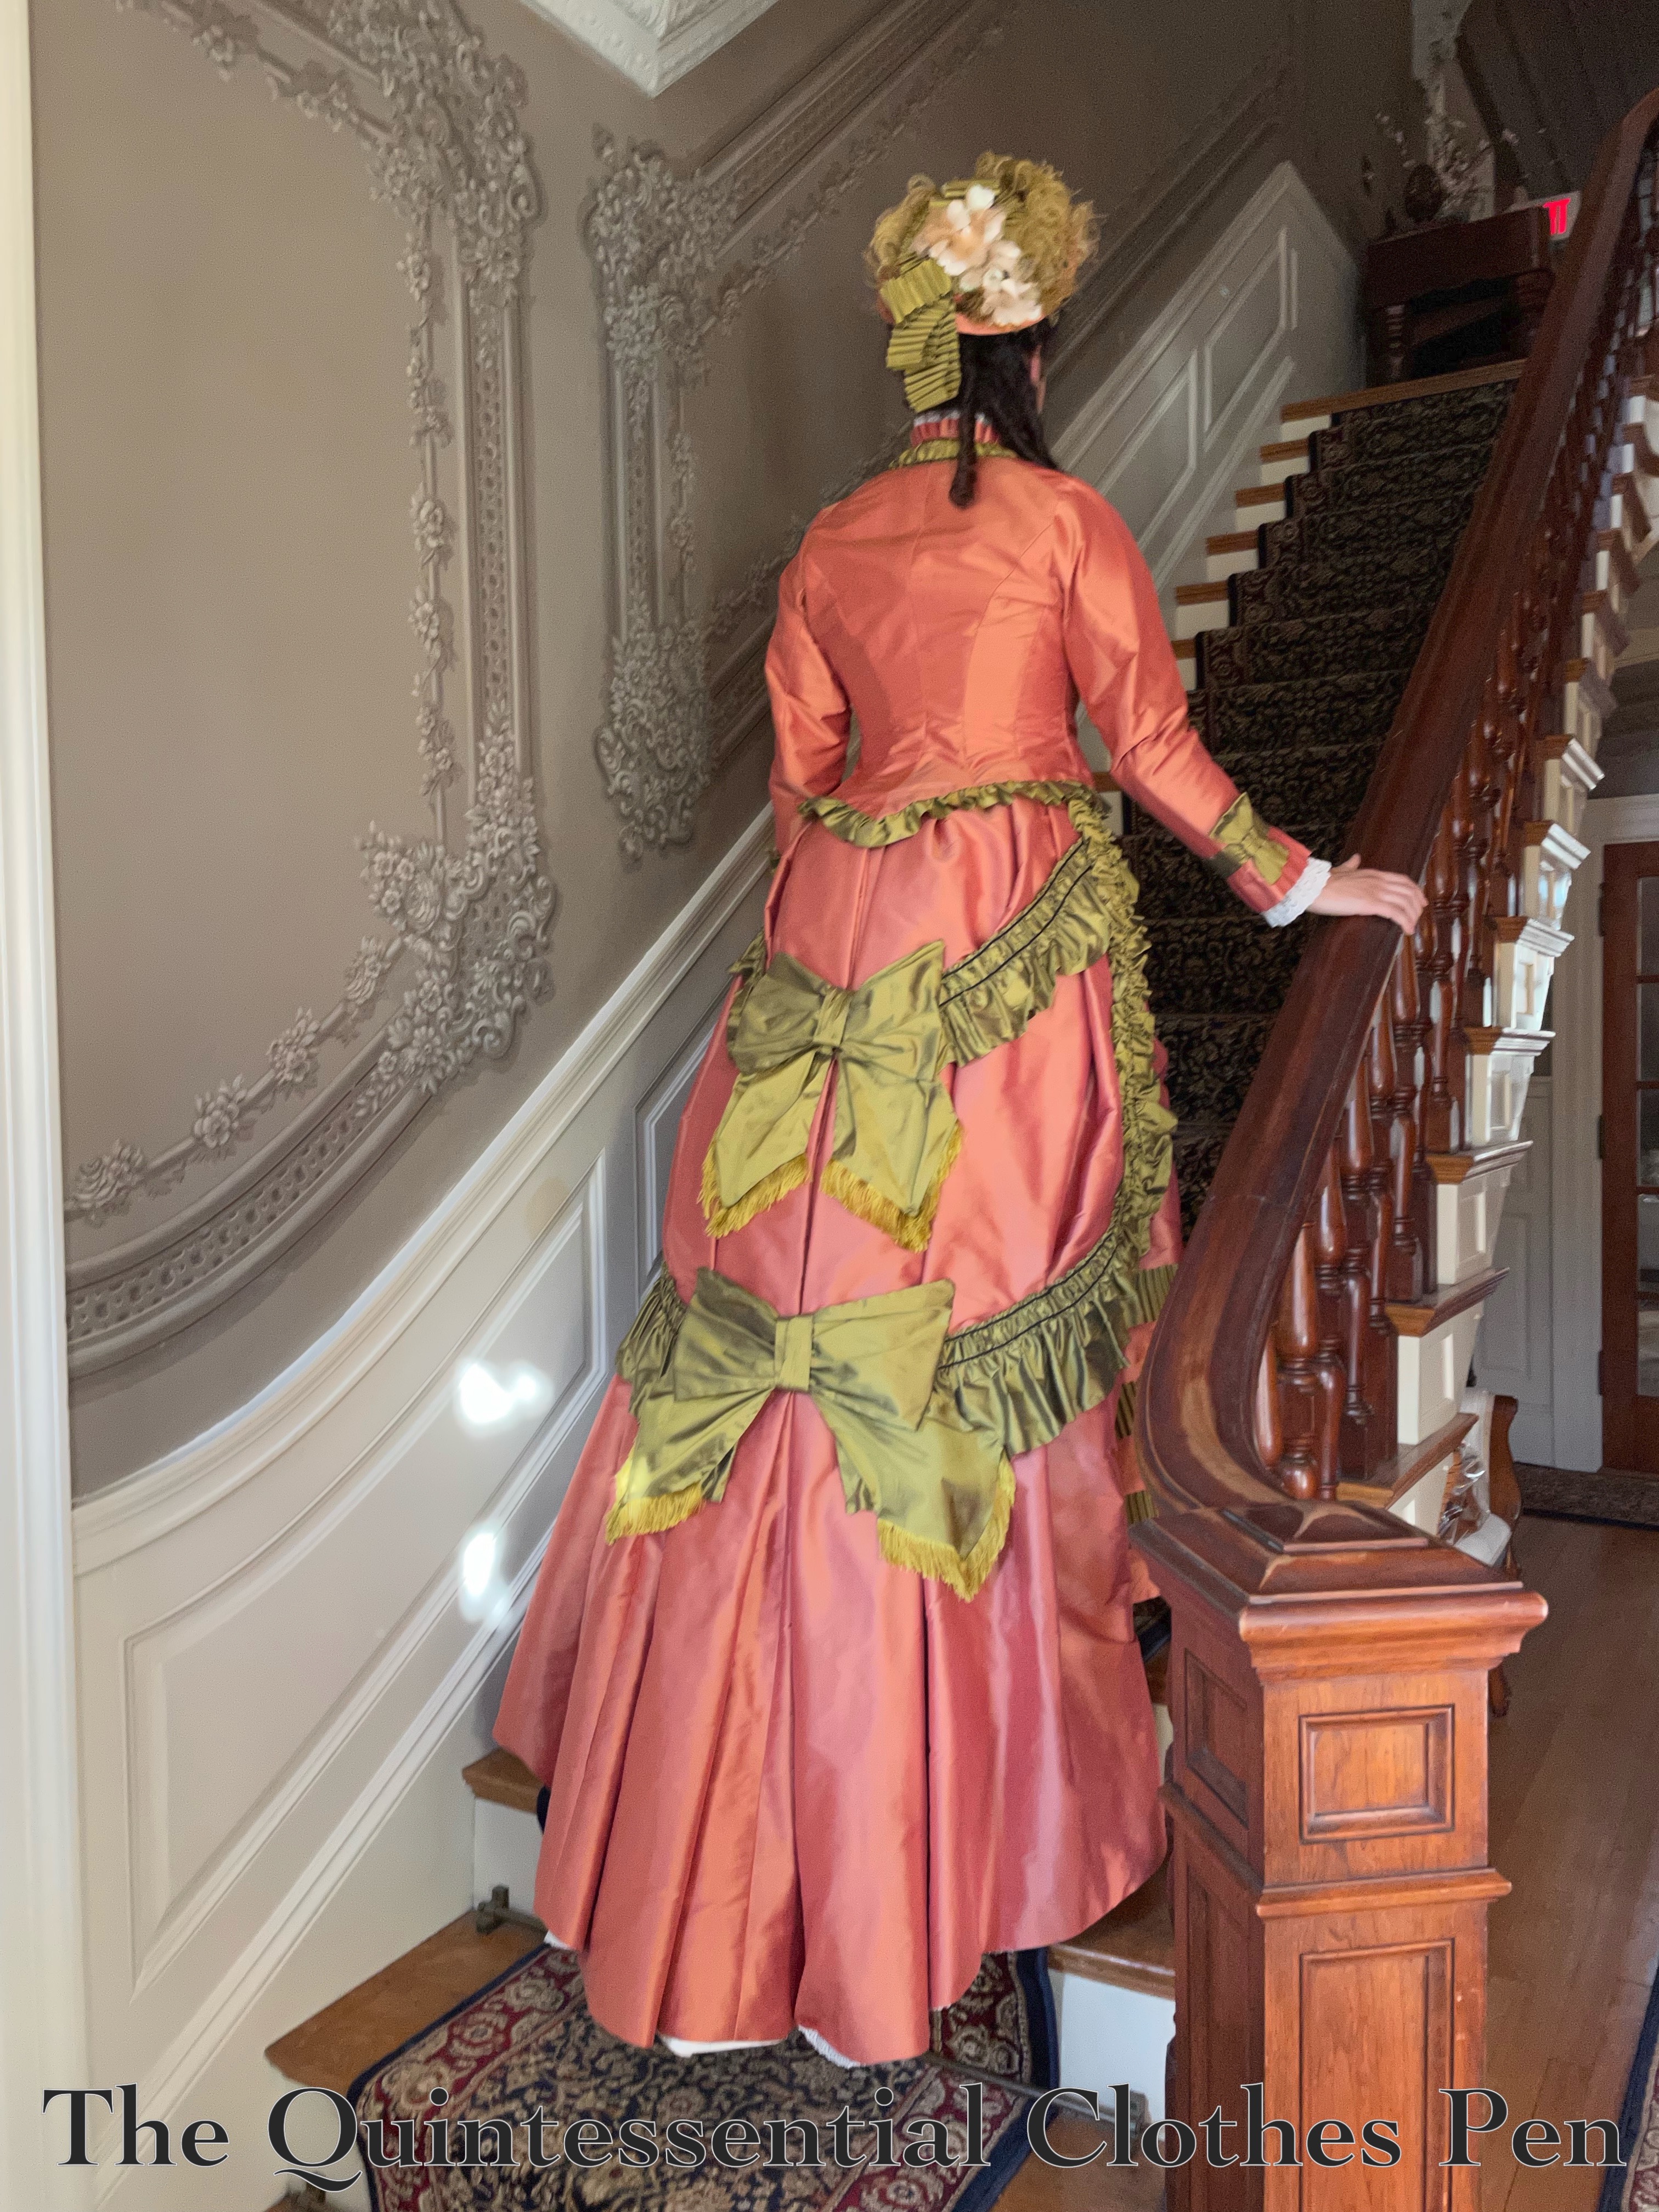
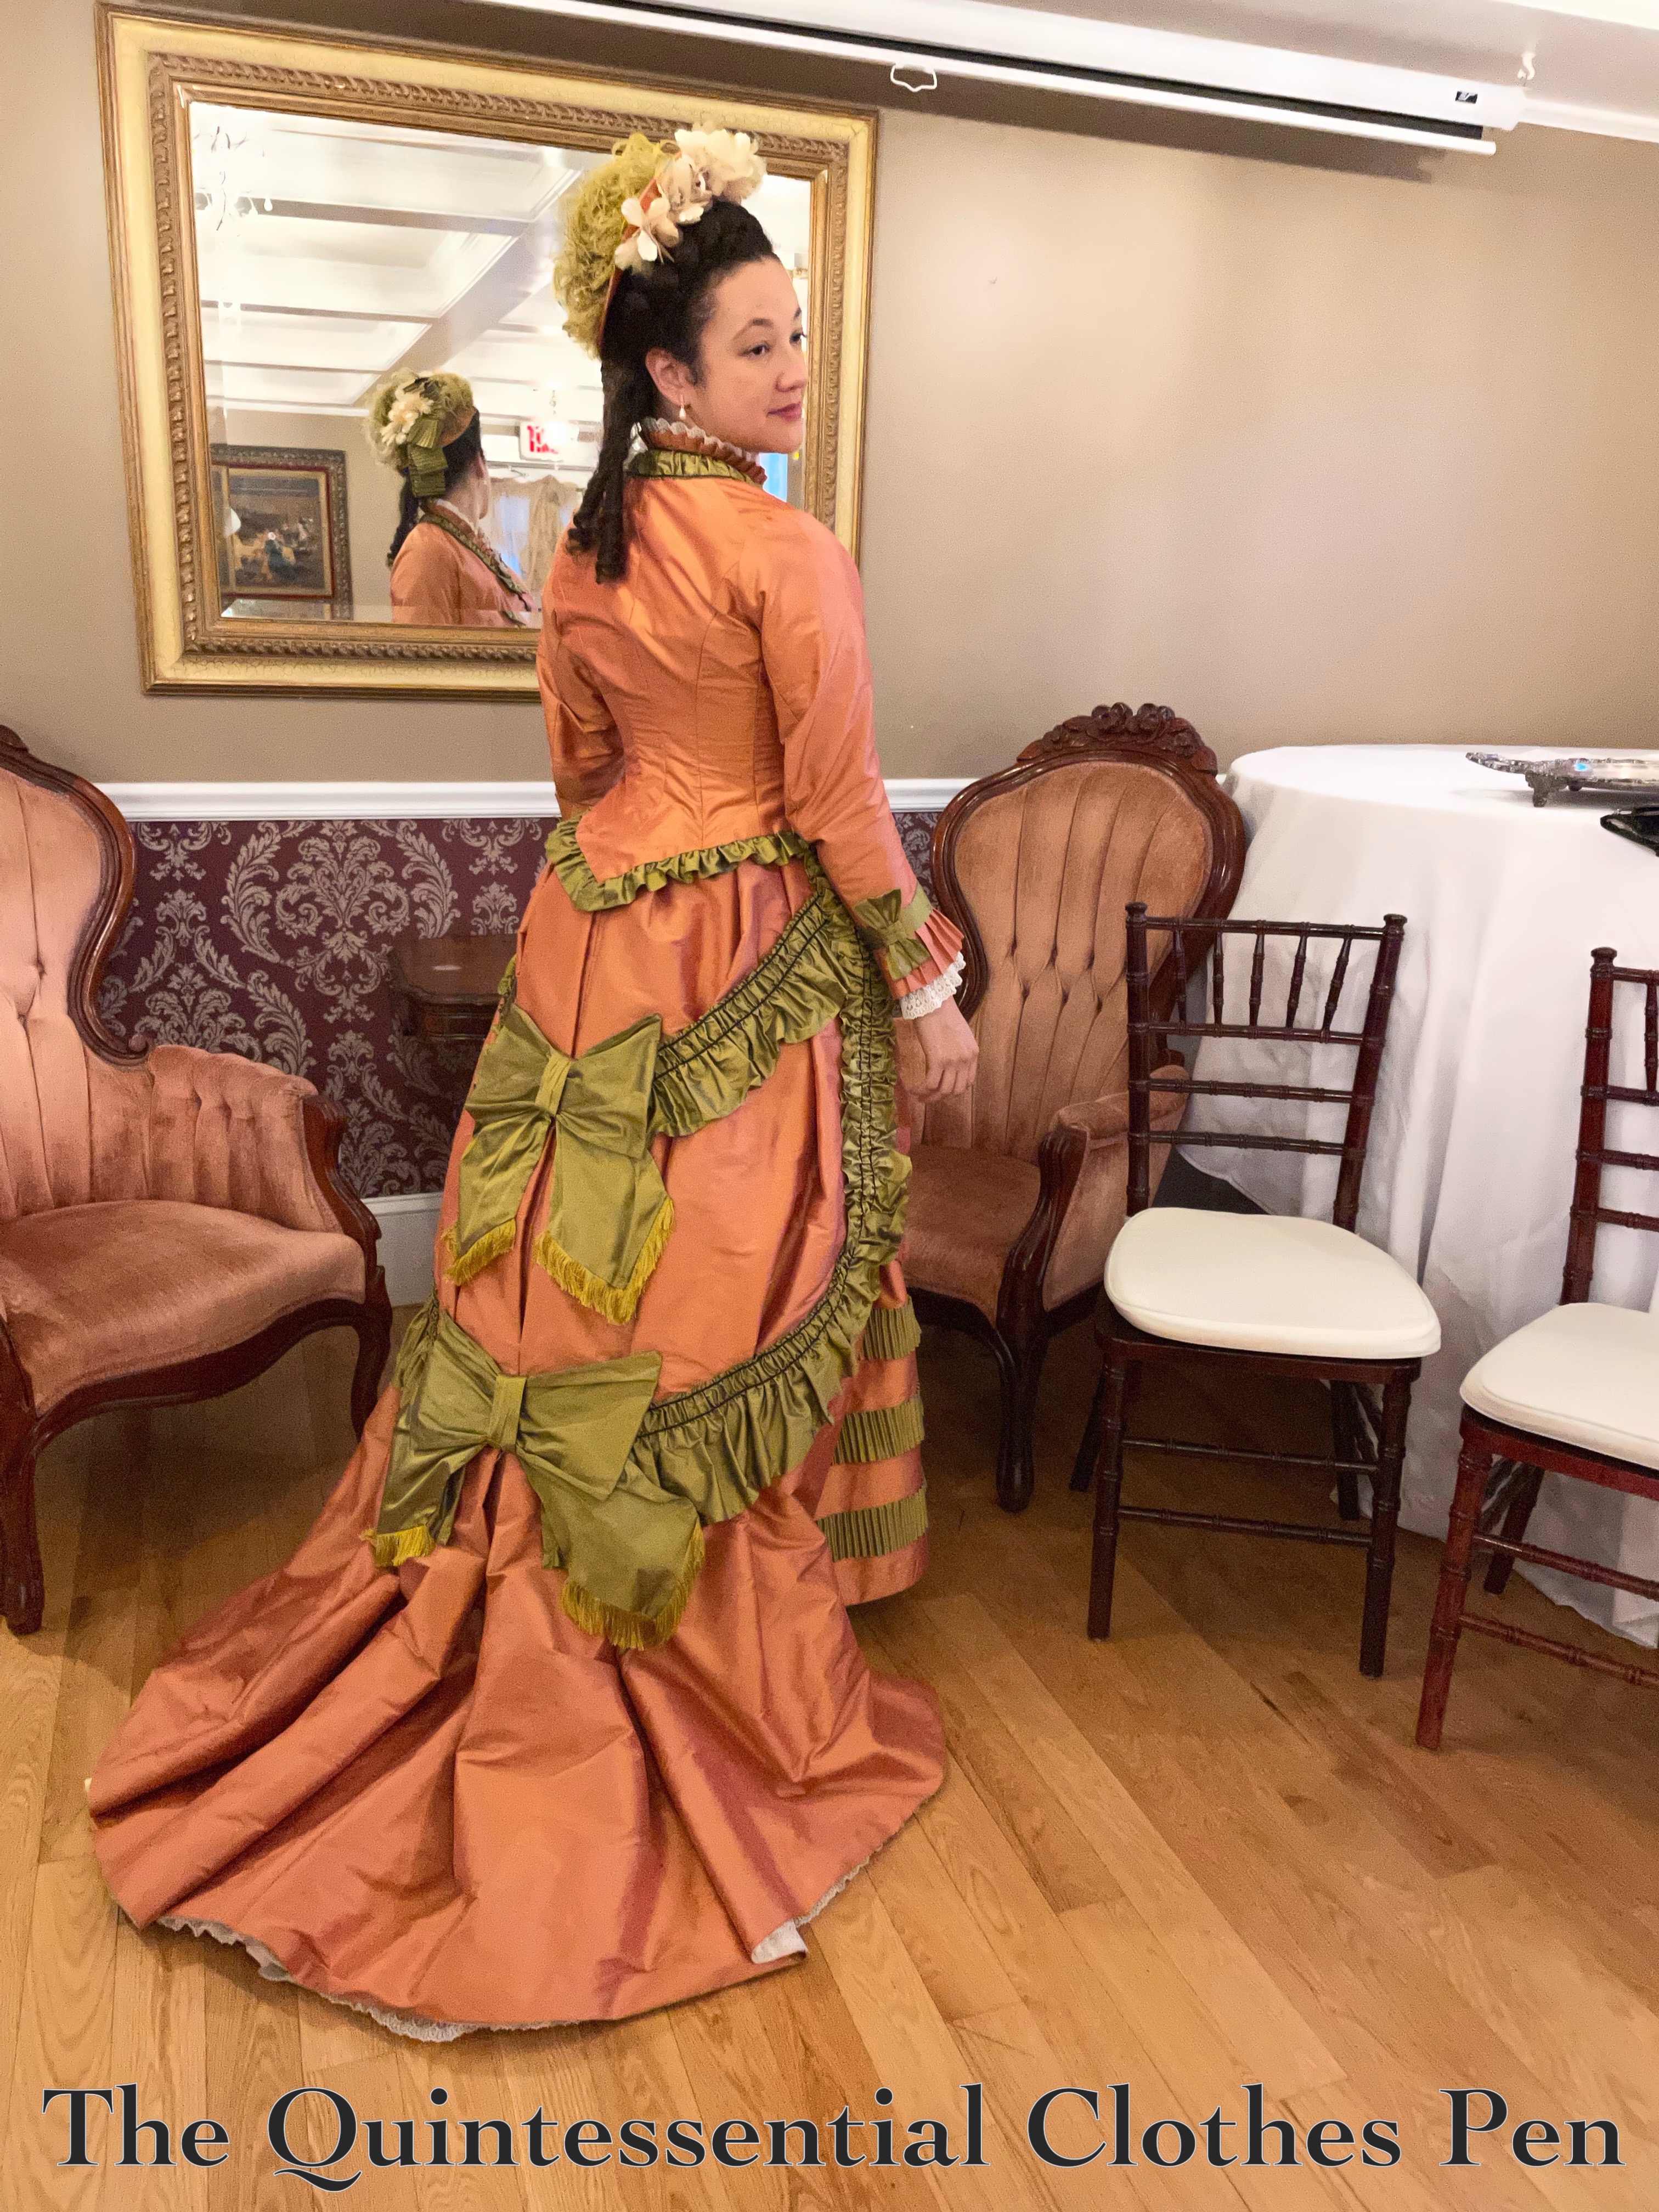
There are dramatic back views, of course.

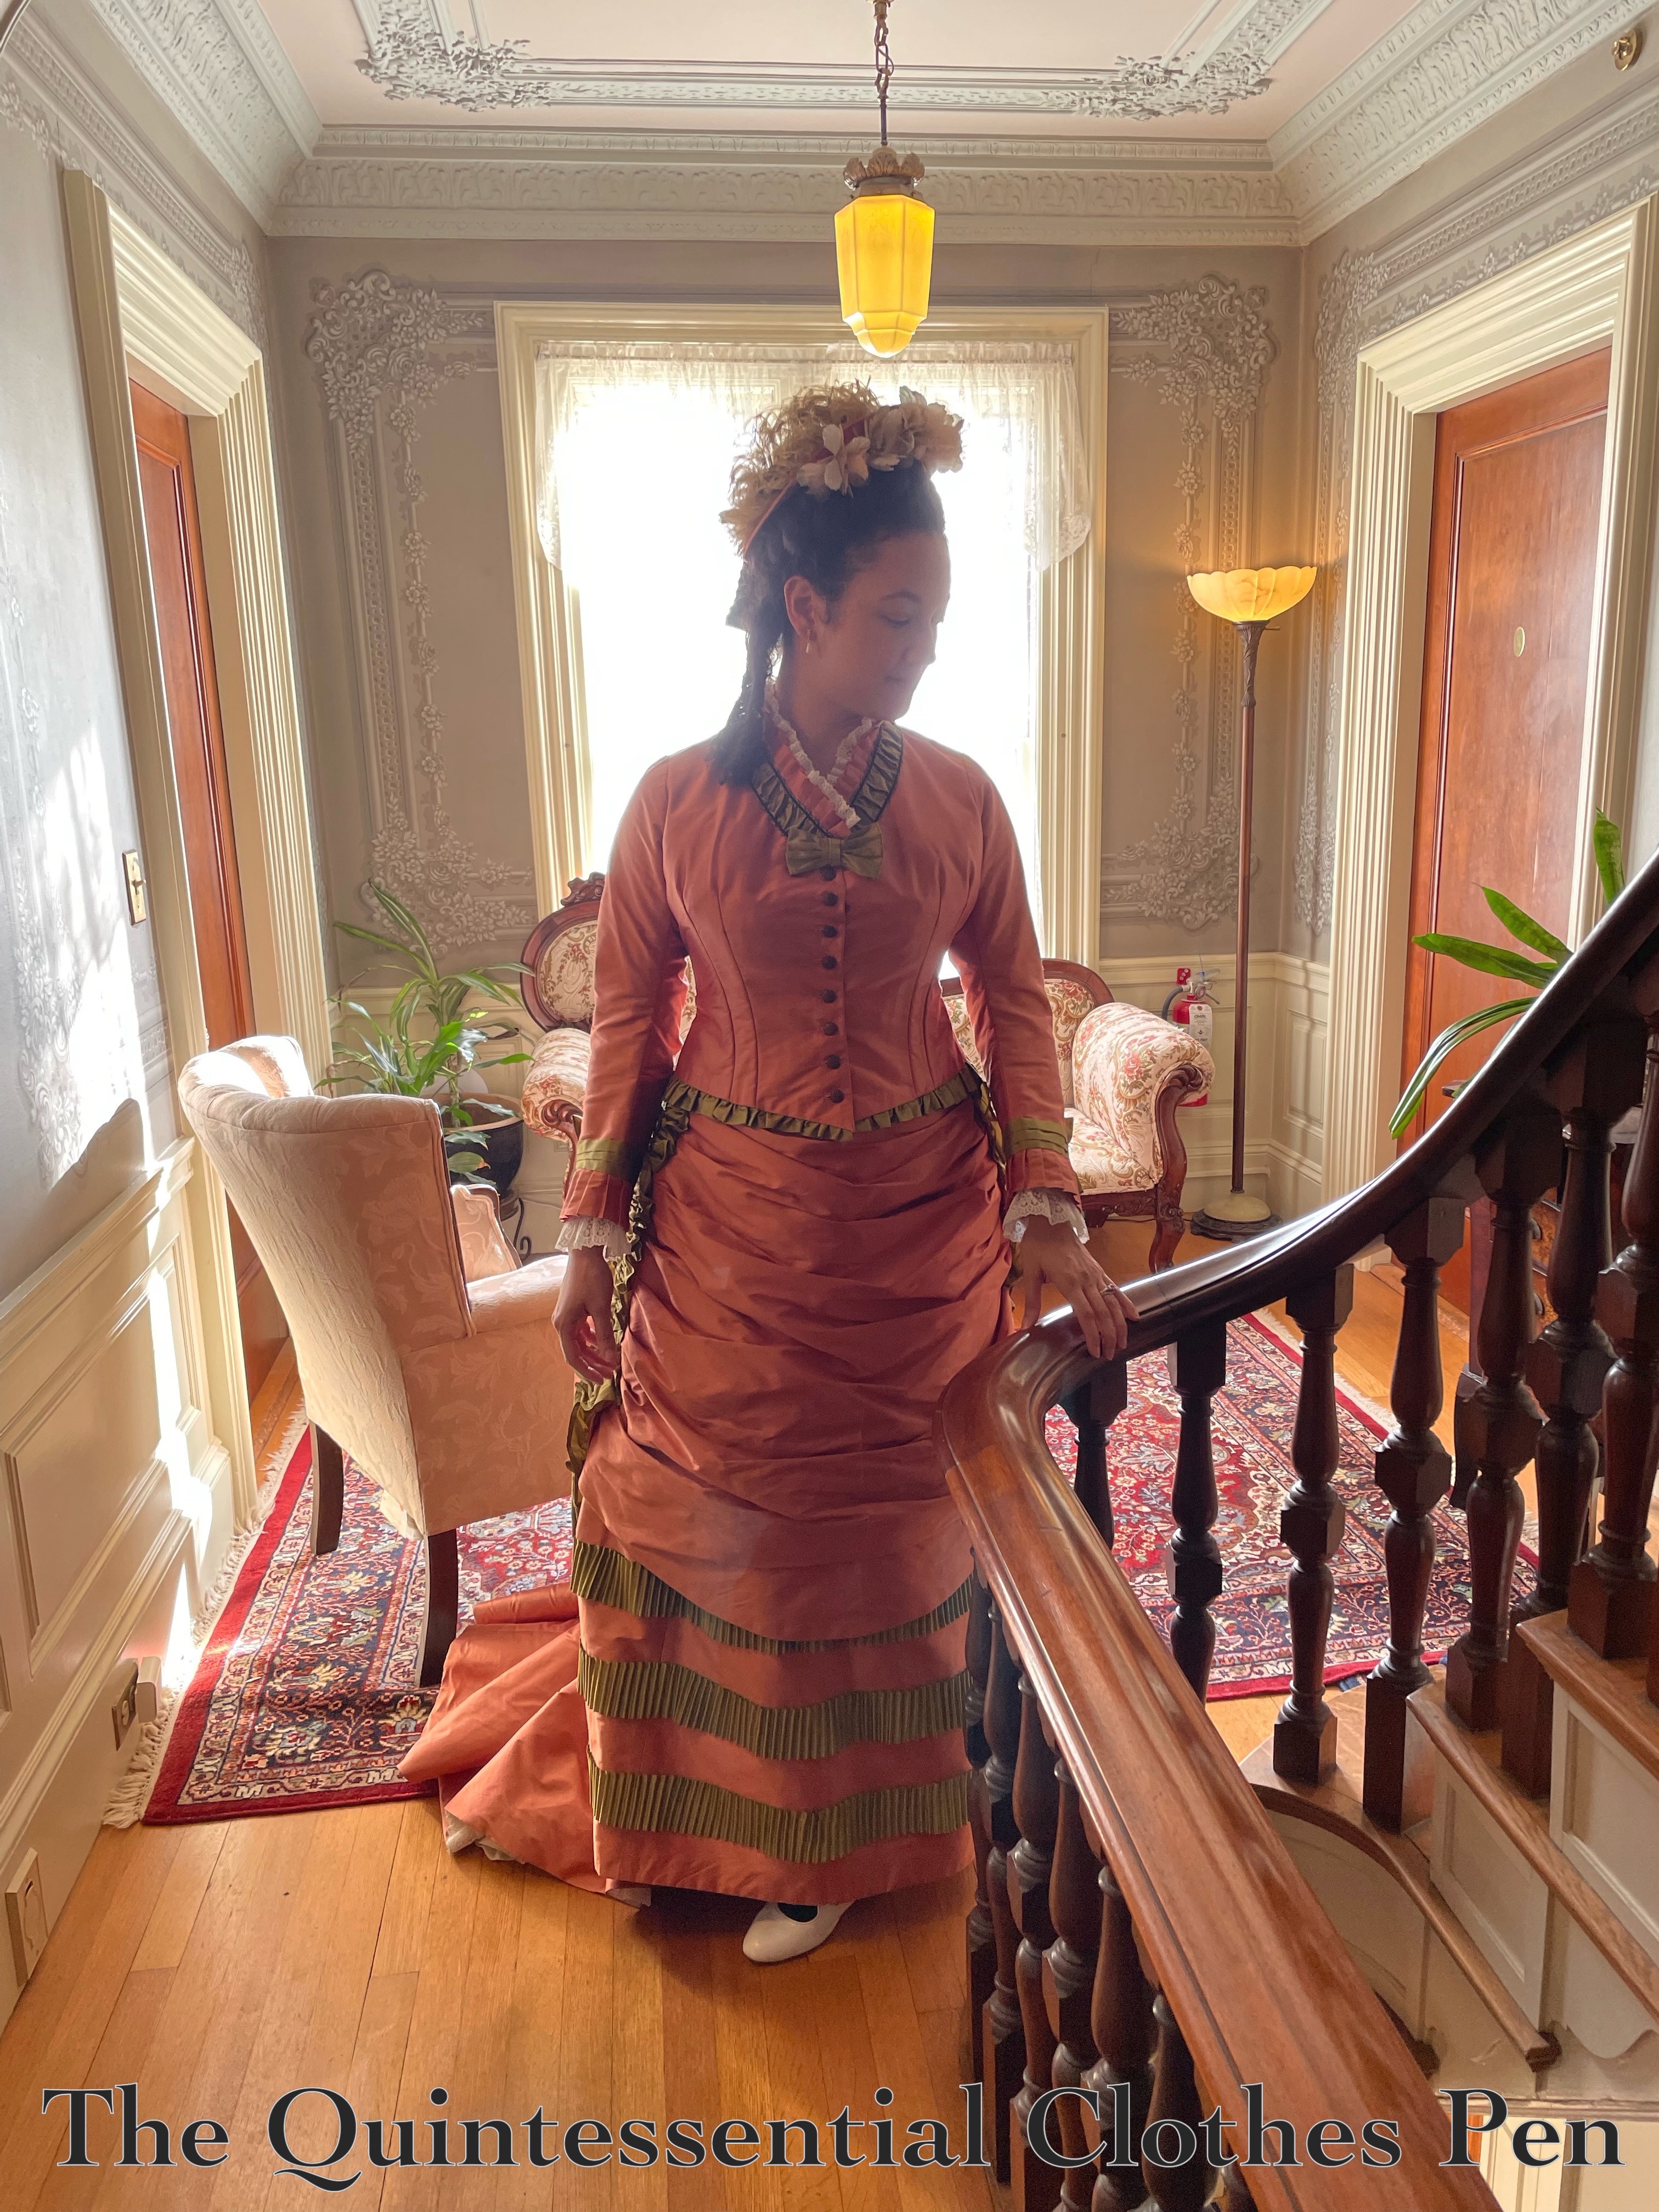
And front views showing the bust, waist, hip dimensions I worked very hard at in the patterning stages. This is created/augmented with padding. You can read more about that in this past post.

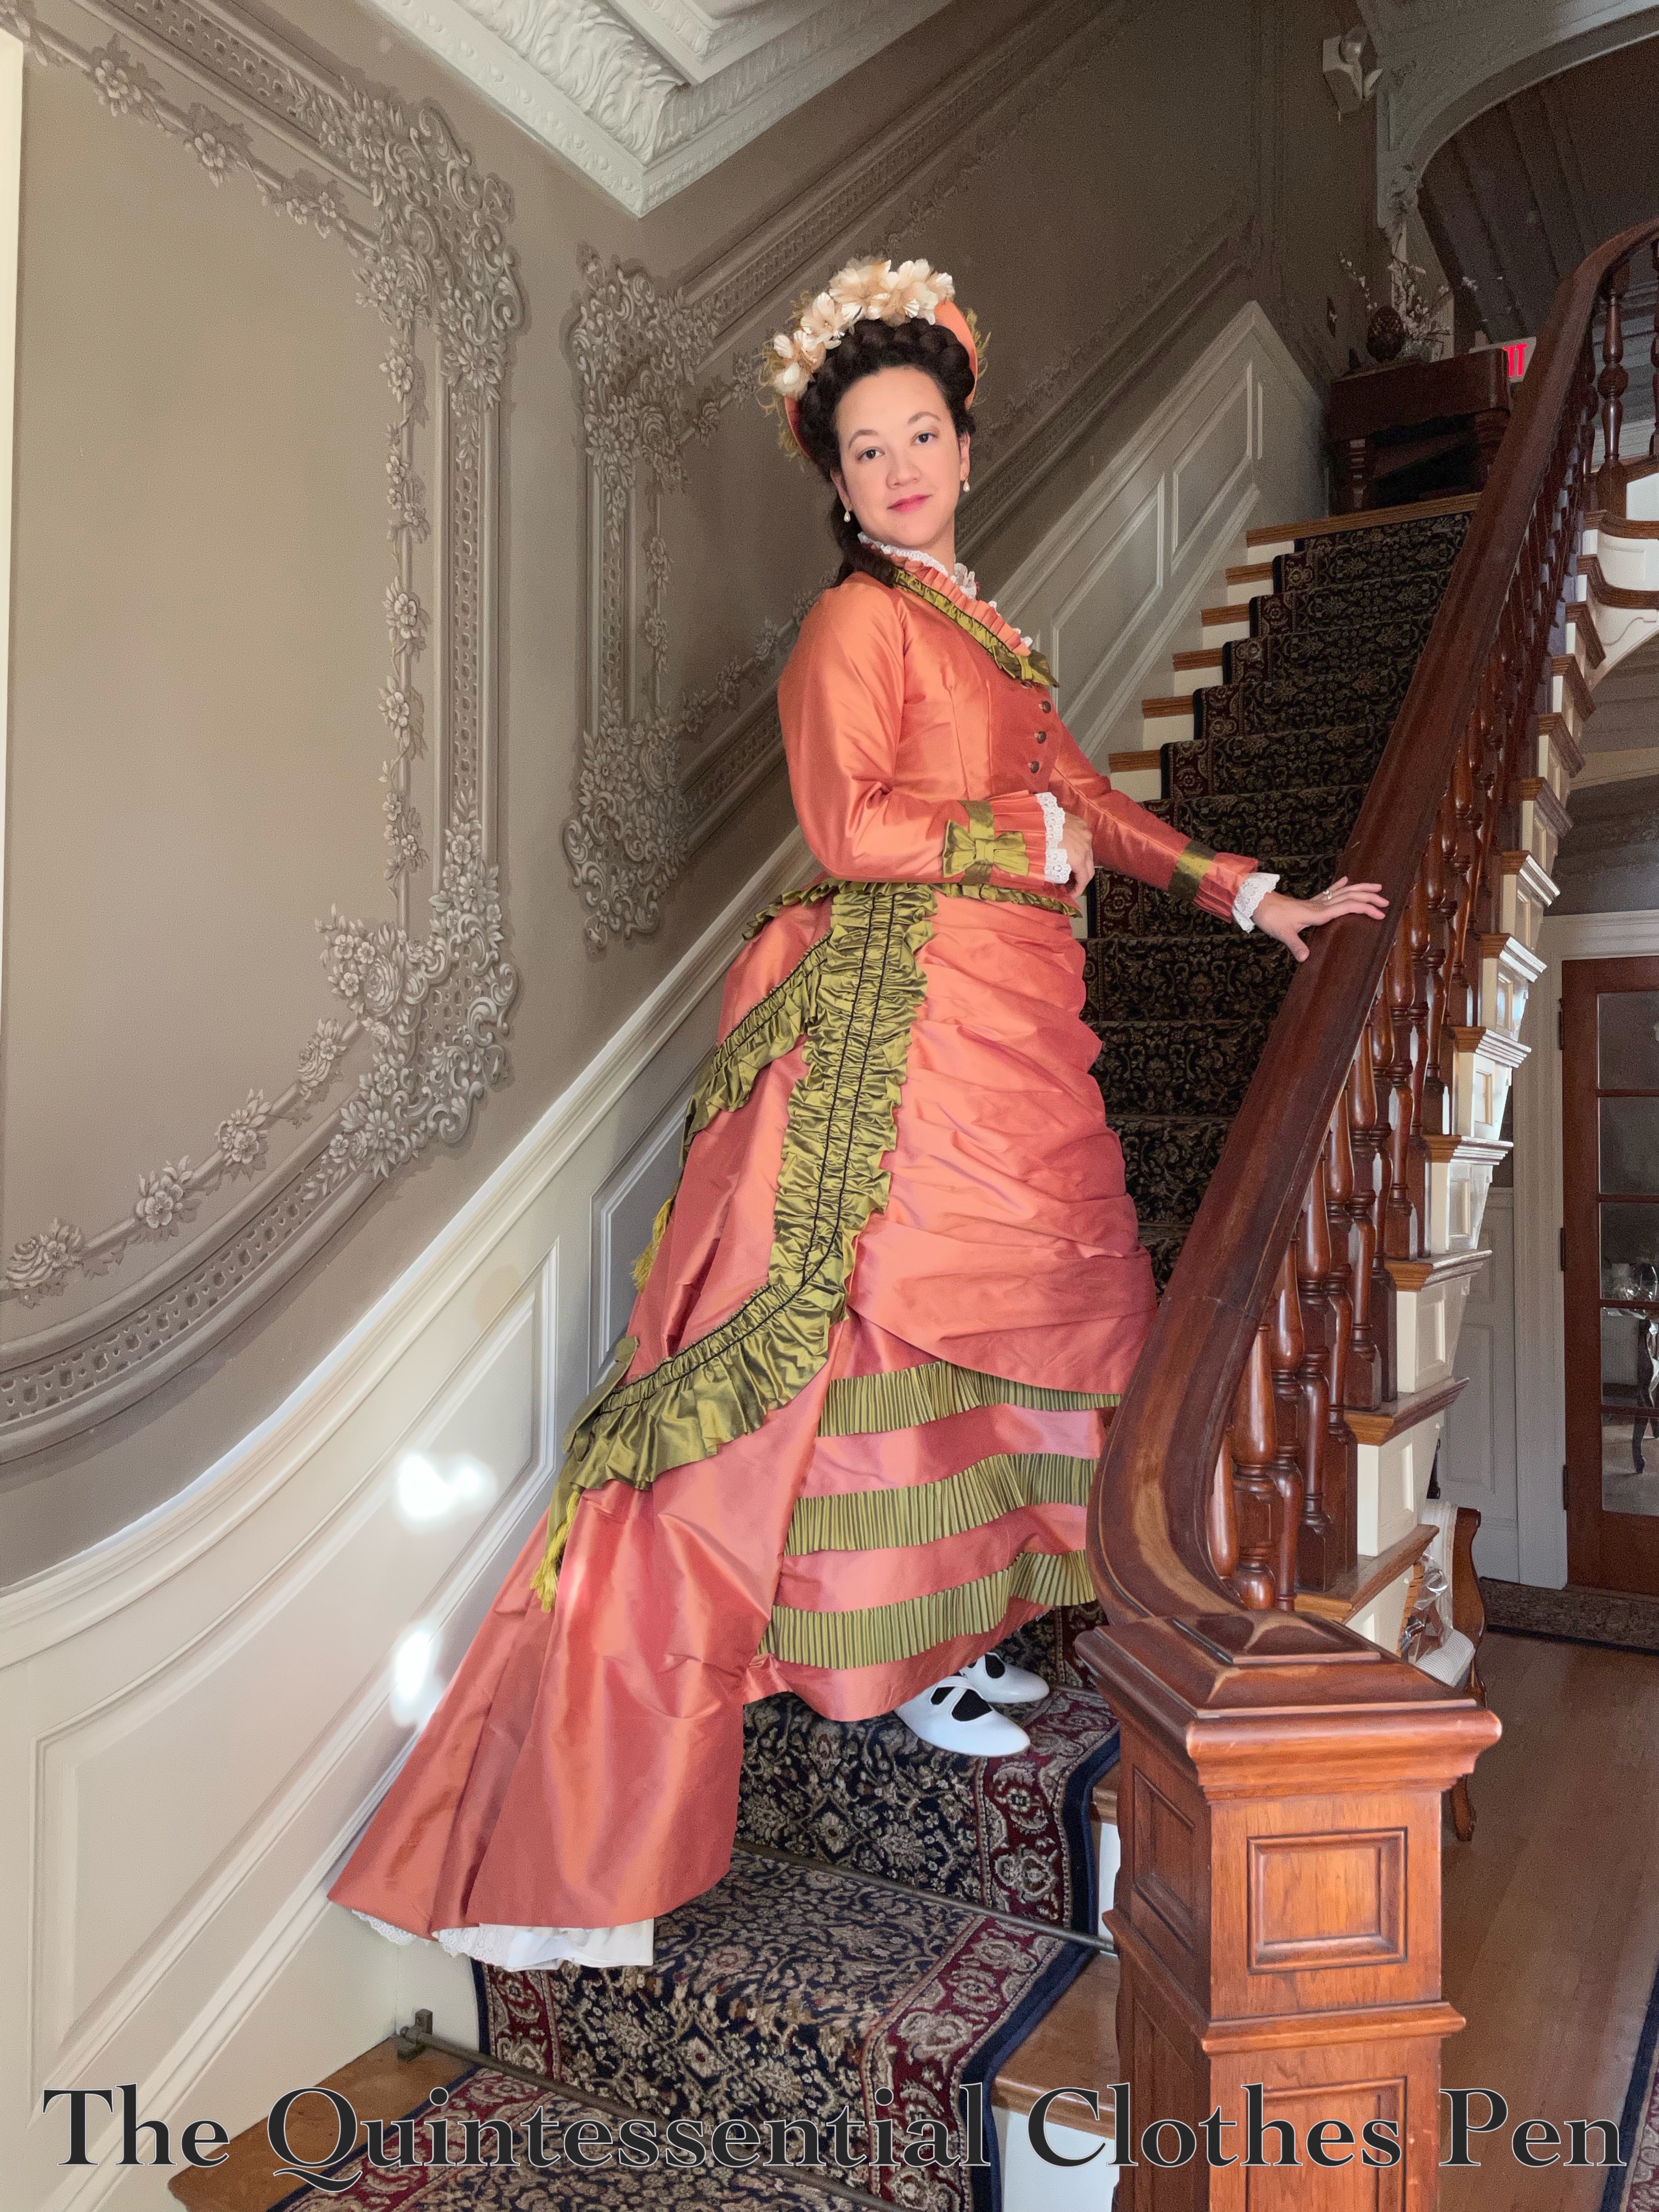
There are also views trying to show both the front and back. A side front view, if you will. This also captures the hat very well. I wrote a detailed post about making it, which you can read here.

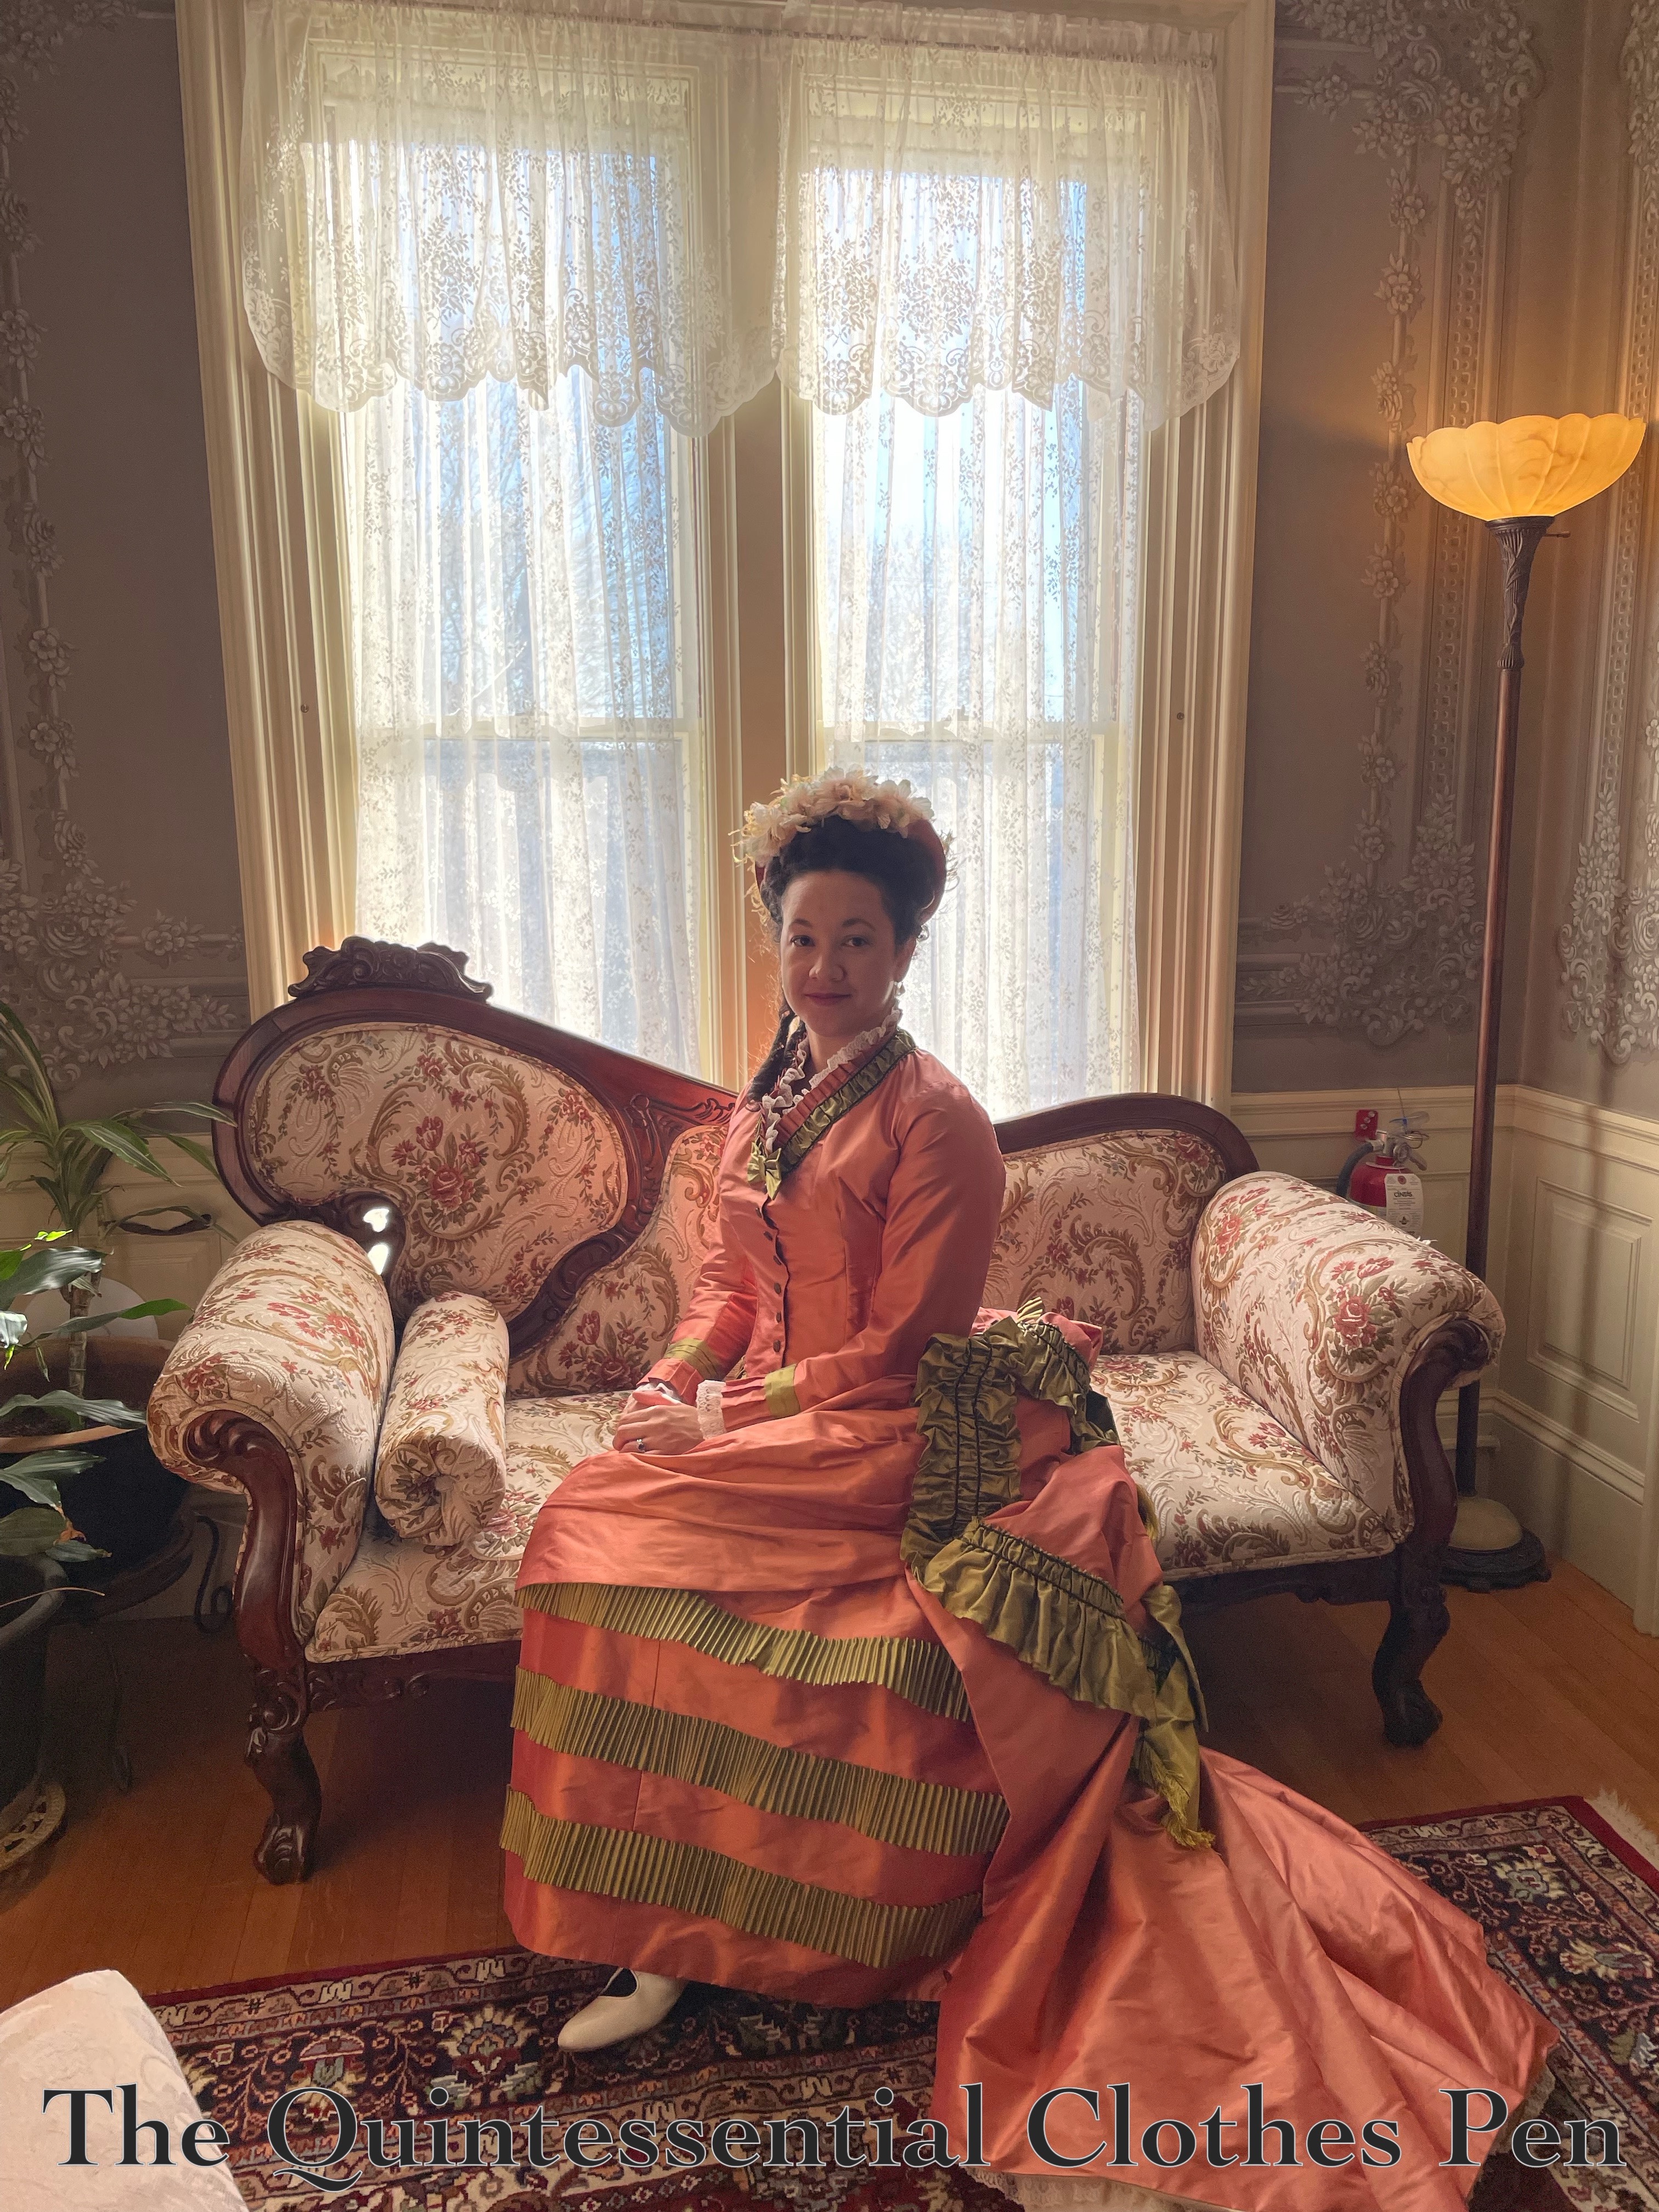
And a few more sitting photos, as well. These are great for showing off the train and the layers that support it (this is my past post about constructing the skirt and this is about the balayeuse that supports the skirt, if you’d like to know more).

It was hard to choose favorites! I’m very pleased to have so many photos that capture the glory of this dress in an appropriate location.

Gilded Age Weekend Portraits

As I shared in my last post, friends and I planned a historical weekend away that had a Gilded Age theme. Part of the idea was to document some of our older and recently made clothing in a fabulous setting. To that end, I have many photos of our outfits that I would like to share!

To start, some daytime outfits, worn for afternoon tea and amusements.

So much detail! Fabulous fabrics, beautiful trims, eye catching hats and hair ornaments… the list goes on and on!

And to follow that, a few of our evening outfits.

Thanks for appreciating and enjoying these with me!

Gilded Age Weekend Highlights

Last year, friends and I decided to treat ourselves to a historical weekend away. With a number of bustle (1870s and 1880s) and 1890s dresses languishing in our closets, the chosen theme was the Gilded Age. We planned a very busy weekend of parlour games, afternoon tea and amusements, informal dance practice, and a formal ball.

Regular blog readers already saw a hint of this event in my last post, When The Dress No Longer Fits (1896 Evening Gown), but I have a few more posts to share, as well. Today’s post captures some of the amusing highlights from the various weekend activities.

To start, a behind the scenes shot of partially completed hair for my 1875 dress (which you can see in the photo after the one below). The photo below also shows off My Favorite Winter Things Skirt! Yes, I continue to wear this during the winter. The penguins, polar bears, and foxes participating in winter activities–skiing, ice skating, sledding, etc–continues to bring me amusement and joy.

And here, a still of theatre-adjacent people trying to create an amusing atmosphere while not making absolutely ridiculous faces. It brings me such joy to have well dressed friends!

Friends who also enjoy creative pursuits, such as creating homemade tabletop croquet! Not only is this absolutely adorable, but it’s also playable!

Our afternoon amusements also included a stereoscope.

Here is another view of the lovely ensembles at the ball.

I wore my 1896 dress, as you can see in the photo below. This is a classic for us. Moose pose!

And, to wrap it up, this is the bronze 1896 skirt after being stepped out of. The canvas is so stiff it literally stands up on its own, a fact which I’ve found to be amusing ever since I first made this over 10 years ago.

Thanks for joining me in the adventure!

There are more photos to come… a selection of outfit portraits and better-than-my-backyard documentation of my 1875 Reception Ensemble.

Plum Pants Photo Shoot

When I made my vintage-inspired Plum Pants With Pointed Pockets in 2020, I didn’t have a great opportunity to get photos of them right away. I made do with photos taken in my yard, with my phone balanced on my lawn mower in lieu of a tripod!

Since then, I’ve worn them relatively often in warm months for ‘real’ life and historical events. I thought I would intentionally wear them for the GBVS Newport Weekend in 2022 because of their comfortable nature but also in order to get pictures of them in fabulous places that have far more glamour than my backyard!

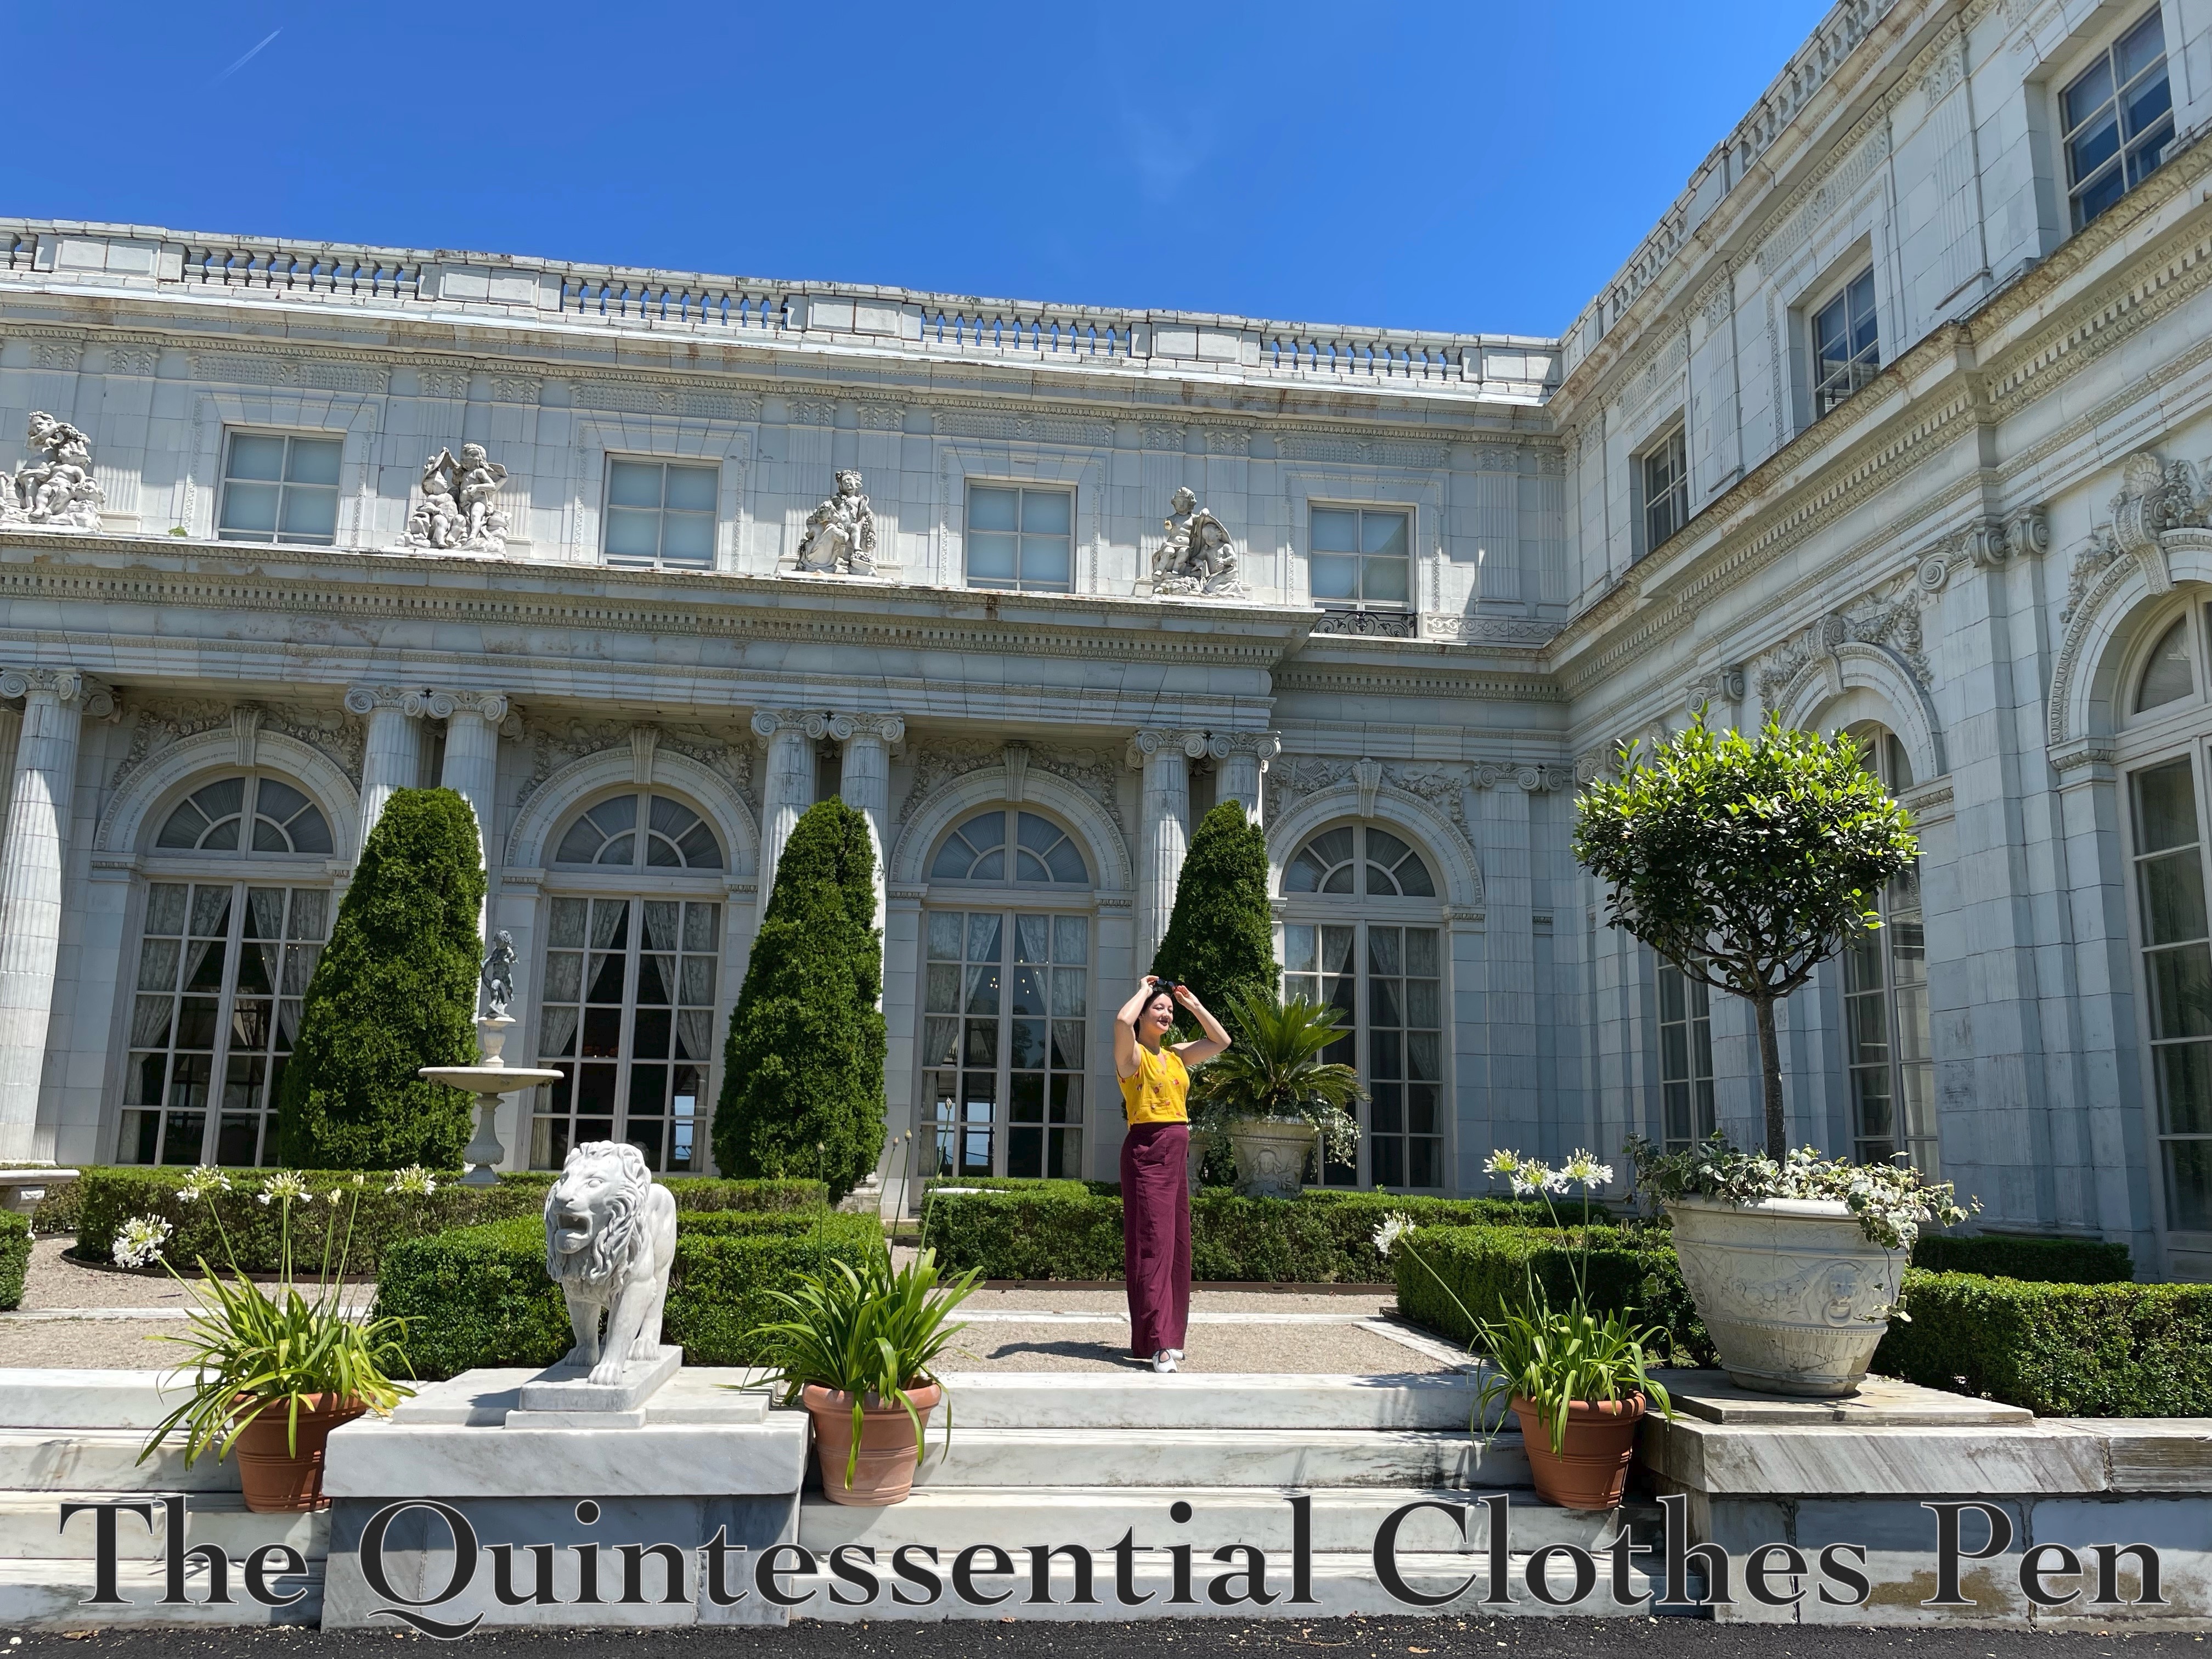
The opportunity presented itself on the grounds of Rosecliff. The grand windows and patio with the lion statue were too much not to pass up!

Accordingly, there is a whole serious of photos showing off the wide legs of pants in the bright summer sunlight.

I can’t decide which pose is my favorite! I do like the ones where the points of the pockets are in the sun rather than the shade, such that you can see them. But some of the photos with the points in the shade have such great attitude!

The side of Rosecliff is beautiful as well, in terms of architectural details and gardens. It was also a lovely place to get photos.

And a closer view with the sun highlighting the pocket points.

Thanks for enjoying this summer-y photo shoot with me!

GBVS Newport Weekend 2022, Part I (Overview)

It’s 2023 now, so that alone is an indication that is post is belated. It will seem even more belated when I share that this event happened in Summer of 2022. Better late than never, though, and I am actually quite excited to share my adventures at this event hosted by the Greater Boston Vintage Society.

To start, a short post sharing some outfits and a brief overview of the weekend’s events. The next post I’ll devote to Newport mansion tour highlights.

The Newport Weekend is a recurring event that takes place in Newport, Rhode Island. In 2022, participants could choose to attend for a single day or stay overnight in the dorms at Salve Regina University. I chose to stay overnight, which allowed for a lengthier stay and therefore more adventures.

On Saturday, I wore my 1925 Blue Coral Dress, a tried and true favorite for hot summer days. Being made of opaque lightweight cotton that doesn’t show wrinkles, it’s an excellent choice for lounging, picnicking, dancing, and being swept about in the occasional breeze. With this dress I wore my Royal Vintage/American Duchess Ginger shoes and 1920s Wide Brim Hat. It’s been awhile since I wore any of these things and the hat, in particular. The large brim is dramatic and enjoyable!

These photos were taken inside and outside the Fairlawn Estate at Salve Regina, which was built in 1852-1853. You can read more about it at the Salve Regina Library site, here.

After various hijinks and shenanigans during the day, I changed into my 1950 Baroness Dress for the evening ball, which I accessorized with sparkly silver jewelry and my silver American Duchess Seabury shoes. I love the dramatic color and massive bow feature on this dress! It was fun to get it out of the closet and wear it again!

Sunday had a bit of picnicking as well as Newport mansion tours. It’s been years since I toured The Breakers, pictured below, so that was fun to do again. The immense expense of Newport ‘cottages’ is jaw dropping, every time. I also chose to visit some of the other mansions that I haven’t visited before. I’ll share photos of those in a separate post.

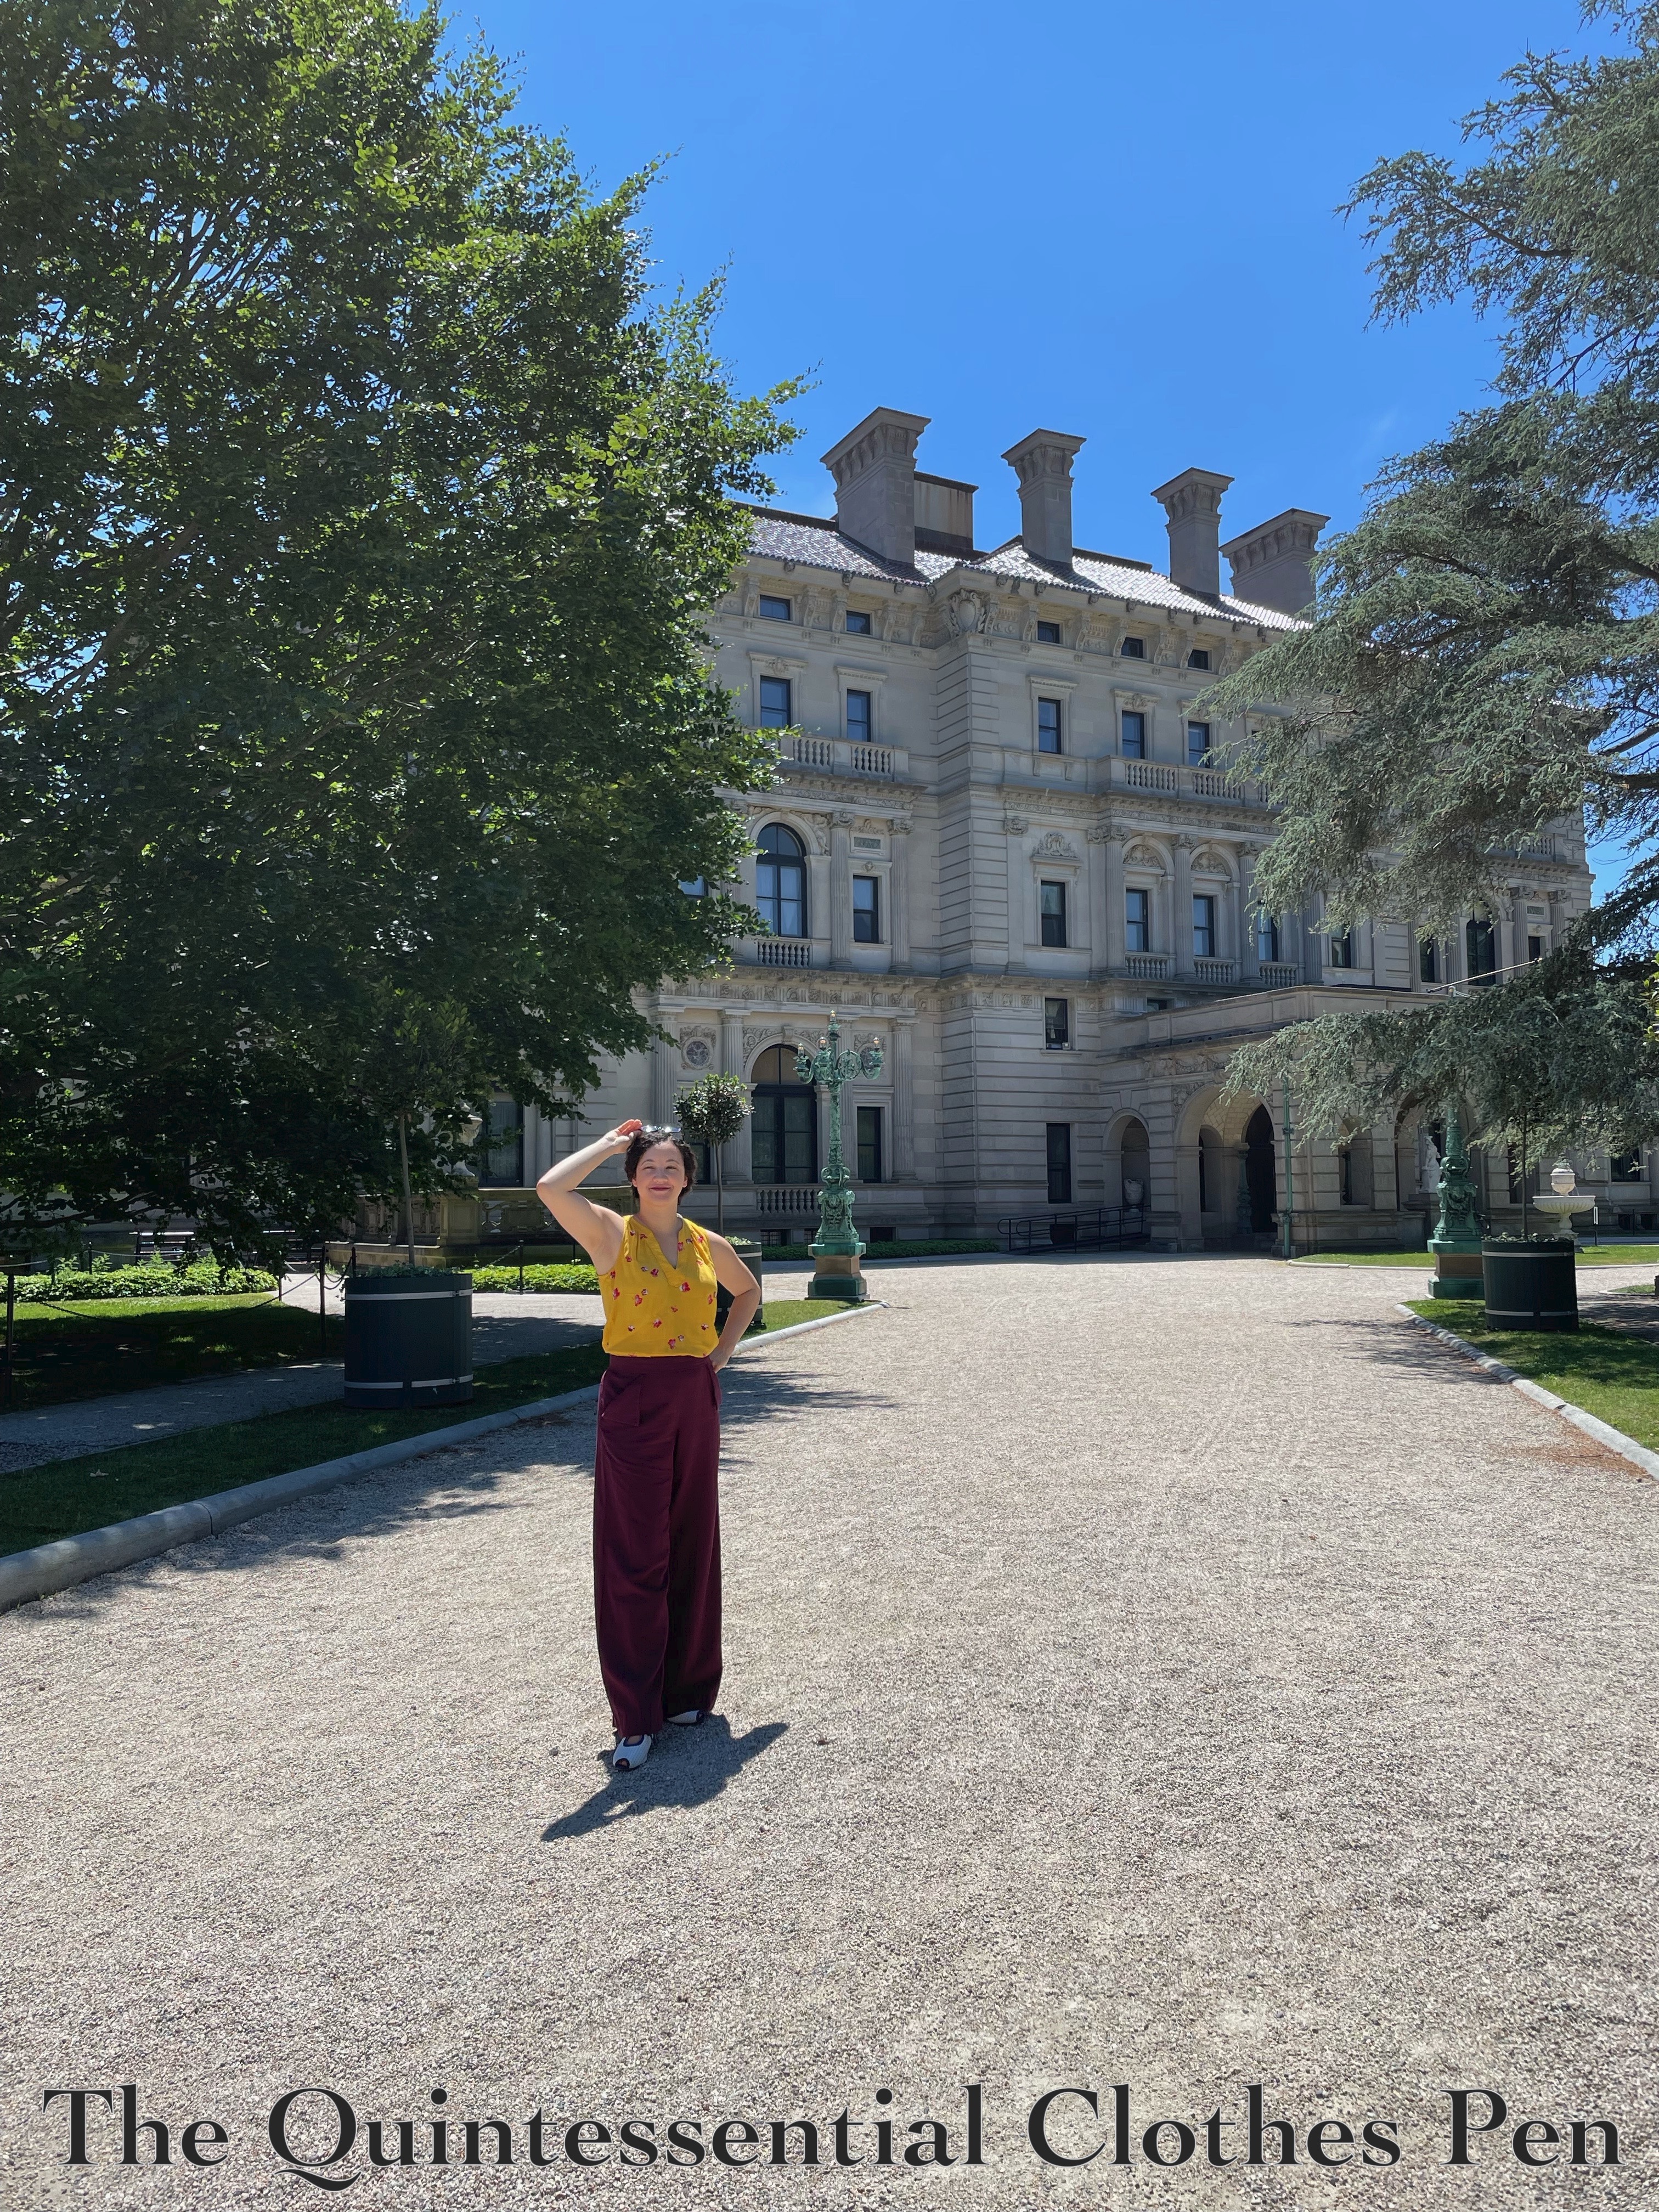
For now,  here’s an outfit photo as though I’m ‘visiting’ The Breakers. I wore my 1930s vintage-inspired Plum Pants with Pointed Pockets, paired with a modern blouse and my Gingers, again. I’ll admit that it was a lot of walking for heels, even comfortable ones… but, they go so well with my outfit that I couldn’t resist!

And that was the weekend! It was fun to see old friends, meet new acquaintances, and make new memories with everyone. Plus, fabulous locations and historical clothes!

HSM #11: c. 1785 Green Linen Stays

I’m excited that the green stays in my most recent post qualify for the Historical Sew Monthly Challenge #11: Fitting (Make something that focuses on fit).

If you read my lengthy post about making these, you’ll hear all about how fit was both one of the reasons I started these and that I had a joyful time playing with fit as I created them.

I actually finished these on March 30 and I’m excited to post about them before 2022 ends so that they can officially qualify for the HSM this year!

Just the facts:

Fabric/Materials: ½ yd green linen (exterior), 1 yard heavy olive linen (inner layers), and ½ yd ivory linen/cotton blend (lining).

Pattern: My own, but using the drafting guide on page 155 of Patterns of Fashion 5.

Year: c. 1785.

Notions: Heavyweight ivory Guterman thread, regular weight tan Guterman thread, cotton covered polyester quilting thread, approximately 410″ of ⅜” wide zip ties (boning), 11 ½” heavy duty steel bone (busk), 2 ⅛ yard ¼”  linen twill tape (covering seams), and 4 yards ½” linen twill tape (binding).

How historically accurate is it?: 90%. The pattern and materials are good. The construction methods are a mix of modern and historical.

Hours to complete: It seems that I didn’t keep track. Maybe 32 hours?

First worn: Has not been worn yet, except to get photos for the blog.

Total cost: The fabrics came from the stash as leftovers from other projects or were gifted to me. I’d say the notions cost about $16 +  $15 for the linen twill tape. So, let’s say about $35, if we include thread.

There is a lengthy post sharing the story behind these stays, my musings about the journey to complete them, many photos of the construction process and the stays on the body, and written construction details that you can read here.

c. 1785 Green Linen Stays (Construction Details)

I made another pair of stays!

This pair is a reaction to many of the things that went wrong or that I didn’t like about The Stays of Fail (which I’ve posted a whole series about: the background, construction, and patterning, though the lessons learned post is still forthcoming) as well as a chance to try out ideas from Patterns of Fashion 5 and all of the information I’ve learned about stay-making over the last 10 years or so.

The Background Story

I made a pair of stays about 10 years ago, so I figured I had some experience… Such hubris! We can always learn more things.

The old pair is well documented in old blog posts, but I would like to point out that since I made those stays I’ve learned so much–about what fabrics to use, what the construction process should be, etc. I’ve also changed size in the last 10 years, so my old stays (which always had a gap, intentionally), now hardly reach around my sides. It’s no longer a gap, it’s a chasm!

I don’t wear 18th century clothing that often, so making these work has been fine… The last time I wore them was to Versailles in 2016. They’re still pretty comfortable, they just need a very long lace to bridge the chasm!

However, in the last few years I’ve developed grand plans to make 1780s and 1790s clothing and I wanted a better fitting support structure to go underneath. I thought I’d use the knowledge I’ve gained, along with the invaluable information in Patterns of Fashion 5 (only published recently in 2019), to make a new pair of stays. (If you want to know more about the book, I rave about its amazingness in more detail in this blog post.)

Contemplating My First Pair Of Stays

With the knowledge I’ve gained over the last 10 years, I suppose I would call the old stays ‘smooth covered’ stays that are fully boned with cane. I wanted to machine sew the channels but picked a lovely patterned silk for the exterior that I didn’t want machine channels on top of, so that’s where the smooth covered idea came from.

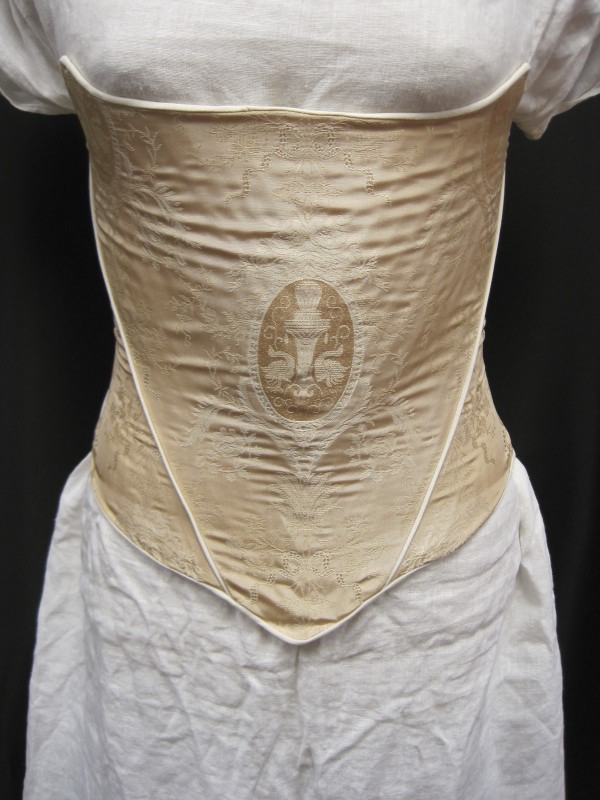
At the time I made the stays, I didn’t know what the purpose of the narrow tapes covering the seams was (now I know: it’s to cover what shows of the whip stitches used to attach the pieces together when the stays are hand sewn, as they would have been), so I inserted piping to approximate the look. It’s definitely not historical, but my best guess at the time. And, some of my piping isn’t long enough to extend into the binding… Below, a view of this old pair of stays (more photos in this past blog post).

Speaking of which, the binding is bias twill, which isn’t terrible, but is much more of a 19th century practice than an 18th century one (18th century stays seem to be most often bound in tapes or leather).

The one thing I did do well was create hand sewn eyelets for lacing, though they are set up for x lacing as opposed to spiral lacing (the latter being more common in the 18th century for the functional closure of stays).

Patterning The New Green Stays

For the new stays, I wanted to try the drafting method detailed in Patterns of Fashion 5 on page 155 as opposed to sizing up a gridded pattern and adjusting it to fit. The instructions are easy to follow, although determining exactly what height the measurements should be taken at takes practice, previous knowledge, and/or trial and error.

My measurements are: bust 40, waist 33. When I used those measurements, the pieces were a little large, so I adapted the pattern to use these measurements: bust 36, waist 30.

The other measurements I used to create the pattern were:
width of CB to armhole: 6″
width of CF to armhole: 9″ (maybe this was too big)
underarm to waist: 6″
CF top to waist: 6.5″
CF waist to bottom of peak: 5″
CB top to waist: 9.5″
CB waist to bottom of peak: 4″
CB top to top of side hip: 15.5″

I felt the patterning was quite successful! I was able to use my measurements and easily adapt the pattern to fit my back in a way that did not cause discomfort (as was the problem with the Stays of Fail early on in the process).

Constructing The New Green Stays

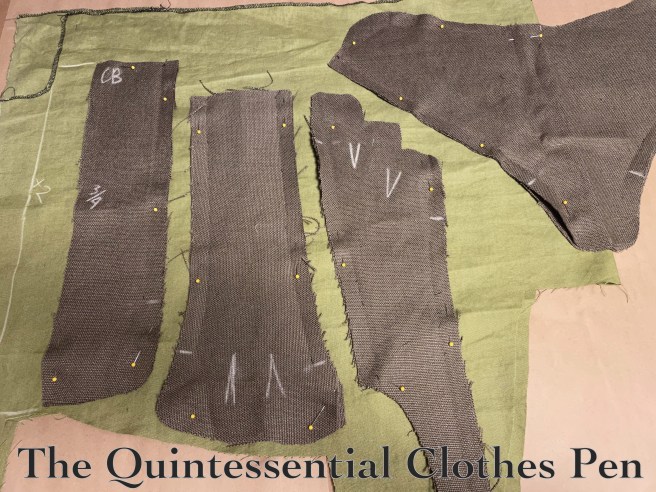
These stays have an exterior made from leftover avocado green linen from the stash. Additionally, there are two layers of heavyweight, coarse army green linen that make up the structure of the stays. This is also from the stash–it was gifted to me and is too heavy for most garments I make. The weight is great for supporting stays, though!

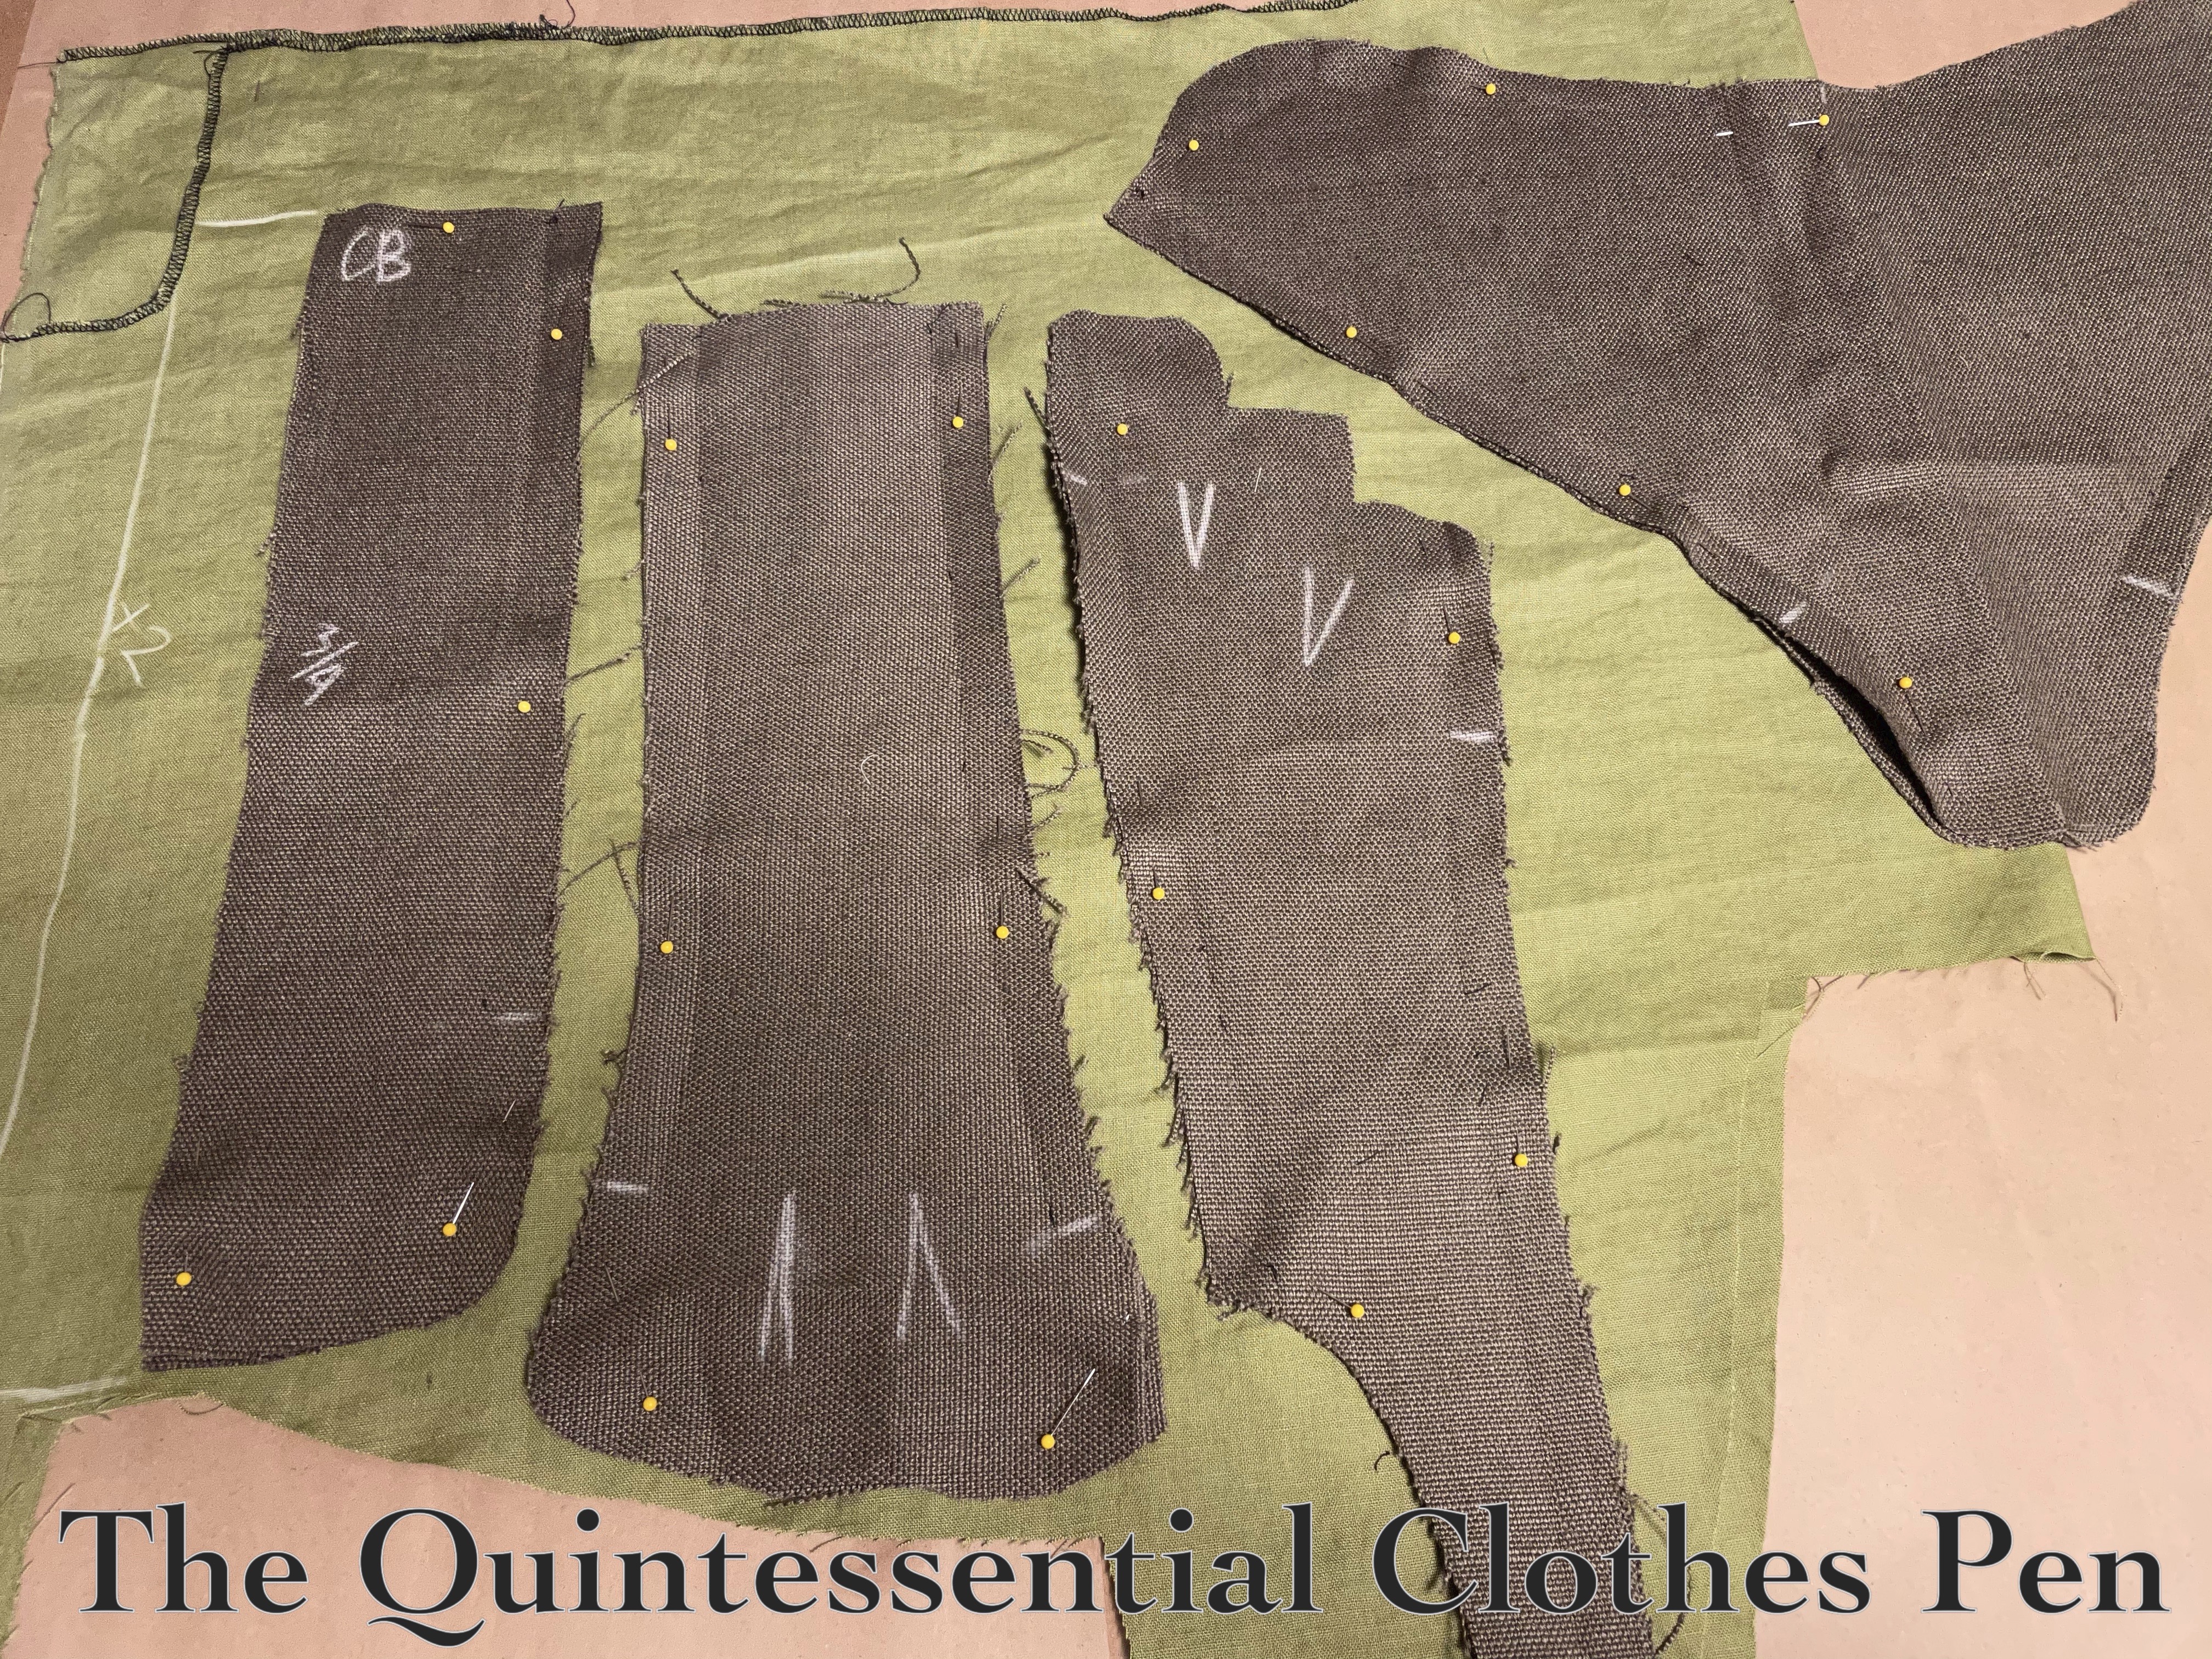
Here are my inner lining pieces set up on my limited green linen scrap.
Constructing The New Green Stays

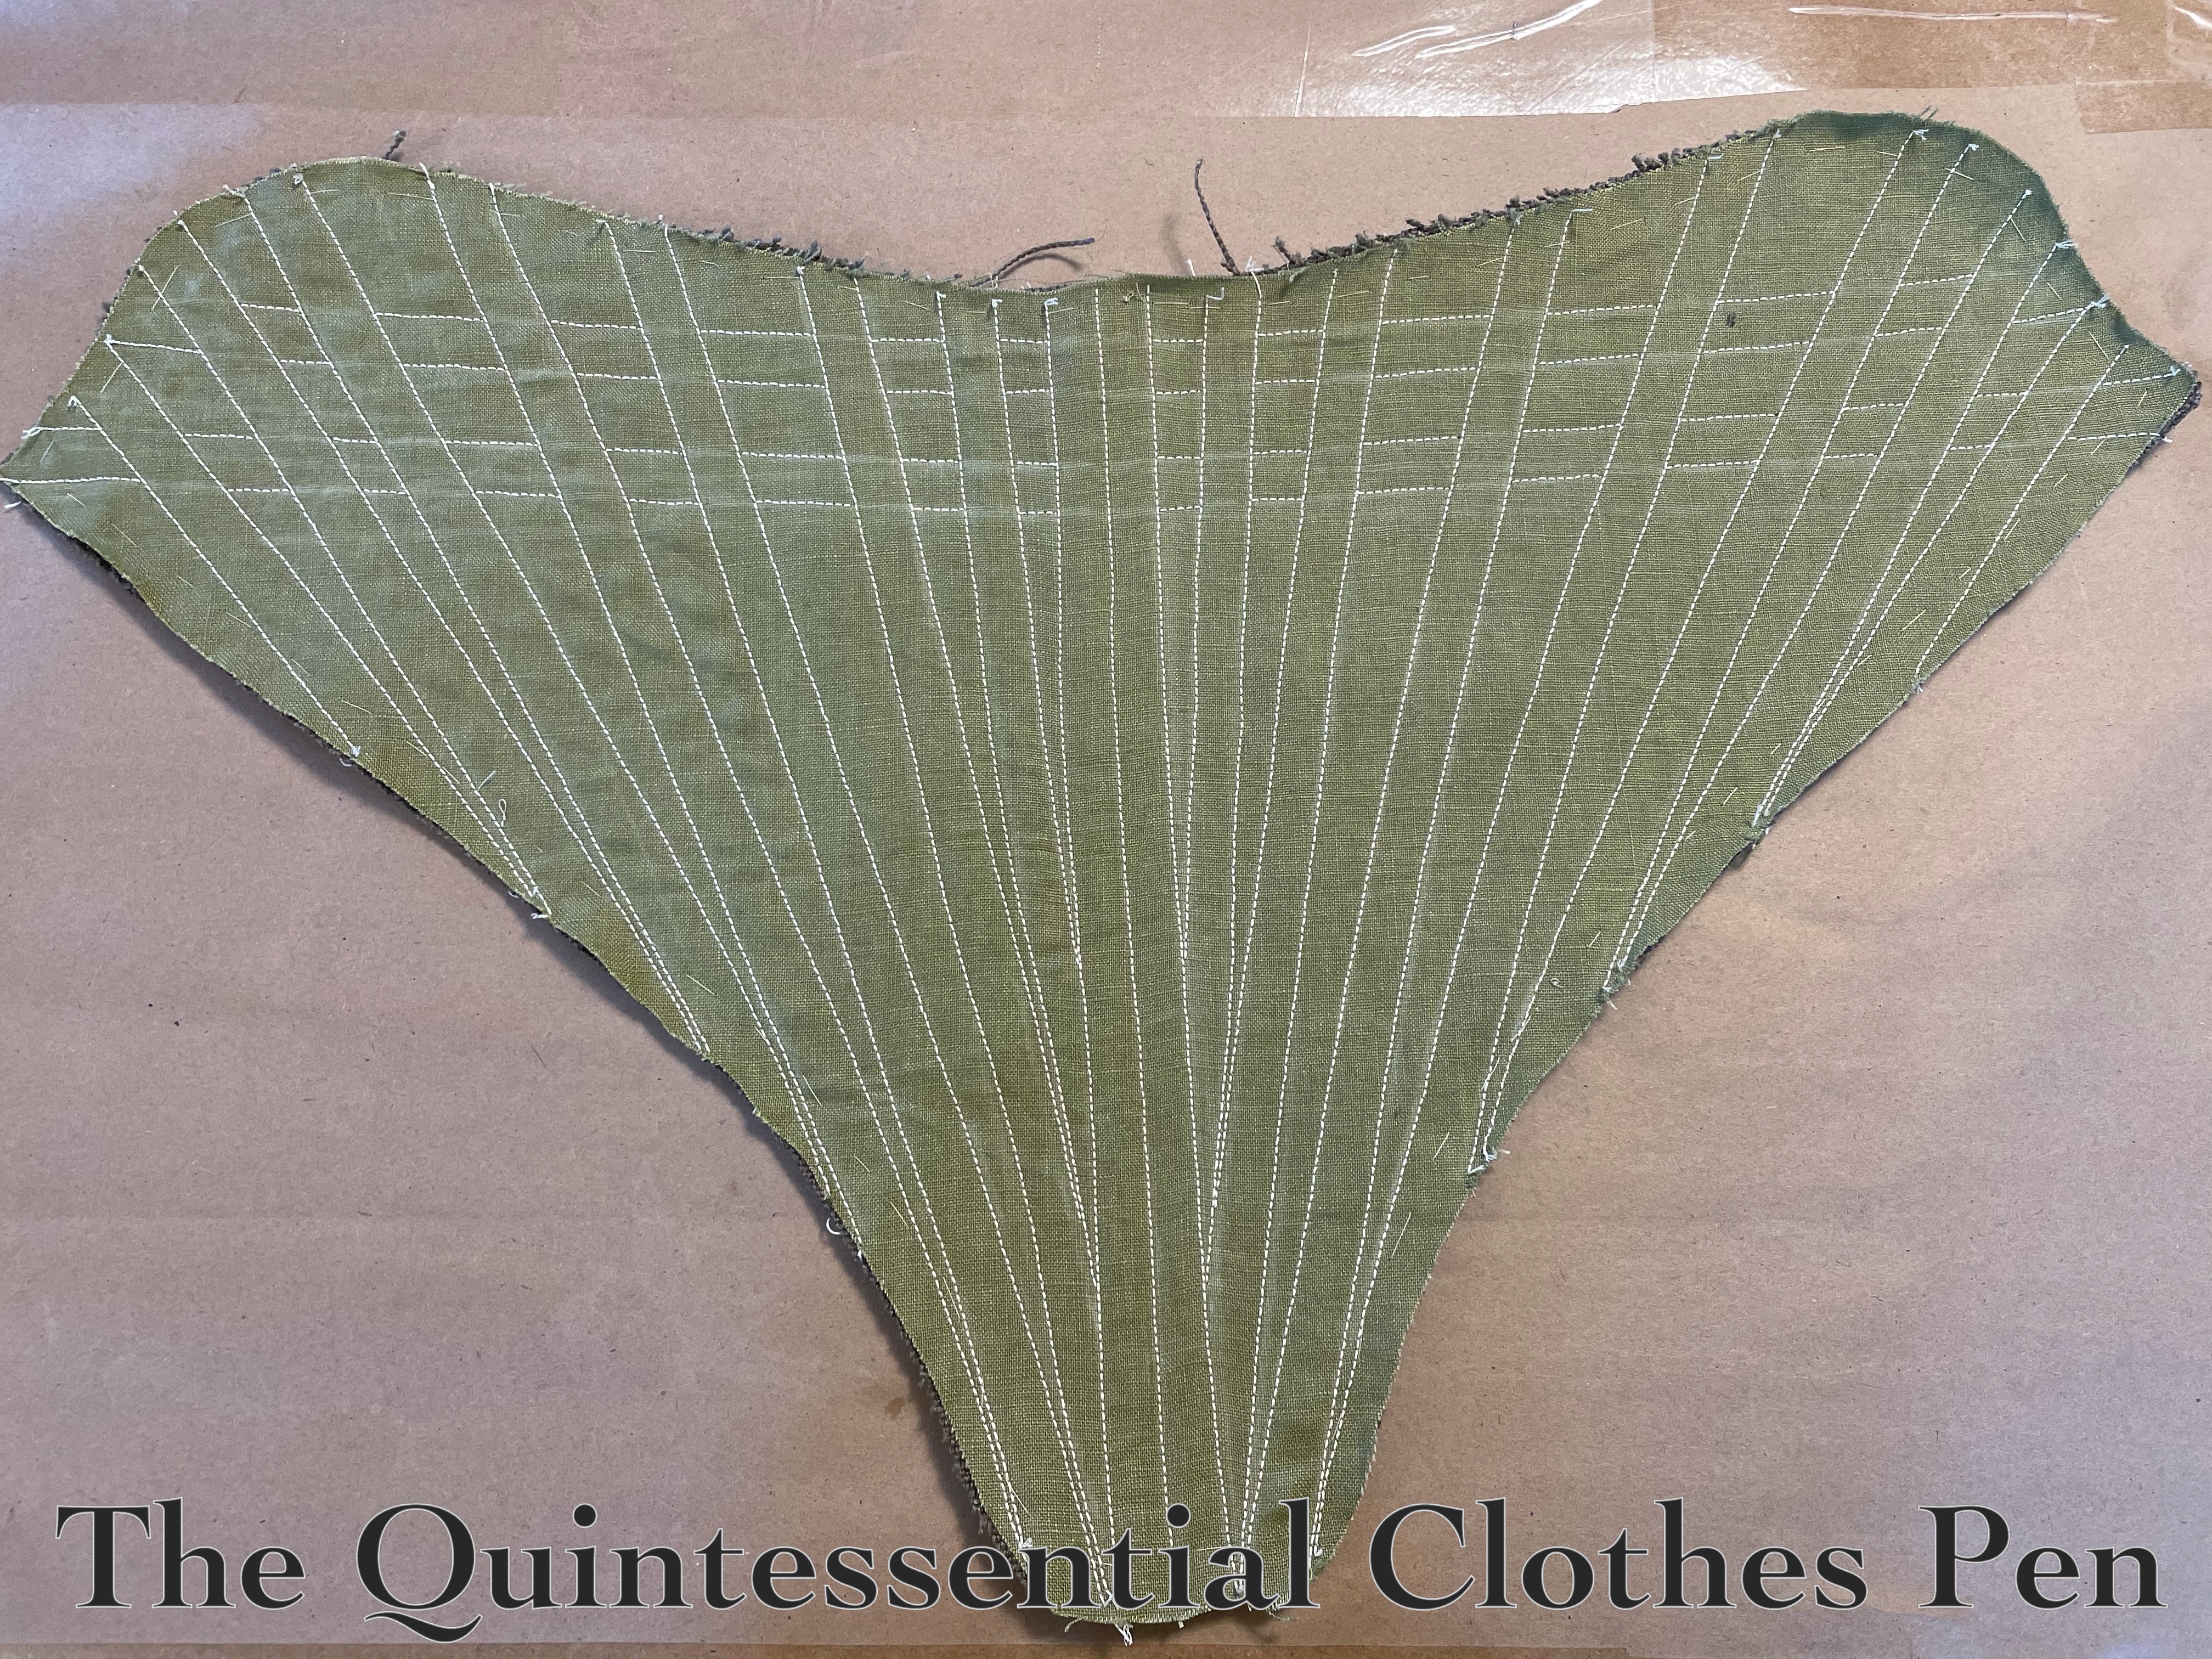
The new stays are half boned. I chose to machine sew the channels with buttonhole weight thread (I wasn’t about to spend a million hours hand sewing channels again after just doing that for The Stays of Fail).

I like the look of the heavier thread, as opposed to regular weight sewing thread. The channels are boned with full width zip ties (none of that cutting them in half nonsense like I did for The Stays of Fail, either).

As an experiment, I chose a boning pattern with both vertical/diagonal bones as well as bones that run horizontally across the chest. That means that my boning channels crossed.
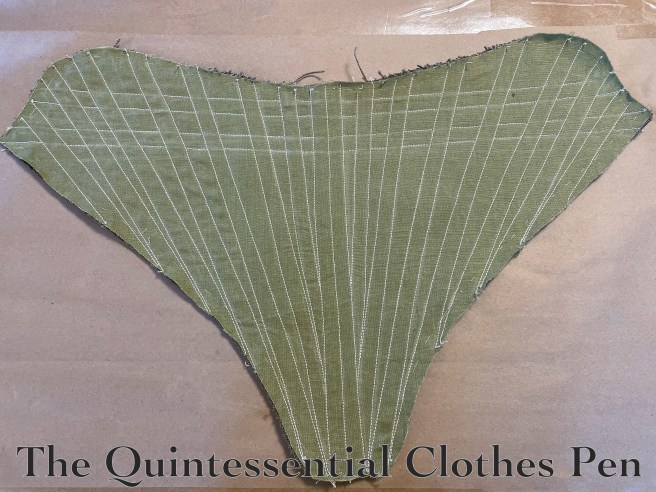
I carefully started and stopped my stitches to line up at the corners of the crossing channels and left my tails loose, to be pulled to the inside and knotted by hand later in the process. I did the same with my thread ends at the raw edges, so that my channels would be beautifully even with no backstitching (it helps with the illusion that the channels are hand stitched and not machine sewn).

In places where the boning channels crossed, I added an additional piece of coarse linen on the inside of the stays. This allowed me to have separate boning channels for the different directions, which was helpful in keeping the crossing points from becoming too bulky.

After the boning channels were in, I put in the bones that would no longer be accessible after the seams were sewn. Then, I machine sewed my pieces together. (This project was about making successfully patterned stays more-so than completely hand stitched ones!)
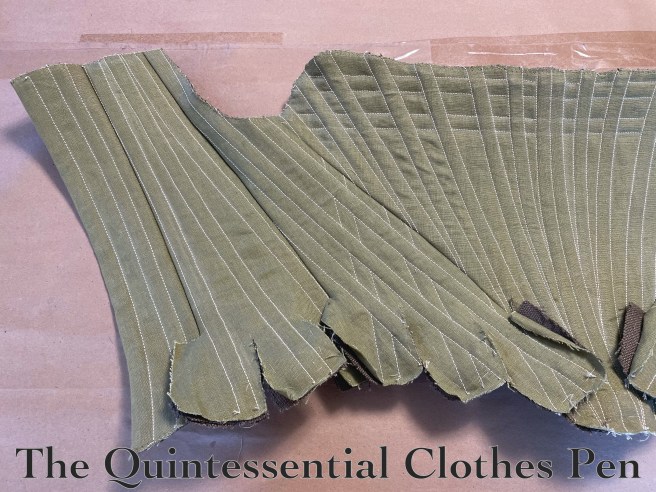
Following that step, the remaining bones were pushed into the channels. I also hand stitched the eyelets around this time (I made them pretty big for ease of lacing–the ones I’d made on The Stays of Fail are pretty tiny!). Below, my eyelets are marked and my edges are tidied.
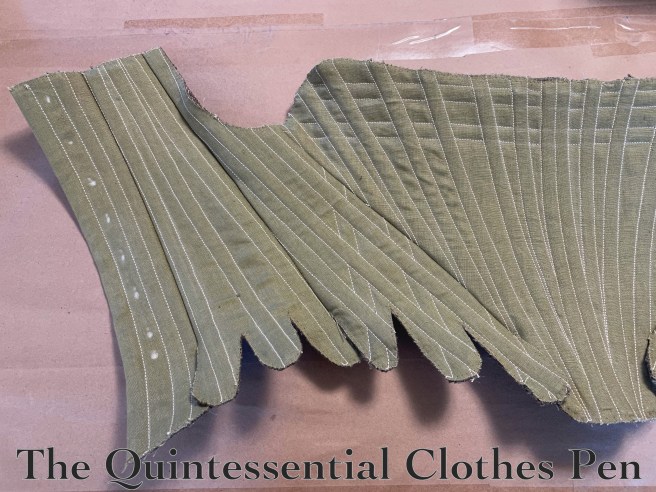
Next, I basted around the edges of the stays to keep the bones in place, covered my exterior seams with woven linen tape, trimmed my edges, whip stitched my edges, and bound the edges of the stays in ¾” linen tape.

The stays looked like this on the inside at this point.
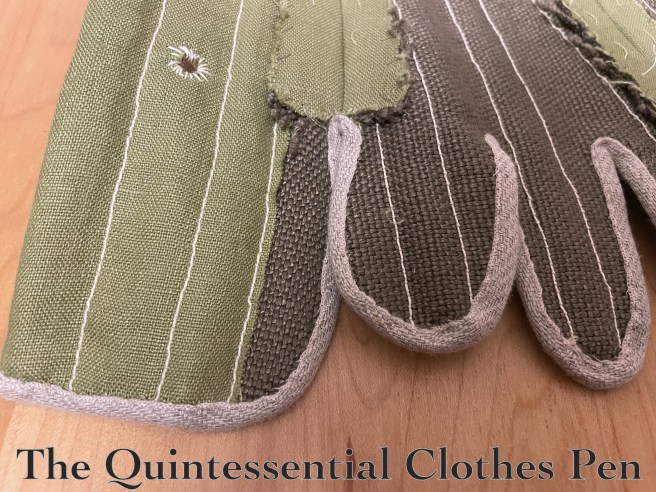
And like this on the outside.

I also added extra laters of reinforcement over the belly, as seen in extant stays. These are graduated in size and made of the same coarse linen.
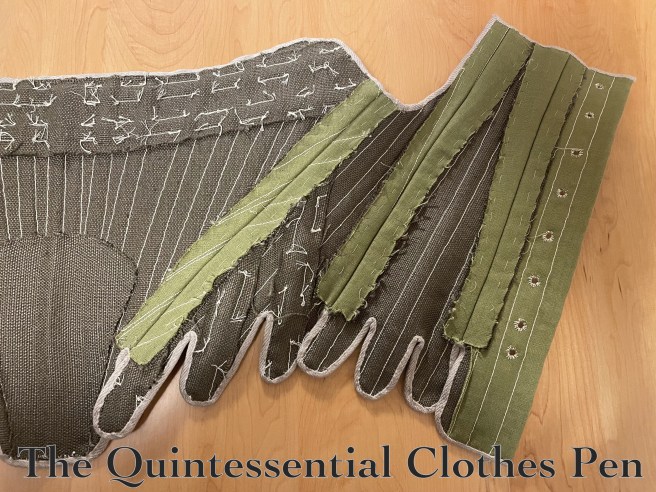
Some stays also have wooden busks to further stiffen the center front. Given that these already have modern methods, I chose to use an extra heavy, ½” wide steel bone for my busk. It is inserted under the extra layers of linen and stitched in place, as you can see below.
The final step was to line the stays. I used a natural colored cotton/linen blend from my stash. The tabs are each lined with a small bit of fabric (you can see that in the above photo). Then fabric was laid out on the inside of the main body of the stays, traced, and cut for both sides. The lining pieces are all whip stitched in place.

Here is a closeup of the back edge and tabs, with eyelets, binding, and full lining.

Below, a closeup of the top edge of the stays as I pinned the lining in preparation for trimming it to the correct size.

The seams on the inside do not correspond to the exterior seams.

Finished Stays

These new stays fit pretty well and are generally comfortable.

The front width wound up being a bit wide for me across the top, but otherwise they are good.

Final Thoughts

I like the horizontal boning across the front. The only downside to that is that the stays don’t fold in half for storage!

I had such a fun time deciding what pattern-making decisions to make. (What grainline to use on each piece? What boning pattern to use? Straps or no straps?) I couldn’t include all of the ideas in a single pair of stays, and so I have plans to make another pair, in a dark yellow from my stash. The someday-yellow pair will allow me to tweak the fit of the front as well as play with alternate patterning ideas. The pattern and materials are still out… it’s just a matter of finding the time and inspiration!

P.S. Stay-making Resources

This is not comprehensive, by any standards, but I thought it might be helpful to collect some links that I’ve found useful for anyone who wants to know more or see other people’s stays. (These blog posts were especially useful for seeing the process when I didn’t have PoF5 on my cutting table! That gives you a sense of the fact that this blog post started at least 3 years ago!)

Blogs showing the creation of similar stays:

  • The Sewing Goatherd: 1780s Stays Using Scroop’s Augusta Pattern (and stiffening her own innards, too!)
  • Rococo Atelier: 18th century speedy stay making tutorial using a sewing machine, this is part 1, this is part 2, this is part 3 (great photos and tips, this pair of stays also uses the PoF5 drafting method and machine sewing)
  • The Fashionable Past: 1780s Stays Tutorial (not quite the same shape as my stays, but the process is basically the same and this has lots of great photos of each step)
  • Rockin’ The Rococo: 18th century stays (the shape is earlier than mine, but the process is basically the same and this has lots of great photos of each step)
  • The Mantua Maker At Midnight: Making Stays 1730-1780s (this is earlier than mine, but the process is basically the same and this has lots of great photos of each step)
  • Atelier Nostalgia: Late 18th Century Stays (these are more similar to my Stays of Fail in some details–the tape straps and center front opening, for example–, but the general construction information is applicable to lots of stay projects)
Videos about stays:
Blogs with information about stays:

Pattern suggestions:

Mid-Century Birthday Croquet At Roseland Cottage

Finally, a break from stay-related blog posts! (Slow sewing progress is being made, but not enough to post about…)

In the meantime, I have an armchair peep into a lovely birthday outing with friends on a gorgeous autumn afternoon.

The location of the outing is Roseland Cottage, in Woodstock, Connecticut.

Built in 1846 in the newly fashionable Gothic Revival style, Roseland Cottage was the summer home of Henry and Lucy Bowen and their young family. While the house is instantly recognizable for its pink exterior, Roseland Cottage has an equally colorful interior, featuring elaborate wall coverings, heavily patterned carpets, and stained glass, much of which survives unchanged from the Victorian era. The house is a National Historic Landmark.
(from the Historic New England website)

We made special arrangements with the staff to picnic and croquet on the lawn in mid-19th century clothing, followed by a house tour. Some of us had seen the house before, but the details never cease to amaze and hold our interest. If you’re ever in the area, I highly recommend a visit!

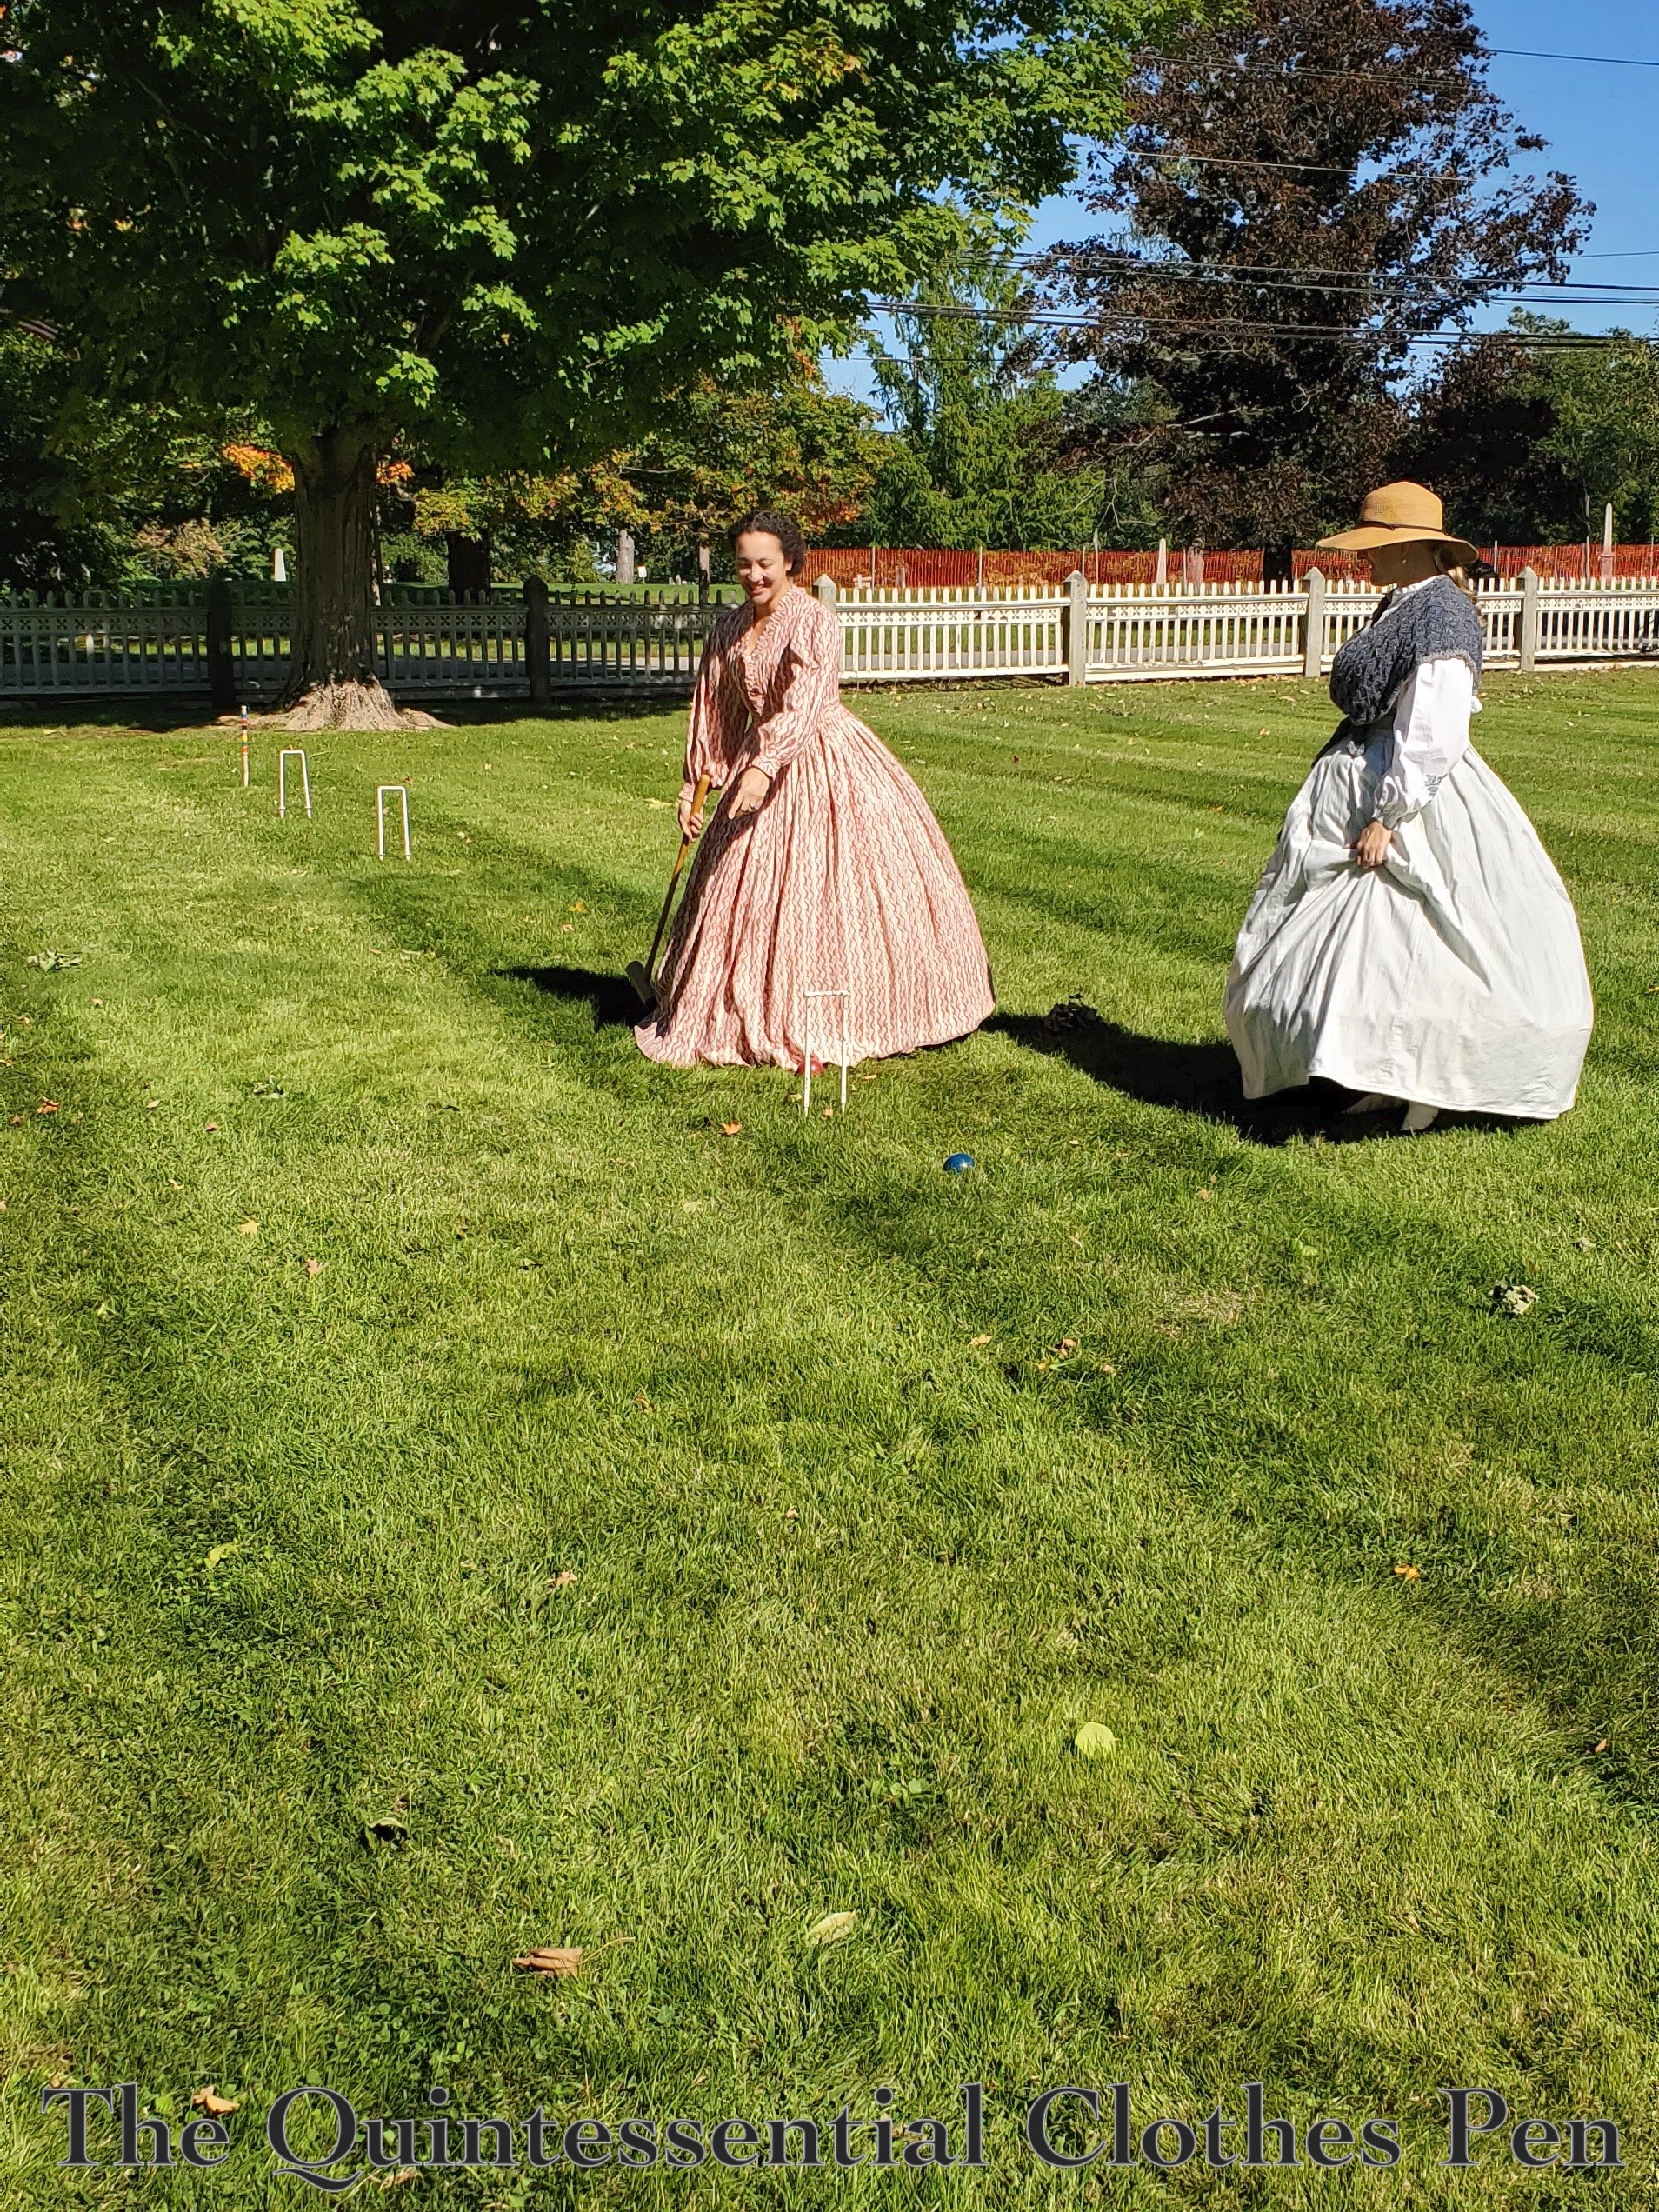
The grounds of the house are well maintained and provided an excellent area to set up croquet.

We enjoyed serious croquet as well as a few silly rounds of our own invention. The shadows made for fun photos, too!

The day was sunny and beautiful. There was a slight bit of chill to the air, but it was quite comfortable in full length sleeves and long dresses.

One zealous croquet ball whacked me in the ankle and caused a small scene. Thankfully, it wasn’t too bad after the initial pain wore off (no bruises or anything worse!)

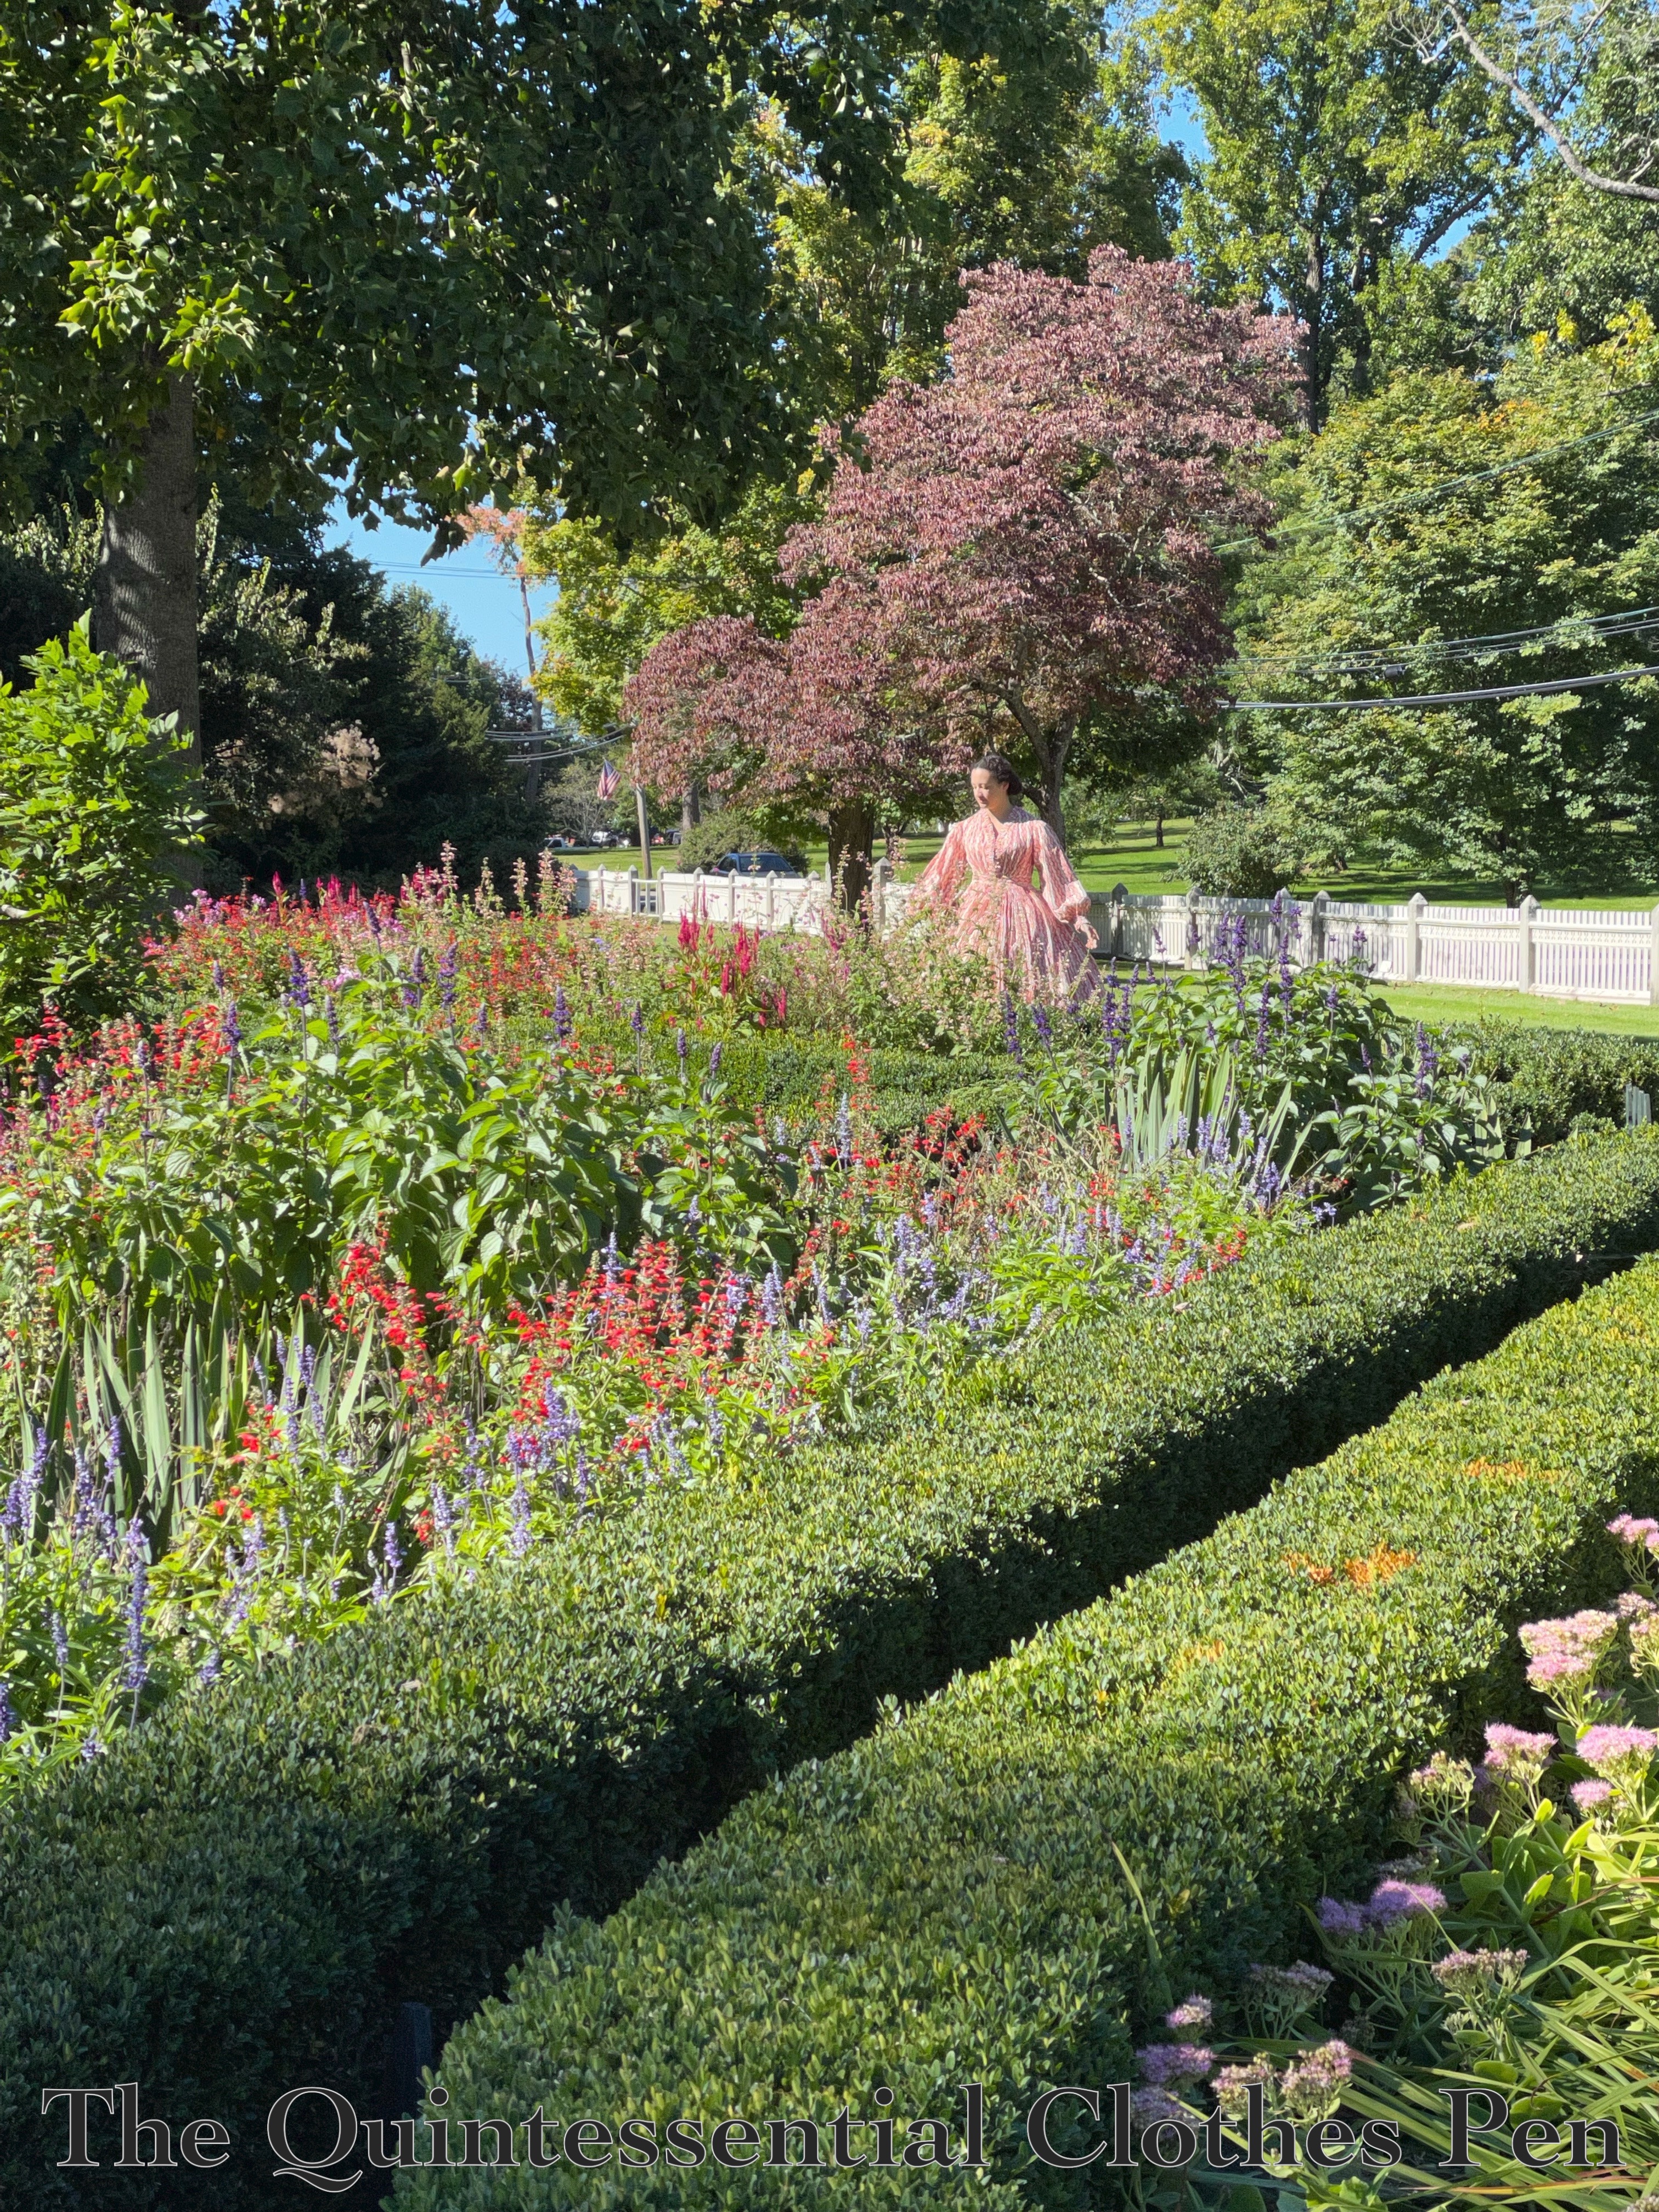
In fact, the croquet ball whack didn’t stop me from enjoying the gardens in Sophie, my 1861 reproduction cotton print dress.

The gardens are maintained with the same plan and variety of plants that would have been evident in the 19th century. They were in full color during our visit!

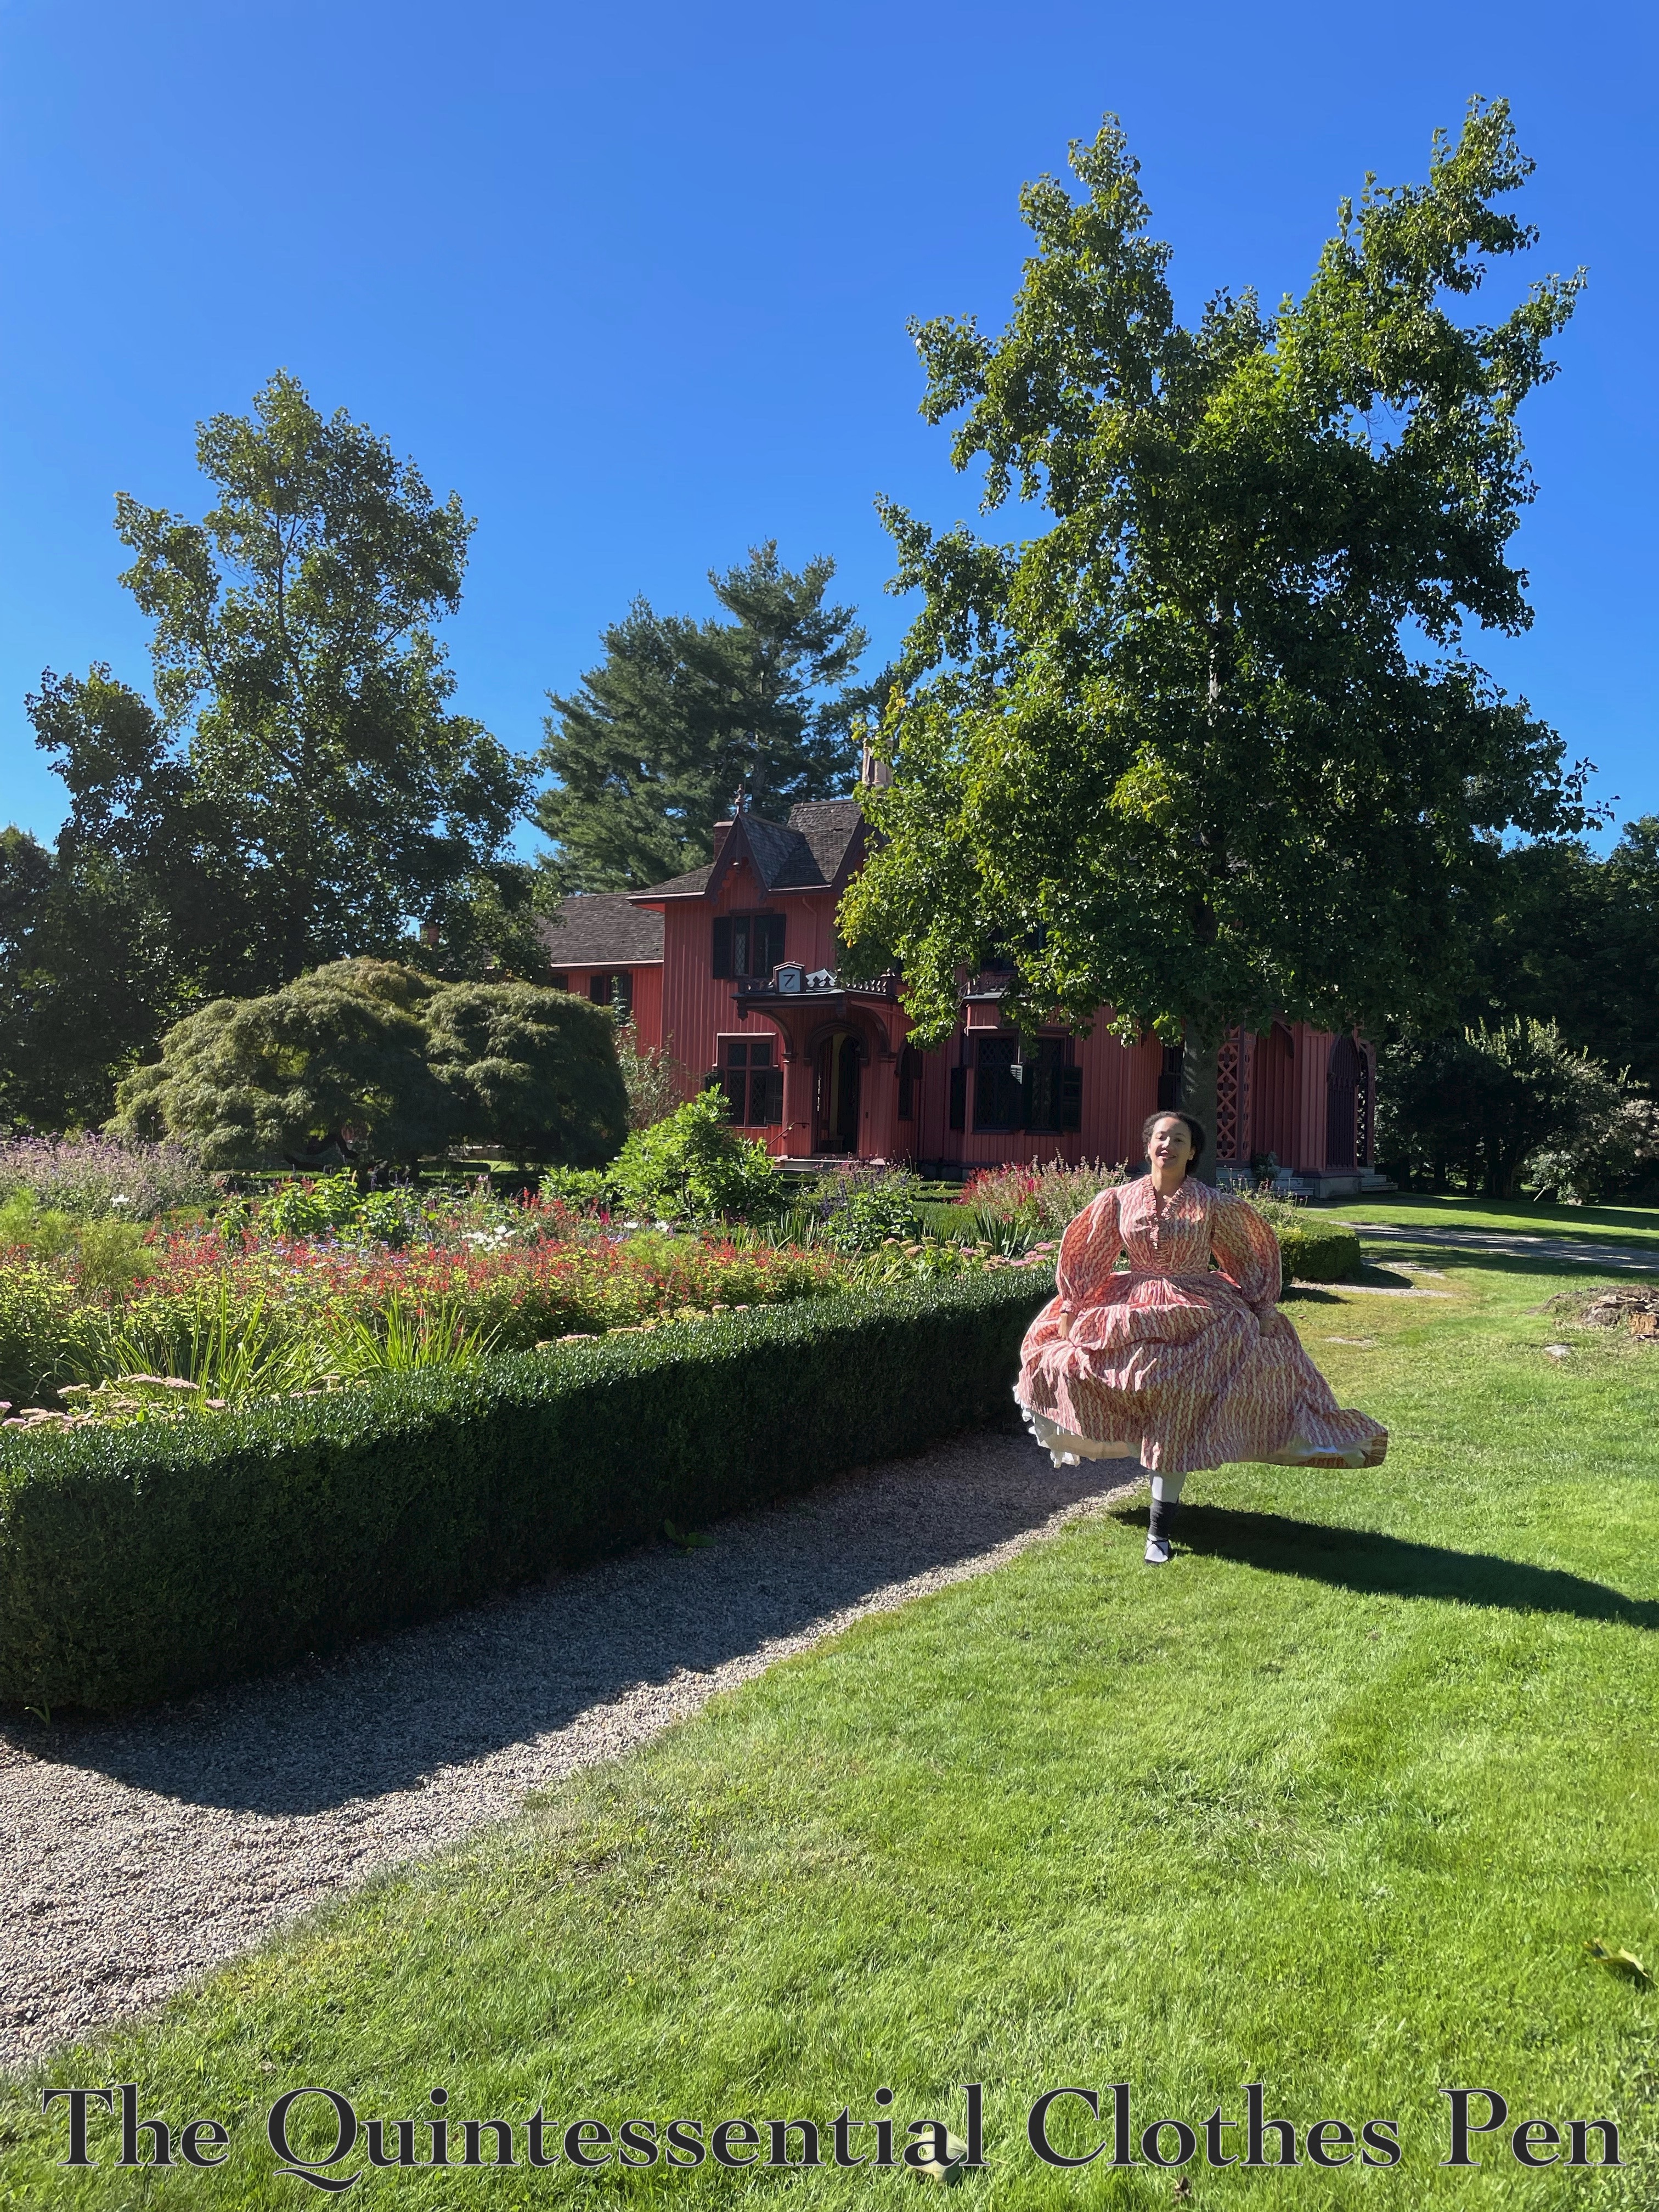
I greatly enjoy this photo, which was completely unintentional. I just started running around because it was fun, and then was told to go back and do it again because the photo opportunity was so exciting. So I suppose in a way it was intentional?

Croquet was followed by a house tour, during which the staff invited us to remain in historical clothes and take photos. This was my favorite! There’s a little built-in seat with a bay window in one room. It was well suited to sitting in hoops. Looking for friends arriving, perhaps?

An exciting, beautiful day! Thanks for enjoying it with me!

c. 1785 Stays (Of Fail), Part V: Middle Construction Details
I had hoped to get all of my remaining construction details into this post, but progress on the stays has slowed. Plus, I realized I didn’t have enough linen tape to bind the edges, so new binding needed to be ordered. That has been done but I’ve been so busy that no sewing has happened yet. So for now, here are the middle parts of the construction update.

Updating Gussets

After all the initial steps of putting the stays together (which I detailed in my previous post in this series), I had a fitting that left me feeling rather disappointed. I’ve already detailed the results of that fitting, in Part II of this series.

To summarize: I wanted to raise the gusset I’d added to the back with the goal of providing more width at the waist and hopefully increasing the comfort of the stays on my back. Accordingly, I removed the offending short gusset out of the stays, but, instead of piecing new gussets out of my meager scraps, I realized I could cannibalize the straps I’d originally cut (but decided not to use) to make longer gussets.

Below: the new, longer gussets in place.

This worked well for the exterior linen and one layer of interlining linen, but the straps were only ever going to have one inner layer of linen. And none of my scraps were quite long enough to make a second layer now that the piece would be used in the main body of the stays.

So, I used what I could and layered a second piece near the bottom tab to extend the second layer of linen. Work with what you have, right?

This new gusset had a wider bone channel already sewed… and I really didn’t want to deal with my narrow bone idea again. Therefore, these two pieces will have permanently wide boning channels. It’s all in the spirit of making do! I did have to extend the bone channels after adding the extra bit of linen near the tab, but that was easy to do.

Covering Seams & Finishing Edges

Following the information in Patterns of Fashion 5 (see my fourth blog post in this series for more information on this incredible book), I covered the visible whip stitches that formed the seams of the pieces with 1/4″ linen tape.

Then, I basted all around every exterior edge, to hold the layers in place while I continued to work on the stays. I followed that by whip stitching the raw edges, in order to create a more stable edge for the binding.

In the photo below you can see the linen tape covering the seams and the edges that have been basted and whipped.

Finally, I was ready to bind the edges!

You can read previous posts in this series here:
c. 1785 Stays (Of Fail), Part IV: Early Construction Details
c. 1785 Stays (Of Fail), Part III: The Pattern
c. 1785 Stays (Of Fail), Part II: Fitting Update
c. 1785 Stays (Of Fail), Part I: Beginnings