Summary of 2023: Looking Forward To 2024

Time just keeps flying! It feels like 2023 started with a bang and the momentum hardly let up. All of a sudden it’s time to look back on this year’s accomplishments and start looking ahead to next year. Crazy!

Projects I completed in 2023

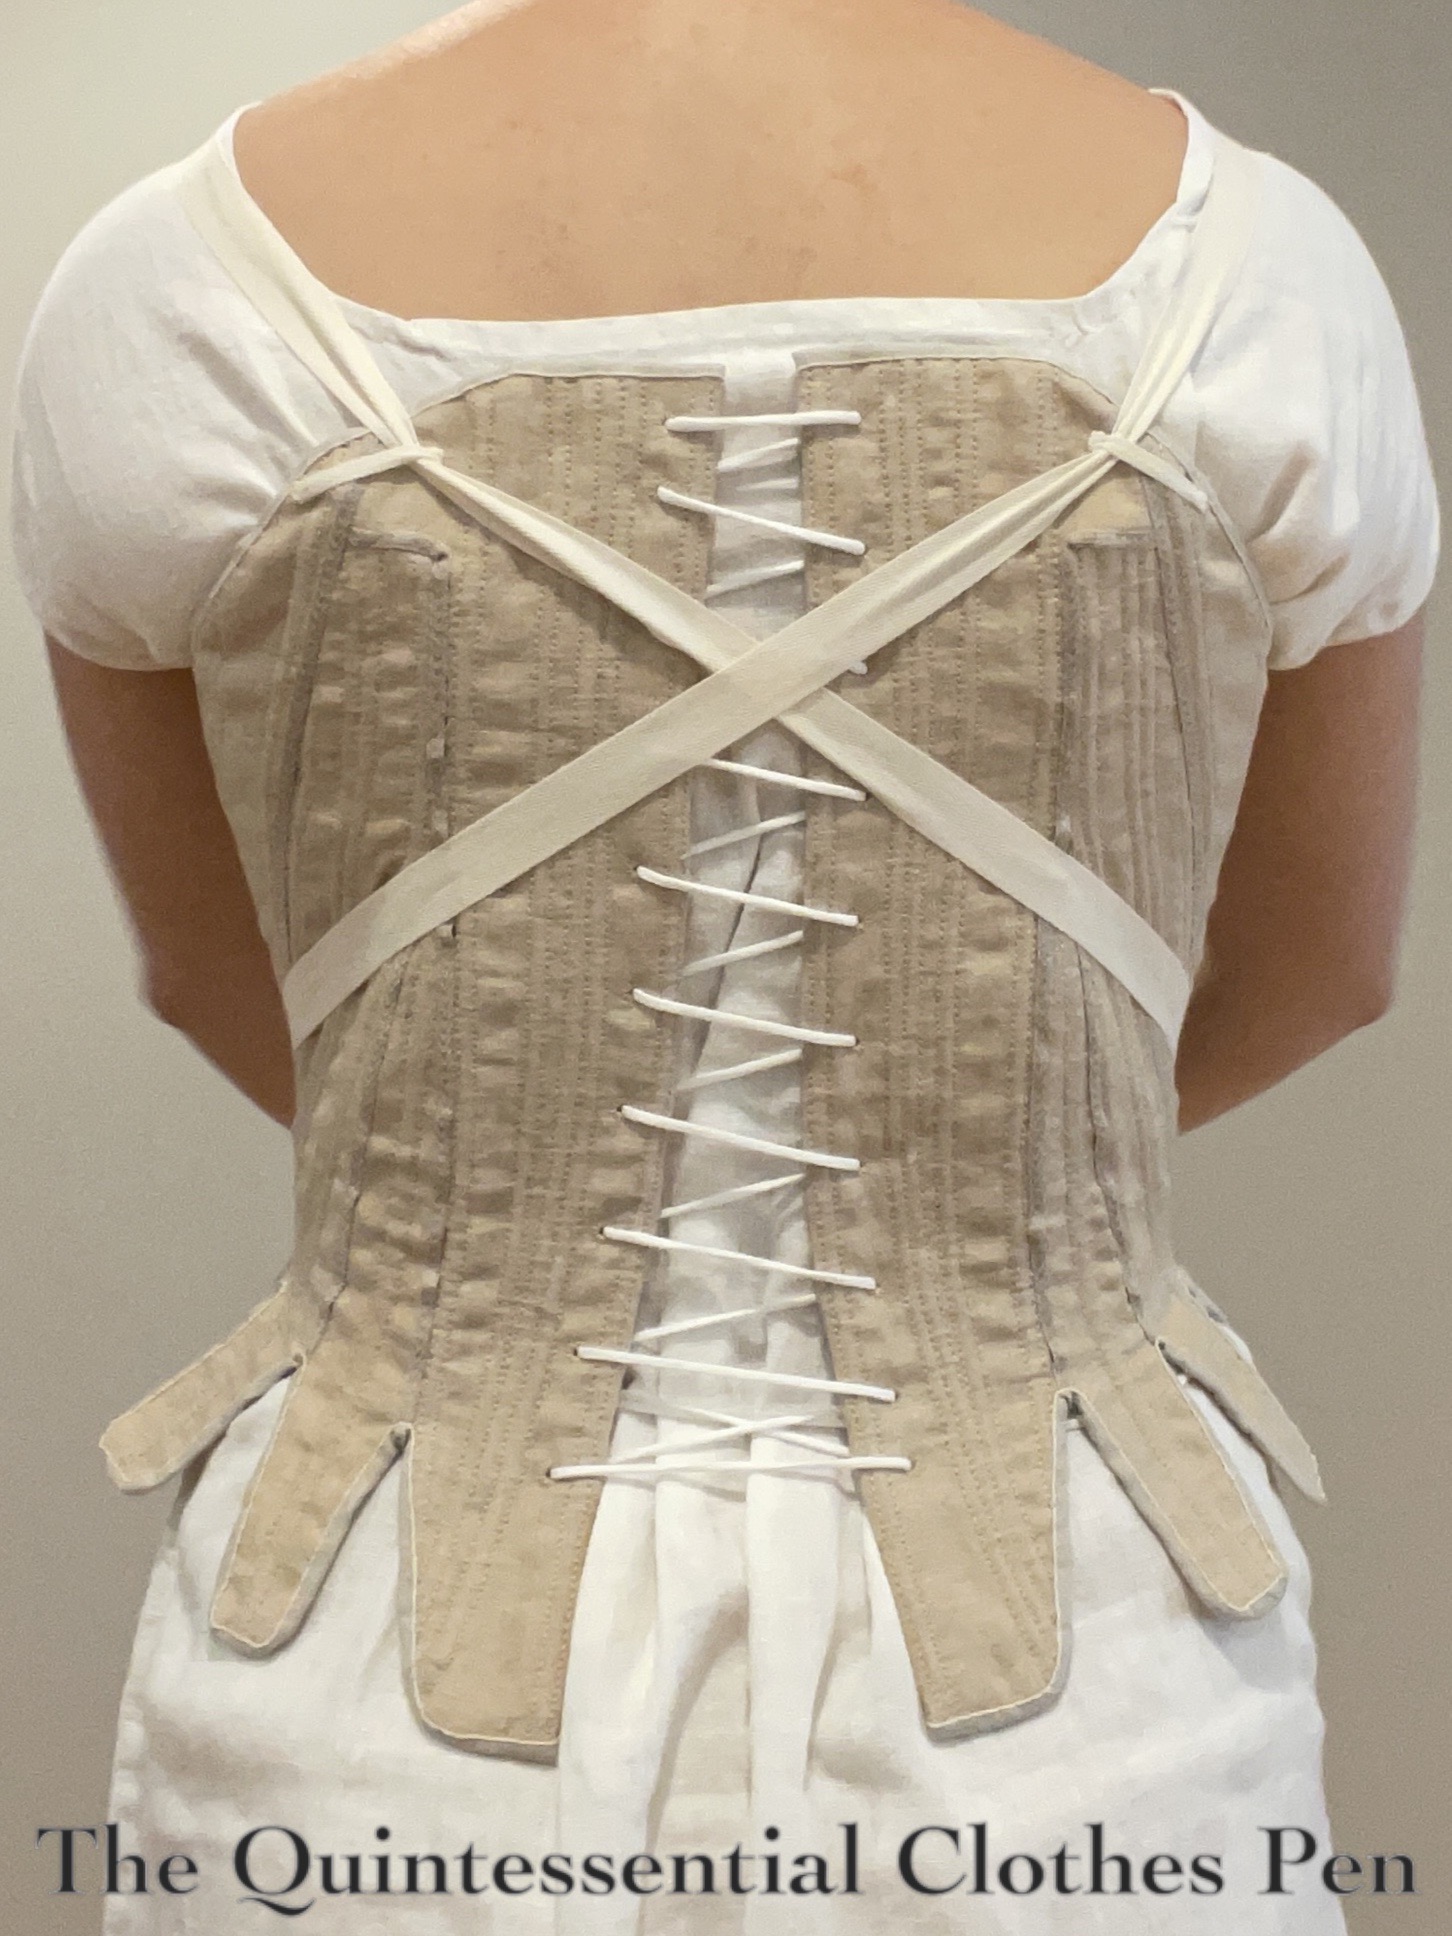
July: c. 1785 Hand Sewn Natural Linen Stays of Success!

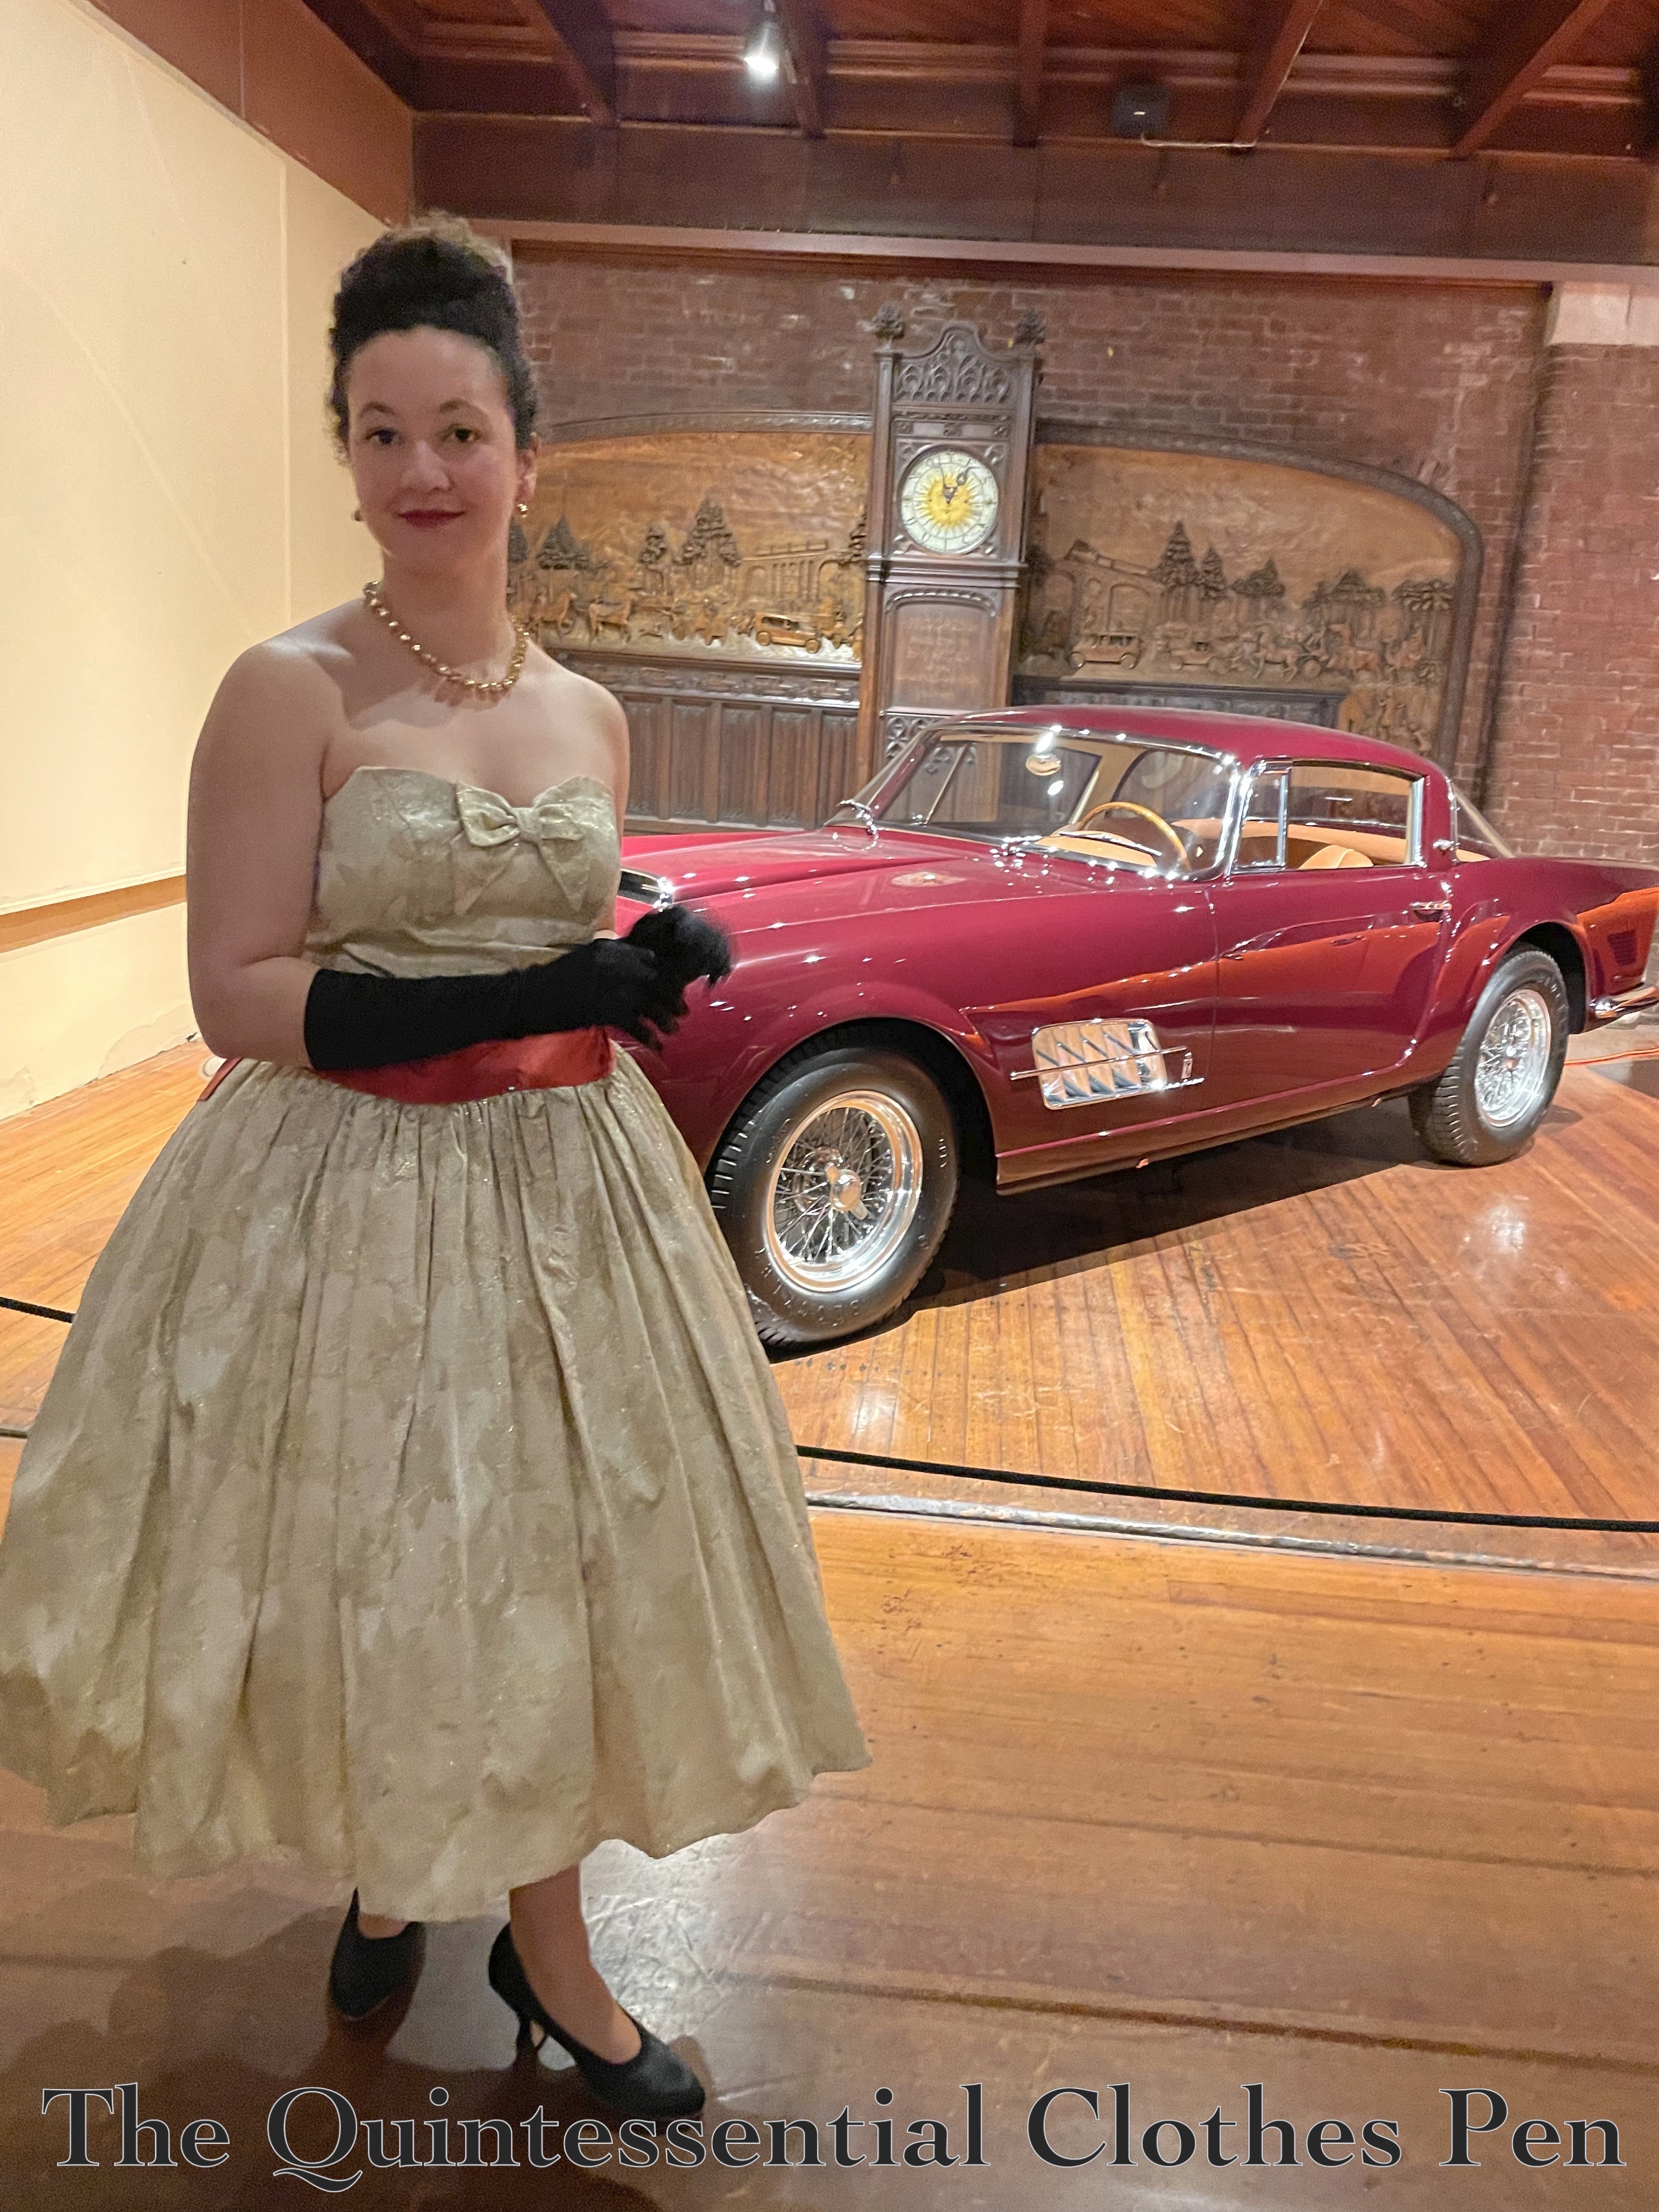
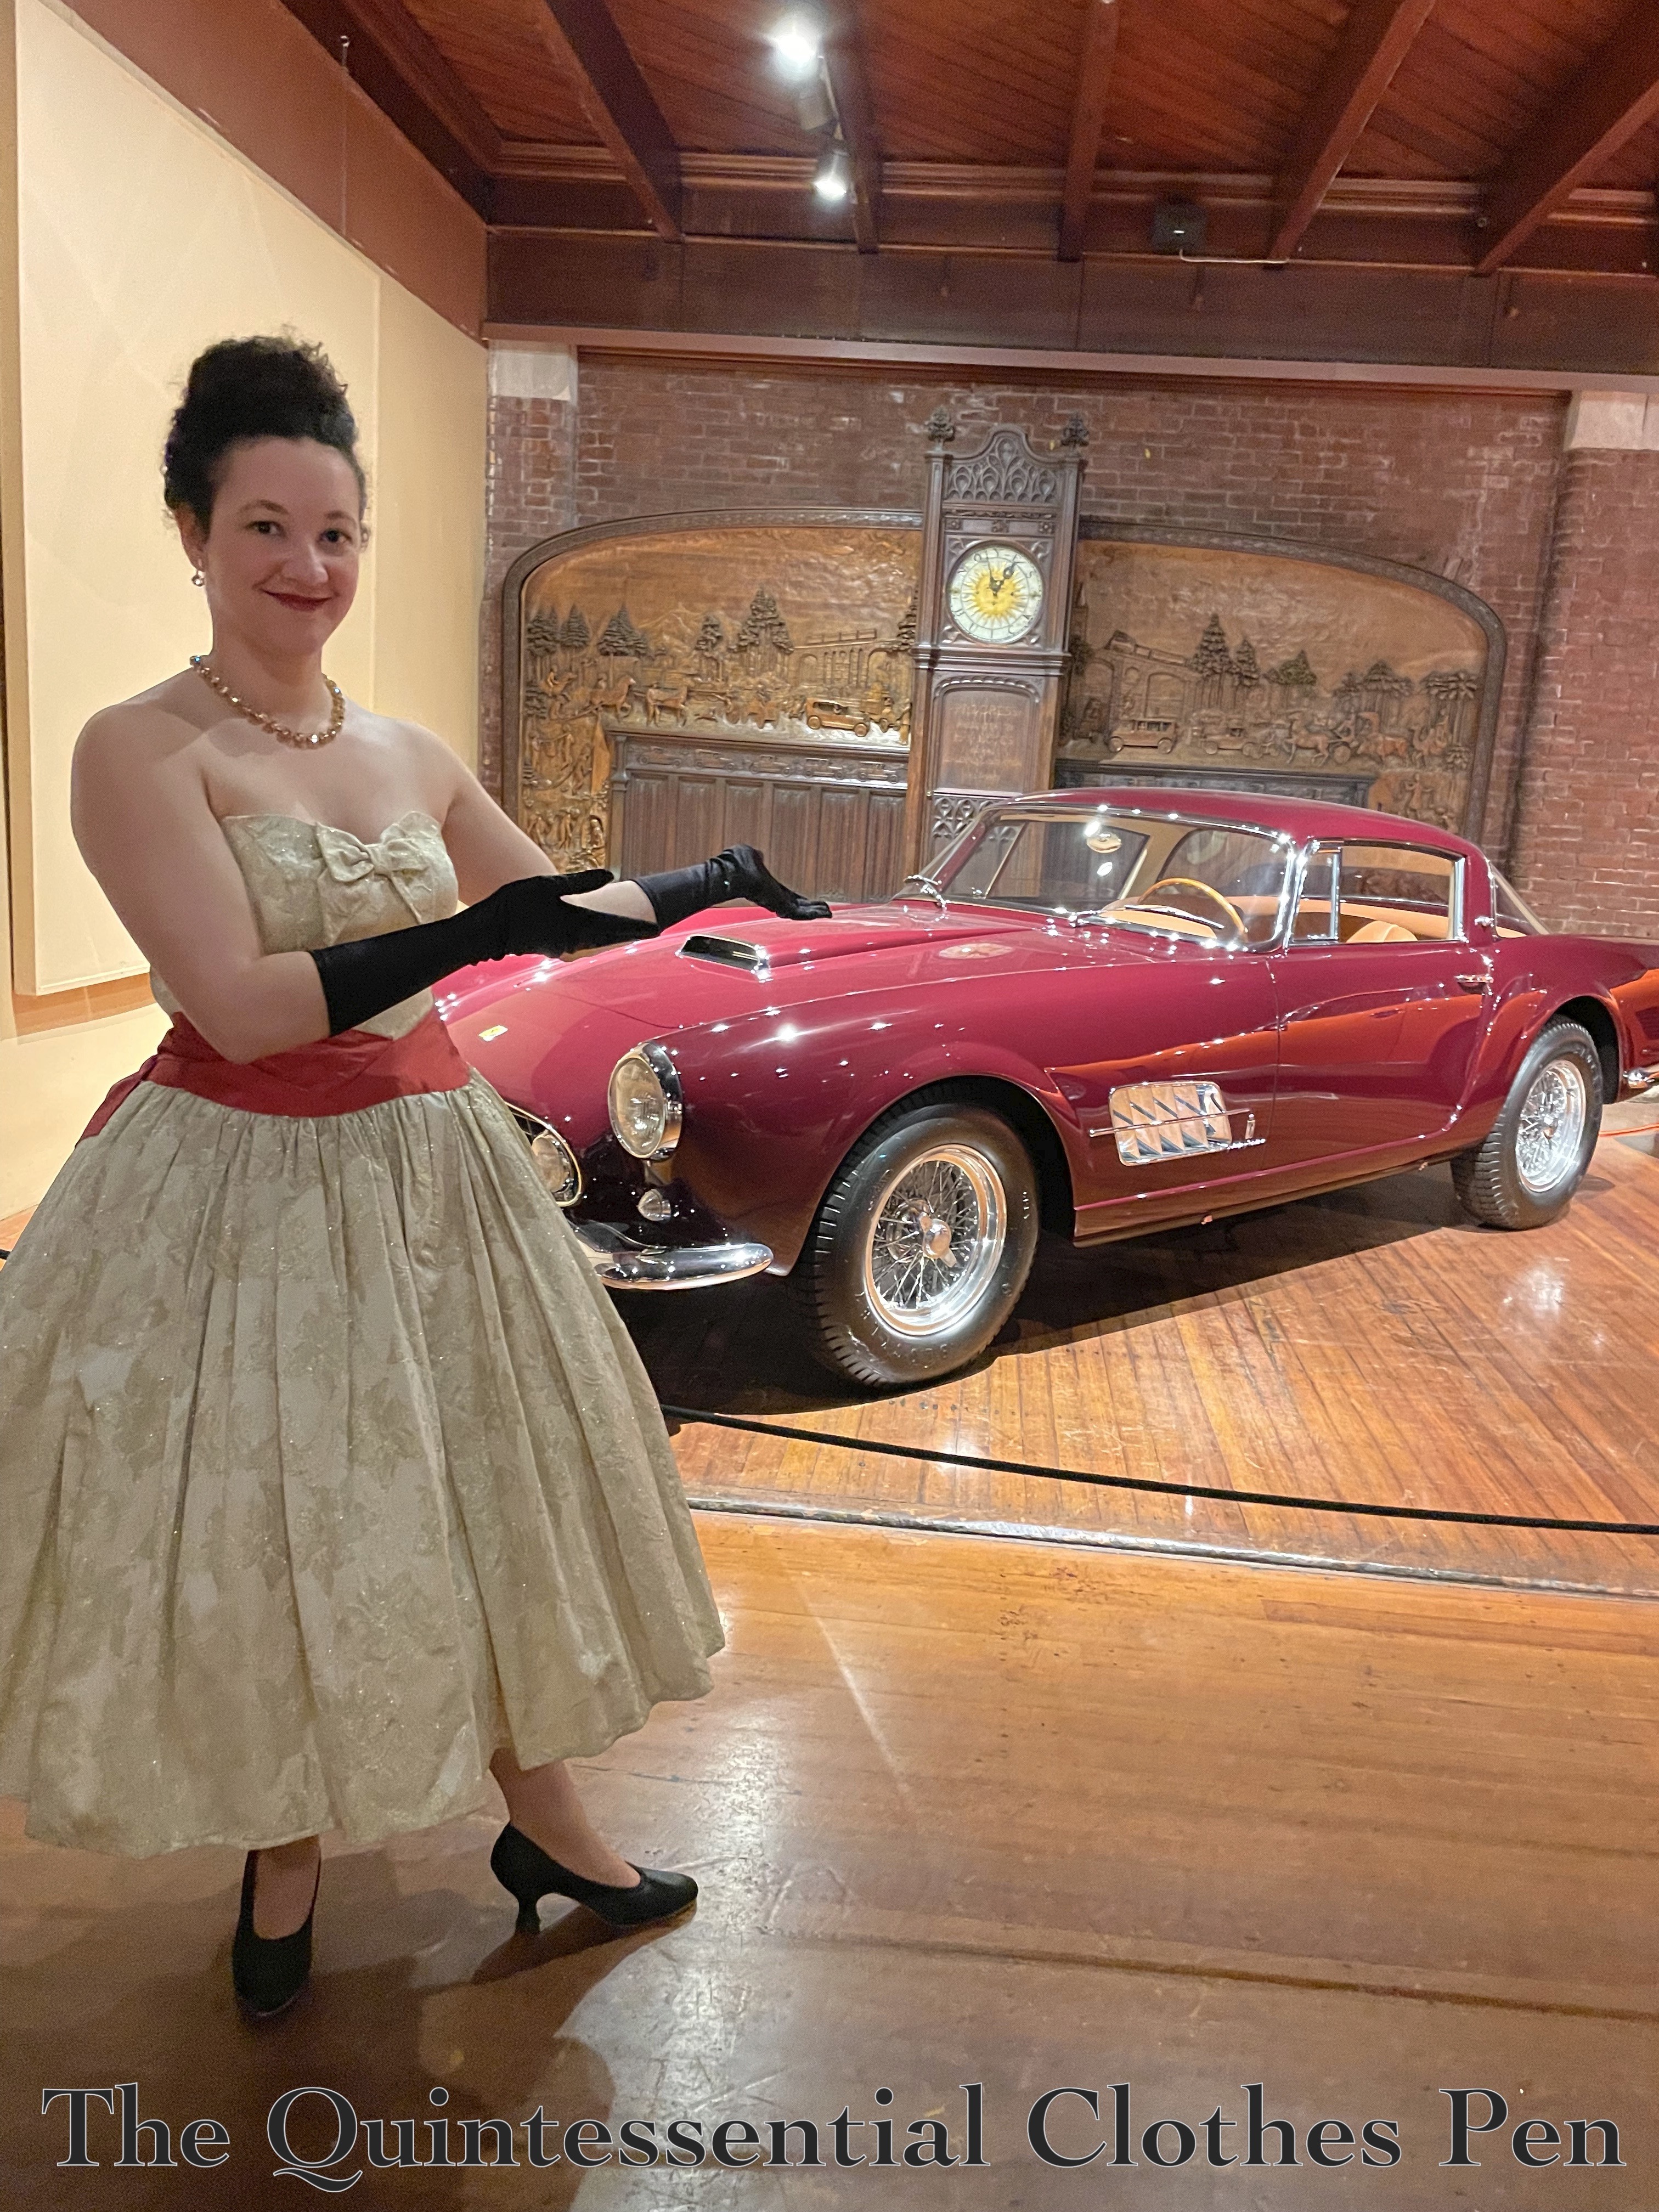
August: Updates To The 1933 Dramatic Evening Dress

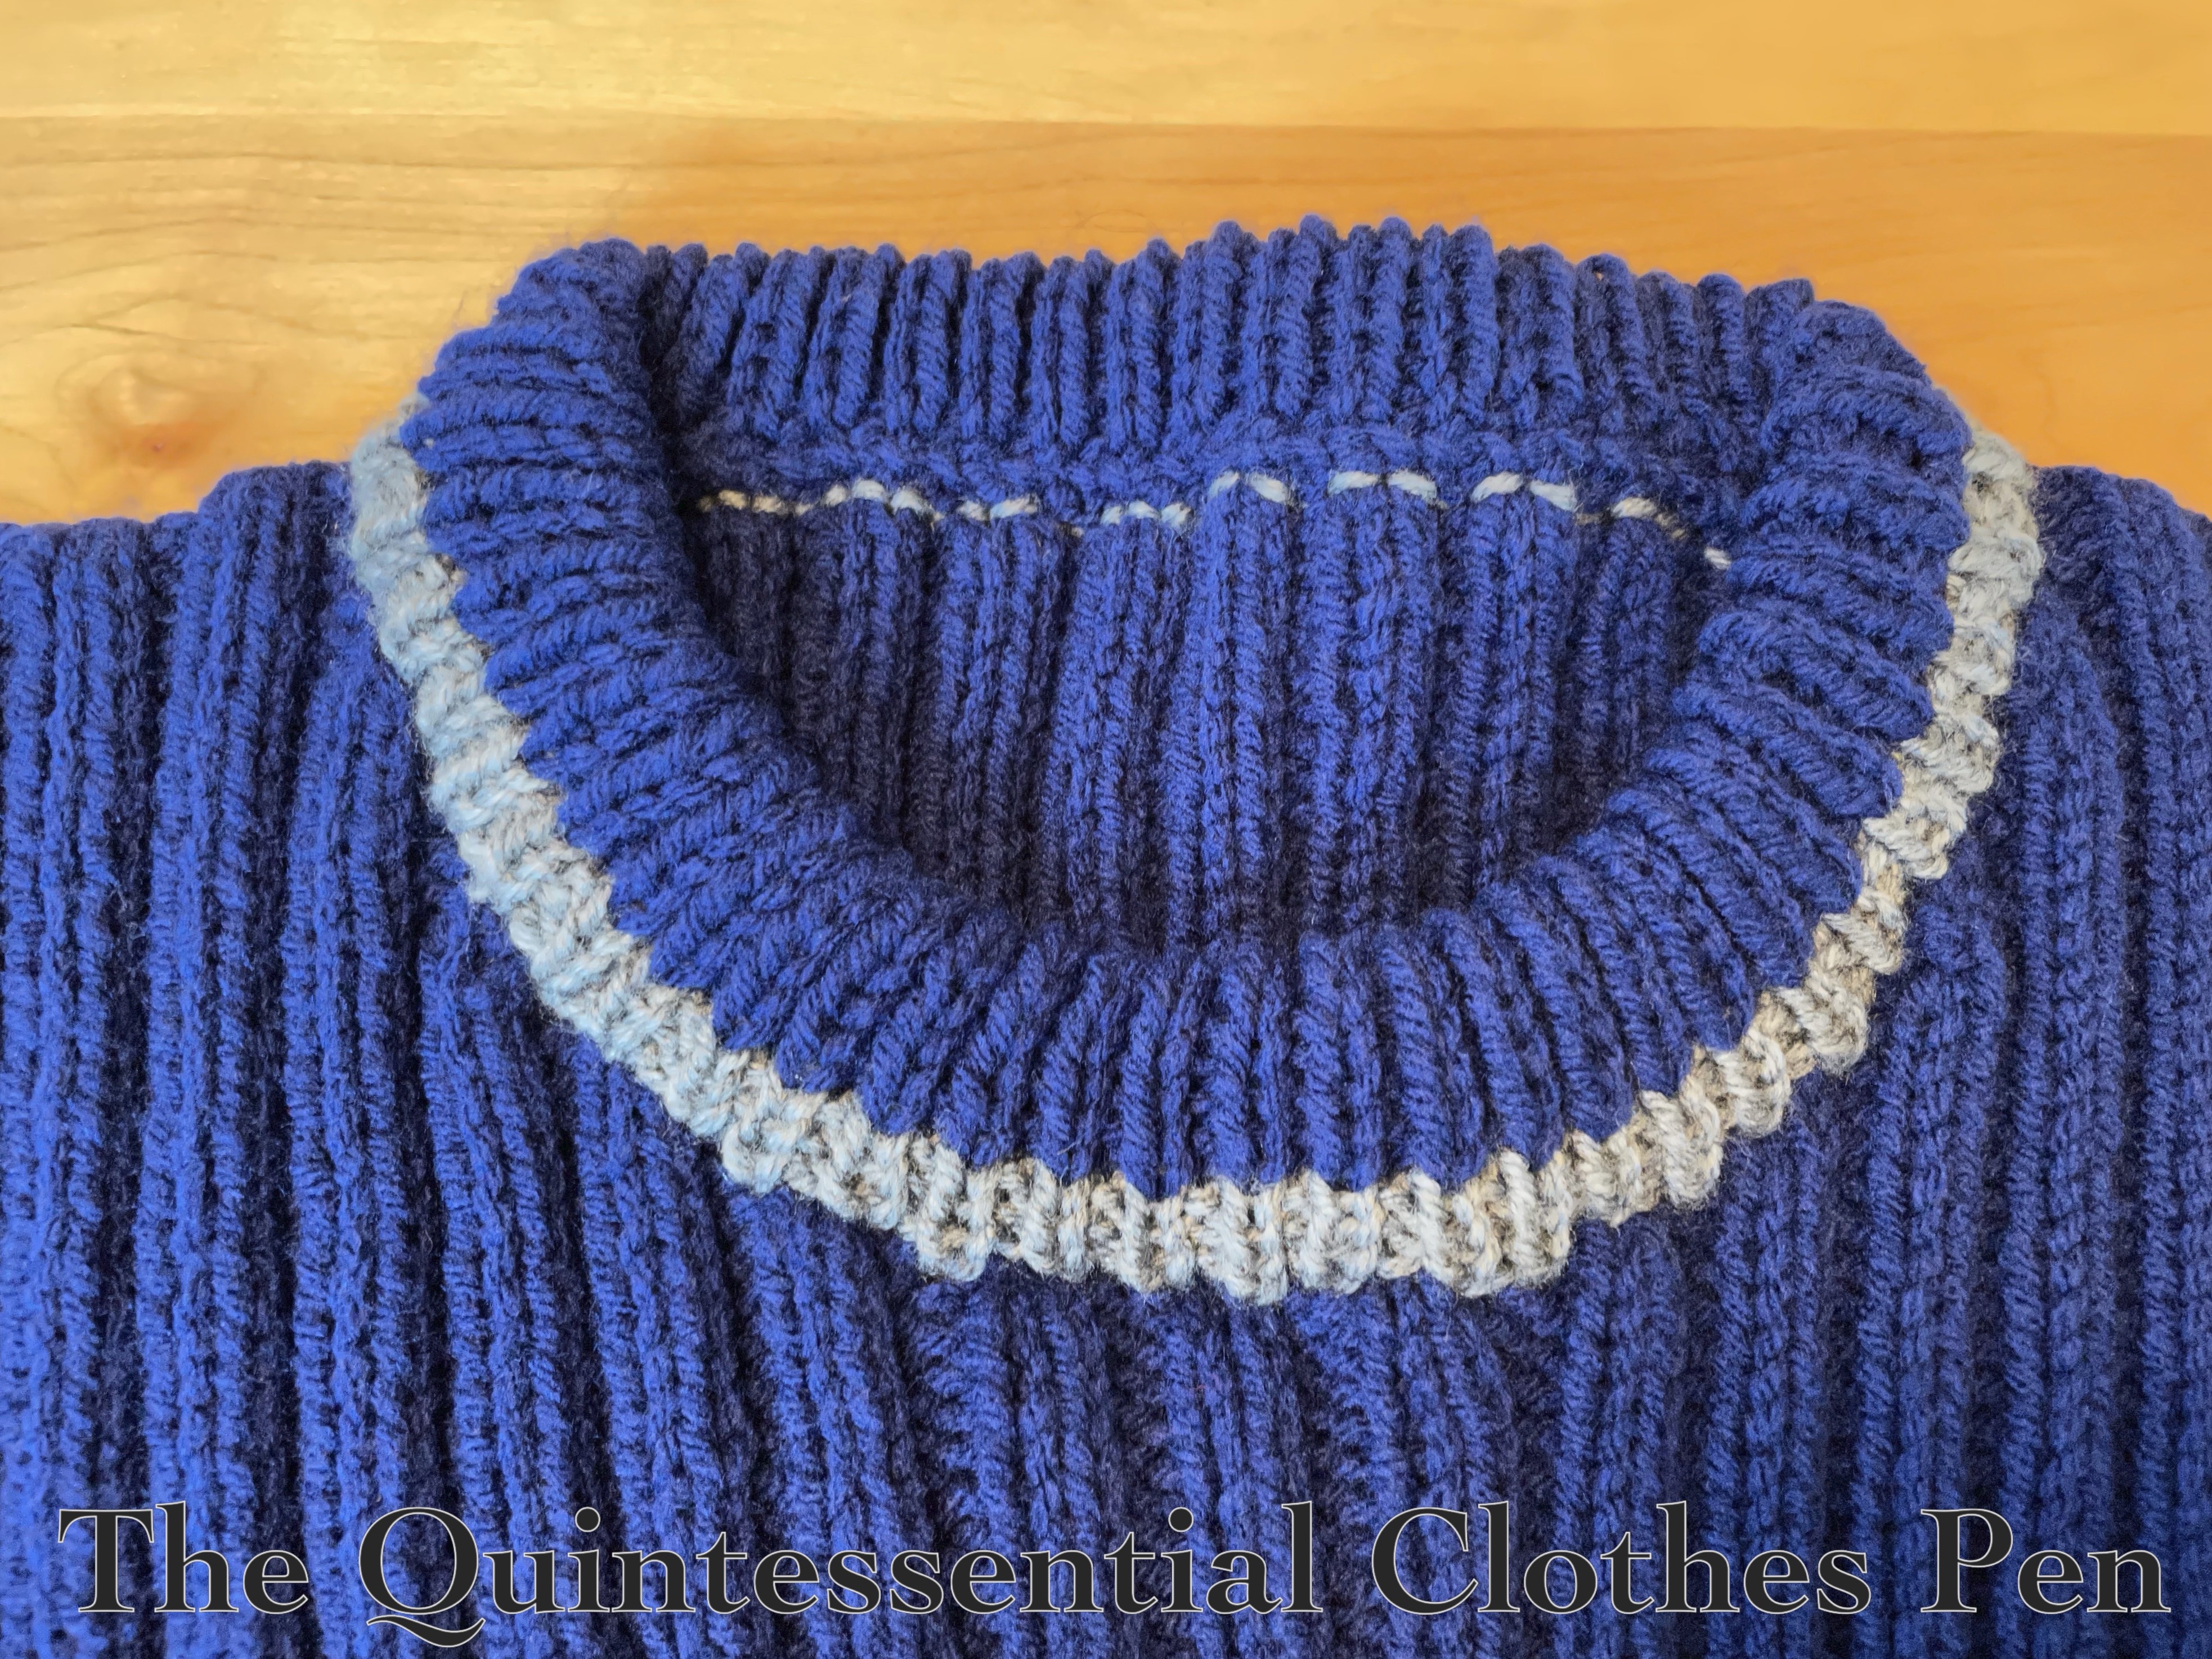
September: Ravenclaw Quidditch Sweater

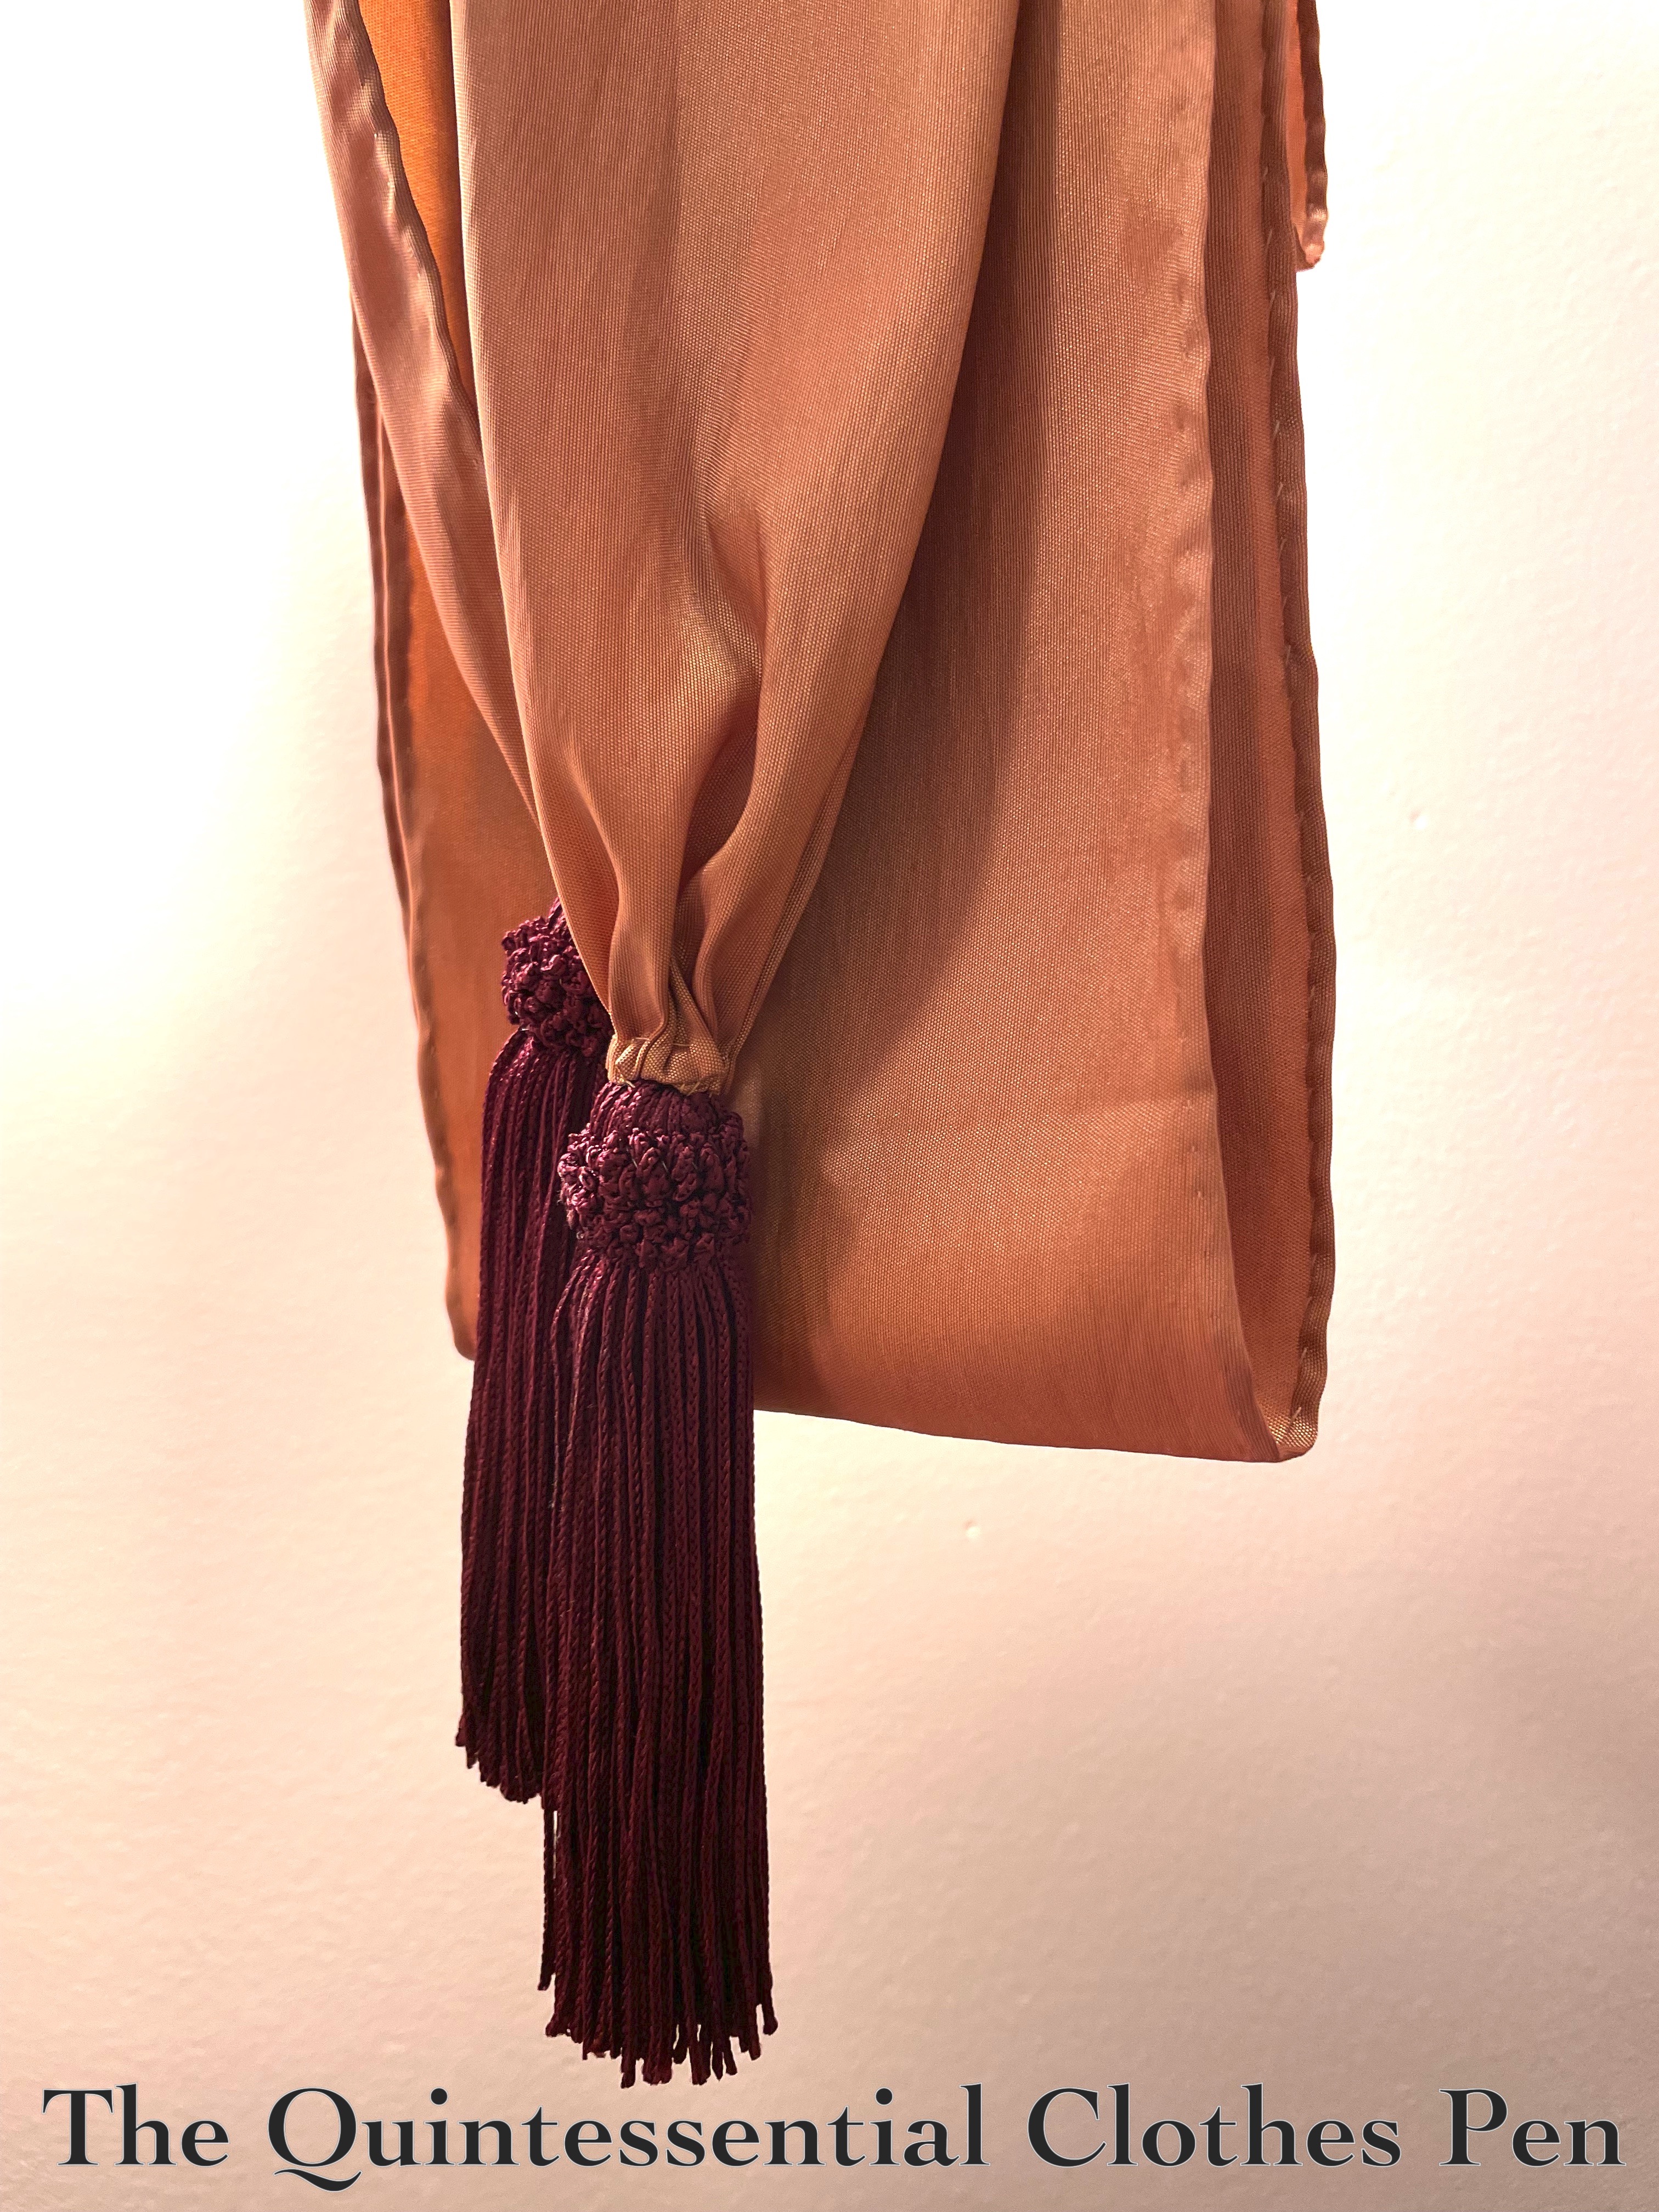
October: Copper Colored 1790s Sash (HSM #3)

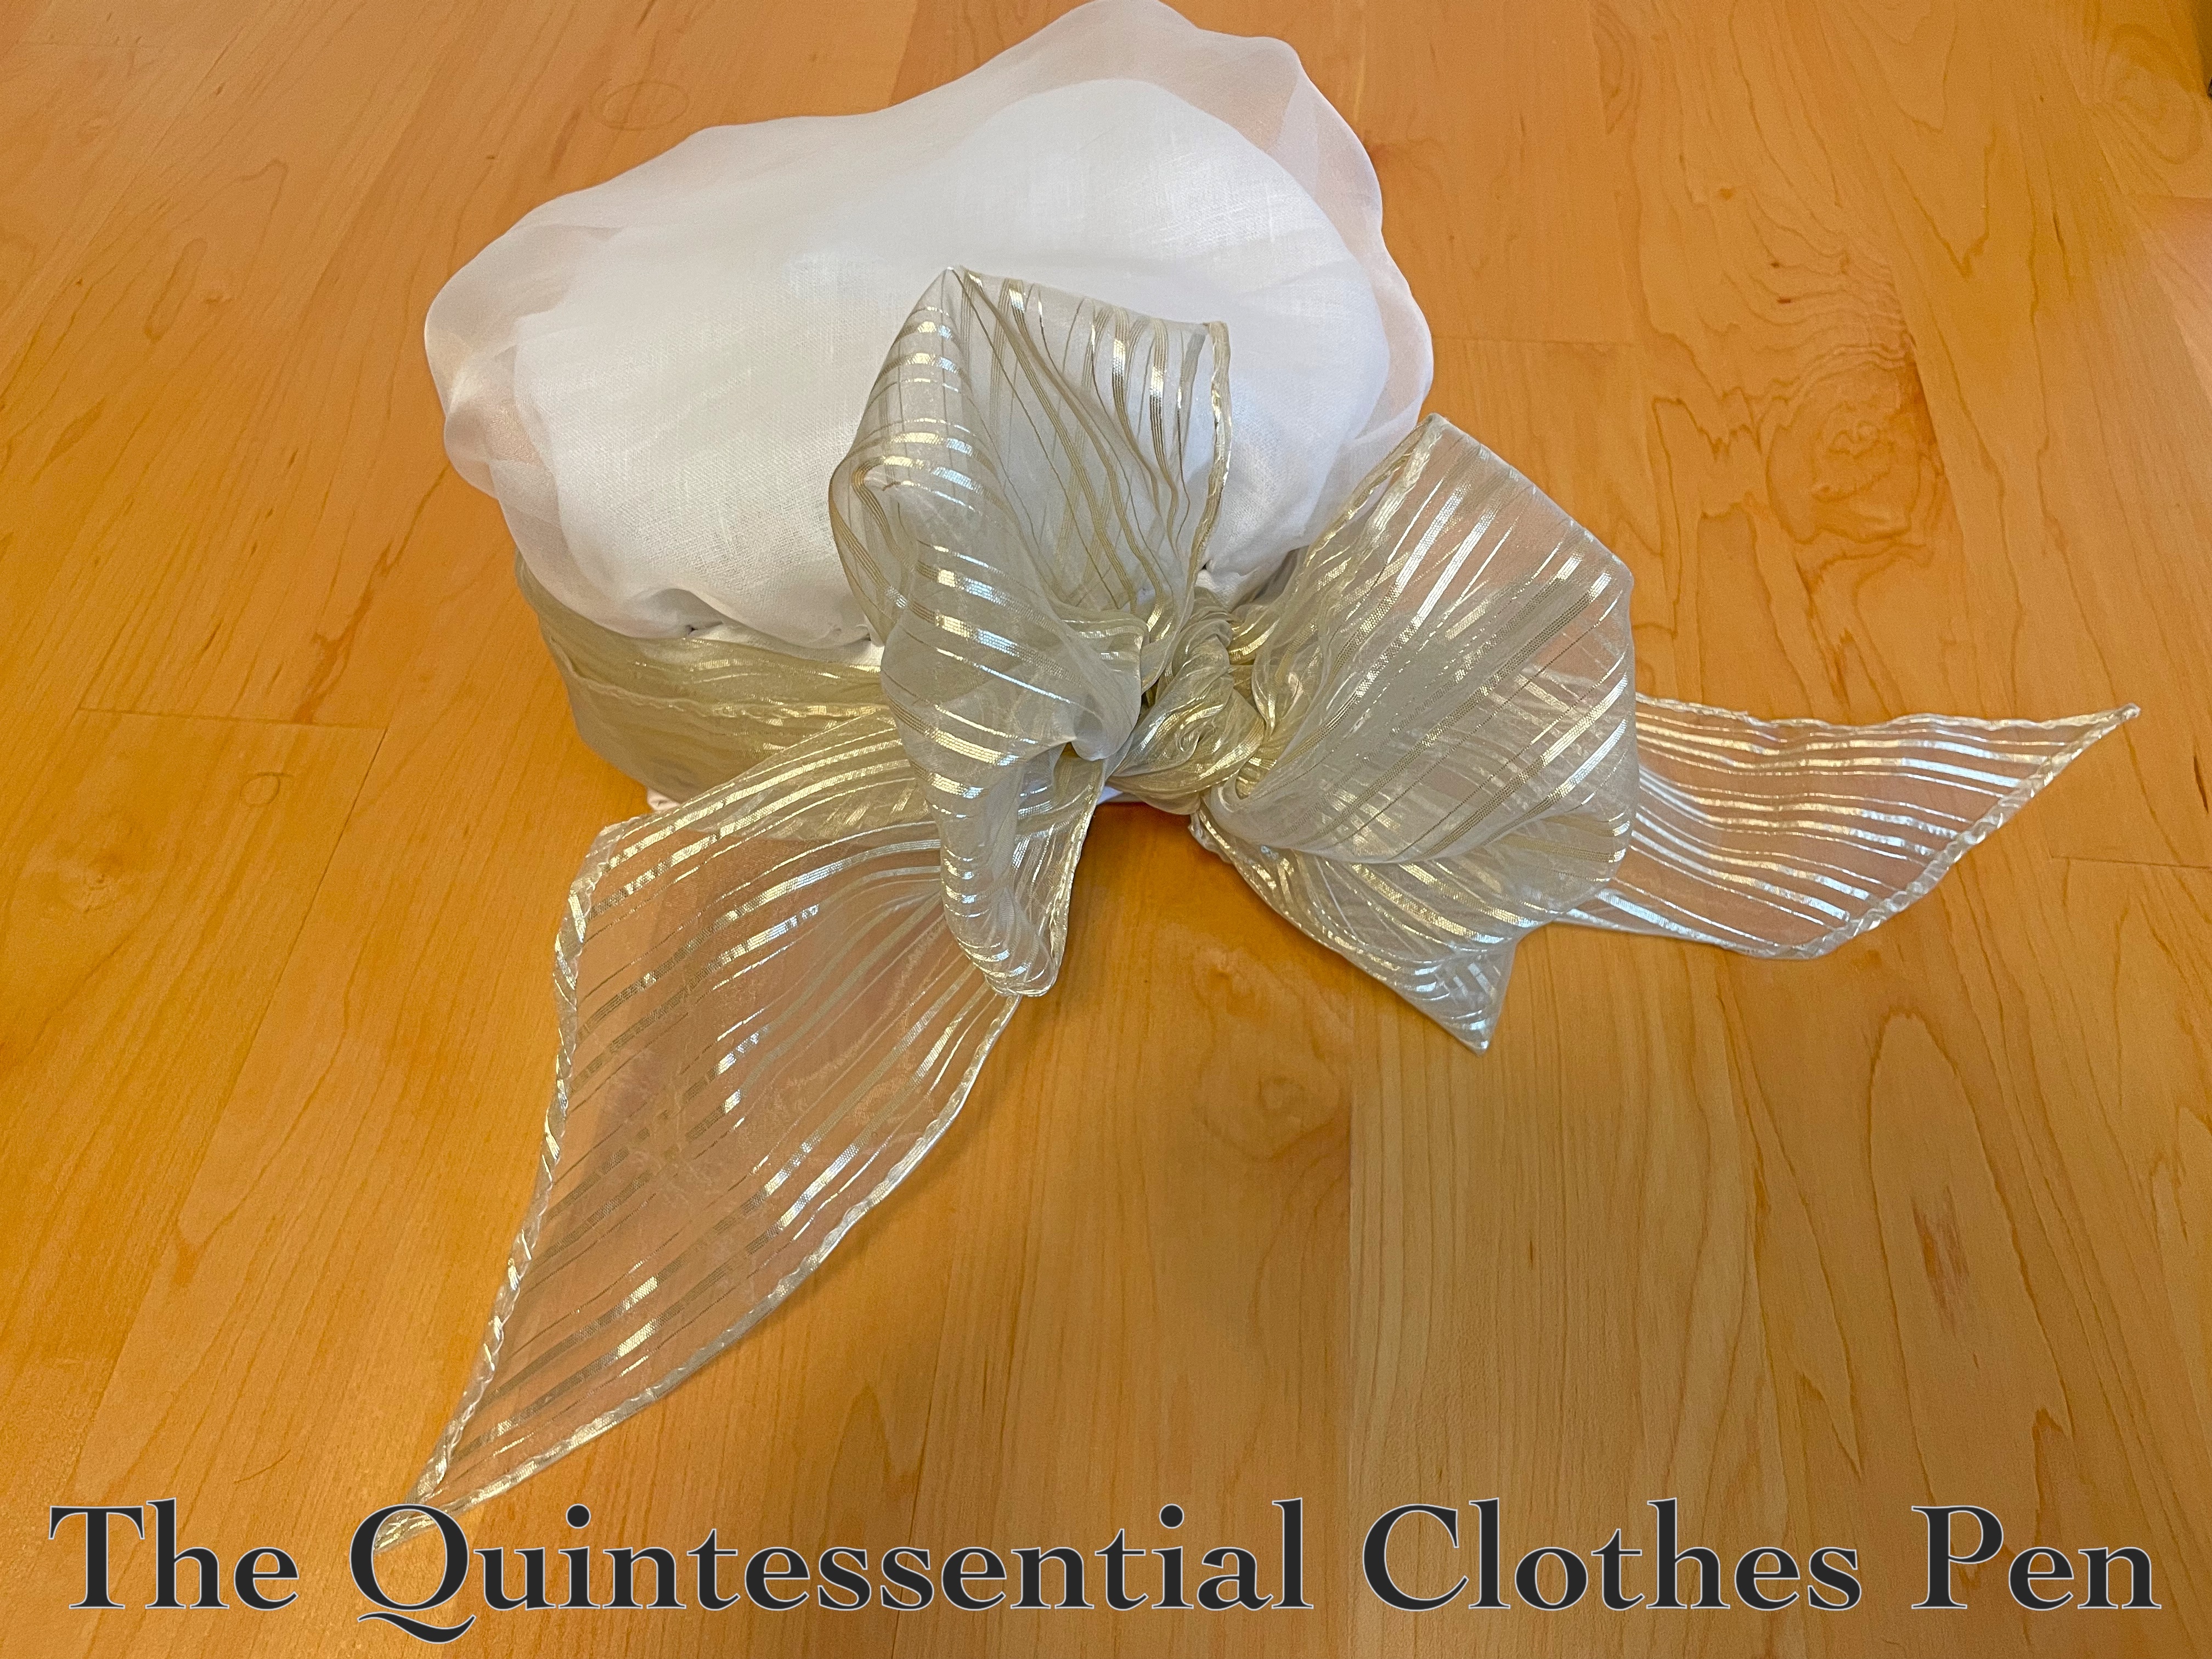
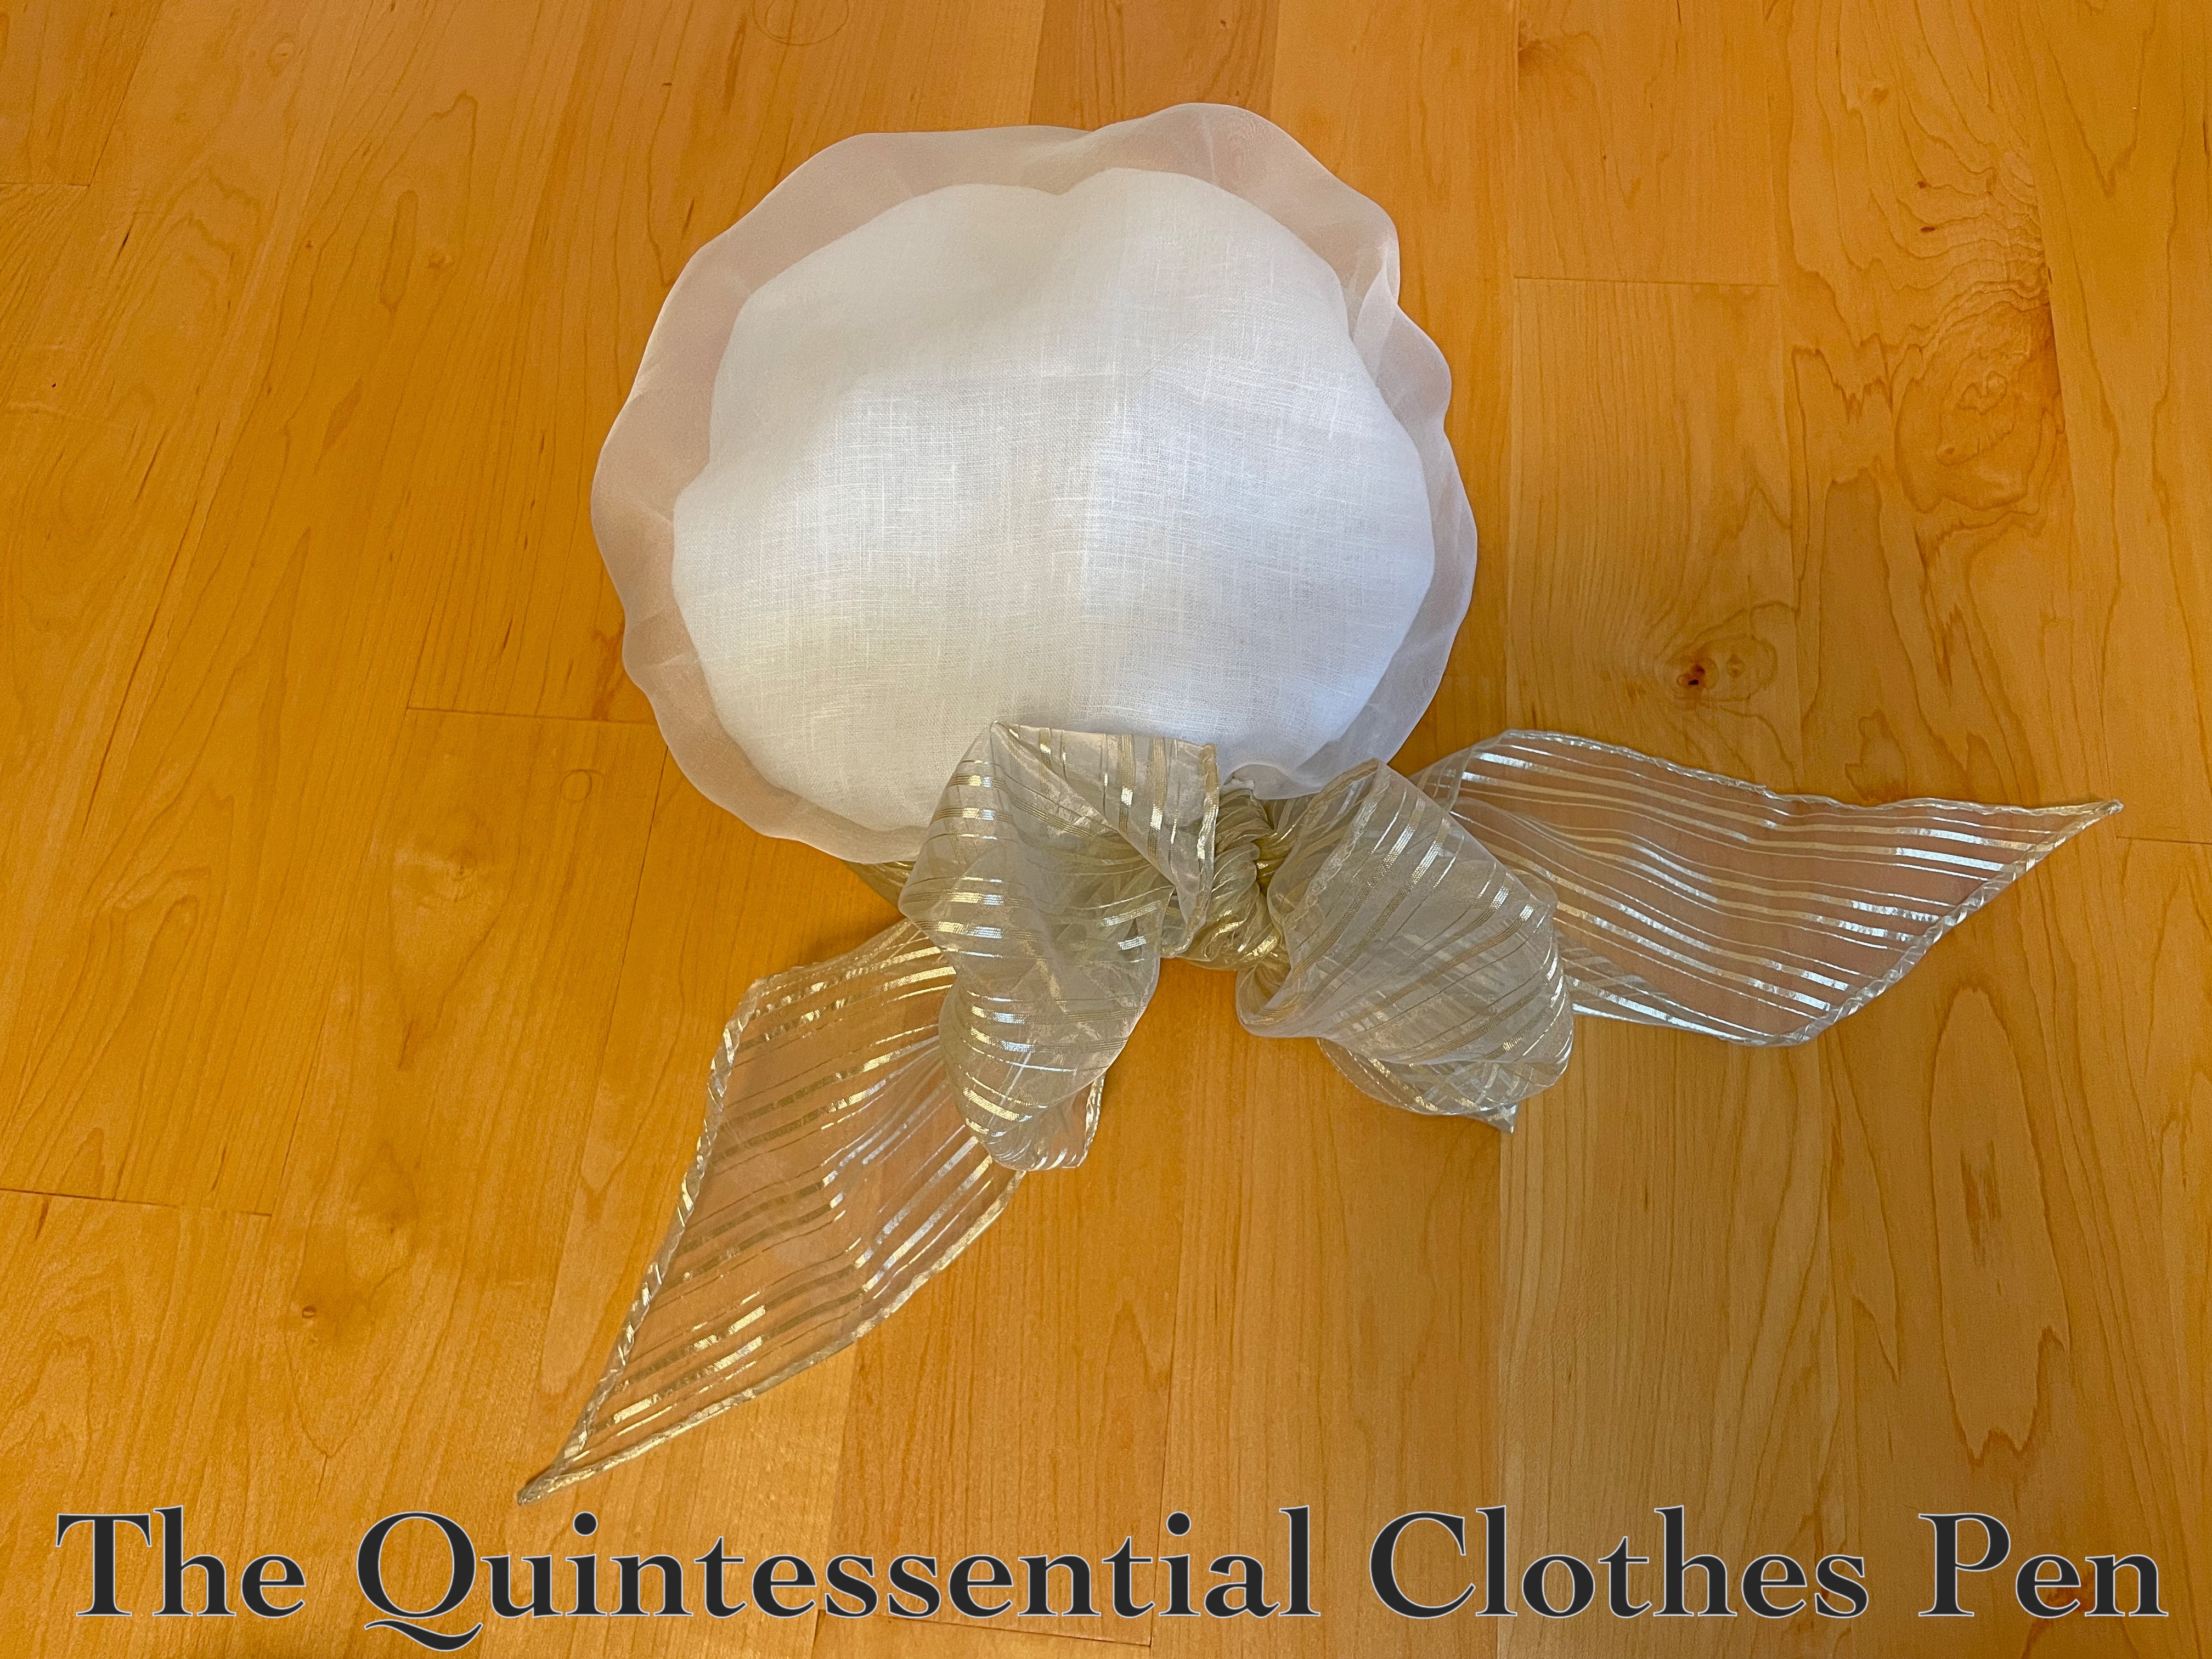
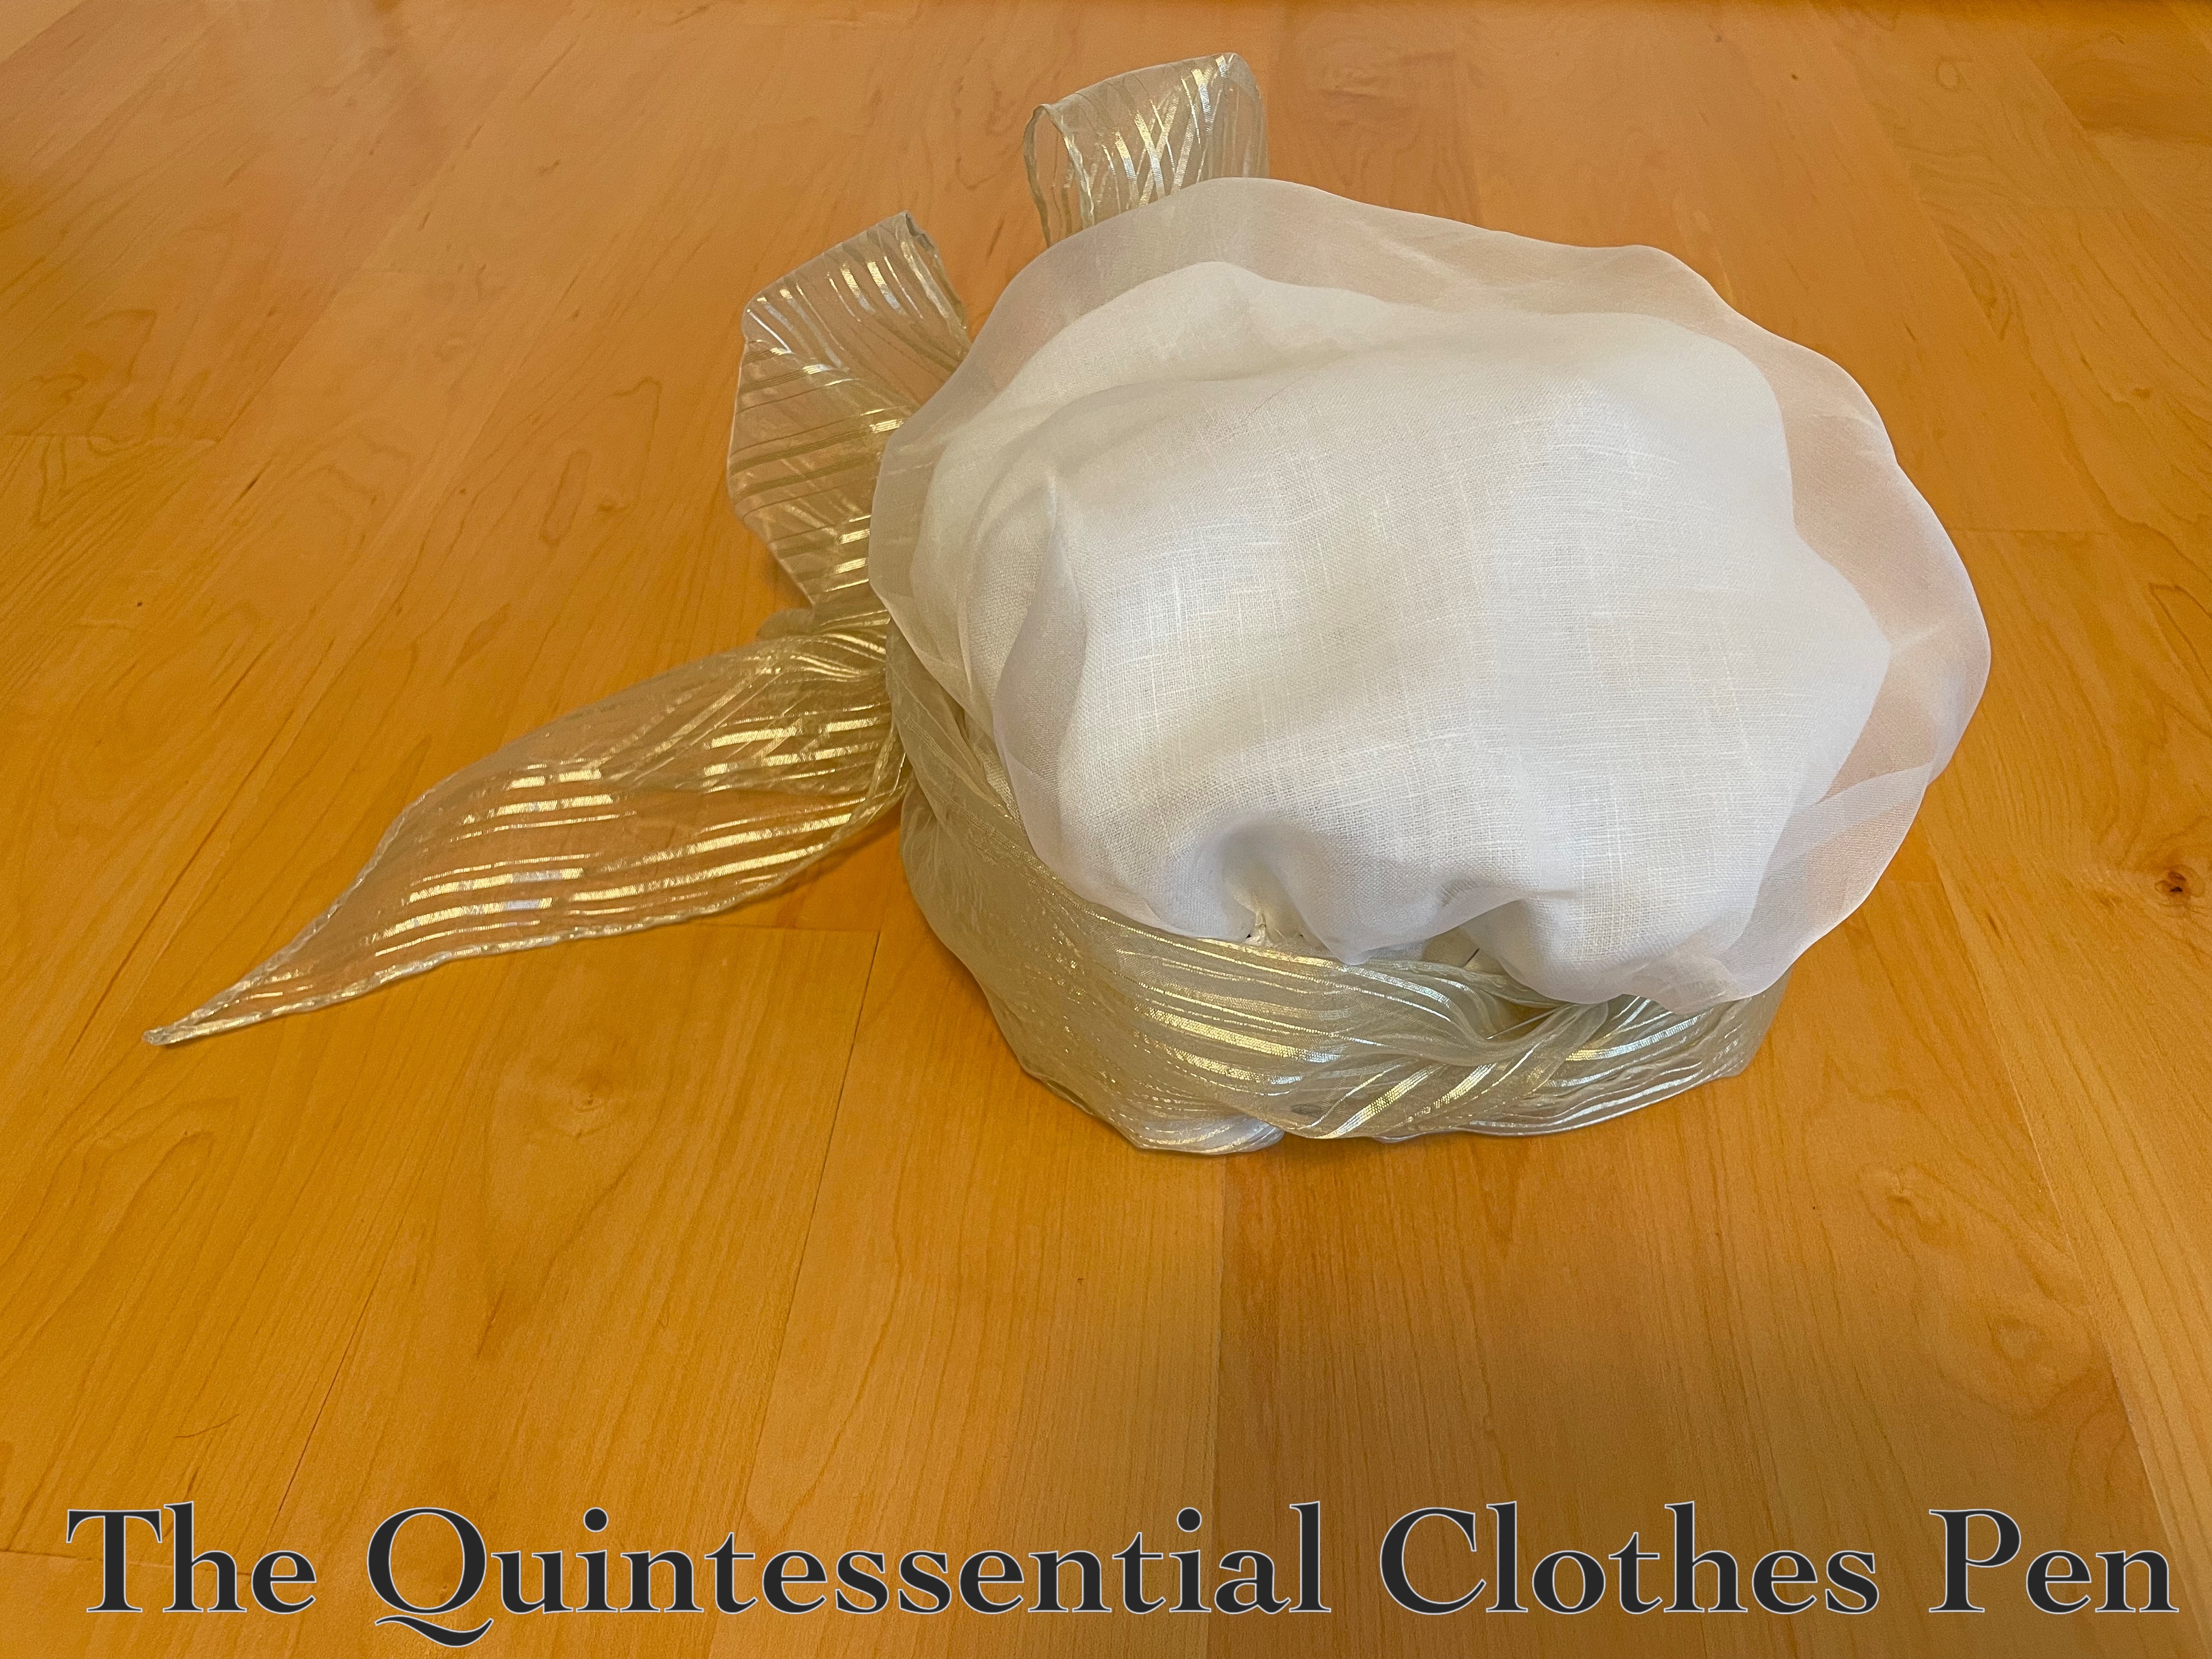
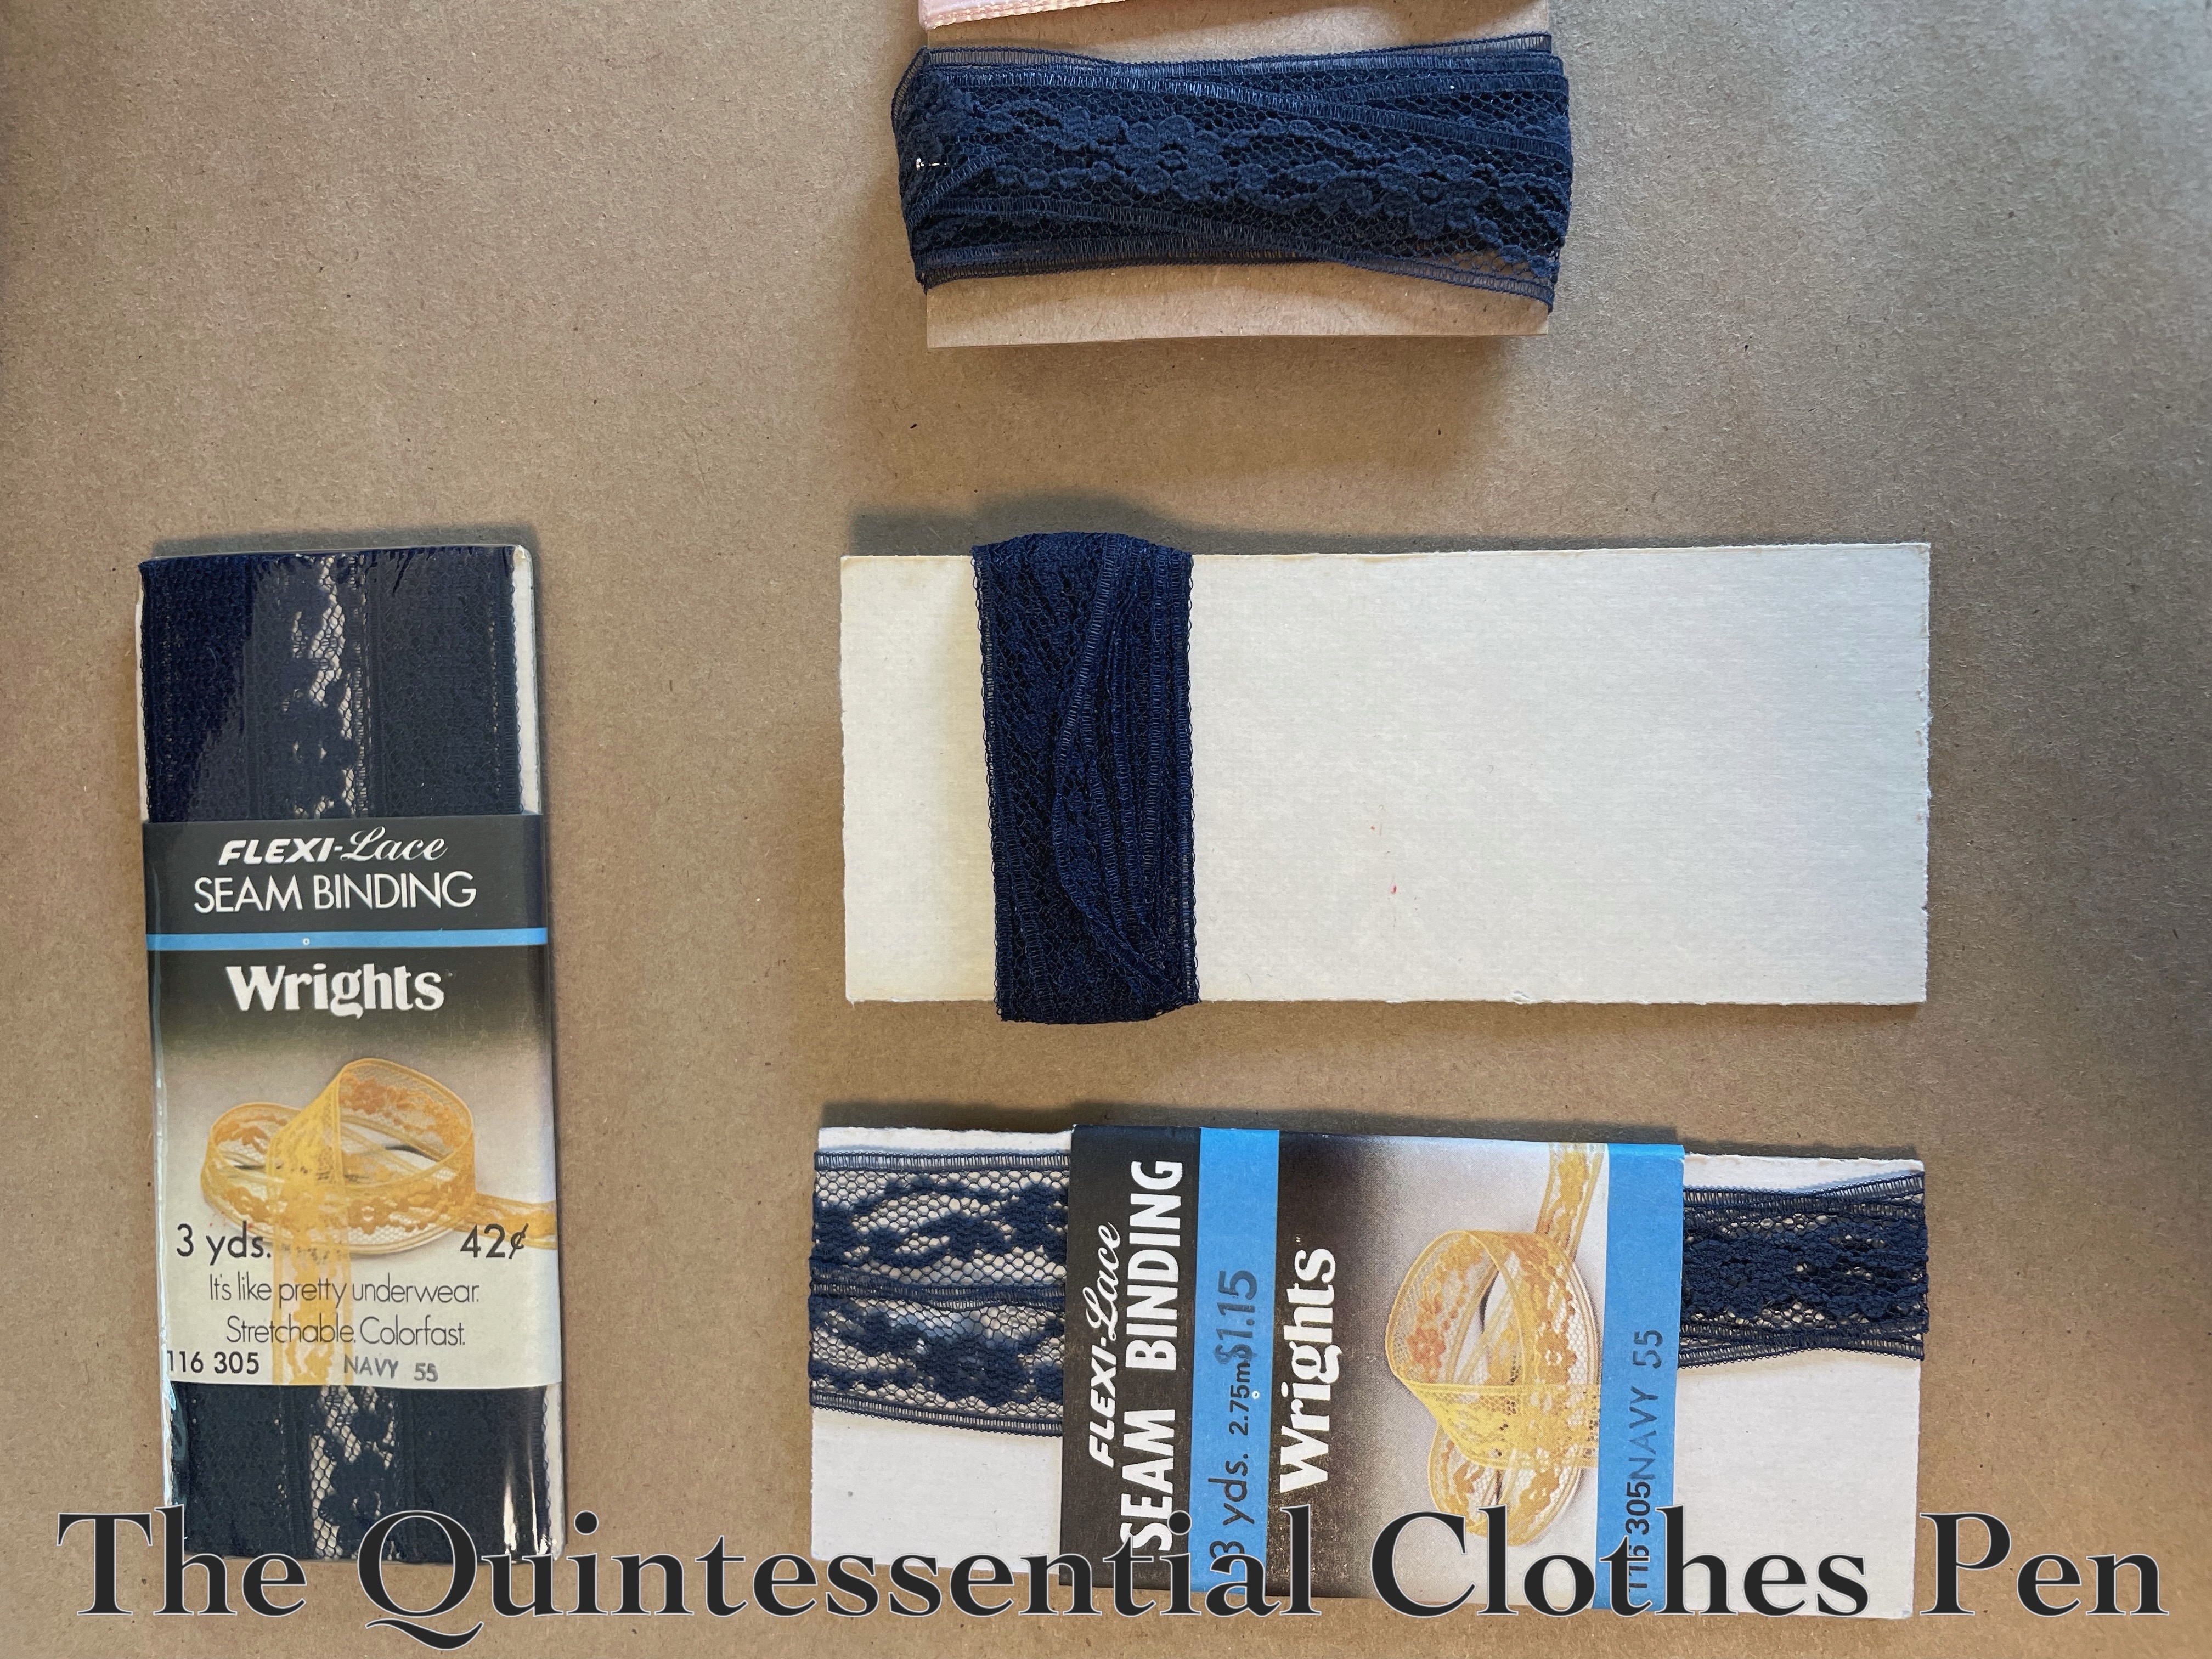
November: 1790s Organza Cap With Gold Stripe Trimming (HSM #5)

December: c. 1770 Pink Panniers (HSM #12)

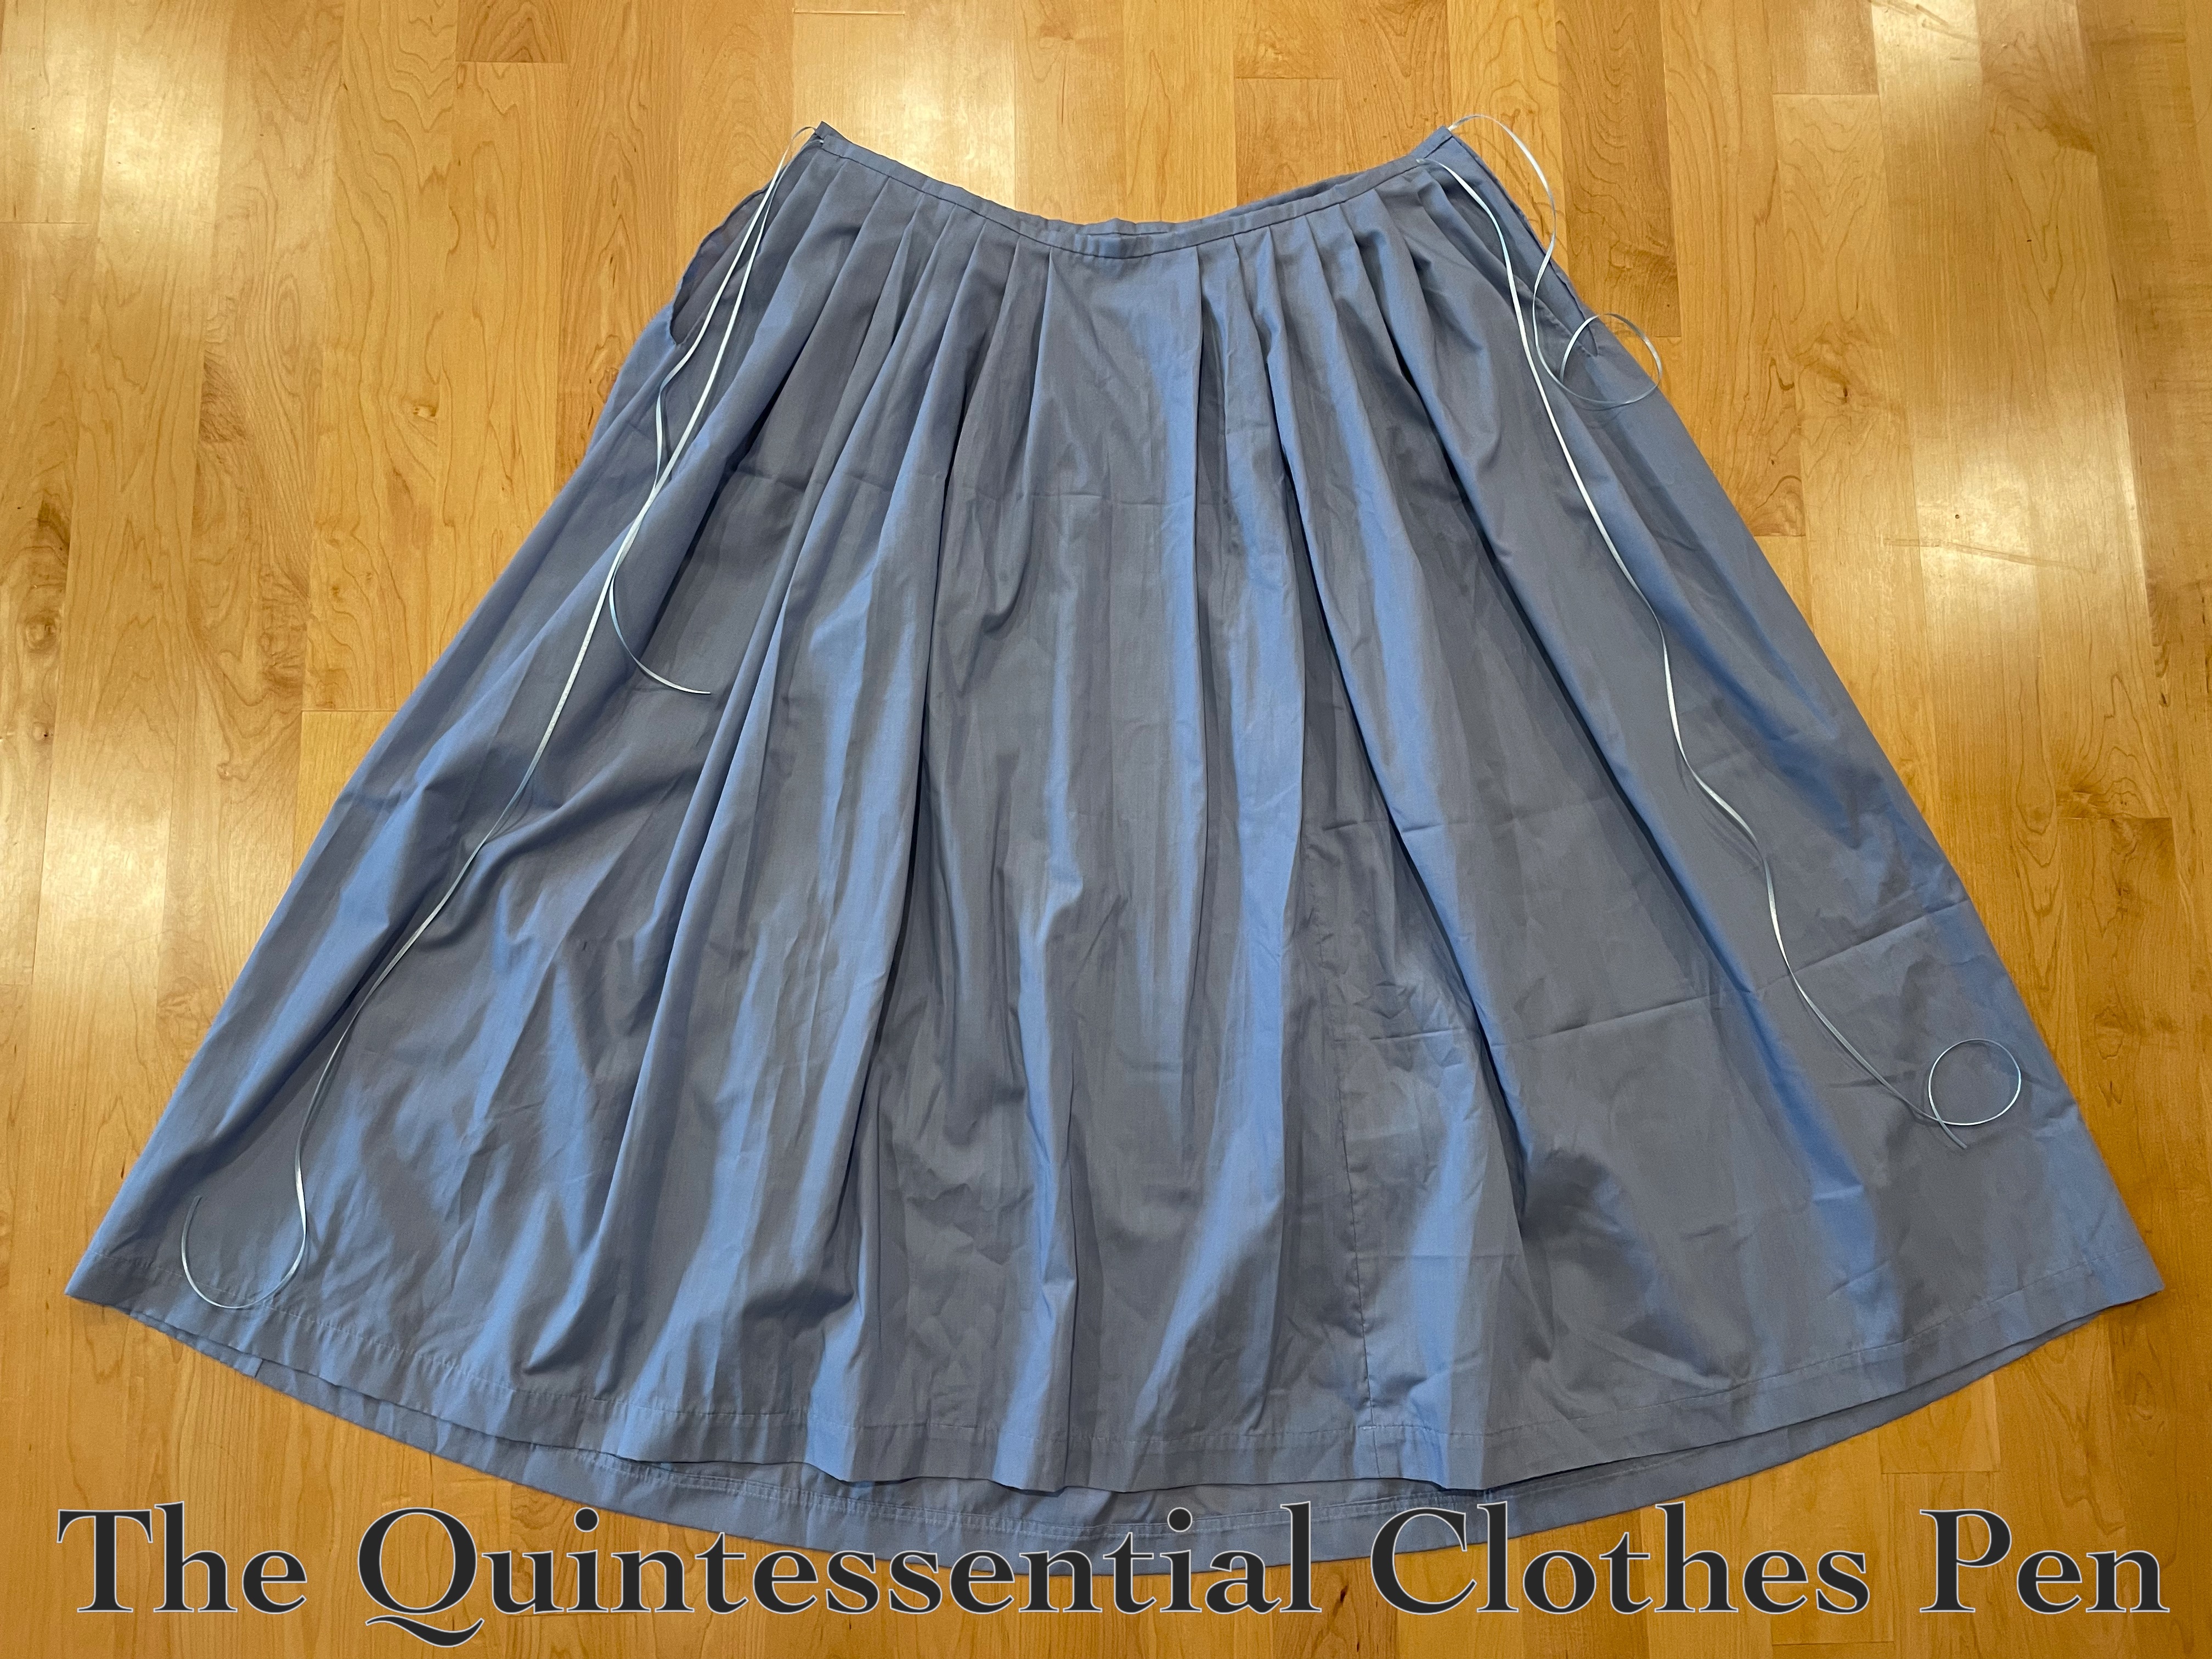
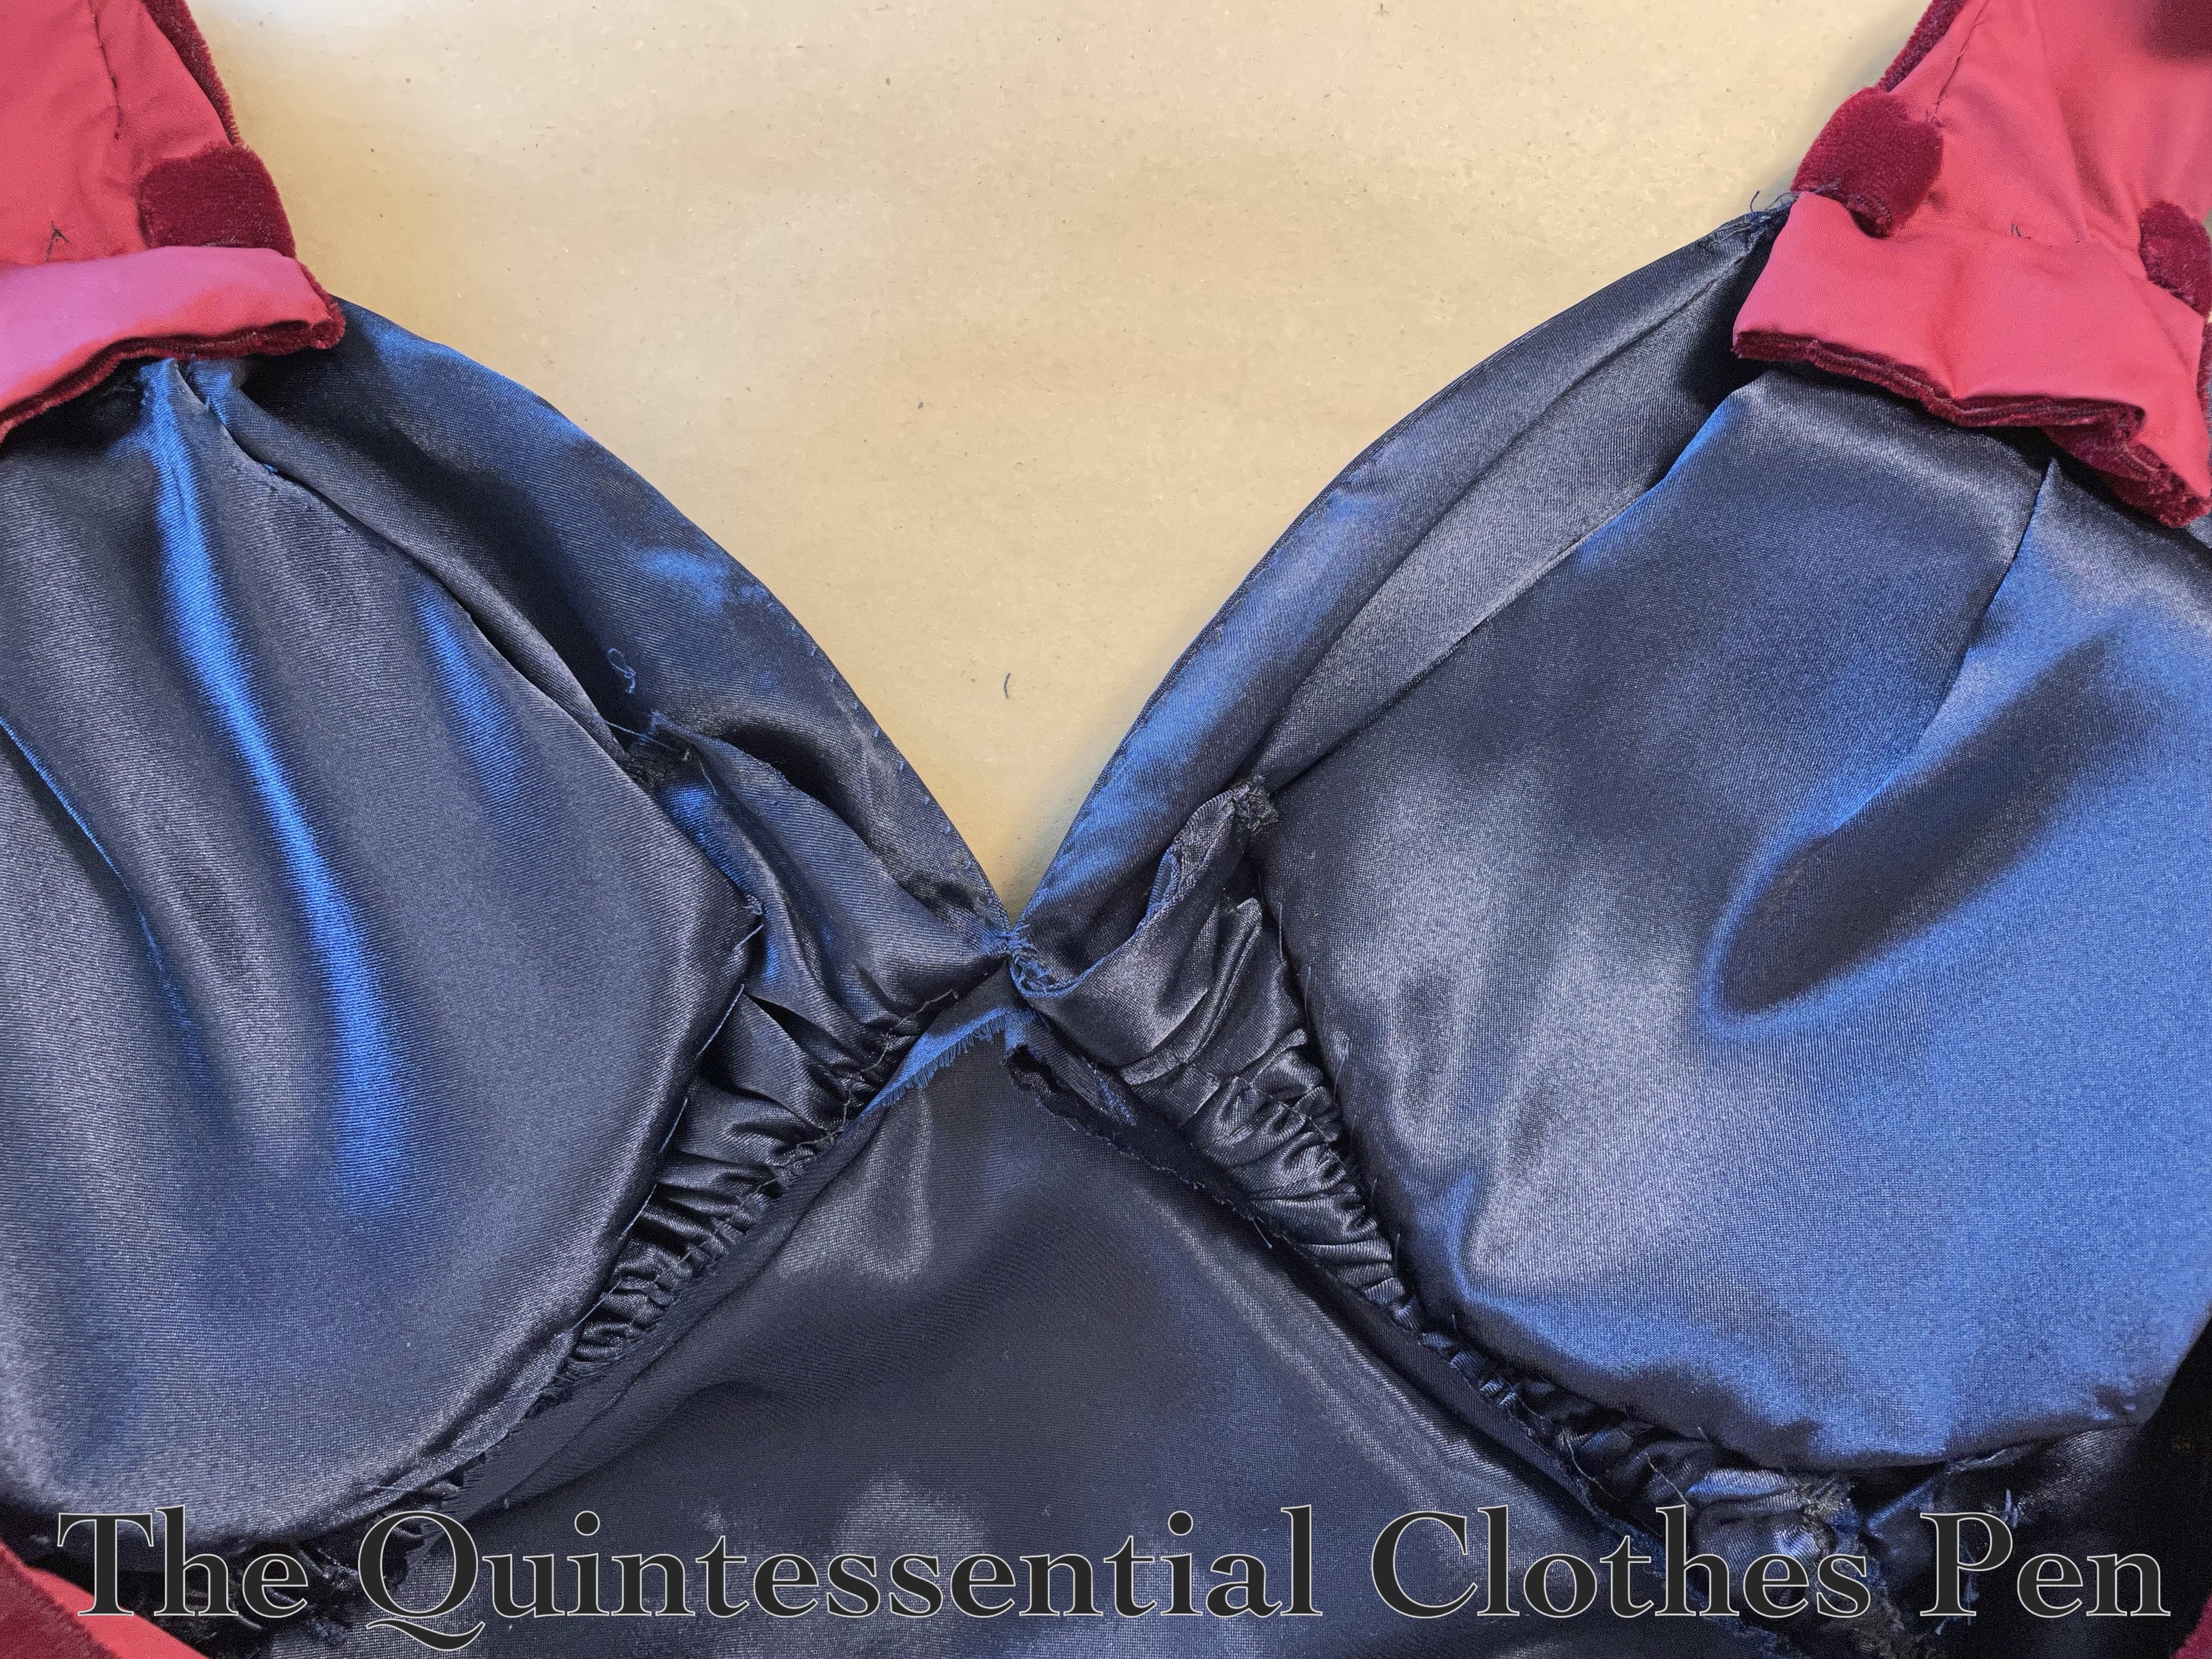
December: 18th Century Blue Petticoat (HSM #8)

General Blog News

I participated in my 11th year of the Historical Sew Monthly. This year I completed 5 of the 12 challenges. That’s three more challenges than last year! It’s been wonderful to have a little bit more time to sew.

Also, in May the blog hit 500,000 all time views! Wow!

Event Recap

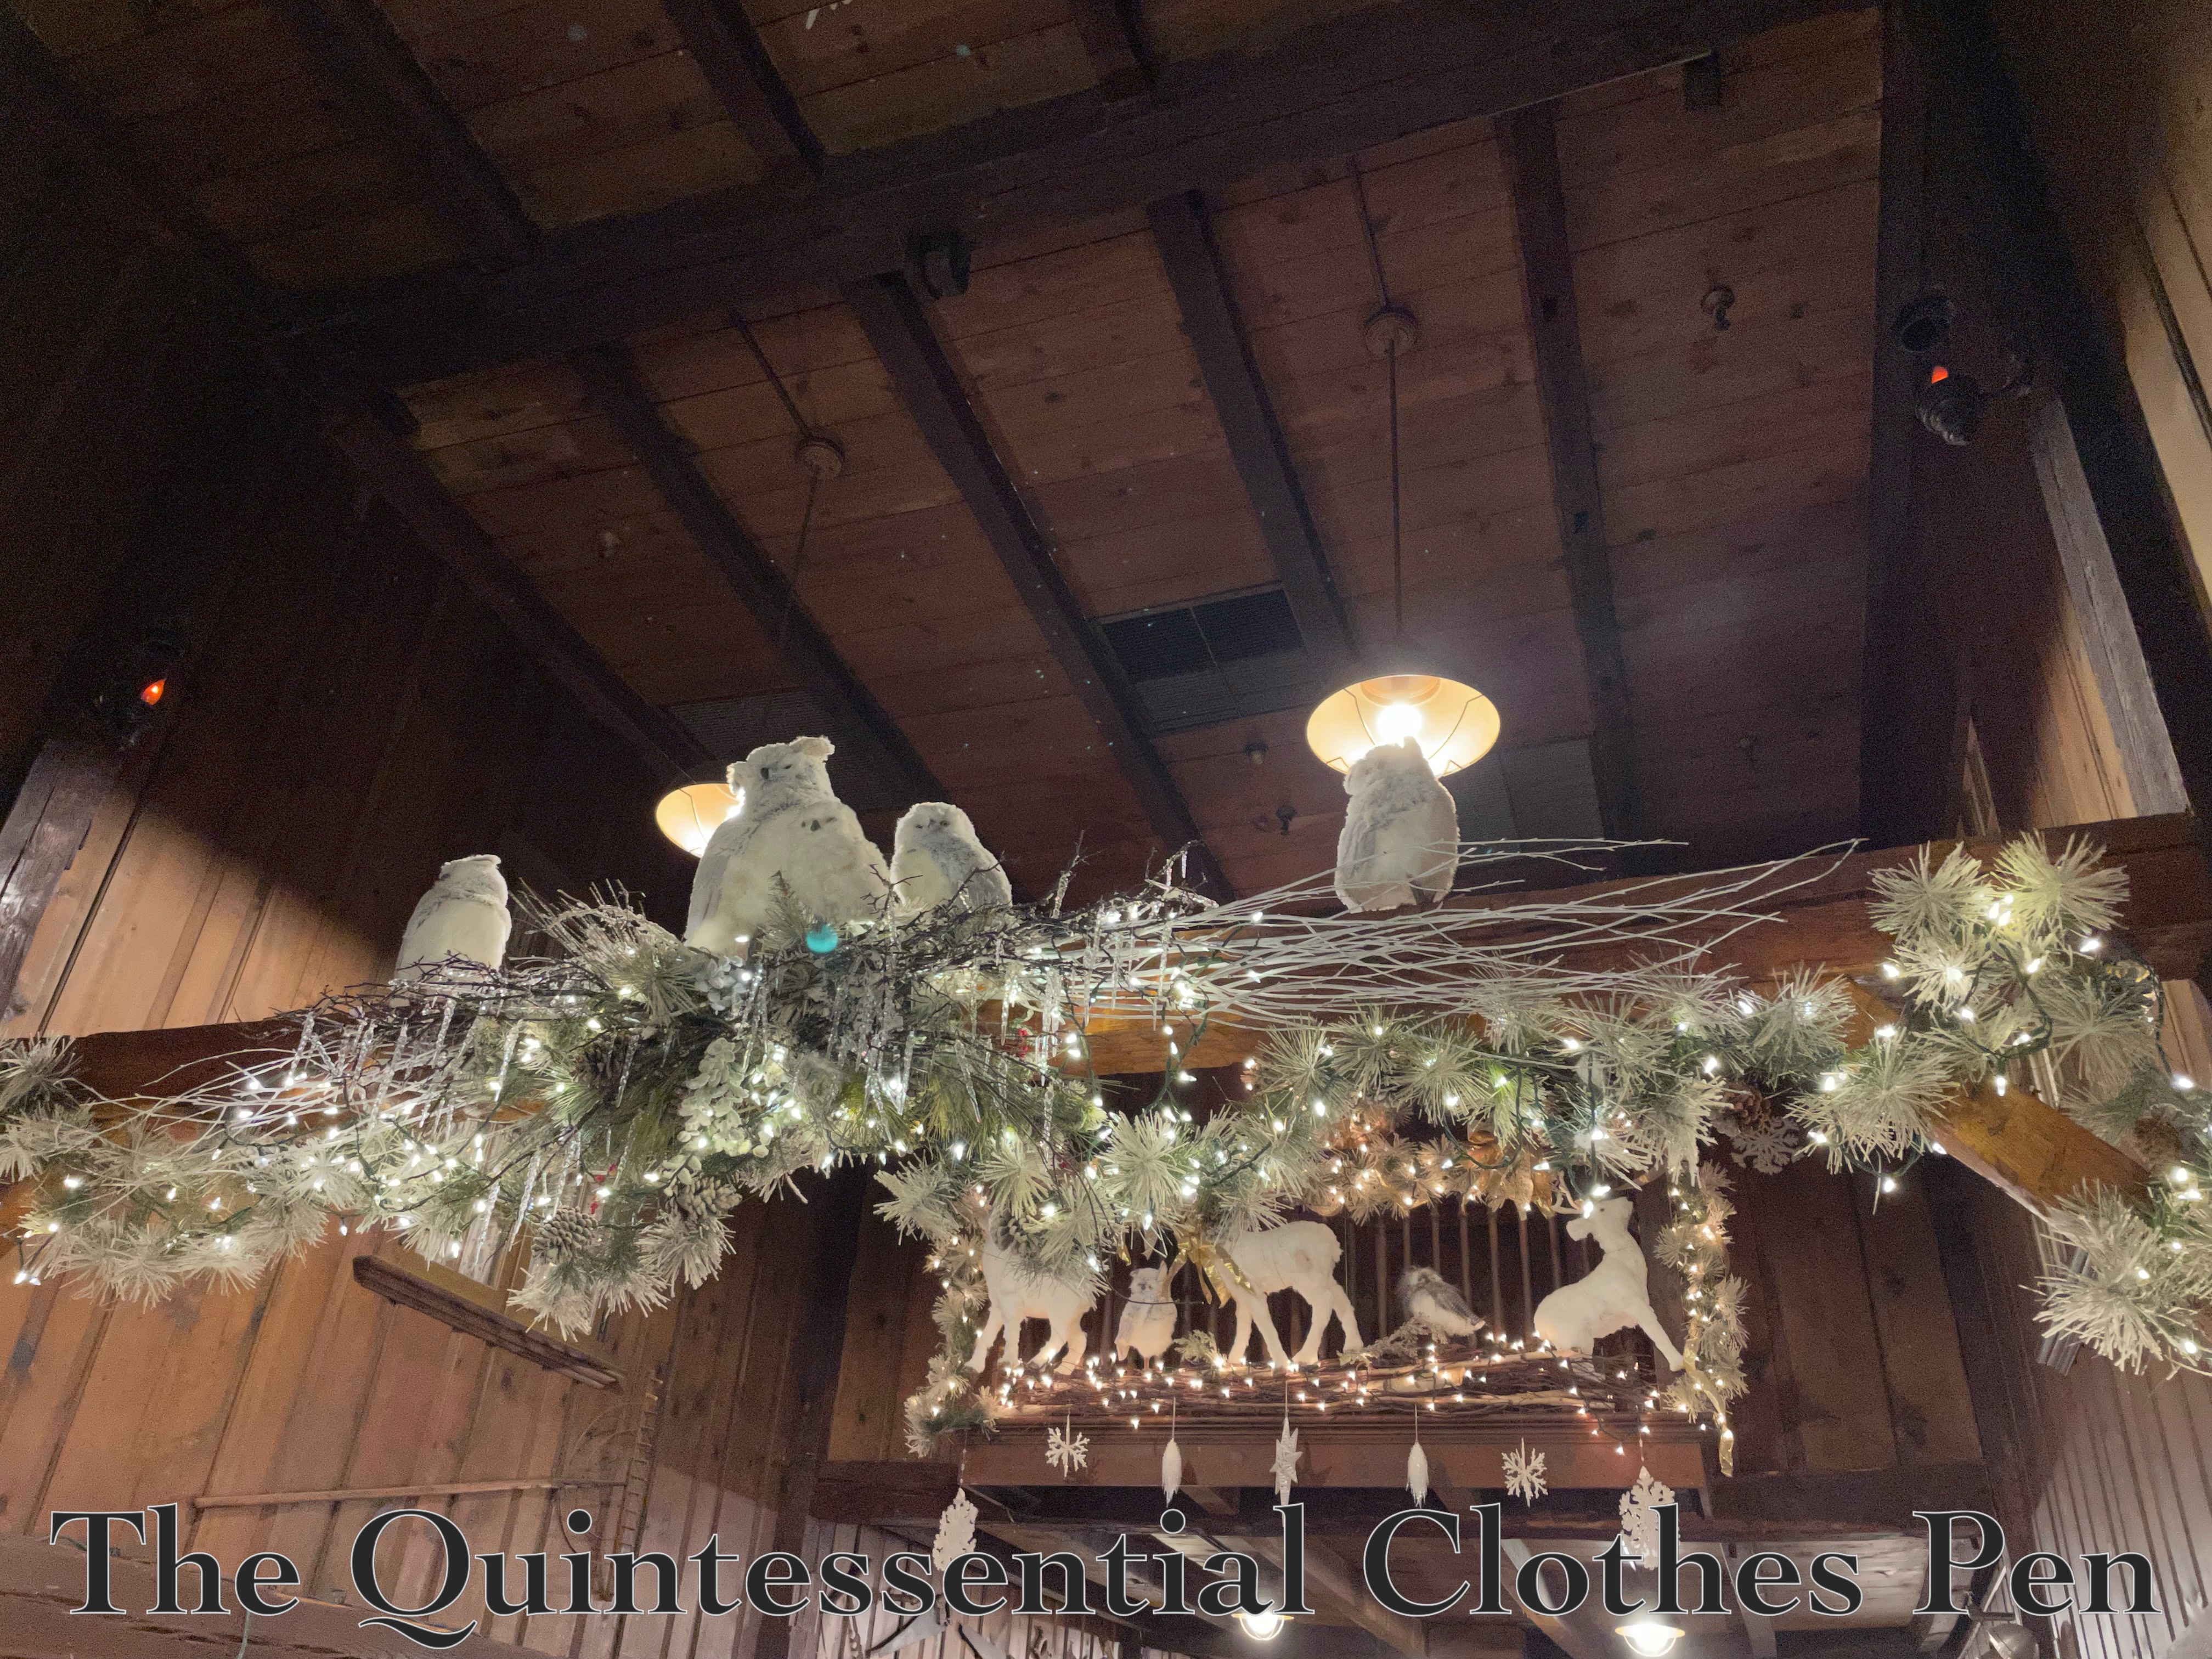
I attended 1 ball (as part of a weekend event), 3 other events (picnic, croquet, outings, etc.), 1 dance performance, and participated in 1 weekend event (that included dancing, games, teas, picnics, winter activities, and grand house tours).

To Do Lists

I kept last year’s Definitely To Do list quite short, so that I could feel accomplished when completing it. And success! I completed both of the things on that last (The Stays of Fail/Success and updating my 1933 Dramatic Evening Gown).

I didn’t fully complete any of the items on the Maybe list from last year, but I did make substantial progress on two of the four items. In fact, they’re almost done! A new 1790s petticoat and dress… and they just need hems! I was derailed from finishing those at the end of the year because I was inspired to start (and finish!) a new 1940 dress that I’ll be blogging about early in 2024.

So, my ‘definitely-do’ list for 2024 includes:

  • Finishing a 1790s petticoat and bum pad (started and mostly finished in 2023)
  • Finishing a 1790s dress (started and mostly finished in 2023)
  • 1770s yellow sacque/Robe à la Française (started in 2023)
  • Under petticoat for the yellow sacque
  • Stomacher for the yellow sacque
  • Shortening the hem of Eleanor, my 1862 Plaid Dress
  • Updating the waist size of my 1860s drawers
  • Updating the trimming on my 1893 Bronze and Pink Ballgown to better go with the size updates I made in 2022 and posted about in 2023
  • Replacing the zipper in my Happy Clover Dress

And my ‘maybe’ list includes:

I’m very pleased to have achieved my goal of finding more time to sew. I hope to continue that next year. That seems reflected in my to-do lists!

I’m very grateful for the many kindnesses and gifts in my life. Thanks to all of you who have continued to read, comment on, and appreciate this blog. Wishing you the very best in 2024!

18th Century Blue Foundation Petticoat (HSM #8)

In addition to the c. 1770 Pink Panniers that I recently posted about, the blue foundation petticoat pictured below (front view) is also intended to be easily loaned to friends.

I’m super pleased with this for a few reasons:

1 – I was able to easily replicate the construction steps that I used for my Apricot Petticoat in 2013, ten years ago!

2 – I was able to re-make the petticoat from an old project: the 1812 Blue Under Dress I also made in 2013. I was never very happy with this color under my 1812 Striped White Gown (it was blah) and within even a few years of being made it no longer fit the width of my back, anyway.

3 – This remake qualifies for the HSM Challenge # 8, All Tied Up:

Make something that closes with ties, or something that uses knots/bows as a decorative feature.

Just the facts:

Fabric/Materials: Approximately 3-4 yards blue cotton/polyester blend fabric (salvaged from an old dress).

Pattern: None, but I referenced both of these tutorials on constructing 18th century petticoats. Katherine’s tutorial is for a petticoat with an uneven length (to go over panniers, or a bum roll, for example). Rebecca’s tutorial is for a petticoat with an even length (the same length all the way around, to be worn without extra supports). Both tutorials have construction information, Rebecca’s includes a bit more detail in terms of which stitches and methods to use.

Year: Loosely 1700-1790.

Notions: 3ish yards of 1/8″ blue polyester ribbon and thread.

How historically accurate is it?: 70%. Accuracy gets knocked down because: 1- all unseen seams are machine sewn, 2- I used polyester ribbon for ties, 3- I haven’t seen research that shows cotton being used at this time for a single plain petticoat of this sort.

Hours to complete: 5? I didn’t really keep track.

First worn: Has not been worn yet.

Total cost: Free! Materials were either in the stash/gifted to me or re-used from other projects.

Here are more photos of the petticoat, starting with a back view.

And, close-up evidence of weird things, such as the twice-stitched machine hem, which could be useful if I ever want to lengthen this petticoat. These hems are leftovers from the salvaged dress–no hemming required for this petticoat. Perfect!

I followed the instructions as indicated in Just The Facts earlier in this post. This leads to tidily finished waistbands, as you can see here (along with a randomly located vertical seam).

(Another weird thing about this petticoat is where the seams landed on this, now that it is a petticoat and not the skirt of a dress, and that each seam is finished in a different method!)

And here’s a the same view, but with the front folded down to show how the petticoat is made shorter at center from than it is anywhere else.

Below, a final closeup of the extra length at the front folded down and left raw. The top fold is encased in the waistband, which is machine sewn and whip stitched down on the inside.

I was super pleased to just barely fit this petticoat length out of the skirt length of the old dress. The hem circumference was just about perfect, too! And, I was able to cut the waistband strips from the front bodice pieces of the original dress!

All in all, a quick and satisfying project! I’m much more pleased with this as a petticoat than I ever was with it as a dress.

1830s Holiday Cheer

For the holidays last year, friends and I decided to have an 1830s-clothed dinner at a local historical inn. We had a lovely meal, enjoyed the company, and had fun looking around at all of the lovely seasonal decorations!

There were new vignettes around every corner, with everything from human-sized nutcrackers to animals and greenery. These owls, perched up on a rafter, amused me very much!

In another, more modern part of the building, we paused to take photos with a tree whose decorations matched my 1832 Velvet Gown and 12 Days Of Christmas bells & berries hair accessory. This dress is always fun to wear–lightweight, despite the velvet, and with a silhouette that is always entertaining.

I hope your holidays are full of joy, friendship, and gratitude!

c. 1770 Pink Panniers (HSM #12)

I have a longer-term goal to make a another sacque (similar the one I made for Versailles in 2016–documented in these many past posts). I specifically want this new one to be loan-able to a few friends, so I’m adjusting the size a bit from the one I made for myself.

I know that foundations make the garment on top look good, so it’s important to me to also be able to provide the foundation pieces that might be needed to go with the sacque. Stays are covered, as I now have the c. 1785 Green Linen Stays that can be loaned and/or some friends have their own, but panniers and an additional foundation petticoat felt like items that I don’t already have and therefore should make in addition to the sacque itself.

This post is going to document the panniers I made for this new ensemble. I’m pleased that they qualify for the Historical Sew Monthly Challenge #12, Paired to Perfection:

Make something that comes in a pair (mittens, stockings, garters, braces etc.) Or make something in which the trim or construction prominently features sets of two.

Just the facts:

Fabric/Materials: 1 yd (or probably a little less) pink cotton twill.

Pattern: The Dreamstress’s pattern from the Pannier Along in (oh my, has it been this long…???) 2013! All the steps, information, etc. is available on Leimomi’s blog, here.

Year: c. 1770.

Notions: Thread, 3 24″ x 3/8″ zip ties, and approximately 2 yds grosgrain ribbon.

How historically accurate is it?: 70%. Machine sewing and materials are generally not historically accurate, but the overall pattern and shapes are.

Hours to complete: I didn’t really keep track. Let’s say 5.

First worn: Has not been worn yet.

Total cost: All of the materials are from the stash (leftovers from other projects), so let’s say free!

A view of the top of the stays, with them collapsed down on themselves.

I made these following all of the steps in The Dreamstress’s tutorial, as mentioned above. I decided to mostly machine sew them, in the spirit of speed and because I knew the fabric I chose was not accurate to start with.

I made my boning channels out of the same fabric as the exteriors (pink cotton twill leftover from making early 19th century stays over ten years ago).

There are only two hand sewn bits. One is the slit on top (to be able to use these as pockets and store things in them), pictured below. Each slit is reinforced at the bottom to keep the fabric from ripping during use.

The other hand sewn bit is the band at the top, which is whipped down after being machine sewn on.

And that’s it! Pink panniers! It has a bit of a ring to it, I think!

1790s Organza Cap With Gold Stripe Trimming (HSM #5)

I’ve been on a roll finishing up foundation and accessory projects that I started over the summer as smaller pieces of larger ensembles I have in the works! Today, I’m sharing about a hand sewn 1790s cap!

This accessory qualifies for the Historical Sew Monthly Challenge #5, Hair Apparel:

Make something worn in the hair or on the head.

Just the facts:

Fabric/Materials: ¼ yd white linen, ¼ yd white silk organza, ¼ yd gold striped polyester organza, and 1 yd ¼” white cotton twill tape.

Pattern: 1790s “Vigée le Brun” Turban Cap in the book The American Duchess Guide To 18th Century Dressmaking, by Lauren Stowell and Abby Cox.

Year: c. 1790.

Notions: Thread.

How historically accurate is it?: 95%. Polyester is obviously not historically accurate, but most of the materials,  methods, and hand sewing method are.

Hours to complete: 5.

First worn: Has not been worn yet.

Total cost: All of the materials are from the stash (leftovers from other projects), so let’s say free!

This is a fun accessory to add to my collection! I’m amused by the oversized crown and bow. The oversized crown, especially, is visible in the photo below.

The silk organza used for the outer crown is fun, but when considered with the all white dress in the works it seemed a bit monochromatic. So to liven things up a bit, I decided on a gold stripe organza (leftovers from my 1817 Duchess Gown) for the bow. It’s polyester, so points off for historical accuracy, but I like that it’s neutral but more interesting than white.

For now the cap is just living on my sewing table so the carefully pressed fabrics don’t crease. Hopefully, next year the cap will get an outing and be documented on my head!

HSM #3: Copper Colored 1790s Sash

I finished a project! It’s small, but I’m very pleased with it.

The project is a sash to be worn with an in-progress 1790s dress. The goal is to be slowly progressing towards an entire 1790s outfit, with all of the appropriate accessories.

I’ve enjoyed making lists of what those accessories might be and getting them cut out and lined up for mindless hand sewing. That way, even when life is busy and I don’t have time to think about a project, I can still make progress and have something to sew, which brings me great joy and a sense of calm.

This project takes its inspiration and instruction from The American Duchess Guide To 18th Century Dressmaking, by Lauren Stowell and Abby Cox.

I’m excited that the sash qualifies for the Historical Sew Monthly Challenge #3, Focus on the Fabric:

Make something in which the fabric colour/ texture/print/material etc. is the central feature of the design.

This fits the challenge in that the sash really isn’t at all about the construction details… The only cuts to the fabric were to make strips, and the only sewing is joining them and finishing the edges. So it really is all about the fabric!

Just the facts:

Fabric/Materials: ½ yard or so orange/gold shot polyester taffeta leftover from a very old project and 2 burgundy tassels.

Pattern: 1790s Sash in the book The American Duchess Guide To 18th Century Dressmaking, by Lauren Stowell and Abby Cox.

Year: c. 1790.

Notions: Thread.

How historically accurate is it?: 90%. Polyester is obviously not historically accurate, but the dimensions and hand sewing method are.

Hours to complete: 5.

First worn: Has not been worn yet.

Total cost: $2 for the tassels and let’s say $.50 for the thread. We’ll count the fabric as free. So, $2.50.

A Glamorous 1950s Outing

Earlier this year, I was able to attend a Greater Boston Vintage Society event held at the Larz Anderson Auto Museum. I chose to wear my 1955 Evening Dress dress with dramatic accessories to fit the 1950s/1960s Casino Royale theme.

The accessories included long black gloves and my oft-worn black American Duchess Seabury shoes as well as a lustrous pale yellow collet necklace and earring set from In The Long Run Designs. This dress, with my giant fluffy petticoat, is always fun to wear and was particularly enjoyable with these new-to-this outfit accessories.

As you can see, the museum really is just that–not only is there a rotating exhibit where these photos were taken, but there is also a standing exhibit of early 20th century vehicles as well. It’s always a treat to see them and imagine traveling or going for a spin in old car style!

The gallery wall in the photo below shows the sorts of vehicles that are on permanent display, as well as glamorously dressed friends. We didn’t coordinate our outfits, but it certainly looks like we might have!

I chose to take most of my outfit photos in front of a 1956 Ferrari 410 Superamerica Series I Coupe. It matched my dress! And wouldn’t it have been fabulous to have arrived at the event in one of these?

I do enjoy cars, but not enough to have remembered the full name of this one! I took a photo of the information about the car in order to reference, and to provide some extra context.

It was fun, as always, to have a reason to wear fancier-than-usual dress and hang out with friends while listening to great music in an unusual and interesting setting!

Ravenclaw Quidditch Sweater

This project is an old one that I’ve been meaning to get up on the blog for ages!

I finished this project a ‘few’ years ago, in approximately 2016. It has taken me that long to finally get photos and write about it!

I was inspired by the book Charmed Knits: Projects For Fans Of Harry Potter by Alison Hansel. I used the Quidditch Sweater pattern and chose Ravenclaw colors for my version. (I know, I know, Ravenclaw is only blue and silver in the movies, not the books. But these were the colors of yarn I had on hand, so therefore they are the colors that were used.)

The completed sweater is a bit bulky and very warm, as I used acrylic craft yarn because I had them on hand. The shoulders, especially, remind me a bit of football padding! But for the occasional wear in the middle of winter the shape isn’t too bad.

I had fun making the overall ribbed pattern, as well as the ribbed collar and cuffs. I’m very pleased with how nicely the colors transition.

Same with the collar!

I’m also pleased with how successfully the ribbing changes at the cuffs.

I spent 55 1/4 hours knitting this project over the course of about three months. The front and back each took about 14 hours and each sleeve about 13 hours.

Another Update To The 1933 Dramatic Evening Dress

I didn’t make a new dress… but I did update an old one! In fact, this is the second round of major updates to this dress! The first round, pictured below, is explained in this past post from 2017.

While the dress with the first round of updates was certainly better than it had been in its initial form, I still wasn’t super pleased with the fit. Despite that, it has come in handy for a number of events and just keeps getting worn. So, for an event late last year I decided to do even more updates to the dress to try to feel happier about how it looks on me.

Here is a rundown of the most recent alterations:

  • Maxed out the hem, using 3 different bits of vintage lace hem tape in various shades of ‘navy’ blue that were gifted to me over the years. It’s so nice to be able to use these gifted vintage finds. I appreciate seeing the prices on the packaging changing over the years!

  • Stiffened the hem of the back velvet drape with horsehair hidden under a facing of leftover velvet scraps (during and after photos, below).

  • Added small horizontal tucks at the sides to try to get the hem to be a little more of an A-line shape.
  • Took in the sides under the arms even more than I had previously and tacked down all of the flapping bits.

  • Added a 1″ belt, made from scraps of the fabric, with a rhinestone buckle at the center to help create more of a 1930s and less of a modern look.
  • Opened center front between the two bust pieces to create a deeper V neckline.
  • Added bra cups, covered with scrap fabric and tacked inside.

  • Added tacks as well as hooks and bars to the back velvet drape to help it hang nicely.

I hope to wear this again later this year and get photos of this second iteration of updates!

HSM #11: c. 1785 Hand Sewn Natural Linen Stays (Of Success!)

I recently finished up a series of blog posts that document the trials, tribulations, and triumphs of a new pair of 18th century stays. Here is the link to the most recent post (and I’ll include a link to all of the posts in the series at the end of this post).

I’m really, really excited that this pair of stays is complete! They are entirely hand sewn, which took quite a bit of time. And, they were a struggle to fit that ended in success. For both of those reasons, I’m excited that these qualify for the HSM Challenge #11: Style Starts At Home:

Make something which would generally be seen only within the household (ex: informal at-home wear, nightwear, undergarments)

How do these fit the challenge? Well, stays are an undergarment that would generally only be seen at home!

Just the facts:

Fabric/Materials: ⅔ yard natural linen for exterior (scraps from another project), 1 ⅓ yards thick/heavy white linen for interlining (scraps from another project), and ½ yard cream linen/cotton blend for lining

Pattern: 1785-1788 Half-Boned Stays from Mandy Barrington’s book Stays and Corsets: Historical Patterns Translated for the Modern Body

Year: c. 1785-1788

Notions: 29 10″-14″ zip ties that I cut to be 3/16″ wide for boning, 2 ½ yards 3/16″ wide natural linen twill tape for seam covering, 4 yards 1/2″ wide natural linen plain weave tape for binding, 3 yards white cotton cord for lacing, 1 yard ¼” wide cotton twill tape for front lacing, 2 yards ¾” wide cream cotton twill tape for straps, regular weight thread, and heavy weight thread

How historically accurate is it?: 90%. The pattern and methods are based on historical examples. The materials are pretty close, though the zip ties and cotton/linen blend aren’t perfect replicas of 18th century materials.

Hours to complete: I only kept track of about 50 hours, but my guess is that I spent at least 70-80 on these stays.

First worn: In May 2023 for photos.

Total cost: Approximately $40.

And, a few more photos: side and back view, as well as a view of the stays folded in half from the inside.

You can read previous posts in this series here:

c. 1785 Stays of Success, Part VII: Conclusion, Reflections, and Resources
c. 1785 Stays (Of Fail), Part VI: Finishing Construction Details
c. 1785 Stays (Of Fail), Part V: Middle Construction Details
c. 1785 Stays (Of Fail), Part IV: Early Construction Details
c. 1785 Stays (Of Fail), Part III: The Pattern
c. 1785 Stays (Of Fail), Part II: Fitting Update
c. 1785 Stays (Of Fail), Part I: Beginnings