When The Dress No Longer Fits (Mid-20th Century Edition, Part II)

…turn it into a skirt! That’s the take-away from today’s When The Dress No Longer Fits project.

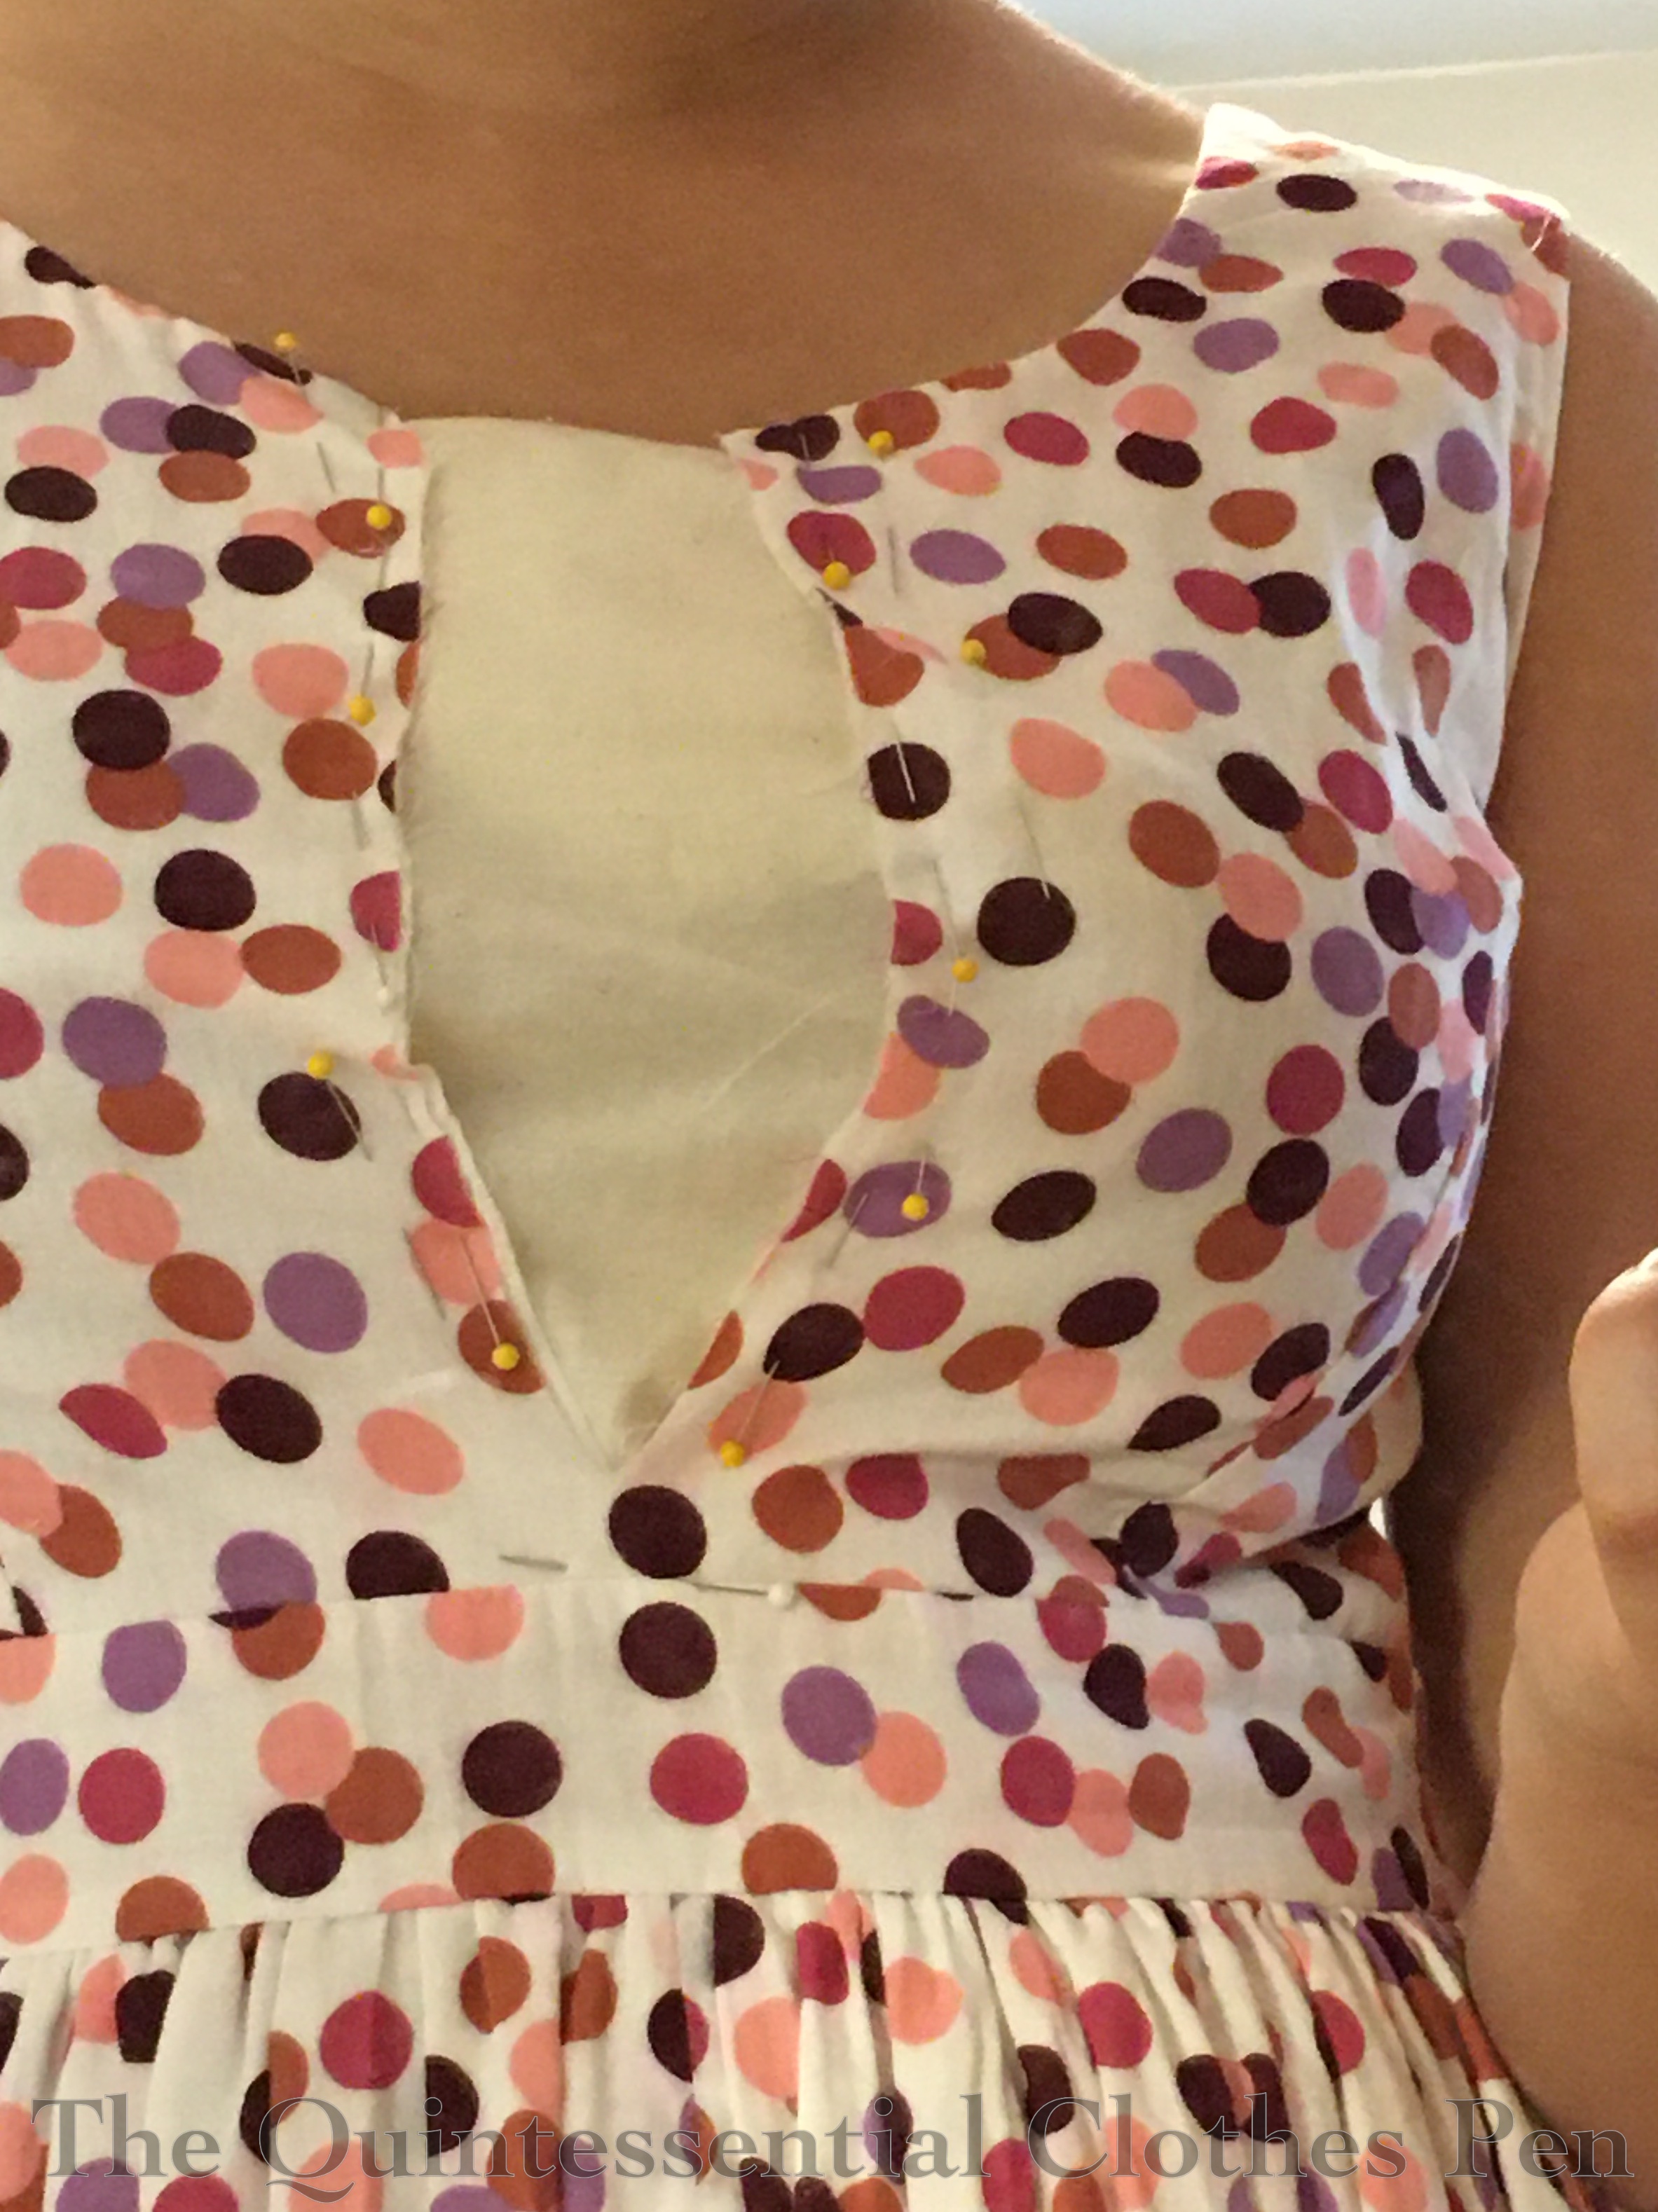
This skirt started life in 2014 as a dress inspired by a 1940s Anne Adams sewing pattern. I don’t actually have the pattern, but I was inspired enough to try patterning my own version based on the pattern envelope image. You can read all about the creation of the dress in this past post.

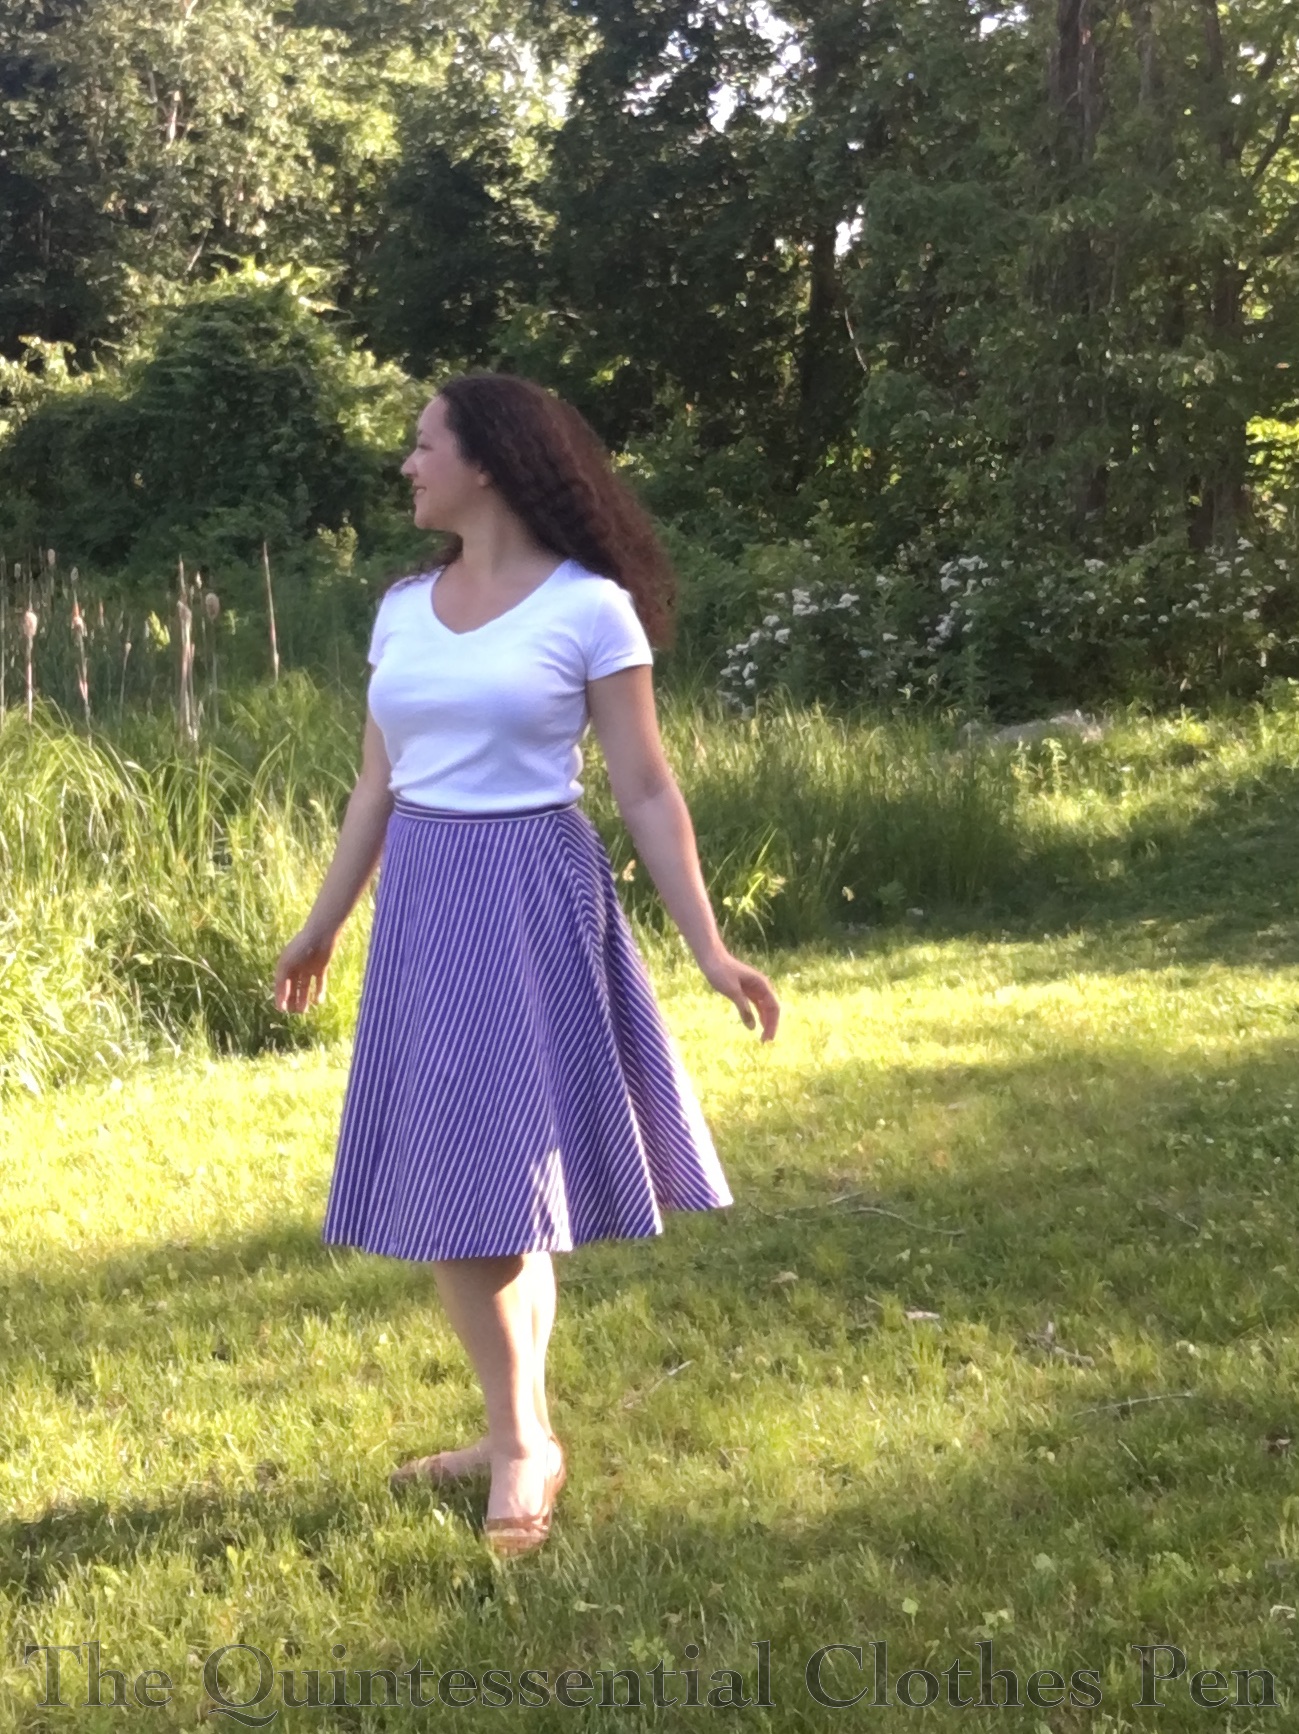
Since this photo was taken my shape has changed, making the dress a garment that could no longer be worn.

I’ve also never worn this dress all that much. It’s easy to draw a seam along the bust, but hard to pattern it so that the stripes are straight and it actually follows a curved body comfortably. It was ok, but not the most comfortable dress I’ve ever made. And it was a lot of purple.

I have limited fabric leftovers from this dress–certainly not enough to make a whole new front bodice, which is what would be necessary– and not being completely sold on the idea of the dress as a whole, I decided to turn it into a skirt! This eliminated the bodice problem and instantly cut down on the quantity of purple in one seam-ripping swoop.

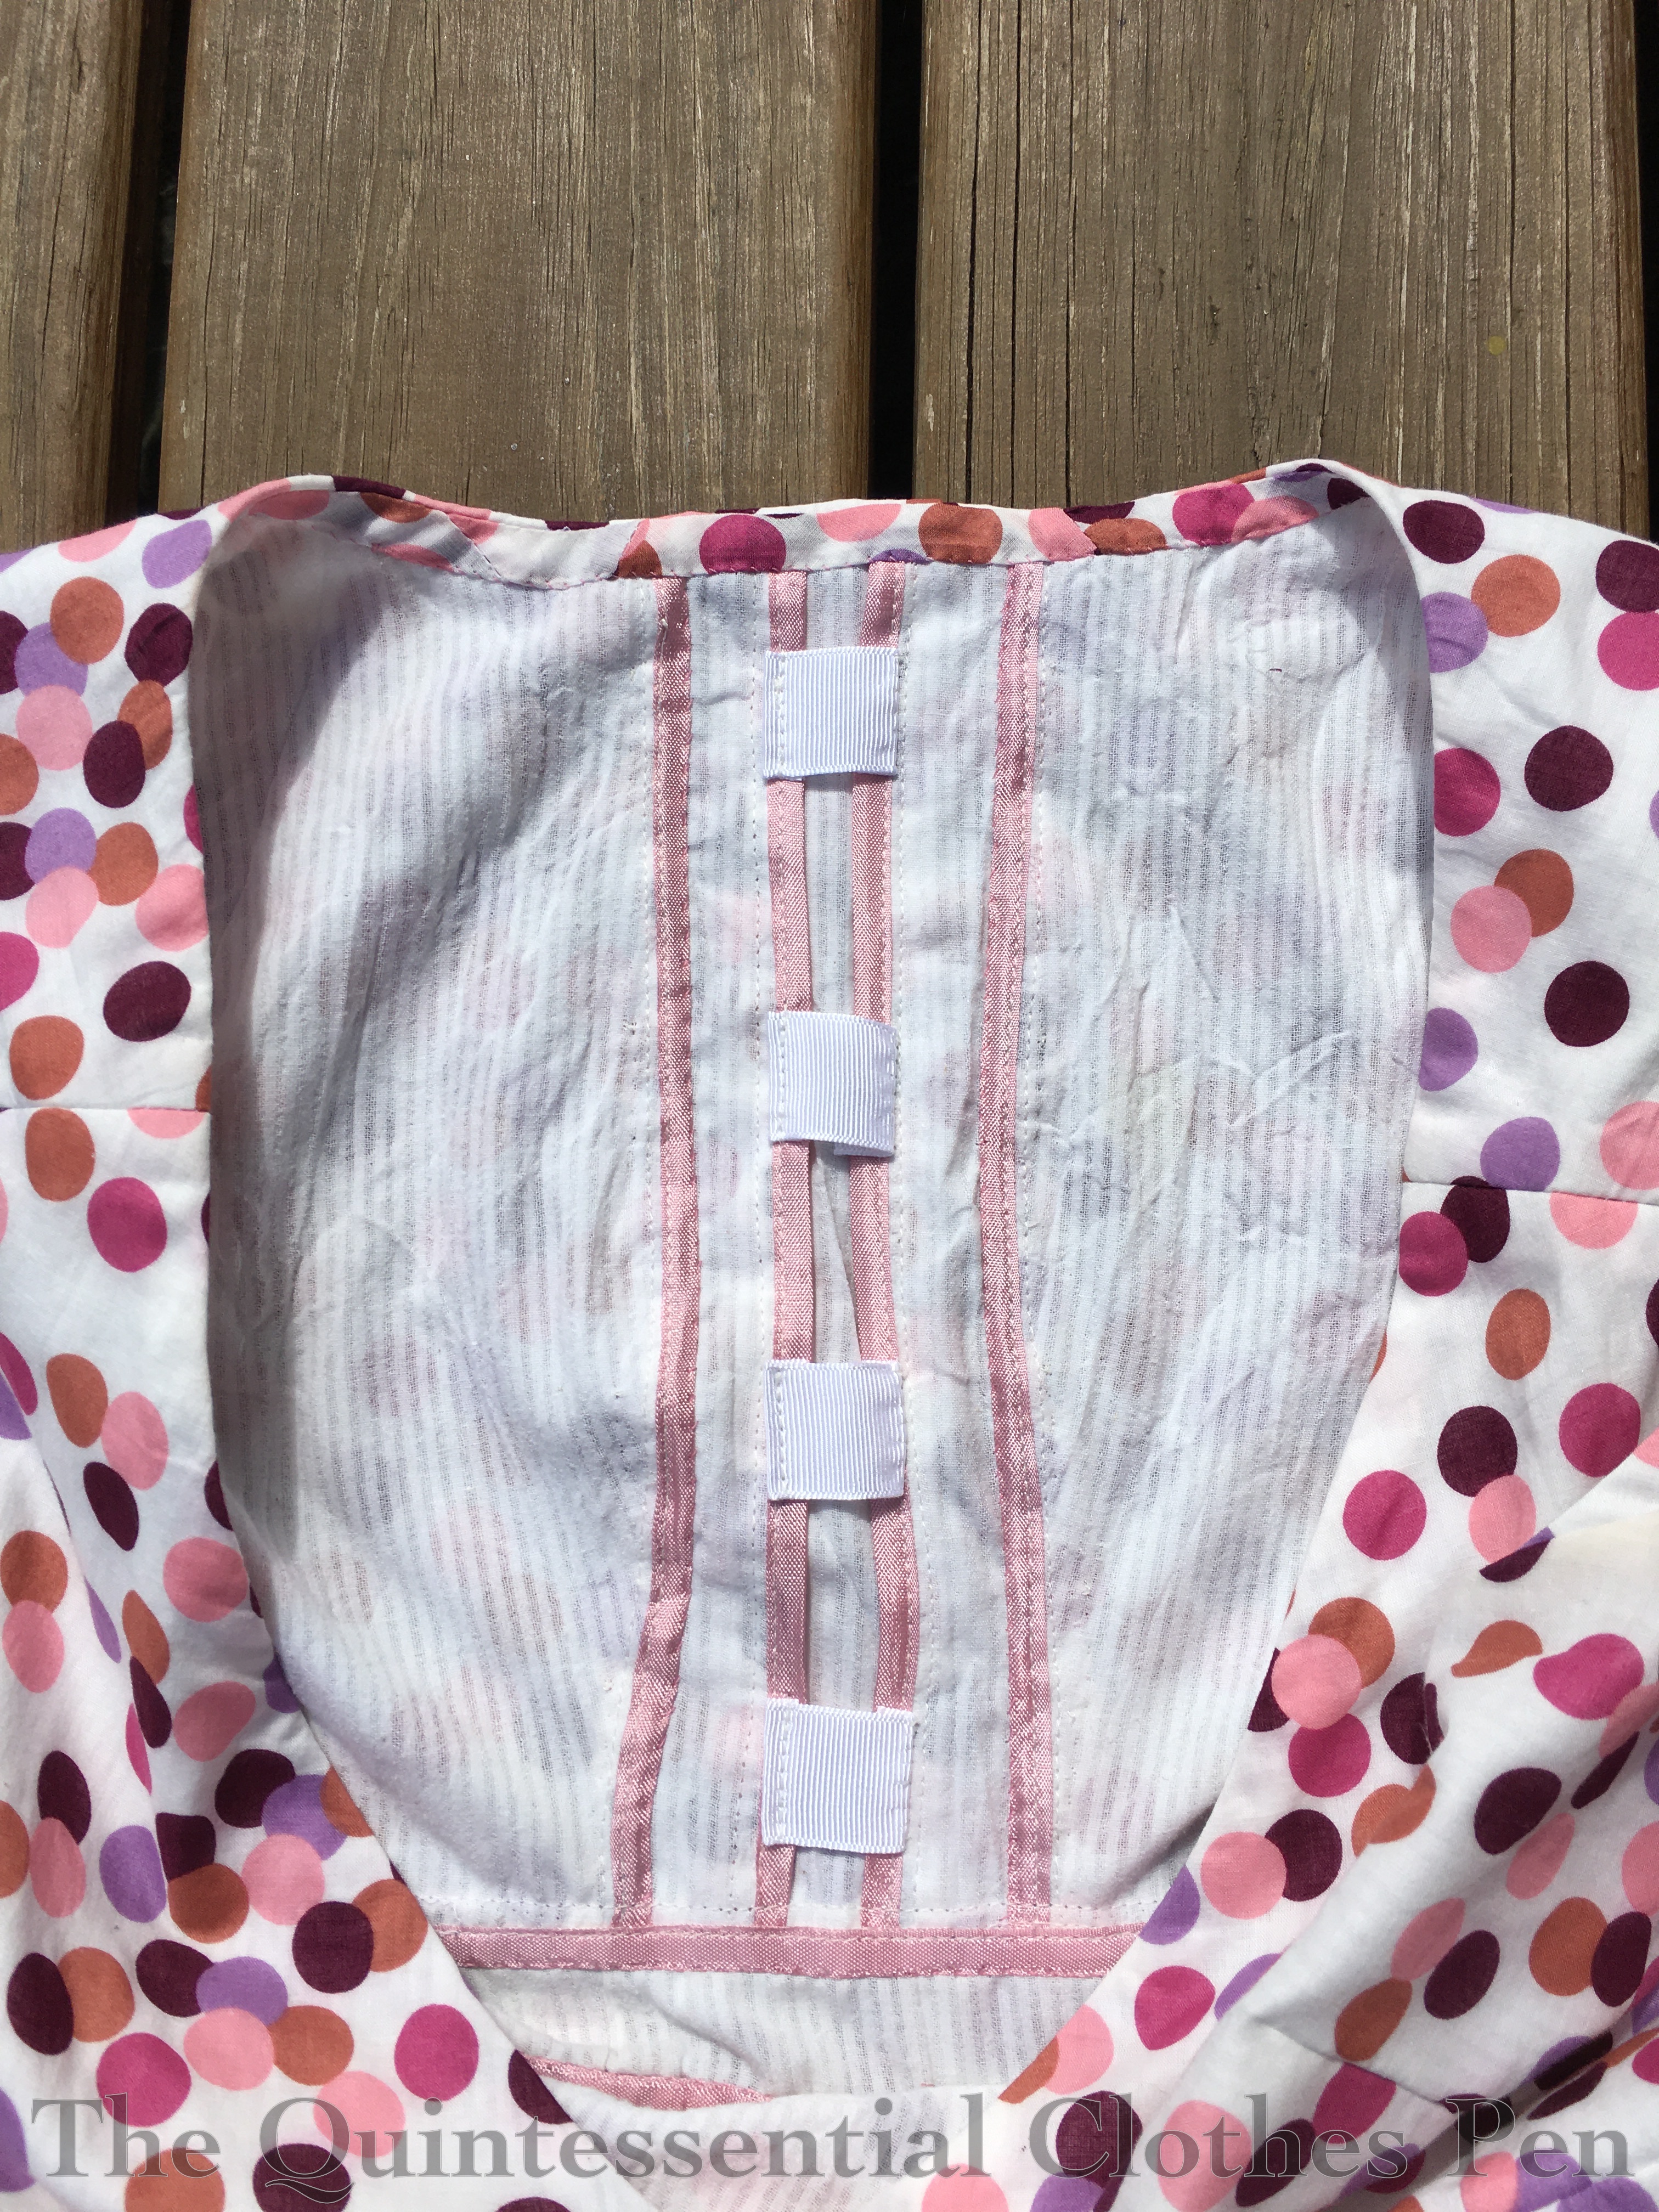
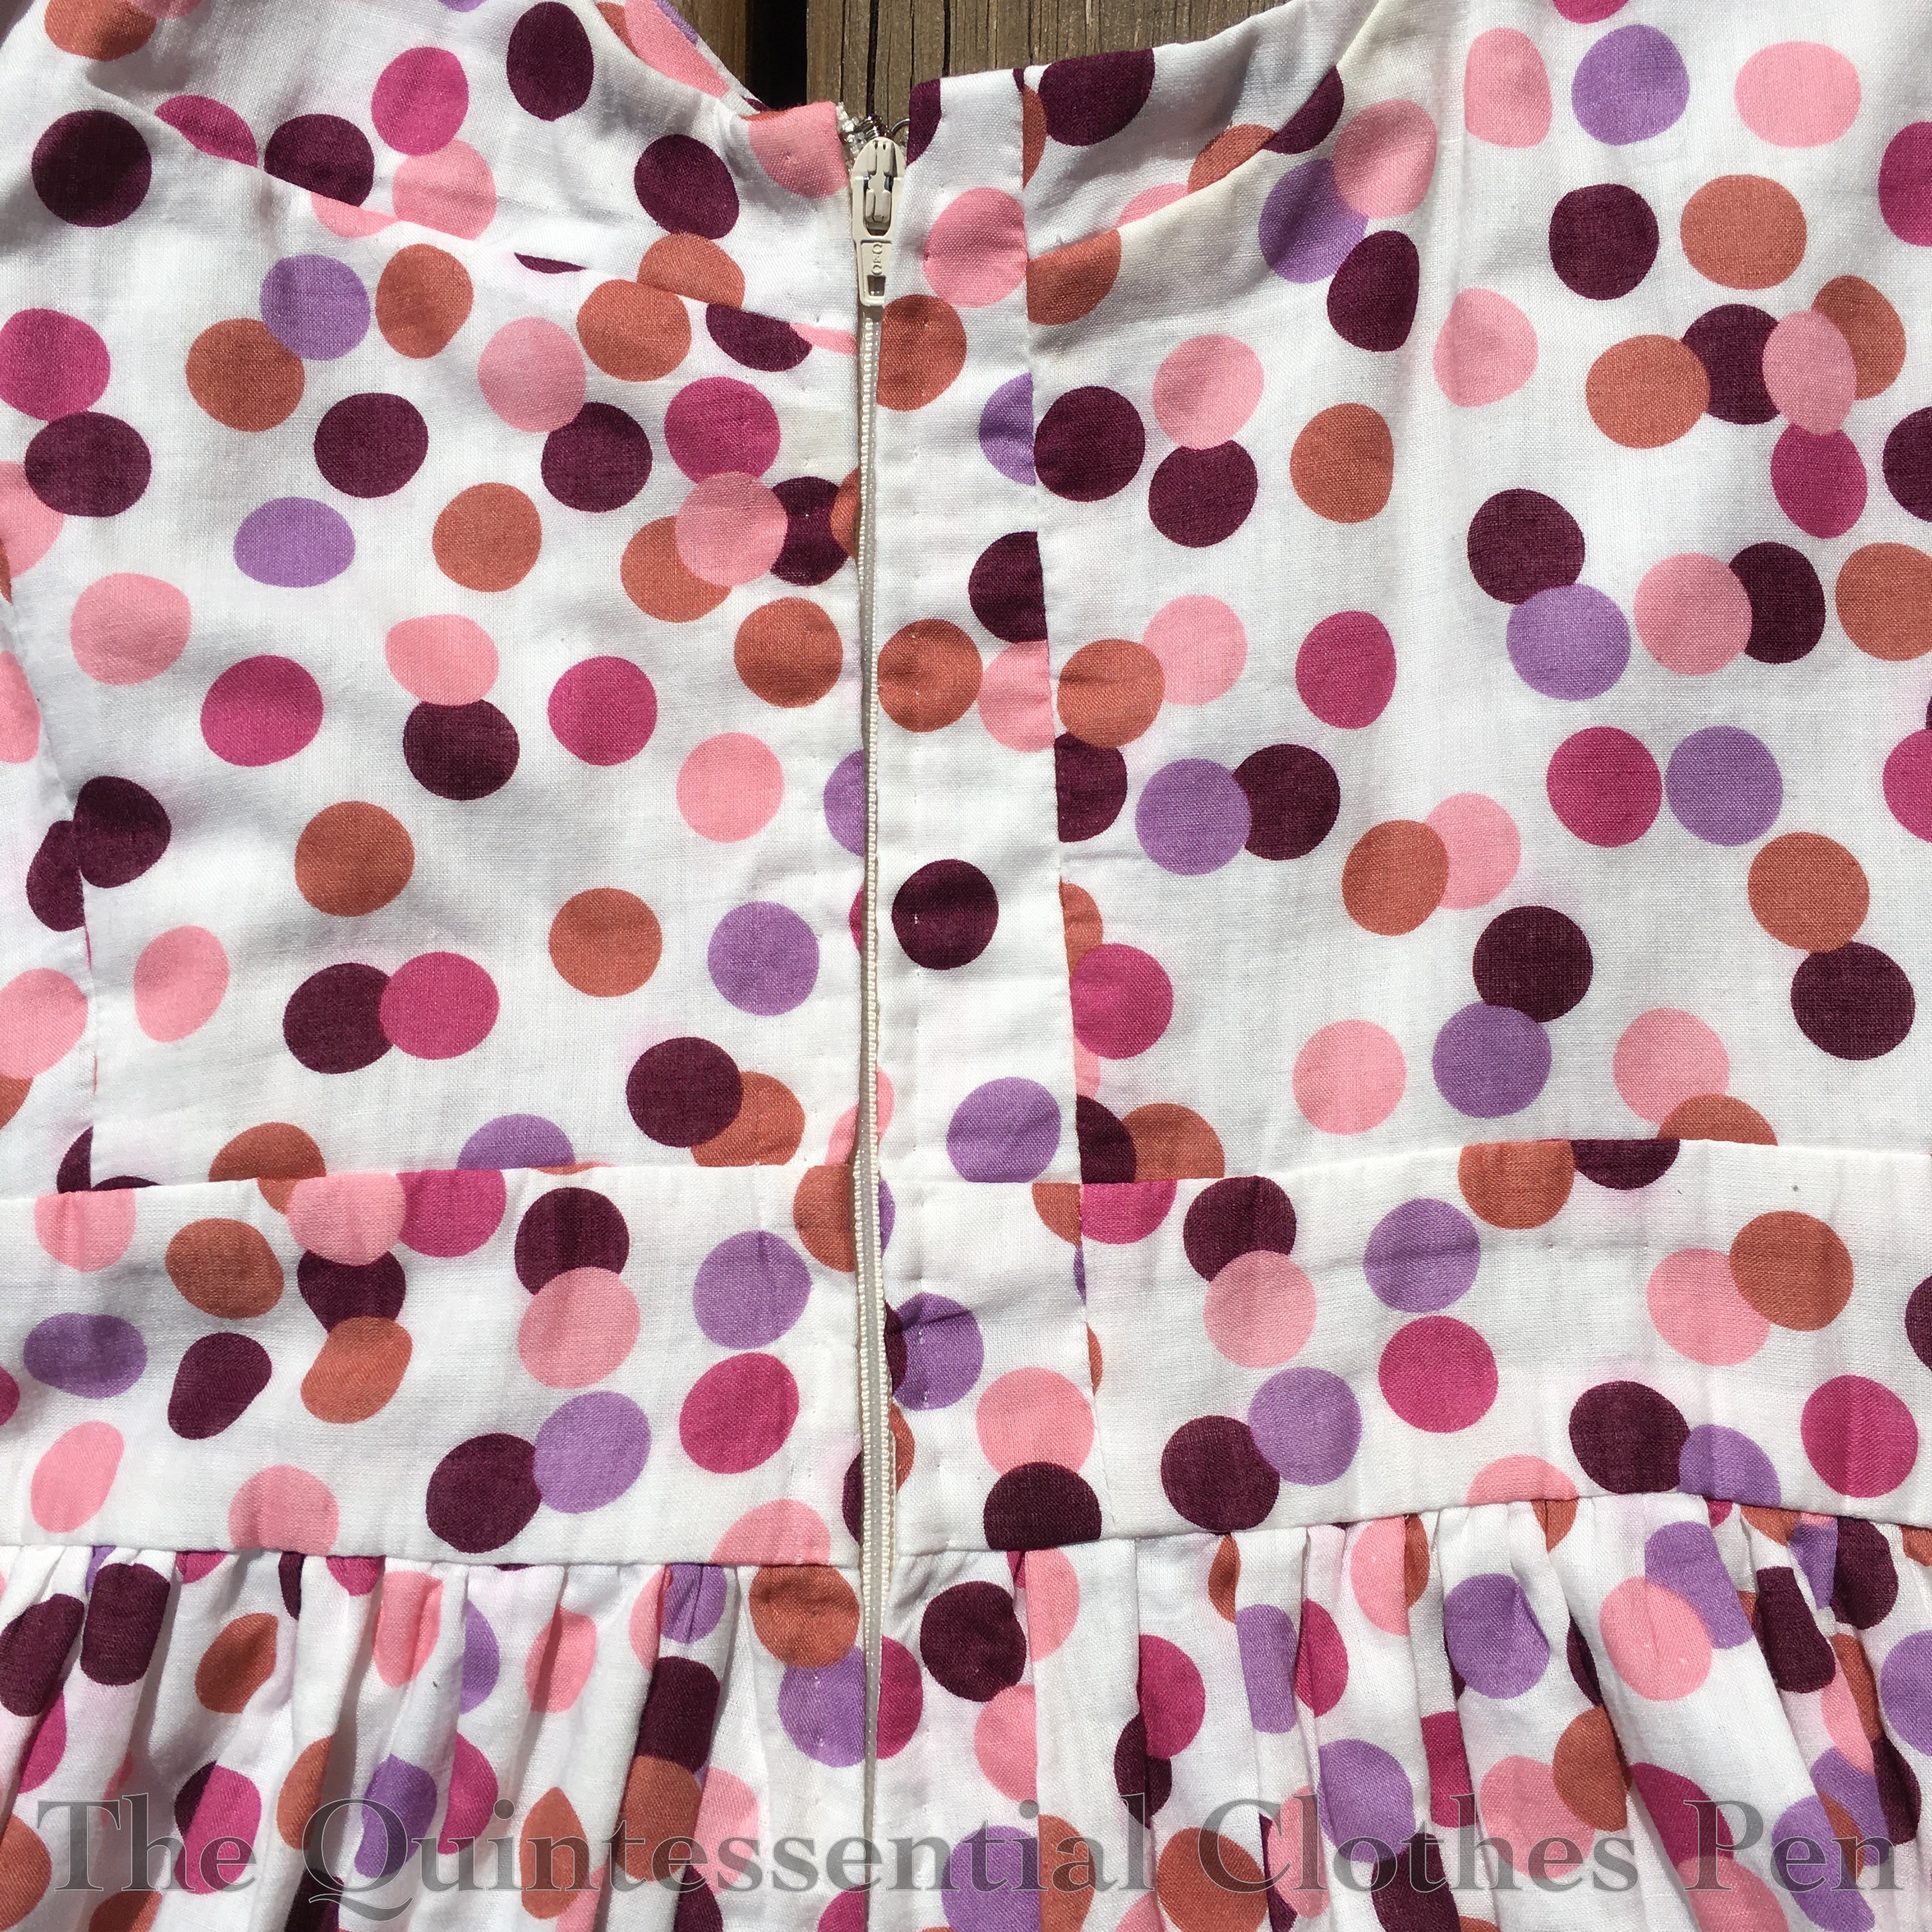
I started by removing the bodice and taking out the zipper where it crossed the waistband, as well as down into the skirt just past the seam that connects the waistband to the top of the skirt, as you can see below.

My waist is larger now than it was when I made the dress, but I was saved by the fact that the waist of the skirt had been a few inches too big when I originally made the dress. Whew!

At the time I made the dress, I’d solved the problem of the skirt being too big by adding tucks on the back. This kept me from needing to alter the side seams, which I didn’t want to do because I’d matched the stripes perfectly.

To alter the dress now, all I had to do was take out the tucks and the waist fit! (I’m reminded that I had a similar problem/good fortune while letting out the waist of my 1904 Anne of Green Gables skirt–I mentioned it in this past post. Interesting that they’re both inspired by Annes!)

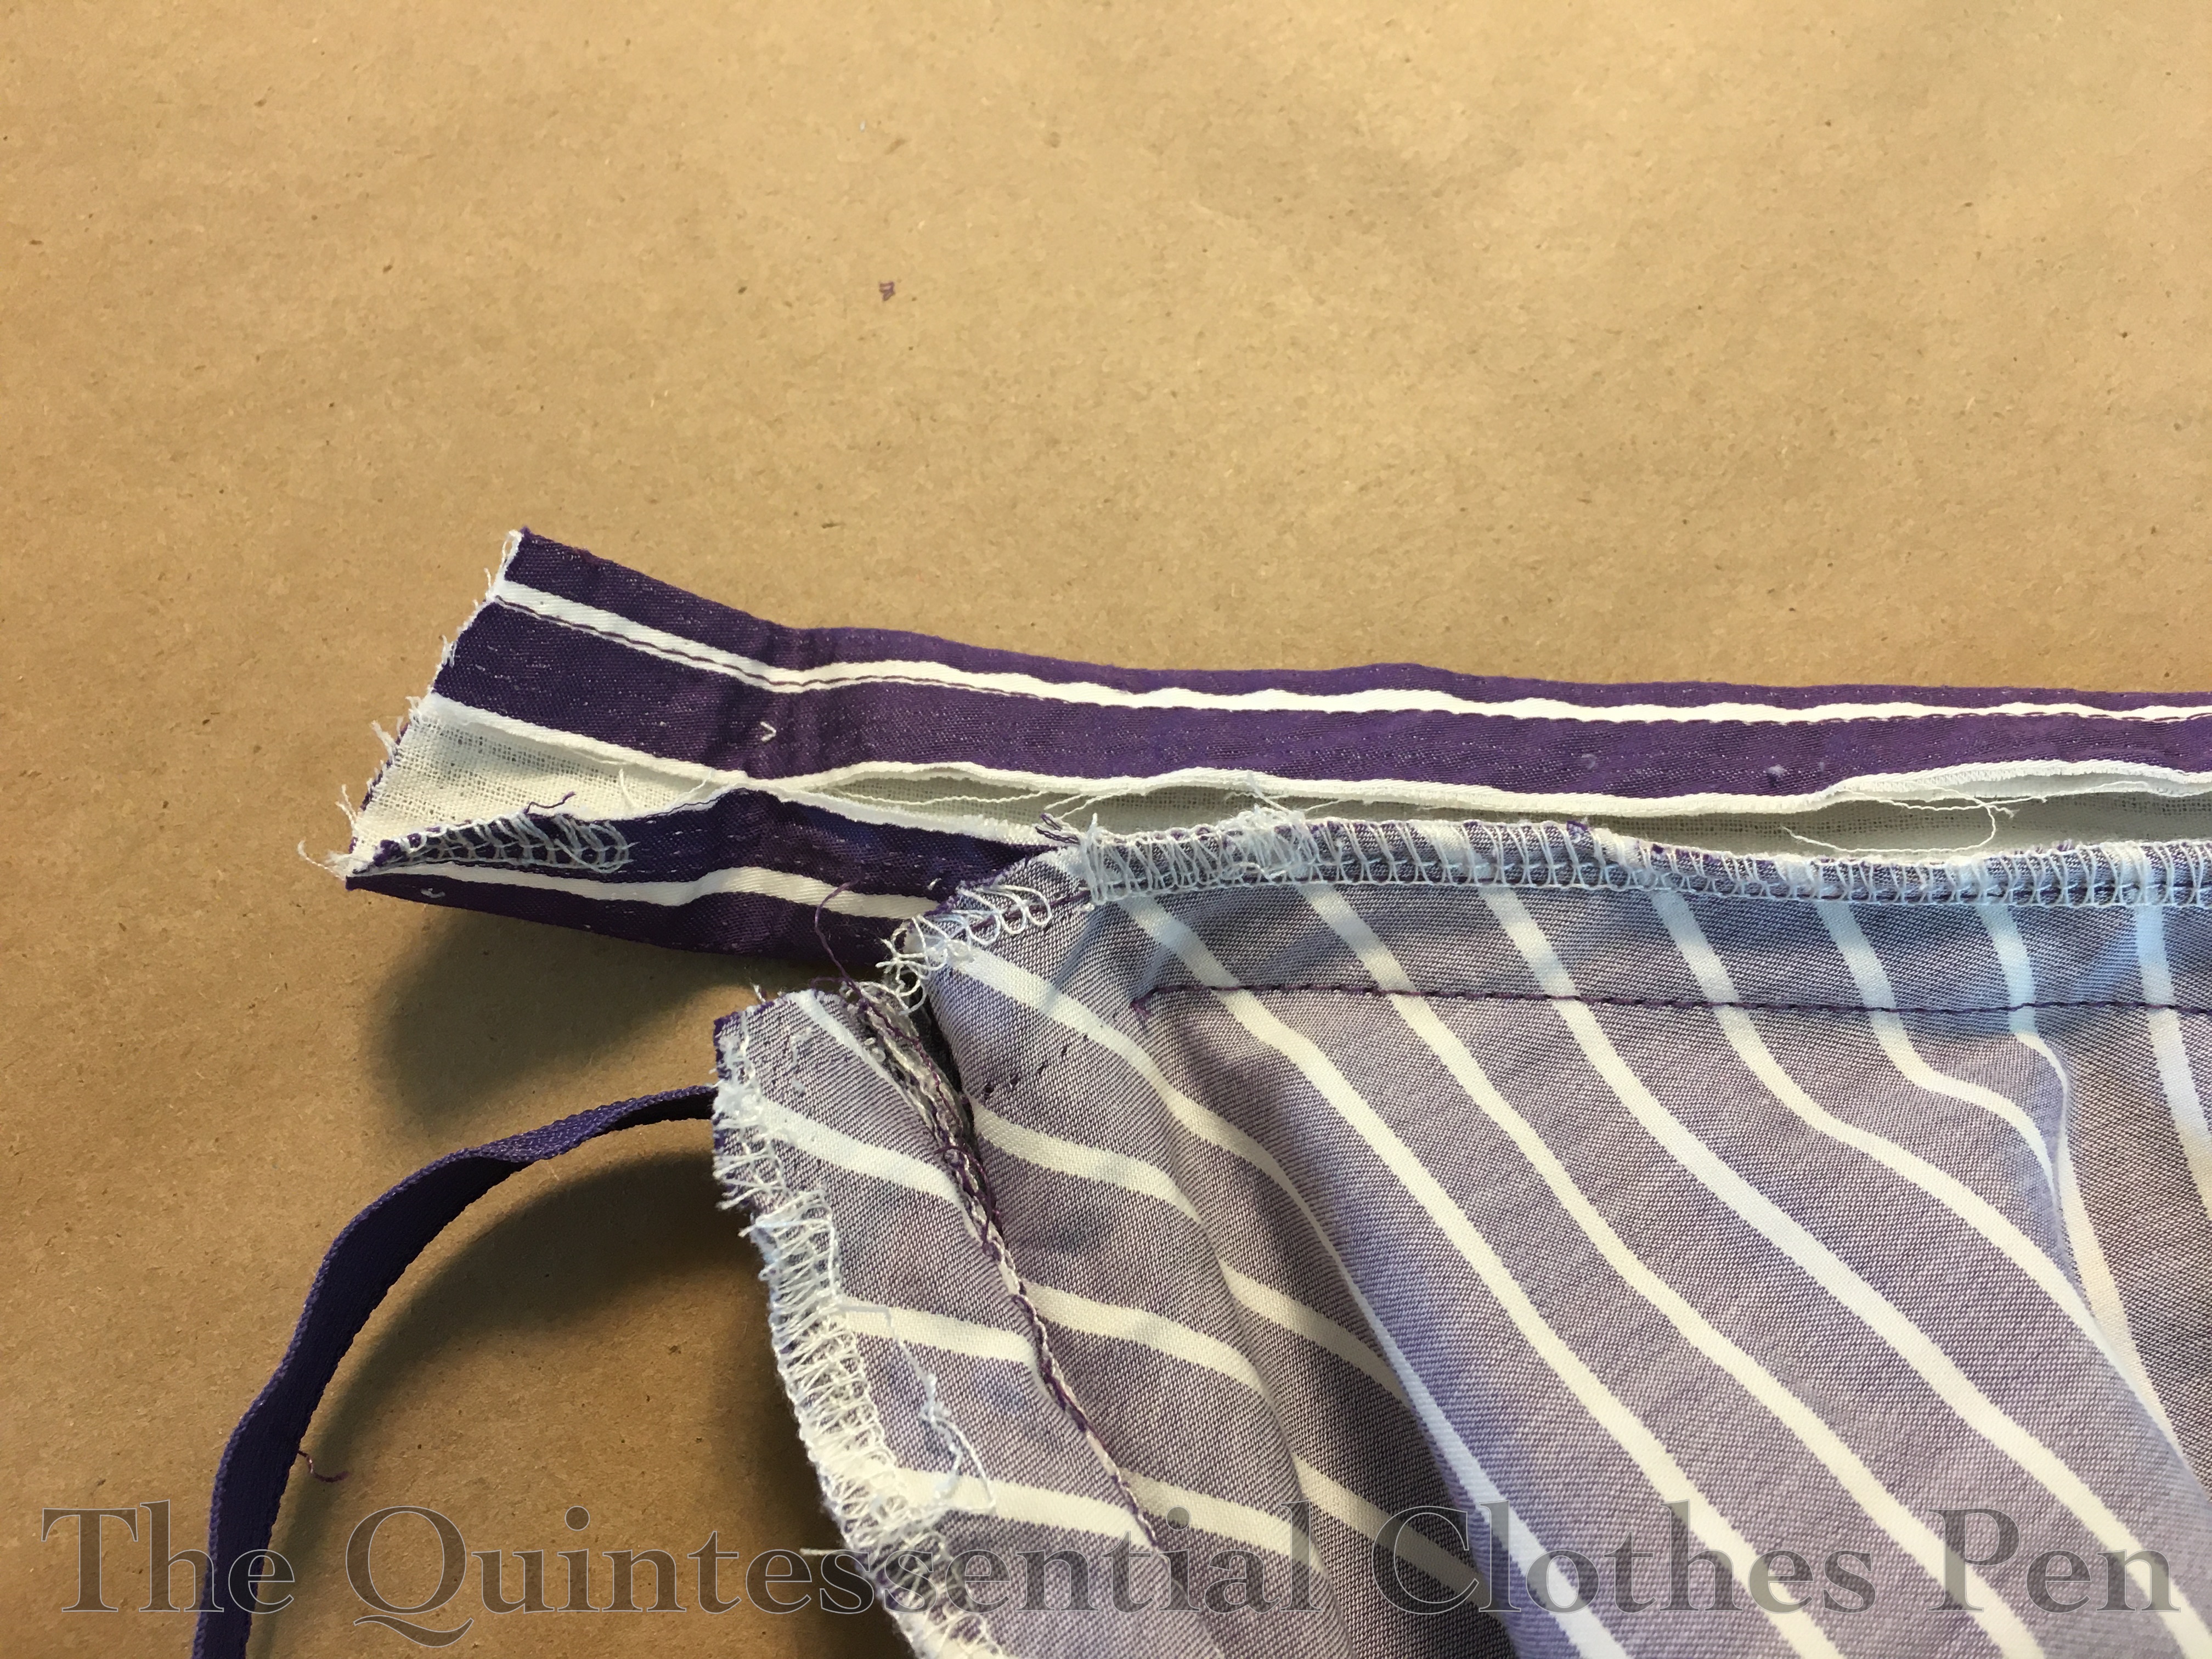
Luckily, I had enough extra waistband length to accomodate letting out the tucks. It was a little annoying to do, because I had to take the waistband off entirely to reset it with the extra across the back and I had serged the skirt and waistband seam allowances together. It was a bit of extra seam ripping, but that was better than trying to piece the waistband and match the stripes.

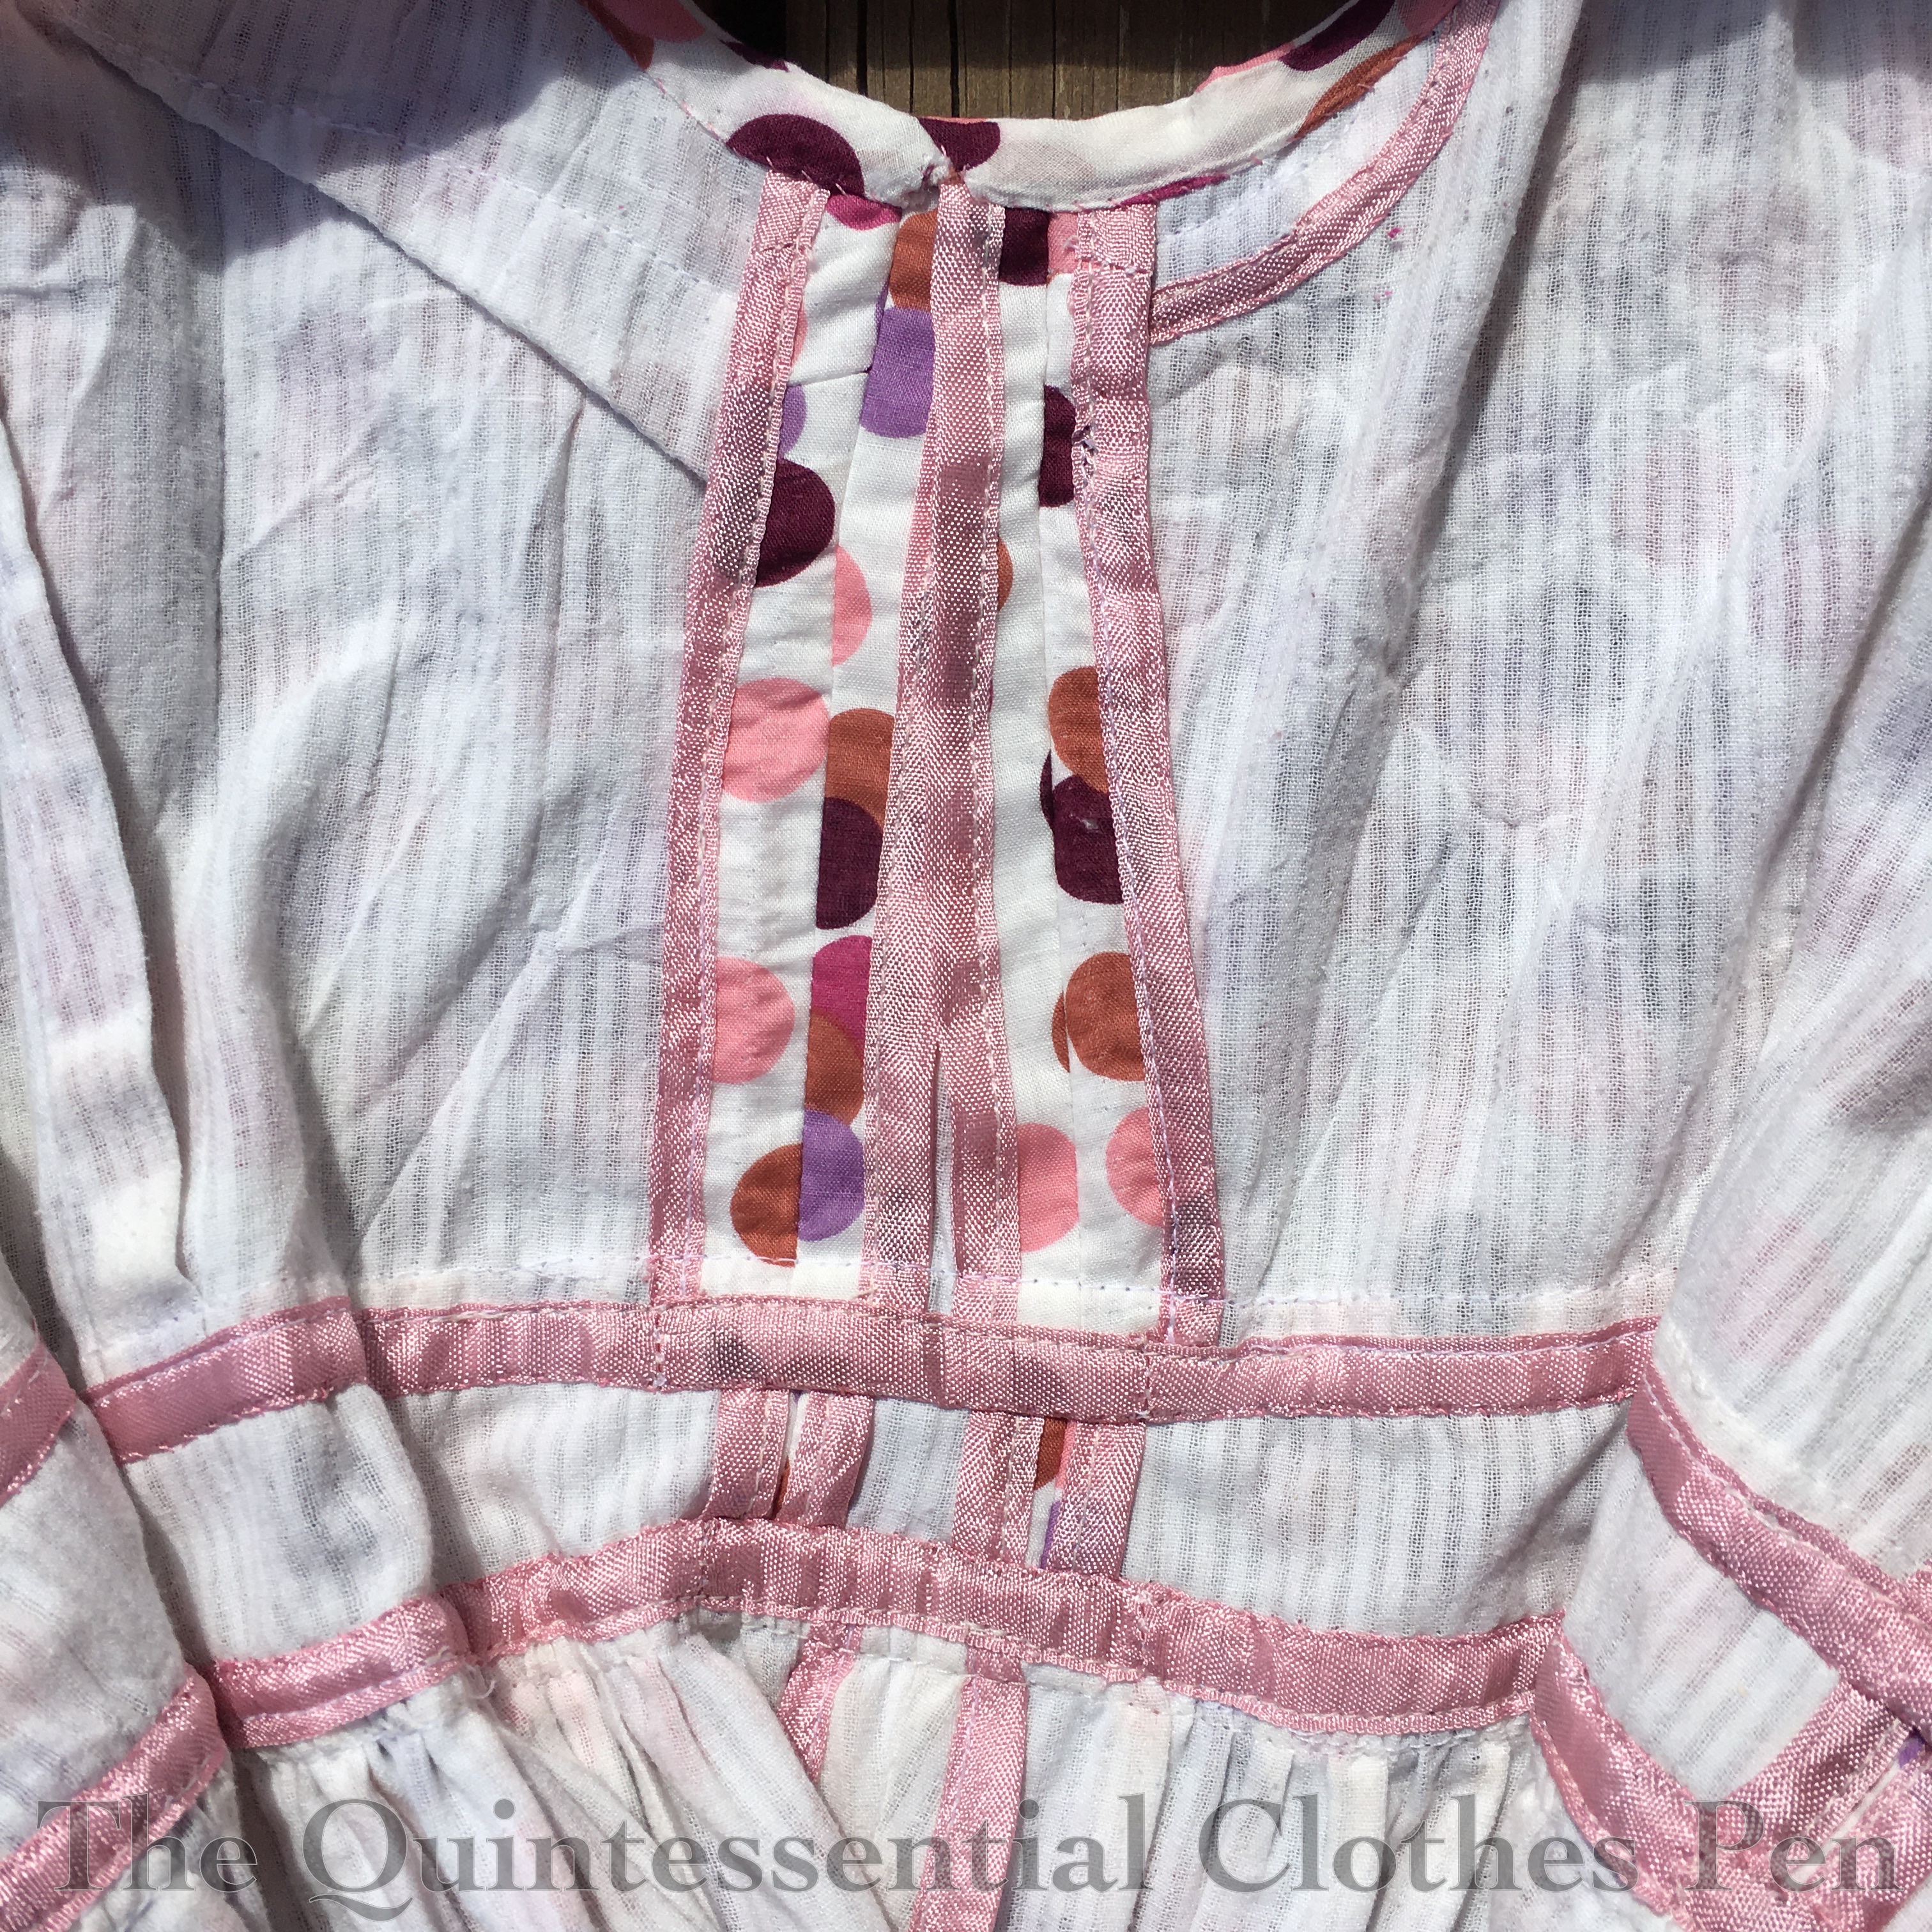
The next step was adding a waistband facing. I used a scrap of white striped cotton for the facing. It is machine sewn on the top edge, understitched (to keep the facing from rolling out and being seen), and then hand whip stitched on the inside.

Here’s a closeup view of the waistband. I shorted the zipper so it stops below the waistband, but I did not re-sew the whole zipper length–I still didn’t want to mess up the stripe matching on the side seam!

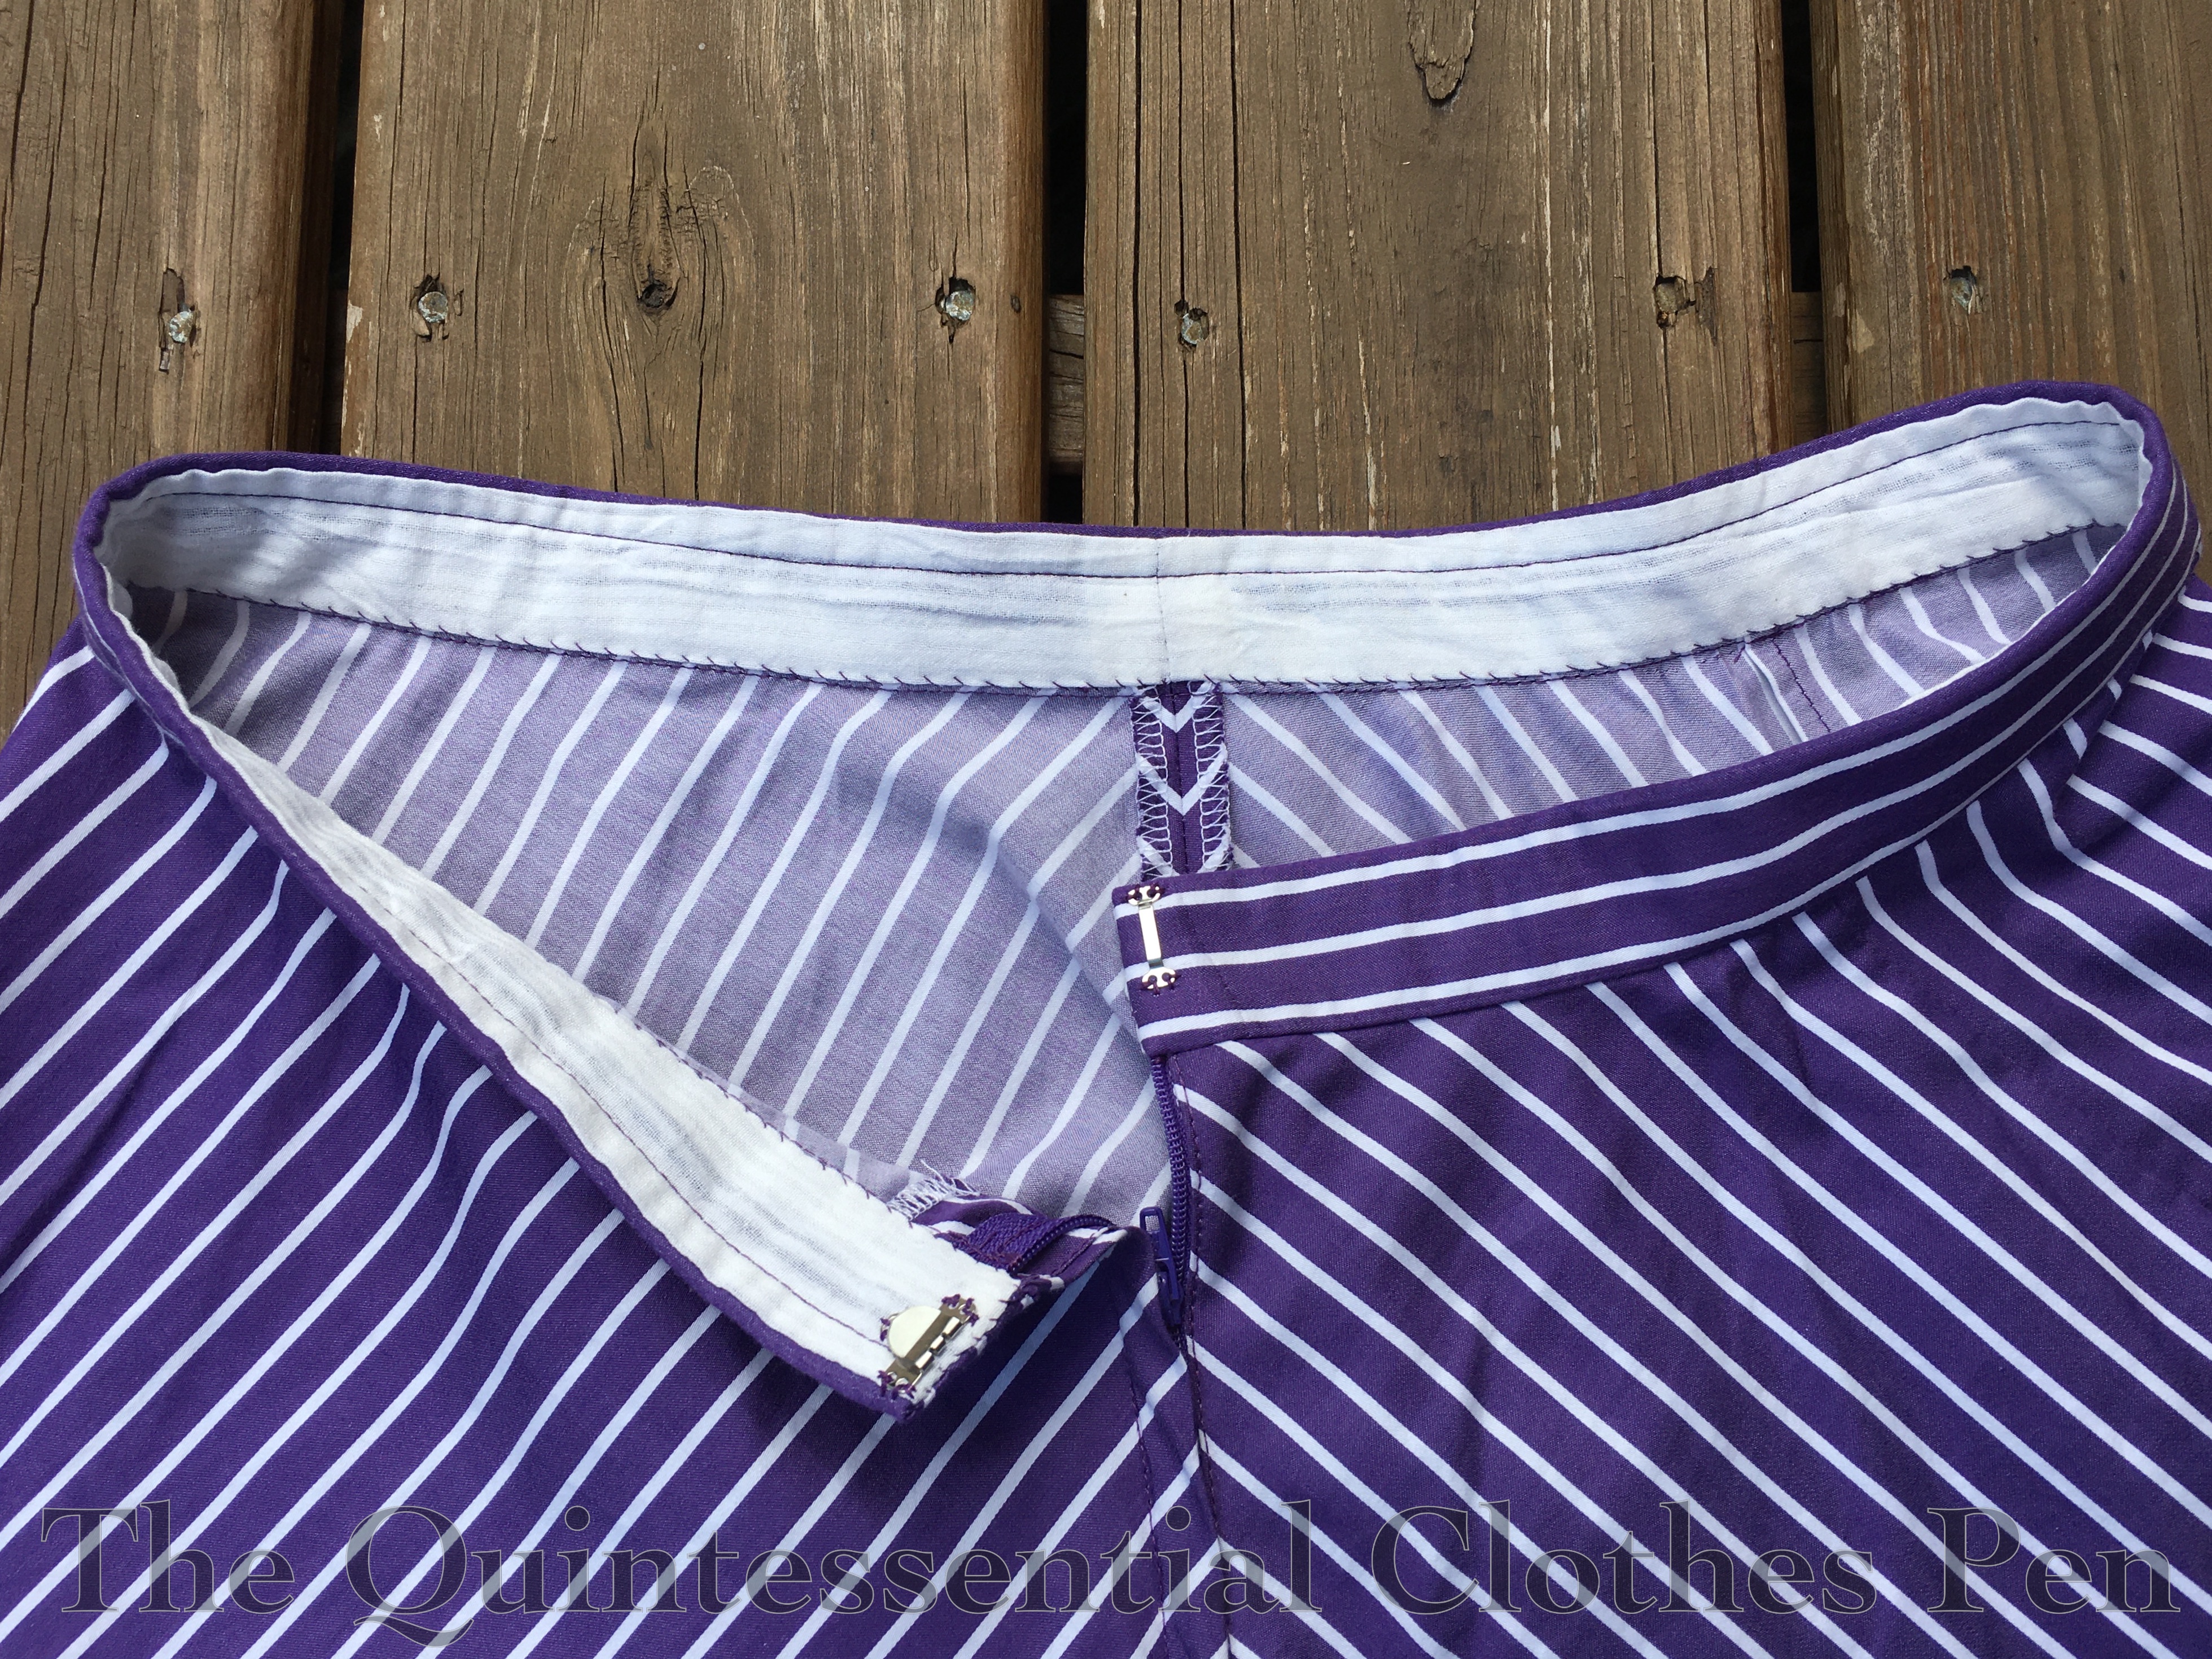
The final step was a hook and bar to close the waistband.

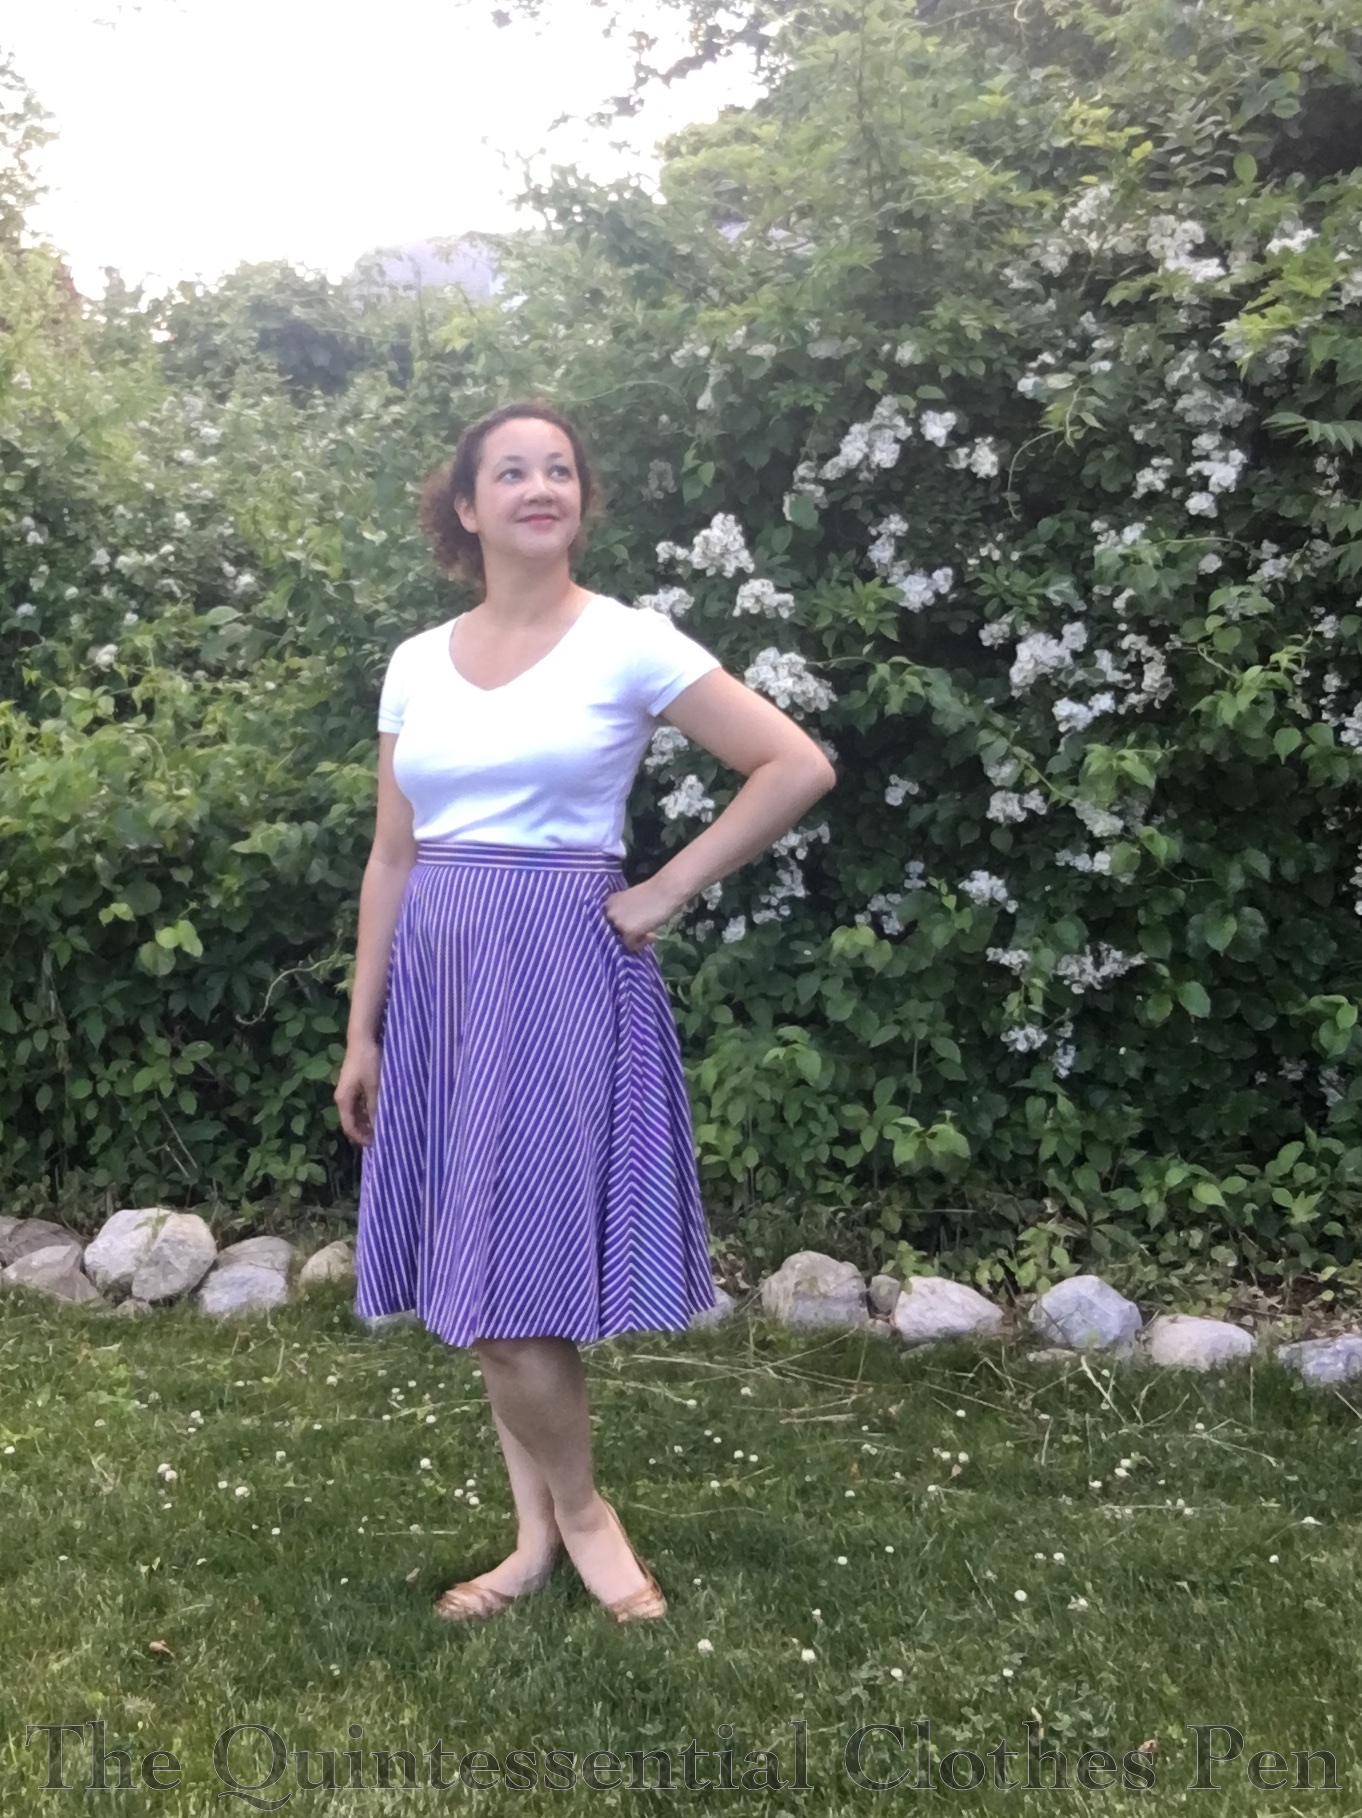
Ta da! The dress is now a skirt.

I’m not completely sold on the skirt. I like it, but I don’t know if I love it.

And I still feel it’s a lot of purple.

I thought it would go with more tops in my wardrobe, but it doesn’t really. I like it with white. I think it would look nice with yellow, but the yellow top I had in mind is horizontally striped and that just seems like too much with a vertically striped purple skirt!

I think I need to try wearing it for awhile and see how I like it. I haven’t really had a chance to wear it this summer given that I haven’t been going out, or wearing real clothes (as opposed to comfy clothes) very much. So a judgement about whether I like the dress-turned-skirt is on hold. That being said, I’m still excited that at least the garment is wearable now, whereas when it was a dress it was not.

When The Dress No Longer Fits (Mid-20th Century Edition, Part I)

Have you ever encountered closet shrinkage?

I’ve mentioned it here on the blog before, most recently in my modern wardrobe inventory post, but it is not only confined to my modern closet. Oh no, the things in my historical closet shrink, too!

In the past, I’ve shared how I updated two mid-19th century dresses to fit again, after finding that they no longer fit the way they did when they were first made, as well as how I updated two early 19th century dresses for the same reason.

I was recently inspired to finish off not just one, but two UFO ‘this doesn’t fit anymore’ projects that fall into the closet shrinkage category. I’ve decided to post about them separately, since I have a number of photos for each, so today we’ll look at my 1953 Dot Dress and next time we’ll look at my 1940s Inspired Anne Adams Dress.

I made this dress in 2013, for an adventurous day that included brunch, fall leaves, and roller skating (all followed by a Regency ball)!

I loved (and still do) the lightweight fabric, the fun dot print, and the pink, purple, and and rust colors of the dots. I wore this dress for the next few years–to a few historical/vintage events as well as in my everyday life.

This next photo is from 2016–the last time I could squeeze into the dress and actually close the zipper.

After that, I had to accept that the dress no longer fit. My shape had changed and it just wasn’t feasible. I was sad!

Fast forward to 2019, and I had the courage to decide to remake the dress, somehow, to make it fit. I got started by cutting straight down the front, stopping just short of the waistband, to see how much I needed to adapt the bodice…

It was rather a lot! I ran out of inspiration… and let the dress hang in my closet until recently.

I had thought I would just be able to add a piece to the front, somehow, and that would be enough. But when I started really looking at things again, I realized that the dress needed more than that to really do it justice. The side darts needed to be let out, the underarms need to be raised and filled in, the waist was still very tight, and there was the bust issue.

Oh, and I had minimal scraps for these alterations, partly because I’d used some of the larger ones to make ice skate soakers in 2015. (I’m not saying I shouldn’t have used my scraps to make a second project that brings me joy, but… the alterations would have been easier if I’d had wider scraps to work with!)

The front needed to have more more space created, about 3″ worth, but I had no scraps both wide enough and long enough to make a straight panel without seams. So I decided to get creative with a straight panel, adding tucks to it so I could hide seams within the tucks. I was inspired by the dotted dress Miss Hero Holliday wears in this wardrobe roundup post.

Here’s what my pieced piece looked like before pleating (lots of P’s!).

After a fair bit of complicated math (I’m pretty sure I made it more complicated than it needed to be), I was able to achieve a dress front that looks like this.

Essentially, I added princess seams. It was complicated to figure out, because I had cut straight down to figure out what was needed and I needed to add as much as 3″ at the bust while adding nothing at the waist, while actually adding in the panel that was 3″ wide from top to bottom. That means that I basically created a curve on the old center front line that was filled in with the straight pleated panel.

While being worn, it looks like this.

On the inside, I carefully bound all the raw edges in pink hug snug, just as I had when I first made the dress. However, I realized when trying on the altered dress that the pleats just opened up instead of staying put.

Oops.

This seems like it should have been an obvious problem from the beginning, but my brain missed it until I tried on the dress with the pleats in place.

So I had to figure out how to hold the pleats in place. The middle ones are held by the bits of grosgrain ribbon, while the side ones are invisibly tacked in place under the fold.

In addition to the front pleated panel, I also let out the side darts, which helped to create bust space and also raised the armhole a little bit as well. When I put the bias binding back on after doing all the other alterations I maxed out my meager seam allowance, which also raised the armhole up a bit.

You can just barely see my old stitch line on the side dart (on the top left side of the photo below). (You can compare this updated inside view to the original inside view in this post showing the original construction.)

And as you can see in both the photo above and the one below, I added a piece at the side seam, both above the waistband and in the waistband. There’s also a little crescent of added fabric on the back armhole (on the right sides of these photos), that fills in the raised underarm area.

I was very careful to re-finish the insides of the dress as nicely as I had the first time. That includes binding all the raw edges in hug snug (sometimes piecing in little pieces to do so) as well as adding pieces of bias to finish the new, wider neckline.

I decided to put in the zipper by hand this time around, as my first attempt on this dress with a machine sewn lapped zipper was a bit clunky where it went over the waistband.

All of these steps definitely added a bit of time to the alterations, but it makes me happy to still have lovely finished insides even after altering the dress.

The underarm area looks like this on the outside now. The busy print really helps to hide all my piecing seams! You can just make out some old stitch lines (like the one to the left of the zipper), but they’re not noticeable when the dress is being worn, thankfully.

I’m so pleased that I can wear this dress again! It actually fits better now than it did the first time, imagine that!

I wouldn’t have been able to make these alterations happen if I hadn’t kept my scraps!

I’m so grateful to all those seamstresses from the past few hundred years who have shown me that piecing is ok and making do/repairing/altering to keep getting wear out of clothes is ok, too! It’s a wonderful benefit of making my own clothes and knowing how to sew.

Welcome back, dotty dress!