Proof Of A Regency Picnic

Historically clothed events continue to be somewhat sparse on my calendar, but I have photographic evidence of having gathered with friends last summer to partake in a Regency themed picnic. We were rained out of the original date and the alternate date was very hot, so we decided to mostly stay indoors. But we did go outside for a few fun documentation-of-our-gathering photos.

Did I mention it was hot? I was kind of melting. But I did really enjoy getting my 1815 Tree Gown out of the closet and giving it a wear. This continues to be one of my favorite early 19th century dresses! I still love the patterning, which creates a comfortable and elegantly shaped dress, as well as the lightweight block print cotton fabric. At least I had a cool fabric to wear in the heat!

Made in 2013, this dress has held up to 11 years of wear very well; however, I did notice that the forearms are very tight these days… so tight that they don’t let the armsceye seams sit where they should, causing the shoulders to constantly be pulling down my arm! And sadly, even with the 1/4″ French seams I originally made, they don’t have enough circumference to be let out.

On the bright side, though, I keep everything and I have scraps of this fabric in my stash. So for now, the forearms have been seam ripped and the dress is, metaphorically in the pile of things-that-need-alterations, awaiting my action of actually digging out the fabric scraps so that I can adjust the fit (it’s metaphorical because it’s actually hanging in the closet not in a pile!). This will assuredly become a When-The-Dress-No-Longer-Fits post… someday!

GBVS Newport Weekend 2023

Just as with my post about the 2022 Greater Boston Vintage Society Newport Weekend, I’m posting about an event from last summer in the middle of winter. Sometimes it takes awhile to get to posting! Well, as before, late is better than never.

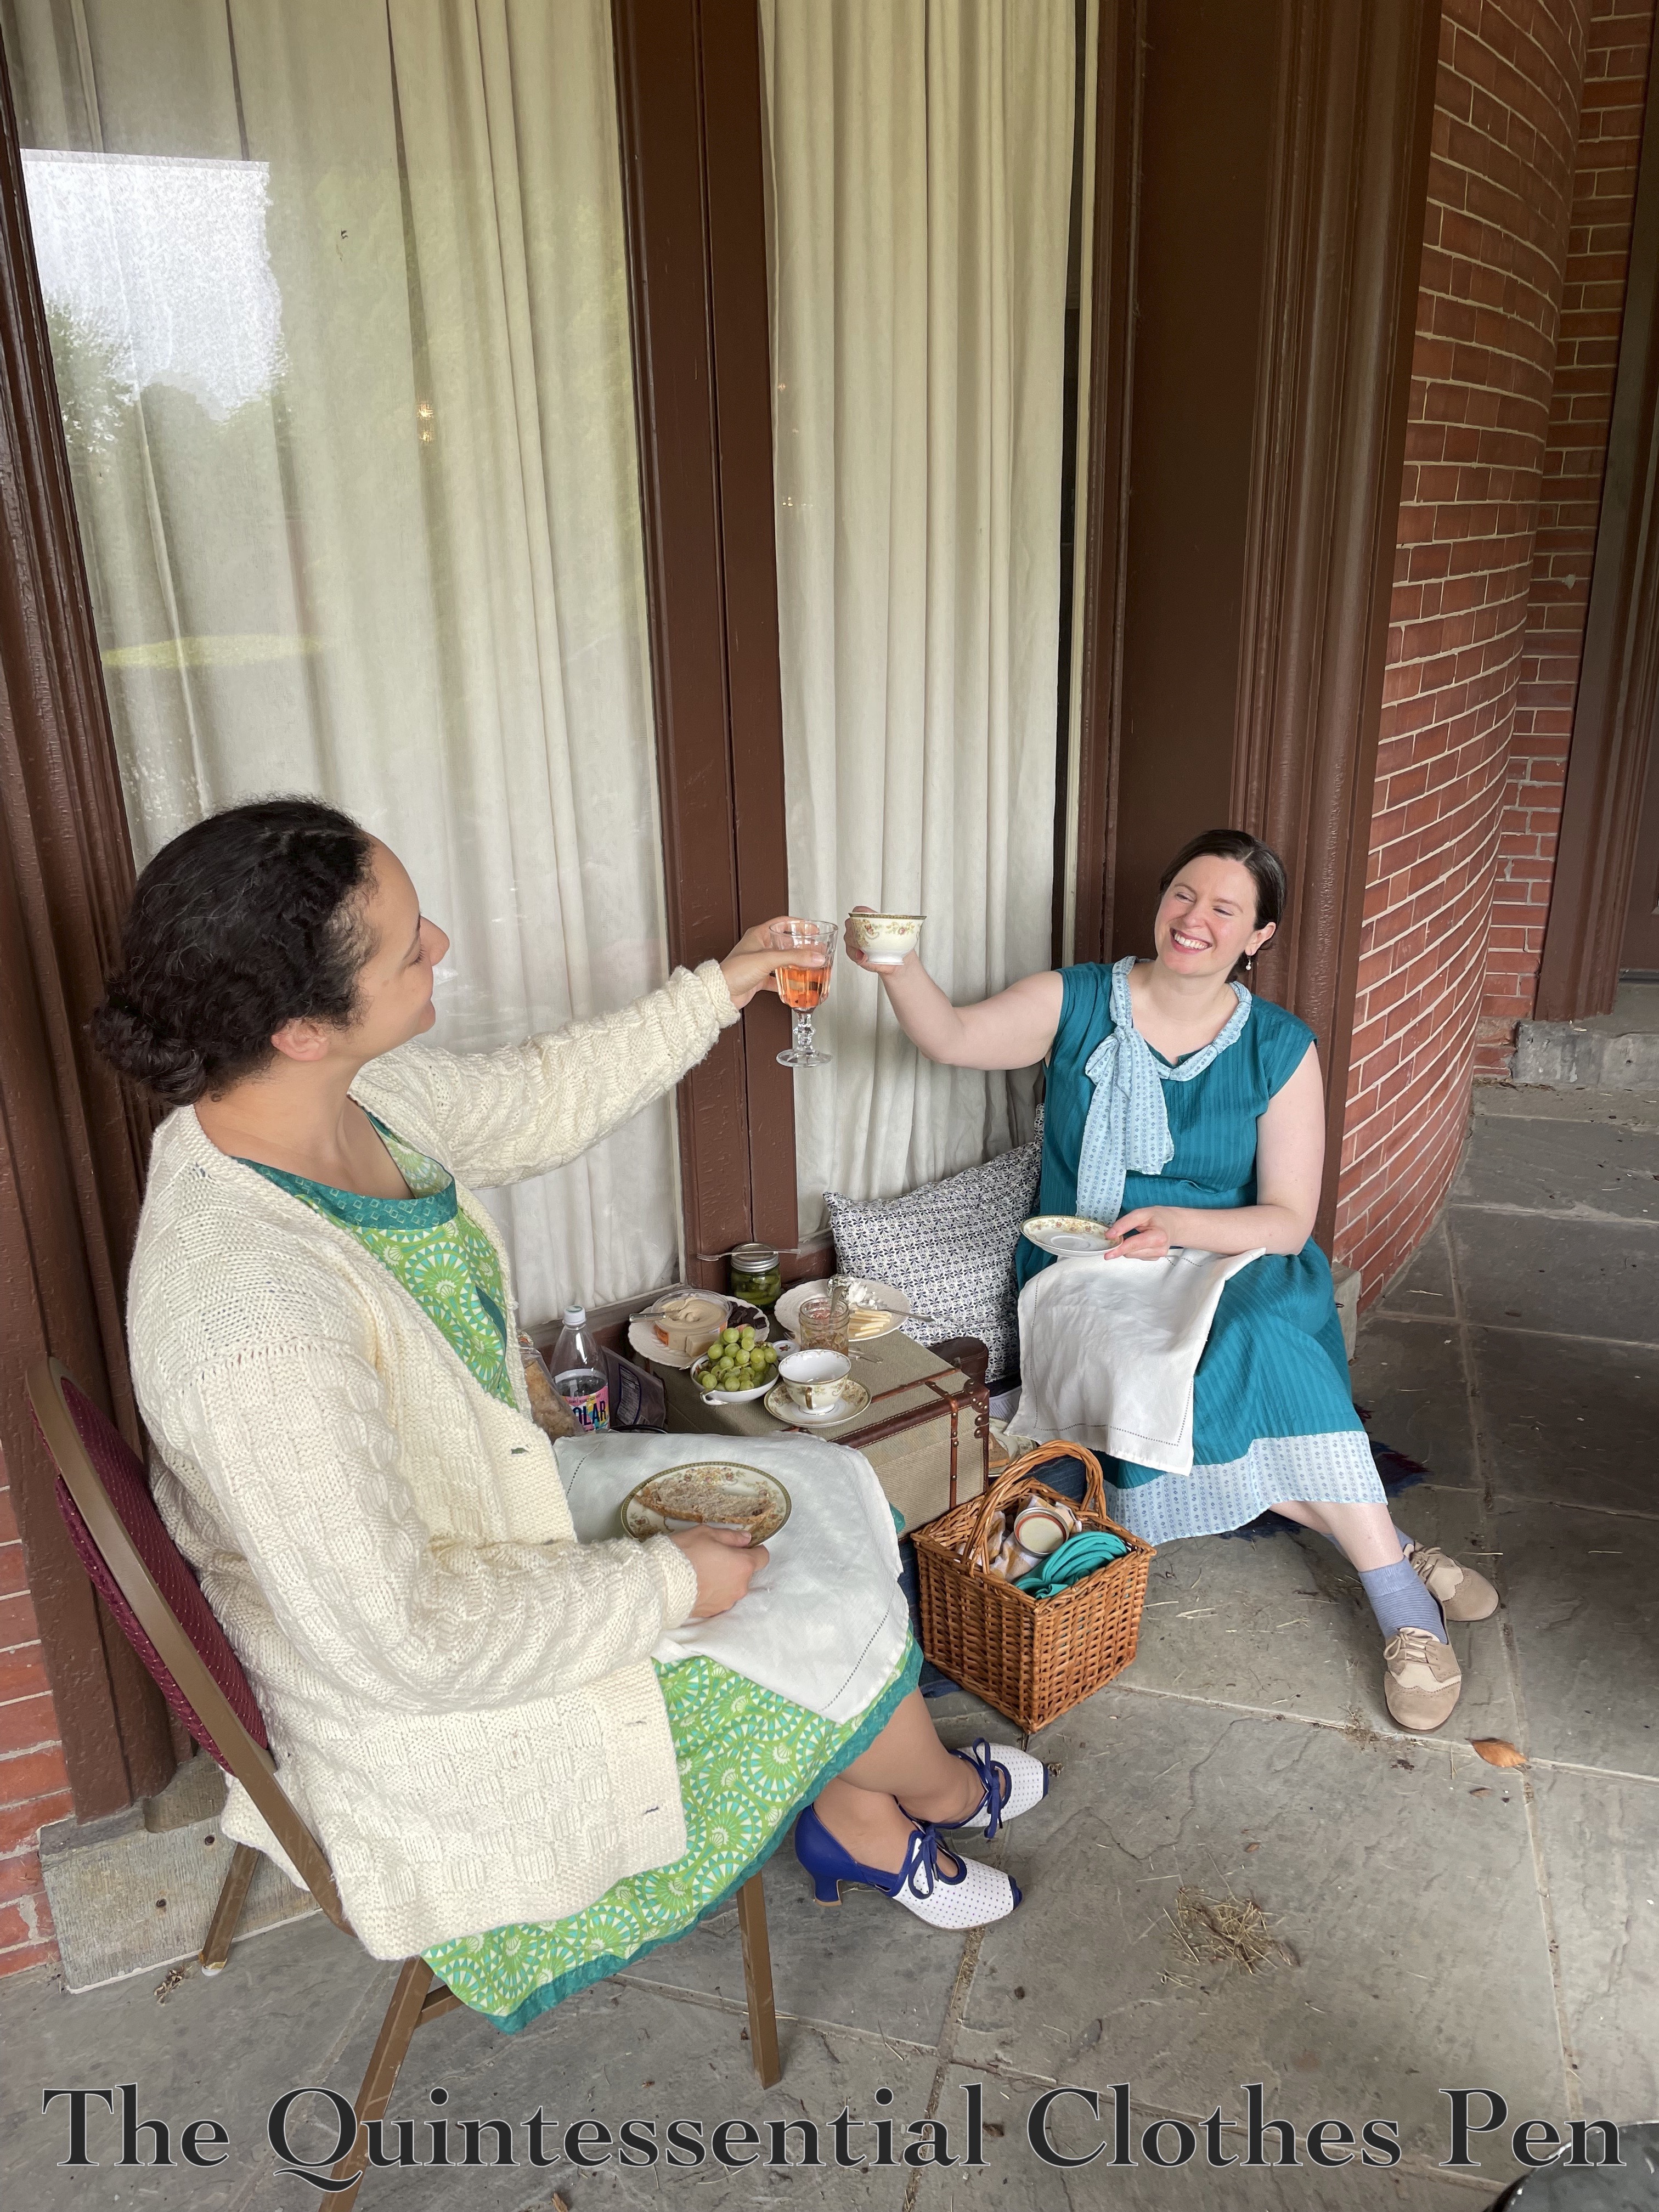
This year the weather was not as cooperative as in the past. It was raining on Saturday, the only full day of the event. Nevertheless, we made the best of it, choosing to still picnic outside, but in the covered areas of the porch.

It was a bit cooler than summer usually is, also due to the rain, so we added hot tea to our picnic spread. Yum!

Who doesn’t carry around a teapot in a picnic basket?

There was a break in the rain long enough for a few outfit photos. For Saturday I chose to wear my 1928 Egyptomania Inspired Dress and American Duchess/Royal Vintage Ginger shoes. The pop of color was nice on the rainy day.

I also added my 1917 Knitted Sweater of Angorina while sitting still. You can see it in the first photo of this post.

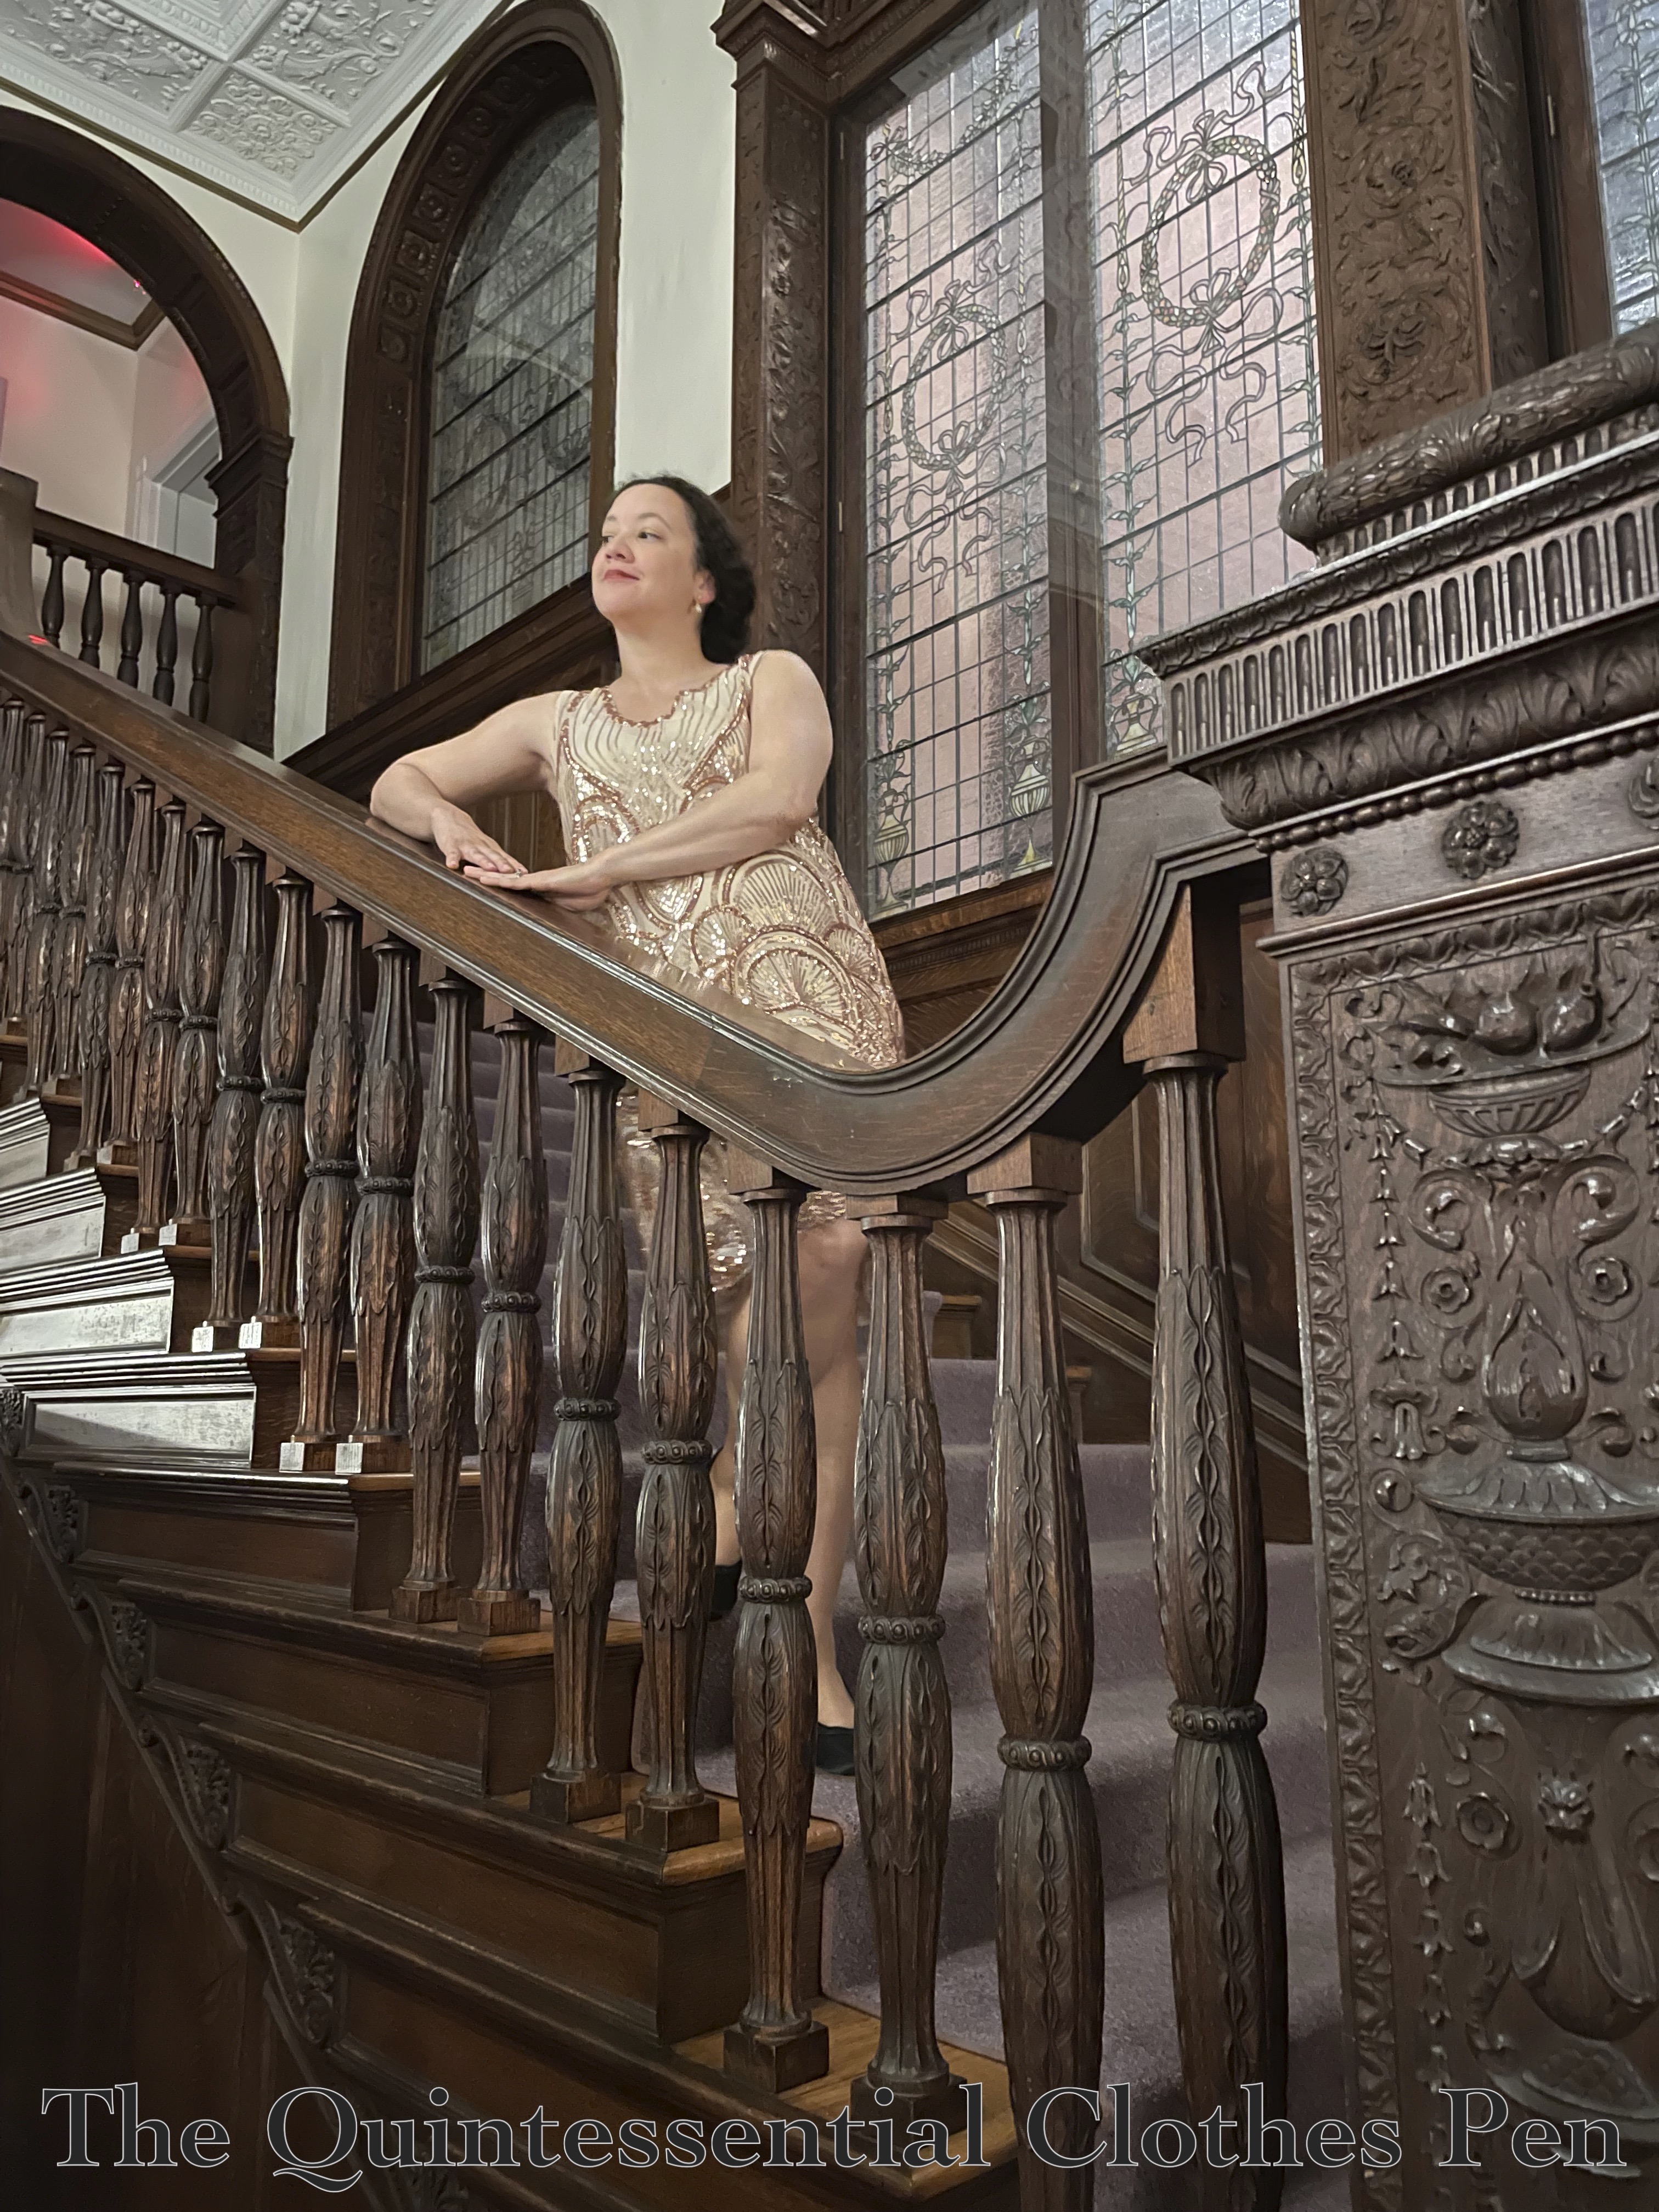
For the Saturday evening ball, I wore my 1927 Blush Sparkle Evening Gown and black American Duchess Seaburies. It’s always neat to wear these shoes in Newport — they are designed based on shoes in the collection of the Newport Historical Society!

On Sunday, I decided to go to a behind-the-scenes tour of The Elms. As with all of the Newport mansions, this one has a grand facade and all sorts of interesting (and expensive!) details to learn about.

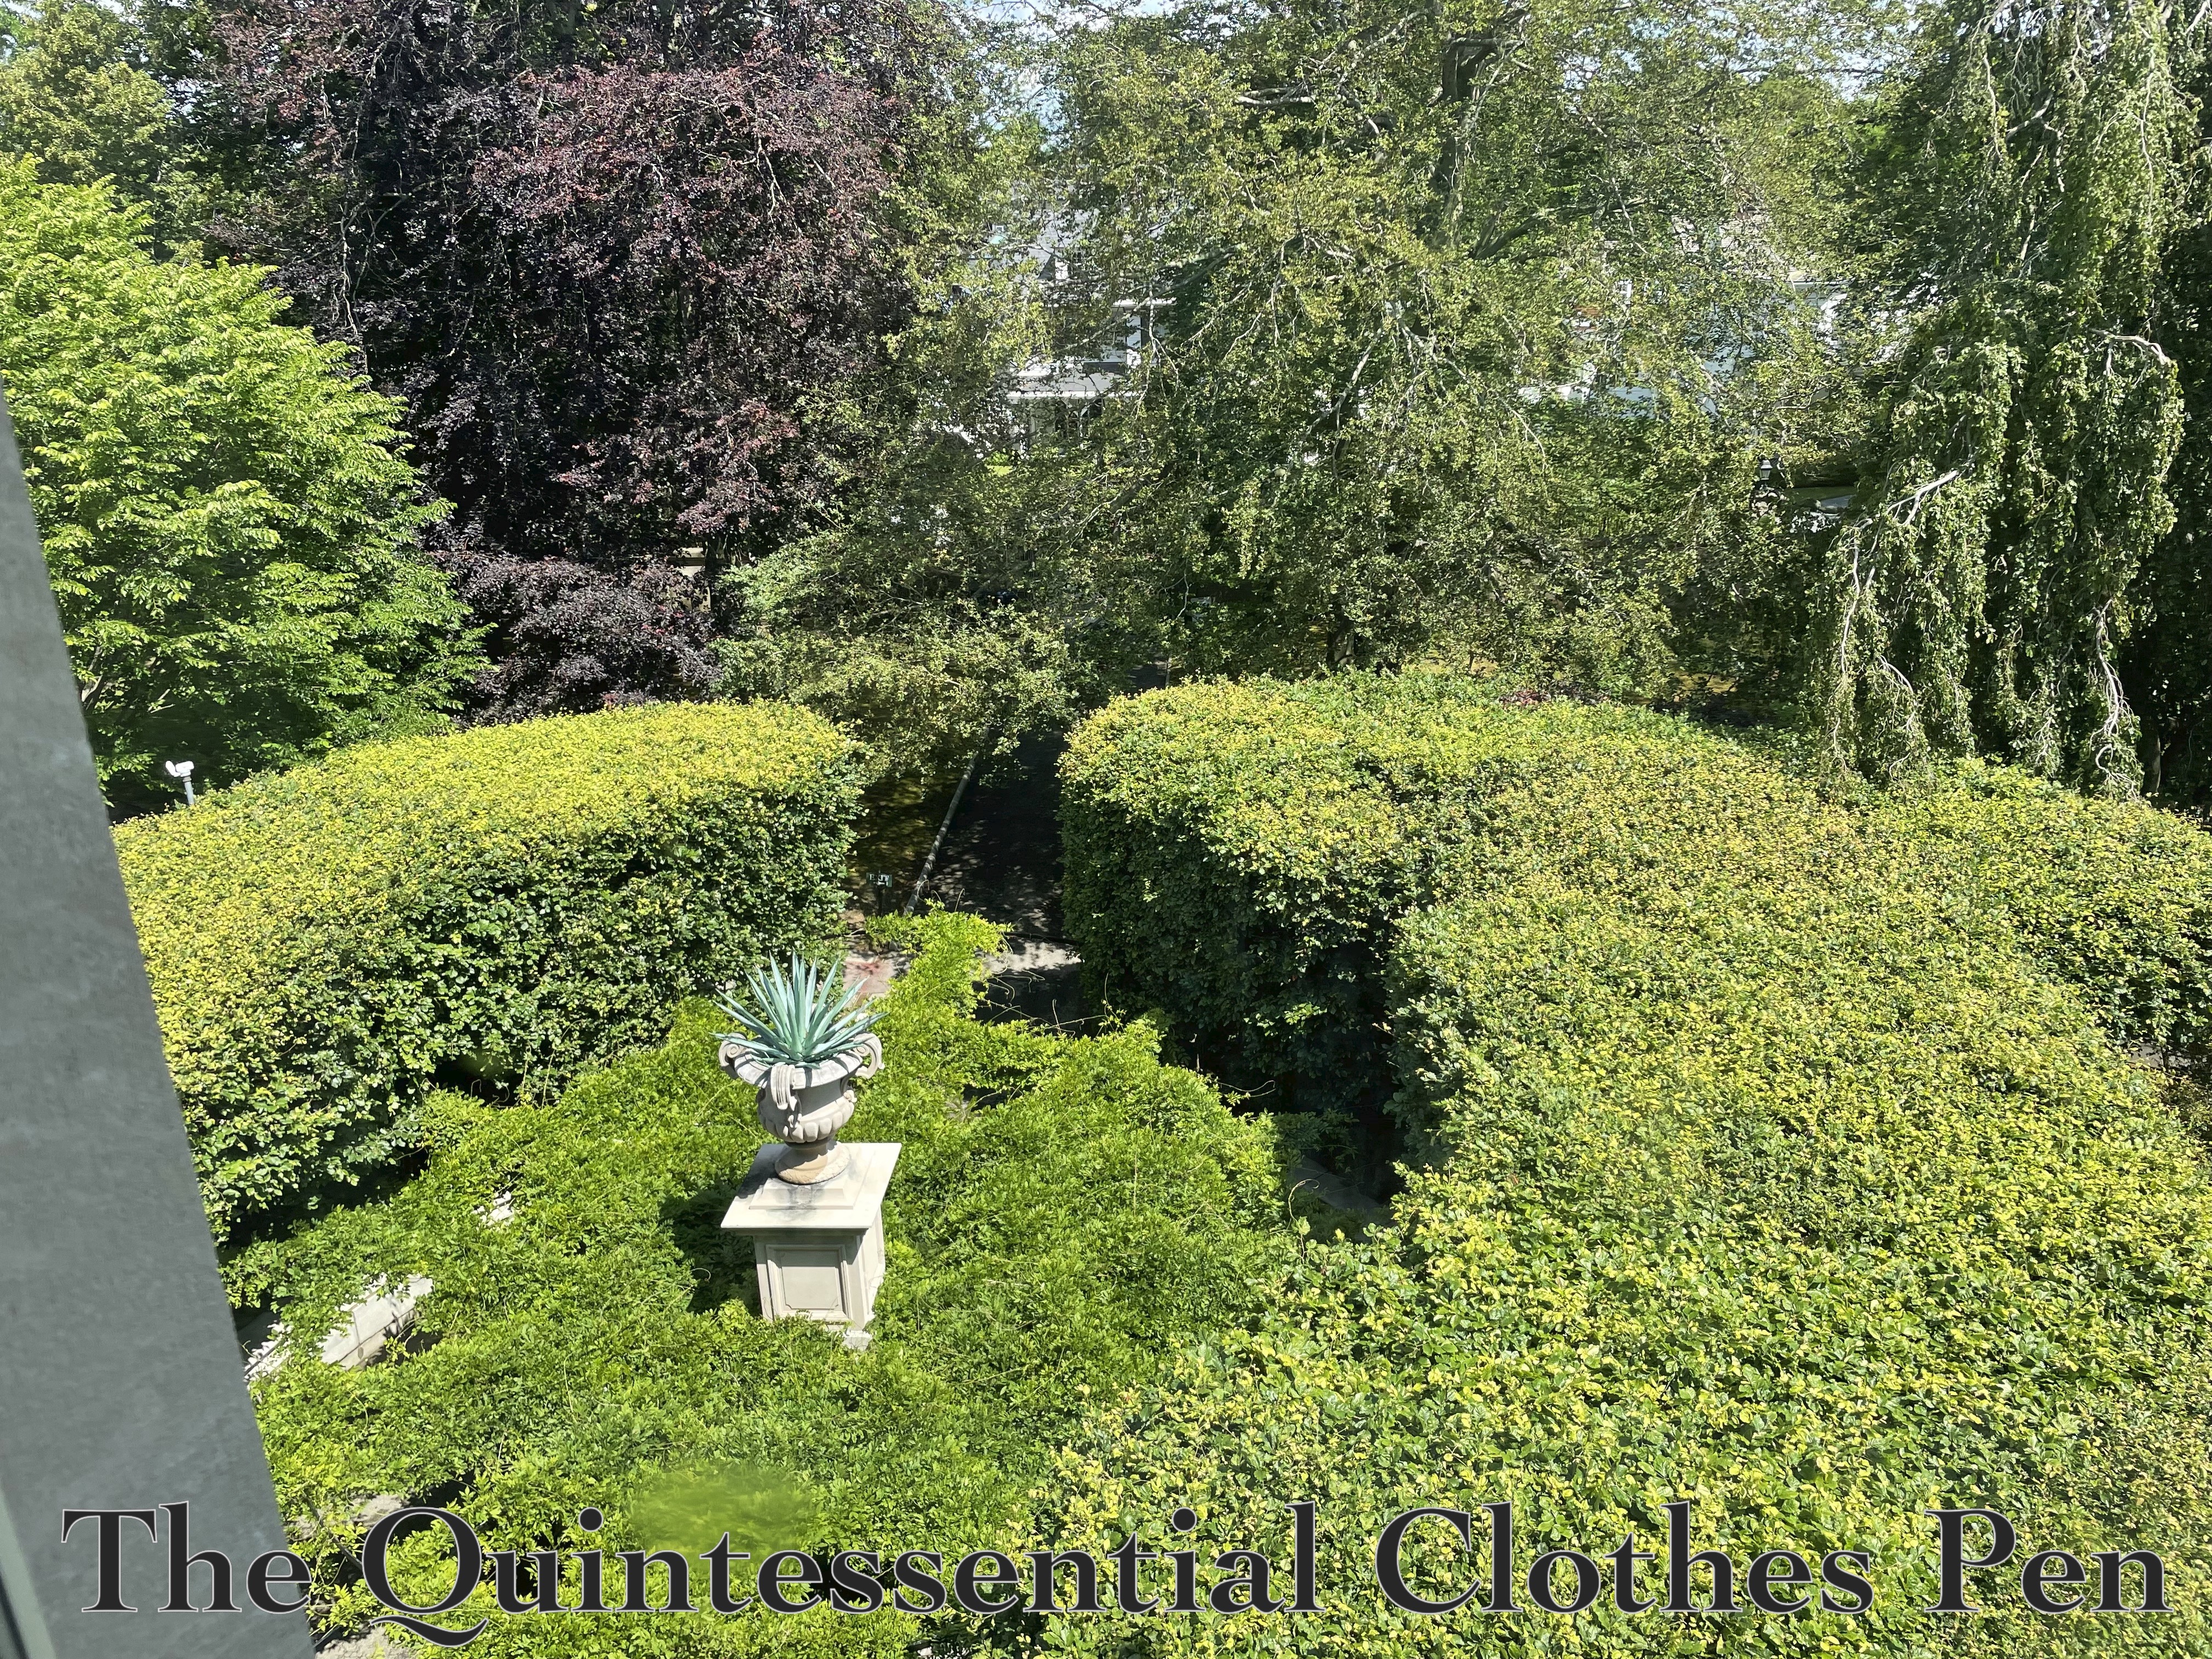
For example, the rounded area of greenery (below) actually conceals a sloping driveway to the basement and servants’ entrance. This is where deliveries were dropped off, as well. With the greenery growing on a lattice above this area the family could carry on without needing to see the servants or delivery people come and go.

The servants had very nice quarters on the top floor of the house. They also had access to roof space that ran around the entire house — but of course this was concealed by a parapet. Just as with the servants’ entrance, the family wouldn’t want to see the servants taking leisure time on the roof.

For modern tours, there is a platform that lifts you above the level of the parapet so you can see the view of the grounds and harbor. It’s quite lovely!

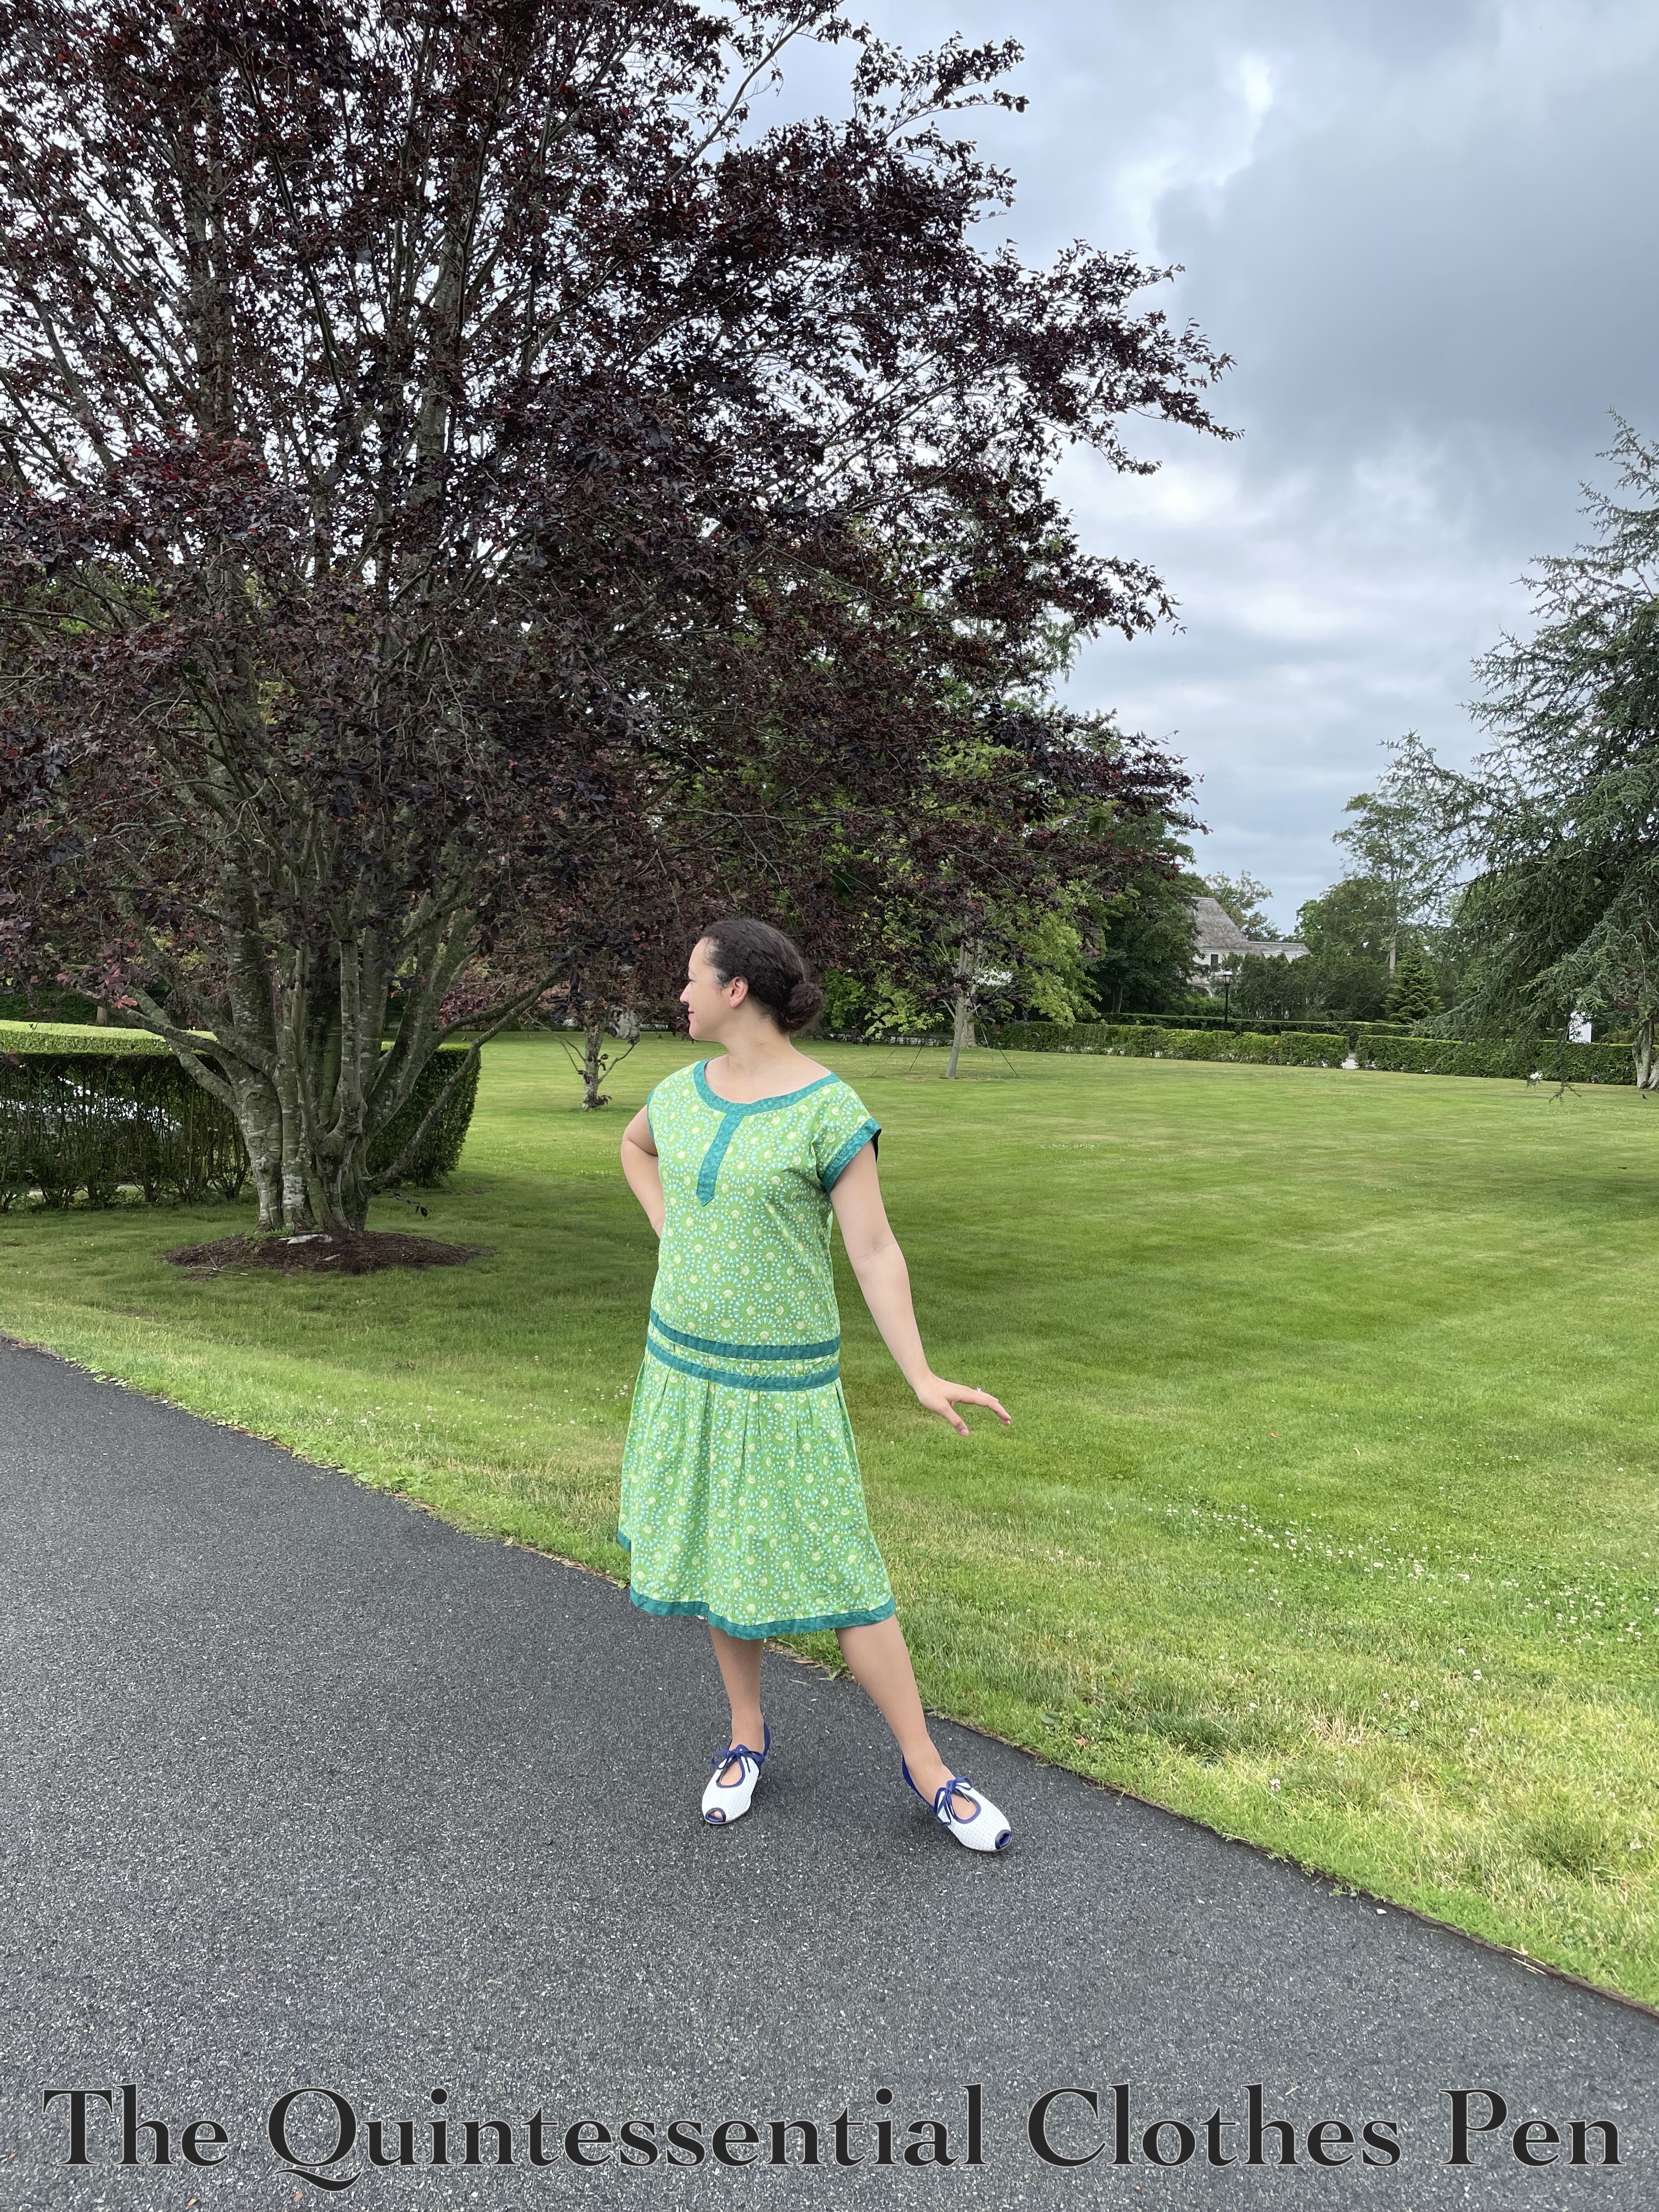
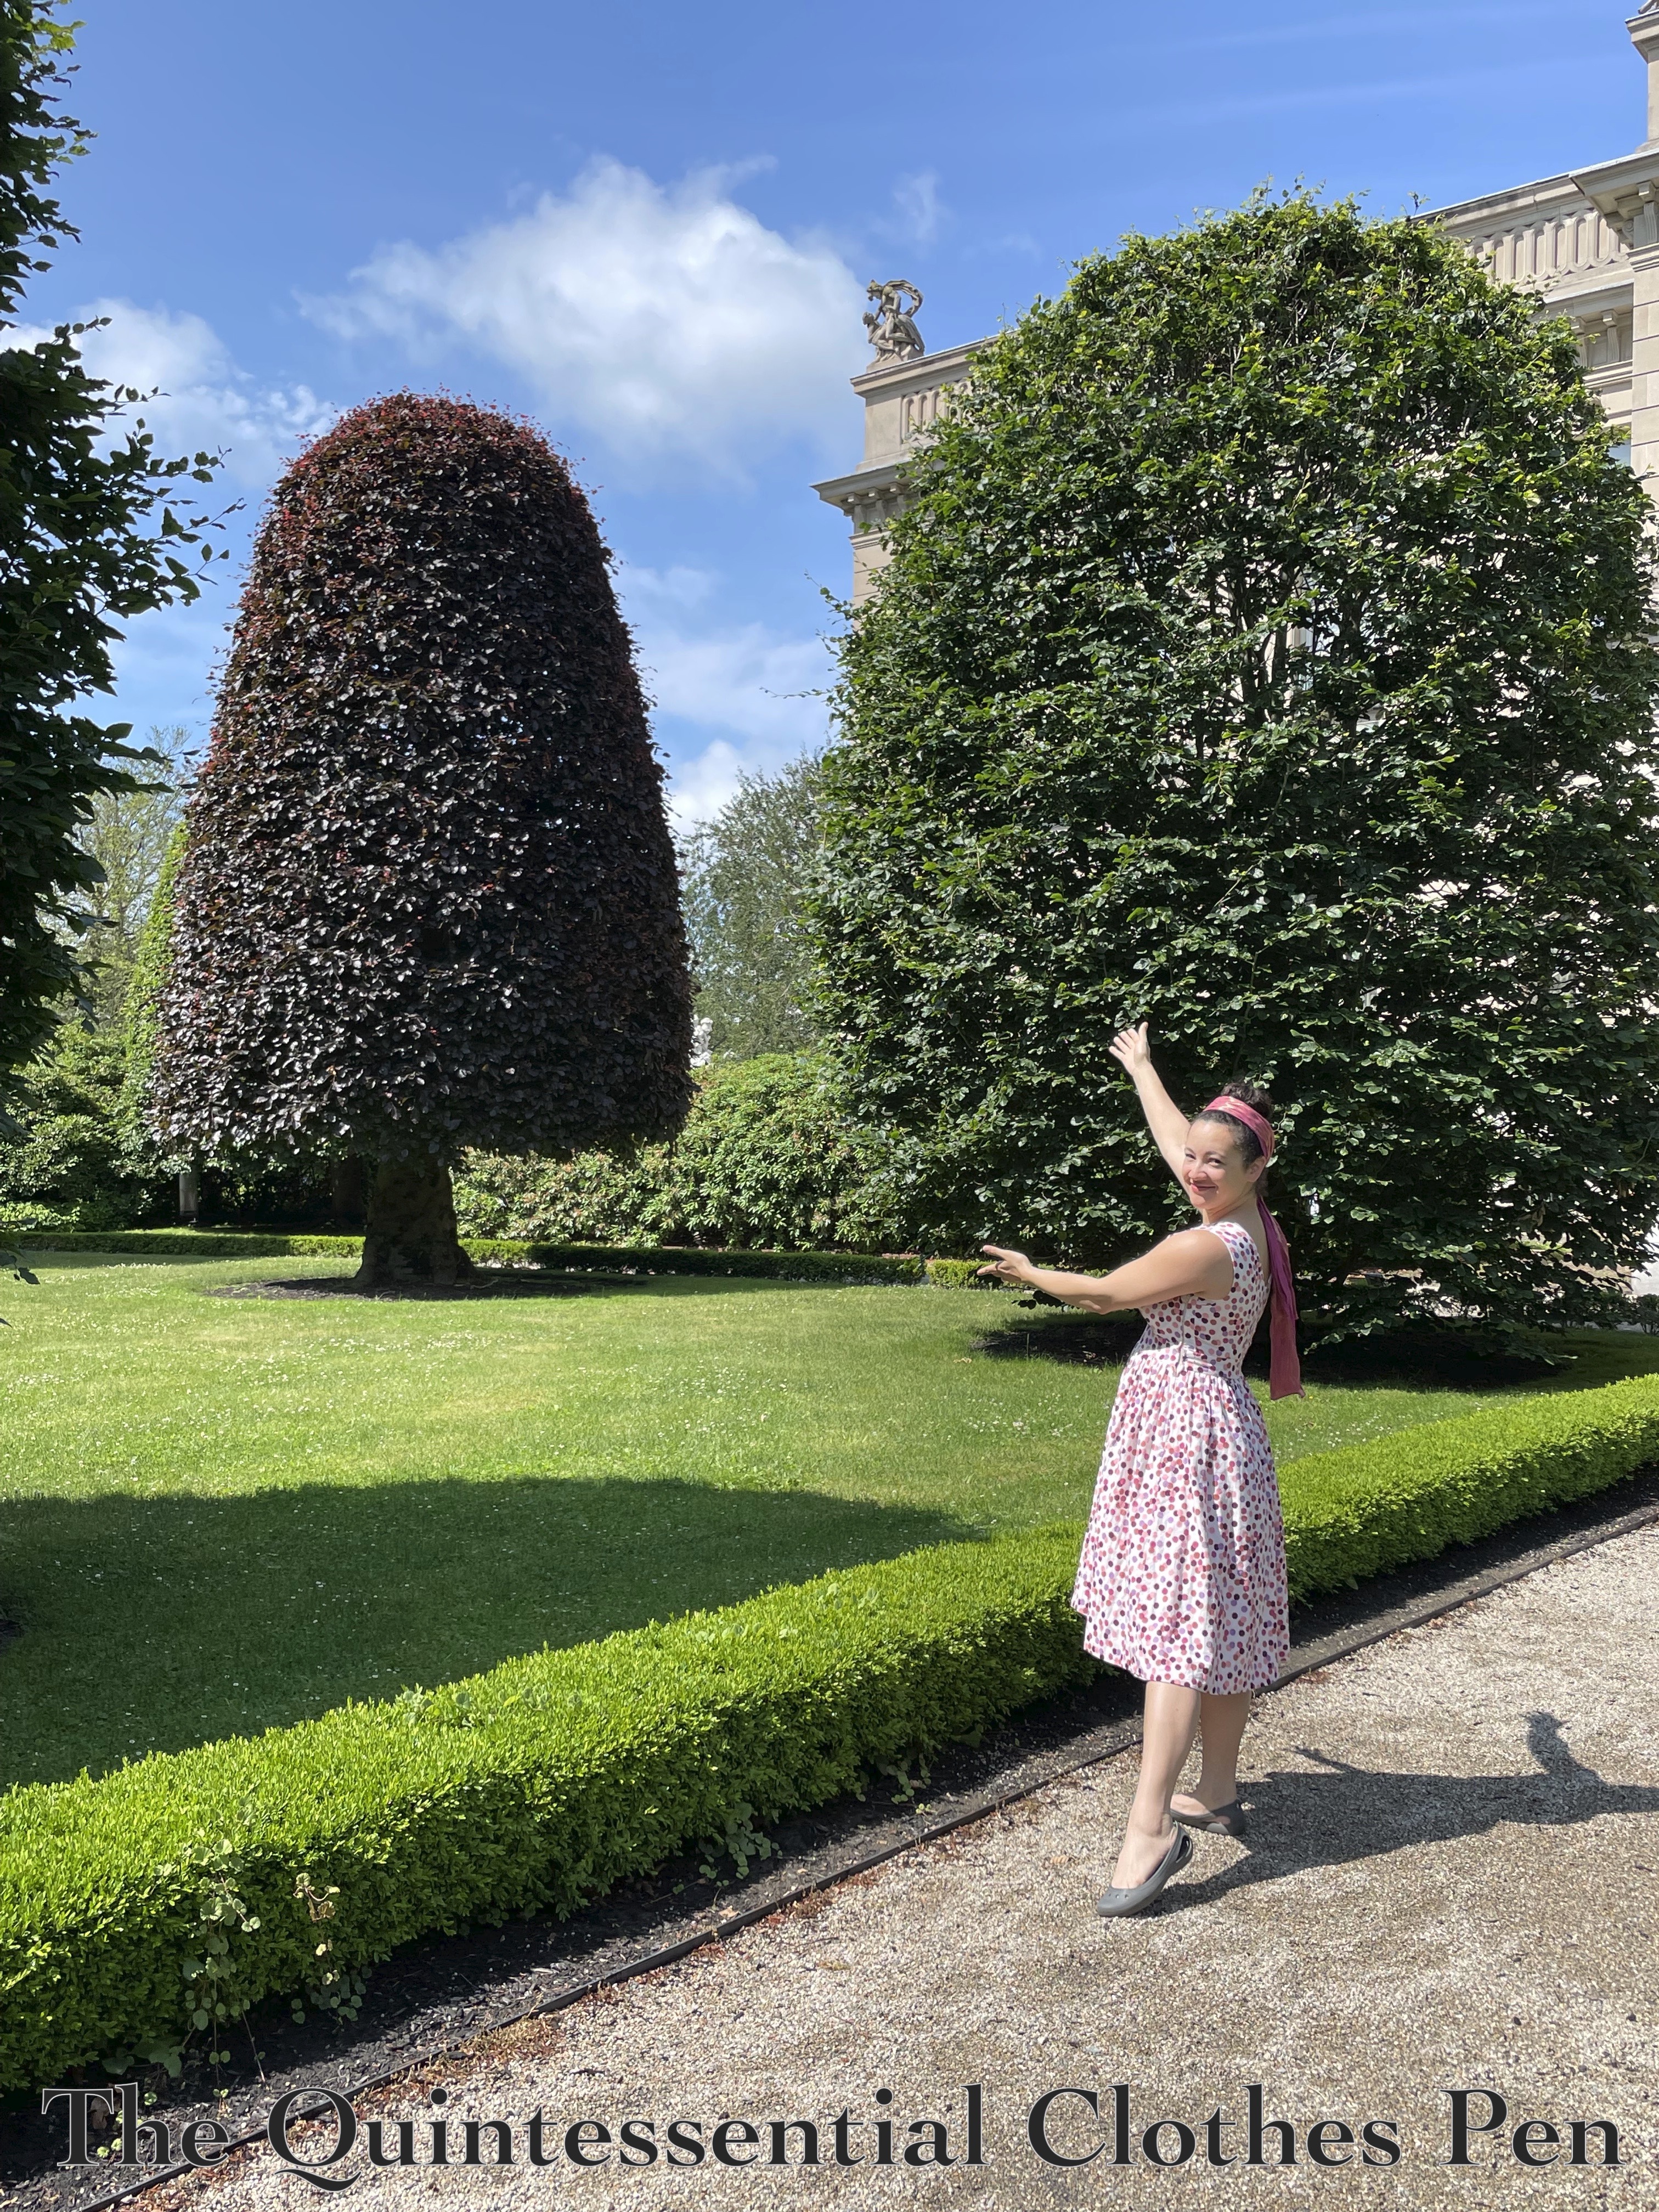
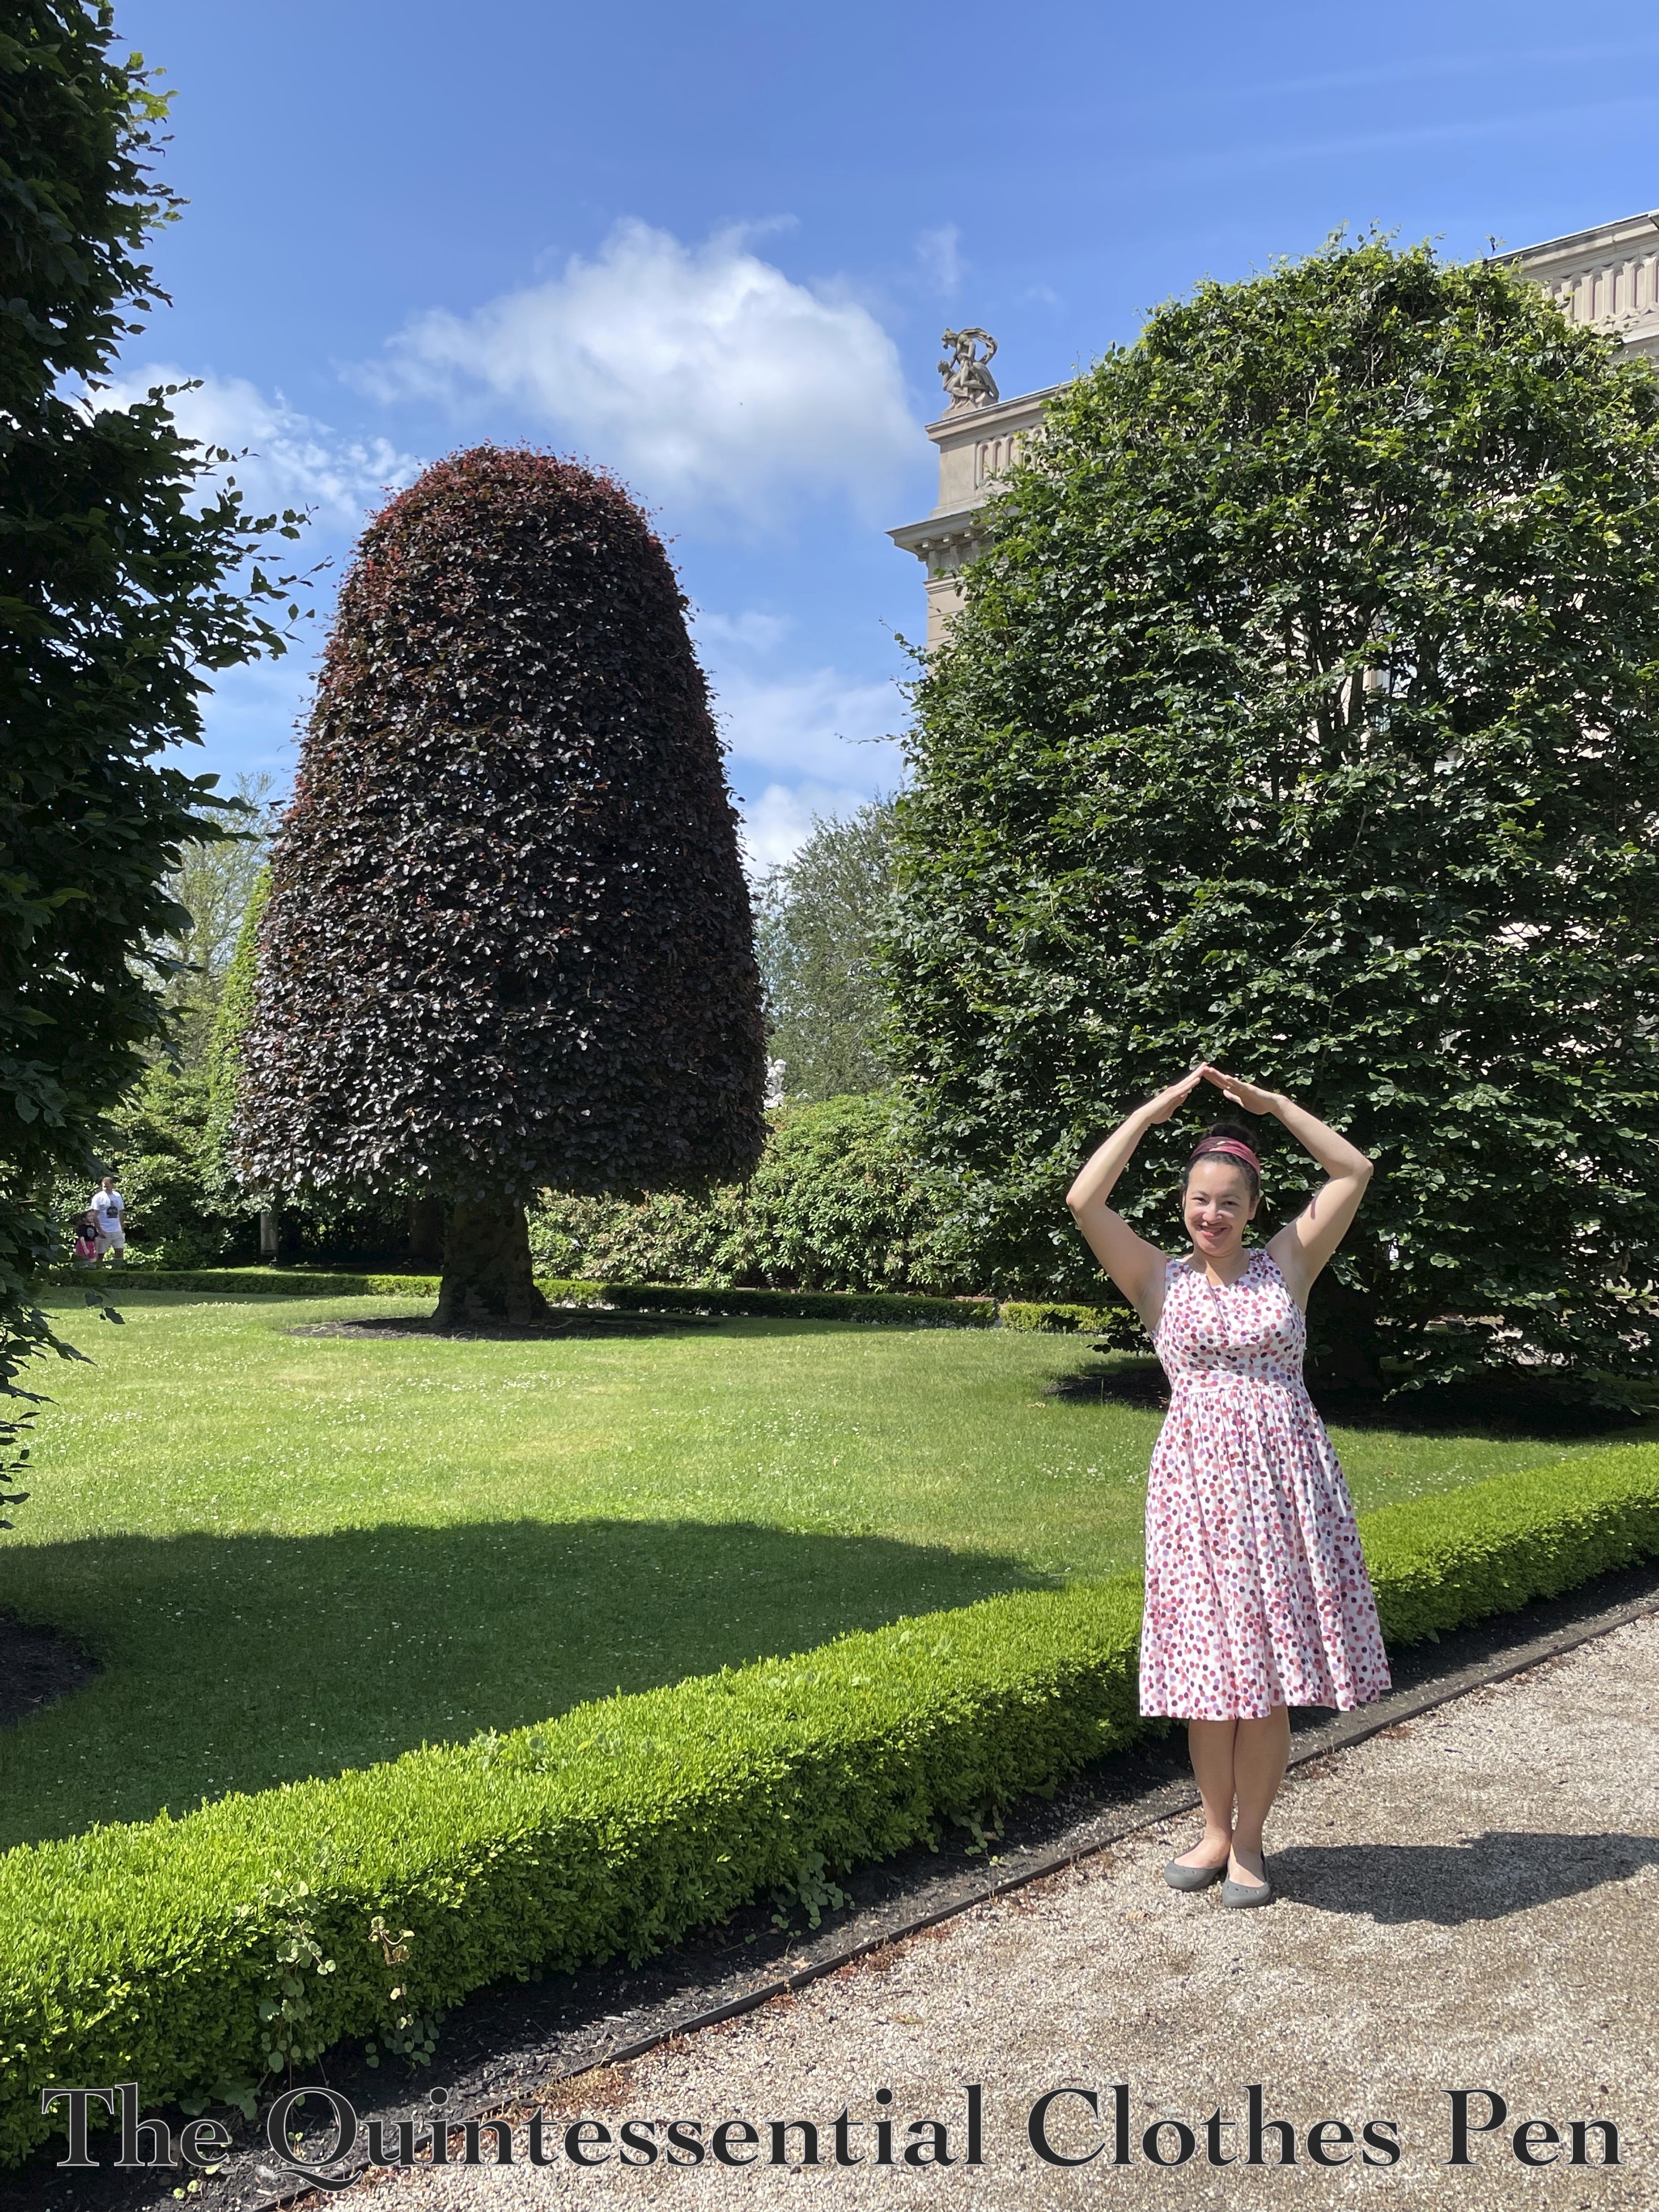
Back at the entrance, I was very amused by the shaped trees. They reminded me of mushrooms!

So instead of the usual outfit photos, I chose to take some highlighting the trees and pretending to be a mushroom! The weather had completely changed from the rain the day before! It was warm, and I chose to wear my 1953 Dot Dress with comfy Crocs flats.

In addition to the servants’ area in the basement and on the upper floor, we also toured the boiler room in the house. It’s massive, with multiple boilers! Well, I guess it is a huge house!

Along the lines of the concealed delivery entrance I already shared, this house also has a tunnel that runs from a side street to the boiler room in order to move coal without the family seeing. This is the entrance to the tunnel in the boiler room. Look at the floor! They had ways to turn the carts around and everything!

Finally, after lots of walking around the house and up and down stairs, I finished the trip with a picnic lunch by the water in a new-to-me area in Benton Point State Park. It was lovely, breezy, and the geologic formations in the rocks are beautiful.

And that’s it! After that it was time to head home to await another future adventure.

An Elegant Outing For My 1950 Baroness Dress

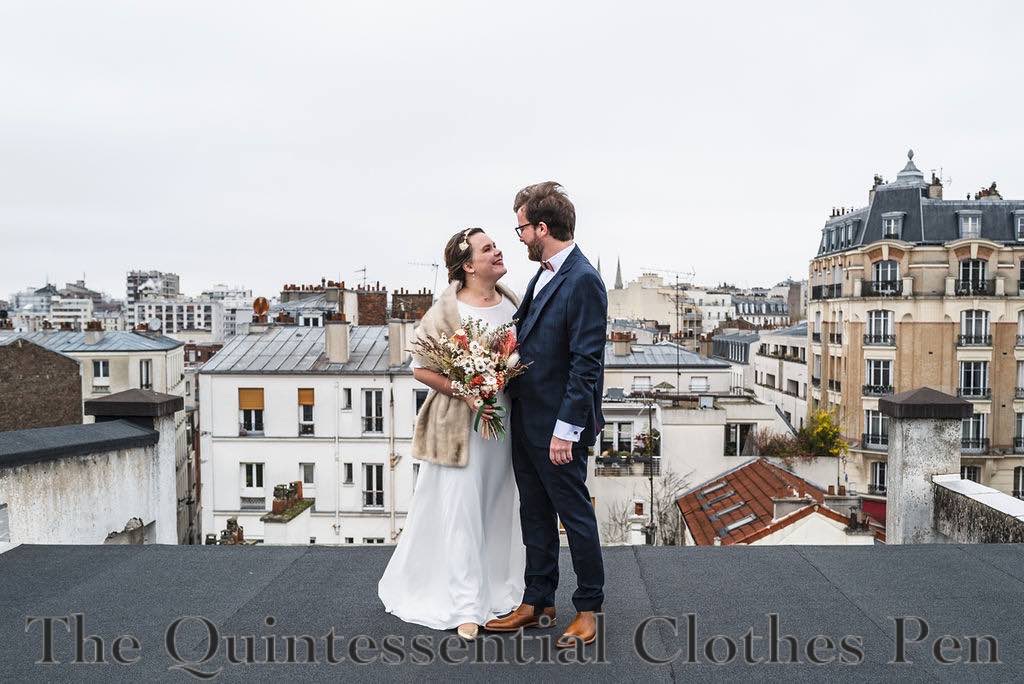
An elegant outing… to my cherished, oldest (as in, we’ve been friends since we were 5 years old) friend’s vintage-themed wedding in 2022. I’m slow at posting about it!

This is the sort of friend for whom I would have dropped everything for to be present at her wedding. And, I was!

She chose a lovely space built in the 1920s, with a view overlooking Paris, and requested that it would be great if I wore one of my historical dresses. I decided not to stick exactly with the 1920s theme and chose my 1950s Baroness Dress (first posted about in 2014… that seems like ages ago!) instead.

Honestly, the fabulous red Baroness dress gets worn quite a bit, for all sorts of vintage and modern semi-formal events. I love the dramatic color and unusual details that would be difficult to find in a store-bought dress. (And, while I knew it wasn’t a 1920s dress, no one else did! It had sufficient vintage charm, regardless.)

For this wedding, and other occasions where I’ve worn this dress, I chose to wear my silver American Duchess Seabury shoes. For jewelry, I figured the red dress was statement making enough and decided on small dangle crystal earrings.

Both my friend and her husband love silliness and fun, which led to decisions for their photos (see below) as well as for their wedding. They mixed French and American guests and traditions in a charming way, creating a lovely wedding and reception full of personal touches. I was so grateful to be able to celebrate with them in person!

This friend was my maid of honor in 2015, and she and her now-husband were inspired by my unique wedding choices as they planned their celebration. I appreciated being able to return the favor of being supported at my wedding by supporting them at theirs!

It’s funny to me that on both occasions I’m wearing a halter dress style and my friend is wearing an illusion bodice dress style. I guess we both have styles we feel are flattering to us!

Summary of 2023: Looking Forward To 2024

Time just keeps flying! It feels like 2023 started with a bang and the momentum hardly let up. All of a sudden it’s time to look back on this year’s accomplishments and start looking ahead to next year. Crazy!

Projects I completed in 2023

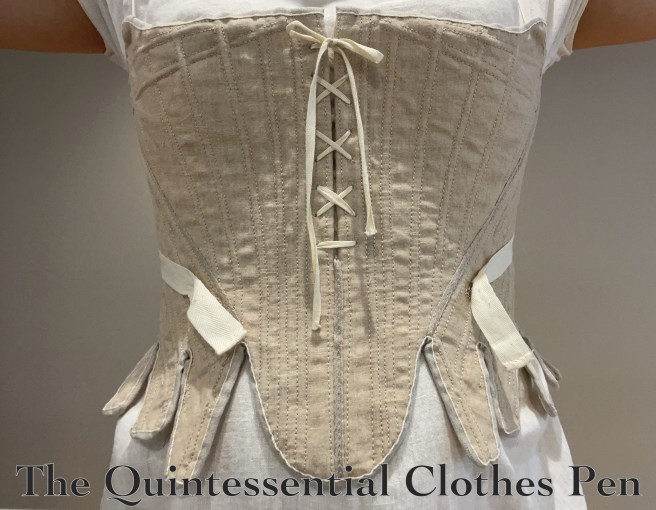
July: c. 1785 Hand Sewn Natural Linen Stays of Success!

August: Updates To The 1933 Dramatic Evening Dress

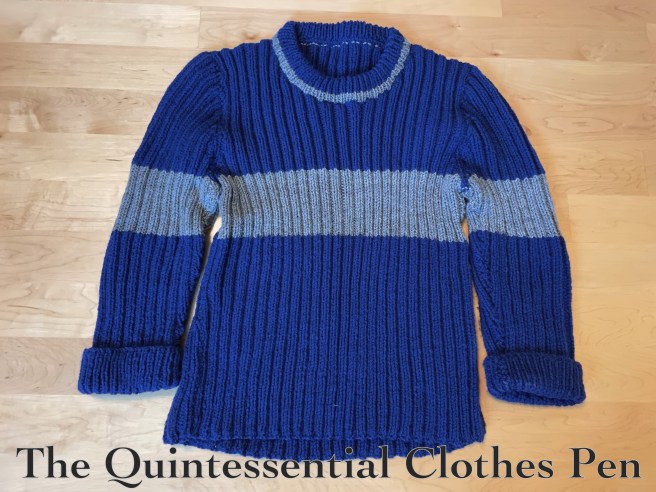
September: Ravenclaw Quidditch Sweater

October: Copper Colored 1790s Sash (HSM #3)

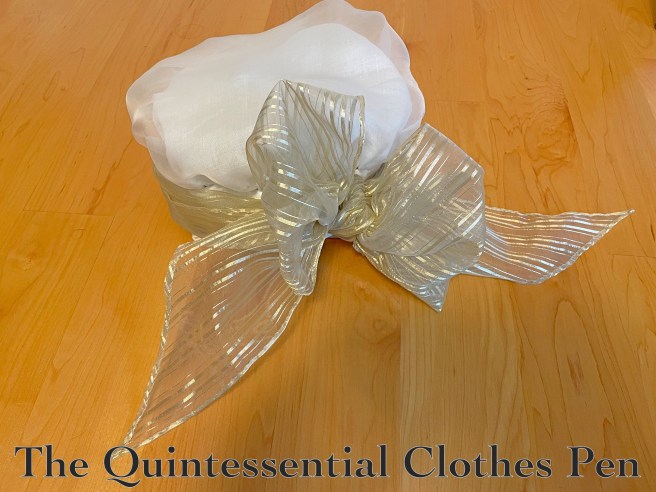
November: 1790s Organza Cap With Gold Stripe Trimming (HSM #5)

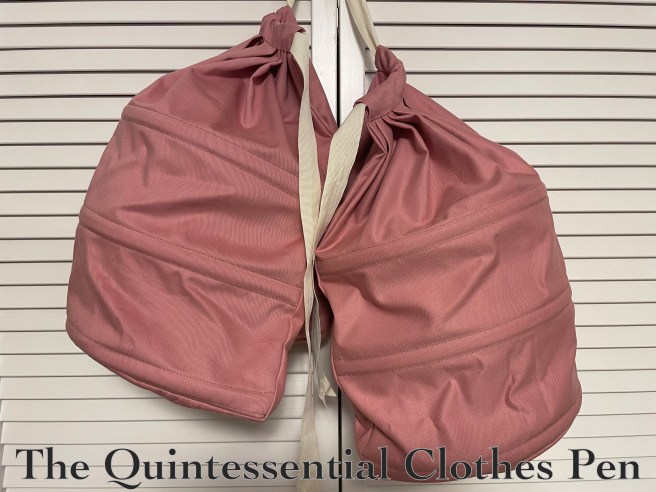
December: c. 1770 Pink Panniers (HSM #12)

December: 18th Century Blue Petticoat (HSM #8)

General Blog News

I participated in my 11th year of the Historical Sew Monthly. This year I completed 5 of the 12 challenges. That’s three more challenges than last year! It’s been wonderful to have a little bit more time to sew.

Also, in May the blog hit 500,000 all time views! Wow!

Event Recap

I attended 1 ball (as part of a weekend event), 3 other events (picnic, croquet, outings, etc.), 1 dance performance, and participated in 1 weekend event (that included dancing, games, teas, picnics, winter activities, and grand house tours).

To Do Lists

I kept last year’s Definitely To Do list quite short, so that I could feel accomplished when completing it. And success! I completed both of the things on that last (The Stays of Fail/Success and updating my 1933 Dramatic Evening Gown).

I didn’t fully complete any of the items on the Maybe list from last year, but I did make substantial progress on two of the four items. In fact, they’re almost done! A new 1790s petticoat and dress… and they just need hems! I was derailed from finishing those at the end of the year because I was inspired to start (and finish!) a new 1940 dress that I’ll be blogging about early in 2024.

So, my ‘definitely-do’ list for 2024 includes:

  • Finishing a 1790s petticoat and bum pad (started and mostly finished in 2023)
  • Finishing a 1790s dress (started and mostly finished in 2023)
  • 1770s yellow sacque/Robe à la Française (started in 2023)
  • Under petticoat for the yellow sacque
  • Stomacher for the yellow sacque
  • Shortening the hem of Eleanor, my 1862 Plaid Dress
  • Updating the waist size of my 1860s drawers
  • Updating the trimming on my 1893 Bronze and Pink Ballgown to better go with the size updates I made in 2022 and posted about in 2023
  • Replacing the zipper in my Happy Clover Dress

And my ‘maybe’ list includes:

I’m very pleased to have achieved my goal of finding more time to sew. I hope to continue that next year. That seems reflected in my to-do lists!

I’m very grateful for the many kindnesses and gifts in my life. Thanks to all of you who have continued to read, comment on, and appreciate this blog. Wishing you the very best in 2024!

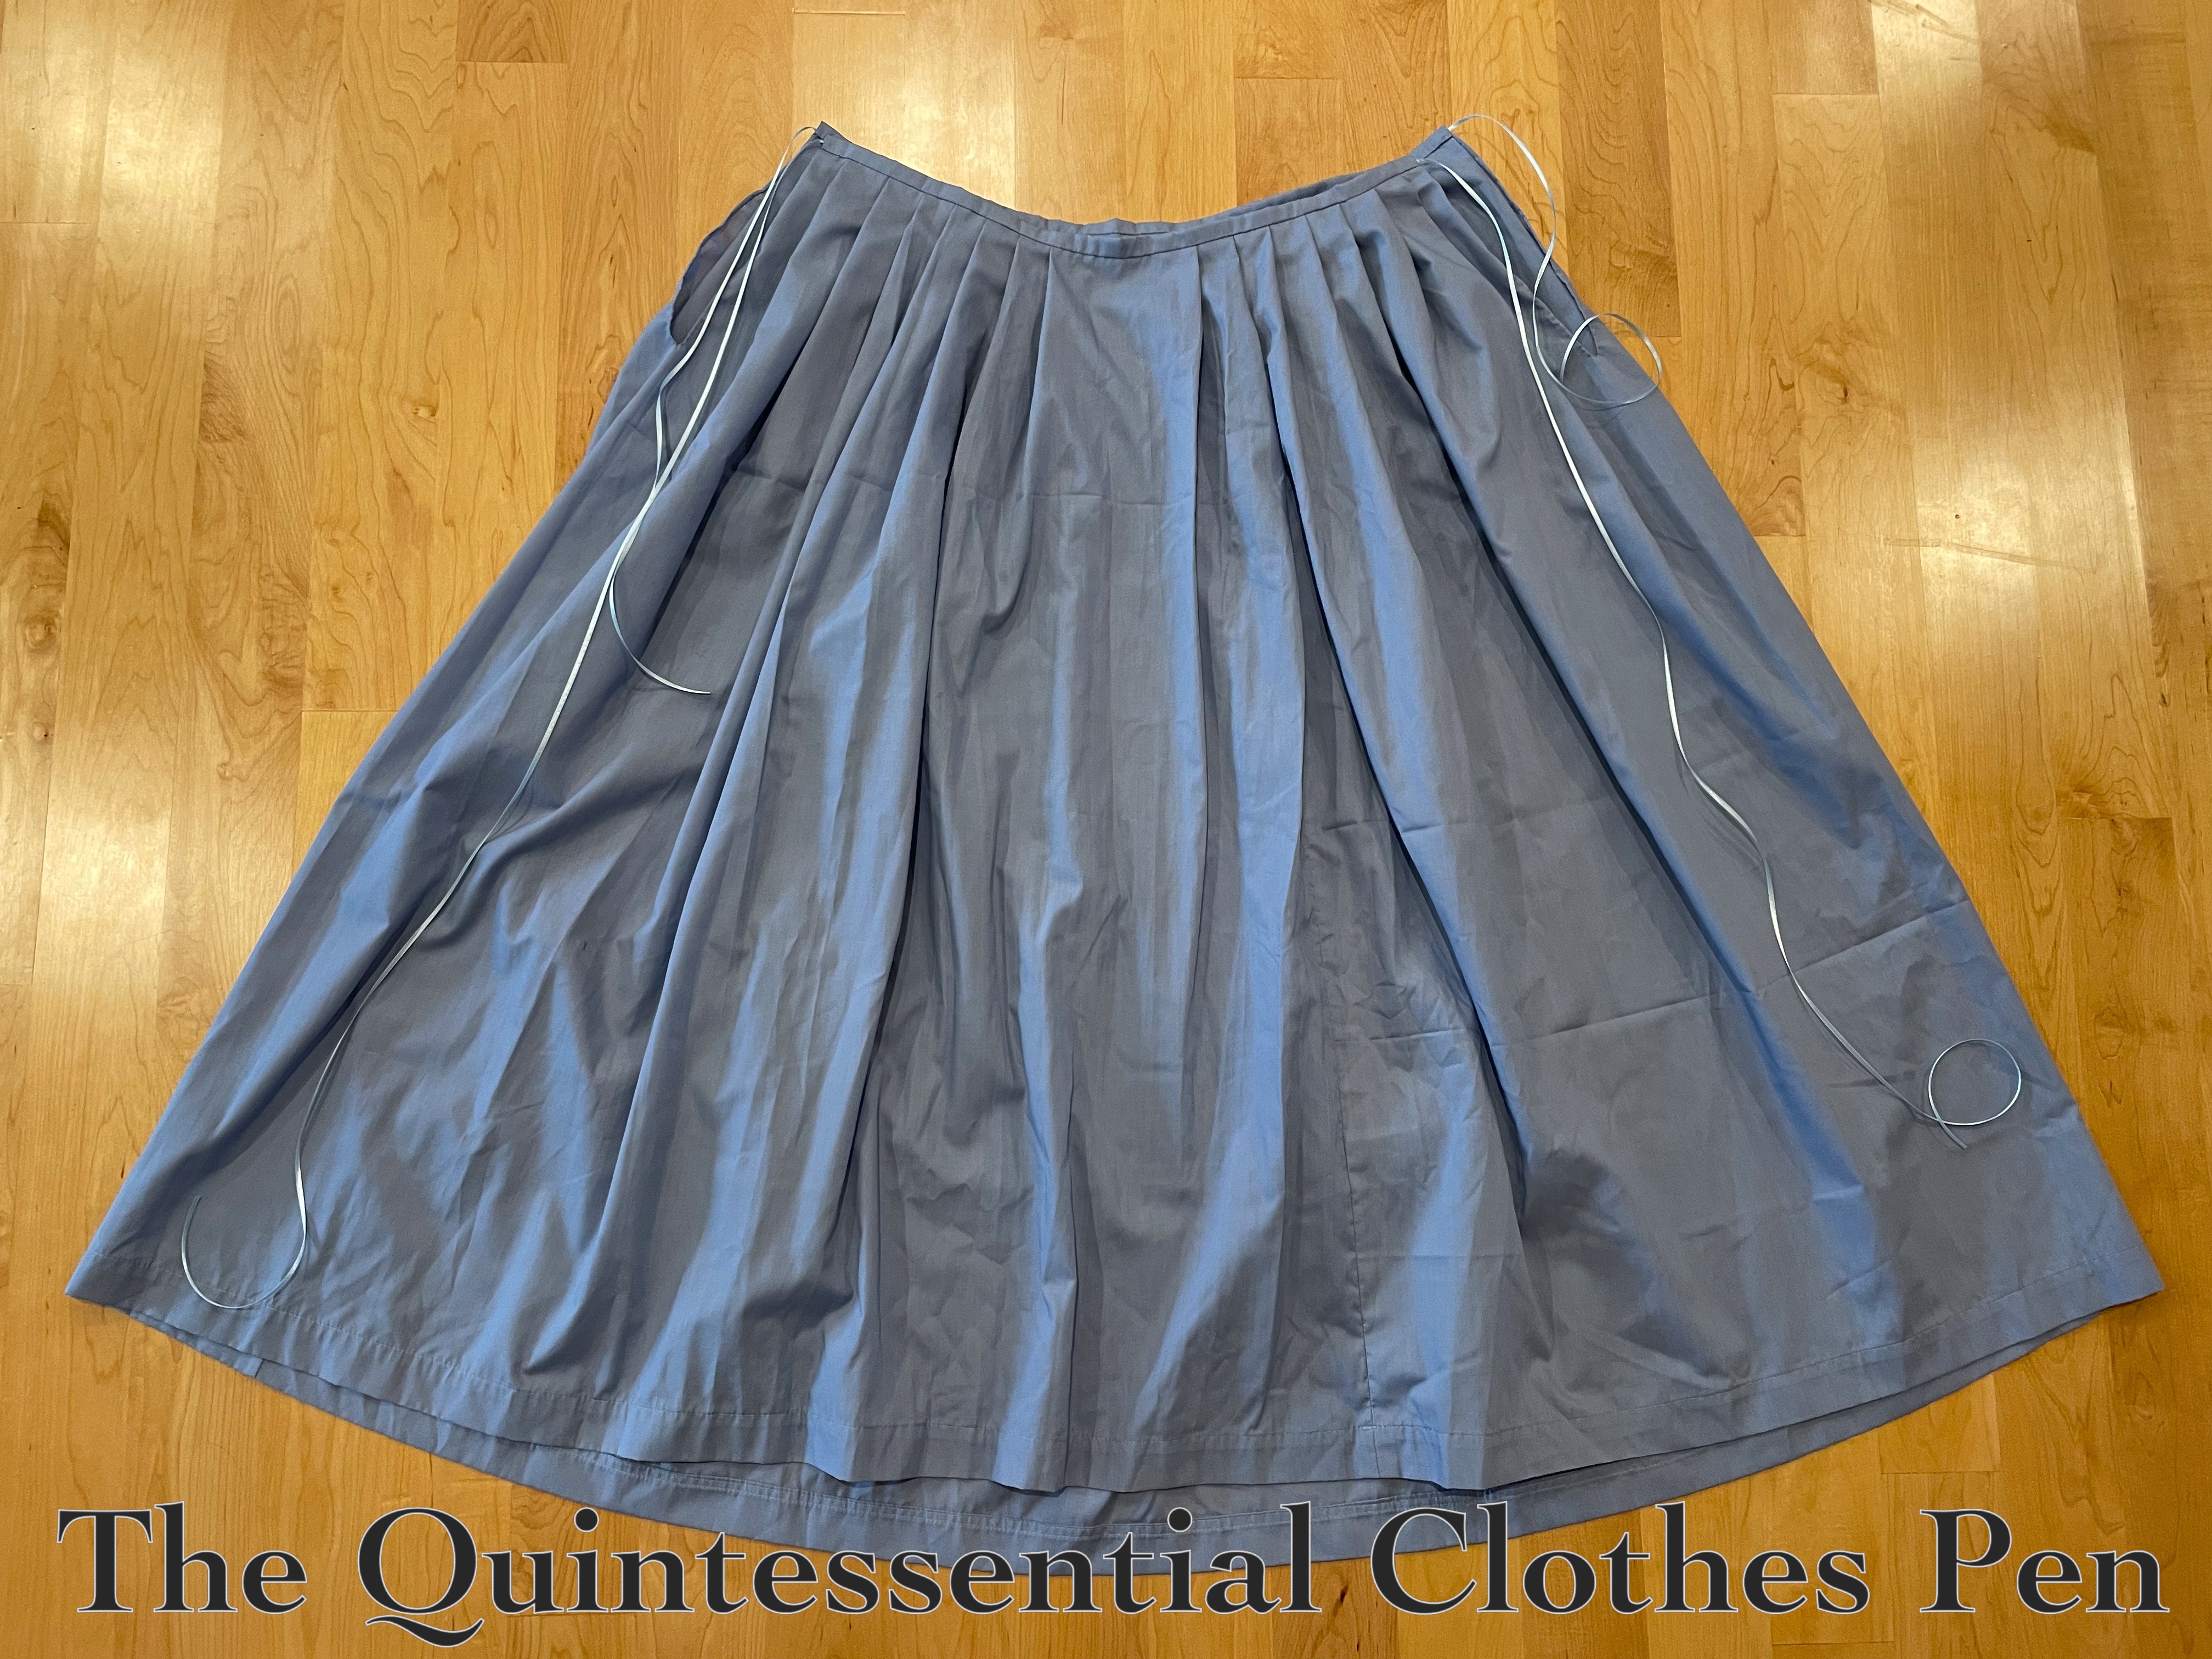
18th Century Blue Foundation Petticoat (HSM #8)

In addition to the c. 1770 Pink Panniers that I recently posted about, the blue foundation petticoat pictured below (front view) is also intended to be easily loaned to friends.

I’m super pleased with this for a few reasons:

1 – I was able to easily replicate the construction steps that I used for my Apricot Petticoat in 2013, ten years ago!

2 – I was able to re-make the petticoat from an old project: the 1812 Blue Under Dress I also made in 2013. I was never very happy with this color under my 1812 Striped White Gown (it was blah) and within even a few years of being made it no longer fit the width of my back, anyway.

3 – This remake qualifies for the HSM Challenge # 8, All Tied Up:

Make something that closes with ties, or something that uses knots/bows as a decorative feature.

Just the facts:

Fabric/Materials: Approximately 3-4 yards blue cotton/polyester blend fabric (salvaged from an old dress).

Pattern: None, but I referenced both of these tutorials on constructing 18th century petticoats. Katherine’s tutorial is for a petticoat with an uneven length (to go over panniers, or a bum roll, for example). Rebecca’s tutorial is for a petticoat with an even length (the same length all the way around, to be worn without extra supports). Both tutorials have construction information, Rebecca’s includes a bit more detail in terms of which stitches and methods to use.

Year: Loosely 1700-1790.

Notions: 3ish yards of 1/8″ blue polyester ribbon and thread.

How historically accurate is it?: 70%. Accuracy gets knocked down because: 1- all unseen seams are machine sewn, 2- I used polyester ribbon for ties, 3- I haven’t seen research that shows cotton being used at this time for a single plain petticoat of this sort.

Hours to complete: 5? I didn’t really keep track.

First worn: Has not been worn yet.

Total cost: Free! Materials were either in the stash/gifted to me or re-used from other projects.

Here are more photos of the petticoat, starting with a back view.

And, close-up evidence of weird things, such as the twice-stitched machine hem, which could be useful if I ever want to lengthen this petticoat. These hems are leftovers from the salvaged dress–no hemming required for this petticoat. Perfect!

I followed the instructions as indicated in Just The Facts earlier in this post. This leads to tidily finished waistbands, as you can see here (along with a randomly located vertical seam).

(Another weird thing about this petticoat is where the seams landed on this, now that it is a petticoat and not the skirt of a dress, and that each seam is finished in a different method!)

And here’s a the same view, but with the front folded down to show how the petticoat is made shorter at center from than it is anywhere else.

Below, a final closeup of the extra length at the front folded down and left raw. The top fold is encased in the waistband, which is machine sewn and whip stitched down on the inside.

I was super pleased to just barely fit this petticoat length out of the skirt length of the old dress. The hem circumference was just about perfect, too! And, I was able to cut the waistband strips from the front bodice pieces of the original dress!

All in all, a quick and satisfying project! I’m much more pleased with this as a petticoat than I ever was with it as a dress.

1830s Holiday Cheer

For the holidays last year, friends and I decided to have an 1830s-clothed dinner at a local historical inn. We had a lovely meal, enjoyed the company, and had fun looking around at all of the lovely seasonal decorations!

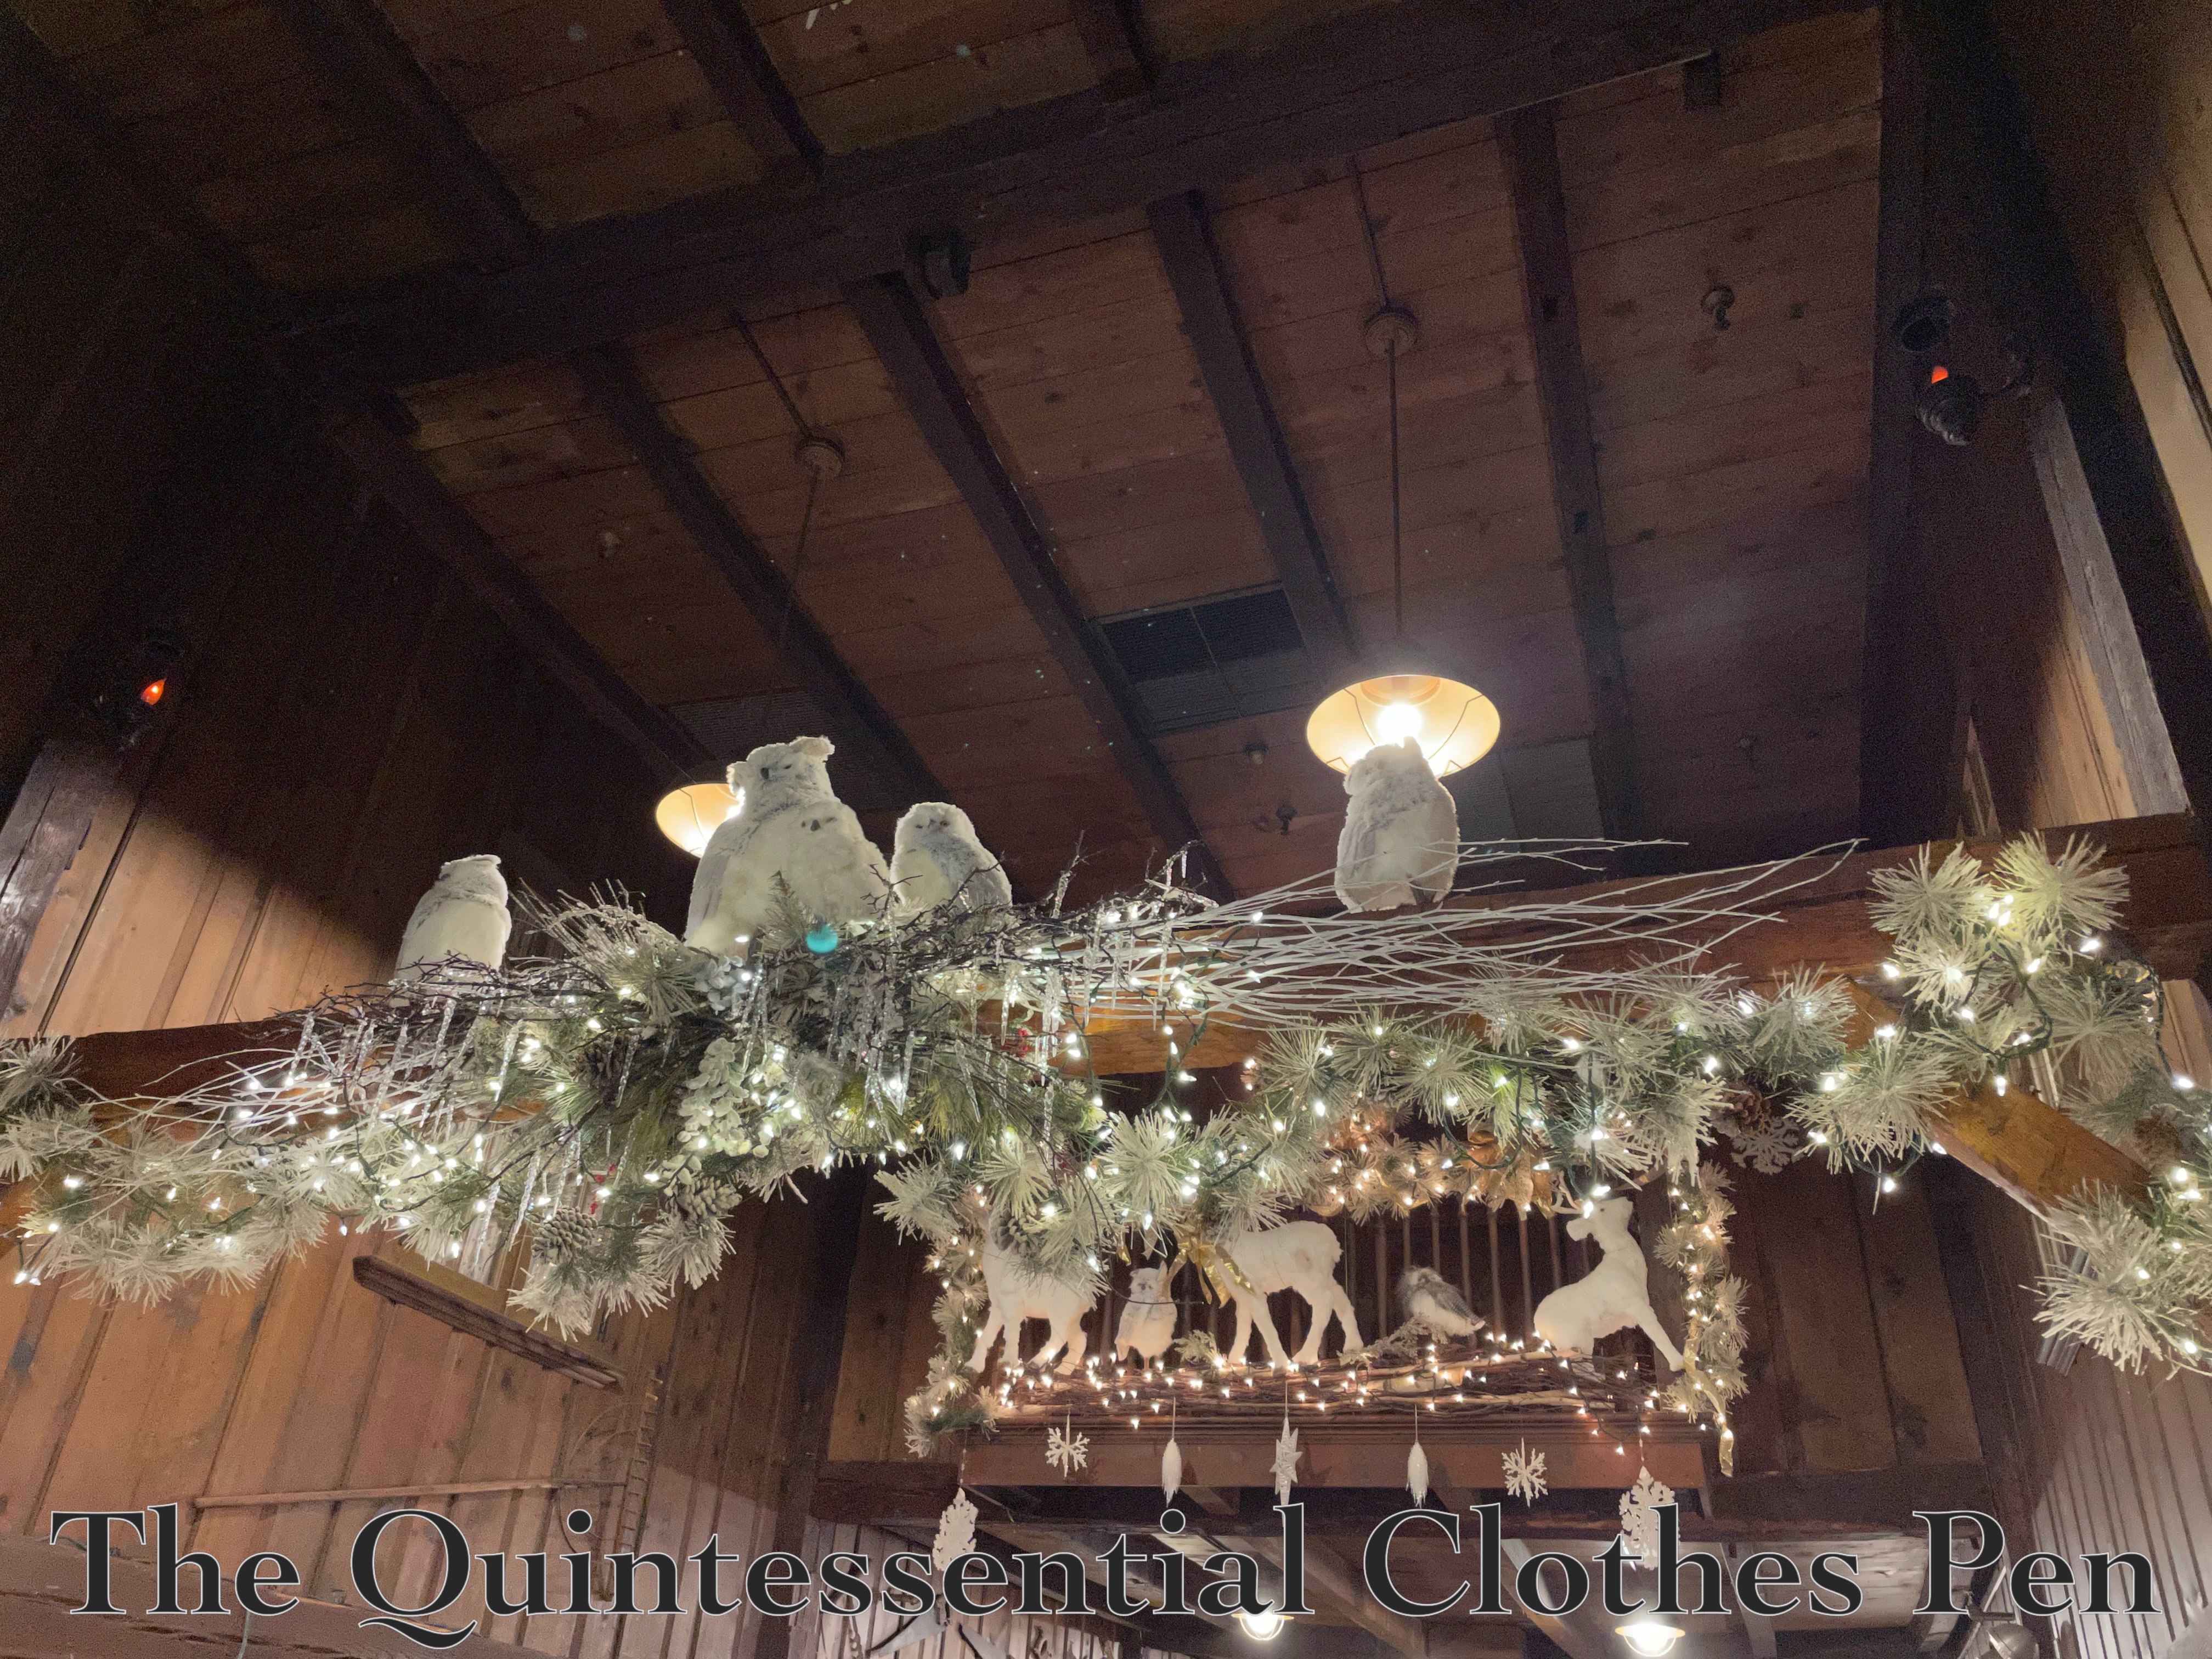
There were new vignettes around every corner, with everything from human-sized nutcrackers to animals and greenery. These owls, perched up on a rafter, amused me very much!

In another, more modern part of the building, we paused to take photos with a tree whose decorations matched my 1832 Velvet Gown and 12 Days Of Christmas bells & berries hair accessory. This dress is always fun to wear–lightweight, despite the velvet, and with a silhouette that is always entertaining.

I hope your holidays are full of joy, friendship, and gratitude!

c. 1770 Pink Panniers (HSM #12)

I have a longer-term goal to make a another sacque (similar the one I made for Versailles in 2016–documented in these many past posts). I specifically want this new one to be loan-able to a few friends, so I’m adjusting the size a bit from the one I made for myself.

I know that foundations make the garment on top look good, so it’s important to me to also be able to provide the foundation pieces that might be needed to go with the sacque. Stays are covered, as I now have the c. 1785 Green Linen Stays that can be loaned and/or some friends have their own, but panniers and an additional foundation petticoat felt like items that I don’t already have and therefore should make in addition to the sacque itself.

This post is going to document the panniers I made for this new ensemble. I’m pleased that they qualify for the Historical Sew Monthly Challenge #12, Paired to Perfection:

Make something that comes in a pair (mittens, stockings, garters, braces etc.) Or make something in which the trim or construction prominently features sets of two.

Just the facts:

Fabric/Materials: 1 yd (or probably a little less) pink cotton twill.

Pattern: The Dreamstress’s pattern from the Pannier Along in (oh my, has it been this long…???) 2013! All the steps, information, etc. is available on Leimomi’s blog, here.

Year: c. 1770.

Notions: Thread, 3 24″ x 3/8″ zip ties, and approximately 2 yds grosgrain ribbon.

How historically accurate is it?: 70%. Machine sewing and materials are generally not historically accurate, but the overall pattern and shapes are.

Hours to complete: I didn’t really keep track. Let’s say 5.

First worn: Has not been worn yet.

Total cost: All of the materials are from the stash (leftovers from other projects), so let’s say free!

A view of the top of the stays, with them collapsed down on themselves.

I made these following all of the steps in The Dreamstress’s tutorial, as mentioned above. I decided to mostly machine sew them, in the spirit of speed and because I knew the fabric I chose was not accurate to start with.

I made my boning channels out of the same fabric as the exteriors (pink cotton twill leftover from making early 19th century stays over ten years ago).

There are only two hand sewn bits. One is the slit on top (to be able to use these as pockets and store things in them), pictured below. Each slit is reinforced at the bottom to keep the fabric from ripping during use.

The other hand sewn bit is the band at the top, which is whipped down after being machine sewn on.

And that’s it! Pink panniers! It has a bit of a ring to it, I think!

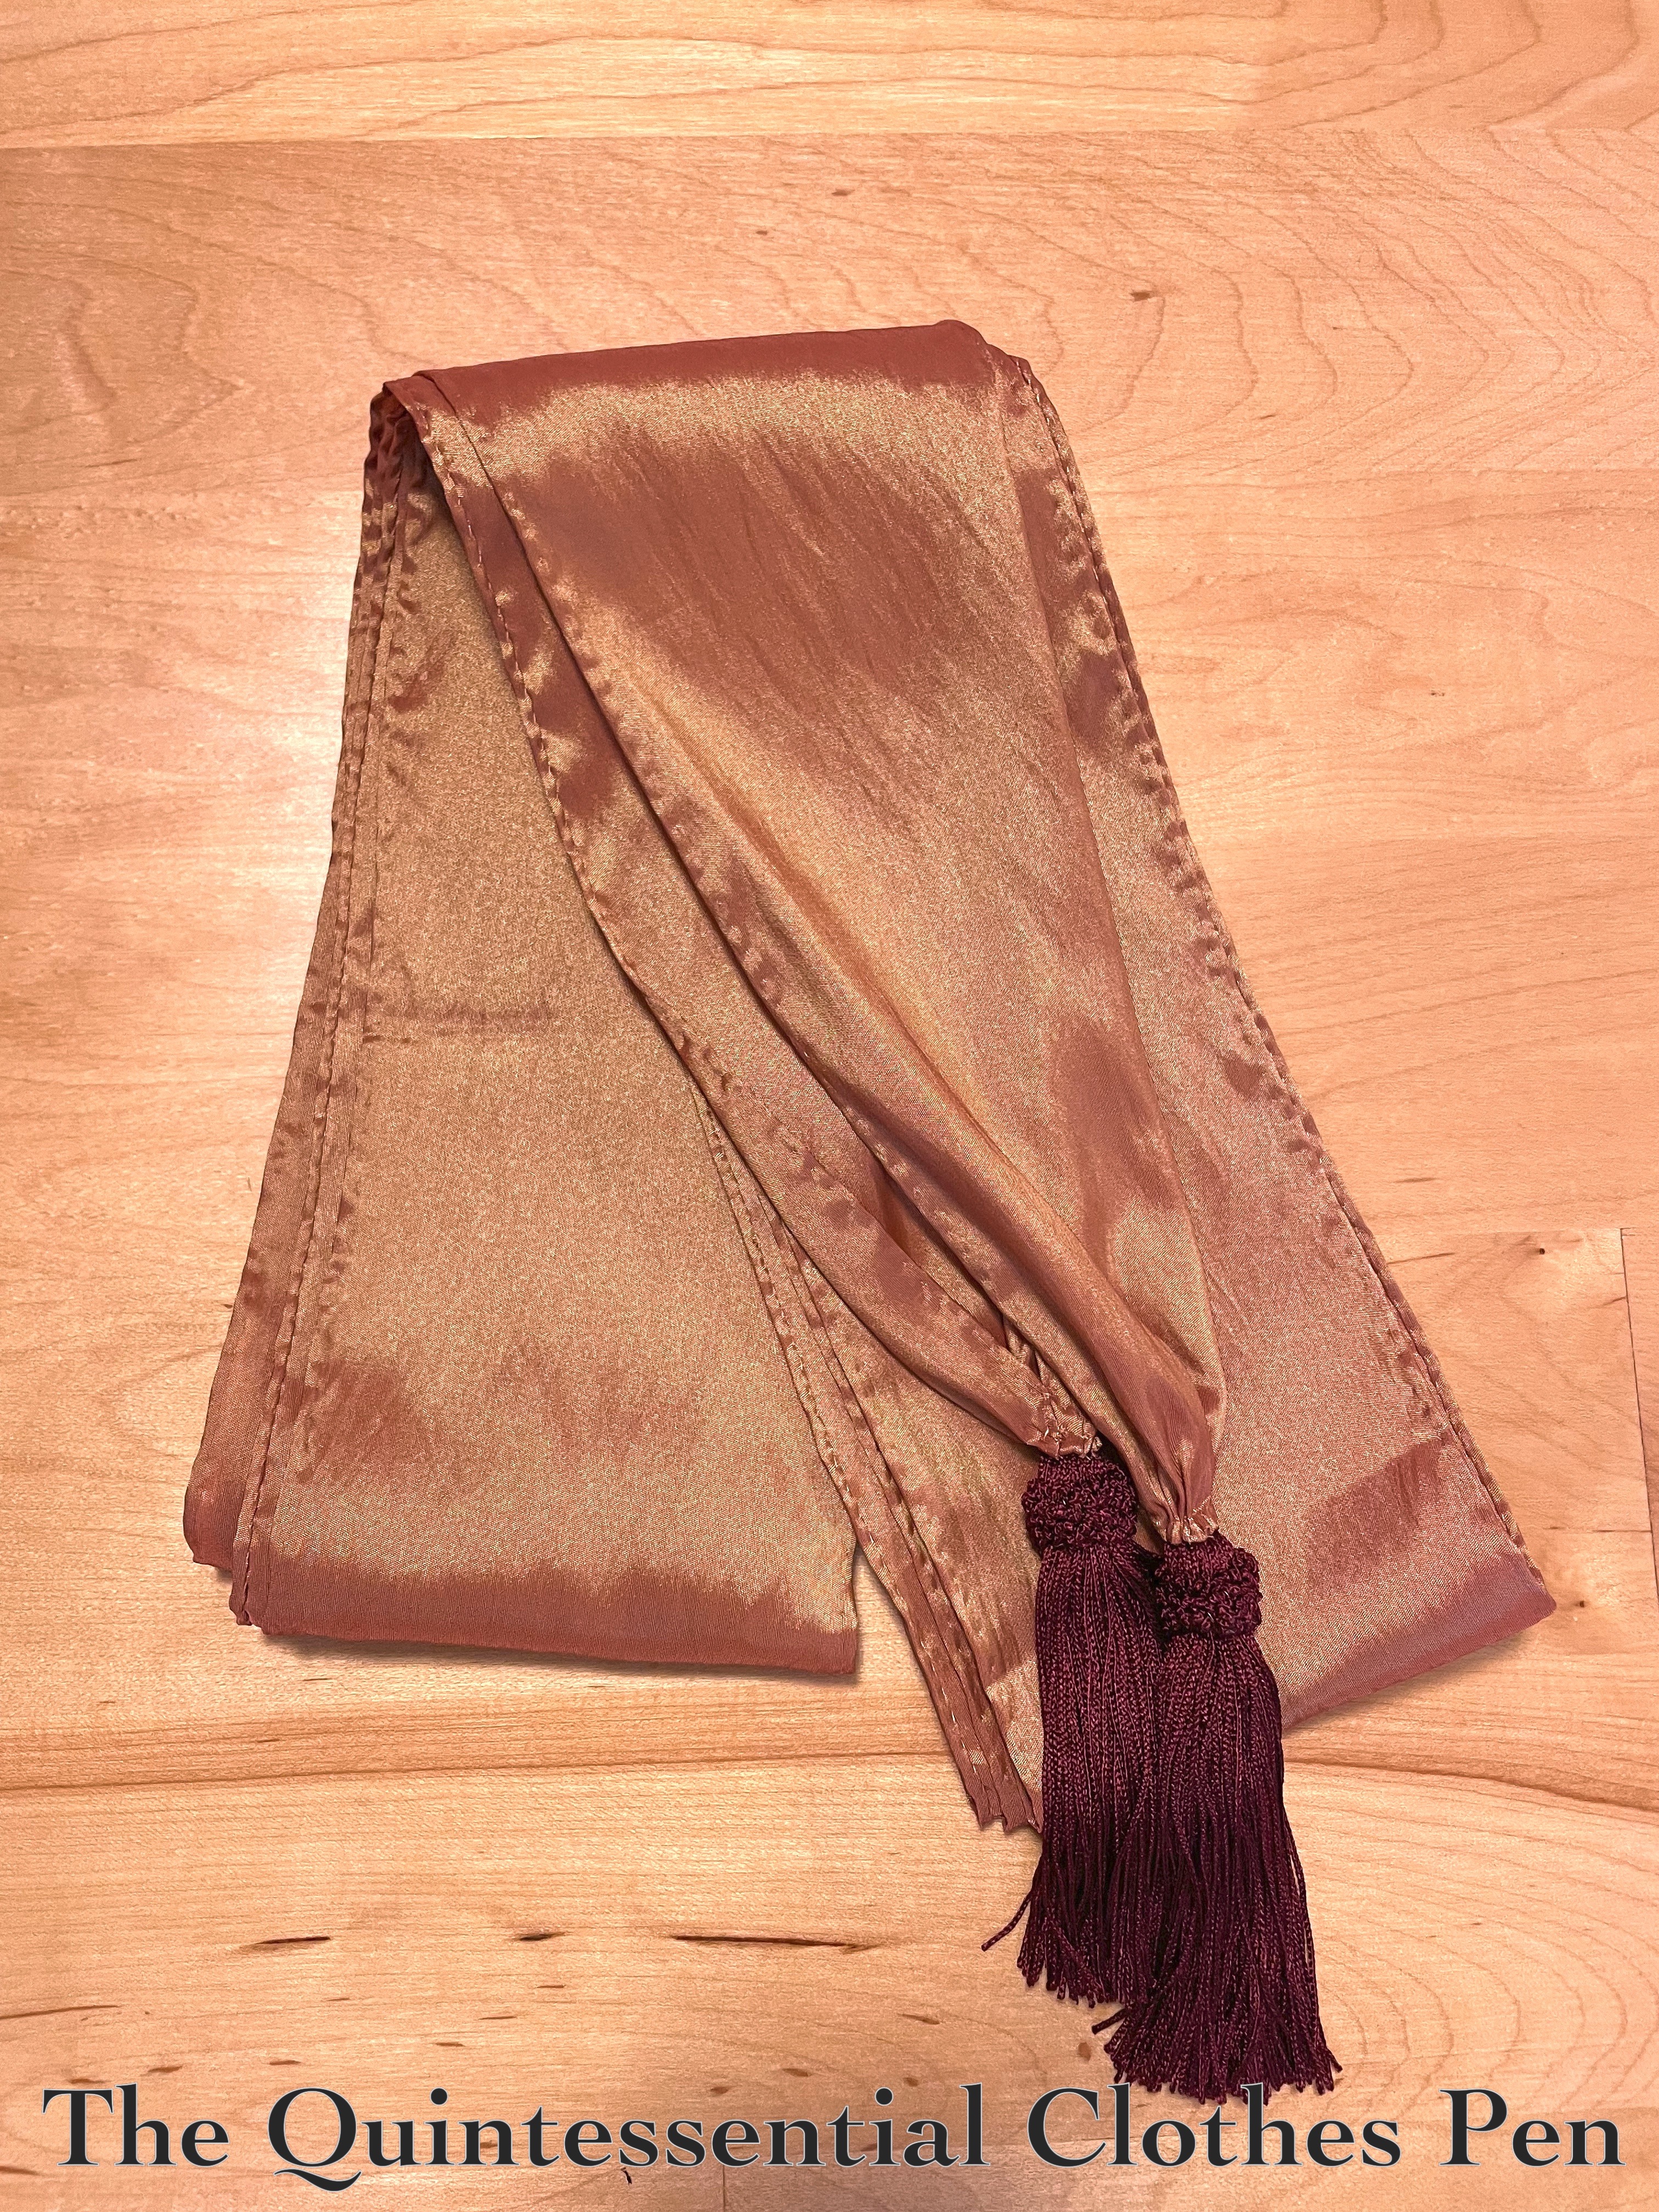
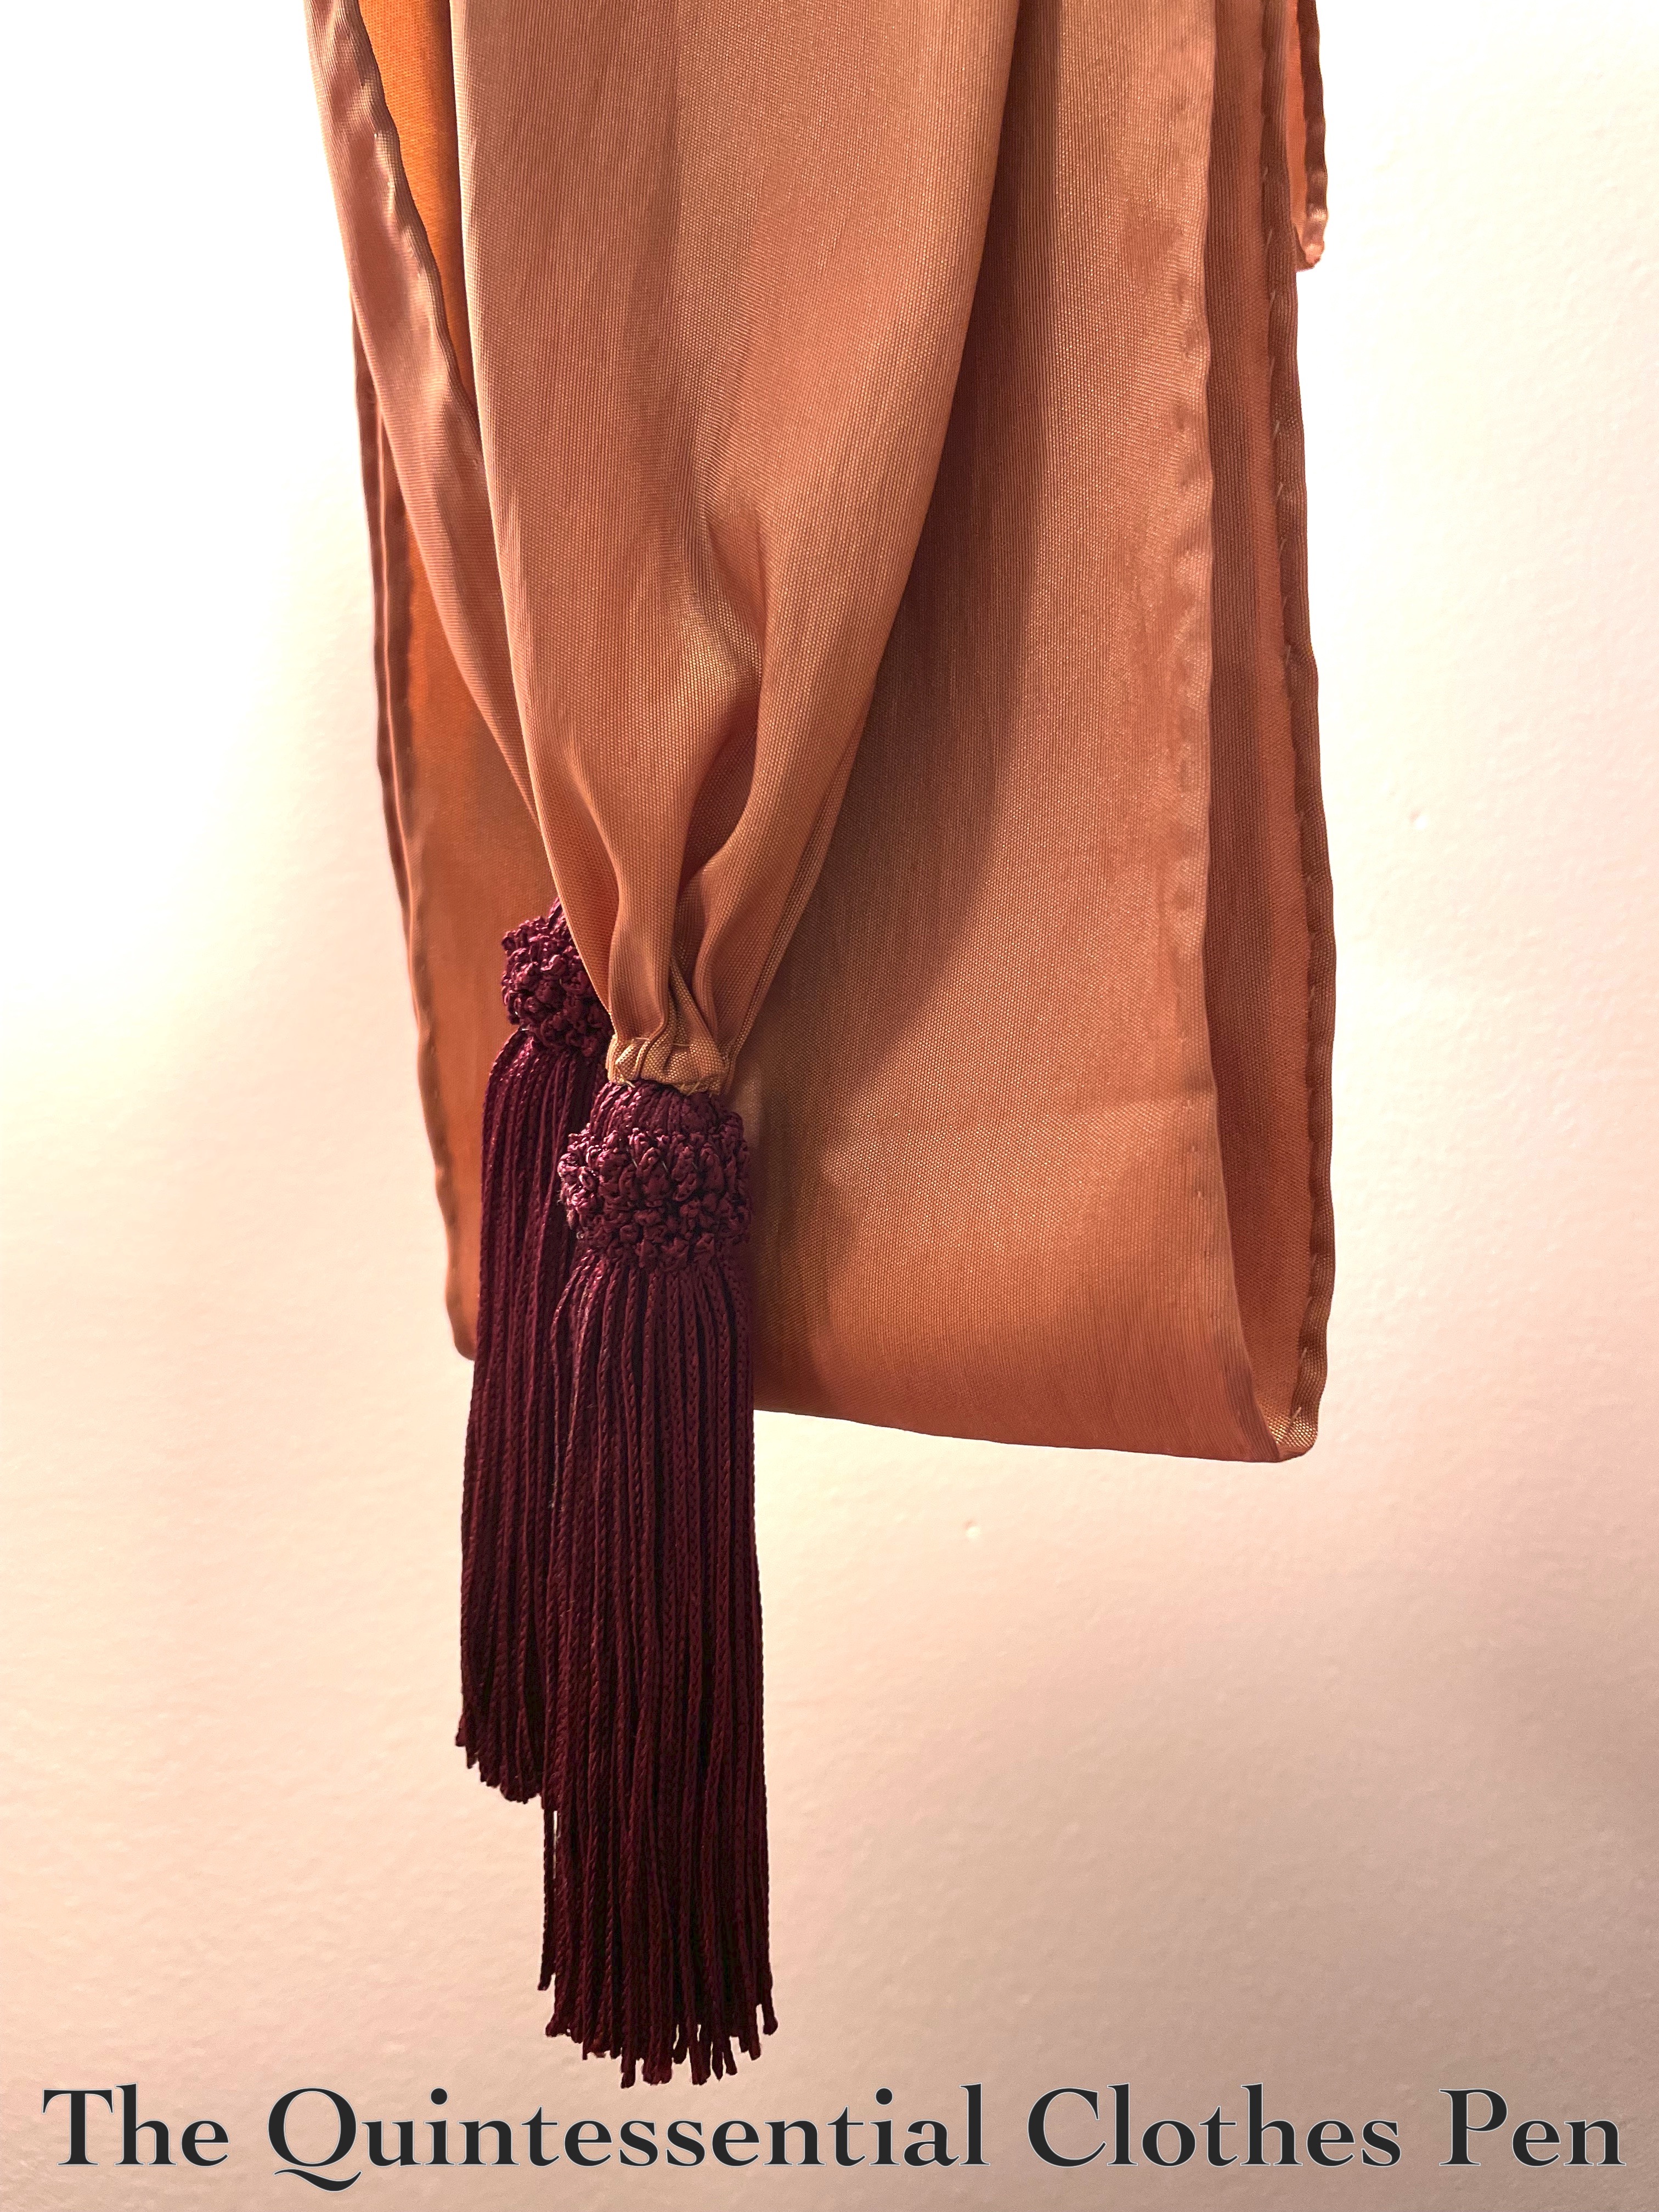
HSM #3: Copper Colored 1790s Sash

I finished a project! It’s small, but I’m very pleased with it.

The project is a sash to be worn with an in-progress 1790s dress. The goal is to be slowly progressing towards an entire 1790s outfit, with all of the appropriate accessories.

I’ve enjoyed making lists of what those accessories might be and getting them cut out and lined up for mindless hand sewing. That way, even when life is busy and I don’t have time to think about a project, I can still make progress and have something to sew, which brings me great joy and a sense of calm.

This project takes its inspiration and instruction from The American Duchess Guide To 18th Century Dressmaking, by Lauren Stowell and Abby Cox.

I’m excited that the sash qualifies for the Historical Sew Monthly Challenge #3, Focus on the Fabric:

Make something in which the fabric colour/ texture/print/material etc. is the central feature of the design.

This fits the challenge in that the sash really isn’t at all about the construction details… The only cuts to the fabric were to make strips, and the only sewing is joining them and finishing the edges. So it really is all about the fabric!

Just the facts:

Fabric/Materials: ½ yard or so orange/gold shot polyester taffeta leftover from a very old project and 2 burgundy tassels.

Pattern: 1790s Sash in the book The American Duchess Guide To 18th Century Dressmaking, by Lauren Stowell and Abby Cox.

Year: c. 1790.

Notions: Thread.

How historically accurate is it?: 90%. Polyester is obviously not historically accurate, but the dimensions and hand sewing method are.

Hours to complete: 5.

First worn: Has not been worn yet.

Total cost: $2 for the tassels and let’s say $.50 for the thread. We’ll count the fabric as free. So, $2.50.

A Glamorous 1950s Outing

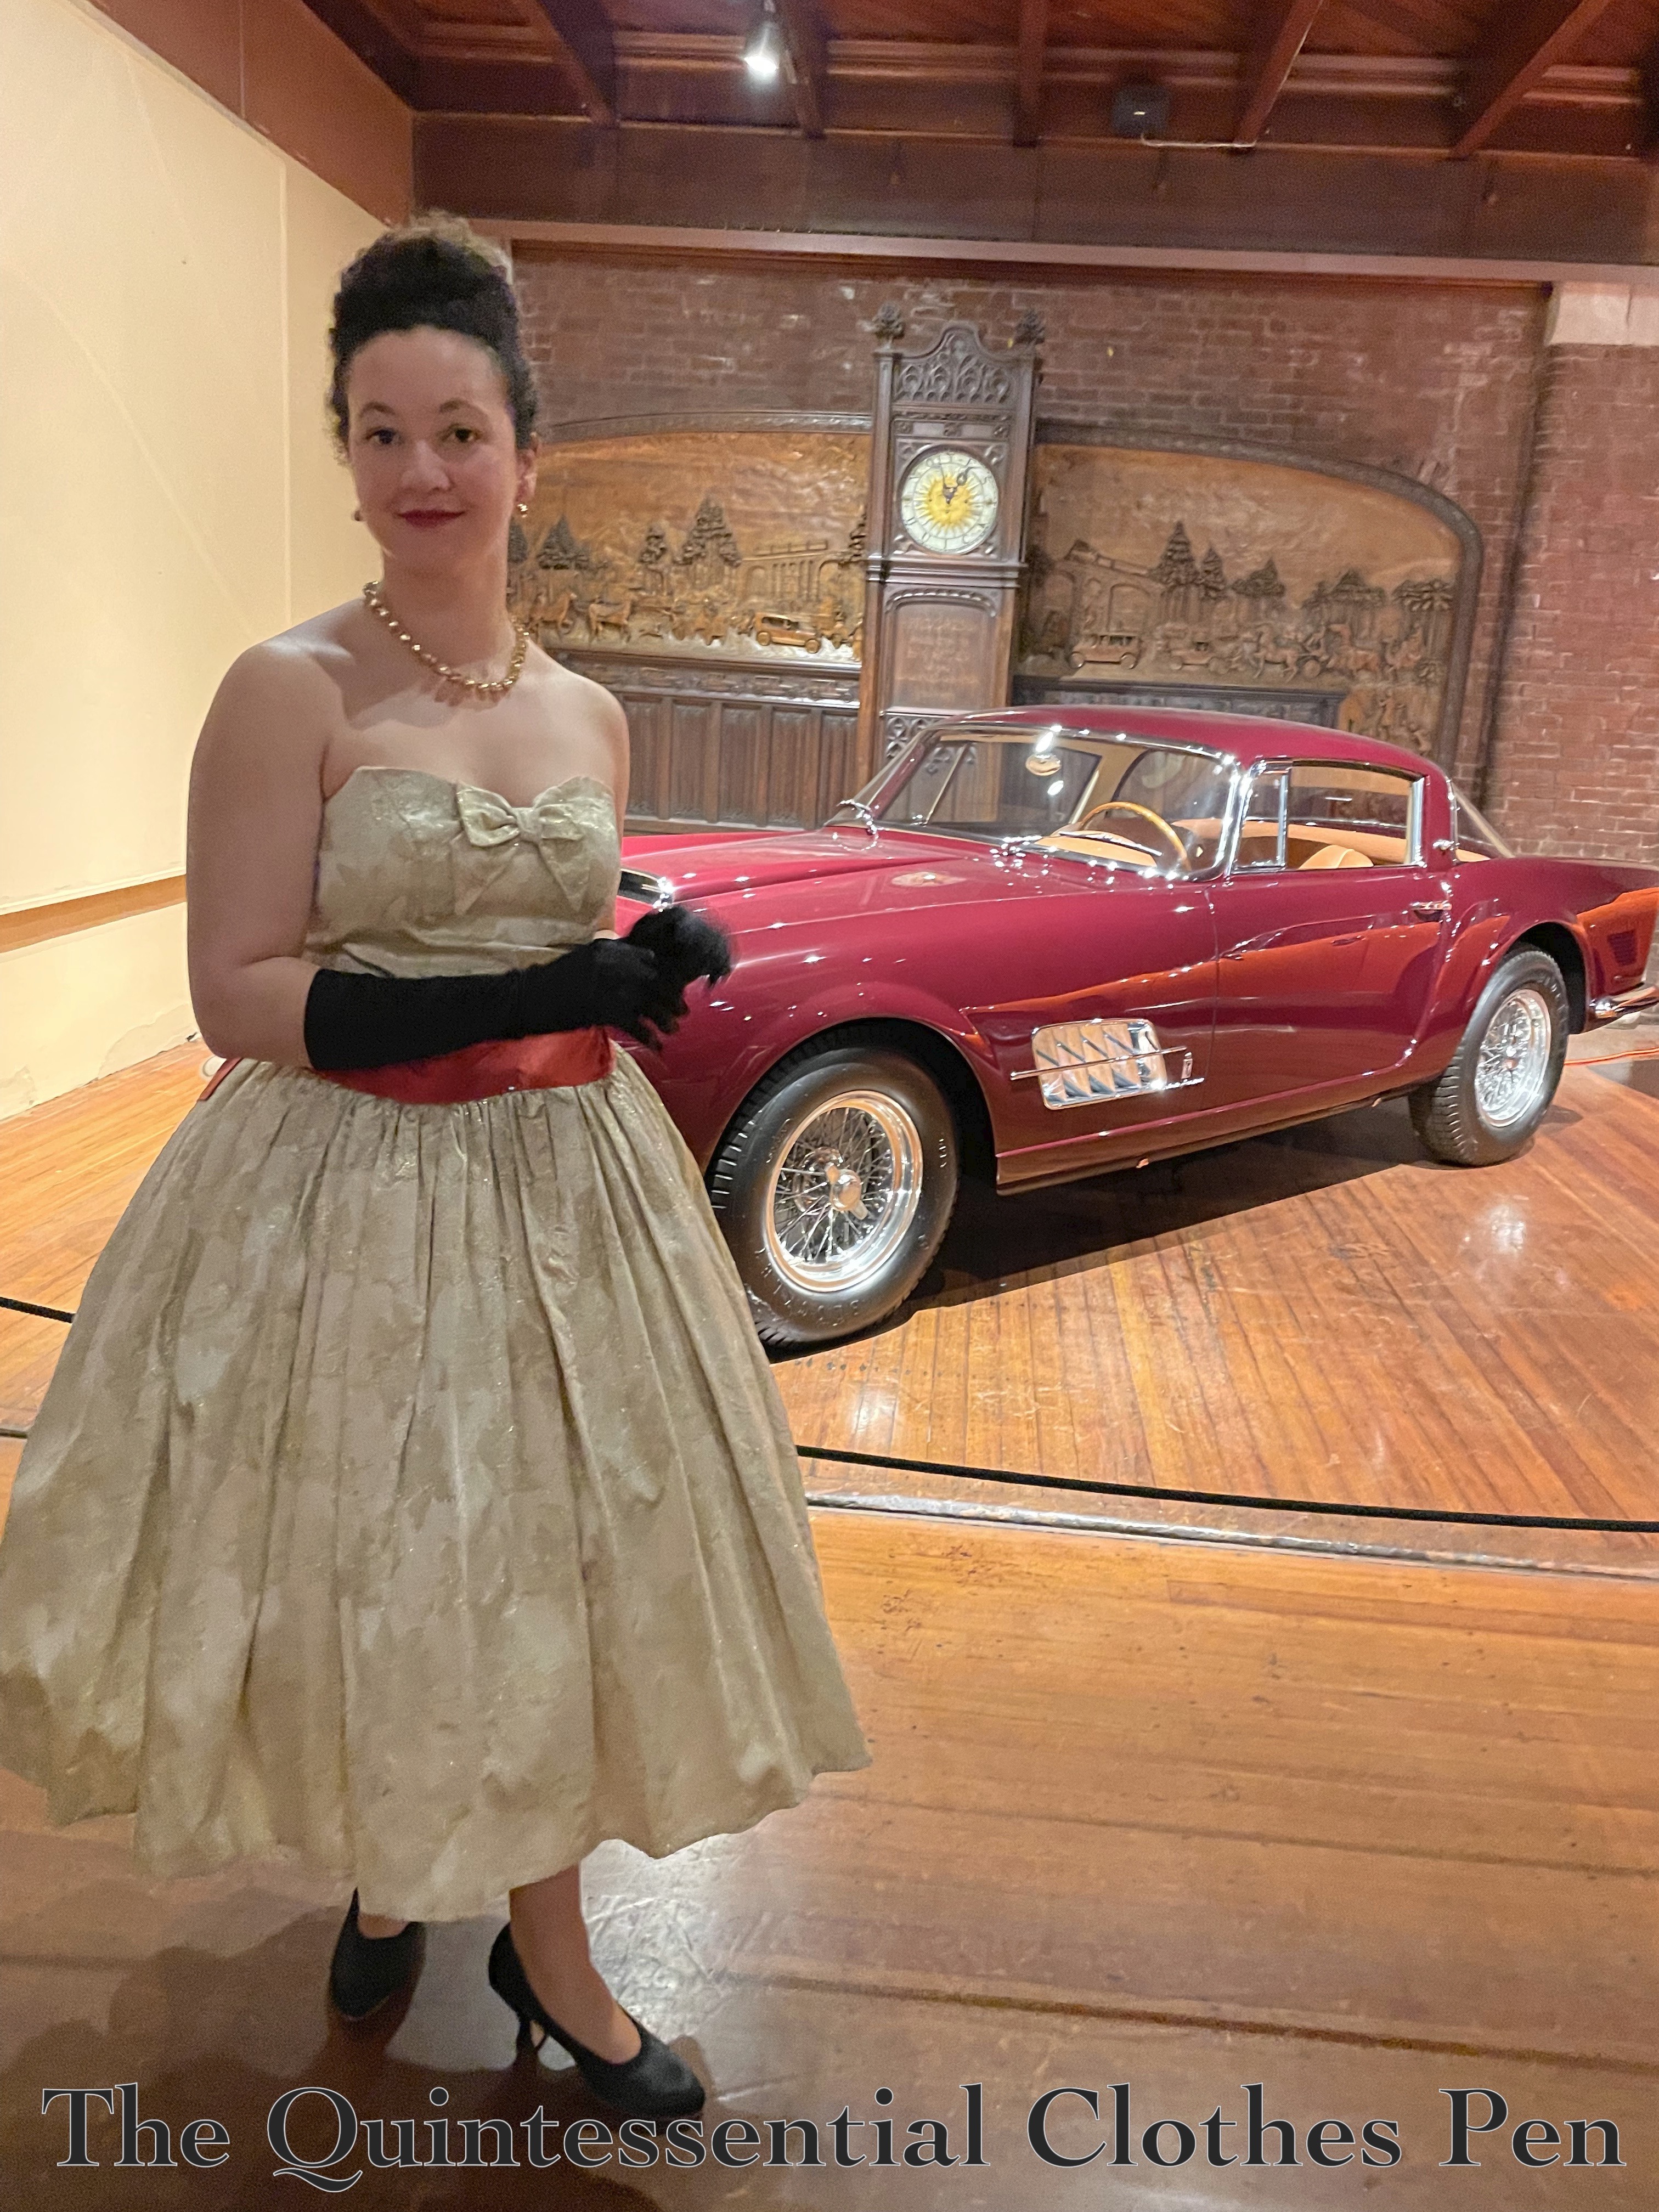
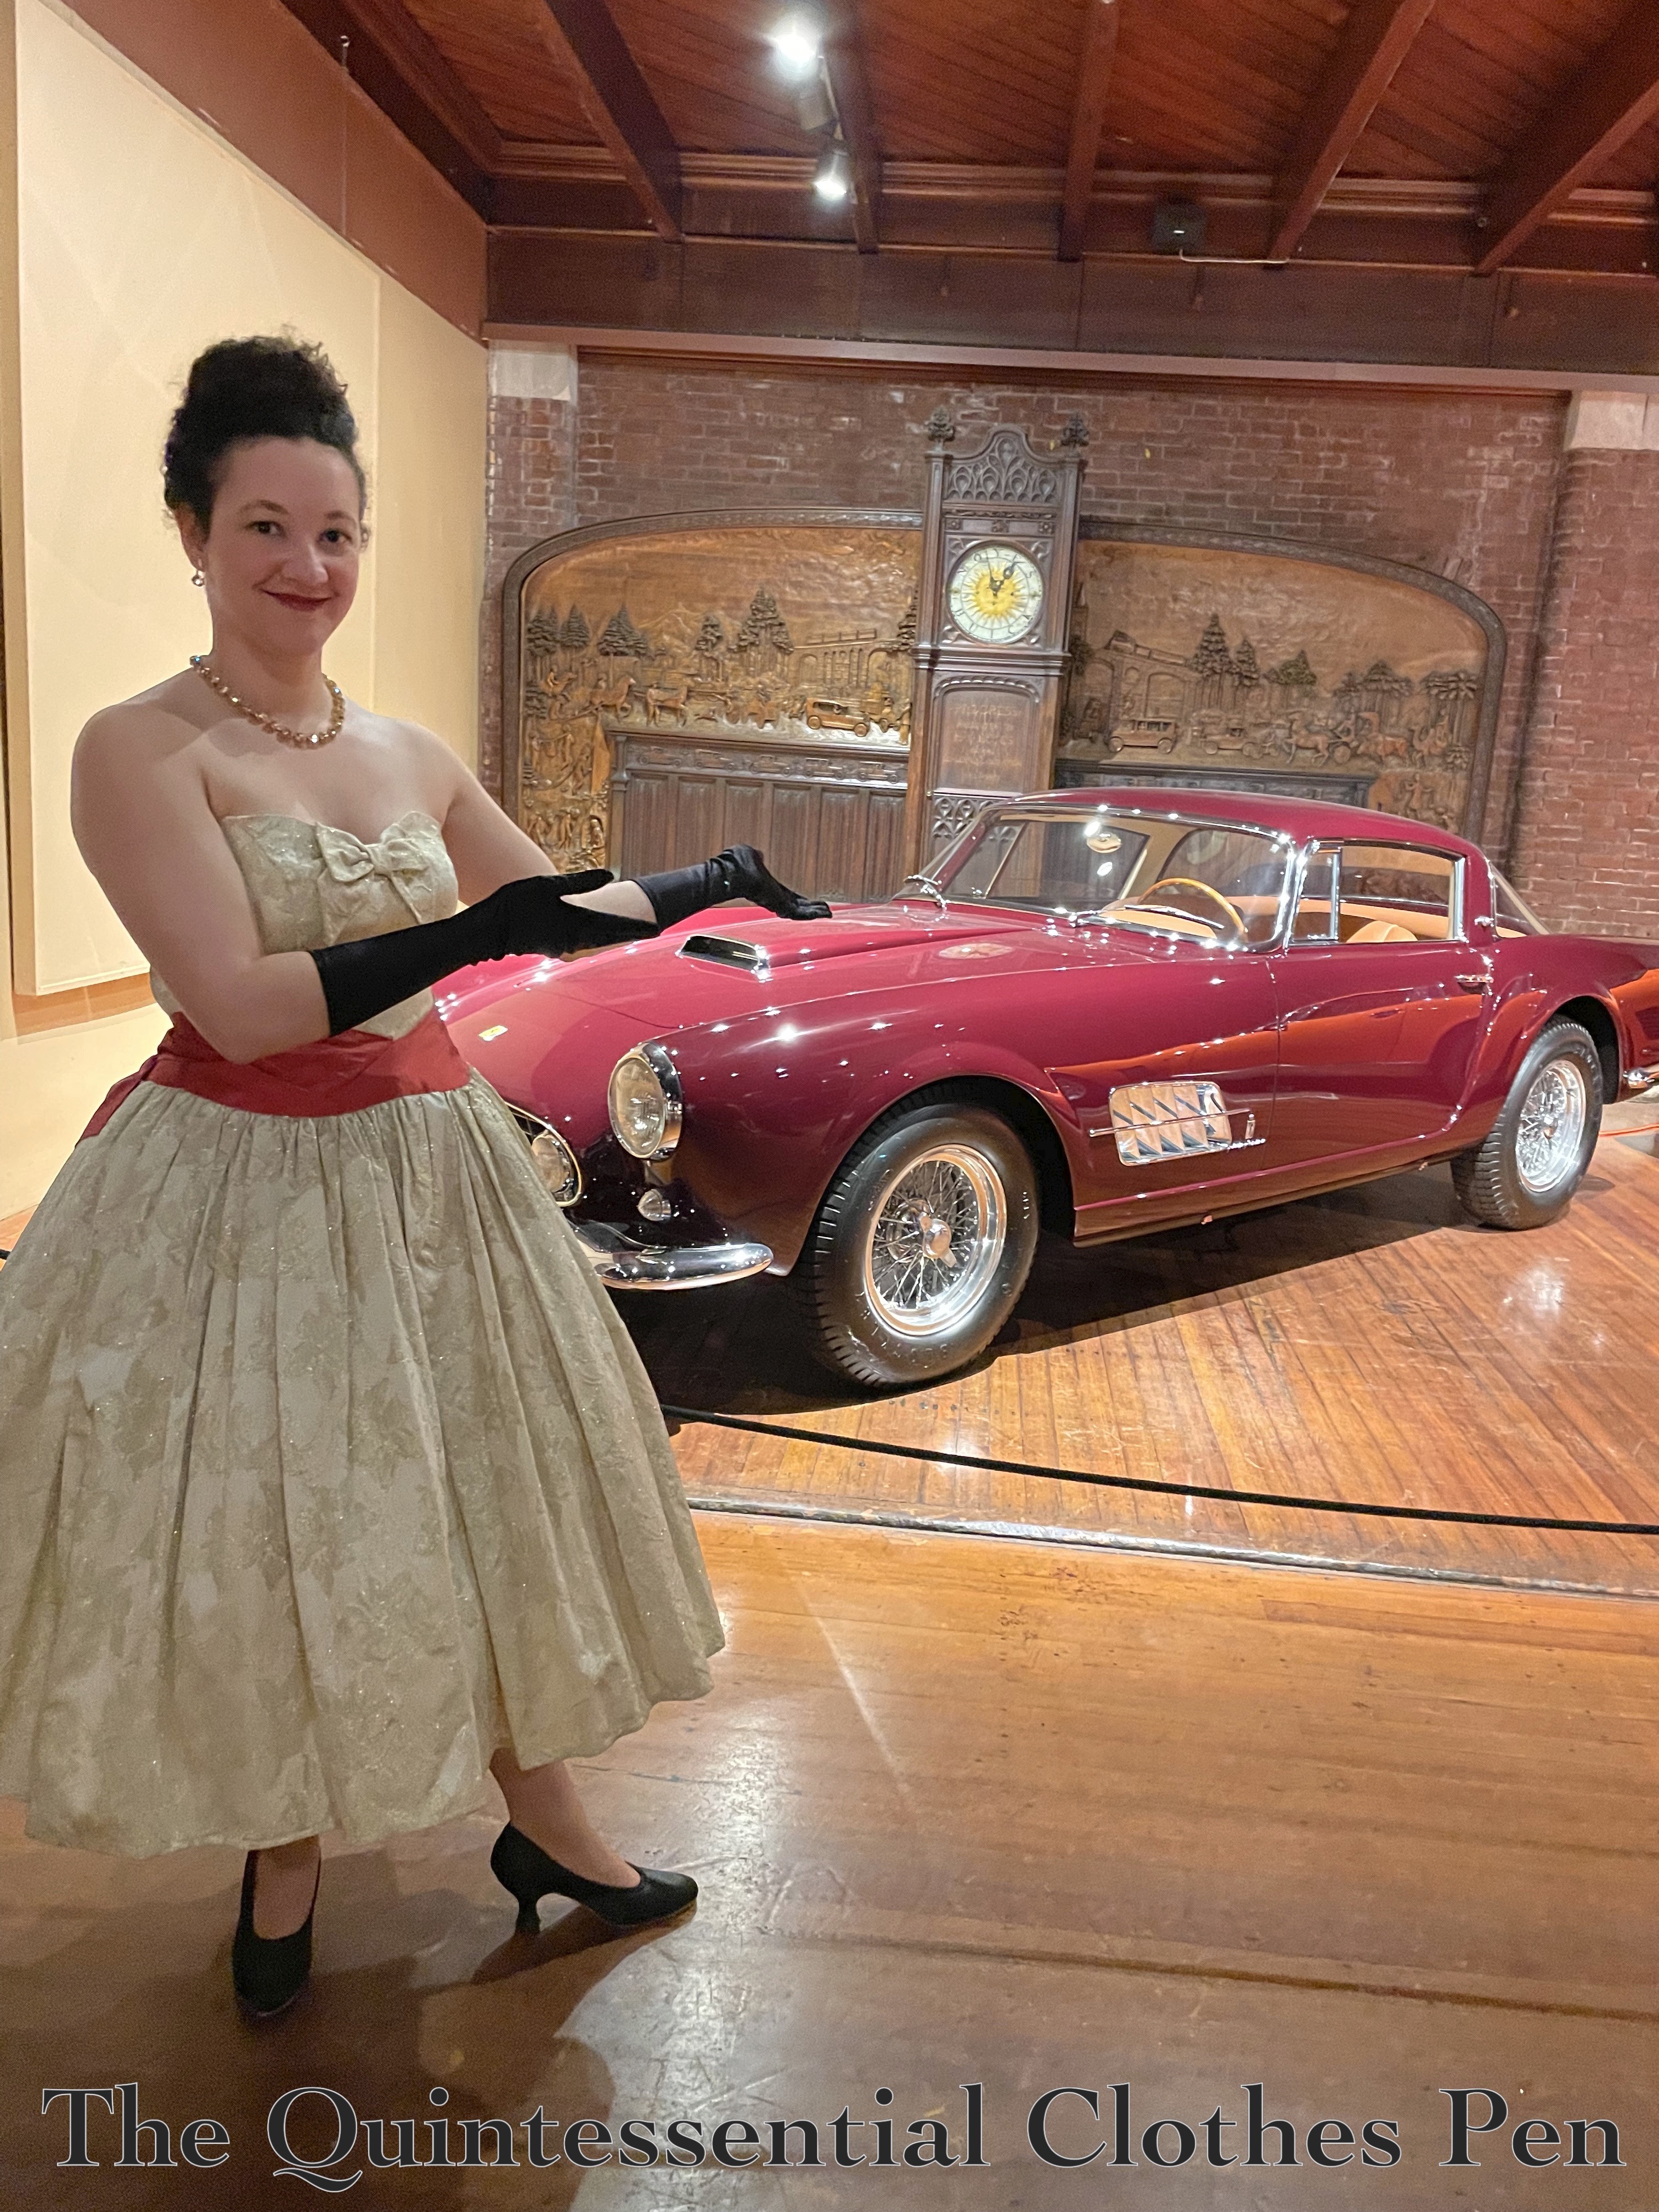
Earlier this year, I was able to attend a Greater Boston Vintage Society event held at the Larz Anderson Auto Museum. I chose to wear my 1955 Evening Dress dress with dramatic accessories to fit the 1950s/1960s Casino Royale theme.

The accessories included long black gloves and my oft-worn black American Duchess Seabury shoes as well as a lustrous pale yellow collet necklace and earring set from In The Long Run Designs. This dress, with my giant fluffy petticoat, is always fun to wear and was particularly enjoyable with these new-to-this outfit accessories.

As you can see, the museum really is just that–not only is there a rotating exhibit where these photos were taken, but there is also a standing exhibit of early 20th century vehicles as well. It’s always a treat to see them and imagine traveling or going for a spin in old car style!

The gallery wall in the photo below shows the sorts of vehicles that are on permanent display, as well as glamorously dressed friends. We didn’t coordinate our outfits, but it certainly looks like we might have!

I chose to take most of my outfit photos in front of a 1956 Ferrari 410 Superamerica Series I Coupe. It matched my dress! And wouldn’t it have been fabulous to have arrived at the event in one of these?

I do enjoy cars, but not enough to have remembered the full name of this one! I took a photo of the information about the car in order to reference, and to provide some extra context.

It was fun, as always, to have a reason to wear fancier-than-usual dress and hang out with friends while listening to great music in an unusual and interesting setting!

Another Update To The 1933 Dramatic Evening Dress

I didn’t make a new dress… but I did update an old one! In fact, this is the second round of major updates to this dress! The first round, pictured below, is explained in this past post from 2017.

While the dress with the first round of updates was certainly better than it had been in its initial form, I still wasn’t super pleased with the fit. Despite that, it has come in handy for a number of events and just keeps getting worn. So, for an event late last year I decided to do even more updates to the dress to try to feel happier about how it looks on me.

Here is a rundown of the most recent alterations:

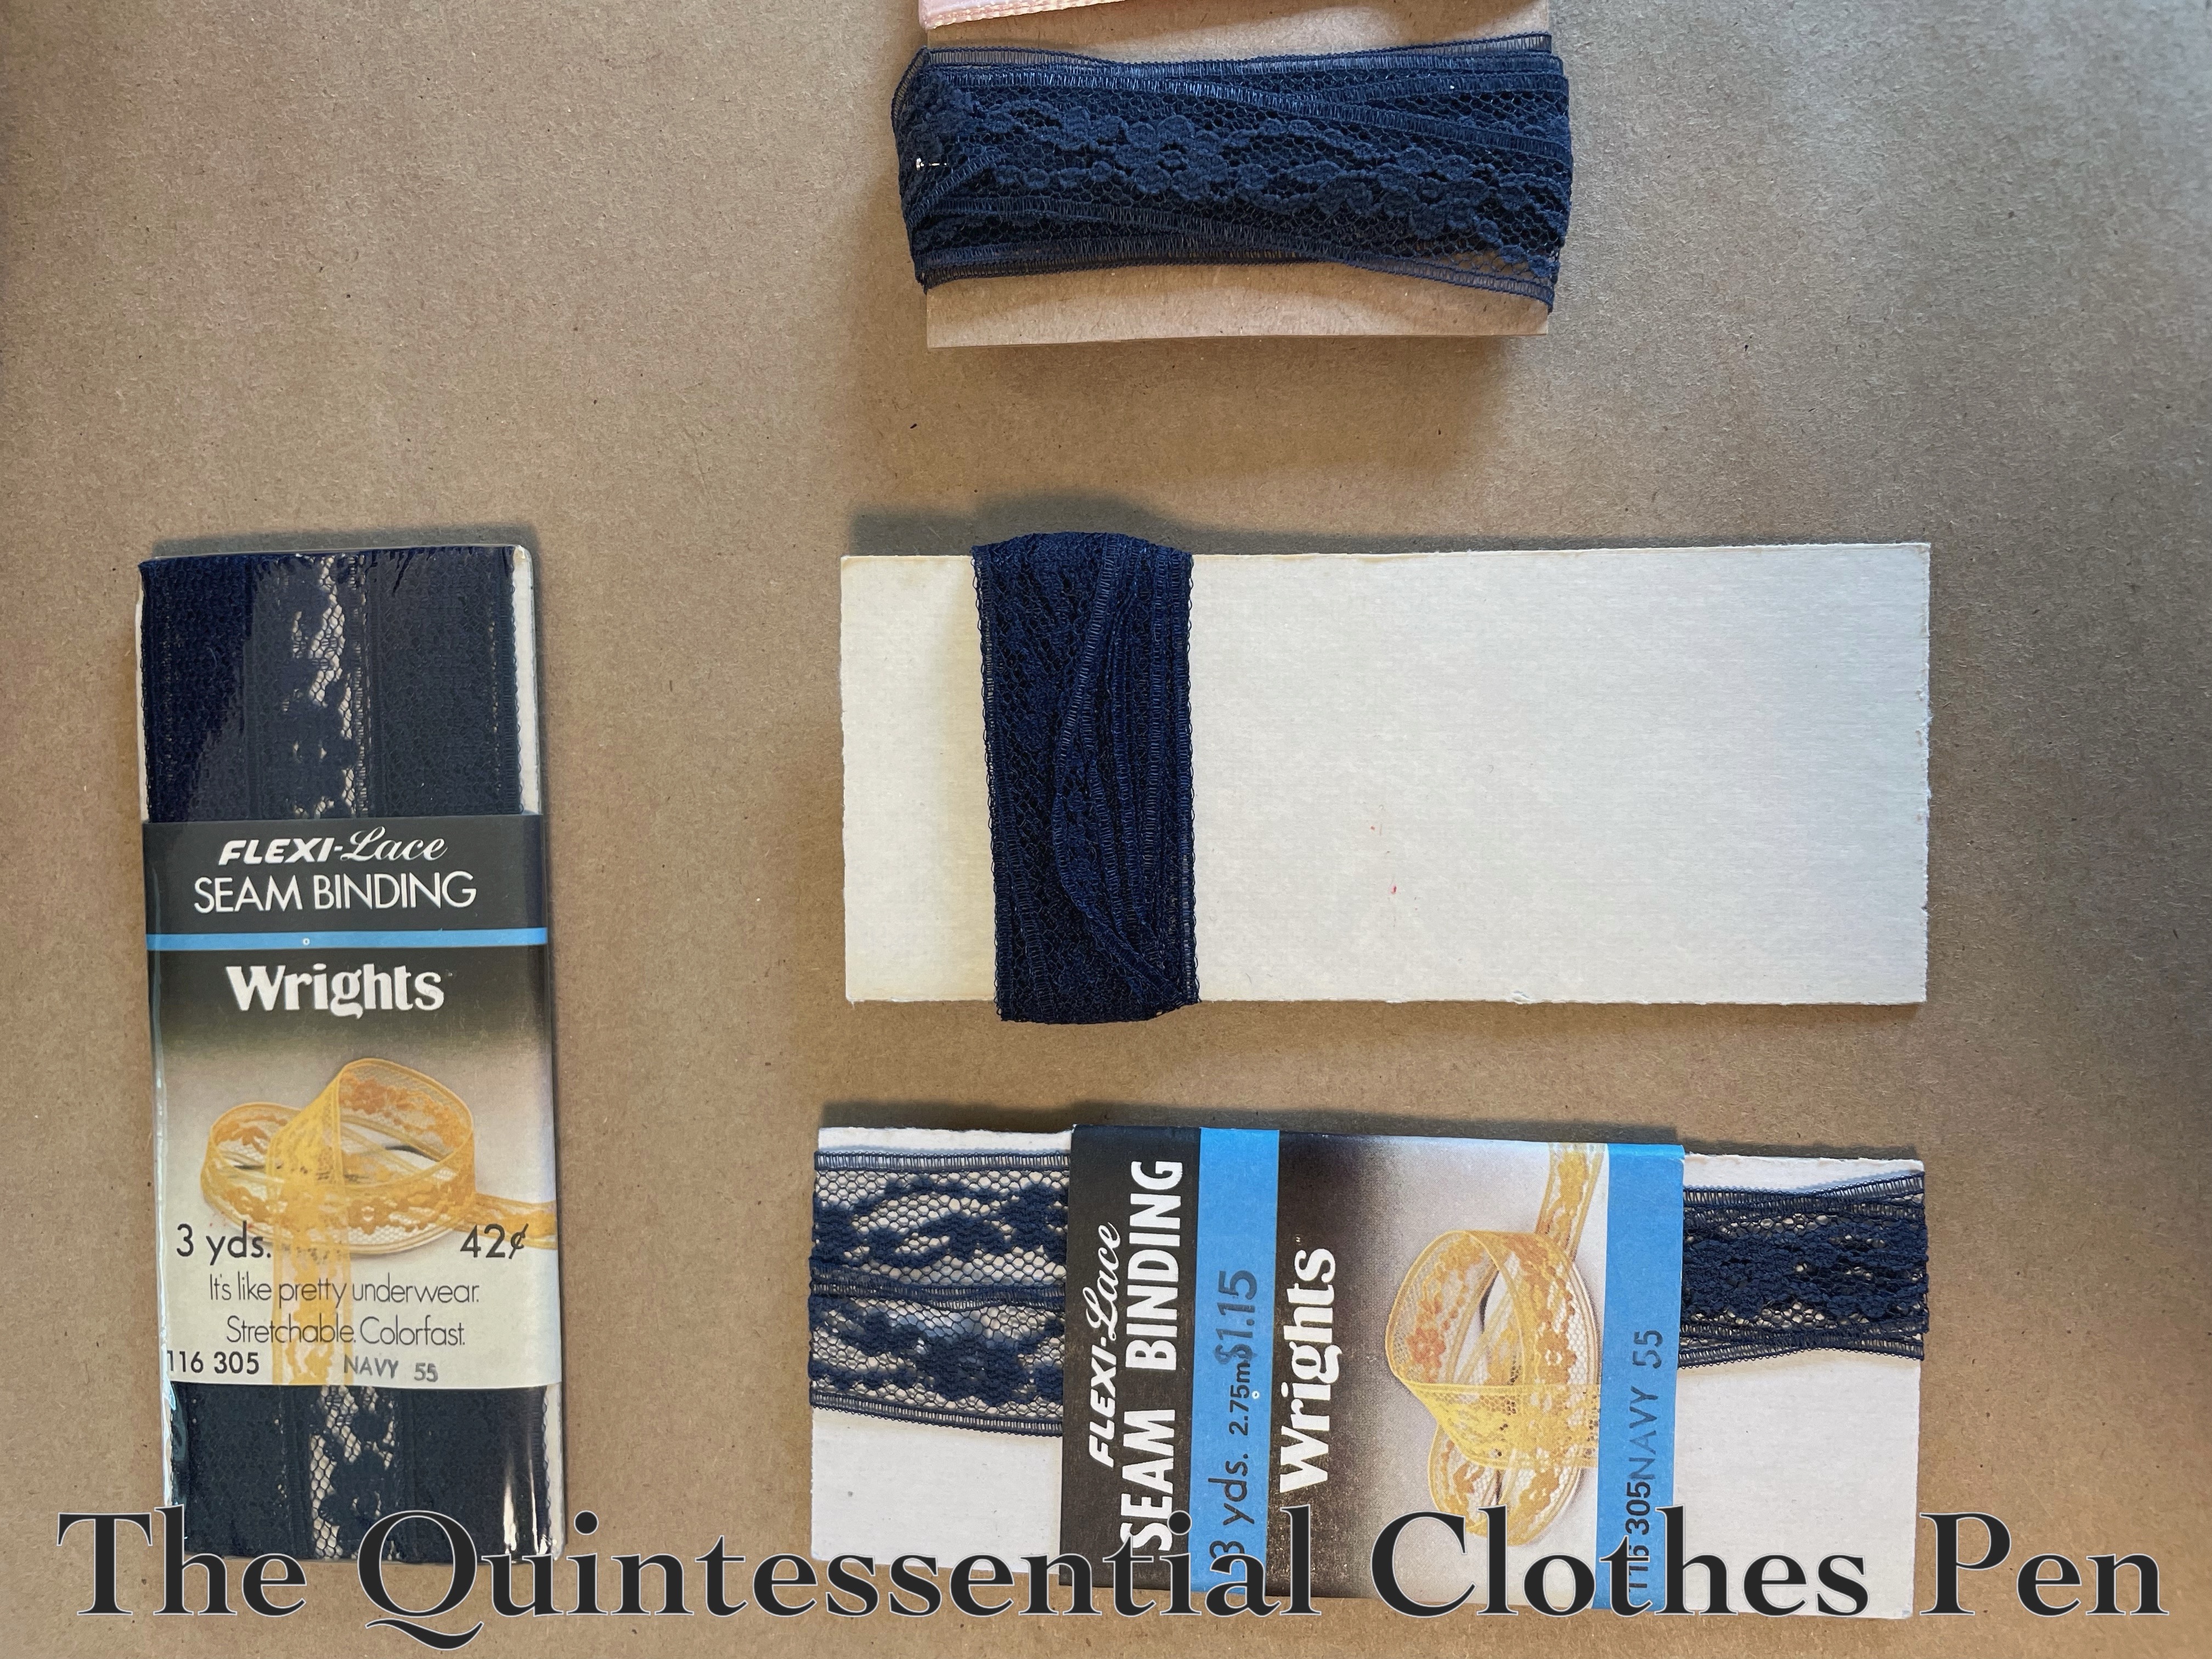
  • Maxed out the hem, using 3 different bits of vintage lace hem tape in various shades of ‘navy’ blue that were gifted to me over the years. It’s so nice to be able to use these gifted vintage finds. I appreciate seeing the prices on the packaging changing over the years!

  • Stiffened the hem of the back velvet drape with horsehair hidden under a facing of leftover velvet scraps (during and after photos, below).

  • Added small horizontal tucks at the sides to try to get the hem to be a little more of an A-line shape.
  • Took in the sides under the arms even more than I had previously and tacked down all of the flapping bits.

  • Added a 1″ belt, made from scraps of the fabric, with a rhinestone buckle at the center to help create more of a 1930s and less of a modern look.
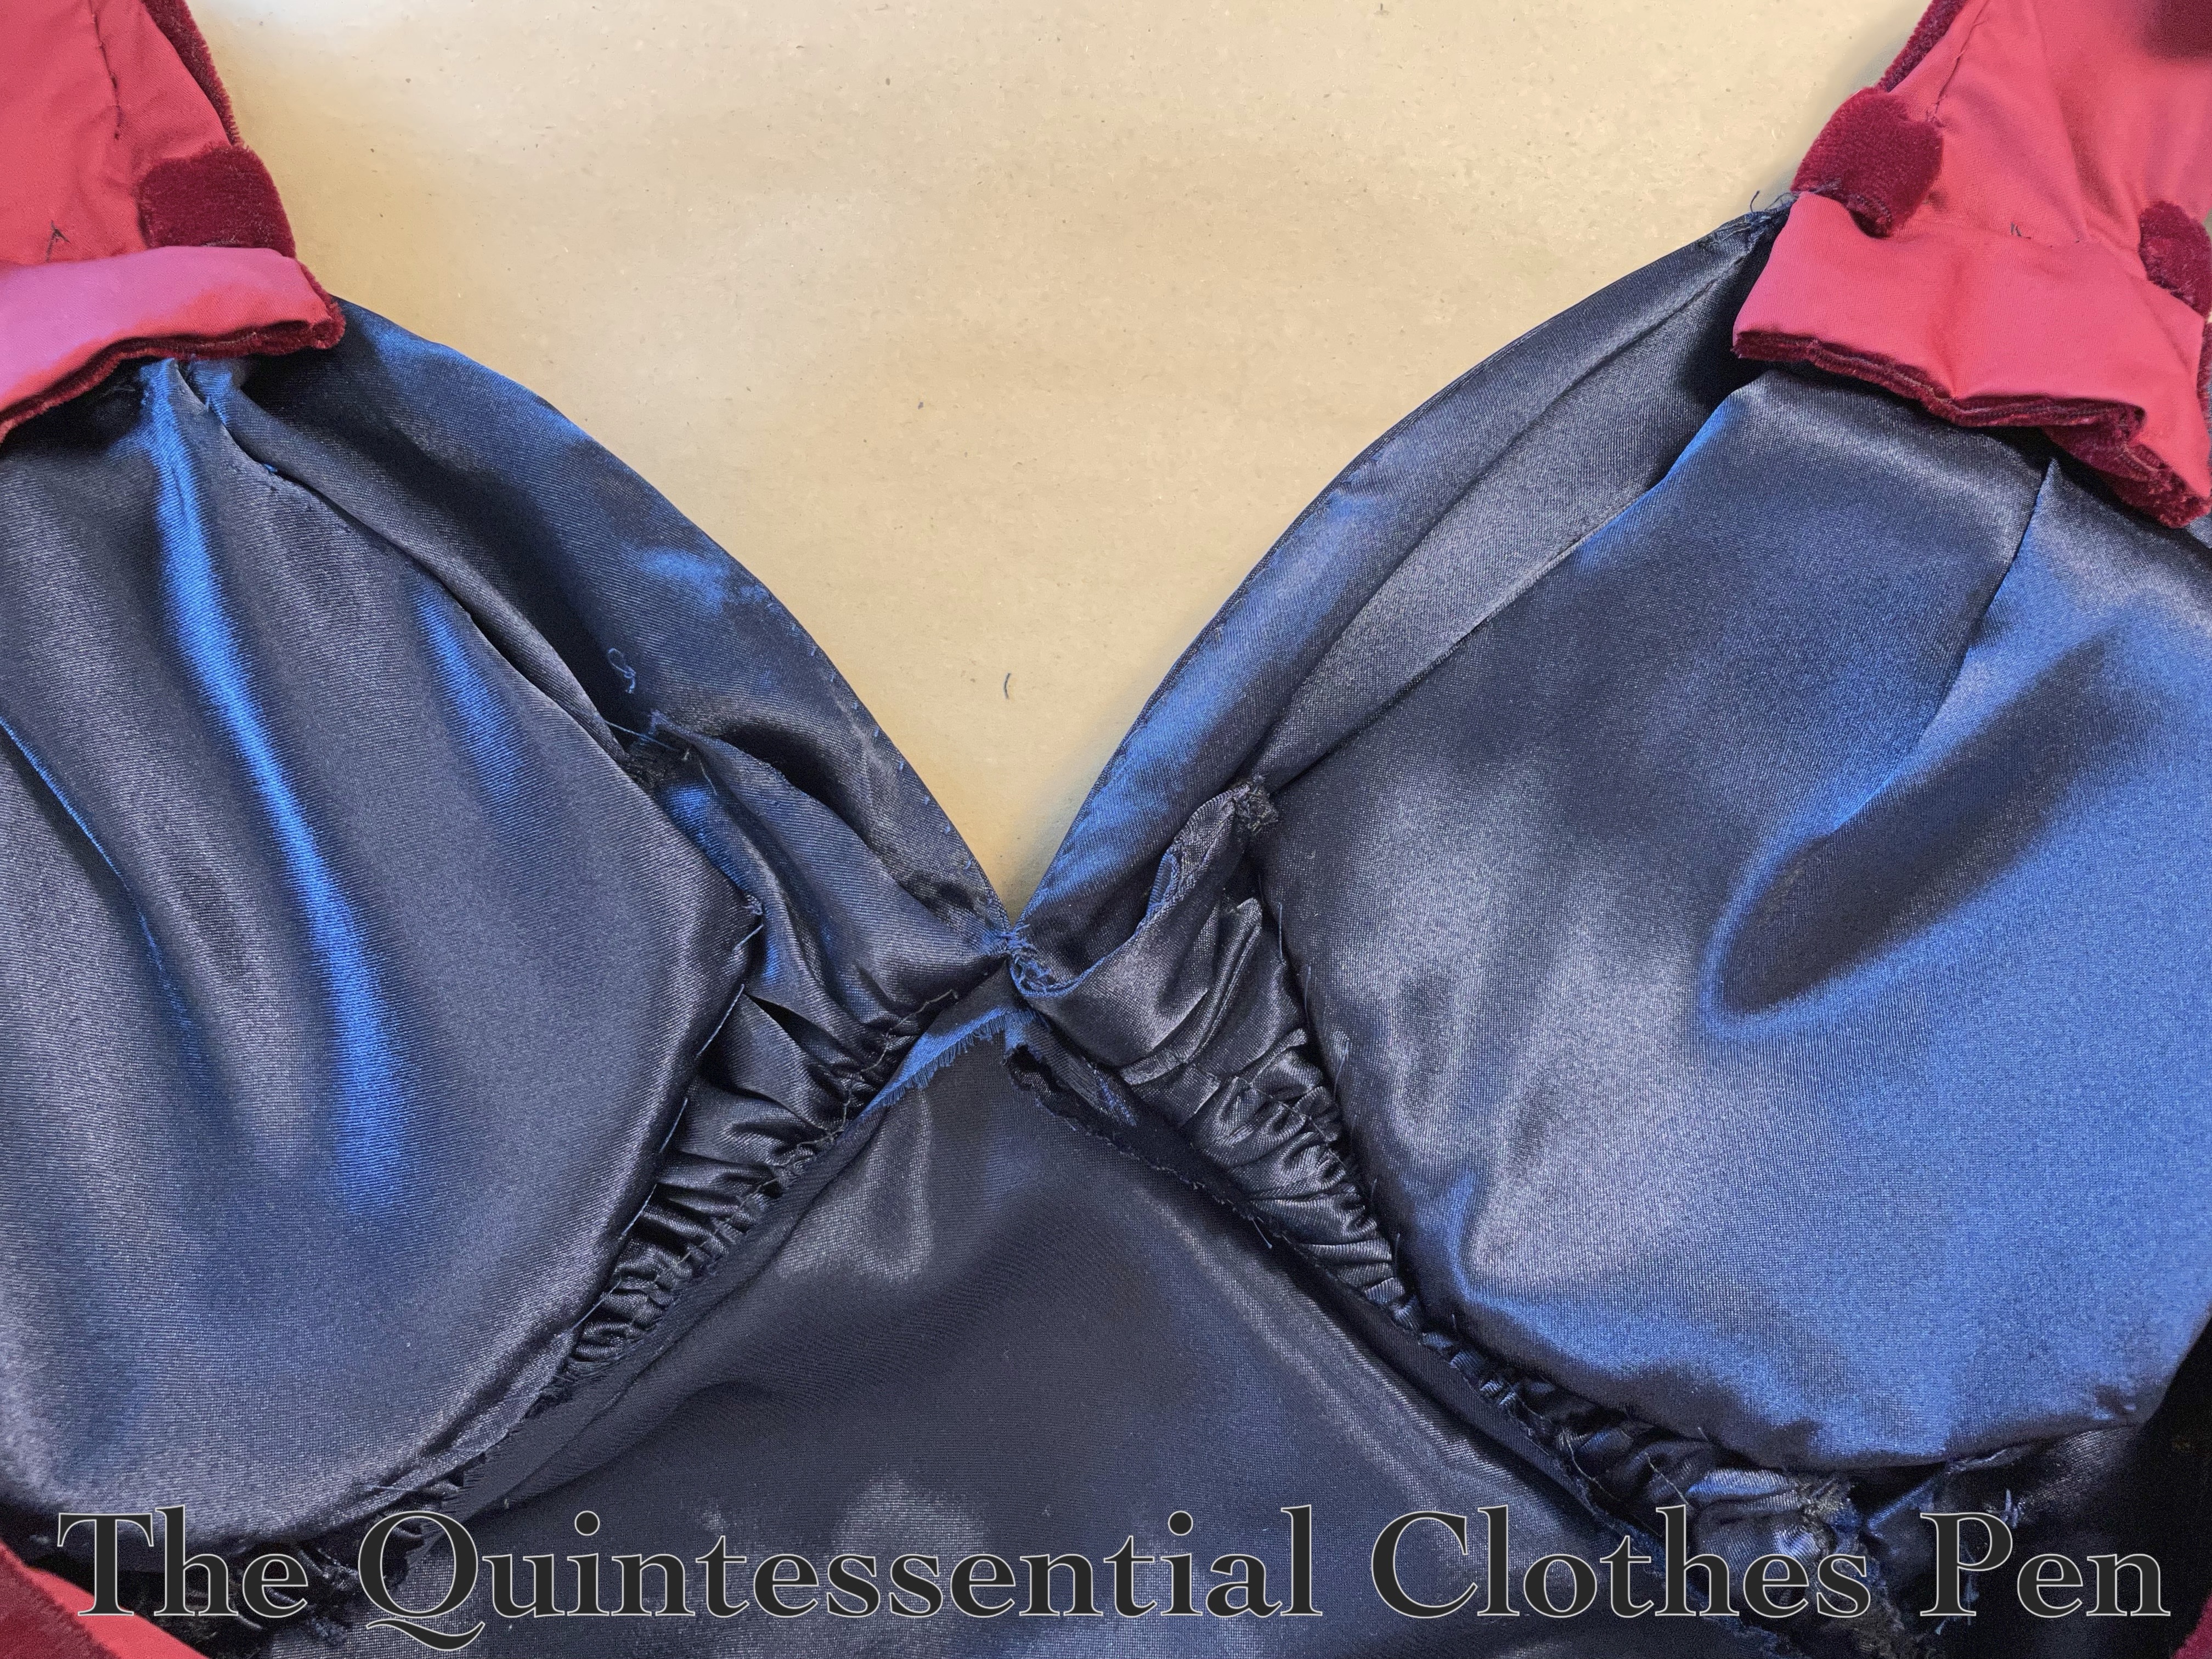
  • Opened center front between the two bust pieces to create a deeper V neckline.
  • Added bra cups, covered with scrap fabric and tacked inside.

  • Added tacks as well as hooks and bars to the back velvet drape to help it hang nicely.

I hope to wear this again later this year and get photos of this second iteration of updates!