When The (Regency) Petticoat No Longer Fits (HSM #5: New Clothes From Old)

While we’re on the subject of updating clothing that no longer fits quite right (this is continued from my last post about updating a pair of 1860s drawers, which you can read here), I have another post about updating a layer of historical underwear for fit.

A few background thoughts

In the past 15 years or so that I’ve been making historical clothing, I’ve also changed sizes and some of the clothes I made early on just no longer fit. The usual culprits are the waist, bust, and shoulder width. (It’s not necessarily all for the worst. My shoulders and arms are bigger because I’m gaining strength and being active, so that’s a healthy change!)

I’ve been able to wear more of my historical clothes recently and the more I wear the older ones, the more I realize just how much my shape has changed.  Because I have some lovely garments that I still want to be able to wear, I’ve been updating these garments to better fit my current shape.

Background on this particular garment

I made an early 19th century bodiced petticoat in 2012 (here is my post from back then sharing research about this type of garment). Since then, I’ve gained inches in the bust, ribcage circumference, and in the width of my shoulders. So despite wearing this petticoat and making do, I finally reached a point where it became important to make this fit better.

Here is the bodice portion of the petticoat before my alterations, from the front and back.

I determined that I needed a whole new front piece–one that would be wider across the bust and with more gathers to condense to the ribcage size. I also realized that it would be helpful to make the side back pieces a little more substantial, with a taller side seam to match the new front.

Update details

Thankfully, I keep lots of fabric scraps! And in this case, I actually still have yardage of the fabric I made the petticoat from. So no problems there — I was able to easily cut out a new front with updated dimensions as well as bits to add to the side pieces to extend them (I didn’t feel like replacing them entirely — this petticoat already is a bit pieced at the center back, where I had previously added fabric in order to help make it a little larger a few years ago).

After cutting new pieces came the boring part of unpicking the original front. Ugh! I don’t enjoy taking apart things that I’ve made! But I did it.

I thought I might machine sew the new pieces on, but I was more inclined to complete this project while not near my sewing machine, so I did it by hand instead. I replicated all of the same seam finishes from the original bodice front (because I like consistency, but not because they are historically accurate, in this case).

Here are the results!
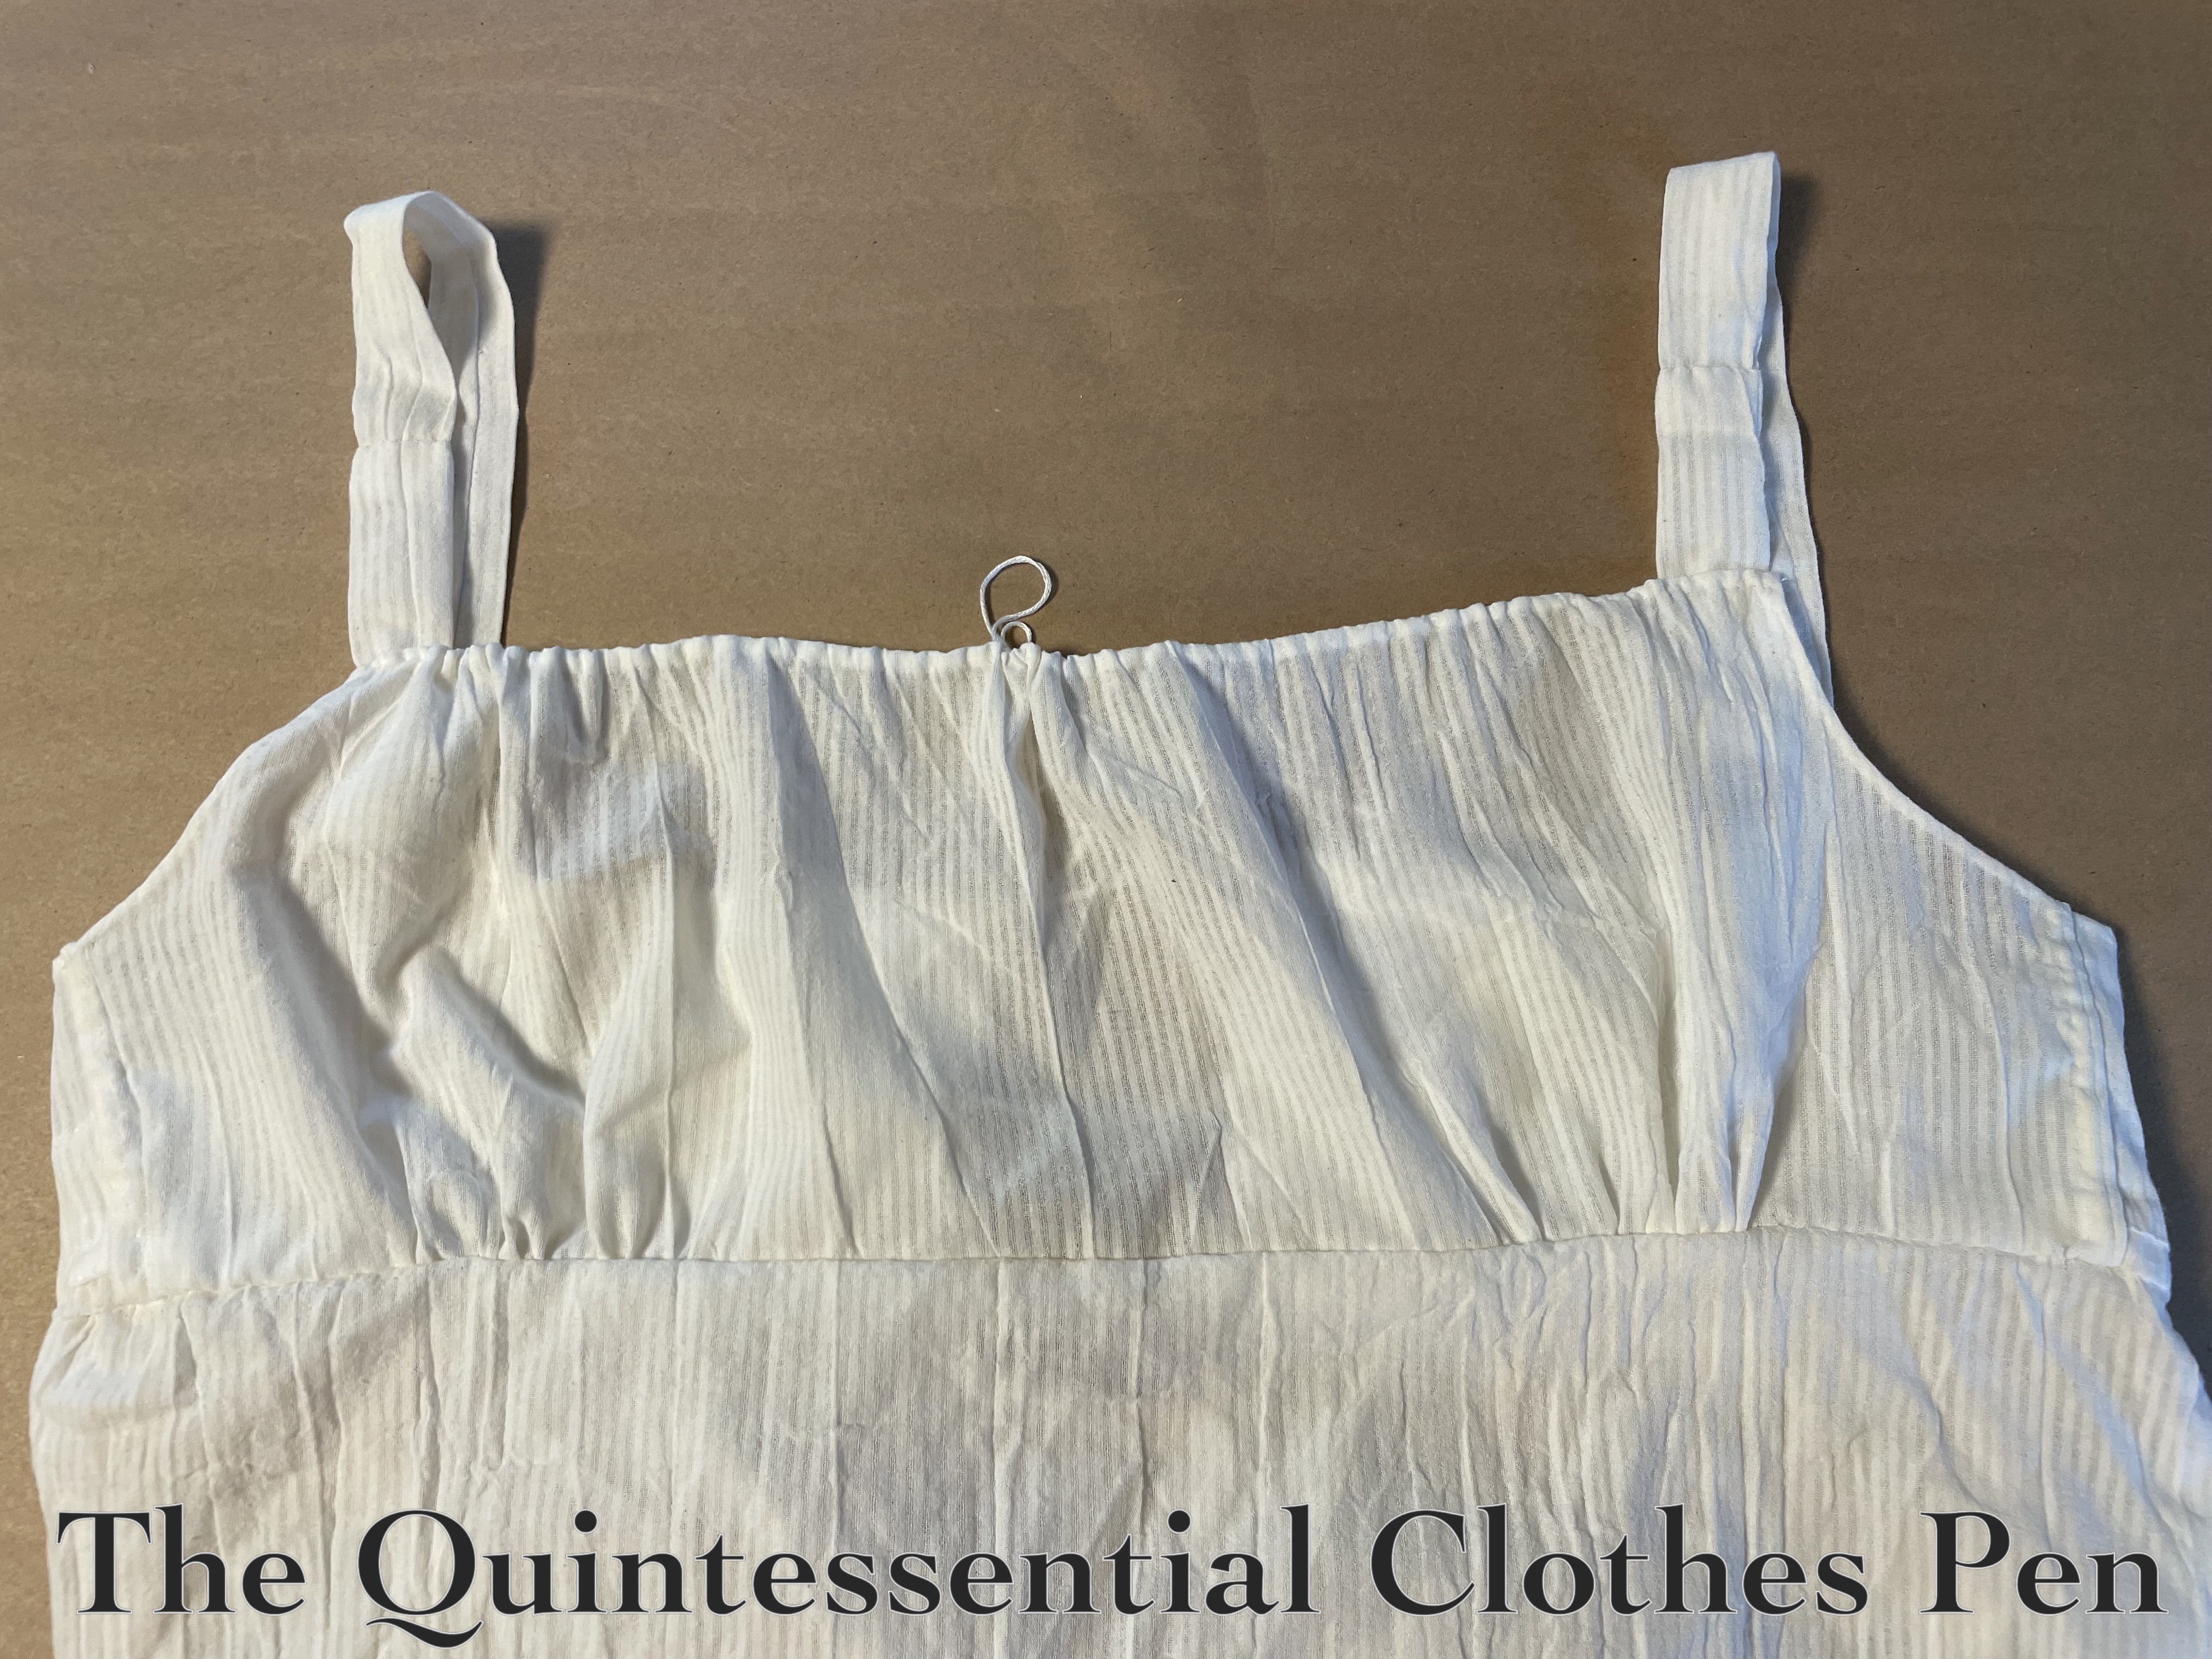
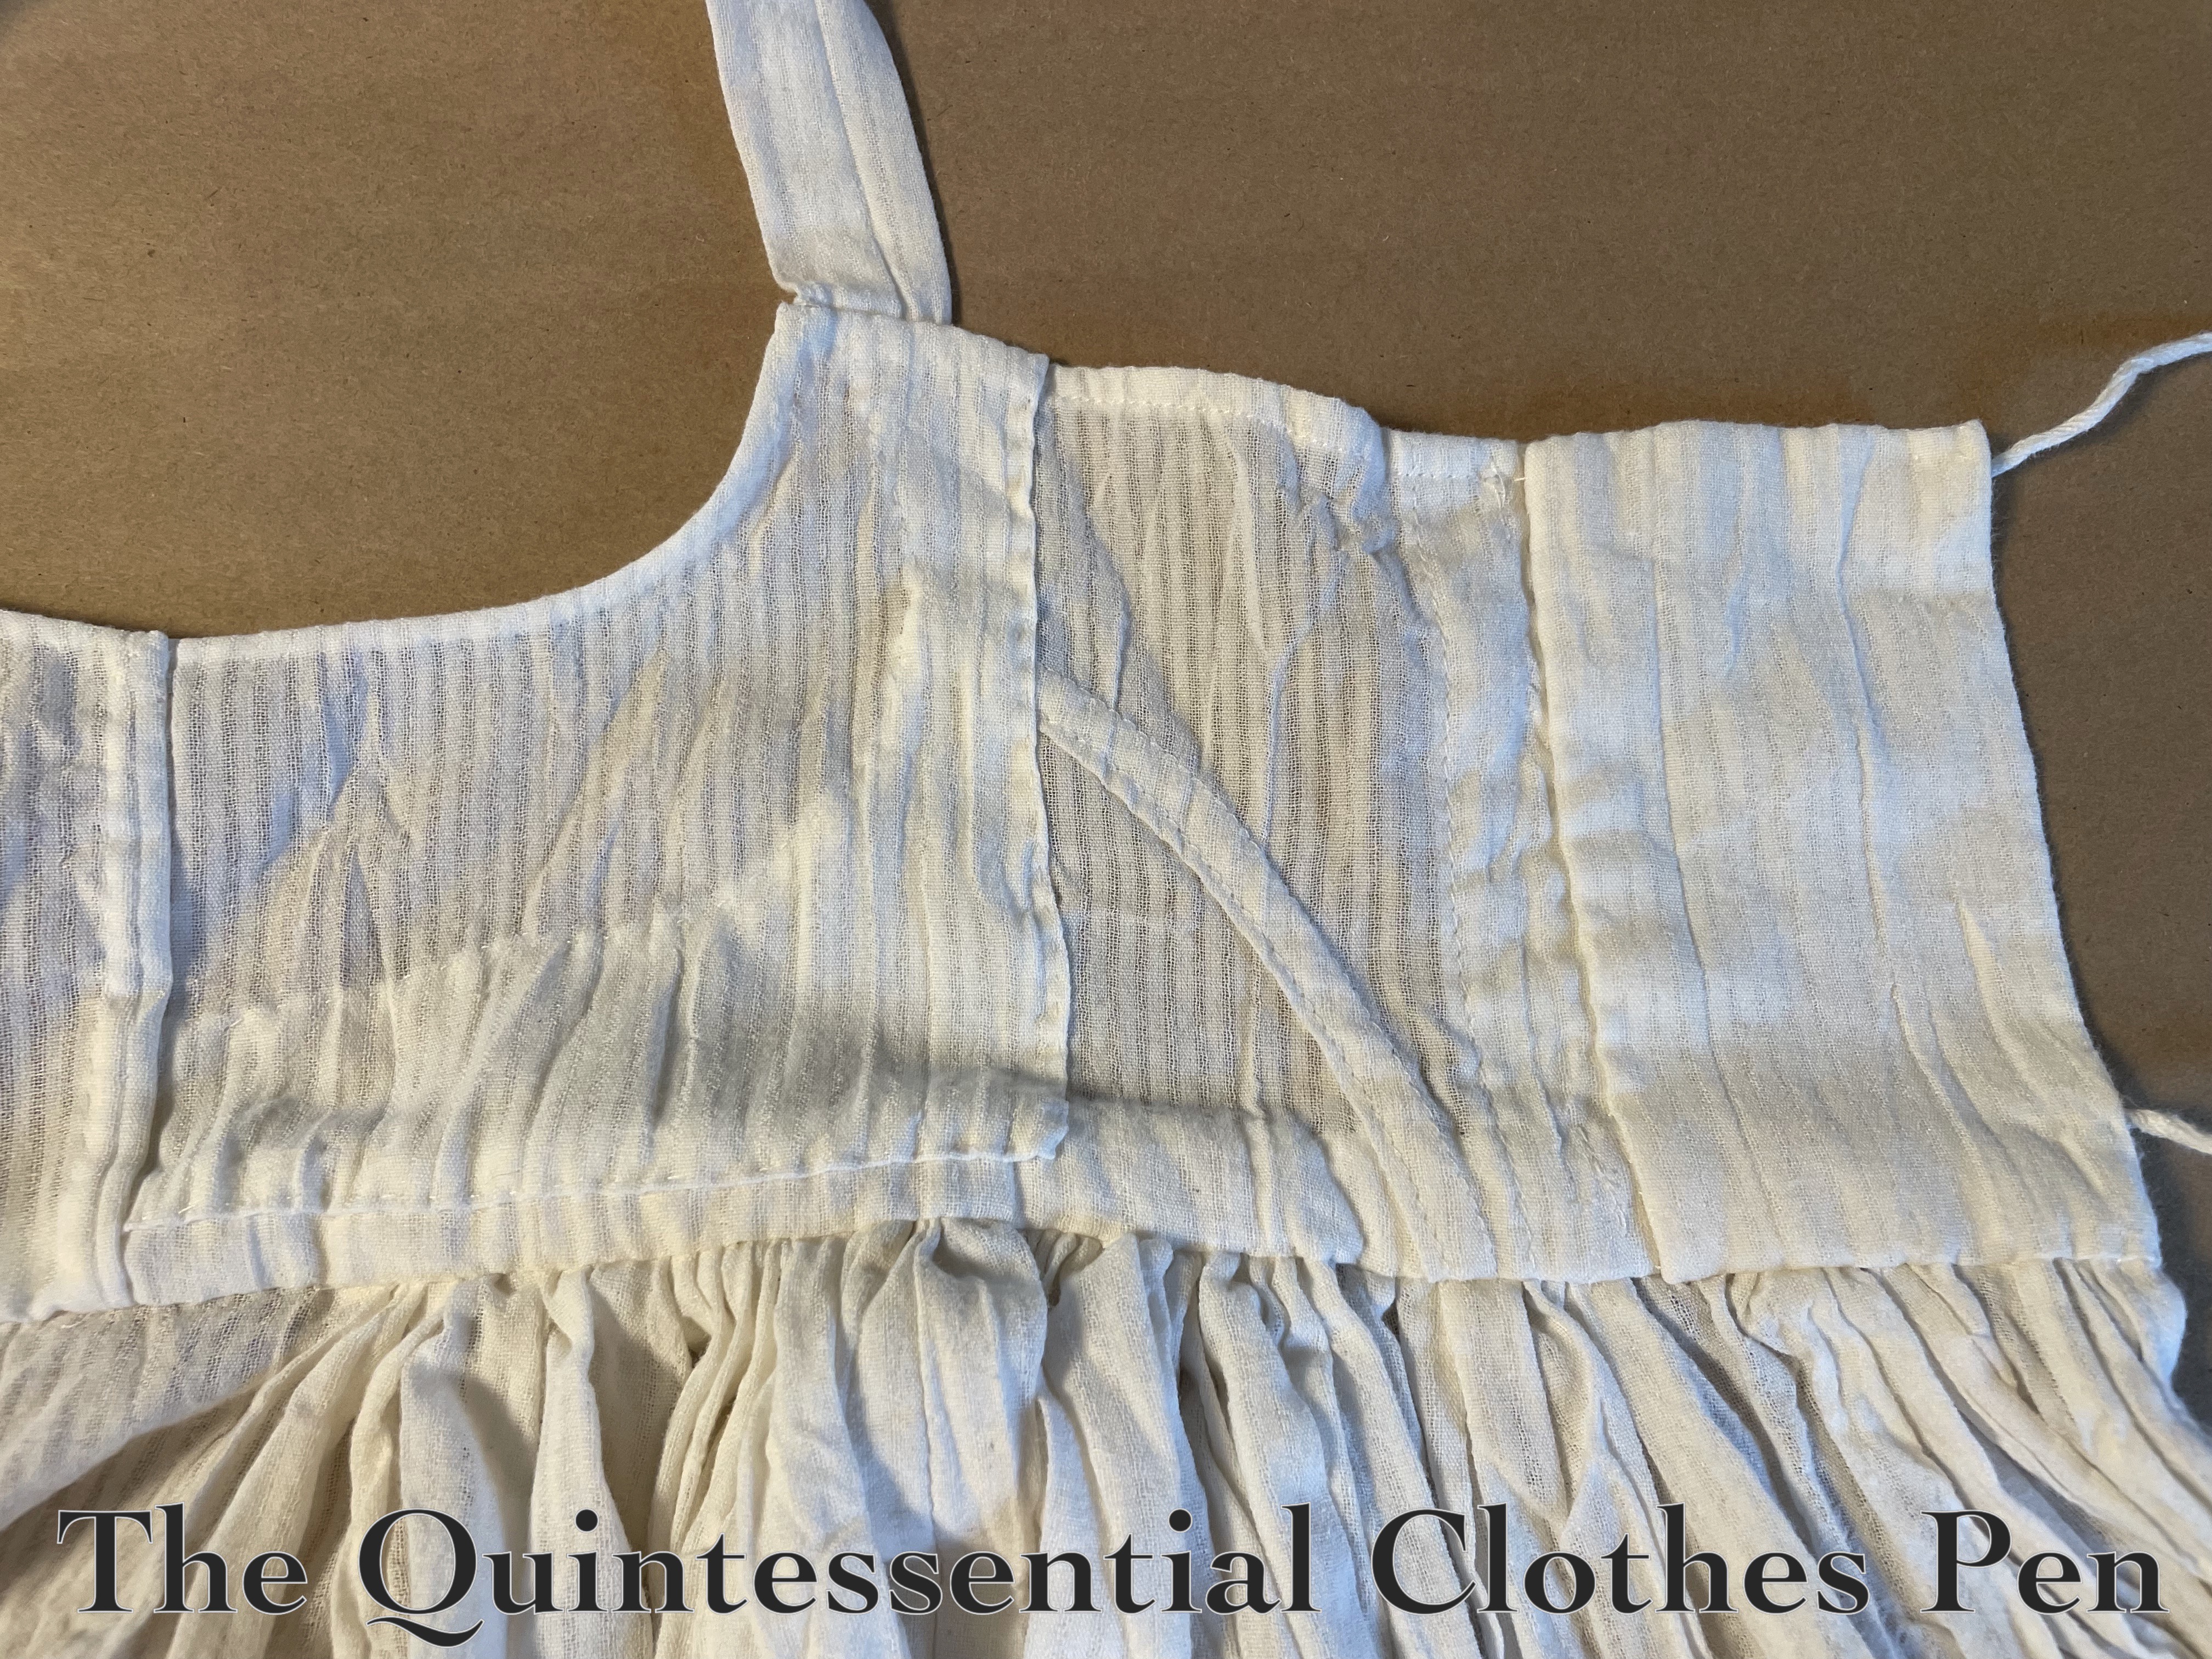
And here are closeups of my very pieced method of creating larger side back pieces (you can also see the extendo I added to the back at some point about 6 years ago).
Unfortunately, when I tried on the adjusted petticoat I realized that the armsceyes were uncomfortably small. I was not going to be able to deal with that! “Get it off!” was my exact though. To fix that problem, I added strap extender bits to the front of the straps.
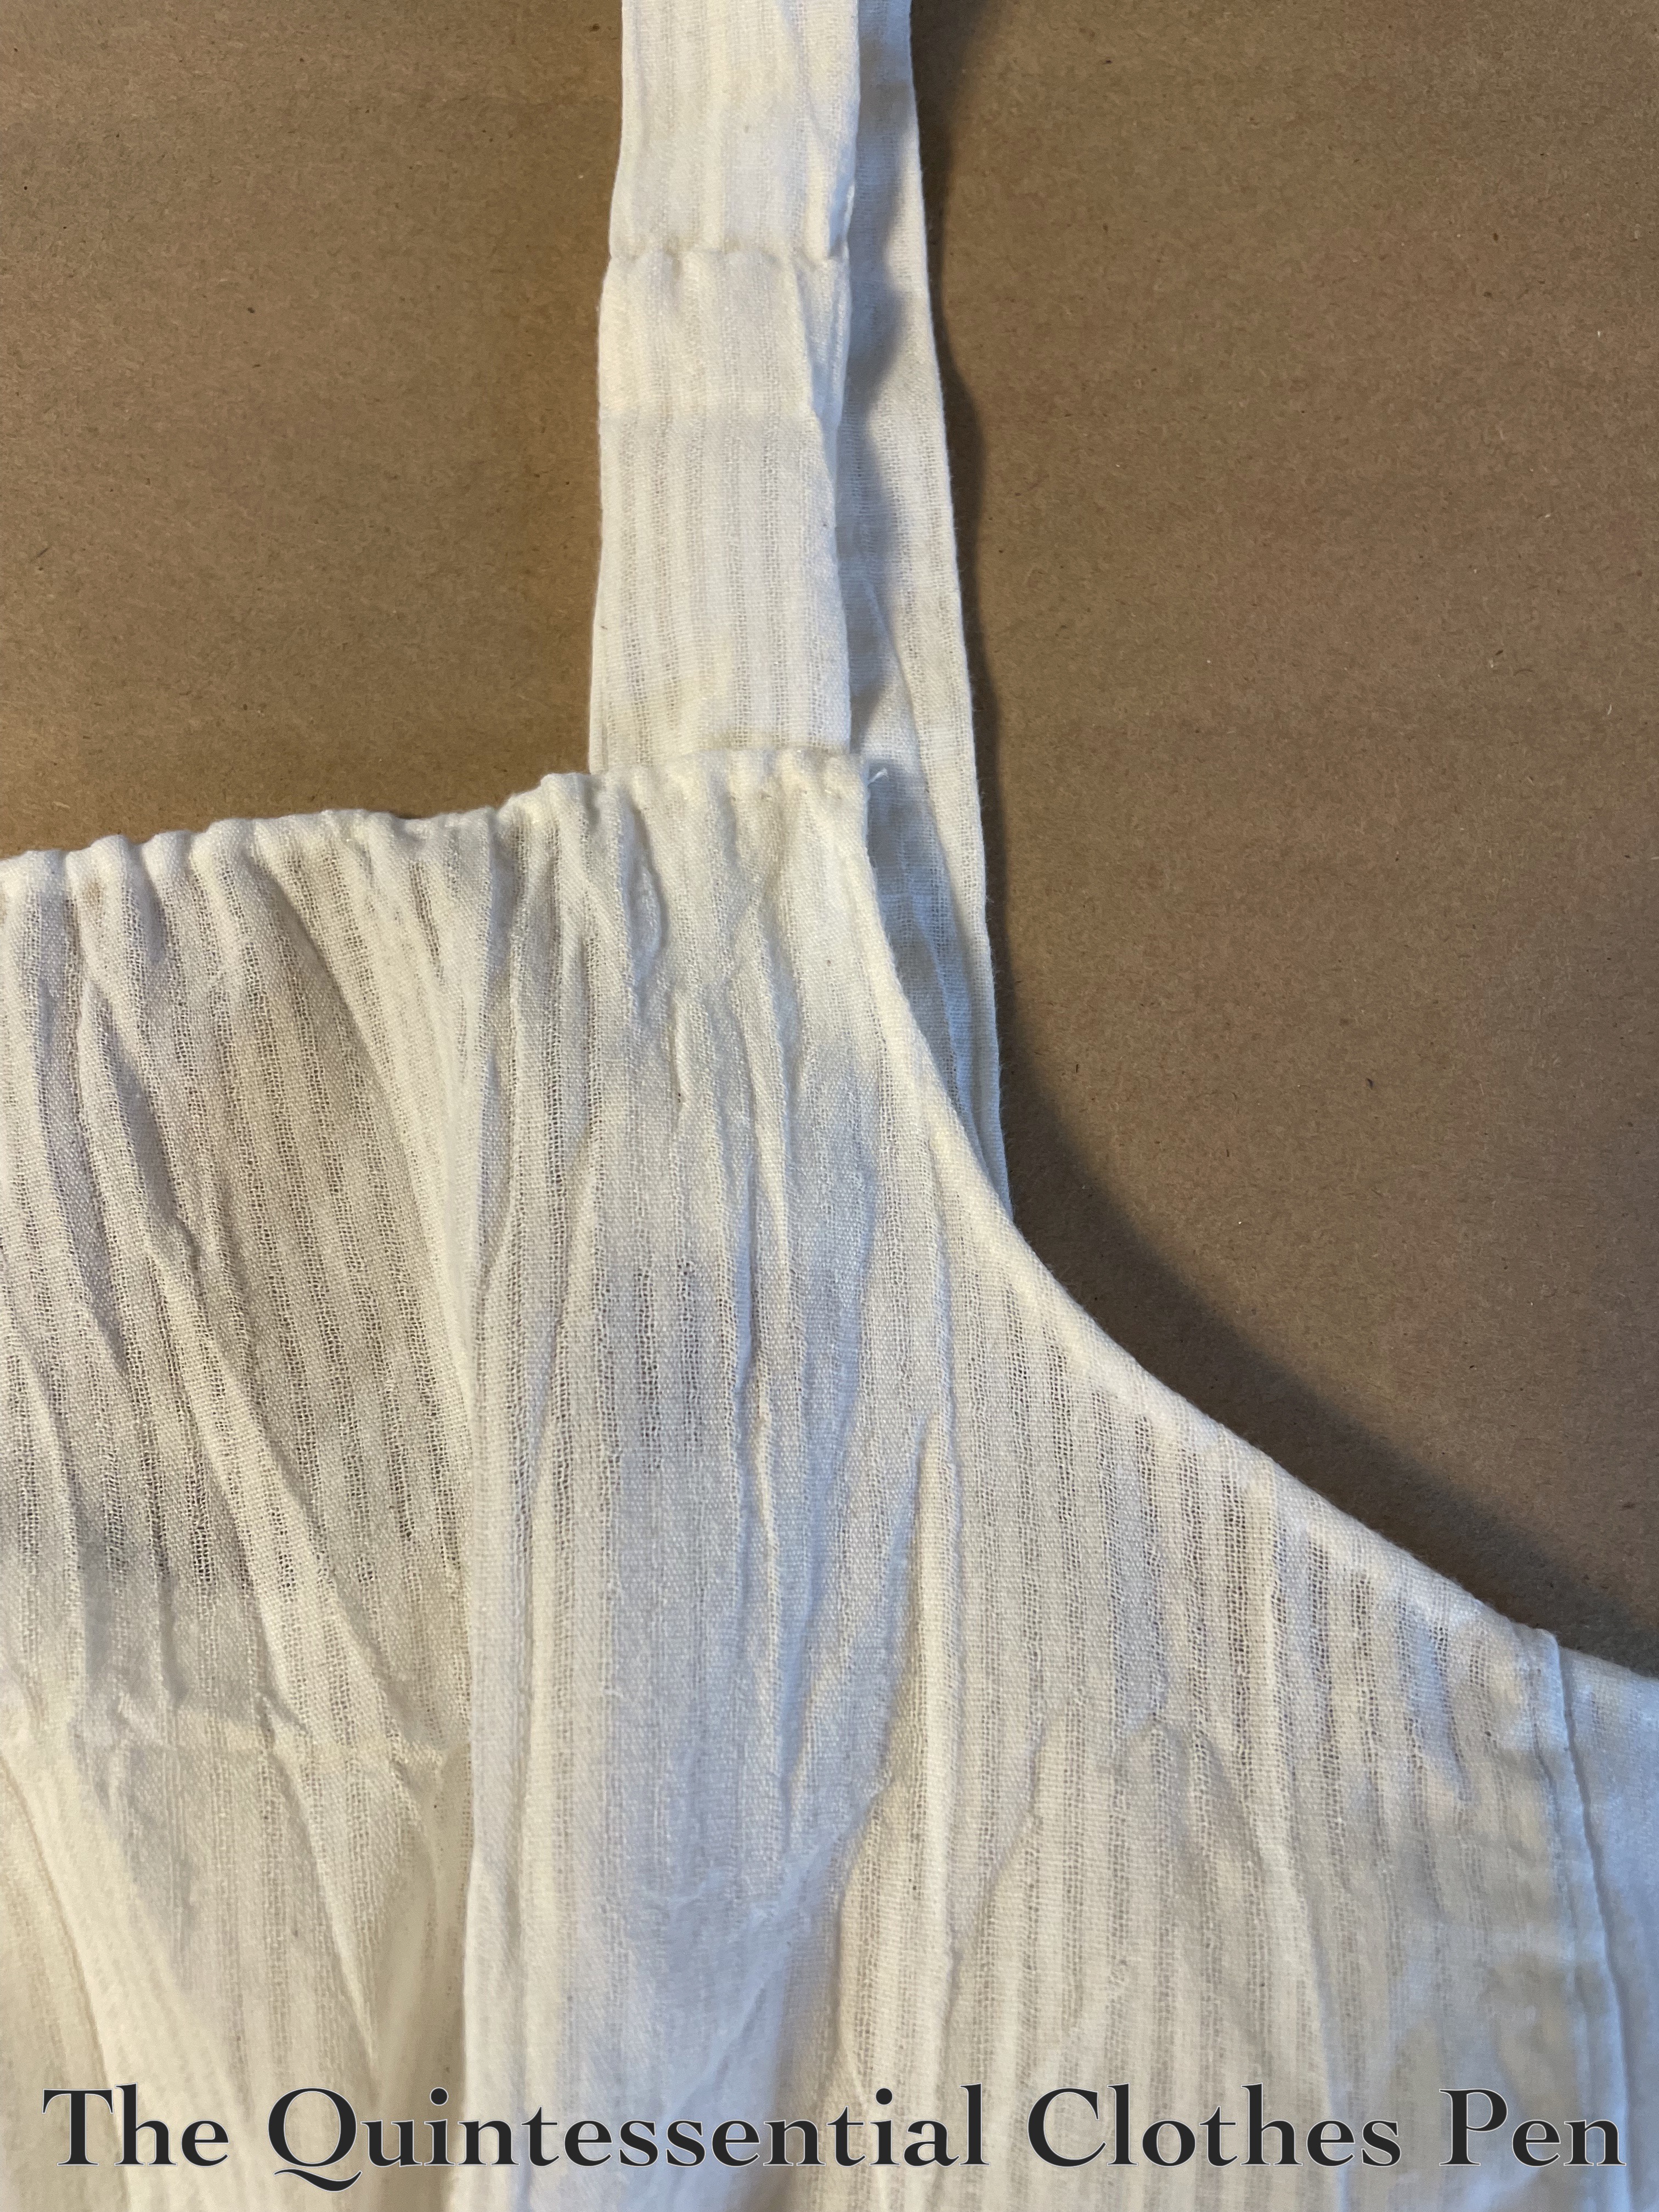
This worked great! And now, I have a petticoat that fits again! It covers my current bust size AND fits across the back (in fact, I made it even a little too wide across the back because I figured that might be helpful).

Here is a photo of the inside of the new front bodice piece. Both the old bodice front and the new one have a drawstring along the top edge. And you can see that I left additional strap length for theotrical future of letting-out.

I’m calling this my entry for the Historical Sew Monthly 2024 Challenge #5 New Clothes from Old:

Make something new out of a worn-out garment or accessory. Or make something using recycled materials.

I believe I’ve recycled a worn-out garment into something new and ready to use again!

Just the facts:

Fabric/Materials: Scraps of white cotton.

Pattern: My own.

Year: c. 1812.

Notions: Thread.

How historically accurate is it?: 100%. It’s completely reasonable to extend the life of a garment like this by altering it.

Hours to complete: 4? It took some time to seam rip and then I was meticulous about stitching the new pieces on. I didn’t really keep track.

First worn: On May 4.

Total cost: Free! Materials were scraps left over from the original project.

It took a bit longer than expected to hand sew all of the updates I needed to make, especially with the late-to-the-party addition of the strap update. I was pleased to finish this the day before it was needed! (More on that later!)
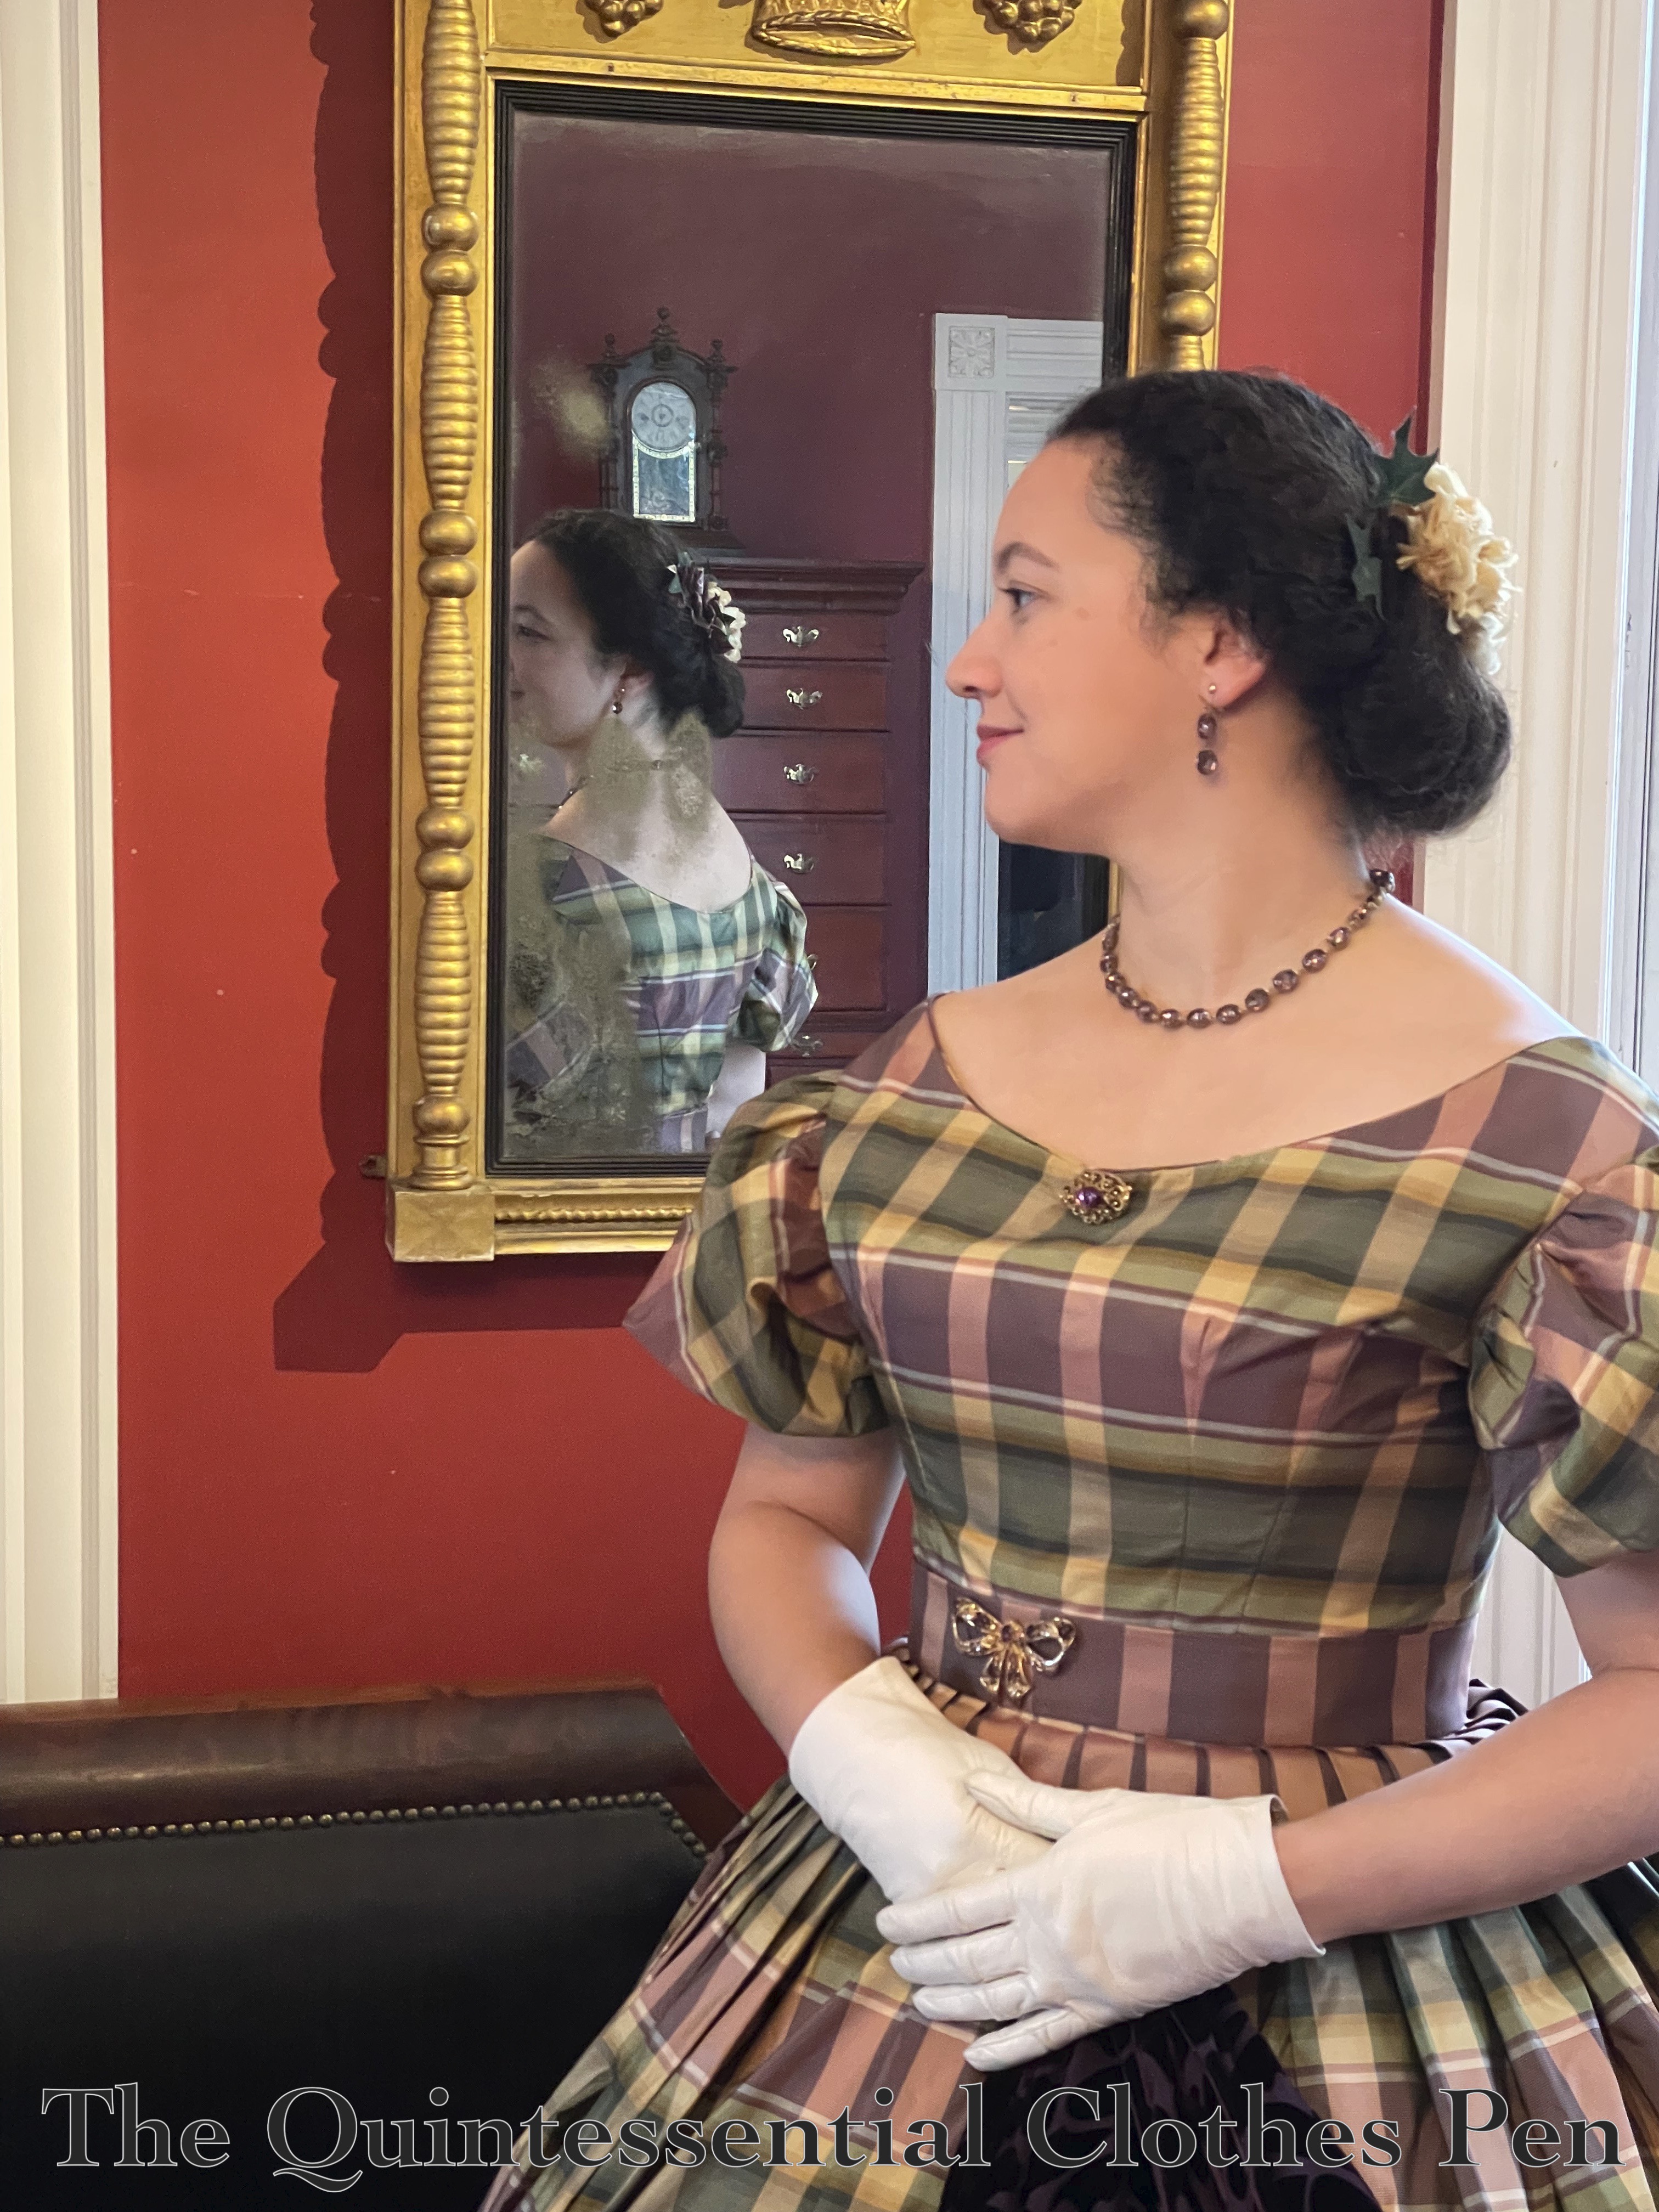
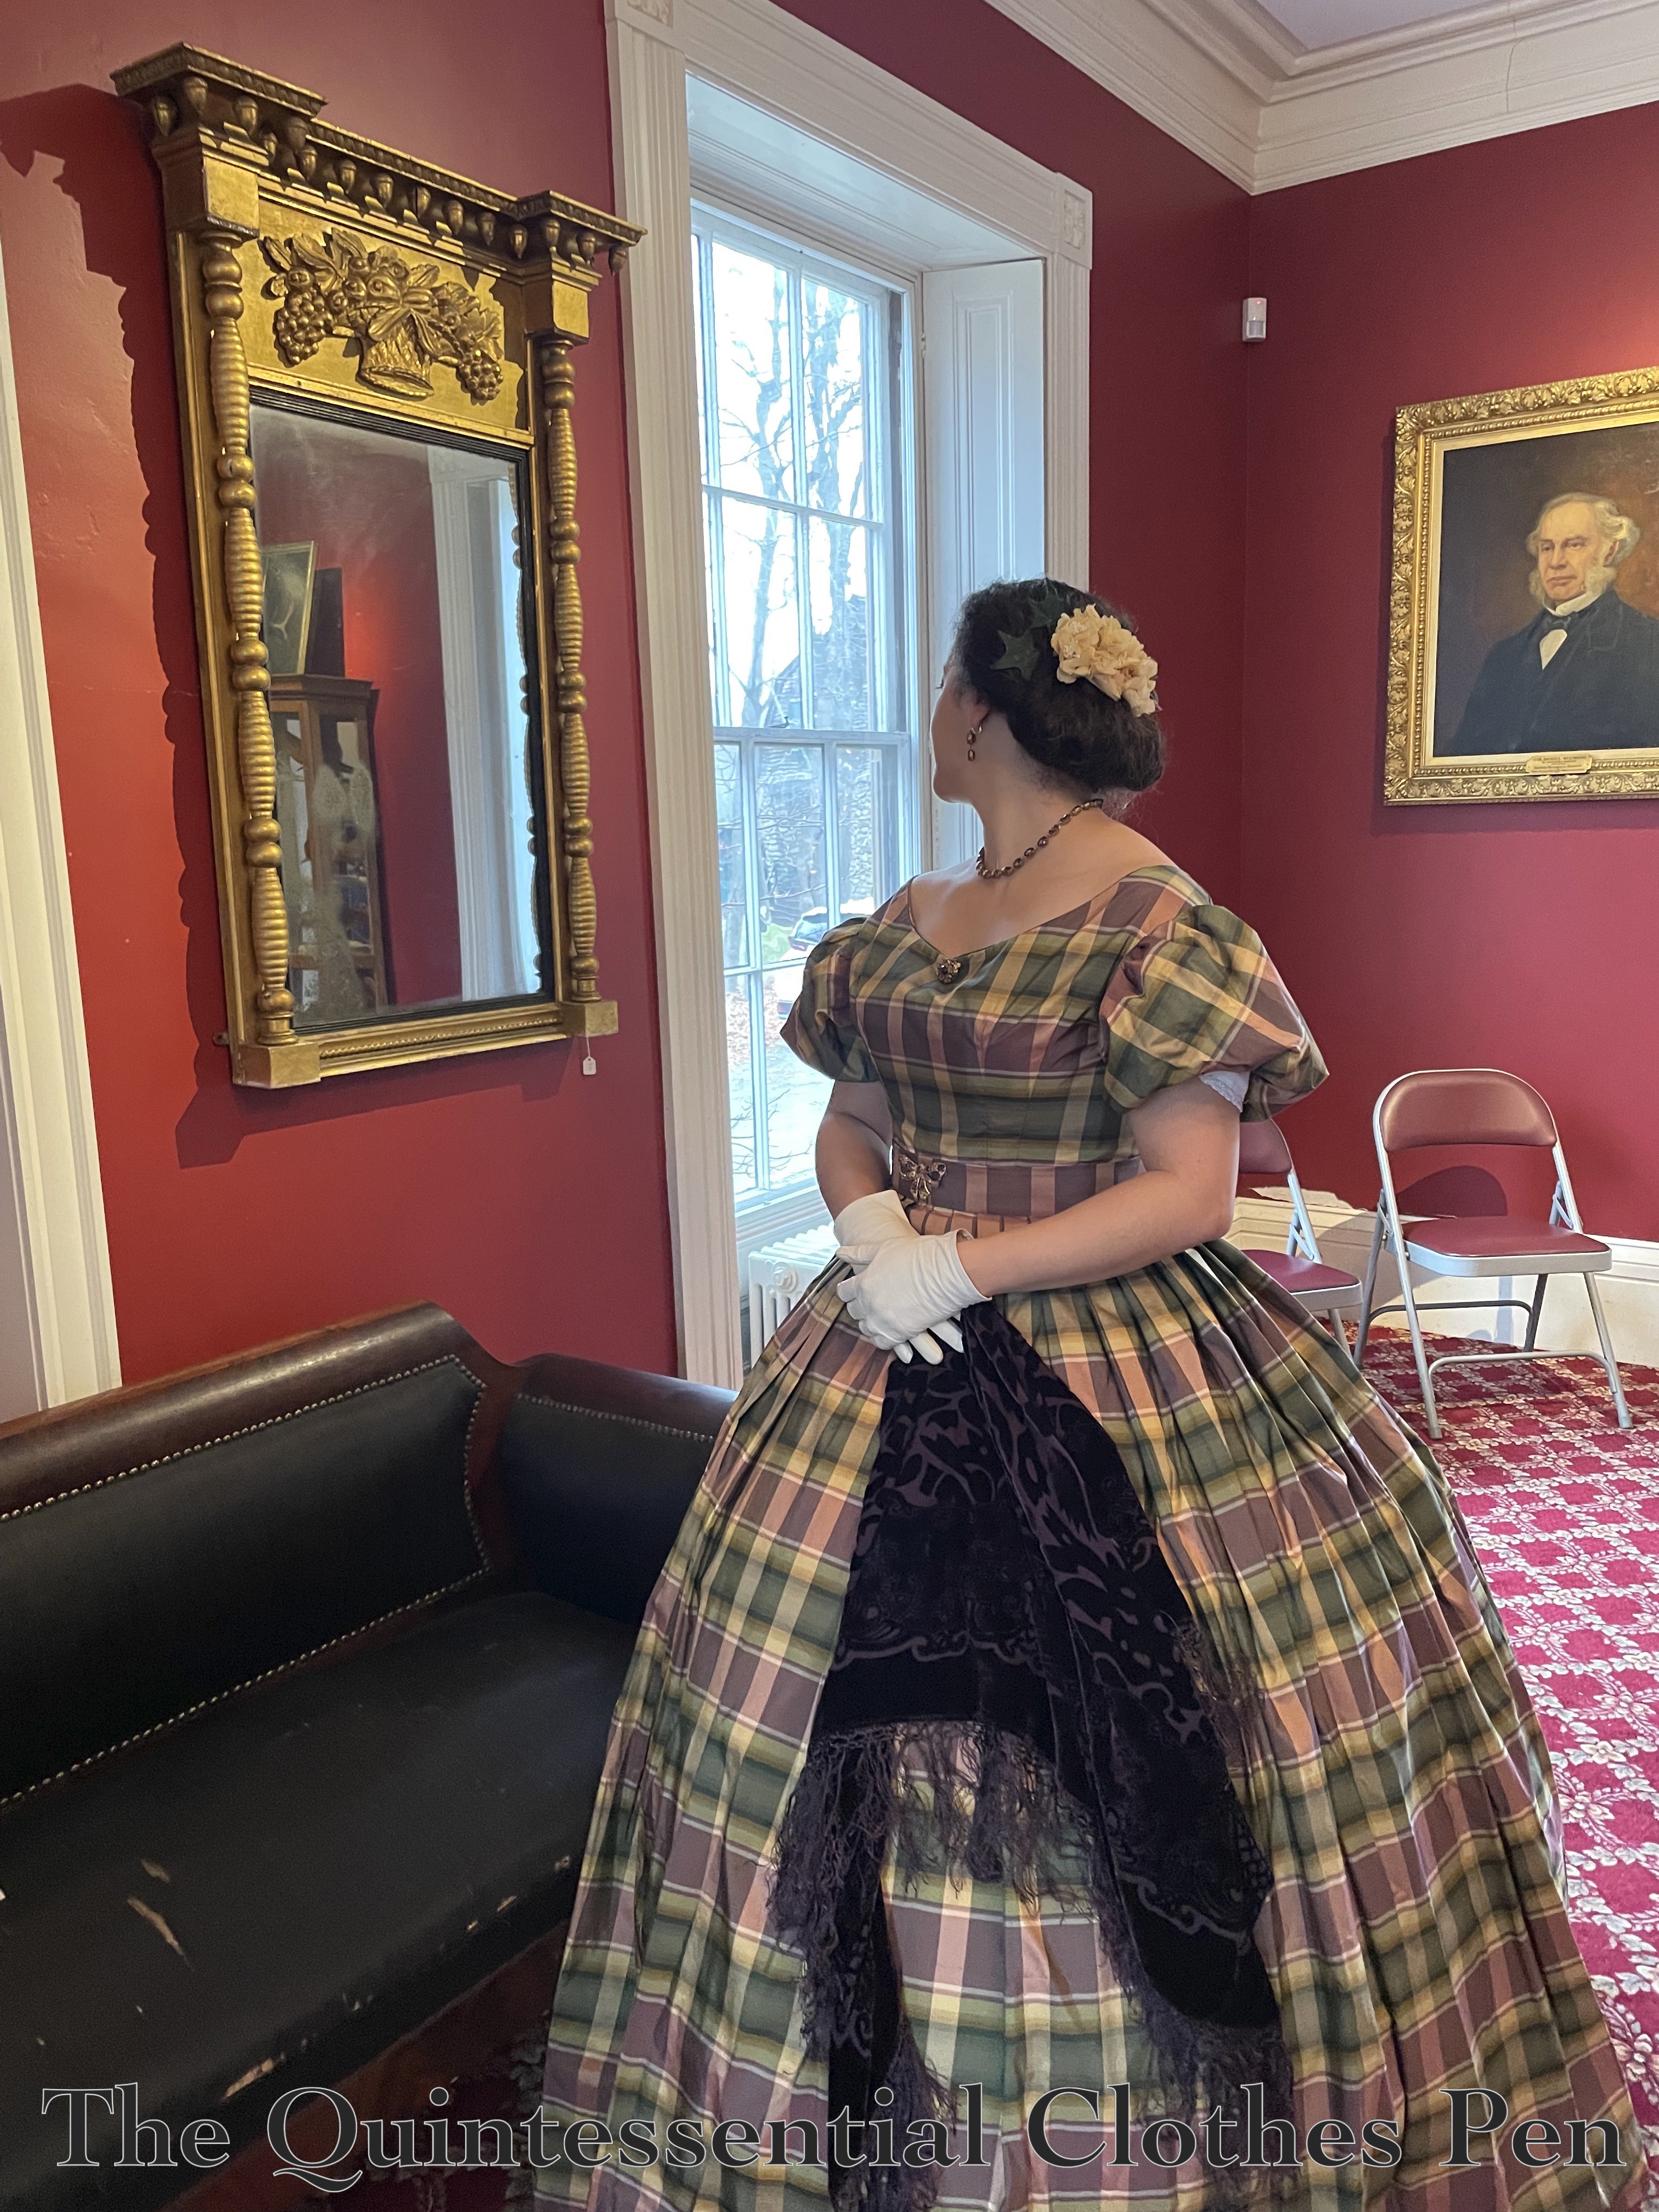
Eleanor At The Boutwell House

My 1860s evening gowns have had far fewer outings in the last few years than they used to, which it made having a reason to wear one a few months ago particularly exciting!

The question was which to choose??? I wore Genevieve (my 1863 apricot-colored covered in lace and pleats silk gown) sort of recently, in April 2022. Other dresses in my historical closet that might still fit (Georginia from 1859, Annabelle from 1859, and Evie from 1864) haven’t been worn recently, but for some reason, plaid was sounding like fun… So I chose to wear Eleanor (my 1862 purple and green silk plaid dress)!

I’m still very pleased with the fabric of this dress and the way I cut the pieces to create interest in an otherwise pretty basic dress. The little details like tiny piping on the bodice, matching hair flowers, and a well matched set of jewelry (earrings and necklace from In The Long Run Designs, as well as a mix of modern and vintage brooches) also bring me joy.

I also had a lovely setting in which to wear the dress. The Boutwell House in Groton, MA was built in 1851 and is now home to the Groton History Center. The Footwork & Frolick Society partnered with them for the town of Groton’s annual WinterFest activities, which included inhabiting the house for an afternoon to give visitors a small view into activities from the period.

I enjoyed being able to wear an 1860s dress again. I’ve always loved the magic of a cupcake shaped hoop skirt–and this was no exception!

Proof Of A Regency Picnic

Historically clothed events continue to be somewhat sparse on my calendar, but I have photographic evidence of having gathered with friends last summer to partake in a Regency themed picnic. We were rained out of the original date and the alternate date was very hot, so we decided to mostly stay indoors. But we did go outside for a few fun documentation-of-our-gathering photos.

Did I mention it was hot? I was kind of melting. But I did really enjoy getting my 1815 Tree Gown out of the closet and giving it a wear. This continues to be one of my favorite early 19th century dresses! I still love the patterning, which creates a comfortable and elegantly shaped dress, as well as the lightweight block print cotton fabric. At least I had a cool fabric to wear in the heat!

Made in 2013, this dress has held up to 11 years of wear very well; however, I did notice that the forearms are very tight these days… so tight that they don’t let the armsceye seams sit where they should, causing the shoulders to constantly be pulling down my arm! And sadly, even with the 1/4″ French seams I originally made, they don’t have enough circumference to be let out.

On the bright side, though, I keep everything and I have scraps of this fabric in my stash. So for now, the forearms have been seam ripped and the dress is, metaphorically in the pile of things-that-need-alterations, awaiting my action of actually digging out the fabric scraps so that I can adjust the fit (it’s metaphorical because it’s actually hanging in the closet not in a pile!). This will assuredly become a When-The-Dress-No-Longer-Fits post… someday!

Summary of 2023: Looking Forward To 2024

Time just keeps flying! It feels like 2023 started with a bang and the momentum hardly let up. All of a sudden it’s time to look back on this year’s accomplishments and start looking ahead to next year. Crazy!

Projects I completed in 2023

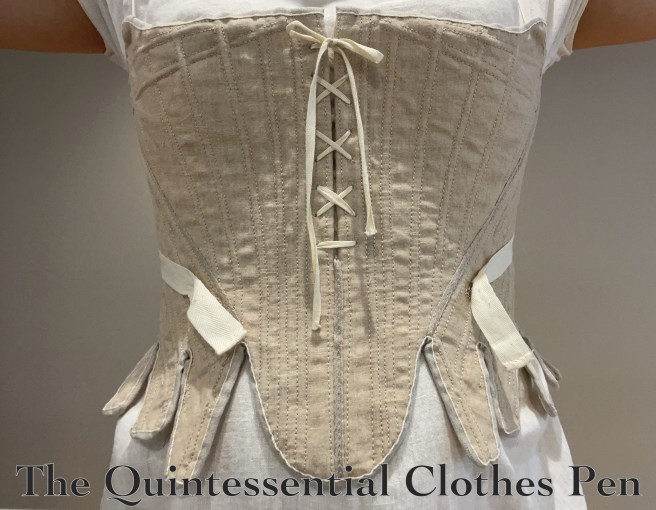
July: c. 1785 Hand Sewn Natural Linen Stays of Success!

August: Updates To The 1933 Dramatic Evening Dress

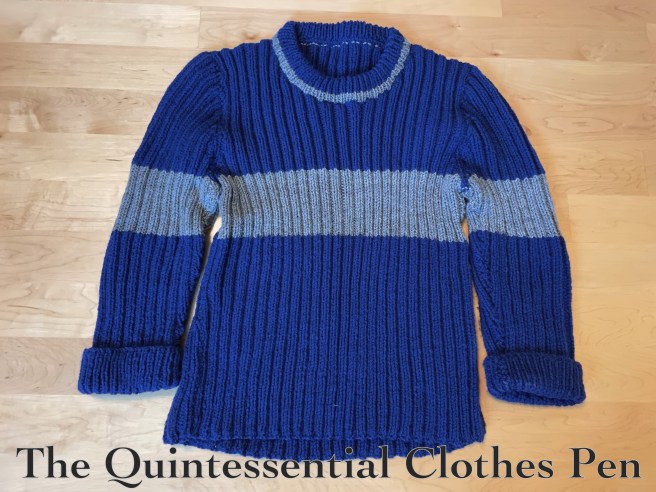
September: Ravenclaw Quidditch Sweater

October: Copper Colored 1790s Sash (HSM #3)

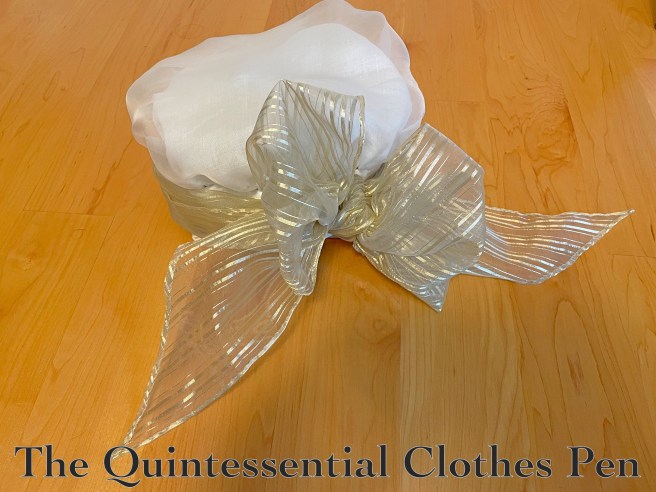
November: 1790s Organza Cap With Gold Stripe Trimming (HSM #5)

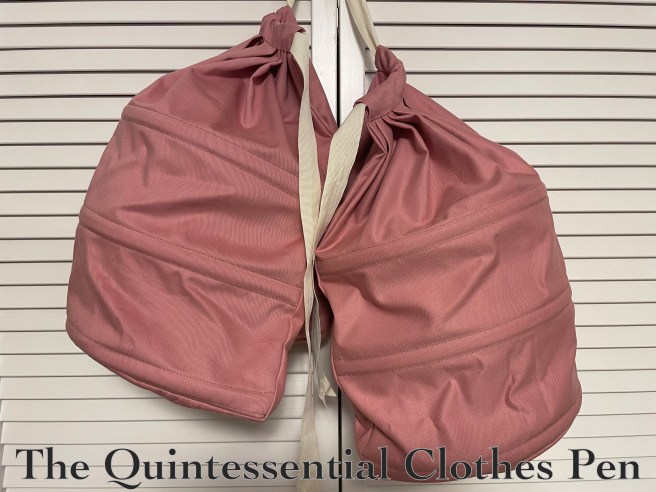
December: c. 1770 Pink Panniers (HSM #12)

December: 18th Century Blue Petticoat (HSM #8)

General Blog News

I participated in my 11th year of the Historical Sew Monthly. This year I completed 5 of the 12 challenges. That’s three more challenges than last year! It’s been wonderful to have a little bit more time to sew.

Also, in May the blog hit 500,000 all time views! Wow!

Event Recap

I attended 1 ball (as part of a weekend event), 3 other events (picnic, croquet, outings, etc.), 1 dance performance, and participated in 1 weekend event (that included dancing, games, teas, picnics, winter activities, and grand house tours).

To Do Lists

I kept last year’s Definitely To Do list quite short, so that I could feel accomplished when completing it. And success! I completed both of the things on that last (The Stays of Fail/Success and updating my 1933 Dramatic Evening Gown).

I didn’t fully complete any of the items on the Maybe list from last year, but I did make substantial progress on two of the four items. In fact, they’re almost done! A new 1790s petticoat and dress… and they just need hems! I was derailed from finishing those at the end of the year because I was inspired to start (and finish!) a new 1940 dress that I’ll be blogging about early in 2024.

So, my ‘definitely-do’ list for 2024 includes:

  • Finishing a 1790s petticoat and bum pad (started and mostly finished in 2023)
  • Finishing a 1790s dress (started and mostly finished in 2023)
  • 1770s yellow sacque/Robe à la Française (started in 2023)
  • Under petticoat for the yellow sacque
  • Stomacher for the yellow sacque
  • Shortening the hem of Eleanor, my 1862 Plaid Dress
  • Updating the waist size of my 1860s drawers
  • Updating the trimming on my 1893 Bronze and Pink Ballgown to better go with the size updates I made in 2022 and posted about in 2023
  • Replacing the zipper in my Happy Clover Dress

And my ‘maybe’ list includes:

I’m very pleased to have achieved my goal of finding more time to sew. I hope to continue that next year. That seems reflected in my to-do lists!

I’m very grateful for the many kindnesses and gifts in my life. Thanks to all of you who have continued to read, comment on, and appreciate this blog. Wishing you the very best in 2024!

1830s Holiday Cheer

For the holidays last year, friends and I decided to have an 1830s-clothed dinner at a local historical inn. We had a lovely meal, enjoyed the company, and had fun looking around at all of the lovely seasonal decorations!

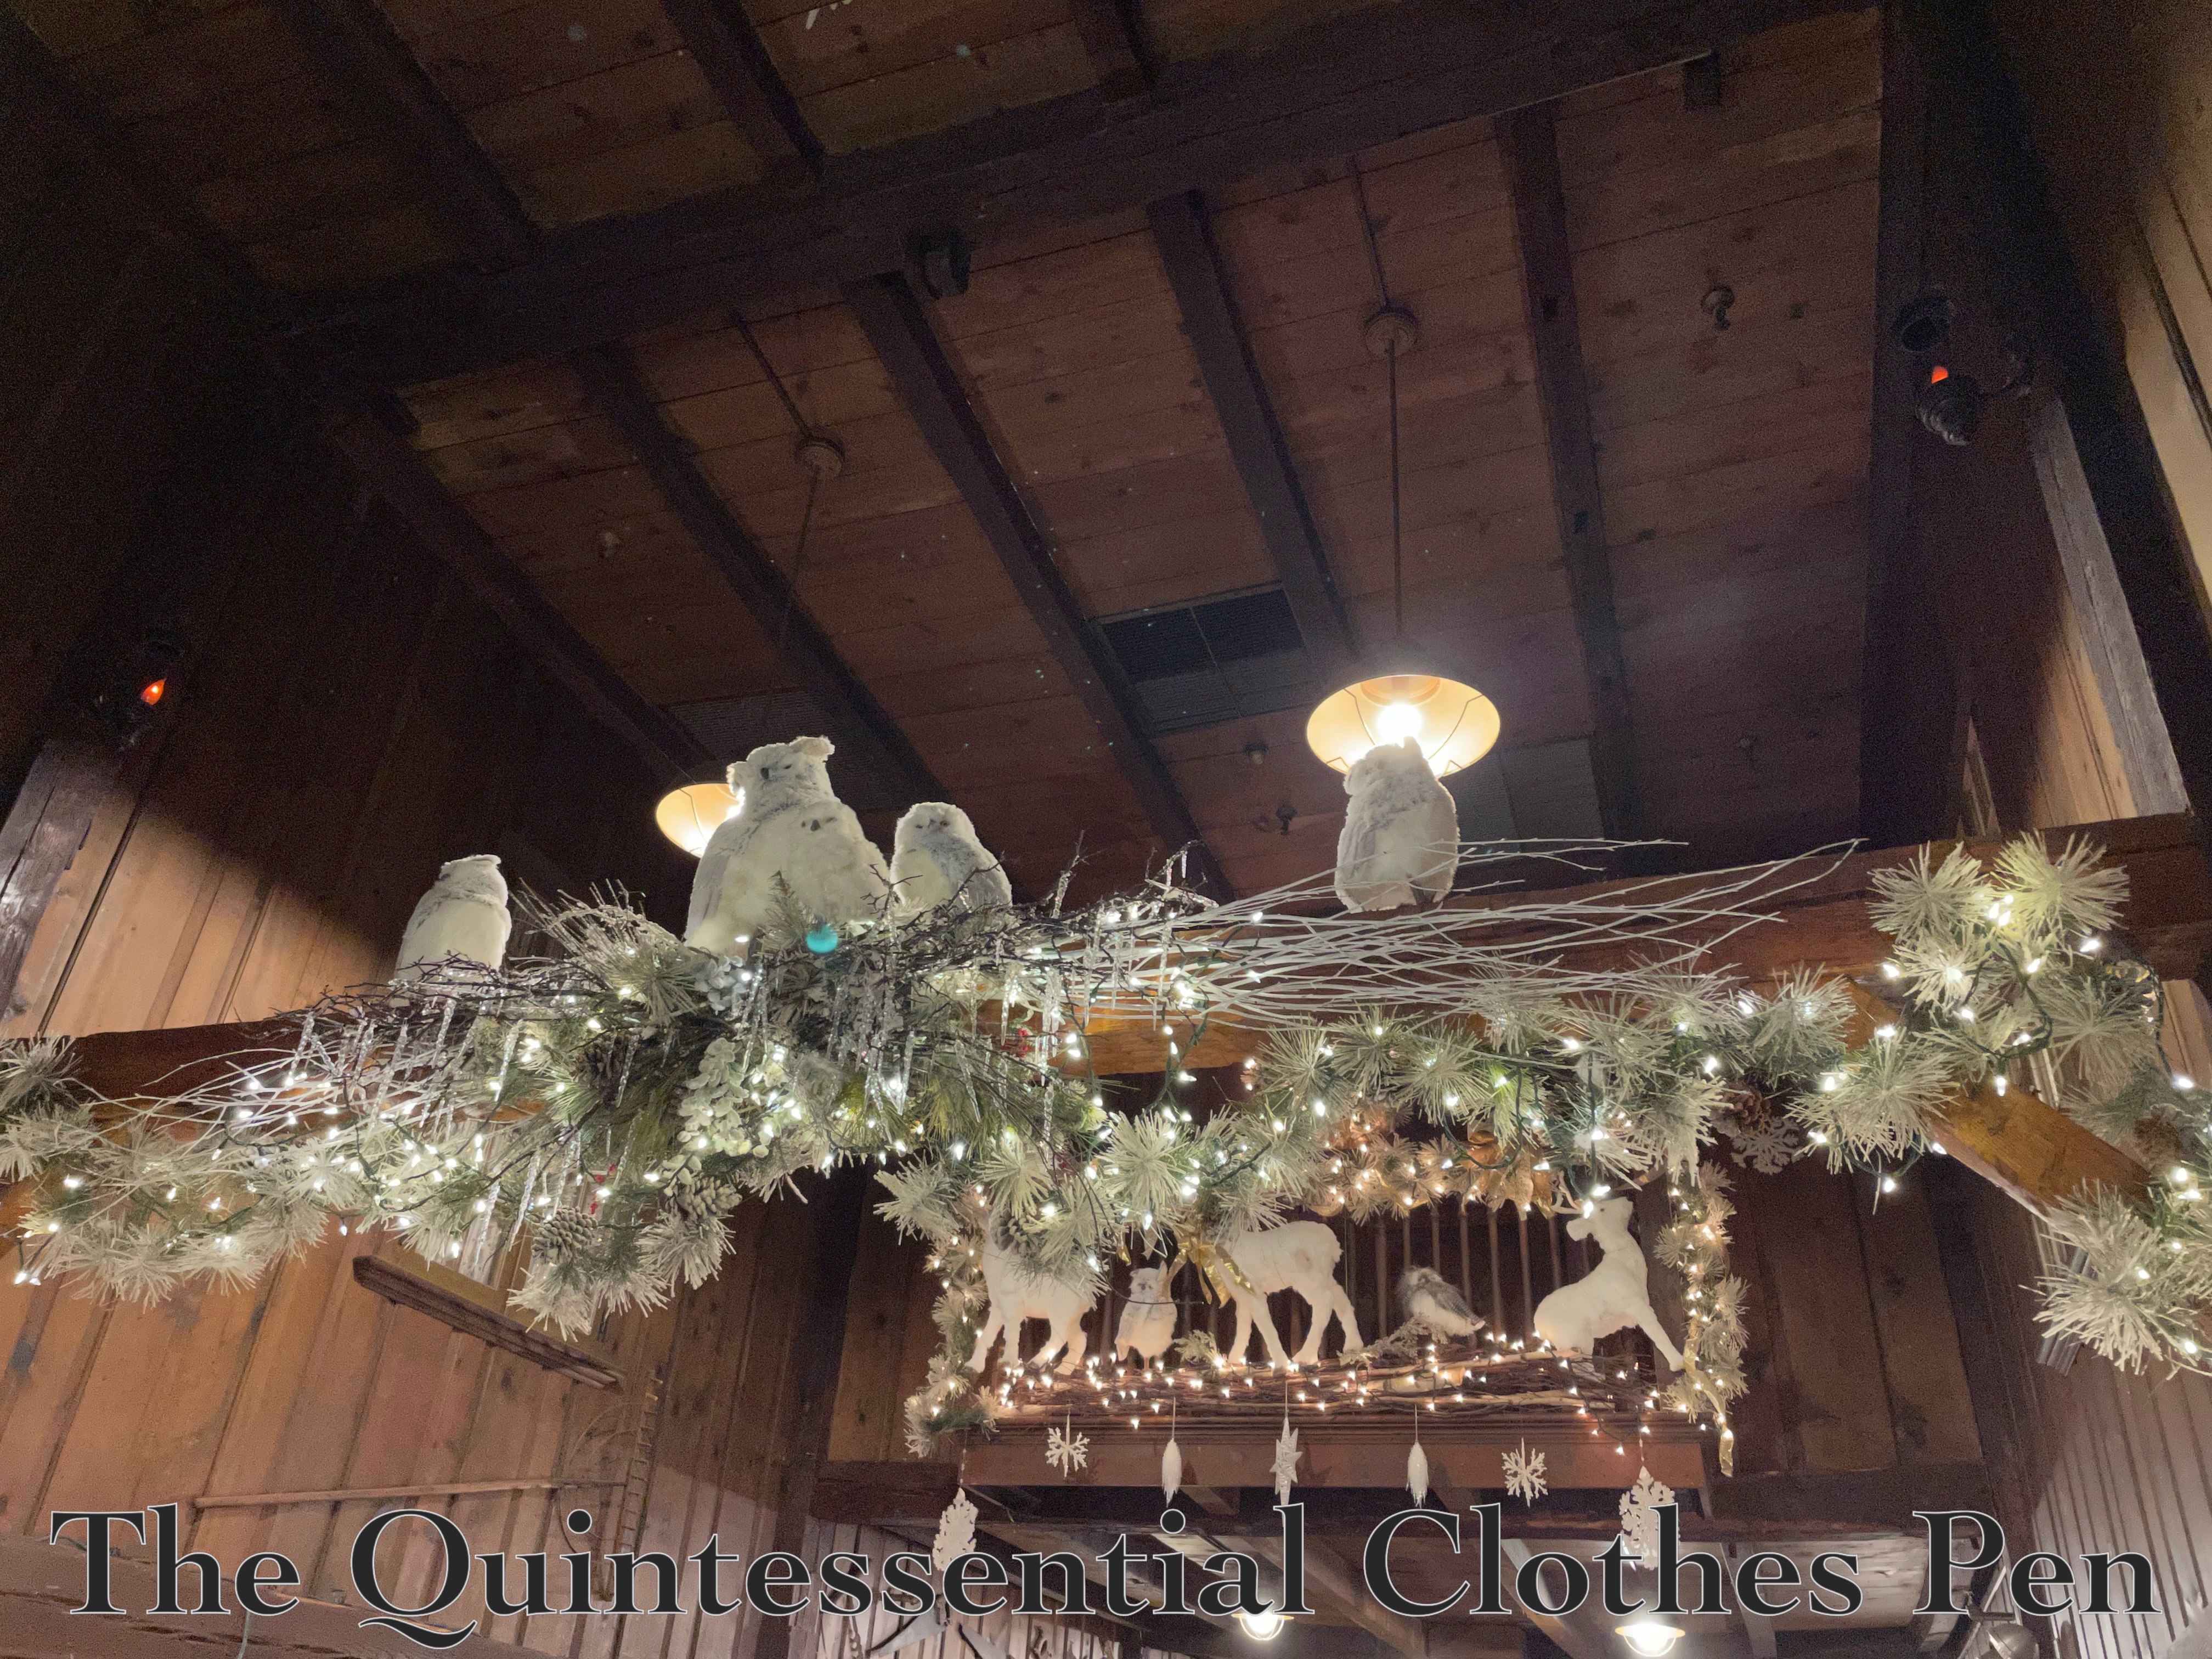
There were new vignettes around every corner, with everything from human-sized nutcrackers to animals and greenery. These owls, perched up on a rafter, amused me very much!

In another, more modern part of the building, we paused to take photos with a tree whose decorations matched my 1832 Velvet Gown and 12 Days Of Christmas bells & berries hair accessory. This dress is always fun to wear–lightweight, despite the velvet, and with a silhouette that is always entertaining.

I hope your holidays are full of joy, friendship, and gratitude!

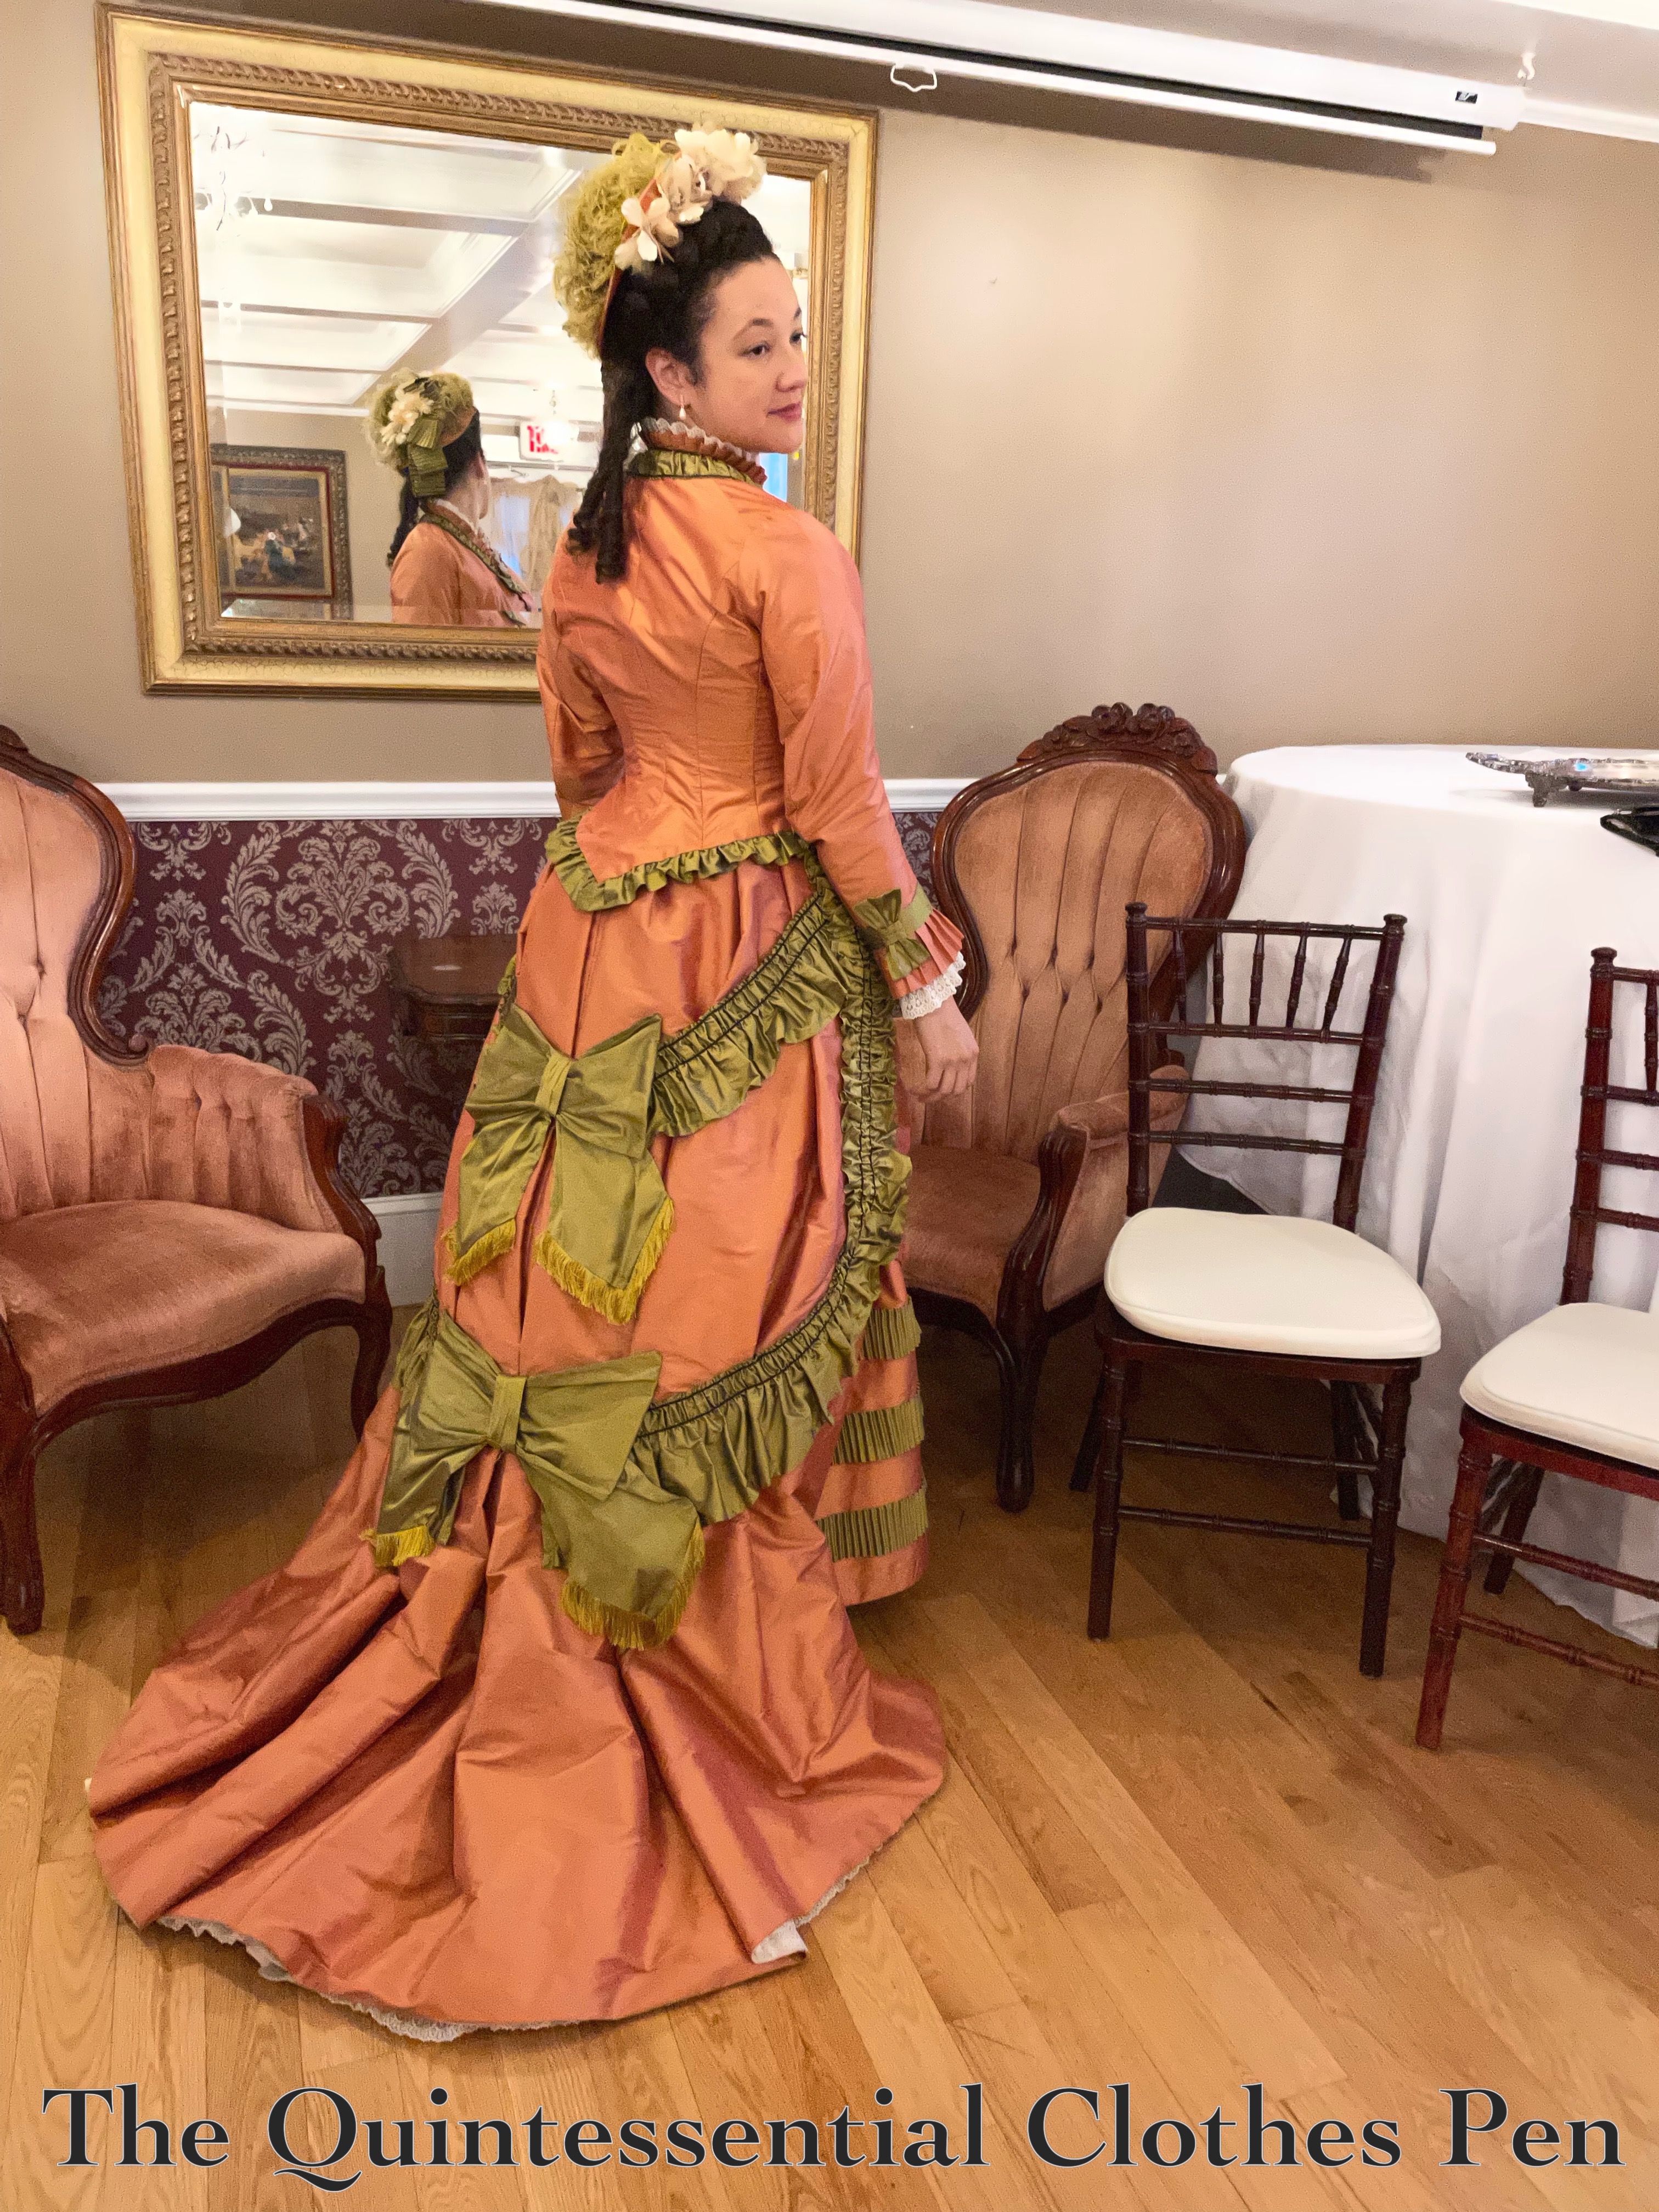
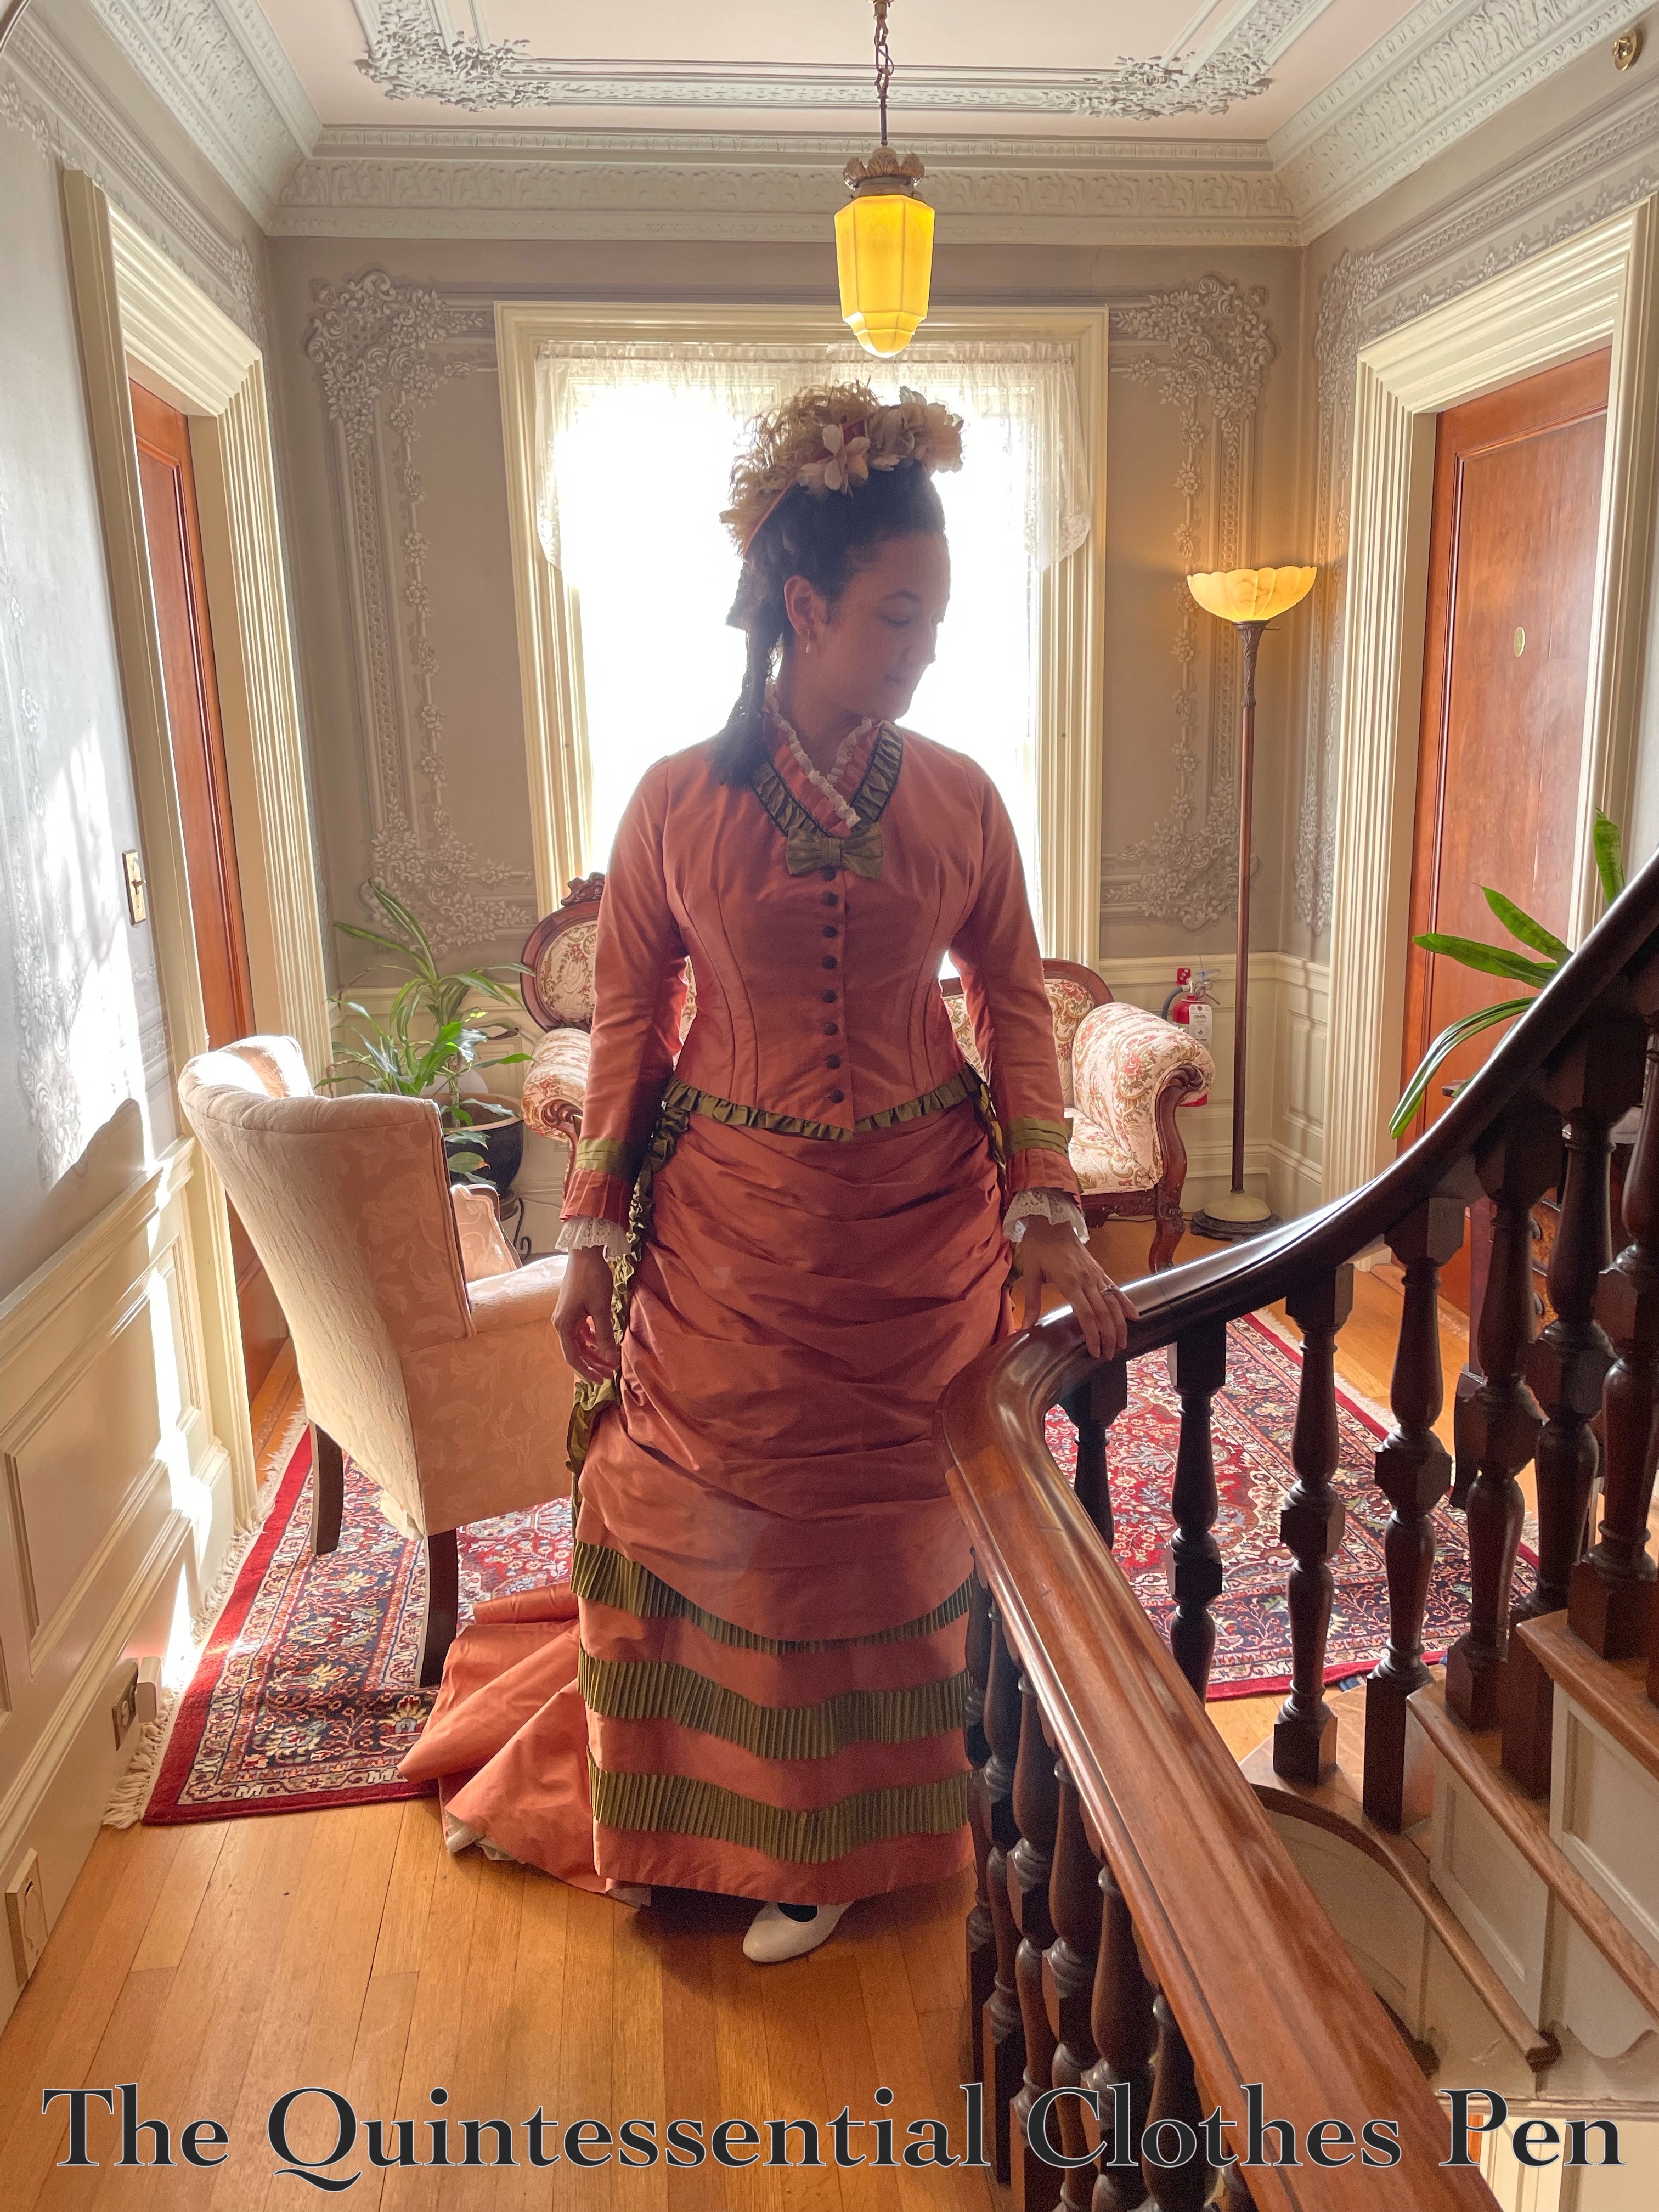
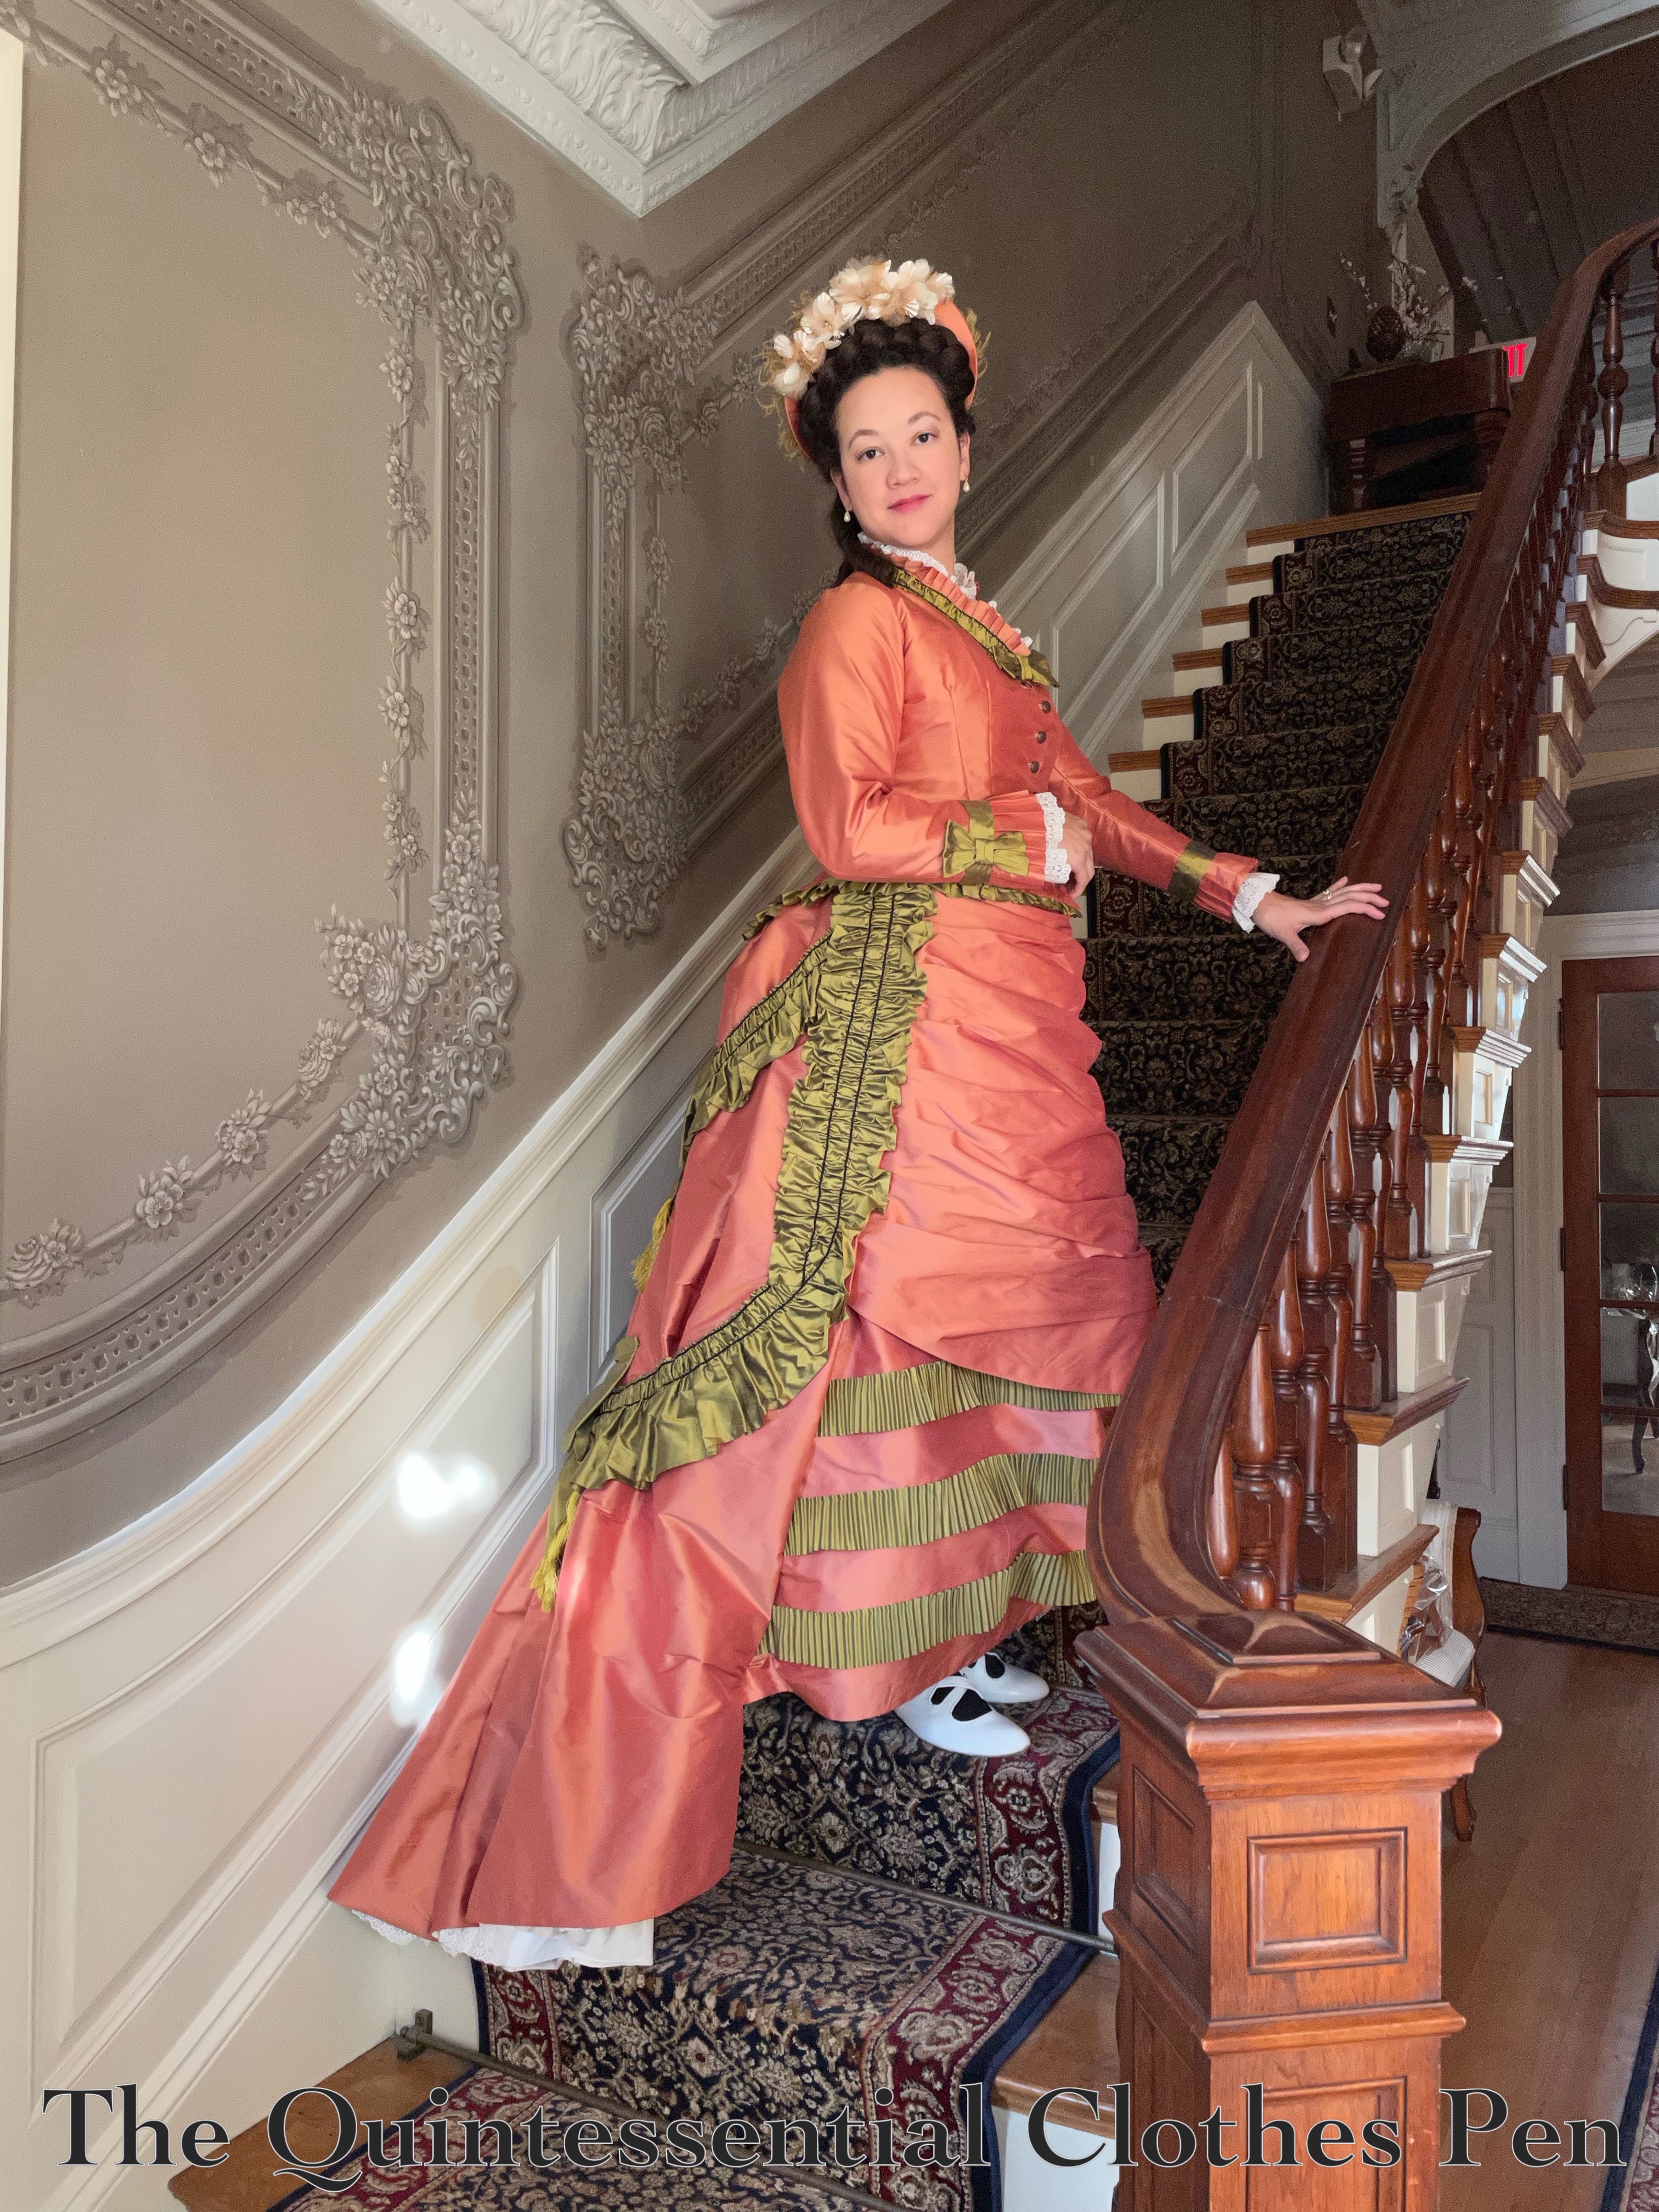
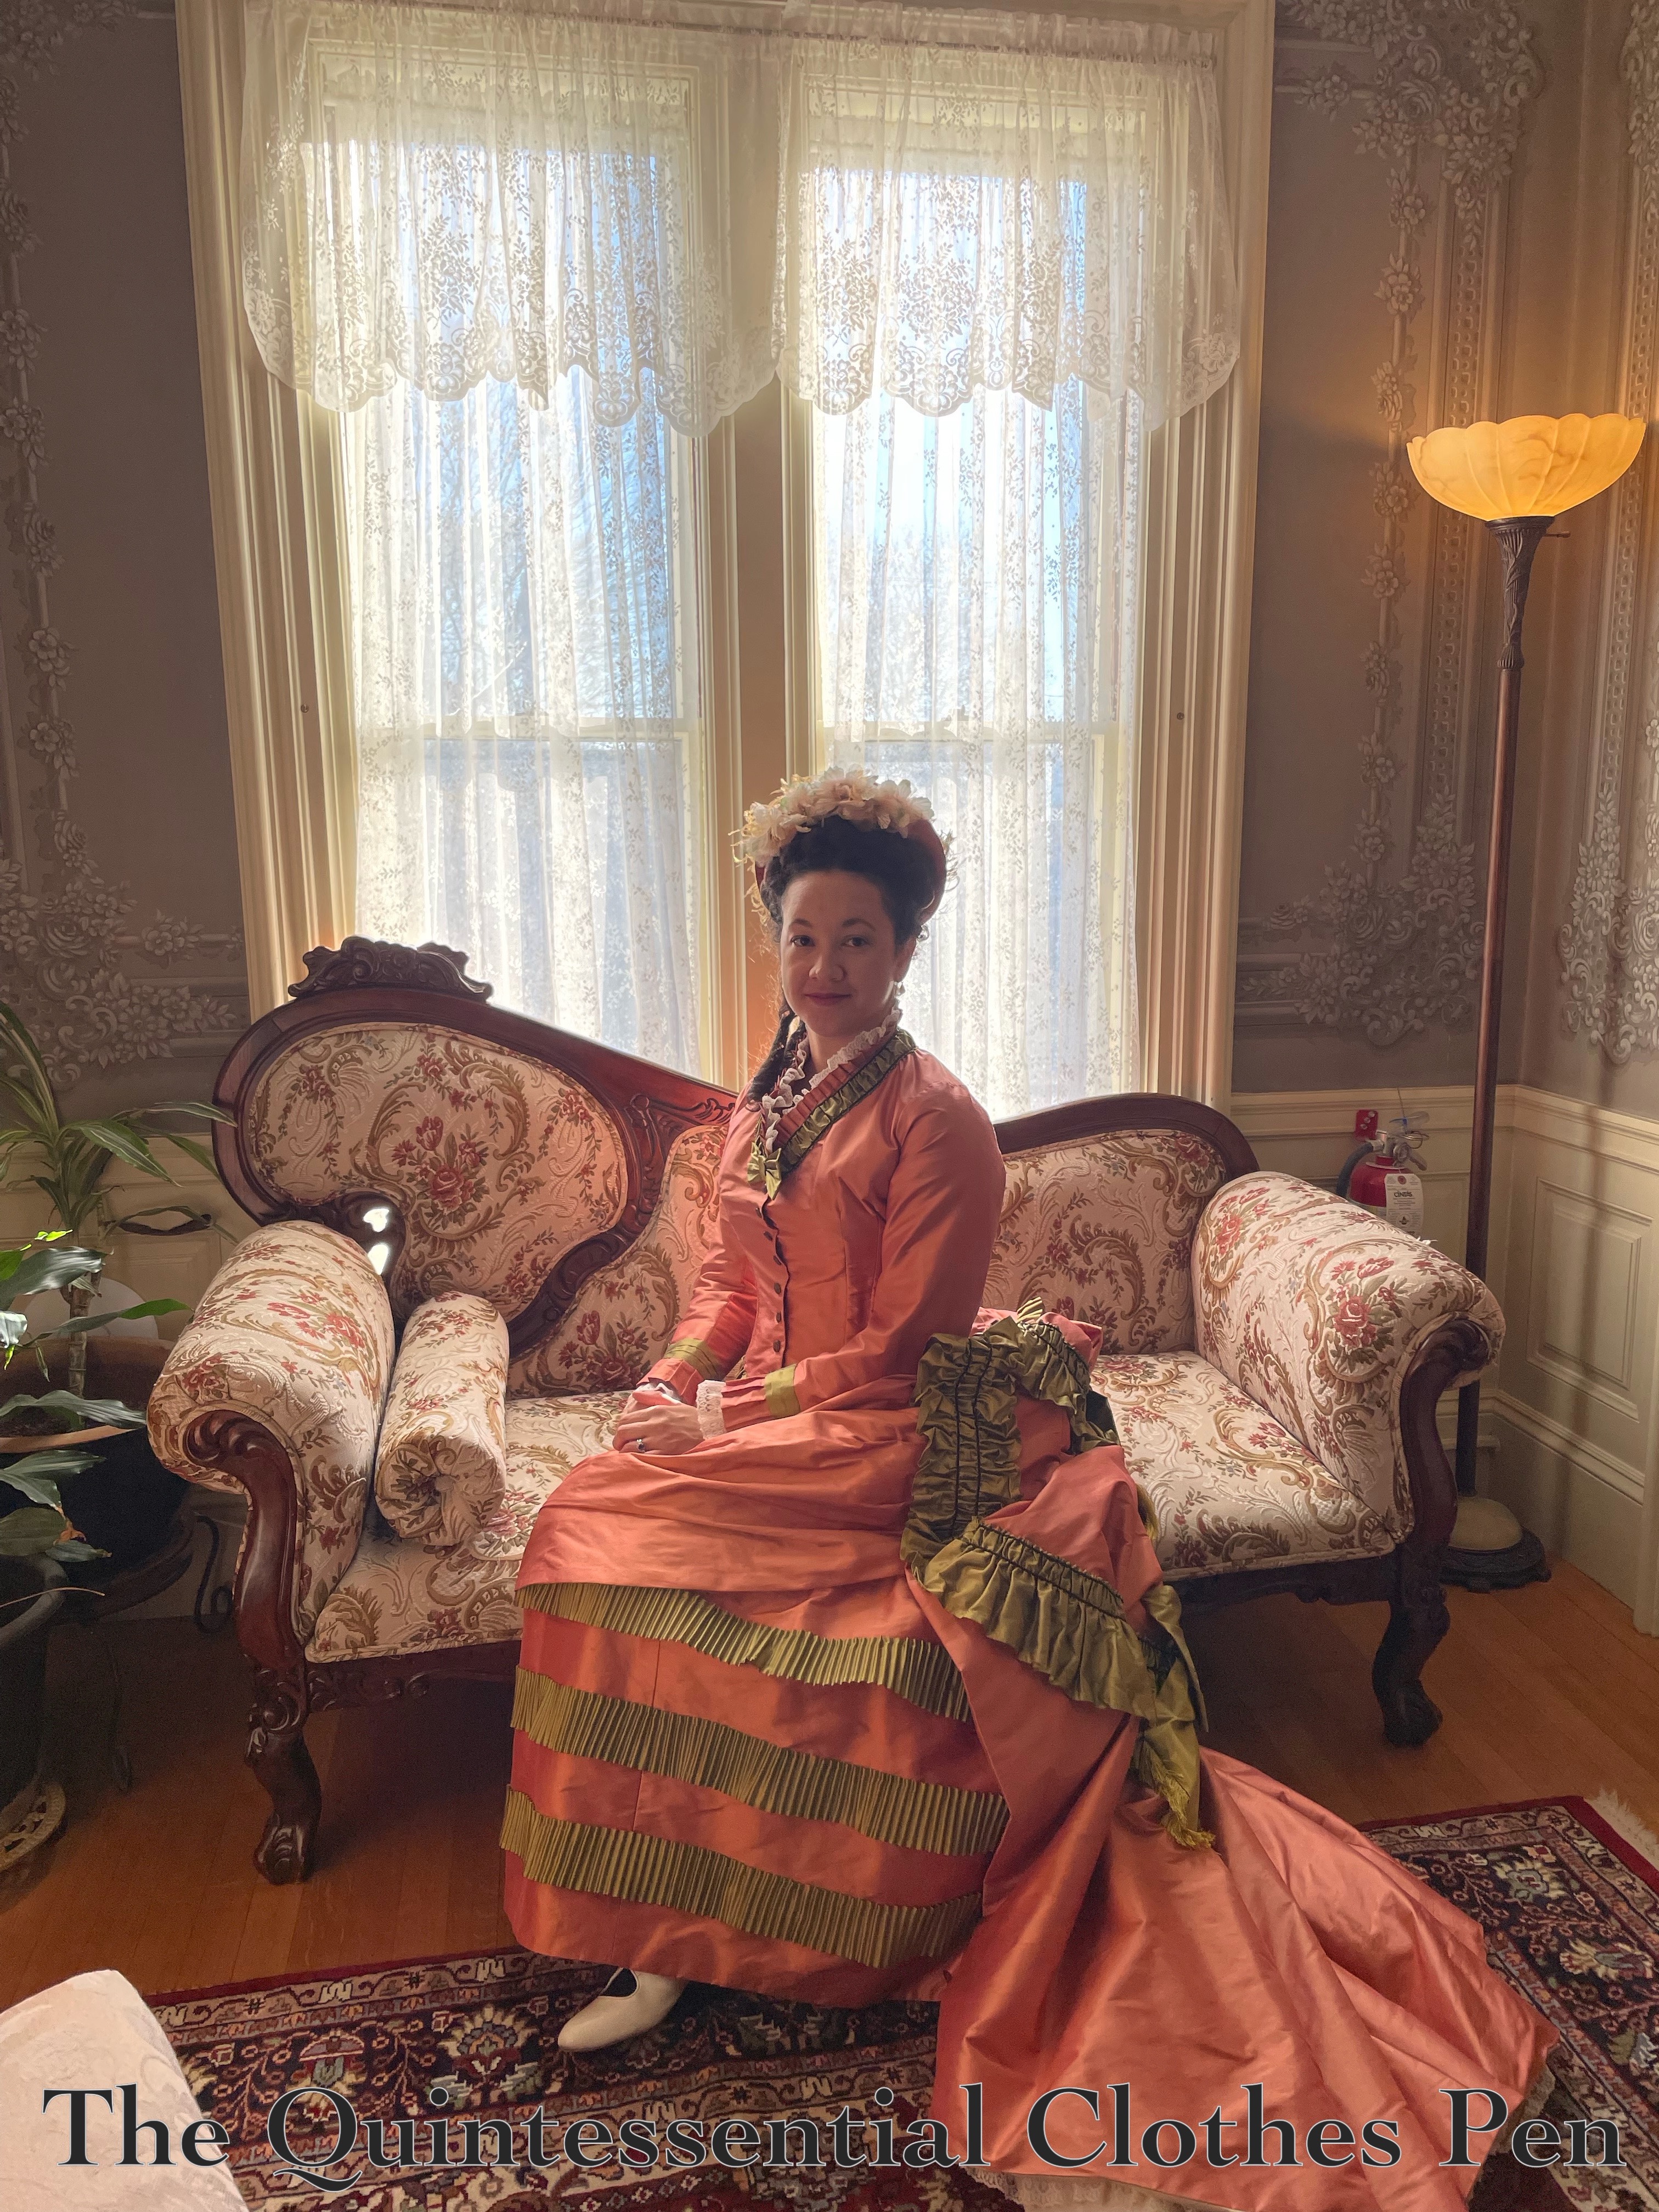
1875 Reception Dress Photo Shoot

I was really excited to spend lots of time working on and finally completing this dress during the summer of 2020.

At that time, there was no option of finding a fabulous indoor place to take photos, so I had to make do with the outdoors. Don’t get me wrong, I have lovely photos from that short outing, but they didn’t have as much background ambiance as I was hoping to find, someday.

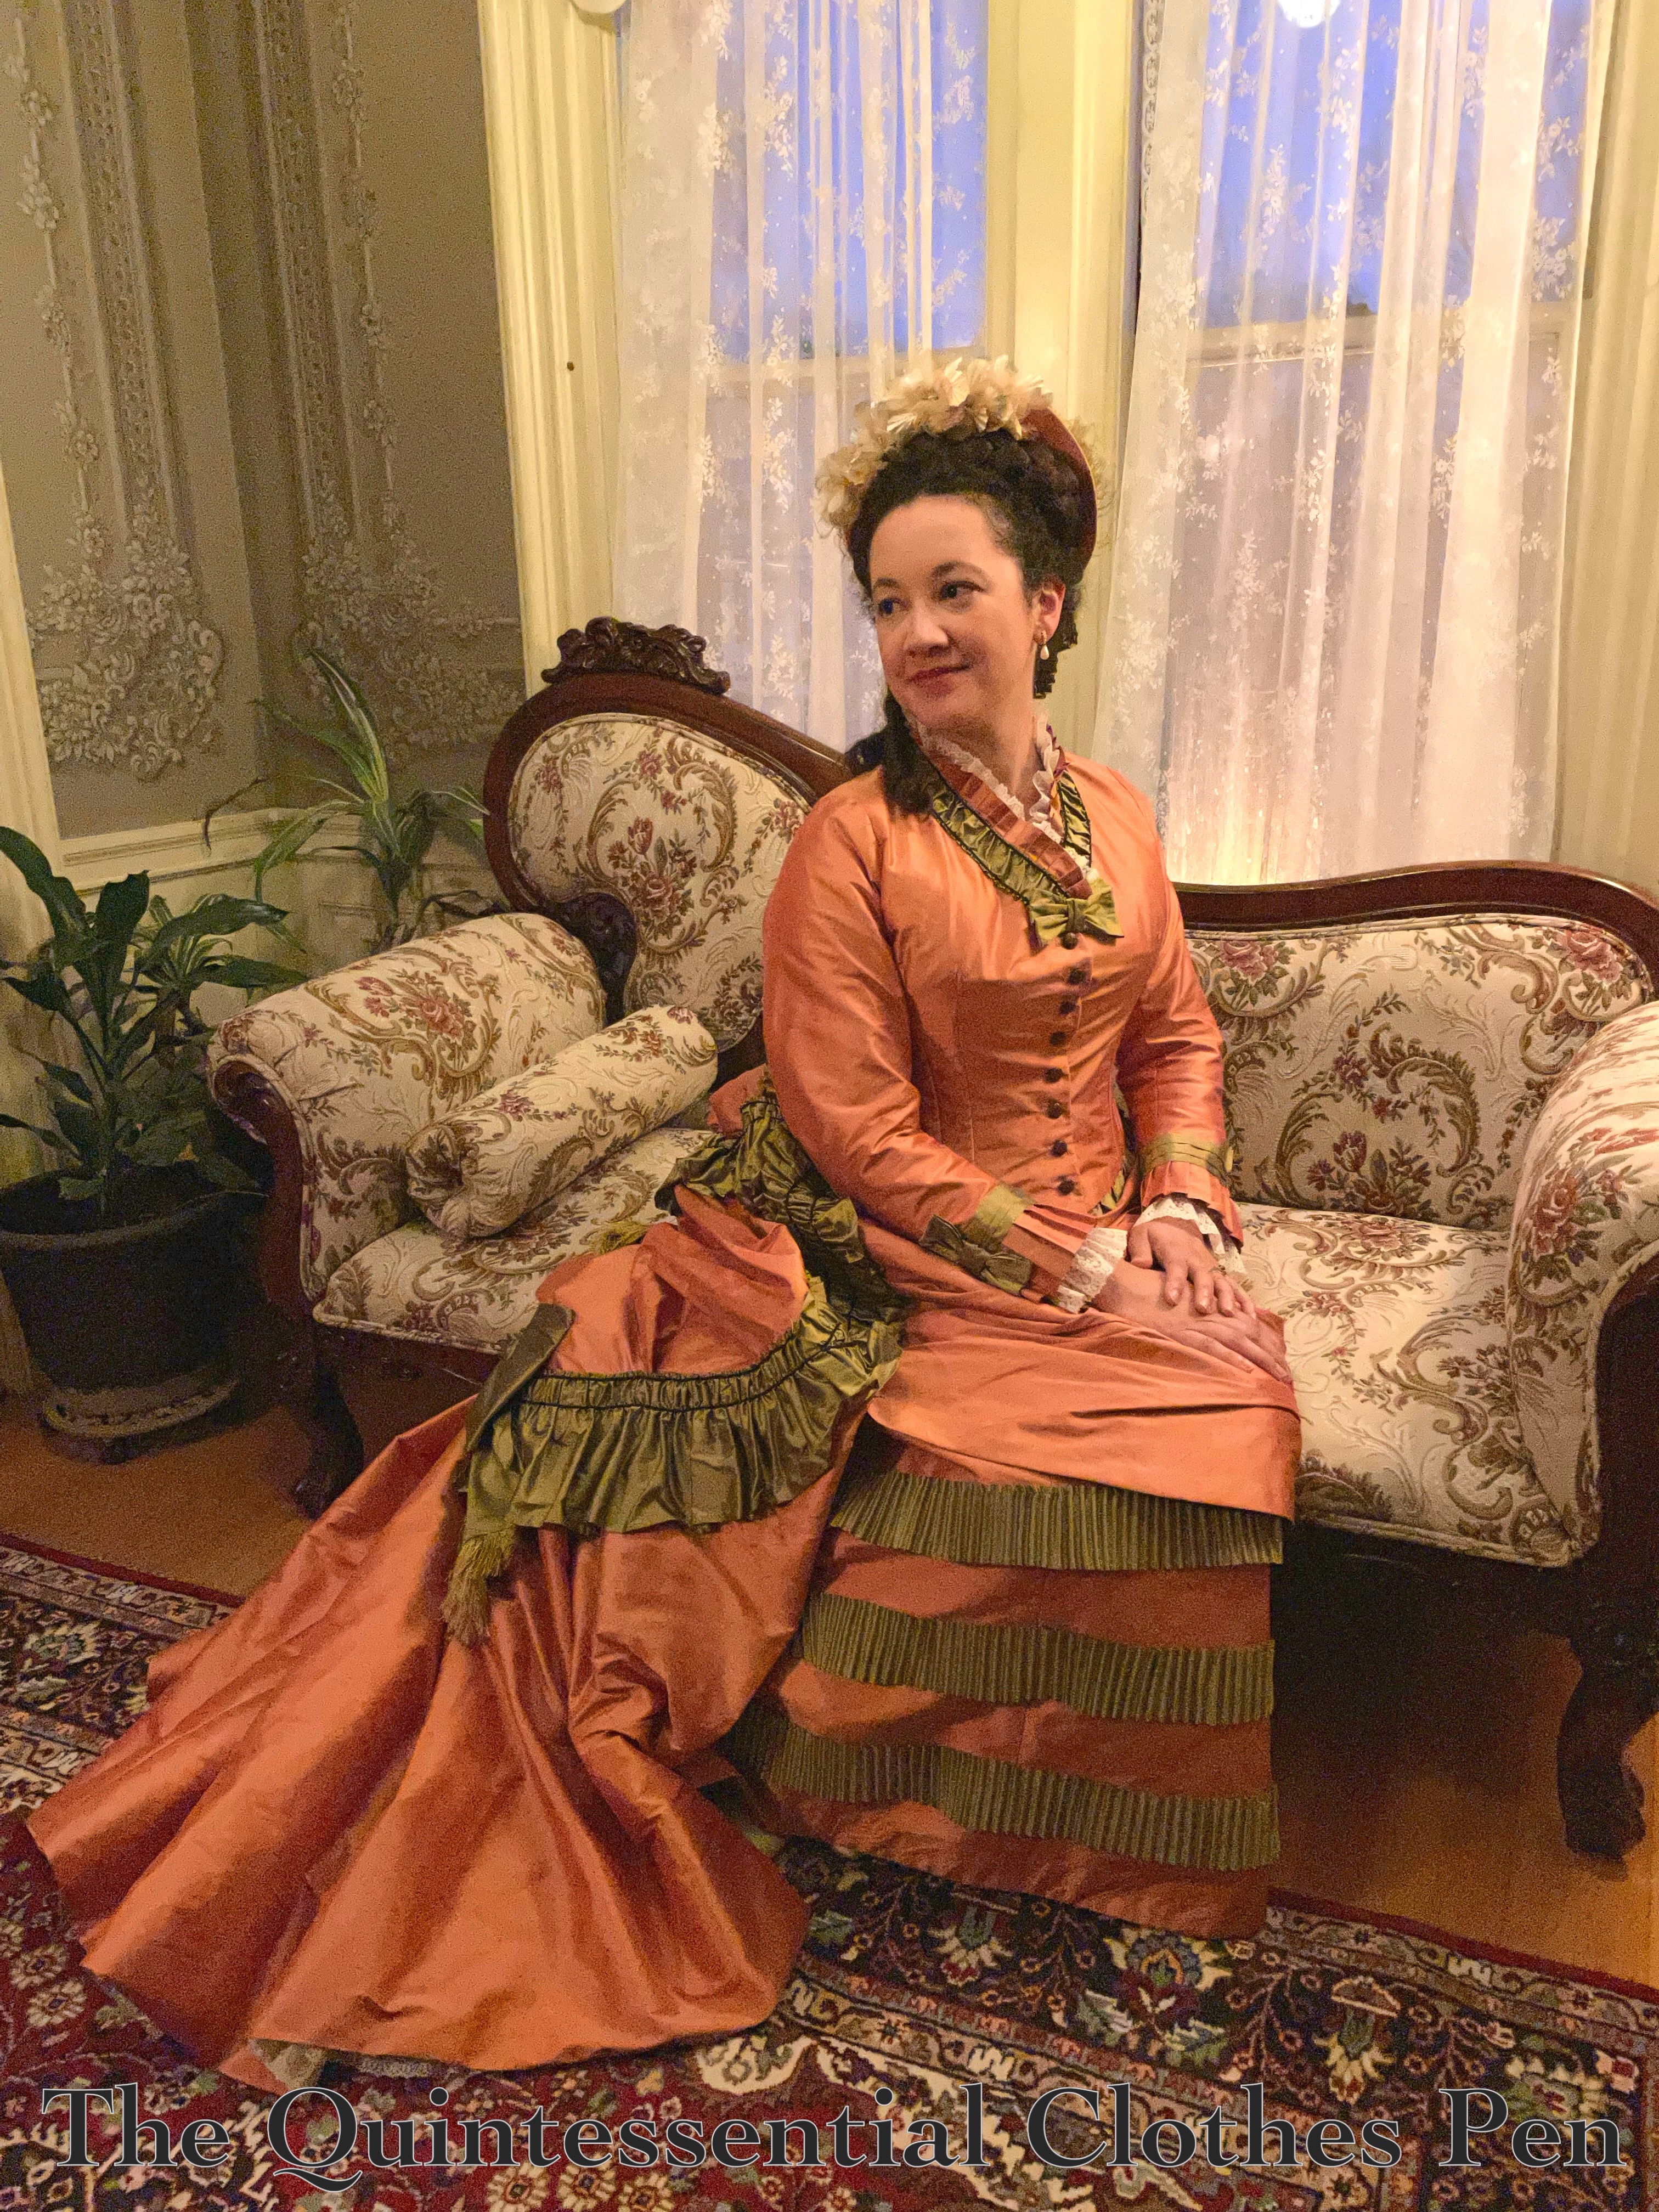
But last year, I had the opportunity to actually wear this dress for an activity! And I was able to convince friends to take oodles of photos so I could better document the dress in appropriate surroundings for its reception status. So now, I present many photos of this dress.

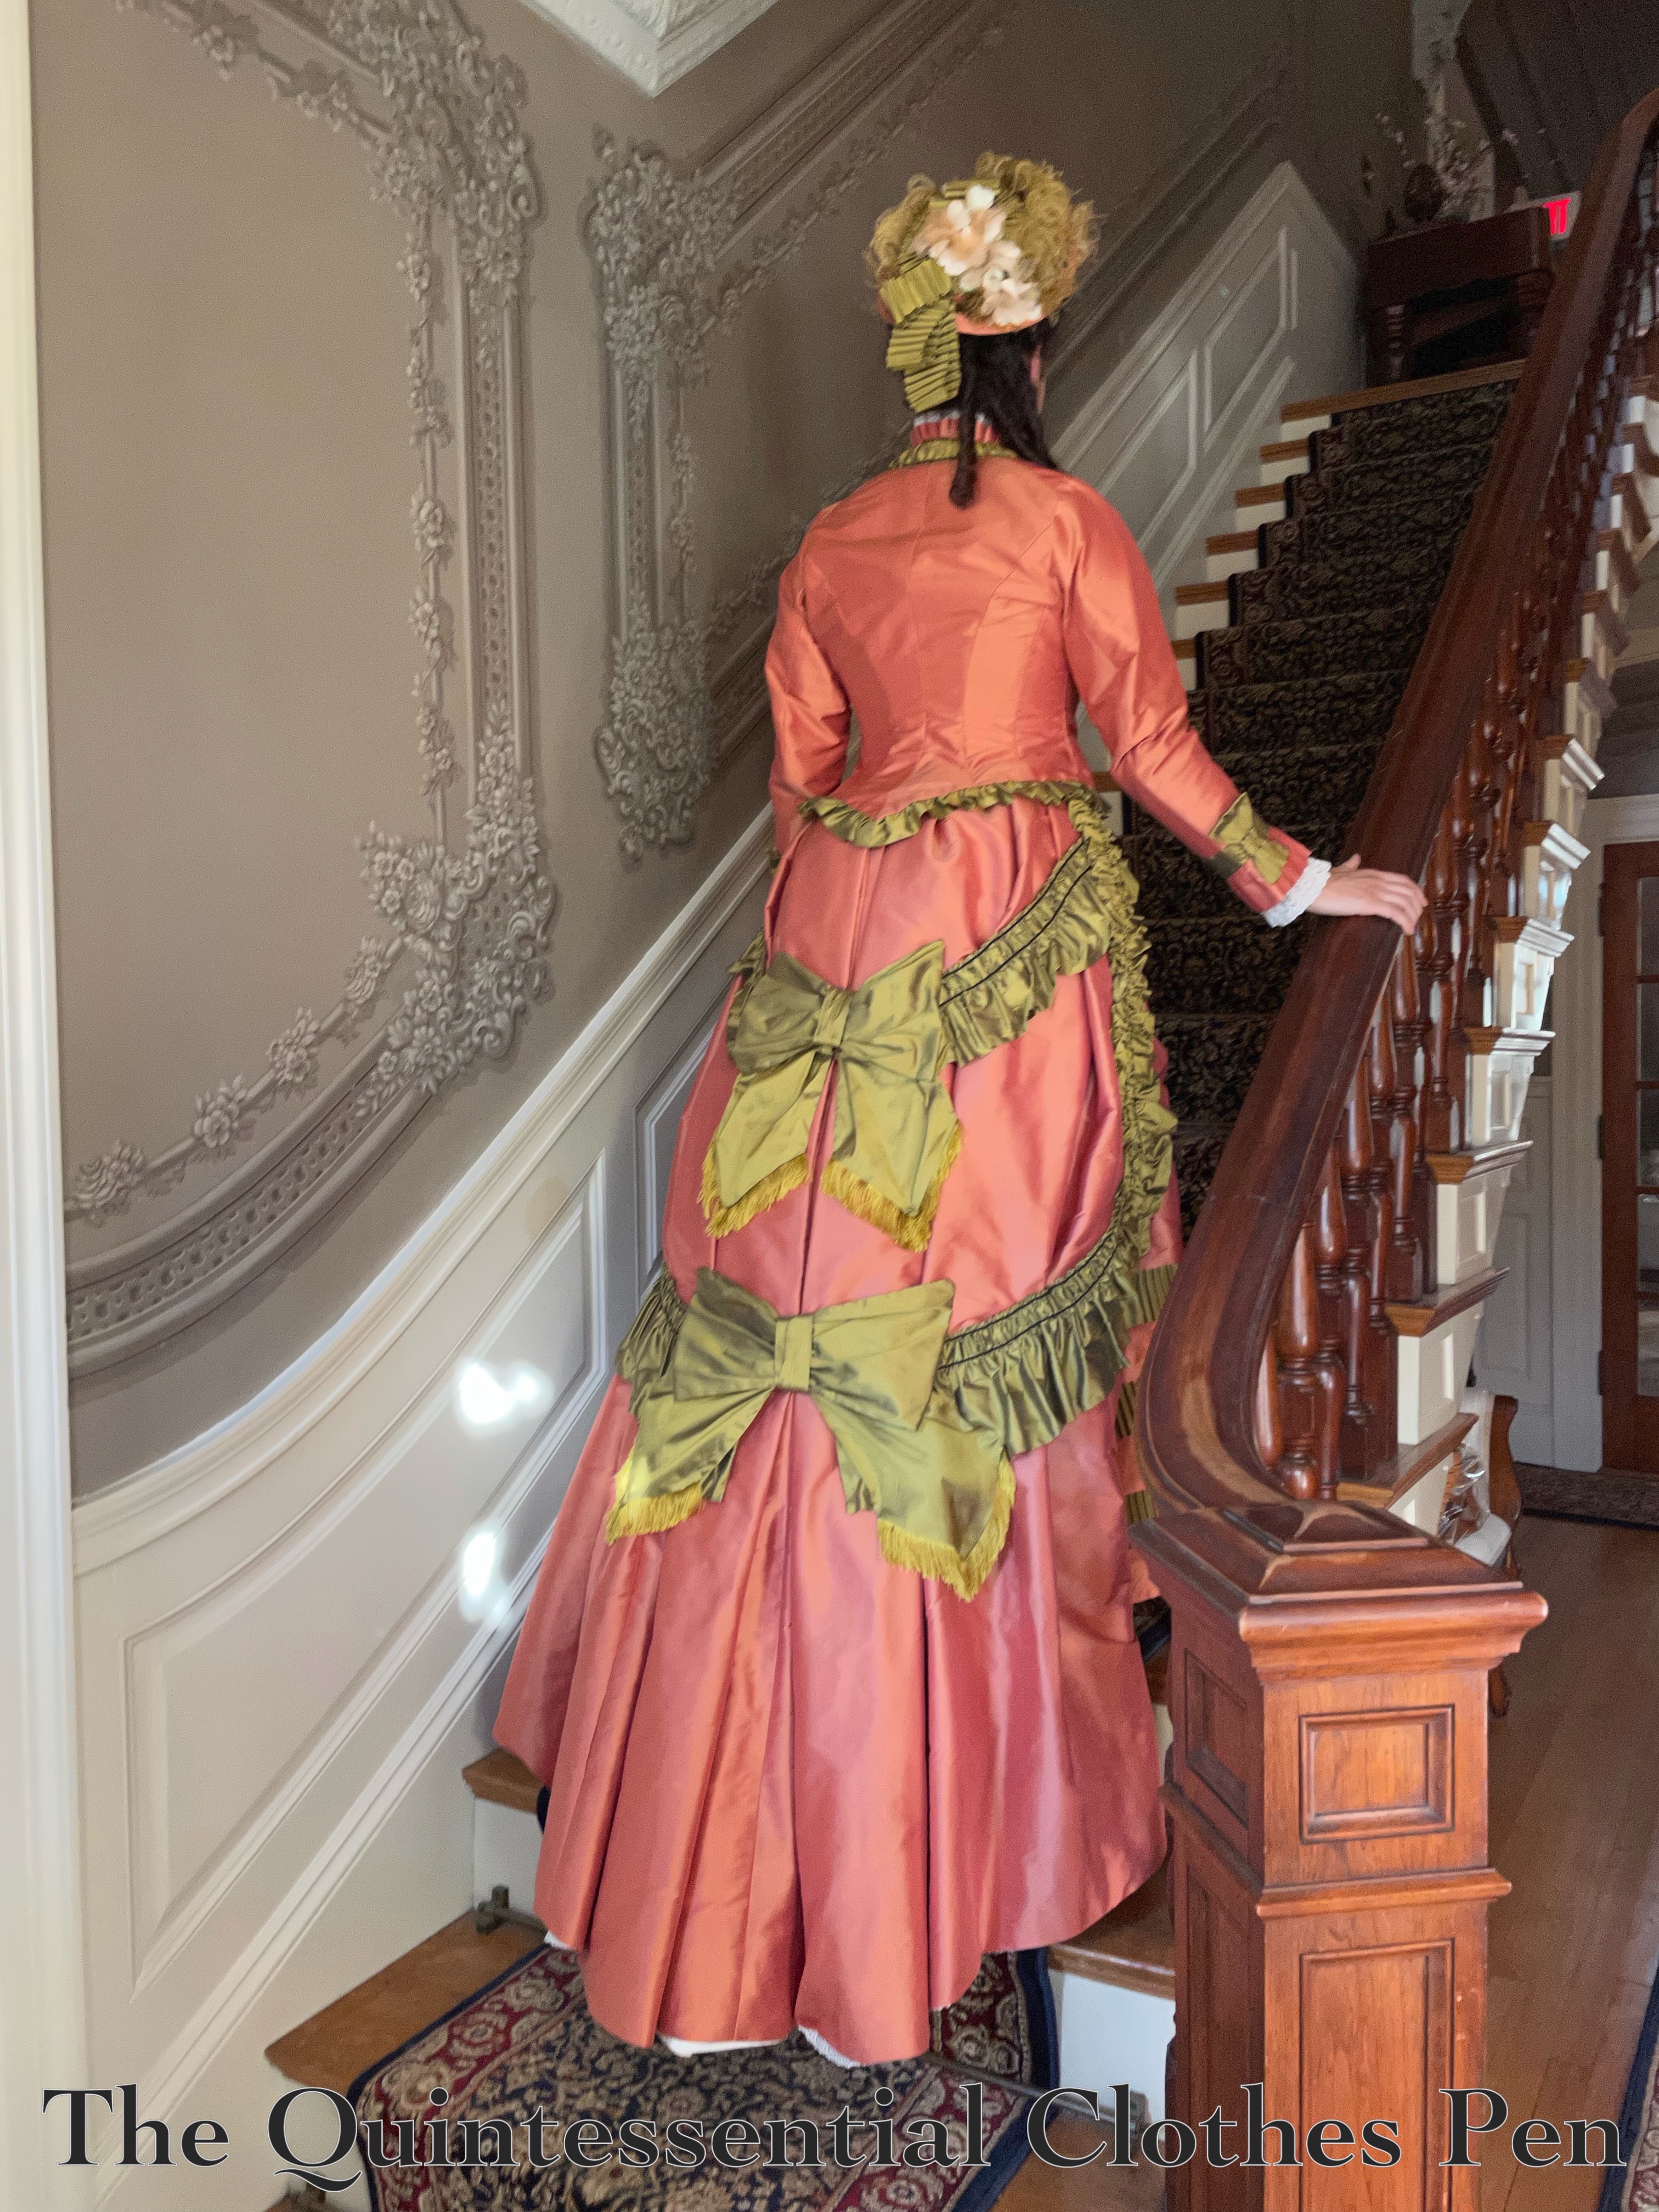
There are dramatic back views, of course.

And front views showing the bust, waist, hip dimensions I worked very hard at in the patterning stages. This is created/augmented with padding. You can read more about that in this past post.

There are also views trying to show both the front and back. A side front view, if you will. This also captures the hat very well. I wrote a detailed post about making it, which you can read here.

And a few more sitting photos, as well. These are great for showing off the train and the layers that support it (this is my past post about constructing the skirt and this is about the balayeuse that supports the skirt, if you’d like to know more).

It was hard to choose favorites! I’m very pleased to have so many photos that capture the glory of this dress in an appropriate location.

Gilded Age Weekend Portraits

As I shared in my last post, friends and I planned a historical weekend away that had a Gilded Age theme. Part of the idea was to document some of our older and recently made clothing in a fabulous setting. To that end, I have many photos of our outfits that I would like to share!

To start, some daytime outfits, worn for afternoon tea and amusements.

So much detail! Fabulous fabrics, beautiful trims, eye catching hats and hair ornaments… the list goes on and on!

And to follow that, a few of our evening outfits.

Thanks for appreciating and enjoying these with me!

Gilded Age Weekend Highlights

Last year, friends and I decided to treat ourselves to a historical weekend away. With a number of bustle (1870s and 1880s) and 1890s dresses languishing in our closets, the chosen theme was the Gilded Age. We planned a very busy weekend of parlour games, afternoon tea and amusements, informal dance practice, and a formal ball.

Regular blog readers already saw a hint of this event in my last post, When The Dress No Longer Fits (1896 Evening Gown), but I have a few more posts to share, as well. Today’s post captures some of the amusing highlights from the various weekend activities.

To start, a behind the scenes shot of partially completed hair for my 1875 dress (which you can see in the photo after the one below). The photo below also shows off My Favorite Winter Things Skirt! Yes, I continue to wear this during the winter. The penguins, polar bears, and foxes participating in winter activities–skiing, ice skating, sledding, etc–continues to bring me amusement and joy.

And here, a still of theatre-adjacent people trying to create an amusing atmosphere while not making absolutely ridiculous faces. It brings me such joy to have well dressed friends!

Friends who also enjoy creative pursuits, such as creating homemade tabletop croquet! Not only is this absolutely adorable, but it’s also playable!

Our afternoon amusements also included a stereoscope.

Here is another view of the lovely ensembles at the ball.

I wore my 1896 dress, as you can see in the photo below. This is a classic for us. Moose pose!

And, to wrap it up, this is the bronze 1896 skirt after being stepped out of. The canvas is so stiff it literally stands up on its own, a fact which I’ve found to be amusing ever since I first made this over 10 years ago.

Thanks for joining me in the adventure!

There are more photos to come… a selection of outfit portraits and better-than-my-backyard documentation of my 1875 Reception Ensemble.

When The Dress No Longer Fits (1893 Evening Gown)

Way back in 2012, I made a Bronze and Pink 1893 evening gown. The original construction information can be found in the original post. I updated it in 2013 (documented in this past post) and continued to wear it for a number of years. Then my shape changed, and in 2016 I made my 1899 Elusive Blue dress, which was a fun new thing to wear from a similar period.

And so, my 1893 dress languished in the closet. For an event last year, however, I decided to pull it out instead of wearing the Elusive Blue dress. Below, successful re-wearing of my now-eleven-year-old 1893 dress.

After initially trying the dress on, it was clear that my change in shape meant that the original dress would no longer fit, but I decided to persevere and update the dress to make it wearable again. This involved:

  • Adding a panel to the back to extend the circumference of the bodice (saving fabric extras pays off!)
  • Adjusting the circumference of the pink sash to match the new width in the bodice

The skirt closure didn’t need an adjustment, as I had originally made it with two sets of hooks and bars and was able to simply hook the closure on the looser bar for the updated wearing

Below, a photo of the updated dress from the back, where the additional back panel is visible.

While the dress was wearable and I was pleased with my updated accessories, I was not as pleased with the dress as I was when I first made it, nor was I as happy with it as I am with my 1899 dress. I’d like to update it a bit more some day and see if it brings me more joy for a future wearing. Specifically:

  • I’d like to add net and gold sequin trim to the back neckline to help add interest and distract from the added panel (the original in Patterns of Fashion is unadorned and makes an elegant V, as mine originally did, but I like the plain look less with the size adjustment)
  • The tall section of canvas I’d added to them hem of the skirt when I originally made the dress made sense at the time to add stiffness, but over the years I’ve realized that it’s also heavy and actually reduces the size of the silhouette. I think I’d like to remove the canvas (or drastically reduce its height)
  • I’d want to wear my chemise tucked lower! I’m sad that it’s poking out in the photos

Despite some quibbles, I am pleased overall with the fact that I was able to update this dress to make it fit again.

GBVS Newport Weekend 2022, Part II (Mansion Tours)

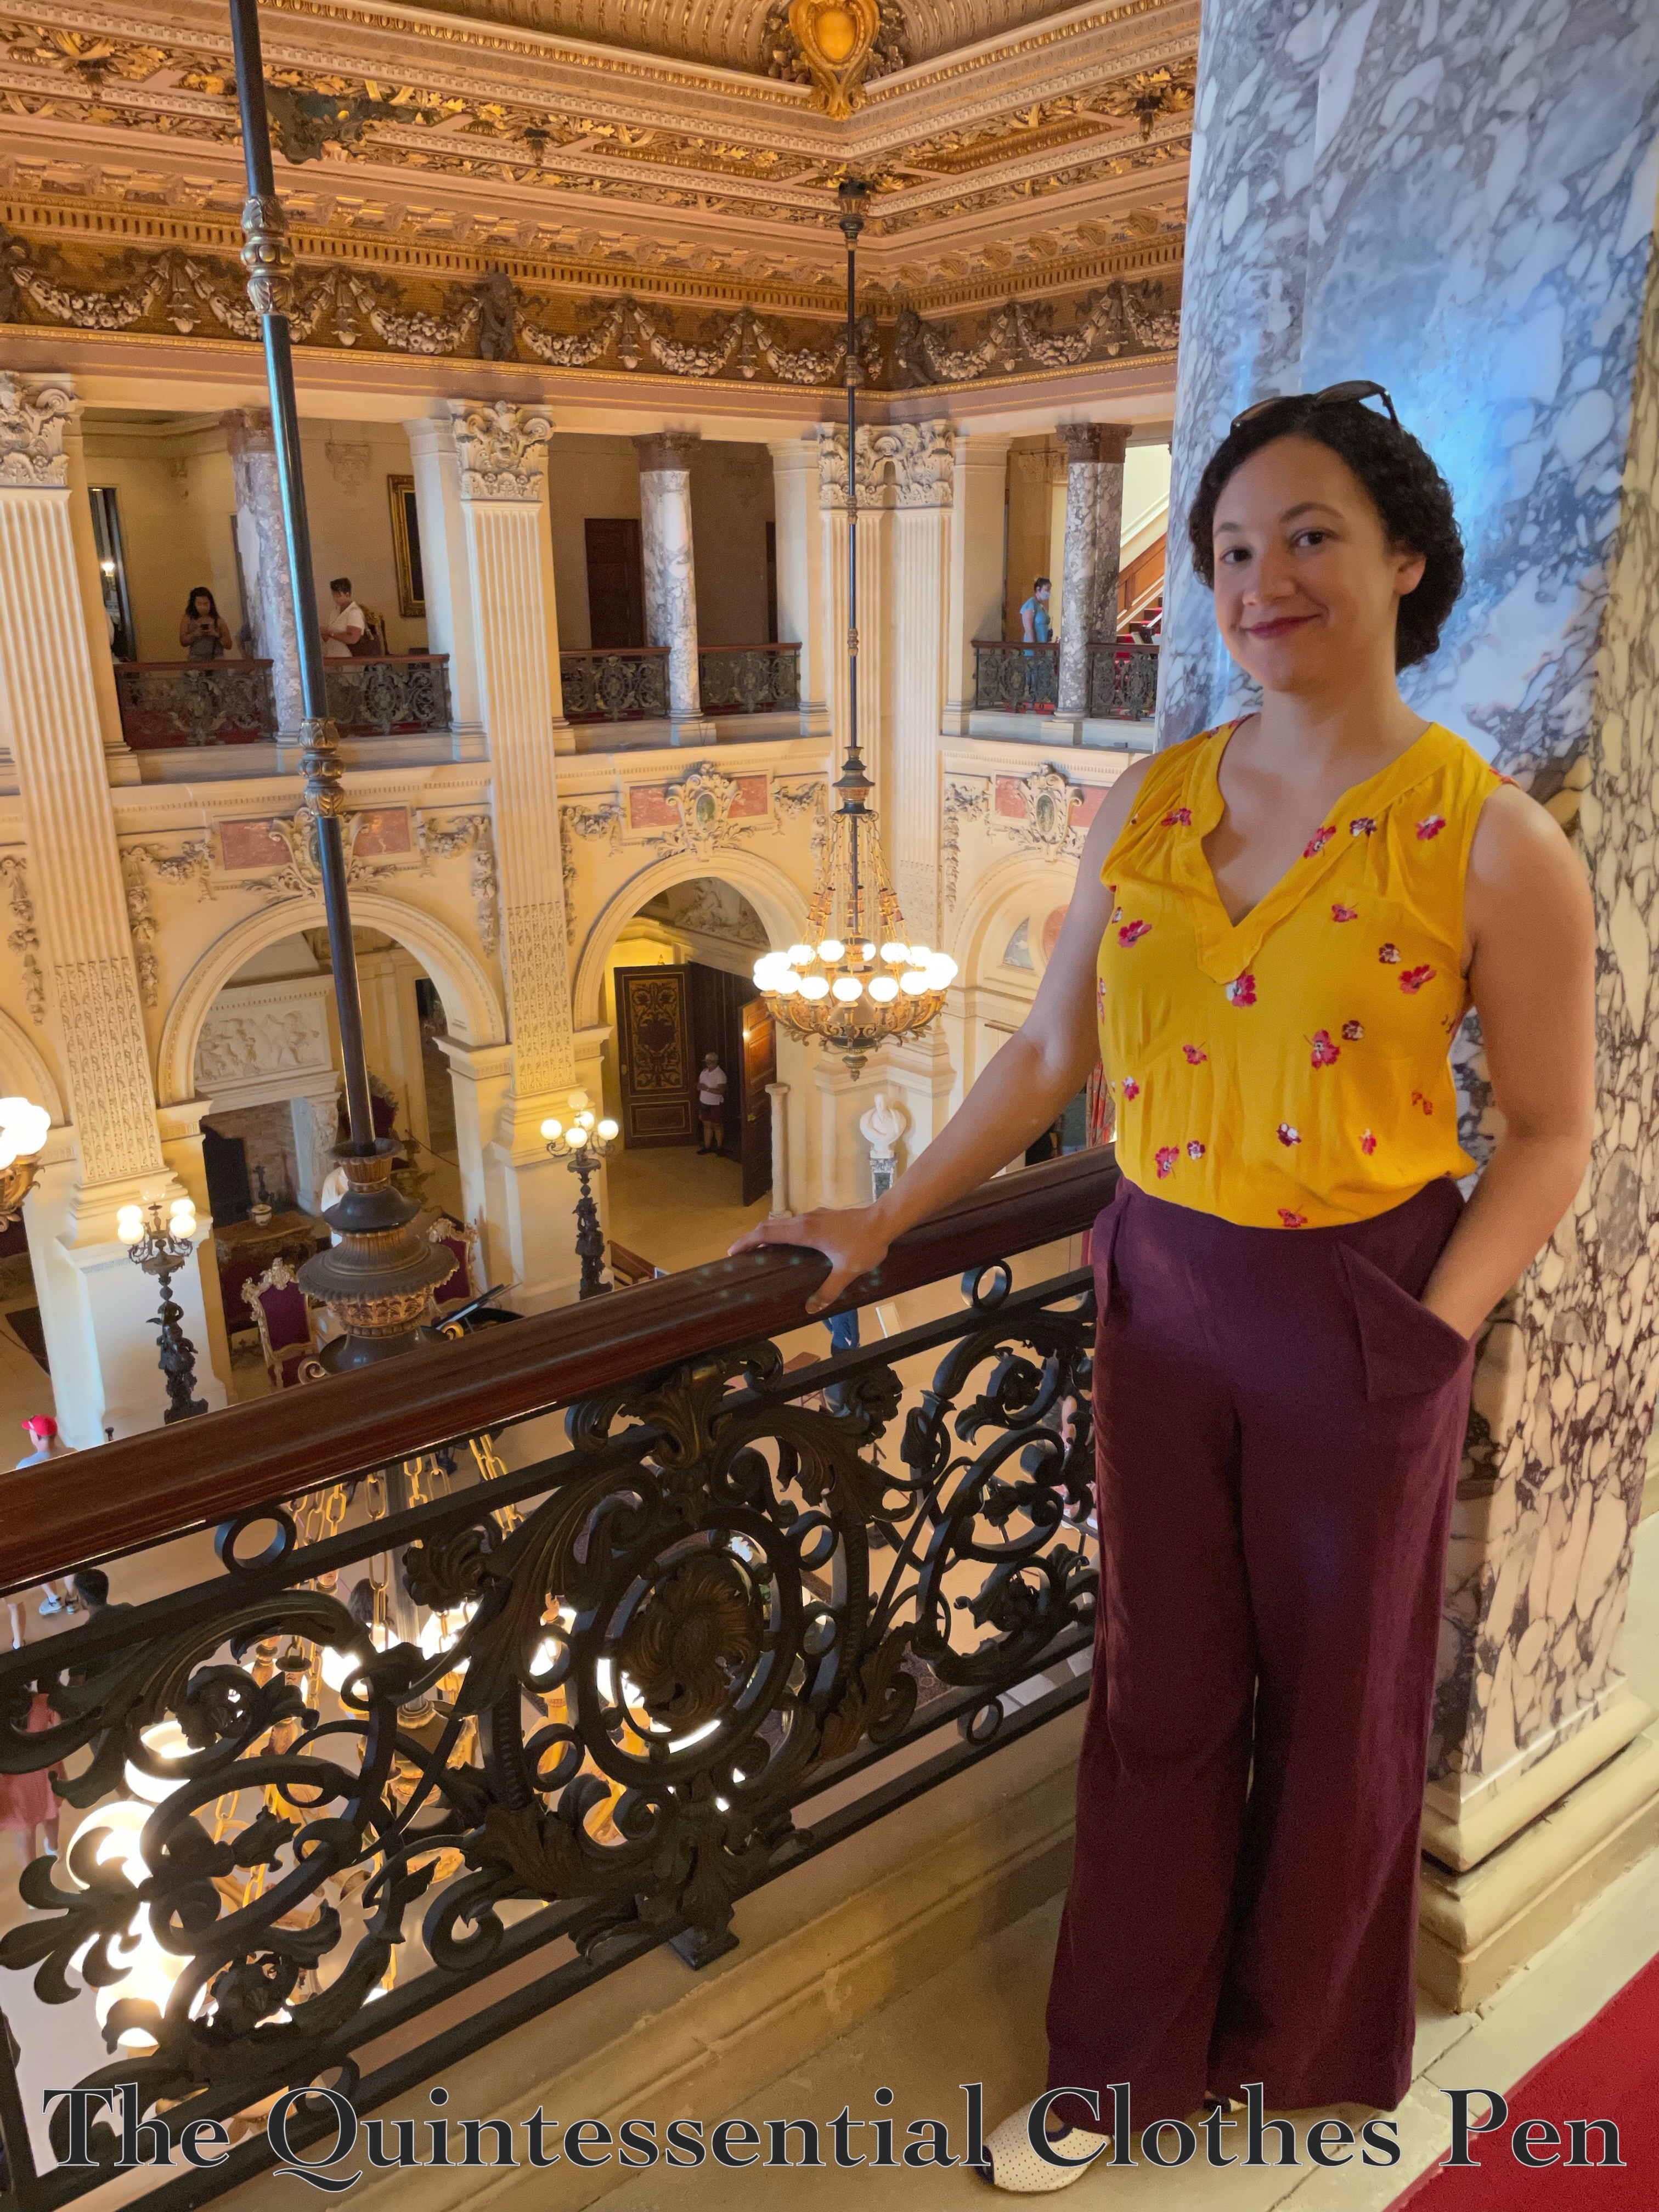
One of the add-ons to the GBVS Newport Weekend in 2022 was the opportunity to visit a number of the mansions for tours. I took advantage of this and visited The Breakers, Rosecliff, Marble House, and Chateau-Sur-Mer.

The Breakers
One of the grandest of the Newport mansions, The Breakers was designed by Richard Morris Hunt and modeled on Italian Renaissance palaces. Completed in 1895, it was the summer home of Cornelius II and Alice Vanderbilt. The house totals 138,300 square feet.

Here are a selection of photos, starting with the grand front gate and continuing through a few of the indoor vistas.


Rosecliff
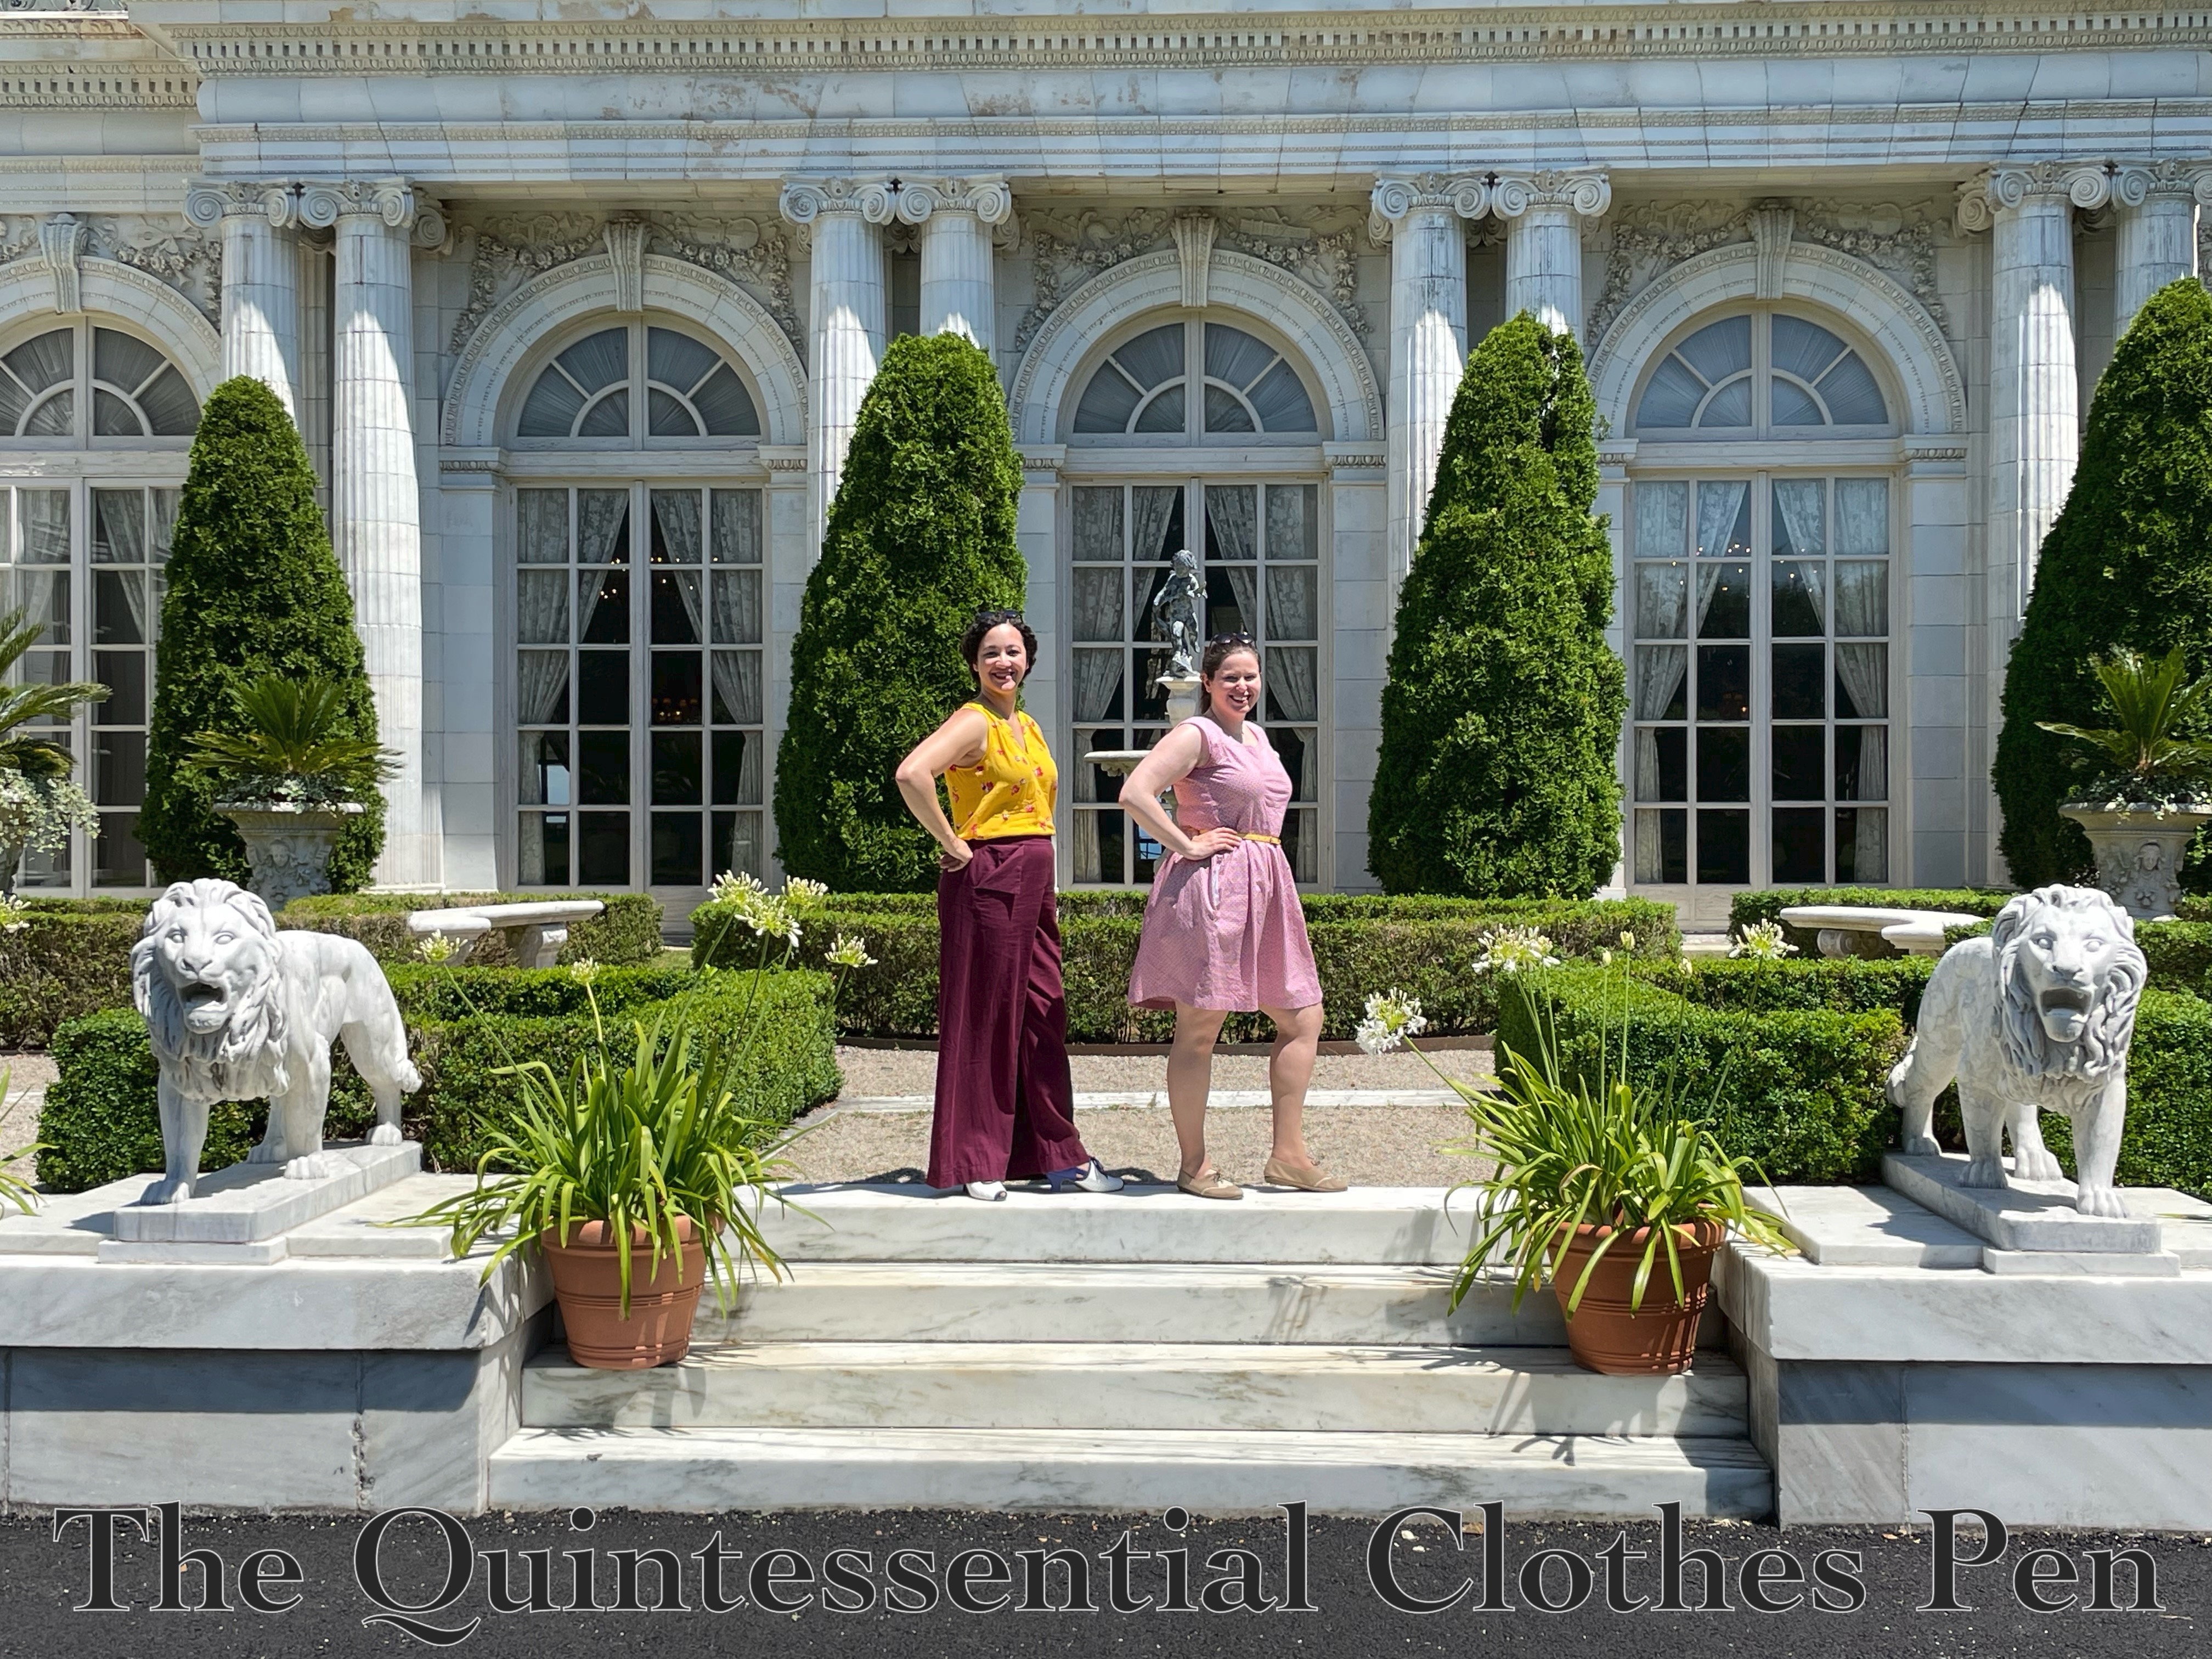
Rosecliff was built for Theresa Fair Oelrichs and ‘modeled after Grand Trianon, the garden retreat of French kings at Versailles’.

I’ve been inside in the past (in fact, a much-younger-looking-me was able to dance in this mansion back in 2012!), but on this occasion I just visited the exterior and gardens for a lovely picnic.


Marble House
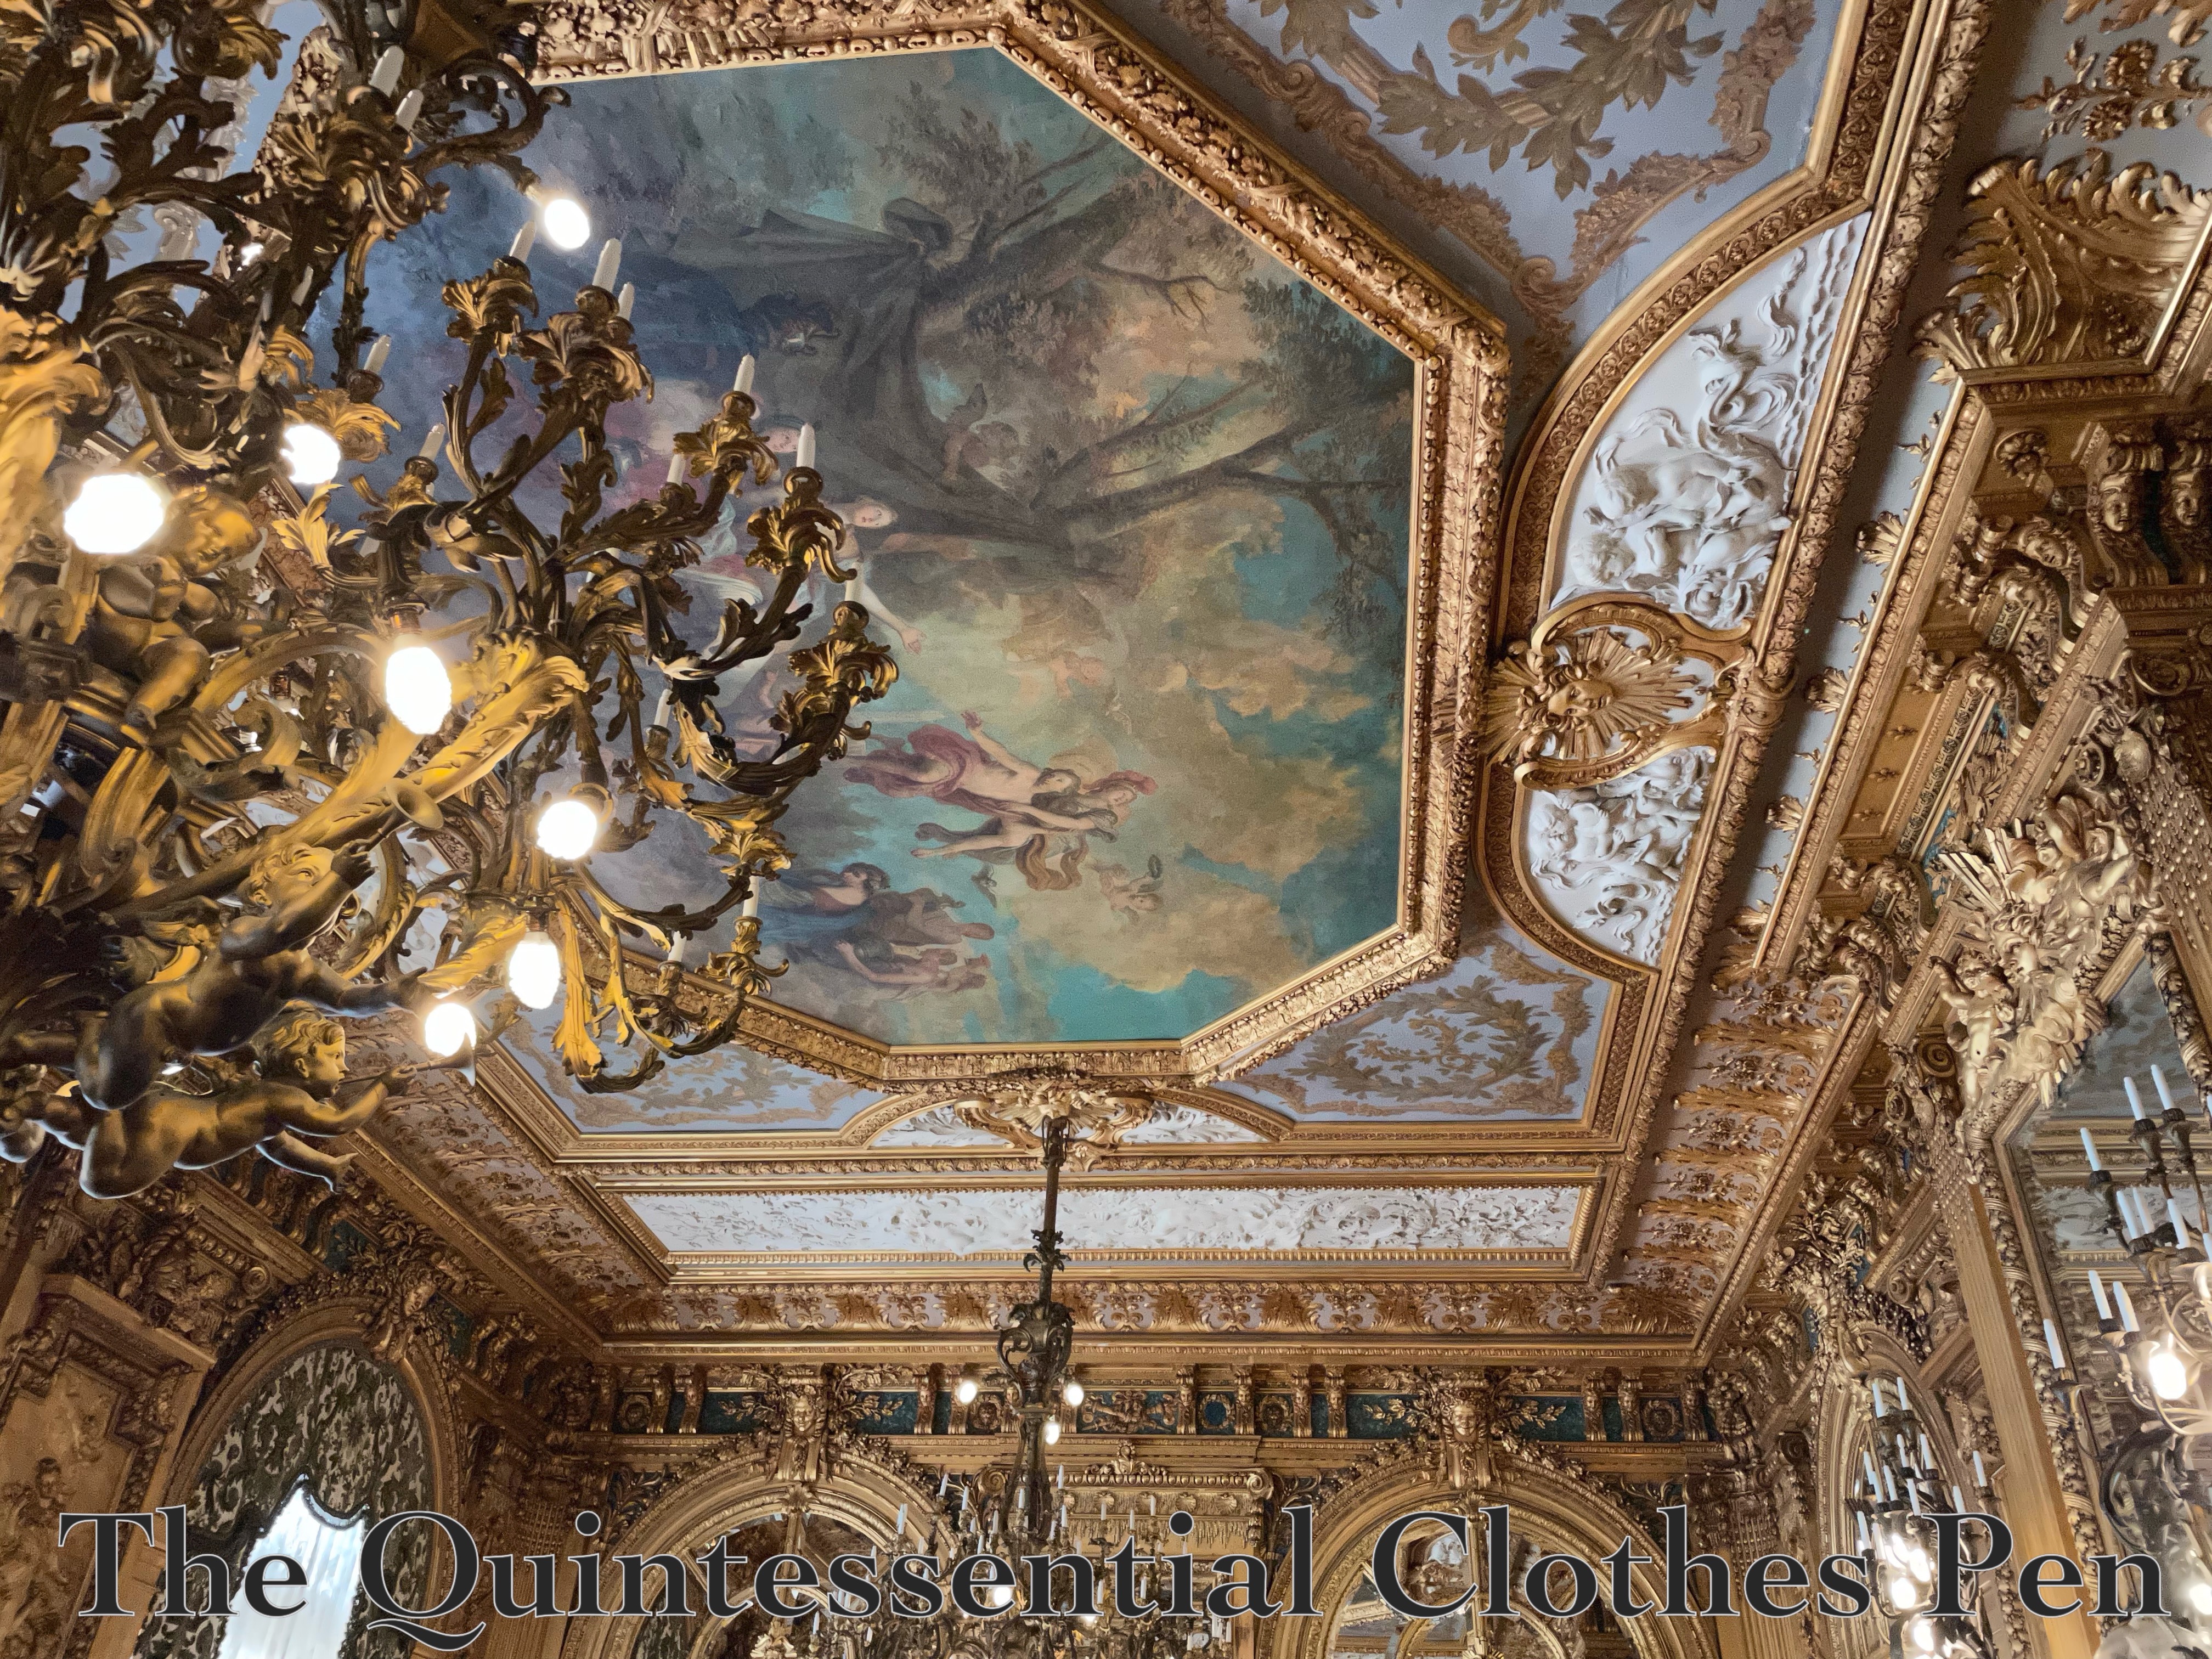
The 50-room Marble House was built by another Vanderbilt — Ava Vanderbilt — between 1888 and 1892.  As one might imagine given the name, there is quite a bit of marble to be seen in this house!

One of the facts that stuck with me relates to the chairs in the dining room. They are made of bronze and covered in gold and silk velvet. Each chair weighs 75 to 100 pounds! Just imagine being in an 1890s dress and wanting to get up from the table. It’s no wonder that someone needed to help with the chair!


Chateau sur Mer
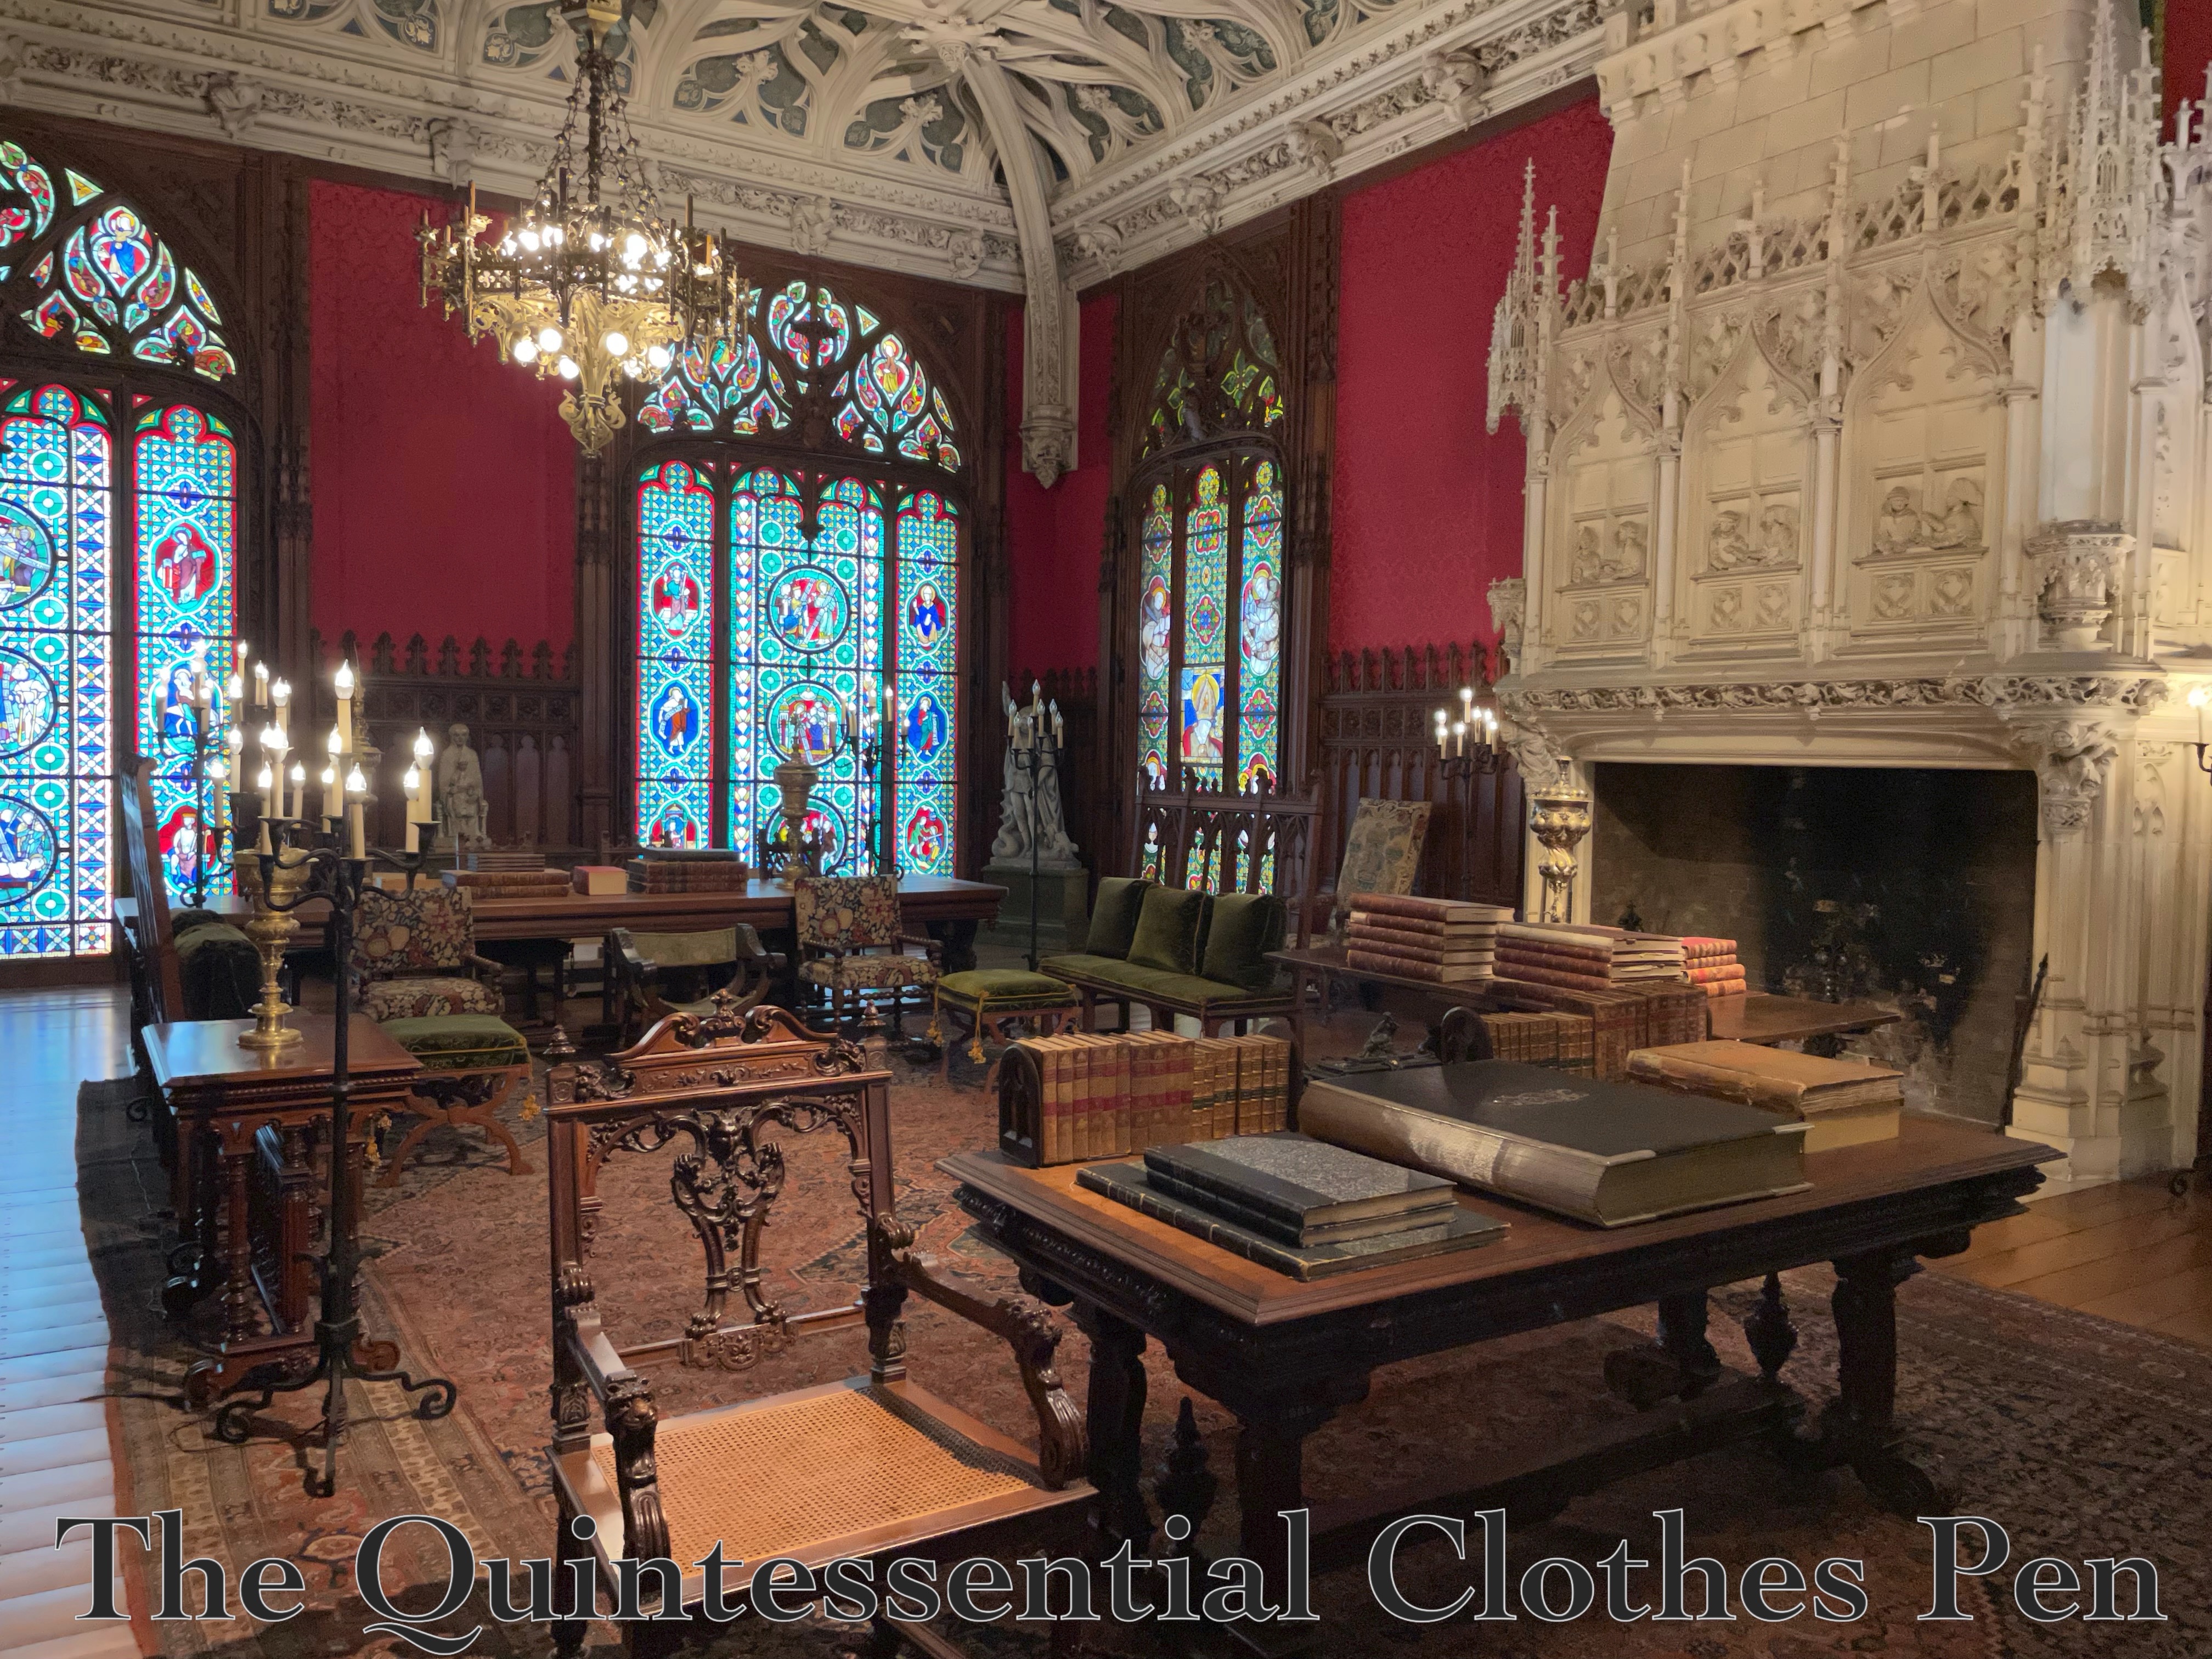
Compared to the Gilded Age Newport mansions, Chateau sur Mer feels somewhat modest. However, when it was completed in 1852 it was the most ‘palatial residence in Newport’. This house was built for William Shepard Wetmore, who made his money in commercial shipping.

I enjoyed the details, including the large owl on the library table. I asked the docent, who let me know that it is, in fact, a humidor, and that owls had no particular significance to the family that is known about.

Ta da! Thanks for joining me on this excursion!