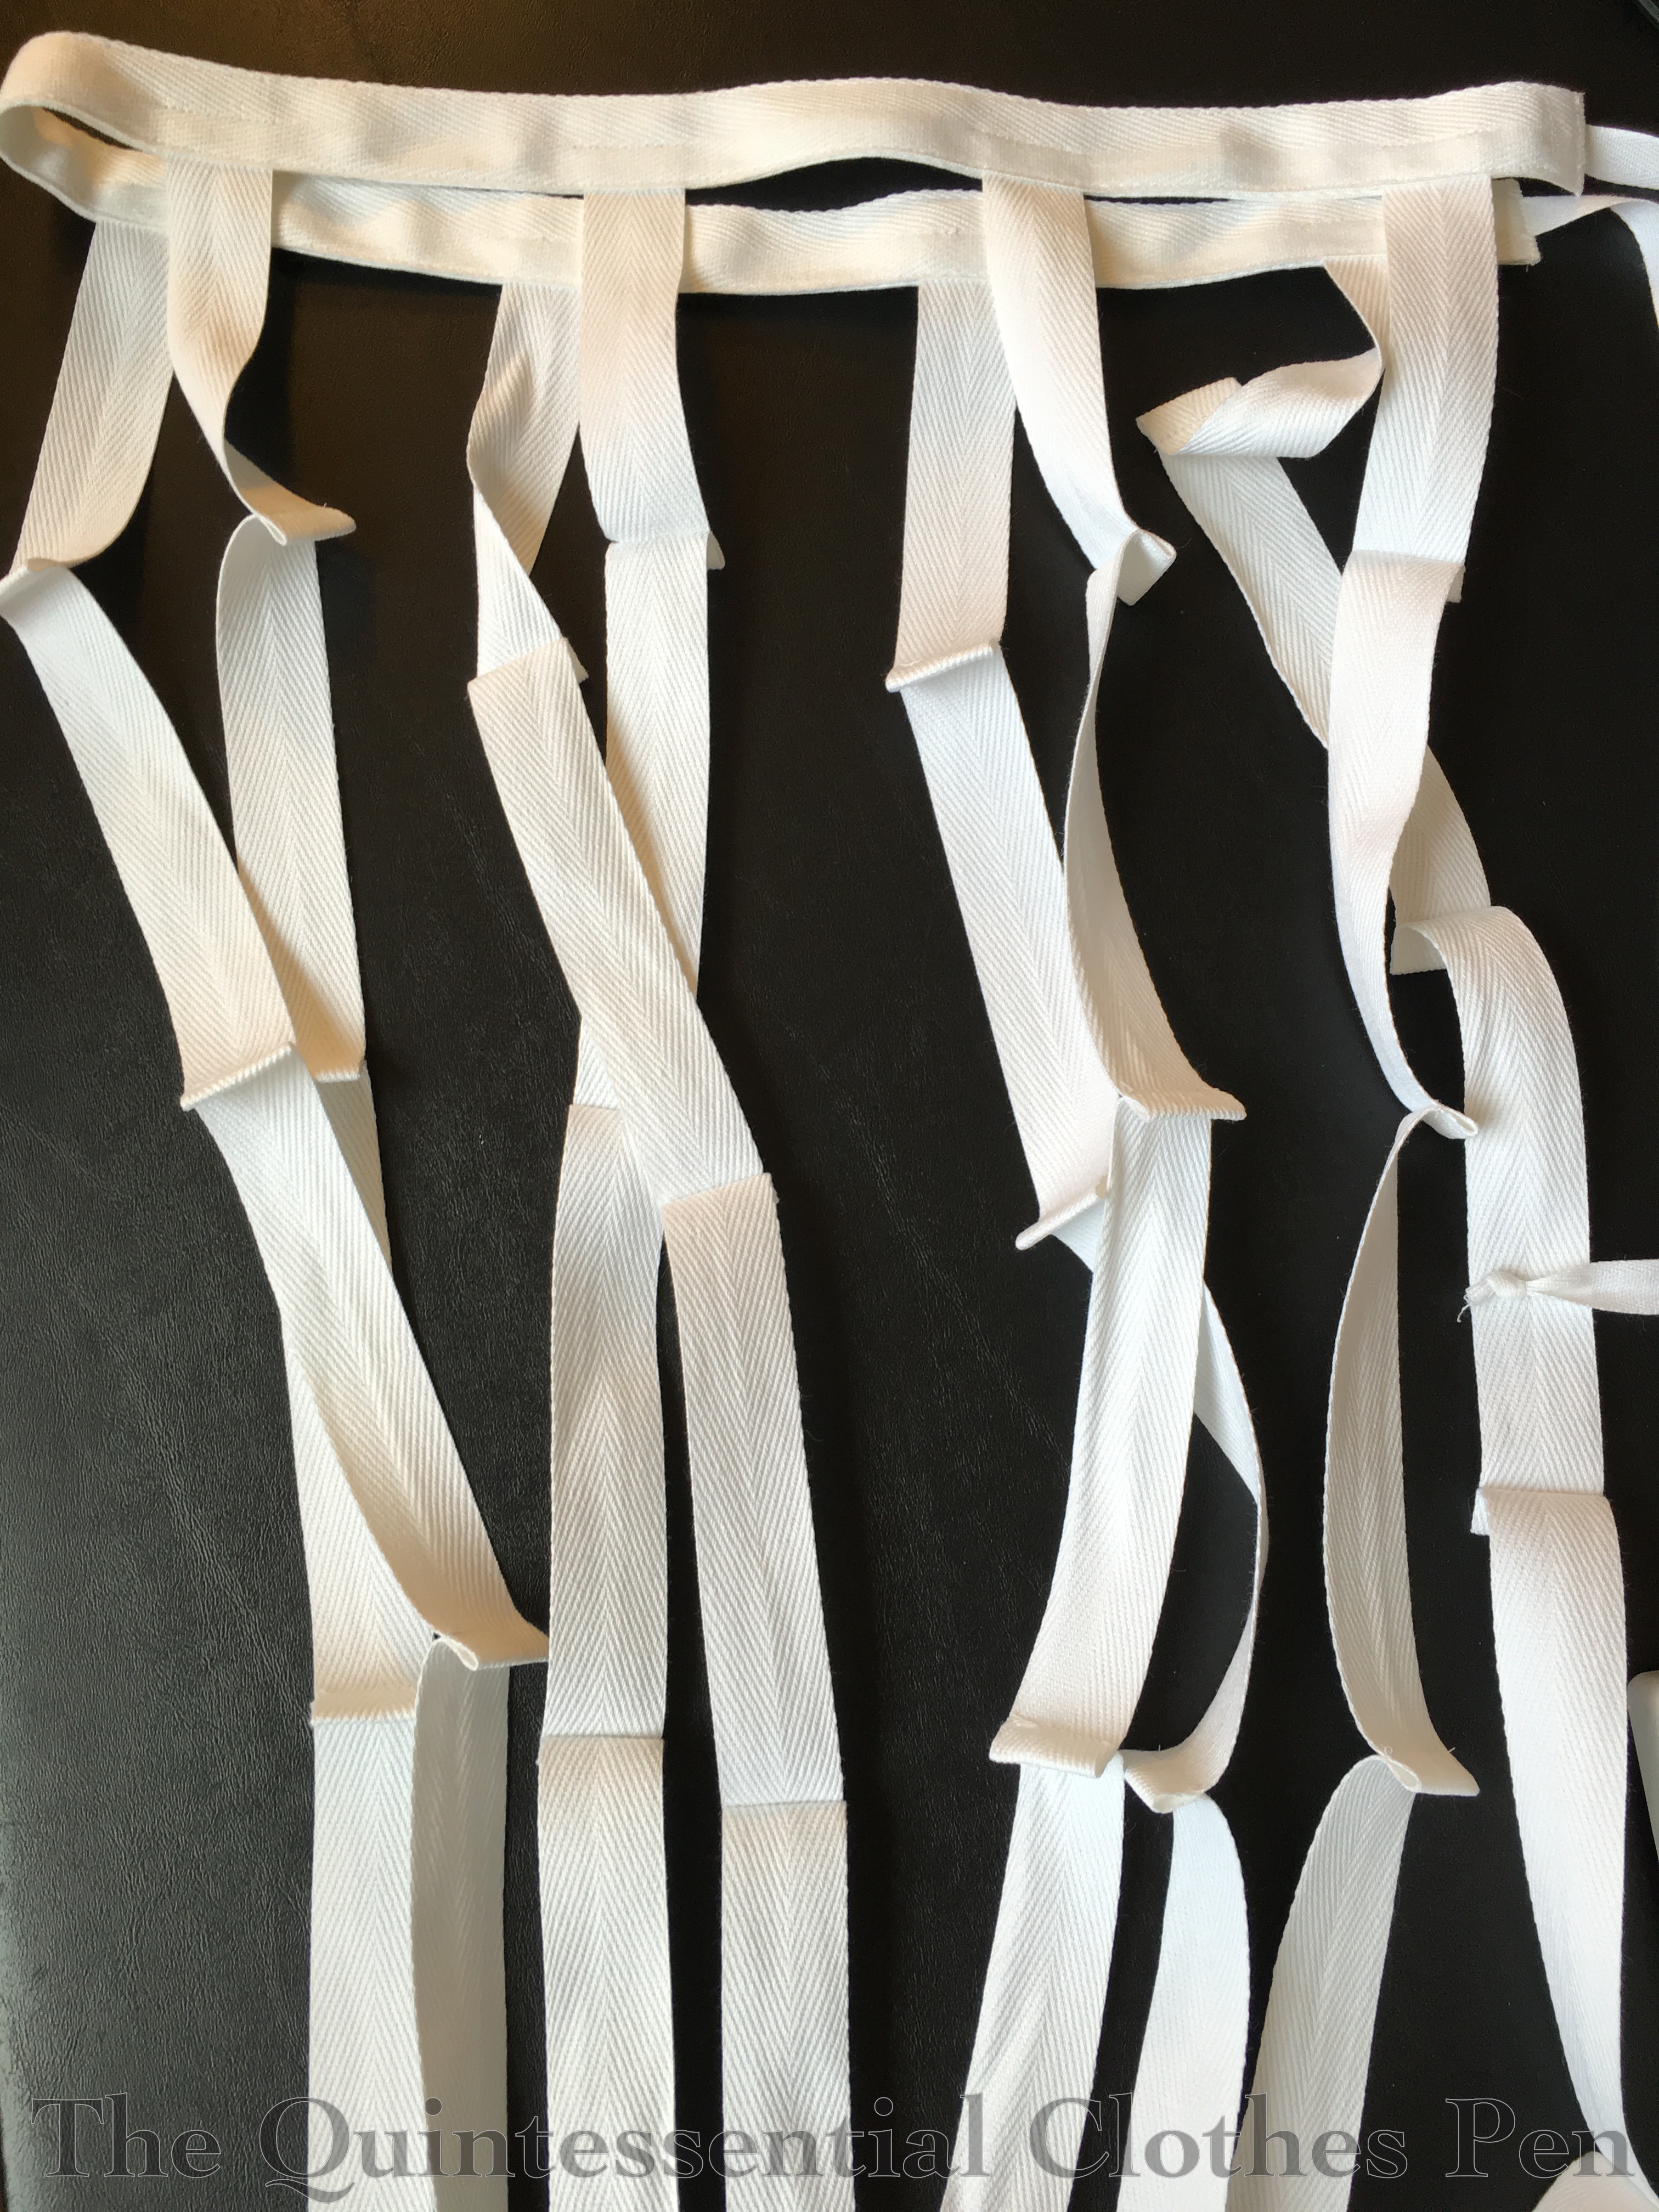
I finally made a garment this year that qualifies for the Historical Sew Monthly! June’s Challenge is: Favourite Technique: make an item using your favourite sewing or embellishment technique. My garment for this challenge is a pair of split drawers from the mid-19th century.

My technique of choice are French seams. These are durable, tidy, and easy to sew with a sewing machine.
A quick explantation of how to sew a French seam is to sew with wrong sides together first, press the seam allowances open (they should be on the outside of the garment at this point), then sew the seam again so that the raw edges are fully encased on the inside of the garment. A French seam starts the opposite of how you would normally sew a seam (which is with right sides together). To this with your regular seam allowance the first line of stitches is narrower than your full seam allowance (for example: my seam allowance was ½”, so I first stitched with a slightly wide ⅛” seam then stitched again with a slightly wide ¼” seam). This ensures that the seam is tidy on the right side of the garment, with no loose threads showing. To keep French seams narrow on the inside of the garment it is essential that the first line of stitching is close to the edge of the fabric–sometimes that means stitching a wider seam and then trimming it to be narrow. If this is the case then it’s worth thinking ahead when cutting to decide if the seam allowances need to be wider than normal.
Below is a closeup on one of the inseams of the drawers, showing the French seam.

On to The Facts!
Fabric: 1 ¾ yards of cotton lawn from Dharma Trading.
Pattern: My own. I think these were based on a pattern in a book over ten years ago, but I can’t remember what book and I know I’ve made changes since creating the original pattern.
Year: c. 1850.
Notions: One button and thread.
How historically accurate is it?: 98%. That missing 2% is for the machine sewing of the waistband to the inside of the drawers, as I think it was more likely that this step would have been completed by hand.
Hours to complete: 2 ¼ hours.
First worn: Not yet!
Total cost: $8.75.
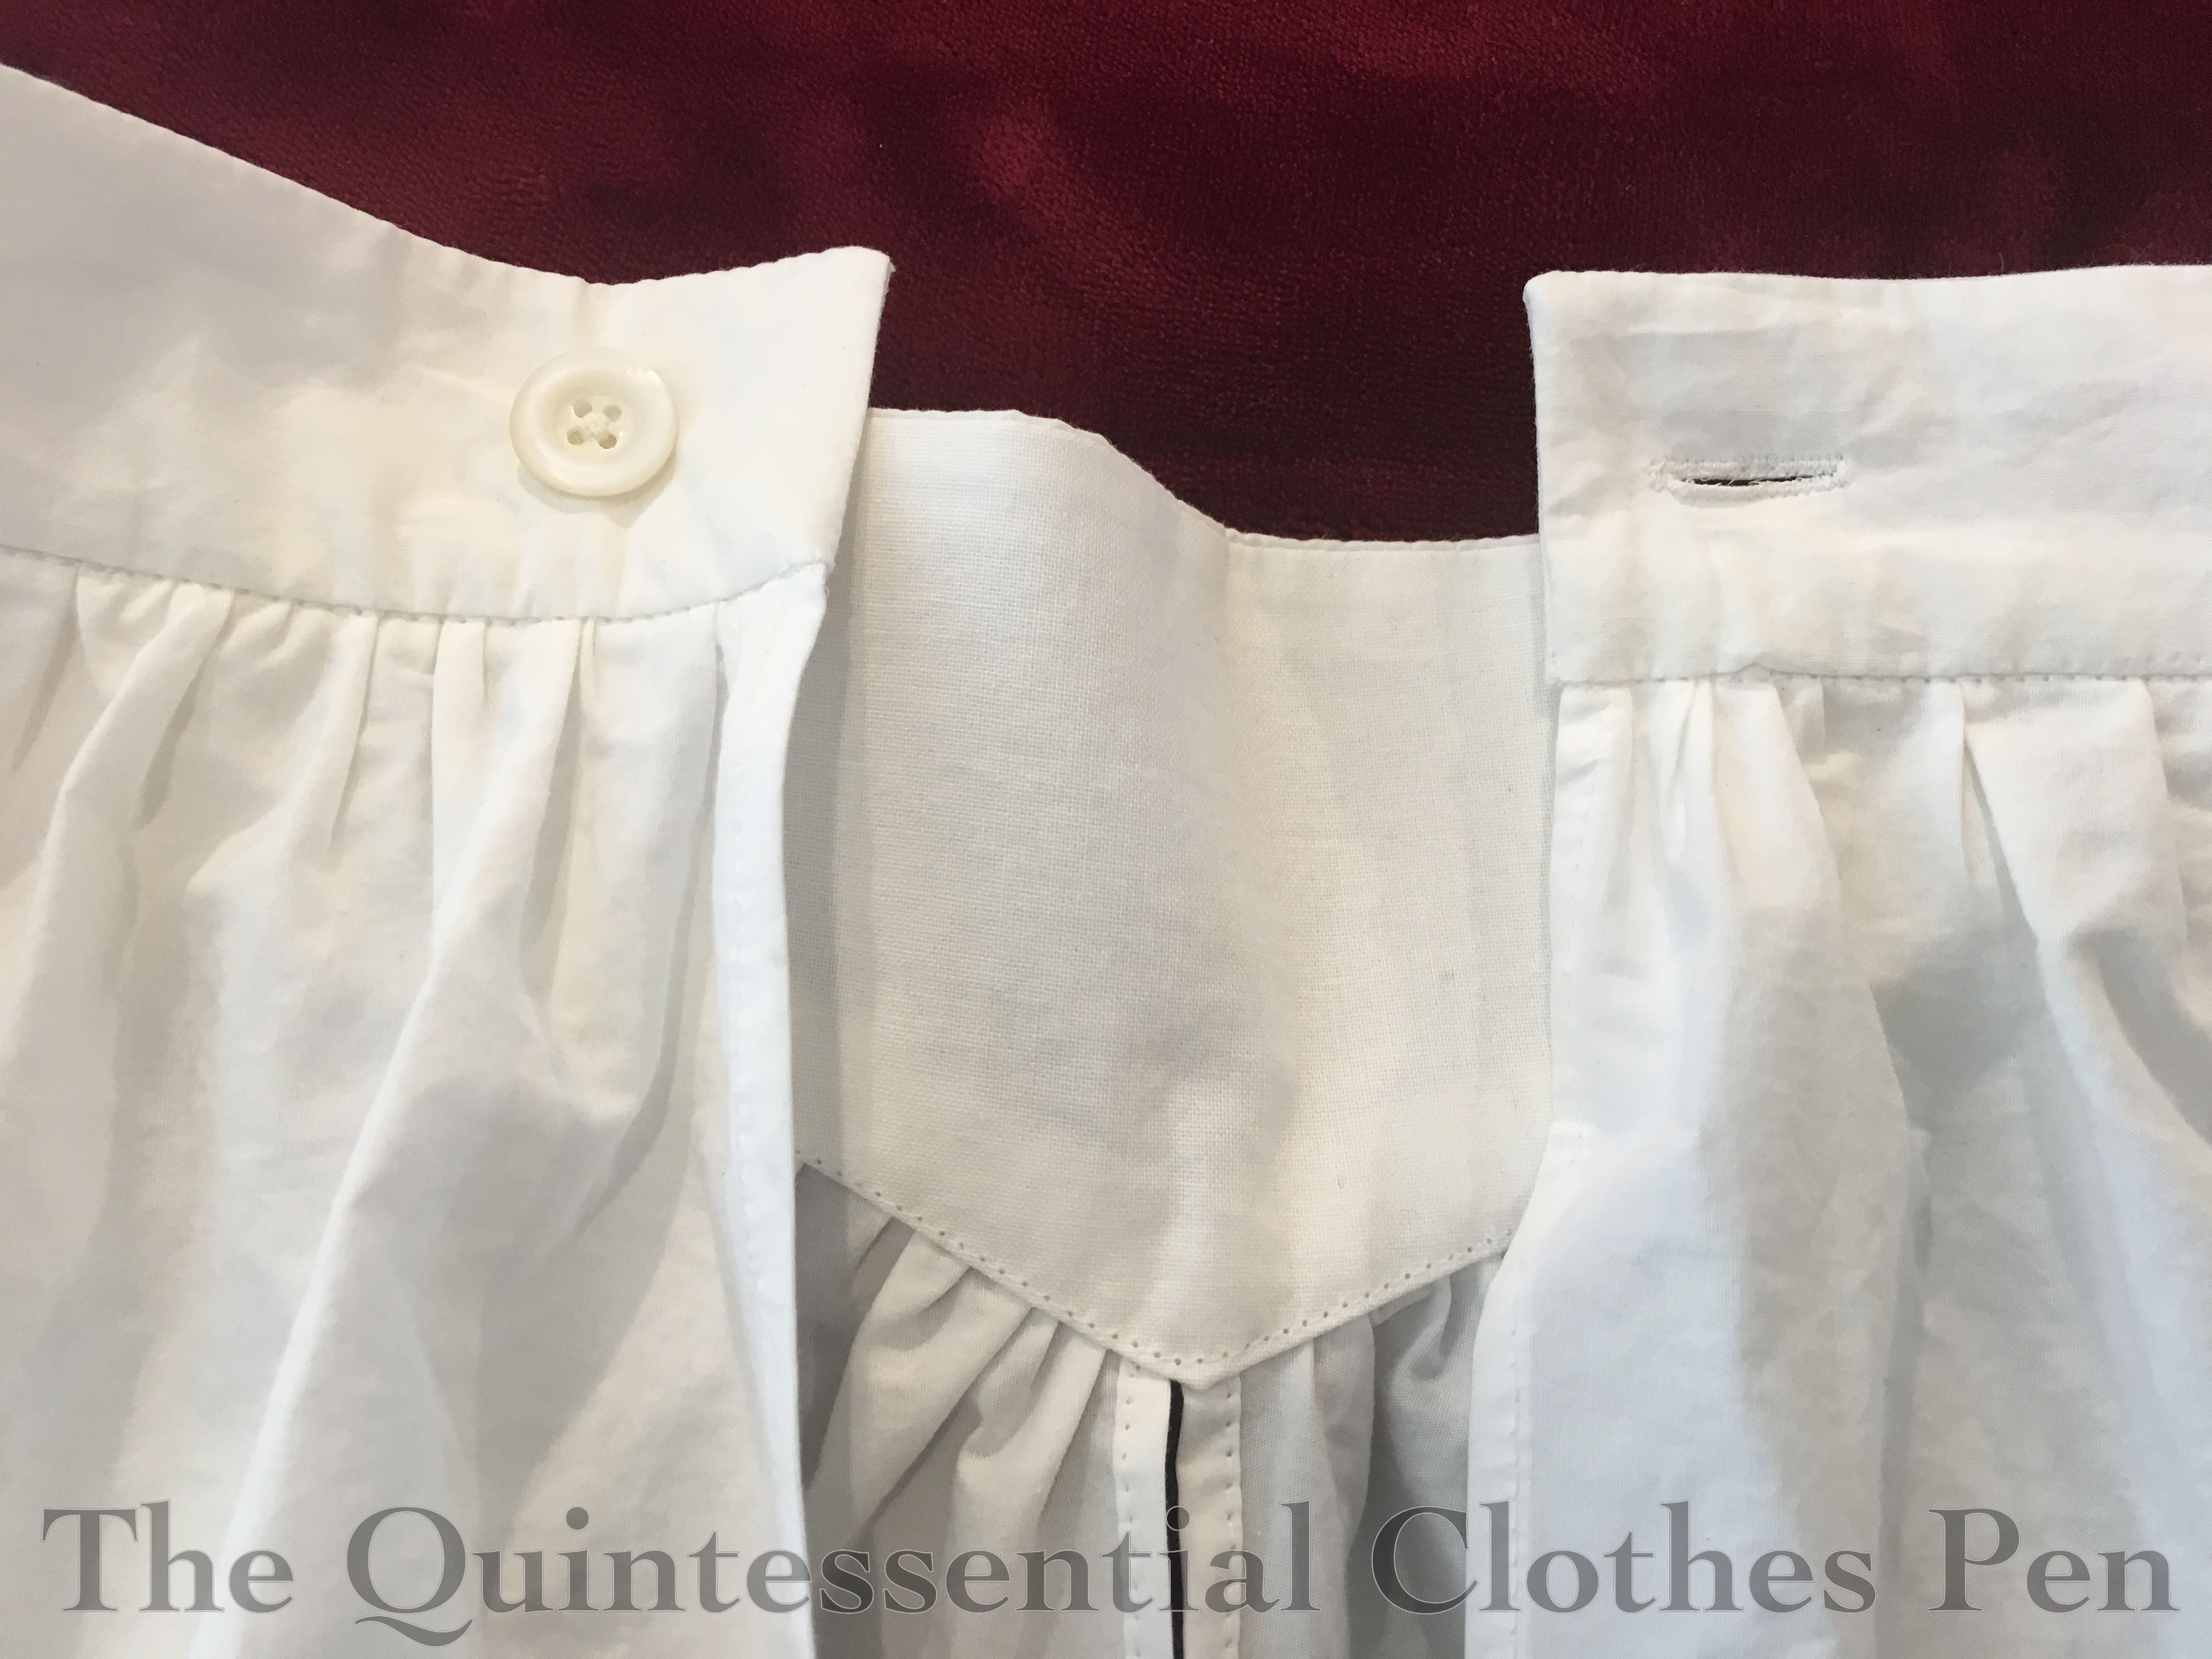
These drawers are entirely machine sewn, with French seams, narrow hems, and the ‘stitch in the ditch’ method of finishing the waistband. The ‘stitch in the ditch’ replaces more time consuming hand sewing of the waistband on the inside. It leaves barely visible machine stitches just under the bottom of the waistband on the outside and nicely turned under edges on the inside of the waistband, as you can see at the point on the center front in the photo above. The buttonhole is also sewn by machine. The only hand sewing is securing the button.
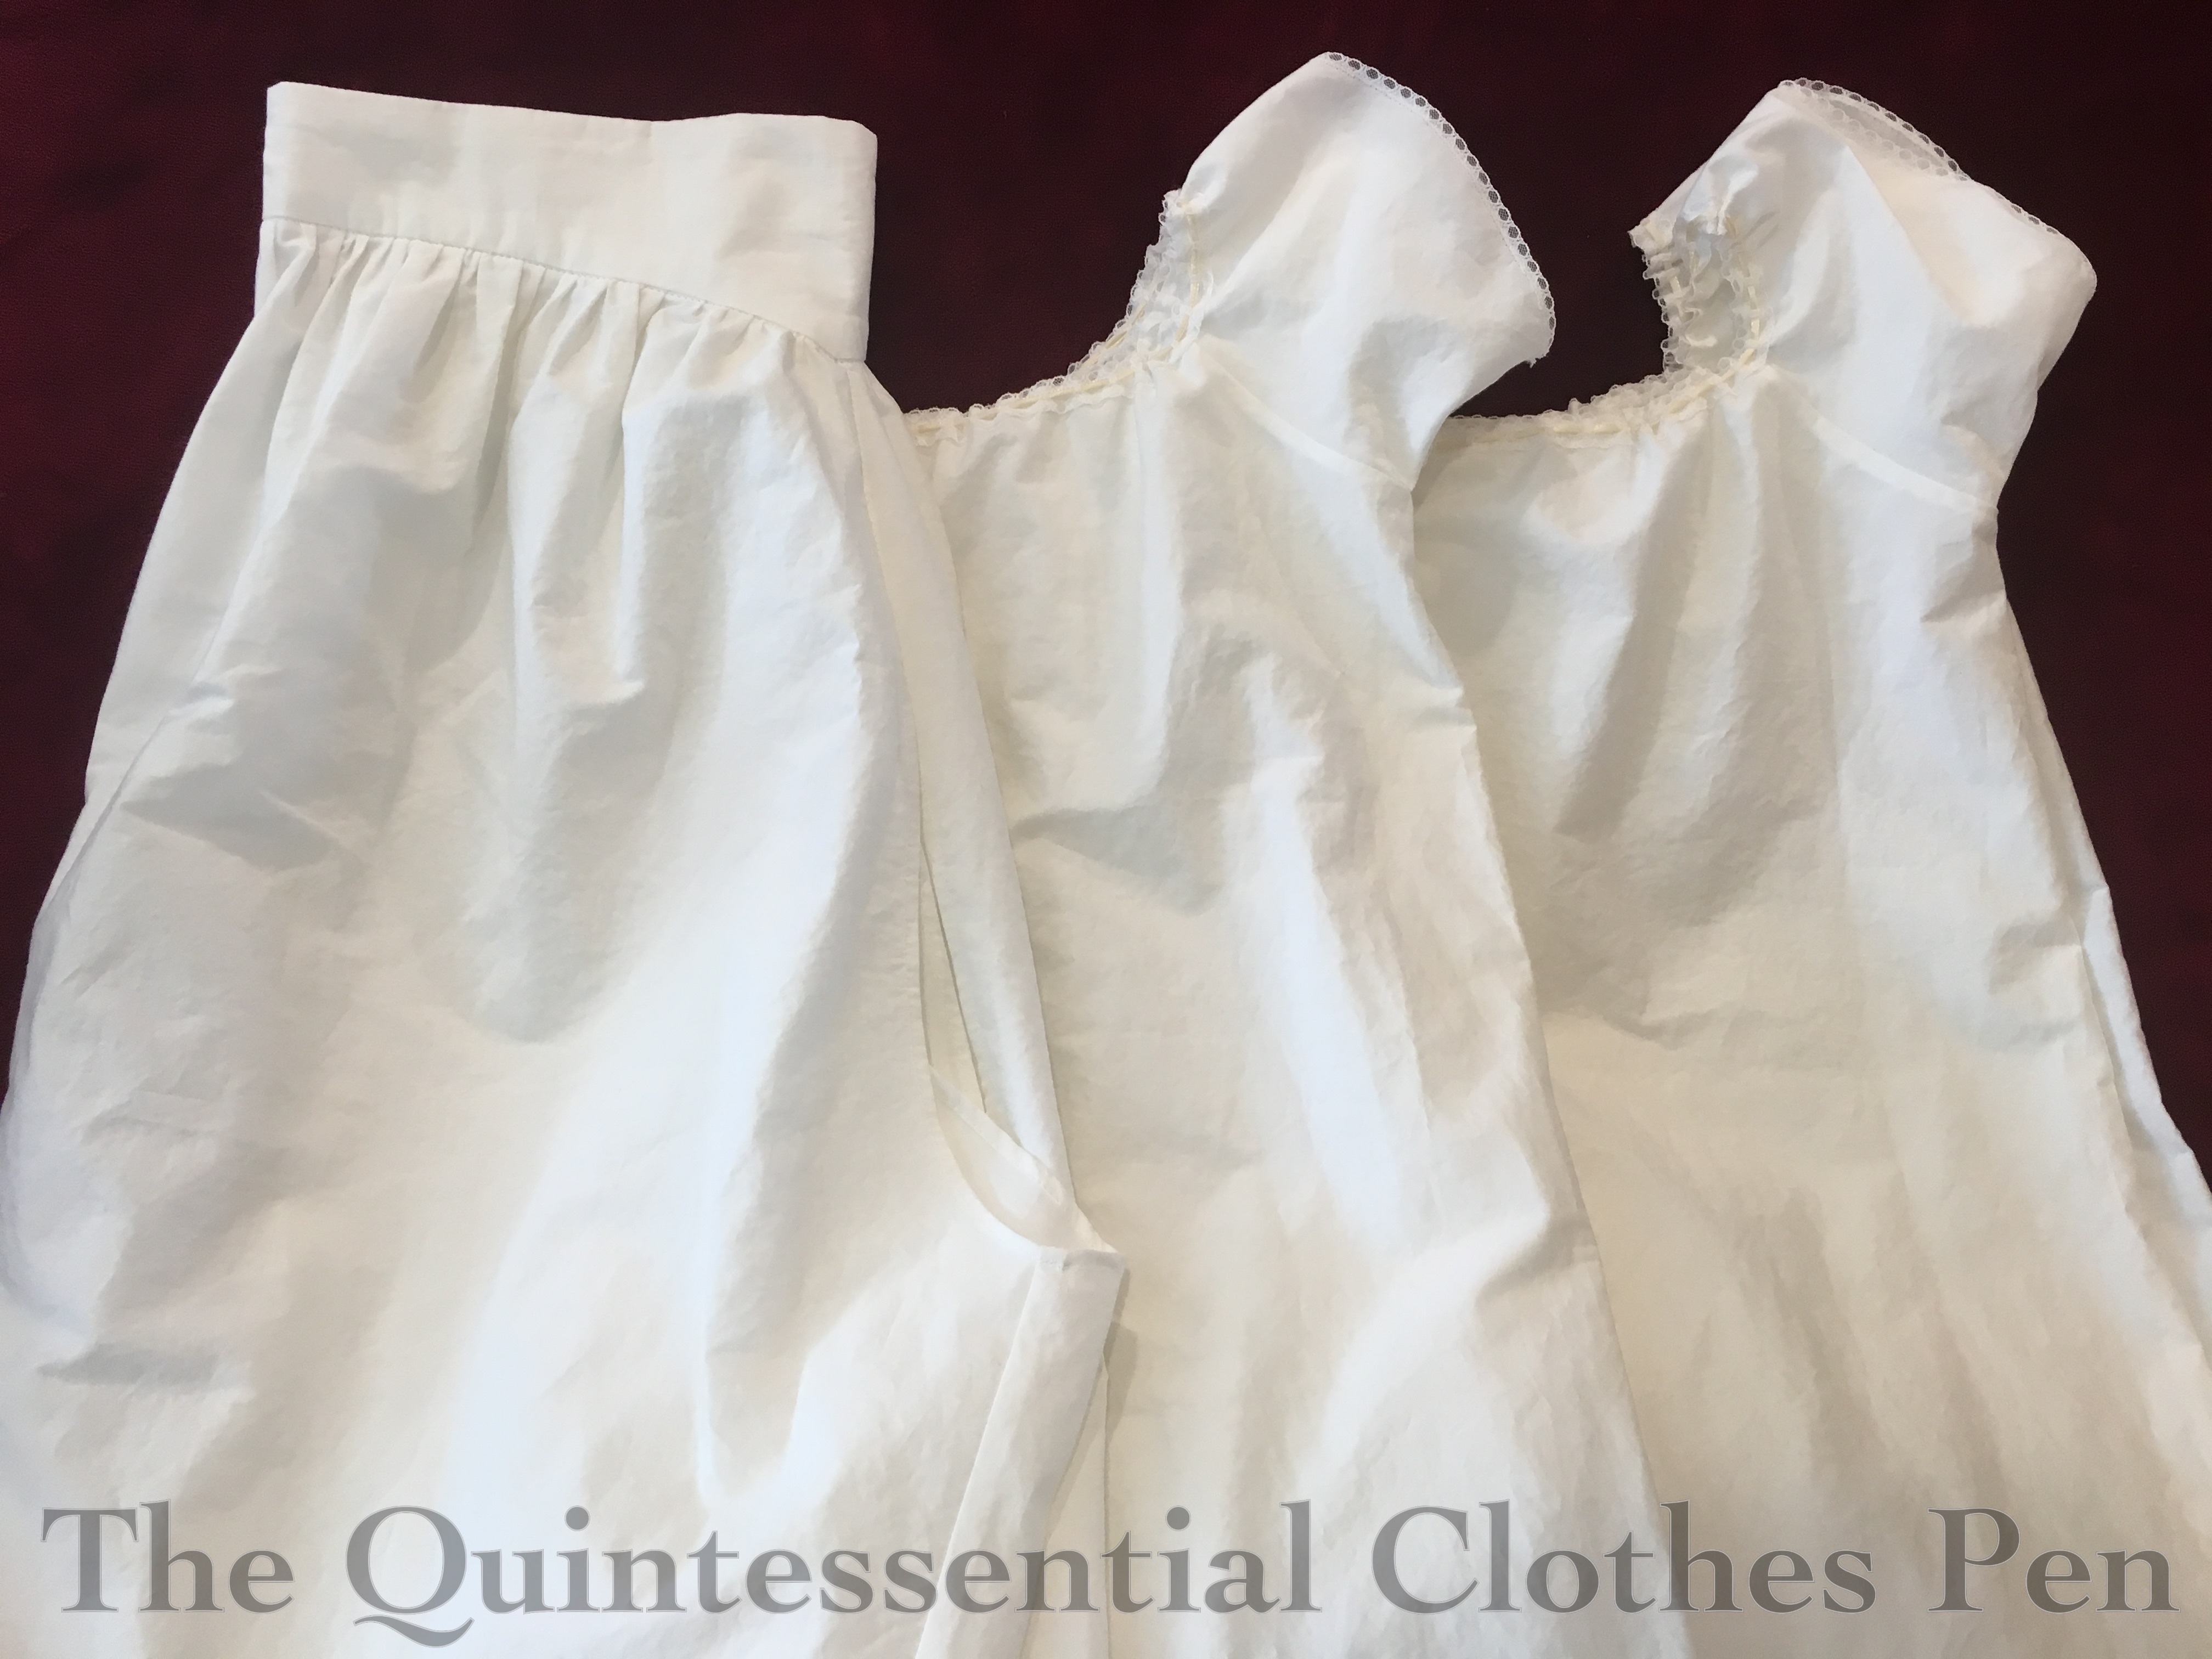
These drawers are part of a set that I made for a friend. In addition to the drawers, she will also be receiving two mid-19th century chemises (also sewn with French seams!).
As these are worn without other garments underneath, it was important that the fabric is opaque. Dharma Trading’s cotton lawn is tightly woven and definitely opaque enough for this use. Plus, it’s 60″ wide and a great price! I will say that due to the tight weave of the fabric I had a much easier time sewing it with a fresh sewing needle. The old, probably blunt, needle on my sewing machine was a little struggle-y at first, but I had no problems once I changed the needle.
In total, all three garments took 5 yards of fabric, 7 hours of time, and cost $25 in supplies (the button for the drawers as well as lace and ribbon for the chemises was from the stash).