Our Apartment Redecoration Project Part III: Bathroom

The last bit of our Apartment Redecoration Project that I want to share is the bathroom (we did the bedroom, too, but it’s hard to get pictures that show the changes, so you’ll just have to believe that it has improved).

IMG_3926

As you can see, a lot of the bathroom is finished with pink tile (and a matching tub, who thought that was a good idea?) and unfortunately that was something we couldn’t change. But Mr. Q had the idea to put in a floating floor of tile-look laminate over the old pink tile floor with the grungy grout that you can see below. It’s semi-permanent–something we can remove when we move out if necessary.

IMG_0027
Laying the grey/brown floating floor over the pink tile.

In addition to that project, which involved a lot of sawing of pieces and patterning around the toilet, we also: re-caulked the join between the tub and shower tiles, put up a new shower curtain rod and shower curtain hangers, hung a floating shelf over the toilet, replaced the light fixture, replaced the medicine cabinet, replaced the outlet cover, painted the walls, and tried to replace the fan in the ceiling (that idea was foiled by the way it was installed–the fan base was bigger than the fan blade area, we think it was installed before the ceiling was put in). Oh, and I reorganized everything under the sink and added storage solutions to make better use of the space.

IMG_0028
Wall in progress: clearly there is no light fixture, medicine cabinet, or outlet cover, and we were preparing to paint, all by the light of a work lamp.

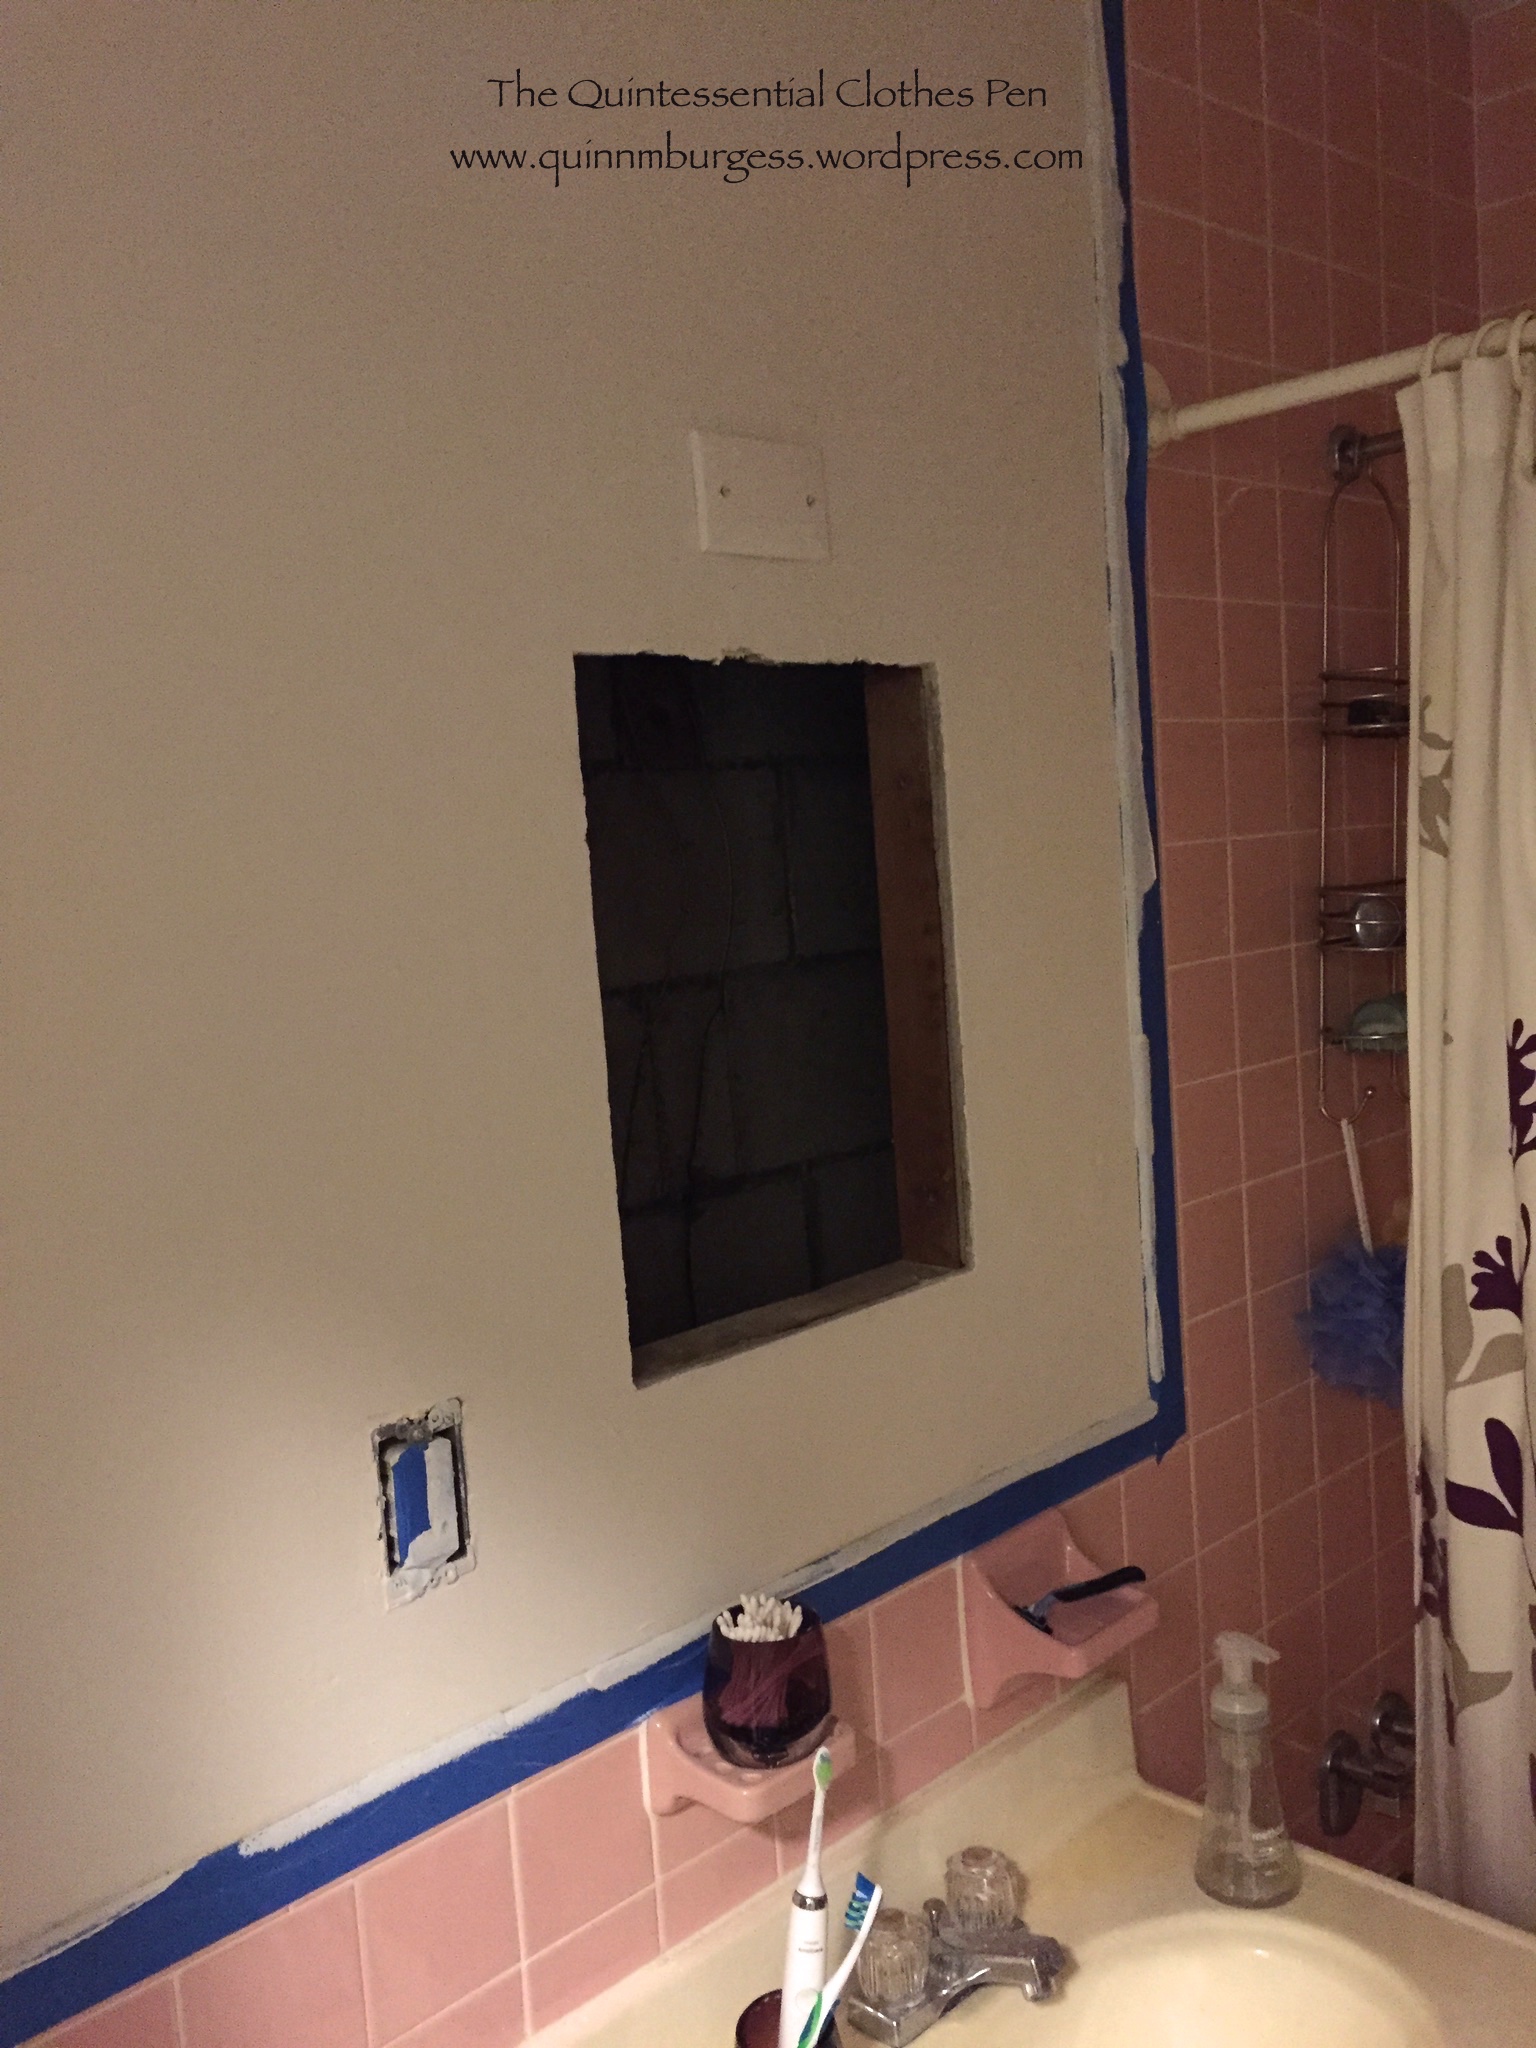
There was a day or two when the power was cut off to that room so Mr. Q could deal with the electrical stuff and we were showering and working on the bathroom by the light of a hanging work light… a bit of an inconvenience but not the end of the world.

IMG_1471

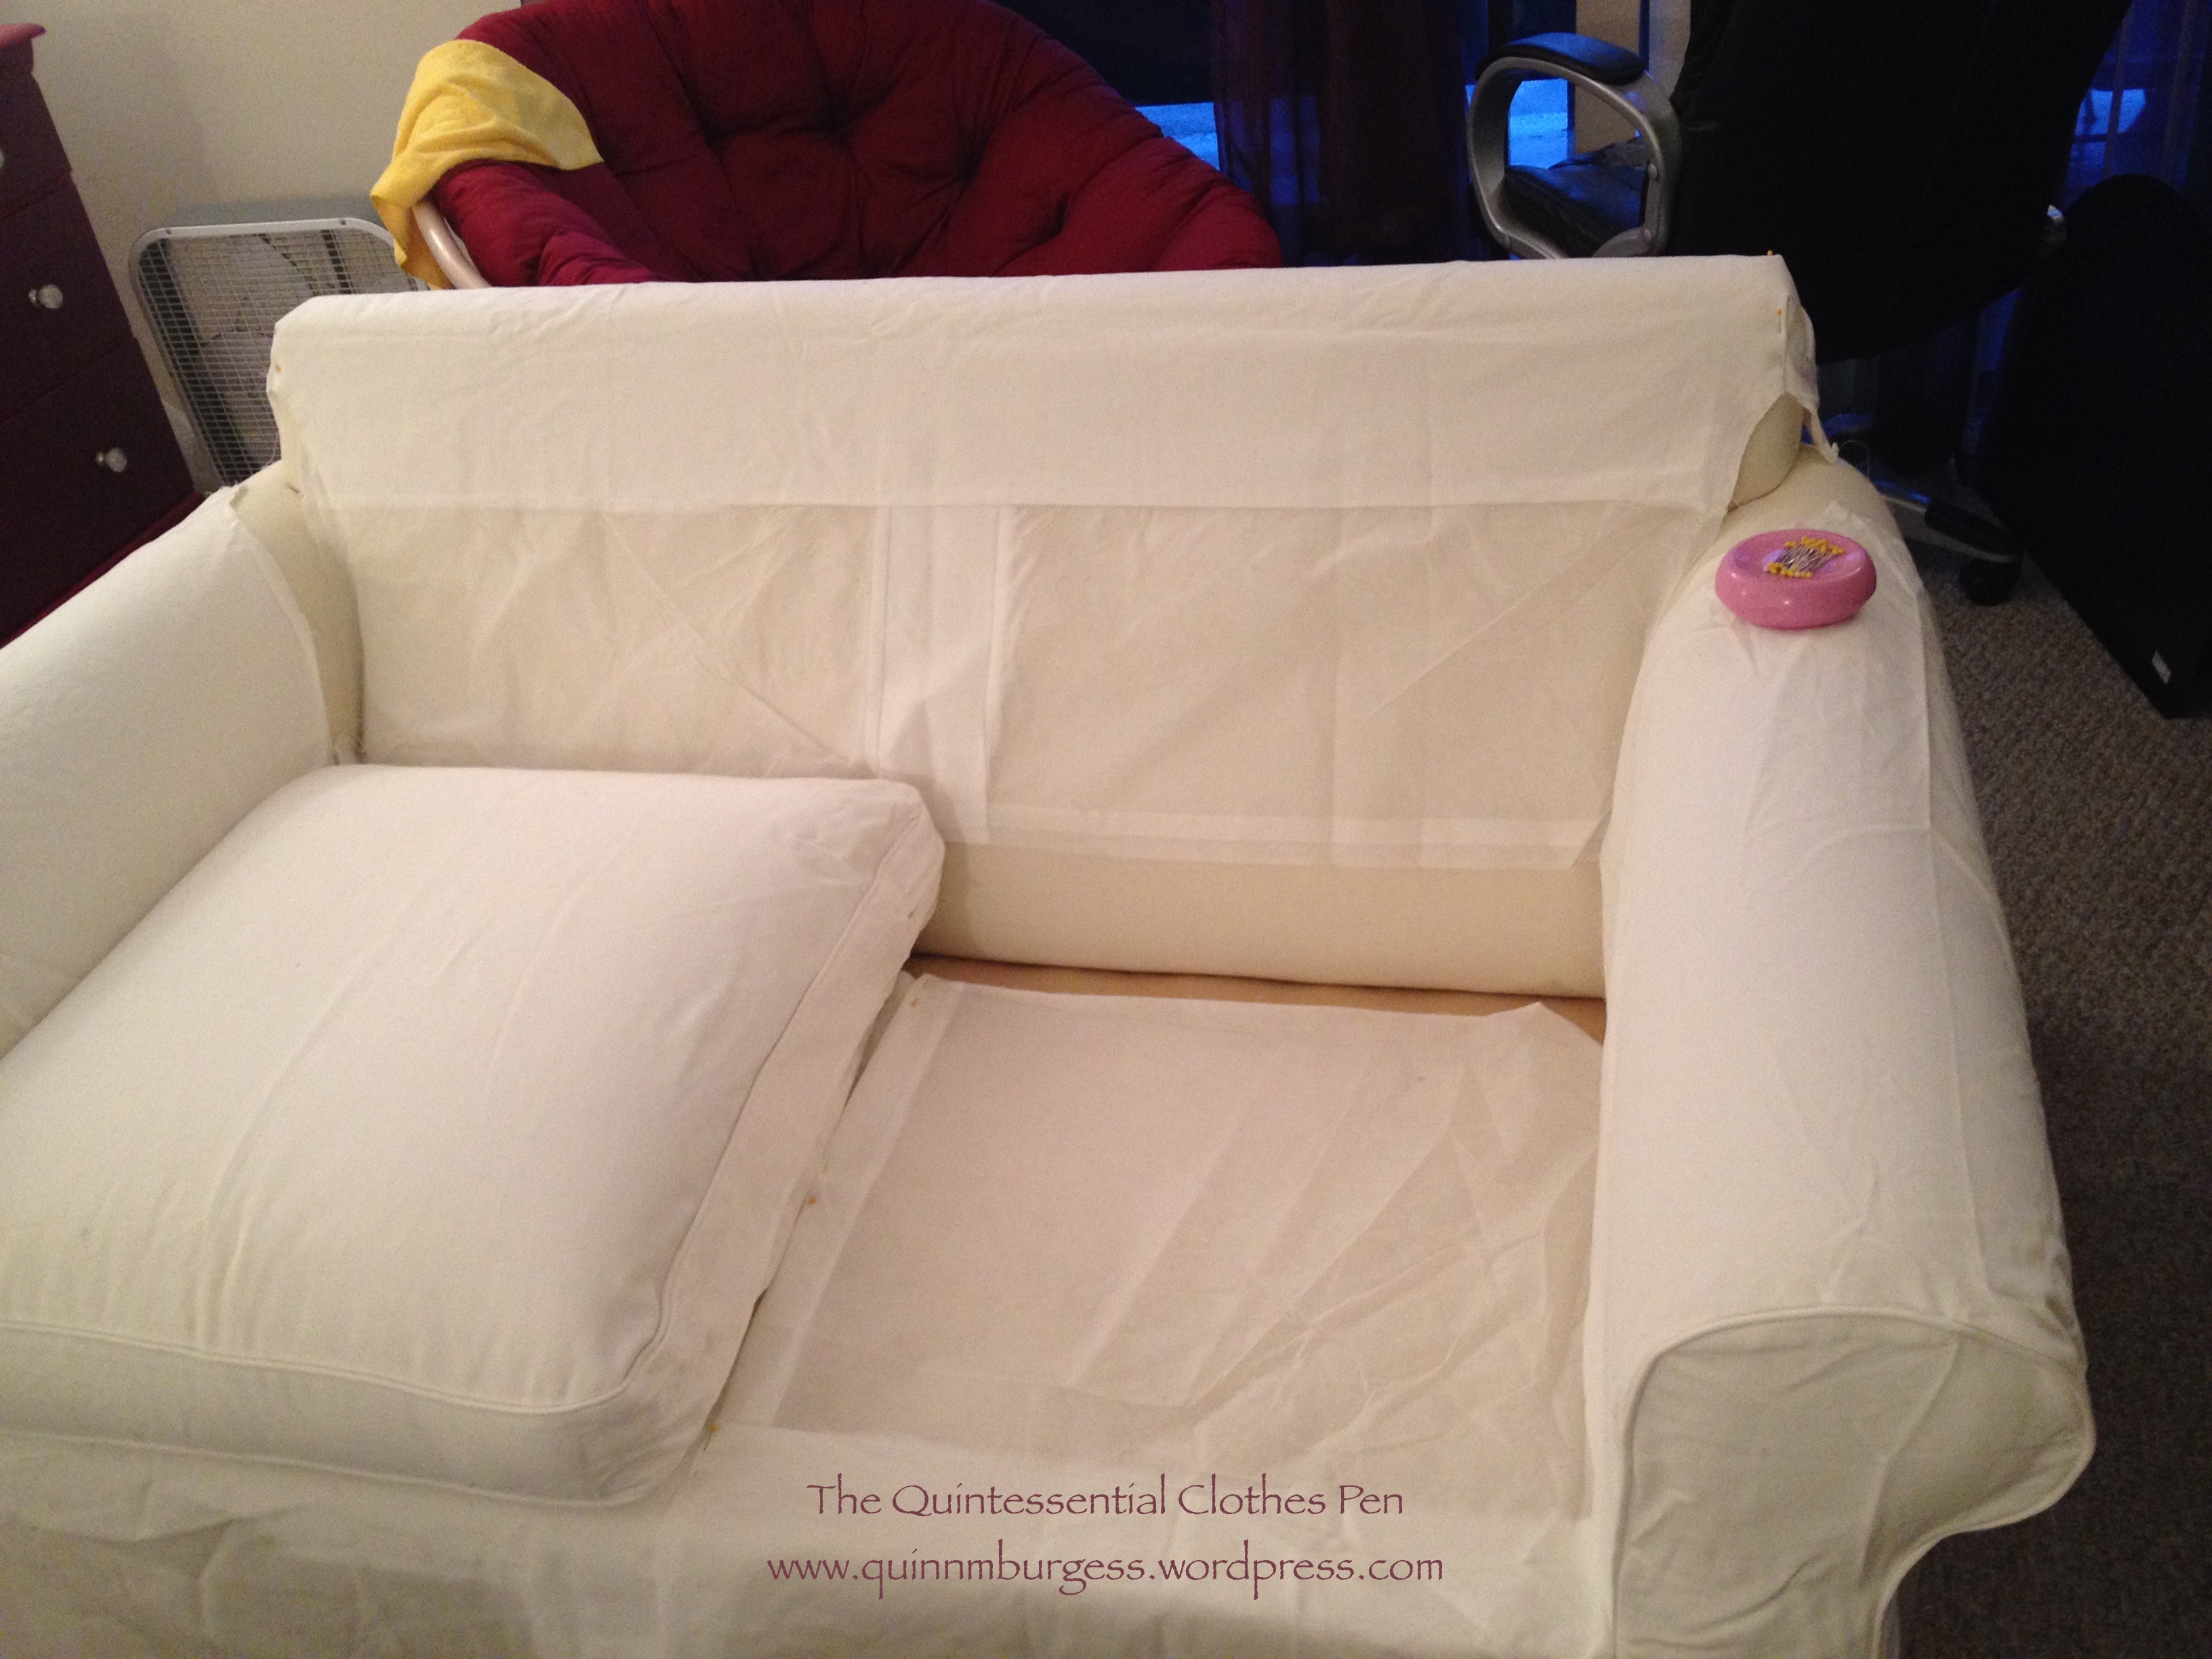
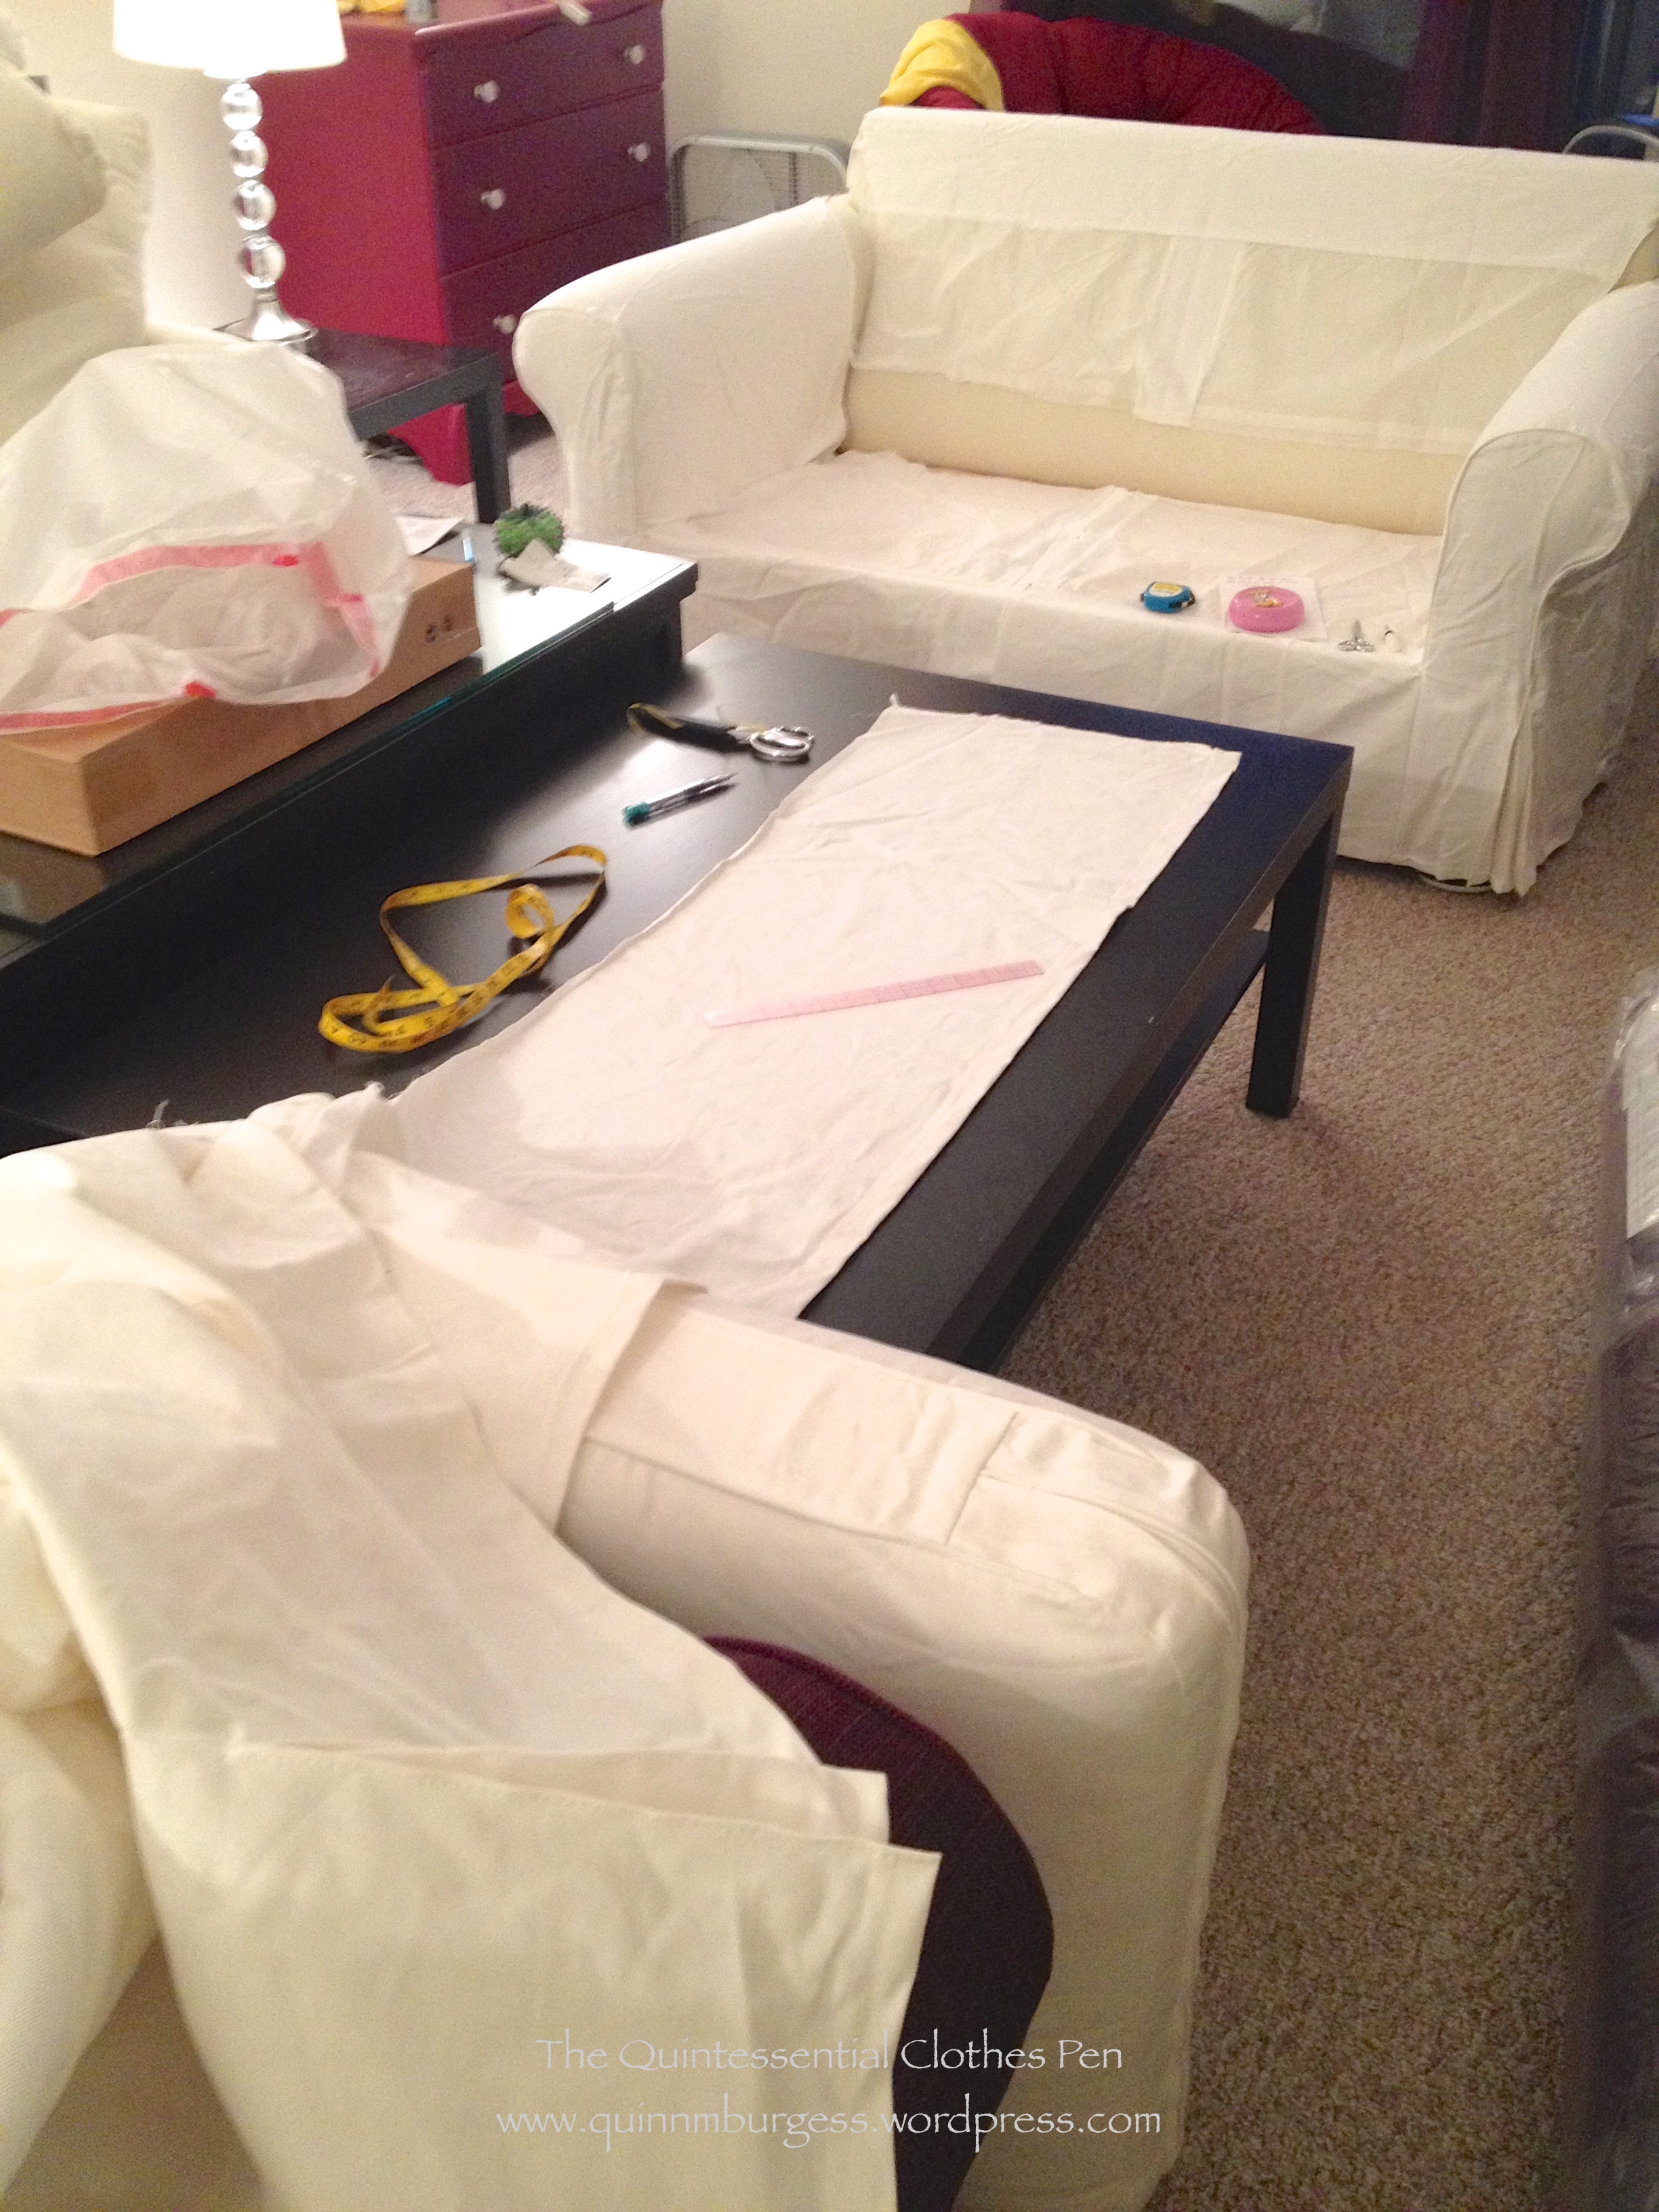
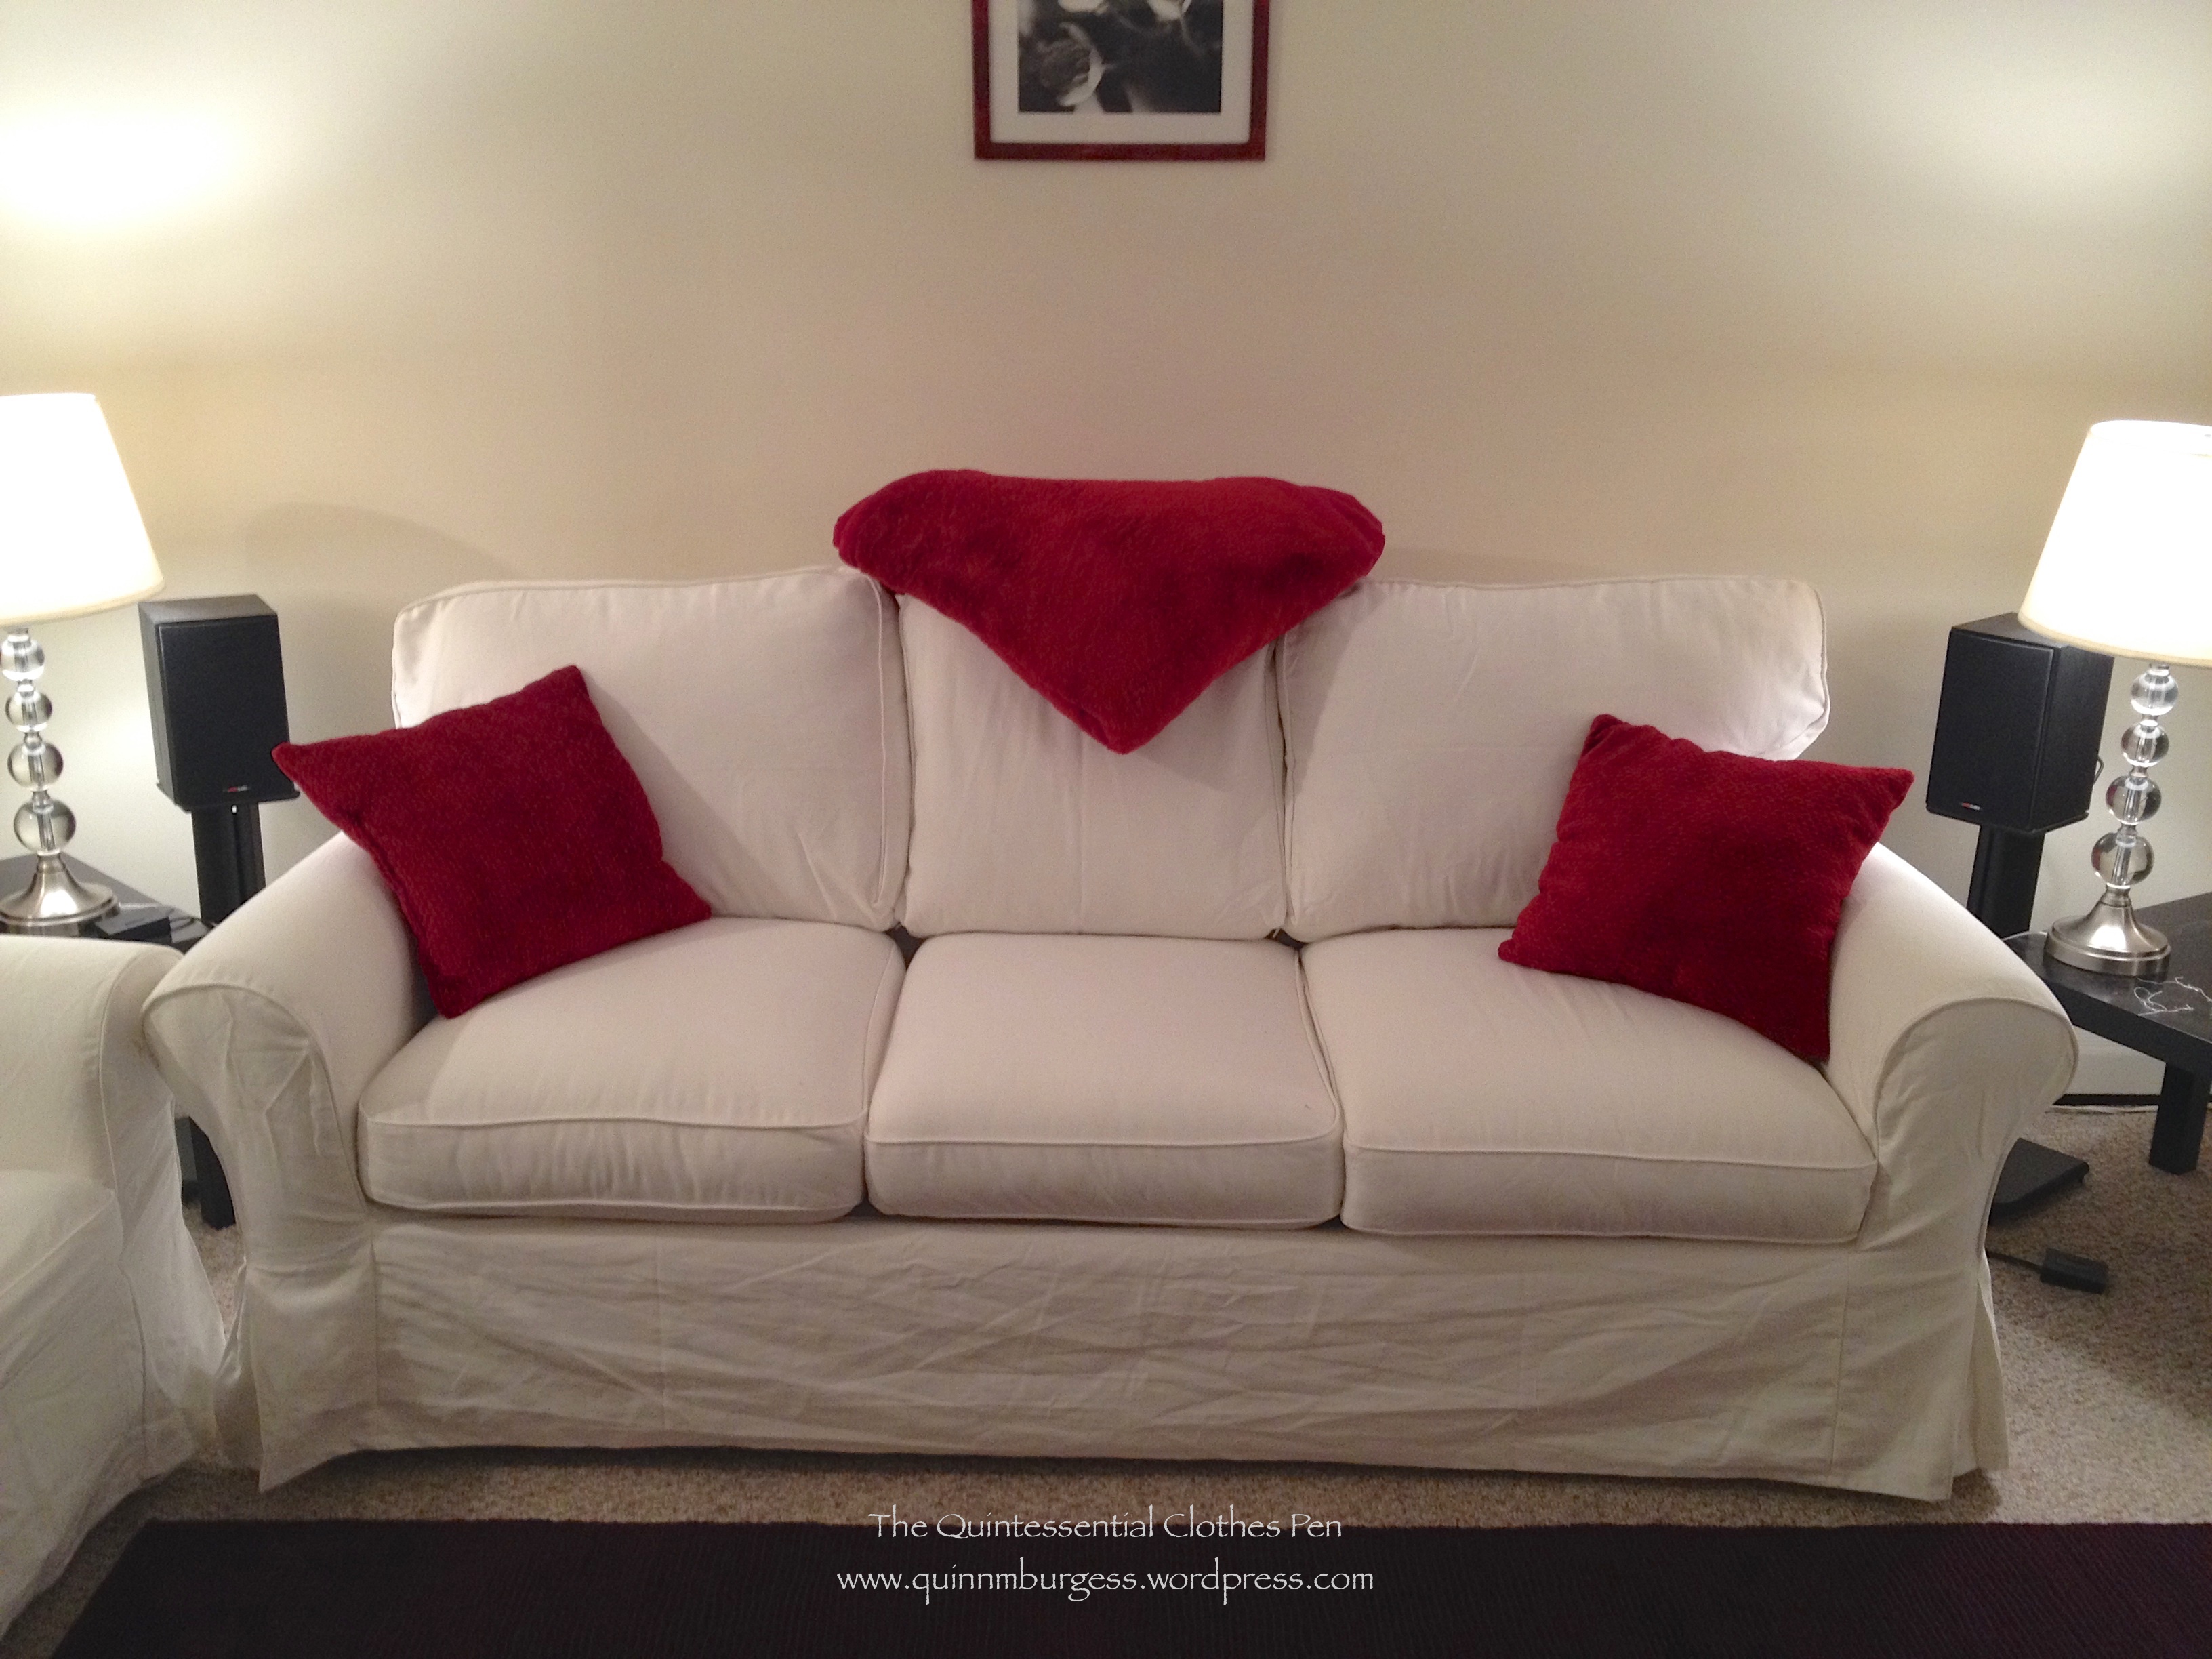
In the end, all the work paid off and the bathroom looks a lot nicer and less pink. And all in all, our apartment looks more put together and designed than it did before. I’m also pleased that the furniture we jettisoned from the living room and bedroom found it’s way to a new home within ten minutes of being put in the lobby with a “free” sign! We’ve had our days of taking advantage of free things in the lobby and I’m glad someone else will be able to make use of the things we no longer need rather than just throwing serviceable and nicely cared for things in the trash. We received, we give… I appreciate the circle of sharing!

Summary of 2014: Looking Forward To 2015

Ahh! It’s halfway through January and I feel rather behind on posting my 2014 summary. It seems like everyone else is so much more on the ball with that than I am this year. Well, without further ado…

Completed projects in 2014:

IMG_0672
January: The Make Do Shift (HSF #1)
IMG_9921
February: A Pink Regency Belt Style Sash (HSF #3)
IMG_7441
March: ca. 1860 Corset For Me! (HSF #4)
IMG_7827
March: New Annabelle hair wreath
IMG_8442
April: 1811 Elusive Blue Regency Dress (well, mostly finished)
IMG_0791
April: Red/Gold Regency Reticule (HSF #5)
Robe with slip (1)
May/June: Anne Adams Dress
Robe with slip
May/June: Round Regency Reticule
9359
July: Georgina Evening Bodice and Hair Crescent (HSF #13)
IMG_1075 (1 of 1)
July: Orange Parasol
IMG_9688 (1 of 1)
July: 1850s Collar
IMG_0122 (1 of 1)
August: 1920s Sinamay Hat (HSF #15)
IMG_9660
November: 1917 Cranberry Red Scarf (HSF #23)
IMG_1584
November: Our Apartment Redecoration Project
IMG_0038
December: 1950 Baroness Dress

Looking forward to 2015, I’m planning the following for certain:

  • 1890s skating ensemble
  • New Regency hair decoration/turban/thingy
  • A secret Vernet ensemble

Other projects might include:

  • A modern dress made of black patterned rayon
  • An 1850s plaid ball gown
  • A 1910s “tango” corset
  • A new 1910s evening gown
  • An 1880s corset
  • Modern capris
  • Modern tops
  • Finishing a modern cotton dress I started last year
  • Finishing a 1910s evening dress I started last year
  • Finishing an 1880s day dress I started in 2013
  • A 1900s evening gown
  • An 1830s evening gown
  • Knitted red gloves
  • A robe de style
  • A late 1910s day dress
  • Finishing an 1814 pelisse and day dress I started at some point

Of course, I have lots of other ideas in mind, too! A lot of it depends on how busy I am, how much time I have to sew, and what events pop up.

As usual, I completed some things on my looking forward to 2014 list and some things just totally fell by the wayside. In particular, while I started panniers for the court gown project, I didn’t finish them, nor did I start any other part of that ensemble. I’m a bit sad that I didn’t work on this project very much. I’m pondering whether to leave it on my list of things to do or to reallocate the fabrics for some other project. I was so excited to participate, but I have so many other things to make that I can actually wear to events… and I wasn’t boosted along in my enthusiasm by the general blogging world because it seems lots of other excited people were busy last year also. Alas, life takes up so much time!

I did exceed 100 followers and 200,000 views on the blog this year. And I announced my engagement (and to be fair, planning a wedding is definitely something that is keeping me busy in my spare time!). I was also awarded the Liebster Blog Award for the second time. This time by Susan, of the blog Threading Through Time.

I participated in the Historical Sew Fortnightly 2014, but only completed 7 challenges out of 24. I think I was mostly busy with life or busy with other projects that didn’t line up with the HSF for most of the year. I will likely participate in the HSF 2015 this year, though as in the past two years I won’t go super out of my way to make projects just to satisfy challenges if they’re not also being made for another purpose.

And in terms of events… 22 for 2014: 9 balls, 8 other events (teas, picnics, outings etc.), and 5 performances.

IMG_1693
We spent the beginning of this month vacationing in the Caribbean. As we continue to sail along on our life adventure, I hope to create many more fond memories and retain the relaxation from our Caribbean escape. I hope your year is full of the same!

19CBRE: The Height Of Ill-Breeding

4a8c317e9d77bb6eebfcfc1502a96598
The Soiree by Jean Beraud

Never anticipate the point or joke of an anecdote told in your presence. If you have heard the story before, it may be new to others, and the narrator should always be allowed to finish it in his own words. To take any sentence from the mouth of another person, before he has time to utter it, is the height of ill-breeding. Avoid it carefully.

Be careful always to speak in a distinct, clear voice; at the same time avoid talking too loudly, there is a happy medium between mumbling and screaming. Strive to attain it.

This particular quote is from page 14 of the The Ladies’ Book of Etiquette, and Manual of Politeness (1873), source here. Warning to all: avoid the “height of ill-breeding” in the new year! And, happy new year!

1950 Baroness Christmas Dress!

Success! I not only finished my 1950 Baroness Christmas dress the weekend after Thanksgiving, but we also managed to line up our schedules and go see The Boston Ballet’s Nutcracker at the beautiful Boston Opera House, where we took pictures! There were brass bands playing outside and carolers in silver down coats on our walk to the theatre. It was all very festive. And, of course, there was The Nutcracker with a live orchestra.

As you might be expecting, I wore my Christmas dress and took pictures for Edelweiss Patterns’ Virtual Christmas Dress Party. The original inspiration image is in this post. The dress is made from rayon and lined with polyester. I made an attempt to do a 50s stylized up-do, too, though I don’t have any close up head shots… but without further ado, here it is:

IMG_0025

IMG_0026

There were a few changes from the original, like adding a slit behind the front drape for ease of movement, adding a self fabric belt over the waist seam, and not quite making the pleats across the front deep enough to read once the bow was attached. I’m quite pleased, however, and love how festive the dress is! (And it’s quite formal, with that low back…)

Our group was very well balanced in having two greens and two reds, and three hats, and four  gloves (two pairs, you know)… (It sounds like One Fish Two Fish Red Fish Blue Fish or The Twelve Days of Christmas, doesn’t it?)

IMG_0033
3 hats!
IMG_0024
5 of us in 1950s inspired Christmas outfits!
IMG_0038
Merry Christmas!


Our Apartment Redecoration Project Part II: Pillows

The new couches that sparked our apartment redecoration project also came with four feather pillows. They were rather squashed and sad when we received them, but I decided to give them a fluffing and make new covers for them to accent our newly decorated room. (After all, feather pillows are quite nice and there was no sense in discarding them.)

IMG_1584
Our recently redecorated living room.

It was a challenge to find fabric that would match the colors of our room, was a design we both liked, and was not $40/yard. At the very last store I went to I found three fat quarters with this fairytale tree design for about $1.50 each.

IMG_1589

I scoured the store looking for more but to no avail. What to do with four pillows and only three pieces of fabric? Also, the fat quarters weren’t quite big enough to cover the entire front of the pillows…

IMG_1590

Luckily, I had an off-white cotton in the stash that perfectly matched the background of the fat quarters. I used it to make the backs of the pillows, including the bit that wraps around to the front and makes those bars top and bottom. For the fourth pillow, I made a cover entirely out of the solid fabric. It lives on our red circle chair, where it is a nice contrast. And the off-white looks fine with the white couches, since there are other off-white things in the room, like the walls, which are large! And really, our two seater couch would have been overwhelmed with two patterned pillows anyway. These 22″ pillows are not small! It worked out perfectly!

IMG_1576
Inside a pillow cover. I serged all the seams, because serging is fun, and easy!

I followed this tutorial to make my pillow covers, adjusting for the extra seams I needed to add to use my fat quarters. I also flat lined all the pillow covers with muslin to help keep the feathers from poking through, to provide opacity, and to help disguise the seam allowance from the fat quarter seams. I love that this style cover does not require closures and is easy to remove if necessary. We love that the pillows give an interesting spark to the room, jazzing up our couches a bit with their non-solid fabric.

Our Apartment Redecoration Project Part I: Living Room

I mentioned a few posts back how busy I was. Things have mostly settled down, our redecoration is complete, and now I have time to share pictures!

IMG_3919

The redecoration project was rather unplanned. It all started because we were gifted two very nice couches. When Mr. Q suggested that we take the couches I will admit that I was dubious. Our purple Ikea couch has supported us well over the last few years and I didn’t know if the new ones would be that much nicer. But they are much nicer… higher quality foam stands up much better to use over time and deeper cushions are just more comfortable–there’s more space to tuck your legs up on the couch or surround yourself with blankets and pillows!

IMG_1584

Our before and after pictures aren’t quite at the same angle, but you get the idea. The dining area didn’t change a whole lot, so I didn’t feel it needed to take up as much space in the picture. You can see that we’ve gained furniture and “stuff” over the last three or so years (and that before picture was very early on, but I thought we’d go for the most drama in terms of change).

Those white couches you see came to us with country-farm style red covers on them. It was the right sort of color but not at all the right style for our modern jewel tone living room. After lots of stressing about the potential of having to recover the new couches, I realized that the shape of them wasn’t much different than our ikea couch. And that led us to Ikea-hack covers for our new couches.

We bought 3 white cotton twill Ektorp couch covers (a 3 seater, a 2 seater, and one extra 3 seater for extra fabric), chopped them up as needed so they could expand to fit the new couches, then chopped up the extra fabric cover to fill in the gaps, and finally sewed all the unusual seams to create a new couch cover that would fit. It’s not a beginner level sewing project, but it’s certainly do-able if you have an idea of draping and are creative about problem solving how to expand a couch cover to fit a larger couch than it was intended for. I think this will all be easier to show in pictures.

IMG_0008
Thankfully, the cushion covers fit our new couch cushions pretty perfectly! (Mr. Q notes that he wouldn’t say “perfectly” but maybe “with some coaxing.”) The foam is a little stuffed in, but it was so much better than having to make the cushion covers from scratch. The prospect of doing it from scratch was just overwhelming!
IMG_1440
Here’s our new 2 seater couch with the chopped up Ikea cover on it. You can see that there is a significant gap between the pieces along the seat seam and around the back of the arms.
IMG_1443
But that’s why we purchased an extra cover, so that I could chop it up and piece it in where needed. I’ve got my sewing tools out: seam ripper, snips, pins, sewing measuring tape, tool-type measuring tape, sharp fabric scissors, more pins, pencil, and a ruler. And you can see that I was in the process of measuring out a section to piece in.
IMG_1439
It’s very clear in this picture that the ikea cover was not deep enough for the new couch. So we have a seam that runs over the arm of each couch and down the side, but with the cushions on you really don’t see them at all.
IMG_0004
It’s hard to see in the last picture, but I also had to adjust the top corner of the cover on the 2 seater couch. The Ikea covers have darts along the back that you can just make out in this picture (I’ve unpicked them), but the back of this couch was shorter than the cover (odd, because the 3 seater fit perfectly). So I needed to reposition the darts differently for this couch.
IMG_0001
I also needed to take in the center seat section on the 2 seater couch. It was between 1″-2″ too wide and looked sloppy. I made a fuss but decided to take it in the right way, on the seams between the seat and the arm section, and I’m glad I did, because you can’t tell at all on the finished couch that I had to do that alteration.
IMG_0017
Now on to the 3 seater couch. It needed the same addition for depth that the 2 seater did. You can see that I’ve sewn the addition to the bottom seat section but haven’t sewn it to the top/back yet. I had to do some interesting piecing over the arm, which is what I’m doing in this photo.
IMG_0019
Here’s another view after I’ve attached that depth extender to the seat/back and am working on the seams to piece in the weird bit over the arm of the couch. If you look closely you will see that there are actually two oddly shaped pieces near my hands.

It was a long Saturday of shopping at Ikea and sewing until late into the night. Mr. Q doesn’t have the sewing skills to help with that part but he was engaged the entire time in positive encouragement and occasionally seam ripping or other assigned jobs.  He also put all of the cushion covers on while I was madly seam ripping and taking large white bundles to my sewing table.

I didn’t take the time to nicely serge or finish the new seams. We actually had to wash the 2 seater cover one day after finishing it (oops! but at least the stain came right out along with the wrinkles!) and the seam allowances frayed as you would expect, but not enough to cause any alarm. So I’m not worried about it. There was also nice velcro on the old red cover that held the cover to the couch under the curve of the arms and also along the back seat area. We kept the velcro but didn’t get around to sewing it on. I think it would be nice under the arms, but I’m not inclined to do it anytime soon. The bit along the back doesn’t seem to have made a difference–our new cover stays in place without a problem.

IMG_1448
Ta da! Finished ikea-hack couch covers, with all new pillows and throws (that make such a fuzzy mess on our white couches… we definitely did not think that one through!).

HSF #23: 1917 Cranberry Red Scarf

IMG_9660
Look, I made my scarf!

…and it qualifies for the HSF Challenge #23: Modern History! This particular challenge is to make something historical or historically inspired that is wearable in an everyday context. And a scarf like this: absolutely wearable in my modern life if I choose!

Just the facts:

Fabric: 2 skeins, of unknown length, of probably acrylic yarn.

Pattern: Made by me. (More details below.)

Year: 1910s. (More details below.)

Notions: None!

How historically accurate?: Ideally, it would have been made of angora yarn, but I had the acrylic on hand and didn’t want to spend extra money (angora yarn isn’t cheap, you know!). Acrylic wasn’t invented until 1941. However, the dimensions of the scarf are accurate, the pattern is entirely plausible for the 1910s, and the style is taken directly from an ad from the 1910s. So I’d say 90%.

Hours to complete: No idea. I knit while watching Netflix and didn’t pay any attention.

First worn: In Plymouth, MA the weekend before Thanksgiving while portraying a suffragette (as I did last year).

Total cost: $2.50 for the knitting needles and $1 for the yarn = $3.50.

The color is perfectly suited to the holiday season, being cranberry red just like the fresh berries I used to make homemade cranberry sauce last week. (That was really easy and tasty, by the way–I bought Ocean Spray cranberries and the recipe was on the bag!)

IMG_9662
Cranberry red!

The pattern is moss stitch. I knit an extra row at the beginning and end just to provide some stability. Then, K2, P2 all the way across for two rows. P2, K2 all the way across for the next two rows. Repeat. Super easy. I keep track of what row I’m on in a little notebook with all my knitting patterns in it. That way I know where I’m at while I’m watching Netflix or when I’ve put it down and picked it up on a different day.

The dimensions are taken directly from a 1910s knitted wear ad that Lauren from Wearing History shared on her blog, here. I made my scarf 8” wide and 68″ long so it would provide maximum warmth while being worn. It also helps that it’s acrylic, which doesn’t breath and keeps you toasty. The fringe is about 6″ long and tied into 9 tassels, just as seen in the ad on a few of the scarves (turns out that I had the perfect number of fringe pieces to divide by 9 without planning!).

I had hoped to make these gloves from a 1910s pattern in matching yarn, but didn’t even start them. Perhaps it’s something that I can do next year! I’ve never knit gloves and I’ve only just taught myself to knit in the round, so while the cables in the pattern are not at all daunting, the simple idea of making gloves is. But challenges are fun sometimes! And I’m very pleased with the scarf.

IMG_9658
It was breezy and cold!

Virtual Christmas Dress Party

Katrina, of the blog Edelweiss Patterns, has put together a Christmas Dress Blog Party. The short version is that anyone who wants to make a holiday dress and participate can share pictures and links on Katrina’s blog right before Christmas at the online party. Here’s the link to the full description.

blog-button-christmas

I have to say that I’m not a make-a-dress-every-holiday sort of person. I’m also not a wear-a-fancy-dress-for-Christmas-dinner kind of person. I don’t go to many holiday parties except historically clothed ones and for Christmas dinner I wear something nice, but then soon change into comfy clothes for lounging in front of the fire and playing board games (mmm, favorite holiday pastimes!).

This year, however, I’ve already started a dress that I’d been intending to wear to a Christmas party, which works out wonderfully! Unfortunately, the party I’d been planning to attend changed locations, making it impossible for me and my friends to be there, so we’re trying to find a date to do our own holiday-themed outing instead (if it works out there will definitely be pictures!). Regardless, my dress is well on its way to completion–hopefully I can finish it off over this Thanksgiving weekend–and I will get pictures somewhere even if our holiday outing doesn’t work out. It will be perfect for the Christmas Dress Blog Party!

ac5152046d7bb775df36e790f930178c
Here’s my inspiration: Vogue #588 from 1950, in the COPA at URI. (Click through to COPA to see an image of the pattern pieces.)

My dress is red sheer rayon with a slight textured stripe. I call it the Baroness dress because it reminds me of a mashup of the style of dresses worn by the Baroness in The Sound of Music (see below), despite the fact that the inspiration pattern is a bit later than the movie. It’s a fun coincidence, because Katrina particularly loves The Sound of Music, as you might guess by the title of her blog and pattern line, but I promise, it was the Baroness dress in my head long before Katrina posted about the virtual dress party!

80f92ea70326c7c748878446bbca69cf
The Baroness by the lake. Hip bow inspiration. And red.
877ee41611b9579fef0a00dc0ce84c5a-1
The Baroness in an evening gown. Evening dress inspiration in general.

And, happy Thanksgiving!

Safety Pin Pillow

I completed a little project last week! It’s one I’ve been hoping to complete since the summer, when I realized how helpful it is at work that I have a safety pin pillow with open safety pins stuck into it near my fitting area, but that at home I keep my pins closed and in a plastic container. The solution was simply to make a safety pin pillow for home that can also travel with me when I do independent work outside of my normal costume shop!

IMG_1568
The pillow is a simple square. It’s made from leftover bits of 1850s reproduction cotton (also known as Georgina) flatlined with muslin to help give the pins something to bite into and stuffed with polyester batting. I love that the colors are very me, the fabric has a story, and it won’t show hand oil dirt for a long time.

The pillow is about 6″ square and as you can see I have space to add lots more safety pins. (Plus, it’s squishy, and I like squishy things!) Really, safety pin pillows are genius ideas! It makes fittings so much more efficient to have pins easy to access and already open. Maybe you need to make one, too?

Fabric Stash Addition: Silk Plaid

Well, I went to the fabric store today looking for fabrics to cover some gifted pillow forms to grace our newly redecorated rooms (they’re still not quite done after two weeks of work, but hopefully soon they’ll be done and I’ll have pictures!). I found some truly horrendous fabrics like the one below… (don’t worry! I didn’t buy it. I can only imagine this being in a farmhouse kitchen and even then I wonder about all the mixed motifs…)

IMG_1469
Roosters, and damask motifs, and sunflowers, and gingham, and words…

I did find a few pillow possibilities that I liked, but they all had oatmeal/neutral backgrounds that would not look good in our space, so I didn’t purchase any of those. (I’ve got more places to check out, so I’m not concerned on that front, yet.)

And I did look through the silks, as I always do. Danger!!!! I found lovely plaid smooth silk taffeta (no slubs, hooray!) and it just wanted to come home with me to be made into an 1850s/60s evening gown. I finished off the bolt, which was just under 7 yards. Hopefully enough to make a skirt, possibly both day and evening bodices, and also maybe self trim. Someday (maybe next year?).

A very kind and enabling friend who happened to be with me helped convince me that the silk was a good idea. So in the grand tradition of all my 1850s/60s gowns which have names, when I get around to building the new plaid one I affectionally plan to name the new gown “Johanna” after her. It’s actually a bit more subdued in person. More of a “bruise palette” collection of colors than my usual jewel tones, but “bruise palette” is Johanna’s go to for color choices, so that is perfect. And it’s patterned, which is in keeping with my need to add more patterns to my wardrobe. I think I’ll play up the purple in this rather than the green, since I already have a green 1860s ball gown.

IMG_1475
Fabric! (Because obviously I don’t have enough of it in my stash or enough to accomplish in my life right now…)