

This project was on hiatus for a number of months (the last post about it was in October 2022!), but the time has come to wrap it up!
After the progress made in the last post, there weren’t that many steps left to complete. Yay! Below are details about those steps.
Binding
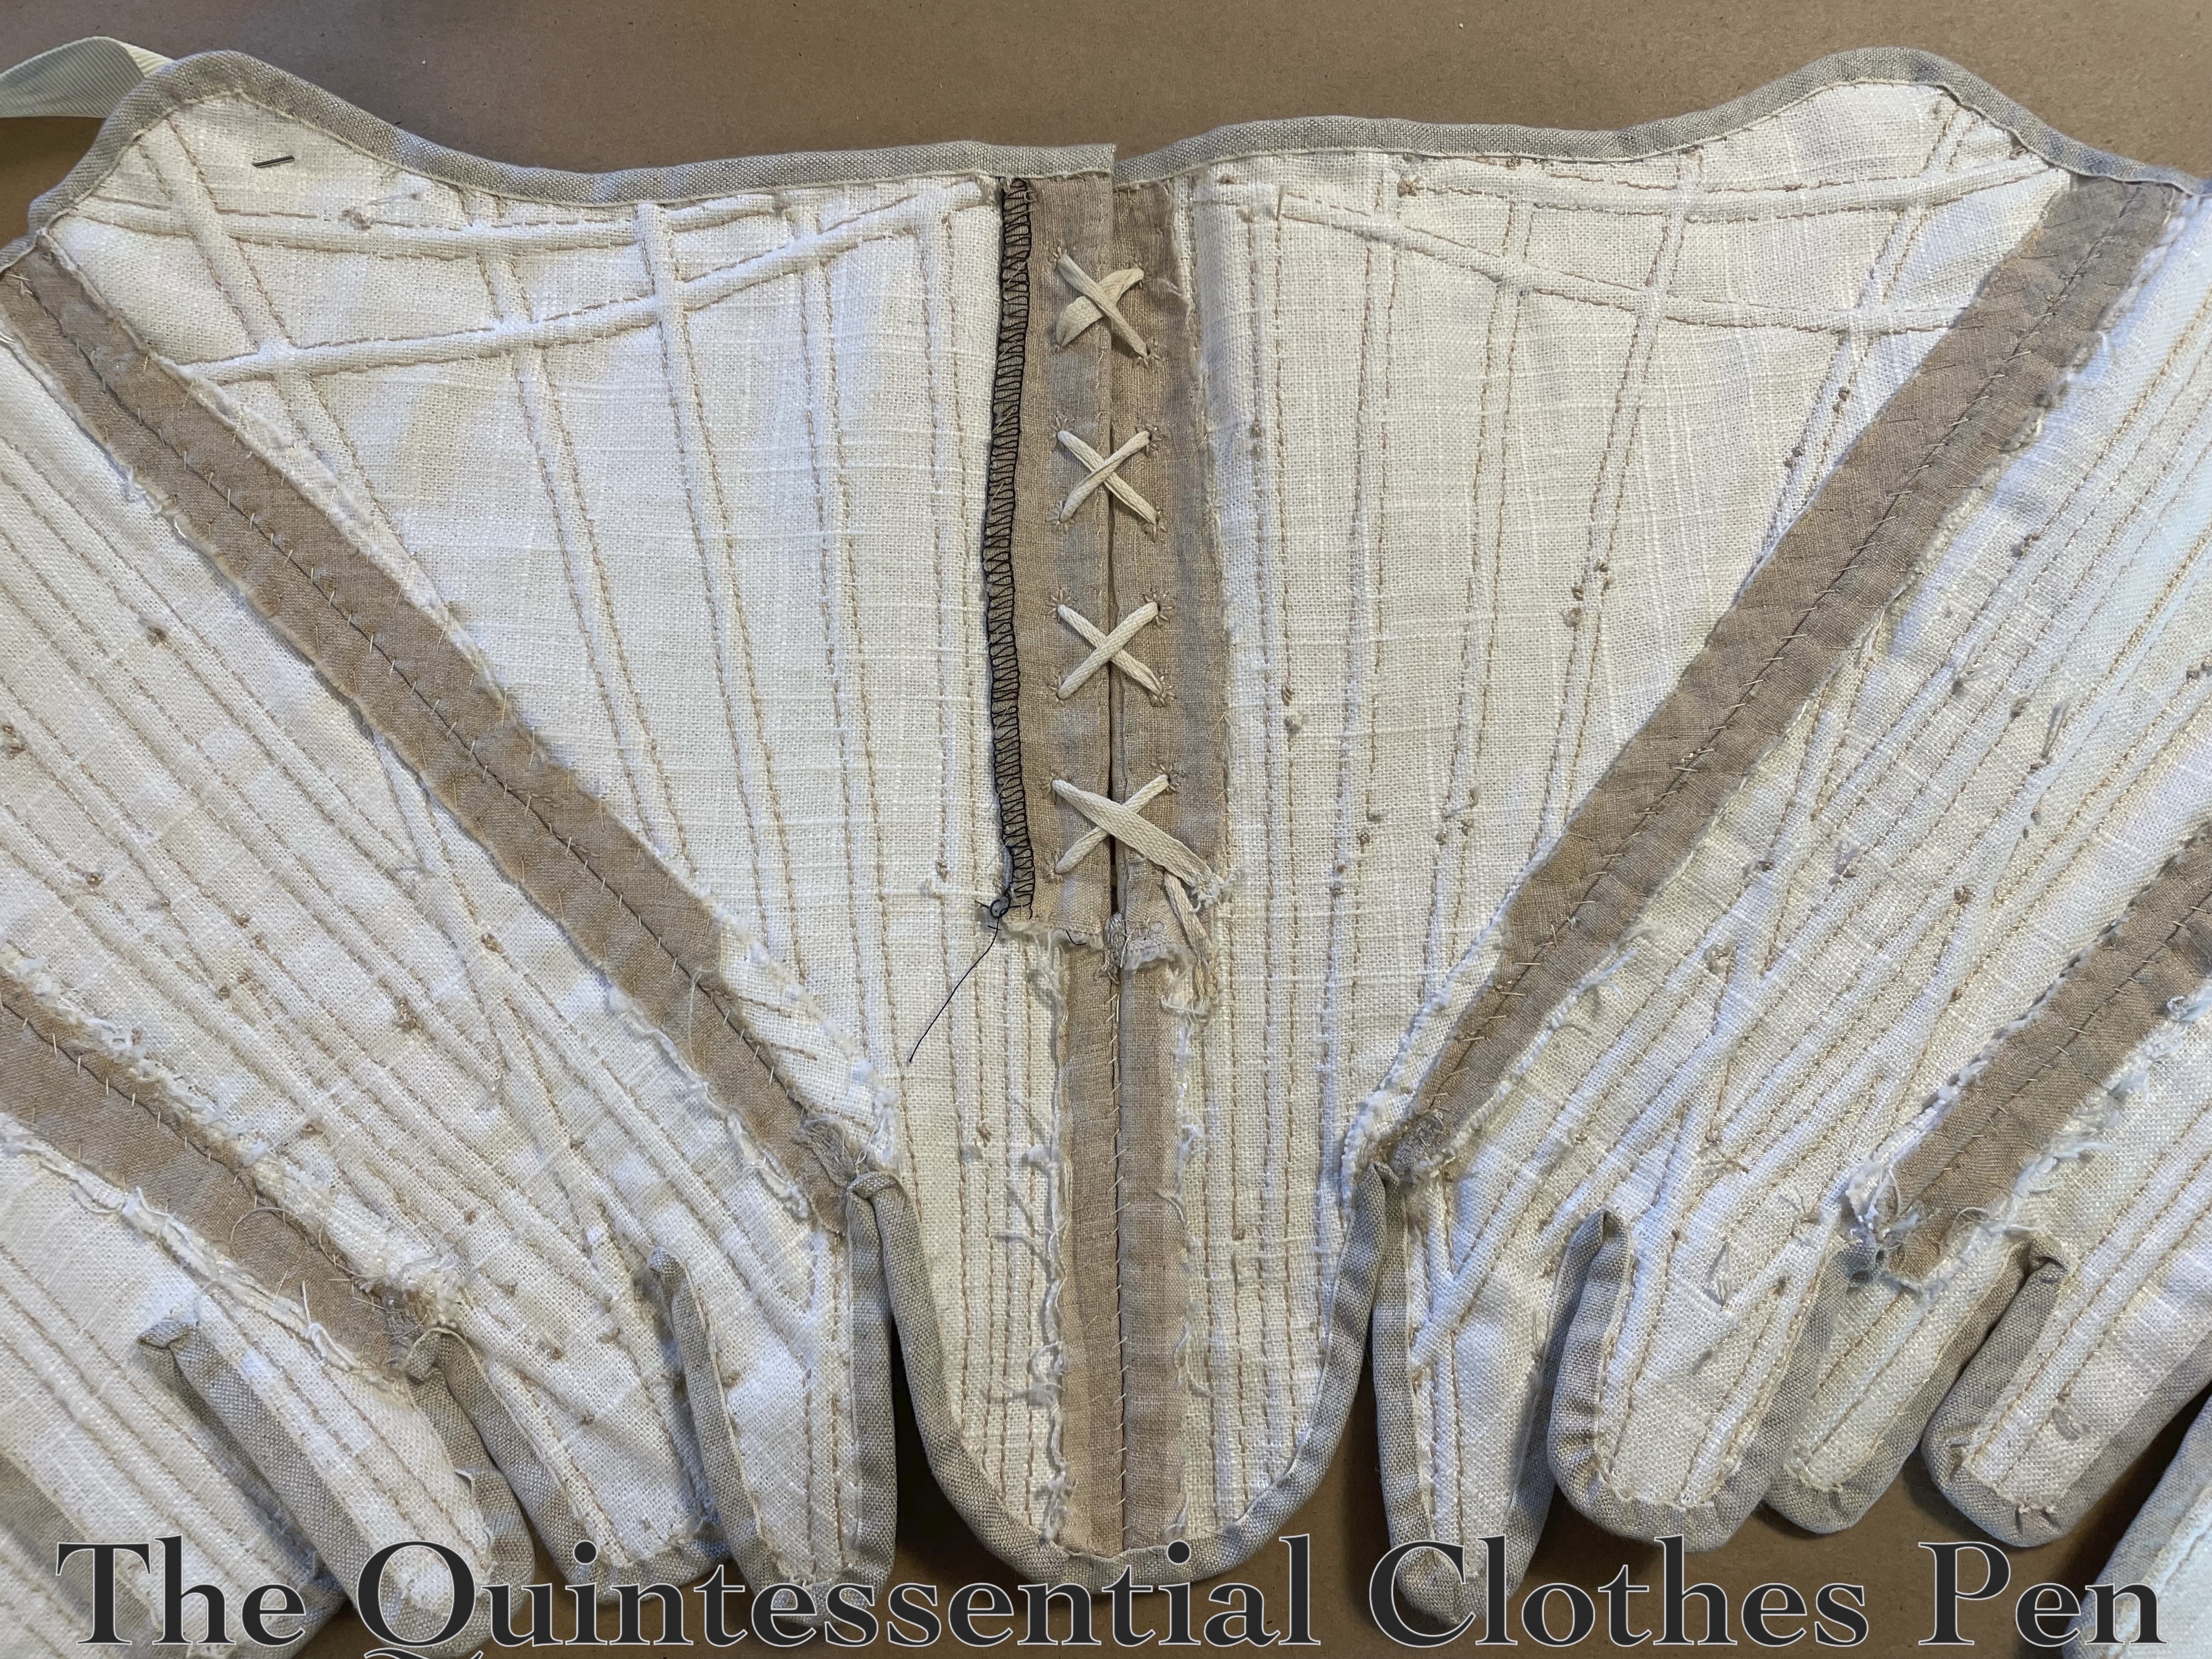
I used ½” natural linen tape. It is whip stitched onto the right side and then wrapped around to the inside and more roughly whipped. The inside stitches will be covered with the lining, so making them invisible and pretty is less important. Below is a photo of the inside of the stays after the binding was sewn on.
Lining
At this point, the stays were almost done. The lining serves to cover up all of the interior construction. To make it, I laid my stays out wrong side face up (as in the above photo) with my lining fabric on top. I pinned in a few strategic places and then roughly penciled where I wanted the cutting lines to be. Then, I cut the lining pieces out.
Once cut, I pinned the center lining piece in place, then pinned the piece next to it, turning under my raw edges at the places I wanted the seam to be and around the edges. Those edges were all pinned in place and then each edge was whip stitched. Additionally, each tab has a separate, small piece of lining whose edges are also whip stitched in place.

Straps
The truly final step was to add straps! I used ¾” ivory cotton twill tape. Each strap was sewn to the front points of the stays and the short raw end hemmed. A scrap of ¼” twill tape was also sewn on each of the side backs for the wider tape to run through.
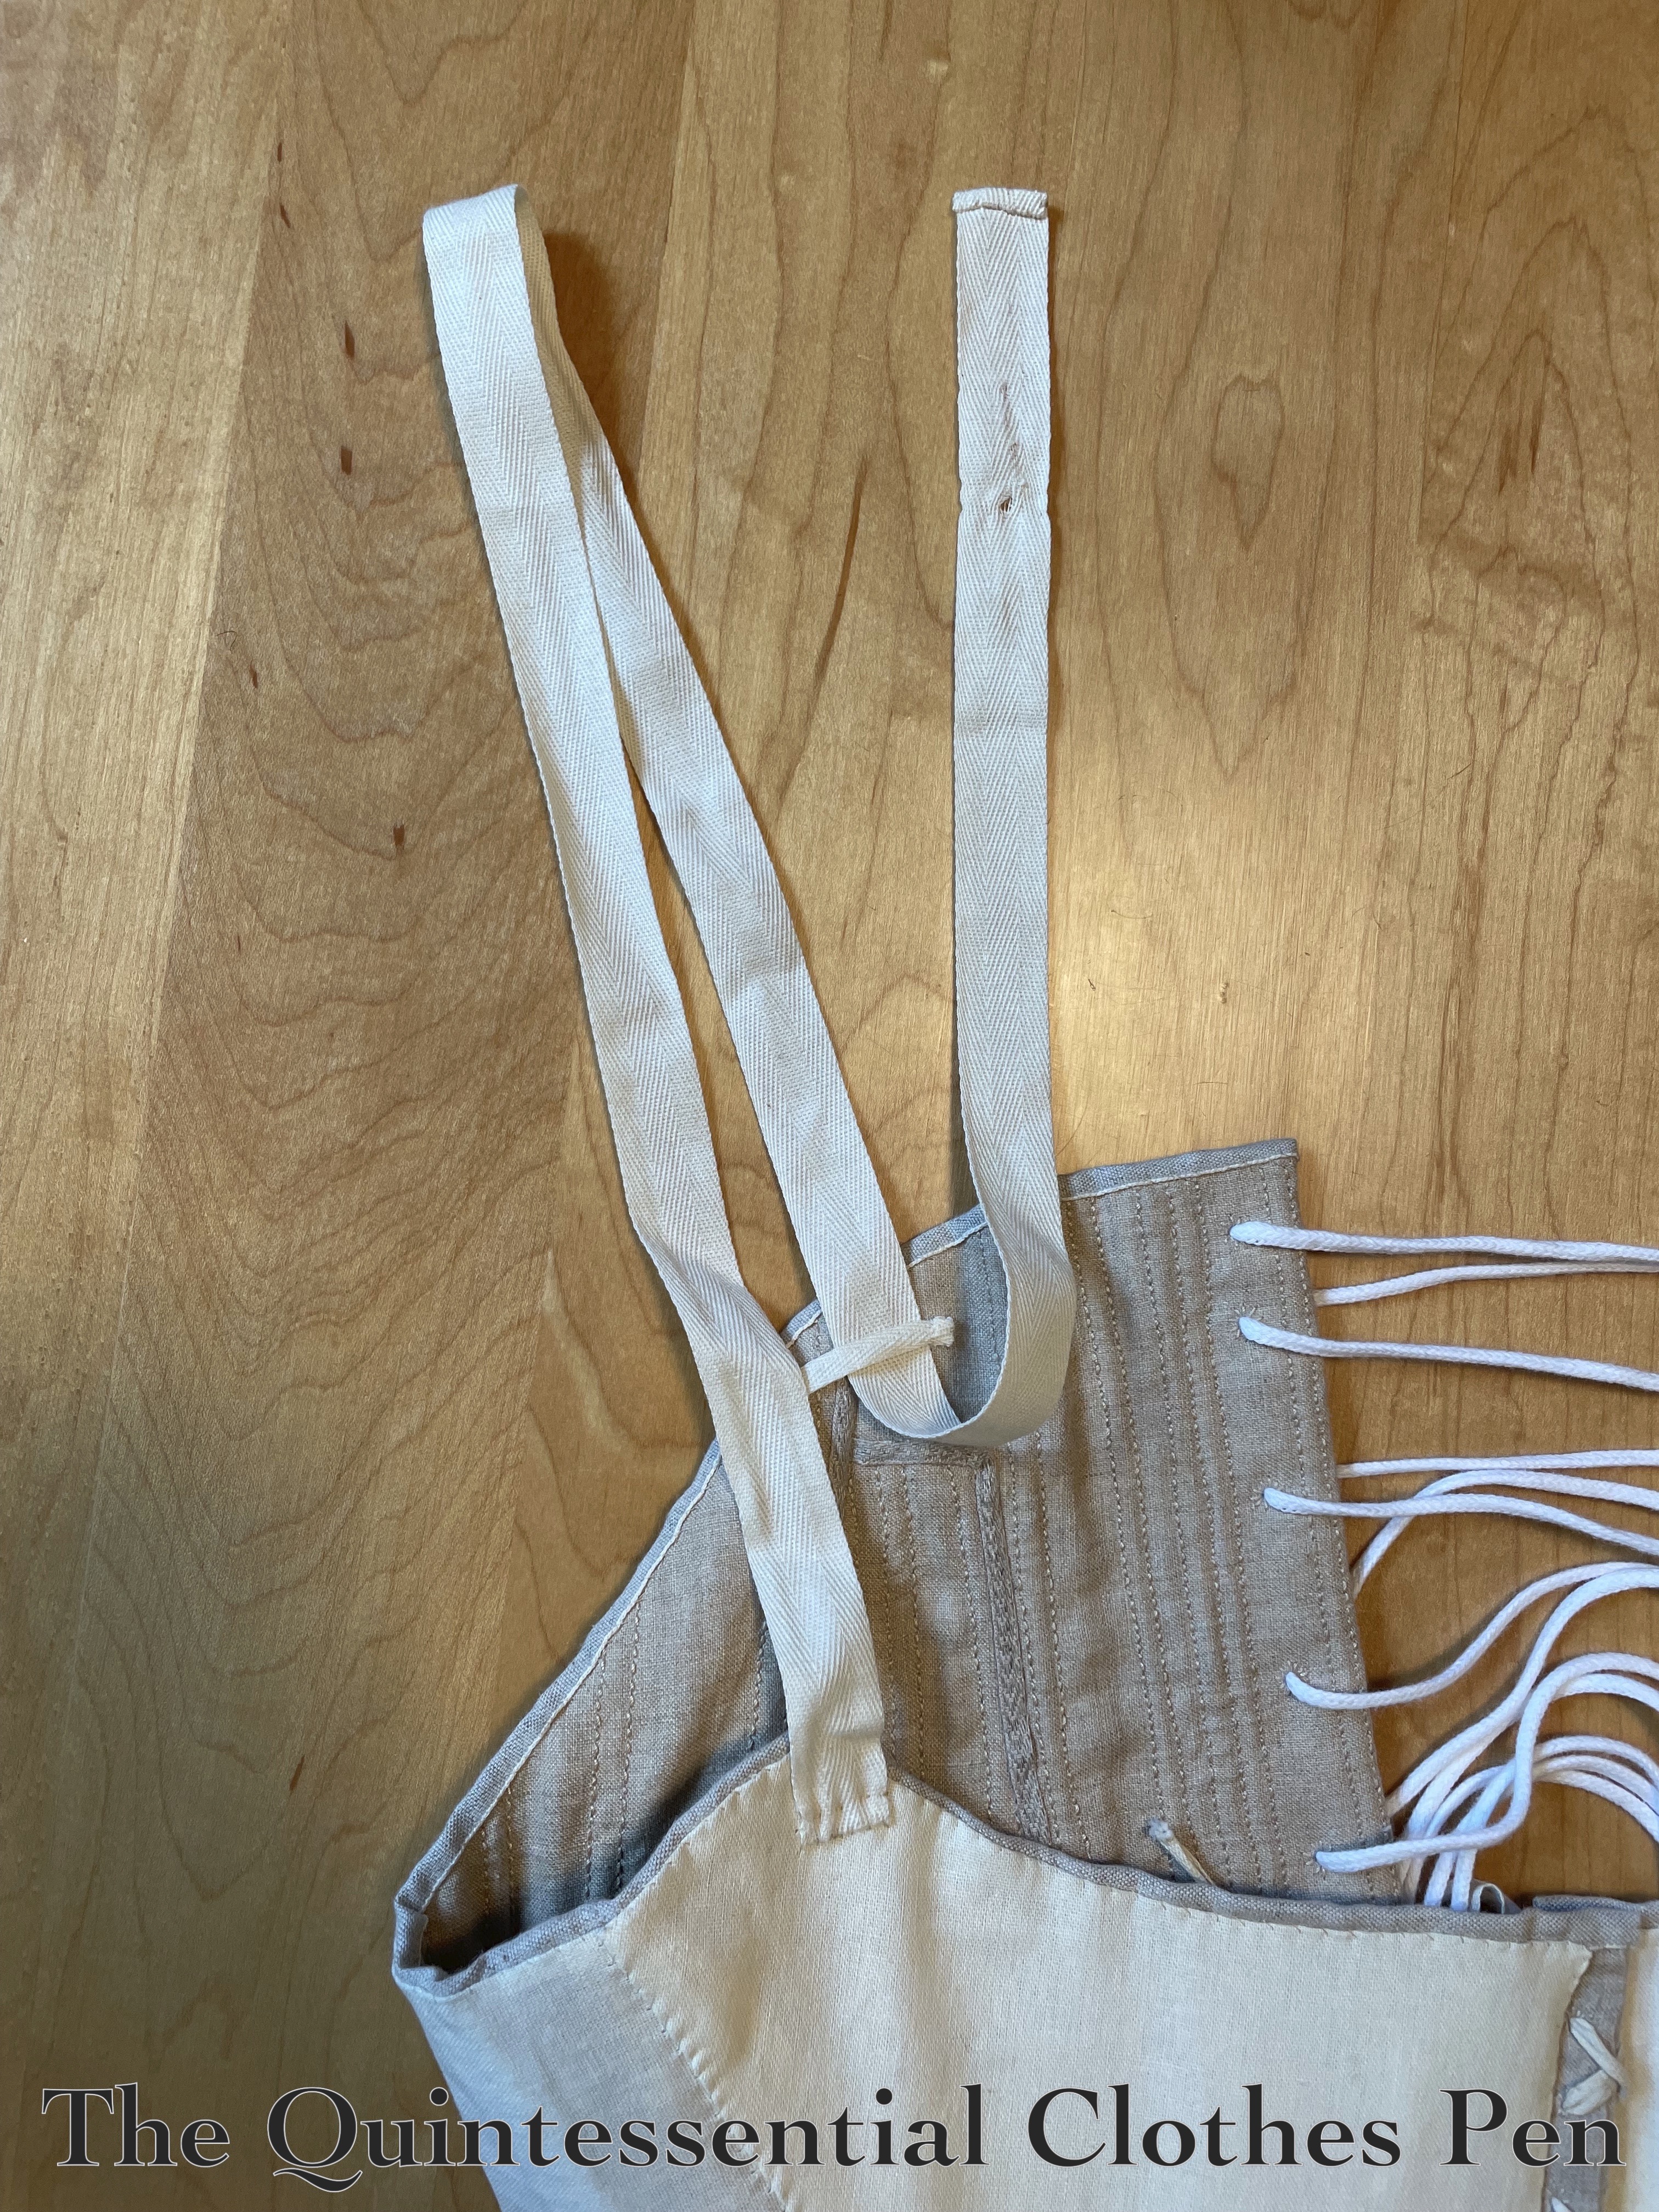
Then, I tried on the stays and determined where I needed to place the hooks that the straps would attach to. Below is a photo of one of the straps held in place by the sideways hook. The straps are long enough to wrap over the shoulder, cross in back, and wrap around towards the front to catch on the hooks.

After that, all I had to do was attach the hooks… and… after many years… the stays were finally, finally… finally…. DONE! They were finished in April 2023.
You can read previous posts in this series here:
c. 1785 Stays (Of Fail), Part V: Middle Construction Details
c. 1785 Stays (Of Fail), Part IV: Early Construction Details
c. 1785 Stays (Of Fail), Part III: The Pattern
c. 1785 Stays (Of Fail), Part II: Fitting Update
c. 1785 Stays (Of Fail), Part I: Beginnings

Dear Quinn,
Oh, my goodness, all done at last.
The sense of accomplishment must have been lovely.
Very best,
Natalie in KY
Yes! Thank you for sticking with me through the adventure, Natalie! 🙂