c. 1855 Wool Cape

Finally, I actually have photos of a garment I made back in 2011!

The story starts with my desire to be warm for caroling at the Christmas ball, so I went looking through my books and came across the image below in ‘Victorian Fashions: A Pictorial Archive’ by Carol Belanger Grafton. It looked warm and I liked the fringe, so off I went on my sewing adventure!

Since then, I’ve managed to wear my cape a number of times, often for Christmas caroling. Even though its date is c. 1855, I’ve found that the loose shape is perfect for wearing over the large sleeves of my 1830s dress as well. Here’s proof, from 2017:


That’s really the only photo I have that looks nice and shows the cape. Other photos that show the cape are washed out or blurry.

Last year I decided it was time to get pictures. I settled on a day I’d already be wearing 1850s (Annabelle is my dress and I’m also wearing a matching chenille headdress). It was important that there would be daylight (that’s the other problem with some of the photos I have, they’re taken during dark winter evenings–that’s usually when I’ve been caroling). Then I brought the cape (despite not actually needing to be outside for the event) and coerced the usual camera toting suspect into taking photos.
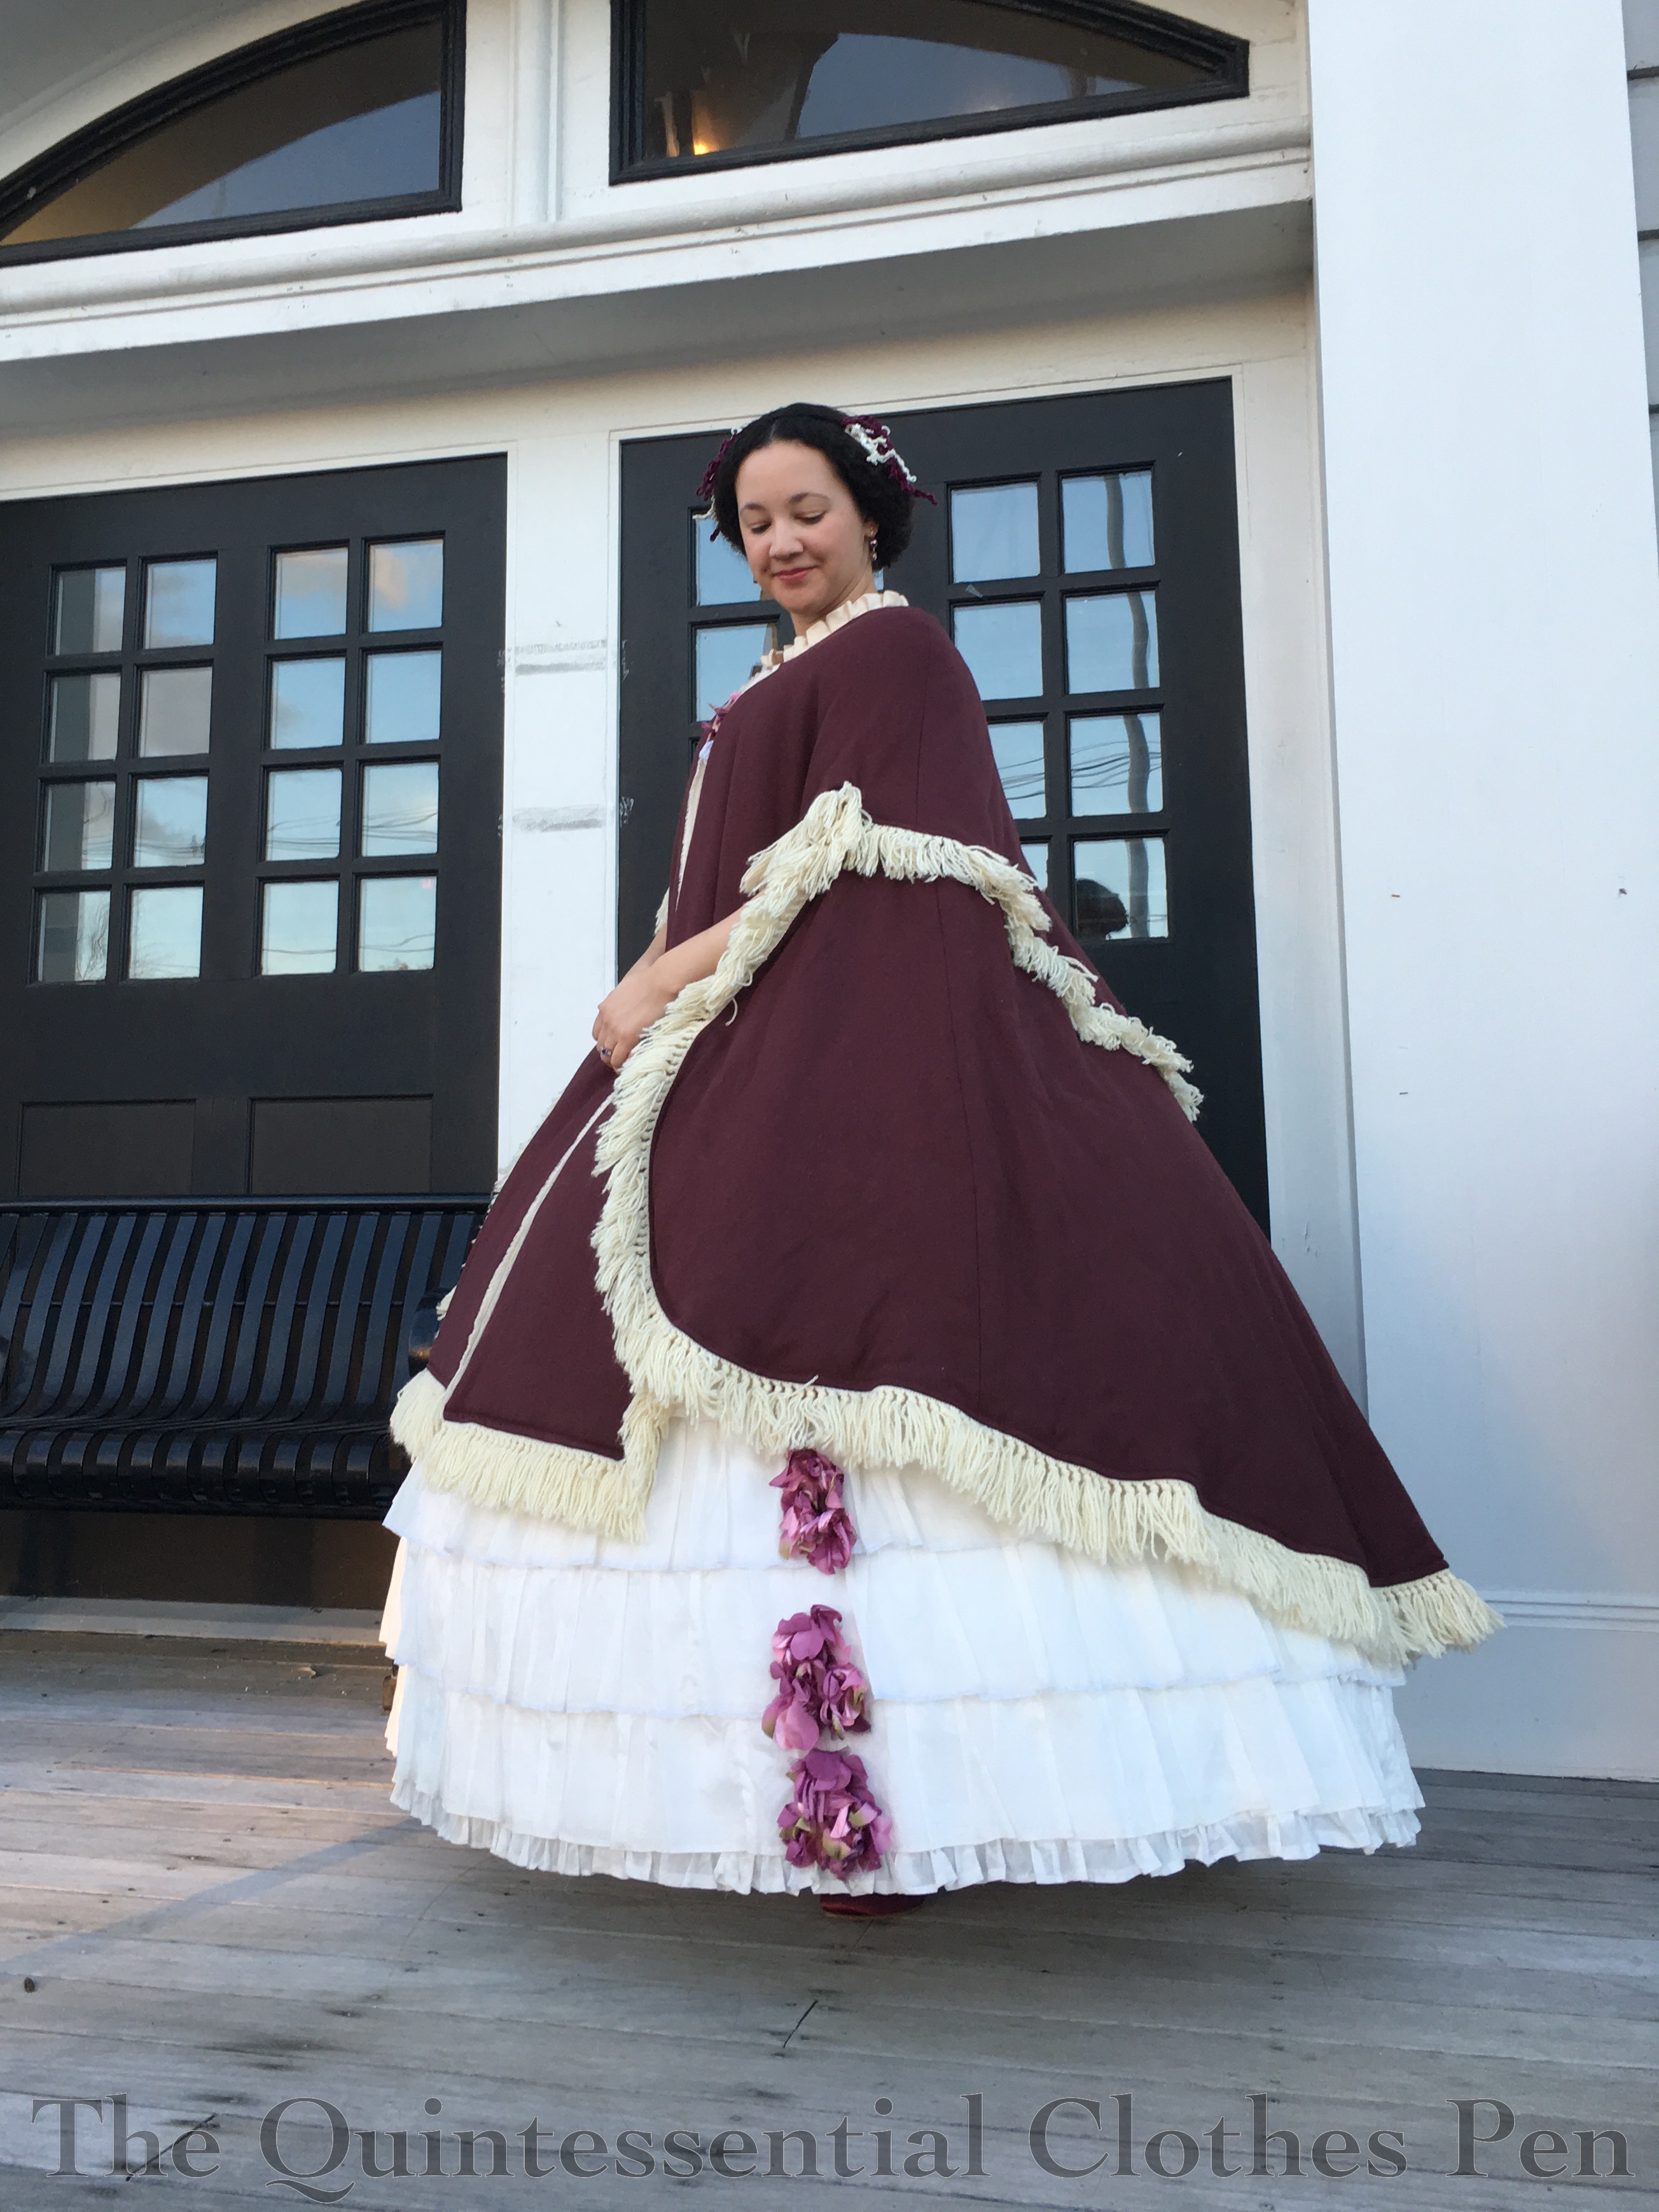
I made the pattern by looking at the inspiration image and drawing the shapes I thought would make it up, although I did take a bit of liberty in terms of closure and arm openings. I also referenced shapes and proportions in ‘The Cut of Women’s Clothes’ by Norah Waugh and ‘Patterns of Fashion 2’ by Janet Arnold.

I wanted simplicity for the closure, so my cape has a single heavyweight hook and loop at the neck. For the arm openings, the fronts are simply separate from the curve that wraps around to the back of the cape.

For warmth, I decided on a wool exterior (also good for shedding moisture). To add even more warmth, I also added a layer of high loft polyester batting to the entire cape. That may not be the most accurate choice (at least in terms of fiber content), but it is quite practical. I thought of quilting the lining to the batting but decided it would be too time consuming. I’m sure the batting extends to the edges and is stitched down, but honestly I don’t remember exactly how that was accomplished.

I loved the fringe in the image and wanted fringe on my cape, too. But not just any fringe. Wool fringe. That was a hunt! I eventually found it at an upholstery company called The Fringe Factory.

To keep the lining soft against my skin,  I decided to line the entire cape with natural cotton flannel  to match the fringe as well as including a stand up ruffle of the flannel at the neck.

As you can see, the cape is quite long. That’s quite a bit of wool, batting, and flannel! I achieved my goal of warmth, but this cape weighs quite a bit!
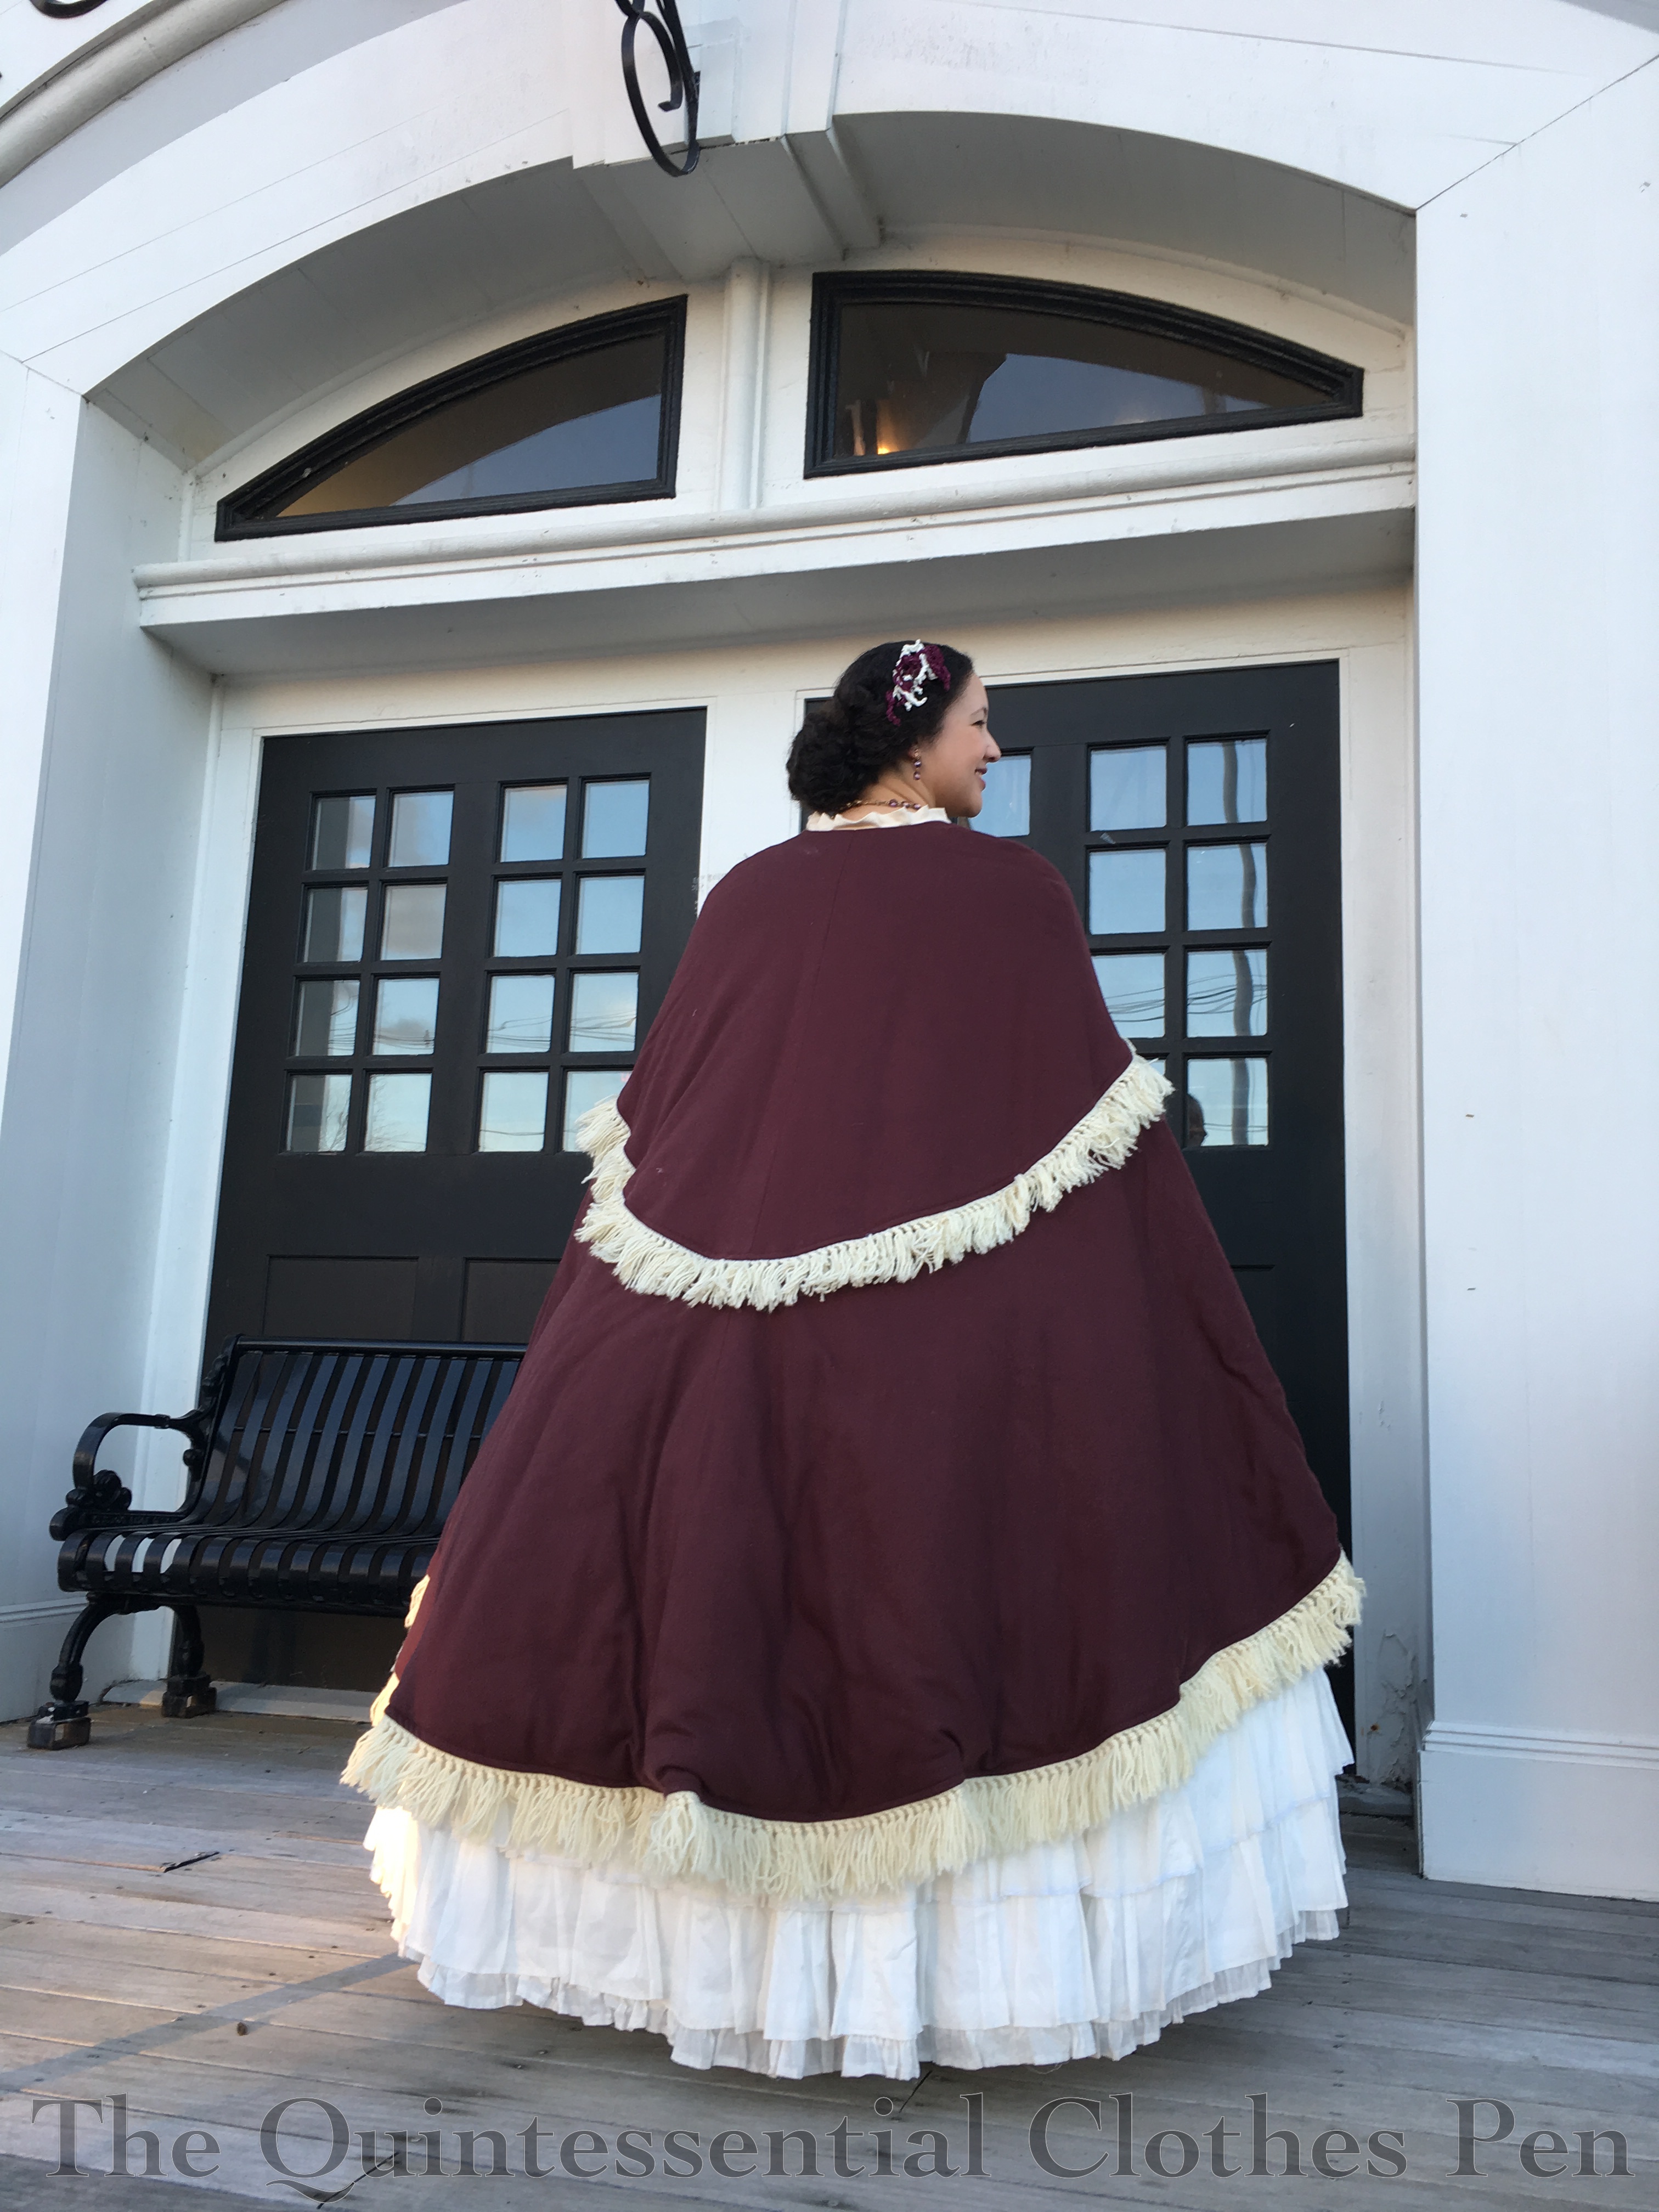
Looking back at my notes, this cape was more expensive than I remembered (though that’s not actually surprising, given the yardage I needed and my desire for 100% wool). I didn’t record the yardages, but I did record the costs. I spent $58.67 on the flannel at JoAnn, $81.00 on the wool at Dorr Mill (I love their wools! They are gorgeous!), and $96.36 on the fringe at The Fringe Factory. The total is $236.03. That’s way more than I often spend on a single historical garment! I had better keep wearing this to get the cost-per-wear down!

Despite the cost, I’ve been very pleased with my cape over the last 9 years and I’m extra pleased to finally have well lit, full length photos so this garment can make an official appearance on the blog!

Summary of 2019: Looking Forward To 2020

2020 seemed unattainably far away for a long time, but here we are. As with many others in blog-land, I’m ready to look back on 2019’s achievements and set some goals for the coming year. So, without further ado…

Projects I completed in 2019

January: Sunshine Yellow 1933
&
February: 1930s Hat

February: 1890s Shortcut Dickie

February: 1896 Cycling Ensemble

April: Ikat Print Henrietta Maria

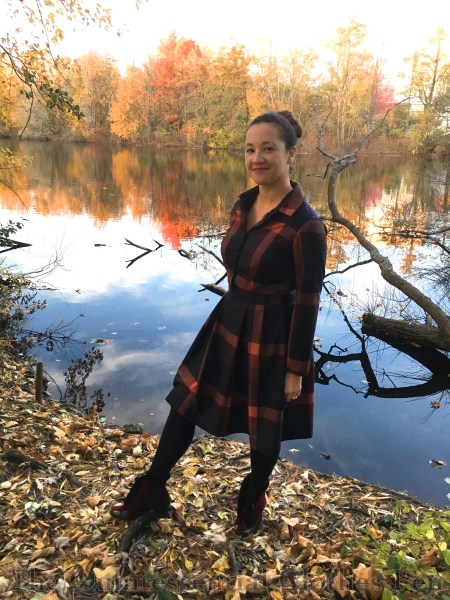
May: Autumn Plaid Dress

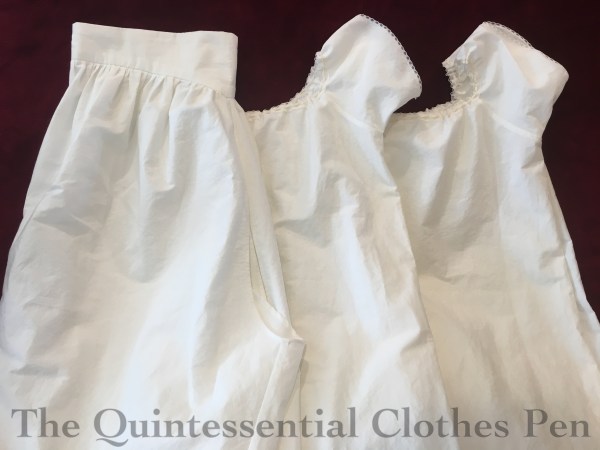
June: HSM #6, Mid-19th Century Underclothes

October: HSM #10, 1863 Ball Gown ‘Genevieve’

November: HSM #11, 1920 Deauville Sweater (The Sweater Of Determination)

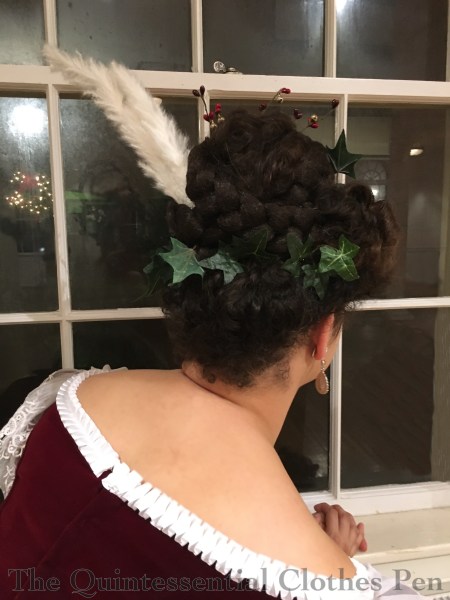
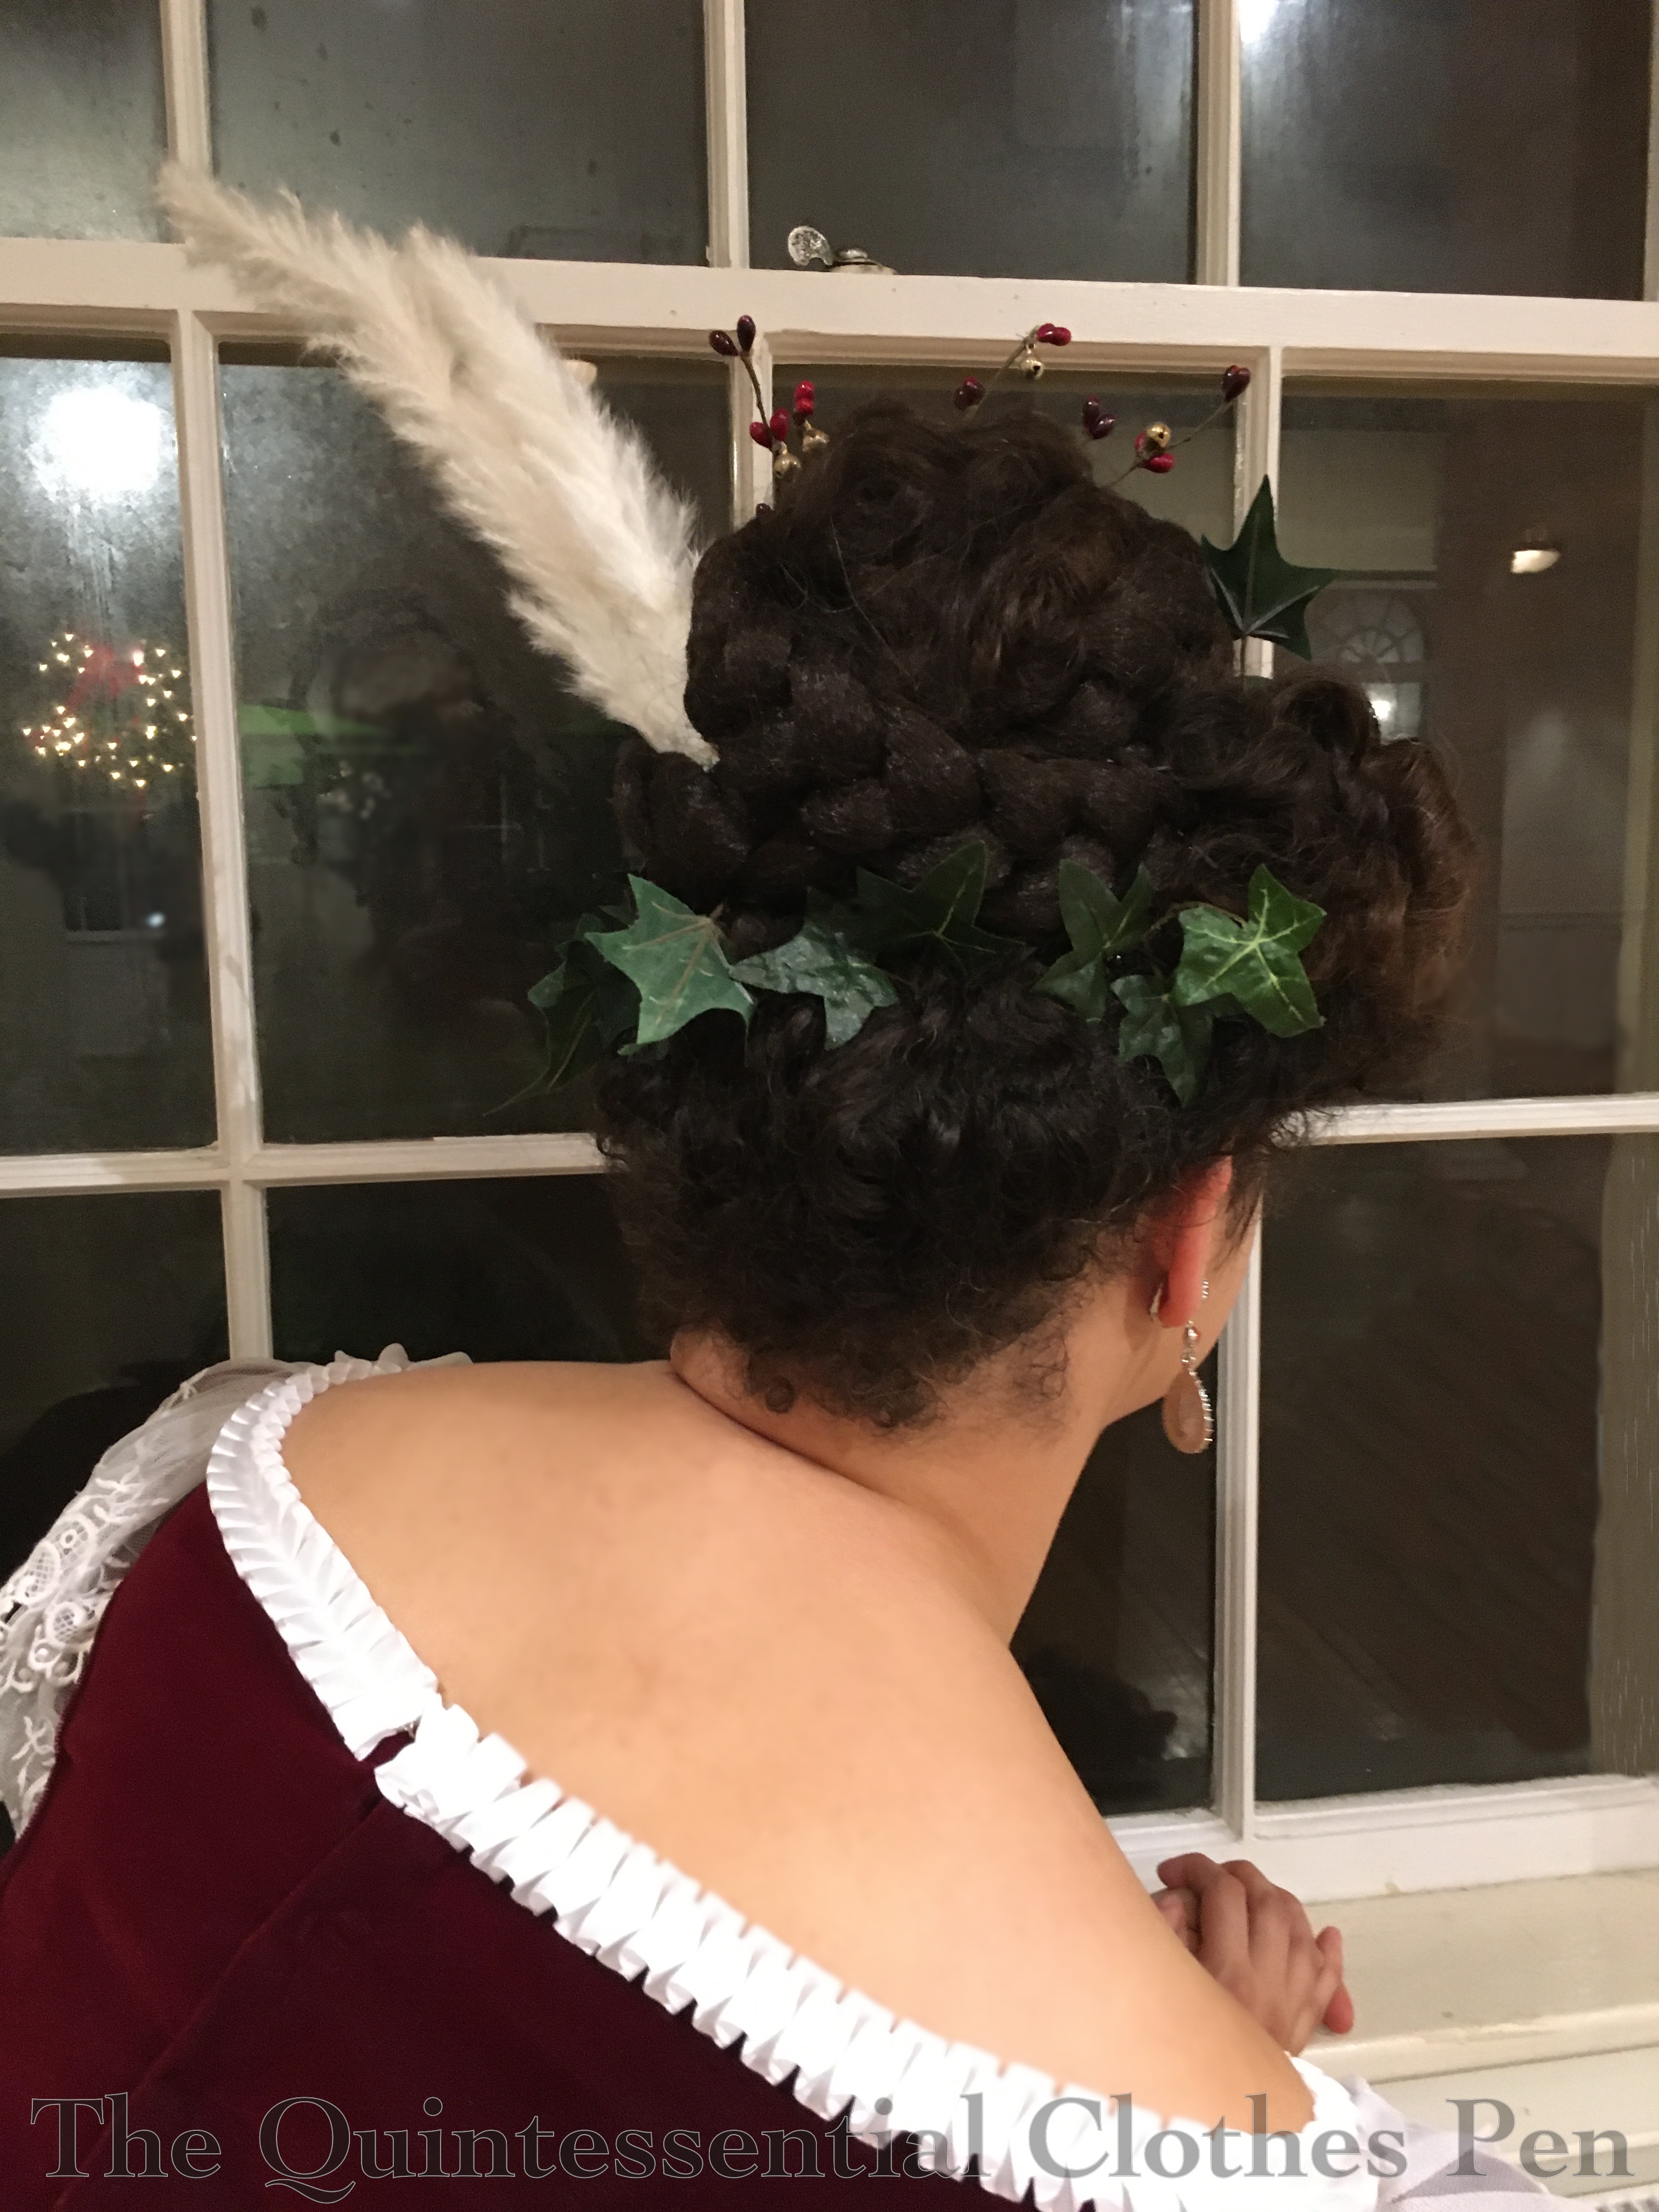
December: HSM #12, Faux Hair Braid

General Blog News

I updated the blog design pretty substantially in June. And the blog passed 300 followers in 2019! Thank you all for sharing my adventures!

I participated in the Historical Sew Monthly for the seventh year, completing 4 out of 12 challenges. (That’s the same as last year.) I love to participate, but often my sewing doesn’t fit into the challenges which is why I only completed ⅓ of the challenges this year and last.

Additional Opportunities 

I was invited to give 3 historical dressing lectures during the course of 2019.  Each one was an excellent occasion to share my passion for bringing history to life with others! Two of the lectures were about women’s sportswear around the turn of the 20th century (one of these was filmed, and can be seen here, on YouTube) and the third was about African American middle and upper class clothing in Providence, RI around the turn of the 20th century (you can see photos of and information about this event here). The sportswear lectures led to interviews on NPR’s WBUR in Boston (you can listen to it here) as well as Providence’s NBC channel (you can view it here, my segment runs from :55-6:54).

Event Recap

In 2019, I attended 8 balls, 5 other events (teas, picnics, outings etc.), 1 vintage dance performance, and delivered 3 lectures (and 2 interviews). That’s fewer events than last year, but an increase in ‘work’ engagements, so the total stayed consistent. This year was full of many other life adventures as well, which kept me quite busy!

To Do Lists

I intentionally kept last year’s to do list short. And I’m pleased to say that I was done with most of it by May! The only outstanding thing is the 1925 coat… that’s been sitting in my sewing room since last January…

On the ‘maybe’ list from last year, I completed the new 1860s dress (boy did I–it took a long time! 57 hours, if you’re counting…) and made serious progress on the 1884 plaid wool day dress. I’ve also made steady progress on the 1790s stays. I didn’t actually make many modern garments… though I acquired more fabric for them. I guess that should stay on the to-do list!

Next year’s ‘definitely’ to do list:

  • That 1925 coat that has been half finished for over a year
  • Finishing the 1884 plaid wool day dress I started in November 2017
  • 1875 petticoat, balyeuse, bodice, and skirt

Next year’s ‘maybe’ to do list:

  • 1875 hat to go with new ensemble
  • 1880s wool mantle
  • 1880s hat to go with plaid wool day dress
  • 1830s cotton day dress
  • The 1790s stays I started in the winter of 2018
  • 1790s petticoat
  • 1790s dress
  • Modern dresses, pants, and skirts (I really should stop acquiring fabric for more until I start actually making these!)

Wishing wonderful adventures to all of us in 2020!


A New Faux Hair Braid (HSM #12)

December’s HSM challenge was On a Shoestring. The description is as follows: 

It’s an expensive time of year, so make an item on a tight budget (say, under $15, or less than you’d spend on a reasonable priced takeaway meal for one person in your country – and no ‘stash’ doesn’t count as free: you still have to count what you would have originally paid for those items)

I haven’t been sewing much in the past month and so I was having trouble coming up with any ideas for this challenge. Then I remembered that I had, in fact, sewn a small item that fits this challenge–a new faux hair braid to add to my 1830s hairstyle for the annual Christmas ball!

Just the facts:

Fabric (we’ll call this ‘materials’, for this entry):  1 pack of Kanekalon faux hair in dark brown.

Pattern: None.

Year: 1830s, but it can be used for most of the 19th century.

Notions: 3 black hair nets, 2 black hair ties, and thread.

How historically accurate is it?: 95%. Adding faux hair to make complicated styles was a popular practice in the late 18th century and through most of the 19th century, but of course my braid is made of modern materials.

Hours to complete: 3.

First worn: December 14, 2019.

Total cost: Approximately $9.

The wonderful thing about covering the braid in hair nets is that it stays super smooth and not frizzy. Sometimes I like the frizz (to match my own) so I also have a braid that does not have the hair nets on it. And, I’ve decided that it’s fun to have a sleek braid, too. You can see (and read about) my method for covering the braid with the hair nets in this post.

This braid is 40″ long. It is simple and ready to be styled in any way I can think of!