

The previous post in this series stopped at the point of my successful pattern changes for this new dress. Now we’re on to the more fun part of getting to work on the visible parts of the dress!
The first step after ensuring that my ‘mockup’ flat lining fit was to take the seams apart and press the pieces flat. Rather underwhelming as sewing steps go, but it meant that I didn’t have to cut out a separate mockup of my bodice. Yay!
After that I was ready to cut out the silk bodice pieces!
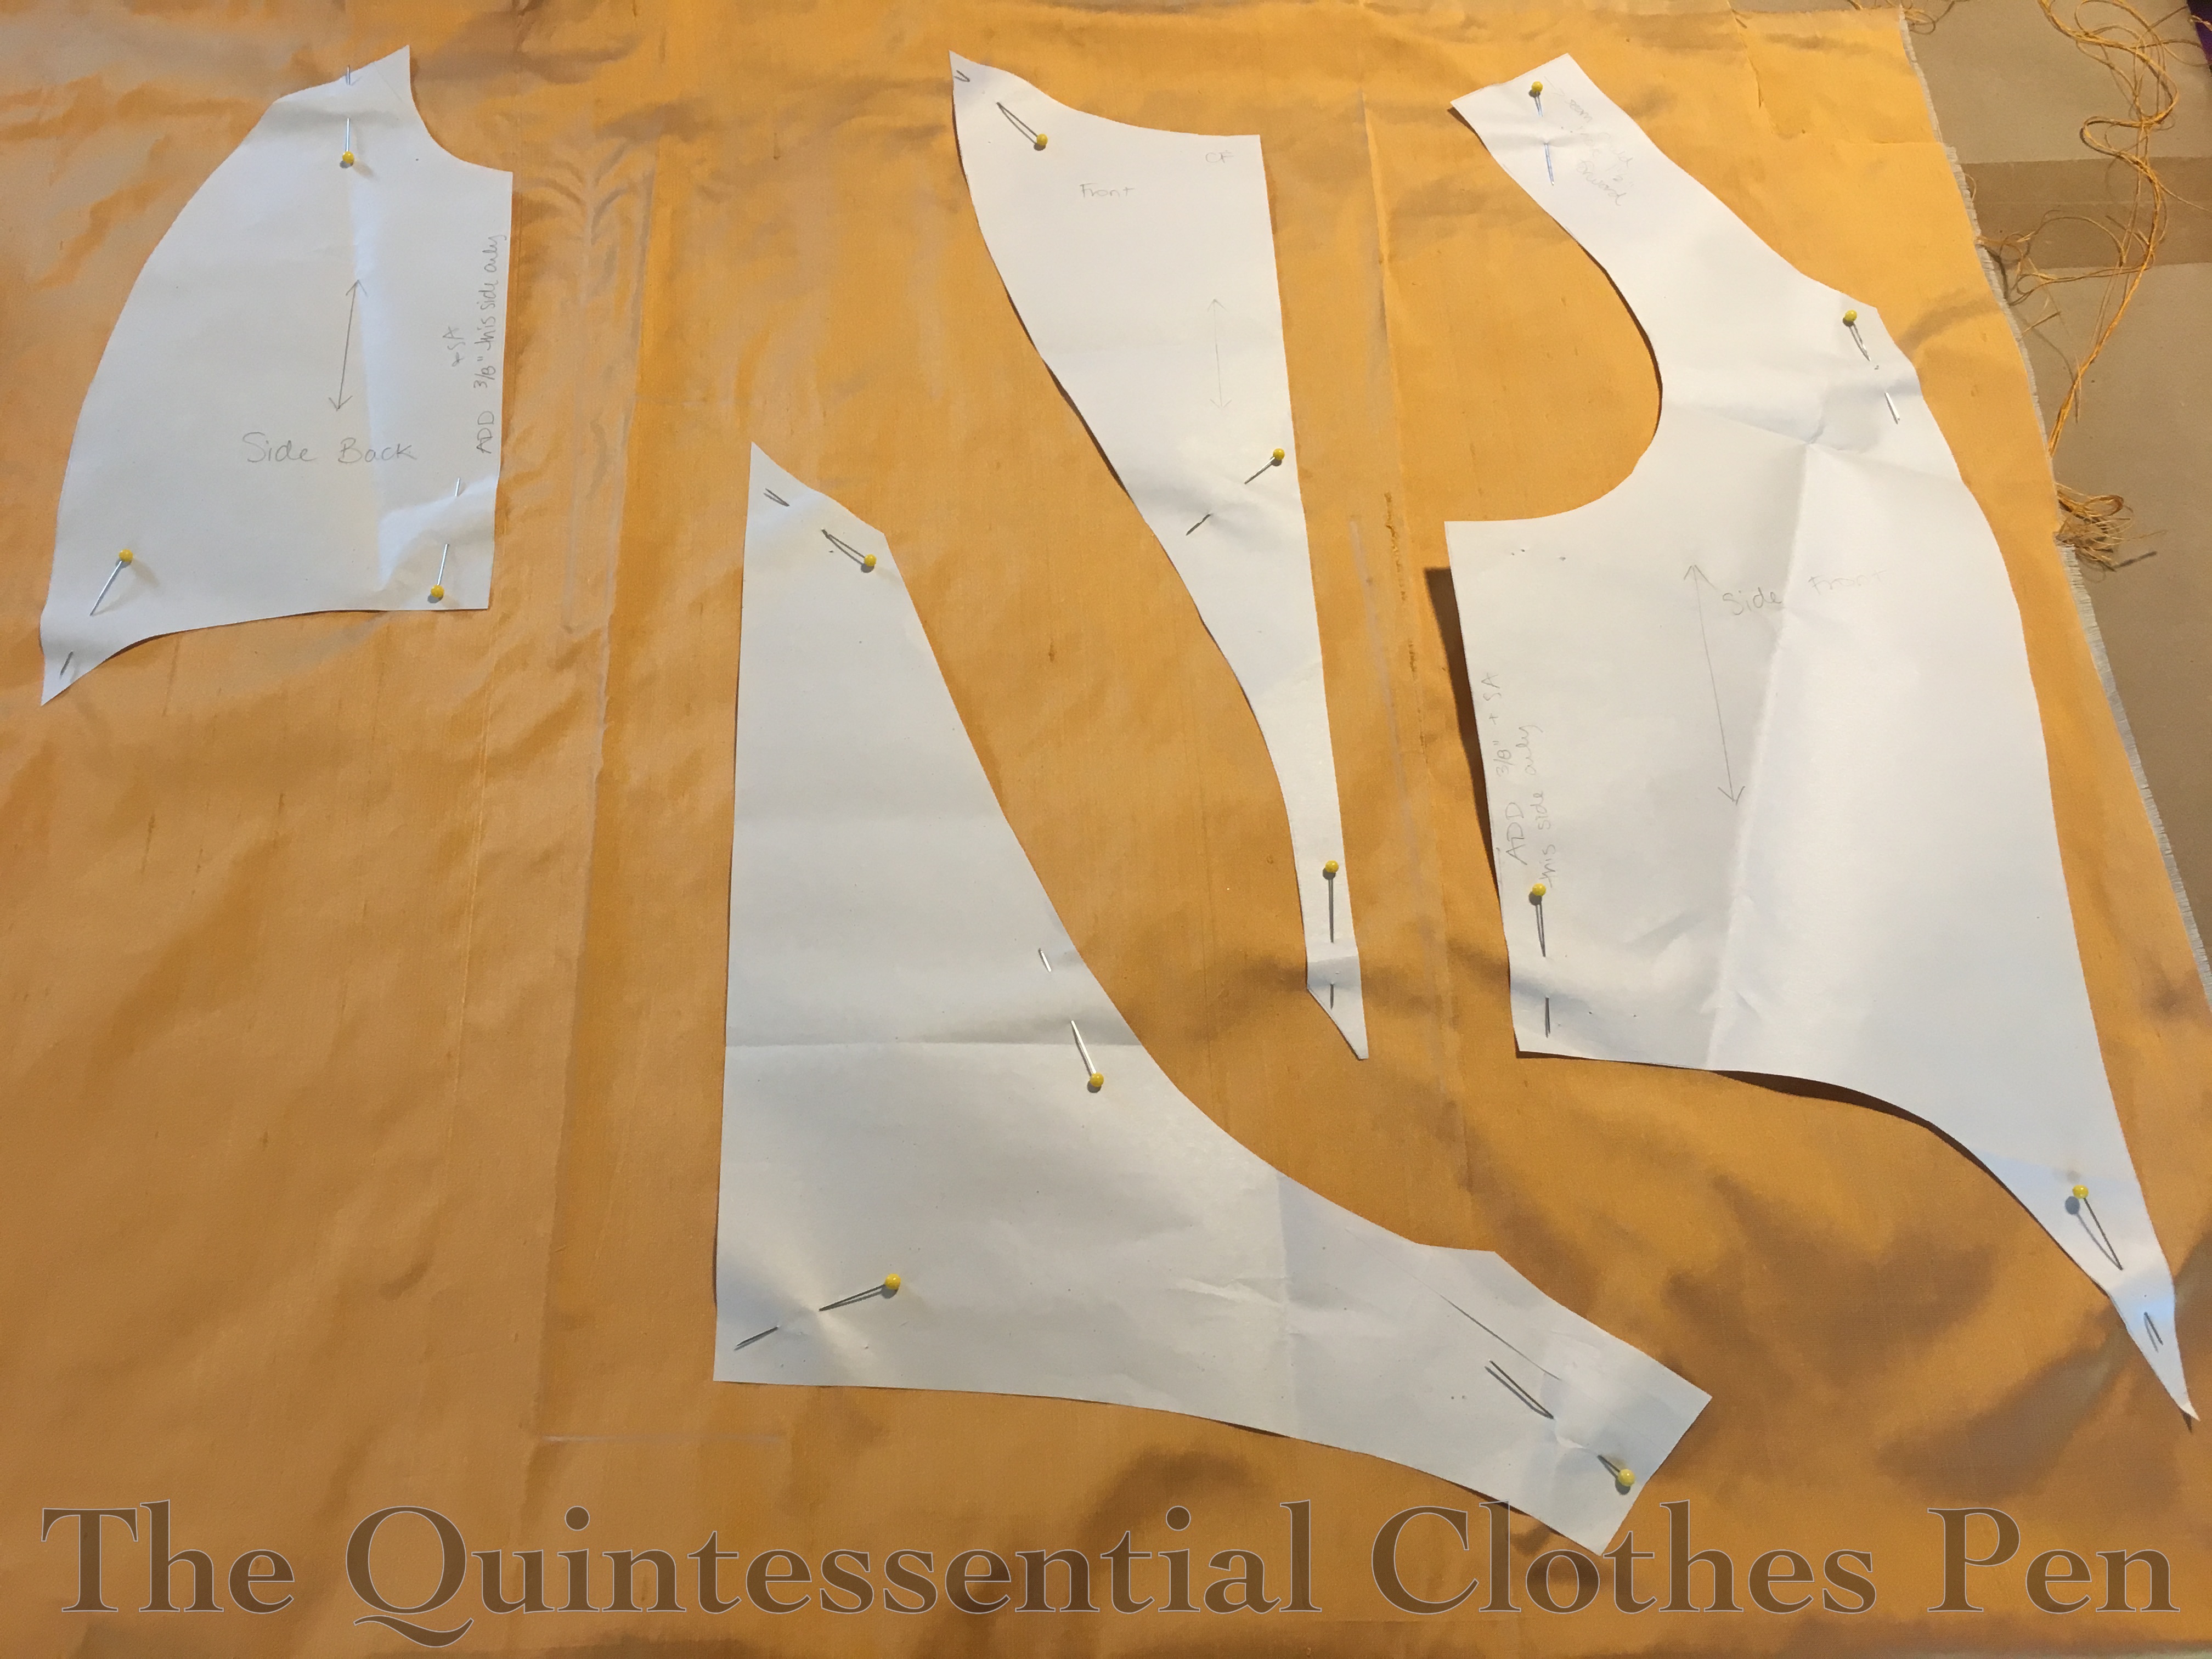
Before cutting out my bodice, I had to very carefully calculate the yardage I needed for my skirt, the self fabric trim I have planned, the bodice, and the sleeves. It turns out that what seemed like plenty of fabric turned into not as much as I thought once I calculated how much fabric I needed to make pleated trim bands that would circle my skirt three times! 160ish” hem + 3 rows of trim + x2-3 fullness for the pleated bands + maybe seam allowance to do hems on the trim… yikes! I think I’ll be doing a whole post dedicated to my trim plans sometime soon, but back to the bodice for now.
When I checked the fit I didn’t worry about sleeves. I knew that if the armhole fit I could decide on a sleeve option after seeing how much silk I really had to work with.
After measuring all the skirt pieces out and laying out the bodice pieces, I decided to use the sleeve pattern I made for Eleanor with a few changes to save fabric. First, I put the grain on the straight instead of the bias. Second, I made the sleeves a little less poofy than the version on Eleanor.
Then I took the plunge and cut off each skirt panel, the bodice pieces, and the sleeves. That left a few pieces still to be cut–the waistband, bias piping for the bodice, and the skirt trim being the main pieces– but most of the silk cutting was done!
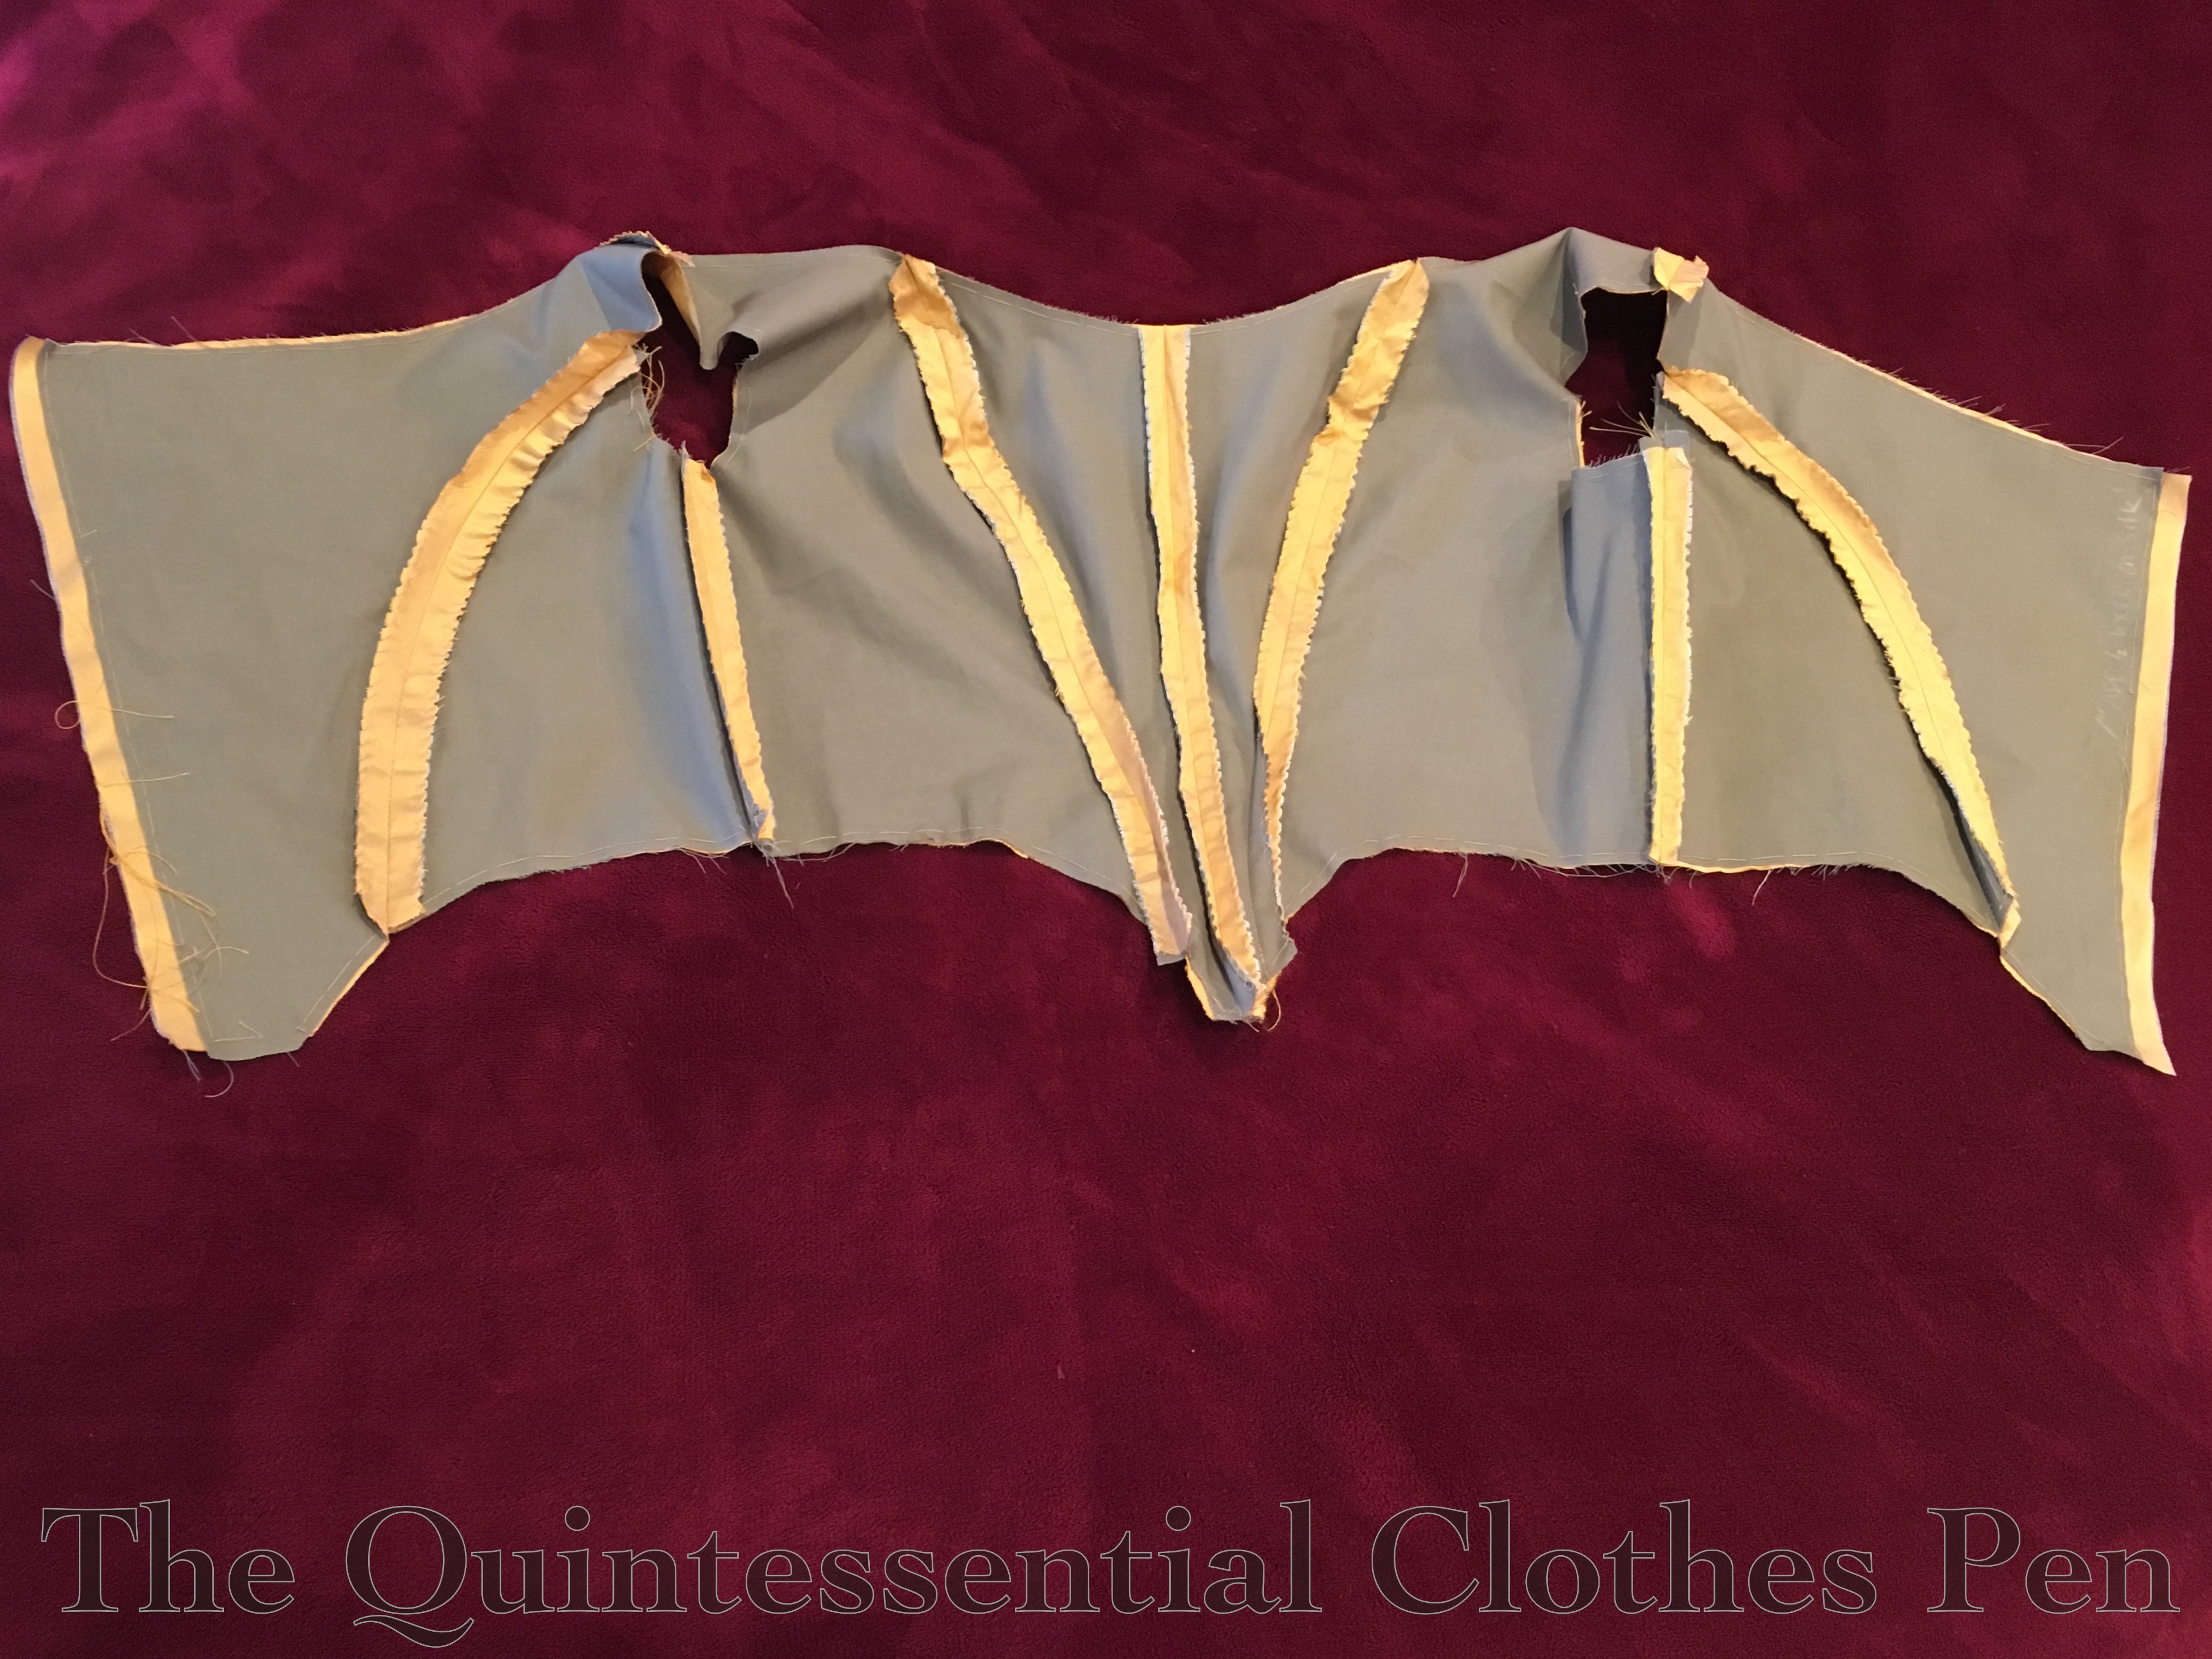
I layered each piece of cotton with the corresponding piece of silk and hand basted each piece around the edges. This flat-lining provides extra support for the silk exterior and allows for finishing that can be sewn to the cotton without showing on the exterior. I reassembled the bodice, pressed my seams open, and then whip stitched each seam allowance over the edge to control the fraying silk.
The next step is to add boning to the bodice to keep it nicely smooth while it is being worn. After that I’m not sure exactly what steps I’ll be inclined to work on. Options include initial work on the skirt and more bodice finishing. Then there’s the trim to think about and execute, too! We’ll just have to see what task appeals most.
