

In the most recent post in this series, I left off my discussion of the creation of my new 1860s dress with an assembled bodice with nicely finished seam allowances. Since then I have made a significant amount of progress on bodice finishing and have also moved on to the skirt and its multitude of trim! But more on the trim in the next post–for now we’re sticking to the bodice.
The next step in my bodice sewing process was boning. The boning helps keep the front point of the bodice smooth over the skirt, keeps the center back edges smooth under the lacing, and supports the other seams, allowing the bodice to fit smoothly over the corset without wrinkling. In the past, I’ve used both steel and plastic for boning 1860s dresses. I’ve found that both options work equally well, though plastic is lighter and easier to cut and shape.
For this dress I chose plastic again. I used ⅜” wide zip ties from the hardware store. They are quite long (18″ I think), so sometimes one zip tie will make multiple lengths and one package lasts for multiple projects, and they are easy to cut with a sturdy pair of scissors (I used my kitchen shears). In addition to cutting the length I needed, I also used the scissors to snip off the pointy corners and, in the case of bones that intersect an edge at an angle, angled the edges to snug up agains the finished edge of the bodice. Here’s an example of what I mean. This is a side back bone sitting next to its bone casing on top of the seam where it will be sewn in.
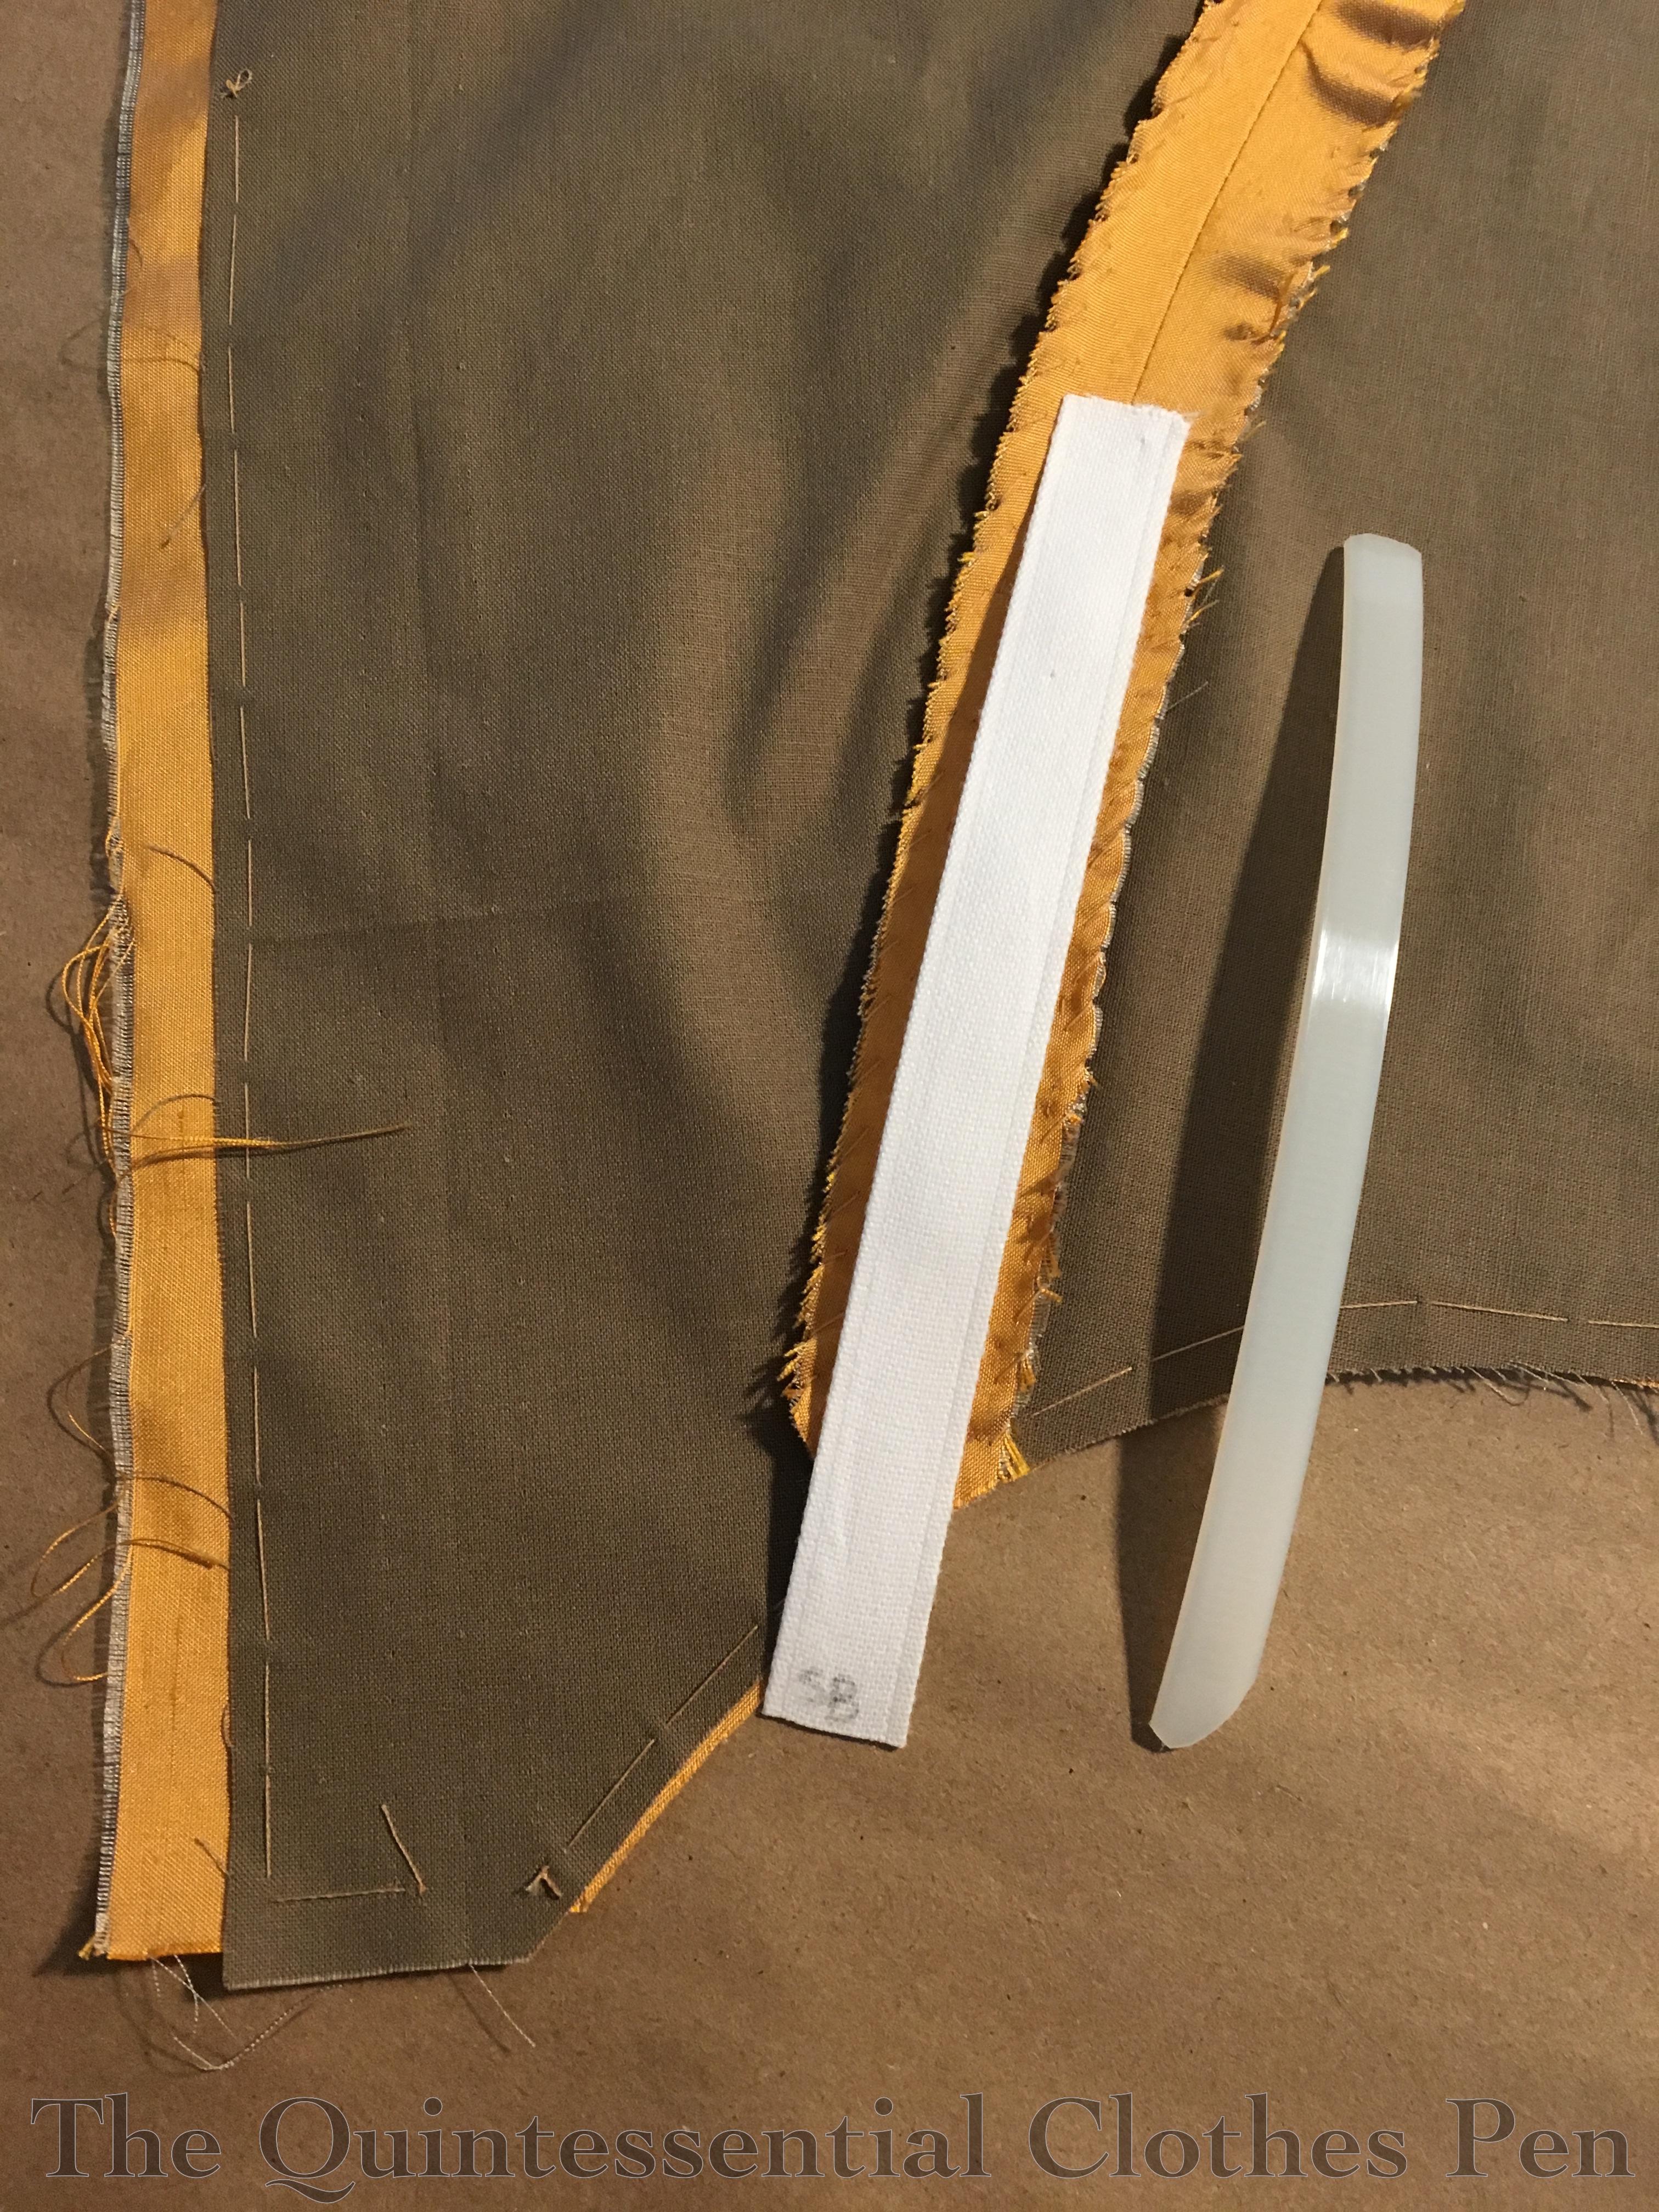
I cut a length of pre-made bone casing for each bone in the bodice except center back. This densely woven flat tube can be purchased from speciality sewing supply stores by the yard or roll in black and white in different widths. It’s not perfectly accurate, but it approximates the bone casings I’ve seen in 19th century bodices without needing to create my own from scratch. I’ve made some bodices that have used the seam allowances or darts for bone casings, but this fabric and pattern didn’t accommodate that choice.
Here is that same side back bone in its casing, sewn onto the seam allowances with whip stitches. The bone casing end at the top is tucked under to keep the bone from poking out. At the bottom the bone casing is left alone–the bias binding will cover it and keep the bone from poking out without adding bulk.

The photo above also shows the center back edge progress I’ve made. I left extra seam allowance here in order to provide a self facing for my eyelets, then sewed all of the eyelets that won’t intersect with the bias binding (I’ll finish the ones that intersect the binding later in the process). There is a half width plastic bone between the eyelets and the center back edge. This allows for a narrow edge (less than ¼” rather than the full ⅜” width of the zip ties) and stabilizes that edge so it will stay smooth after being laced.
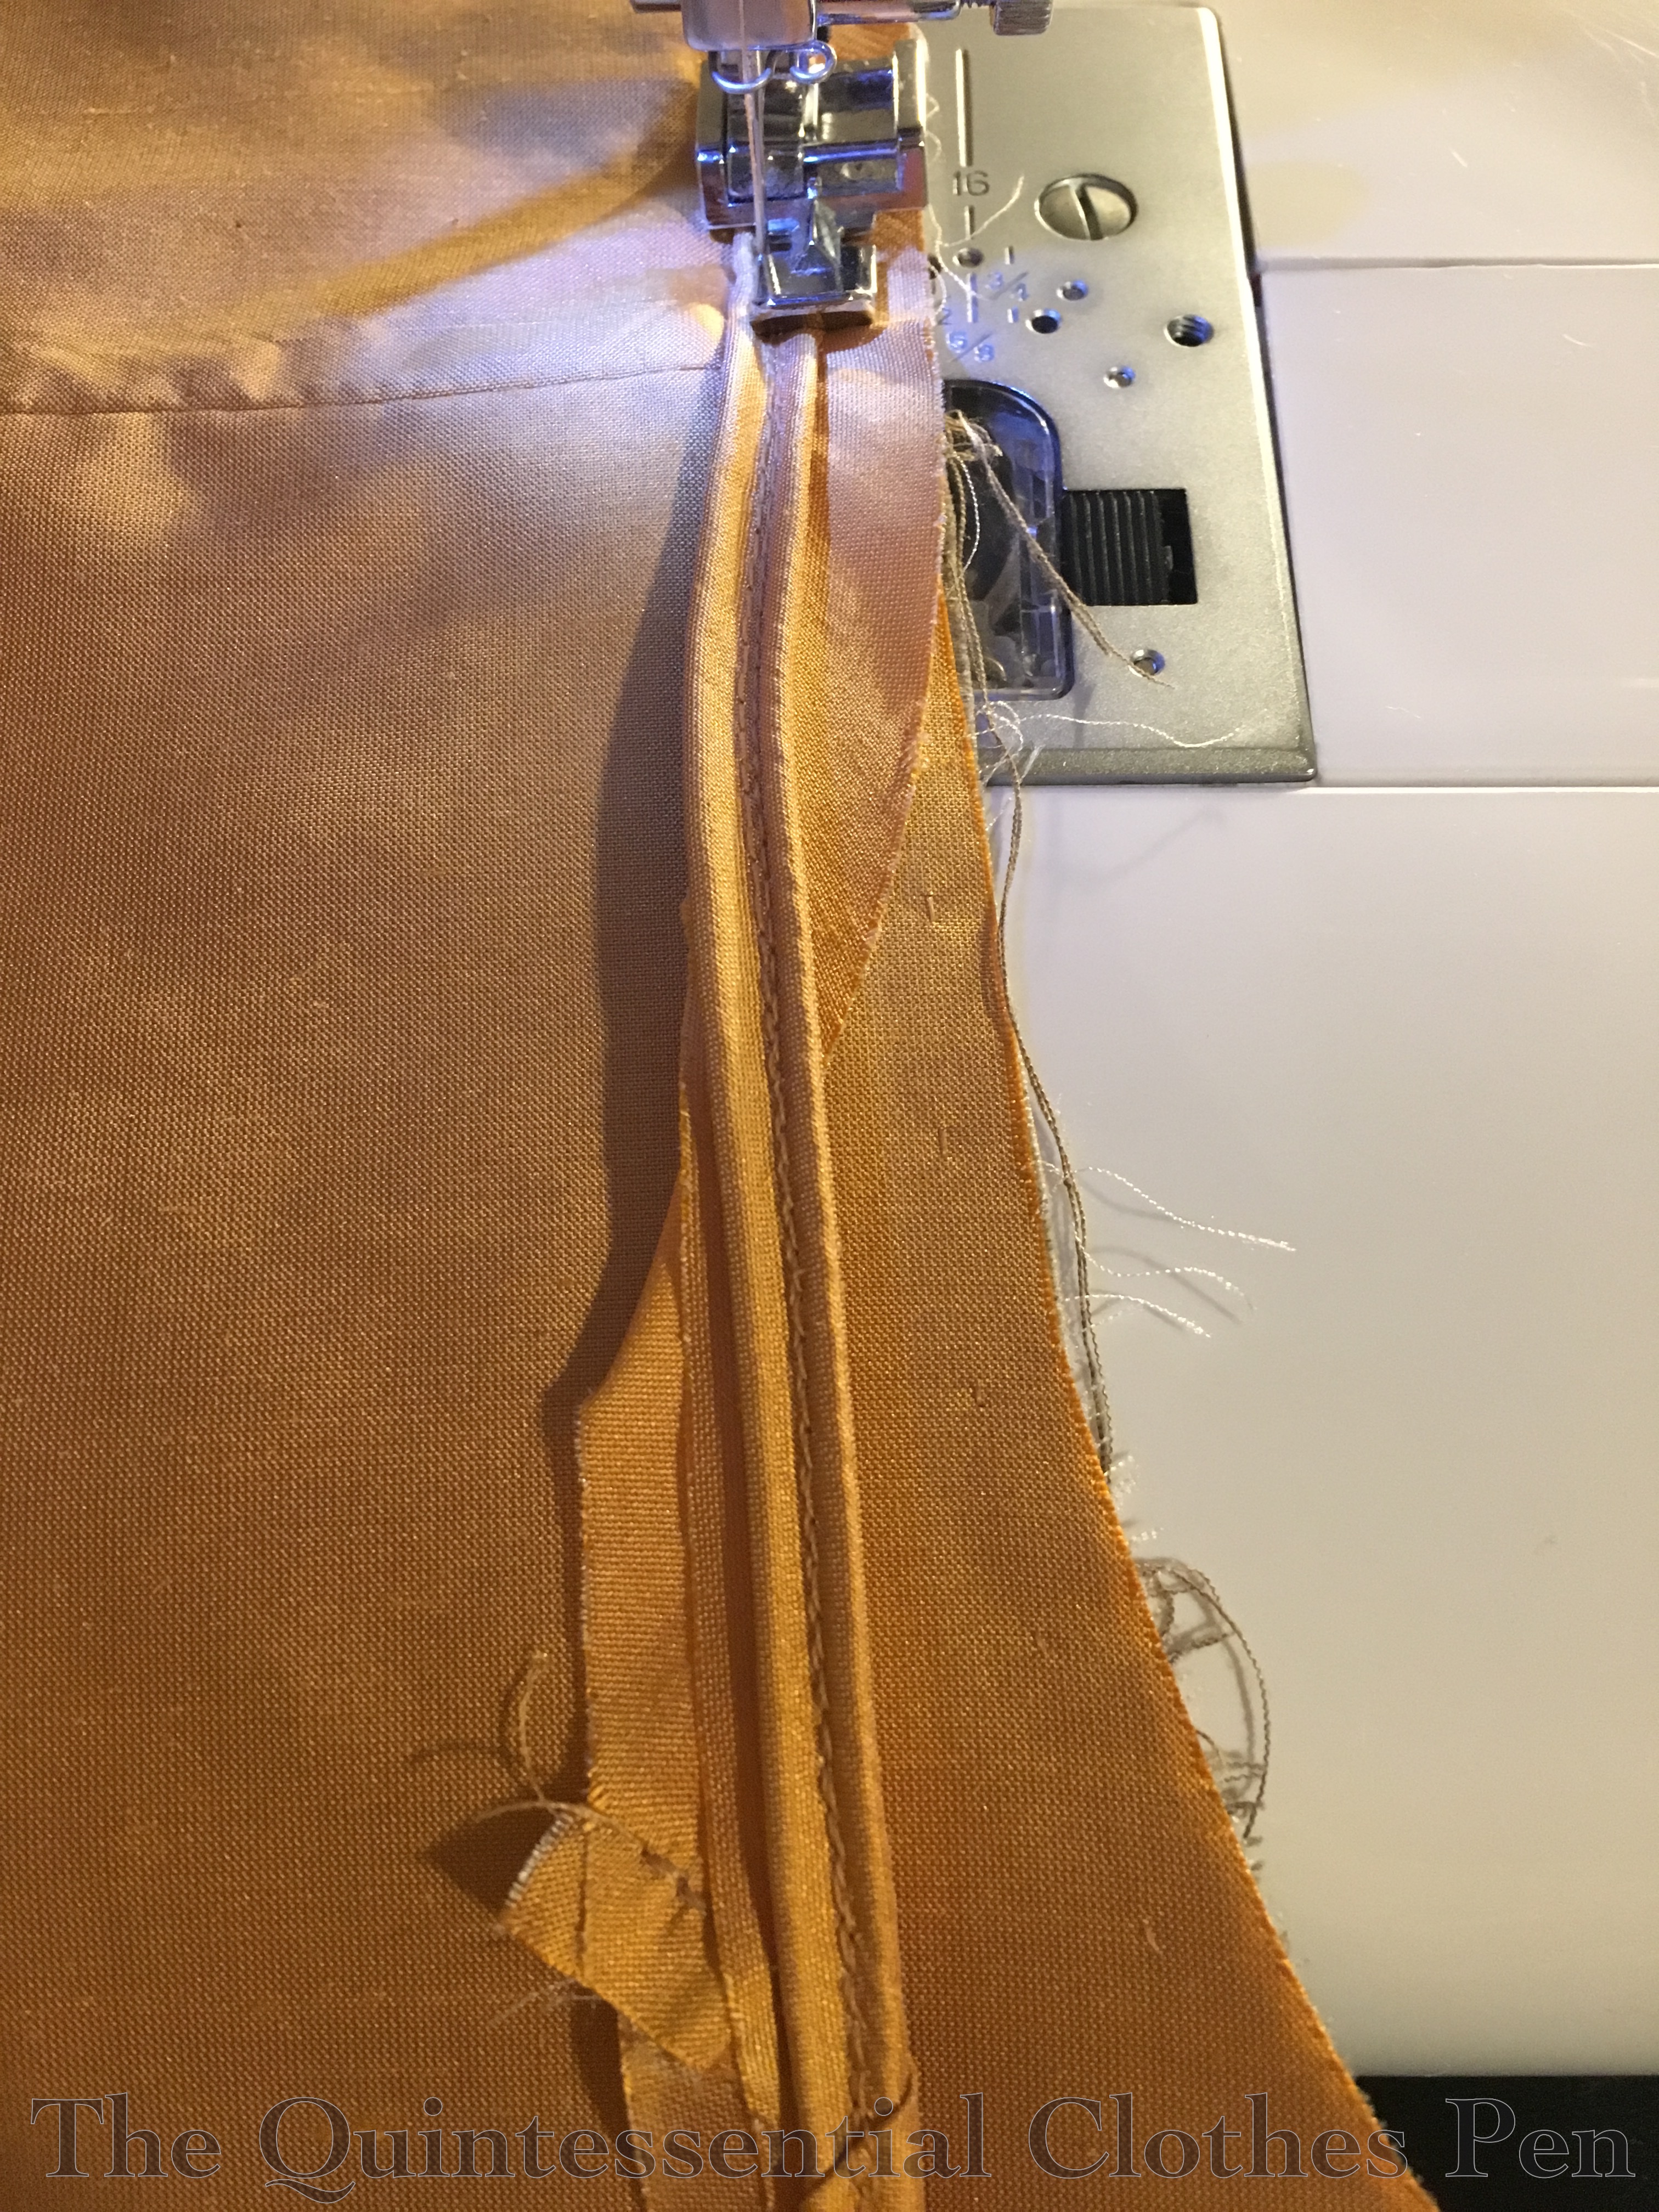
After those steps, I cut, pieced, and sewed very narrow cotton cord into the bias strips for the top edge, armholes, and bottom edge. For this bodice I decided to try something new (based on this 1860-1861 dress at The Met) and do double piping on the bottom edge of the bottom (zoom in on the photos at The Met to see the double piping up close). It’s a subtle detail, but so very 19th century! I made my bias a little wider for the double piping than I did for the single piping.
Here’s the assembled double piping being sewn to the bodice bottom edge. I just winged my method for creating double piping by sewing a first row of cord into the bias, then a second row next to that. For attaching it to the bodice, I sewed between the rows of cord. I graded my seam allowance, then flipped it to the inside to hand sew, just as I would with single cording.
I did run into a few ‘oops’ spots when I sewed the double cord on. Below is an example. Just below the seam is an extra fold of the bias seam allowance. I had to go back and fix a few of these spots.
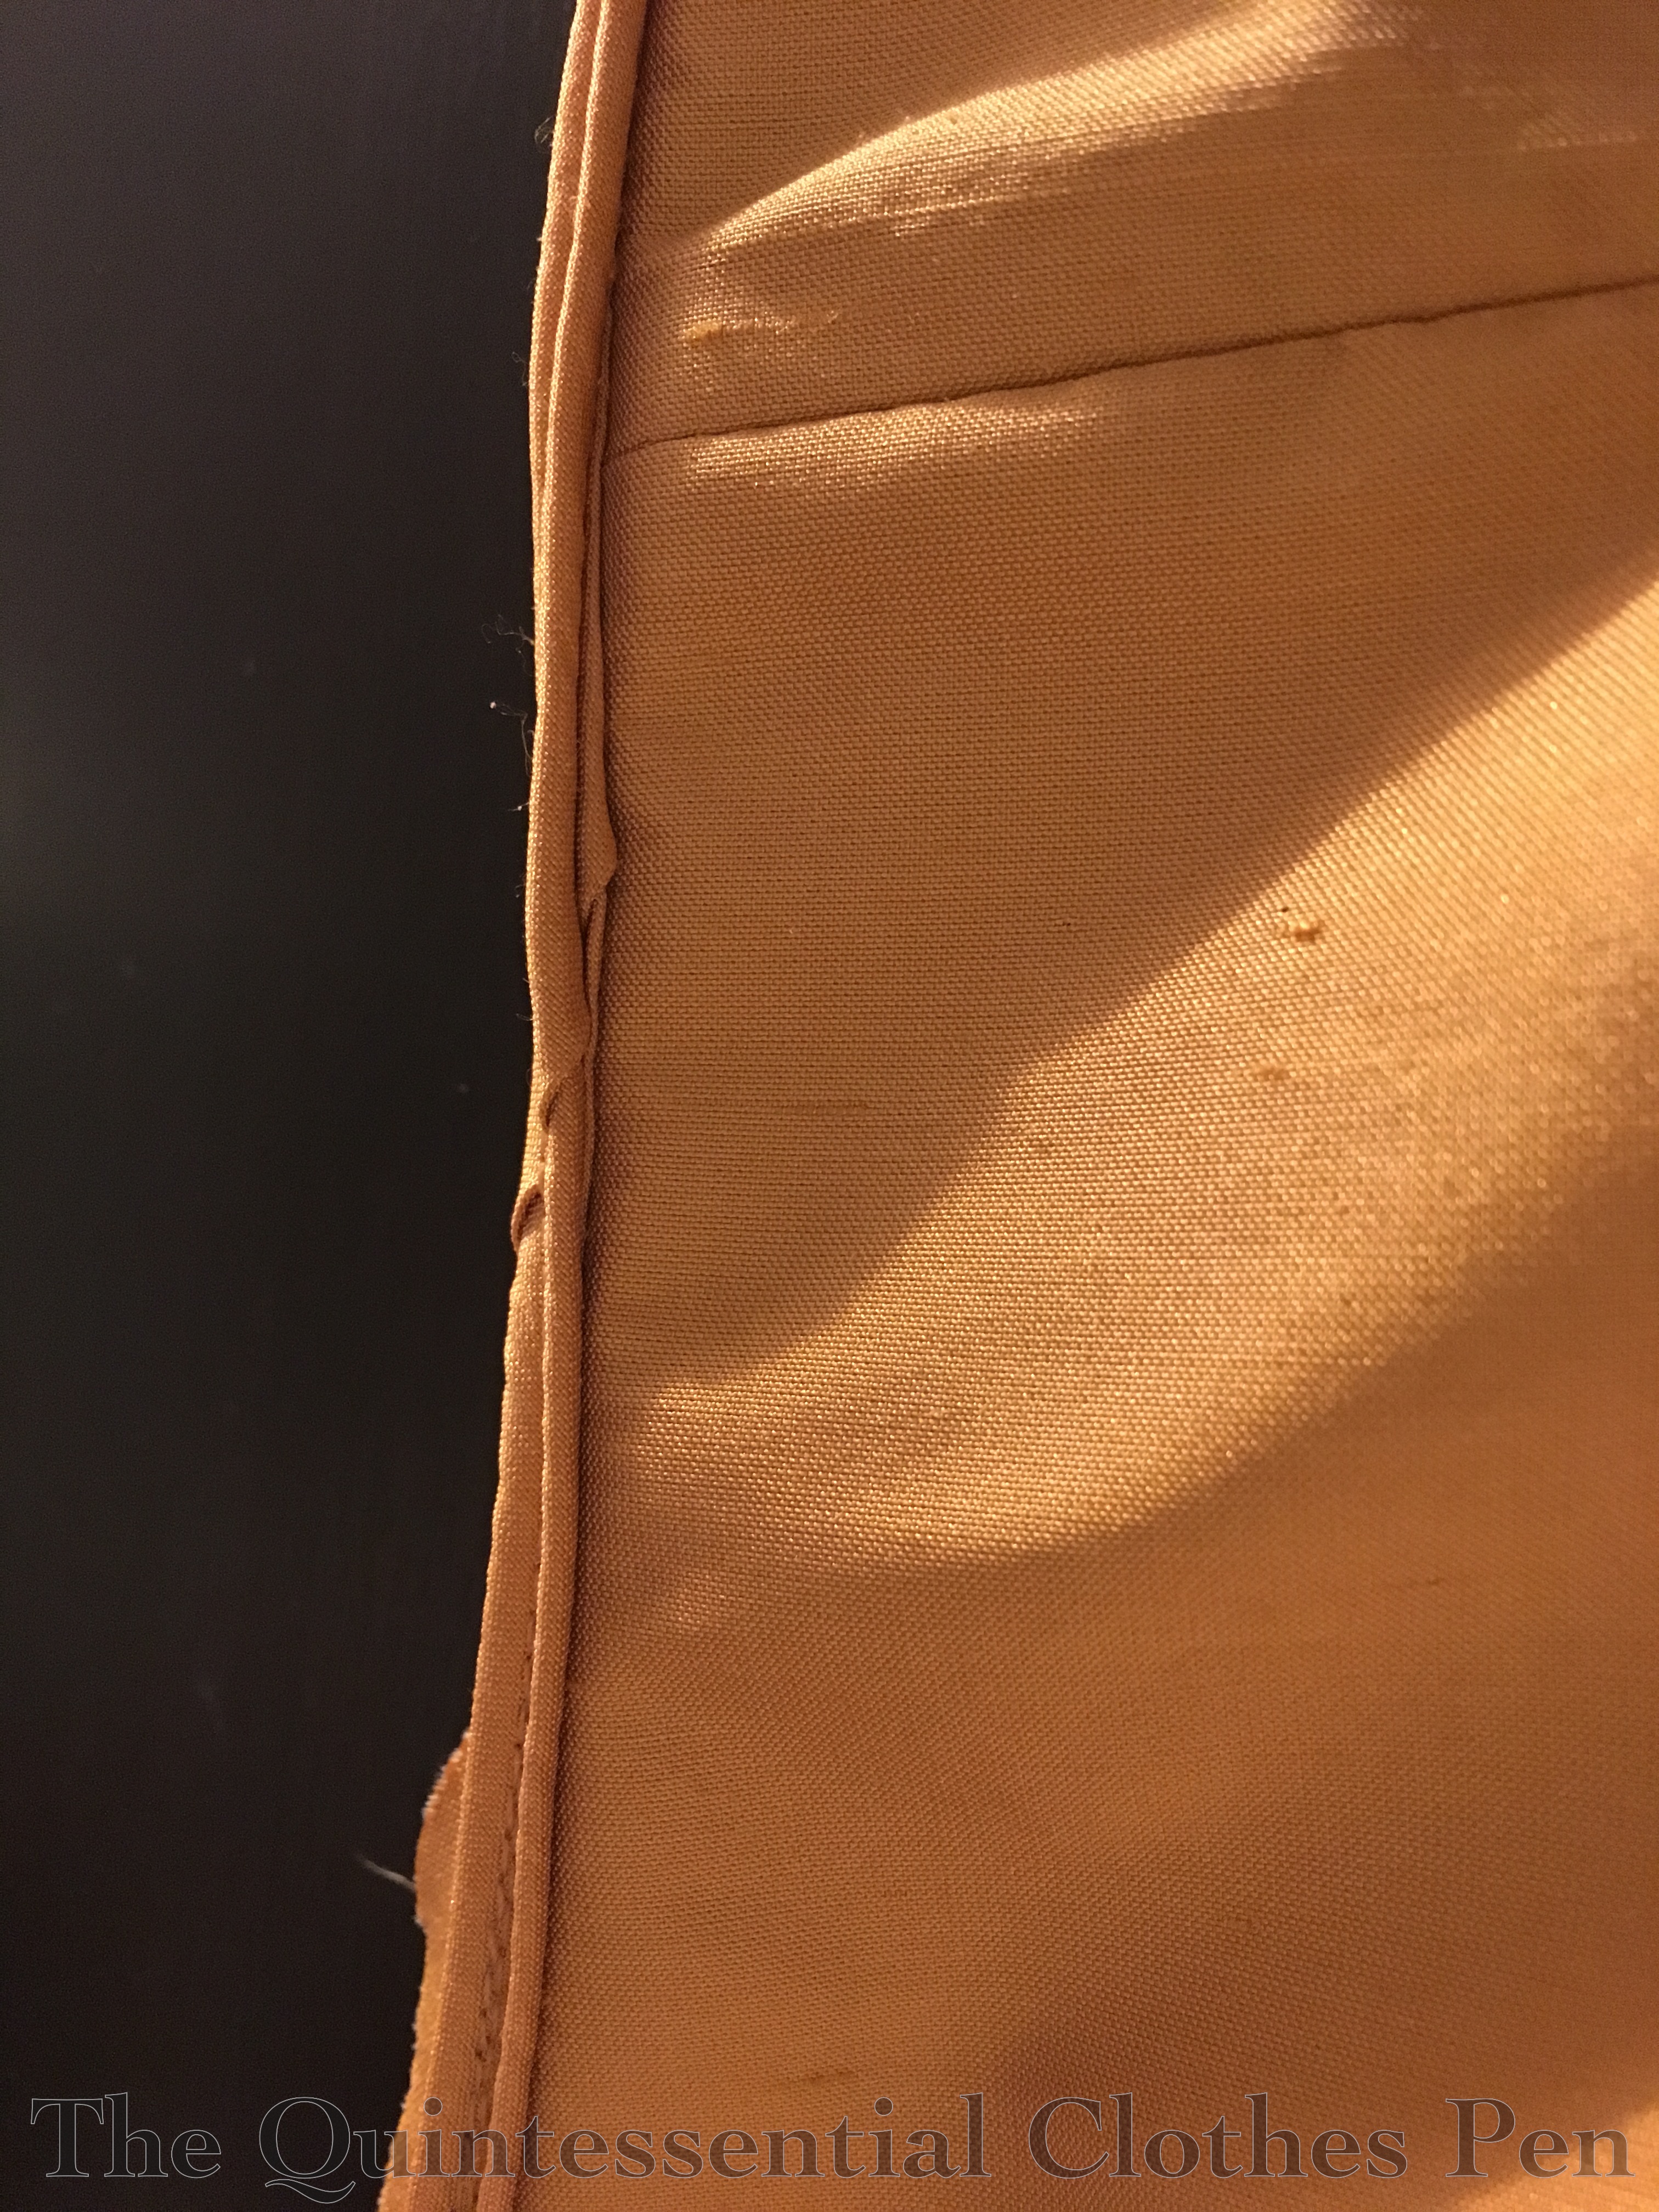
Aside from that, it was pretty painless! The only problem at this point was that the two rows of cord were pushed apart a bit by the three rows of machine stitching between them, so I ran a line of thread, by hand, between the two rows to snug them together.
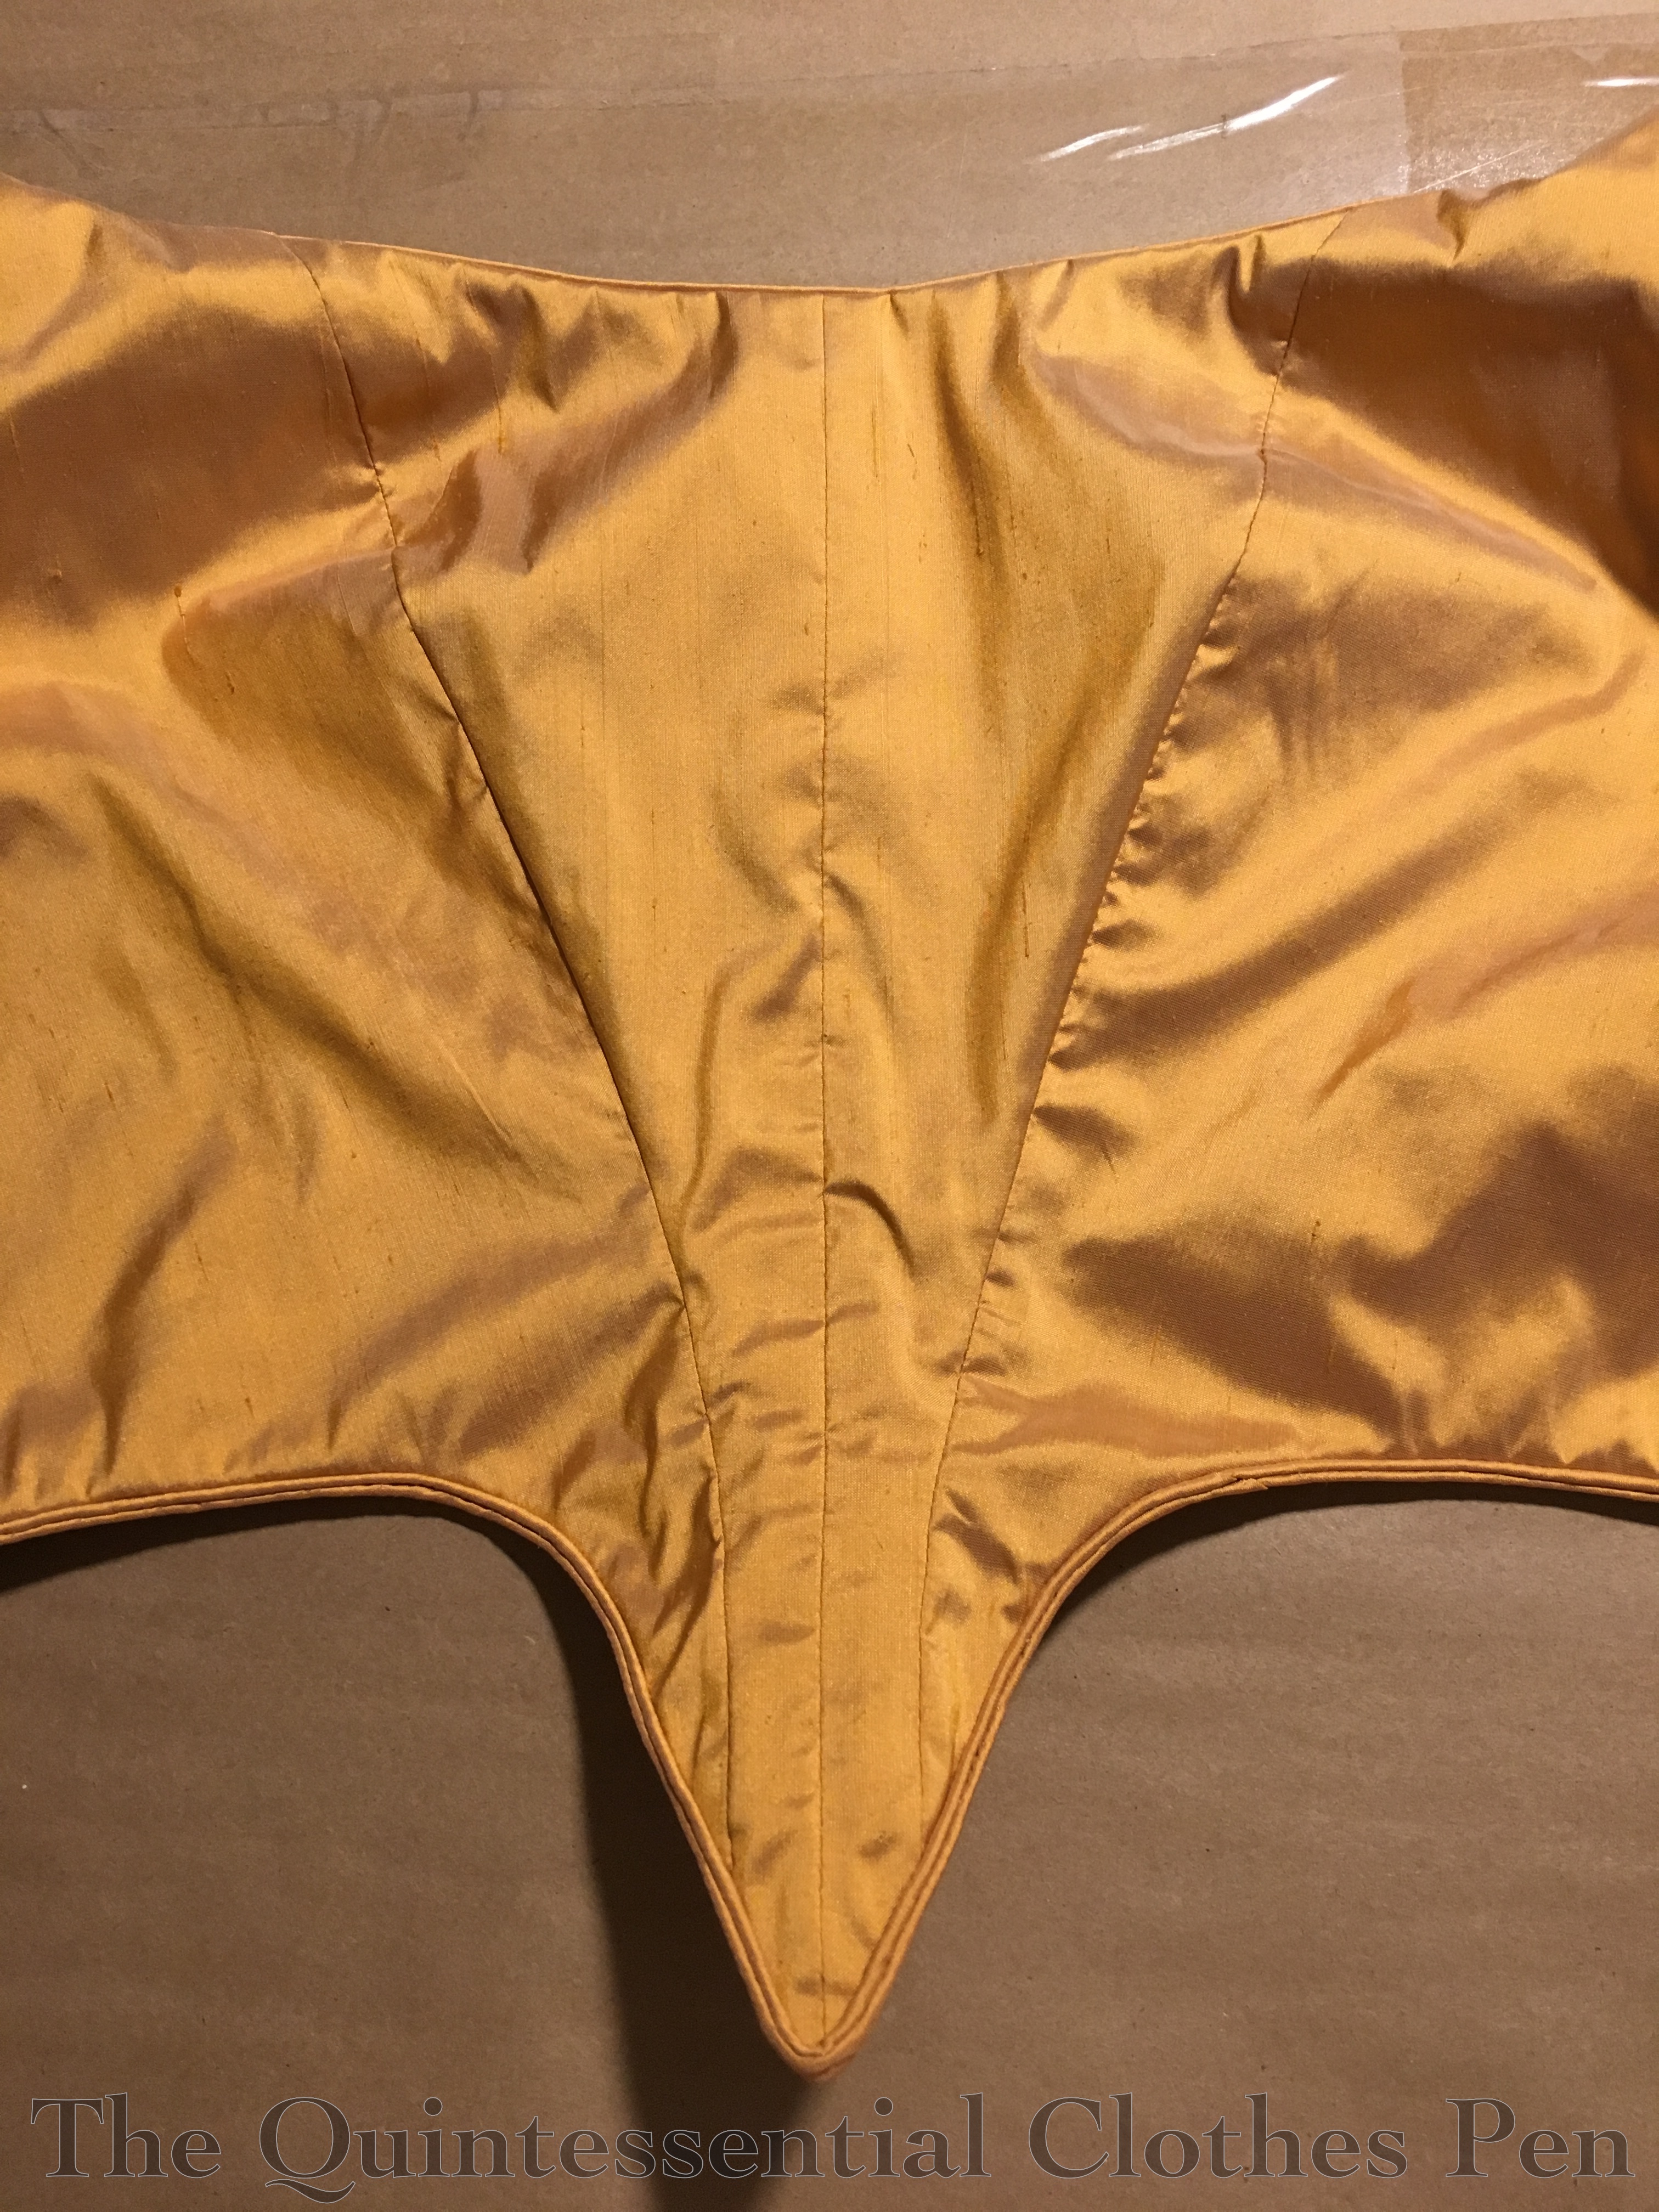
Here’s the inside of the bodice with all of those steps complete except for the bias being flipped to the inside and hand stitched down.

And here’s what the outside of the bodice looked like at this point.

Finishing the bias top and bottom edges really pushed the bodice along towards looking done (although it doesn’t have sleeves or a bertha yet… I’m working on the skirt trim first so I can balance the whole thing out in terms of trim). Here’s the bodice in it’s current state: waiting for sleeves, bertha, and a few more eyelets, but otherwise wearable and done!

Wow! I can’t wait to see it with the skirt and sleeves. You are an inspiration.
Me, too! 😉 I can envision my plan for the skirt, but the bodice finishing is still a bit of a shrouded mystery in my minds eye right now. Thank you for following along with me!
Dear Quinn,
Good coverage of the interior boning why’s and how’s, and I really like the double cording. It has presence
Thank you, Natalie! What wonderful word choice as well!