1890s Women’s Bicycling Clothing: Patents & Advertisements

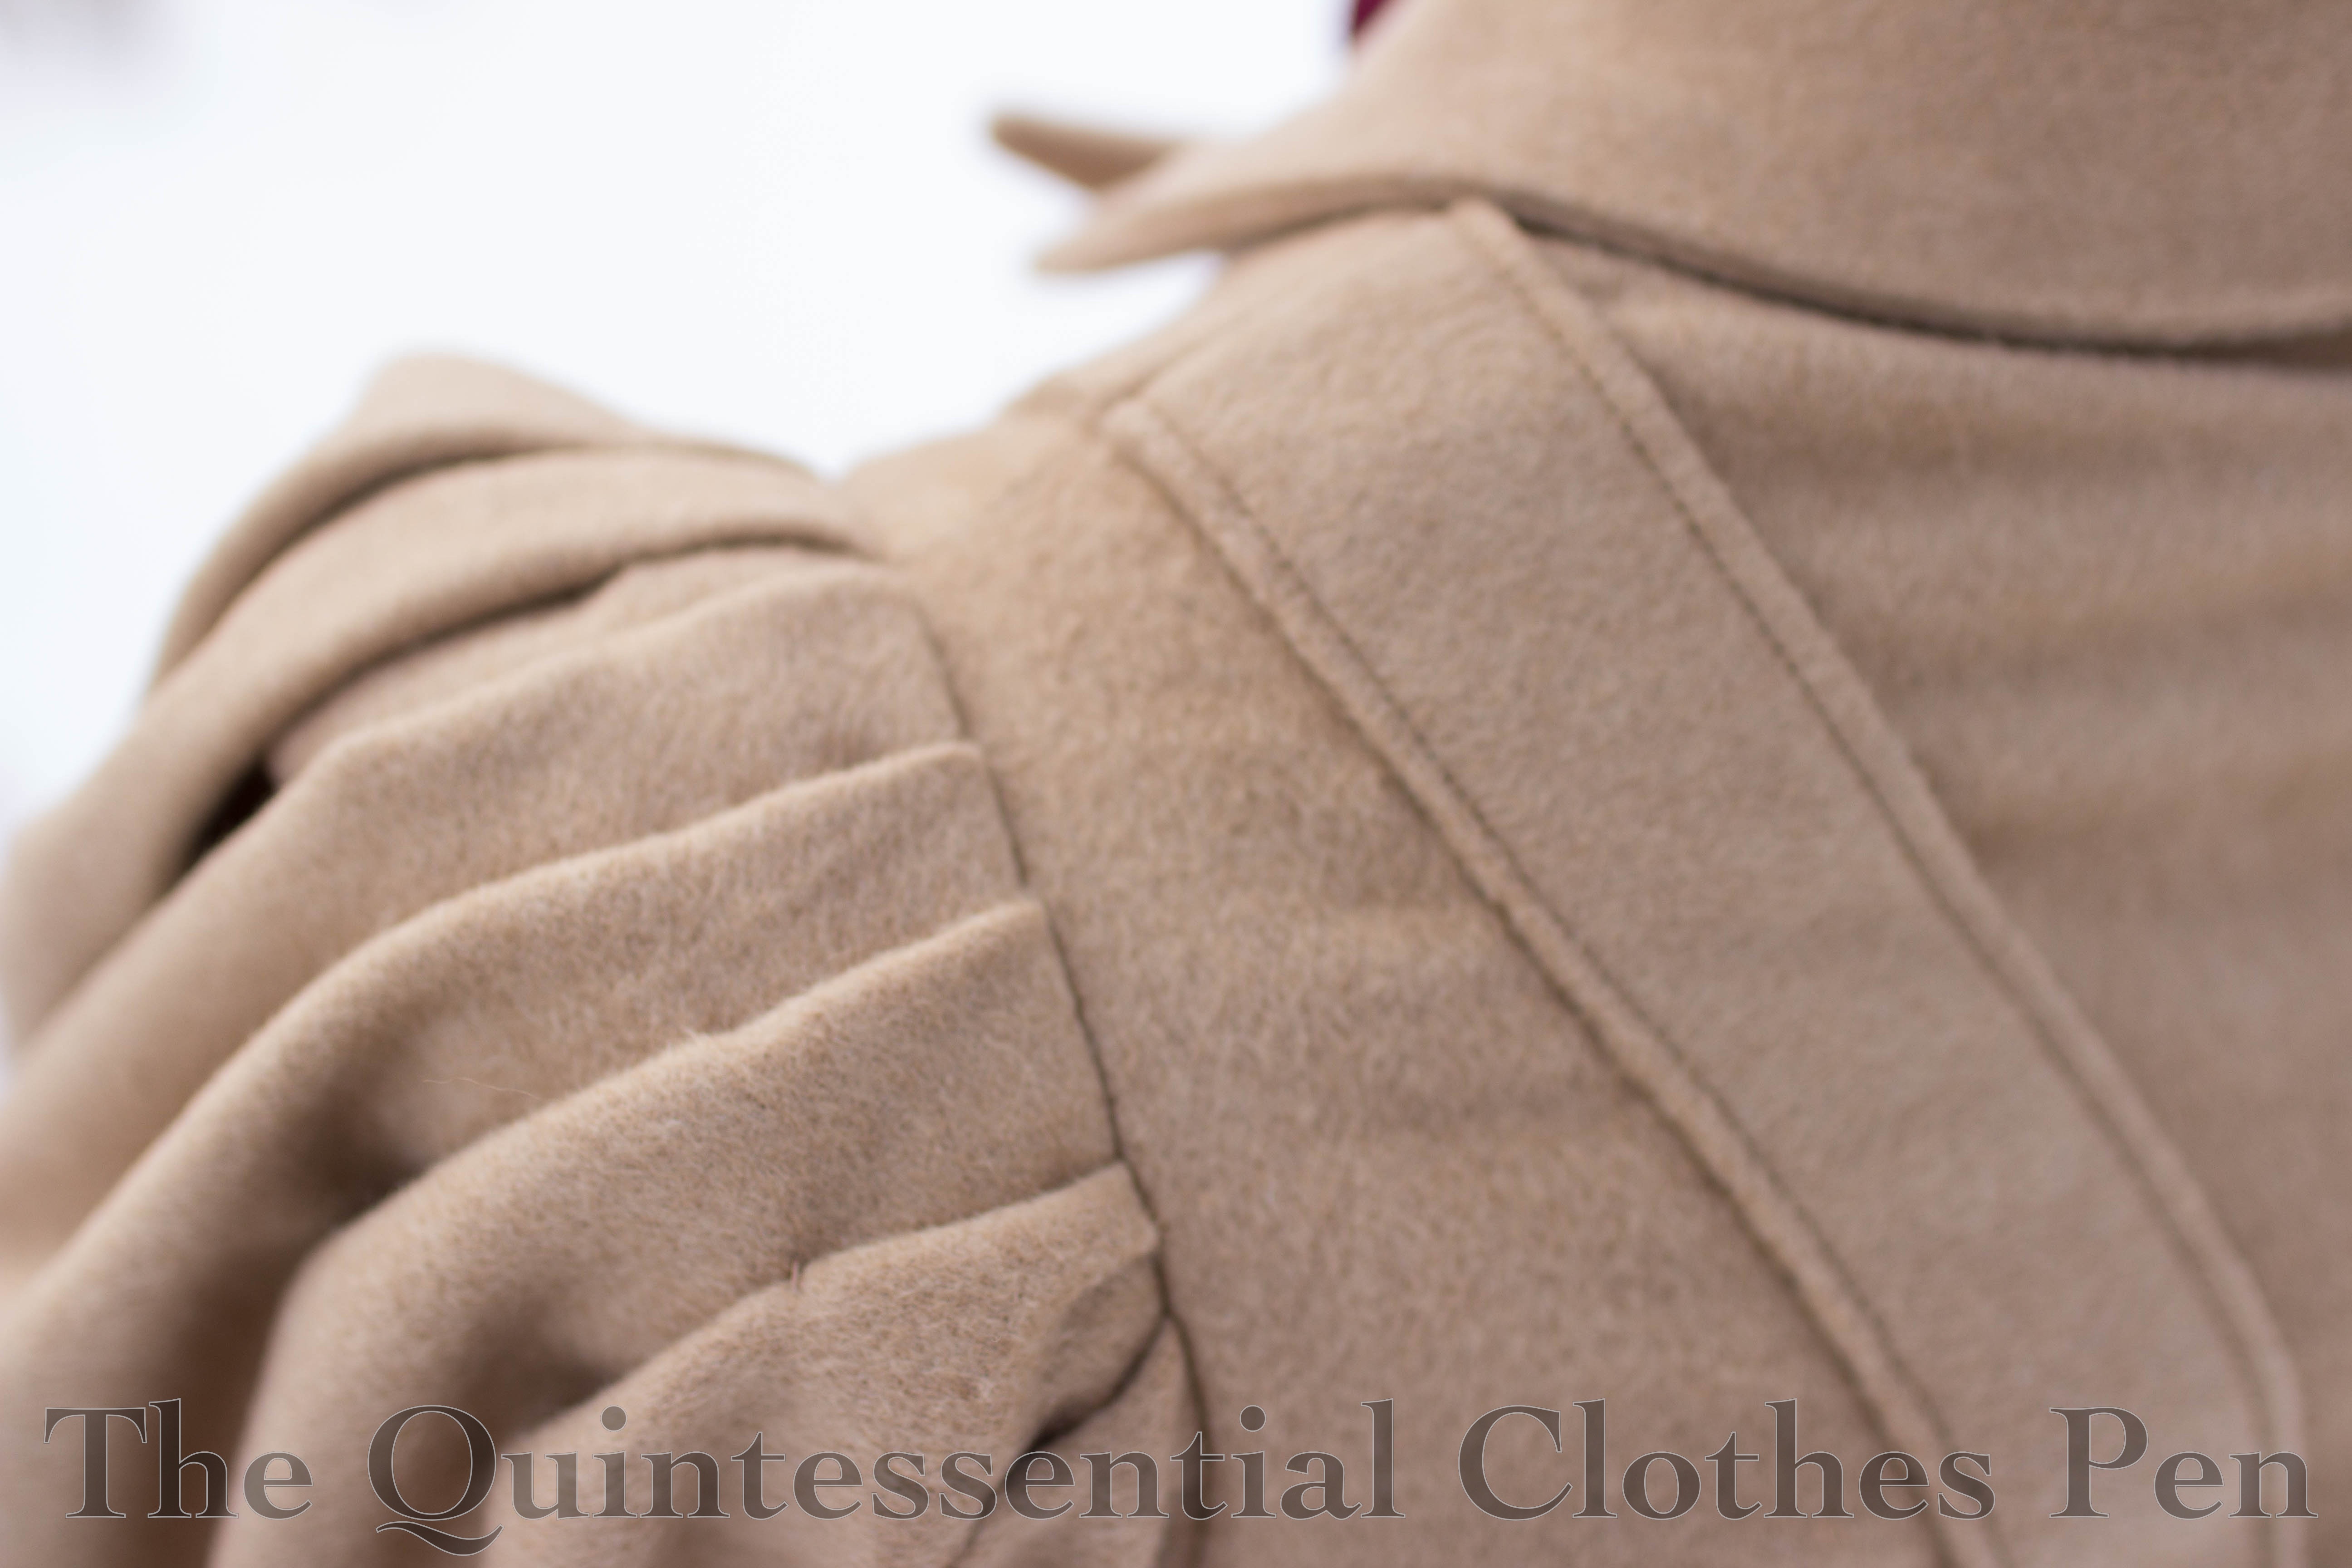
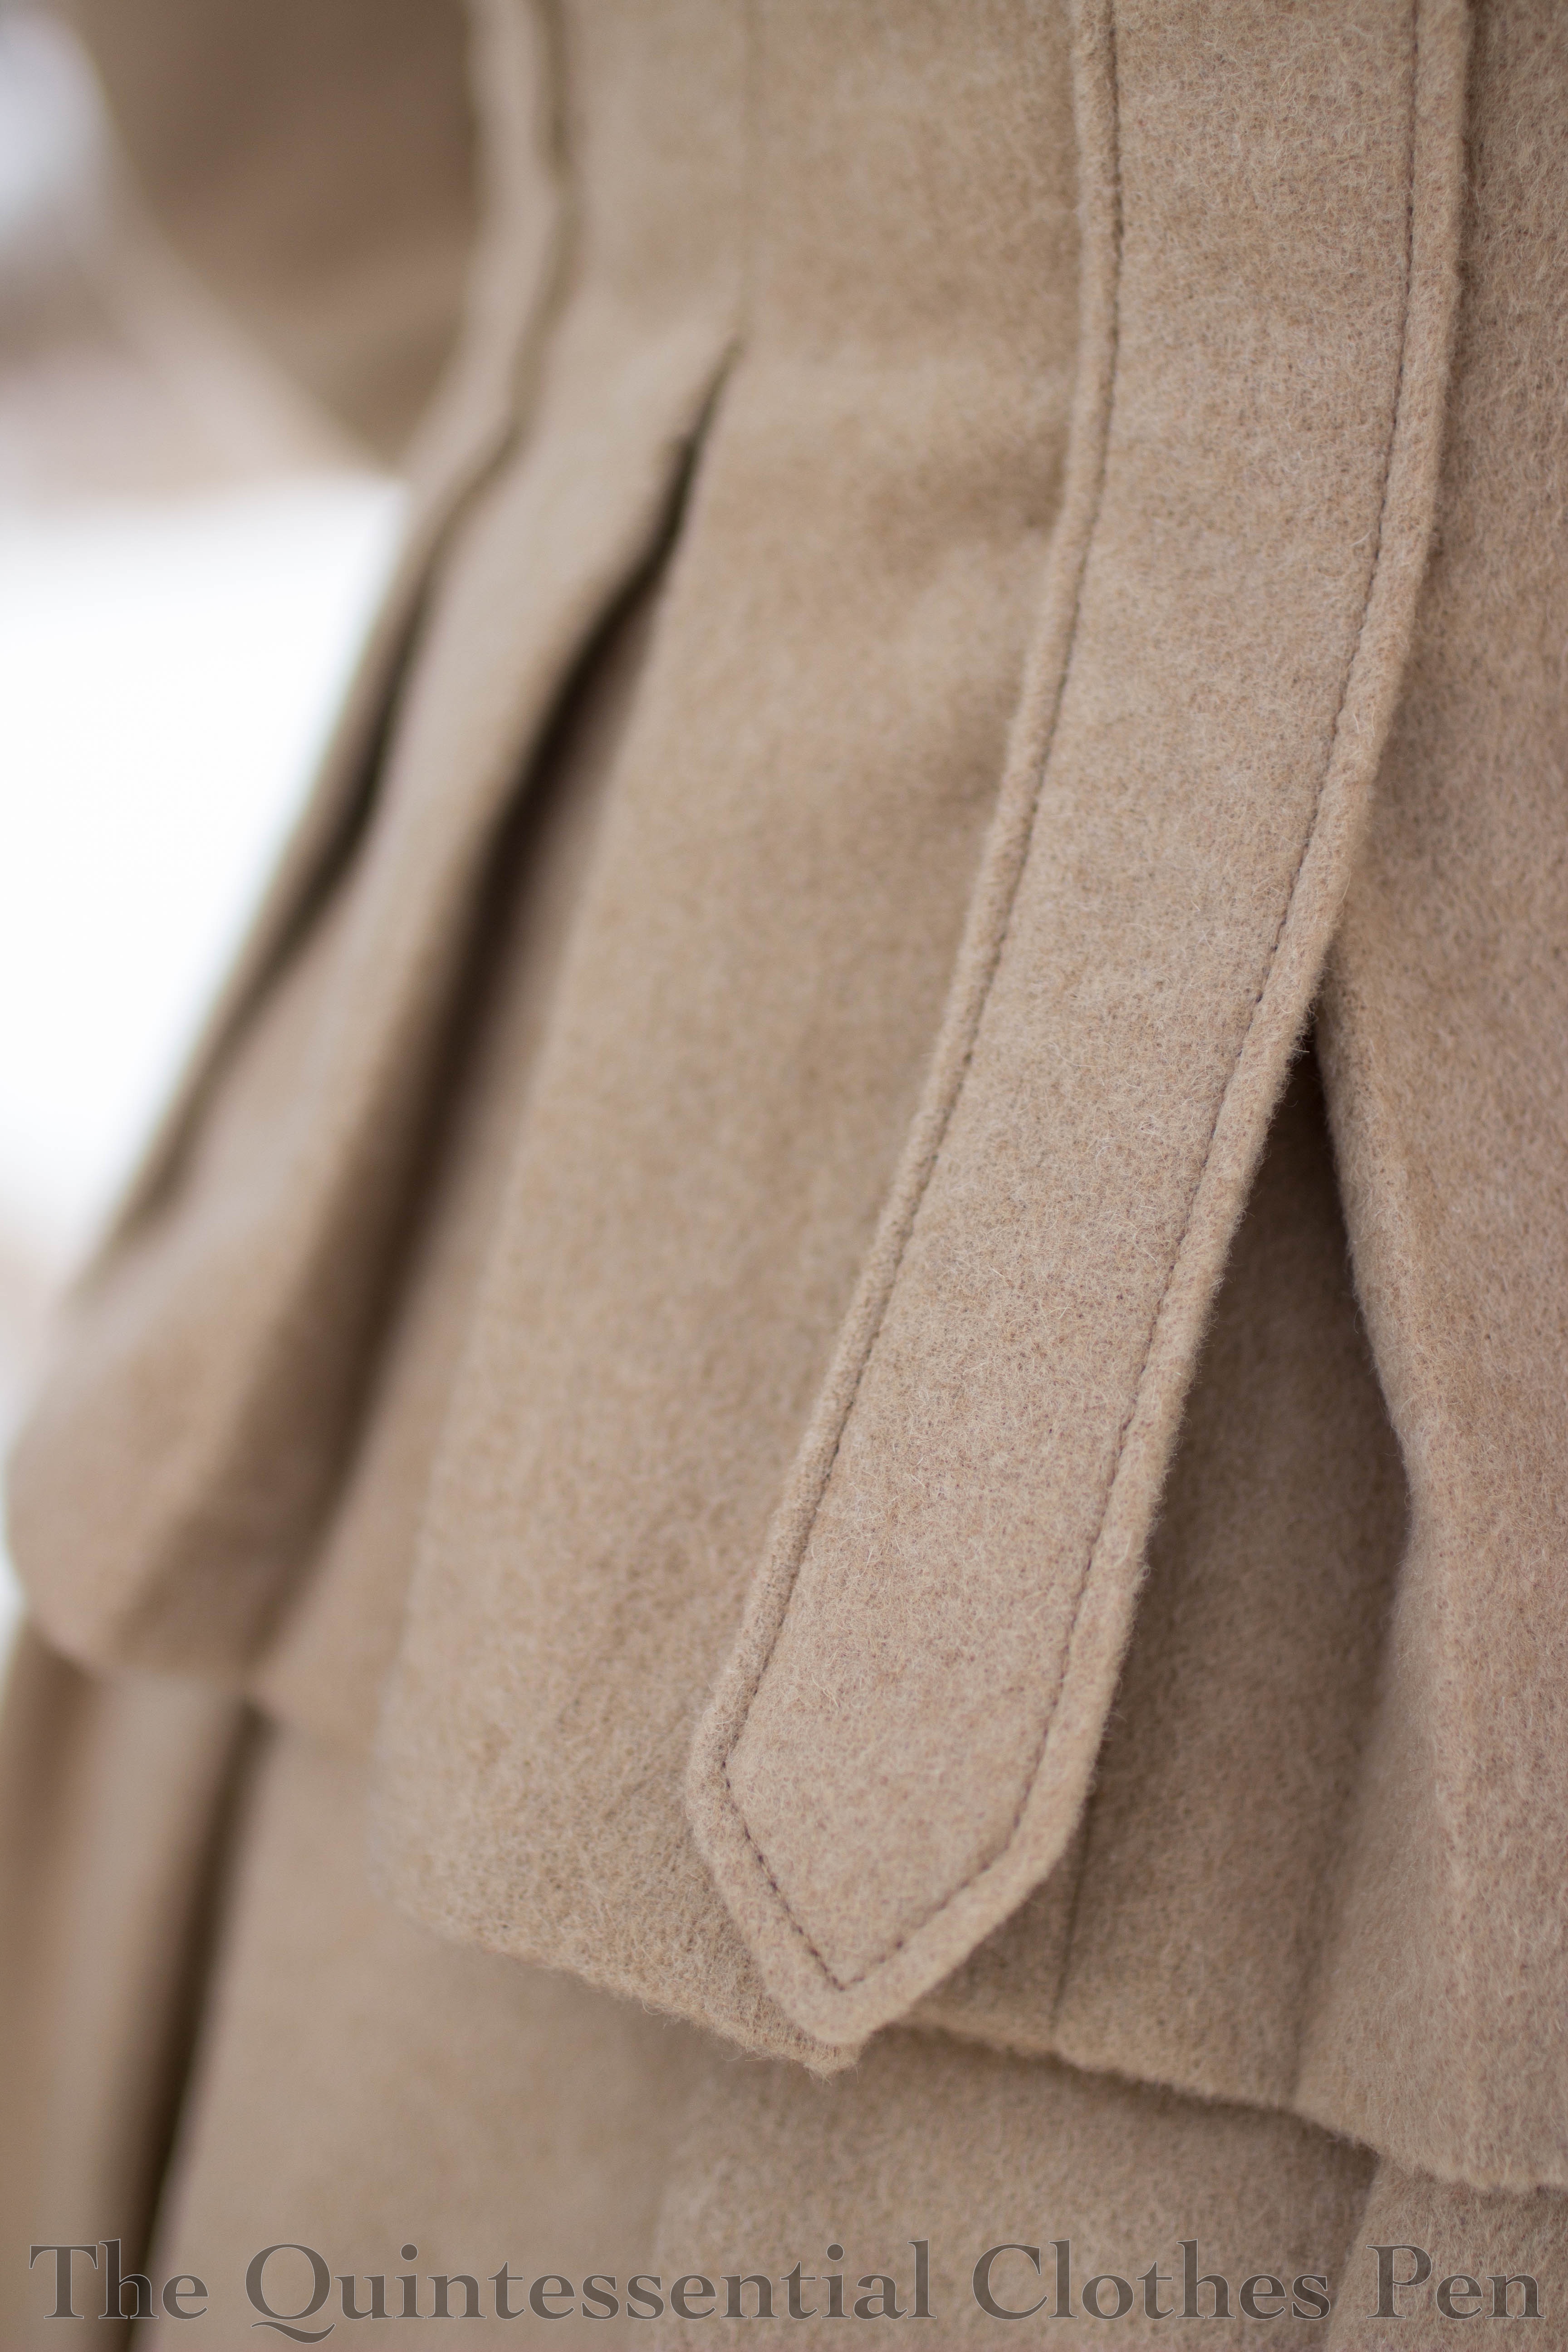
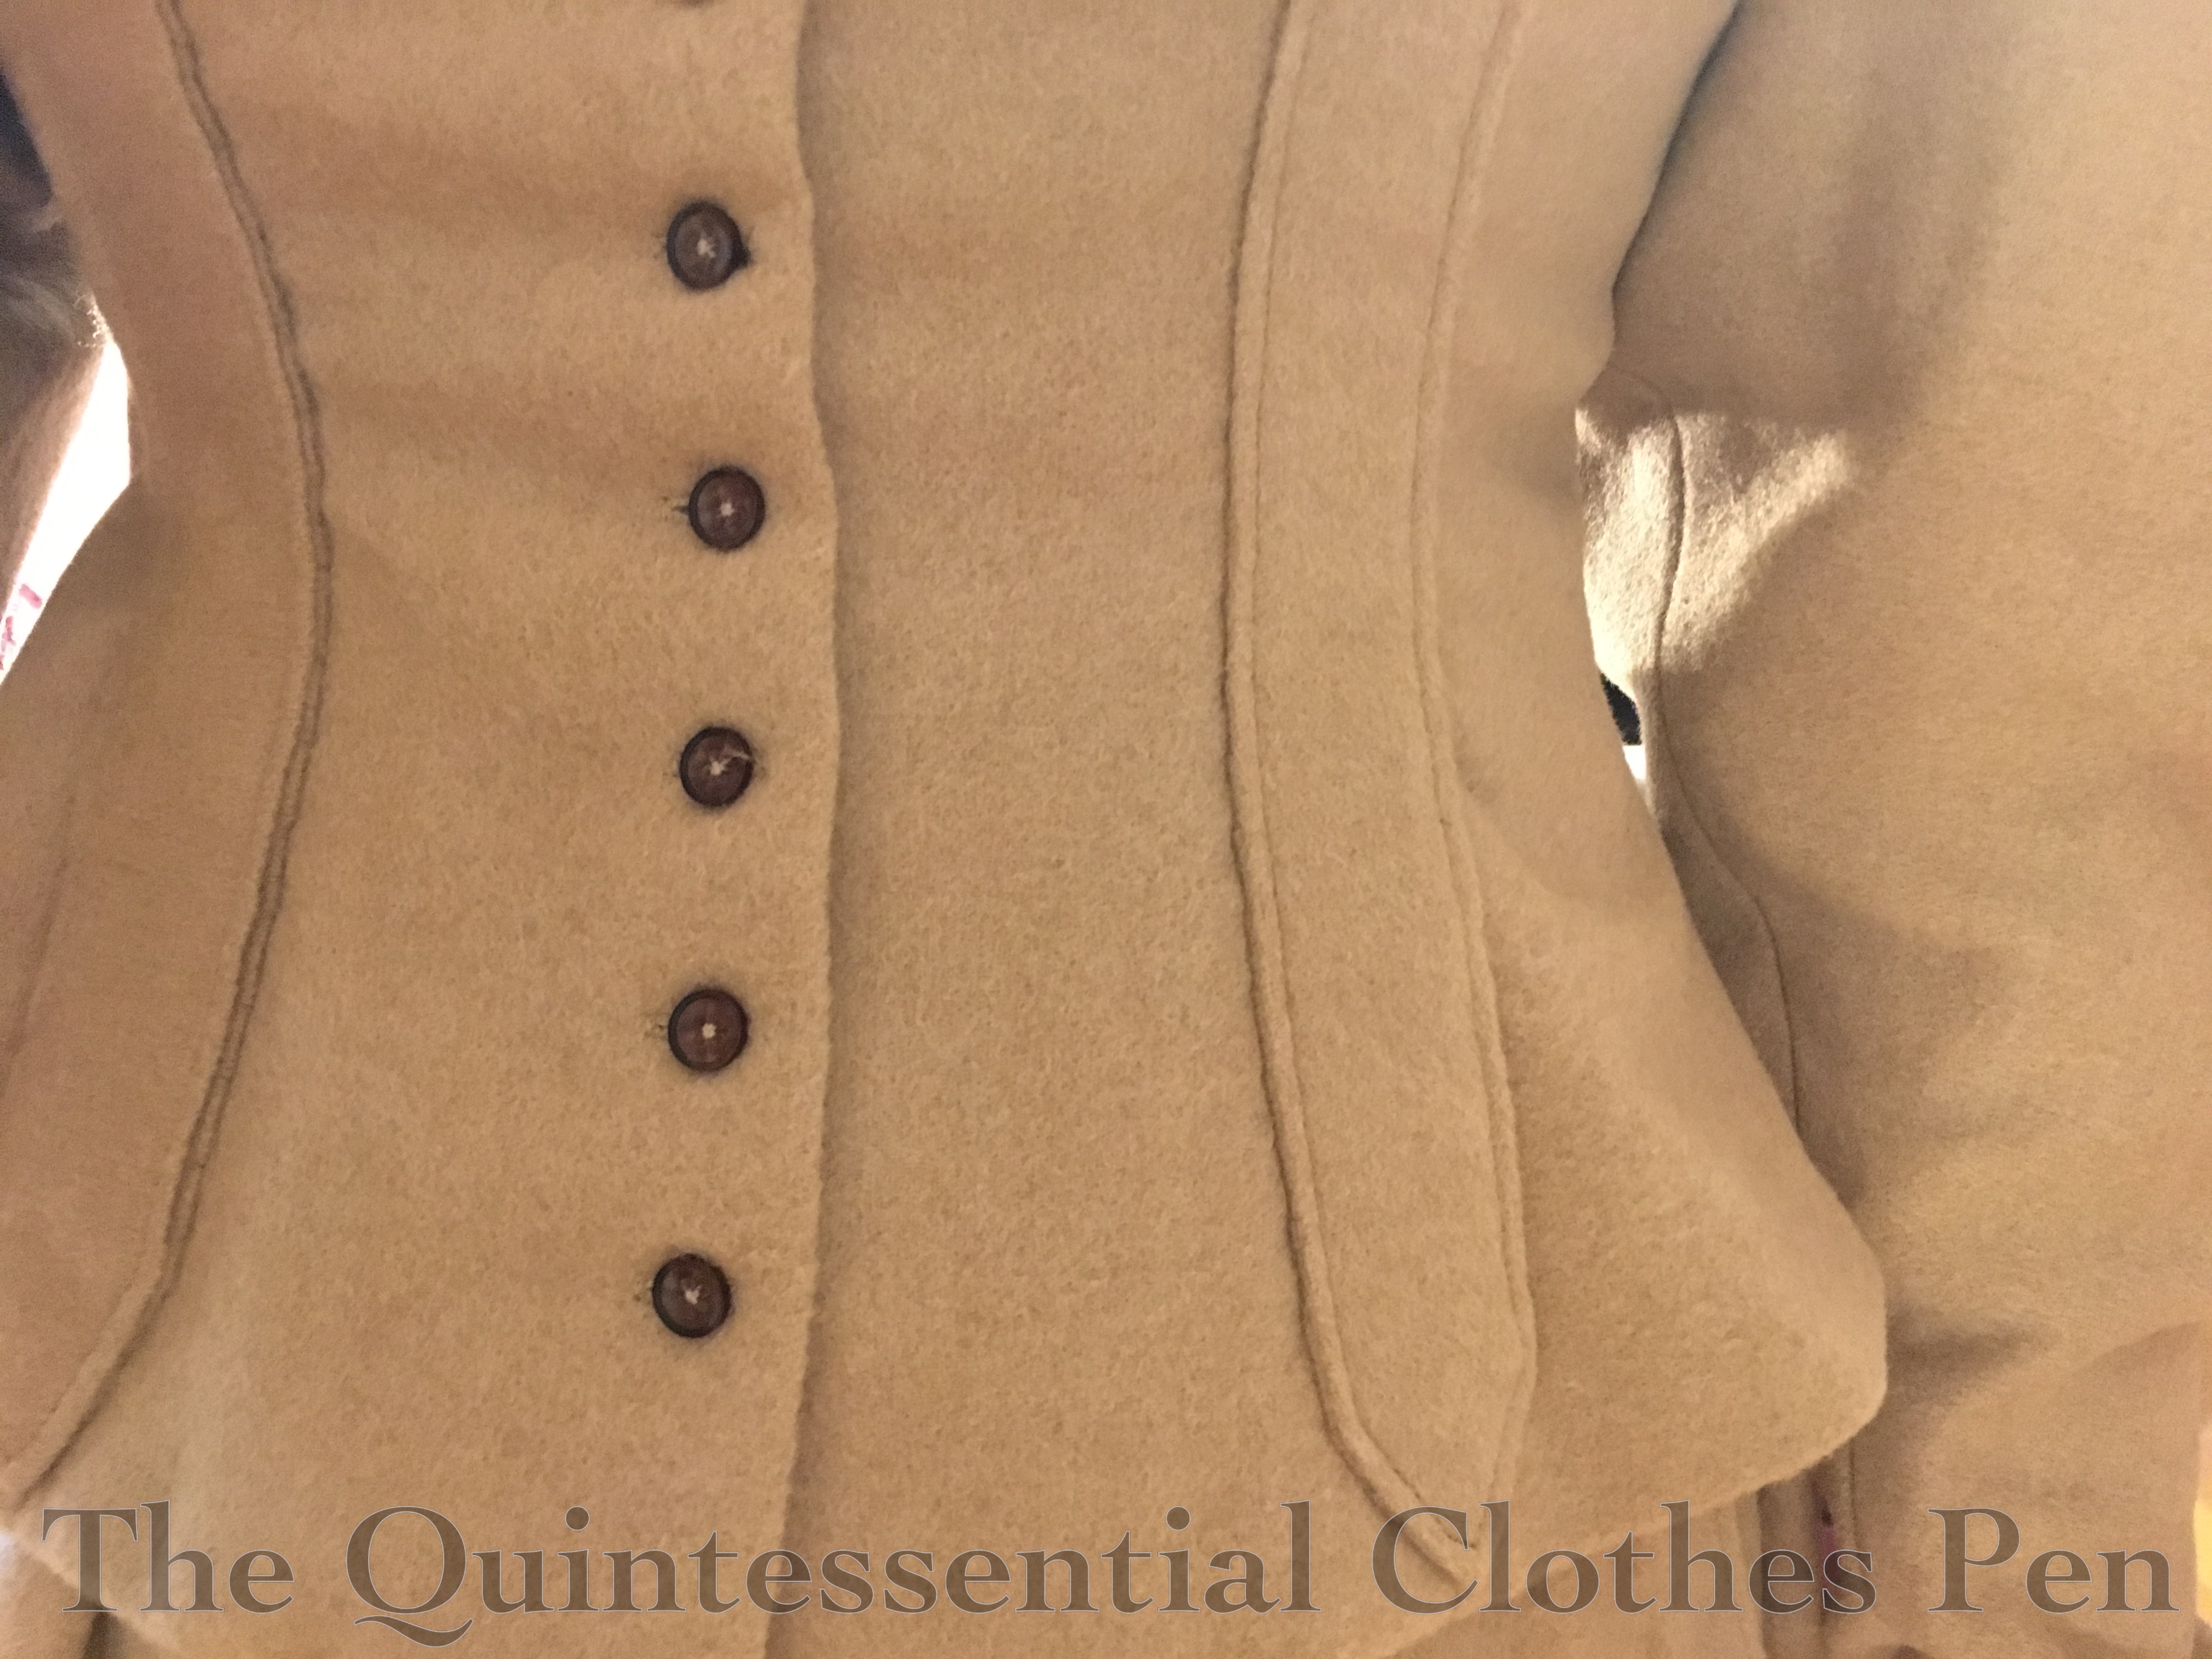
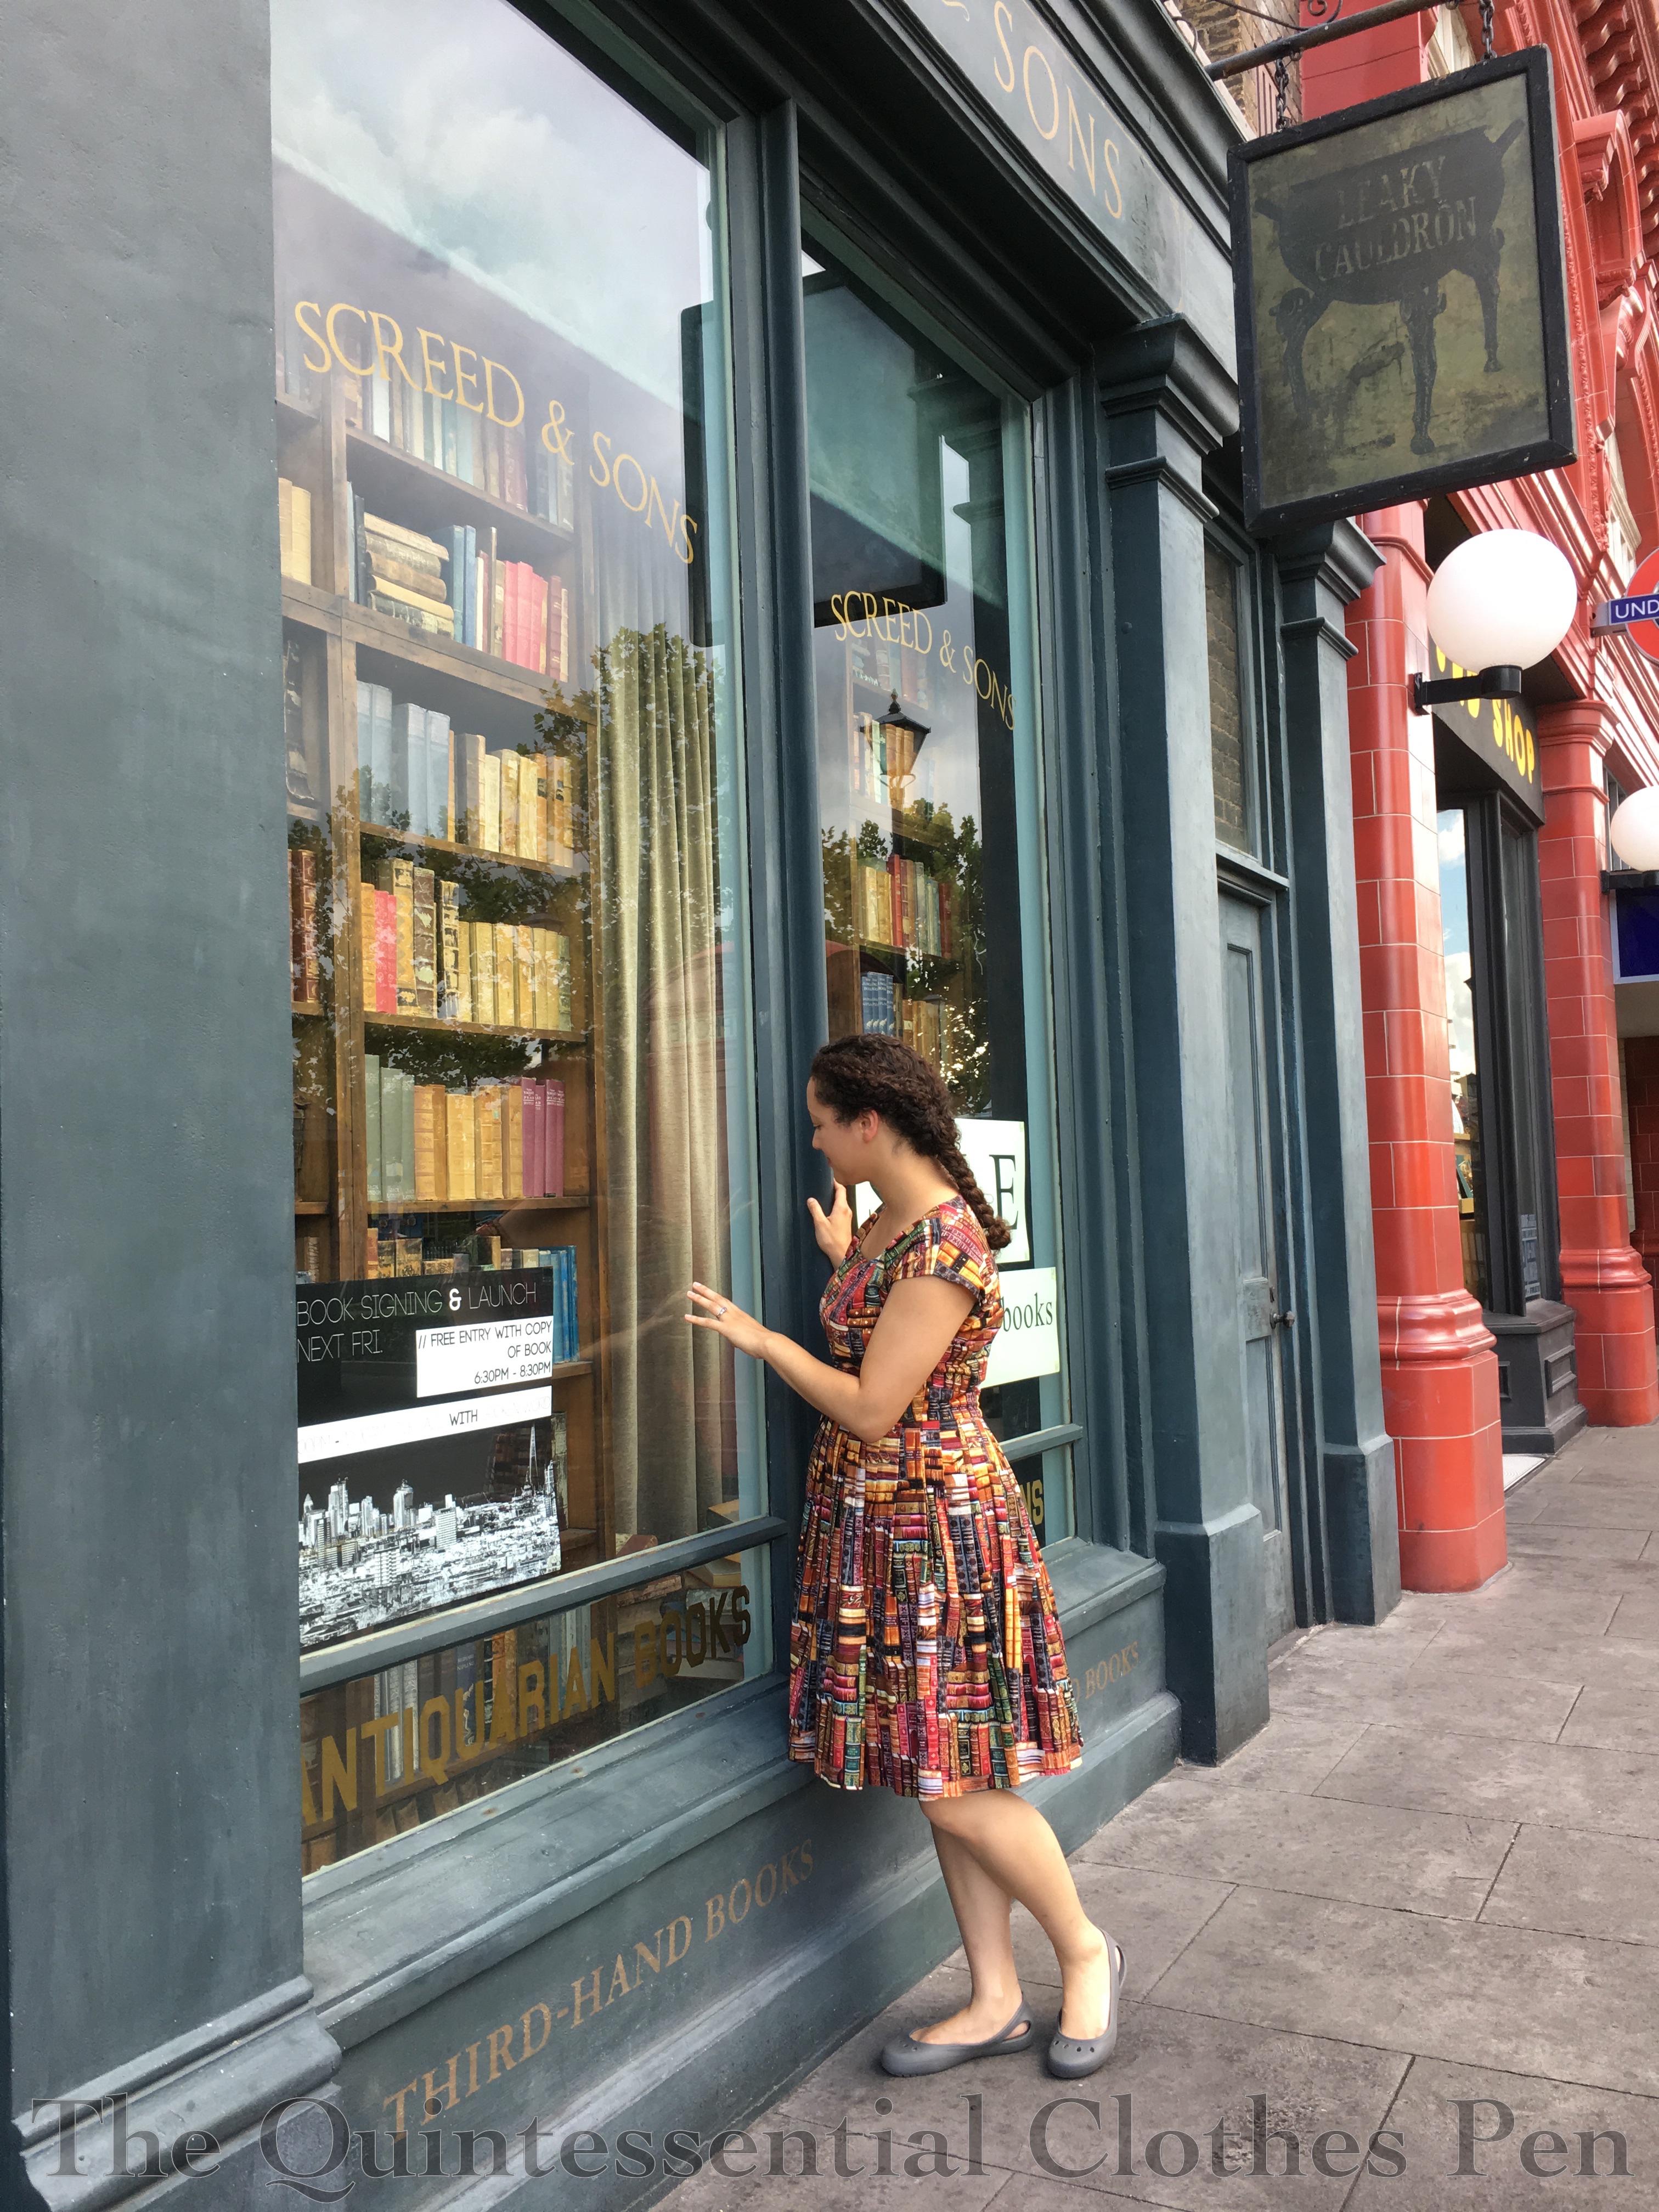
There’s still a post coming soon about the construction details of my 1896 Cycling Ensemble, but I have quite a bit to say so it’s taking a bit of time to write. While working on it I found some great examples of other ingenious bicycling clothing for women patented and advertised around this time.

I mentioned the skirt variations in the introduction post for the cycling ensemble:

“Most women in the 1890s stuck to the traditional, socially acceptable silhouette of an ankle length skirt for bicycling, but this could be dangerous as the skirt could become entangled in the spokes and chain while riding. Solutions to this problem included adaptations to the bicycle, such as a ‘skirt guard’ that sat over the rear wheel and kept the skirt from entangling itself, and adaptations to the clothing, including skirts with cords that could allow them to be raised while riding and skirts that were one piece in the front but split into legs in the back, as with a modern ‘skort’ (a skirt/short combination garment).” 

I thought it would be fun to share the patents I found that illustrate these other styles of skirts!

First, an example of a bicycle ‘skirt guard.’ The ‘skirt guard’ is visible on the back wheel on the bicycle. Here is a patent from 1898 showing a skirt guard, as well.

Next, I have a patent from 1896 for a skirt with an ‘elevator’ which would allow the skirt to be raised with cords to make cycling safer. You can see the bloomers she is wearing underneath when her skirt is raised. This would allow the cyclist to be appropriately clothed while not riding and safely clothed while on the bicycle.

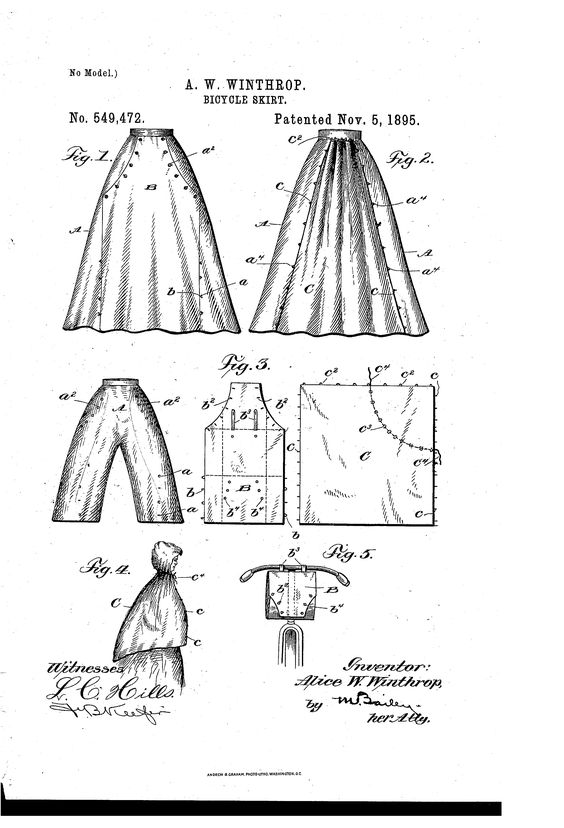
The next patent from 1895 shows the ‘skort’ style. This looks like a skirt in the front but is split in the back. The back is quite full, so that the appearance is that of a skirt.

Then I also came across this unusual method of a skirt with pieces that button on and off in front and back to reveal a bifurcated style underneath from 1895. It looks like this was designed so that the folded up pieces will hang from the front of your bicycle so you have them handy when you arrive at your destination. But I wonder how hard it would be to twist and bend in your corset to button and unbutton all of these connection points? My guess based on personal experience twist and bending in a corset is that it would be quite a challenge to do by yourself!

Here’s another interesting patent from 1896. These very full ankle length trousers that look like a skirt can be buttoned up around the knees to turn into knee length bloomers.

This image shows a women clearly wearing bloomers, but with a knee length skirt on top to still give a nod to the 19th century aversion to women opening wearing trousers (or bloomers).

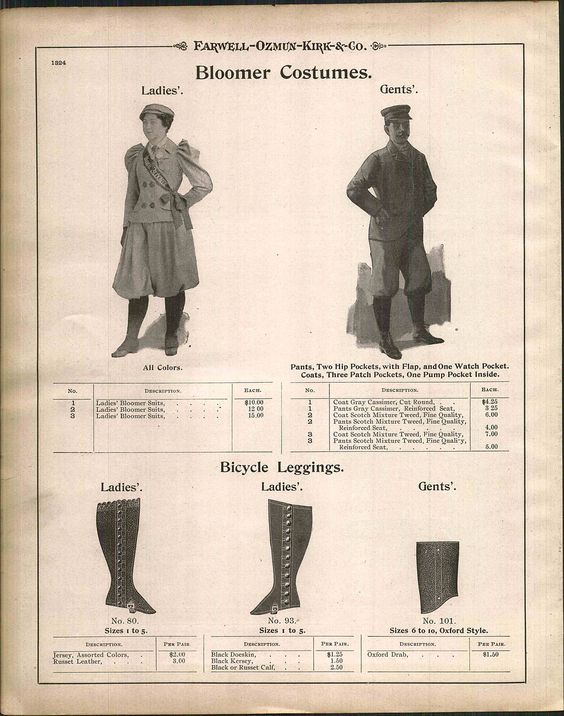
I love that most of these women are shown wearing their gaiters! It’s justification for my own pair. I came across this advertisement for ‘bicycle leggings’ as well. Neat!

Finally, here’s an example of a corset intended specifically for sportswear and athletic pursuits. It makes use of some stiffness as well as some elastic and is expressly made for activities such as bicycling.

Daring & Dedicated: My 1896 Cycling Ensemble

I’ve been hinting at the 1896 Cycling Ensemble I’ve been working on since December, first by sharing the black gaiters I made as part of the ensemble, then by sharing my deliberation and eventual decision to take a shortcut with two of the other accessories for the ensemble, and most recently by sharing photos of the shortcut accessories: a dickie and bow tie. Now it’s time for the reveal of the finished outfit in its entirety!

My inspiration for creating this ensemble is a talk I’ve been invited to give at both the Rhode Island Historical Society and the Newport Historical Society. The talk, titled Undressing History: Active Pursuits, Women’s Sportswear c.1900, will take a look at the clothing women wore to participate in sports and athletic activities during the late 19th and early 20th centuries. I’ll be actively dressing in multiple of my sportswear ensembles from 1885 to 1925, including clothing that could be worn for tennis, ice skating, bicycling, croquet, and swimming. I’ll discuss the cultural context of women’s participation in athletic activities during this time as well as the garments themselves: how they functioned while being worn for active pursuits, what they were made from, and how the silhouettes compared to non-sports clothing. I’ll be presenting this talk twice: on February 28 in Providence, RI and on March 28 in Newport, RI. If you’re interested in joining me, you can find more details about the event here.

As you might have noticed from my links to other sportswear ensembles I already own, I was missing a cycling ensemble. Bicycling became hugely popular for women in the 1890s, with a peak in 1896, so I felt that I must include this form of sportswear in my talk. And while I could use my 1895 skating ensemble as an example of the silhouette that would have been worn for bicycling while wearing a skirt, I felt it would be fun to show what the more daring and dedicated sportswomen of the 1890s wore: a bloomer suit. Full they might be, but those are pants!

Daring and dedicated, that’s me in this outfit. Most women in the 1890s stuck to the traditional, socially acceptable silhouette of an ankle length skirt for bicycling, but this could be dangerous as the skirt could become entangled in the spokes and chain while riding. Solutions to this problem included adaptations to the bicycle, such as a ‘skirt guard’ that sat over the rear wheel and kept the skirt from entangling itself, and adaptations to the clothing, including skirts with cords that could allow them to be raised while riding and skirts that were one piece in the front but split into legs in the back, as with a modern ‘skort’ (a skirt/short combination garment).

While that is amusing, I thought it would be more fun to make the most socially daring option: fully bifurcated bloomers. Some women wore these under a skirt while riding in order to maintain modesty. And some women, daring in terms of breaking the social conventions of the time and dedicated in terms of taking advantage of the newfound freedom a bicycle afforded, wore skirts that they would remove while riding, with bifurcated bloomers such as mine underneath.

Interestingly, a fashionable, tailor-made wool jacket like this could cost as much as $50 in 1896. Calculated in today’s dollars, that would be over $1,000. Quite a sum, and that doesn’t even include the bloomers or accessories! For those who had less disposable income, a linen suit provided a more economical option. With cheaper fabric, a dressmaker instead of a tailor, and patterns shared amongst customers, a full linen suit could be obtained for $7. That’s down to just about $150 in today’s dollars.

I have lots of construction details to share from making the bloomers and jacket, so there will be a detailed post focused on that soon. For now, here are a few close up photos of details, including my hidden pocket!

It was an exciting adventure to get photos of this outfit. In order to get timely photos I had to take the outdoors as I found it, snow and all. I valiantly tromped around, but I’ll admit that my feet were getting pretty wet and cold by the time we were done! Here’s a behind-the-scenes action shot on the way to getting the more finished photos–following my photographer’s path in the snow in a rather futile effort to keep the snow out of my shoes.

Sometime in the spring, perhaps, I’ll be able to ride a bike in my ensemble and get photos that give more context. In the meantime, we got some lovely winter-y photos and had some good laughs! Thanks to my intrepid photographer for making the time to take photos!


Shortcut Dickey Report

When ordering things from the internet sometimes you just don’t know if what you pull out of the shipping envelope will be what you hope for… but I’m pleased to report that my dickey and bowtie shortcut was successful!

The dickey has a neck size that fits me perfectly (I measure 14 ¾” around the neck), is a nice plain cotton material (not polyester-y at all), has a nice collar shape, and has reasonable stitching (some of the reviews said it was horribly stitched, but the one that I received was just fine). The bow tie’s fabric has a nice texture and body, is also not polyester-y (even though it probably is made of polyester), and has solid bow tie hardware.

(For the record, polyester-y means shiny, thin, slippery, or generally wrinkle-your-nose and hard-to-deal with-y. I’m not saying all polyester is bad. Just the bad stuff!)

Bow tie!

Merriam-Webster’s defines dickey (also spelled dickie and dicky) thus:

1: any of various articles of clothing: such as
a: a man’s separate or detachable shirtfront
b: a small fabric insert worn to fill in the neckline

In this case, the dickey I am referring to falls under definition B.

The one thing about the dickey that was ridiculous are the supposedly under the arm elastics that come attached. There is no way they would have sat under my arms and been comfortable! They were only about half the distance from the shoulder they would need to be to even go under my arms! Luckily, a seam ripper easily took them off. Since I’m using this dickey for historical purposes I decided on a more complicated system of vertical tapes and a waist tie to keep my dickey in place under my clothes. Here it is!

The tapes keep the dickey pulled down in the front and back so that I can get dressed without the shirt parts flapping around and looking disheveled.

The only other change I made was to change the angle of the shoulders so they would slope a bit more towards the arm sides. That’s a detail that would be best to customize on each body wearing this garment, so I can’t fault the makers too much–they made a general pattern and it just happens to not have my shoulder angle. No problem!

Yay! Now all of the accessories for my 1890s cycling ensemble are assembled and ready to go. Soon there will be photos of the finished ensemble!

Sunshine Yellow Stripes In 1933

Last summer, I decided to make a dress from McCall’s #7153, an archive pattern from 1933 (although now out of print, it was released in 2015 so it’s pretty easy to find with a quick search). This is a pattern I’ve been eyeing for awhile. I decided to make it because I wanted something comfortable, new, and appropriate for daytime to wear to a Gatsby weekend in the heat of August. 1933 is obviously not in the 1920s, but the weekend tends to be more generally 1920s/1930s in terms of clothing, so I figured this would fit right in.

The style of the dress is quite defined by the differing grain lines on the pieces, a detail that is set off by the stripes used for the sample dress. Accordingly, I went off in search of a good stripe for the dress. I couldn’t find one I liked in the right weight with a stripe quite as delicate, visible, and widely spaced as the sample dress, but I did find a lovely yellow and ivory narrow stripe at Farmhouse Fabrics (although now they have this, which is similar to the sample dress–I’m not sure which one I would choose if I had both options in front of me now!). I couldn’t find a yellow belt buckle that was right, so I decided to go classic with a white mother of pearl one from my stash instead.

I cut out a mockup in size 14. This was a project for my #virtualsewingcircle while I was still finding time to sew live. The mockup fit, but was very tight, so when I cut out the yellow stripe I made the dress a size 16 (for reference, my measurements were about bust 40″, waist 32″, and hips 42″).

The only other change that was required was to take up the shoulders (which I think meant that I also lowered the front neckline and cut new front facings, though now it was long enough ago that I don’t remember perfectly). McCall’s must have been thinking people were going to put in huge shoulder pads–there was so much room! I believe I took about about 2″ (4″ total) of height!

In addition, I took Kelly’s advice from making this dress and omitted the zipper down the back to keep things smooth. This was made possible in part because my fabric has a little bit of stretch in it.

I think I mostly followed the pattern directions for assembly. There are some steps in a specific order to get the nice point, particularly in the front.

I machine finished the hems, including the sleeves, and under stitched the neck facing, tacking it down by hand to the seam allowances on the inside. The seam allowances were pinked to keep the seams from getting bulky while also keeping them from fraying. This wasn’t important for the bias cut pieces, but it definitely helped the center back and center front panels that are cut on the straight grain of the fabric!

I completely ignored the belt directions, opting instead to use belting encased in a tube of my fabric. Belting is a great product that, as fas as I can tell, stopped being produced in the last few years. Boo! It’s a bendable but stiff plastic backed fabric that you used to be able to purchase in different widths to use as stiffening for self-fabric dress belts (perfect for dresses from the 1930s, 1940s, and 1950s!).

Despite the photos of the whole look with accessories (which I’m very pleased with!), when I tried on the dress after finishing the sewing I was so disappointed! I looked so frumpy in the mirror with the calf length hem and my bare feet! I made a lot of faces. Then I thought, ‘Well, I guess I try on the shoes I plan to wear with this.’ That idea did make me a little happier, because I had snagged a pair of Royal Vintage brown and white spectators but hadn’t found a reason or outfit to wear them with yet. And then… MAGIC. Those 3″ heels absolutely transformed the look! All of a sudden that calf length hem looked great! I was probably standing with more confidence rather than disappointment, too, but really, it was like I was wearing a different dress. Has that ever happened to you? The accessories really make some looks come together! And especially with 1930s calf length hems… the heels really help posture and proportions.

I found that my first pair of Royal Vintage shoes are very comfortable. They have a bit of padding in the sole, which is great under the balls of my feet especially, and also arch support. They don’t pinch or rub in any uncomfortable ways. After wearing them for the better part of two days in a row I can say that my feet were tired of being in 3″ heels, but tired or aching in no other way (that’s just a function of being in 3″ heels, no matter how comfortable they are). And boy, did I feel snazzy for those two days!

This next one is the ‘Oh no! My hat is flying away!’ face. It was rather windy, so there actually were moments where I had to hold onto my hat to keep it from flying away! This hat is a refashion of a modern sunhat that deserves its own post–coming soon. I’m very pleased with this updated version and I love how well it coordinates with my shoes!

The stripe in the fabric gets a bit lost when you’re not right next to the dress, but I still like it overall. I found the dress was more comfortable to stand in than to sit in, but it did well in the heat and was cool and breezy. Success!

Sometimes A Shortcut

…is ok. This is a moment of shortcut-ing for me.

I was going to call this post ‘Sometimes A Cheat’, but then I realized that ‘cheat’ isn’t the right word. It’s too unfair and generally harsh. What I wanted to communicate is that it can be ok to start somewhere other than at the very beginning with uncut fabric waiting to be turned into a project.

You see, I need to have the 1896 cycling outfit I’ve been hinting at and sharing accessories for done by early February. This is a project that started at the very beginning. I made my own pattern and started with an uncut pile of fabric. I’ve already put a lot of time into tailoring the jacket (a progress photo is above–it fits!), making the bloomers, and making gaiters to accessorize the ensemble… all from the very beginning. One of the finishing touches that my ensemble needs is a shirt collar and some sort of neck tie to finish it off. I don’t need a full shirt under the jacket and I don’t want the bulk, so I debated about making a dickie (from the beginning…). I also thought about making a neck tie (from the beginning…).

After a bit of deliberation, I decided that I want a shortcut for these pieces and I’m ok with that. Accordingly, I’ve ordered a ready-made dickie on Amazon, re-confirmed that neckties look stupid on me (a thought I’ve had since I needed to wear one 13 years ago, though I thought that might have changed, haha), followed the necktie-looking-stupid-on-me thought with the decision to go with a bow tie, and ordered a knit bow tie, also on Amazon. (I’m hoping the quality of these items is acceptable. Thankfully they come via Prime and have free returns, so if I don’t like them there’s still time to come up with Plan B. If I’d thought of this a month ago I could have saved at least half the price and purchased these exact items on eBay. Now that I’ve made up my mind the shipping would take too long. Oh well!)

Do you ever take shortcuts like this? How do you feel about them? I feel rather relieved that I don’t need to cut, sew, and finish a collared dickie and a bow tie!

1896 Black Gaiters For A Sporting Look

Five years ago (yikes, where did the time go?!?), I made ivory gaiters. They were made to wear over heeled shoes, giving the look of two tone boots. Unfortunately, the ivory gaiters I already have don’t work for the the 1896 cycling ensemble on my sewing table! Ivory gaiters would show dirt and be rather impractical for the sporting look, so I decided to make utilitarian black ones for this outfit.

I used the same pattern as for the ivory gaiters with only a few modifications: the top edge curves in a bit more over my calf and the back heel is longer so it stays on top of my shoe (in my blog post about the ivory gaiters I share about how they were riding up over my shoe–I solved this with a little piece I added in after the photos were taken, but for the new pair the pattern was cut longer instead). It was lovely to have a pattern ready to go!

I’m pleased that I squeezed this small project into 2018. I can count it for the HSM Challenge #12: Neglected! This challenge is sort of a catch-all for making something that fits into a previous challenge either from this year or a previous year. I chose the September 2018 challenge, Hands and Feet, for this December challenge.

Just the facts:

Fabric: About ¼ yard slightly stretchy black cotton.

Pattern: Created by me.

Year: 1896.

Notions: Thread, ¼” and ½” cotton twill tape in various widths, and plastic buttons.

How historically accurate?: 90%. The look is right but the materials are a mix and match of right and modern.

Hours to complete: Approximately 5.

First worn: Not yet!

Total cost: $5 for the buttons. The fabric and twill tapes were in my stash!

These are constructed in the same way as my previous pair. The seams are covered with ½” twill tape, the edges are bound with ¼” twill tape, there is a strap (in this case made of the exterior fabric), and then buttons and buttonholes finish it off.

The great thing about my gaiter pattern is that they work for a few different decades. The ivory pair was made for a 1917 outfit, but I feel perfectly confidant that the pattern works for the 1890s and 1900s as well. I’m looking forward to trying these on with my cycling ensemble once that is far enough along to put all the pieces together!

1926 Silver Lace Robe de Style

One of my summer sewing projects was a new 1920s robe de style. (And yes, I am clearly delayed in posting about it!) I already have one (my 1924 Golden Robe de Style) but I stumbled across a lovely lace at Joann Fabrics in the spring that called to join my wardrobe as a second dress in this category. I attend enough 1920s evening events that I can never seem to have enough dresses. Doesn’t that sound grand written out? I actually do have plenty of dresses, but it’s nice to have variety and cycle through different styles, types of fabrics, weights, etc.

I’ve enjoyed wearing my first robe de style and wanted to try another one with different characteristics. The 1924 golden one is made of silk taffeta and has an ankle length skirt, but I wanted this one to be much lighter weight and shorter in length. I also wanted a different neckline. After looking through my Robe de Style Pinterest board for inspiration I settled on this dress, a Boué Soeurs robe de style from fall/winter 1925-6. This is where my date of 1926 for my new robe de style comes from.

Obviously the lace is not opaque so as with the original dress I needed a lining. I settled on the icy blue because it was from my stash. (You’ve seen this fabric before, in my 1899 evening gown.) It was great to use a stash fabric for cost saving and stash-diminishing purposes as well as the fact that the colors coordinate. And, I was able to accessorize with a large flower pin in a very similar color that has been in my stash since before I had a fabric stash! Isn’t it wonderful to find good homes for odds and ends like this?

In addition to the flower pin, I also wore my extra long strand of faux pearls, my American Duchess silver Seabury shoes, and vintage silver hair pins. Oh, and earrings. But I can’t remember which ones and I can’t tell from the photos which pair they are. I’ll have to figure that out again next time I wear this dress!

The pattern for this dress is me-made, composed of mostly rectangular shapes based on my measurements. The body of the lining is basically an upside down T shape, where the sides are gathered into a slit that extends into the main body on each side by a few inches. (You can see what I’m talking about in the photo below.) The lining has a straight top edge with rectanglur straps attached. The hem angles down slightly on the sides intentionally. I still wanted an uneven hem as with my 1924 dress, but I wanted a less dramatic difference than with that dress.

The lace layer was a little more complicated. I wanted an uneven hem to match the lining, but I also wanted to keep the hem following the scallops across the fabric. So… I had to keep my hem straight. That means I had to make the tops of the sides curve up since the bottom couldn’t curve down, but that meant I couldn’t cut my lace layers as a T, because the curve up would cut into the sides of the dress.

My solution was to add a seam across the lace pieces at the height of the gathers. To do this I perfectly matched the scallops, carefully layered and stitched them with a narrow zig zag, and then trimmed away the excess fabric to make the seam almost entirely invisible. Can you spot it in this photo?

I also had to trim away the ‘eyelash’ bits left over after cutting along the scalloped pattern along the hem. This photo shows that step in progress. A bit tedious, but worth it!

Unlike the lining with its straight top edge, the lace has a v neck on one side and a scoop on the other. This layer is interchangeable in terms of which is front and back, since they’re the same with no special shaping. The edges of the lining are finished by machine while the neckline and the armholes of the lace are narrow hemmed by hand.

This new dress can be worn with or without panniers, but for the first wearing I went without in order to make the full skirt more subtle and to differentiate the dress from my 1924 Golden Robe de Style (which needs to be worn with panniers).

While this dress could be worn at any time of year, I am particularly enchanted with the idea of it being perfectly suited to a 1920s New Year party. The colors and silver lace seem well suited to that theme.

And on that note, in case I don’t get another post in before 2019… happy new year!

A Fortescue Frock

Say that ten times fast! I was originally calling this dress the Cotton Candy Stripe Dress, but while wearing it to The Wizarding World of Harry Potter and seeing how well it matched the decor of Florean Fortescue’s Ice Cream Parlor it earned a new name.

I happened upon this summery fabric while looking for a different striped fabric at Farmhouse Fabrics. I bought it with the plan of using New Look #6143 for the bodice with a gathered skirt similar to my Bubble Dots Skirt.

I very carefully cut out the bodice pieces to match the stripes and was very pleased with the results. Look at how well my center back seam matches with the invisible zipper set in! The shoulder seams match nicely, too, and I didn’t even plan that!

The bodice is lined in lightweight white cotton, in the same way as the New Old(er) Dress I posted about in July. It uses the same bodice pattern and like the other dress this one closes with an invisible zipper down the back as well.

I thought of adding pockets but the fabric seemed to sheer to hide them well, so I decided against it.  I thought of adding a skirt lining, but decided I didn’t want to add bulk at the waist so I would live dangerously and hope that a slip would be enough to provide opacity. Thankfully, a knee length white slip is perfect. To add a just a little bit of volume, I also wear my vintage petticoat with the dress. You can see that petticoat in this past post.

This dress is fun! It’s light, summer-y, and my only fear was getting something on the white fabric while wandering around the amusement park. Thankfully that never happened!  We happened upon this spot while wandering around and it seemed good for a photo! My vacation sunglasses look like a bug and are silly, but I rather enjoy them once or twice a year. I never wear sunglasses that big in my normal life! They were great for the bright Florida sun!

Here are a few end-of-day shots, with frizzier hair and running-out-of-pose-idea poses. We stayed at the Cabana Bay Resort. It’s vintage themed and had some really adorable decor that we really enjoyed!

I made the dress with a 2″ hem but that skirt length was just barely long enough to conceal my petticoat (I realized after looking at photos). It was too close for comfort, so after I got home I decided to lower the hem as much as possible, which I’m very pleased with. Sadly I only got one wearing in with the new length before fall set in. Now the dress is now packed away and waiting for warmer weather next year!

Giving Old Hoops New Spots

Spots are this nifty piece of hardware that can be used to secure interlocking pieces together. They’re similar to a brad in that they have two prongs on the back of a circular top. The difference I see is that they have a domed top and the prongs come out from other side rather than the center.

Back in April, I posted about the dimensions of my large hoops and how I made my new smaller hoops and stated the goal of adding spots to my old hoops just like I had done for the new hoops. Over the last six months I’ve been slowly adding the spots to my old hoops and I’m pleased to report that the process is complete! My ten year old hoops have reinvigorated life!

For the new smaller hoops I used brass colored spots, but I decided to change it up for my older hoops and used gold colored spots instead. (Both of the spots were purchased from this seller on eBay, who I would certainly recommend.) I’d originally intended the vertical tapes on these old hoops to be able to slide around when needed so that I could force the hoops into an elliptical shape, but since I haven’t done that even once in the last ten years I figured that if/when I want elliptical hoops I’ll make a new support structure and will reinforce these hoops in their current cupcake shape instead of contingent to allow them to be adjustable.

My spots are positioned so that the prongs are at the top and bottom of each horizontal wire. I poked the prongs through the twill tape then used pliers to bend the prongs towards each other to secure them in place. The nice thing about the spots is that as they are folded back you have control over how tightly they are attached. So technically they are still loose enough that I can scoot the vertical tapes around if I really want to. But will I? Probably not.

Vintage-Inspired Book Dress

Two or so years ago, I came across this dress as I was poking around the internet. I loved the print, but the style was not for me. The peter pan collar, in particular, isn’t really my style. However, I got it in my head that maybe I could make my own version of this dress, with style details that suited me better.

This led to a hunt for the fabric. With a little bit of searching, I was actually able to find the exact cotton print fabric used in the dress I originally liked! I bought mine from Fabric.com, but it was (and still is) also listed on Etsy. It has a little bit more stiffness than your average quilting cotton, which makes for a dress with nice body. It also has little hints of metallic gold in the book titles, some of which are readable. This makes it a little festive and fun without being over done.

That was back in 2016. It took me about a year to get around to making the dress, but I finished it in late 2017. And I’ve been wearing it! It just took another year to wear it somewhere that was good for taking photos. (I still hold out hopes of taking photos of it in a fabulous wood paneled library, while holding my hardcover copy of Gone With The Wind. That’s one of the readable titles on the dress! Not sure when that will happen, though.) In the meantime, I’m very pleased with these photos from my trip to Universal Orlando, where we took photos of this dress in various Harry Potter locations.

I used Butterick 5880 (a retro pattern from 1951) for the bodice of this dress. This is the same bodice I used for my Happy Clover Dress, which I finally finished in 2017 as well. Both of these dresses have a different neckline than the original pattern. I’ve found that this is a great basic pattern for me. It fits well, I like the all-in-one-with-the-bodice sleeve, and different necklines work with it to change it up from one dress to the next!

The square neck inspiration for this dress came from a blog reader in 2017, who commented on my Happy Clover Dress post and suggested that a square neckline might be a nice vintage touch. I thought the idea made sense with the square corners of the books in this print and decided to give it a try!

As with the Happy Clover Dress, I did not use the Butterick skirt pattern, instead opting to create my own. My vintage inspired skirt is simply a tube that is 122″ in circumference, knife pleated to fit the waist size of the bodice. I carefully cut and seamed the panels to maximize my fabric use and have side seams as well as a center back seam. Part of the reason I had to maximize my fabric use was that I used up pretty much all of all 2.5 yards that I bought. In fact, I didn’t even have scraps big enough to make pockets out of after cutting out the bodice and skirt pieces! I used what I had and pieced the rest of my pocket bags with fabric left over from my 1860s Flower Basket Fancy Dress project. I had dyed the fabric a mottled brown, had only had small scraps left, and the look reminded me of book leather, so it seemed like a fitting thing to use.

Pockets in a dress is excellent! And you can do that when you make your own clothes. Actually, while I was on my trip I was asked whether I’d made the dress. The giveaways were the fact that I had my hands in my pockets and the knife pleated skirt, both of which struck the person who asked as being vintage and self-made details–not a combination that would be easy to buy in a store. I thought that was fun!

I made this dress using modern techniques. All of the inside seam allowances are finished using a serger/overlocker. There is an invisible zipper in the back. It is almost entirely machine sewn, including the hem and armholes. The only hand stitching is the finishing of the brown bias tape that finishes the neckline, in order to keep that nice and invisible. On the hem and armholes the black machine stitching blends into the print and is hardly noticeable.

I have fun wearing this dress and pairing it with different cardigans in the colder months! Black and red are my favorites. And I can report that it was very enjoyable to be dressed in slightly-vintage-style to visit Diagon Alley and Hogsmeade. I had no trouble on the rides and was as comfortable in the heat of Florida as I would have been in shorts or capris and a tee shirt, which is what most people were wearing. I felt more put together and enjoyed the themed dress! I might have to do things like that more often!