Tiki Bubble Dots

img_2023-1

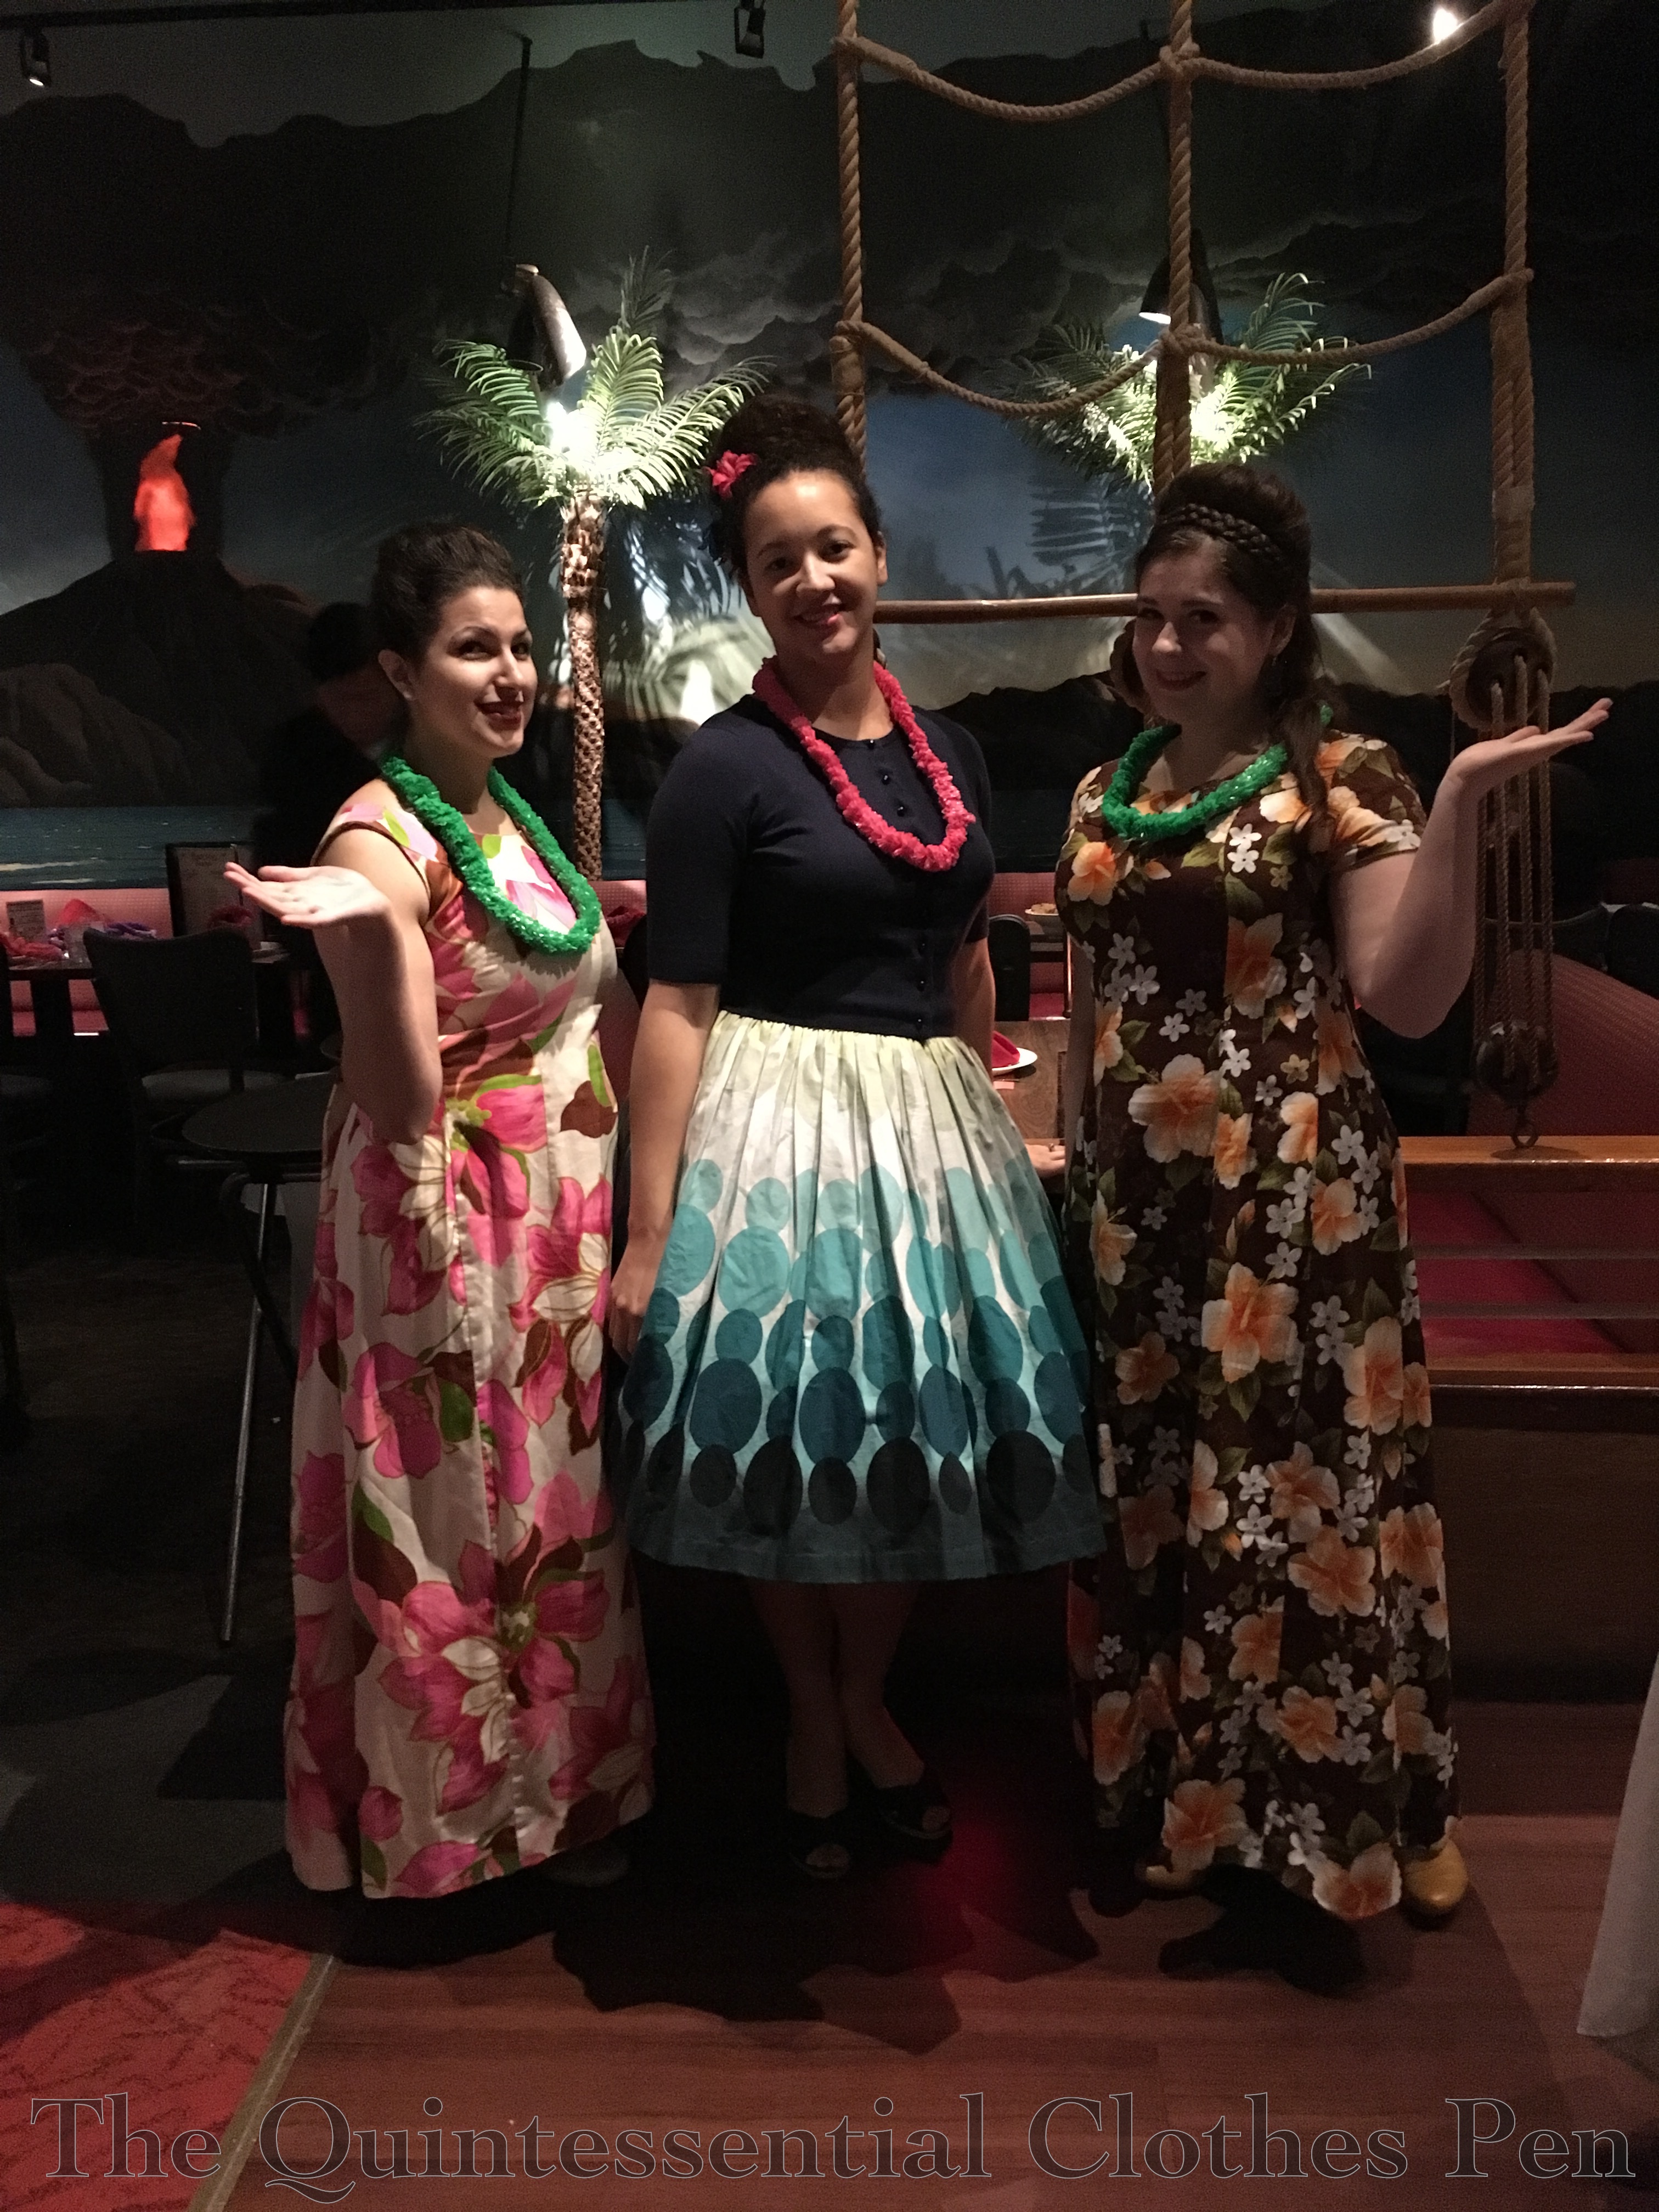
On a recent Saturday evening, I was to be found with the usual suspects at a local tiki themed restaurant. We were wearing, of course, 1950s and 1960s tiki-party themed clothing. What else would you wear, really?

img_2022-1

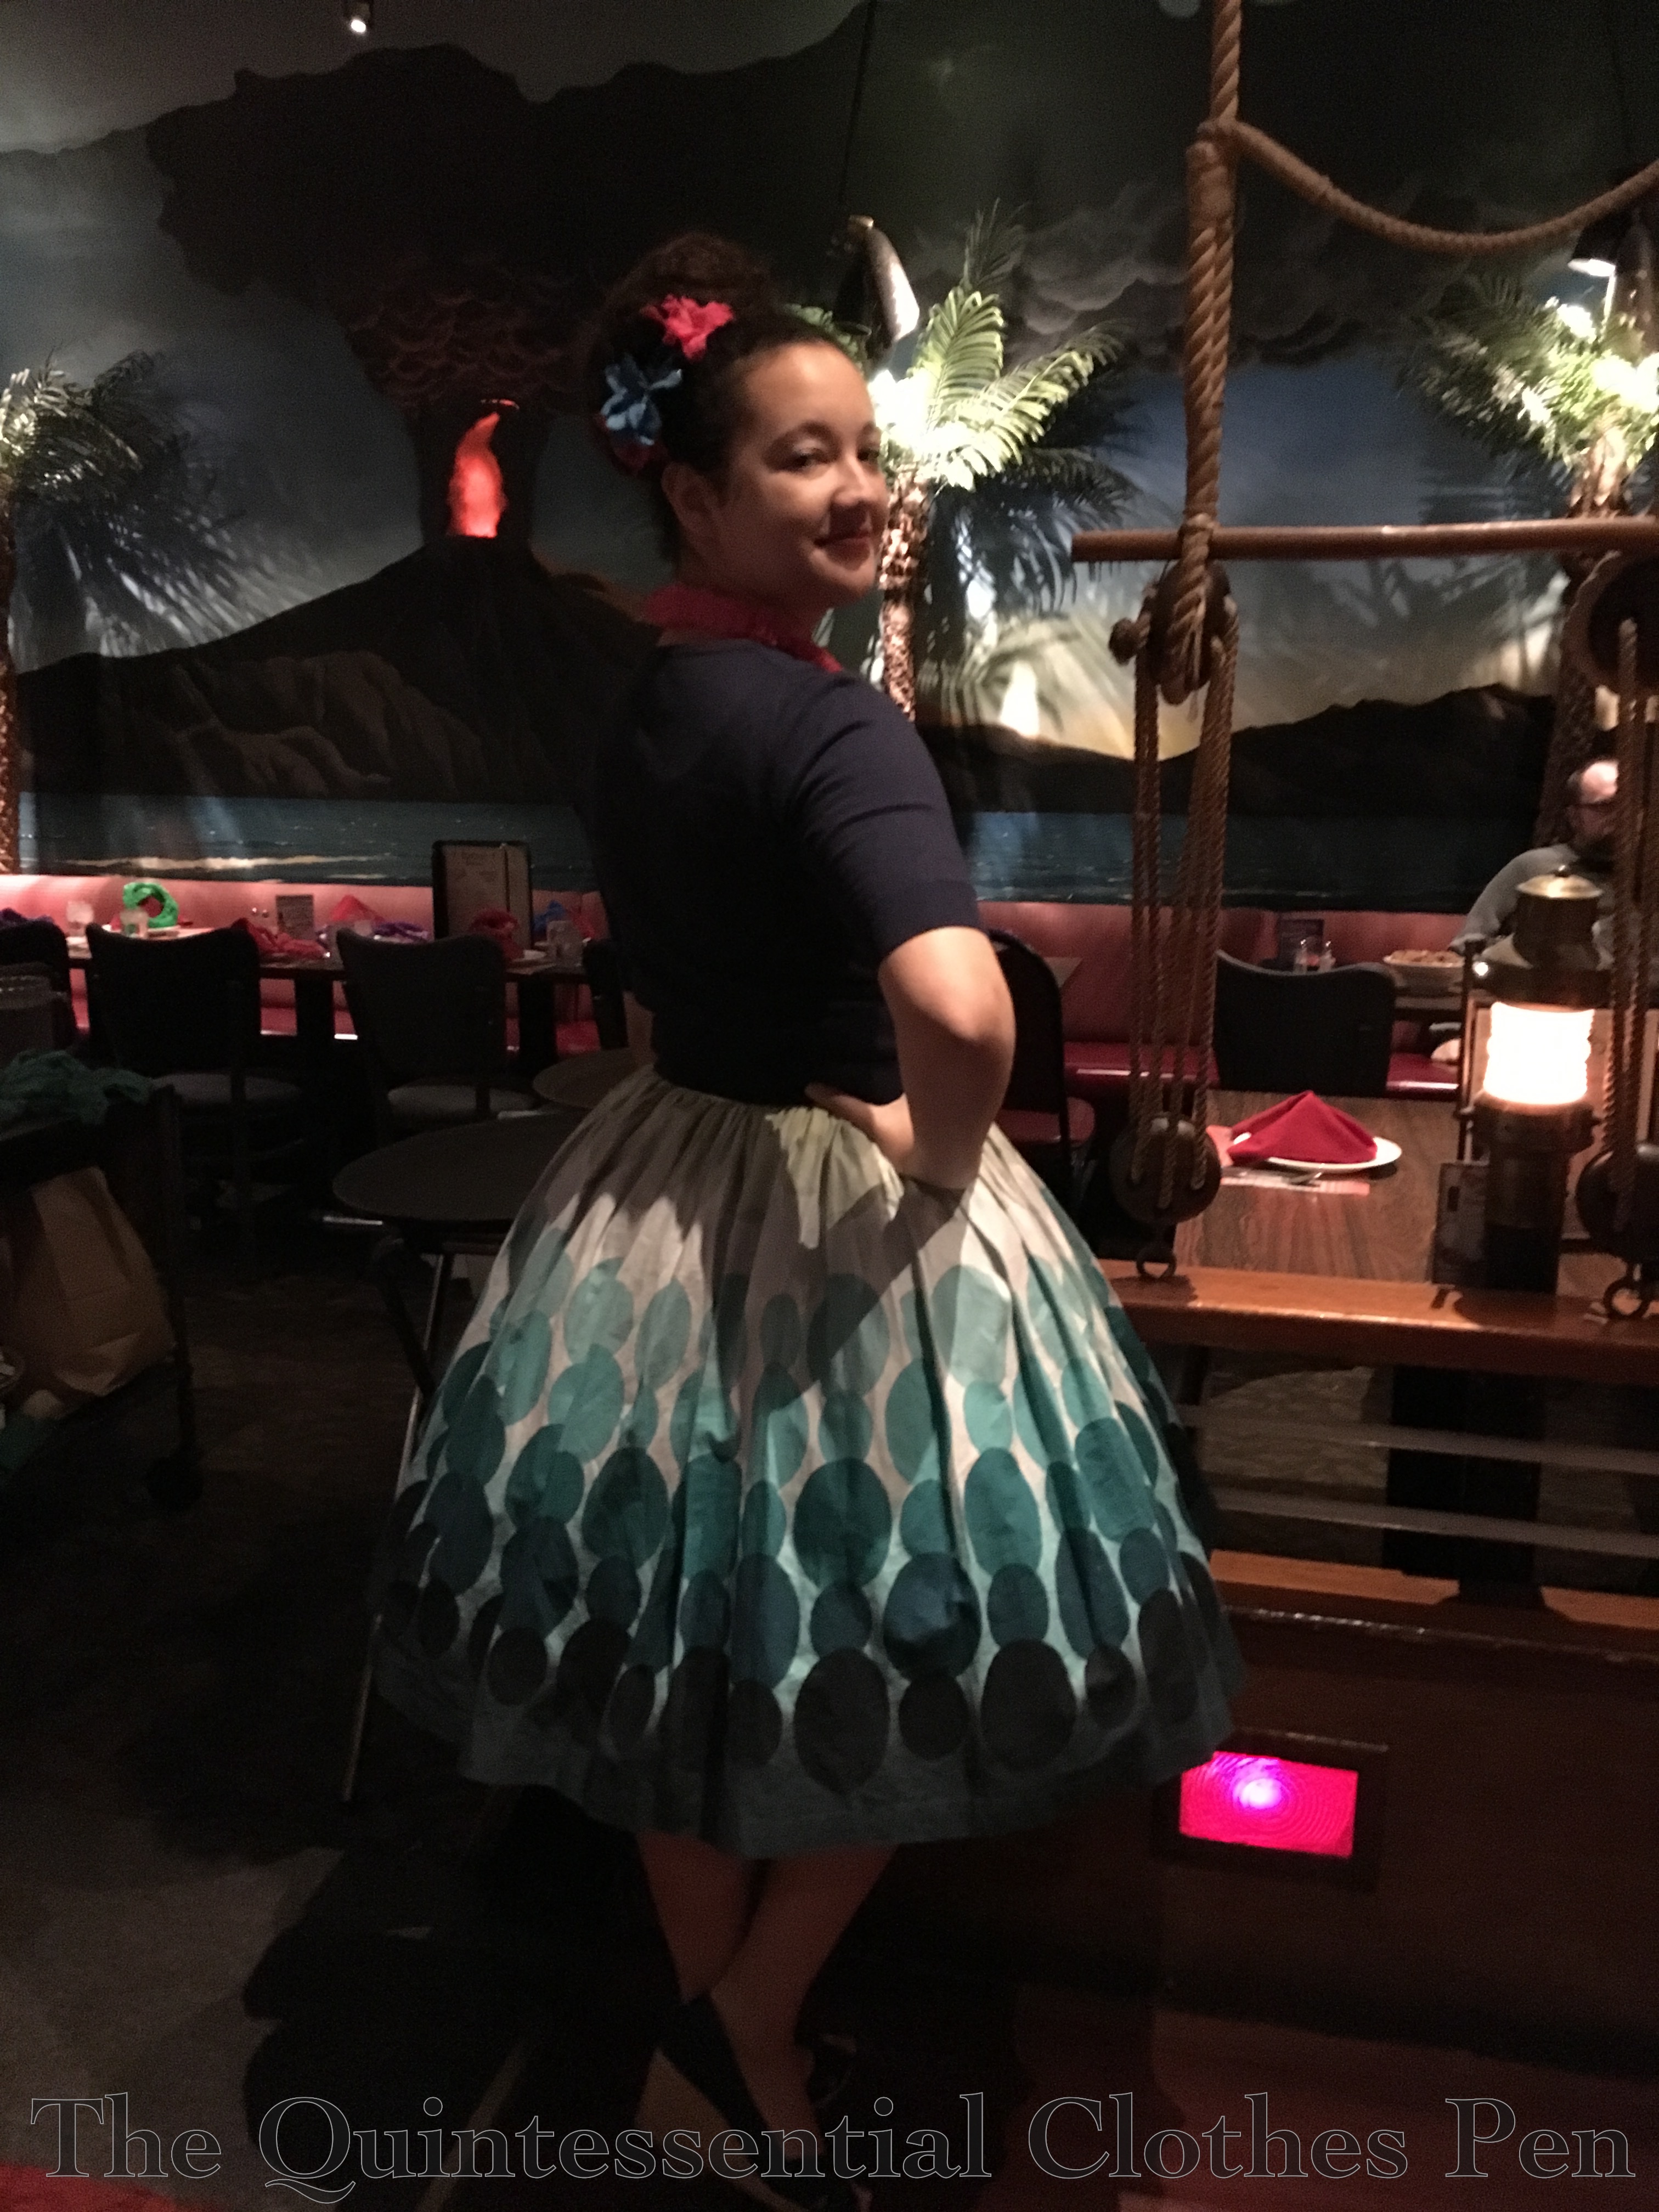
I took the outing as a sign that I needed to complete a revamped petticoat. There will be more on that later, as I haven’t taken pictures yet and I’ll be wearing it again soon. I will say simply that I am quite pleased with the shape I achieved!

The revamped petticoat was needed to puff out my Bubble Dot Skirt (which I’d made and posted about this summer) into a nicely full 1950s shape. I wore it with a 1950s fifties inspired cardigan, espadrilles, a super hair bun, some tropical flowers, and a down coat (not pictured, obviously) to stay warm outside!

We had lots of fun. The restaurant is intense in its decor. We were seated in a ship, including furled sails and rigging. There were fountains and volcanoes and thatched roofs and all sorts of other interesting things.

And it was a great excuse to wear a full petticoat with my Bubble Dot skirt! Now I’m thinking I need a less full one to wear with it on normal days. Something to make it A-line but not be obtrusively large and obvious. (This desire is also sparked by watching The Crown. Some of the skirts are so understated but perfectly A-line!) Do you have any ideas?

img_2010-1

Picturesque Regency Moments

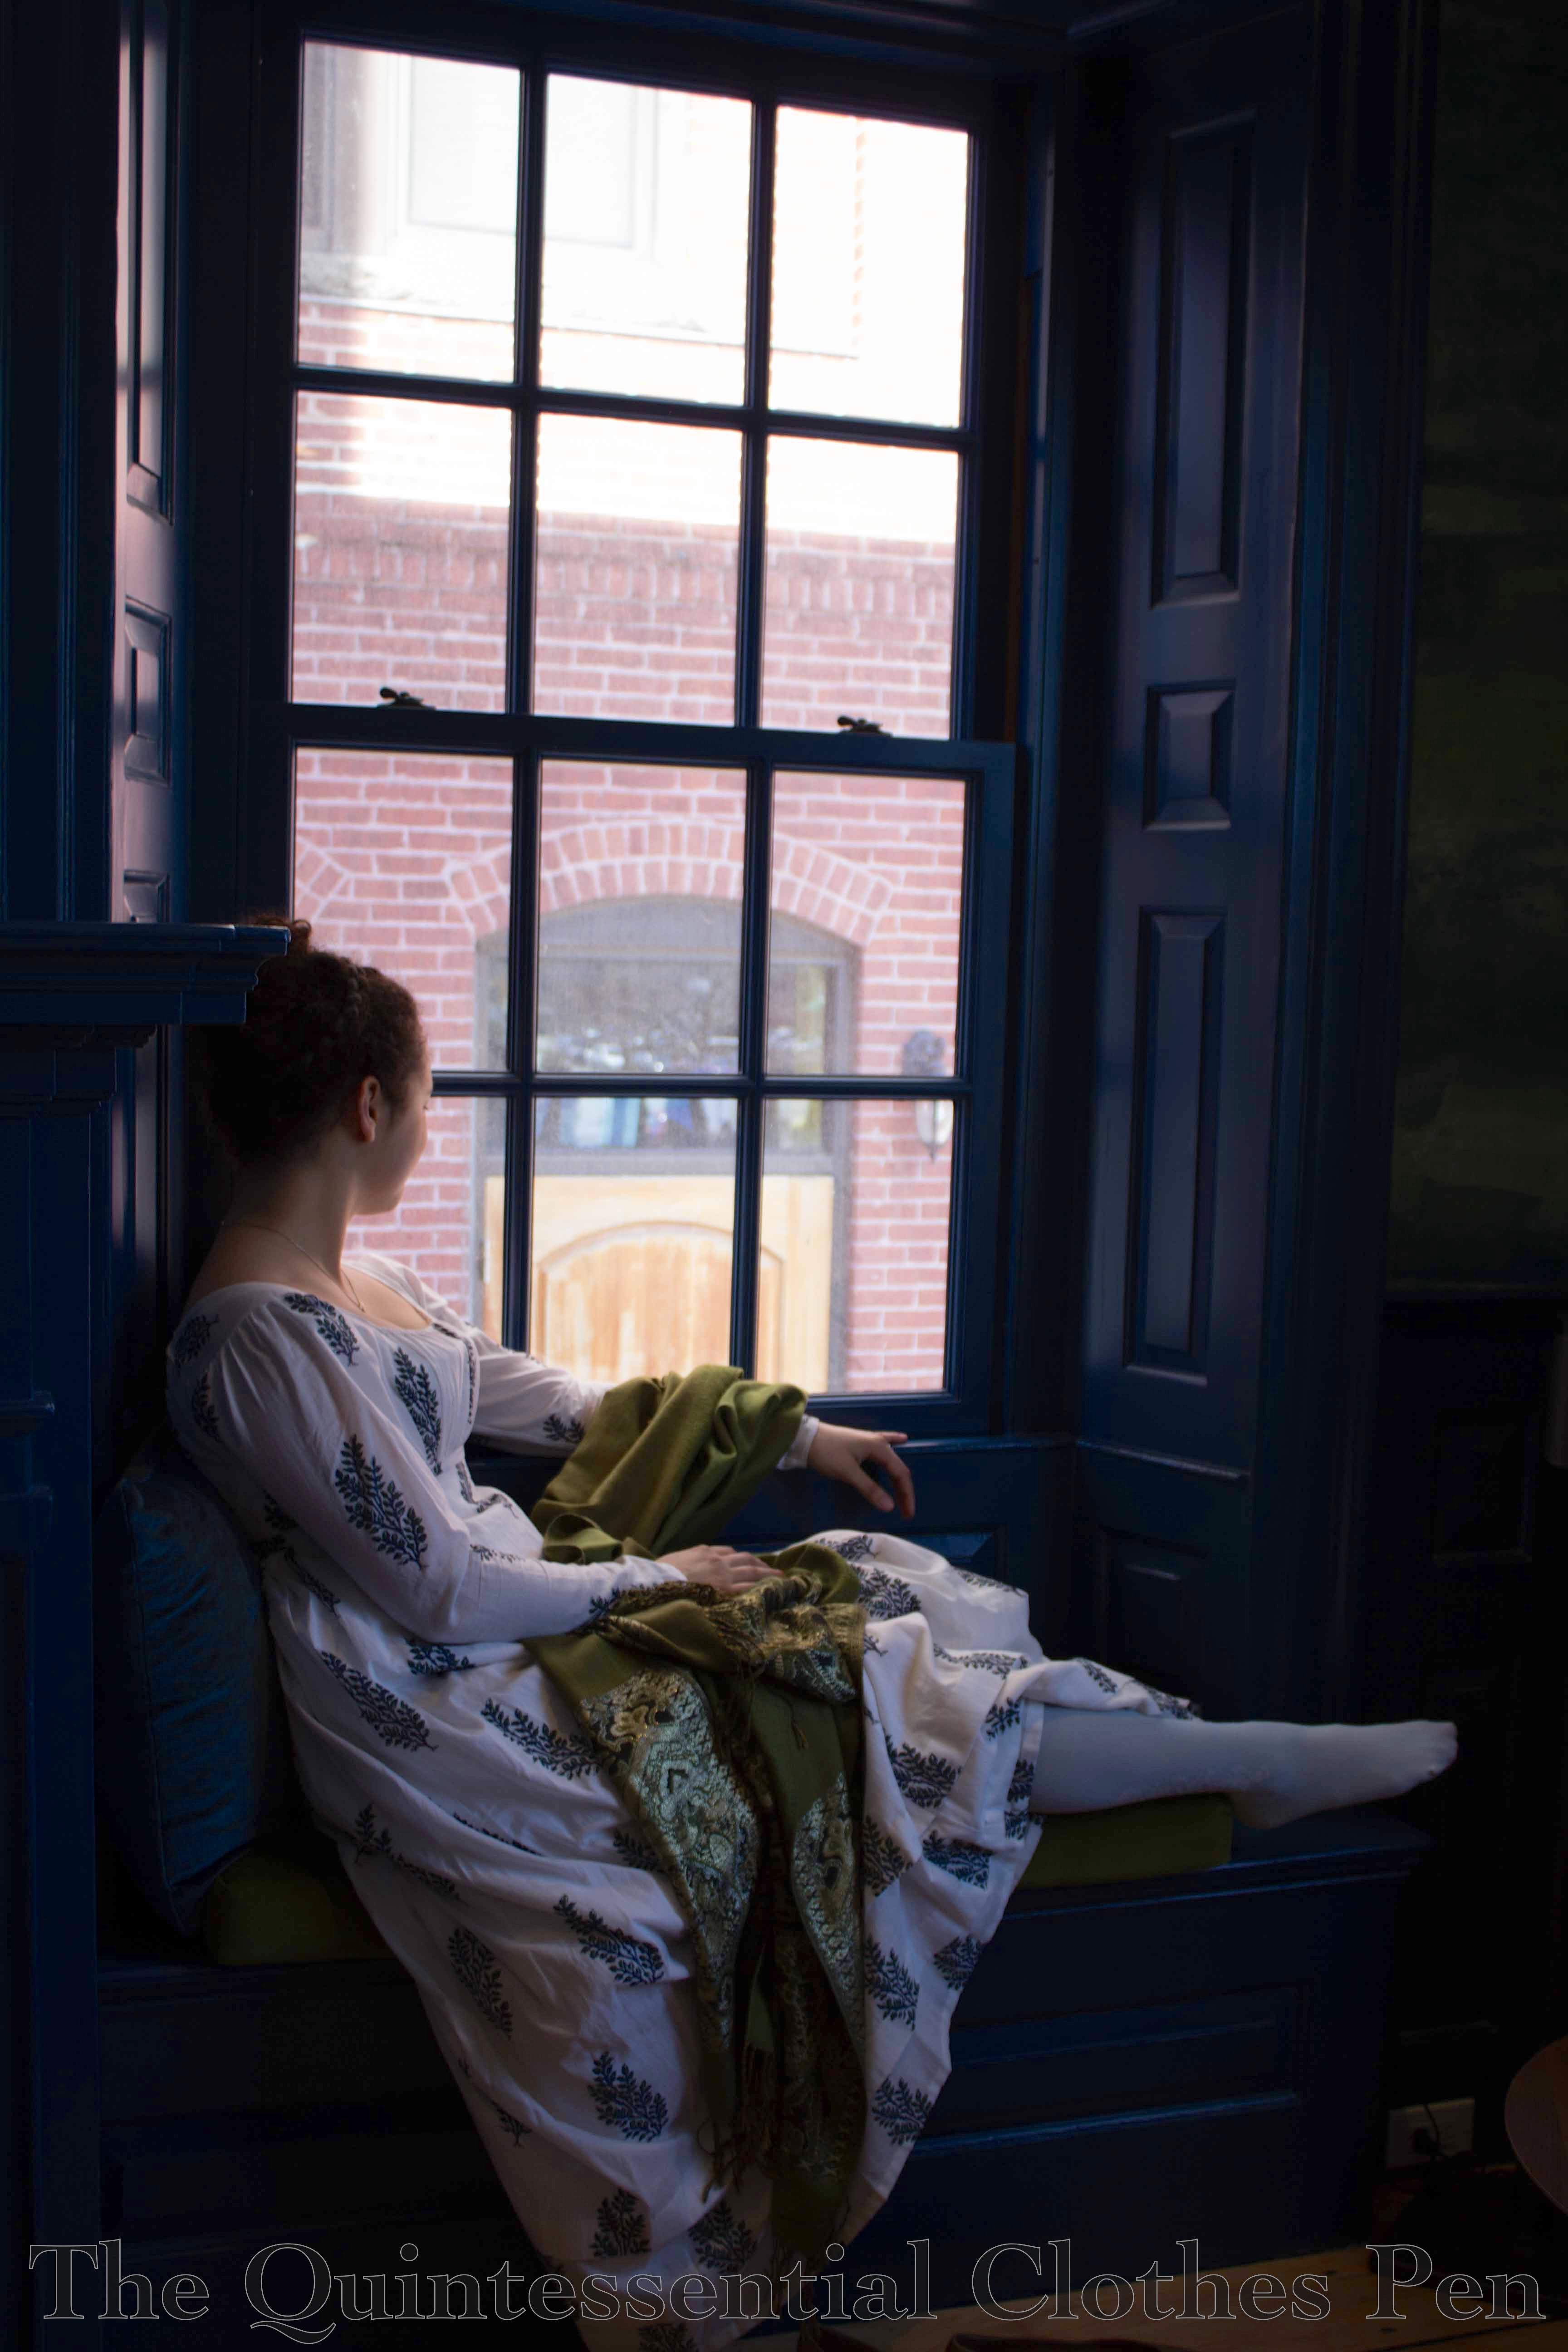
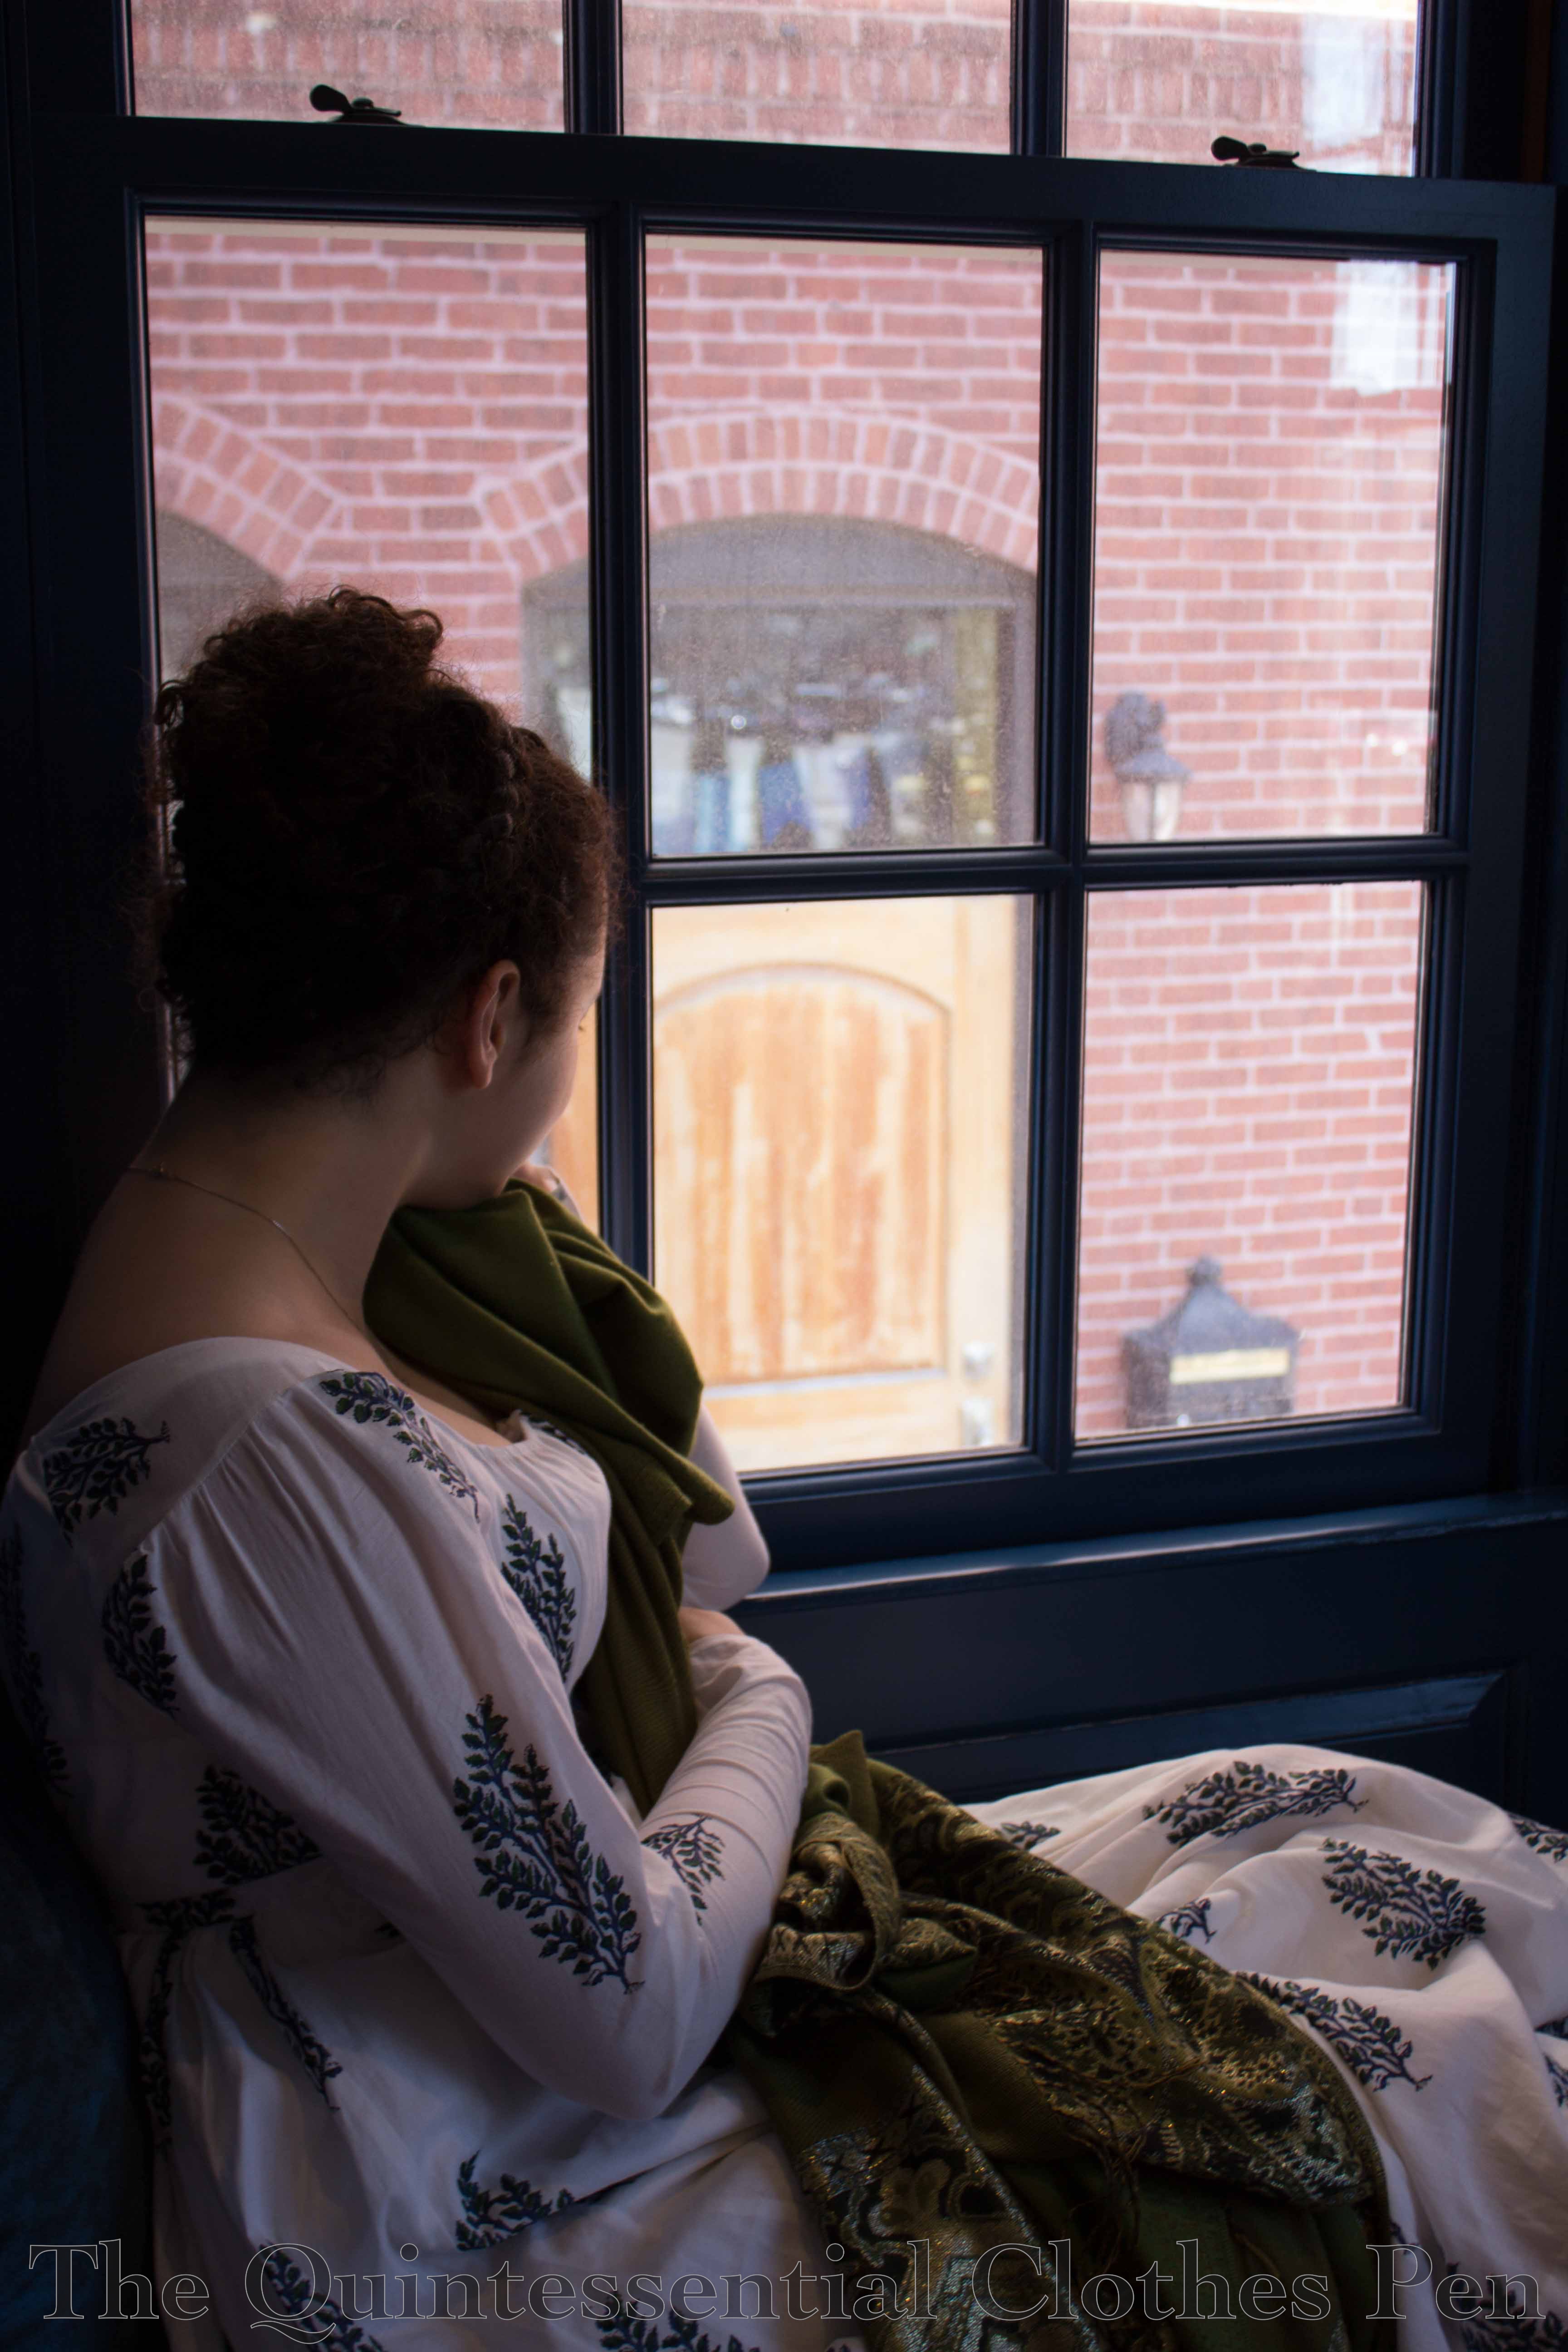
During this year’s Regency Dance Weekend, we captured some of my all time absolute favorite shots of my Tree Gown. I saved them for this post rather than including them in the overview of the weekend.

These first few were taken at our hotel. While the blue walls don’t scream Regency to me, they do coordinate nicely with my dress and make for a stunning background. The idea behind these is along Lizzy Bennet lines–lounging in a windowsill while comfortably contemplating life. This gown has the most beautiful drape to the skirt! It’s soft and full without being too fluffy.

img_2579-1

img_2583-1

img_2591-1

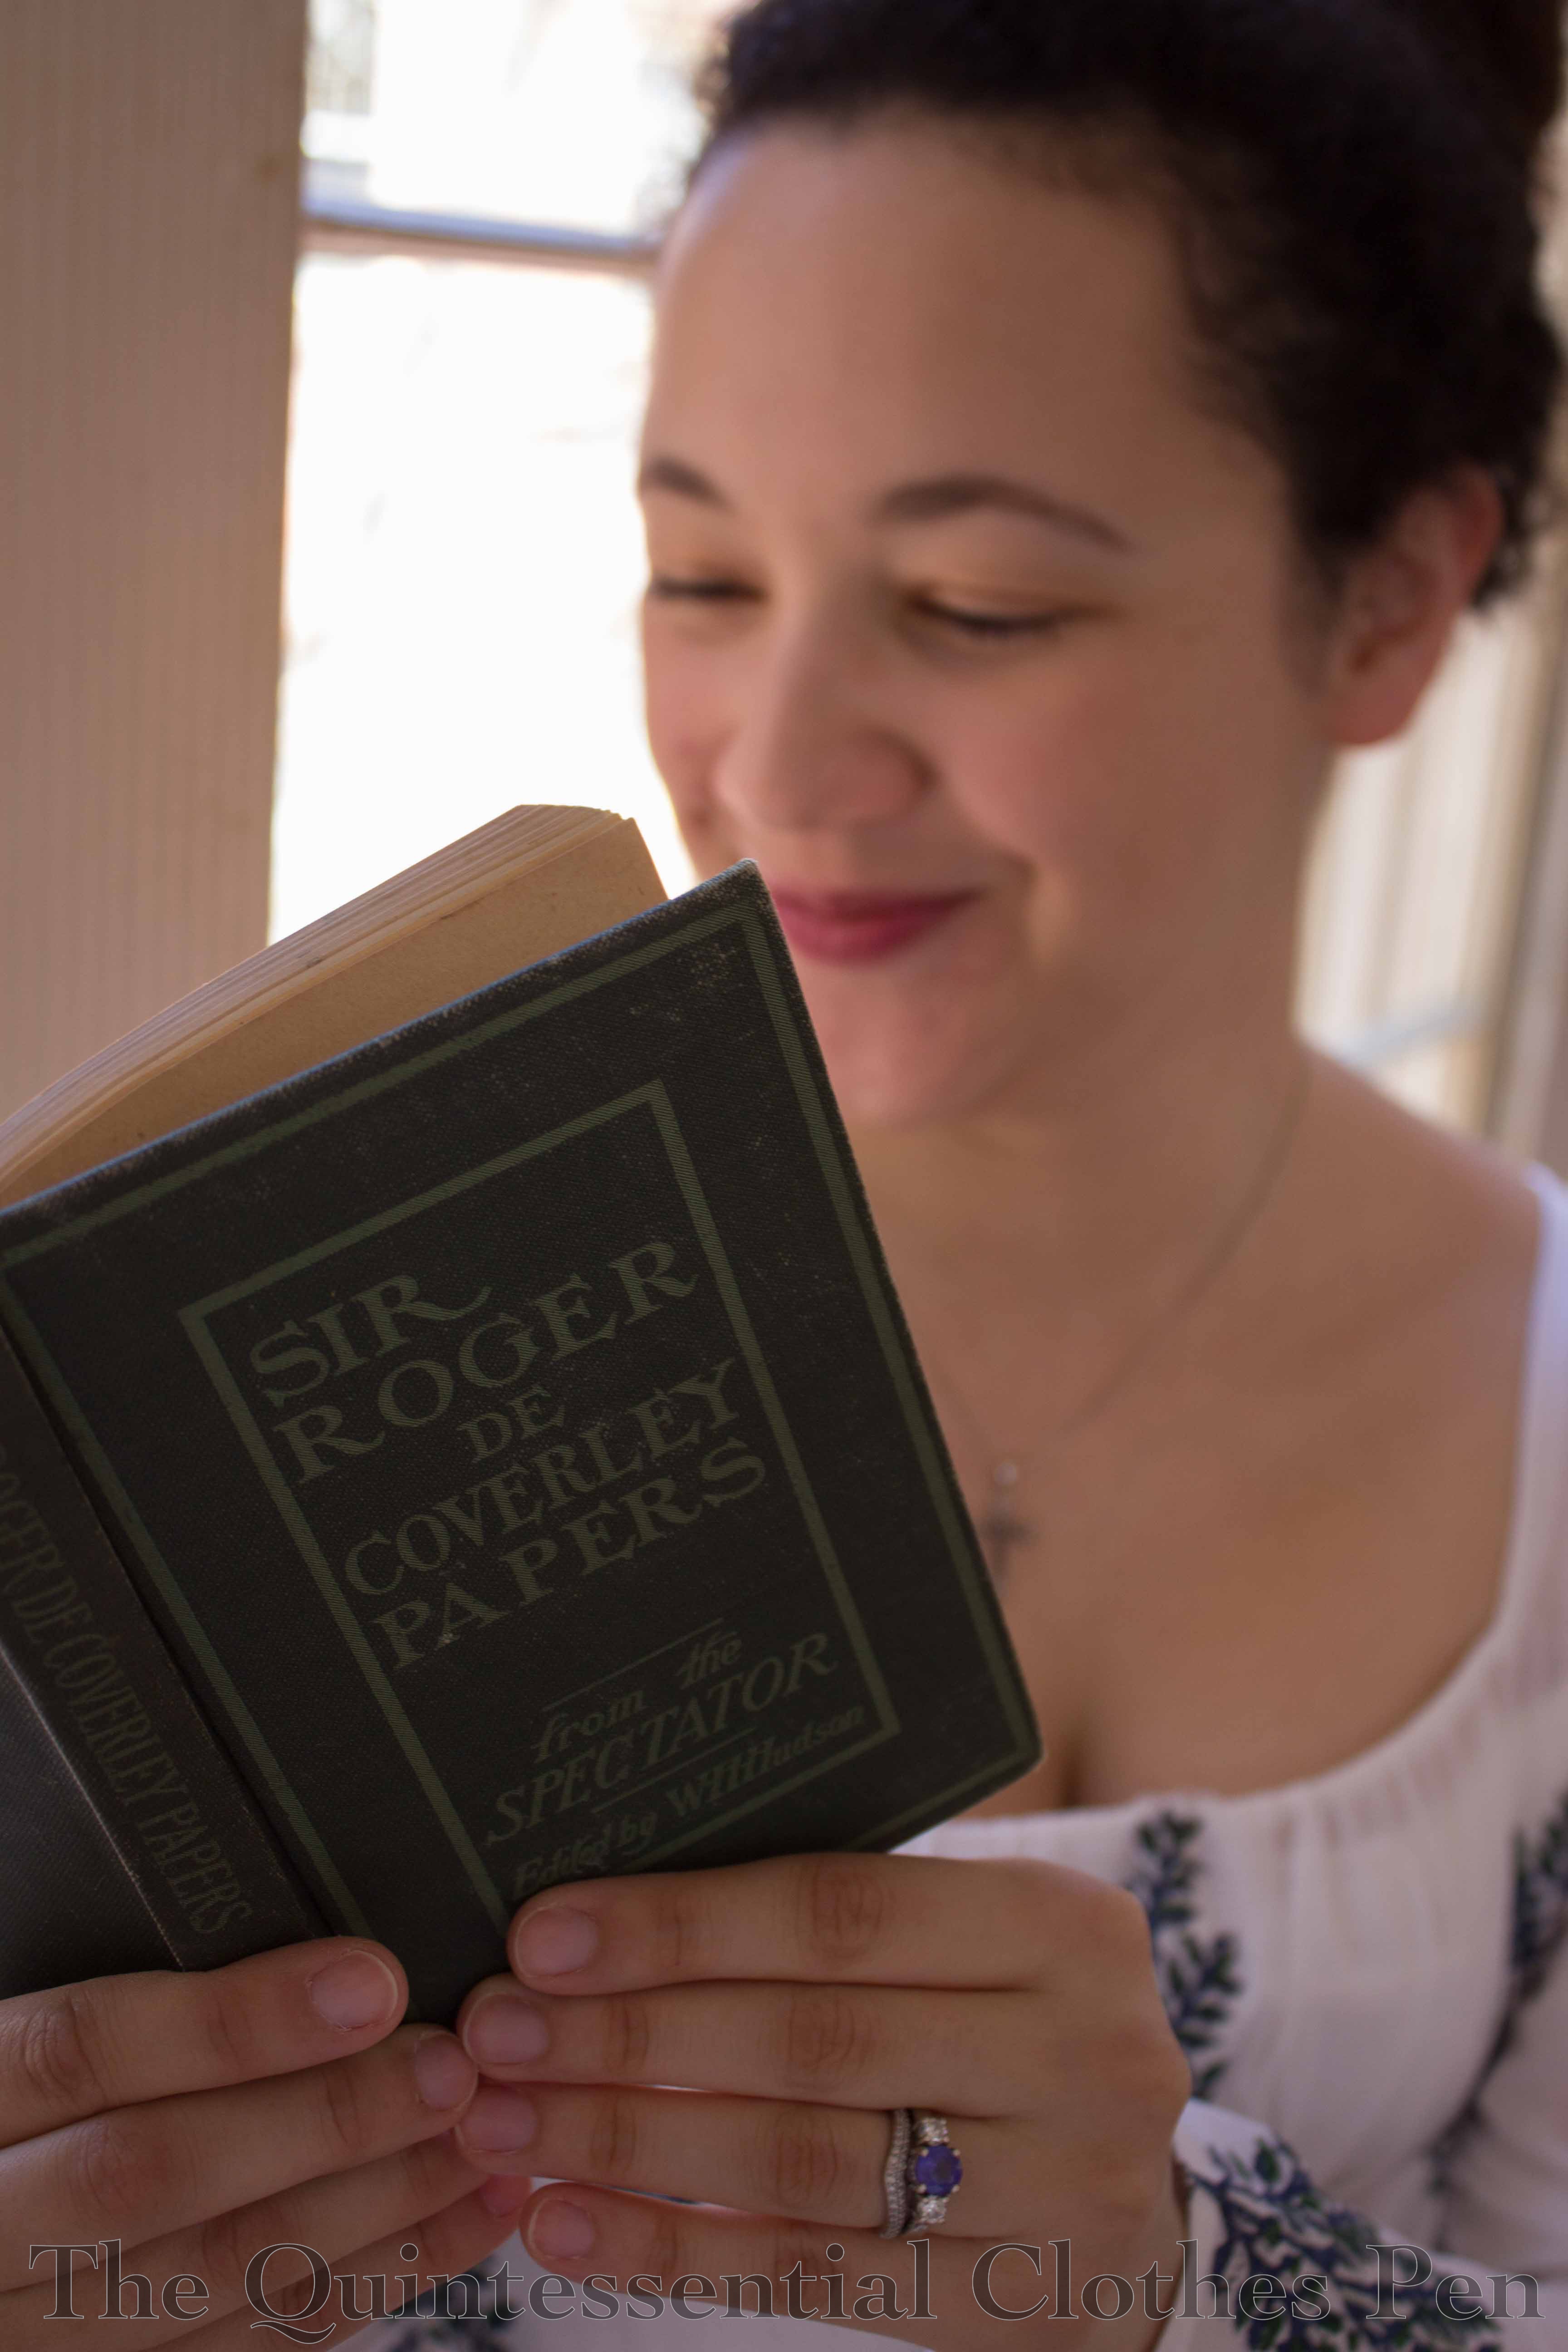
The next batch was taken at tea. One of my friends had brought the book and it is perfect for us, since we know a dance called Sir Roger de Coverley that was danced during this period. I had to pose with it!

img_2627-1

img_2630-1

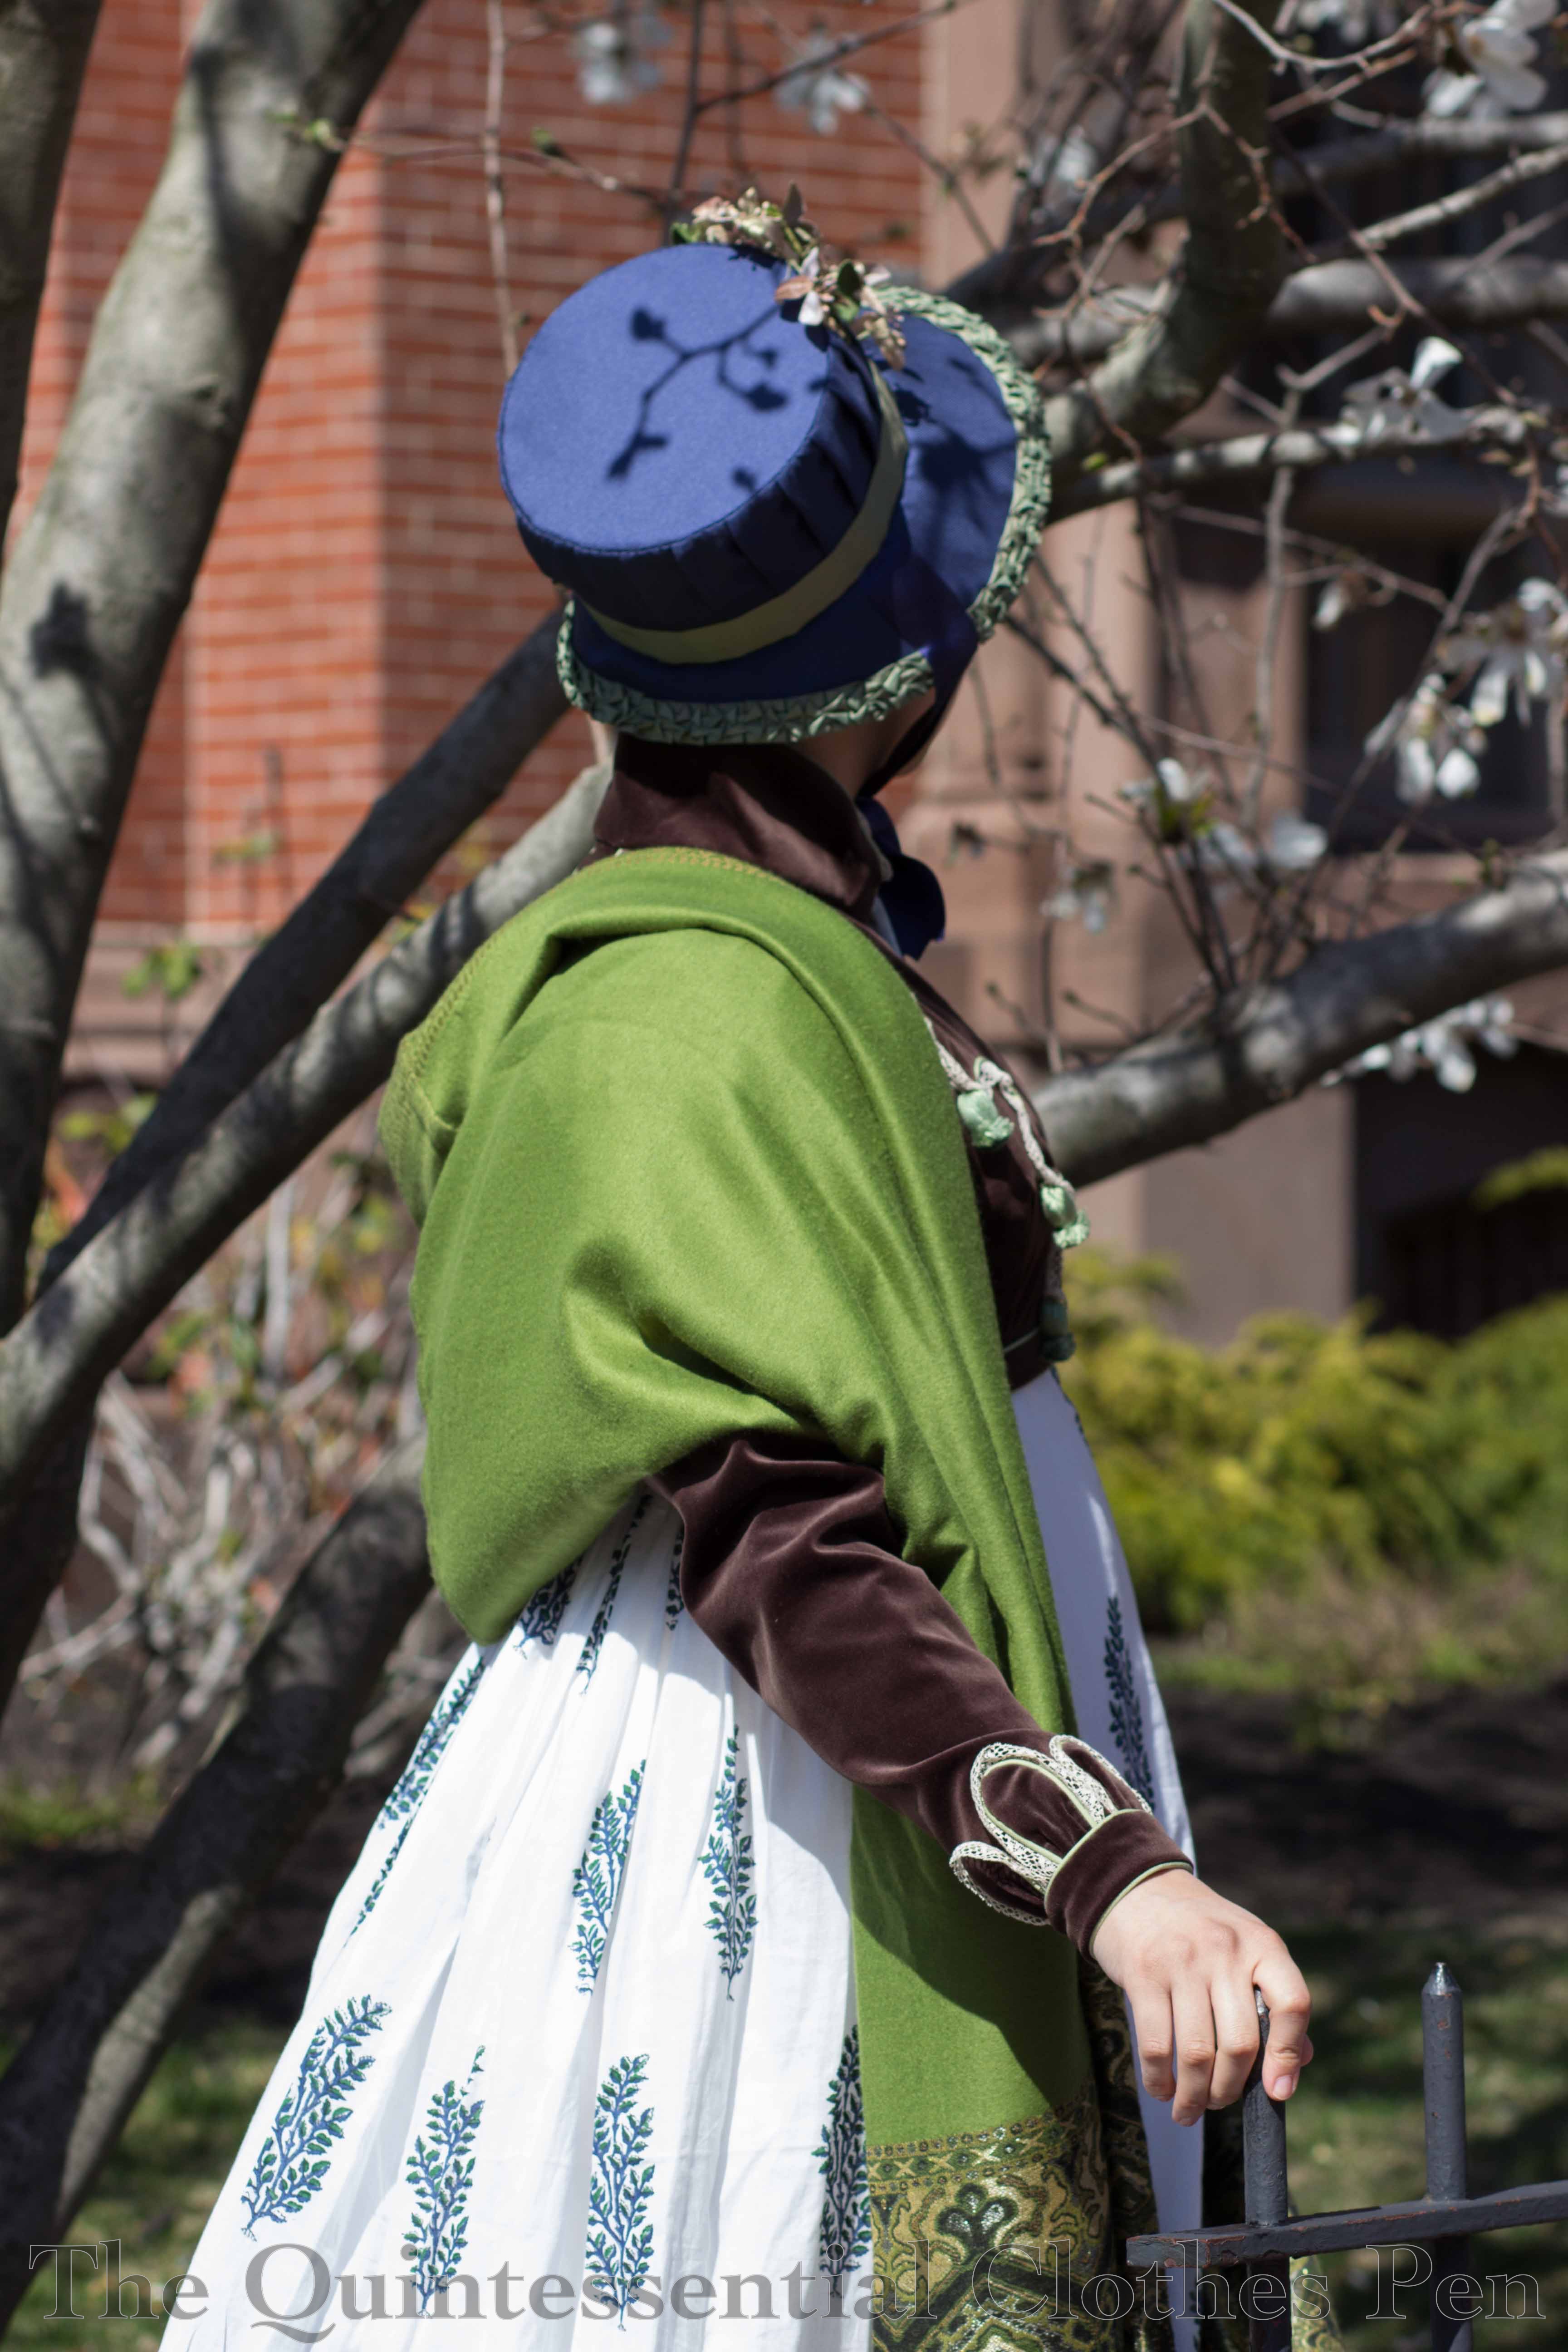
Then we went on our promenade, where we got some excellent photos of the gown with accessories: shawl, spencer, and bonnet. I like how the tree mimics the flowers on my bonnet.

img_2652-1

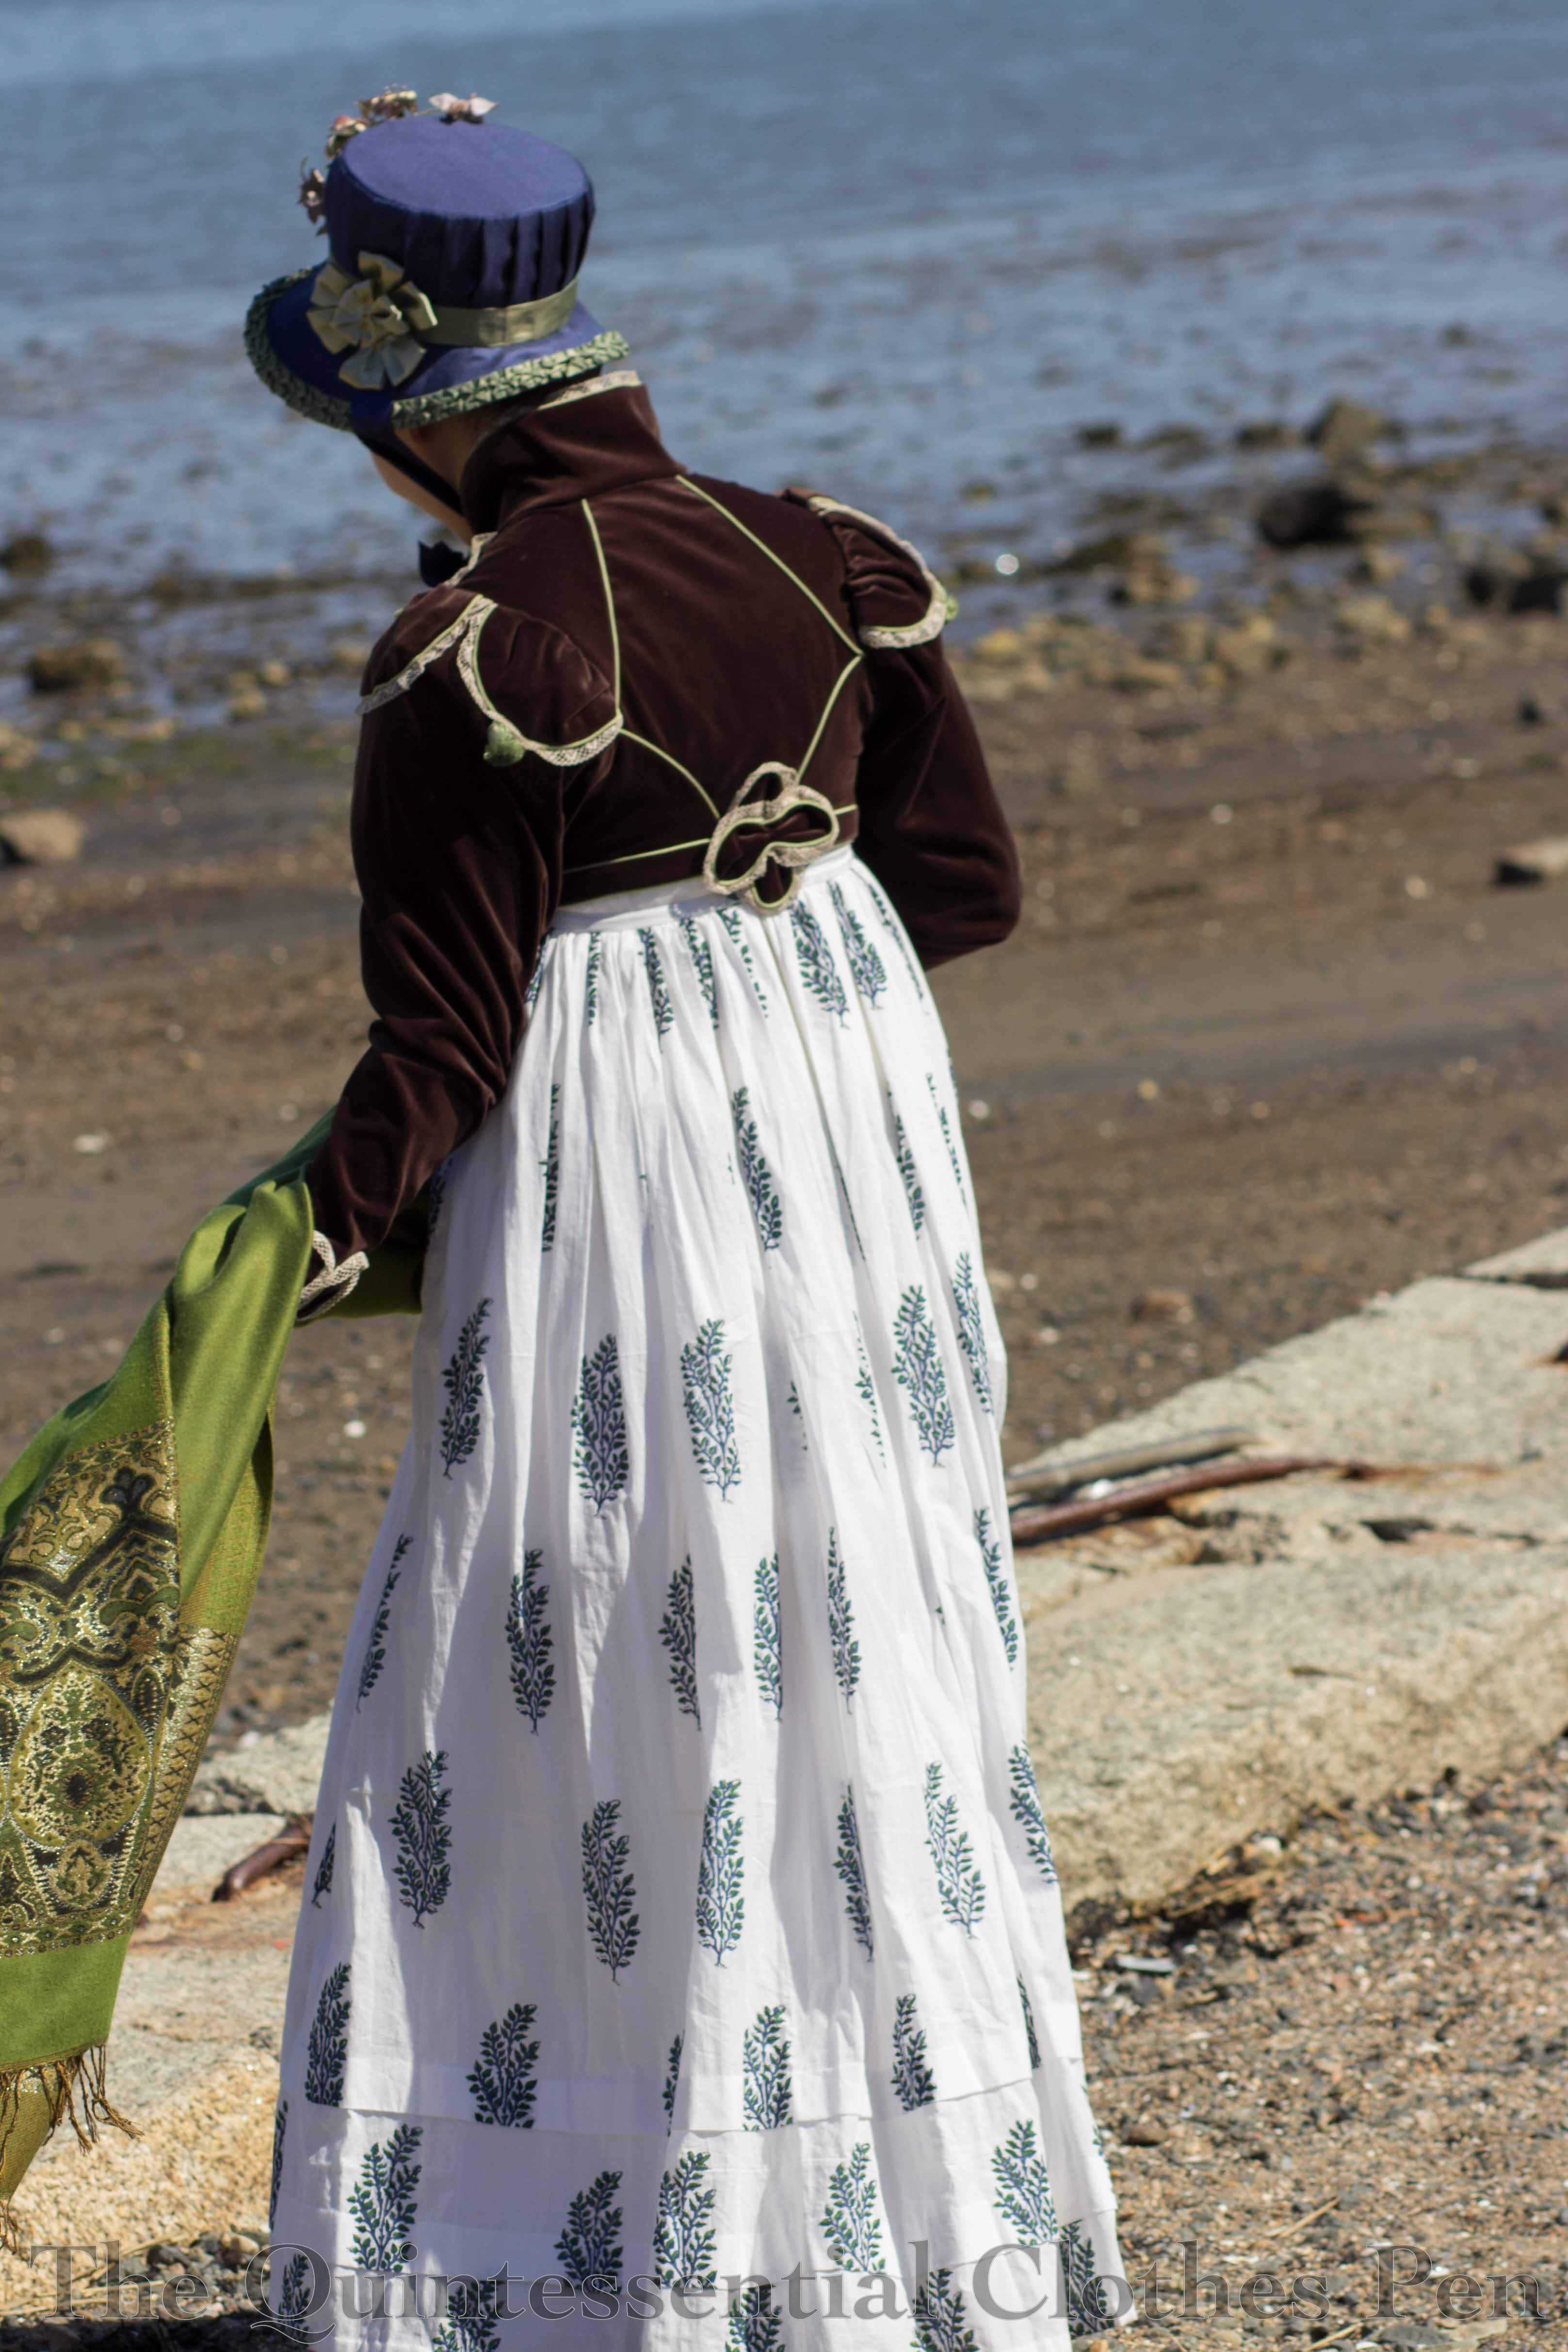
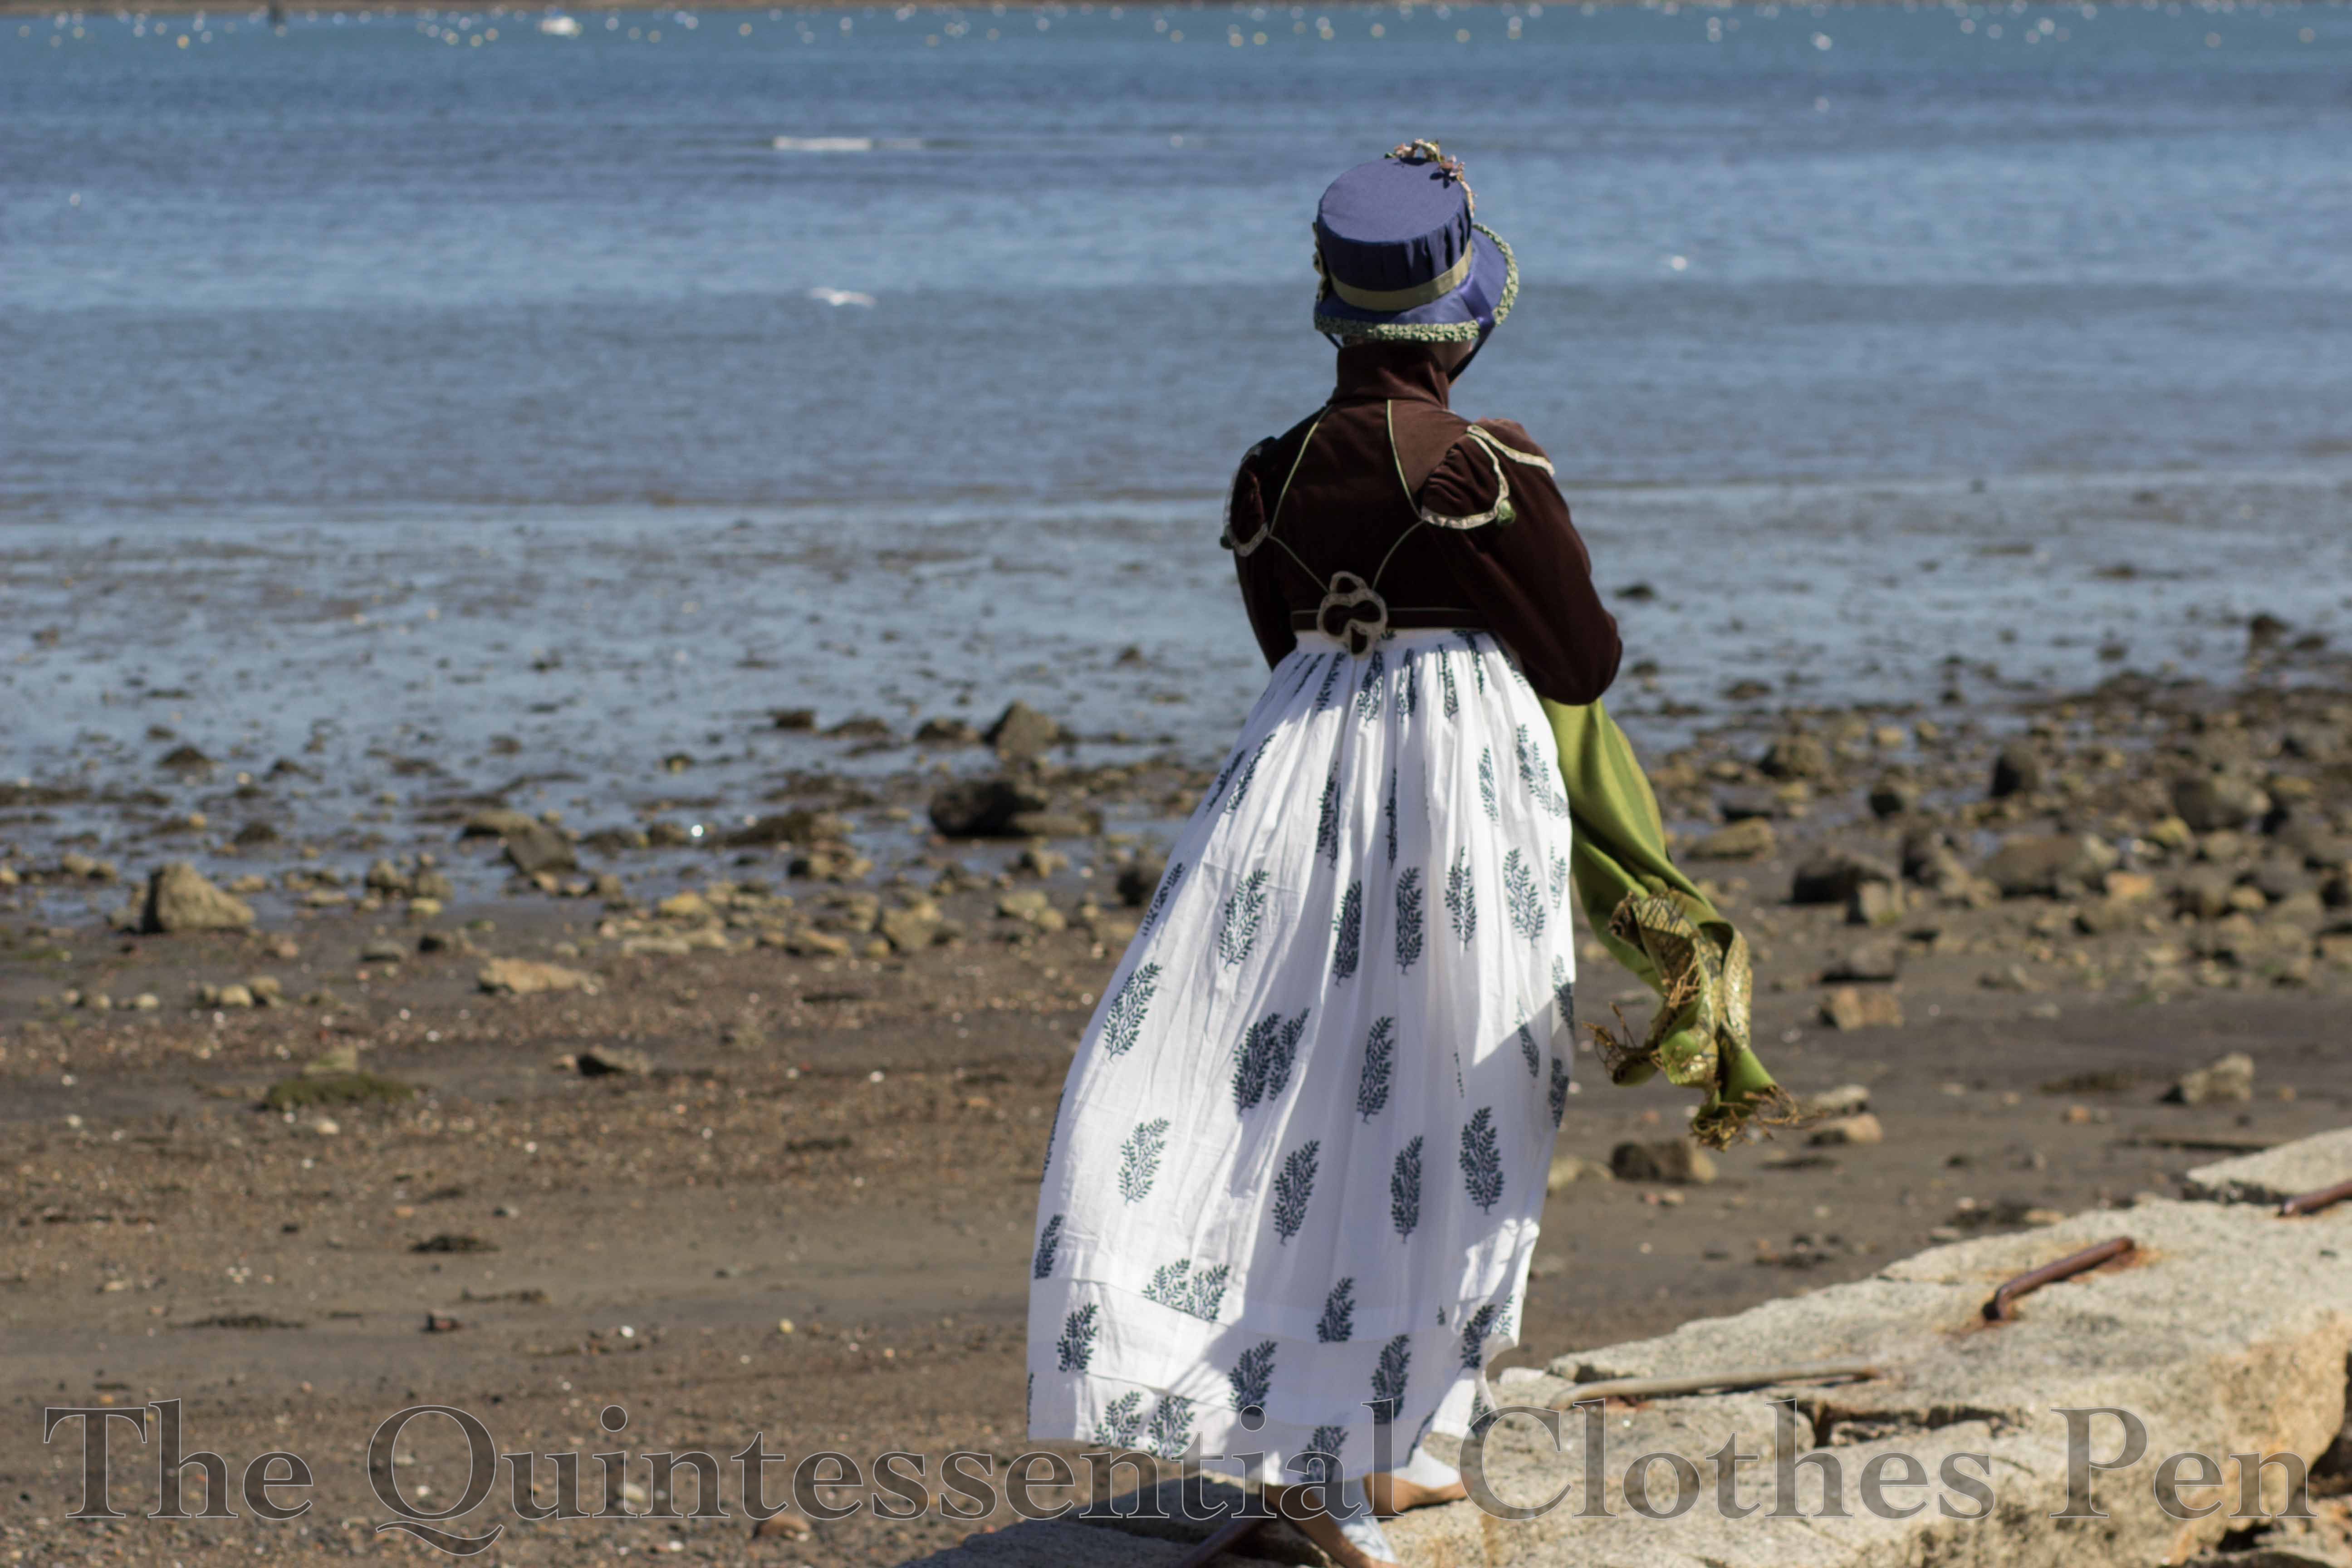
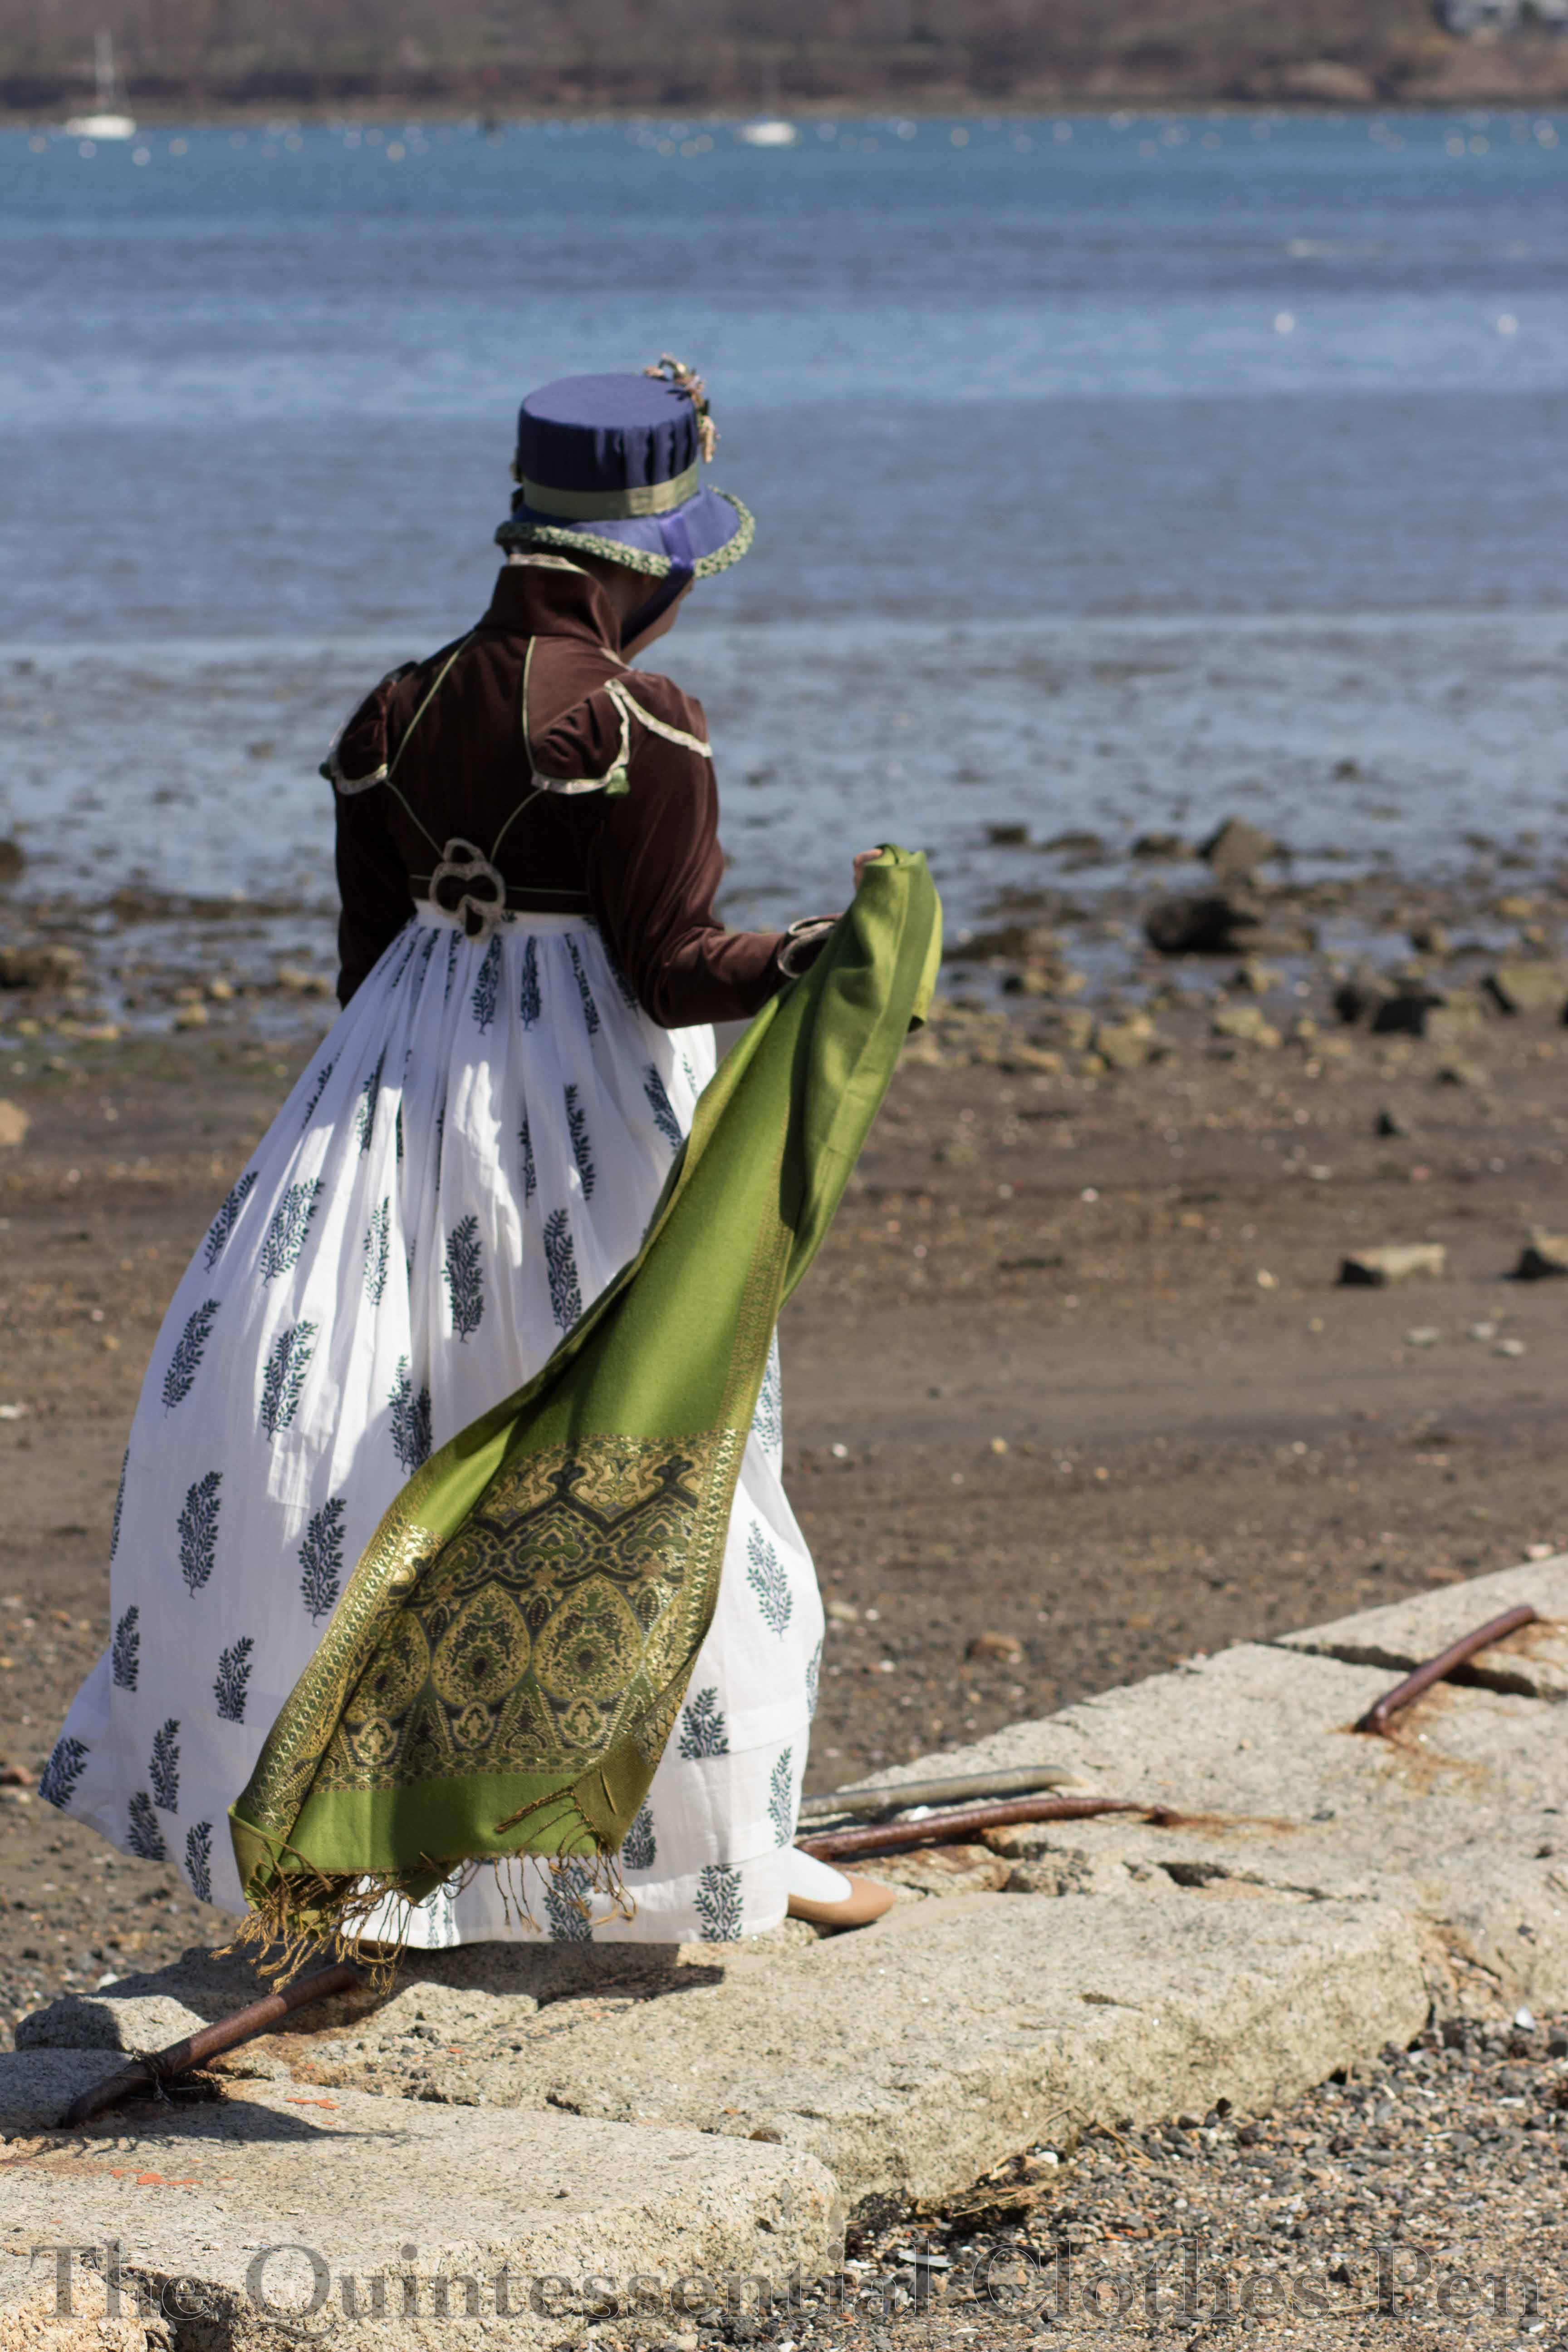
Mixing up my Jane Austen stories, these pictures by the water remind me so much of Persuasion and the unfortunate visit to Lyme. I just love everything about this outfit! The fabrics, the details in the trimmings… it all coordinates so well without being perfectly matching!

img_2703-1

img_2712-1

img_2706-1

Bubble Dots At The Aquarium

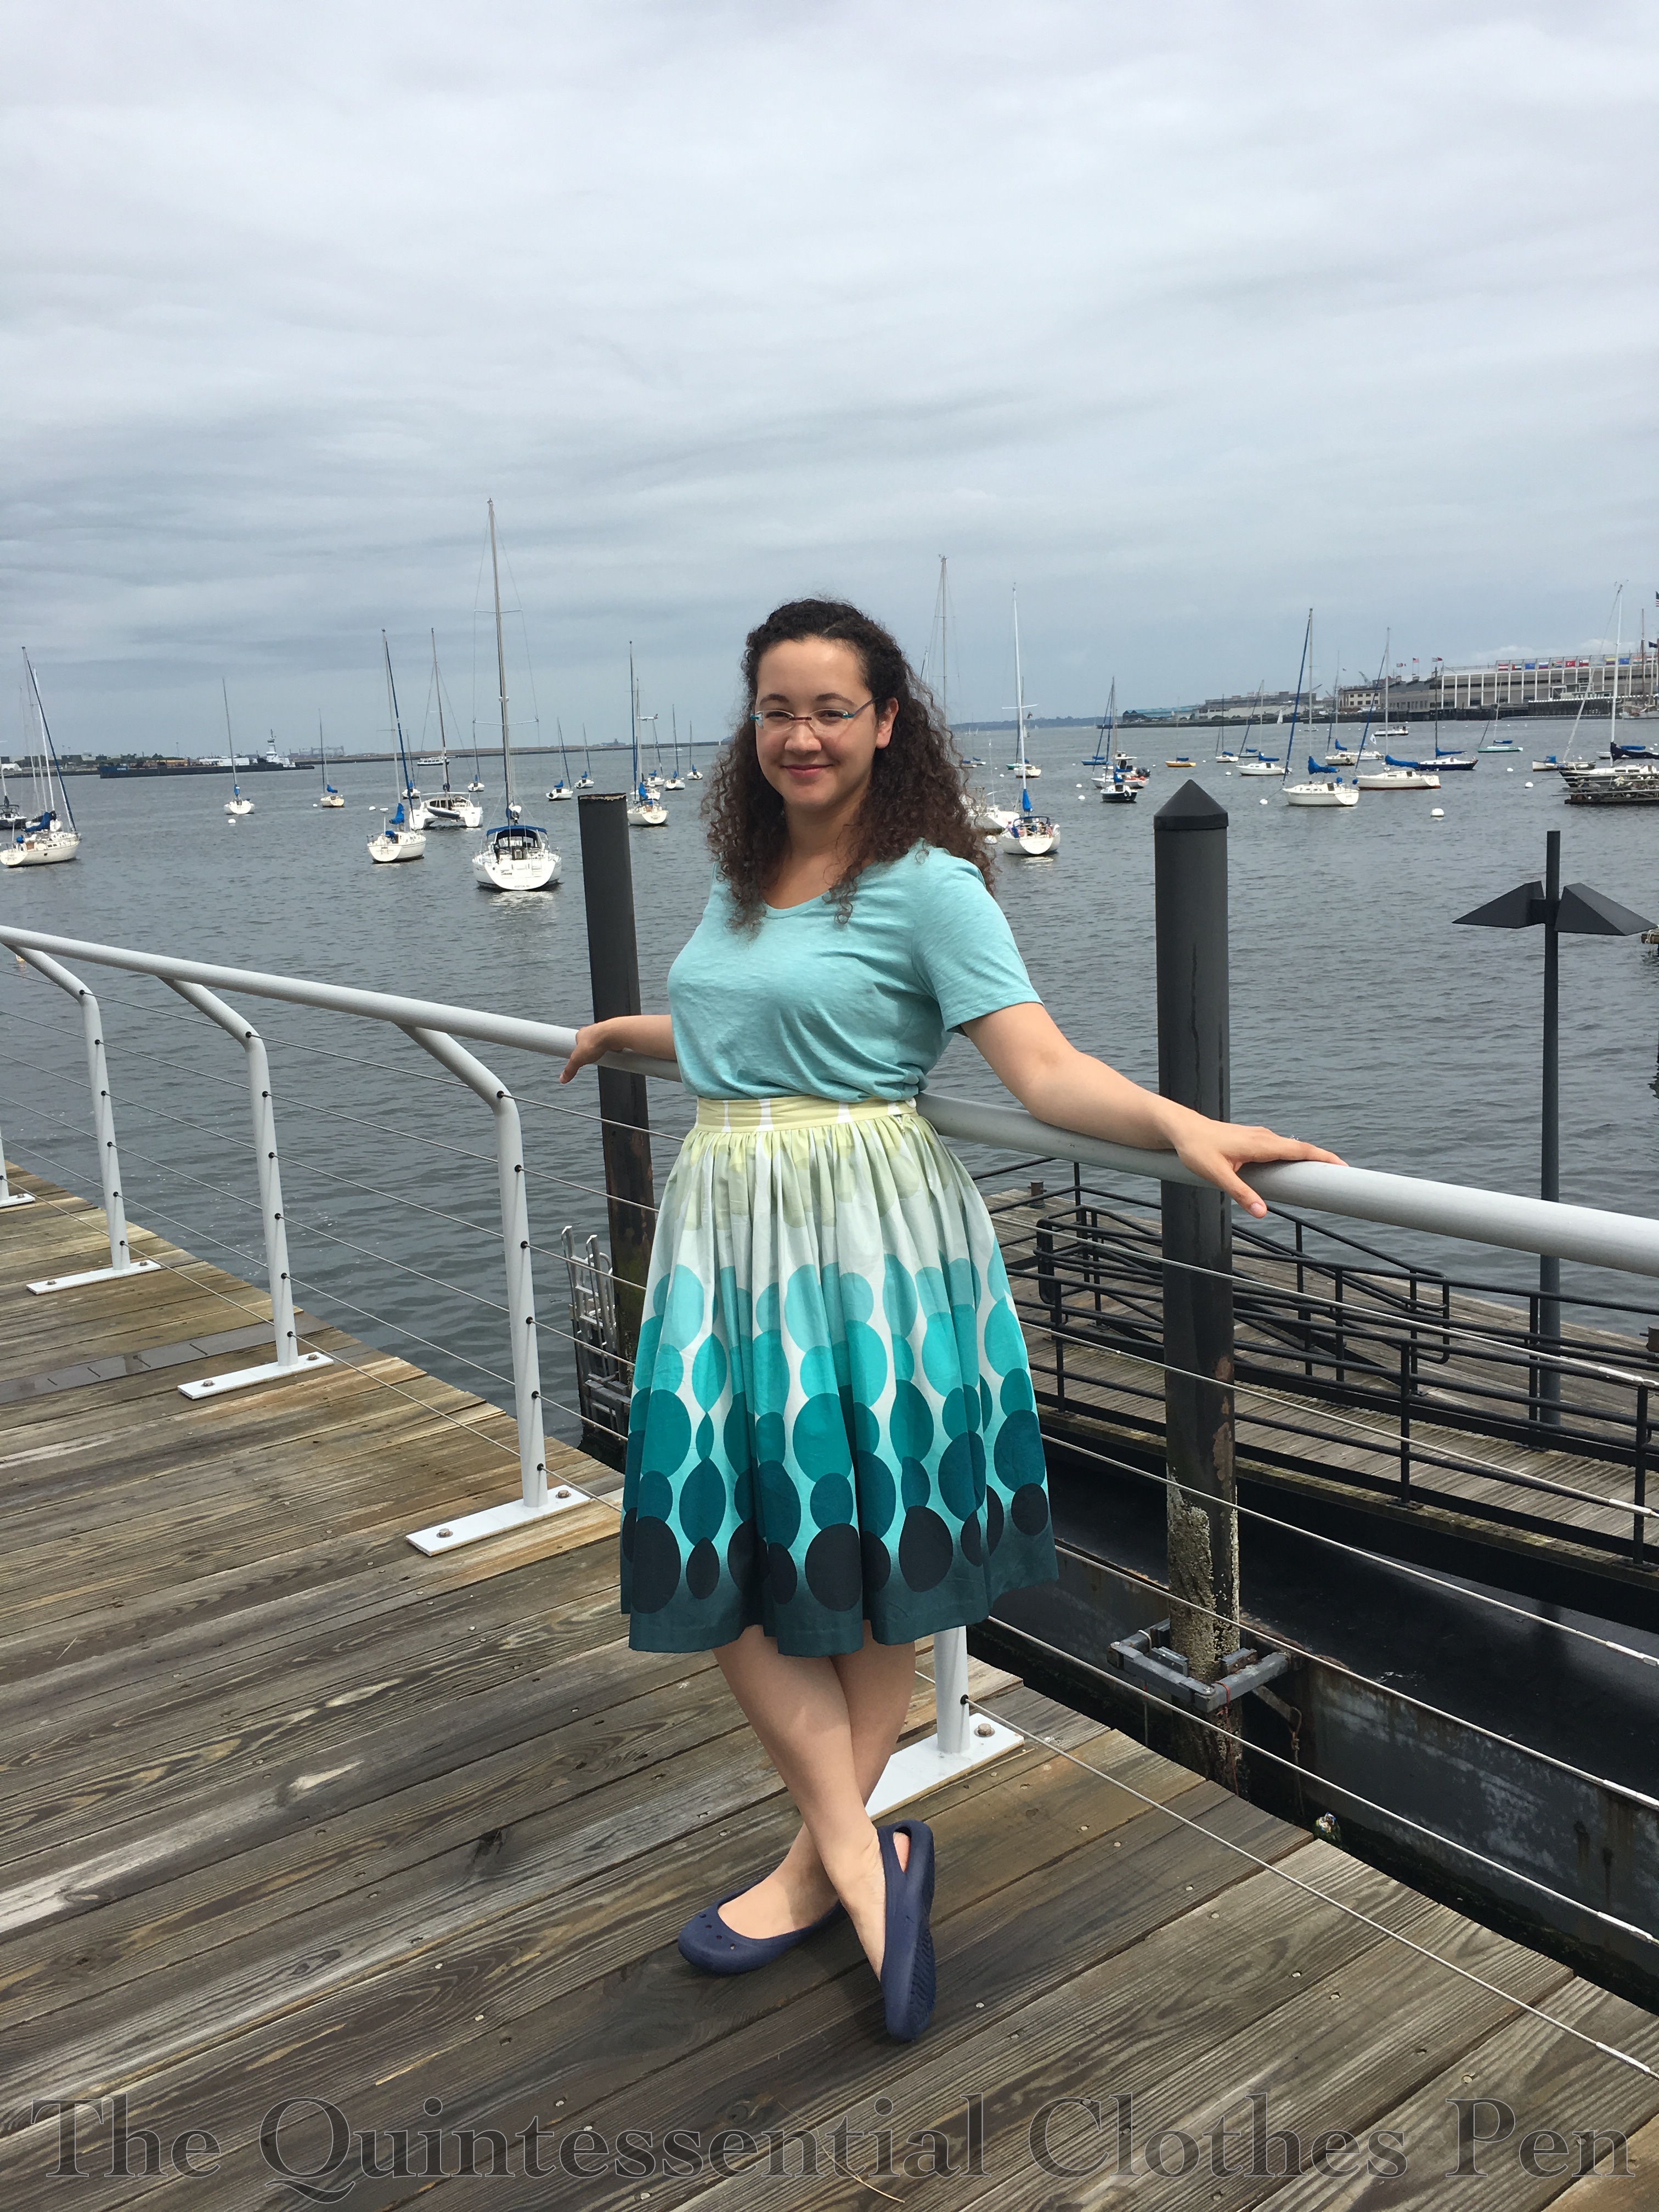
This summer I found some time to make some everyday modern clothes. Here’s one of those garments, a simple gathered skirt made interesting due to the ombre printed fabric, which reminds me of rising bubbles.

IMG_1672 (1)

I’d seen this fabric at the store, didn’t buy it, then saw it again about a month later and decided (or was convinced by friends…) to purchase it. I finished off the bolt with somewhere around 3 yards, which was perfect for a full hem.

IMG_1661

It looks pretty snazzy with a petticoat under it, so I’m hoping to have some excuse to wear it someday as 1950s instead of modern. In the meantime, I’ve worn it with a variety of white and oatmeal colored tanks and tees, both of which are nice continuations of the ombre effect of the skirt pattern.

The skirt is a mix of hand and machine sewing. The only seam is serged. The hem is hand sewn to be invisible. The zipper is hand picked because I didn’t feel like dealing with a machine zipper foot. The buttonhole is hand sewn because I didn’t feel like dealing with a buttonhole foot. And the inside of the waistband is sewn down by hand to keep things tidy.

IMG_1645 (1)
Hand picked zipper. Cute curved tab on the waistband to echo the dots with a lone vintage button from the stash.
IMG_1644 (1)
Look at that pattern matching!
IMG_1646 (1)
Tidy seam and hem.

For pictures, I wore this to the aquarium. It seemed fitting, with the bubble dots! I greatly enjoyed the larger animals–penguins of three types, seals, and sea turtles. I went with Mr. Q, who remembers going to see Myrtle the sea turtle when he was young and on school field trips. Sea turtles have long life spans, so Myrtle is still there, floating around. The aquarium has this to say about her:

Myrtle, our green sea turtle, lives in the Giant Ocean Tank. She has lived at the Aquarium since June 1970. She is approximately 80 years old, weighs more than 500 pounds, and eats lettuce, cabbage, squids, and brussels sprouts.

Yikes!

IMG_1653
Hi Myrtle!

There was another large turtle in the giant ocean tank as well, named Ari.

IMG_1652 (1)

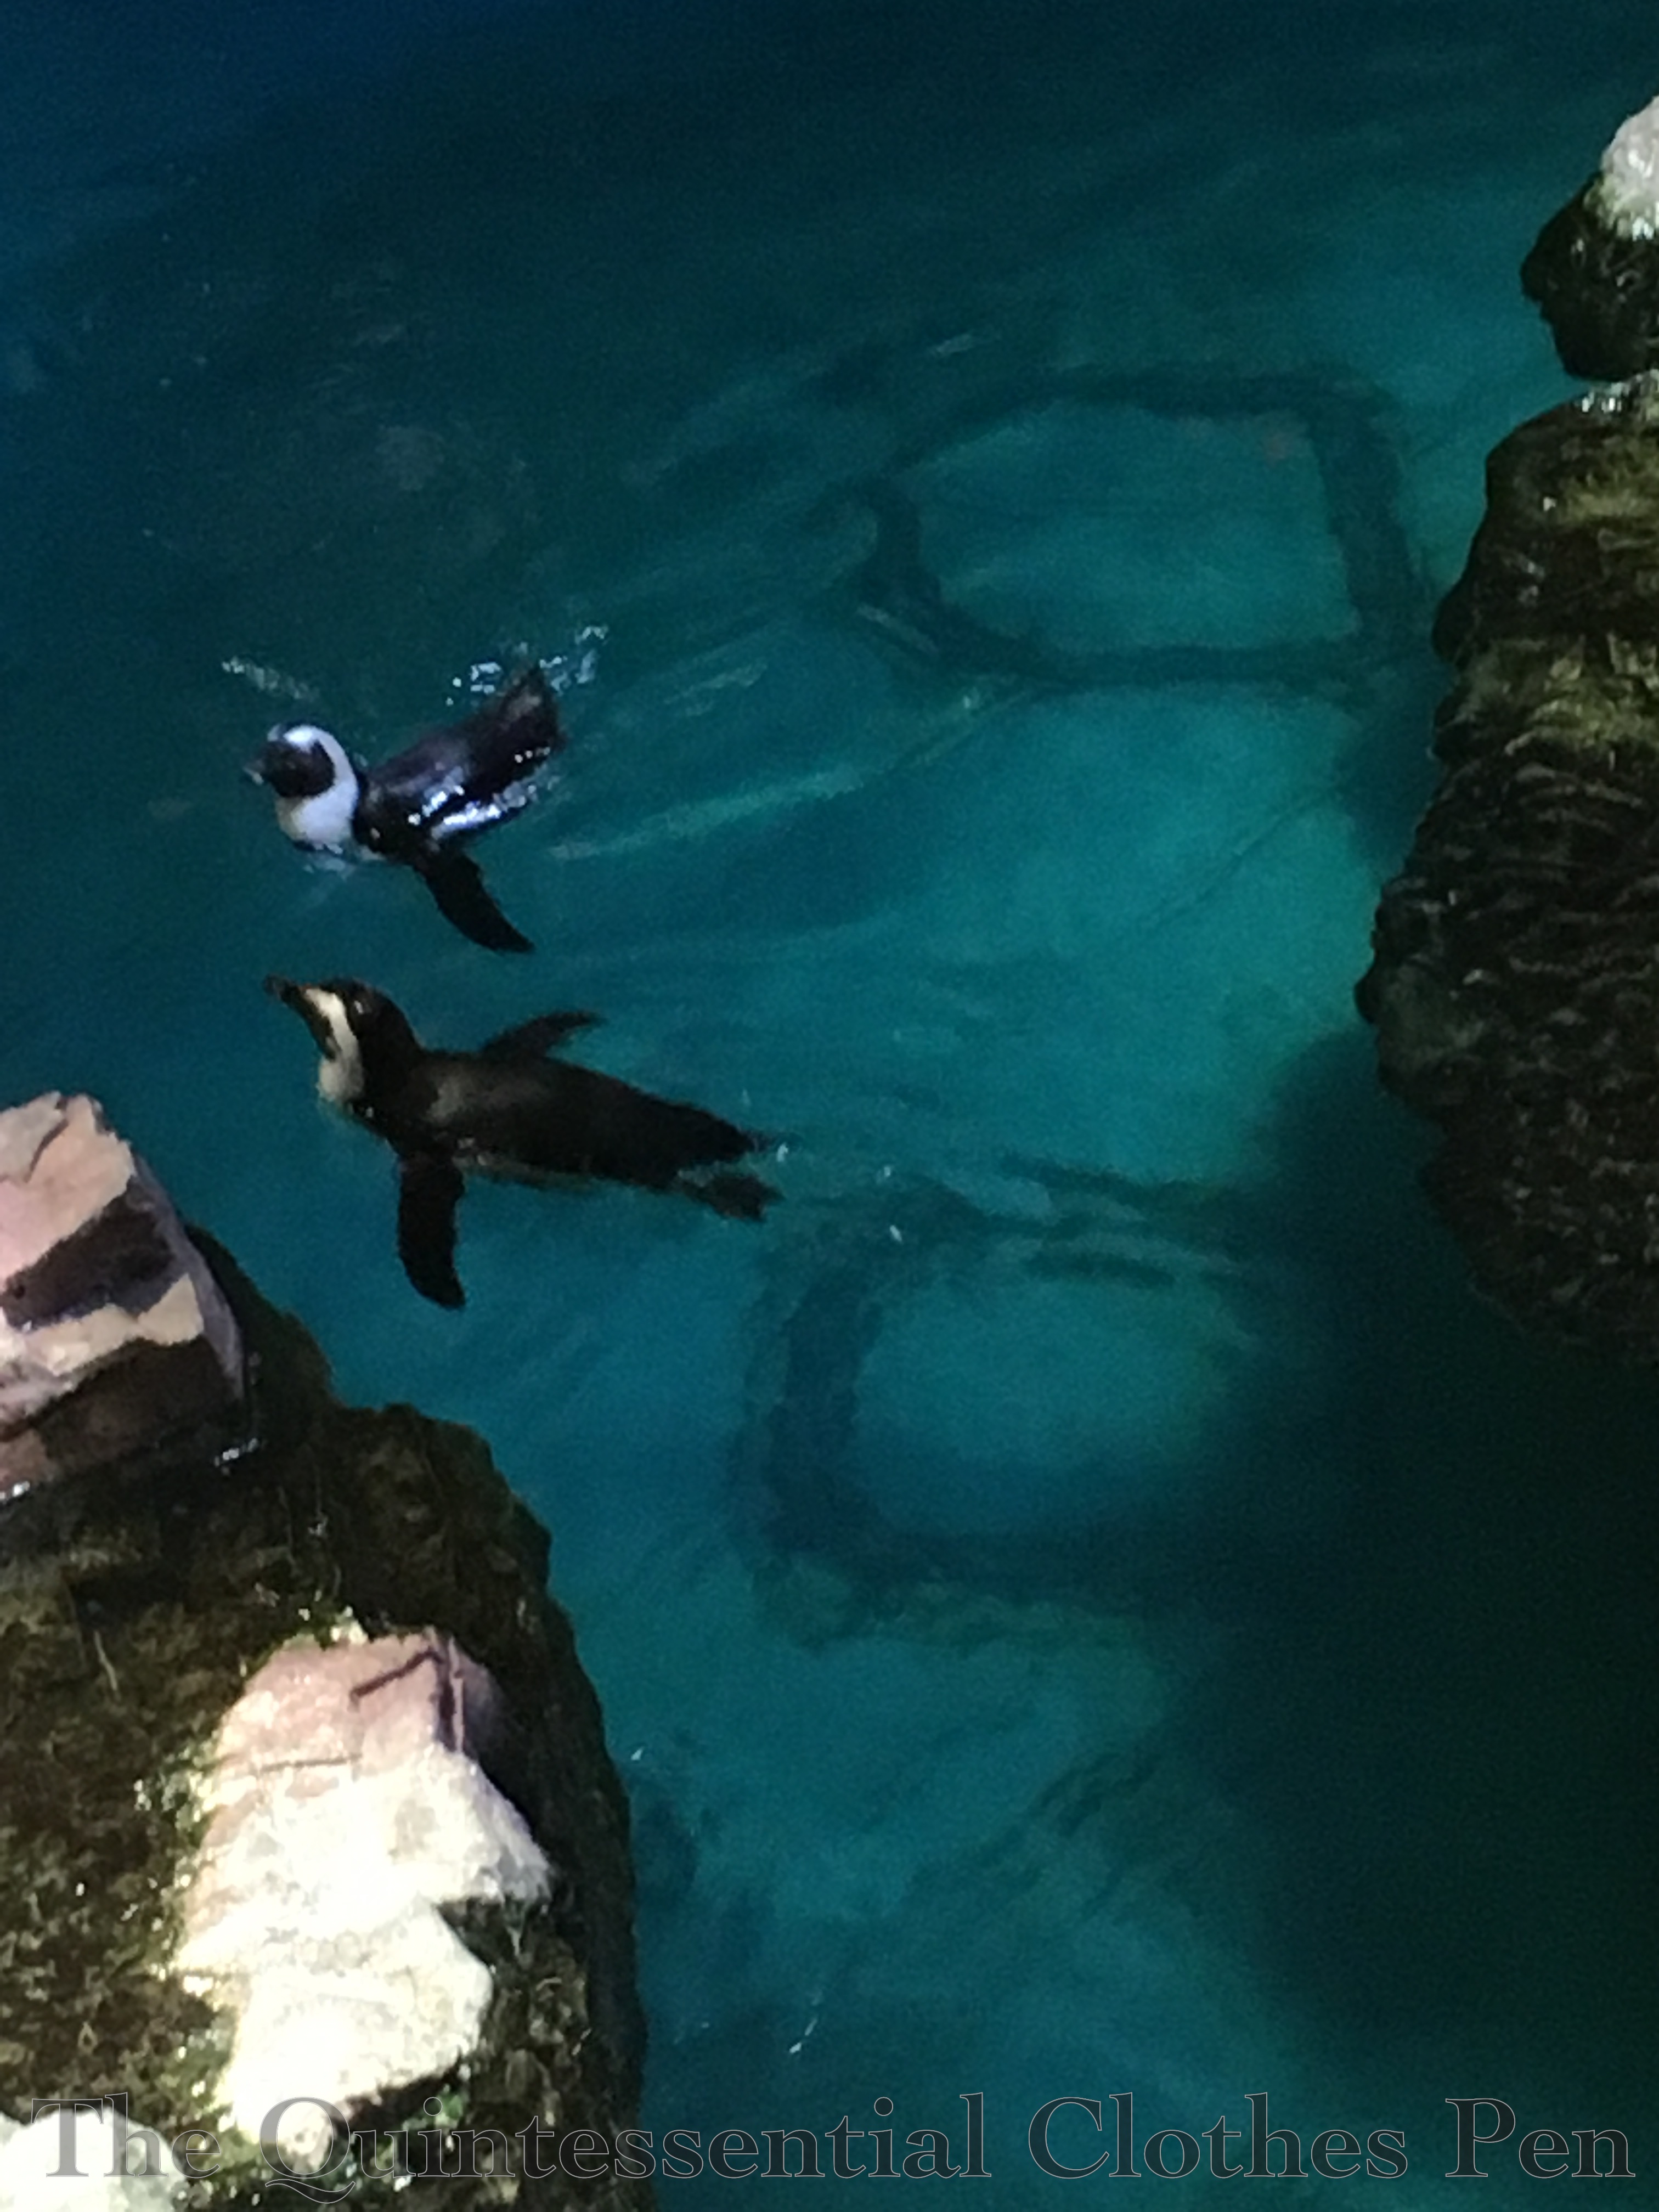
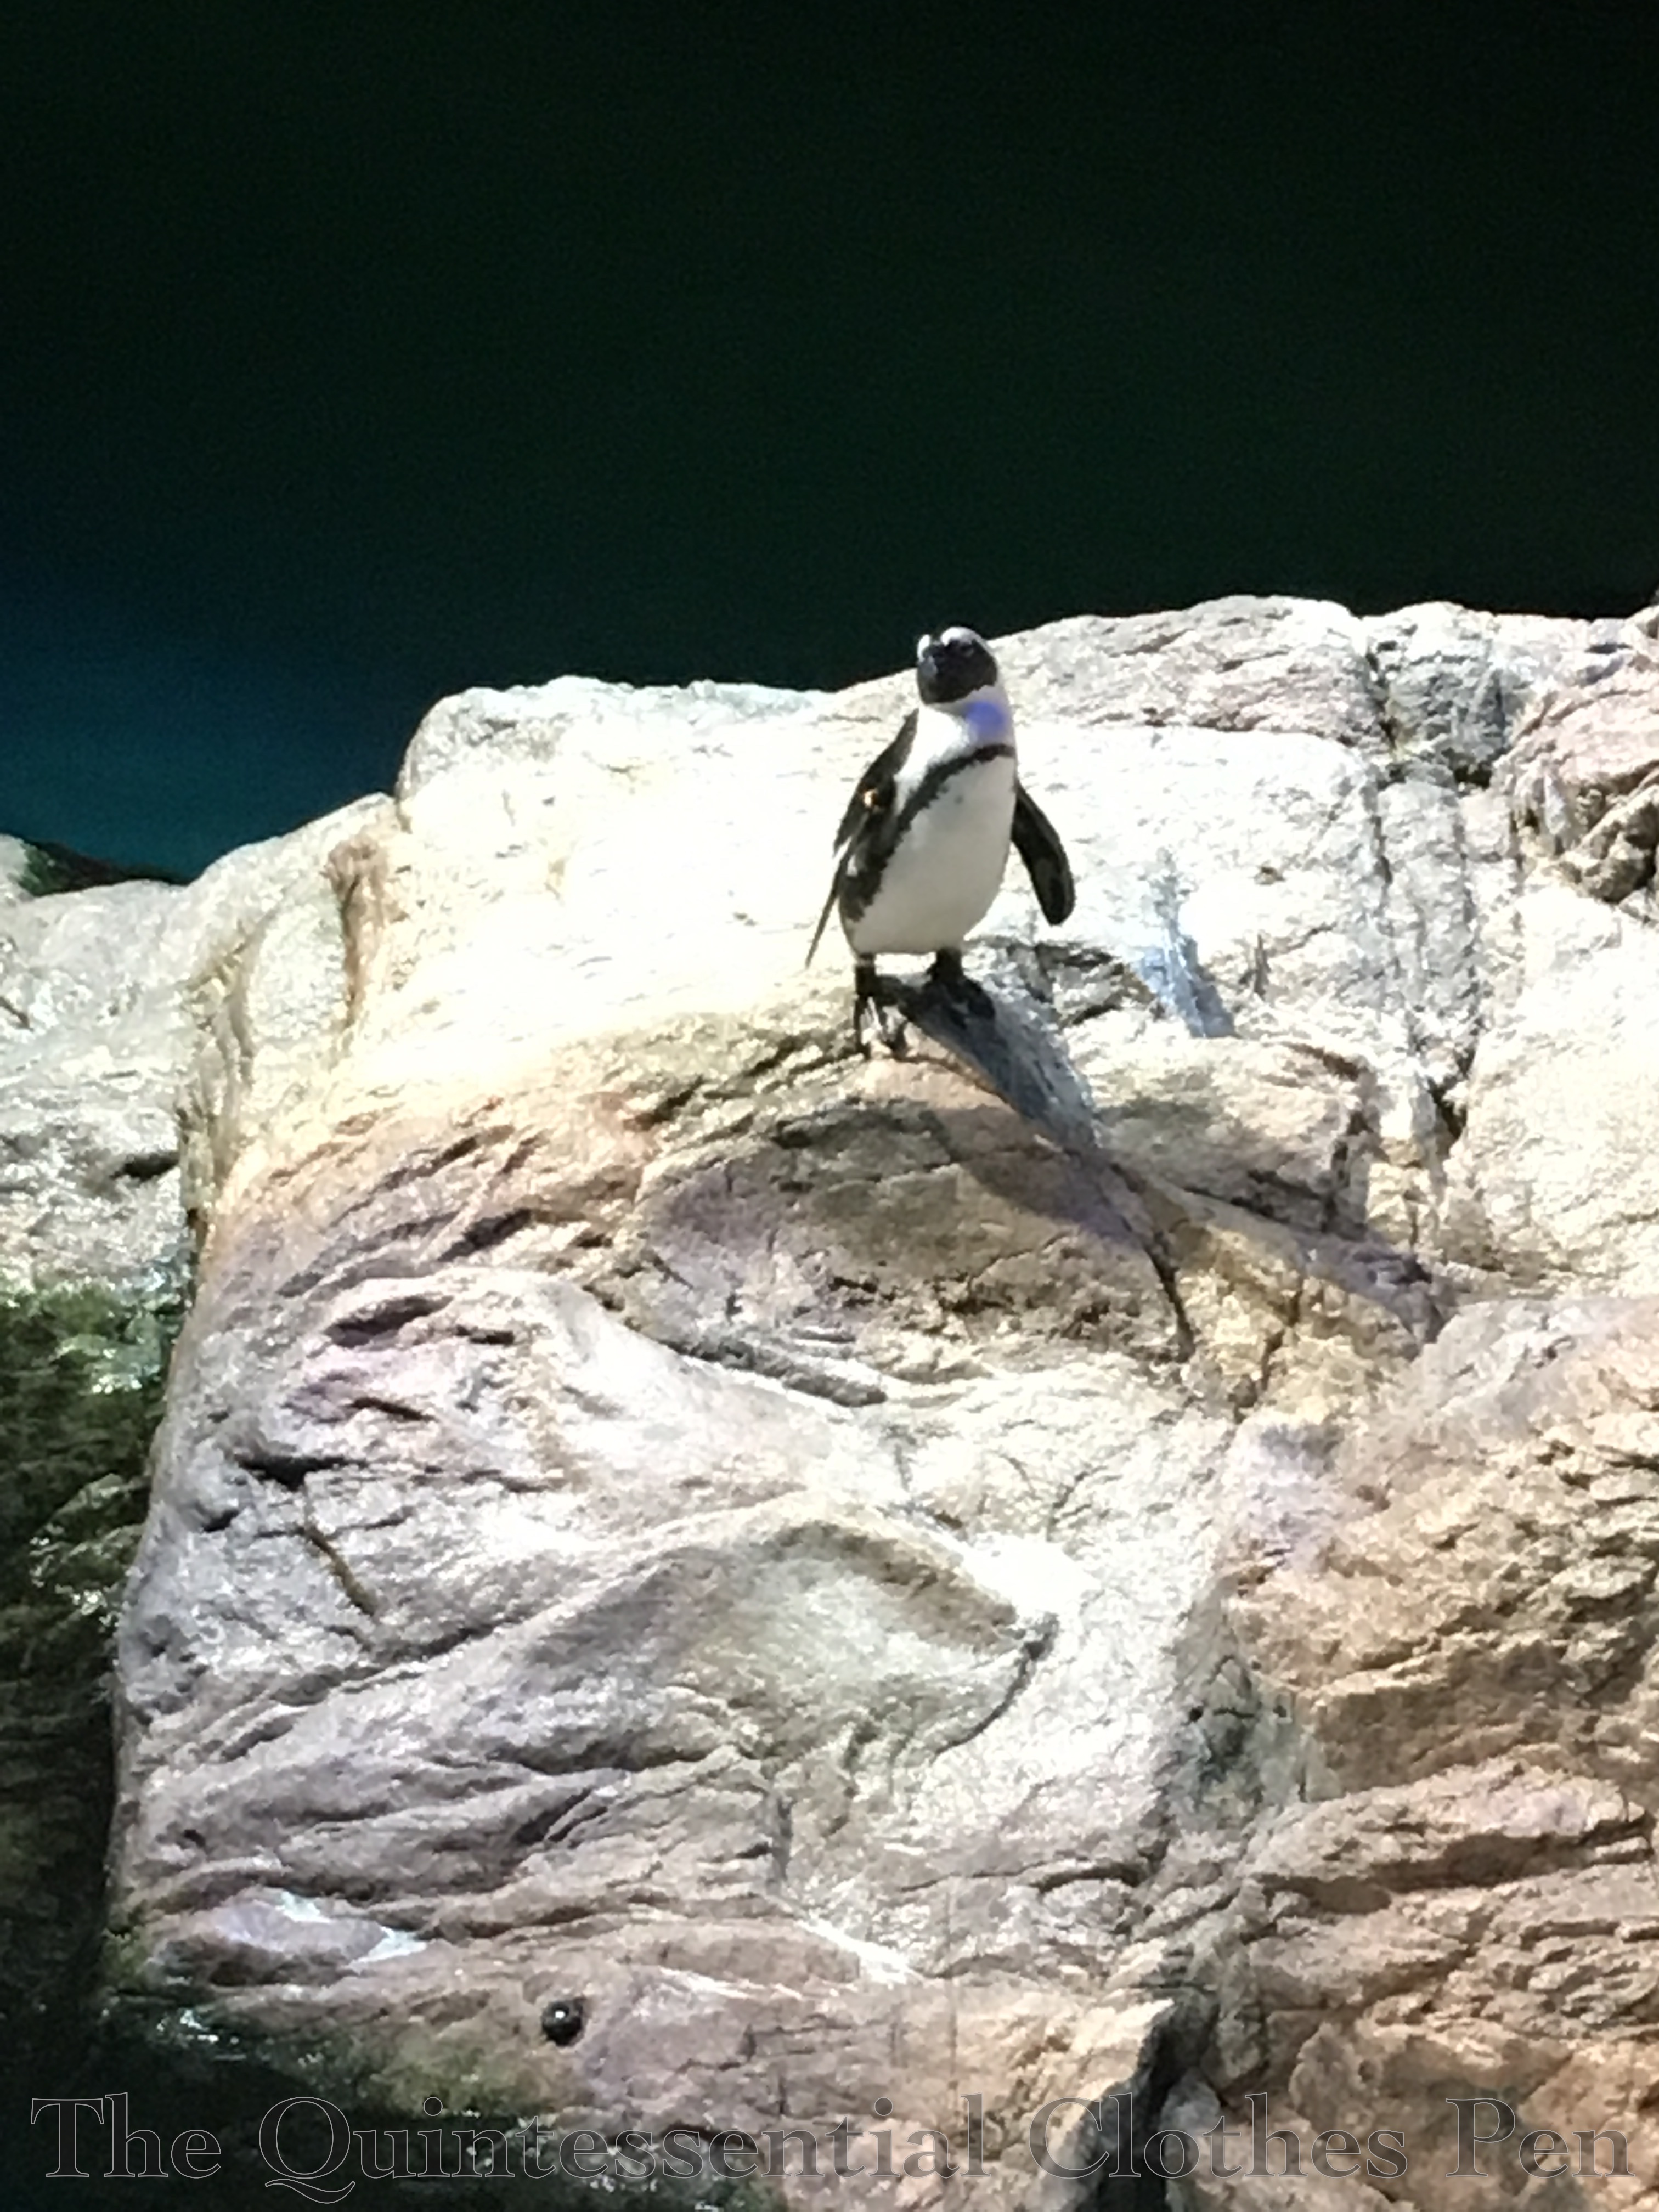
And penguins! They are so cute and funny!

IMG_1656 (1)

IMG_1657 (1)

IMG_1655 (1)

All the water in the tanks came out looking like the same colors in my skirt in these pictures. Perfect!

c. 1920 Bathing Boots

I had already decided this spring that a 1920s bathing suit was on the sewing list for this summer when Gina, of Beauty From Ashes, contacted me and asked if I’d like to test an Edwardian bathing boot pattern for her. I’m pretty sure I squeaked! “Of course!” But then I realized that there was no way I was going to have time to work on the boots before summer when I returned from my trip to Versailles. Luckily, that timing was just fine.

217ca1fa-bbe6-4199-8273-16e146a188bfGina had taken the boot pattern from a pair of extant boots that she owns, sized the pattern for her own feet,  and then made a pair herself (of course with a lot of work on the pattern  along the way). To the right are Gina’s boots, which you can read more about in her post, here.

The idea coincided so closely with my plan for the 1925 bathing suit that I really wanted to push the boot date towards the 1920s and wear them together. I did some digging into bathing boot history in Women’s Shoes in America, 1795-1930 and found some great info supporting my plan, including information about the wearing of stockings with swimsuits and how that practice changed from the end of the 19th century through the 1920s. The following are excerpts from pages 137-139. There’s lots more detail about stockings and bathing shoes in the late 19th century that I haven’t included here, so if that interests you I highly suggest you get your hands on the book.

Bathing shoes were always optional, depending on how rough the terrain was and how tender the feet…

The most common bathing shoe at all times is a low slipper fitted with tapes that cross over the instep in varying arrangements and tie round the ankle. These are shown as early as 1867…

As long as bathing garments covered most of the legs, that is until the late 1870s, stockings were not considered absolutely necessary…

In the late nineteenth and early twentieth centuries, black stockings were very often worn for bathing without any shoe at all… When bathing shoes are shown, they are usually lighter than the stocking…and the commonest style is still the low slipper, presumably cork-soled, with tapes to cross once or twice and tie round the ankle…

About 1915, a new style of bathing footgear appeared, a mid-calf high boot, solid on the sides and back of the leg, but open down the front and laced across the opening… [and] the acceptance of real swimming (as opposed to splashing in the waves) brought about changes in bathing costume… Closer-fitted knitted suits appeared in the 1920s, and gradually the long black stockings were discarded (the last fashion picture I find including them is from 1922). In the late 1910s and early 1920s, short stockings were worn gartered someplace below the knee, but soon even these disappeared and bare legs began to appear in the early 1920s. Bathing shoes were still worn over bare feet when rough ground made them desirable, but they were a matter of utility, not modesty.

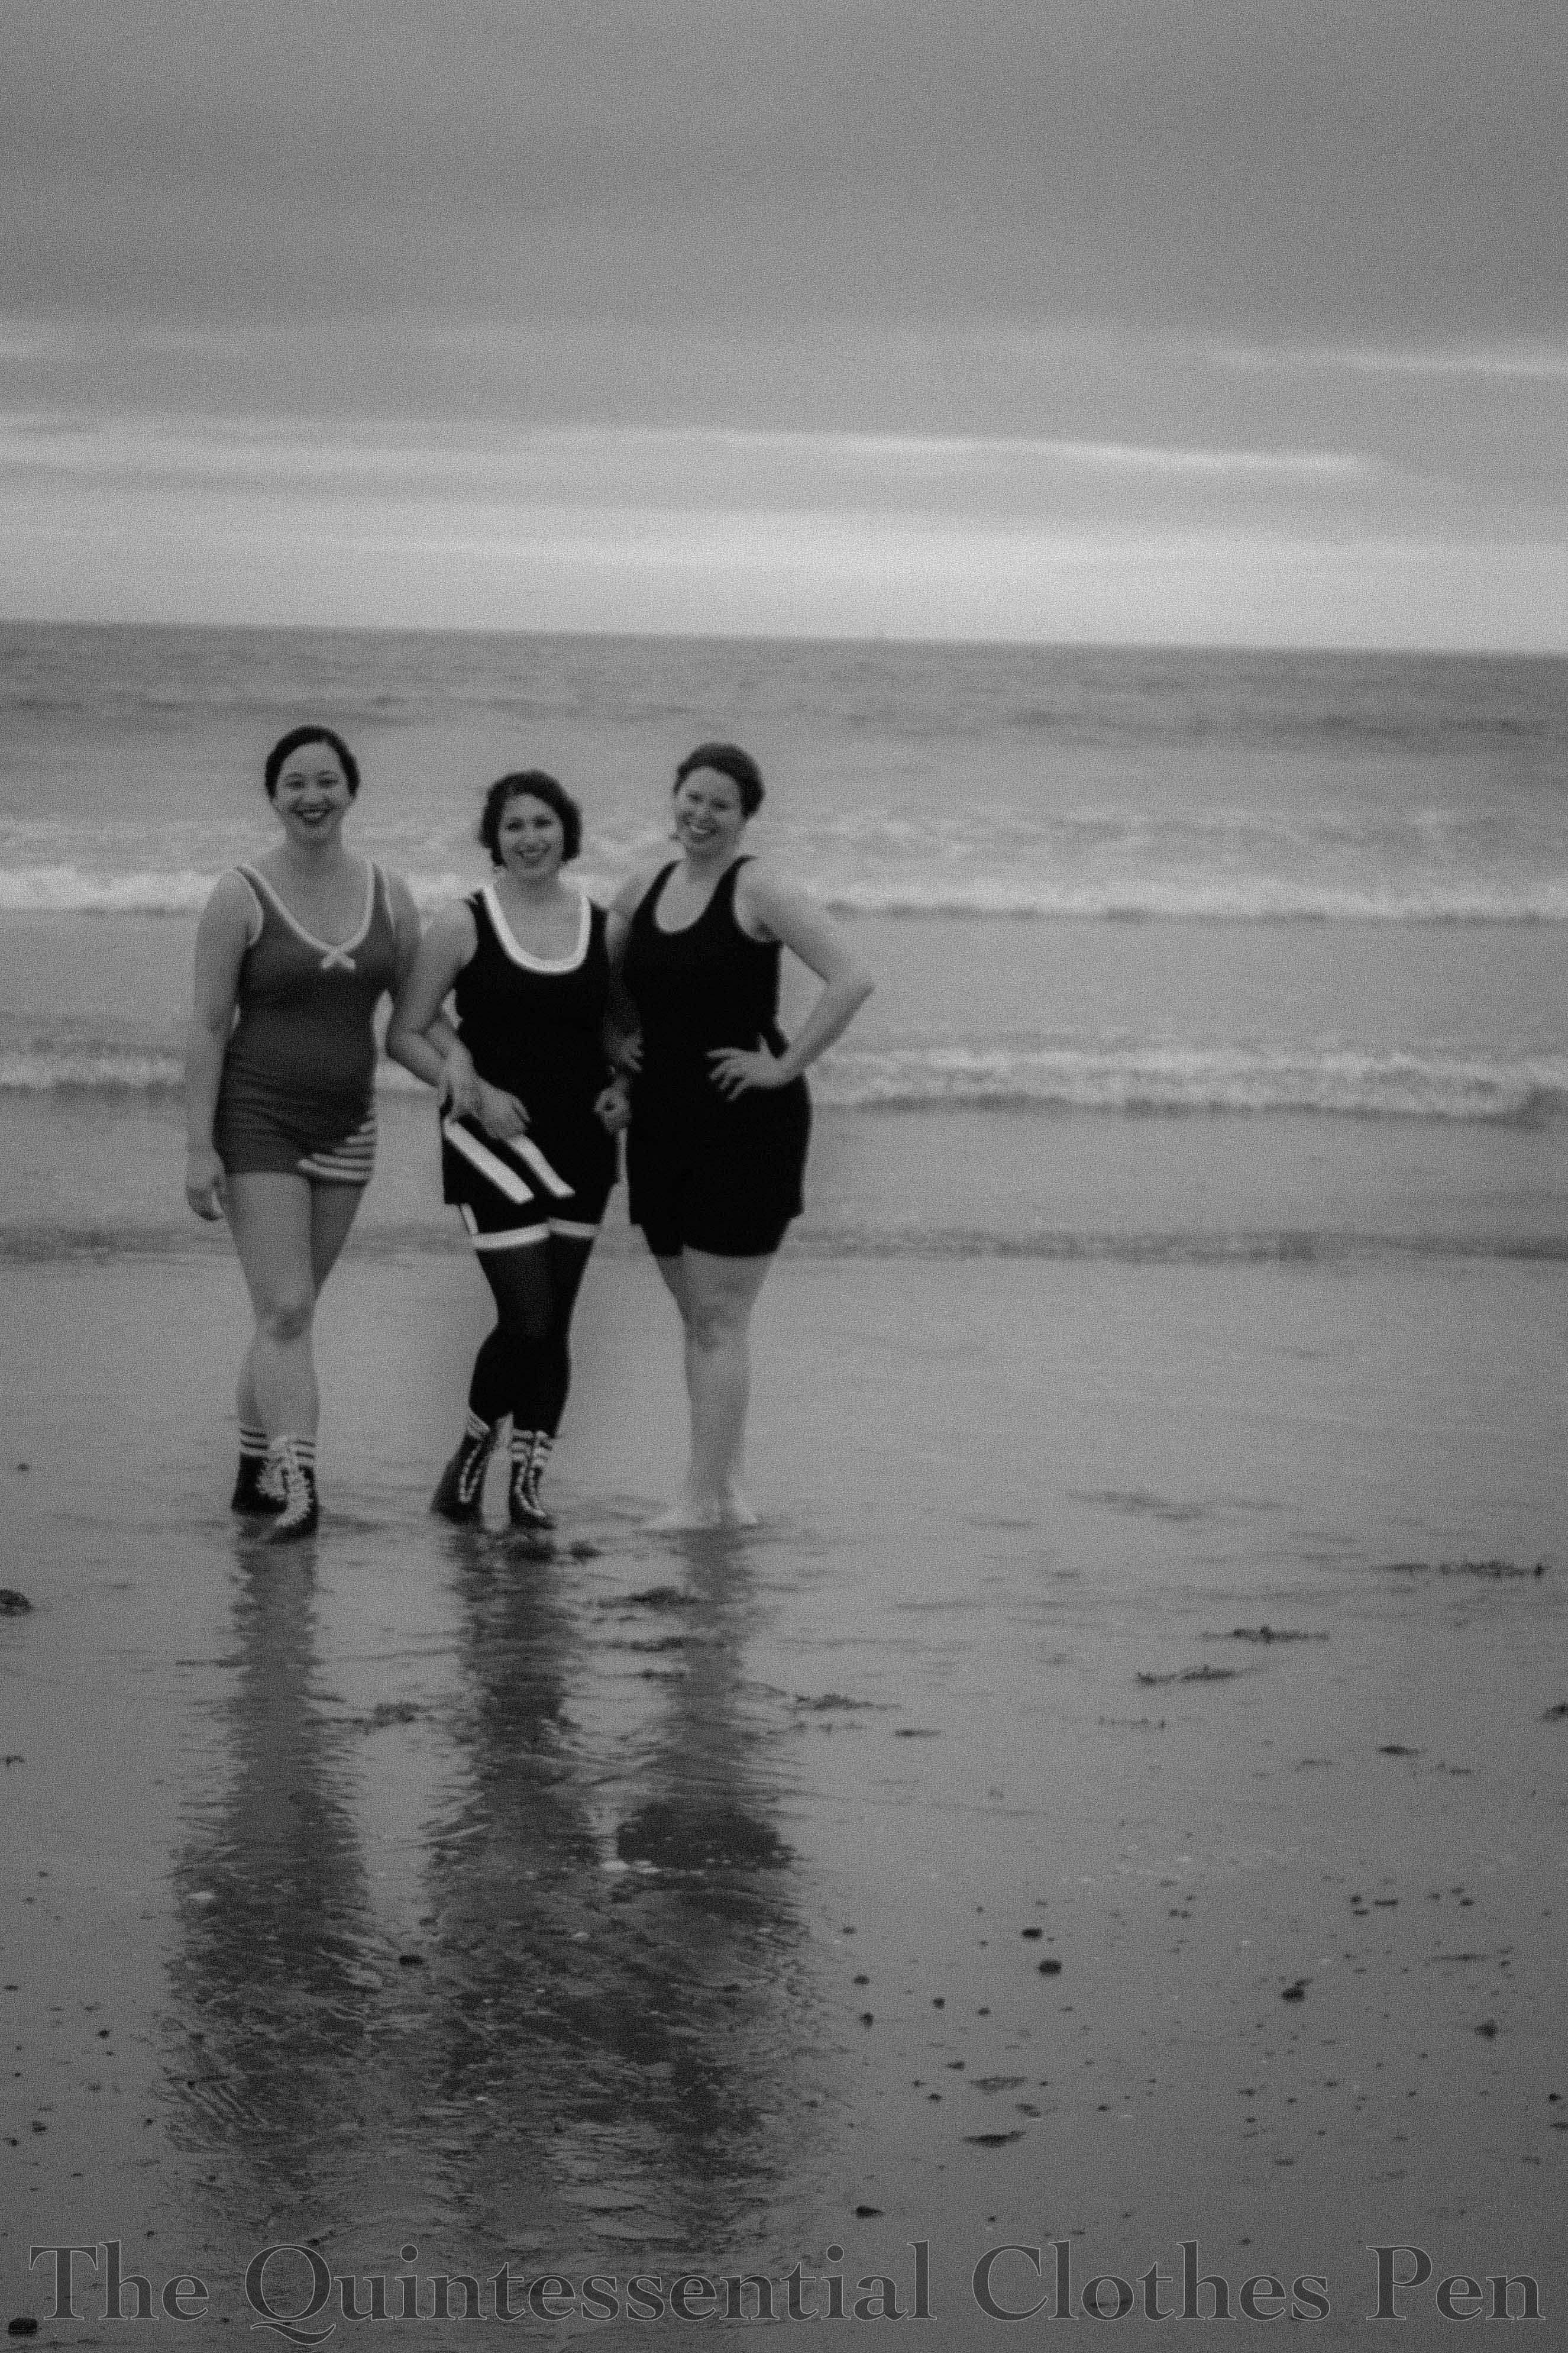
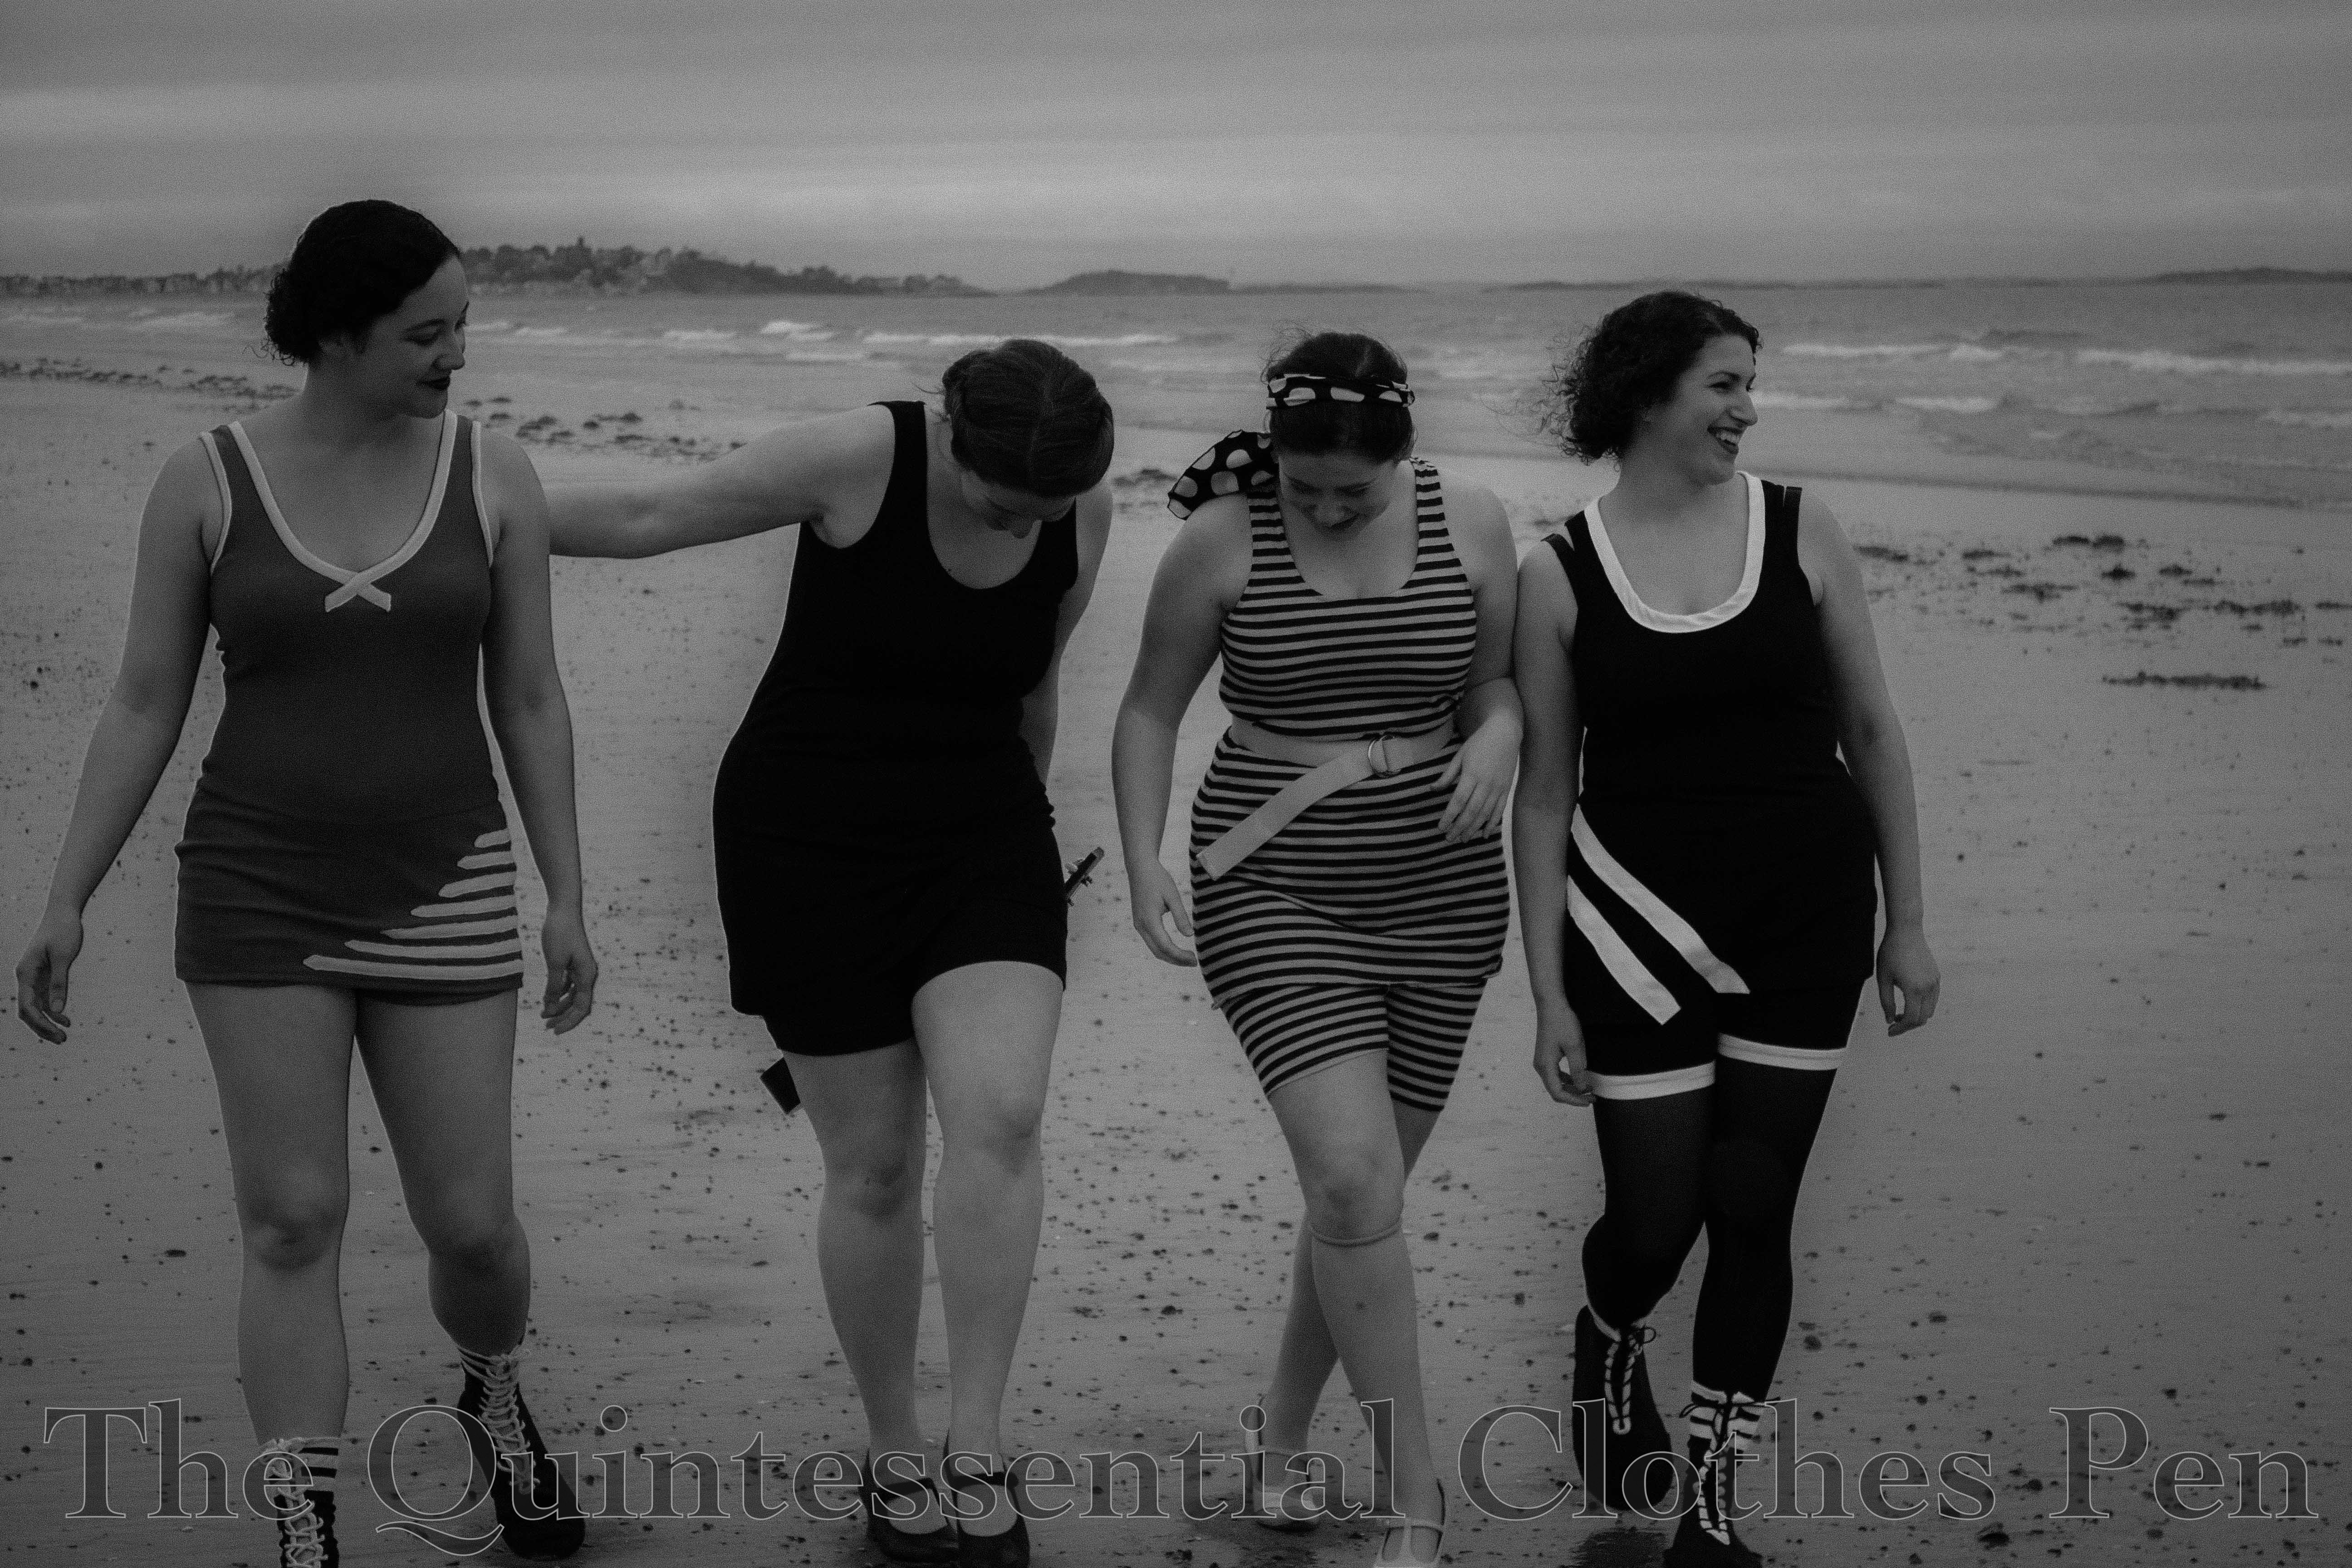
Such useful information when deciding what accessories I wanted to wear with my swimsuit and boots! I thought of taking pictures with stockings and without but decided that was too much of a hassle and settled instead for pictures with boots and without. You’ve already seen the pictures without boots. Now for a few with! (Yes, a friend also joined the pattern testing and wore her bathing boots to the beach, too!)

IMG_2895-2 (1)

IMG_2883-2 copy

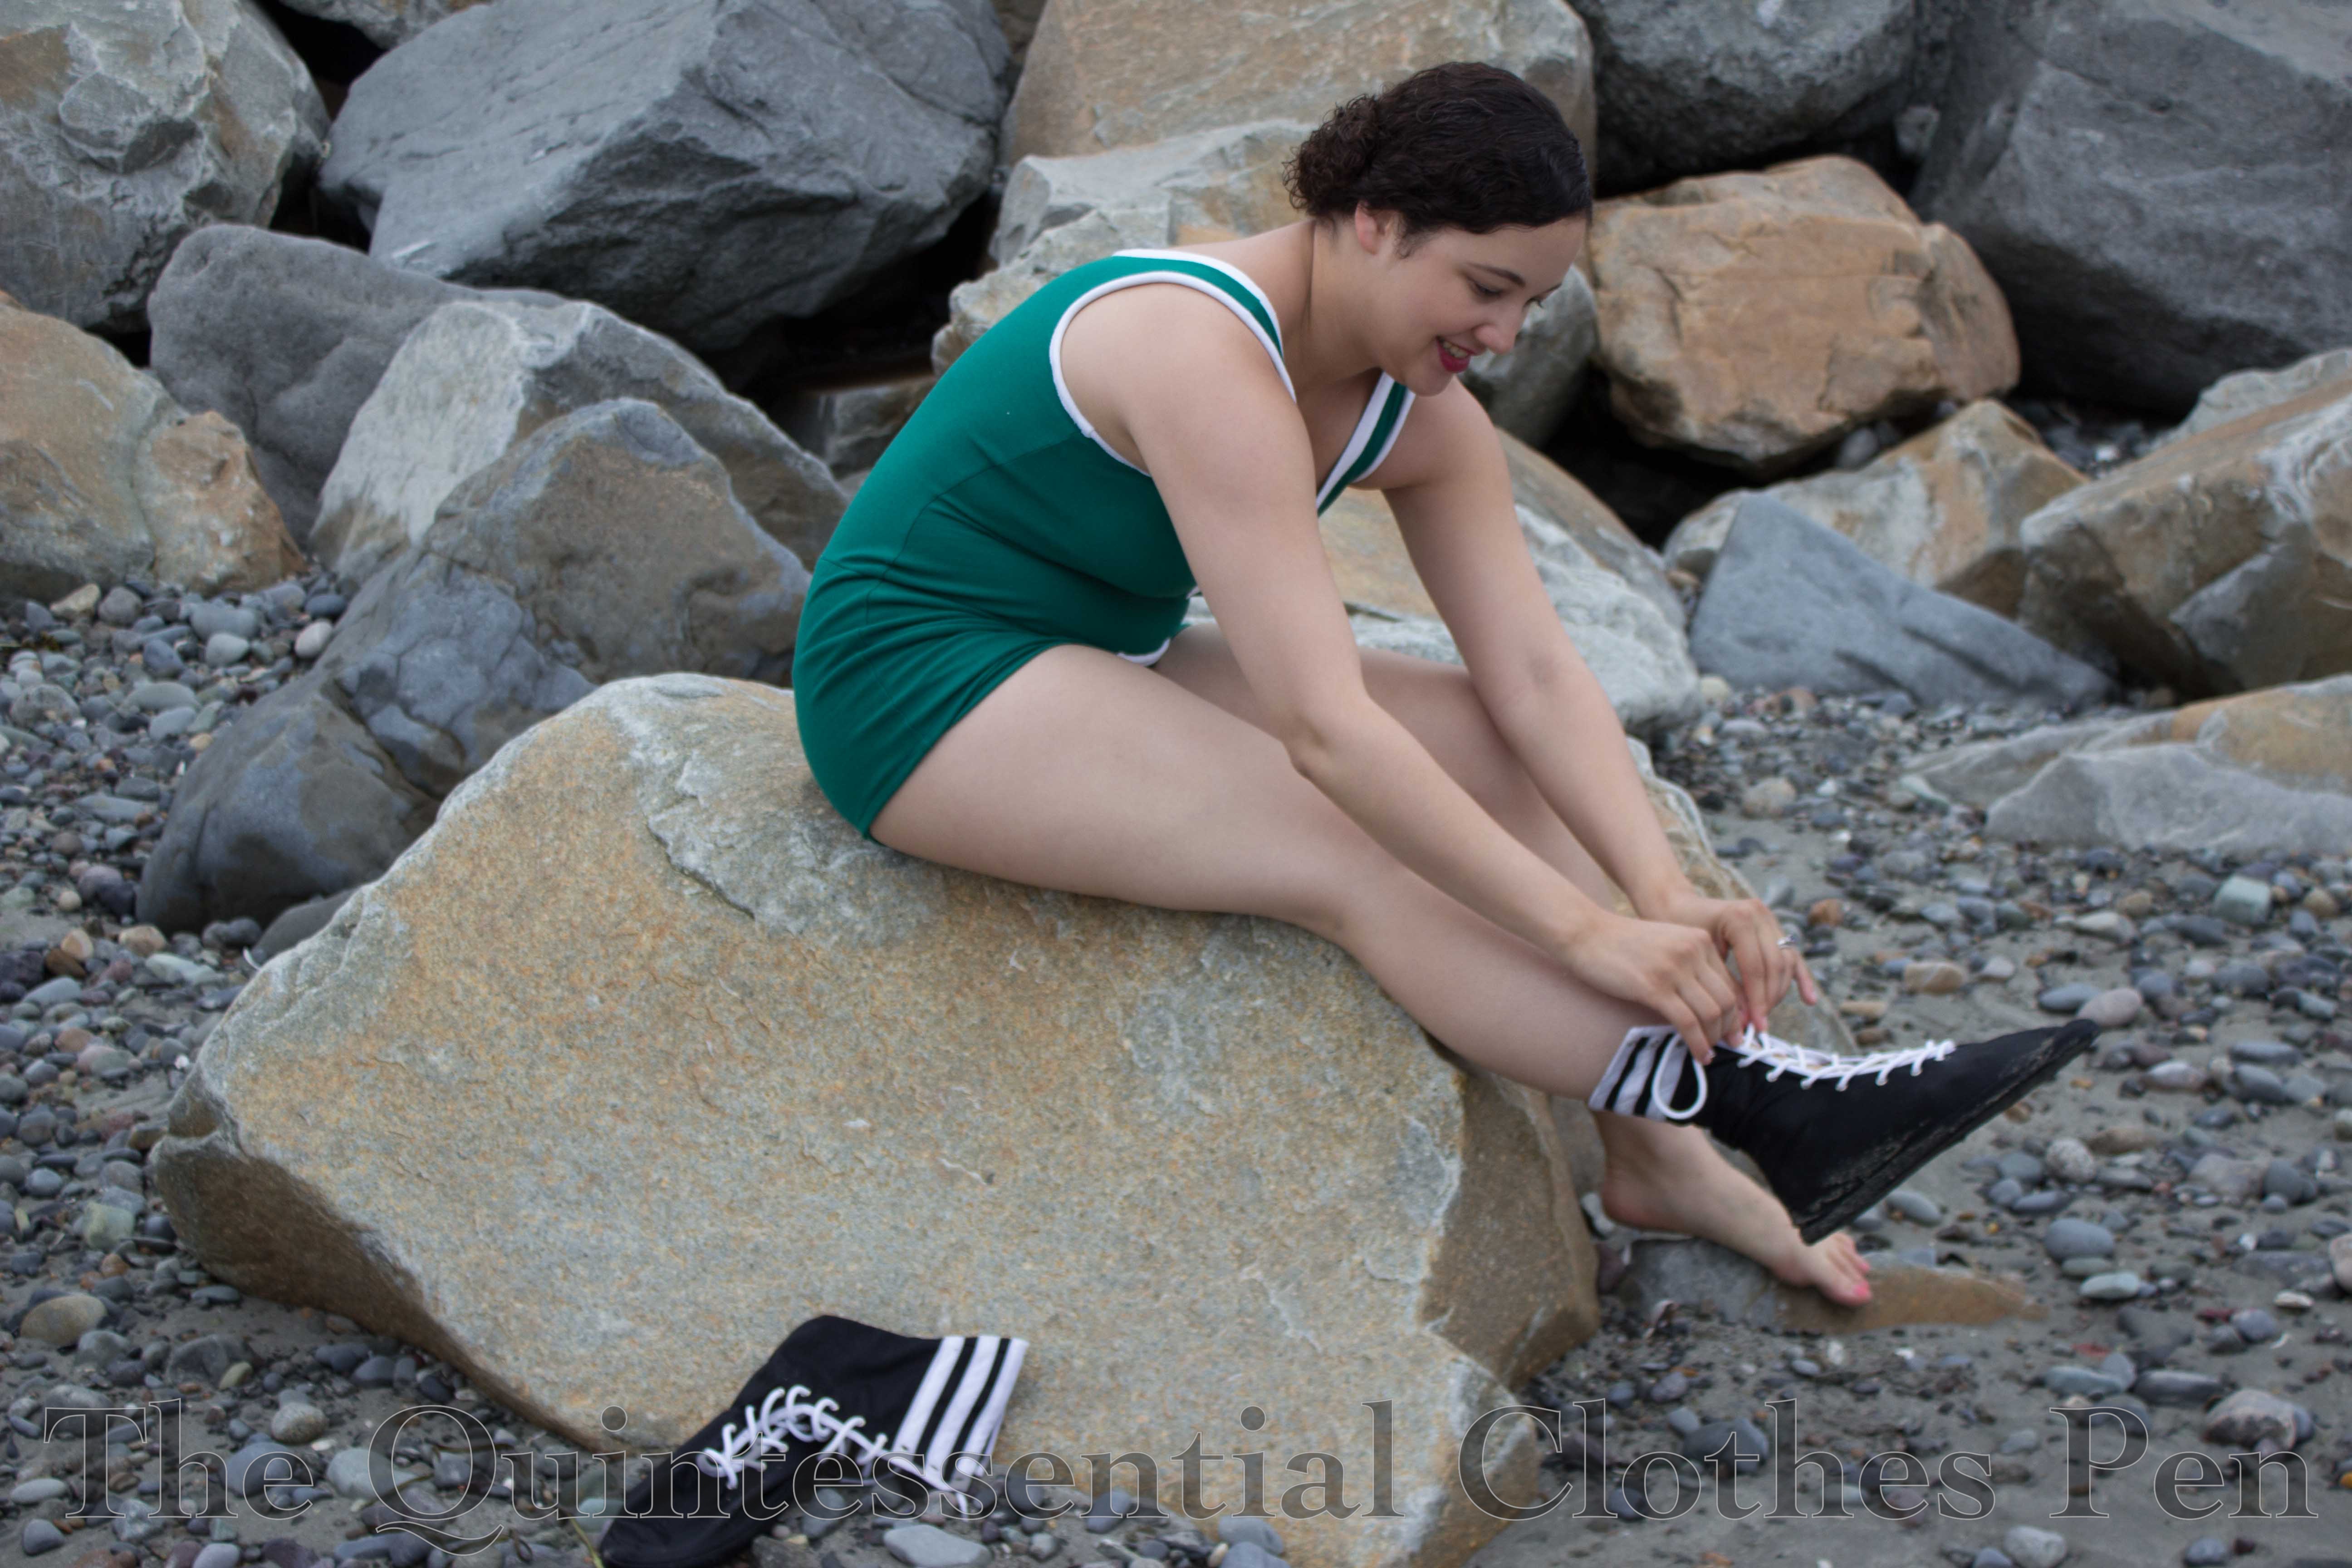
After wearing the boots in the water I took them off for pictures of the suit, but then decided to put them back on. As you might expect, they are less exciting to put on when feet and boots are already wet and covered with sand… though I think all the sand in the boots did give my feet a good exfoliation!

IMG_2941 (1)

IMG_2979 (1)

As for construction, here’s a quick run-down. I chose to make my boots out of navy cotton twill and white cotton canvas. Despite the fact that green boots exist, I didn’t want to try and match my greens. Plus, both the navy and white fabrics were in the stash and are neutral enough to wear with any future bathing suit I might decide to build.

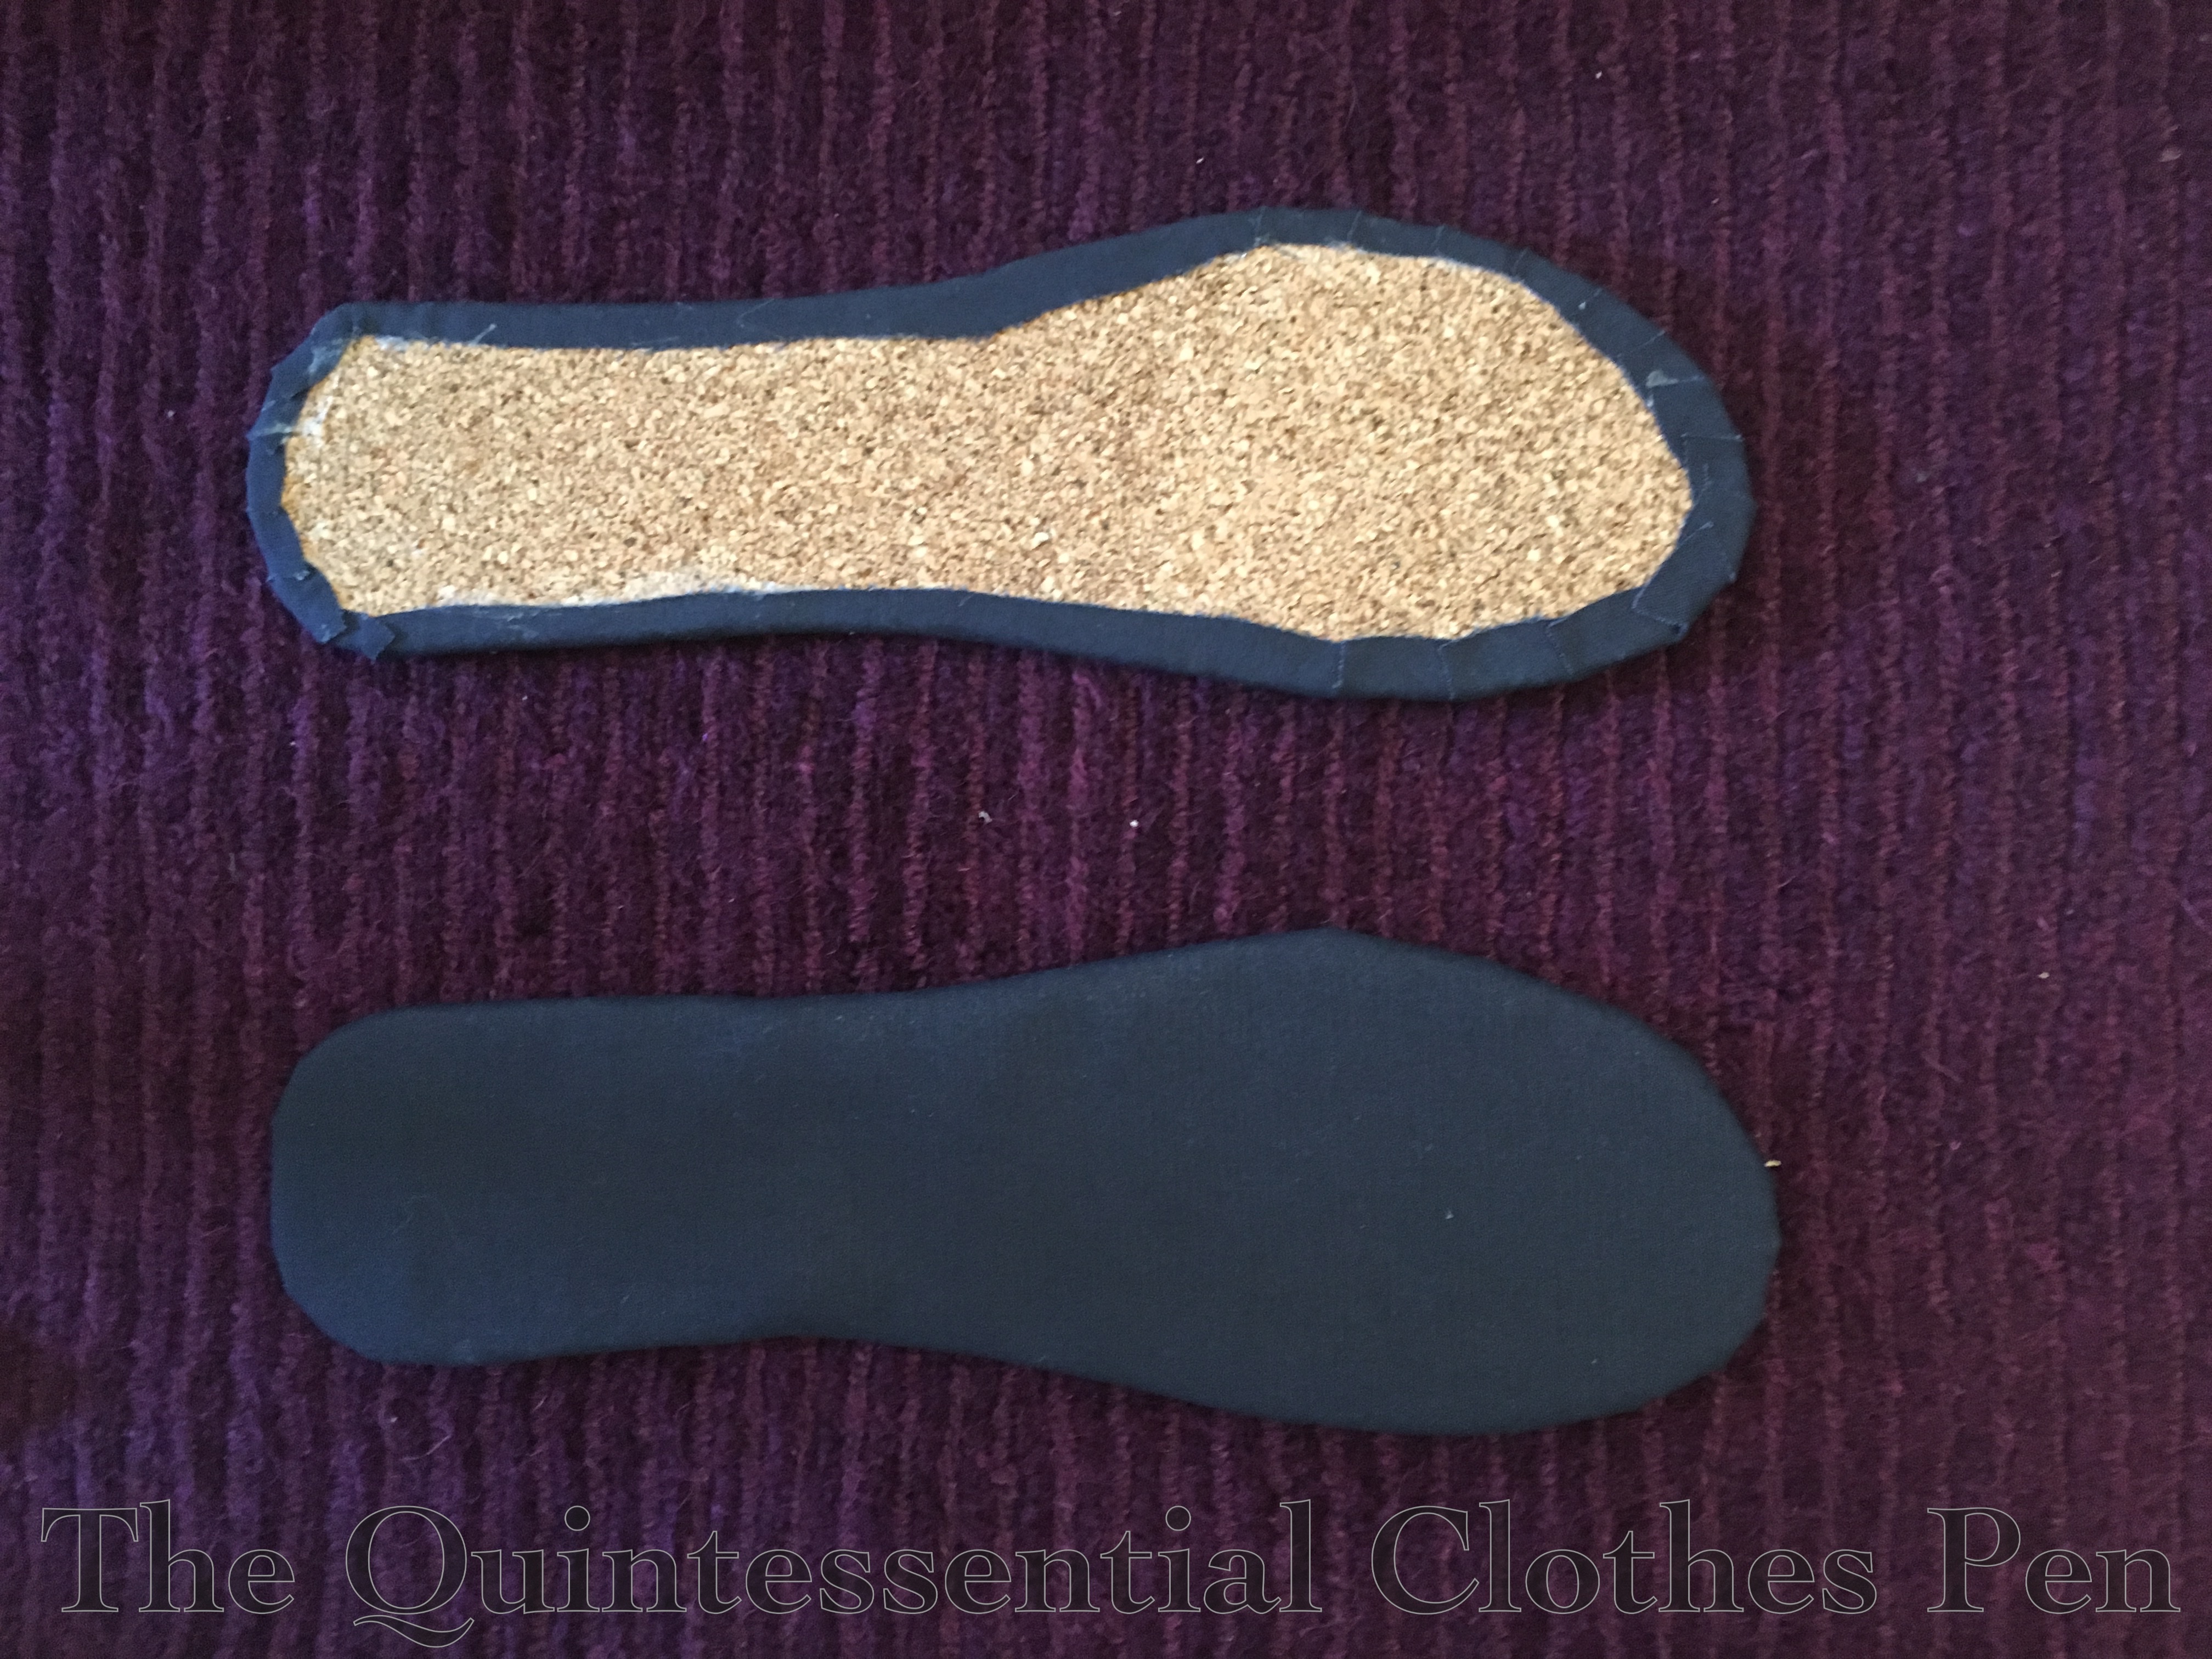
Each outsole has two layers of cork bound in bias. Nice and sturdy for walking, but too thick for a sewing machine, which meant a lot of unexpected hand sewing for this project.

IMG_1599 (1)

The insoles are a single layer of cork with the fabric glued in place. I just slipped in insoles into the boots for wearing, which meant I could take them out to let them dry after wearing. Given that they were soaked through this was great.

IMG_1600 (1)

The uppers were fully finished before attaching them to the soles. This part is all machine sewn.

IMG_1606 (1)

Finally, I hand sewed the uppers to the soles.

(I’ve made this all sound very easy and speedy, but I’ll admit that I took a shortcut and purchased cheap eyelets and a cheap eyelet setter to get the right look with high hopes for the quality. Unfortunately, I was disappointed. The eyelets were such a pain! The setter squashed them unevenly and then I needed pliers to make them look somewhat reasonable and trim off sharp bits. There are 44 eyelets. It took a long time. And it made my hands hurt. It would have been faster for me to hand sew the eyelets. Plus, they rusted after just the one wearing the water! And they got rust on my shoelaces, which was also a pain because the standard round shoelaces barely fit through the eyelets and getting them laced was hours all by itself. Ugh! For next time, I found narrower laces that will be so much easier to use, so I can at least take them out after wearing the boots without it taking forever. Or maybe I just won’t wear them in the water. Anyway, I don’t suggest you follow my example on the cheap eyelet front.)

IMG_1608 (1)

I am so grateful to Gina for sharing her pattern with me! It takes a lot of work to perfect a pattern and I probably would not have attempted bathing boots without having one already made and in hand.

1919 Ivory Eyelet Dress (HSF #7)

I have a three evening gowns from the 1920s, but only two daytime ensembles. For summer events from the Ragtime dance period and the 1920s in general, I wanted a new addition in the daywear lineup, so I kept my eyes open while out shopping for other projects. I came across the fabric for this dress a few months ago before I had time to sew, but with a general plan in mind.

IMG_1622

Fast forward to about a month ago and I started actually planning the dress. I had thought to make a dress from about 1916 with a distinct a-line shape (a silhouette like this), but reconsidered that plan when considering the very linear effect of the tucks in the fabric. The linear fabric was much more suited to the period from 1919 to 1922 and so down that road I went.

IMG_1628

Just the facts:

Fabric: 4.5 yards pre-tucked ivory cotton.

Pattern: Adapted from Past Patterns #9127, Ladies’ Dress 1918-1920.

Year: 1919, explained in detail further along in the post.

Notions: Thread, snaps, and a hook and bar.

How historically accurate is it?: 95%. Accurate pattern from the period, reasonable fabric, and accurate finishing methods. Woo!

Hours to complete: 30? I took my time to enjoy the process, hand sewed more than was absolutely necessary in order to watch Netflix and not dig out the sewing machine, and fiddled with the bodice for awhile to get a style I was satisfied with.

First worn: July 17 for a Ragtime tea dance.

Total cost: $30 for the fabric.

(Edit: I forgot to mention what HSF challenge this was for when I originally published the post. It’s for challenge #7: Monochrome.)

IMG_1626

Why did I decide on 1919 for the year of my dress? The pattern dates to 1918-1920, putting my dress squarely in the middle, but I also looked at the details that changed with each year from 1918-1922 to confirm the plan.

3a57a53918caa3169851de5ee4e07f00
1918. Skirts have just ceased being the A-line shape of the prior three years, but they still have fullness and waists remain high.
c7f197805c10c37b29edb75dc9474571
1919. Still some full skirts, but the silhouette is narrowing.
42a3c1119c5fe26a015e785a9c6ce956
1920. Slimmer skirts with high waists.
6f15eba27b2b6312a8cc5d2e5851dc39
1921. Slimmer skirts with a dropping waistline.
8fa6917ee7b0b47dc885ad5c3fada90c
1922. The waistline has dropped to hip level and drape effects are fashionable.

1919 is the year when the features I most wanted all come together: full skirt, high waist, playing with the linear nature of my fabric going both vertically and horizontally, and skirt tucks. These features can be seen in the following most inspirational images.

fb02413f850f398dc842e2f9628c33ec
c. 1915
def974fc2efd8f1405bc5f1789b45392
c. 1915
0c121e6a1372e33bef4ca33340f96061
c. 1920
090083175fa5efb1cb137c925c241252
1919

Plus, these two fashion plates, from 1920 and 1921.

And construction? I kept it simple, with a few unfinished edges in the skirt (gasp!), pinking on the seams and exposed edges in the bodice, and as few closures as possible. No fuss. The bodice closes off center in front but the skirt closes in back because I was originally planning to make a separate blouse and skirt. When I decided I didn’t feel like dealing with a peplum, and that even with a peplum a blouse was likely to come untucked (as happens with my 1917 blouse when I wear it), I just hand sewed the now-bodice to the inside of the waistband  and sewed snaps around the other side to keep it together, as you can see. This way, it’s easy to separate the two pieces in the future.

IMG_1637

All in all, a pretty quick project as my projects go. Comfortable, flattering, easy to alter (a component of sewing projects I am trying to incorporate more often as I move forward with projects), satisfying to wear, plus it goes well with my Astoria shoes. Win!

SaveSave

Smiling Bears And Happy Penguins

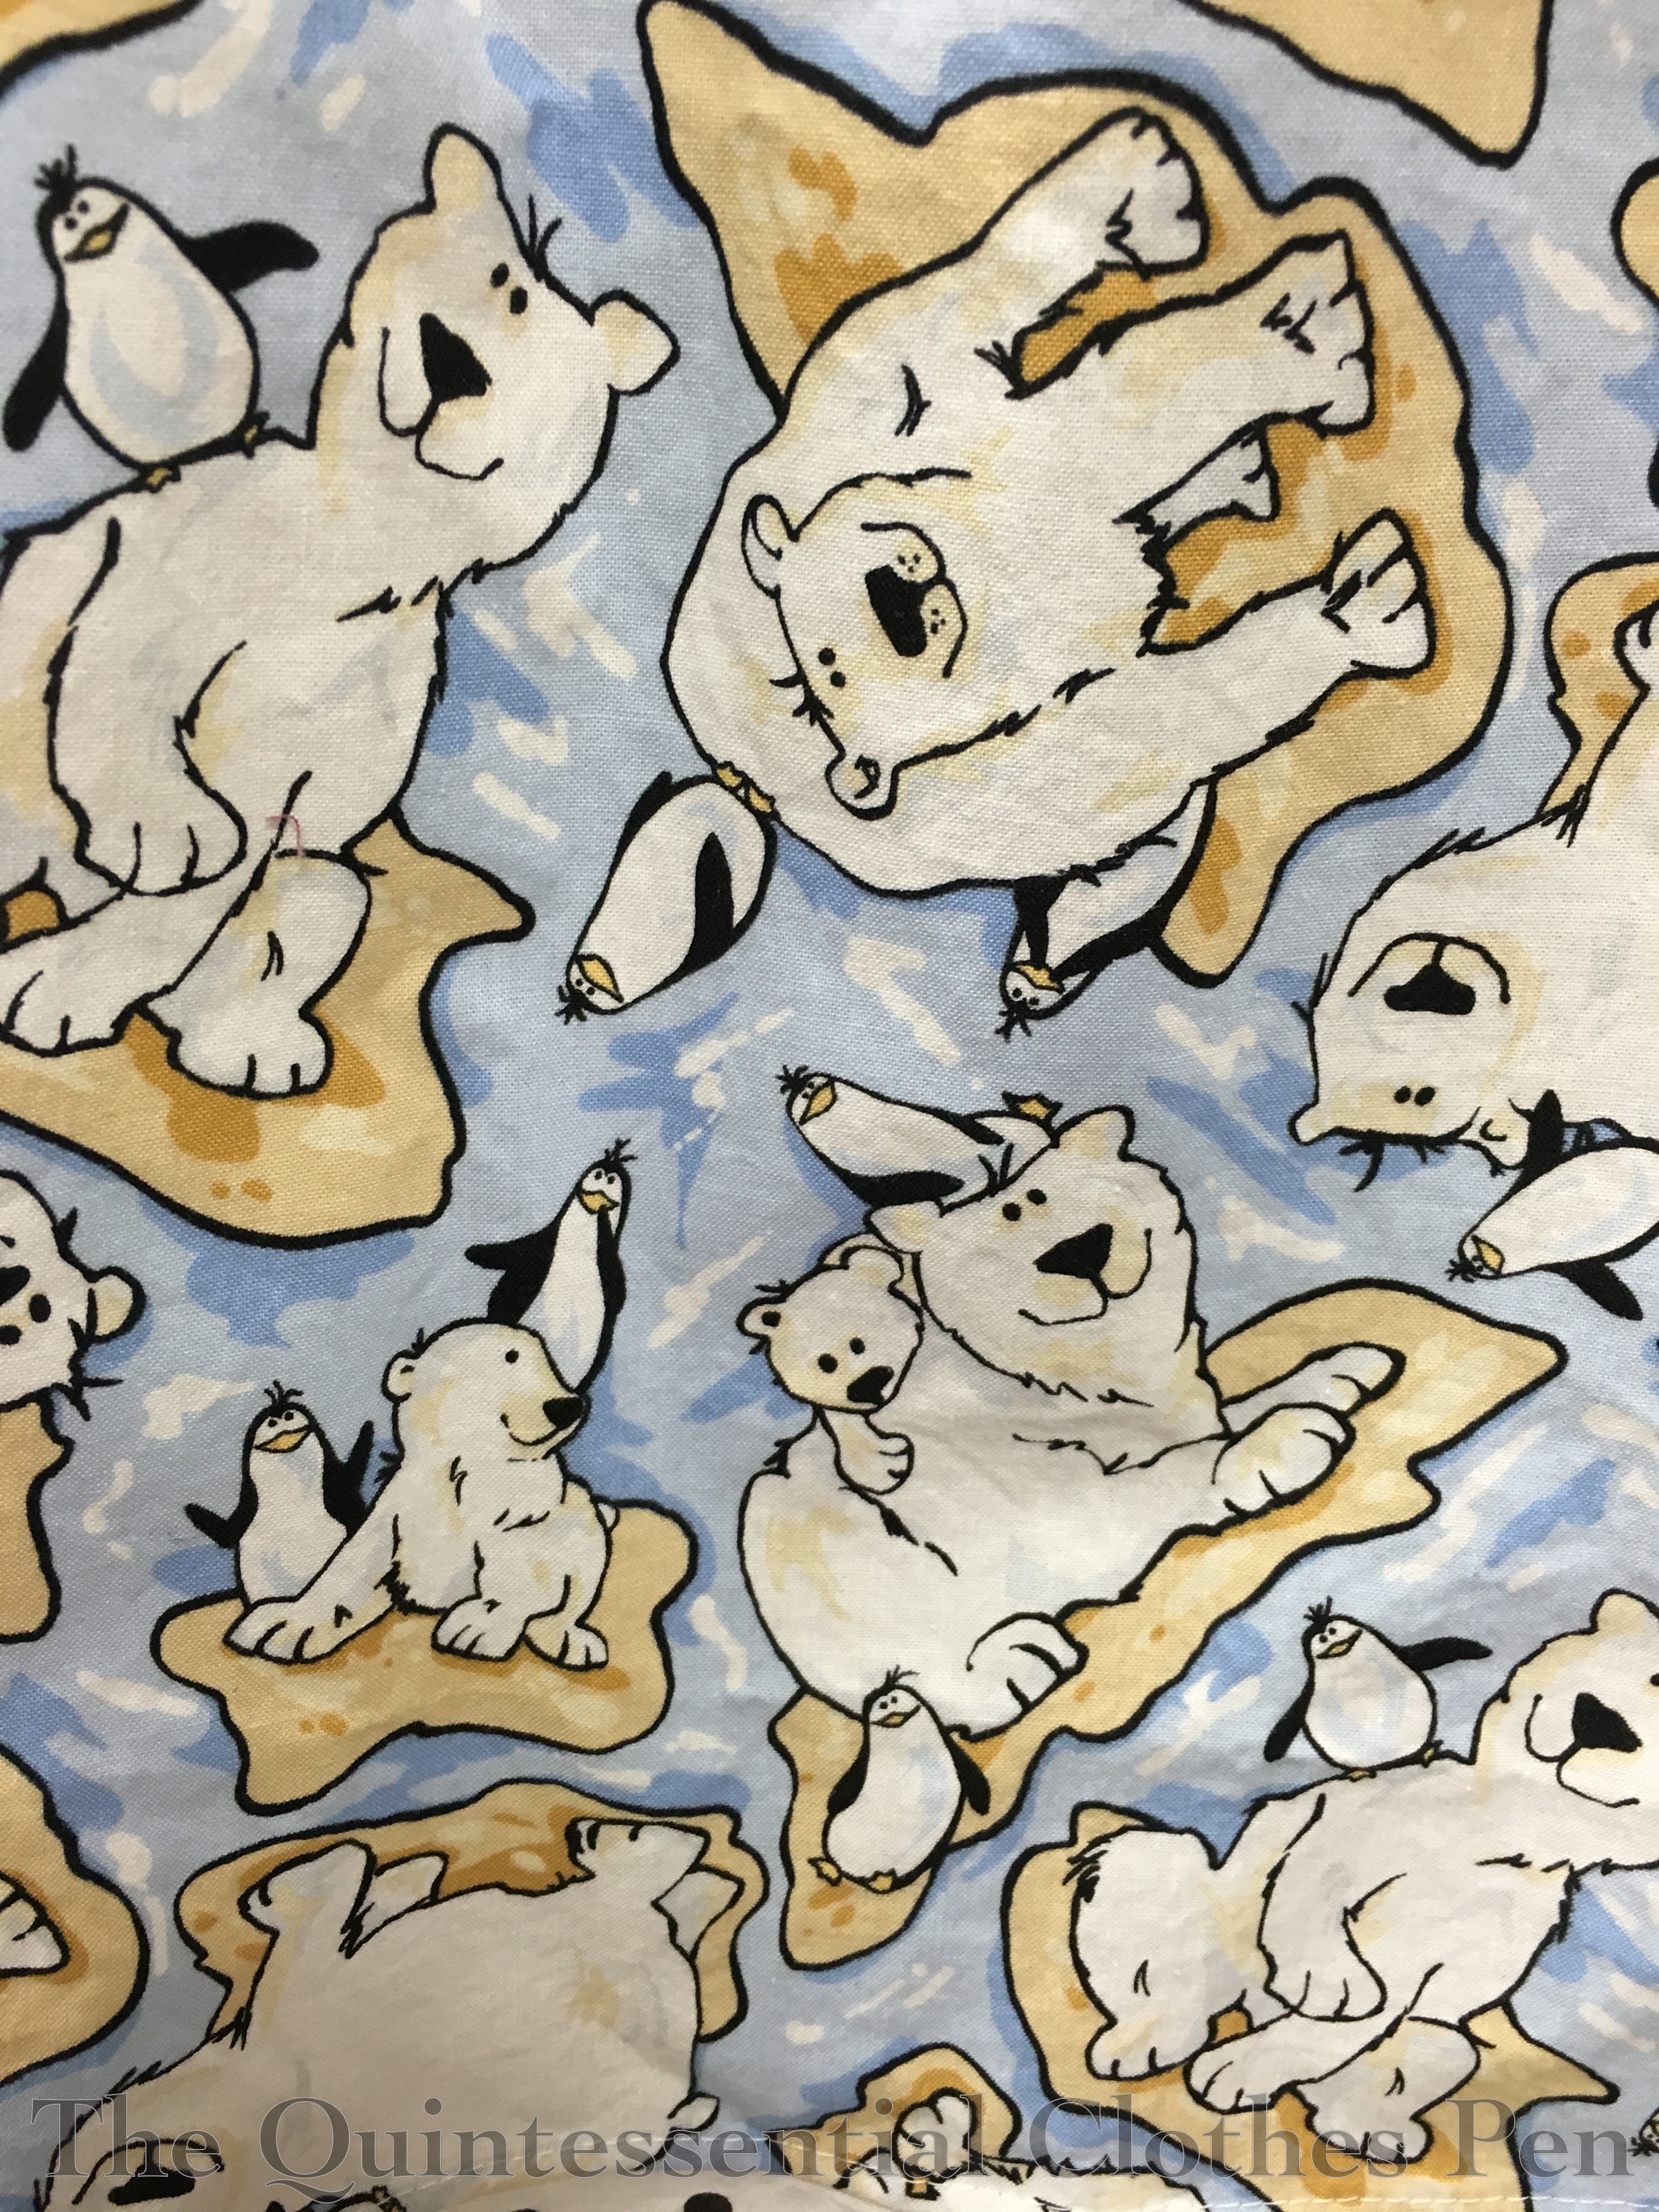
IMG_0678Just imagine my smile when I saw this fabric with polar bears and penguins on it…fun! You have to know that these are some of my most favorite animals–bears, especially of the polar variety, because they’re just cute, and penguins because they waddle, and animals that waddle amuse me a whole lot (also, bears waddle, too). Anyway, I saw these smiling bears and happy penguins and couldn’t resist. (Plus, there are baby bears–or, as I often call them, “little guys”!) Their cuteness combined with a thought I had of making a practical apron to use at home when doing the dishes or baking inspired me to purchase just enough of the cotton yardage to make an apron. I spent way longer than was really necessary looking for just the right fabric for contrast options. I looked at all sorts of blues and tans but found nothing right… so I settled on black and white. And it’s perfect!

IMG_0677

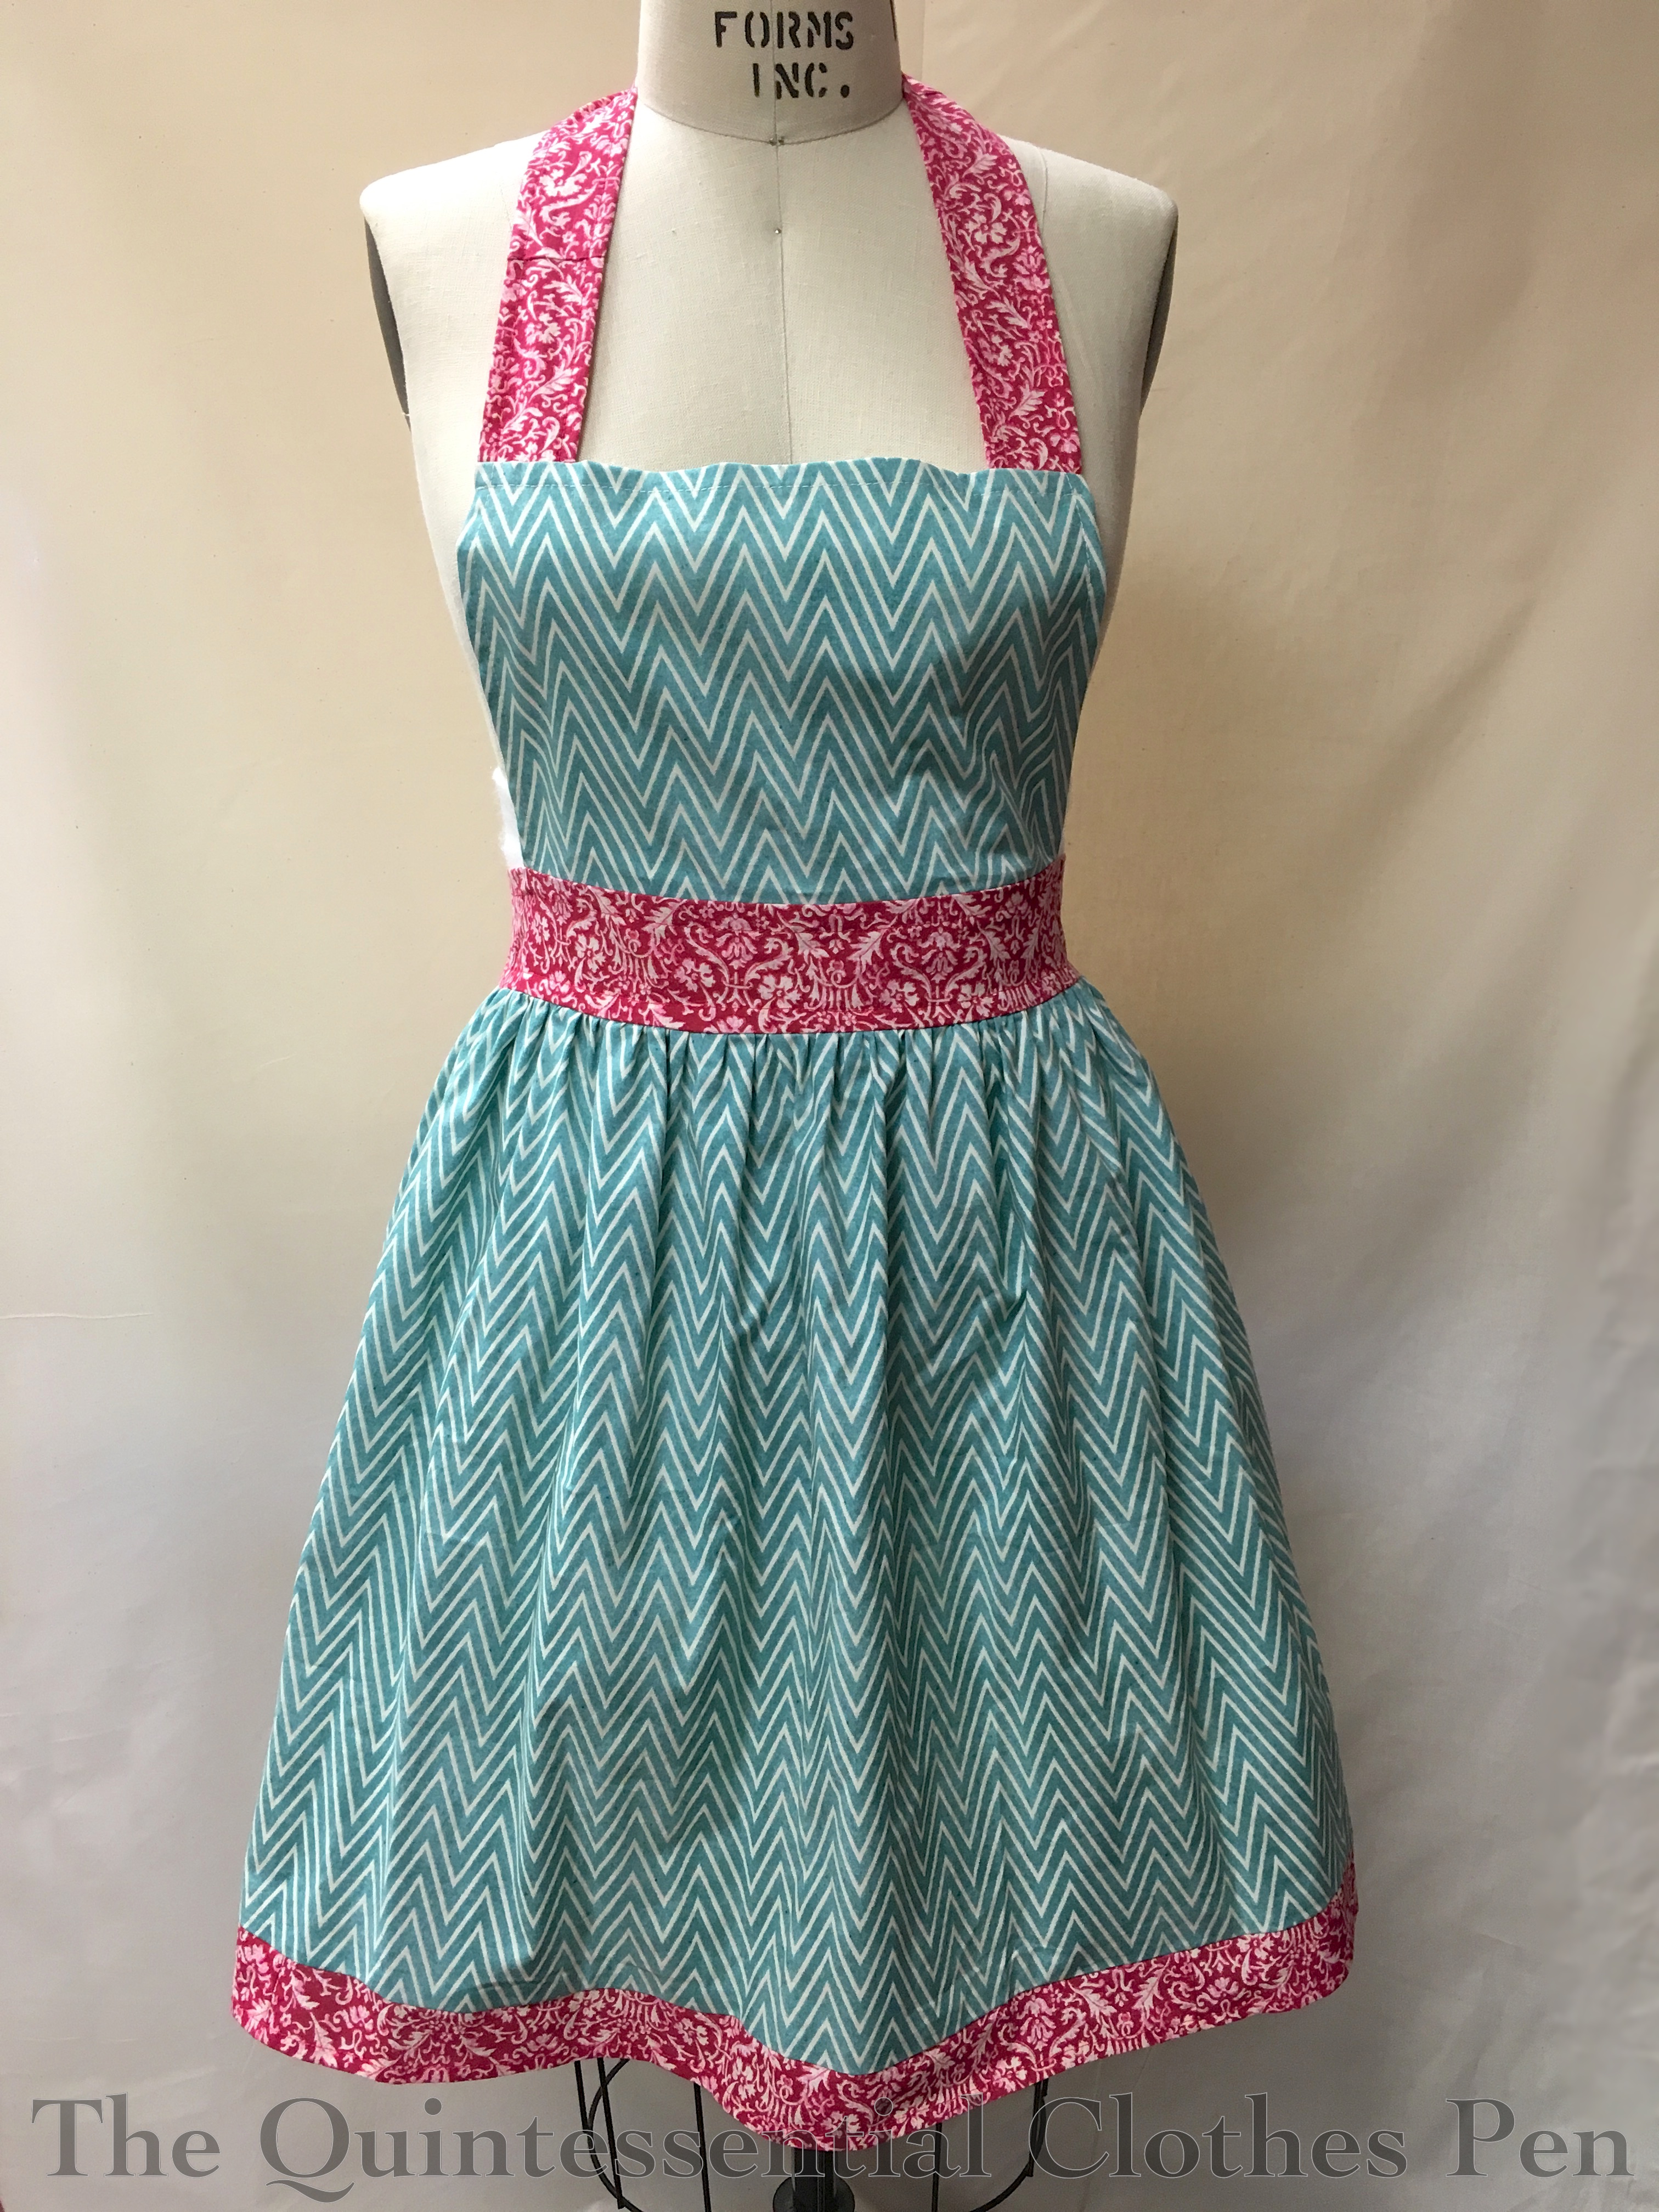
I used my refreshing apron as a general guide, though I made a few changes: less fullness in the skirt, a shorter length, and ties that tie at the neck and waist rather than crossing in back. After I had the project on the brain, I was using a lovely green print fabric to make some accessories for the house when I decided that I would need extra of it to make another apron! This one used small scraps of raspberry pink cotton as accents. It’s fun to have a reason to use this color pink and with the brocade style pattern on it, too.

IMG_0679

Both aprons required piecing the contrast bands to have enough fabric, but I did an incredibly meticulous job lining up the pattern repeats so they aren’t very noticeable (yes, I really care that much–can you spot any seams?). It’s also why the contrast bands are different widths from apron to apron–I just used what I had and made it work. It’s so satisfying to use up the last small bits of a fabric.

Belated HSF 2013 #13: 1885 Frills and Furbelows

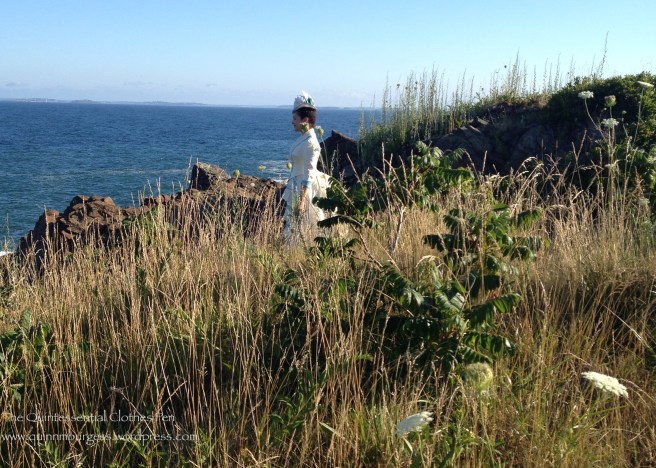
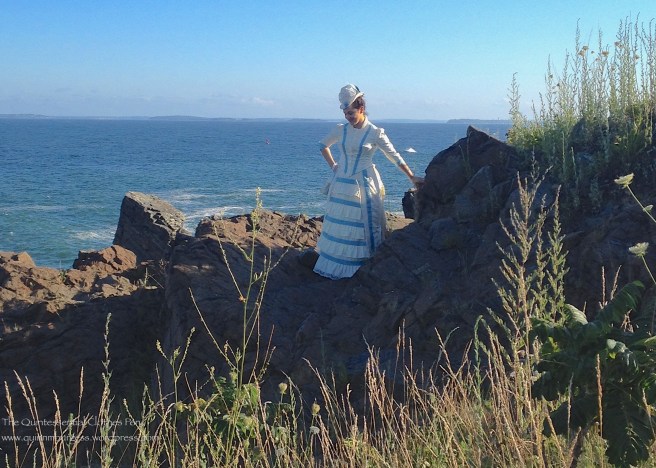
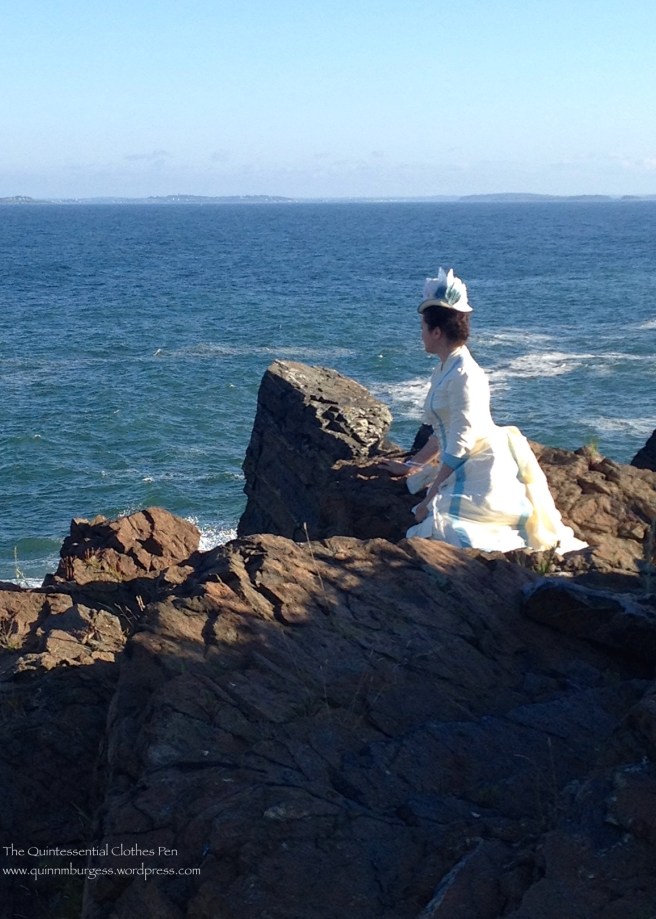
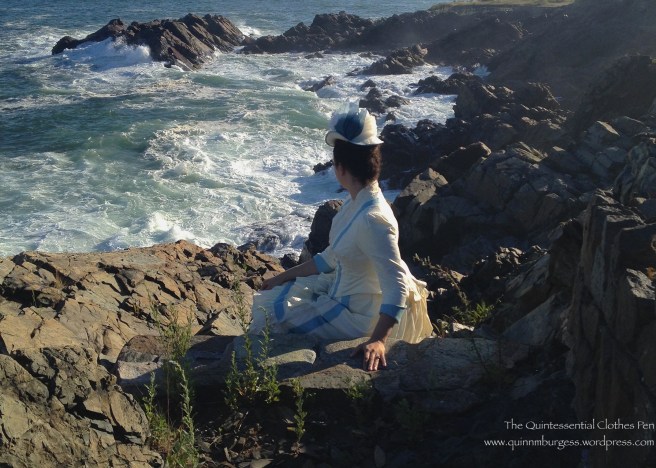
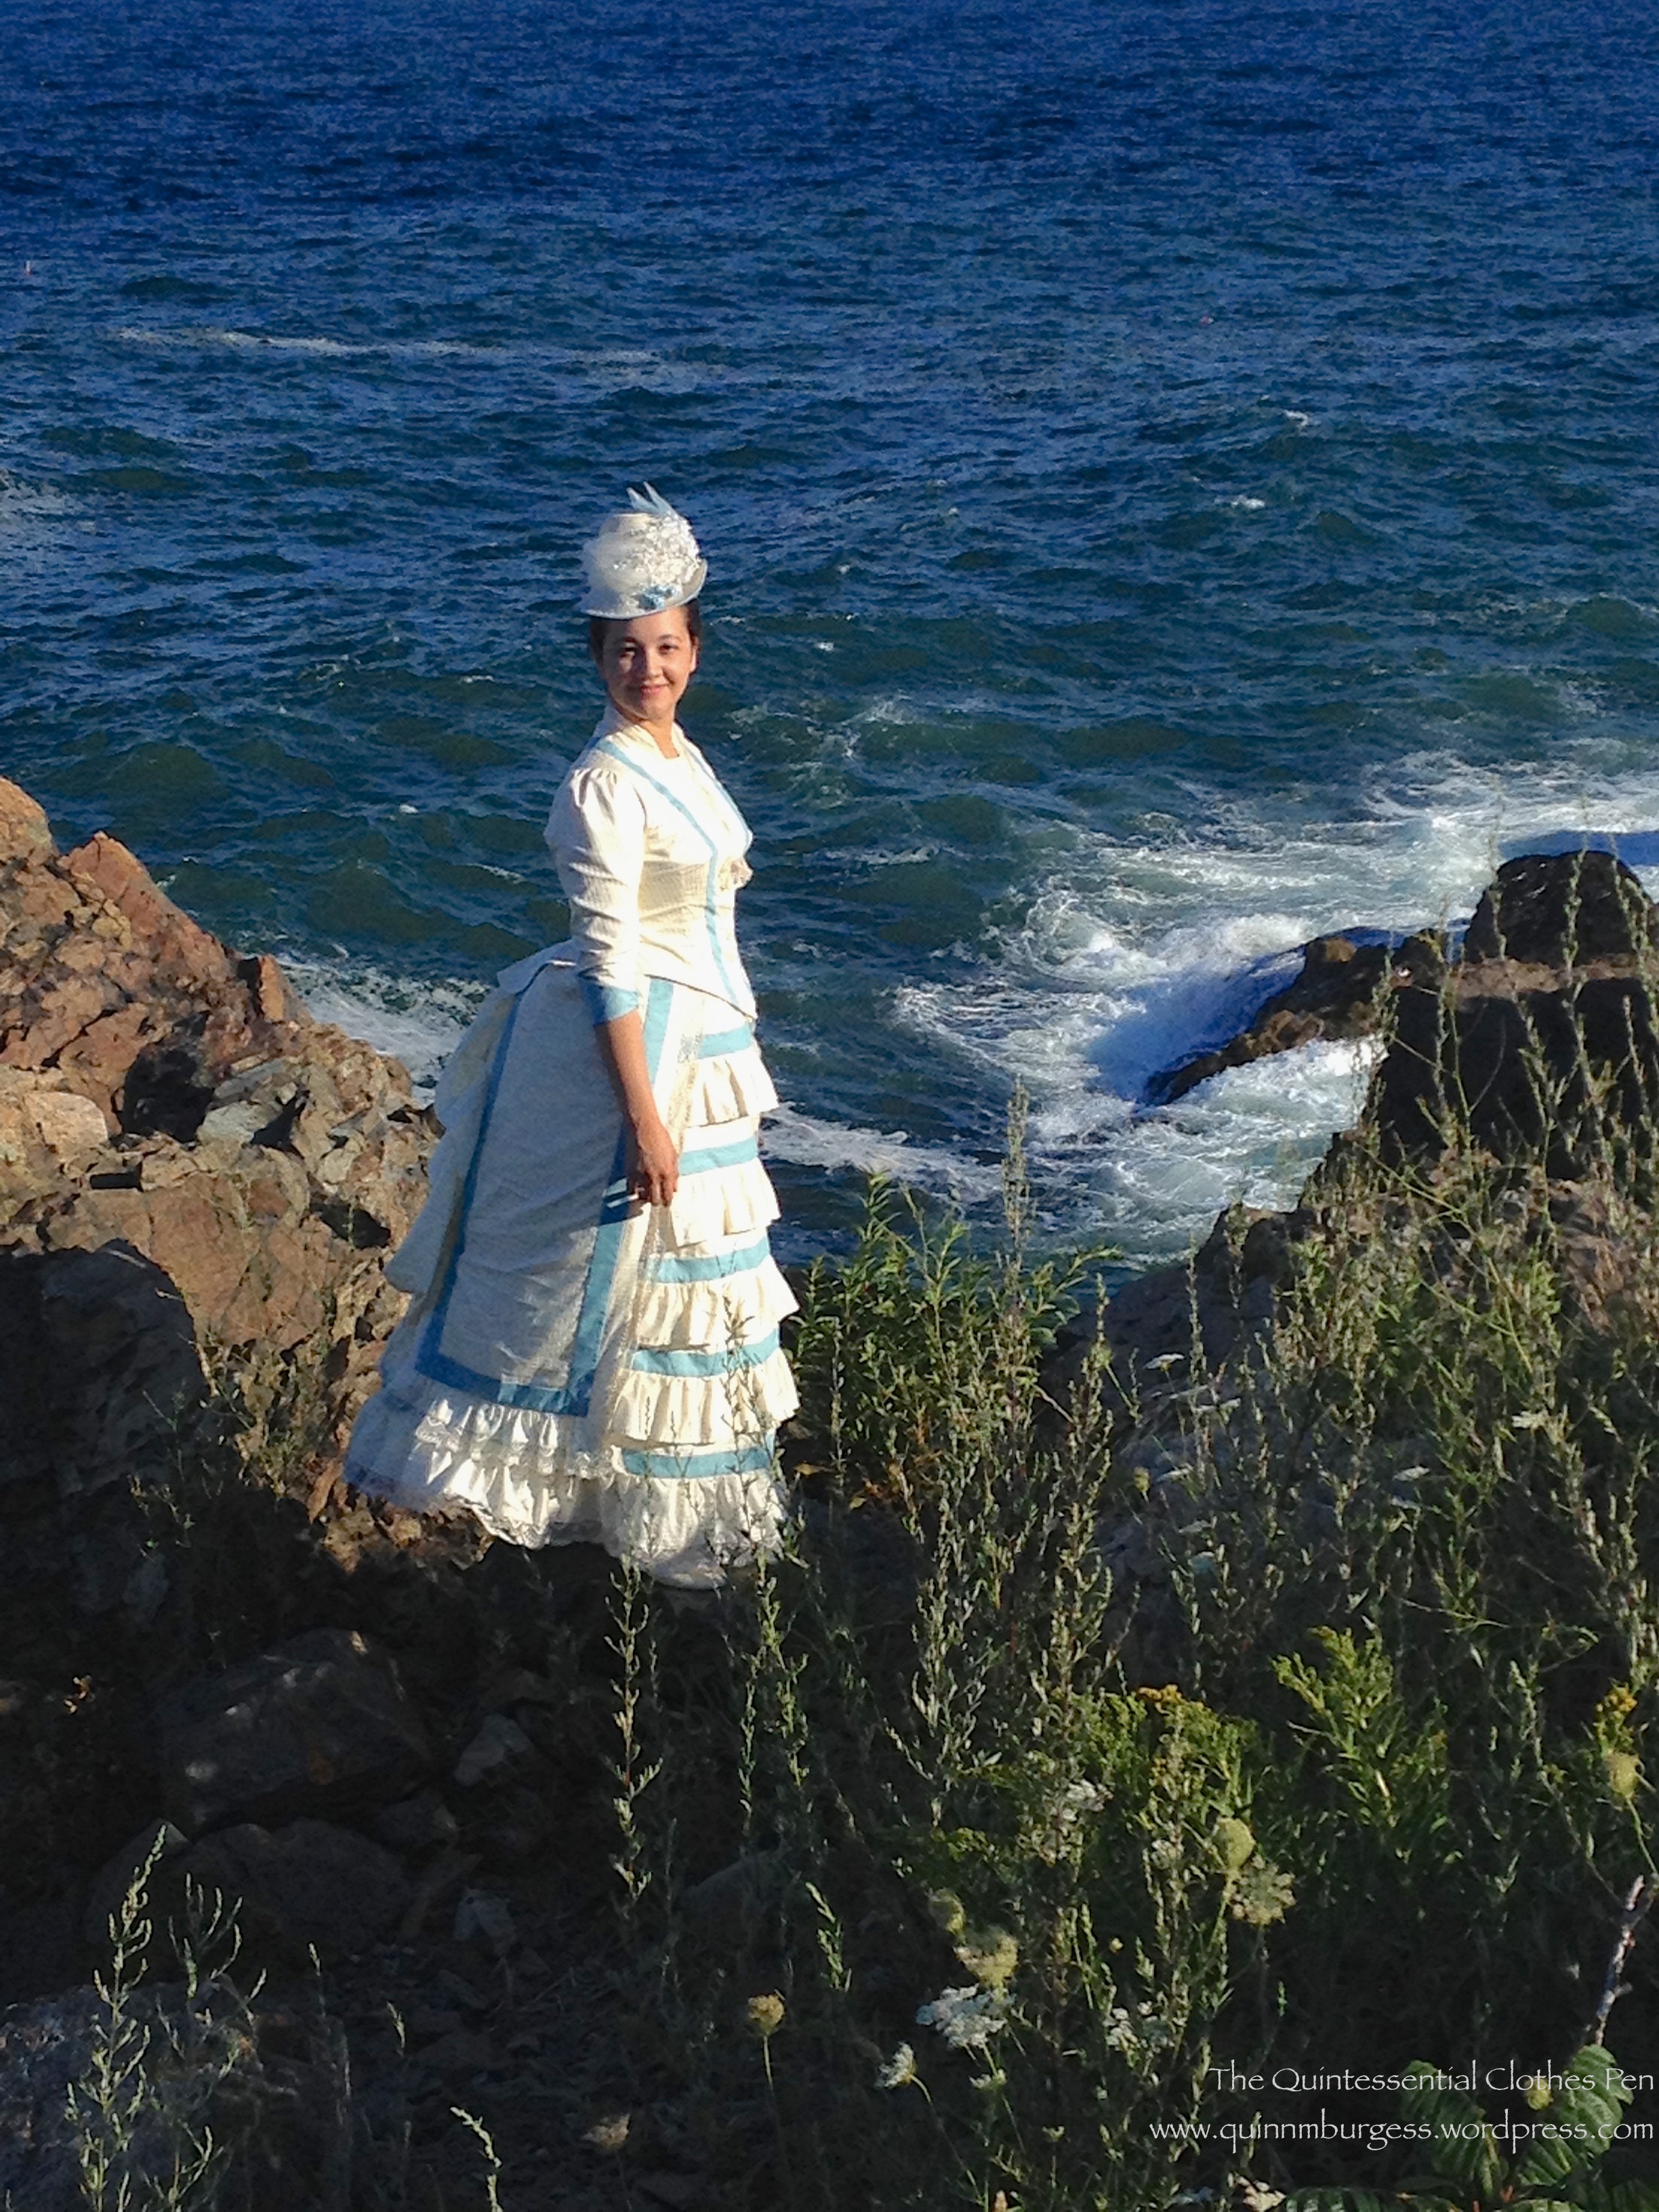
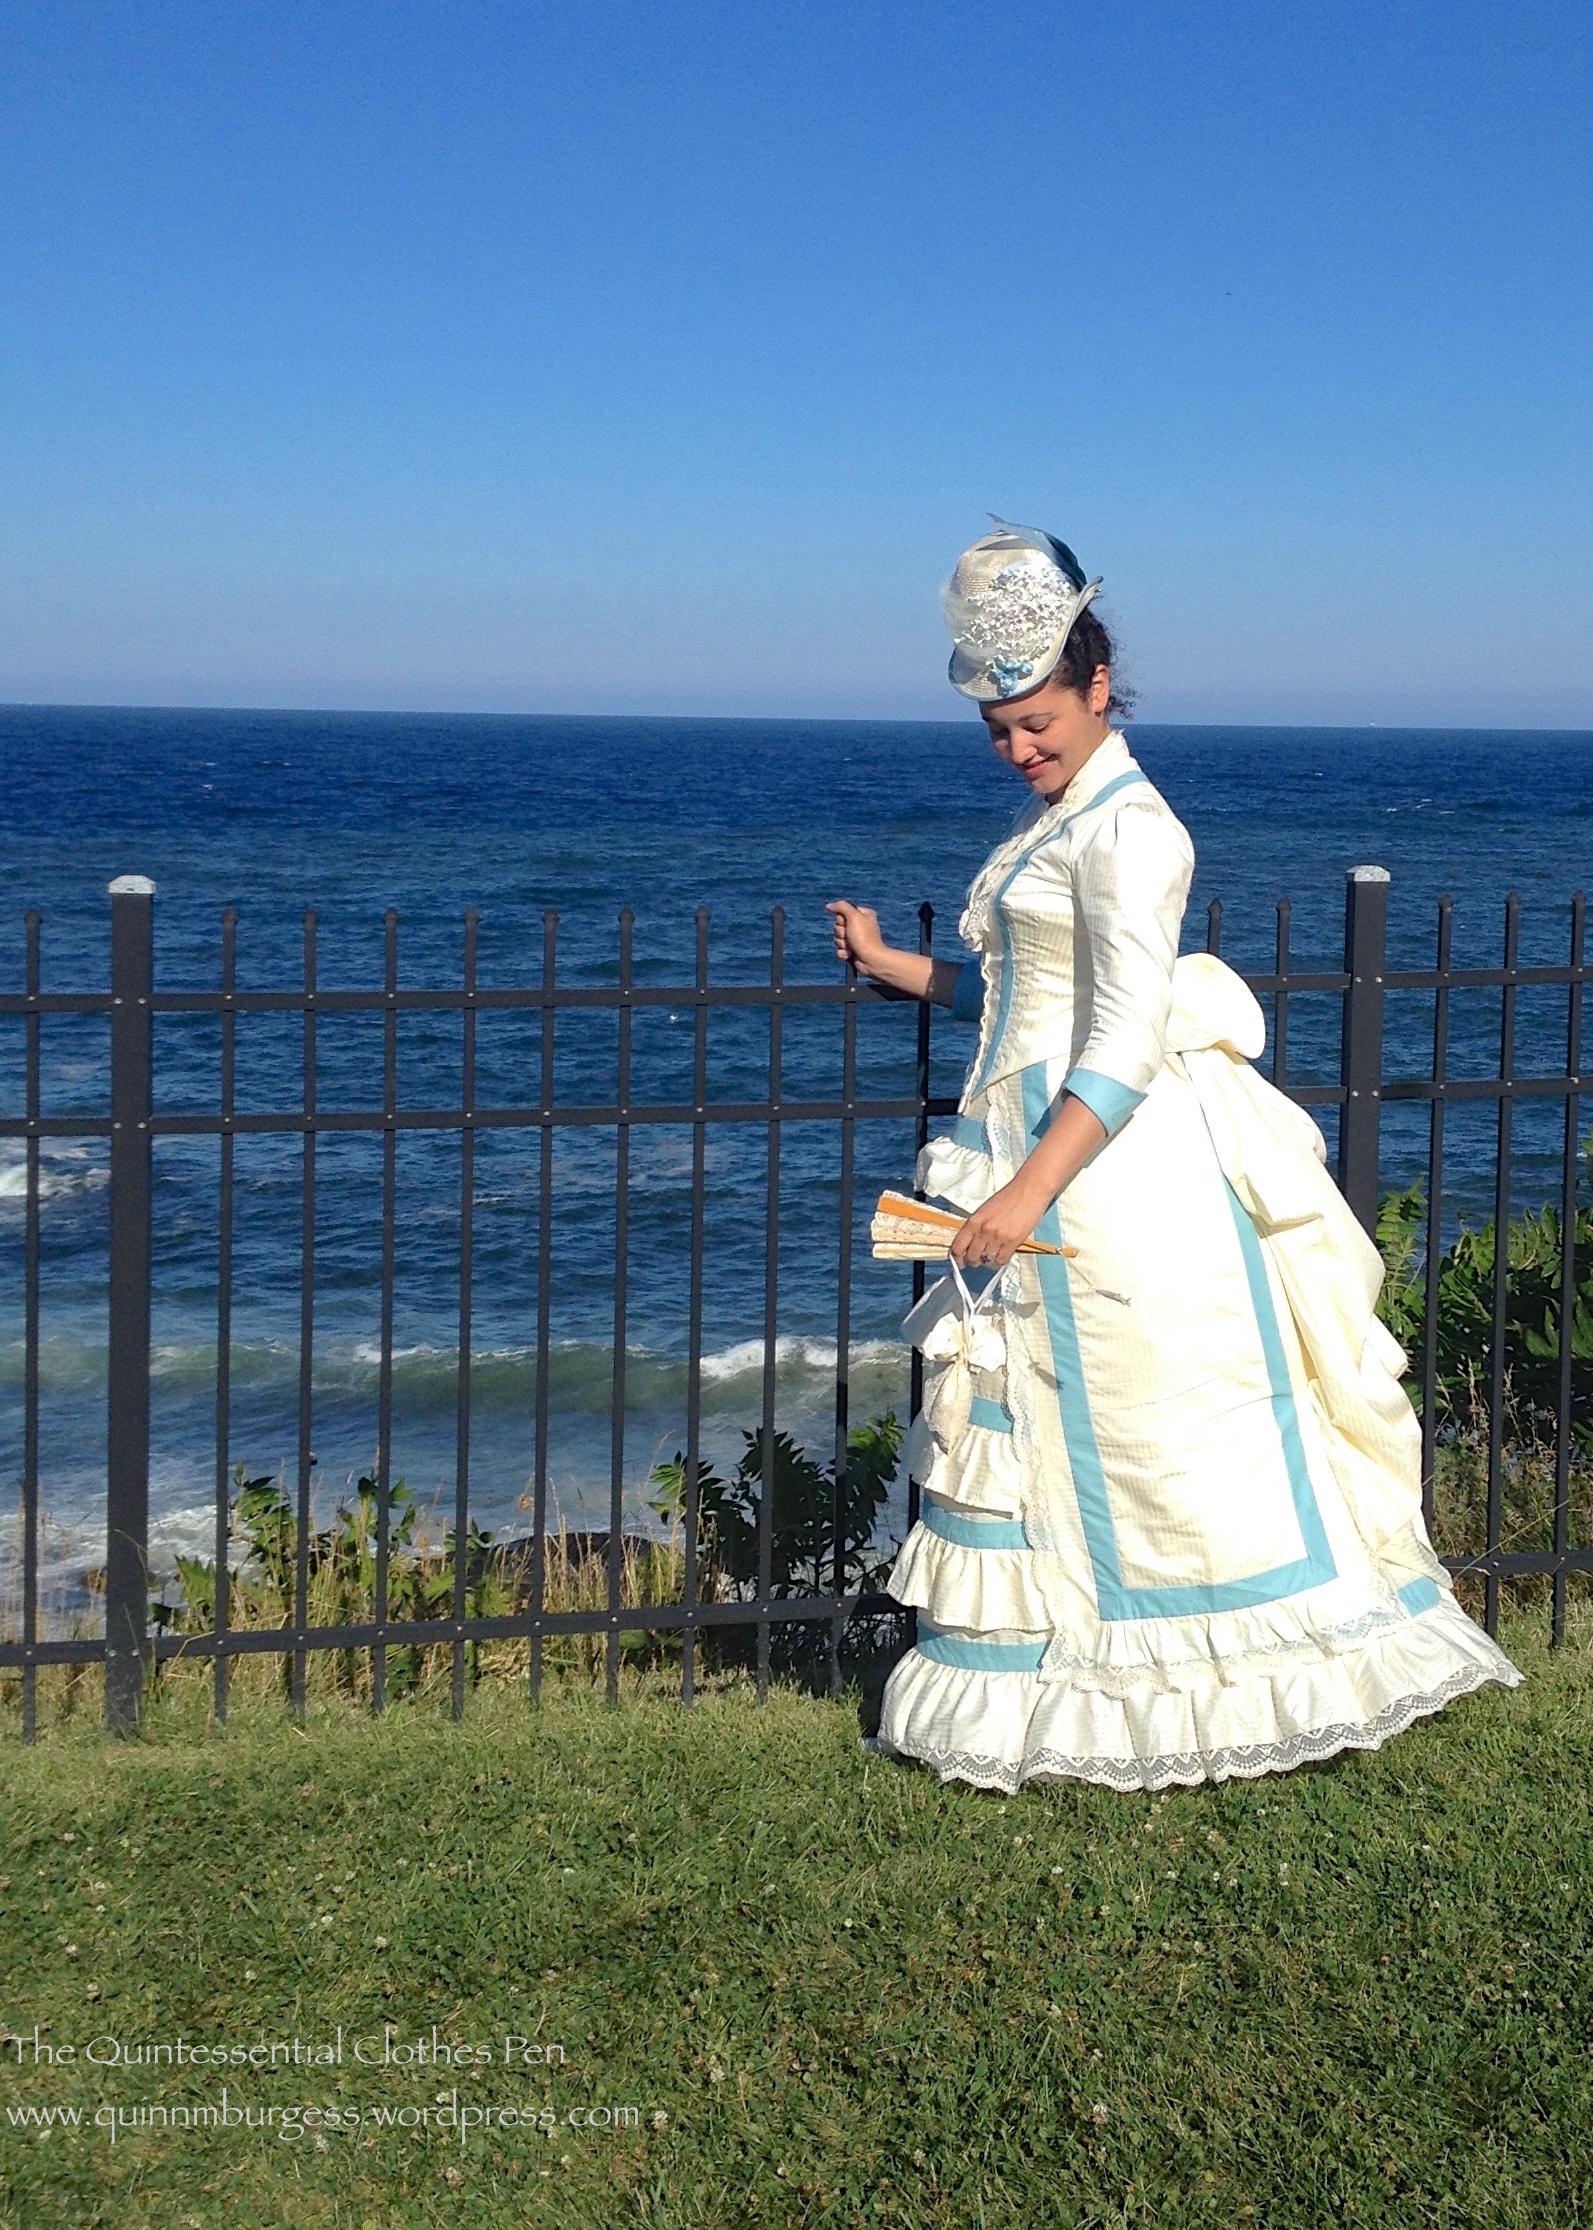
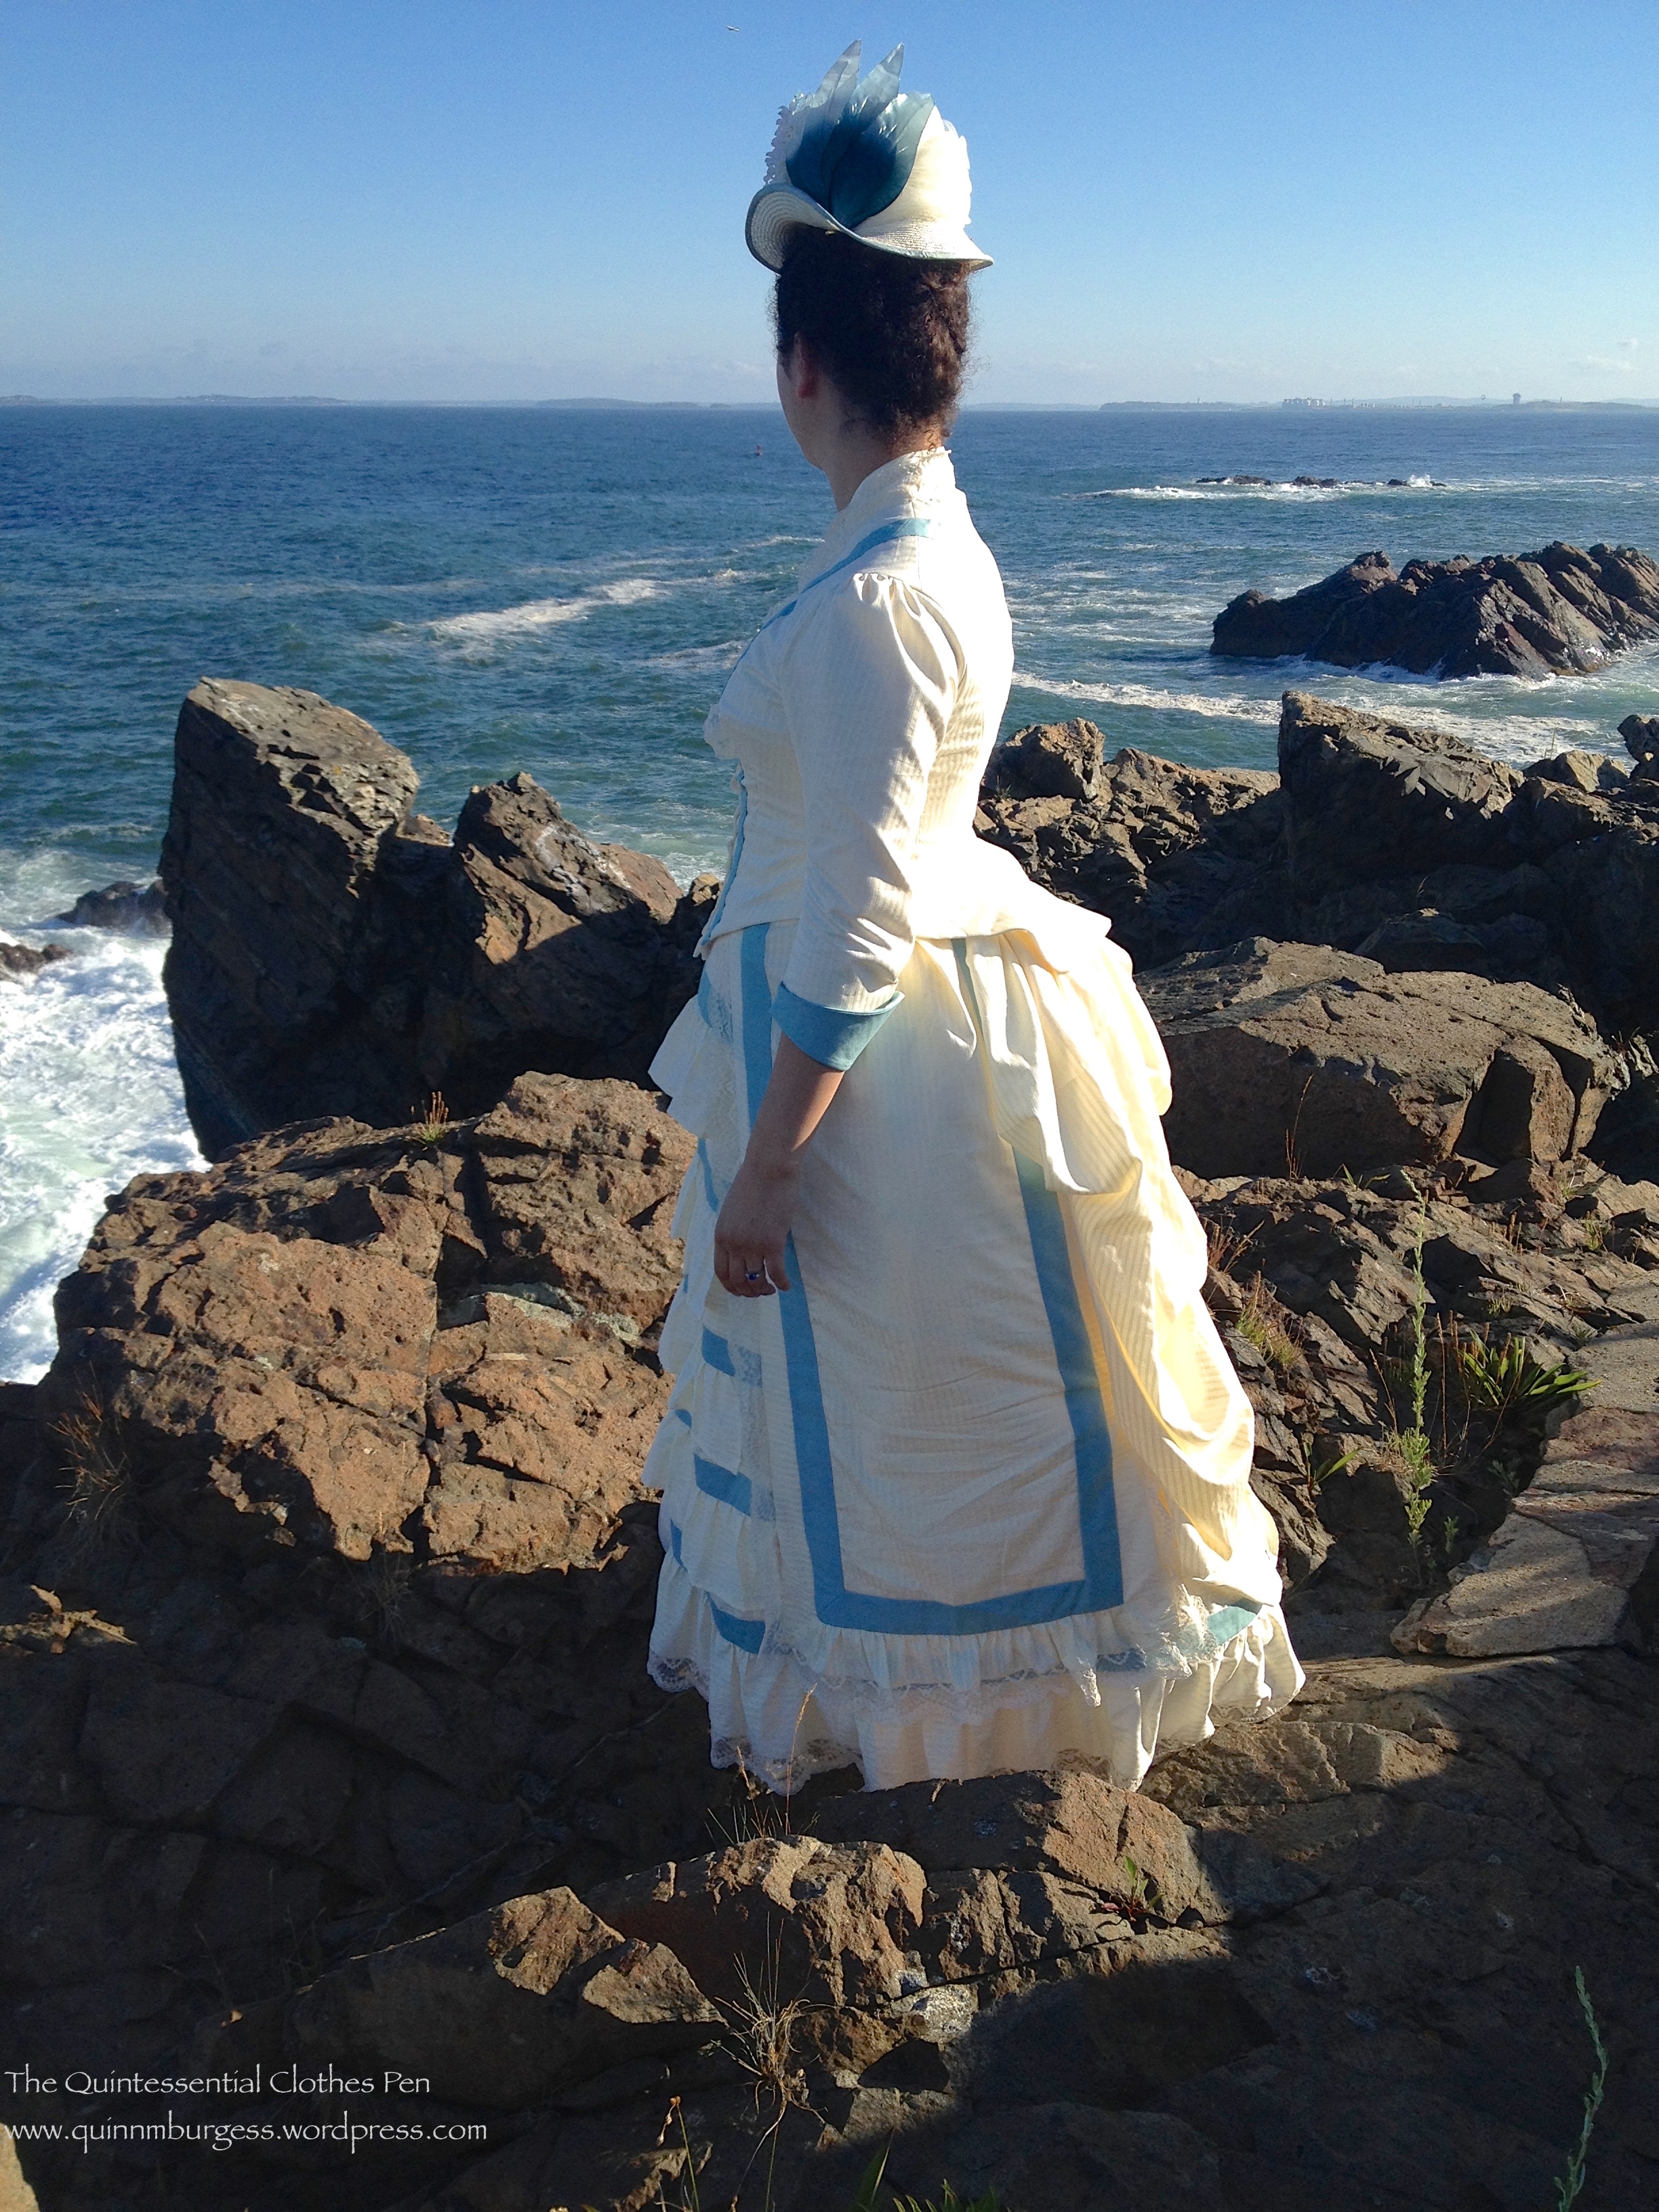
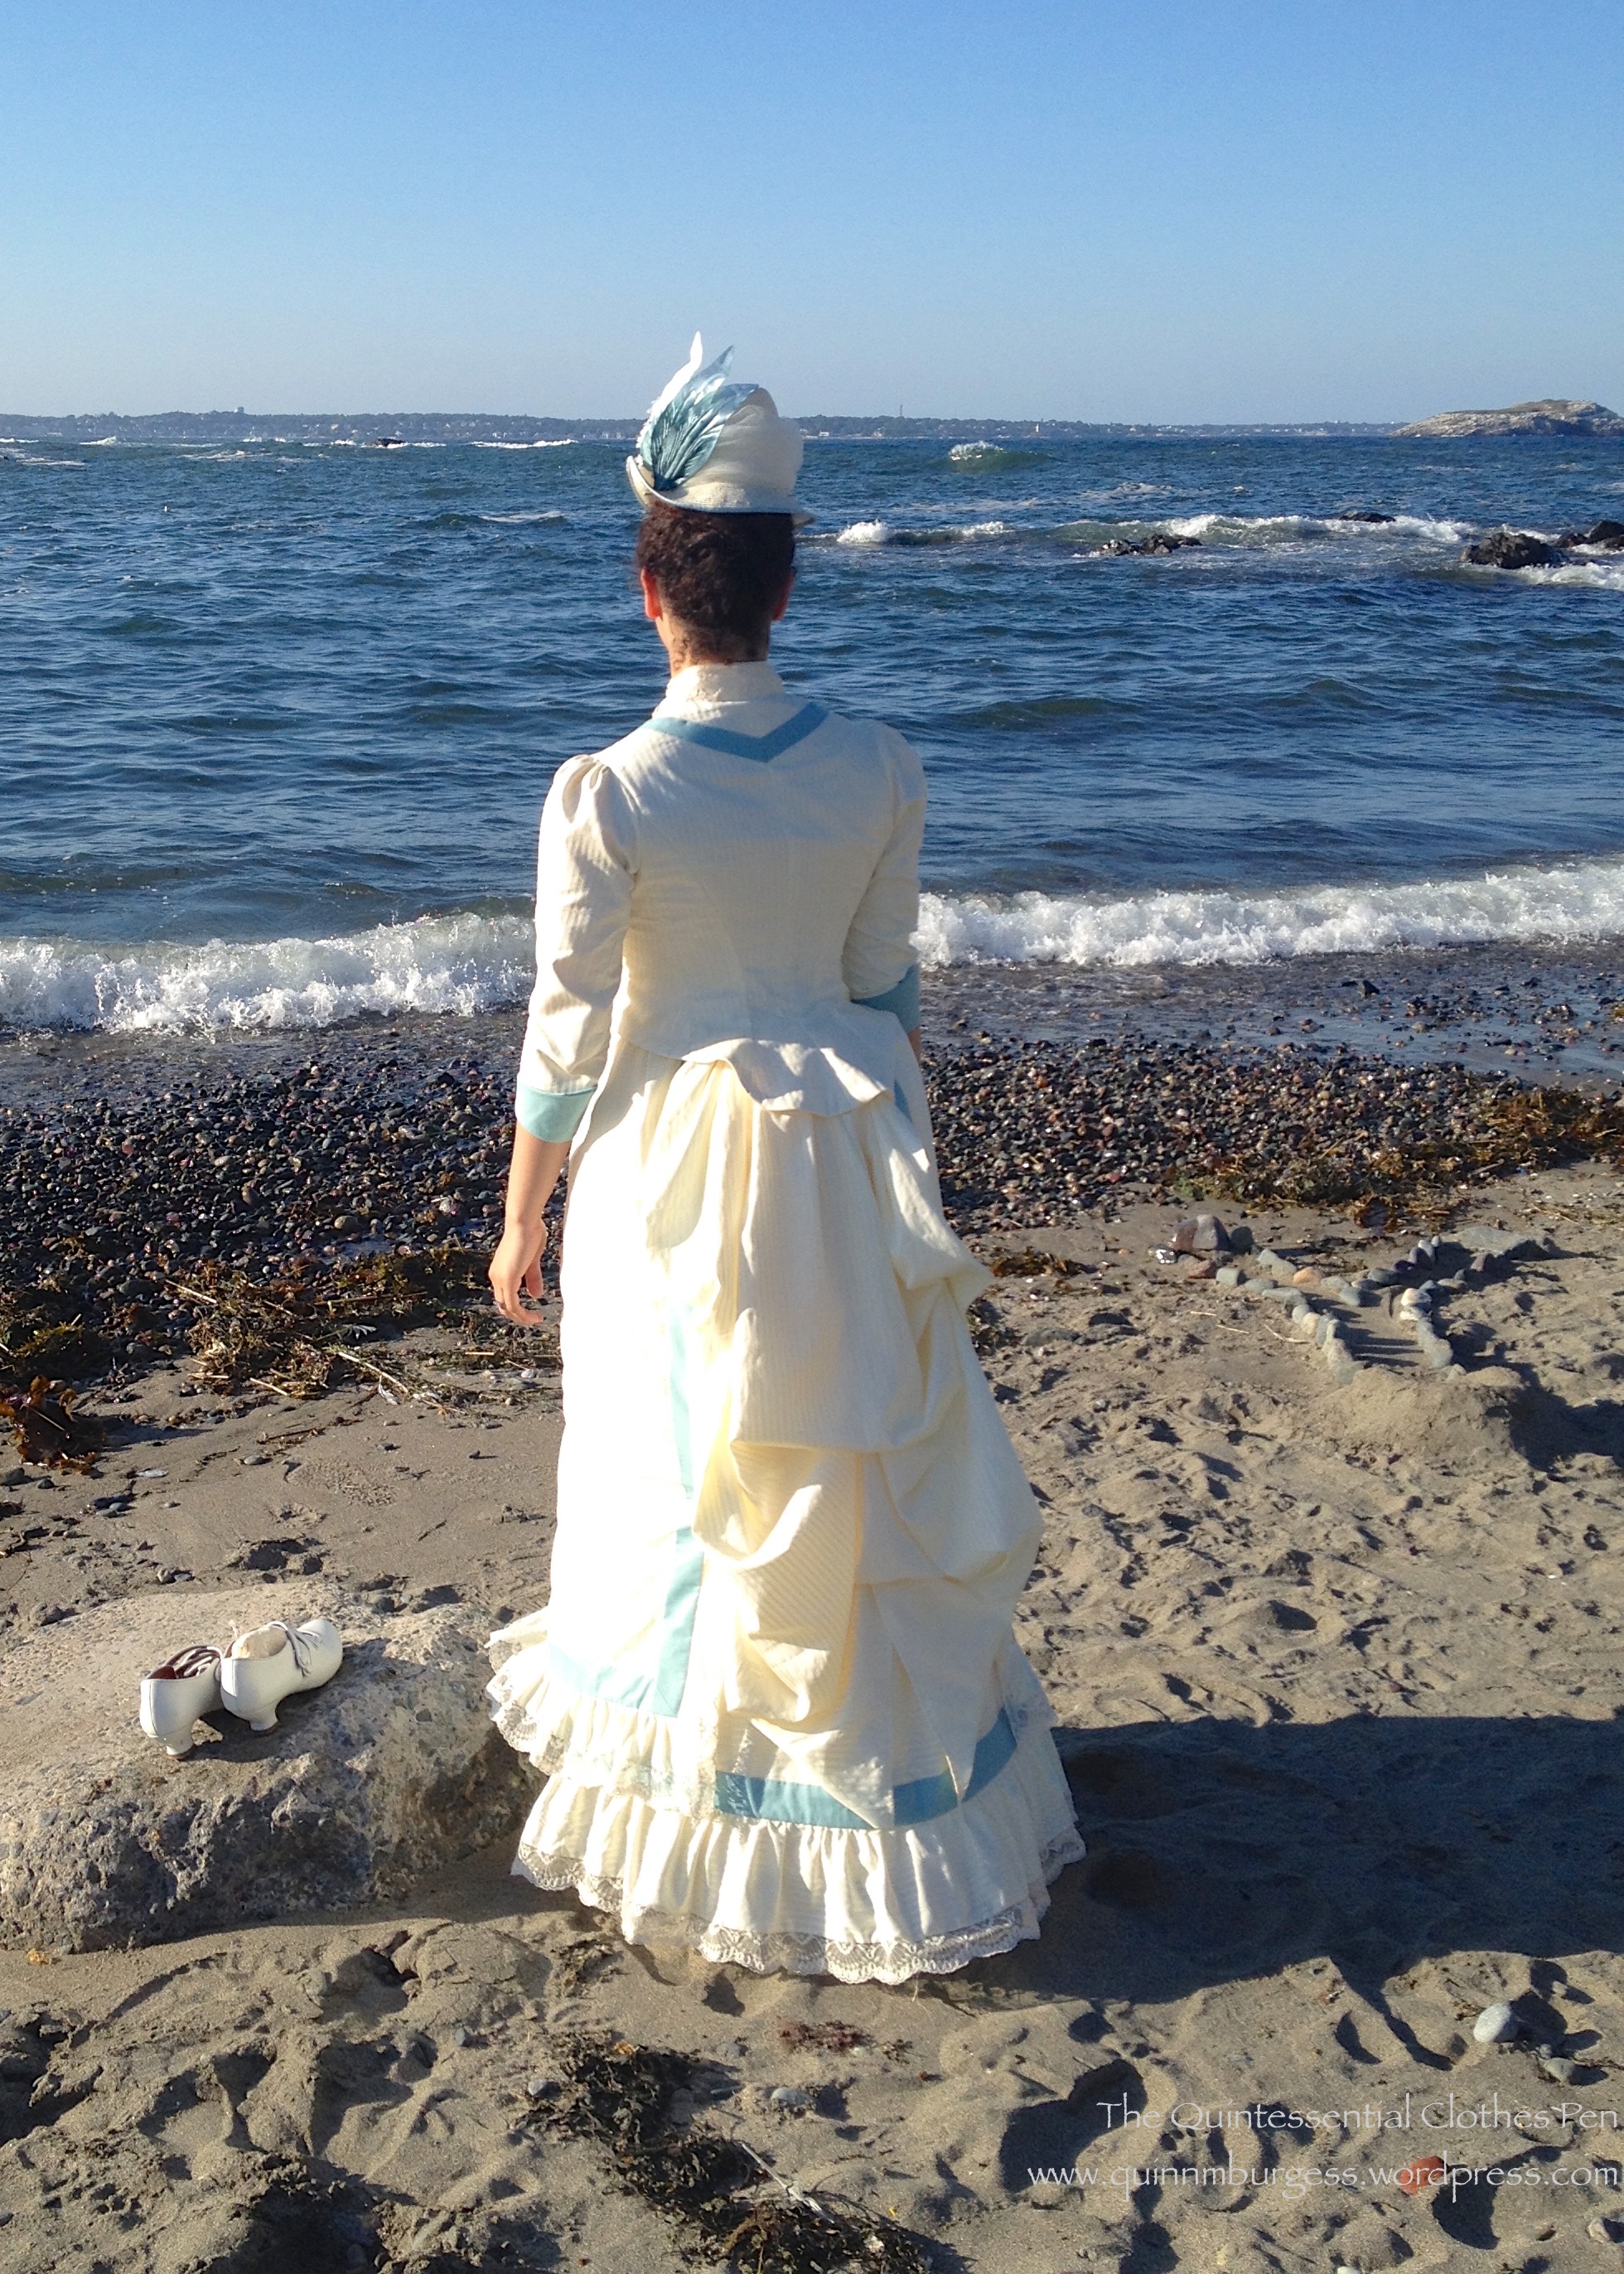
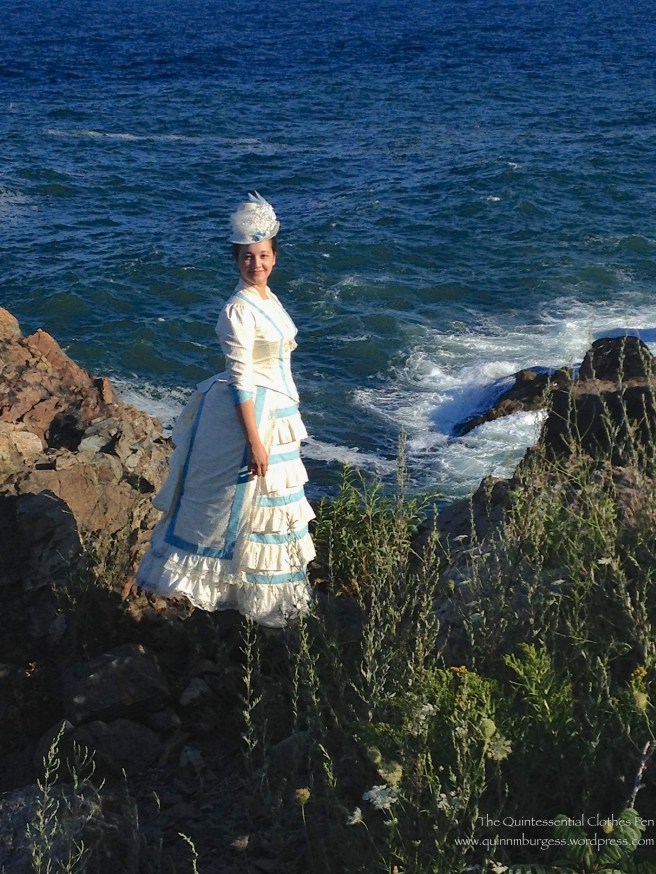
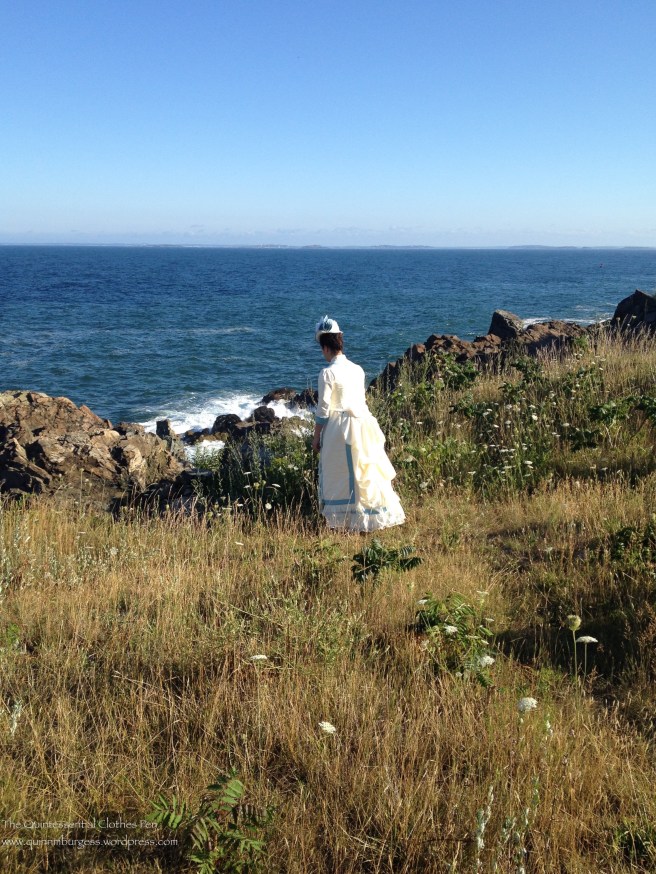
For my 300th post on the blog, I thought I’d share a dress that makes me smile. This dress makes me smile because of the frilliness of it which reminds me of Anne of Green Gables, because of the fact that it was very enjoyable and comfortable to wear, because I love that it is a UFO from 2013 that is finally complete, and because of the stunning backdrop I had for the pictures of it, which also remind me of Anne of Green Gables.
IMG_2725

I wore this dress to the Nahant Vintage Dance Weekend Formal Tea and Seaside Promenade in August. It was also the first outing for the my new 1880s steam molded corset and my recently made 1885 straw hat. I am pleased to report that they were all comfortable garments and accessories to wear. Being heavily boned, the corset was very supportive and thankfully didn’t feel heavy, and because it is shaped exactly to my body it was super comfortable–smoothing my figure without squishing it uncomfortably. The dress was perfectly reasonable to wear, with the exception of sitting, which required a slight sideways perch that was a bit precarious. And the hat stayed in place perfectly with two hat pins, as you can see from the pictures where my head is tilted in various directions.

IMG_2699

IMG_2689

IMG_2698

This dress has an association in my head with the puffed sleeves that Anne wants in Anne of Green Gables. While being from the wrong decade, it seems exactly like the sort of dress covered in frills and furbelows that Marilla wouldn’t waste fabric on. And just like Anne, I would often rather have the ridiculous, fashionable styles in historical clothing than the plain and sensible ones!

MARILLA: I’m not going to pamper your vanity. These are good and sensible dresses. This one is for Sunday, and the others you can wear to school.

ANNE: I am greatful, but I’d be even more grateful if you’d made this one with puffed sleeves.

MARILLA: I cannot waste material on ridiculous looking frills and furbelows. Plain and sensible is best.

ANNE: I’ve always dreamed of going to a picnic in puffed sleeves. I’d rather look ridiculous with everyone else than plain and sensible all by myself.
IMG_2706

This dress was started in 2013. I had grand hopes of finishing it that summer for the Historical Sew Fortnightly challenge #13: Lace and Lacing…

Lacing is one of the simplest and oldest forms of fastening a garment, eminently practical, and occasionally decorative.  Lace has been one of the most valuable and desirable textiles for centuries, legislated, coveted, at times worth more than its weight in gold, passed down from one garment to the next over centuries. Elaborate and delicate it is eminently decorative, and rarely practical.  Celebrate the practicality of lacing, and the decorative frivolity of lace, with a garment that laces or has lace trim, or both.

And while I did make significant progress on the skirt that summer (getting all of the trimming figured out, cut, and assembled, as well as getting the skirt base and side panels constructed), I didn’t get anywhere near far enough along to have a wearable outfit. So it sat in my “in-progress” sewing box with hopes to be worked on, but didn’t really make it to the top of my sewing list again until this summer. I had enlarged and sized a pattern from Janet Arnold in between 2013 and 2015, even cutting and assembling a mockup, but that had been waiting for a fitting because I wanted to wear my new specifically 1880s corset with the dress and the new corset didn’t get completed until June. Once I had the corset done, I set to work on the dress again, fitting the mockup bodice, finishing the skirt, and making the bodice, as well as a slight delay while I made the hat to match. It’s handy to make a hat part-way through the process of making the dress, because you don’t wind up running out of time at the end and not having matching accessories!

IMG_2772

The first inspiration for my dress was this white summer dress at the LACMA. The skirt was pretty much directly taken from the original, except for the back, which has a cascade of fabric instead of tucks as on the original–I figured there was already enough fluff for me on the front of the dress. I originally planned to edge all the front ruffles in lace as well, but ran out of lace. Running out of lace also made me rethink how I was going to trim the bodice. I went back to my inspiration boards and found these dresses with inspiring bodice treatments: a seaside ensemble and an afternoon dress with very different fabrics and intent, but I thought this could be adapted for my summery seaside dress. I had only a few yards of lace left when I got to working on the bodice and I decided to save some for edging the top of the 1880s corset because the shape of the lace is perfect, but that didn’t leave me much for the bodice. It turns out I had just enough to execute the final trimming plan I decided on.

IMG_2754

Since this was originally intended to be part of the HSF, here are just the facts:

Fabric: 7ish, I think, yards of cream satin stripe cotton, 1/3ish of a yard of blue polished cotton, and 1.5 yards or so of cream polished cotton for flat lining the bodice.

Pattern: Created by me, but the shapes are based on a dress in Janet Arnold.

Year: 1885.

Notions: 9 yards of ivory lace, hooks and eyes, scraps of white cotton for finishing off the bodice edges, and vintage ivory buttons.

How historically accurate is it?: As accurate as I can be using the research I’ve done and the materials that are available in 2015. It definitely passes Leimomi’s test of being recognizable in its own time.

Hours to complete: Tons over two years.

First worn: In August 2015.

Total cost: I bought the all the cottons for super cheap, probably $3/yard, the lace was probably about $8, the buttons were a few dollars, and the rest was from the stash, so around $30-$35.

There were so many good pictures it was very hard to limit myself for this post! So here’s some more, with a bit of commentary to go along with them.

We had a beautiful day for the Tea and Promenade. It had been very hot prior to this, but the day of the event was a little cooler and the stiff ocean breezes made for a temperature that felt perfect for me in my layers and ¾ sleeves. The formal tea part of the day was at Egg Rock on Nahant (the same location as the Formal Soiree I attended last August). There was a lovely concert inside the house as well as guests lounging around outside, including me, playing croquet. At that point the stiff breeze had me worried that my hat wouldn’t stay on without pulling at my hair, so I chose not to wear it for awhile. (Thank goodness I gave it a try later, though, because it is perfect with the dress and I wouldn’t have wanted to miss wearing the two together!)

IMG_2668

11866207_10153557263049588_8661903483348243128_n

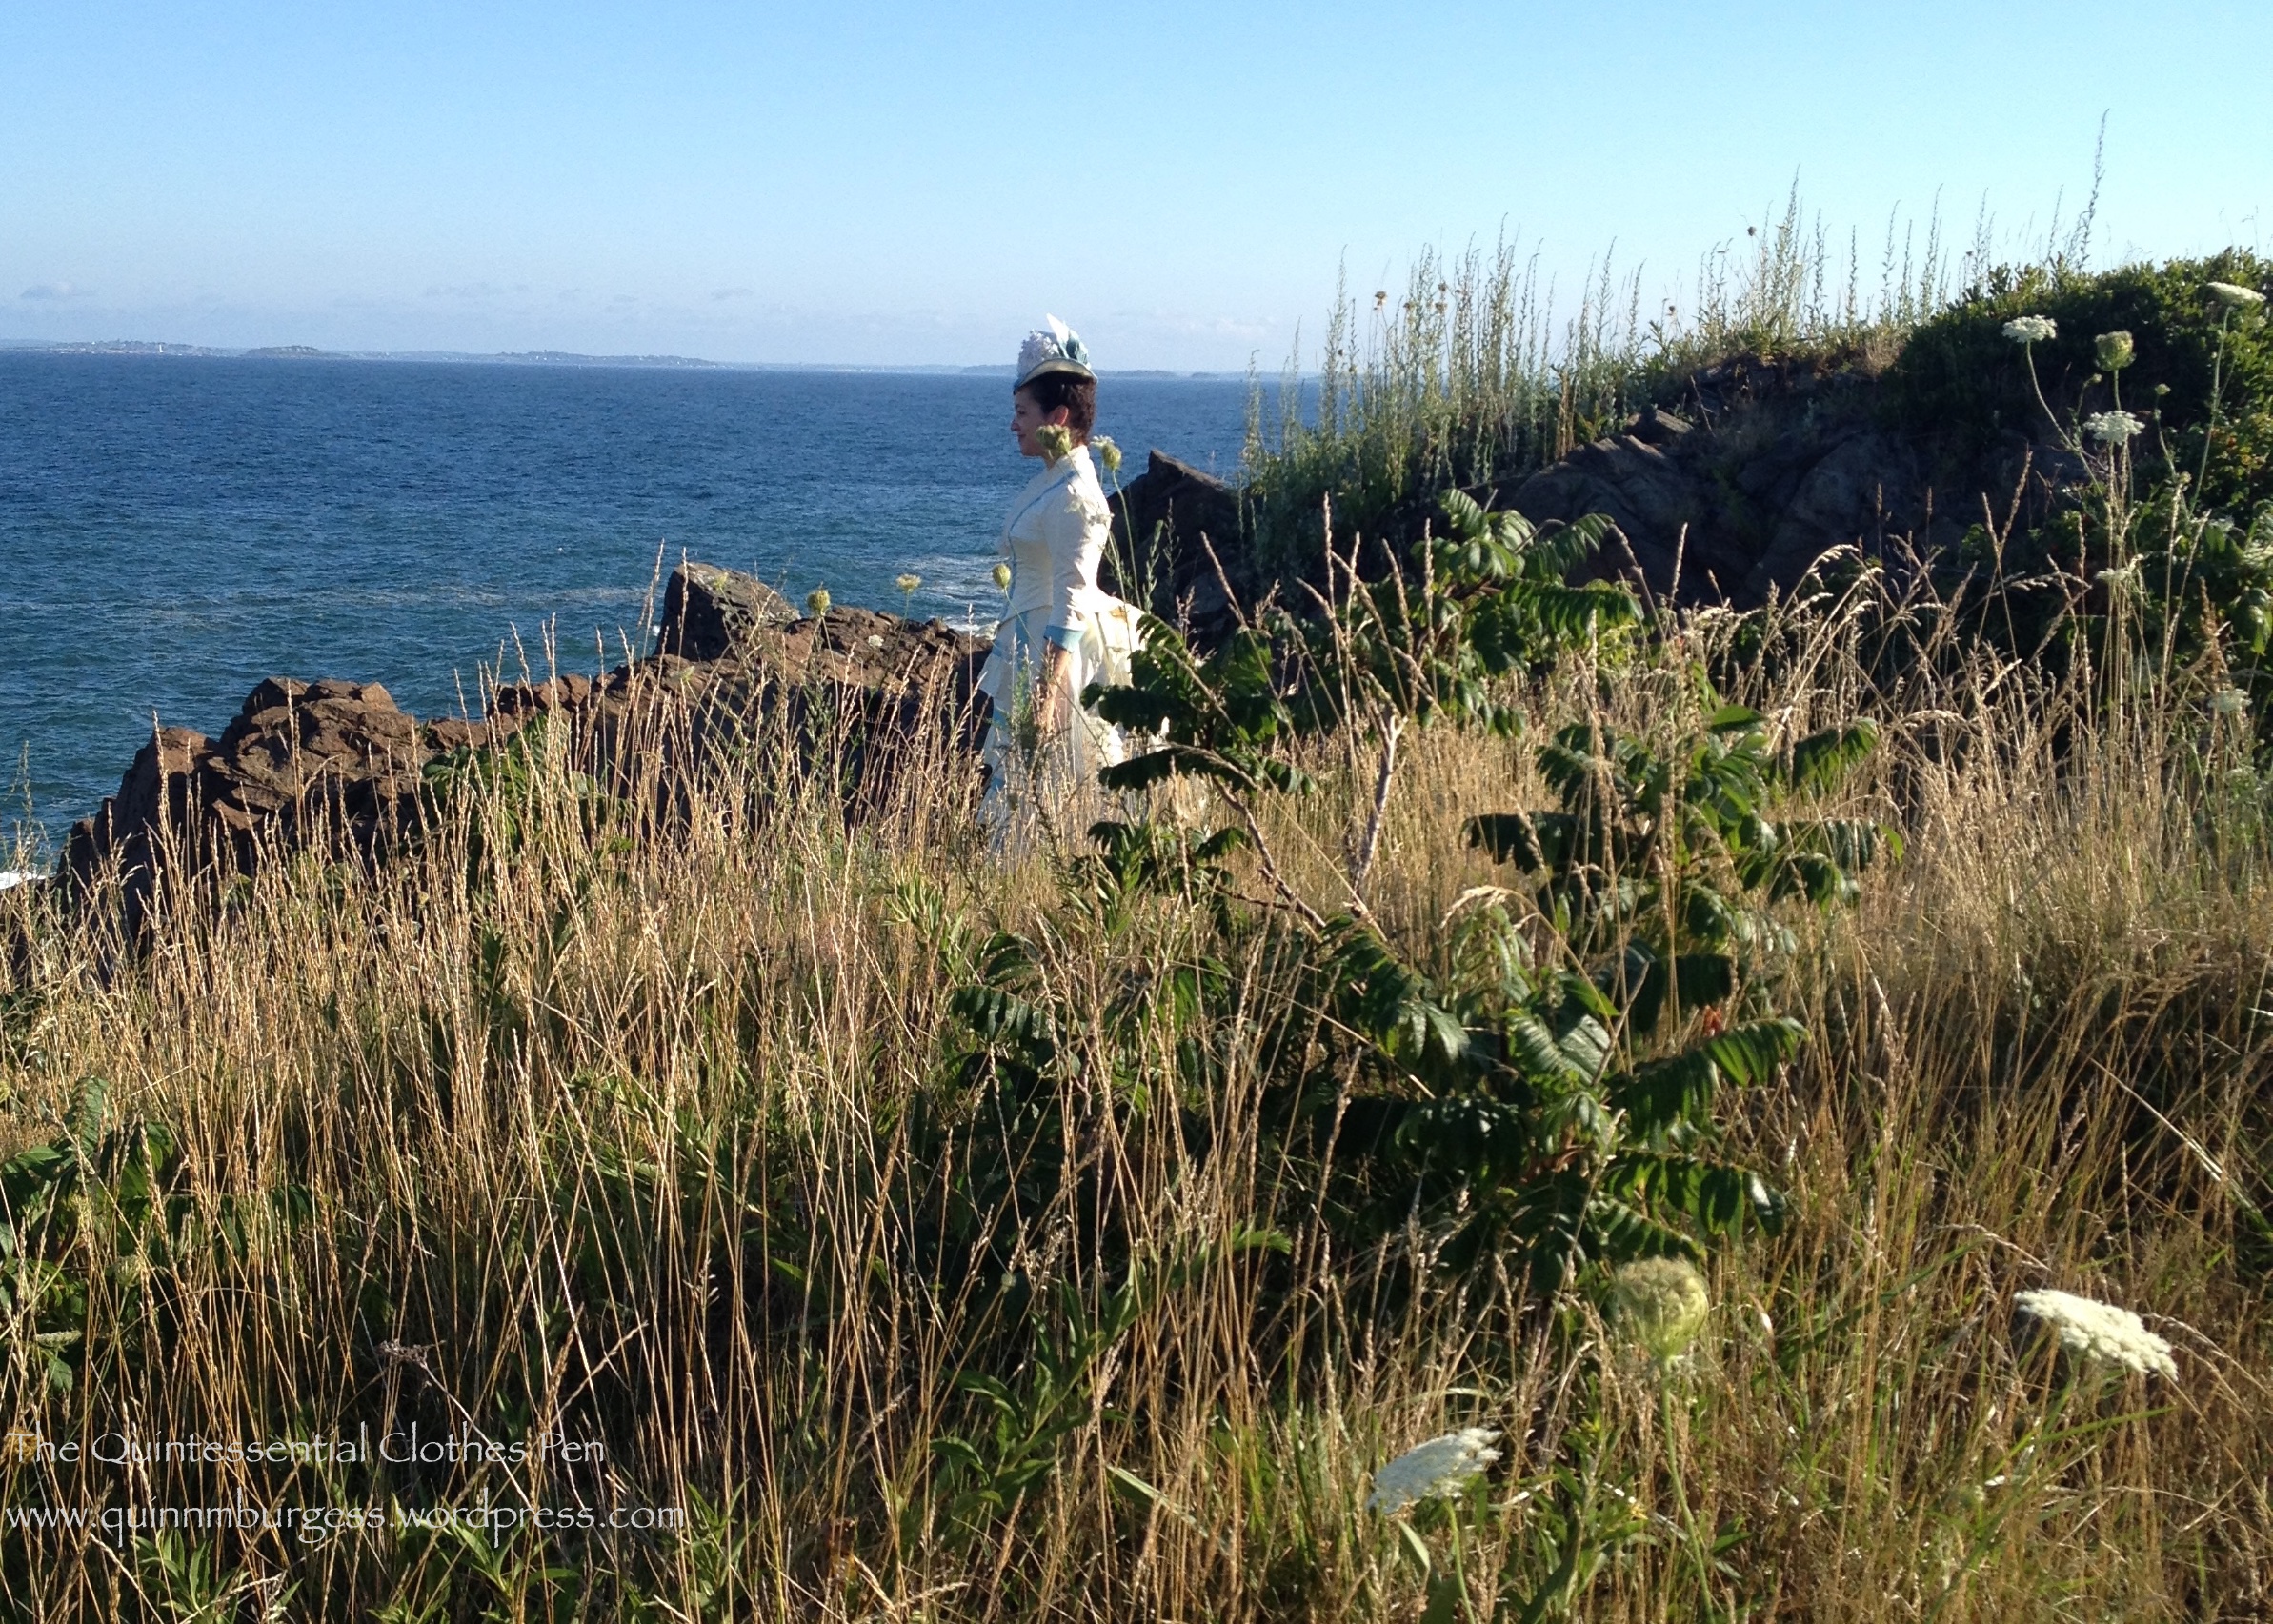
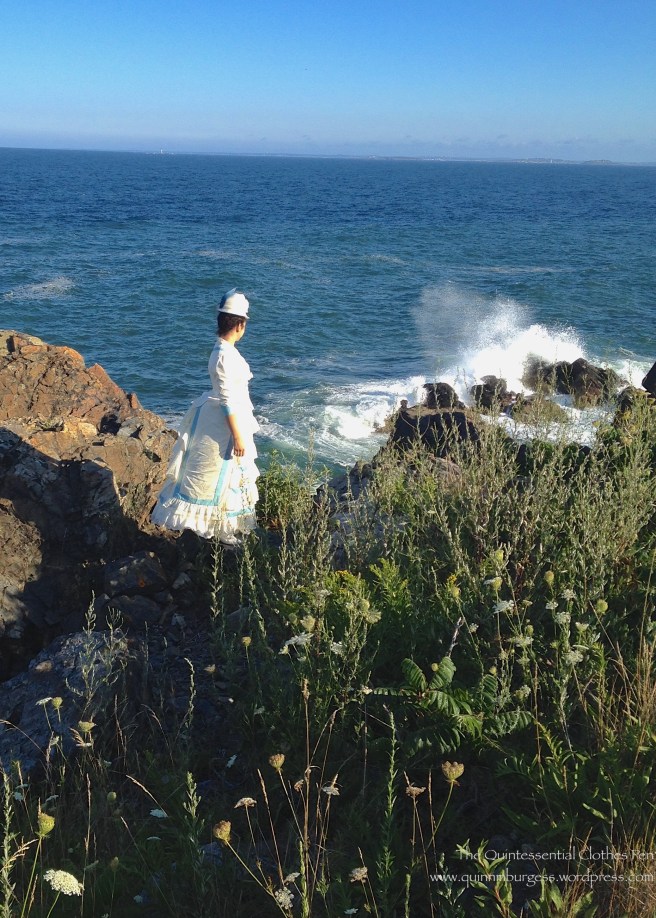
After the concert and some refreshments, the guests assembled for the promenade. As you would expect, we stopped traffic, attracted stares, and received questions from the more brave souls who would talk to us rather than just making up stories in their heads about our unusual clothing. The promenade took us to East Point, former site of the 19th century Nahant Hotel. The hotel is no longer standing, but there were stunning views of the Atlantic and the rocky coast to clamber on!

IMG_2716

IMG_2721

IMG_2735

IMG_2737 (1)

IMG_2742

IMG_2750

IMG_2776

Not me, but such a gorgeous view and cute picture that I had to share it, too!

IMG_2766

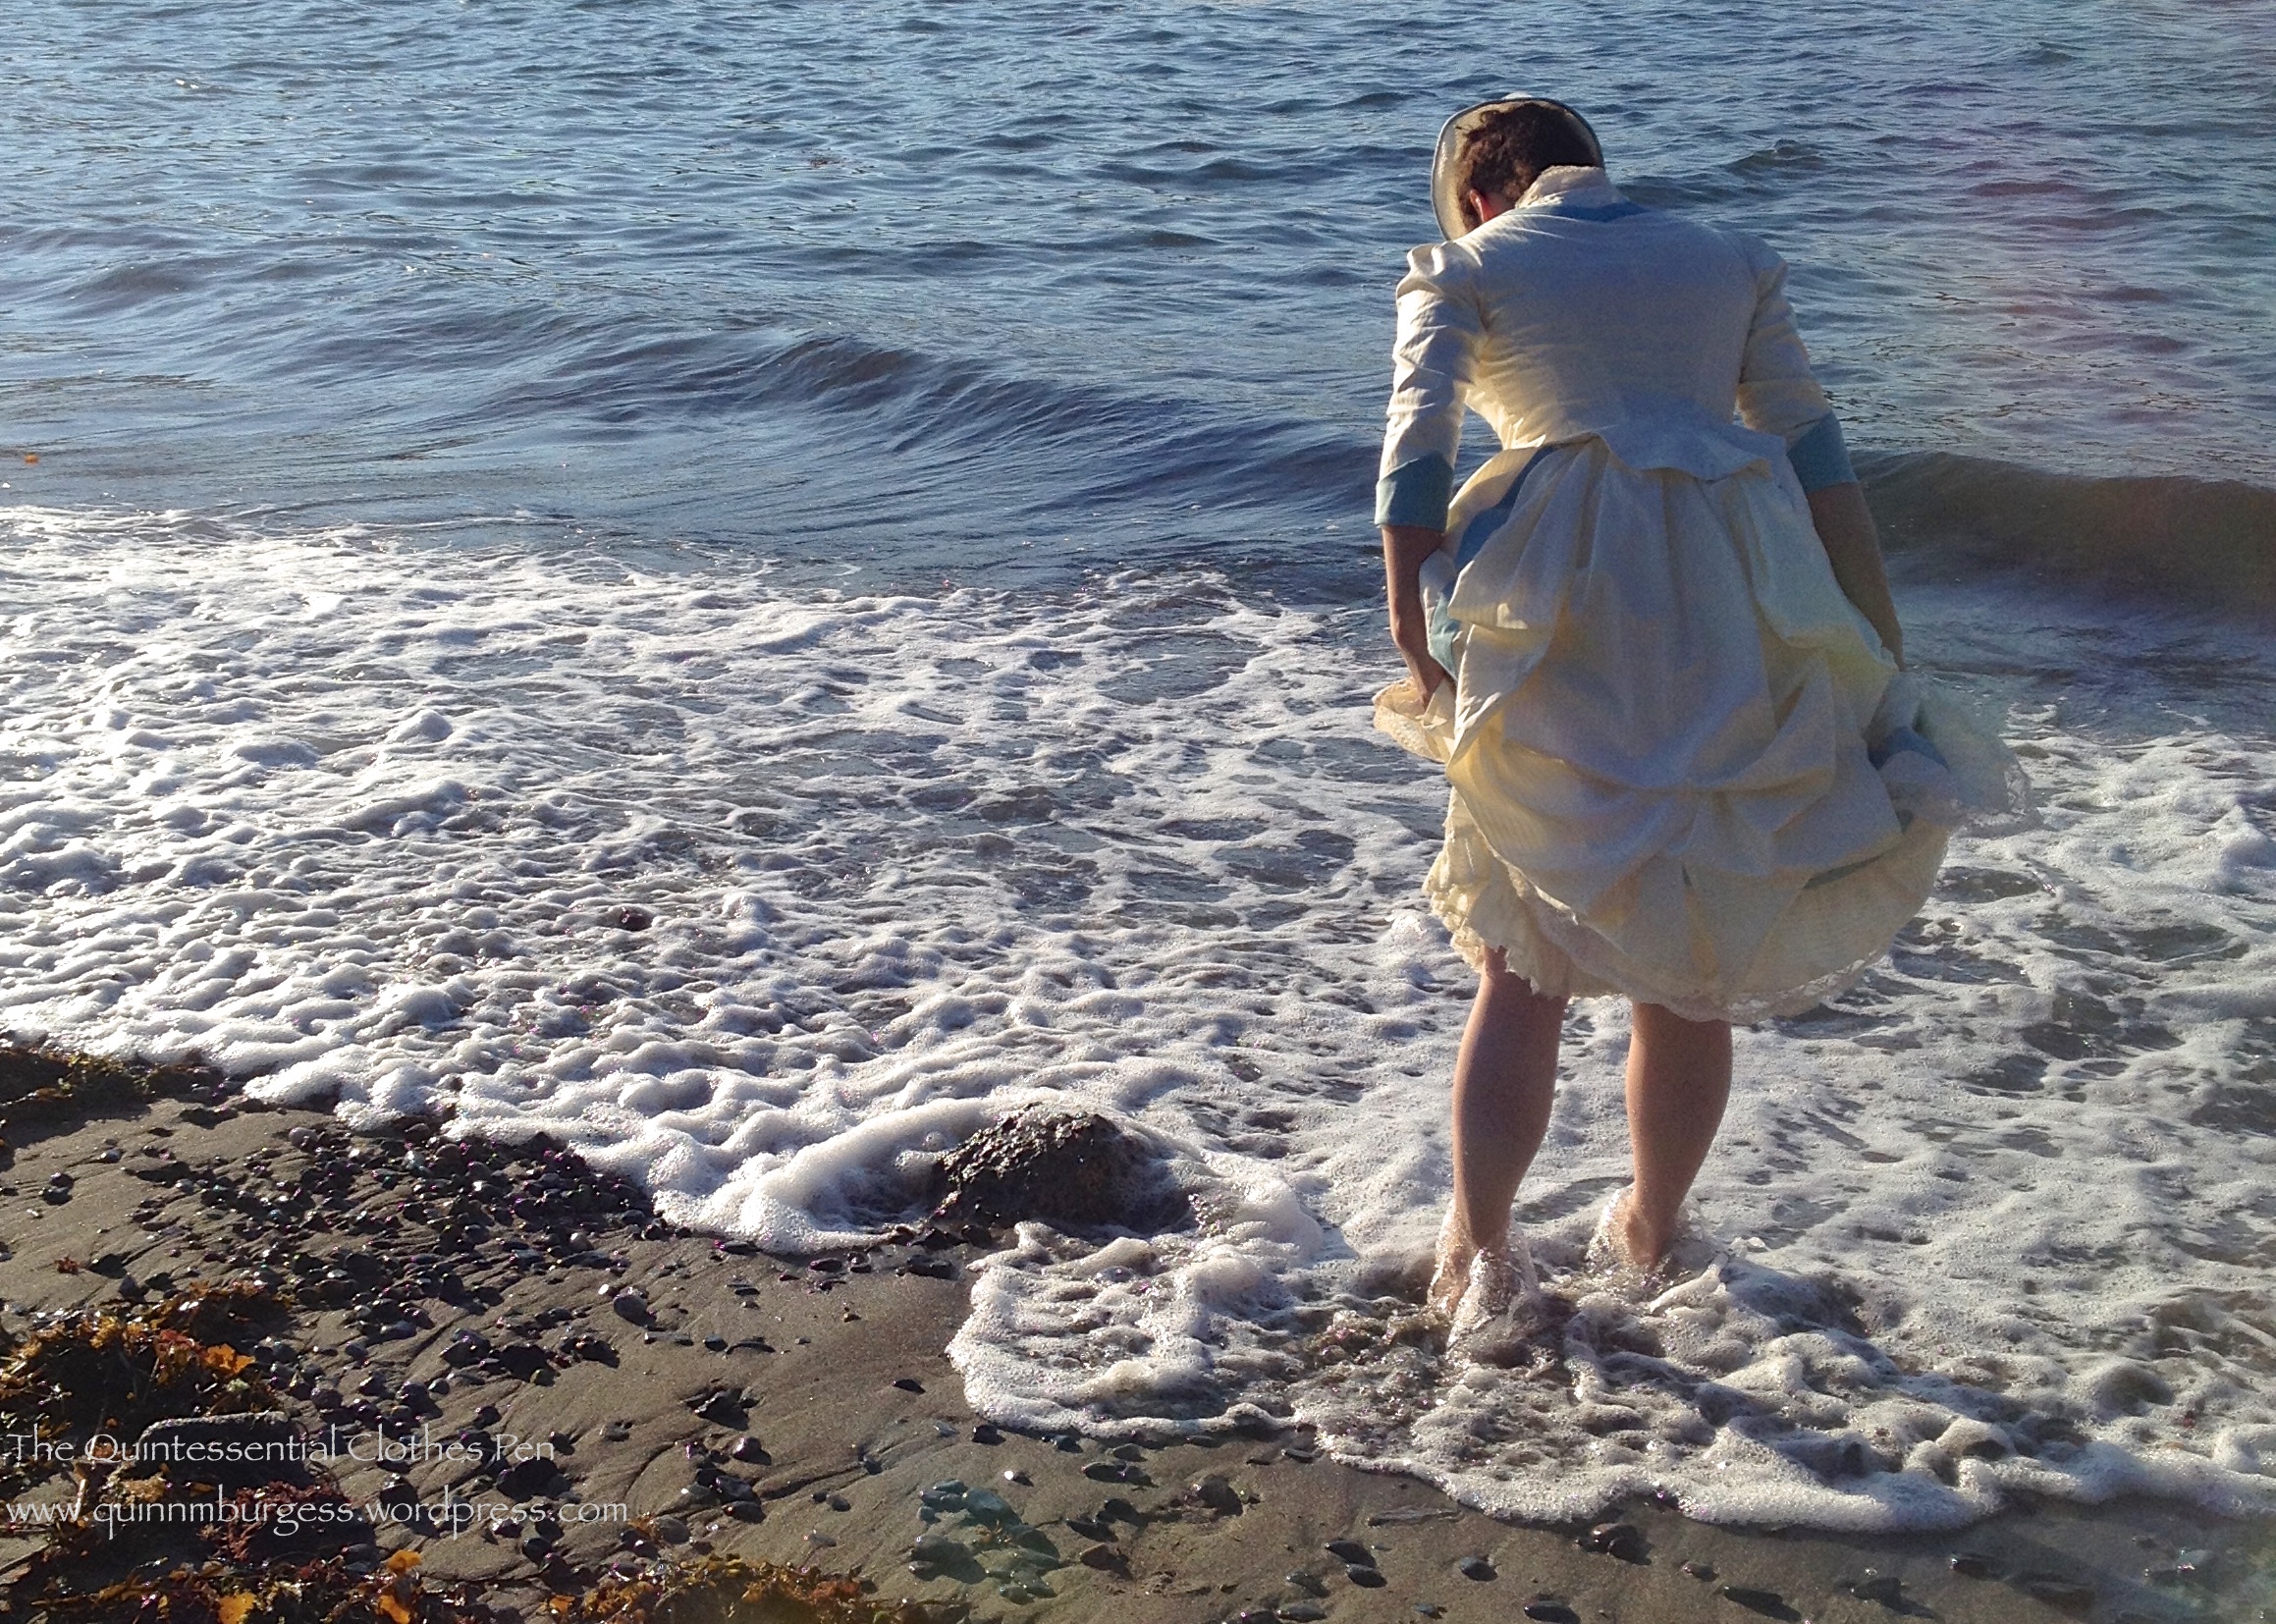
Some of us decided to head back a little early so we could stop at a small beach we had passed on our way to East Point and go wading! After the walk, the cold Atlantic water felt quite good on our feet. Here I am with stockings and shoes off, ready to head into the water.

IMG_2785

And here I am, wading in my bustle dress!

IMG_2816

There’s this picture of two ladies in bustle dresses from 1885 who look like they are collecting shells. That’s what I had in mind when I took this next picture, although looking at the 1885 picture again I see that the ladies in the picture are still wearing their stockings and shoes… I guess I’m pretty scandalous for 1885 in my bare legs and feet!

IMG_2827

Here we are, the whole wading group. It was a pretty fun adventure. I don’t think I’ve been wading in historical clothing since Newport in 2012.

IMG_2789

IMG_2810

Project Journal: 1880s Steam Molded Corset: Steaming (HSF/M #6)

Most of the work on this new corset was completed during the sewing process, which you can read all about in detail in this previous post. The remaining steps were to starch and steam mold the corset, to floss the corset, and to add lace to the top of the corset.
First, the steaming. I did what I could to follow the description provided by the V and A regarding Edwin Izod’s steam molding process:

One of the most successful was the steam-moulding process developed by Edwin Izod in 1868, and still used in the 1880s to create elegant corsets such as this one. The procedure involved placing a corset, wet with starch, on a steam-heated copper torso form until it dried into shape. The result was a beautifully formed corset, whereby ‘the fabric and bones are adapted with marvellous accuracy to every curve and undulation of the finest type of figure’ (The Ladies’ Gazette of Fashion advertisement, London July 1879).

To begin, I made a solution of cornstarch dissolved in water. I put 2 tsp to 350 ml water, but wound up using only about 1/5 of that. On a scrap, I tried applying the starch solution with a spoon, but decided against that because it left a visible starch crust on the fabric as it dried. What I found worked better for even distribution of the starch solution was a spray bottle. I sprayed the inside of my corset (the coutil layer) until it was thoroughly damp, then put it onto Squishy (since I don’t have a steam-heated copper torso of myself available, darn!): she’s a squishable dress form that I had previously padded to be close to my measurements and proportions (that’s an important point, that she had my proportions–padding in the right areas so the corset would dry into my shape!) and covered with a plastic garment bag so the starch would stay on the corset. Once the corset was on the form, I steamed it all over using a Rowenta Steam-n-press hand held steamer about three or four times. Then I intermittently steamed it again while it dried overnight.

IMG_2346
Steaming the starched corset on Squishy.

I only did one application of starch and I believe it had some effect. It’s not as stiff as cardboard and able to stand up on its own, as I have heard some steam molded corsets described, but it does seam to want to create the curves that were patterned into it with ease and I do think that the bones took on a little of the curvy shape during the drying process as well. (Here is an example of an extant very stiff steam molded corset. Look at how well it retains its shape! I want to do some more research regarding the Symmington corset company but that’s going to have to wait a bit.)

After the corset was dry, I flossed the boning channels using ivory silk thread and the flossing pattern from my inspiration corset. Unfortunately, I only had enough of the thread to floss the bottom of the channels… so I have to deviate from my inspiration a little and not have flossing across the top.

The last step will be to add lace across the top of the corset. I’d like to use the same lace that I’m using to trim my in-progress 1885 bustle dress, but I’ve only got a small bit left and I want to make sure the dress has enough before I use it on the corset. I’ve started figuring it out but am not confident yet that I have enough, so I’m going to hold off on taking absolute final pictures of the corset with the flossing and lace until I’ve officially decided that point. Regardless of the lace issue, we’re going to call this corset done, because it is entirely wearable at this point, just in time for it to qualify for the HSF/M #6: Out Of Your Comfort Zone!

Just the facts:

Fabric: A remnant of yellow silk duchess satin, a remnant of ivory linen, and white herringbone coutil.

Pattern: Created by me (more details in this blog post about mockups and this one about the pattern pieces themselves).

Year: c. 1885

Notions: 38 bones (34 of which are spiral steel and 4 of which are flat steel), a metal busk, metal grommets, cotton twill tape, thread, silk thread for flossing, and a lace for the corset (with the addition of decorative lace sometime soon).

How historically accurate is it?: As accurate as I can be using the research I’ve done and the materials that are available in 2015. I think it passes Leimomi’s test of being recognizable in its own time.

Hours to complete: Many! Patterning, cutting, sewing, finishing…

First worn: Only for fitting the mockup of the dress that inspired it–but I plan to wear it with that dress in August.

Total cost: The fabrics were all from the stash, as were most of the notions, except for the bones and busk, for which I paid about $50.

New techniques: Steam molding! But I also added a few new details to the corset construction process. Details in this construction in detail blog post.

Reflecting back on the process, I think I probably could attempt to starch the corset with a stronger solution or more applications, but at this point I’m satisfied and ready to move on to the many other things I’d like to sew this summer, including the 1885 bustle dress that sparked this project in the first place! (I’ve actually already moving ahead with that–I fit the mockup bodice over the corset and was very pleased! More on that in a few weeks hopefully!)

Project Journal: 1880s Steam Molded Corset: Construction In Detail

This corset is made up of three different fabrics, all sandwiched together and flat lined. The outer fashion fabric is a scrap of butter yellow duchess silk satin that just barely fit all my pattern pieces (whew!). The inner layer is a white herringbone cotton coutil. Sandwiched in between these two layers is a tightly woven slightly off white linen. I chose this fabric for a few reasons: #1, because it was in the stash and an odd shaped scrap not likely to be used for a garment that required large pattern pieces; #2, because it didn’t have any dye that might leech through onto the yellow silk; and #3, because it is tightly woven enough that I’m not worried about the bones poking through it over repeated use.

IMG_2240
The three layers of fabric in this corset.

I decided to use three fabrics instead of the usual one (coutil) or two (coutil and a fashion fabric) for two reasons: #1, because I wanted an extra layer of fabric between my silk fashion fabric and my inner coutil layer so there would be less chance of any sort of spotting from the starch; and #2, because applying boning channels of any material would have been incredibly bulky and challenging with all the curves and bones on seams, but by having a third layer of tightly woven fabric I could sew boning channels anywhere I pleased without adding bulk.

After cutting out all 12 pieces in each fabric I machine basted the layers together so nothing would be sliding around creating bubbles while I assembled the pieces. Most of the basting wound up being removed as I moved through other steps in the process–either during the grading of the seams or while inserting bones.

Once the layers were flat lined I put the grommets in the two back pieces. Normally, I do this later in the process, but this time it worked well placed here. I used size 0 silver grommets. They are a little larger than extant corsets seem to have, but they are what I had available. After that, I assembled the pieces along their vertical seams. Then I graded each seam so that when it was pressed towards the back of the corset it would be less bulky.

IMG_2321
A graded seam.
IMG_2322
And here’s what it looked like with all the seams graded and ready to go.

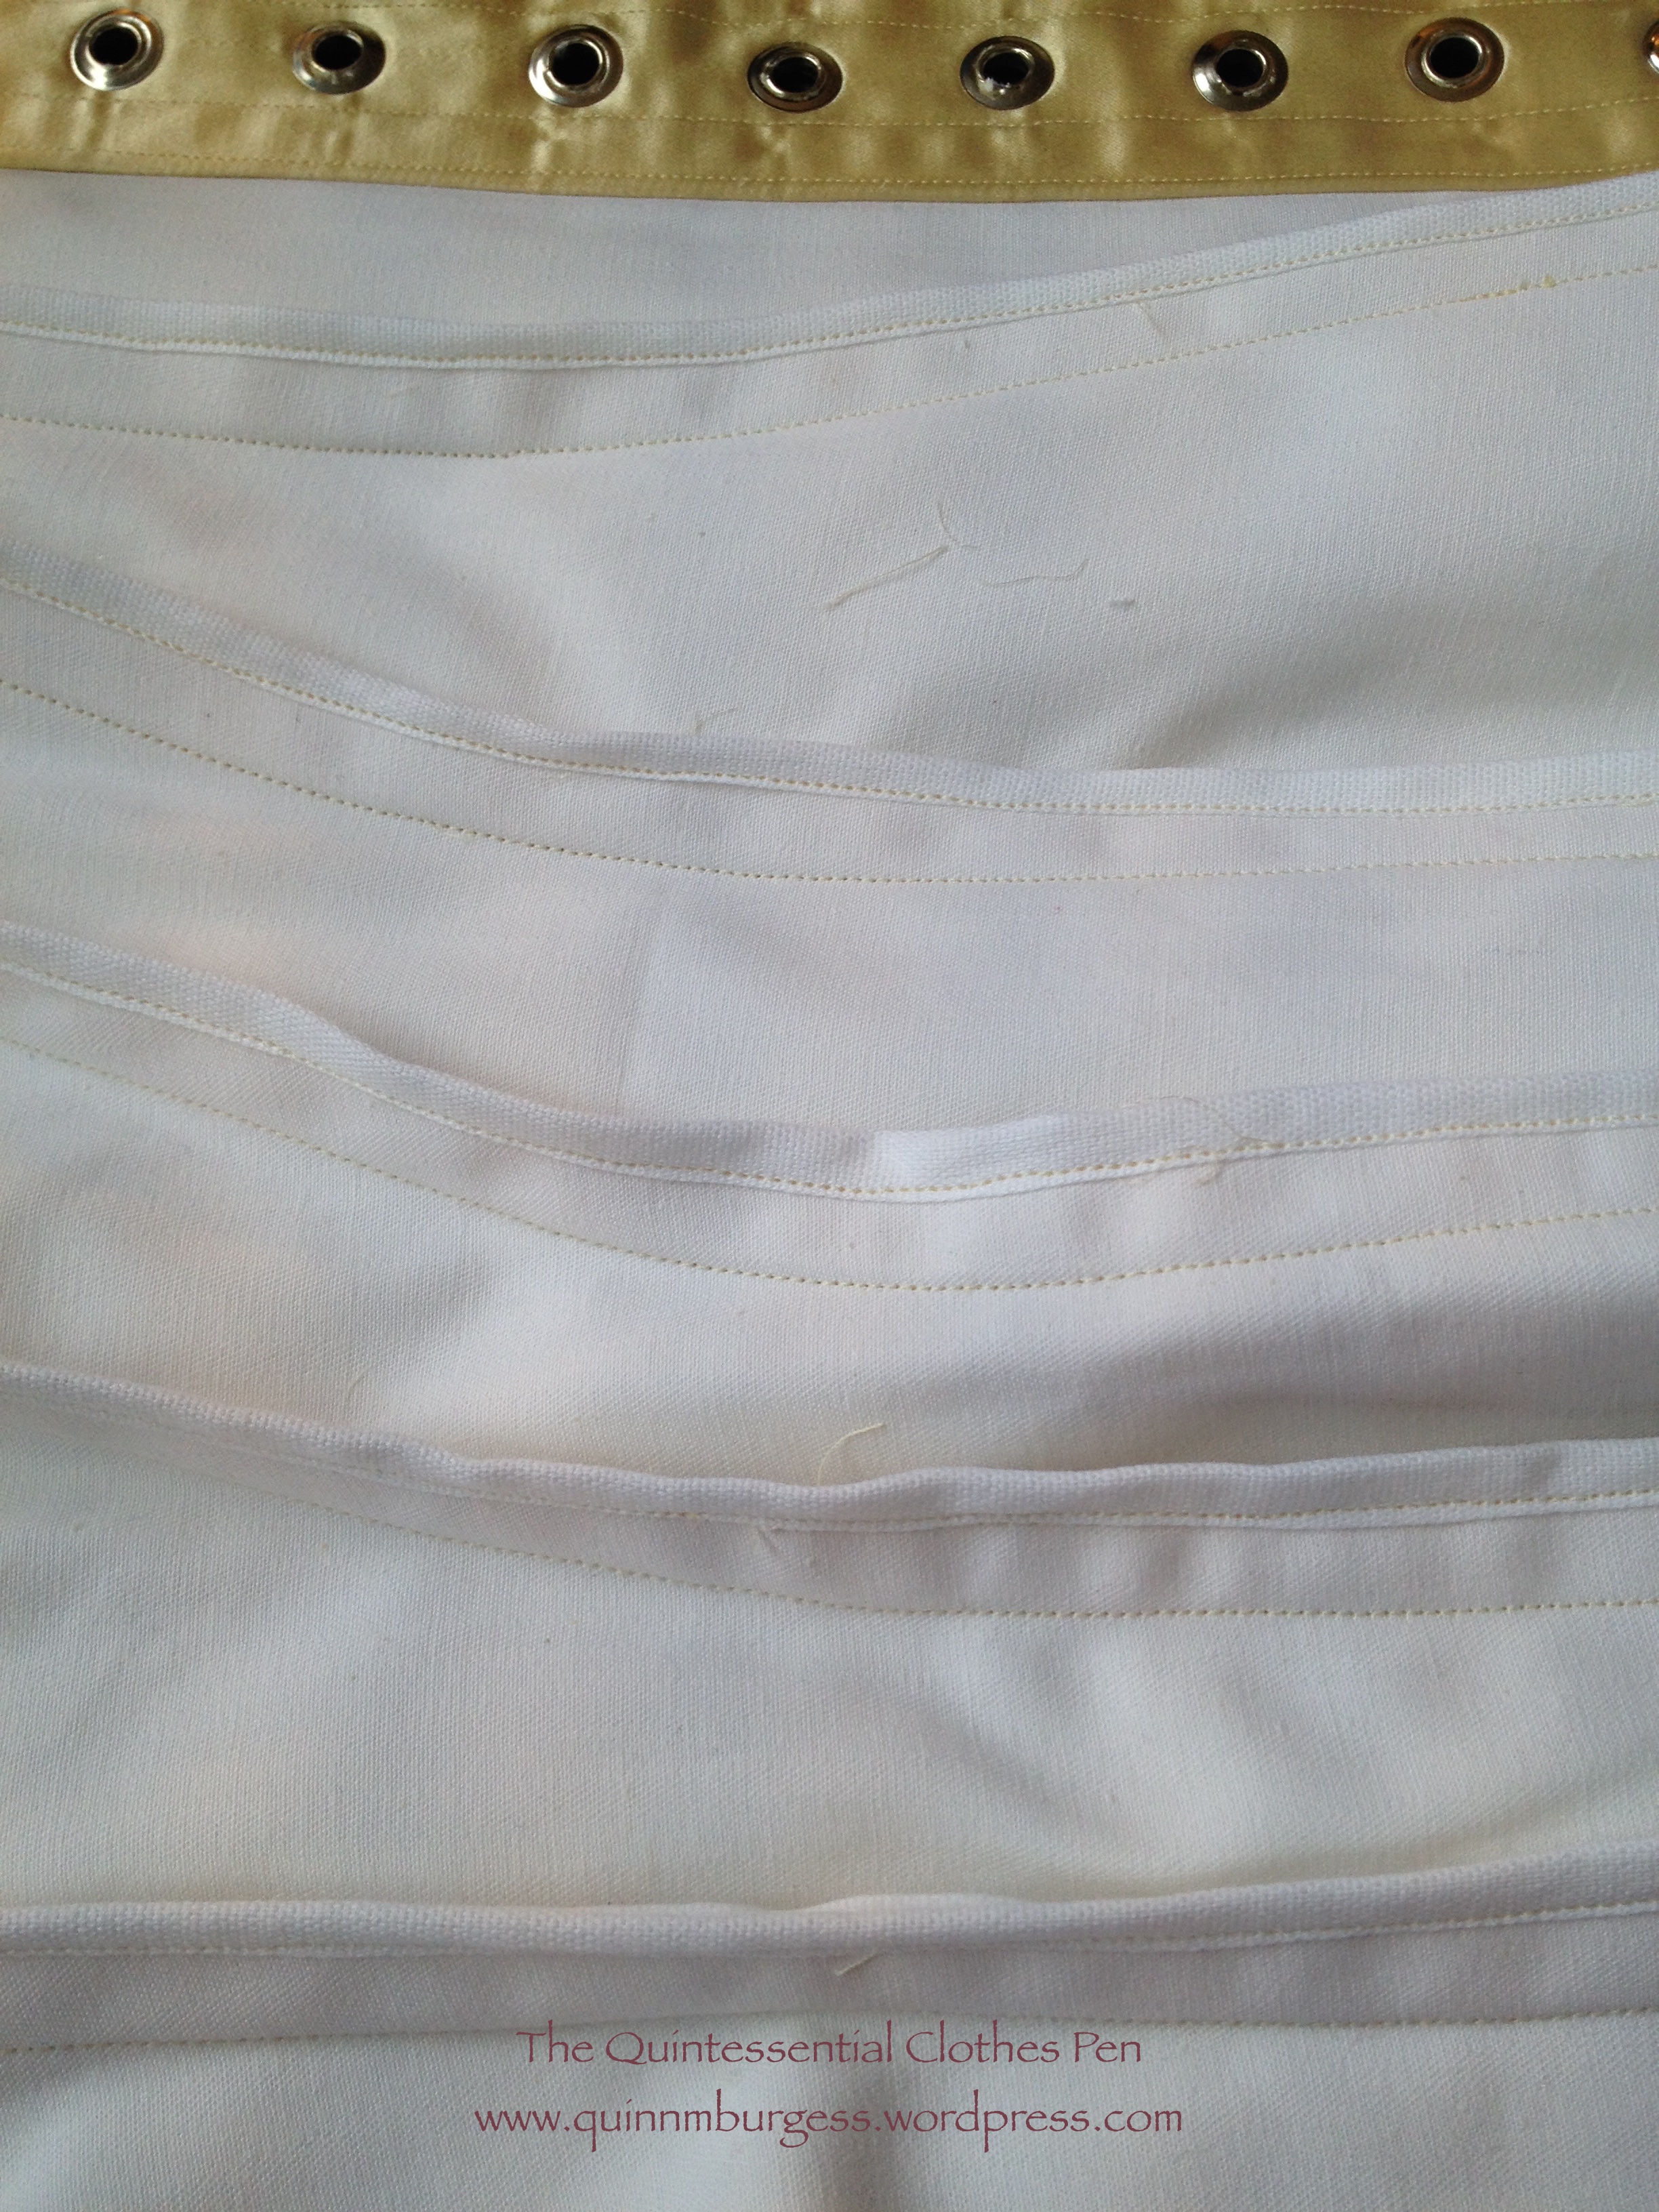
Most of my previously made corsets have flat felled seams, some of which are used as boning channels and some of which are not. I prefer this method because it provides more strength along each seam than any method in which seam allowances are left pressed open. In this case, though, 3 layers of fabric getting flat felled was very thick, so I decided to try a different method. I bound each seam with ⅝” cotton twill tape, not worrying about the fact that the graded fabrics closest to the original seam were not encased in the binding.

IMG_2323
All the seam allowances bound with twill tape.

The seam allowances were all pressed towards the back, but not immediately topstitched as with a flat felled seam. Instead, they were caught and stitched down as I stitched boning channels. Some of them have boning channels that run all the way down the seam while others are held down by boning channels in enough places that, when combined with a binding on the top and bottom edges, will be sufficient to keep the binding flat and not allow any of the graded seam allowances to peek out.

IMG_2342
With all the boning channels in place the bound seam allowances are caught in enough places that they won’t flip around.

Another detail unique to this corset is related to stitching the boning channels. Often when I flat fell seams for corsets I don’t also topstitch right along the seam. For this corset, however, I stitched an extra line of stitching next to the fold of the seam allowance. This detail is taken directly from my inspiration corset at the V and A. While this might provide a little extra strength, I believe it is mostly a decorative and flattening stitch.

IMG_2325
On the left you can see how the seam has not been topstitched next to the fold, while on the right you can see the extra line of topstitching.

I was able to stitch most of the boning channels prior to inserting any of my boning. This corset was intended to have 4o bones, as the V and A description states, but wound up with 38. Unlike the original, which has whalebone, this corset has ¼” spiral steel bones except for the bones that flank the grommet channel, which are ¼” flat steel.

This is the first corset I’ve made that uses this much spiral steel. Usually I use flat steel, but these boning channels are much to curvy for that. The spiral steel definitely lends itself to the curviness of the corset, allowing it to shape to my body rather than making it a more cylindrical shape.

This is also the first corset I’ve made with this much boning. I’d say it has about double the usual amount of boning. That, combined with the three layers of fabric, make this one heavy corset (and heavy duty, too!)! Unfortunately, I don’t own a scale to weigh it, but the weight is surprising every time I pick it up.

The back of this corset has diagonal boning channels that bump up against a seam on one side and the grommet channel on the other. I order to sew those and also get a bone in them, I first stitched the bottom line of stitching, then inserted a bone and used a zipper foot to sew very close to the other side of that bone to create the channel. These diagonal back channels are where I lost 1 bone on each side of the corset. My estimates must have been off, because I had one bone that was way to long for the channel, but eliminating it fixed everything. I was ok with that deviation from my inspiration corset by this point in the process.

IMG_2330
My boning channels got a little wonky up near the top (where the presser foot is), but it almost looks artistic, and is symmetrical on both sides of the corset. And I was ready to be done by the time I reached these boning channels!

The above picture shows another corset trick, also. When I’m stitching boning channels that end partway across a panel, rather than at the top or bottom, I leave my thread tails and do not backstitch. Once I’ve completed the channel I flip the corset over to the wrong side, use a seam ripper to pull both thread ends to the inside, hand tie them, and snip them close. That leaves no tiny thread ends on the outside of the corset making little shadows that look un-tidy. The method works wonderfully!

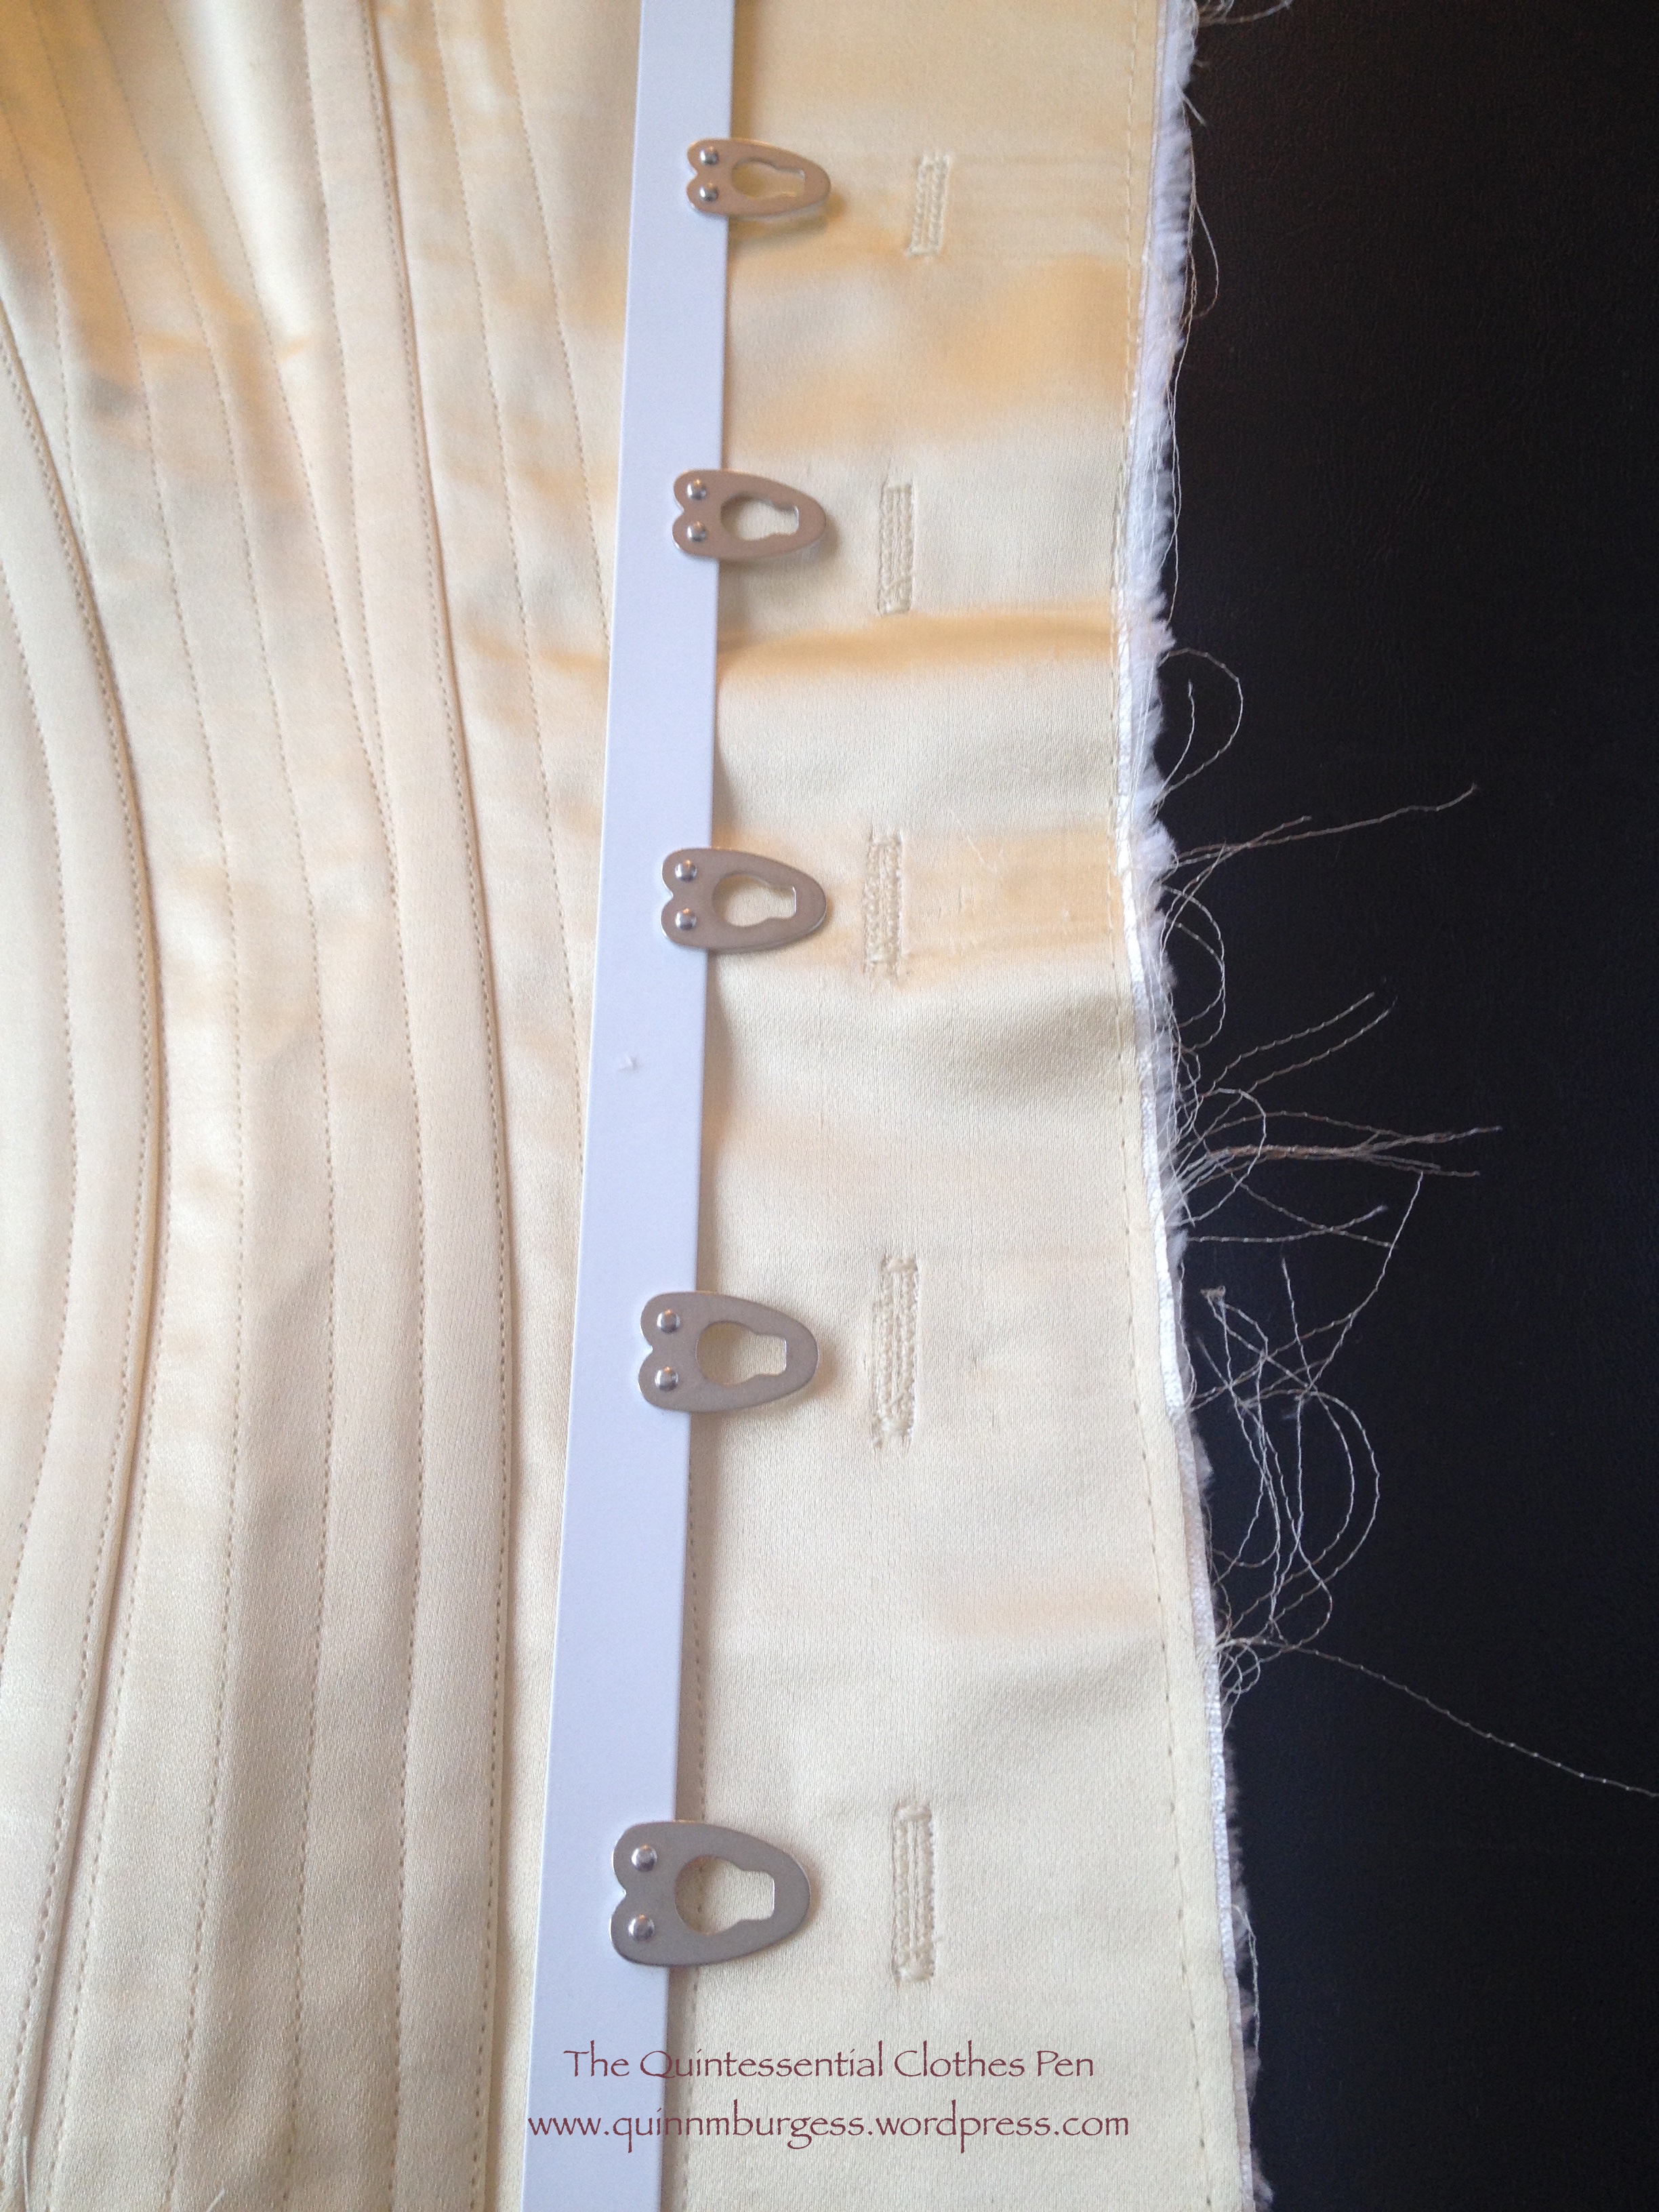
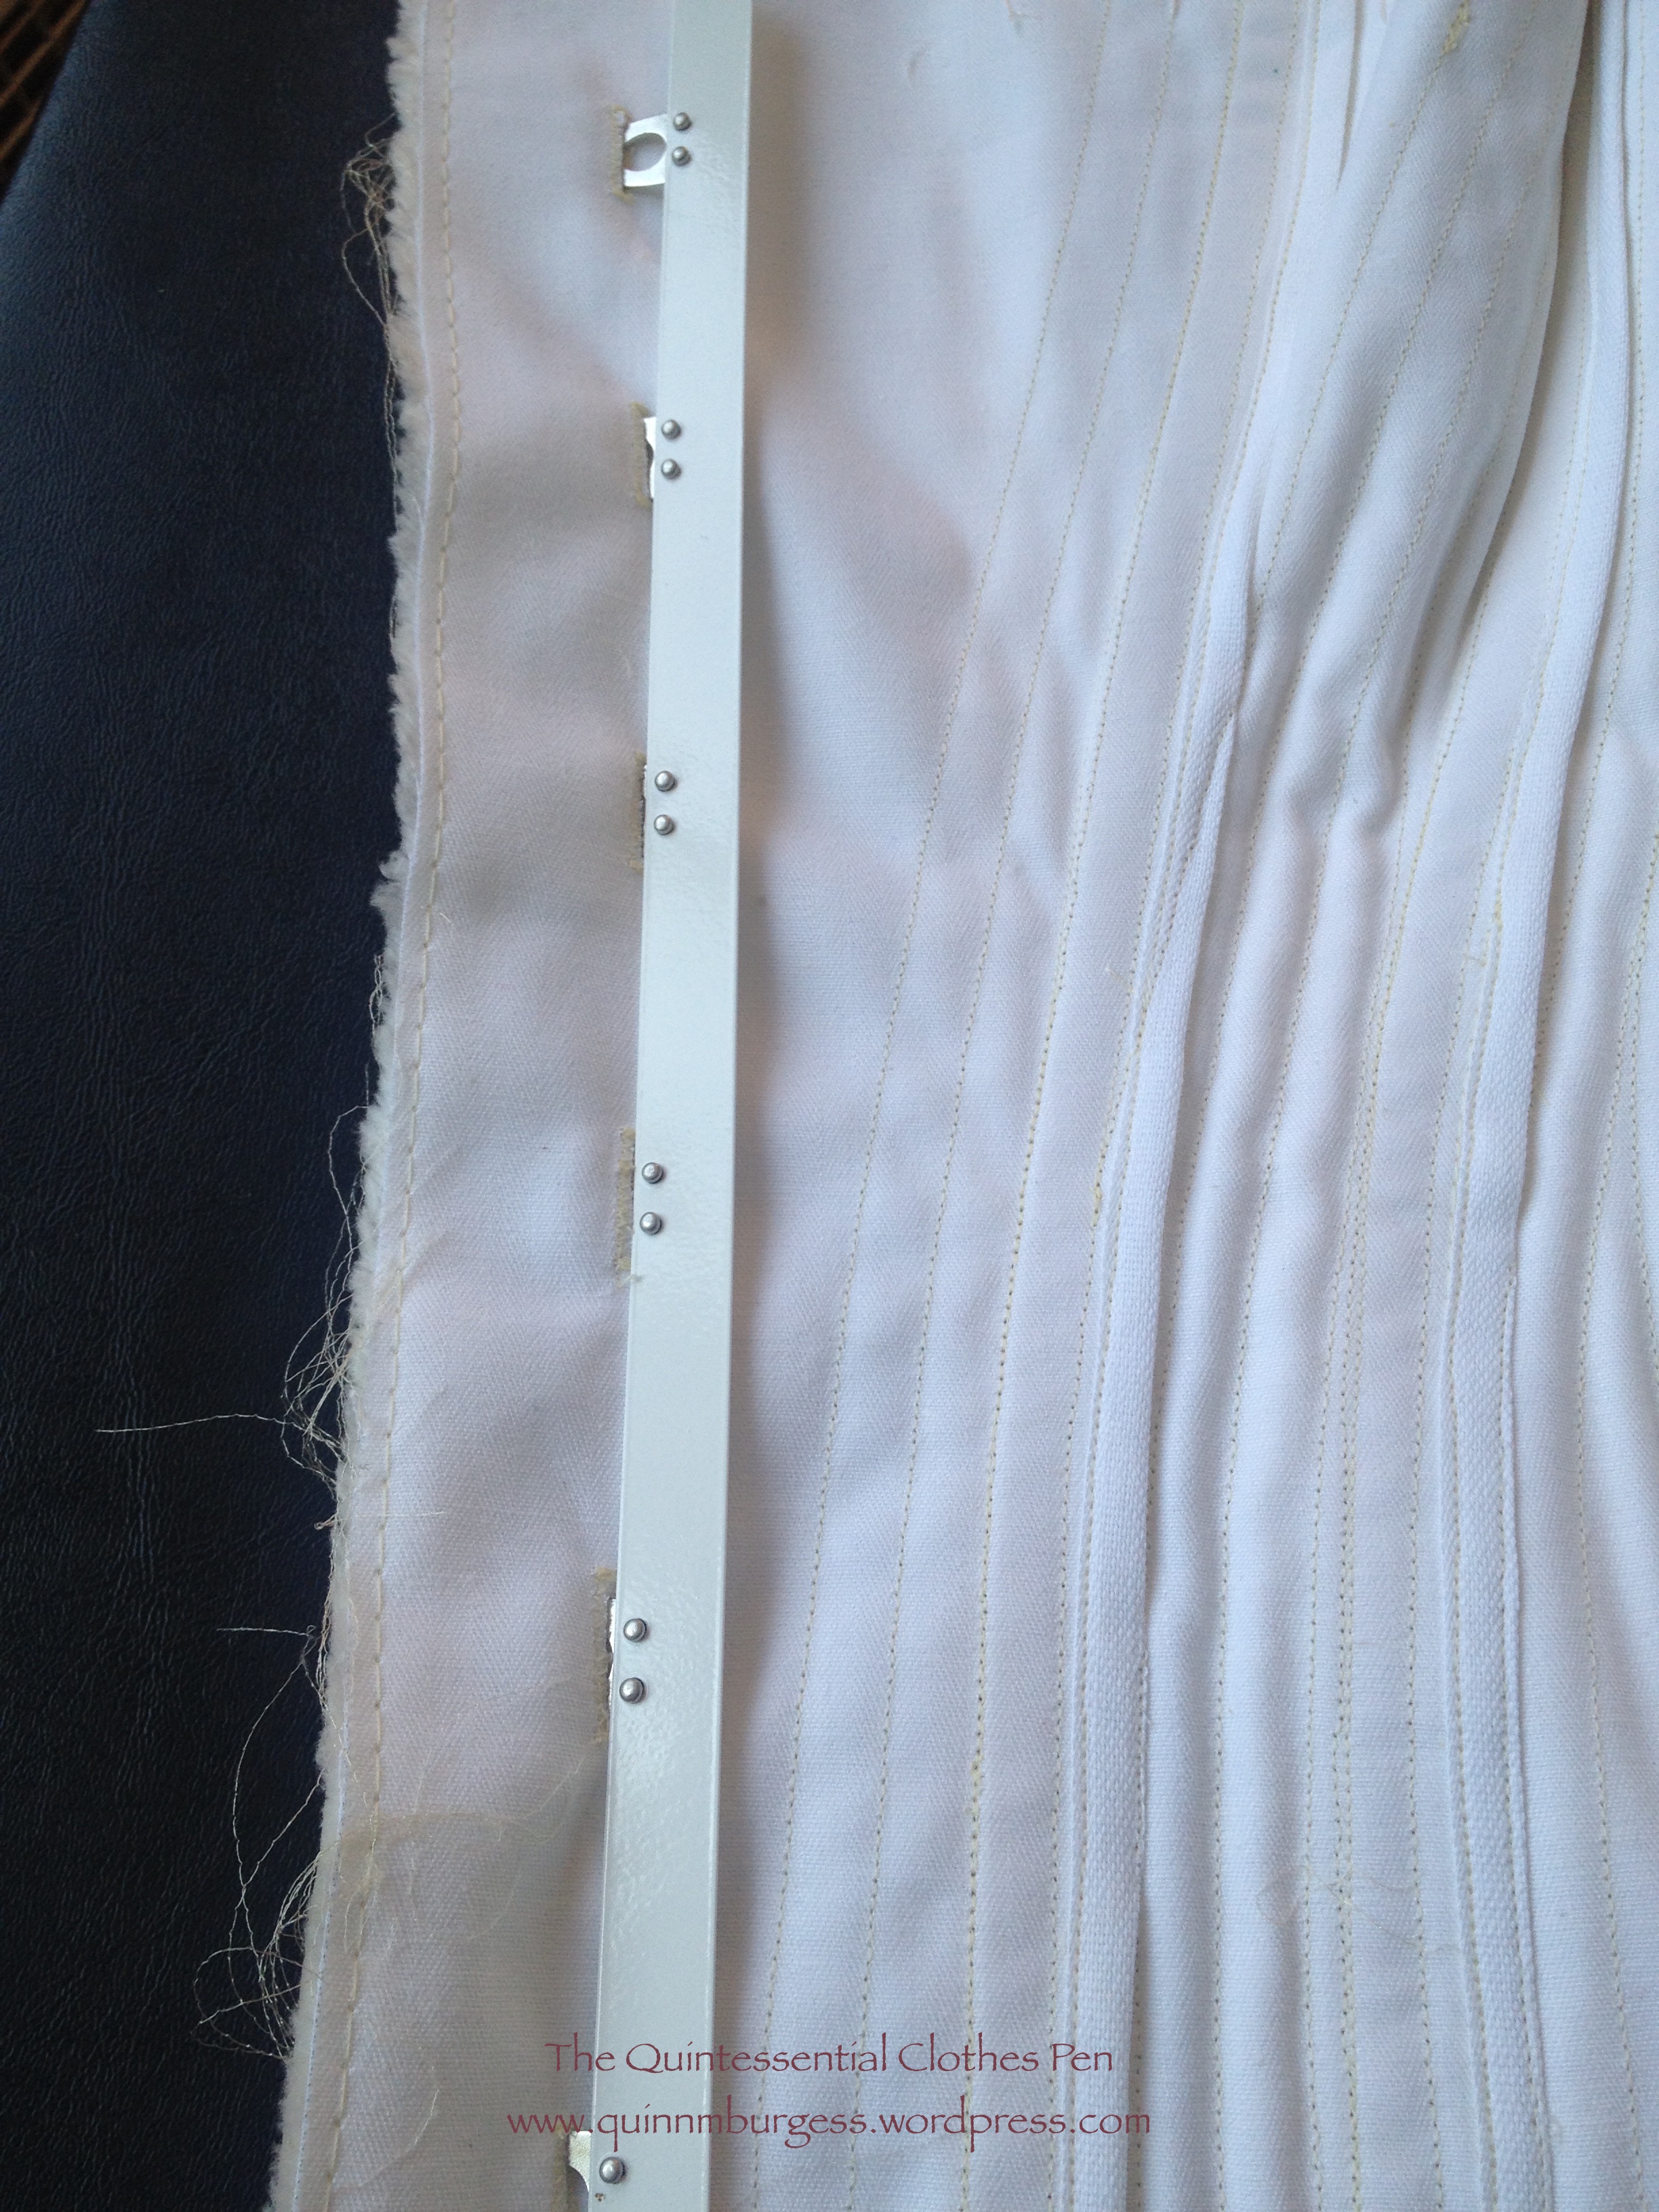
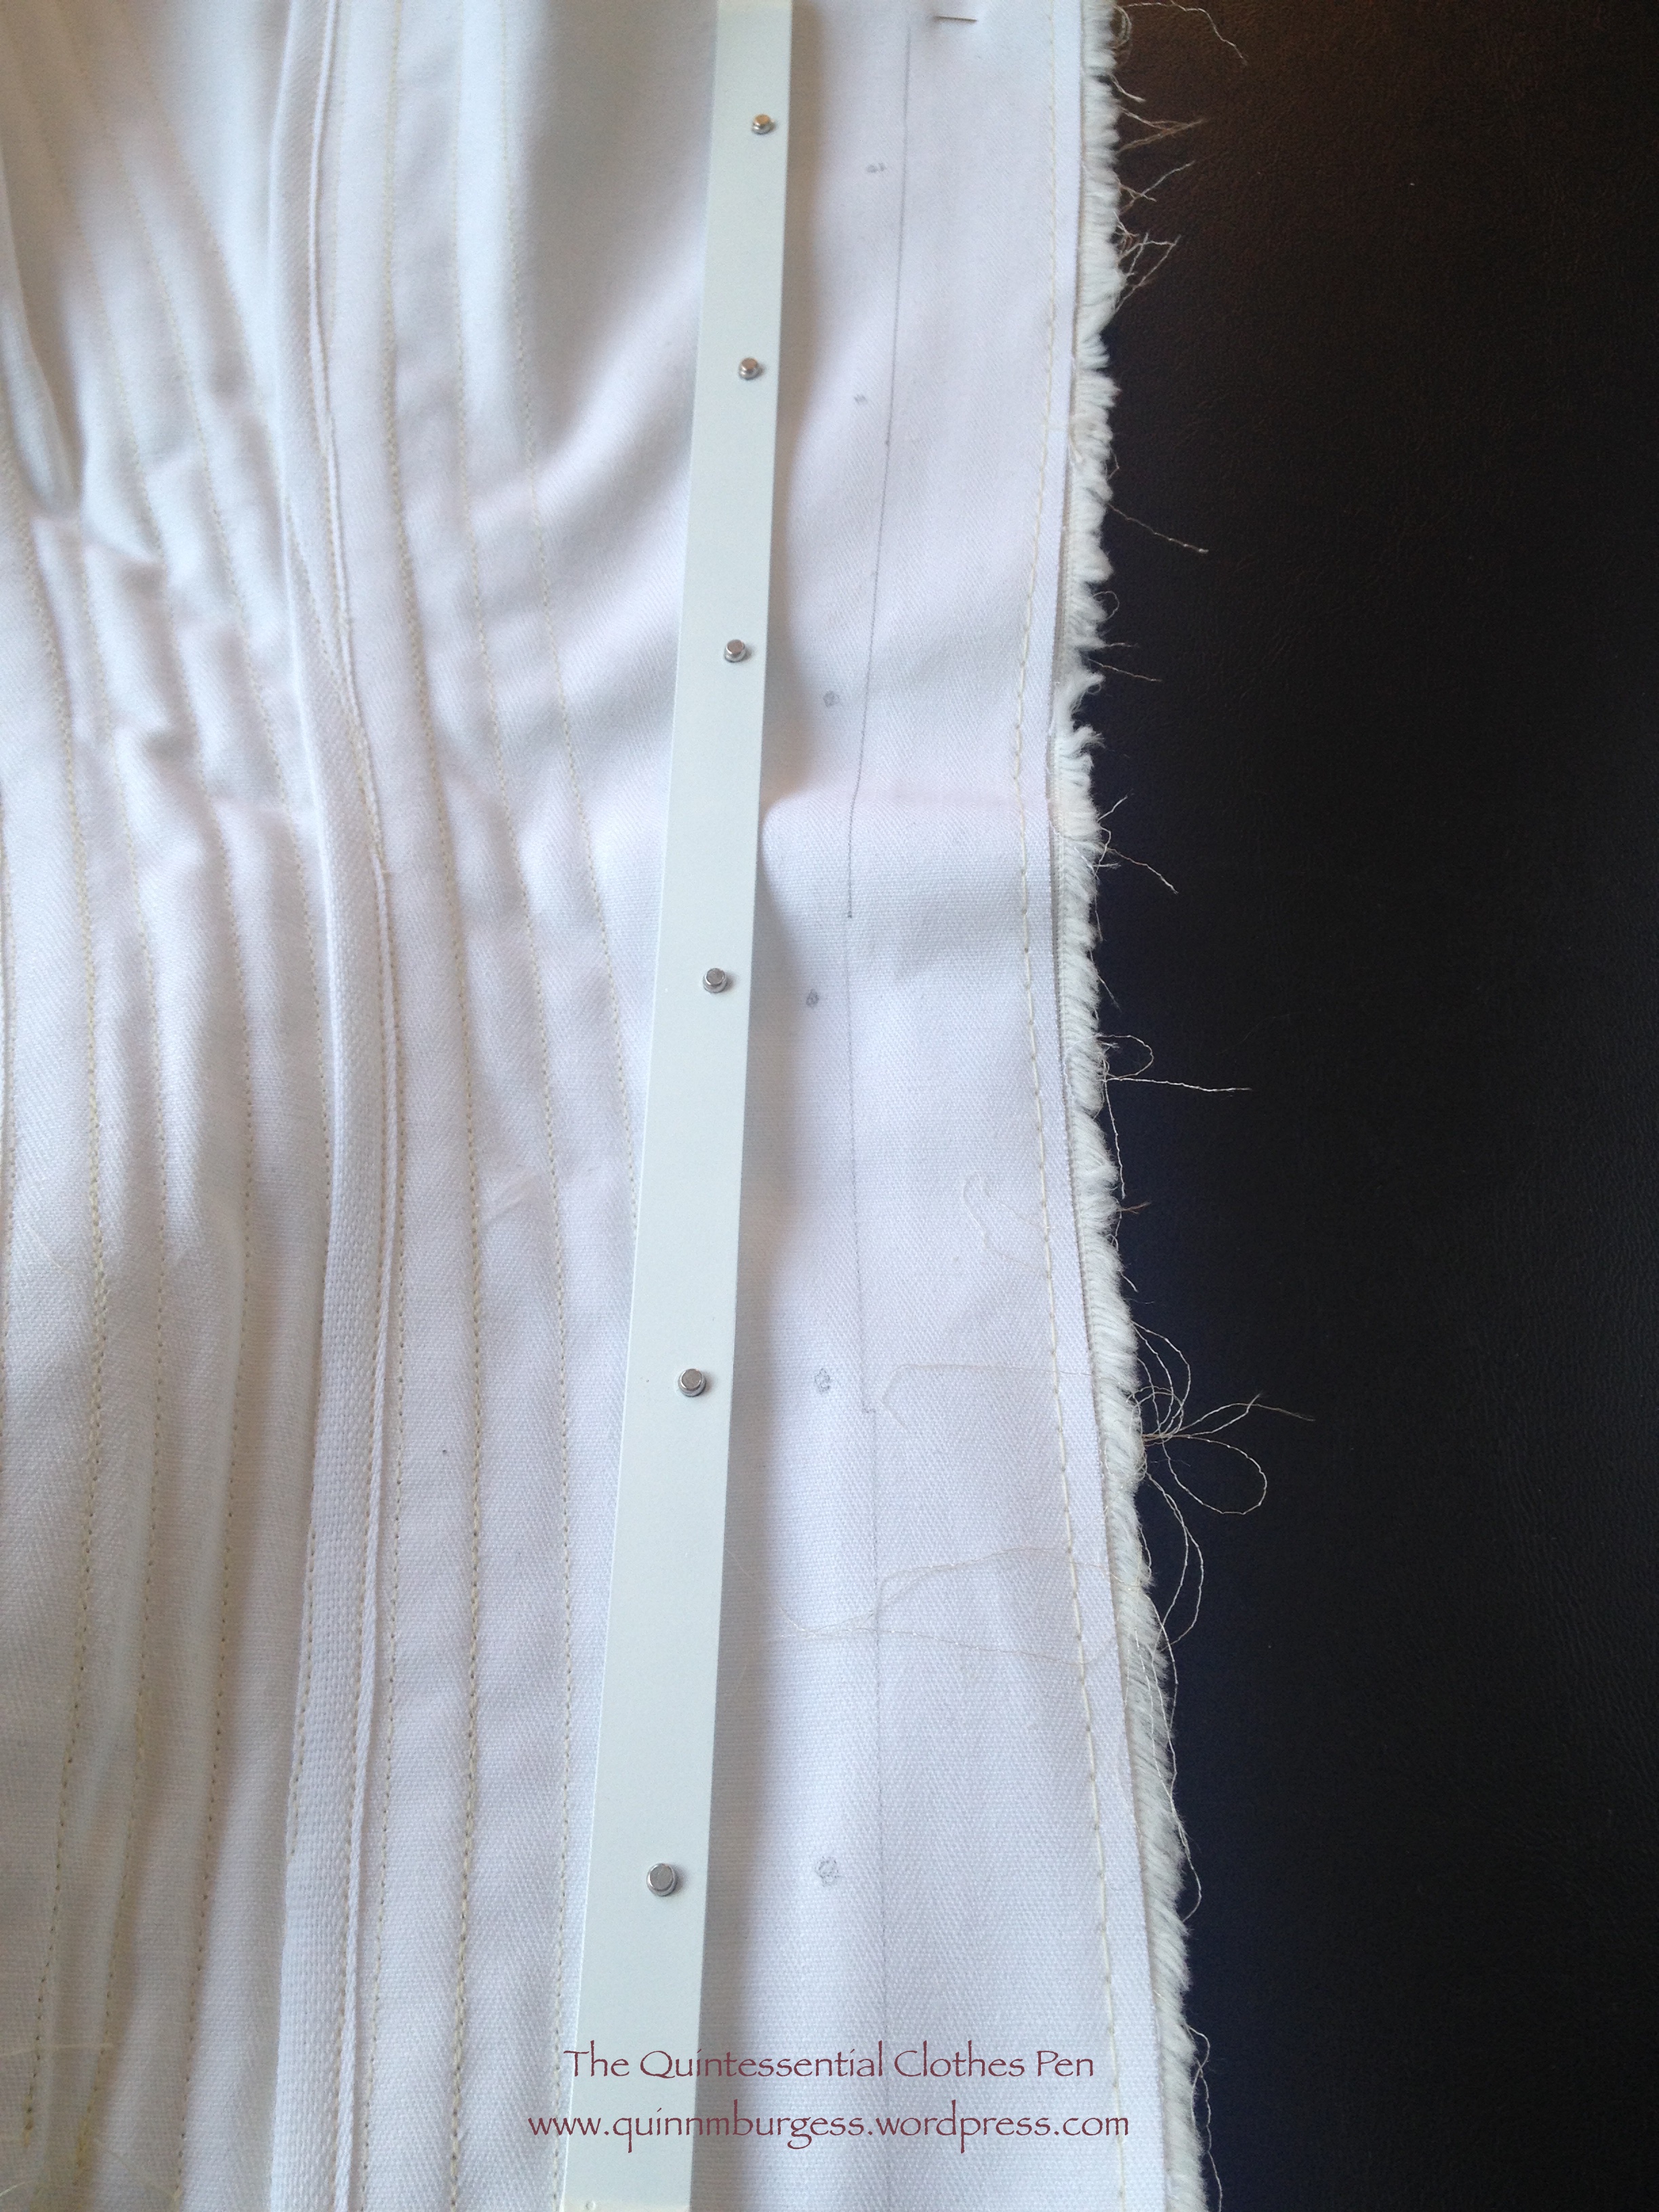
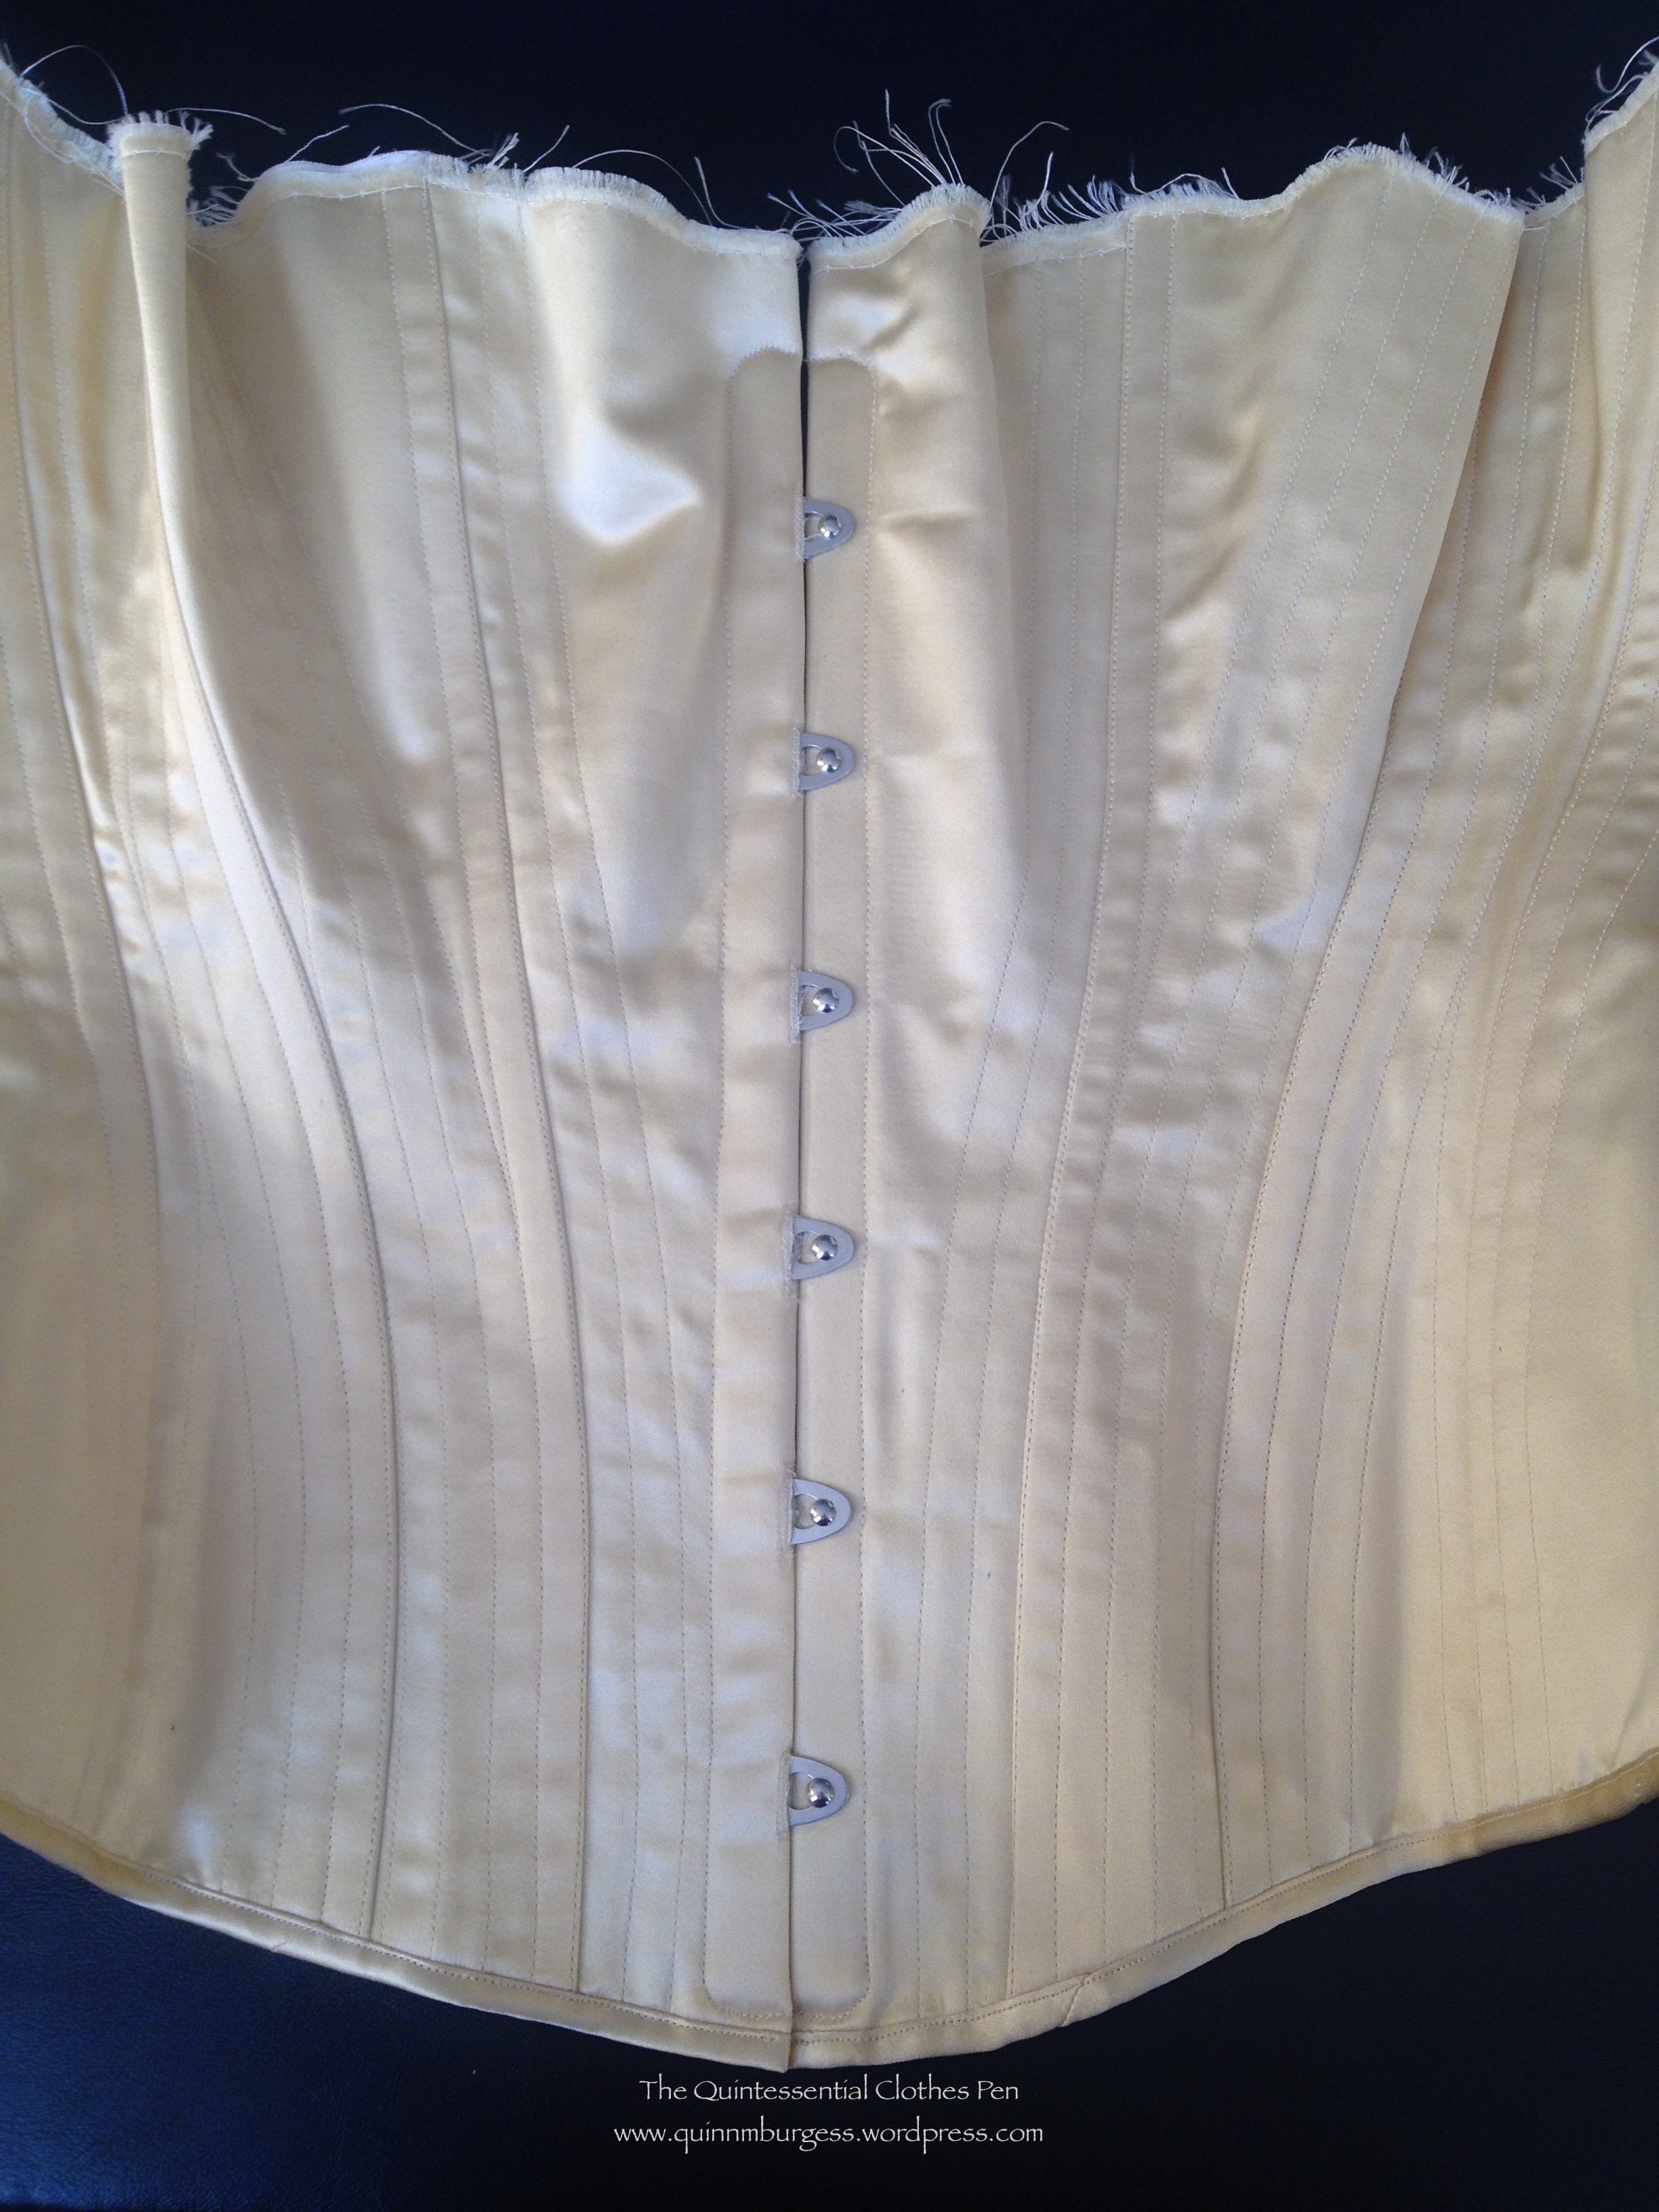
Once I finished the boning channels I put the busk into the two front edges of the corset. I thought I’d show you how I like to do those steps in more detail. After the steps that are pictured, I turn the extra seam allowance under the busk on the inside (trimming it if I’ve left too much) and top stitch with a zipper foot right next to the edge of the busk. On my older corsets, I stitched a straight line from top to bottom, but on more recently made corsets I curve around the top and bottom of the busk to keep it from sliding up and down (another detail I’ve noticed in extant corsets).

IMG_2331
I’ve found that putting both sides of the front busk on a fold is nice and sturdy. I’ve also found that creating buttonholes for the loops to poke through helps minimize wear and tear on the corset over time as well.
IMG_2332
I make sure to make the buttonholes just larger than each loop and placed exactly so there are no bubbles anywhere.
IMG_2333
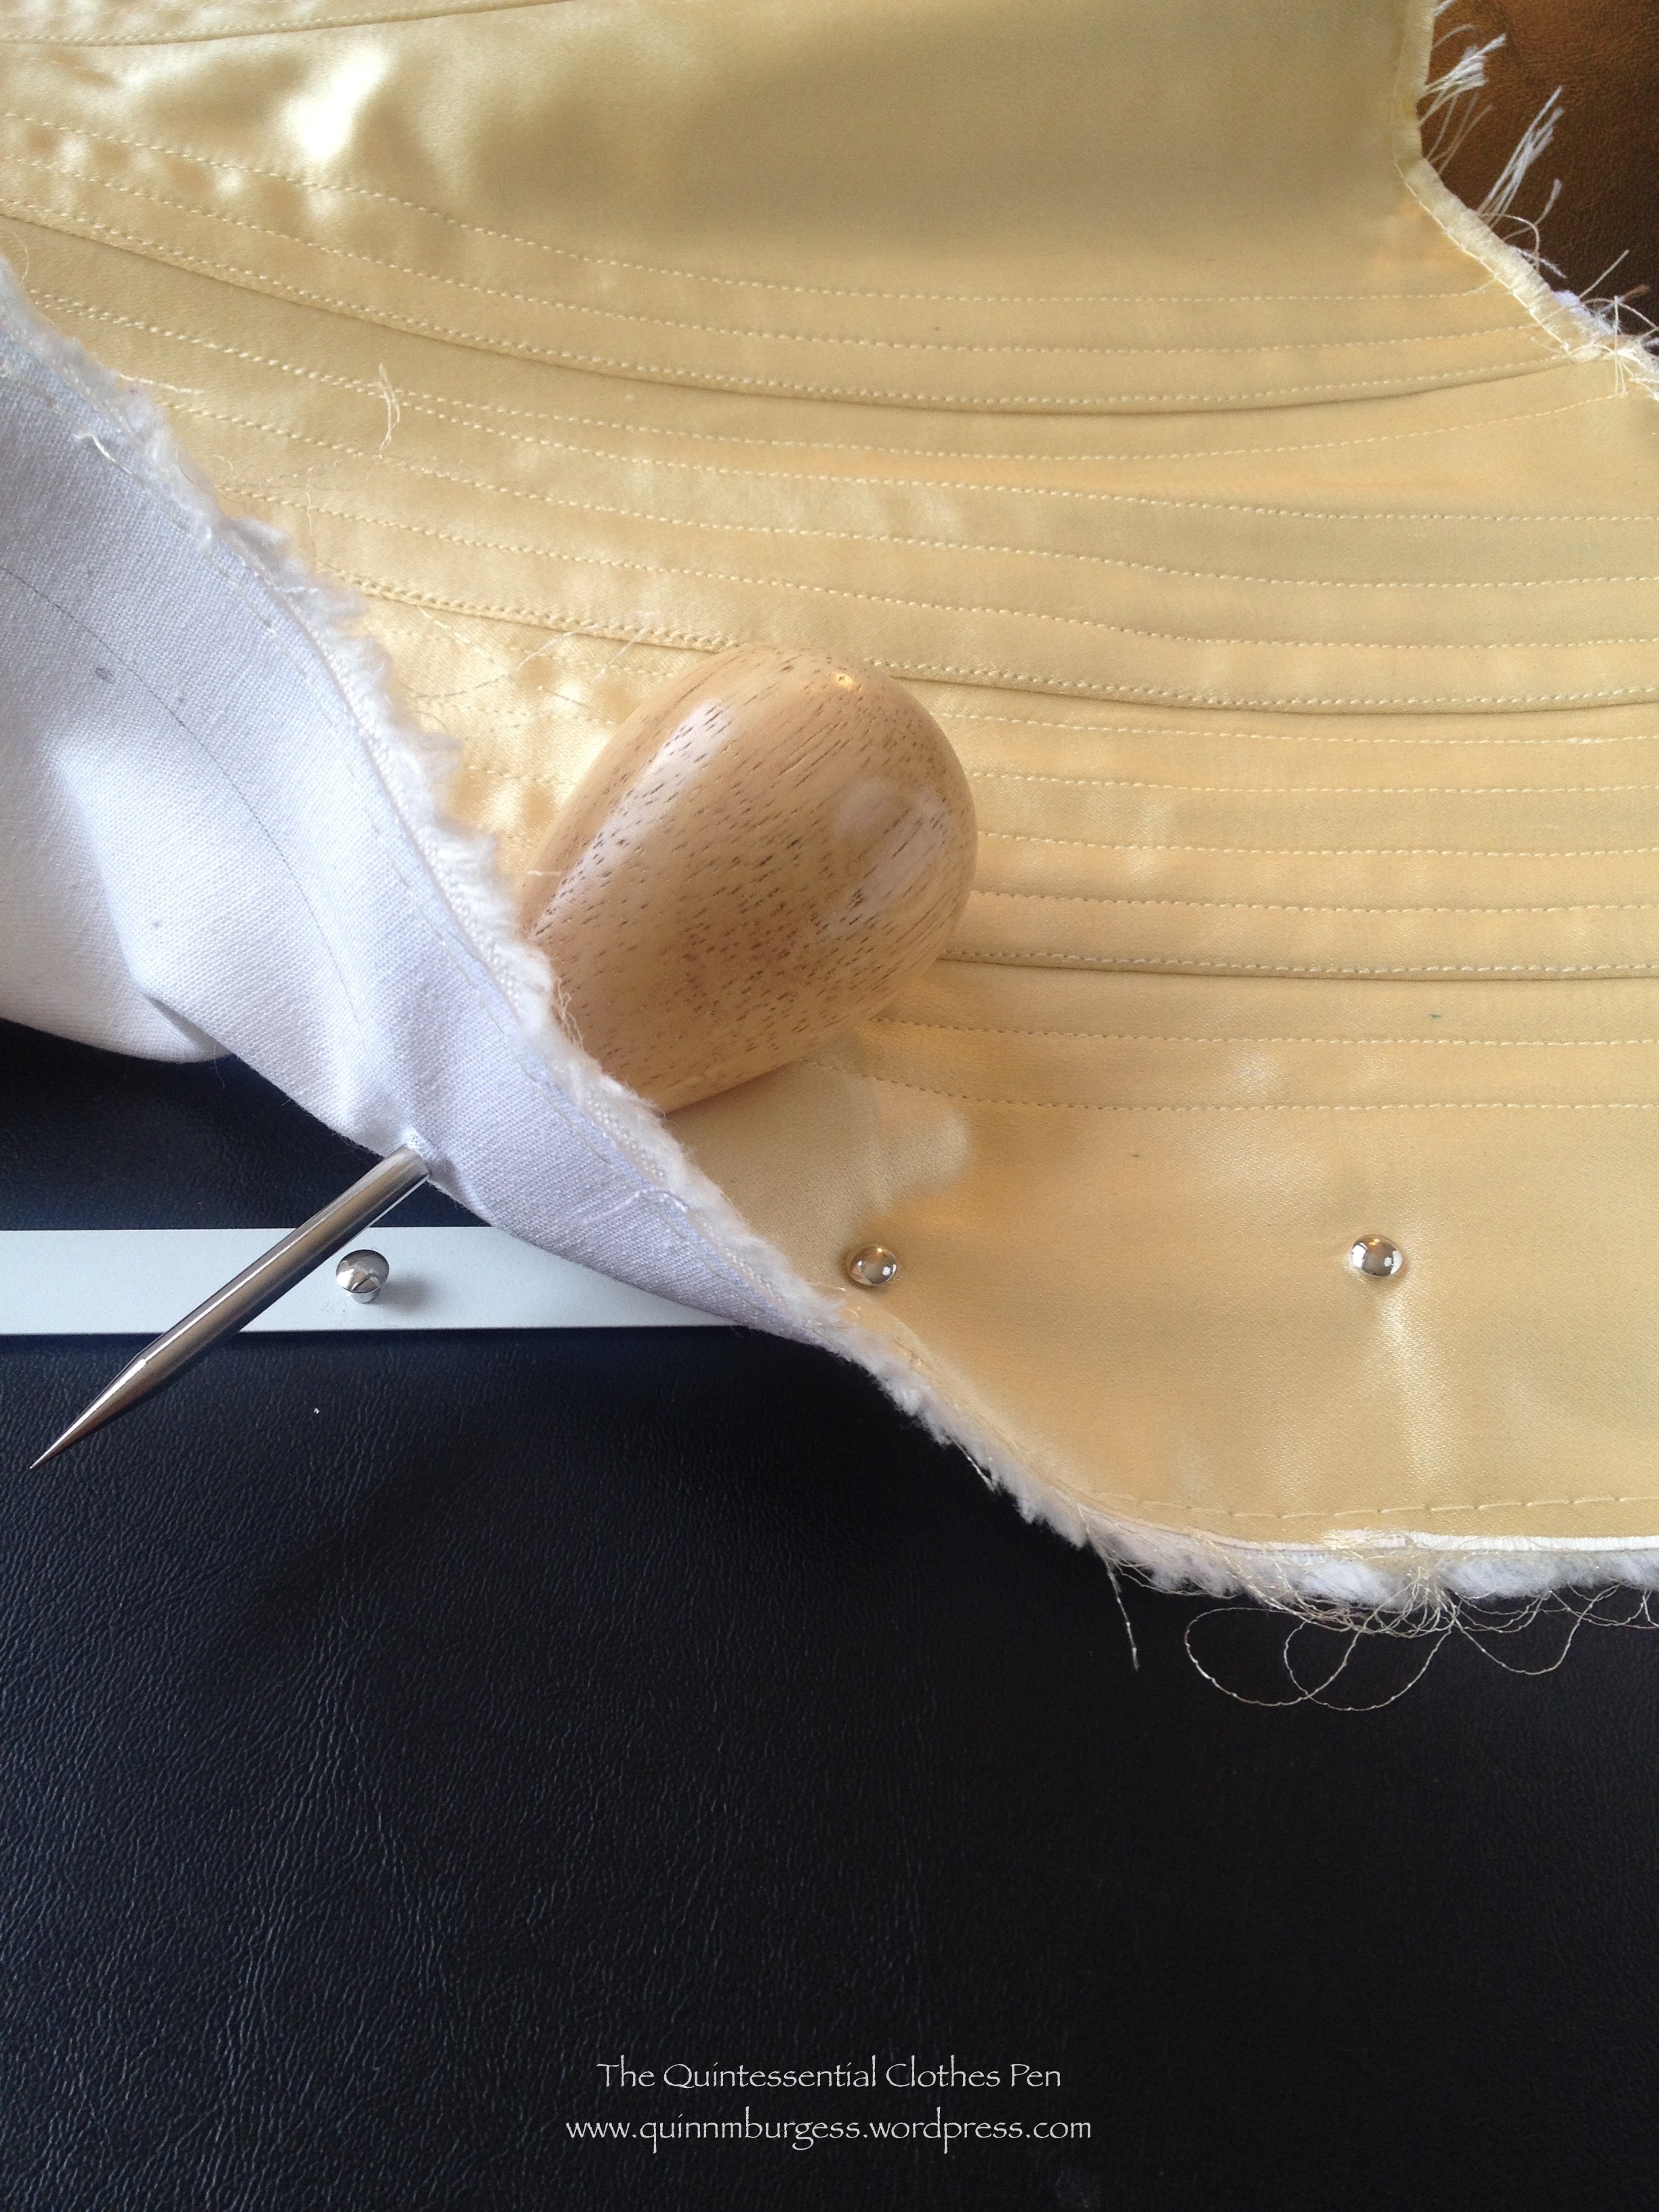
For the other side of the busk, you can see that I’ve roughly marked a fold line as well as the placement of each knob. Again, these have to be exactly placed.
IMG_2334
Then I use an awl to open up the weave of the fabrics so I can push the knob through.

After that, I was ready to bind the bottom edge of the corset! Sewing all 38 boning channels took hours (this corset is thick and sewn with small stitches, another detail I’ve noticed in extant corsets), so I was excited to move on to the next step. Luckily, I thought ahead and realized that there are three vertical bones on the back panels that dead-end at those diagonal channels–the bones for those channels had to be inserted before I sewed the bottom binding on. I didn’t take a picture of that exact step, but I did take a picture of the assembled corset with boning channels before I bound either edge.

IMG_2337
You can see the vertical boning channels in the back that dead-end at the diagonal channels and you can see that the diagonal channels that don’t reach the top edge had the bones stitched in as I went along.

The bottom binding is bias strips cut 1″ wide. I had to do a lot of piecing of my small scraps to have enough binding for the entire corset (see that seam just to the right of the busk in the picture below?). I stitched them first to the right side of the corset with ⅛” seam allowance on my bias, trimmed my corset seam allowance to just about ⅛”, folded the bias over the edge, turned the raw edge under on the wrong side, hand whip stitched the bias down on the inside (slow, but a more effective method than pinning in this case), then turned the corset back to the right side and topstitched very close to the edge of the first fold. This narrow topstitched binding seems to be common on late 19th century extant corsets and looks very tidy.

IMG_2339
Bottom binding sewn on.

Then came the struggle of the bones! I really struggled with this! I spread the job out over about a week and worked on it a little each day because it was hard on my fingers and wrists. The spiral boning condenses when pressure is applied, so pushing it through tight boning channels was a challenge! I wound up wrangling the corset bones into submission using a thimble, pliers, and a chopstick to help out my hands. Turns out that especially at the boning channels on seam lines, where the seam allowances were thick, I should have made the channels a little wider to make getting the bones in easier. There were one or two channels I finally resorted to unpicking and then restitching after inserting the bones for part of their length. In the end, victory was mine and I was able to move on and bind off the top edge of the corset. This was done in the same way as the bottom edge, being careful to be symmetrical between the sides and avoid sewing over bones.

IMG_2344
And here is the result! It’s wearable at this point, but not quite complete.

Modern Dotty Tap Pants

I’ve been making rather slow progress on bigger projects lately, but my stack of recently started UFOs was causing me stress and I really felt the need to finish a project entirely. I had a bit of time today and used it to finish up 3 small projects, as well as fitting a final mockup so I can move on with making a pair or two of modern capris (depends on if I can squeeze two pairs out of my fabric or not) and realizing that another modern top pattern I’ve been trying to make work for me just needs to be left alone for now. If I make the conscious decision to let something go then I feel like I can take it off the to-do list and not feel like it’s a UFO, so all of these things feel like progress!

Two of my three finished projects are pretty much the same: two pairs of cotton dot printed tap pants to wear under modern and historical skirts during warm weather. They’re useful for soaking up sweat! I bought the fabric thinking I’d make a top, but then realized that I would never like a top made out of this fabric, so I decided to make these summer tap pants instead. And I really enjoy the result, because having dotty tap pants that no one will see brings me joy. Unless I’m changing at an event… and then some ladies out there might see them!

IMG_2254

The pattern is Butterick #4289 from 1976. I made view C and altered it just slightly: eliminated the waistband, lengthened the inseam, lowered the top edge a bit, eliminated the darts, straightened the hips instead of curving them inwards to accommodate the fact that I did not include a fly, and finished the top edge with elastic. I have another pair of cotton tap pants I made sometime in the last few years that are complicated, with a fly and a waistband, but all of that is rather unnecessary, really. I was inspired to simplify the idea after purchasing some tap pants (like these, called petti pants, which are great for wearing over tights and under dresses in the winter!) and realizing how simple these garments could be.

So these are my simplified version, with a pattern that fits perfectly. Hooray! These are all nicely finished on the inside with serged seams. As I pointed, out the top edgess are finished with elastic, though I tried different methods of attaching the elastic on each pair. We’ll see if I notice a difference when wearing these. The only other thing to note, which makes me quite happy, is that I included a little blank cotton twill tape “tag” on the back seam of each pair. Without a tag it’s hard to find the back when getting dressed and this makes it very easy!

(The other project I completed today is an old pair of jeans that I cut off, reshaped the legs of, and hemmed, thereby turning them into capris! If I get pictures of me wearing them someday I’ll share, but it’s not a super high priority. It’s mostly just that I haven’t been able to find ready made capris that I like in years and so I haven’t had any that fit for years, and during the summer that is just not an enjoyable situation. So I’m glad to have some capris again!)