December is going to be a whirlwind of HSF posts and posts about events, so I need to hurry up and get started by sharing pictures of an event that actually happened in November but which I haven’t shared pictures of yet. The event was a 1860s Intensive Dance Weekend, hosted by the Commonwealth Vintage Dancers, featuring two days of dance classes, two evening balls, and a German (an after ball party of fun dance games). I’ve got lots of pictures, so I’m going to split this up into two posts. In today’s post, I’ll share pictures of the Saturday of the dance weekend and Part II will be pictures of the Sunday of the dance weekend.
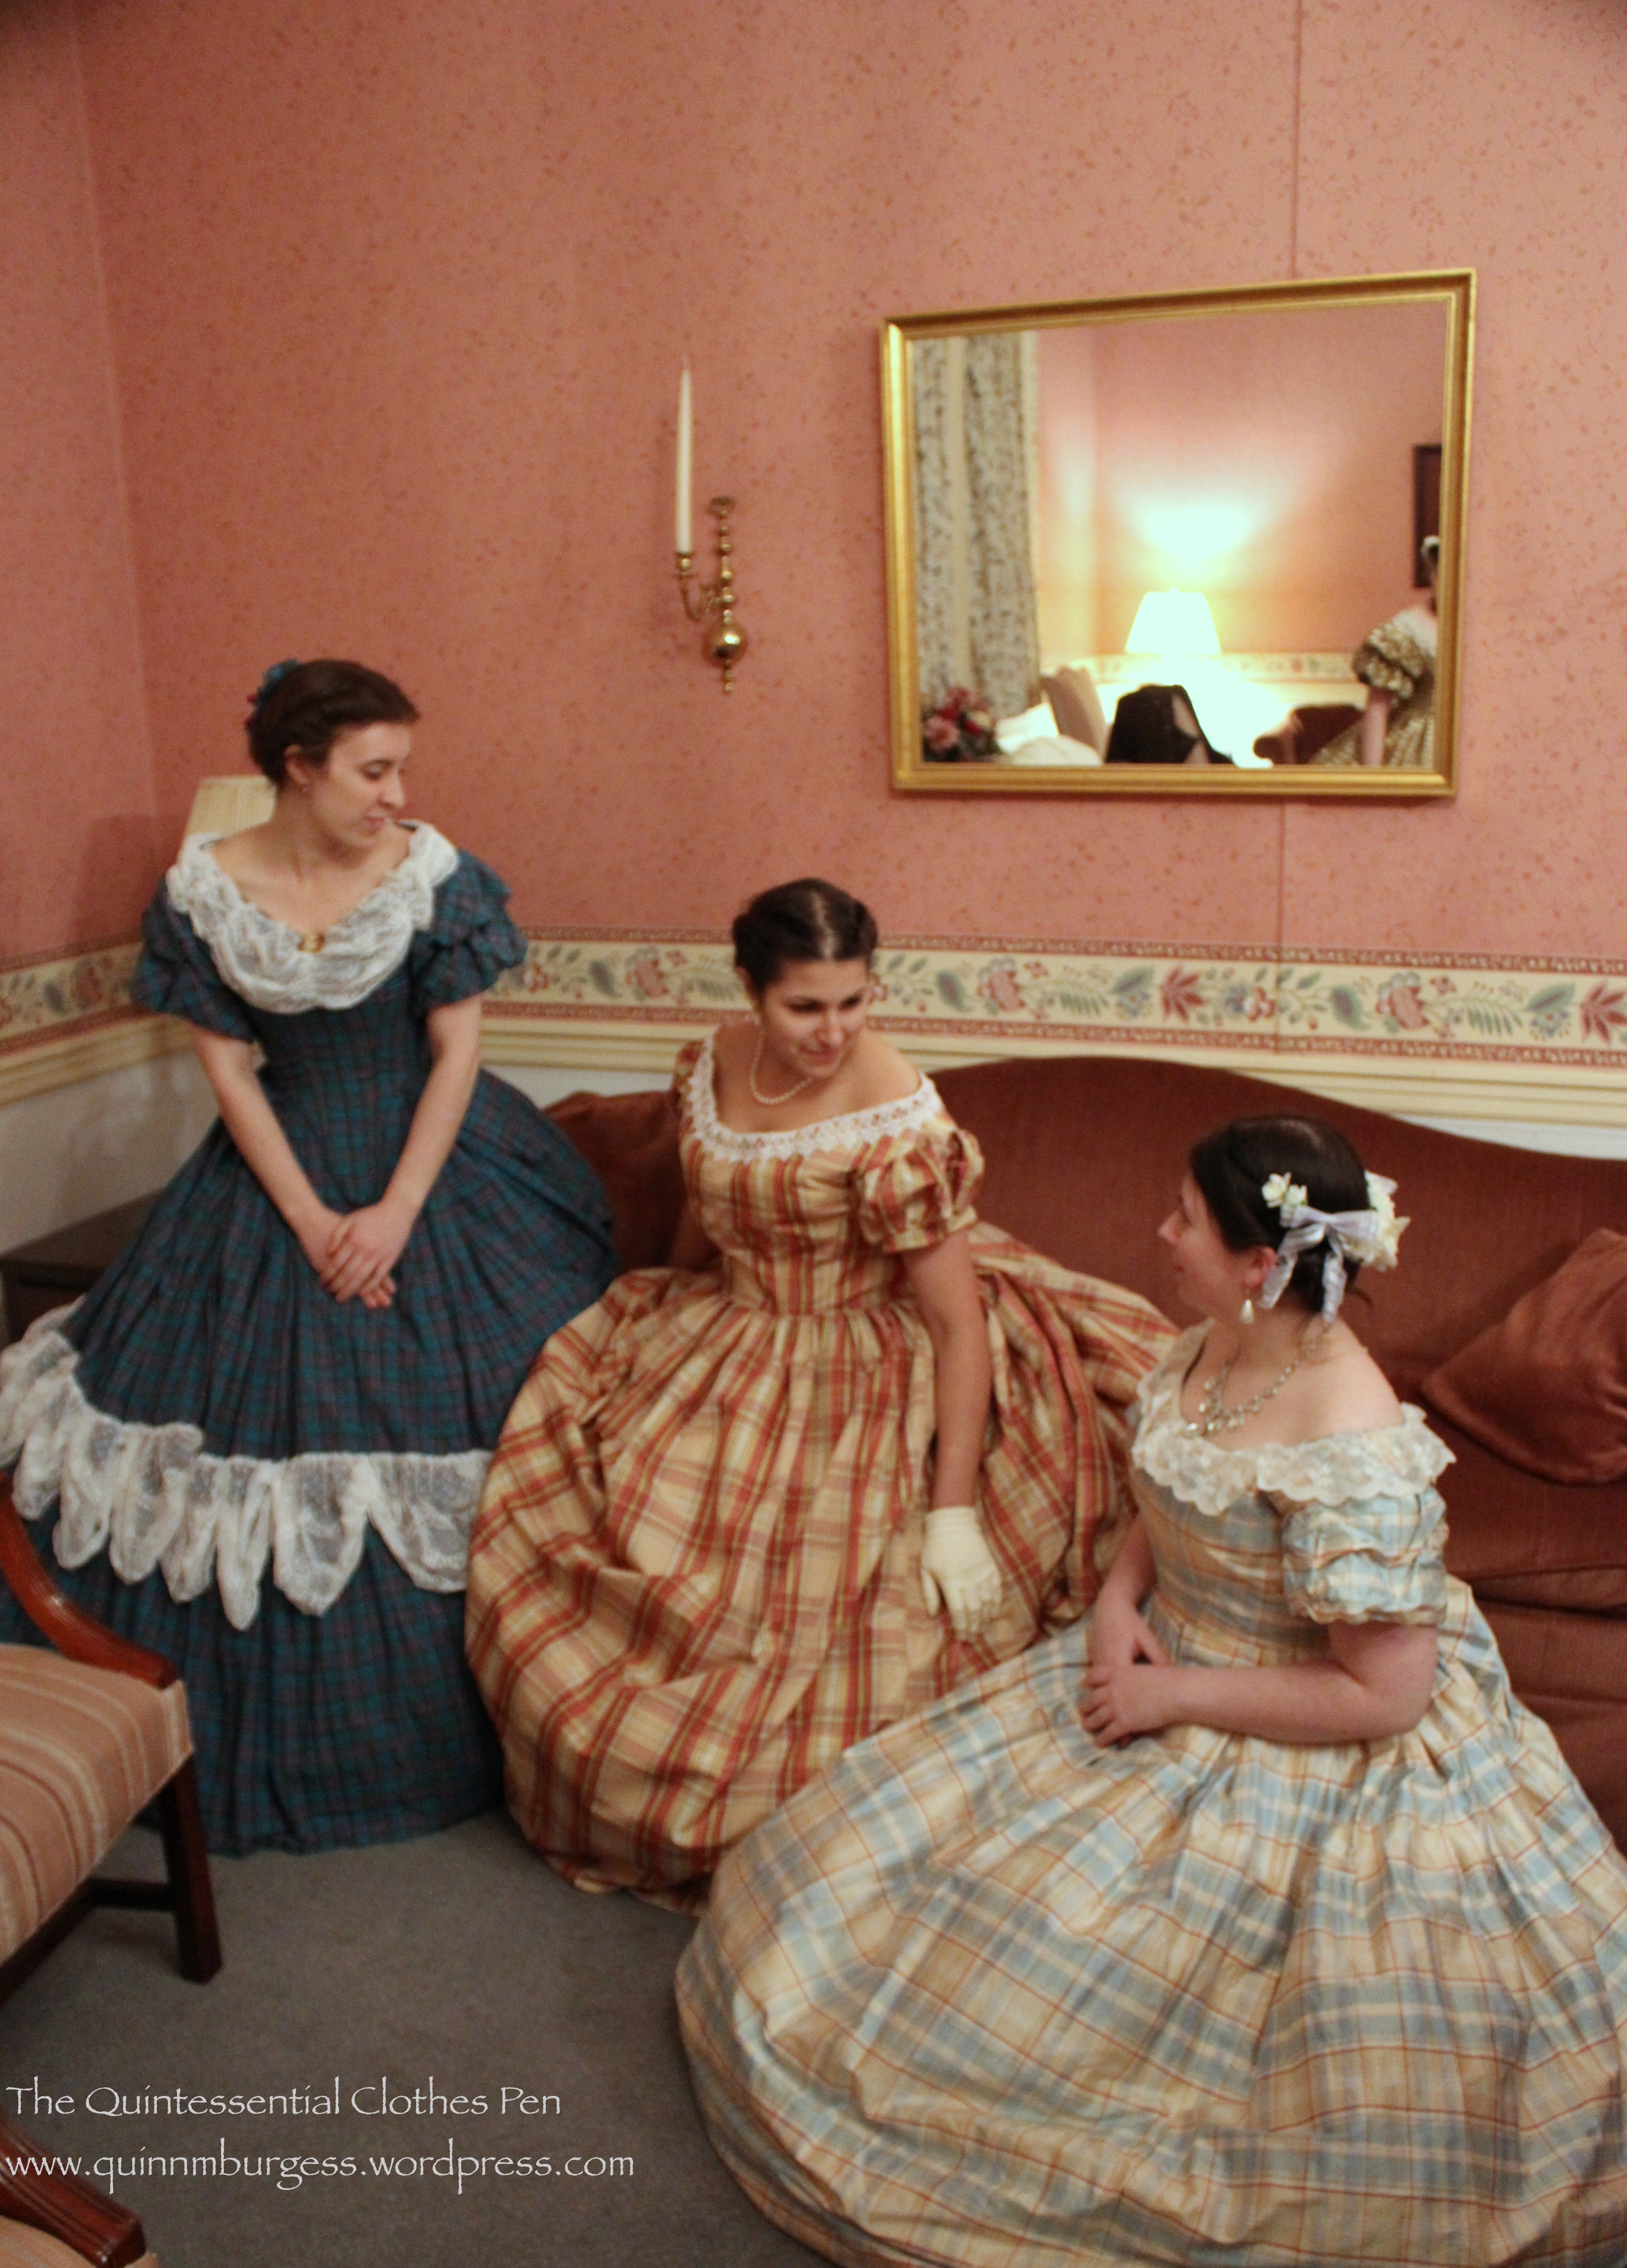
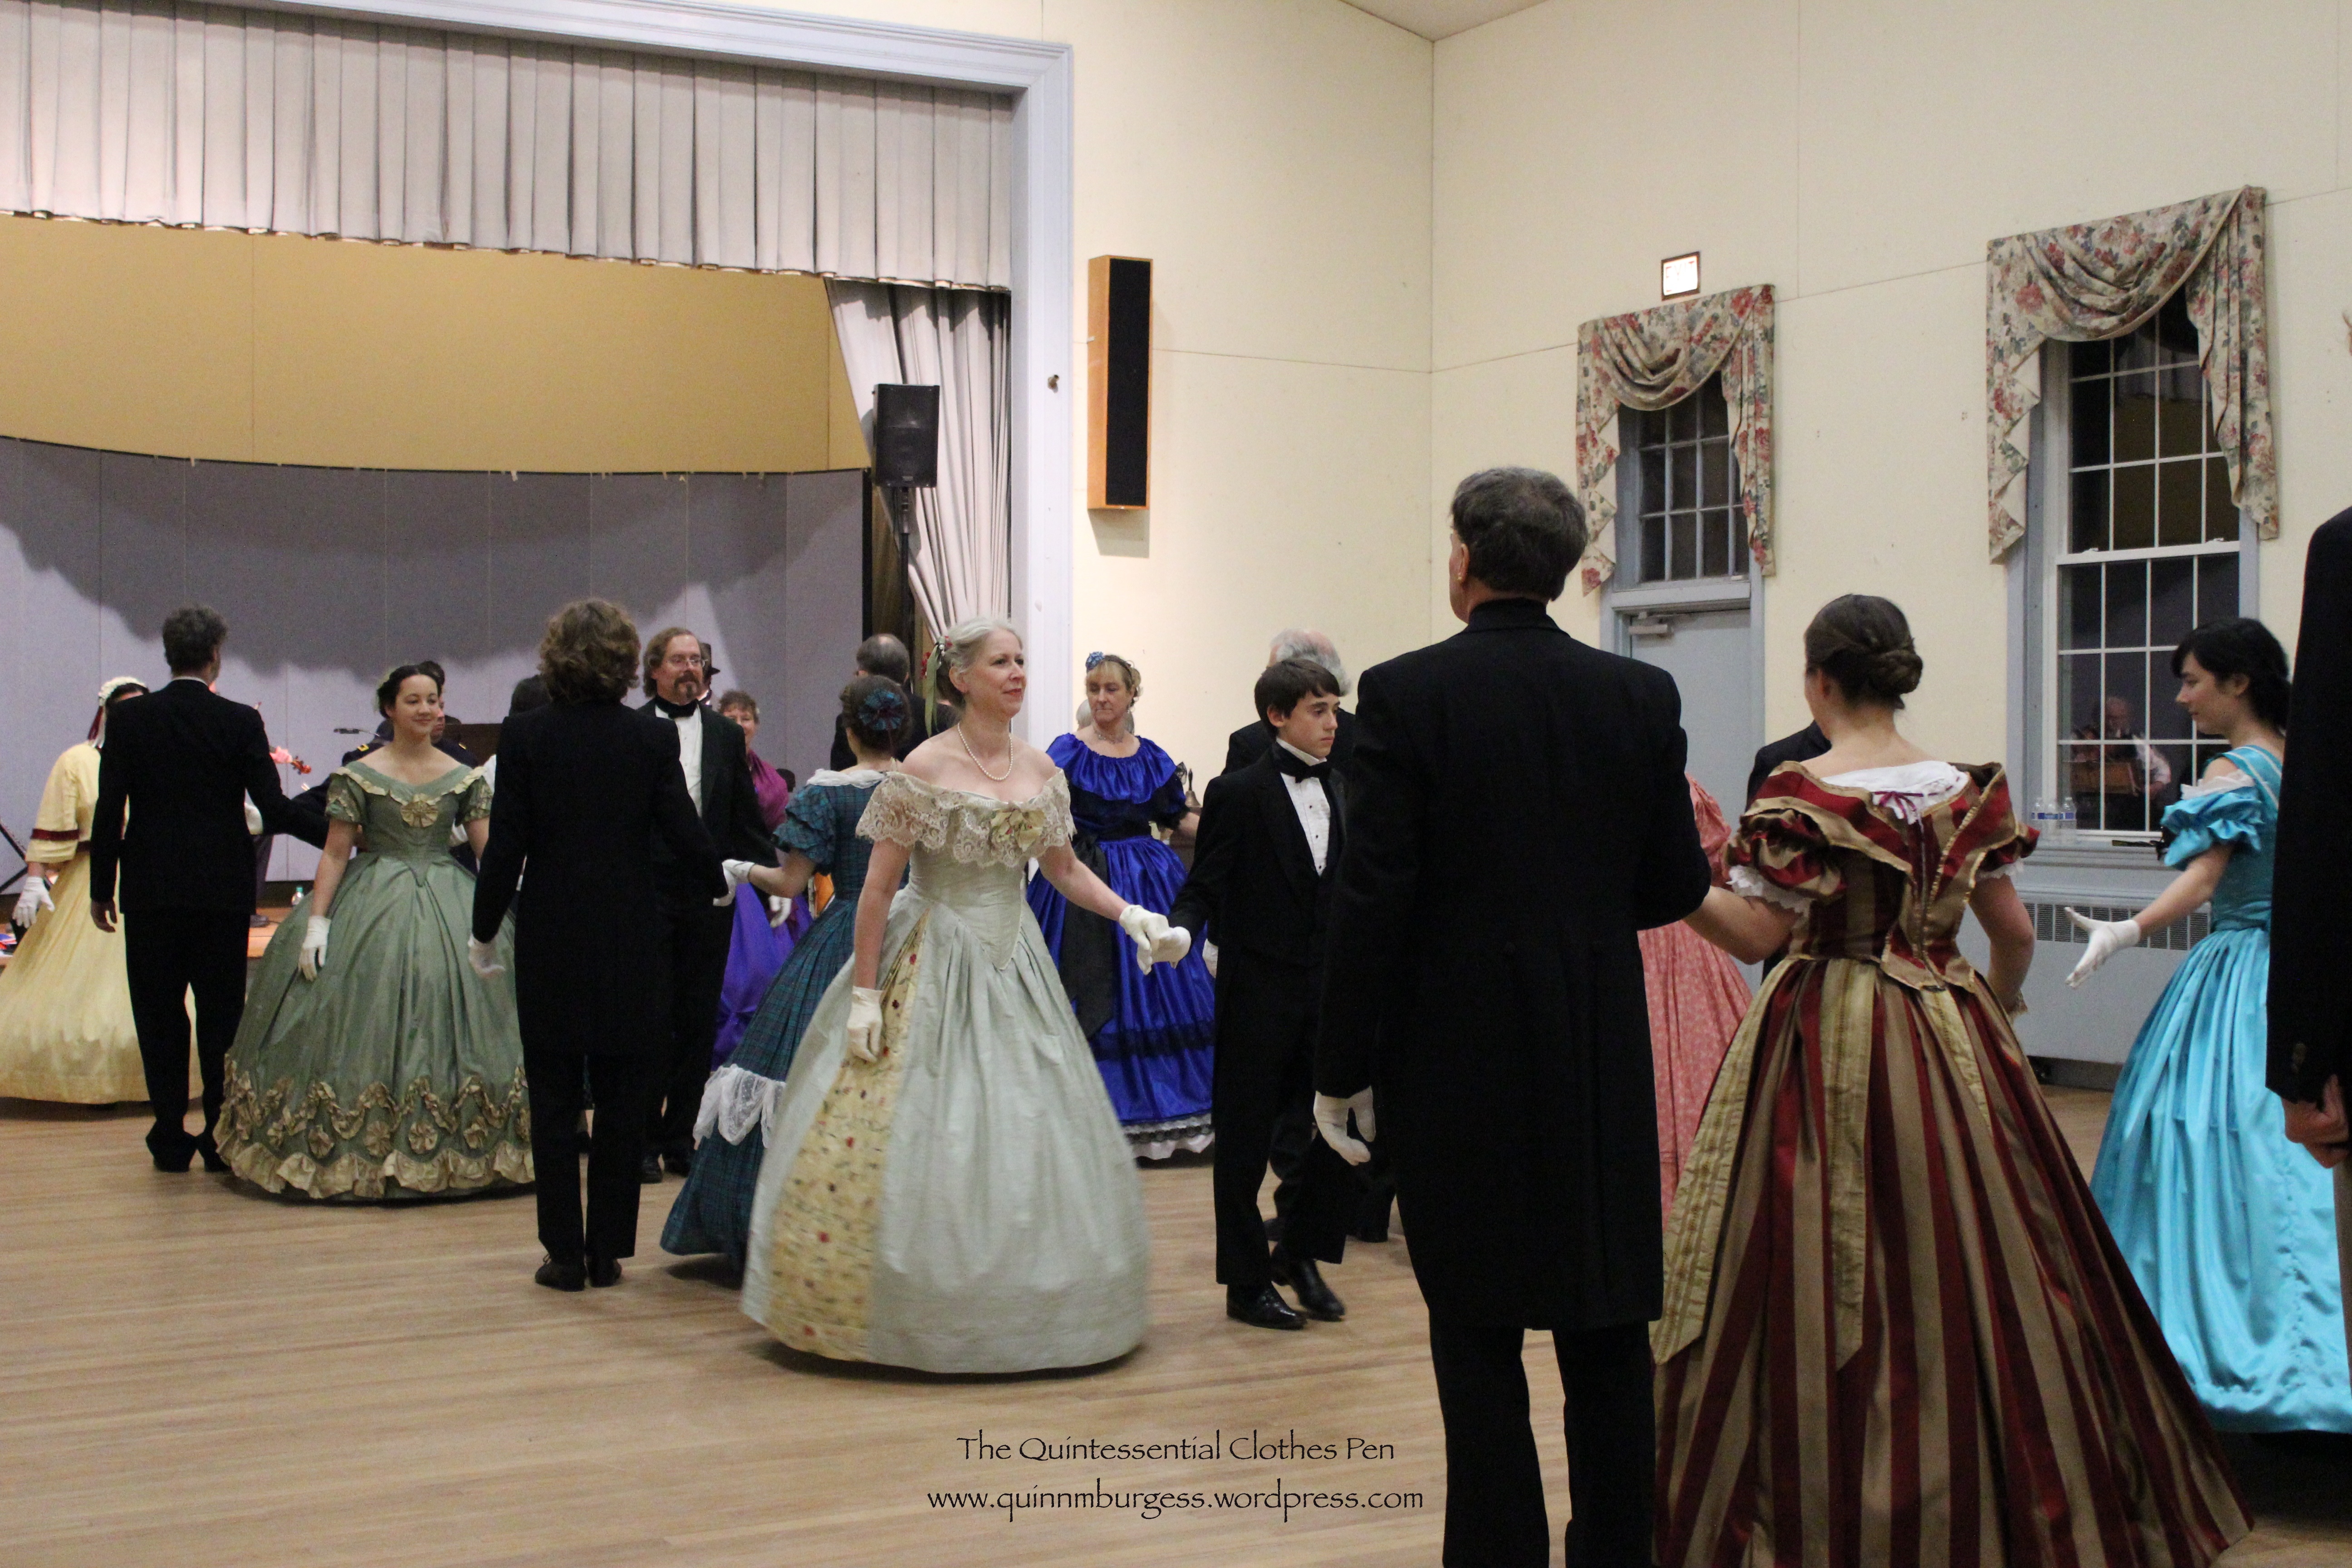
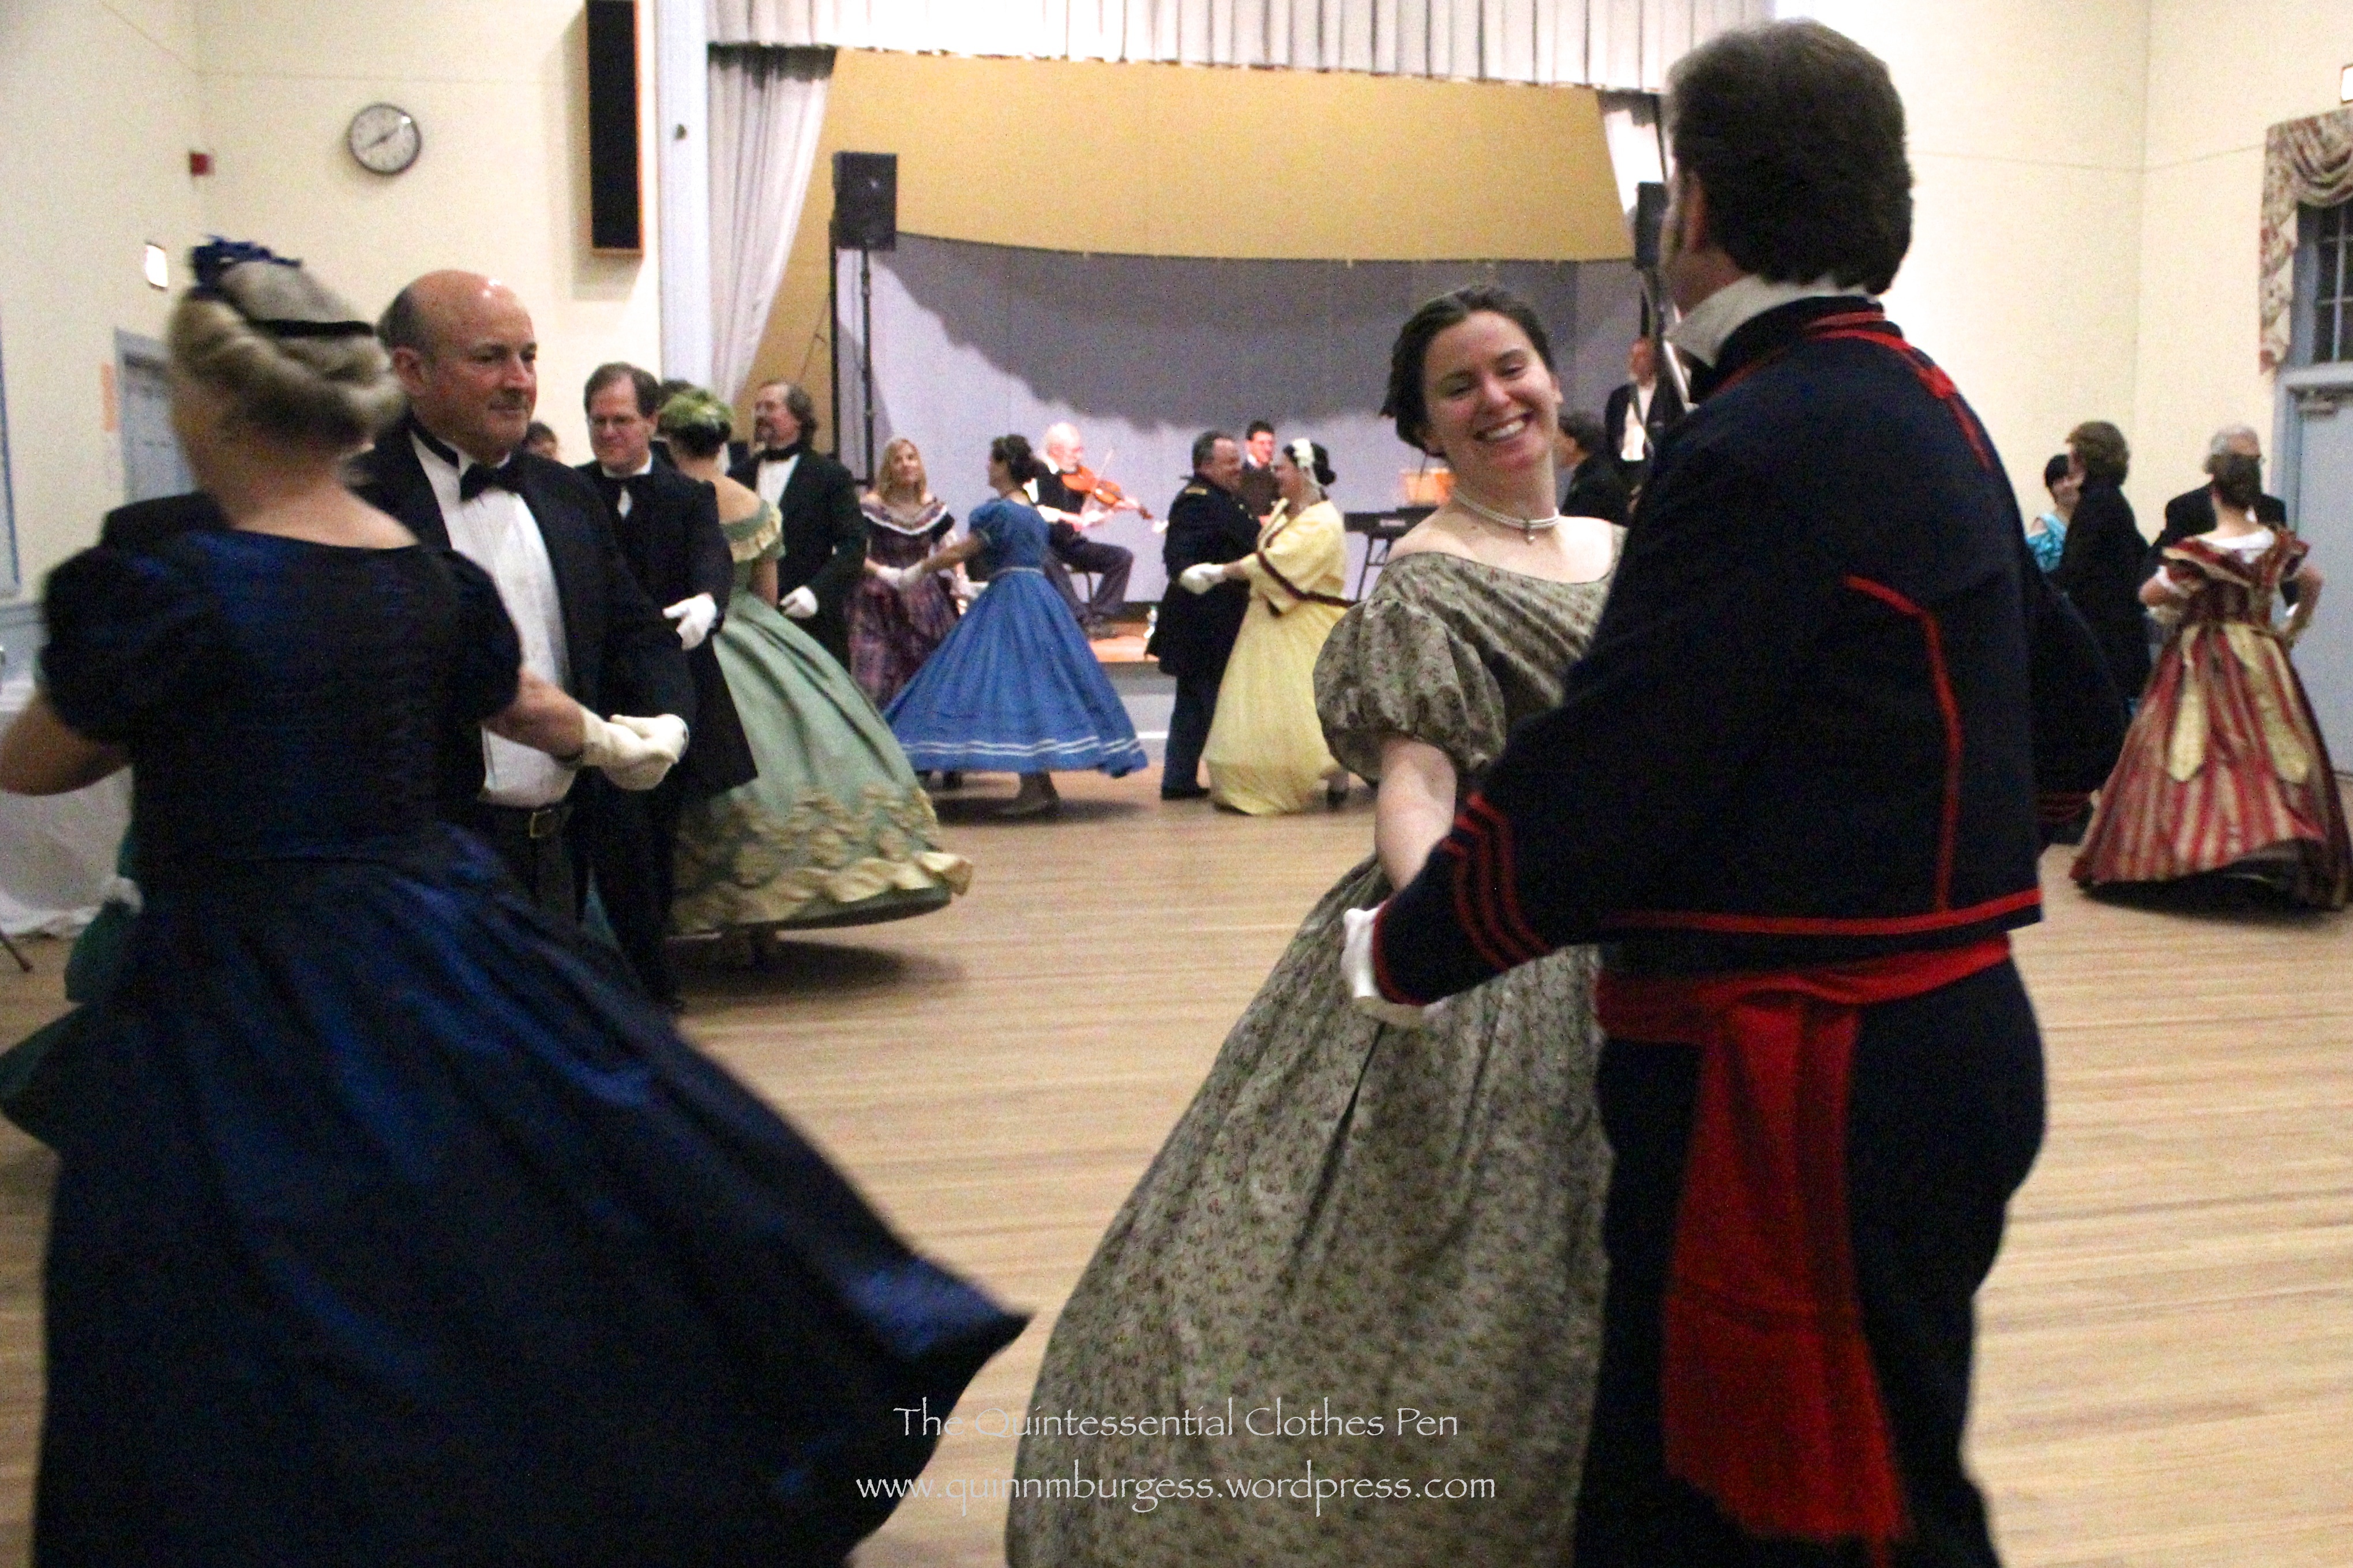
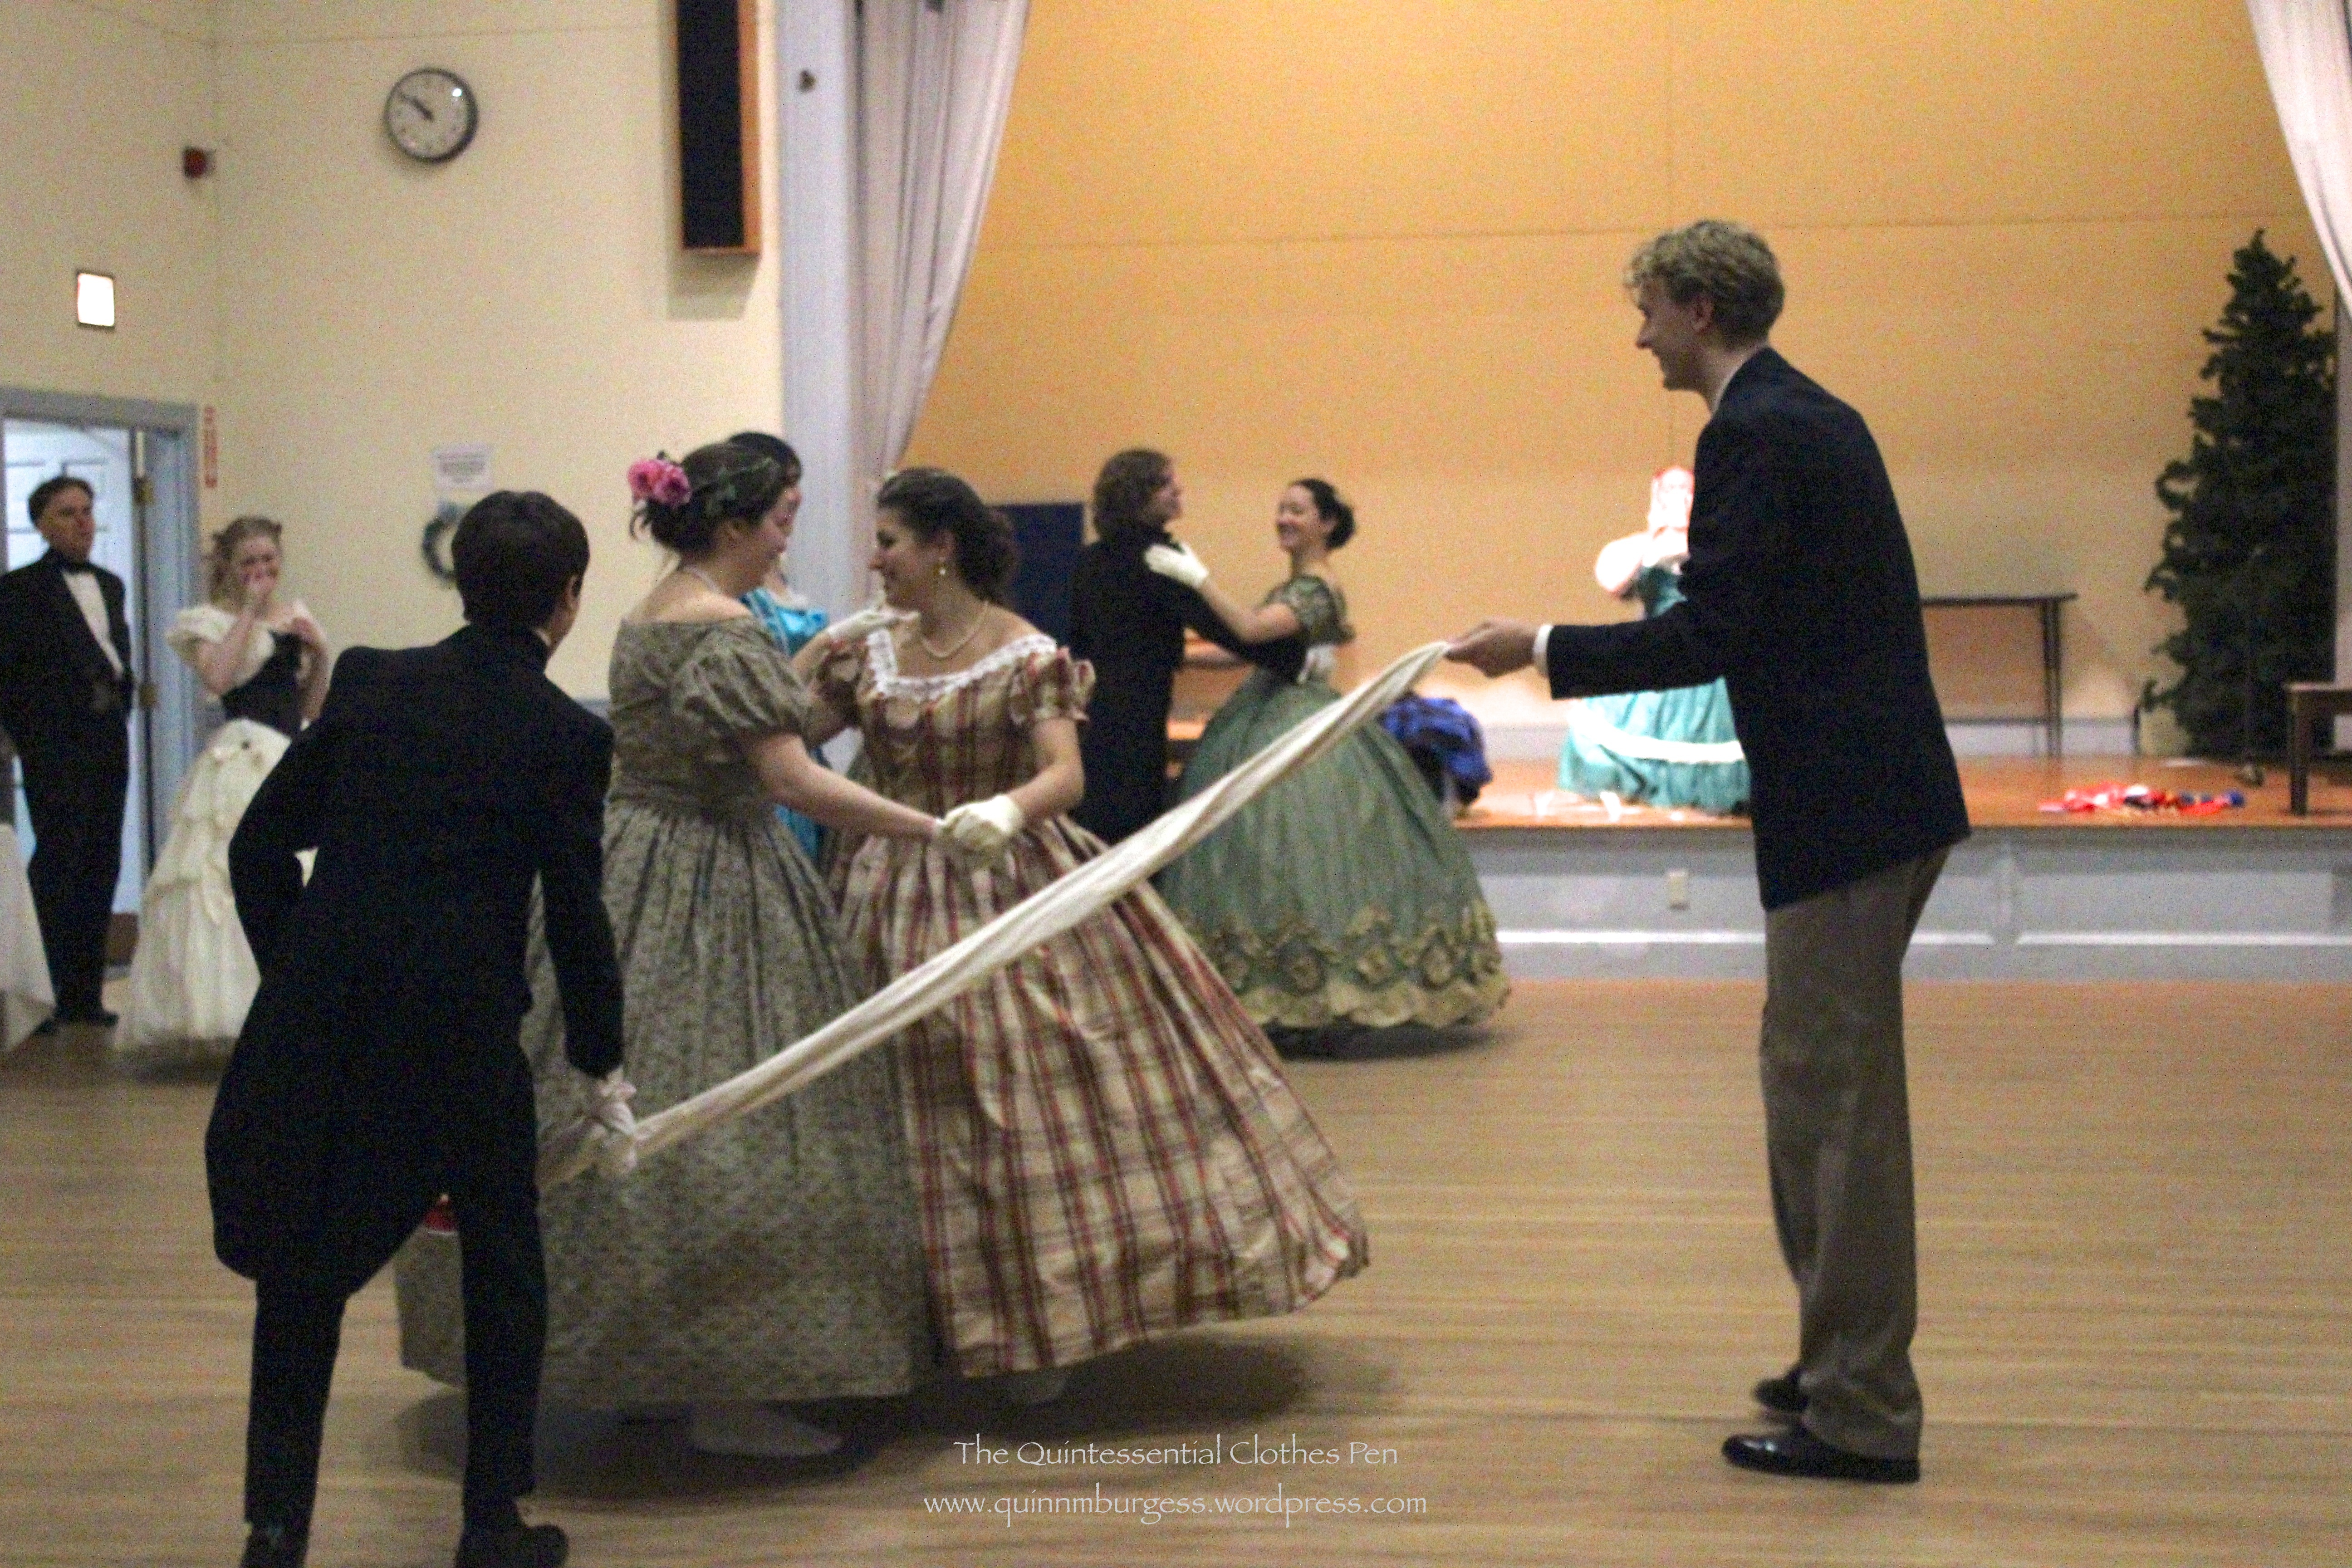
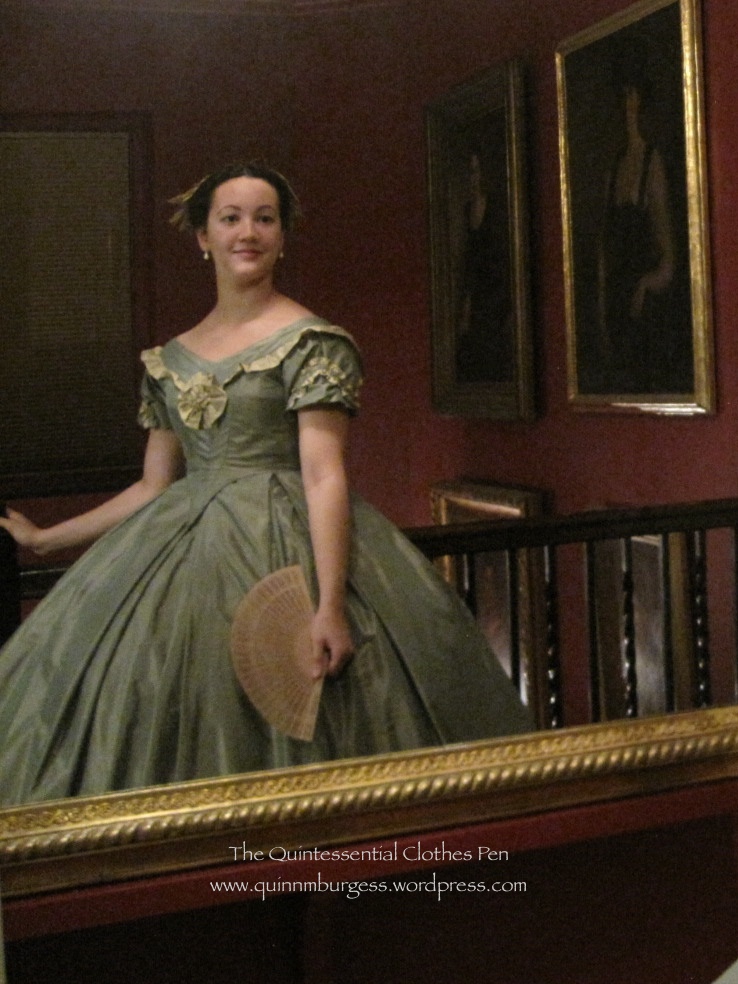
Taking some photos before the ball.I wore Evie. This is a nice photo of the bodice with recently added sleeve trim.Plaid dresses!Something exciting was being said, though I don’t remember what! This is good proof, though, that my Evie hair wreath does often take on a very green hue in contrast to the sometimes gold-ish brown that it looks in pictures.In lines, dancing Le Tourbillion.Dancing in a large circle. This is either Spanish Dance or Soldier’s Joy. I always get them confused since they start out similarly!Lines of ladies and gentlemen dancing Gothic Dance.Ladies passing under the “Gothic” arches!Wondering what this odd scene is? This is one of the dance games in the German. You’ll have to forgive me for not remembering the names of them. In this one, a lady sat in the chair with a mirror and cloth. She could see the gentleman standing behind her in the mirror. She would wipe the mirror to dismiss them until she found one she wanted to dance with.In this dance game, the lady presented one of the two gentlemen with a glass of “wine.” She then danced with the other gentleman.For this dance game, the gentlemen were blindfolded (I was dancing as a gentleman…). We all stood in a circle with ladies in between gentlemen and then would begin to give hands, right then left, around the circle. Because the gentlemen were blindfolded the ladies had to be sure to catch their hands to keep them from wandering out of the circle. At the sound of a whistle, you would dance with the person whose hand you were holding. Something must have been mixed up, because two of us blindfolded “gentlemen” wound up dancing together, to the great amusement of all onlookers. Lucky for us we’re both proficient waltzers, and being blindfolded isn’t much of a challenge. People were quite impressed and amused.Another dance game, with 5 each of ribbons, ladies, and gentlemen. Once the center of the ribbon was released each person found the person holding the other end of their ribbon and danced with them.This dance game involves two people trying to capture one of the dancing couples in the sash. When they’ve caught someone they switch around so different people are the ones holding the sash. The people dancing have to try to dance away from capture.It’s hard to see, but the couple with the plaid dress is holding a top hat. The object of this dance game is for the second couple to dance close enough to the couple with the top hat to drop a glove into it. When that happens then the couple with glove becomes the couple with the hat. Only dancing, not running, is allowed to elude the couple with the glove.
All in all a fun and energetic day and night of dancing, especially with the German that was directly after the ball. I hope you enjoyed these.
Refreshing in a tiara and apron.While preparing the refreshments someone realized we didn’t have a knife to cut the pound cake. That didn’t stop us for long, though, because it’s entirely normal for the men in our group to have swords in the car. All that was required was a quick walk out to the car to get one, and just like that we were back in business!One of the pretty cards labeling the refreshments.
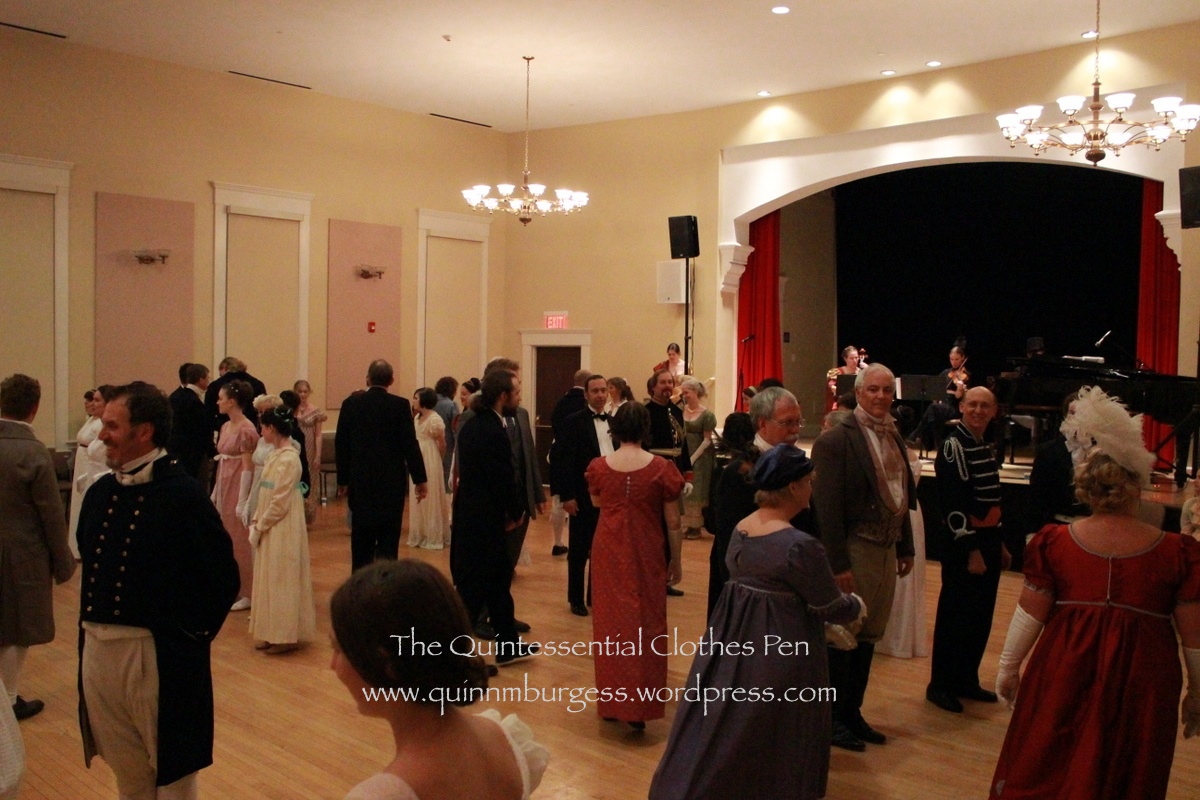
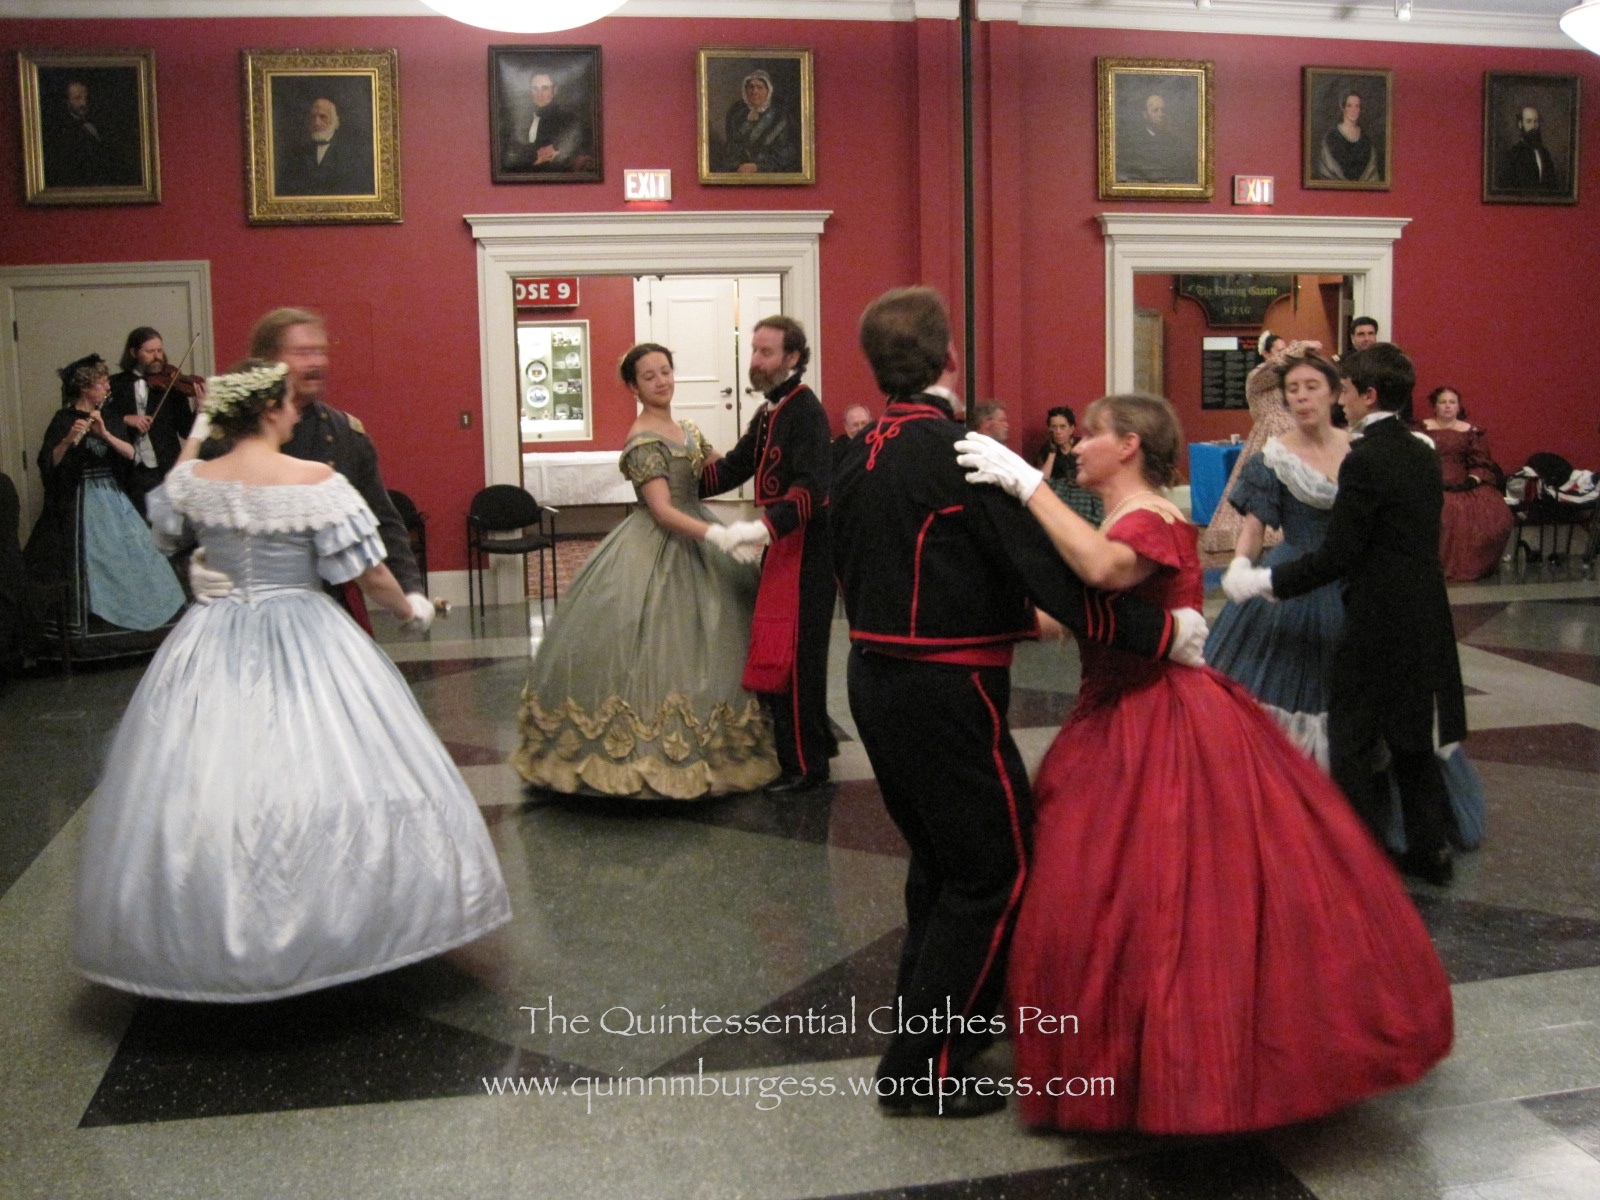
The ball was a huge success. I think there were about 70 attendees, which quite filled up the room we were in. There was live music played on a piano, cello, and violin. People seemed to really enjoy themselves.
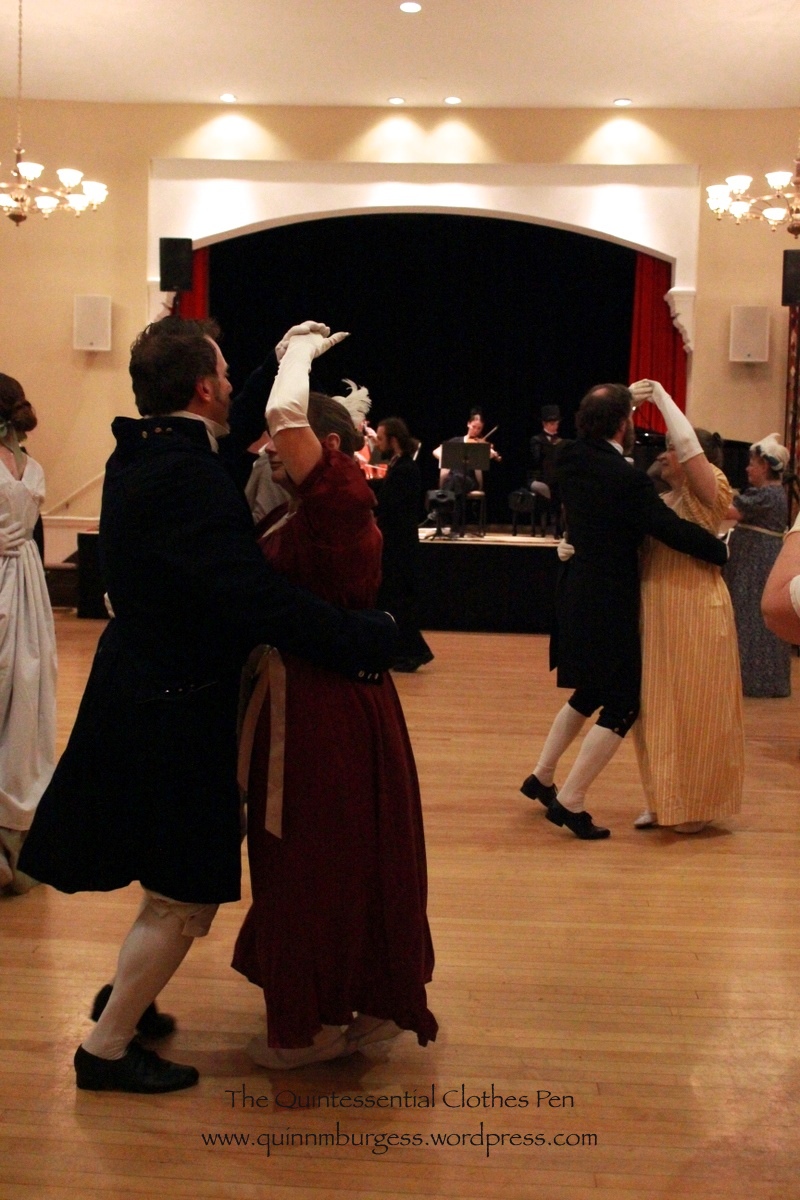
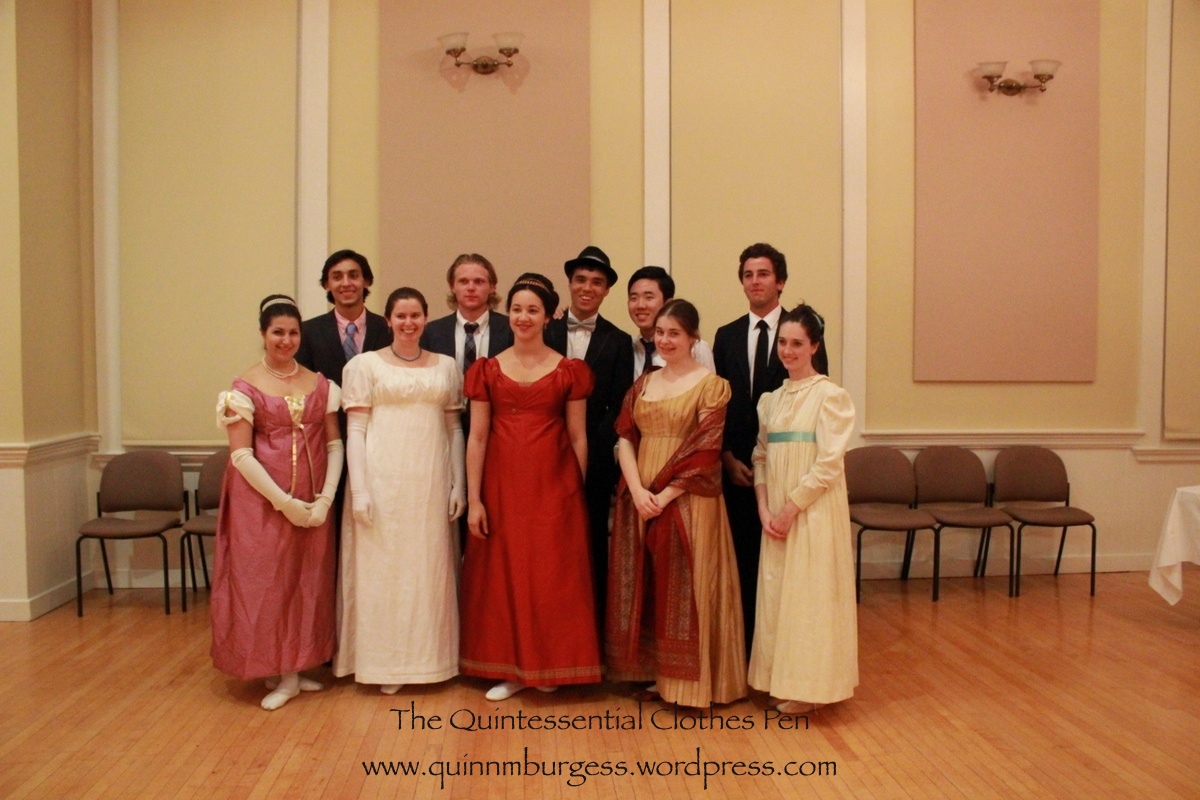
A view of the crowded room.Dancing a country dance.I was so busy dealing with refreshments I didn’t get to dance much, which was a little sad, but this was one of the dances I was able to dance.Couples dancing a Regency waltz.More waltzing.People were very well dressed and it’s always fun to look at the clothing people who are new to one’s acquaintance.One of our friends made a new dress for herself as well as a friend who was visiting and attending the ball. So kind!And there were a surprising number of new faces. This group of young men requested a picture with us, and we obliged.I’ll leave you with this further, slightly artsy, proof of my new tiara being worn.
I’m taking a quick break from the 1950s adventure posts to insert my HSF #21 post into the mix. More 1950s coming soon!
It’s been on my sewing list for a few months to add a bit more trim to the sleeves of Evie, my most recent Civil War era dress, but I’ve been working on knitting my sweater and completing other projects, like my 1822 Walking Dress, so I hadn’t really been inspired to complete the trim. However, the Commonwealth Vintage Dancers were asked to run a ball as part of recent Civil War reenactments in Worcester, MA, and that gave me the perfect incentive to finish up trimming Evie! She also happens to be green, so this is my entry for the HSF Challenge #21: Green.
Oh yes, I forgot I had some other minor changes to make to Evie since I last wore her in March as well. Boring things, like changing out the boning at center back, and enlarging the armsceye a bit under the arm, and adding hooks and bars to connect the bodice to the skirt. I got all those things done, too, though they don’t get their own photographs. I really like the added trim. It gives the bodice a little bit more interest and helps balance out the immense skirt.
Here is Evie, with her new sleeve trim.Another view. The sleeve trim is a smaller scale version of the trim on the skirt.A cropped version of the picture above. I can’t decide which way I like it better, so I’m including both.And here is what the bodice of Evie looked like before I added the sleeve trim.
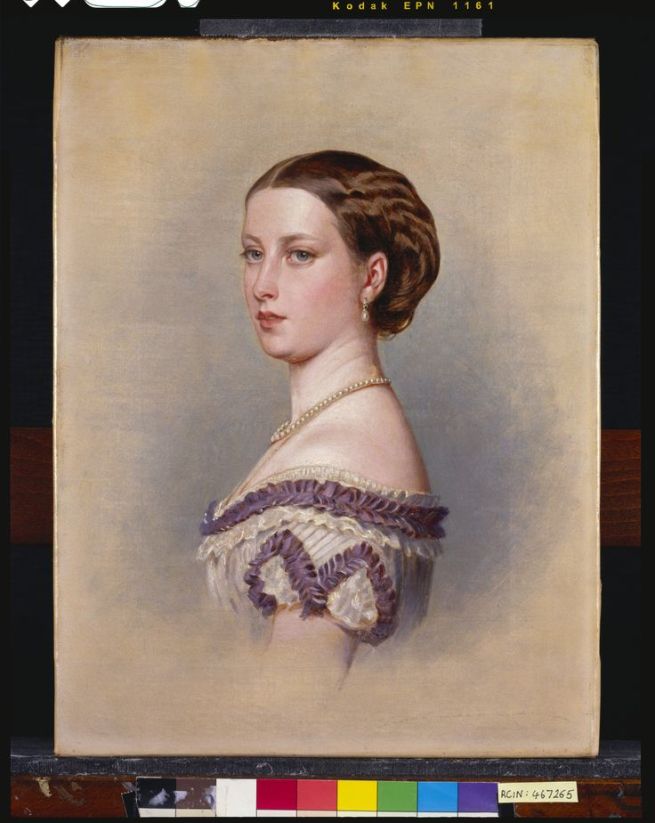
Most of the trim on this dress is based on two images I discussed in this previous post: a fashion plate from 1864 and a costume made by Tirelli Costumi. The sleeve trim is based off of yet a third inspiration source: the painting, below, of Princess Helena in the Royal Collection. It’s perfect that it’s from 1864, just like my inspiration fashion plate. It’s even better that it echoes the bertha trim I already had and the zig zag on my skirt.
This is a copy by William Corden (1819-1900) of the portrait of Princess Helena by Albert Graefle (RCIN 403988). The original was painted for Princess Helena as a birthday present for Queen Victoria on 24 May 1864. Princess Helena (1846-1923), nicknamed Lenchen, was the fifth child and third daughter of Queen Victoria and Prince Albert. She was lively, outspoken and something of a tomboy. In 1866, two years after this portrait was painted, she married Prince Christian of Schleswig Holstein and in 1916 they celebrated their Golden Wedding anniversary; she was the only child of Queen Victoria to do so. Queen Victoria recorded in her Journal that ‘Lenchen’s picture by Graefle, is extremely good & pretty’.
Now, the facts:
Fabric: small bits of leftover gold silk shantung and green silk taffeta from the construction of the dress.
Pattern: none.
Year: 1864.
Notions: only thread.
How historically accurate?: Well, shantung is not accurate, but silk is (and this doesn’t look very shantung-y). I give this trim a 98% on accuracy.
Hours to complete: 4? All hand sewn.
First worn: With the new trim, on October 11, to a Civil War ball.
Total cost: $0, because it’s leftovers!
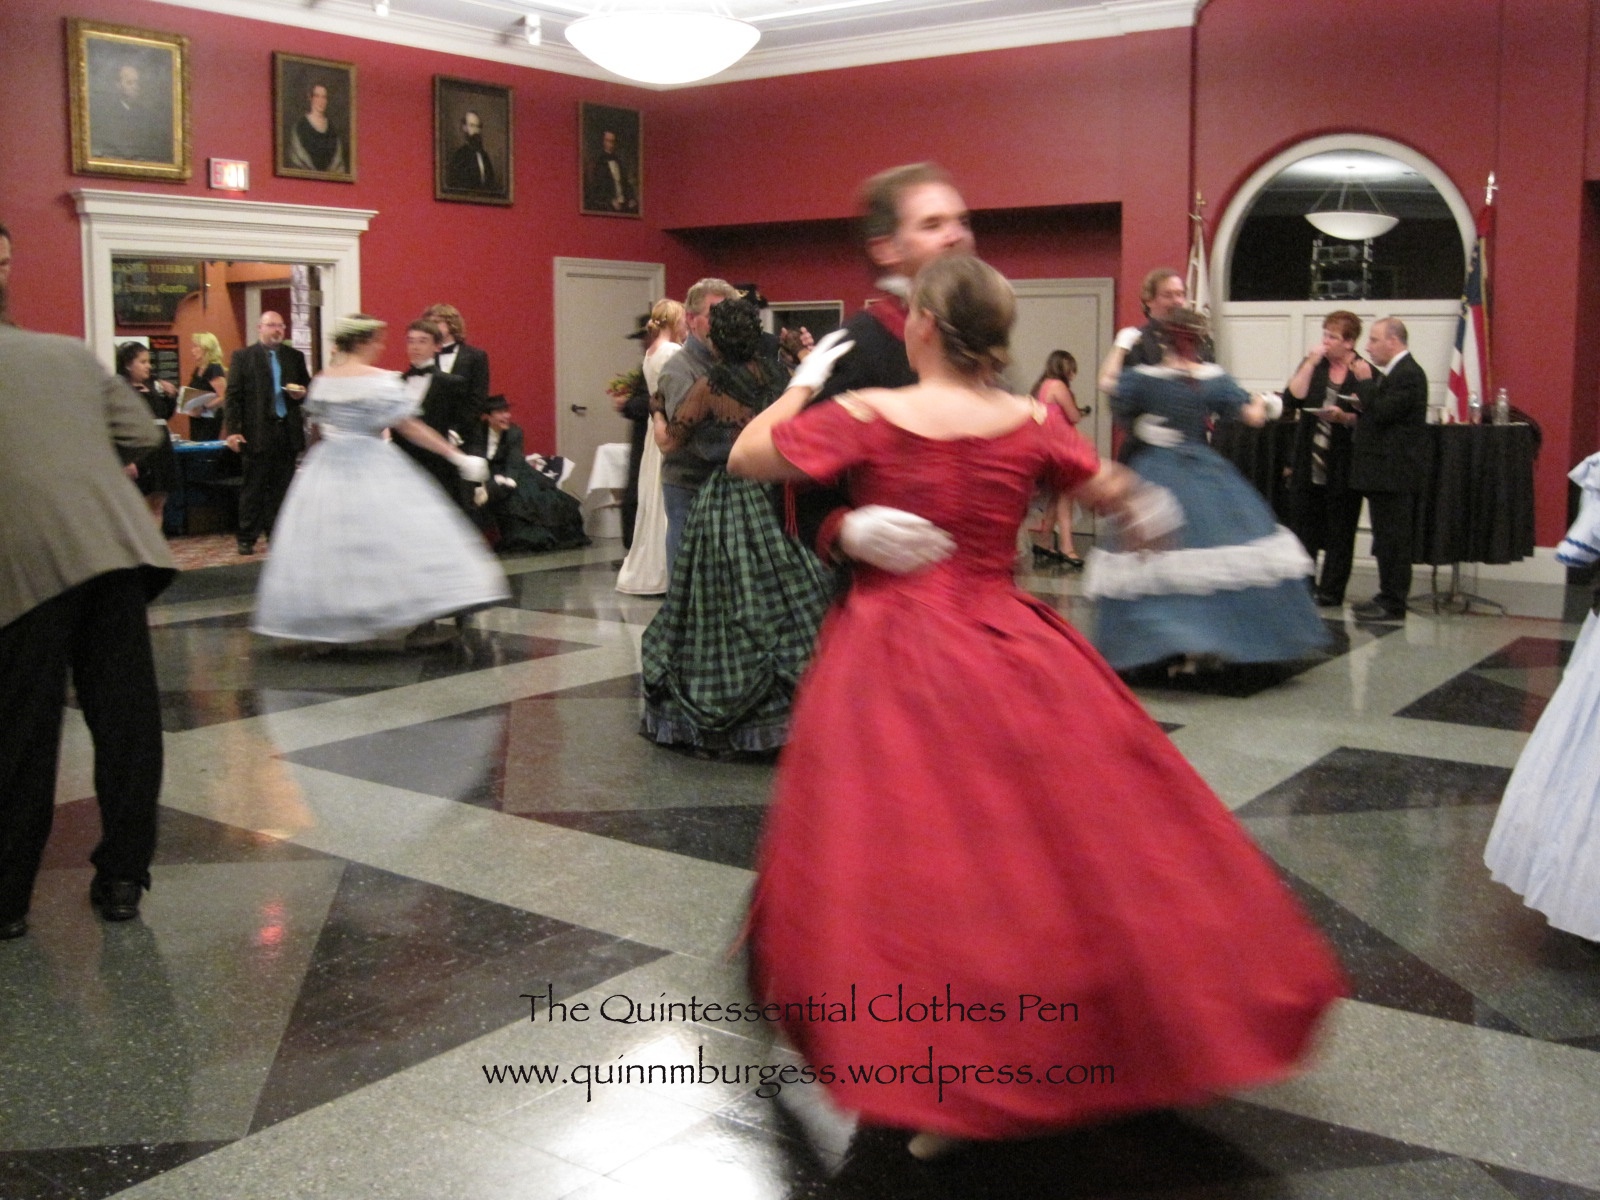
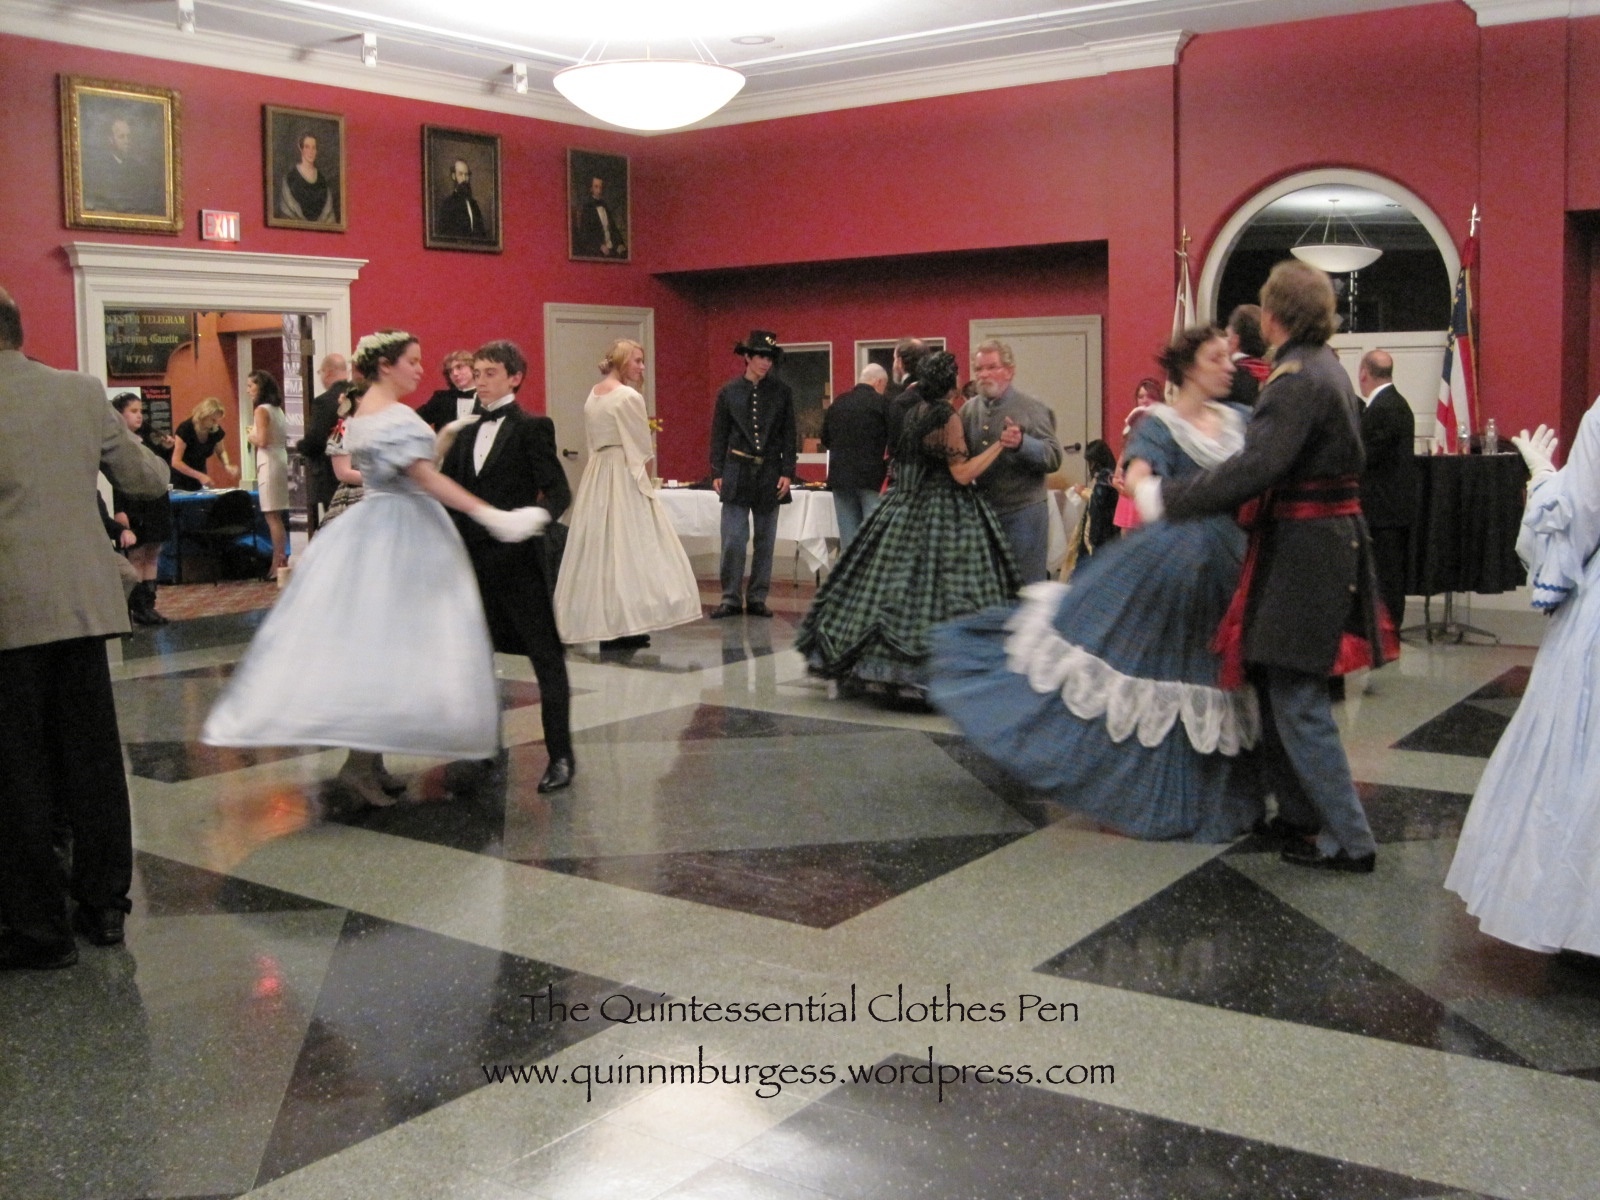
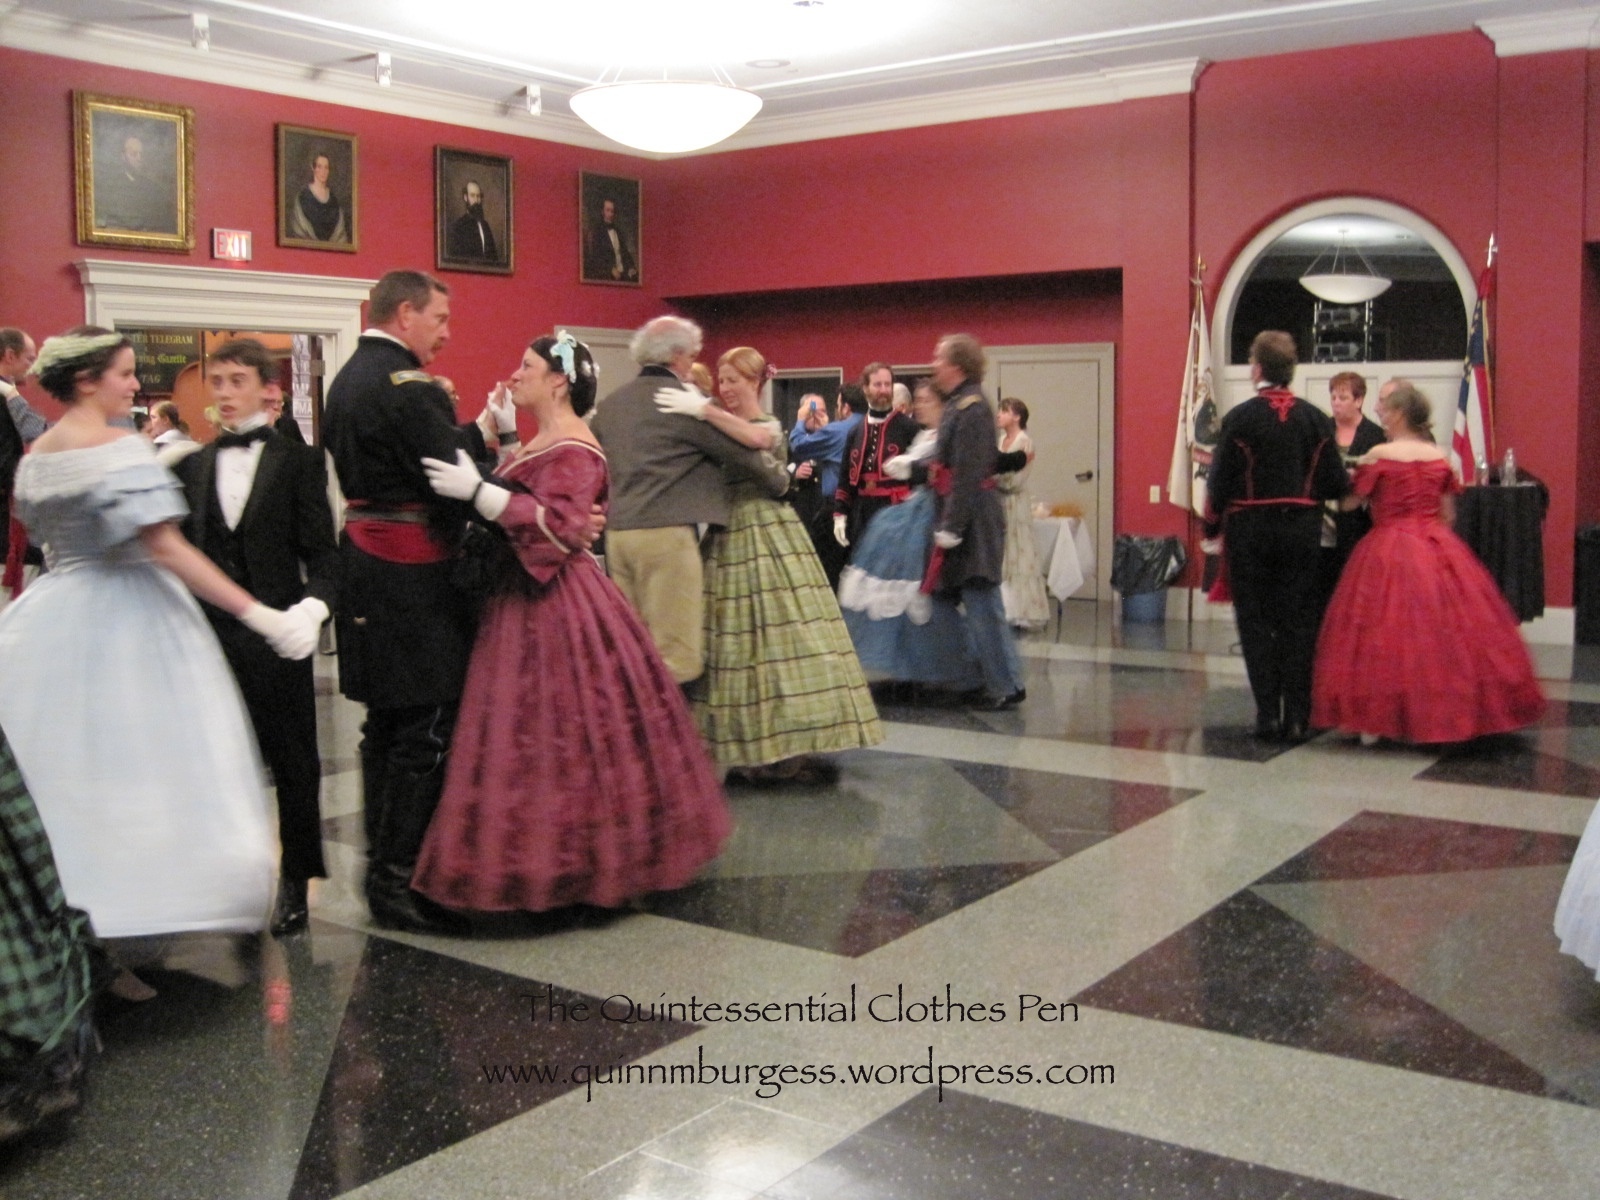
Now for the bonus part of this post where I include pictures from the Civil War ball.
The entrance to the building had these fabulous doors.Each section looked like this.Dancing a waltz.Swinging skirts are fun!People looked very nice.And it was nice to see unfamiliar faces and meet new people.There was a constant swishing sound of skirts brushing against one another.The Commonwealth Vintage Dancers interspersed short performances throughout the evening.This is the Triplet Galop Quadrille.The ball room had large, dark, seriously-faced portraits around the perimeter. I’m not sure they approved of all the dancing!There were also Civil War era flags that the reenactors had brought to help decorate the room. And here’s a full length shot of Evie with her new sleeve trim.
I had a lovely time. This ball was nicely different than our usual evening balls with all the new faces. My senses were most struck by the abundance of rather more sturdy and thick wools worn by the military gentlemen than I am used to feeling at most balls, when there are more gentlemen in smoother wool tailcoats. The occasional feel of the thicker wool on my left arm was a tangible, and rather transporting, connection to the past. It seems quite likely that at a ball held during the Civil War a lady would have felt more thick wool on uniformed gentlemen than she might have felt at a ball pre or post war when there would have been more civilian tailcoats at a ball.
Have I inspired you to want to learn 1860s dancing and attend a ball? I’ll end with this small encouragement for your attendance at the Commonwealth Vintage Dancers’ next Civil War events. The Commonwealth Vintage Dancers have a Civil War Dance Weekend coming up in November, 2013. It’s super reasonably priced and includes lots of dance classes, two balls, and a German. There’s no experience necessary. If you’re at all interested and in the New England area you should check it out, because we’re doing lots of awesome Civil War dancing in 2014 as well (they are listed at the bottom of the Civil War Dance Weekend link, above), and why not get started learning or brushing up sooner rather than later? I’d love to see you there!
…It’s only been a year! Or pretty close to a year. I posted an overview of my early 1820s project last November. The project included a petticoat, 1824 ball gown, 1822 walking dress, muff, tippet, bonnet, and chemisette. Some of these things are still in the UFO pile or on the to do list, but I’m super pleased that this post is about the completion of the 1822 walking dress!
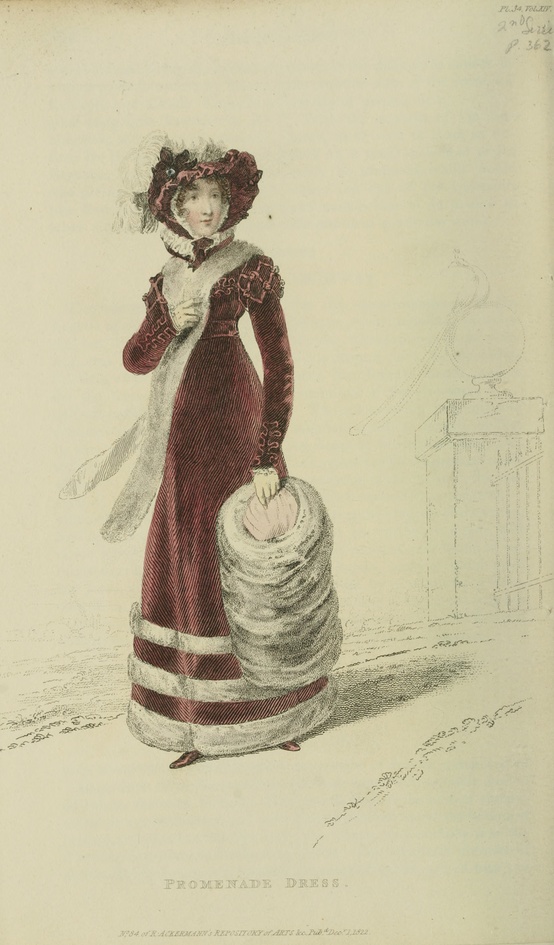
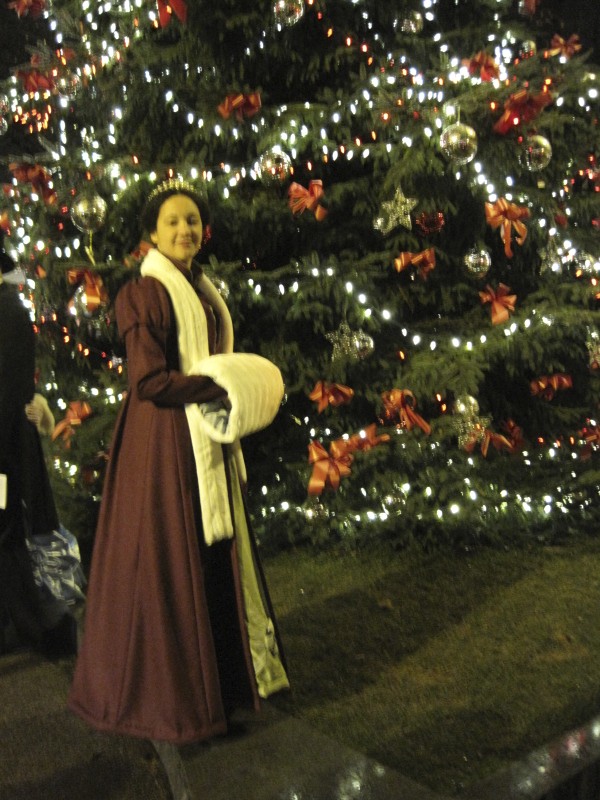
The image below is my inspiration for the now complete walking dress. I wore it last December to go caroling outside before Fezziwig’s Ball, but at that point my time had run out and though the construction was complete there was no trim. Below the image of my inspiration is an image of the walking dress as it looked last December with no trim. And below that is an image of the now completed walking dress with trim! It certainly fits me better than the hanger, but you’ll have to wait a few months to see it on me.
Promenade Dress. Ackerman’s Repository. December 1822.December 2012. Unfinished early 1820s ensemble.Yay! All the trim is on!
Before I share some close ups of the trim and construction, let me share the facts:
Fabric: 4-5 yds of dark pink wool, 4-5 yds of ivory super soft and thick cotton twill, 1/2 yd-ish of lavender polyester velvet, 1/2 yd-ish of lavender silk shantung, and a bit of canvas for the collar.
Pattern: Adapted from my 1822 green ball gown pattern, I think. It’s pretty much exactly the same except that it has a higher back, collar, and sleeves. The ball gown pattern is based off of a pattern in Janet Arnold.
Year: 1822.
Notions: Pink and lavender thread, polyester batting in the hem, and hooks for the waist.
How historically accurate?: Very, having used modern materials and a few very nice looking modern fabrics . The pattern is from Janet Arnold, so you know it is good on accuracy and the trim scale and pattern is taken from a fashion plate from 1822. As a historic costume I give it 98%.
Hours to complete: Oh goodness… I’m sure the main construction took at least 40 hours and the trim took probably 50ish hours to cut, press, and hand sew. I didn’t keep track at all on this project.
Top of the sleeve. First I had to sew the bias into a tube so the raw edges would be finished and the bias could “float” without having to be sewn down all along the edges. Then I tacked the bias tubes in a zig zag then crossed and tied other zig zags to get the finished pattern.The front. The pattern looks very much like an oak leaf to me. The bias is stitched in a tube with the raw edges showing on the back, then the edges are stitched down all around to create the pattern.The sleeve. The bias is stitched on the same way as it is on the front. The motifs are sewn on the front of the arm rather than the outside.
I actually had forgotten that I’d taken these construction shots. In fact, I had totally forgotten the method I had used to construct my sleeves until I saw the picture again! These pictures where the wool looks more pink than maroon show the color best. It’s really much more vibrant, and much less brownish, than some of the pictures make it look.
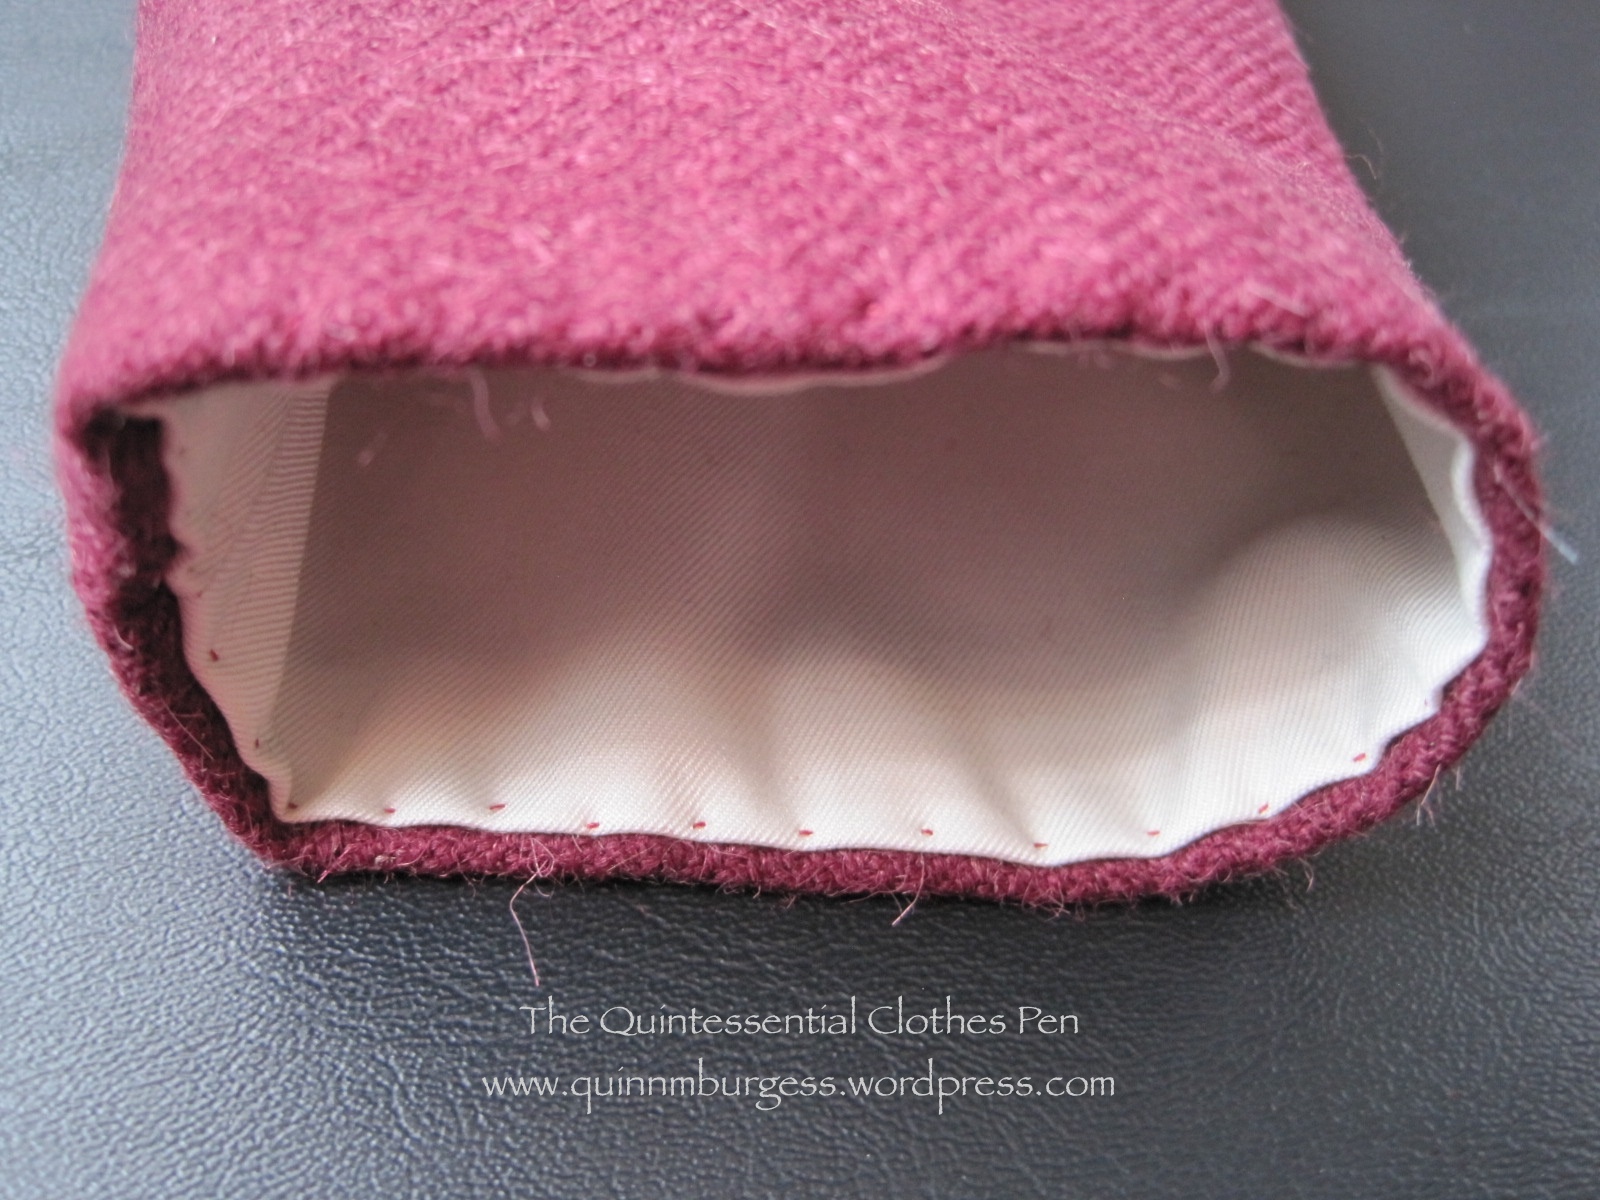
The canvas pad stitched into the collar before sewing the pieces together.The top of the sleeve before the gathered sleeve top was sewn on. I didn’t want to waste wool where it wouldn’t be seen, so it stops part way up the lining, then the gathered cap is sewn on and hides the raw edge of the wool.The lining is stab stitched to the wool at the cuff.
And just in case you want to read more about my entire project from the early 1820s, here’s a link to that category of entries on my blog. As I continue to finish up other bits and pieces I’ll keep adding them to that category, and it’s neat because the category filters only those posts so there’s a nice continuity.
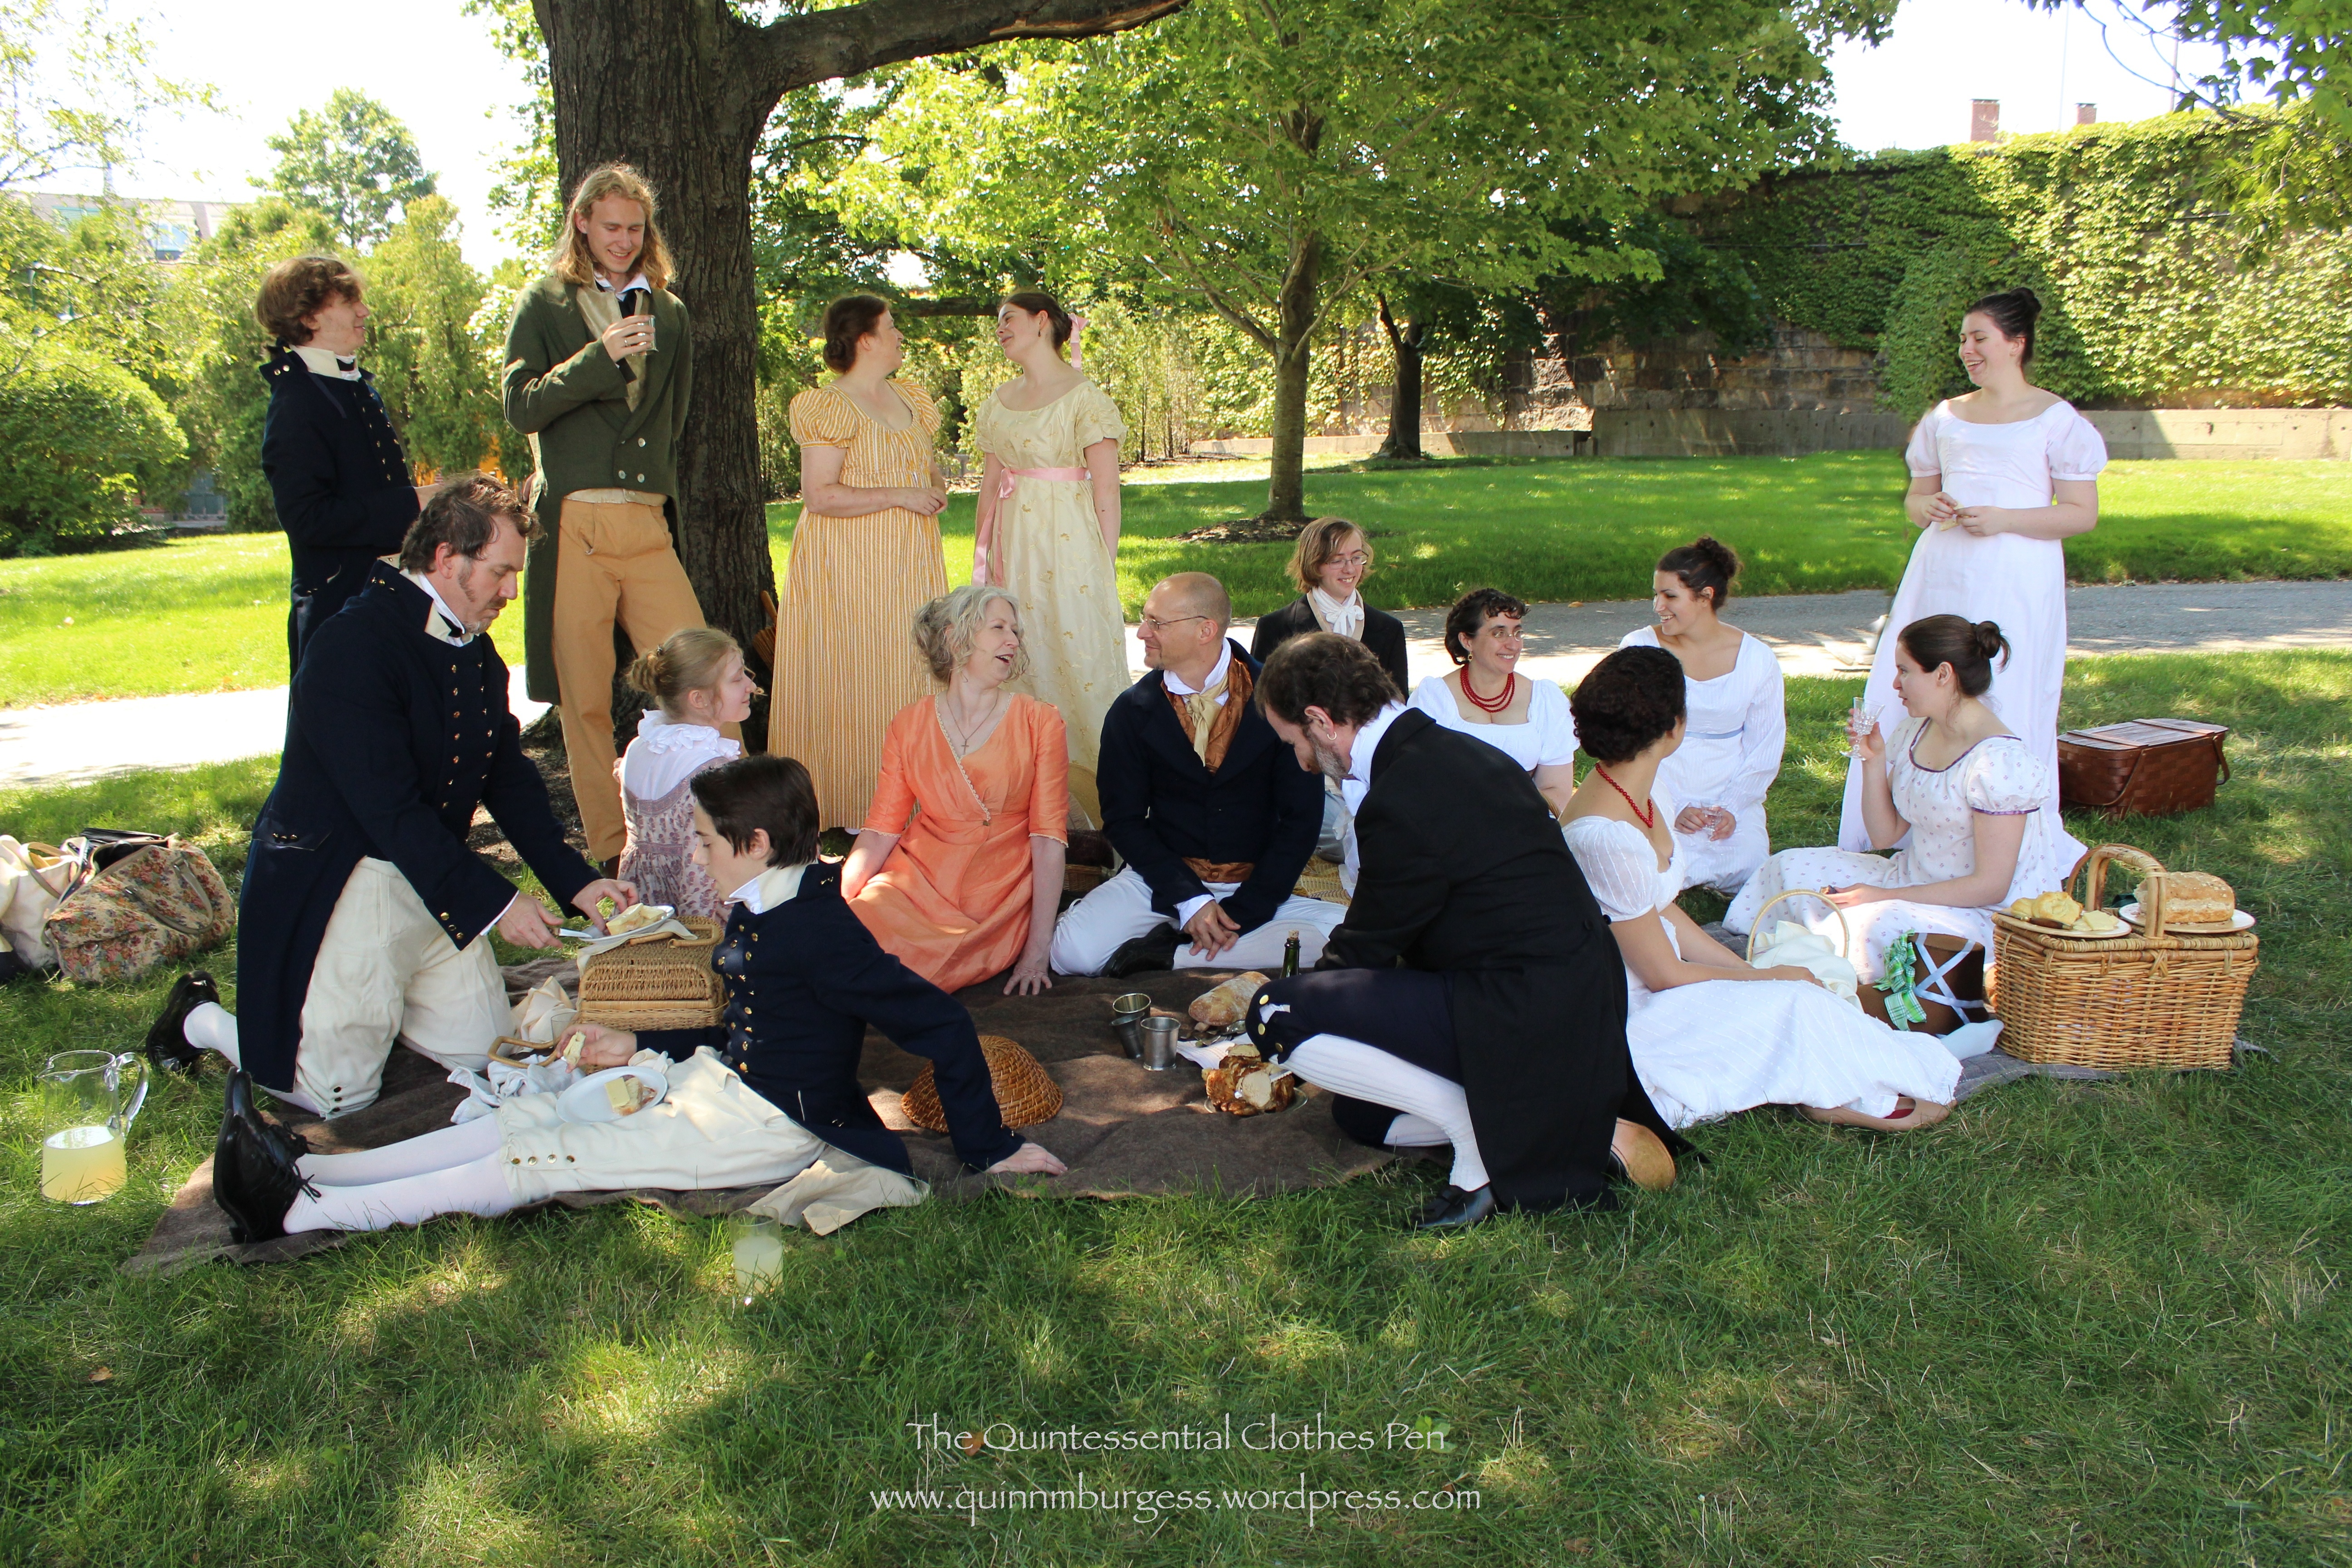
A few weekends ago I participated in a picnic and dance performance at the Commandant’s House. You might remember that we danced there last August? It was great fun last year and we were pleased to be able to participate in another event at this lovely location.
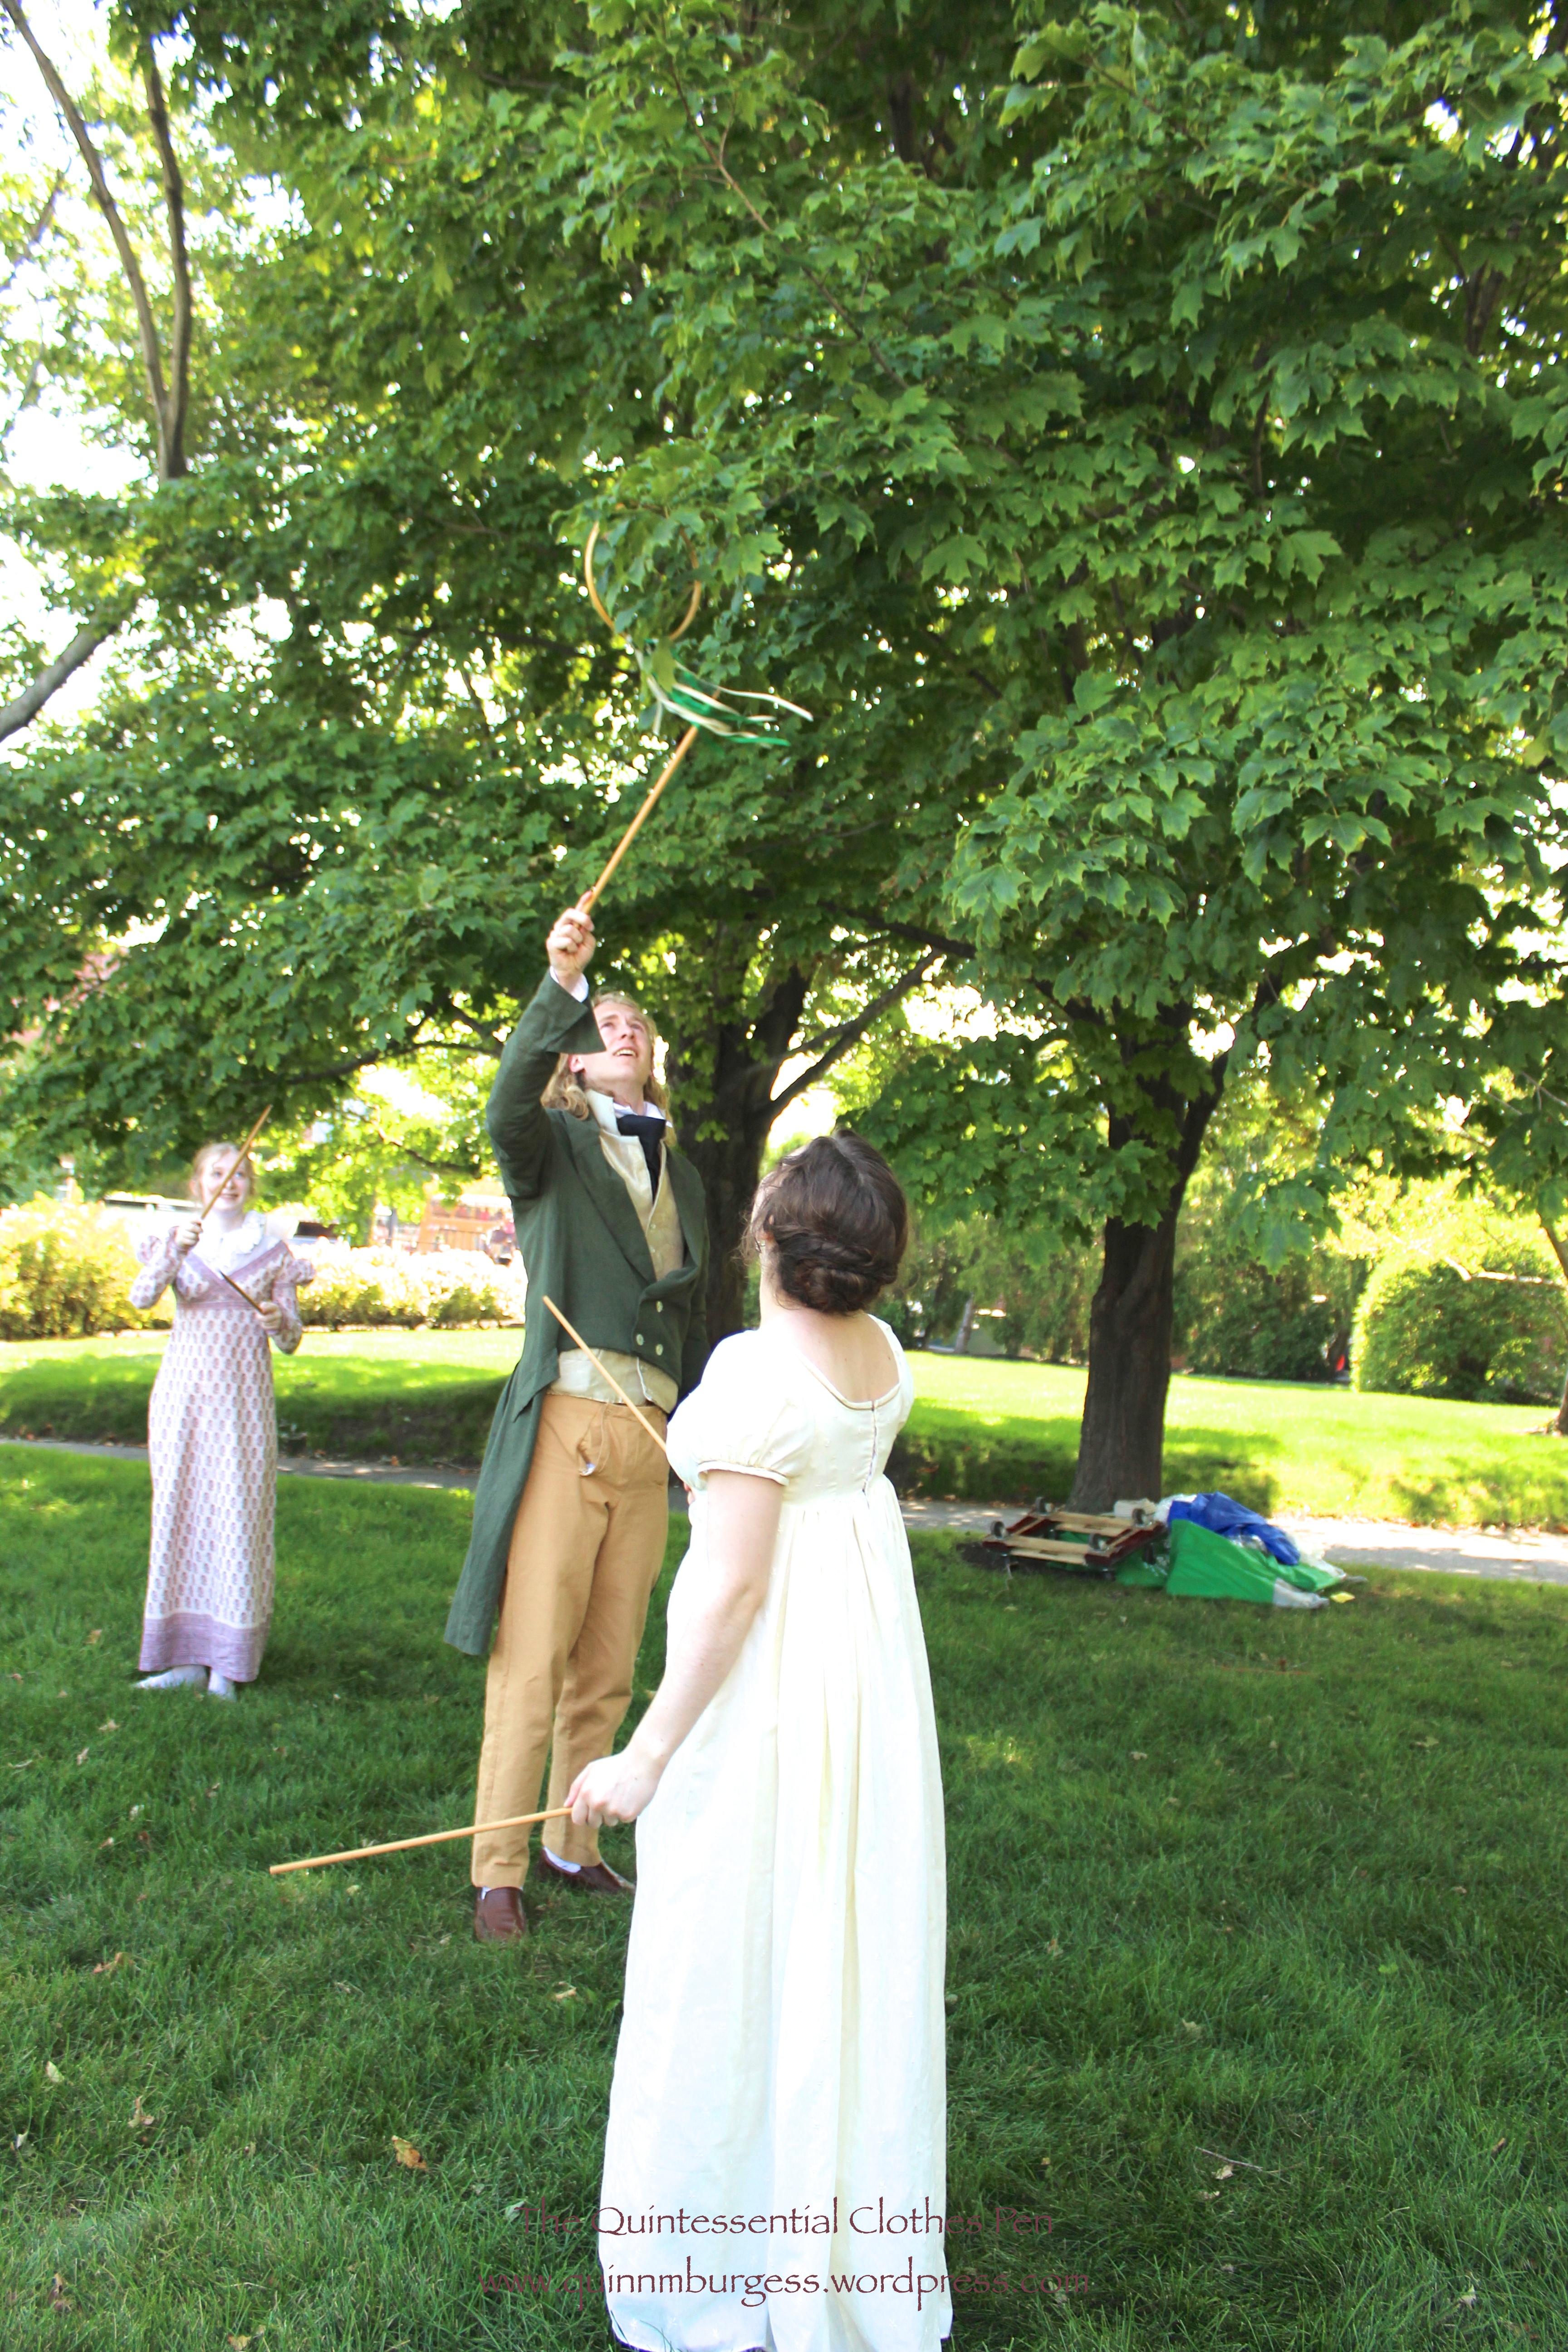
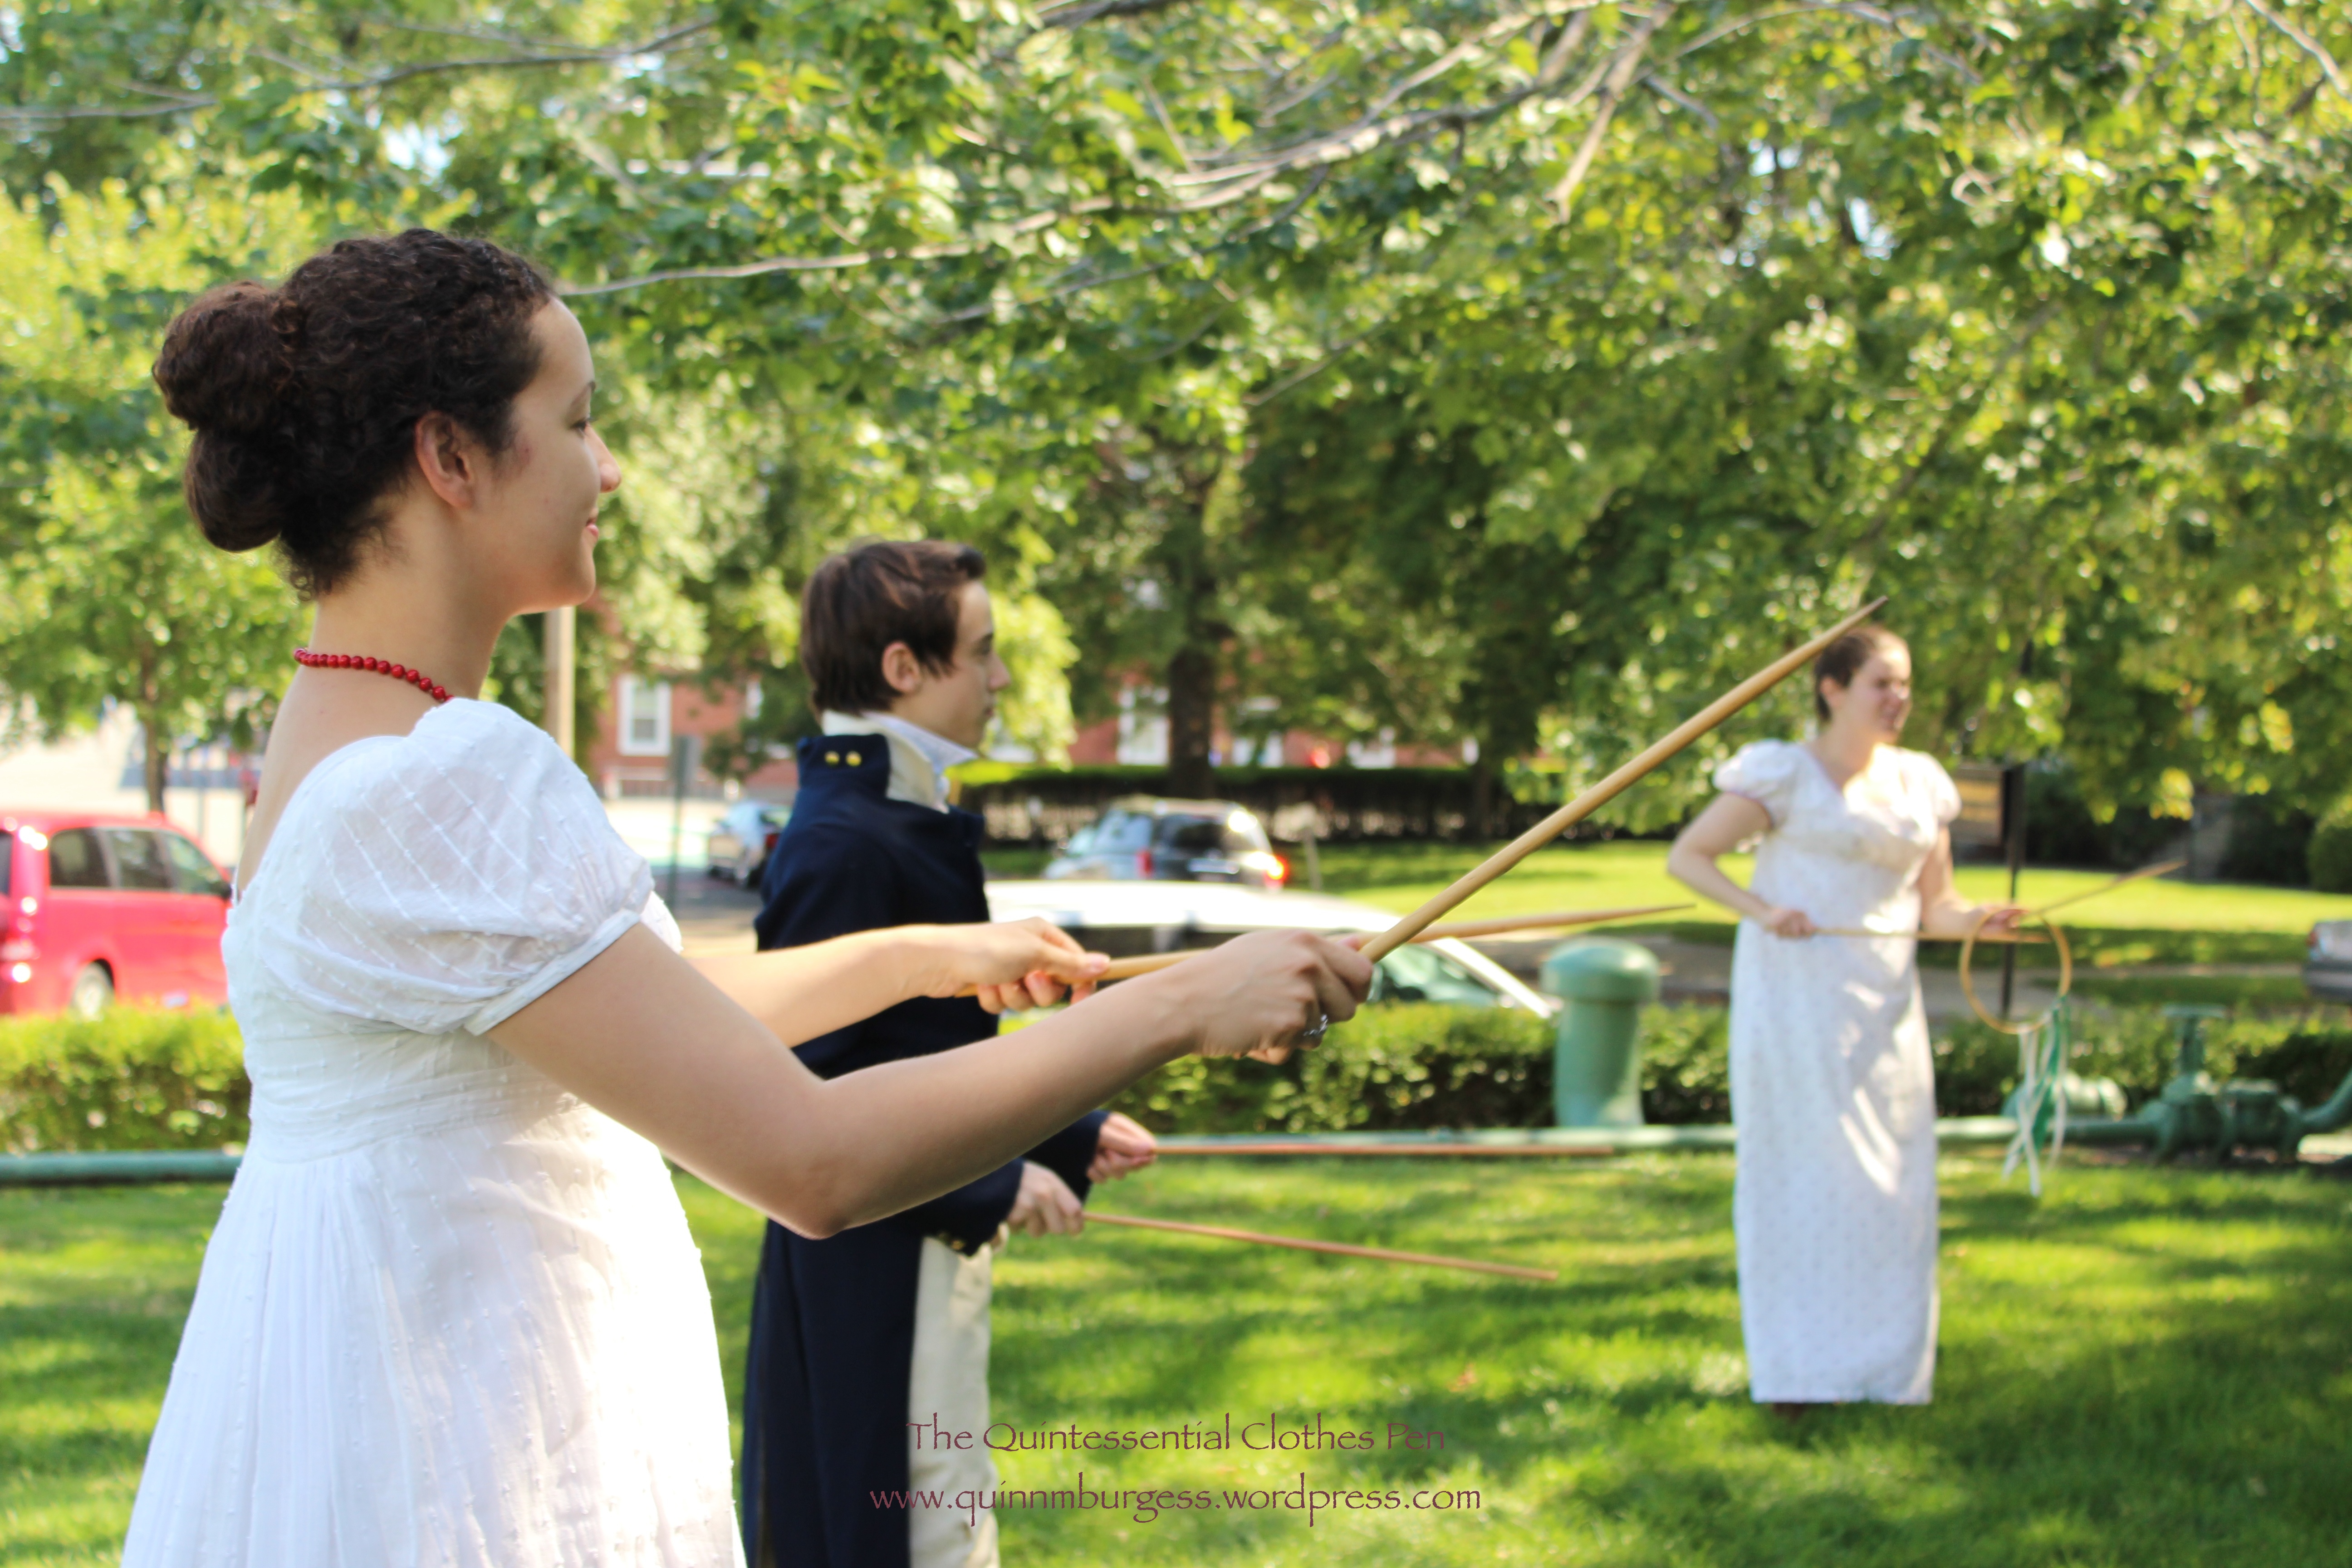
This time around we were there mostly to picnic, so that’s what the majority of my pictures are from. But we did dance a little in the house and lounged around to take a few pictures. Enjoy!
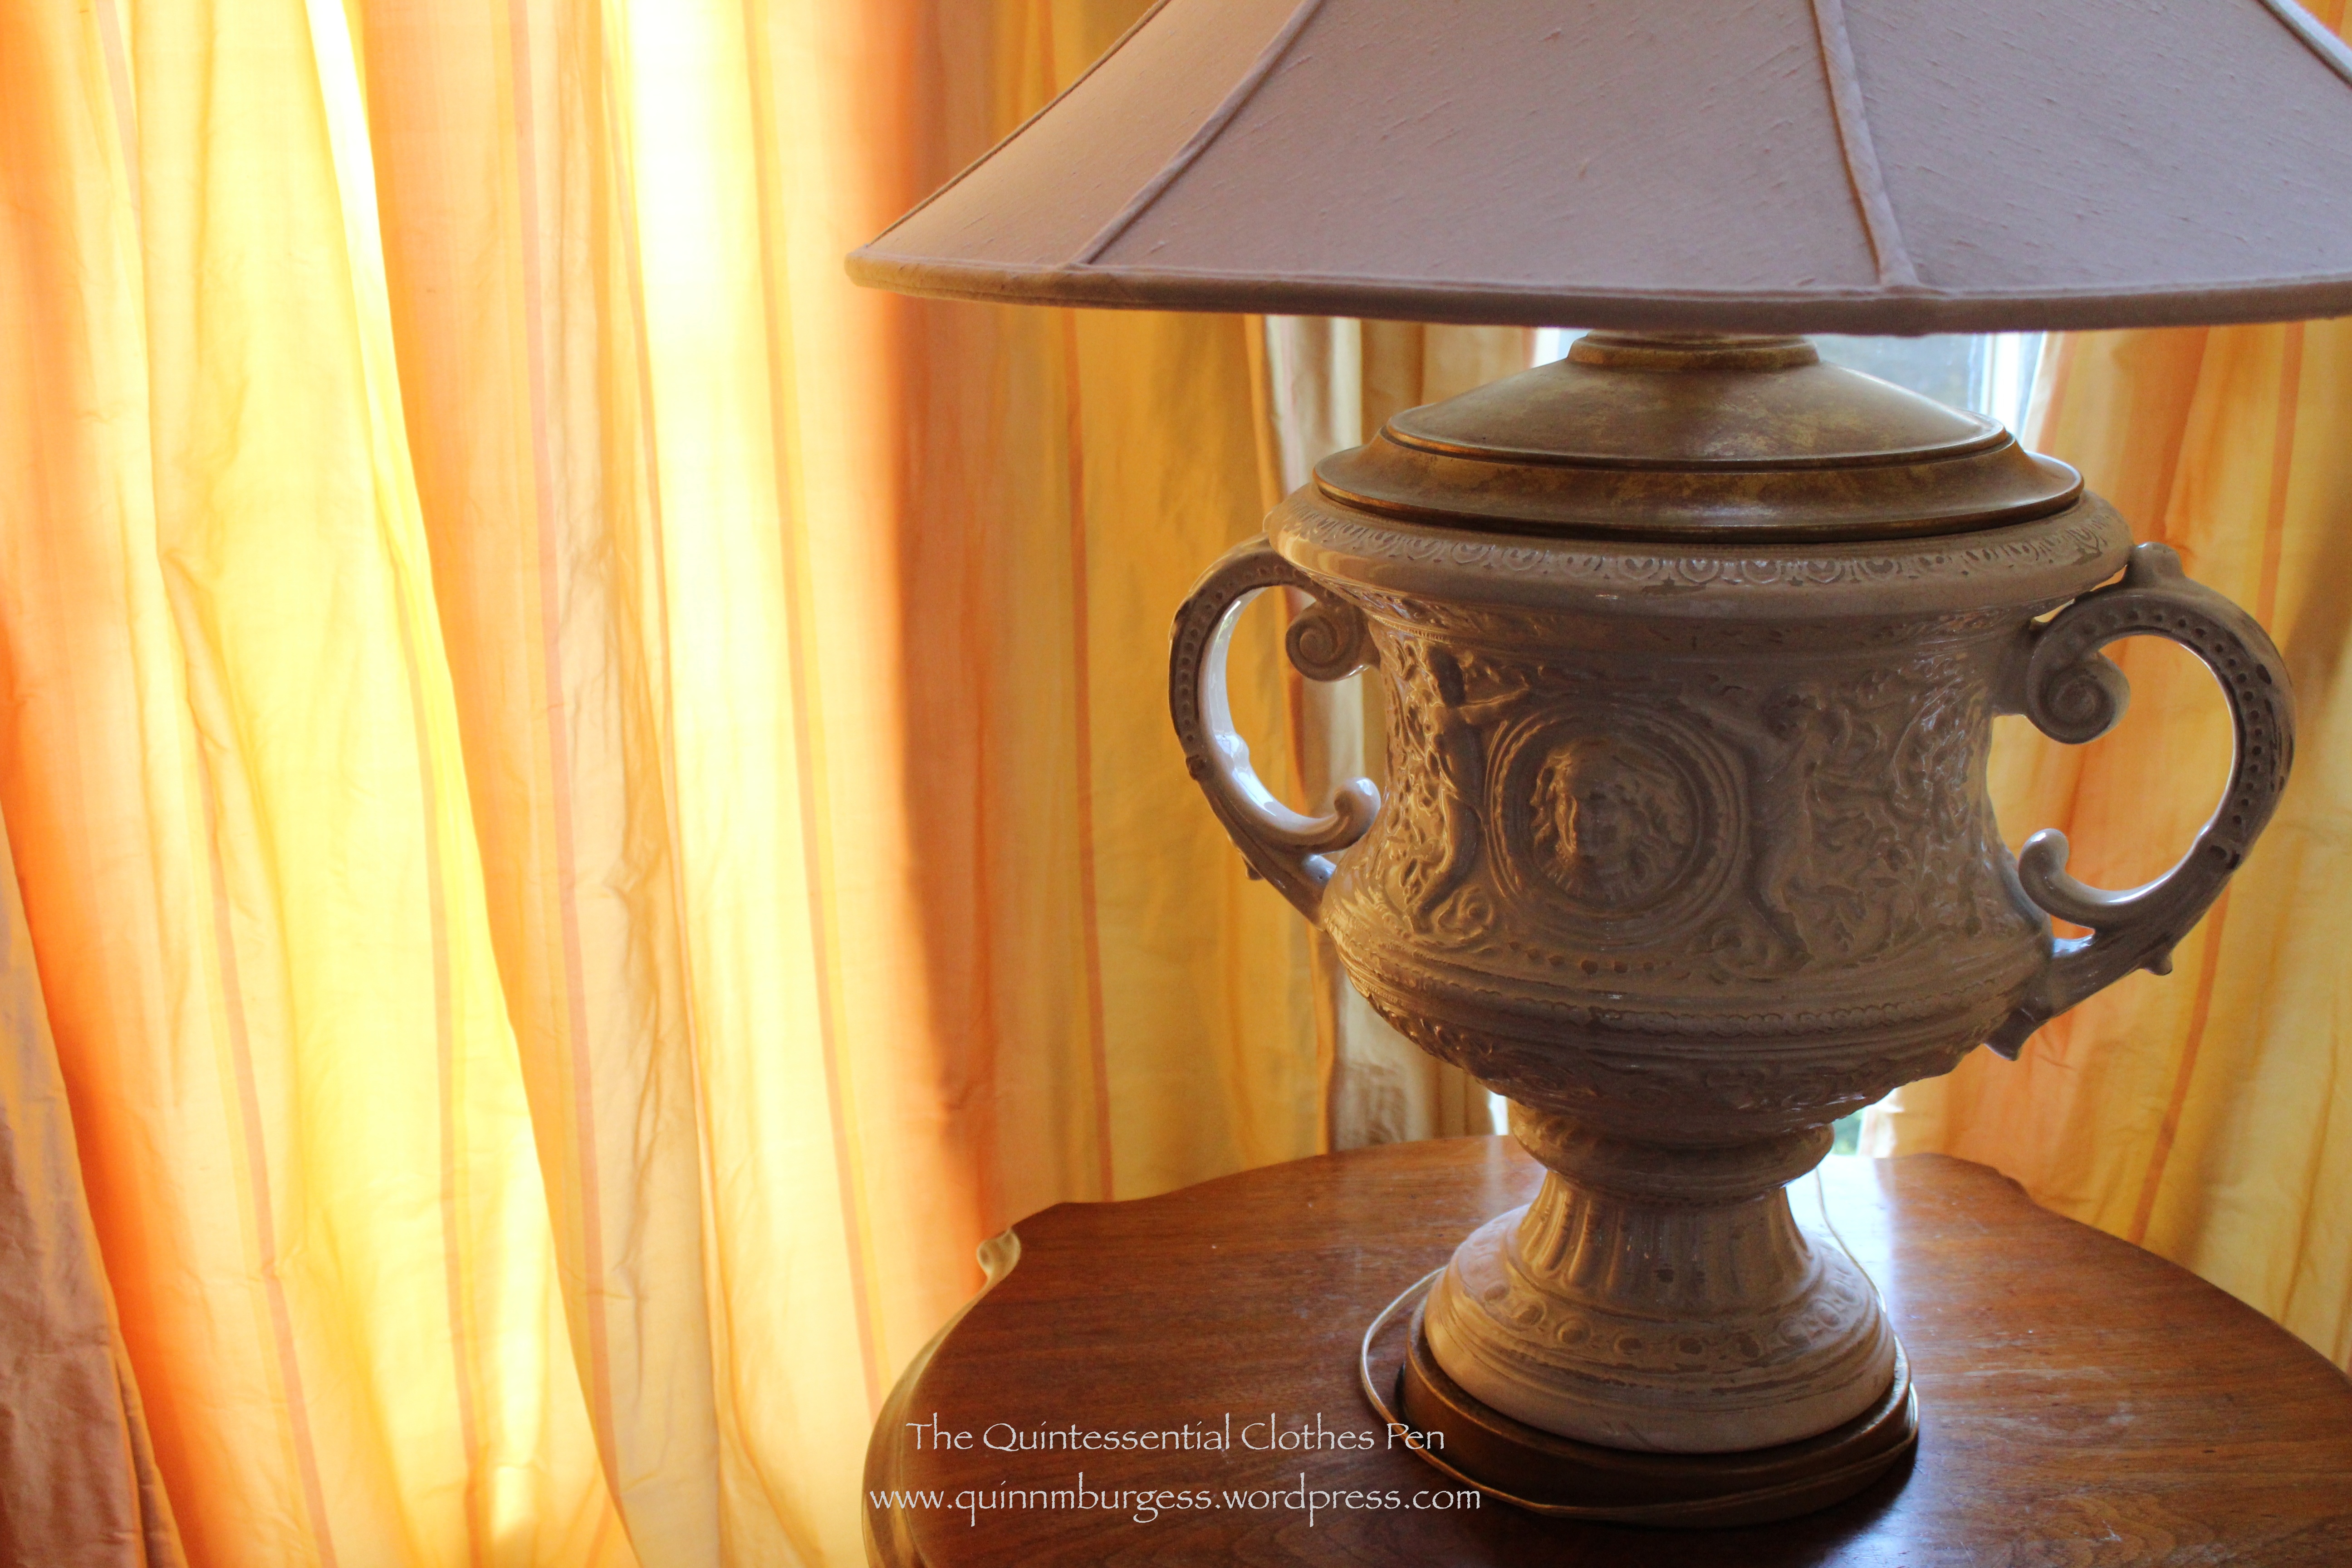
I love how picturesque we all look in this photo! It’s sort of funny how the white dresses all clumped on one side and the colored dresses on the other.After eating we played Graces.It’s much more fun with lots of people and lots of hoops!We played it in a big circle and would just call someone’s name to get their attention (hopefully) before flinging the hoops at them.There were some really good catches and really close misses.We had a great time and laughed a lot!With trees around, I’m sure you can guess what happened…I didn’t want to do a boring bun, so I opted for two rolls of hair instead.We were called from Graces to dance inside the house. I was particularly appreciative of this wallpaper this time around. It’s in the entry hallway. You can see other interior pictures of the house in this post from last year.The curtains in this room have a lovely glow when the sun shines on them.Looking for Mr. Darcy, perhaps? I just love the shadows and the glow.
Well, not me, exactly… (But please, tell me you know what movie the title of this post is referencing! I love that movie!)
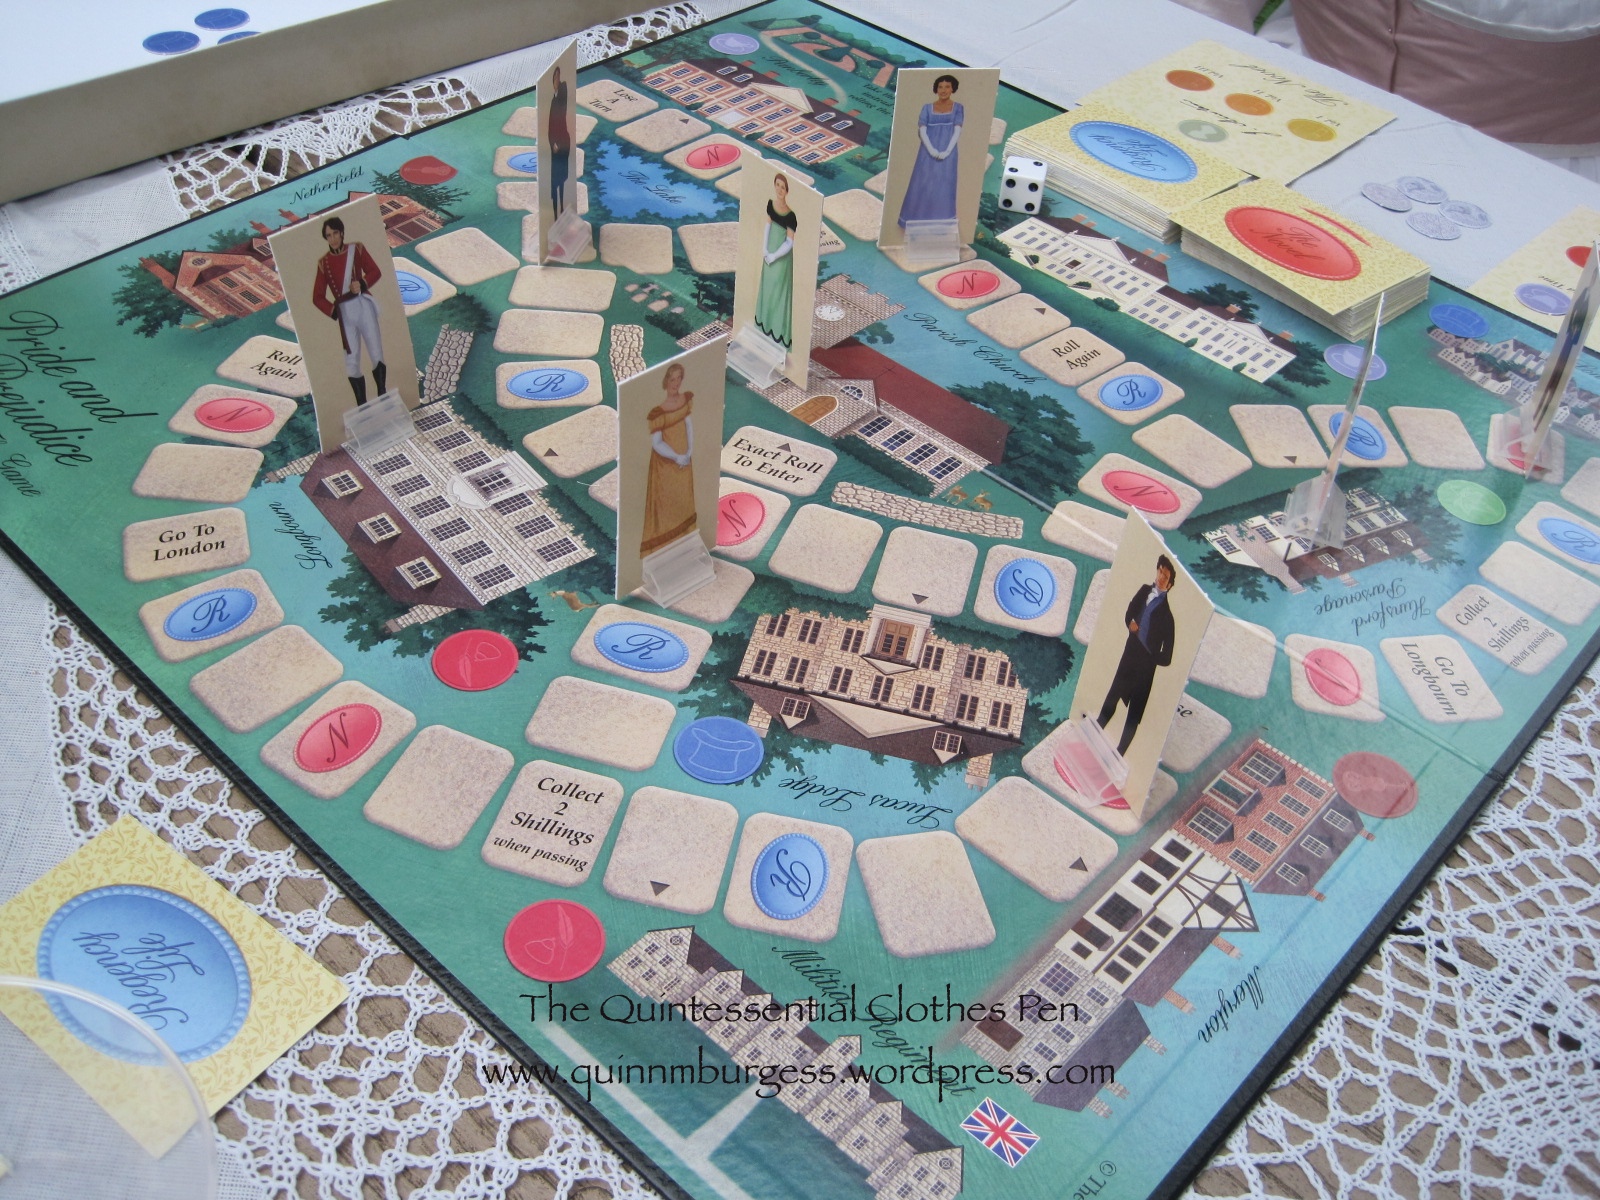
Anyway, let’s start at a place that’s not at the beginning (yikes, I’m full of movie references right now!) and explain about the church, and getting there on time.
It’s hard to see, but right there in the middle of the board is the Parish Church.
This is the Pride and Prejudice board game, one of the amusements we took part in at a somewhat recent Regency picnic! There are four players who each control two characters (a male and a female). The goal is to collect various tokens either by visiting different places on the board or answering trivia questions and then, finally, to be the first person to get both of your chracters to the church. Now does the title of this post make more sense?
I was Jane and Mr. Bingley.
The game was quite fun and amusing, though I could imagine it would be a lot slower and less interesting if the players had a very low level of knowledge about Pride and Prejudice.
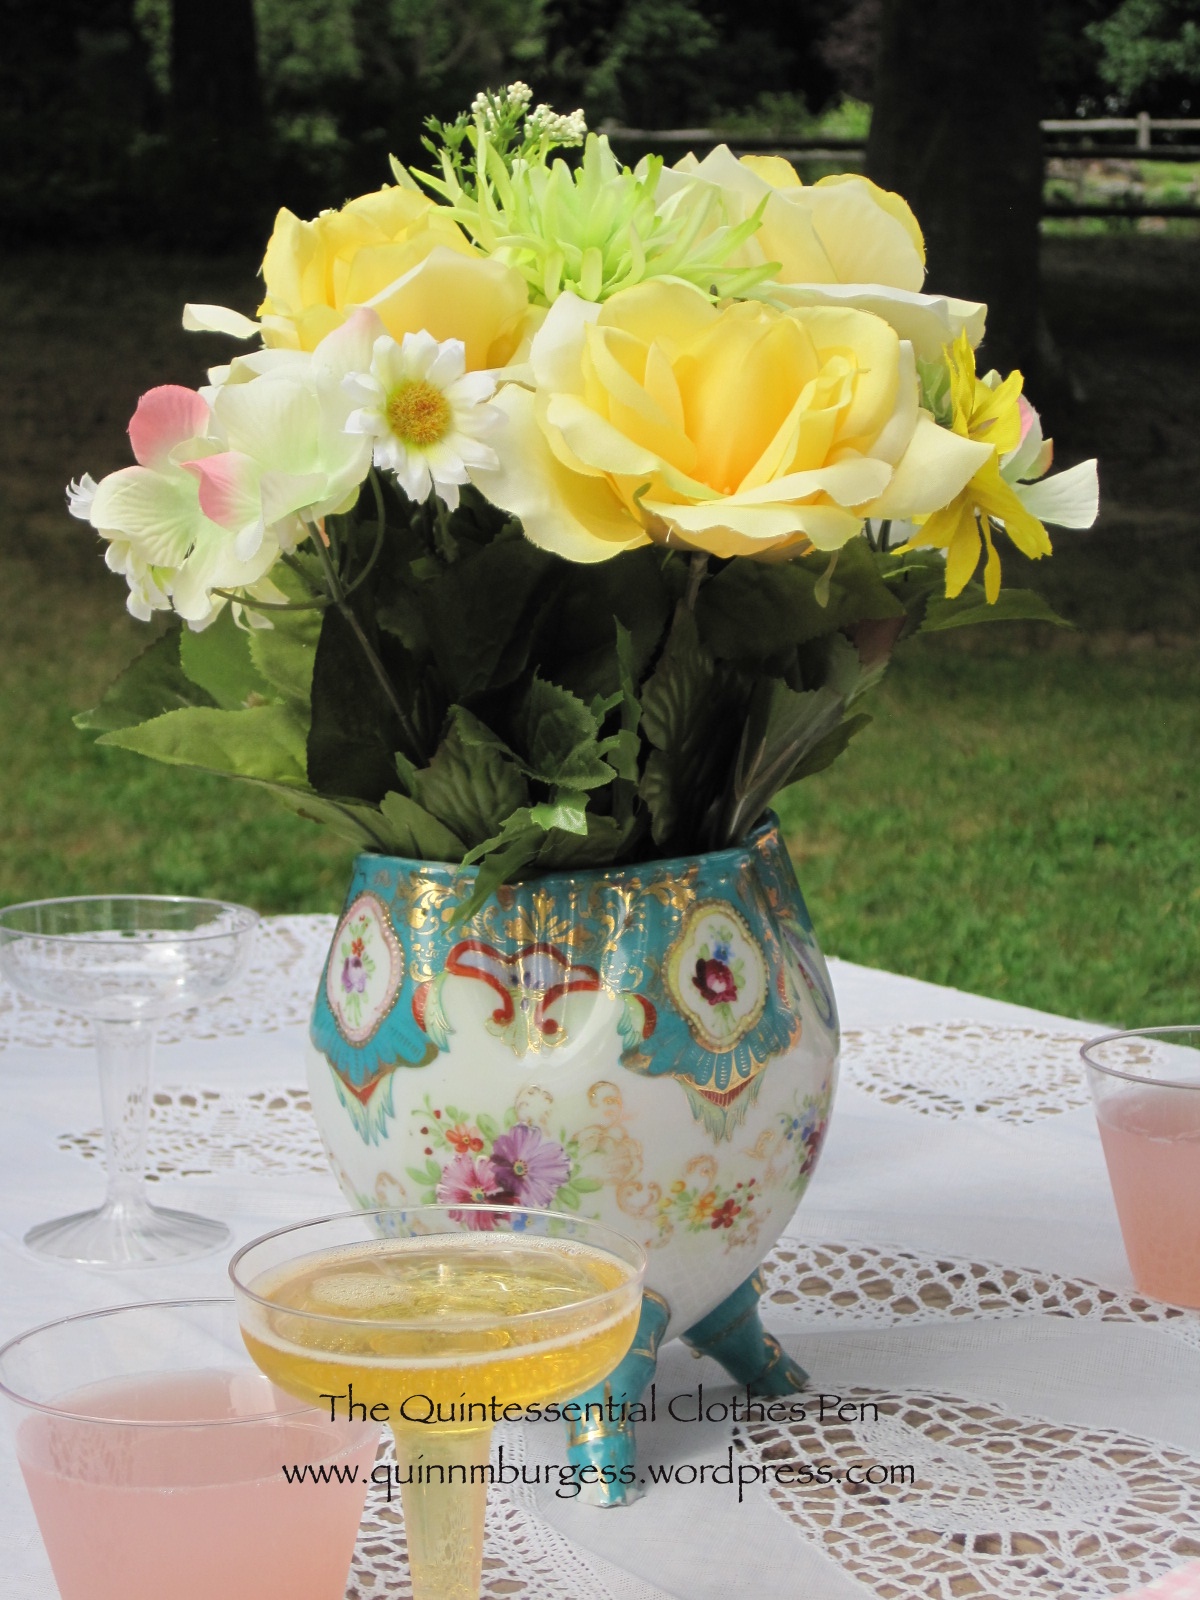
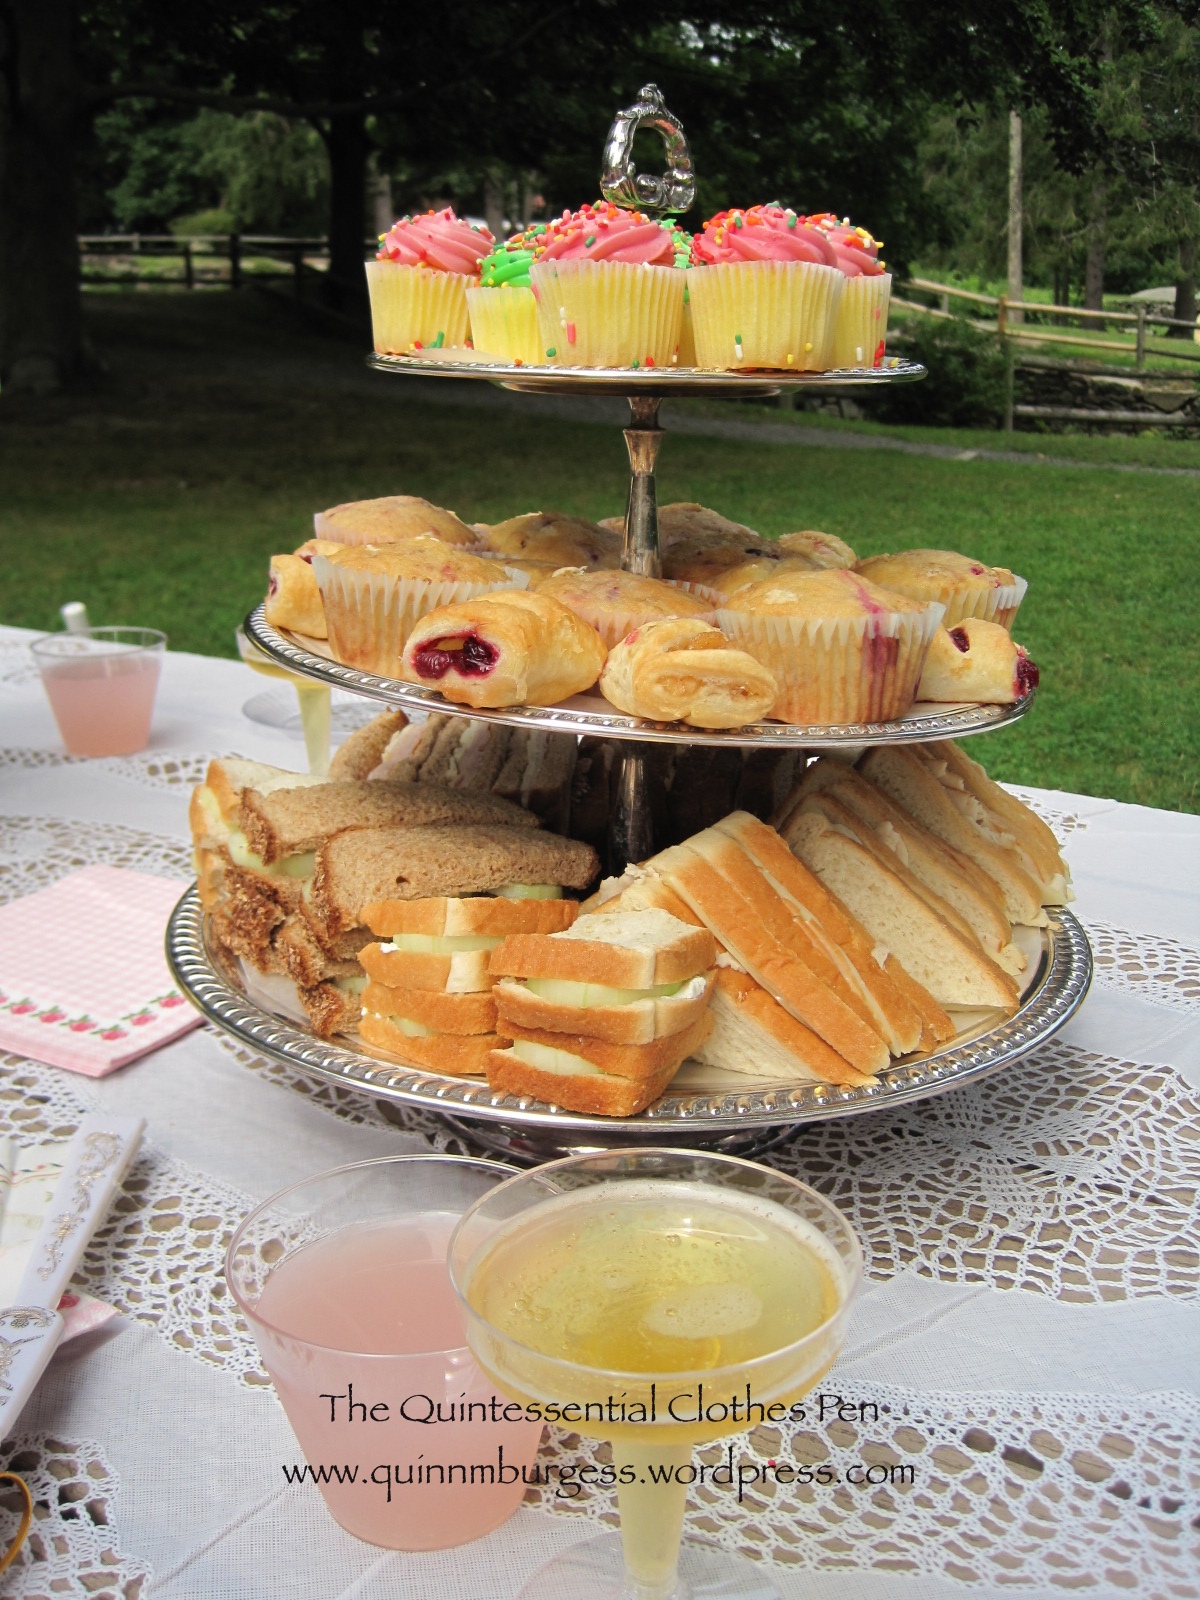
To back up to the beginning, though, the game followed food eating time at the picnic. We had a pretty elaborate picnic set-up with vases, and silver, and vinyl lace table cloth…
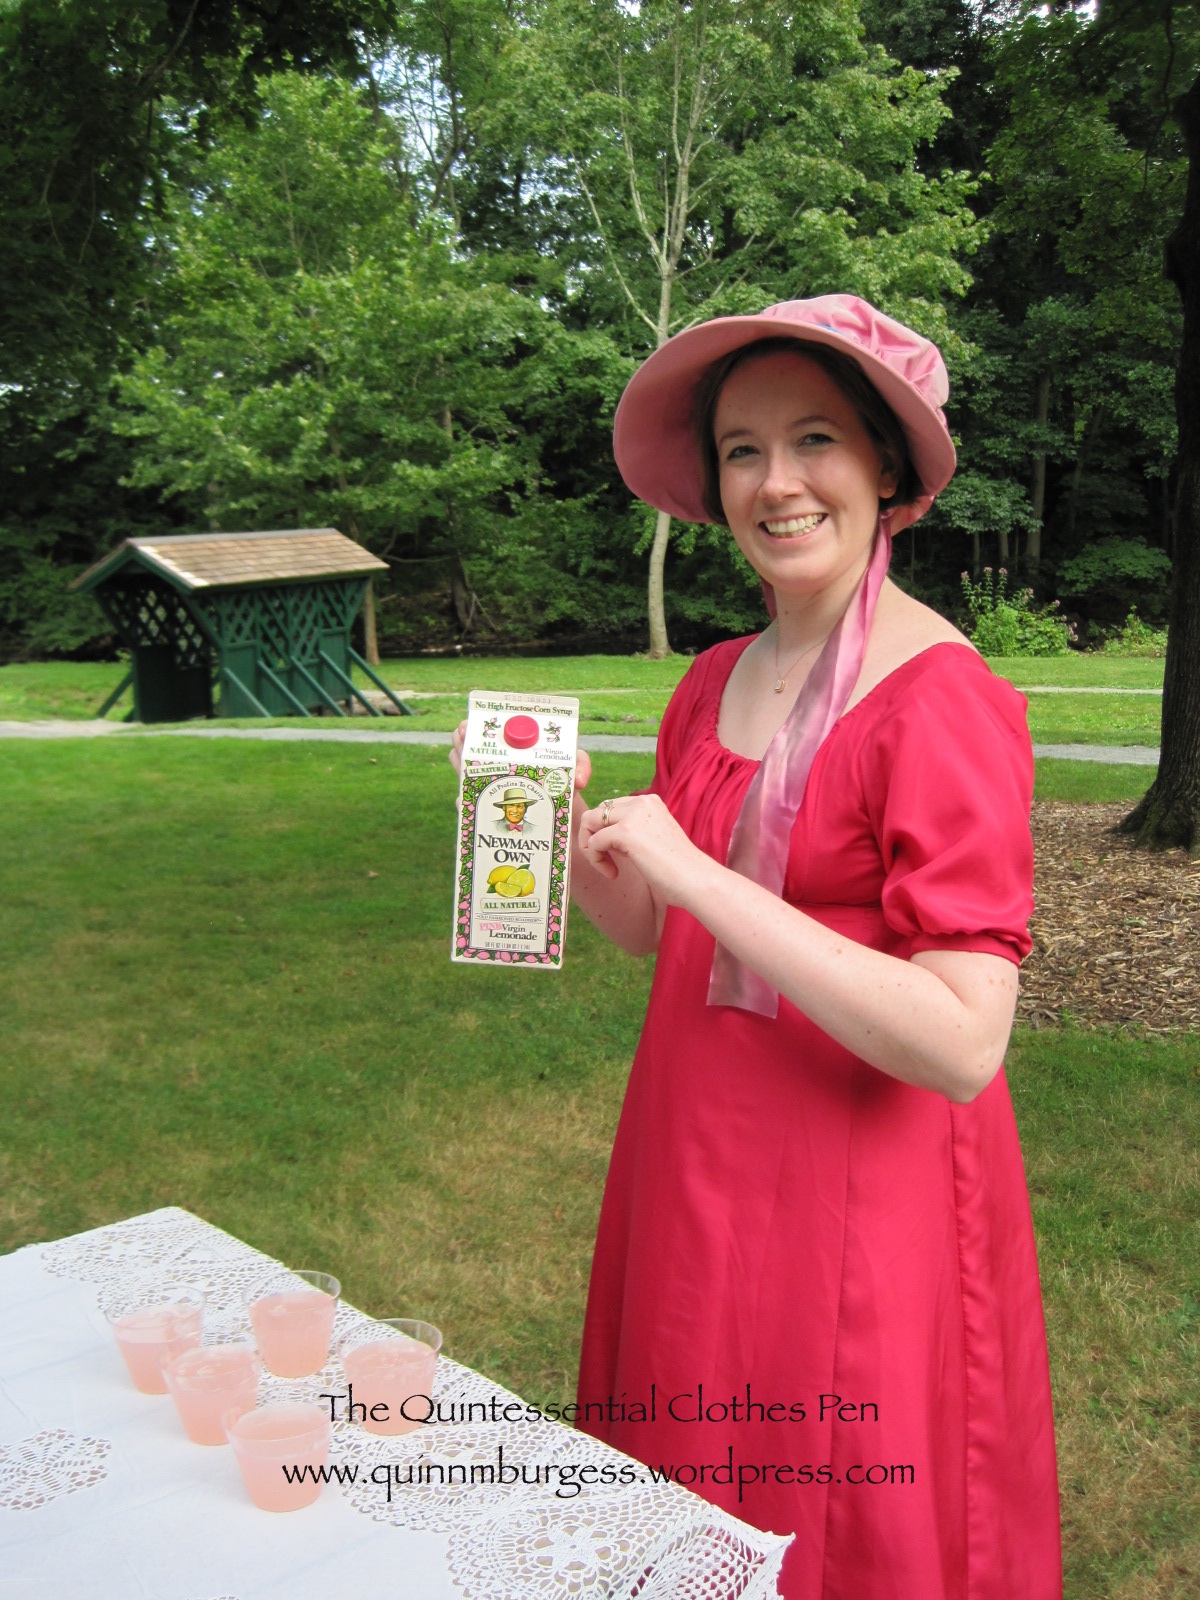
Food!Flowers, lemonade, sparkling cider…Sandwiches, muffins, cupcakes, pastries…Obviously, Newman was around in the Regency.
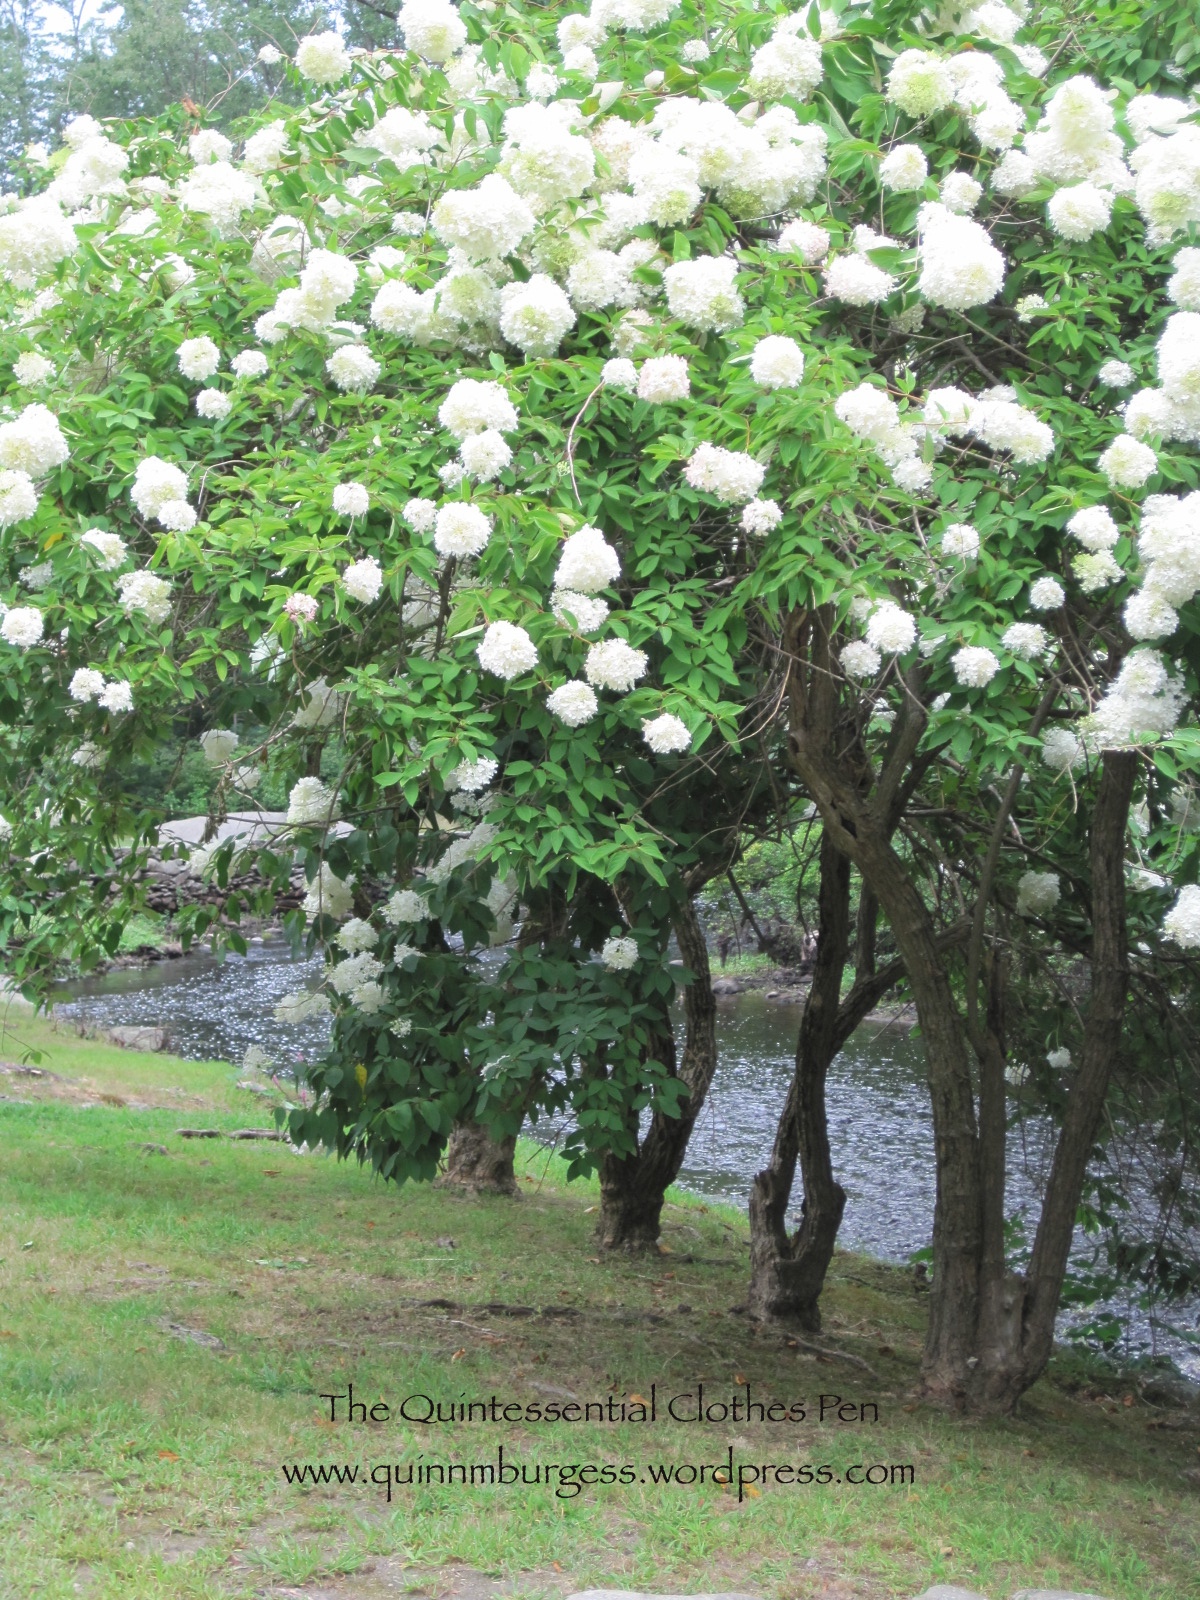
After food and board games, we took a walk around the park we were picnicking at for some photos. The park is full of lovely little dips, stone walls, creeks, waterfalls, and plants. It’s quite lovely!
So picturesque! This could totally be out of a Jane Austen scene.Group shot. I wore my 1815 Tree Gown and bonnet, accessorized with a sapphire cross necklace, my stripe-y reticule, blue American Duchess stockings, and pointy tan shoes.I didn’t bring a fan, but the other ladies did. Aren’t they all lovely?
Ok, so if you have read to the bottom of this post and you’re still wondering what movie the title is referencing, I’ll give you the answer. It’s My Fair Lady. Fabulous hats, gorgeous jewels and tiaras, cups of tea, fun and funny songs, Audrey Hepburn, and Rex Harrison. Please go watch it, if you like these things and have never seen it! (Oh, and the second movie reference is The Sound of Music. Another amazing movie you should watch many, many times!)
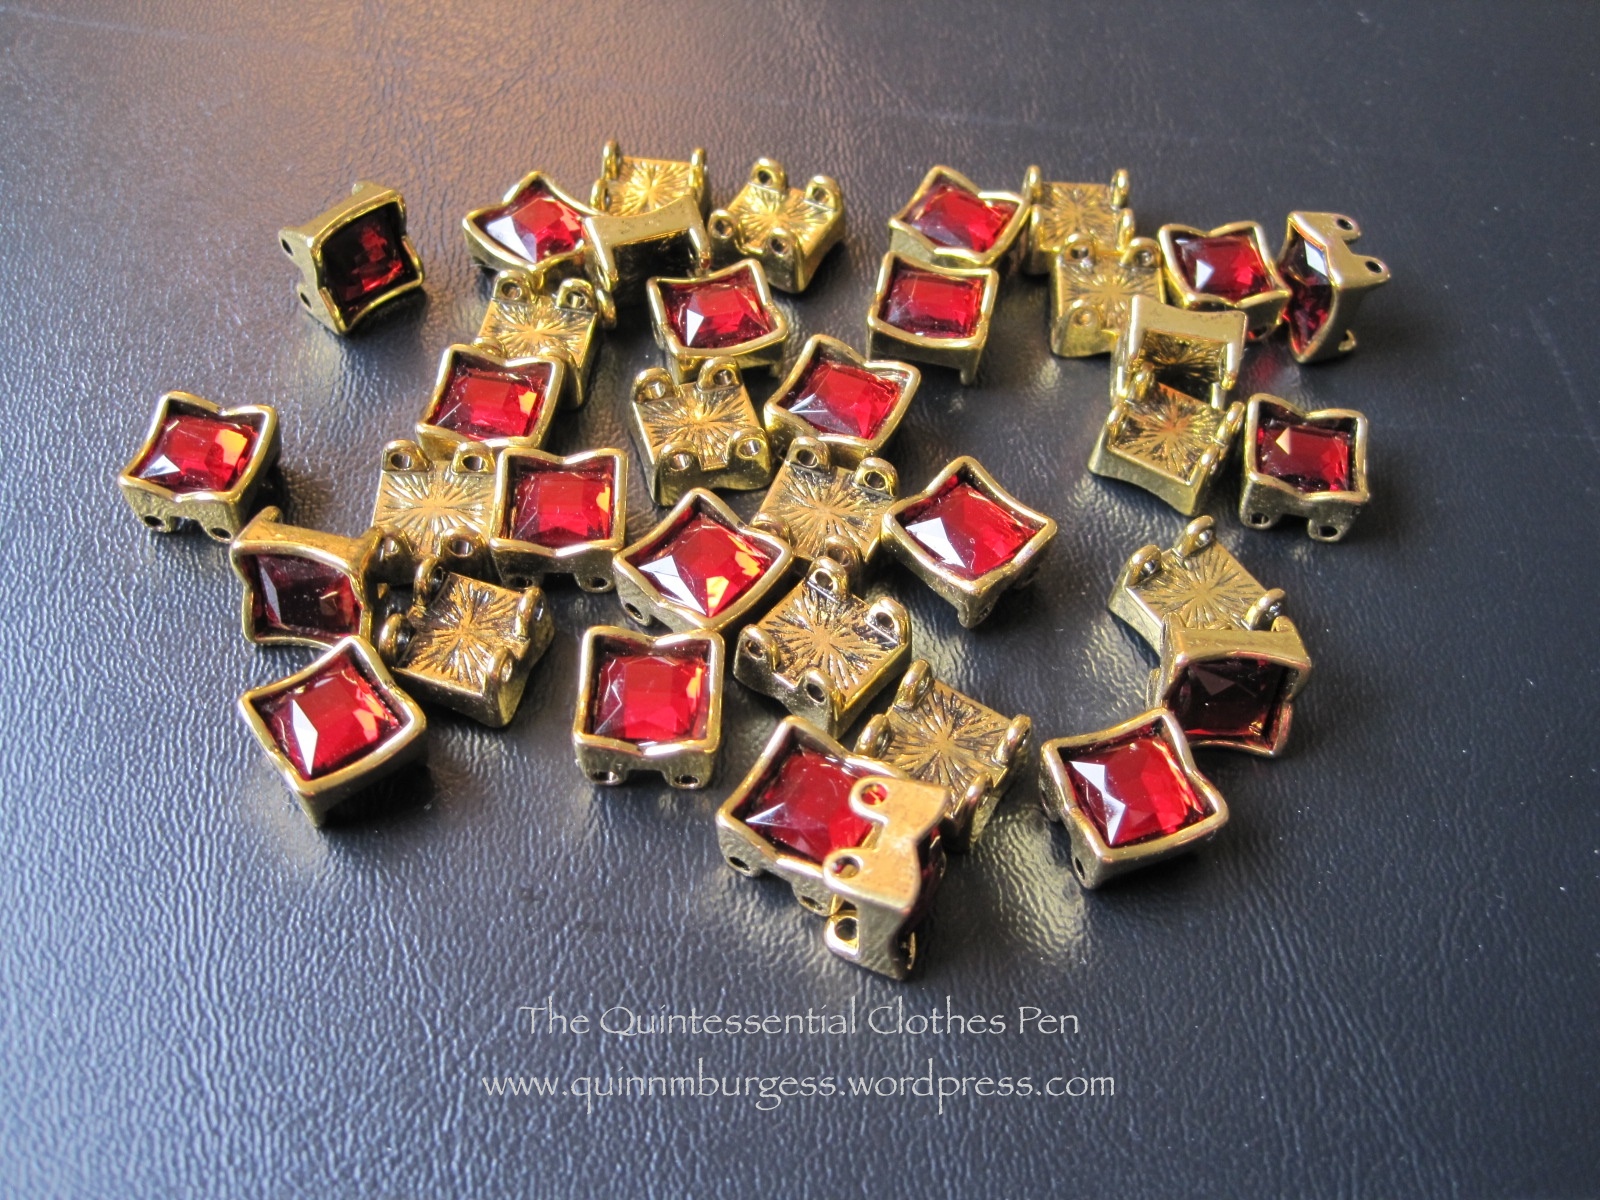
Fabric: None! But I started with two modern bracelets that were a gift from my mom.
Pattern: None.
Year: Loosely 1790-1820, but who knows, perhaps this will find a use in another period as well!
Notions: Gold wire and hot glue.
How historically accurate?: I give it 50%. This is absolutely on the more on the historically inspired side of things rather than the accurate historic costume side of things. The jewels are almost certainly plastic and the design is based on general Regency styles rather than any specific inspiration. Oh, they also did not have hot glue back then…
Hours to complete: 2.
First worn: Has not been worn yet, but will get worn to a Regency ball in Chelmsford, MA on October 5th!
Total cost: Free (the wire and the hot glue was in the stash)!
Here are some more shots of the construction of this tiara:
In the beginning: stretchy bracelets. Thanks mom!The loose jewels after I cut off the elastic.Another possible design. I decided against having some of the jewels turned on their corners. It would have been hard to engineer and, after all, simplicity was a popular style in the Regency!The back of the tiara, where you can see the wires holding it together. There is also a loop at the center of the bottom row of jewels so I can pin the tiara to my hair at that point to keep it from bouncing.There are wire loops at the ends of the tiara so I can pin it to my hair. The hot glue covers the ends of the wires so they don’t also catch my hair.
That’s all for now. When I wear this I’ll be sure to take more pictures!
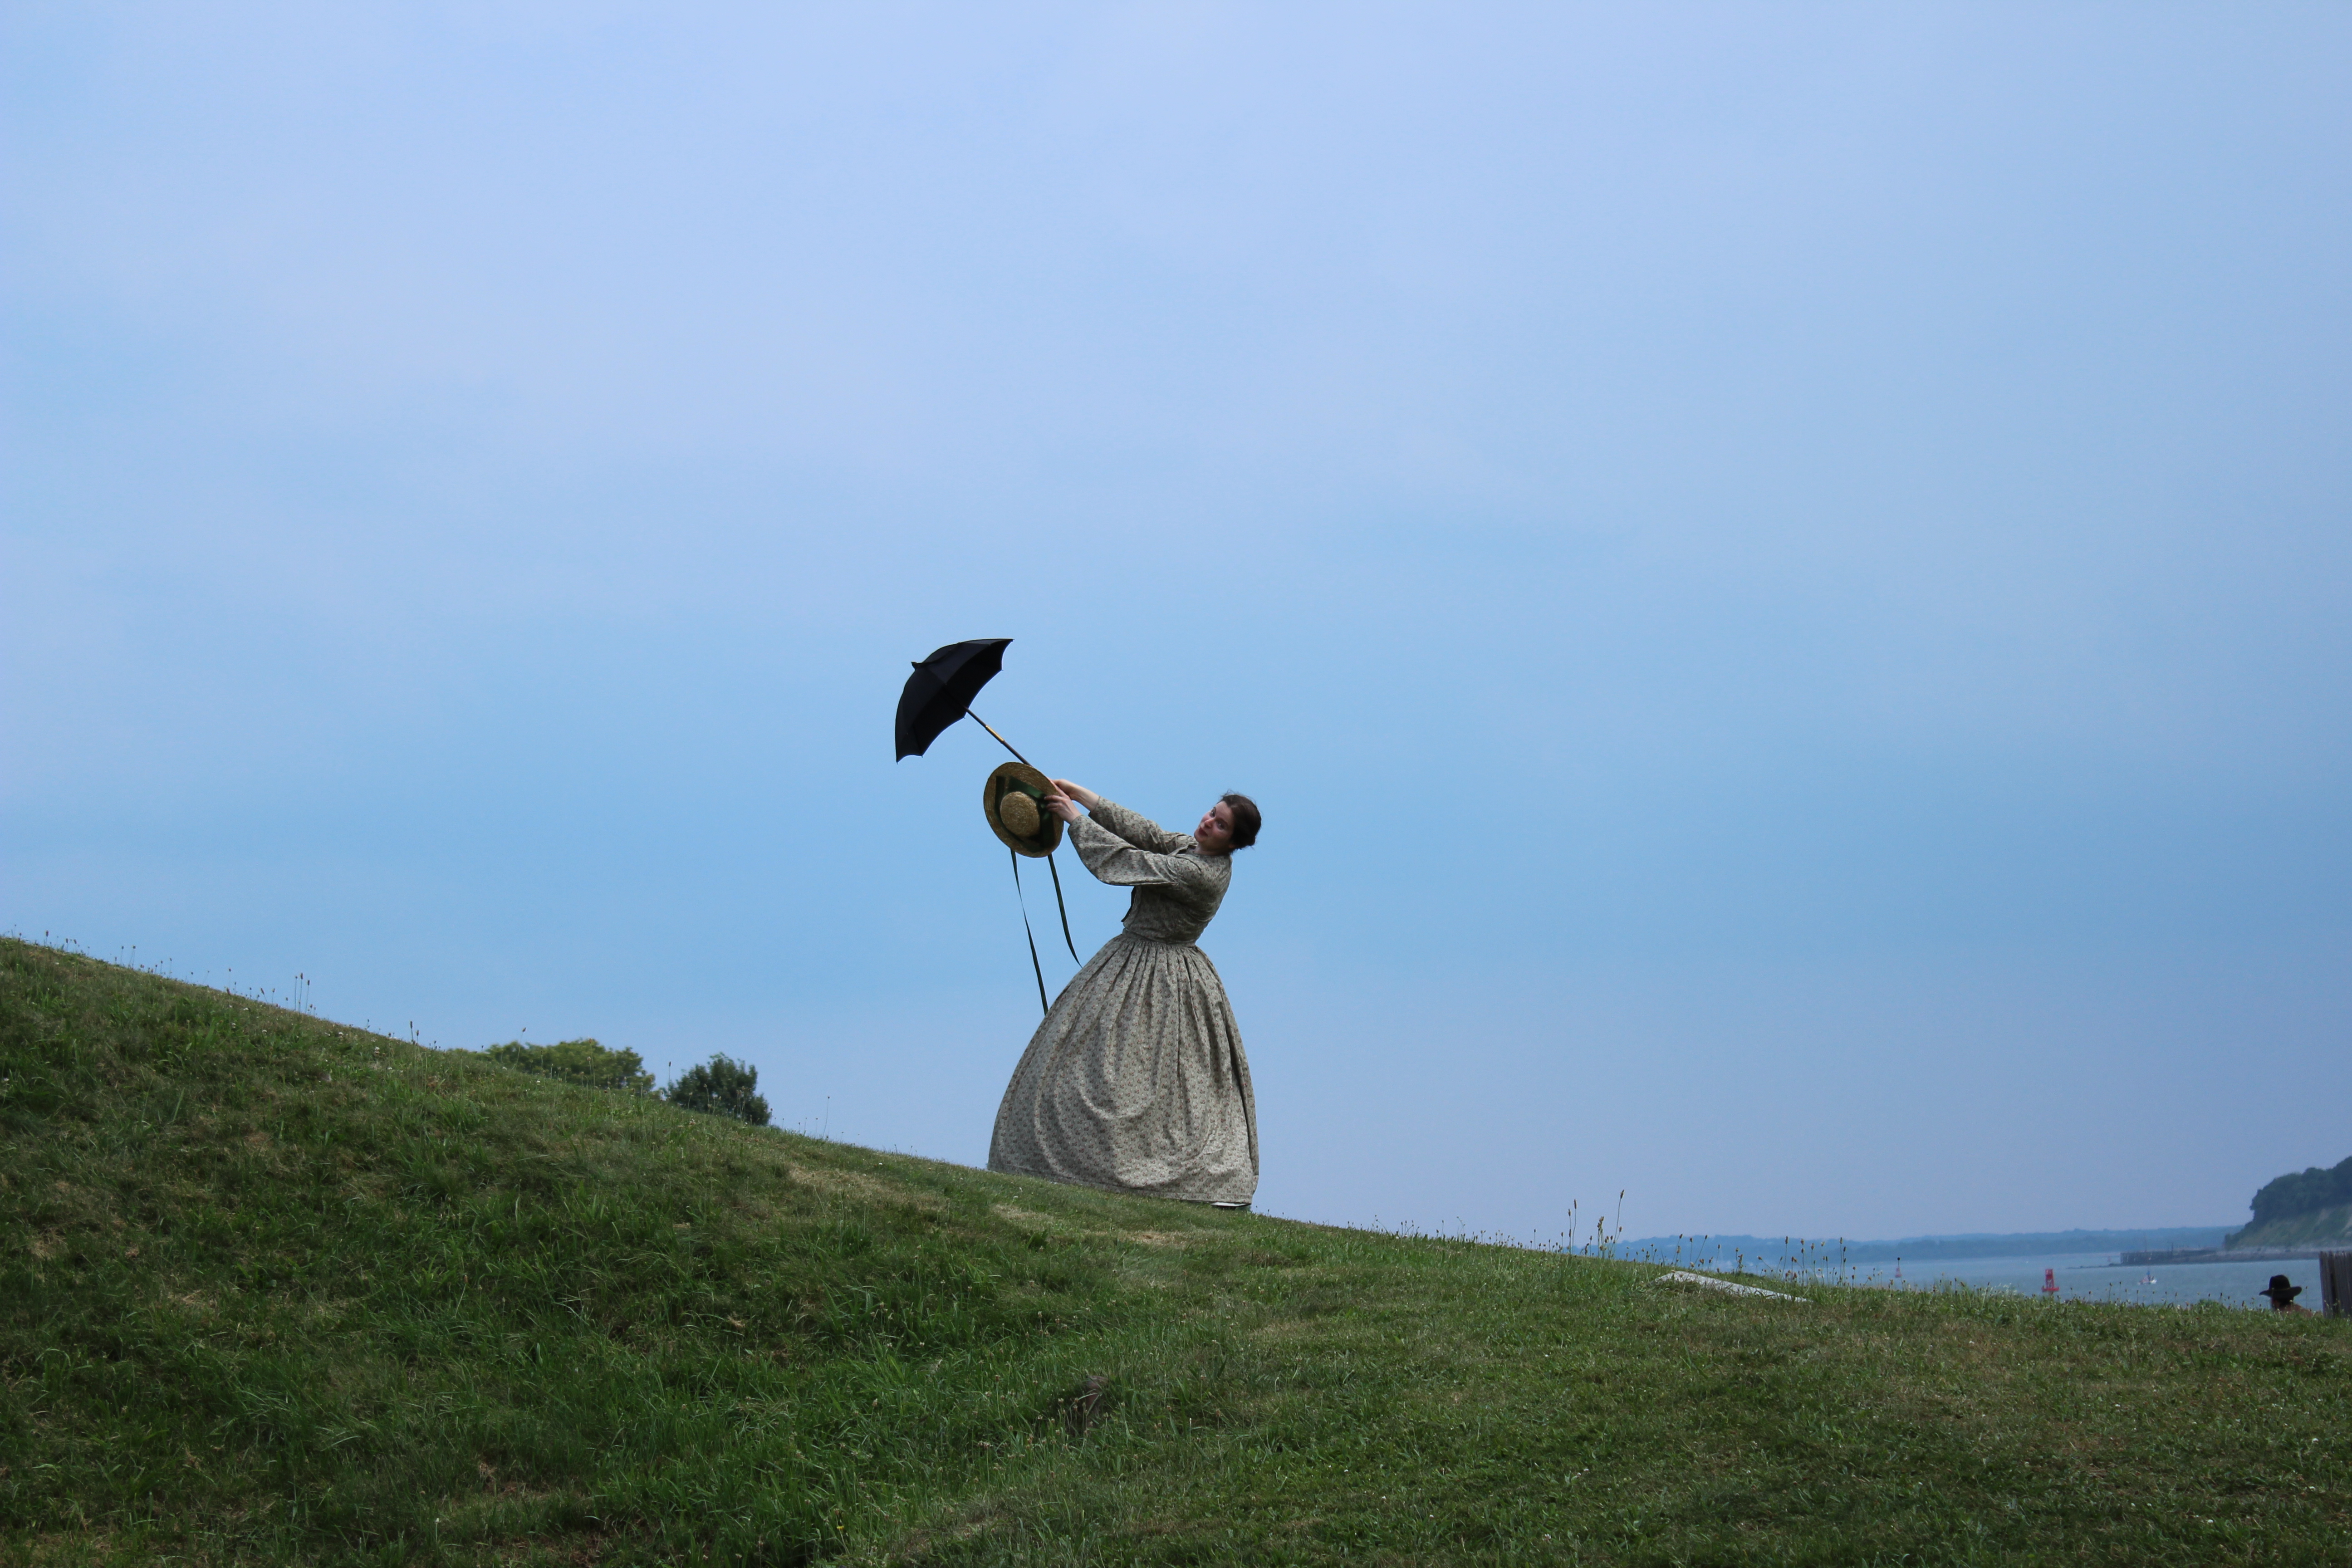
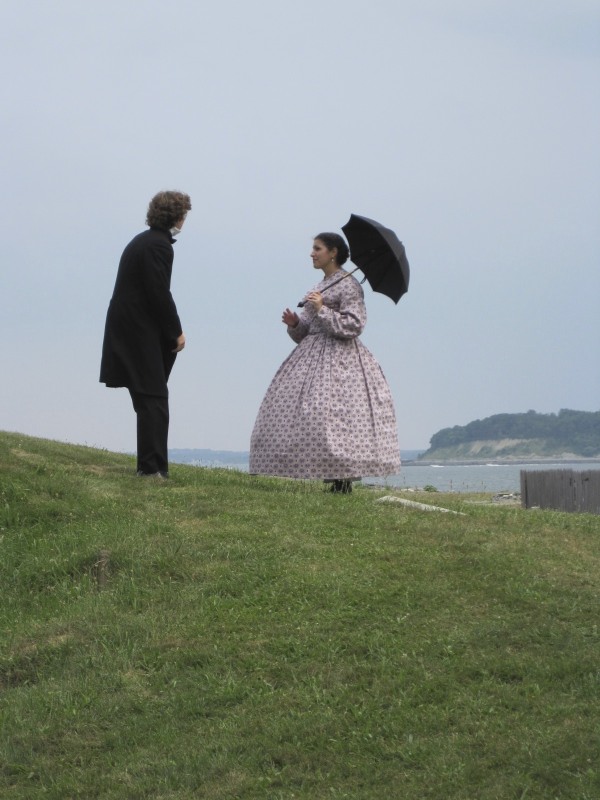
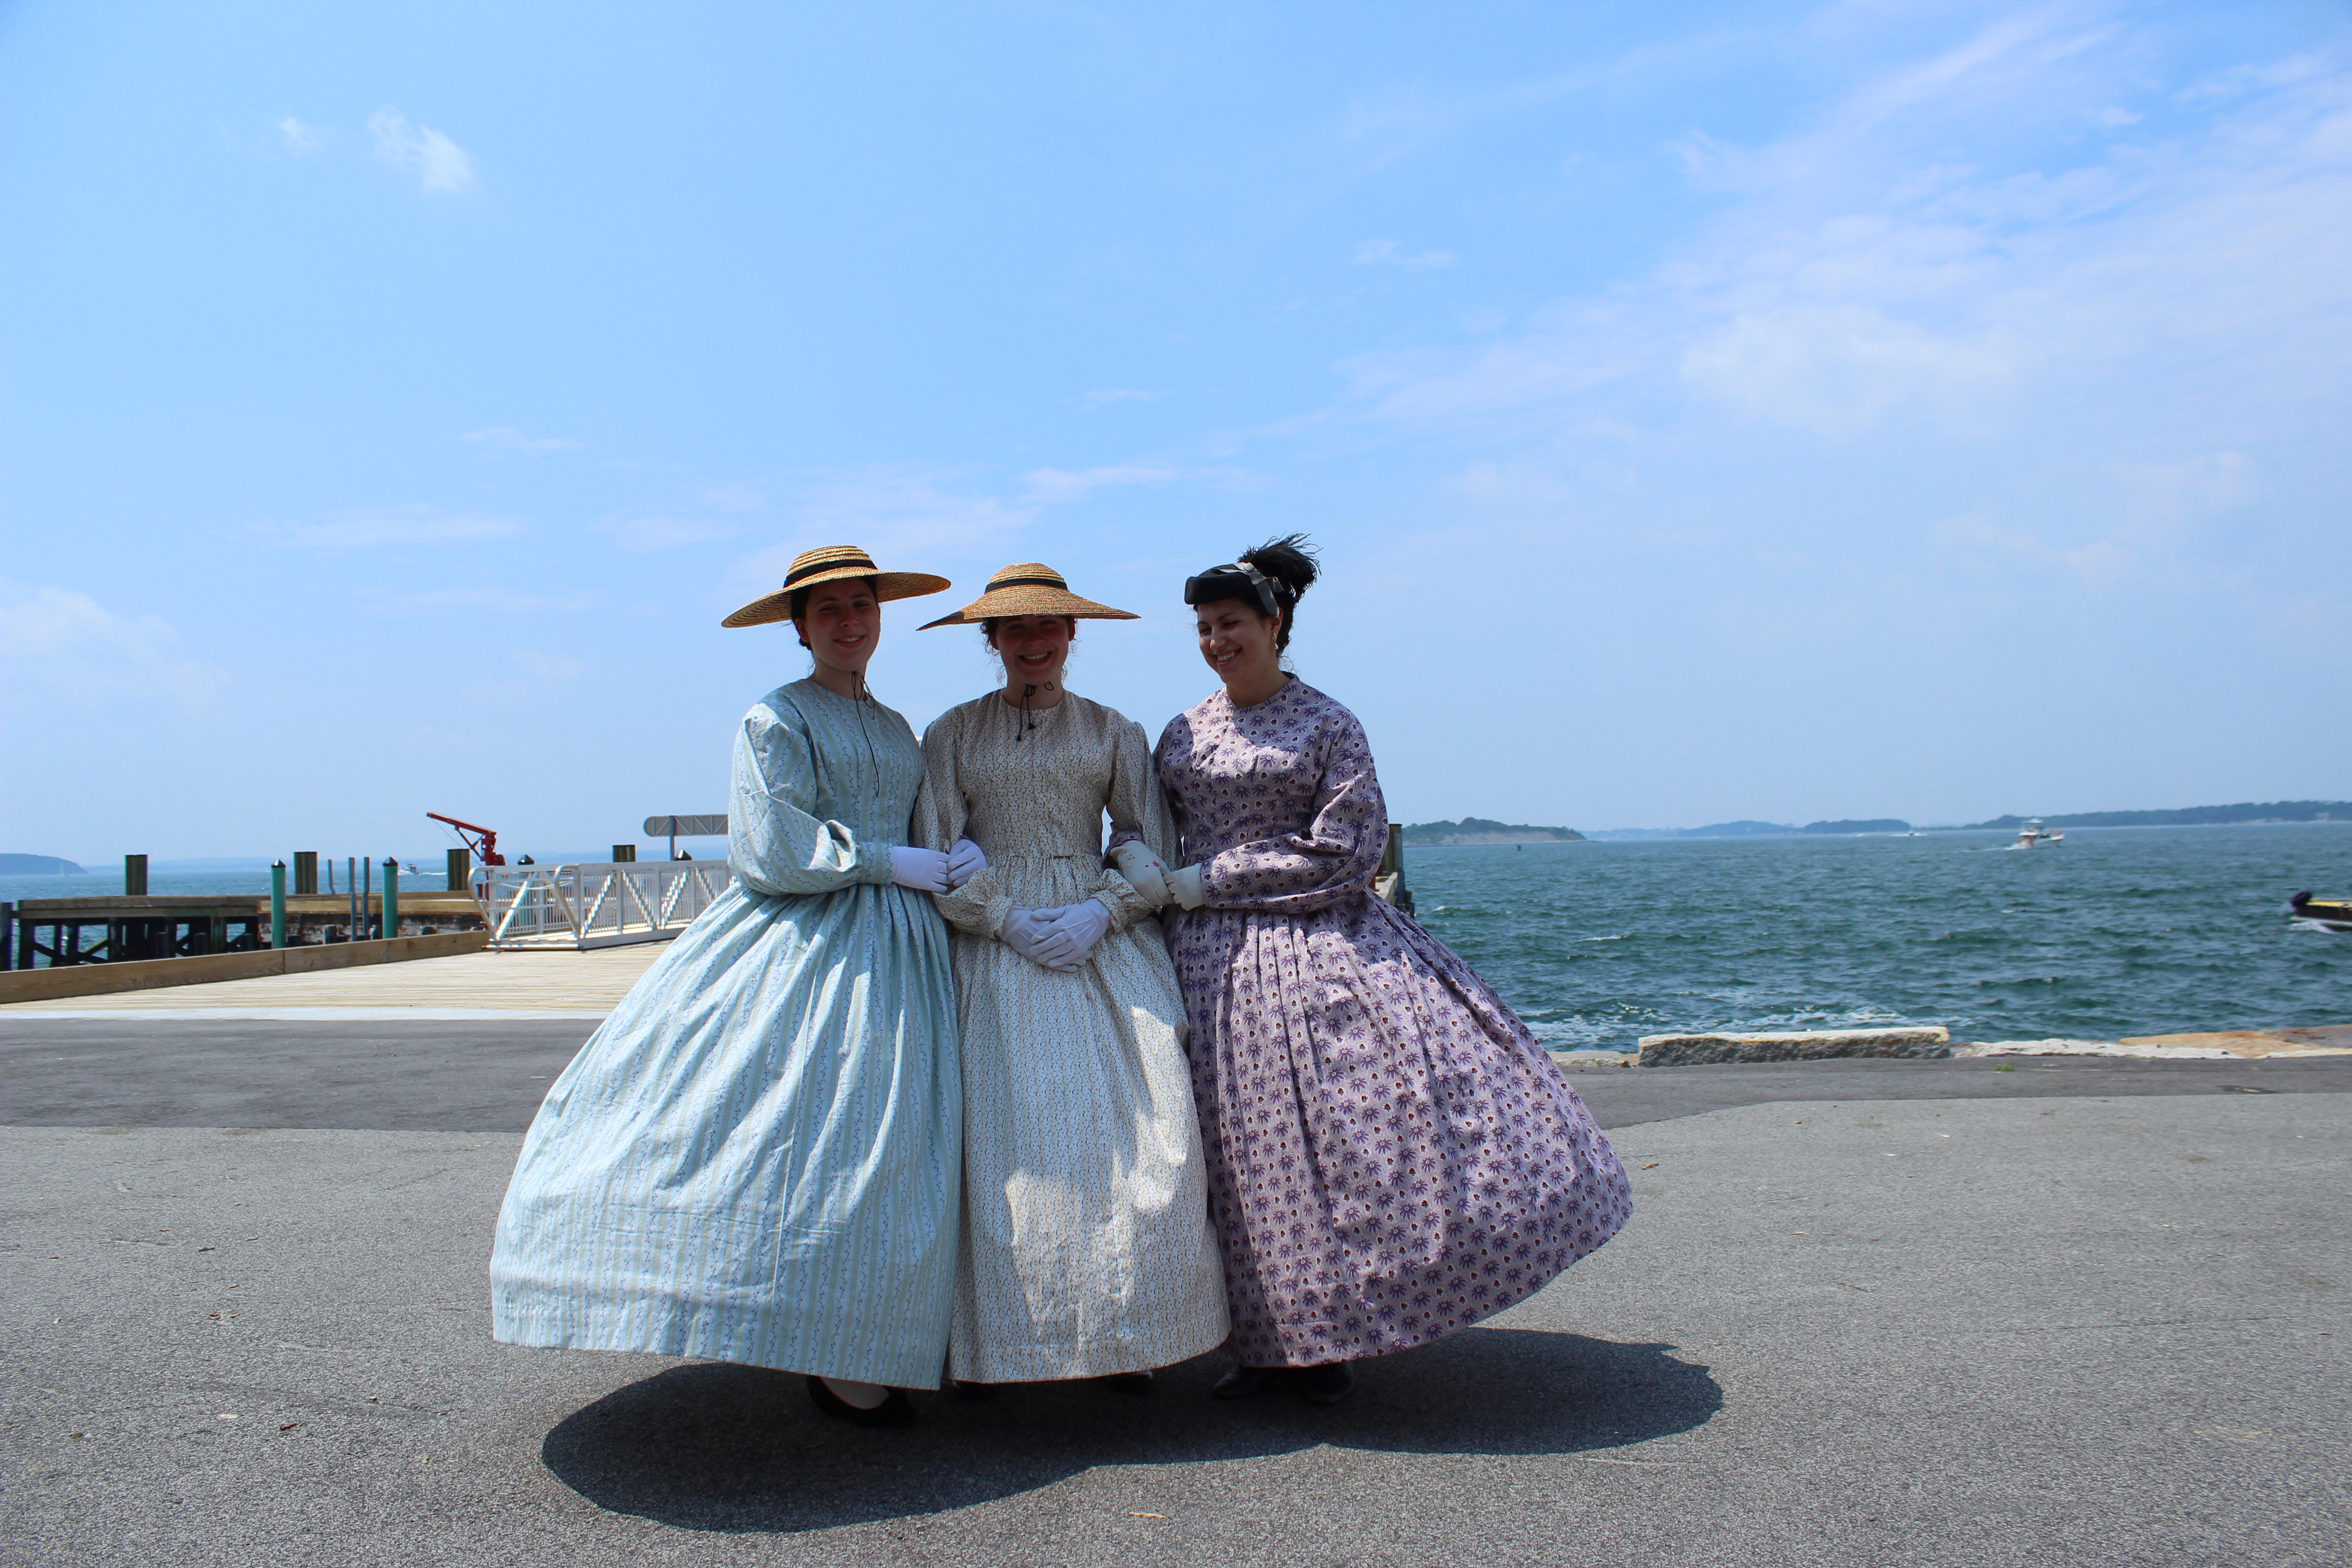
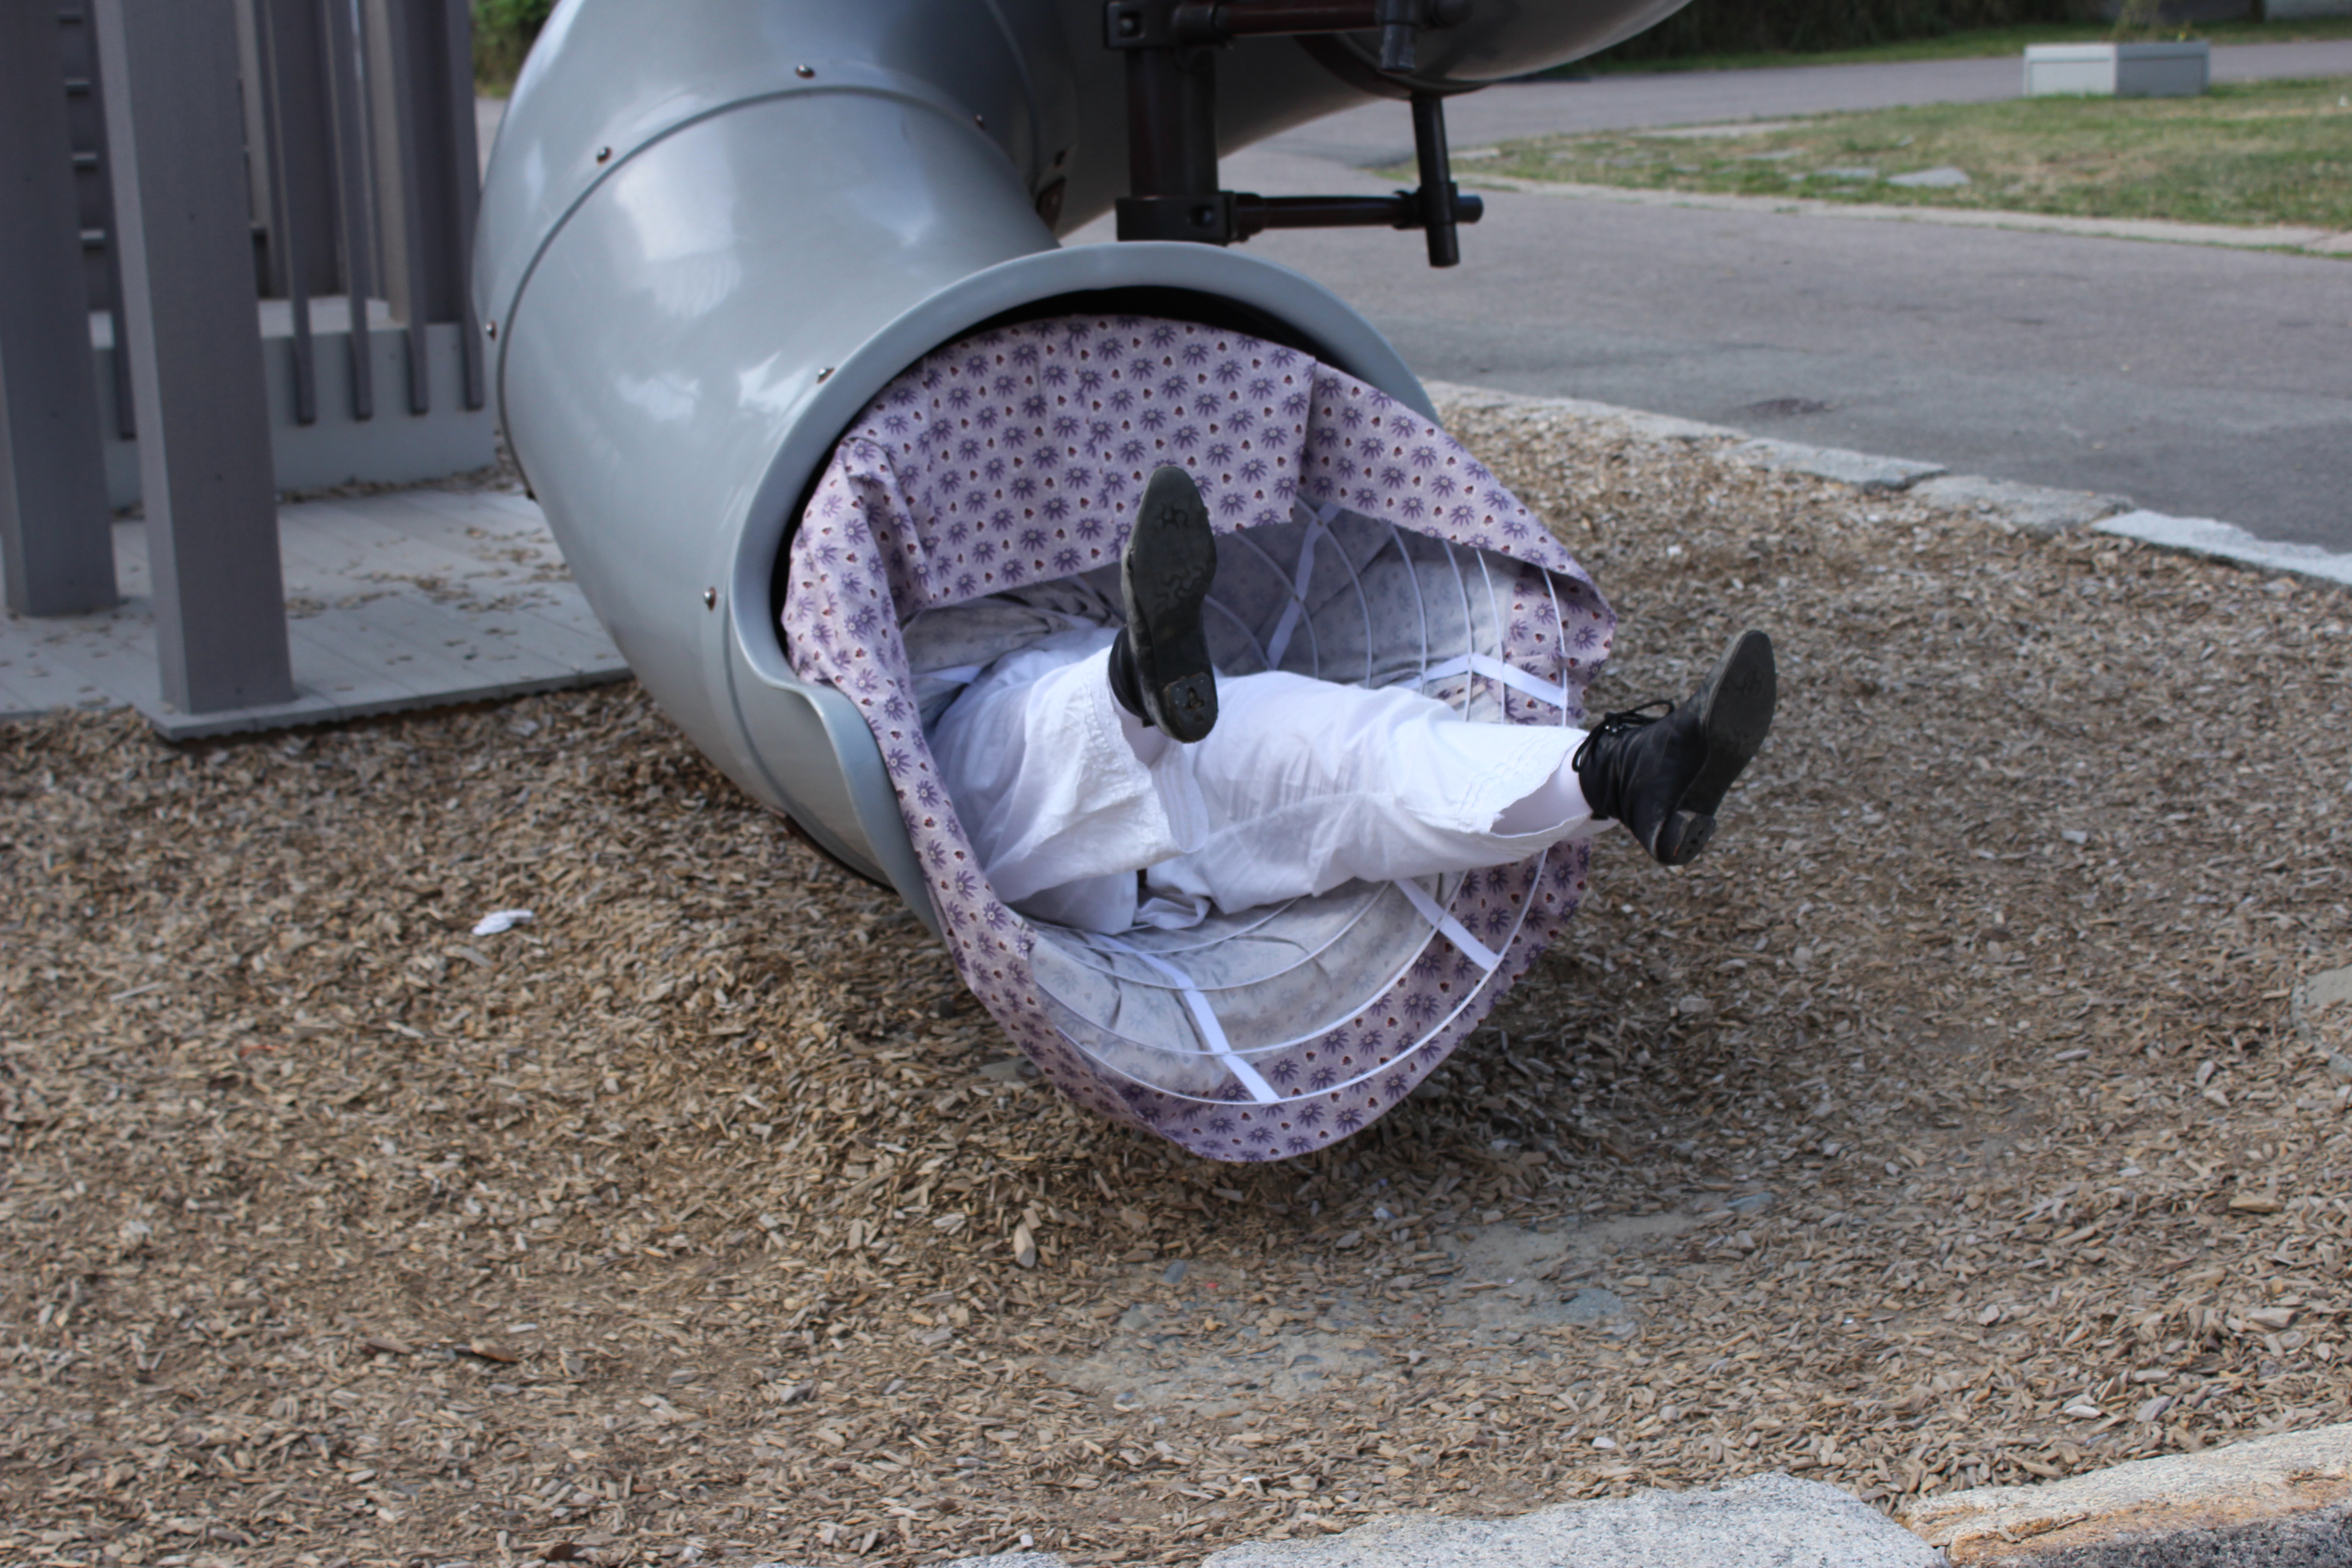
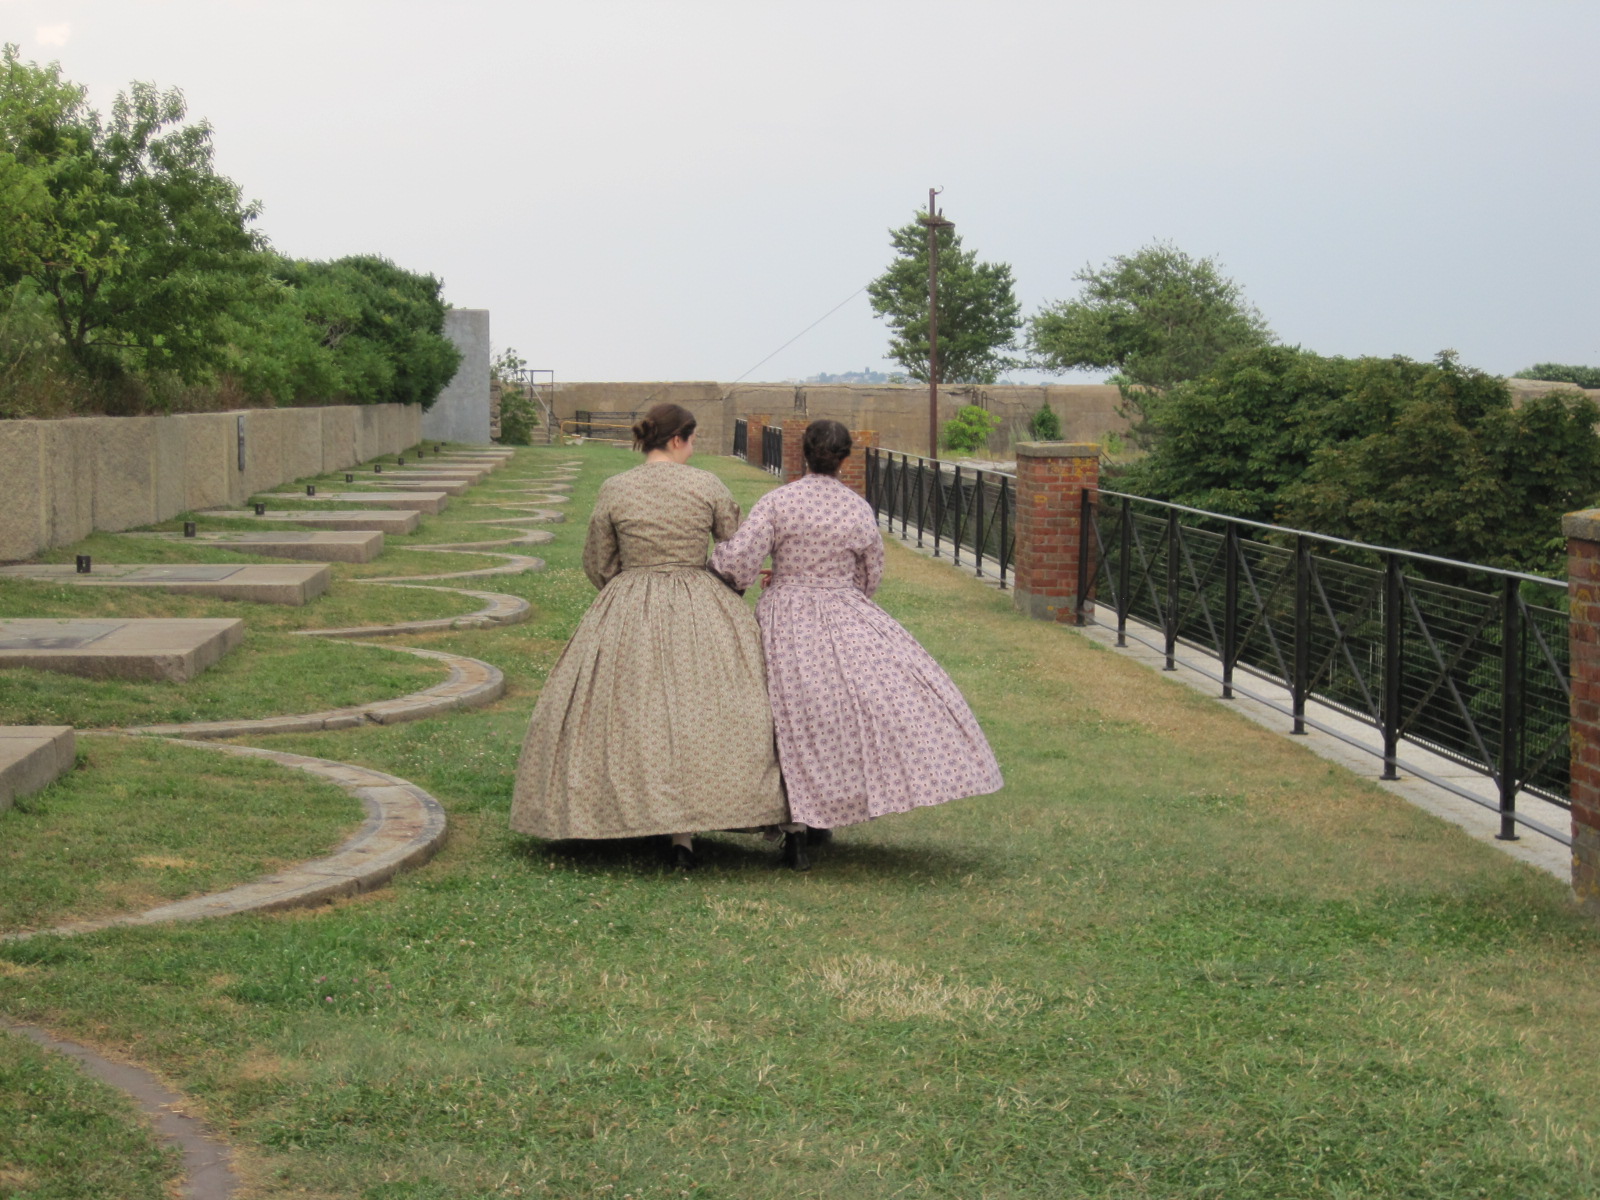
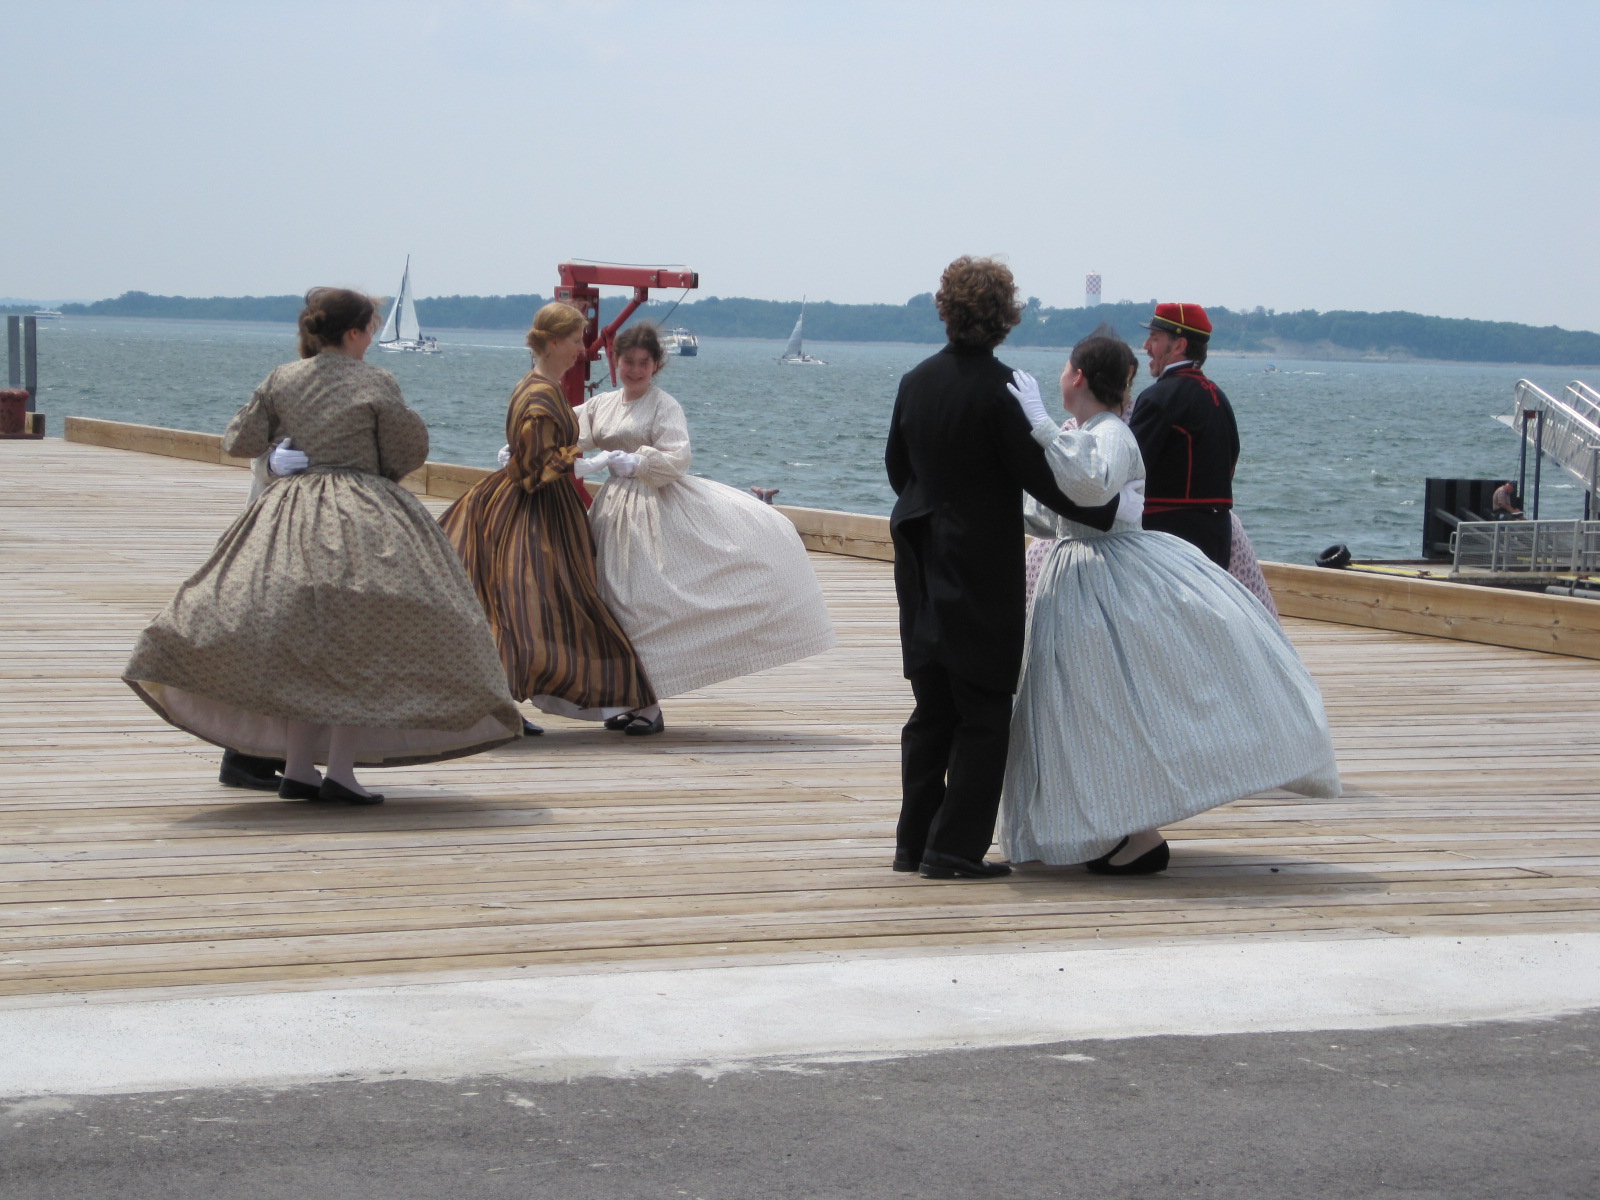
After our vintage dance performance on George’s Island, we had time to explore the island and express our silly-ness. Most of the island is occupied by Fort Warren. We were joined on our ramblings by someone with exceptional knowledge of the fort and stories of reenactments that have taken place there, so we basically got an insider’s tour, which was really fun and interesting.
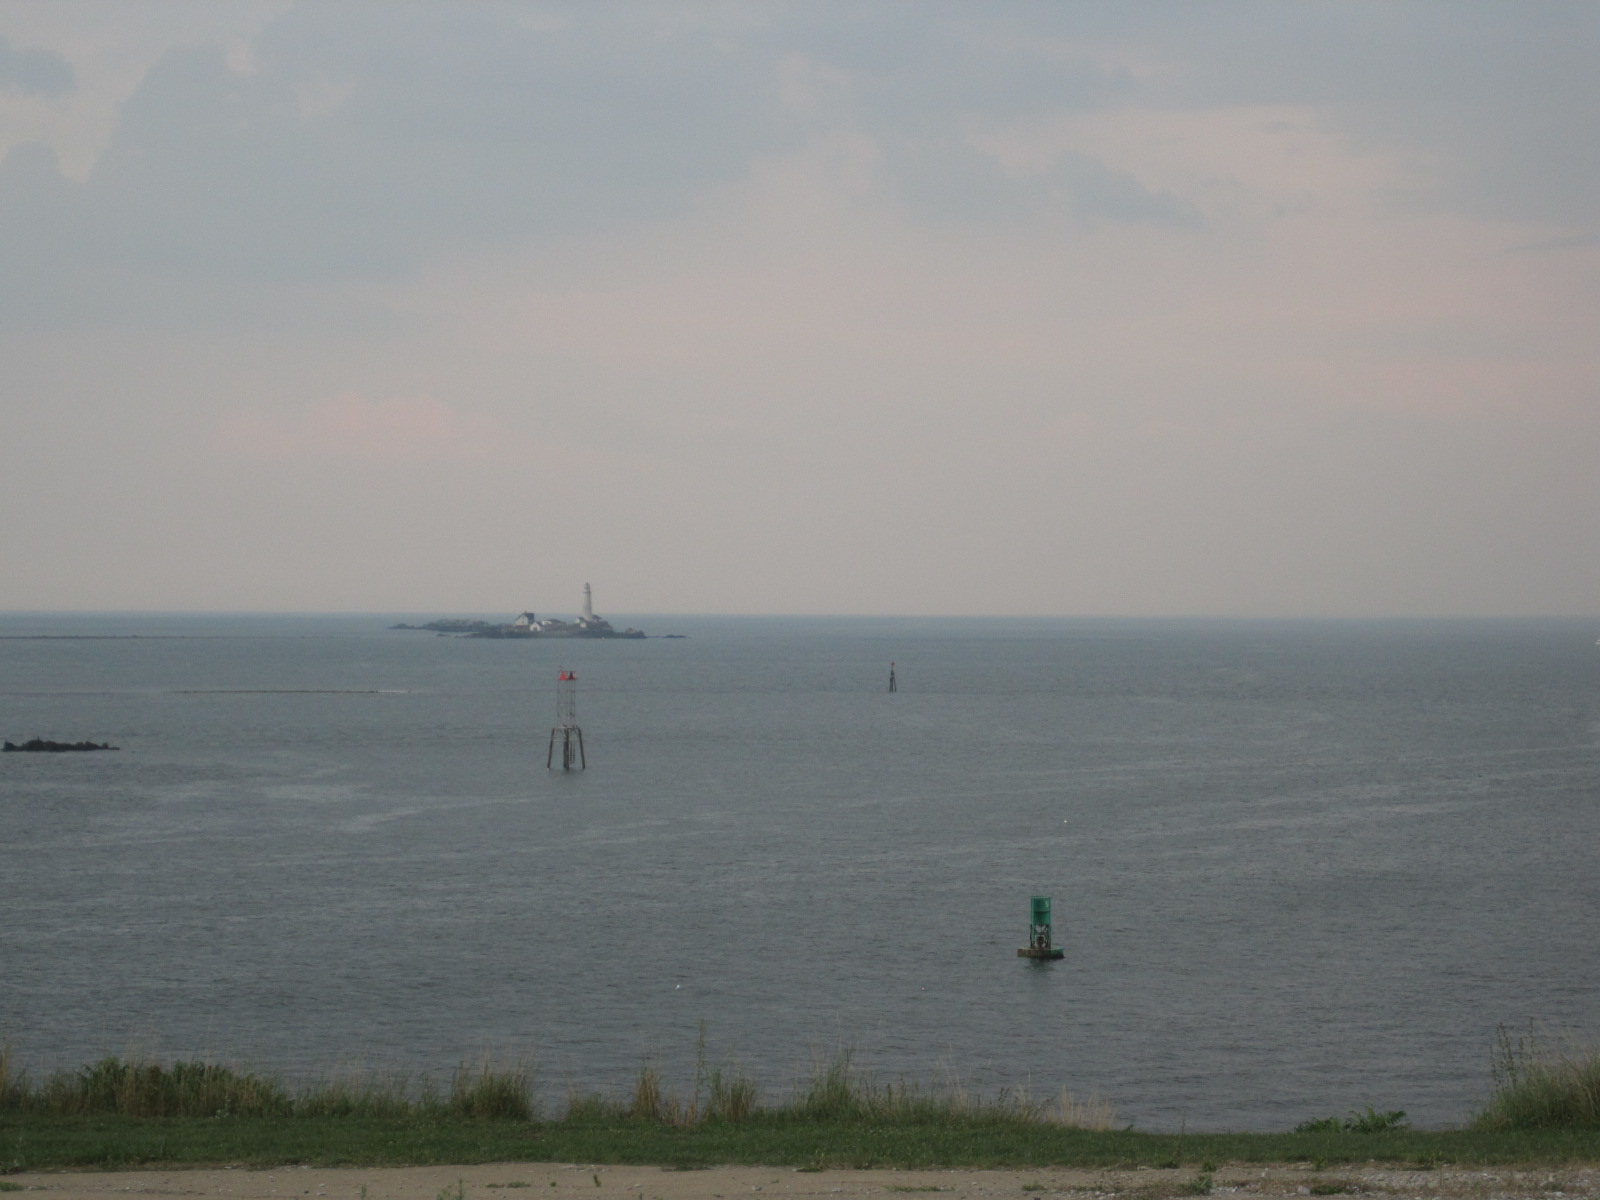
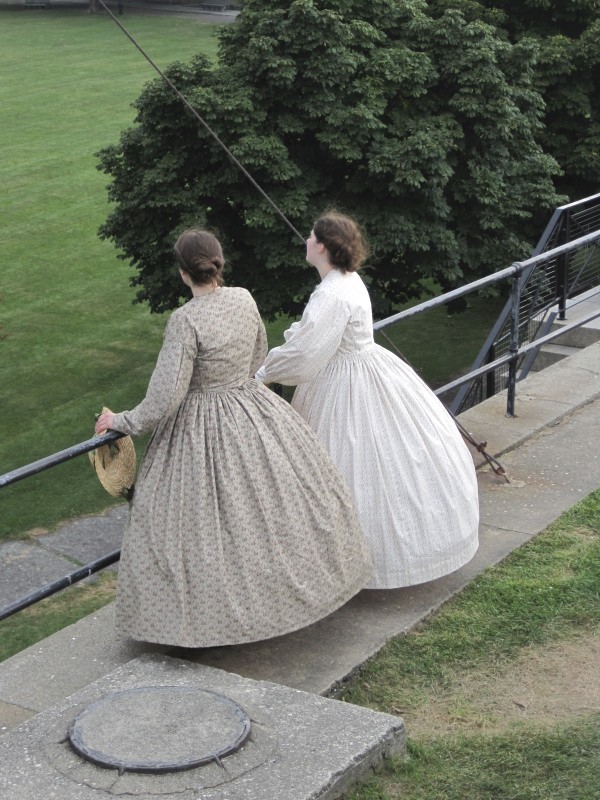
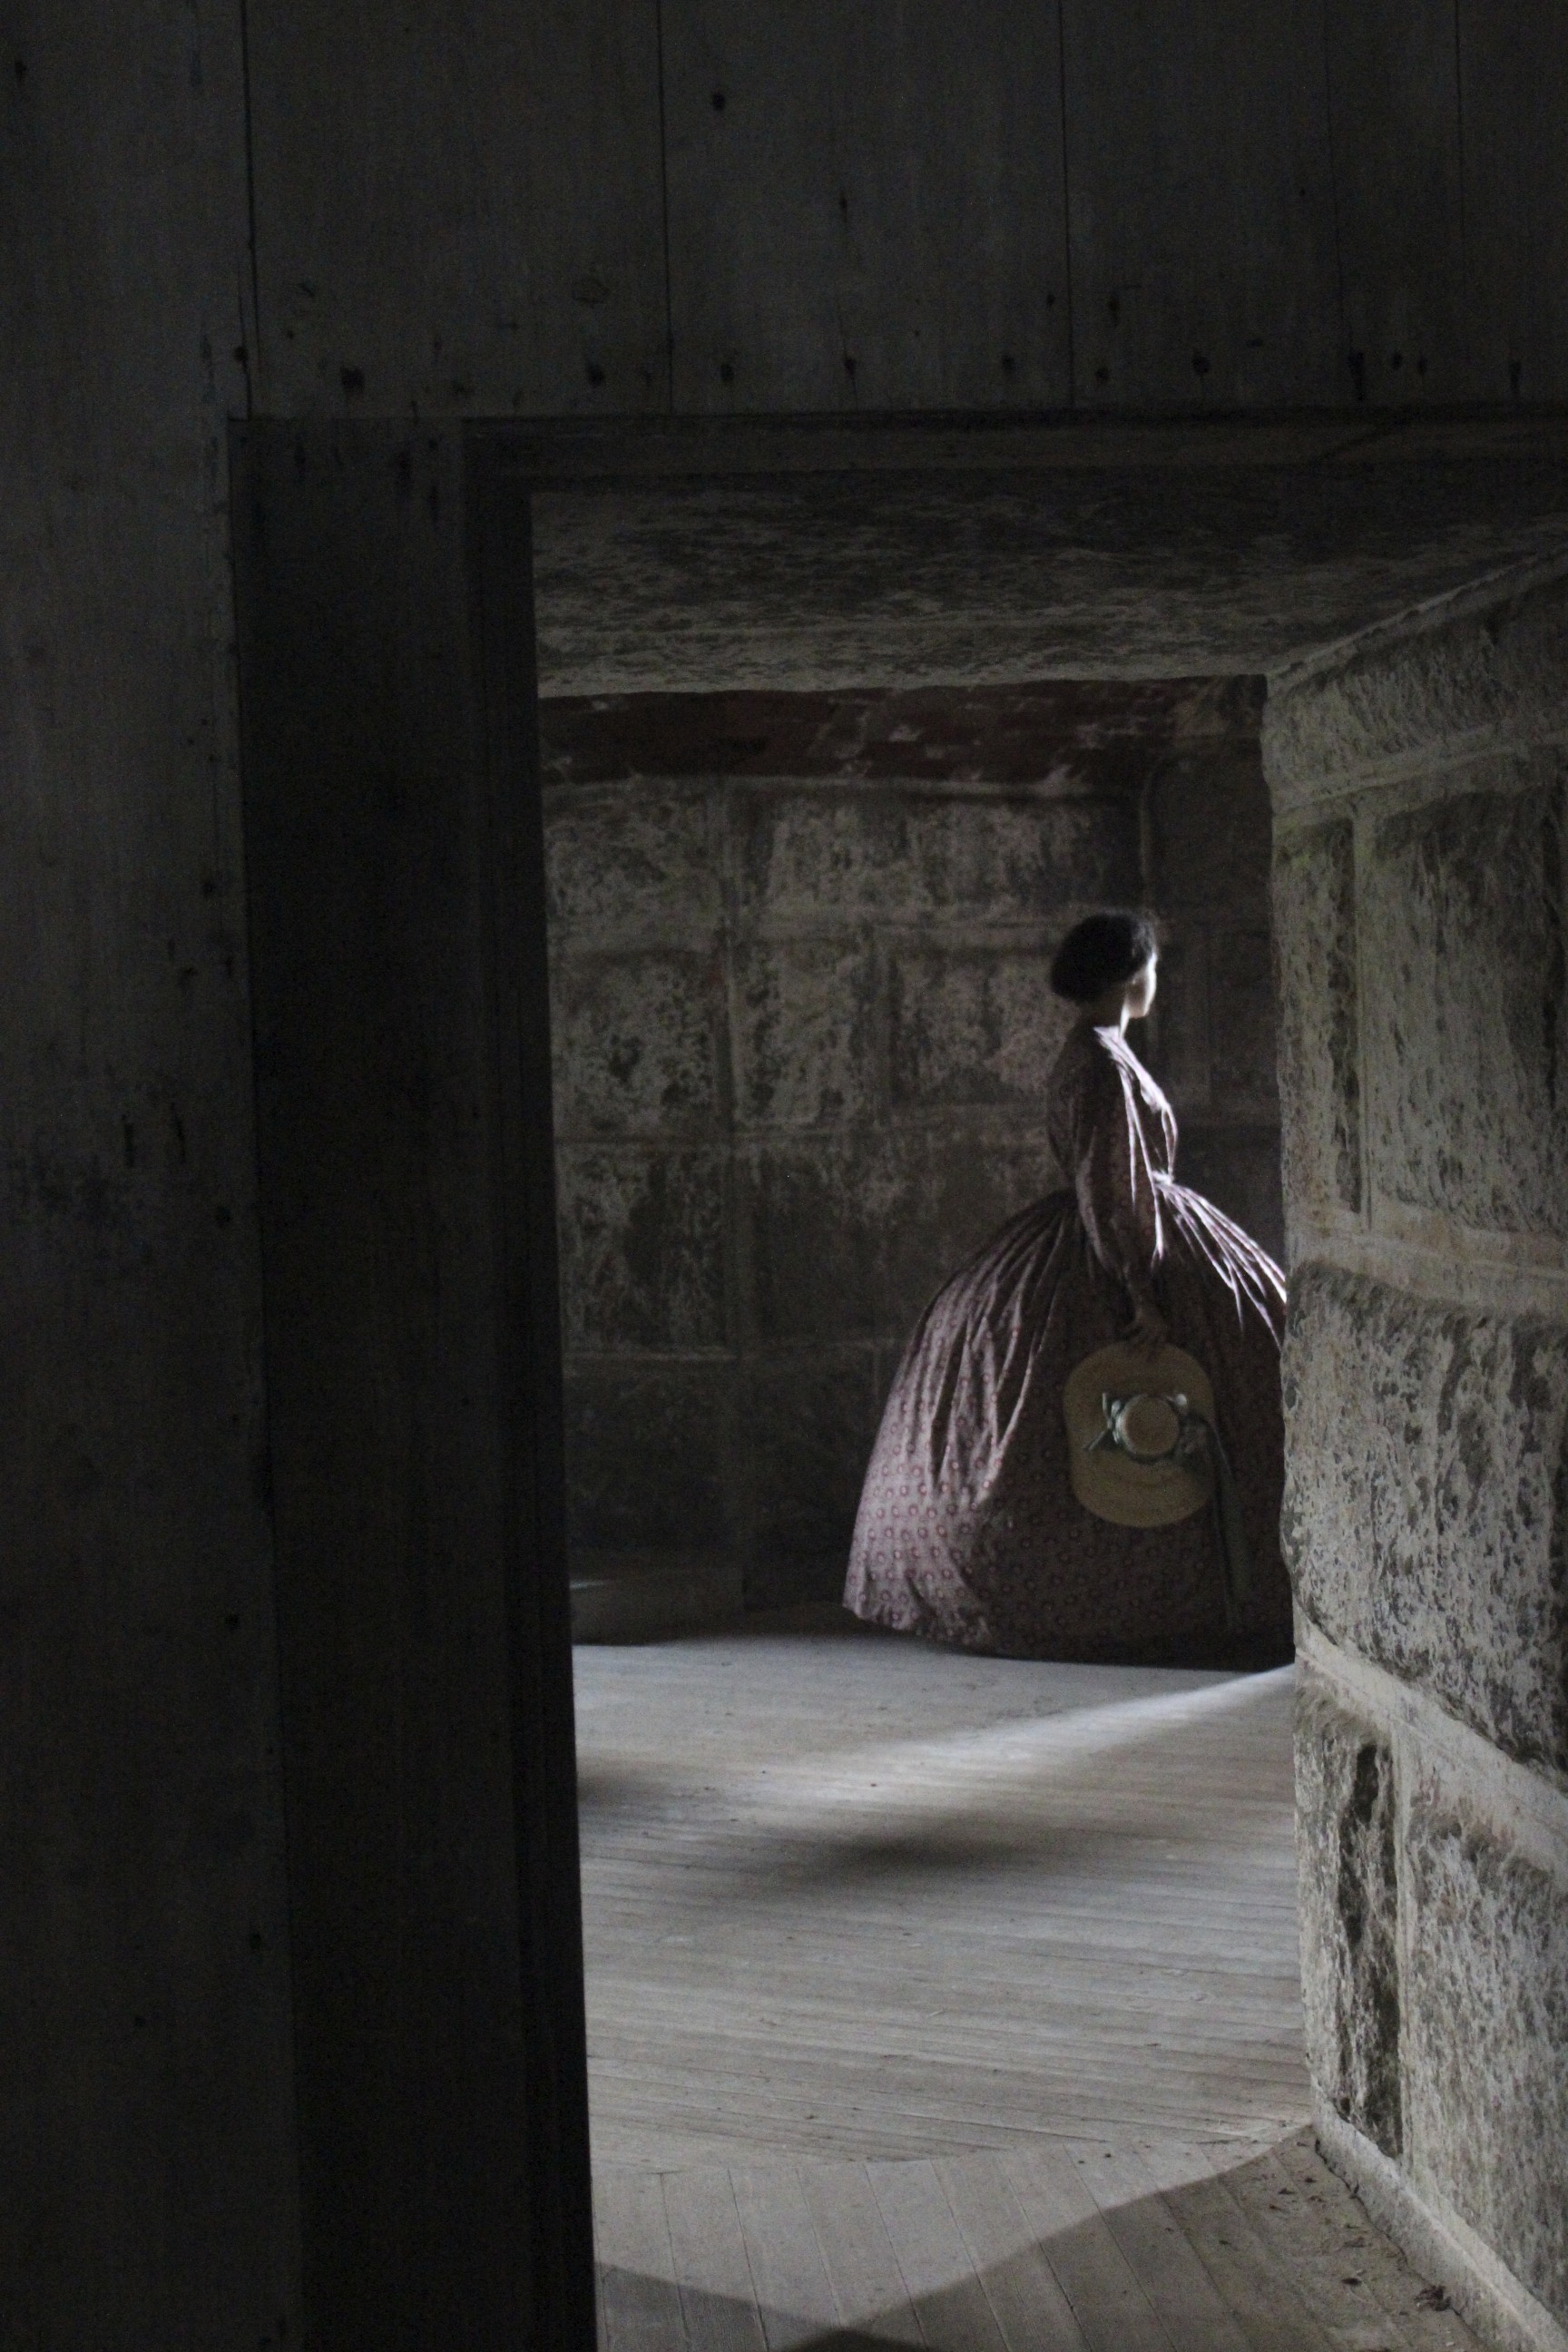
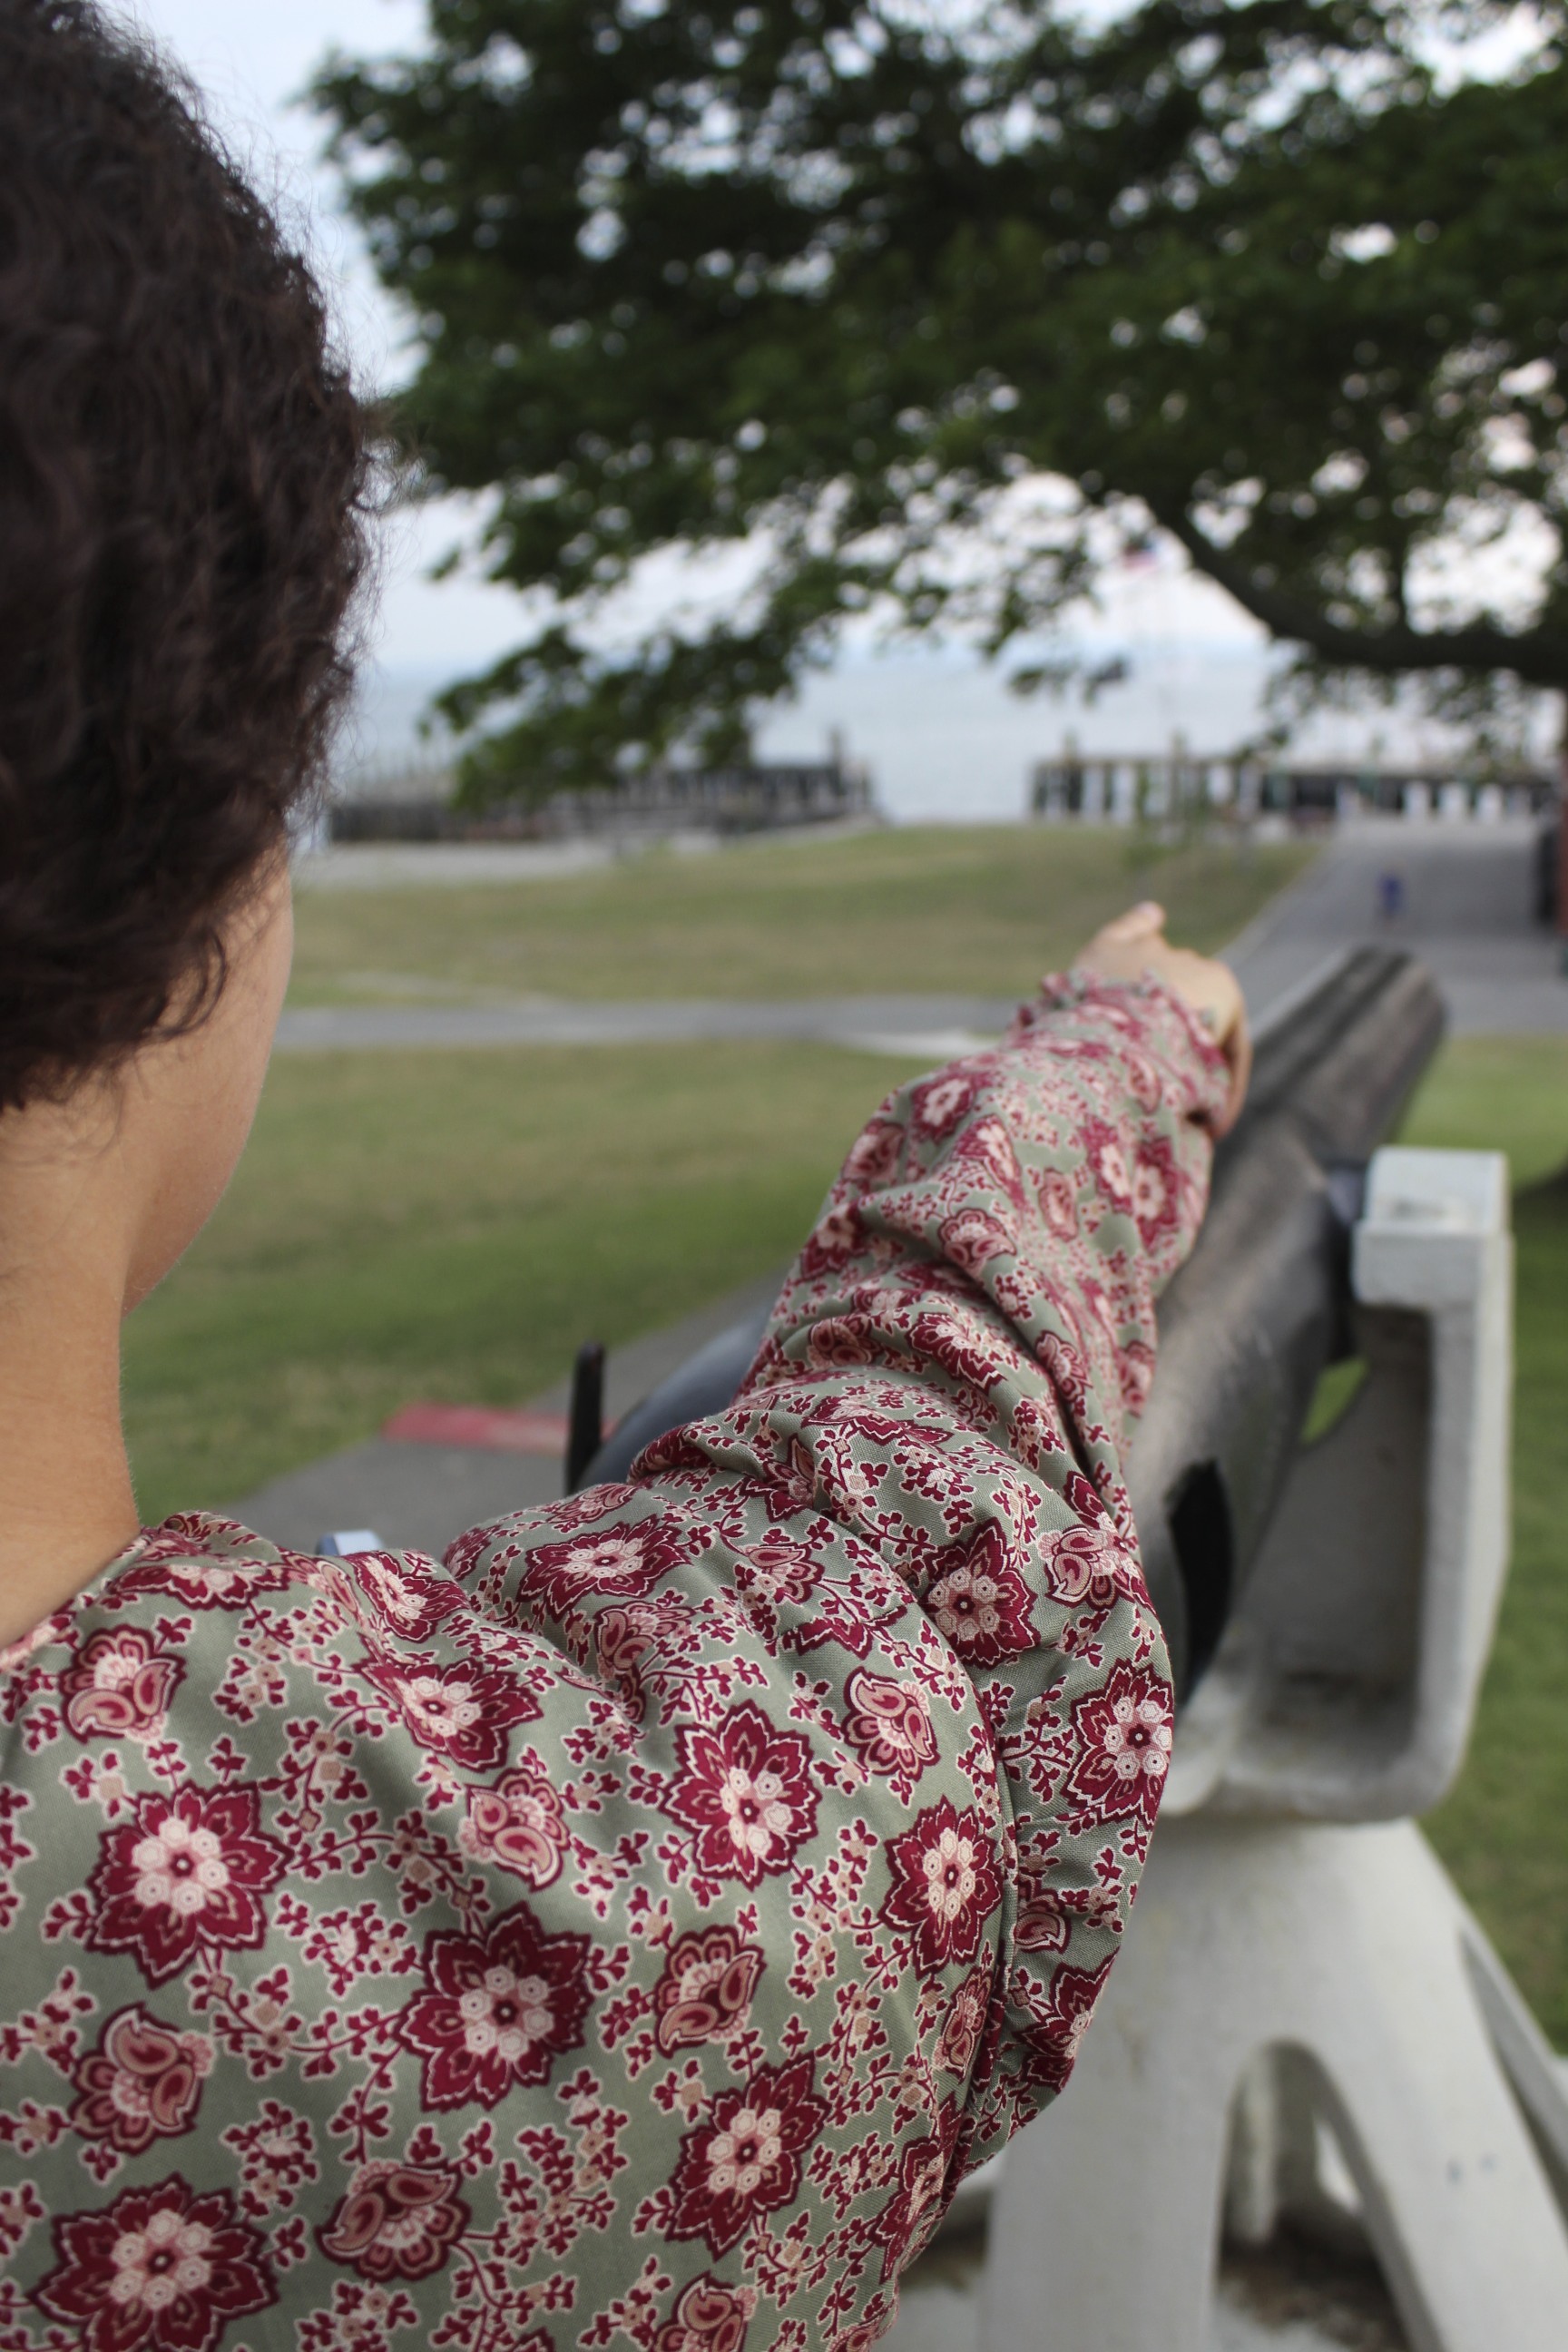
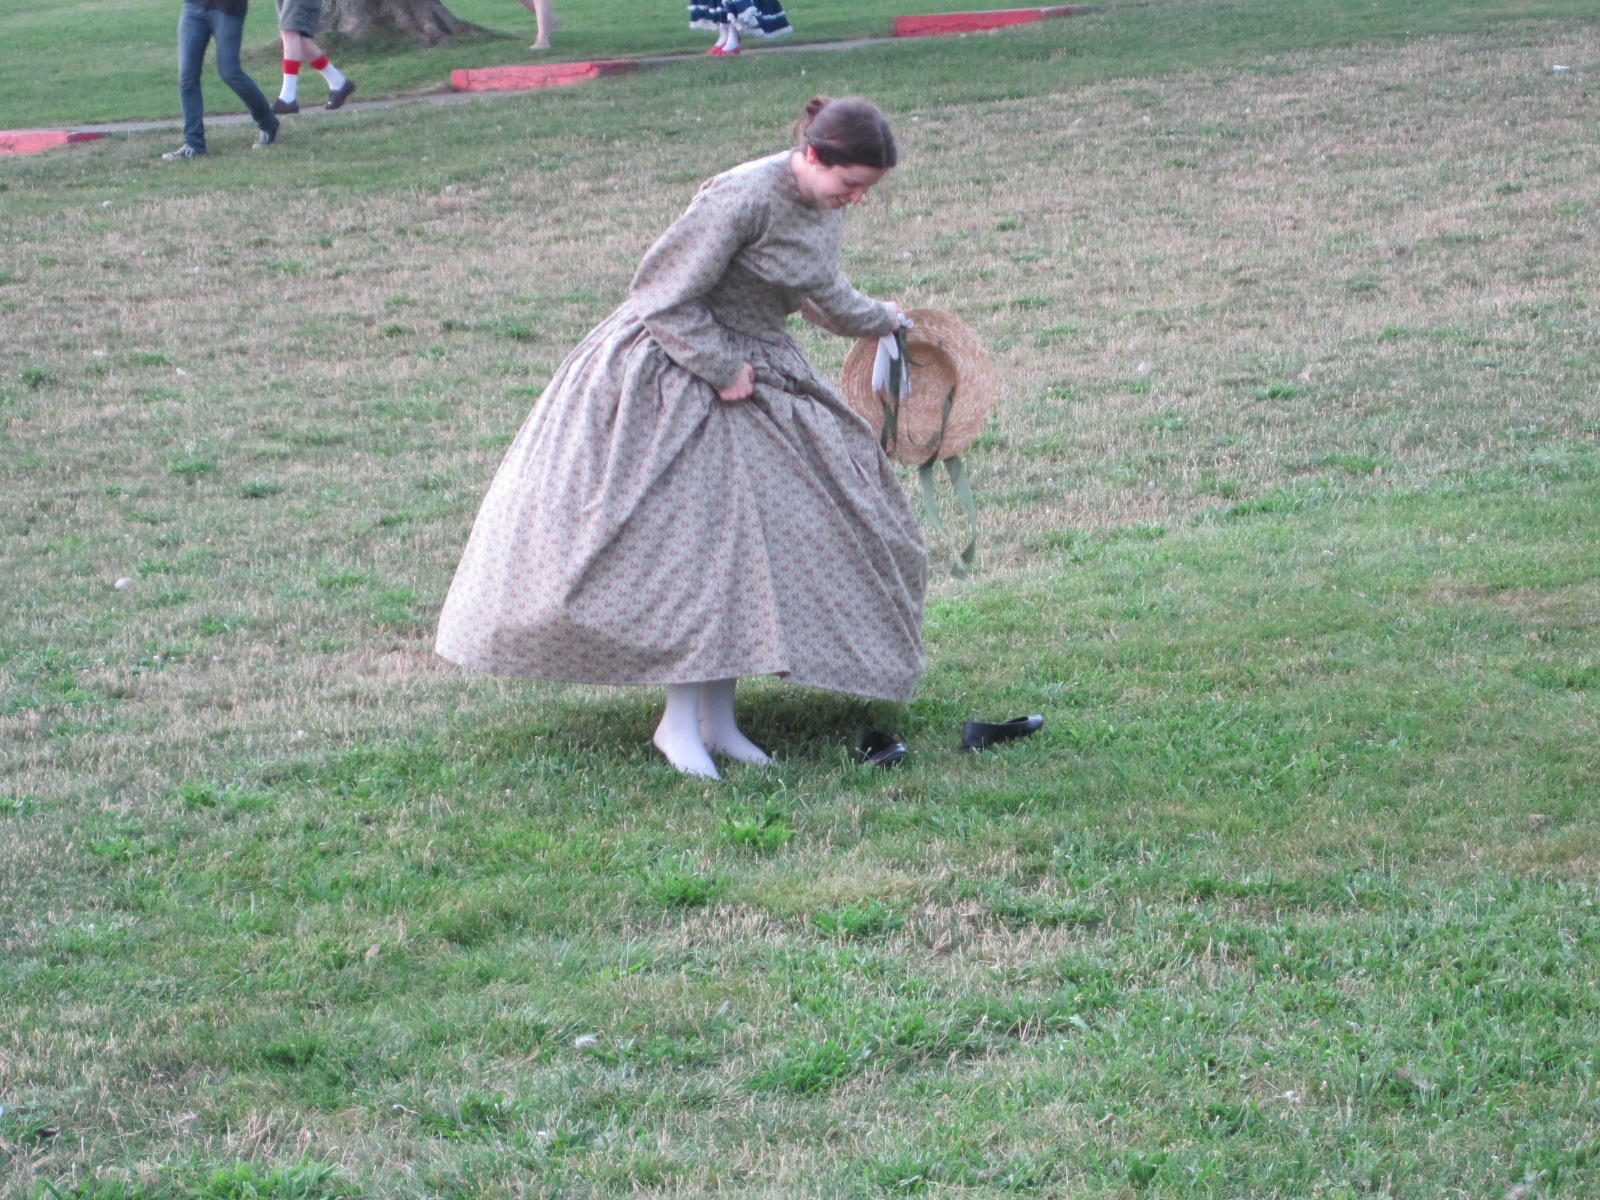
Oh no, don’t blow away! Silly-ness started before we even made it into the fort!Aside from the wrong-era clothing, doesn’t this look like a Jane Austen type scene?Lovely historic cotton print dresses along the water before entering the fort.There was also a jungle gym fort with a slide outside the main entrance to the actual fort. No one actually slid down, but this is what would have happened if one of us had tried it!After walking through the initial gate house, you have to pass through an outer courtyard area, two sides of which are walled with openings through which you could be shot at when the fort was active. Luckily for us no shots were fired!Apparently there was also a moat to the right, which could only be crossed by a drawbridge. Now there’s a solid bridge, but when the fort was in use there was a portcullis in addition to the drawbridge!After passing through the drawbridge/portcullis entry, you emerge into the main part of the fort (that large grassy area on the right of this photo). There are ramparts all around which overlook the ocean and originally were home to many large guns.The view looking out over the ocean-facing side of the fort.The view looking back towards Boston. That’s the Boston skyline.Historic cotton print dresses! The two dresses on the right are fabrics that I bought at the same time I bought the fabric for Georgina. The white dress is similar reproduction fabric. I think all of these dresses are variations on Past Patterns #701 and #702.Looking out over the main grassy area of the fort.Walking along the ramparts.Despite the sign’s warning, there was nothing behind it except grass…Interior room in the fort. There are lots of these dark spaces that you can walk and look through, though they all start to look the same if you don’t have someone there to explain the differences to you. Luckily, we did have someone to explain, which made the exploration a lot more interesting.We exited the fort in a different way than we entered and found new opportunities for silly-ness. Here, I’m aiming along a large inoperable gun.The gun was right at the top of a hill… You can see the sparkle in my eye as I thought “Let’s run down the hill!”And we’re off! The normal island visitors looked a little shocked to see four hoop-skirted ladies hurtling down a hill with hats and arms flying!But we had fun! Indeed, there were some shoes that got left behind part way down the hill!
Thankfully, there were storms that night (we were beginning to see lightening before we even left the island!). The intense heat broke and the weather became much more manageable, which is good for us, because the very next day we were at it again, this time at a 1920s lawn party. More on that soon!
You’ll remember that I introduced you to Georgina in my last post? Georgina’s first outing was for at a mid-19th century vintage dancer performance on George’s Island in the Boston Harbor. It was a super toasty day and we were dancing mostly on asphalt or an uneven wood dock, but we all survived and looked lovely and dashing.
Members of the Commonwealth Vintage Dancers who performed on George’s Island. Look at all those awesome dress fabrics! Sheers and historic cotton prints galore!We were dancing right in front of the visitor center where visitors were being dropped off by the harbor ferries.Due to the heat and dance surface (a kind way to say “asphalt”) we did a lot of walking dances.Part way through the afternoon a strong breeze picked up. It didn’t alleviate the heat much, but it was nice, and certainly swung our hoops and skirts around a lot!Dancing in the sun and wind.Dancing on the dock.More dock dancing.
After the performance we had some time to explore the island, most of which is occupied by Fort Warren. We had lots of fun and took lots of pictures. So next post, look forward to Georgina’s Island Explorations!
“Georgina” is the name I’ve chosen for my new 1858 cotton print day dress. Being a day dress from a new decade (the 1850s), makes her a fabulous new expansion in my wardrobe of historic clothes!
Georgina: 1858 cotton print day dress.Back view.
The dress is constructed from about 5yds of a Marcus Brothers reproduction historic cotton print I purchased earlier this summer. I used Past Patterns #701 and #702 bodice patterns as a starting point, though I had to make significant alterations to achieve a comfortable and pleasing fit, especially in the shoulder/armsceye area. I used the darted pattern for the fitted lining and the gathered pattern for the gathered exterior. The sleeves are the bishop sleeves from one of the patterns, though I totally changed the cuff design.
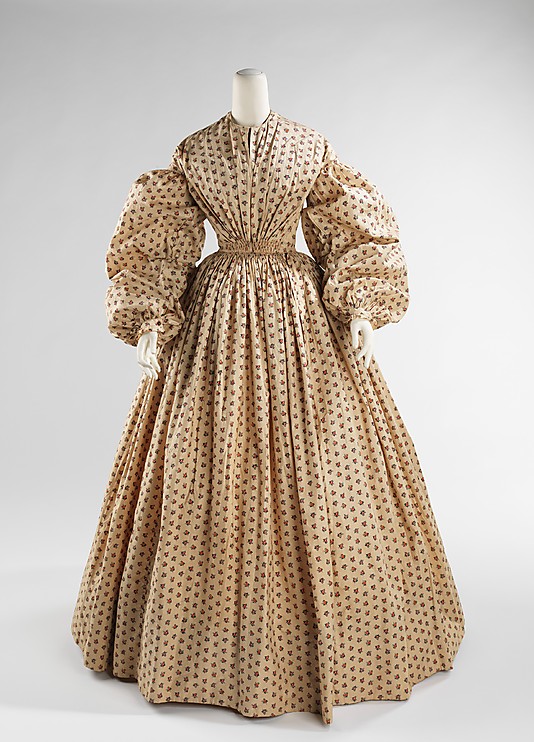
The cuff design and a lot of other fiddly details were taken from this c. 1852 dress at the Met (pictured below). If you zoom in on the cuffs on the Met website you can see that they look just like mine (pictured later in this post)! I also used the following design elements from the Met dress: piping at the neck and waist, gathers that are tacked down beyond the seam line, button closure on the cuffs, and cartridge pleating all around the skirt. I have a whole pinterest board of inspiring images for this dress and hat ensemble, but this dress is the one from which I took the most information and detail.
c. 1852 Dress, Met.
Here are a few pictures of the fiddly details I integrated from the Met dress:
Gathers at the center back that are tacked down beyond the seam line. I like the controlled look these extra stitches produce.Self fabric cuff finished with a small ruffle. The cuffs close with a hand sewn buttonhole and button.
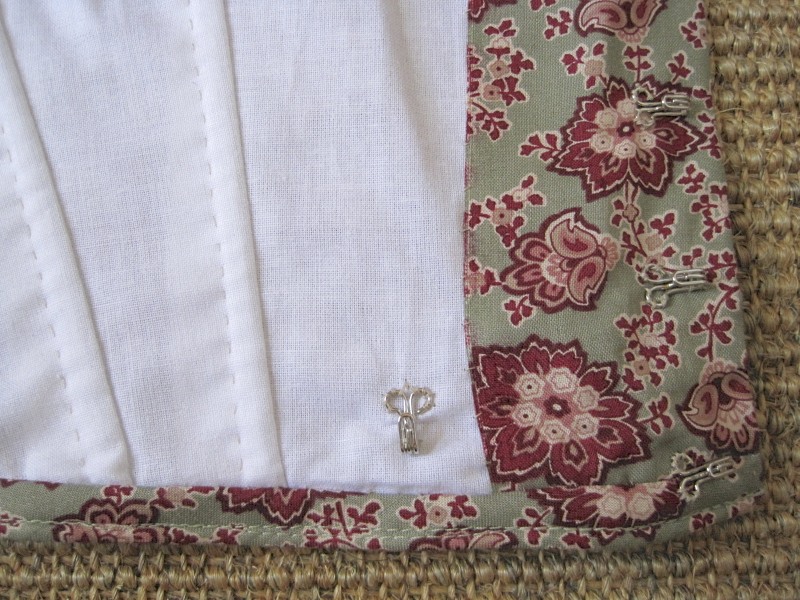
Georgina’s bodice is lined with white cotton. There are hand sewn boning channels sewn into the bodice in the front darts on each side and on the sides. The bones are then slipped in between the layers of fabric. I didn’t have the right length metal bones, so I used heavy duty plastic wire ties–but–I cut them in half the long way so they are much skinnier than normal (they just don’t look at all historically plausible in their normal width, in my opinion). Once they’re in the bodice, you’d never know they are plastic instead of metal.
The proper left side of the bodice: hand stitched boning channels in the darts, front hook closure, a hook to attach the skirt and bodice together, and nicely finished piping along the bottom edge.
The bodice is finished at the neck and bottom edge with piping that is nicely whip stitched to the inside. There is also piping in the armsceye seam. The sleeve seams are french seamed by machine with the opening seam allowance at the cuff turned twice and stitched by hand. The other bodice seams are all machine sewn and the bodice is hand finished. The bodice closes at center front with hidden hooks and bars. It also hooks to the waistband of the skirt to keep the two pieces from gaping while worn.
The skirt has a wide hem that is hand stitched. The long skirt seams are machine sewn. The waistband is the same cotton print with an interfacing layer of canvas to create stability. The skirt is cartridge pleated and hand sewn to the waistband. There is a single layer of lightweight flannel folded into the cartridge pleats to give them a little more bulk than the thin cotton had on its own.
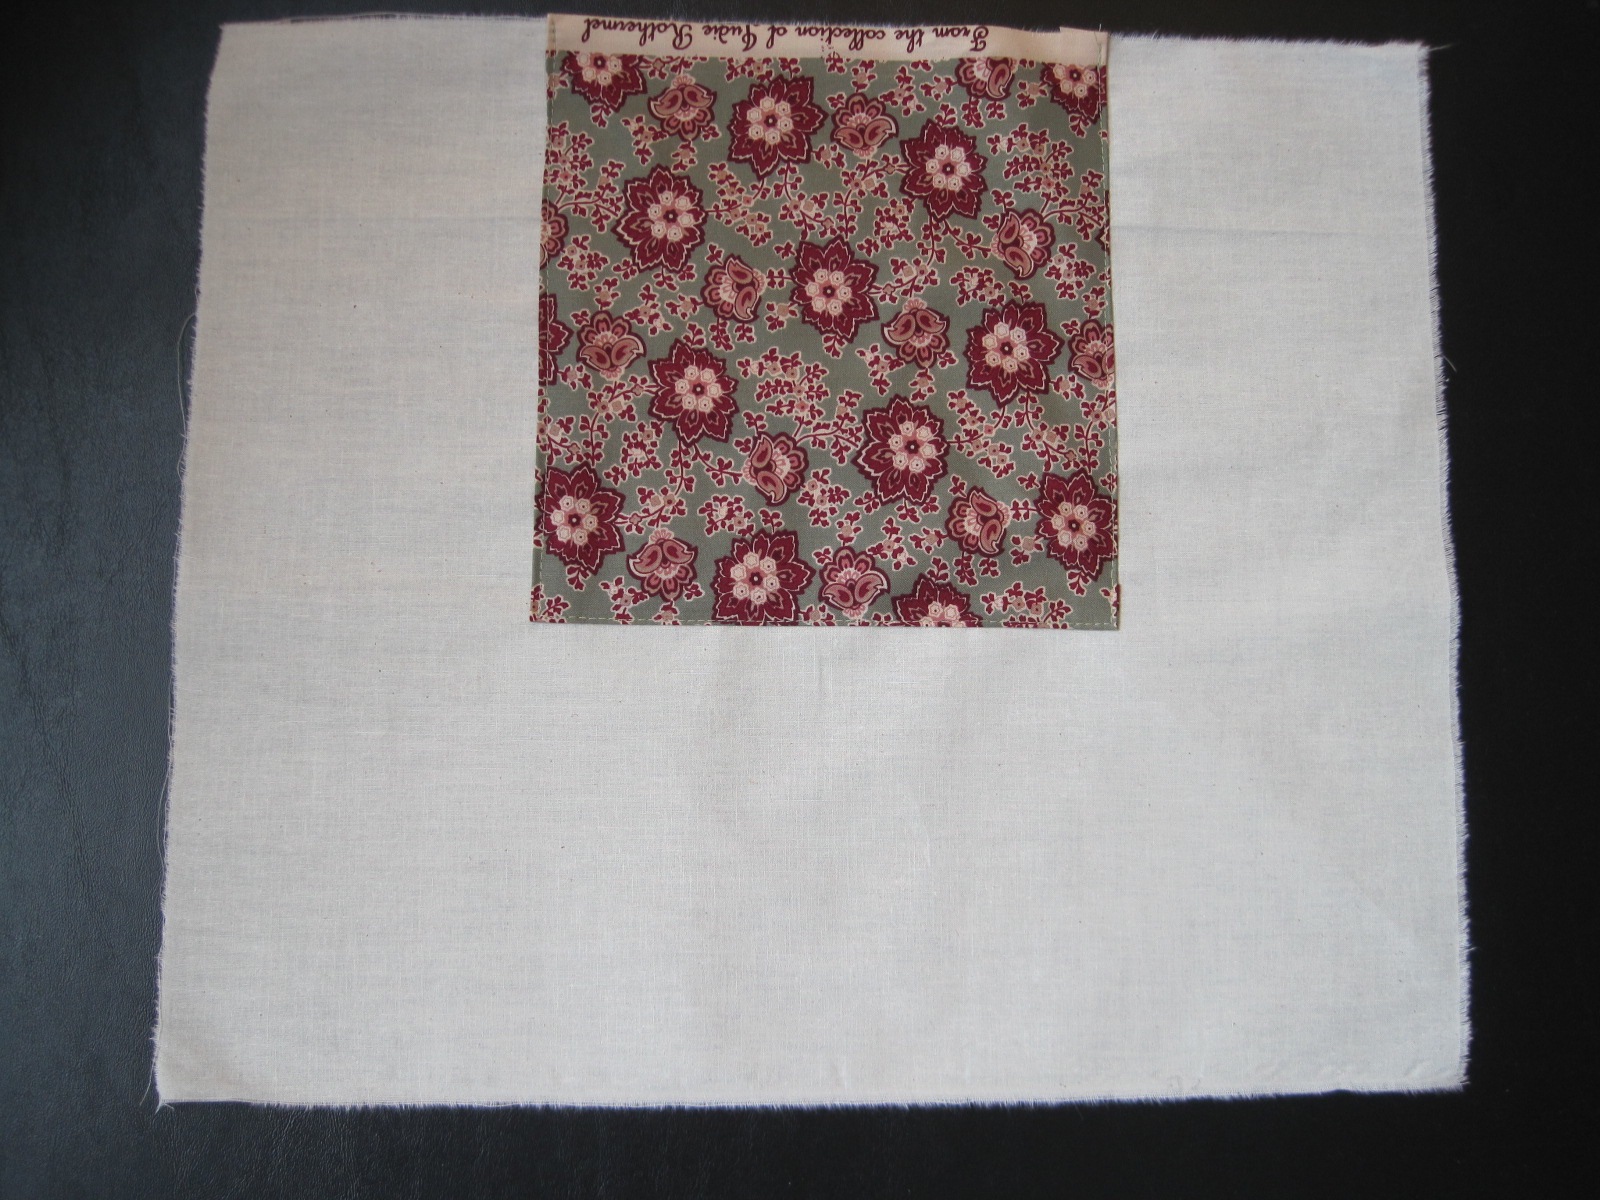
I also took the time to add pockets to this skirt! This turned out to be really useful for storing gloves, sunglasses, chapstick, a fan… with two pockets a lady can store so many things! Here’s how I made them and sewed them into the skirt:
The pockets are muslin rectangles with a piece of the cotton print topstitched on the top center (this is the part of the pocket that can show while I’m wearing the dress and taking things in and out of the pockets).After the cotton print was sewn on I french seamed the vertical seam and then the bottom seam by machine, making sure that the cotton print stayed centered. On the left is what a pocket looks like with the french seams facing out. On the right is a pocket turned inside out to show the cotton print centered at the top.I left the top part of the vertical seam open and hand sewed that into slits in the skirt using a whip stitch through the pocket and the seam allowances (essentially under stitching the pockets, which keeps the muslin from rolling to the outside!). The pocket slits were made after the skirt was cartridge pleated and attached to the waistband, so the slits stop below the cartridge pleats (it was way too much thinking to try and figure out where the pockets should be before cartridge pleating the skirt!).It worked wonderfully, and the pockets blend right in and are hardly noticeable, even when they gap open! (I’ve turned the edges of the pocket so you can see the muslin pocket for this picture, but they don’t actually stay turned out like that, and you can imagine how the print fabric of the skirt blends right into the print section of the pocket).On the inside, the top edge of each pocket is stitched to the cartridge pleats to evenly distribute the weight of anything in them.
Georgina cost about $18: $15 for the fabric and about $3 for hooks and eyes. The various other fabrics (cotton lining, canvas interlining, etc.) were all in my stash from previous projects (yay!). I first wore Georgina last weekend to a vintage dance performance on George’s Island in the Boston Harbor. I’ve got pictures of the performance and pictures of island exploration coming up soon!