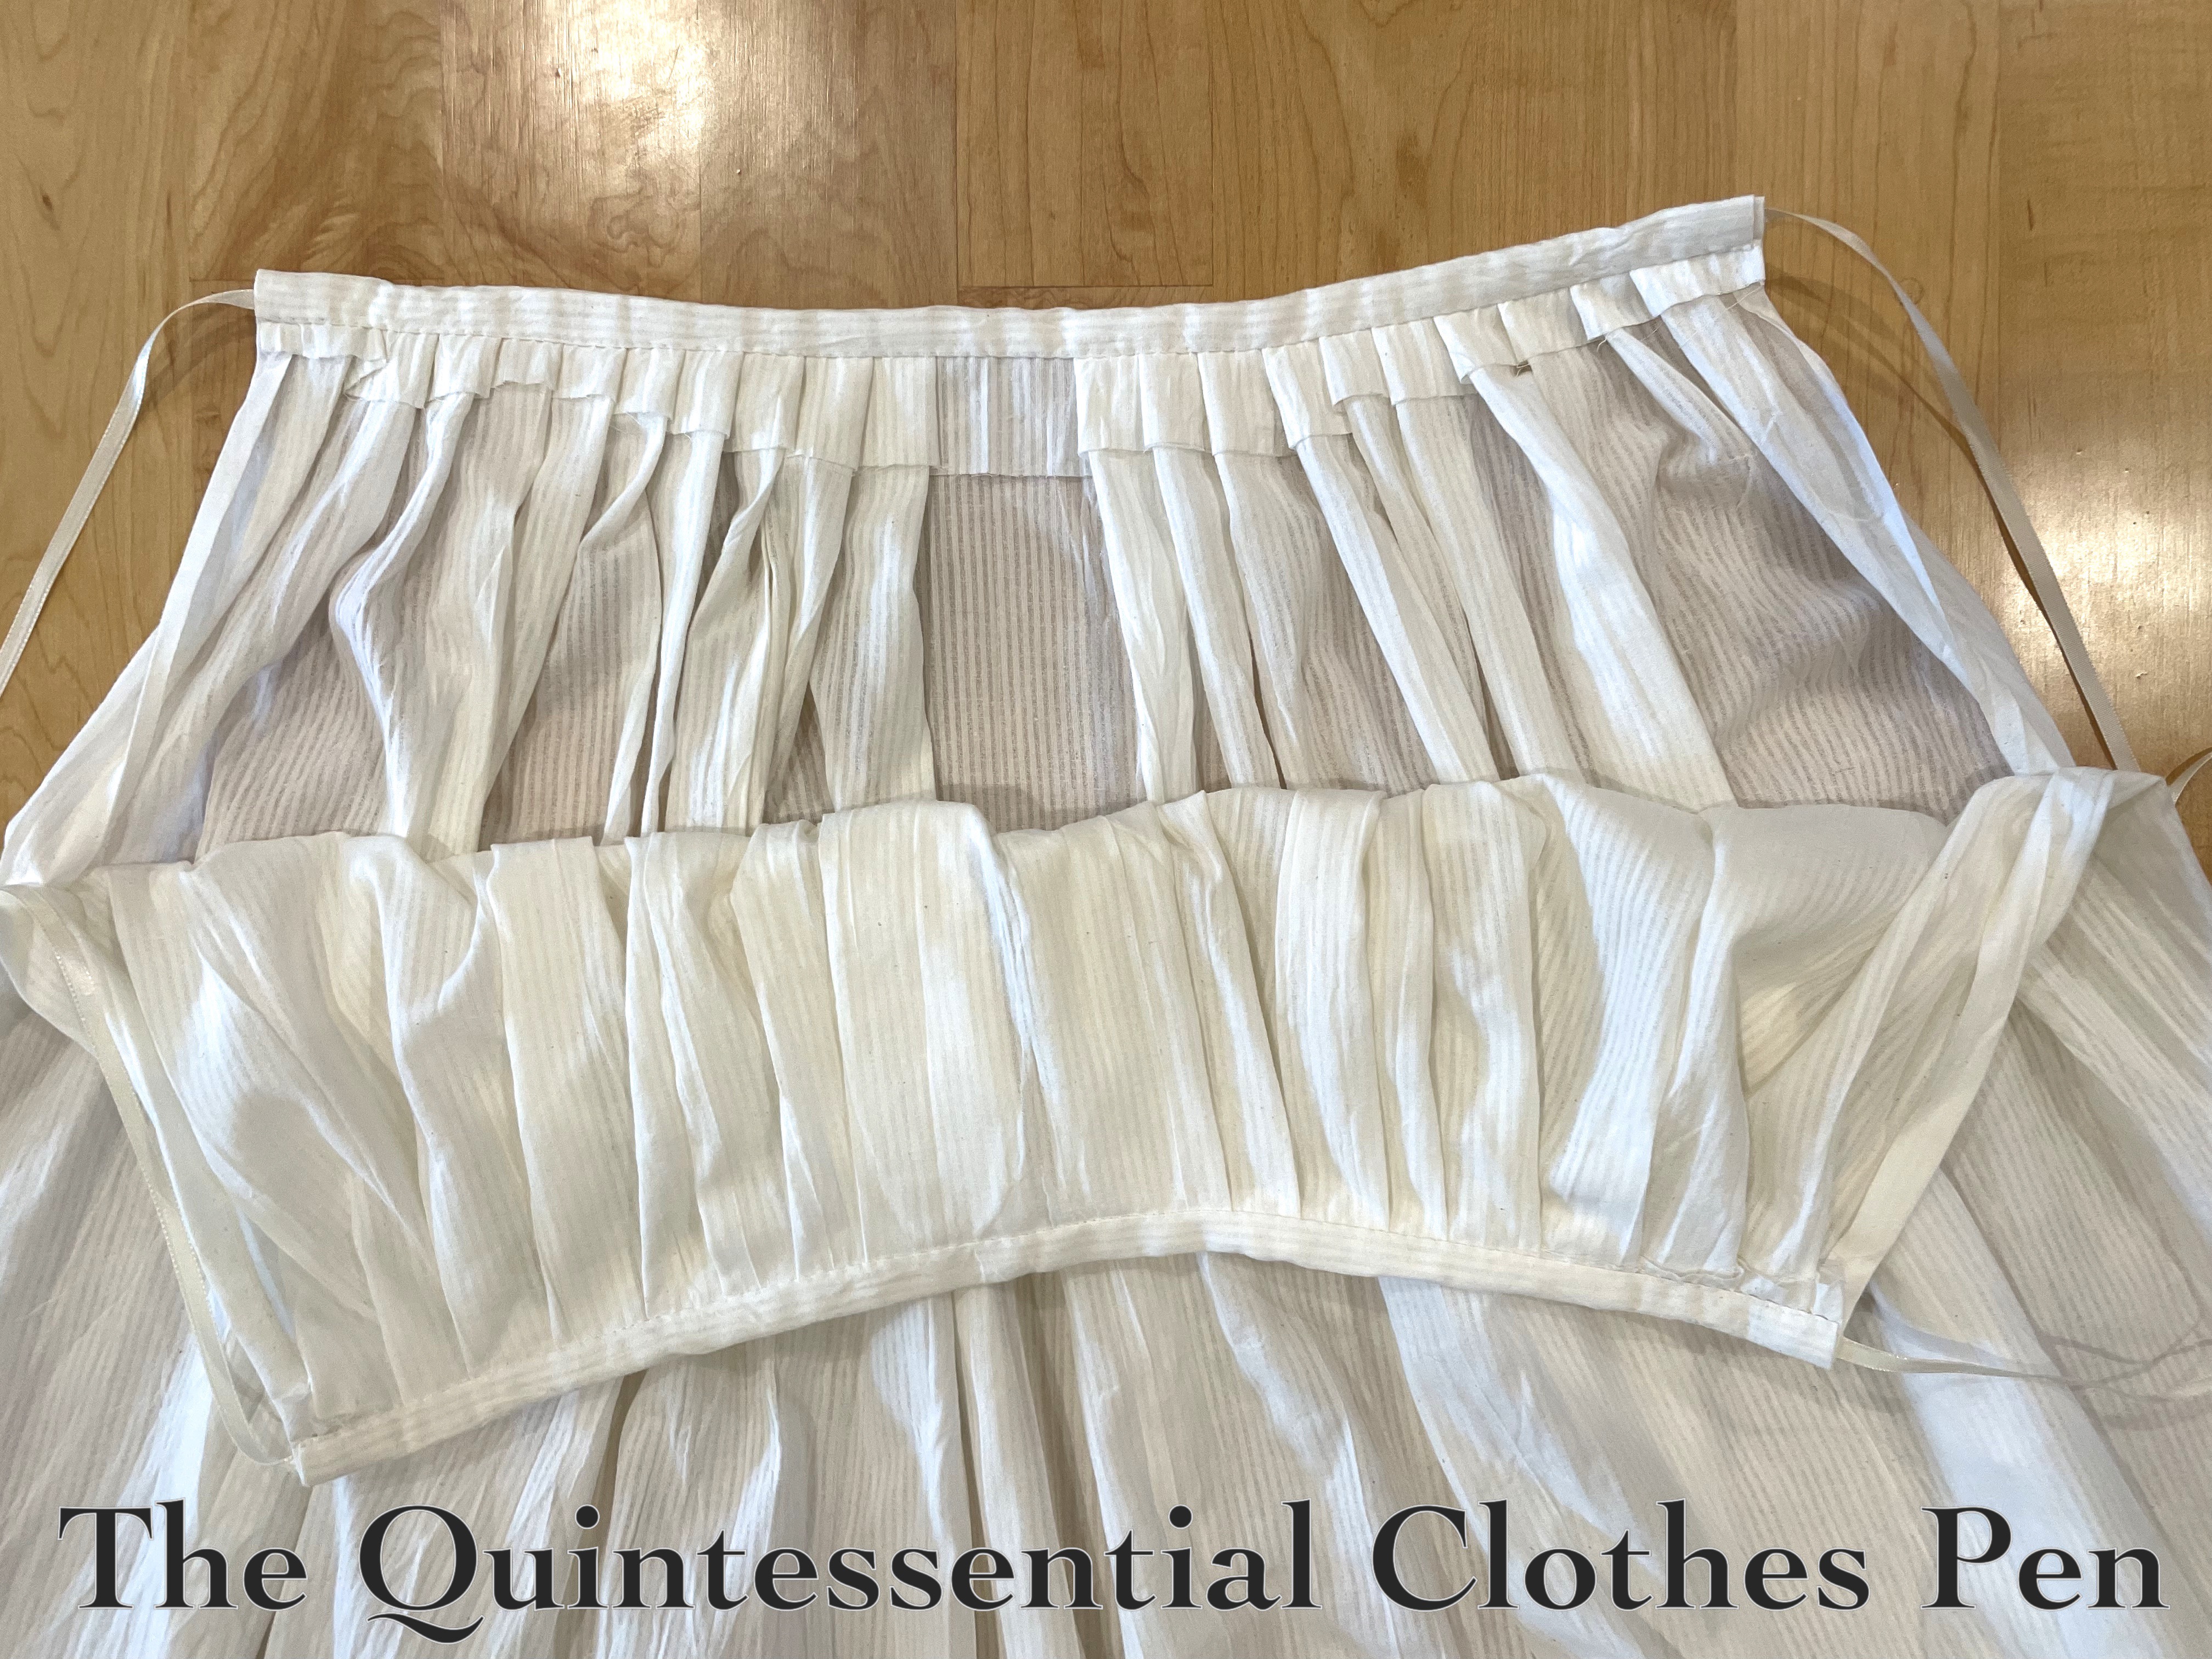
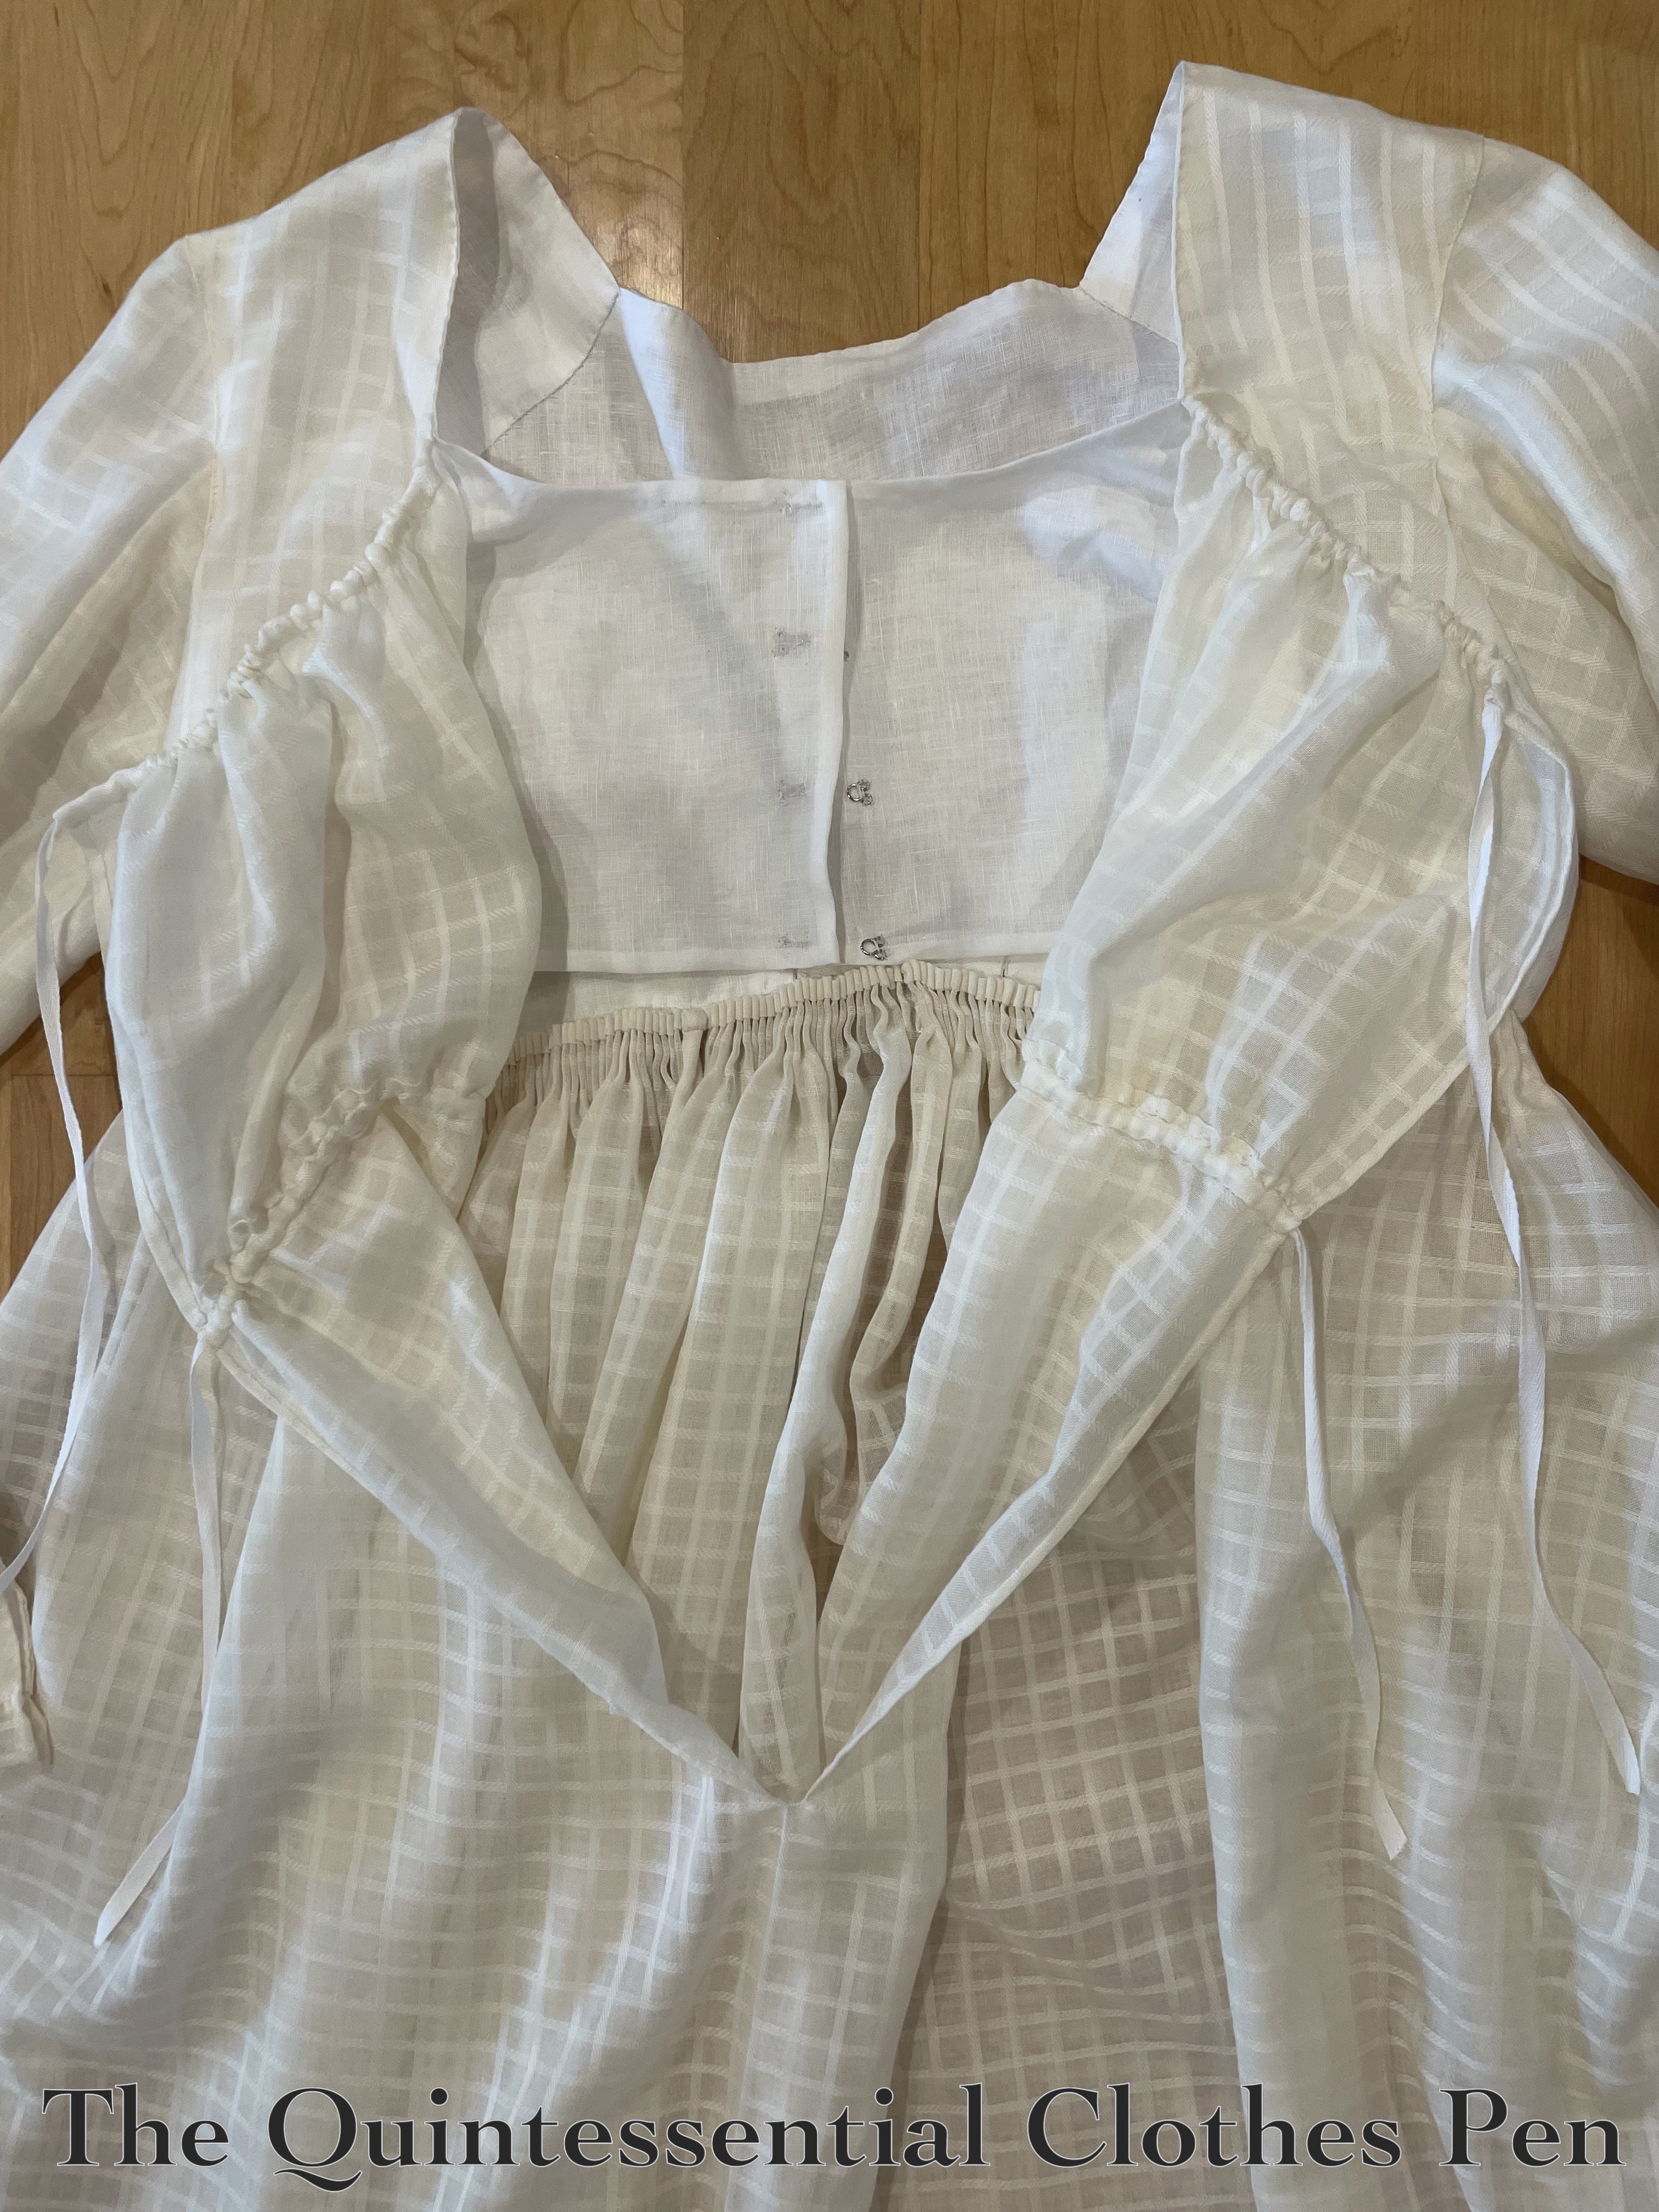
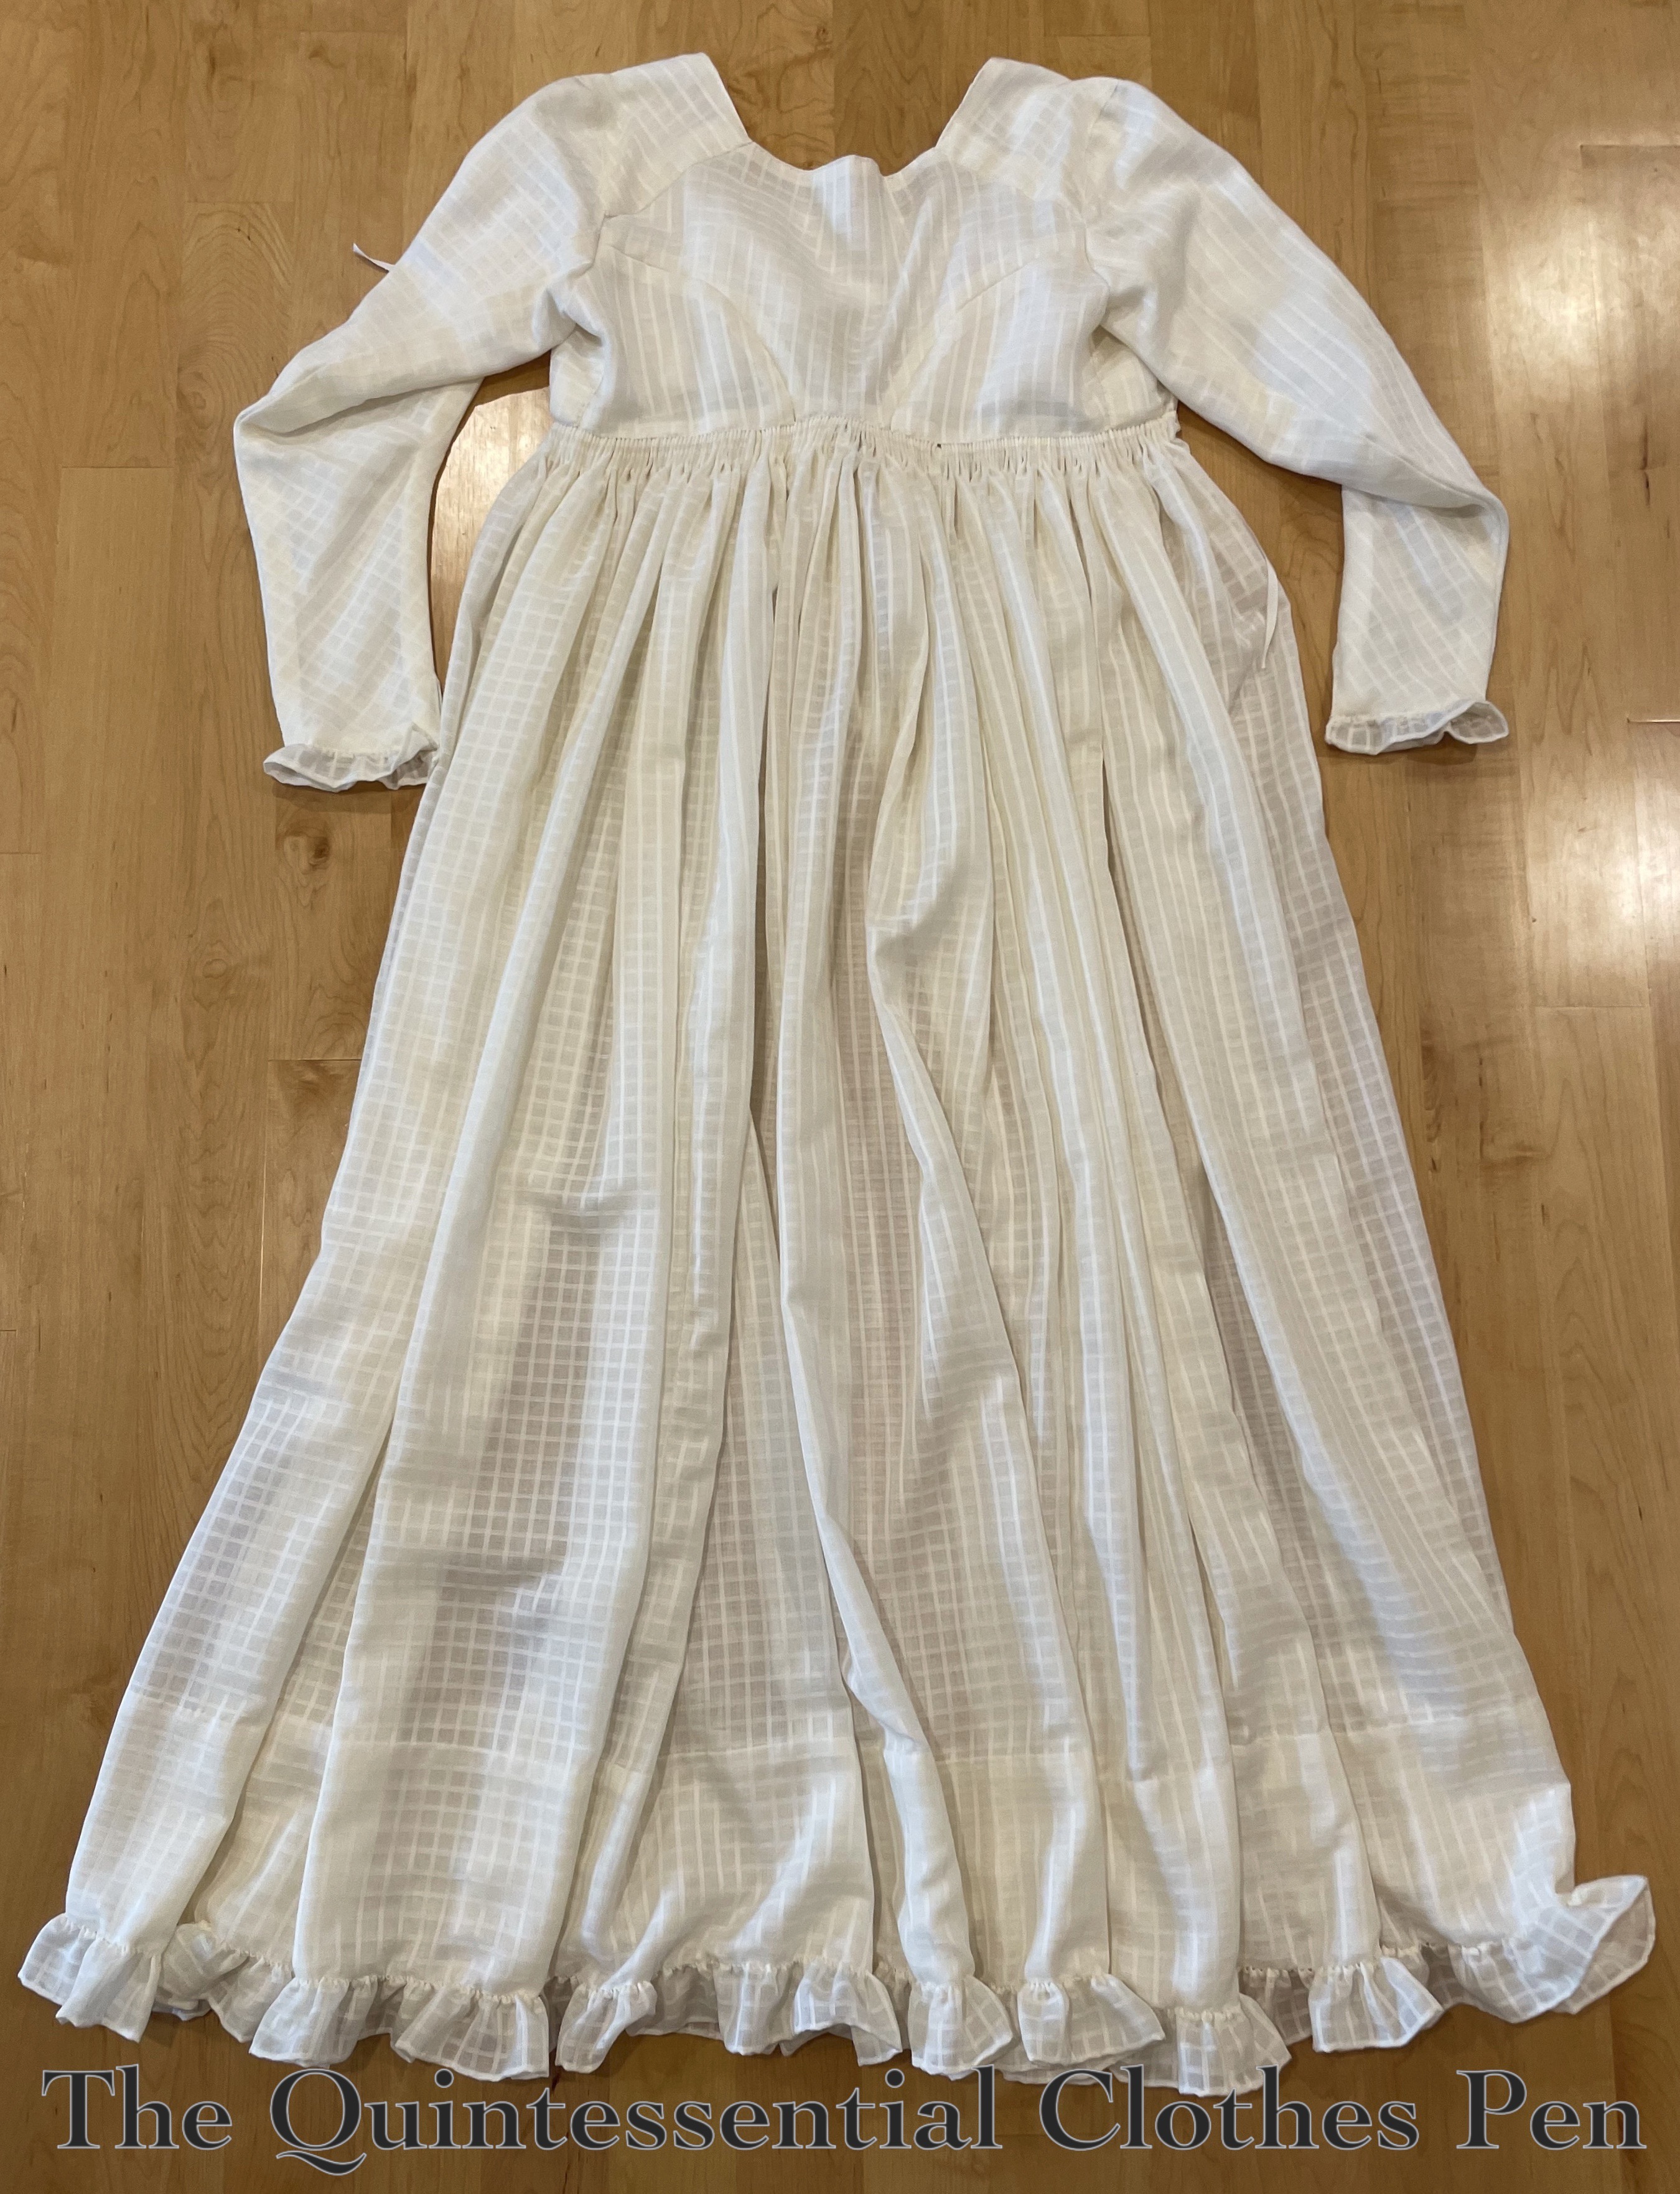
One of the many parts of the new c. 1770 Yellow Sacque ensemble that I’ve been slowly posting about is the stomacher. This is the triangular shaped piece that fills in the front of the dress, covering the undergarments worn underneath.
18th century stomachers come in a variety of shapes and styles. Some are more pointy and triangular, some are more wide and rounded. Some match the dress exactly and others contrast with the dress fabric.
The stomacher that goes with my Versailles sacque (which you can read about in the past post discussing the construction details for that dress) is more of the wide, rounded, and matching-the-dress variety. So for this new dress I decided to go in the opposite direction and make a stomacher that is more pointy, triangular, and made of contrasting fabric.
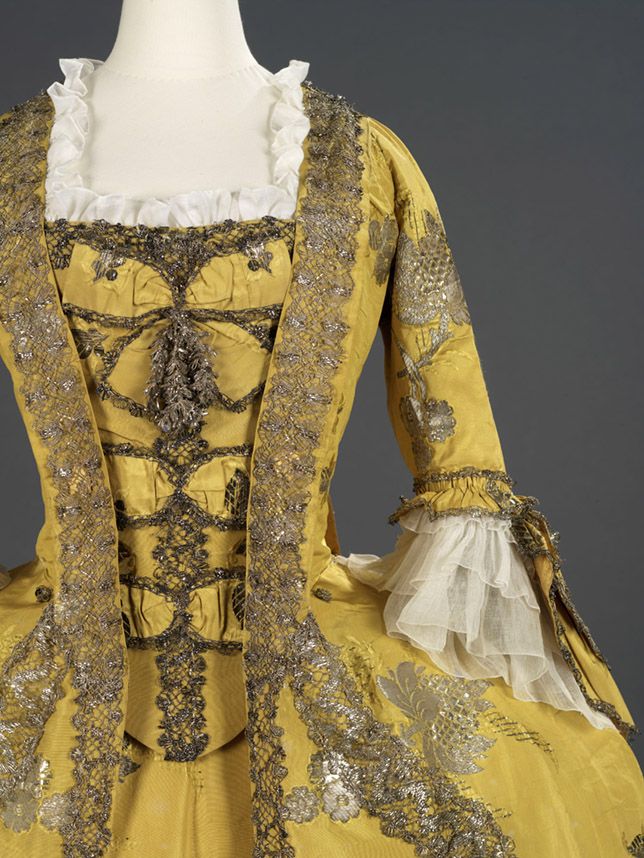
I was particularly inspired by the dress and stomacher combination below, which is in the collection of the LA County Museum of Art. I love that the gold embroidery on the stomacher is completely different than the trim on the dress and that is completed on an ivory colored base that is also completely different than the dress fabric itself.
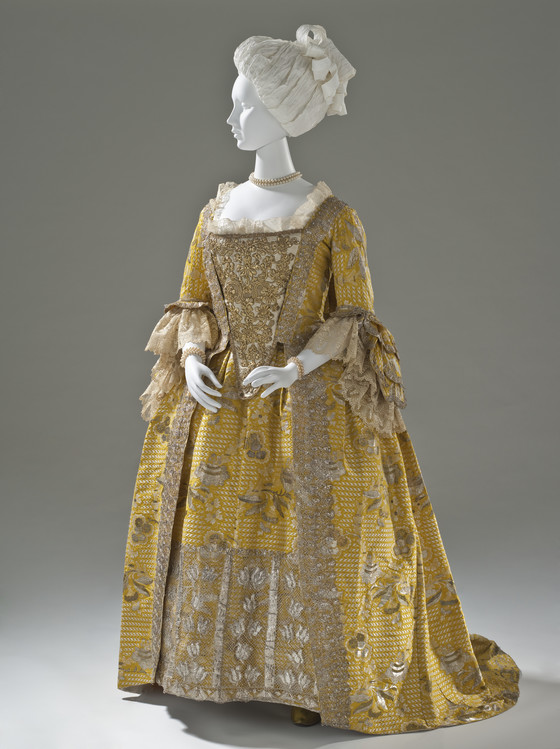
Woman’s Dress and Petticoat (Robe à la française). England, circa 1760. Silk plain weave with weft-float patterning and silk with metallic-thread supplementary-weft patterning, and metallic lace. Gift of Mrs. Henry Salvatori (M.79.118a-b).
With that idea in mind, it was time to figure out how to achieve that look! I dabbled in embroidery in 2020, but definitely not enough to feel up to the elaborate style and cost of materials to achieve this look from scratch. I did have a fabric in my stash, however, that has lovely gold embroidered motifs on a bronze net background. I’ve cut out the motifs and used them before with fantastic results, so I figured I could do that again for this purpose. (The full net fabric was used in my 1912 Burgundy and Gold Evening Gown made in 2012 and the motifs were used as appliqués in my 1893 Bronze and Pink Evening Gown in 2012, as well.)
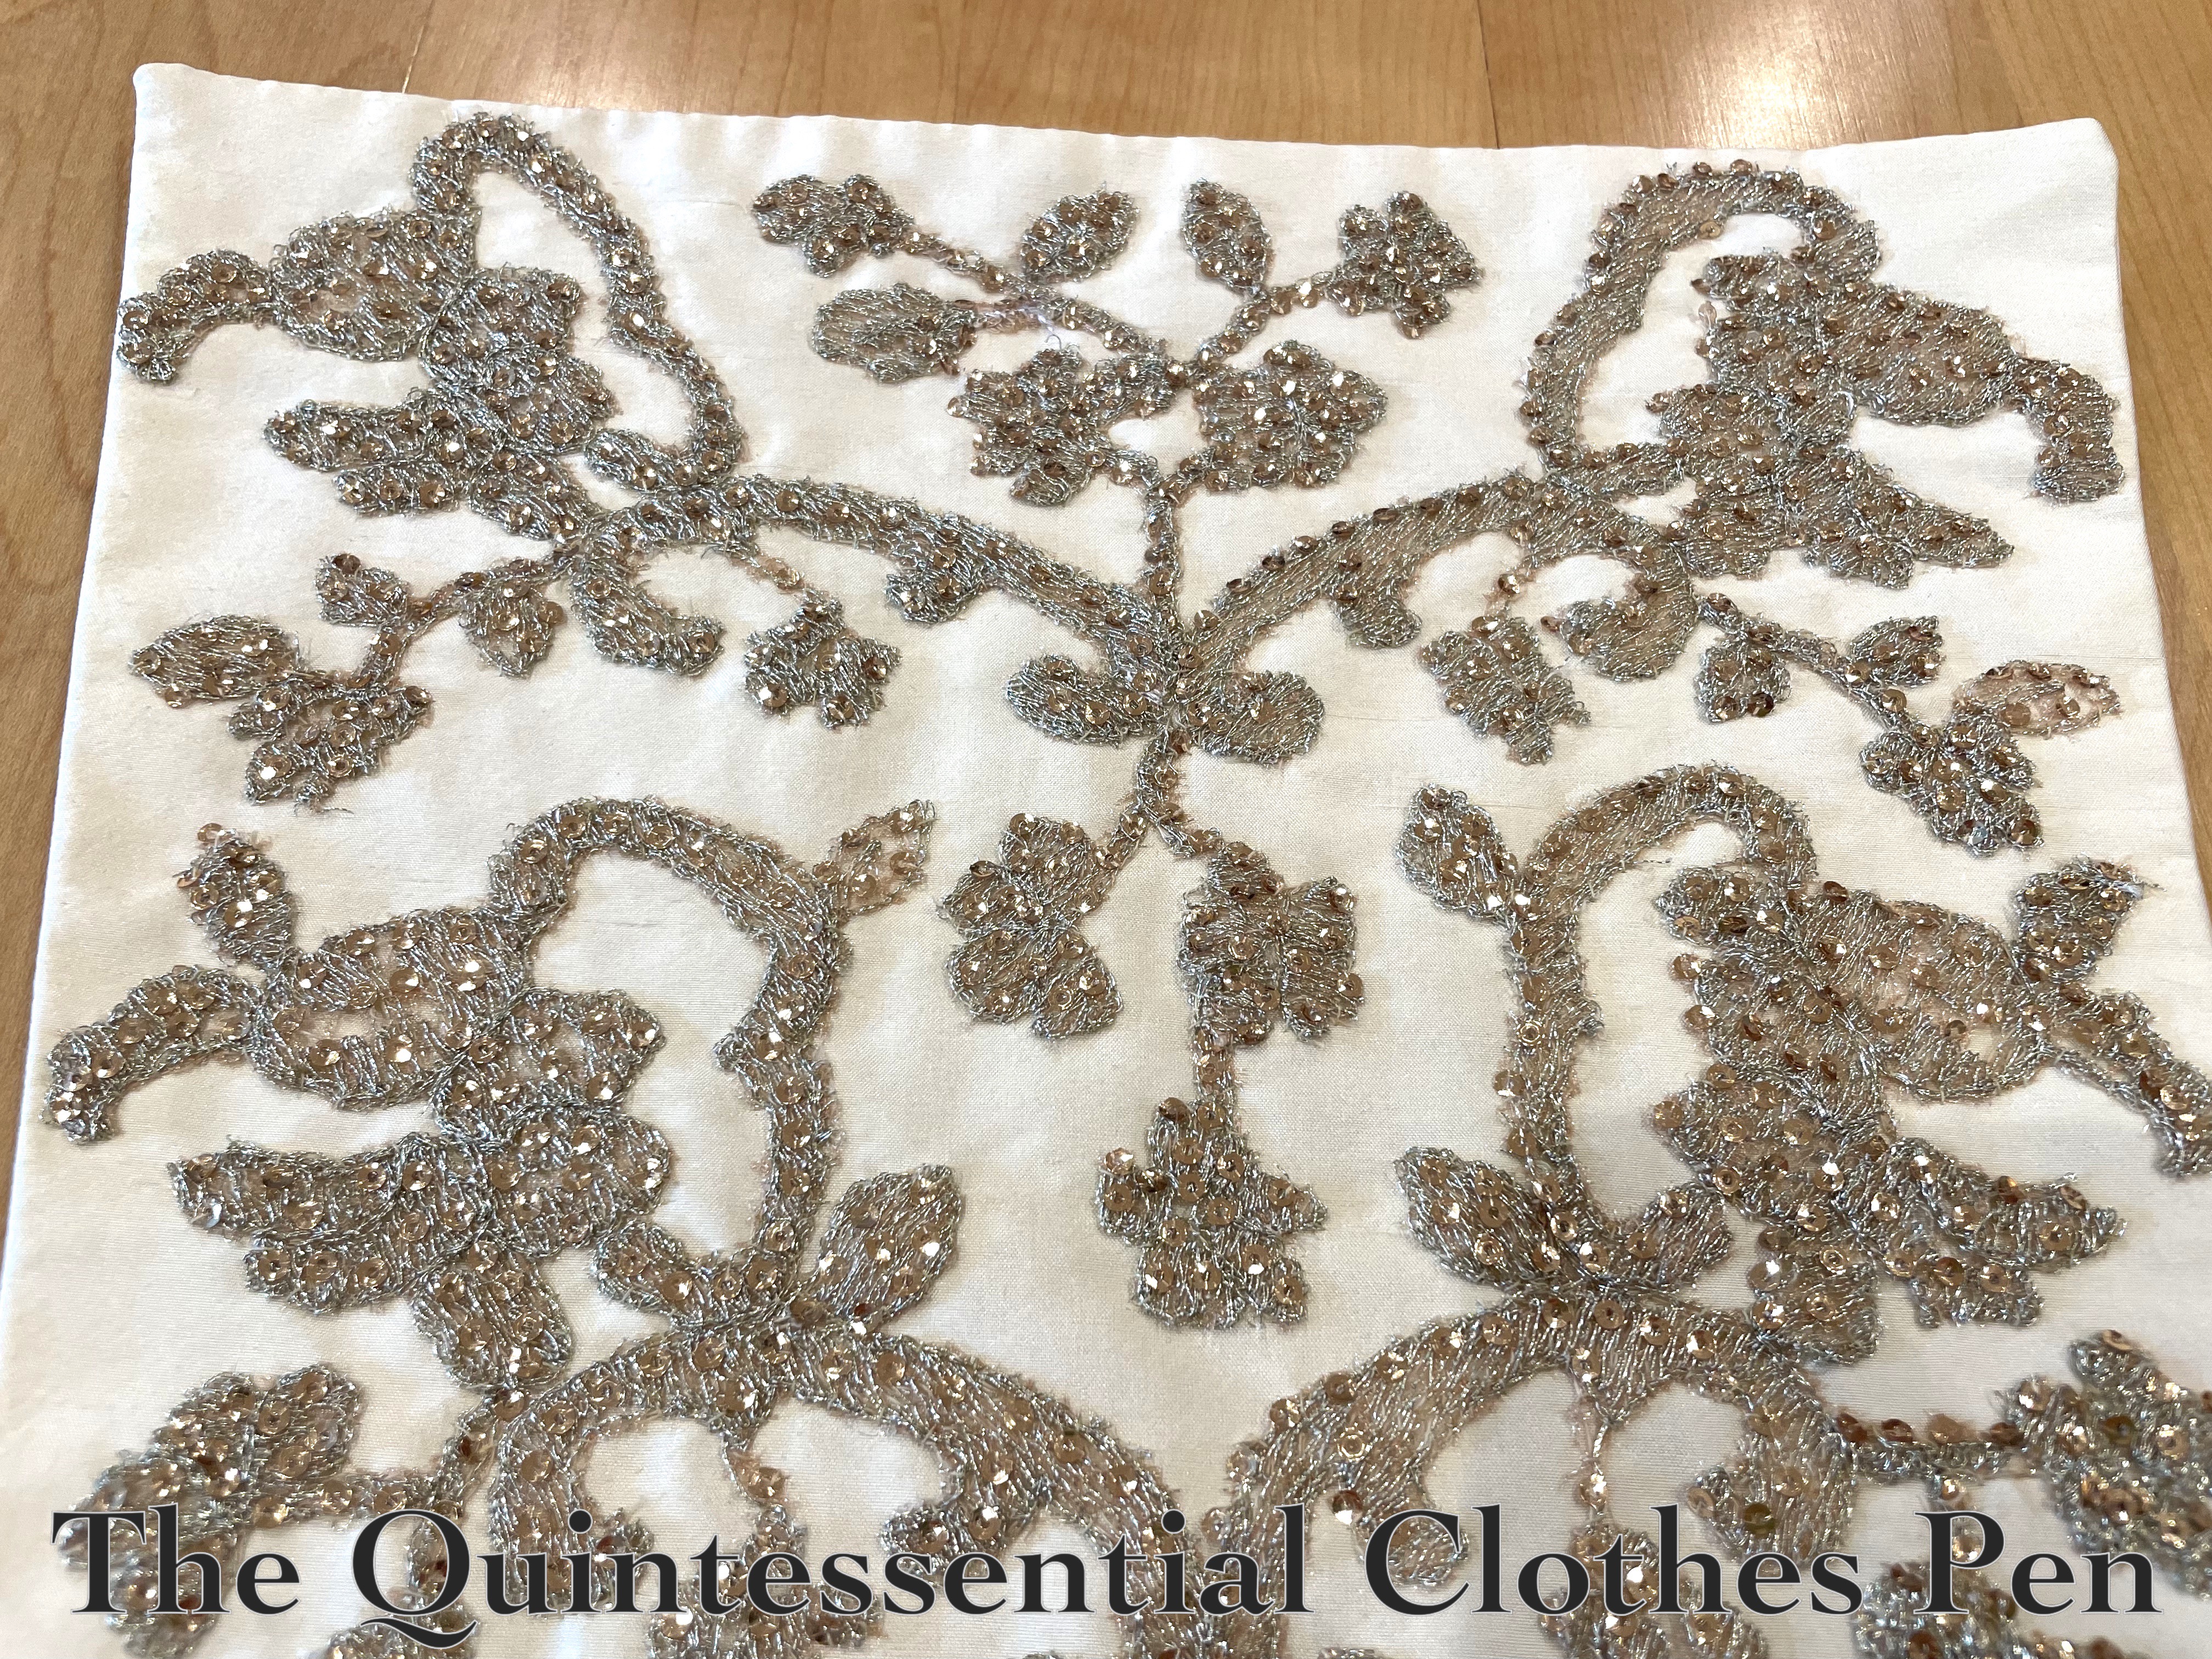
For this project, some of the helpful motifs from the lace were along the edges of the fabric. Others were in the middle. The motifs were not always symmetrical, so in many cases I had to piece them together to make them look reasonable for this purpose — especially in the central budding/dripping areas of the stomacher. I used approximately 30 individual sequin/embroidered bits, some as small as a single leaf!
Below is a photo of the stomacher with all of the individual gold bits pinned in place.

After that, all I had to do was use an appliqué stitch to attach them around each edge! I like that sort of work (it’s the same process I used for my 1940 Schiaparelli Evening Dress last year). It’s not hard, but just takes patience. The most patience is needed when the thread gets caught on a pin!
Below is the completed stomacher.
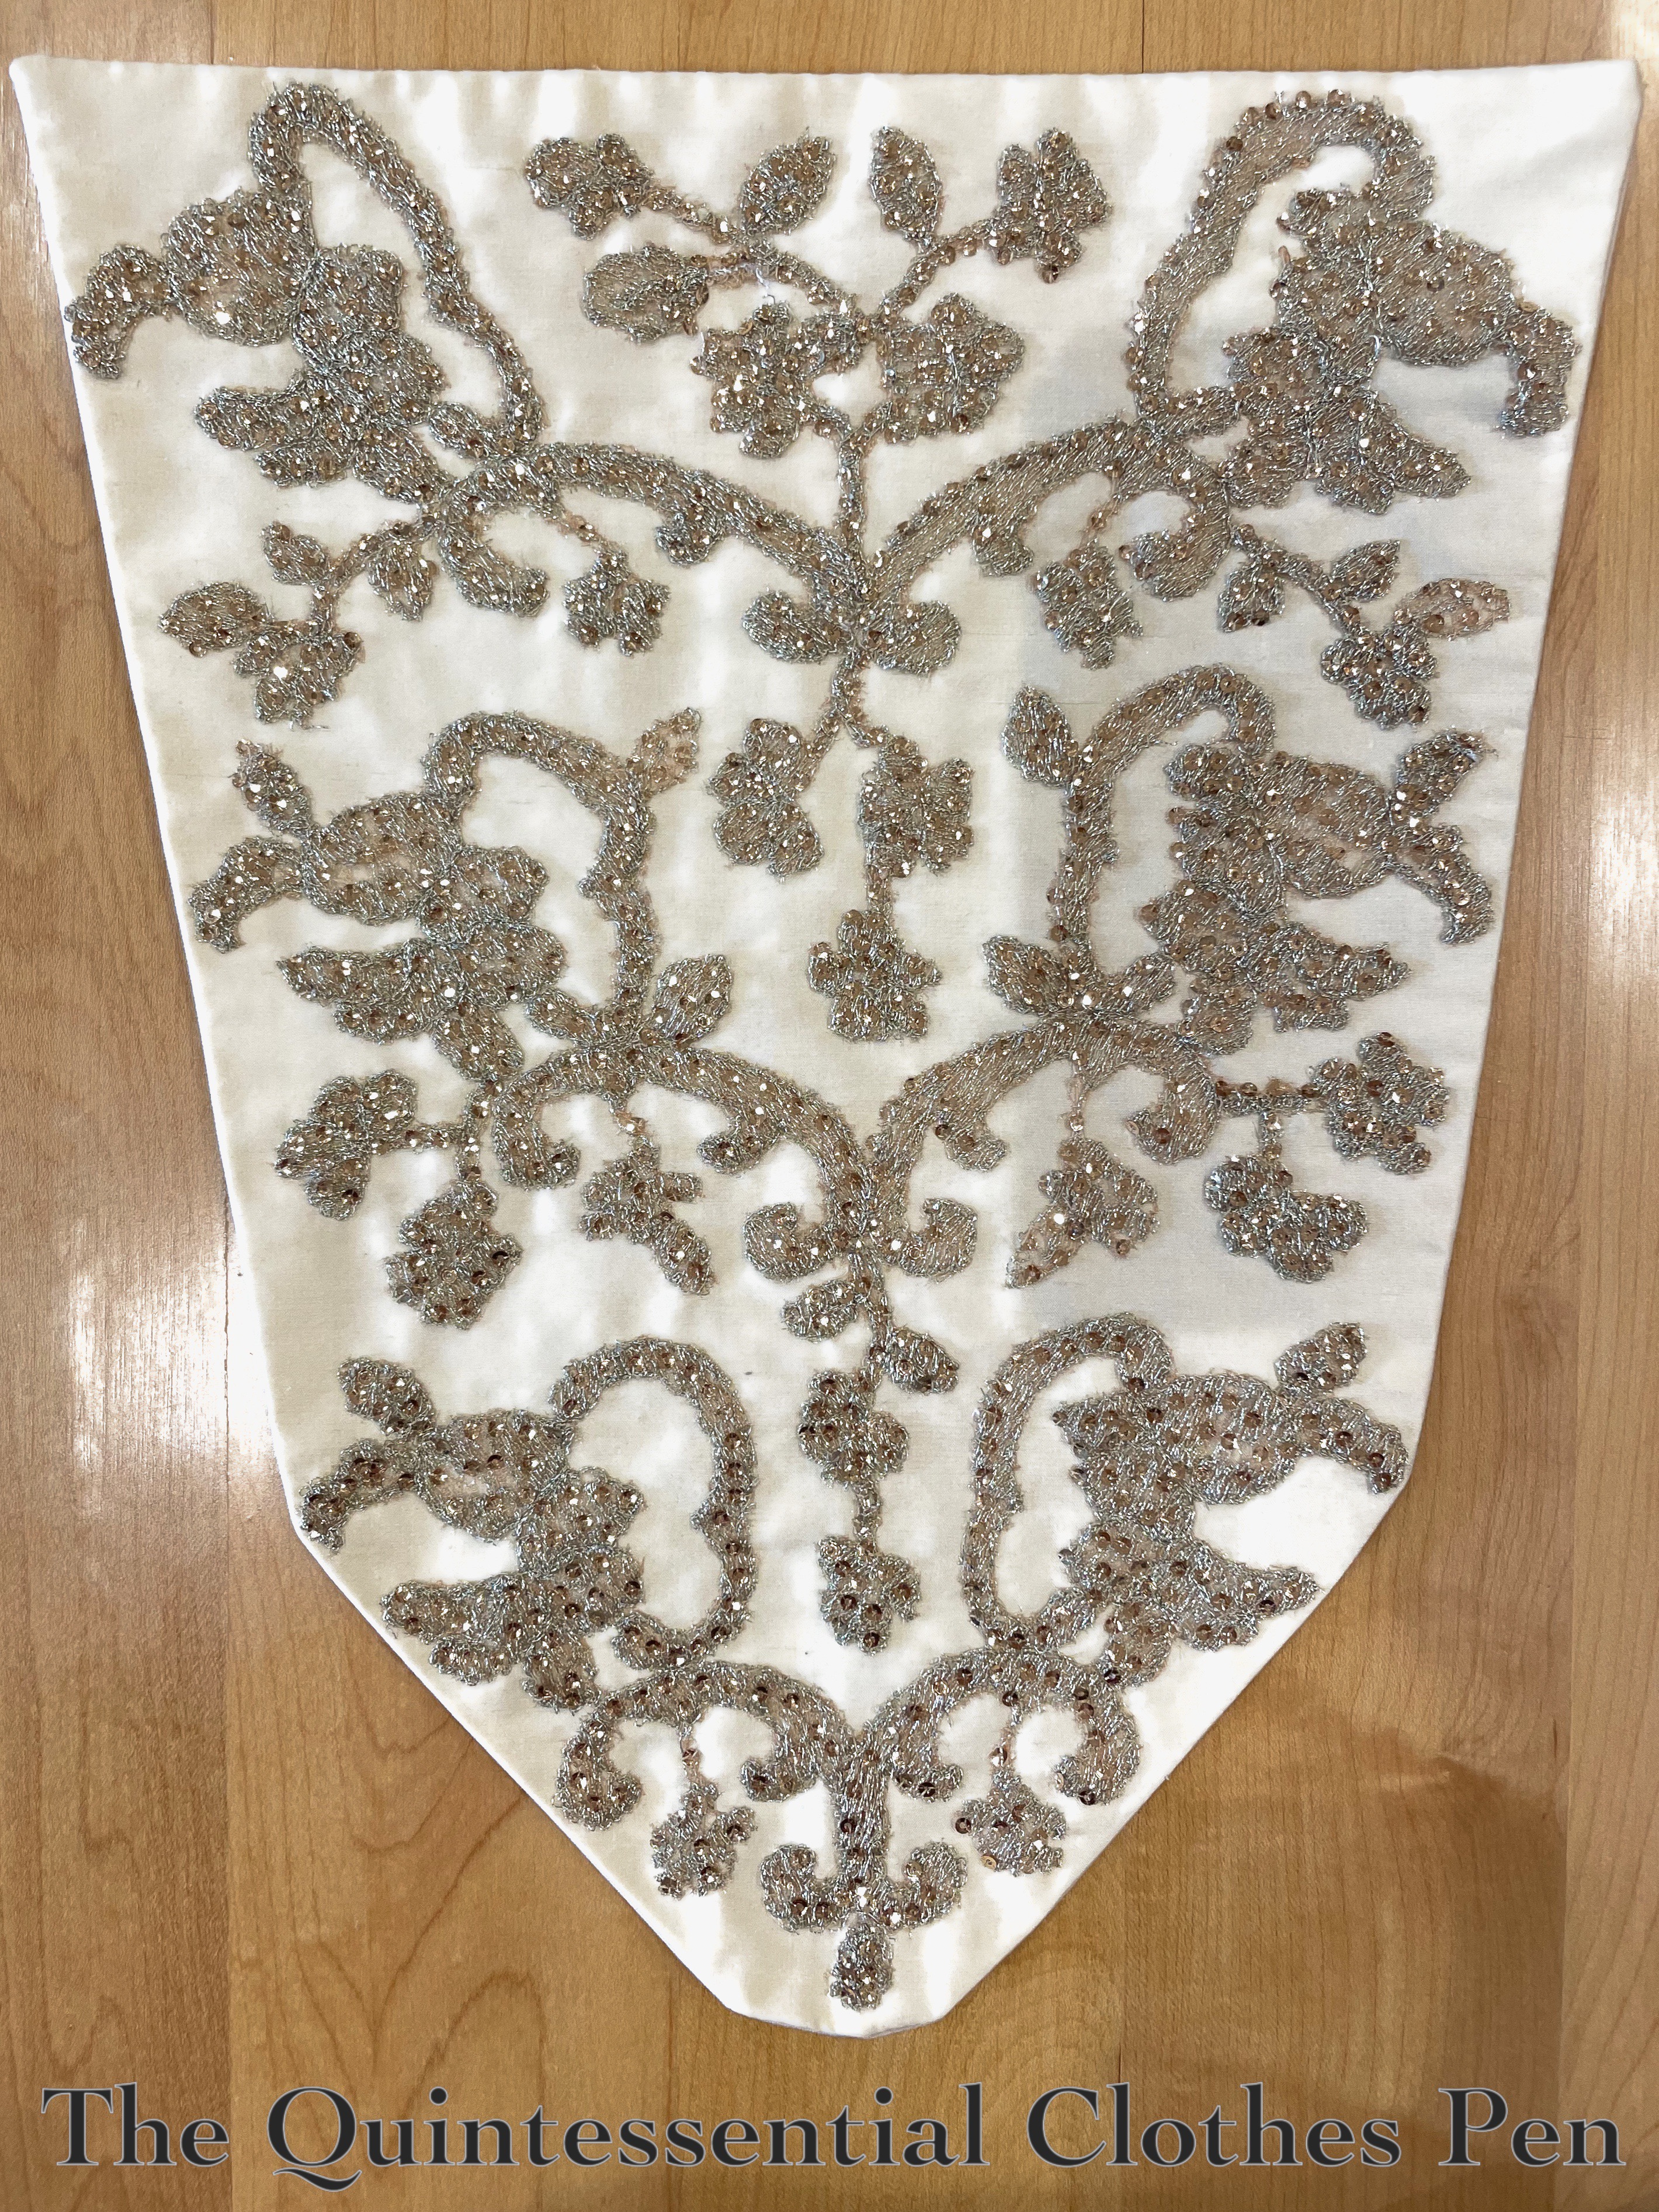
It really sparkles in the light, as the gold embroidery also has gold sequins on it. That lovely sparkly element was hard to capture in a photo. I did try! Below is a view that shows the sequins a little bit better.
I know that spangles (flat metal discs) were in use long before the 18th century. So while my sequined modern lace appliqués may not be perfect on a historical-reproduction scale, I do think it’s reasonable to think that something similar would have been used in the 18th century to help reflect light in the halls of Versailles or other palaces of the period.
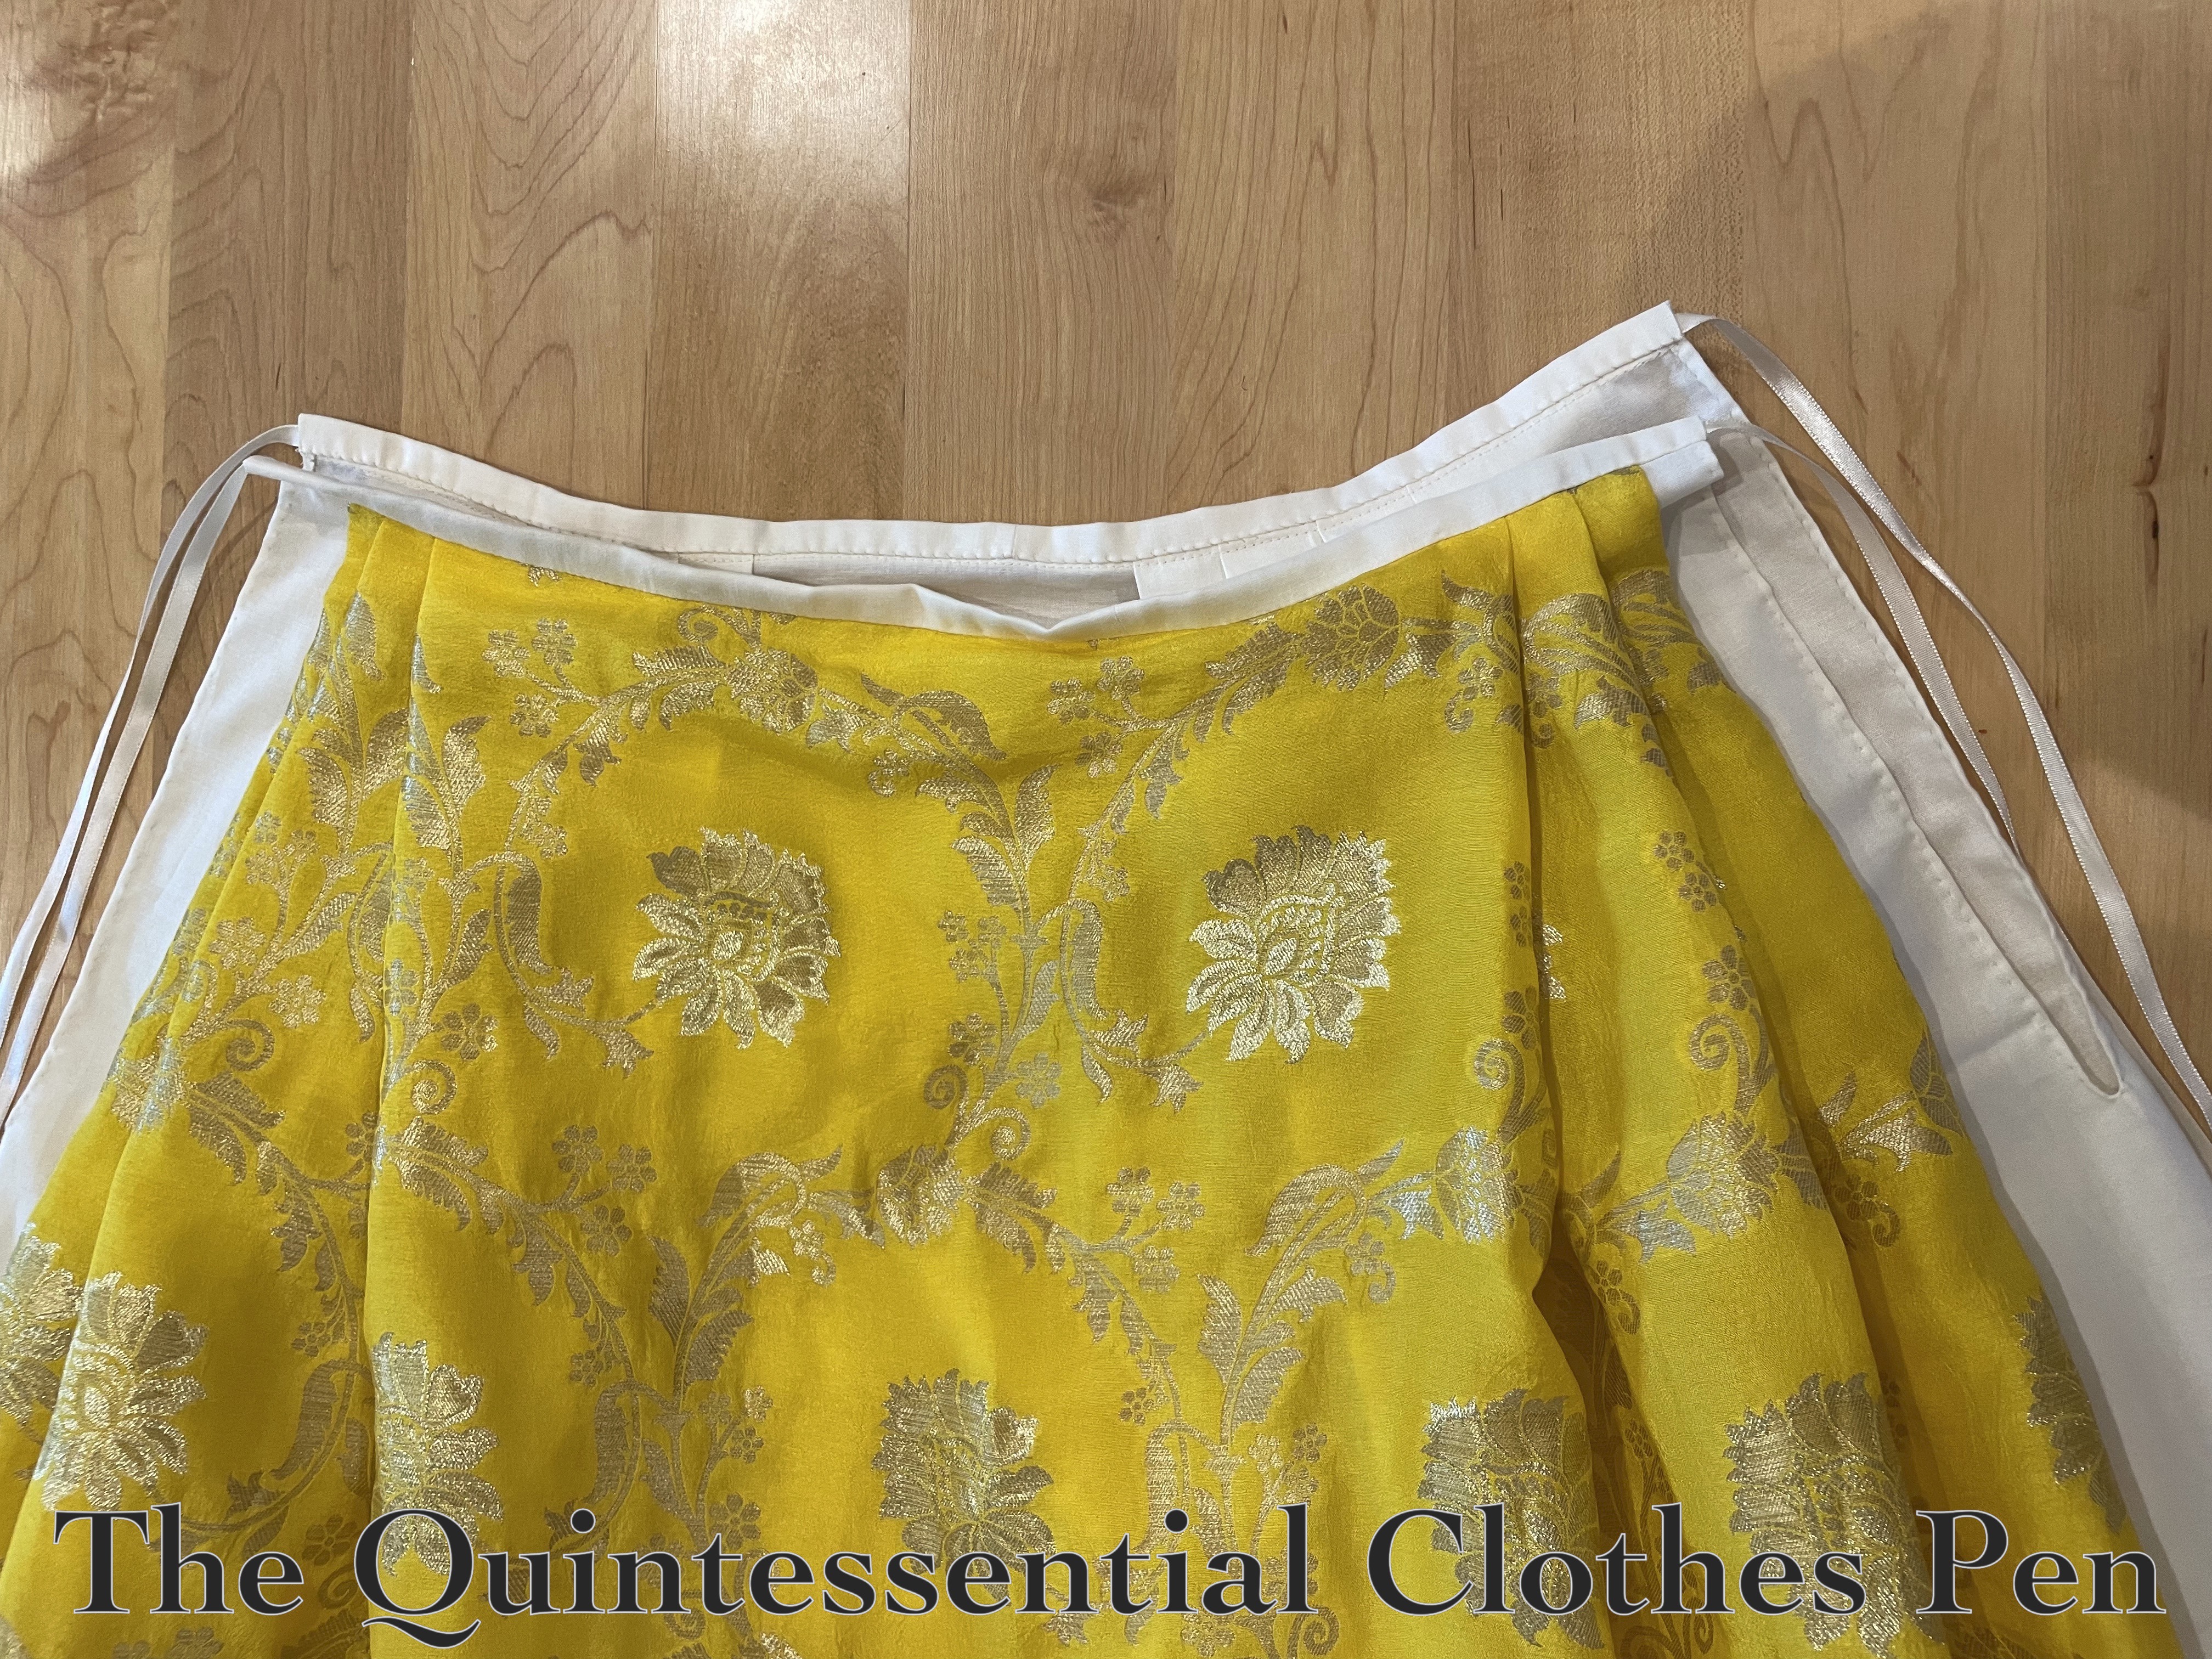
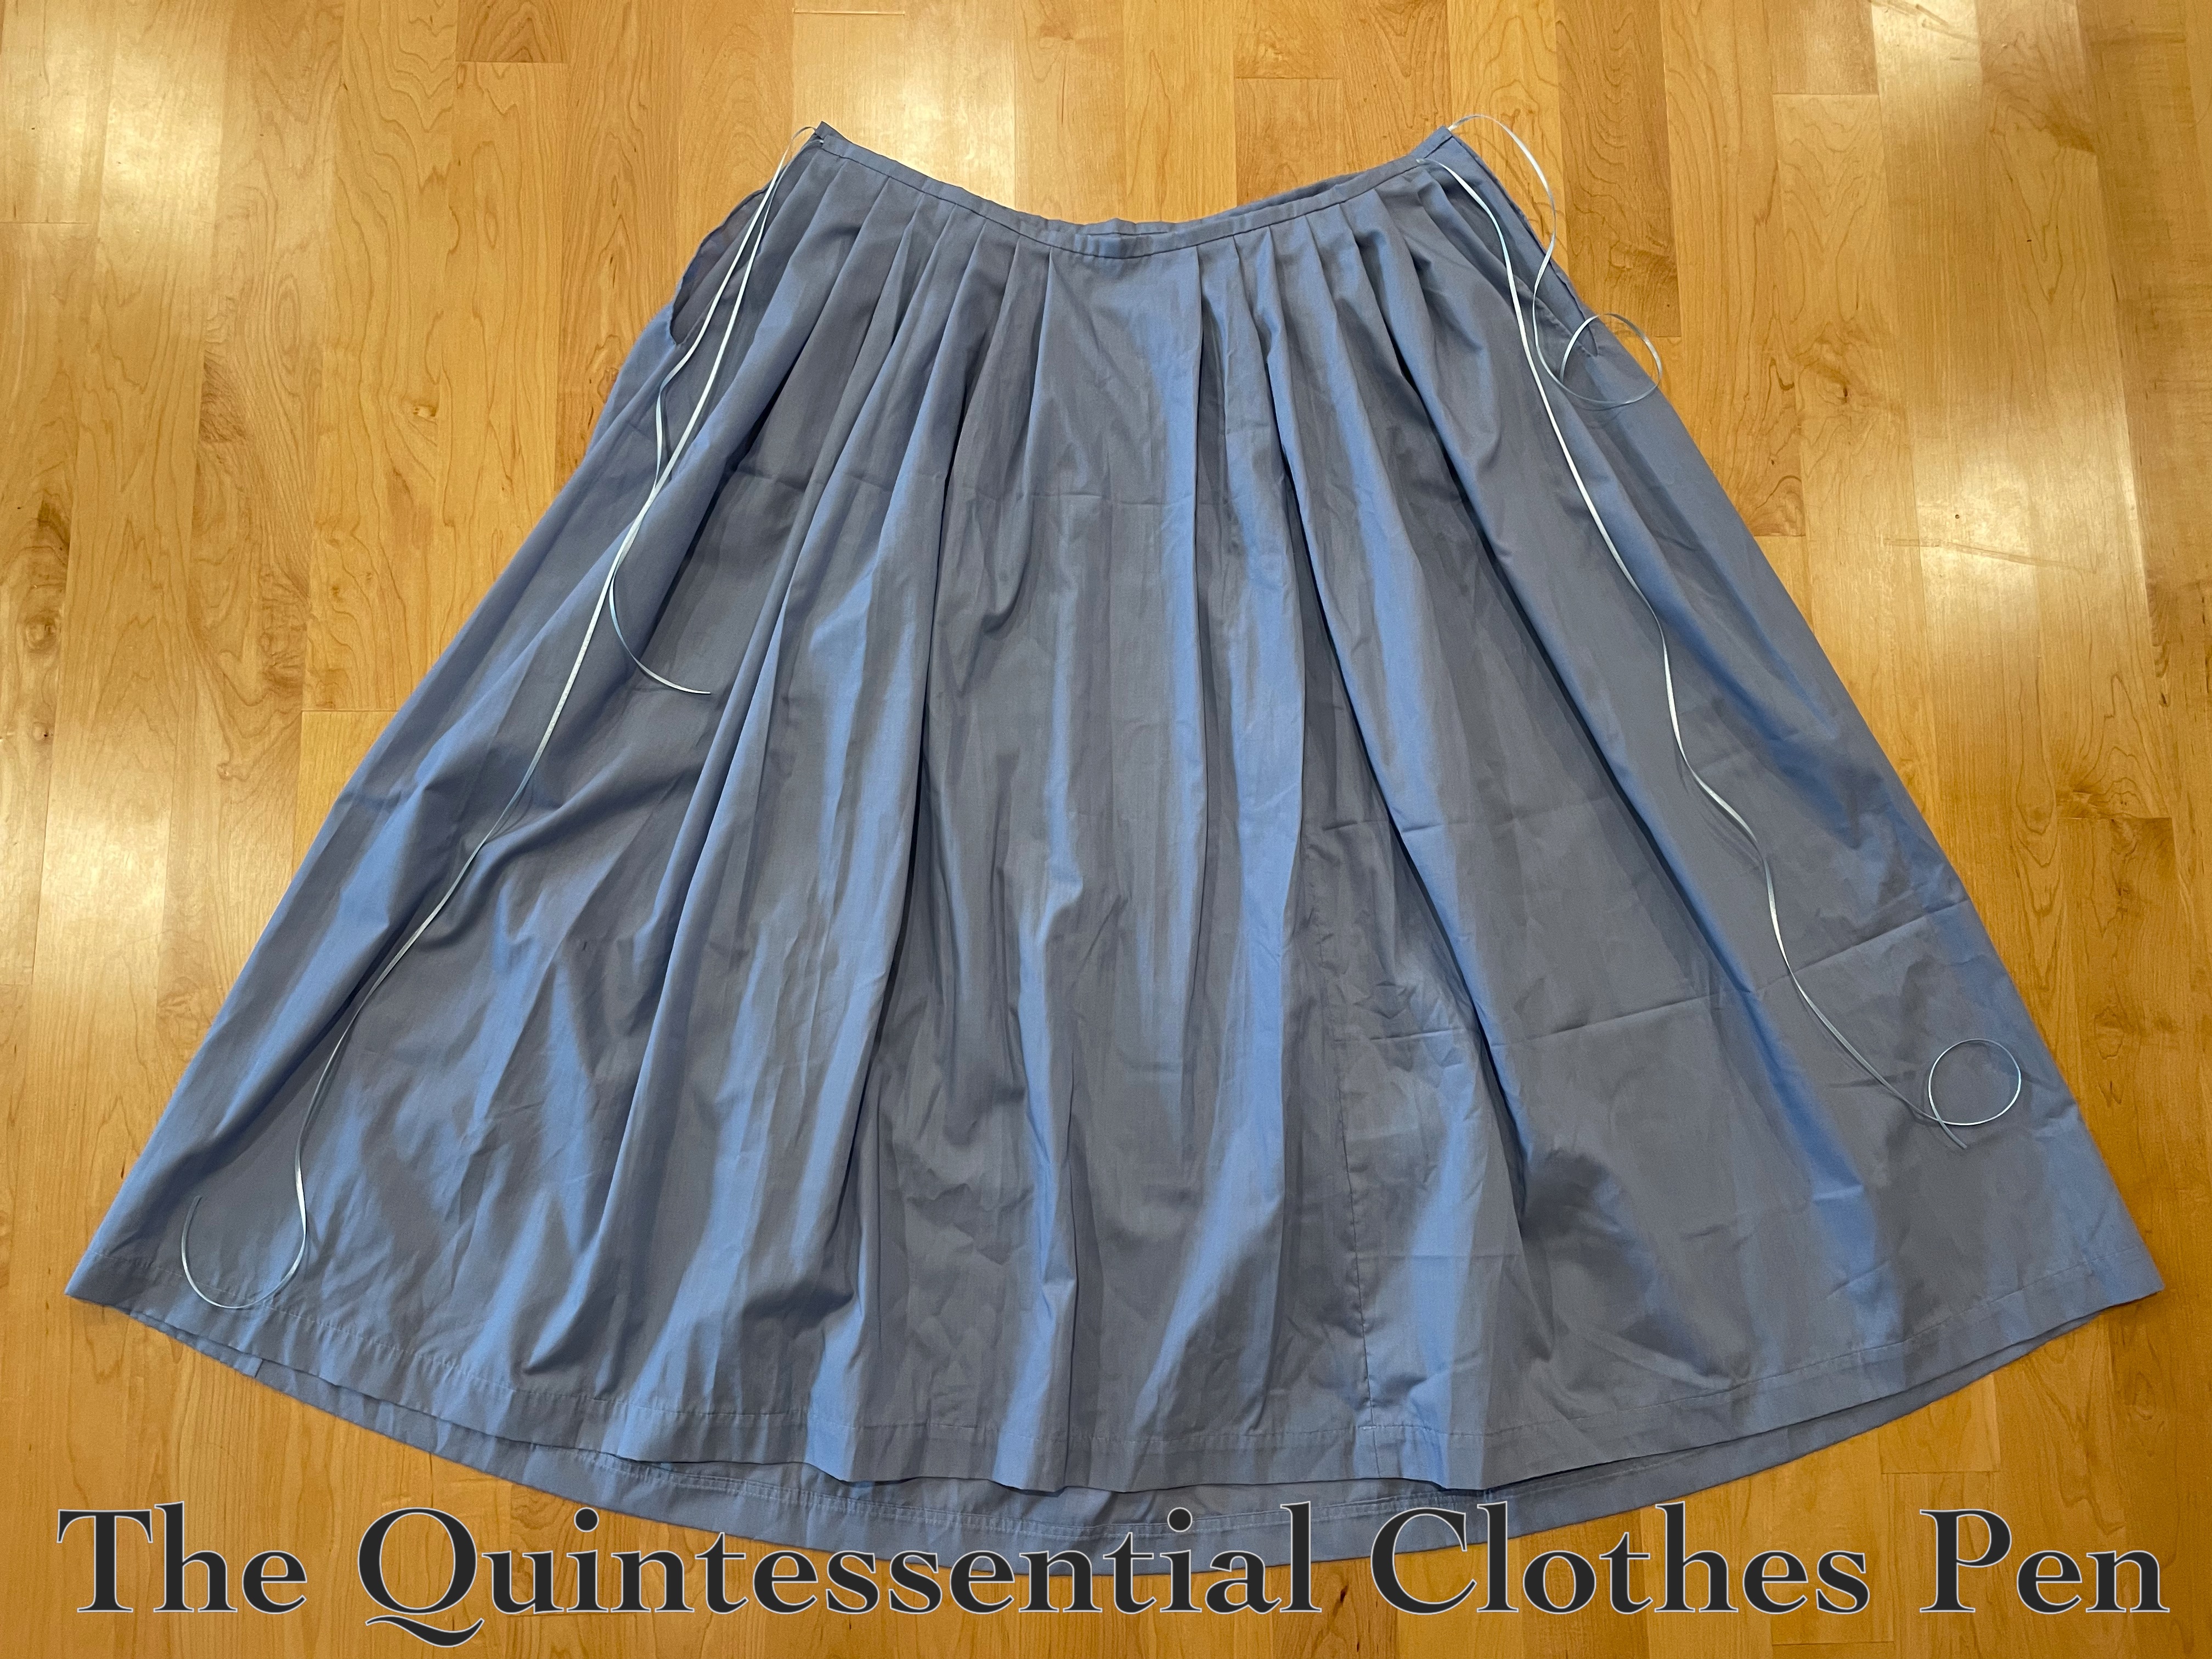
In addition to the gold bits, I also had scraps of ivory silk shantung in the stash leftover from making my fluffy 1903 petticoat back in 2011. I used one of these scraps for the visible ivory section of the stomacher. The back of the stomacher is made of a scrap of unbleached cotton canvas, also from the stash (this is not historically correct, but it did the job of stiffening the stomacher very well!). A photo showing these fabrics up close is below.

The canvas and silk layers were bagged out, the opening edge whipped closed, and then the appliqué stitches applied only through the silk. The cotton canvas provides stability for stiffening the stomacher as well as pinning into the dress.
This stomacher qualifies for the Historical Sew Monthly Challenge #12 The Final Touch:
Make an accessory or garment that is the finishing touch to an outfit.
Just the facts:
Fabric/Materials: Scrap of ivory silk, scrap of natural canvas, and embroidered/sequin bits from approximately ½ yard of gold lace.
Pattern: The base was adapted from the JP Ryan Pet-en-l’air pattern.
Year: c. 1770
Notions: Thread.
How historically accurate is it?: 90%. Entirely hand sewn. The construction methods are historically plausible, though I believe this would have been embroidered in the 18th century rather than appliquéd. The fiber content and weave of the base fabrics are not accurate.
Hours to complete: I didn’t keep track. Let’s say 6.
First worn: October 5, 2024.
Total cost: I’m going to call the scraps free. My guess is that I spent about $10 per yard on the lace over ten years ago. So let’s say approximately $5.