My push to complete my new 1864 green ball gown is complete (more on that soon), and that means a shift in focus to the Regency! It also means that the Mar-pril Regency Sew Weekly goals are upon me. I’ve already completed my project for the first goal, the 1812 blue under dress. Have you been working on a project for Goal #1? This is a reminder to get going, because the due date is tomorrow!
Goal #1 (due March 18): Under Wear Ideas to complete this goal: make from scratch, finish, or trim something worn under another garment, a petticoat, underdress, shirt, or waistcoat could fall into that category, or maybe this is a great opportunity to trim a finished garment already in your closet.
Don’t forget about me!
This is also your reminder for…
Goal #2 (due March 25): Evening Wear Ideas to complete this goal: an all new garment (gown, breeches, waistcoat, or tailcoat, for example), finishing a garment in progress, trimming an already finished garment, sewing something to keep you warm while on your way to an evening event, or maybe completing accessories to wear or take with you to an evening event.
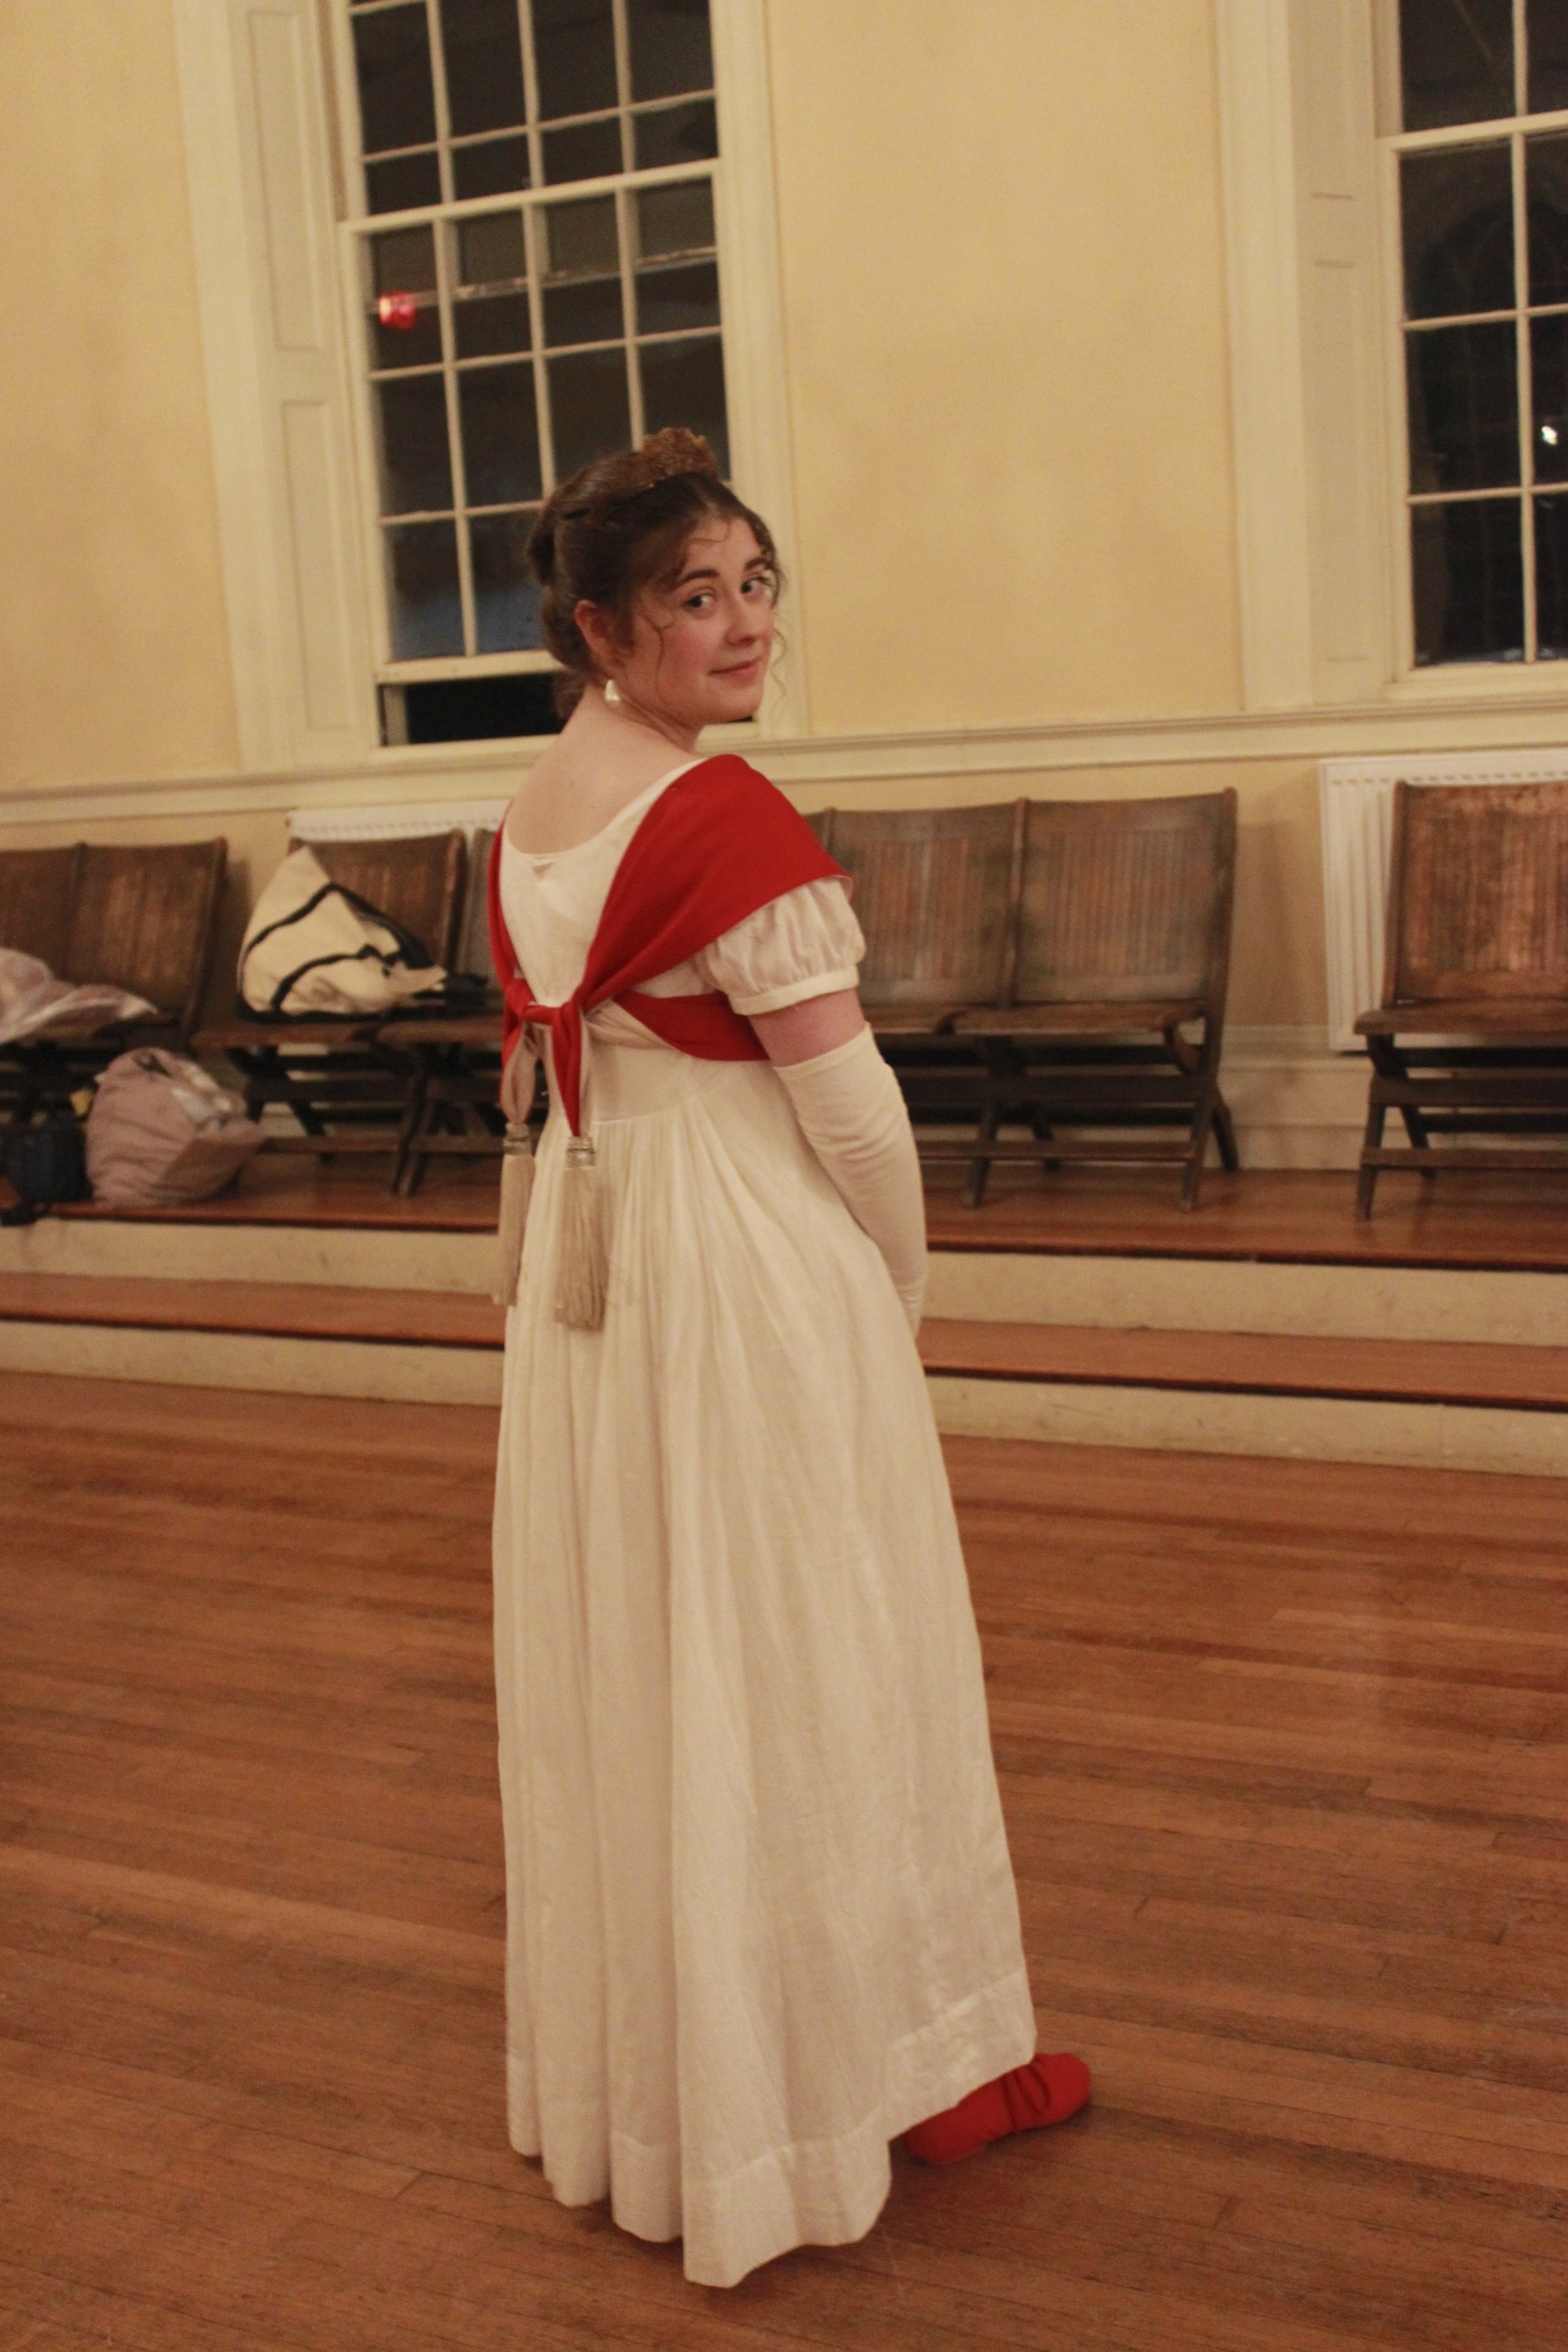
I’m planning to use this goal as encouragement to fix the rip in my red 1813 evening gown. What progress are you planning?
I’ve been super slow at posting about the inside of my 1813 red gown, but the time has finally come! Here are the insides of the gown, and as usual with me, the inside is meticulously finished.
Not a single raw edge showing. All of the seams are flat felled. The armhole seam allowance has been turned twice and stitched.Armhole closeup. A little blurry, sorry about that!Here’s the other side/armhole. You can see the top edge of the gold lace peeking over into the inside of the gown, and all the nicely finished seams.
Now remember, and don’t judge me, that this project is one of those “I just want this to be done quickly and no one will be able to see the details” projects.
How historically accurate?: Accurate pattern, almost totally inaccurate fabric (that cotton counts for something, right?), and entirely machine sewn (not a single hand stitch, which for me is a rather unusual accomplishment). I give this one a 60% on historically accuracy. I think the pattern goes a long way towards being a saving grace. Ok, maybe a 65% if I count the cotton…
Hours to complete: Let’s say 16. All that gathering does add some time.
First worn: Not yet, but will be worn in April.
Total cost: Between $9-$12 (I can’t remember exactly how many yards I bought…)
How does this fit the HSF challenge? The simplicity of the fabric and style of the dress and lack of extra trimmings, puts this in the category of basic Regency clothing that could be worn by a pioneer-type. It’s probably still a little fancy for a peasant. It’s hard to make plain and simple clothing!
A few more pictures, then a little more explanation.
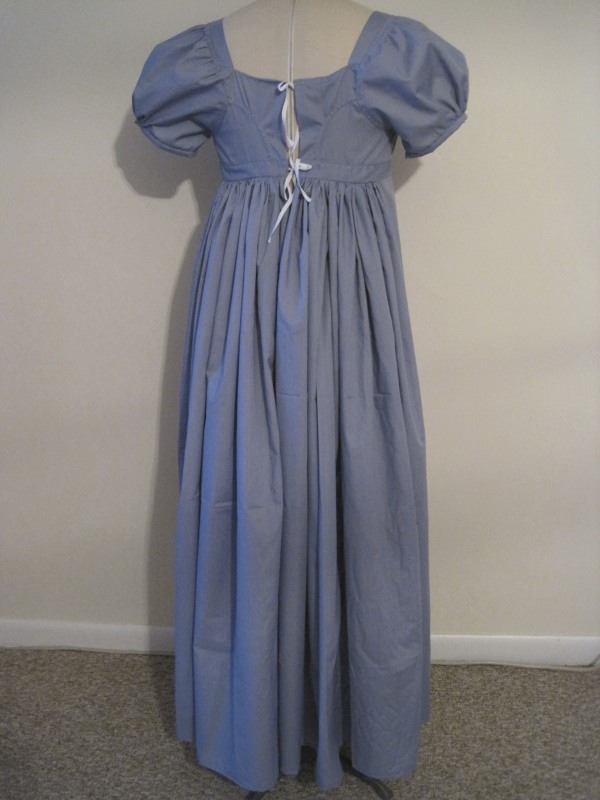
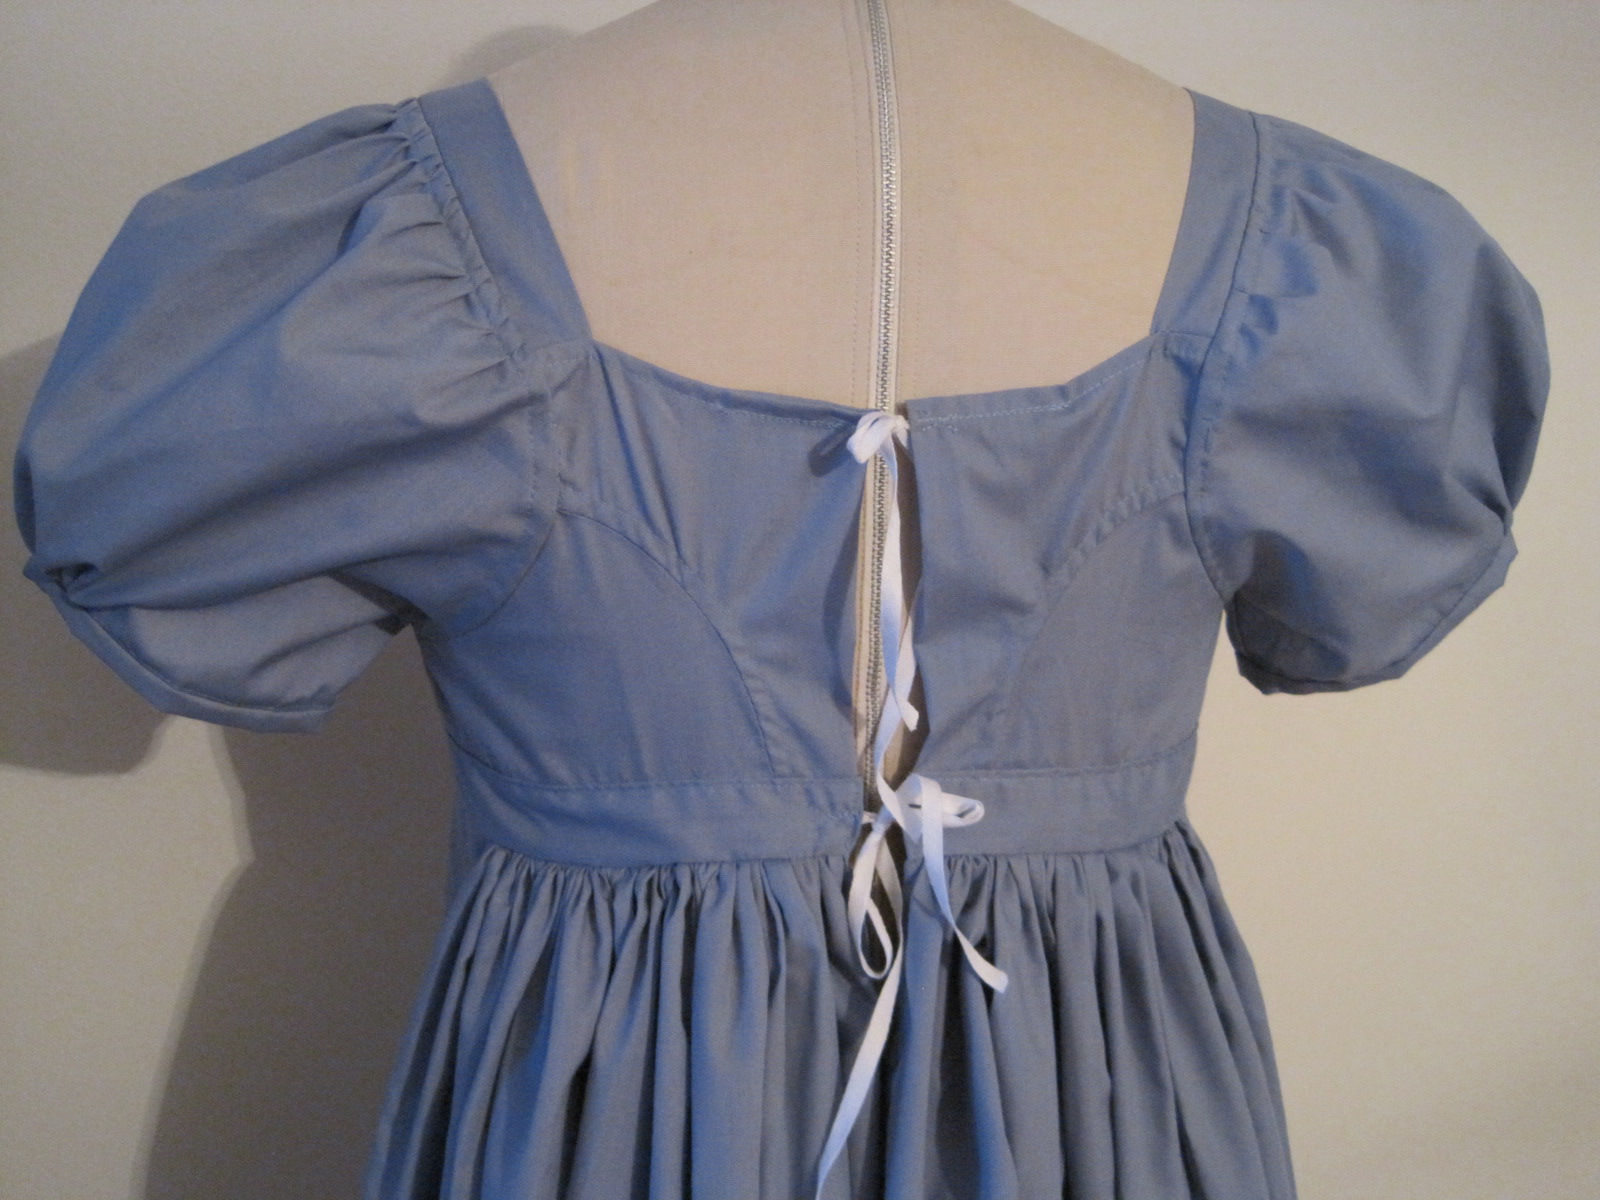
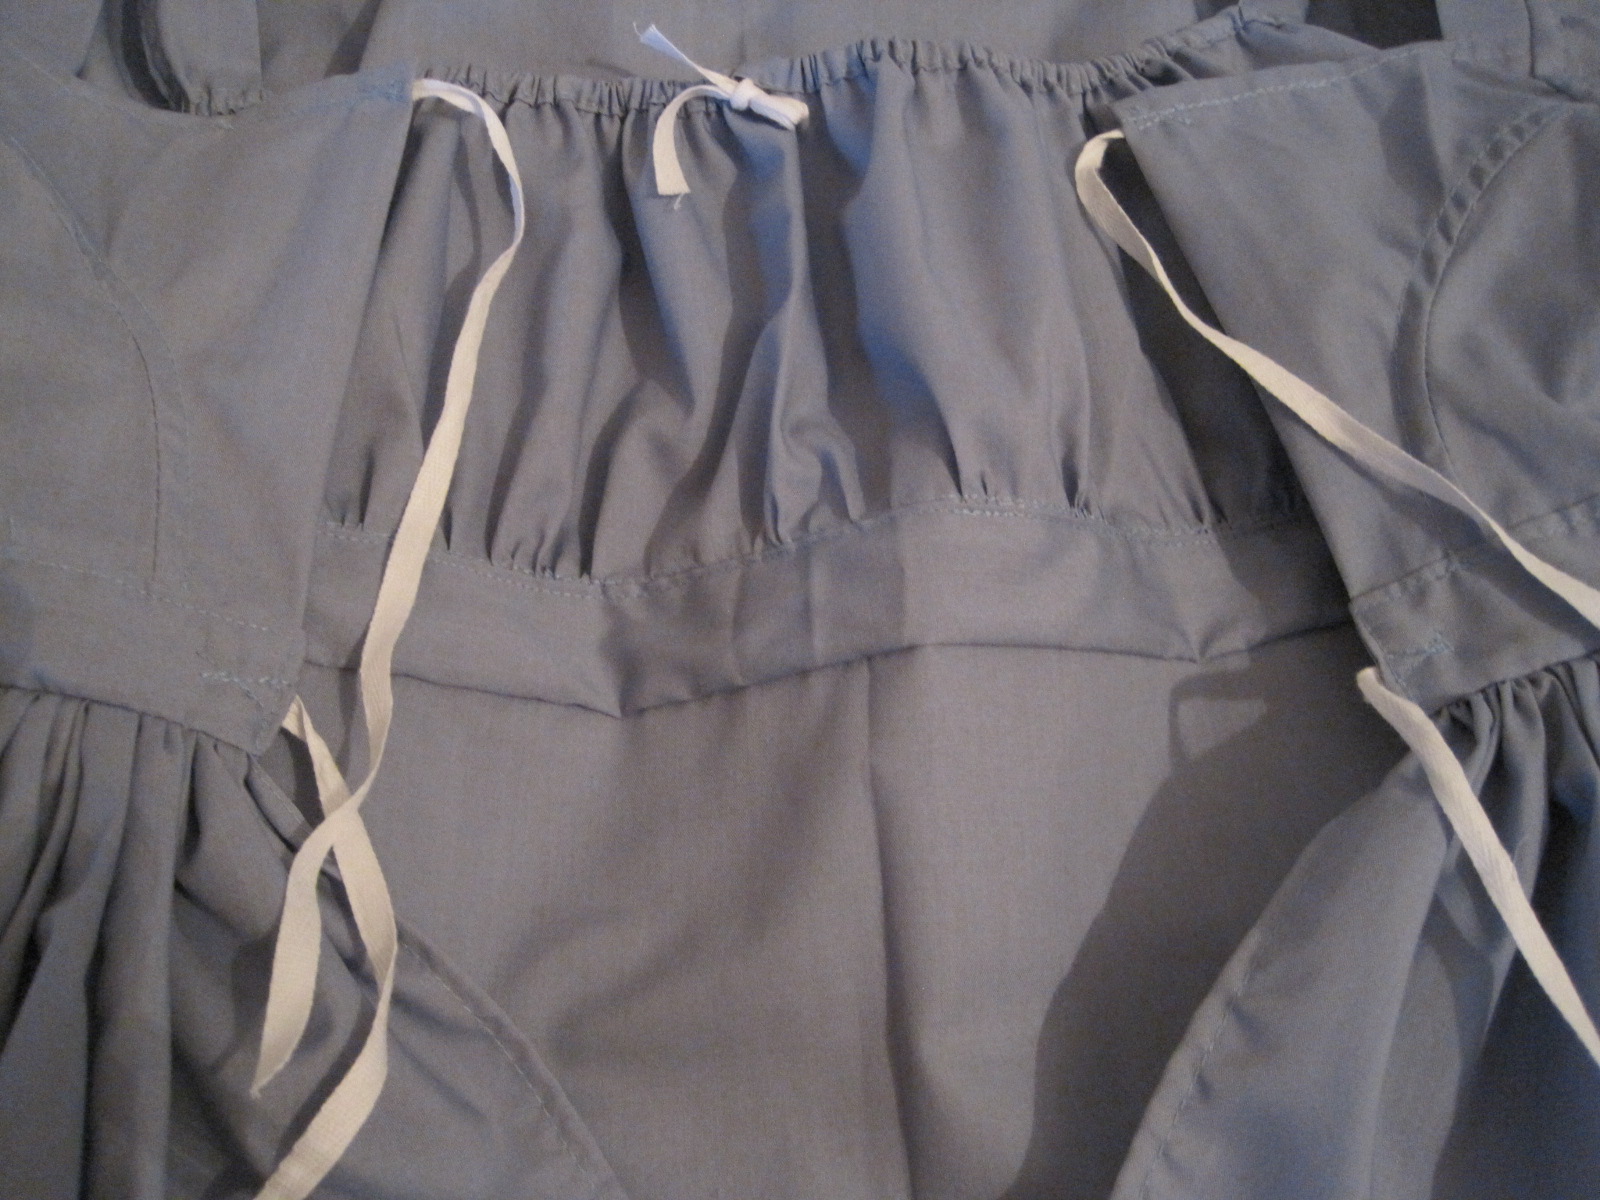
Front.Machine stitching showing on the front. I have no problem with interior seams being sewn by machine on some garments, but I do prefer hand finishing on garments that are going to be seen.Back. It looks rather medical scrub looking, especially with those white ties… Regency hospital gown?Machine sewing galore!A closeup of the back.Here’s what it looks like on the inside. No raw edges: that makes me happy. There’s a drawstring along the top of the center panel so I can adjust it.Looking over at the armsceye.
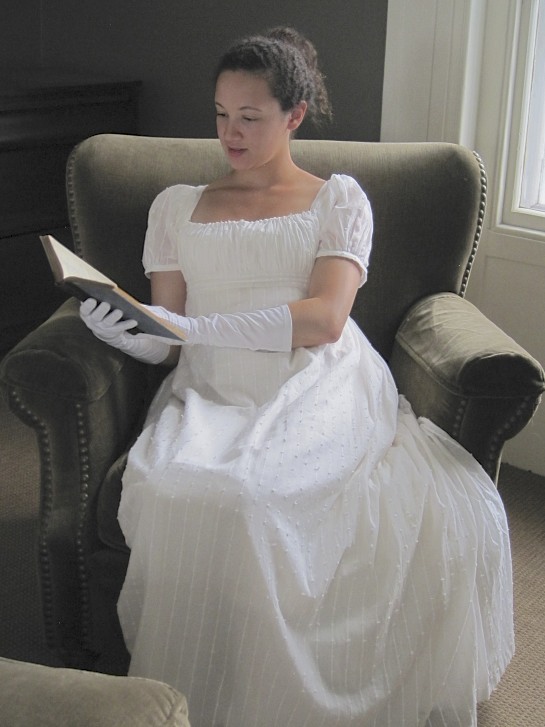
Explanation time. I actually don’t like this color much on its own. In fact, I think it does absolutely nothing for my complexion. Actually, it just looks bad on me. So why did I pick it, you ask? Well, this is intended to be an under dress, not something I ever plan to wear by itself. I was at the fabric store looking for colors that worked under my 1812 striped square neck gown, and this is the one! The other colors looked too much like skin, or just awful pastel shades of ew. Also, I was probably influenced by this next picture. I couldn’t stop looking at the blues.
At the Hermitage.
Anyway, given how much I don’t like the color/am amused by the scrub-like quality of it and don’t plan for this to be really seen, I just wanted it to be done, quickly and without fuss. That’s why it’s totally machine sewn. Granted, I did do a nice machine sew job, so I suppose it might one day be worn without the over dress, but I don’t see that as a likely option, at least on my body. Funny contrast is that the white dress is entirely hand sewn, with not a machine stitch to be found.
Here’s what the blue under dress looks like with the white striped dress over the top. (Oops, the blue hem was too long. Fixed that in a jiffy!)The blue fades to a soft grey-ish blue under the white.And it helps show off the stripes and the more opaque white areas of the white dress.For comparison, here’s what the white dress looks like with the original white under dress underneath.
Voila! One over dress, two different looks! One of the comments awhile ago mentioned the idea of the Regency LWD: Little White Dress. That’s been on my brain while I’ve been making this blue under dress. With different under options this LWD becomes more versatile and can change looks for different events. Nice!
Also, and this is really cool, my blue under dress is incredibly similar to this “slip” at the Met! The cool part is that I came across the slip in January, months after I had made the plan for my under dress. But look at the gathers on the sleeve at the sleeve band and at the crown, and at the shoulder strap construction of the bodice, and at the gathered top and bottom center front panel. It’s kind of uncanny, because this is not the dress that Janet Arnold based her pattern off of. Just goes to show that this construction style was used on more than one dress in the Regency period. Cool!
Early 19th Century slip at the Met.
As I dressed Squishy I realized that when I go to wear this blue under dress it would probably save me some fussing if I baste the shoulder straps of the two dresses together so the blue doesn’t poke out where I don’t want it it. That’s an easy thing to then take out again later. I’ll have to get on that before April!
In my second post about the recent Pride and Prejudice ball I attended, I mentioned that the Commonwealth Vintage Dancers did a small exhibition during the course of the evening, I even included pictures. Well, this is even better! A video of us dancing “The Cottage Bonnet,” a Regency period country dance, during the ball. This is the level of difficulty that’s being aimed for at the Regency Intensive Dance Weekend in April. Hopefully we can have an entire room full of people successfully dancing like this at the second, more formal ball of that weekend event! I hope you enjoy. It’s pretty fun!
Why? Well, you see, in April my friends and I will be participating in a Regency Intensive Dance Weekend hosted by the Commonwealth Vintage Dancers. There will be lots of dance classes in modern clothes, but also balls and day events in Regency clothing! Of course that means new clothes to be sewn during the months of March and April and some of us keep our motivation going better than others. This sew along is intended to encourage and sustain the motivation of all of us (and anyone else who is interested in participating!).
April 13-14, 2013 in Salem, MA. Hosted by the Commonwealth Vintage Dancers
What do you have to do? Sew! Really, though, that’s it. You can make your goals as small or large as you need to. All you have to do is complete the goals as they come up, and then share your progress. That will keep you accountable, and hopefully encourage you to stay motivated.
Goal #1 (due March 18): Under Wear Ideas to complete this goal: make from scratch, finish, or trim something worn under another garment, a petticoat, underdress, shirt, or waistcoat could fall into that category, or maybe this is a great opportunity to trim a finished garment already in your closet.
Goal #2 (due March 25): Evening Wear Ideas to complete this goal: an all new garment (gown, breeches, waistcoat, or tailcoat, for example), finishing a garment in progress, trimming an already finished garment, sewing something to keep you warm while on your way to an evening event, or maybe completing accessories to wear or take with you to an evening event.
Goal #3 (due April 1): Day Wear Ideas to complete this goal: making, finishing, or trimming a dress, a spencer, a pelisse, a tailcoat, or a waistcoat, or perhaps completing accessories to wear or take with you to a day event.
Goal #4 (due April 8): Accessories Ideas to complete this goal: reticules, chemisettes, parasols, bonnets, gloves, hats, shoes, boots, stockings… this is a soft and easy goal so if you didn’t make one of the first three goals, this gives you a great catch-up opportunity!
Goal #5 (due April 12): Anything Left! You know there are always things you hoped to finish earlier but you’re still trying to finish them up at the last minute? Make this a goal to complete whatever it is you didn’t complete before now. Maybe that’s another accessory, or a hem, or some trim, or maybe it’s just gathering your thoughts and your clothes to pack for the weekend.
How do you participate? Take the MpRSW (Mar-pril Regency Sew Weekly) image at the top of this post and add it to your blog, if you have one. Then, as you complete the goals, post about it on your blog. Don’t forget to leave a comment here with a link back to your blog post!
Do you have to participate in all of the challenges to participate? Nope! Pick and choose as you wish. The overall goal is just to inspire creativity and completion of Regency related sewing projects!
Do you have to be attending the Regency Intensive Dance Weekend to participate? Of course not! Again, the goal is just to inspire creativity and completion of sewing projects!
If you’re also participating in the Historical Sew Fortnightly, as I am, then perhaps there will be times where the two sew-alongs overlap for you. I know that my HSF #6: Stripes (due March 25) item will also fit into a MpRSW goal, since it’s a Regency item. Other upcoming HSF challenges include #7: Accessorize (due April 8), which should be easy to use for overlap, since the MpRSW #4 goal: Accessories, is due the same day, and #8: By The Sea (due April 22).
Finally, let me just say that it would be pretty awesome if you’re out there in the blogging world and want to join in! This sew along is smilingly aimed at all of you who might enjoy a helpful hand of motivation to be fully sewn and fully clothed (ahead of time) for the Regency Intensive Dance Weekend, but I hope that doesn’t discourage you from participating, even if you won’t be at that event. Hopefully some of my sewing motivation will be passed on!
Last post, I shared pictures of my new 1813 evening dress and other related pretty clothes. This time we’re on to photos during the ball!
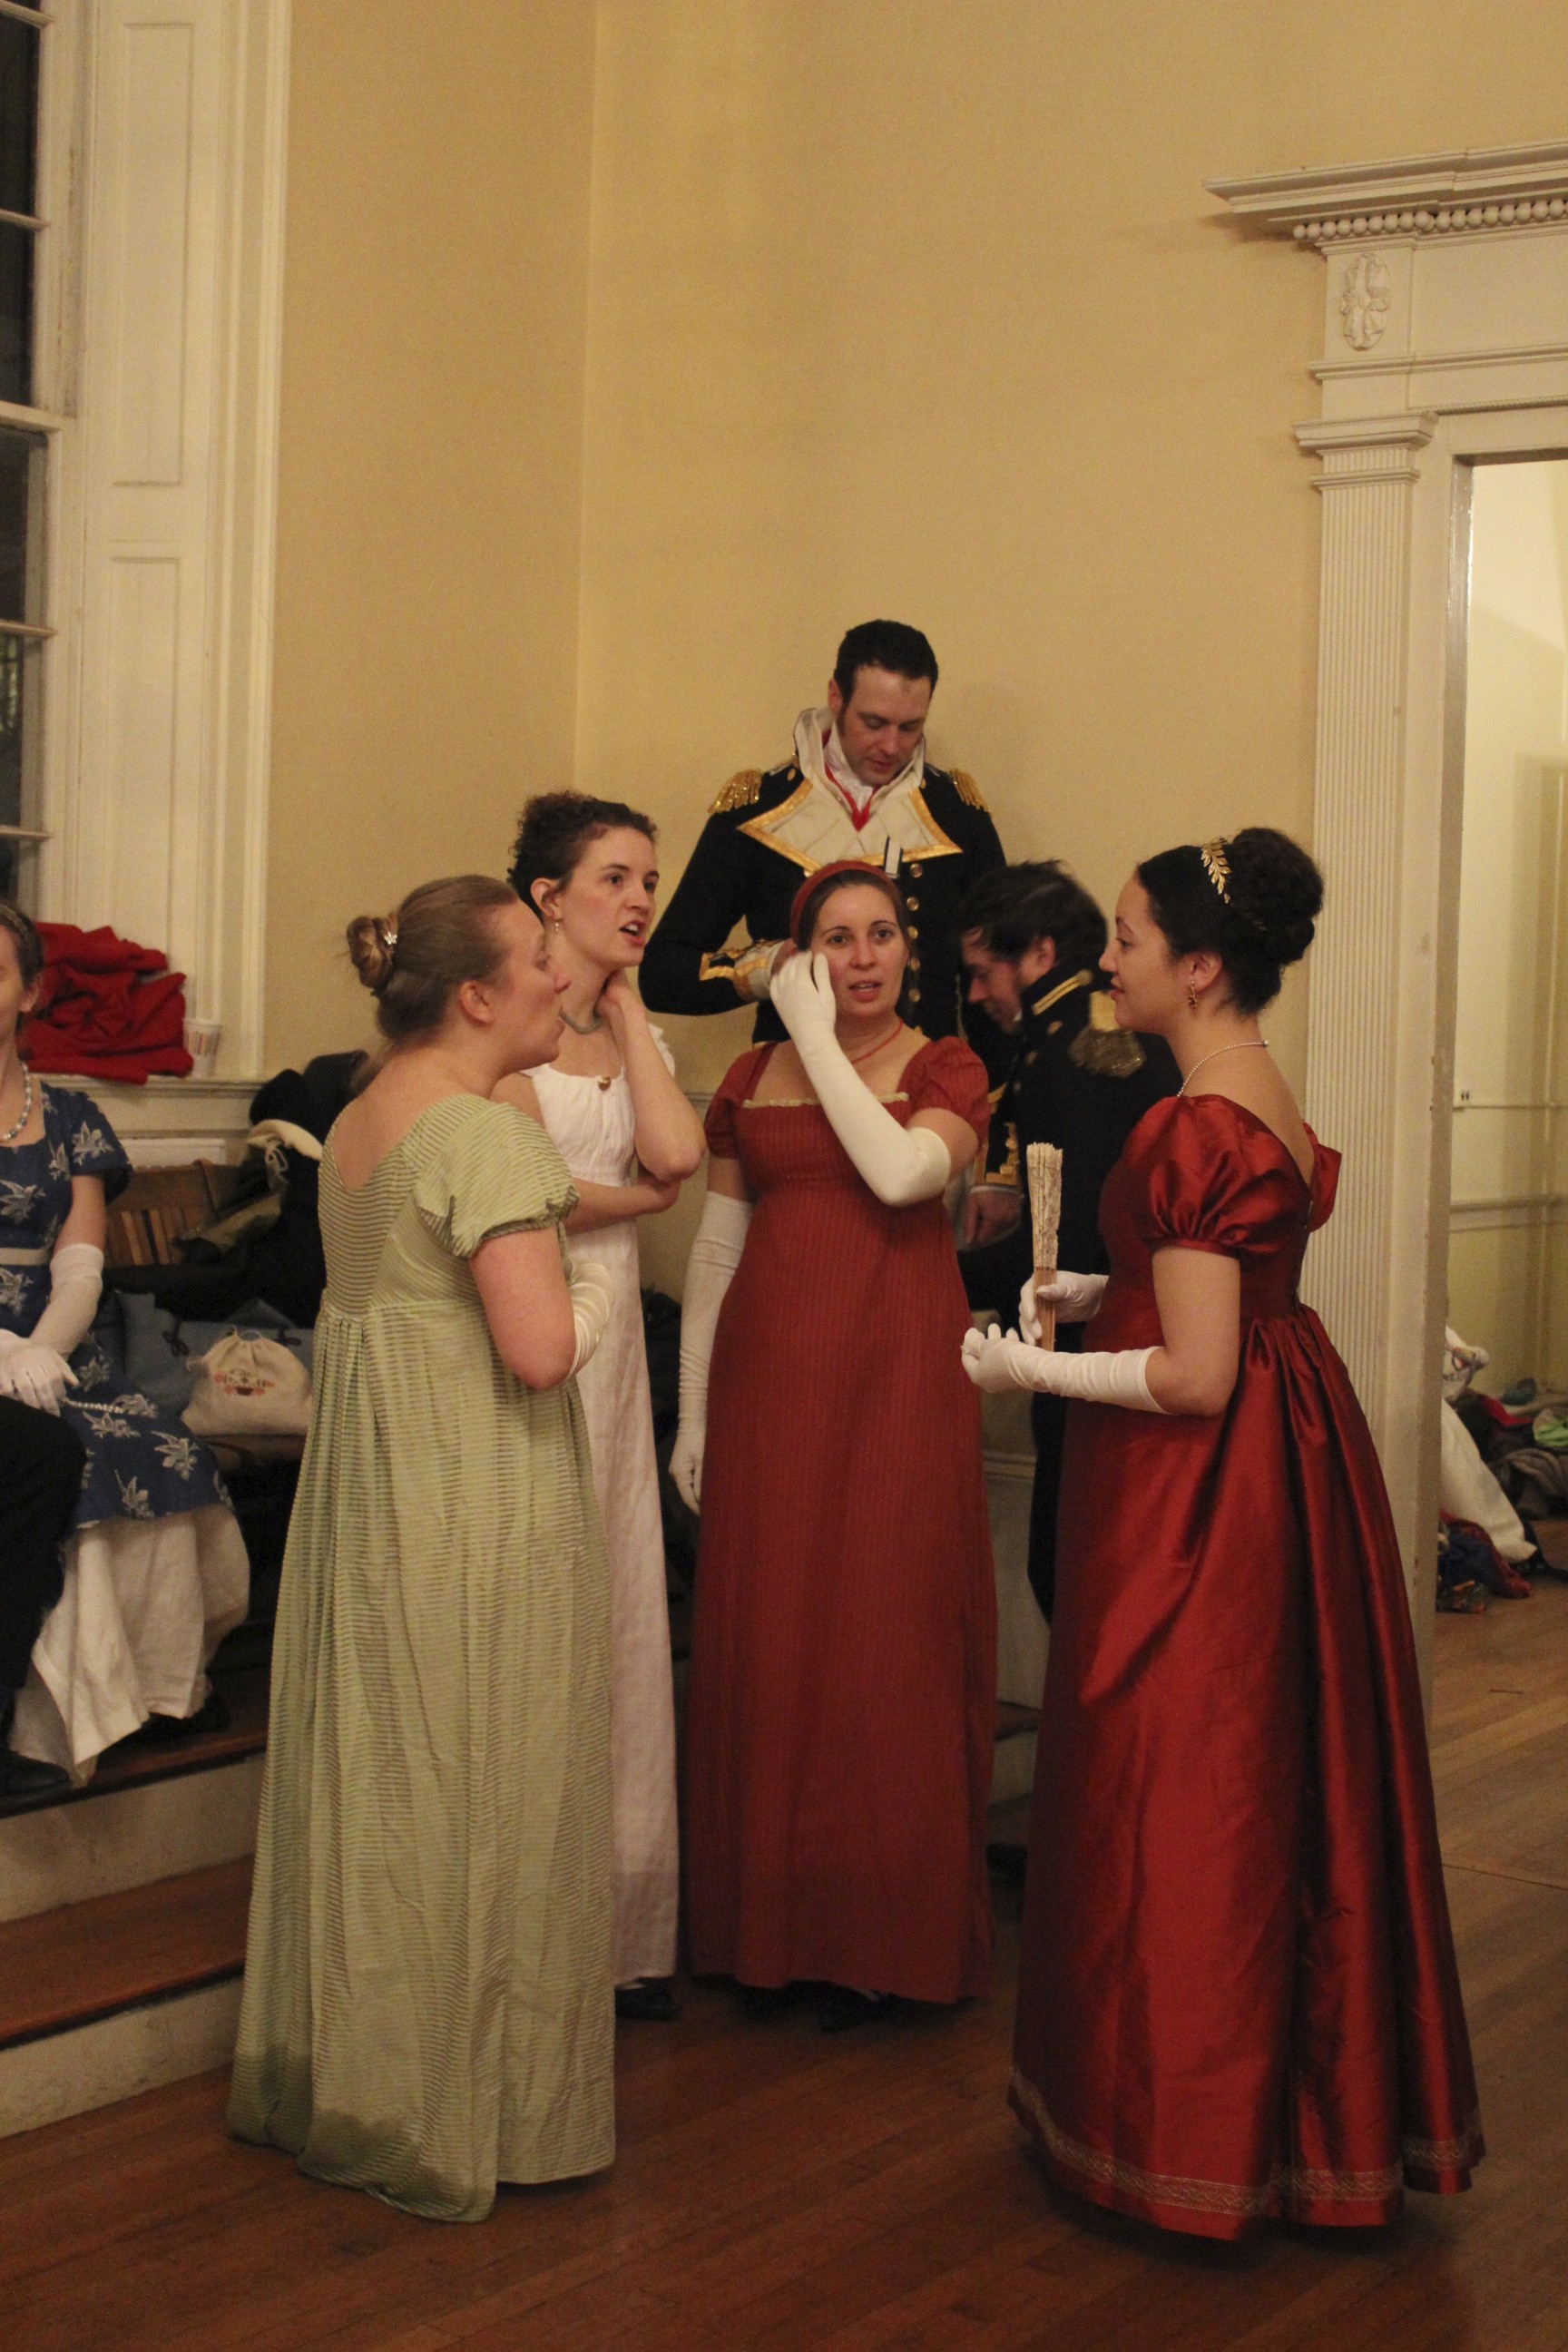
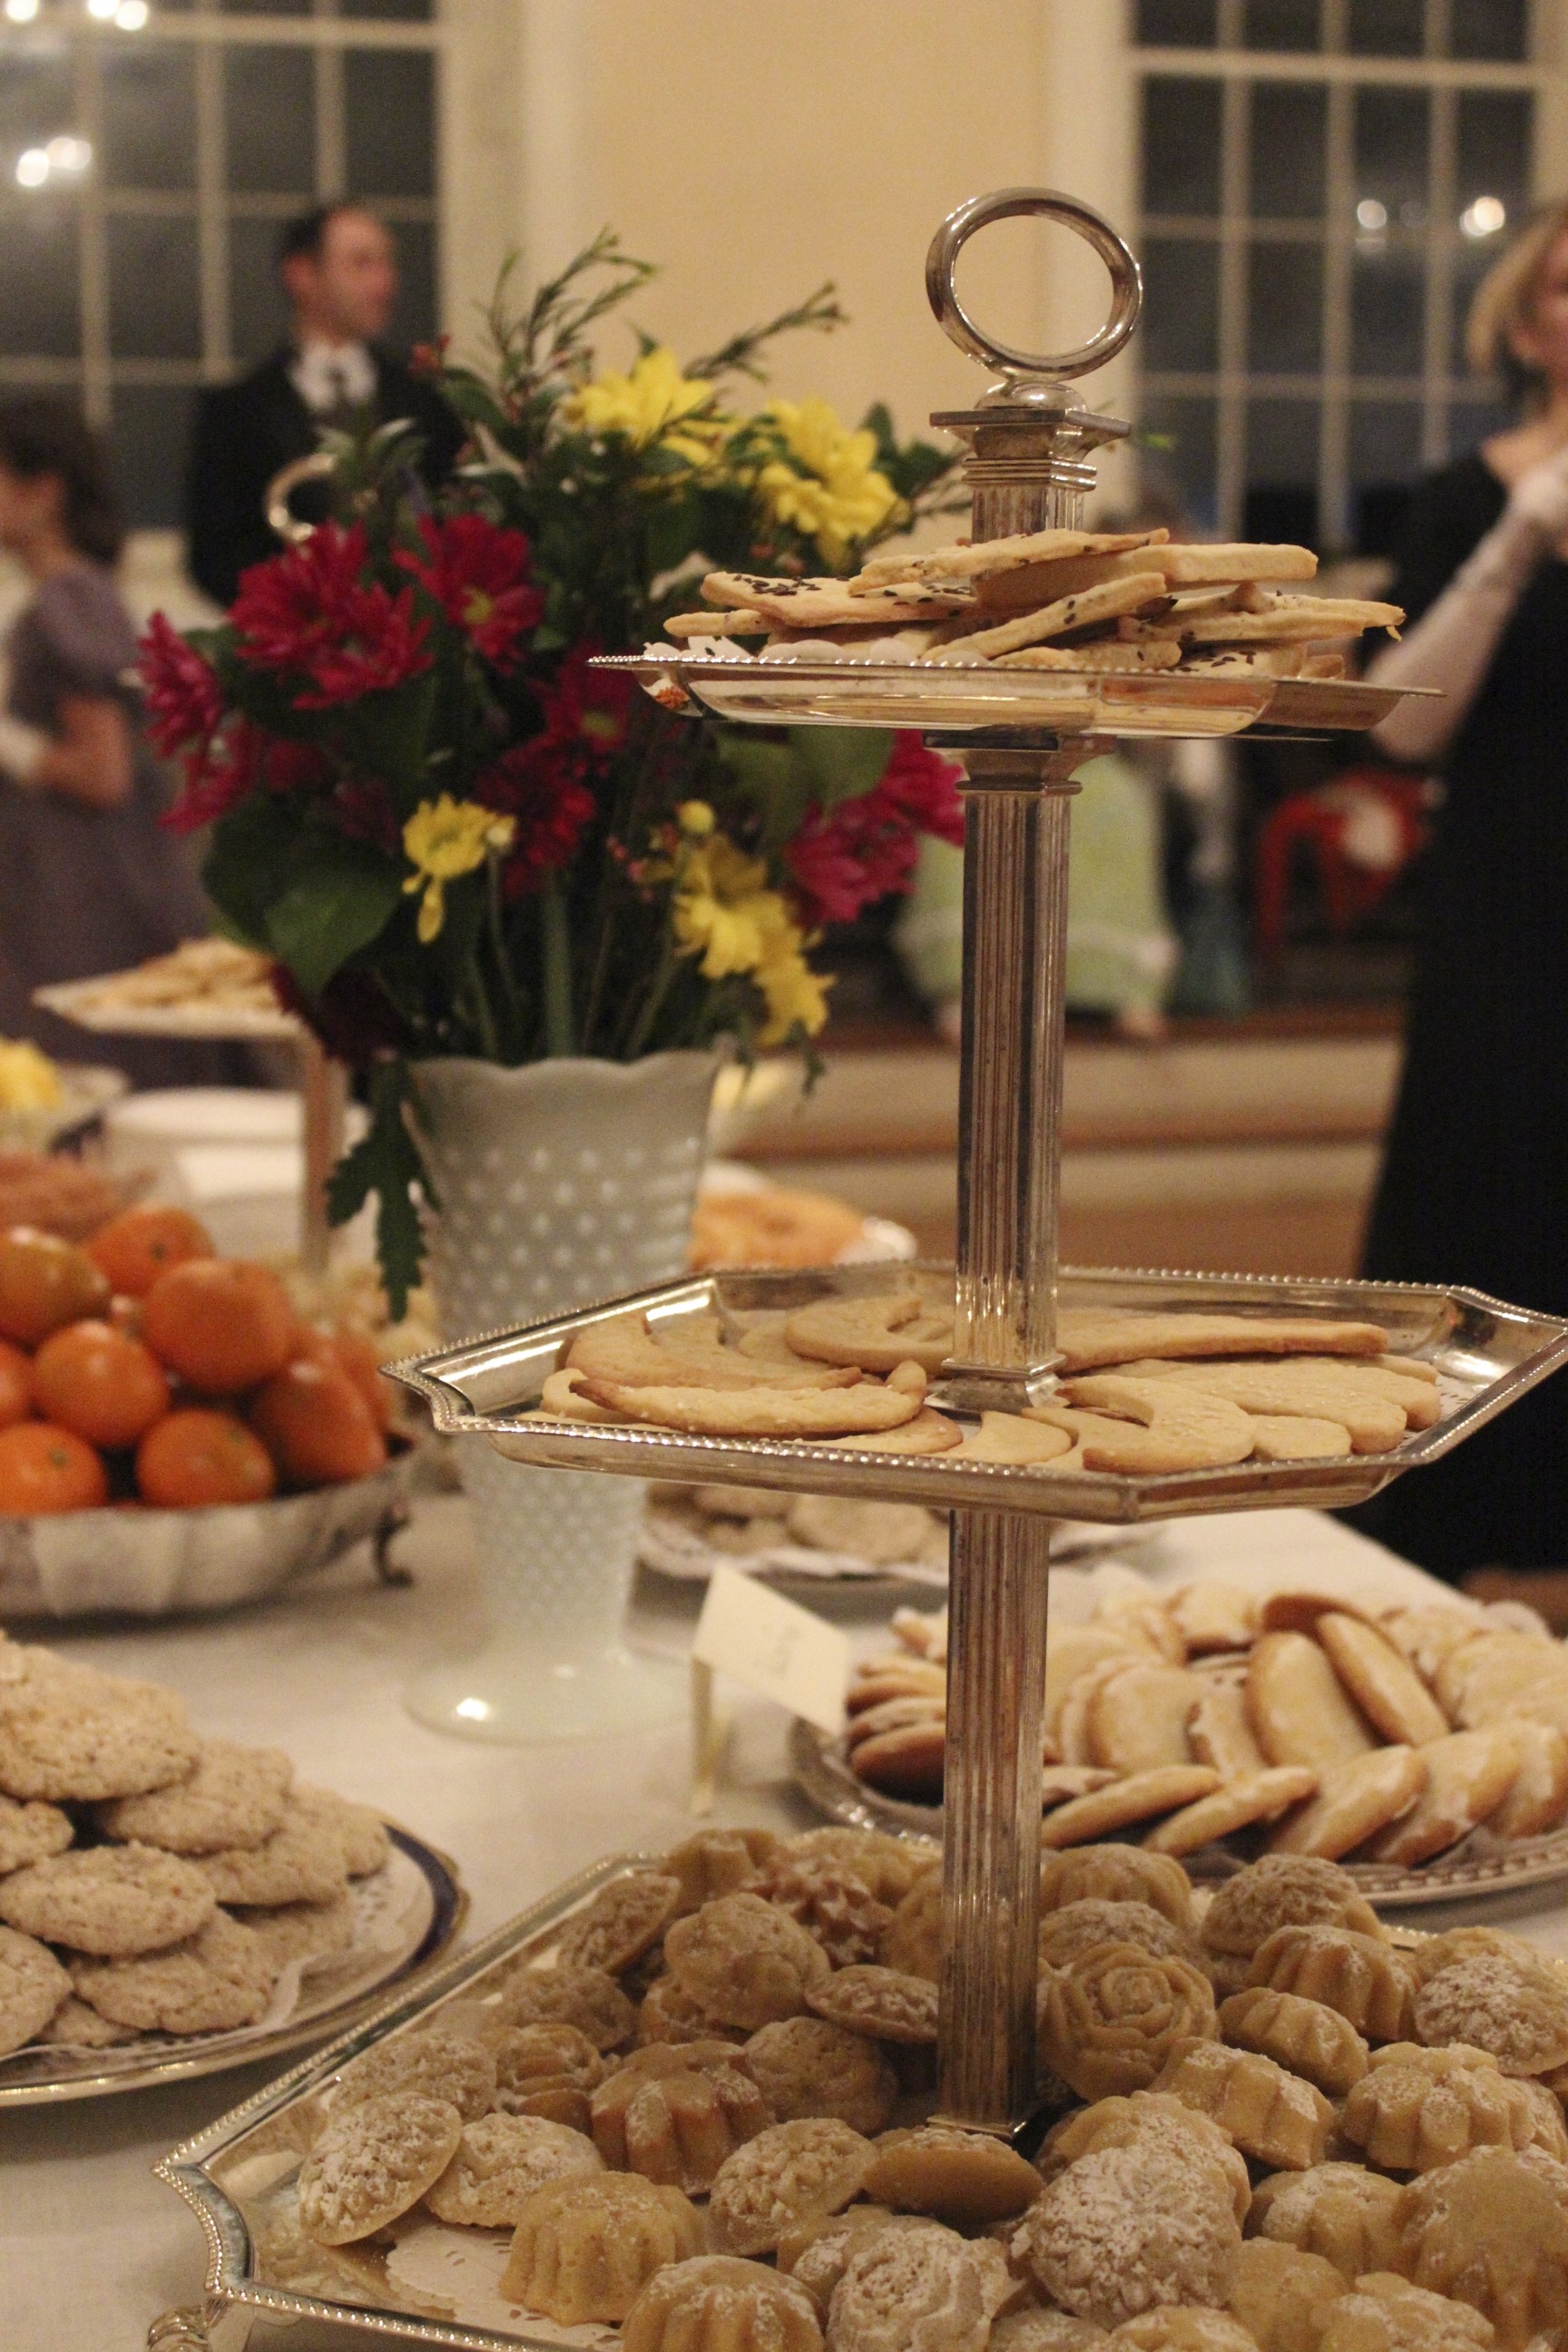
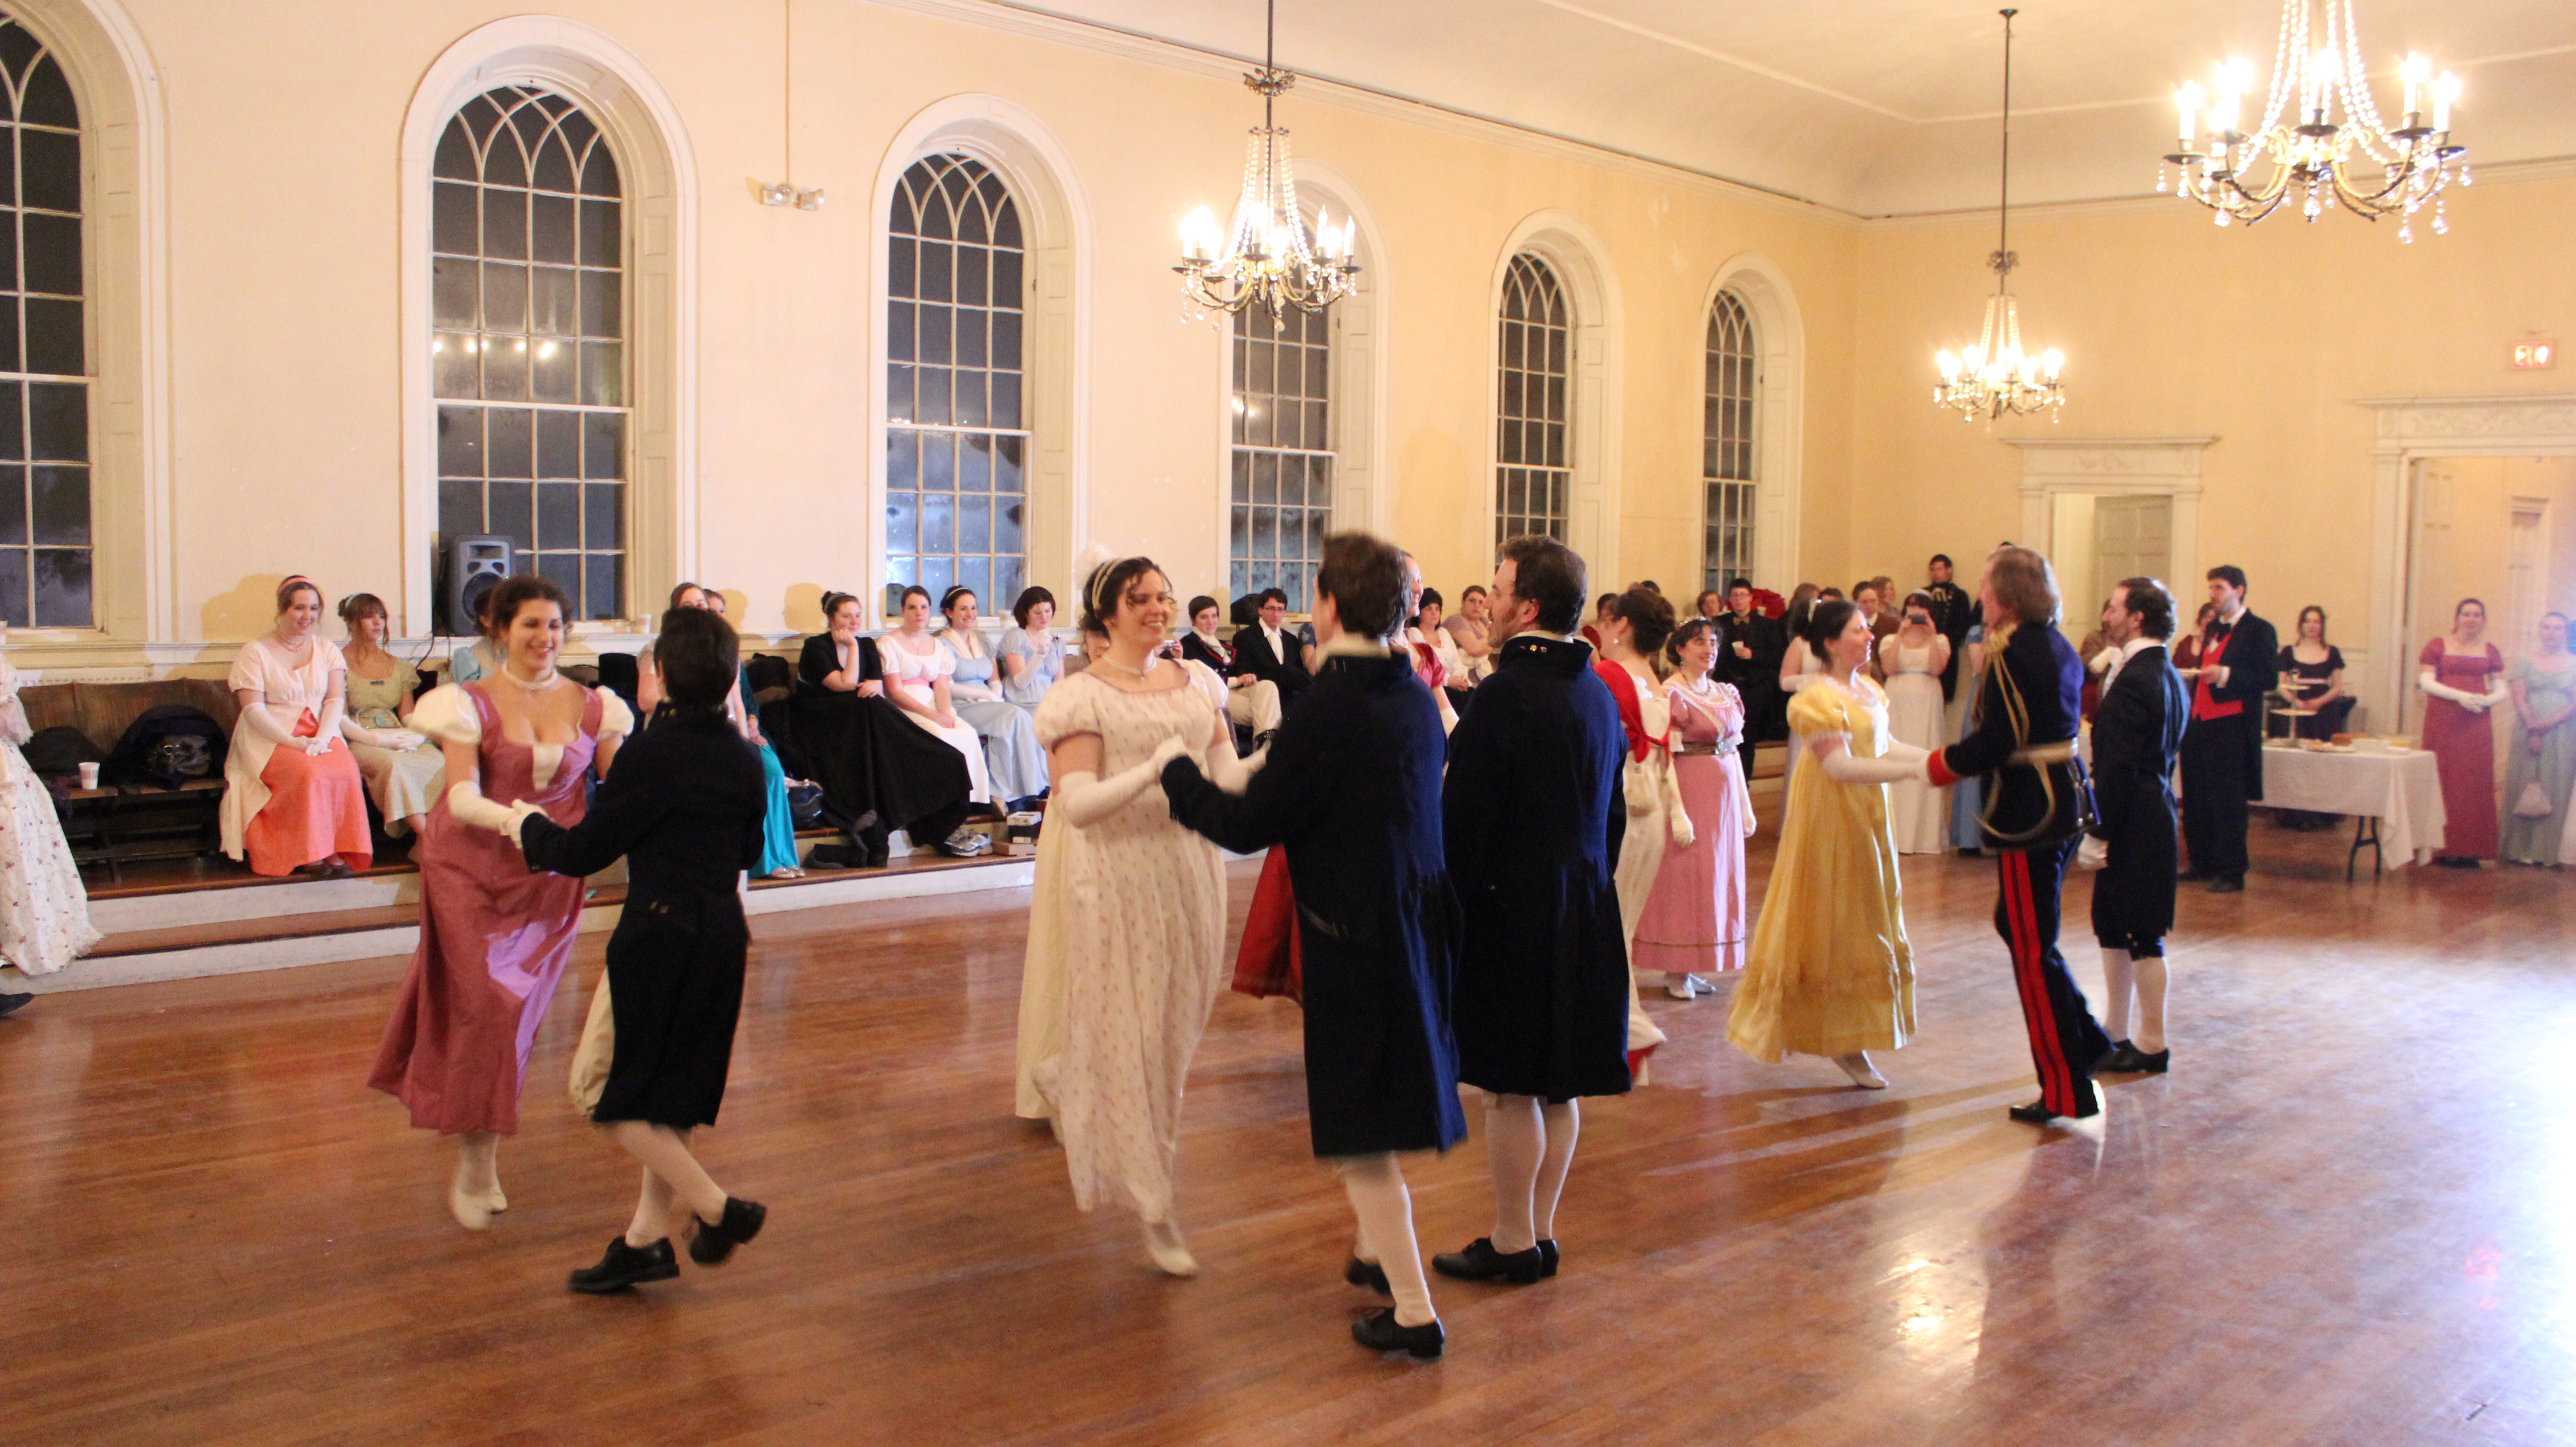
Dancing a waltz, Regency style.I believe this is a gallop.A hall full of eager dancers makes for a joyful ball.Just coming in from outdoors, it was nice to greet new people and see old friends.You chat.And then you smile for the camera.Part way through the evening the doors were flung open and a table full of yummy refreshments was brought it.The members of CVD about to perform a country dance called The Cottage Bonnet.Mid-dance, light feet flying!And we end.After the ball, it’s nice to take a break and rest your weary feet.Often, we have more ladies than gentlemen.Jazz hands! (This is one of my favorite!)Finally, we convinced some more members of CVD to come join us for a bigger group picture.Now for the sad end to the evening. As I was walking through a partially open door my dress caught and ripped! It’s on the back in the gathers, but it’s a good 4″ rip. Now I have to fix it before April, when I’ll be wearing this dress again. I’ve got multiple methods in mind, but it’s still not a fun or exciting thing to have to complete. I’d rather be making other new clothes…
Anyway, all things considered it was a lovely evening with lovely people. It was particularly nice to see old friends, but also nice to see usual ball friends. And I thought we all looked pretty smashing, which really does add to the atmosphere. I just wish I hadn’t ripped my dress…
Another thing that the Nemo blizzard affected was the Commonwealth Vintage Dancers‘ Pride and Prejudice Ball. Luckily, the ball was able to be rescheduled for this past weekend, which means that I did wind up having an opportunity to wear my new 1813 red gown (my HSF #1 project) after all! And that means pictures! Lots of pictures, in fact. I think I’ll split this into two posts… To start: the clothes!
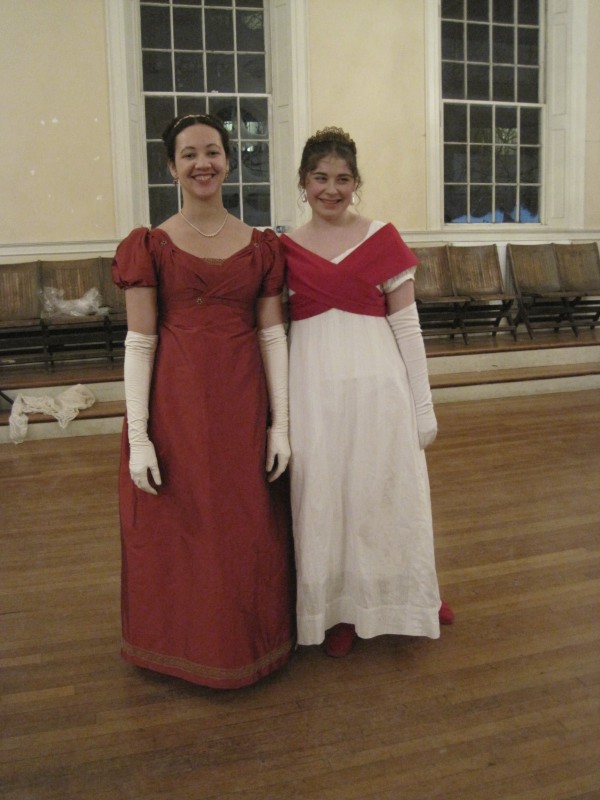
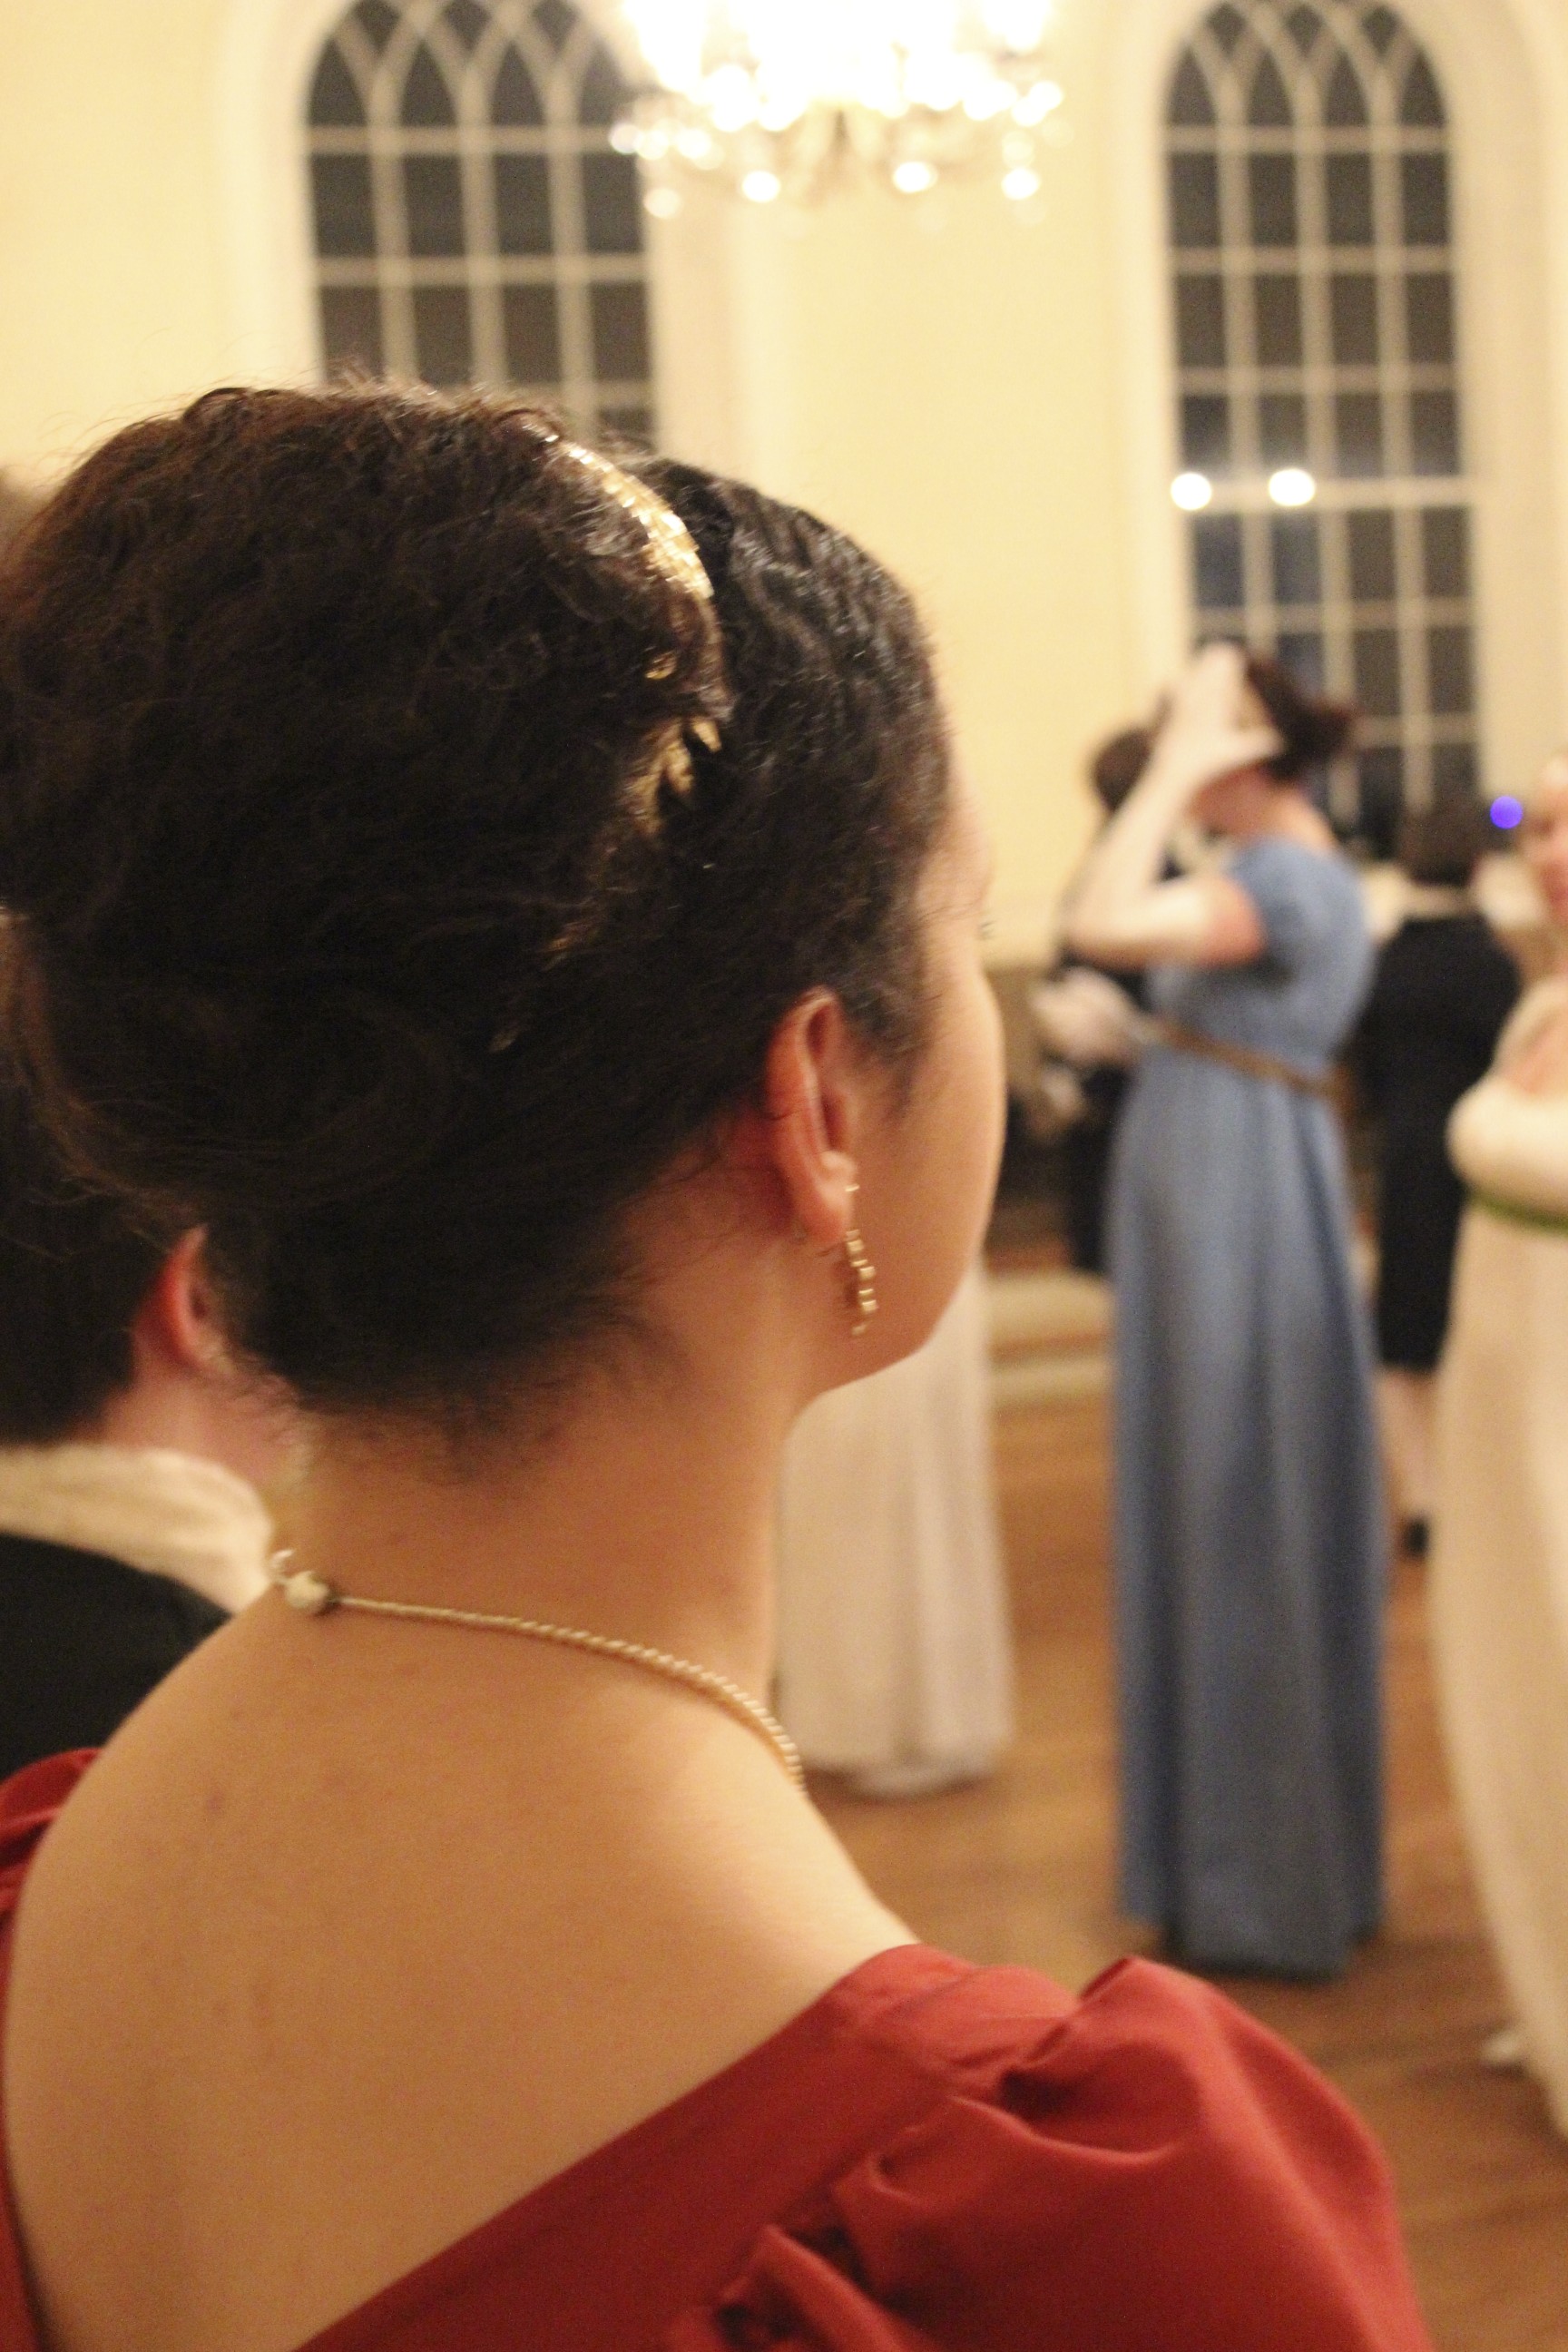
New dress!These pictures capture the color much better than my original pictures from January.Accessories: opera length kid gloves, white stockings and shoes, a gold laurel tiara, earrings to match the trim on my dress, and pearls.I wore the petticoat I built to go under my 1812 square neck gown, which is apparently a little longer than this new dress, because the hem of my petticoat was sticking out! Luckily, I had a needle and a friend had white thread, so I quickly basted up the hem of my petticoat so it wouldn’t show.Our colors match! So cute!The back of the creative Grecian sash wrapping. It was a great way to jazz up a white dress.More cuteness in the family.Great hair!Those face curls are hard to achieve without bangs. These look lovely!I tried the face curls, but it looked foolish. In the end I really liked how my hair turned out though! Super regal!More lovely face curls.
I thought everyone outdid their Regency selves and looked fantastic! I have to say, though, that not all these pictures are mine. Some are from a friend who caught all sorts of gorgeous moments! Thanks for sharing! More to come soon, with actual dancing and during the ball pictures.
I mentioned a few weeks ago, in my post about my new silk pockets, that I had spent the Nemo blizzard weekend working on the replacement of my failed berry ballroom dancing dress. I haven’t picked it up since that weekend, but I don’t need it for another few weeks, and I got far enough along to take pictures to show that I actually made progress!
The new “grape” dress!
This dress has been in the works since September, to replace the failed dress that was started about a year ago. My original vision for this dress was rather different than how it turned out. The skirt didn’t change much, but the bodice did. I won’t bore you with the details, but suffice it to say that the changes are for the better and I like how this turned out!
Bodice close up.
Originally, I bought gold rhinestones to put on this dress, but since buying them I have decided to use them for a future ballroom dress, incorporating some new knowledge I gained that I couldn’t put into use on this dress. That left me stuck without rhinestones for this dress and not wanting to spend more money. What to do? Years ago I had spent a pretty significant amount of money and time rhinestoning a lace overlay for a dress that was eventually ditched as my knowledge improved, but I kept the lace with all those rhinestones. It was time to finally put that lace to use!
Back bodice.
The skirt of the dress is charmeuse, as are the bodice drapes. The rest of the bodice is the recycled rhinestoned lace, and under that is polyester stretch. It’s shaped to my body with darts in addition to being stretchy. The skirt is triple layer, with the two under layers being organza. All three skirt layers have nylon horsehair around them to add some weight and movement as well as poof.
The great thing is that I didn’t have to glue rhinestones on this dress! The down side was that I had to hand sew the already rhinestoned lace to the spandex by hand, with a fair amount of piecing to make it fit the shape of the new bodice. Not hard, but time consuming. In the end, you can’t tell the lace is pieced at all! And, you can’t see my invisible zipper up the back, yay!
I’ve got a few more things to sew on the back of the bodice, and I need to sew some bra cups in. Then the only other thing remaining is to make floats: the chiffon pieces that hang off of my arms. I’ve got the fabric (also left over from the berry ballroom dress), so I just need to make them. That’s totally do-able by the end of March, even with my 1864 ball gown happening that month as well.
Ballroom dresses have their own style, so if you want to see my inspirations and lots of other lovely dresses to get a feel for what the style is, you can visit my pinterest page: New Standard Dress… Eek!
Well, I hope this isn’t too much of a stretch (or maybe interpretation is a better word), but I’ve finished preparing all of my skirt trim and I’m going to call it my project for the HSF #4 Challenge: Embellish. I say it’s a stretch because my completion of this project is the preparation of the trim, rather than the attachment to the garment. To be fair, just the prep has been a lot of sewing, so I think it counts. Here it is, below: gold trim on the rather wrinkly skirt of green and gold shot silk taffeta. Because the gold is shot with silver, and the green is shot with gold, they are both photographing more washed out looking than they appear to me when not looking through a camera. Hopefully one day I’ll be able to get a picture where they look a little less silvery.
All the skirt trim, gathered and ready to be attached!
The top pile of trim (that rather resembles a ruffly brain, don’t you think?) is for the zig zag. The two piles on either side are the 18 rosettes. The section on the bottom center is the ruffle that goes at the bottom. You can see the inspirational fashion plate here, in this previous post, to see what these different trim sections look like in their actual context.
My favorites are the rosettes. Aren’t they cute?Here’s all of them laid out like an accordion, or a slinky. They look so adorable!
Anyway… here are the facts:
Fabric: almost 1.5 yds of gold shot with silver silk shantung.
Pattern: none, just a lot of math.
Year: 1864.
Notions: none, just thread.
How historically accurate?: Well, shantung is not accurate, but silk is (and this shantung is pretty smooth and not slubby, so I don’t think anyone will know it’s shantung unless I tell them). The trim layout is from a fashion plate, so super accurate. The stitching is accurate. Overall, I give it a 90%.
Hours to complete: Um… a lot. It’s all hand sewn. I started in January, so… 50 hours to get to this point? I really have no idea. I think in terms of months or weeks usually, not hours or even days.
First worn: Not yet, but will be worn in March.
Total cost: $9, because the silk was a remnant.
And while I’m keeping count, let me also note the yards of stitching currently sewn into the trim. When it was all hemmed I was at 45 yards. Now I have the addition of gathering stitches (31 1/2 yds) and ruffle binding (9 yds). That ups the total yards stitched for trim to 86 1/2 yds, and that’s before attaching it! Nice.
The latest shoe from American Duchess: the Gibson.
Lauren has all sorts of cute shoes planned for 2013, so I’m pretty sure this is only the beginning of what will be more shoe posts this year. Aren’t these cute though? I’m trying to decide between black and brown… If you are at all interested, pre-order-time is the time to make your decision, because if Lauren doesn’t receive enough orders, the style (or certain colors) might be cancelled. And that would be sad! You now have no excuse. At the very least you should go check them out…
Product links in this post contain an affiliate code, which provides a small benefit to my shoe fund. This does not affect my impressions and reviews of this product.