Project Journal: 1864 Ball Gown Part I: The Plan And The Trim

It’s time. I’ve been wearing Annabelle, my flounced not-so-new-anymore white 1860 ball gown, to all Civil War events for about a year straight, with no relief on the horizon. Not that I dislike Annabelle, I just want options, and a change. I have Belle, a dark blue 1860 ball gown, as well, but I haven’t worn her since 2011, and since most of the women in our dance troupe have blue dresses it’s not likely that I’ll get to wear her soon, and anyway, she’s too heavy for summer, and summer is coming up. So it’s time. Time for a new 1860s gown! Yay!

This gown was included back in autumn of 2012, when I made my 9 month sewing plan. It’s my goal to have it finished by mid-March, for the annual Commonwealth Vintage Dancers Returning Heroes Ball. My inspiration is this fashion plate from 1864 (pictured below).

315_1864_FashionPlateAA
From The Bartos Collection. 1864.

Specifically, I’m going to be making the dress on the left. Or one inspired by/sort of like it. As I’ve been working on it I’ve made changes to my plan, as you’ll soon see. My dress will be green silk shot with gold and with gold silk trim. I bought the silk remnants for the project months ago, so I have had to make my plan work with the yardage I have. The green isn’t an issue, but the gold had to be carefully considered to make sure I have enough for all the trimmings. After lots of math, I realized I didn’t have enough to do all the trim, so I thought about what was visually most important and decided to eliminate the vertical lines of trim, as well as the waist trim. Here is the same fashion plate, with my changes:
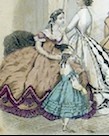
480_1864_FashionPlateAA - Version 3

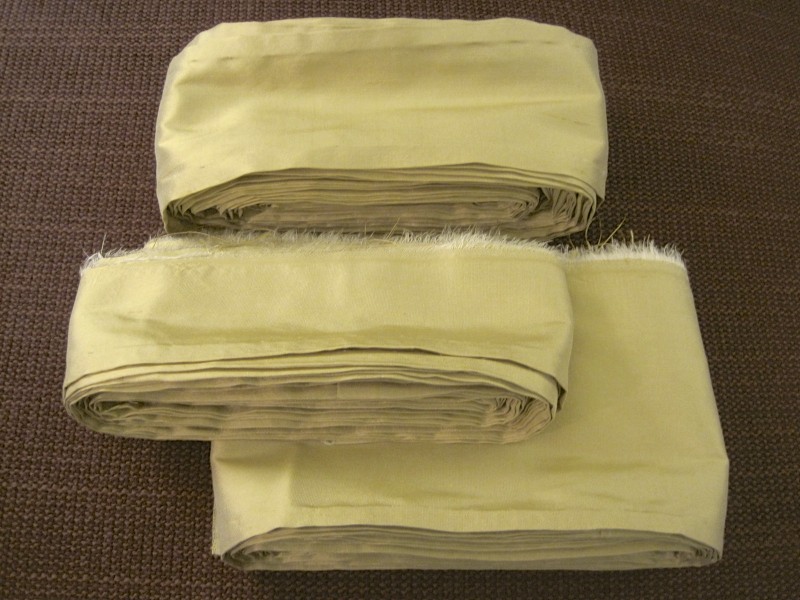
Of course, me being me, I’ve decided to hand sew the entire gown! Yes, sometimes I like my big projects. But I’ve got time (I think). I’ve sewn the skirt and the polished cotton lining and hemmed them, though the skirt isn’t attached to a waistband yet. I’ve sewn the bodice seams, so now it needs boning, and cording, and trim, and closures in the back. And, most importantly, I’ve cut and hemmed the MANY yards of gold trim for the skirt.
IMG_4198
Skirt trim: on top is the zig zag, in the middle is the rosettes, and on the bottom is the ruffle. Not gathered yet, but all hemmed!

Did I mention I’m hand sewing all of this? All of these trim bits on the skirt will be gathered to a ratio of just over 1 1/2 to 1 (that was all that my yardage would accommodate). The zig zag is hemmed on both sides and will be sewn onto the skirt with a band of green silk running down the middle. The rosettes will be gathered in the middle and the raw edges hidden, which is why that bit is hemmed on only one side. The ruffle at the bottom will be bound at the top, which is why only one edge is hemmed.

Hem-age: 13 1/2 yds of zig zag, hemmed on both sides equals 27 yds of hem; 10 1/2 yds of rosette hem (there will be 18 finished rosettes on the skirt, if all goes according to plan); and 7 1/2 yds of ruffle hem. Total hem-age: 45 yds, and that’s just the skirt trim!

I love hand sewing, which makes me excited about that total, rather than bored. And I really enjoy the sense of satisfaction I have when I’ve completed the different pieces of this project, so I can only imagine how great it will be when the entire gown is complete!

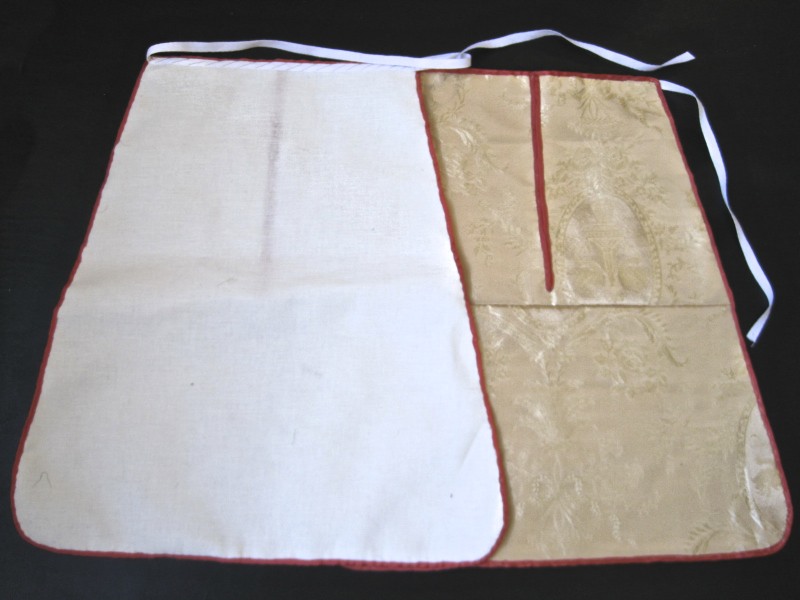
HSF #3: Silk Pockets

I’ve been sewing up a storm this weekend! (And yes, pun intended, since I was stuck inside all weekend because of the blizzard ‘Nemo’… and as a side note, do you think they saw the irony in naming this storm Nemo? All I think of is a cute cartoon fish, which seems at odds with the 2 1/2 feet of snow that is still being cleaned up outside as I create this post.)

Anyway… events were cancelled, including the Regency Ball I created my 1813 dress (HSF #1) for, which is rather sad. Not being able to go anywhere means I’ve had lots of time to work on other things, though. Mostly, I’ve spent the time working on my replacement of the berry ballroom dancing dress. I was hoping to move along on my new 1864 ball gown as well, but that didn’t happen because I was so inspired to keep working on the ballroom dress (and I made lots of progress, so that’s good!). I did take some time out of my furious sewing to finish up my new silk pockets, just in time for the deadline of the Historical Sew Fortnightly’s Challenge #3: Under It All.

IMG_4203
Yay! Pockets!

For the facts:

Fabric: Silk brocade scraps left over from my 1780s stays and linen scraps left over from my 1812 regency chemise.

Pattern: From Costume Close-Up.

Year: The year in Costume Close-Up is 1740-1770, but I think these can be used for years spanning almost the entirety of the 18th century.

Notions: About 2 yds of 1/4″ persimmon colored silk ribbon and about 1 yd of 1/4″ white cotton twill tape for ties.

How historically accurate?: I give them a 95% rating. Accurate fabrics, accurate piecing, accurate pattern, no machine sewing… Thread choice is not accurate, and I’m not convinced that the stitches I used to attach my edging ribbon are accurate either. (And I probably should have tea dyed my waist tie so it wouldn’t be so bright white… but I am the only person who is likely to see it, and frankly, I just wanted to attach it and be done.)

Hours to complete: Entirely hand sewn, so about 13 hours.

First worn: They haven’t been worn yet, and probably won’t be worn for awhile… but at least now they’re done, and ready to go for next time I need them!

Total cost: $7? If I count the cost of all the bits and pieces. Since they use scraps from other projects it’s hard to tell.

IMG_4201
Back view. You can see the linen backing. The silk on the front has a second layer of linen under it.
IMG_4202
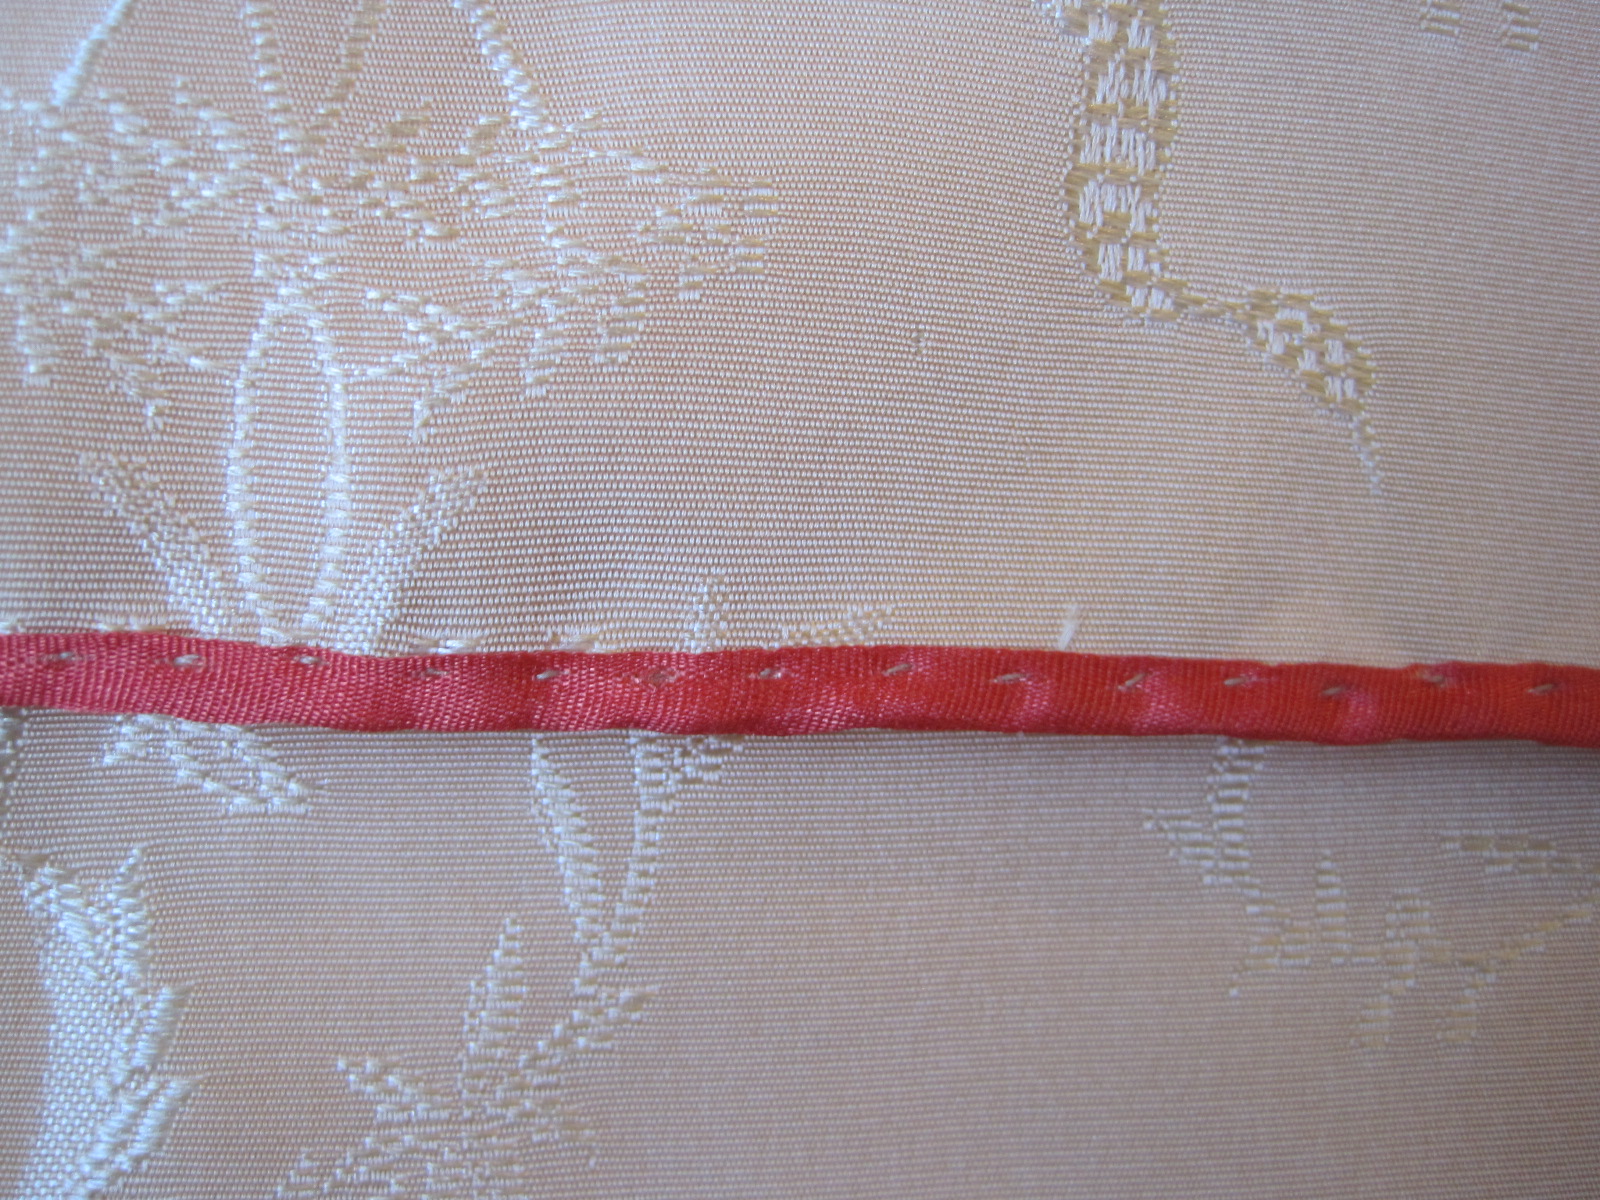
Close-up of the tiny stitches holding the ribbon down along the edges.

Patterned Stash Additions!

If you look at my clothes, modern and historic, you might notice that I usually wear solid colors. Yes, I do mix solid colors in outfits. But there it is: I hardly ever wear patterned fabric. I want to branch out a bit, at least in my historic wardrobe, so when I saw these patterned fabrics on sale I couldn’t resist.

IMG_4196

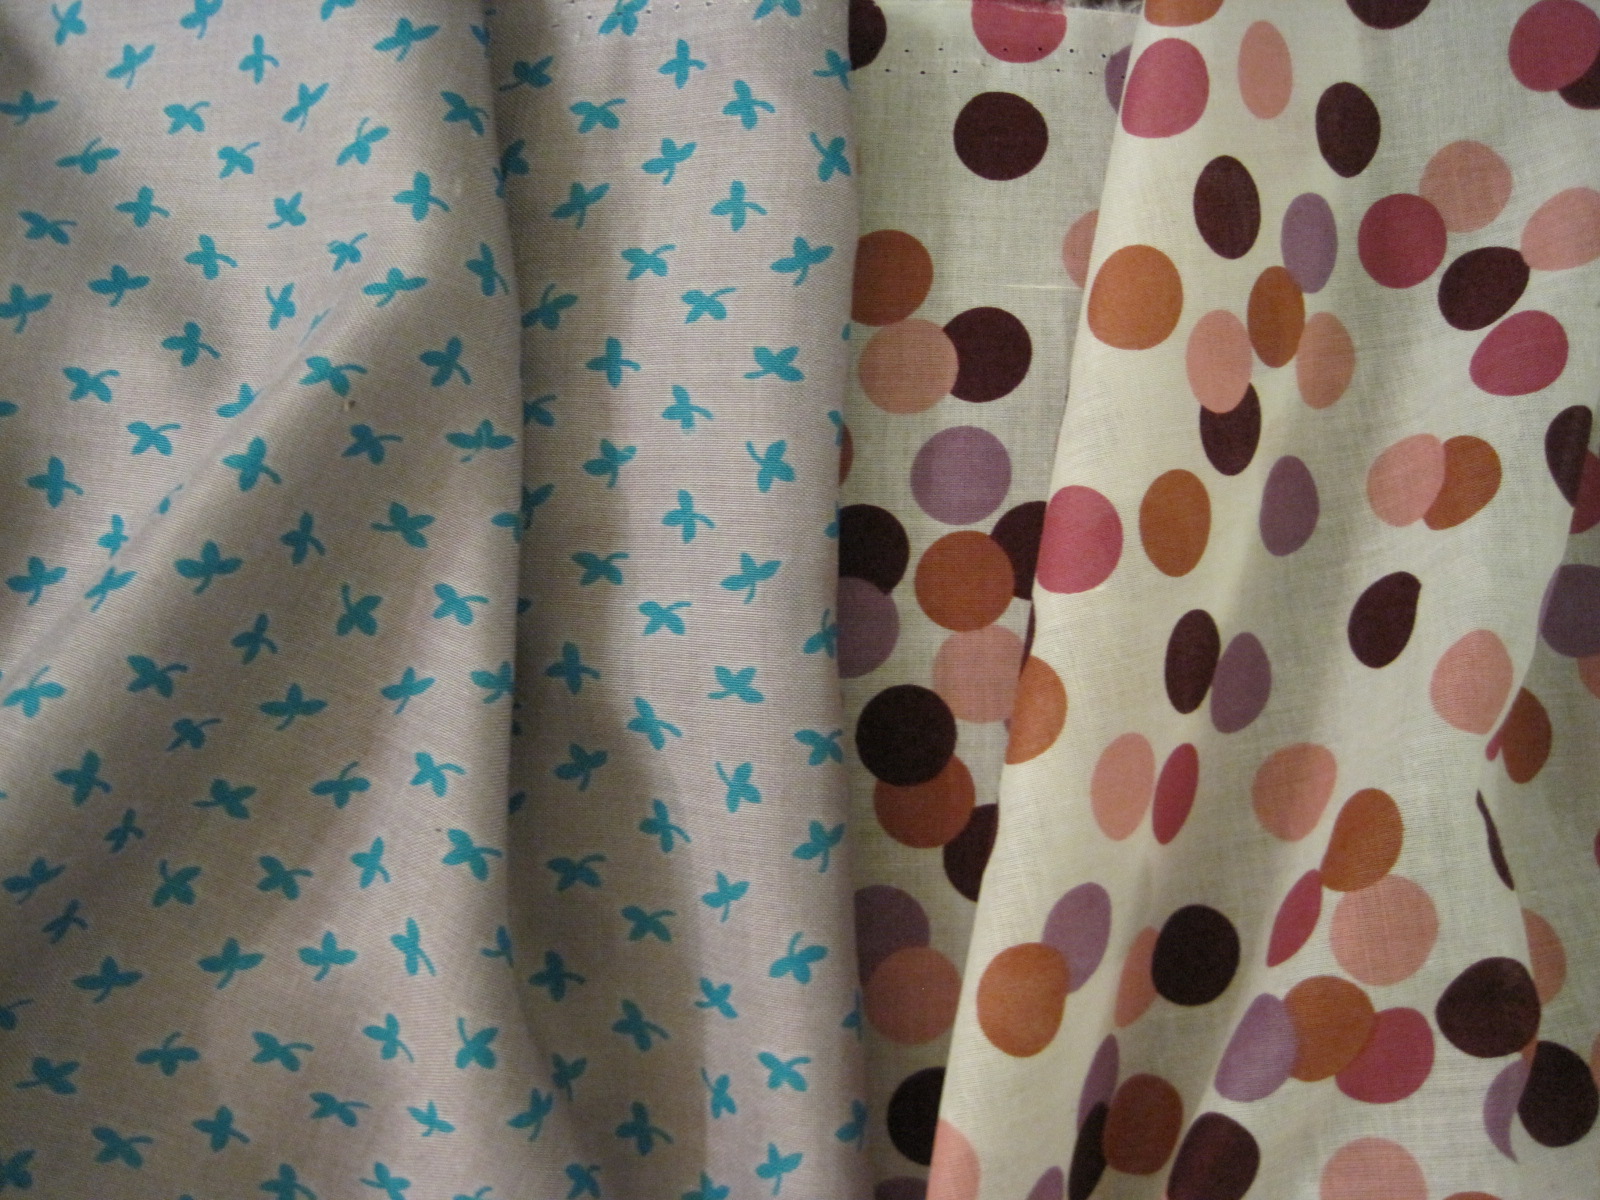
So here they are: my most recent stash additions. On the left, a rayon challis with a slightly lilac tinted grey background and little teal clovers all over. On the right, a super lightweight cotton lawn with dots in shades of purple and pinkish/redish/orange. What for? I’m thinking 1930s or 40s for the challis and a 50s summer dress for the lawn. I’m pushing the envelope, thinking outside my normal eras! Of course, these projects are pretty low on the list of things to get done… so don’t expect to see them again soon. But maybe this summer the 50s dress could be a fun project. We’ll see. In the meantime, I’ll know I have patterned fabric in my stash, and that’s enough for me!

An Excuse For Colored Shoes In The Regency

Volare Digital Capture
Evening Dress. 1812. UK.

Isn’t this a cute fashion plate??? My favorite thing about it is her bright red shoes! My second favorite thing is that her bright red shoes match her red bodice! So cute!

First, this makes me want to wear colored shoes to a Regency ball. Often you see black or white in fashion plates, and our dance troupe tends to wear white to perform and also to balls out of habit, so without even thinking about it I usually pull out the neutral colored shoes… BUT! Extant shoes come in all sorts of colors, although maybe not quite as bright as these red ones. You can see some of them on my pinterest page here: Shoes: 1790-1829.

Second, that red bodice reminds me of this one that Natalie Garbett made for the HSF. Is it possible that this red one, like Natalie’s, is a separate piece from the dress? That would allow for more wardrobe options, certainly. I’m going to go on the assumption that it is, and congratulate this young lady in the fashion plate for being so coordinated and versatile in her wardrobe.

19562579603292643_PZwl3ZNE_c
Separate bodice by Natalie Garbett. Lots of research information about this style on her blog: here.

So… I’ve got a new dress to wear to an upcoming Regency ball that doesn’t really need a separate bodice to jazz it up. Do we think I can wear I can wear fun colored shoes without a separate bodice? I think probably yes, given that there are lots of extant colored shoes and I know of other images that show colored shoes. And now I have an excuse to wear colored shoes with a white dress! Fun! Maybe I need to make a separate bodice, too?

HSF #2: UFO

Is there enough alphabet soup for you in the title of this post? In case you’re not familiar with those acronyms, it means that this is a post about the Historical Sew Fortnightly Challenge #2: Un-Finished Object. In this case, the UFO is my 1820s petticoat from the very end of 2012.

You’ll remember that I wore it to Fezziwig’s Ball in December, but that I hadn’t finished the neckline? I’m pleased to say that it is now entirely complete!
IMG_4187
Inside view. This petticoat has three ties at center back to keep it closed.
IMG_4188
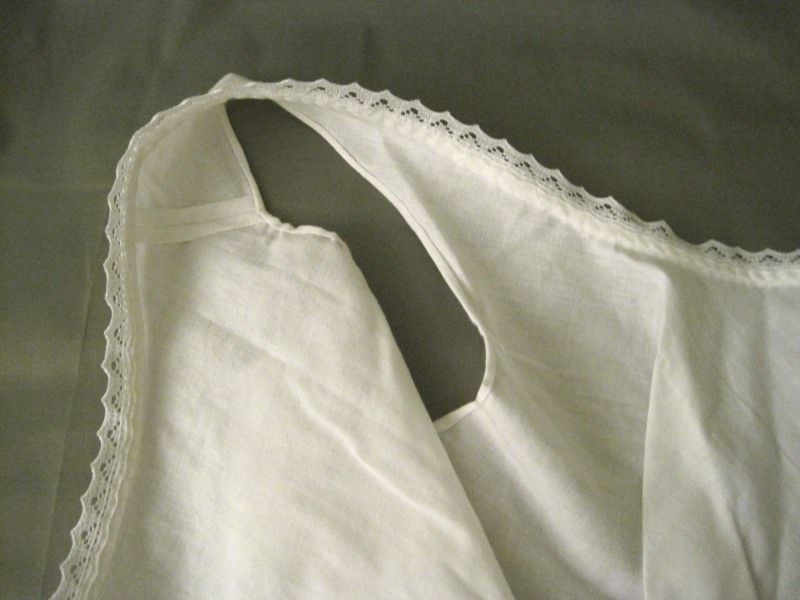
You know I like my insides to be pretty. This is a closeup of the arm hole and the neckline, which is bound with bias before having the lace sewn on.
IMG_4189
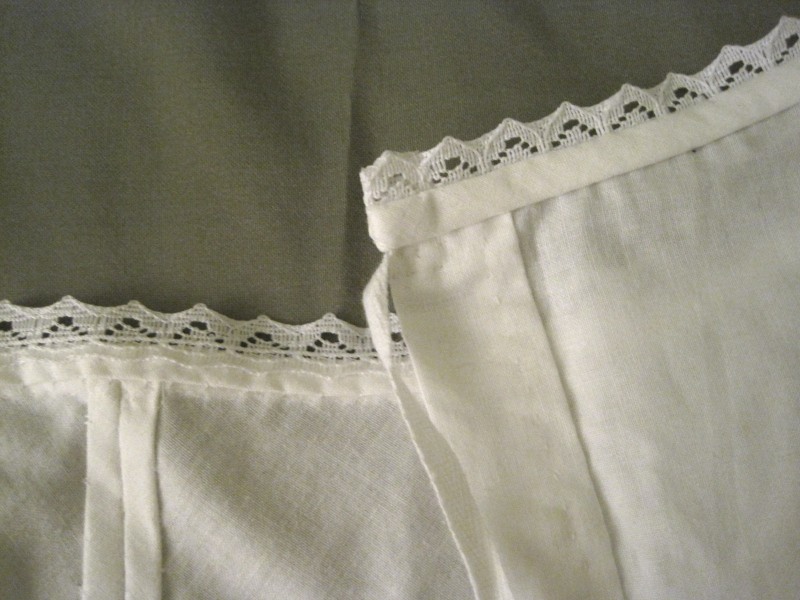
The double hem on the left is center front. Diagonally across the photo is the right side of the back.
IMG_4190
This cording was done last month, so it’s not really part of the UFO-ness, but it is still an accomplishment. 16 rows of hand sewn cording all around the hem.
IMG_4191
A close-up of the lace at the hem and my tiny stitches.

You can see some more detail shots in this past post.

And the facts?

Fabric: 3 1/2ish yds of white cotton

Pattern: Adapted from my 1822 green ball gown pattern. It’s pretty much exactly the same except that it doesn’t have sleeves. The ball gown pattern is based off of a pattern in Janet Arnold and styled as in the fashion plate you can see in this previous post.

Year: 1820s. The inspiration image is dated 1828-1835. You can see the inspiration image and my reasoning for it being more 1820s than 1830s here, in this past post.

Notions: About 1 1/2 yds of broderie anglaise trim, cut in half the long way to create double length; about 1 yd of white edging lace; and about 1 yd of 1/4″ cotton twill tape.

How historically accurate?: Very, having used modern materials. The pattern is from Janet Arnold, so you know it is good on accuracy. The entire petticoat is hand sewn and made of accurate fabric. The lace is machine made and the content is almost certainly not entirely accurate, but it is in the style of the early 19th century and the lace in the inspiration image. I’m not 100% sure that all of my seam finishes are perfectly accurate for this garment, but they are accurate for the period as a whole.

Hours to complete: I’m always bad at estimating this. Let’s say 120 hours.

First worn: To Fezziwig’s Ball in December 2012.

Total cost: Approzimately $13.

Wow! Another Blog Award!

I’m honored this month with a second blog award! Laurie from the blog Teacups Among The Fabric has nominated me for the Liebseter Blog Award. Thanks, Laurie!

blog-Award-Liebster3

Here are the rules:

1. Post 11 random facts about yourself
2. Answer the 11 questions your nominator has given you and come up with 11 questions for your nominees to answer.
3. Tag 11 fellow bloggers.
4. Notify the bloggers that you have awarded them.
5. No tagging back.
6. The 11 blogs you nominate must have less than 200 followers.

Ok, so step 1: 11 random facts… That’s sort of hard.

1: I could eat starch for days (pasta, bread, potatoes… I love these things!) 2: I’m a  vegetarian. 3: I really like pink and purple, though runner up favorite colors include black, teal, green, and red. It’s hard to choose! 4: I like to read books that are at least 1″ thick. 5: I am all about owning books in hardcover (rather than paperback). None of these ebooks for me. 6: I am a professional costumer with an MFA in costume production. 7: I’ve been “dating” Mr. Q for almost 7 years, and though we have yet to actually get engaged, it’s coming. (“Dating” is in quotes because, really, after 7 years, that word doesn’t quite cut it. “Almost-fiancee” is much more descriptive.) 8: I don’t like animals that have more than 5 legs, they’re creepy, and only more so the more legs they have! 9: I tend to build my historic clothes out of solid colors. Apparently I have an aversion to prints. I’m working on rectifying this trend, though. 10: I only wear clip earrings since I don’t have pierced ears. 11: When I was younger, one of my favorite things to do was play dress-up. (This should not surprise you at all!)

Next, here are Laurie’s questions for me:

1: What is your favorite part of costuming? *I absolutely love learning about the past through the clothes that were worn. It’s magical when function meets practicality. I am able to learn so much about why things were sewn and worn the way they were. It brings history alive!*

2: What inspires you most about costuming? *The never ending list of projects that stems from ‘ooo, that’s so pretty! I want it!’*

3: What is your favorite costuming resource? *Books! There are so many great books out there. Books of patterns, like Janet Arnold; books of fashion plates, like those from Godey’s; and books of information, like Cunnington’s various books. They’re great.*

4: What is your favorite costume that you made? *Oh, that’s so hard! It really depends on my mood! I love my 1893 ball gown and my 1912 evening gown, but I also love my 1824 ball gown, my 1819 spencer, my 1812 square neck gown, and Annabelle, my white 1860 ball gown. I’m awful at picking just one!*

5: What is your favorite era? *That one is easy. 1860s.*

6: Why is that your favorite era? *I read Gone With The Wind and there was just no turning back. You can read more about why I love the 1860s in this past post.*

7: What advice would you give to a beginning costumer? *Do what you love. Build what you are inspired to build. Take the time to look at resources such as books and extant garments. Look into how other people accomplish what you want to accomplish. Learn from experienced people around you. Don’t be afraid to make mistakes. Start at a level you are comfortable with, and don’t be overwhelmed by the creations of people who have been doing this far longer than you, you’ll get there.*

8: What is one historical garment you would like to learn that you do not yet know how to make? *There are a lot of things in the 18th century that are waiting to be tackled. Lots of new stitches and ways of doing things, and new styles. If I had to pick just one… A sacque back gown.*

9: What one word best describes your fabric stash? *Organized.*

10: How did you get involved in costuming? *I took a costume construction course as a sophomore in college. I realized that I could have a career in this field and continued to pursue opportunities. Then I went to grad school, which ate my life for three years, but brought me professional costume opportunities. Once I graduated with my MFA I had time to get involved with vintage dancing, which only spurred my passion for constructing historic clothing. As I continued to meet more people in vintage dance, I also met other historic costumers. One things leads to another, and my network keeps expanding!*

11: Do you have a favorite yearly costuming event? *I love the Commonwealth Vintage Dancer’s Returning Heroes Balls. It’s so amazing to have an entire room of people clad in 1860s clothing, dancing to live 1860s music. It’s quite magical!*

And with no further ado, here are my nominations! It’s hard to reach eleven, so I’m going to stop at six.

Dressed In Time (I’m pleased to be able to return the blog love!)

Eva’s Kleidertruhe (I love blogs in German and English! The ladies who write them are so talented.)

Experiments In Elegance (“Beautiful things for romantic personalities” indeed!)

Historically Dressed (Just lovely. Lovely clothes, lovely posts, lovely blogger!)

Plaid Petticoats (So much tartan! And other fun adventures.)

Recreating the 19th Century Ballroom (Really neat research (and images!) about 19th century ballroom things.)

My questions for you, my nominees:

1: What inspires you most about historic clothing?

2: What is your favorite period for wearing historic clothing?

3: Is that different that your favorite period for making historic clothing?

4: What is your favorite thing to do while wearing historic clothing?

5: What got you started in historic clothing?

6: Do you have a favorite event to which you wear historic clothing?

7: If you could go back to any year, what year would you pick?

8: Why would you pick that year?

9: What would you miss most about your modern life?

10: What era is at the top of your historic costuming “wish list”? (ie, what would you love to tackle, but haven’t yet?)

11: Do you think you’ll ever tire of making/wearing historic clothing?

Newport Vintage Dance Week Part XI: A Fond Farewell To 2012

This is so neat! Bill Cunningham (the sweetest man, who photographs for the New York Times) included CVD’s Newport Vintage Dance Week in his “Fond Farewell to 2012” photo spread. Even cooler, one of the pictures he took of “the young set” is top and center! Look, there I am on the left! We were doing a silly Charleston, though I’m not sure that totally helps explain our positions… but we do look like we’re having fun, anyway. I am so pleased to be included in an event on the same page as these other big name events. It’s really cool! Check it out below, or click here to see the full page.

13PARTY-popup

Once again, Bill Cunningham, I am honored to say thank you!

If you missed out, or just want to re-live the awesomeness, I posted lots of posts about Newport Vintage Dance Week a few months ago, including lovely pictures of the balls and teas as well as two other all Newport Vintage Dance Week photo spreads from Bill Cunningham that were in the New York Times. You can see all of them by clicking here.

A “Lovely Blog” Award

You know, I use the word “lovely” often, and I think it is so neat that Caroline, of the blog Dressed in Time, has described this very blog as “lovely” and nominated it for the One Lovely Blog Award! Thank you, Caroline! I am so pleased to be included on your list of nominations.

one-lovely-blog-award

You probably know how these awards go: there’s a list of things to do:

1. Thank the person who nominated you.
2. Add the ‘One Lovely Blog Award’ image to your post.
3. Share seven things about you. 
4. Pass the award on to seven nominees. 
5. Include this set of rules.  
6. Inform your nominees by posting a comment on their blogs.

Since this is all about being a lovely blog I am going to use pictures to share things about me, and since you often get to see pictures of the lovely historic places I visit and beautiful clothes I wear, I’m going to change it up and share places I’ve been in modern clothes. I can’t take full credit for the picture idea because it was inspired by the One Lovely Blog Award posts by Caroline and the blogger who nominated her: Susan Ardelie of Life Takes Lemons.

IMGP1473
Just visiting: the coast of Maine.
IMGP0250
Tromping through the English countryside, though I can’t remember exactly where…
IMG_2691
Laying on the grass right next to the Washington Memorial in Washington DC to watch the 4th of July fireworks.
OLYMPUS DIGITAL CAMERA
Flying kites where I grew up in Edmonds, Washington.
IMGP2471
Kayaking in Cape Cod, Massachusetts.
IMGP0758
Just visiting: outside New Orleans, Louisiana.
IMGP2208
At the top of Mount Tom, in Western Massachusetts.

Now it’s time to share the blog love! I nominate:

1. Edelweiss Patterns An all around lovely blog with beautiful photos and lots of posts with absolutely lovely content.

2. A Fashionable Frolick Fantastic content with lots of tutorials, beautiful clothes, and other useful and interesting info is what makes this blog lovely!

3. The Fashionable Past Stunning clothes with immense attention to detail that are photographed in cute photo shoots. Plus, lots of picture filled tutorials. Lovely!

4. A Fractured Fairytale Lovely clothes and accessories from a super sweet blogger.

5. If I Had My Own Blue Box Fascinating information about the lives of mid-19th century people and lovely clothing related tidbits.

6. Kleidung um 1800 This blog is lovely all around! It’s full of beautiful clothing and lovely pictures, and it’s a blog in English and German!

7. The Lady of Portland House Always full of beautiful events with lovely looking people and the occasional side trip into a modern reality which looks lovely and stays in keeping with the tone of the blog.

Thank you to all the people who take the pictures that are included on my blog! You know who you are, friends. I wouldn’t be able to do it without you!

HSF #1: 1813 Evening Gown

IMG_4162
1813 Evening Gown

Historical Sew Fortnightly (HSF) Challenge #1 complete! It was actually completed a few days ago, which I am super pleased about. Even better is that it is for a Regency ball in February, and it is entirely complete a full month ahead of time! All the trim, all the closures, everything! All I have to do on the day of the ball is put it on. Wow! Usually when I wear a new dress to a ball I’m furiously sewing right up until the end and often all the trim doesn’t make it on (that’s what happened with my 1820s green dress back in December, remember?).
The facts:

Fabric: 4 yds red and black shot polyester

Pattern: The bodice front was draped, the back was adapted from my 1812 square neck Ikea gown, and the skirt is the same as the 1812 square neck Ikea gown, with the pattern originally from Janet Arnold’s Patterns of Fashion

Year: 1813

Notions: 3 yds metallic gold bobbin lace, hooks, and little brooch bits

How historically accurate?: The silhouette, cut, and style are accurate, as is the interior finishing (all flat felled and bound edges… it’s quite pretty!). The fabric is obviously not accurate and neither is the lace fiber content, though the style of it is. The closure is accurate. The little brooch bits are accurate in style, though not in materials.

Hours to complete: I’m so bad at estimating this. Let’s say 48 hours.

First worn: Hasn’t been worn yet! Its first wear will be in February 2013.

Total cost: Approximately $26

Now for other details!

Well, first, here’s a closeup of the bodice, so you can actually see the details and the little brooch bits. I’m super pleased with them, because I think they really finish off the bodice and add a little extra touch. I got them from New York and Company, actually. They were part of triple drop earrings, which I took apart. I kept the bottom drop and put them on clip backs (so now I have matching earrings for the dress!) which you can see in the picture below. And the best part is that one of the sections had a missing gem, so the cost of the earrings was refunded by NY&Co and so the total cost of the earrings is $0! Awesome! (It worked out perfectly, because I only used 5 sections of the triple drop earrings, so the damaged one wasn’t a problem.) Of course, the materials used in the earrings are not at all historically accurate, but I’m ok with that, for the cost (yay!) and the fact that they do have the right look.

IMG_4170
Little brooch bits!
IMG_4169
Single drop! Clips! Perfect!

And here’s the back. As you can see, it doesn’t quite fit Squishy in the back, but it shouldn’t have trouble fitting me. I love the drape of the fabric! Now that all the raw edges are enclosed and the polyester can’t fray everywhere, I am totally happy with the fabric choice (bargain!). The photos don’t really do justice to the fabulous gold lace at the hem.

IMG_4164
Aren’t those gathers and folds lovely?!?

The dress is entirely hand finished and mostly hand sewn. Originally, I was going to make it all by machine, but then I had sewing parties and things that required hand sewing, and I just didn’t feel like lugging out the machine, so I wound up hand sewing a lot of it, which was quite satisfying. There’s one side back seam sewn my machine, I think the long skirt seams are sewn by machine (though I can’t remember, because I started this dress back in October or November), and the waistband was sewn by machine. Actually, it was so much easier to keep the width consistent using the machine than when sewing it by hand.

The only other information to share is my inspiration for the dress.

19562579602239981_TEw2UjIU_c
For her neckline and sleeves: Comtesse de Tournon by Ingres, 1812.
131378514099875826_v9iatcAj_c
Another neckline inspiration: L’Art de vivre au temps de Josephine.
1810-gold-mccord
For the overall silhouette and the trim style: 1810.
12-501052
One more neckline inspiration and another similar dress built by Natalie Garbett. Here is her post about her 1812 gown with a v neck.

Clearly, I need a Kashmir shawl to complete the ensemble… I have a pashmina that sort of looks the part, so I’ll have to try that out at the ball. Stay tuned for more pictures of this dress in about a month!

January Stash Additions

This story starts as so many sewing related stories do: I went in “just to look.” In fact, we all went in “just to look.”

I’m sure you can guess what happened…

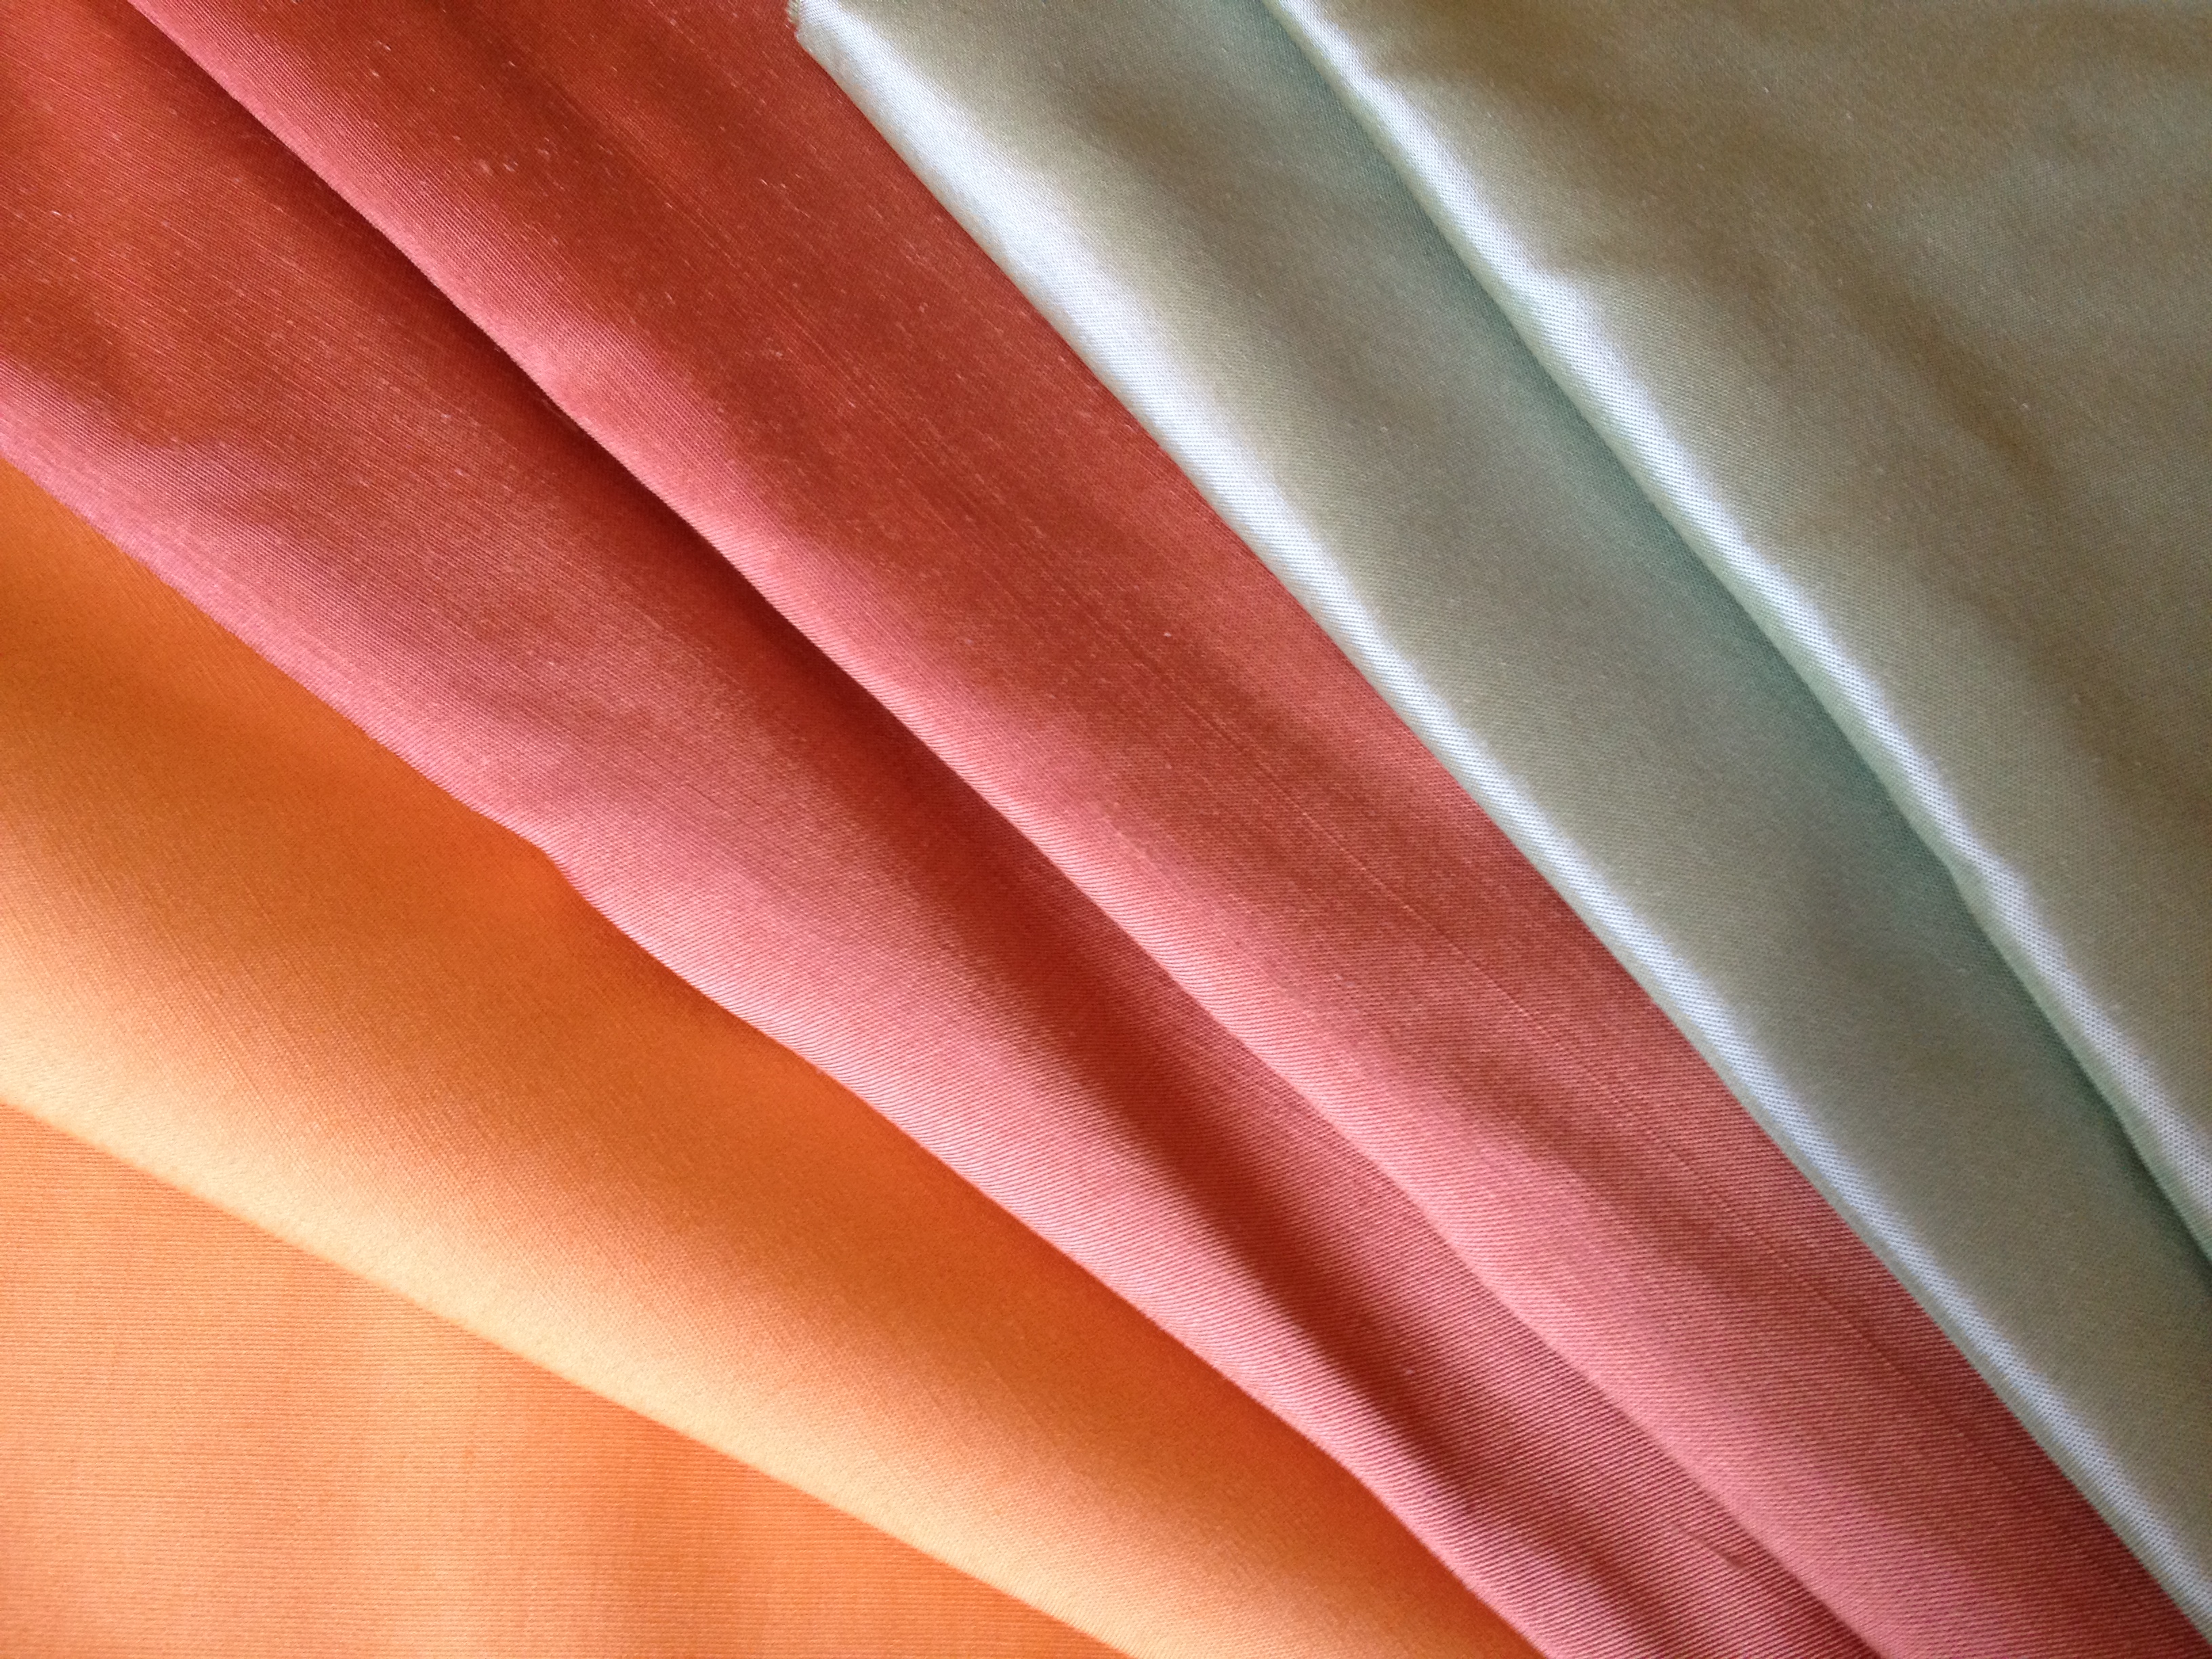
All three of us each came out with 2 or 3 lovely fabrics! We just couldn’t resist the bargain priced silks! My stash additions: 4 yards of apricot cotton, 6 yards of pink silk, and 2 yards of icy green silk. All truly stunning colors on their own, but together they just make me super happy!

IMG_0255

What will I use them for, you ask? What a practical question! Well, the cotton for an 18th century under petticoat (a garment that will probably never be seen, so I picked a fun color that is vaguely plausible for that period), the icy green silk for 18th century accessories (hat, muff cover, and maybe mitts, with some leftover to do something else with as well…), and the pink for… something. Perhaps an 18th century something, maybe a sacque? Perhaps a 19th century something, maybe a bustled gown? I got enough to make something and have enough for self fabric trim, I think (it was all that was left on the bolt…). I’ll have to wait to be specifically inspired, but in the meantime I am generally inspired by the color. It’s a great grown-up shade of pink! Whee!

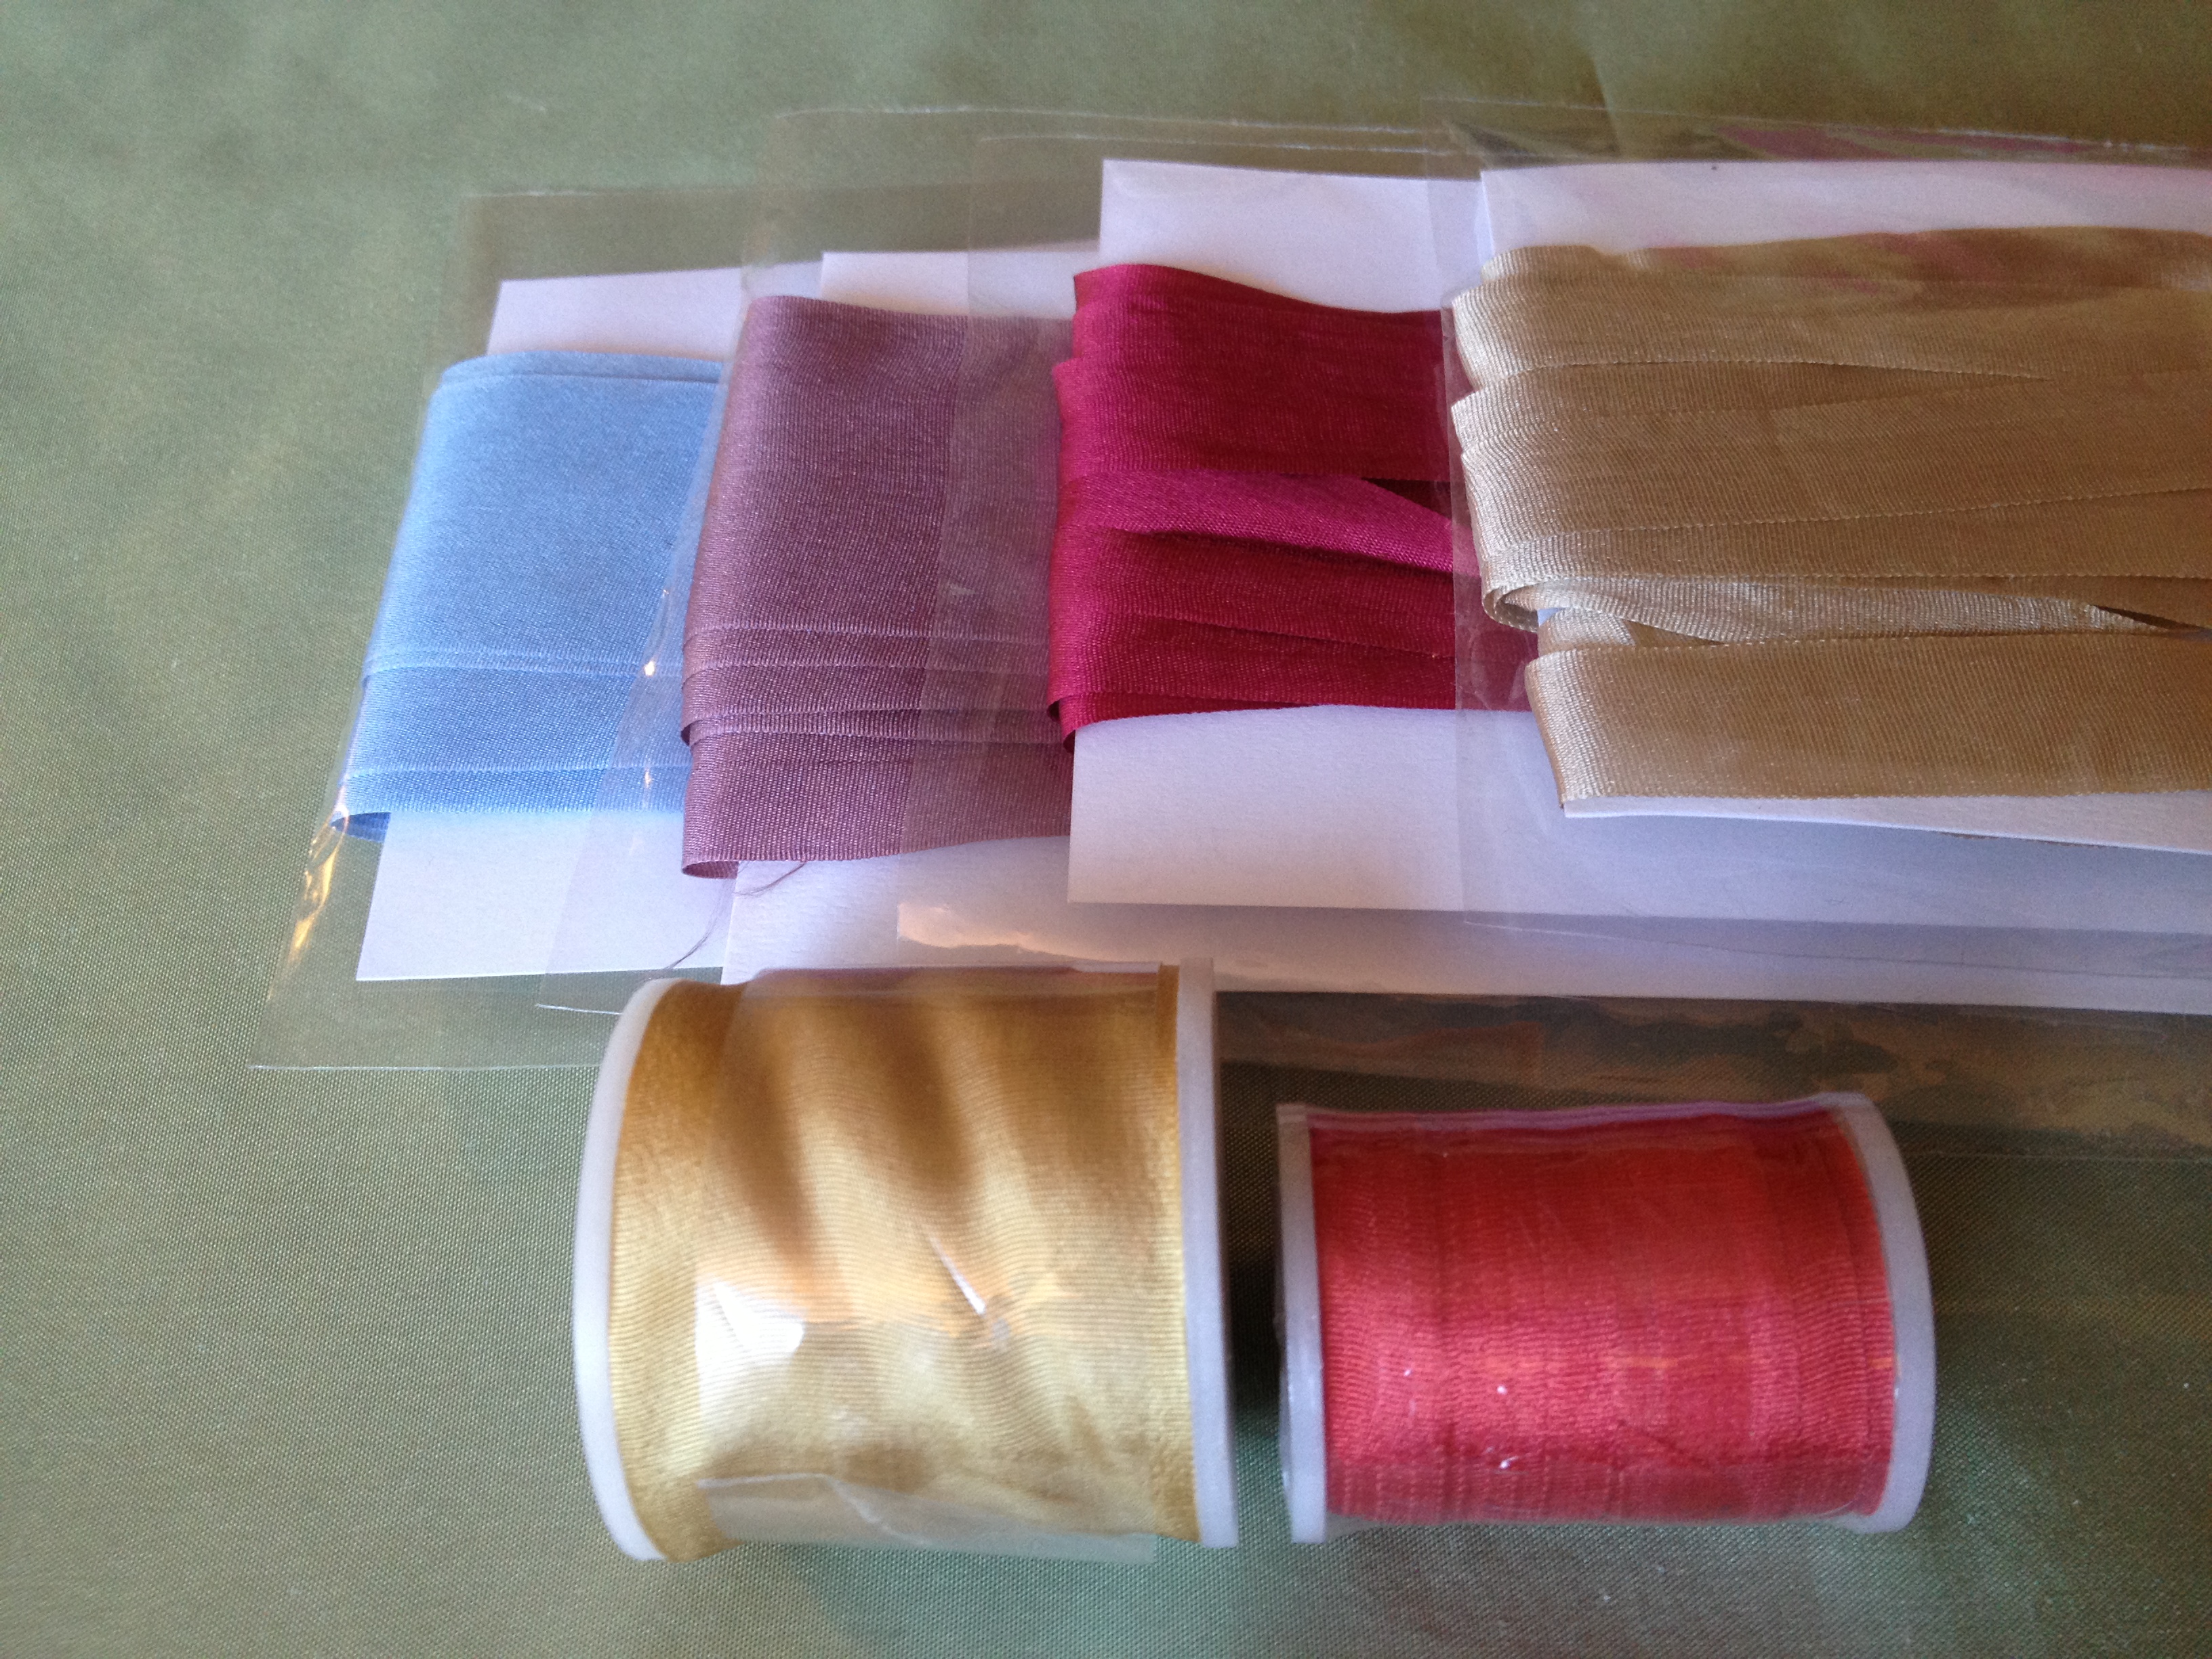
I also bought some silk ribbon that is a stash addition. The champagne ribbon on the top is the ribbon I plan to use to decorate my Kensingtons. Of course, while looking for that I got totally distracted and overwhelmed by other beautiful ribbons as well… not surprising, really, considering how lovely they are!

IMG_0256

 I justified their purchase by proposing a use for each of them. Blue: to trim my soon to be made Waverly Mineral Felicite 1780s jacket. Purple (they called it silver/grape, which is a cute name): to trim future Regency bonnets and an 18th century cap. Dark pinkish/red: I couldn’t resist the color! One day I plan to make the Costume Close-up laced front jacket, and I think this would be lovely for that, perhaps with some plain purple wool that is in my stash. Champagne: to trim my Kensingtons. Gold spool: to trim an 18th century hat, perhaps with my icy green silk? We’ll see about that. Persimmon spool (it’s not quite so bright in person): I couldn’t resist the color! I love it! I do plan to use it to bind some 18th century pockets in the near future (it will make me super happy to know that color is on my pockets, even if no one else sees them!). I have 10 yards of it… so I’m sure it will get used for other things as well!