Regency Dance Weekend Part I: Settling In

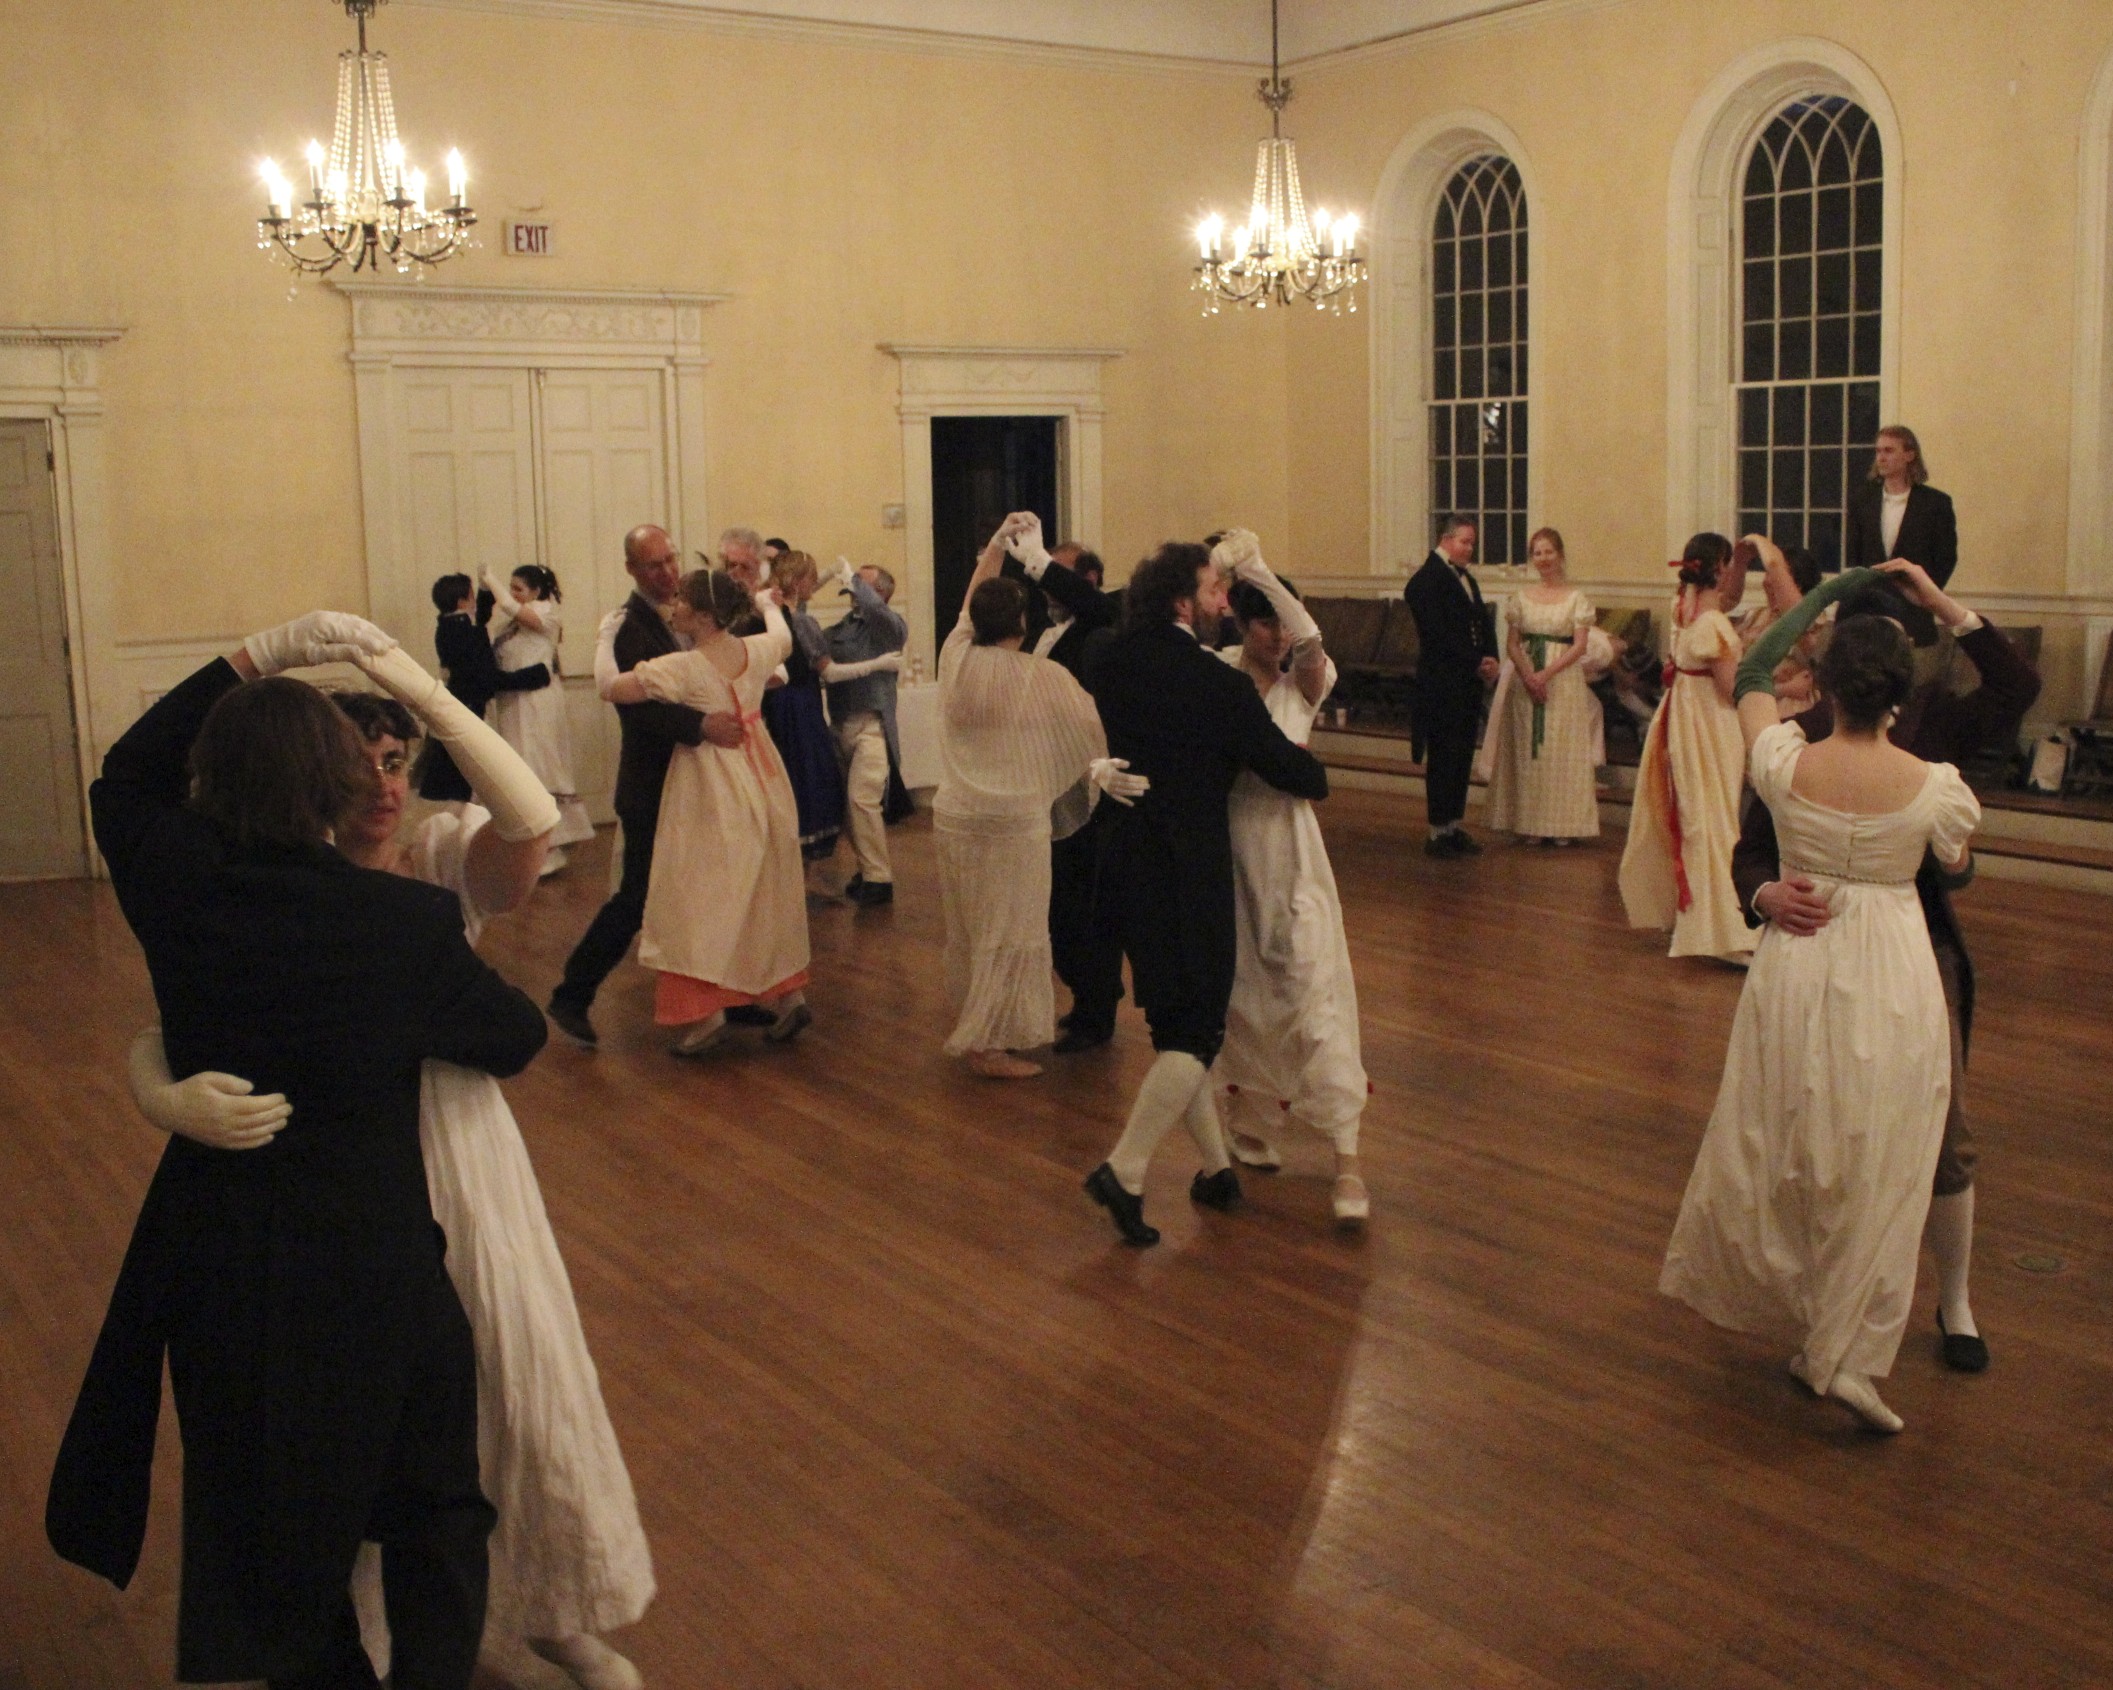
Not so long ago (only about two weeks, though it seems longer), I had the most marvelous time at the Commonwealth Vintage Dancers’ Regency Intensive Dance Weekend. The weekend included classes, archery and outdoor lounging, an informal dance, and a formal ball. Plus, I had the added bonus of staying with friends in a lovely 1807 house and having extra outdoor adventures the day after the weekend ended!

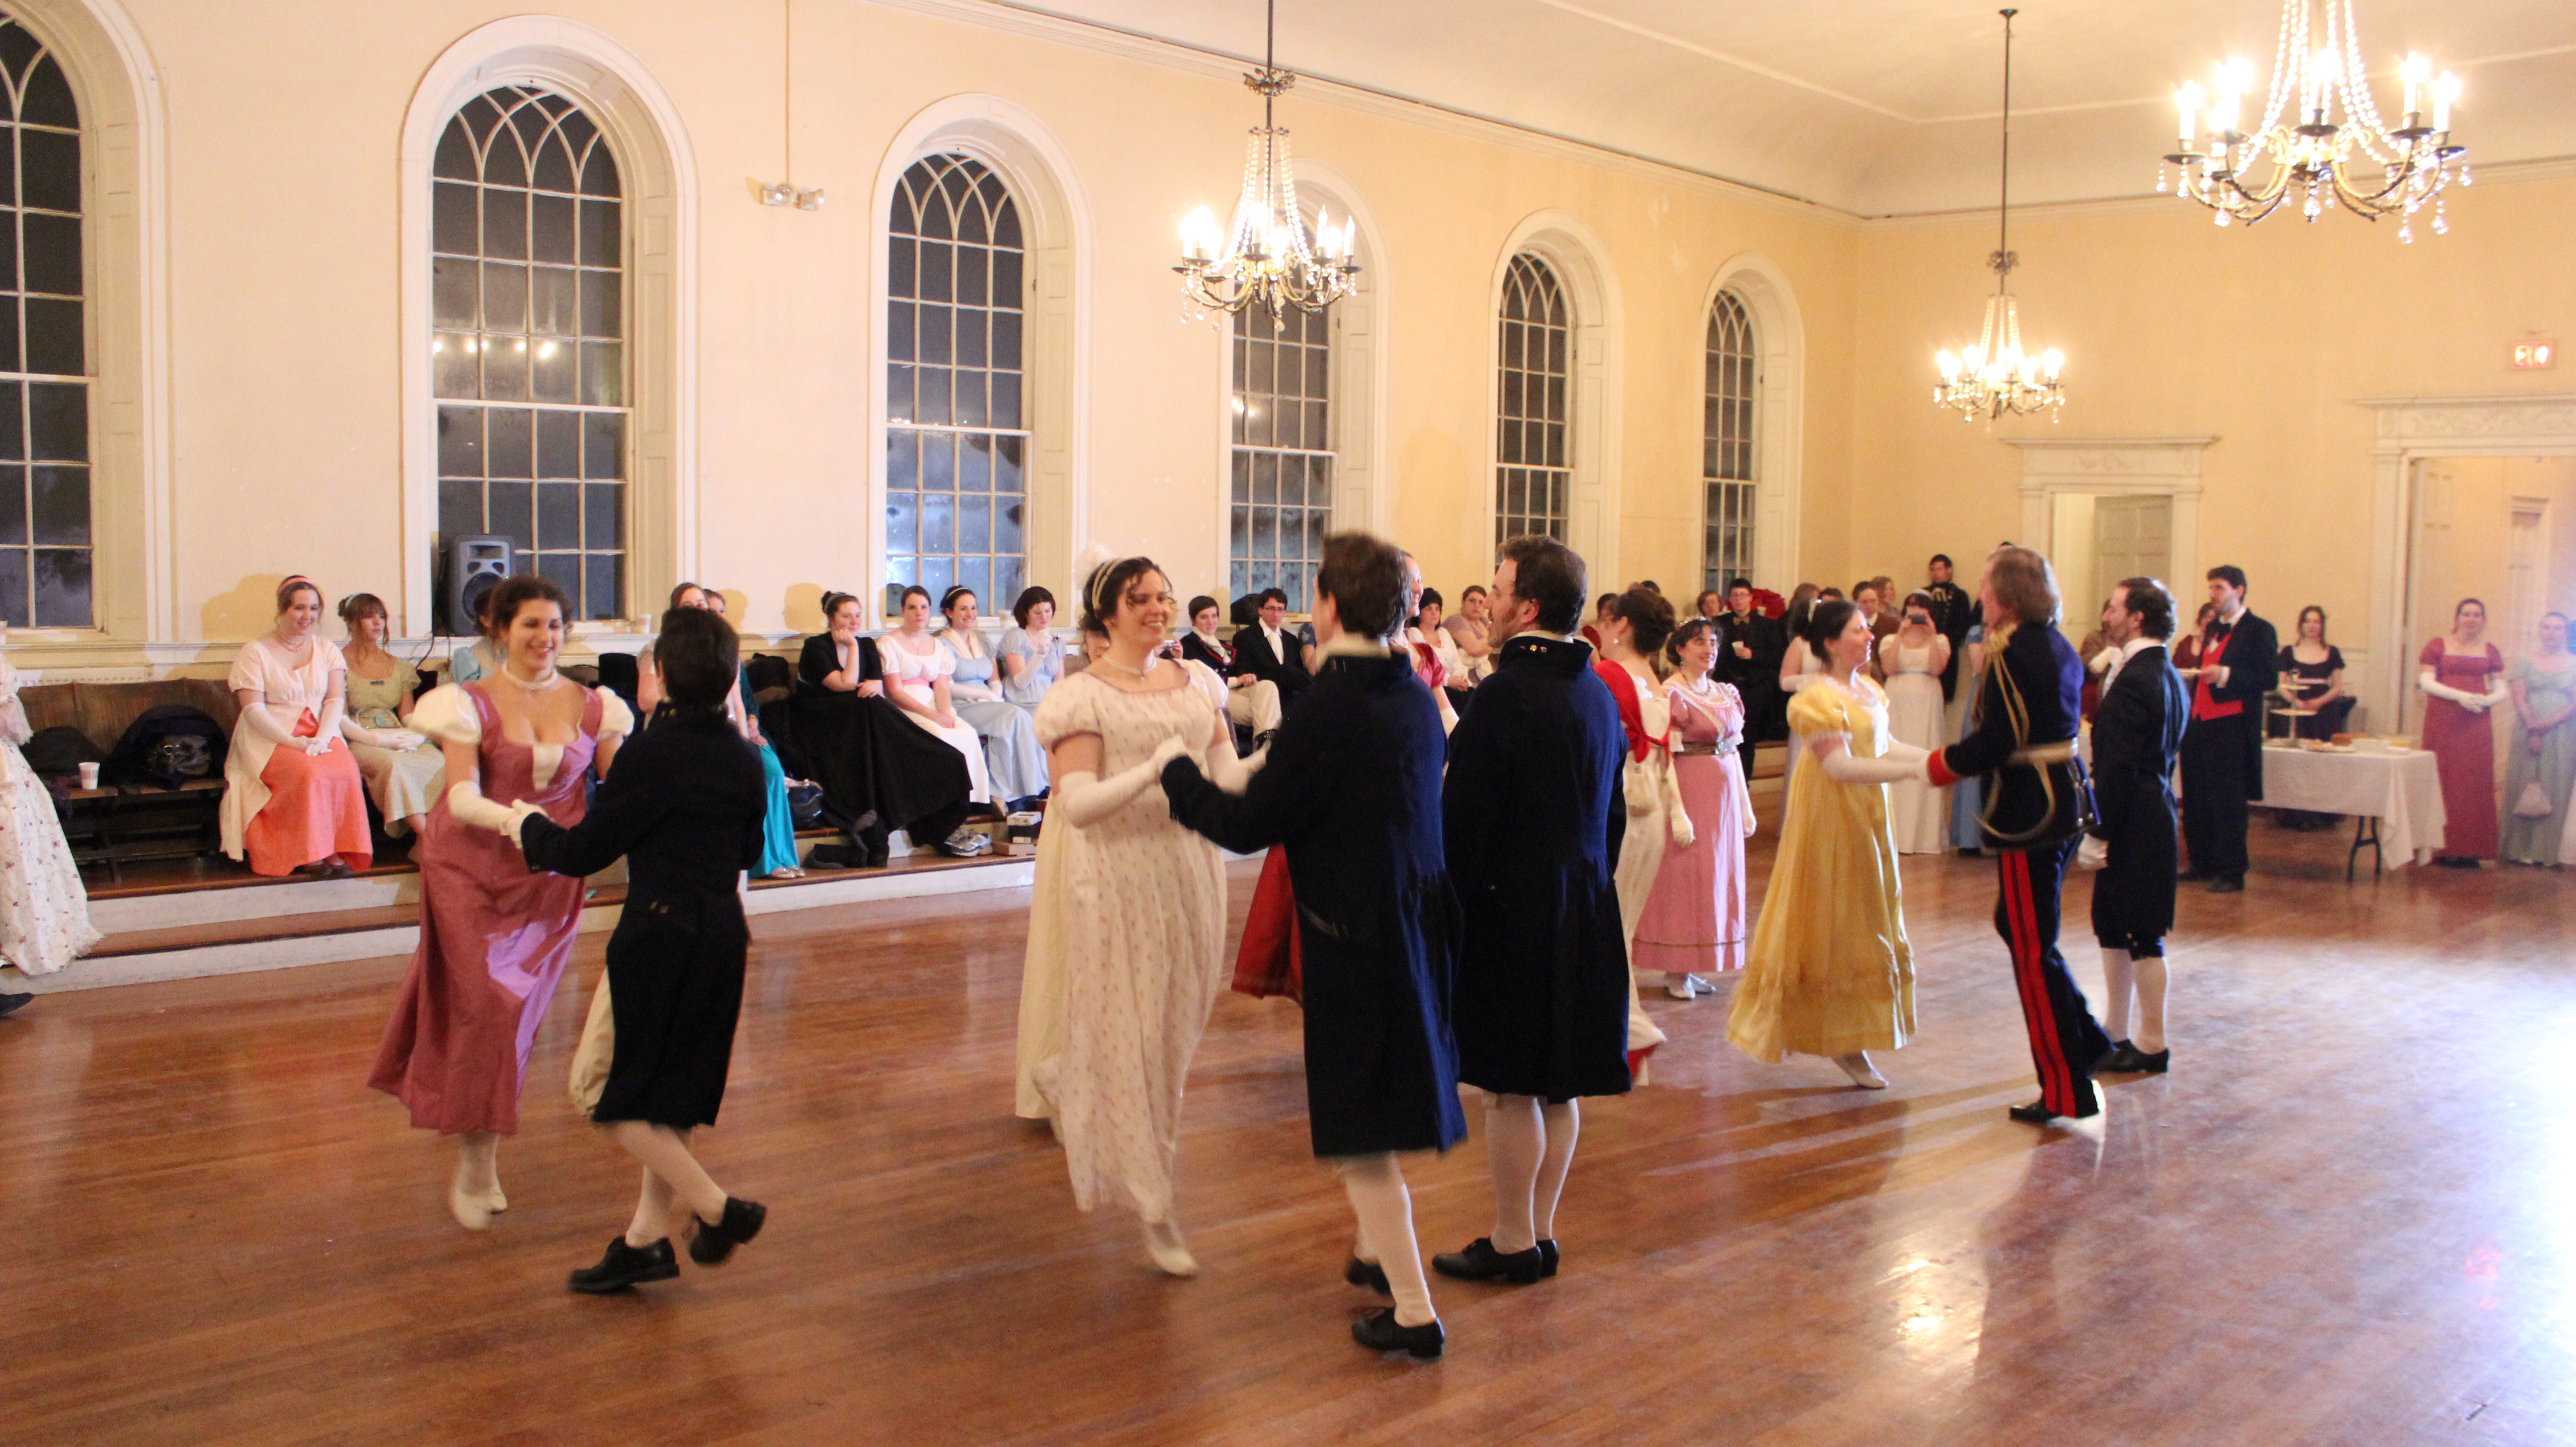
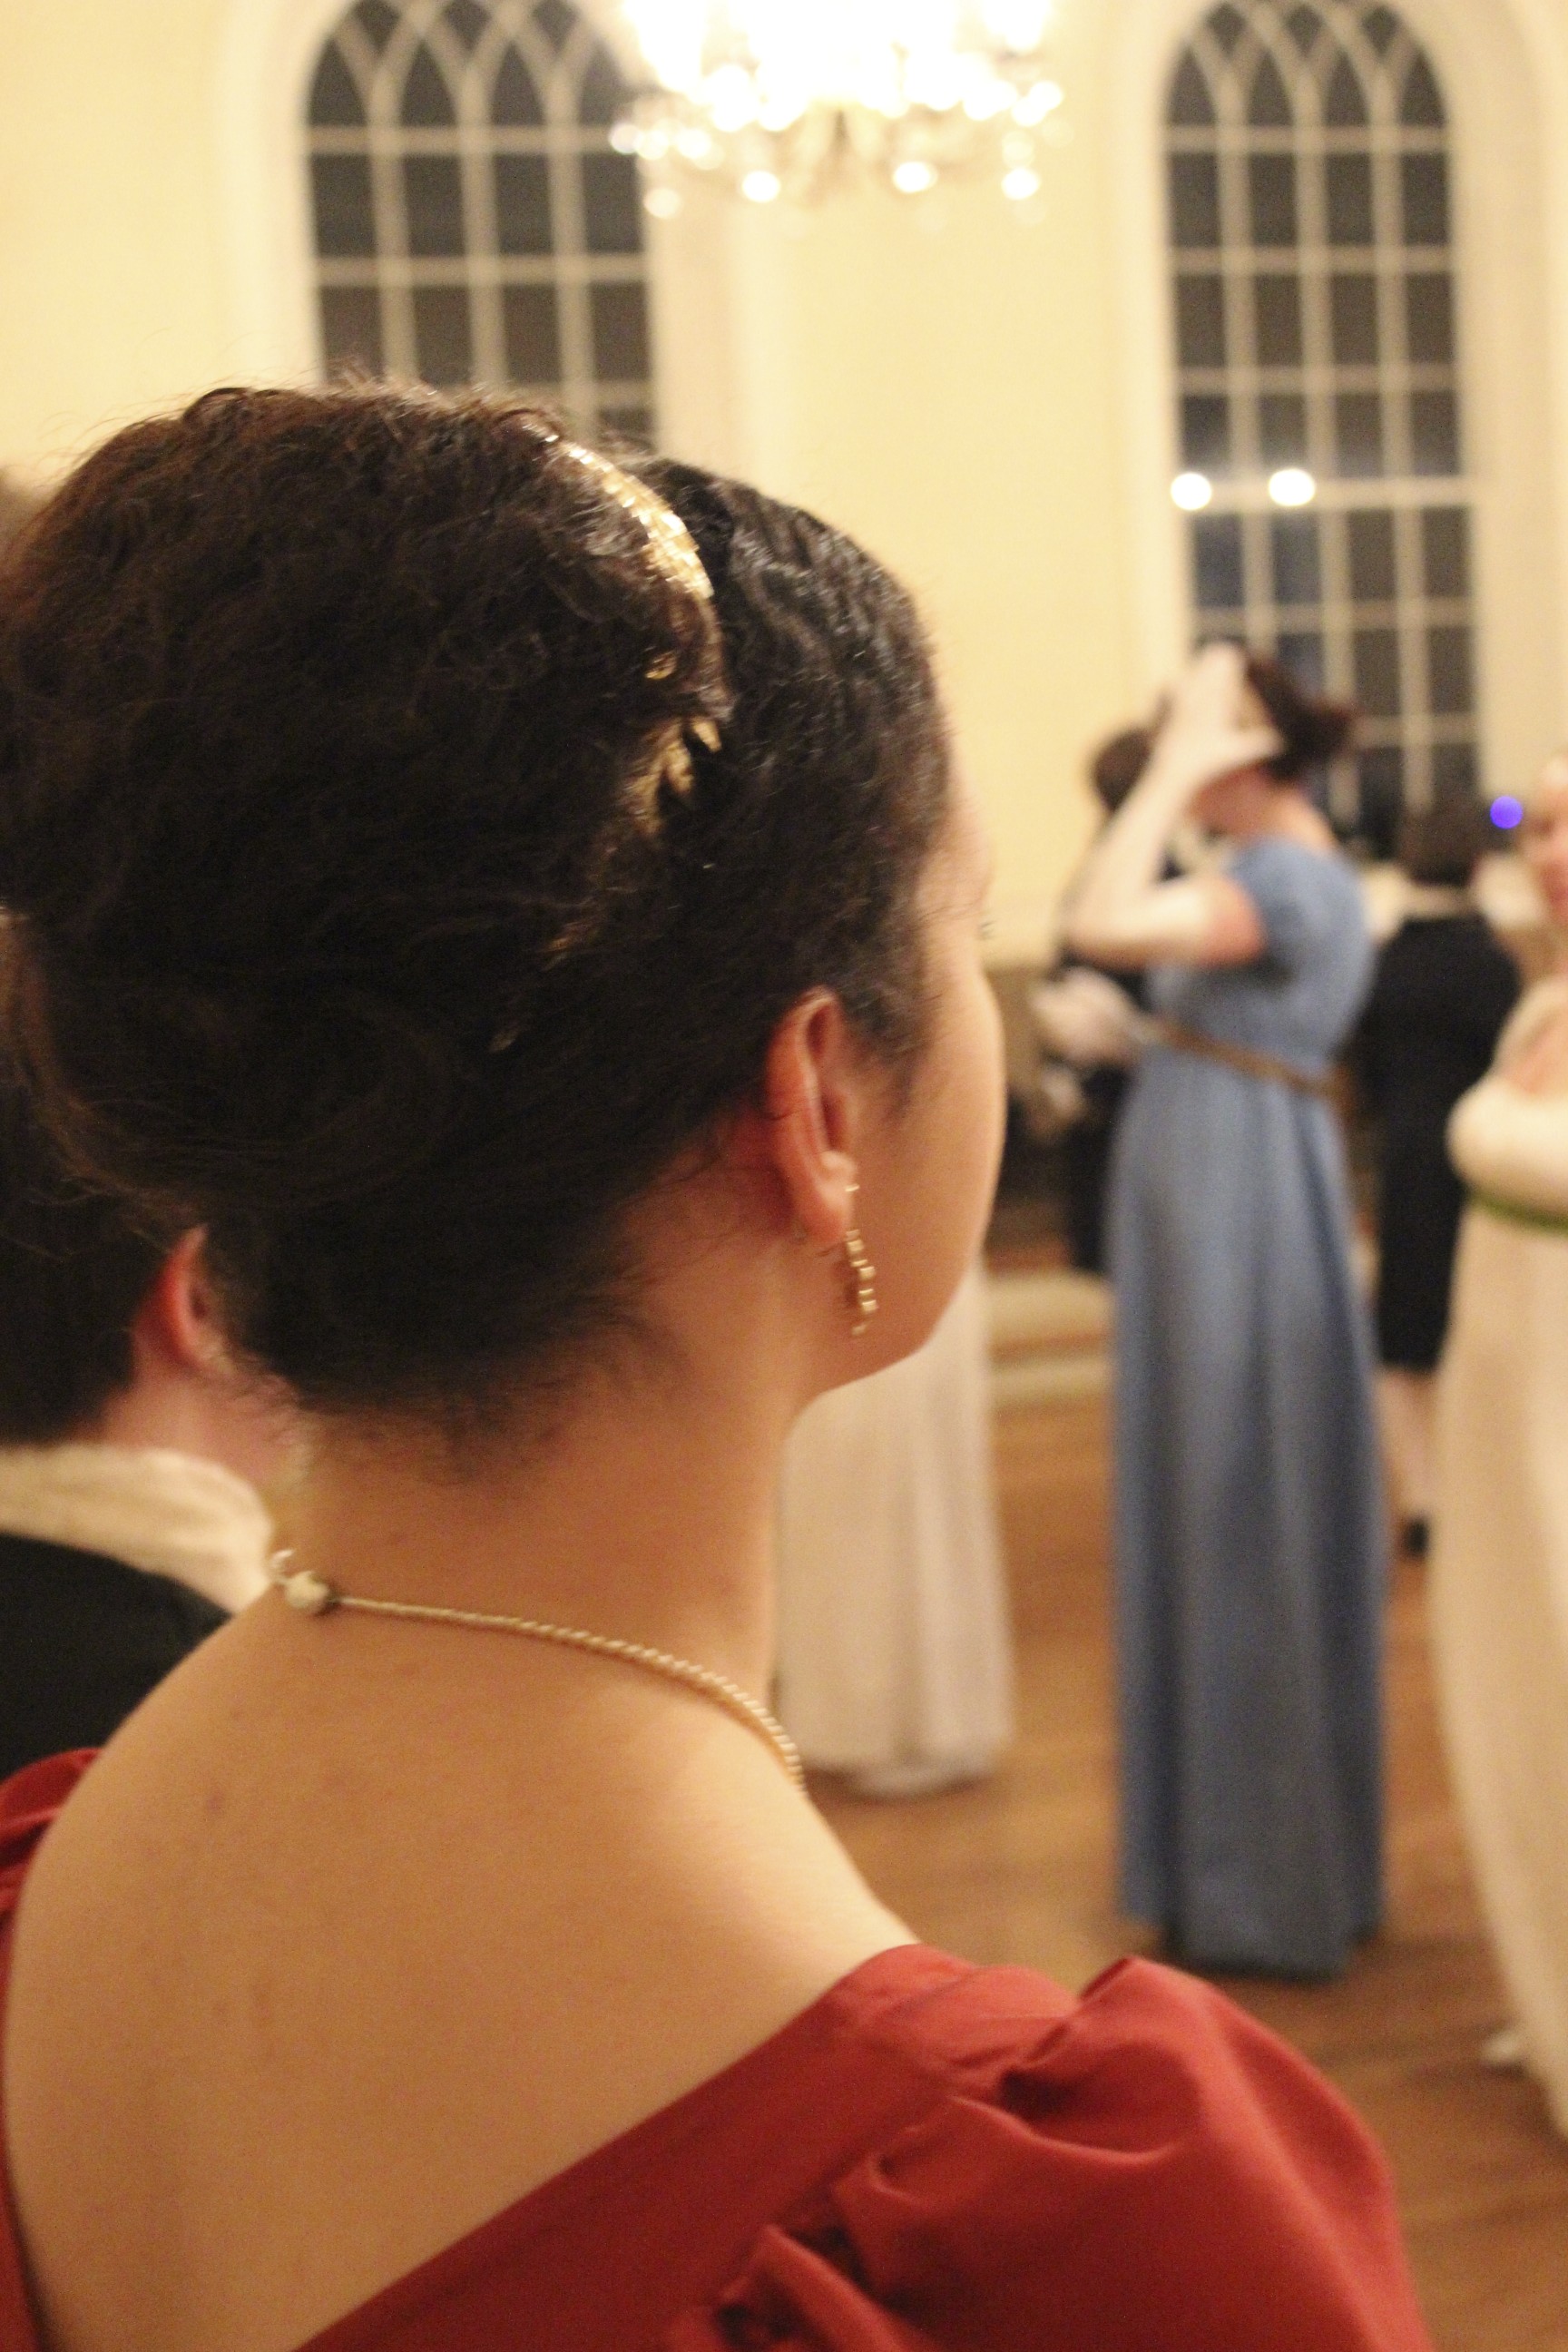
 The weekend had about 50 people in attendance, which was a perfect number for socializing, meeting new people, and filling a ballroom without it being over crowded. It was so special to get to know so many new people, not only by name, but also to have time to get to know a little about them. By the final ball on Sunday night the atmosphere was of the kind you usually only get to dream about when reading Jane Austen: it was a ball where you knew everyone in the room , everyone was constantly changing partners, and everyone knew the steps so there was no teaching, just dancing. It was an absolute blast (and after the weekend I had danced so much that my calves were so sore it was hard to walk for a few days)!

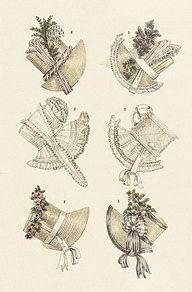
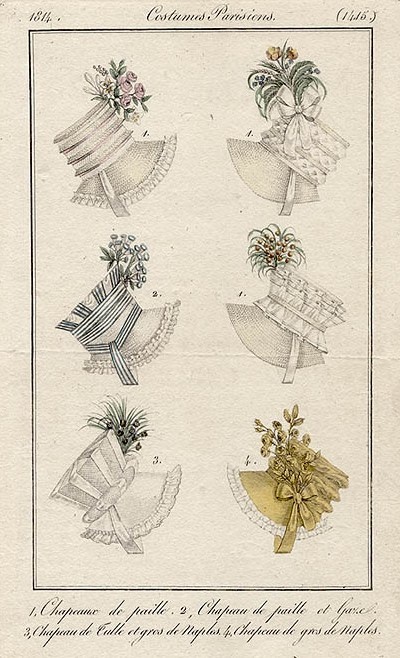
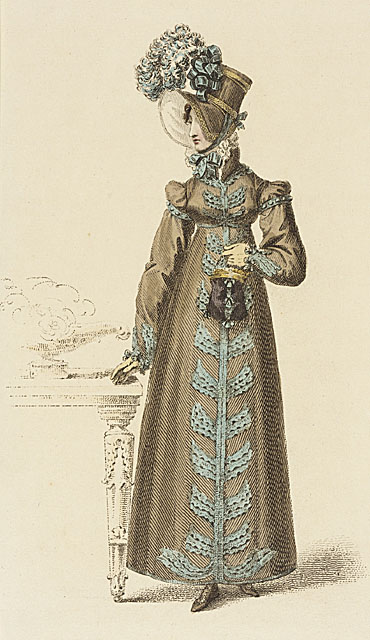
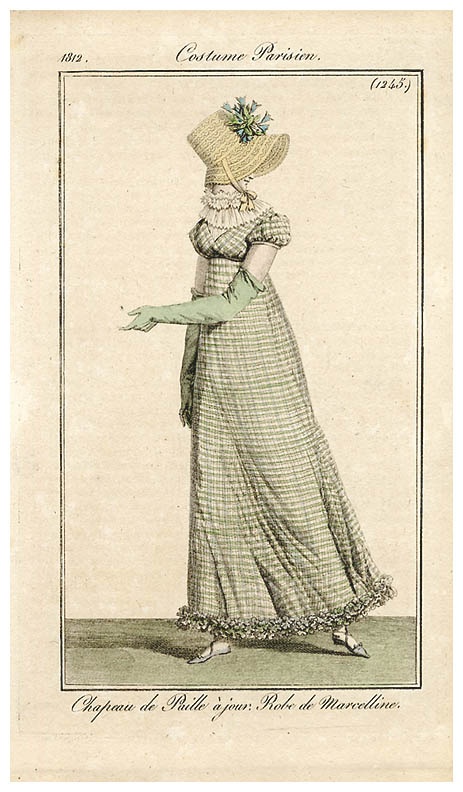
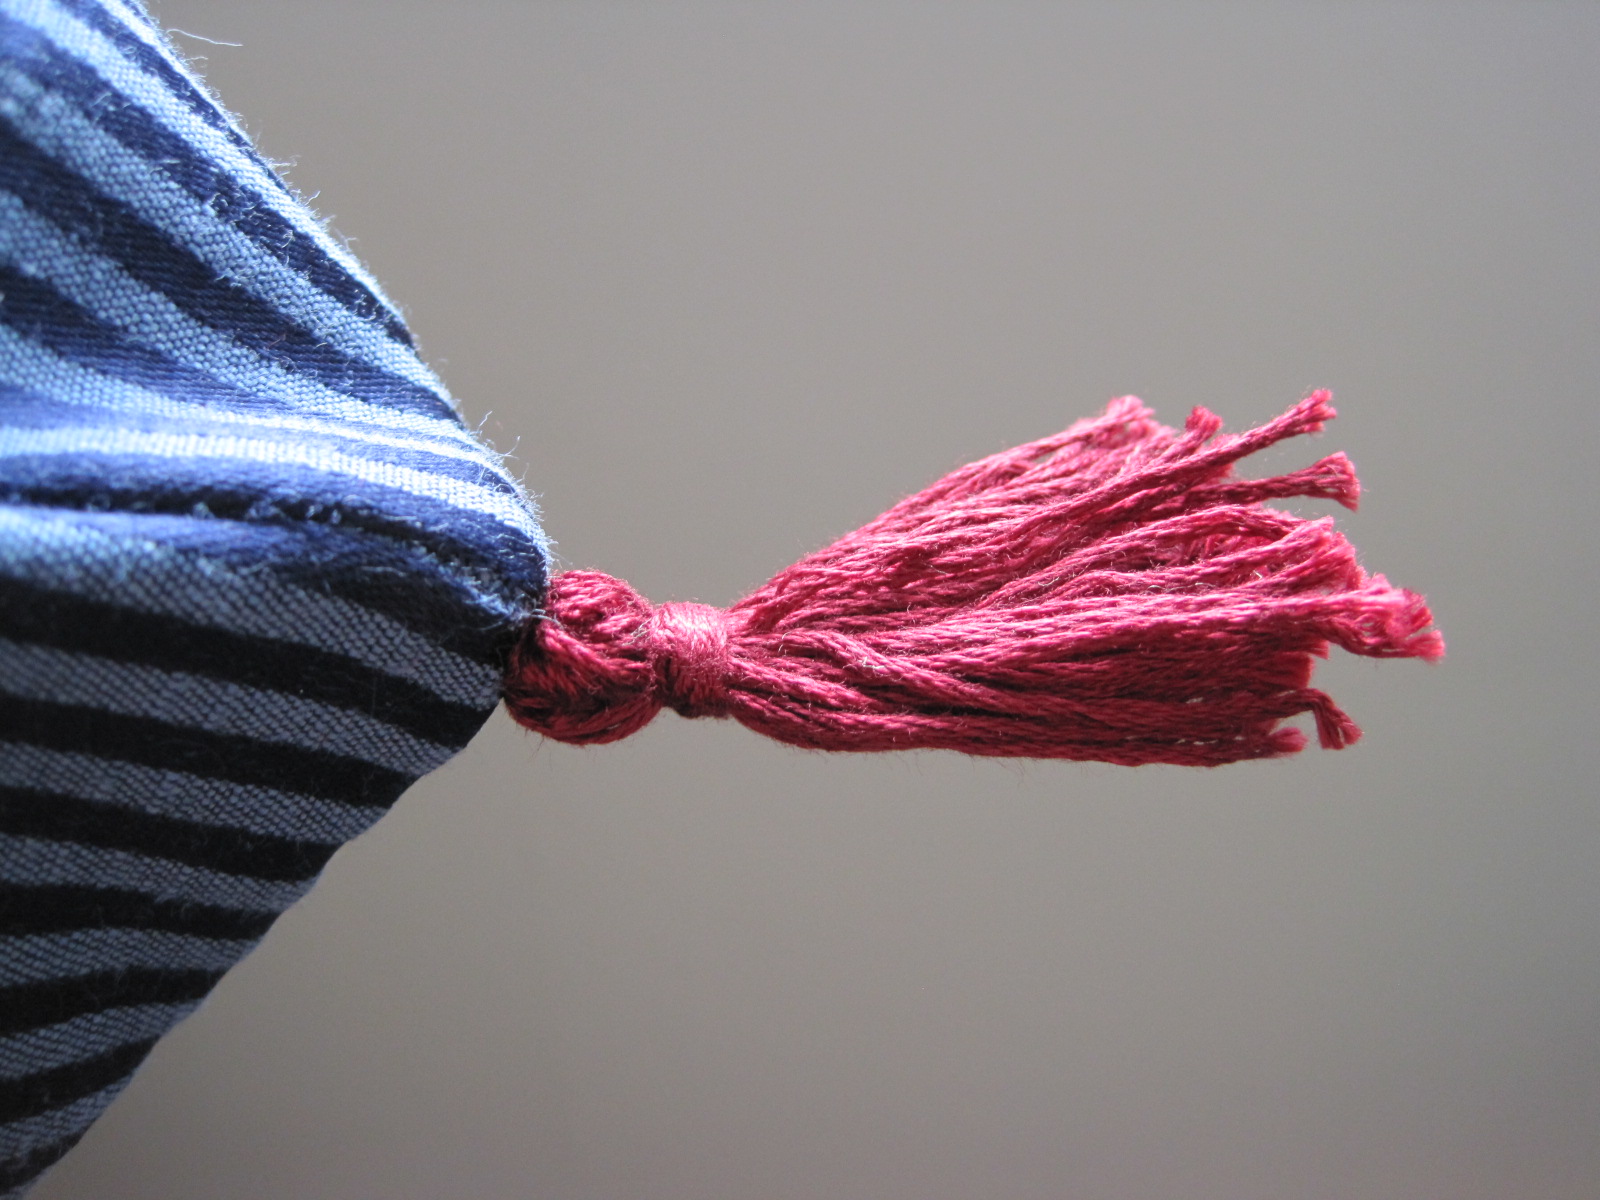
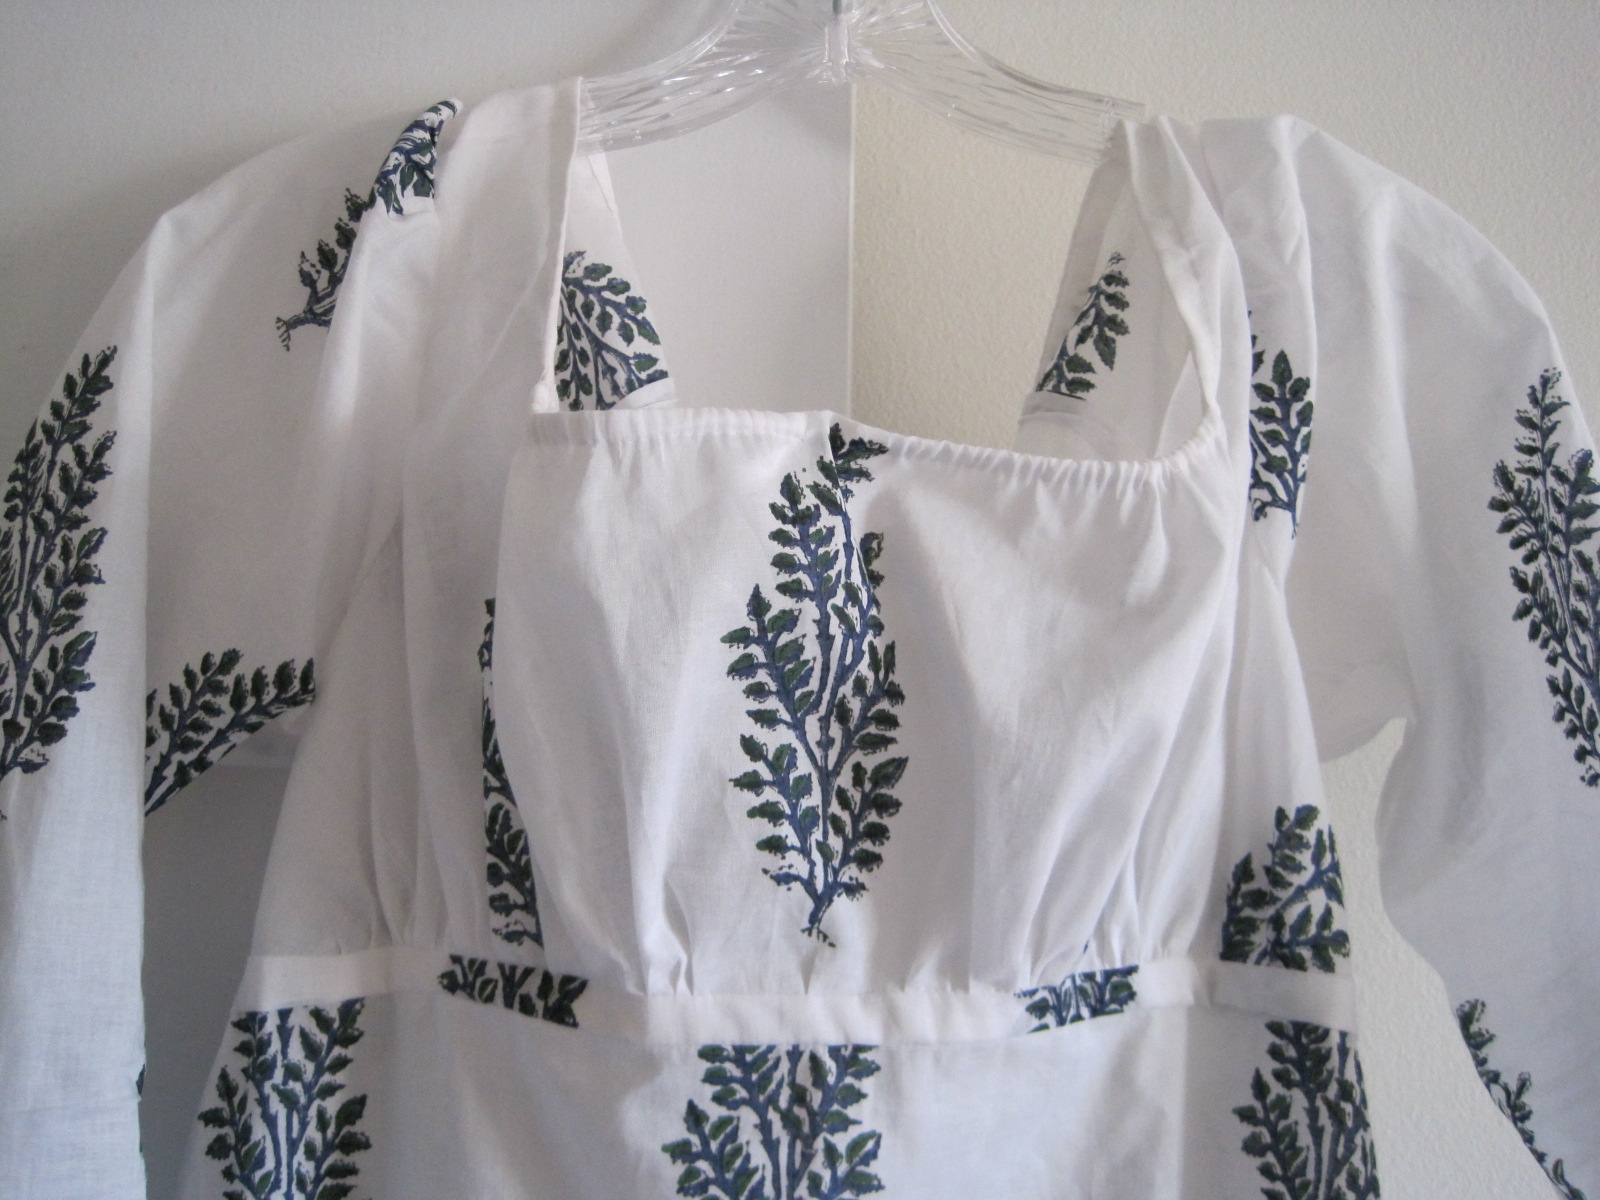
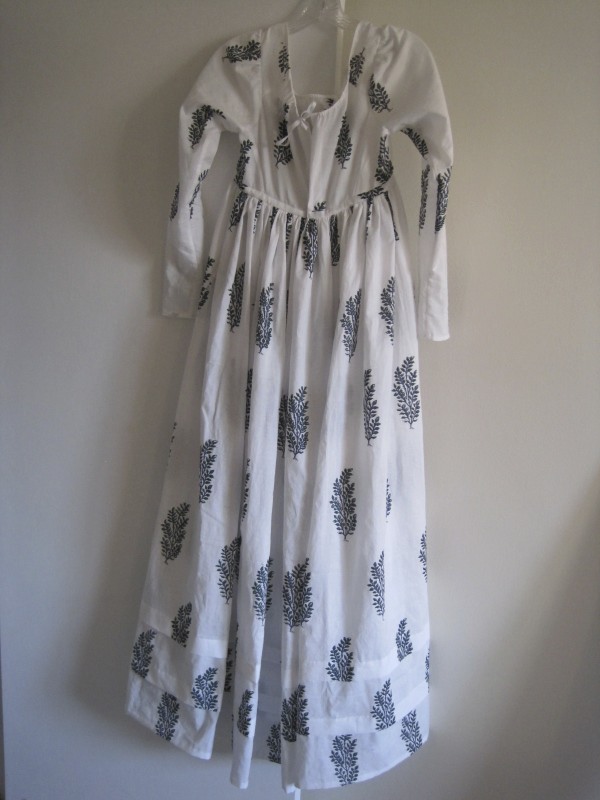
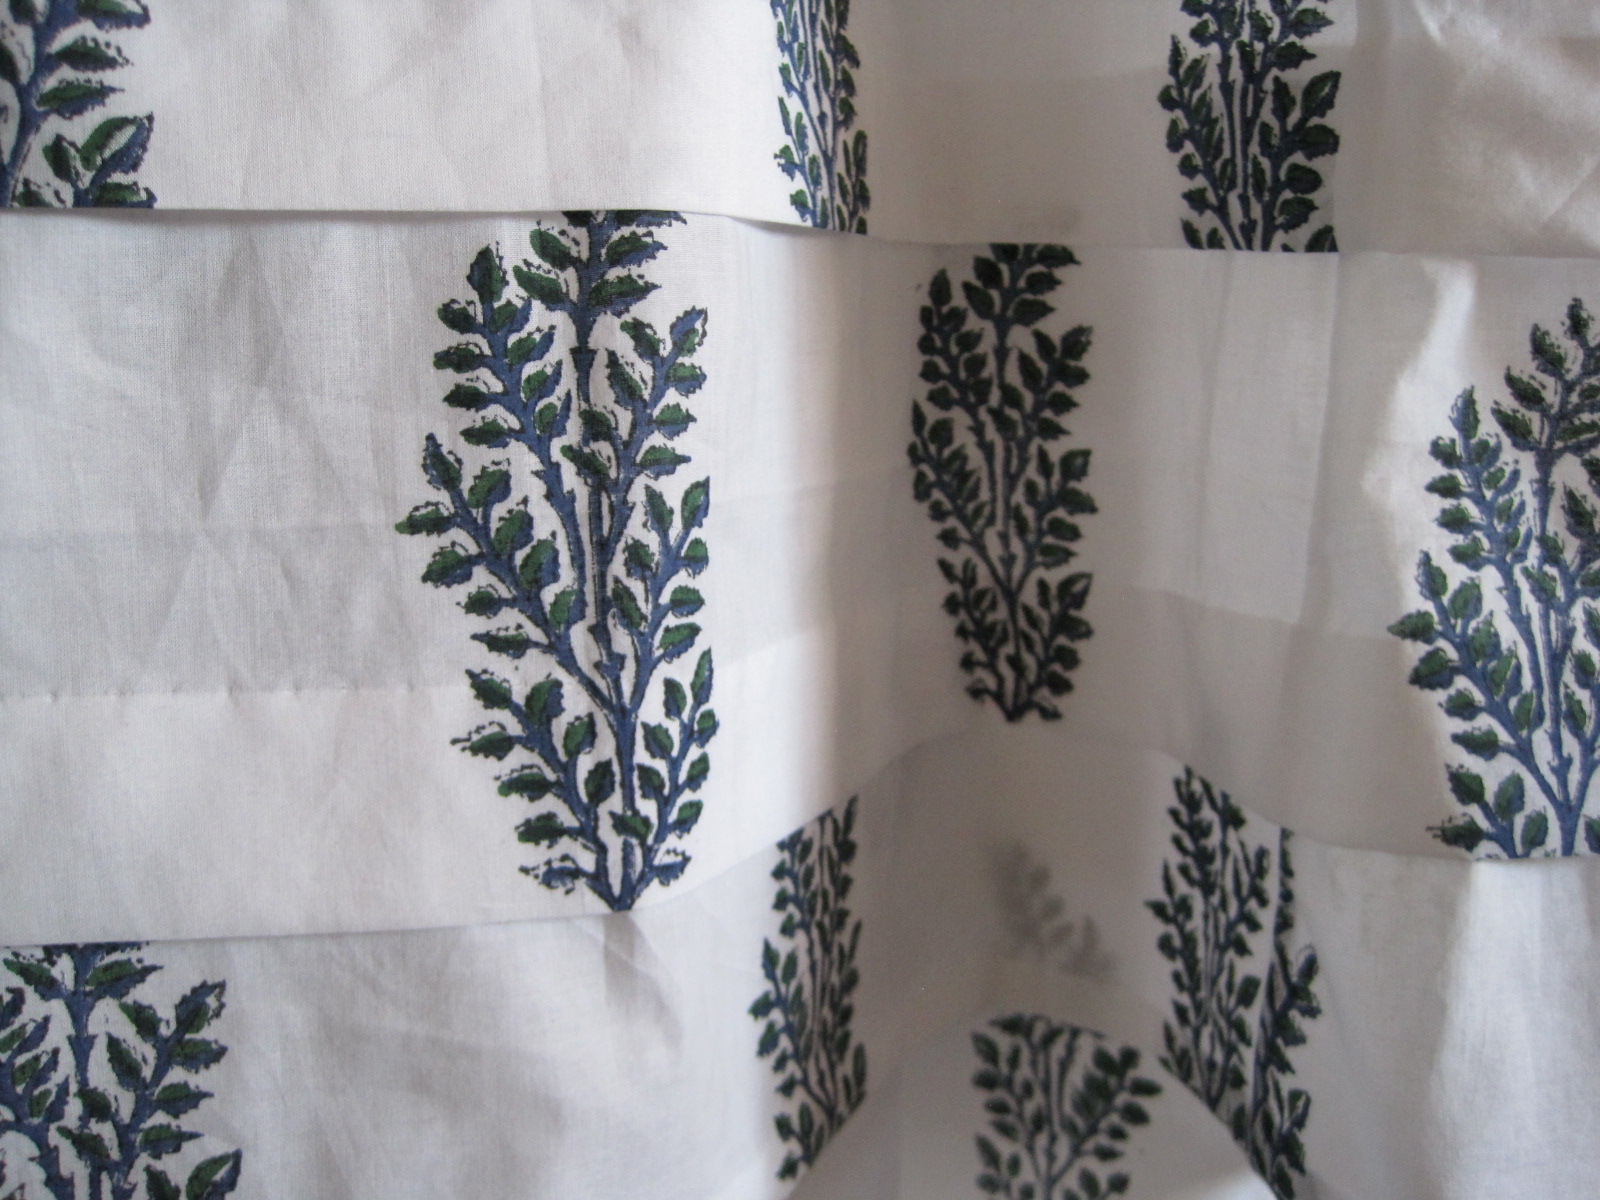
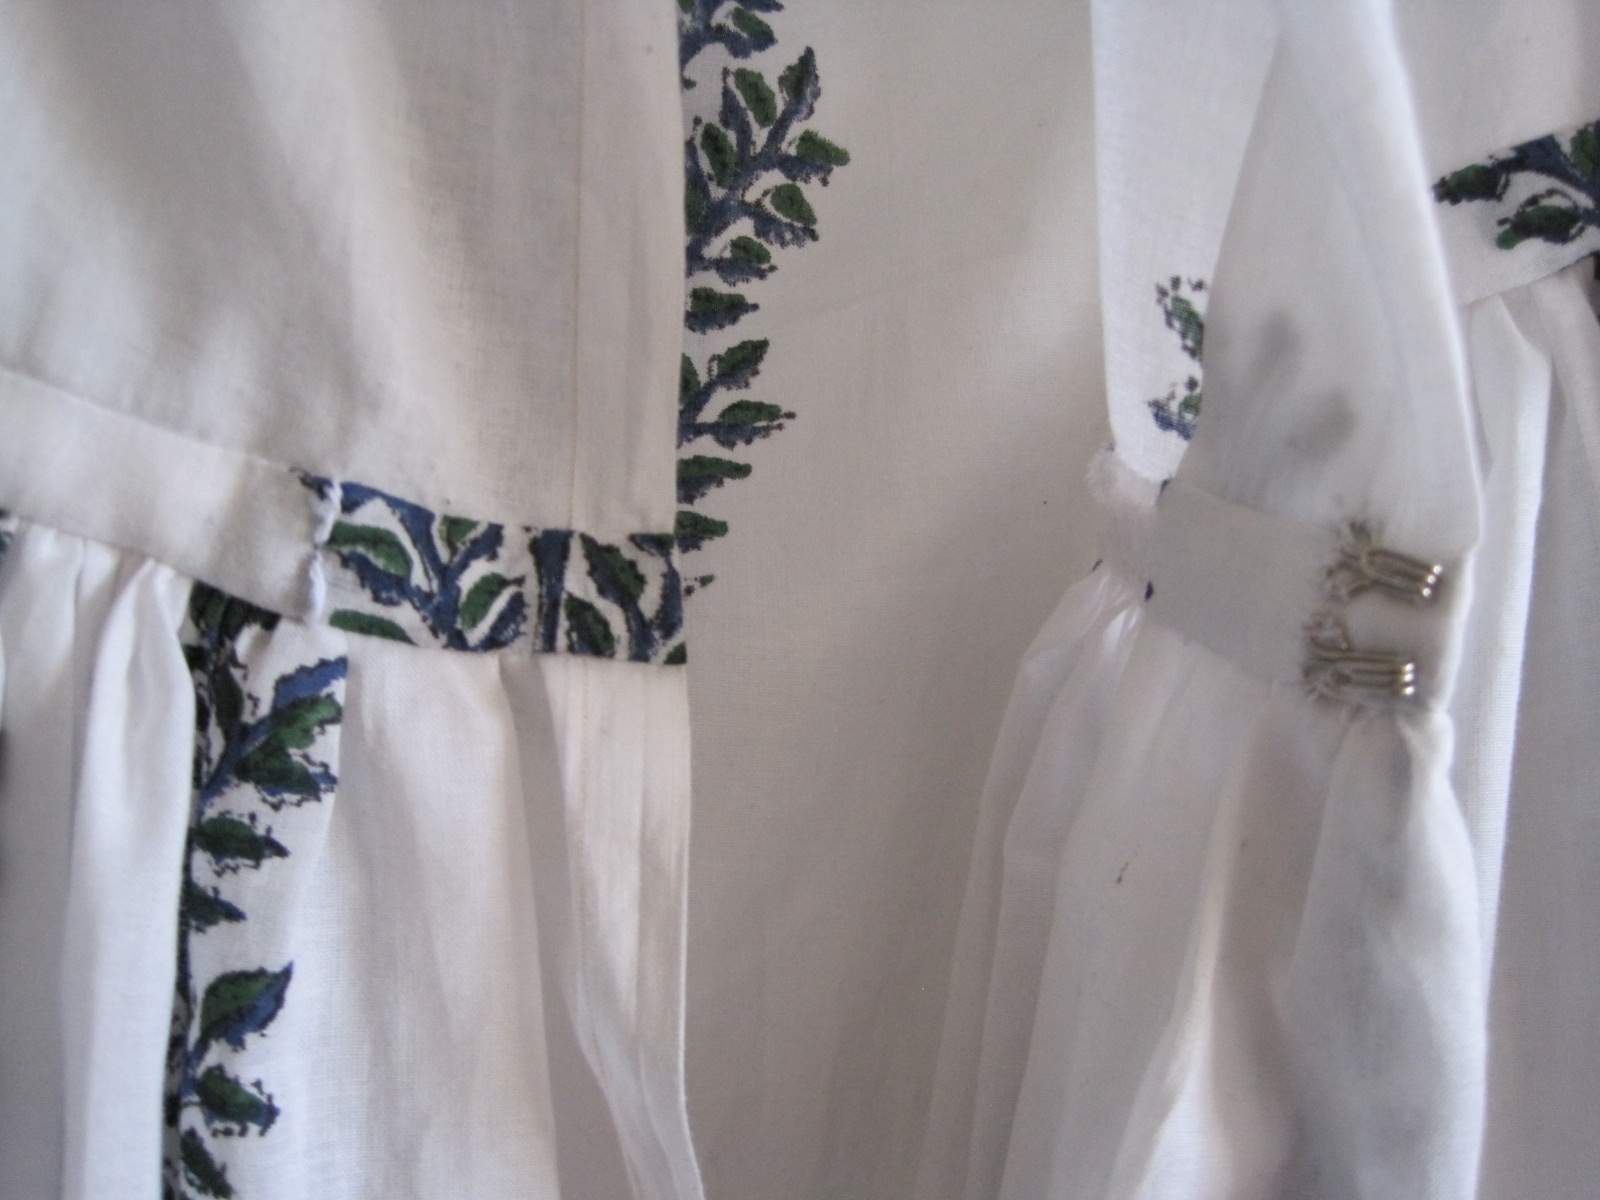
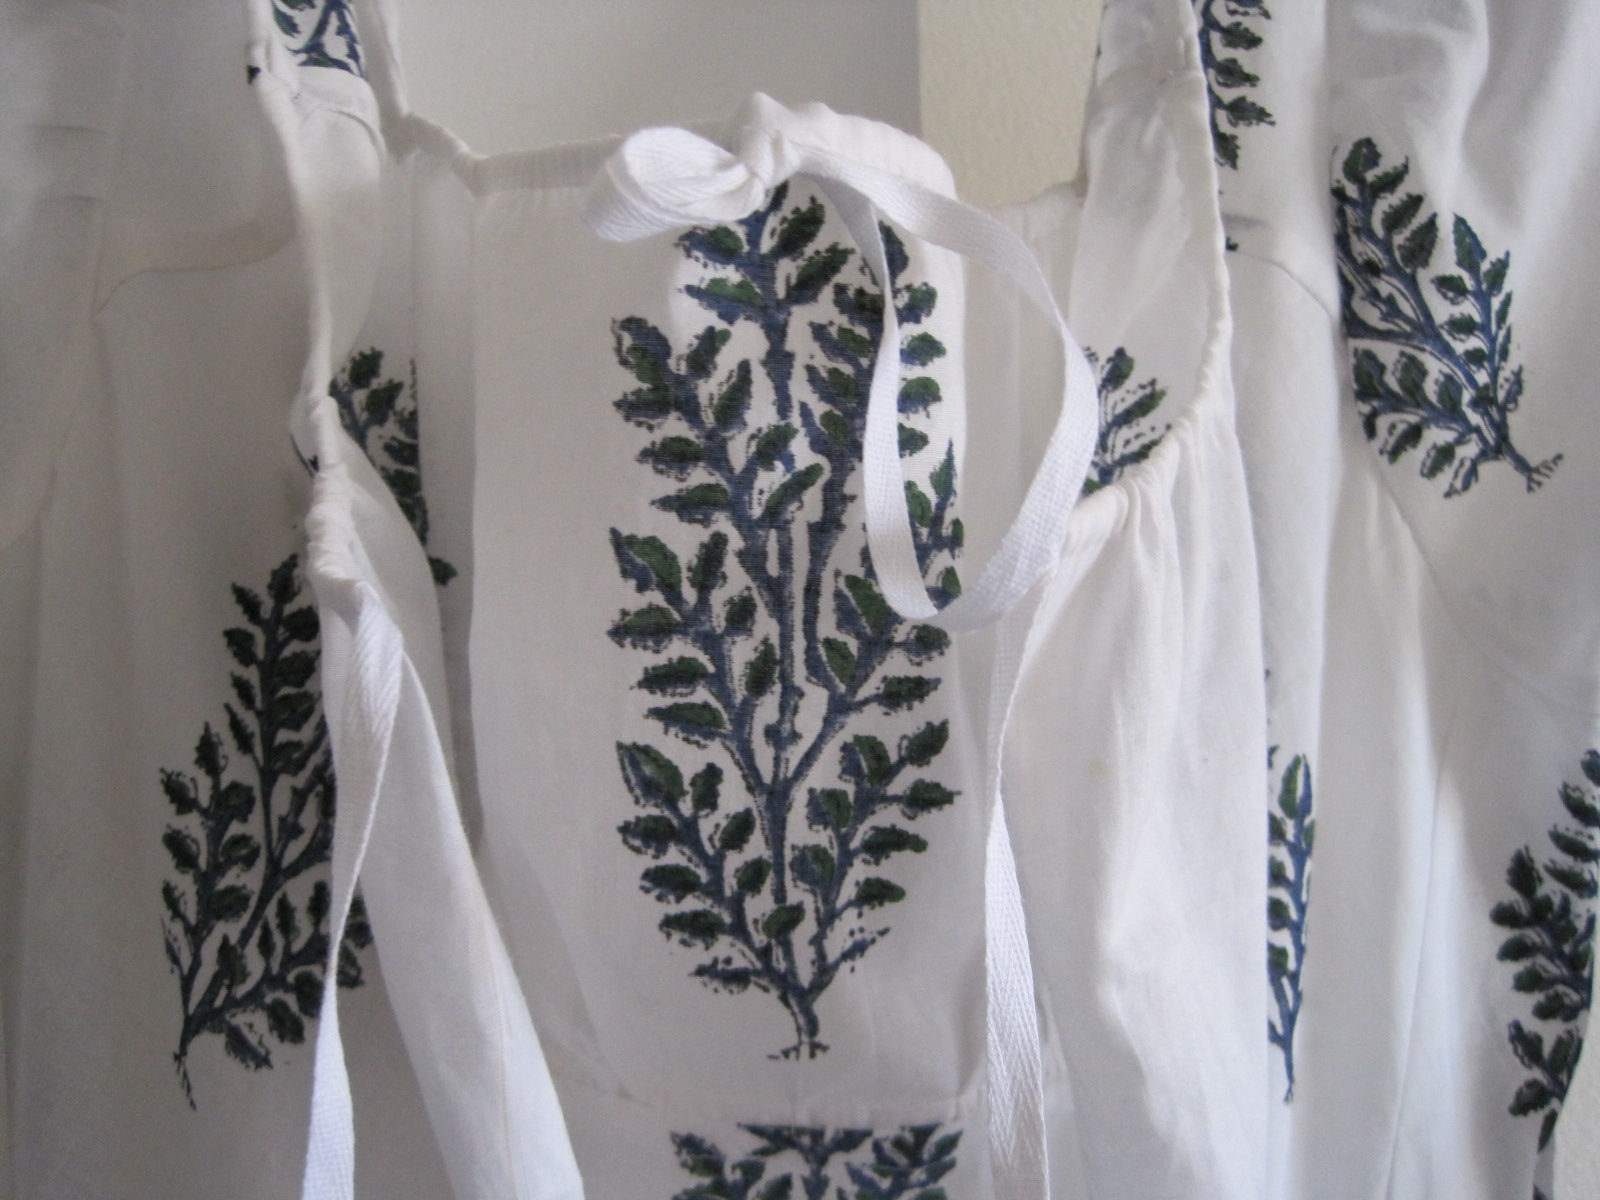
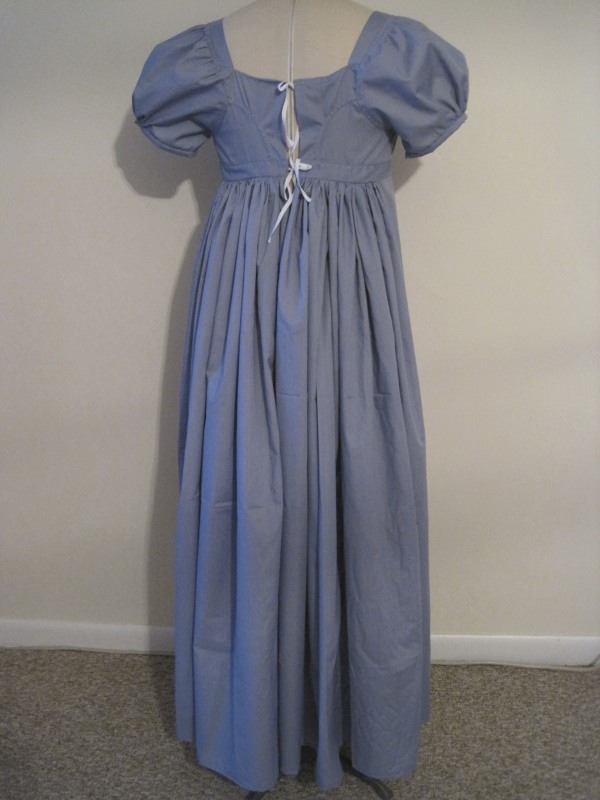
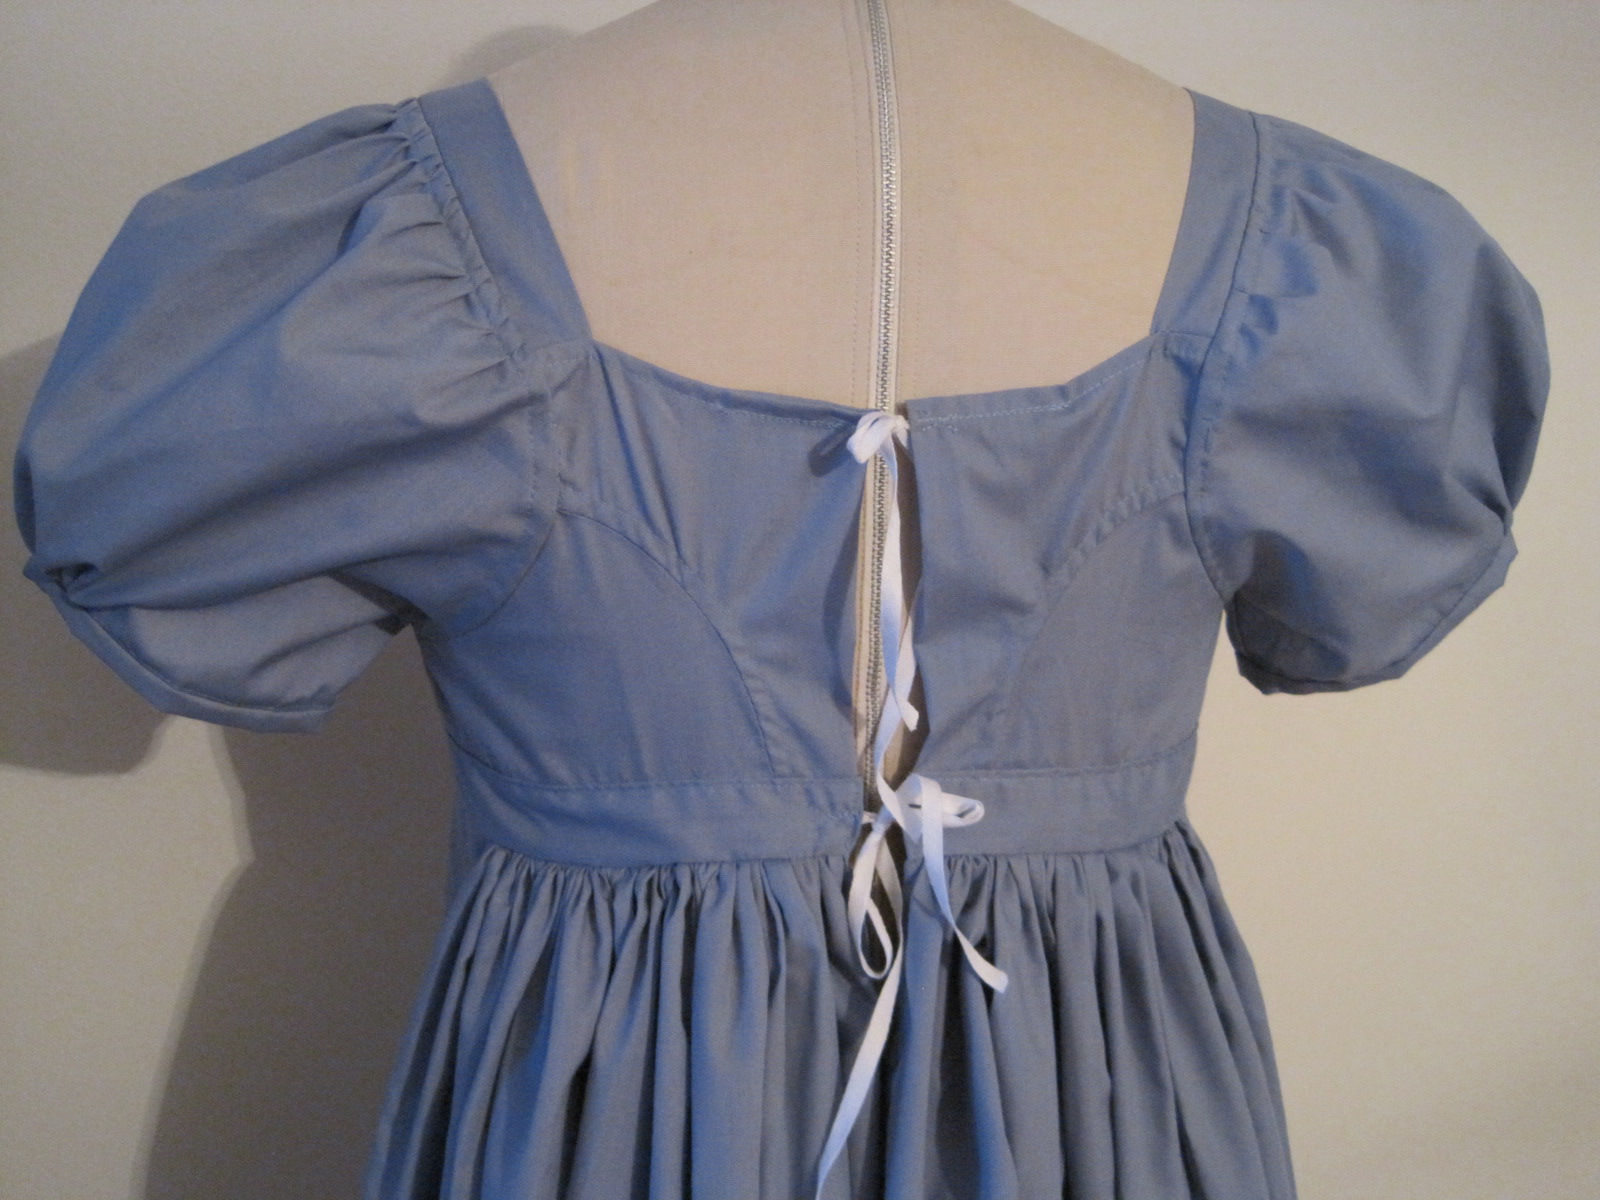
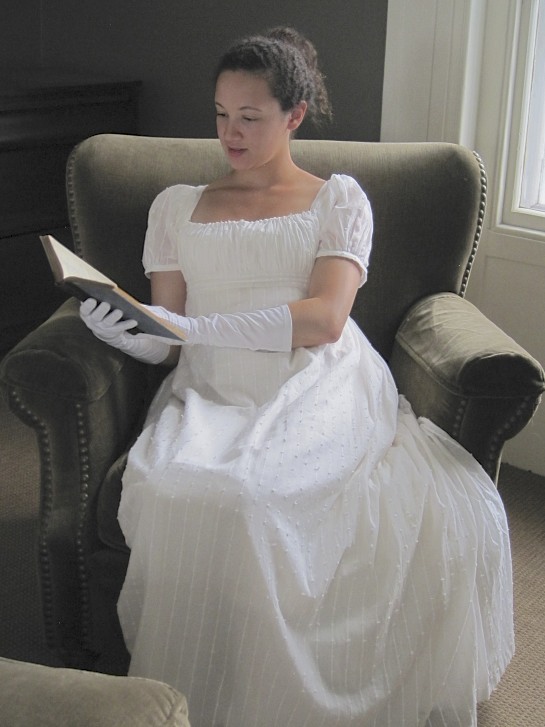
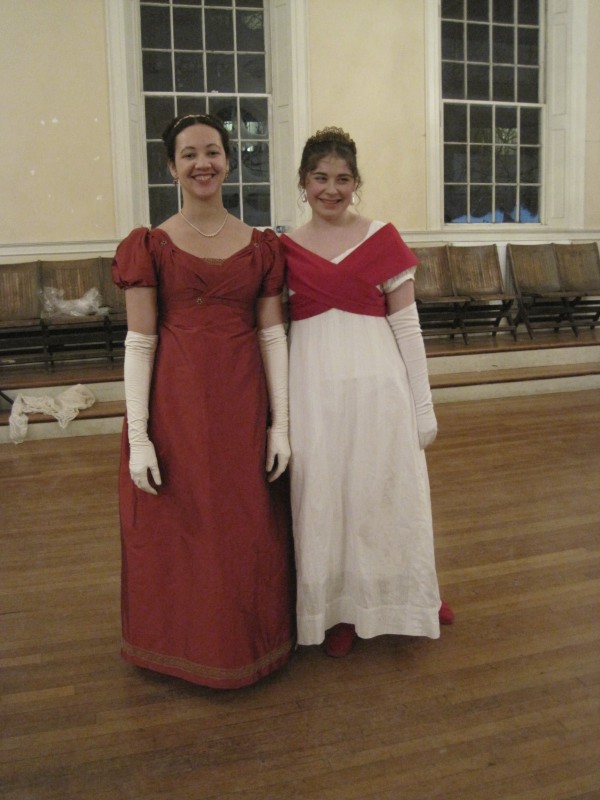
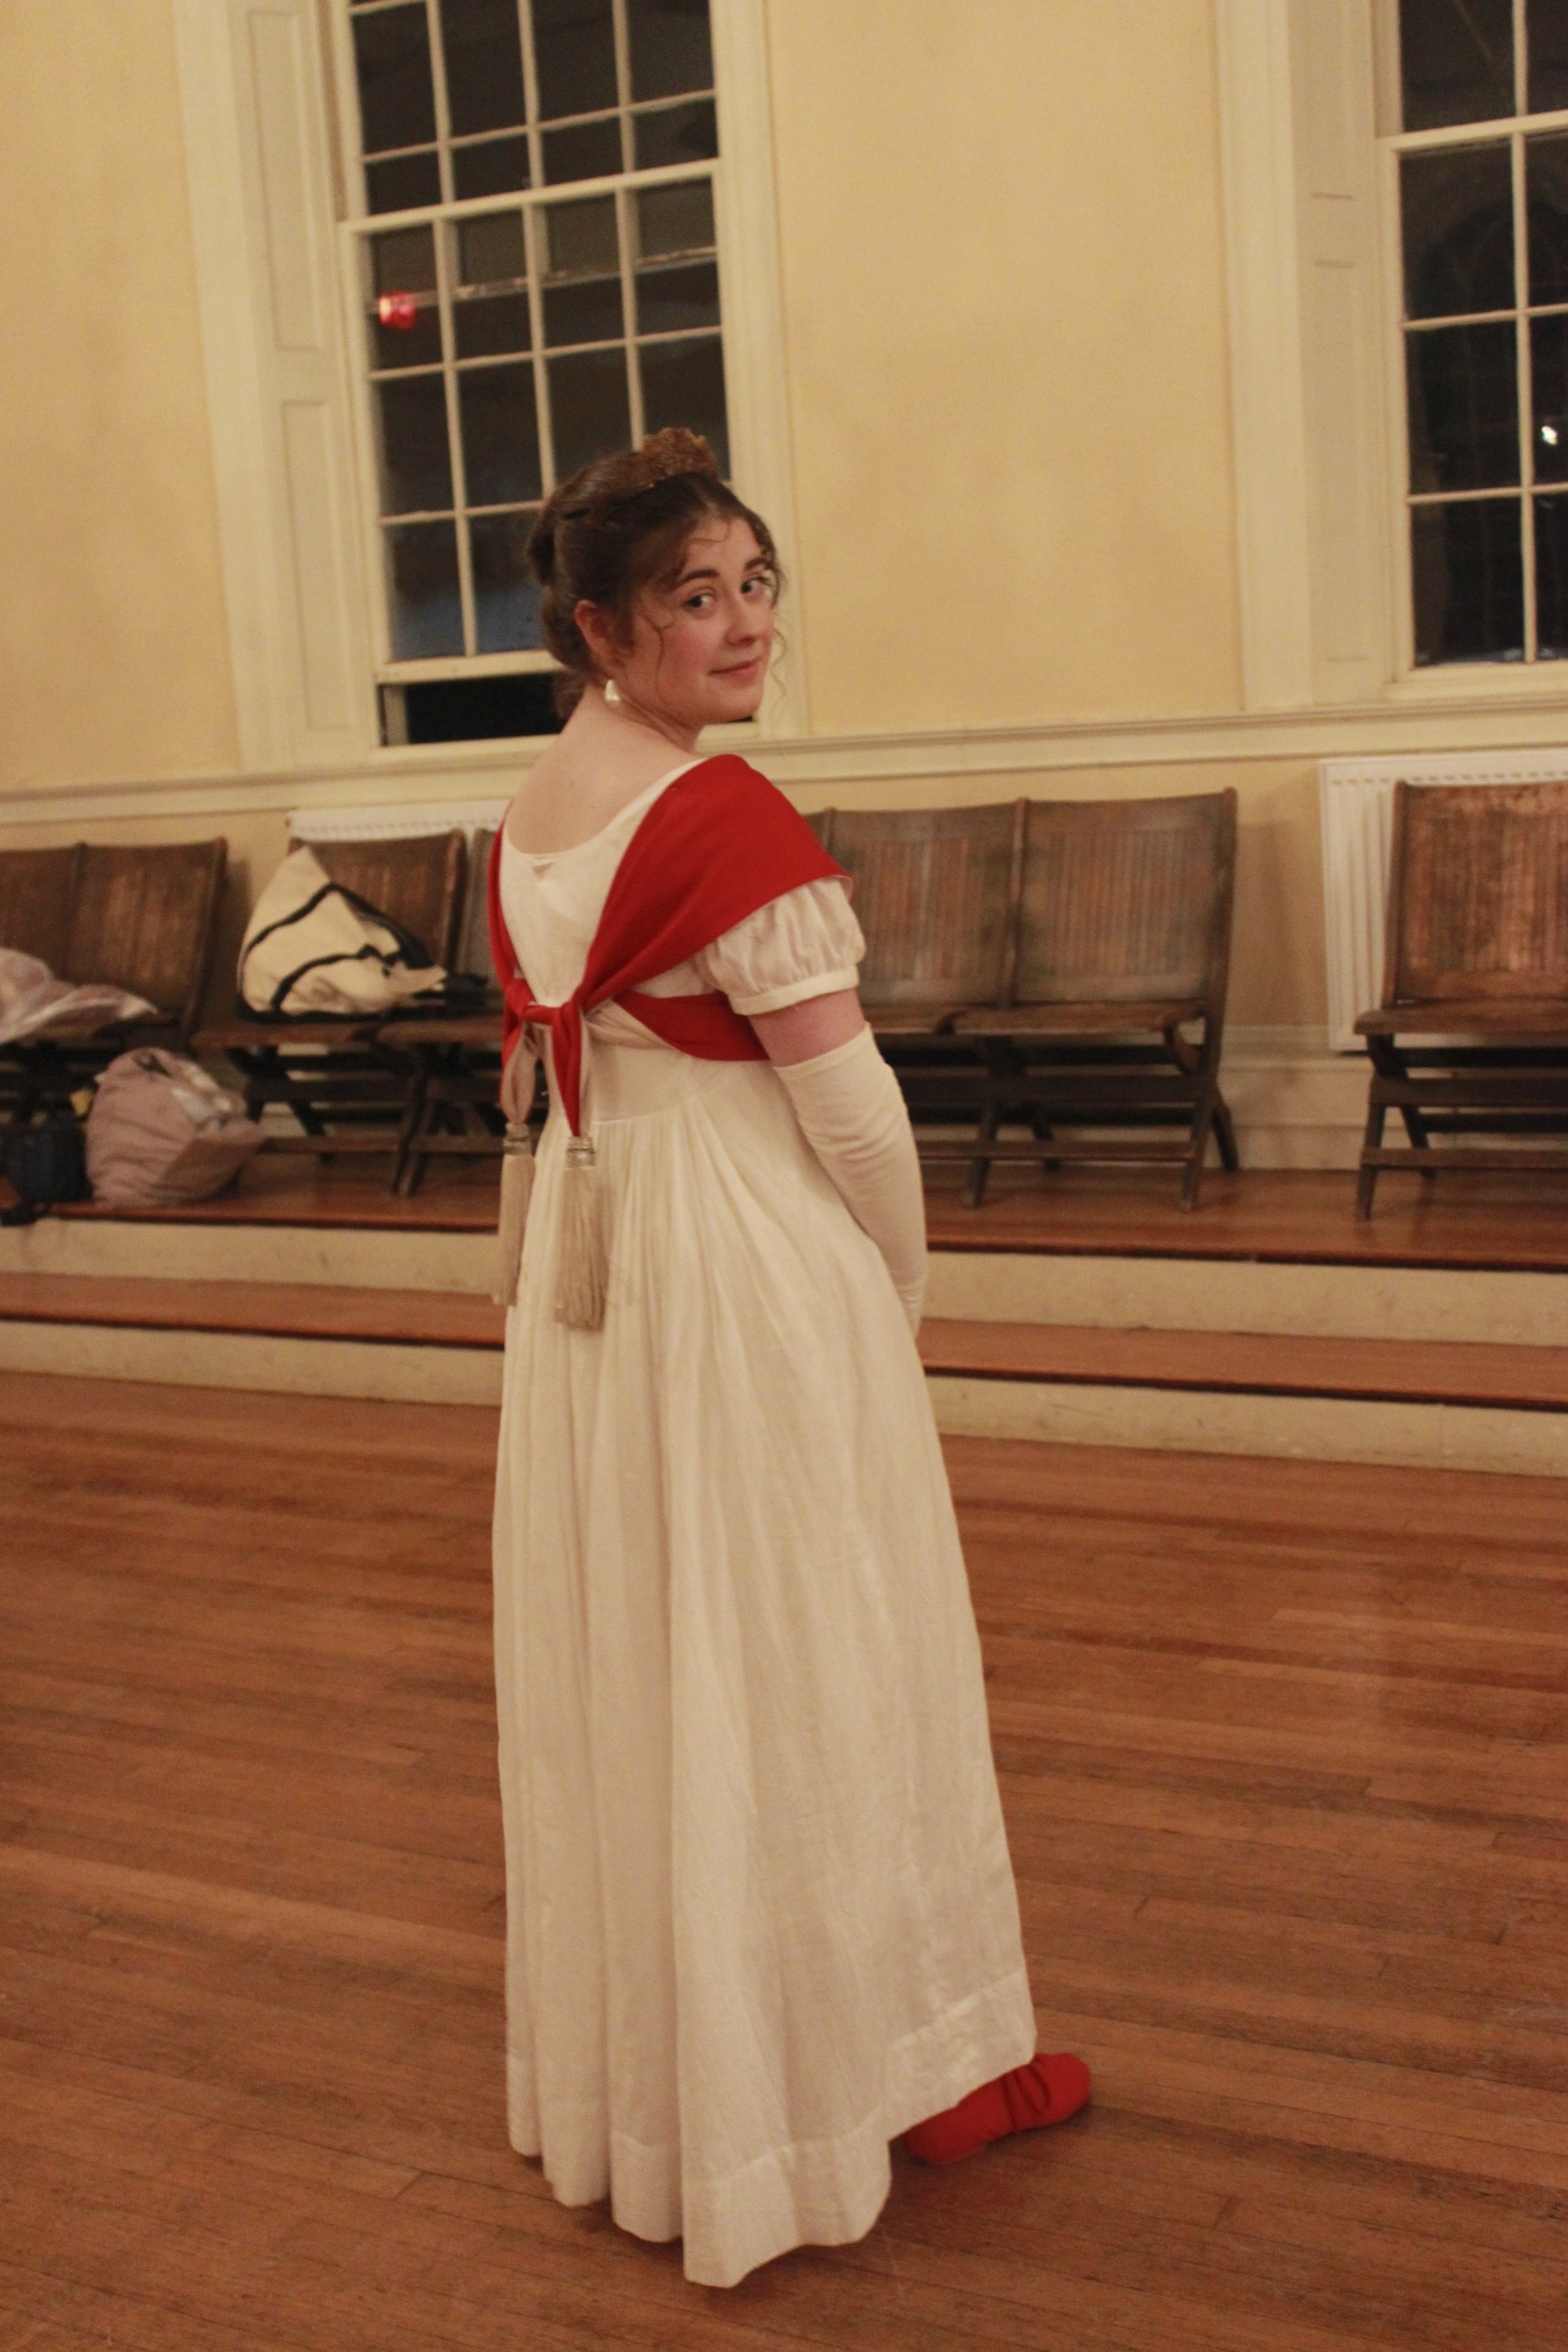
Given that I had such a great time, and that I was able to wear some lovely new clothes (like the tree gown, and my new bonnet, and my blue underdress) you can understand that I have lots of pictures to share. Everyone else looked stunning as well and also had new clothes to show off, which was super fun. Really, people really did look marvelous! Yes, I’ve got lots of pictures, and I’m going to break them down into multiple posts.

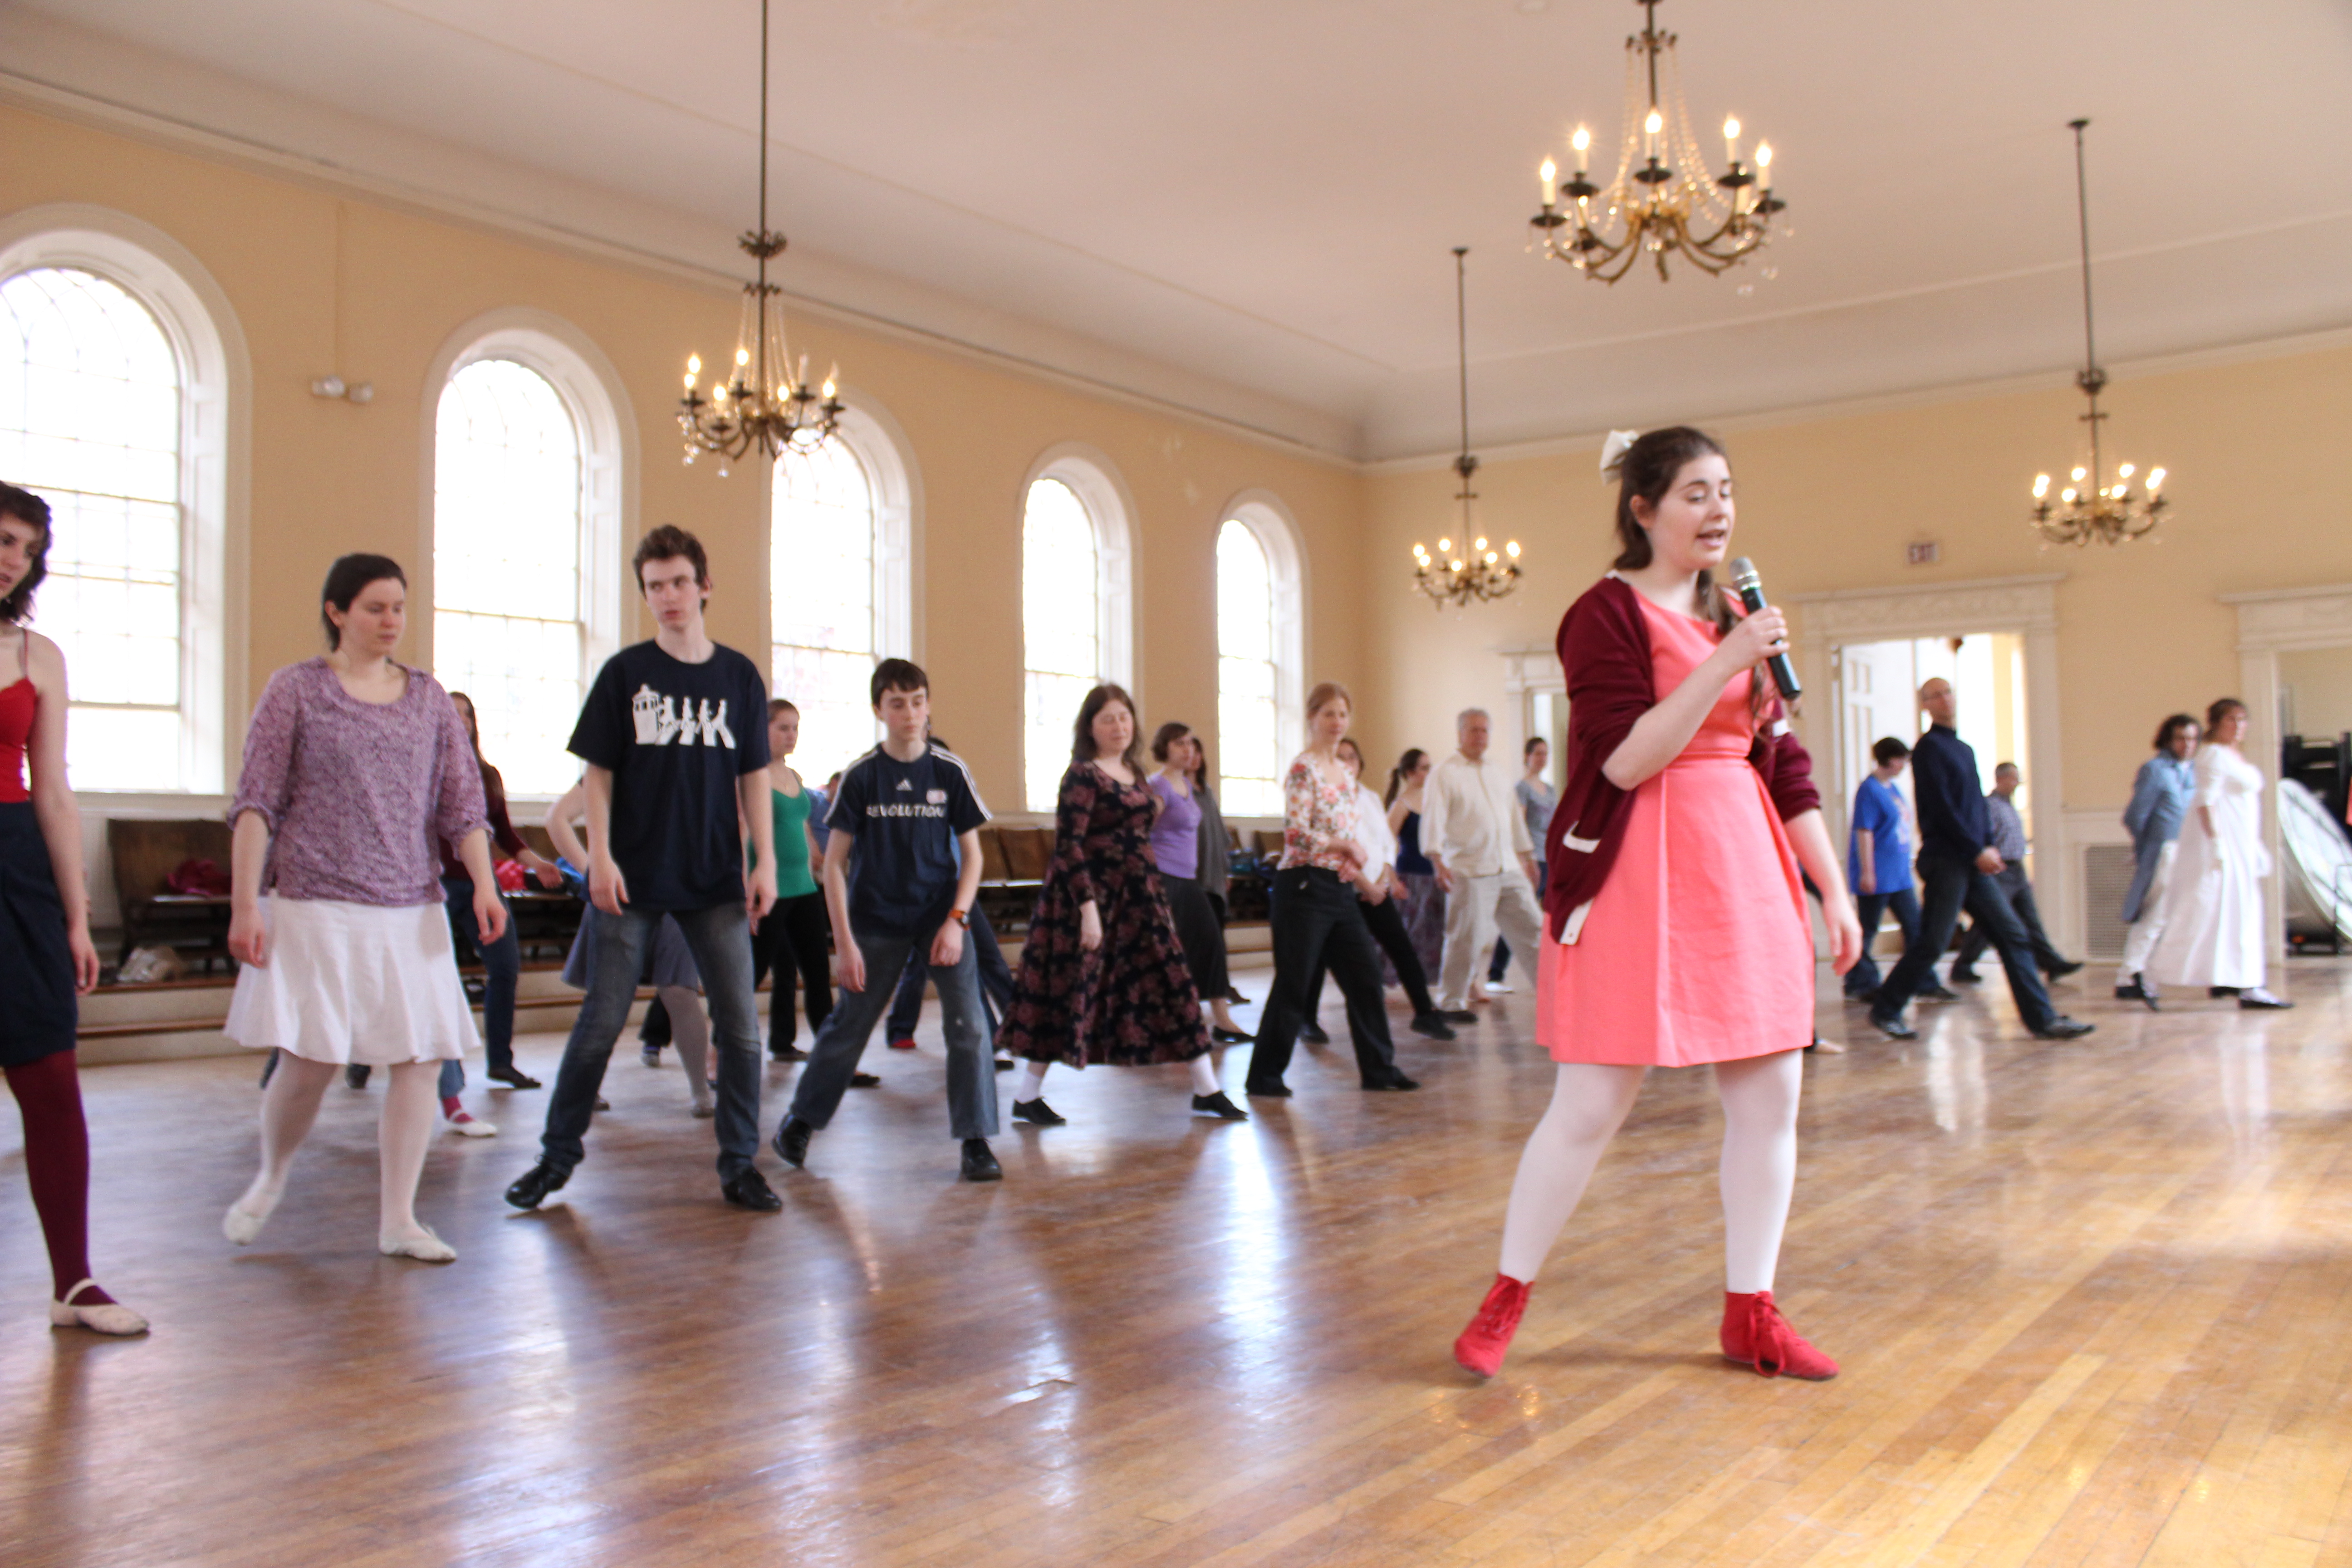
First, we’ll look at Saturday, a day with 5 hours of dance classes, checking in to our lovely 1807 house, and attending an evening dance. (Oh wait, did I mention my friends and I also swarmed our lovely and kind friend’s house on Friday night? No great pictures, but it sure was fun to hang out together and squish 8 people into an apartment…! Plus, it made getting to dance class the next morning so much better since we didn’t have to drive very far!)

IMG_0309
Starting to learn Regency dance steps.
IMG_0324
Working on Regency waltz.
IMG_0351
The wallpaper in my room of the 1807 house we stayed in for the weekend. The room was decorated in this deep red. It was so beautiful!
IMG_0368
Dressed in my new blue underdress and square neck gown. I’m heading off to the informal dance. Accessories include my blue American Duchess clocked stockings, blue velvet flats, white gloves, a red bead necklace, and my patterned red pashmina.
IMG_0402
Waltzers during the dance.
IMG_0474
Dancing a Regency waltz. Look at us go on our toes!

That’s it for now. Next post will be about archery and outdoor lounging!

1815 Tree Bonnet (HSF #7)

You know how sometimes the best laid plans are waylaid by life? I had every intention of finishing this bonnet before the HSF deadline of yesterday, but along the way got side tracked by life and made conscious choices to do other things with my time instead of bonnet-ing. Oh well, it happens to the best of us!

IMG_4407
1815 bonnet (the more interesting side).

I made this bonnet to coordinate with my new Regency Tree Gown (which is why I’m calling it the Tree Bonnet). Lucky for me, it also fulfills the HSF Challenge #7: Accessorize and will coordinate with other items already in my closet (such as my 1819 brown spencer). I’ll be wearing the new gown, the spencer, and the bonnet this weekend for the Regency Dance Intensive, along with a lot of other Regency things, so be prepared for lots of pictures next week!

The facts:

Fabric: Silk twill, changeable silk taffeta for trim, and china silk for lining.

Pattern: Created by me.

Year: 1815.

Notions: Four approximately 8″ pieces of sage green polyester ribbon, a spray of wired millinery flowers, about 1 1/2 yds of navy silk ribbon for ties, about 3/4 yd of navy grosgrain ribbon for inner band, buckram for the base, millinery wire, cotton flannel for mulling, tacky glue, and thread.

How historically accurate?: 95% I’d say. There are a few polyester things, but the overall shape, impression, and majority of materials are accurate.

Hours to complete: 28? Hand finishing and trimming takes a long time, especially on hats, because the angles are weird, so it’s a slow process.

First worn: Not yet, but will be worn this weekend!

Total cost: $6ish for the silk twill bit, the green silk and china silk are remnants from other projects, the polyester bits are old and from the stash, the millinery flowers were from the stash, the buckram was maybe $4, the wire was probably $2… so about $12? I didn’t buy anything special for this bonnet, it’s all from the stash! Yay! Go me!

IMG_4408
Close-up of the pleated silk trim and rosette-like decoration. You can also see the pleats on the side band of the bonnet.
IMG_4409
The millinery flowers on the front of the bonnet.
IMG_4410
The more plain side.
IMG_4405
Inside of the brim, looking into the lining and hat band.

This week marks the end of the MpRSW (though I still have one more post to go about that), with the final goal aimed at yesterday, #5: Anything Left! I’d already completed some packing for this goal, and procurement of kite making supplies (yes, there will be a future mention of kites!), but this bonnet also qualifies!

Now let me share some of my inspiration for this bonnet. There are more bonnet images on my 1810s Pinterest page as well.

9b8f7b45f7afff8db618554b973b5eab
From 1815. 
Volare digital capture
La Belle Assemblee, Parisian Promenade Hats, July 1816.
cf83f2dc91eb3bf303ba9087826b8419
Costume Parisien from 1814.
5aaaeddcc5533ec69fe92be1e72f8c83
Costume Parisien from 1815.

In trying to determine length of ties for the bonnet, I looked to some fashion plates that included people in them. Here are some of the best examples I found.

Volare digital capture
1813 afternoon promenade dress.
Volare Digital Capture
Ackermann’s Repository, Walking Dress, April 1817.
Volare Digital Capture
Ackermann’s Repository, Walking Dress, November 1817.
Volare Digital Capture
Walking dress 1815
61acb0c35e149289d55017462f06b675
EKDuncan – My Fanciful Muse: Regency Era Fashions – Ackermann’s Repository 1819
Volare Digital Capture
Ackermann’s Repository, Walking Dress, February 1818.
800b11831fa576966952e099671eae3e
Robe de Marcelline, 1812 Costume Parisien

Well, there we are. I just finished sewing that pleated brim trim tonight, and I am glad to be done! It’s slow and slightly painful on the fingers. But pretty, so totally worth it!

A Stripe-y Reticule And Sneak Peek At A Tree Gown (MpRSW #3 & #4)

IMG_4397
Stripes!

I intended to complete this reticule for the HSF Challenge #6: Stripes this past week, but as the deadline approached and I reread the fine print, I realized that the challenge was supposed to be fulfilled by a garment. Whoops! I don’t think I can convince myself that a reticule is garment, let alone other people. So I put the project on hold while working on other things (like Evie, my 1864 ball gown, and the completion of my purple ballroom competition dress), but finally got back to it and finished it off towards the end of last week.

Lucky for me, this reticule does fulfill the MpRSW Goal #4: Accessories (due April 8th: I’m early!). (If you’re paying attention, I did fail to post about the MpRSW Goal #2: Evening Gown… I might have fallen off the wagon on that one and not managed to fix the rip in my gown on time. But luckily, the MpRSW is motivating me to complete that repair this week, even if I am delayed!)

IMG_4376
Tassels!

Trust me, this is not a historically accurate reticule. The fiber content is questionable… (probably a blend including polyester), the ribbon is polyester, and the tassels are cotton embroidery floss. But it’s cute and functional and has the general look of the period, so I’m happy. This will get packed for the Regency weekend coming up in April!

IMG_4377
Inside the reticule: french seams and a cotton canvas purple (woohoo, extra fun on the inside!) layer whip stitched to the inside of the bottom to provide stability and help keep the triangular shape. The seams are hard to spot because the stripes blend into each other so much, but they’re there!

What you saw in the first picture (behind the reticule) was a first glimpse of my latest Regency gown! This new block printed cotton gown, from 1815, is “The Tree Gown” in my head because the motif reminds me of trees (or shrubs perhaps, but I like the sound of The Tree Gown better than The Shrub Gown). This gown fulfills the MpRSW Goal #3: Day Wear! It’s due today, so I’m right on time. The gown is machine sewn on all of the non visible seams, and hand finished on the visible sections.

IMG_4386
Center front. This gown has a mostly squared neckline with a drawstring across the bust, like my 1812 white striped gown.
IMG_4388
Unlike previous Regency gowns in my possession, this gown has long sleeves! (This is a back view.)
IMG_4385
There are two 1 1/2″ tucks around the hem of this gown, for decoration.
IMG_4389
The gown closes at center back with two hooks on the waistband (see the thread loops?) and a tie at the top of the back.
IMG_4393
The tie at the top of center back is a drawstring that continues to the shoulder seam, allowing the back to gather slightly. The bow in the middle is the drawstring for center front.
IMG_4391
The fullness at center back is gathered. This gown has french seams and the waistband seam allowance is just whip stitched together to keep it tidy.
IMG_4392
The inside of the neck opening. The area over the shoulder is reinforced with an extra bit of fabric cut on the straight of grain to keep it from stretching.

This gown below is my main inspiration for this dress: the tucks at the hem, the sleeves, the pattern for the skirt, the gathers on the bodice, the mostly squared neck in front, the tie at the back of the neck… I omitted the extra sleeve puff (partly because I didn’t have enough fabric, partly because I wanted this dress to be more streamlined) and the tie at the back waistband. I love the super zoom on the Met’s website because you can see so many great details!

For example, I could see where the center front skirt panel ended and the angle of that seam (as well as the angle of the back panel). Using that information, I determined that my front panel should be a rectangle (it’s 21″ across in my dress given my proportions) and that the back panels should be cut straight at center back, but with an angle on the side seams that goes up toward center back making an elongated trapezoid. There is a seam at center back, so the hem of each back piece is 45″, but each top narrows to 31″. I’m curious to see how that style of skirt fits me. I certainly like the look of the skirt on the dress in the museum!

1bf6645634e092b2fa8f0b62ffcc9ecc
1810-1815 dress at the Metropolitan Museum of Art.

This gown also fills the HSF #9 Challenge: Flora and Fauna, so you’ll be seeing another post about it with some more details (and pictures of it on a body!) coming up in a few weeks (after the Regency Weekend in April, you know!).

Reminder, The MpRSW Is Upon Us!

My push to complete my new 1864 green ball gown is complete (more on that soon), and that means a shift in focus to the Regency! It also means that the Mar-pril Regency Sew Weekly goals are upon me. I’ve already completed my project for the first goal, the 1812 blue under dress. Have you been working on a project for Goal #1? This is a reminder to get going, because the due date is tomorrow!

Goal #1 (due March 18): Under Wear Ideas to complete this goal: make from scratch, finish, or trim something worn under another garment, a petticoat, underdress, shirt, or waistcoat could fall into that category, or maybe this is a great opportunity to trim a finished garment already in your closet.

3867886c613df3f4256db3387eb1c1c3
Don’t forget about me!

This is also your reminder for…

Goal #2 (due March 25): Evening Wear Ideas to complete this goal: an all new garment (gown, breeches, waistcoat, or tailcoat, for example), finishing a garment in progress, trimming an already finished garment, sewing something to keep you warm while on your way to an evening event, or maybe completing accessories to wear or take with you to an evening event.

I’m planning to use this goal as encouragement to fix the rip in my red 1813 evening gown. What progress are you planning?

Inside The 1813 Red Gown

I’ve been super slow at posting about the inside of my 1813 red gown, but the time has finally come! Here are the insides of the gown, and as usual with me, the inside is meticulously finished.

IMG_4277
Not a single raw edge showing. All of the seams are flat felled. The armhole seam allowance has been turned twice and stitched.
IMG_4278
Armhole closeup. A little blurry, sorry about that!
IMG_4279
Here’s the other side/armhole. You can see the top edge of the gold lace peeking over into the inside of the gown, and all the nicely finished seams.

HSF #5 & MpRSW #1: Blue Under Dress

The HSF #5 Challenge: Peasants and Pioneers. The MpRSW #1 Goal: Under Wear. This recently completed garment fits both!

Now remember, and don’t judge me, that this project is one of those “I just want this to be done quickly and no one will be able to see the details” projects.

IMG_4321
Here it is: an 1812 under dress.

First, the facts:

Fabric: Cotton-poly blend.

Pattern: The exact same as my 1812 white striped gown from last summer, which is adjusted from a gown in Janet Arnold’s Patterns of Fashion 1.

Year: 1812.

Notions: About 2 yds of 1/4″ cotton twill tape.

How historically accurate?: Accurate pattern, almost totally inaccurate fabric (that cotton counts for something, right?), and entirely machine sewn (not a single hand stitch, which for me is a rather unusual accomplishment). I give this one a 60% on historically accuracy. I think the pattern goes a long way towards being a saving grace. Ok, maybe a 65% if I count the cotton…

Hours to complete: Let’s say 16. All that gathering does add some time.

First worn: Not yet, but will be worn in April.

Total cost: Between $9-$12 (I can’t remember exactly how many yards I bought…)

How does this fit the HSF challenge? The simplicity of the fabric and style of the dress and lack of extra trimmings, puts this in the category of basic Regency clothing that could be worn by a pioneer-type. It’s probably still a little fancy for a peasant. It’s hard to make plain and simple clothing!

A few more pictures, then a little more explanation.

IMG_4322
Front.
IMG_4323
Machine stitching showing on the front. I have no problem with interior seams being sewn by machine on some garments, but I do prefer hand finishing on garments that are going to be seen.
IMG_4324
Back. It looks rather medical scrub looking, especially with those white ties… Regency hospital gown?
IMG_4325
Machine sewing galore!
IMG_4327
A closeup of the back.
IMG_4333
Here’s what it looks like on the inside. No raw edges: that makes me happy. There’s a drawstring along the top of the center panel so I can adjust it.
IMG_4334
Looking over at the armsceye.

Explanation time. I actually don’t like this color much on its own. In fact, I think it does absolutely nothing for my complexion. Actually, it just looks bad on me. So why did I pick it, you ask? Well, this is intended to be an under dress, not something I ever plan to wear by itself. I was at the fabric store looking for colors that worked under my 1812 striped square neck gown, and this is the one! The other colors looked too much like skin, or just awful pastel shades of ew. Also, I was probably influenced by this next picture. I couldn’t stop looking at the blues.

b5209c264d14c1b64b98866afa88cbf0
At the Hermitage.

Anyway, given how much I don’t like the color/am amused by the scrub-like quality of it and don’t plan for this to be really seen, I just wanted it to be done, quickly and without fuss. That’s why it’s totally machine sewn. Granted, I did do a nice machine sew job, so I suppose it might one day be worn without the over dress, but I don’t see that as a likely option, at least on my body. Funny contrast is that the white dress is entirely hand sewn, with not a machine stitch to be found.

IMG_4328
Here’s what the blue under dress looks like with the white striped dress over the top. (Oops, the blue hem was too long. Fixed that in a jiffy!)
IMG_4329
The blue fades to a soft grey-ish blue under the white.
IMG_4330
And it helps show off the stripes and the more opaque white areas of the white dress.
IMG_3562 - Version 2
For comparison, here’s what the white dress looks like with the original white under dress underneath.

Voila! One over dress, two different looks! One of the comments awhile ago mentioned the idea of the Regency LWD: Little White Dress. That’s been on my brain while I’ve been making this blue under dress. With different under options this LWD becomes more versatile and can change looks for different events. Nice!

Also, and this is really cool, my blue under dress is incredibly similar to this “slip” at the Met! The cool part is that I came across the slip in January, months after I had made the plan for my under dress. But look at the gathers on the sleeve at the sleeve band and at the crown, and at the shoulder strap construction of the bodice, and at the gathered top and bottom center front panel. It’s kind of uncanny, because this is not the dress that Janet Arnold based her pattern off of. Just goes to show that this construction style was used on more than one dress in the Regency period. Cool!

C.I.41.27.1_F
Early 19th Century slip at the Met.

As I dressed Squishy I realized that when I go to wear this blue under dress it would probably save me some fussing if I baste the shoulder straps of the two dresses together so the blue doesn’t poke out where I don’t want it it. That’s an easy thing to then take out again later. I’ll have to get on that before April!

Dancing “The Cottage Bonnet”

In my second post about the recent Pride and Prejudice ball I attended, I mentioned that the Commonwealth Vintage Dancers did a small exhibition during the course of the evening, I even included pictures. Well, this is even better! A video of us dancing “The Cottage Bonnet,” a Regency period country dance, during the ball. This is the level of difficulty that’s being aimed for at the Regency Intensive Dance Weekend in April. Hopefully we can have an entire room full of people successfully dancing like this at the second, more formal ball of that weekend event! I hope you enjoy. It’s pretty fun!

Introducing the “Mar-pril Regency Sew Weekly”

JPEG Regency Sew Weekly

What is that, you ask? It’s a group sew along!

Why? Well, you see, in April my friends and I will be participating in a Regency Intensive Dance Weekend hosted by the Commonwealth Vintage Dancers. There will be lots of dance classes in modern clothes, but also balls and day events in Regency clothing! Of course that means new clothes to be sewn during the months of March and April and some of us keep our motivation going better than others. This sew along is intended to encourage and sustain the motivation of all of us (and anyone else who is interested in participating!).

regencyweekend-2013s
April 13-14, 2013 in Salem, MA. Hosted by the Commonwealth Vintage Dancers

What do you have to do? Sew! Really, though, that’s it. You can make your goals as small or large as you need to. All you have to do is complete the goals as they come up, and then share your progress. That will keep you accountable, and hopefully encourage you to stay motivated.

Goal #1 (due March 18): Under Wear Ideas to complete this goal: make from scratch, finish, or trim something worn under another garment, a petticoat, underdress, shirt, or waistcoat could fall into that category, or maybe this is a great opportunity to trim a finished garment already in your closet.

Goal #2 (due March 25): Evening Wear Ideas to complete this goal: an all new garment (gown, breeches, waistcoat, or tailcoat, for example), finishing a garment in progress, trimming an already finished garment, sewing something to keep you warm while on your way to an evening event, or maybe completing accessories to wear or take with you to an evening event.

Goal #3 (due April 1): Day Wear Ideas to complete this goal: making, finishing, or trimming a dress, a spencer, a pelisse, a tailcoat, or a waistcoat, or perhaps completing accessories to wear or take with you to a day event.

Goal #4 (due April 8): Accessories Ideas to complete this goal: reticules, chemisettes, parasols, bonnets, gloves, hats, shoes, boots, stockings… this is a soft and easy goal so if you didn’t make one of the first three goals, this gives you a great catch-up opportunity!

Goal #5 (due April 12): Anything Left! You know there are always things you hoped to finish earlier but you’re still trying to finish them up at the last minute? Make this a goal to complete whatever it is you didn’t complete before now. Maybe that’s another accessory, or a hem, or some trim, or maybe it’s just gathering your thoughts and your clothes to pack for the weekend.

How do you participate? Take the MpRSW (Mar-pril Regency Sew Weekly) image at the top of this post and add it to your blog, if you have one. Then, as you complete the goals, post about it on your blog. Don’t forget to leave a comment here with a link back to your blog post!

Do you have to participate in all of the challenges to participate? Nope! Pick and choose as you wish. The overall goal is just to inspire creativity and completion of Regency related sewing projects!

Do you have to be attending the Regency Intensive Dance Weekend to participate? Of course not! Again, the goal is just to inspire creativity and completion of sewing projects!

If you’re also participating in the Historical Sew Fortnightly, as I am, then perhaps there will be times where the two sew-alongs overlap for you. I know that my HSF #6: Stripes (due March 25) item will also fit into a MpRSW goal, since it’s a Regency item. Other upcoming HSF challenges include #7: Accessorize (due April 8), which should be easy to use for overlap, since the MpRSW #4 goal: Accessories, is due the same day, and #8: By The Sea (due April 22).

Finally, let me just say that it would be pretty awesome if you’re out there in the blogging world and want to join in! This sew along is smilingly aimed at all of you who might enjoy a helpful hand of motivation to be fully sewn and fully clothed (ahead of time) for the Regency Intensive Dance Weekend, but I hope that doesn’t discourage you from participating, even if you won’t be at that event. Hopefully some of my sewing motivation will be passed on!

Lovely Clothes, Lovely Ball: Part II (Pride and Prejudice Ball 2013)

Last post, I shared pictures of my new 1813 evening dress and other related pretty clothes. This time we’re on to photos during the ball!

IMG_4218
Dancing a waltz, Regency style.
IMG_9376
I believe this is a gallop.
IMG_9209
A hall full of eager dancers makes for a joyful ball.
IMG_9201
Just coming in from outdoors, it was nice to greet new people and see old friends.
IMG_9284
You chat.
IMG_9286
And then you smile for the camera.
IMG_9306
Part way through the evening the doors were flung open and a table full of yummy refreshments was brought it.
IMG_9322
The members of CVD about to perform a country dance called The Cottage Bonnet.
IMG_9331
Mid-dance, light feet flying!
IMG_9332
And we end.
IMG_4234
After the ball, it’s nice to take a break and rest your weary feet.
IMG_4248
Often, we have more ladies than gentlemen.
IMG_4244
Jazz hands! (This is one of my favorite!)
IMG_4256
Finally, we convinced some more members of CVD to come join us for a bigger group picture.
IMG_4281
Now for the sad end to the evening. As I was walking through a partially open door my dress caught and ripped! It’s on the back in the gathers, but it’s a good 4″ rip. Now I have to fix it before April, when I’ll be wearing this dress again. I’ve got multiple methods in mind, but it’s still not a fun or exciting thing to have to complete. I’d rather be making other new clothes…

Anyway, all things considered it was a lovely evening with lovely people. It was particularly nice to see old friends, but also nice to see usual ball friends. And I thought we all looked pretty smashing, which really does add to the atmosphere. I just wish I hadn’t ripped my dress…

Lovely Clothes, Lovely Ball: Part I (Pride and Prejudice Ball 2013)

Another thing that the Nemo blizzard affected was the Commonwealth Vintage Dancers‘ Pride and Prejudice Ball. Luckily, the ball was able to be rescheduled for this past weekend, which means that I did wind up having an opportunity to wear my new 1813 red gown (my HSF #1 project) after all! And that means pictures! Lots of pictures, in fact. I think I’ll split this into two posts… To start: the clothes!

IMG_4267
New dress!
IMG_4271
These pictures capture the color much better than my original pictures from January.
IMG_4273
Accessories: opera length kid gloves, white stockings and shoes, a gold laurel tiara, earrings to match the trim on my dress, and pearls.
IMG_9195
I wore the petticoat I built to go under my 1812 square neck gown, which is apparently a little longer than this new dress, because the hem of my petticoat was sticking out! Luckily, I had a needle and a friend had white thread, so I quickly basted up the hem of my petticoat so it wouldn’t show.
IMG_4275
Our colors match! So cute!
IMG_9488
The back of the creative Grecian sash wrapping. It was a great way to jazz up a white dress.
IMG_4259
More cuteness in the family.
IMG_9396
Great hair!
IMG_9512
Those face curls are hard to achieve without bangs. These look lovely!
IMG_9204
I tried the face curls, but it looked foolish. In the end I really liked how my hair turned out though! Super regal!
IMG_9383
More lovely face curls.

I thought everyone outdid their Regency selves and looked fantastic! I have to say, though, that not all these pictures are mine. Some are from a friend who caught all sorts of gorgeous moments! Thanks for sharing! More to come soon, with actual dancing and during the ball pictures.