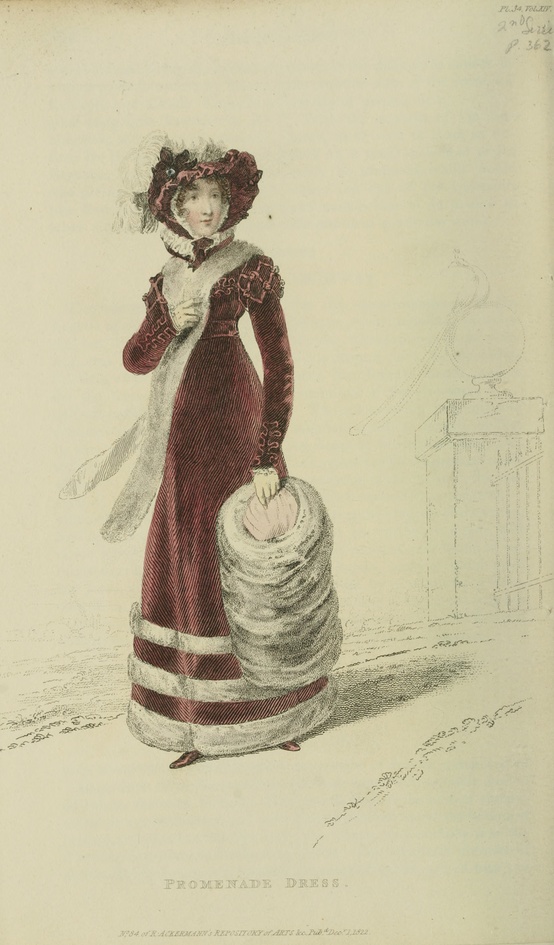
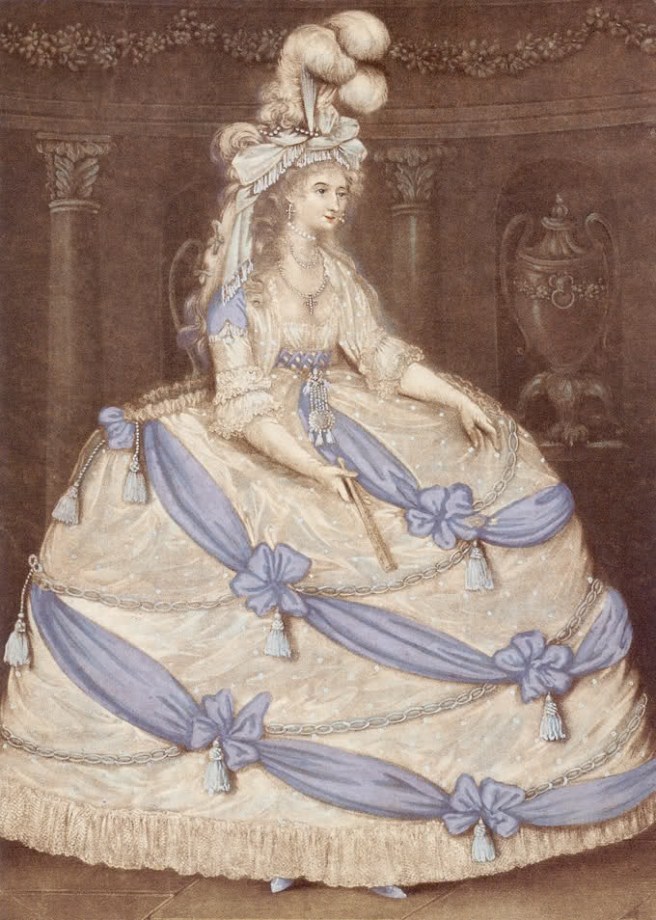
On the same January shopping trip that I unexpectedly found the blush sparkle fabric I made a 1920s dress out of I also unexpectedly found an excellent fabric for a new Regency evening dress. I hadn’t made one in awhile, but I had a Regency weekend coming up and I was wanting something new for the fancier ball (and of course nothing in my stash was inspiring me). In my wanderings around the store, I discovered an organza curtain sheer that brought to mind this particular fashion plate that has been on my ‘to-sew’ list for years.

I’d been on the look-out for a sheer with black stripes but hadn’t found anything suitable. Once I found the curtain fabric, I debated whether to use it for a dress in this style or to hold out for the black stripe. As you’ll see, I decided to call this inspiration fulfilled by the gold striped fabric that I found. It’s polyester, but that means it was a good price. Occasionally, a polyester can be just the thing.

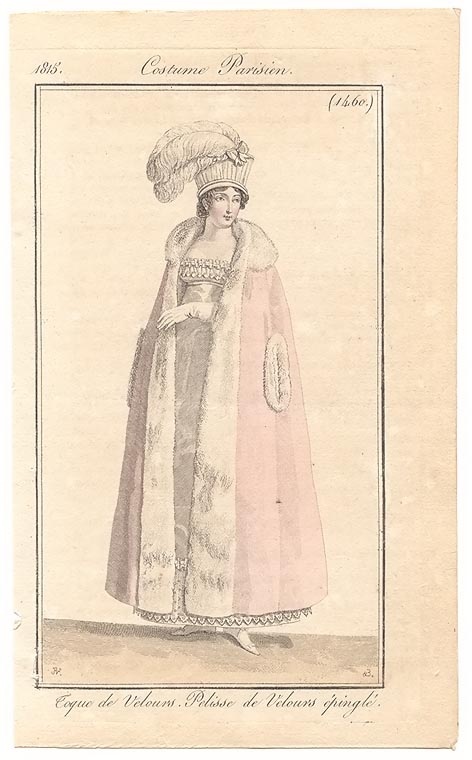
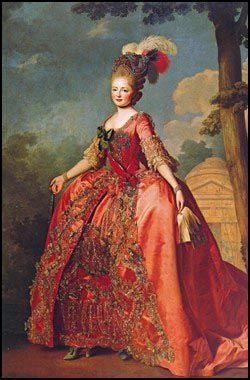
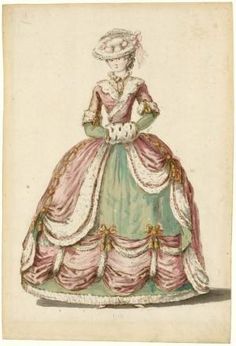
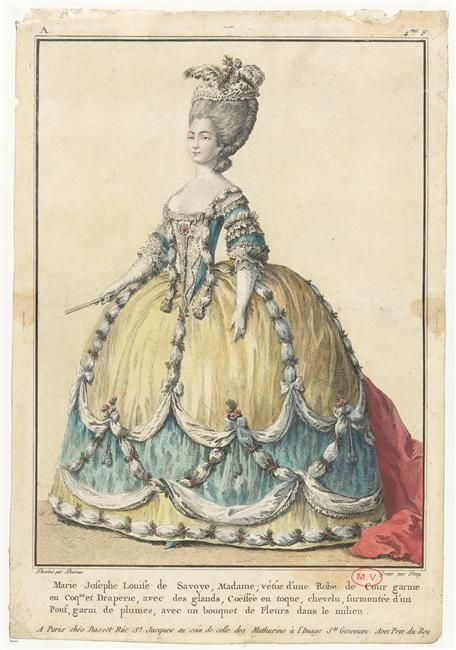
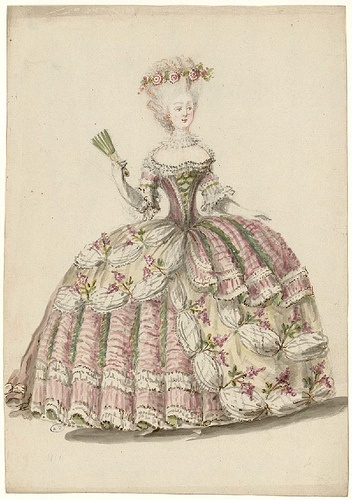
In addition to the Ackerman’s fashion plate, I also borrowed design ideas from two other striped evening gowns: this earlier Costume Parisien fashion plate from 1809 and this image of the Duchess d’Angoulême c. 1815. My dress is a conglomeration of these and the 1819 fashion plate. I borrowed the sheer overdress idea from 1819, the single row of scalloped trim from 1809, and the bias cut sleeves from 1815. I date my dress to 1817, as the fluffy nature of the organza pushes the silhouette towards 1820, but the single row of trim pulls it back from 1819 just a bit.

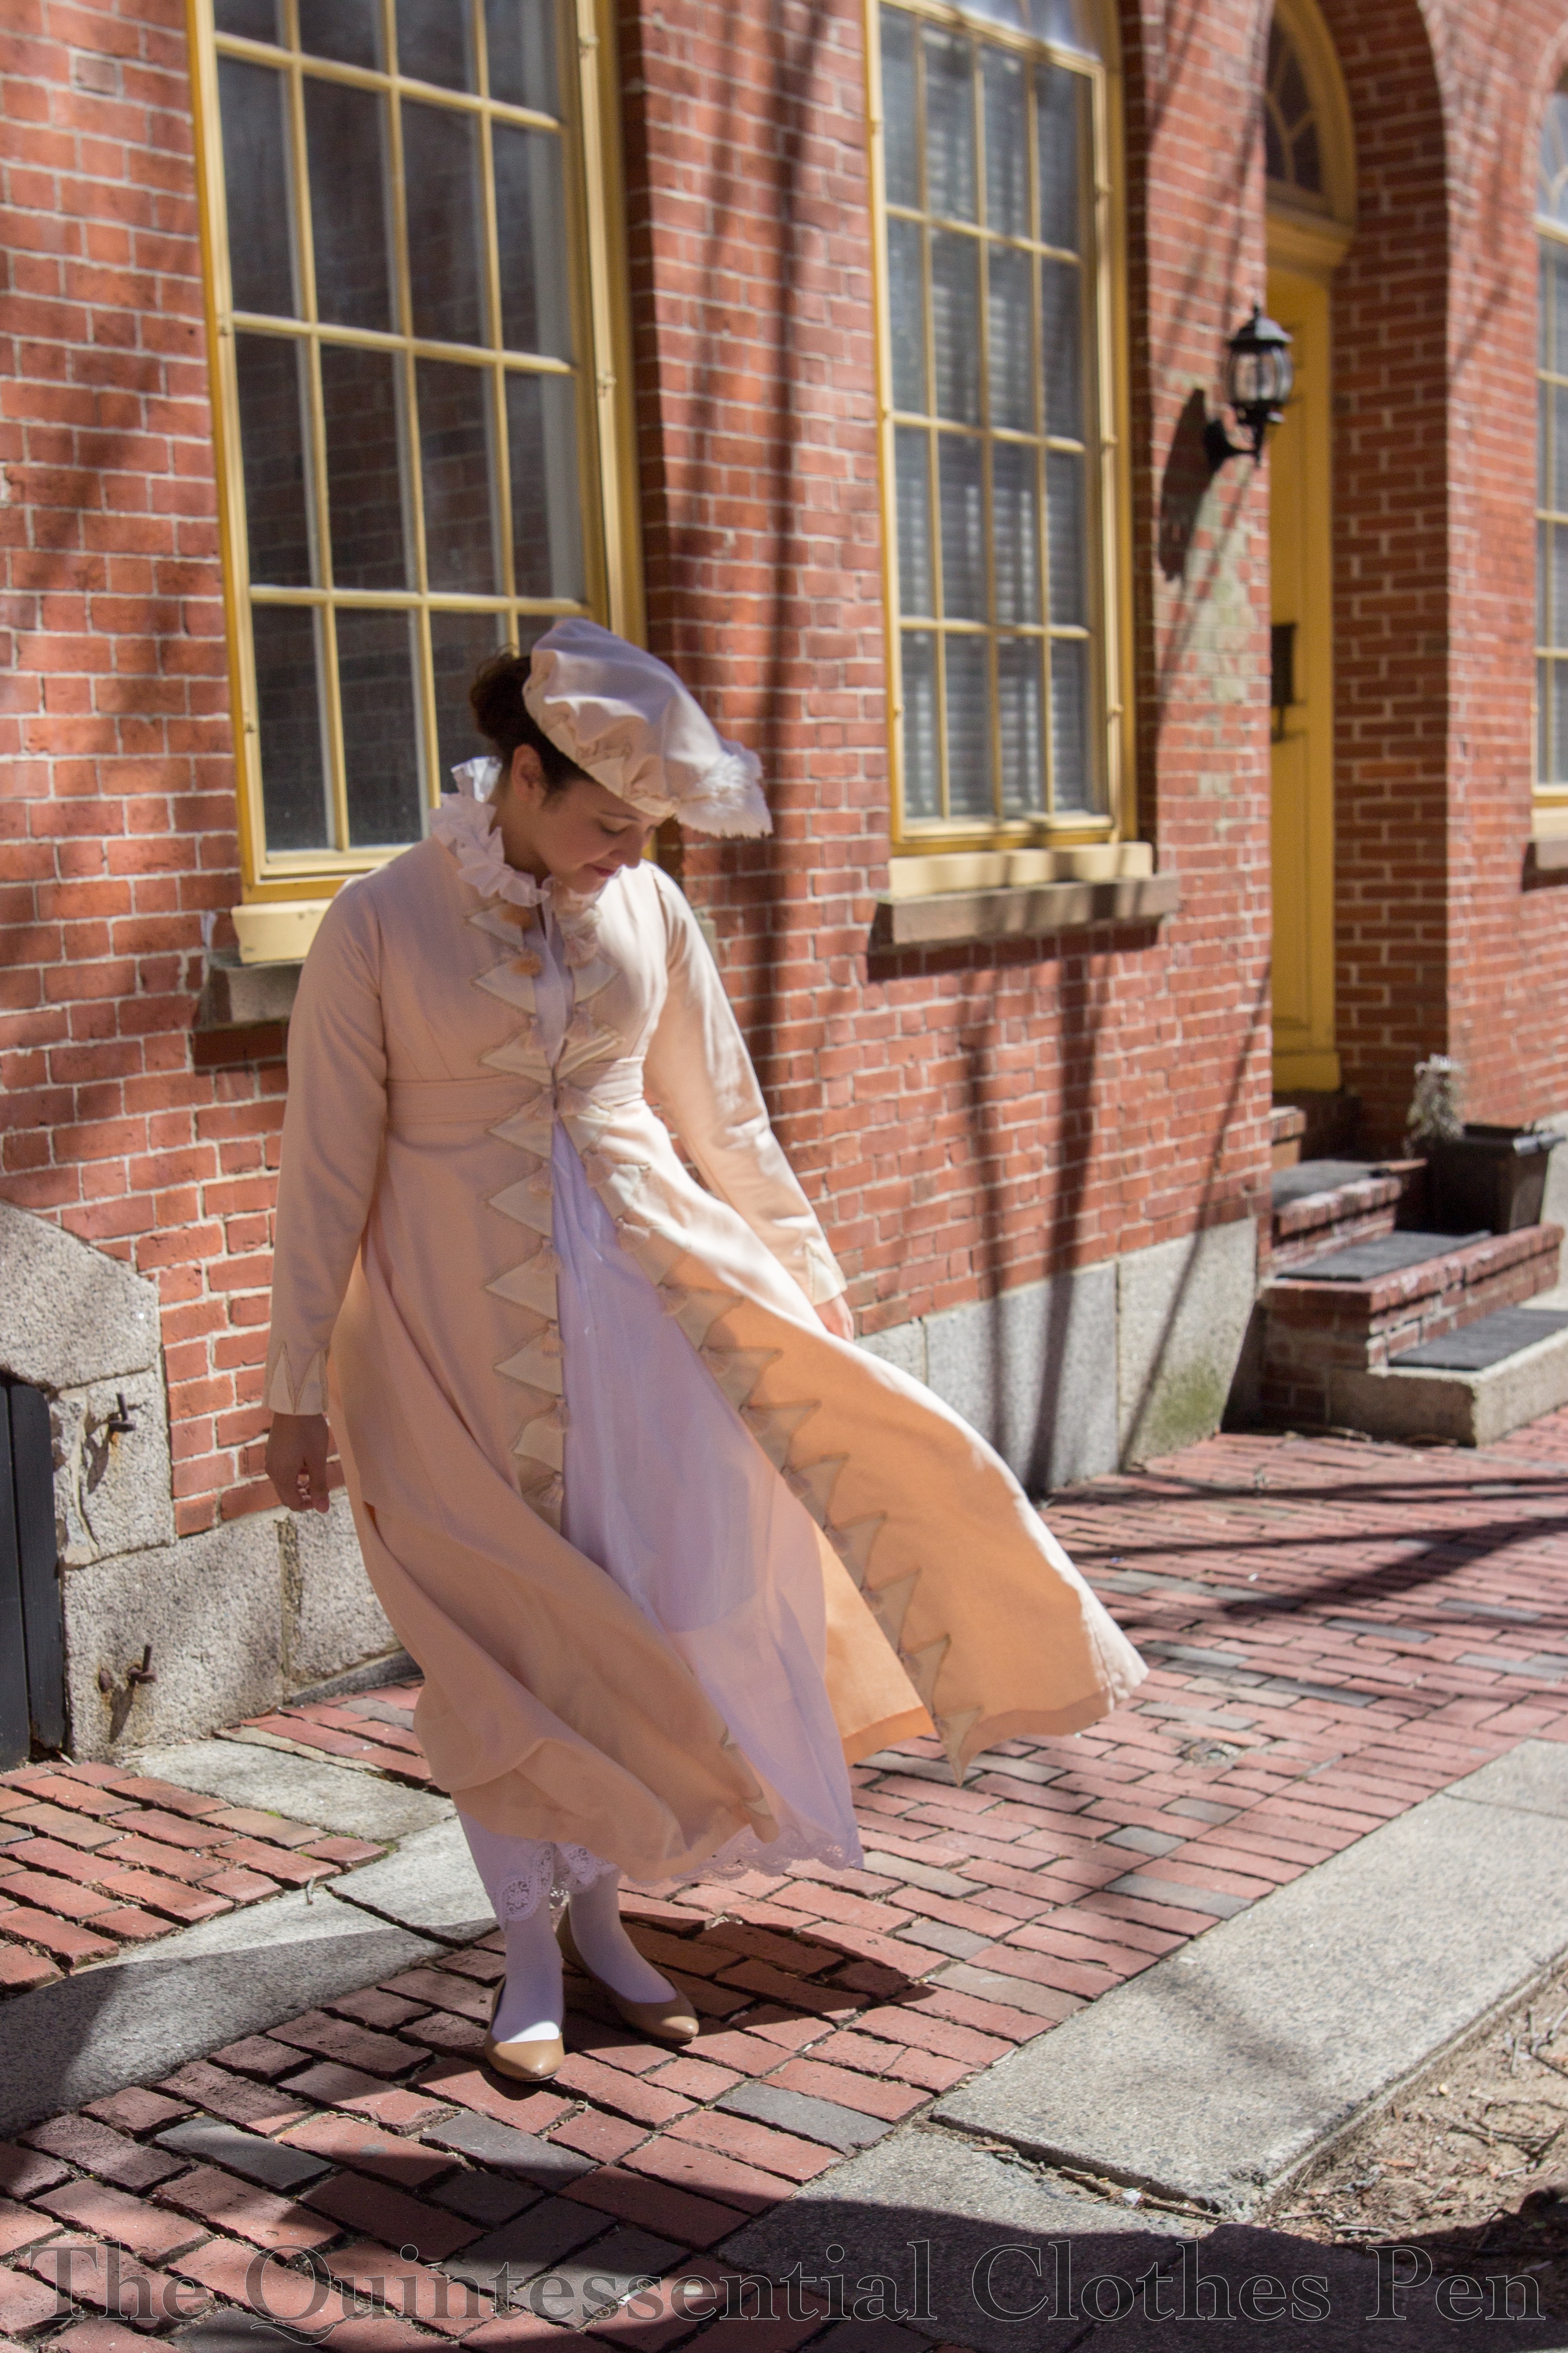
I have a full compliment of nicely finished underthings that are perfect for making the sheer dress opaque. It was never my intention to be a scandalous Regency lady with minimal underthings! In fact, to make the ensemble sufficiently opaque, I wore my chemise plus two petticoats under the sheer dress. Without the second petticoat it was clear where my chemise ended (at my knees, in case you’re curious), but I didn’t want to have the illusion of scandal with this, I really wanted opacity all the way down.

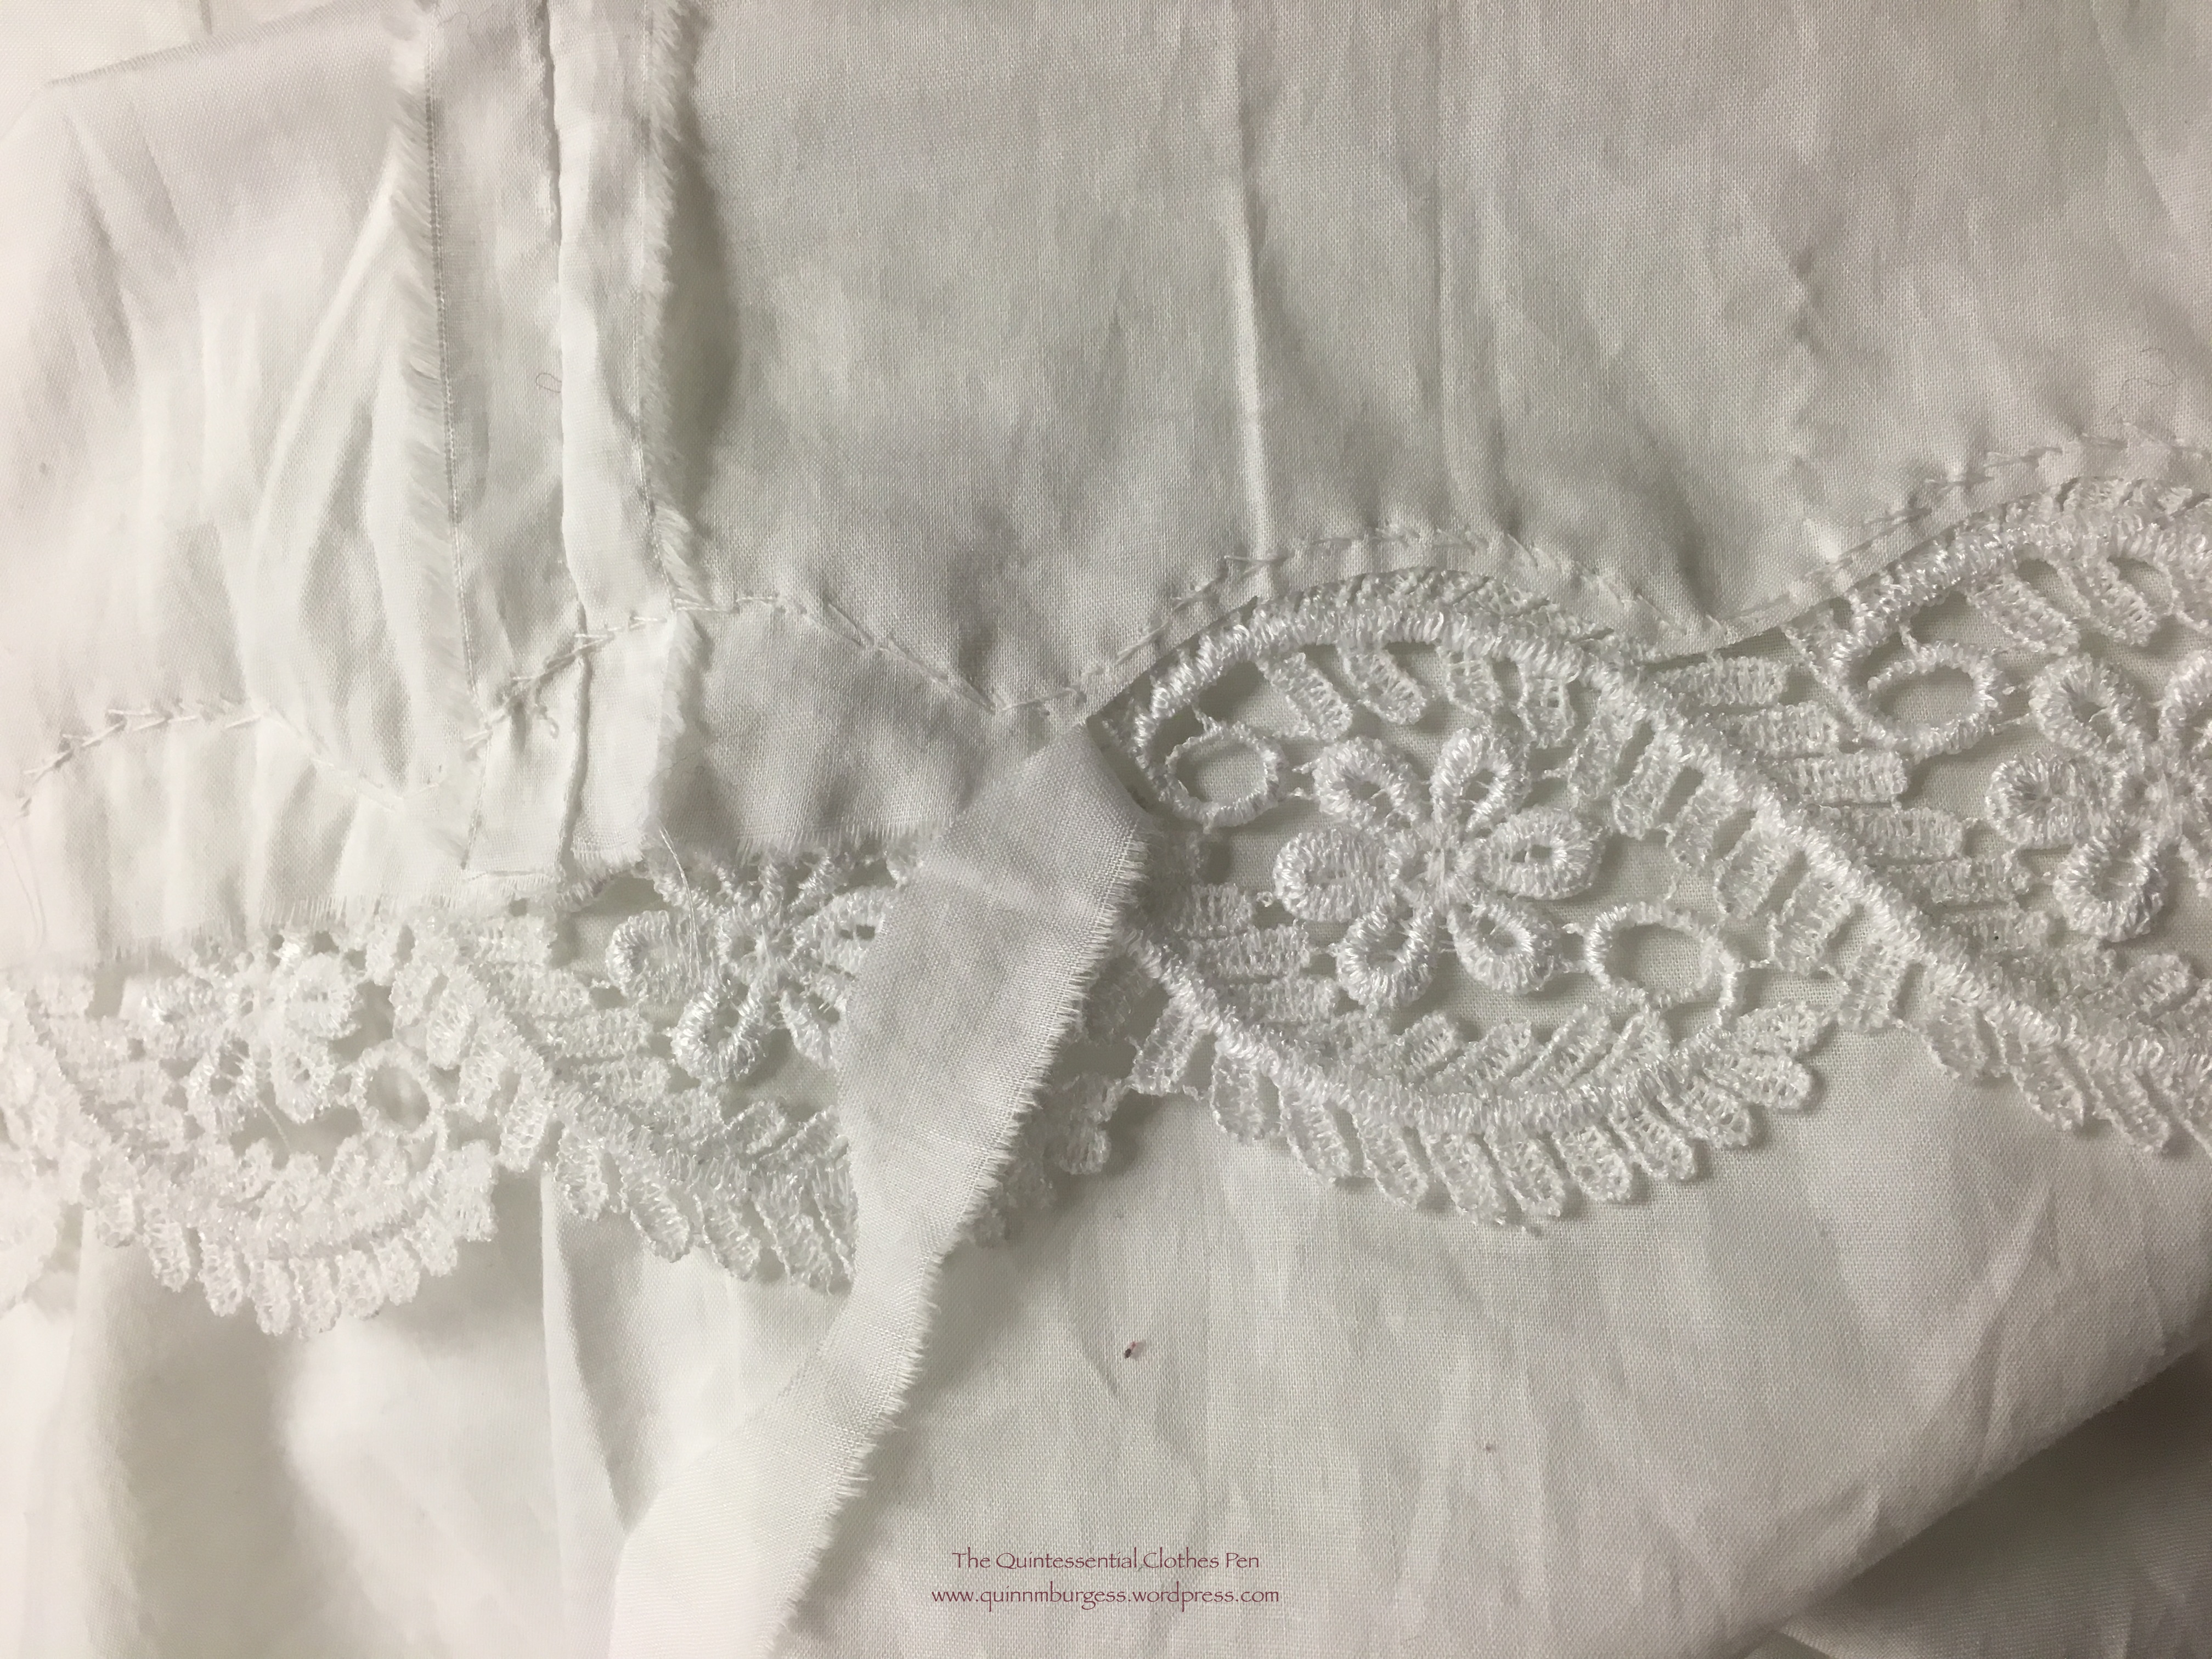
Like the new pelisse, the sheer dress provided another perfect opportunity to make further use of my Vernet petticoat, which has a lovely eyelet border at the hem. Here’s another view that shows off the lace on the petticoat.

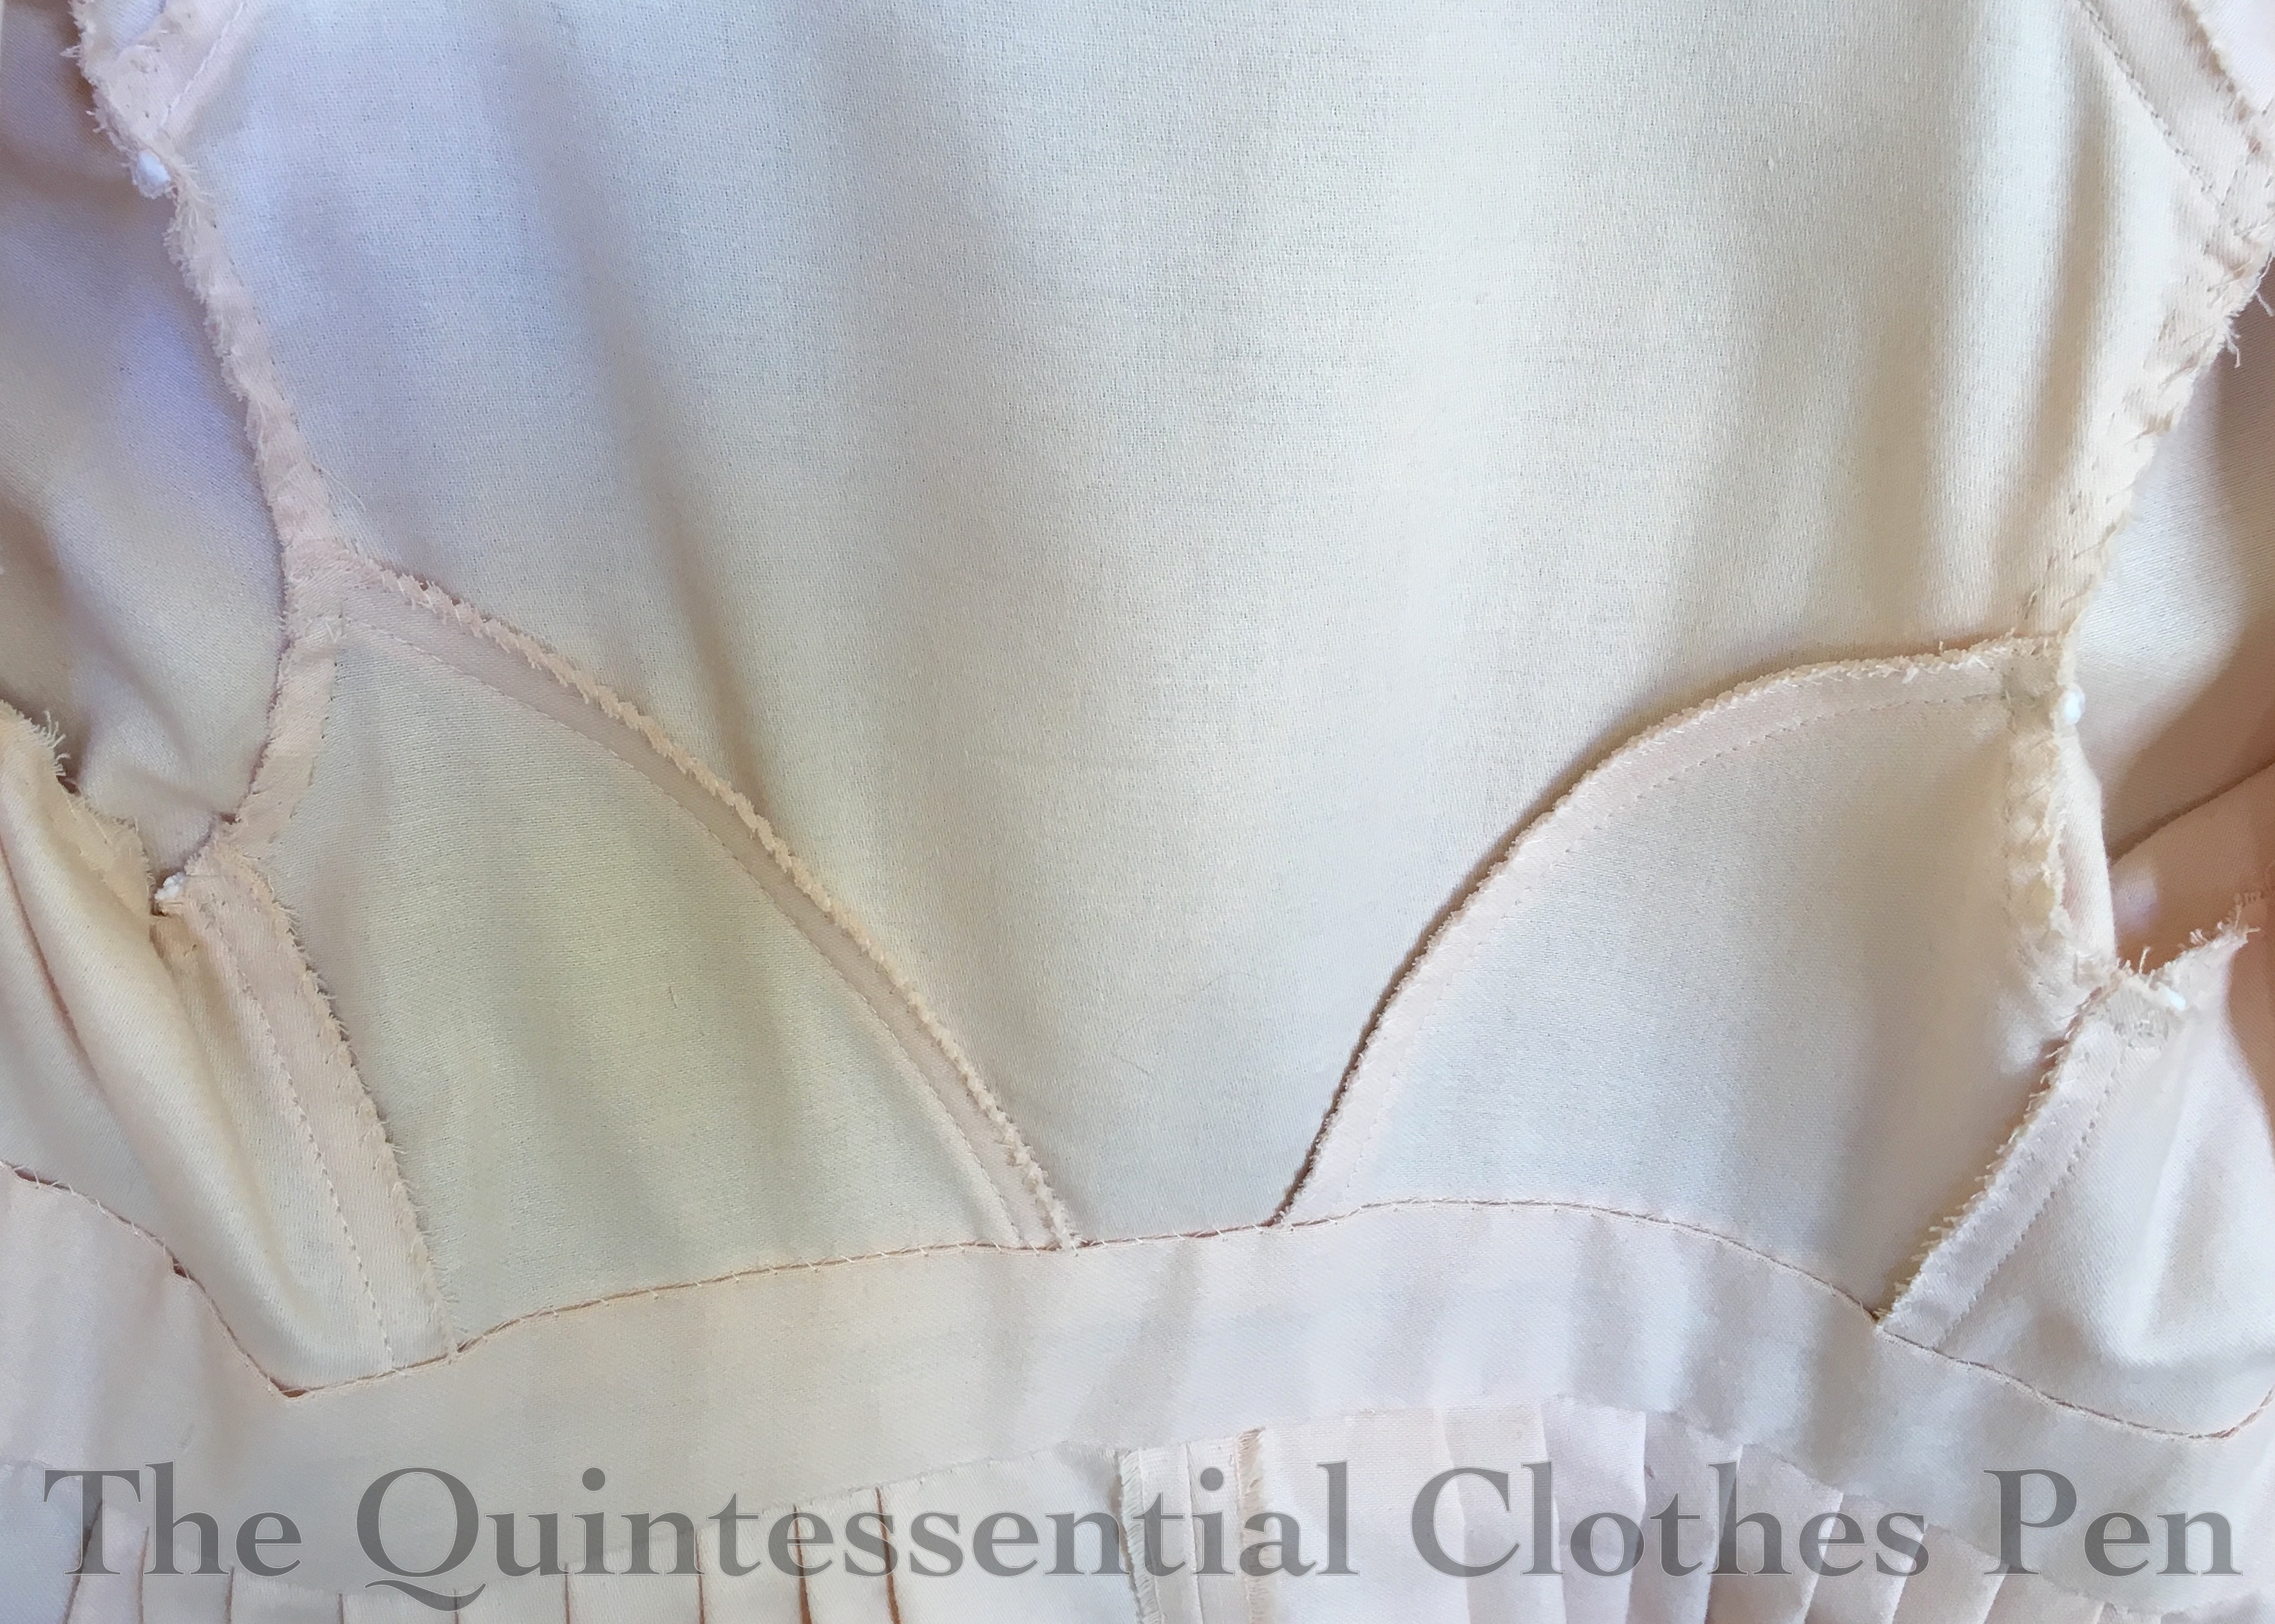
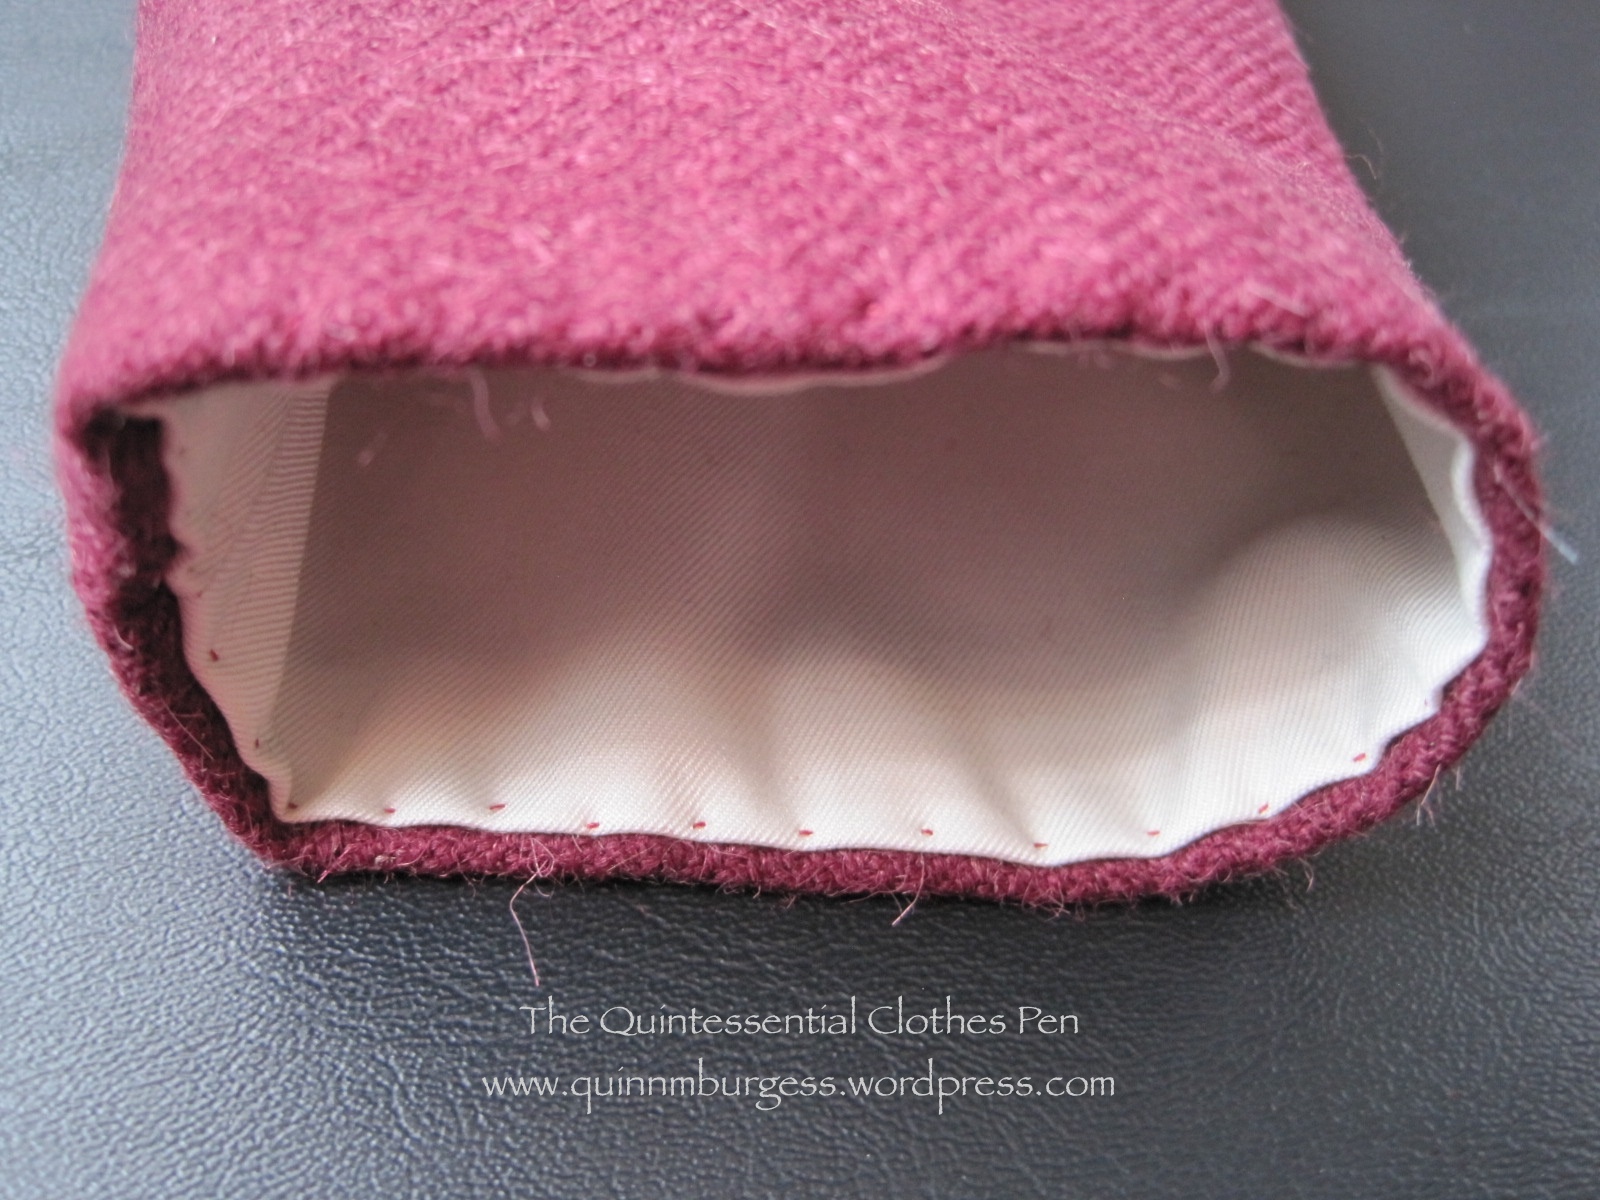
It’s usual for me to meticulously finish the insides of my garments, but in the case of a sheer dress, that desire became a necessity. Accordingly, all of the inside seams are nicely finished with a mix of French, flat felled, and folding seam allowances to hide raw edges and whipping them together. I kept the finished seam allowances small, so that they wouldn’t detract from the stripes.
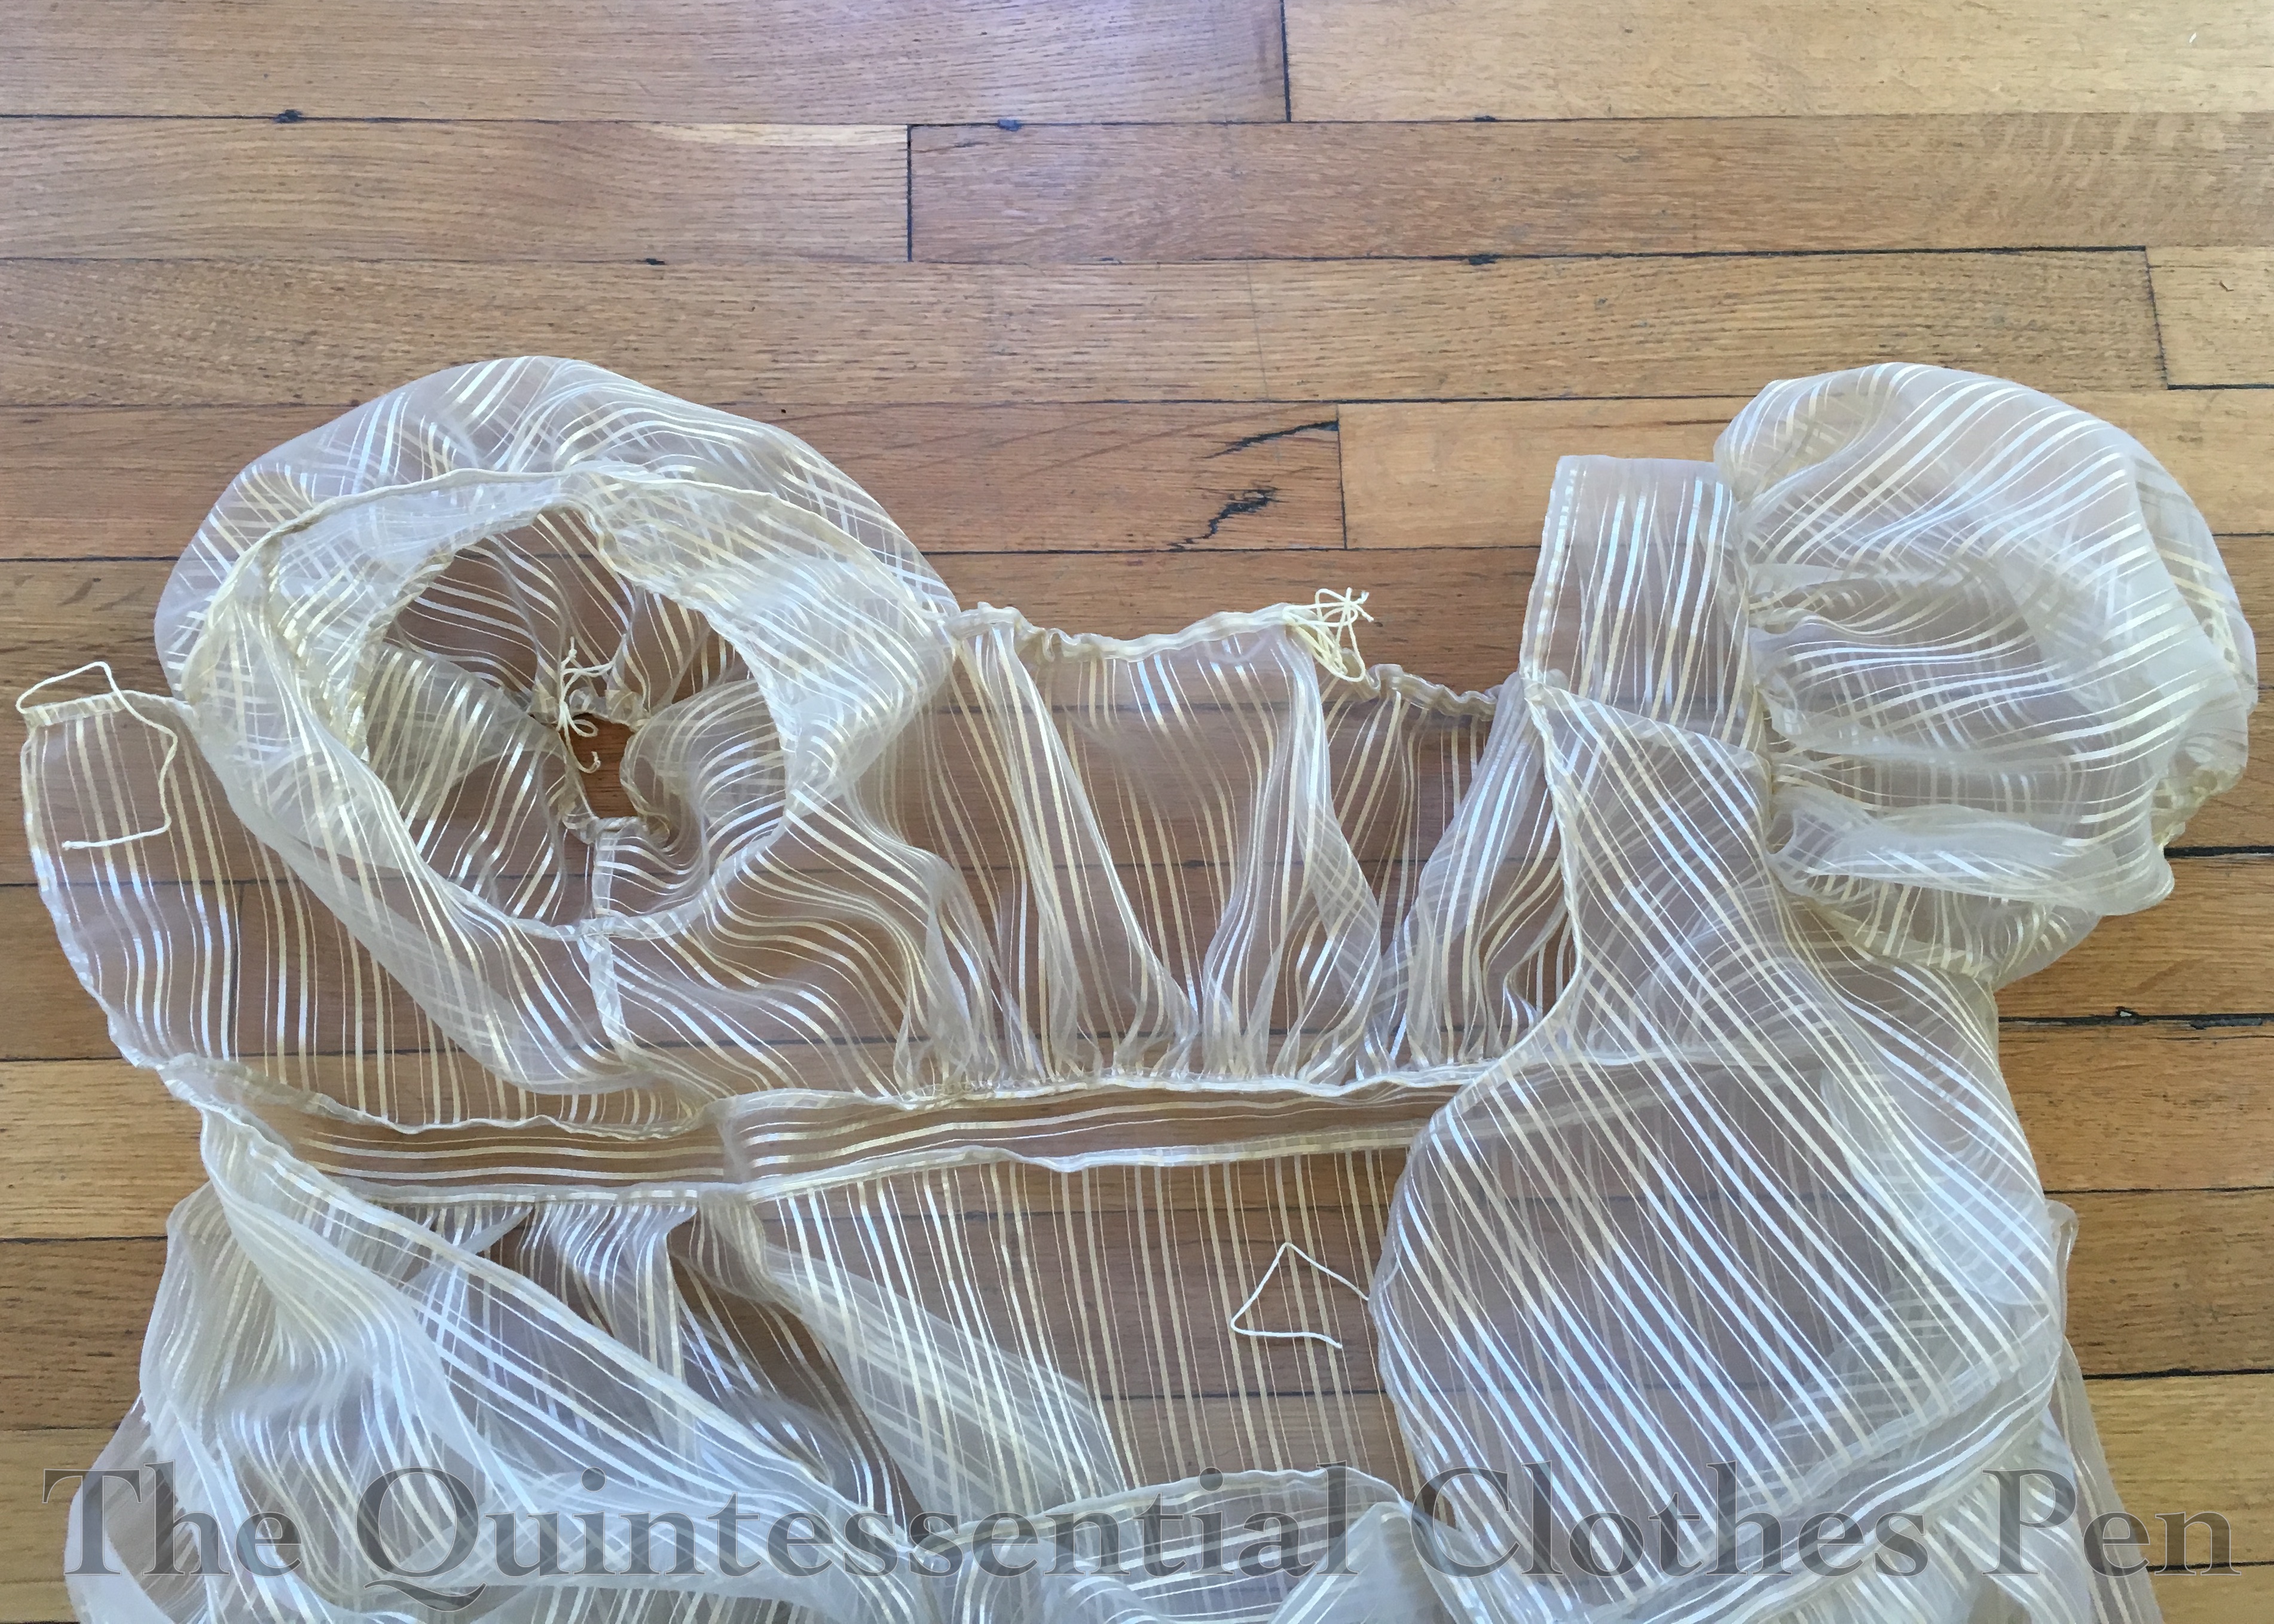
The bottoms of the sleeves and the front and back necklines are all adjustable with tiny drawstrings made from champagne colored embroidery floss. The goal was to have ties that would blend and not be noticeable through the sheer fabric.

The pattern for this dress was adapted from other Regency dresses I have made. I think I most closely referenced the patterns for my tree gown and square neck gown, but adjusted the fullness to give this dress a little more oomph.
This dress is machine sewn and hand finished. All of the French seaming was done on machine, as was the assembly of the bodice, waistband, and skirt to make a dress, but all of the other stitching (casings, hems, trim, finishing seam allowances in non-French ways, etc.) was done by hand.

The dress has a scalloped trim band around the bottom, set up high enough to show off the lace on the Vernet petticoat. It’s hand hemmed and it seems like miles… though I think it was only about 9 yards. Hemming, gathering, and attaching this was one of the last tasks and it was going right up until about 2am on the morning of the ball. By the time it was being sewn on there was no measuring or sectioning, just eyeballing, so it’s a little wavier than I would normally allow, but one has to make accommodations (sometimes). I was envisioning the scallops would be spaced out more and therefore be more defined, but as I was furiously sewing the trim on I was not about to cut it up and resew it, so all 9 yards made it onto the dress. It’s fine. I’m happy. I do not plan to re-do the fullness of the trim or the placement!
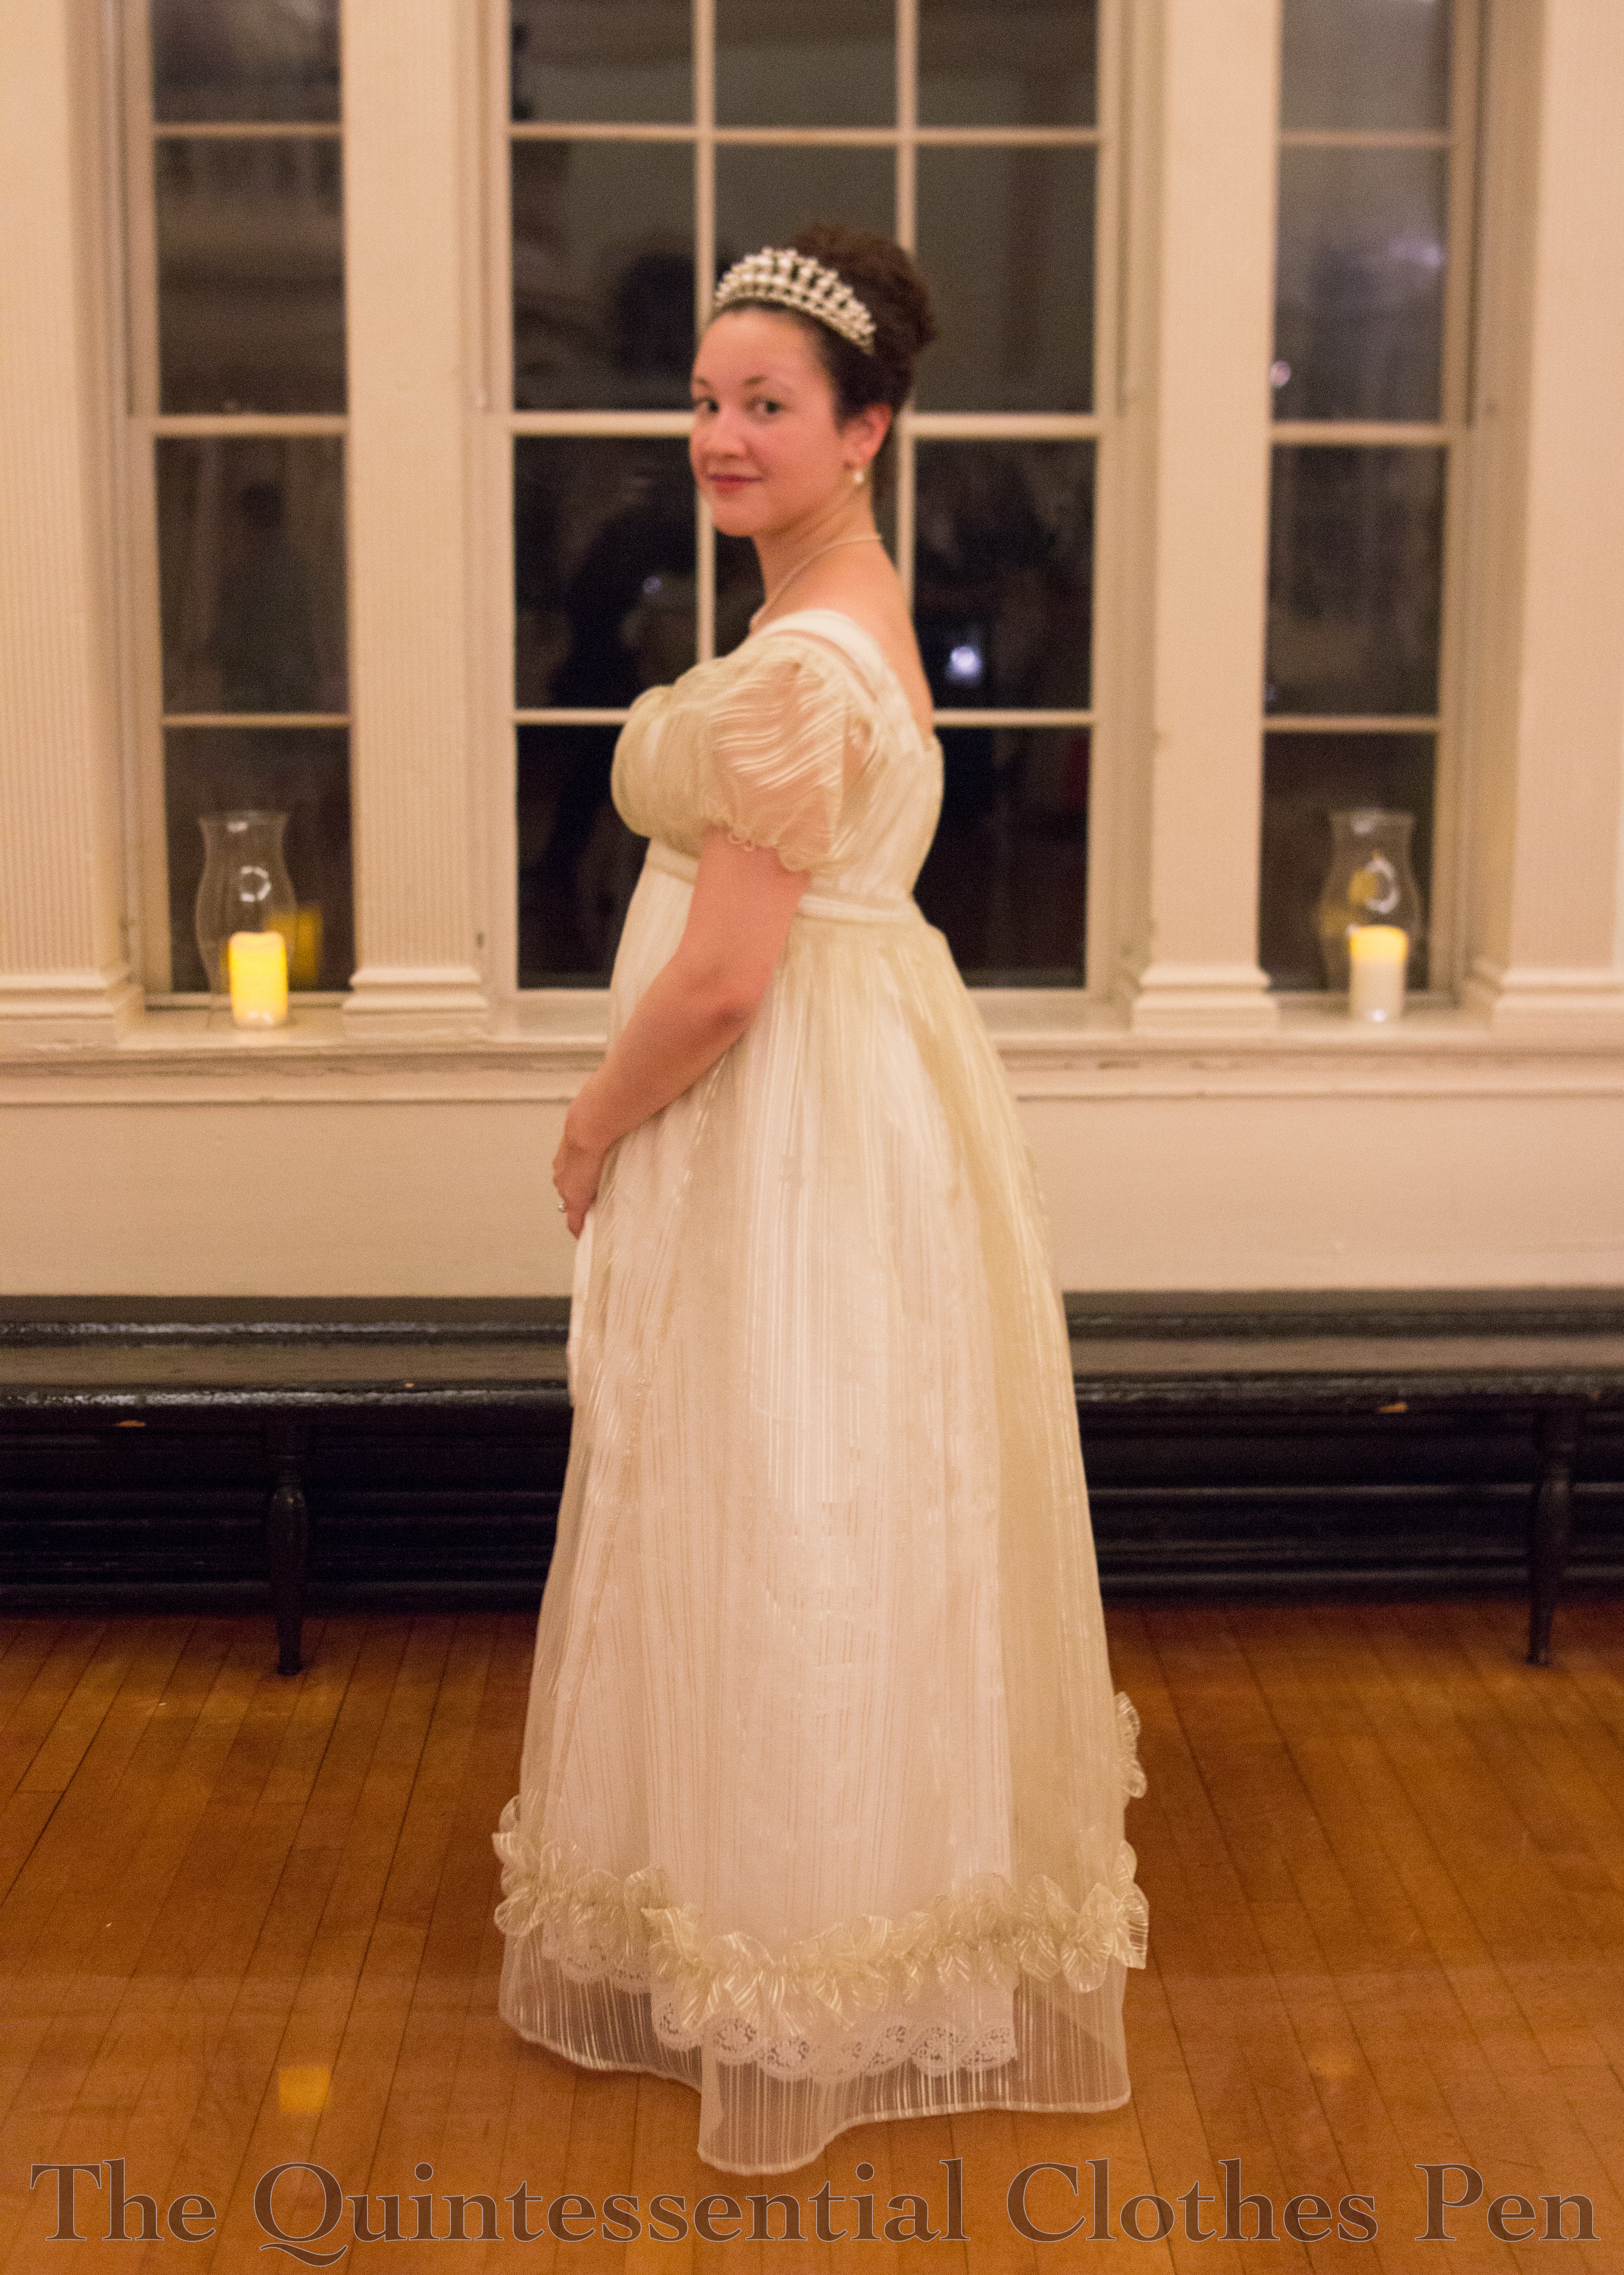
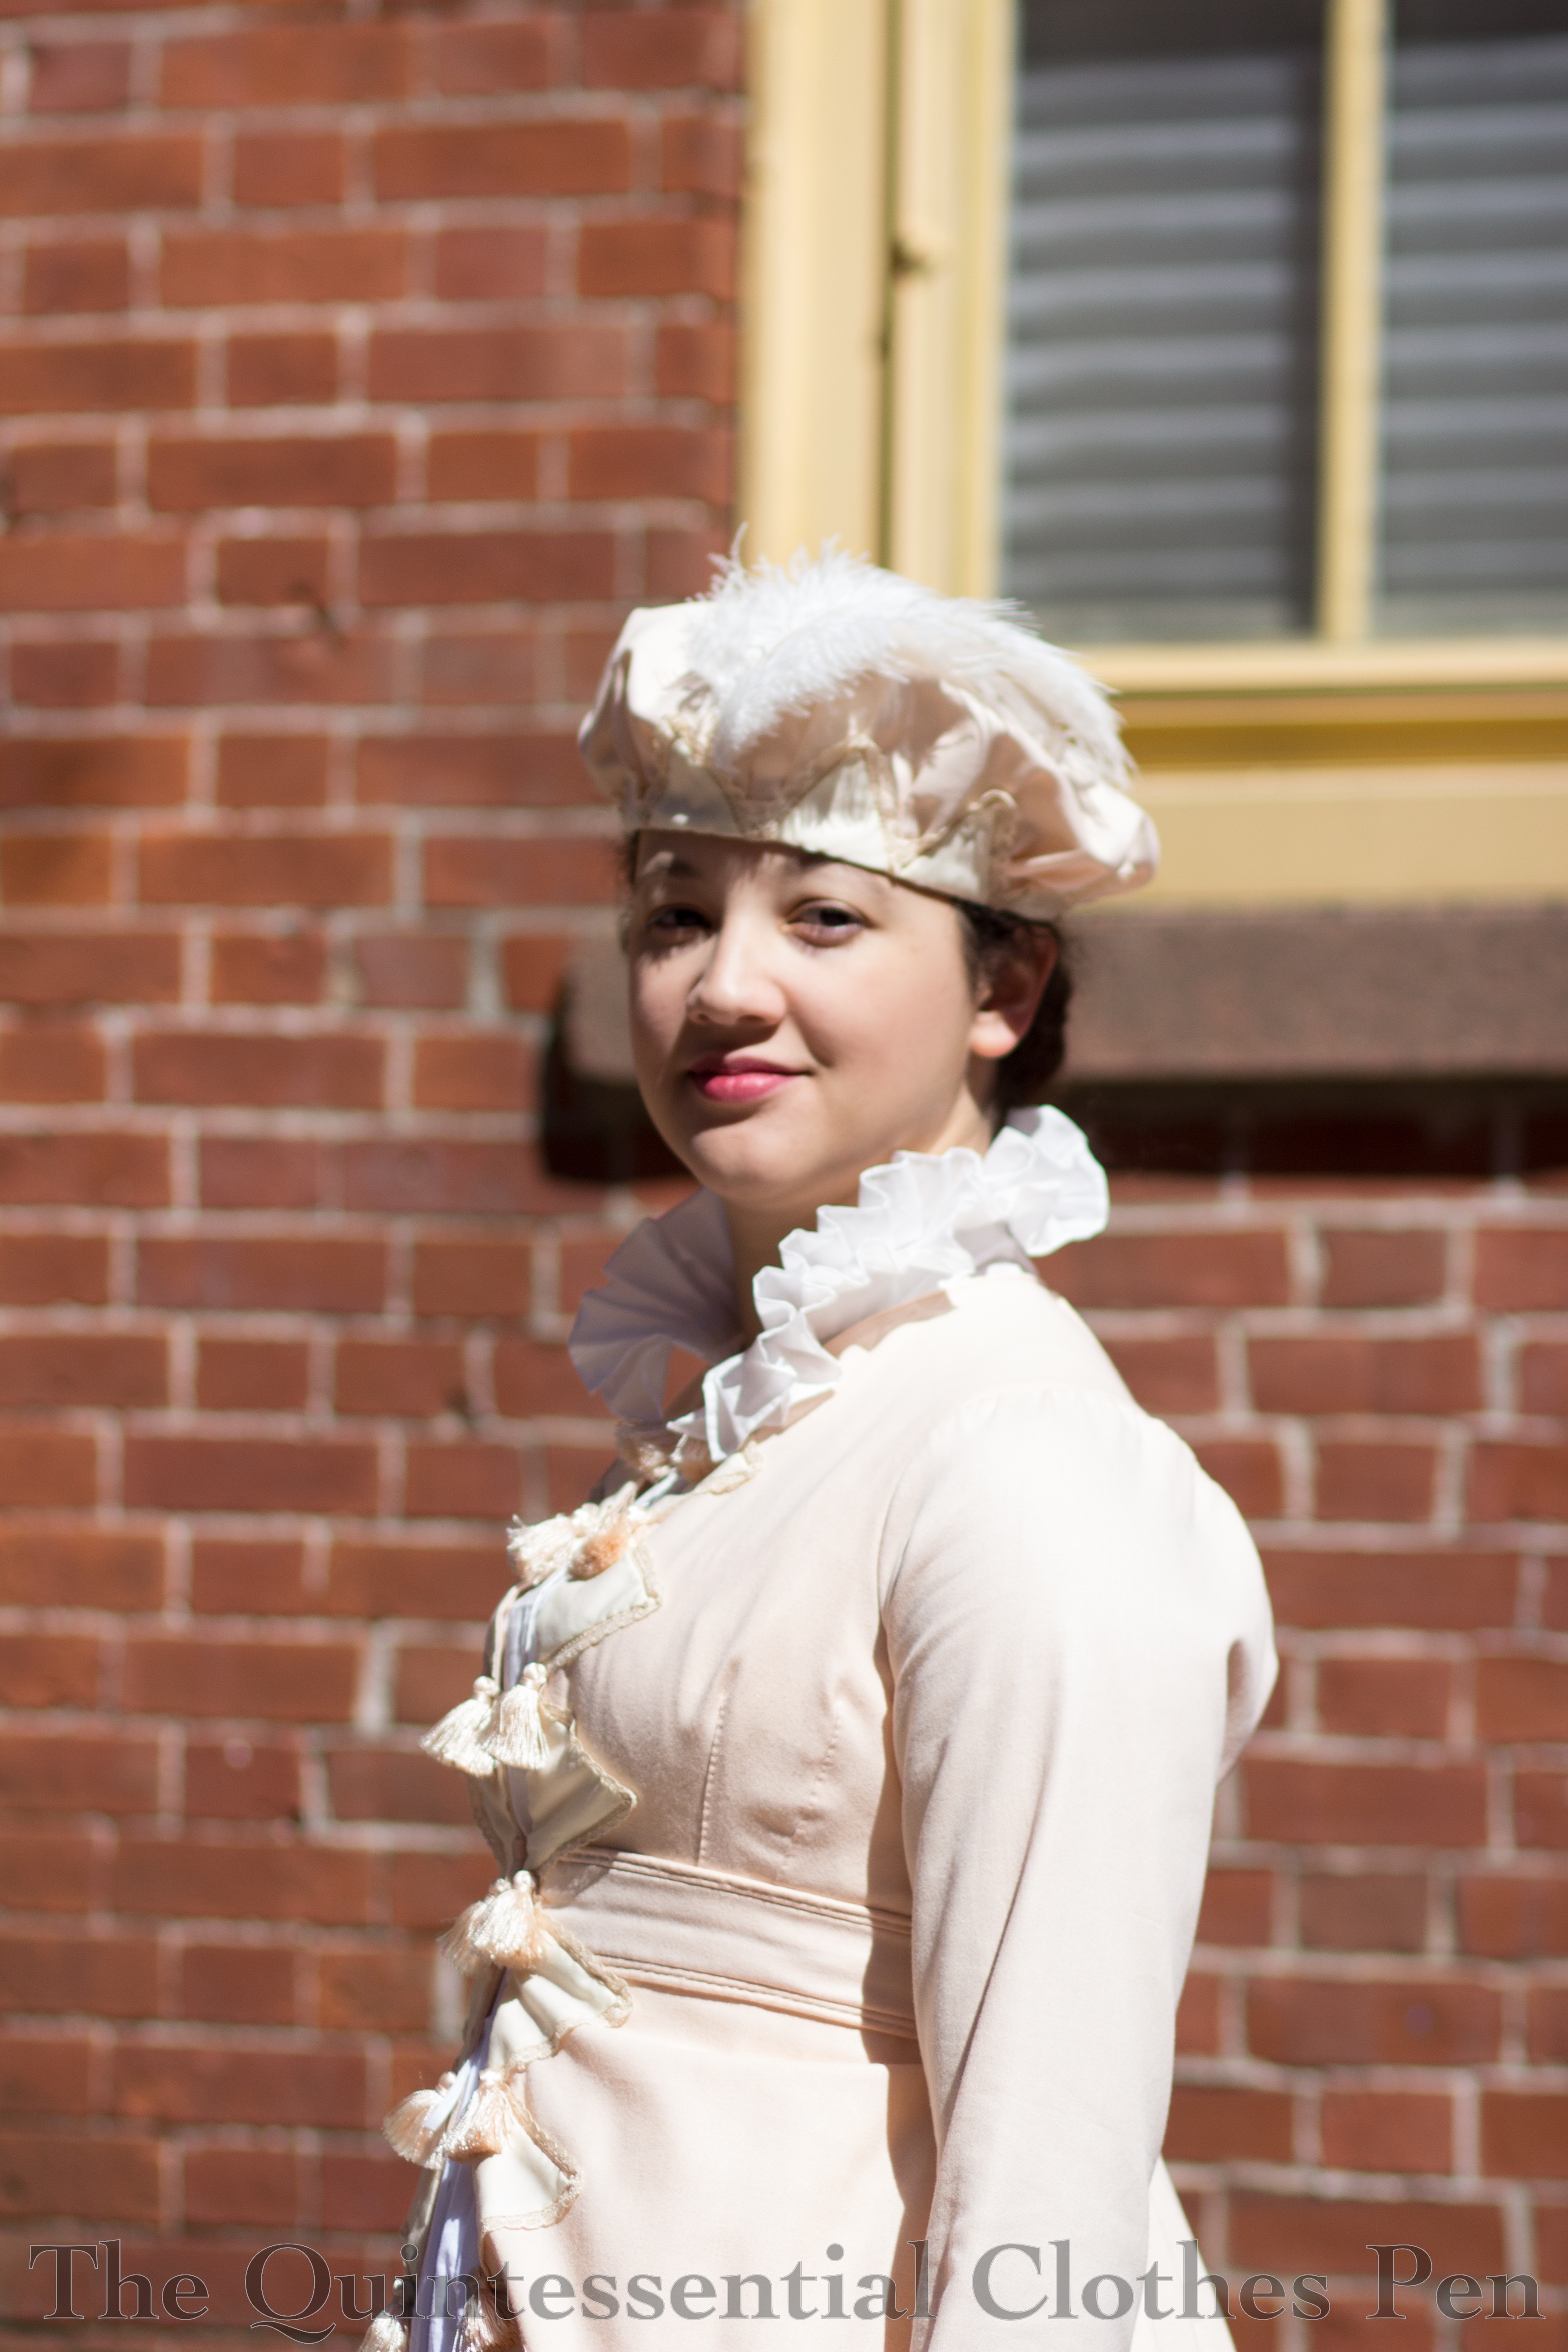
I decided that such a dress needed grand hair and hair ornamentation, and so I justified my desire to wear a tiara by scouring my Pinterest boards for documentation. The Duchess d’Angouleme sports a pretty grand tiara in 1818. And here she is in 1817 wearing what I think is the same tiara.This is Victoria, Duchess of Kent, sporting a fabulous tiara and giant hair poof/bun. Empress Josephine and Caroline Murat (Queen of Naples) have some pretty fabulous tiaras, too. To match the tiara, I accessorized with a pearl necklace and pearl earrings. Worthy of a duchess? I think so!