Project Journal: 1815-1820 Regency Ensemble Part VI: Updating the Gown

Original construction

I have decided to remake my ivory 1819 cotton gown for an upcoming Regency ball. Originally, my plan was to add trim to the dress as it currently exists, but I realized there were many things about the dress I wanted to change: with my new late Regency corset the neckline tended to sit away from my body in front, the back closure was too tight for comfort, the bust line in front was so high that it was very hard to get it to sit below my bust, the sleeve openings were uncomfortably tight, the sleeves weren’t puffed enough, I wanted to separate all the petticoat layers to be individual layers rather than petticoats built into the dress, and I wanted to add ruffles to the skirt  to really bring it up to the years just before the 1820s. Indeed, the things I wanted to change were so numerous that I decided to just remake the dress!
In the end, the only thing that I decided to keep the same is the skirt base fabric… Using just one additional yard of the original fabric, I plan to complete the following changes: constructing an entirely new bodice with ruffled trimming, creating entirely new puffed sleeves with a cute v-shaped detail, making stand alone petticoats out of the original built in petticoats, and adding bias ruffles to the skirt.

From Ackermann's Repository 1822

My dress is from the period just before the 1820s and I felt that I needed to go more in an 1820s direction with the new trimming and adornment. The main feature of trimming in the 1820s is wide sections of trimmings on the skirt, in combination with corresponding trim across the bodice and sleeves. Thus, there two horizontal lines of interest with a simple, unadorned mid-section (as in the fashion plate on the left, from 1822).

Before I had decided to make so many changes, my original intention was to simply add ruffles to the bottom hem, along the lines of the dress (below) from the Kyoto Costume Institute.

c. 1820 Silk Day Dress (Kyoto Costume Institute)
Ribbon trim on 1819 dress before the remake

However, as I thought about it I realized that the ruffle style (above) just would not have a corresponding look to the current zig zag ribbon trim on the dress bodice (right). Those two styles did not make sense on one dress.

The logical step was to change the trim on the bodice. But remember that I had other complaints about the bodice as well… So came the decision to remake the bodice. But how to trim it to correspond with the ruffles on the skirt? I was not at all interested in the bodice trimming on the Kyoto dress for my dress, because the fabric doesn’t lend itself to that look. Well, I started researching trimming from the late 18-teens to see if I would be inspired. The image below is one of my favorites that didn’t make the cut, and there are more on my 1819 dress trimming ideas Pinterest board (thank you to Lauren, at American Duchess, for linking to her Pinterest board in a post and sparking my interest in this fabulous organization tool).

From Ackermann's Repository 1819

Many of my Pinterest images come from the same place: the blog “My Fanciful Muse” by EK Duncan. She has a series of posts that contain text and fashion plates from Ackermann’s Repository beginning in 1808 and going through 1828! Here is the link for the post on 1828: if you scroll to the bottom you will see a list of links to all of the previous years. It is absolutely fabulous! If you haven’t seen this yet you MUST visit! (Thank you for sharing, Evelyn!)

In the end, I decided on a combination of the two dresses in the image below: the ruffles on the skirt of the dress on the right (for some reason I really like the idea of ruffles on my skirt!) and the bodice of the dress on the left. The repeated use of ruffles on the skirt and bodice will produce the corresponding style I am aiming for. The sleeves will be a style from the first few pages of the first half of the 19th century Janet Arnold pattern book: a puffed sleeve with a triangular inset coming from the shoulder. I’ve wanted to use that sleeve style for months and now I finally have a way to use it that makes sense!

1820 illustration from Cunnington's English Women's Clothing in the Nineteenth Century (the illustration is based off of contemporary fashion plates)


Project Journal: 1815-1820 Regency Ensemble Part V: Completed Spencer (Massachusetts Costumers Regency Holiday Tea)

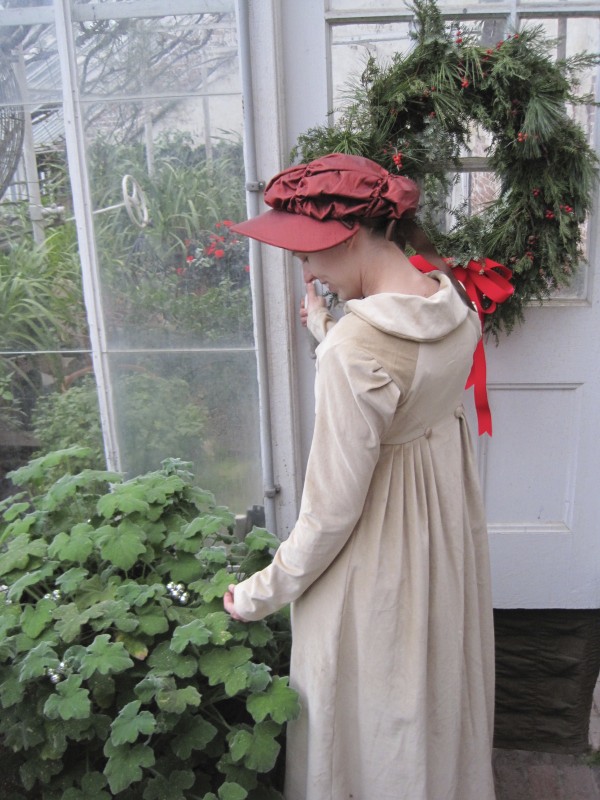
In the greenhouses at the Regency Holiday Tea.

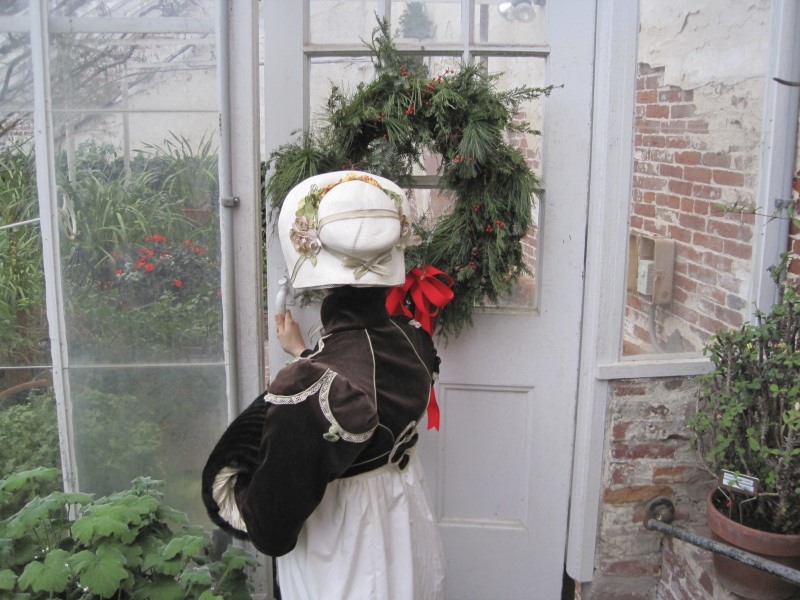
Despite the long name of this post… Here it is! My (almost) finished 1819 Regency Ensemble! The ensemble includes an early 19th century white linen chemise, 1815-1820 pink cotton corset, 1815-1825 ivory cotton gown, 1819 brown velvet Spencer, 1819 straw bonnet, and mid-19th century fur muff (ok, so it’s not quite as giant and droopy as a Regency muff… but it was cold outside!). You can click on the links to see more about each piece. There is more to come on the gown and bonnet.

Right now I want to focus on the completed Spencer and its details. Please click on the link above to see my research for the Spencer: it is based off a Spencer at the Metropolitan Museum of Art. You can see pictures of the mockup Spencer here. The Spencer is constructed of brown cotton velvet that is flatlined with white cotton. It is trimmed with green cotton cording, vintage brown lace, and green tassels to match (Aren’t the tassels so adorable?).

1819 Spencer
Back of the 1819 Spencer

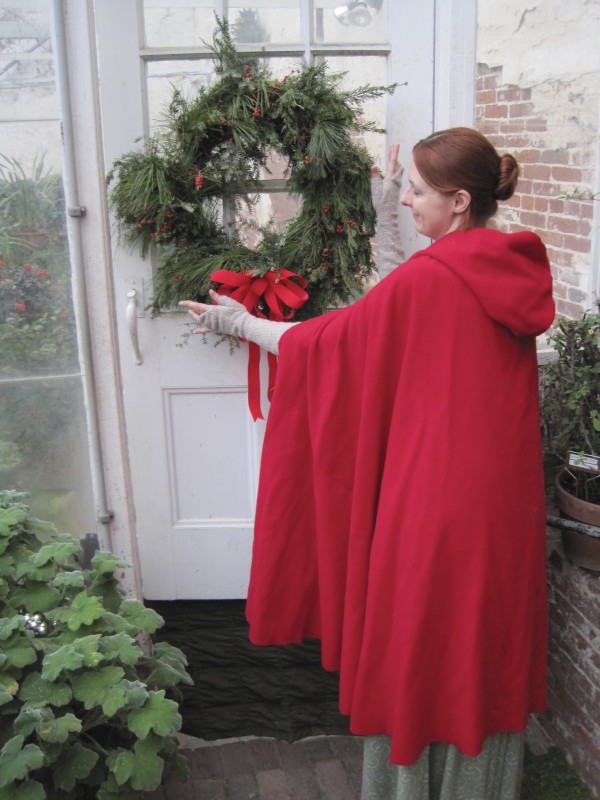
I wore this Spencer to the Massachusetts Costumers annual Regency Holiday Tea. This year, in addition to having tea, we visited the Lyman Estates Greenhouses, which were built in 1804 and added to in 1820, 1840, and 1930.

On to see more of the greenhouses
Ornaments hanging from a tree!
Picture time!
Admiring the decor
So many beautiful things to look at

The tea was lovely and I do believe that my Spencer turned out wonderfully! Spencers are so adorable and varied. I hope to make more in the future… but there are other things to do before I go back to Spencers. The next big push is going to be Edwardian outfits for Titantic evens in April!

Project Journal: 1815-1820 Regency Ensemble Part II: Corset Construction

Well, it’s been a little bit of time since I shared with you my research and plan to build a Regency corset to accompany my 1819 gown. I’m excited to say that I was successful! The corset is complete, although I still plan to quilt a diamond pattern along front rib section within the next few months (I’ll share photos of that once it is complete). You can see the diamond quilting in the photos in the link, above.

The dummy isn't quite the right shape for this corset, but here it is!
Corset back

This corset is constructed of two layers of pink cotton twill with a layer of coutil sandwiched between them to provide stability and support. I began construction by flatlining the coutil to the outer layer of twill. I sewed the non-gusset seams (the front and back pieces) together in these flat lined pieces, leaving the inside twill layer for later. Each gusset had all three layers flatlined together and sewn into place with the seam allowances pressed away from the gussets themselves. Then I went back and basted the inner twill pieces into place that had been left aside. I turned under the seams on these pieces and hand sewed them over the seam allowance of the gussets so that no seam allowance was showing.

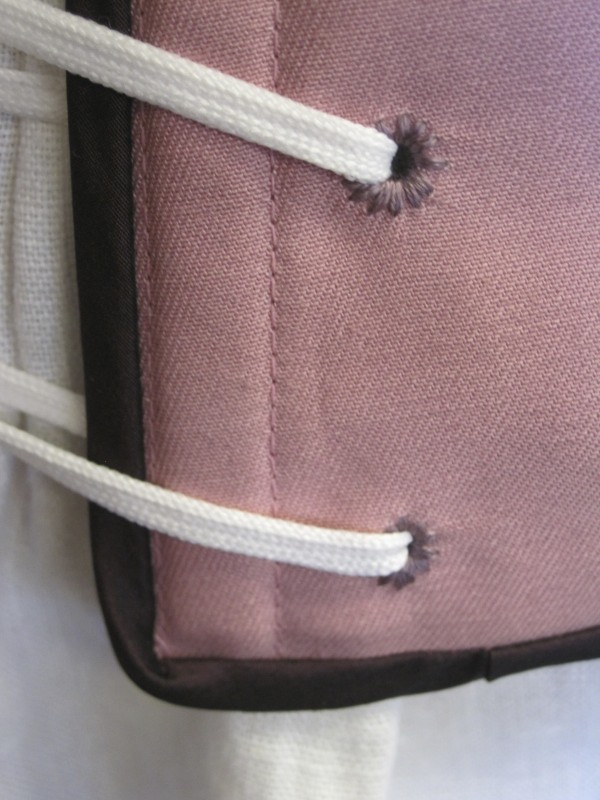
After completing the inside construction I bound the edges with purple bias silk taffeta, scraps from another project. The final step was to create eyelets. I decided to do these by hand in purple cotton embroidery floss. Each eyelet is reinforced with a metal jump ring that is caught under the thread on the inside of each eyelet. This reinforces the edge of each eyelet and keeps them from stretching out of shape when laced. The jump rings are only visible on the inside of the eyelets, where the stitching is bulkier because it passes over the rings.

Hand sewn eyelets, on the outside

The corset is lightly boned at center front and center back. I struggled over what material would be best to create the 2″ wide center front bone. Eventually I remembered a suggestion from a friend, Carly, who had used a creative option for boning that I decided would be perfect for this project. Home supply stores such as Home Depot and Loew’s sell plastic wire ties that are about 3/8″ wide and which come in lengths up to about 20″. The ties are a good 1/8″ thick, strong, but still bendable. They have a similar tension to a steel bone, but are a little thicker. And the nice thing is that you can cut and shape them easily with scissors! Of course, plastic boning is not historically accurate, but it is functional and affordable (a pack of these wire ties is about $5, and there are about 12 per pack) and creates a boned garment that feels similar to one boned with steel bones (and once you finish the garment, who would know?).

In this corset, each side of center back has a single bone. The 2″ wide center front bone is actually 5 wire ties attached to one other with (shhh!!!) masking tape! This is an experiment that I hope will work (I have slight fears that body heat might one day cause the tape to lose its grip and the bones to start to move around in funny ways, or worse, that the tape will leech sitcky goo onto the fabric that will stain the exterior). I put the center front bone in between the layer of coutil and the inside twill, so even if the masking tape does one day create stains, it is unlikely that the stains will make it to the outside of the corset.

For now, success and wearability!

Project Journal: 1780s Ensemble Part IV: Construction of Stays

c. 1780 Corset at the Metropolitan Museum of Art

As I mentioned in my last post in this Project Journal, I decided to make a pair of stays like the one to the right. I like the unique features of these: specifically the use of colorful fabric, the fact that this is fully boned, and the cording in each seam as well as the absence of shoulder straps and tabs. I adapted a pattern from Corsets and Crinolines by Norah Waugh. The pattern I started with had straps and tabs but I eliminated those elements to reproduce the pattern of these inspirational stays.

Cane boning

I decided to use cane boning for these stays for a few reasons: 1) I wanted to try a new material for boning 2) cane boning is period correct for the 1780s 3) given the amount of boning needed for a fully boned pair of stays the cane boning was much more cost effective (you can see the quantity on the left–it was about $15 from Wm. Booth, Draper) and 4) the cane boning seemed like it would be super easy to manipulate and, most importantly, to cut (and it was! normal scissors easily cut the correct lengths needed and it was easy to round the ends a little bit as well!). I actually only wound up using approximately half of the cane boning that I bought, so that means that I have plenty to use for another future project!

The silk that I decided to use as my exterior fabric is a fabulous damask. I originally thought about stitching my boning channels through the exterior fabric (as in my inspirational piece) but decided against that idea on this fabric, because it would really have just been way to much going on with the pattern and so many stitch lines. You can see the silk pattern a few pictures father down.

Stitching the boning channels

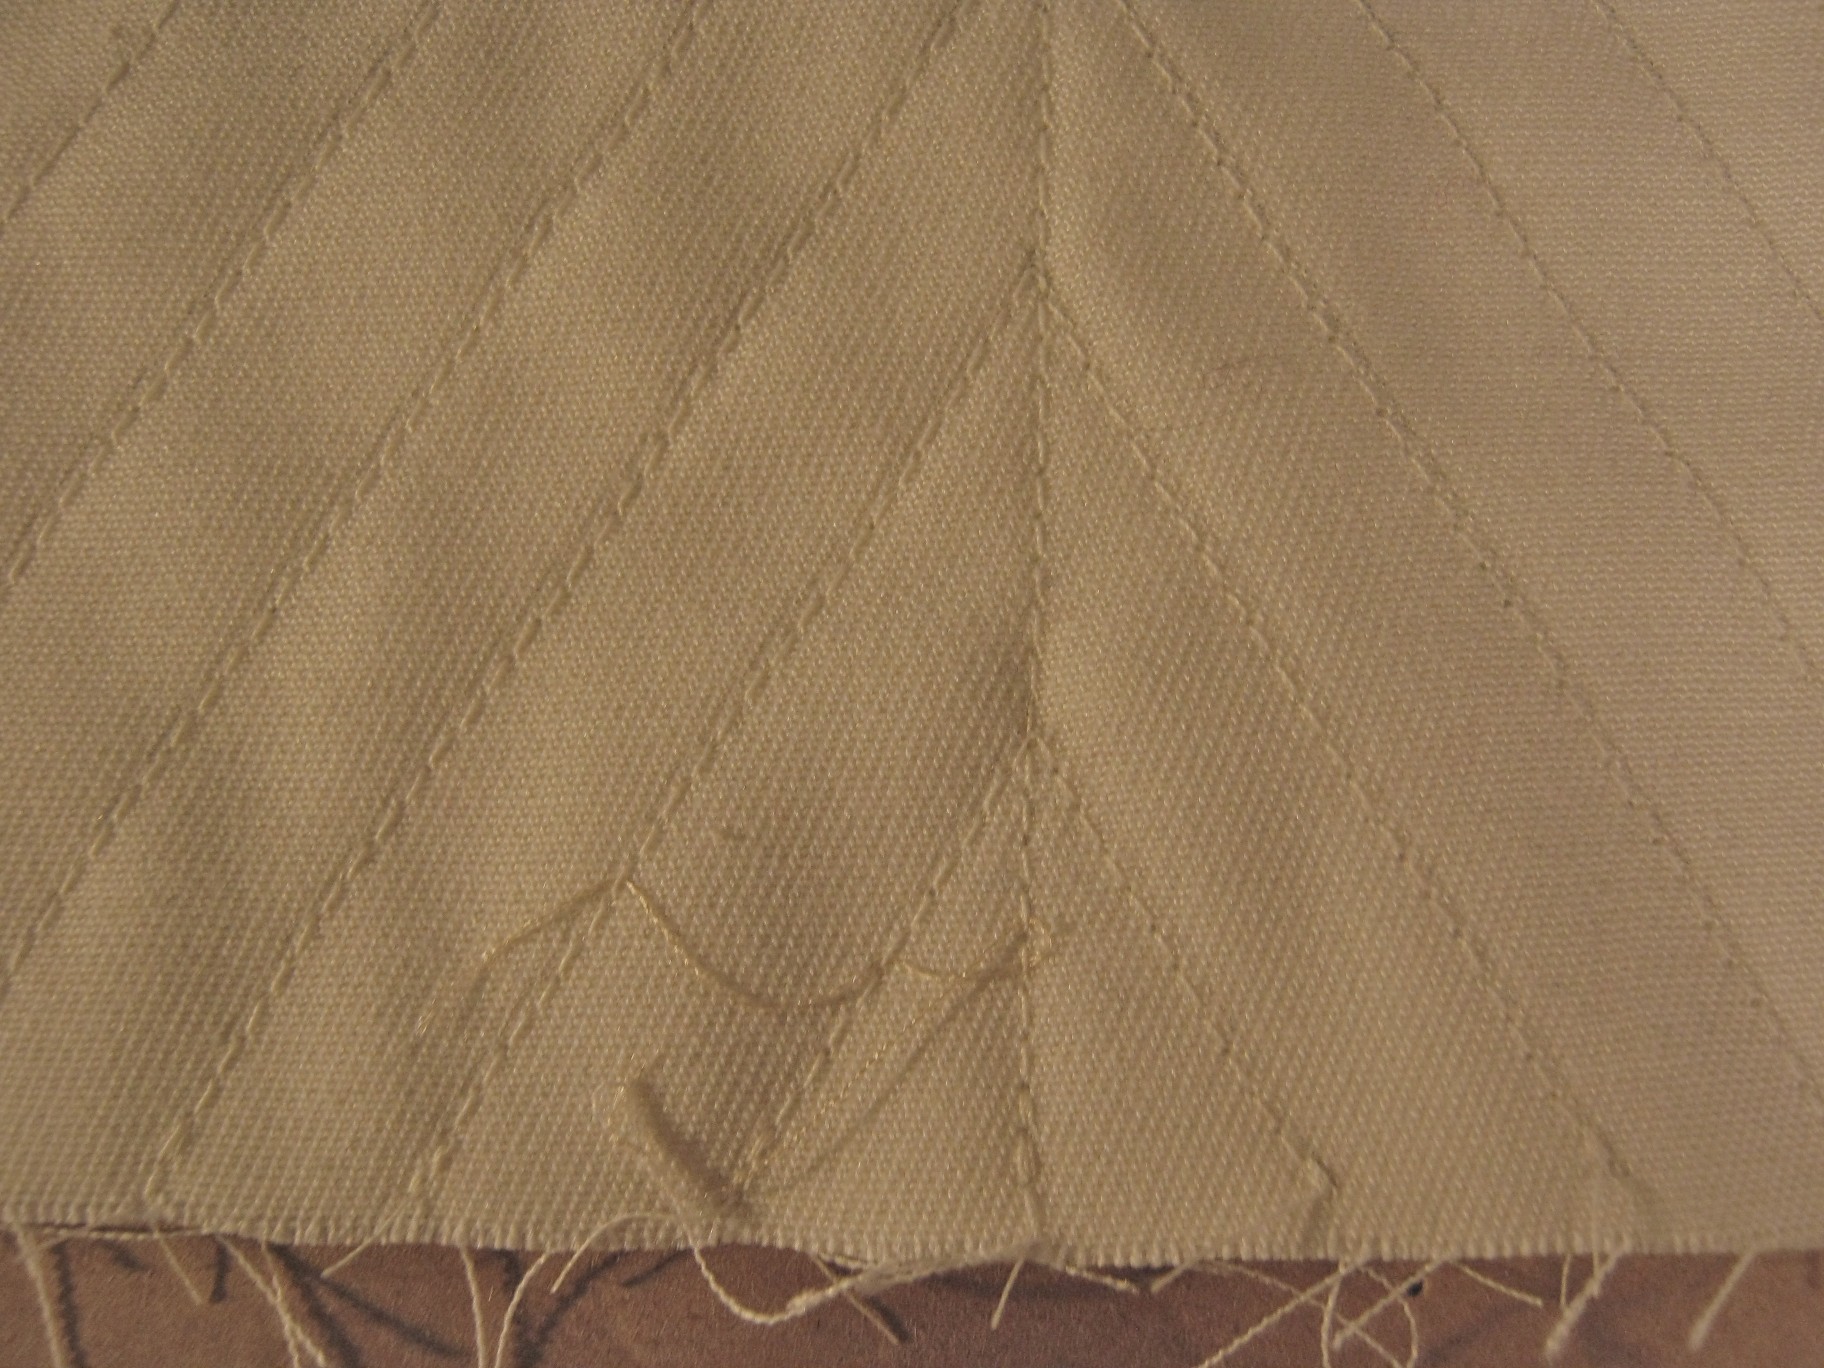
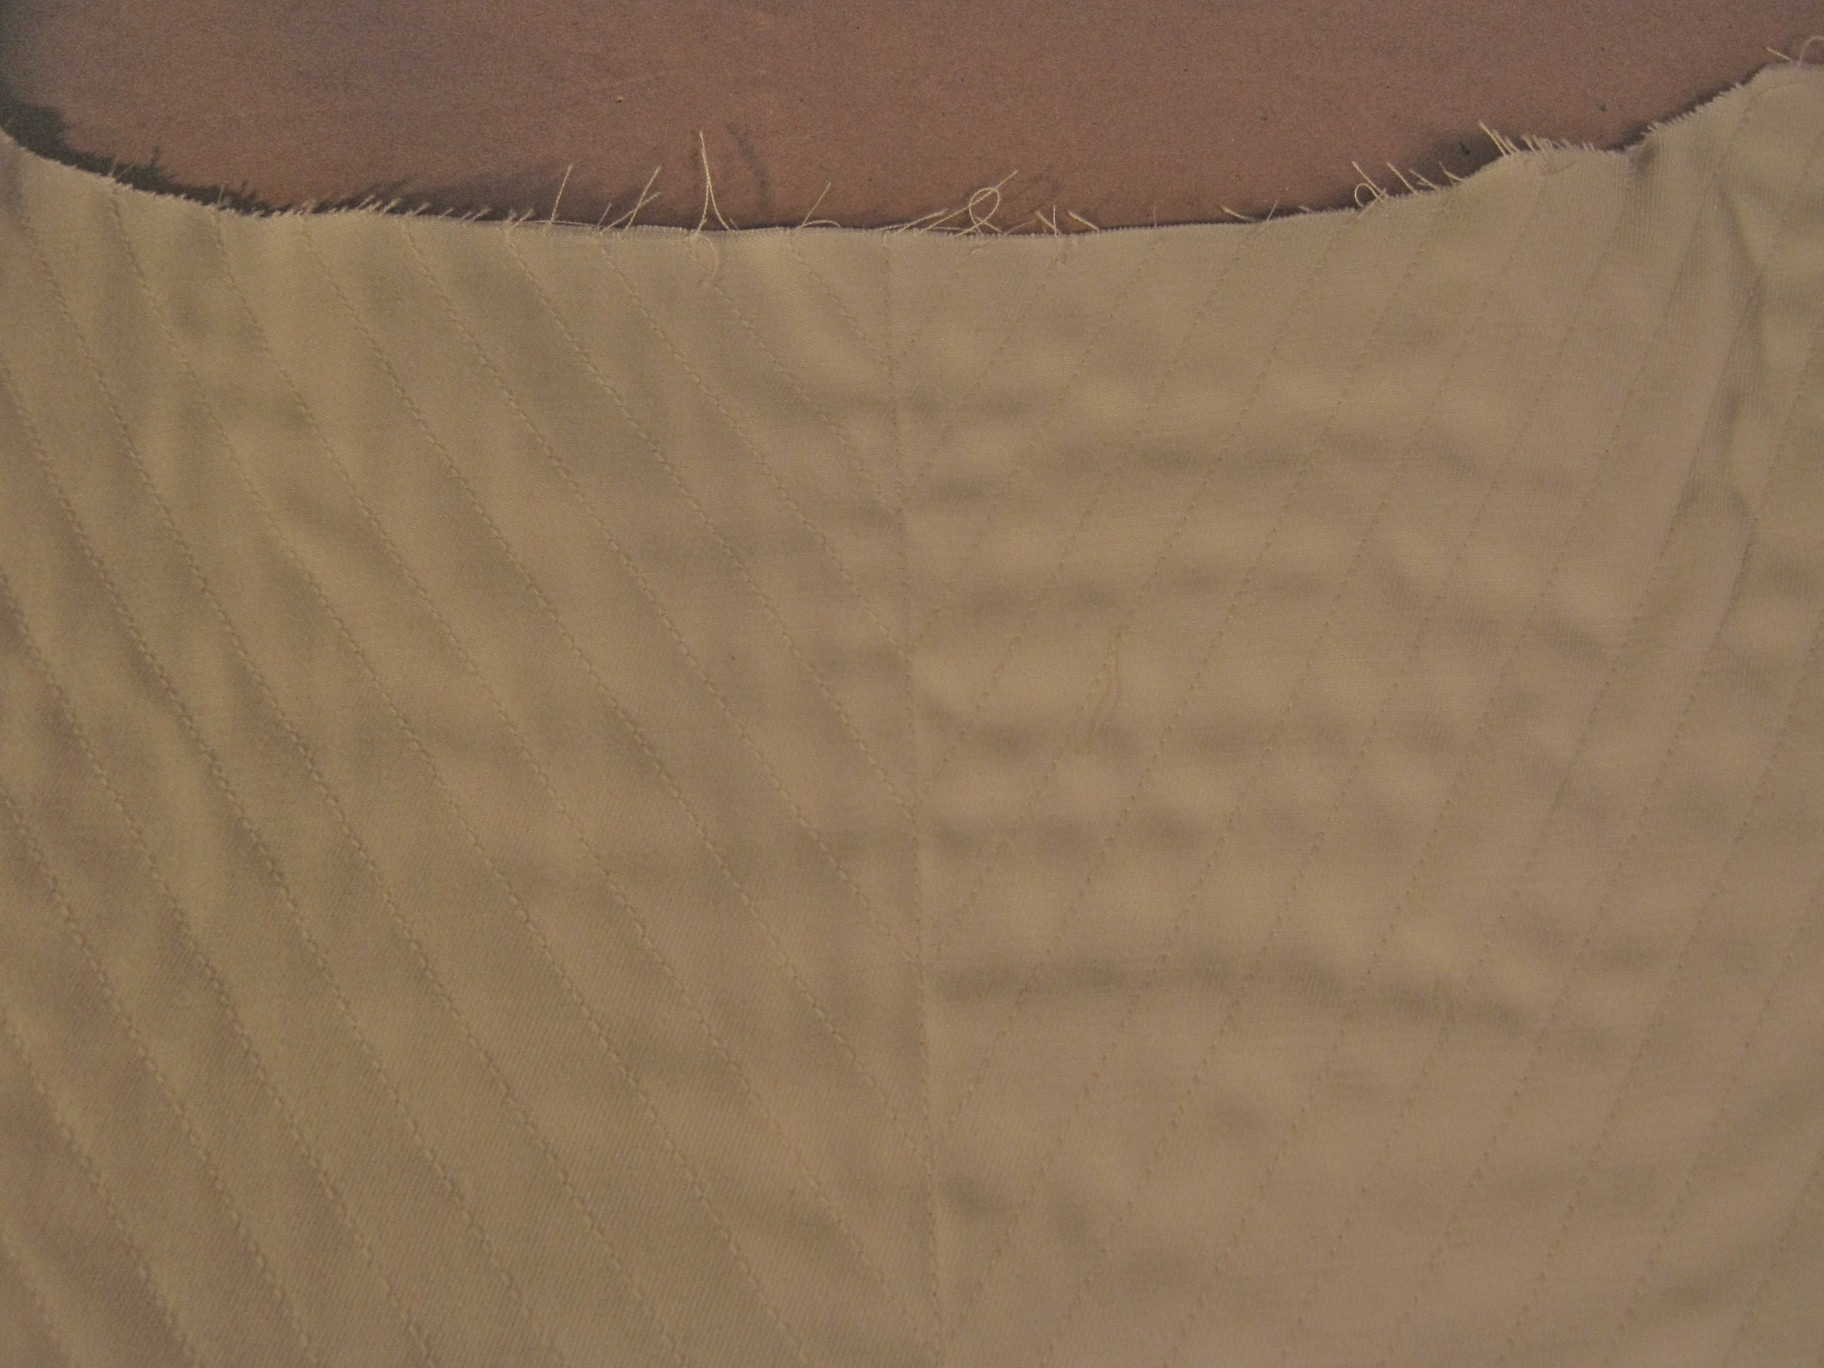
I didn’t want to stitch boning channels through my silk so I started the construction process by stitching the boning channels through two layers of cotton. You can see that I drew lines on the fabric so I could make nice, straight lines. The nice this about this is that I covered the pencil marking side with the silk, so on the inside of the finished corset all you can see is the stitching with no indication of pencil lines!

You can see the pencil guide lines on this side of the corset
On this side there are no pencil lines!

I did want my silk to roll around the center back opening on each side and then be included in the seam attaching center back to the next piece, so I stitched those silk pieces into the seams of the cotton. I just kept the silk out of the way while sewing the boning channels. Then, once the boning was complete, I stitched the remaining silk pieces to the flapping center back pieces and turned the whole thing so that the silk was on the outside with the seams facing the side of the cotton that had the pencil lines drawn on. Thus, the silk is just a covering for the cotton, it is not actually attached into the seams of the cotton except on the inside at the side back seam. You can see what I mean in the pictures below.

Stays with the boning channels sewn (you can see that only the center back silk pieces are attached at this point)
Stays with the cane boning inserted, before the silk is sewn on
The silk has been attached (you can see the cording and the pattern on the silk in this picture)

At this point the stays are almost finished! The last few tasks are to bind the edges (I’ll be using bias strips cut from the same cotton as the cording and lining) and work hand sewn eyelets along each side of center back. More pictures to come!

Project Journal: 1780s Ensemble Part I: Initial Research

I’ve decided to attend 2 events in September which require clothing from the last quarter of the 18th century (1775-1799). This decision is rather at the last minute when it comes to building new historic clothes: I now have exactly three weeks to make a decision about what to wear, pick out fabrics, make patterns, and complete the construction of the garments. Yikes!

So I’ve been busy researching this period because it is not within the realm of my previous historic clothing projects, which have generally focused on the 19th century. Unlike women’s clothing in the 19th century, for which I can recall silhouette, construction details, pattern shapes, and fabric choices and colors with far less research for each garment (because I’ve already done all that research and it’s all in my head…), I really need the research to be able to consider reproducing historic clothing from the 18th century. Here are some inspirational images I thought I would share!

Here’s how this conversation went in my head: “Where do I start?” I asked myself. “Silhouette?” I replied. “Ah, yes. That sounds good. But… what is the silhouette during this period? Hopefully not panniers!” because panniers, you see, require a lot more effort to produce and a lot more fabric to cover. “Well, let’s start by looking for some images,” I suggested. And here we go!

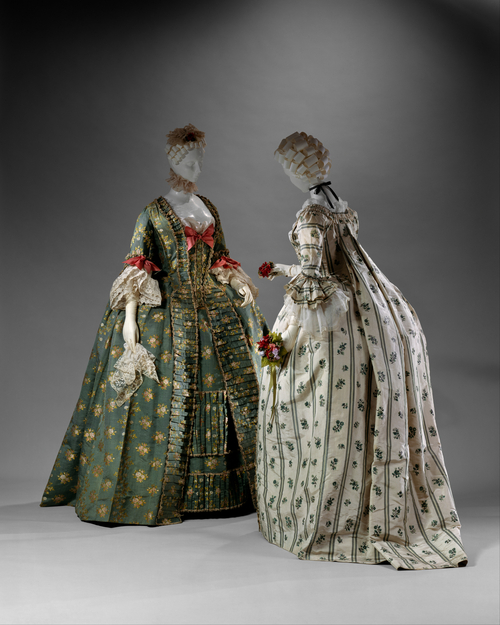
c. 1770 Silk Robe a l'Francaise at the Metropolitan Museum of Art

Now, you can see by looking at the above image that these gowns require panniers to achieve the exaggerated hip shape. You can also see that these gowns are Robes a l’Francaise, meaning robes in the French style. This style of gown has the characteristic pleating at center back that falls from the back neck line to the floor in one piece. This style, with the panniers and the Robe a l’Francaise, is not what I have the time to make in three weeks. So we move on!

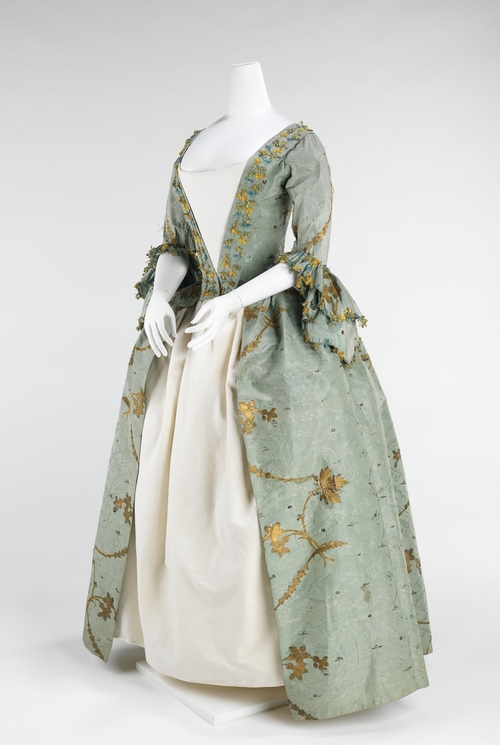
1770-1775 Silk Robe a l'Anglaise at the Metropolitan Museum of Art

In contrast to the Robe a l’Francaise, I am actually interested in the style of dress on the left: the Robe a l’Anglaise, or English style robes. This style evolved from the Robe a l’Francaise: over time the side back seams of the Robe al’Francaise were cut close enough together that the characteristic pleats were no longer used.

Below, you can see another two examples of gowns in the style of a Robe a l’Anglaise. These two are from the 1780s and you can see that the width of the hips has diminished from the 1770s. Note that all of these gowns have open fronts that show the petticoat underneath.

c. 1780 Cotton Robe a l'Anglaise at the Metropolitan Museum of Art
c. 1780 Cotton Robe a l'Anglaise from the Metropolitan Museum of Art
1780-1785 Cotton Robe a l'Anglaise at the Metropolitan Museum of Art
There are other options for this period as well: there is the style Robe a la Polonaise, which has a characteristic  bunching of fabric across the back side as well as the skirt and jacket combination. I’m not interested in making a Robe a la Polonaise at this point, but a skirt and jacket combination is a possibility. You can see these styles below. There is another style as well: the Chemise Dress, but you’ll have to wait for my next post to see and read about it!
c. 1780 Linen Robe a la Polonaise at the Metropolitan Museum of Art
c. 1785 Silk Jacket at the Metropolitan Museum of Art
      

Of flounces and dance cards: Part I

PART I: Of flounces…

Flounced 1860s dresses seem to be pure confections: cupcakes iced with lace and frothy ruffles. That is the vision in my mind while I was looking for inspiration for my latest crinoline dress.

Fashion Plate from Godey's Lady's Book September 1859 "Dressed for a Party." (The dress on the right is the inspiration for my latest gown)

I already made one 1860s dress for myself. Named Belle, it is a dark blue satin and velvet gown with a three tiered skirt. It’s very heavy and a dark color: neither of those two features seemed fitting for a summer ball in temperatures around 80 degrees! And so I decided to create an all new gown… in my head this one is named “Annabelle.” (I hope you are also amused by the name!)

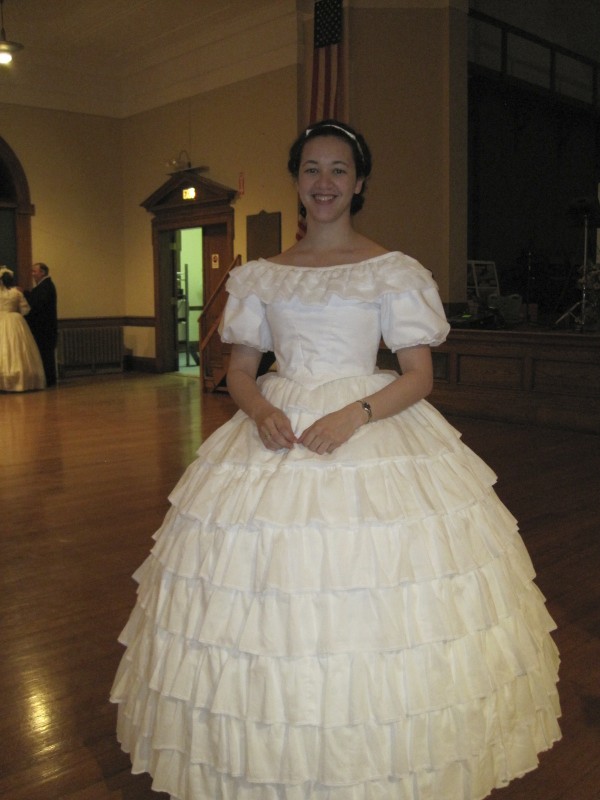
"Annabelle" my new 1860s ball gown

As you can see, there is one crucial element missing… the pink flowers! My goal is to make the flowers by hand from silk organza and to be perfectly honest, I ran out of time. I just decided to wear the dress as-is and finish the flowers later. I also ran out of time to bone the front, as you can see by the wrinkles along my tummy. No worries though, as I’m sure I’ll be able to wear this gown again.

"May I have this dance?" Side view of Annabelle.

In order to be to light and breathable, Annabelle is constructed entirely of cotton. The skirt has a medium weight cotton foundation to which cotton voile flounces are attached. The bodice is three layers of cotton for the sake of being opaque: two of medium weight cotton and one layer of voile. The layers are flatlined together and treated as one piece. The flounces on the skirt and bodice are cotton voile edged in narrow white lace.

This gown was flat patterned using research from books by Janet Arnold, Norah Waugh, and Kristina Harris.  View this post about patterning from my Project Journal: Women’s Tailoring to see which titles I used and get a smidgeon of bibliographic information. The skirt pattern is fairly simple: a big tube cartridge pleated at the waist. The bodice has narrow v-shape seams front and back with puffed sleeves and a flounced bertha. It is worn over a chemise, corset, double thickness bum pad, hoops, and petticoat.

While this dress is eventually intended to be a reconstruction of the dress in the 1859 fashion plate above, I was also inspired by these other, similar fashion plates for further information. Enjoy!

Fashion Plate from Godey's Lady's Book October 1859 "The Soiree"
Fashion Plate from Godey's Lady's Book August 1859 "Godey's Fashions for August"

Project Journal: Victorian Women’s Tailoring Part X: 1913 Gallery

Here we finally are, at 1913! Let’s look at some truly lovely pictures!

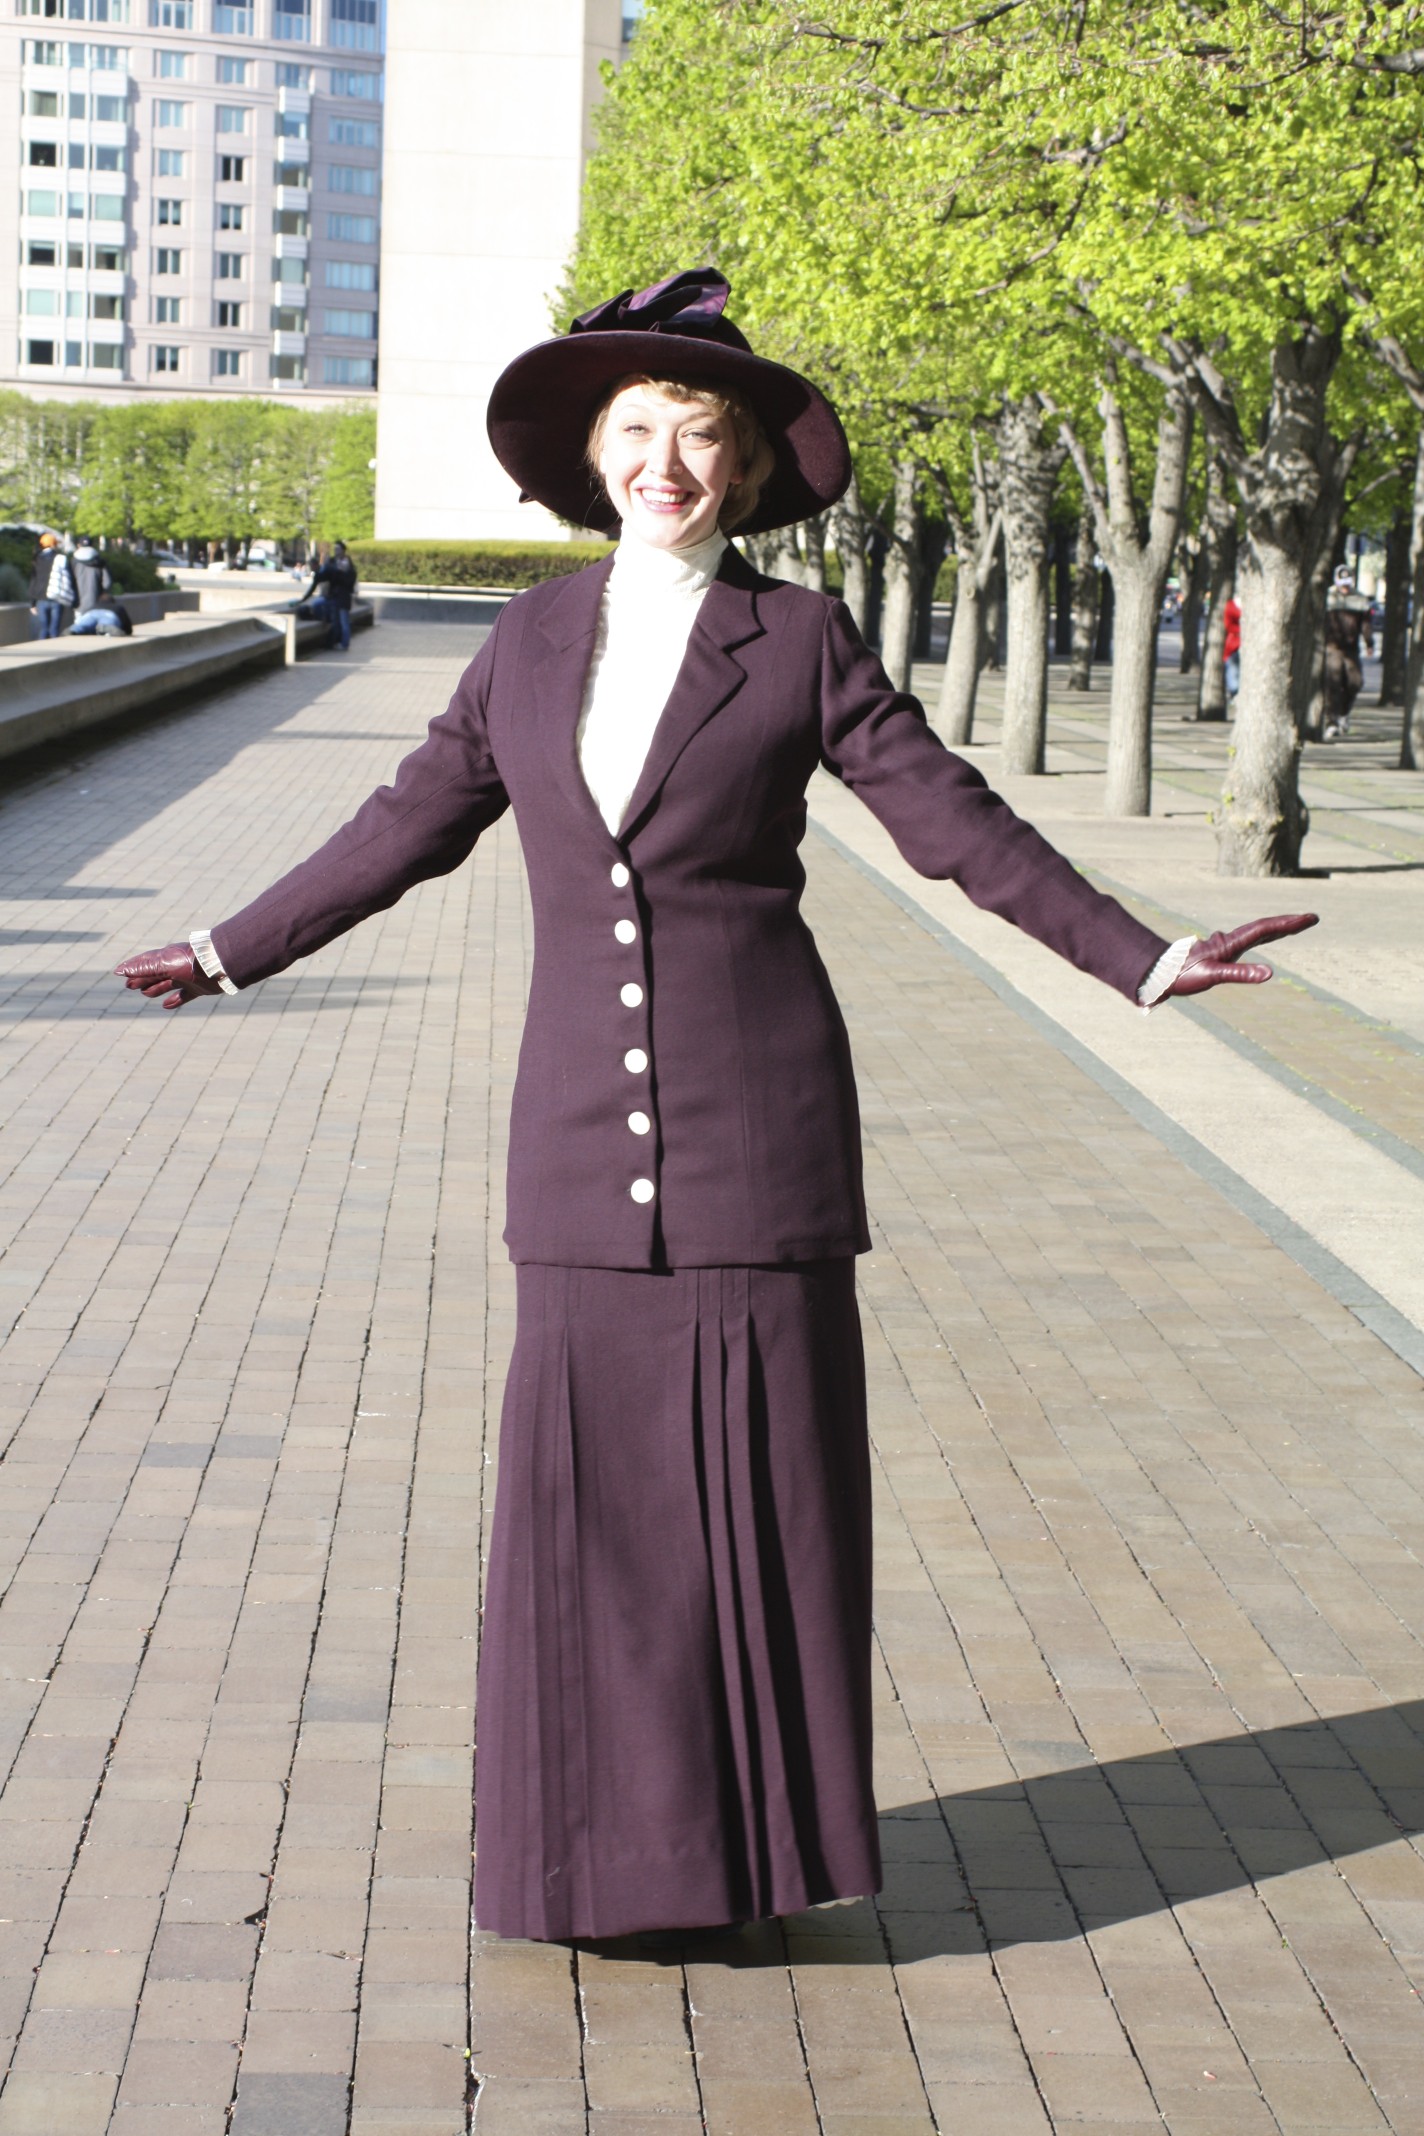
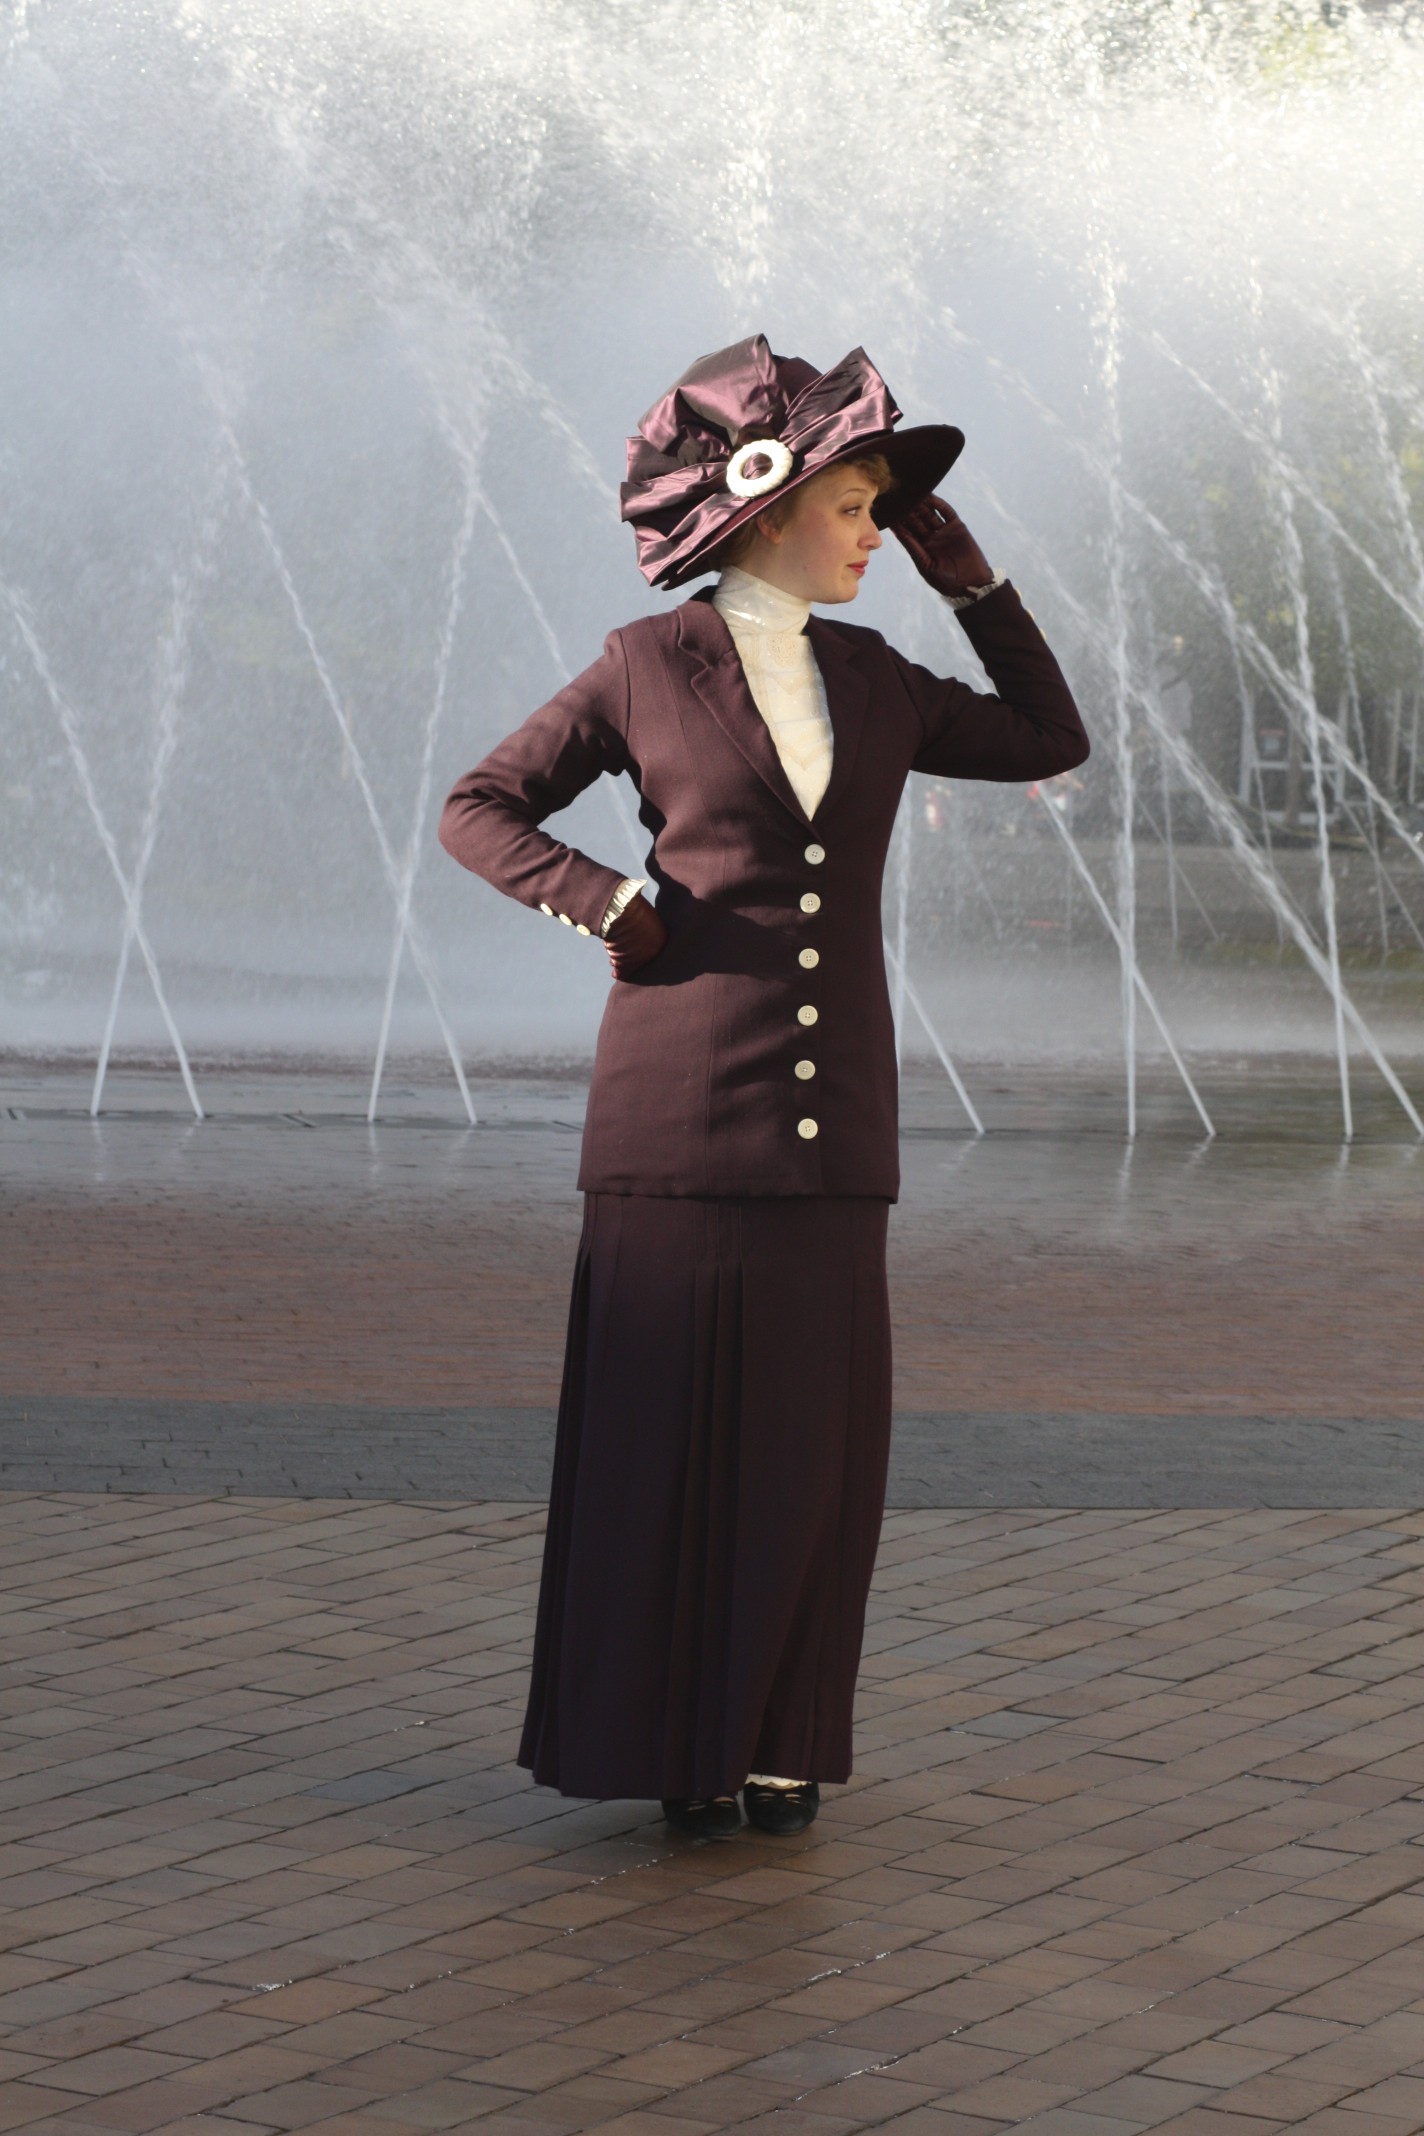
1913: Wool Suit. Wool Hat with matching Taffeta trim.
1913 Suit and Hat
1913 Suit and Hat
1913 Suit and Hat
1913 Suit and Hat
1913 Jacket and Hat
1913 Skirt, Blouse and Hat
1913 Blouse and Hat
1913 Undergarments: Corset Cover and Petticoat
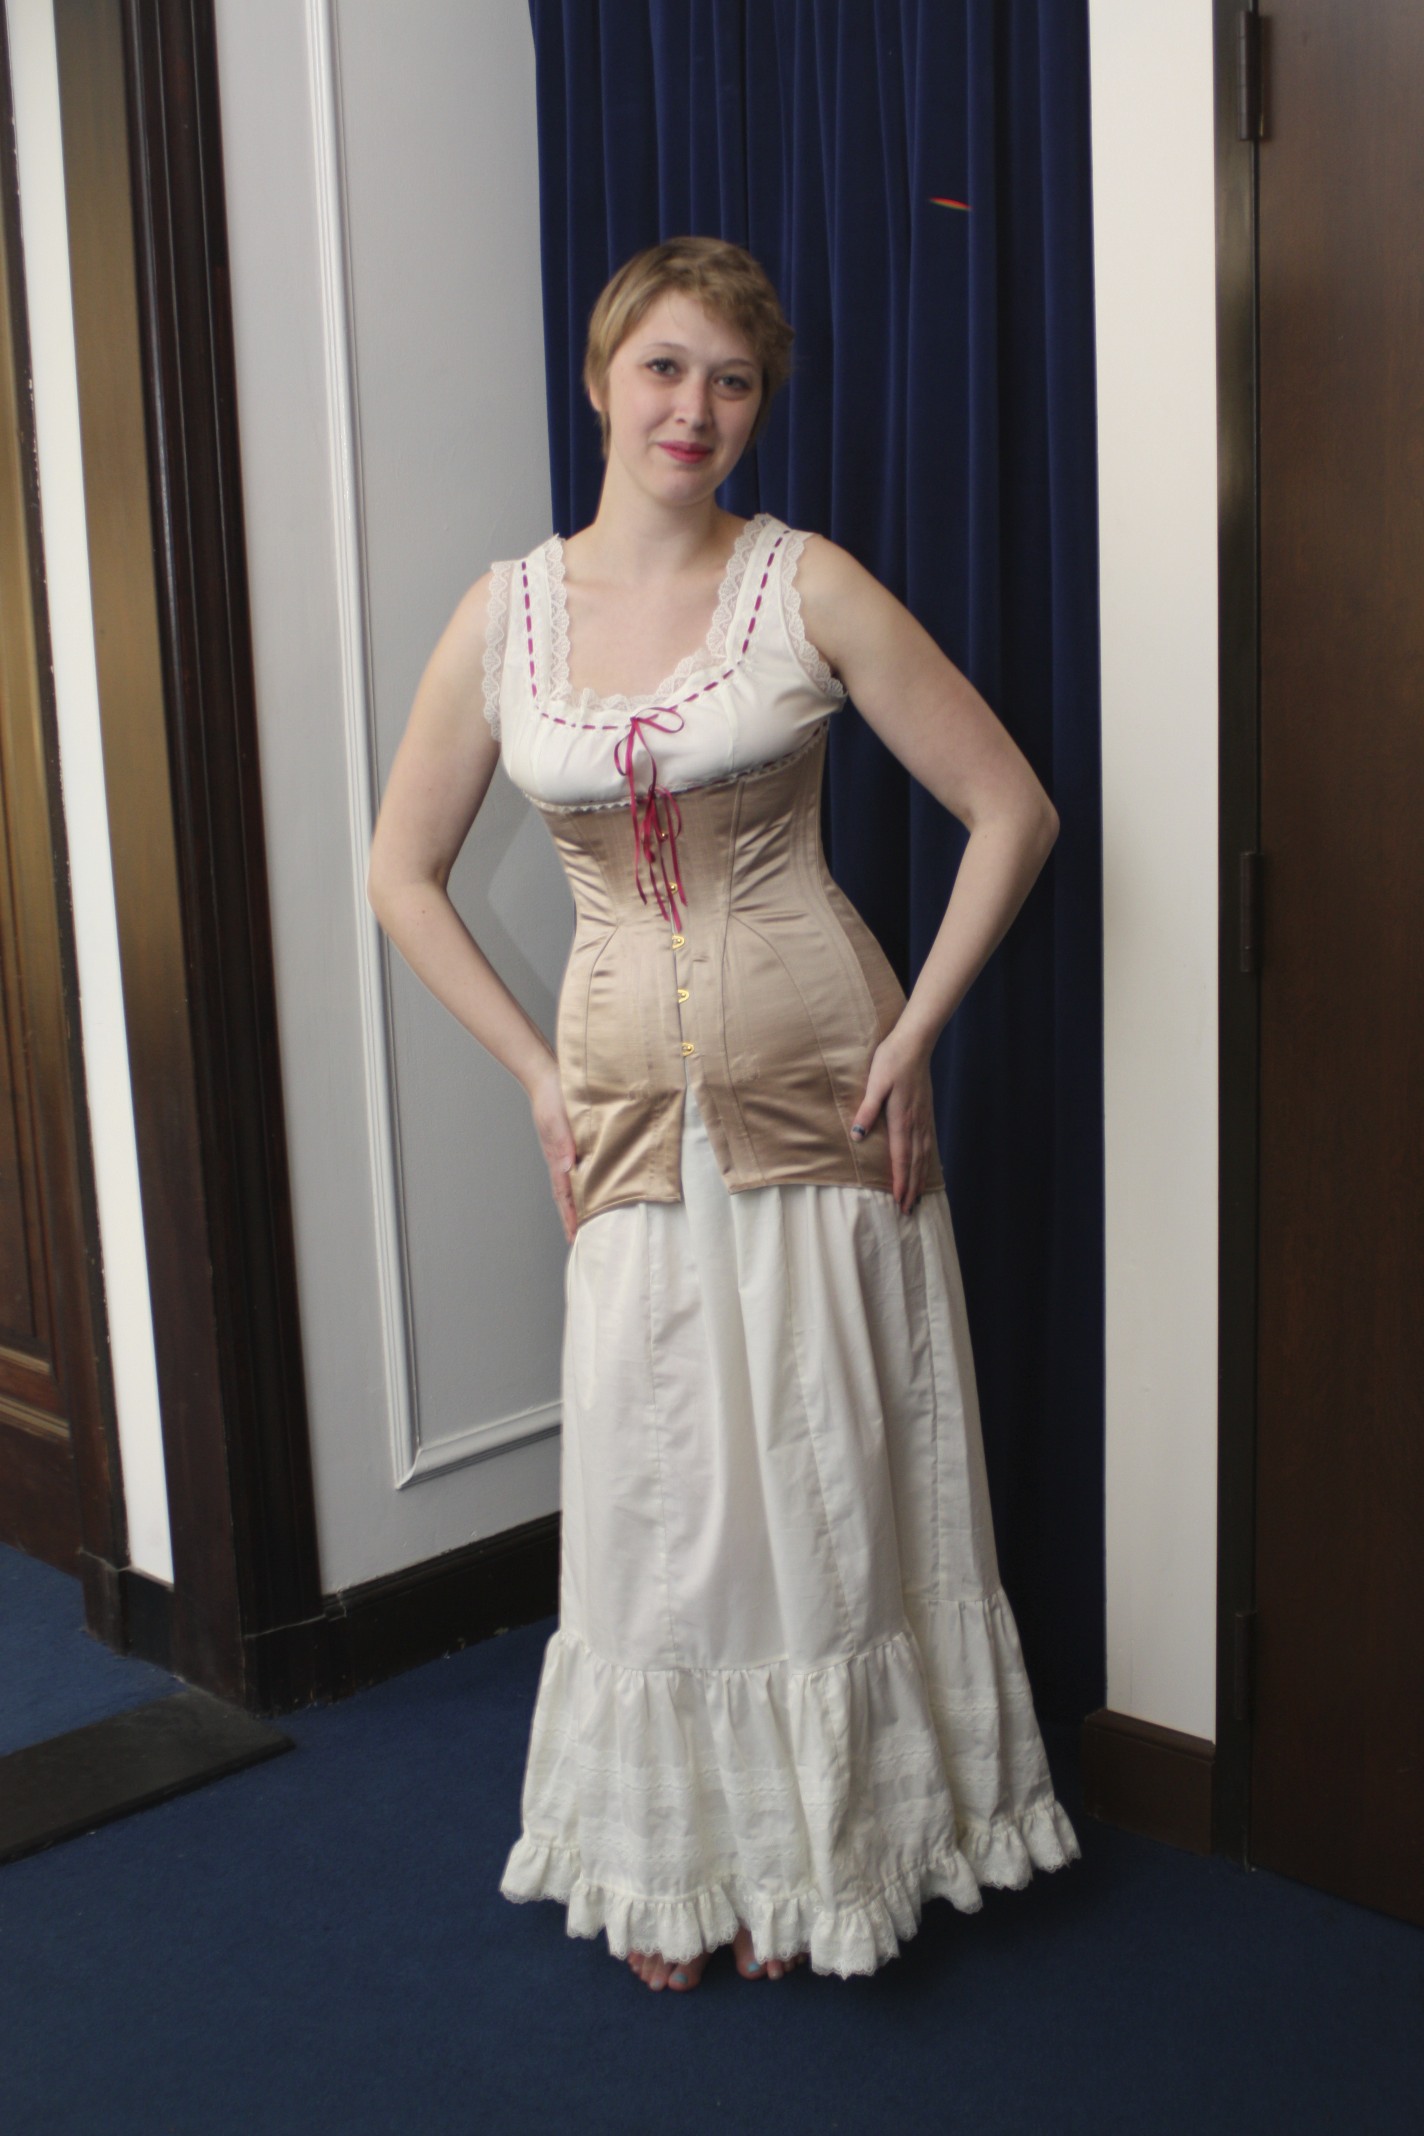
1913 Undergarments: Chemise and Corset
1913 Corset

Project Journal: Victorian Women’s Tailoring Part IX: 1903 Gallery

Well, we just got to see my 1883 tailoring project. Now let’s enjoy taking a mental stroll with my 1903 tailored look! Again, there are lots of pictures to see!

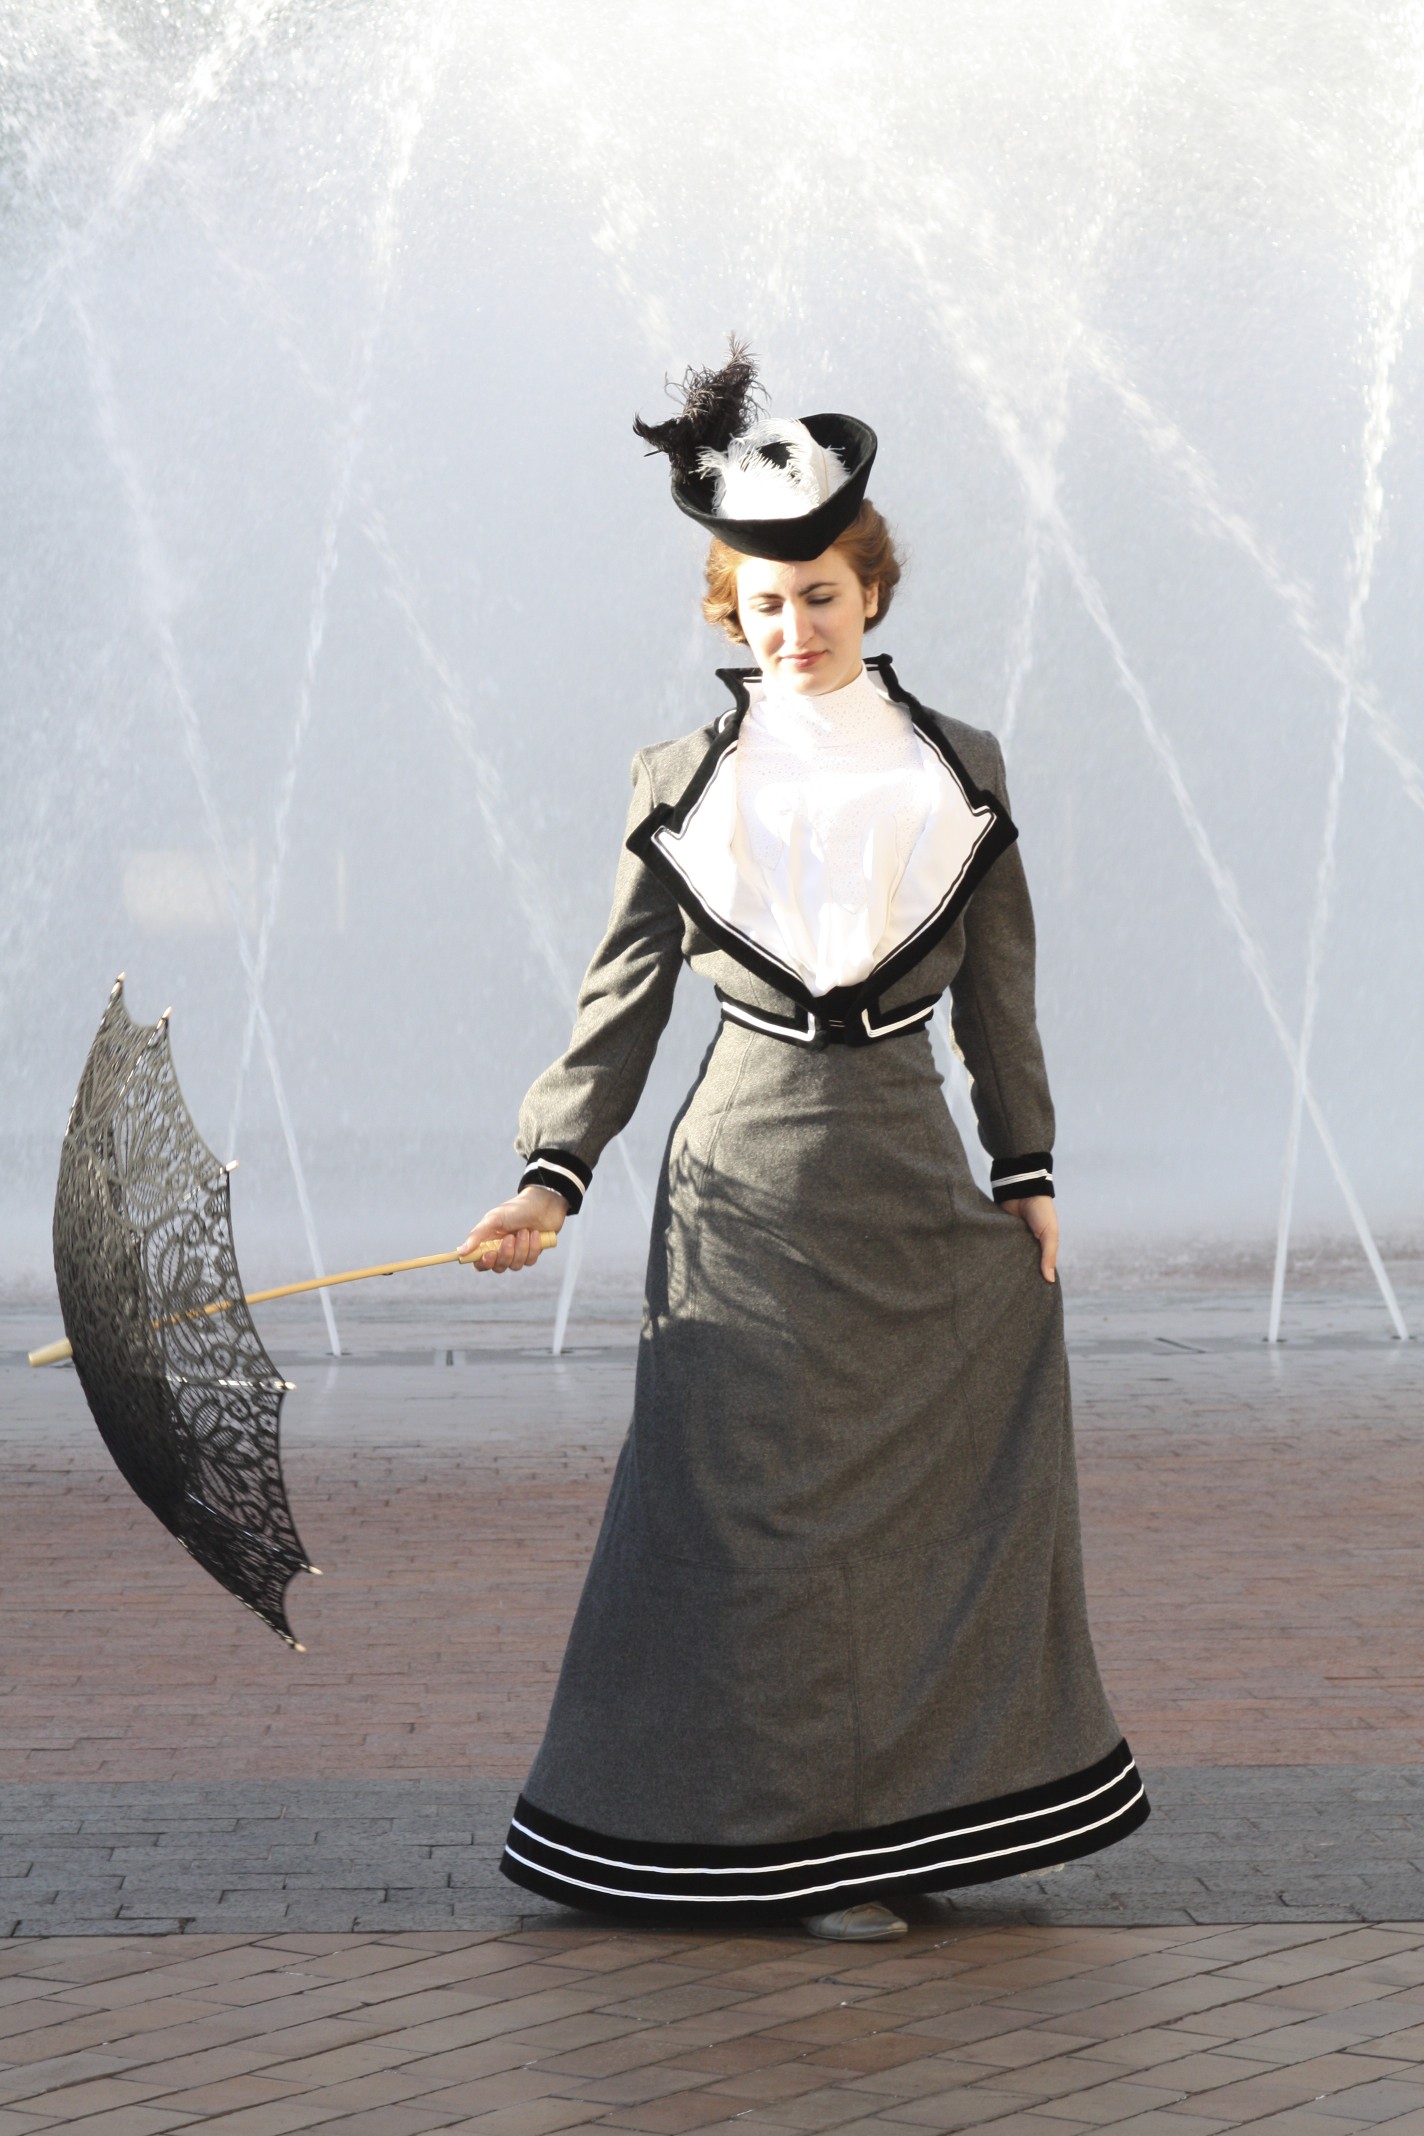
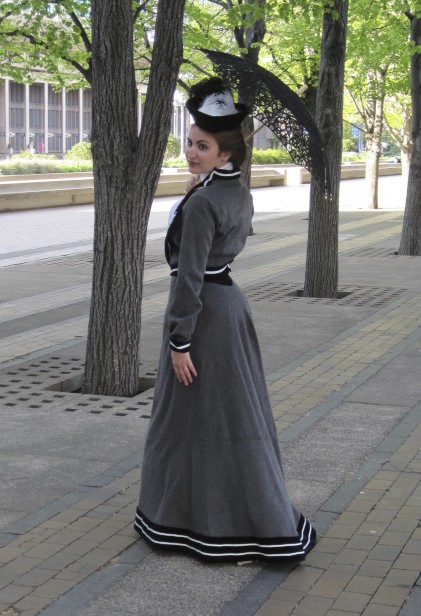
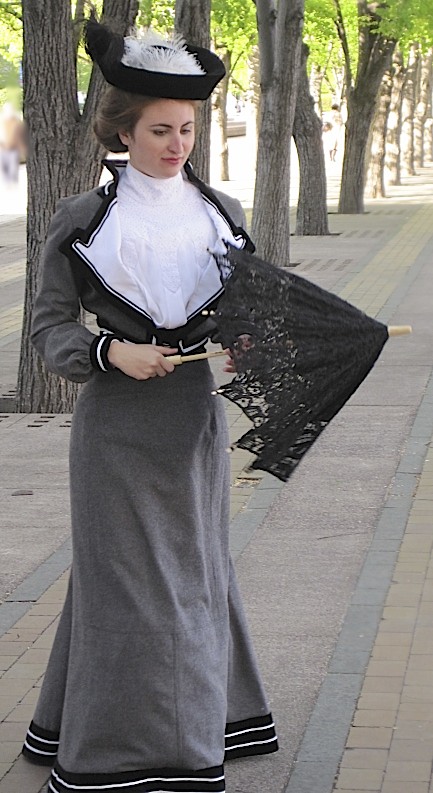
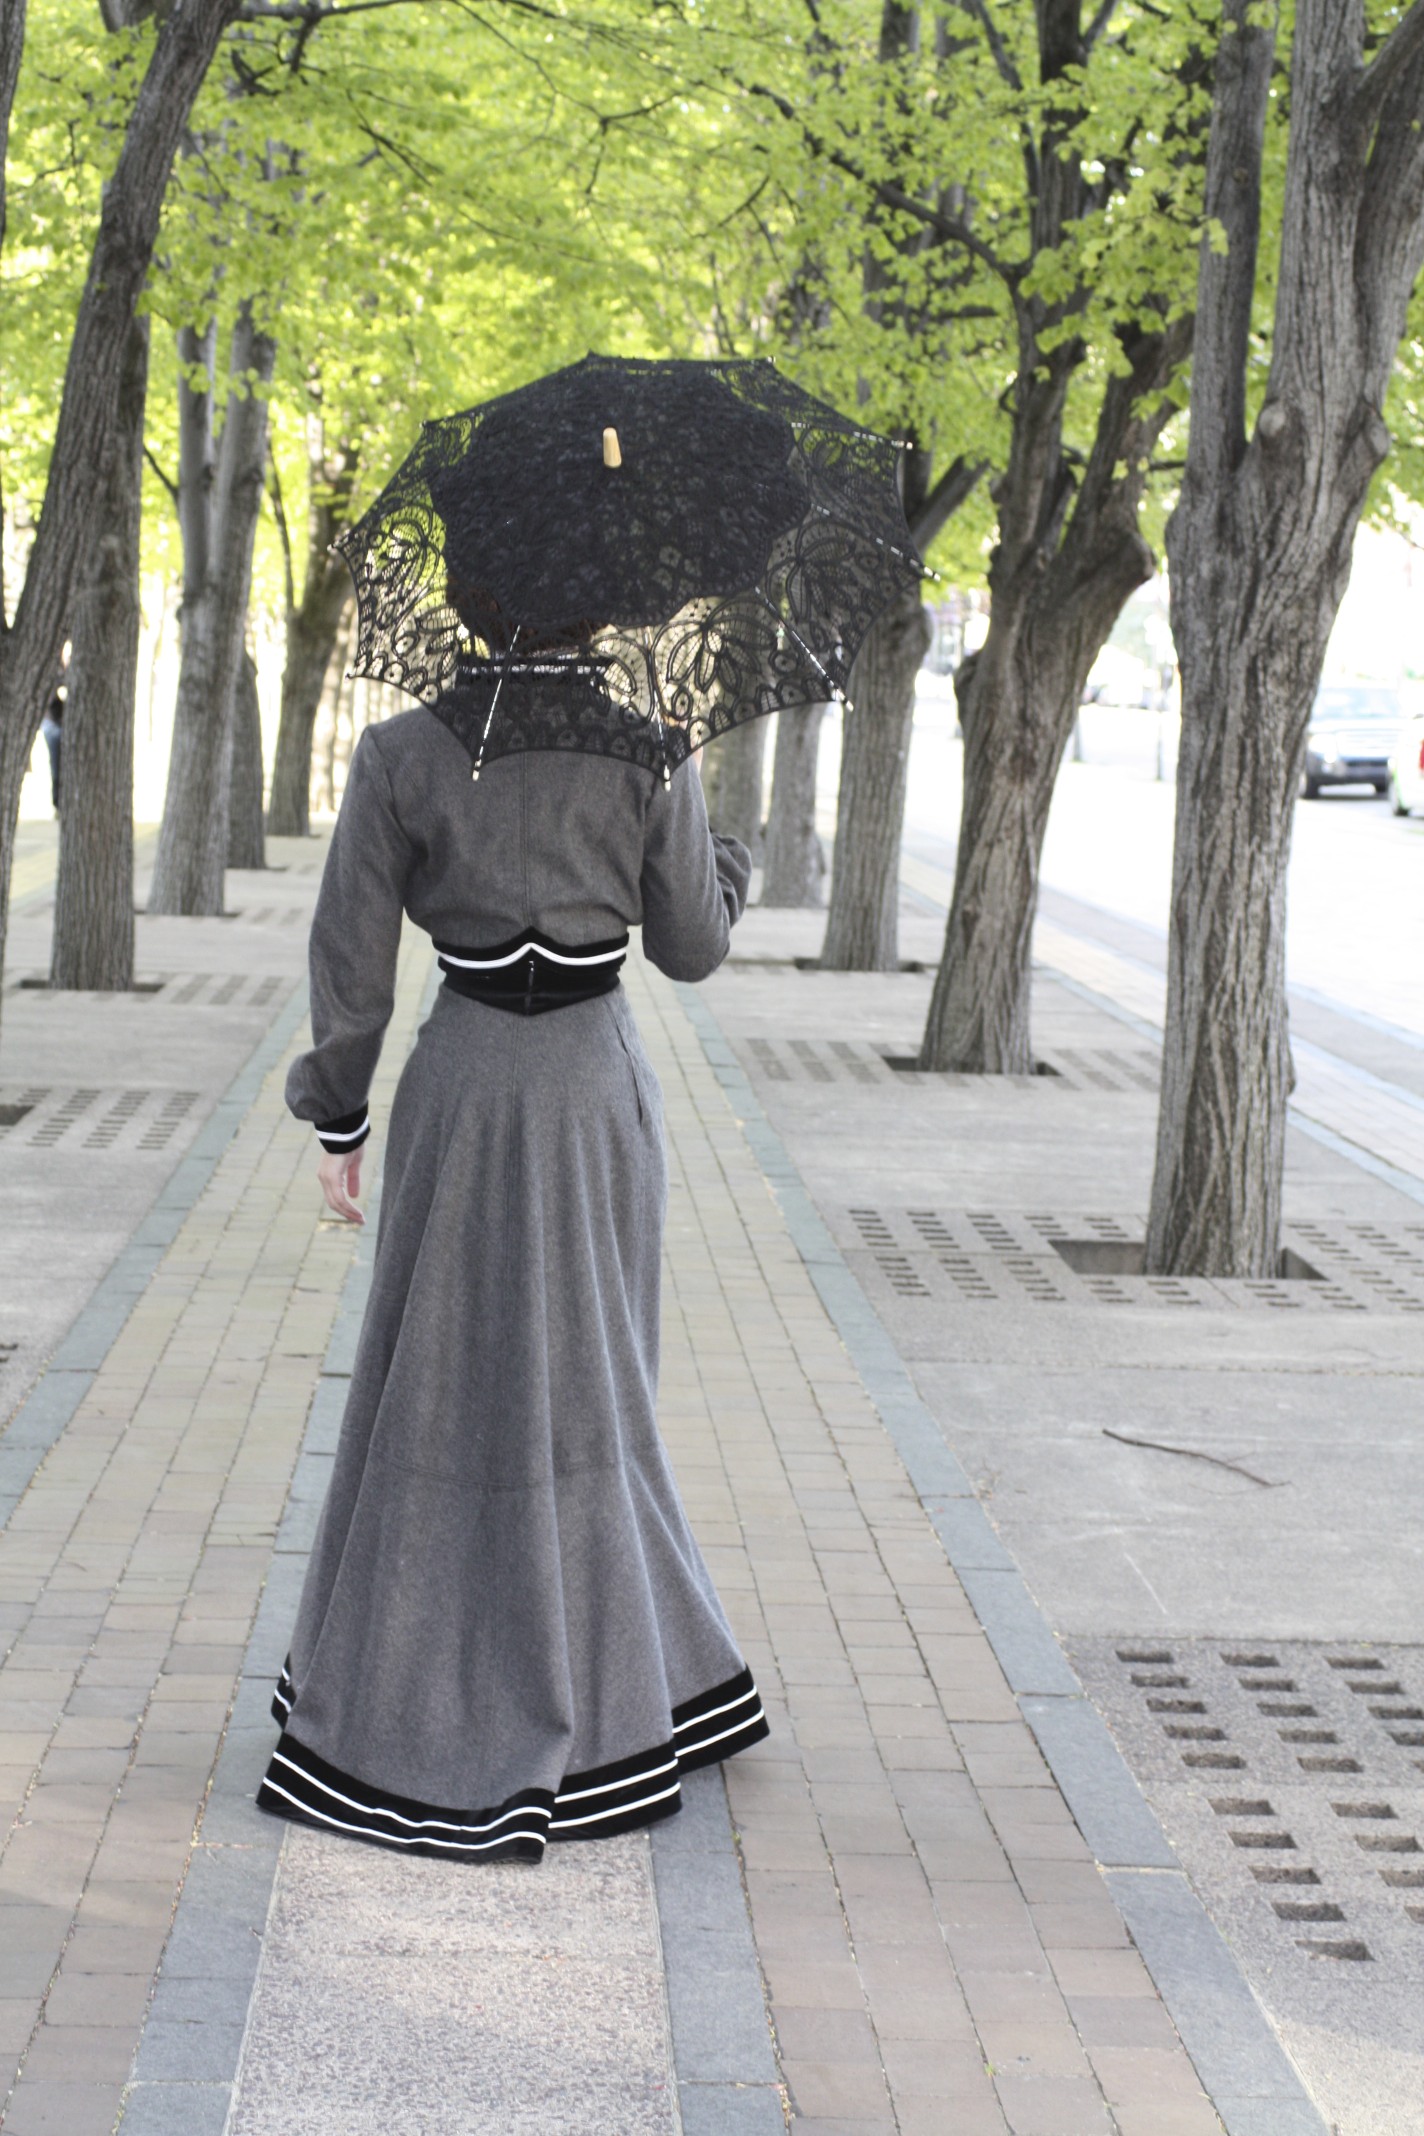
1903: Wool jacket and skirt trimmed with cotton velvet. Velvet covered buckram Hat.
1903 Skirt and Jacket
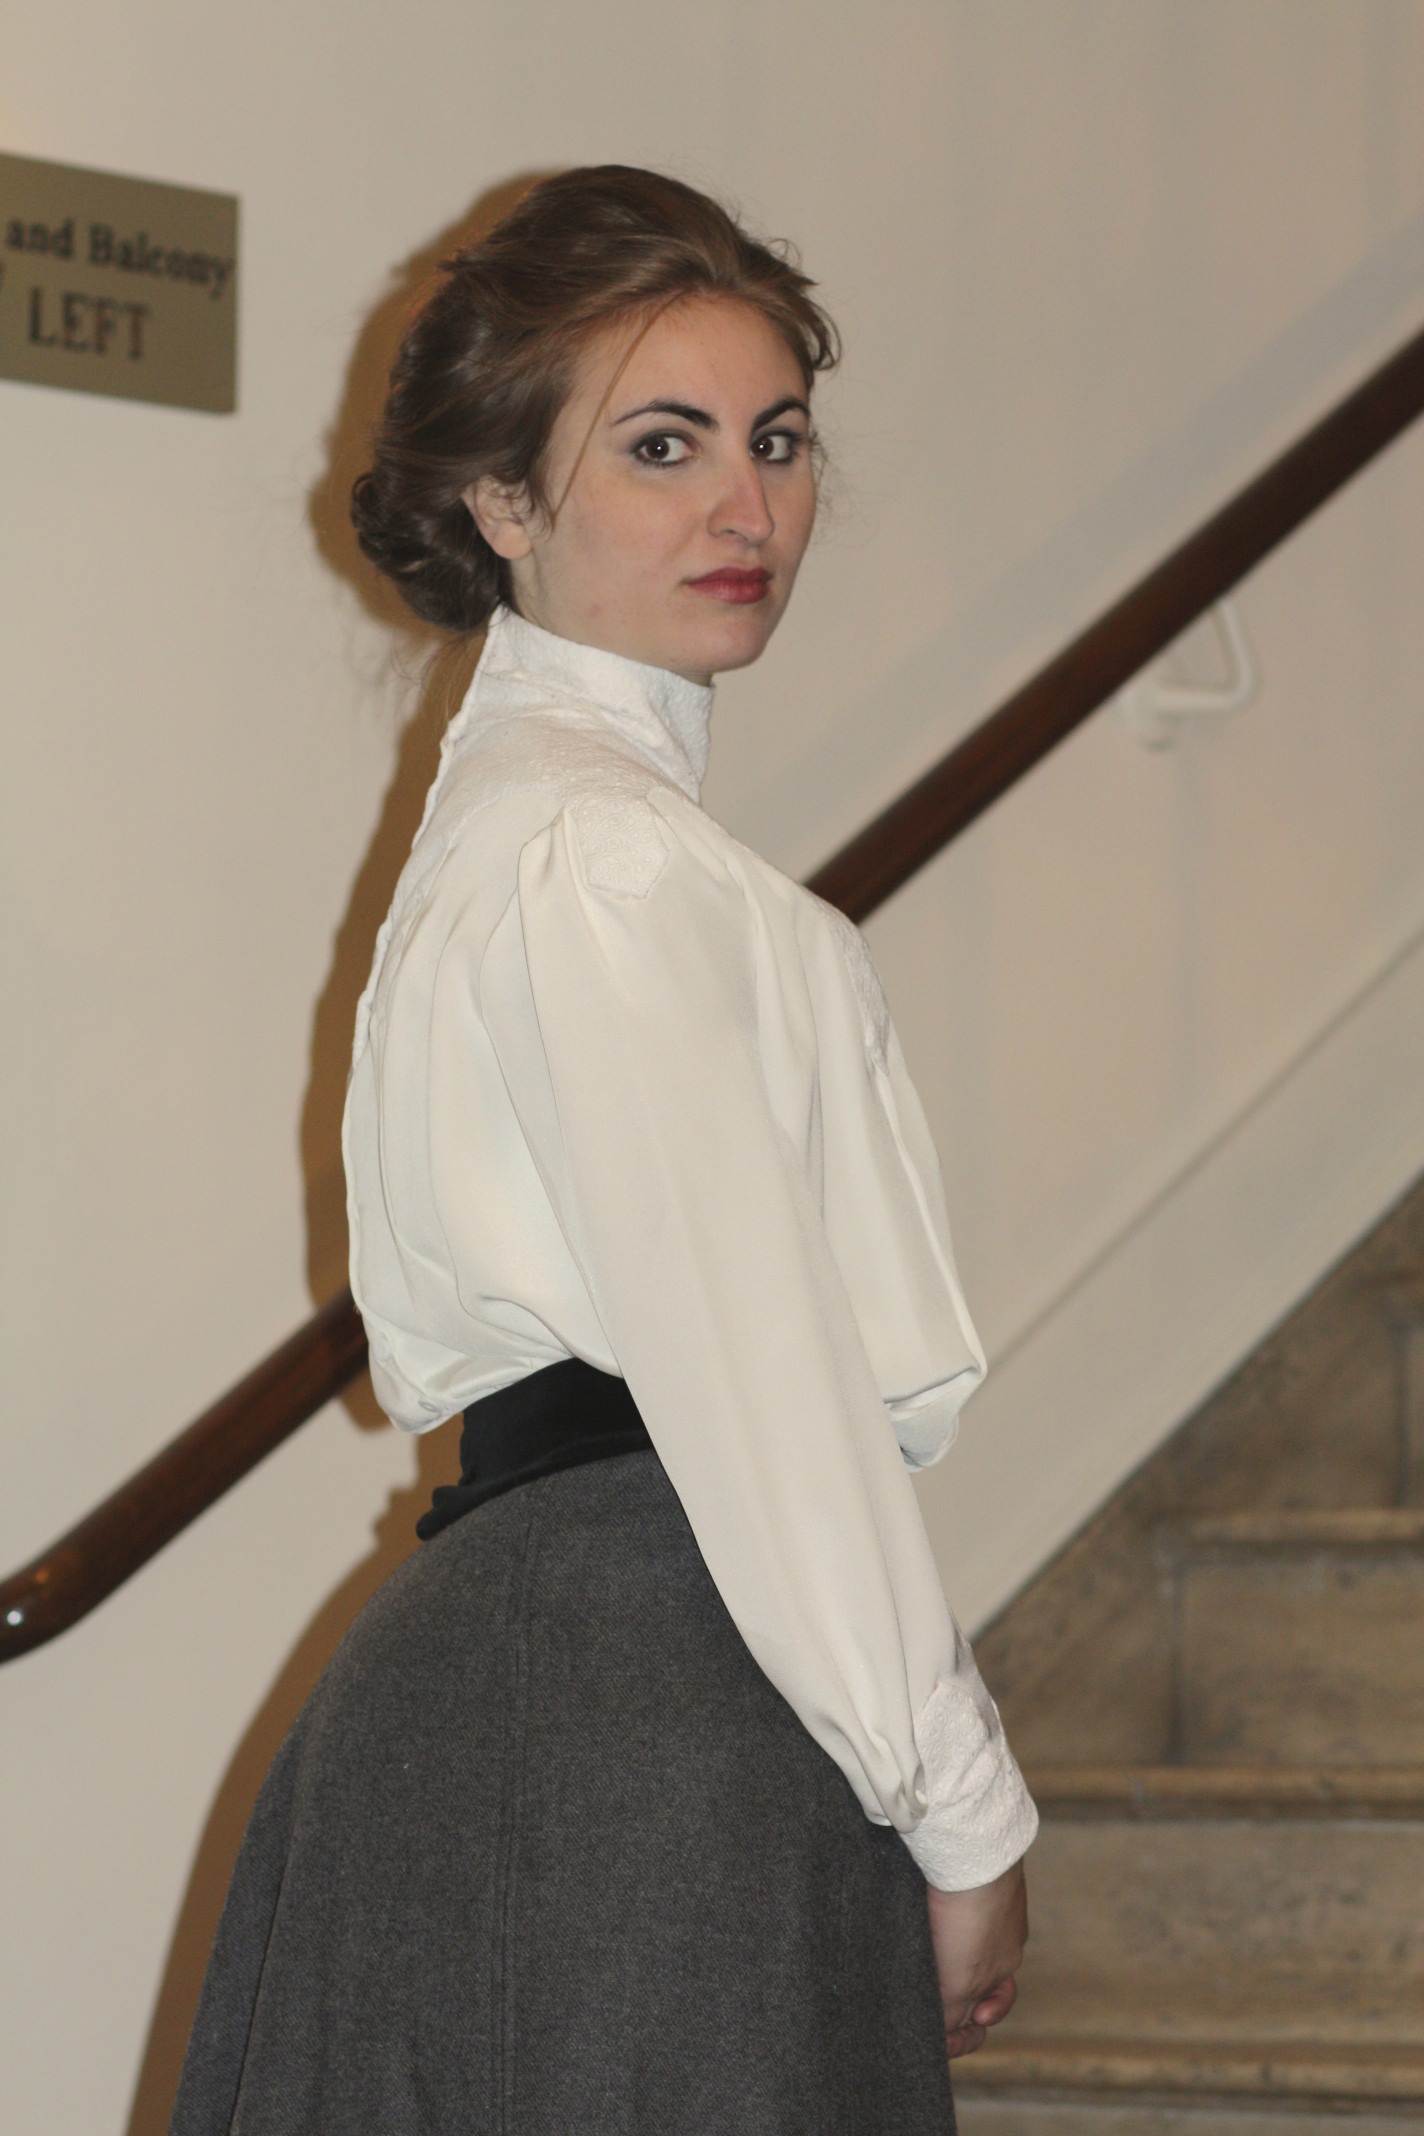
1903 Blouse
1903 Skirt and Blouse
1903 Undergarments: Corset Cover and Petticoat
1903 Undergarments
1903 Corset Cover
1903 Undergarments: Combination and Corset
1903 Corset

Project Journal: Victorian Women’s Tailoring Part VIII: 1883 Gallery

Oh my goodness my 1883 tailored bustle dress and undergarments are finally finished!!! YAY! Let’s glory in the beautiful pictures and the fabulous clothes… Since I can’t decide which pictures I like best, you get to see more than a few.

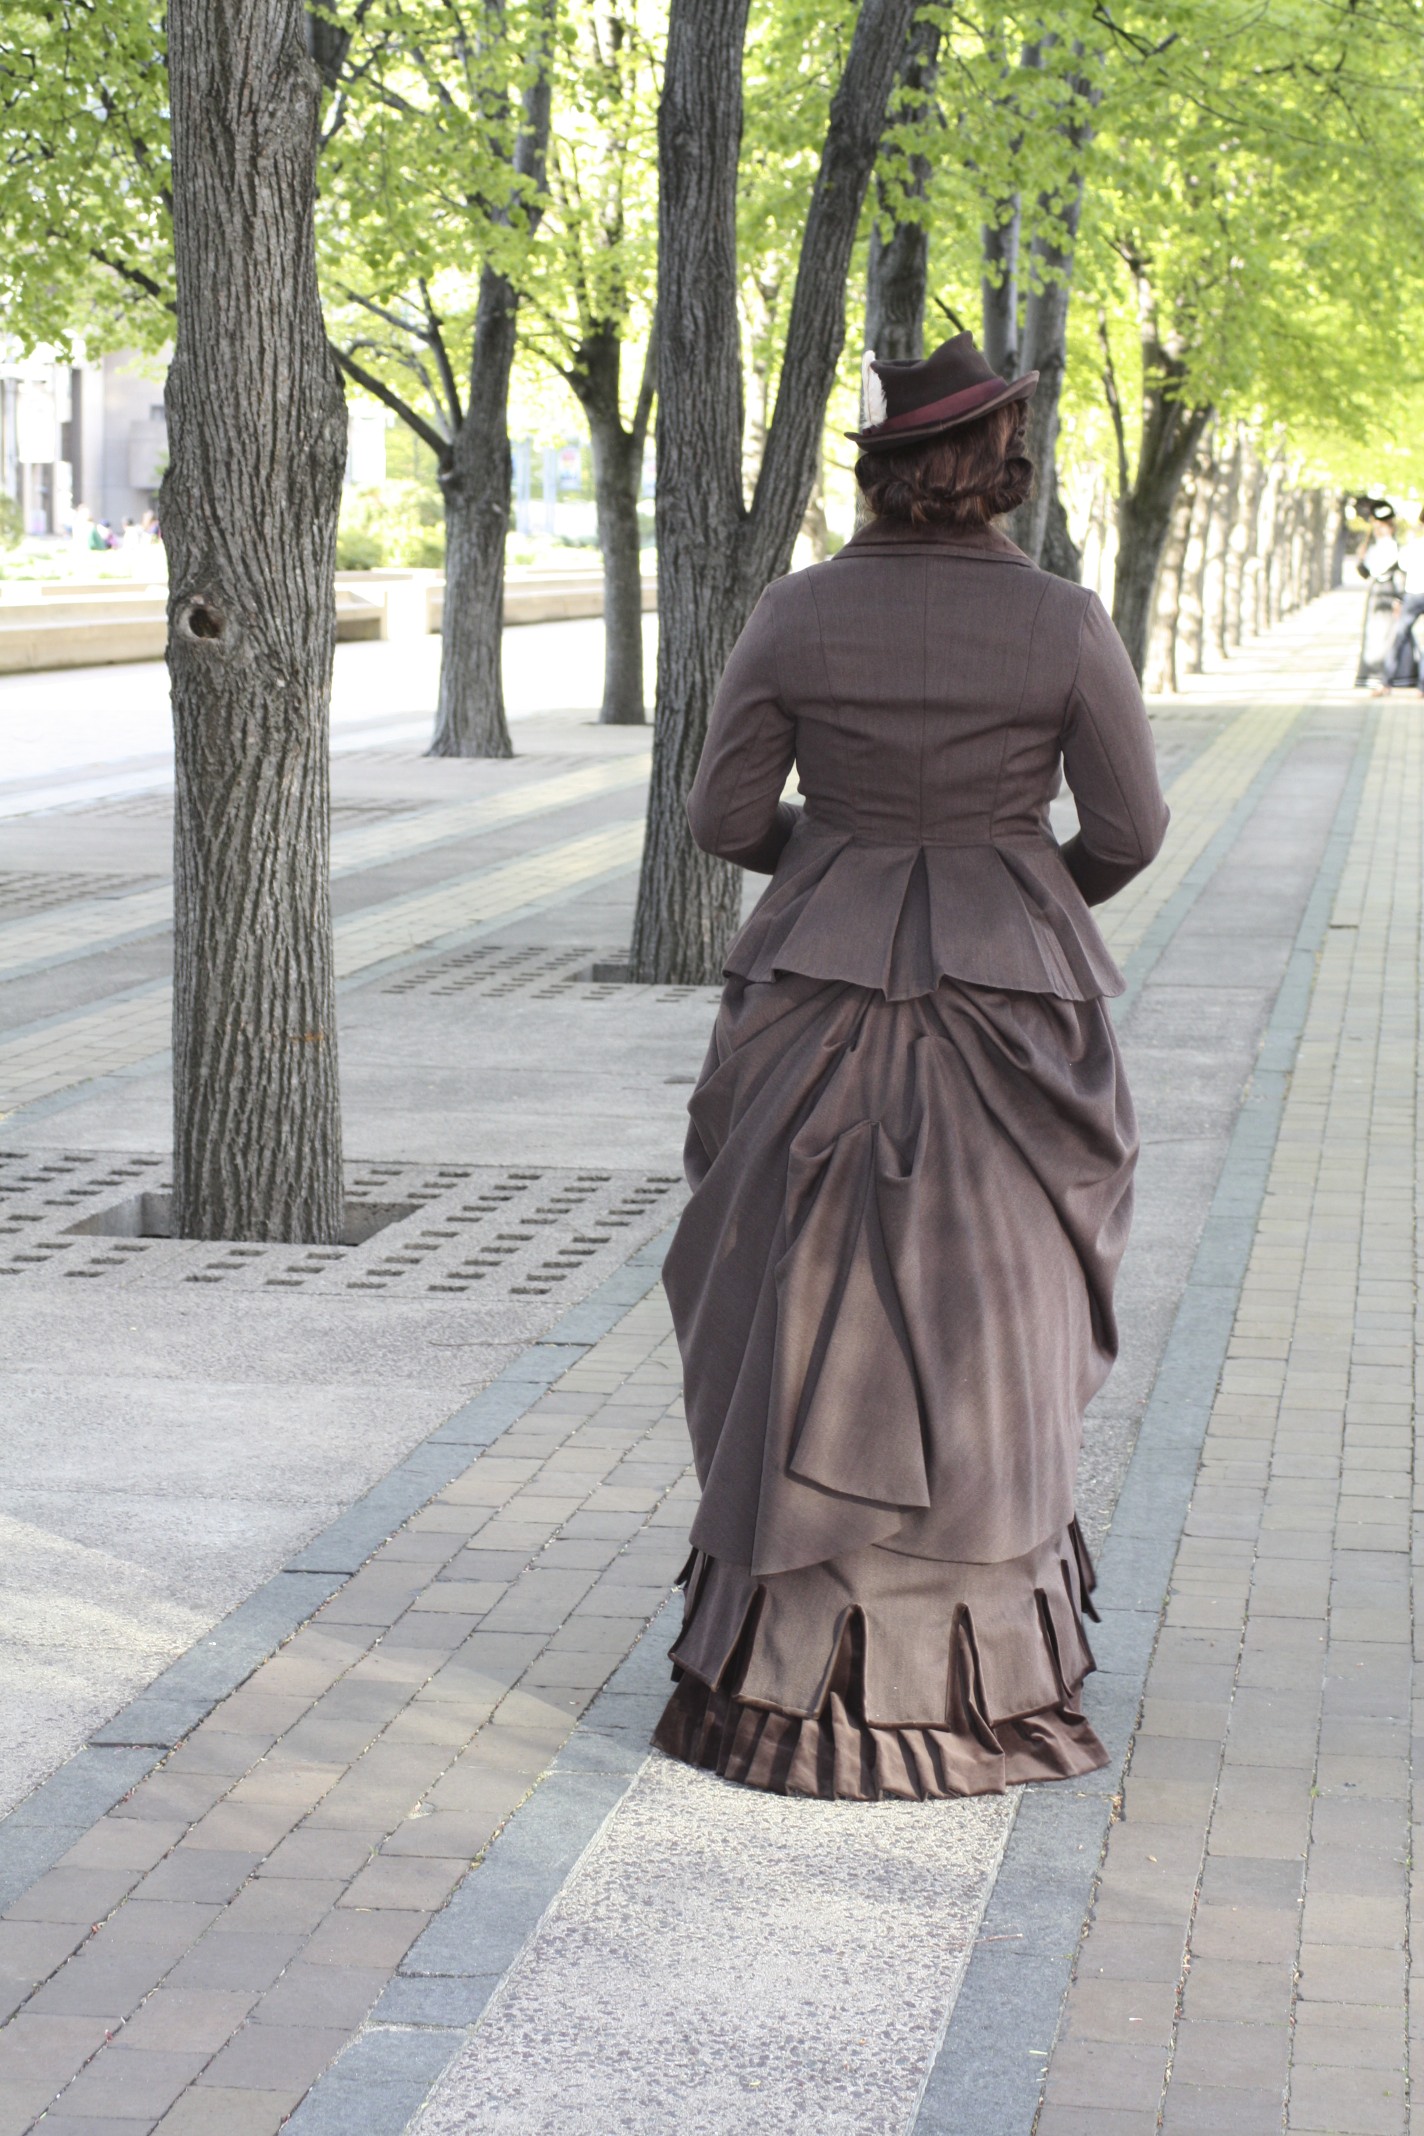
1883: Wool skirt and jacket with velvet trim. Wool hat trimmed with velvet and feathers.
1883 Bustled Skirt
1883 Bustled Skirt
1883 Skirt and Jacket
1883 Jacket and Hat
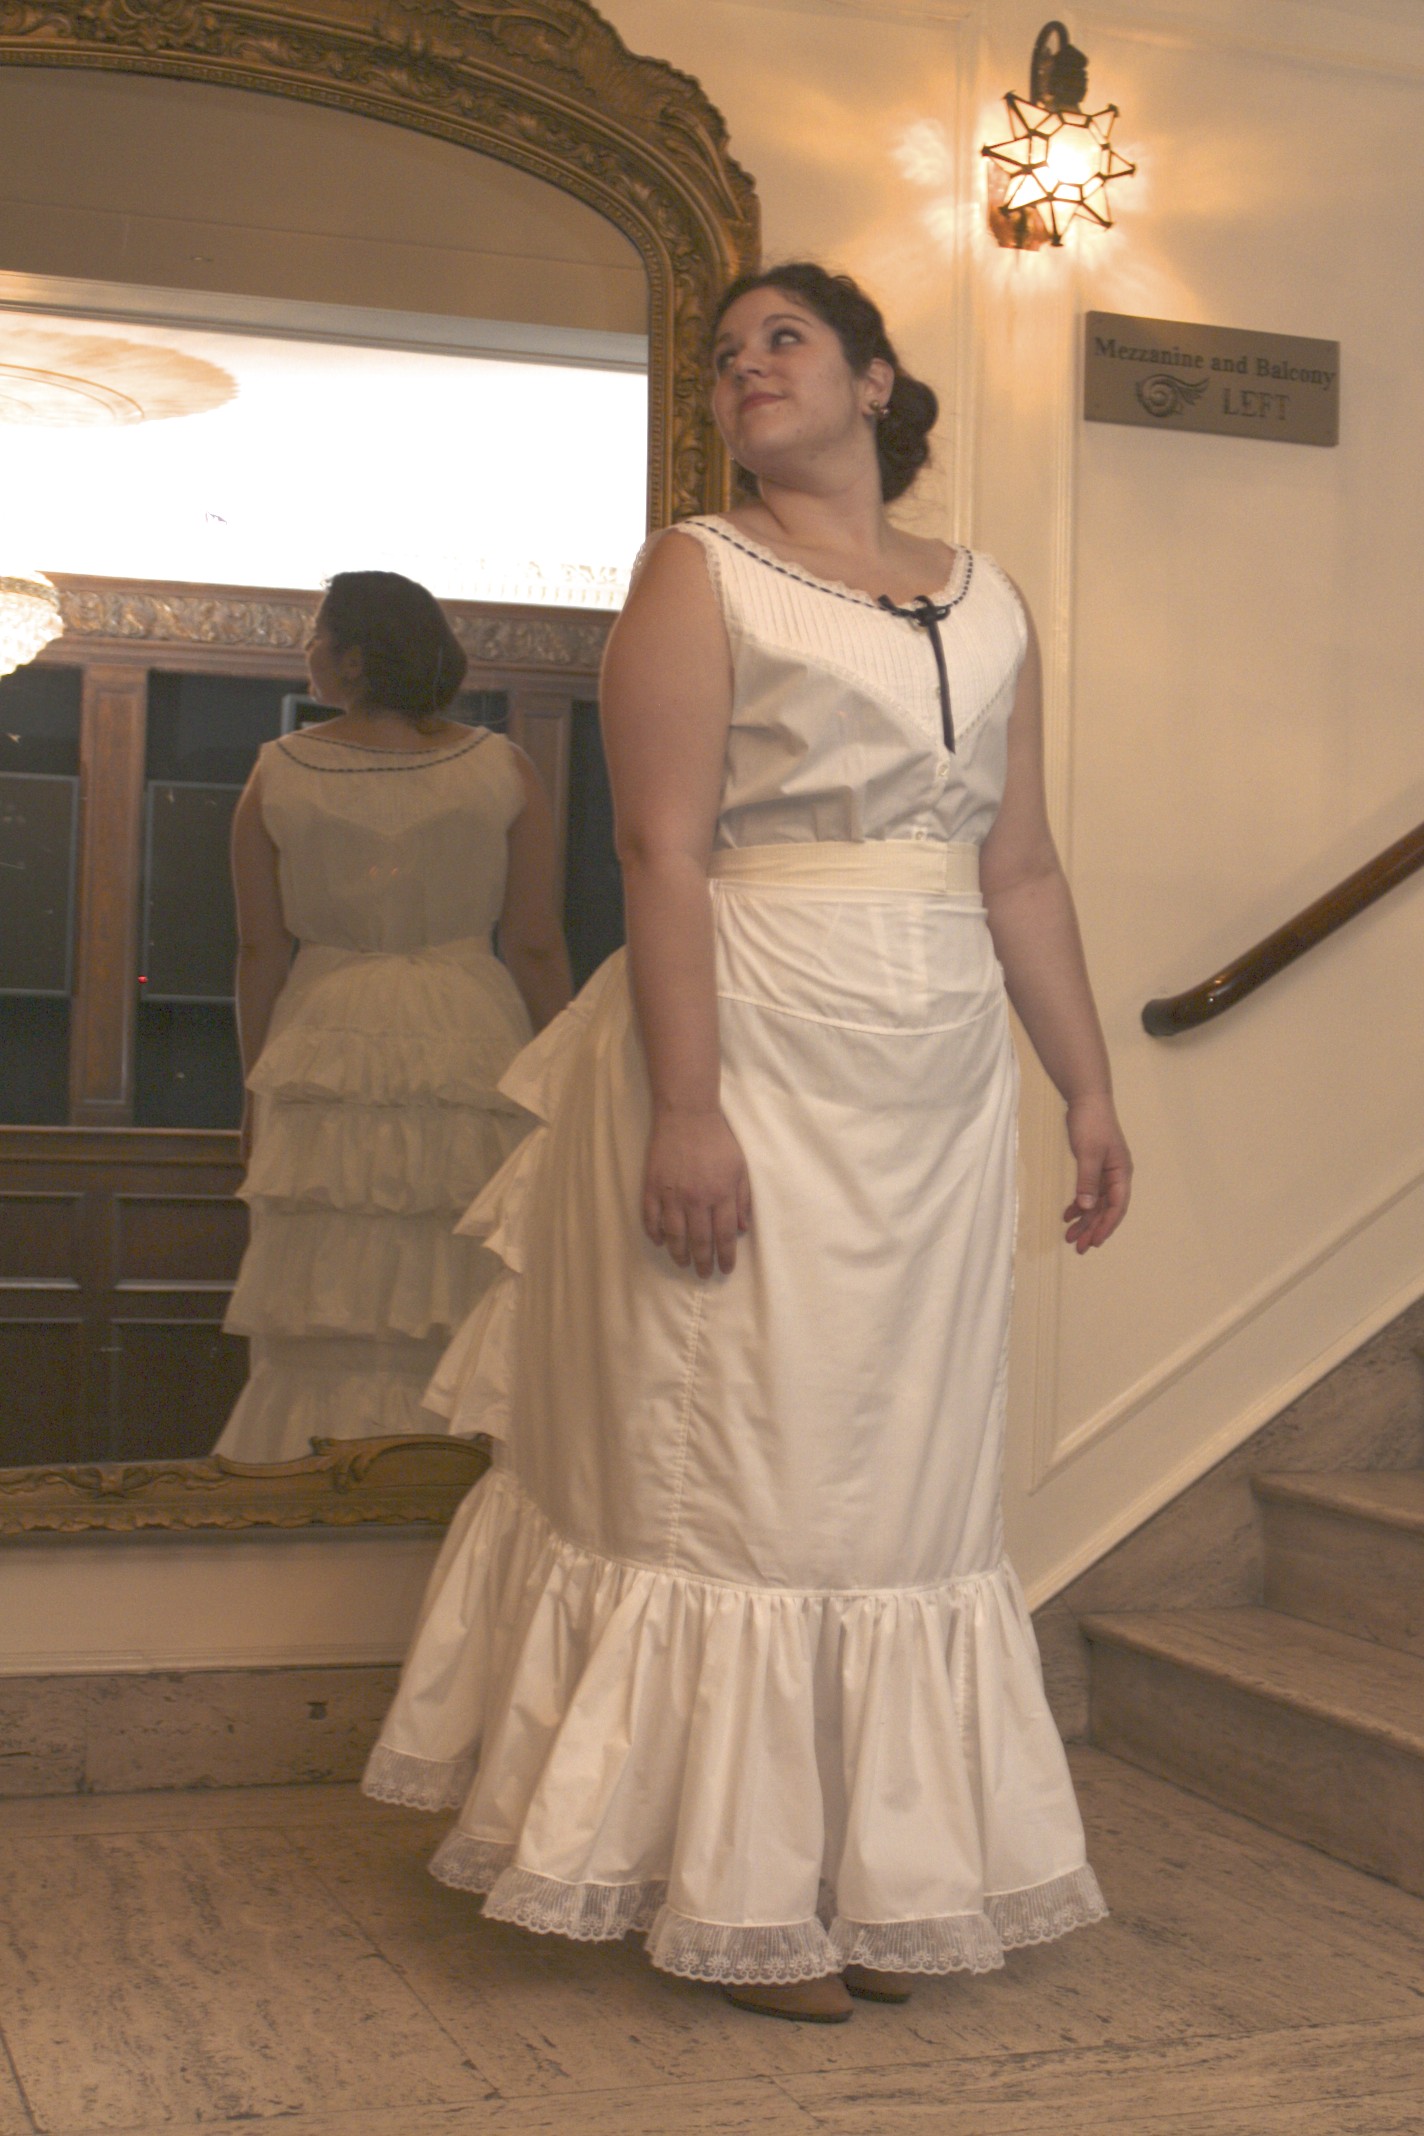
1883 Undergarments: Petticoat and Corset Cover.
1883 Undergarments: Bustle!
1883 Undergarments: Chemise and Corset

Project Journal: Victorian Women’s Tailoring Part VII: Fitting 1913 Garments

Finally, here are some pictures of my fitting for my 1913 tailored look!

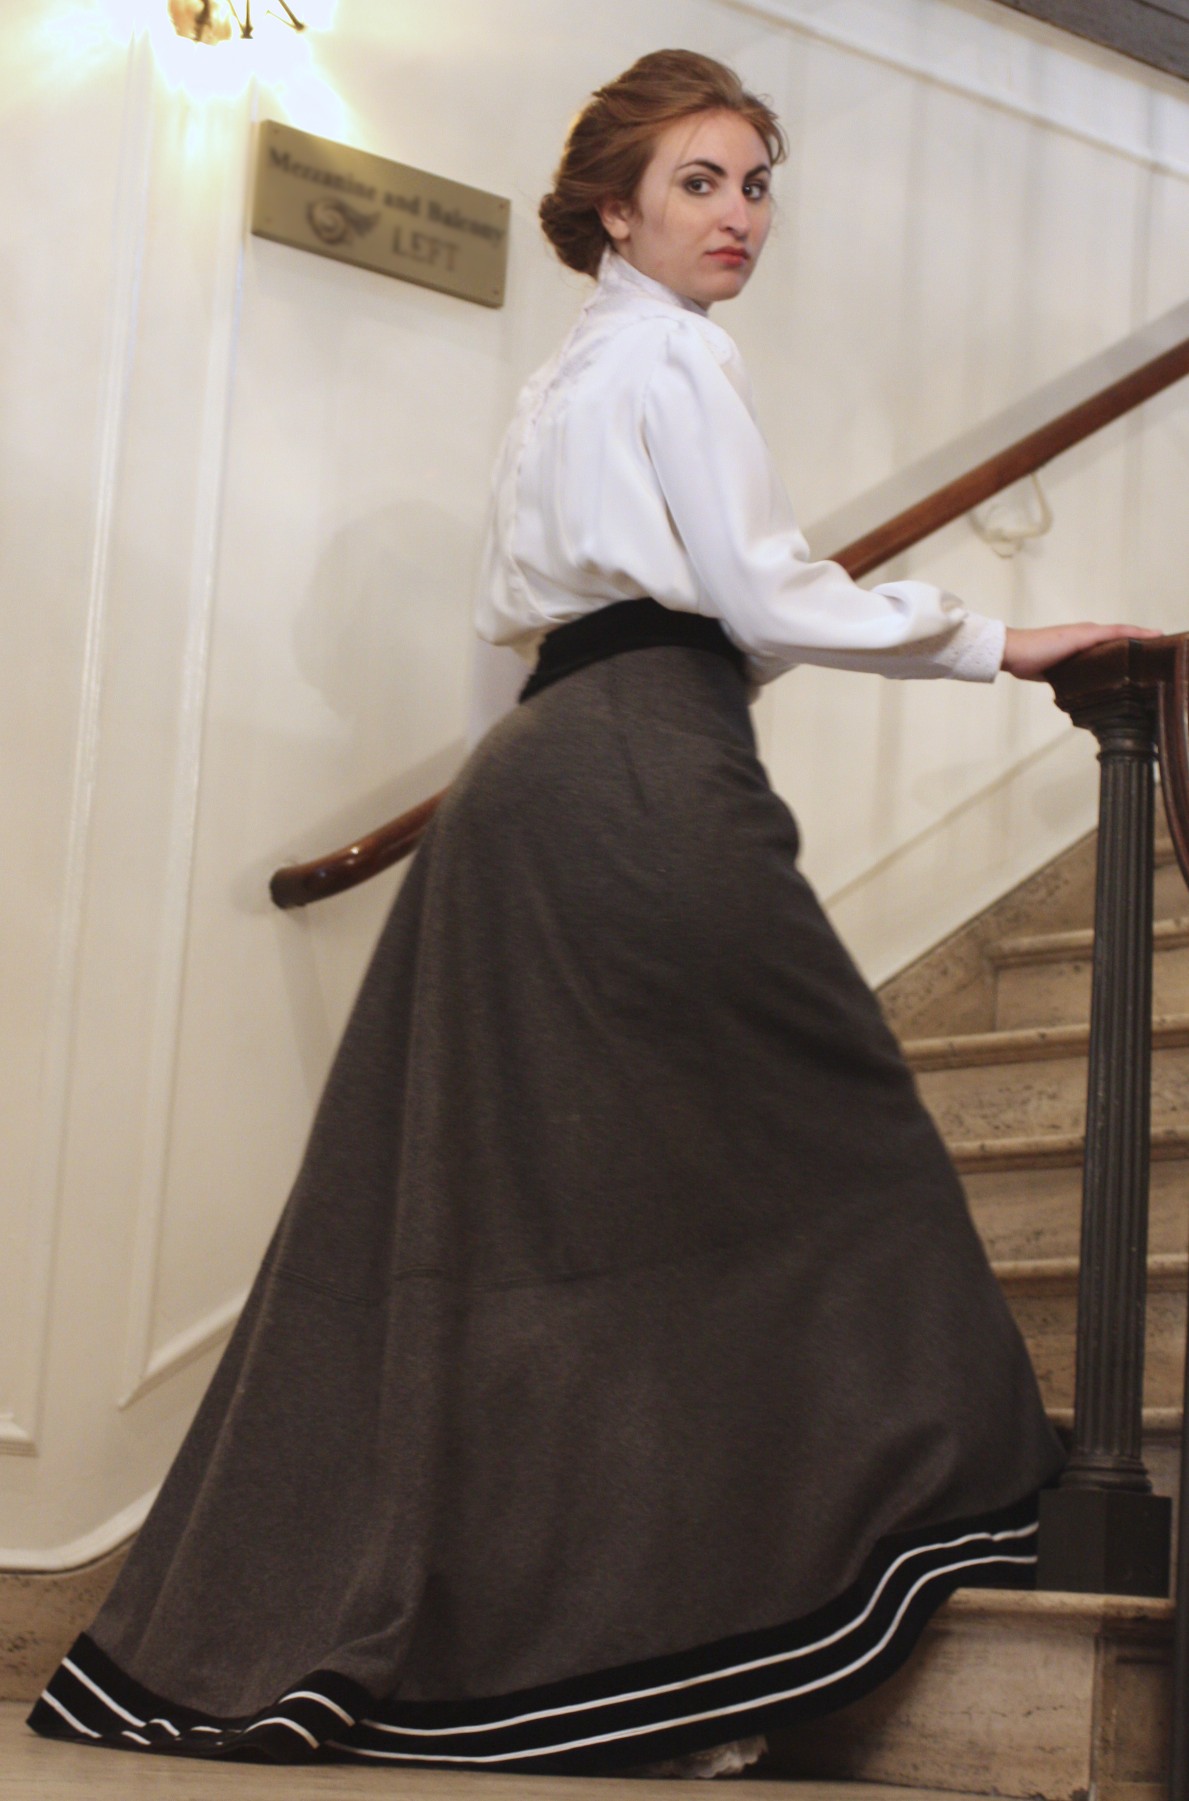
We’ll start here, where you can see the mostly dressed view. This look is a tailored suit from 1913. In the picture you can see the pleated skirt. I actually wound up making the finished length longer than I originally thought I would.

The skirt is worn with an Edwardian blouse featuring cluny lace, pin tucks, pleats, and pleated cuffs.

To the right you can see the look with the unfinished jacket and hat. The jacket still has a mock-up collar and at this point there is no facing, so the interior canvas is visible on the lapels of the jacket.

This period is a strange mix of Victorian holdover clothing (like the blouse) and 20th century clothing (the tailored suit).

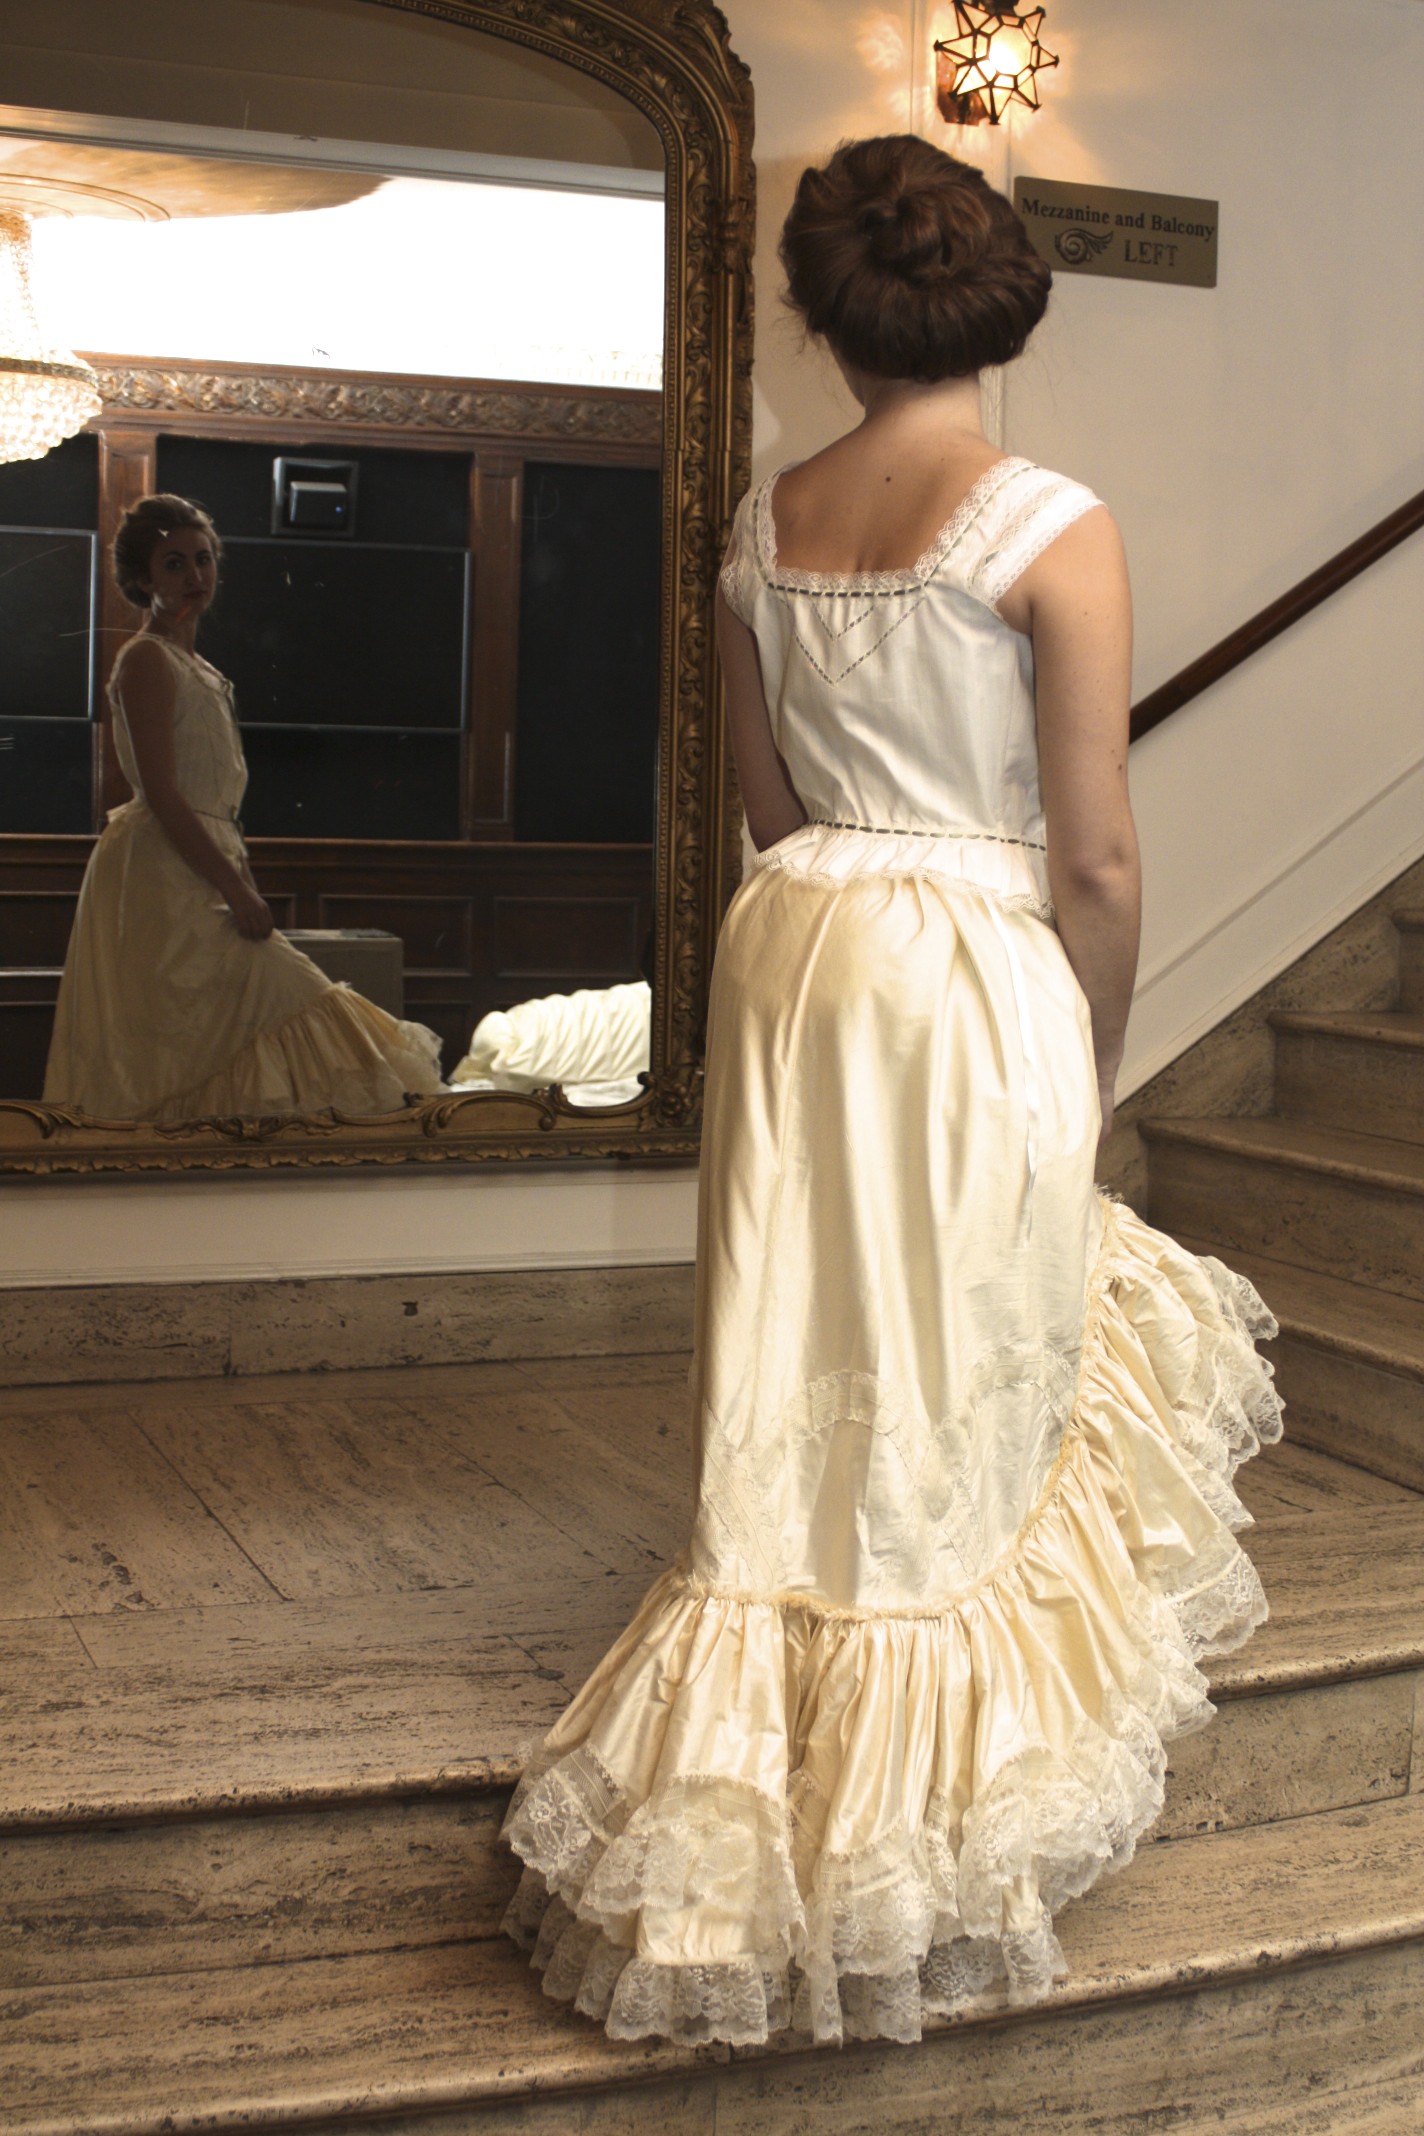
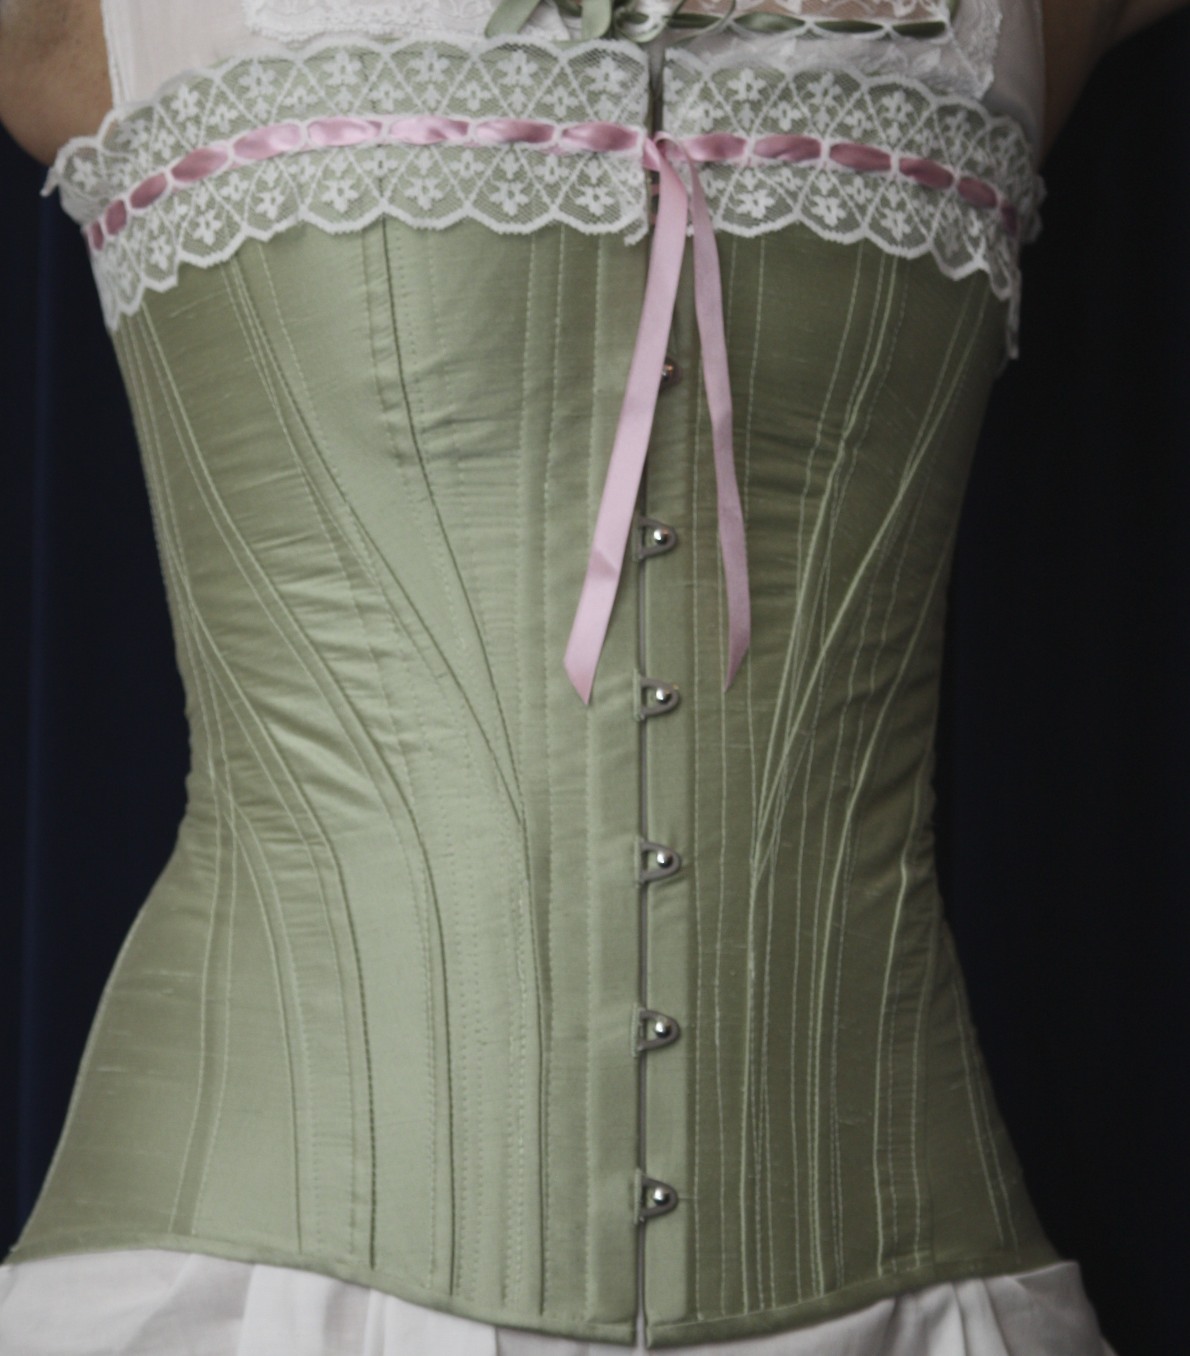
Under the skirt are undergarments that have slimmed down since 1883 and 1903 while still remaining numerous and Victorian in principle. On the left you can see the full length chemise which still features lace, pin tucks, and silk ribbon. The silhouette has narrowed considerably from the Victorian shapes of the 19th century, but the whole look is Victorian, not modern. The corset is much longer at this time, but the bones stop about four inches above the bottom edge so that movement is not impaired. This corset is constructed of a silk/linen blend that is flat lined with coutil. The seams are flat felled on the inside. It is edged in the same fabric cut on the bias. The top edge is also edged with lace and silk ribbon. To the right you can see the corset cover for this look: simple and straight forward, with just a small edge of lace. There is also a matching fabric petticoat for this look. The petticoat (or underskirt) is edged with a pin tucked ruffle and finished at the bottom with matching embroidery. It closes at the waist with a hook and eye. The chemise, petticoat, and corset cover are all constructed of the same ivory cotton.