A 1920s Island Escapade

I’m terribly delayed in writing about a lovely event I attended last summer… Gatsby On The Isles was a 1920s weekend getaway to a coastal island, including a ferry ride, picnic, clambering on the rocks and in the water, lawn games, dancing, card games, and napping in rocking chairs on the large porch of the grand hotel. A fabulous live jazz band played great music throughout the weekend. It was very much like having a soundtrack to my own personal movie!
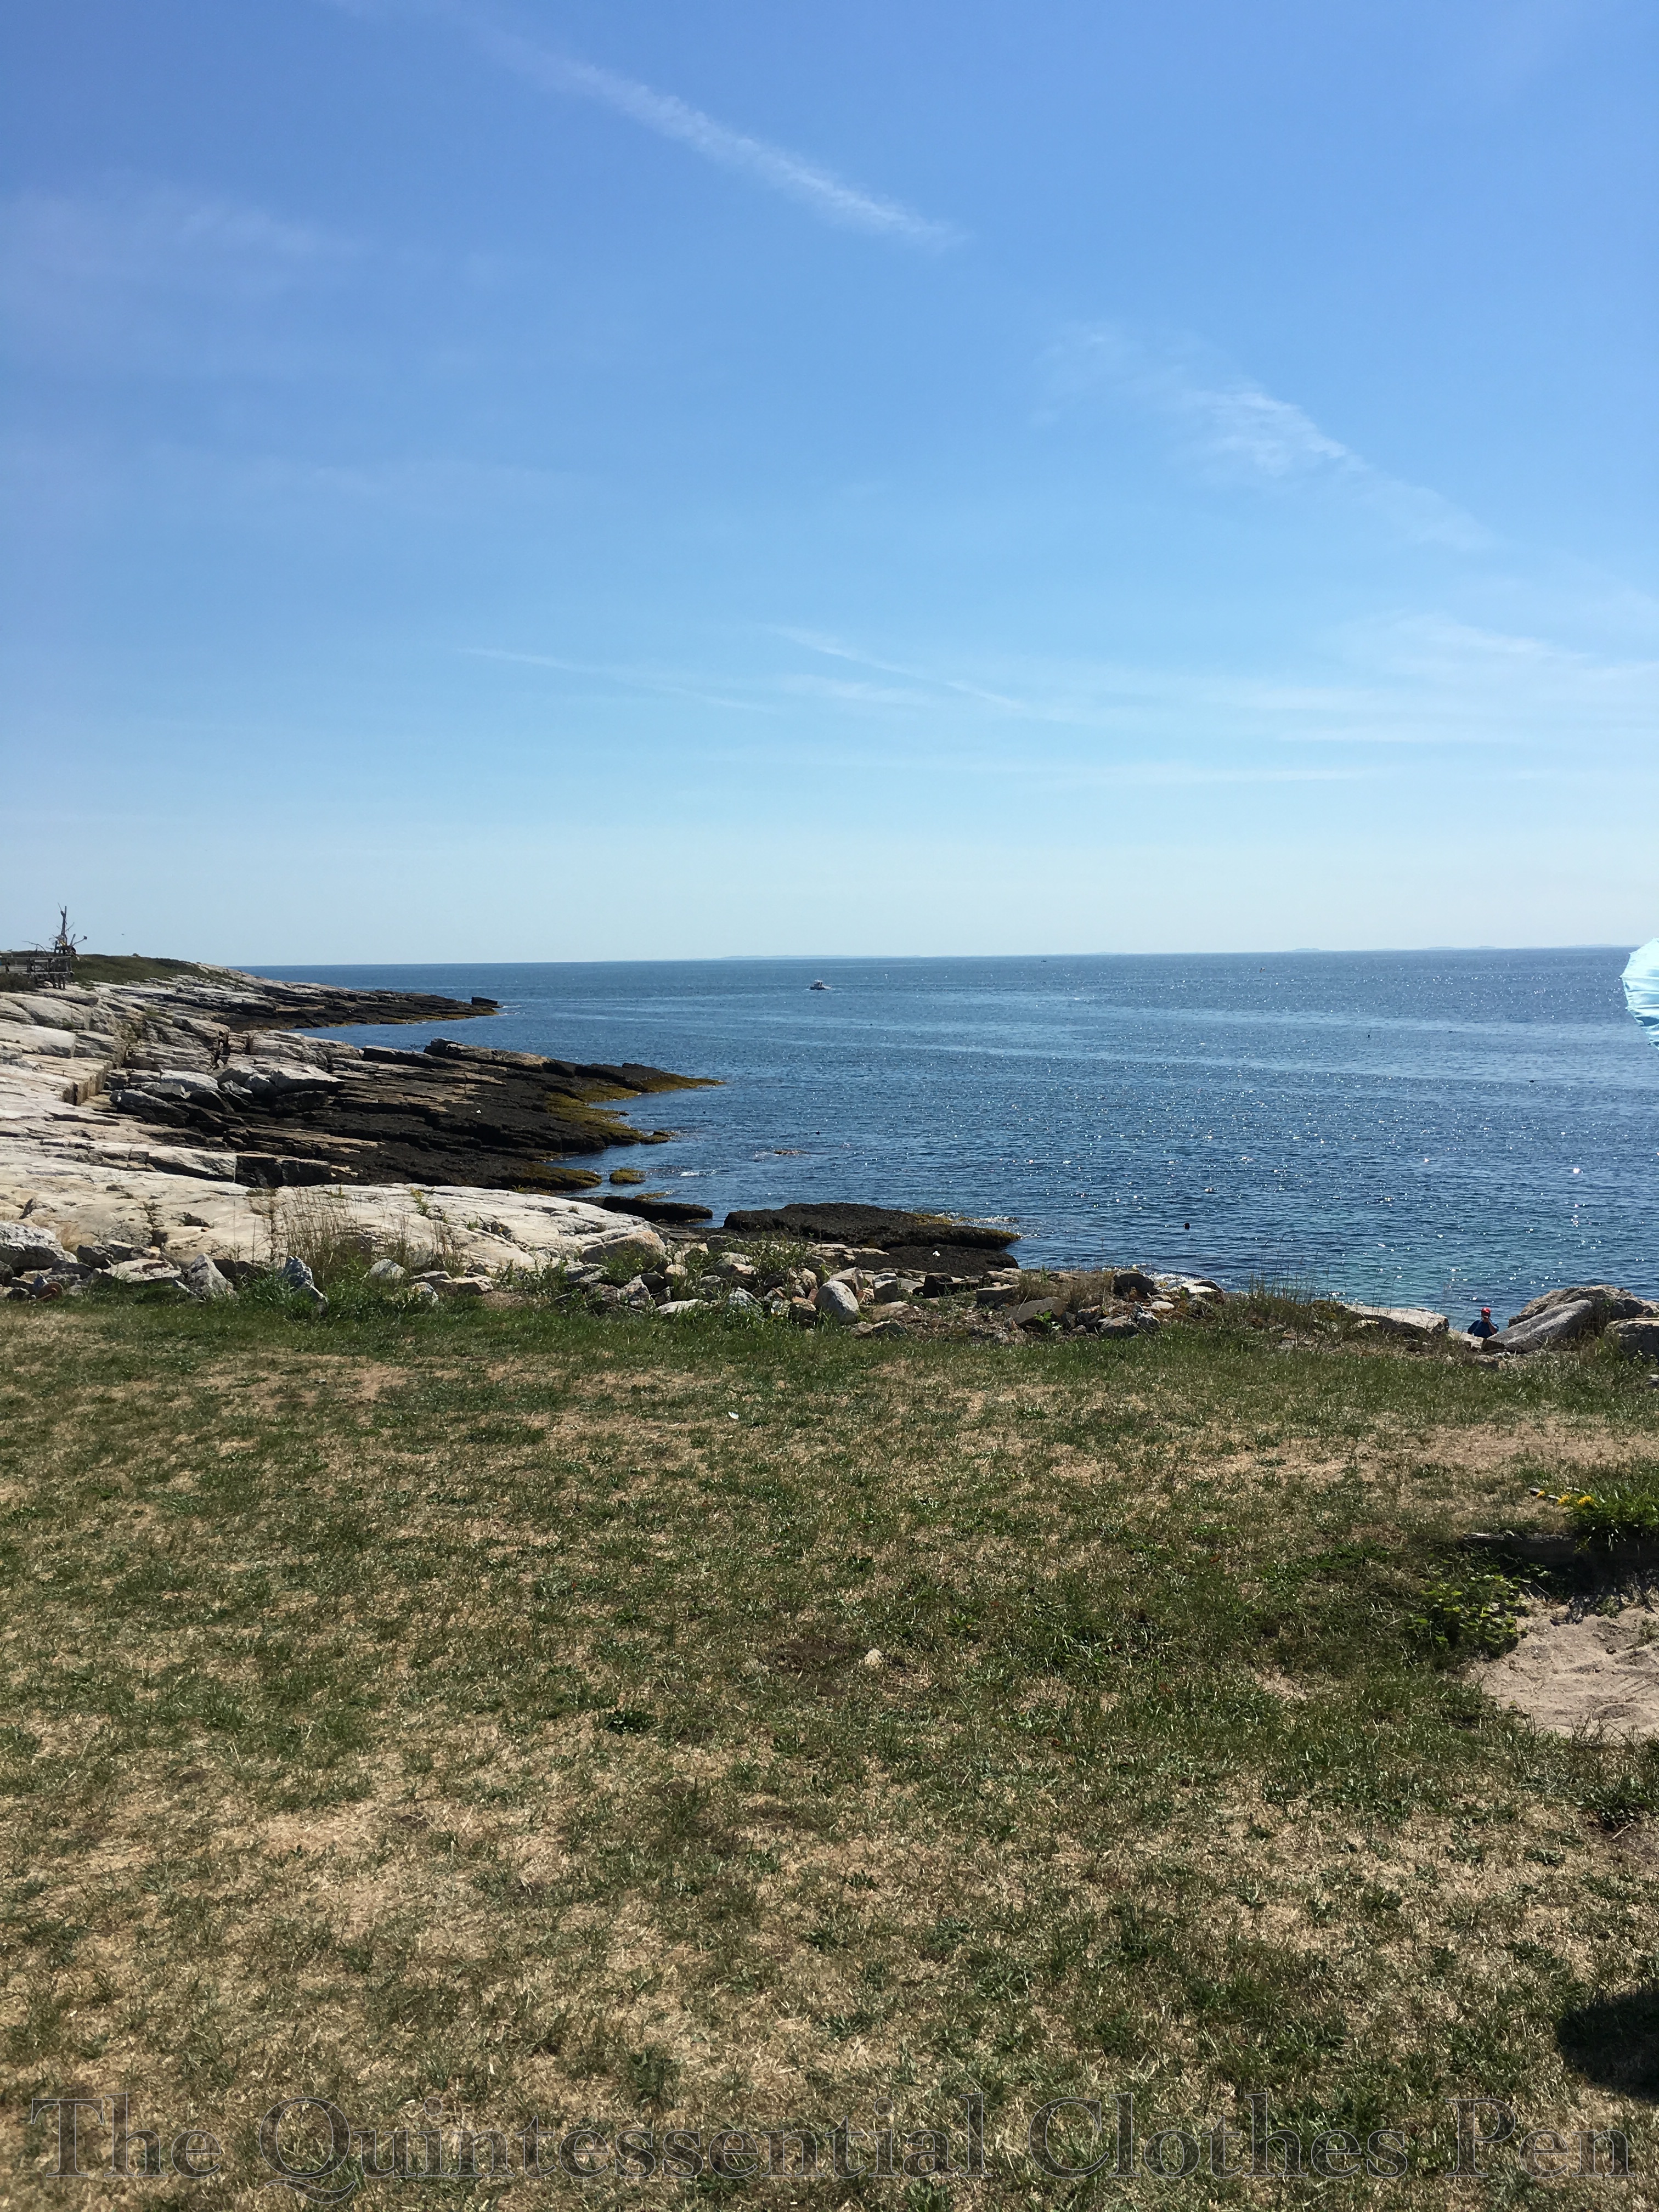
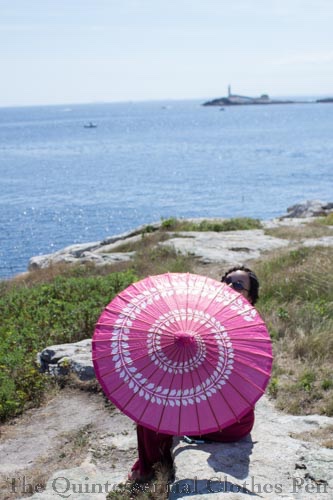
It was quite hot last August, so the strong breeze on the ferry and some parts of the island was quite welcome, as was wading and hiding under my parasol. (Had I not had a sturdy grip, my parasol would surely have been blown away during these pictures.)
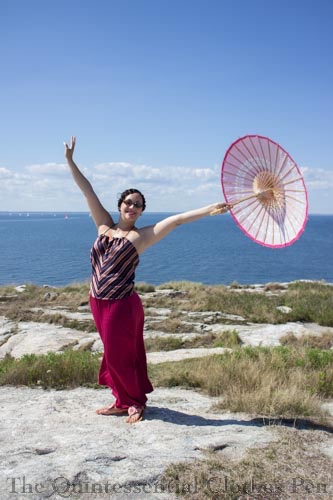
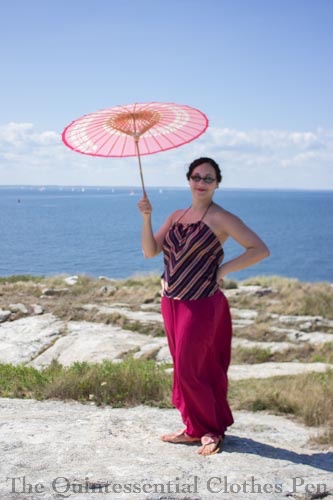
I wore my 1930s beach ensemble for travel to the island and the afternoon picnic. I am always pleased with how the (polyester, ahem) pants don’t wrinkle, even with heat and sweat and sitting, and how gloriously cool and comfortable I am while wearing it.
Partway through the afternoon I changed into my 1925 bathing suit in order to go wading. Again, a very comfortable and fun item of clothing! I can now report that wearing a wool bathing suit in the heat is no different than wearing a modern suit. I certainly wasn’t any warmer than I would have been in a more modern style.

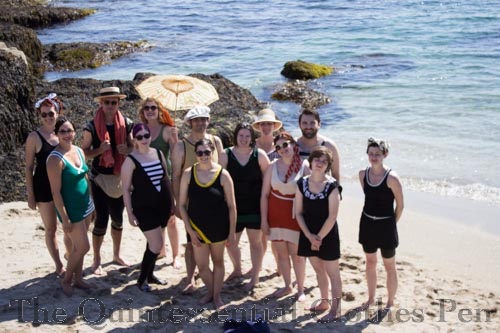
Getting to the water at this part of the island required some clambering over rocks, but also made a great backdrop for pictures!

Dinner was a casual affair, for which I changed into my 1926 sailor dress. An unplanned wardrobe similarity required picture documentation.

For the evening dance, I changed into my 1924 Golden Robe de Style. The parlor of the hotel had some fabulous couches that called for lounging and sultry faces. Despite being hot, it was fun to dance the night away to wonderful music, with breaks to sit out on the porch with a 1920s cocktail.

The next day was low-key. I explored the island, played cribbage, and took an unexpected nap in a rocking chair on the porch. I decided to be slightly old fashioned and wore my 1919 Ivory Eyelet Dress, another comfortable summer ensemble, with my 1920s Sinamay Hat.

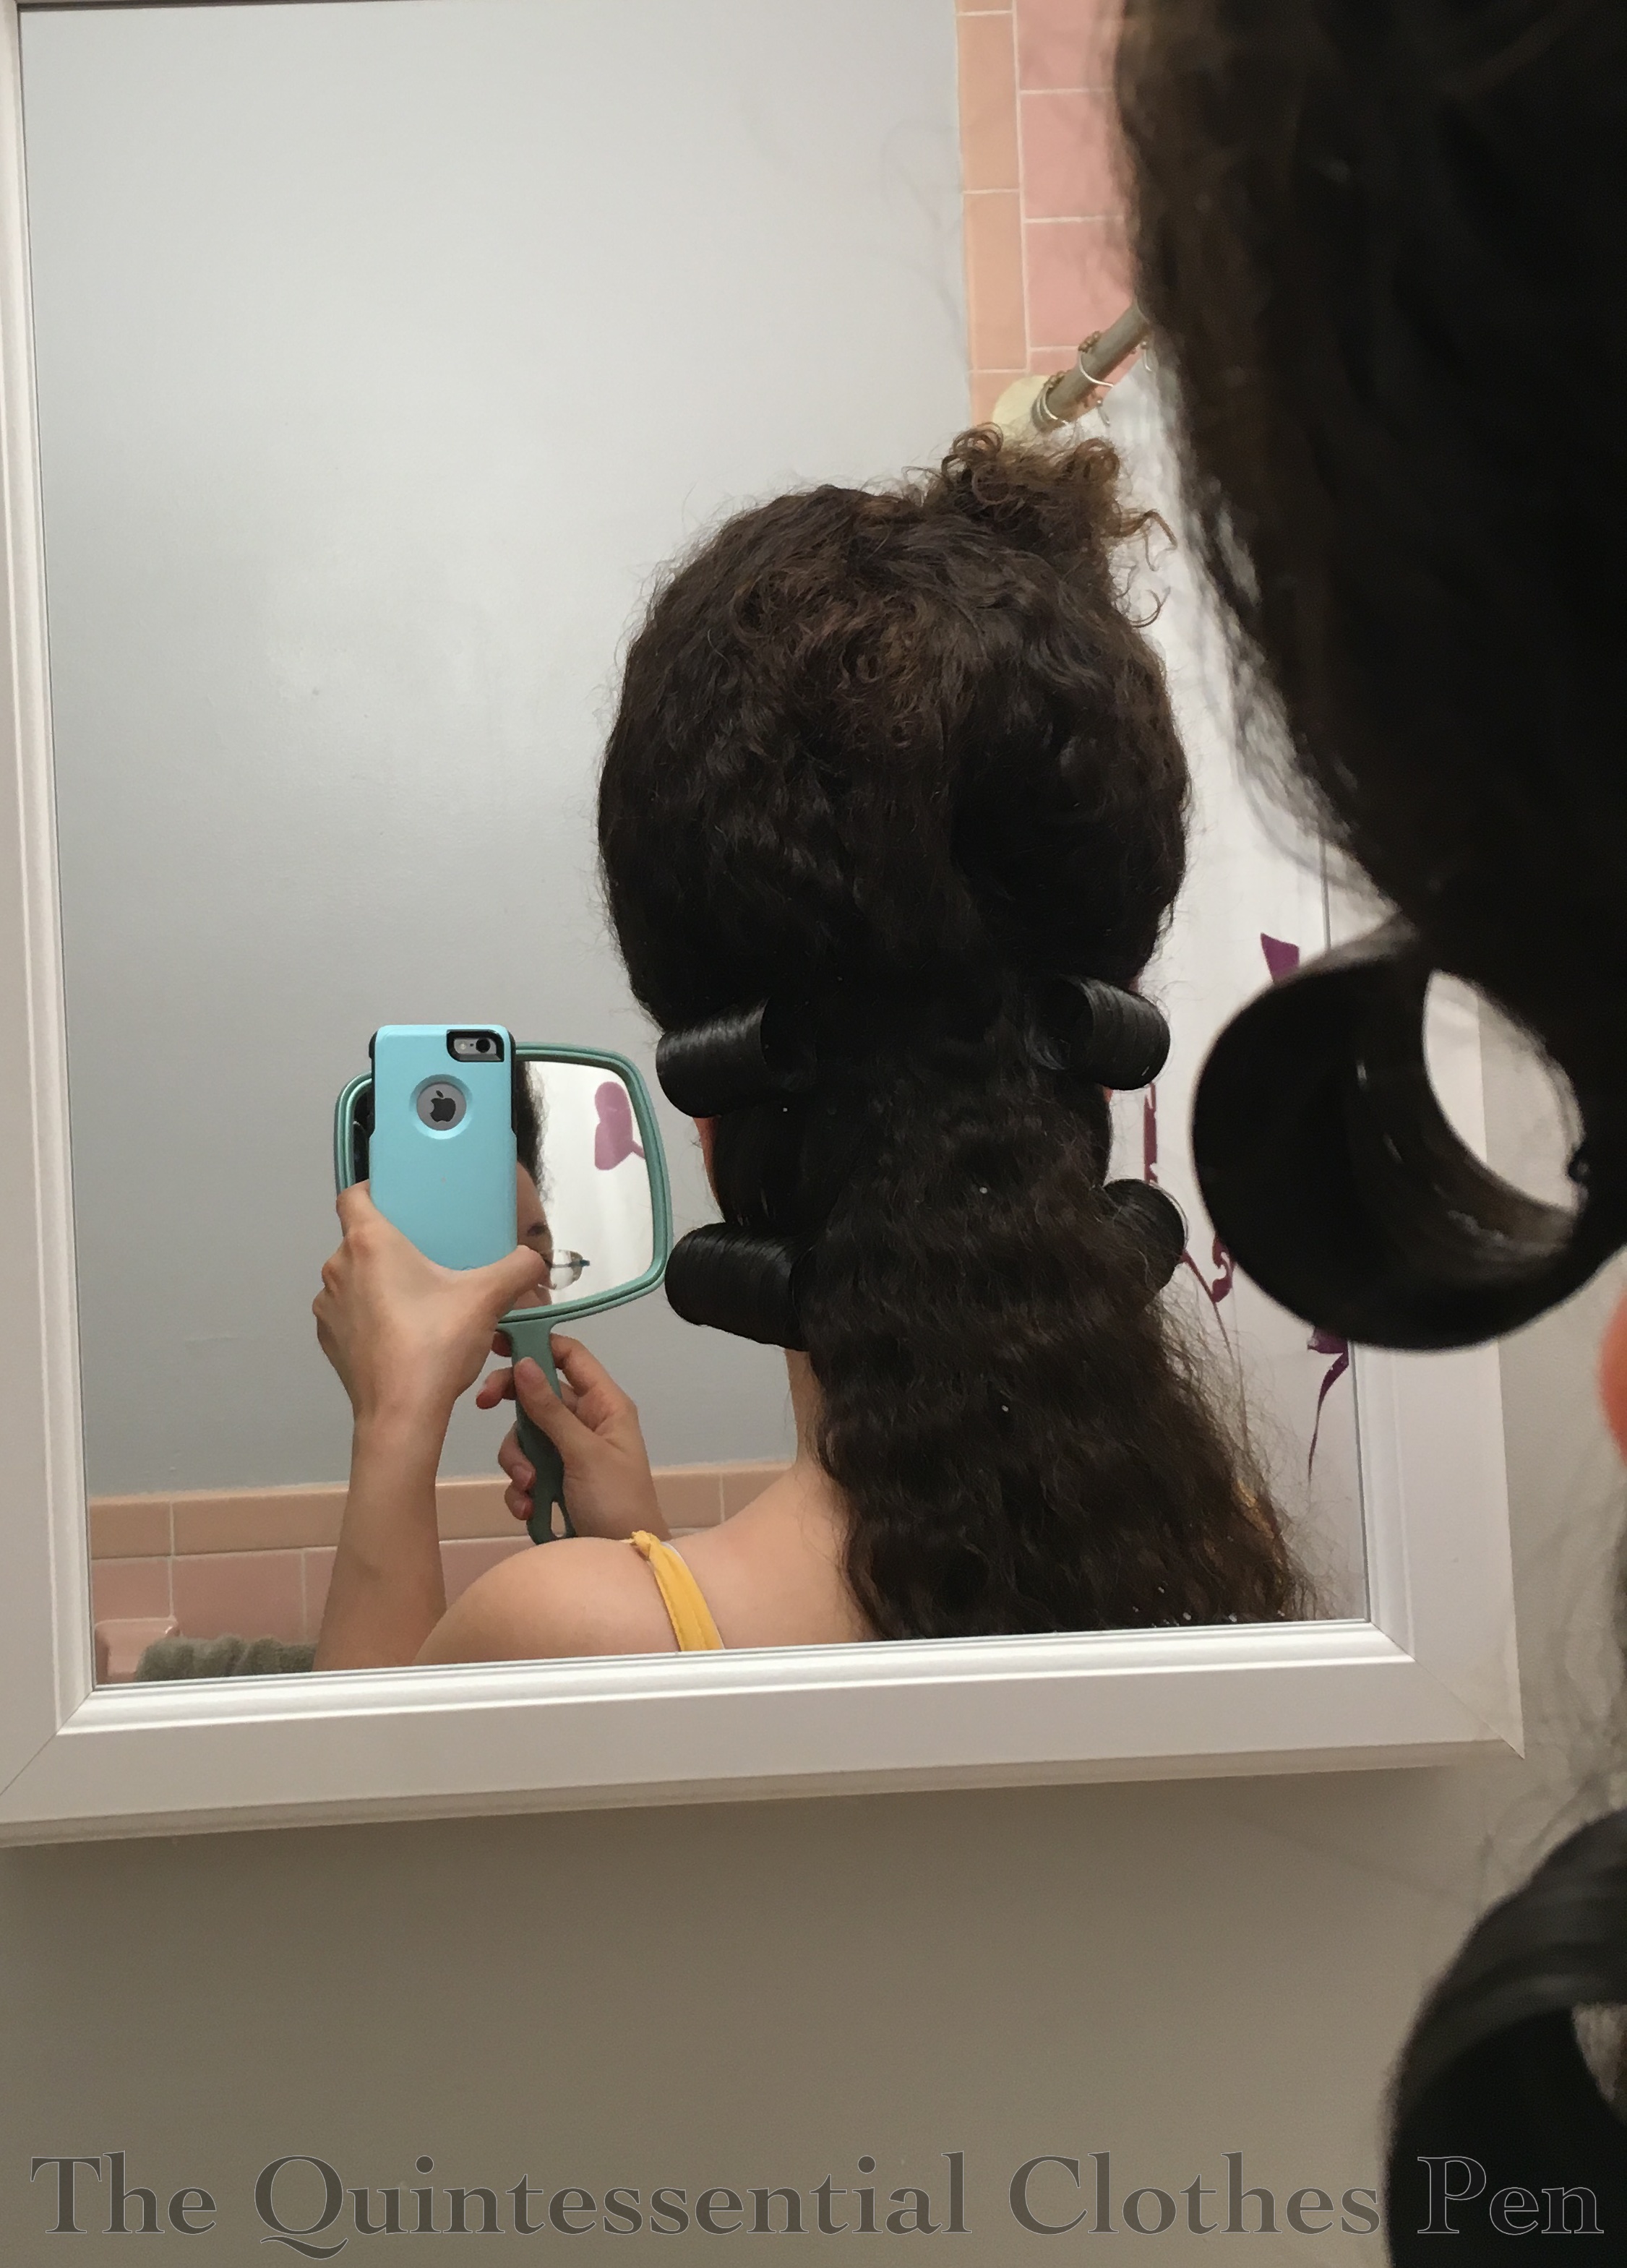
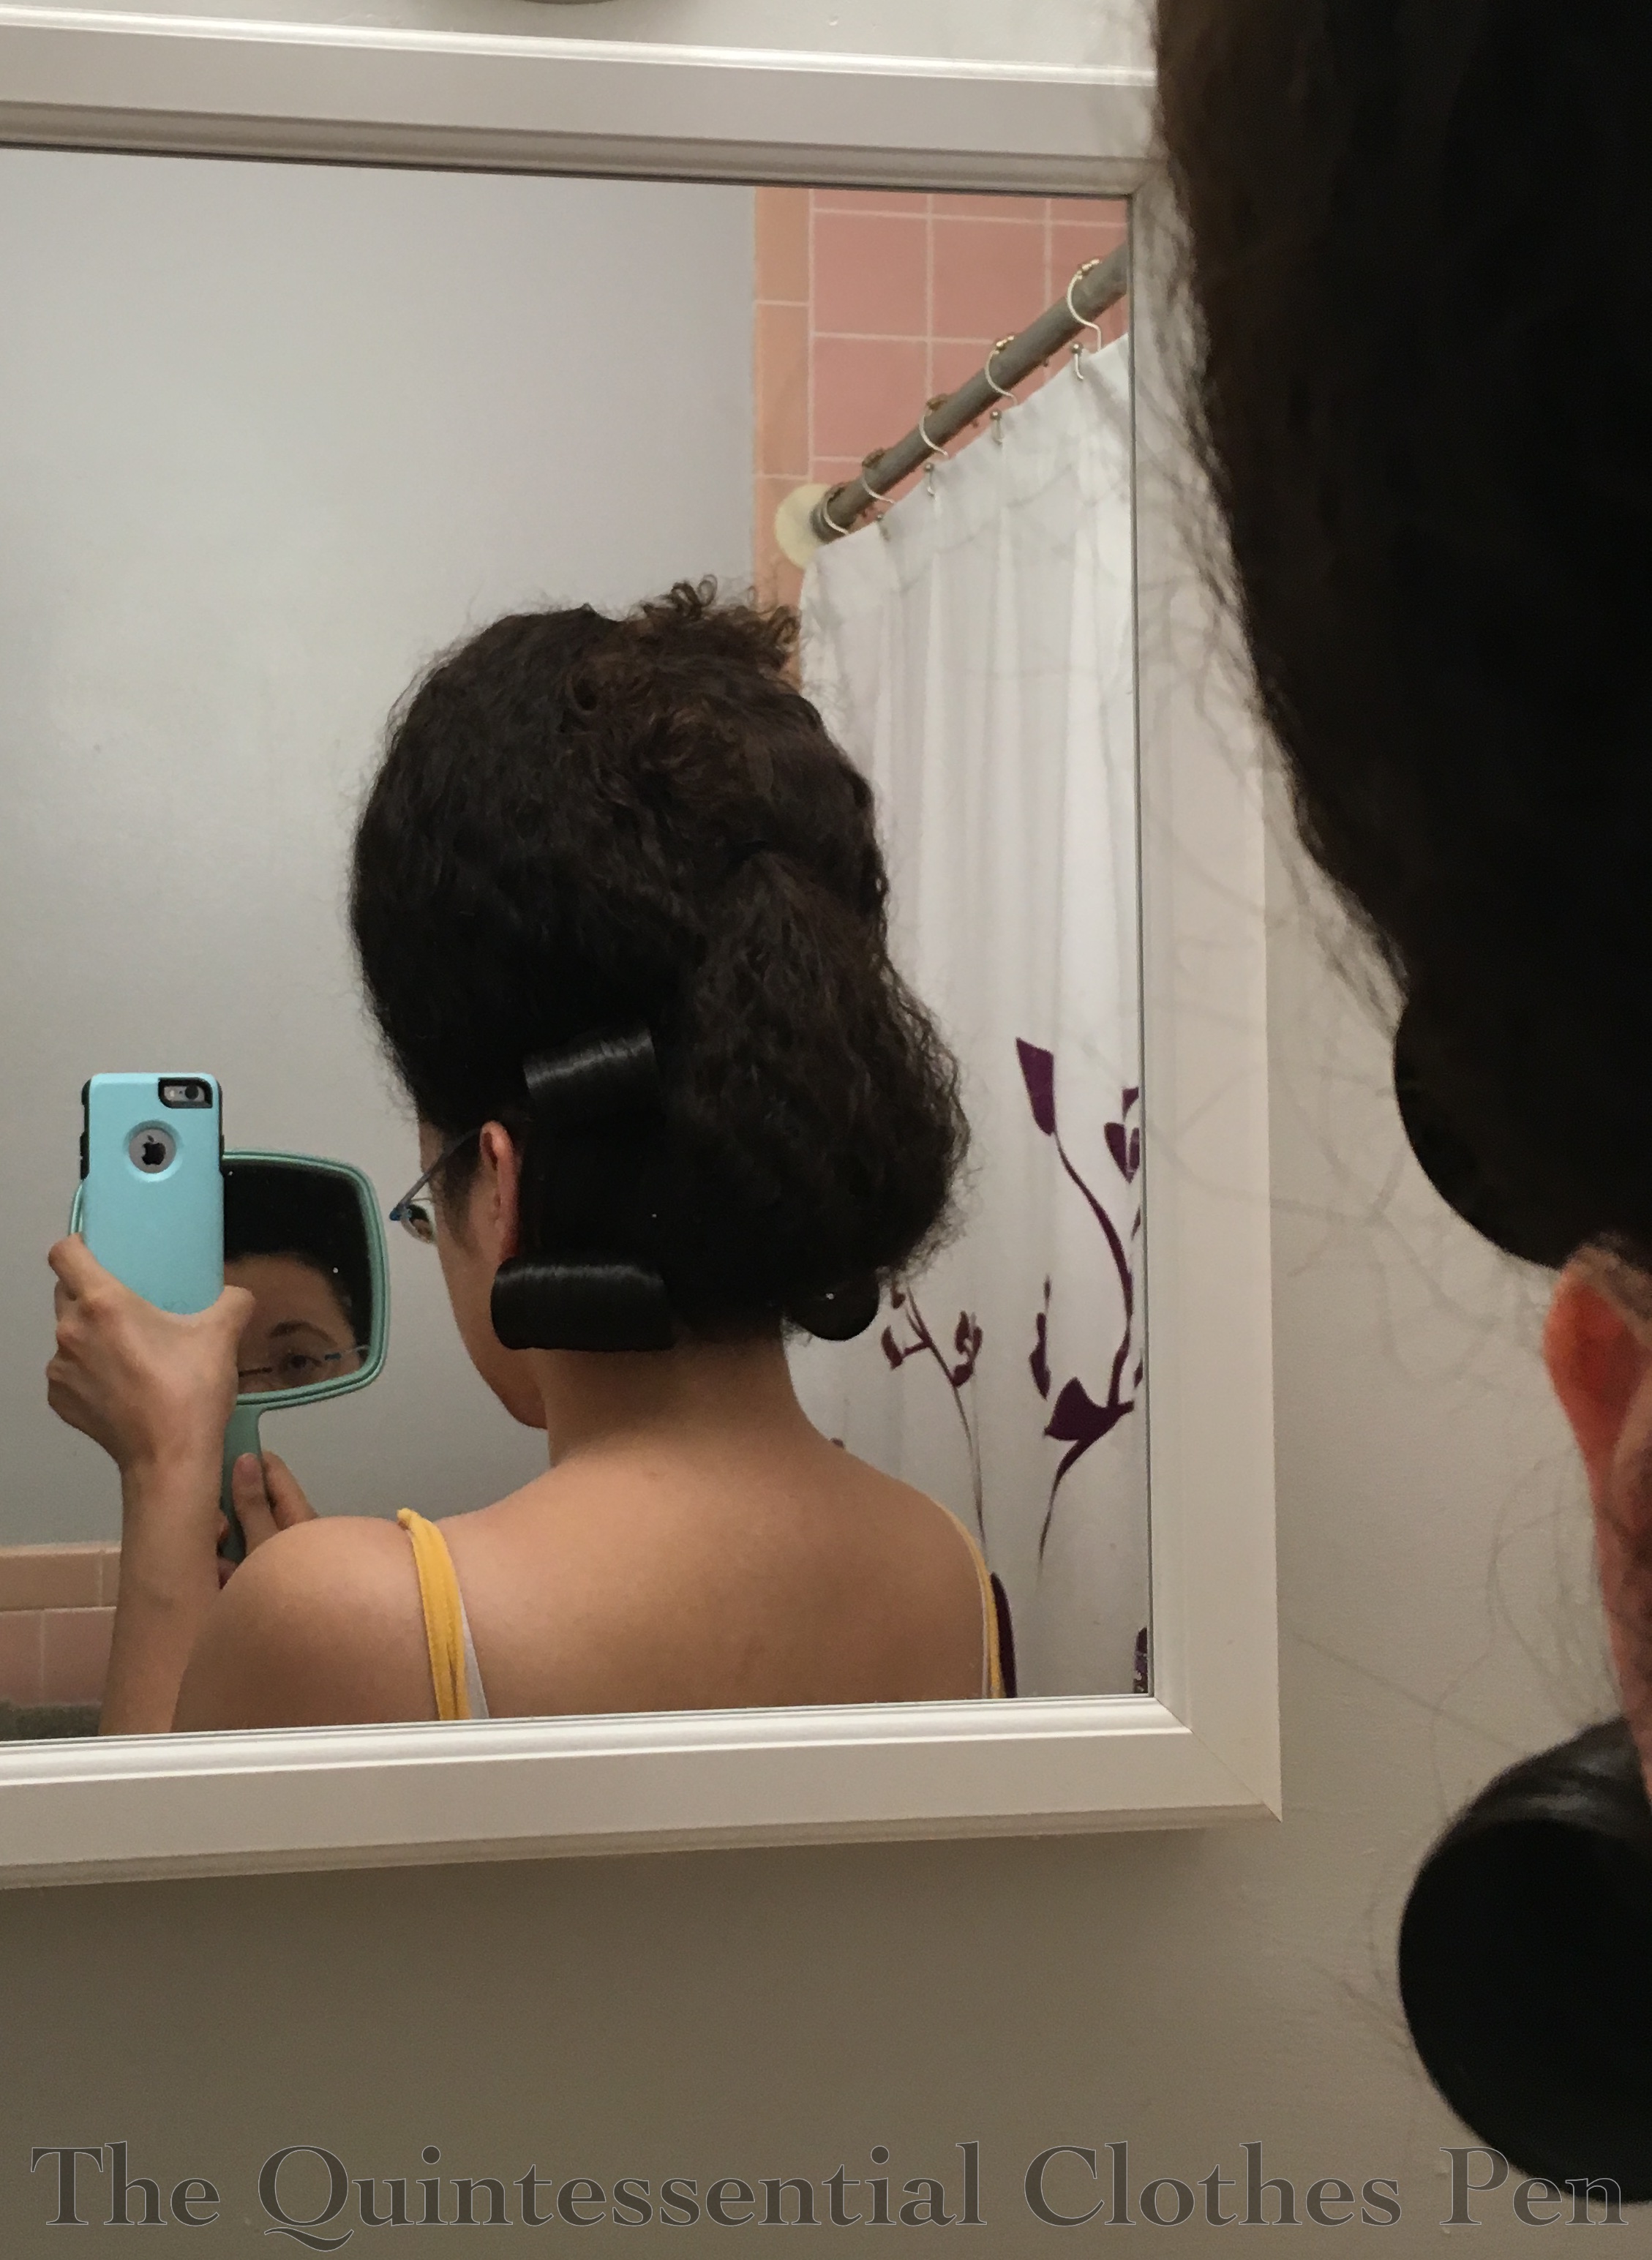
I tried a forward thinking 1930s inspired hairstyle for the weekend. I did it early Saturday morning before hitting the road and then wore it all weekend without a change. It went from day to evening with no problem and stayed in place through wind, hats, and sleeping. (This is the same hairstyle I hinted about in the post about my 1927 Blush Sparkle Dress.)

In order to keep the frizz down, I did my hair while it was still wet, using Tigi Small Talk as setting lotion to help the waves and curls stay in place. The front and crown were shaped with wave clips while the rest of my hair was massed lower on my head in tight curls. There were TONS of bobby pins hidden in there and it was very secure. I was very pleased with the security of the style and with how well it lasted without frizzing!
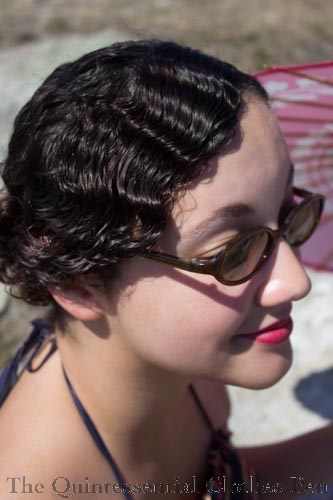
It was a very fun escape to the past and I’m so pleased to have great pictures to document it all. What a different scene and temperature than these last four or five months of winter!
Masquerade! Paper Faces On Parade…

Masquerade!
Hide your face so the world will never find you!
Masquerade!
Every face a different shade…
Masquerade!
Look around there’s another mask behind you!

I’ve always wanted to attend a masquerade. This wasn’t quite the masquerade of The Phantom Of The Opera, not having sweeping orchestral music and head-to-toe colorful costumes, but it was nonetheless fun and a bit surreal in the masks-plus-fabulous-location-ness (I think a bit of a surreal experience is what makes a masquerade a unique experience, so this is entirely a positive description here).

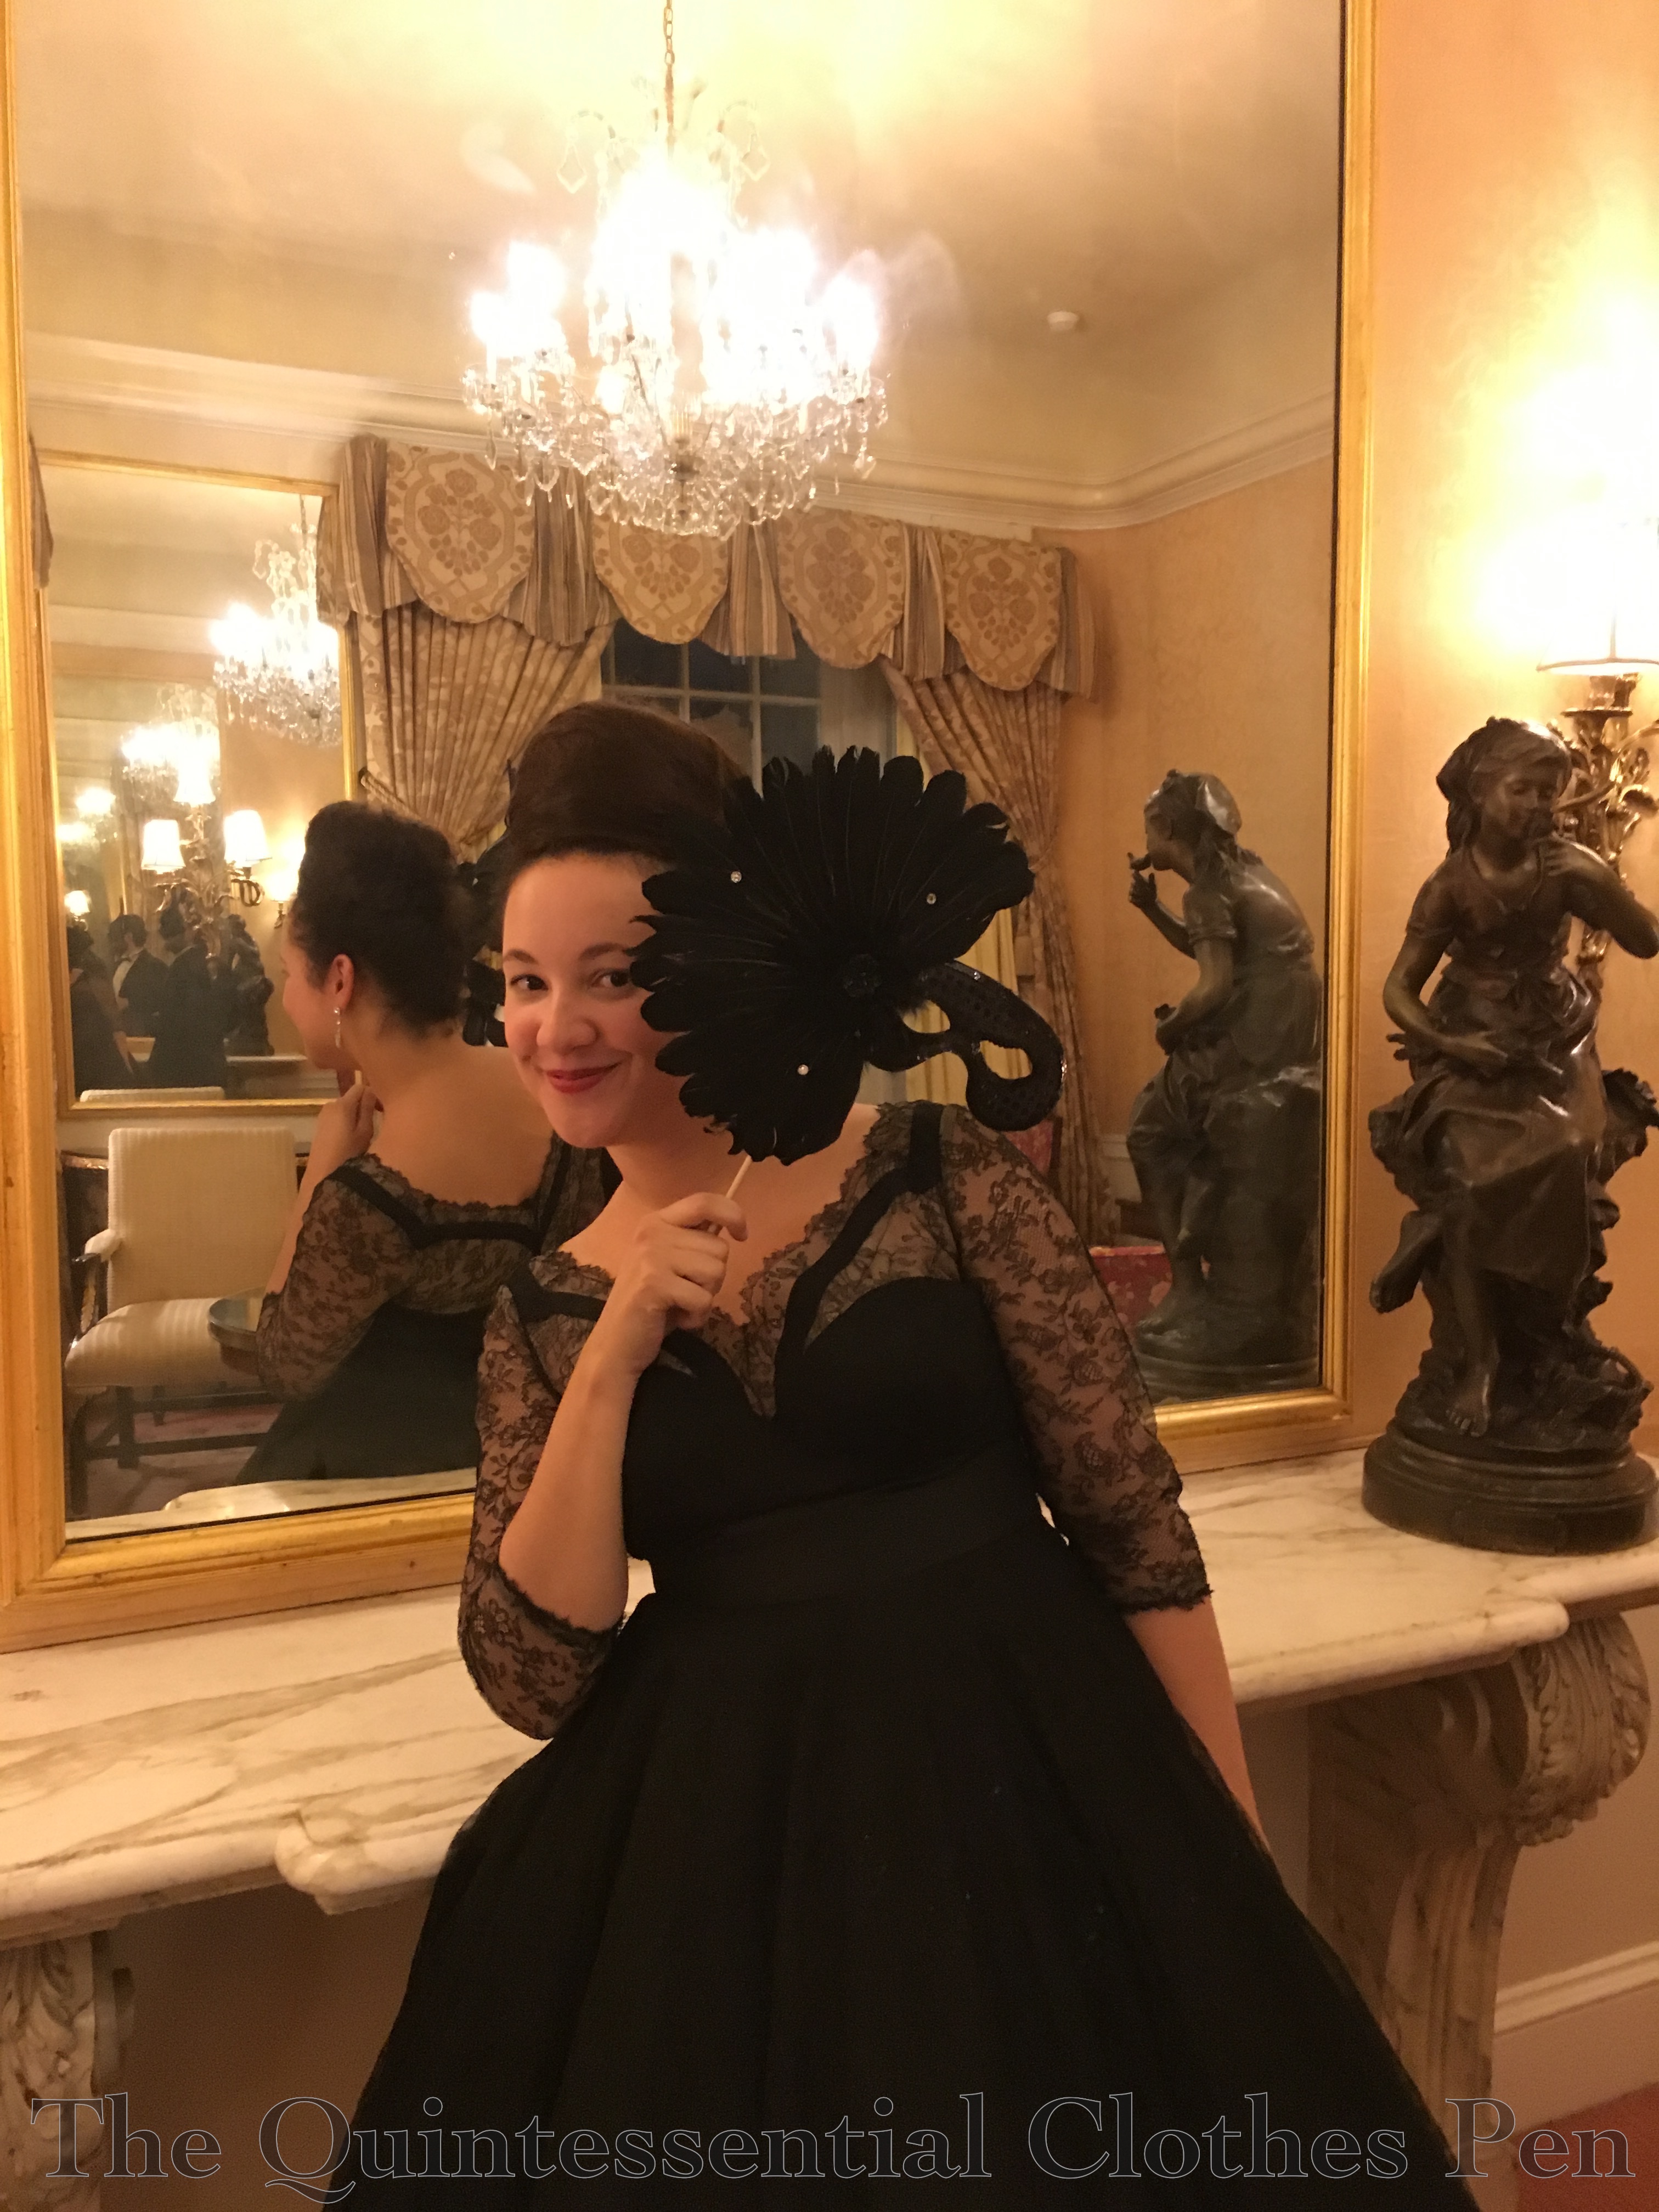
Digressions about masquerades aside, back in November of last year I had the good fortune to attend such an event myself. The theme was 1960s, but I had recently acquired a 1950s dress that fit me so perfectly that it just HAD to be worn, so I opted to be a bit old fashioned for the theme of the party.

img_2086-1

The event was held in a very nice downtown hotel. We had a series of rooms including the ballroom, its foyer, and a parlor-type space far enough away from the music to easily chat and lounge. It was quite elegant feeling!

img_2040-1

Usually I don’t wear vintage or historical garments. I’d prefer to use them for study and don’t want to damage them. But I made an exception in this case and did my best to be gentle with the dress. I carefully mended it before wearing and then again after, as the delicate lace was pulling apart at the seams under the arms when I received the dress as well as after wearing it. My second version of the mend was to put gussets under the arms, using a tiny bit of leftover fabric I had from shortening the sleeves (I wanted to do this during the pre-wearing mend, but ran out of time). I think the sleeves were full length on the original owner, but they came down to an awkward mid-forearm length on me, so I shortened them to be a nice 3/4 length. I know! It was a hard decision to make, changing the dress, but I think it is in keeping with the period the dress is from and it allowed me to better fix the underarm problem, so I’ve come to terms with the choice.

Here’s a slightly clearer view of the bodice. The lace is backed by nude net and there is a silk faille band around the waist. The entire skirt is faille with an overlay of the same lace and horsehair around the hem for stiffening.

img_2048-1

For my hair, I decided it was go big or go home, so I used my largest bun form (part of the base of my Versailles hairstyle) to create a giant poof-bun-thing on top of my head that’s a nod to the 1960s beehive. I think it was balanced out well by the feathers on my mask. Plus, in general I’m pretty good at making big hair work.

I put the mask on a stick so that it wouldn’t irritate my face and so that something like an elastic wouldn’t squash my huge hair. A bonus is that I could peek out from behind it, as in this picture.

img_2052-1

With this ensemble, I wore the same sparkly earrings I wore to Versailles and my silver American Duchess Seaburys with silver rhinestone shoe clips to make the ensemble even more bling-y!

img_2038-1

The event included food and dancing and chatting. I had a great time that was even better than I was expecting, though I think that was due to being tired after a long week of work and not really sure if the event would be a hit or not.

img_2110-1

My friends and I did lots of silly 1960s dances–the monkey, the swim, etc. (Are these really 1960s? I don’t know for sure, but in my mind they are…) These pictures of my dancing in the lobby are some of my favorite, partly because swishing around in my 1950s dress was so much fun!

img_2095-1

img_2098-1

img_2107-1

1927 Blush Sparkle Dress

img_2353-1

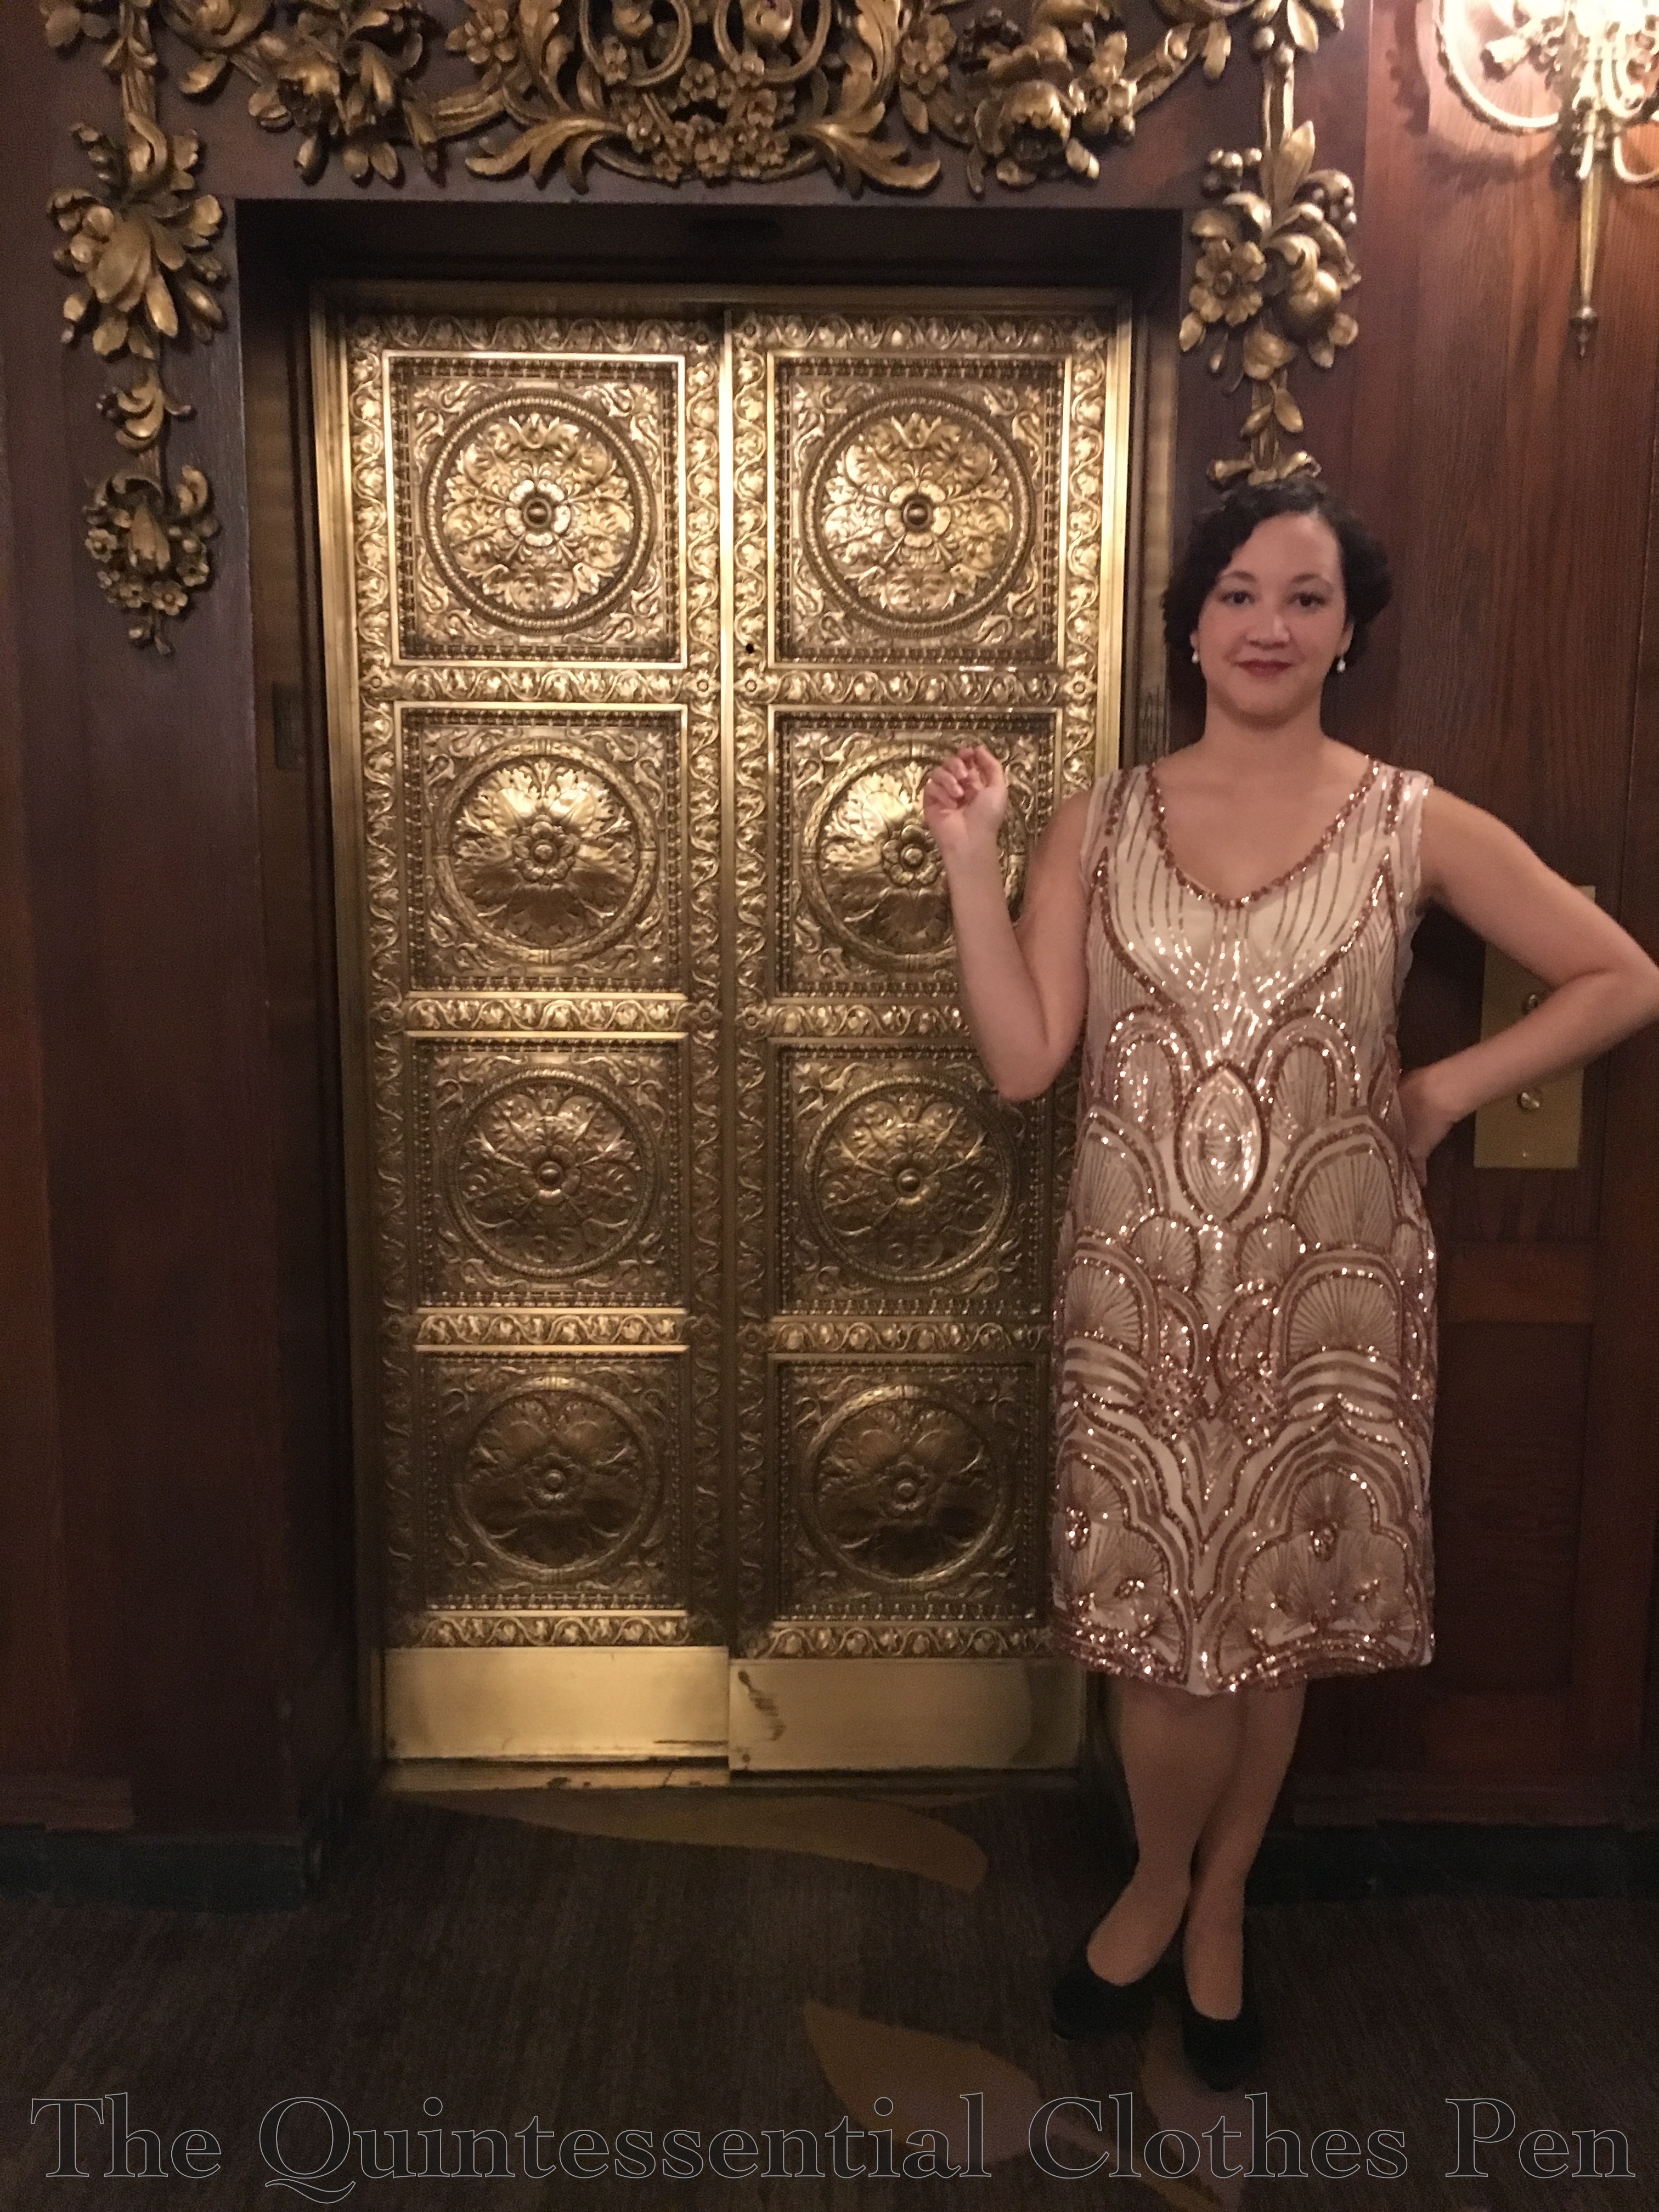
I was at the fabric store looking for other things… (the beginning of a lot of my fabric buying adventures) when two super sparkly fabrics caught my eye. They were screaming “1920s!” But the colors were somewhat costume-y 1920s and not often seen in my research of actual historical dresses from this period–red on nude net and black on nude net. A bit disappointed, I looked at the sparkly lace section some more and found the same fabric in blush on nude net! It was so sparkly and the pattern on it was so perfectly deco that I had to take some home with me. Luckily it wasn’t expensive and only cost $14 for 1.25 yards. Not bad!

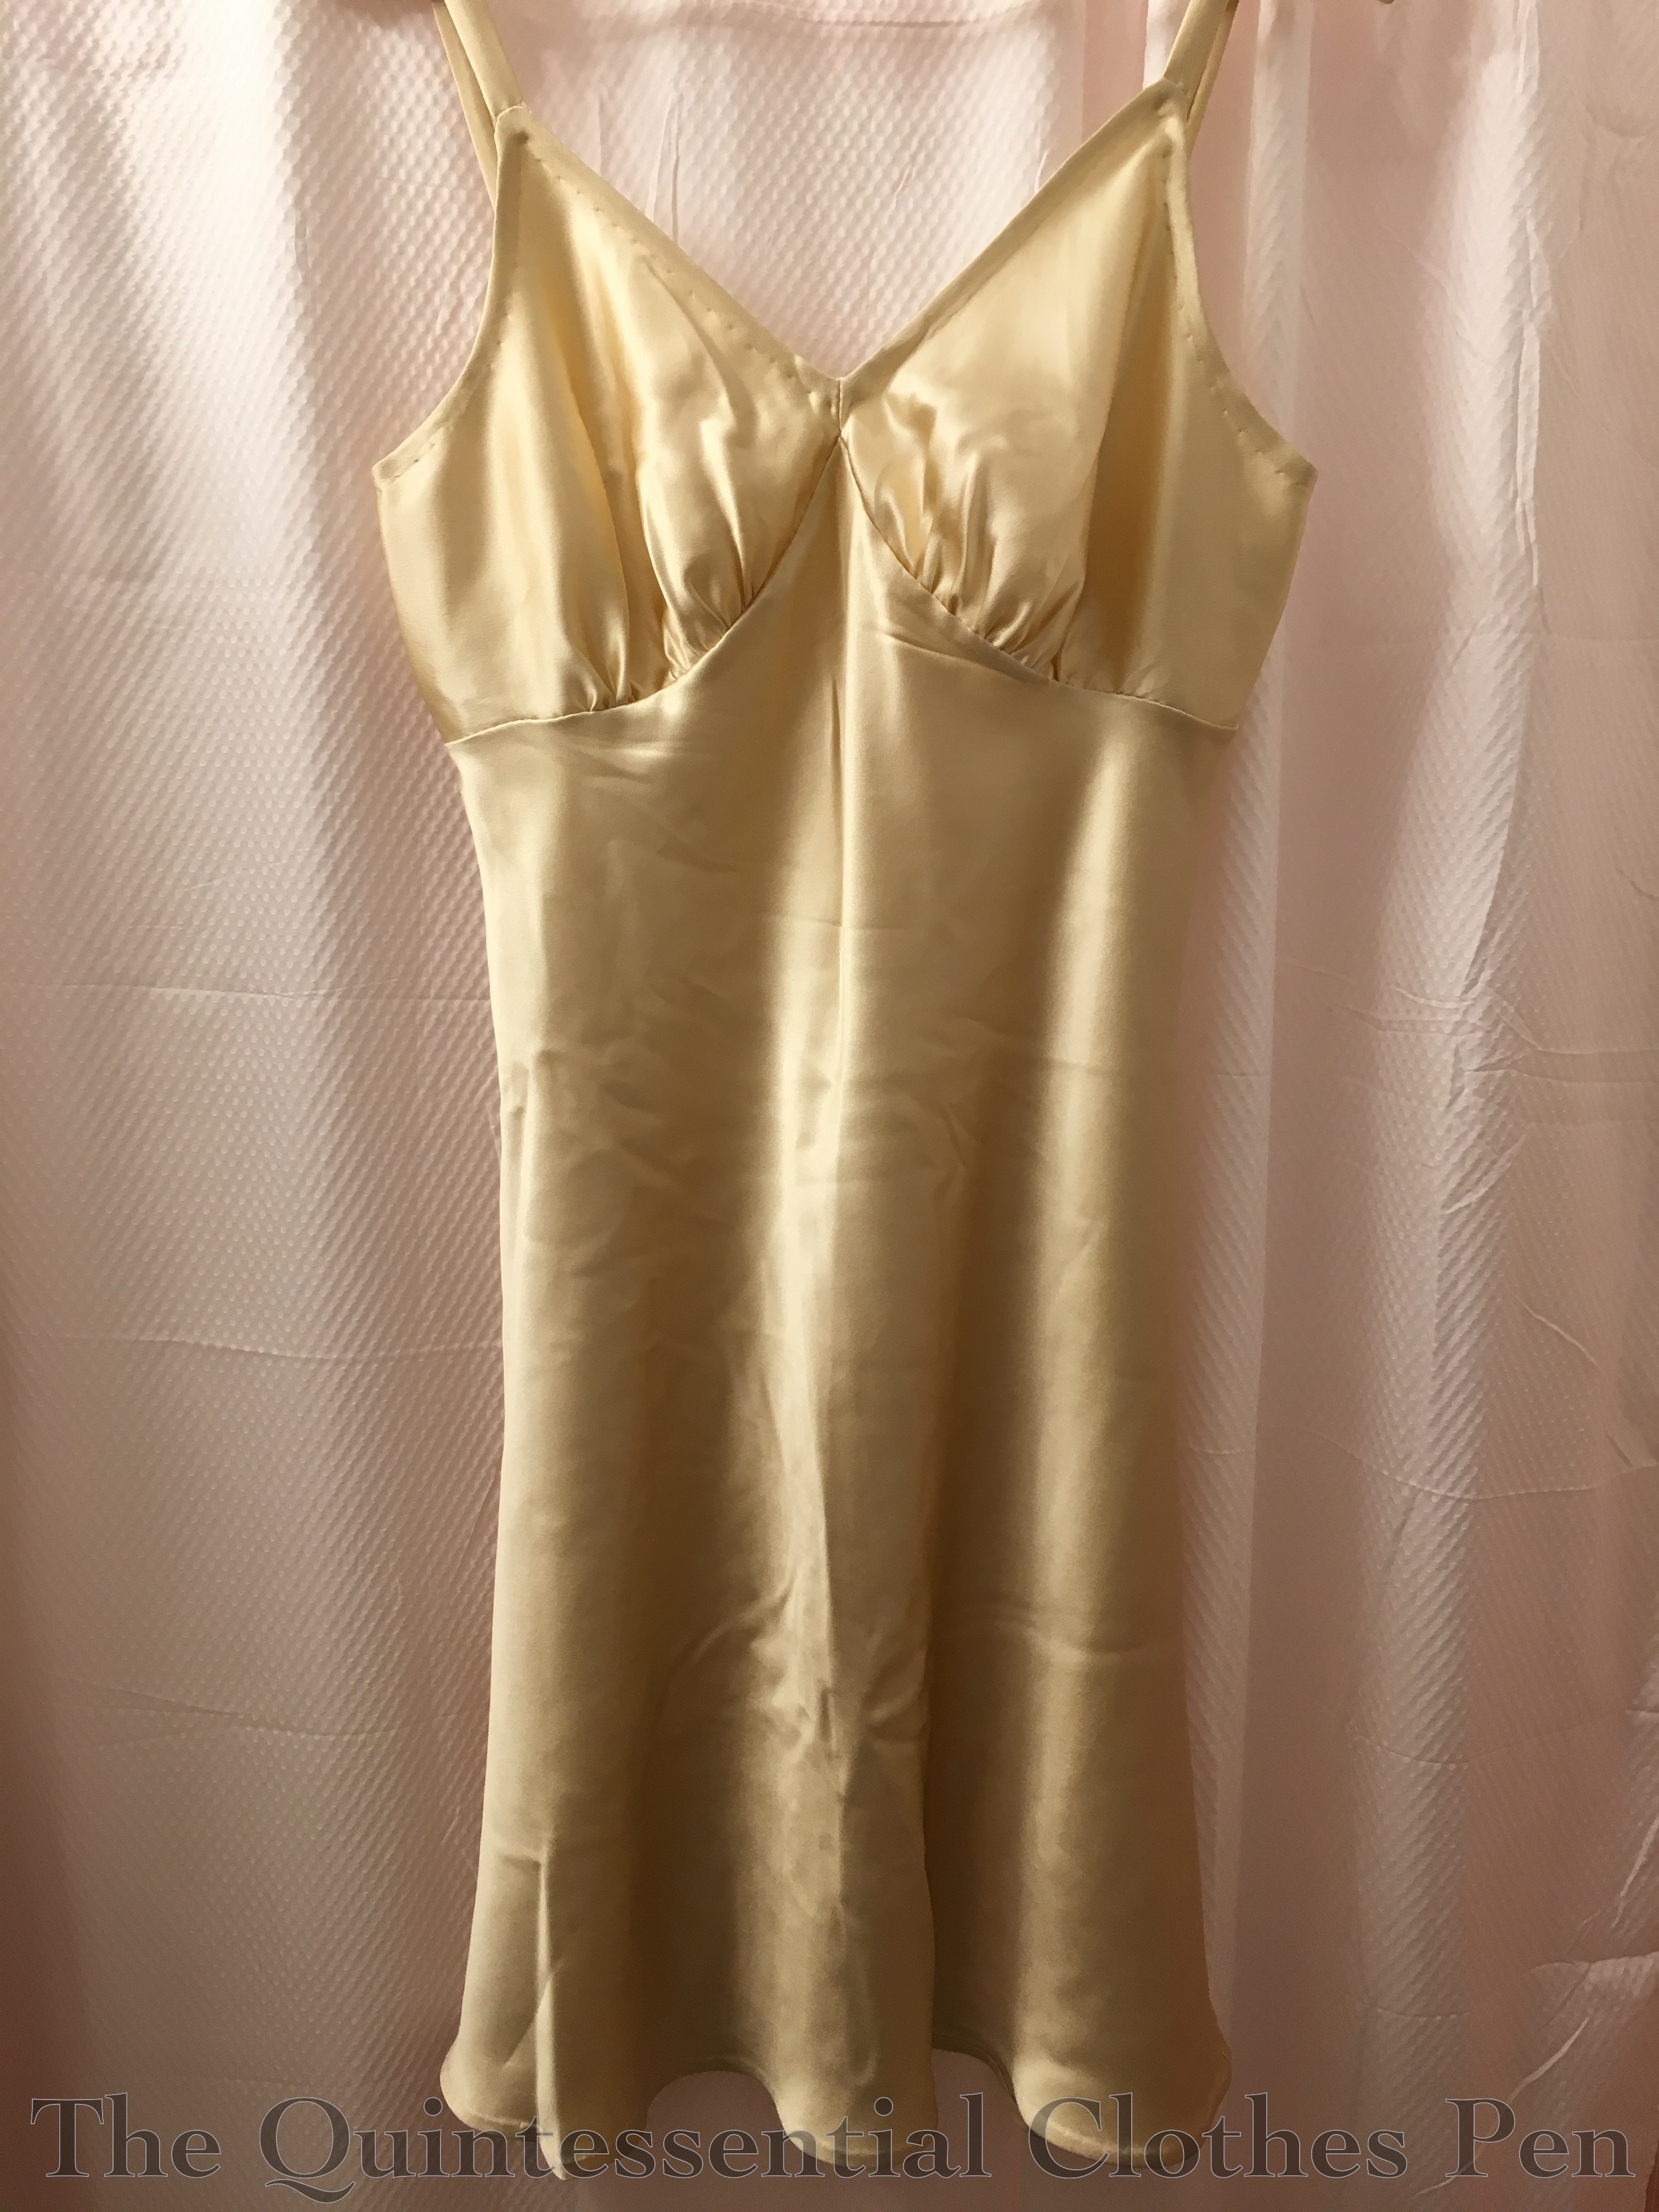
The timing was perfect, because I had a 1920s event in January and just enough time to make the dress.  I didn’t have a slip to go under it that was the right shape or color, so I also squeezed in making a bias cut slip.

img_2349-1

For the pictures, I wore my American Duchess black Seaburys. They provided just the right 1920s shoe shape, encasing the front of my foot in a uniquely historical way that modern style shoes do not. You can see the shape more clearly in this post when I wore the shoes with my 1920s bathing suit in a beauty pageant look.

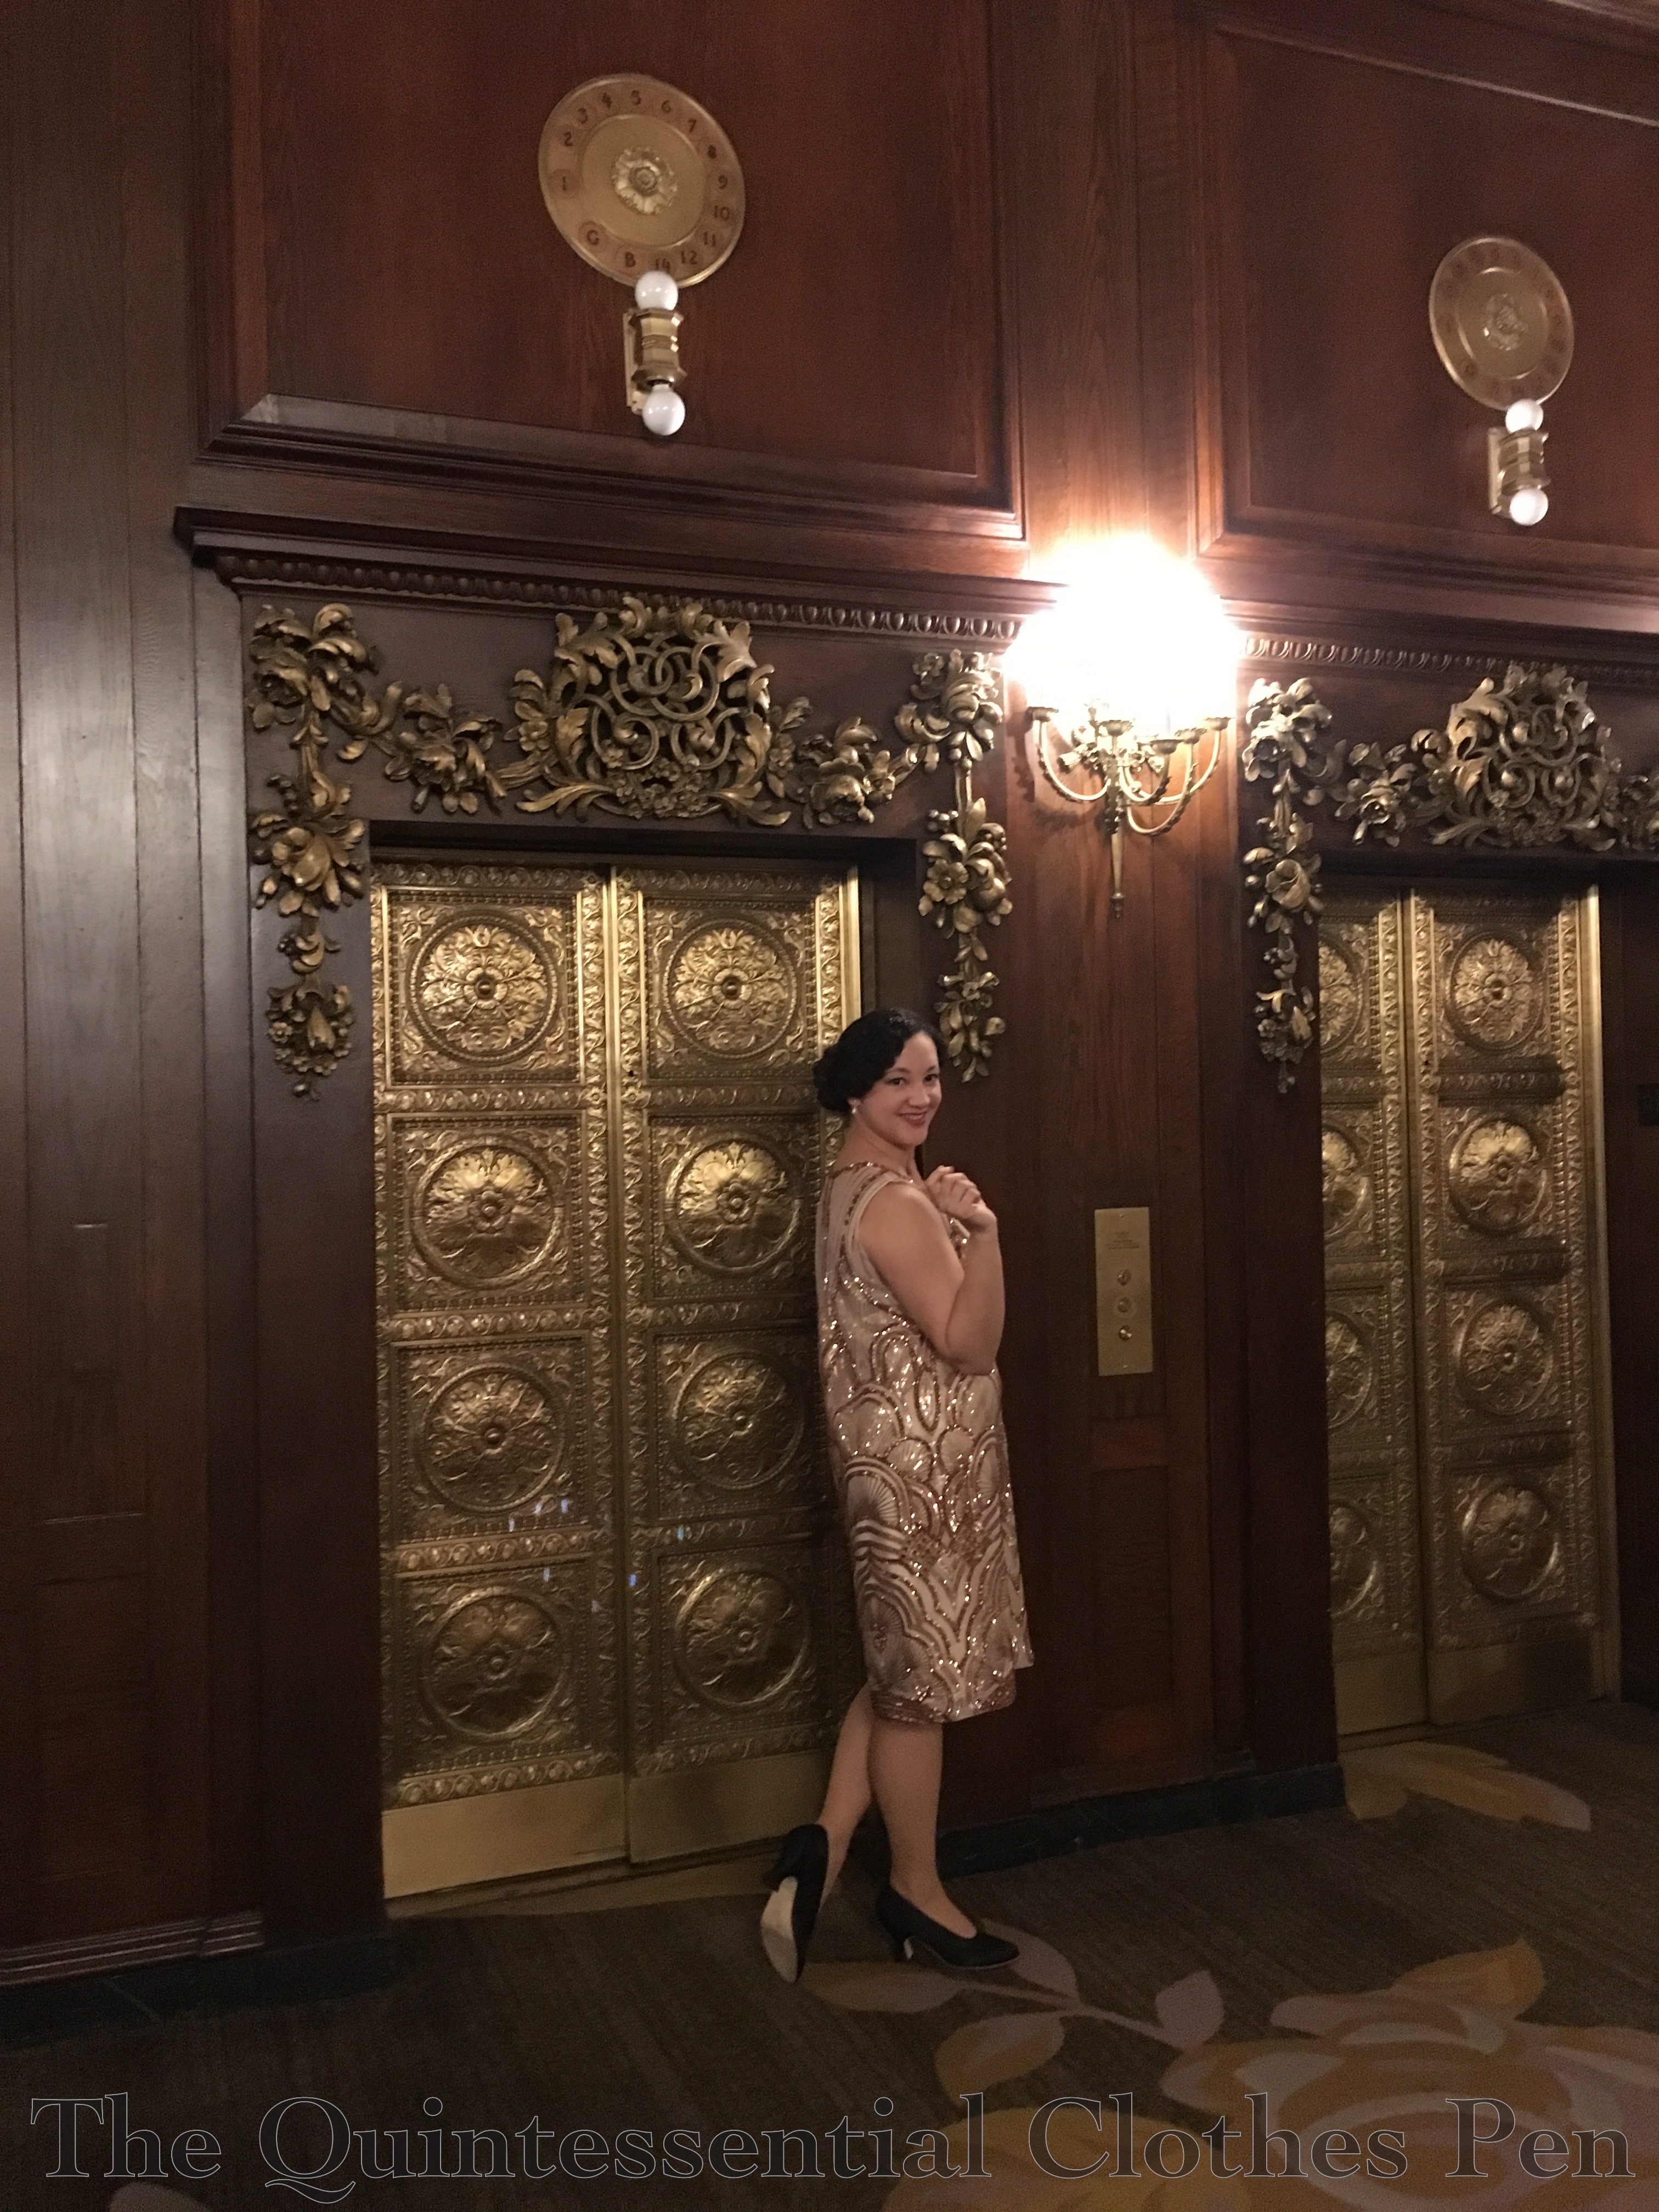
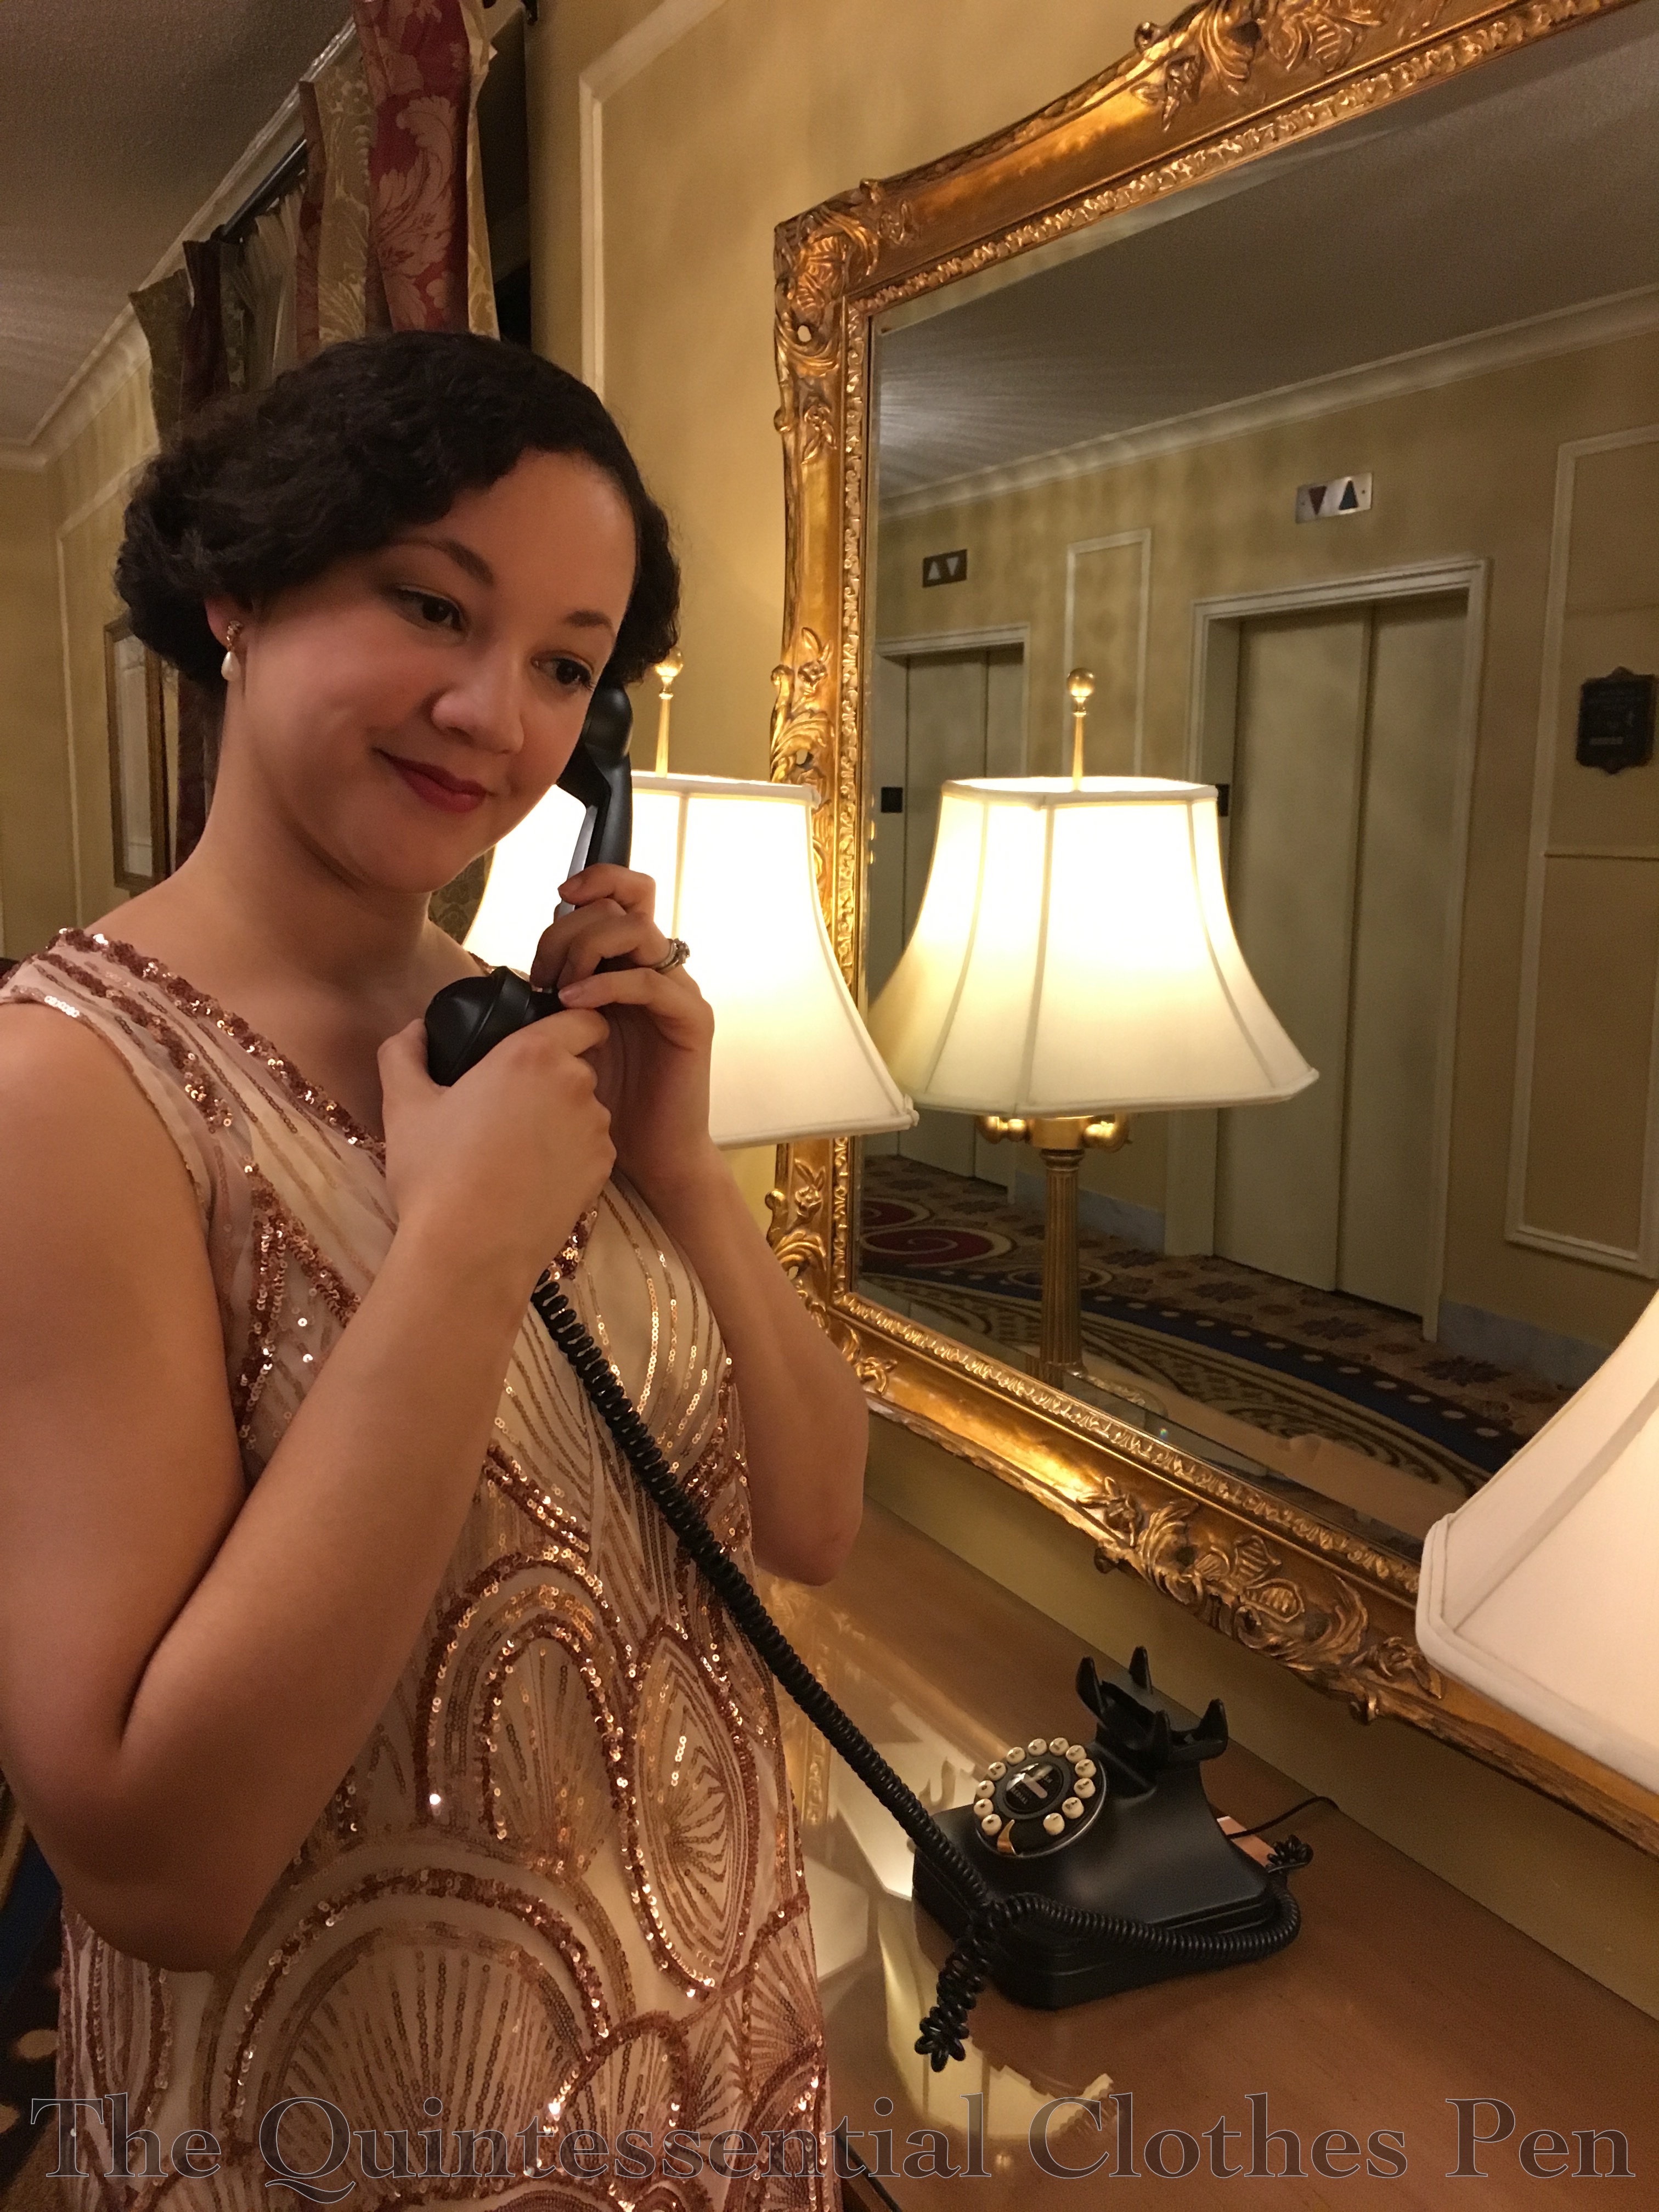
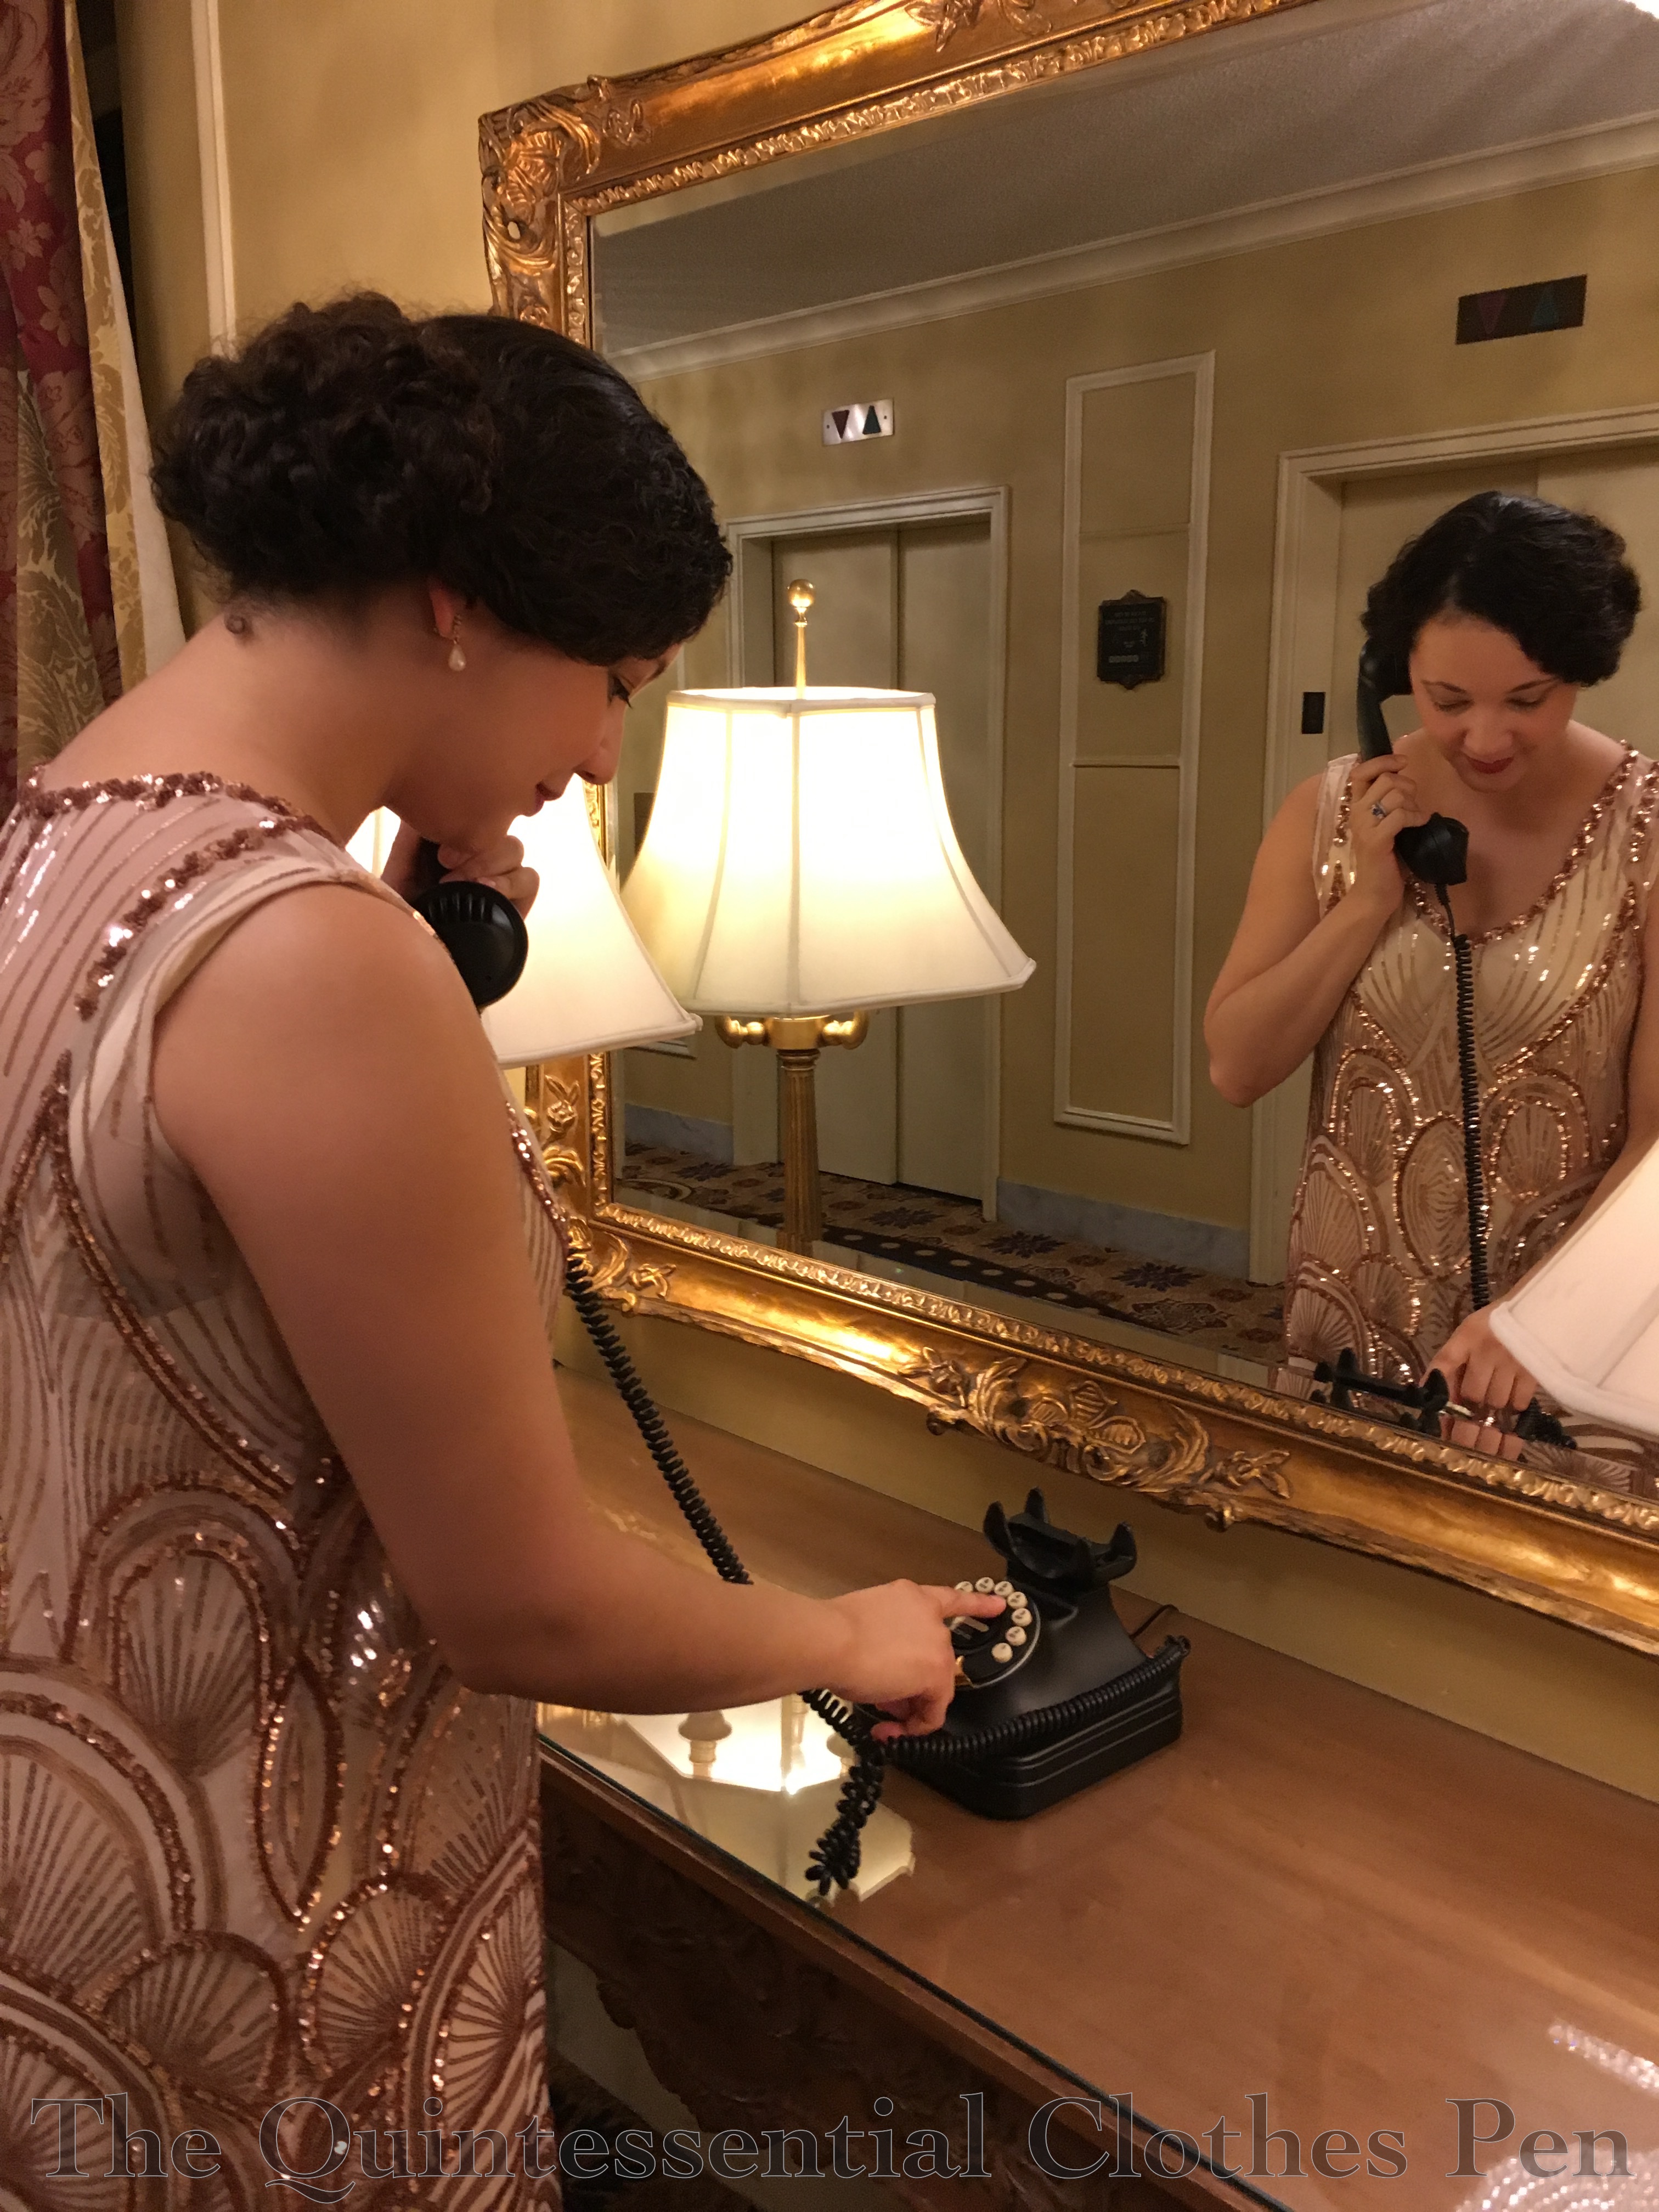
I was also incredibly lucky that the event was held in a historical hotel that provided fun backdrops for pictures! Those elevator doors are lovely! And look at this awesome phone–it had to be included in pictures!

img_2340-1

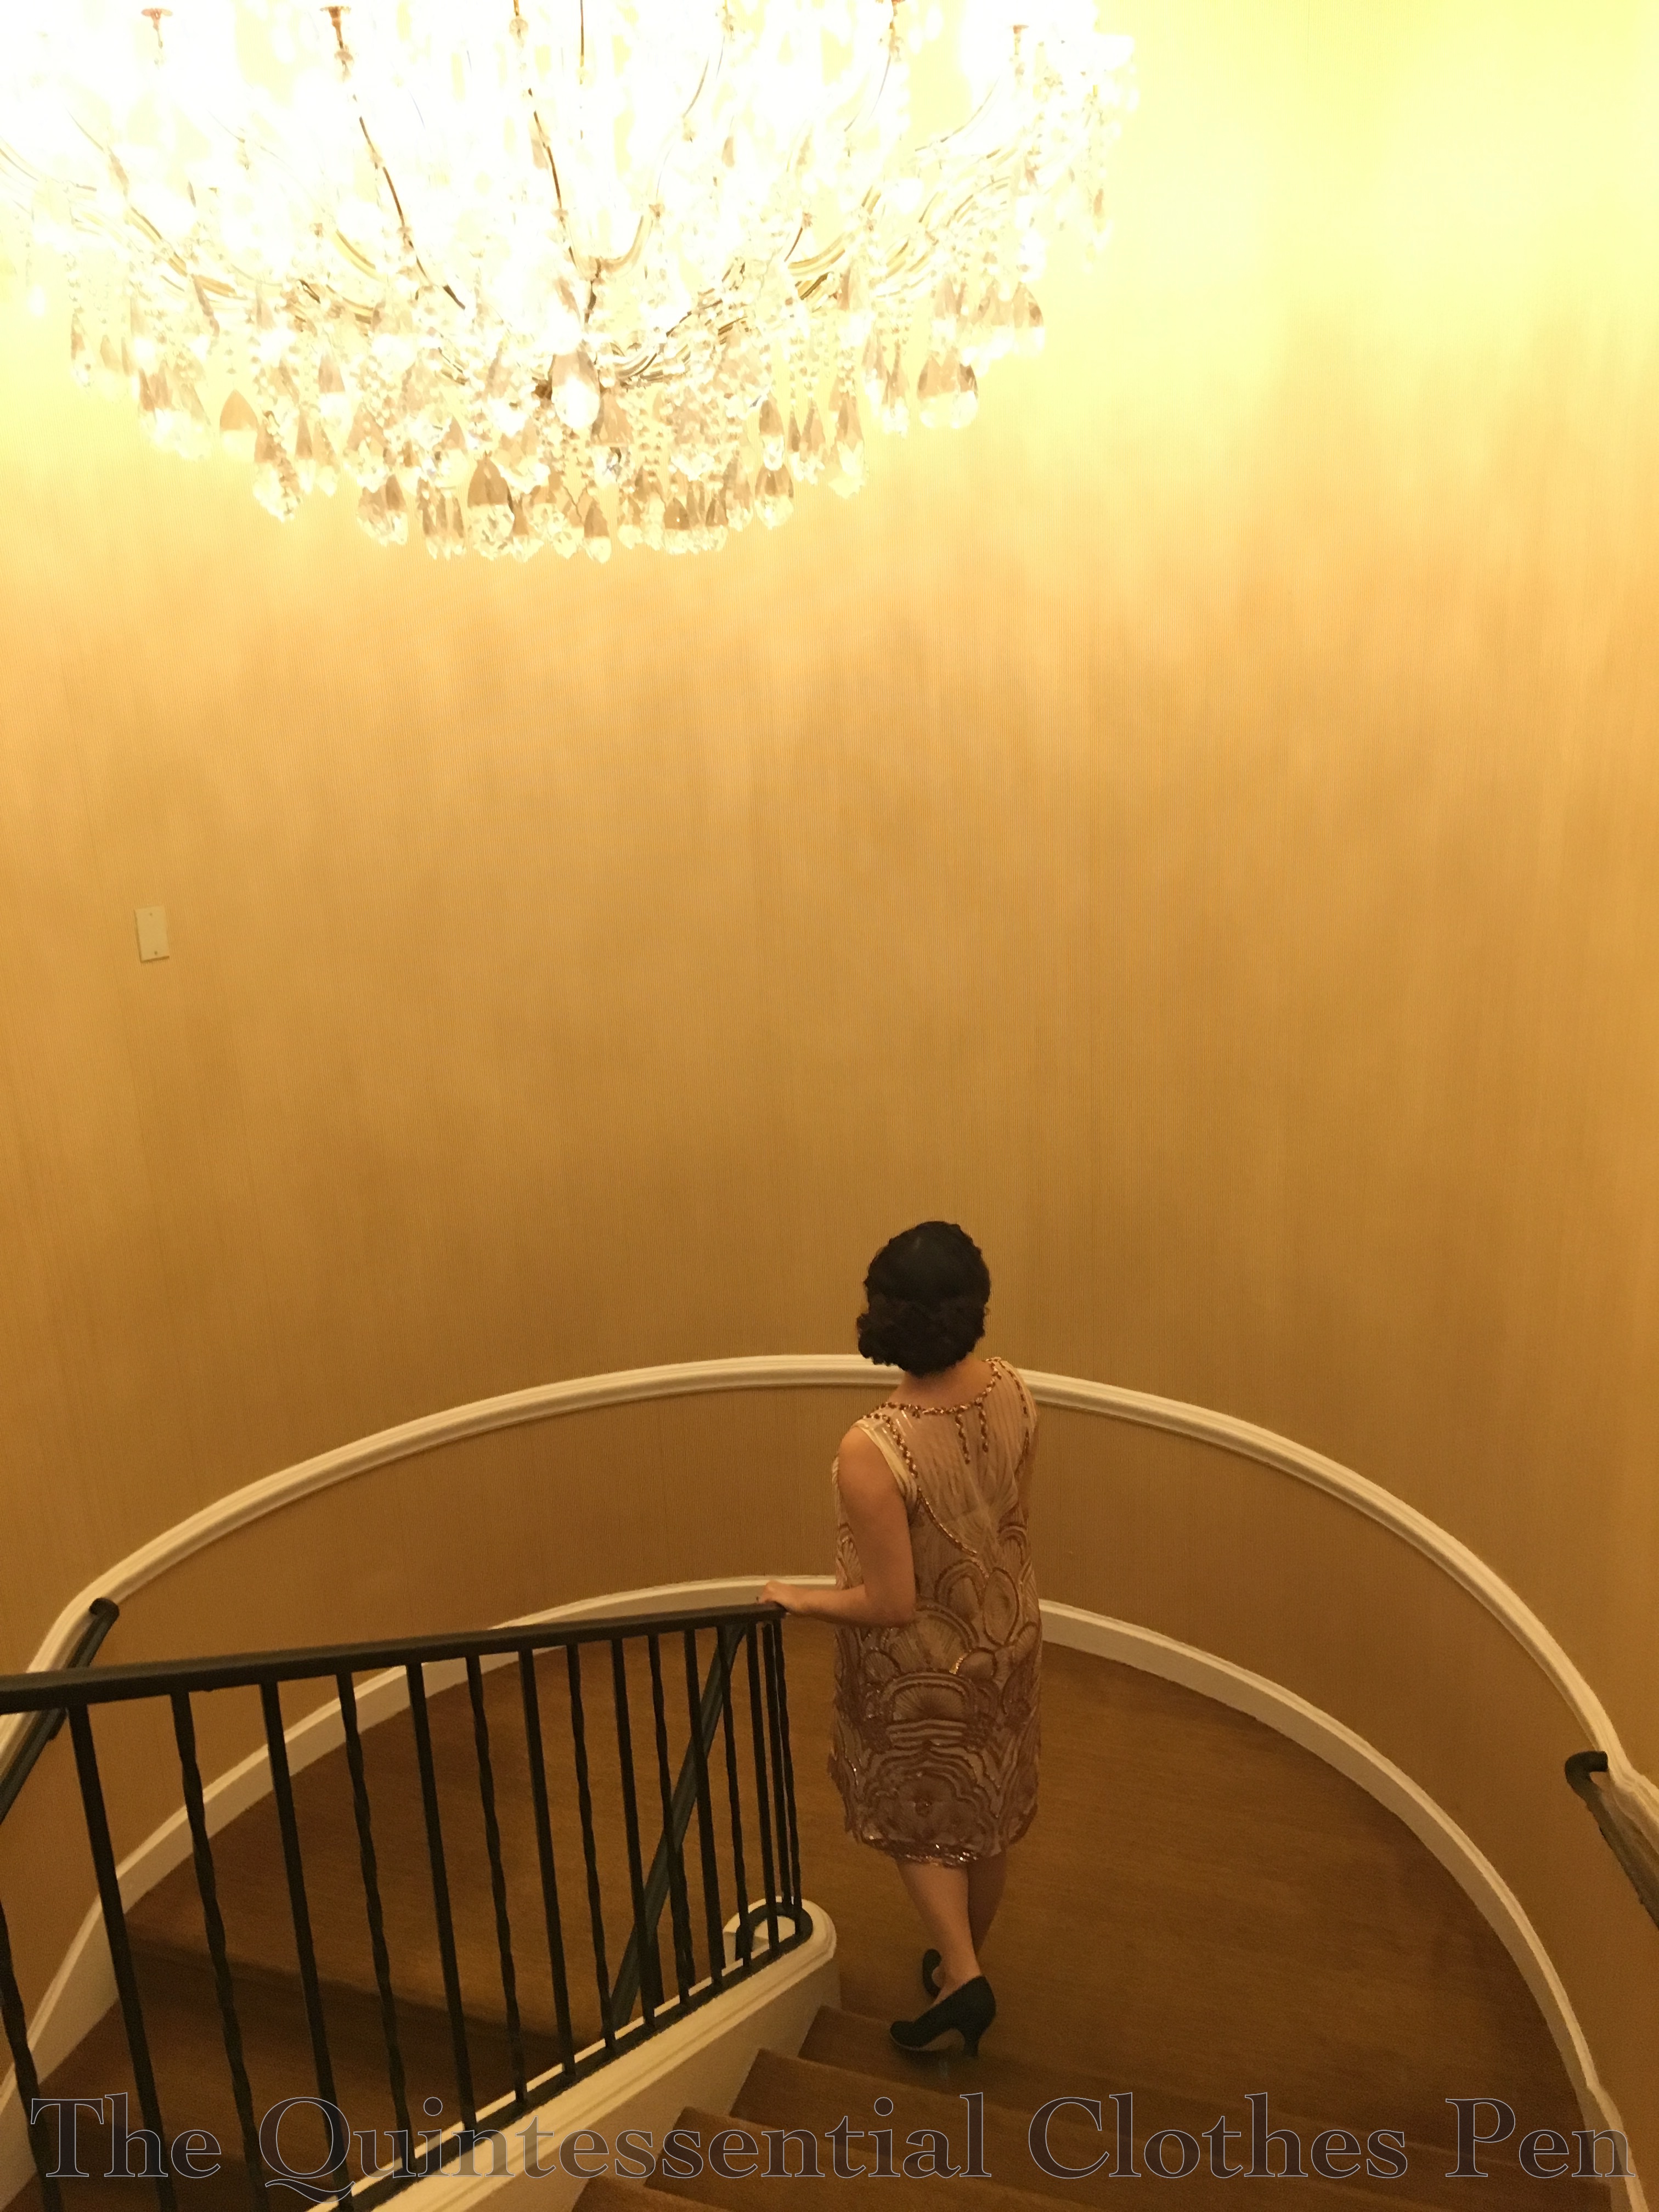
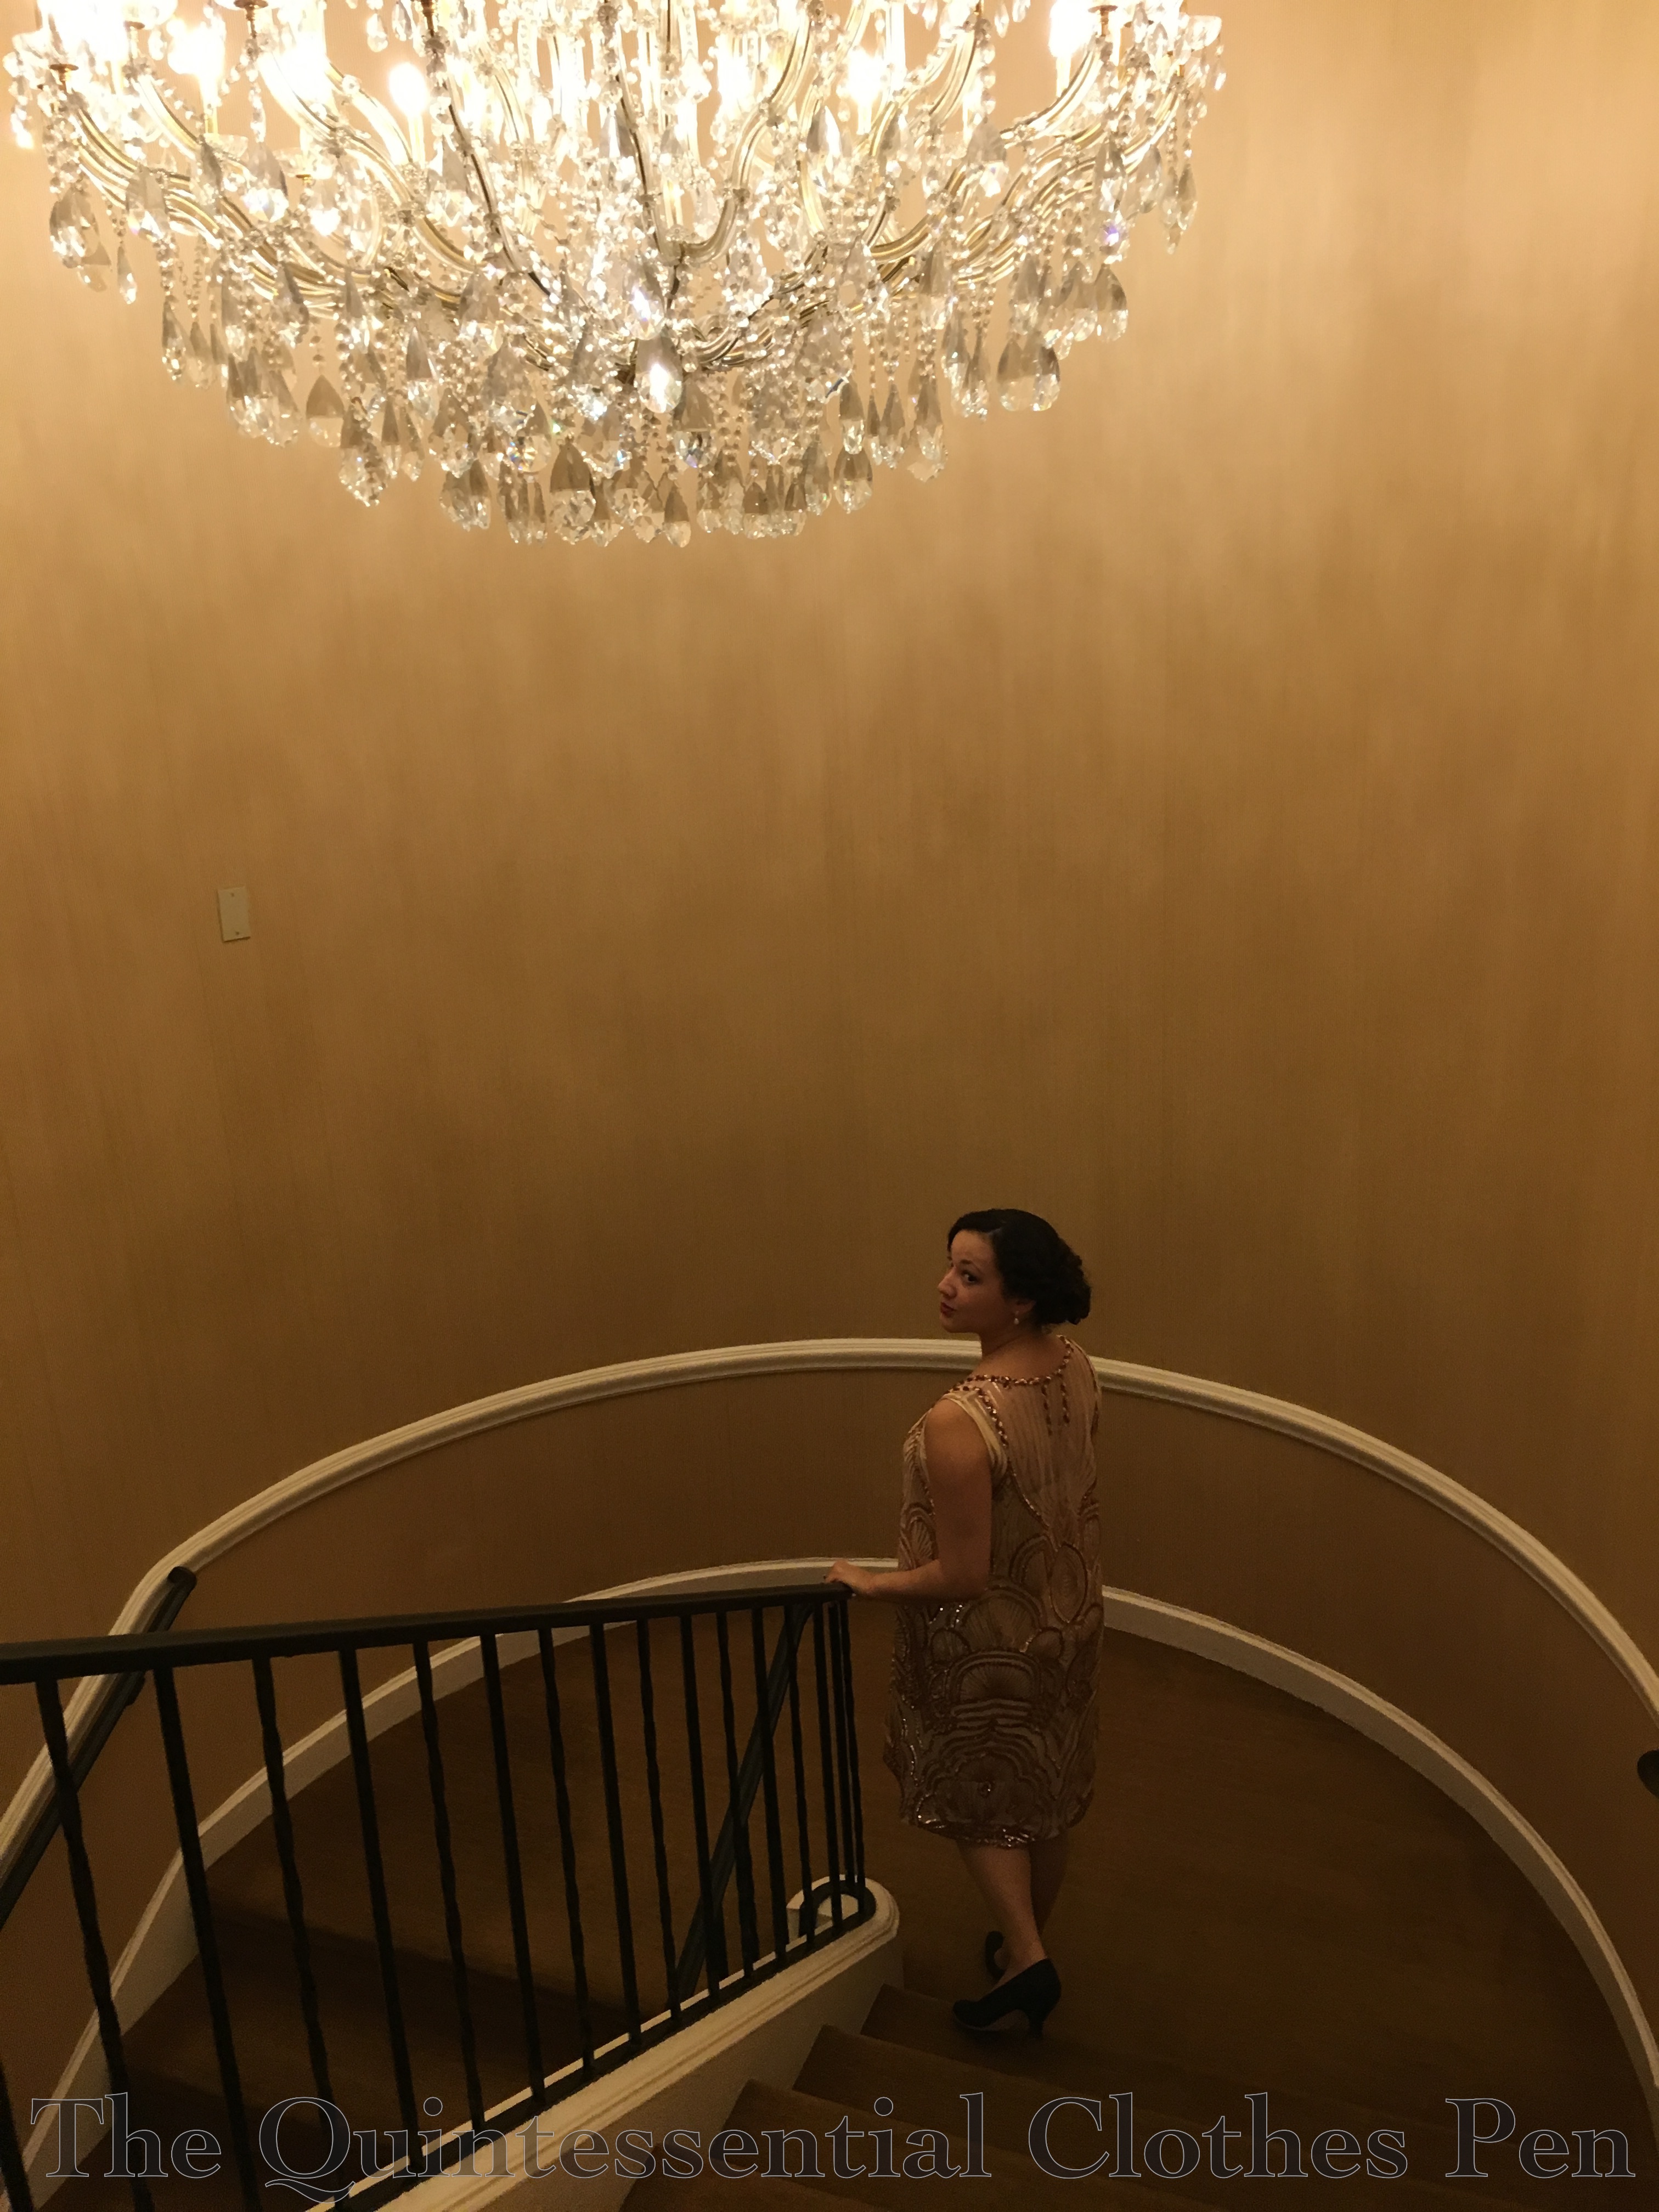
Another neat place we took pictures was this stairwell. I love how different these two pictures are, despite being so similar. One is much more about the dress while the other shows off the chandelier and is a bit more artsy and mysterious.

img_2329-1

img_2327-1

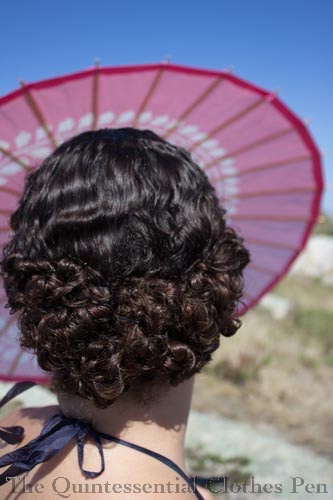
img_3151-1I was so pleased with how my hair turned out! I tried a style similar to one I did last summer for a different 1920s event that I have yet to post about… oops! But here’s a teaser of just my hair. Soon I’ll post the details and it will bring some warm summer memories to my New England winter.

For the summer event I did my hair when it was wet, resulting in a similar style, but much smaller and closer to my head. For that version, I did all the back curls while my hair was still distinctly damp, making the curls much tighter and closer to my head.

For this event, I braided my hair in the morning while it was still damp (to help create waves on the top but curls on the bottom) and left it all day, meaning it was mostly dry when I took out the braid. Then, when doing my hair for the evening, I added small rats under the puffed bottom portion to add a bit more volume than just my own curls. I covered the rats with the length of my hair then carefully placed and pinned the curly ends to imitate having a sort of 1930s smooth-on-top-curly at the bottom style, like this. This style is a few years later than my new dress, but I think it works as a 20s style for someone with longer hair, like me. I have a lot of hair to hide in a 1920s style!

img_2332-1

Both the dress and slip are entirely hand sewn, due to working on it away from home (I would have hand sewed the dress anyway because of all the sequins, but probably not the slip). The dress started out as a tube, but was more unflattering than I was willing to allow. It was fine from the hips down, but needed to be taken in above the hips. What I ended up with is a curved seam (or a long dart, depending on how you look at it–one side didn’t have a seam to begin with) allowing slight shaping from the torso to the skirt portion of the dress. 1920s dresses can be such bags, but after the extra shaping I am very happy with the still somewhat bag-like, skimming shape of the dress without feeling like it’s an absolute sack.

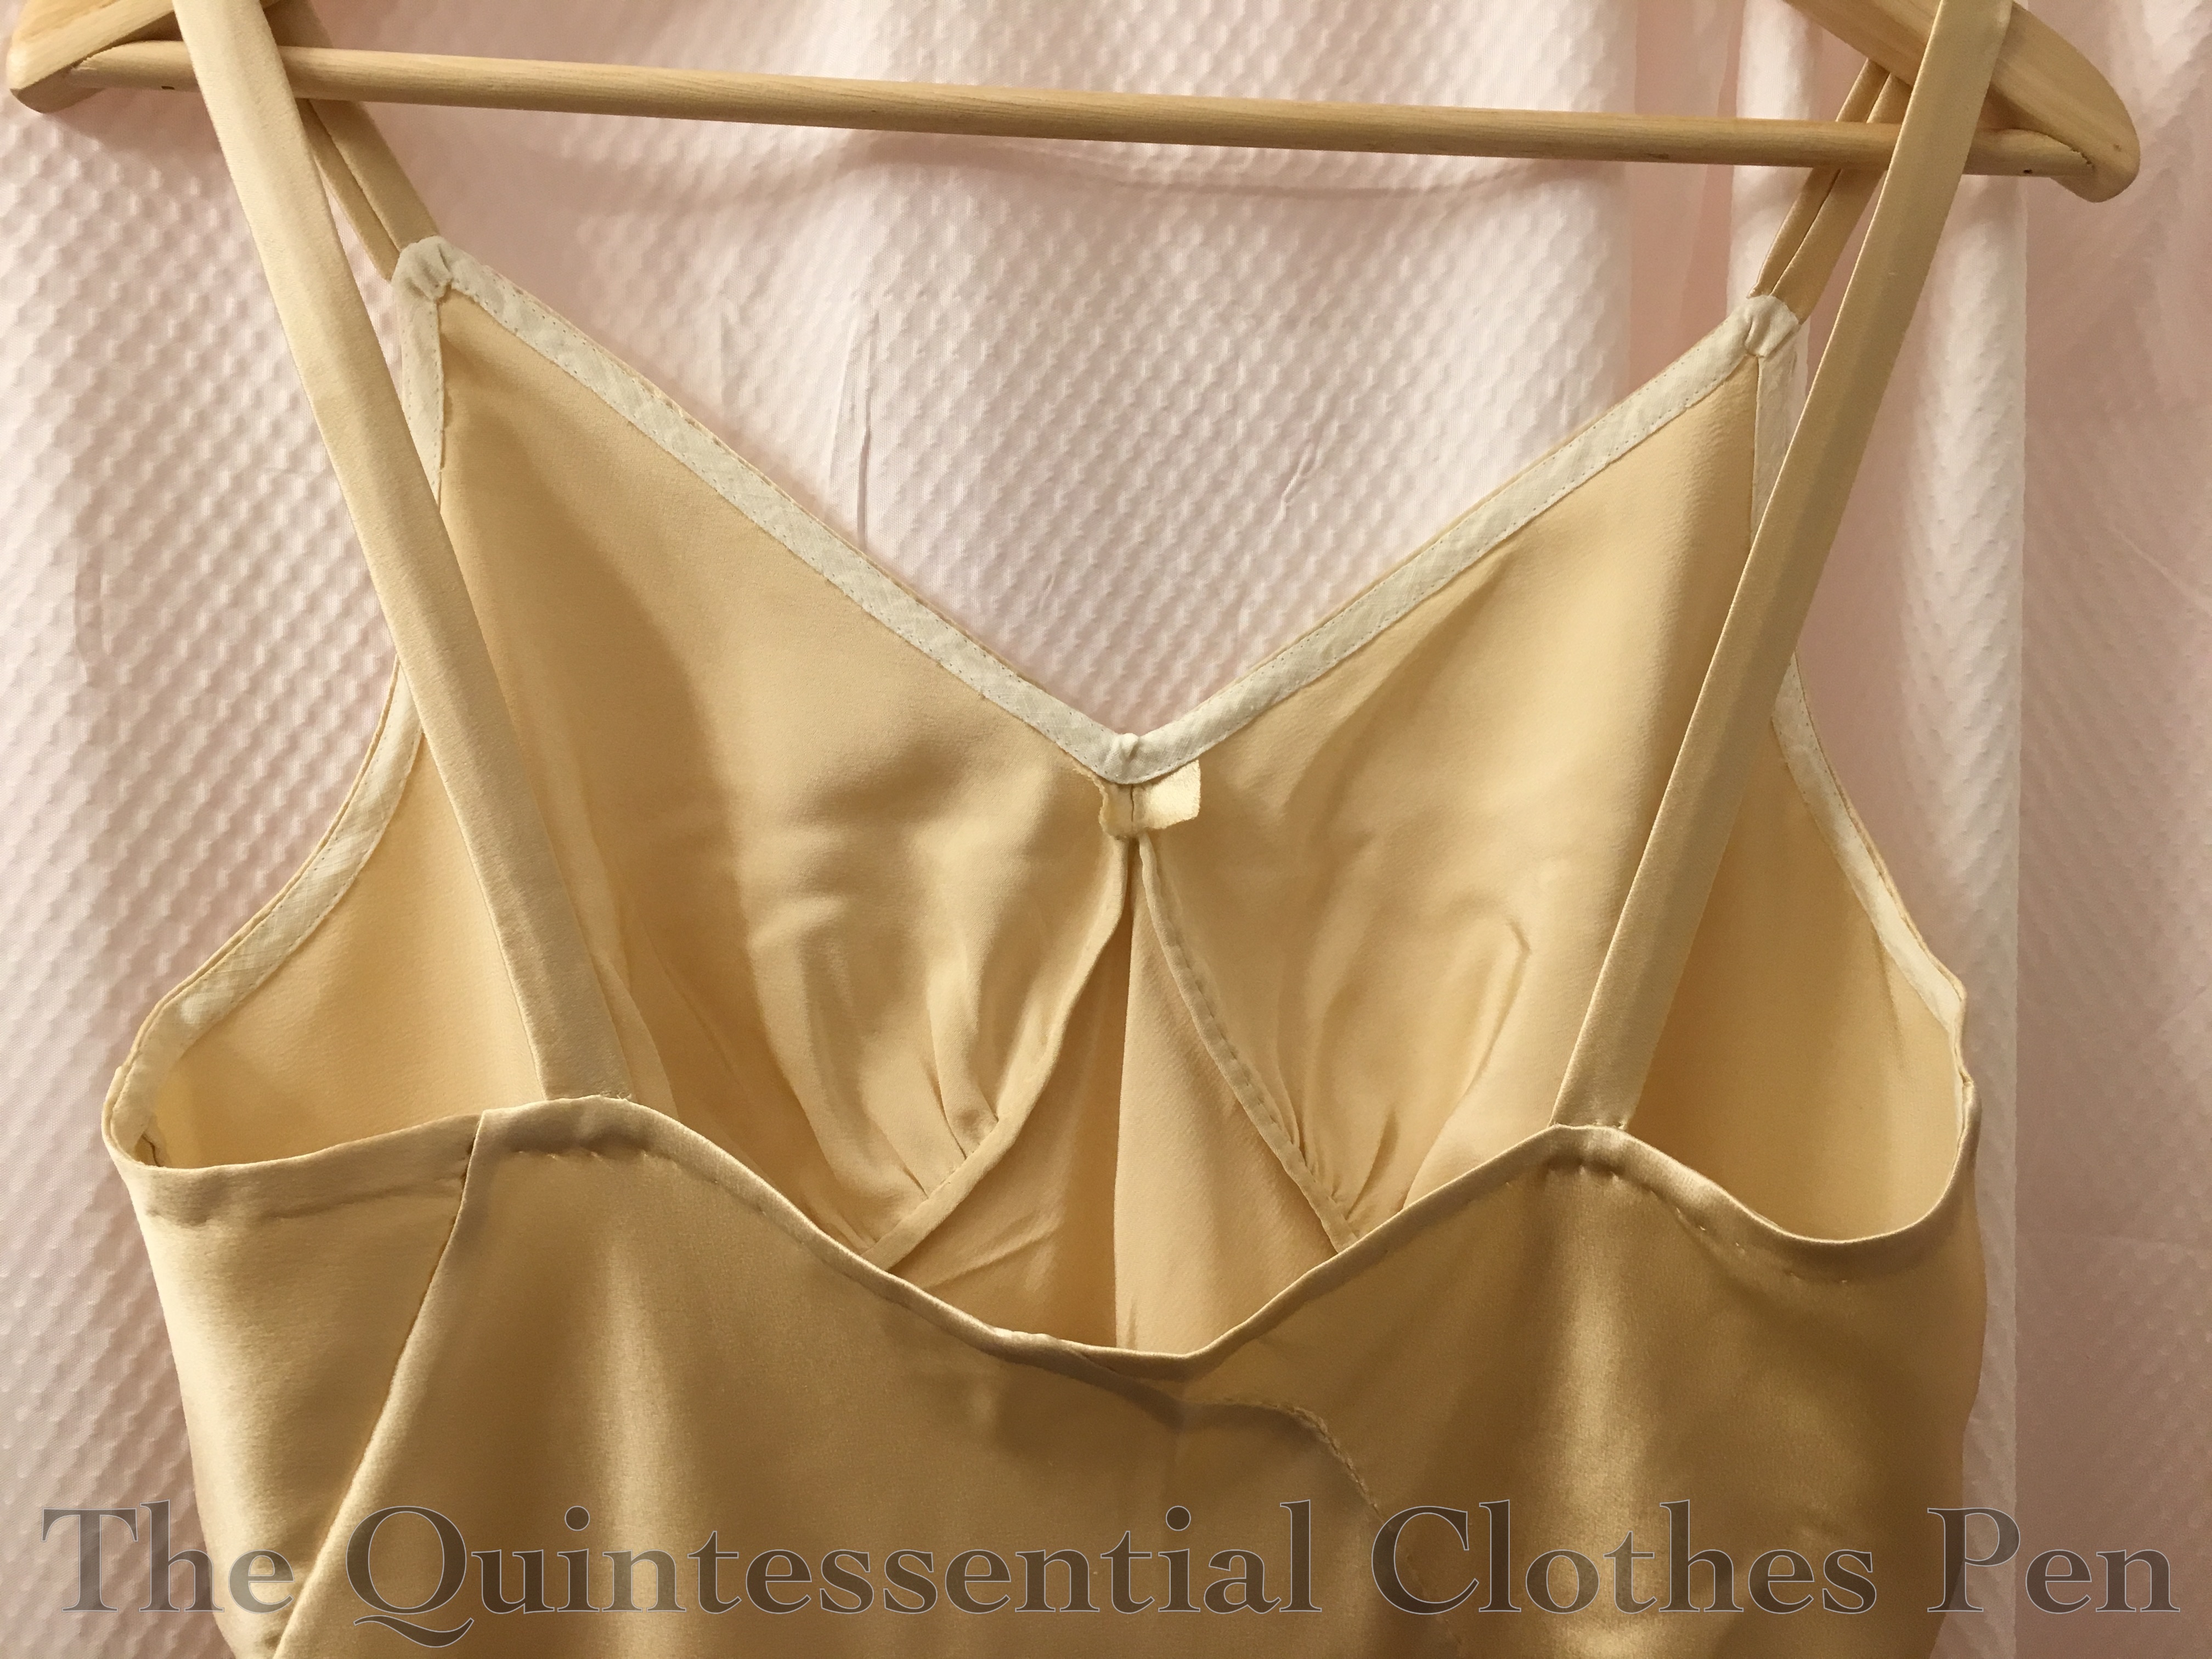
The slip was cut from a pattern I made a few years ago–perfect, since I didn’t have time to pattern something from scratch! I intentionally picked a 1930s pattern in order to have the addition of a perfectly fitting 1930s silk slip to my wardrobe, but also because the shape of the neckline was perfectly suited to the v-neckline I decided on for the sparkly overdress.

img_2374

The slip has french seams on the sides. The under-bust seam allowance was trimmed away on the gathered piece and then the body piece seam allowance was turned over it and hand sewn to hide the raw edges. The top edge is mostly bound of with vintage cotton bias (which I removed from the top of the net petticoat I show in this post before shortening it. The piece wasn’t quite long enough to go all around the top edge of the slip, so the center back section is just turned twice and slip stitched, in the same way as the hem.

img_2378

The slip fabric is left over from a project that I did about 7 years ago. It’s lovely silk crepe back satin with the perfect weight for making bias cut 1930s clothing. I thought I would have just enough to eke out the slip, but I came up a little short on the back piece and decided to piece it to make it work, as the fabric is so nice to wear and it was the perfect color. As a result, there are two random diagonal seams on the top of the back piece of the slip. Oh well! They add character!

Gibson Girl Vignette

In September, my friends and I had a last picnic of the season to take advantage of the summer weather before it faded into fall. Along with other picnics we’ve had in the past, we again met up in the Boston Public Garden with our picnic blankets, food, drink, and croquet set.

img_1882

We’d decided on a turn of the 20th century theme for our clothing and I took the opportunity to dig a 1903 outfit out of the closet that I don’t think I’ve worn since 2012, at Dress U and Newport Vintage Dance Week. It’s an orchid lawn skirt (and a bolero I didn’t wear this time) and a white silk and cotton lace blouse.

img_1879

This wearing, my hat had been re-trimmed in a more pleasing fashion than when I wore it in 2012 (in fact, all the lovely millinery flowers are only pinned on so it’s easy to change, not that I’ve bothered since I put the flowers on about two years ago) and I had practiced my Gibson Girl hair in January and now know how to achieve the look with minimal effort.

img_1889

I was very pleased with the result! Next time I plan to wear a hat with a Gibson Girl style I’ll put the opening of my hair pad at the top of my head rather than the bottom, and likely leave a little space to make the front a bit more flat so my hat doesn’t tilt up. Where’s the fun if I don’t learn something new every time I wear historical clothing?

Regency Face Curls

Remember this post from last December about my green Regency shawl and the photoshoot for my Vernet project?

IMG_2080
From the wearing of my green Regency shawl.

For both of those Regency period hairstyles I took the time to create narrow curls to frame my face and I’ve been meaning to share how to achieve these perfect curls ever since, but am only just getting to it. However, I can’t take credit for the idea myself. I was inspired by Sanna and Noora during the Vernet project. I believe we had a conversation about it in the Vernet seamstress group but I can’t find the content at this point, so you’ll just have to take my word for it. (They both used straw curls for their hairstyles in this post of Sanna’s and this post by Noora, if you’d like to see how this technique can turn out on other hair types.)

IMG_1917
From my Vernet project photo shoot.

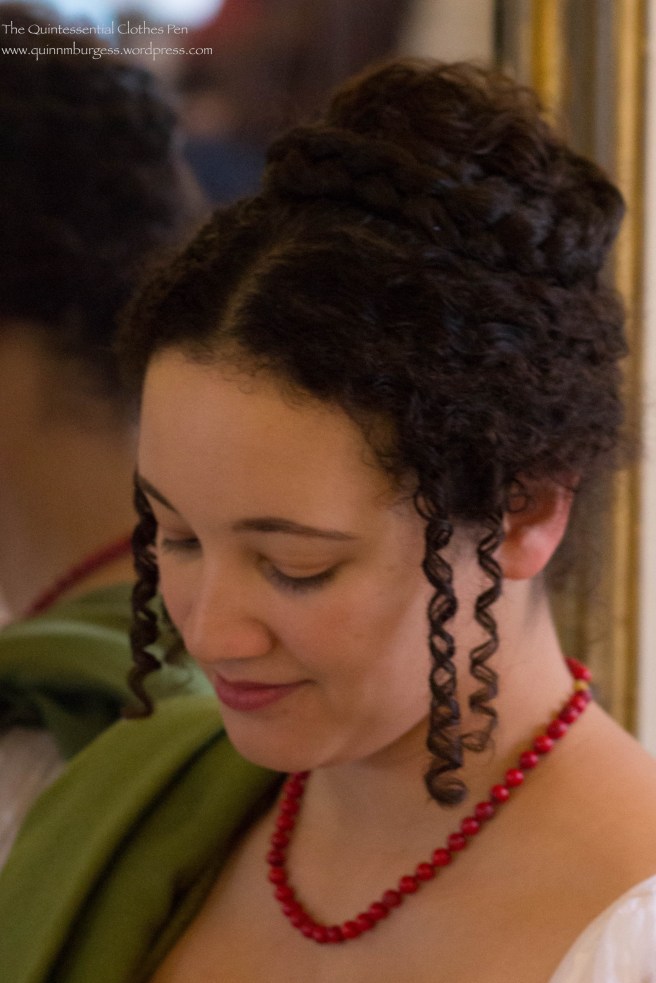
The secret to getting really lovely corkscrew curls? Drinking straws used as rollers. This works for shorter length hair to create the oft-seen small curls around the face, but it also works just as well for longer hair. Have you heard of using straws for curls before?

The look is achieved by rolling wet hair around a drinking straw (with or without product–I’ve tried it both ways and have achieved good results) and letting the hair dry. Sanna and Noora reported that after rolling hair around the straws they knotted the ends of the straws, pinned the rolls to keep them in place, and left them in overnight. My method was slightly different. I cut my straws in half, rolled my hair around the shorter straws, pinned them in place, used a hair dryer on them until they were dry, and then took them down.

You could also use this technique to create curls for other time periods. The ‘hedgehog’ styles of the later 18th century are one possibility. What types of hairstyles have you created  (or do you now want to try!?!) using this method?

Summer Dots

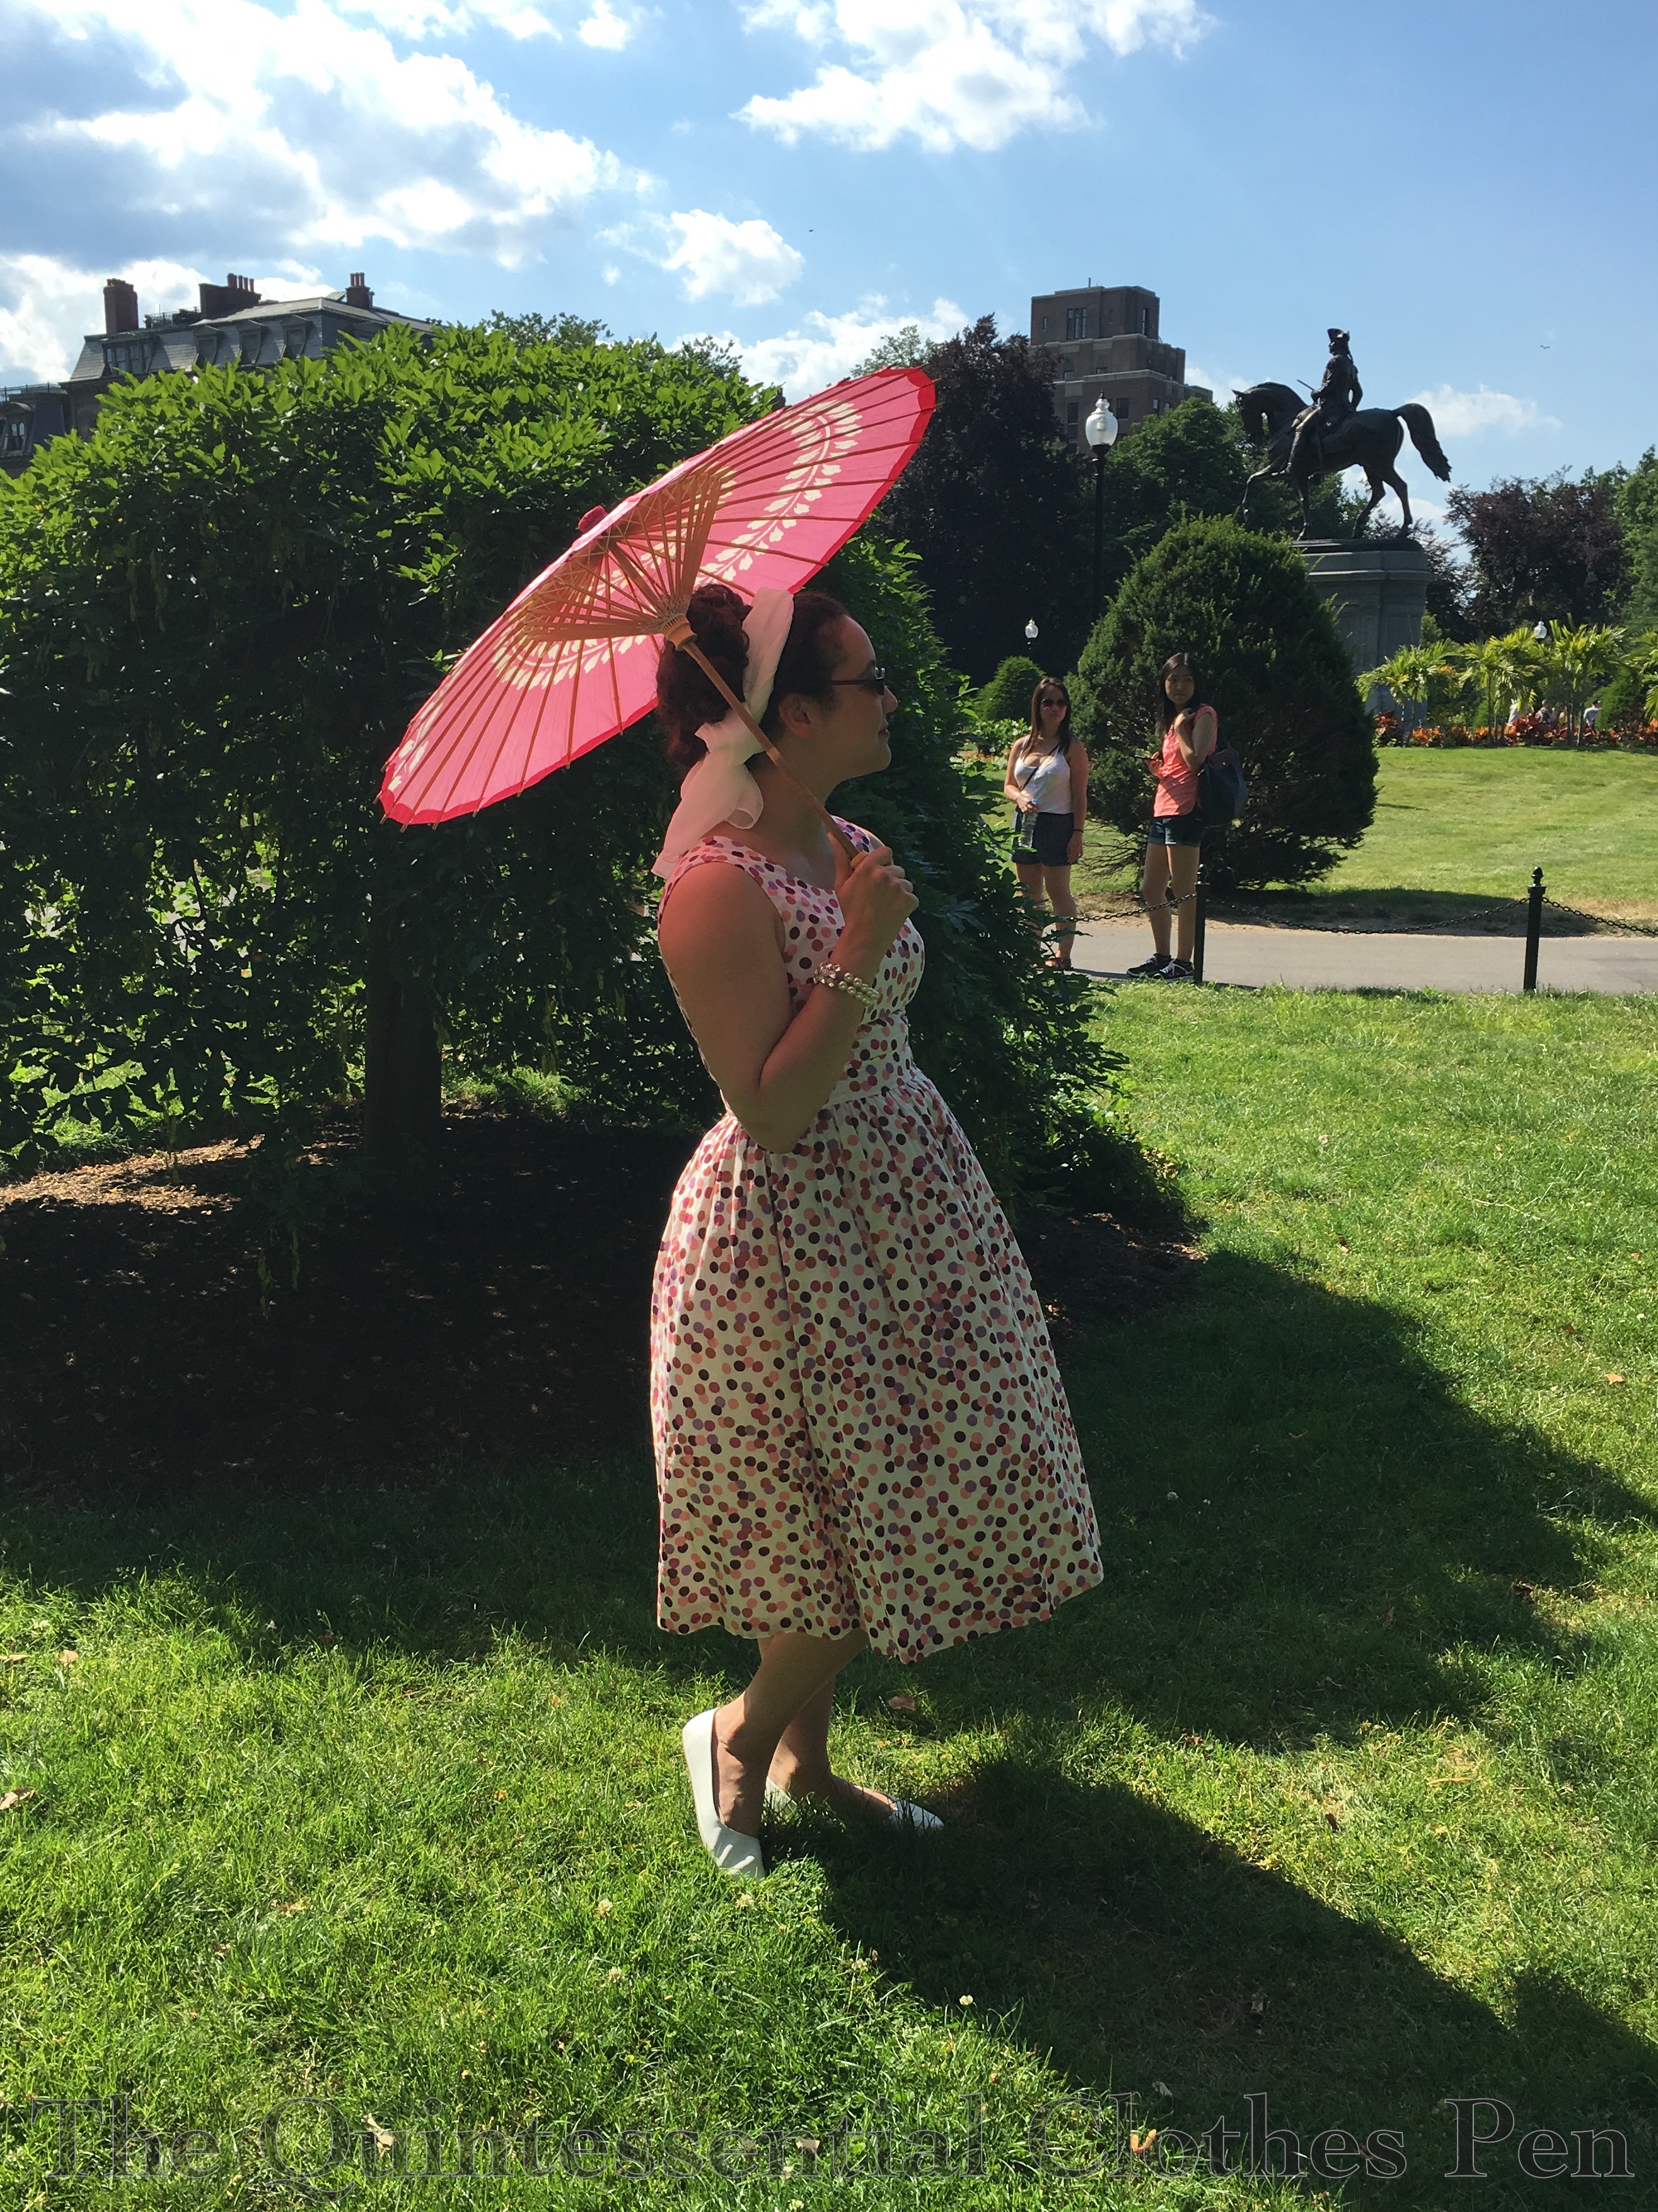
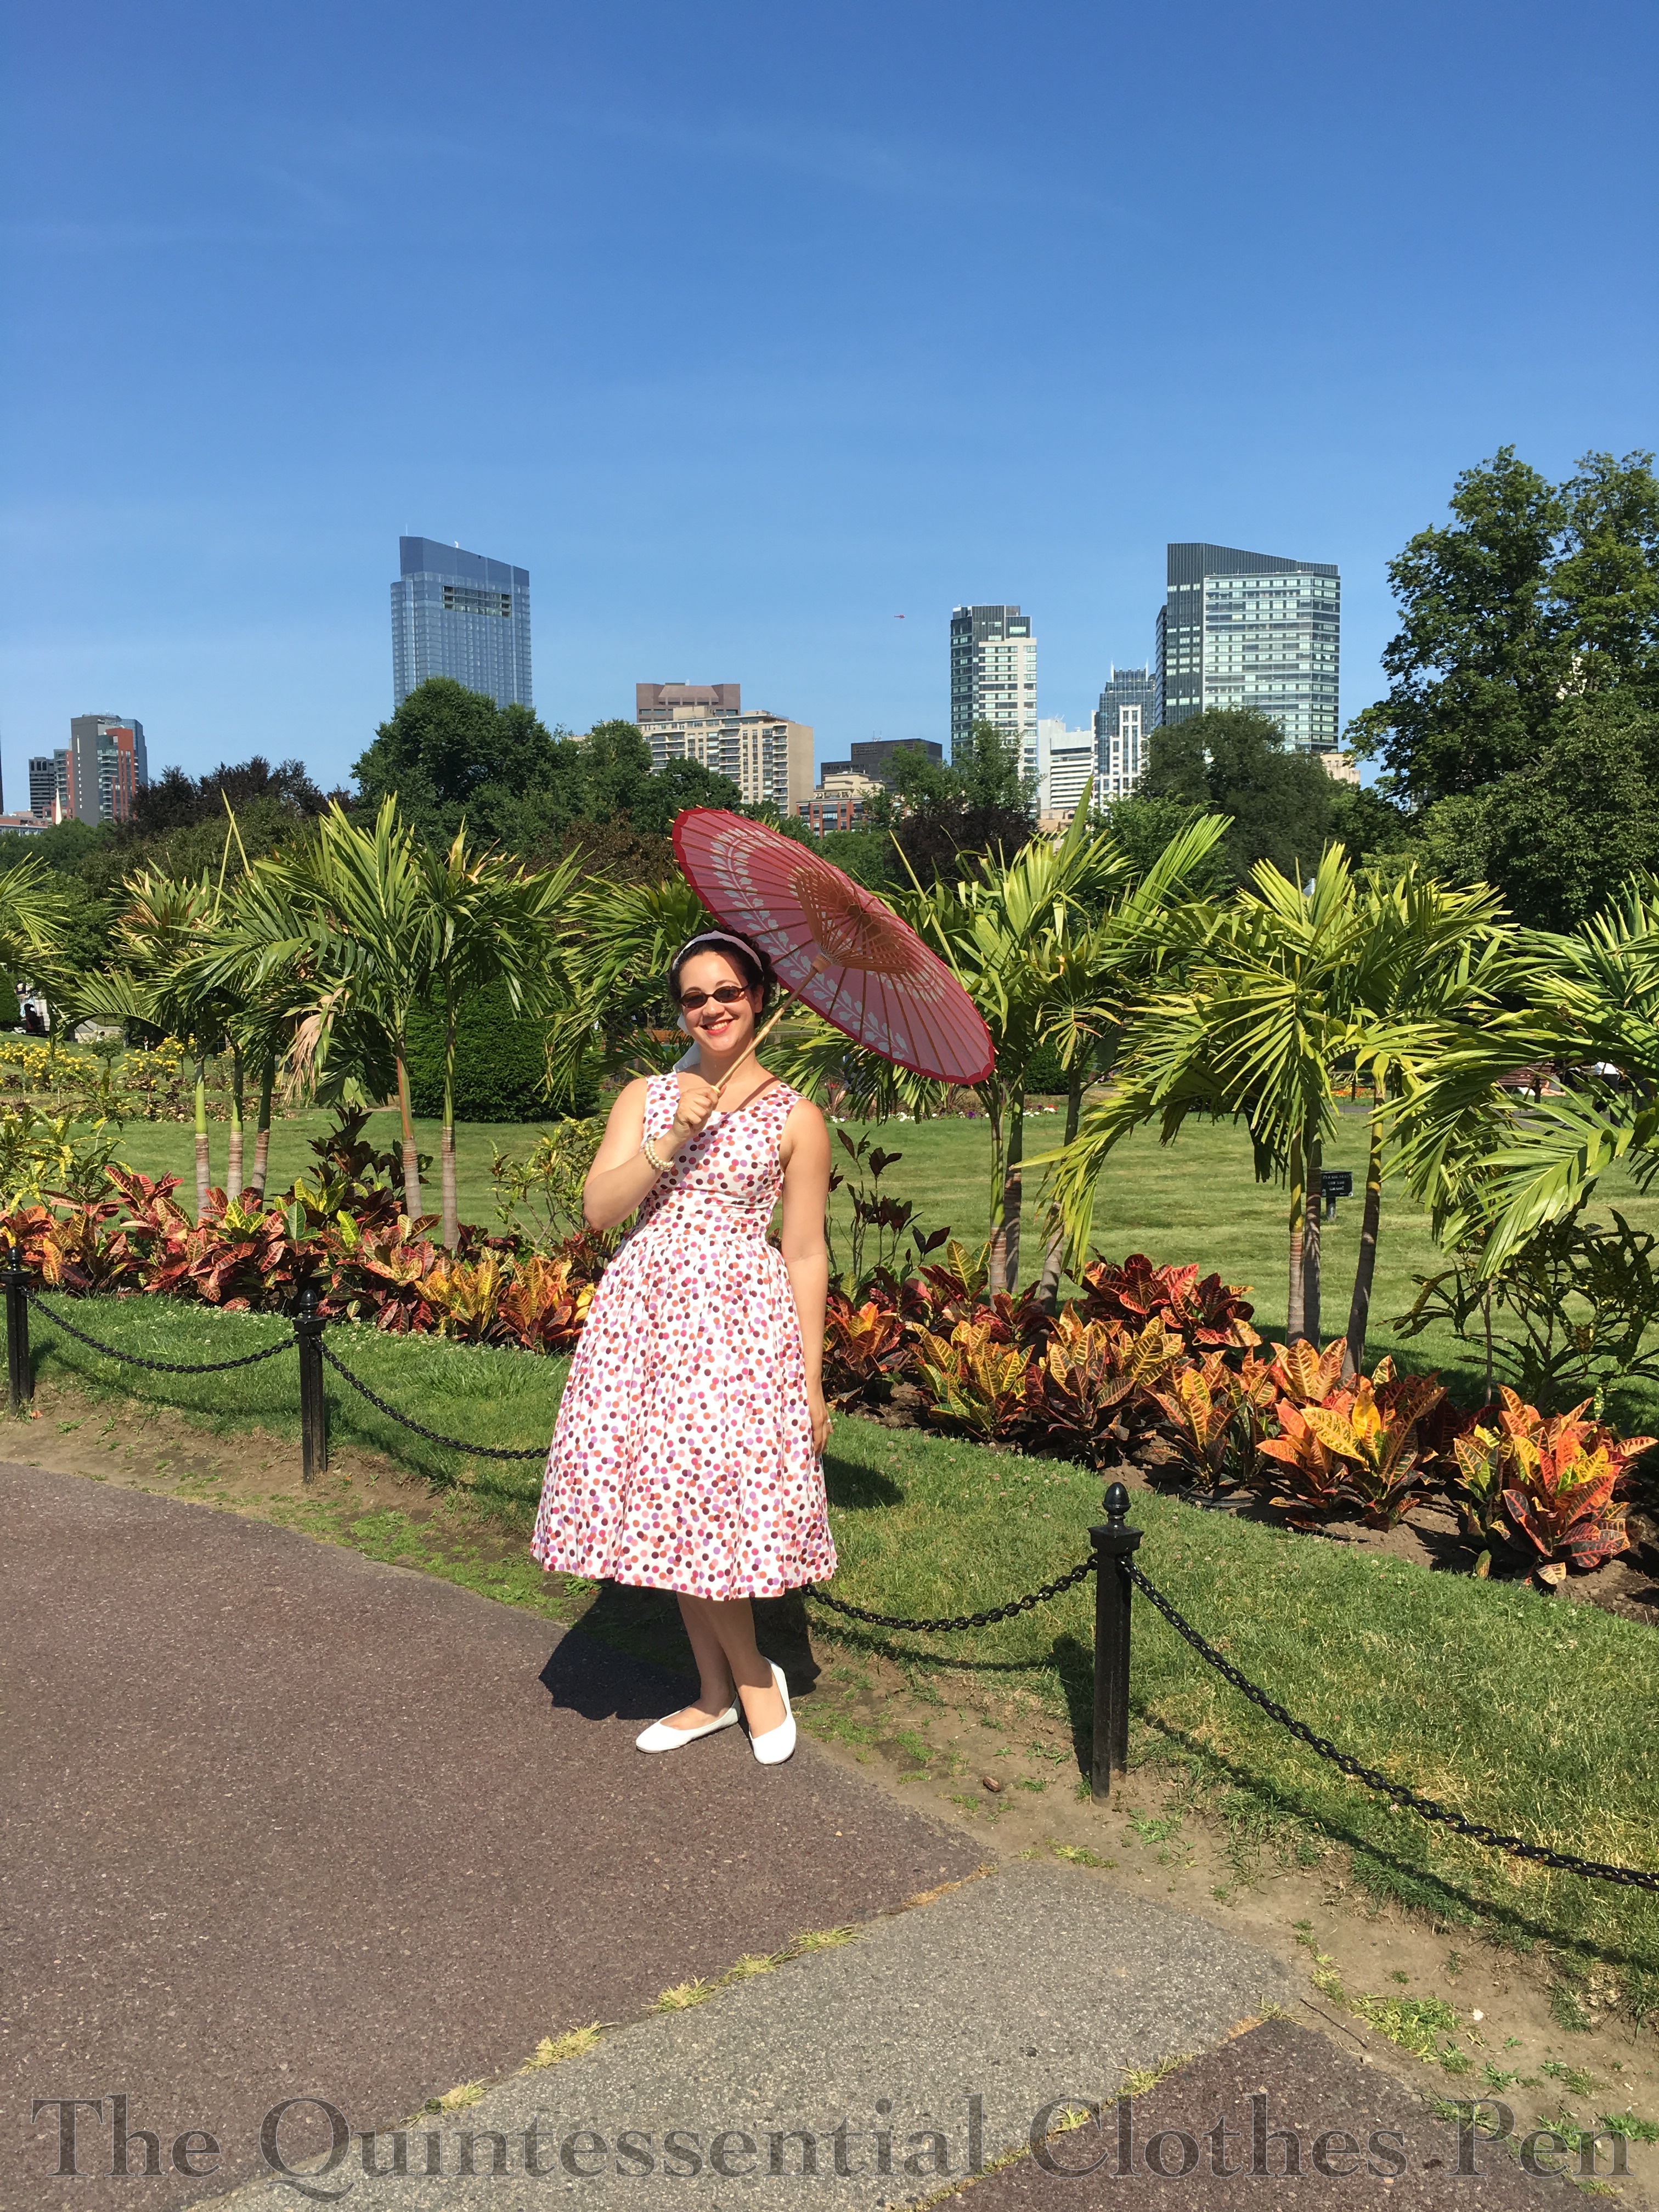
In June, I went to a picnic in the Boston Public Garden. As it was an open era event, I decided to wear my 1953 dot dress because it is easy and cool to wear in the summer heat.

IMG_1556

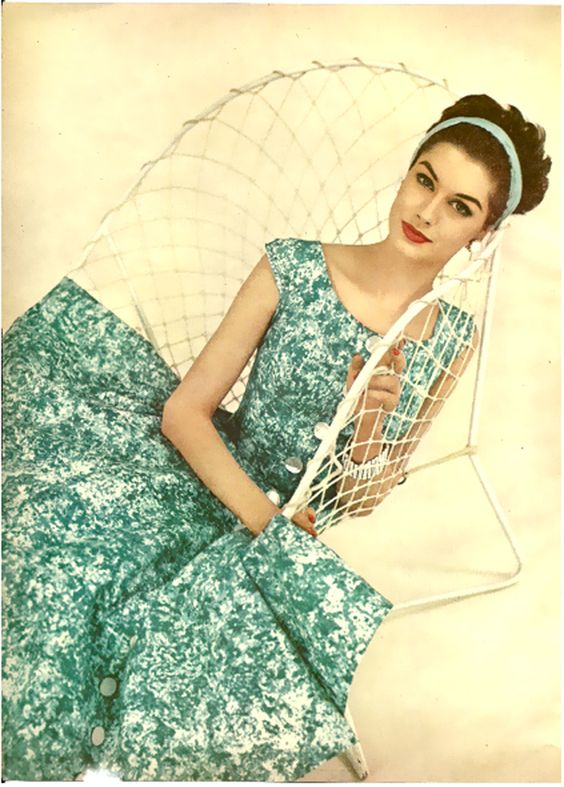
I took a long time styling my hair to look like this image from 1954. It’s quite a feat to tame the frizz and there was a moment of woe and frustration, but I didn’t have time to start again, so I continued on and was happy with the end result despite the angst in the middle of the process. Looking effortless is so much work!

7fa0cbf8bff4d8f948ea829a5dd44fd4
Charm Magazine, 1954

Picnicking! I plopped down to eat and then didn’t move much until picture time.

IMG_1534

I love how the pictures turned out! I purchased a new parasol to use this summer for 1920s events, but it matched this dress very nicely so I brought it along to the picnic. Raspberry is one of my favorite colors.

IMG_1540

There was a crowd of people watching the picnic most of the day, but we managed to get a lot of pictures without them. Yay! I don’t mind being gawked at (I’m rather used to it actually) but I do usually like images that don’t have modern dressed people in the background better.

IMG_1553

The palms remind me of Florida, and this picture’s story in my head is that I’m on vacation there in the 1950s.

IMG_1559

I may look composed in these pictures, but when I run out of pre-thought pose ideas chaos ensures. I often start waving my arms around wildly, talking (producing odd faces when captured as a picture), and flinging my legs around. Here’s an example. There are a a range of caption ideas that pop into my head here: ‘hi-ya!’ and ‘at the bat’ most often.

IMG_1554

I hope you’re enjoying your summer, too! It’s so nice that the days are long and there are lovely days for sitting in the park or other outdoor activities!

Project Journal: Versailles Sacque: Hair In Detail

Part of the work of getting ready for my trip to Versailles was hair: figuring out how I wanted to style my hair, obtaining or creating all of the necessary pieces and accessories, and practicing ahead of time. After looking at lots of inspiring images with a variety of hair shapes, I settled on creating a high slightly egg shaped style c. 1770.

I did two trial hair sessions in the month or so before I left. The first was rather frustrating, as I was learning what I liked (or didn’t like), and the end result was less than satisfactory. The progress was slow because I was creating hair pieces as I went along. The second day was much quicker and ended in success! At the time of the success post there was no time to post about how I achieved my look, but now there is, so here we go.

The pictures I took were for myself so that I could remember each successful step on the day of the event while getting ready. It worked quite well! And it means I have step by step pictures to share here. Once I had the plan down, I think styling took about 45 minutes with all the steps including trim and powder.

IMG_0887
One of my first hair pad contraptions. This wasn’t tall enough or large enough around.
IMG_1341
My final hair pad contraption with the addition of my Gibson Girl hair pad for bulk.
IMG_0923
I started by anchoring the pad to my head in about eight different places using crossed bobby pins. Then the front section of hair was brought up over the front of the hair pad, and pinned in place.
IMG_0927
I may look crazed, but I used my fluffy ends to help fill out the sides of my hairstyle even more. This is the middle of the back of my hair pulled up, crossed to help hide the hair pad and pinned in place.
IMG_0928
The sides were smoothed up and over the crazed side curls and pinned so the ends helped cover the hair pad in back. The curly bit sticking out on top was later tucked in and hidden.
IMG_0935
From the back. At this point I had clipped in four of the five permanently glued buckles.
IMG_0945
The remaining back section was loosely looped up. The fifth buckle was placed over the pins holding the loop of hair in place.

Then, for the actual event, I used baby powder to powder my hair. It was easy to use, required no extra products to hold in place, and smelled fresh. (I forgot to powder my hair on the trial days, so your eyes aren’t deceiving you if my hair looks darker in those step by step photos. There is a picture of my hair half powdered in this post taken while I was getting ready on the day of the event.)

IMG_0328
The finished result! My ornament is the one I made for my 1899 evening gown with some extra white feathers.

My buckles were made using synthetic hair. I purchased a ‘full head’ clip in set, 20″ long, that came with sections of various widths already attached to wig clips (similar to this). I purchased color #4, which matches the darker brown parts of my hair nicely, aside from being super shiny. I used the narrower widths for the buckles, but I still have the wider ones leftover. (I’m thinking I might be able to use them to create some 1830s clip in hair pieces…)

I am very grateful that Kendra Van Cleave did an immense amount of research into 18th century hair and wigs and shared it. An excellent taste is available on her blog and she’s also compiled her knowledge into a very detailed, picture-filled book that was quite helpful along my path to creating 18th century hair. Amongst lots of other information, there are instructions for creating temporary and permanent curls and buckles (including the instructions I used to create my buckles), lots of background about types of wigs and hair pieces, a discussion about powder options, and step-by-step tutorials showing ways to create a variety of styles from throughout the 18th century. Very useful!

A Quick ‘Behind The Scenes’ Of My Versailles Evening

All those pictures of Versailles look amazing, but a lot of work went into looking effortlessly elegant. Some of the work I’ll be sharing in posts specifically about my hair and gown, but I also have a few pictures from the day along the same lines that didn’t quite fit into main post. They’re more ‘behind the scenes’. Enjoy!

IMG_1340
This is Mr. Panniers after escaping my suitcase and before having his bones inserted for the big event. Hard to recognize without his proper shape, I think!
IMG_1343
Getting ready. My half finished hair is half powdered, to show the difference in color. As you can see, I only did a light bit of powder.
IMG_1437
A final graceful pose in the Hall of Mirrors as the staff was very slowly herding us out.

1885 Night Sky Fancy Dress

It has been a goal to make a specifically fancy dress outfit for years, but particularly since I made a makeshift 1860s flower basket fancy dress outfit in 2015. This May I had the perfect opportunity in the form of a fancy dress ball!

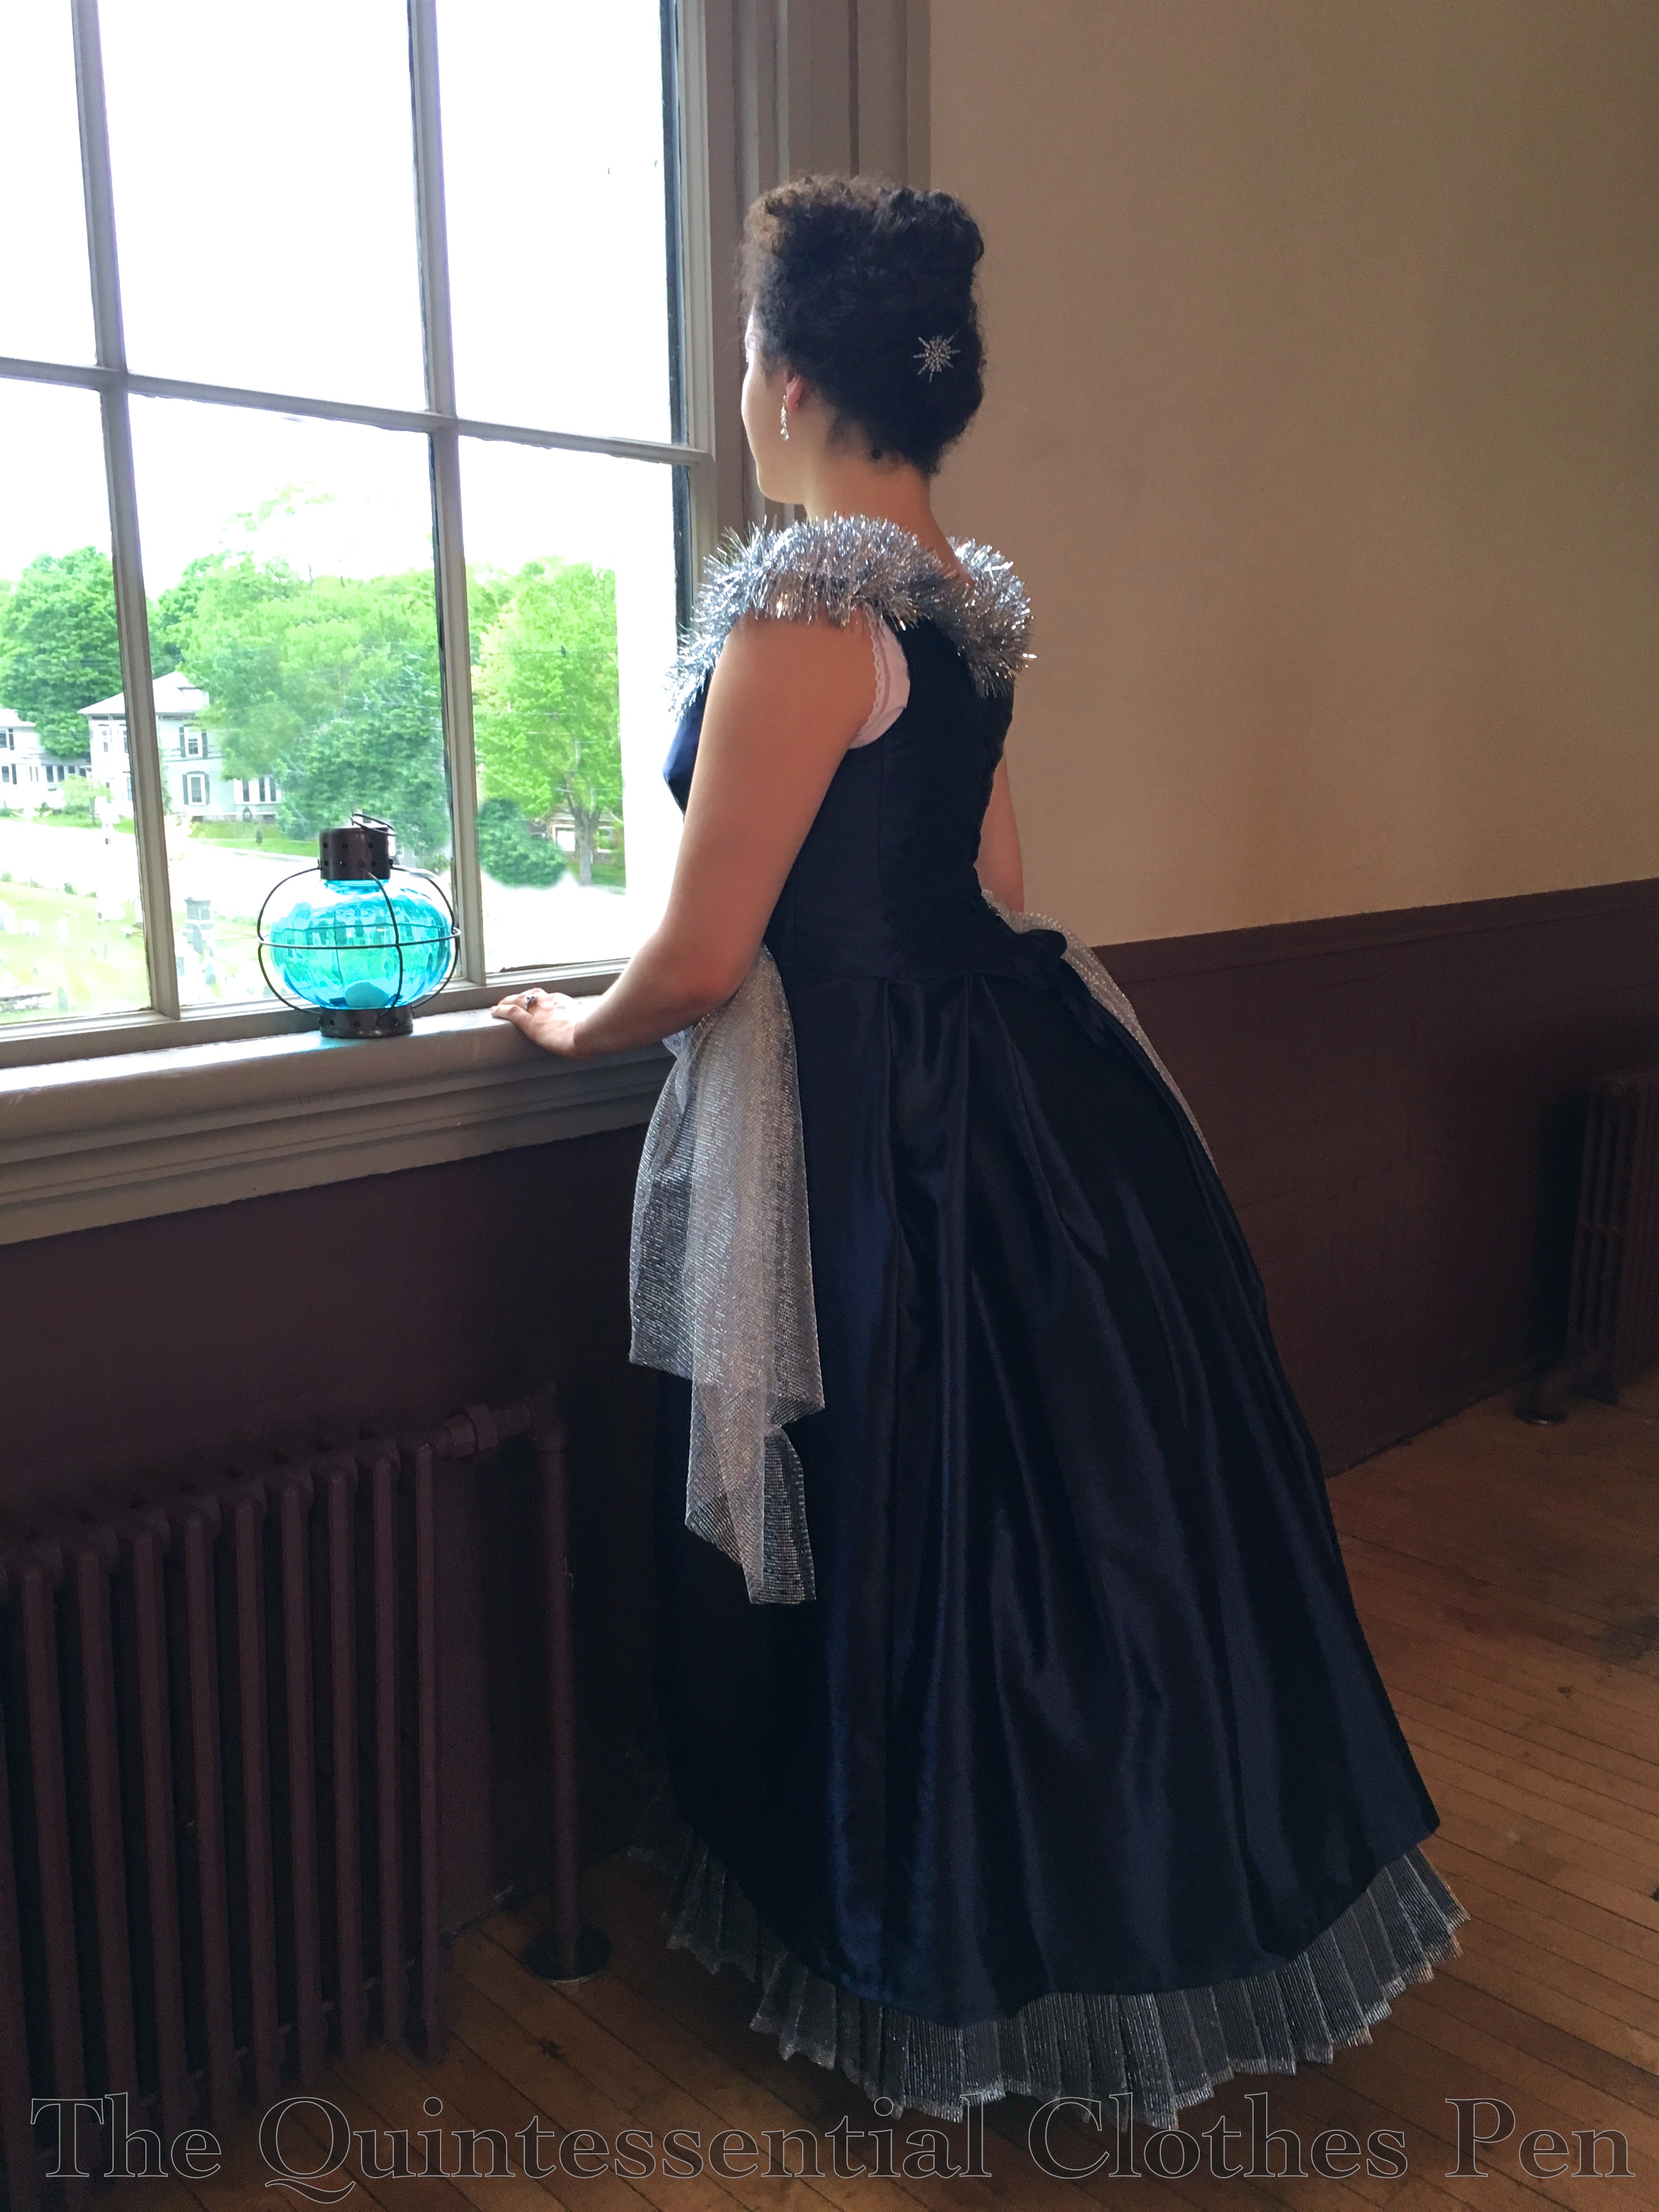
I decided to make an 1880s bustle dress because I already had all the undergarments, including my still-new-feeling 1880s steam molded corset, and because it’s a period of dress that I rarely wear, especially for dancing. I wanted to experiment with dancing in a bustle to see how it worked and what it felt like.

Design-wise, I was inspired by Mrs. Alice Gwynn Vanderbilt’s Electric Light fancy dress outfit made by Worth in 1883, but wanted to adapt the idea to fabrics I already had on hand. Since the fabric I came up with was navy blue, I decided on Night Sky as my inspiration.

2753c5268e0e74e0fc49e0c0d77e3053
Mrs. Alice Gwynn Vanderbilt’s Electric Light fancy dress outfit, 1883

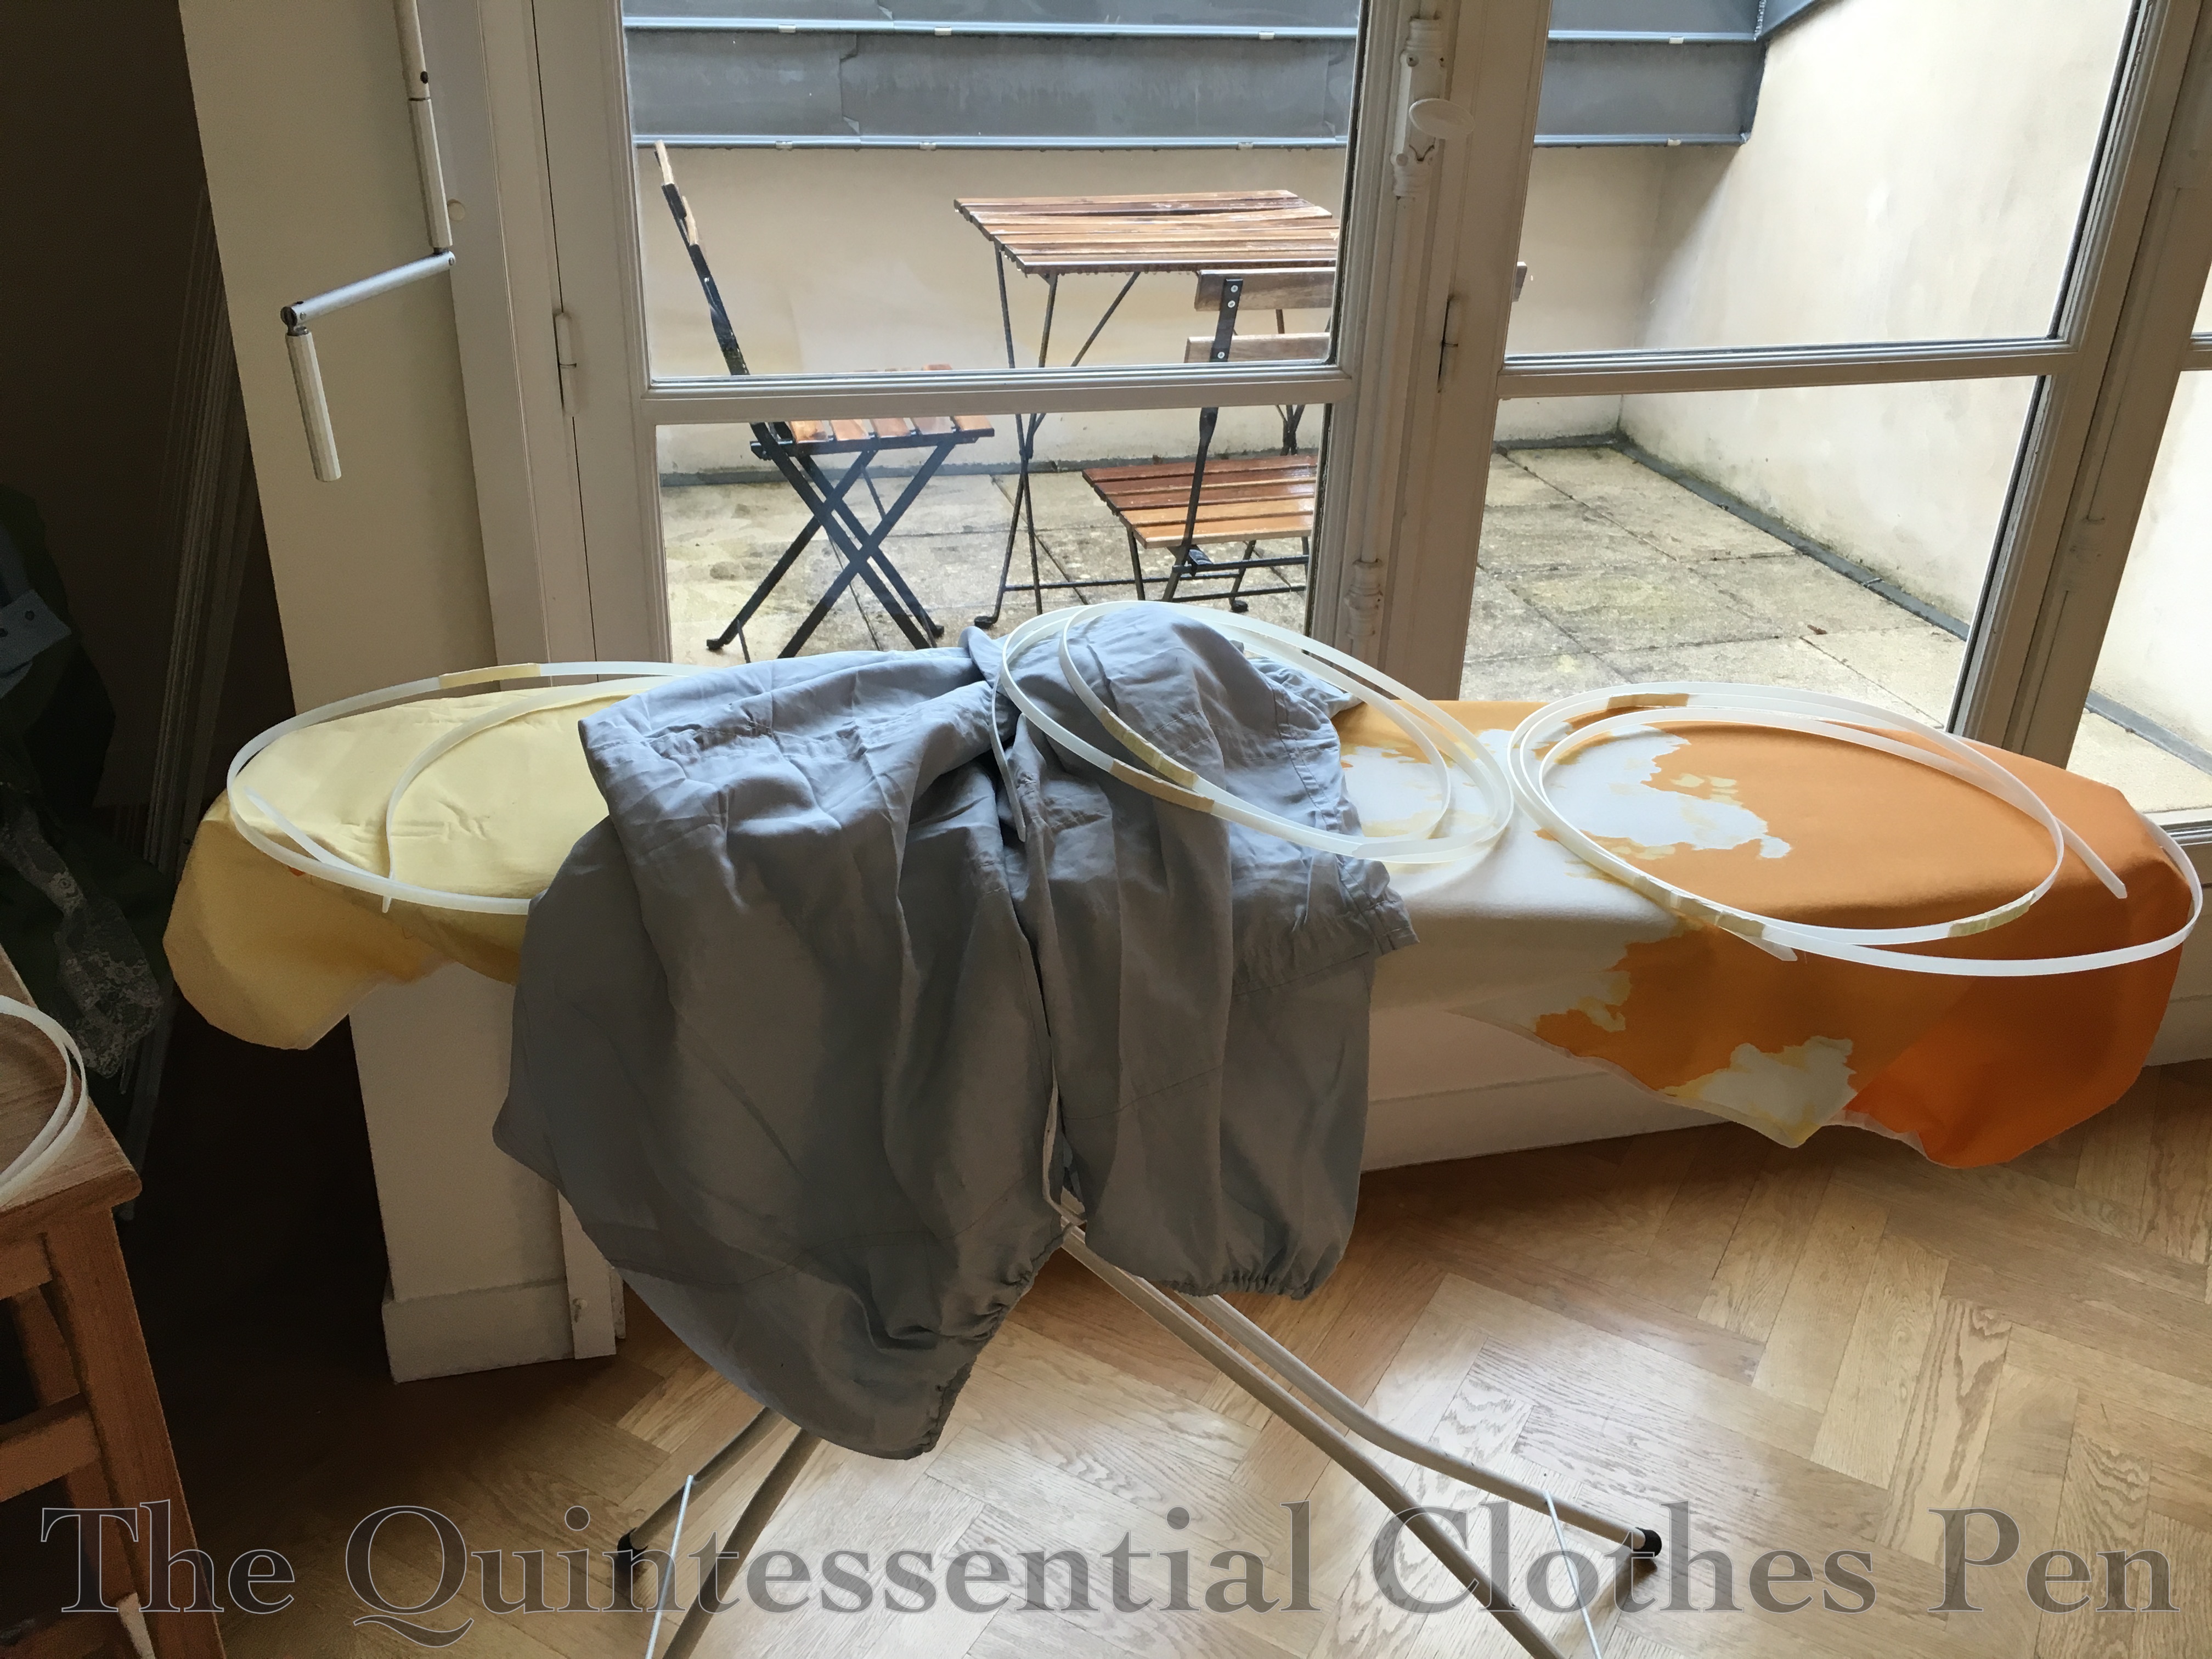
I started my outfit in January and worked on it over the next four months or so, but despite all that preparation time I was still working on it right up until the day before the event. Luckily, I did the vast majority of the work of cutting, sewing, and fitting before March and April when I became super busy. Tasks left at that point included finishing the bodice edges, trimming, and closures.

IMG_0999 (1)

In addition to the Mrs. Vanderbilt’s inspiration I also looked at other 1880s skirts for draping ideas and other 1880s fancy dress outfits for trimming ideas. You can see the most inspiring images and extant garments on my Pinterest board for this project here.

For ease of documentation, I’ll do the facts as with the HSF:

Fabric: 2-3 yards of navy blue cotton twill for underskirt, 6ish yards of navy blue polyester charmeuse, 1ish yard of pink cotton twill for flat lining, and 1-2yds of silver net.

Pattern: My 1885 Frills and Furbelows Bustle Dress pattern, adapted for evening and for the style of skirt desired.

Year: 1885.

Notions: A 3yd tinsel garland, 6 star brooches, 3yds of navy polyester ribbon for lacing, hook and bar closures for the skirt, and thread.

How historically accurate is it?: 90%. Recognizable in it’s own time, certainly. Reasonable construction, certainly. Materials, not so much. It was much more important to use what was on hand than to purchase new fabrics, especially since this is an outfit that I don’t see getting a lot of use.

Hours to complete: Tons. I didn’t keep track. Bustles are fussy and require lots of time with a dress form to achieve an elegant drape.

First worn: May 21.

Total cost: Most of the fabrics were in the stash with the exception of the silver net and most of the notions were purchased cheaply on eBay. Let’s say $20.

IMG_1011 (1)

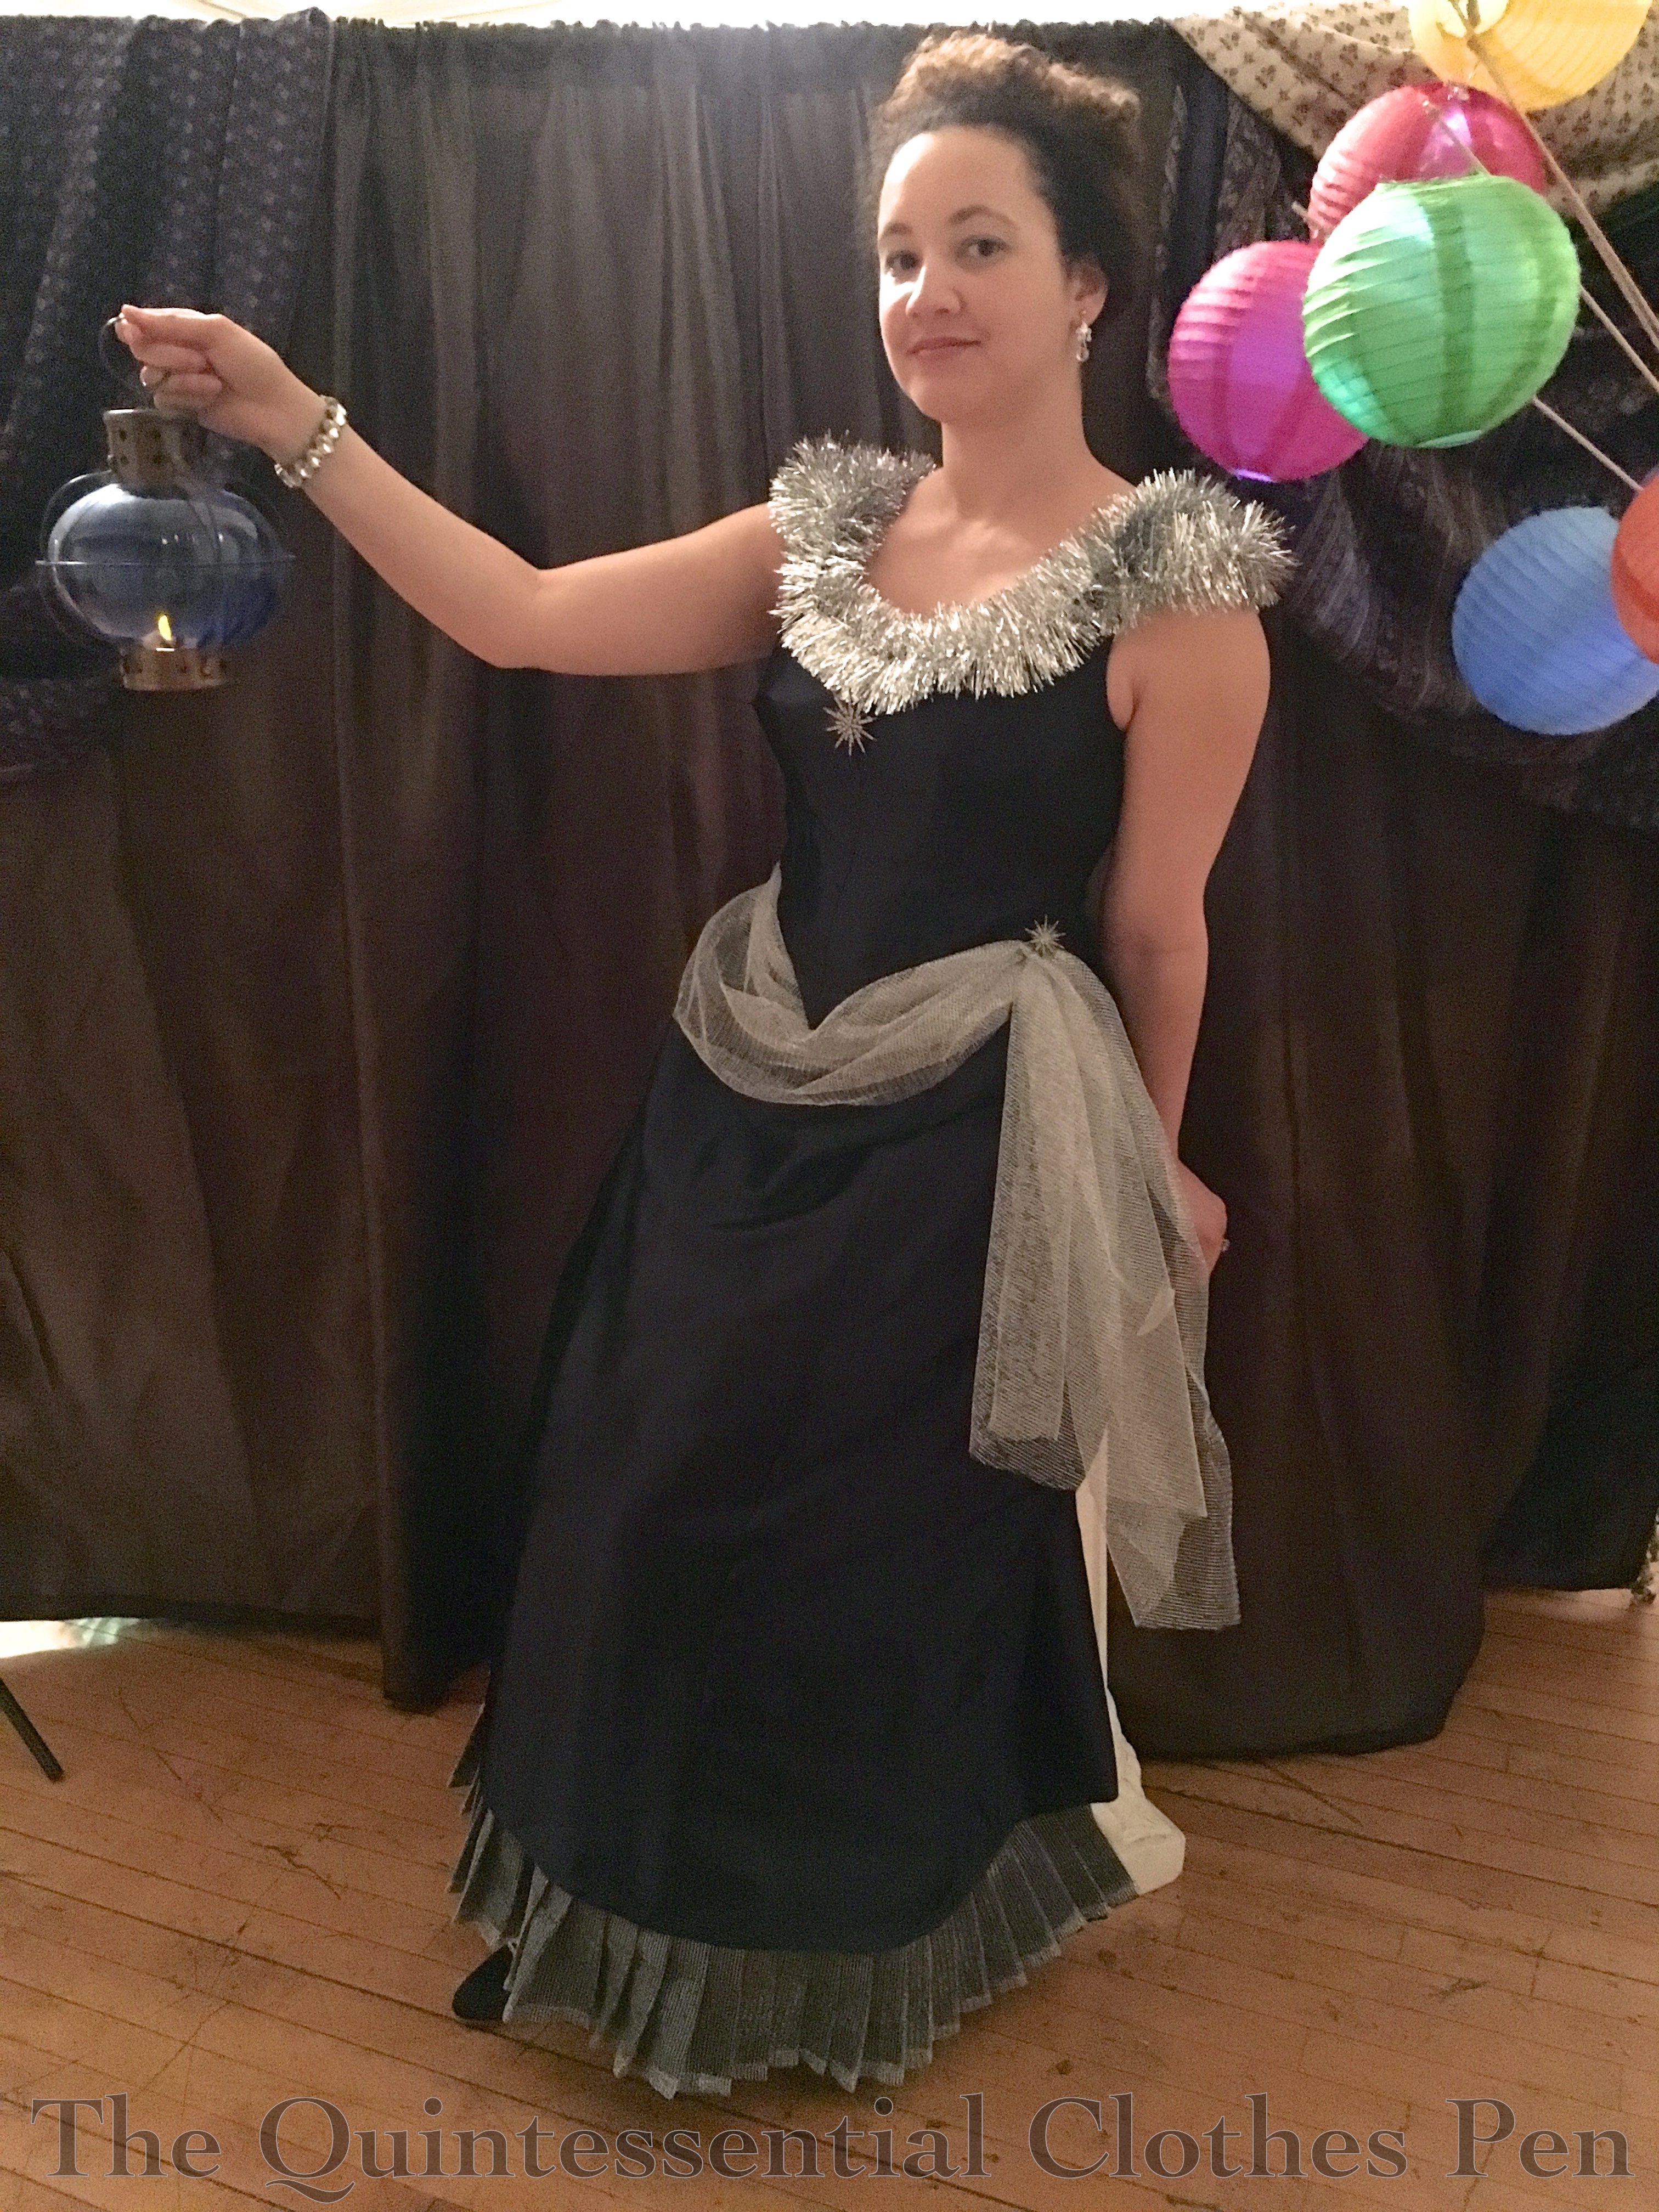
For the photos I wore the dress with my black Seaburys and the new rhinestone shoe clips that I purchased in March. It was quite sparkly and elegant, but for dancing I changed into navy blue velvet flats. They were just as cute but did not get the special treatment of being shown off in photos.

I had the grand idea to use my curly hair ends flipped up on top of my head like the curled fringe popular in the 1880s. It’s also long enough that I was able to make the bun shape on the back also using only my natural hair. I pinned in star brooches to match those on my dress as decoration.

IMG_1034 (1)

All in all I’m quite happy with the final result! Dancing in the bustle was just as easy as any other Victorian style. The differences were that all the extra fabric was behind me making some movements more challenging due to space such as during a quadrille, and that the bustle and layers of fabric on the back gathered a fair bit of momentum when turning, creating quite a swish!

Construction wise the only change I would like to make after one wearing is to bone the center back edges so that the back lies flat when laced onto my body and to sew in a matching fabric piece behind the lacing holes to hide any white from undergarments that wants to peak out. I’ll also need to wear a different chemise or tuck the top down so there’s not white cotton poking out at the armholes. However, these are minor changes and I’m not sure when I’ll have the opportunity to wear this again so it might be awhile before they happen.

IMG_1023 (1)

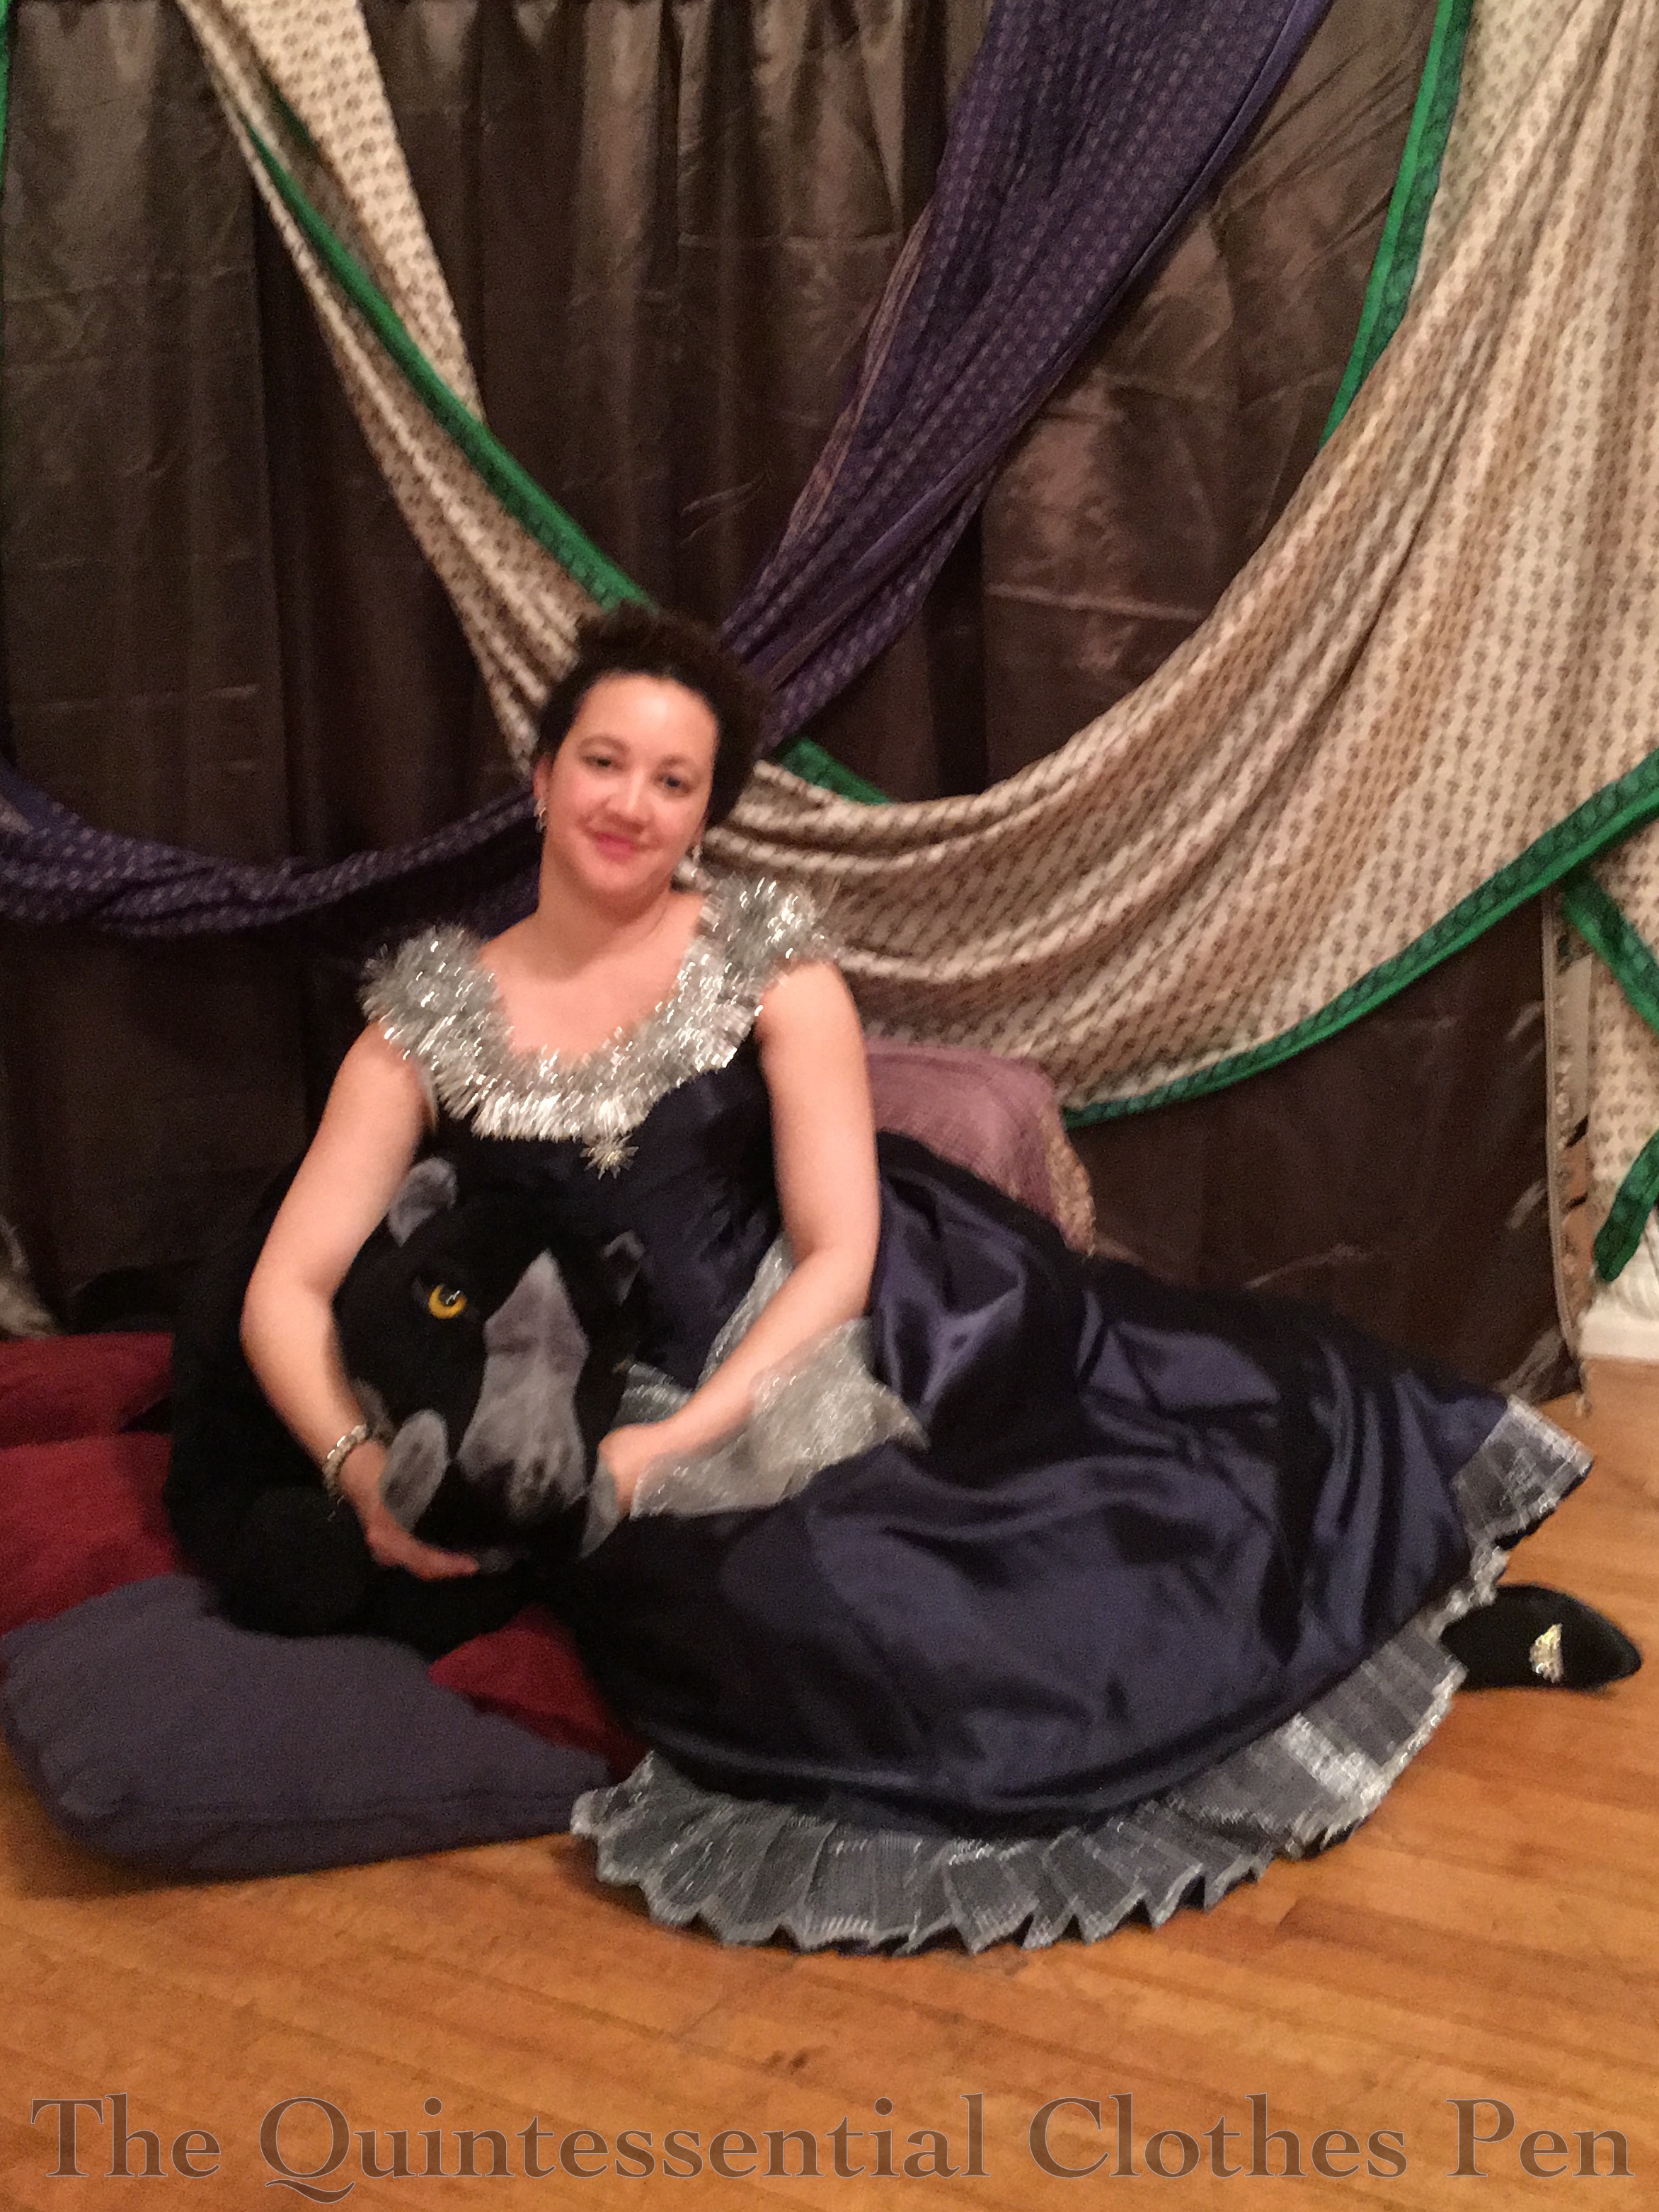
For this ball we set up a double sided picture backdrop, one side of which you’ve already seen. The other side included a large stuffed jaguar/panther I dubbed Jaggy for the night. You often see backdrops in regular Victorian photos as well as fancy dress photos. Unfortunately, with my heels on I was too tall for them! Oops! Being too tall inspired me to take some fun sitting photos.

IMG_1094 (1)
Hanging out with Jaggy.
IMG_1097 (1)
Tired after a night of dancing.

For decoration out of the ordinary, we had the lucky and unexpected use of the fabulous blue and turquoise lanterns in many of the pictures as well as multicolored paper lanterns with lights inside. We put the lanterns around the room in glass vases as bouquets. First, a picture from the set up part of the evening. Second, a picture with some lanterns creeping into the photo.

IMG_0973 (1)

IMG_1080 (1)

Fancy dress outfit, check!

Project Journal: Versailles Sacque: Hair Decided

I’m quite busy sewing up a storm to get my sacque finished in the last few days I have before heading out on my trip. Therefore this is just a quick post to document my progress.

In the last few weeks I had two hair trial days. The first was a bit frustrating, because I did my hair twice and wasn’t satisfied either time. I was experimenting: figuring out what worked and what didn’t, what was becoming and what wasn’t, fashioning and refashioning the support for the style, and making permanent and detachable buckles (see below for a description of a buckle, from Cunnington’s The Dictionary of Fashion History).

Screen Shot 2016-05-20 at 7.52.27 PM

The second day was much more successful. The buckles were already made, I knew what shape I wanted to achieve, and I had a clearer idea of how to get there. Eventually I plan to share more details about creating the style, but for now, here are pictures of the style on trial day #2 with another sneak peak at my sacque in the process of having its trim added.

IMG_0951 - Version 2

IMG_0954

I also played with powdering my hair on day #2. I was unsure about it before I tried it, but the powder helps the real greys (ahem) blend in and helps the false hair of the buckles with their sheen blend better, too. For the actual event I’ll have to do a better job making it even so I don’t look like I have a streak!

The sacque is so close to done that I’m crossing it off, too. It needs one more sleeve flounce layer and an under sleeve flounce layer added, but that’s it! And trim. Pinning the trim is taking a lot longer than I imagined it would because I am a perfectionist about the placement. I don’t expect that sewing it will be as slow, but I’m not there yet. Ahh! Off to sew!

  • Panniers
  • Petticoat
  • Robe a la francaise (with a subset of trimming)
  • Hair
  • Shoes