I’ve accumulated a few new fabrics over the last few months and I thought it would be fun to share them in a stash addition post!
Fabric for new sweatpants
I have a favorite pair of sweatpants that I’ve had for almost 20 years. They’ve seen a lot of wear. After 20 years, the hems are pretty worn out and they’re starting to develop holes in the fabrics near the seams. I’ve been on the lookout for similar ones to replace them for years, but the fit is hard to find: wide-ish legs with a bit of a flare, diagonal pockets, and wide hems. I’ve never come across another pair with quite the same styling. (And they’re not currently in style, being 20 years old, so that’s part of the challenge.)
While wearing them quite a bit in March and April I had the thought that “I could make myself a new pair of these pants!”
This idea was spurred in part by the lovely fleece fabrics that Blackbird Fabrics has stocked over the last eight months or so. Every time they popped up in an email I considered purchasing some, but couldn’t make up my mind about color and dragged my feet. Blackbird’s fabrics sell out quickly and I kept missing the boat with my indecision, but then they restocked the bamboo/cotton stretch fleece and matching ribbing and I decided to make a decision, go for it, and order some!

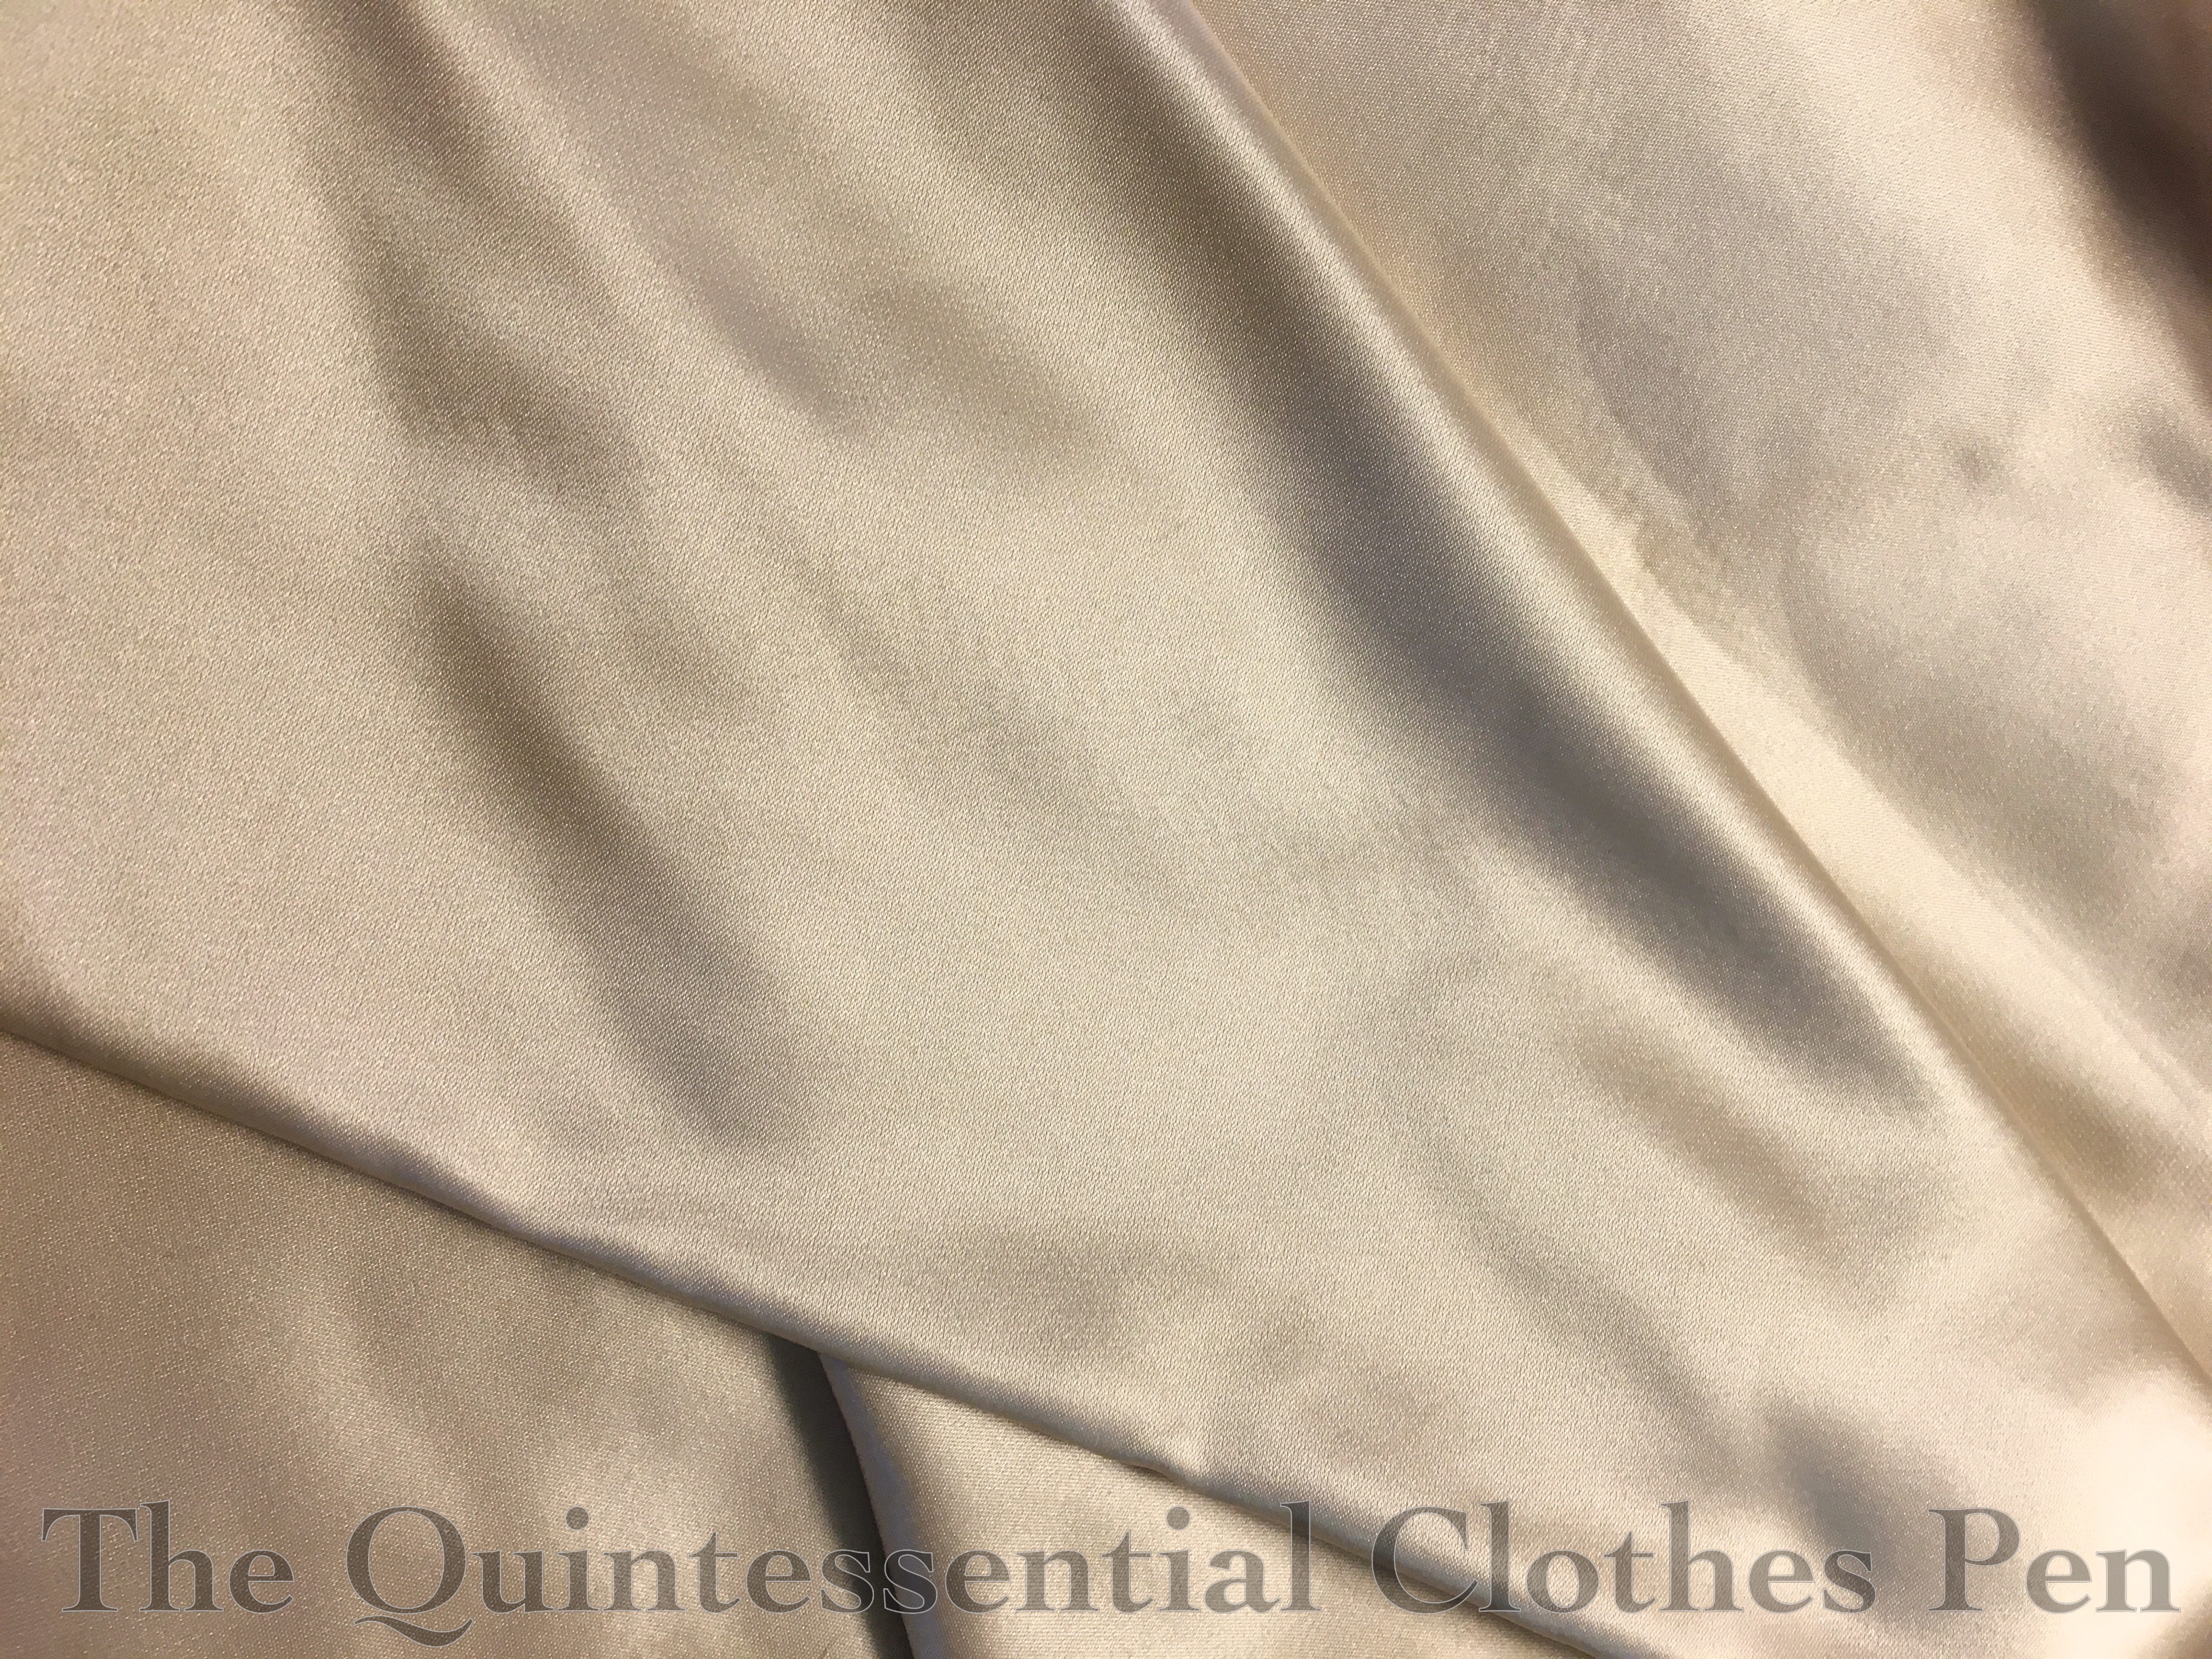
Doesn’t the fleece side of this fabric look soft? I love that new fleece feeling!
I ordered 1.5 meters of the fleece and .5 meters of the ribbing. I’m sure I’ll have leftover ribbing, as it’s only used for the band at the top of the pants, but I’ll find a use for it again someday, I hope.
Of course, right around the time I purchased my new sweatpant fabrics the weather warmed and I lost my motivation to make the pants. But the fabric isn’t going anywhere and in theory the weather is getting cooler soon, so maybe these will make it onto my sewing table sometime in the next few months.
I do congratulate myself on taking the time to take a pattern from the old pants before I lost motivation so that when I decide to move forward I’m ready to go!
Two block printed fabrics
I keep a running list of sewing projects, in order to remind myself what steps projects are at, what fabrics are marked for certain projects, and what projects I have in mind. Occasionally, while looking at this list, I get swept away with ideas for new projects.
Earlier this summer, this feeling of wanting new projects was compounded by a friend updating me on the status of her current 1830s day dress project using a lovely block print cotton. It’s been a few years since I’ve seriously looked at what’s on offer for block print cottons on places like Etsy and eBay, so I decided to check things out.
Oops! Because, of course, I found pretty things! And then my brain went into overdrive, thinking of all the amazing projects I could make with the beautiful things!
I confess that I gave in to temptation and purchased two block printed fabrics.

I feel somewhat justified in that I have very clear ideas in mind for them!
I intend for the green and red print to become a gown like this one, from about c. 1785. I have 10 yards, enough to make the dress and a matching petticoat, but I thought that someday I might also be interested in having a contrast petticoat as well.
In terms of timeline, I have no clear plans for when I might make this. I am working on stays from this period, so that will be a great help, but that’s not really a solid plan. And the stays are going slowly, as I’ve been distracted from them by other projects. So, no deadline or timeline in mind.
I also bought 9 yards of the pink print in order to make a day dress from 1843/44. But then I remembered a fabric already in my stash that would also make a lovely dress from these years (I actually posted about it in this past stash addition post in 2018–it’s the cream woven plaid). So… I’m not exactly sure which fabric I would pick for this project, though I’m leaning towards the new pink block print (whichever one I don’t pick doesn’t have a clear plan).
I have a new corded petticoat that would help with the 1840s silhouette and I already have the rest of the undergarments, so it’s not out of the realm of possibility that I could tackle this project in the not-too-distant future. (What does that actually mean? Next year, maybe?)
Discount duchess satin
This is the standard ‘I happened upon it’ story. This blush duchess silk satin was in the discount bin at a local store.
Of all of the fabrics I’ve acquired recently, this is the one that is the most ‘stash addition’. I don’t need the 1.5 yards that I bought for anything in particular, but I thought that for the low price it was worth picking some up.
I think it would make a gorgeous 19th century corset (like my 1880s steam molded corset, which is also made from duchess silk satin). I also have vague plans to someday make a 1920s corset/girdle and I think it might be useful for that as well.
In conclusion…
I’ve been doing well at using stash fabrics to make things recently, which is great, but I’m not sure if I’ve offset that by buying new things… Oh well! Sometimes you have to buy things when you see them!